HOLIDAY DONATION DRIVE - SUPPORT MSW - DO YOUR PART TO KEEP THIS GREAT FORUM GOING! (Only 20 donations so far - C'mon guys!)
×


G.L.
-
Posts
1,553 -
Joined
-
Last visited
Content Type
Profiles
Forums
Gallery
Events
Everything posted by G.L.
-
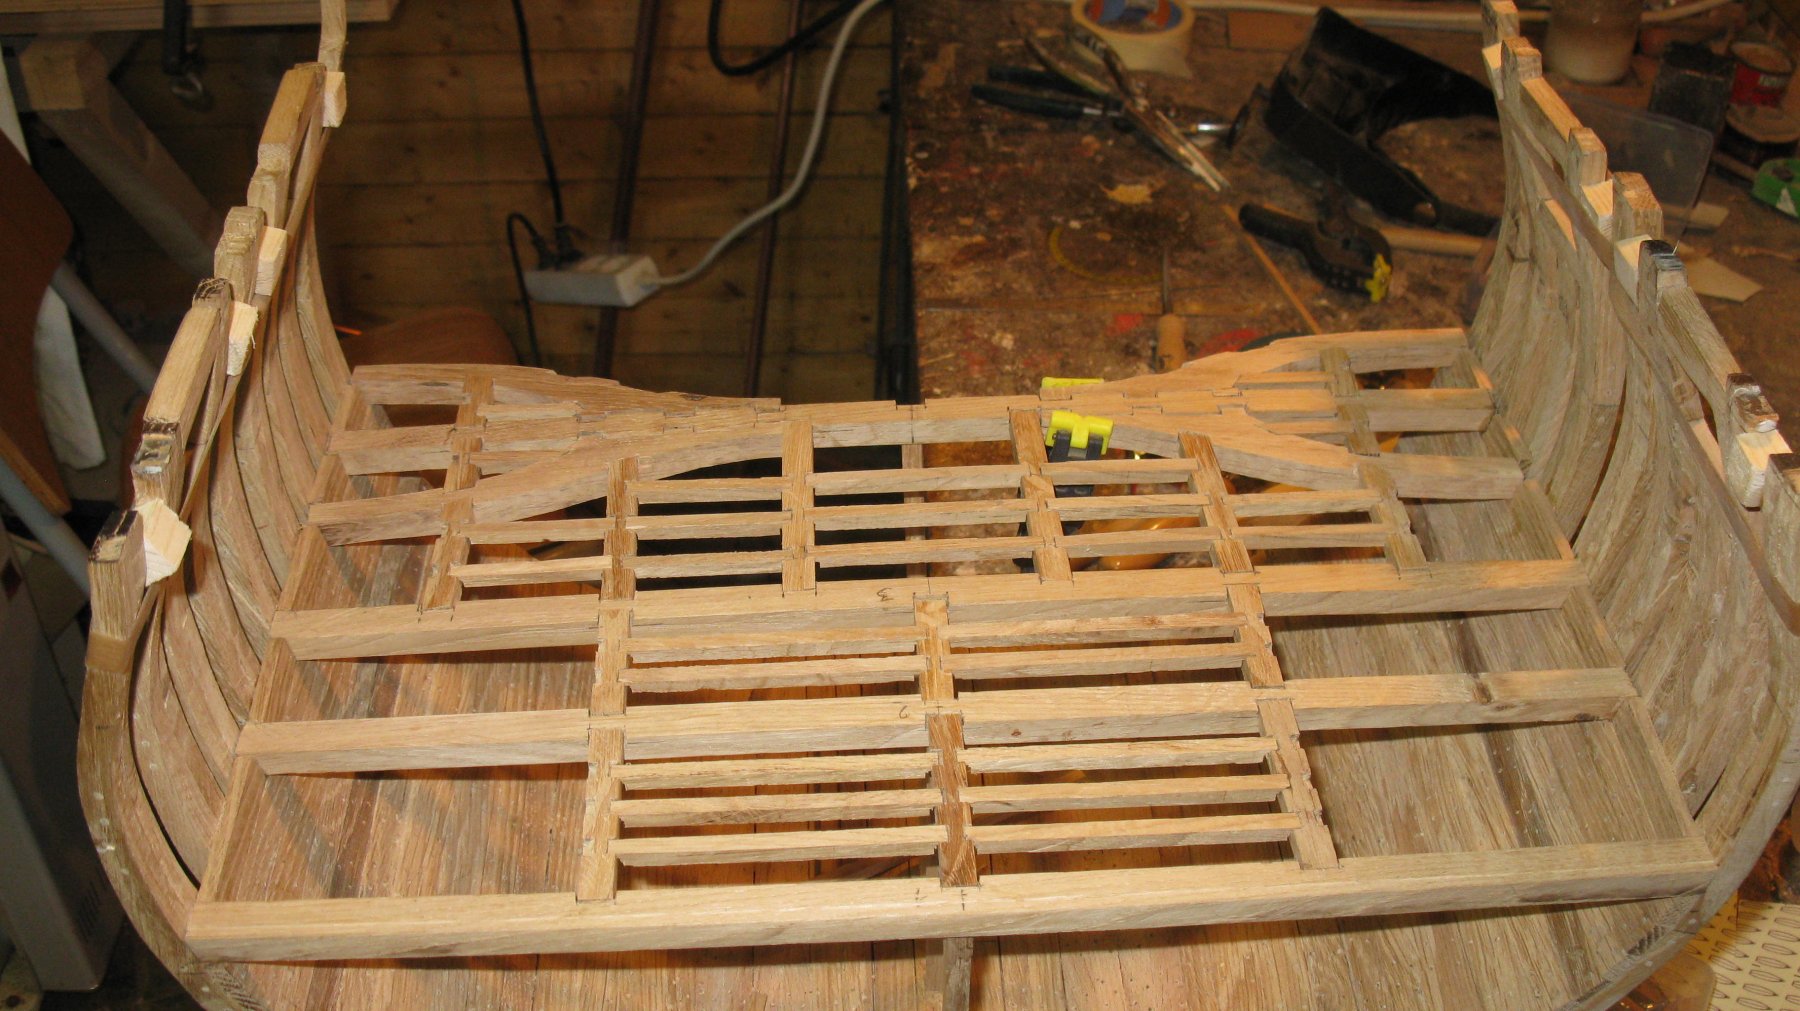
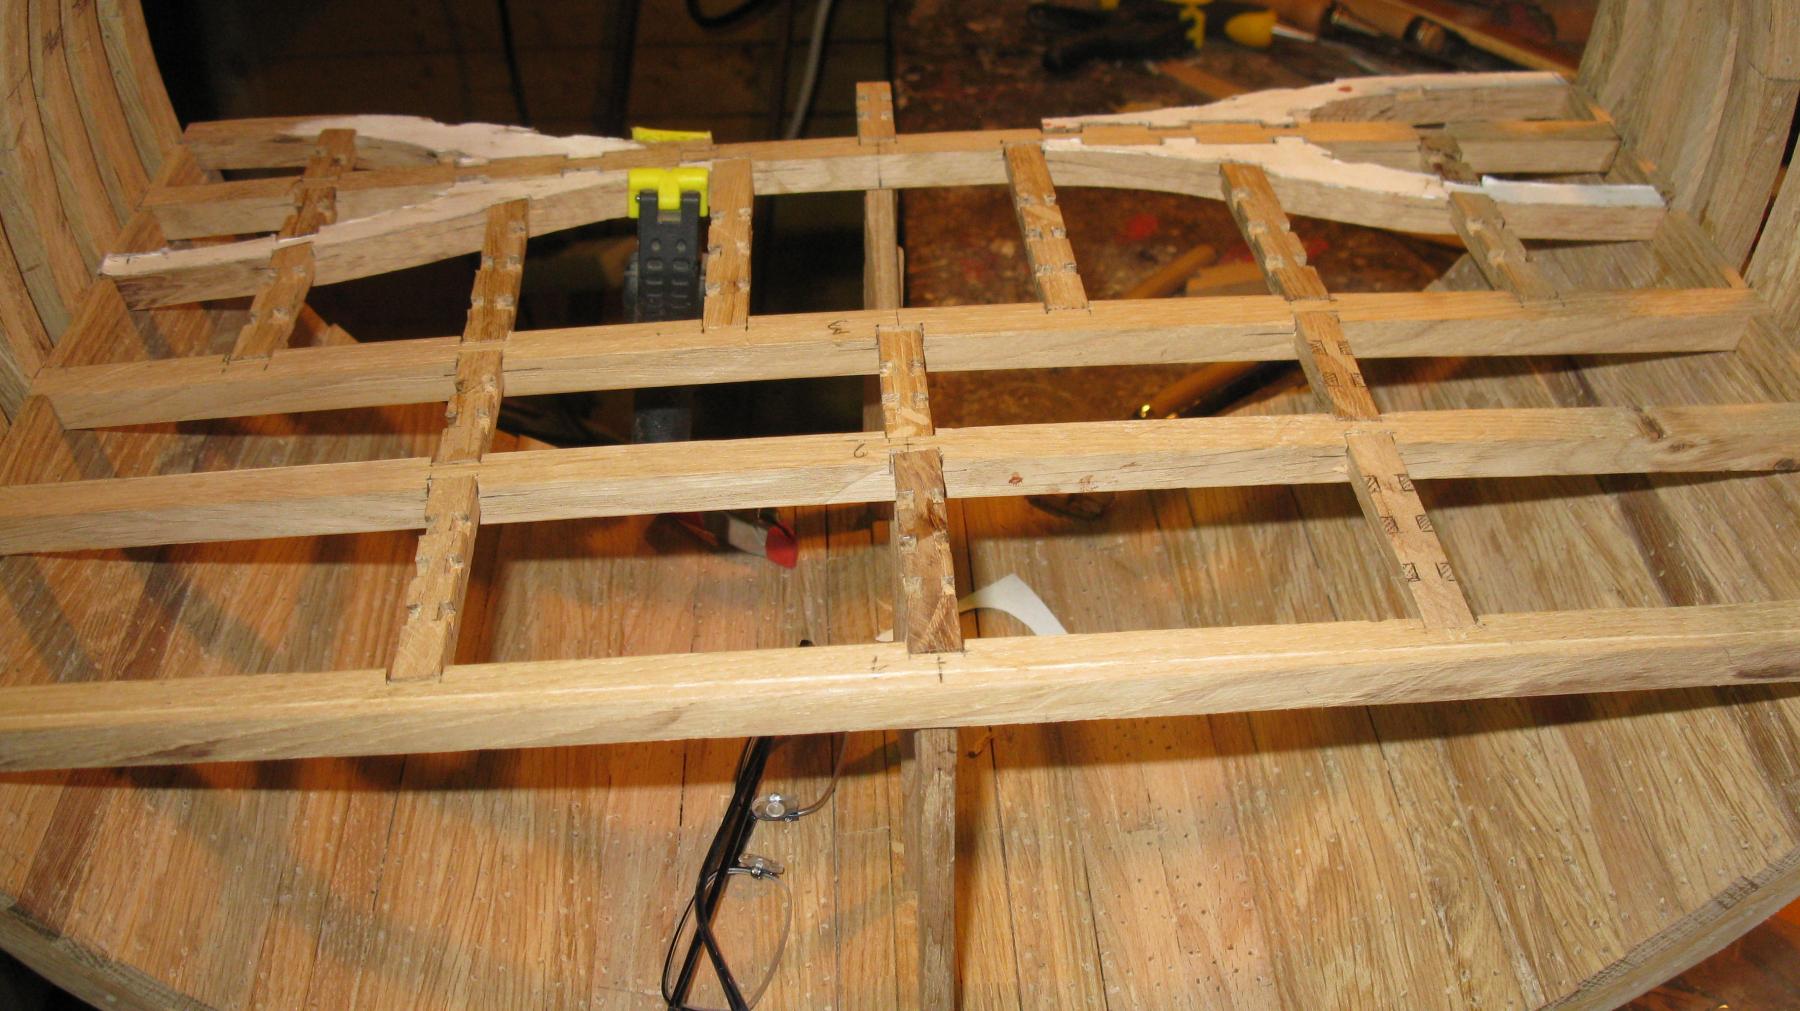
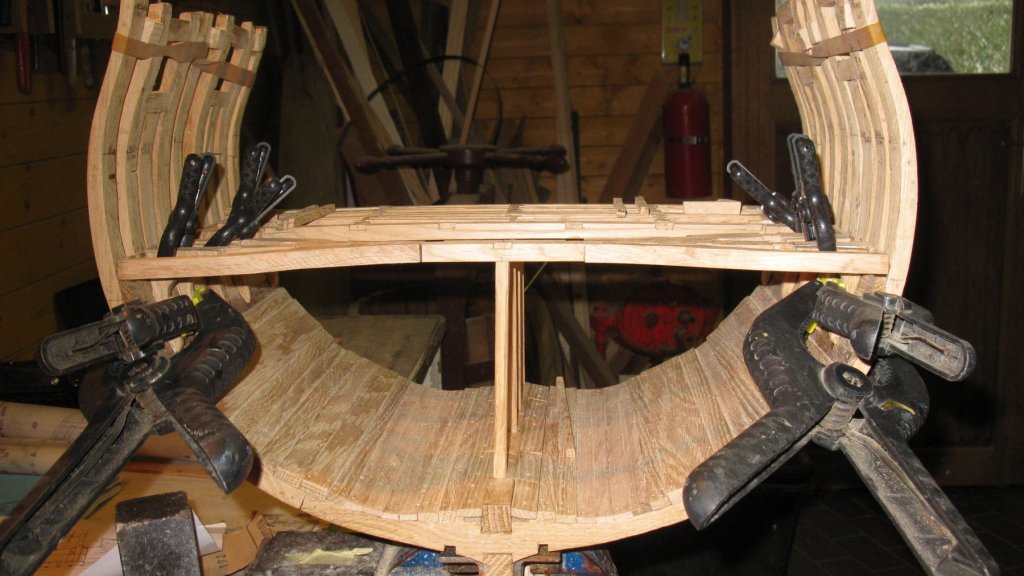
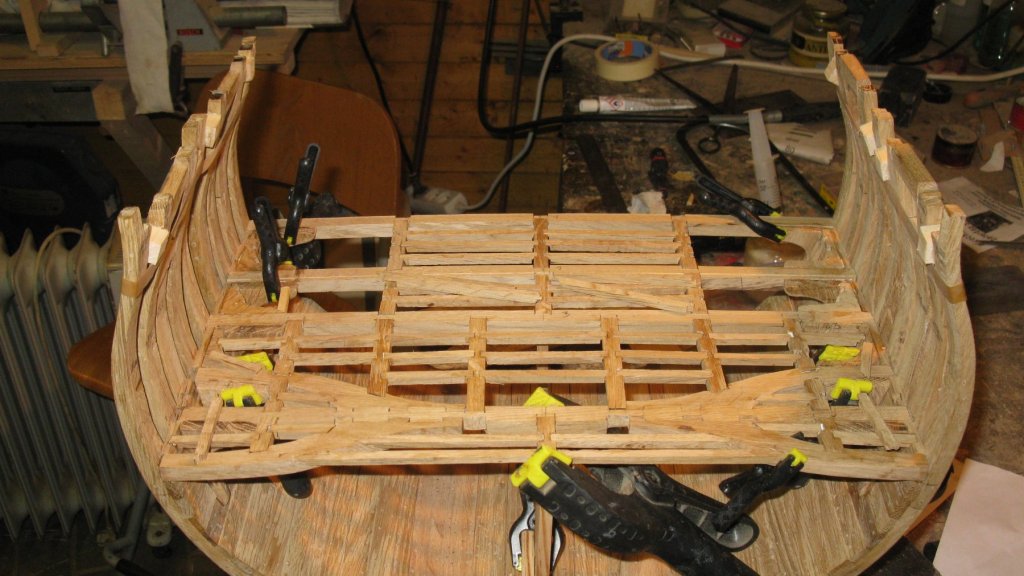
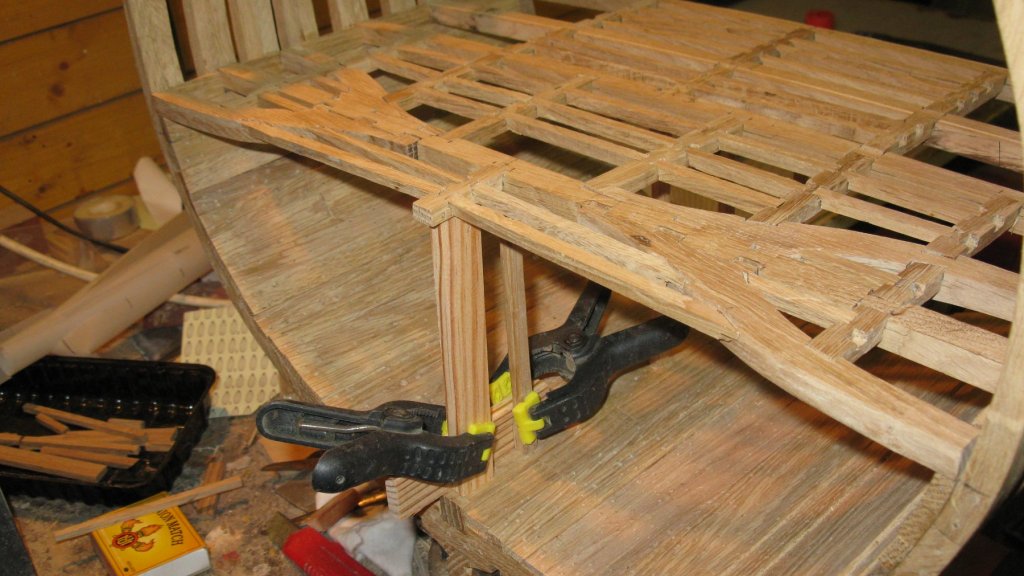
 When all ledges are made, it is time to glue the knees in place. Therefore I remove the ledges again in different stages. To find my way in the puzzle I lay them out in same pattern as they are placed on the carlings. Then I put tree nails in the carling ends.
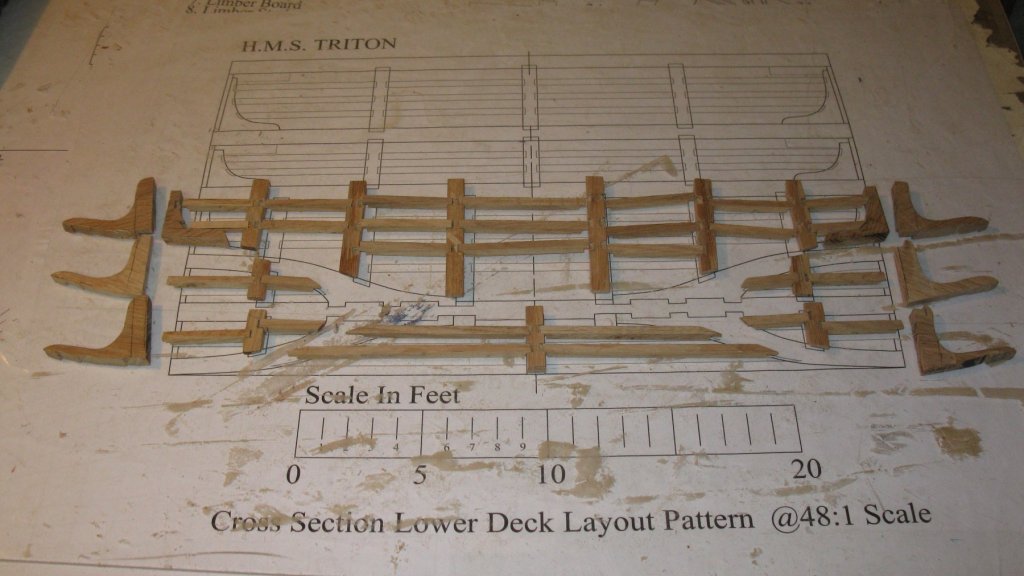

-
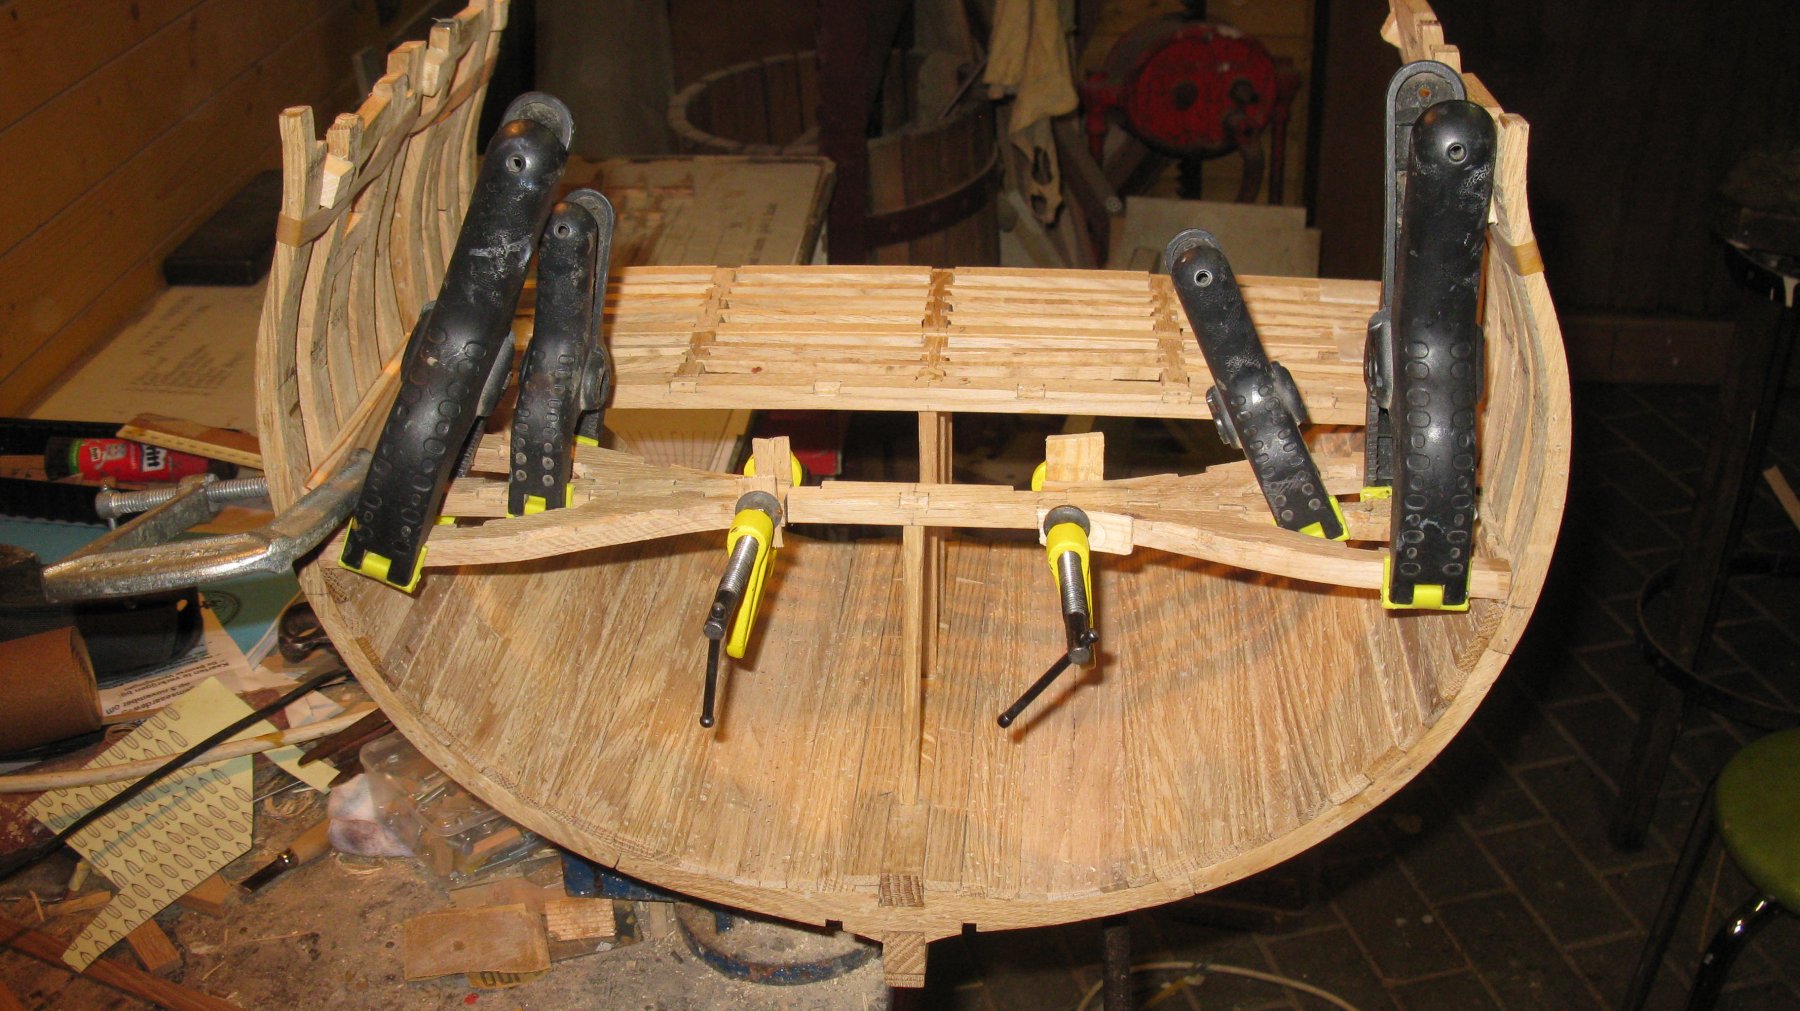
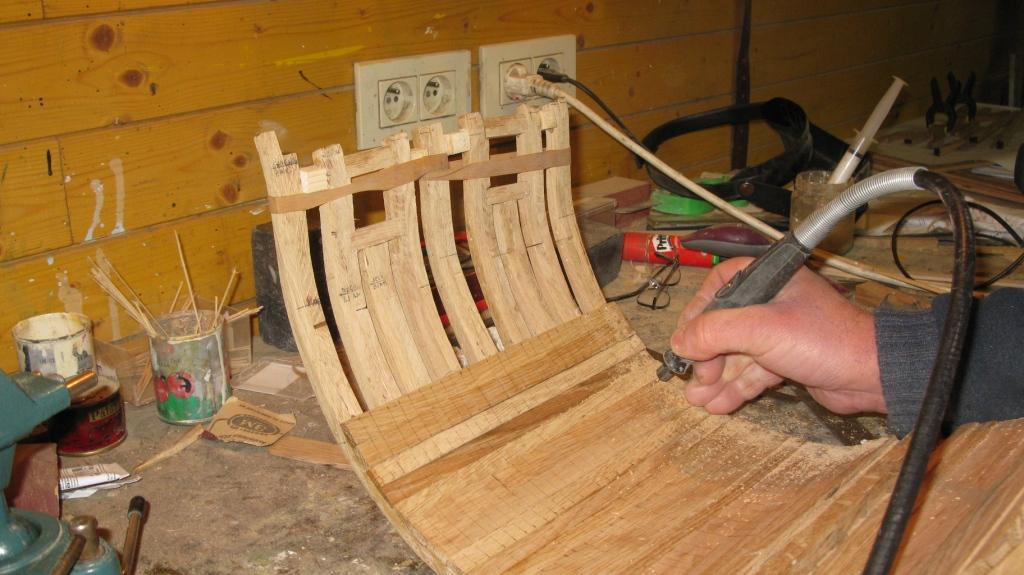
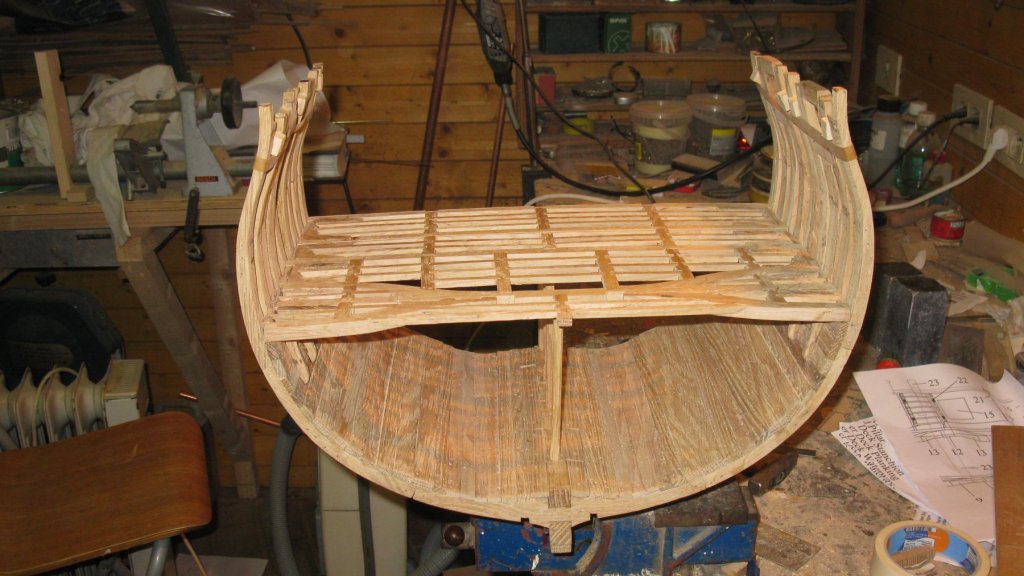
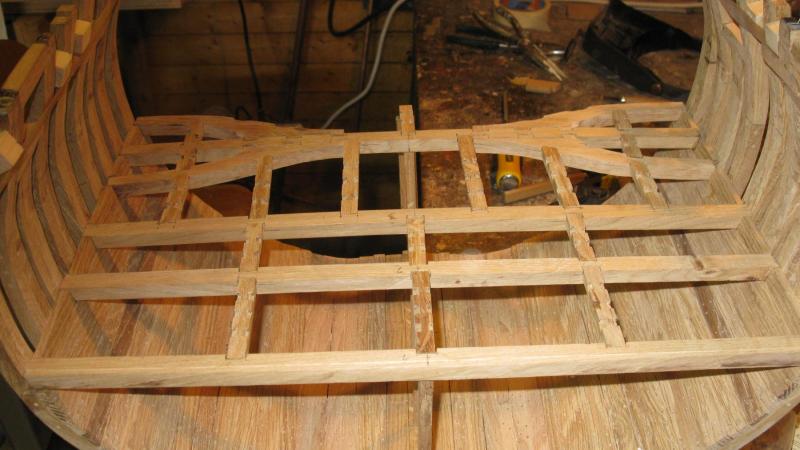
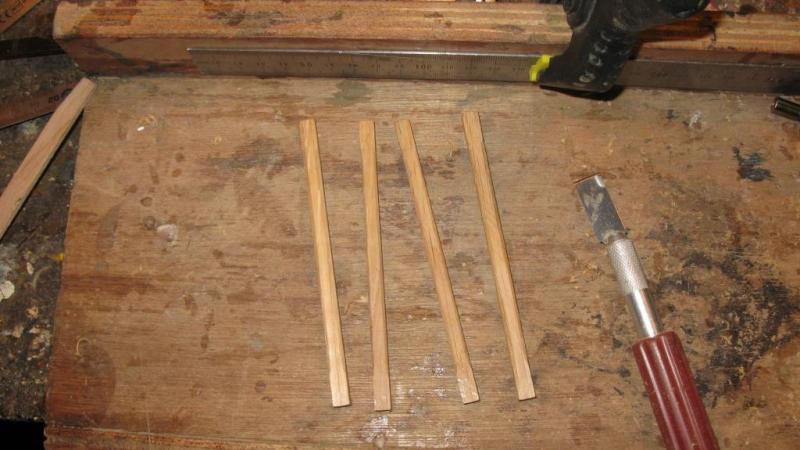
Now I make the ledges. I place a wooden stick below the middle hanging carling to support it as long the deck is not yet planked. The open spaces in the lower deck are slowly filling up. As you can see I made also carling notches in the outside of the outer deck beam although they are not needed for the cross section, but I judge that the ship was not ending at the edge of the cross section.


-
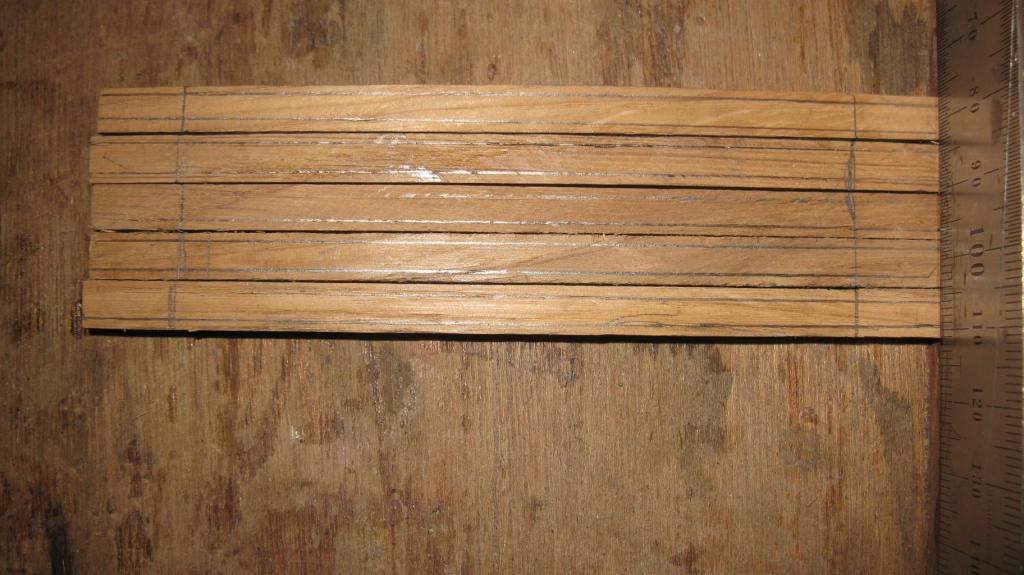
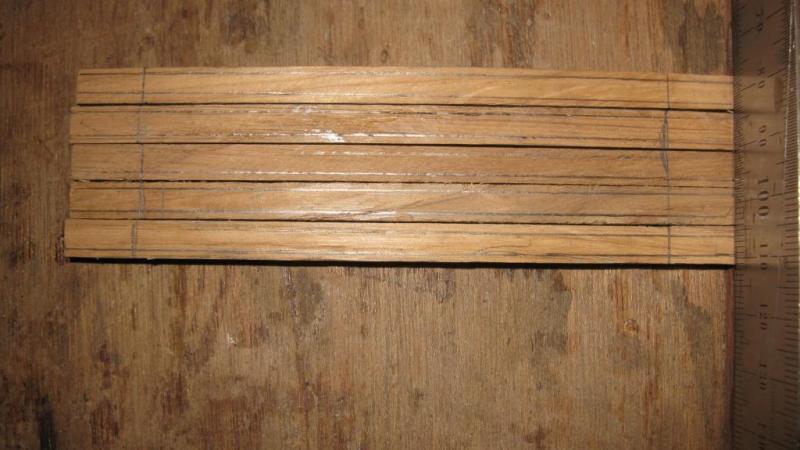
Meanwhile the limber boards are divided in lengths of ± 3 feet, following the advice of Pete38. Thanks again Pete for the information.
-
Tony, This is an excellent tutorial. It will certainly be a useful guide for me and many others to continue our work on our project. Your Triton cross section will be a real masterpiece. G.L.
- 132 replies
-
- 3
-

-
- triton cross-section
- cross-section
- (and 1 more)
-
Hi Michiel, I just watched your YouTube movie. Your work is really a masterpiece. Congratulations, G.L.
-
Aviaamator, Thinking a lot about you. Wishing you a lot of strength. I am praying for you that everything is turning well. I am sure that the whole Model ship world community is supporting you. G.L.
-
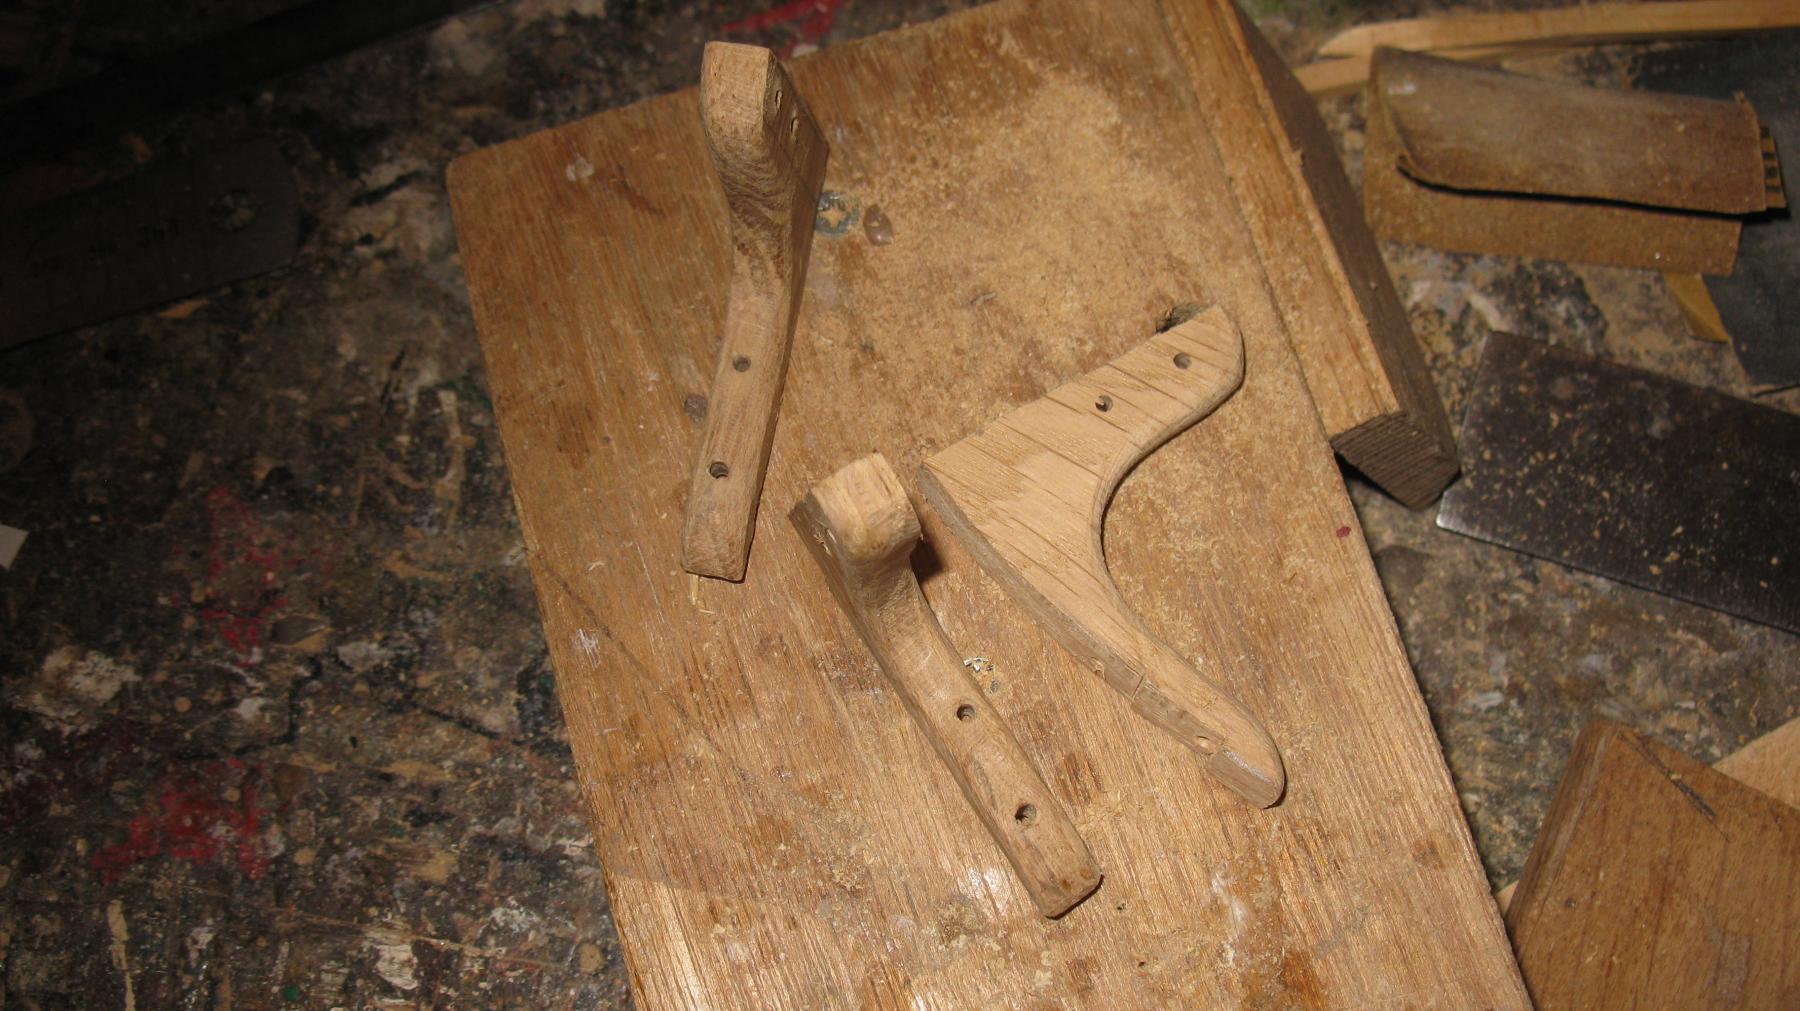
The final touch for the knees is putting some treenails in it.
-
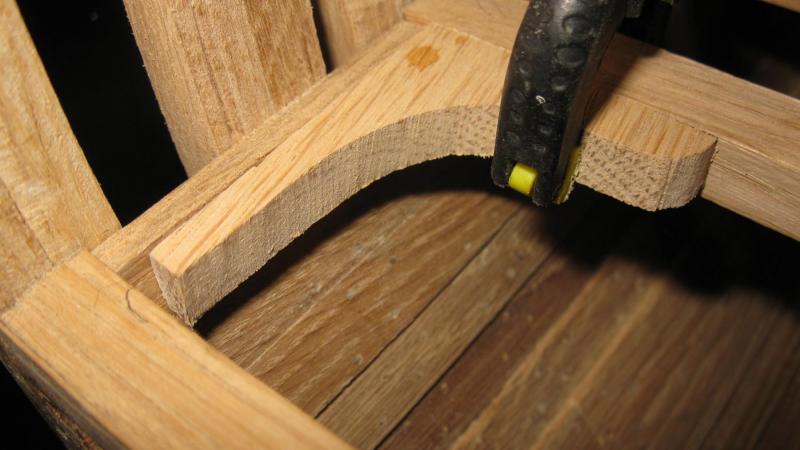
The process of making the lodging knees is pretty well the same as for the hanging knees. Where a hanging and a lodging knee are meeting each other, a notch has to be made in the hanging knee.
-
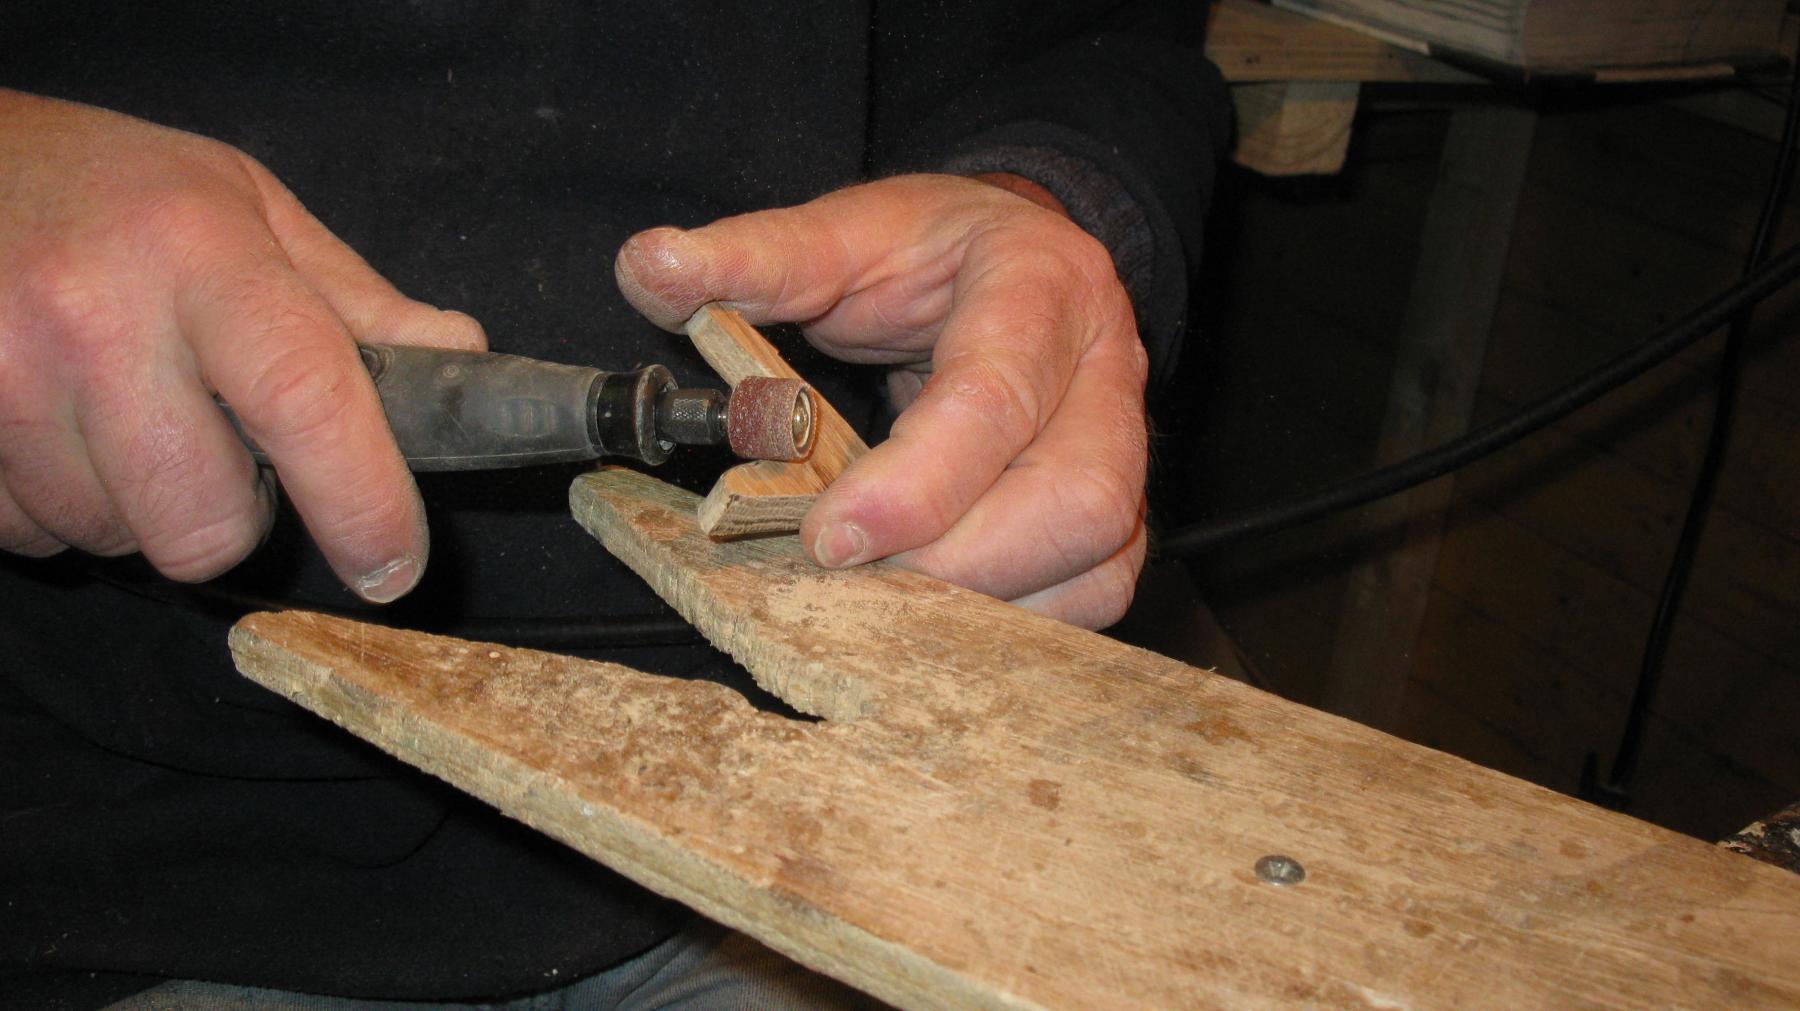
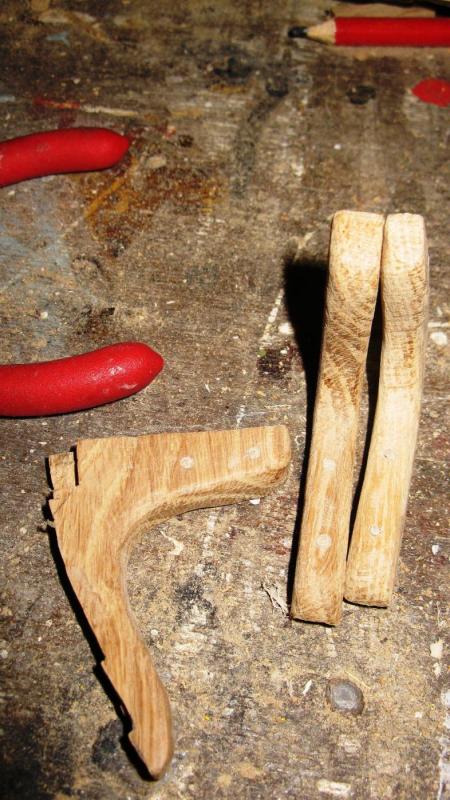
Once the knee is sawn to the correct shape, I round the corners of with the Dremel sanding drum.

-
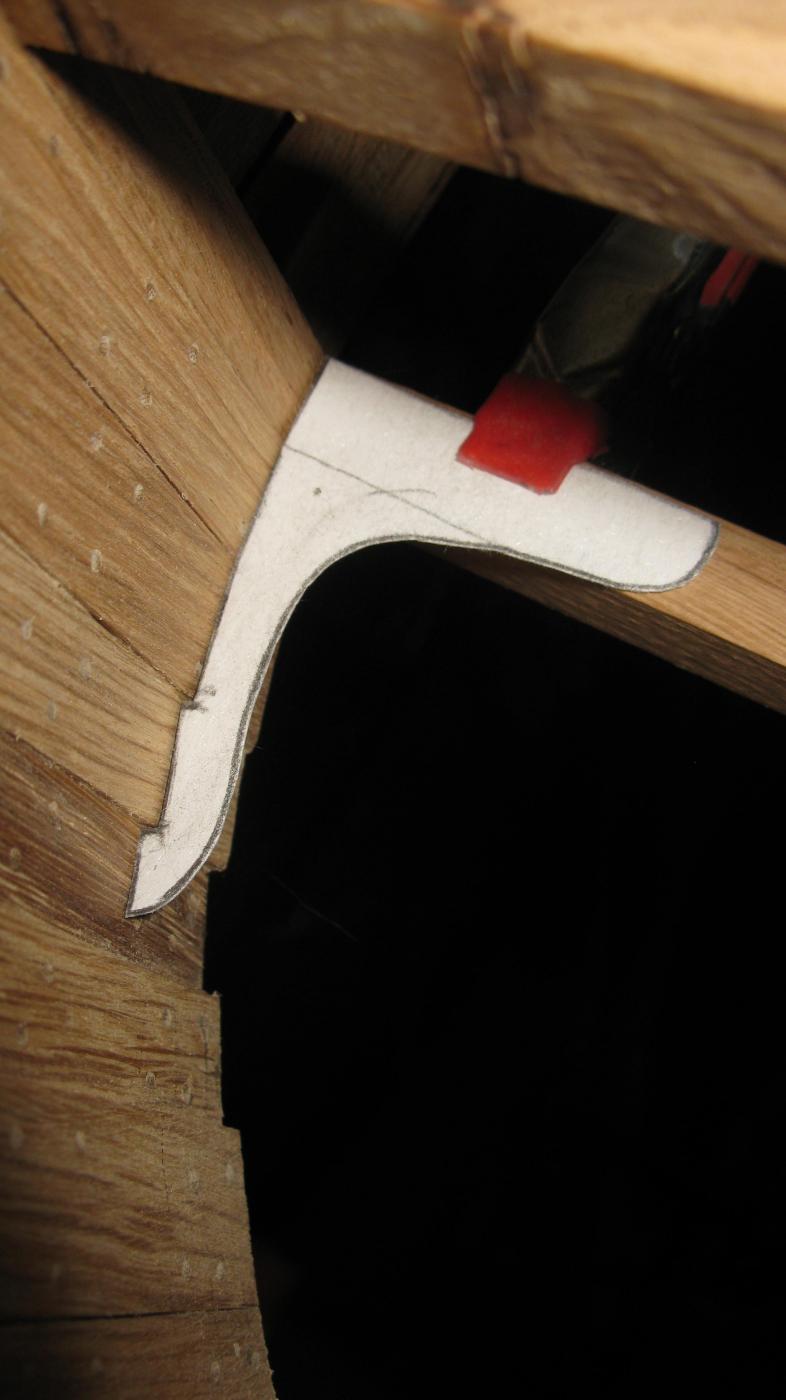
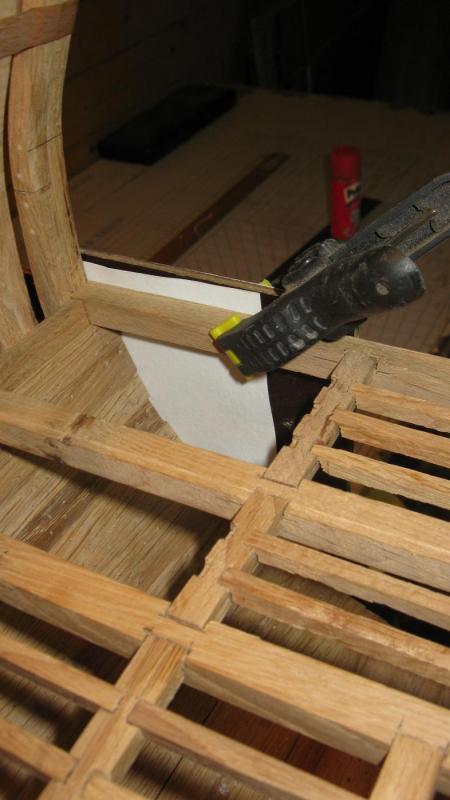
I make the knee a bit too high. The top edge of it can be marked when holding it in place.
-
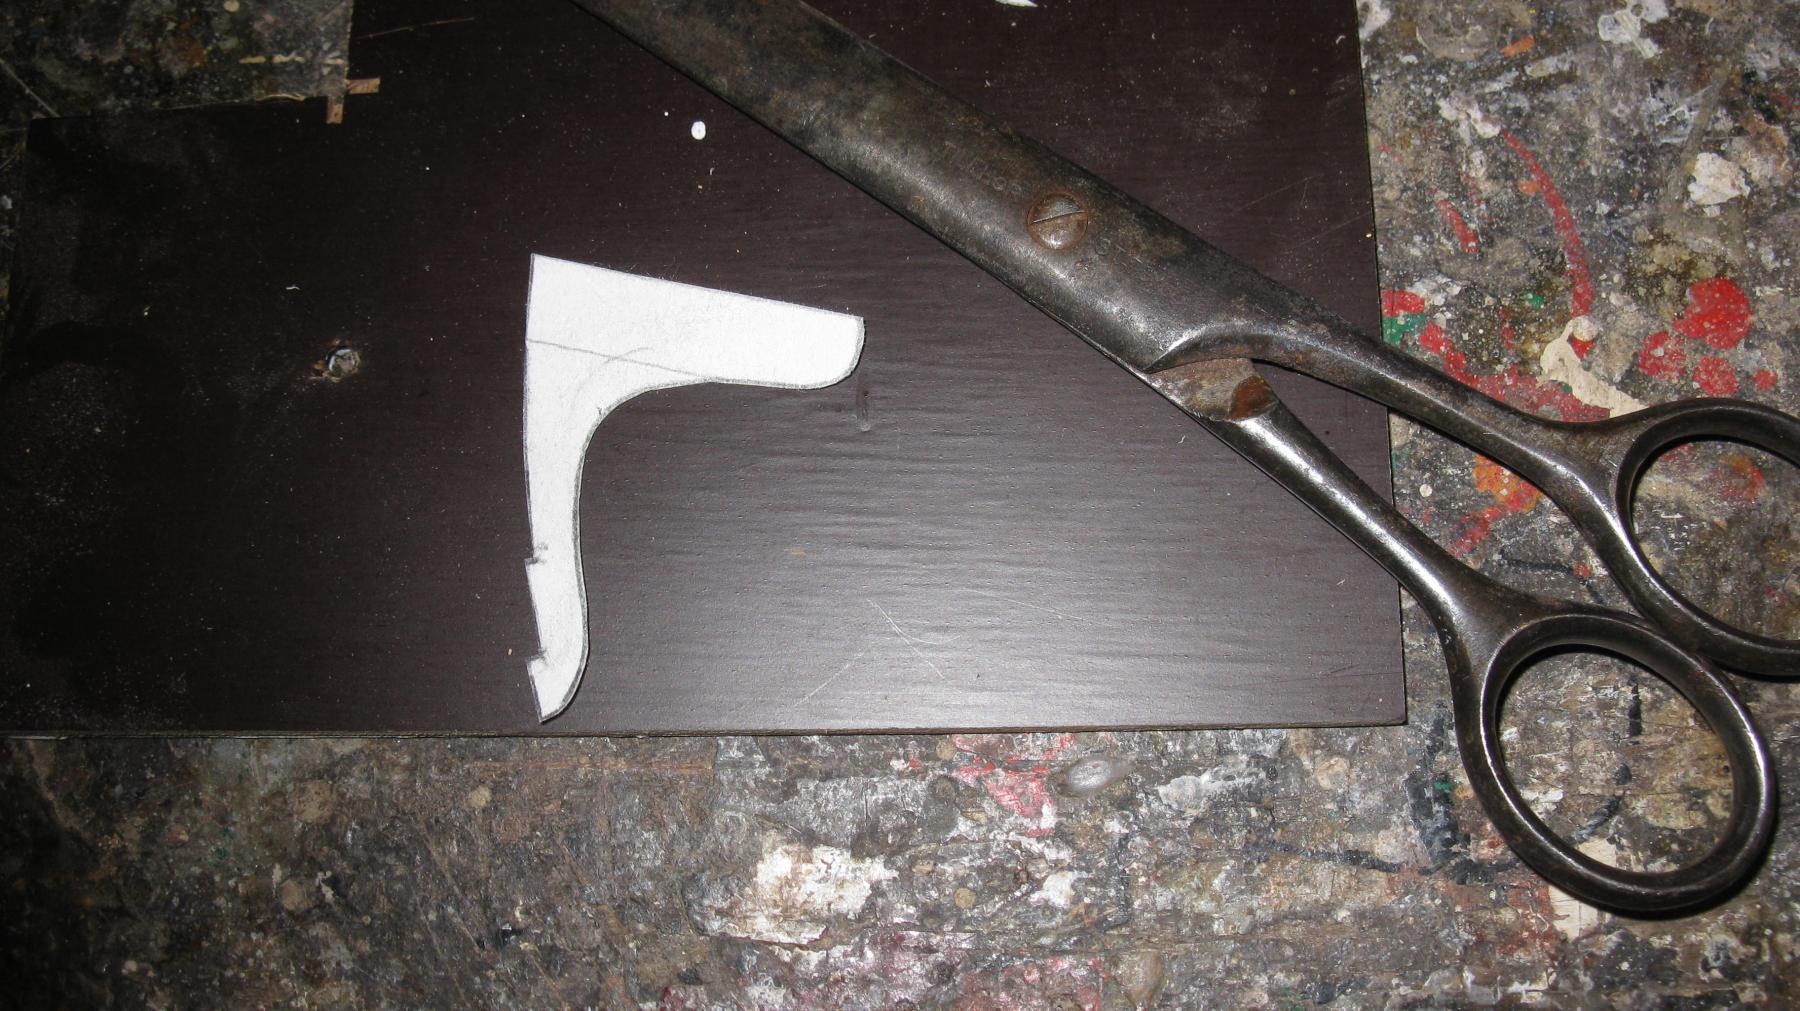
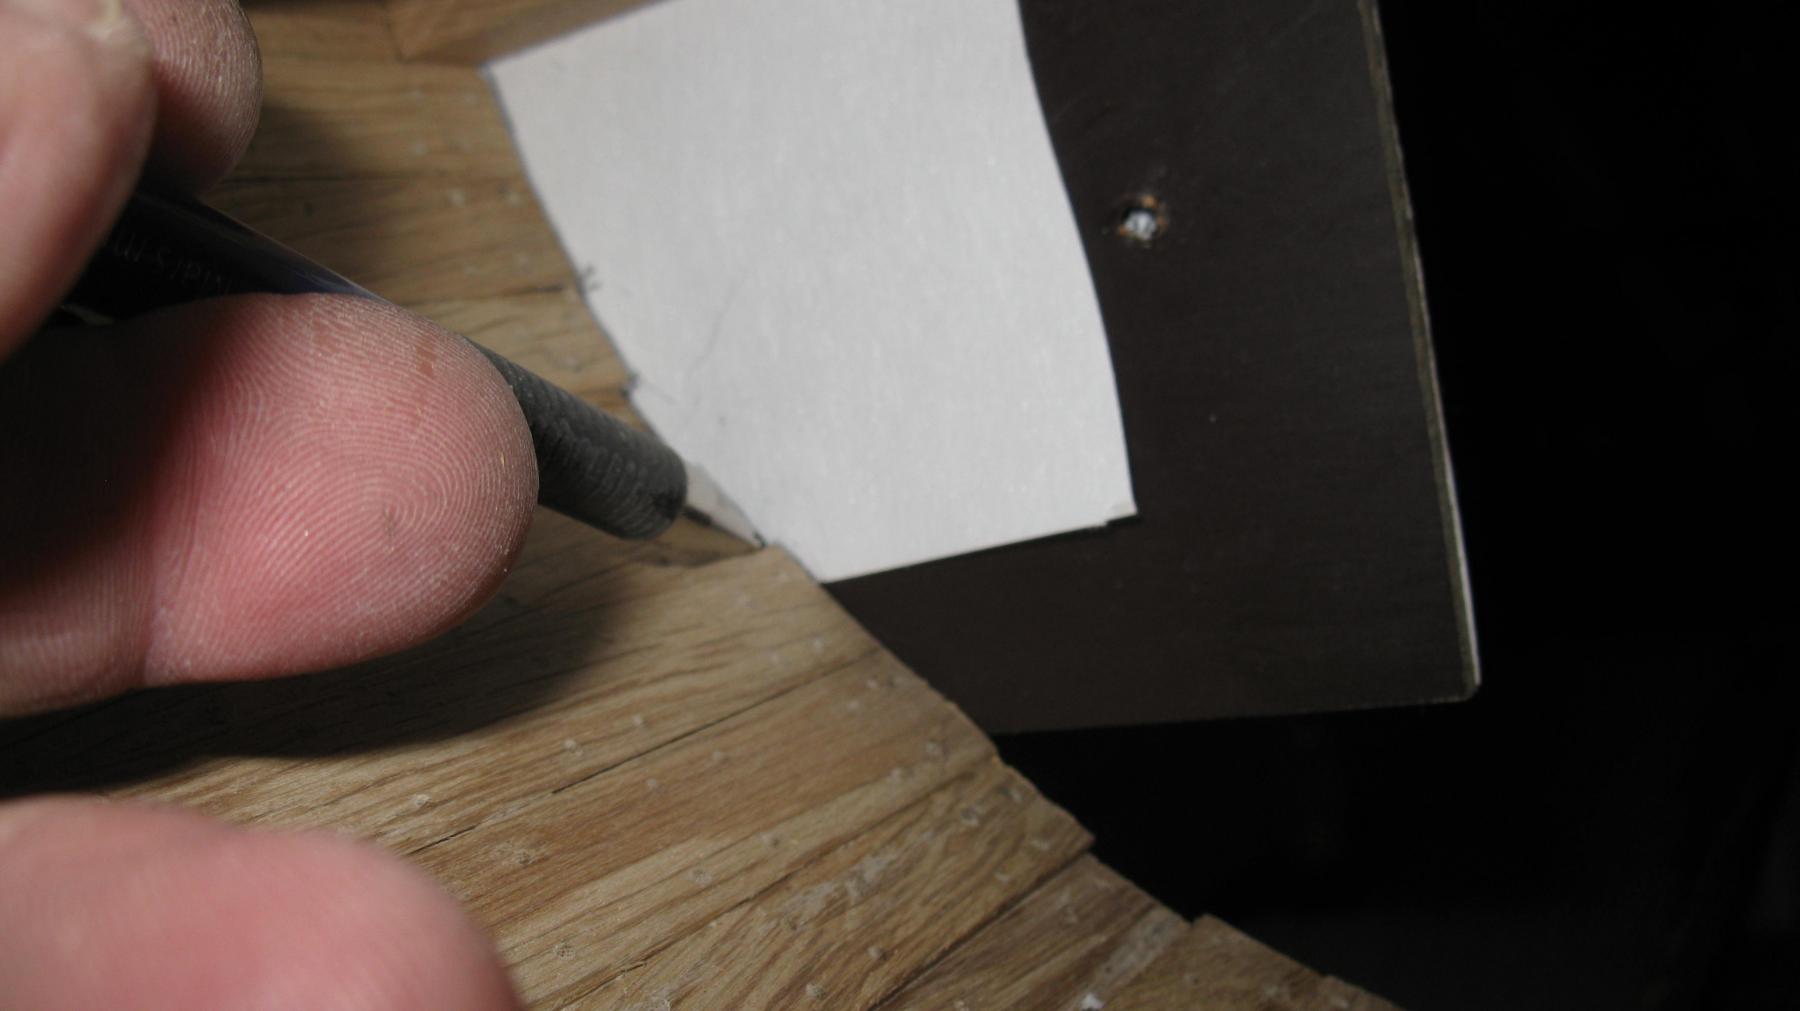
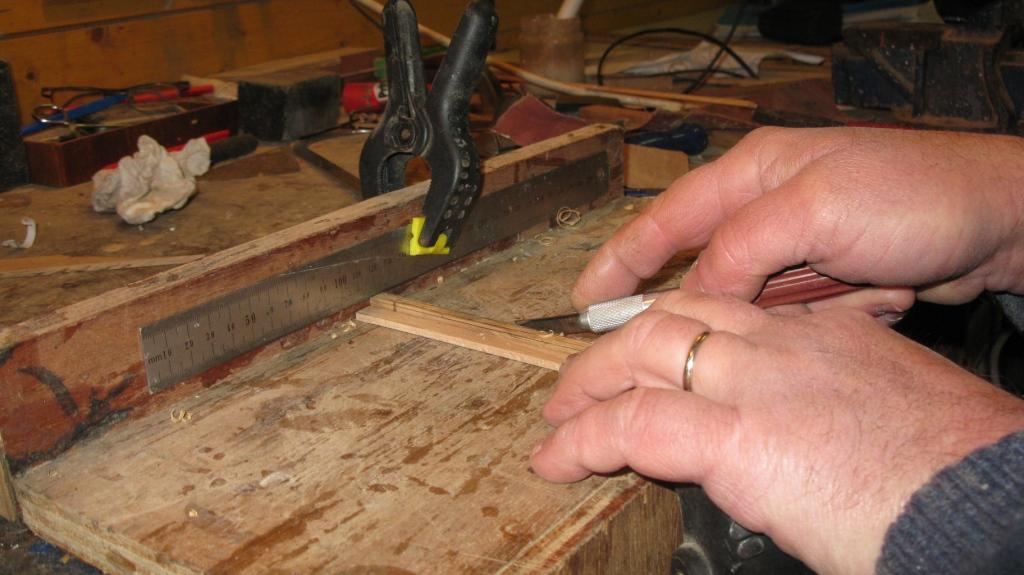
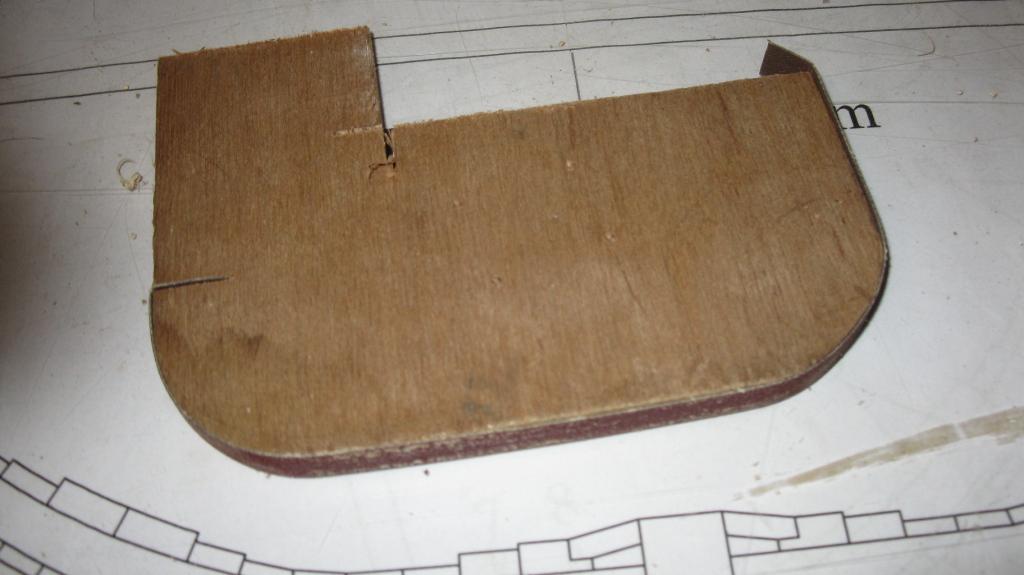
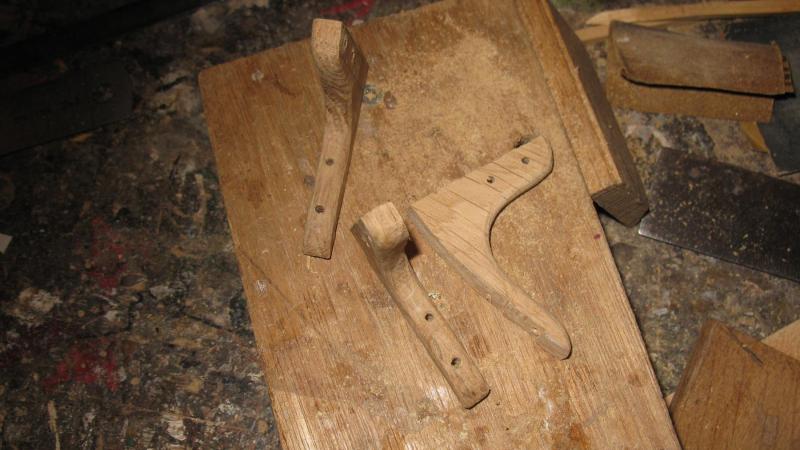
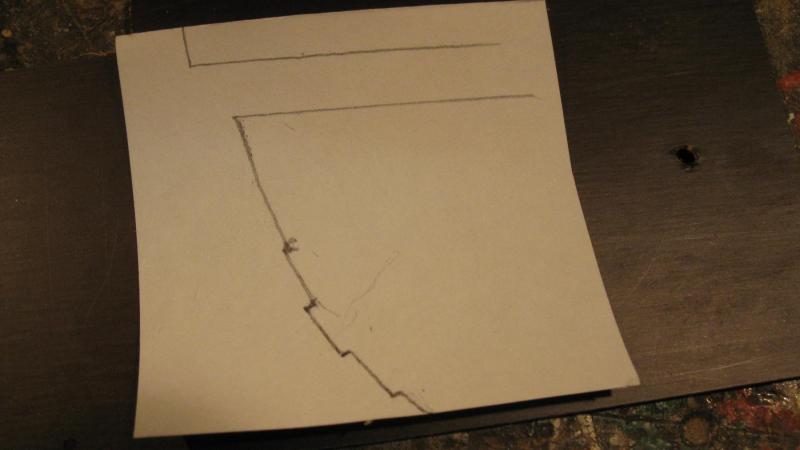
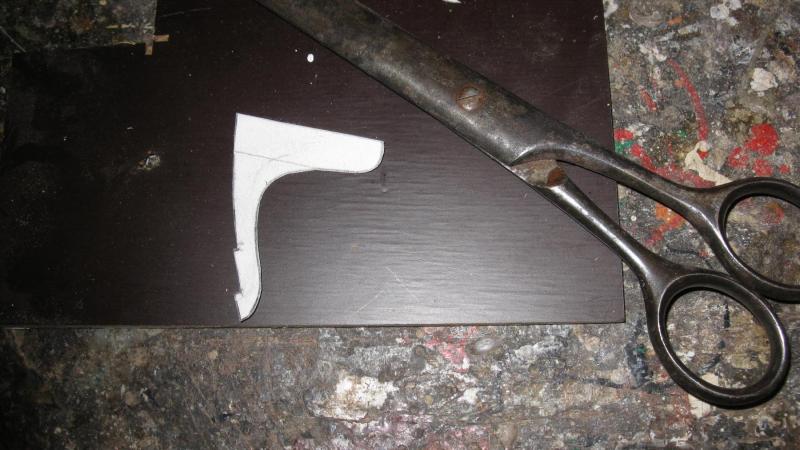
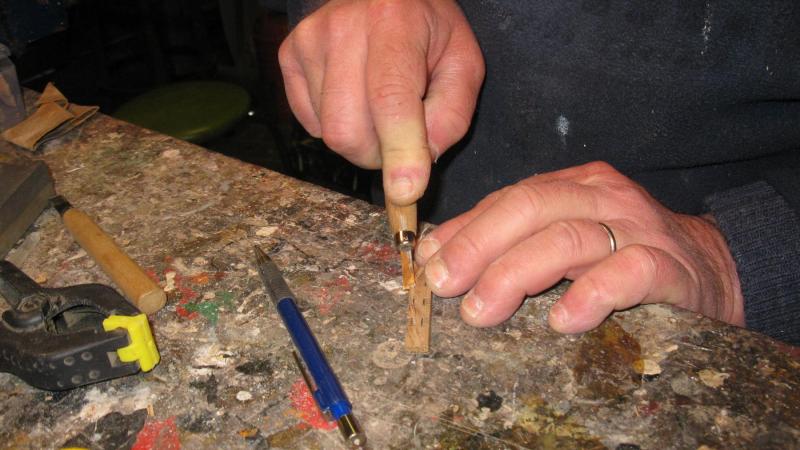
The contours of the mould can now been marked off on a piece of oak and sawn out.

-
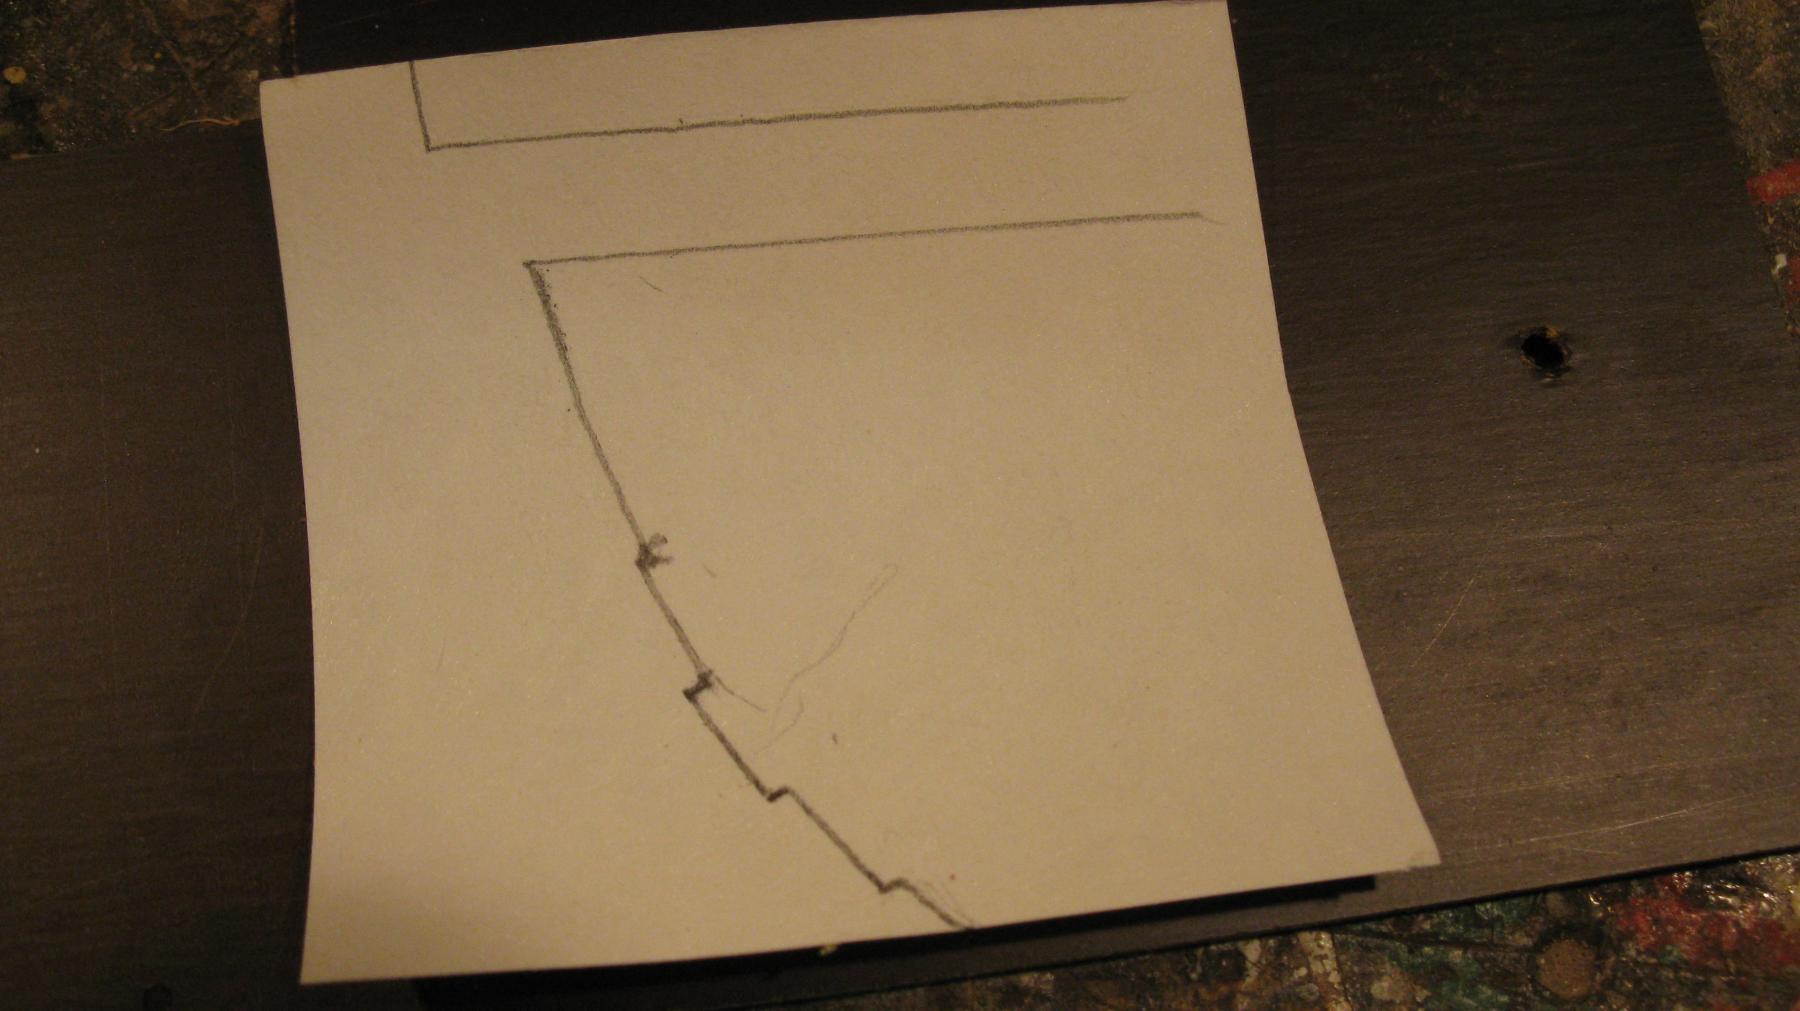
On that profile, I draw the knee shape and cut it out. Before using it as a mould to saw the knees, I check it on the model.


-
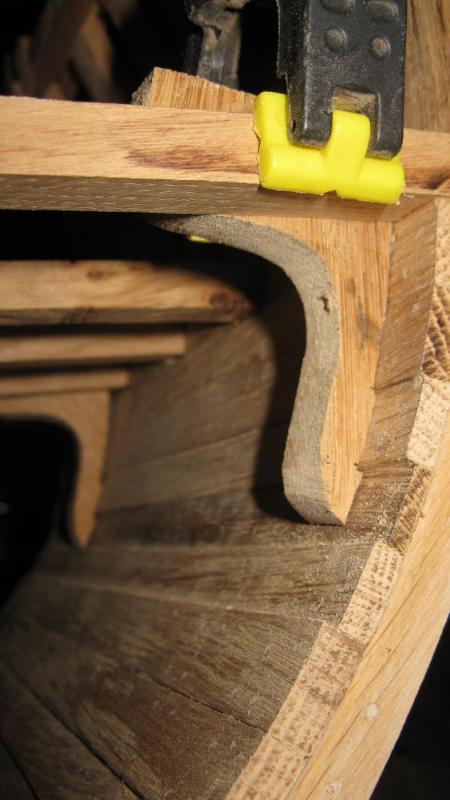
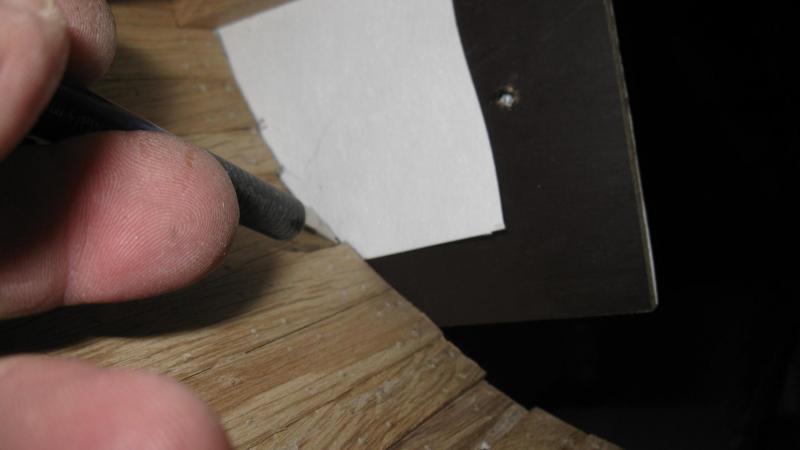
I make now the hanging knees. First of all I attach a piece of drawing paper to the model to be able to copy the profile of the inner planks.
-
Tony, I am glad that my log is perking up your evenings. I am a interested follower of your cross section log and have learned a lot after you.
-
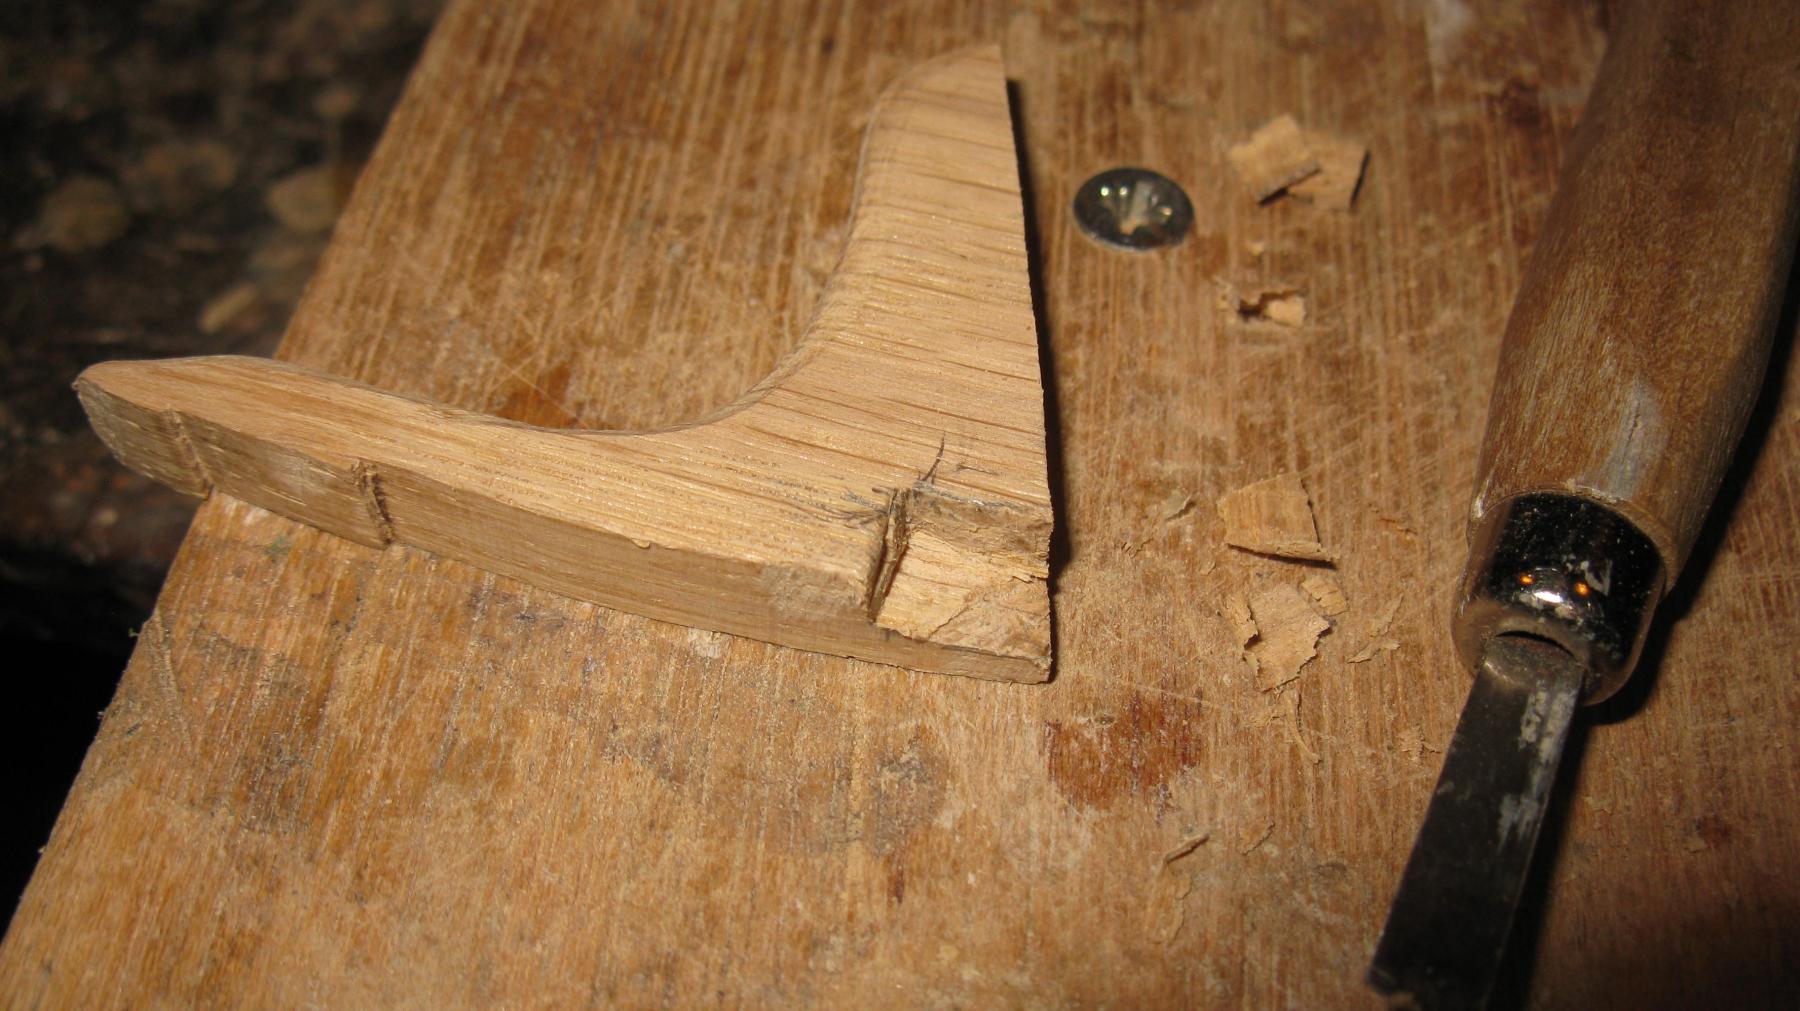
The result of an afternoon of carving:
-
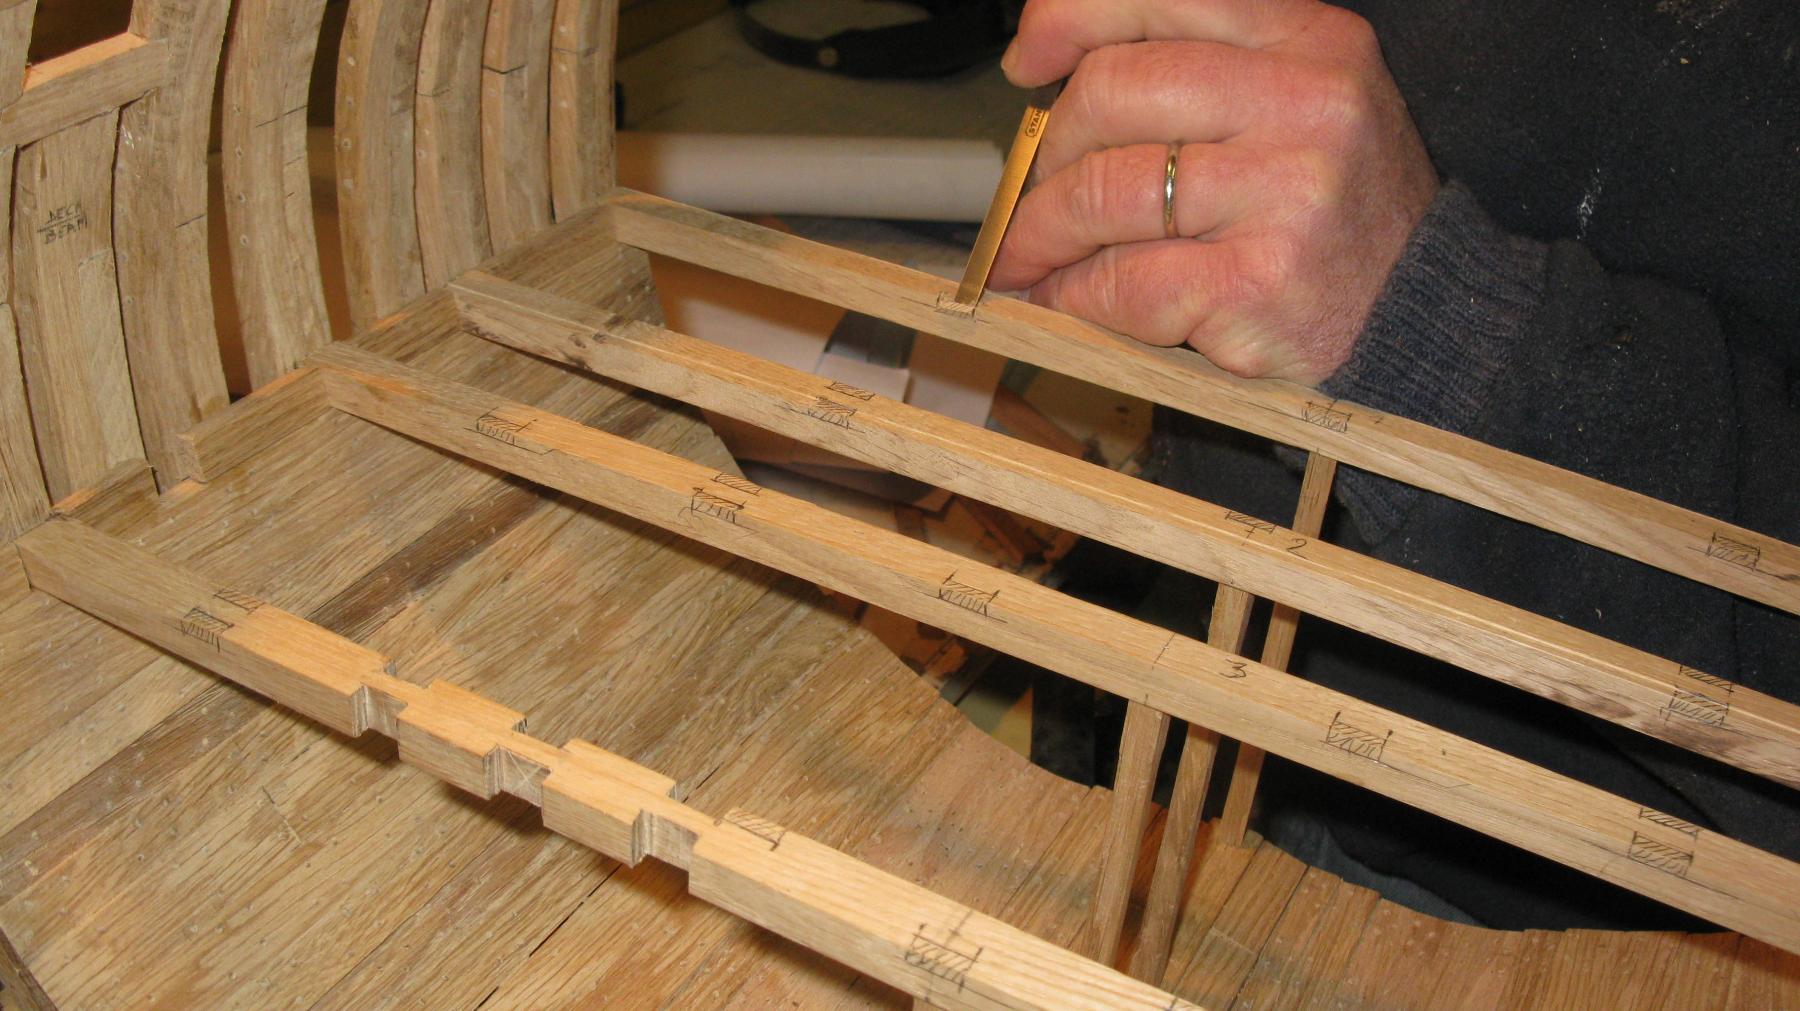
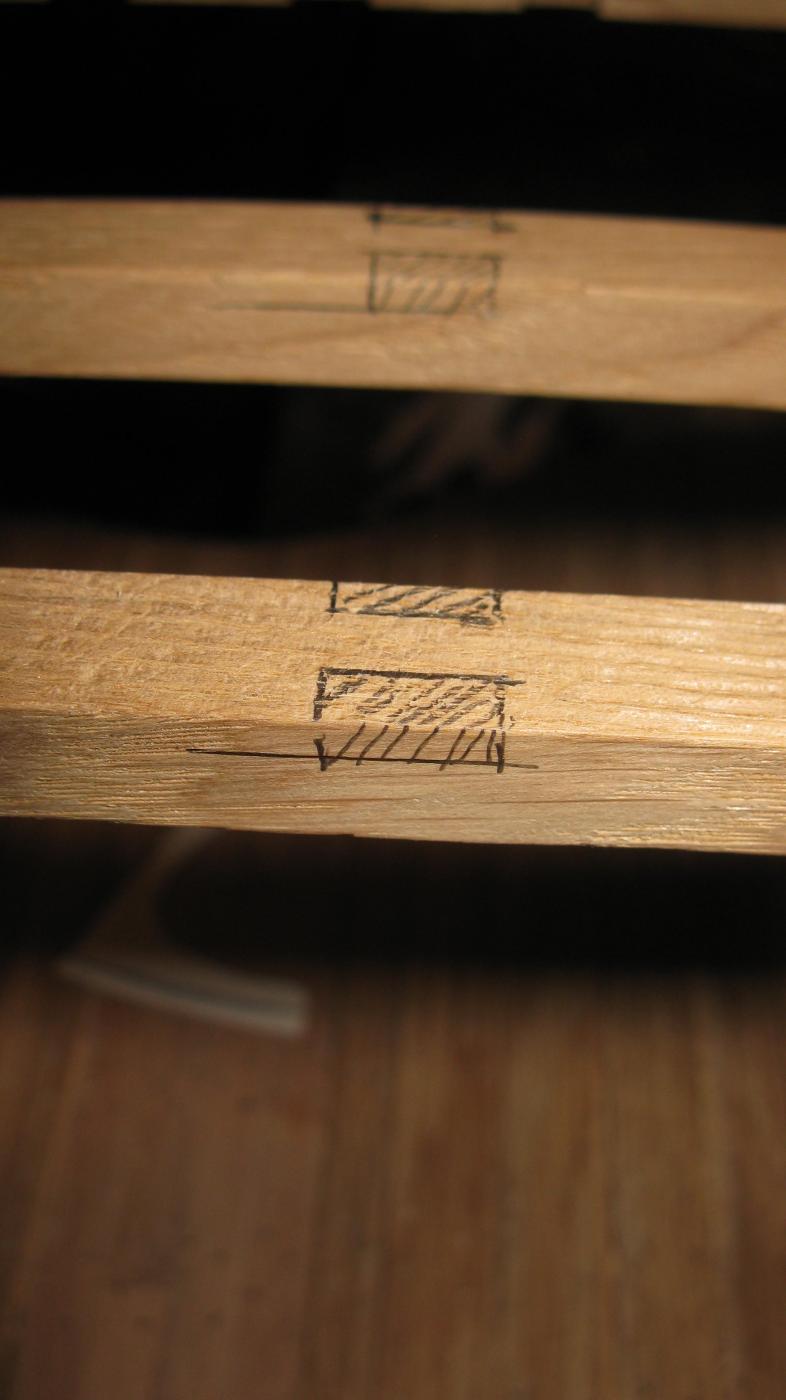
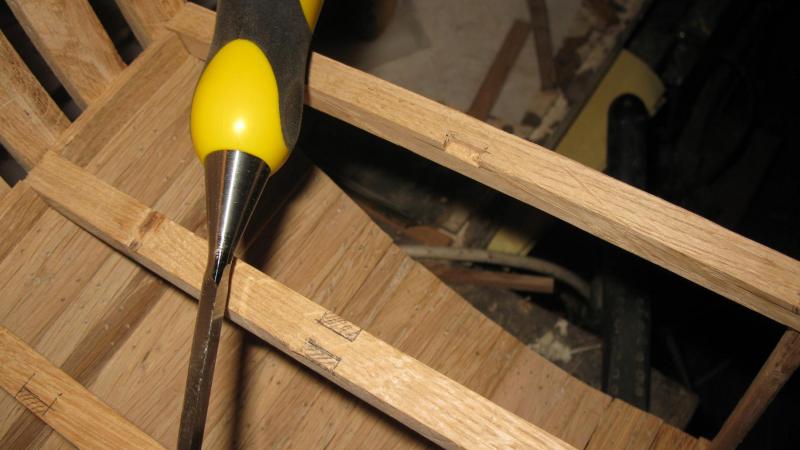
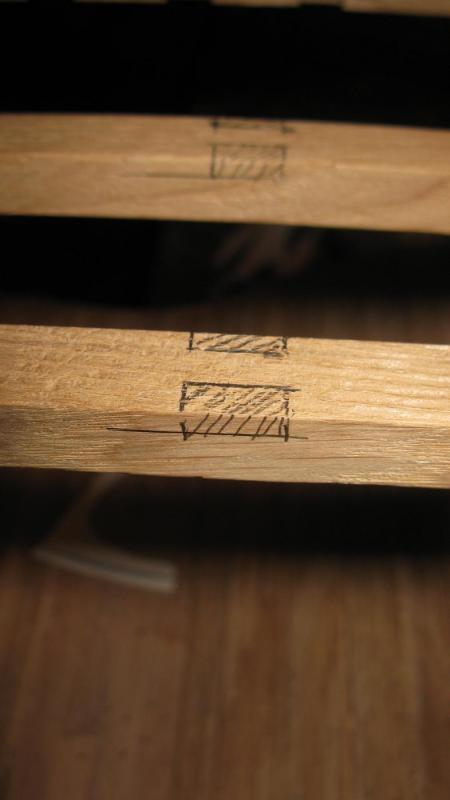
Anyway, I make the notches for the ledges in the carlings while they are still removable.

-
... and it works!
-
While drawing the notches for the carlings on the deck beams, I realize that it would have been better to carve them before fastening the deck beams. Anyway it is too late now, I have to carve them while they are in place. I learned my lesson for the gun deck.

-
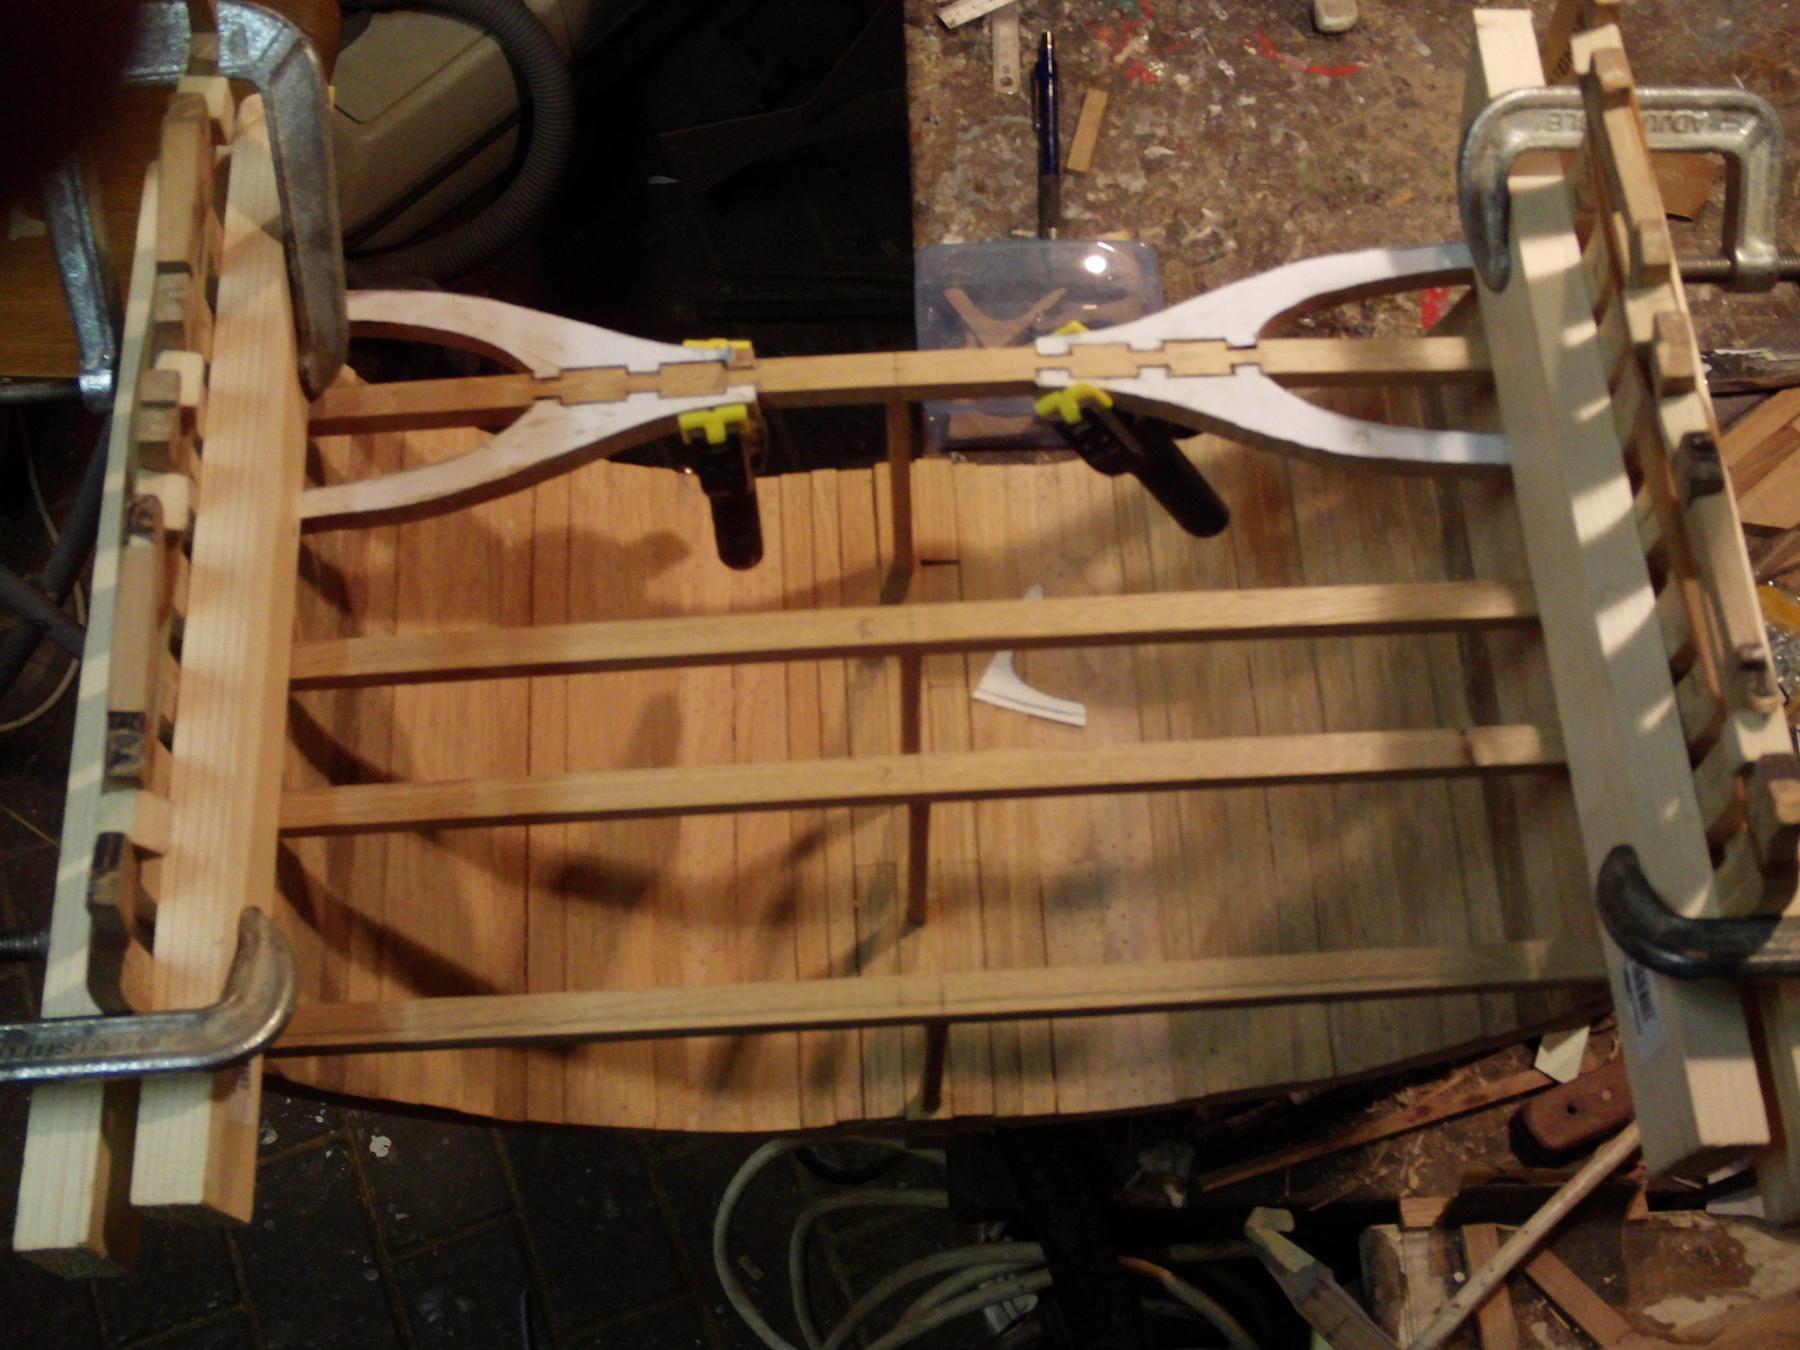
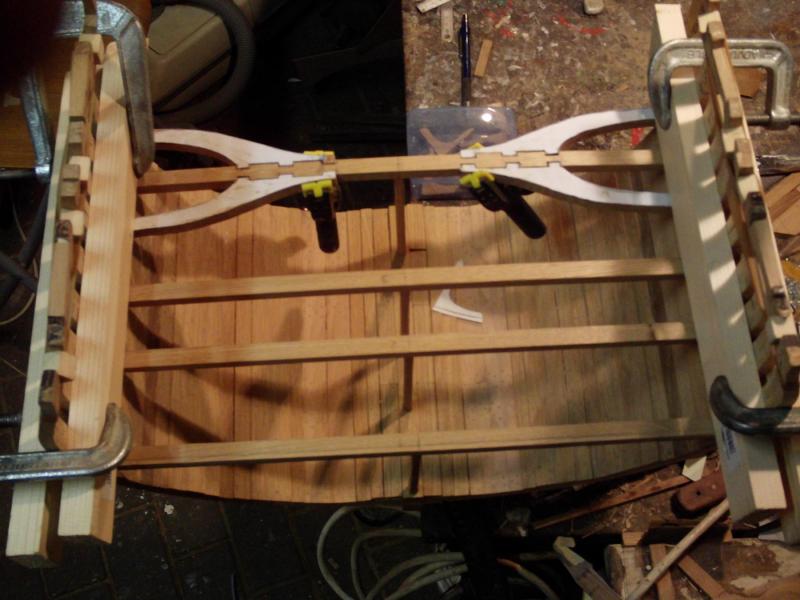
Now they are glued at the correct interspaces.
-
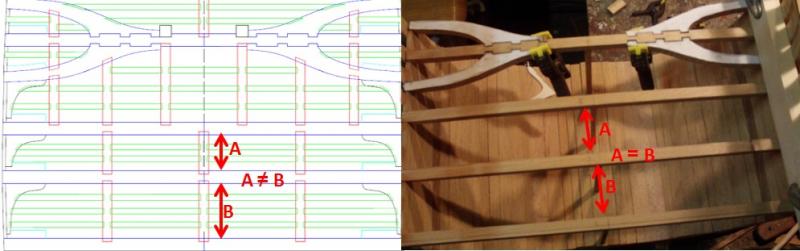
I did not see my mistake before everything was dry and fixed: I didn't look to the plan before fixing the deck beams and glued N° 1 to 3 at equal distances. That means: unfasten deck beam N° 3 and replacing it.
-
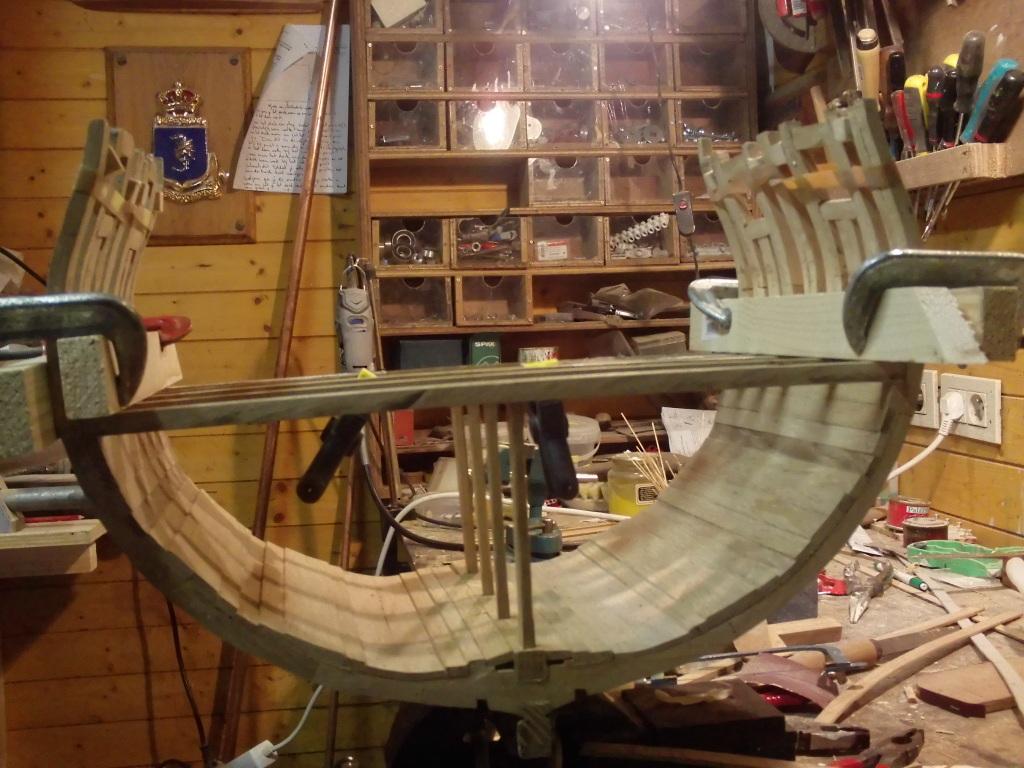
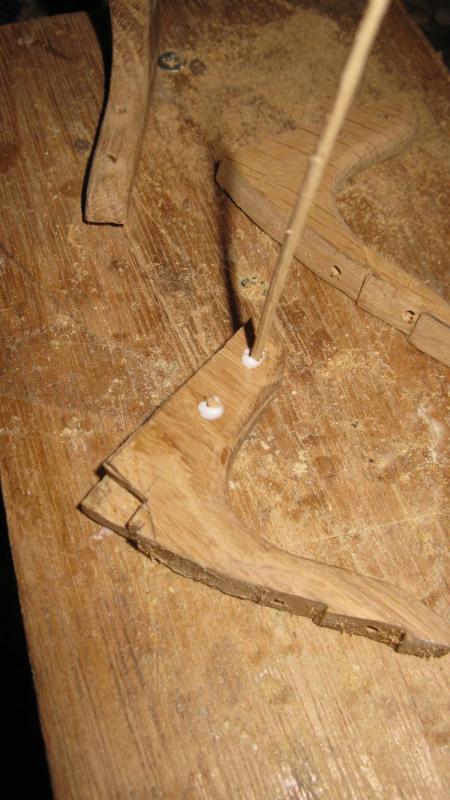
Now I can glue the deck beams in place. To fix the pillars, I drill a hole for a bamboo pin in both sides of the pillar and also on the locations where they will stand on the keelson and in the deck beams.

-
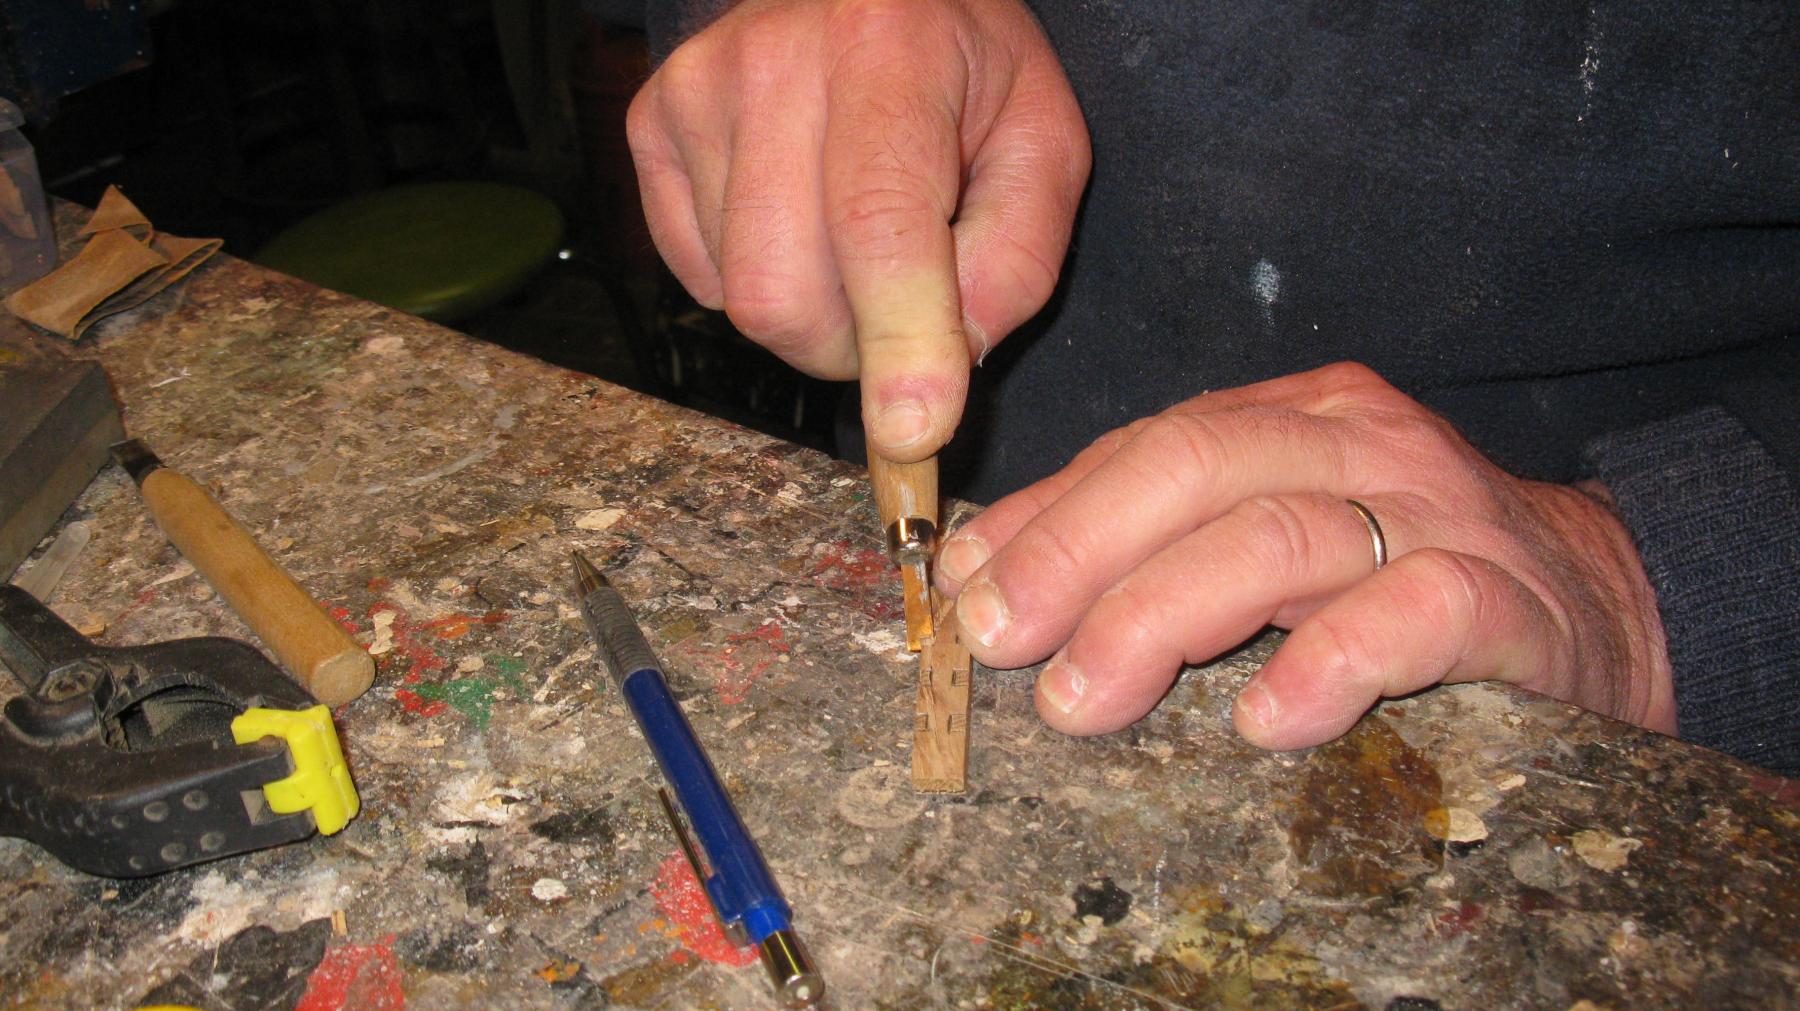
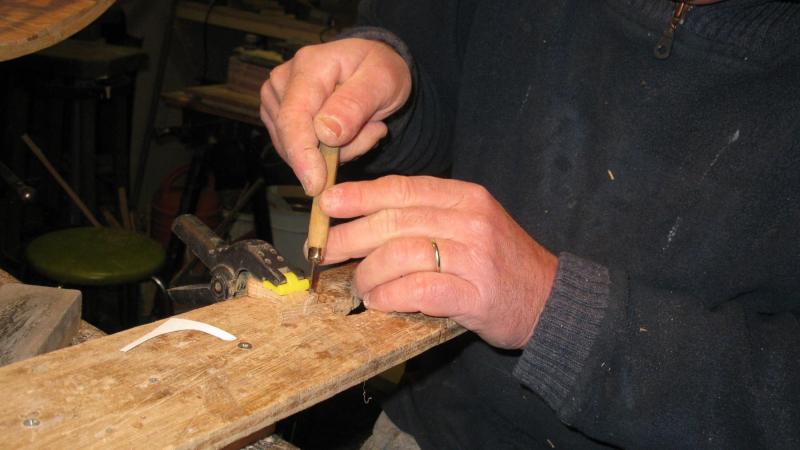
The deck beams are made, now I make the 4 hold pillars. I make five in case one of them is not good. On the plan they are represented as square pillars, I will round off the corners. I do it with a small chisel.

-
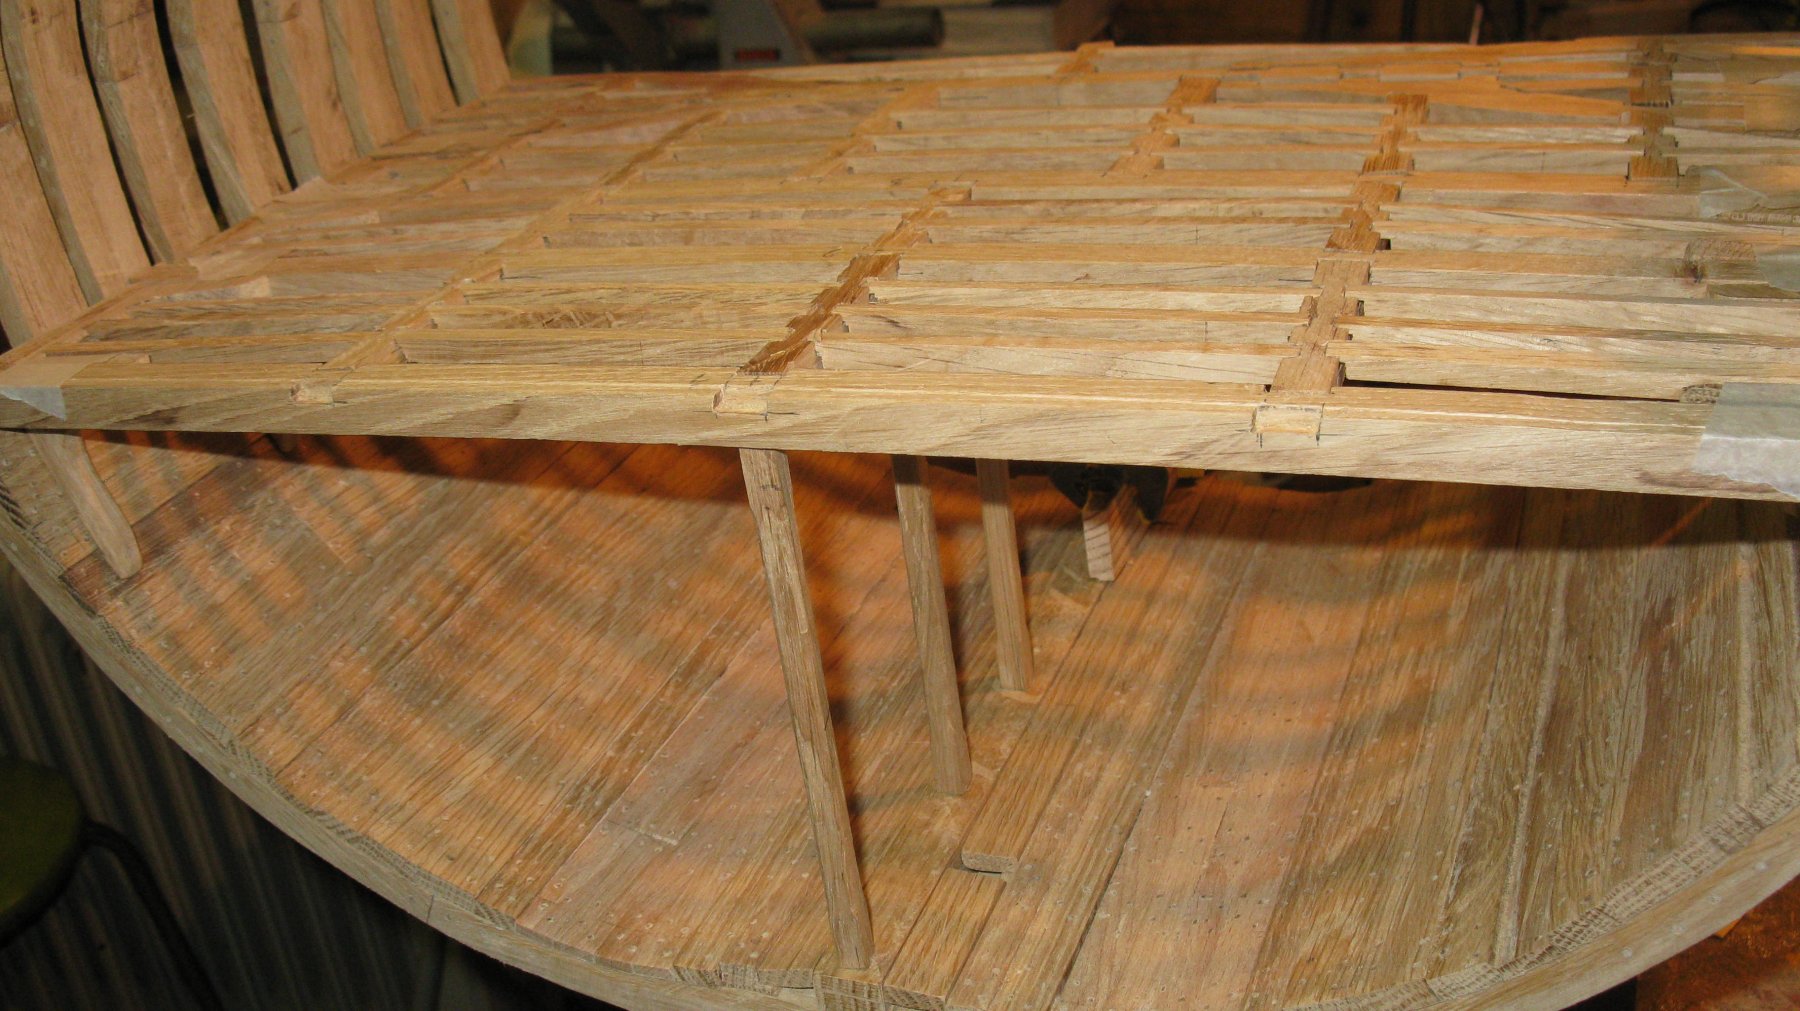
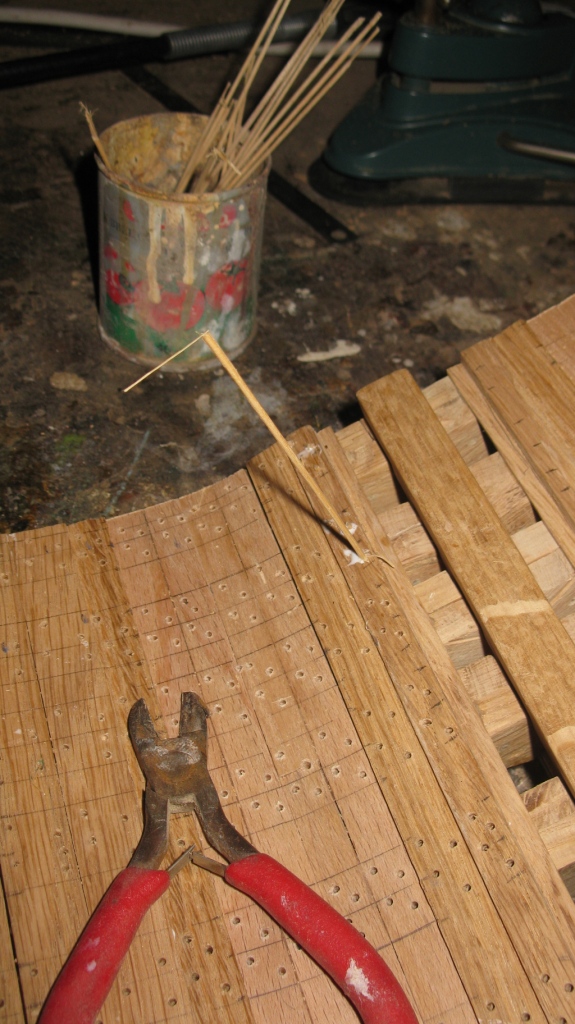
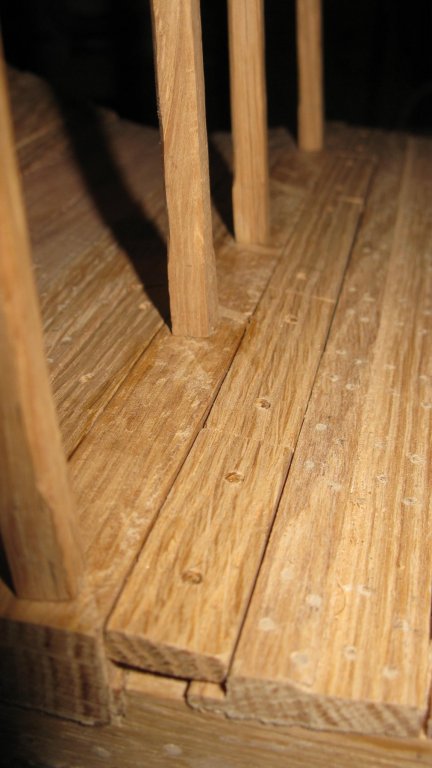
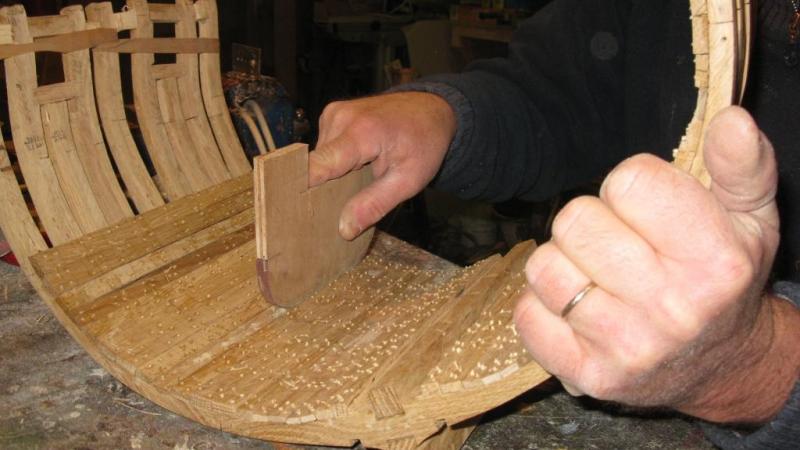
When the tree nails are glued, it is time to sand the lower deck. To reach the narrow planks which are thinner then the surrounding planks, I made a sanding block of a piece of plywood.

-
Thank you Allen, but do not overrate my skills, I am rather new in ship modeling. Tree nailing is a bit a boring job. I didn't count them but at this stage I have to drill some hundreds of holes and fill them again with as much bamboo nails.