HOLIDAY DONATION DRIVE - SUPPORT MSW - DO YOUR PART TO KEEP THIS GREAT FORUM GOING! (Only 68 donations so far out of 49,000 members - Can we at least get 100? C'mon guys!)
×


hdrinker
-
Posts
232 -
Joined
-
Last visited
Content Type
Profiles
Forums
Gallery
Events
Everything posted by hdrinker
-
Coming along. I’ve just ordered a draw plate from Jim Byrnes as my several plates are not as precise as I’d like. But I can’t seem to find a pair of drawing pliers. Anyone know of a vendor?

- 257 replies
-
- 6
-

-
- pegasus
- Swan-class
- (and 1 more)
-
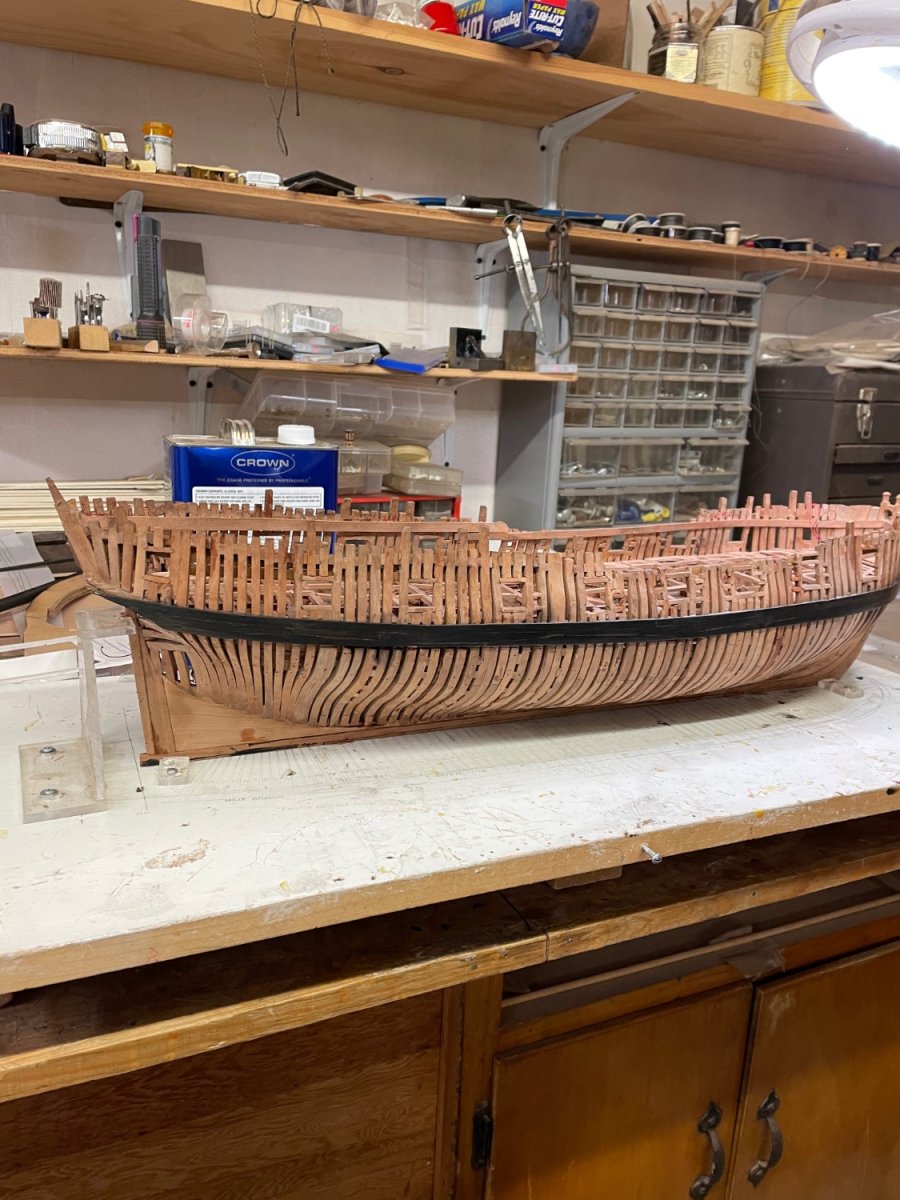
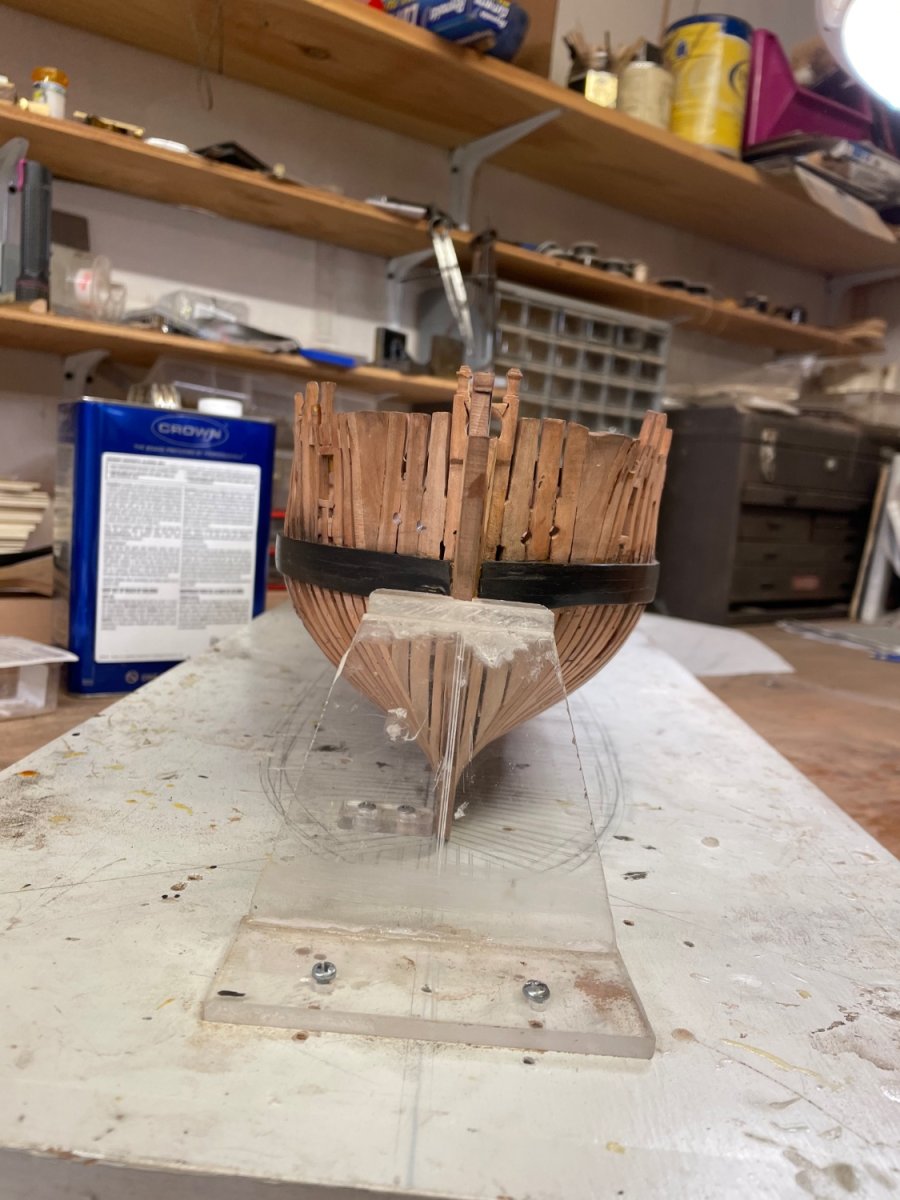
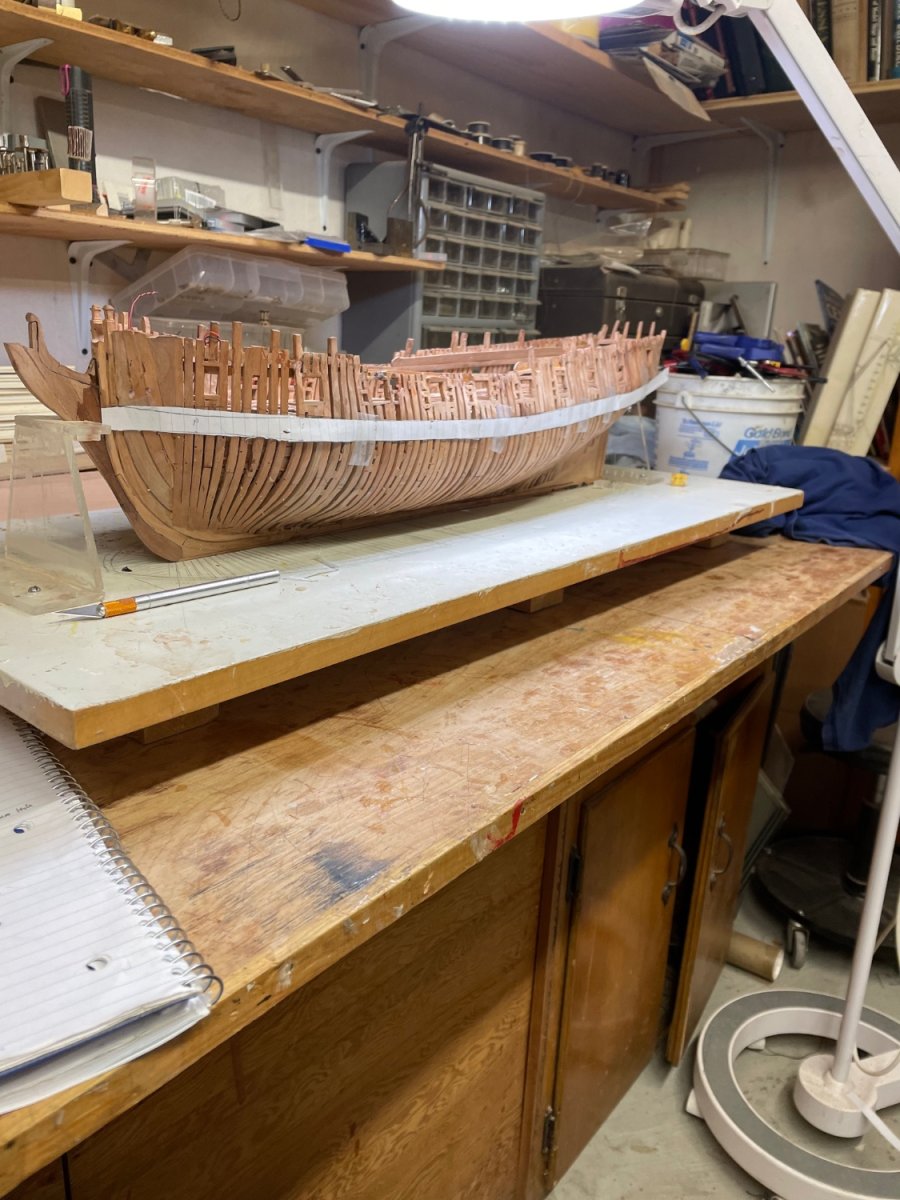
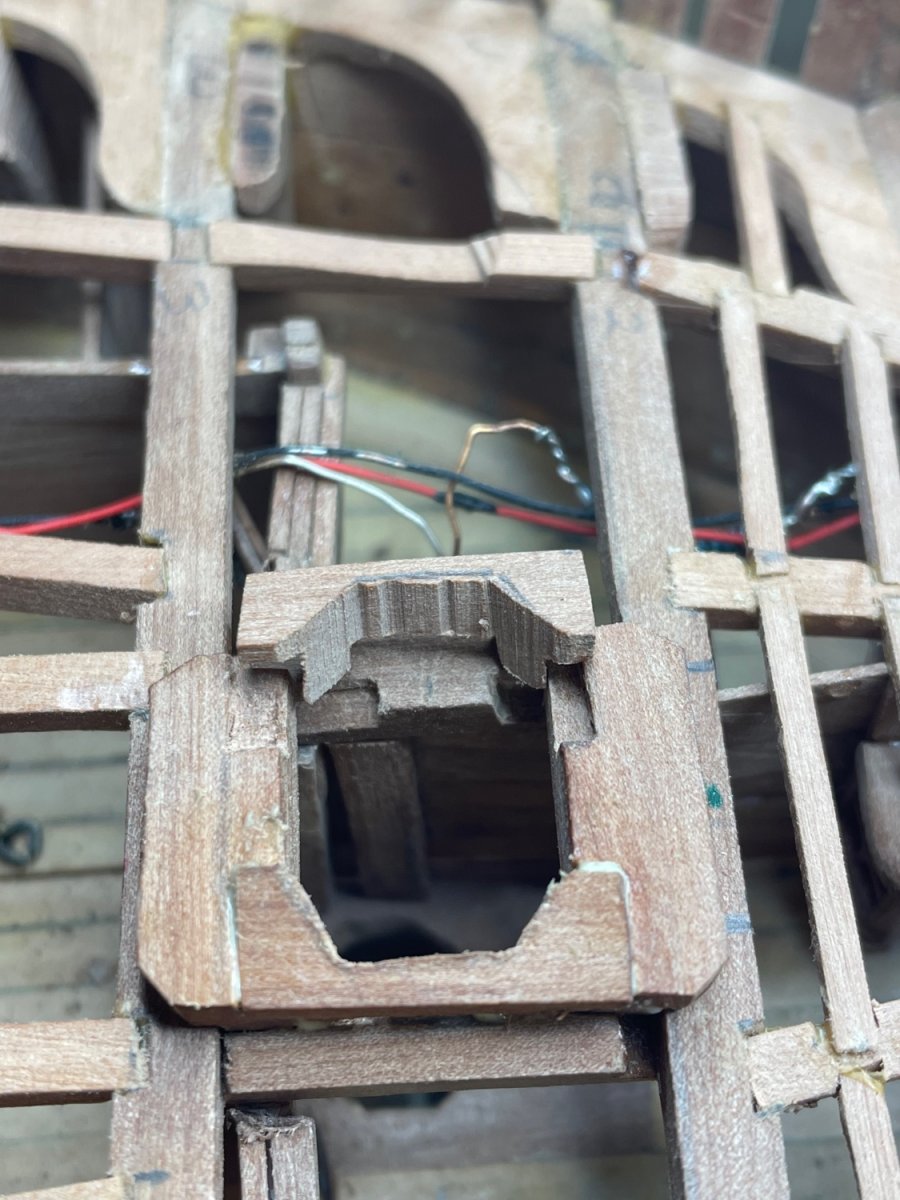
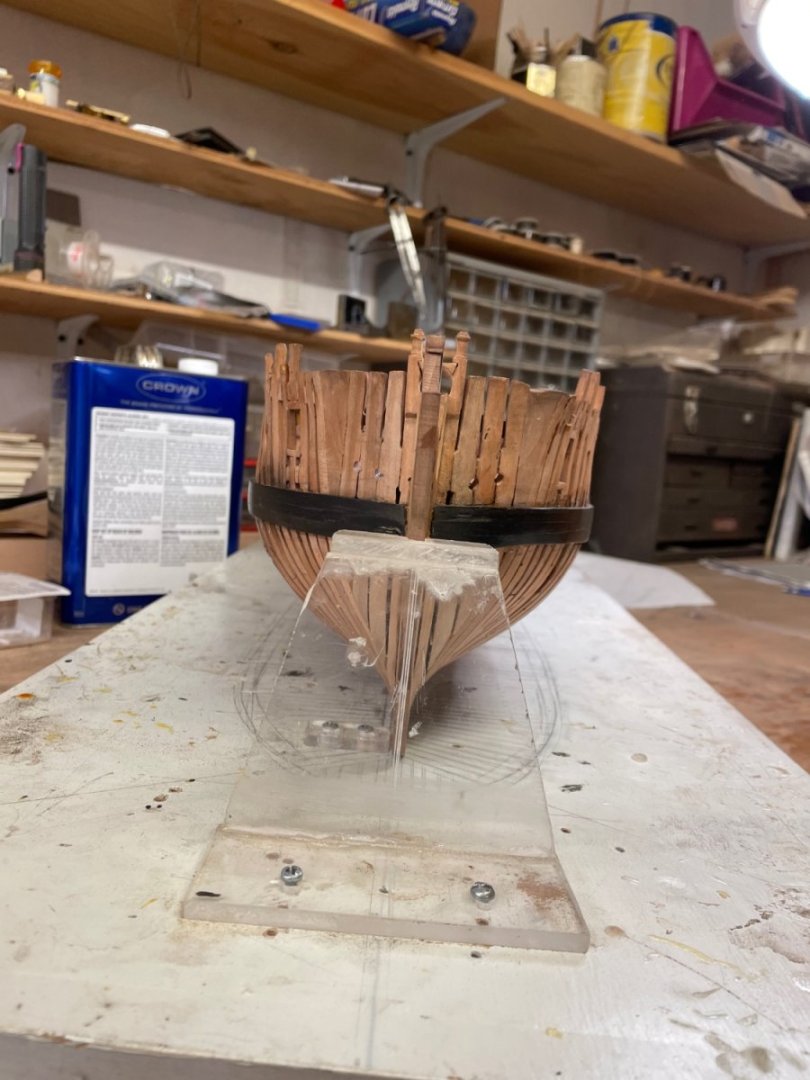
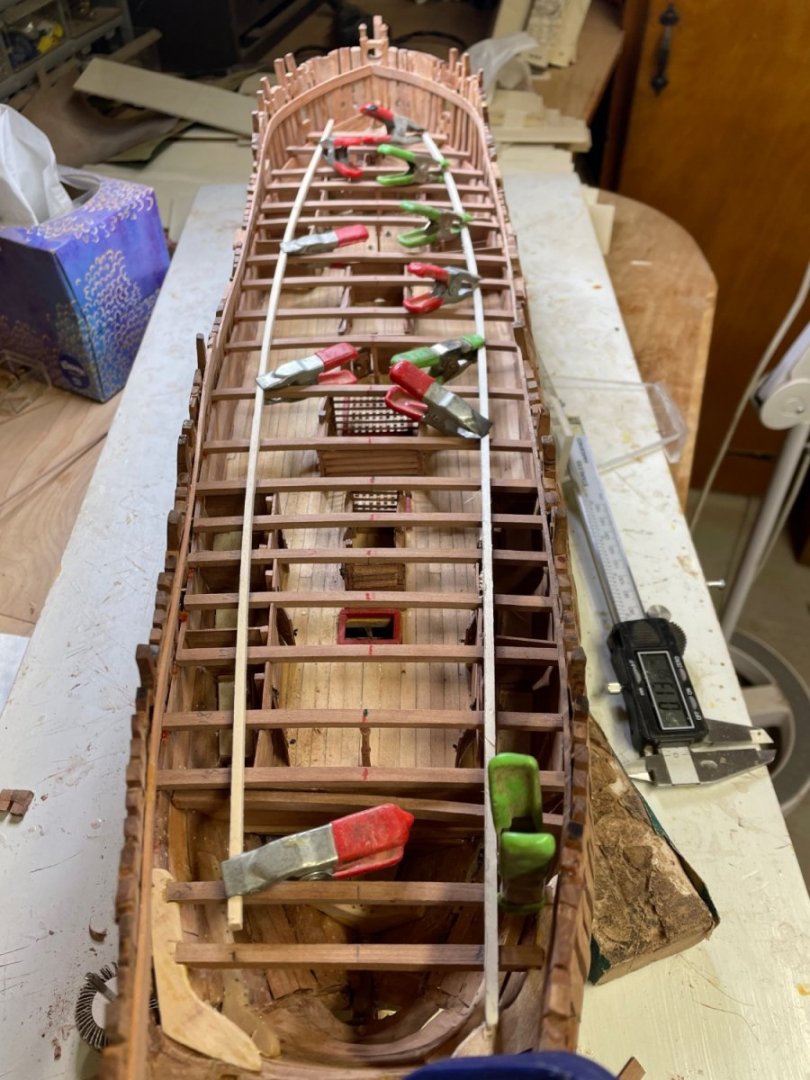
Greg, the text on page 14 shows a drawing of an “apparent reversal of the sheer curve”. If I take the measurements off the plan, they produce a real reversal when applied to the model. The photo below shows the wake as applied with two lines marking 1) the upper edge as cut which conformed to the plan, and 2) the line that would produce a smooth curve. Which is correct??

- 257 replies
-
- 5
-
-
- pegasus
- Swan-class
- (and 1 more)
-
My hope is to hide the lights and wires as much as possible so they won’t be visible once the lights burn out.

- 257 replies
-
- 1
-
-
- pegasus
- Swan-class
- (and 1 more)
-
If it fails, it fails. There’s no fixing it. Worse case, no lights. It was just an experiment really. Nothing ventured…….
- 257 replies
-
- 2
-
-
- pegasus
- Swan-class
- (and 1 more)
-
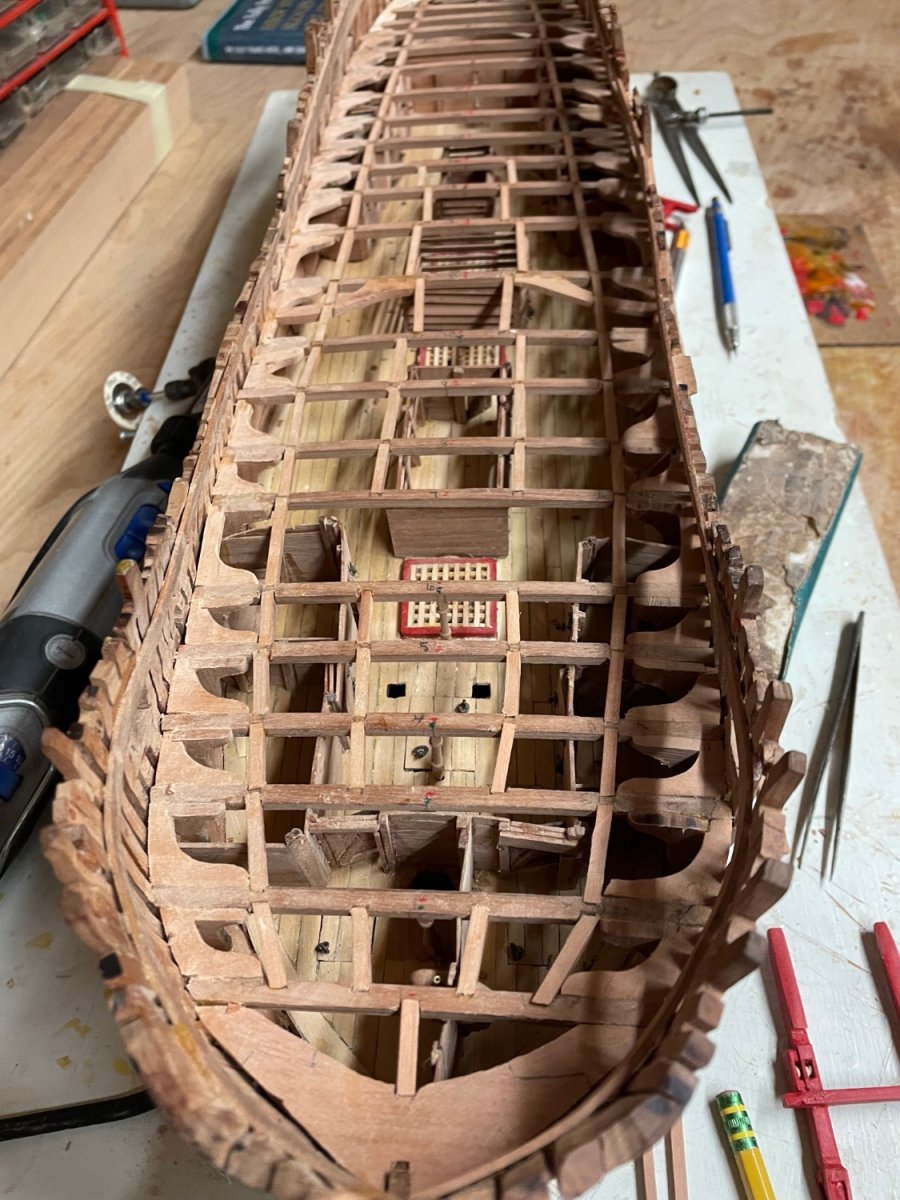
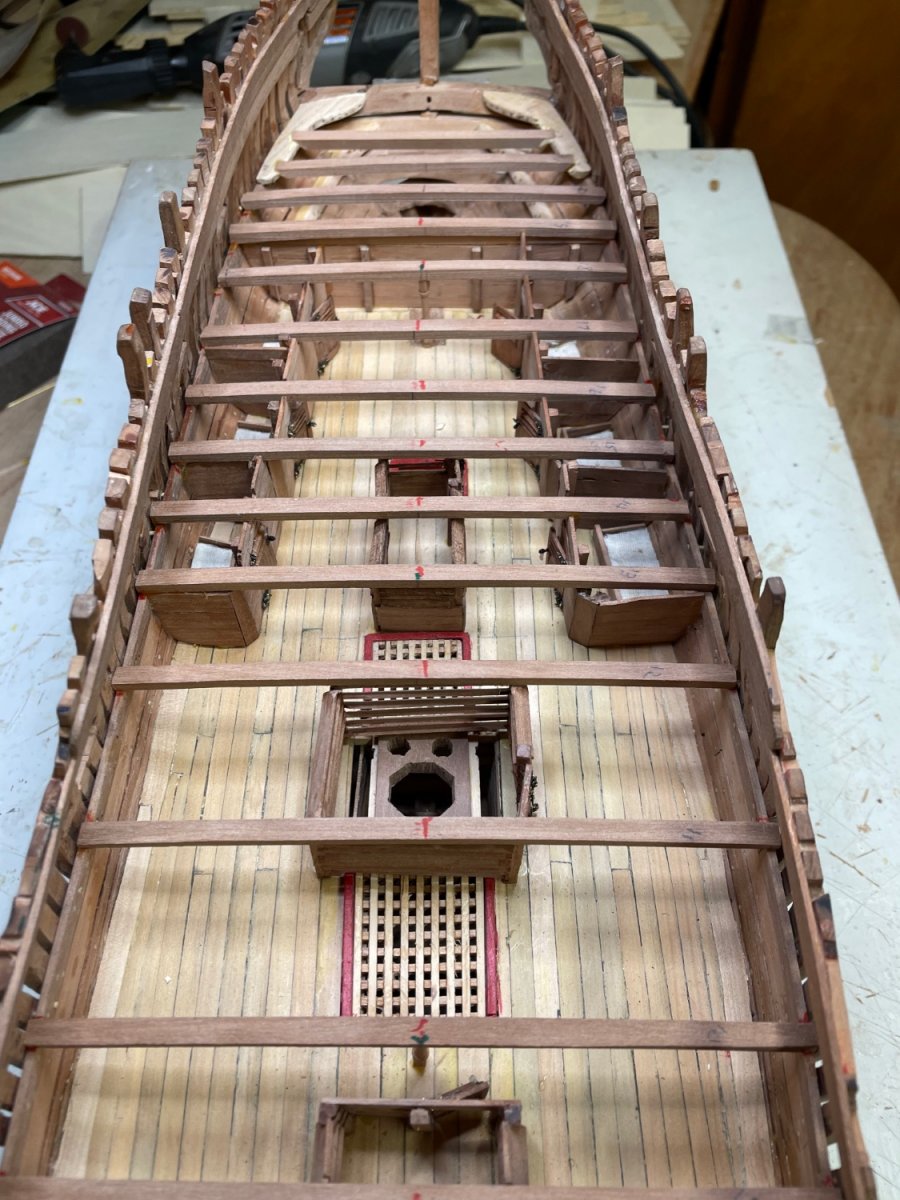
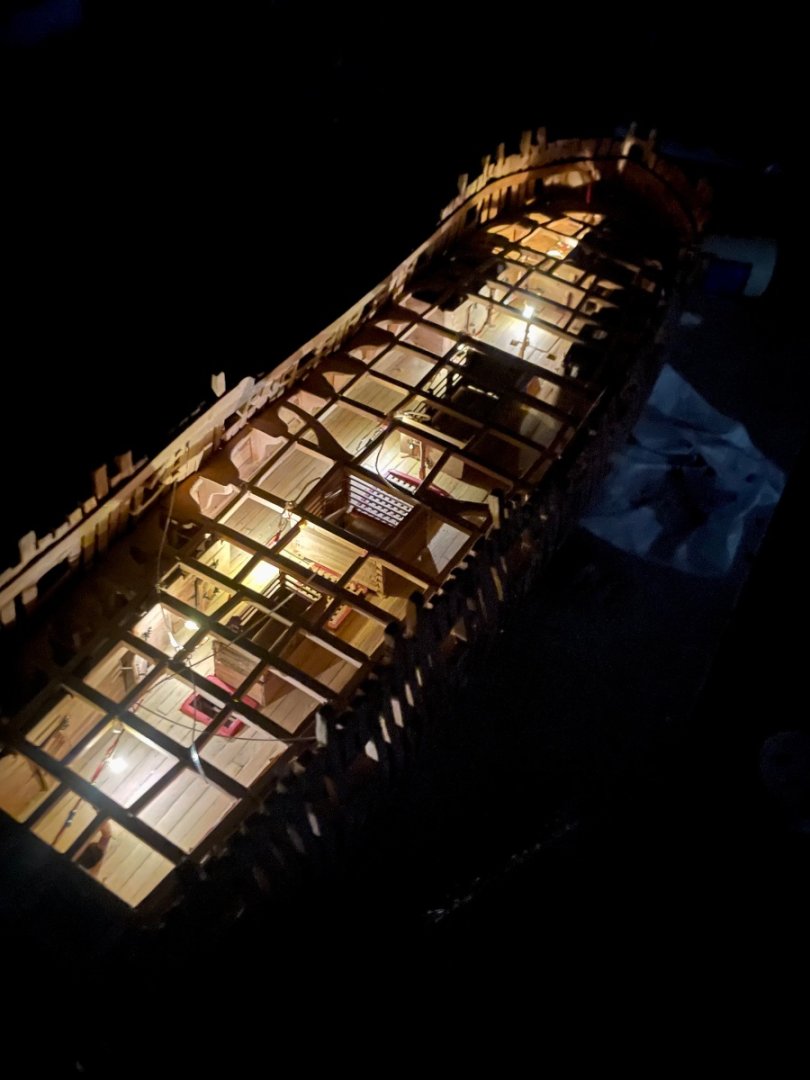
Once the starboard deck is planked, the actual lights will be mostly hidden. The camera shows the lights more intense than they appear in reality. This is my second iteration. The first had more lights and longer stalks that were to be put in the cabins. But it proved too tedious with many shorts between adjacent soldered terminals and wire breakage. So this is a simplified version, which seems adequate to permit some visibility of lower deck details once the upper decks are installed. Henry
- 257 replies
-
- 6
-
-
- pegasus
- Swan-class
- (and 1 more)
-
Thanks Greg. The resisters keep the light dim and I bought LED’s that have a “warm” light which is quite yellowish. If there’s too much light, I can cut out LED’s without interrupting the circuit.
- 257 replies
-
- 1
-
-
- pegasus
- Swan-class
- (and 1 more)
-
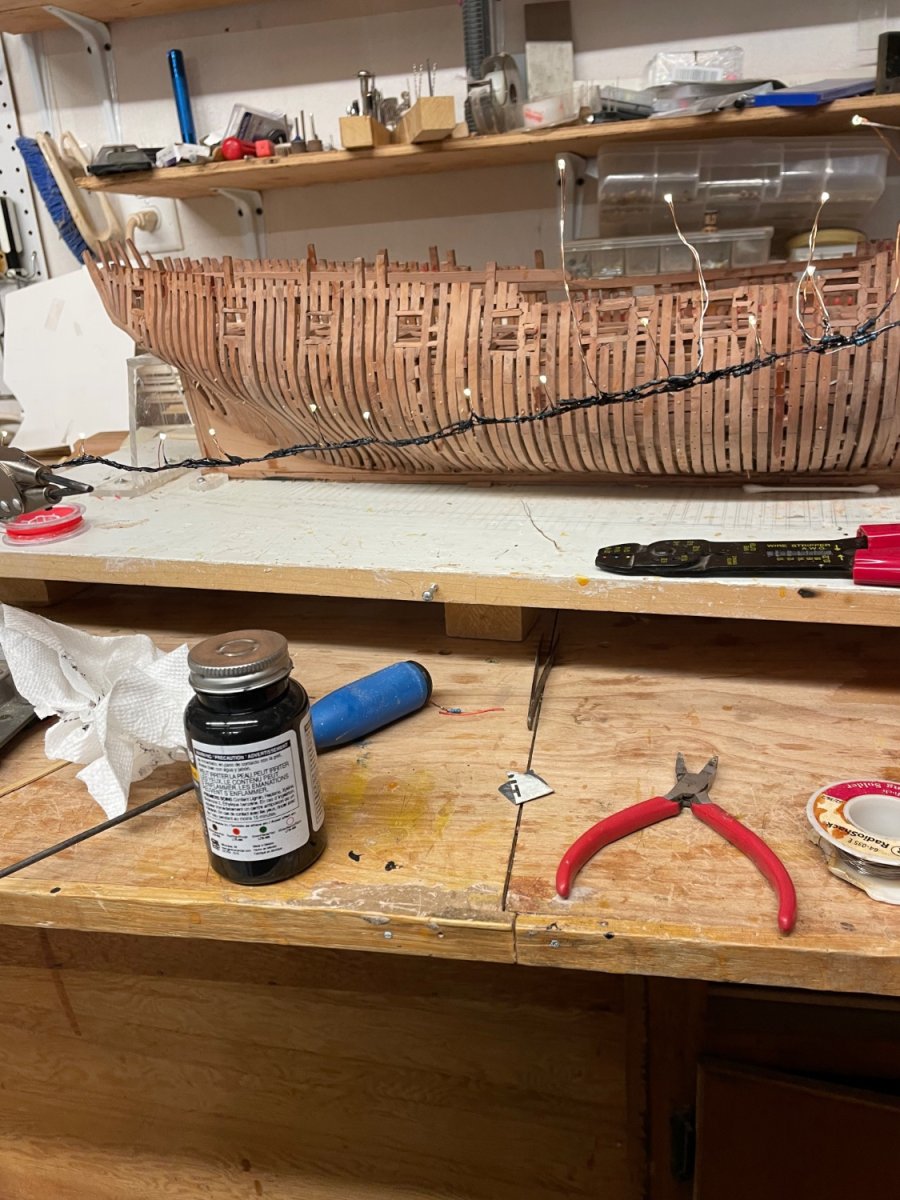
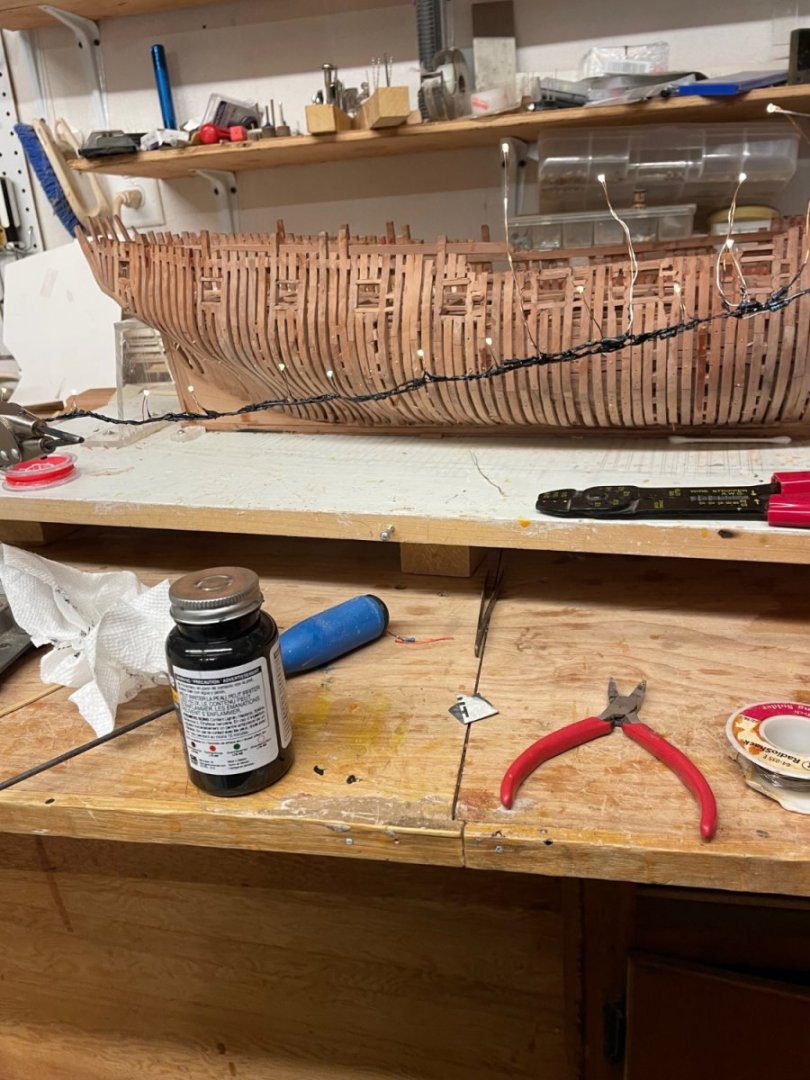
I decided to experiment with micro LED illumination of the lower deck. Thus a pause in construction while I learn what to do. Purchased some micro LED’s which came with a separate bunch of resisters. Each LED came with 3” set of leads. Each positive lead is soldered to one of the resister leads, the other end of which is then soldered to a connector wire (red) of 28 ga insulated 36 v 5 amp colored wire. The negative LED lead is soldered to a black connector wire of similar specs. This was repeated at intervals, most on short stalks intended to run beneath the portion of main deck framing that won’t be planked, with a few long stalks to bring into more confined areas such as the crew quarters. The resulting string is shown powered by a switch box containing 2 1.5 v batteries.(double A). Each soldered junction is coated with liquid tape to prevent shorting against adjacent connections, which I found to be a big problem. The string will then be fed through an aft frame space and brought up to the under side of the main deck framing and secured with CA. At this point, the ledges can be added. We’ll see
- 257 replies
-
- 6
-
-
- pegasus
- Swan-class
- (and 1 more)
-
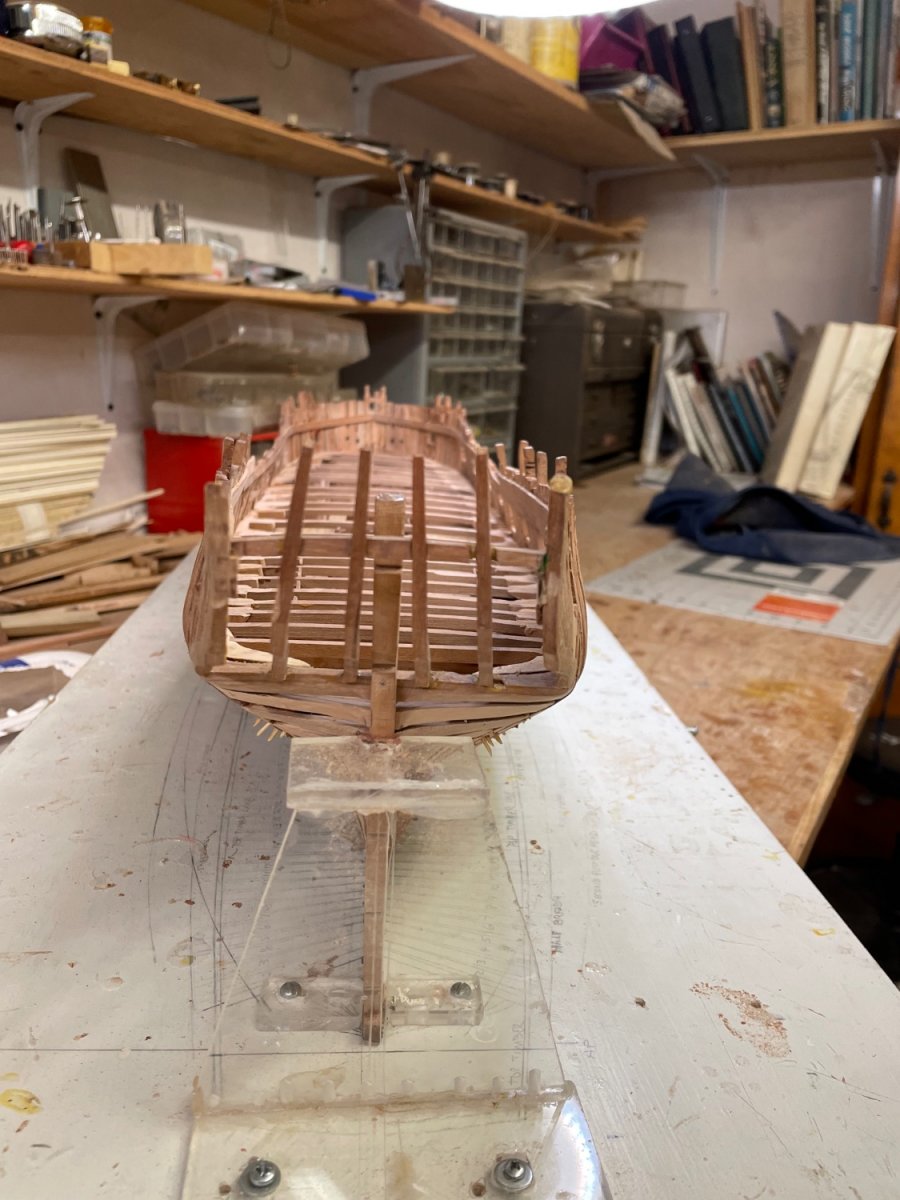
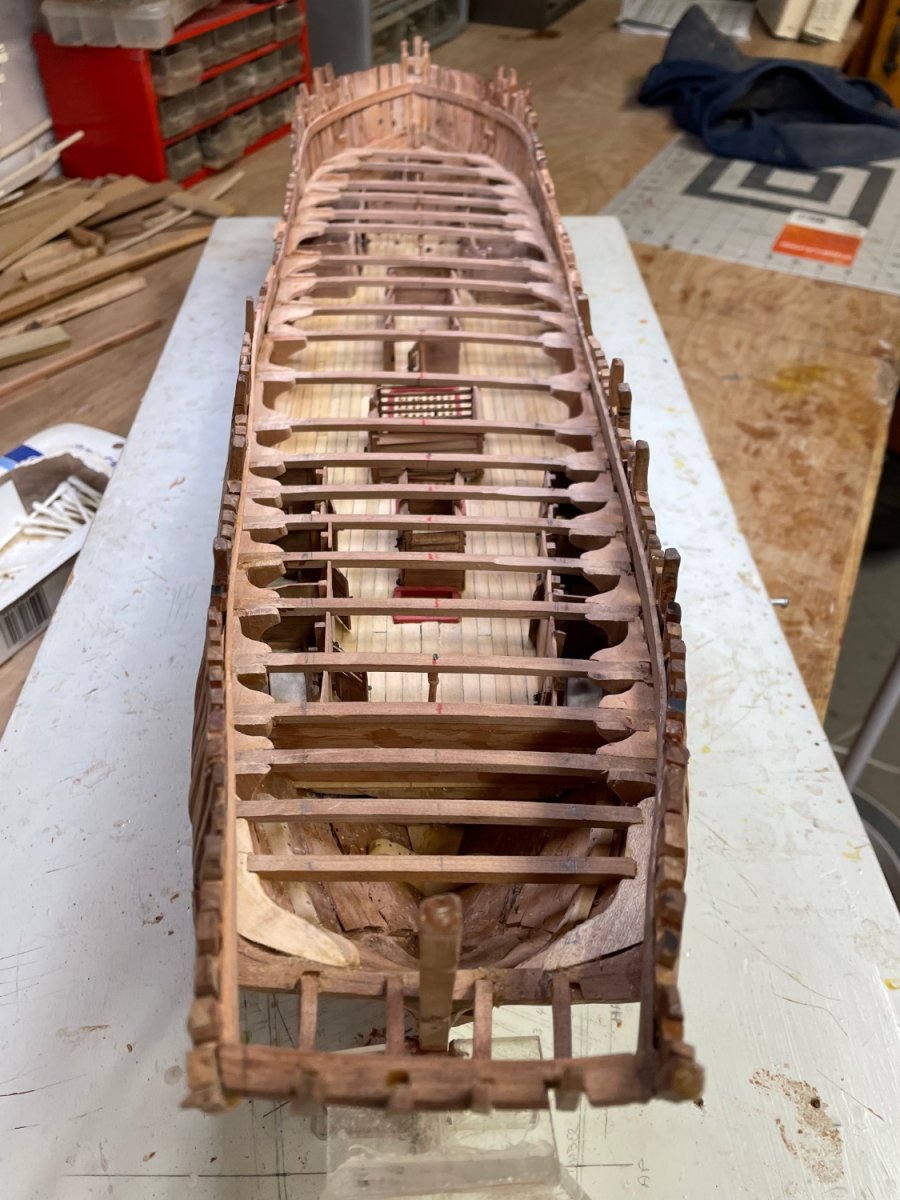
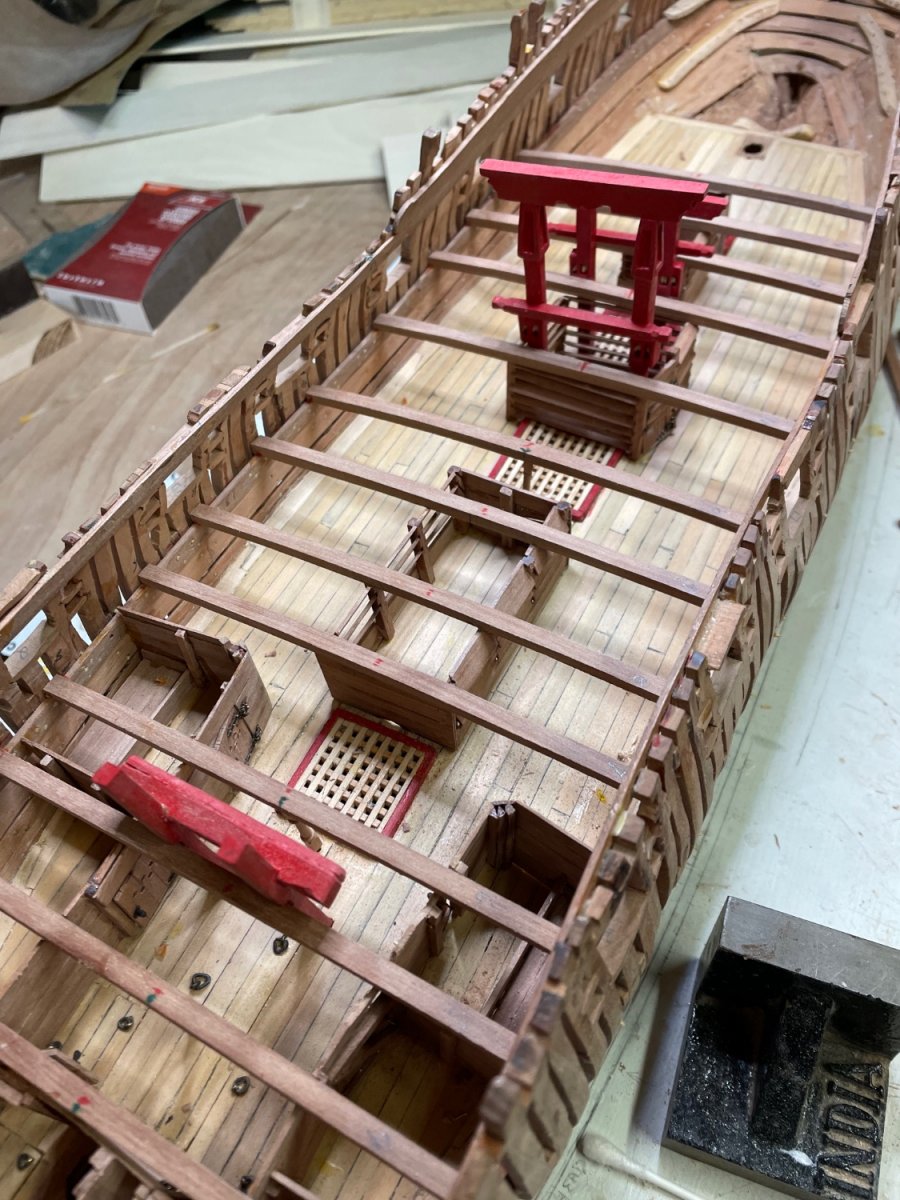
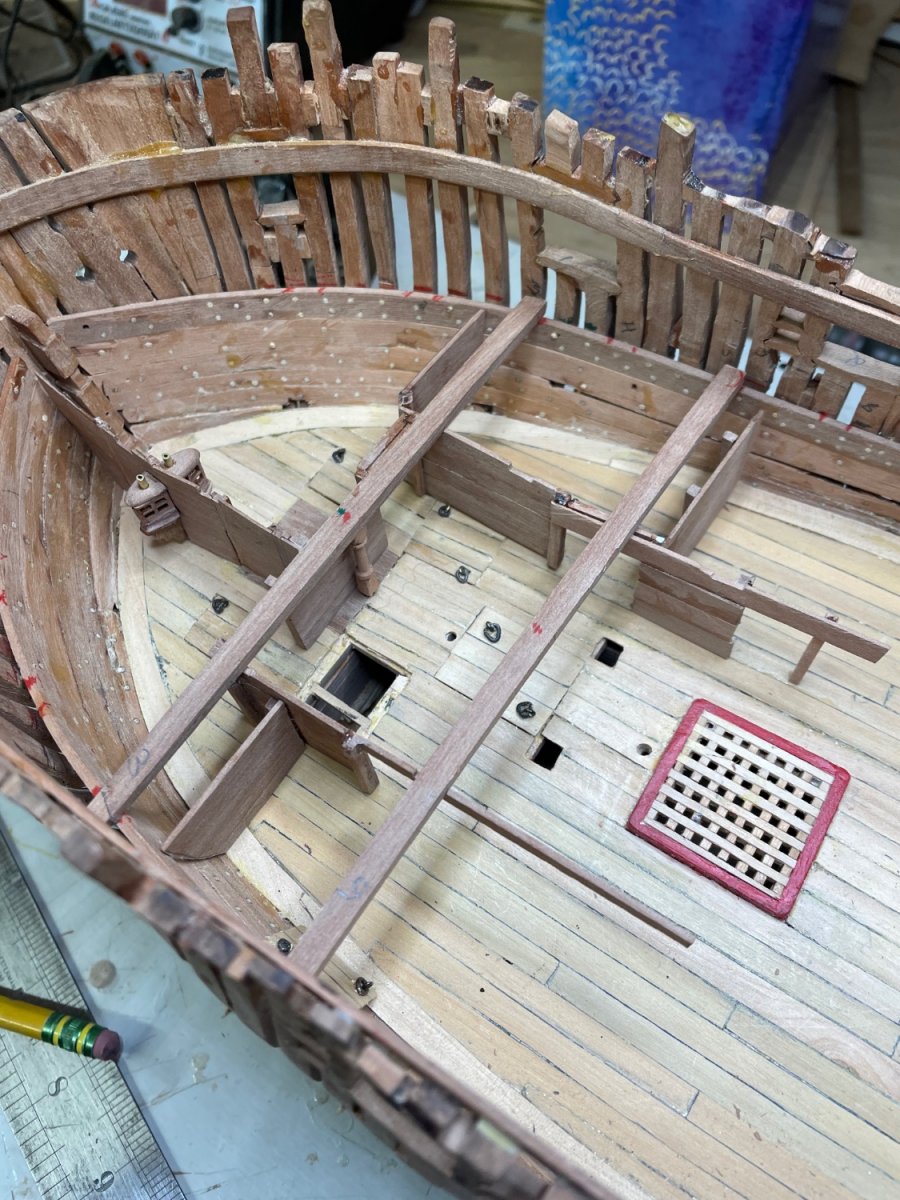
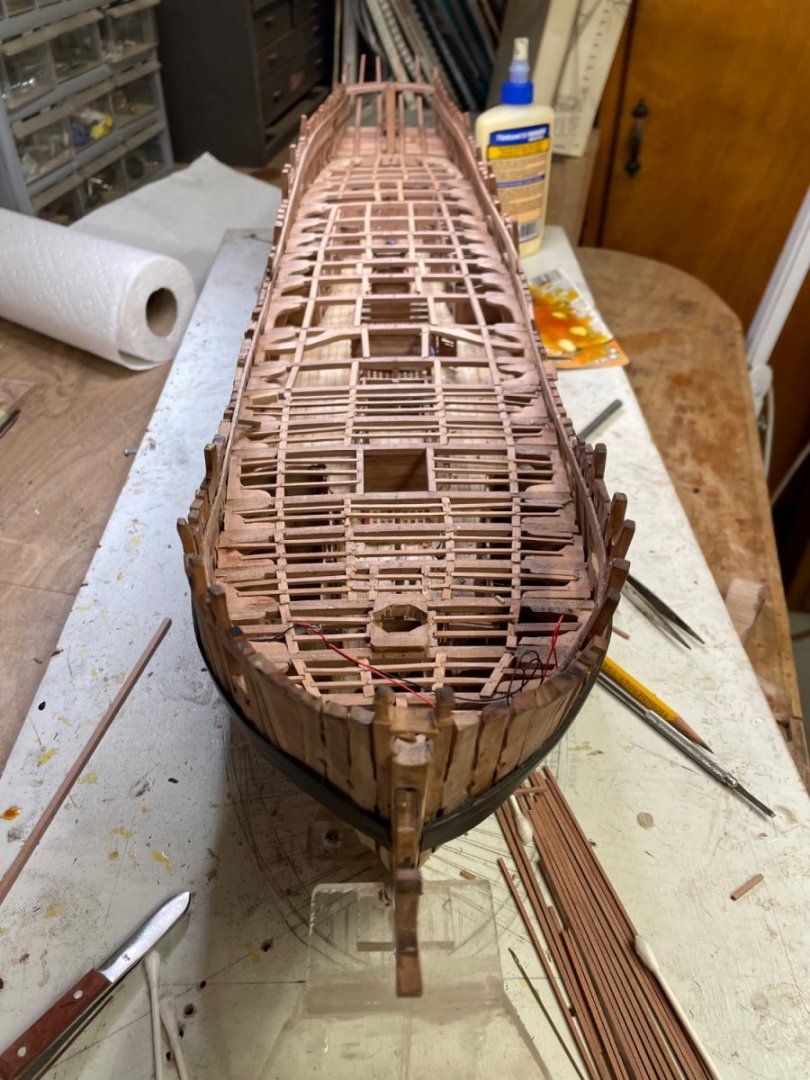
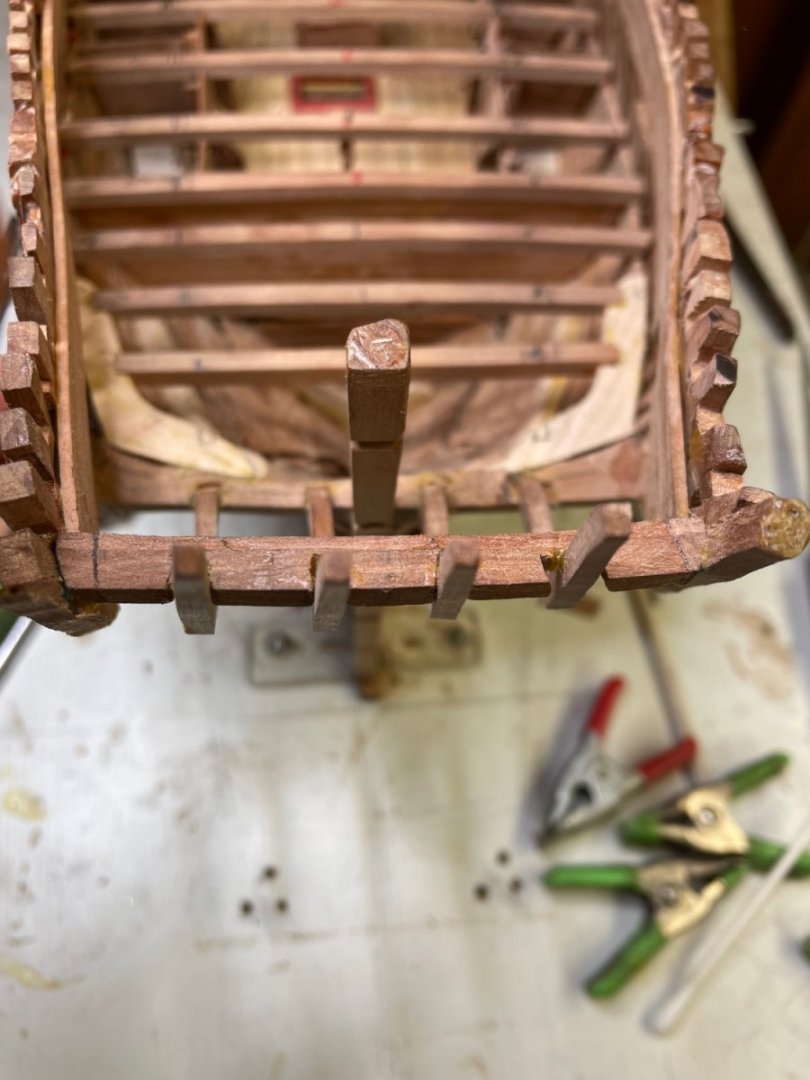
Didn’t remake the stern but after a few XM adjustments to the outer counter Timbers, things ended up OK. Now to start the main deck framing, using lessons learned from the lower deck. First thing was to lay out the line for the outer carlings, so they’re both symmetrical and make a smooth curve. I think it will look much better than my previous effort.

- 257 replies
-
- 7
-
-
- pegasus
- Swan-class
- (and 1 more)
-
Anything left in the store? Henry 😳
-
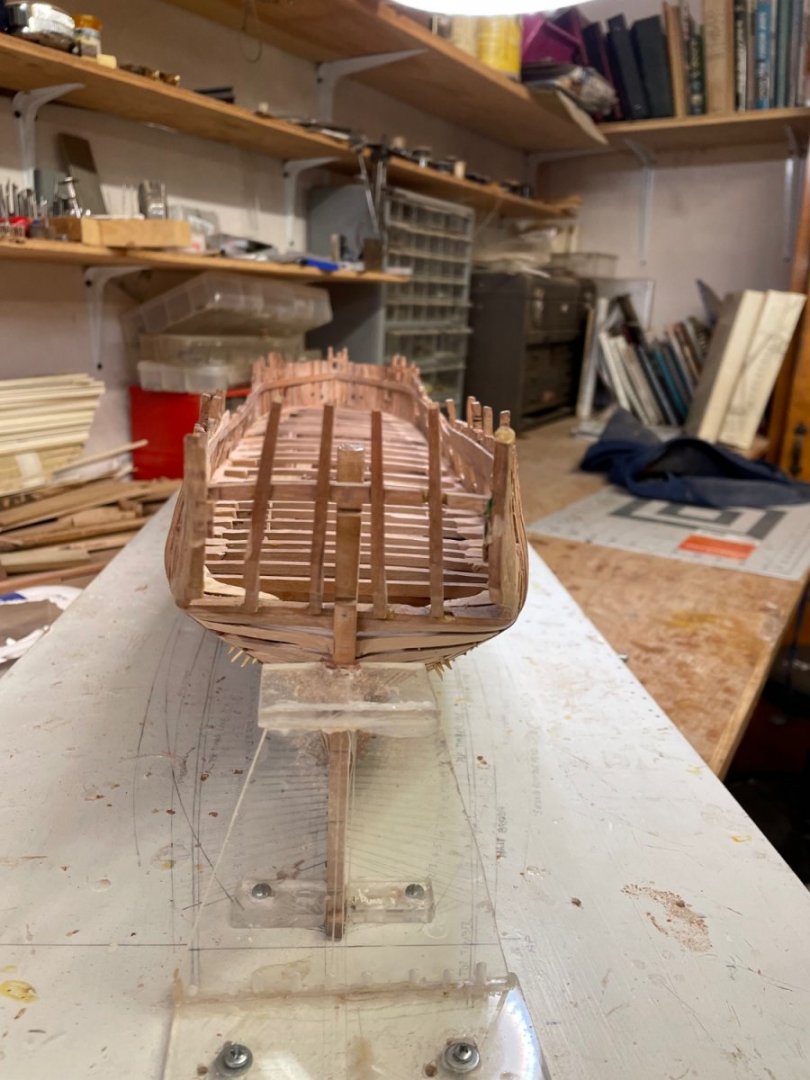
For reasons I think relate to my interpreting the stern extension of the half breath plan onto the building board, my outer counter timbers don’t square up to the wing transom when viewed from aft for parallelism with the quarterdeck transom temporarily installed. So to fix this error, I need to add and subtract to and from the outer counter timbers so they align properly with the quarterdeck transom. Or…..I could, I suppose, remake the whole stern. Any advise would be welcome.
- 257 replies
-
- 6
-
-
- pegasus
- Swan-class
- (and 1 more)
-
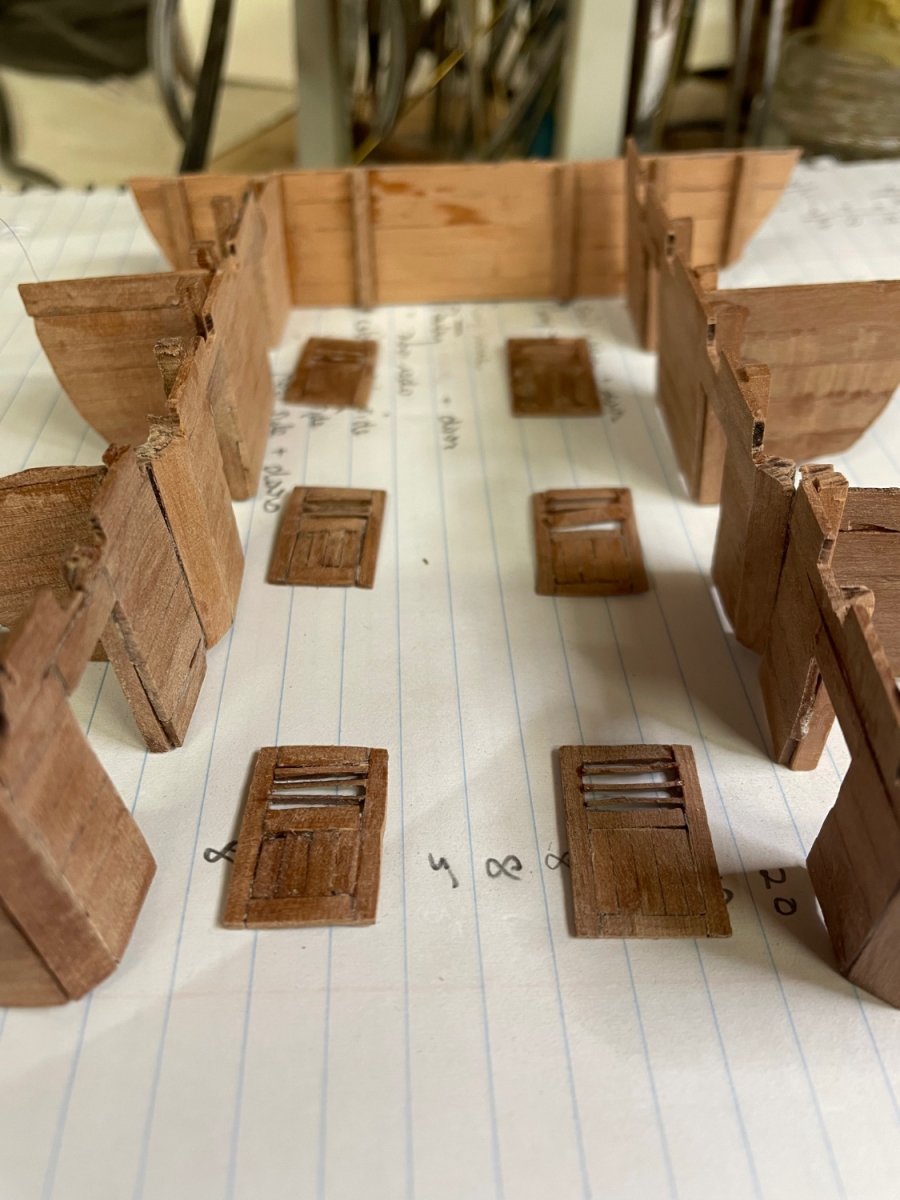
This is about as small as I can go, which is 12” for the door side and 4” wide. That would seem to be about 50% oversized, give or take.

- 257 replies
-
- 6
-
-
- pegasus
- Swan-class
- (and 1 more)
-
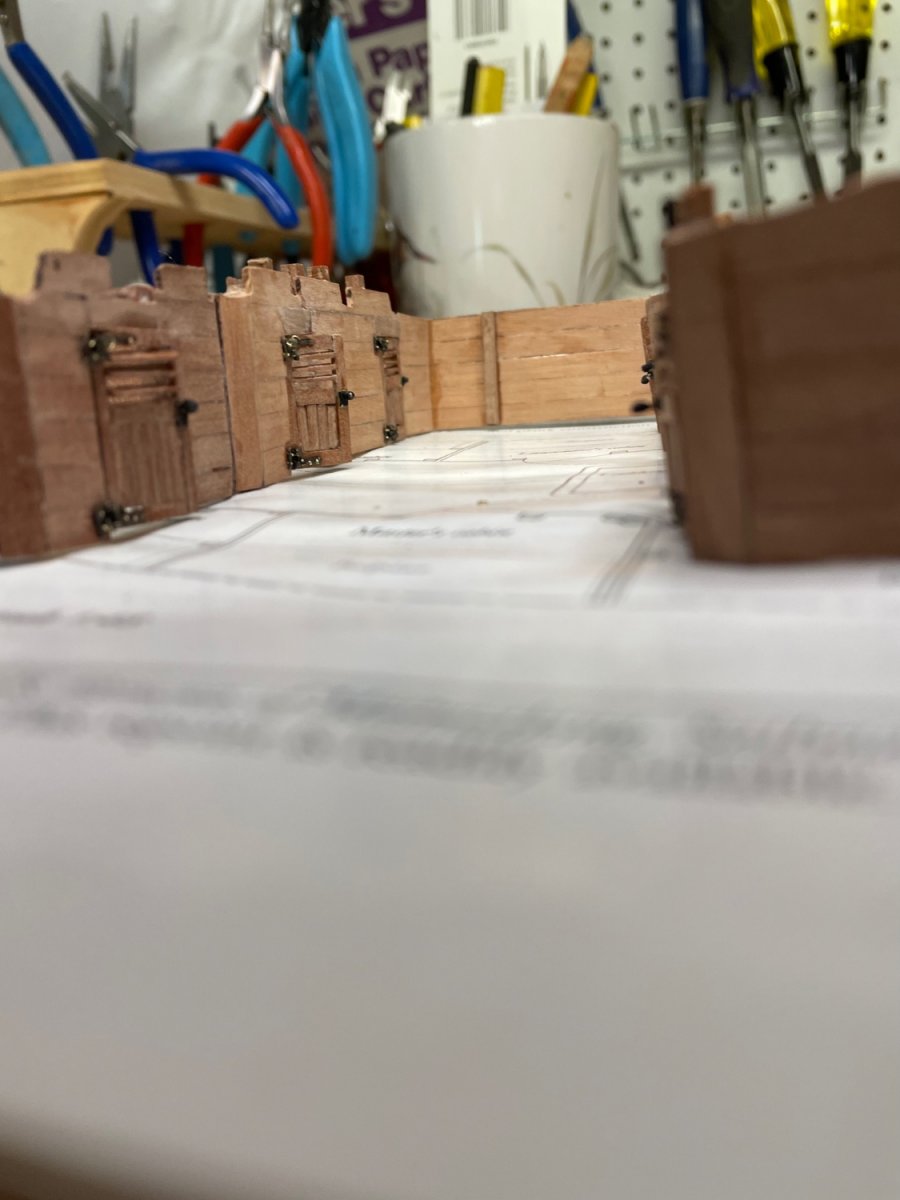
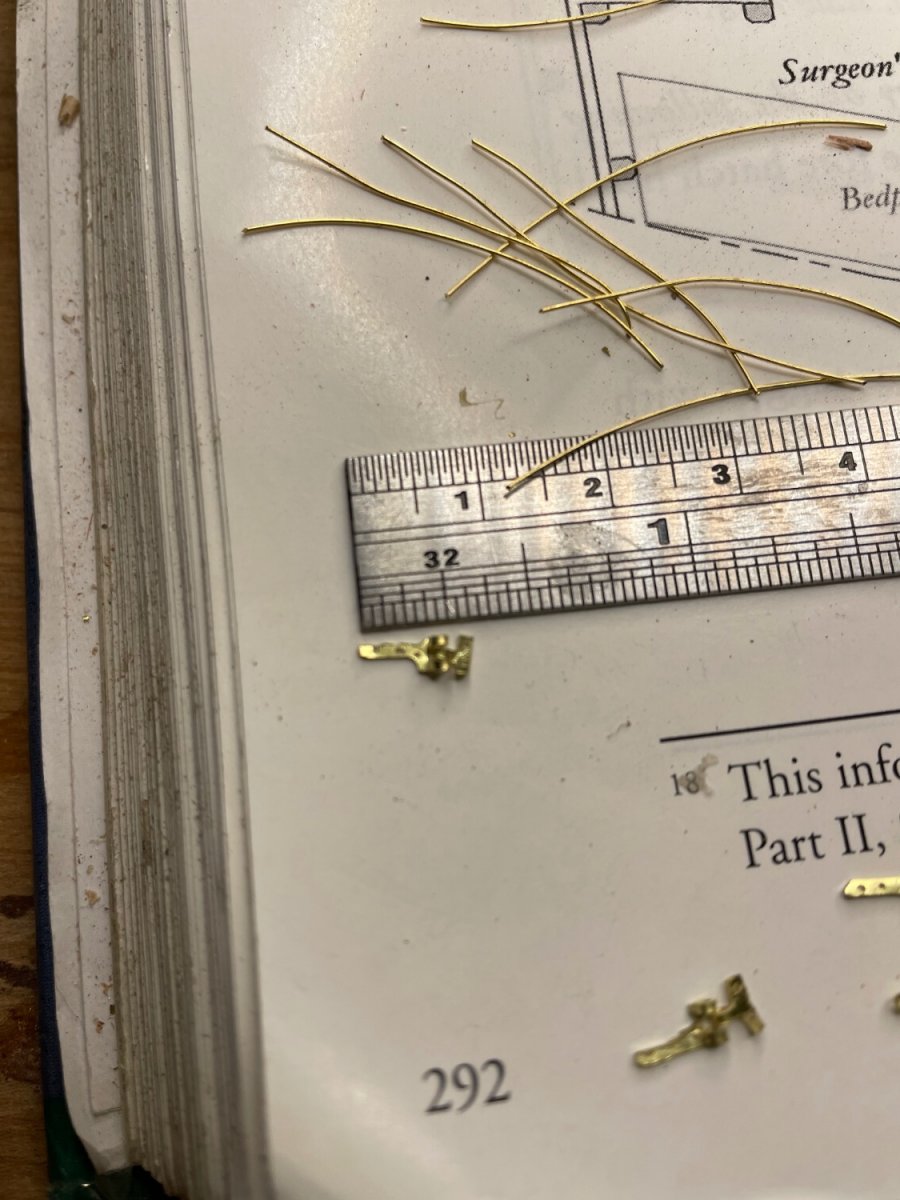
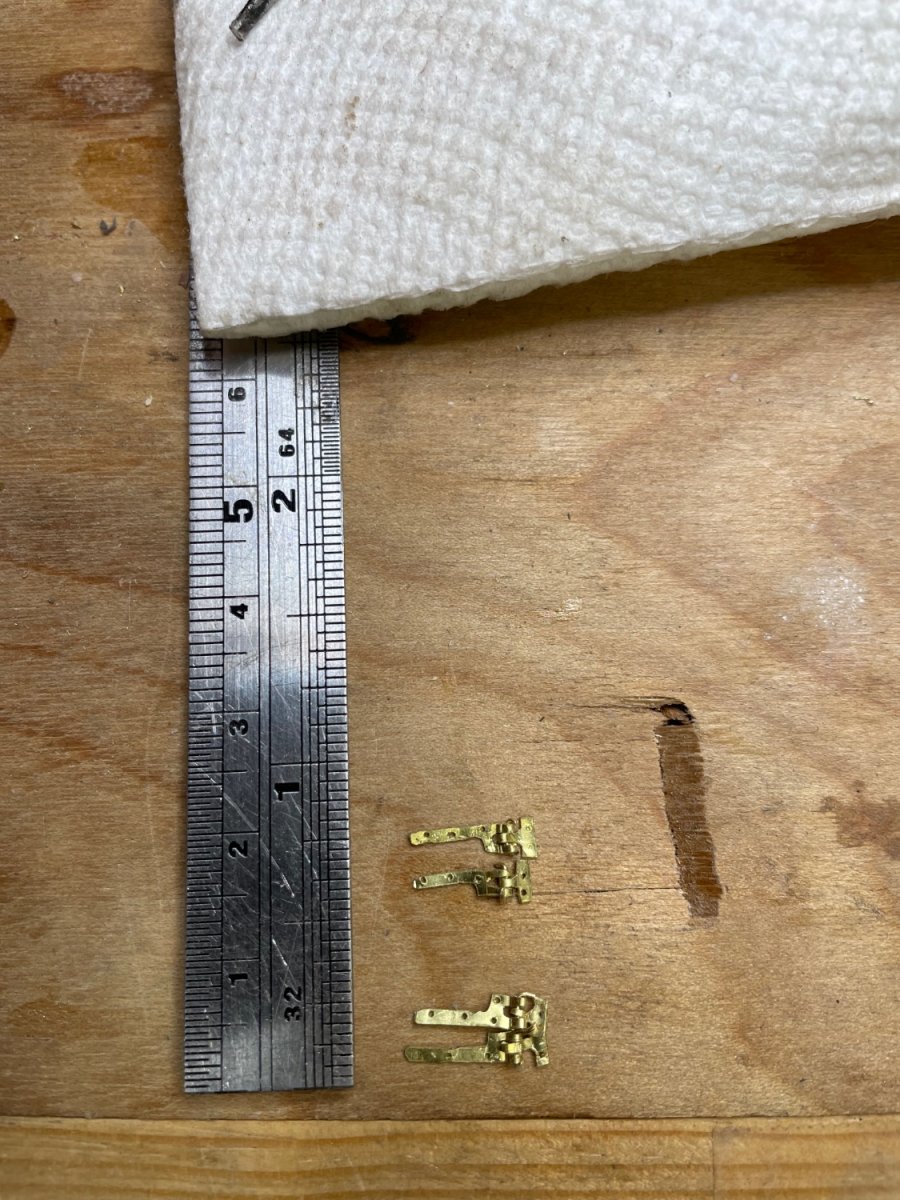
Hi Stuglo, Have followed your build with great interest and wish I could match your precision. Great work. I’ve struggled with hinges. My more recent post shows my latest iteration, but they still don’t equal your “L” shaped hinges. Could you provide an up close photo showing the linkage? I’ve been using a 3 barrel system, two on the door side and a center one on the frame side, coupled with a wire through all three. Can’t get the size down as far as yours. I’d like them to be functional, as yours seem to be. Henry
-
Starting after cabins next. With the standard door only 48” high, I can see why there were very few seamen and officers in the 6 ‘ tall range! Talk about closed head injuries!
- 257 replies
-
- 2
-
-
- pegasus
- Swan-class
- (and 1 more)
-
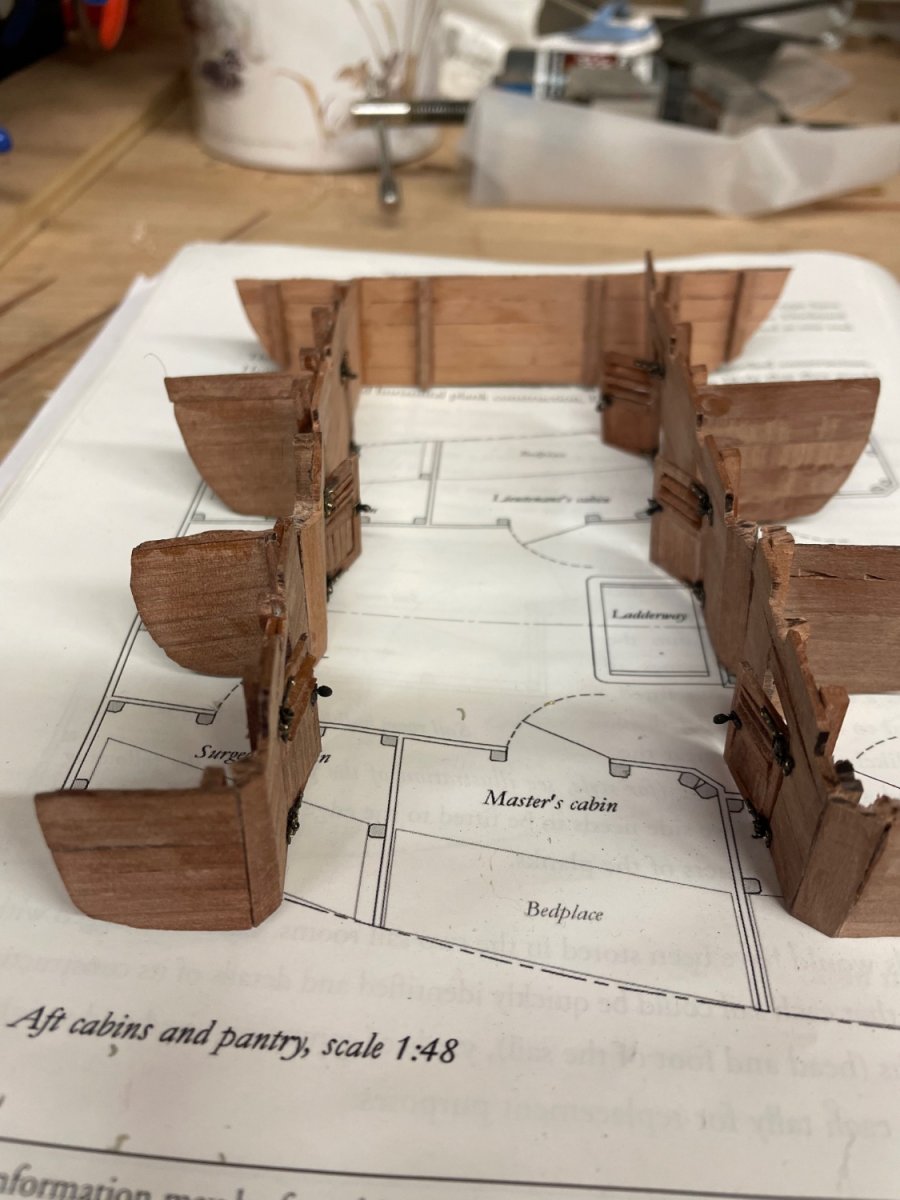
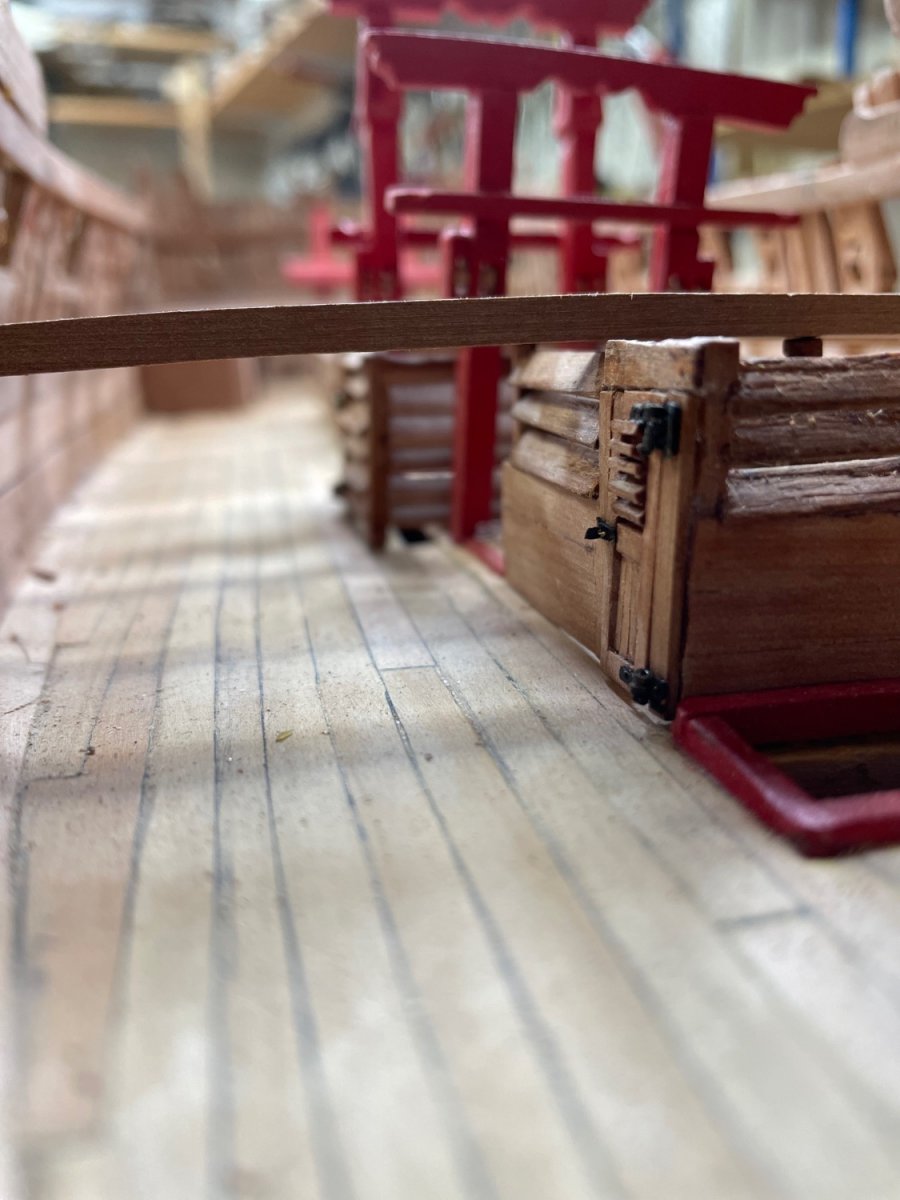
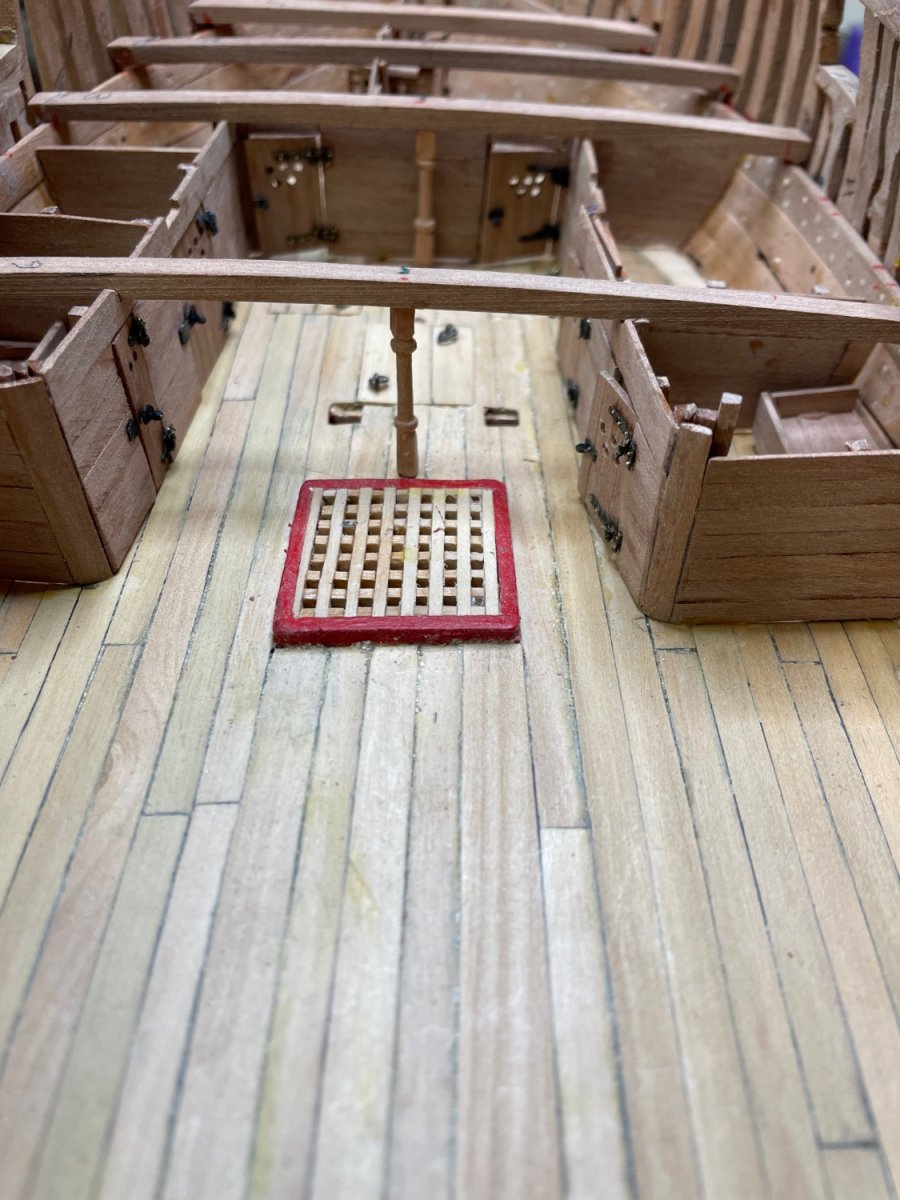
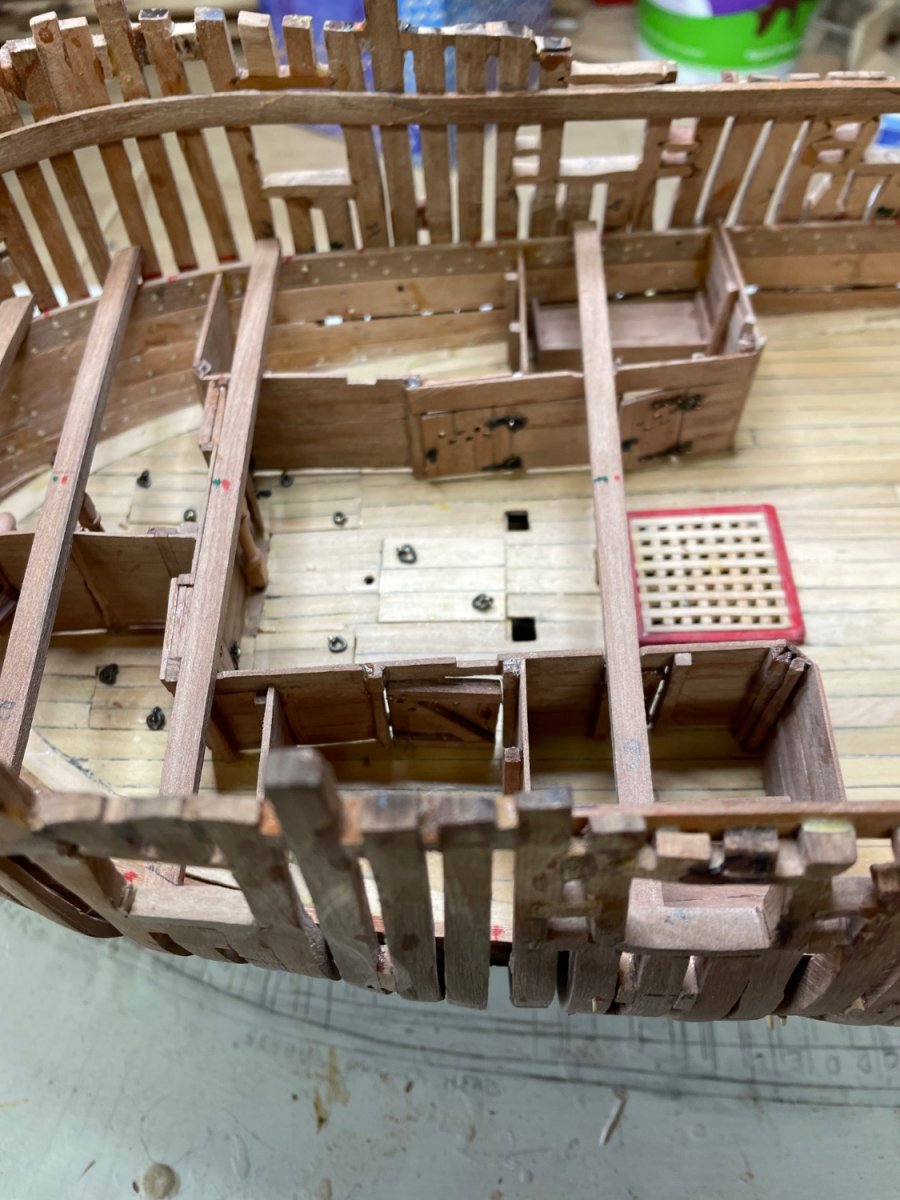
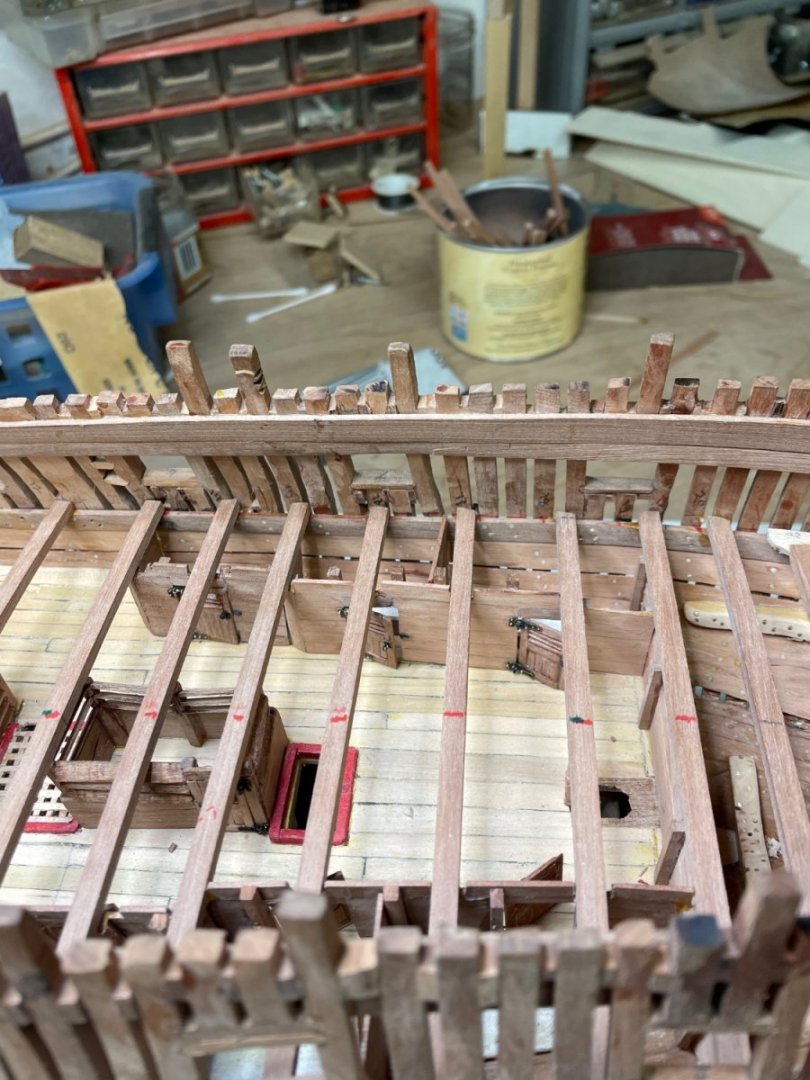
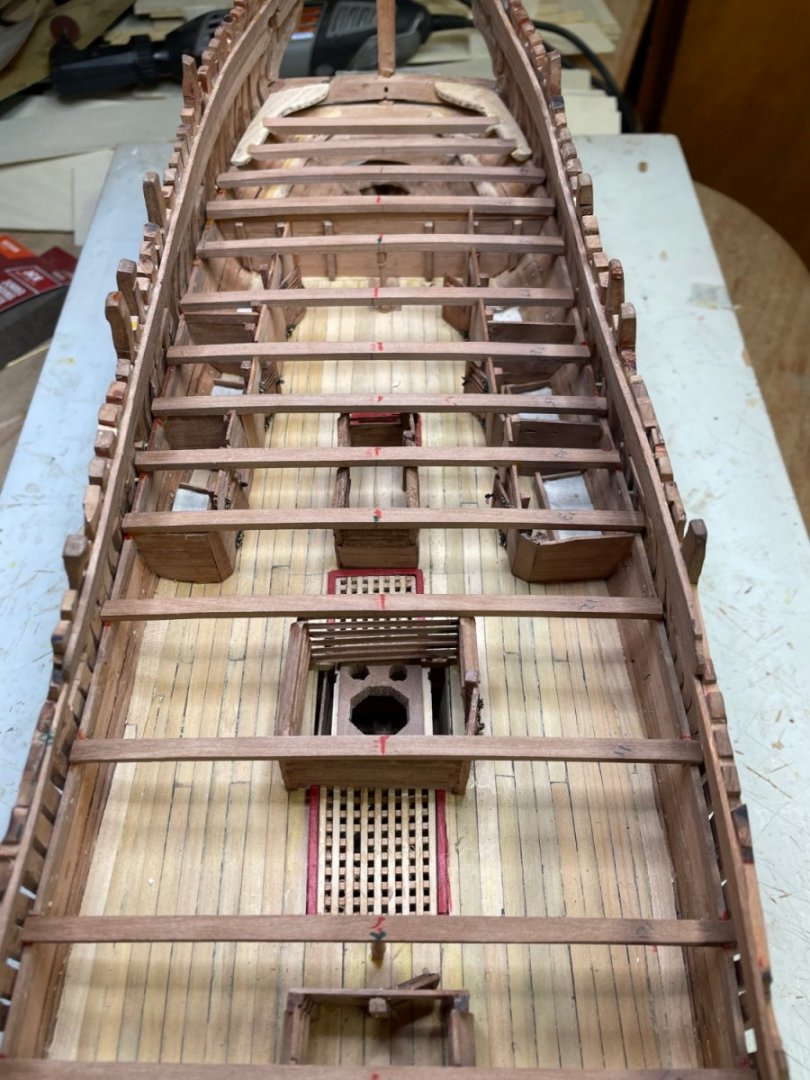
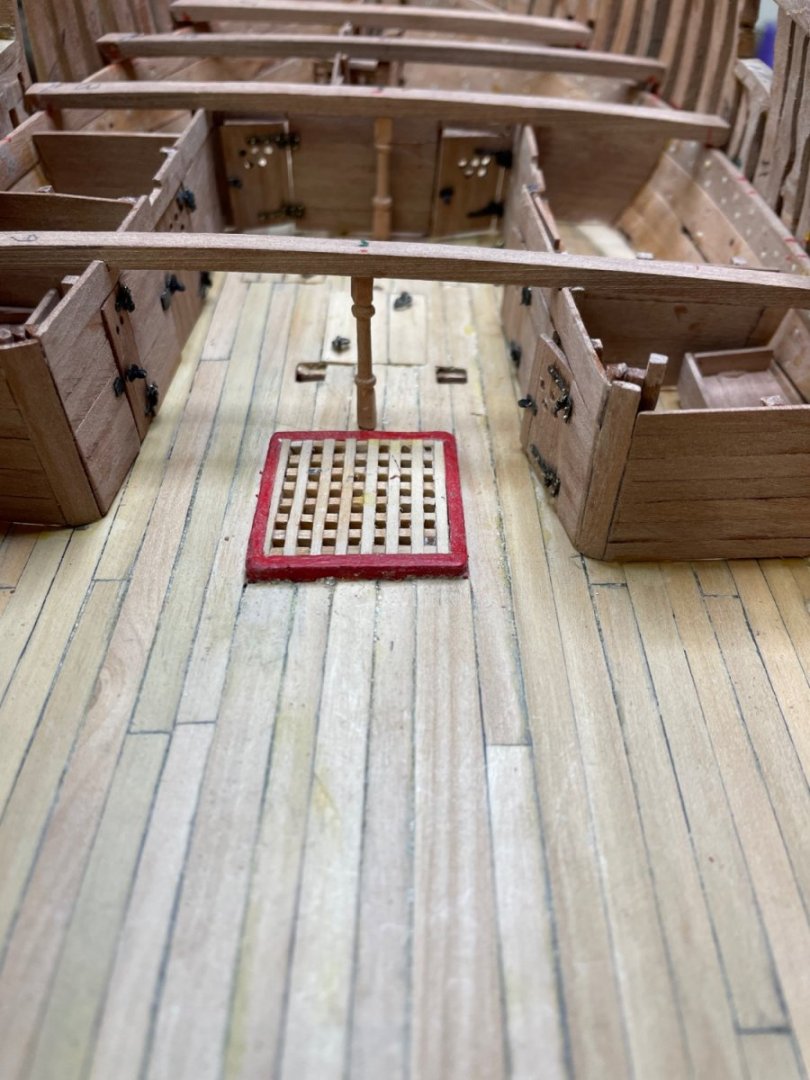
Forward cabins complete. Functioning door hinges about as small as possible but, as noted by others, still over scale.


- 257 replies
-
- 14
-
-
- pegasus
- Swan-class
- (and 1 more)