HOLIDAY DONATION DRIVE - SUPPORT MSW - DO YOUR PART TO KEEP THIS GREAT FORUM GOING! (Only 24 donations so far out of 49,000 members - C'mon guys!)
×


aydingocer
-
Posts
916 -
Joined
-
Last visited
Content Type
Profiles
Forums
Gallery
Events
Everything posted by aydingocer
-
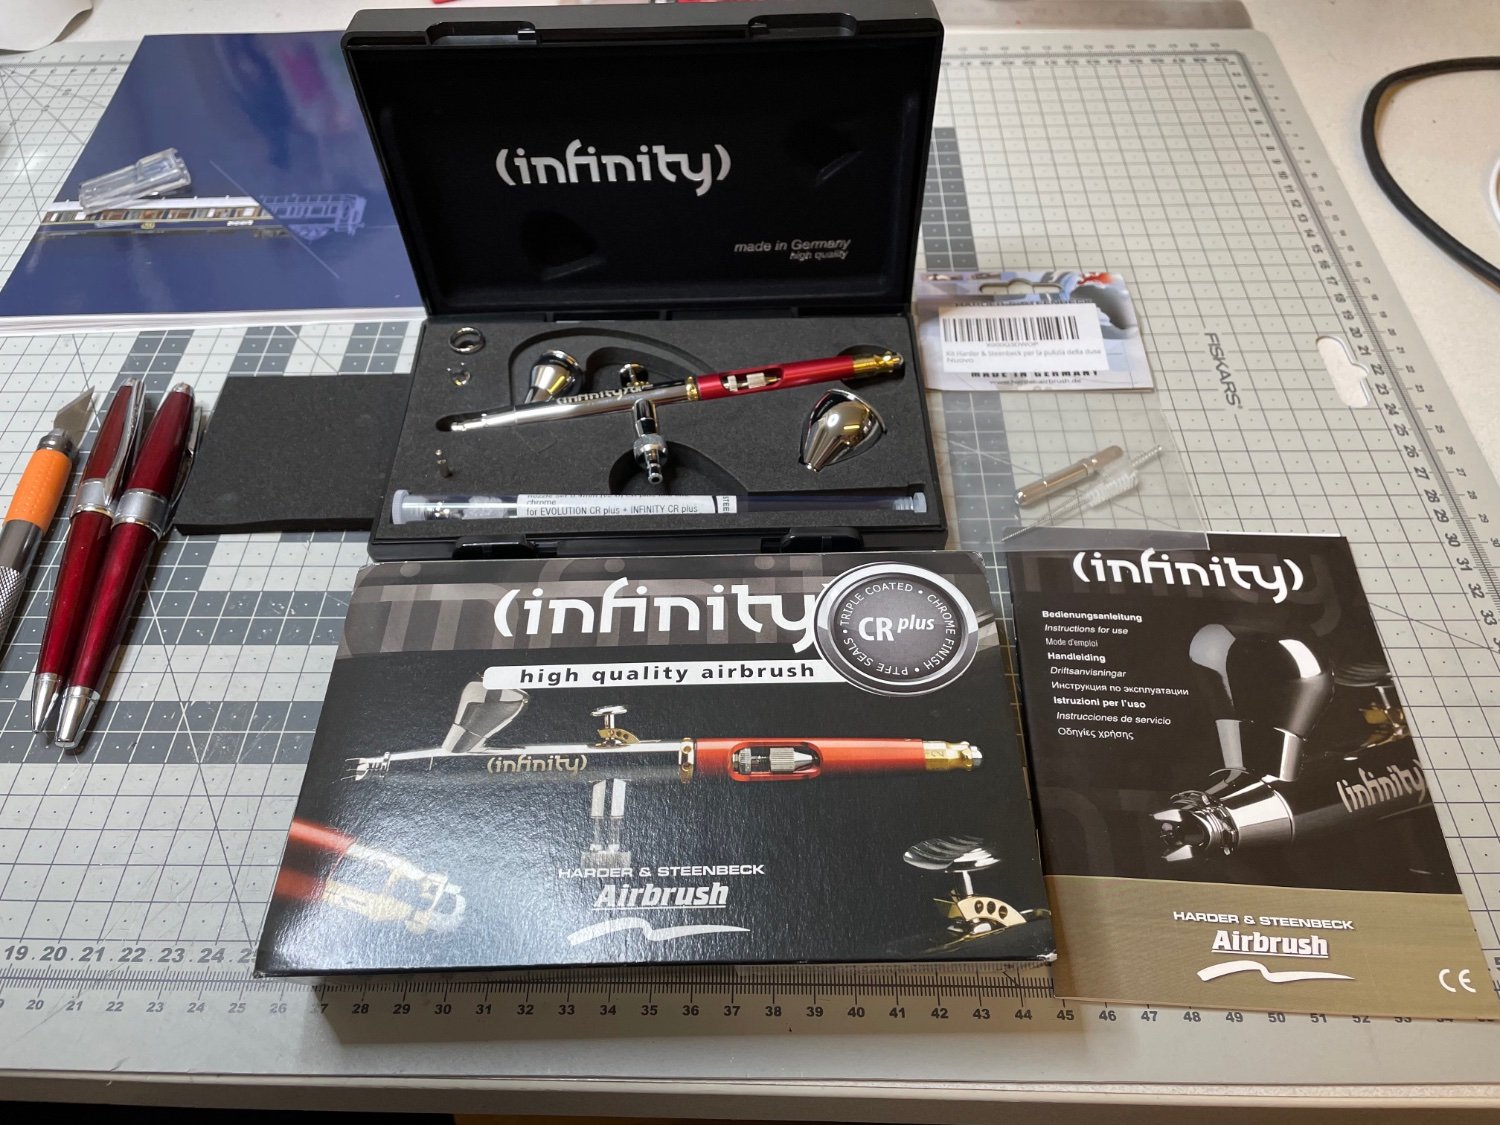
 My new airbrush has arrived. It looks stunning. Work can continue as soon as I've got myself acquainted with it!
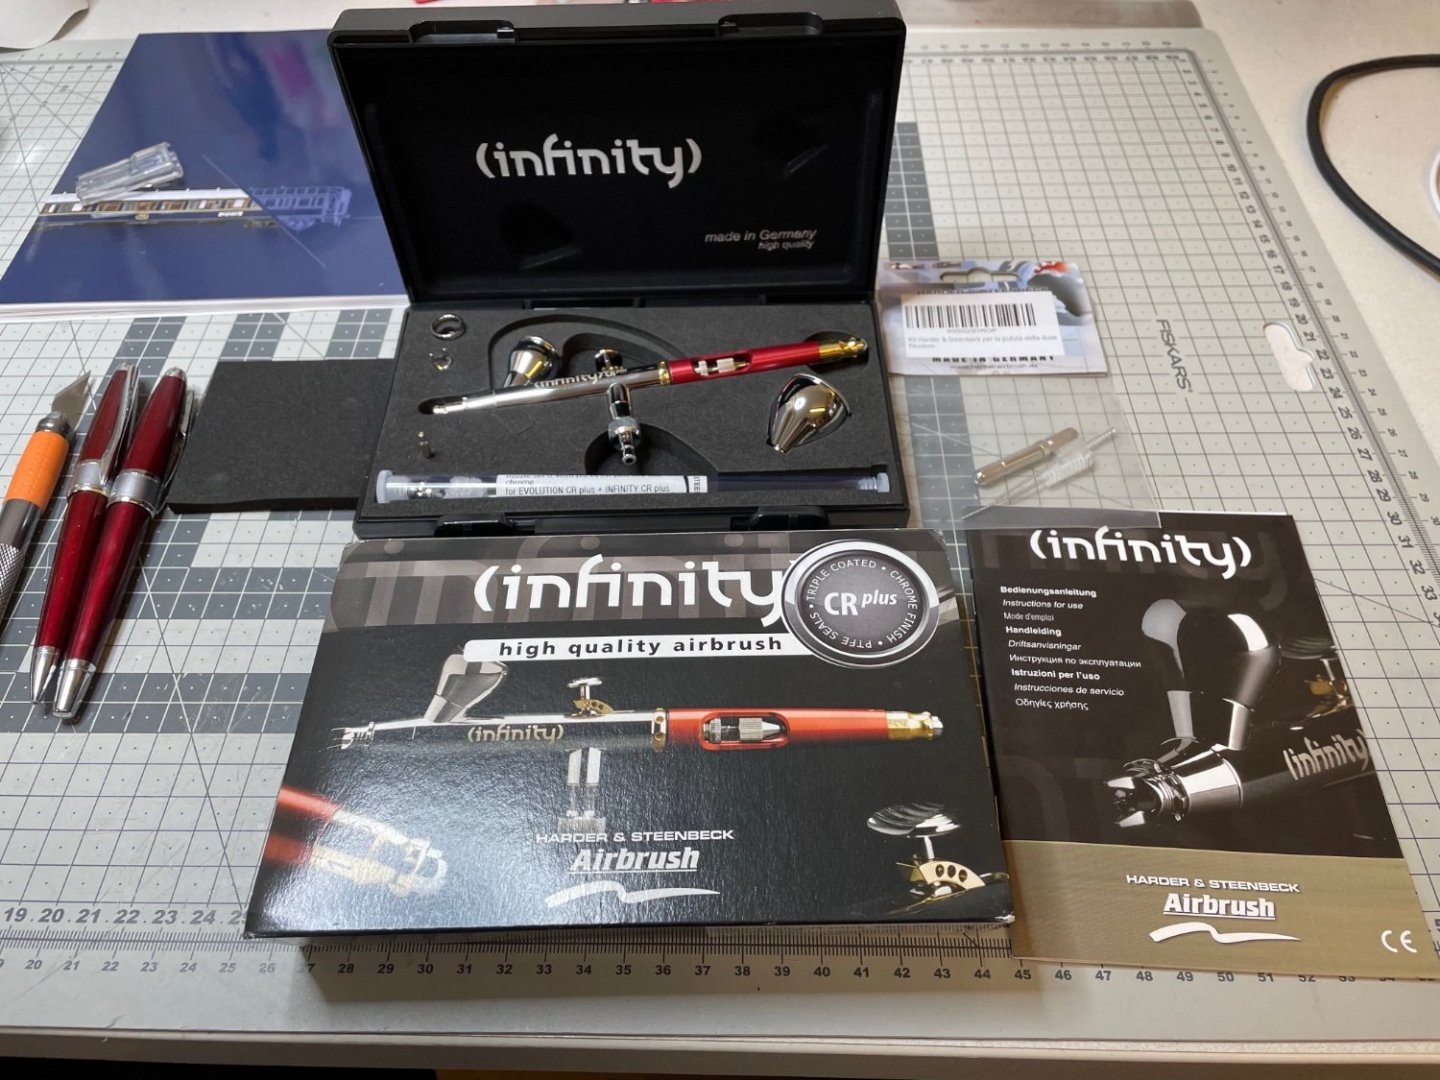
-
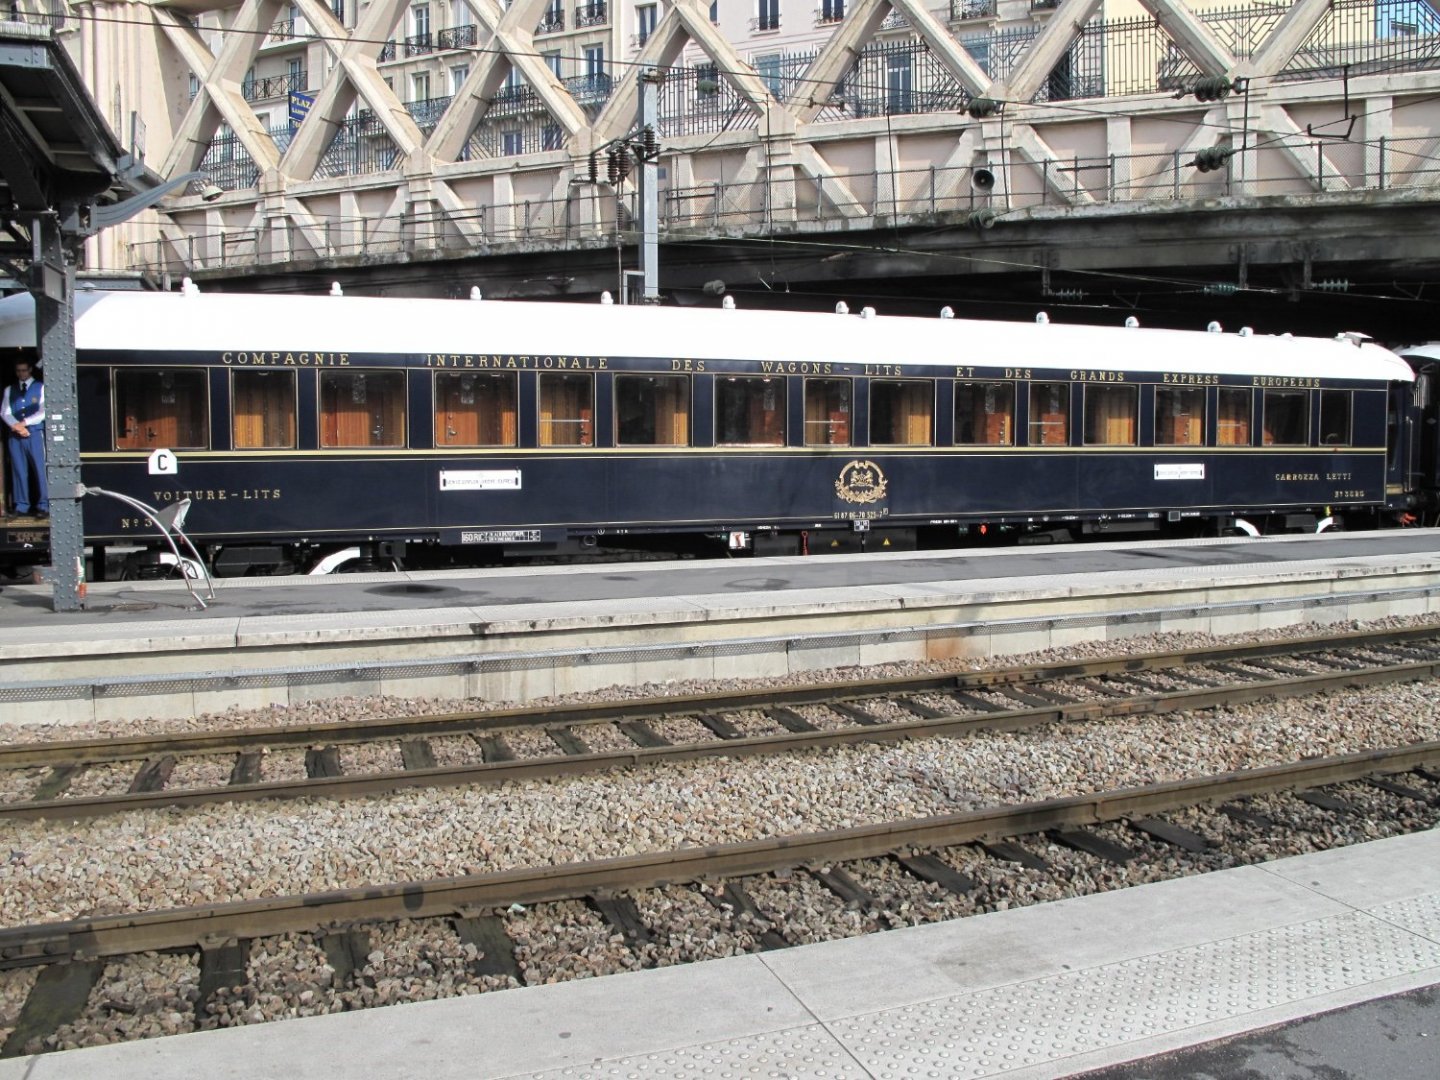
😄 Indeed and hopefully it will look like this when complete: Source: https://commons.wikimedia.org/wiki/File:Orient_Express_Sleeping_car.jpg
- 293 replies
-
- 13
-

-
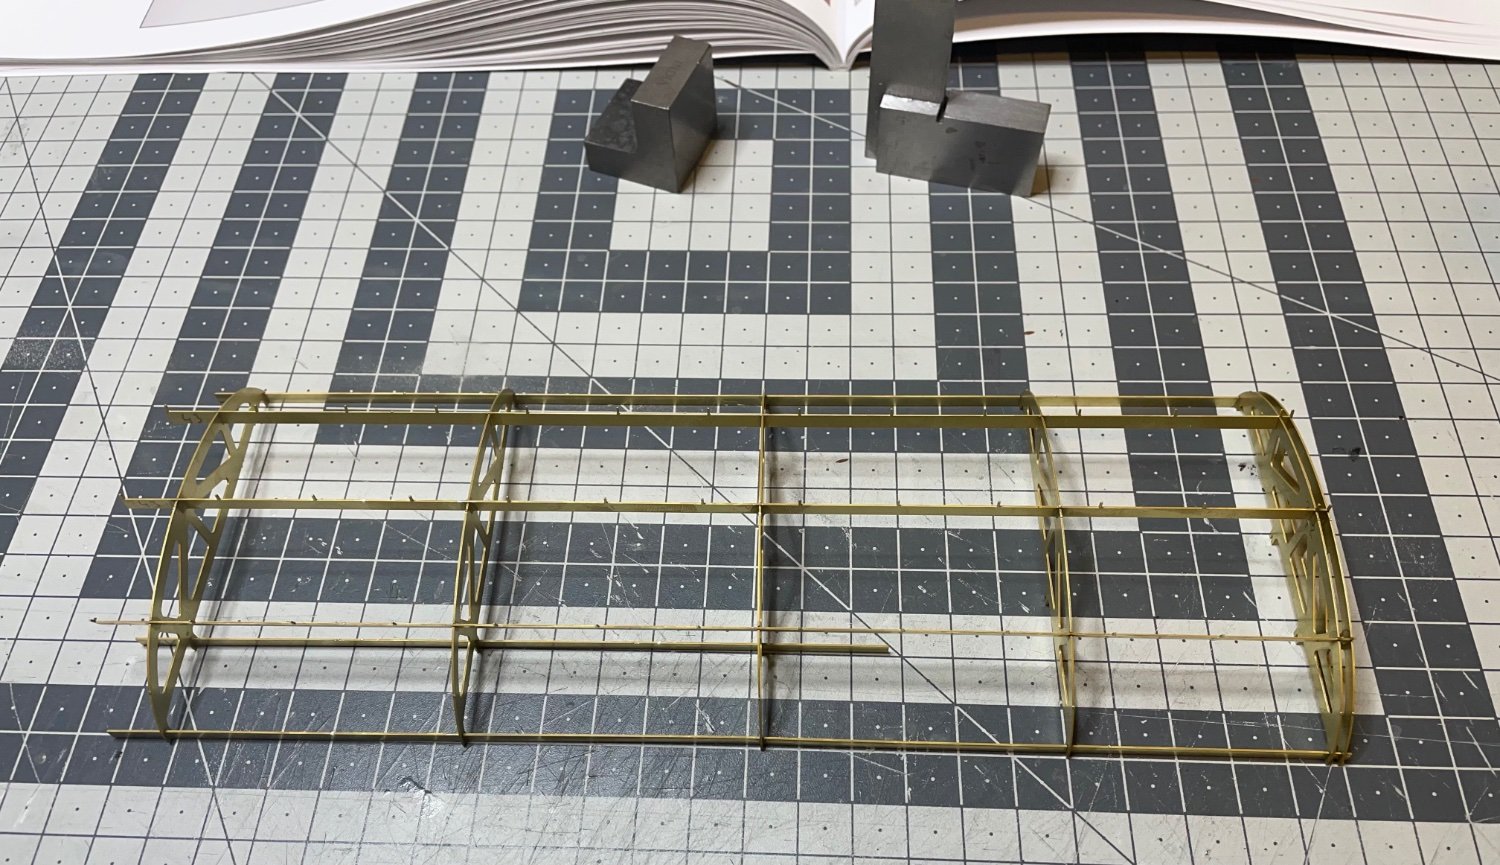
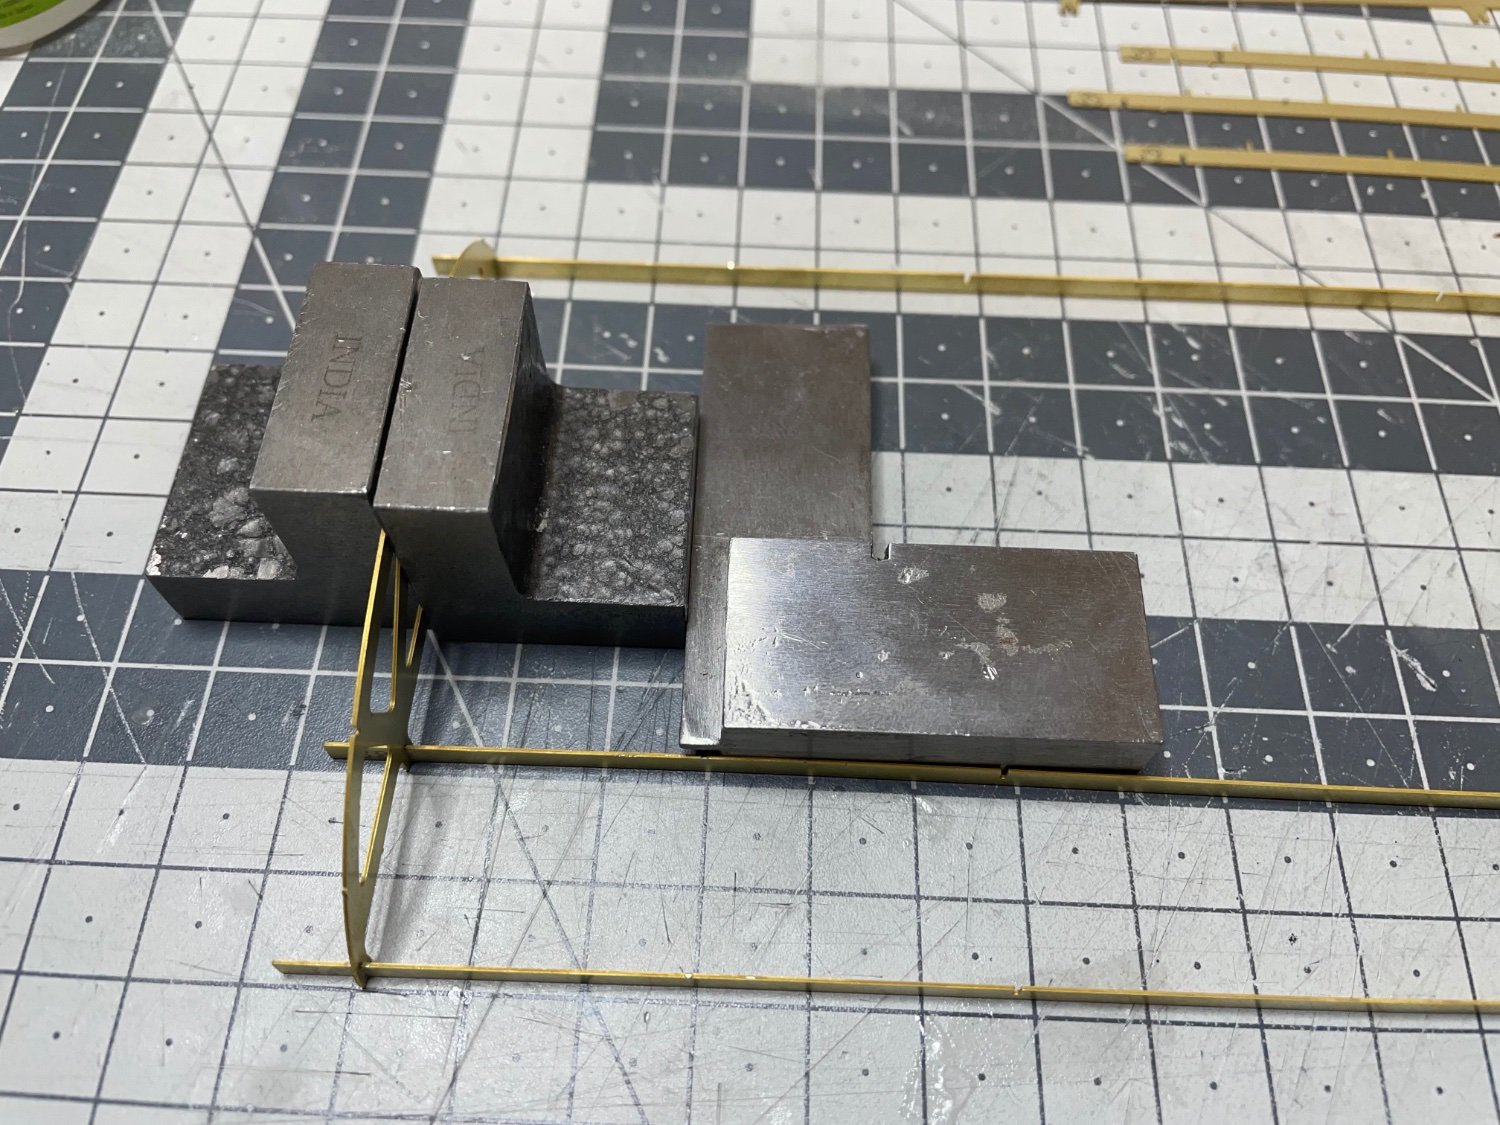
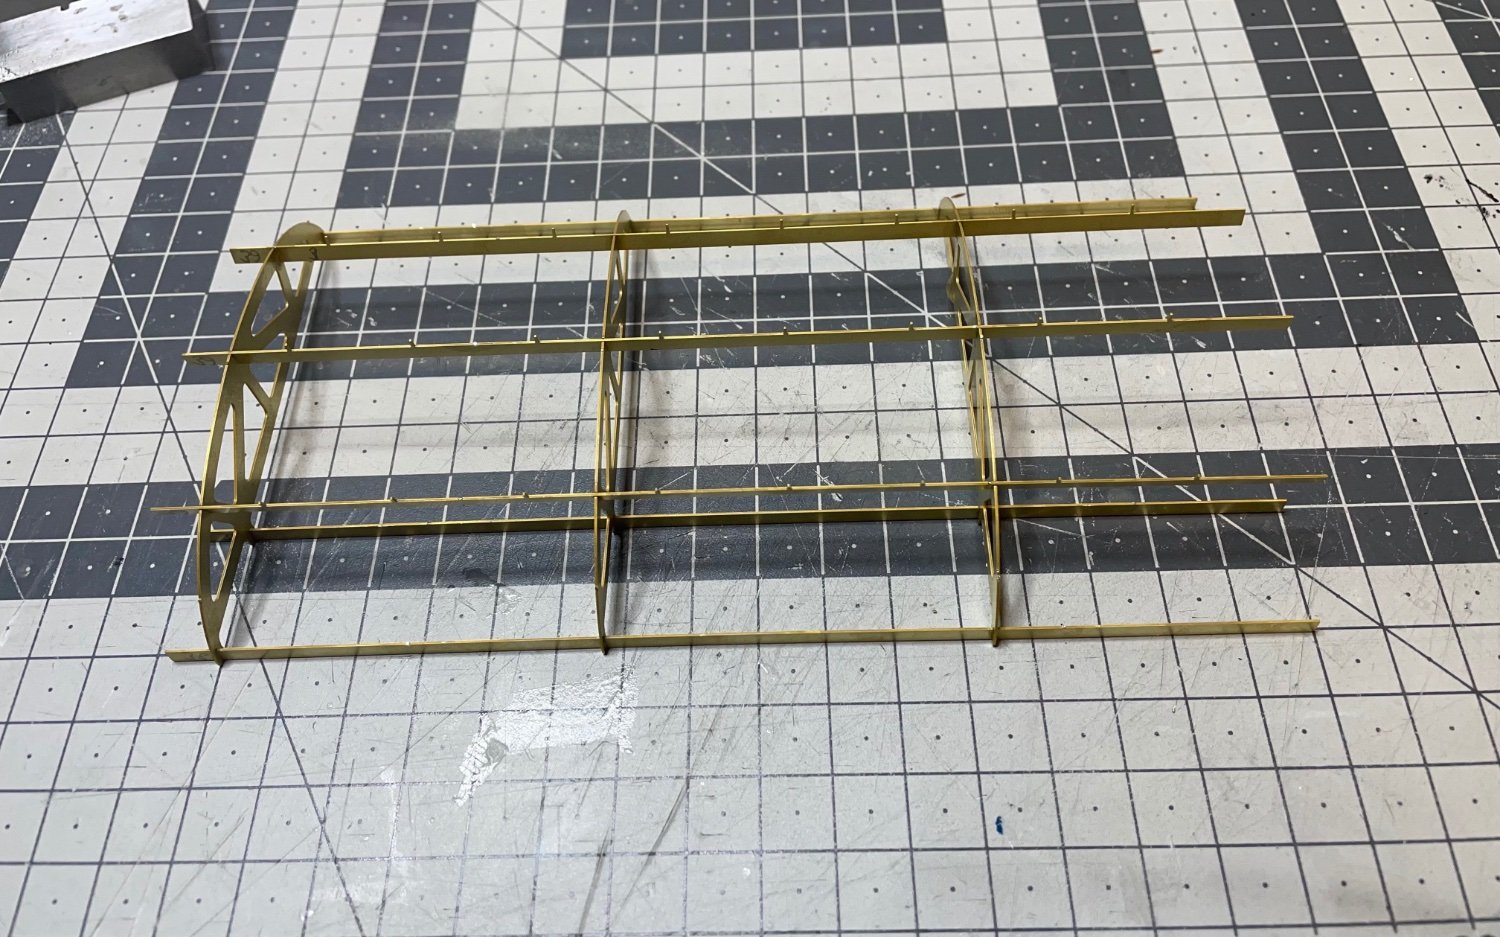
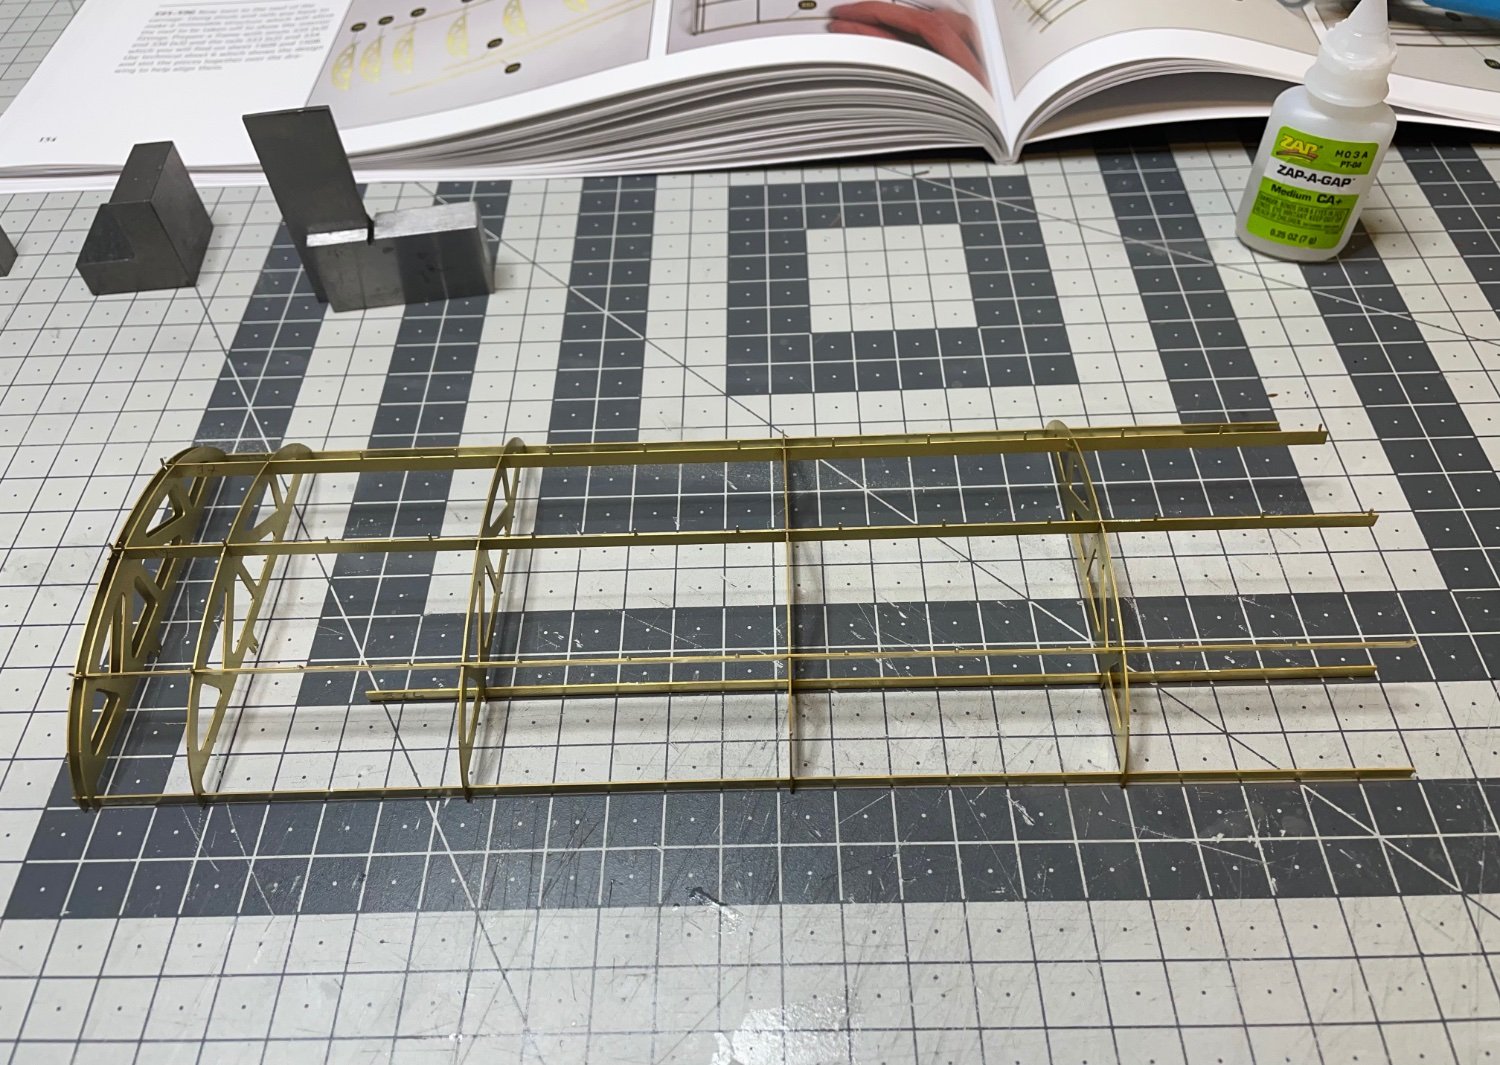
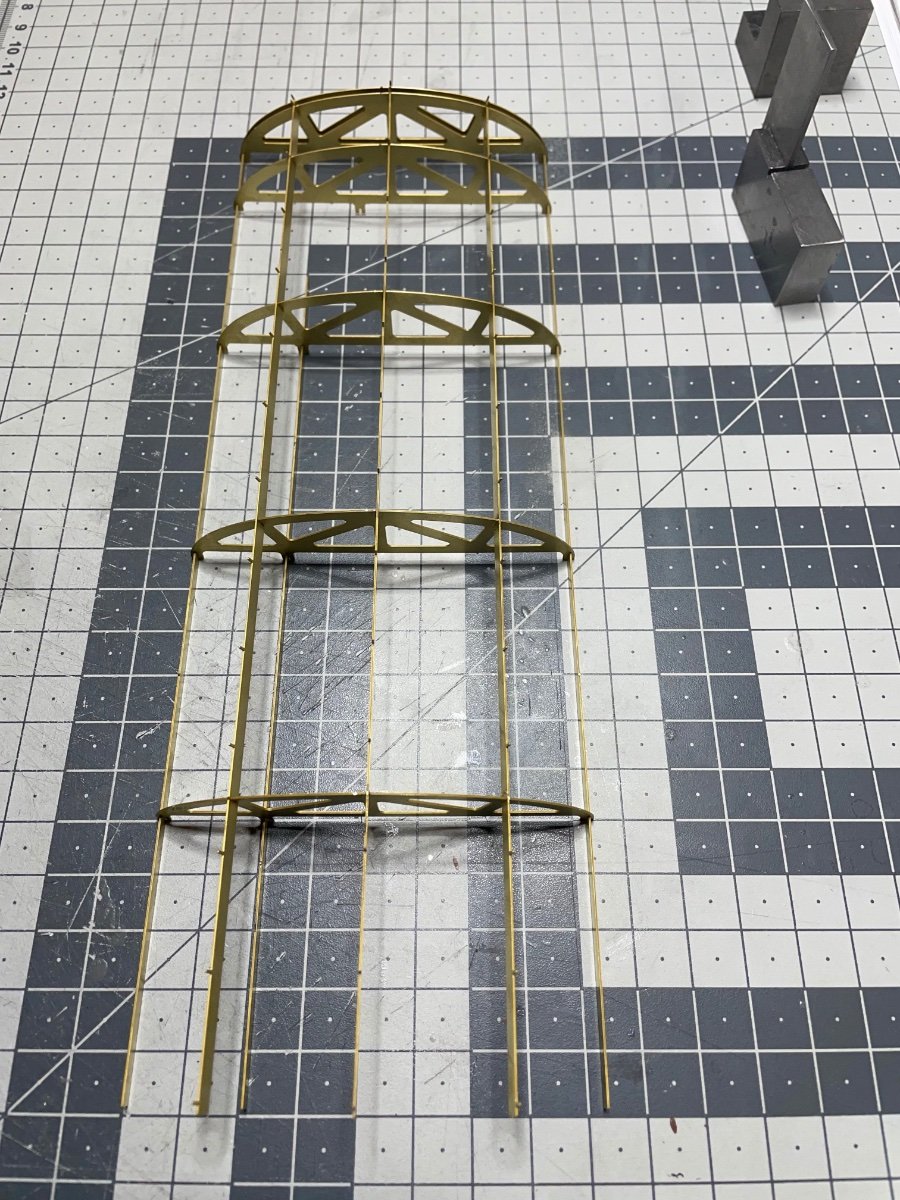
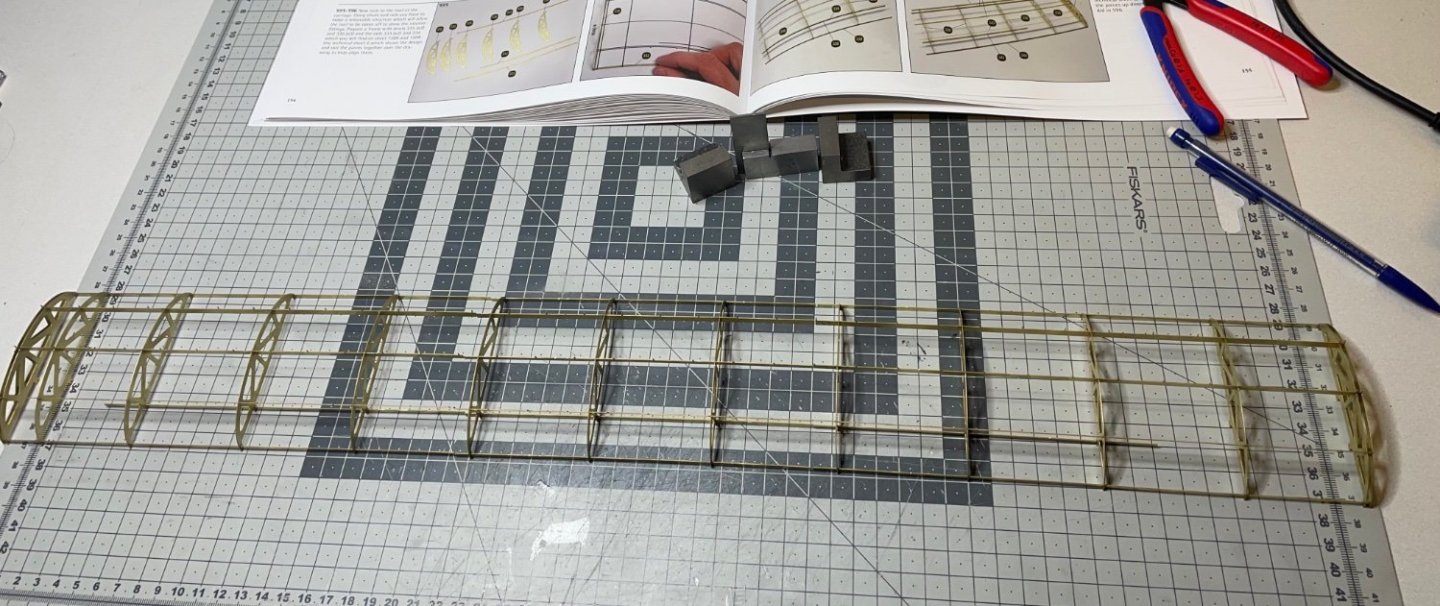
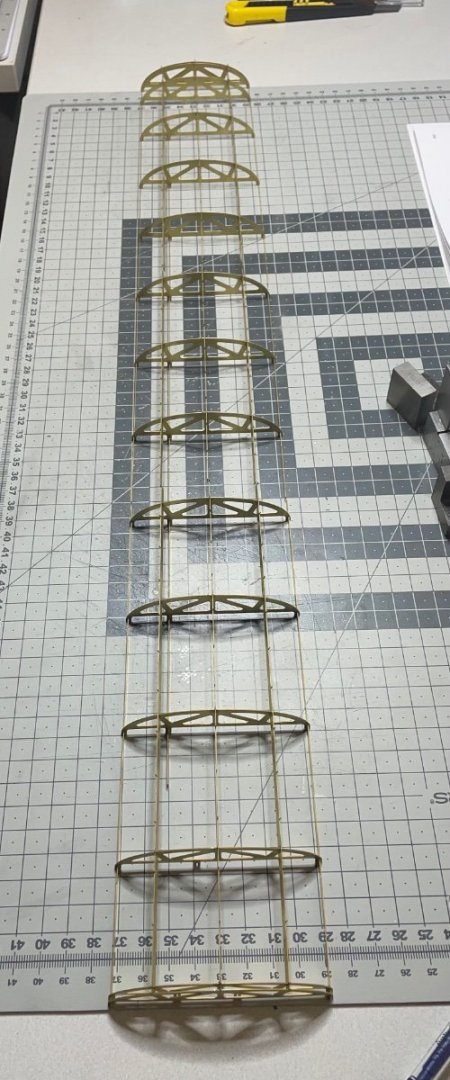
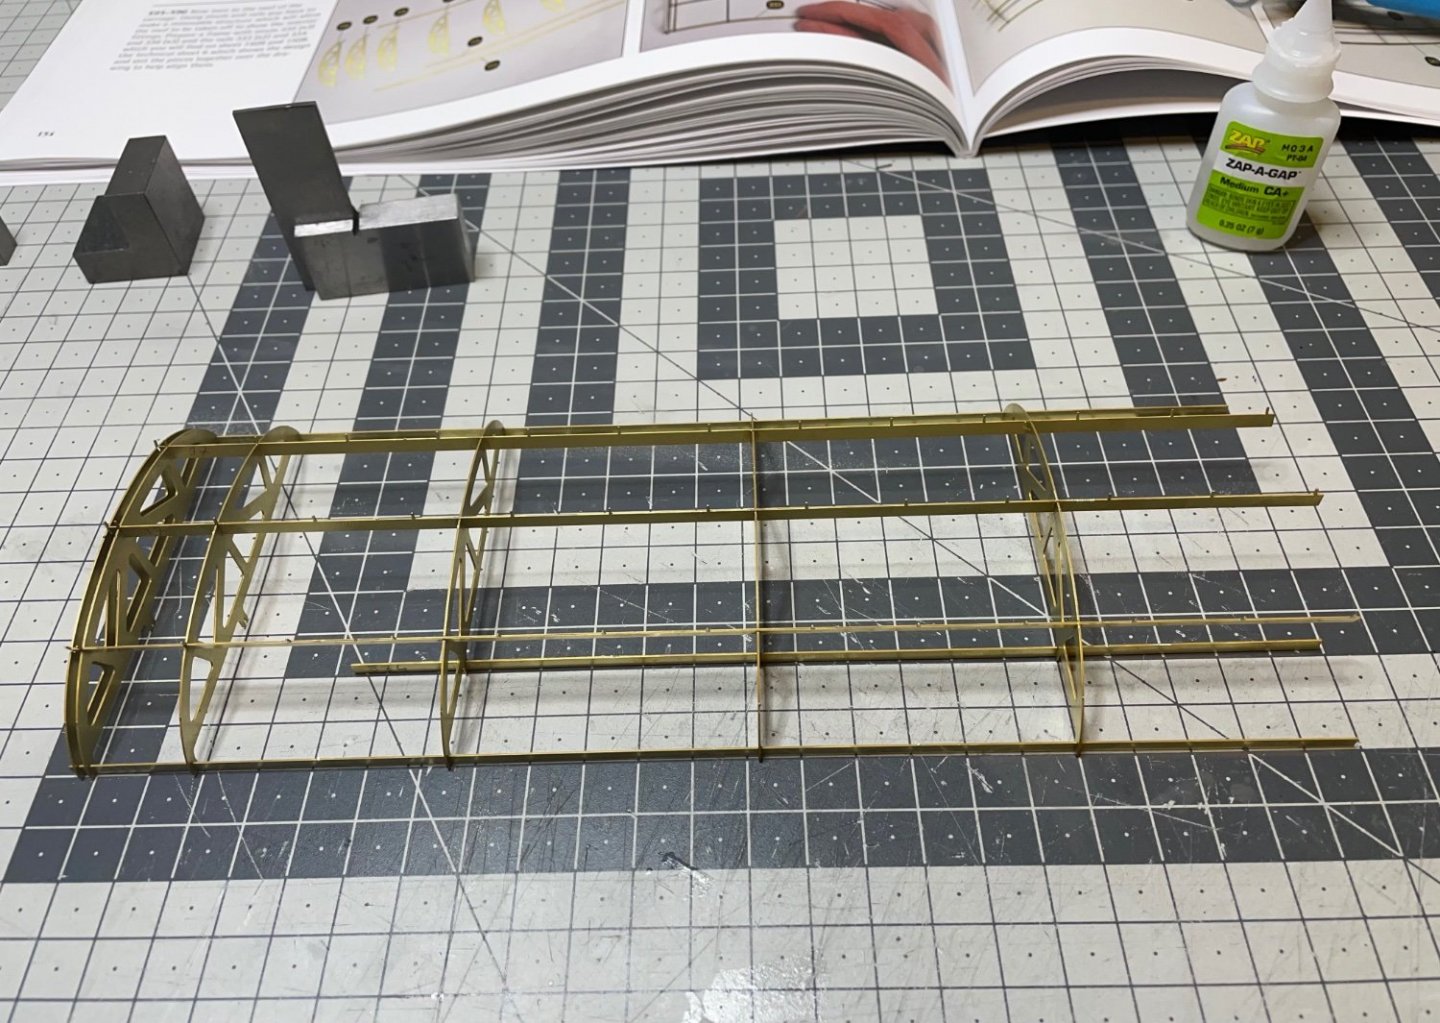
Figures 412-413: Dry alignment of the roof infrastructure. They will be combined by gluing on three rails, then the rails then will sit on the wagon. That's is all for now. Thanks for watching!
- 293 replies
-
- 14
-
-
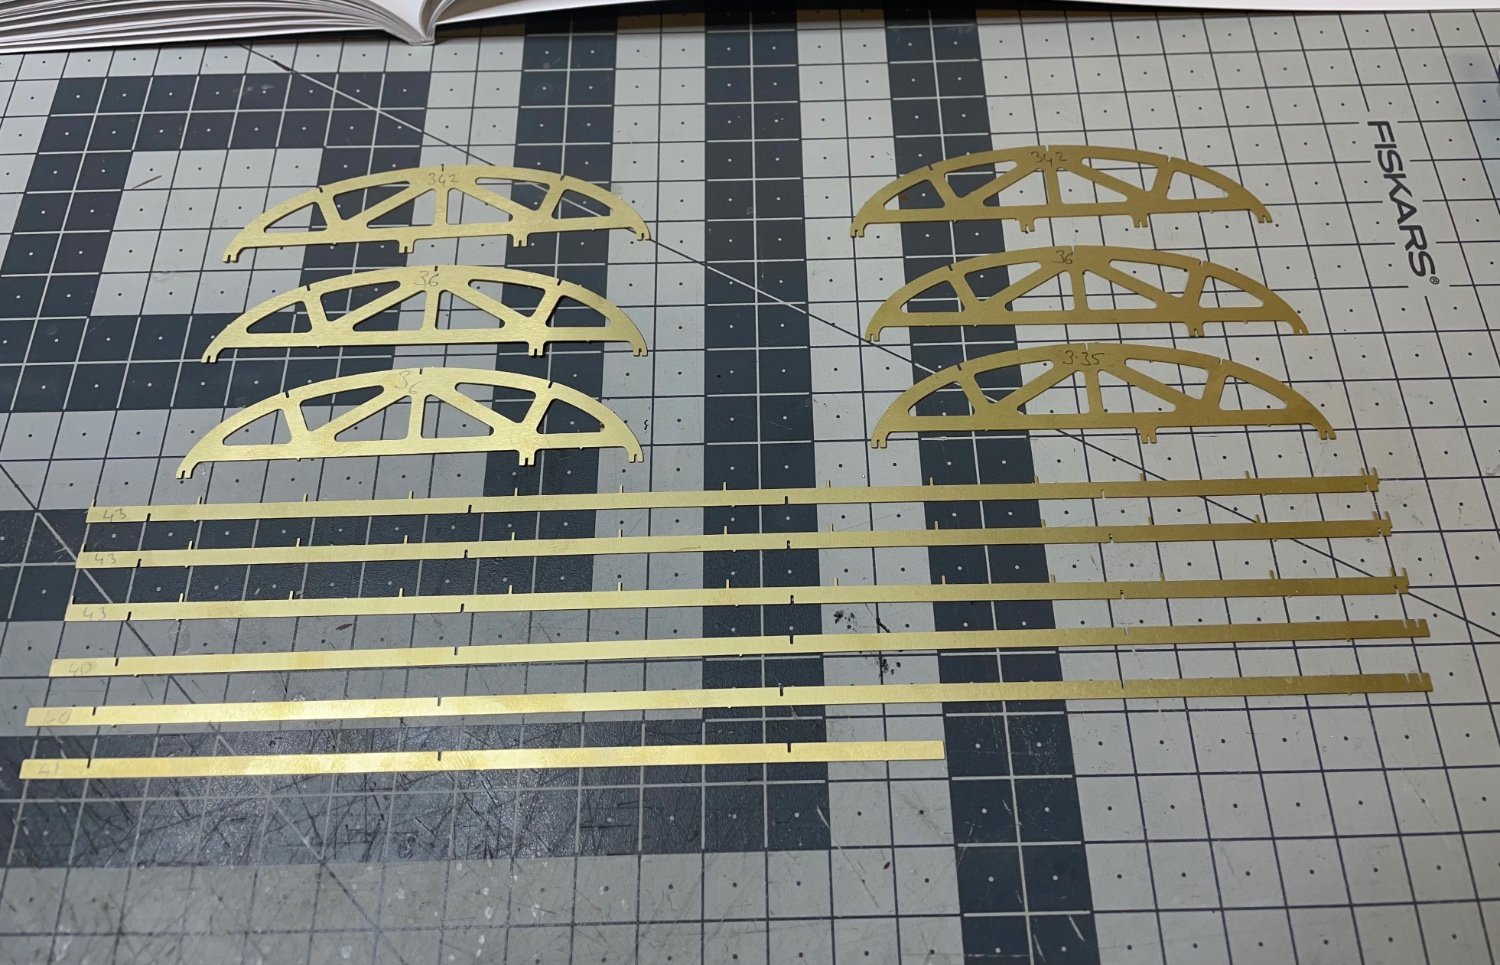
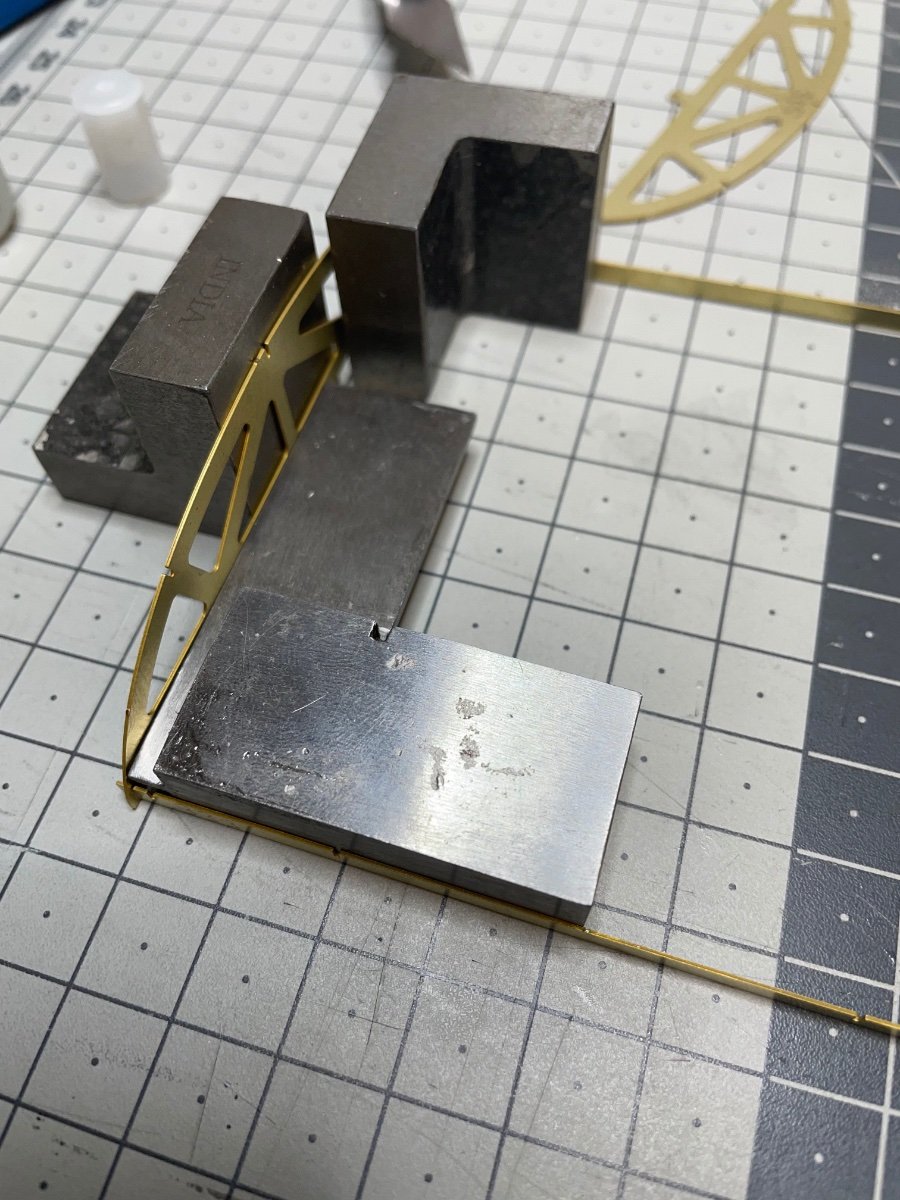
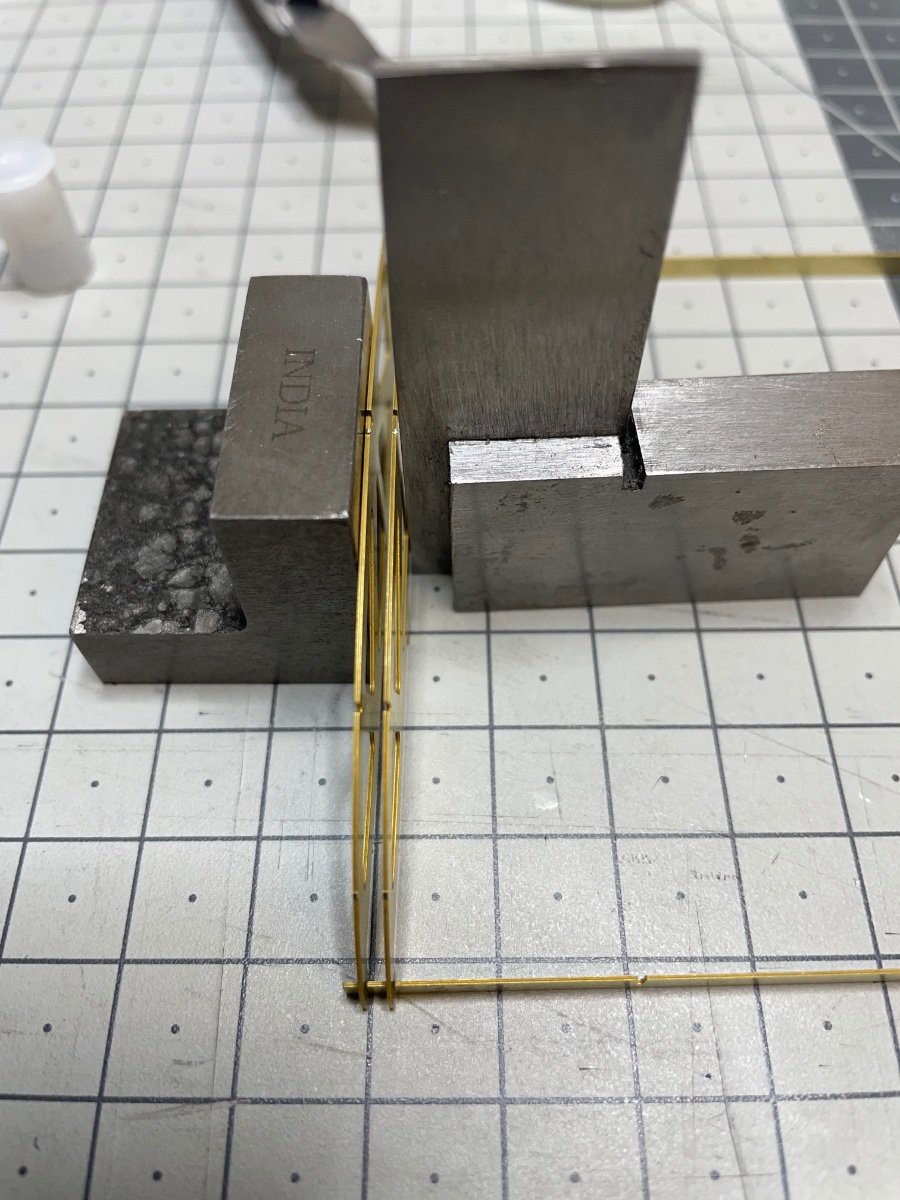
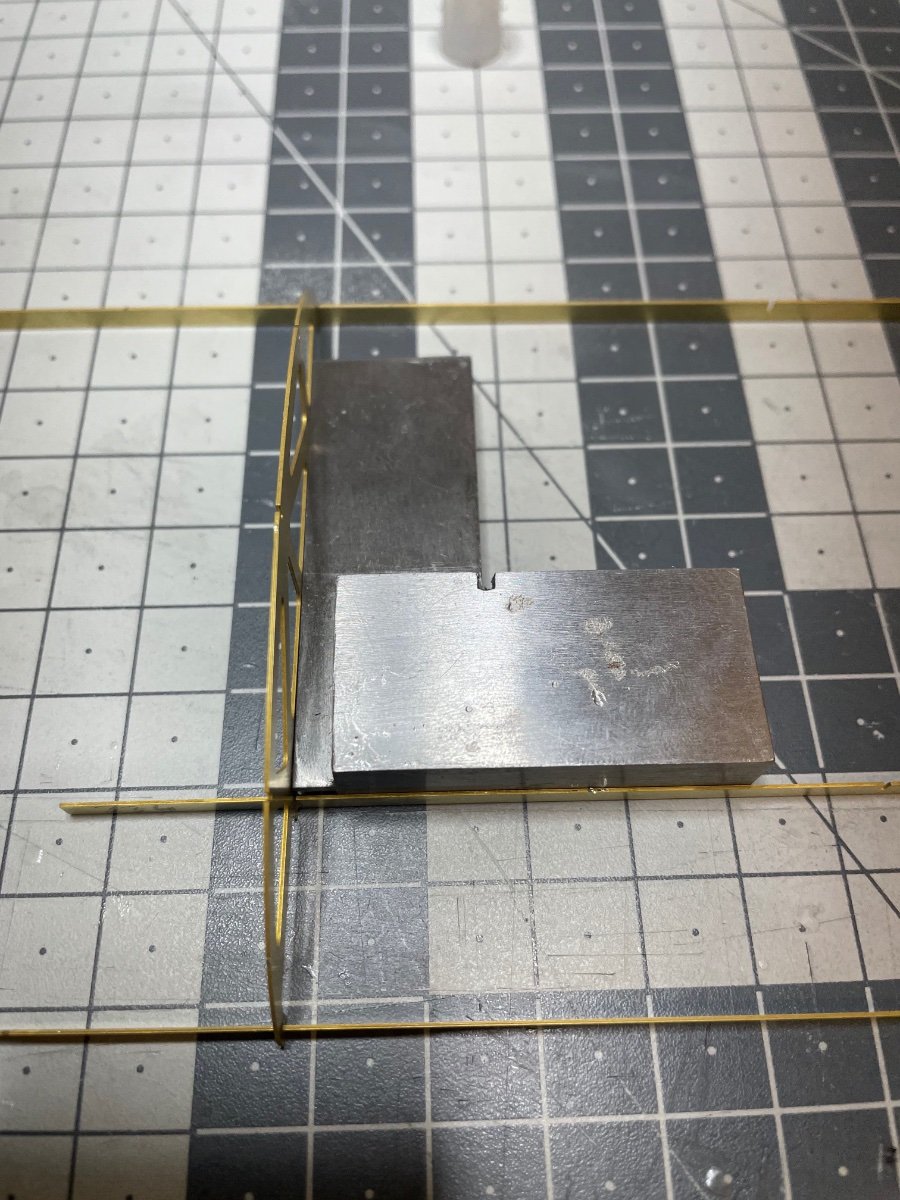
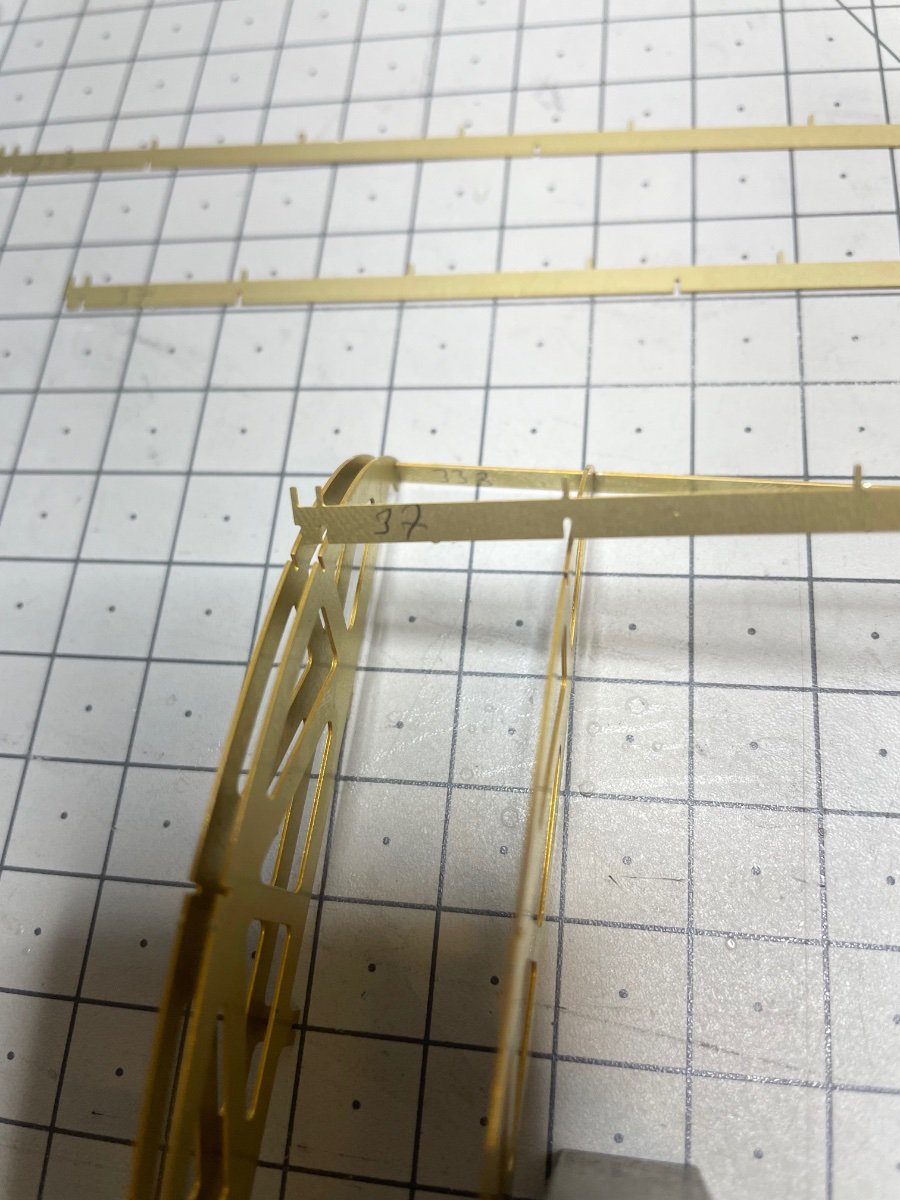
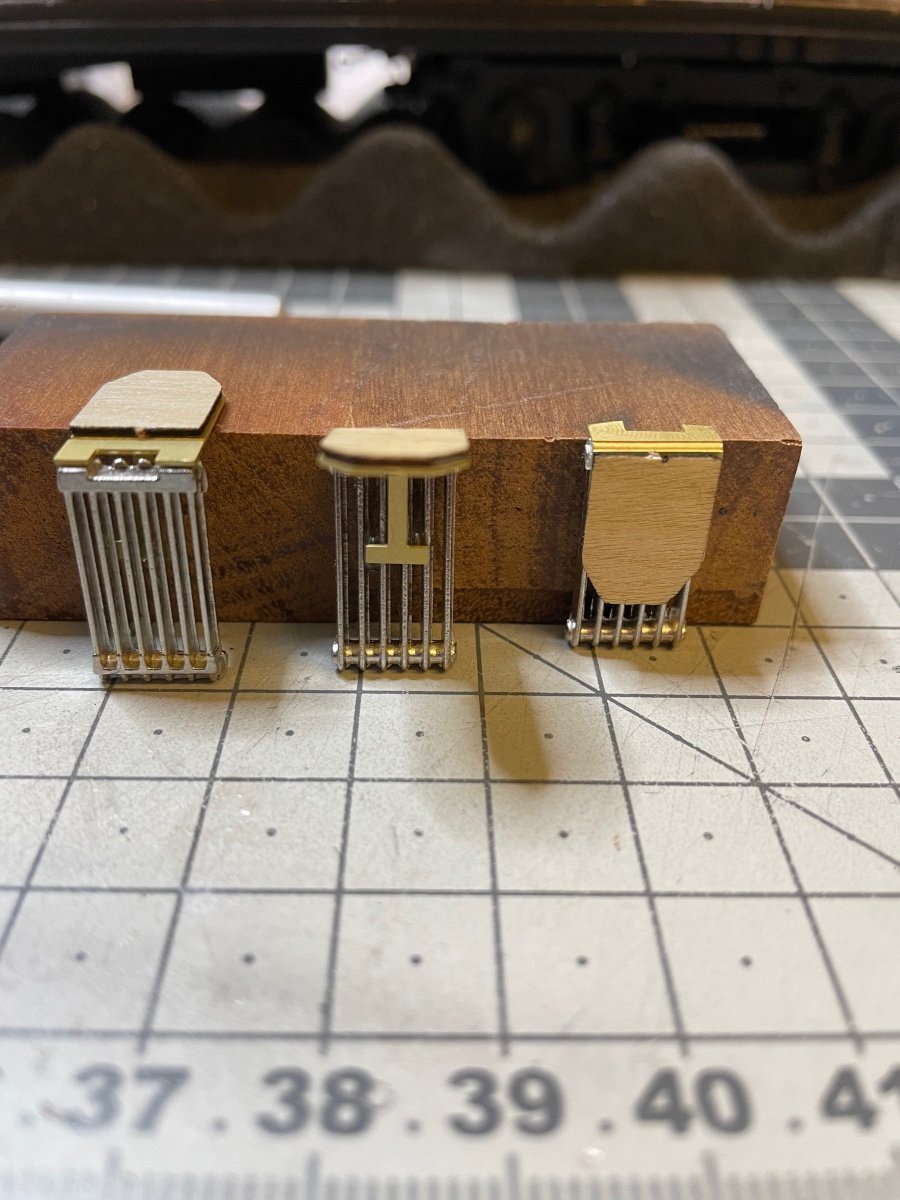
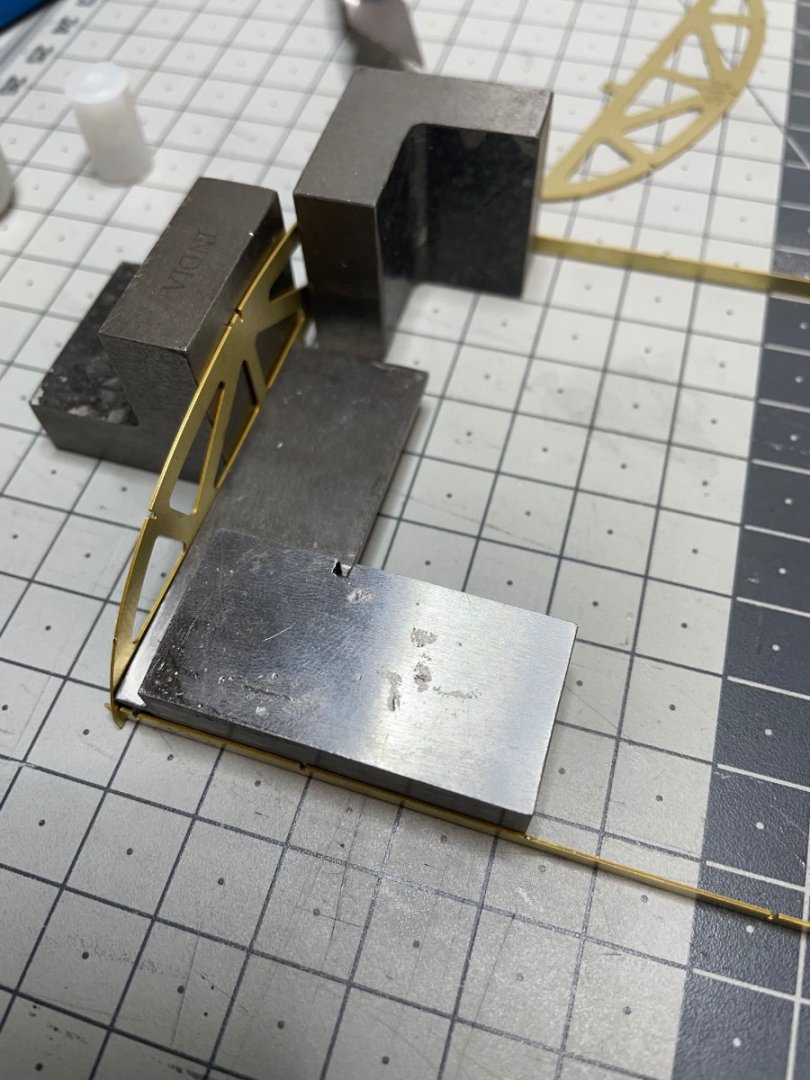
Roof is a combination of three constructions, which will be finally assembled together on common rails. The completed roof structure will not be glued to the carriage, instead it will be removable to make it possible to show the inside to your friends. Figures 401-407: The first construction. The parts are very precise and they fit perfect. I used CA glue all the way, using different viscosities depending. Paying attention to alignments is the key in achieving a correct structure, hence I took my time with ensuring right angles.


- 293 replies
-
- 14
-
-
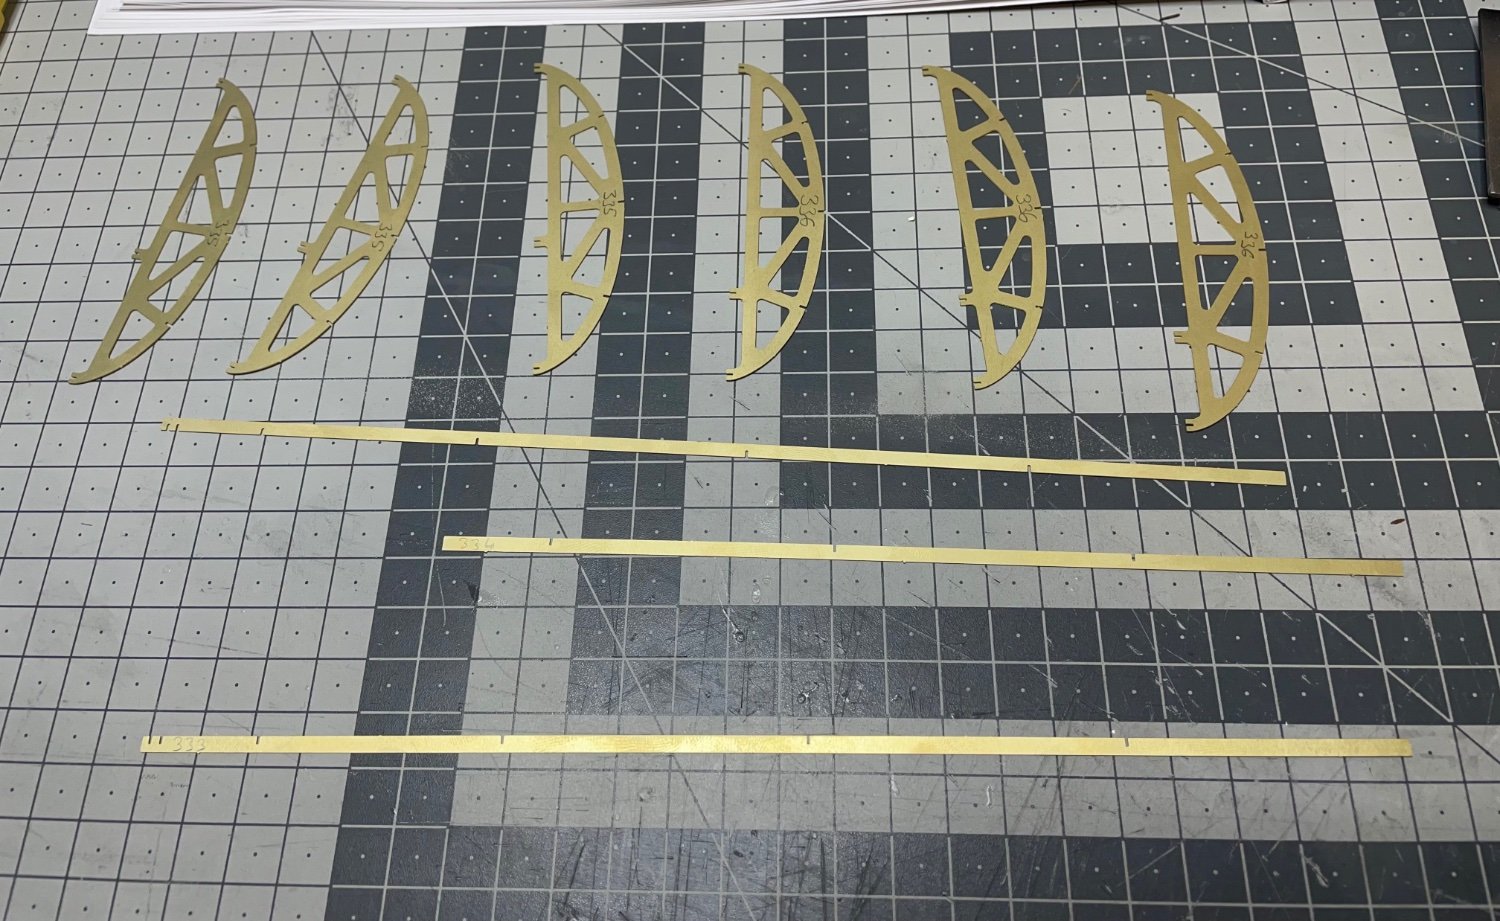
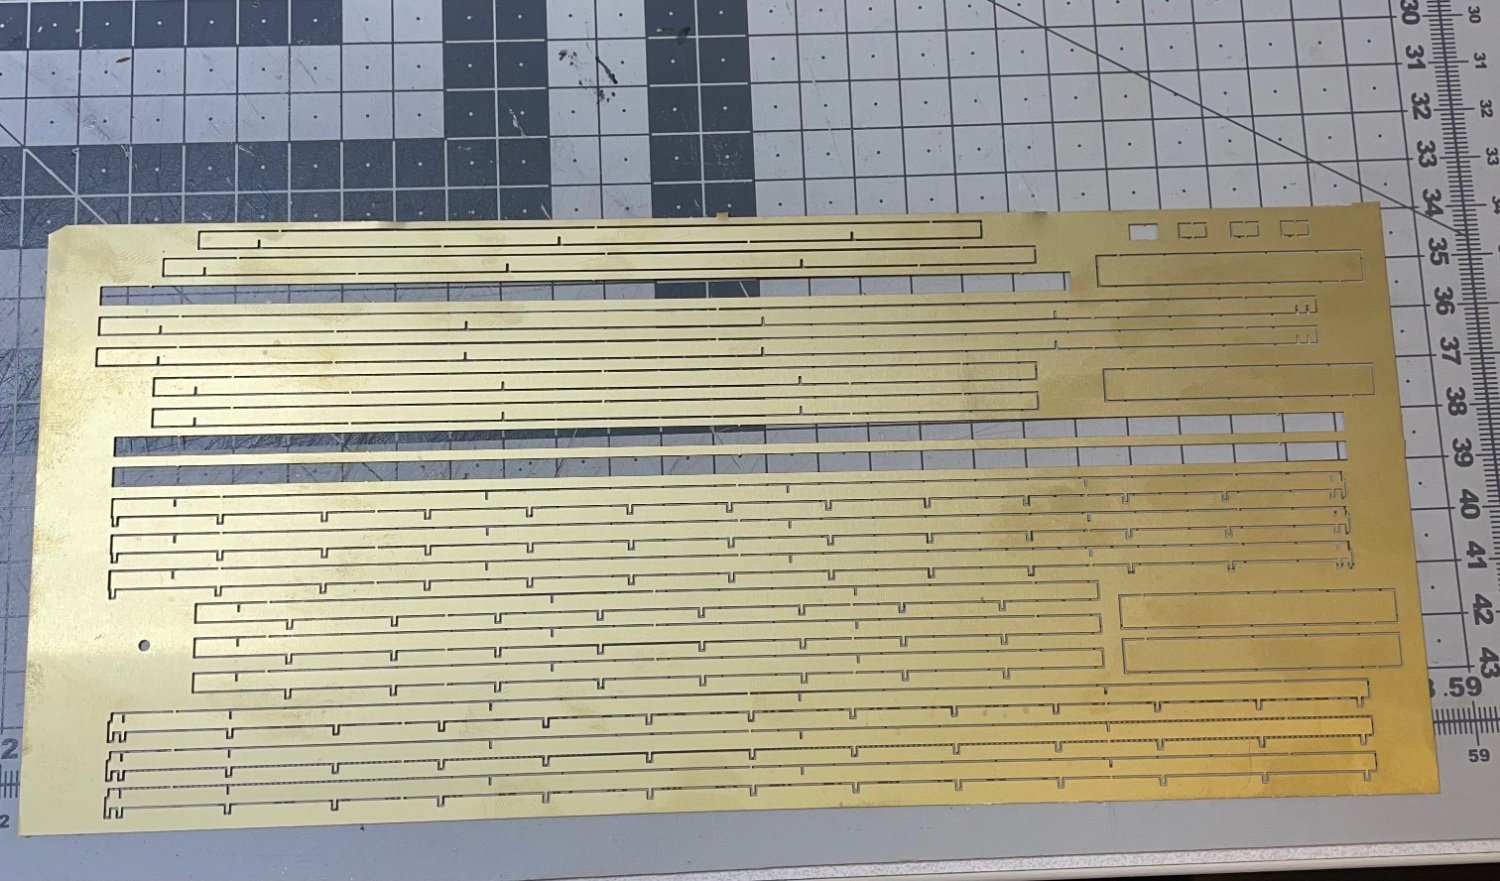
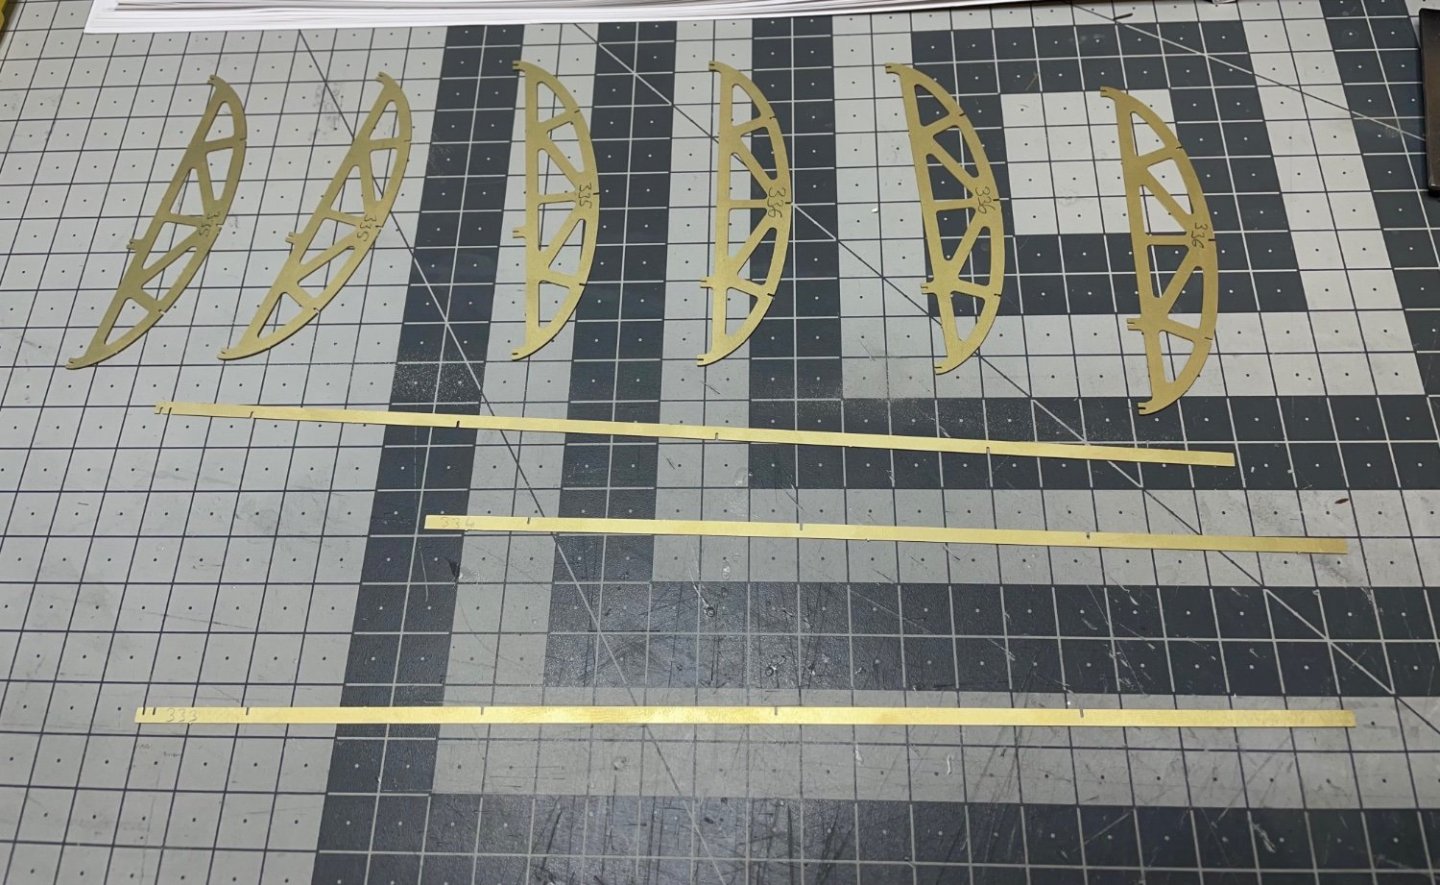
BUILD DAY 39 / 2.5 hr / (TOTAL: 101 hrs) I ruined my good old airbrush a few days ago. While waiting for the new (and the better) one to arrive, I continue with the roof construction. Figure 401 : One of the etched sheets of roof parts. You really want to number and remove each part from the sheet one by one as you go along in order to avoid finding out you glued the wrong piece .

- 293 replies
-
- 12
-
-

-
BUILD DAY 38 / 0.5 hr / (TOTAL: 98.5 hrs) Figure 398-400: Today I spent about half an hour installing the footplates at both ends of the wagon.
- 293 replies
-
- 15
-
-
That could have worked, too, I guess. I do have Gorilla Glue actually but it didn't occur to me. Though, there is very limited possibility to clamp anywhere on the structure it would be very difficult to keep the parts squeezed until the glue has cured. But anyway, now I did it this way and the result was satisfactory enough 🙂.
- 293 replies
-
- 13
-
-
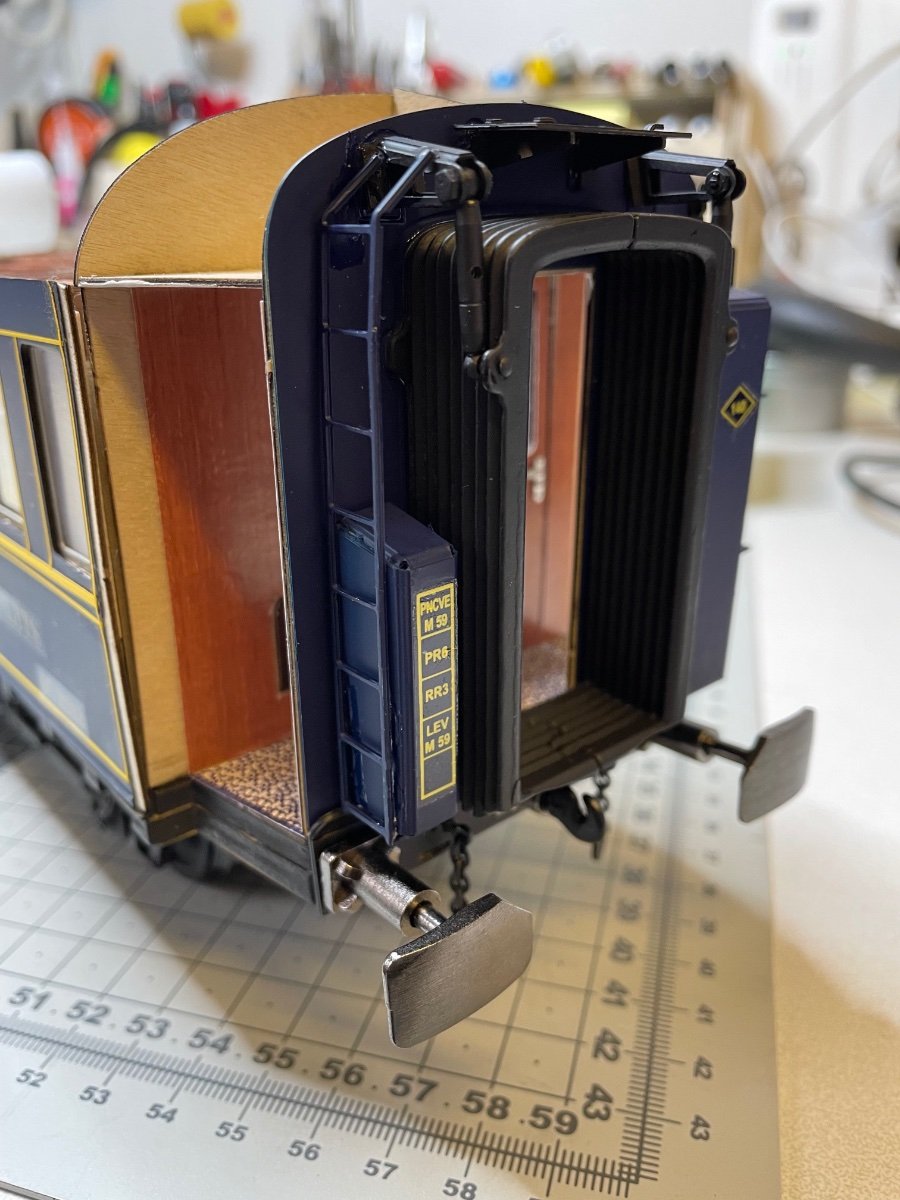
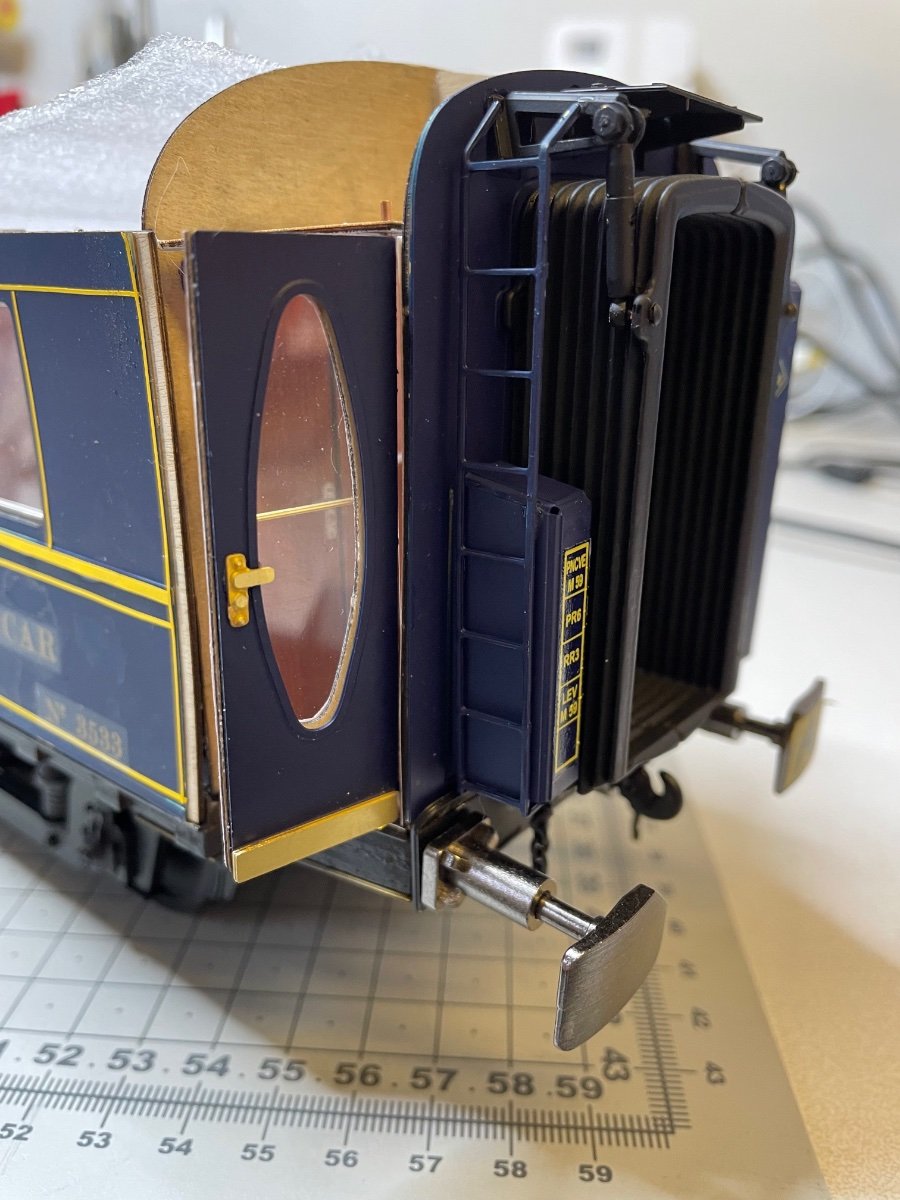
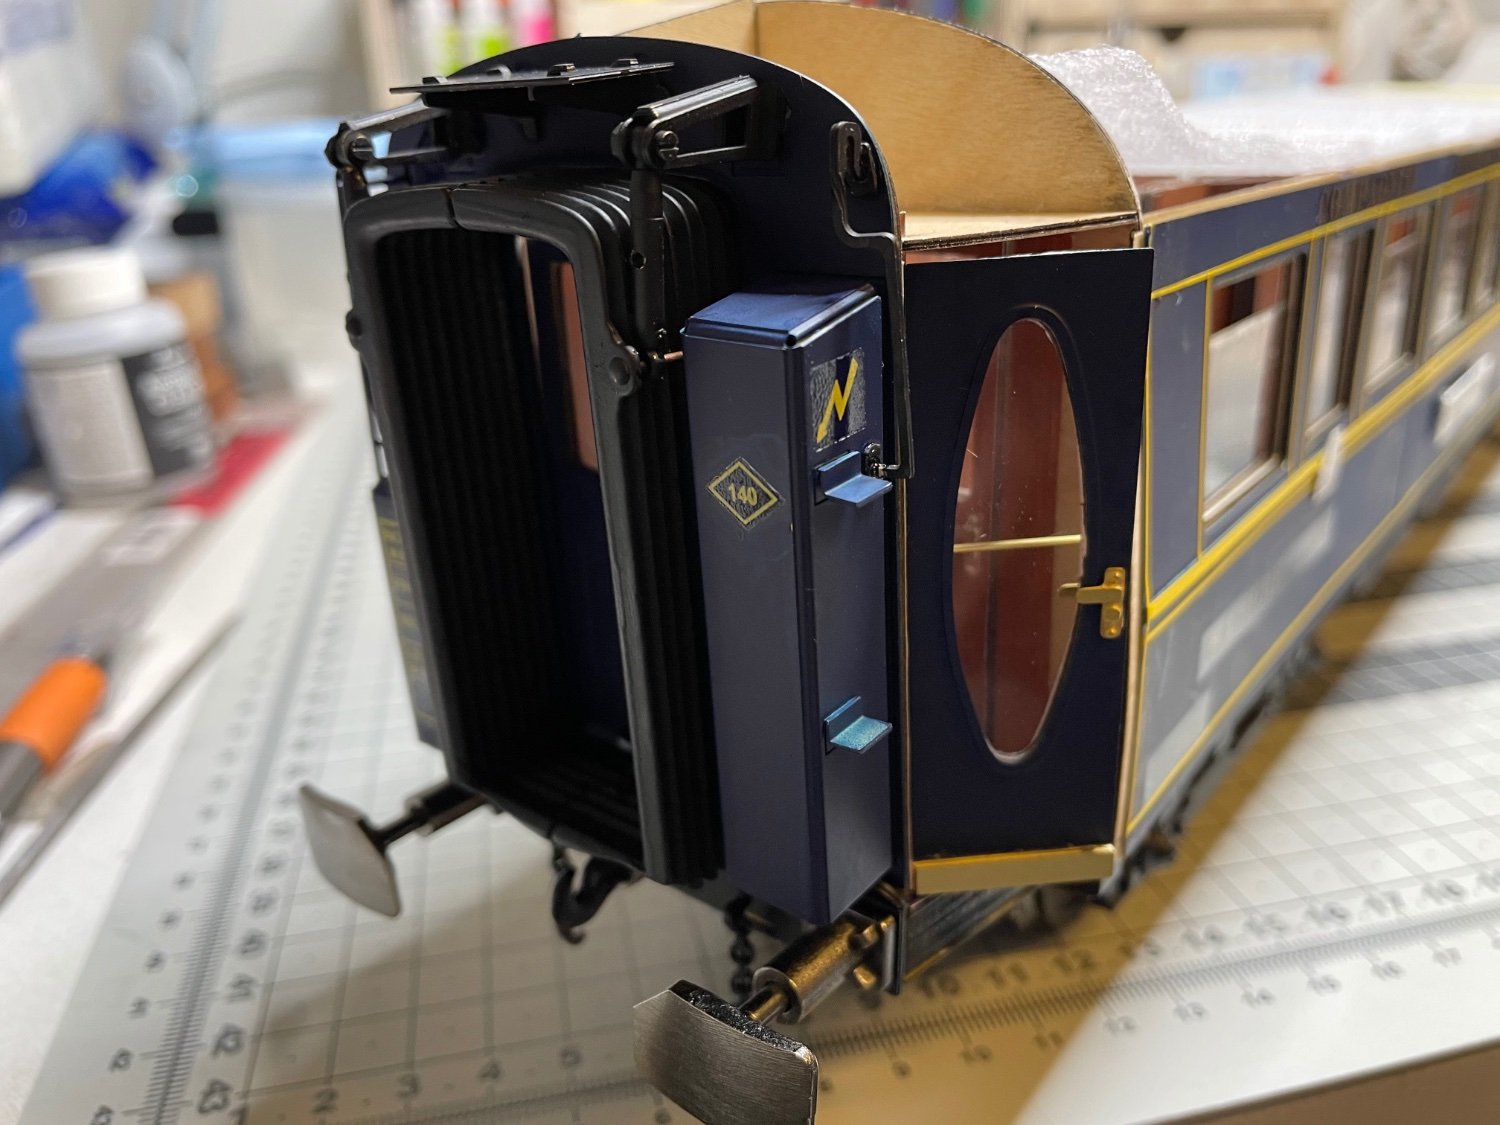
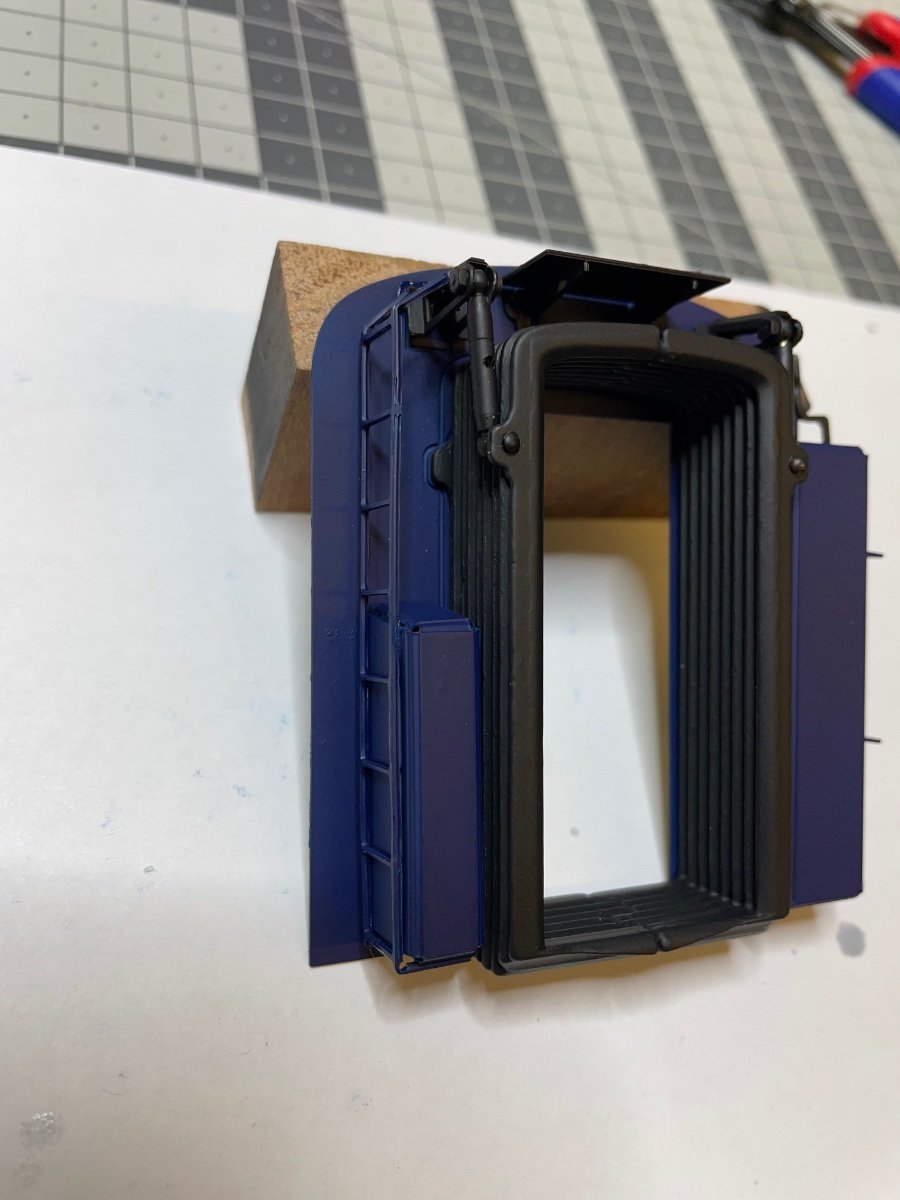
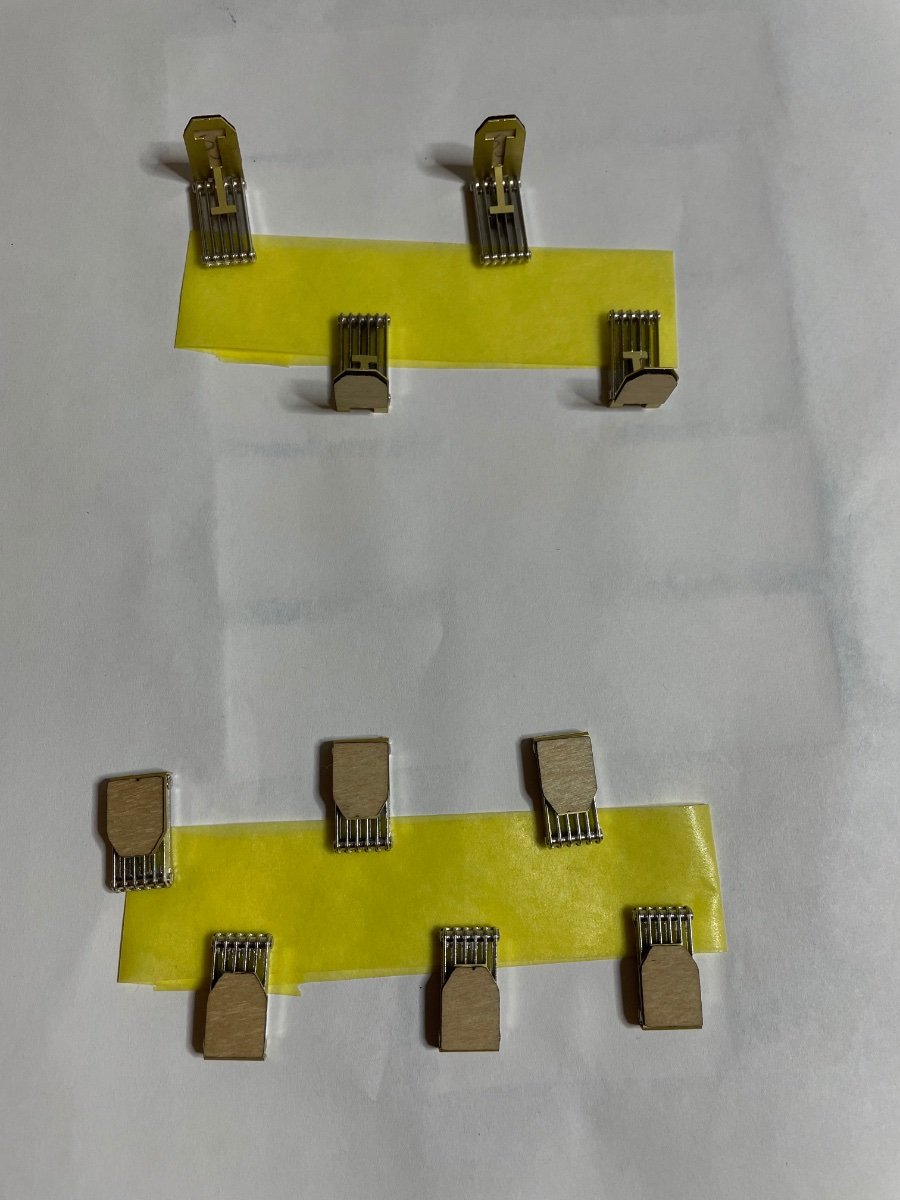
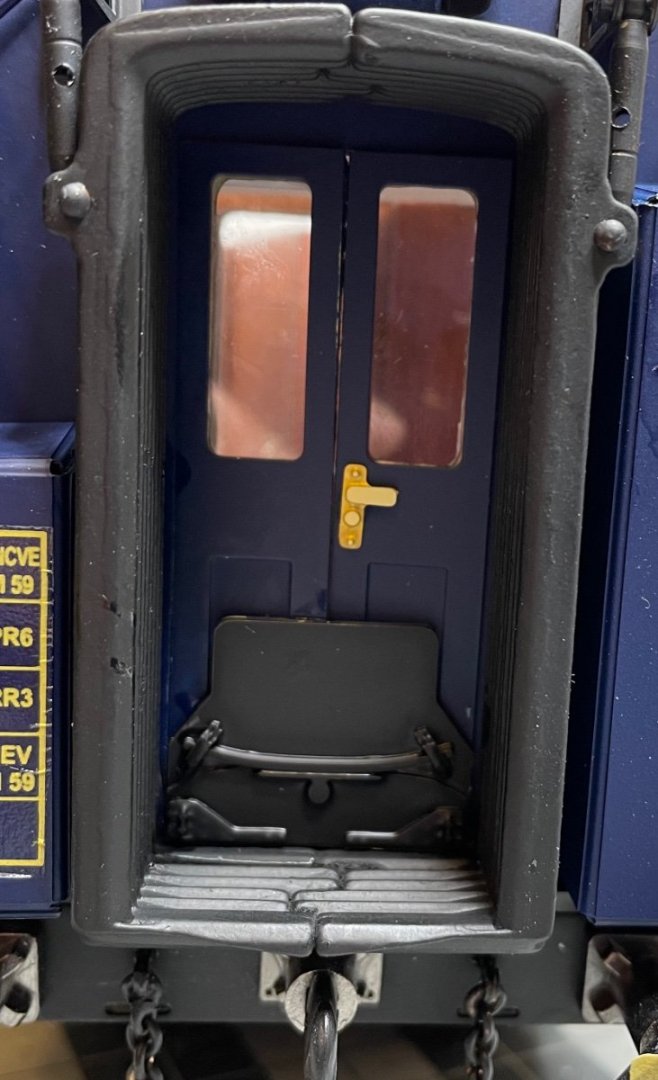
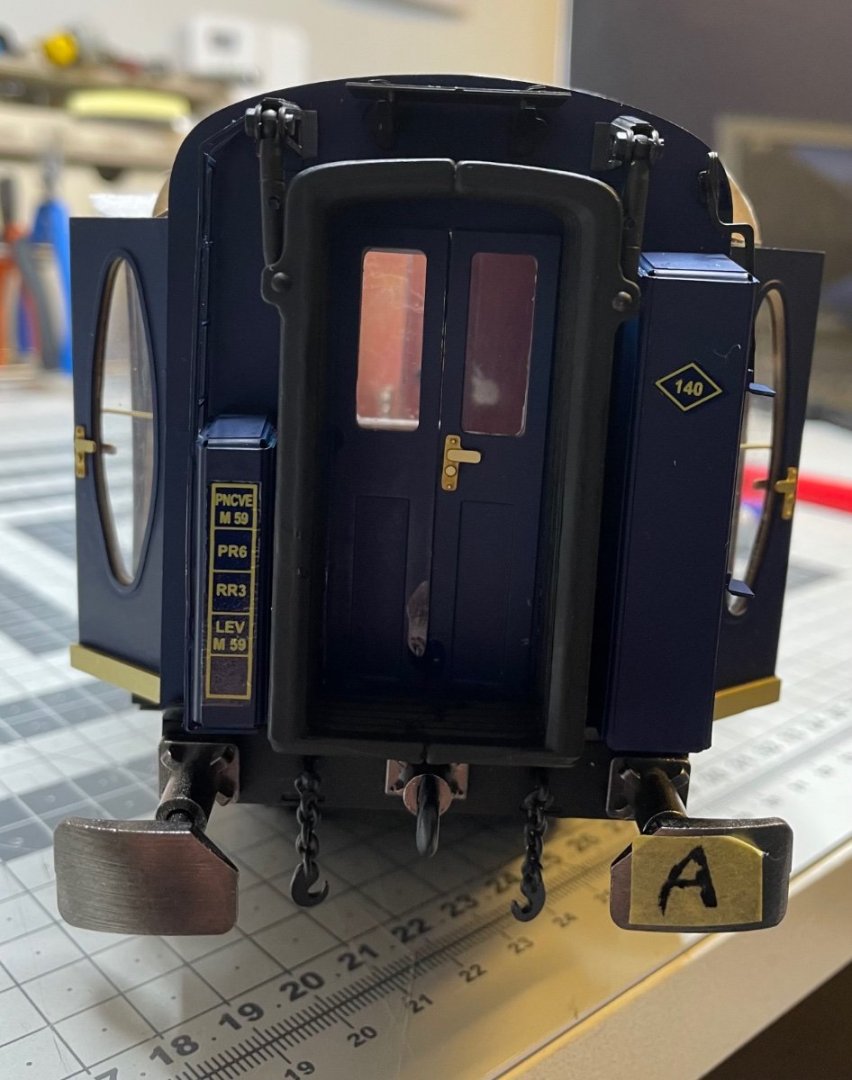
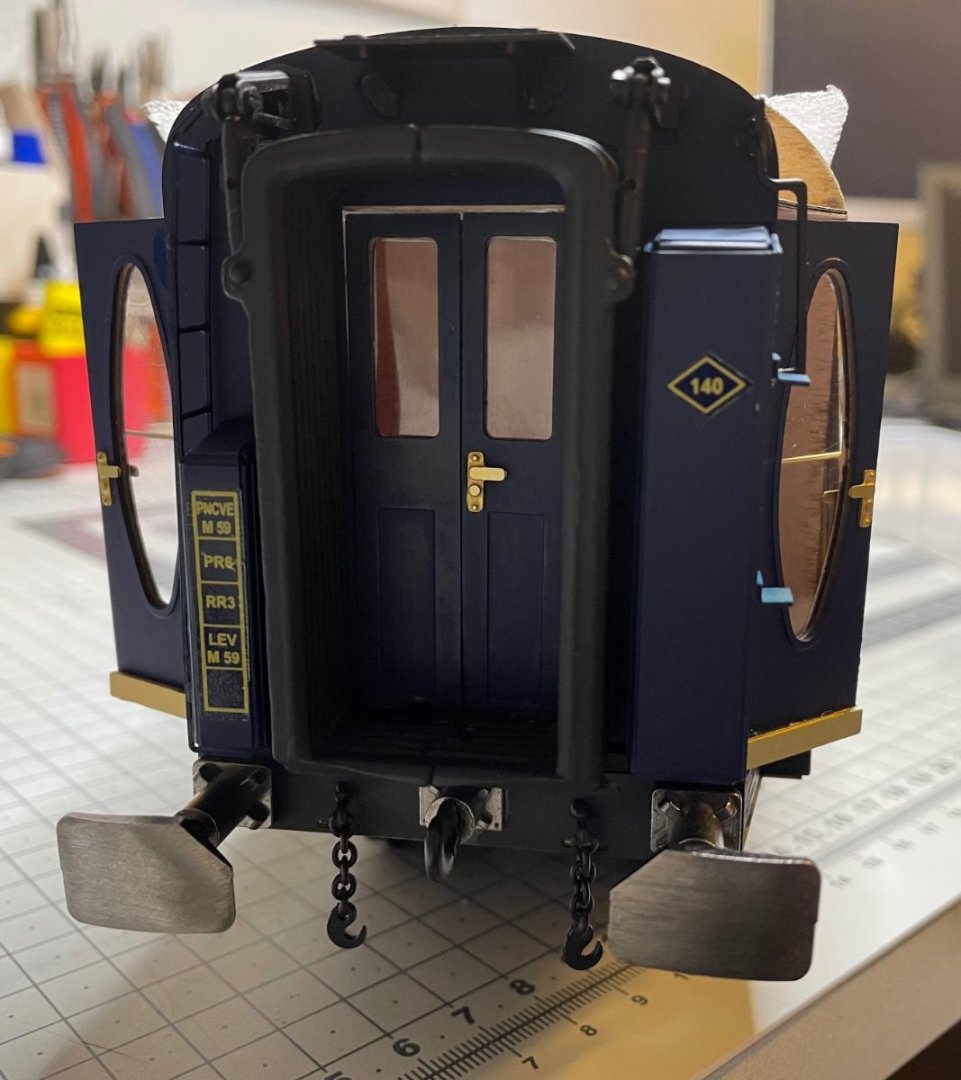
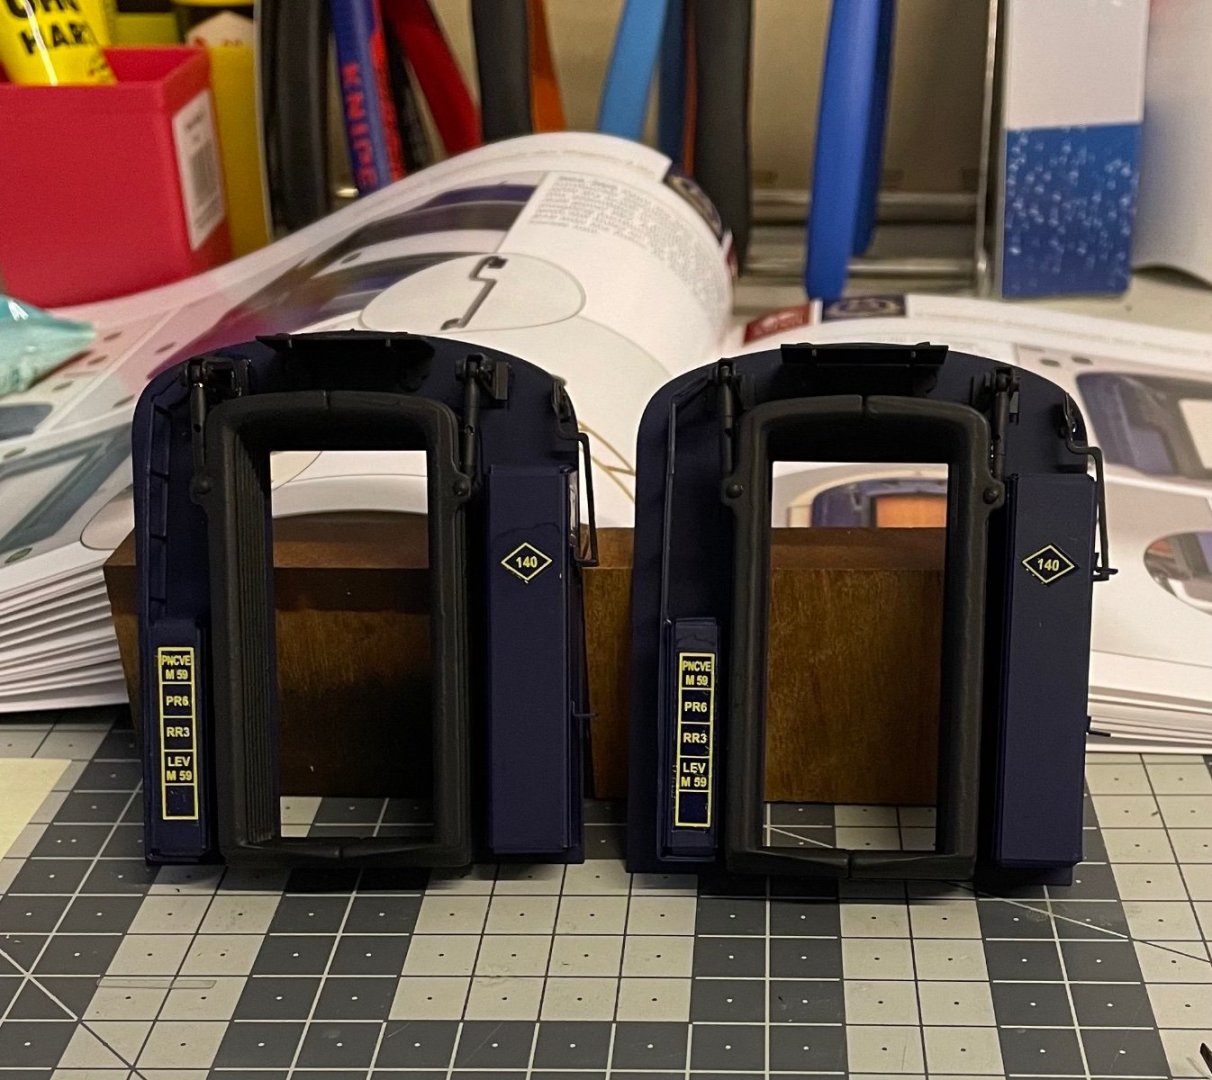
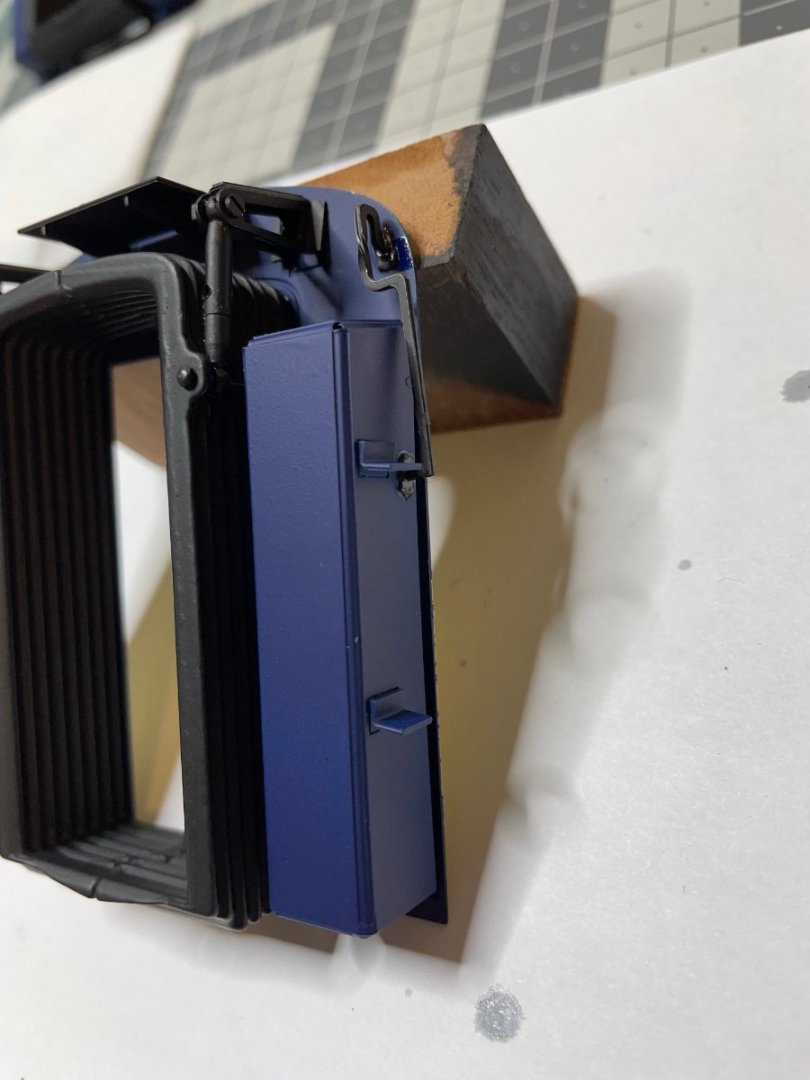
Assembling the head ends (with bellows) as well as the swing doors and lobby doors I had prepared earlier. The swing doors on either side of the bellows, as the name suggests, swing open and close, with the help of a copper bar. The small doors inside the bellows are fixed. There will come a folded iron plate glued on them later. That plate is supposed to be opened to form a "bridge" between the wagons to allow passage, when the doors are open. Figures 391-397: This is all for now. Thanks for watching!


- 293 replies
-
- 15
-
-
-
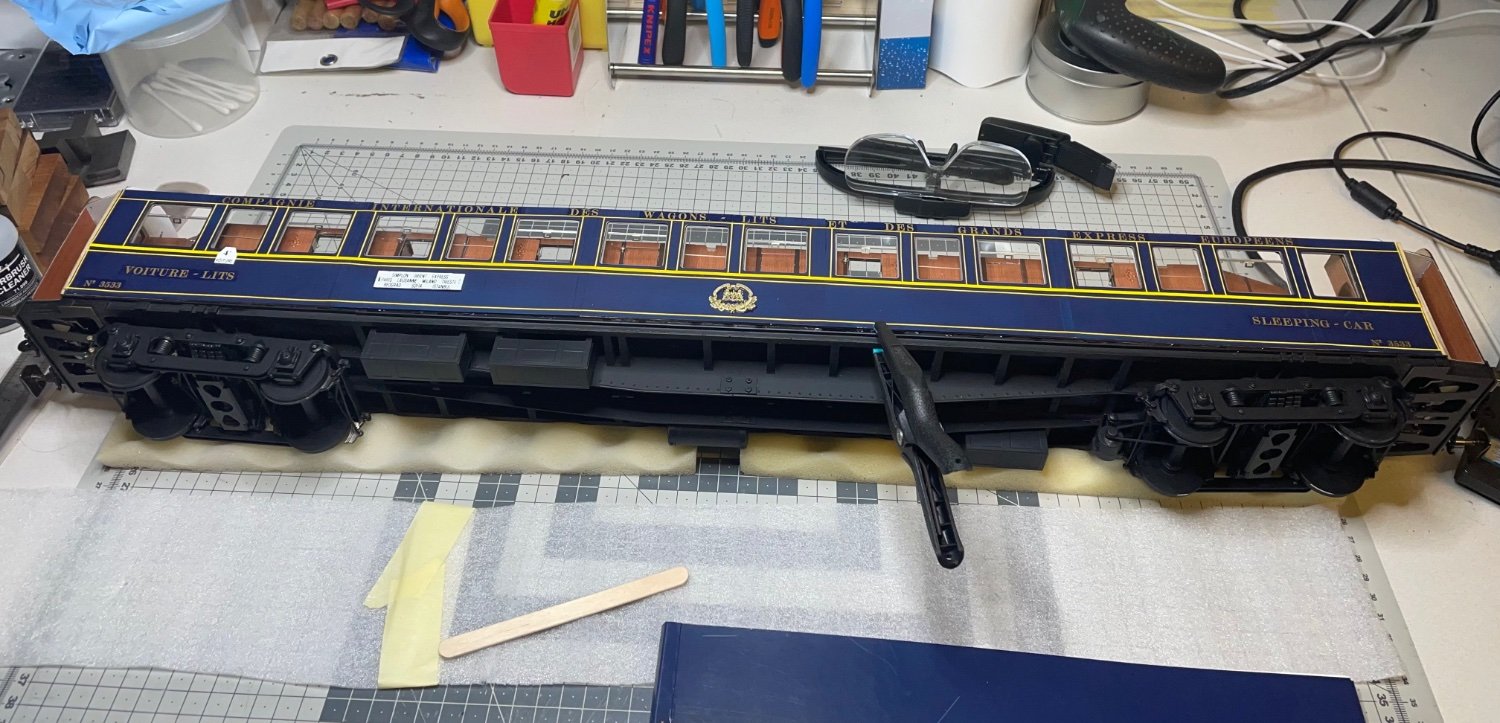
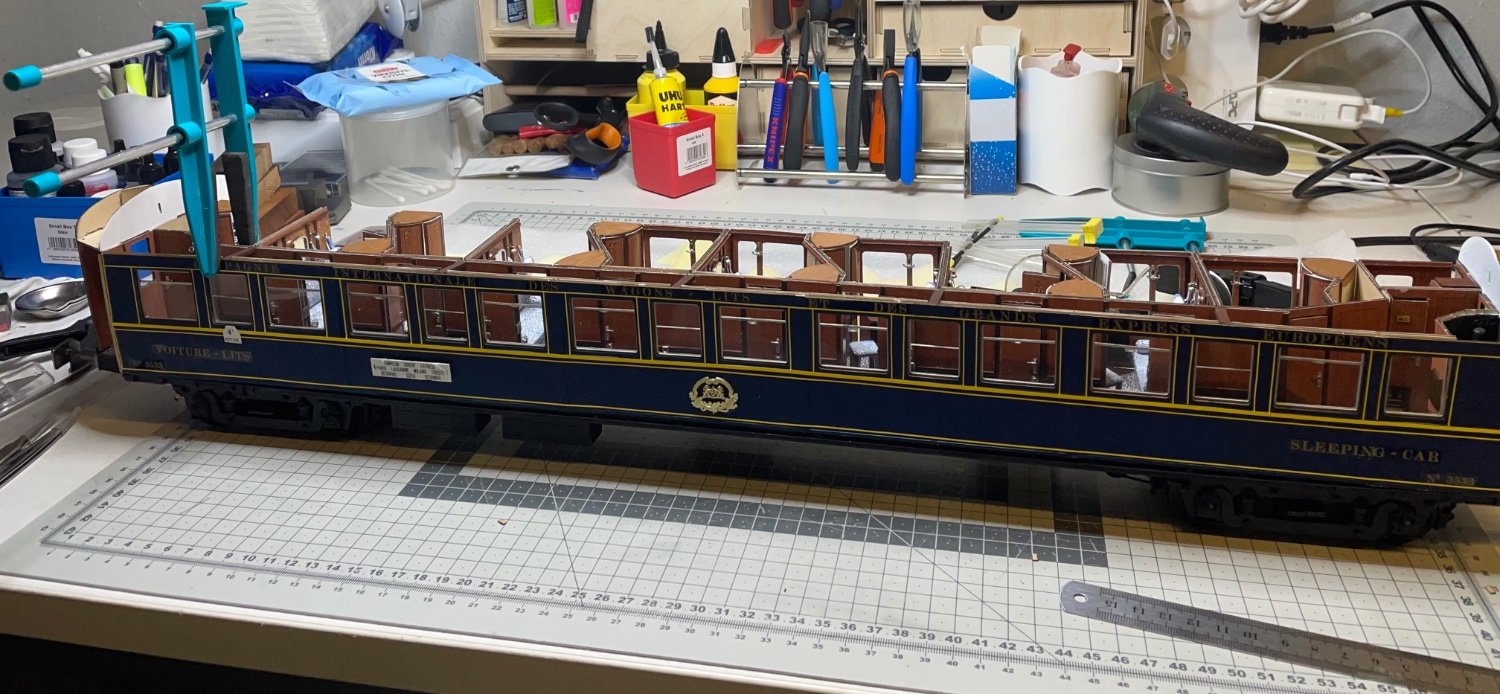
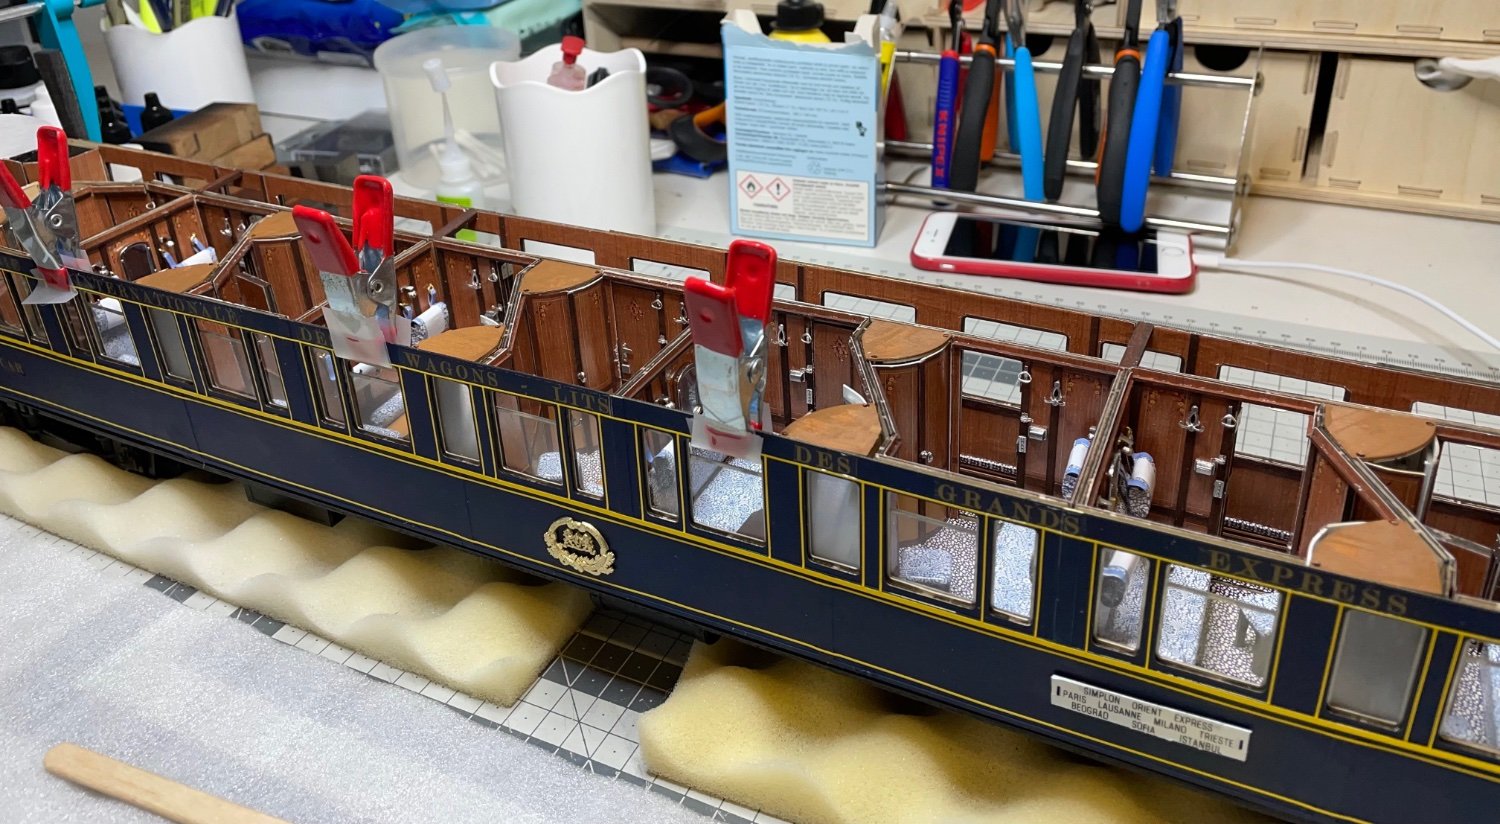
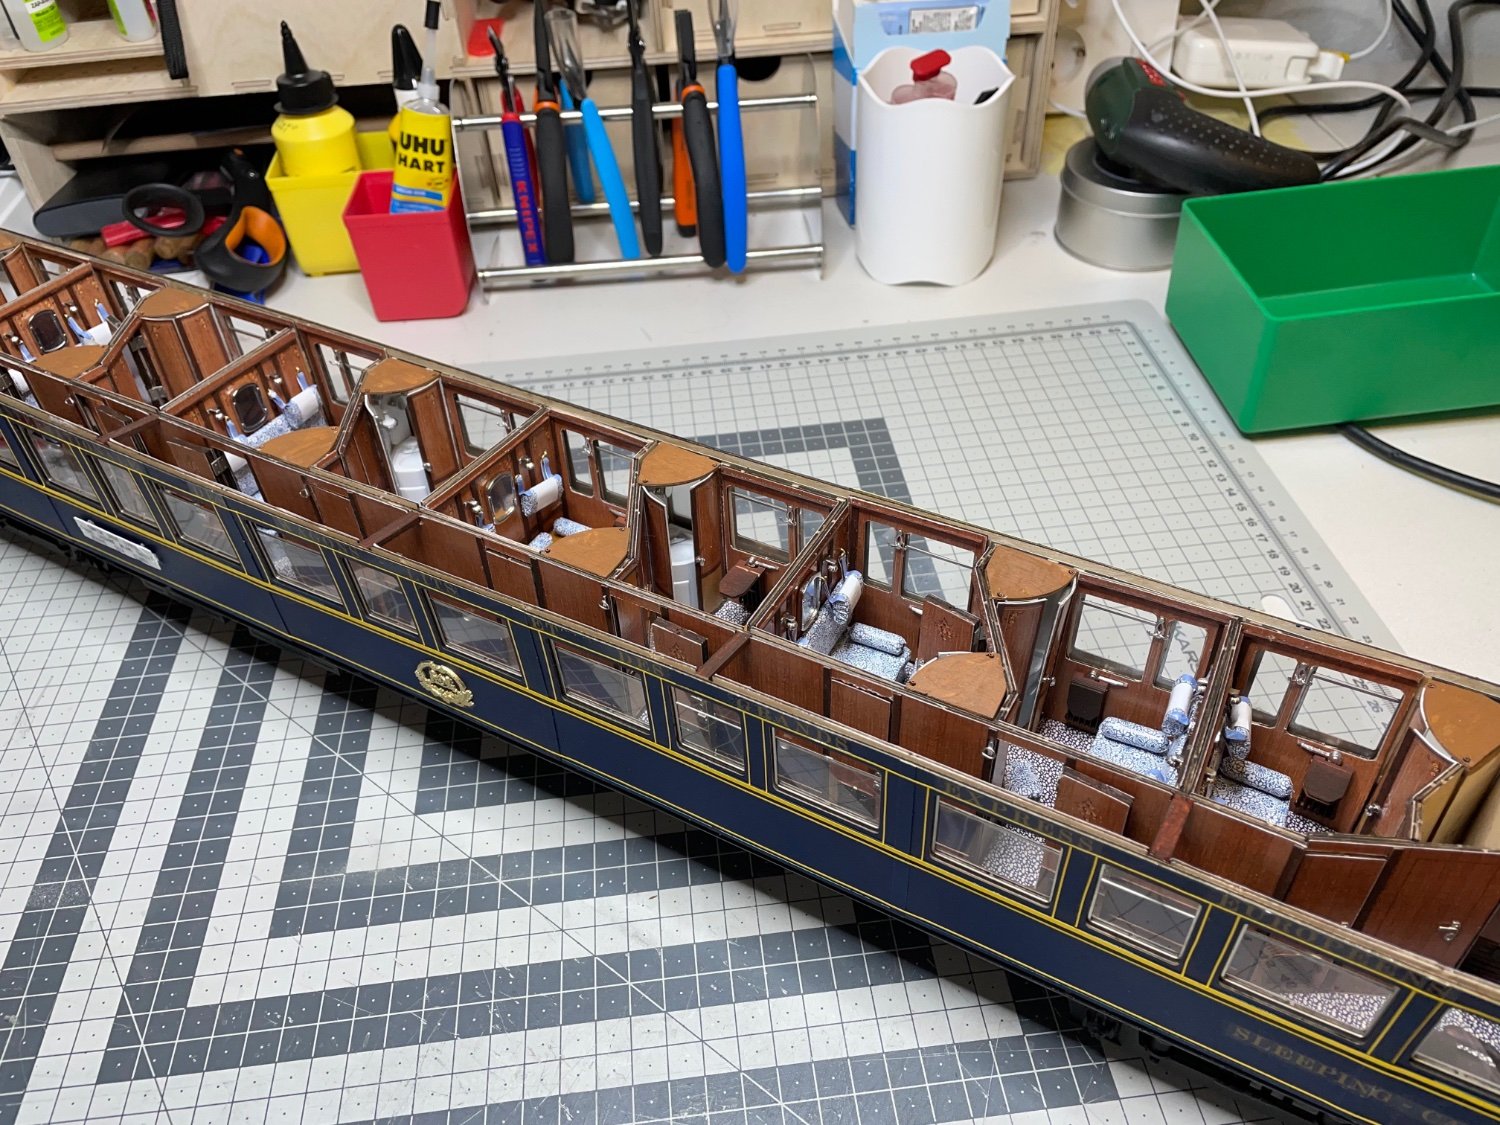
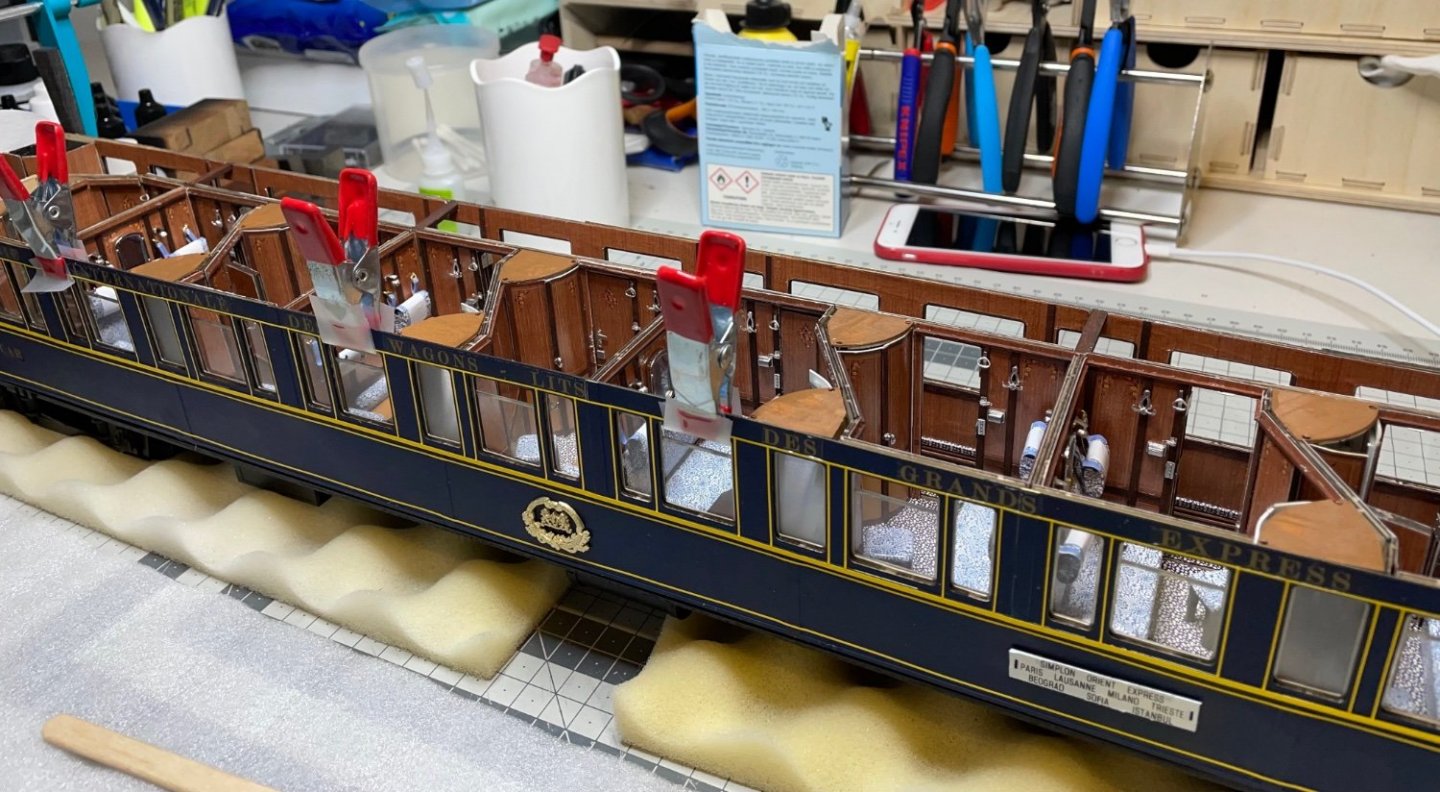
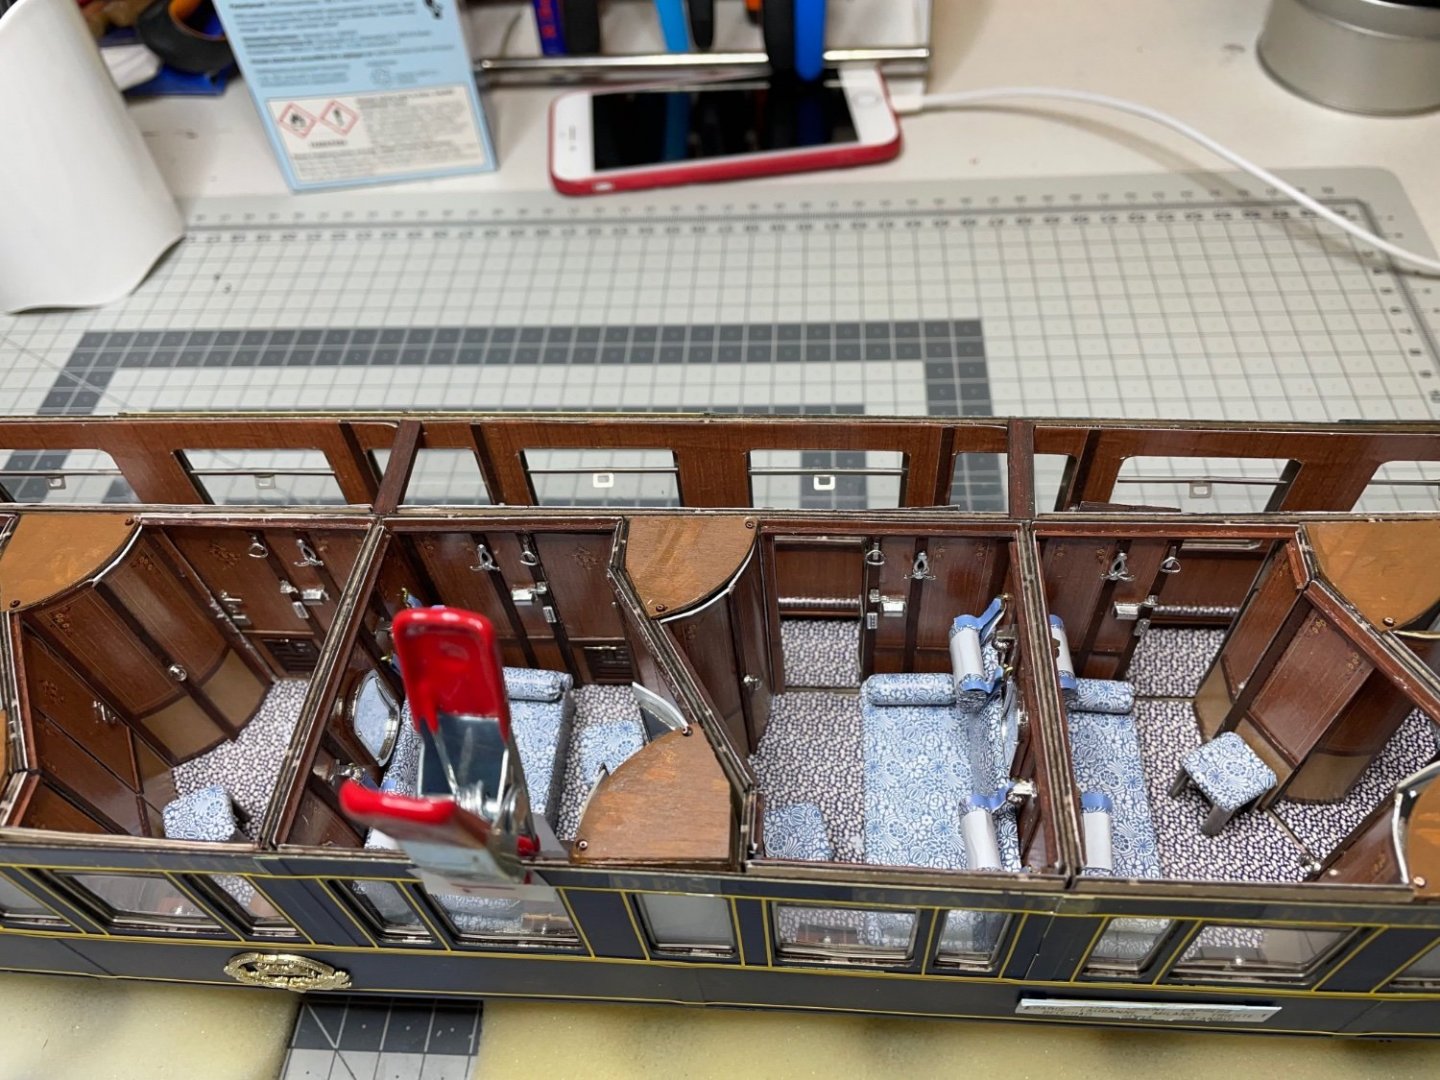
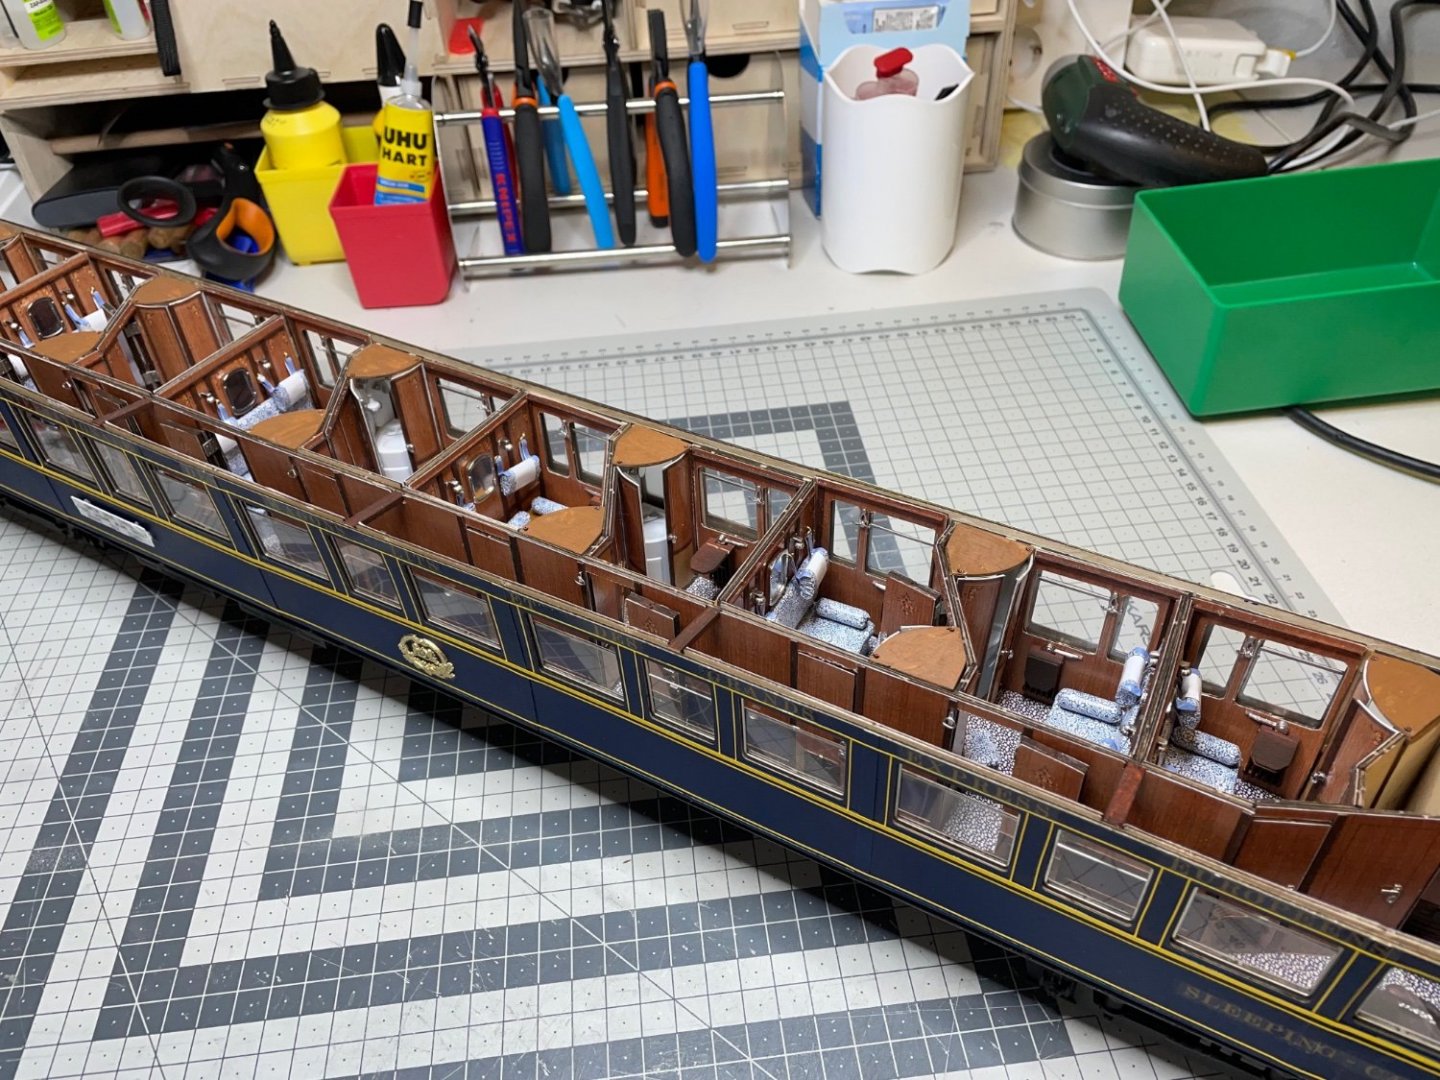
BUILD DAY 37 / 2 hr / (TOTAL: 98 hrs) The decals on carriage and head ends are ready, now finally it is time to assemble the carriage walls on the structure. A very delicate work where you use CA glue on a rather long structure and get the positioning right at first try. I dry tested and tested and tested and finally got the courage to do it. The idea of laying it on its side on a soft sponge helped get it done more easily. Below some photos showing the progress and the end result. Figures 385-390:


- 293 replies
-
- 14
-
-

-
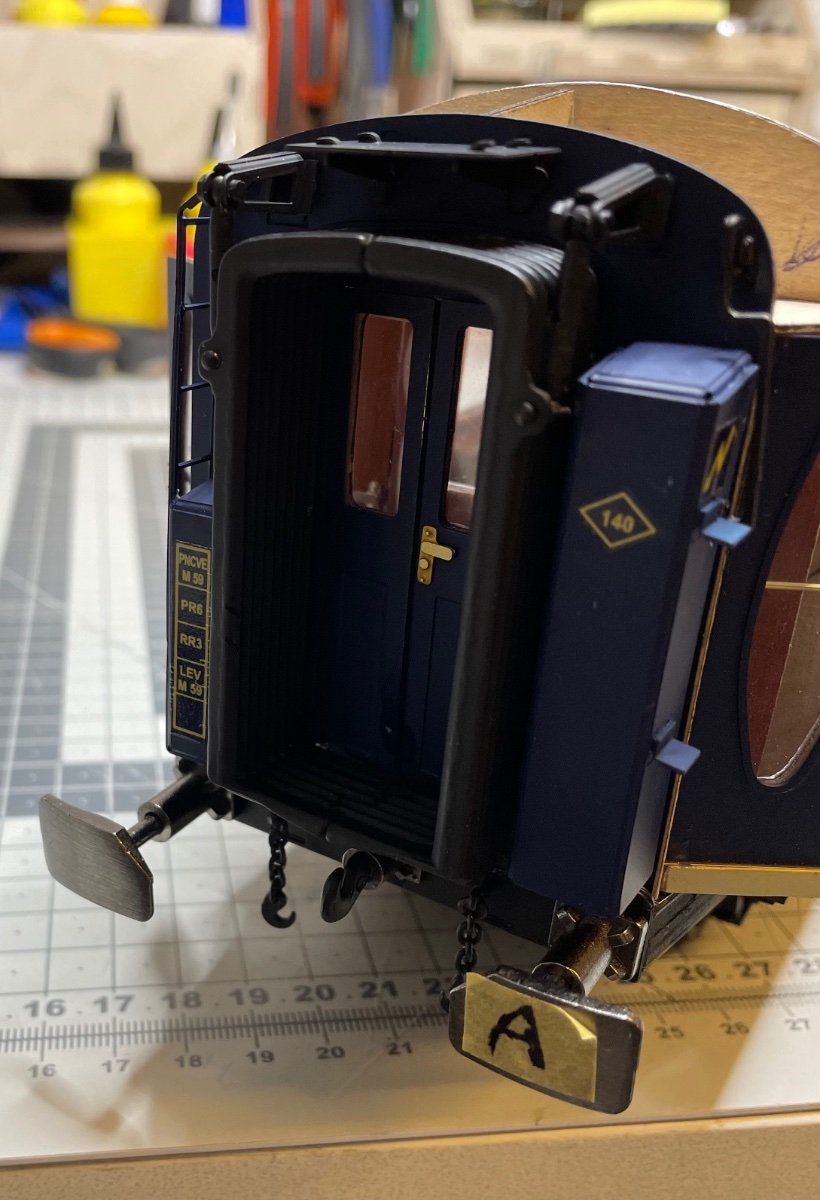
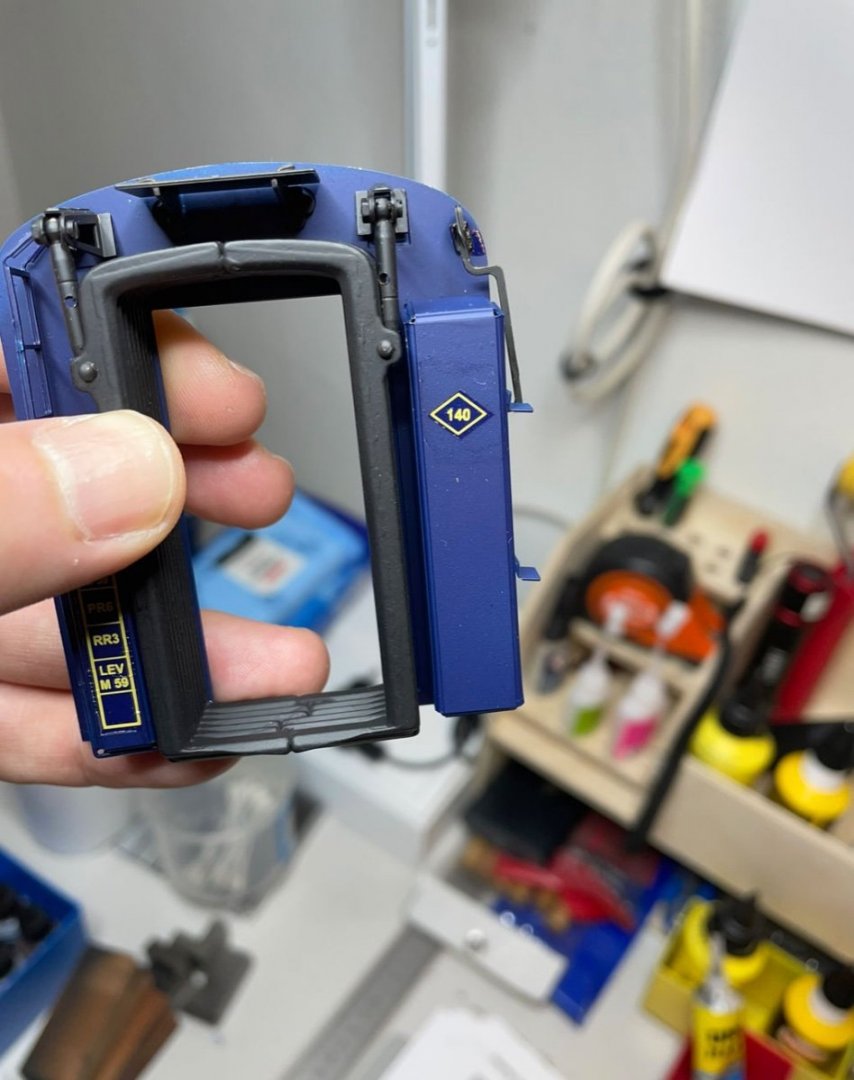
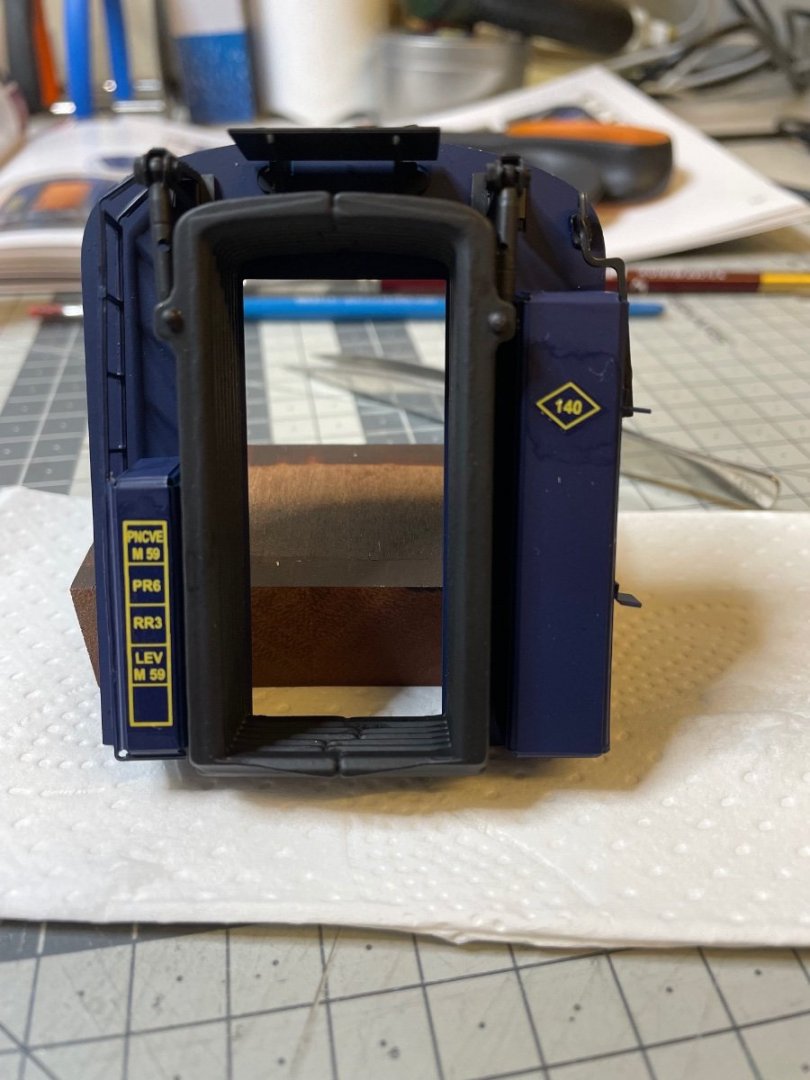
Thanks, Yves, I have been following the tips you posted earlier alongside the manufacturer's instructions and results are great. The residue around "140" decal is barely visible anymore (below), after one day from application. The photo is taken under direct table lamp.
- 293 replies
-
- 12
-
-
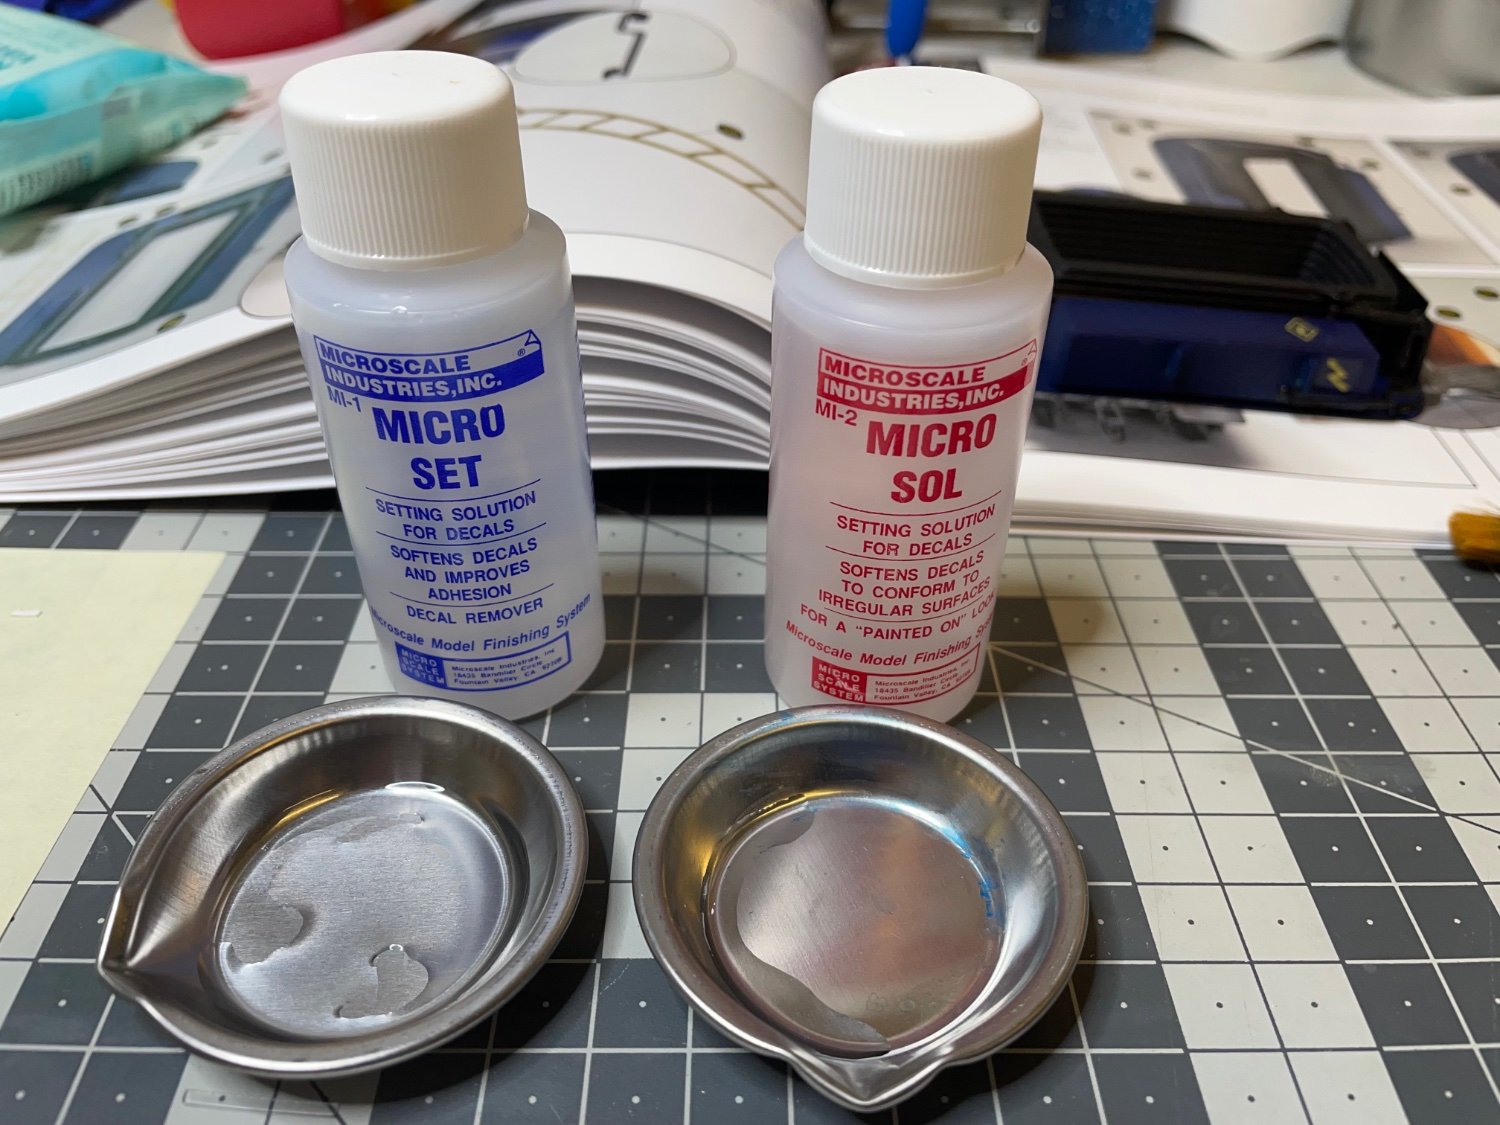
Figures 380 - 384: Now I try the Micro Set and Micro Sol chemicals for the first time. Overall they look much better than standard decal application and I am pleased with the result. The Micro Sol solution is mainly aimed for further softening the decal to better adapt to uneven and irregular surfaces. Even though the surfaces on this train are plain flat, I still used it since it helps them look more like a layer of paint than a sticker. I dropped a small amount of each on separate cups and used separate brushes for application. I didn't want to dip the brush directly into the bottle. For detail instructions visit this document from the manufacturer: http://www.microscale.com/Merchant2/graphics/Instructions/MSISysteminstr.pdf This is all for now. Thanks for watching!

- 293 replies
-
- 14
-
-
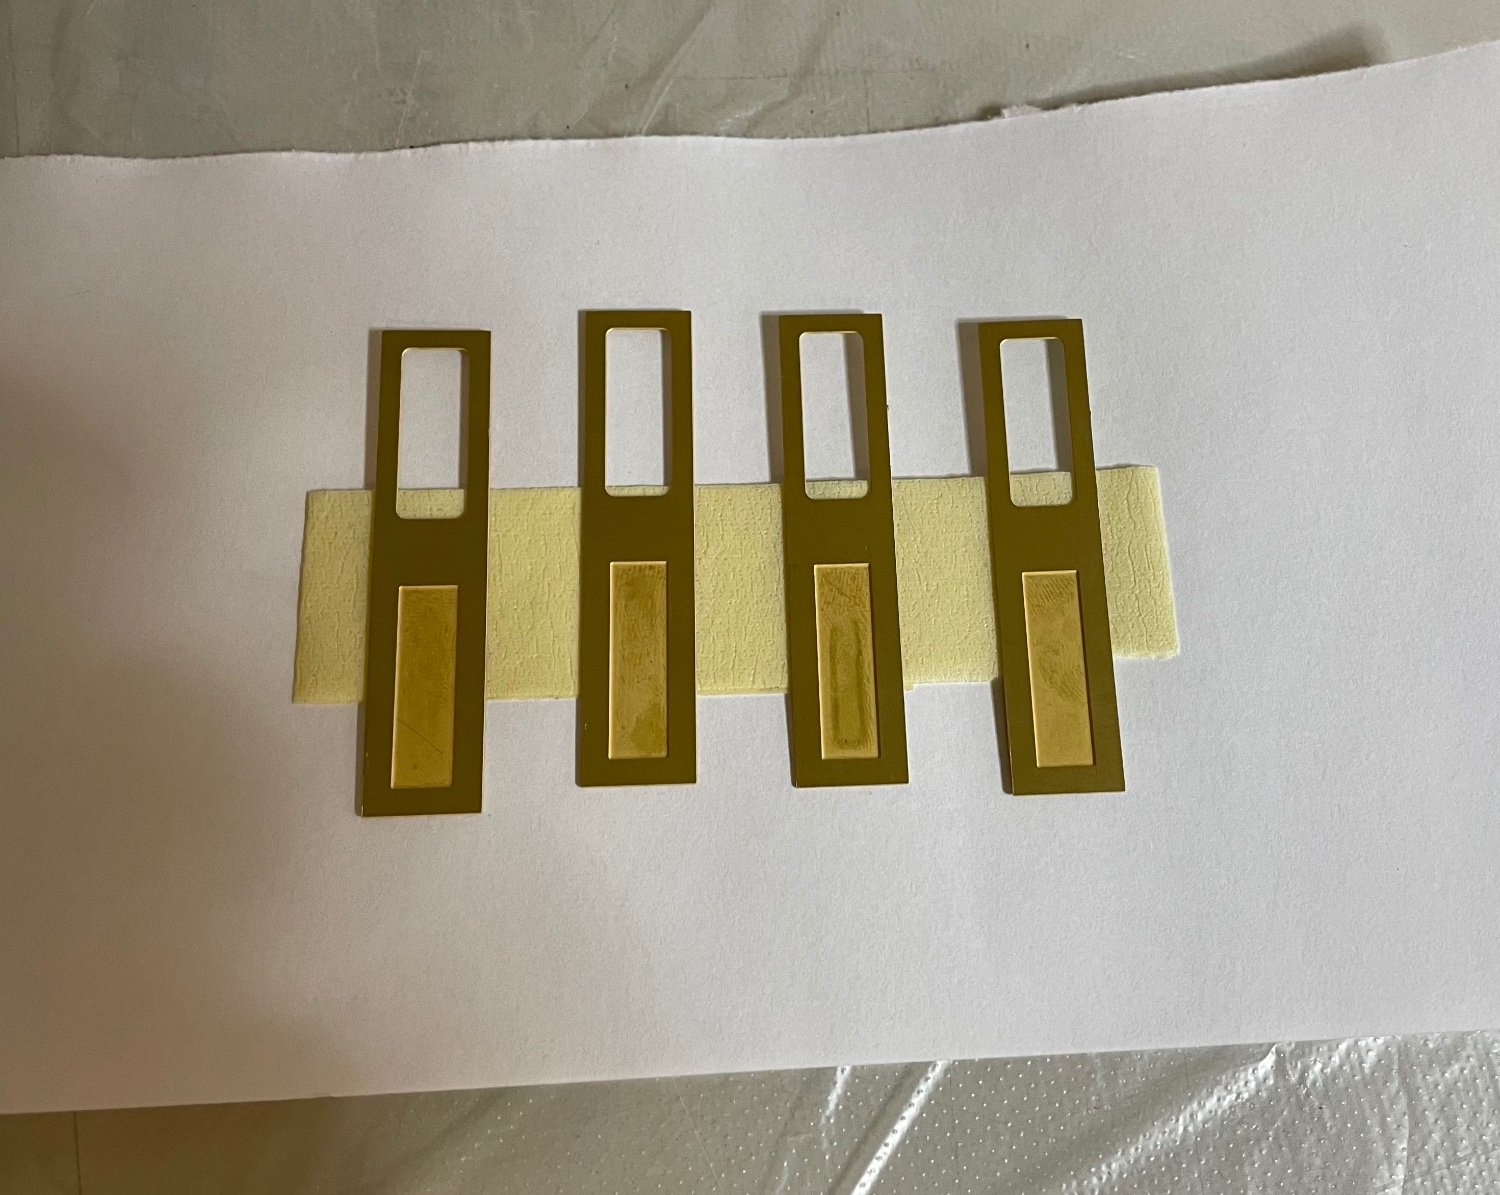
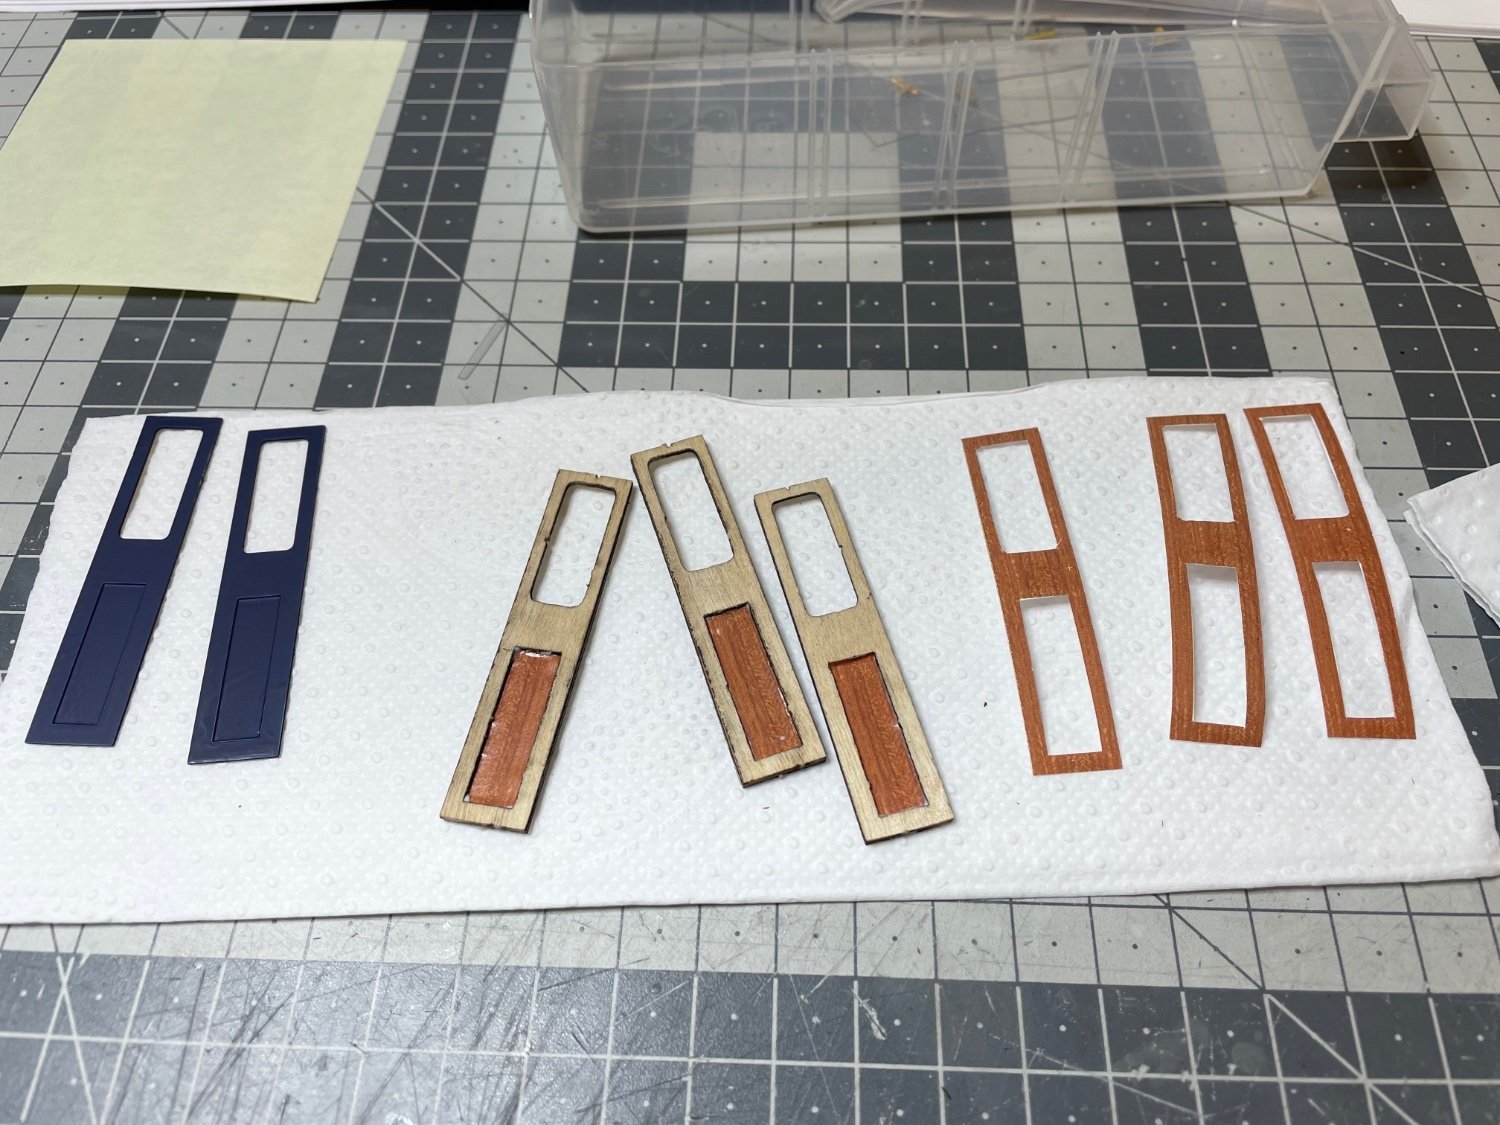
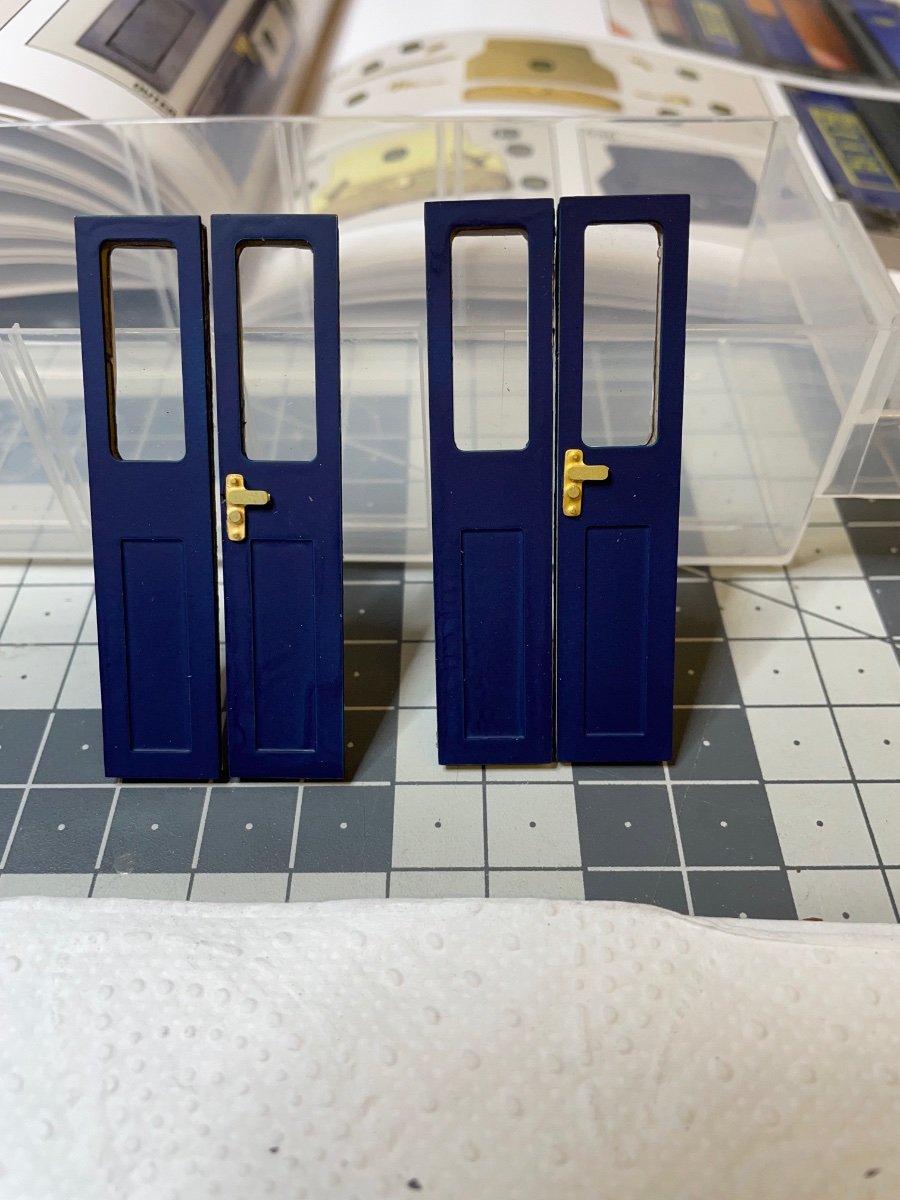
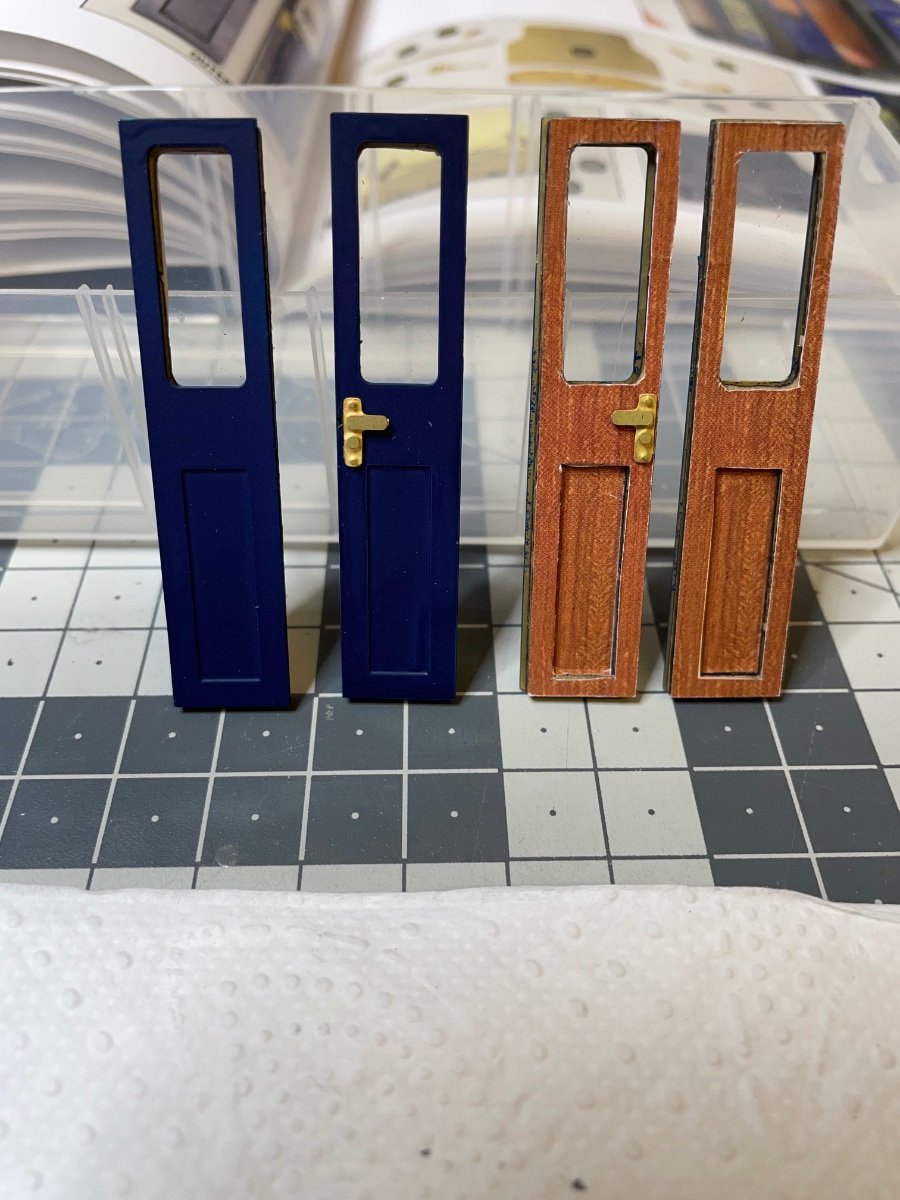
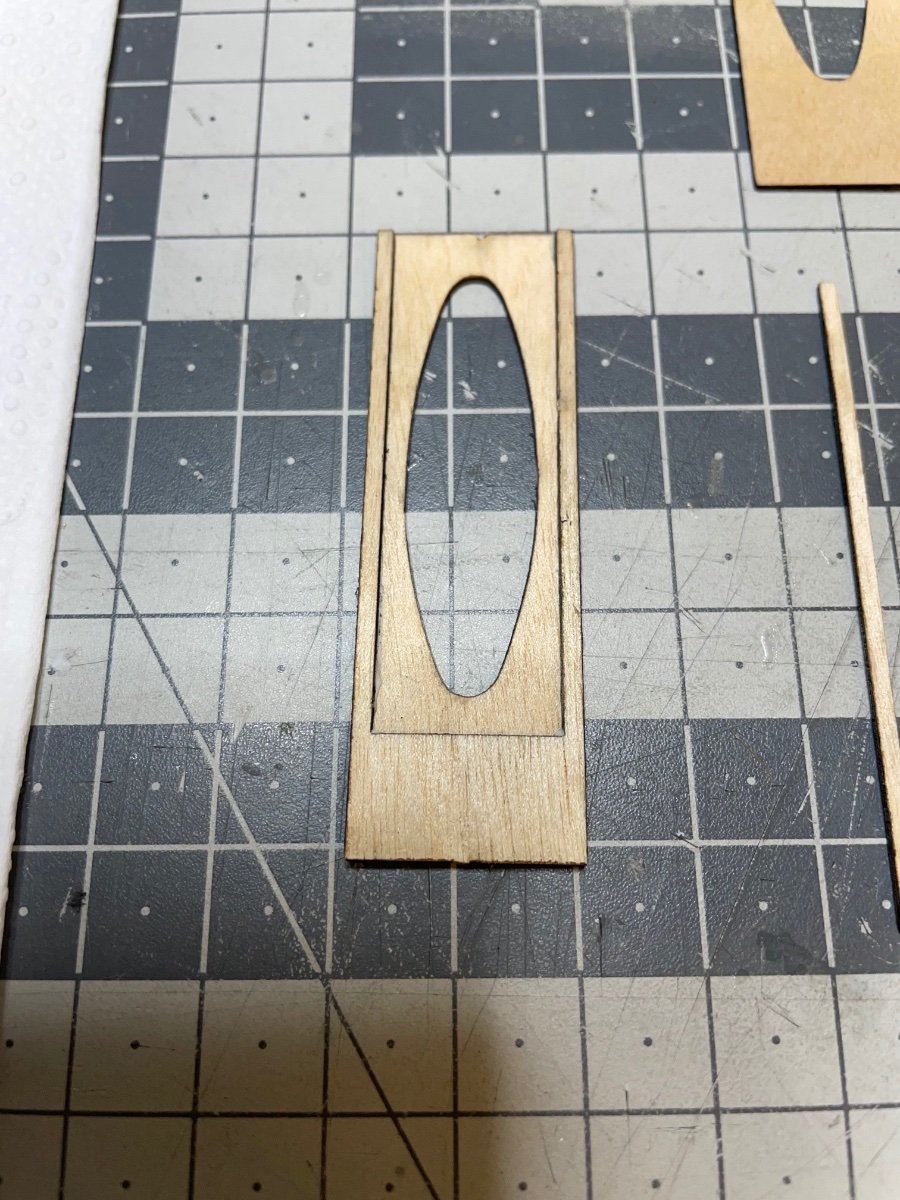
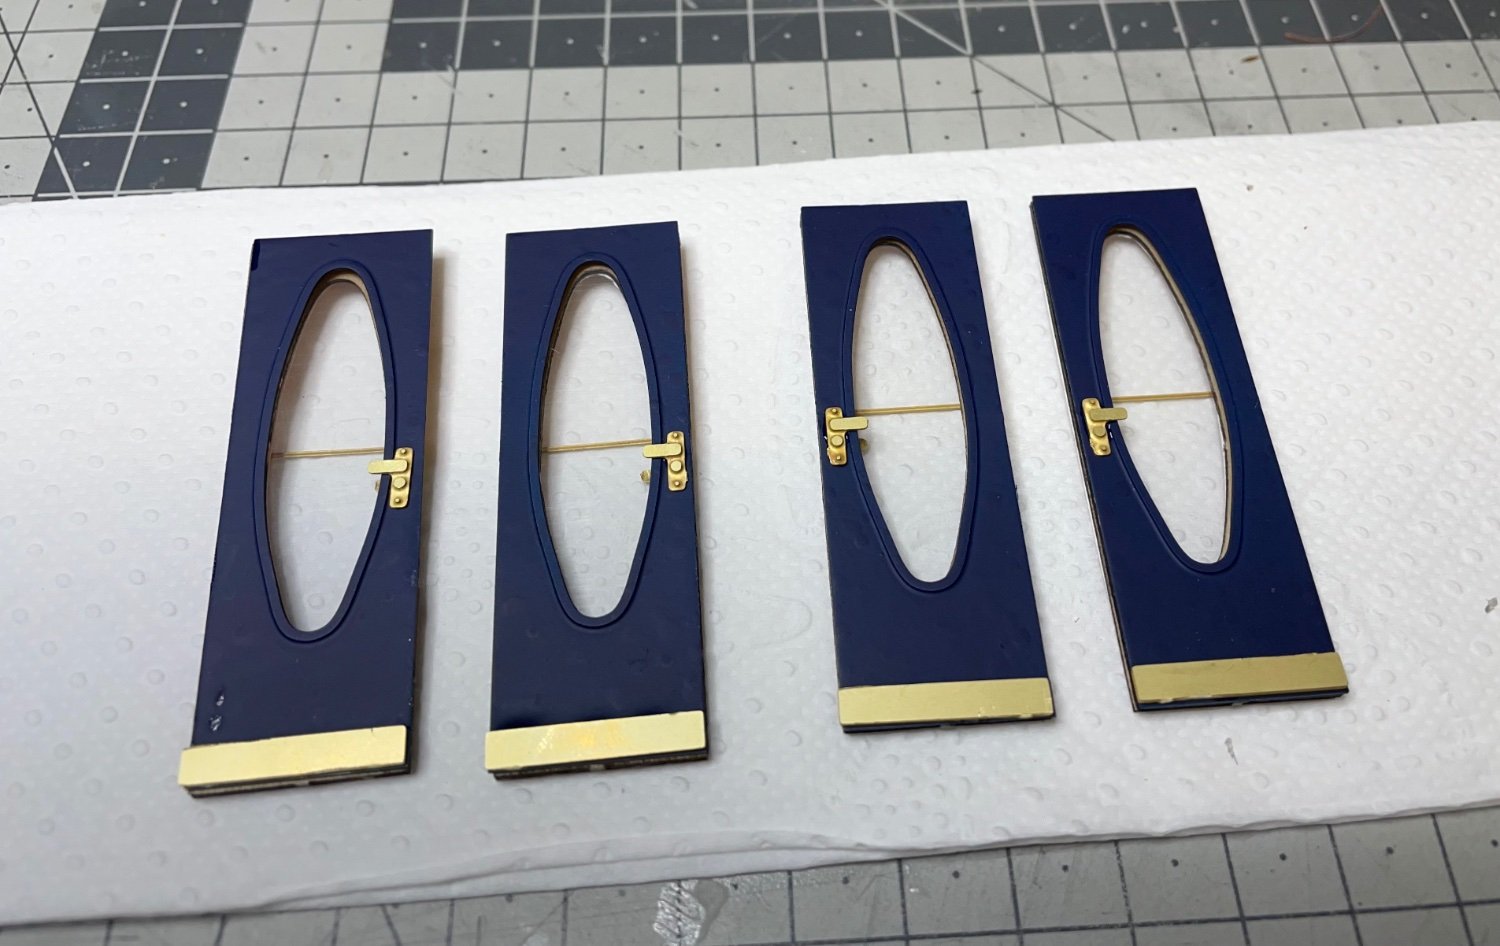
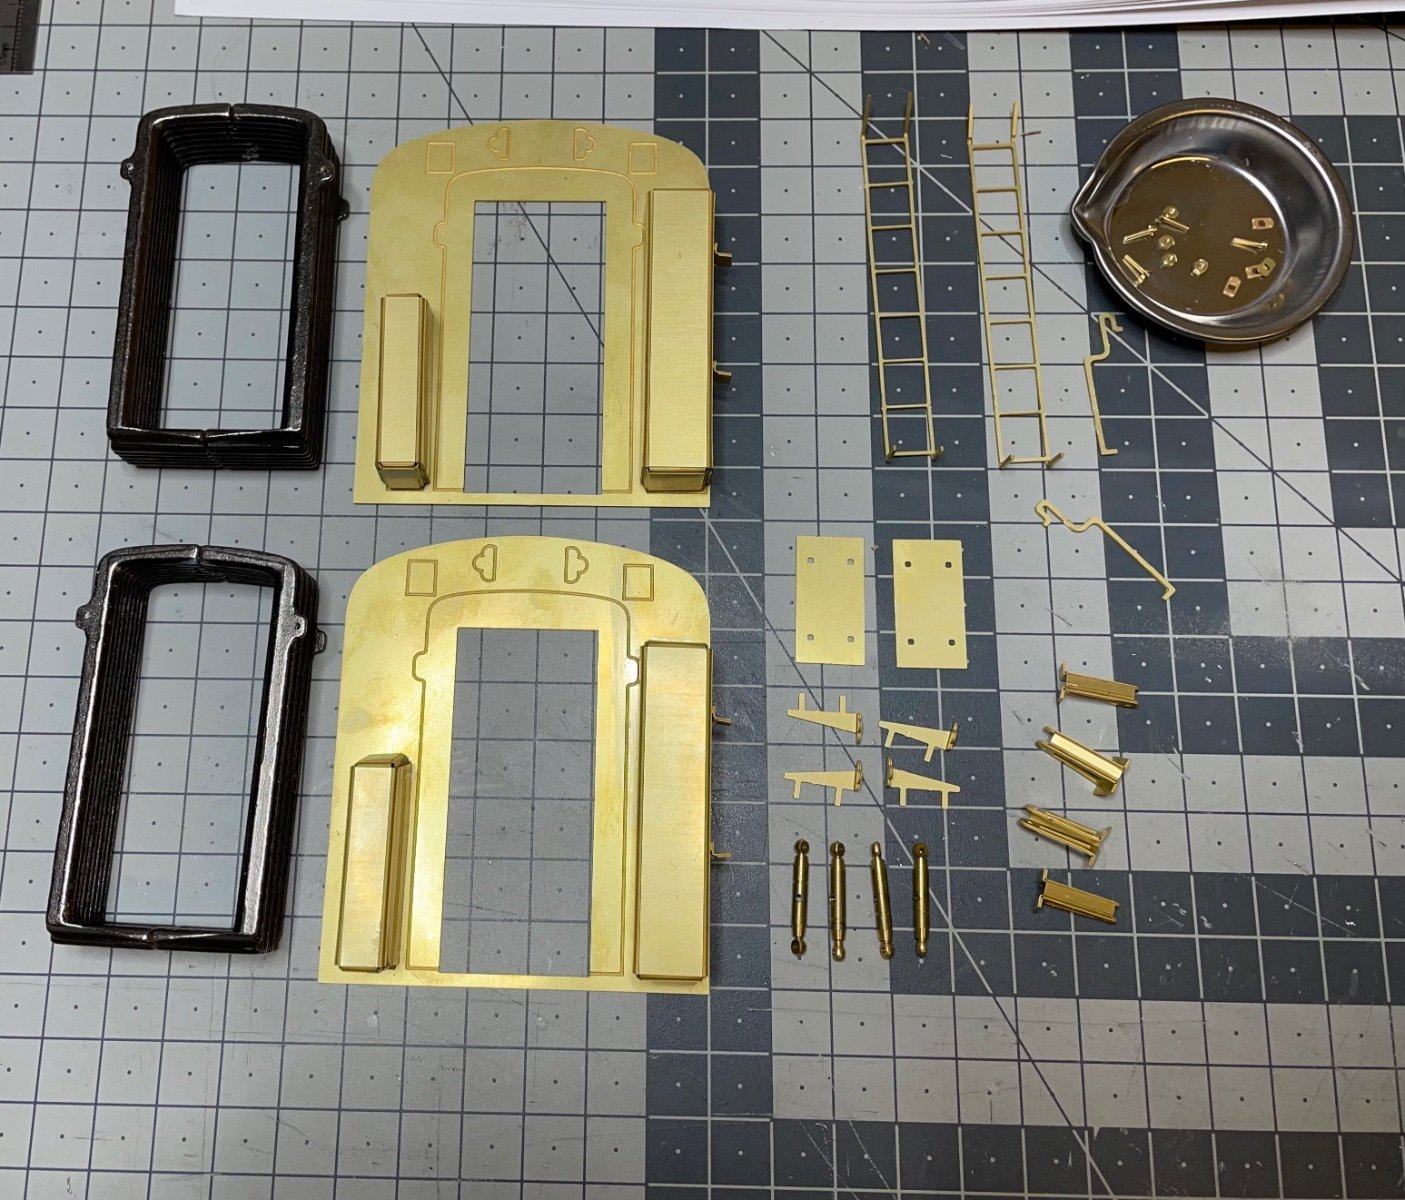
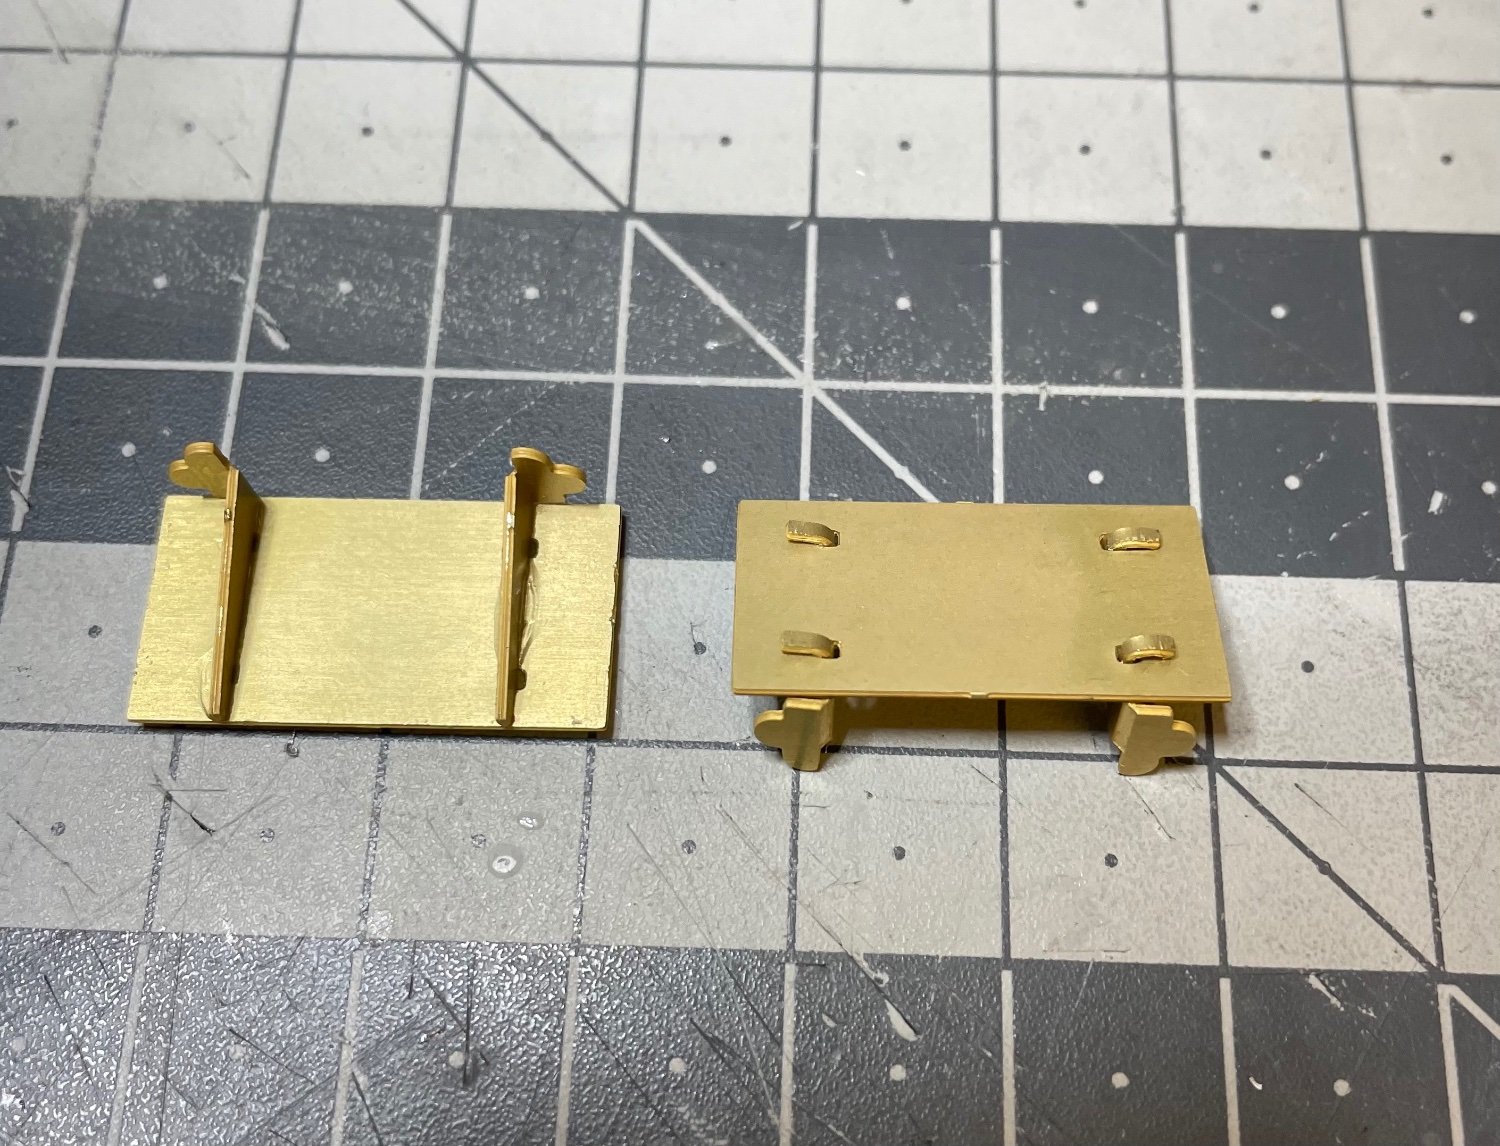
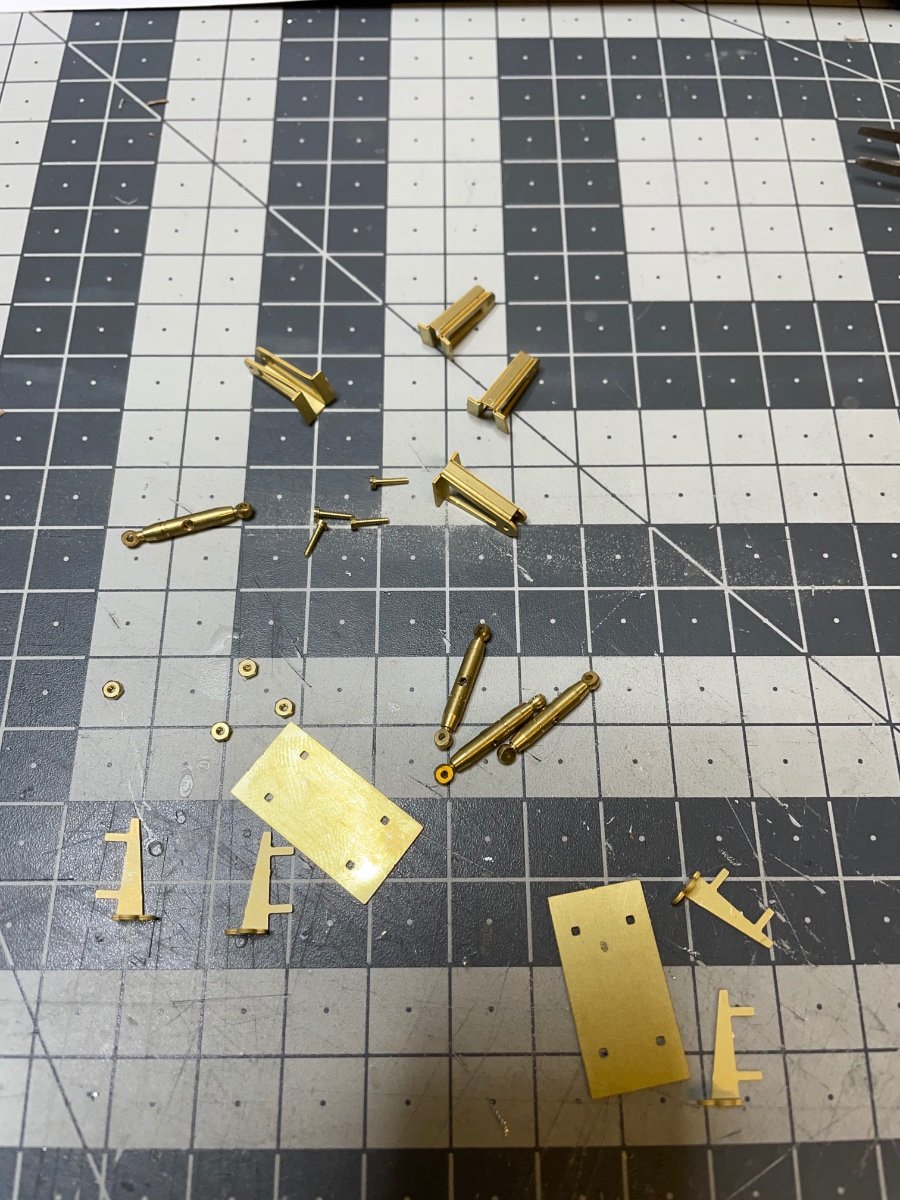
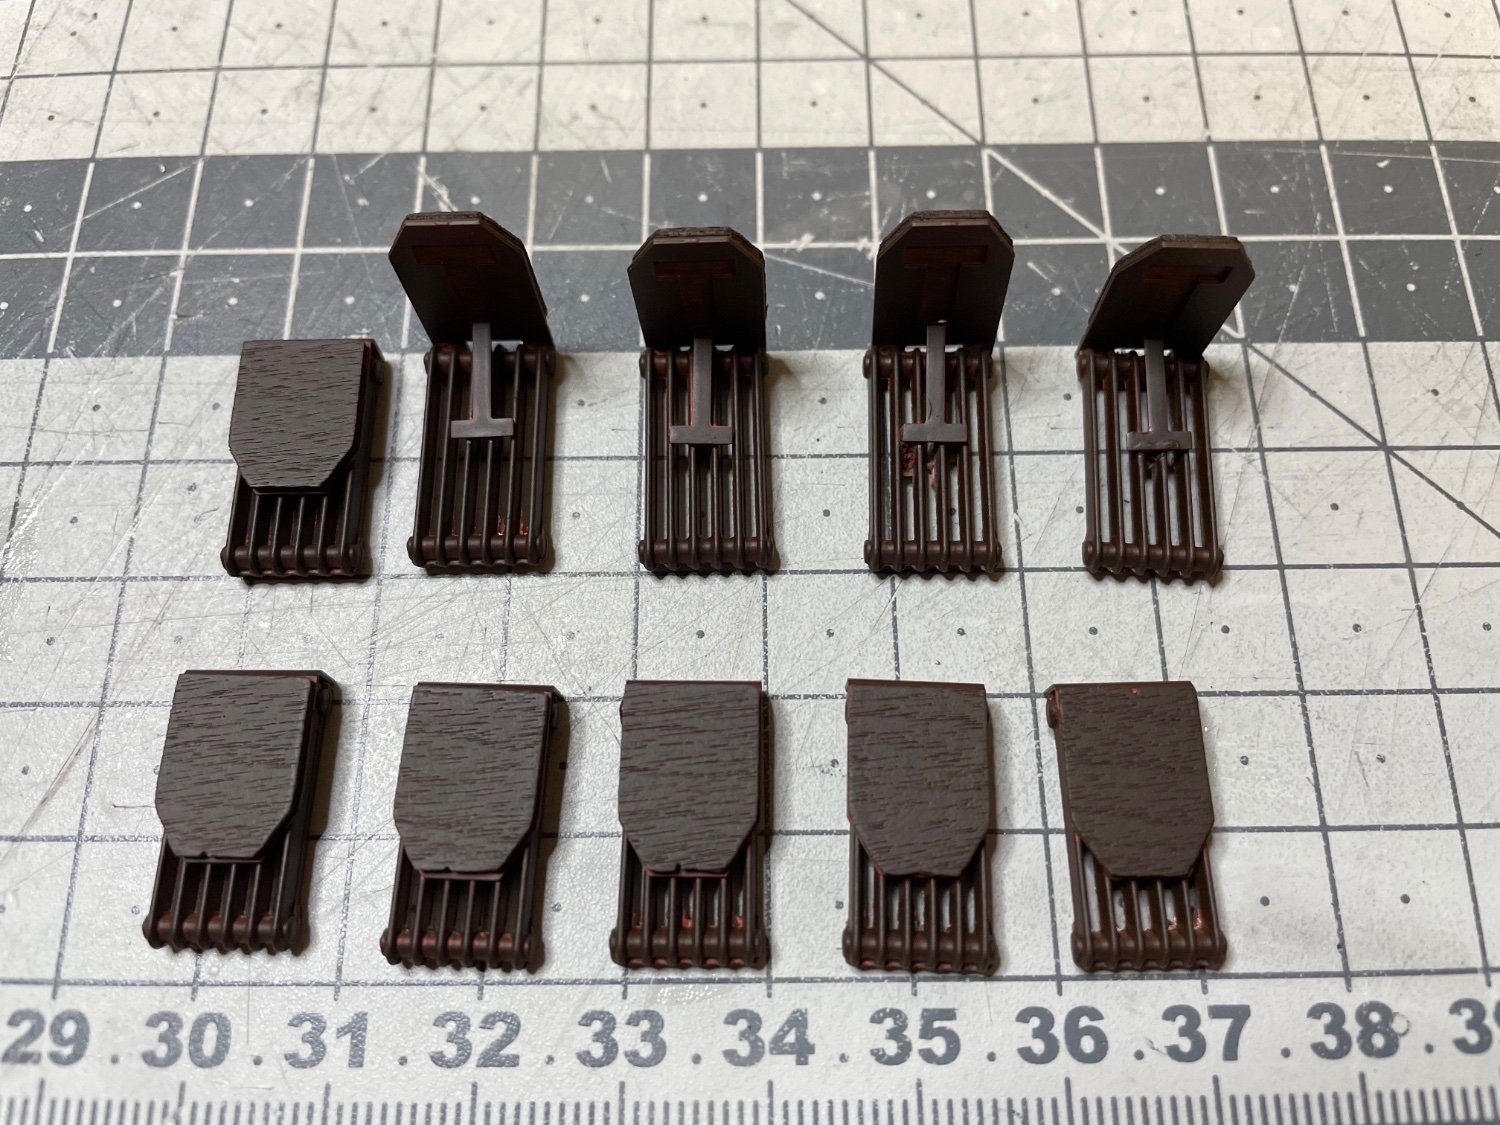
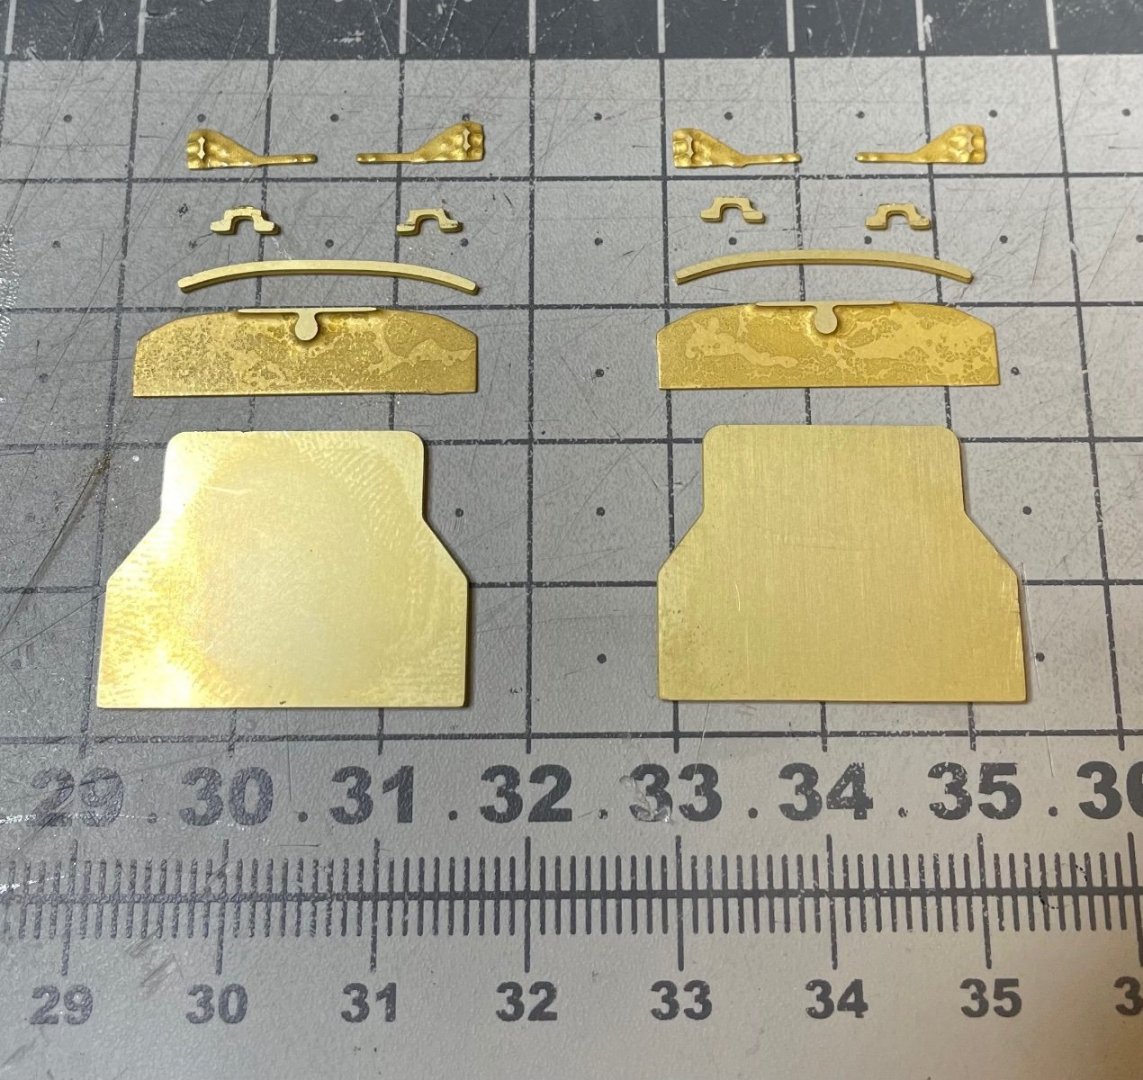
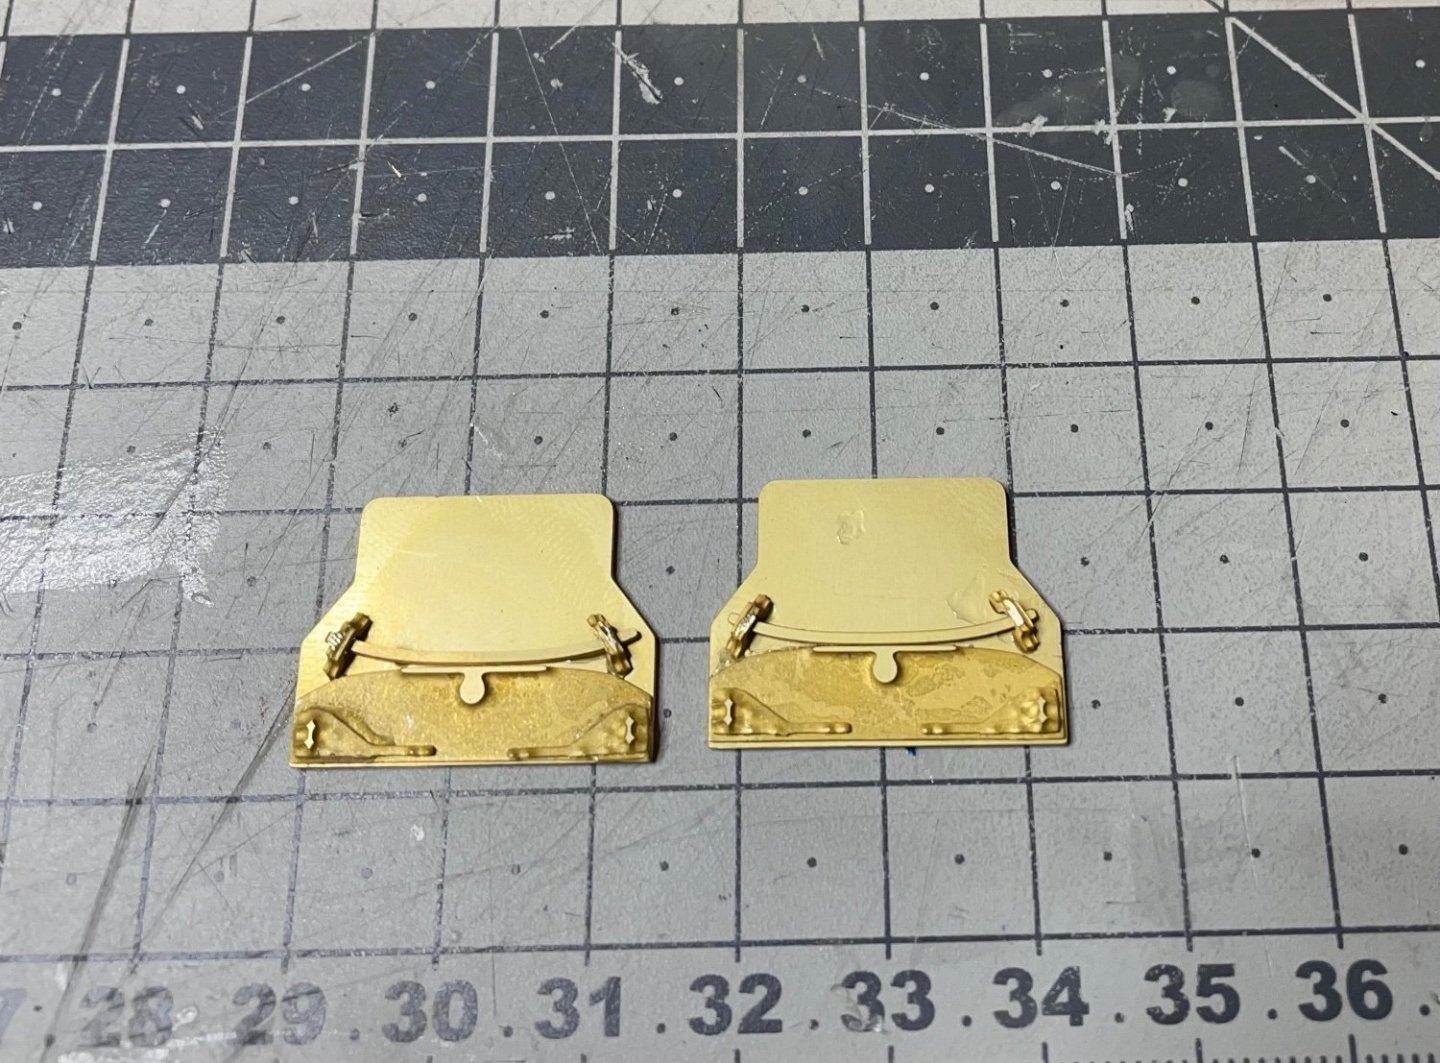
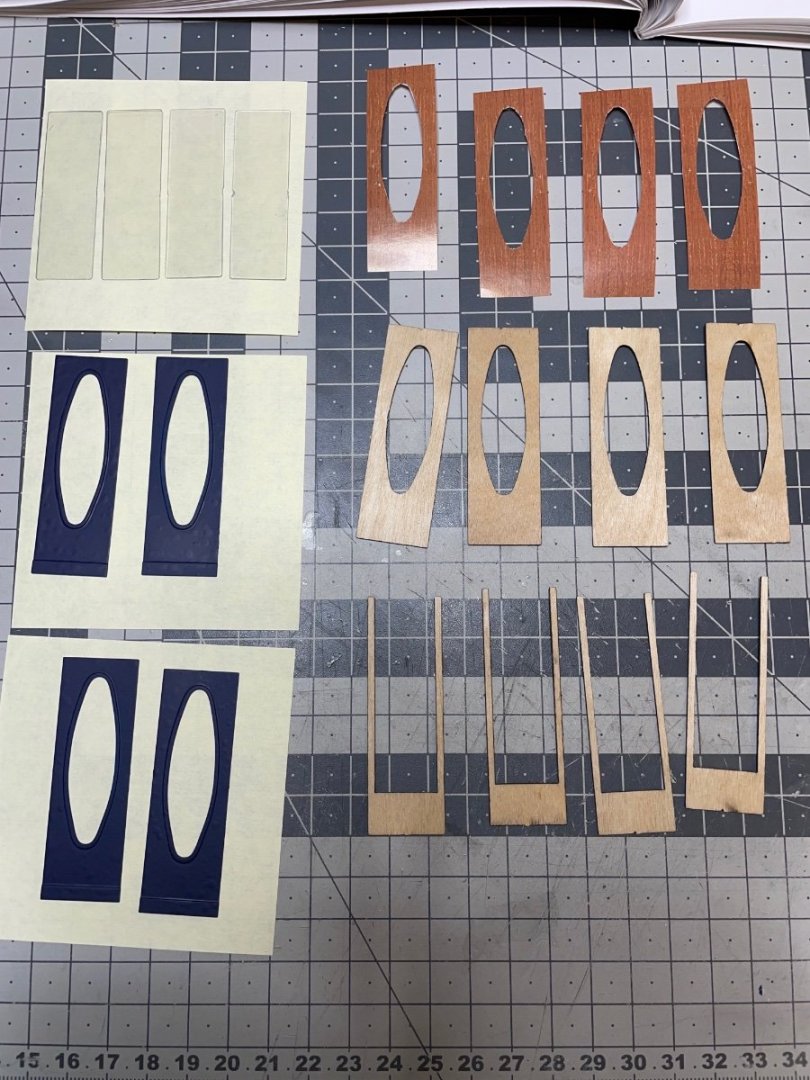
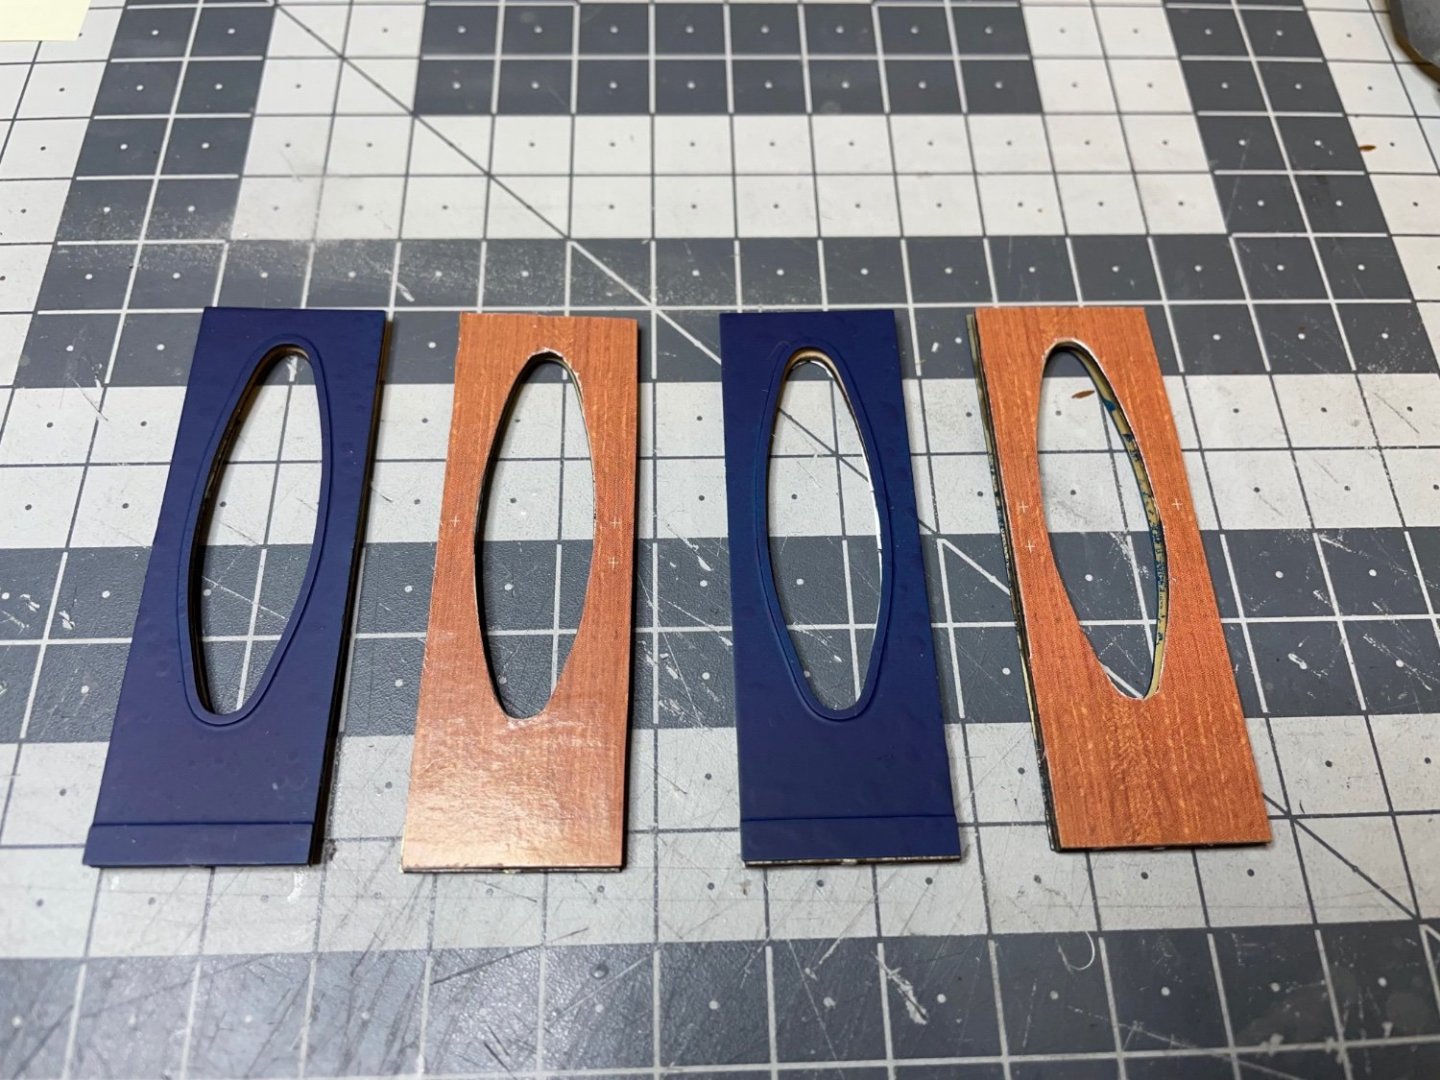
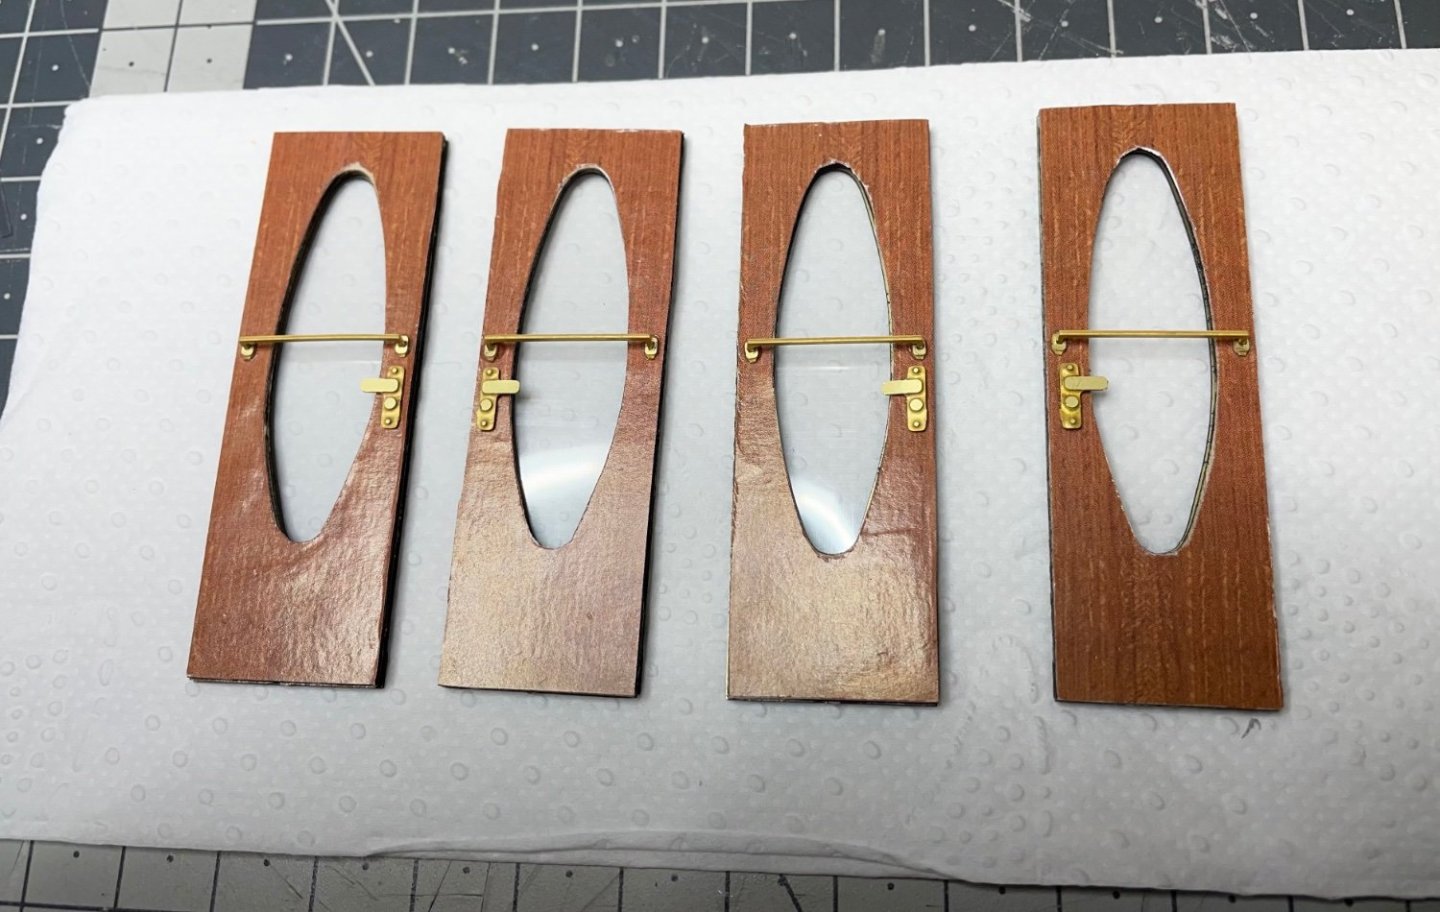
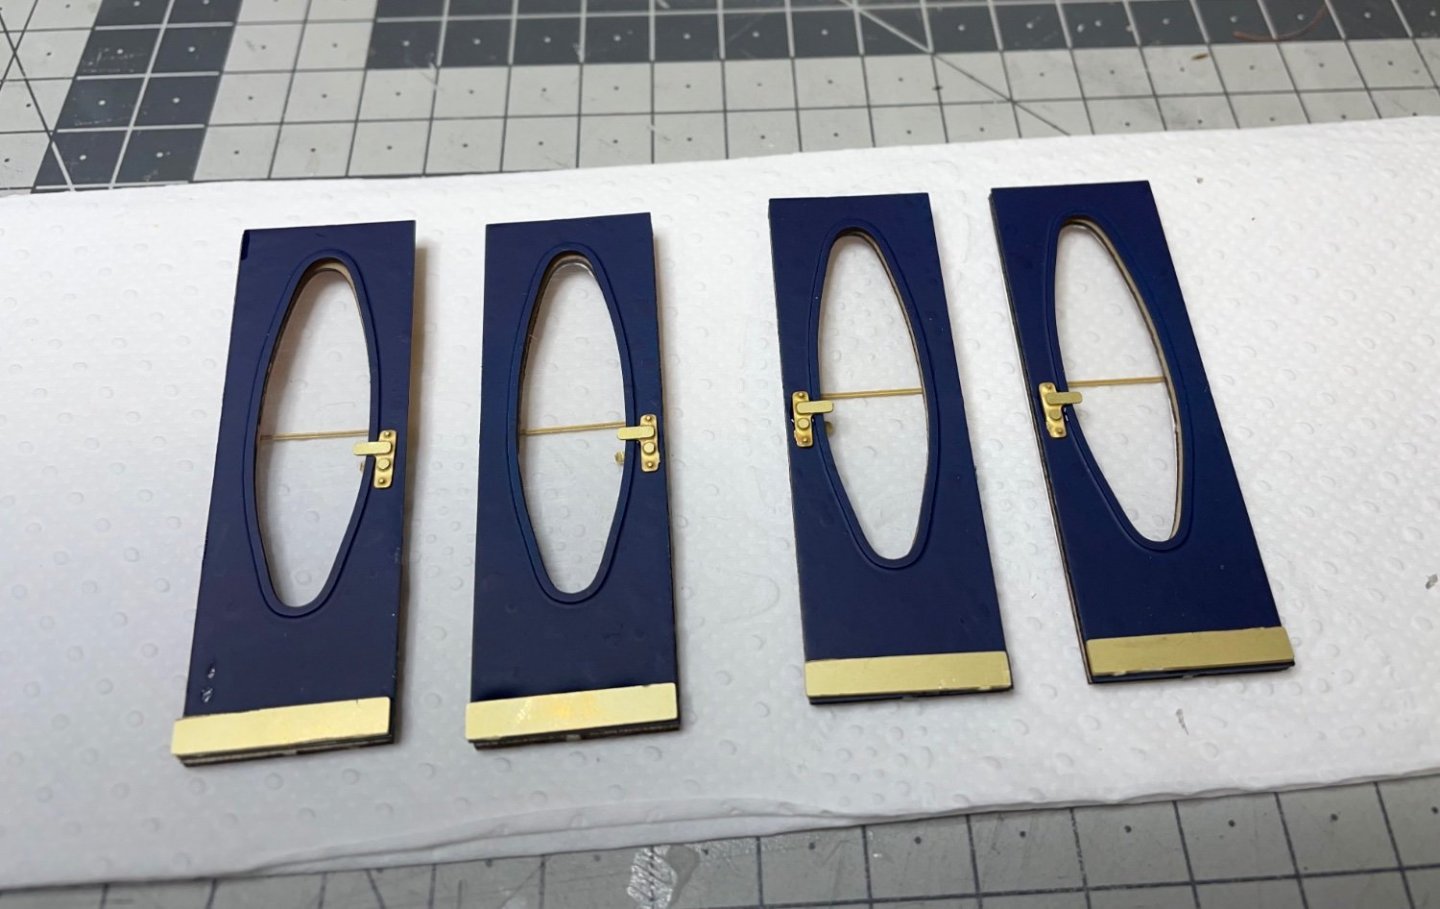
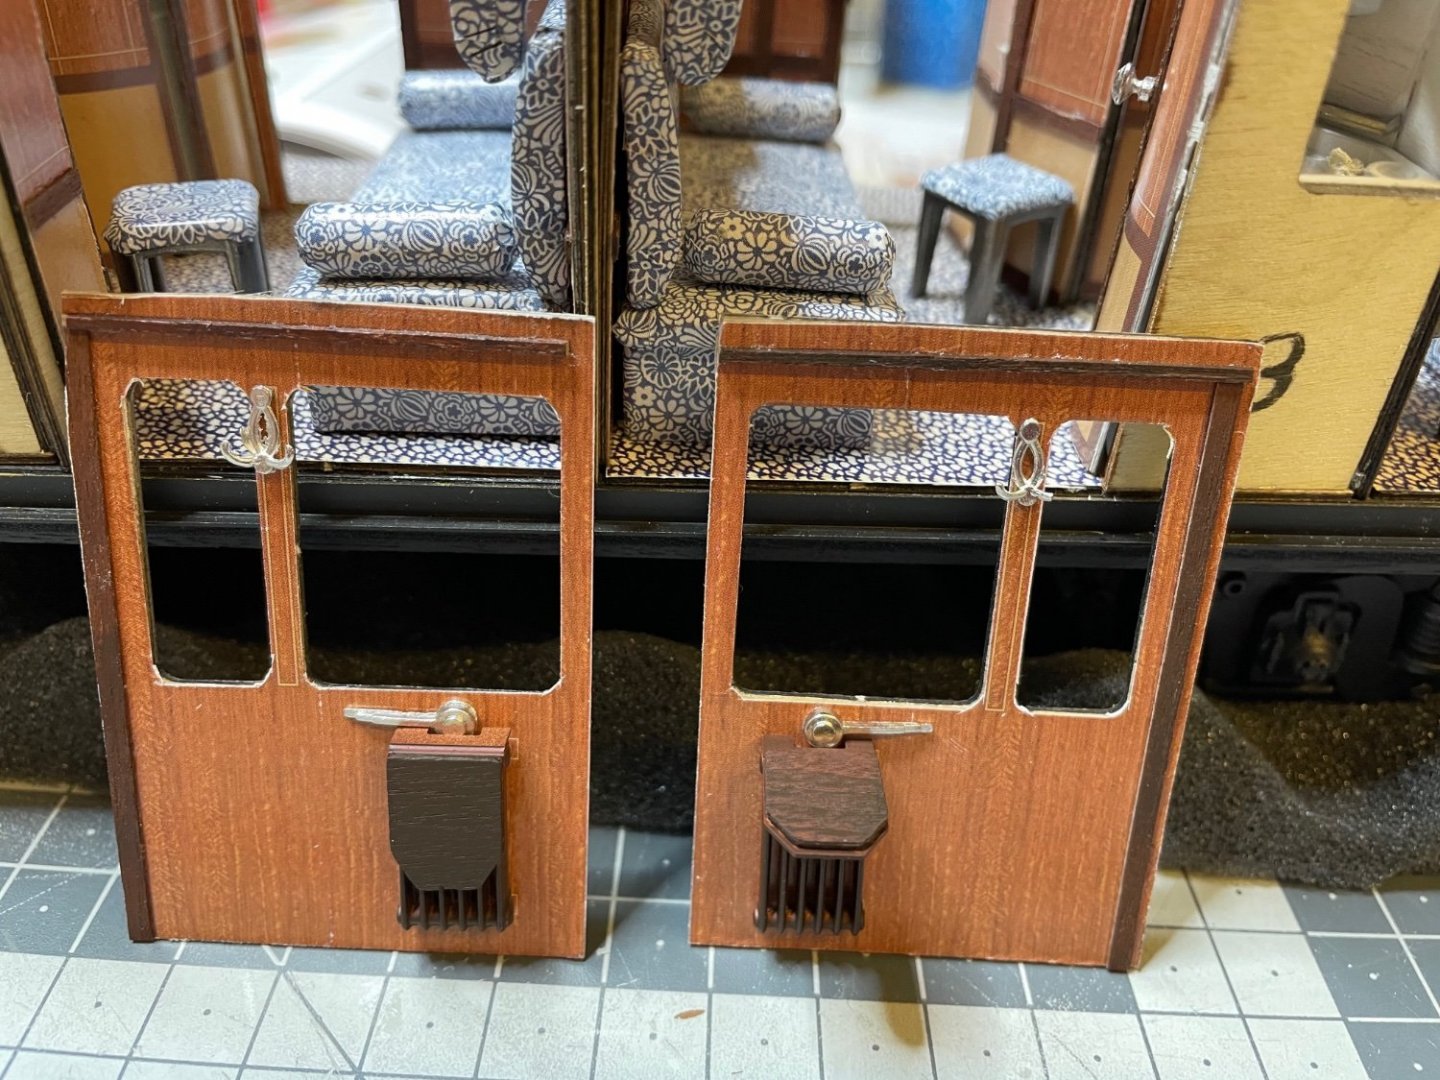
BUILD DAY 36 / 3 hr / (TOTAL: 96 hrs) Decal chemicals have arrived and I will start applying the decals. I have also ordered a new decal sheet from Amati (at a cost). I will replace some of those I had already applied and not looking great this time using the chemicals. Today's work also includes lobby doors and swing doors. - Swing doors, the slimmer ones, will be mounted on the head ends above. They are fixed. - The lobby doors, the wider ones, are to be placed on both sides of each end of the carriage (total of 4). In addition, it will be possible to open/close the lobby doors. Figure 369 - 374 : Starting with the lobby doors. Each door is composed of 5 main parts (including the glass) plus the ornaments. No big surprises in building therefore not much to comment, so I just post here the pictures from the construction.


-
Your work was tougher than mine
-
Figures 366-368: Photos showing the ready heads. All except the decals, as explained above, awaiting the decal setter from the mail. This is all for now. Thanks for watching!


- 293 replies
-
- 16
-
-
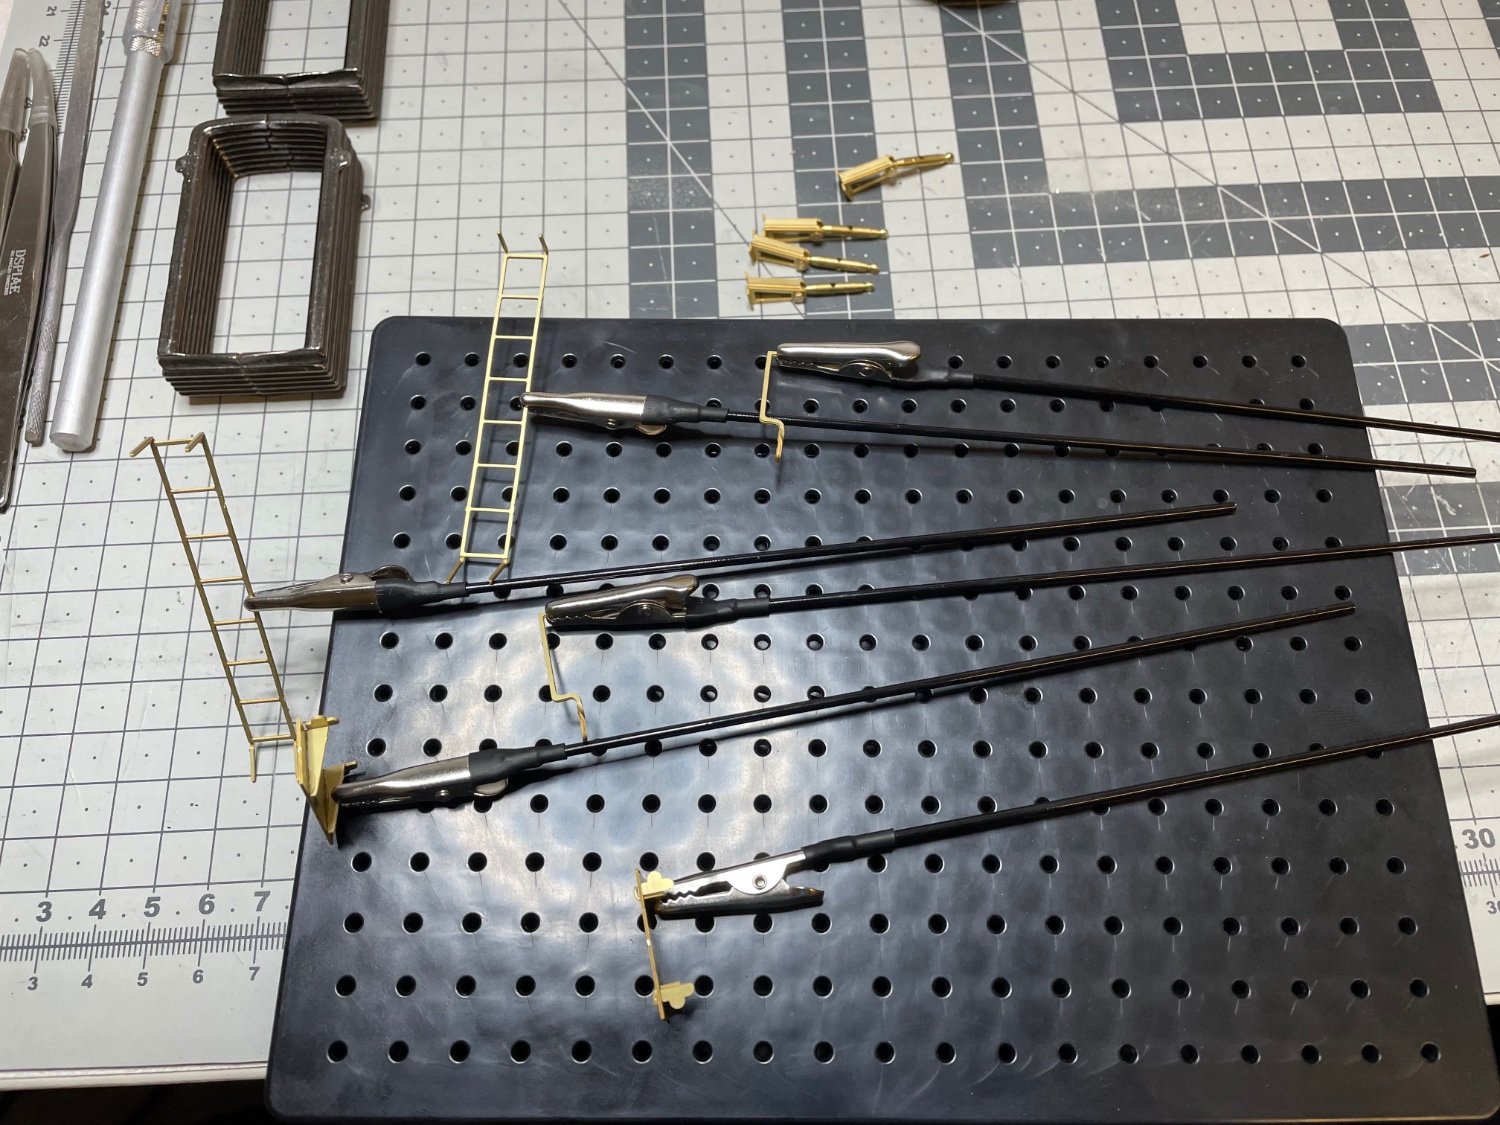
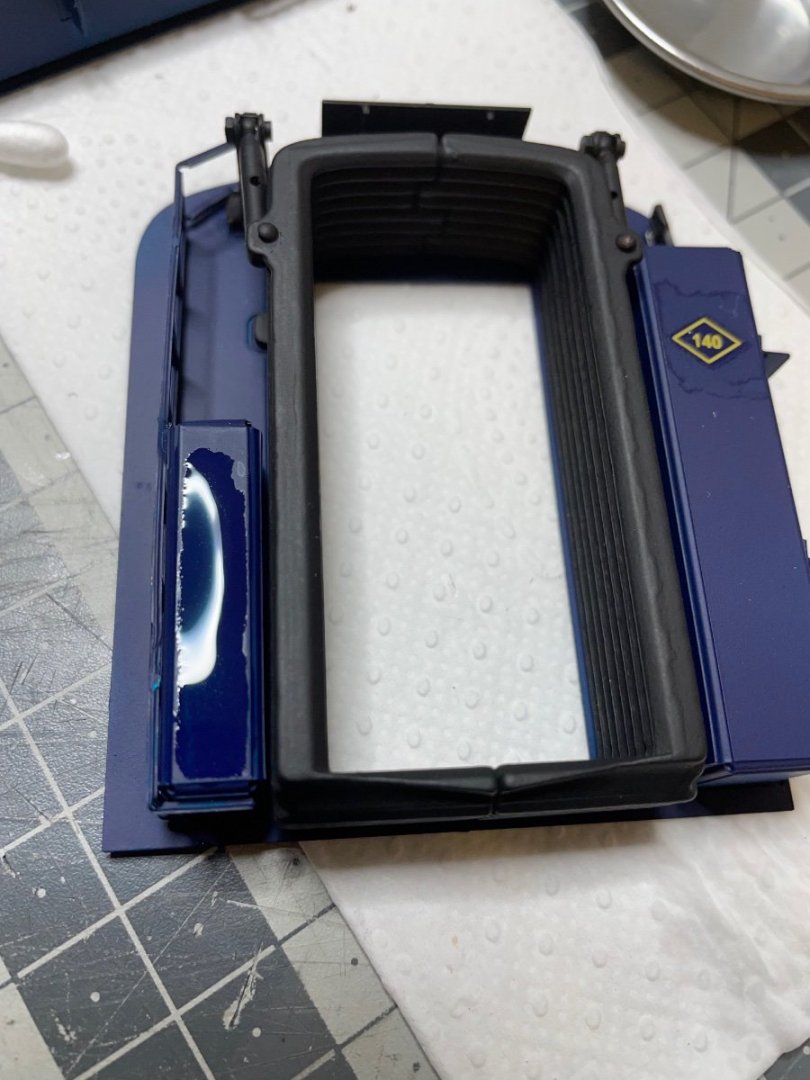
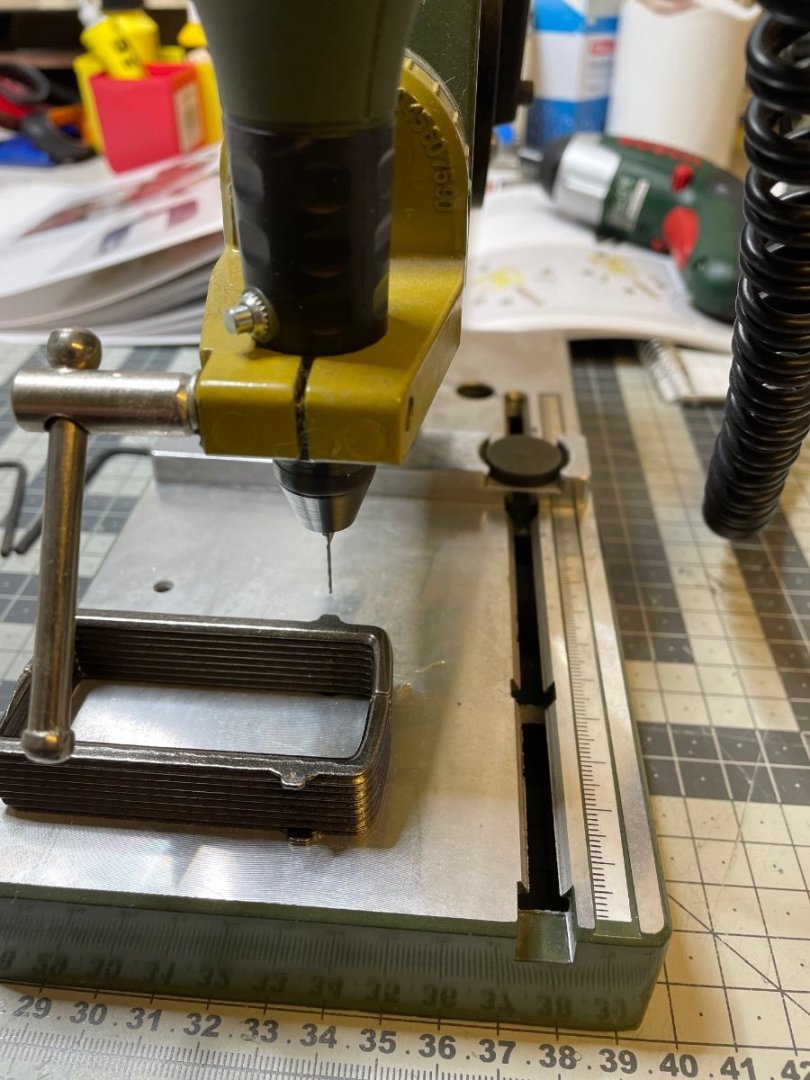
Figures 360-361: You need a 1.2mm diameter hole on each outward facing ear. I used my Proxxon drill base for stability, otherwise the drillbit was sliding away at the contact to the surface.
- 293 replies
-
- 12
-
-
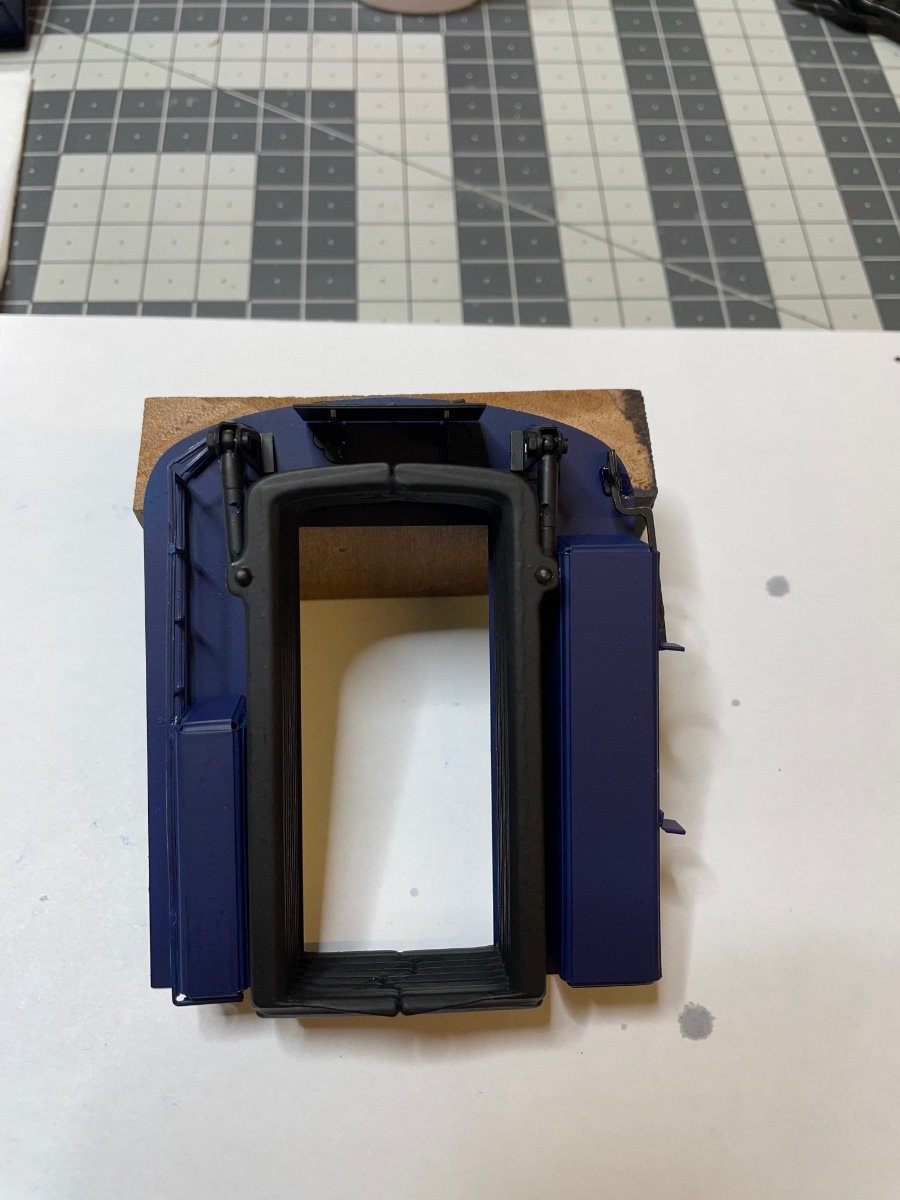
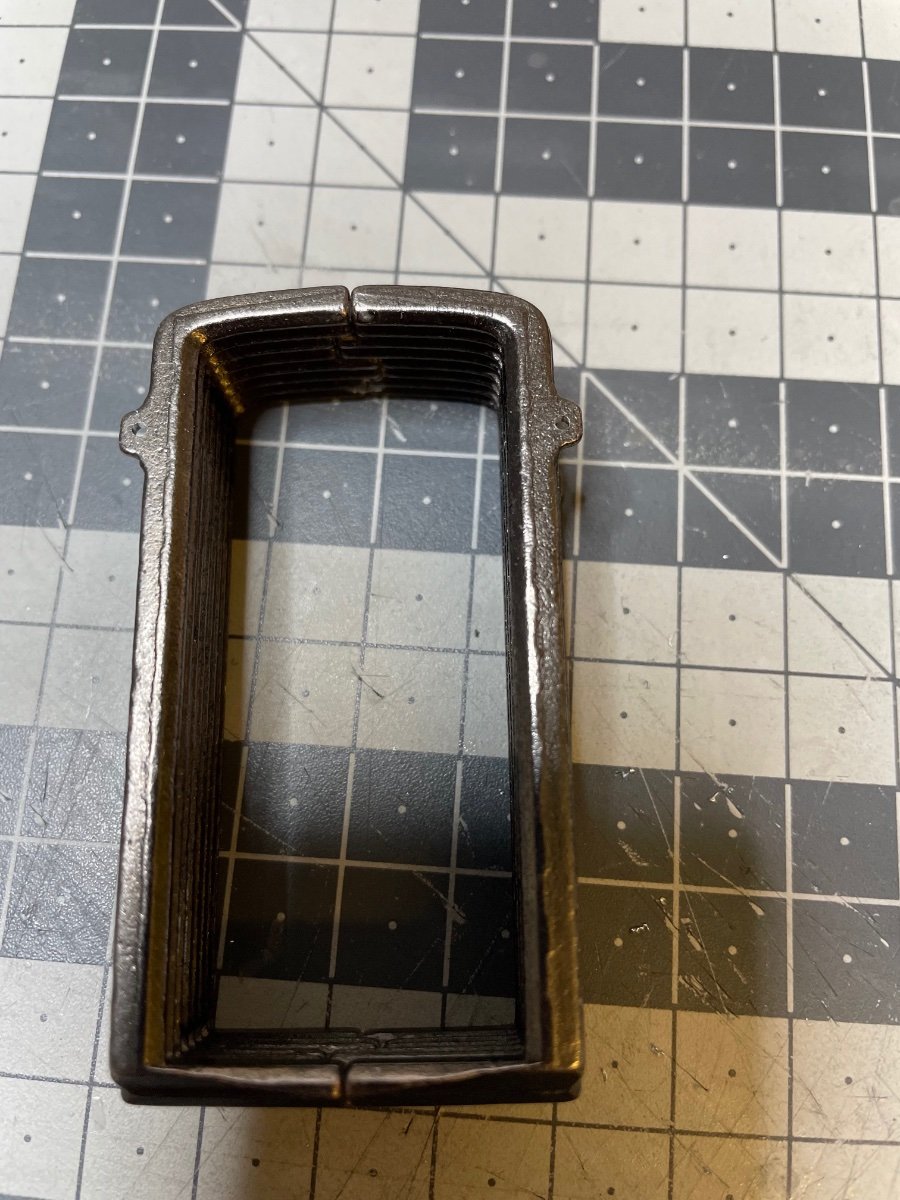
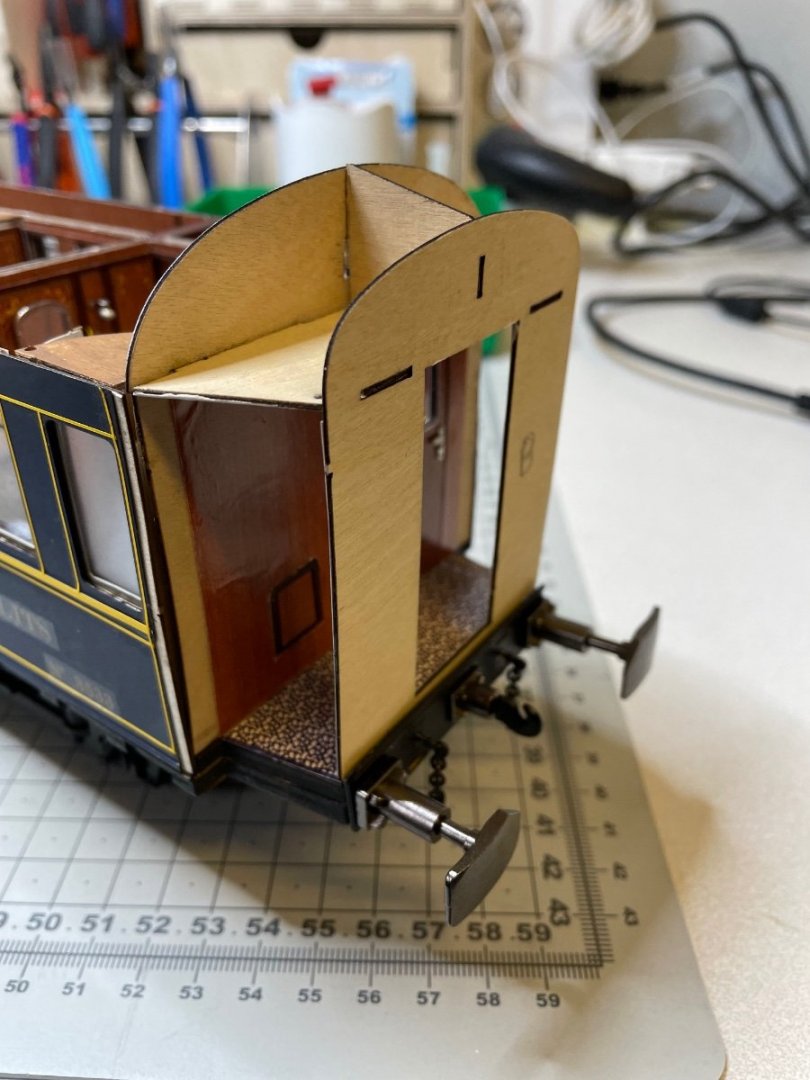
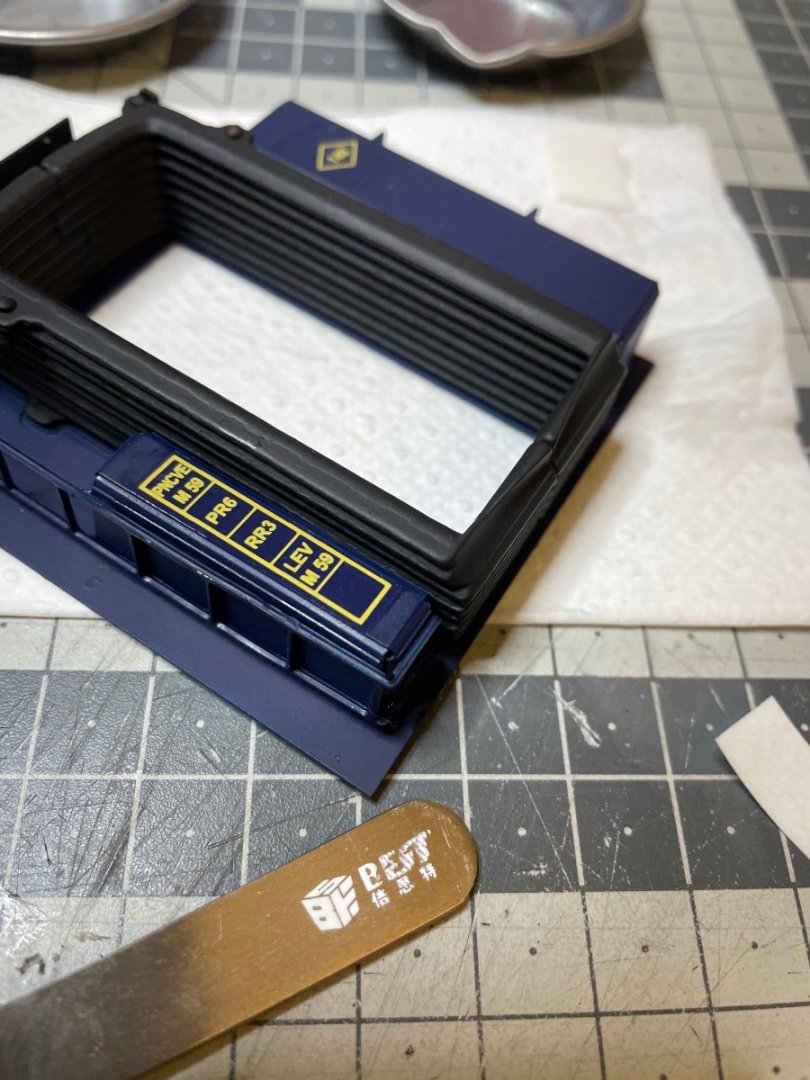
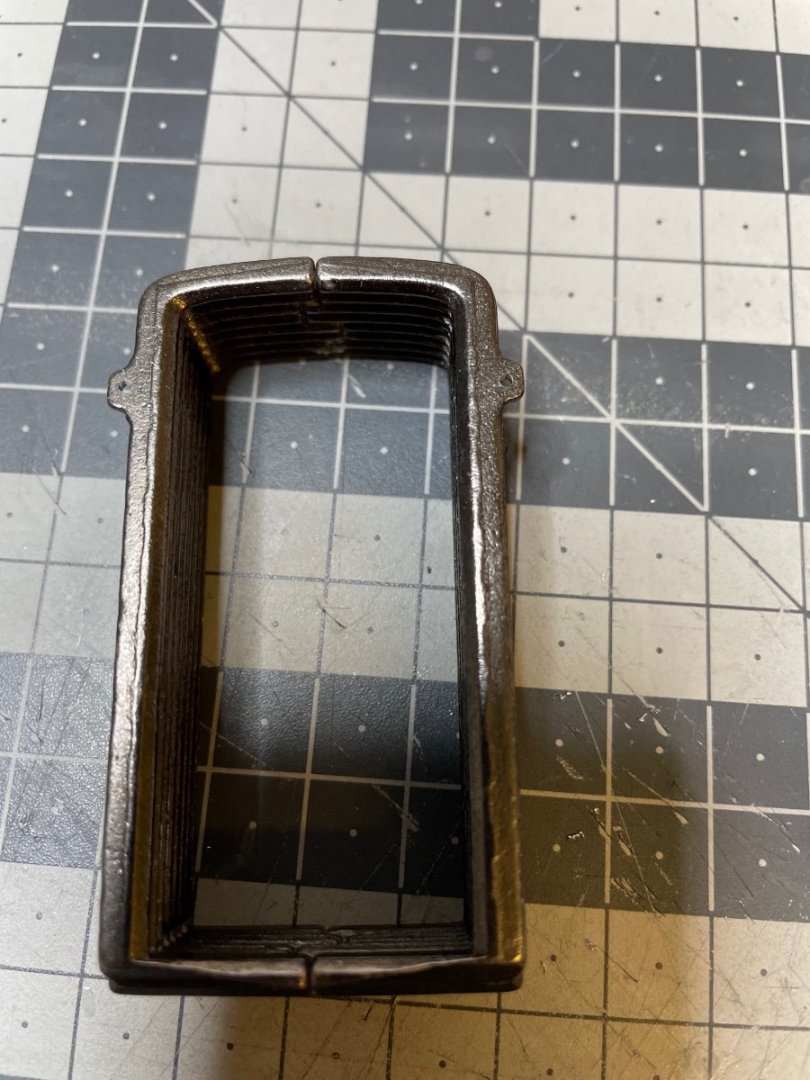
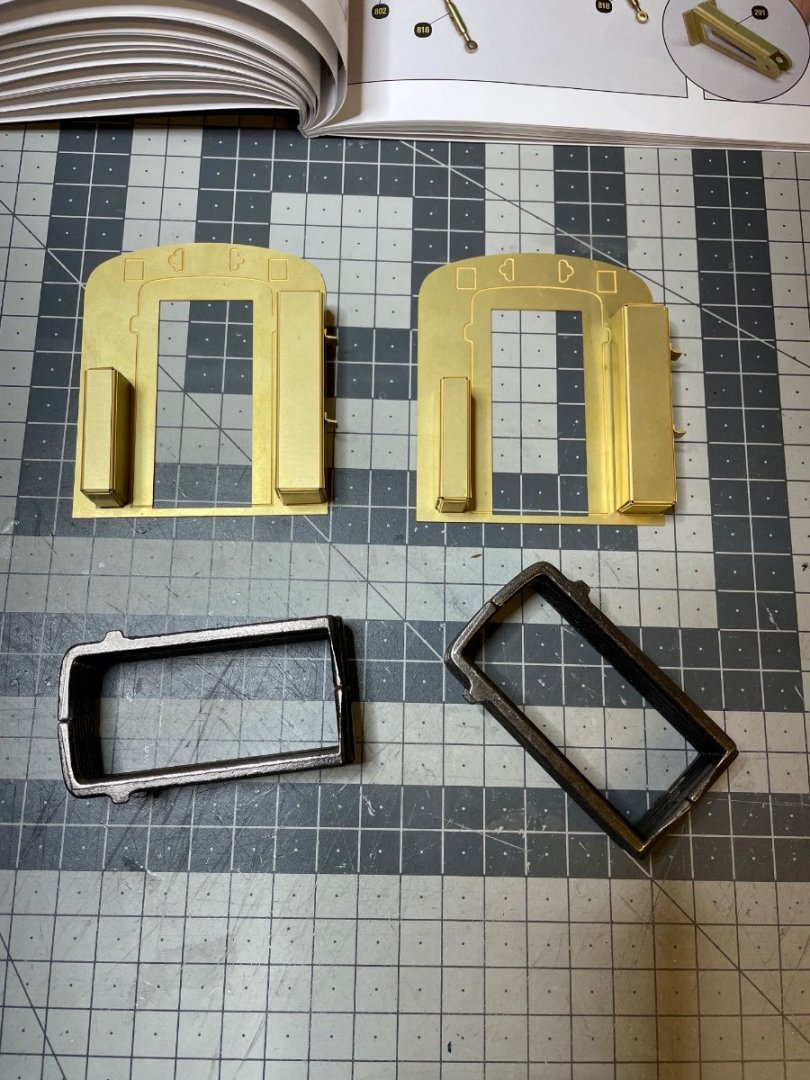
BUILD DAY 35 / 3 hr / (TOTAL: 93 hrs) While waiting for the decal chemicals in the mail, I proceeded with then next step: the head ends. Figures 358-359: They are identical at both ends of the wagon. The black parts in the photos are bellows, made of iron cast. They are made of two parts which you glue together. They take some amount of filing before they fit each other properly.

- 293 replies
-
- 11
-
-
Wow, looking at those photos my kit still misses a lot of details
-
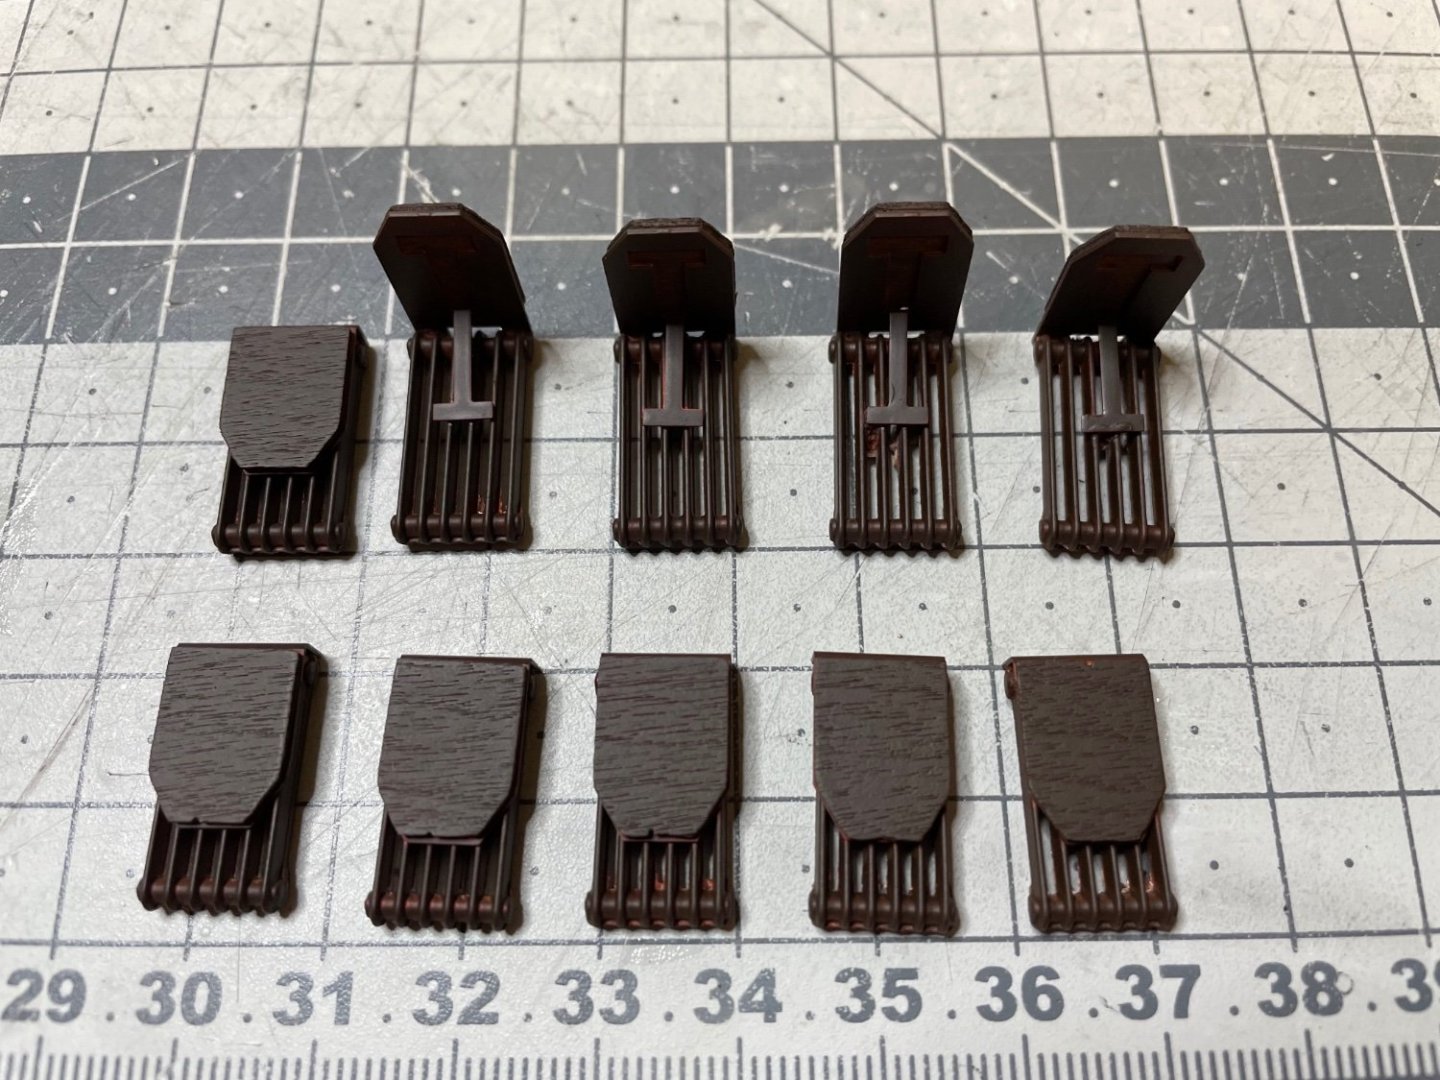
Figures 355-357: Painted and being glued in their places. This is all for now. Thanks for watching!

- 293 replies
-
- 15
-