HOLIDAY DONATION DRIVE - SUPPORT MSW - DO YOUR PART TO KEEP THIS GREAT FORUM GOING! (Only 20 donations so far - C'mon guys!)
×


aydingocer
-
Posts
916 -
Joined
-
Last visited
Content Type
Profiles
Forums
Gallery
Events
Everything posted by aydingocer
-
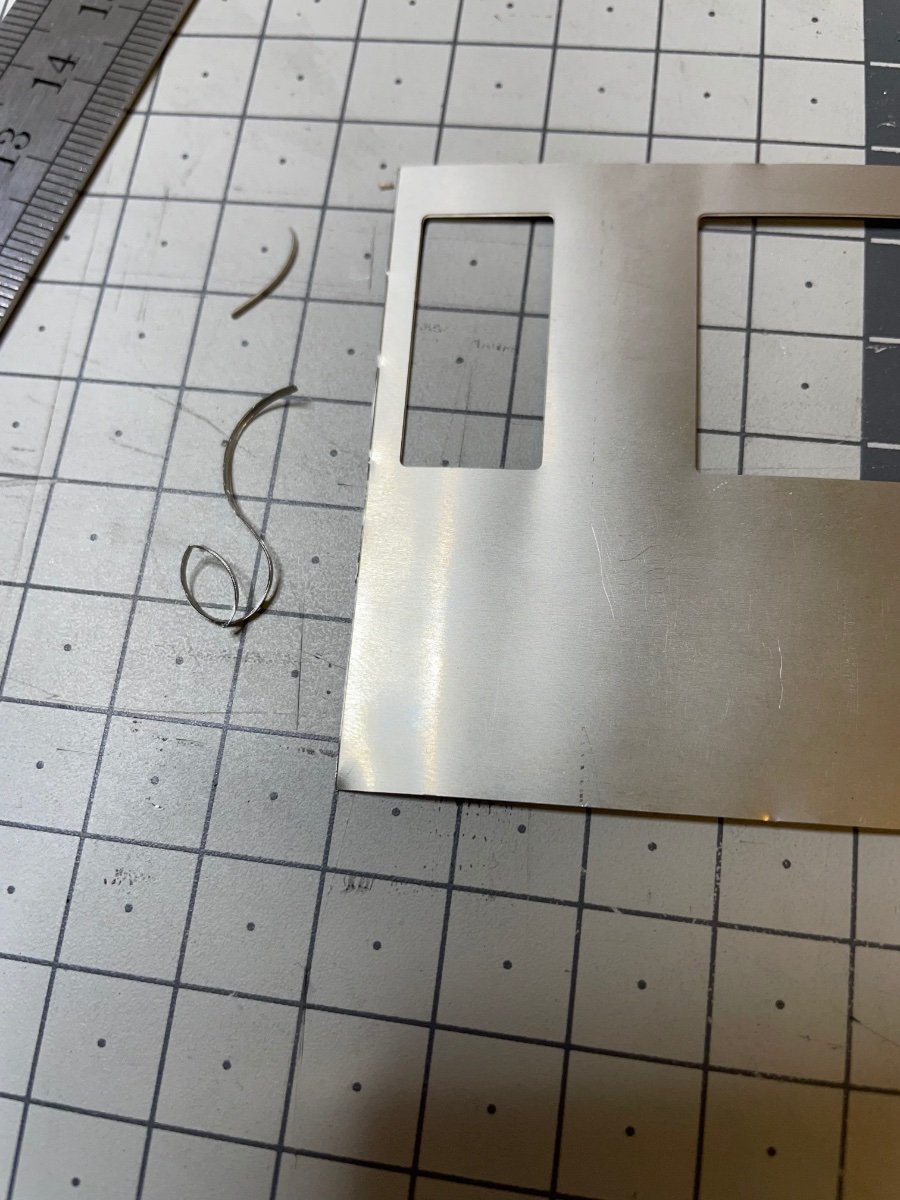
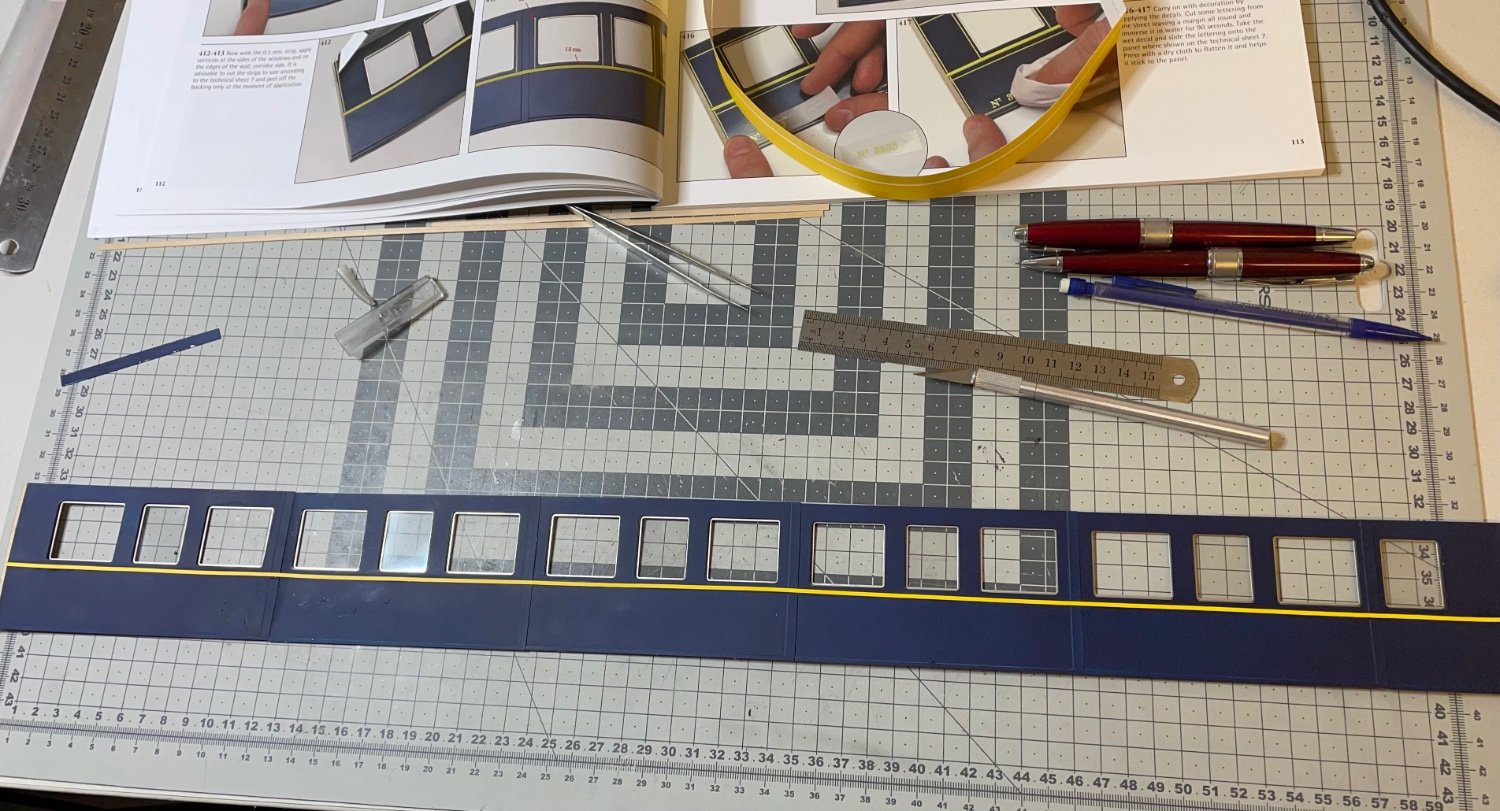
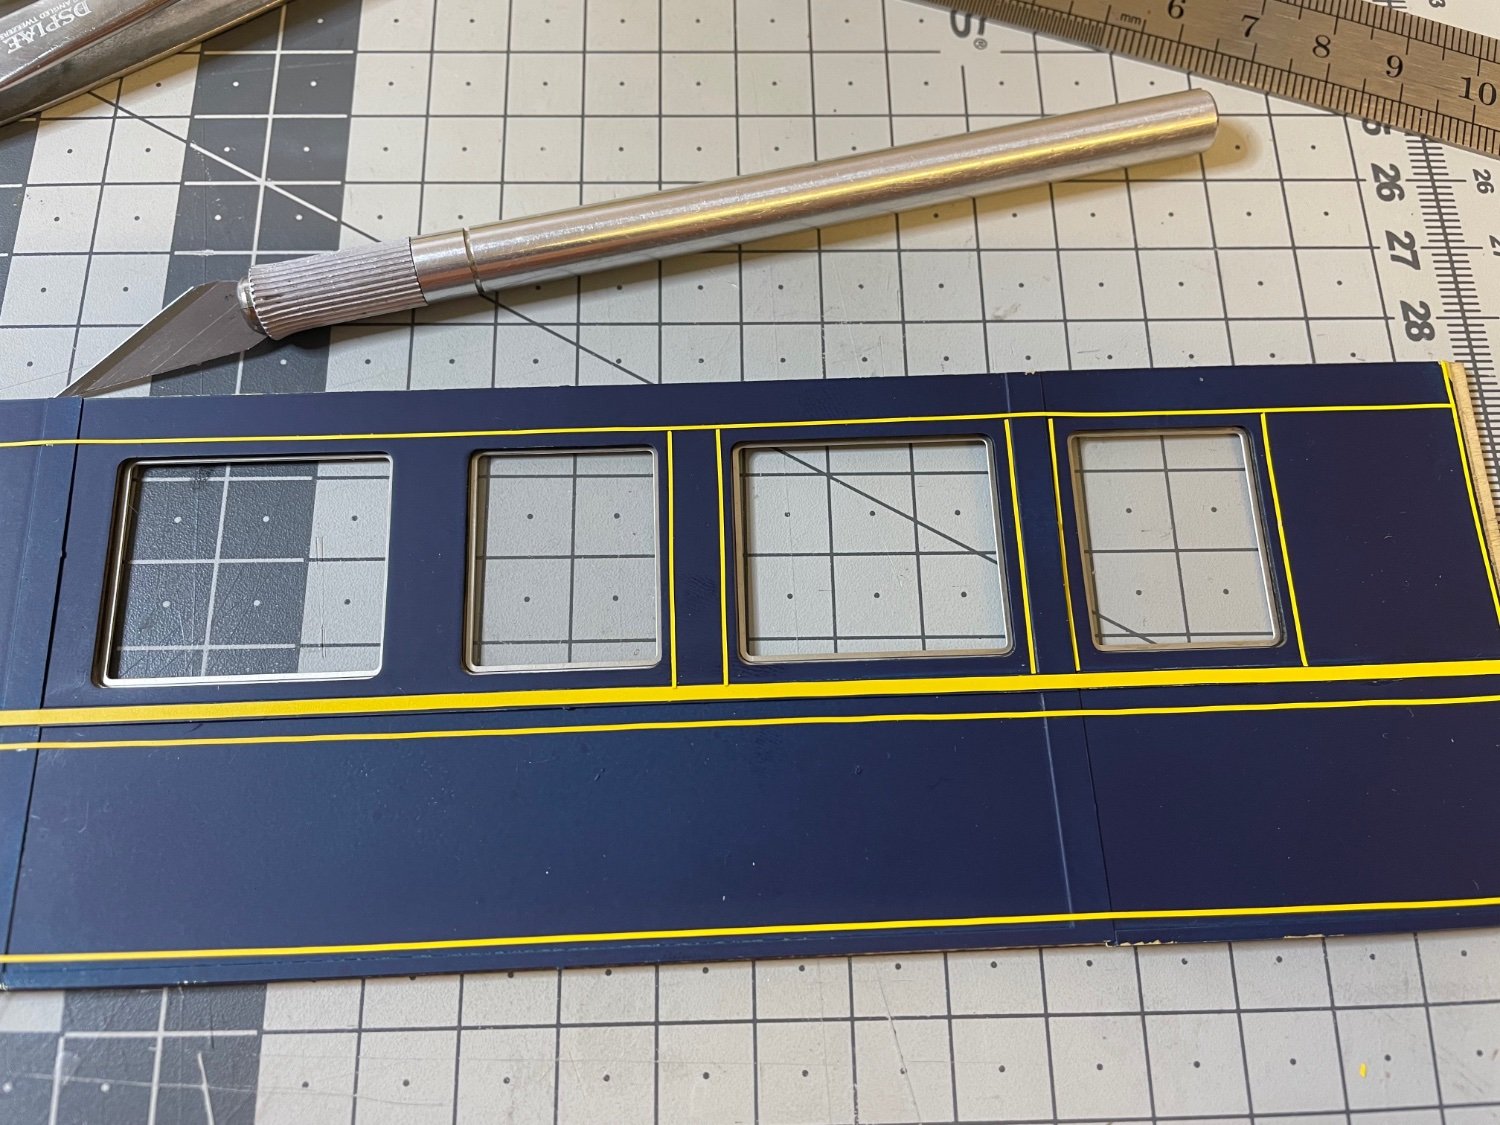
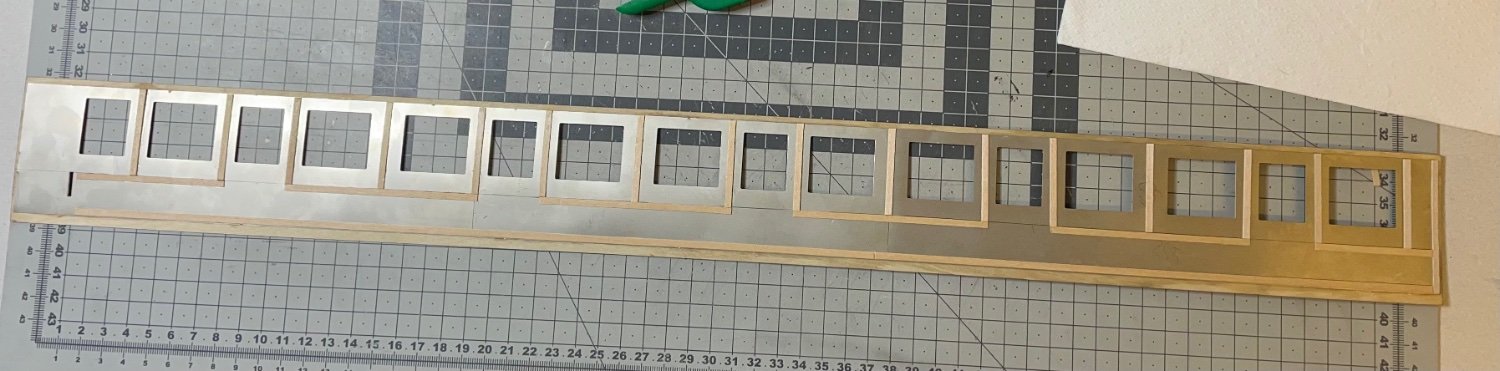
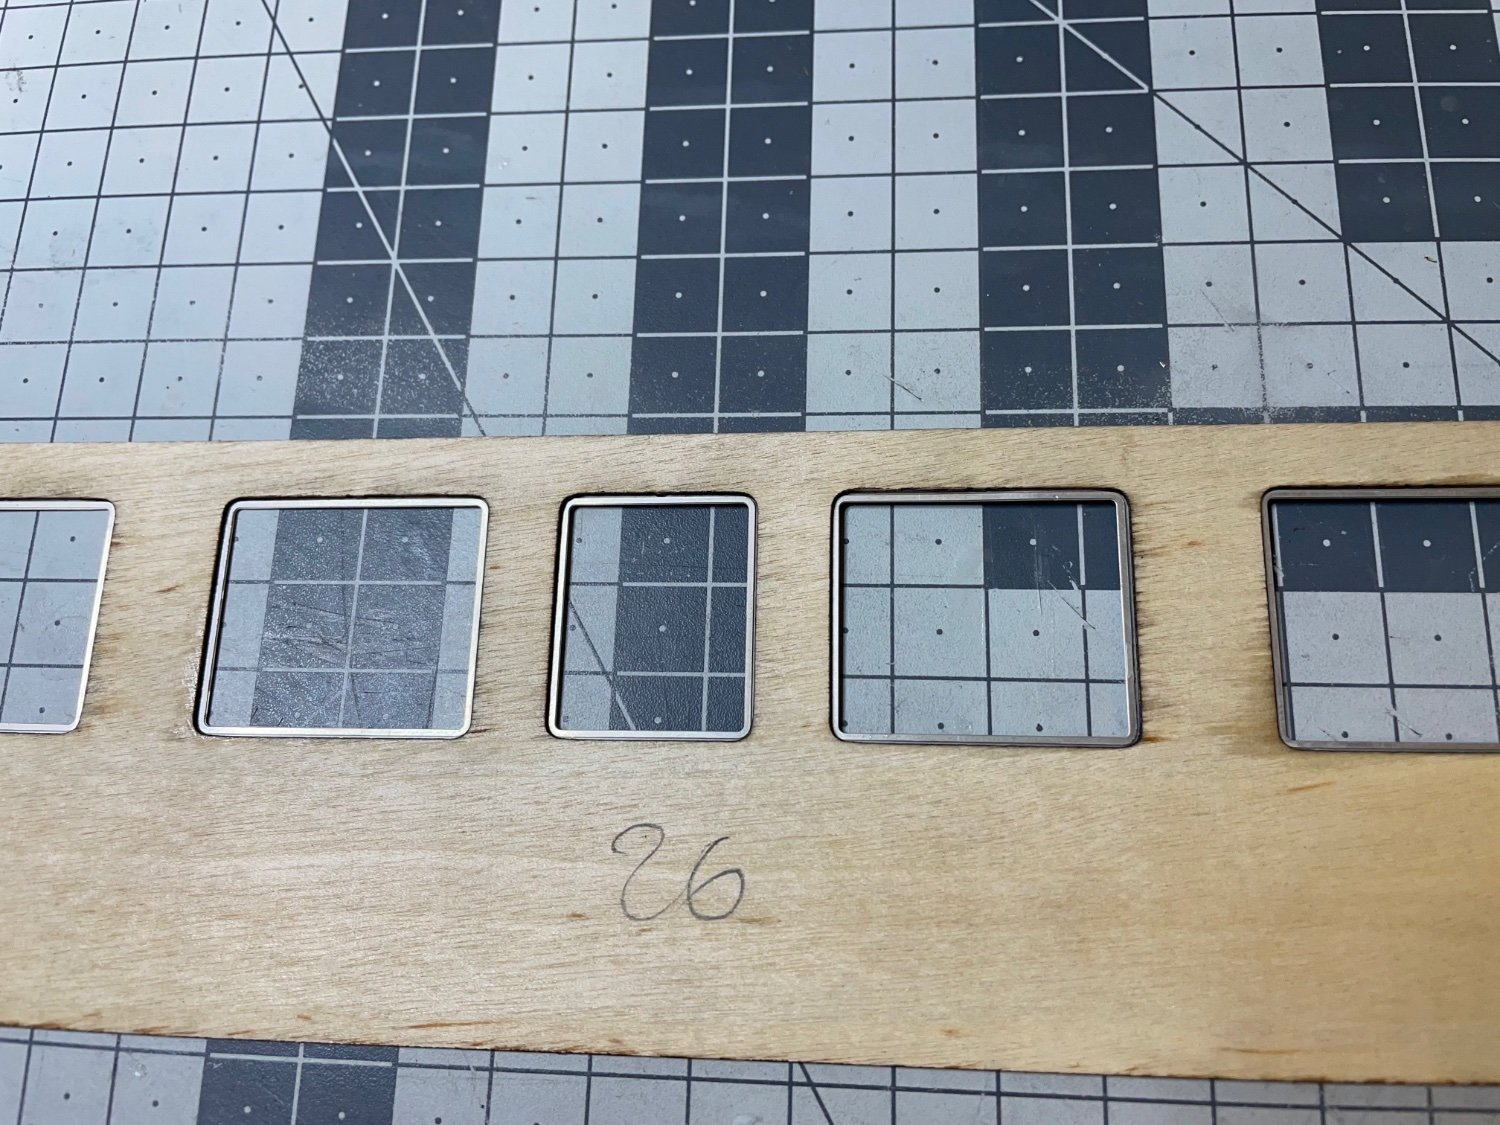
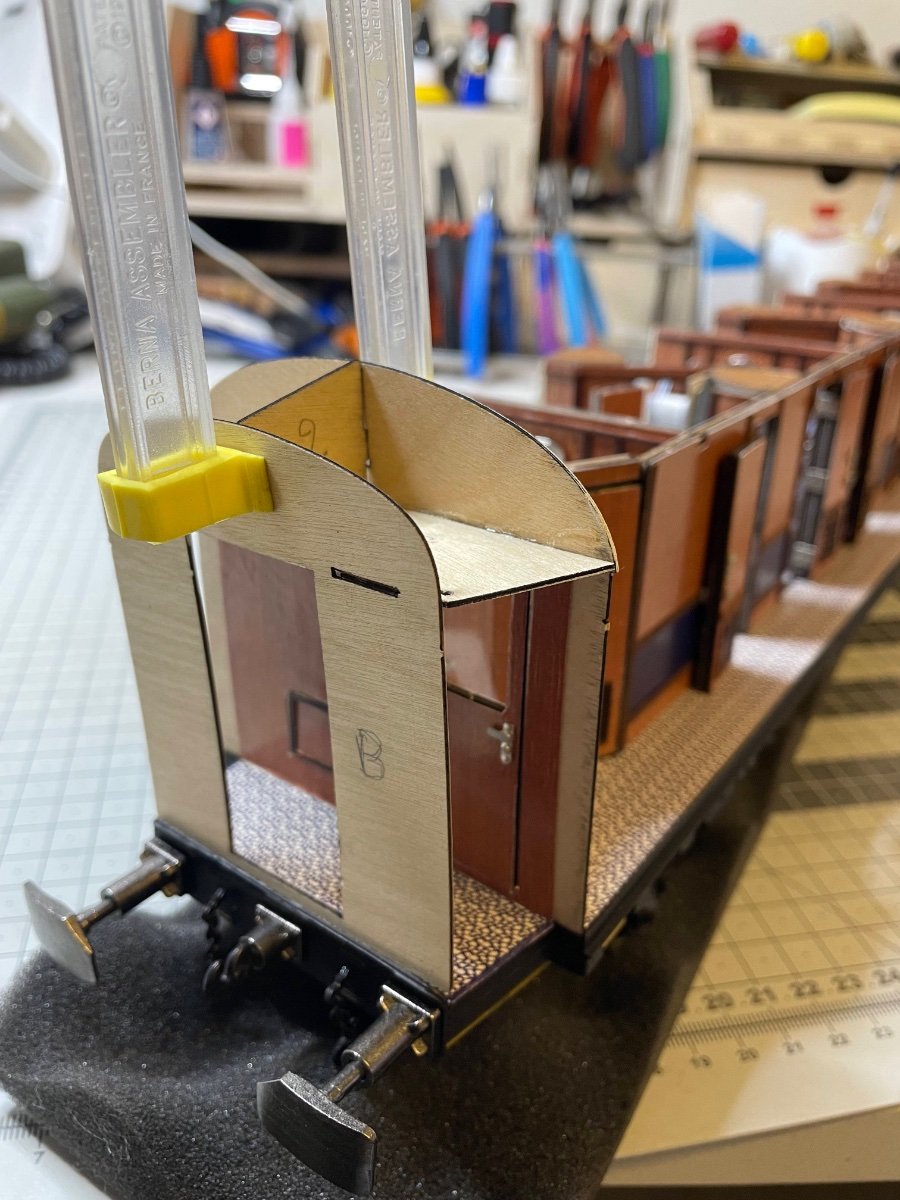
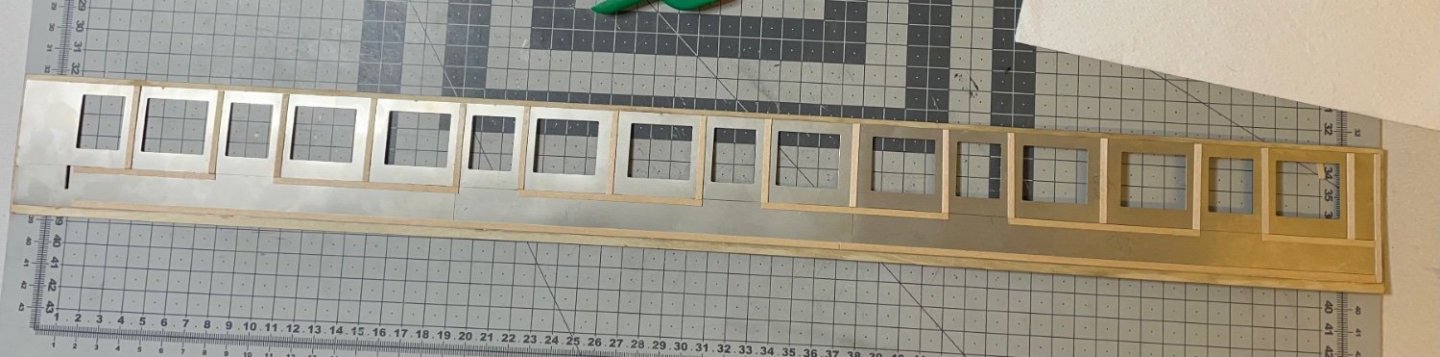
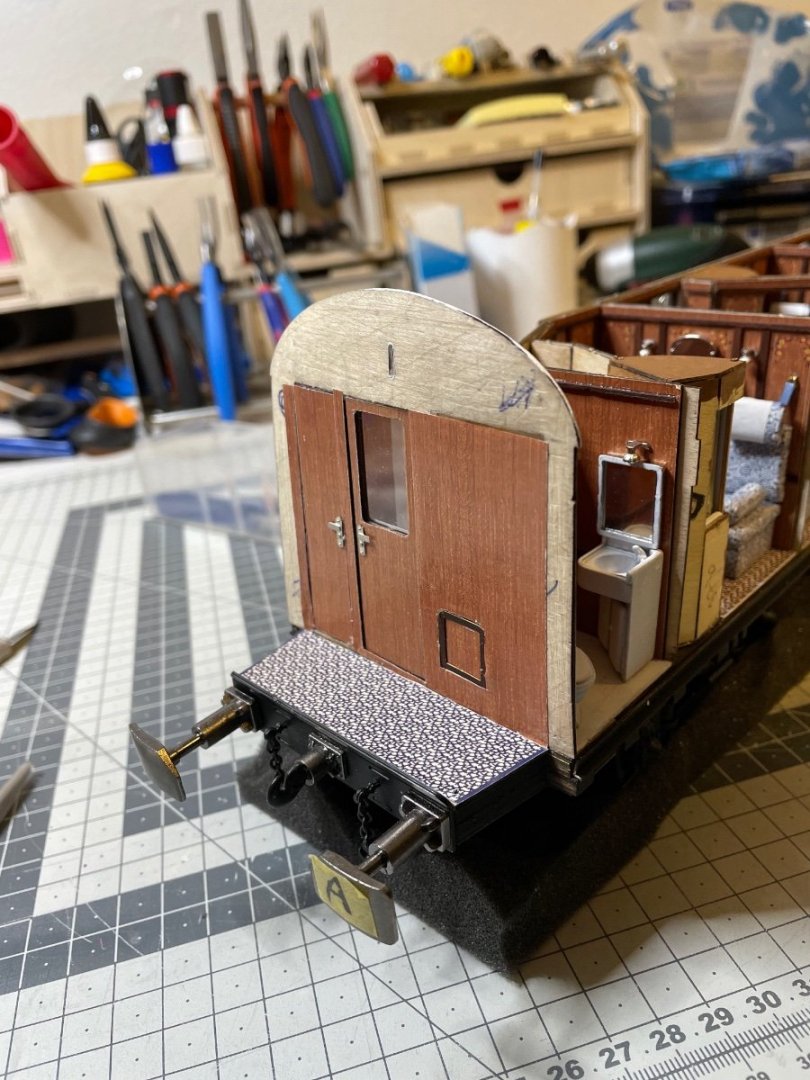
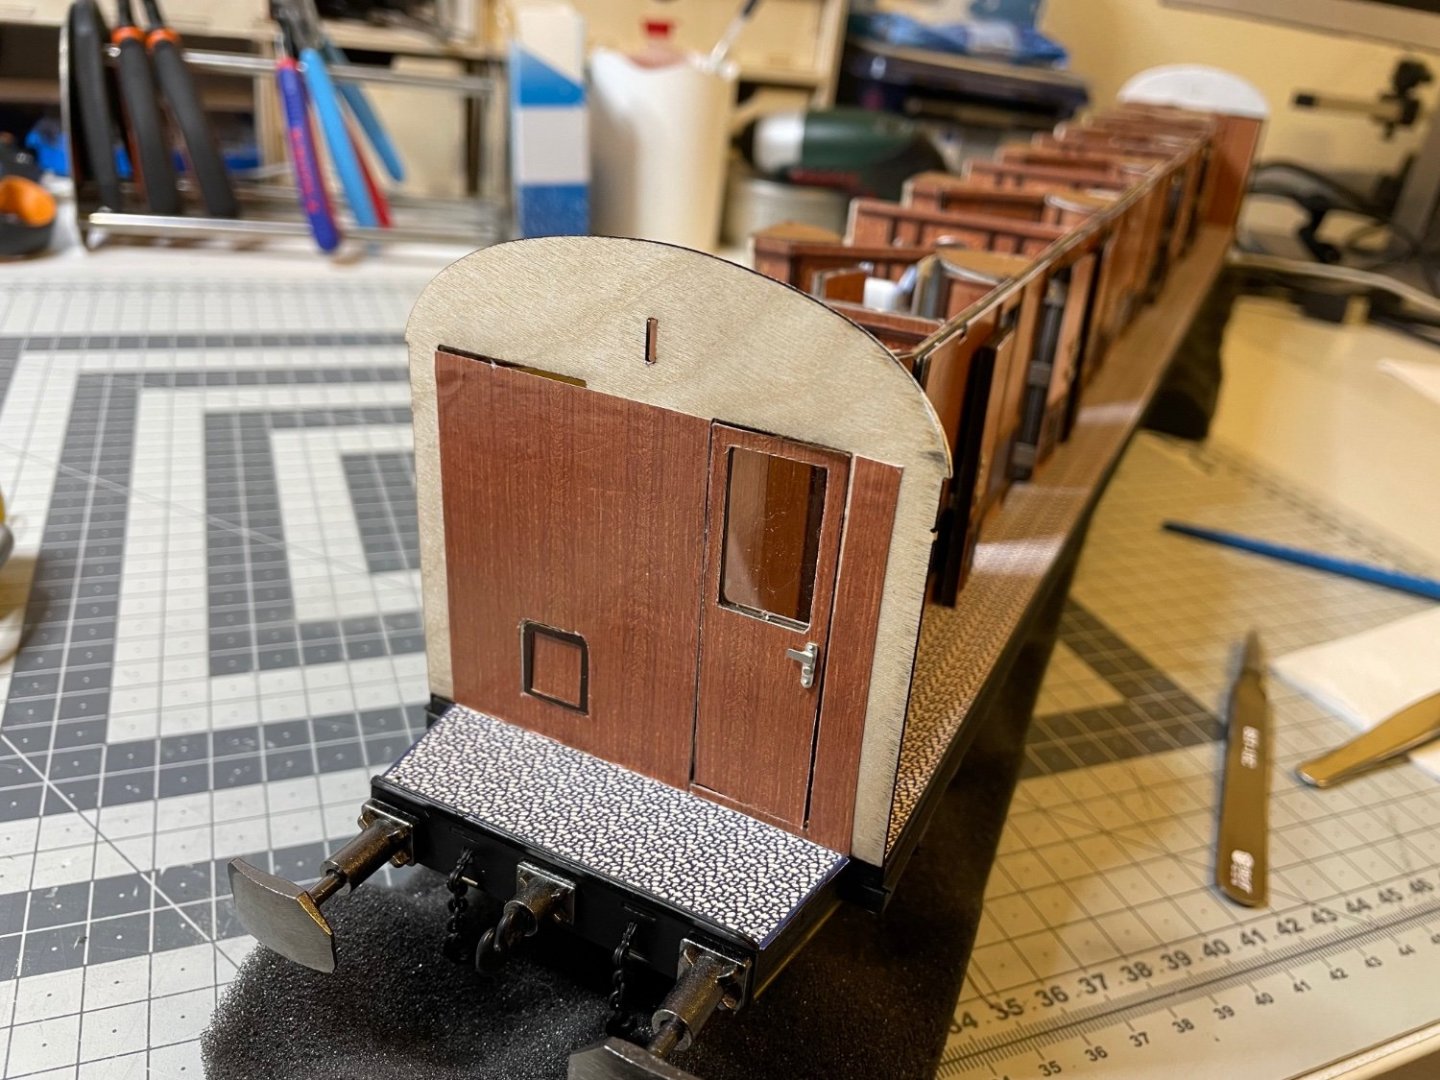
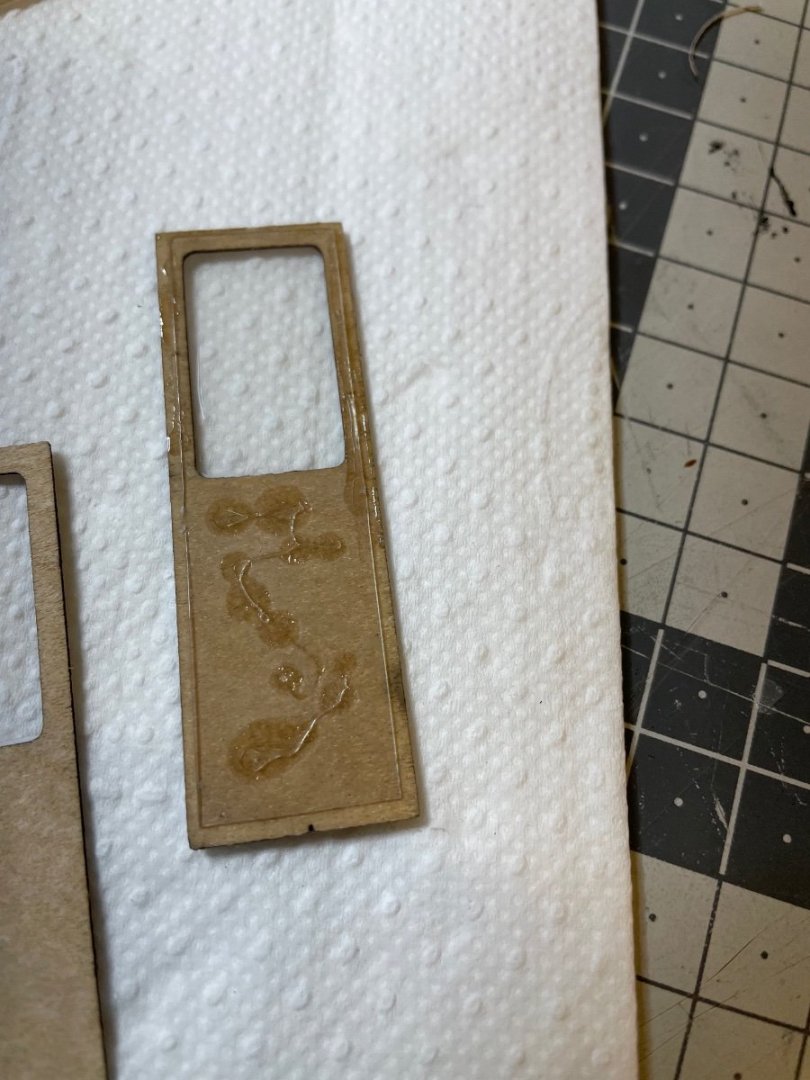
 Figures 303-304: A 1.5mm gap is required from both ends for assembly. There is a bit less space than that so I trimmed a little from the side. By the way I had to do this small adjustment for the corridor side carriage as well (i.e. the previous one).
- 293 replies
-
- 11
-

-
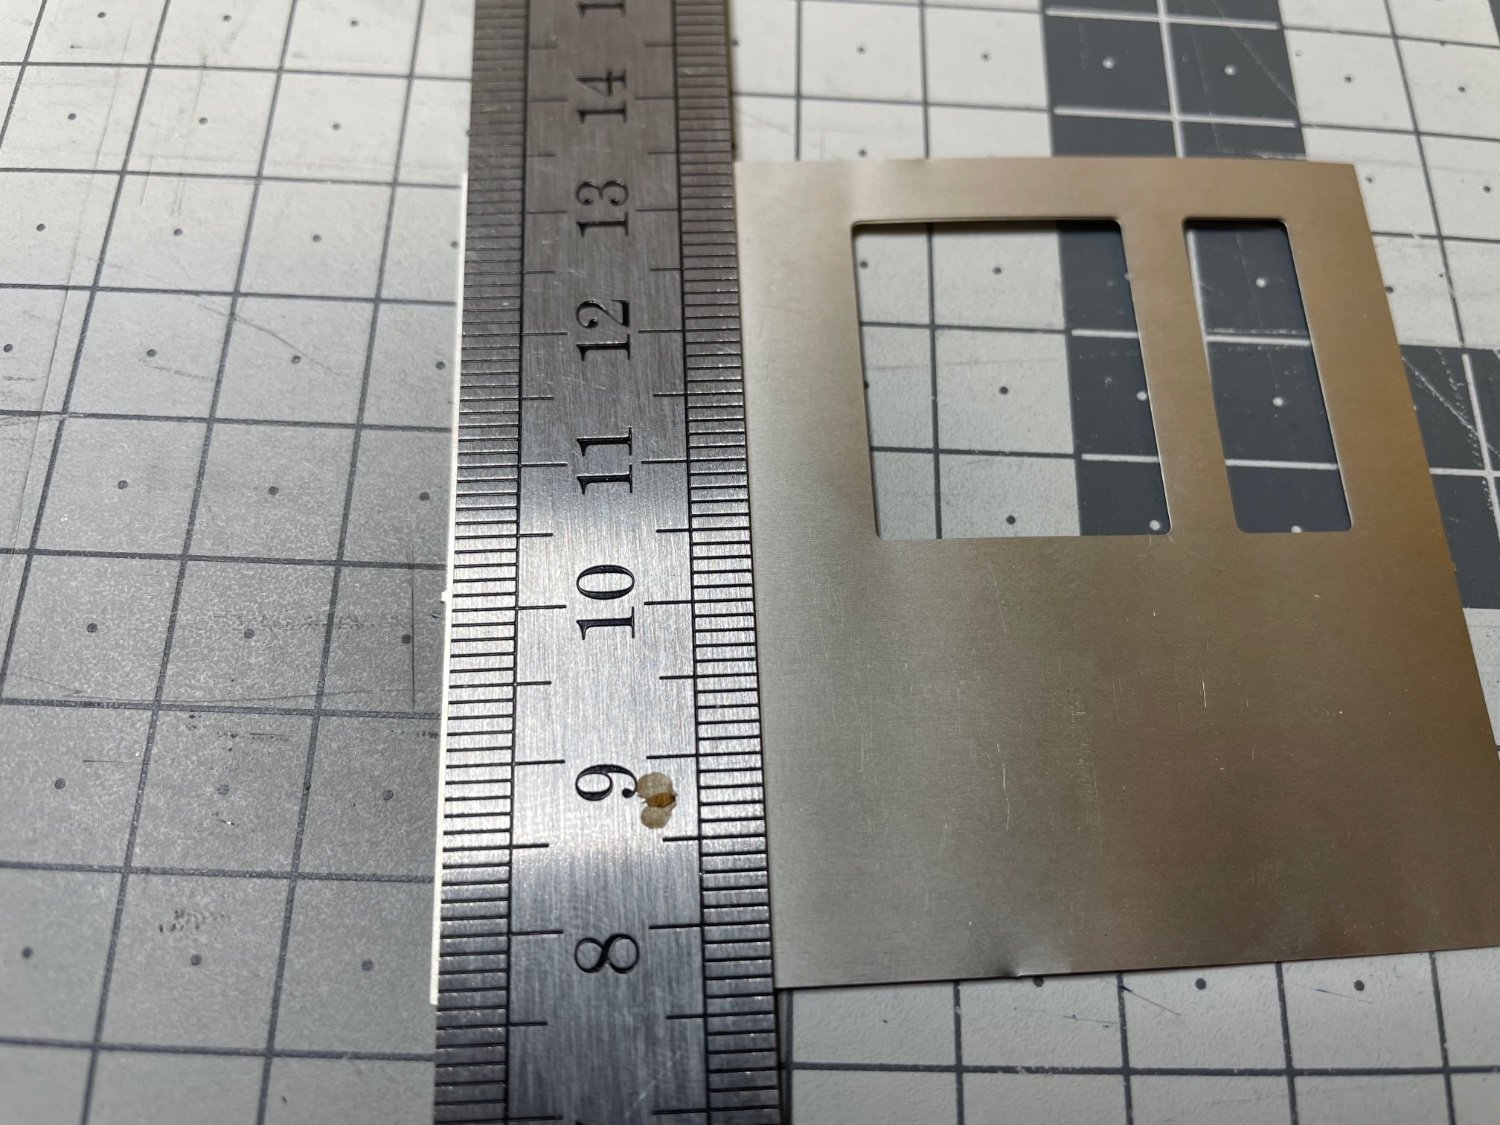
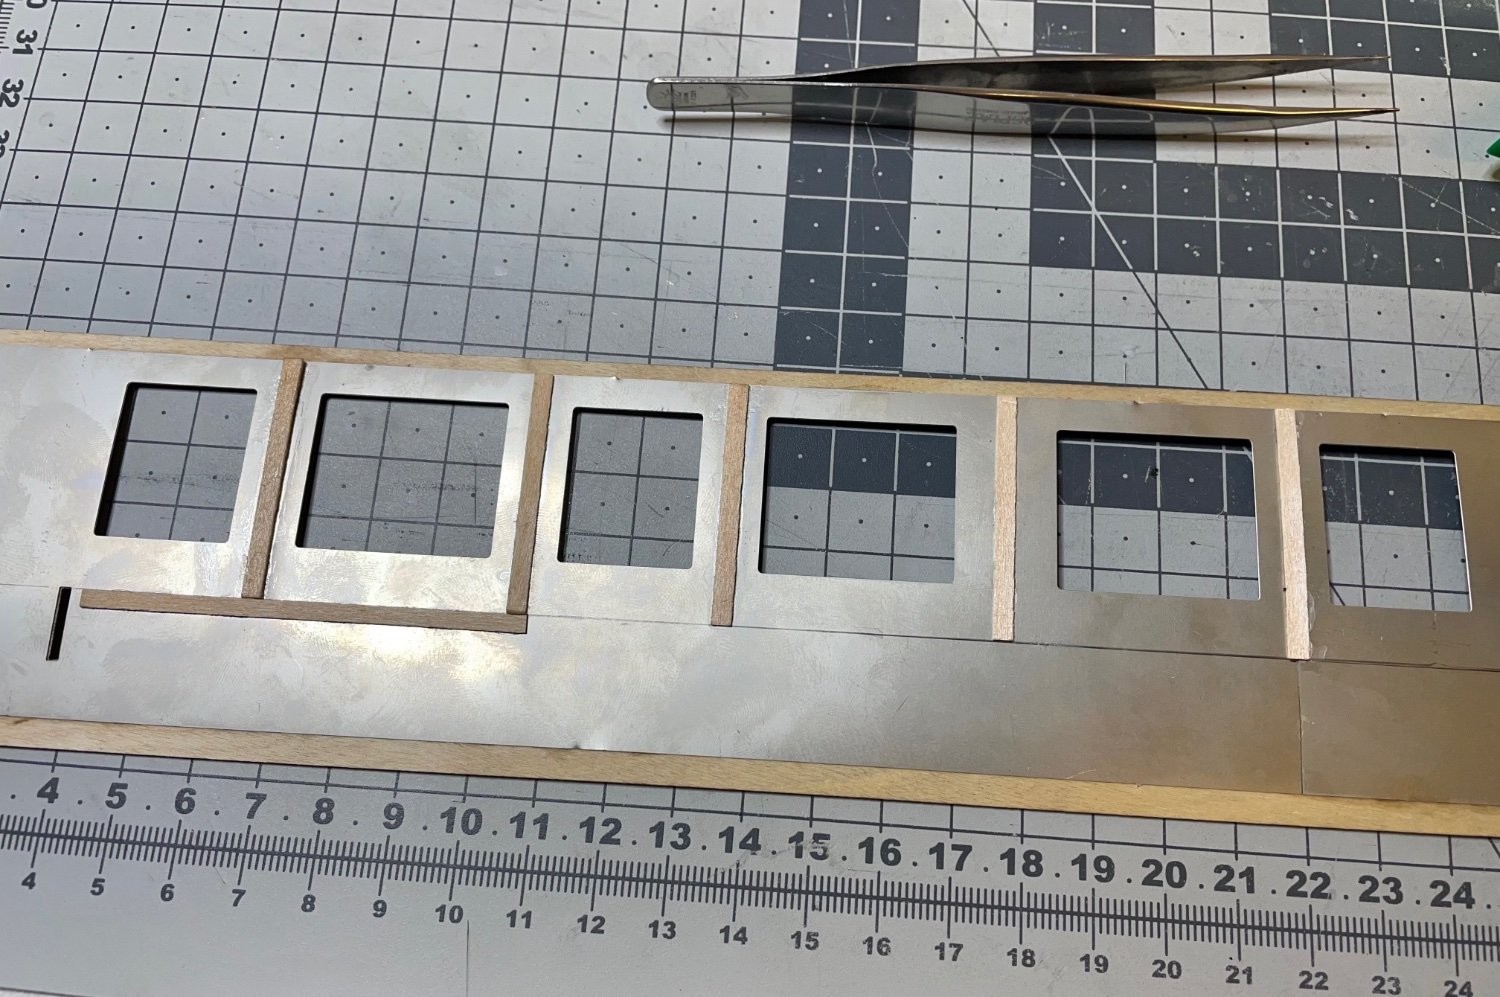
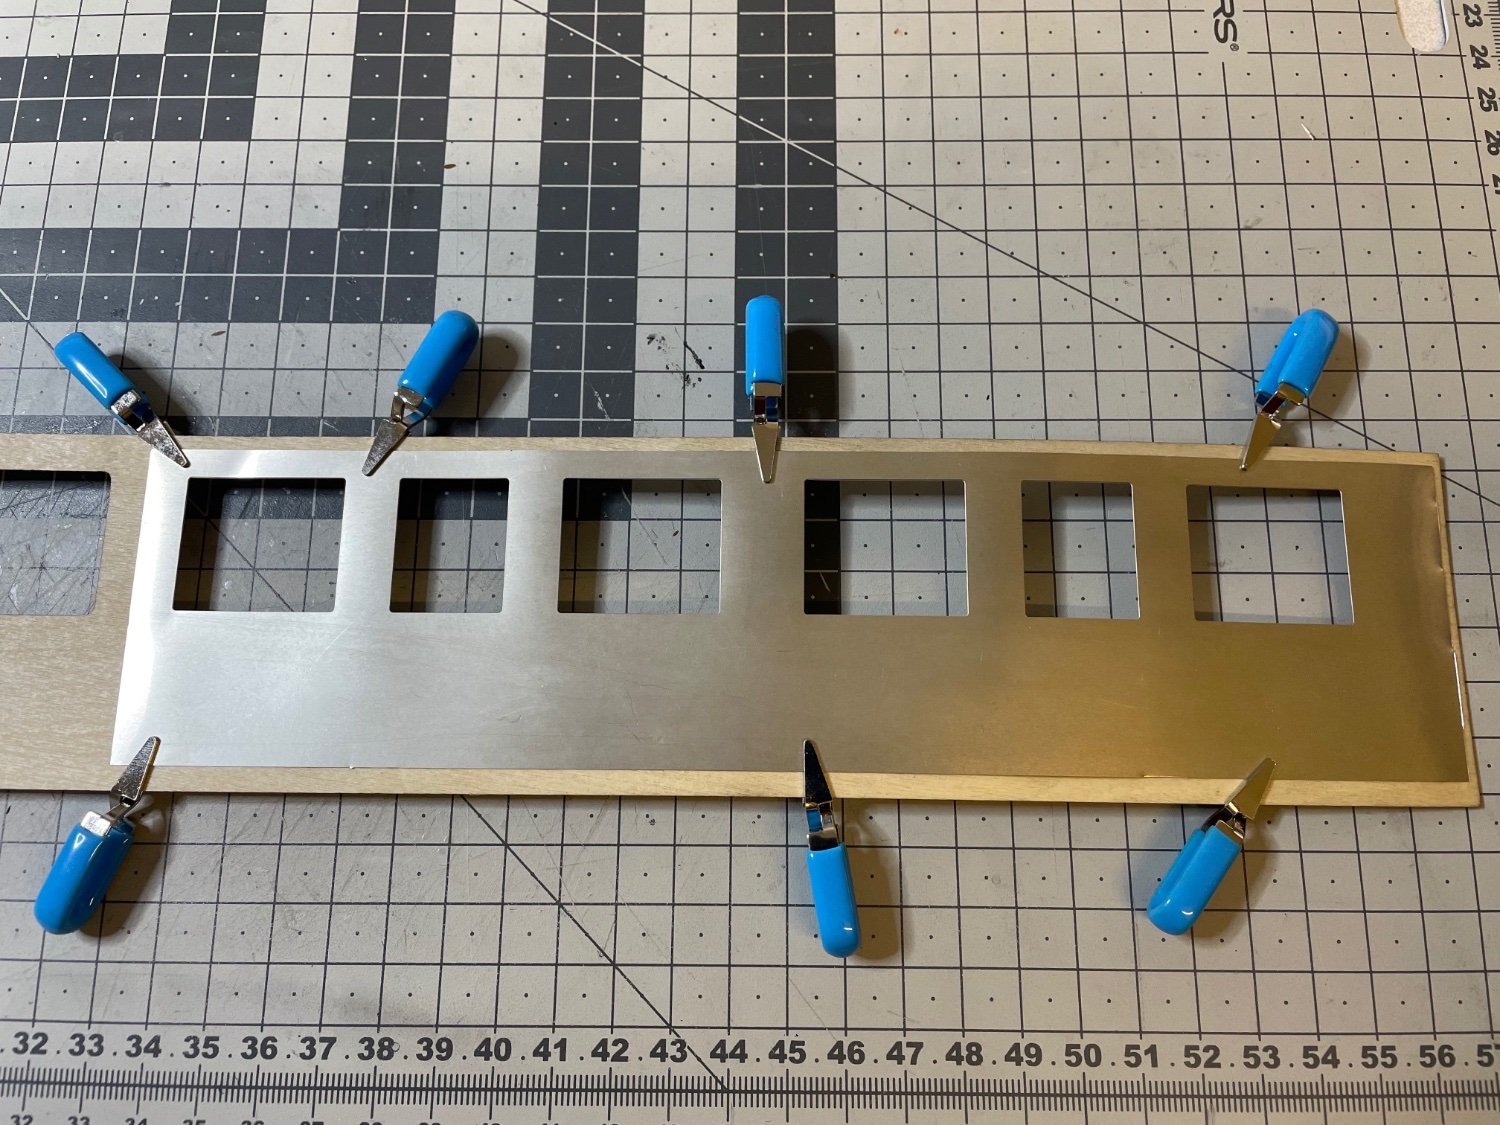
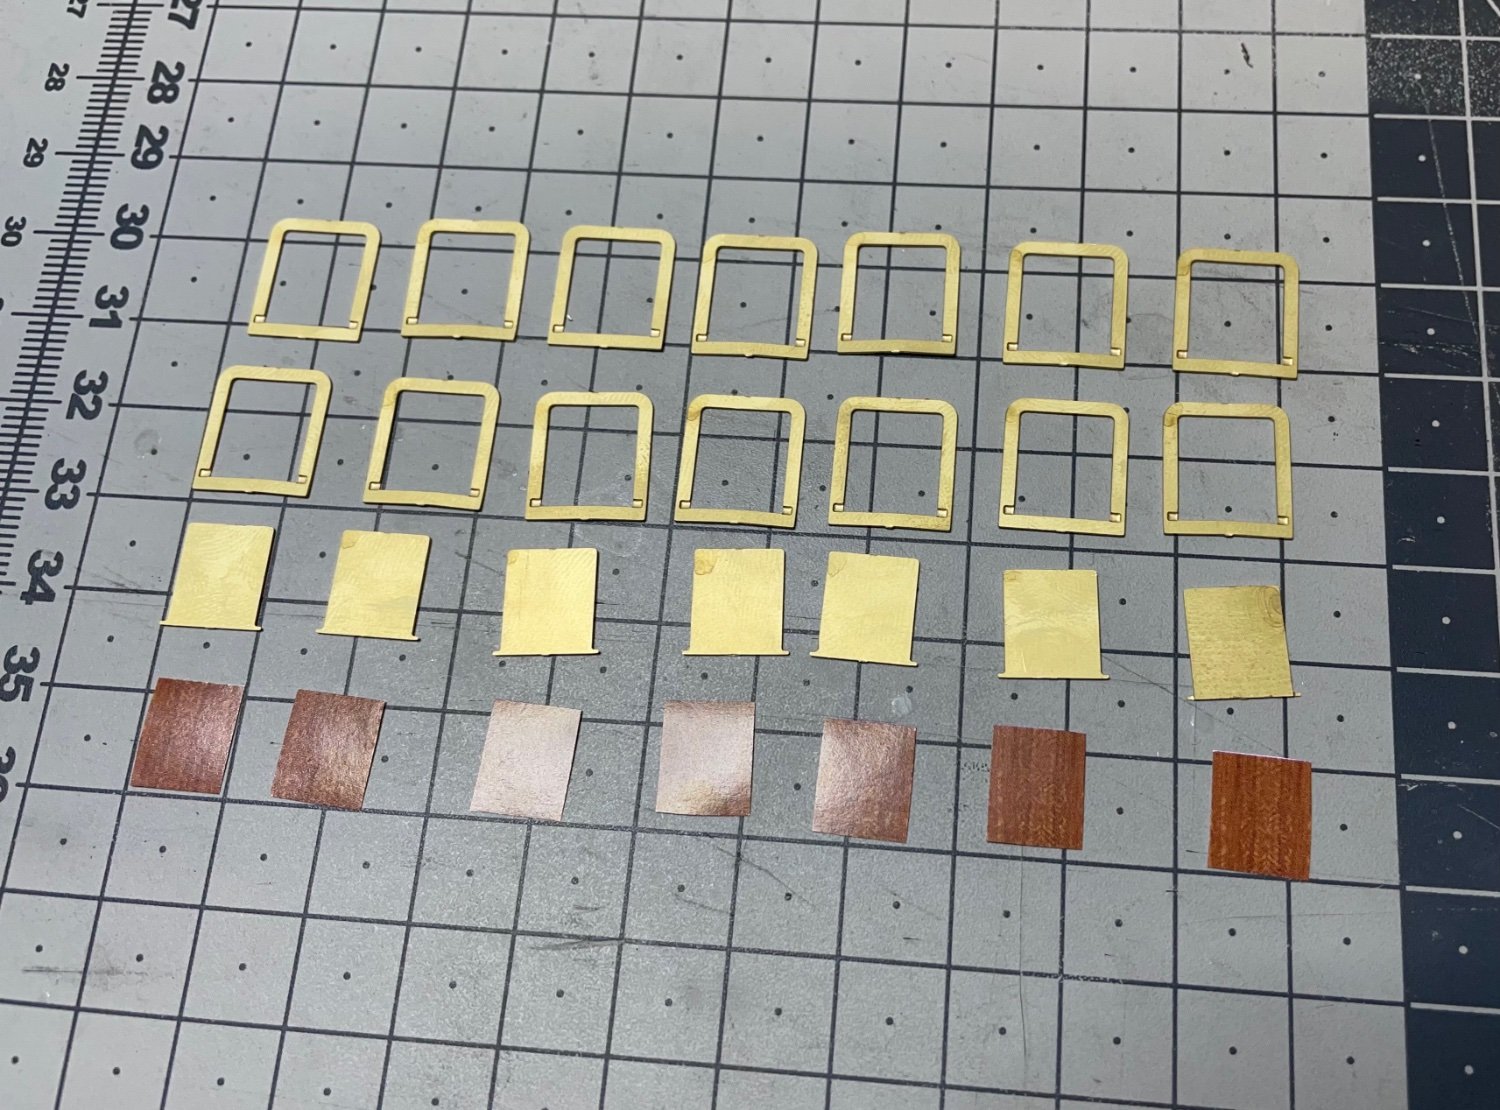
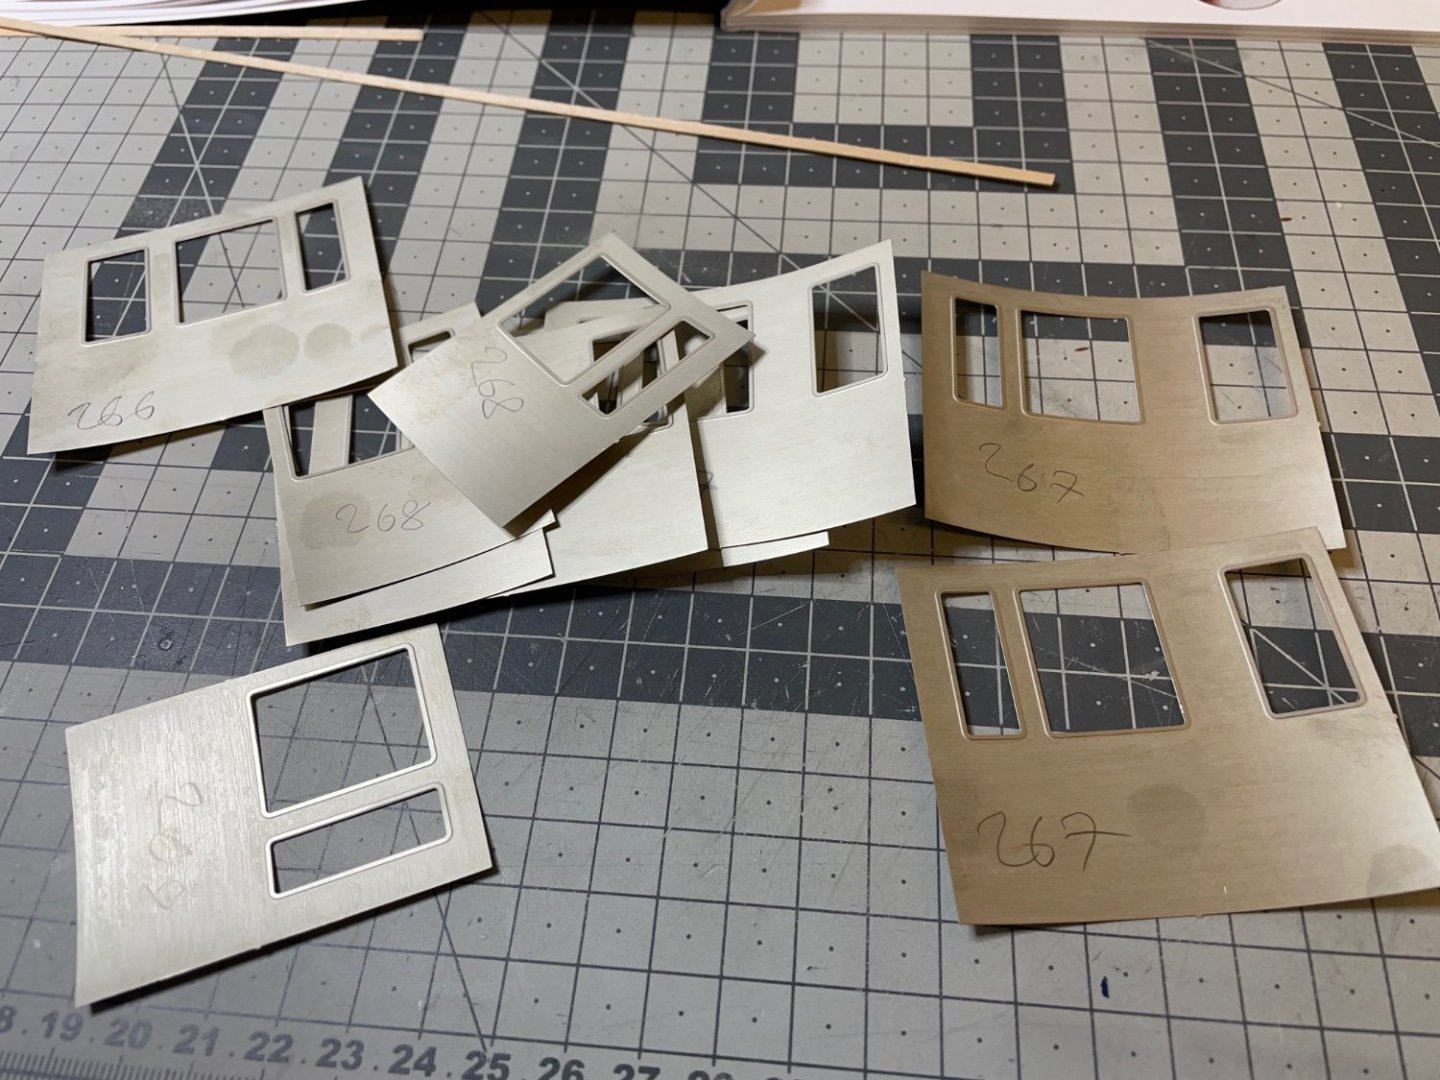
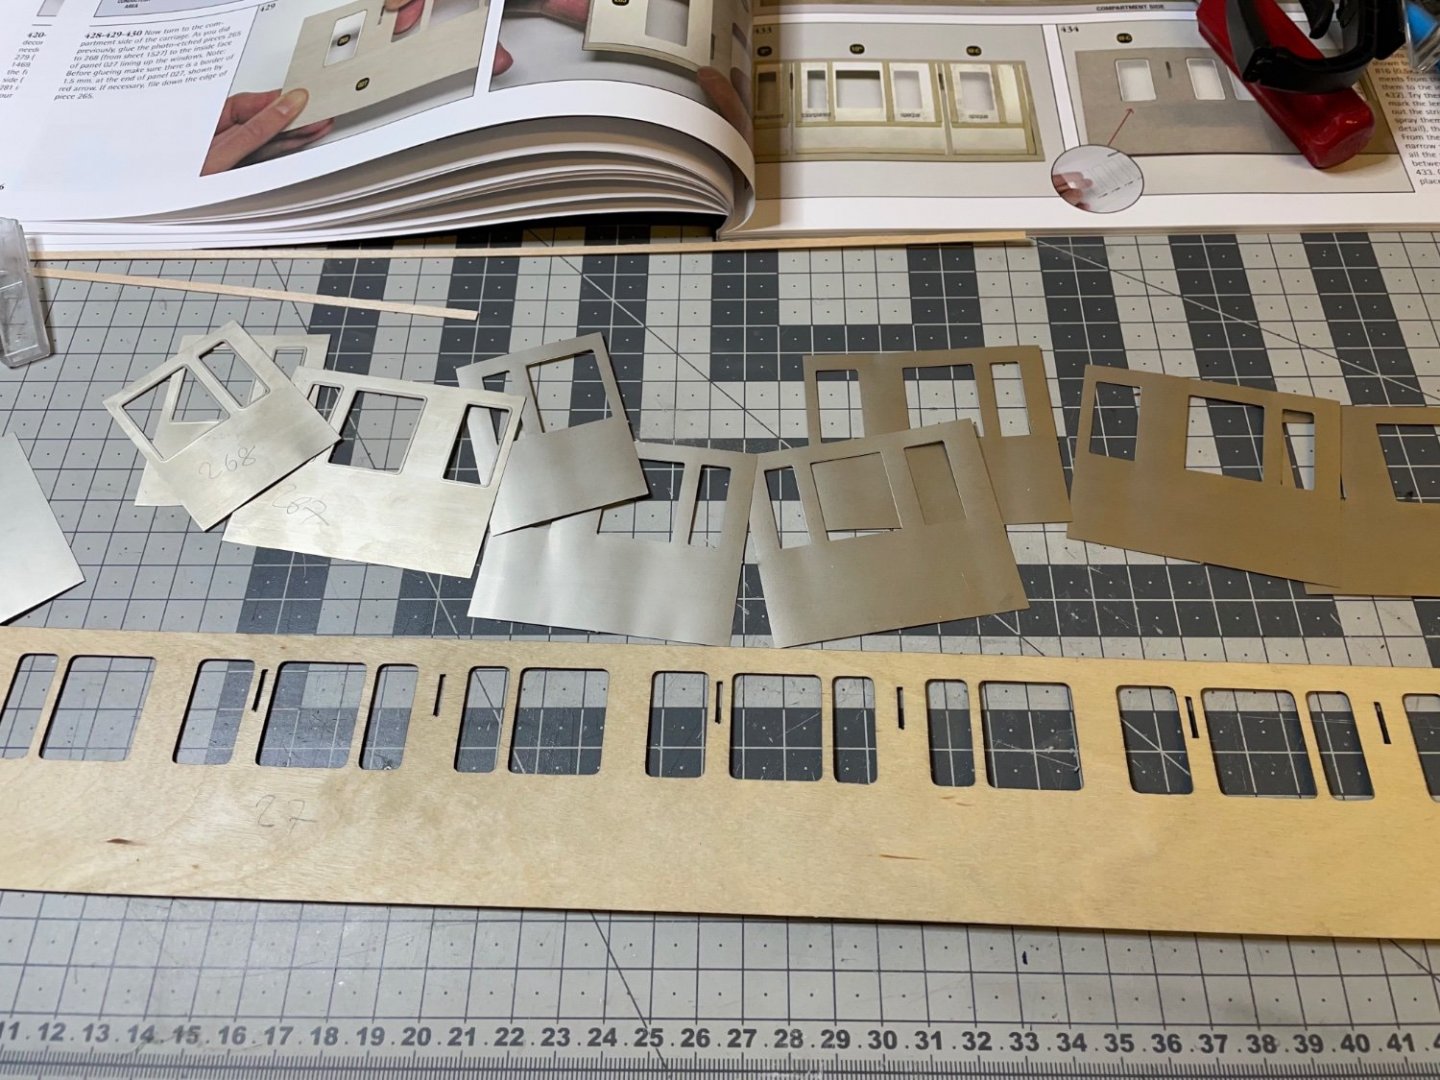
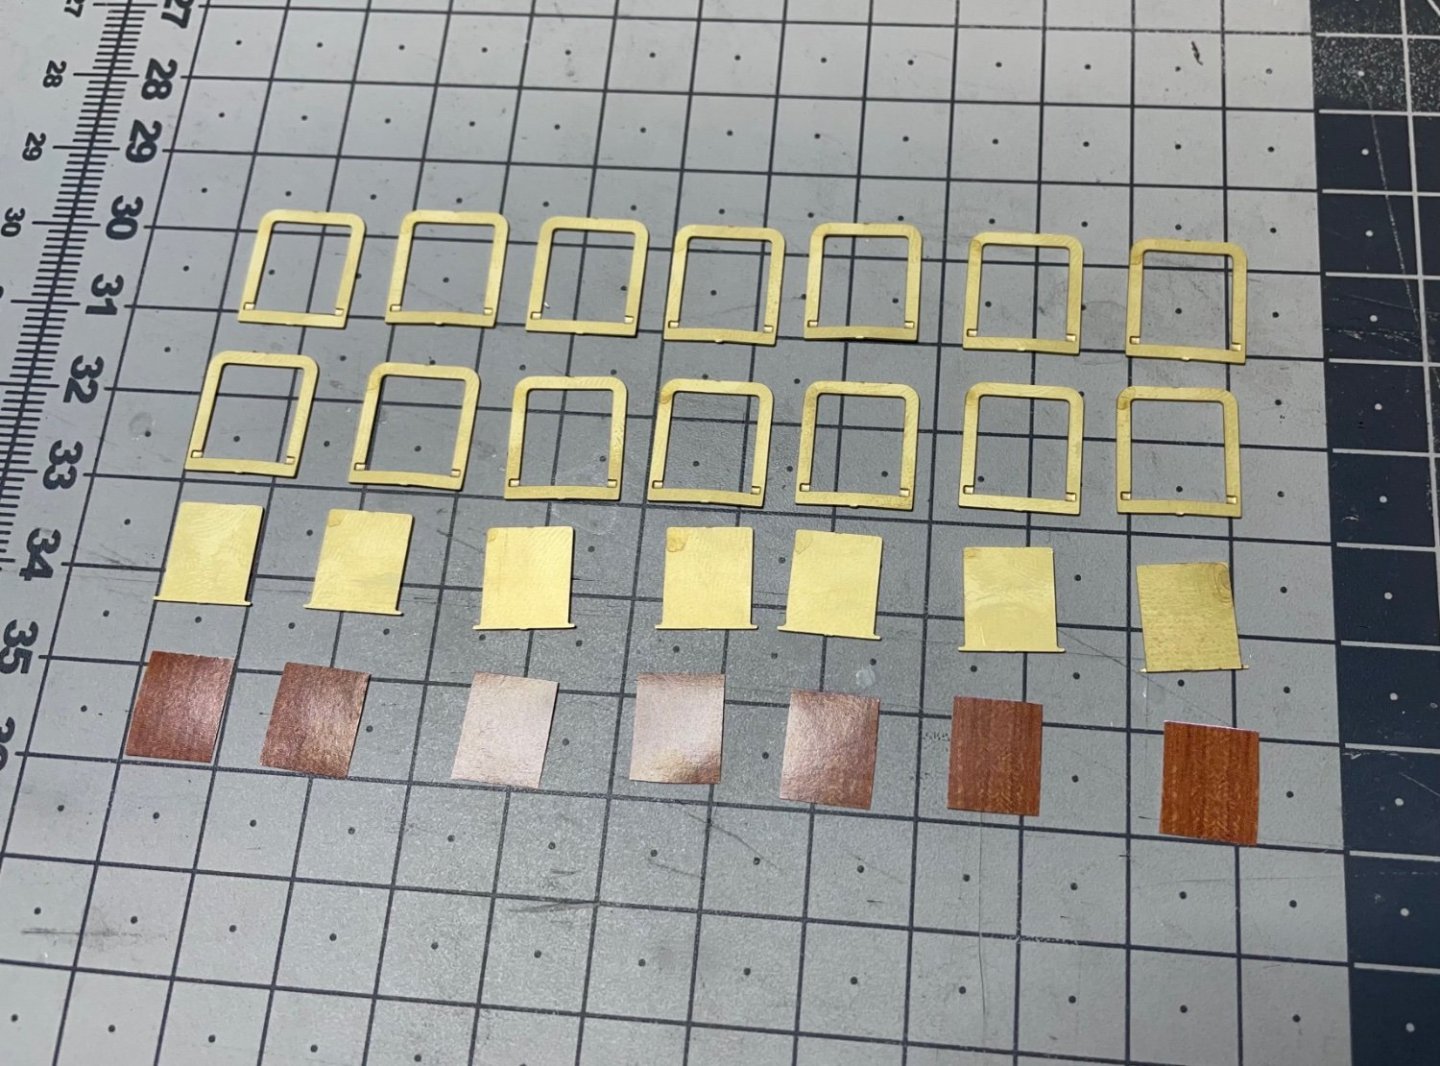
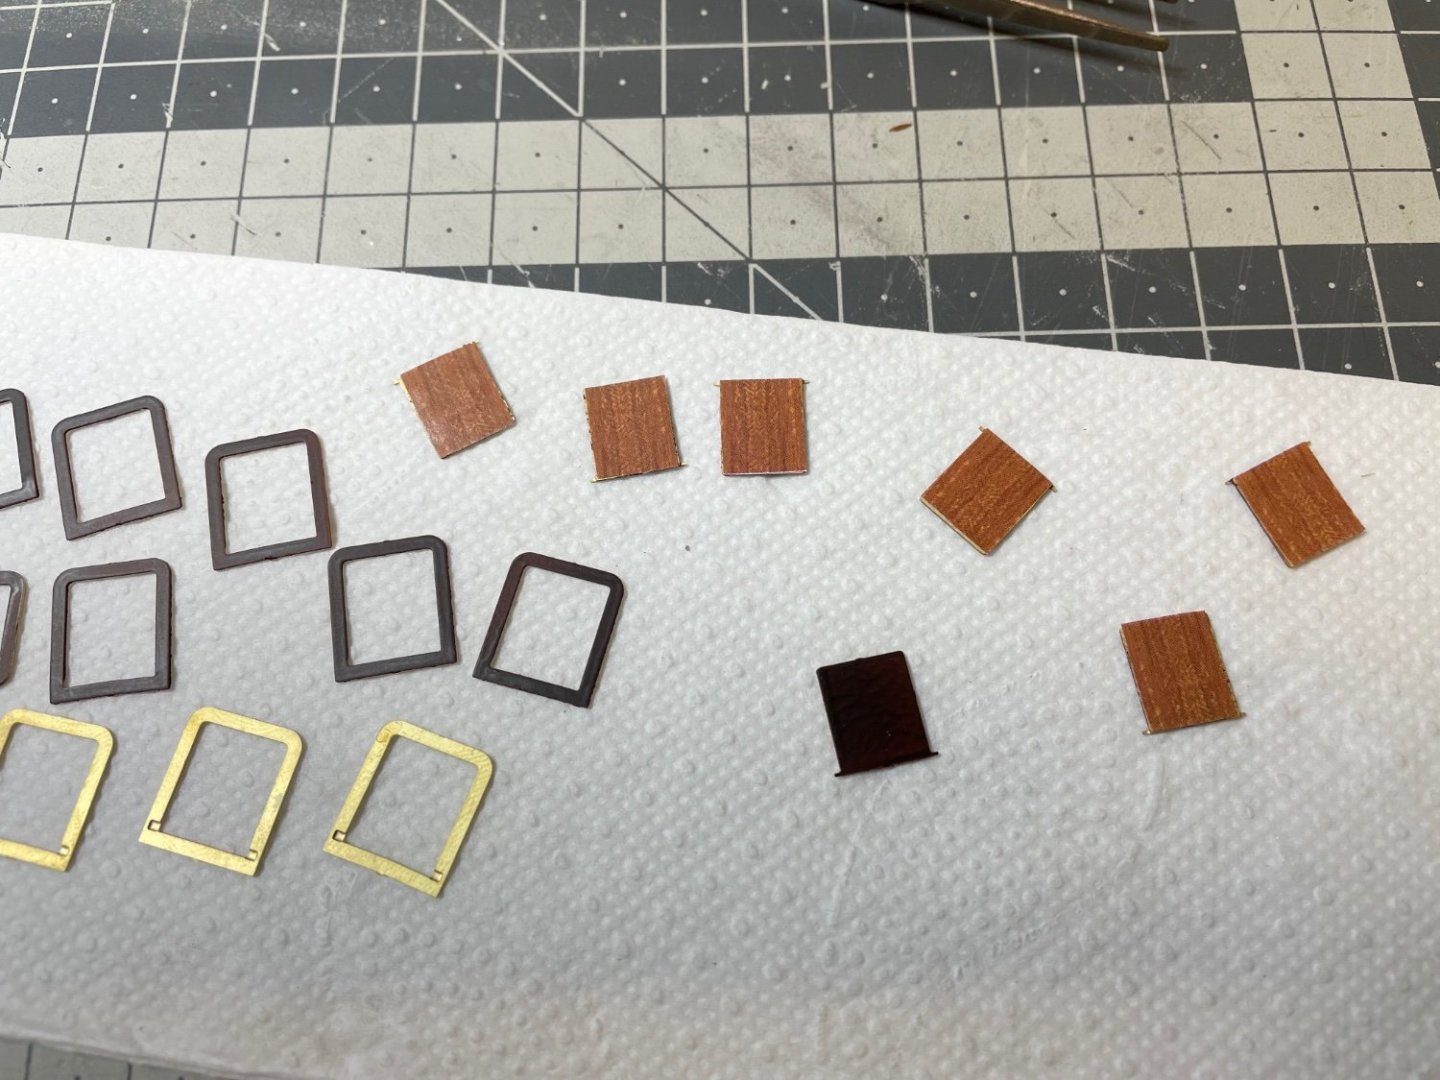
BUILD DAY 30 / 3 hrs / (TOTAL: 81 hrs) Continuing with the compartment side of the carriage. The work is pretty much the same as the other side. This has more windows. Figure 301: Nickel parts. They are also curved out of box. Now that I know they won't be visible, I use some force and hammer to flatten them enough. Figure 302: Here they are flat.
- 293 replies
-
- 10
-
-
I think I found it on Amazon, Does it help to brush it on my already applied decals, or is only good for future decal work?
-
Thanks for the tip! Will definitely check it!
-
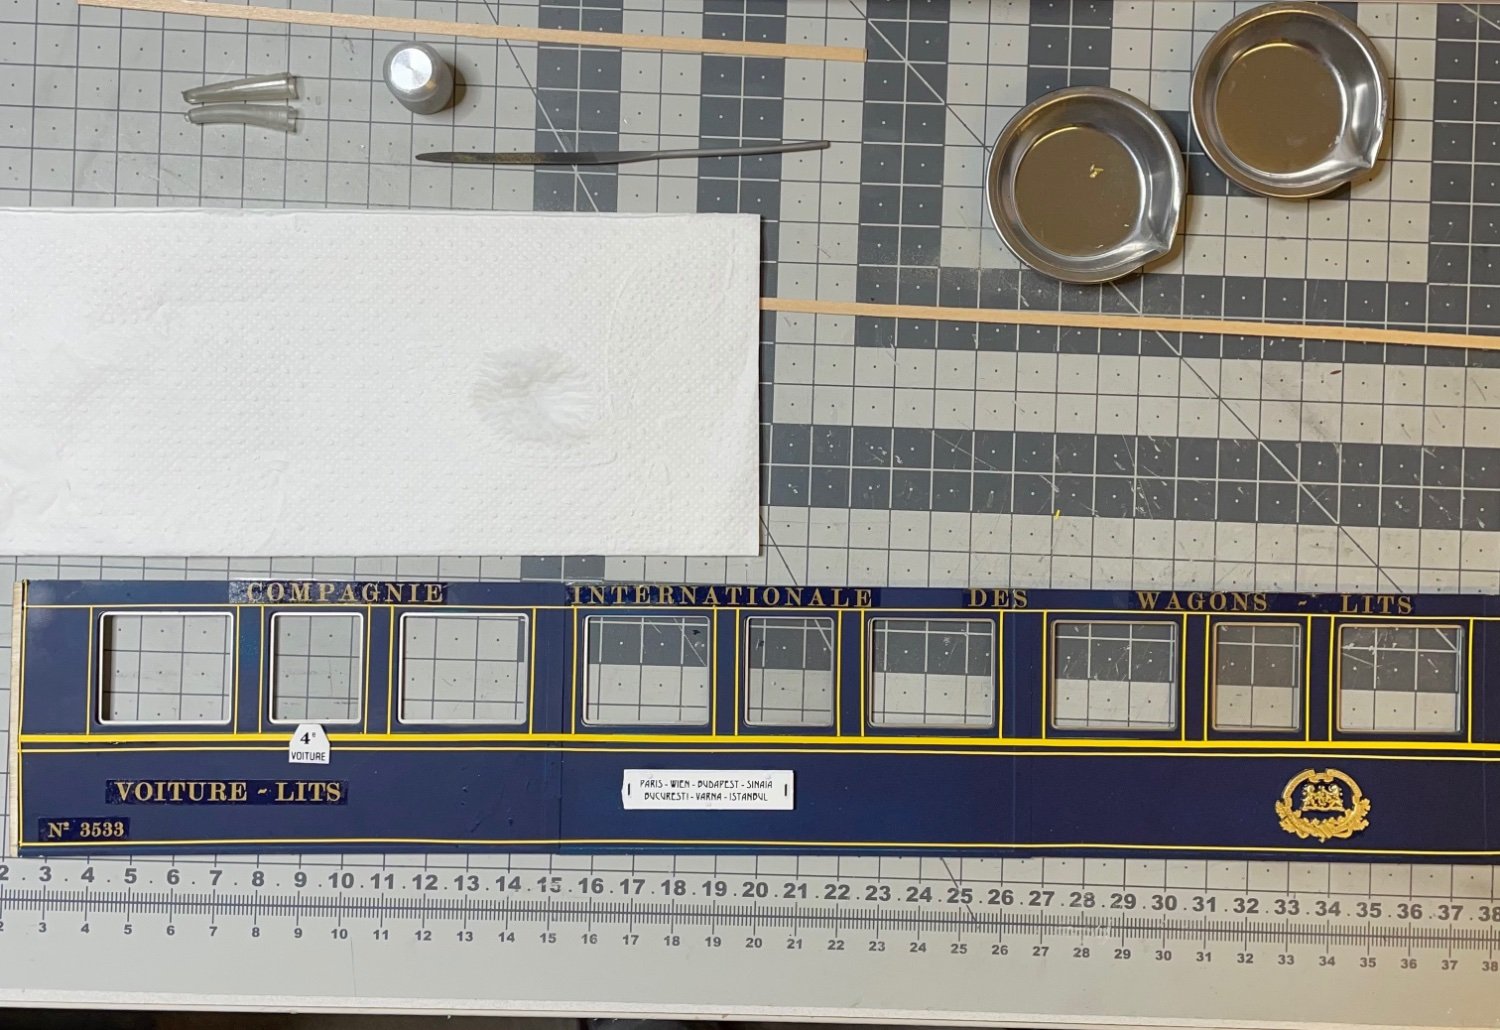
Figure 300 : Alright! Now the logo is in place, together with the nameplate my train is officially The Orient Express! This is all for now. Thanks for watching!

- 293 replies
-
- 13
-
-
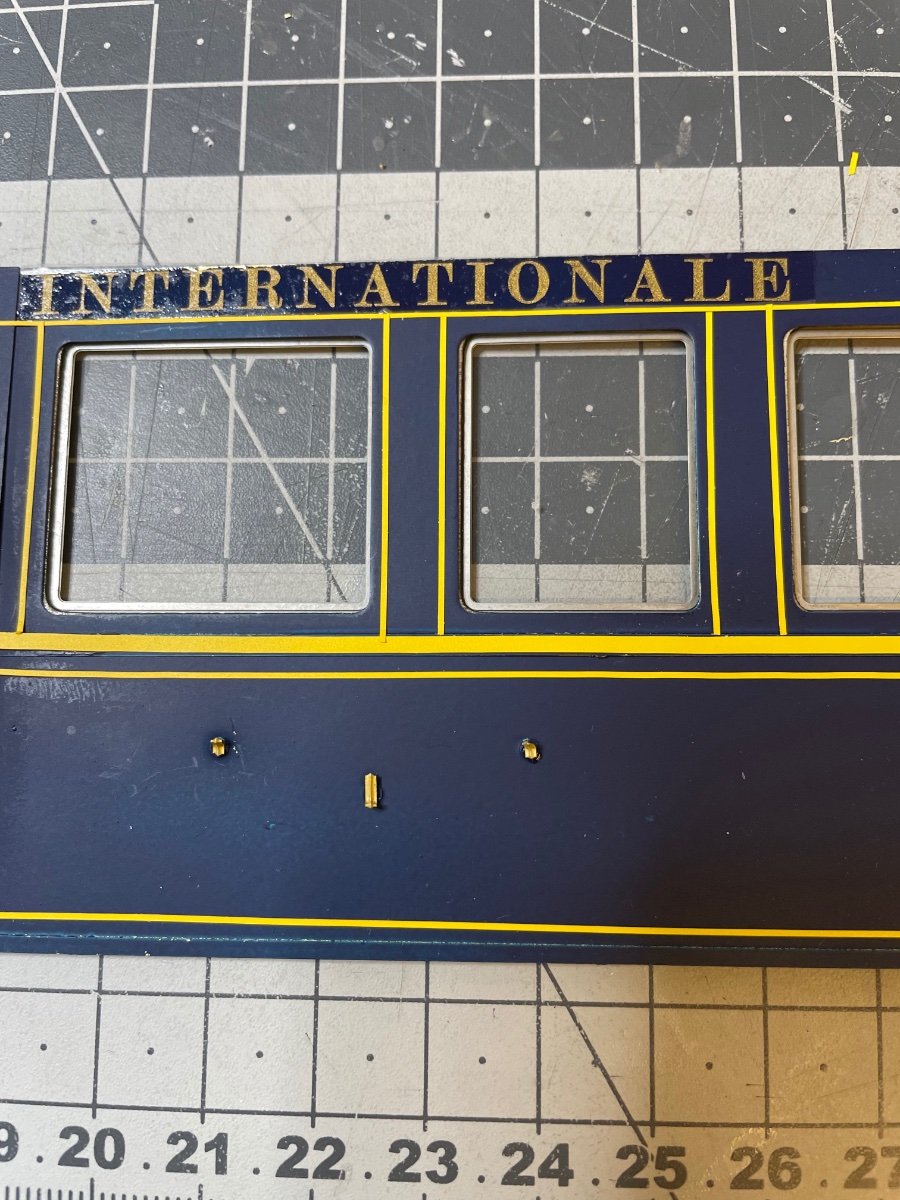
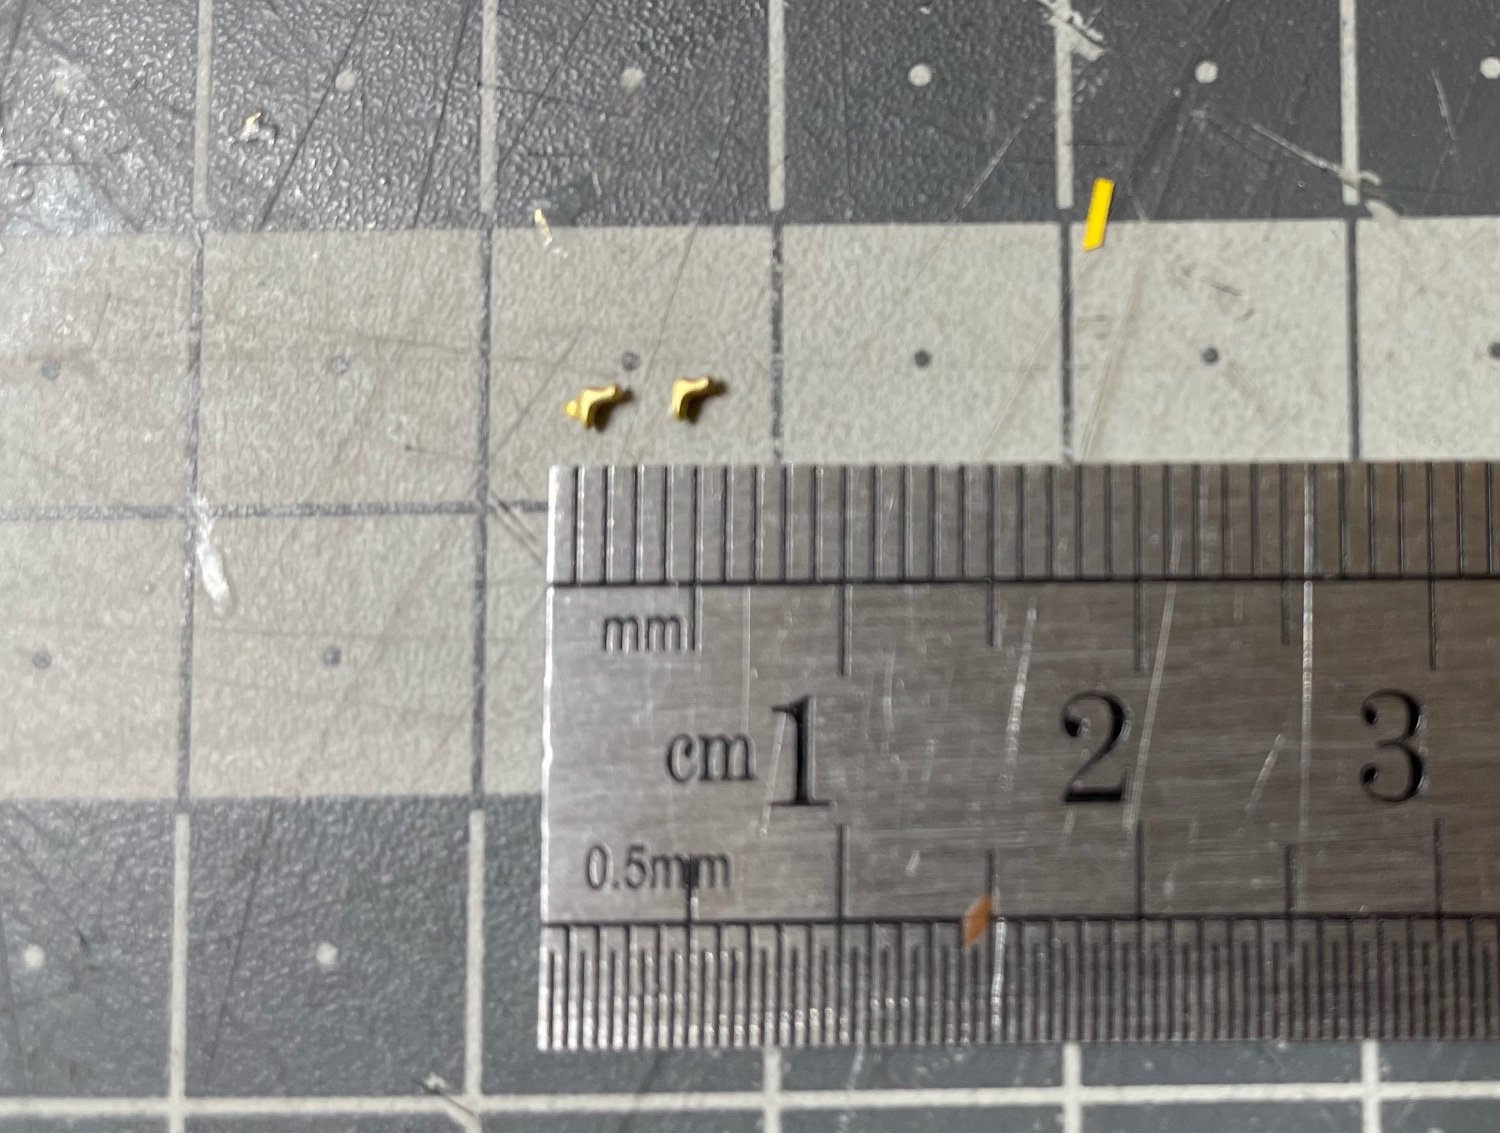
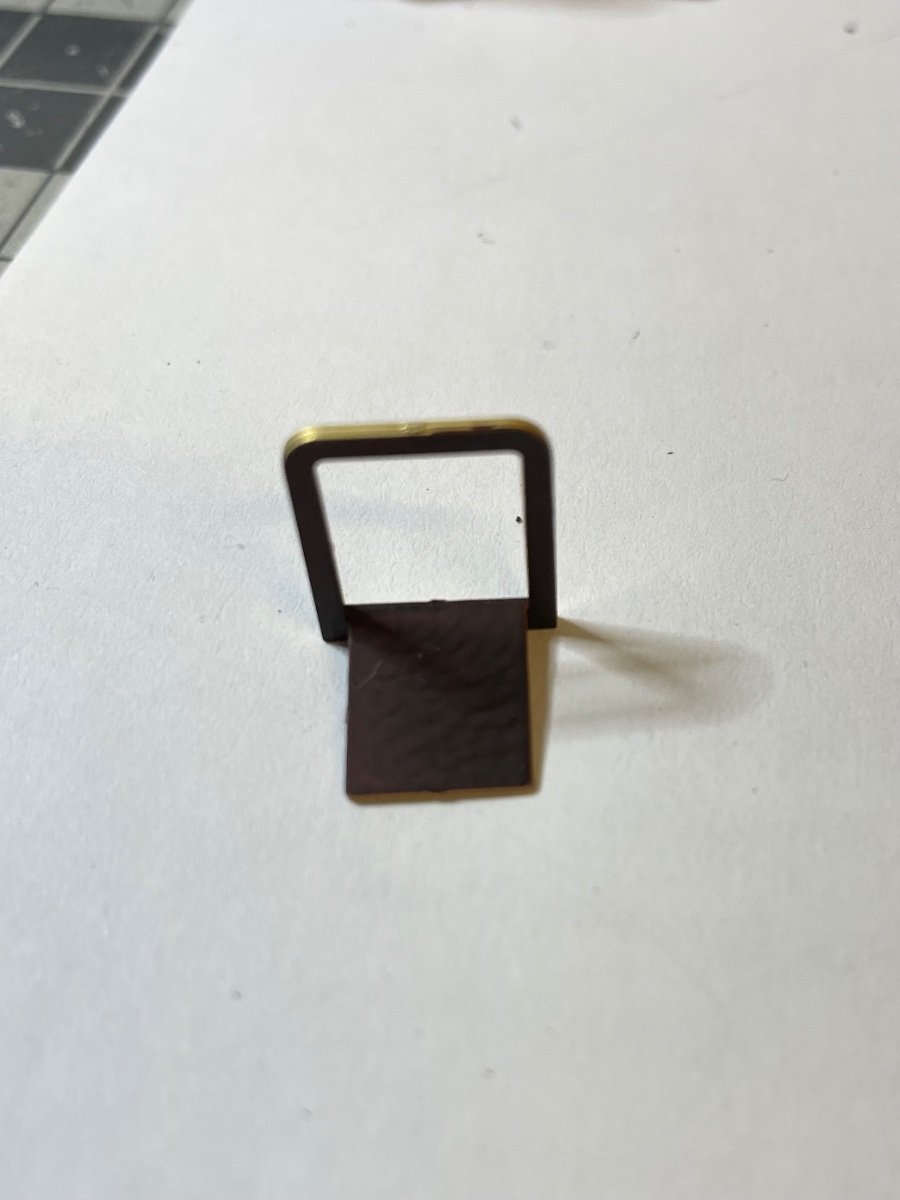
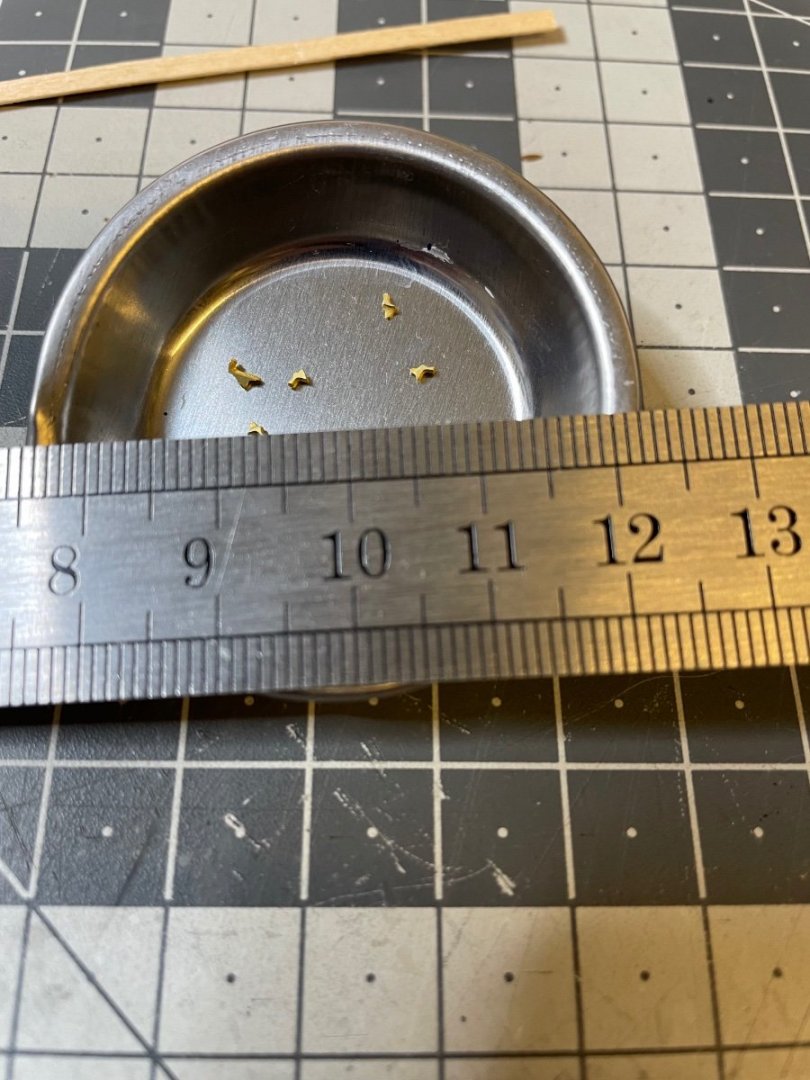
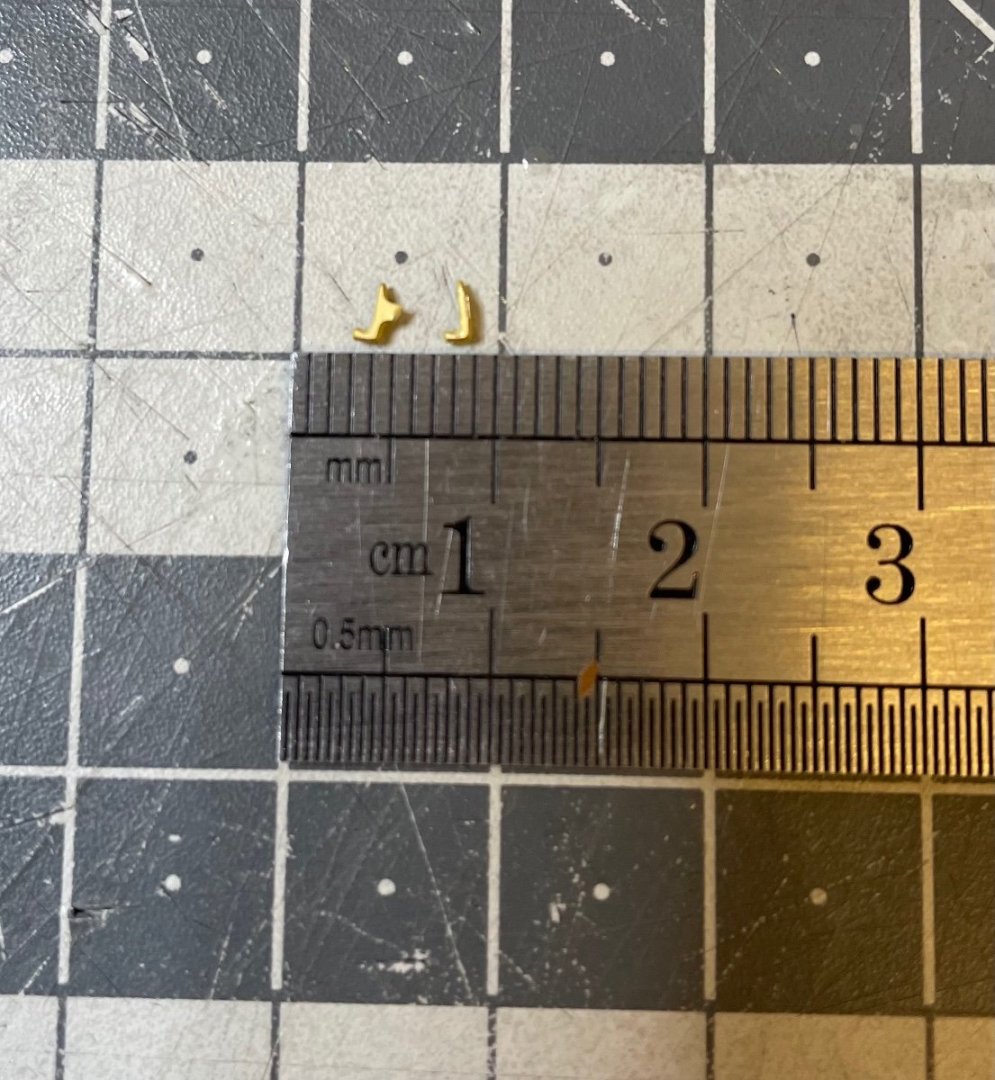
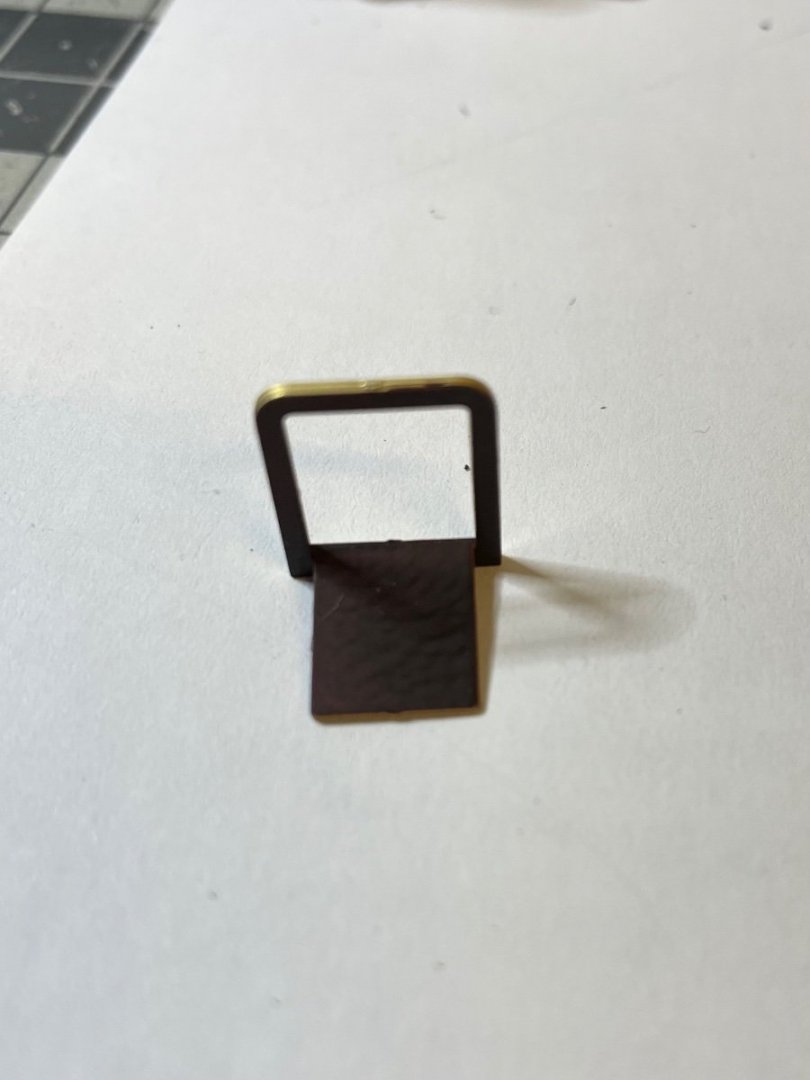
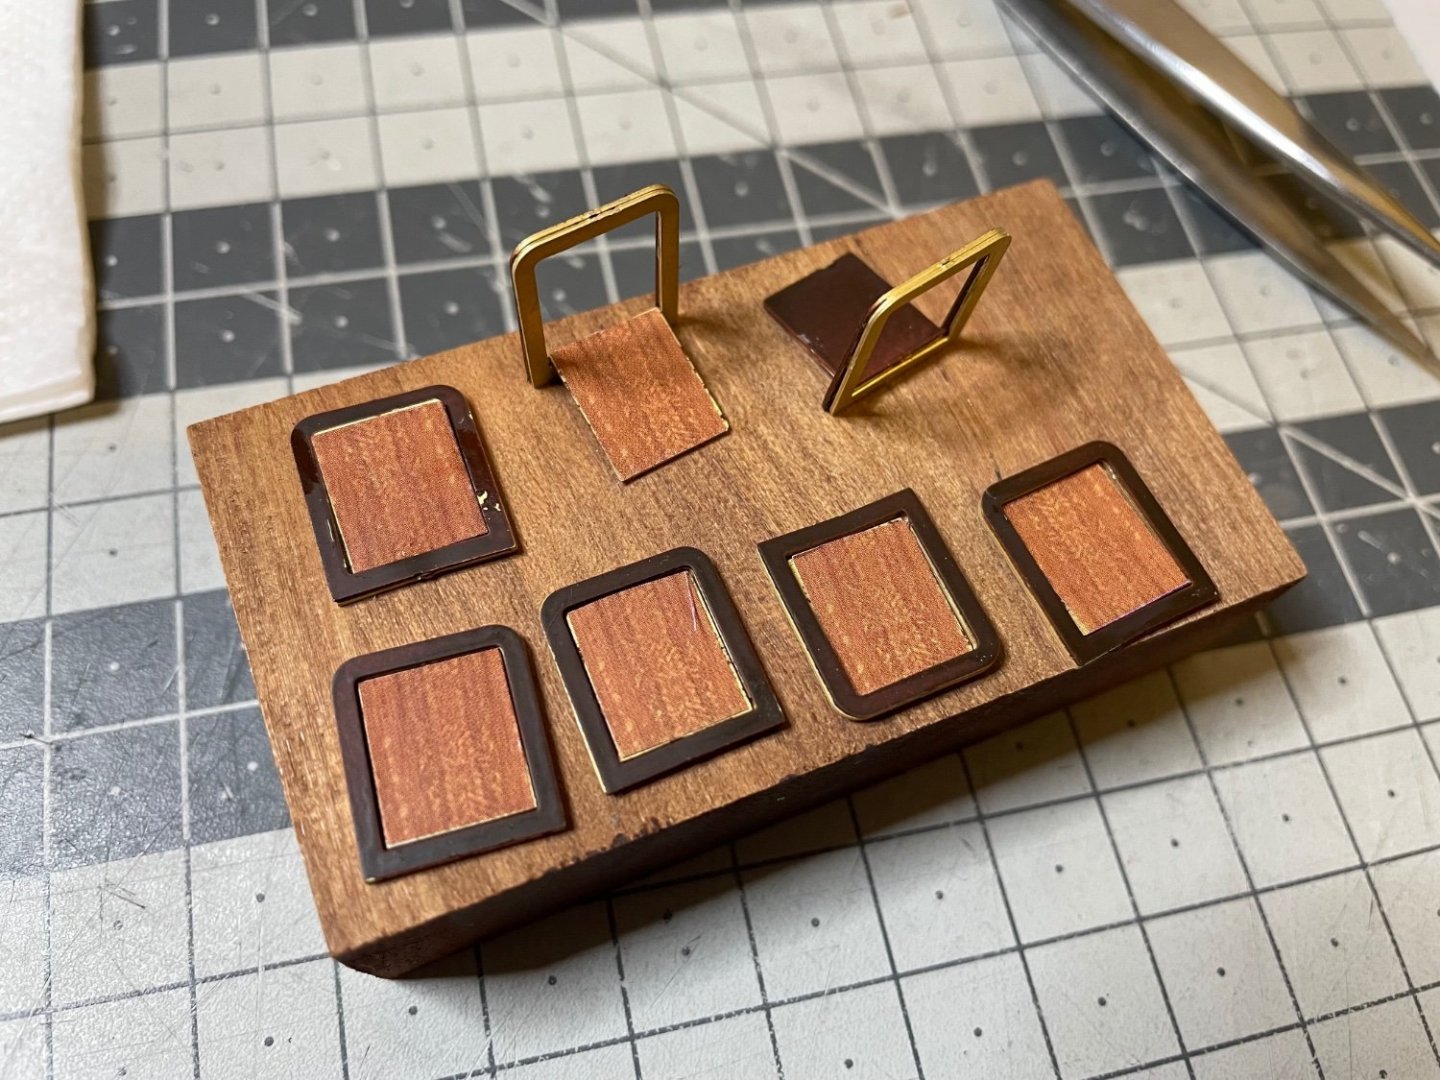
BUILD DAY 29 / 2 hrs / (TOTAL: 78 hrs) Logo, route nameplate, wagon number plate. Figure 296: These are the smallest parts in this kit. They are the hooks for hanging the route nameplate. After removing them from their brass sheet you'll need to trim and file them so that they stay on the wagon smoothly. Figures 297-298: In the two pictures below. Left: Just removed from its sheet. Right: trimmed and filed, ready to use.

- 293 replies
-
- 11
-
-

-
Thanks! I don't know, maybe not. I applied the paint on a scrap piece and waited one day to dry. After that it felt good enough, no peeling etc when I rubbed it. It may just stay like this.
-
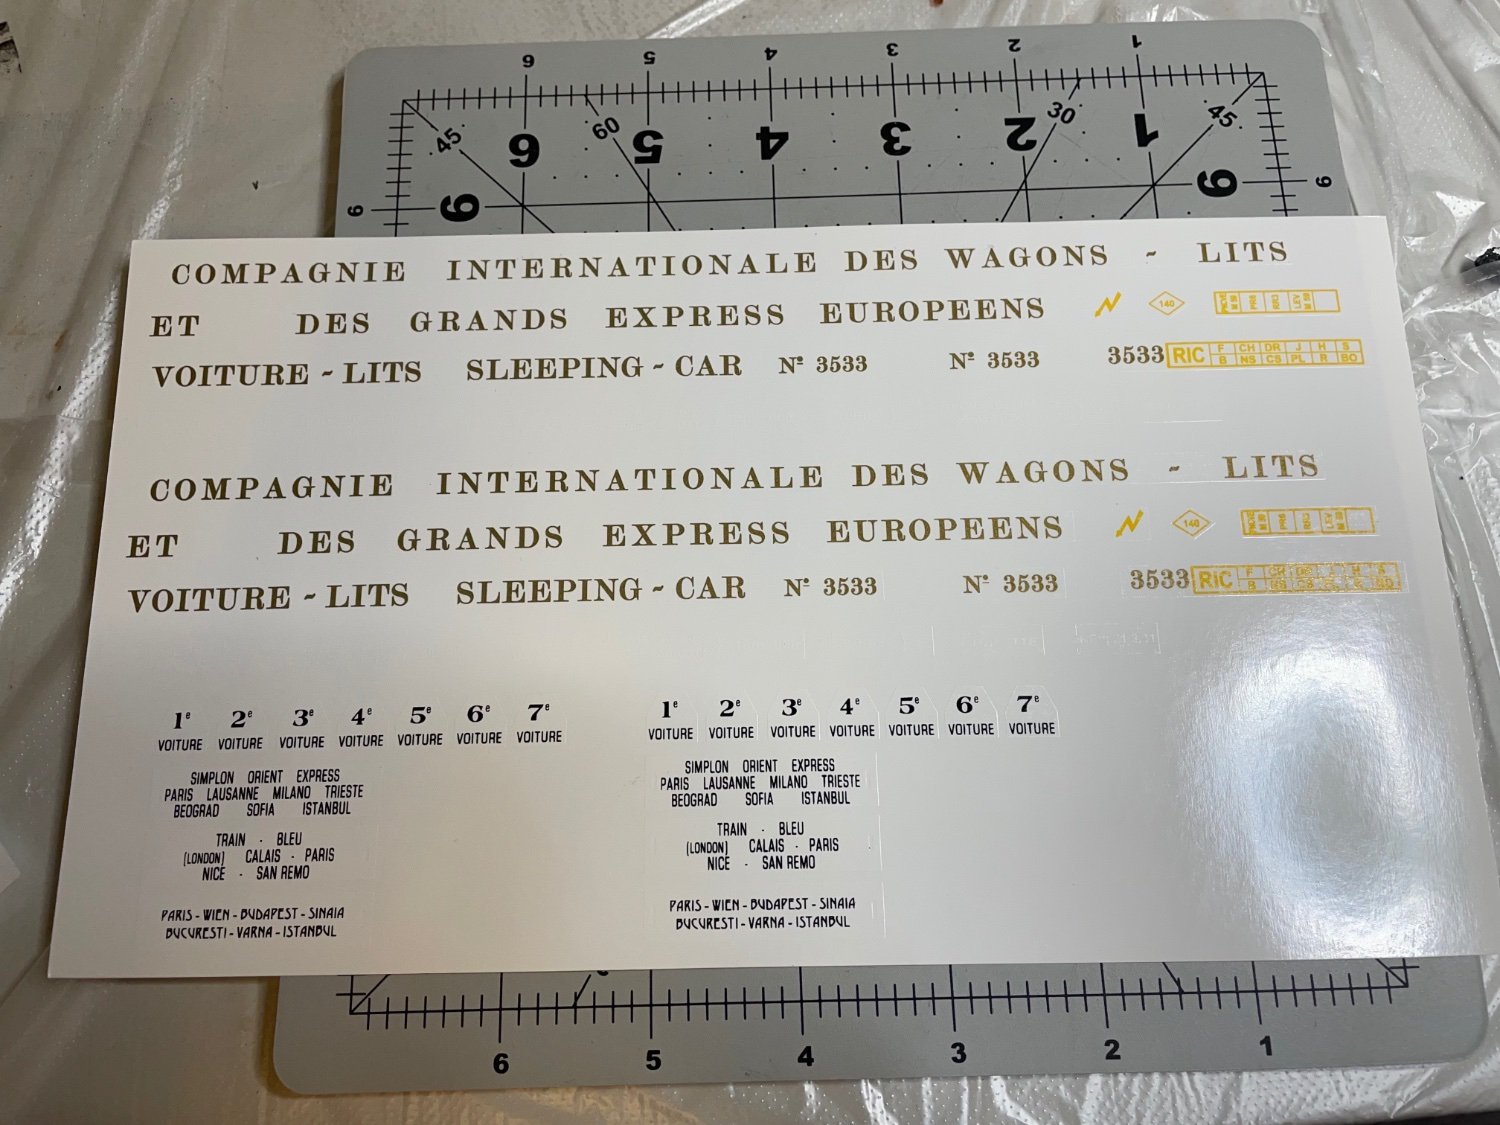
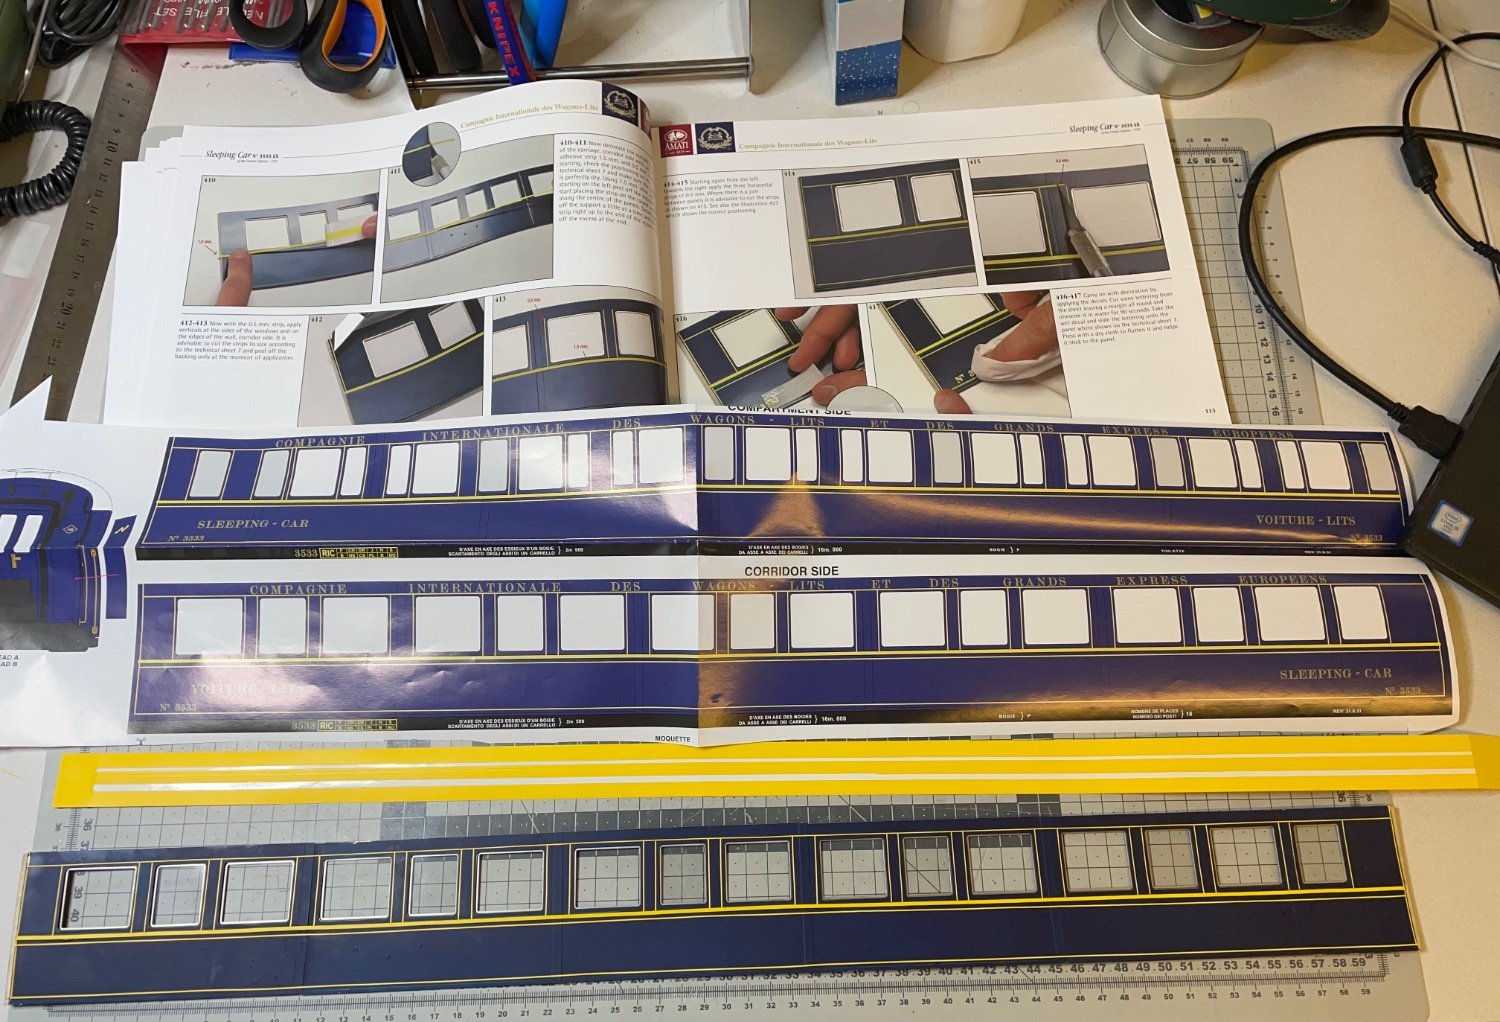
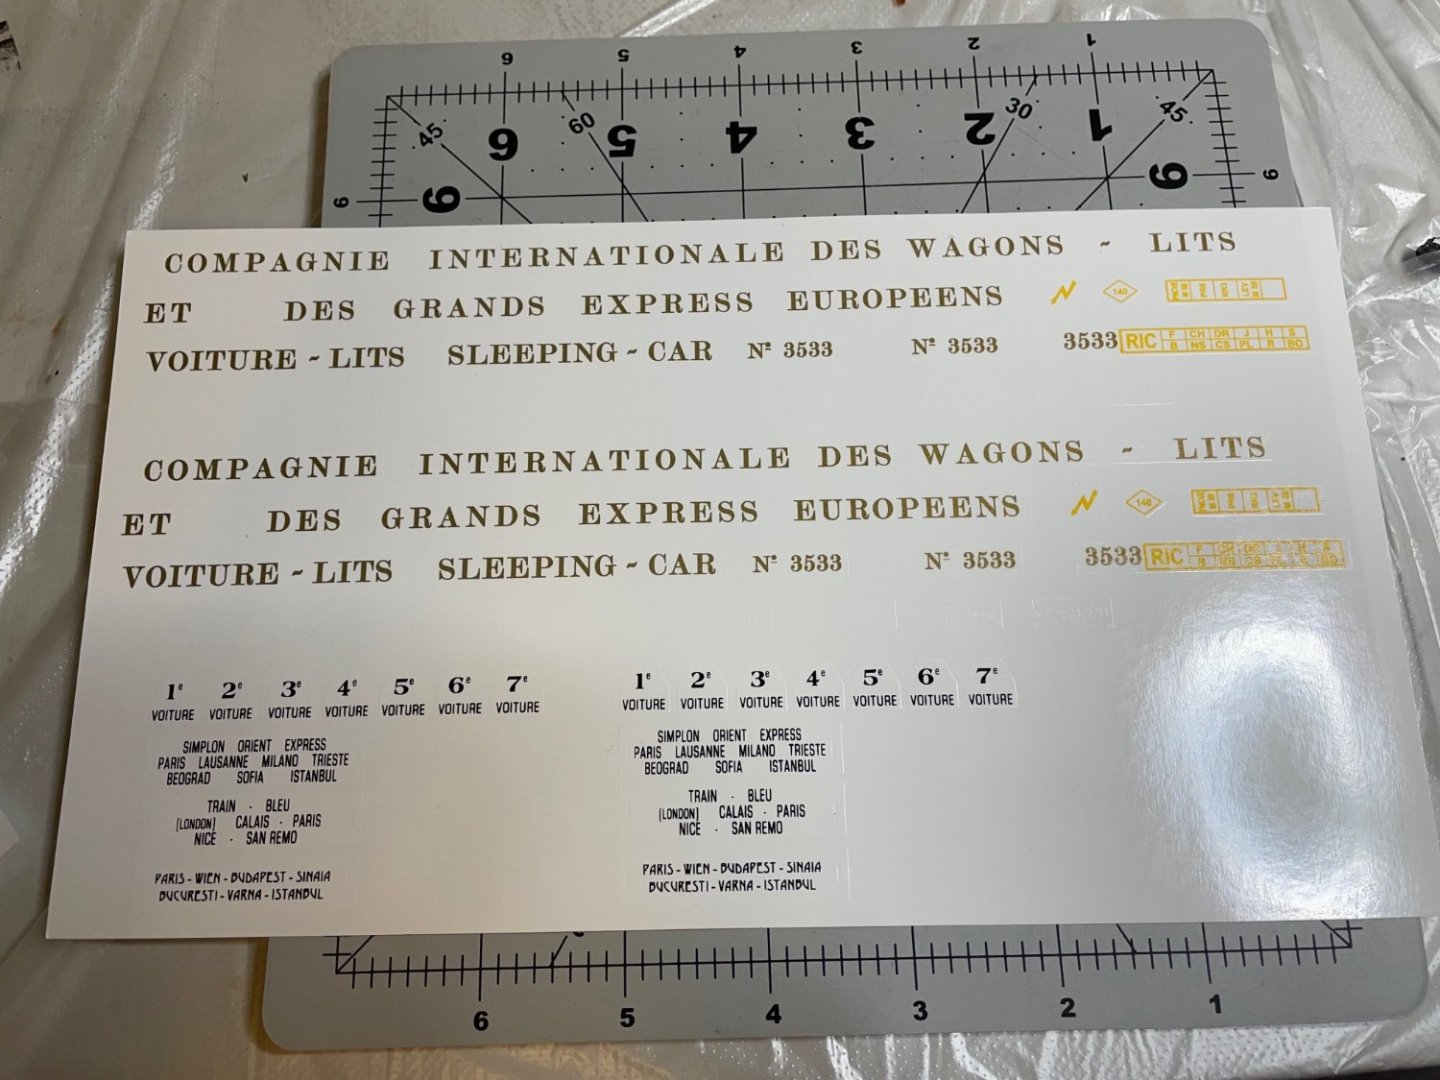
Figures 293-295: Decals. There are decals at some white parts of the sheet as well. They are white texts to be applied on the black metal structure. You use the printing as a guide for their location. Same goes for installation of the yellow lines. Note you can select the route among the available options. This is all for now. Thanks for watching!

- 293 replies
-
- 17
-
-
-
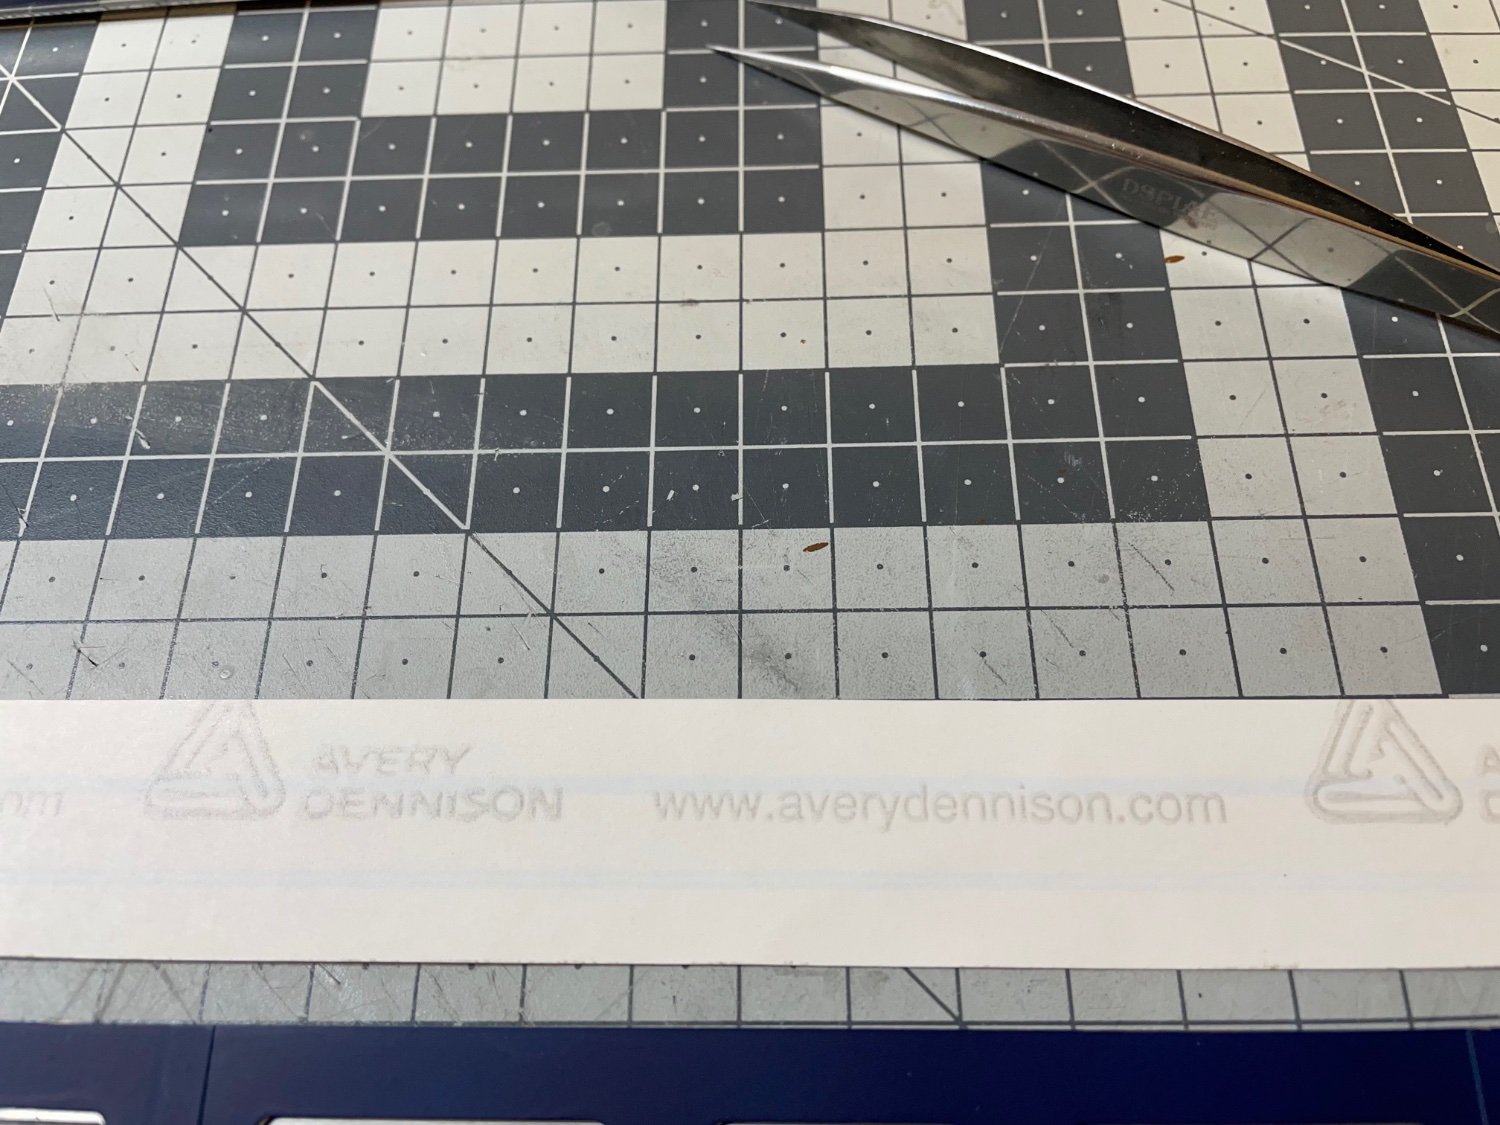
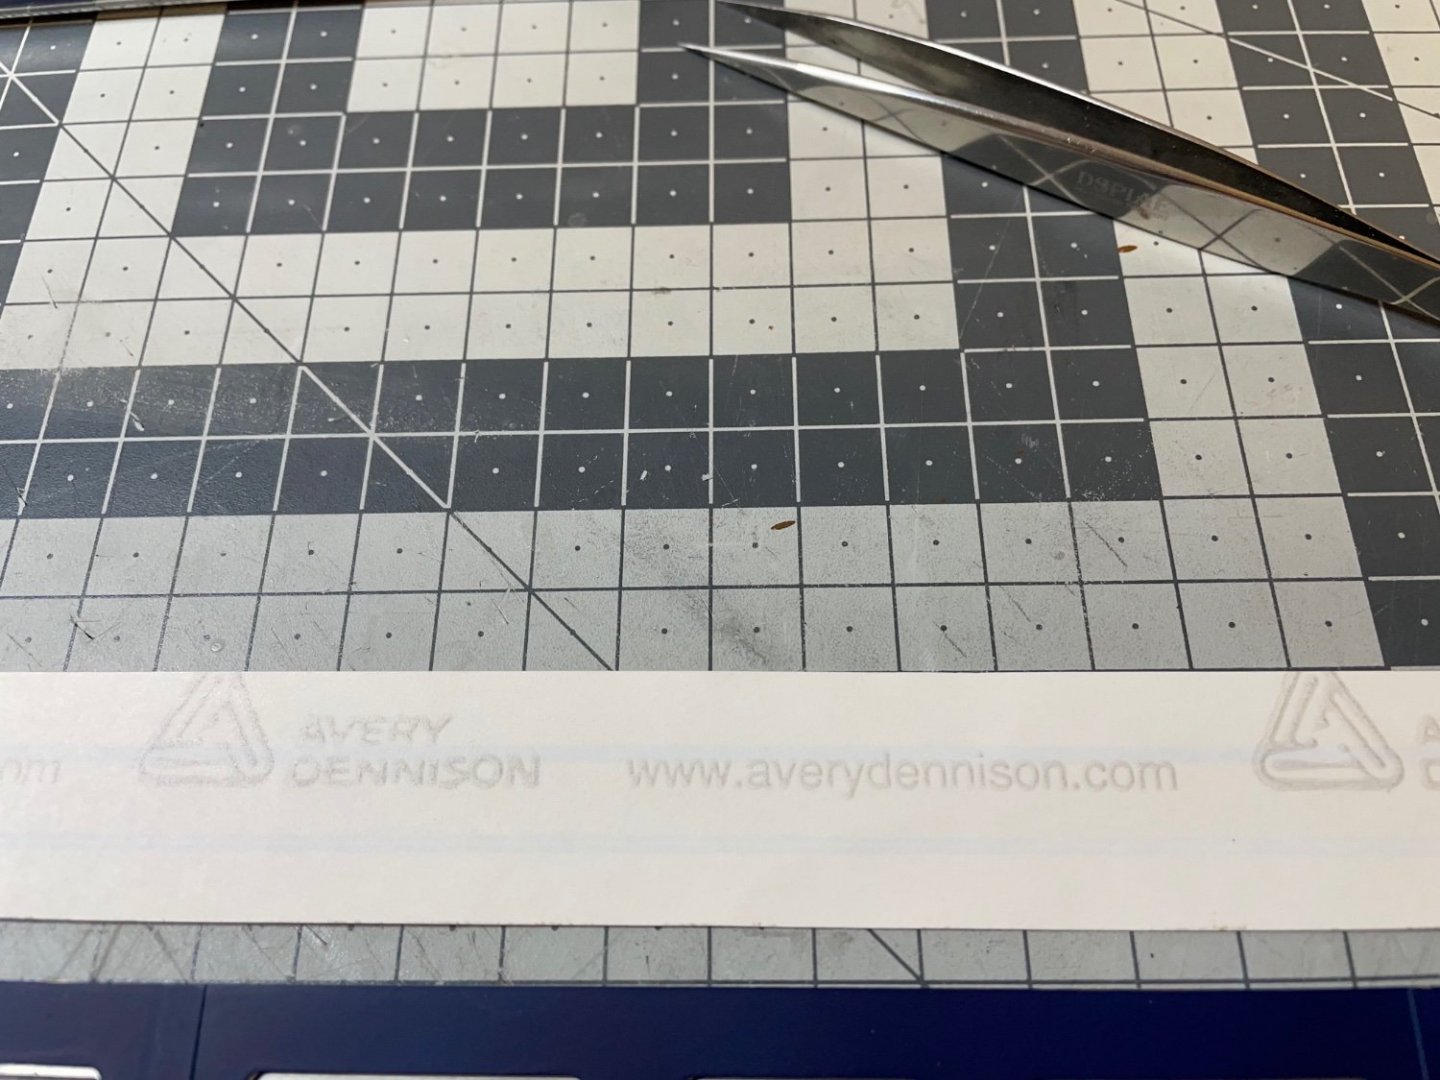
My hands are shaking 😄. This is the first time I have ever done a sticker work at this level of precision. Figures 288-291: These yellow lines are provided as elastic stickers, not decals (thanks God). They are in 1.5mm and 0.5mm thickness. From the back of the sheet I read it is a brand called Avery Dennison, in case anyone wants to find out more about them. Overall it went wery well and I am kind of proud of the work


- 293 replies
-
- 13
-
-
-
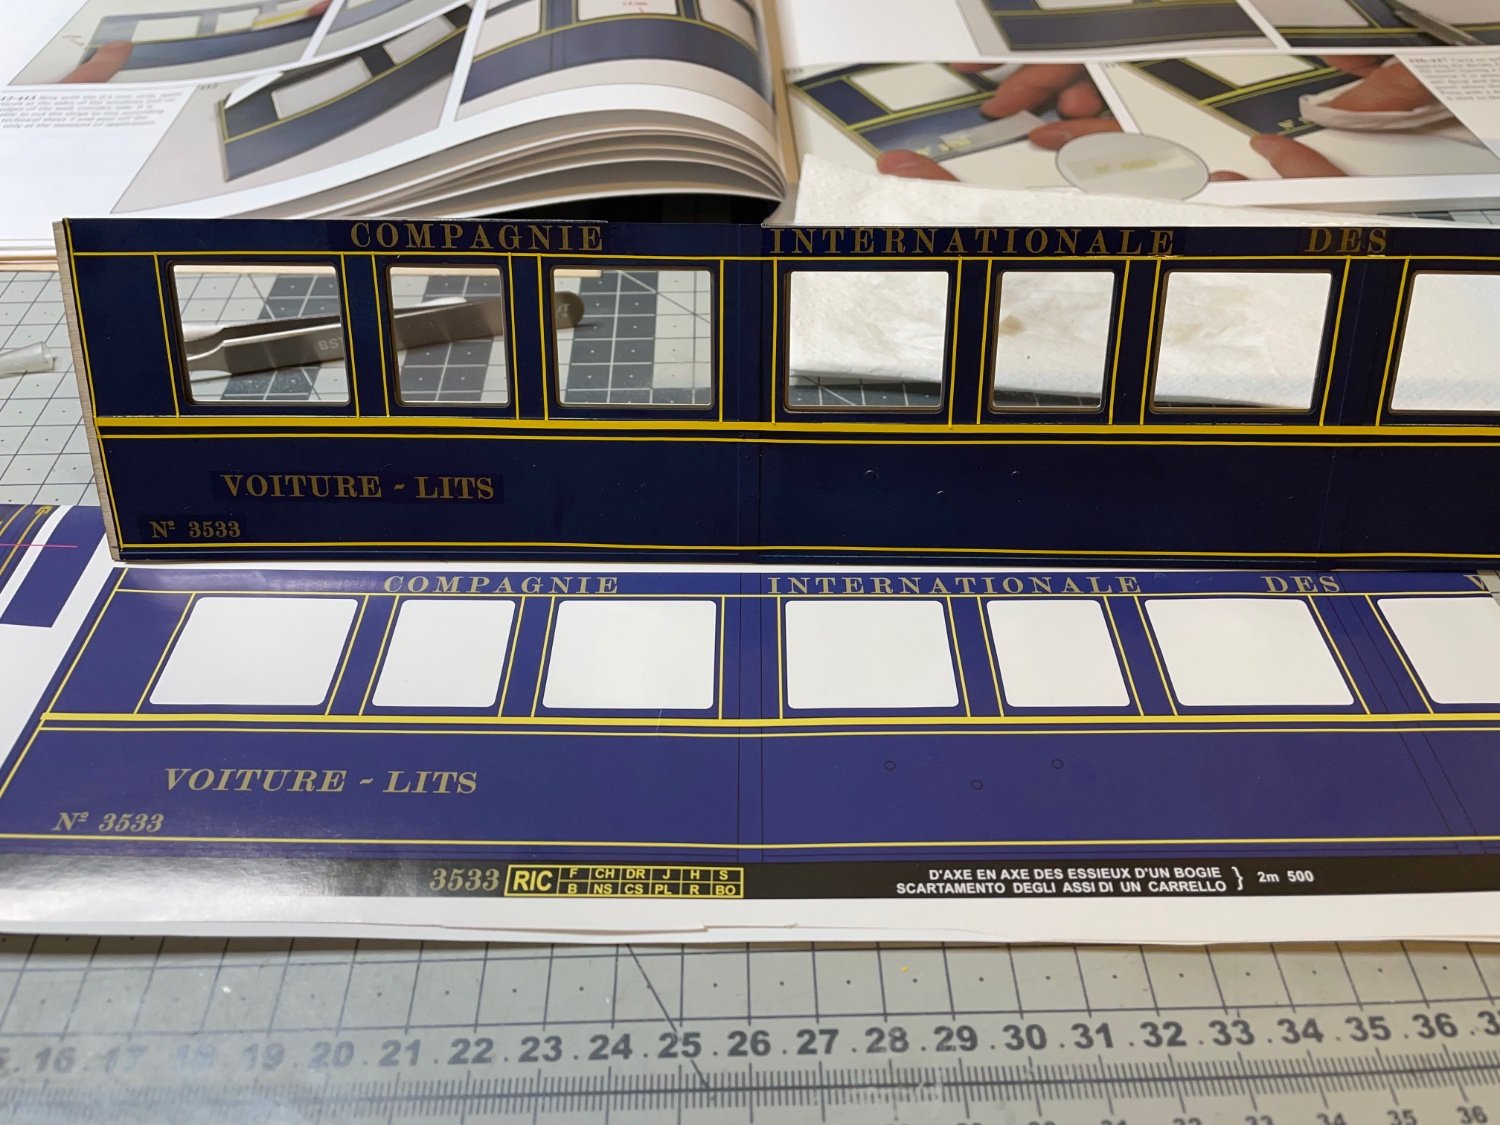
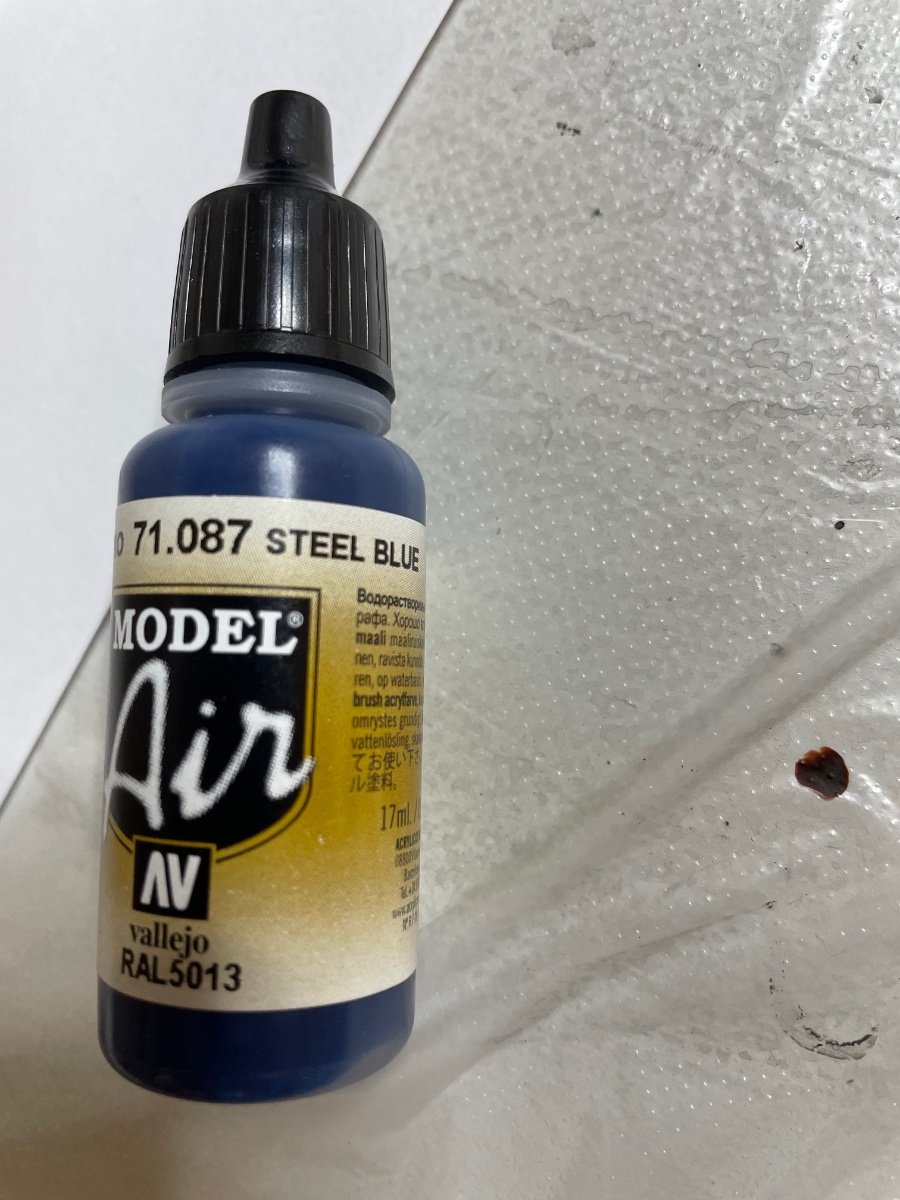
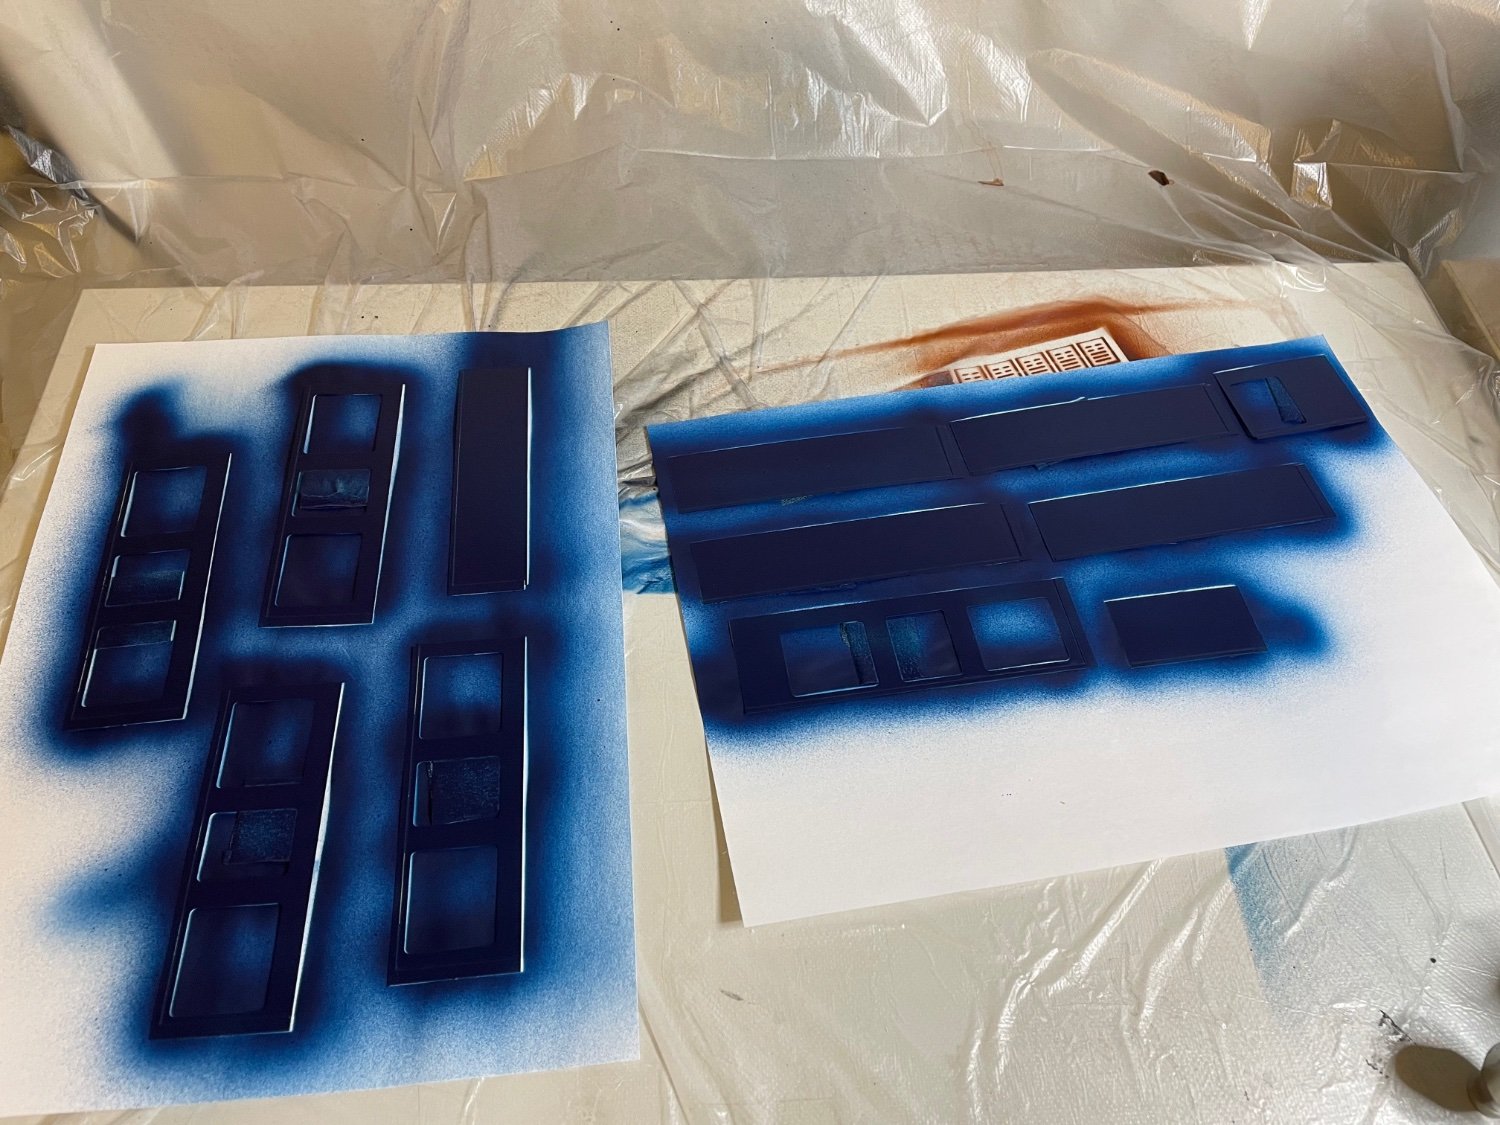
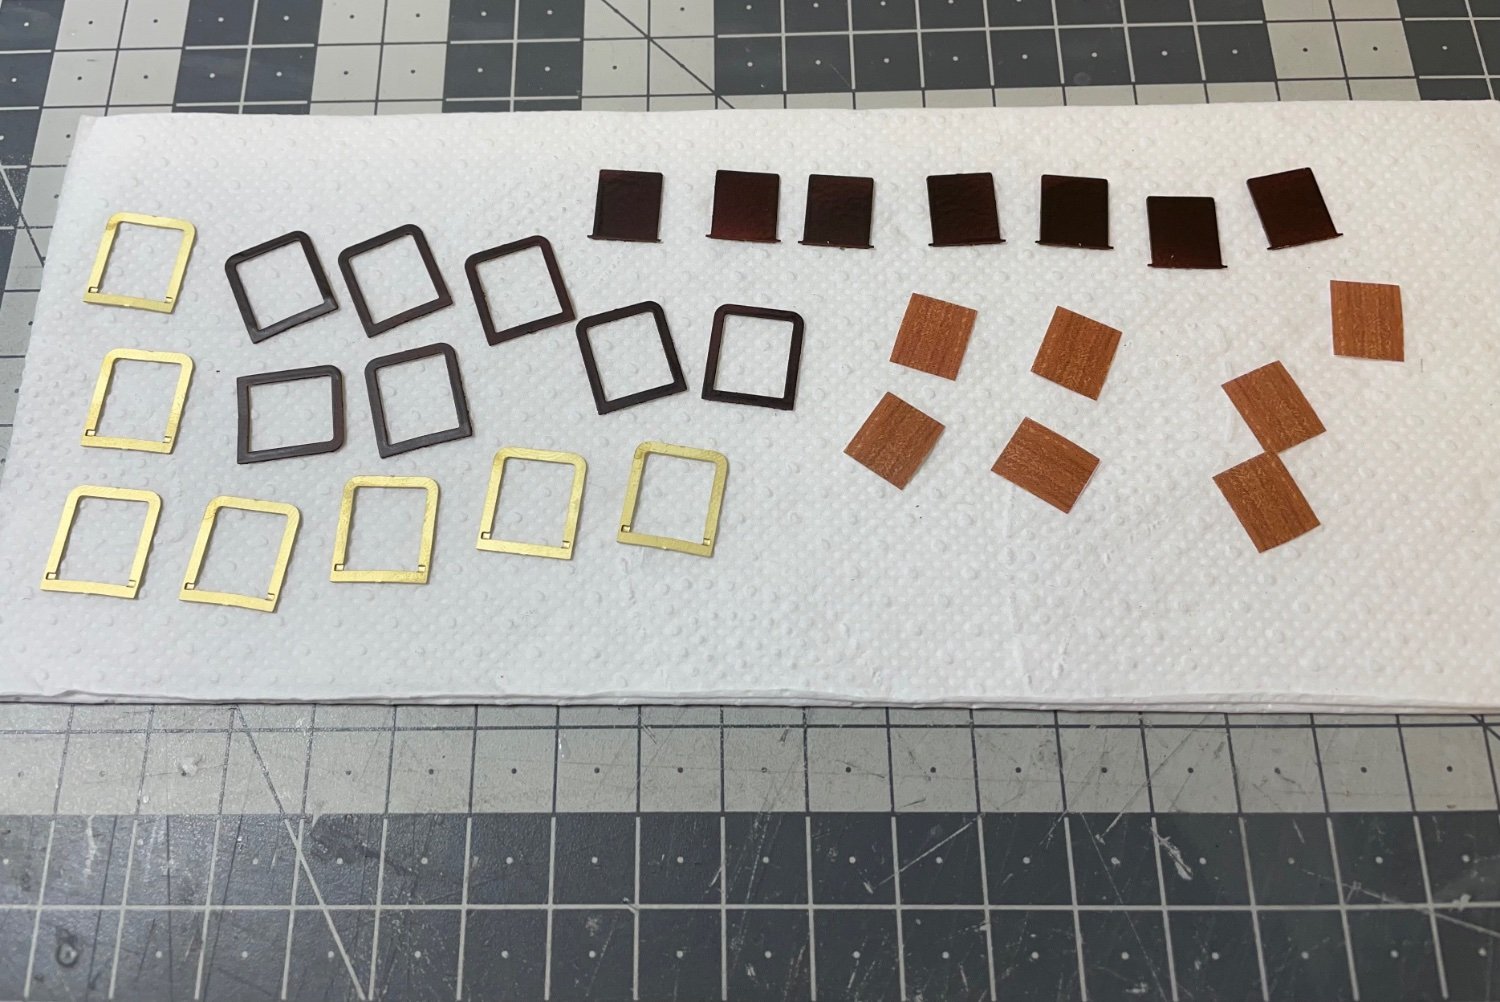
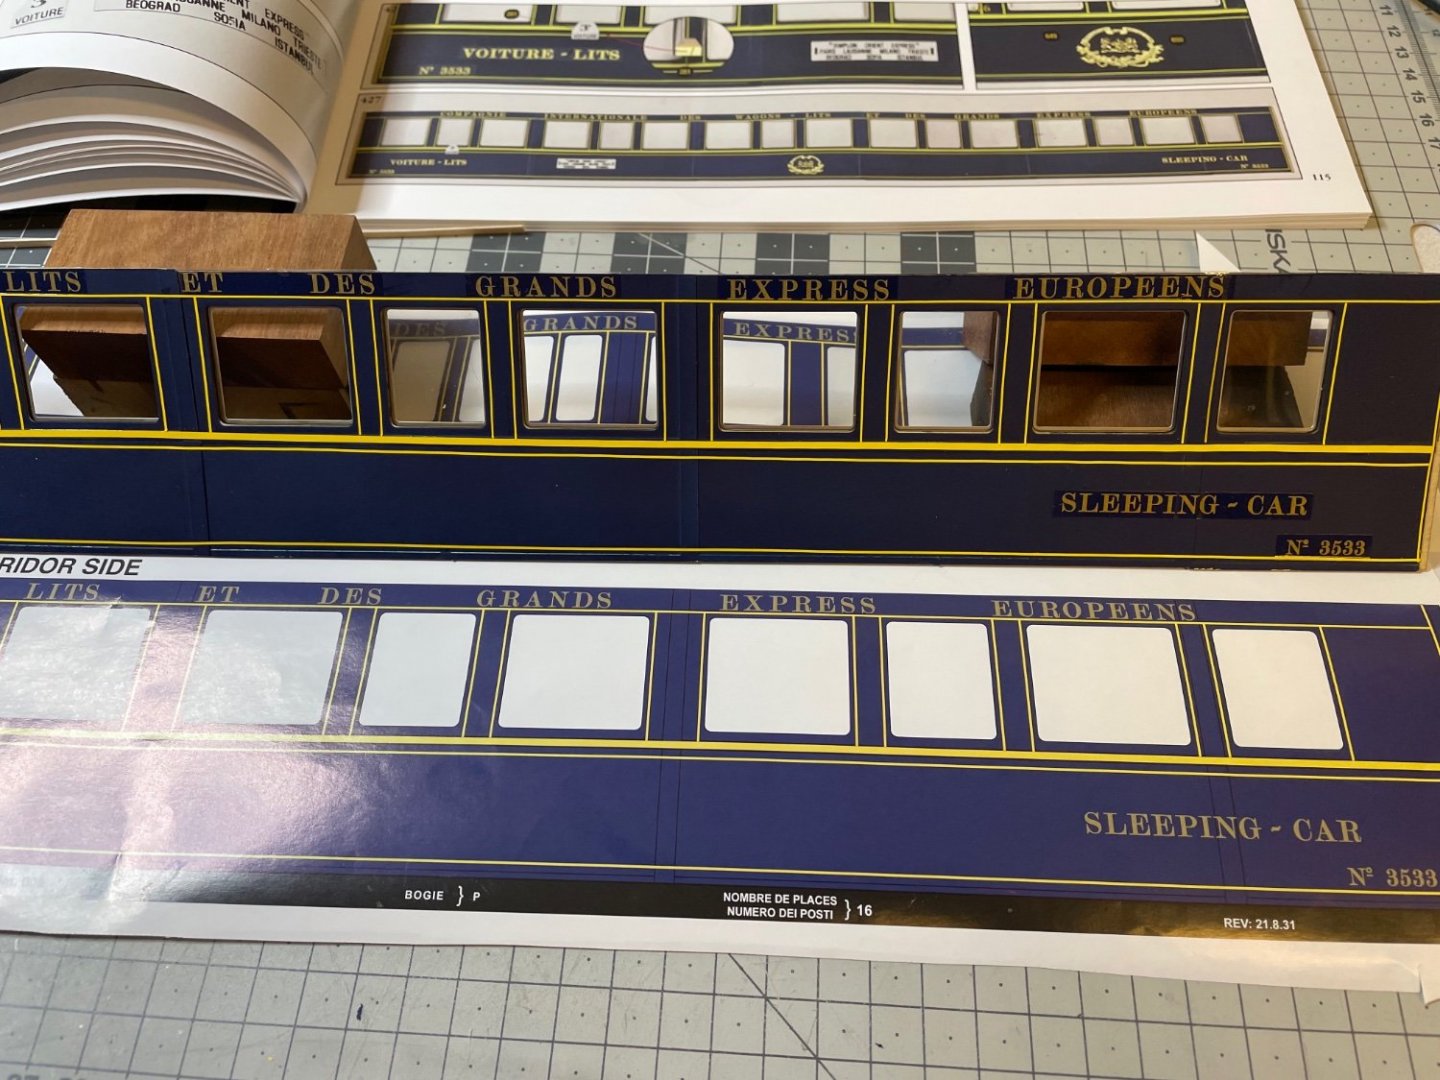
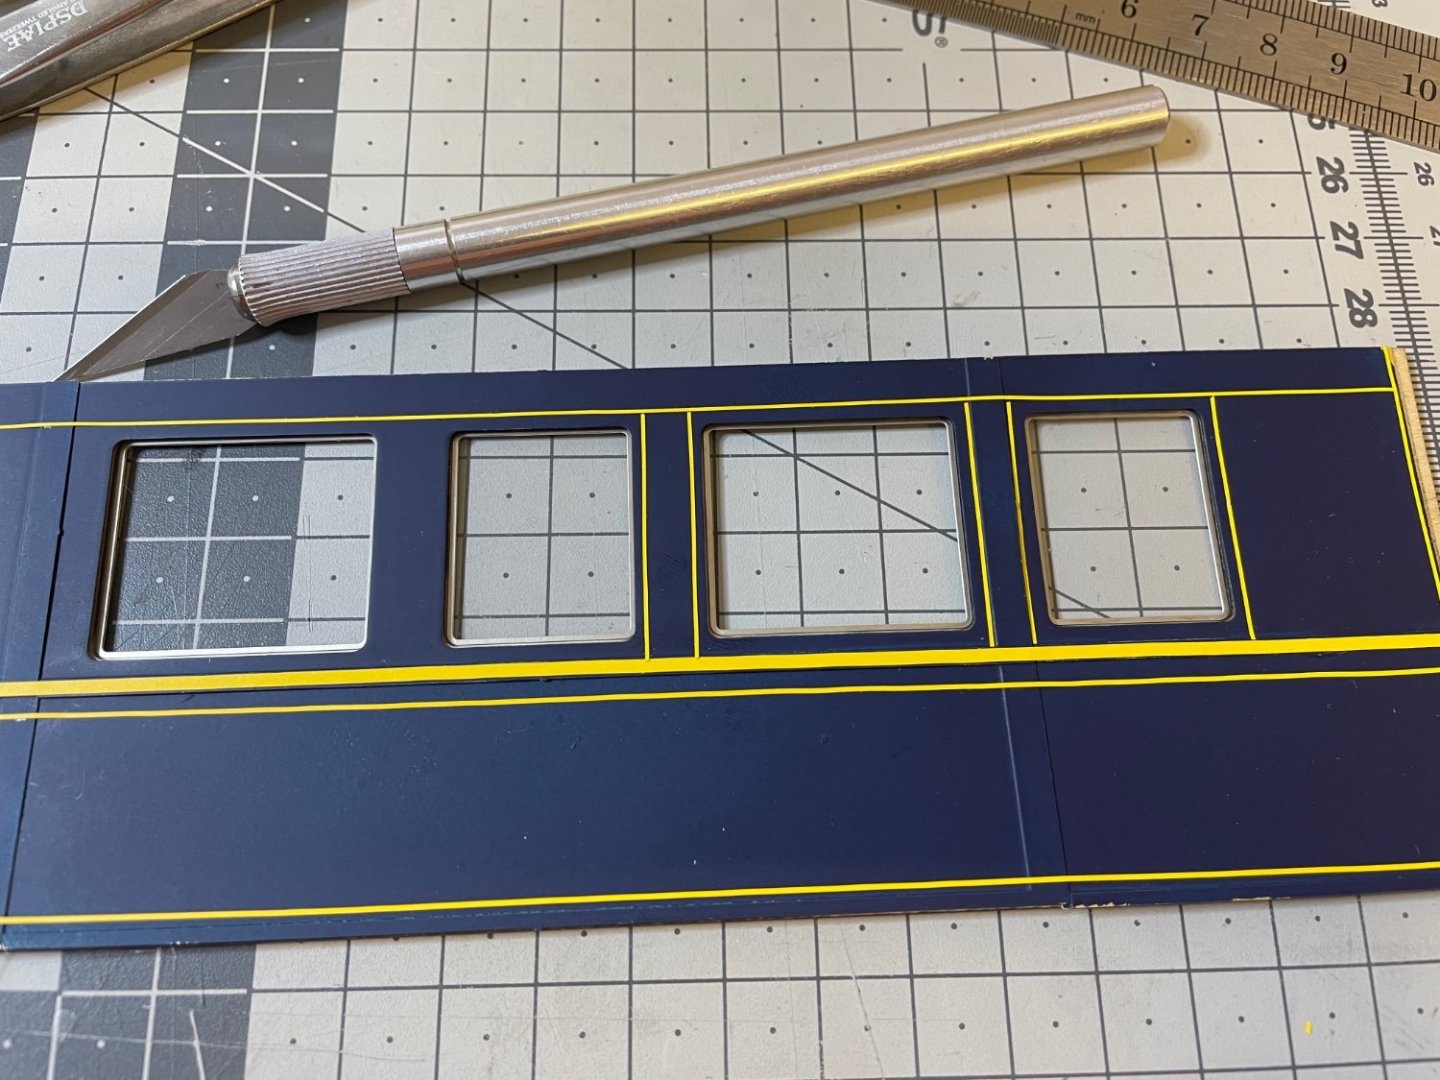
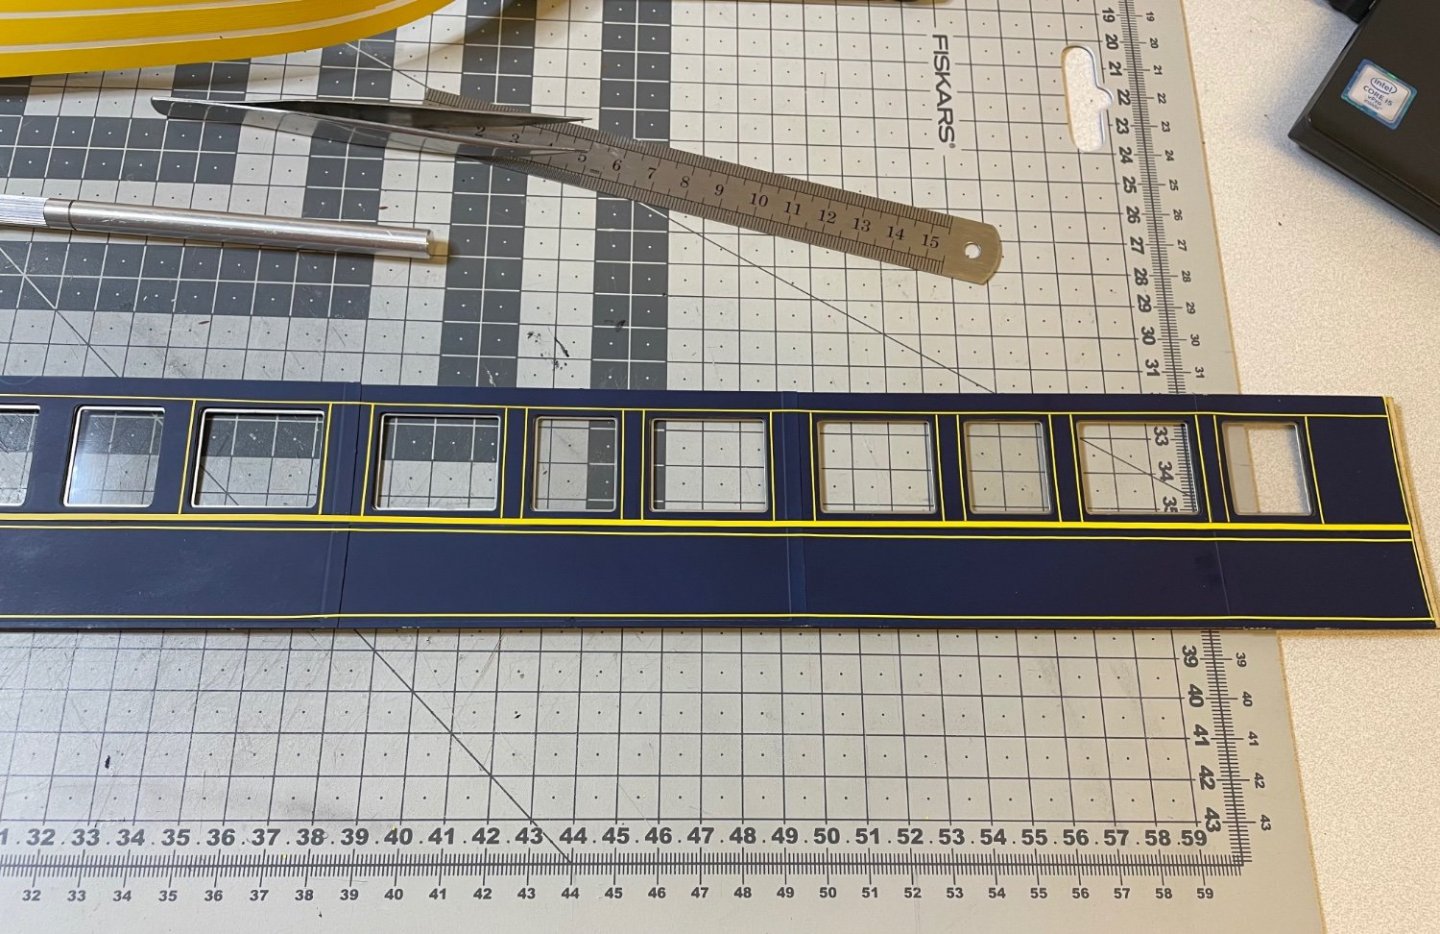
Figures 283-287: Next sequence of photos show the progress of aligning the photo etched parts, painting and gluing using the order in the instruction manual, with one exception: According to the instructions, starting from the rightmost end, you should first glue the upper panel and then slide the lower panel towards under the extrusion of the upper panel (i.e. the lower panel goes around 1.5mm underneath the upper panel). This does not always work. I tried it and especially with super glue, it caused a lot of problems, such paint strip off etc. Instead I glued the lower panel first and upper panel after it and it worked just fine. Color is Vallejo Steel Blue (see photo). I used airbrush.


- 293 replies
-
- 11
-
-
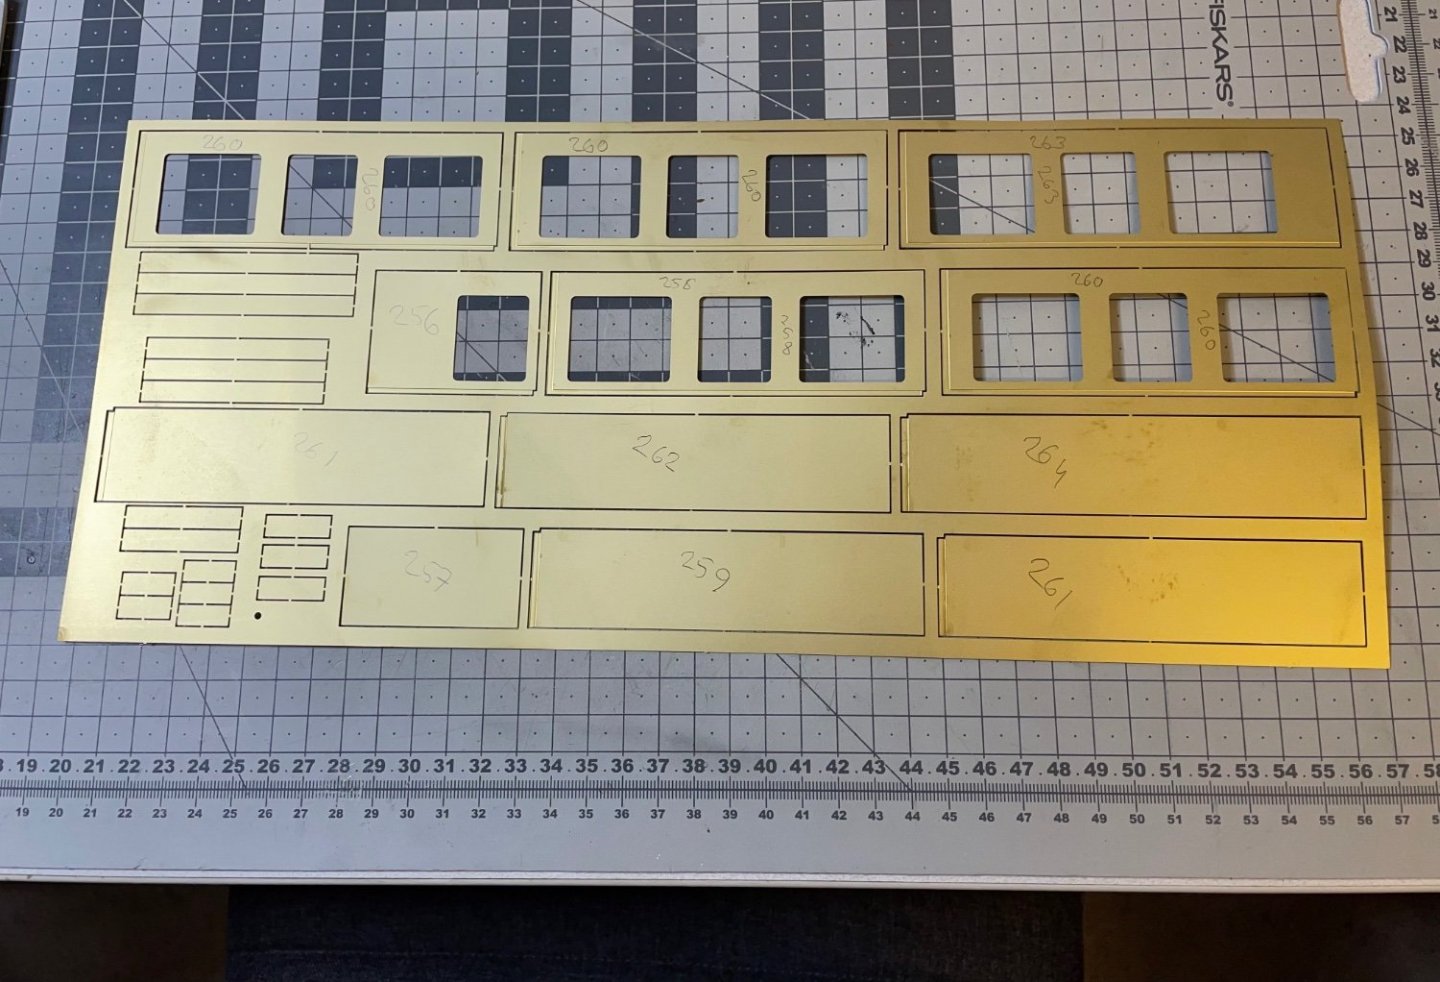
Figure 282: Outer walls on the sheet. I put the part numbers on the back side before removing them so that I am not making any mistake during assembly. Some of them look quite same, yet they are not.
- 293 replies
-
- 10
-
-
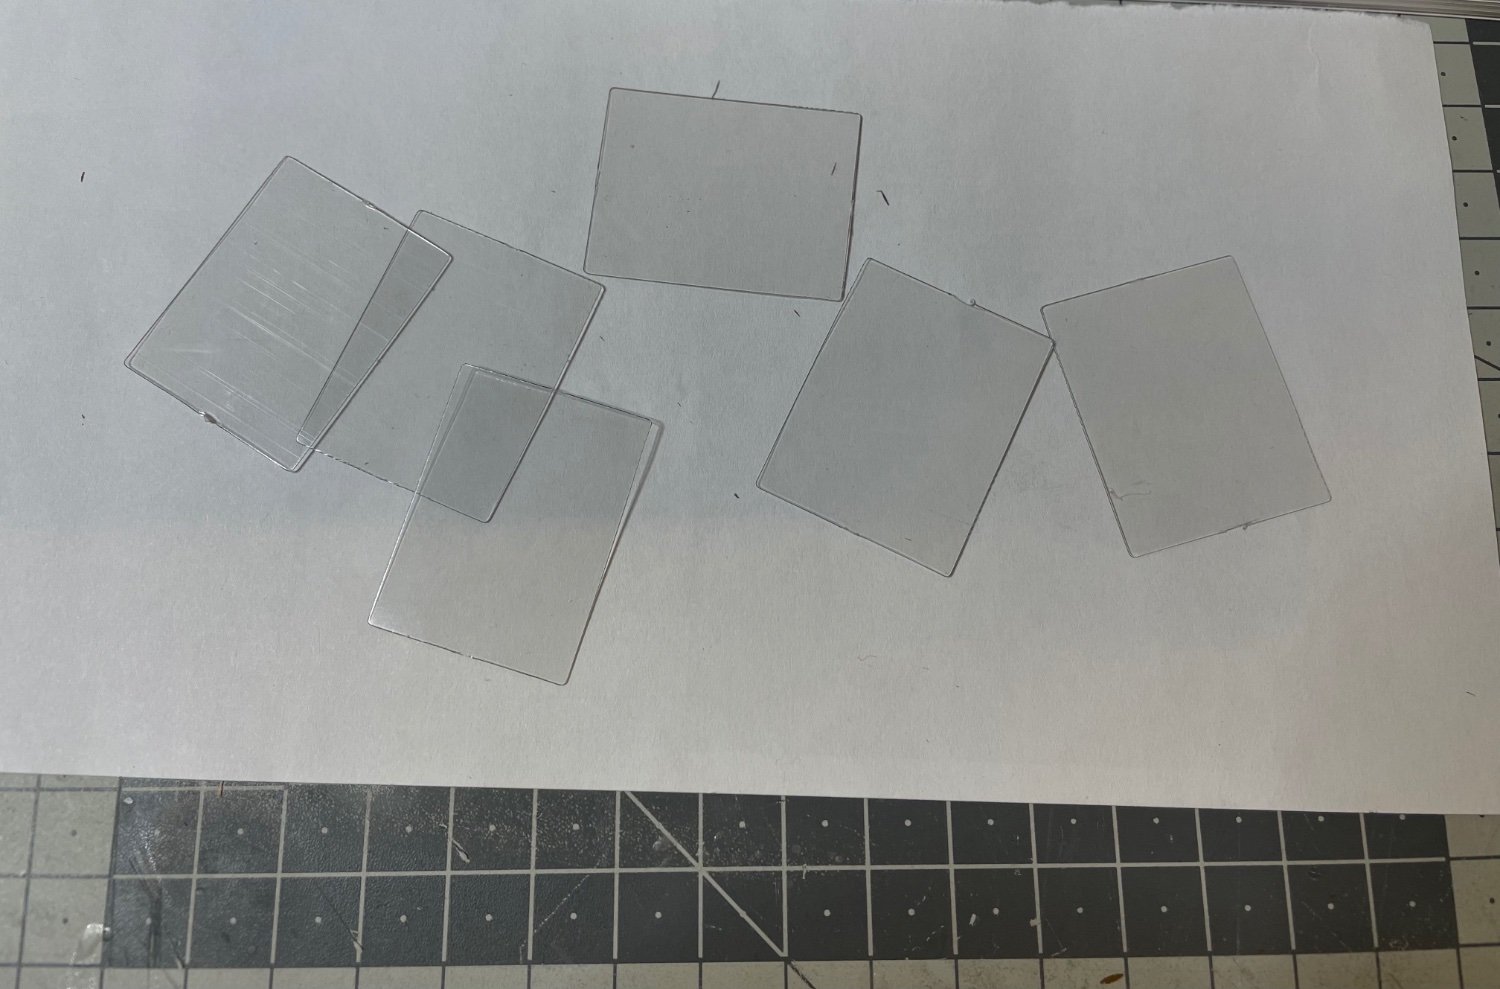
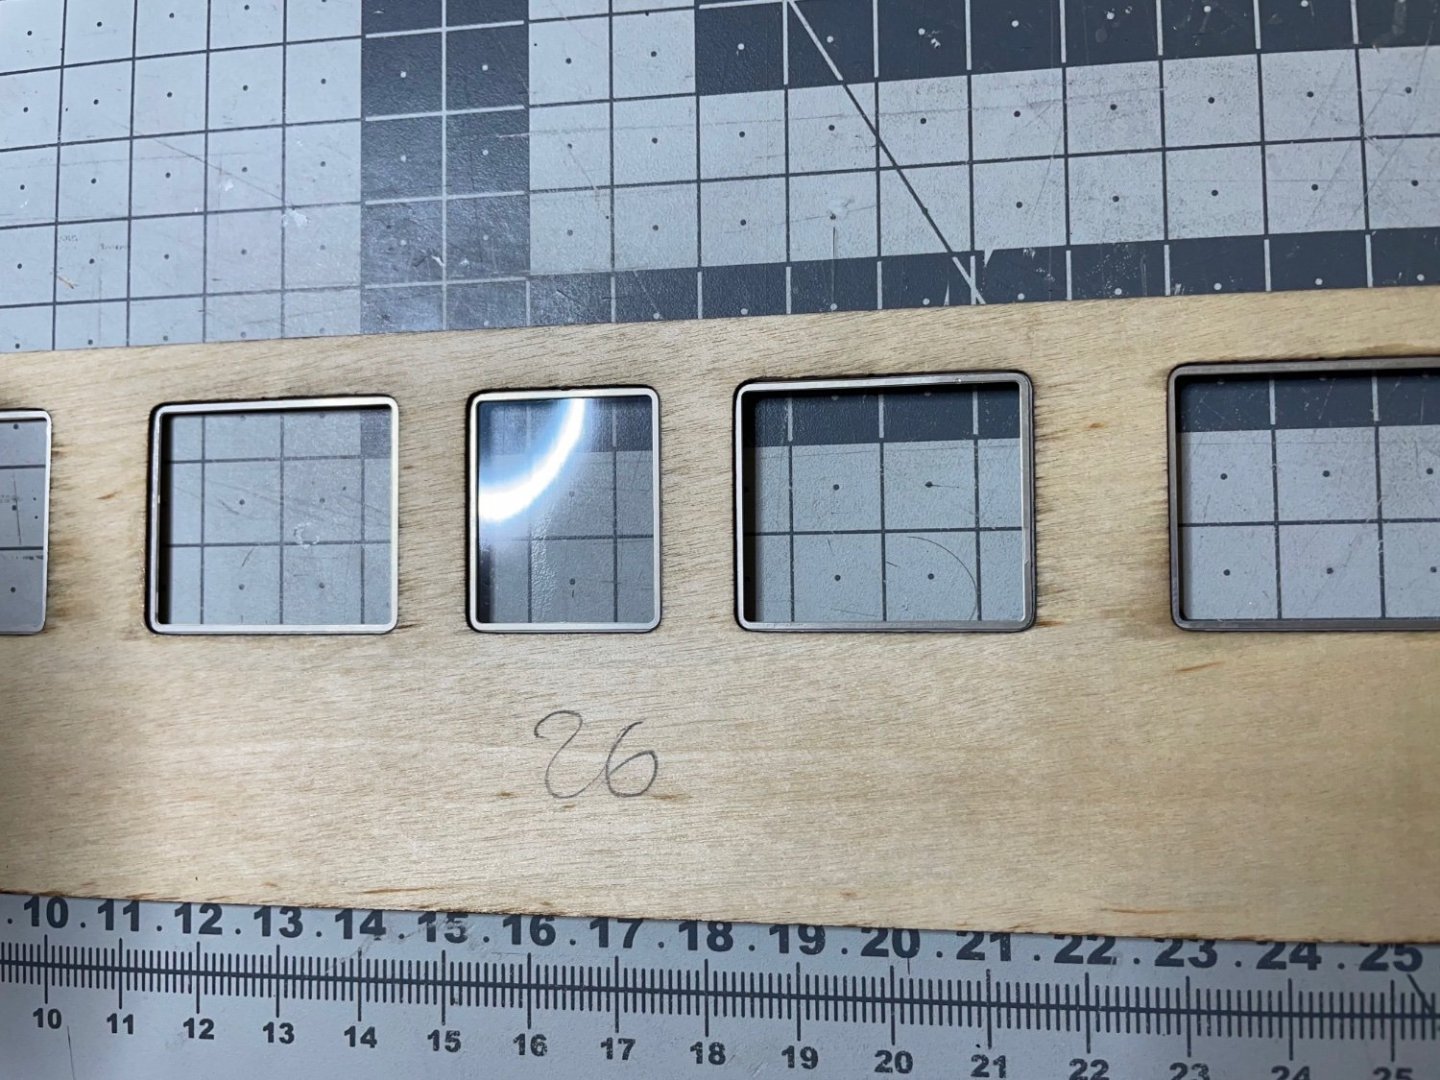
Figures 279-281: Glasses for the fixed windows, i.e. they don't open. They are the ones narrower than the others. Note also the wooden decorations which will be visible in the corridor side. Some trimming of the acetate was necessary here and there.

- 293 replies
-
- 11
-
-
Figures 277-278: 3x0,5mm lime strips around the window frames. This side will be the inner wall of the corridor side so let's see what kind of wall sturcure will come on top of them. Used the plan sheet for measurements.

- 293 replies
-
- 10
-
-
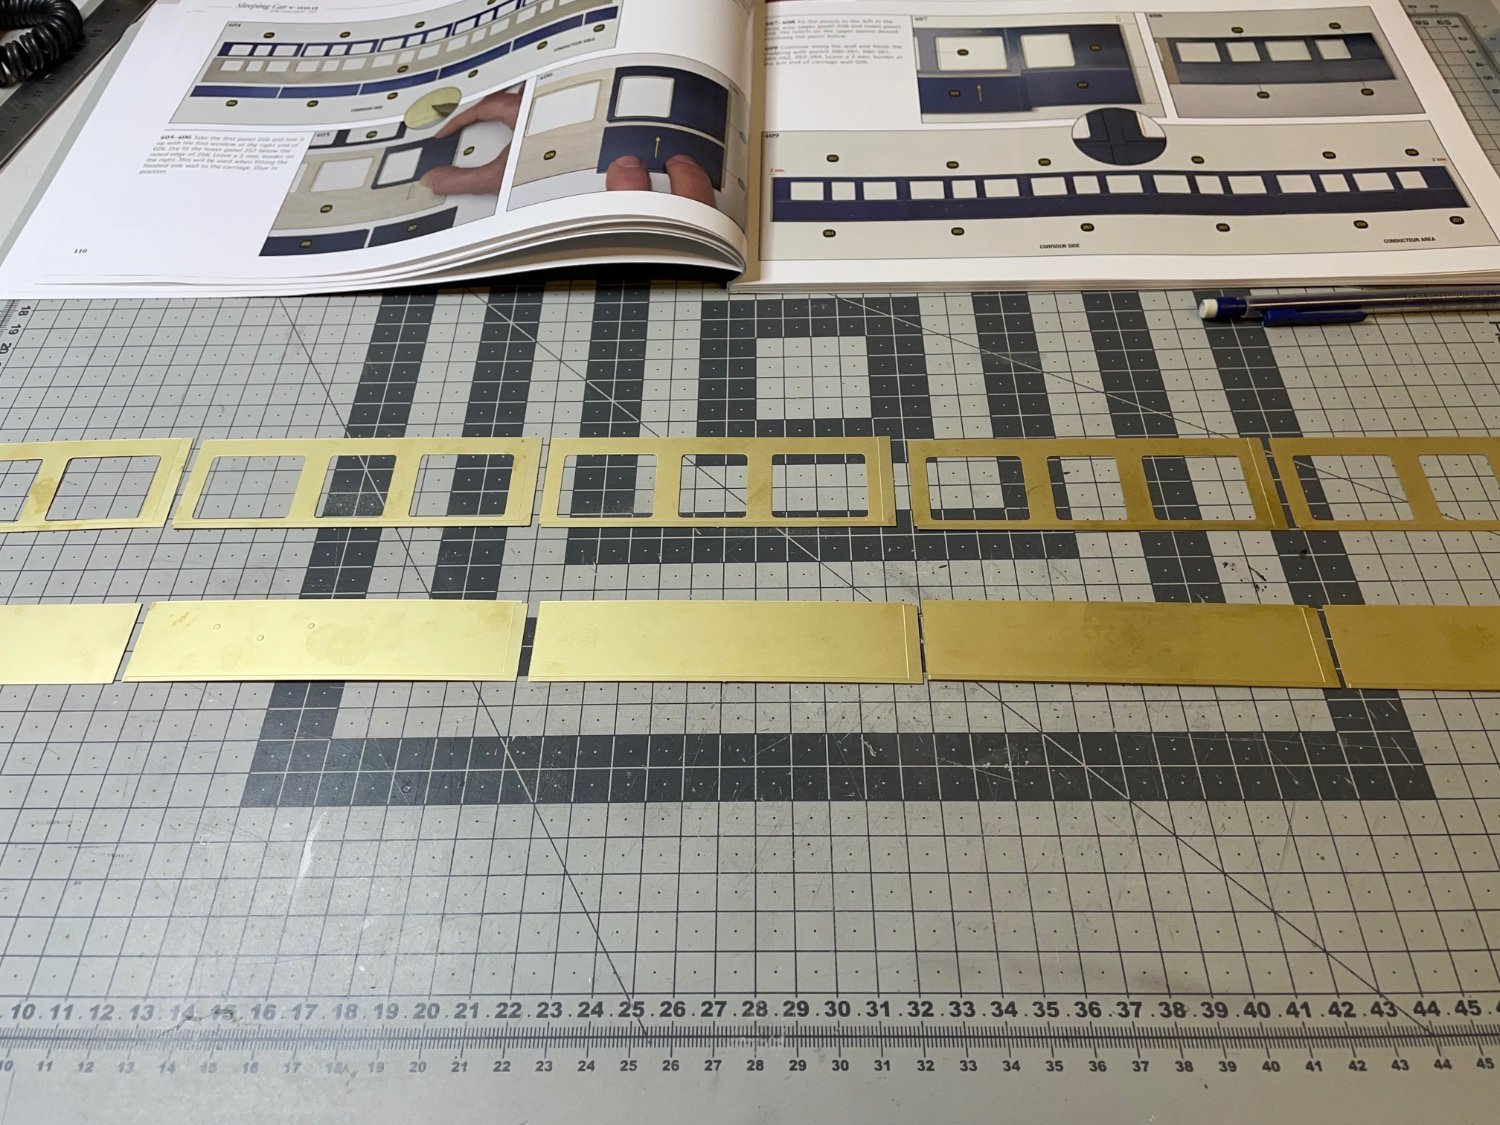
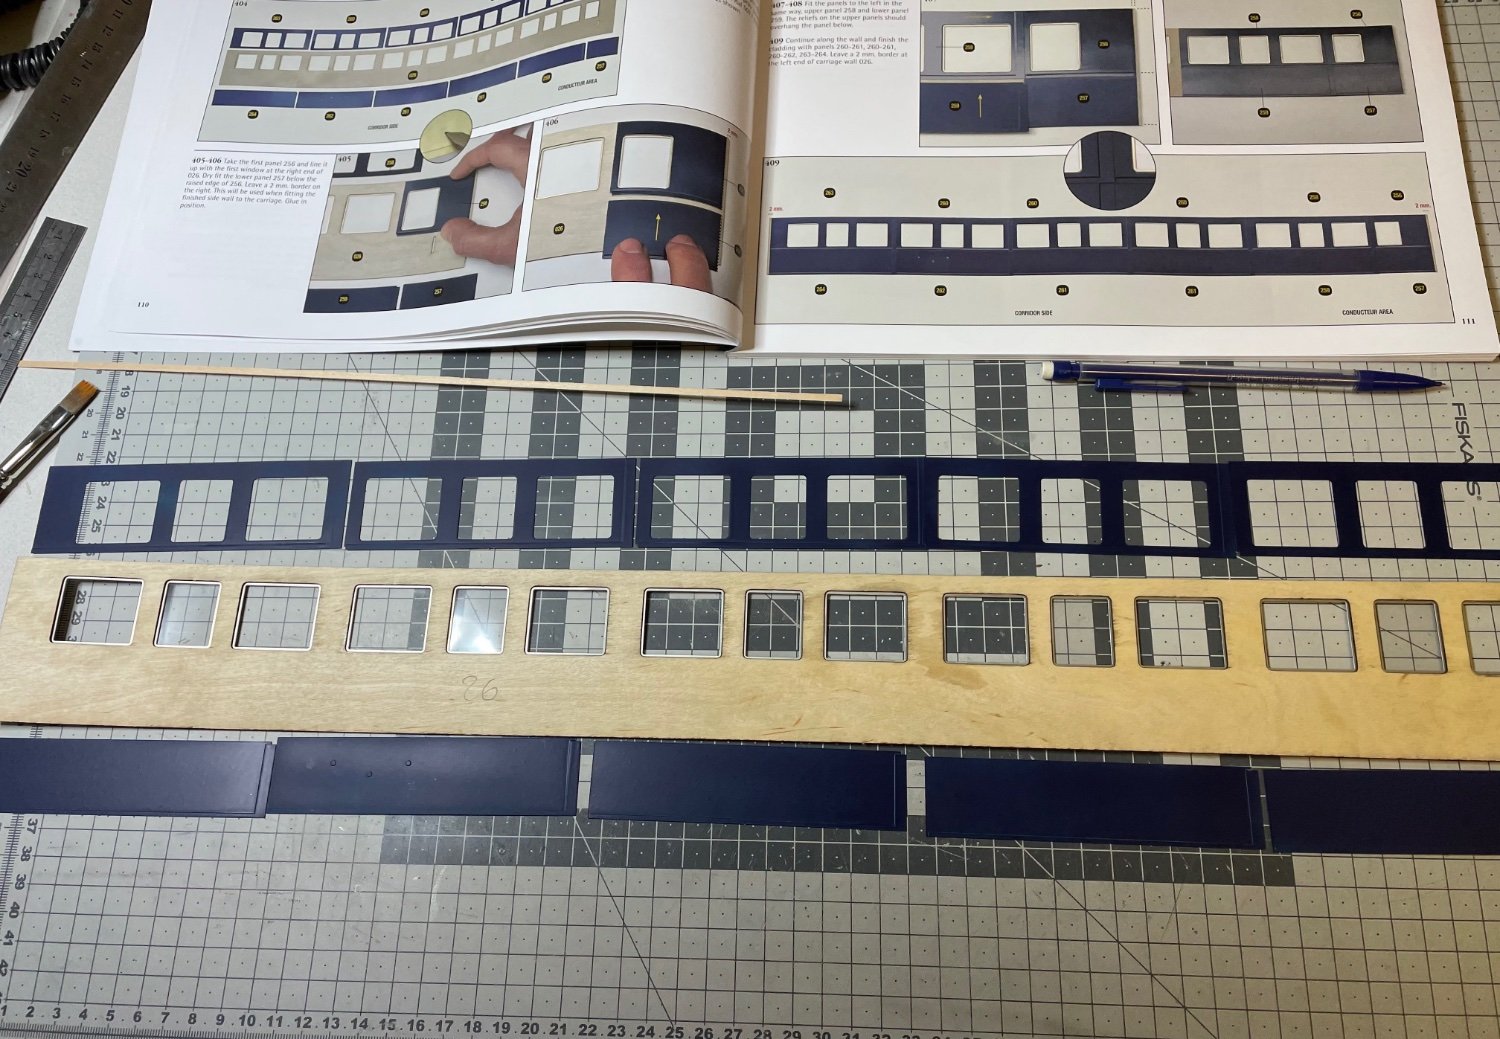
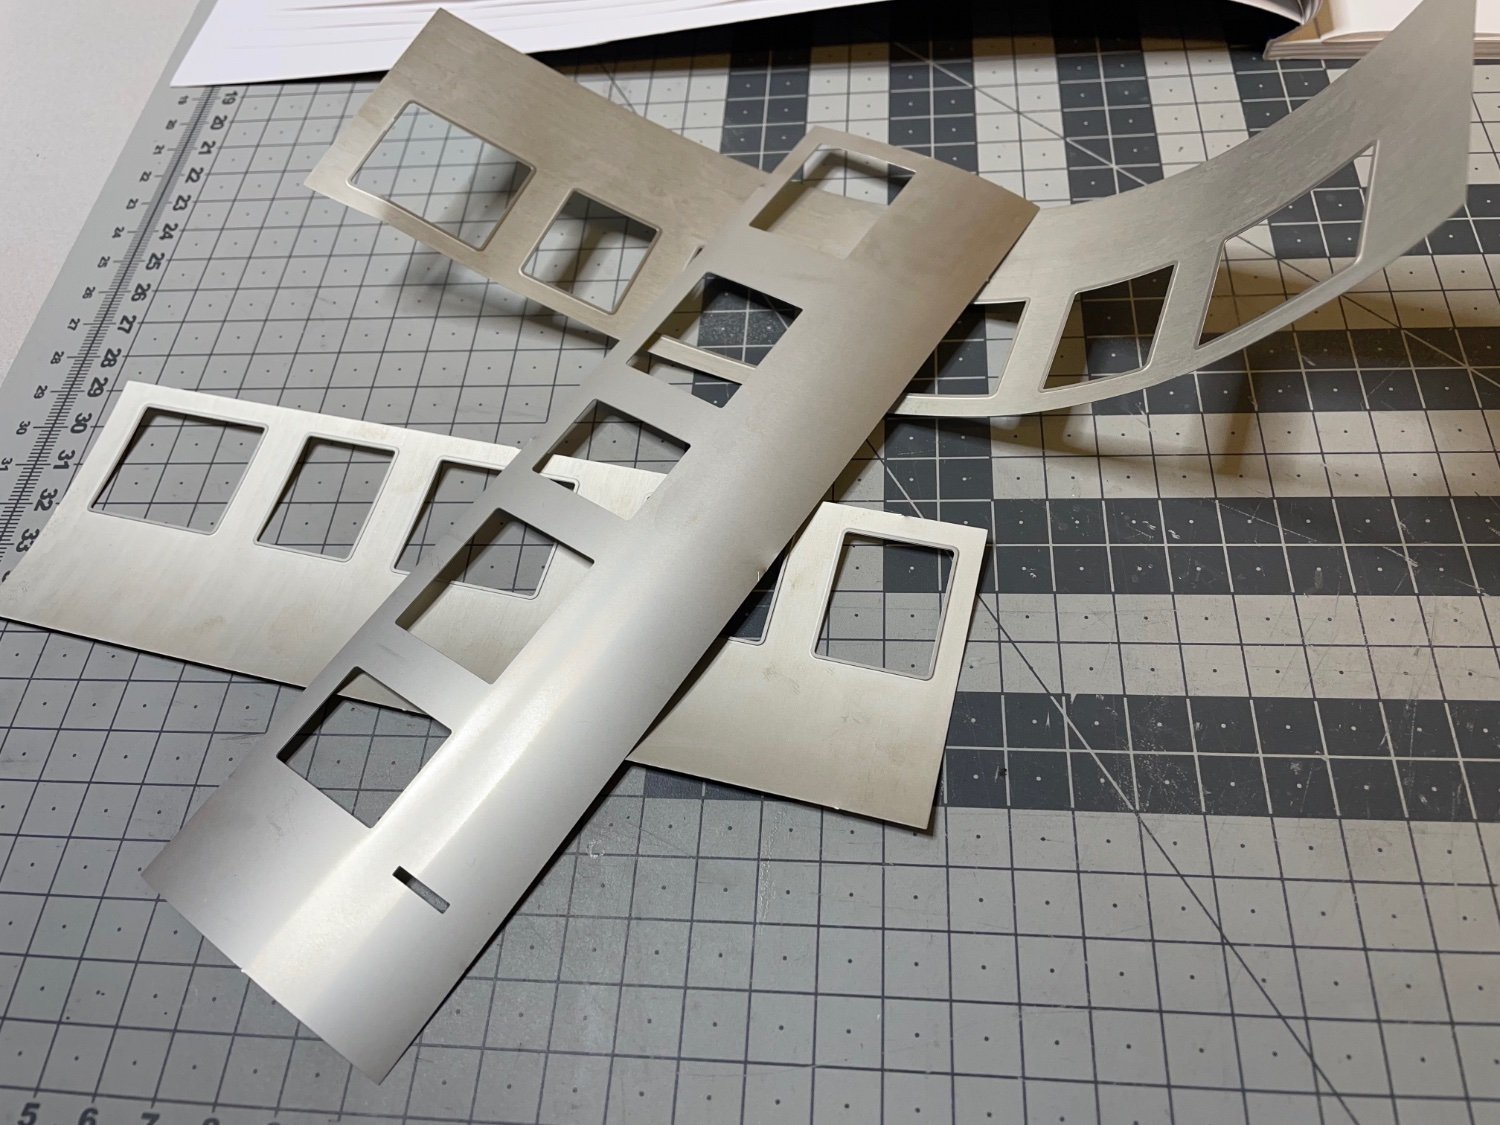
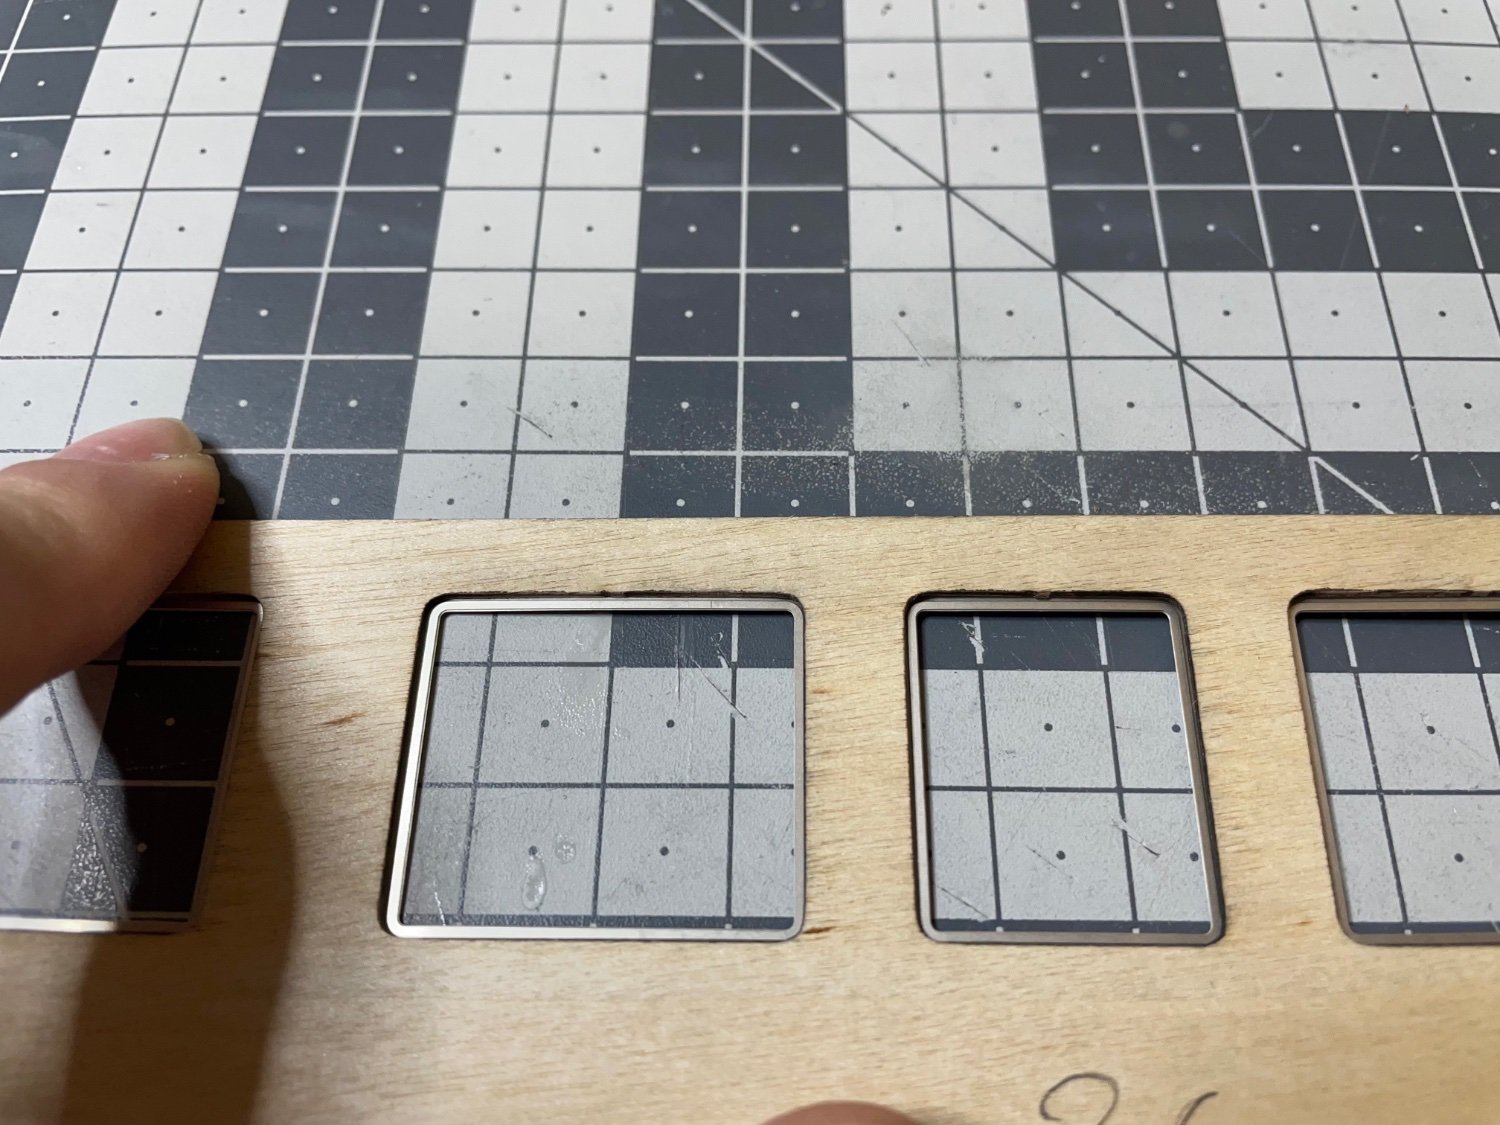
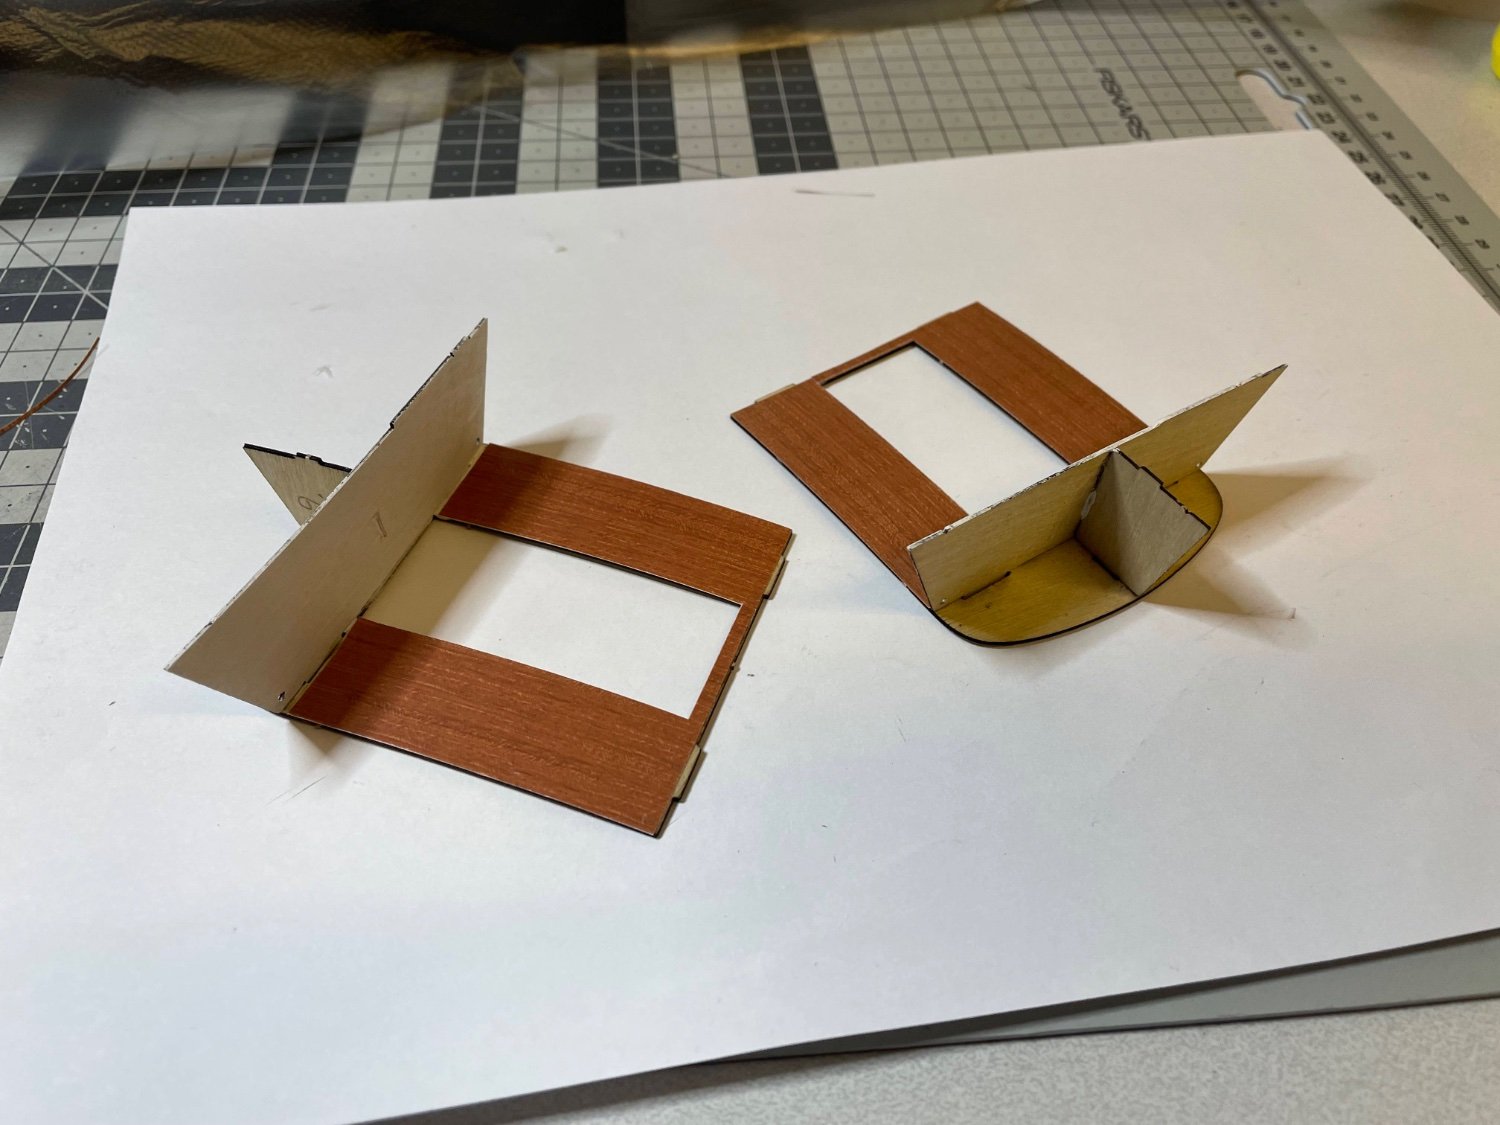
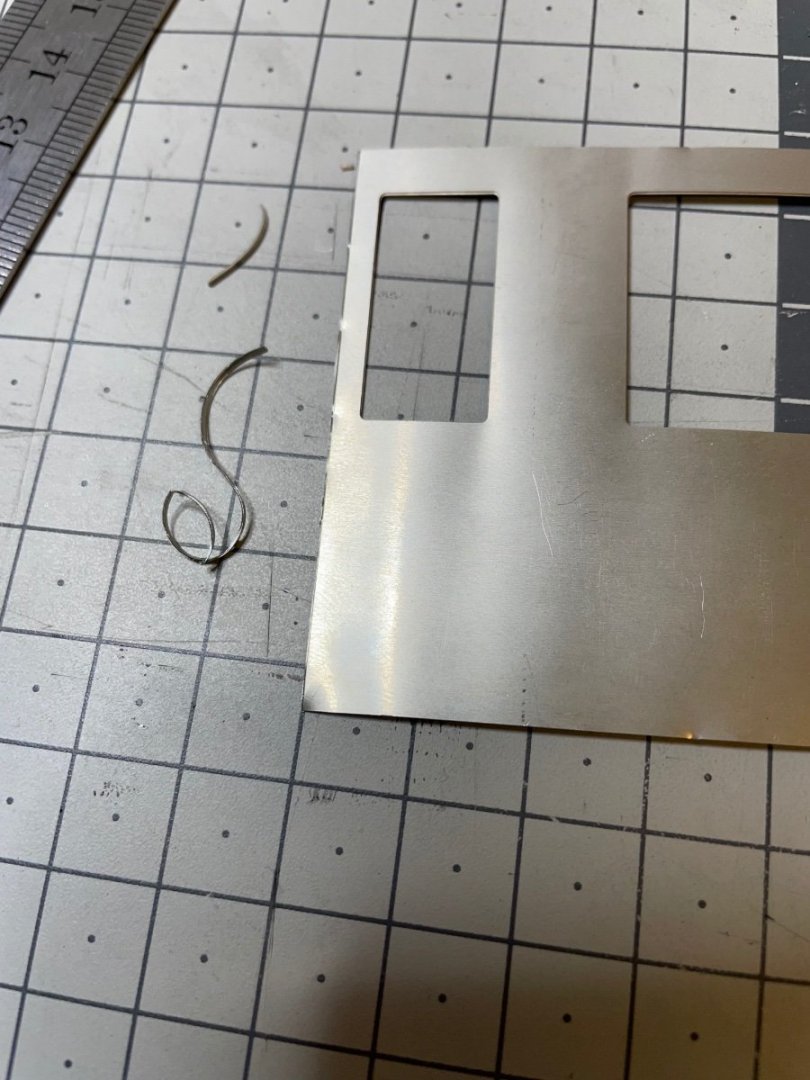
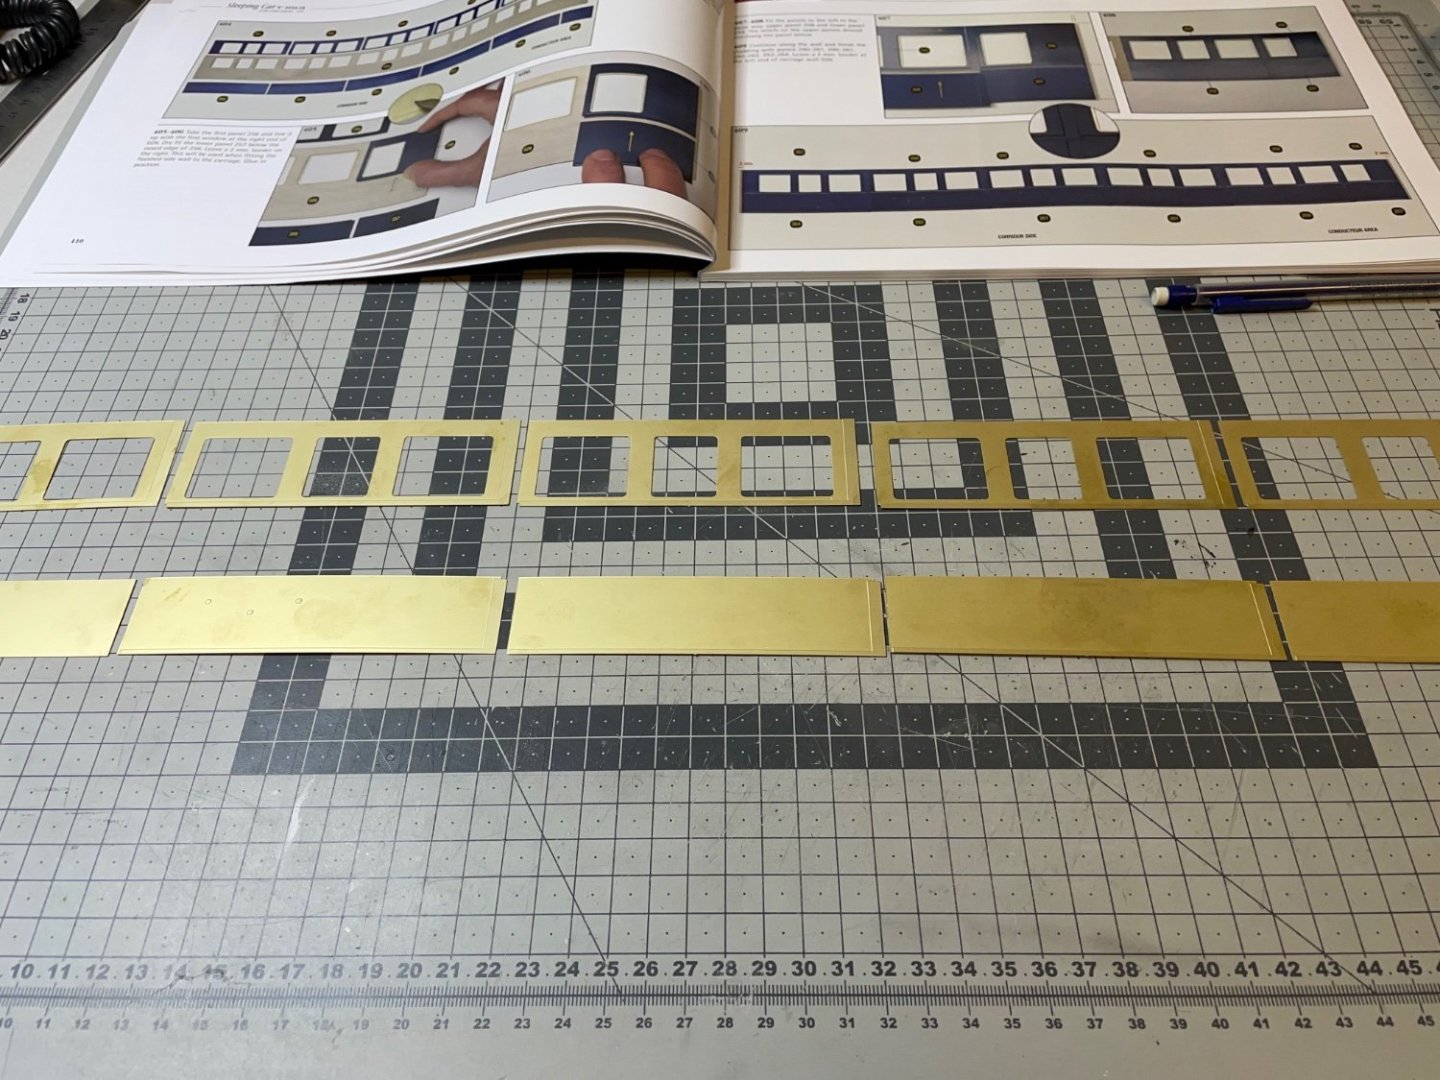
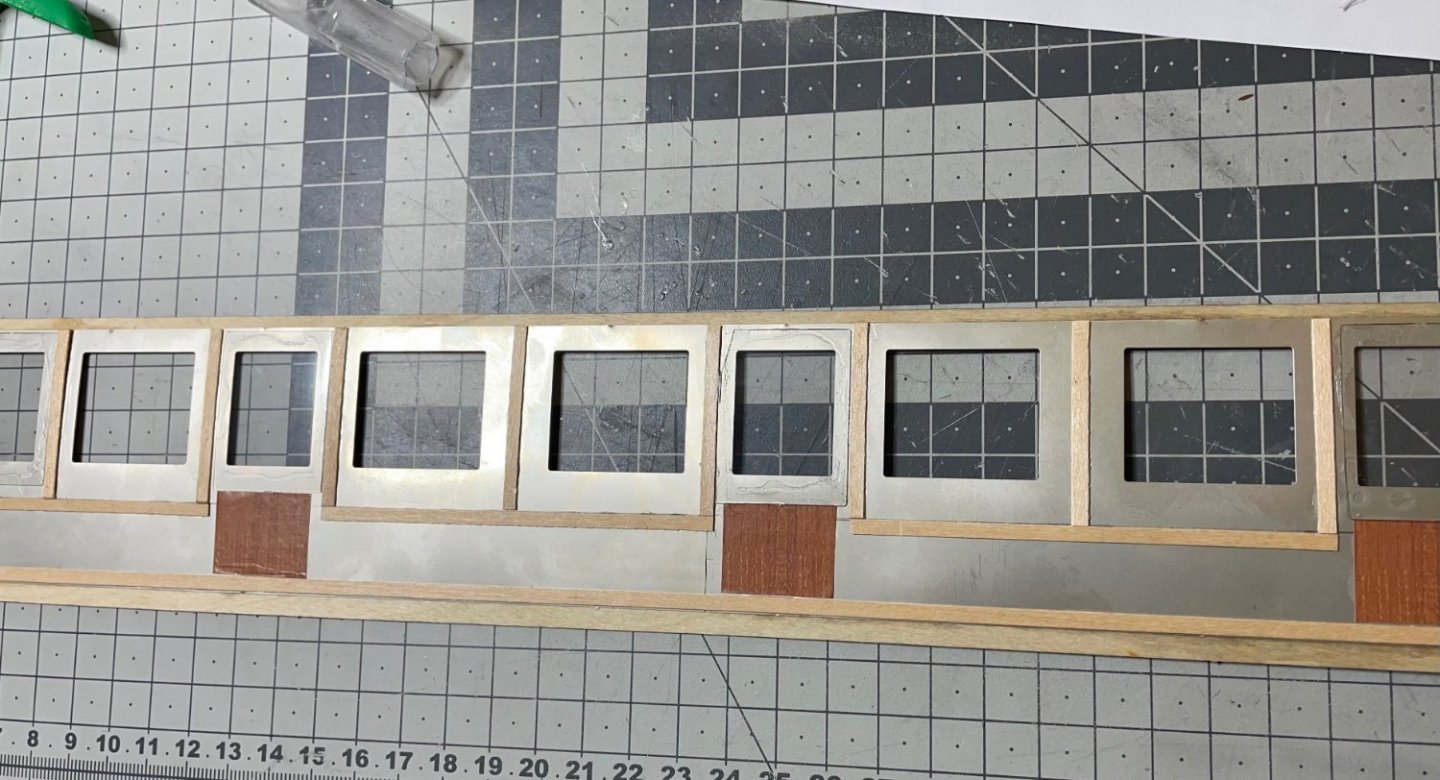
BUILD DAYS 27-28 / 5 hrs / (TOTAL: 76 hrs) Next in the line is construction of corridor side outer wall. The wagon structure will rest aside for a while. Figure 272: We start with photo etched the nickel panels, which will be glued on the plywood structure. In the photo you see how they came out of the box, even though they should be totally flat. When I press on them with my hand they bounce back to the same shape! I don't want to use tools to bend them as I am afraid of kinking them. I just hope they will remain flat enough when glued on the plywood. There will be also other components like wooden strips and another layer of photo etched panels to enforce the structure, so hopes are high. Figures 273-276: Aligning the window openings of the nickel sheet with that of the plywood. Nickel should form a thin frame of about 1mm wide from the wooden window.


- 293 replies
-
- 10
-
-
Thank you all for the nice and encouraging comments!
-
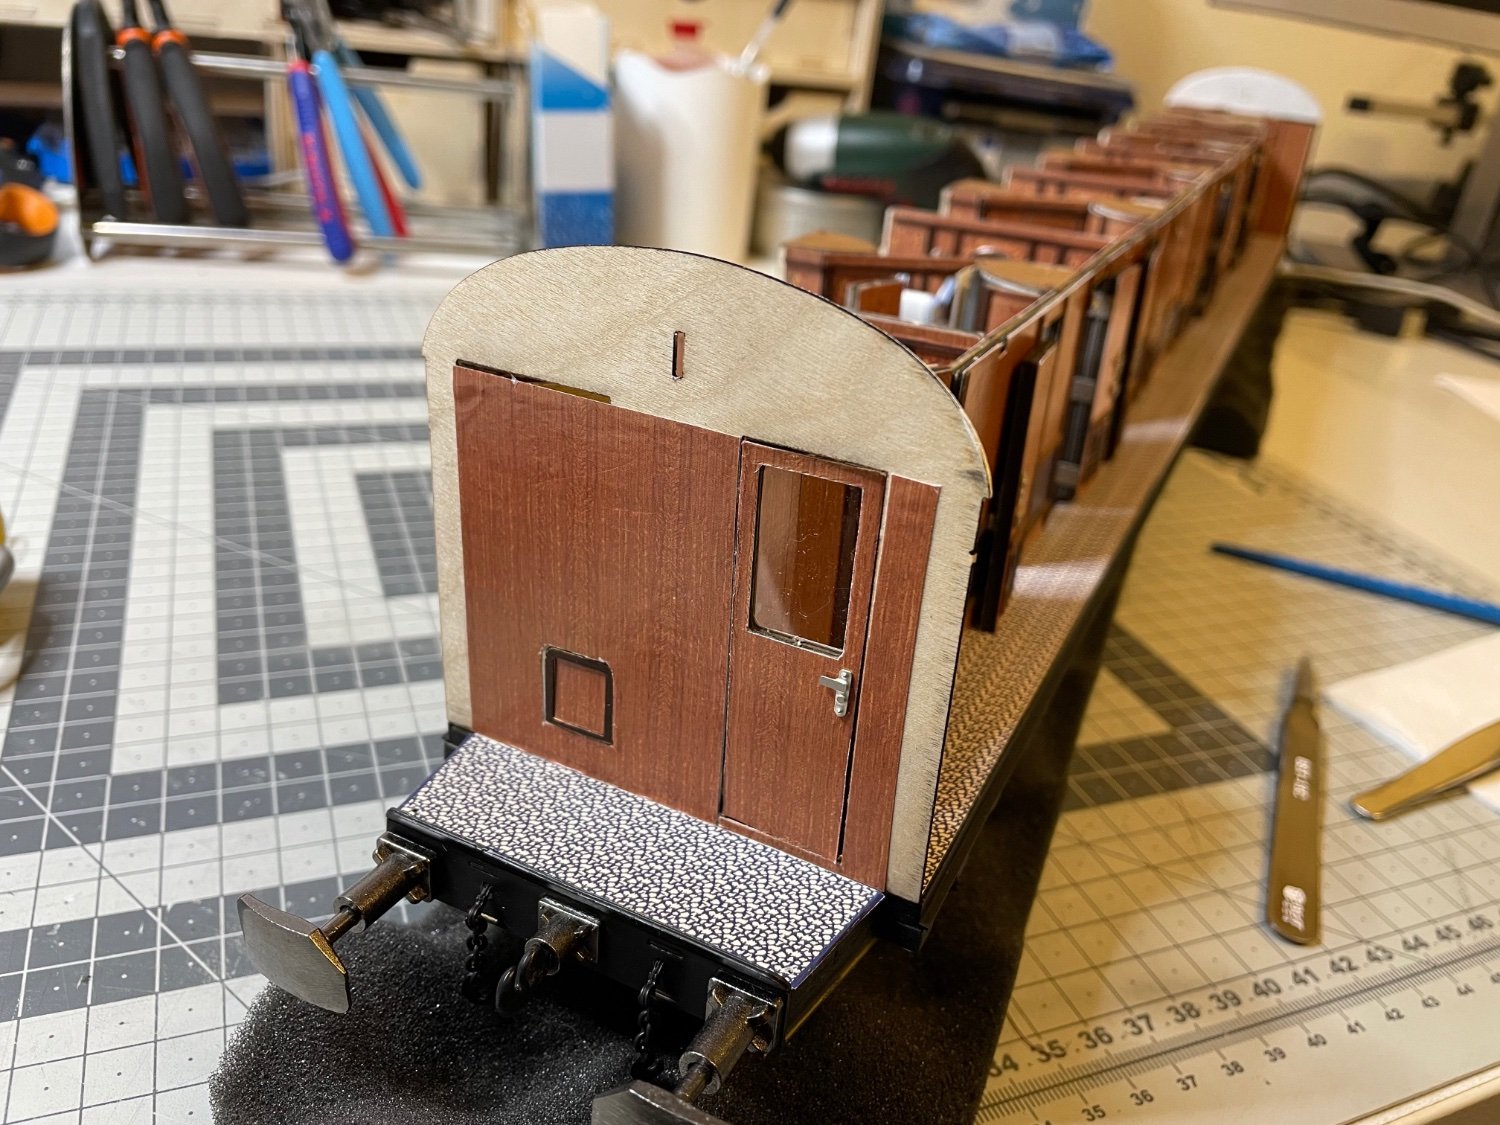
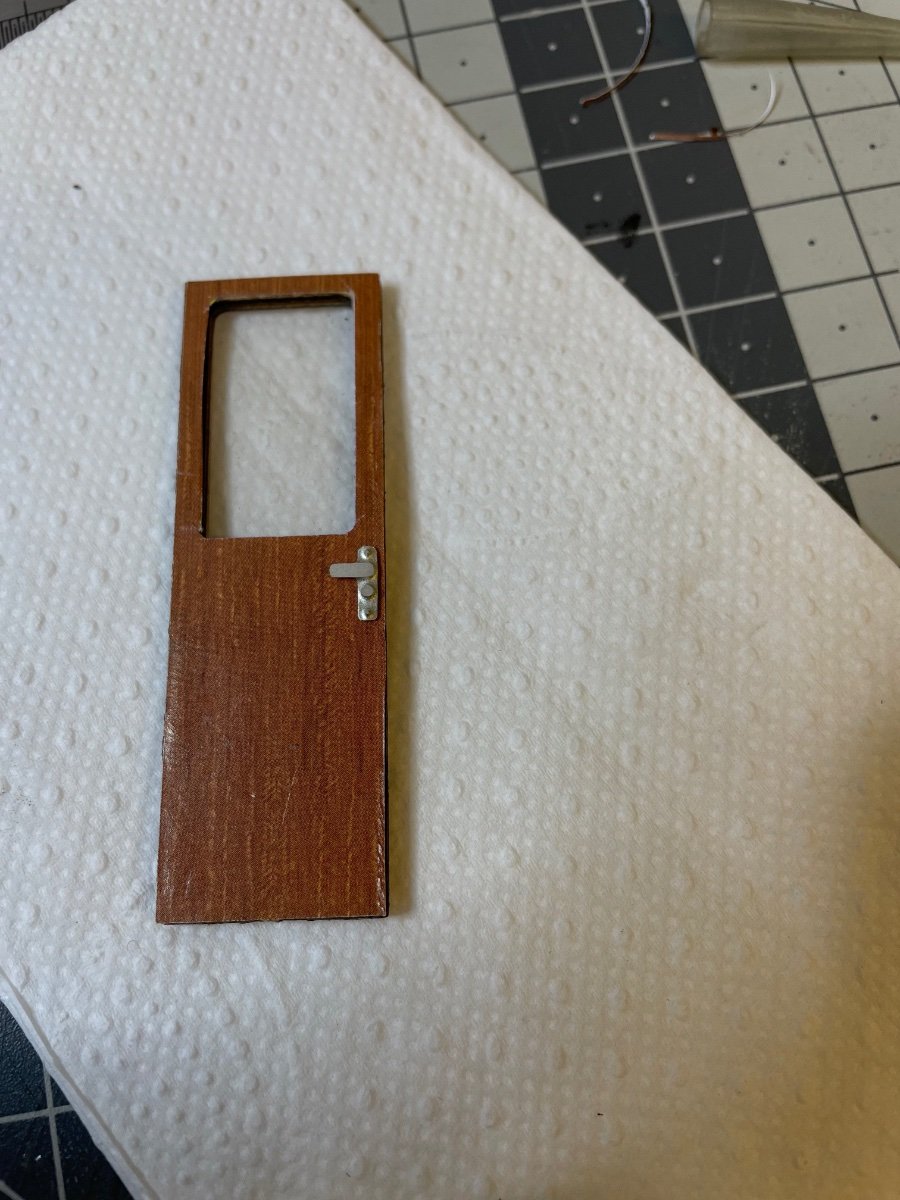
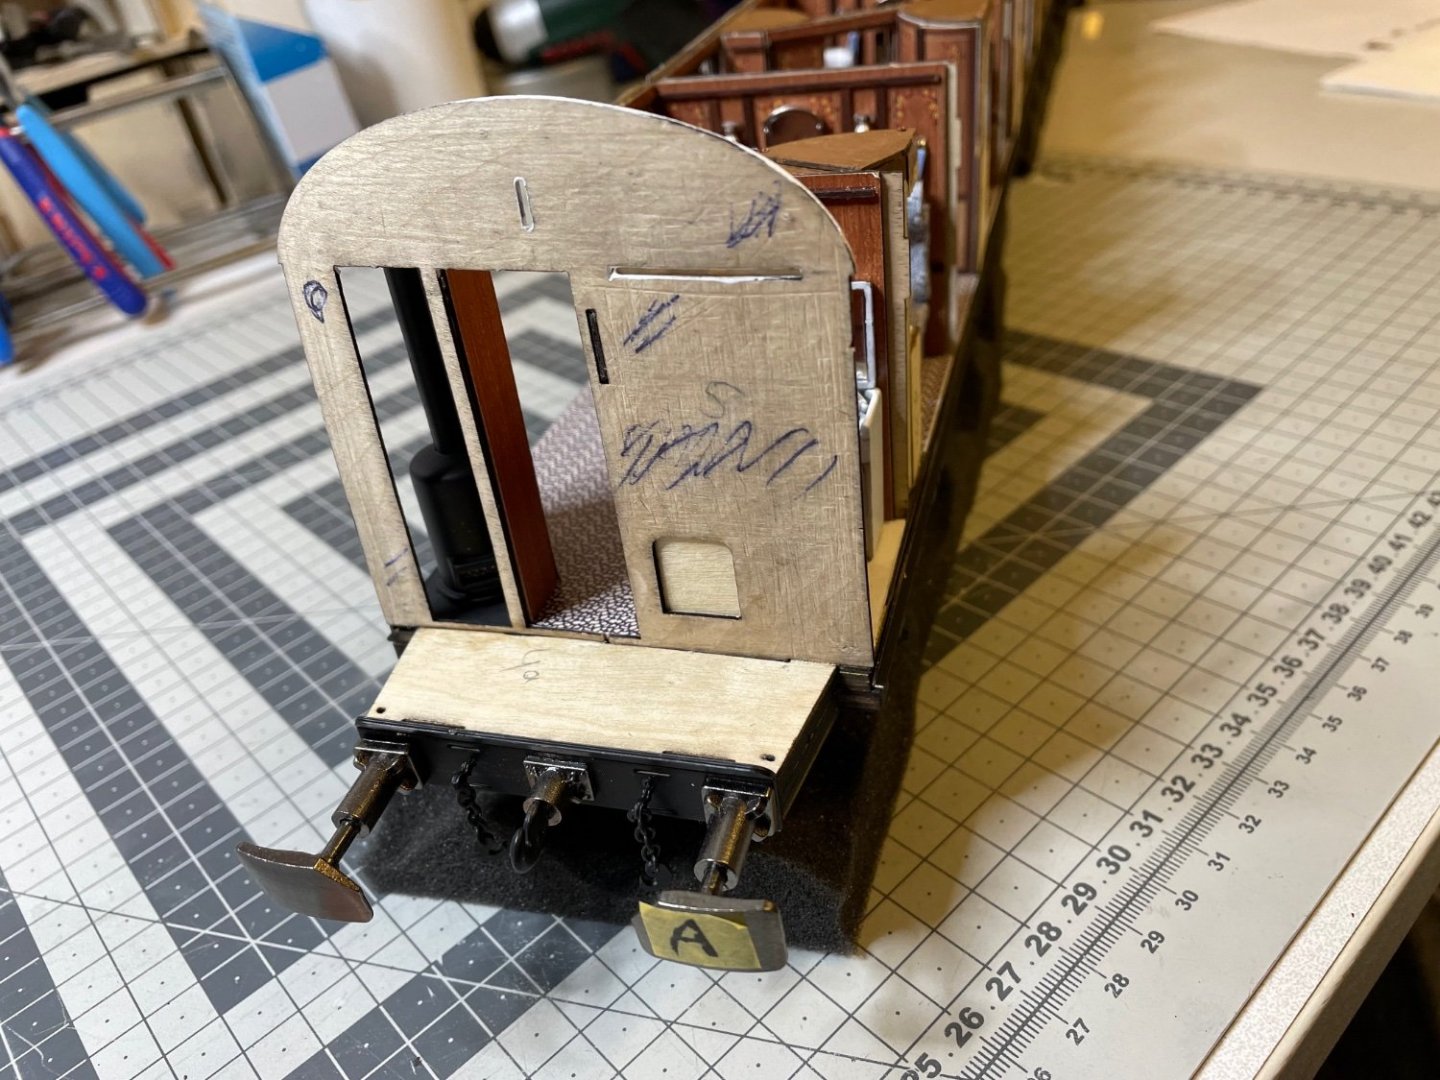
BUILD DAY 26 / 1 hr / (TOTAL: 71 hrs) Figures 266-271: Construction on both ends of the wagons. Note the doors I made earlier. After this, the wagon structure will rest aside for a long time while the outer walls are being prepared. Lets see. Thanks for watching!


- 293 replies
-
- 14
-
-
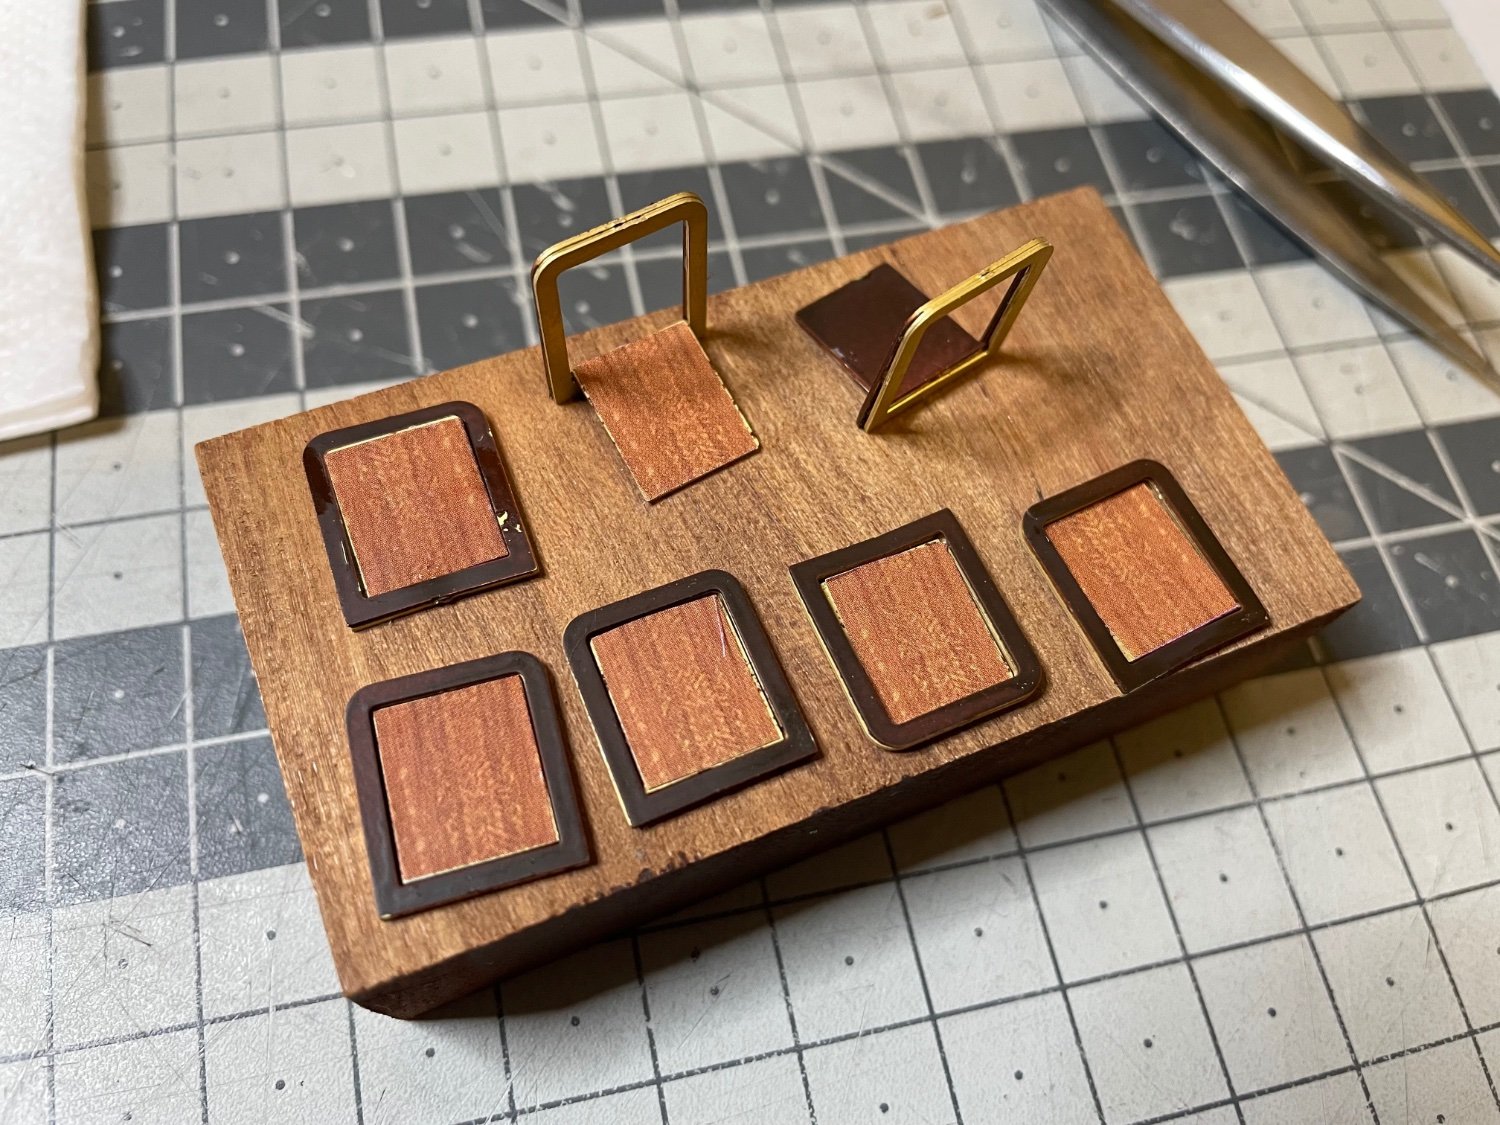
Figures 261-265: Folding chairs to be mounted on several locations on the wagon walls. They are designed to allow to move the seat up and down freely, though when you install them in the place you fix them in either closed or open position. There are altogether 7 of them. Some parts need painting, some paper decoration.

-
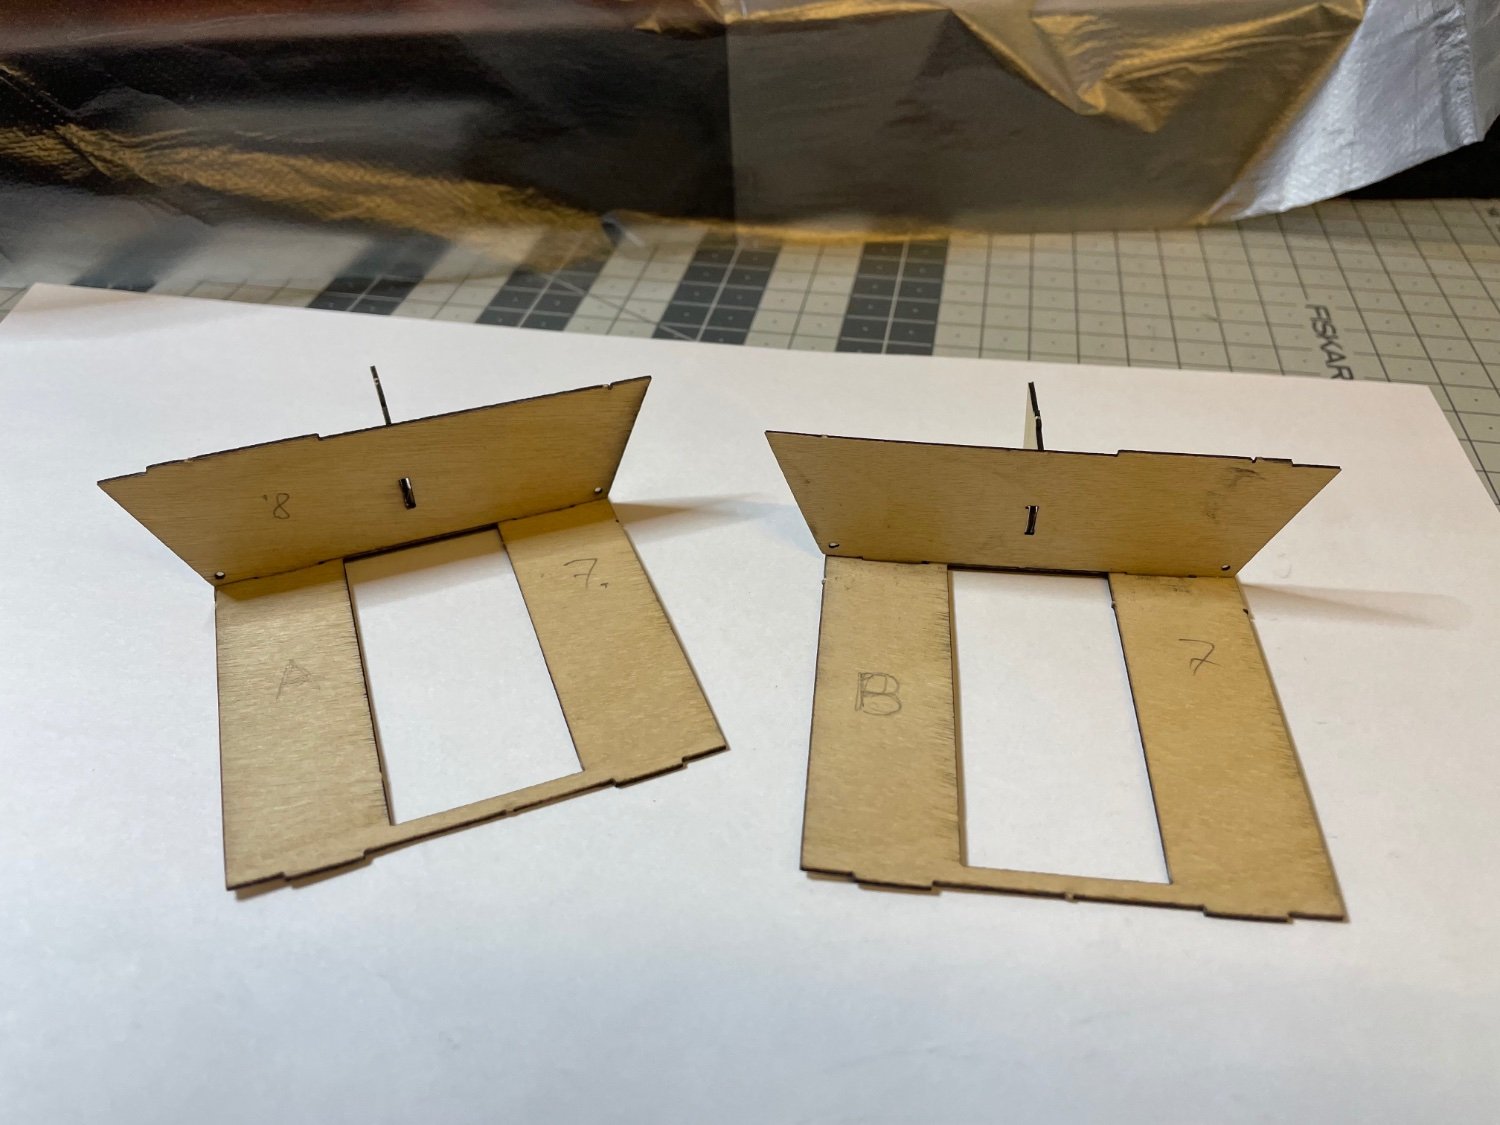
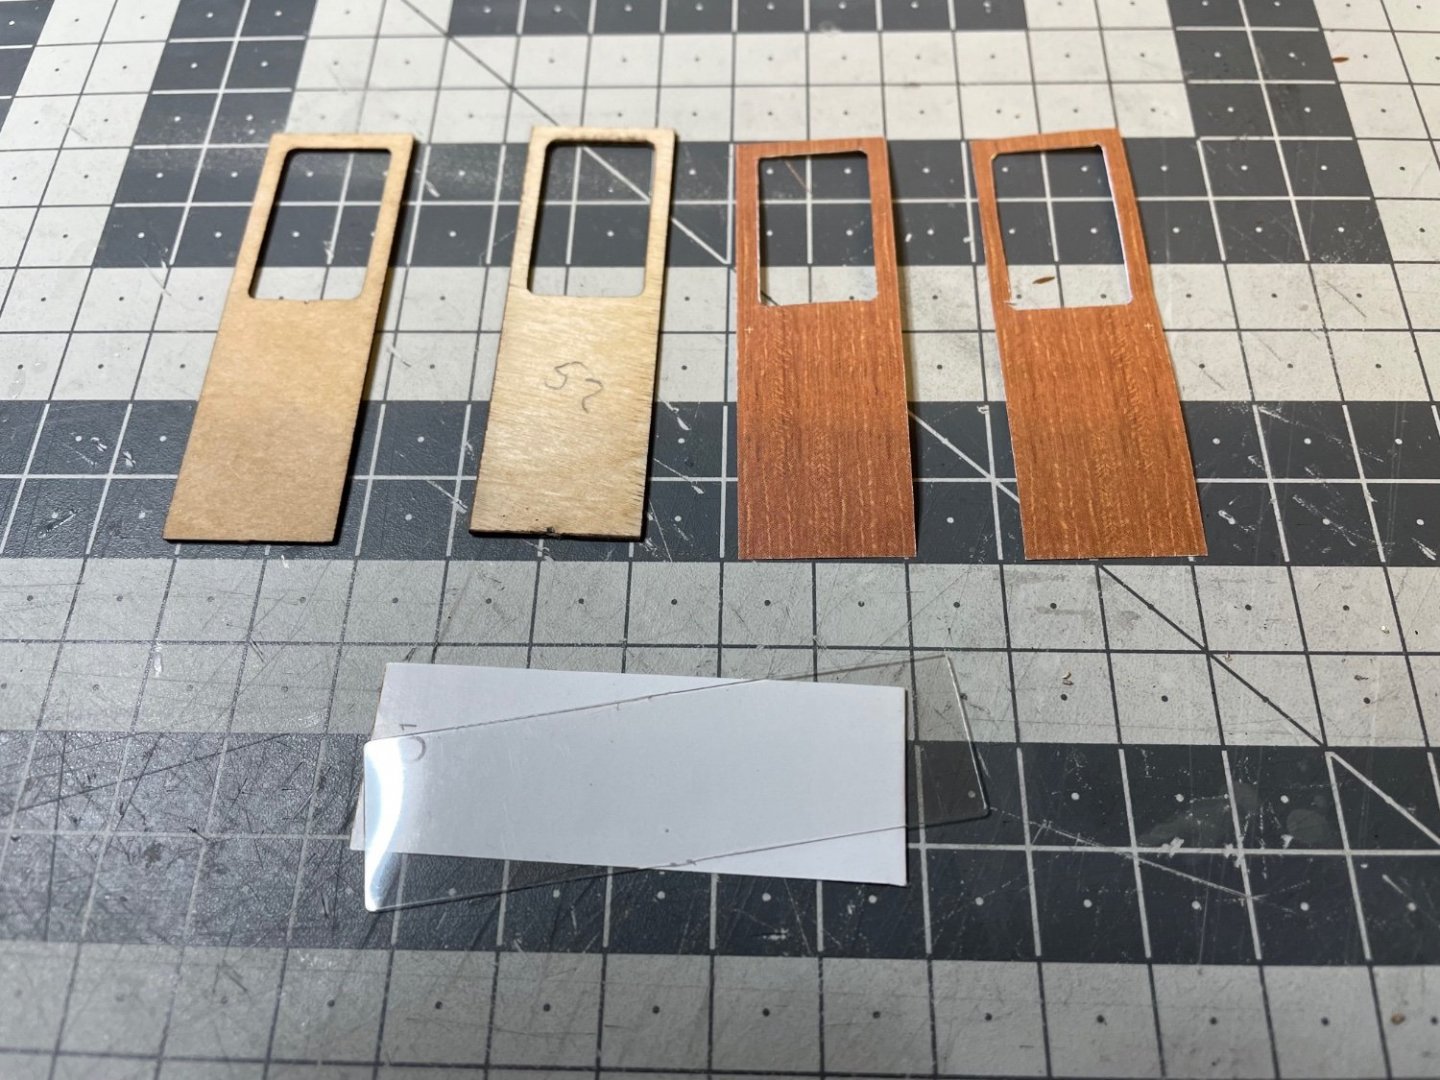
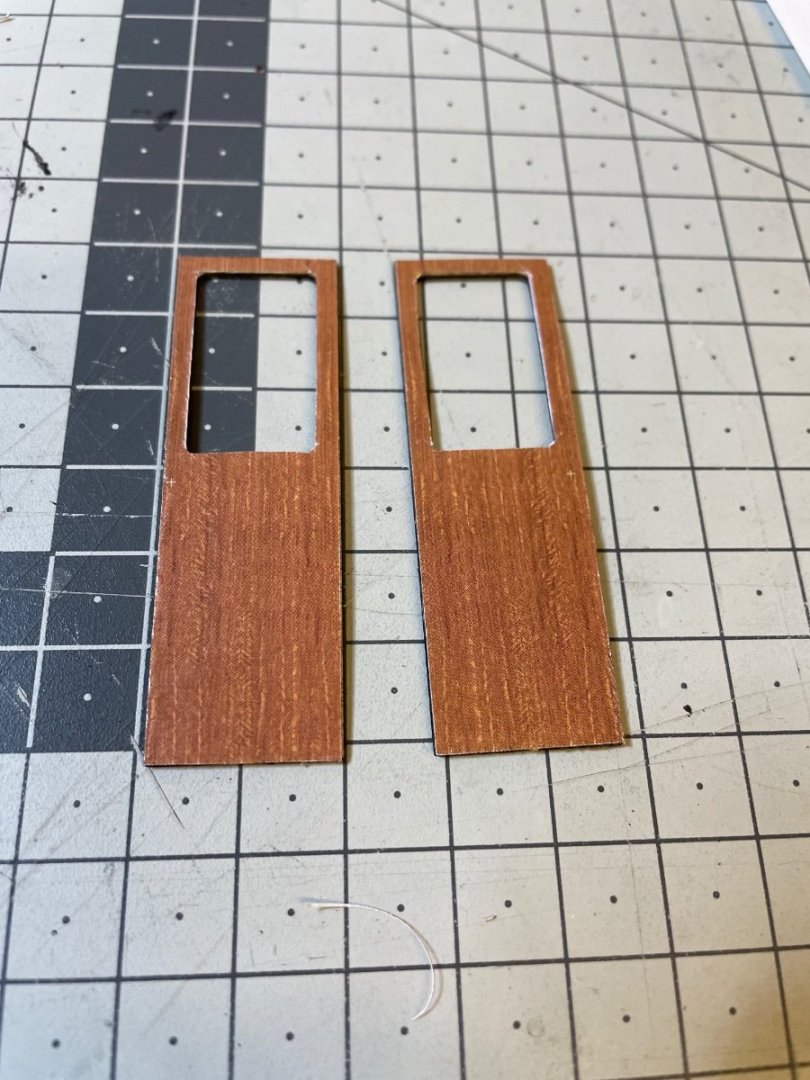
Figures 257-260: Doors opening to the corridor from either end of the wagon. These are the first ones to build having glass window. Glasses are made of acetate, supplied cut ready to size. I used superglue to glue the acetate to the plywood. Photos show one of the two doors.

- 293 replies
-
- 10
-
-
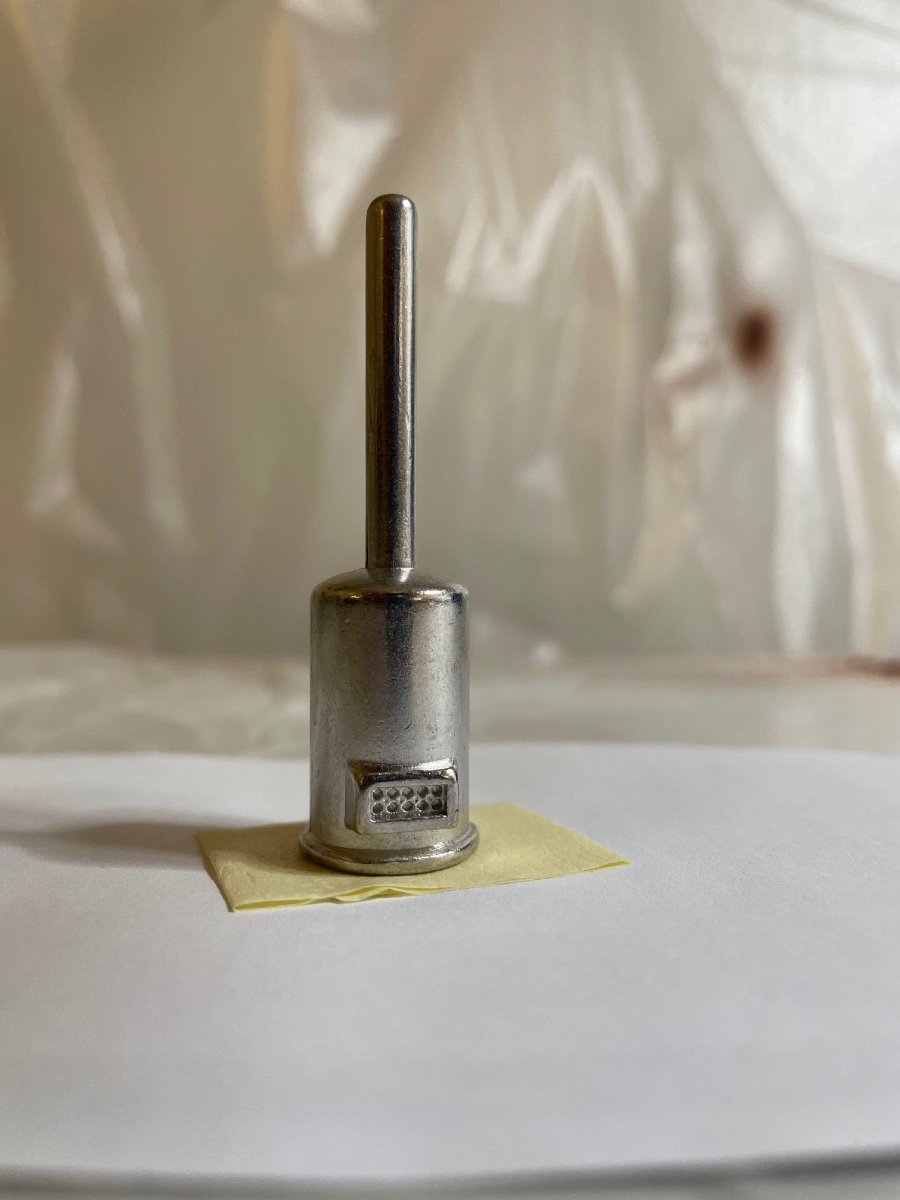
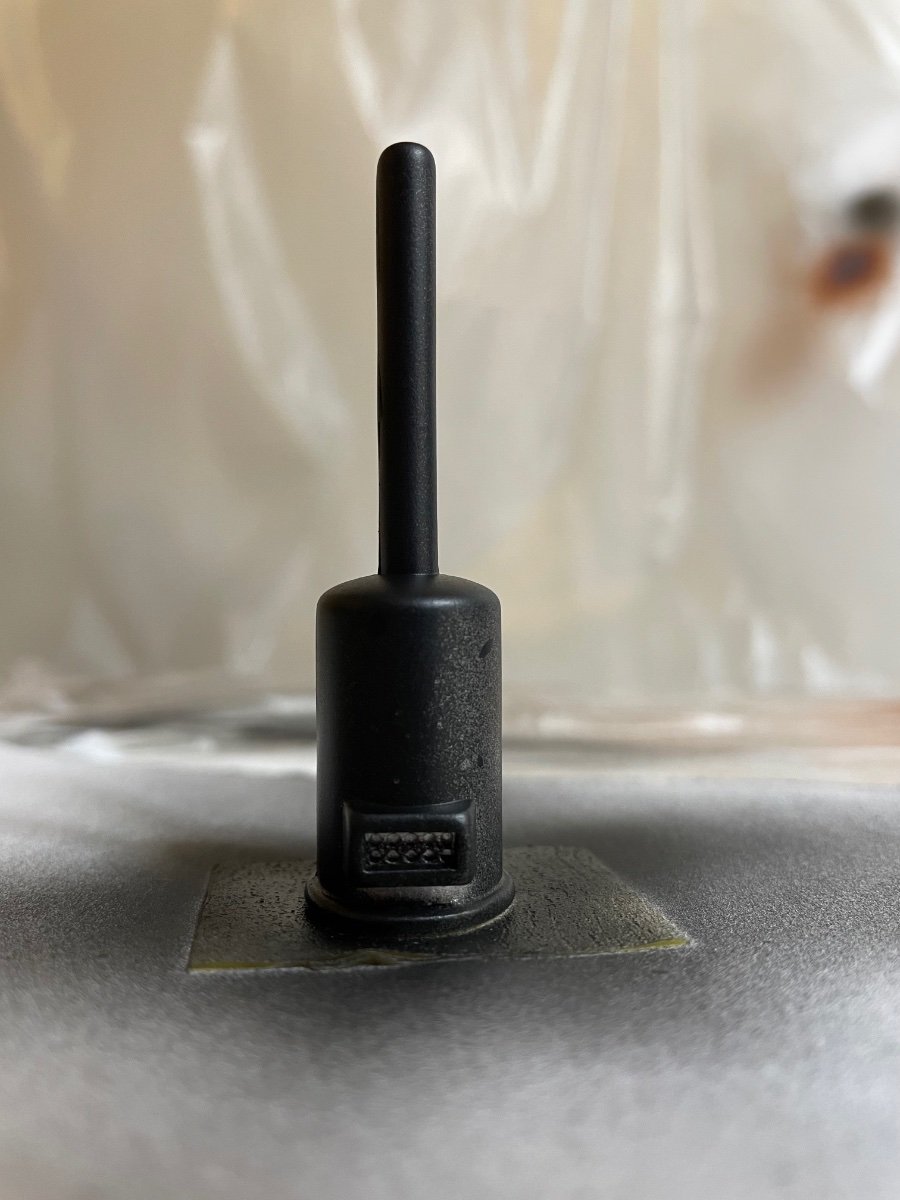
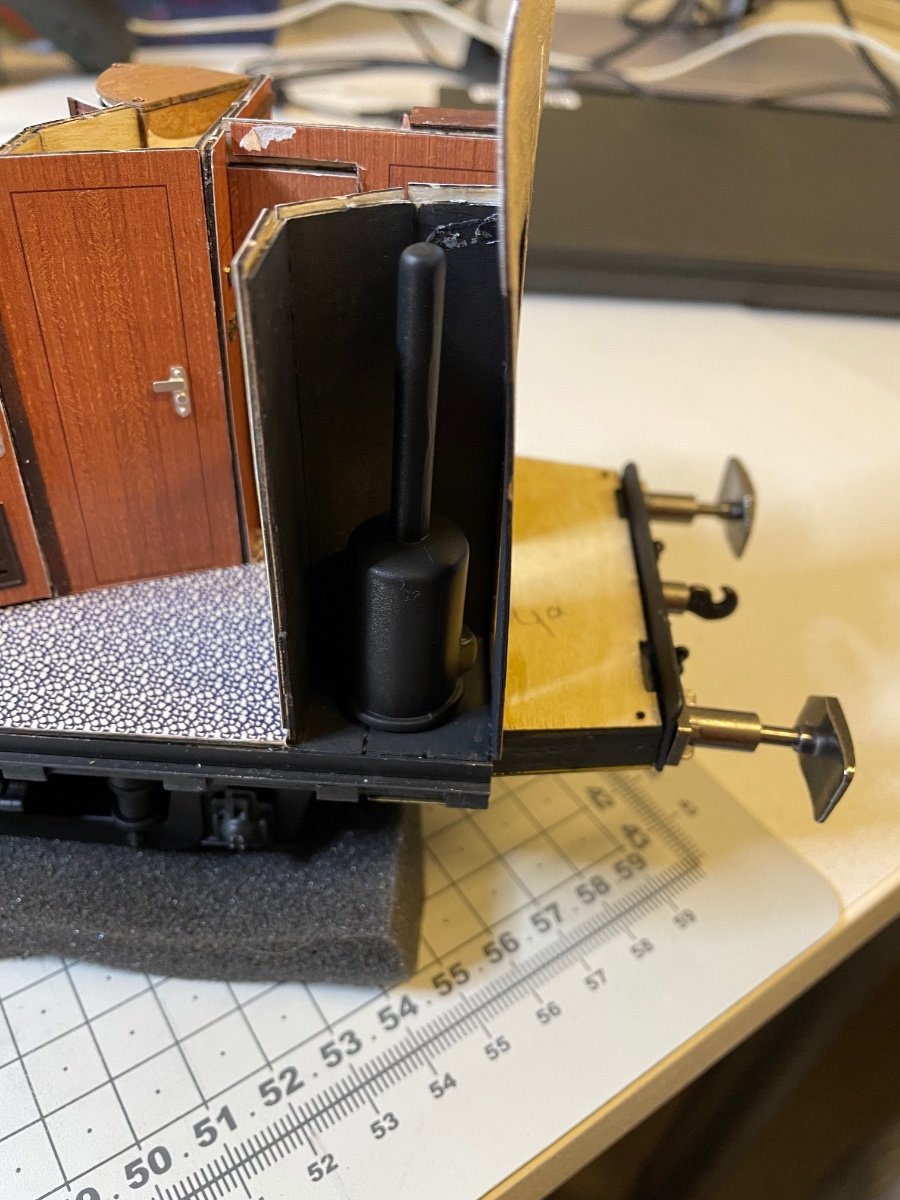
BUILD DAY 25 / 4 hr / (TOTAL: 70 hrs) Figures 254-256: Boiler painted and installed it its dark room.


- 293 replies
-
- 10
-
-
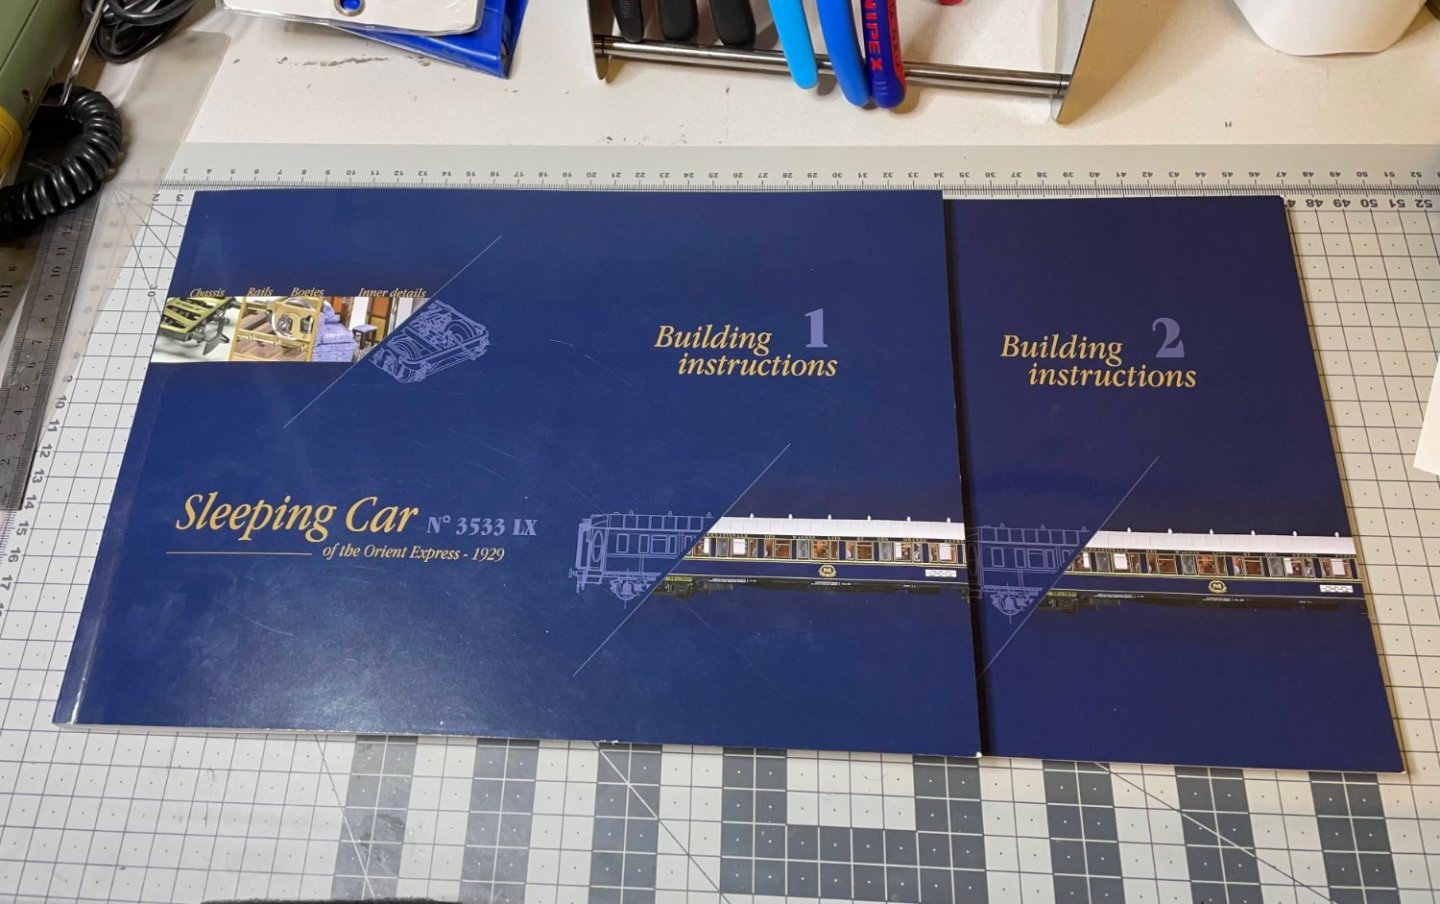
Figure 253: End of the first book! But looking at the material left, I feel the work (or fun!) is nowhere near half.
- 293 replies
-
- 10
-
-
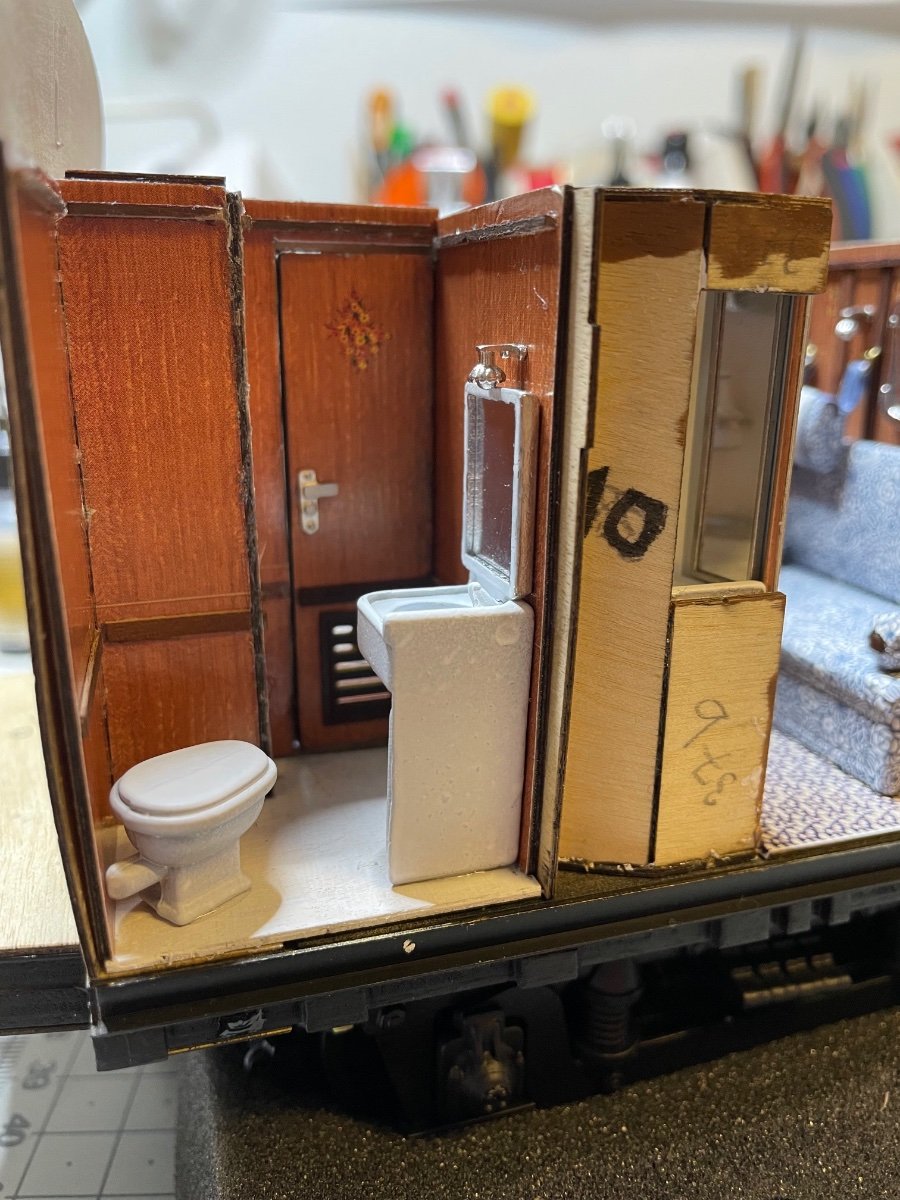
BUILD DAY 24 / 1 hr / (TOTAL: 66 hrs) Installation of window side wash basins and the common W-C. Figures 250-252:

- 293 replies
-
- 11
-
-
-
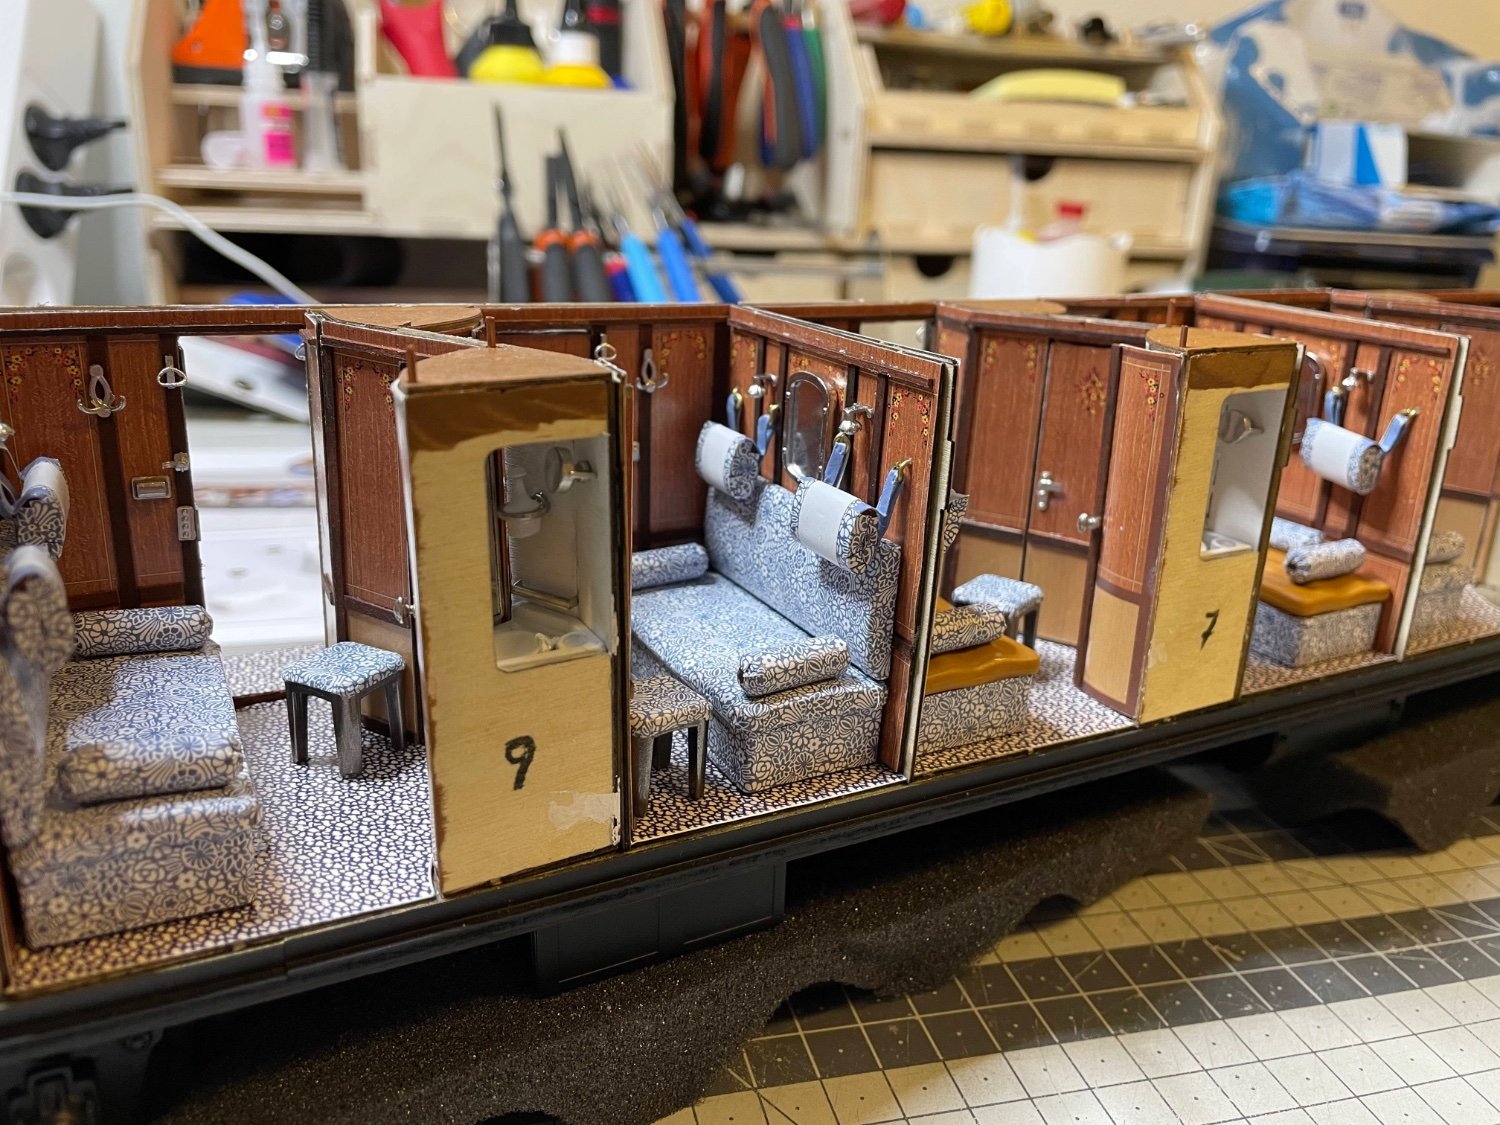
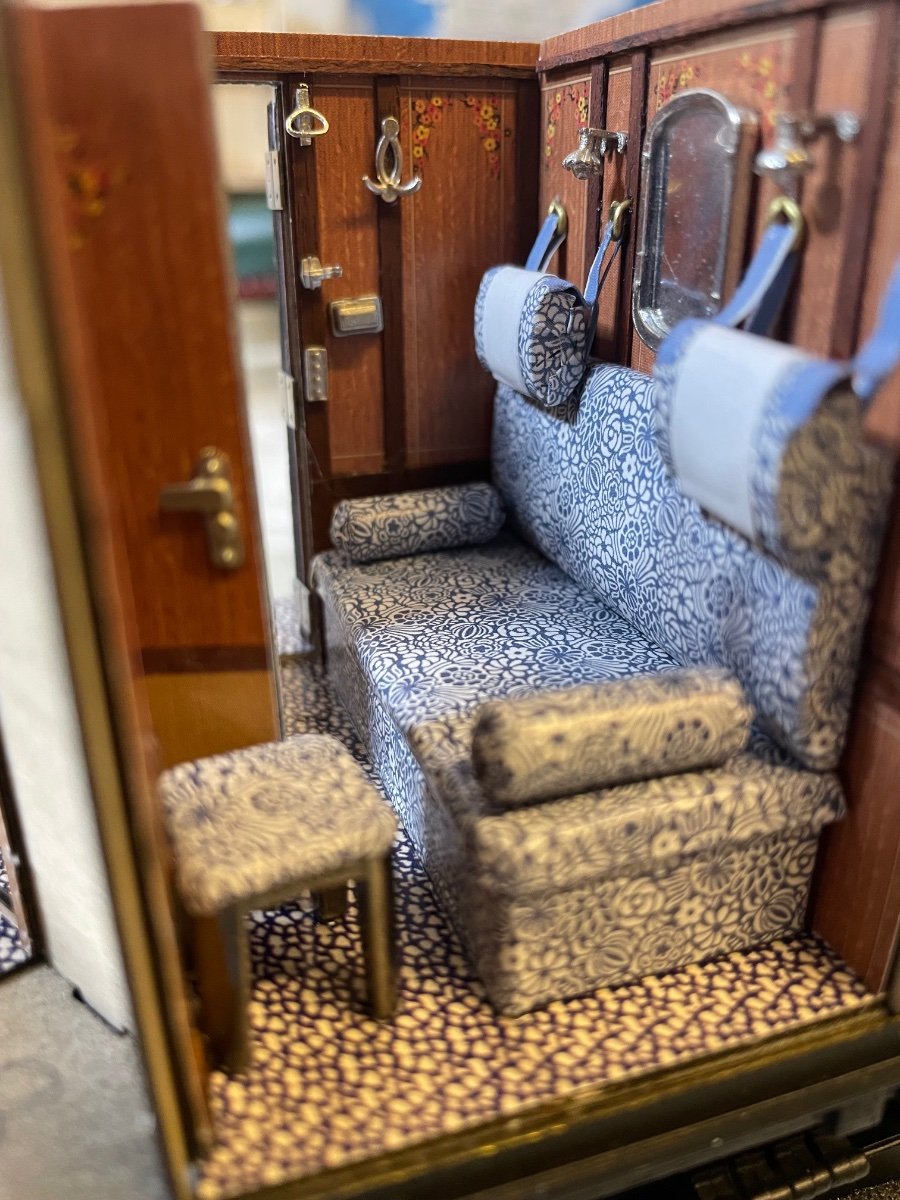
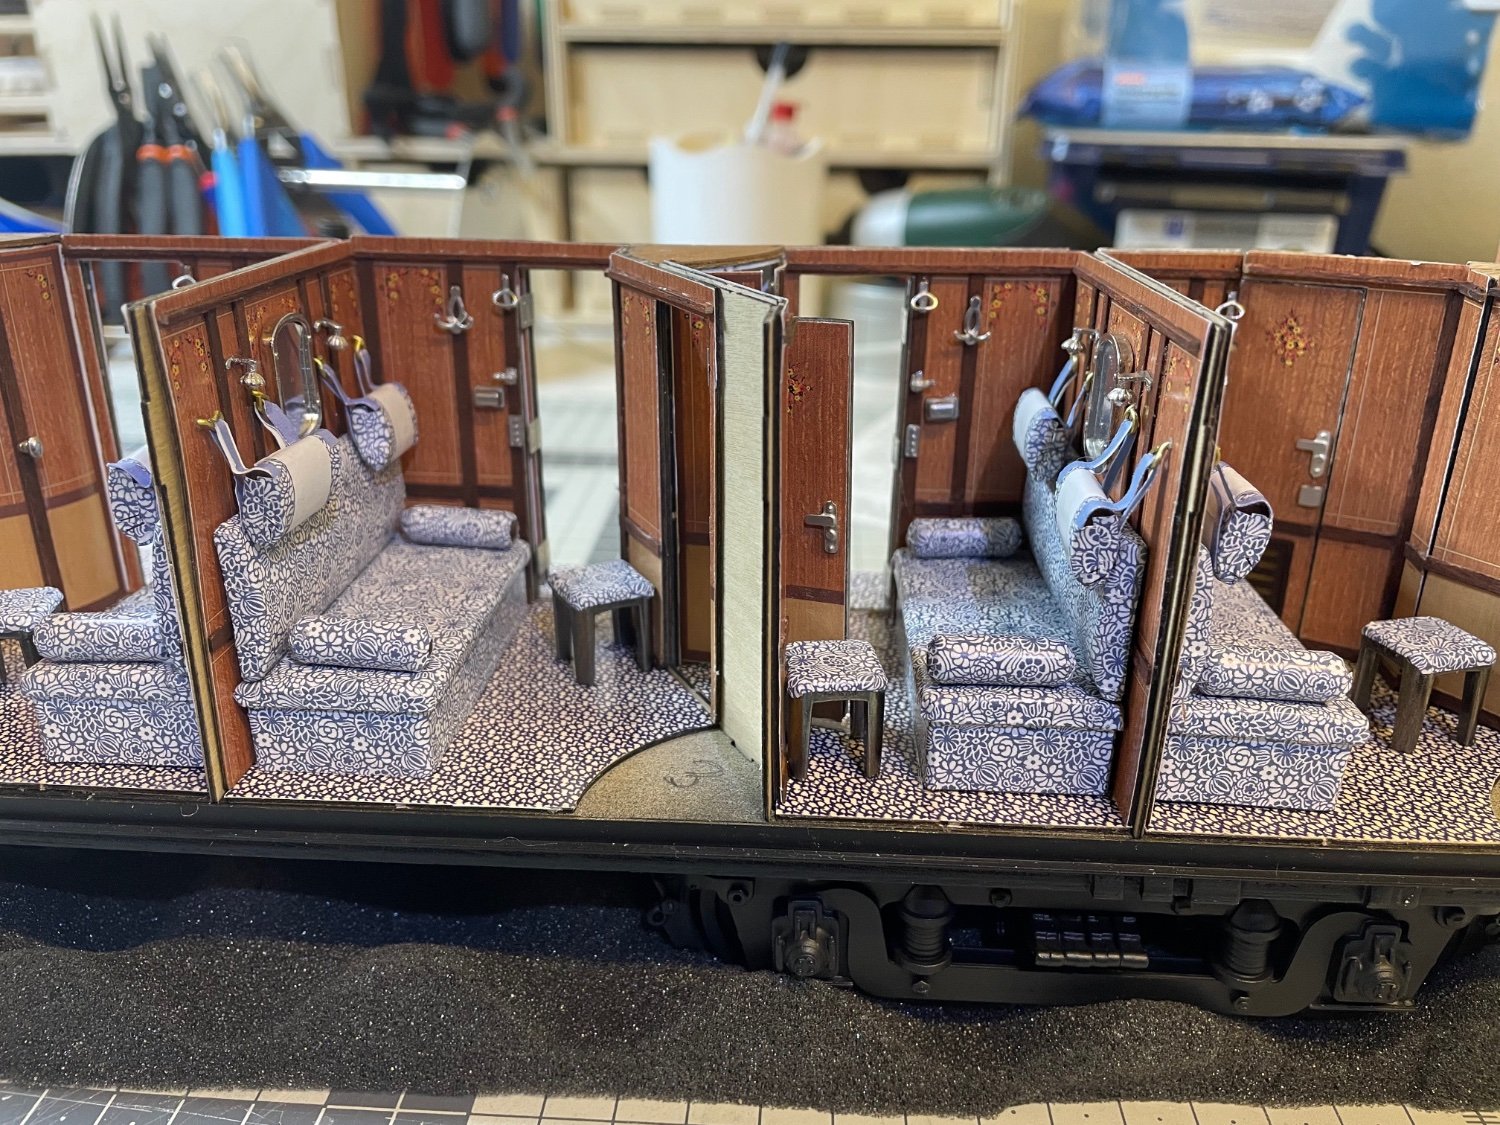
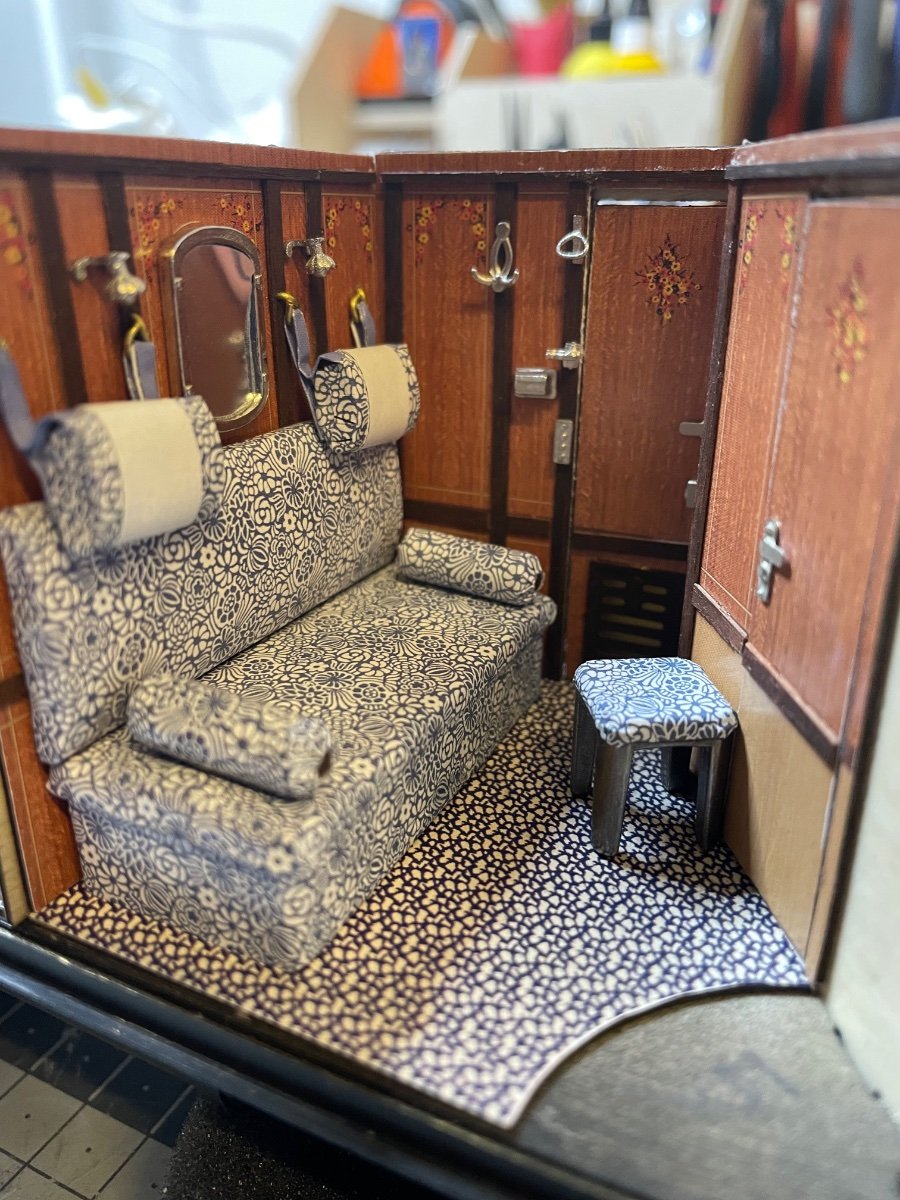
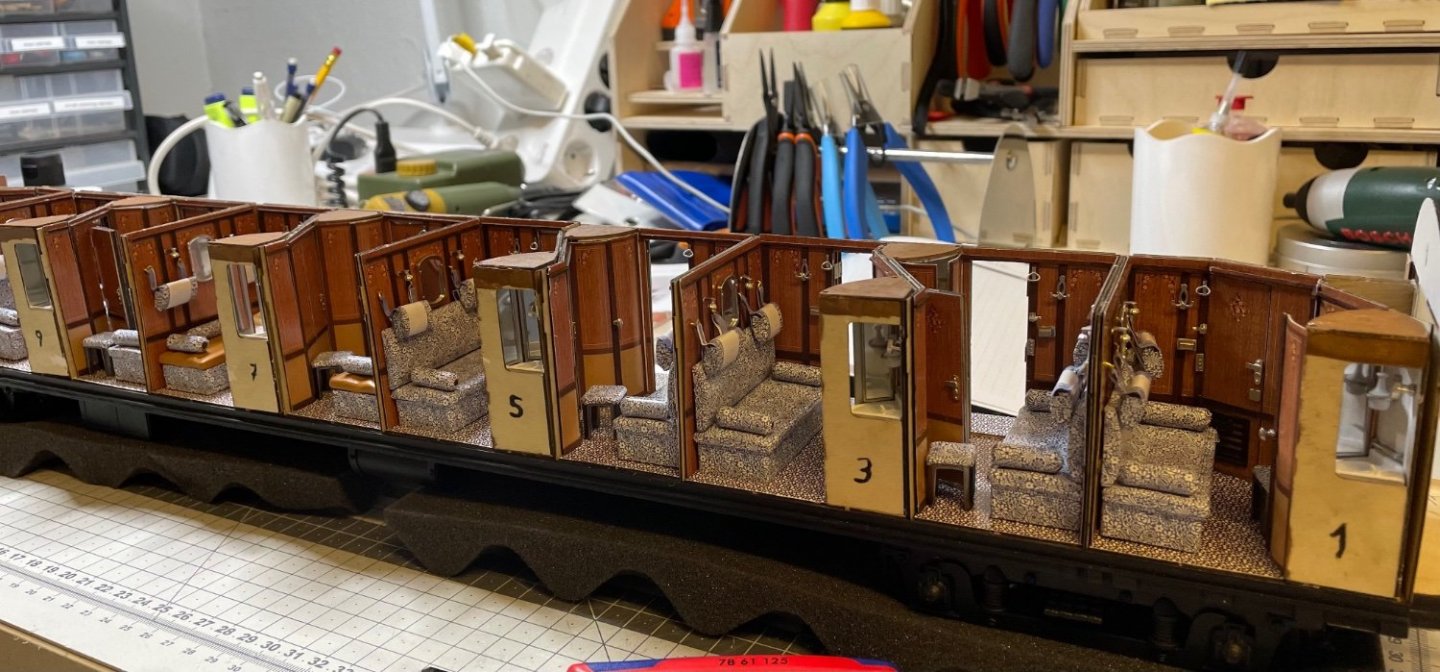
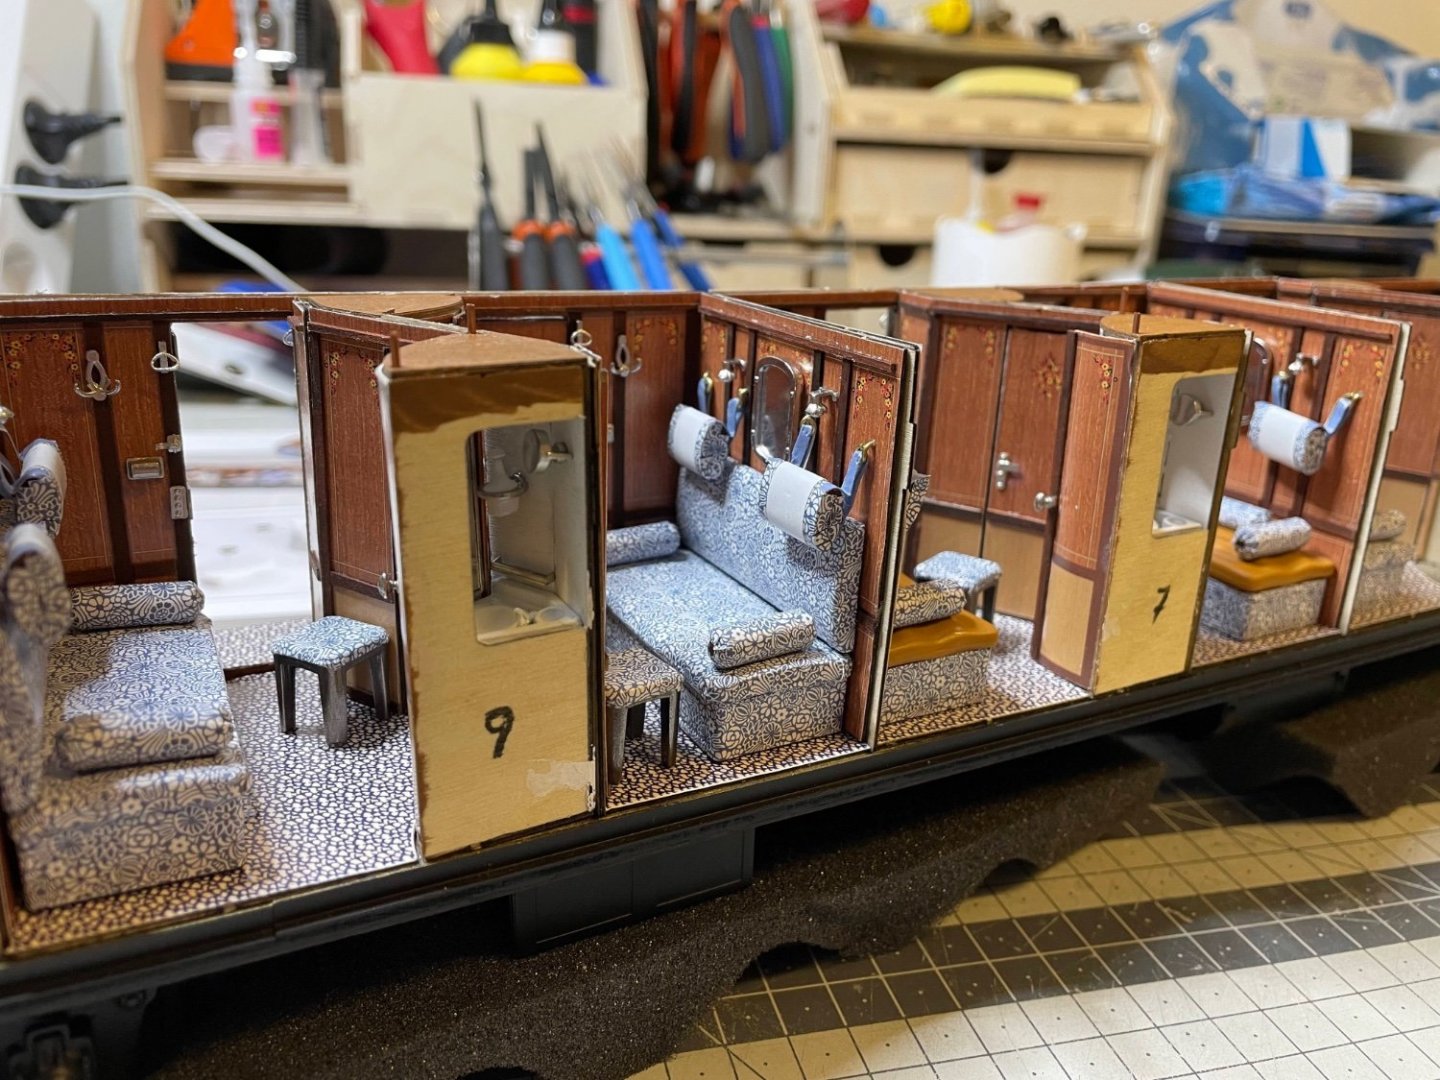
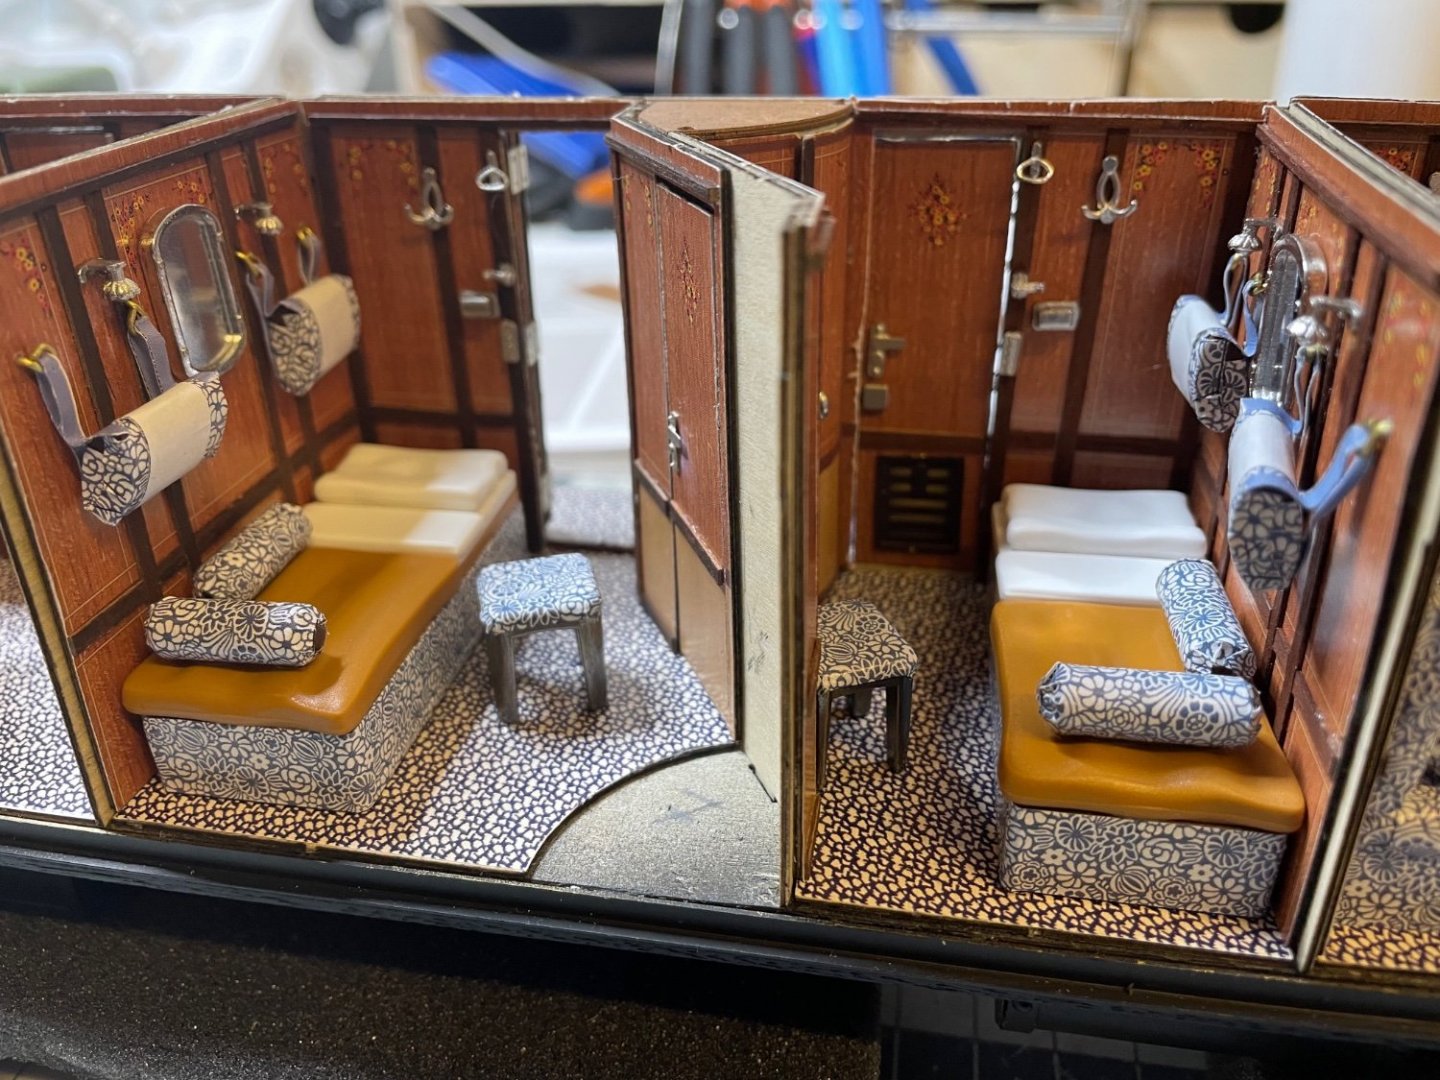
Figures 246-249: Today I spent some time to install the furniture in the compartments. The train is starting to get the soul now!


- 293 replies
-
- 18
-
-
-
Yes that might be a good idea also for protecting them.
-
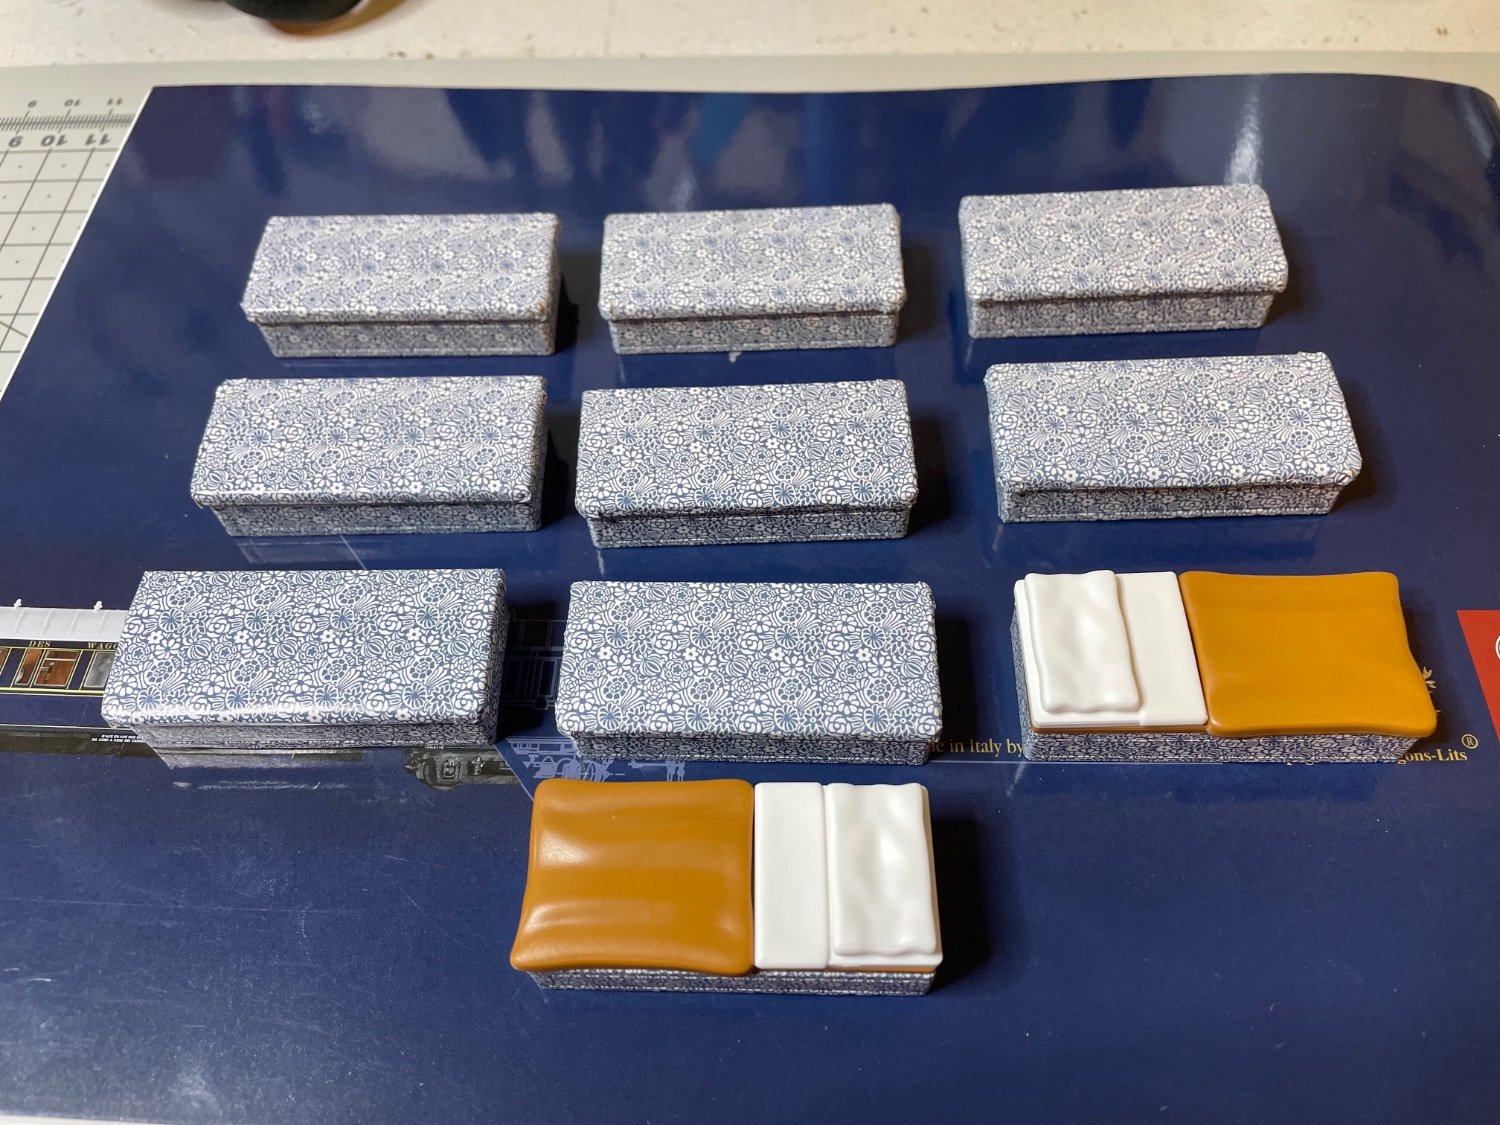
Figure 245: Divans and beds ready. Do you have the same feeling that the divans look more like coffins at this stage 😃? Anyway I am sure they'll look fine when installed in the compartment with headrests and backrests 🙂. That's all for today. Thanks for watching!

- 293 replies
-
- 13
-
-

-