HOLIDAY DONATION DRIVE - SUPPORT MSW - DO YOUR PART TO KEEP THIS GREAT FORUM GOING! (Only 20 donations so far - C'mon guys!)
×


aydingocer
-
Posts
916 -
Joined
-
Last visited
Content Type
Profiles
Forums
Gallery
Events
Everything posted by aydingocer
-
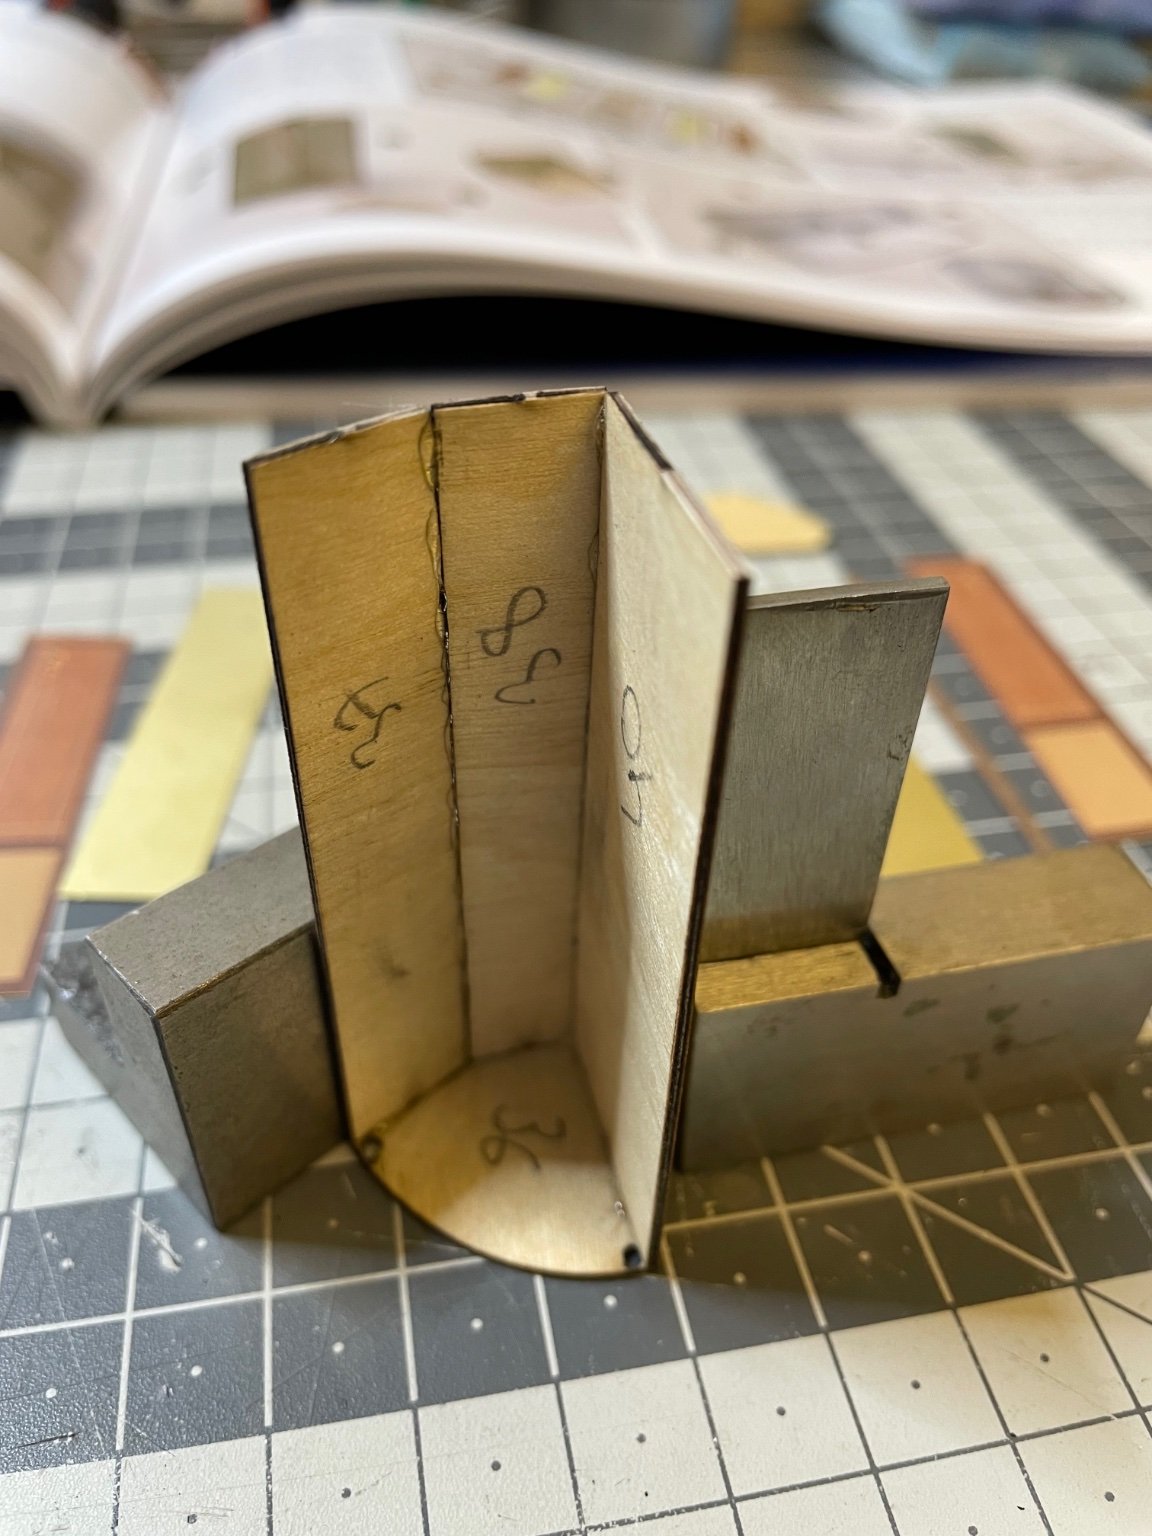
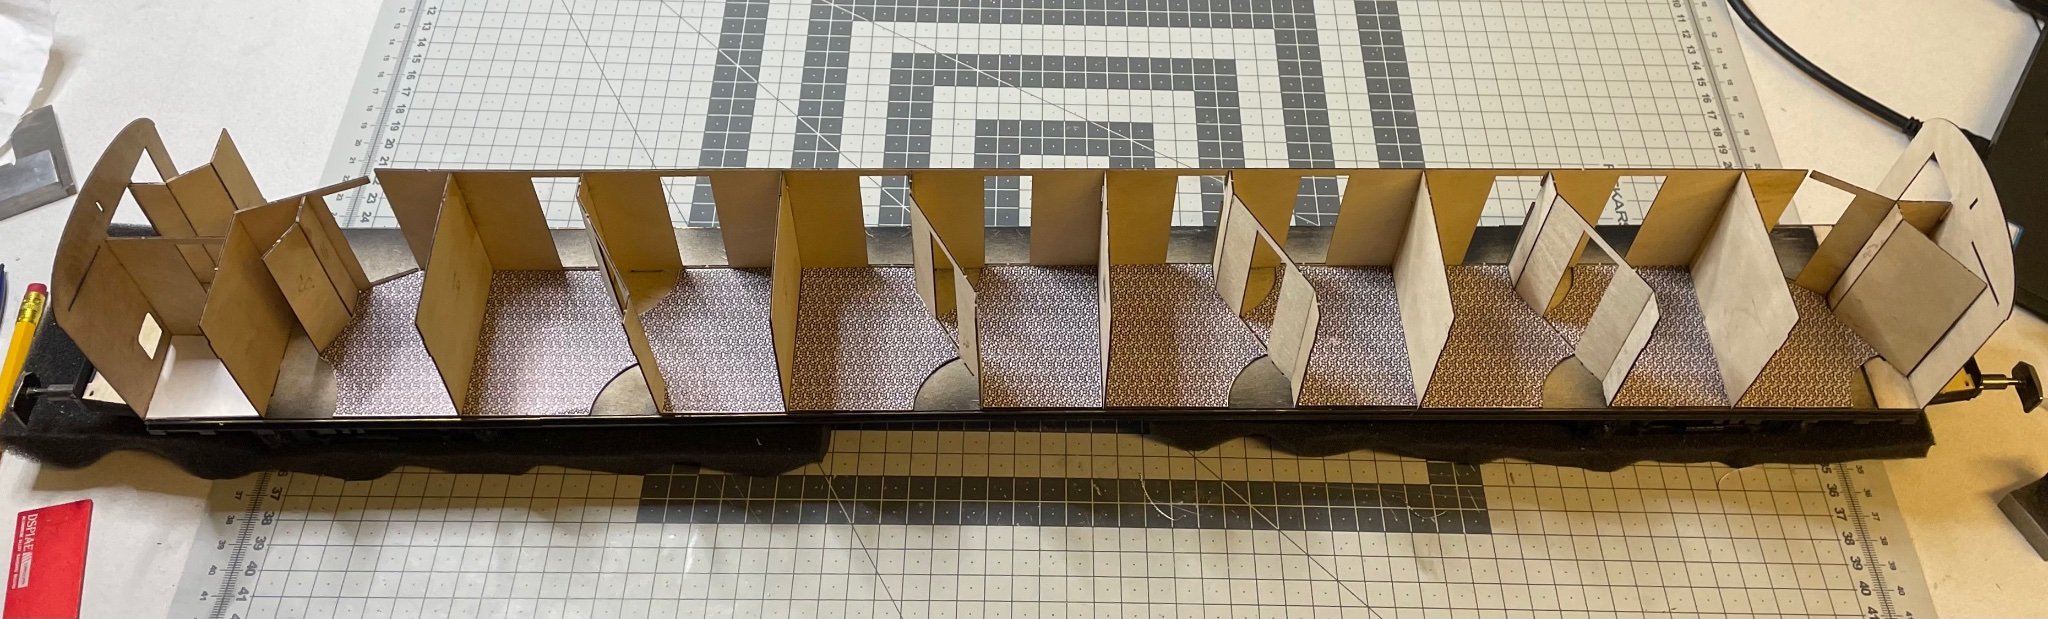
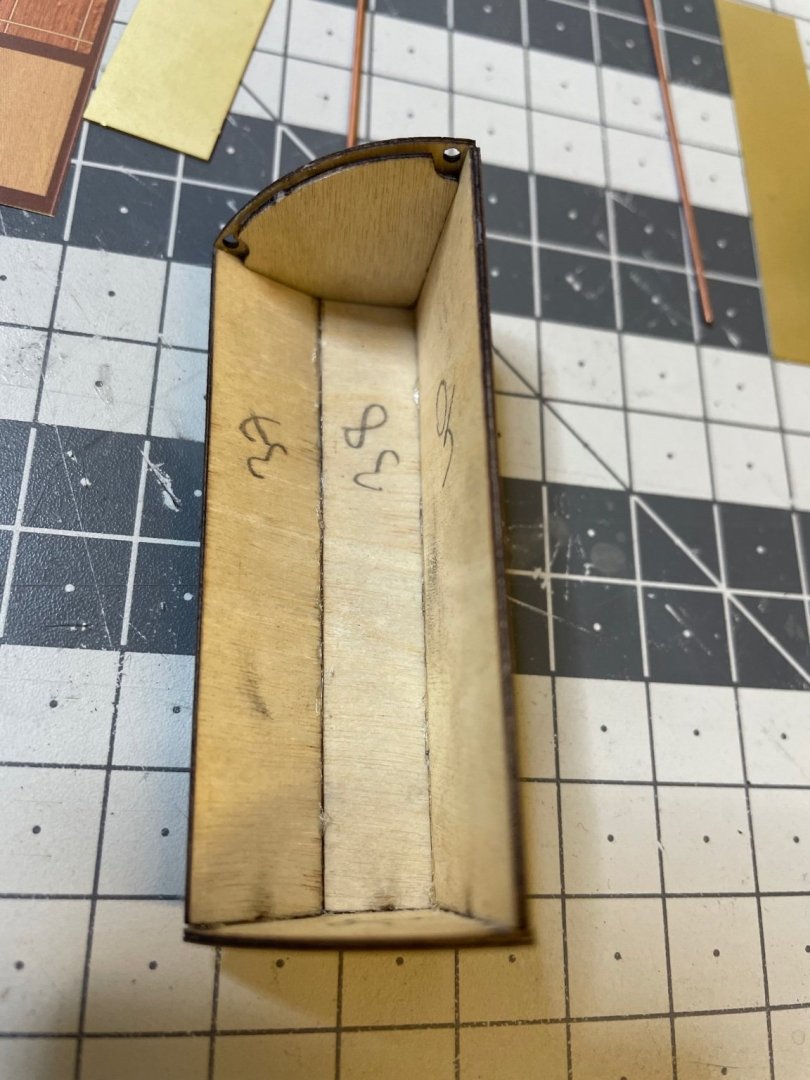
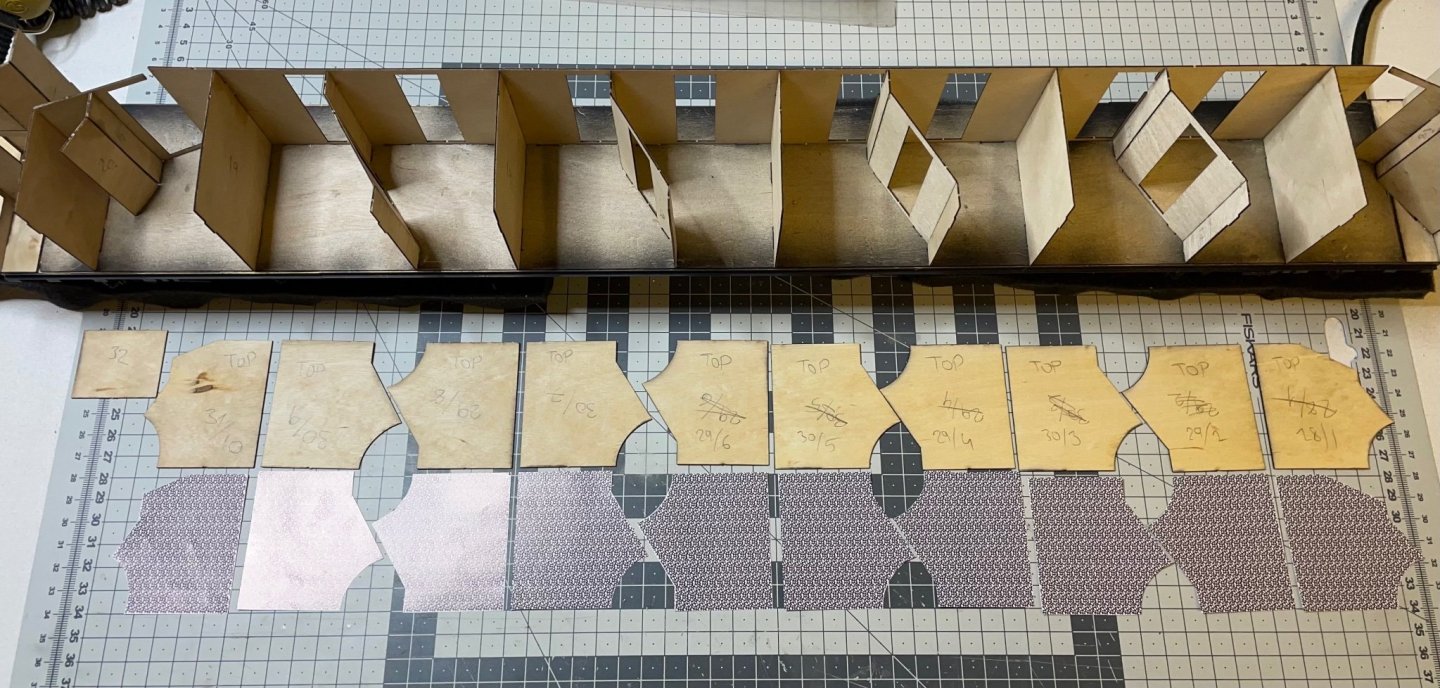
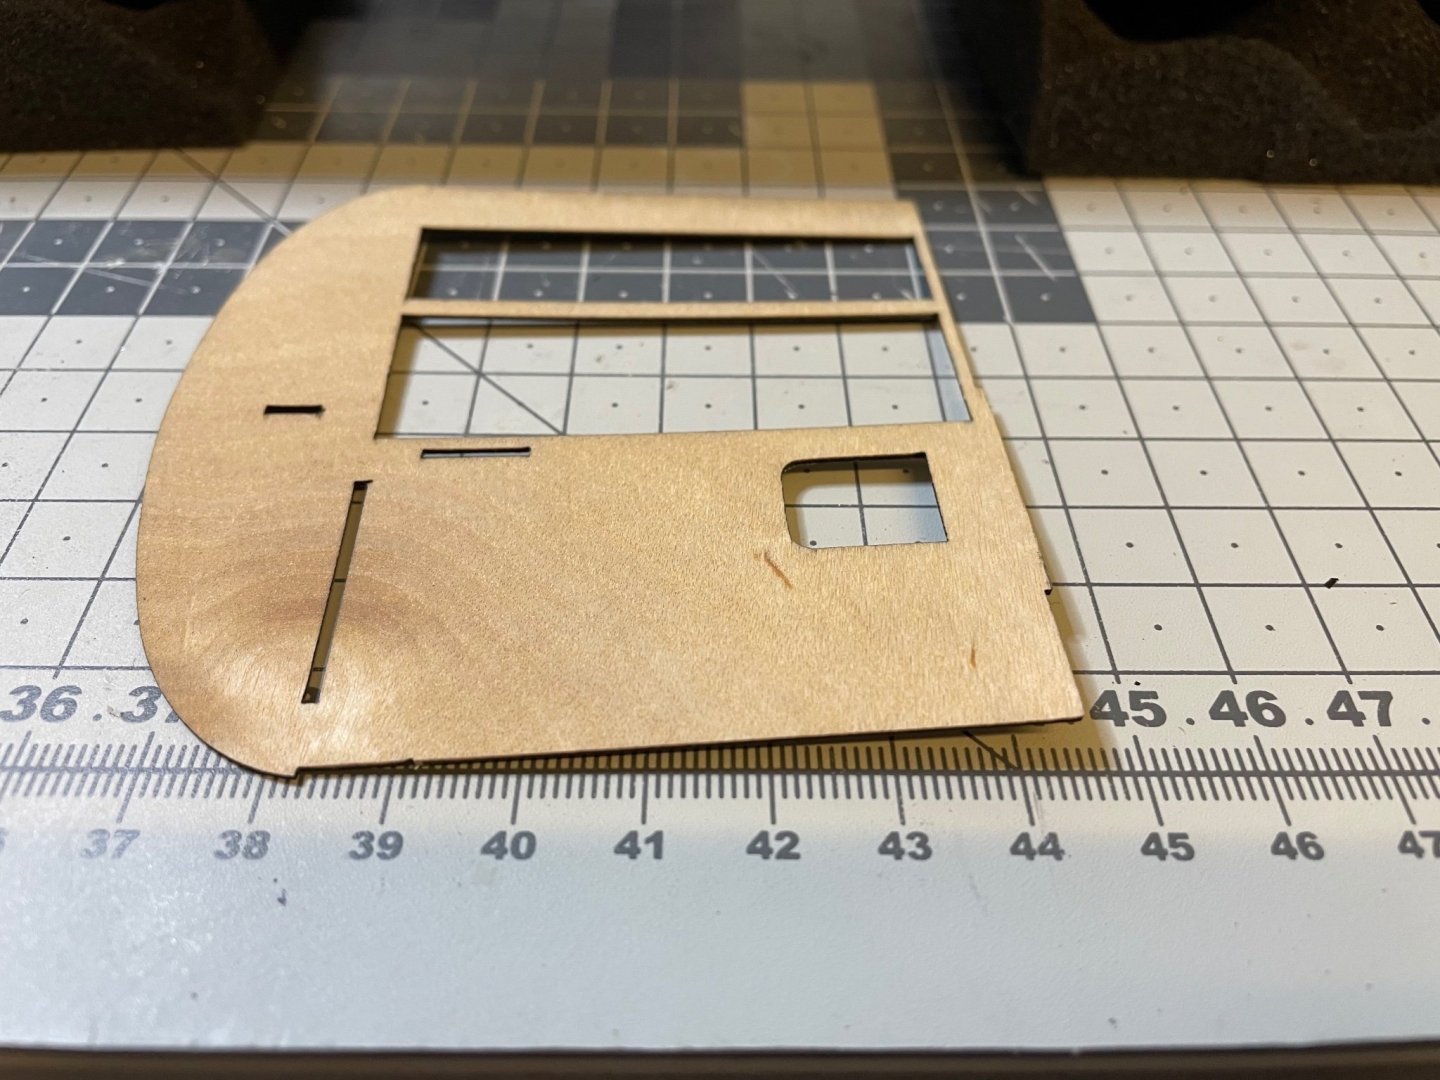
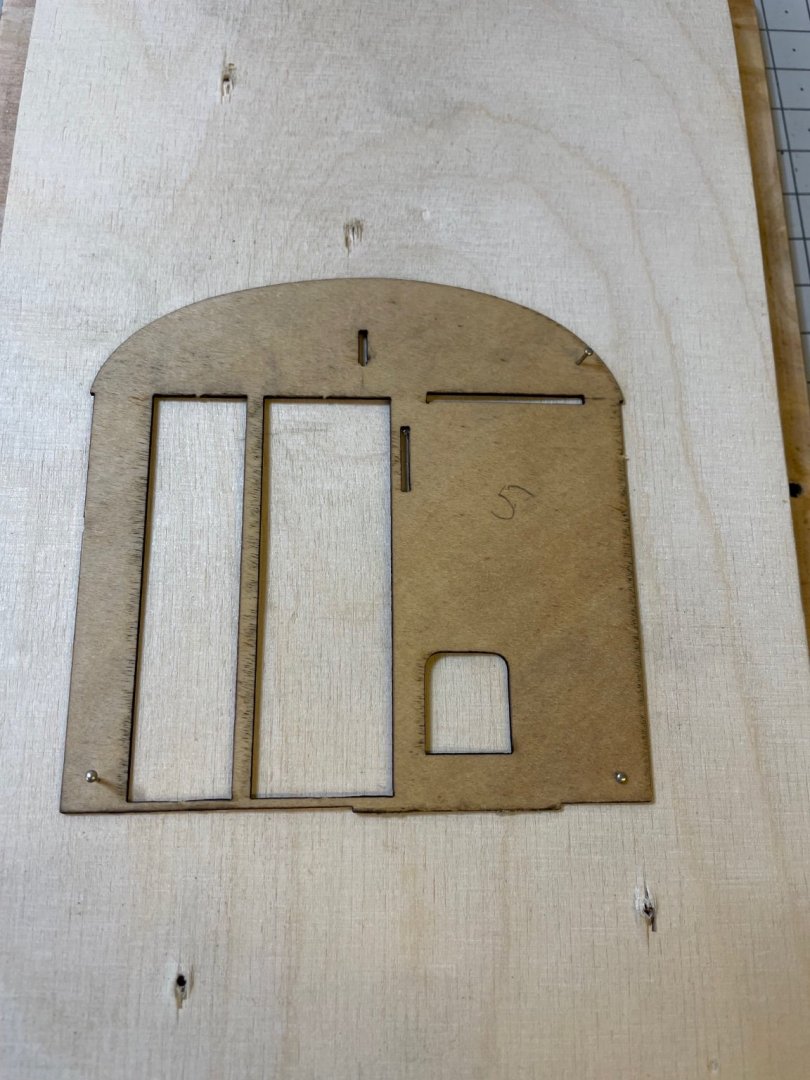
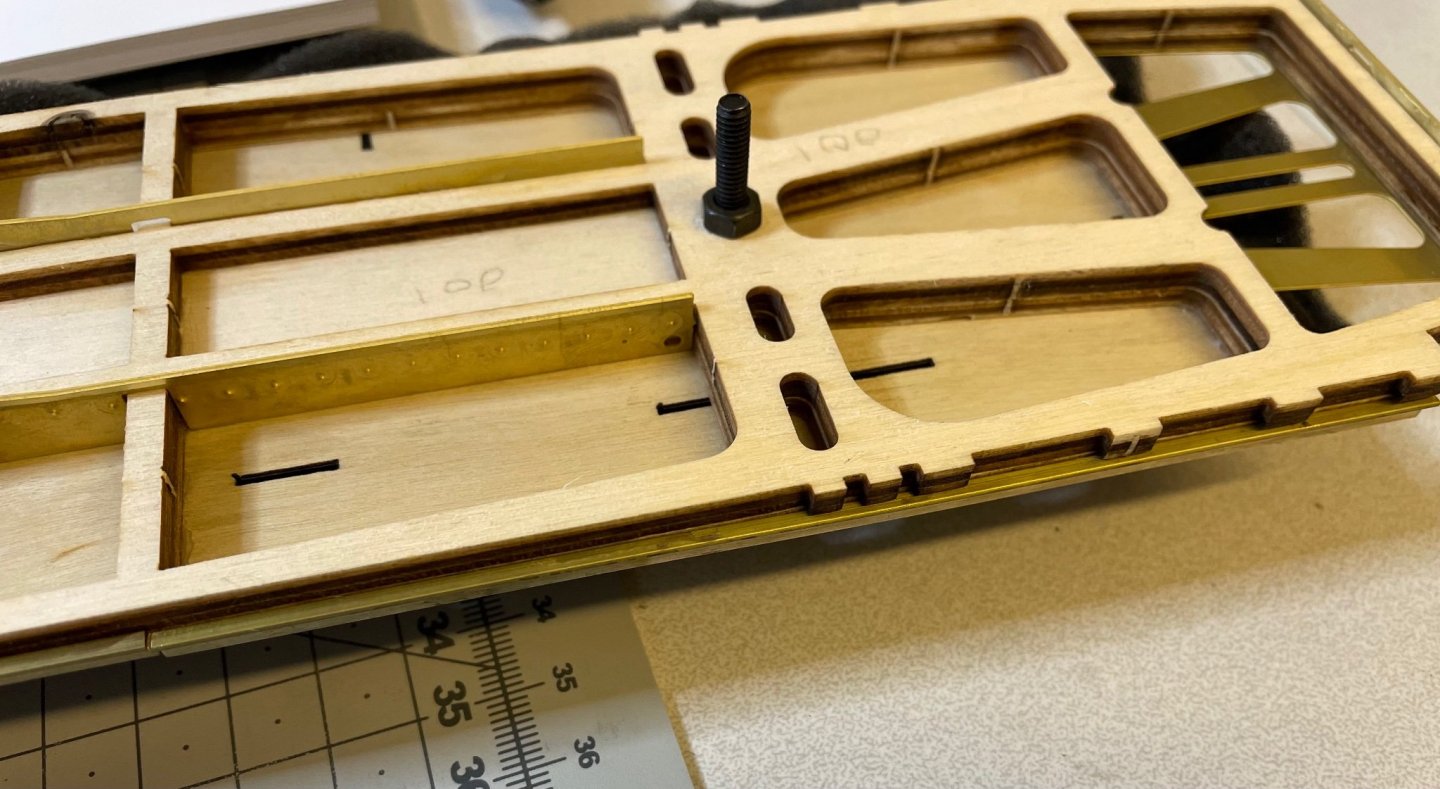
 Next, construction of the bathrooms. This is another exciting chapter. There are altogether 10 bathrooms in the shape of a quarter cylinder. The bathroom is only a sink with toilet amenities. Otherwise the wagon has only one common toilet. There are altogether 10 bathrooms. Their construction differ slightly depending on where they are located. This means three different constructions: Those for cabins 2,4,6,8 are identical, similarly those for cabins 1,3,5,7 and finally cabin 10 alone. I start with the first group just like in the instructions: 2,4,6,8. It goes without saying that the parts are so similar yet they are different, one must always mark them before removing from their places. A slight mistake will guarantee some size of a disaster. Figure 147: Parts lined up. These are for the foundation structure. Figures 148, 149: First parts installed.
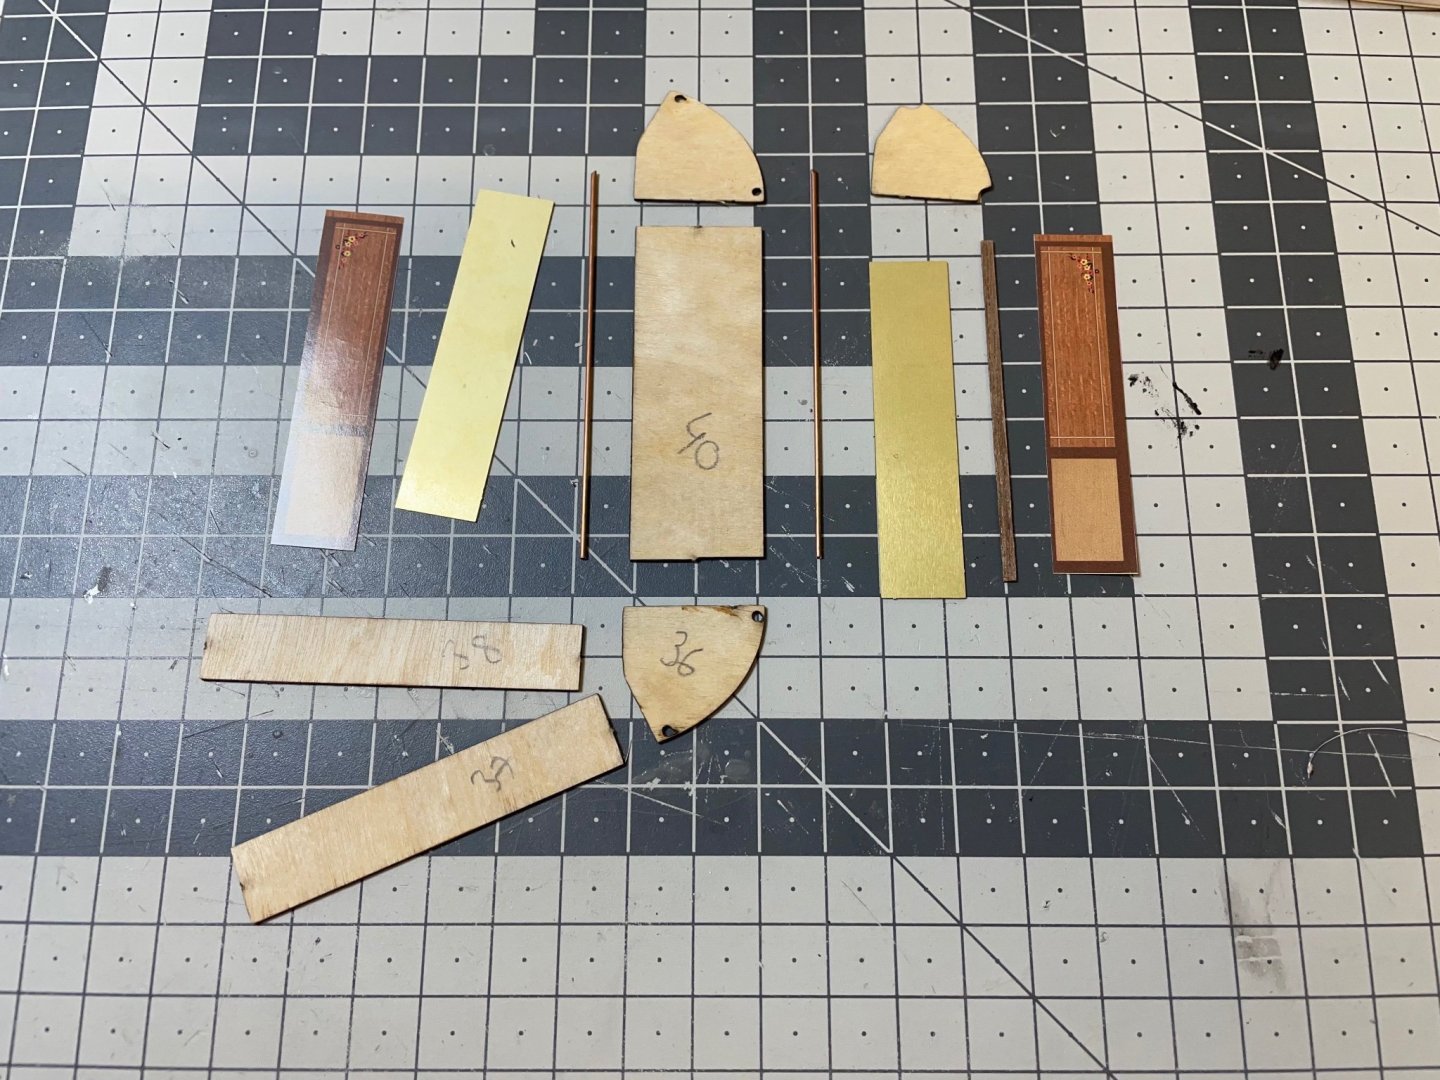

-
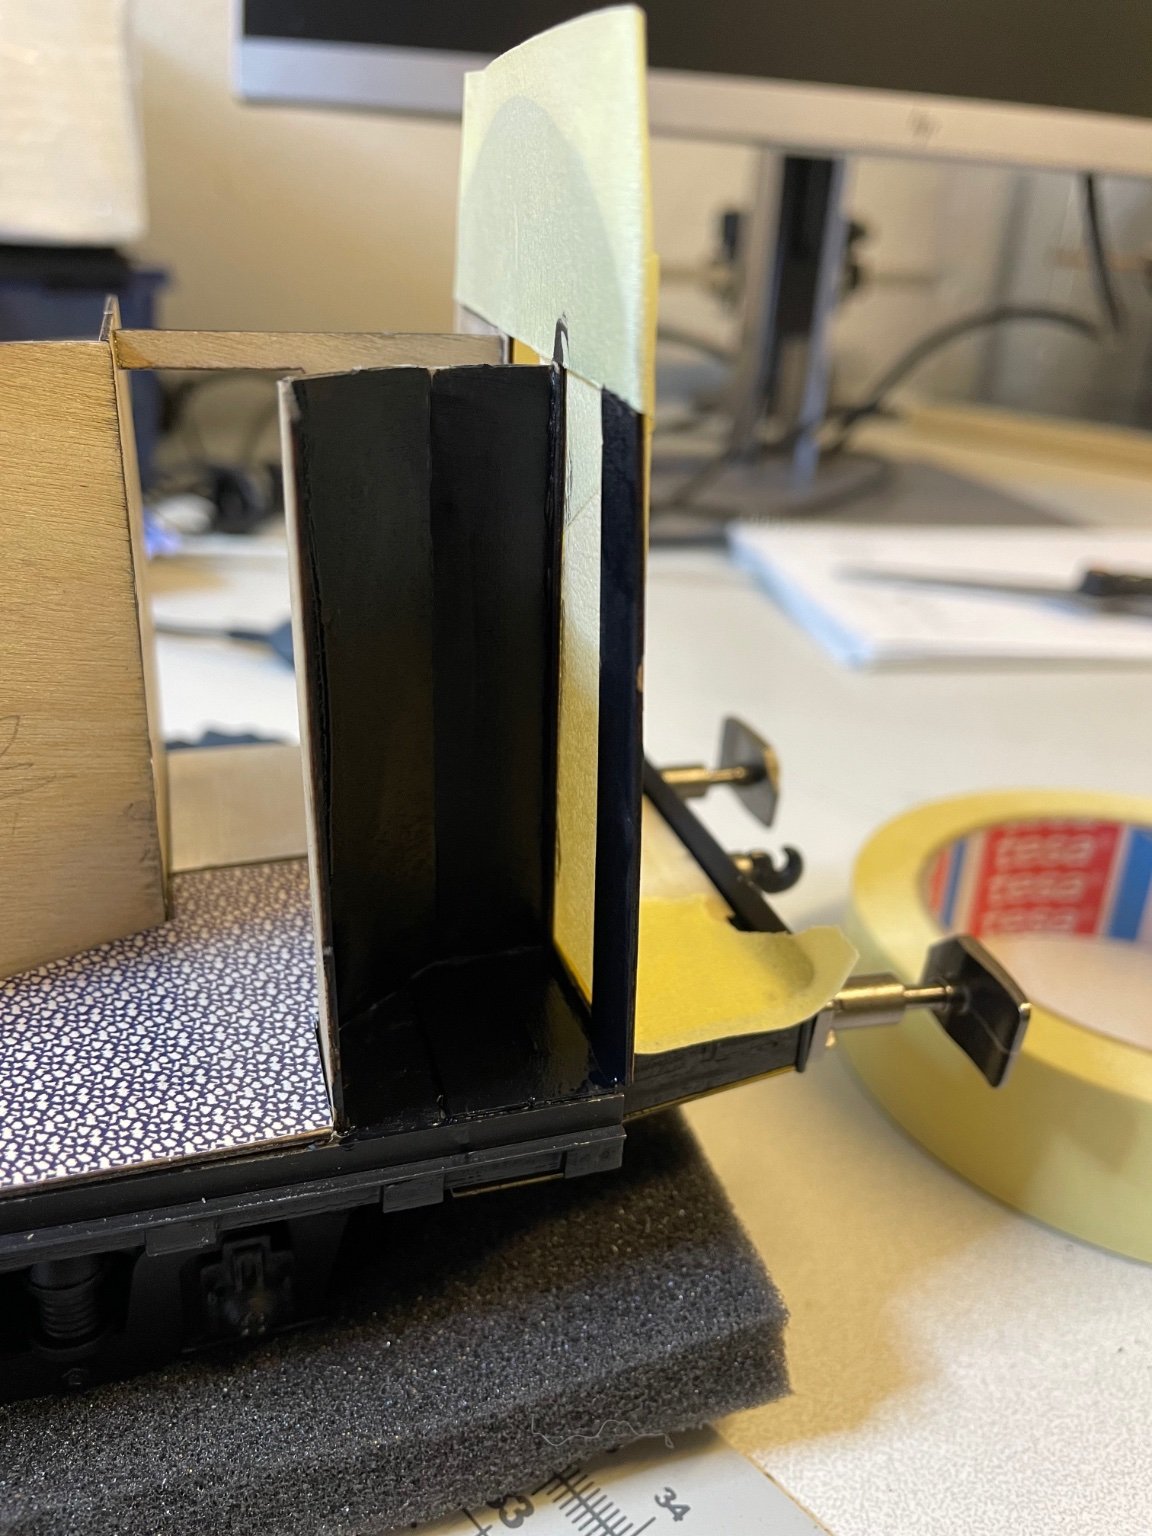
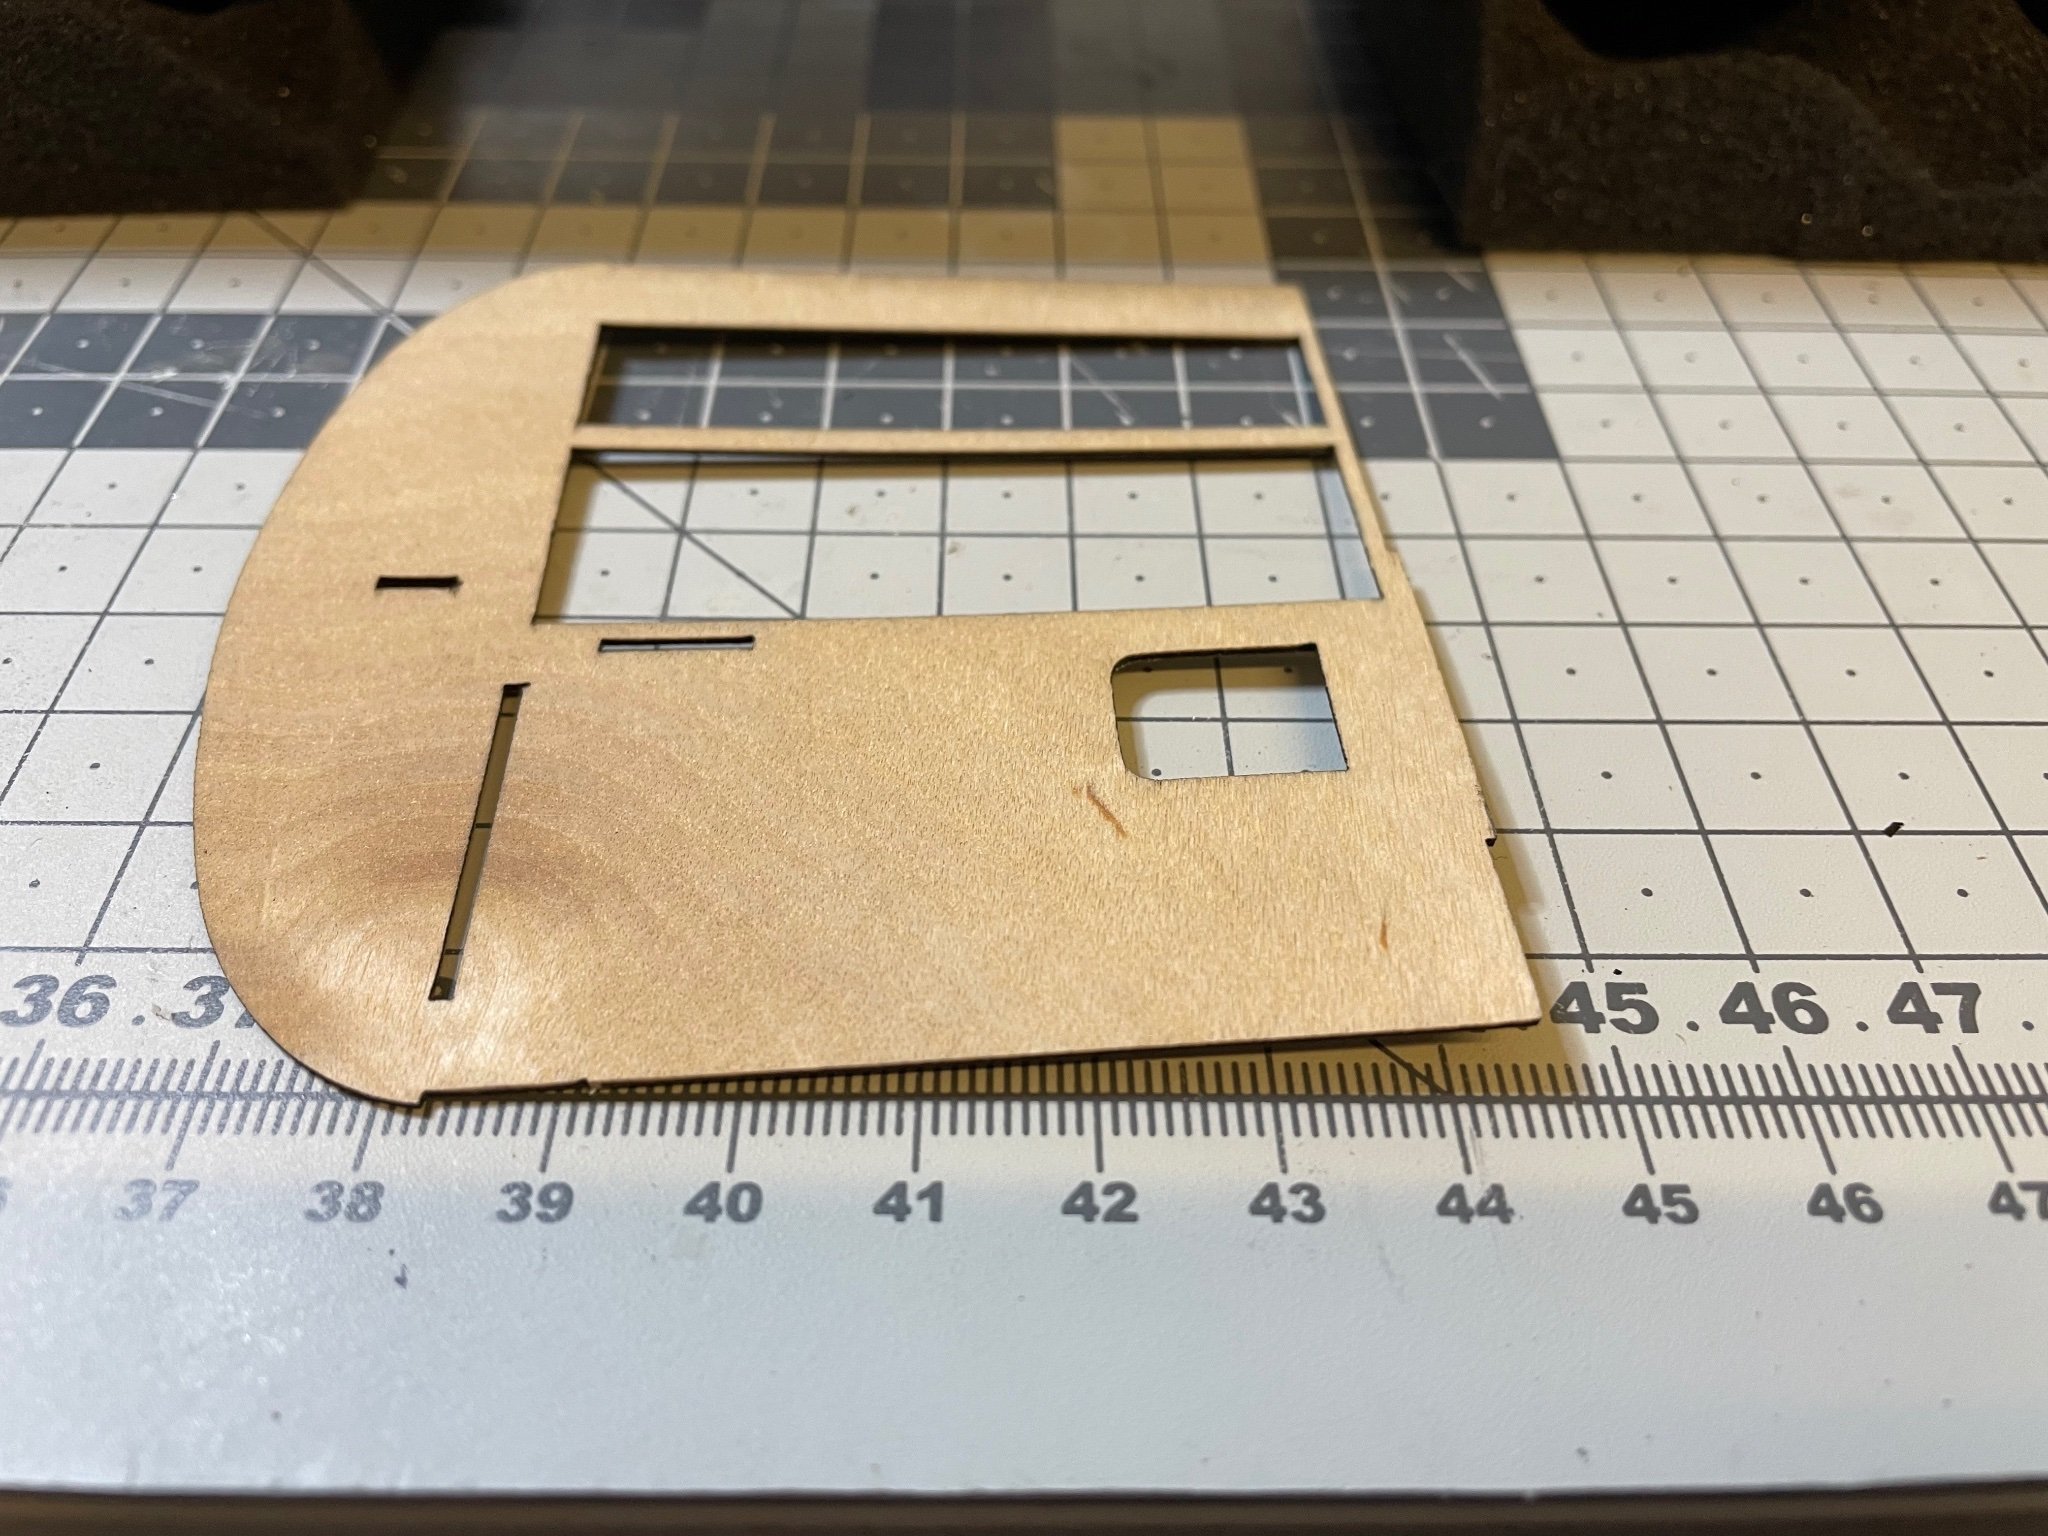
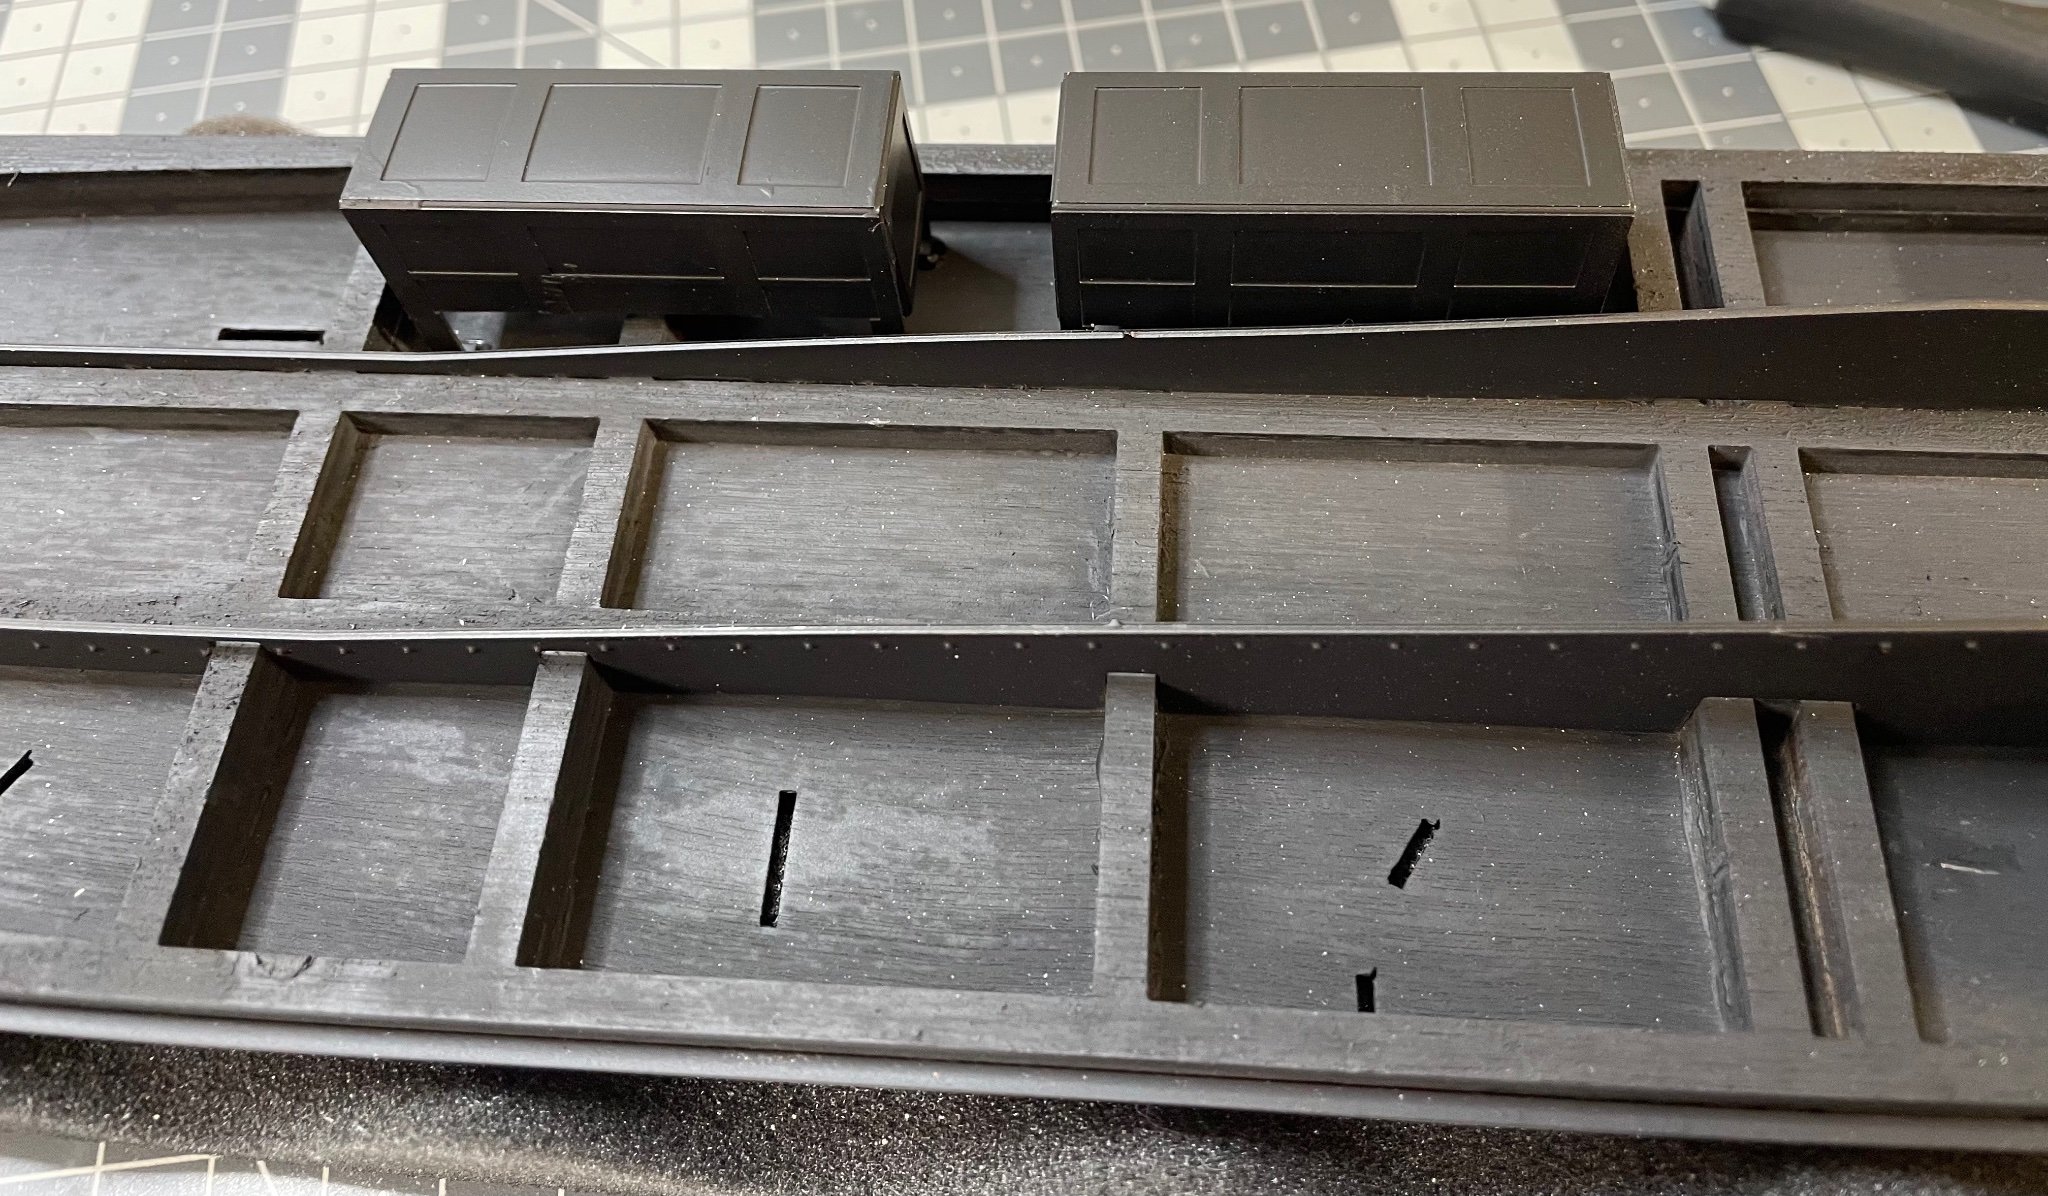
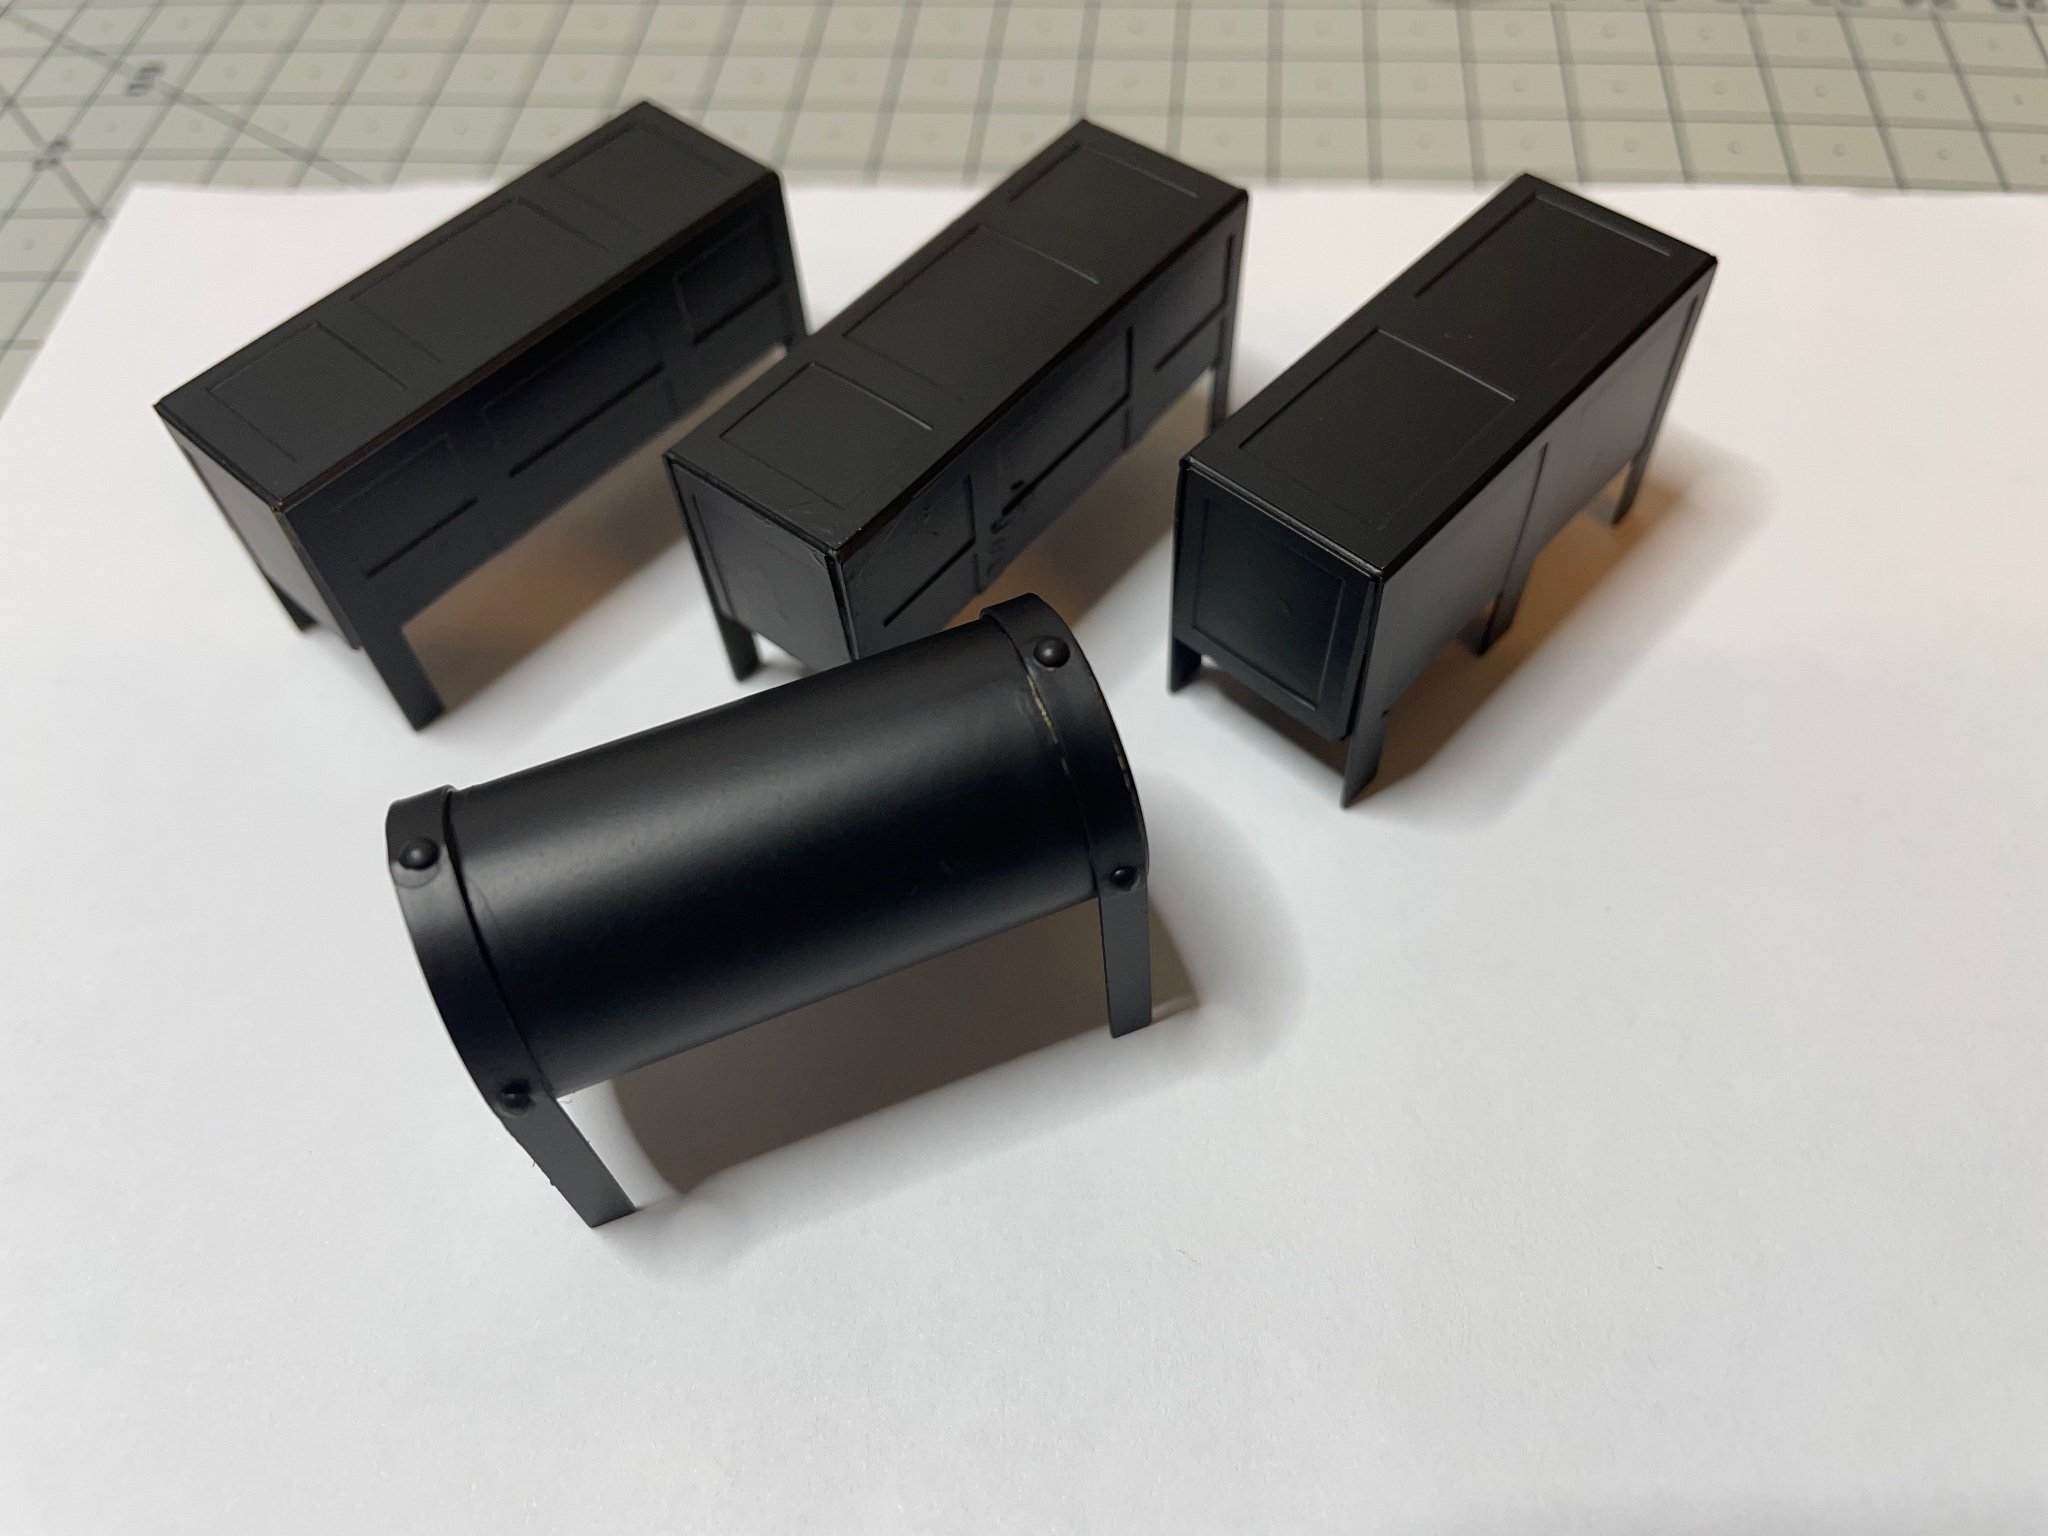
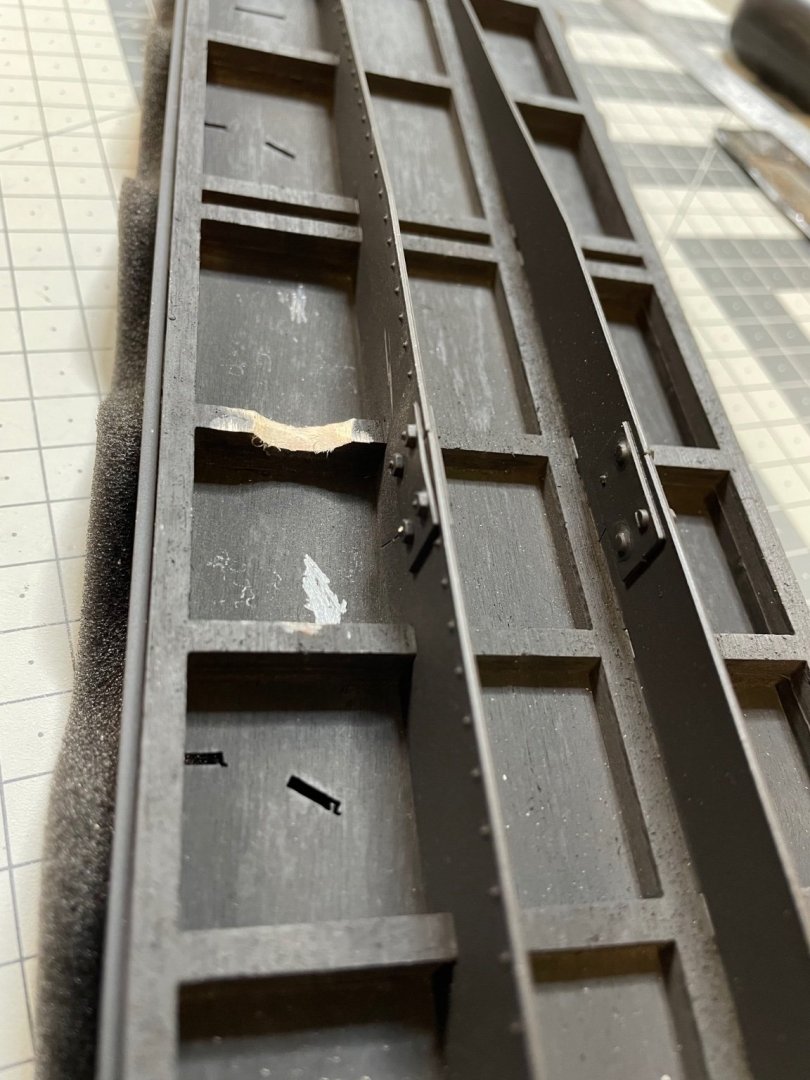
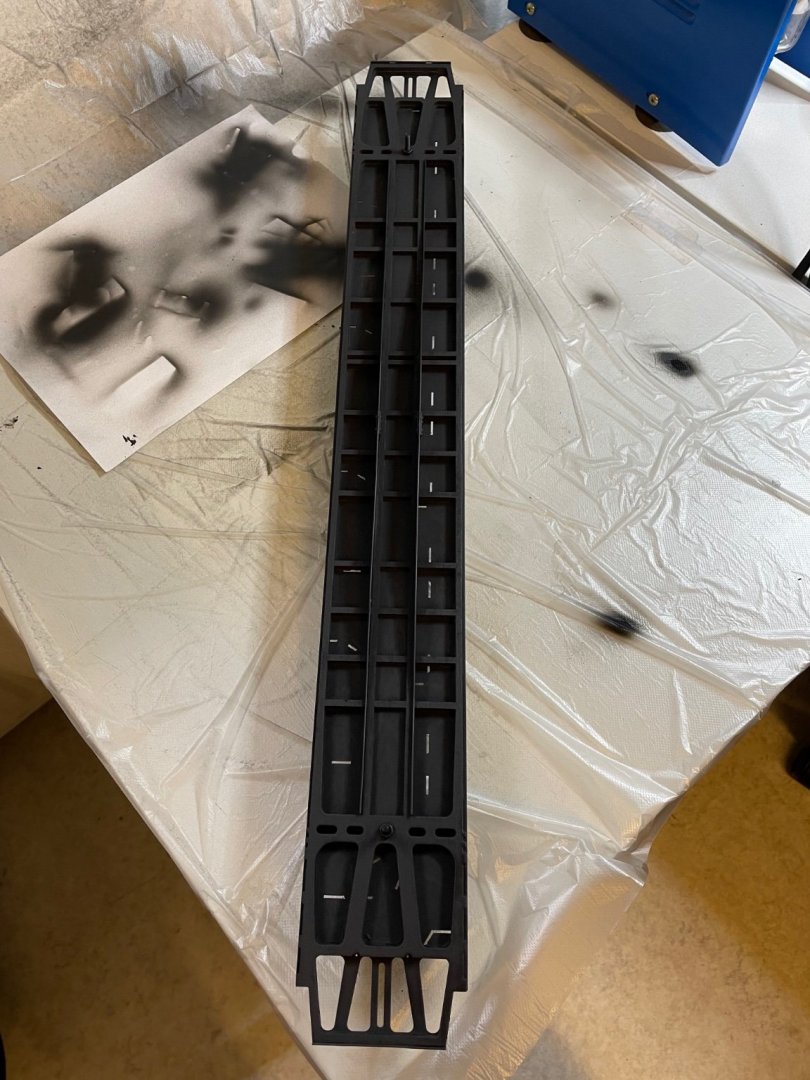
BUILD DAY 14: 3 hrs (TOTAL: 36 hrs) Figure 146: Boiler room painted in black. The area covered by the masking tape in the photo will be painted in matt white, at both sides of the wagon. After this, the wagon structure can be put aside until the bathrooms have been constructed.

-
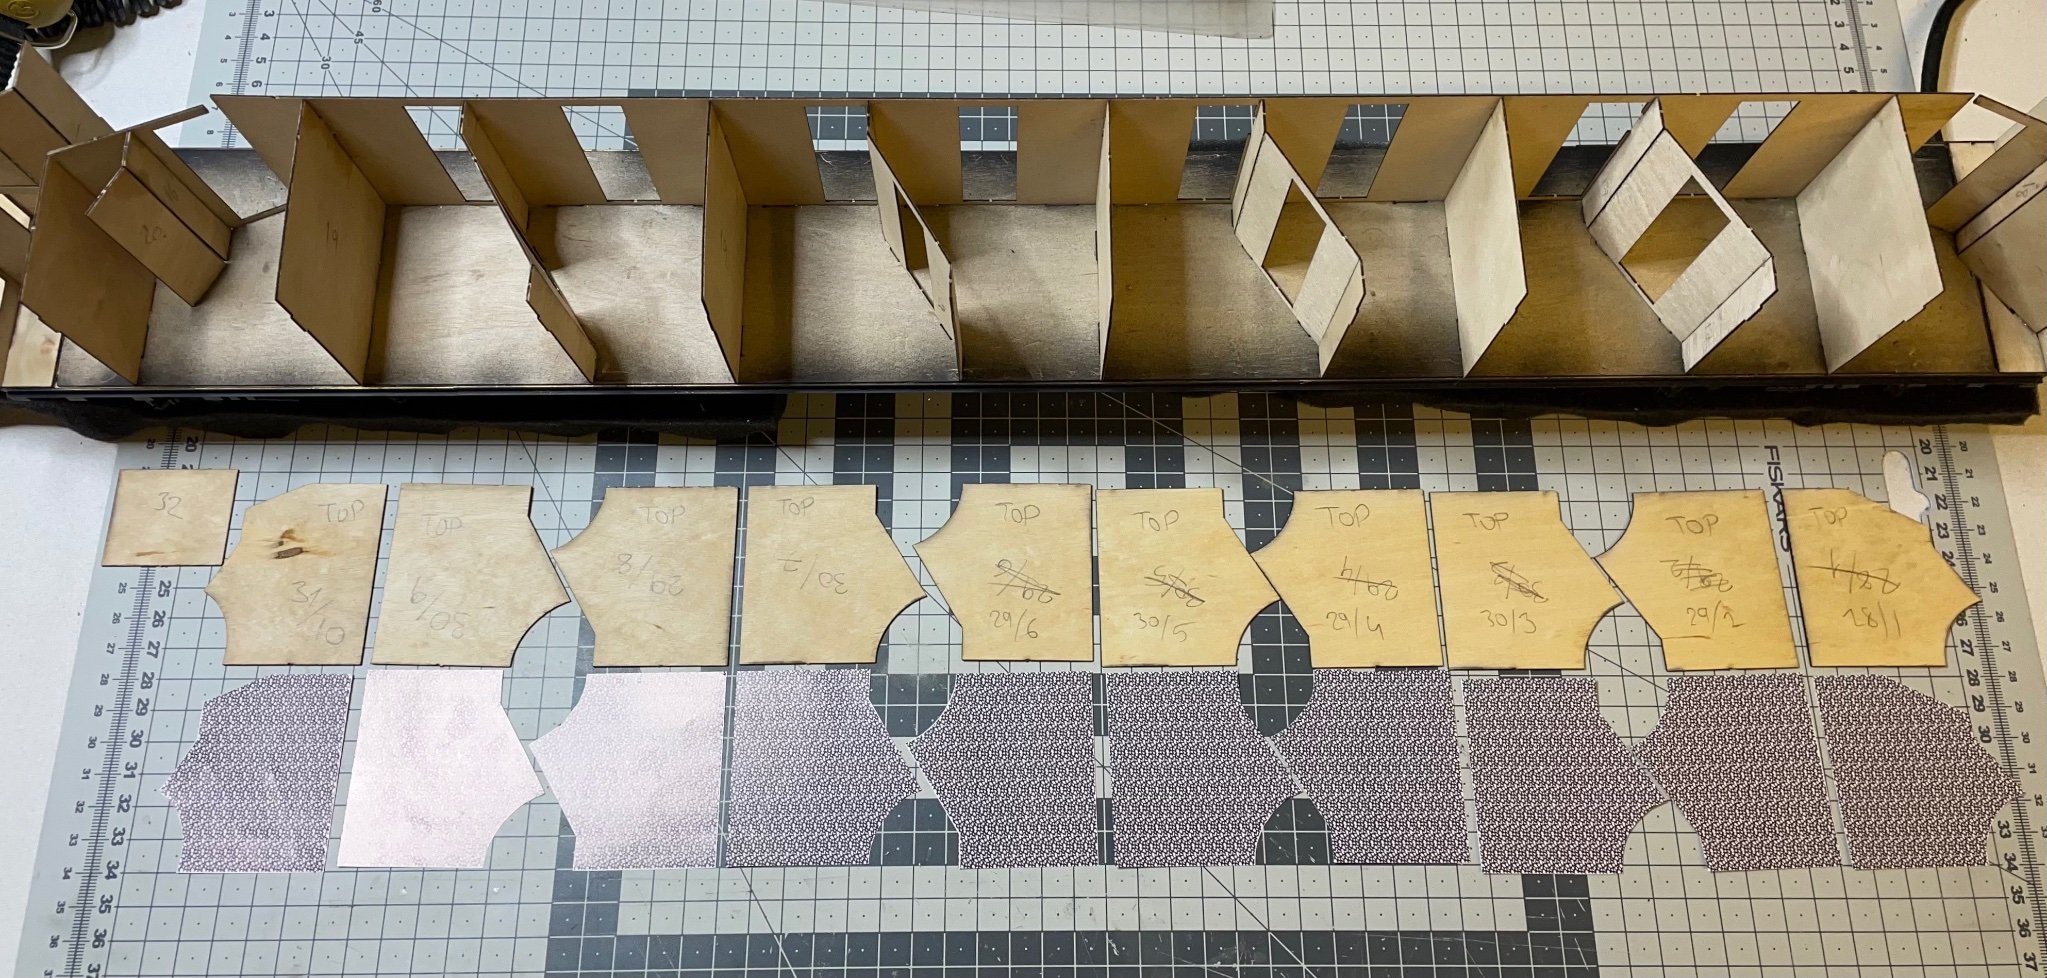
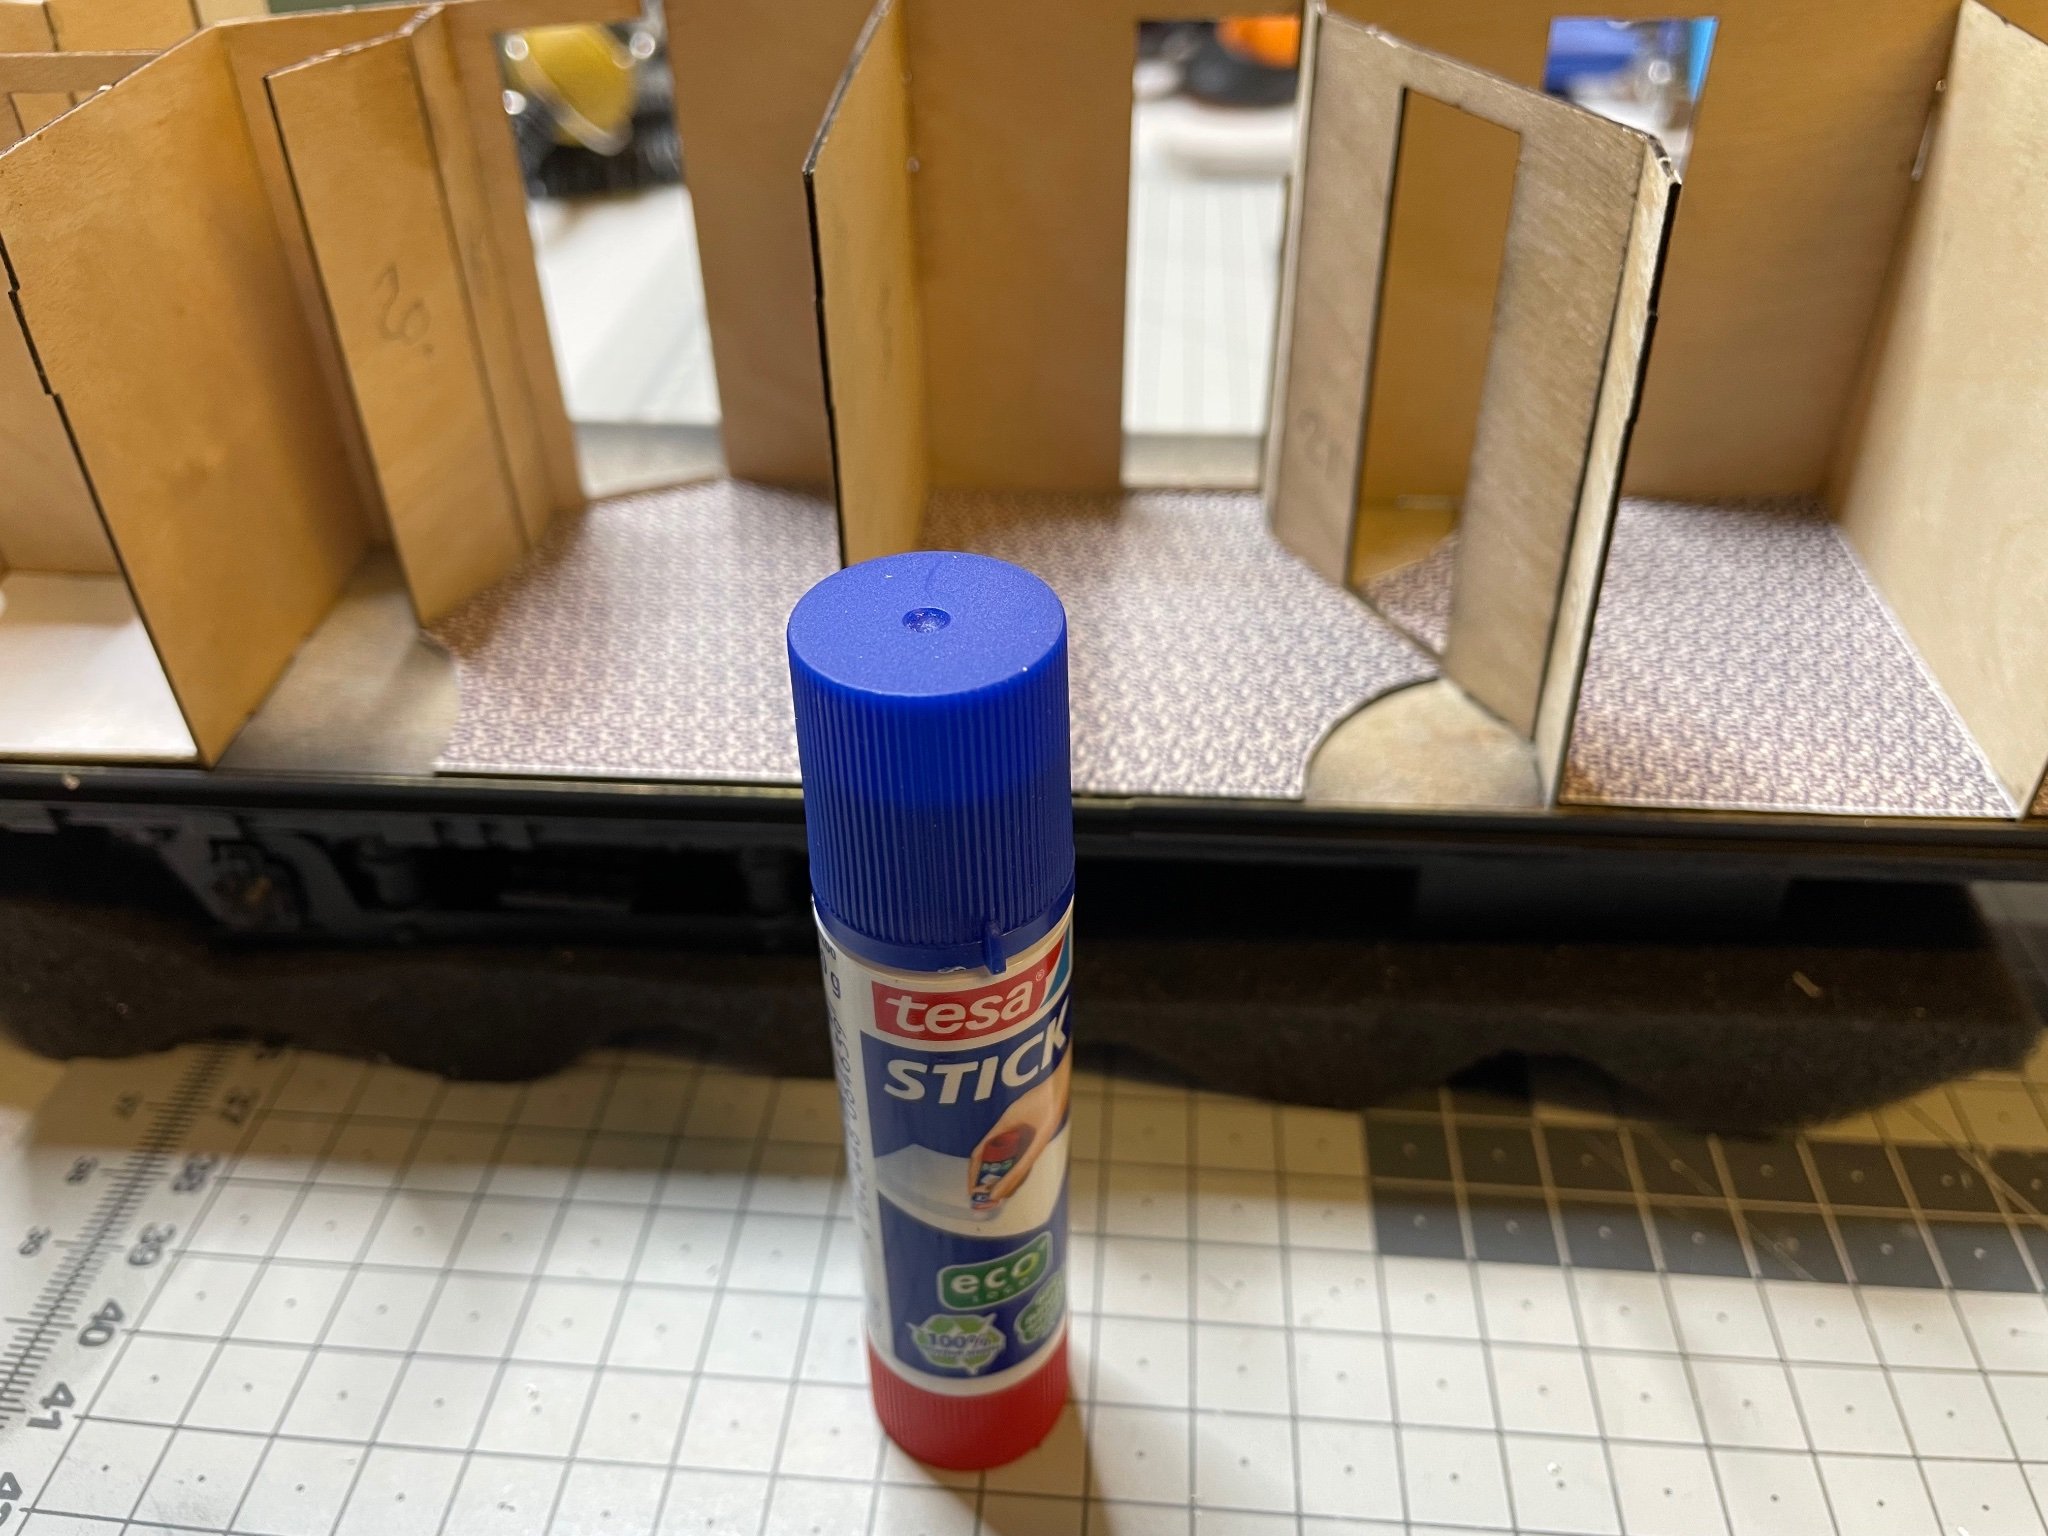
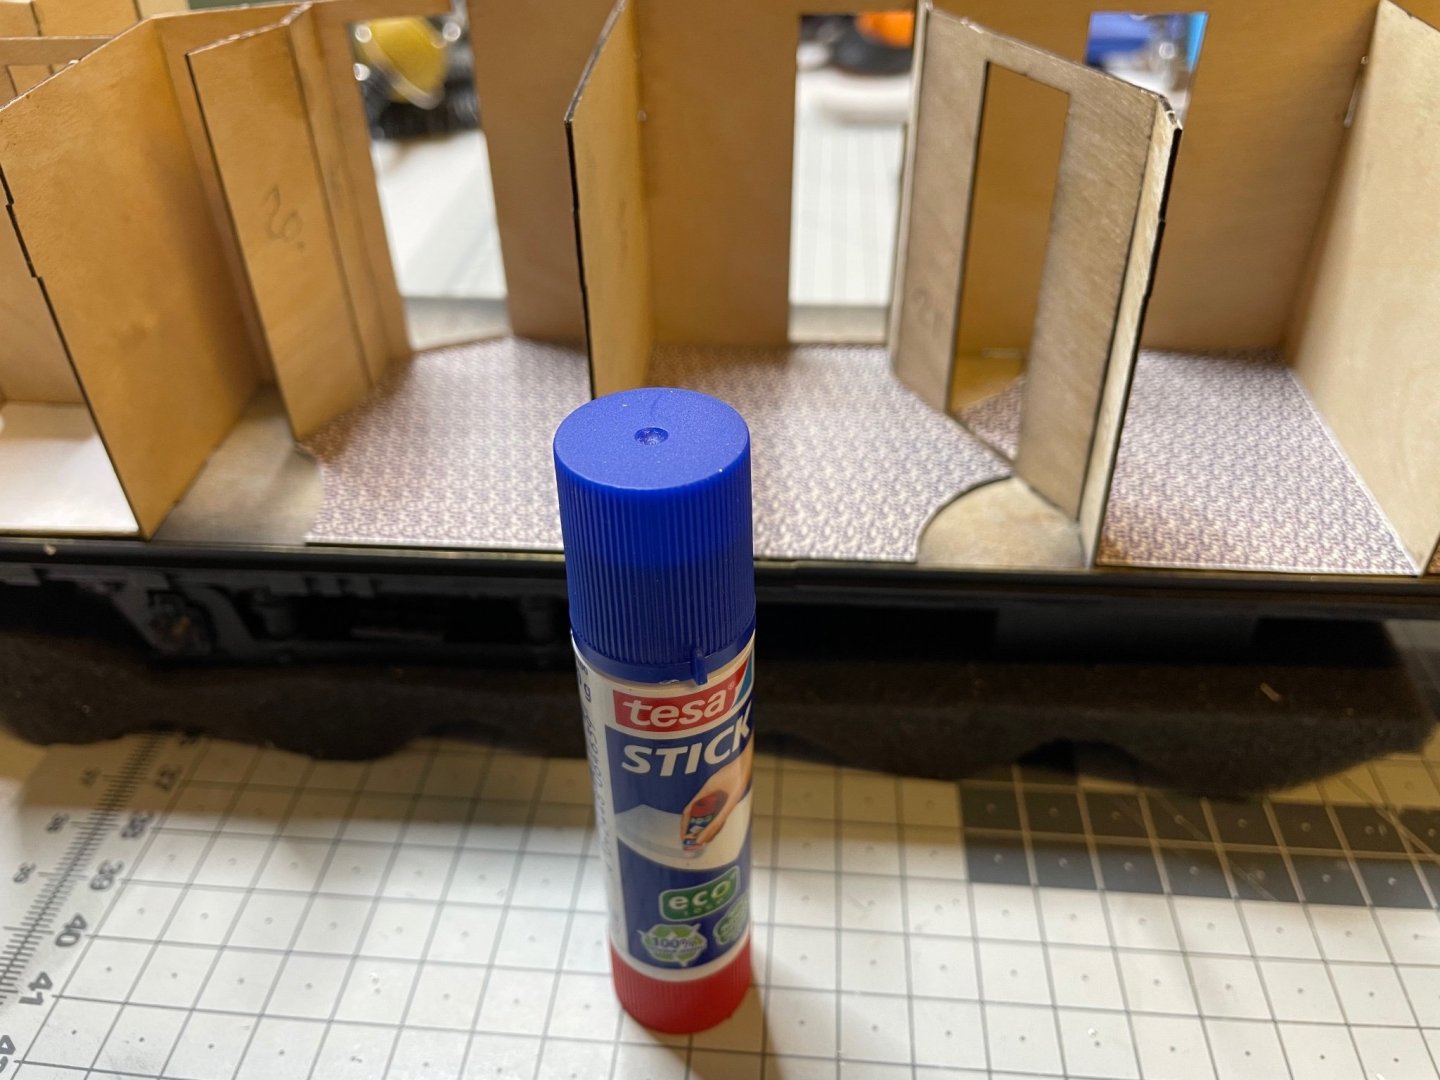
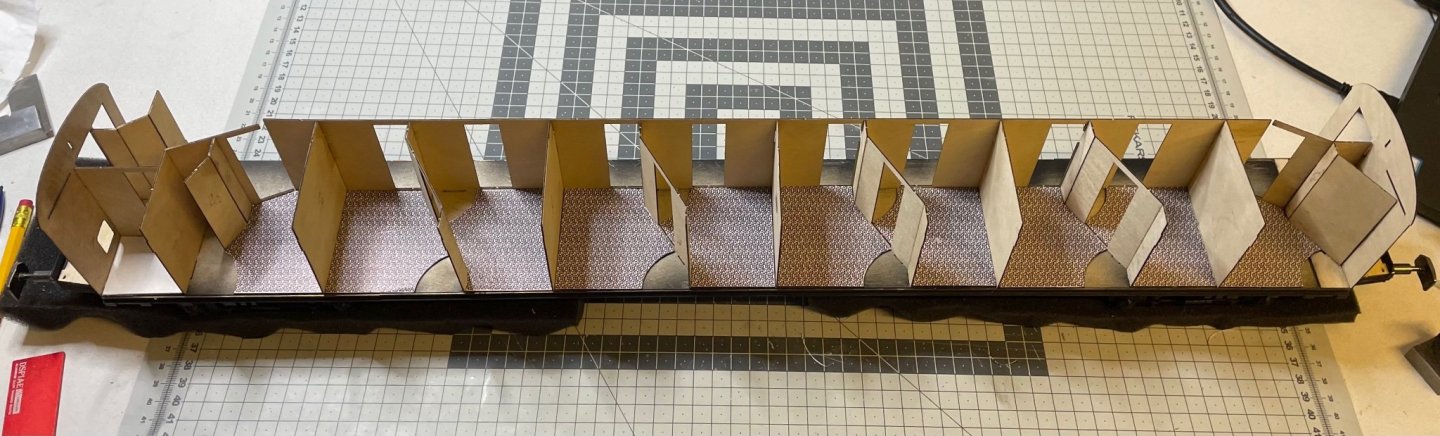
Laying the carpets. In a real construction I am sure the carpets are installed after everything else, not while even the walls are not complete.😃 Figure 143: Carefully mark the numbers on all the parts, lay them in correct orientation and align them with matching carpets (i.e. paper). They are so similar it is very easy to get them mixed up. Figure 144: I use this paper glue stick. Not because anything special about it. I just found this in the local supermarket. Works well and is much more convenient than working with liquid white glue on large surfaces. Figure 145: If you have been very careful with gluing the walls, these carpet parts will fit in their places like a glove. I didn't have to any adjustments. They just snapped in their places. That's all for today! Thanks for watching!
- 293 replies
-
- 15
-

-
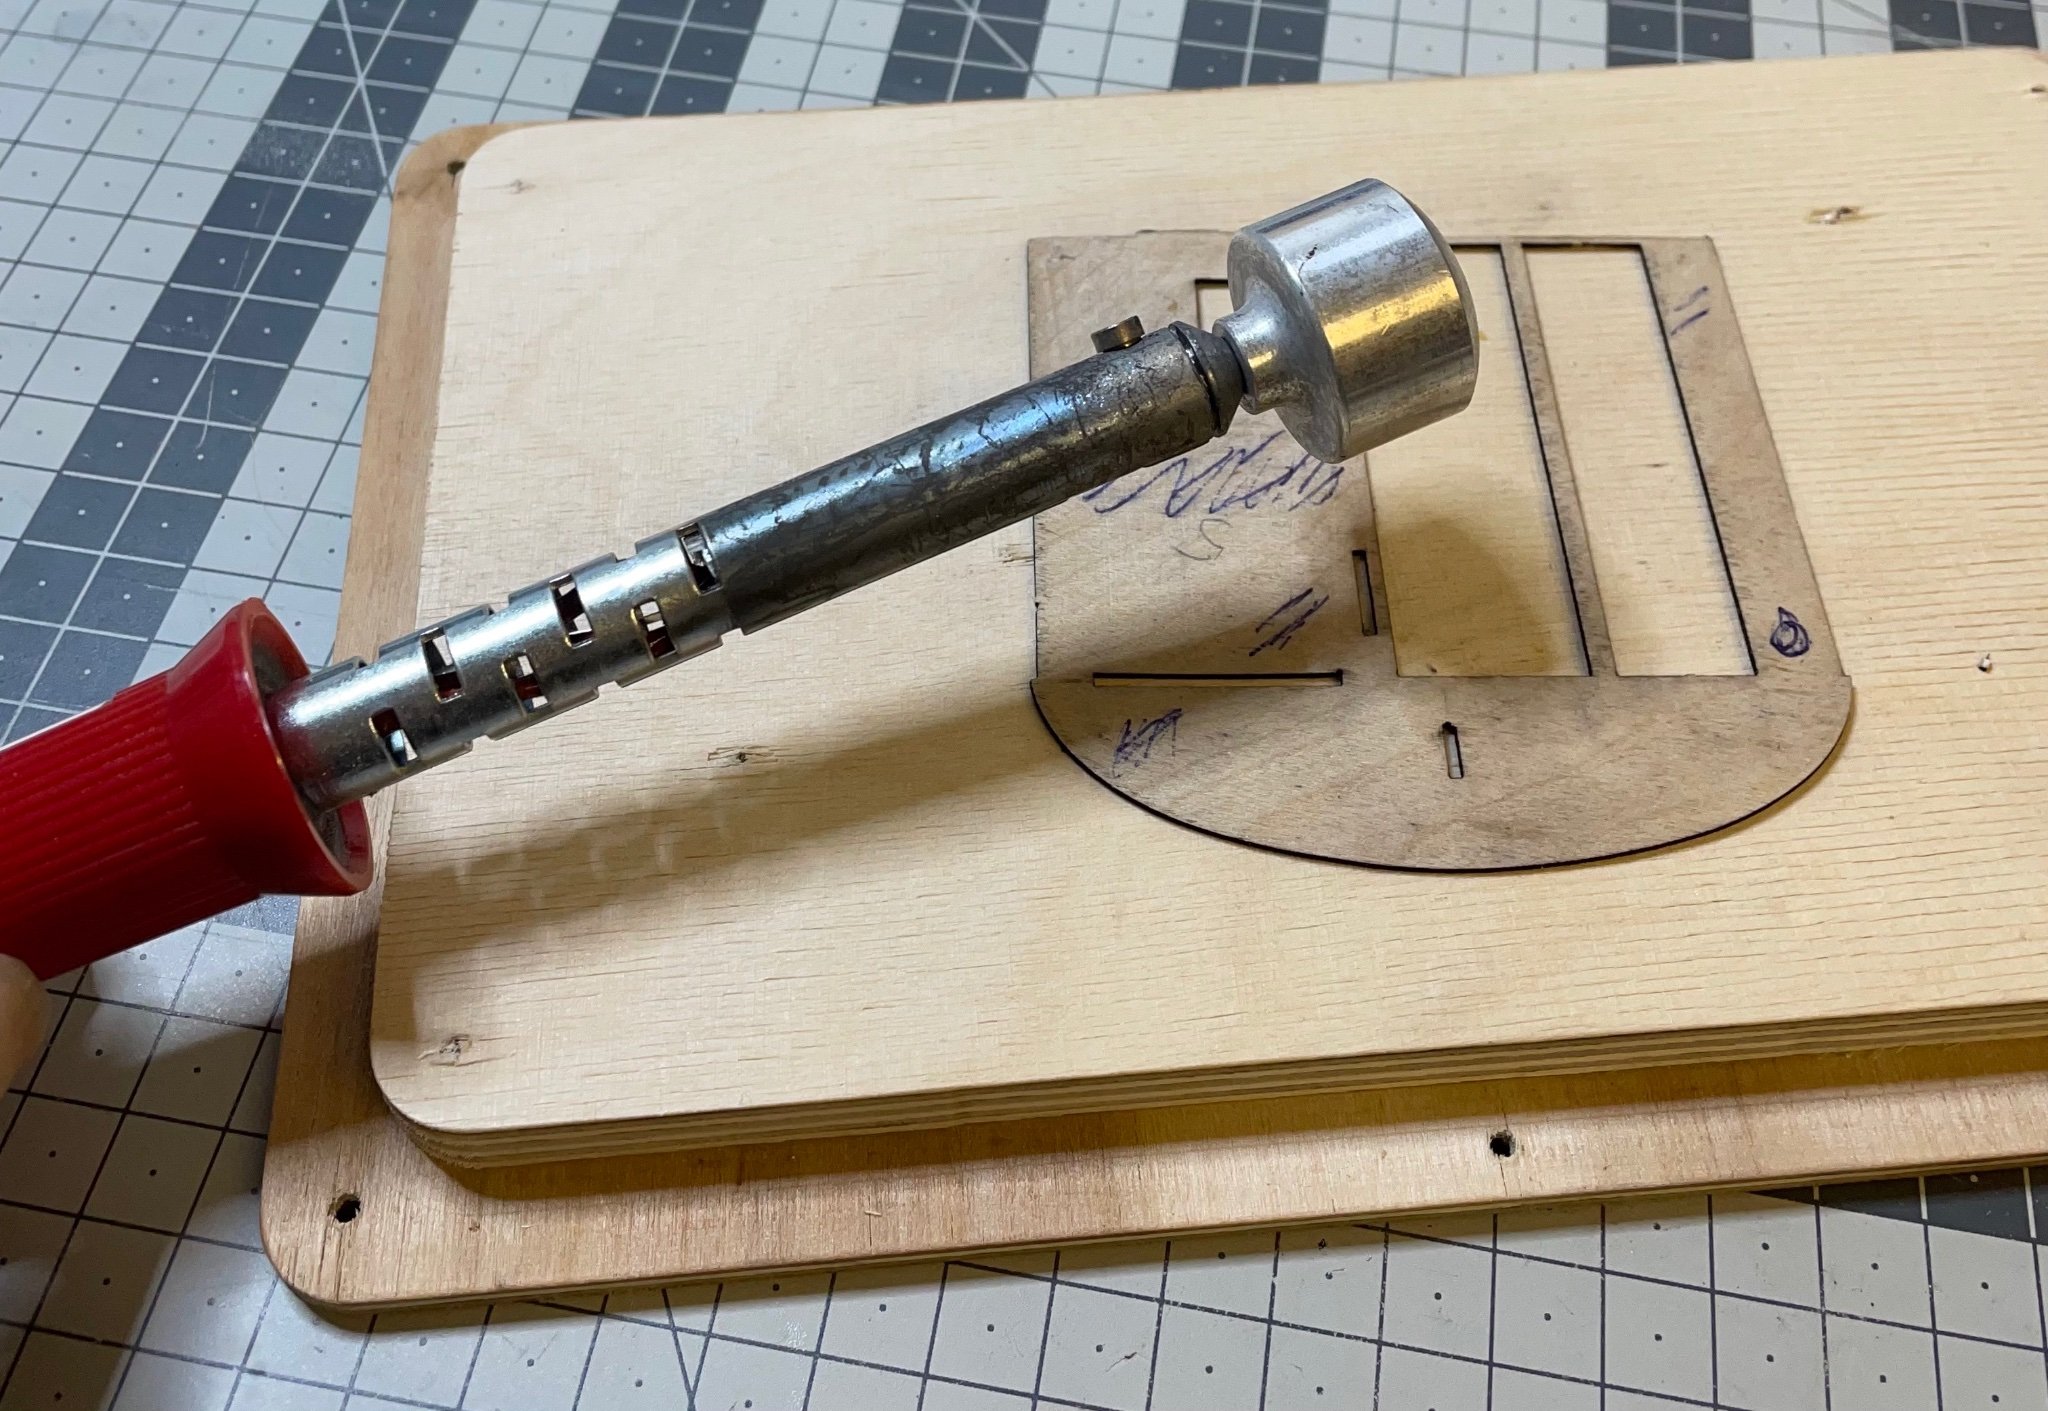
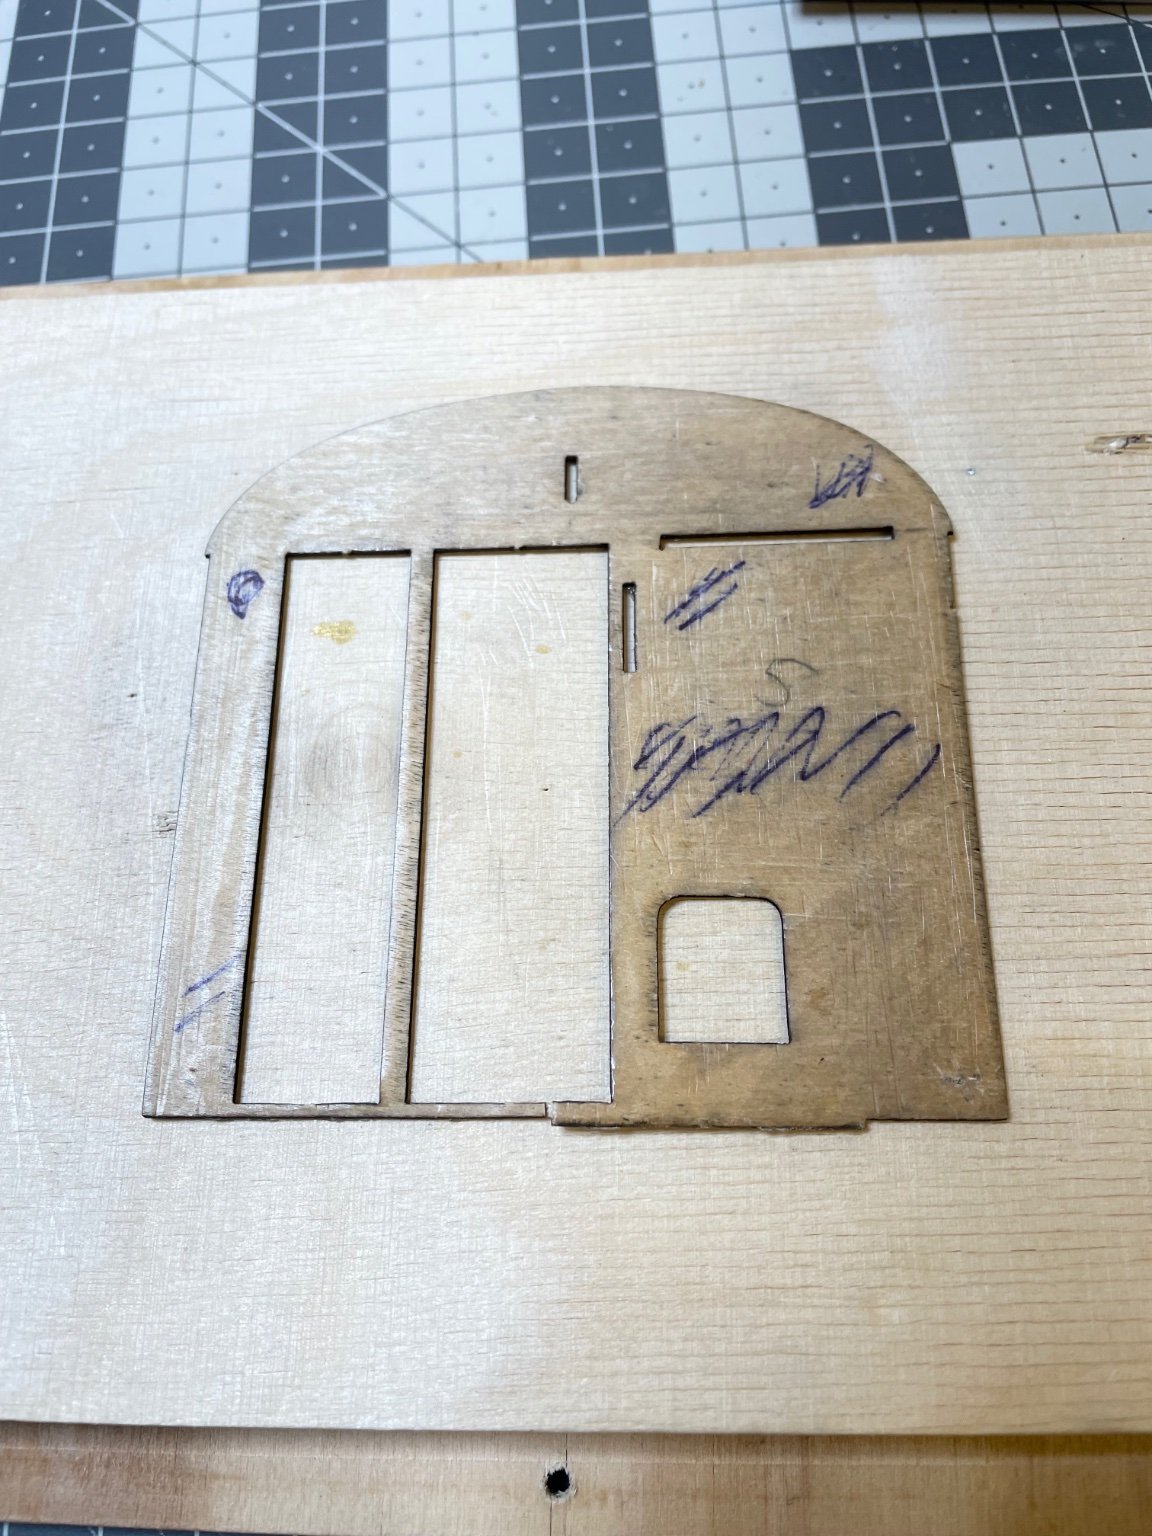
BUILD DAY 13: 1 hr (TOTAL: 33 hrs) My previous method of flattening this warped part did not work very well (see Figures 138, 139 above). I had soaked it, then clamped between two wooden pieces and even put in the oven 50 degrees (celcius) for several hours, but it was still warped, though less, after it dried. So here is what I did: I soaked it in warm water for about an hour, then laid it on a wooden flat surface, then used my hot strip bender to treat the curvy surfaces locally. The pen marks on the piece are where the curves are. After treating those, I rolled the bender on all the areas while flipping the piece frequently until it is totally dry. The hot treatment took about half an hour. But finally it was well worth the effort. Figure 141: Figure 142: The piece, laying flat after treatment.


-
Right now I intend to build as far as what is available in the current kit. Maybe I dare to add other things later.
-
Yes, part of my head is thinking of a nice display solution, which allows under part as well as inside visible. The roof will be removable allowing to look inside. Maybe something like a mirror on the bottom and roof partly open to the side.
-
Figure 140: After a careful work, this is the status. That's all for today! Thanks for watching!
- 293 replies
-
- 14
-
-
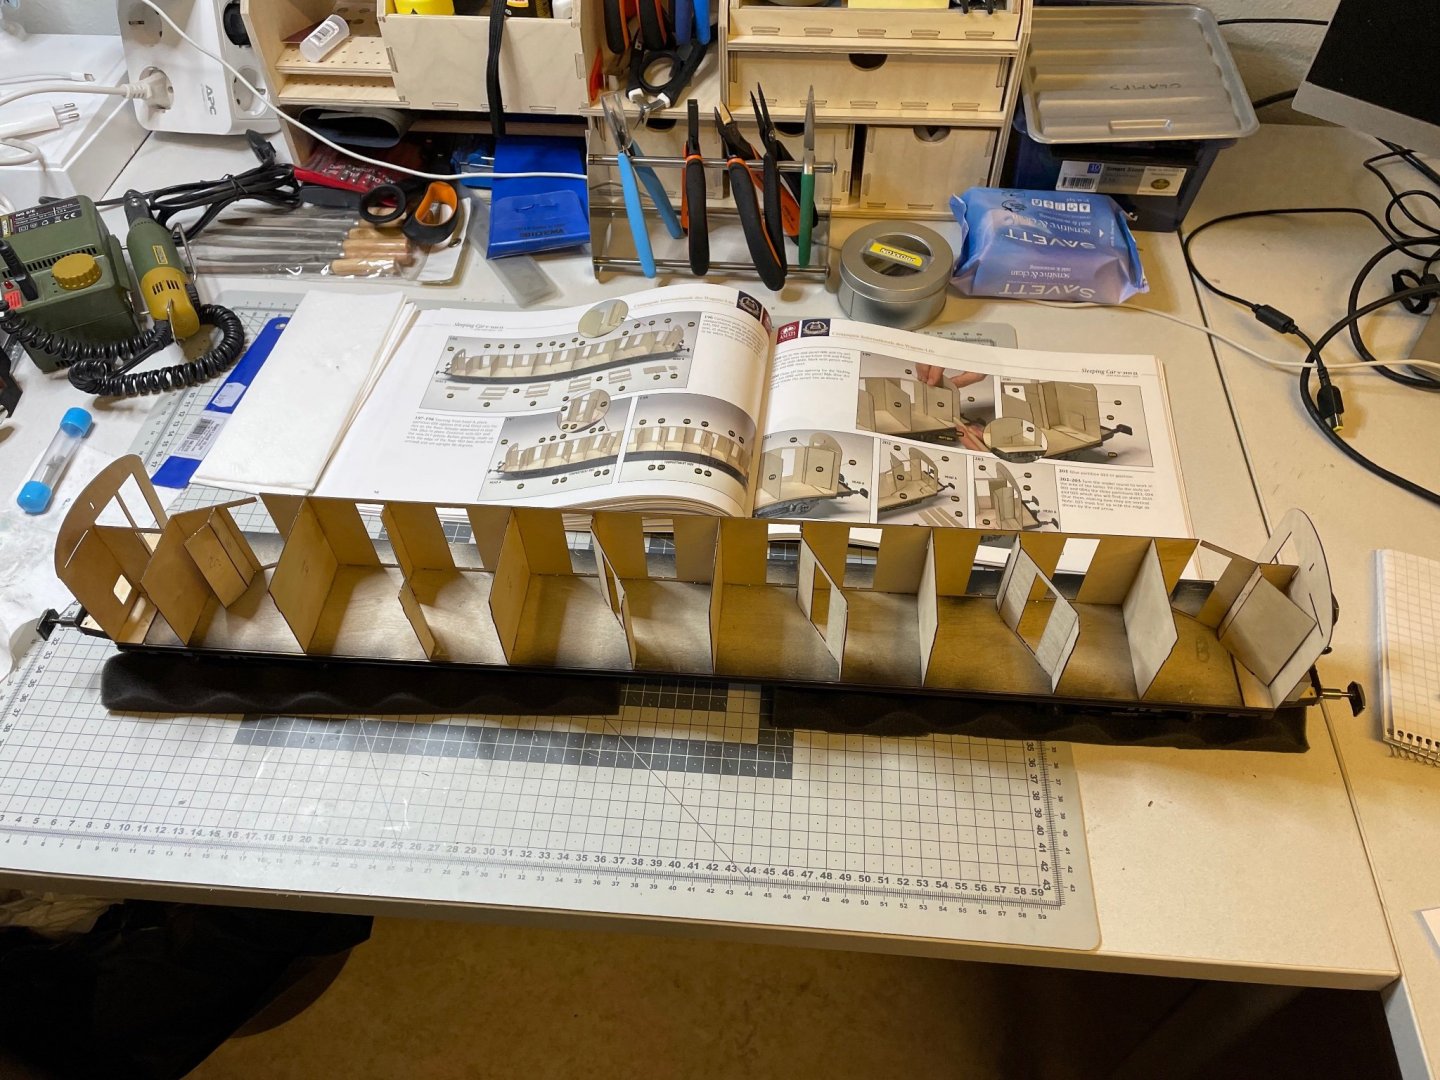
BUILD DAY 12: 2 hrs (TOTAL: 32 hrs) A new milestone: Starting the wall partitions today. Figure 138, 139: Treating a warped piece. They have to be as flat as possible. I soaked it in water and nailed on a flat surface. Will wait for some time (maybe overnight).
- 293 replies
-
- 11
-
-
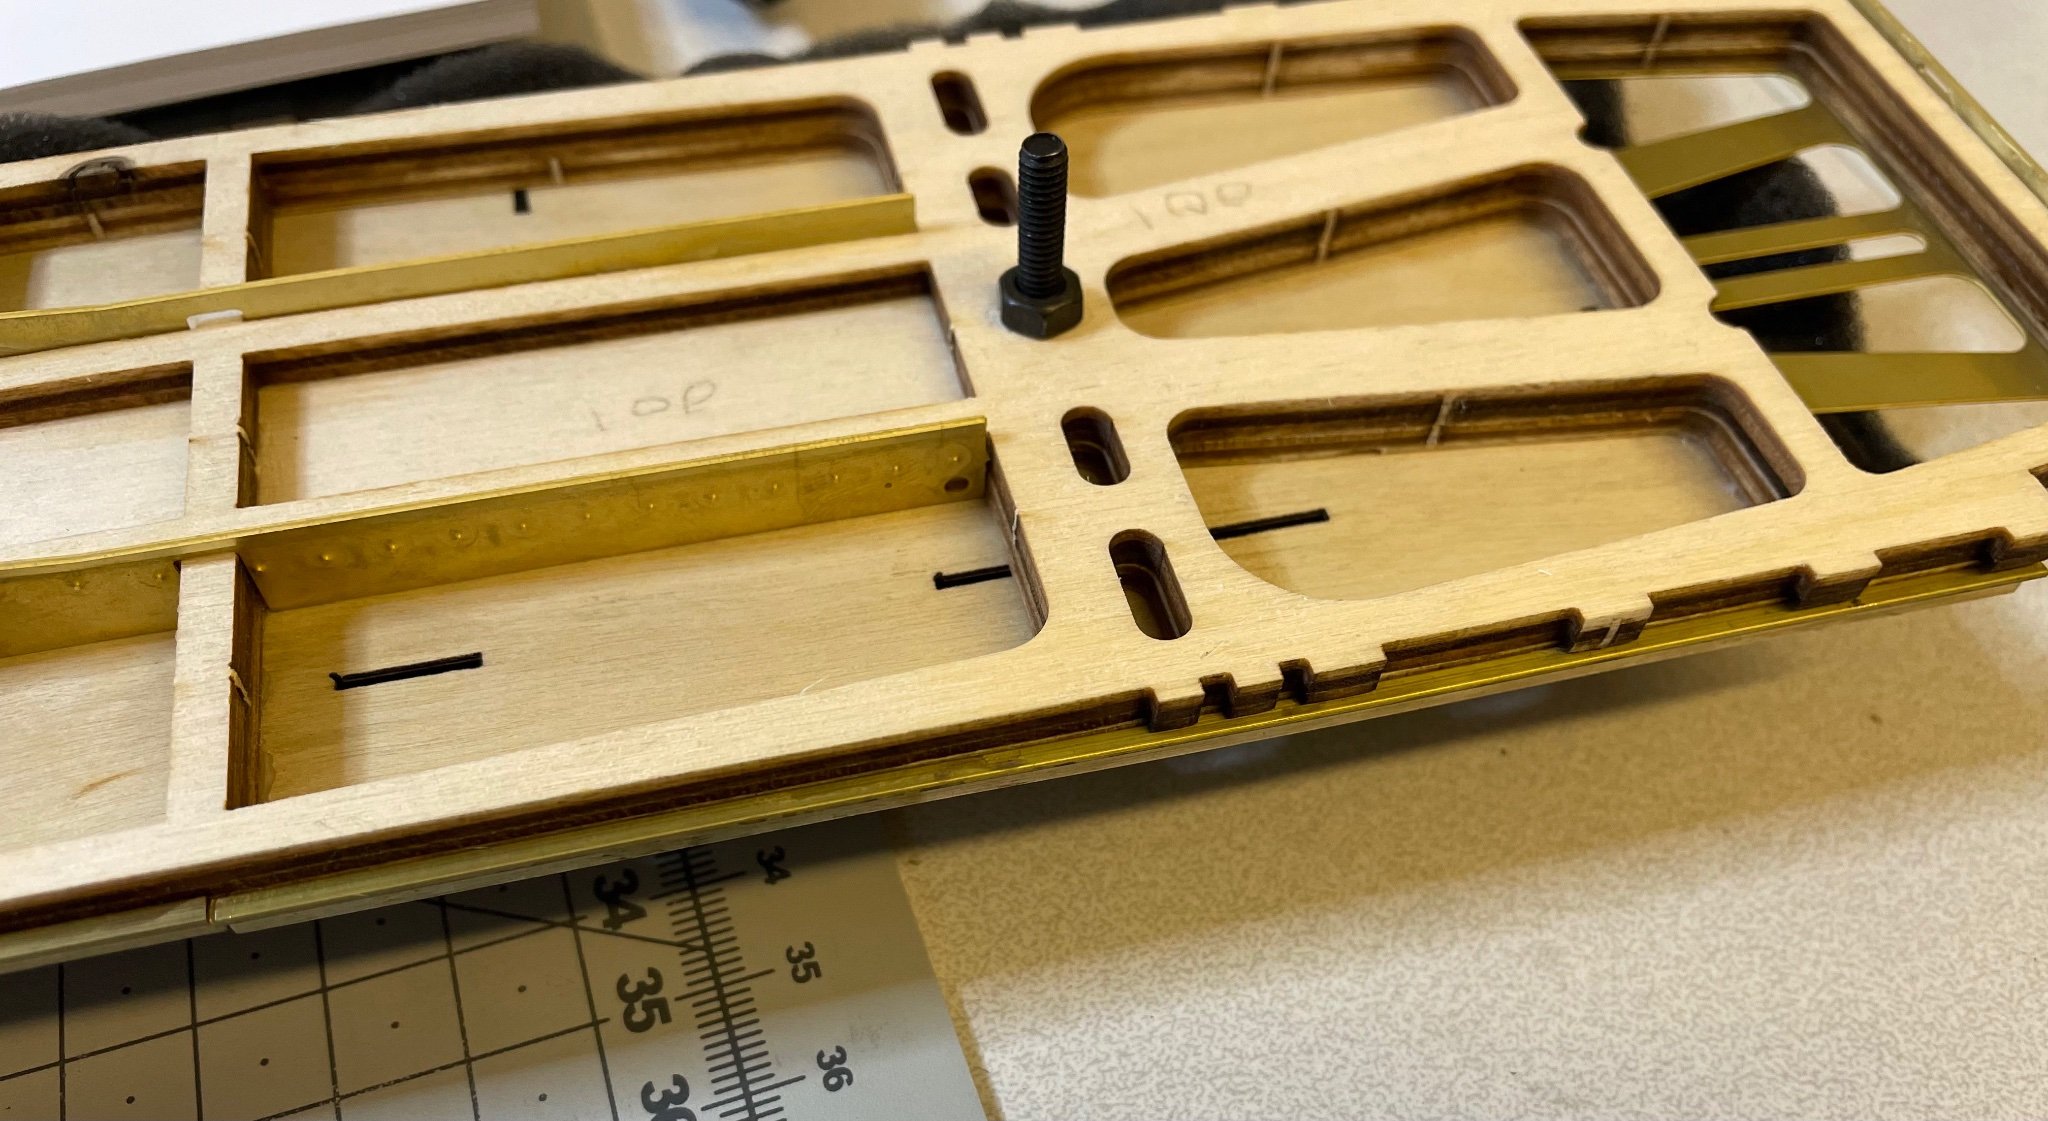
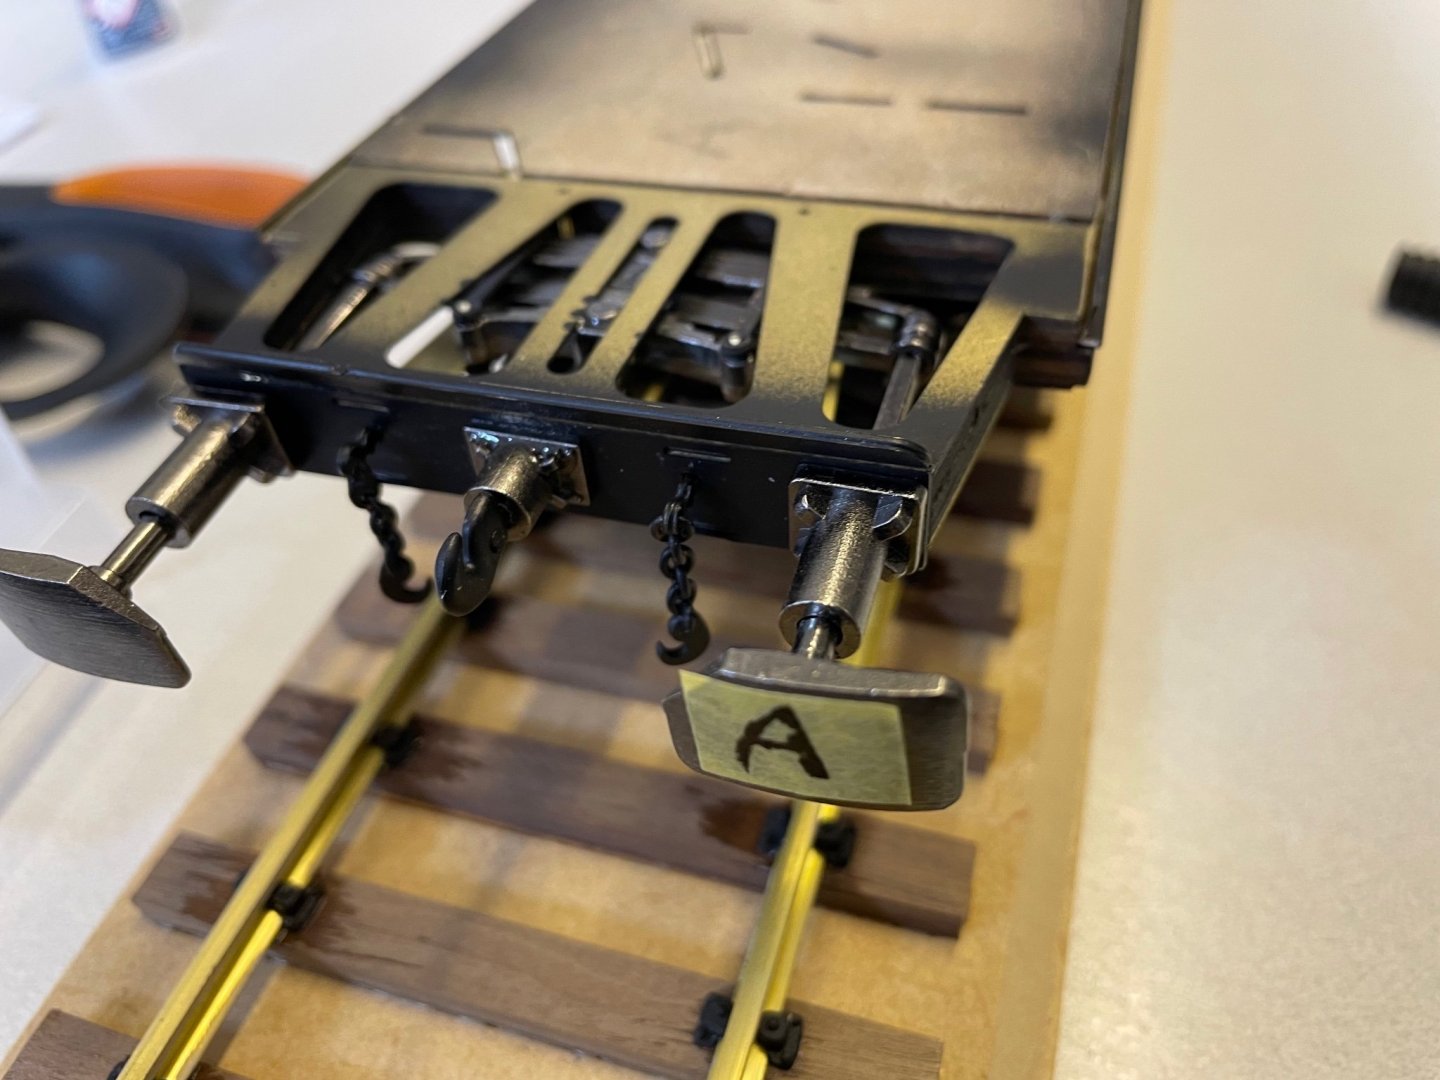
Figure 137: The build depends a lot on which side you are working therefore I used a tape to label the Head-A. The previous pencil mark disappeared under the paint.
-
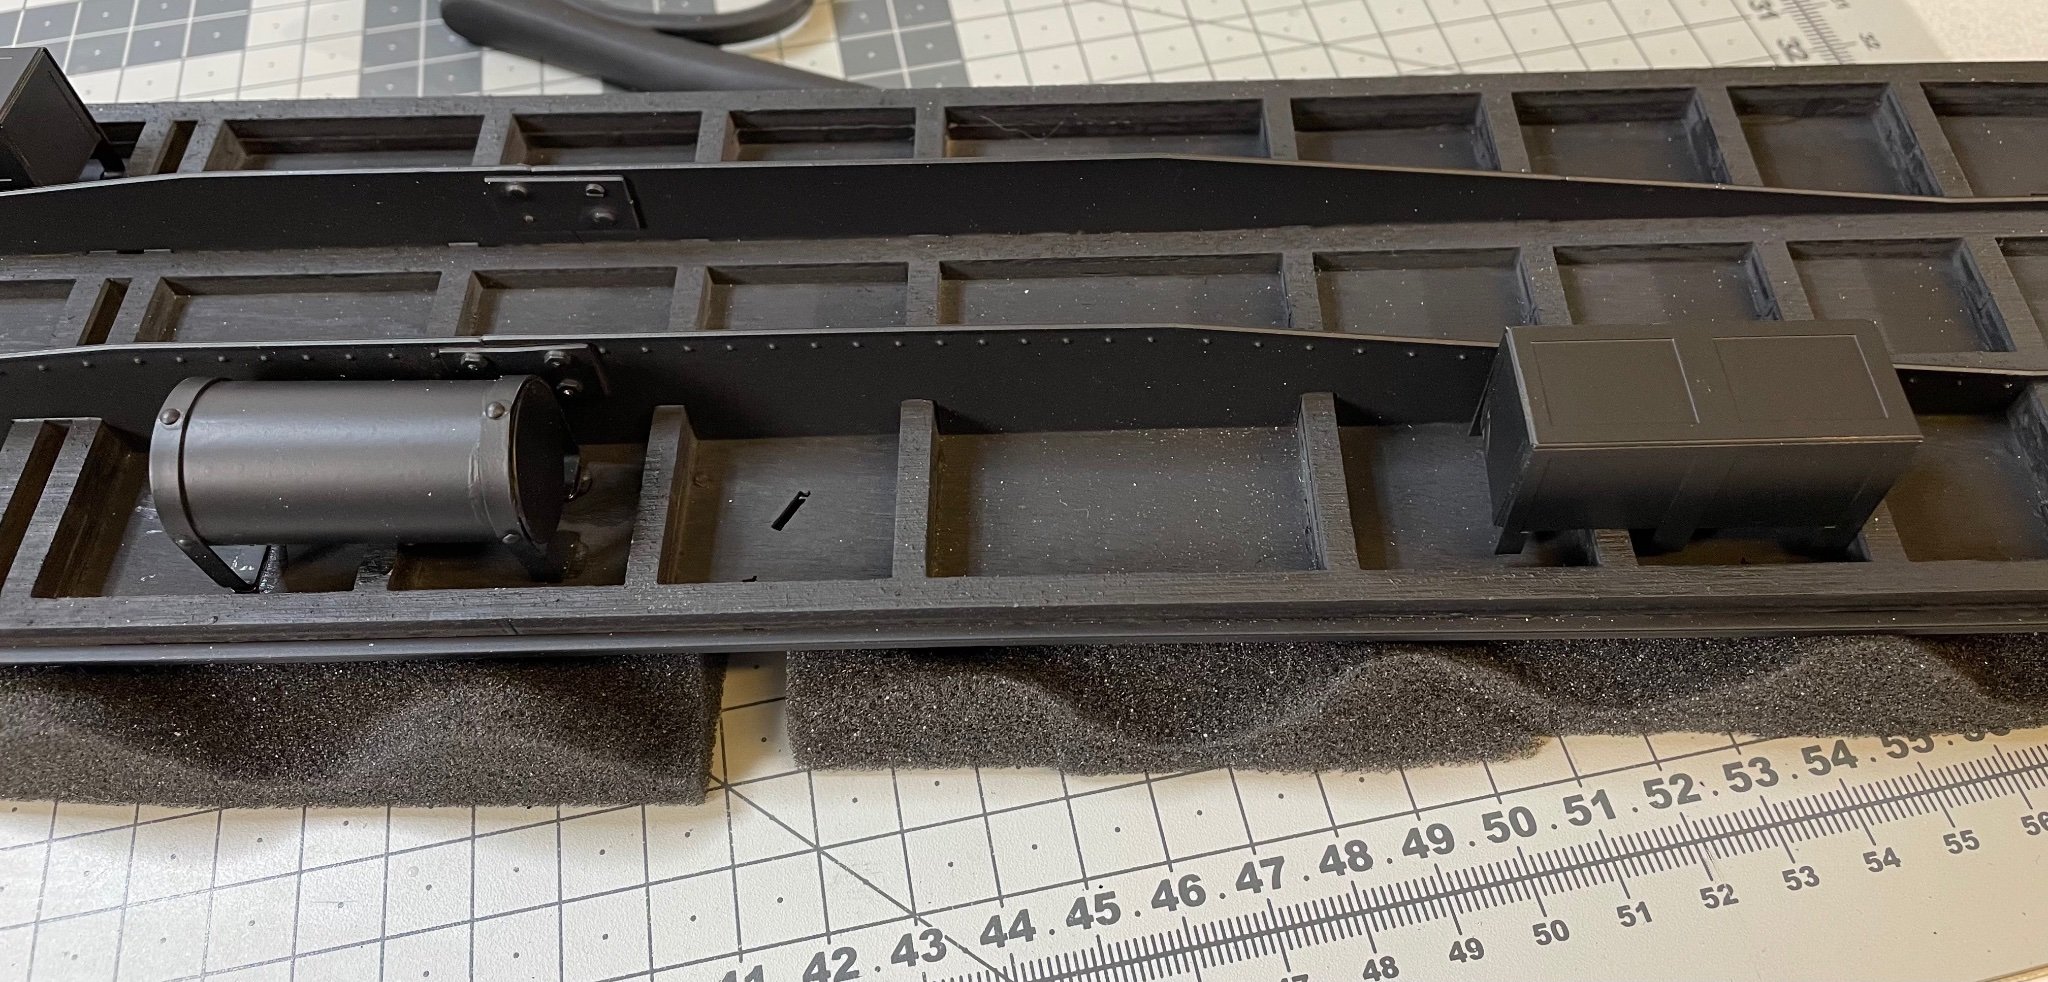
Gluing the tankers in place. Figure 130: For the cylinder one, you'll need to file a little bit to fit it in place.
- 293 replies
-
- 10
-
-
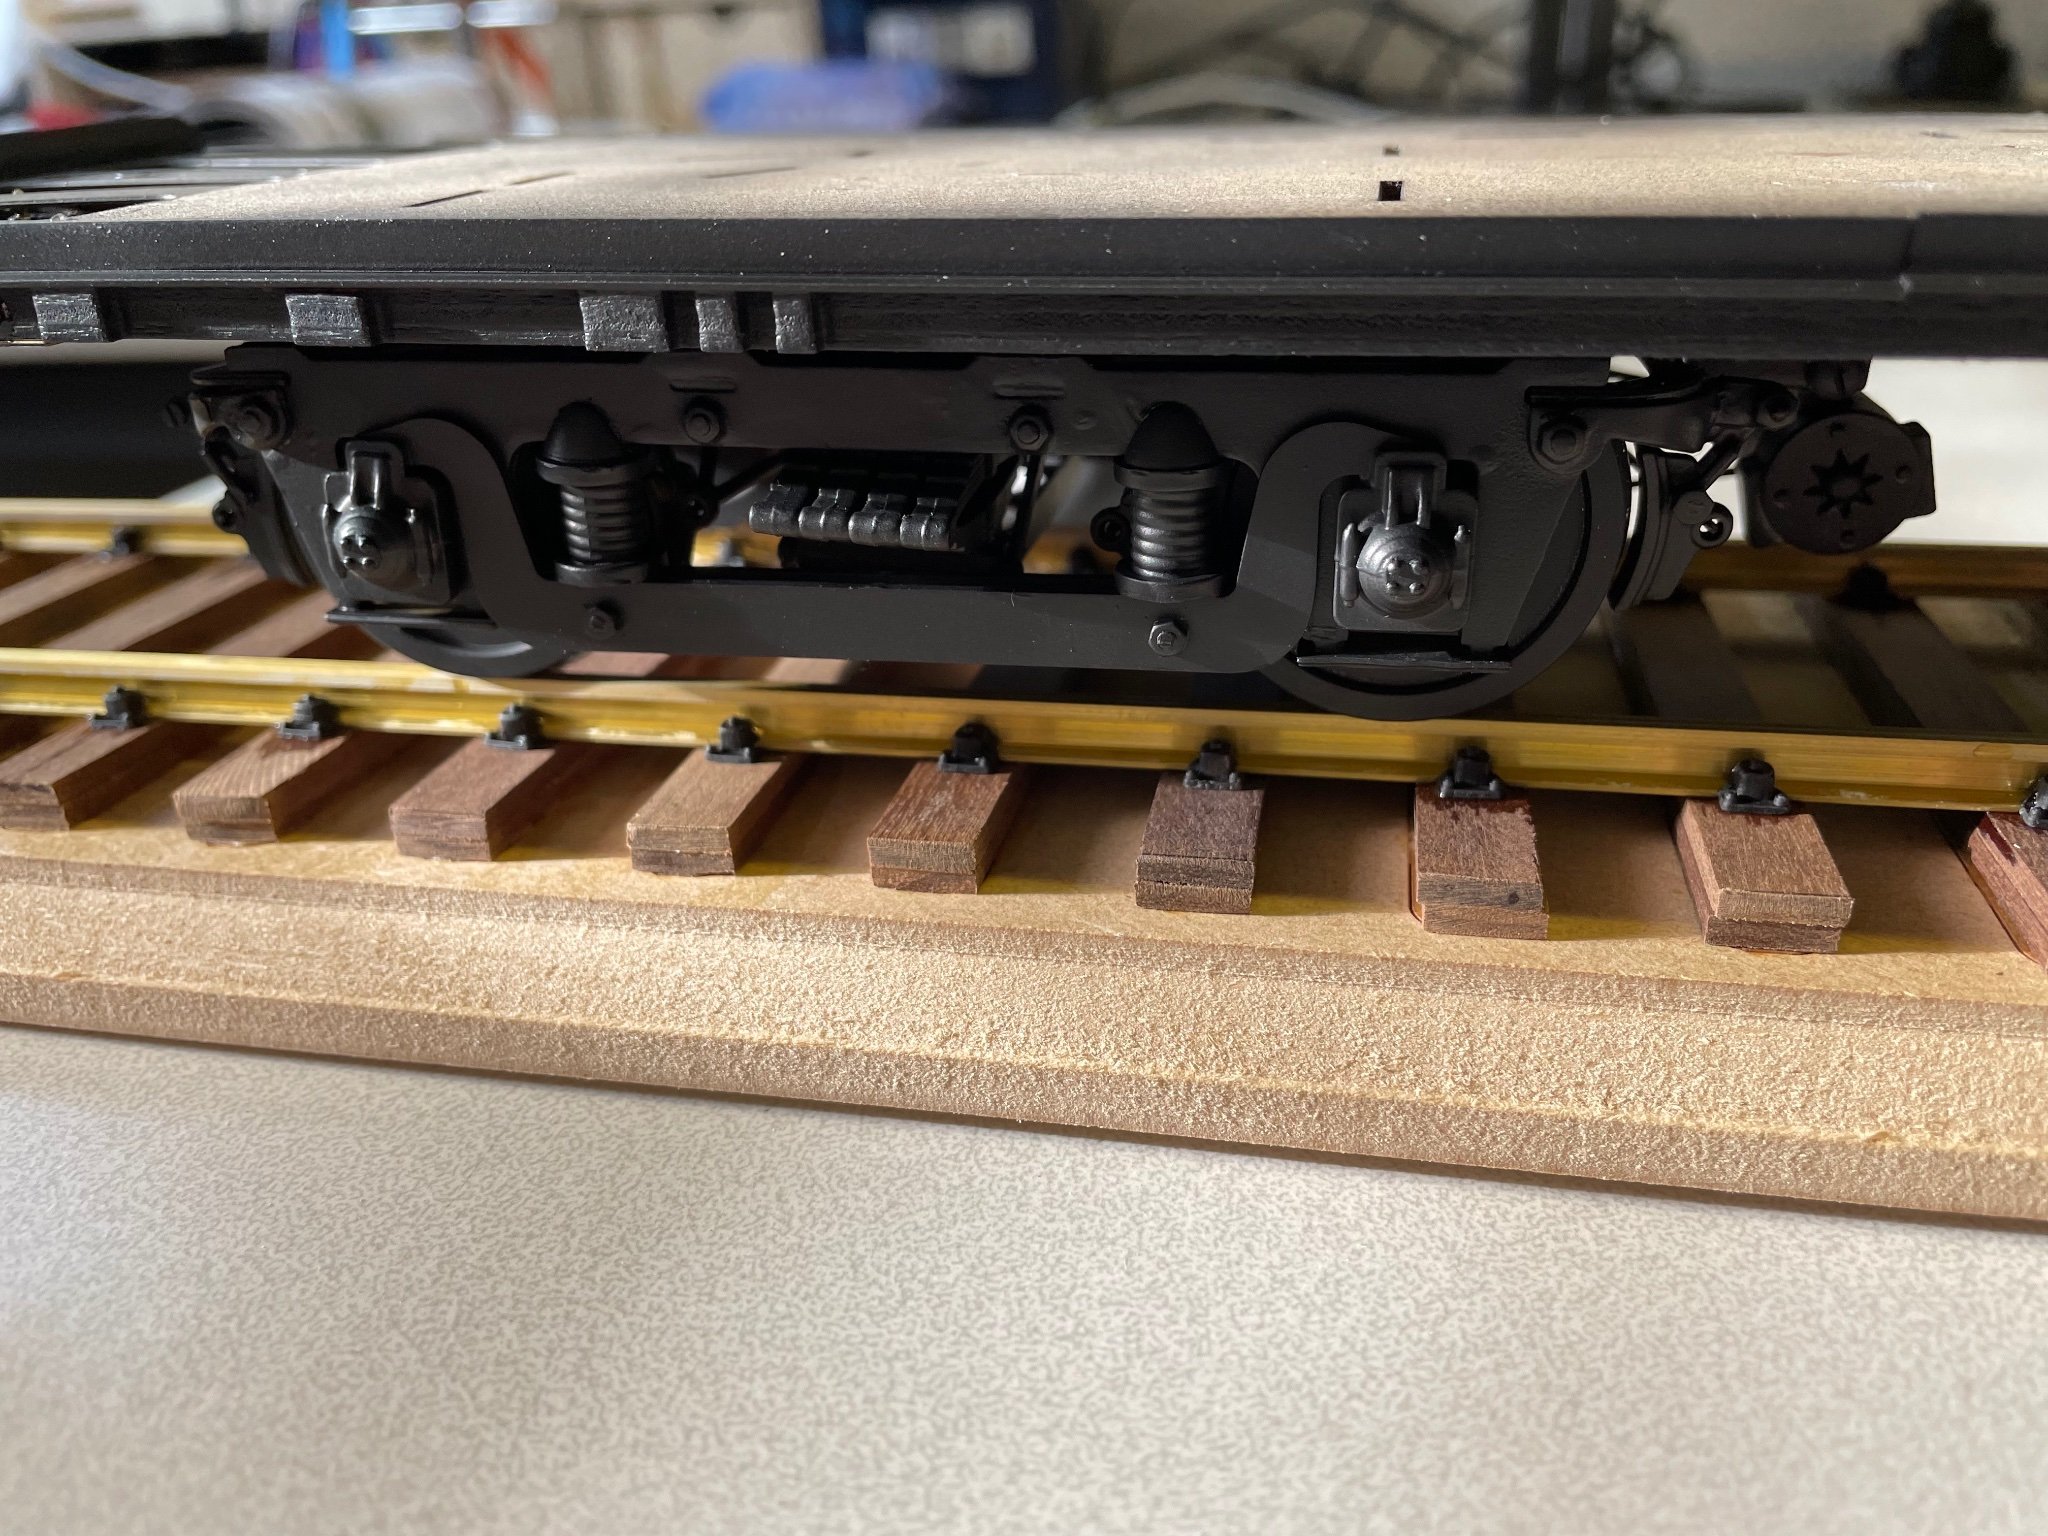
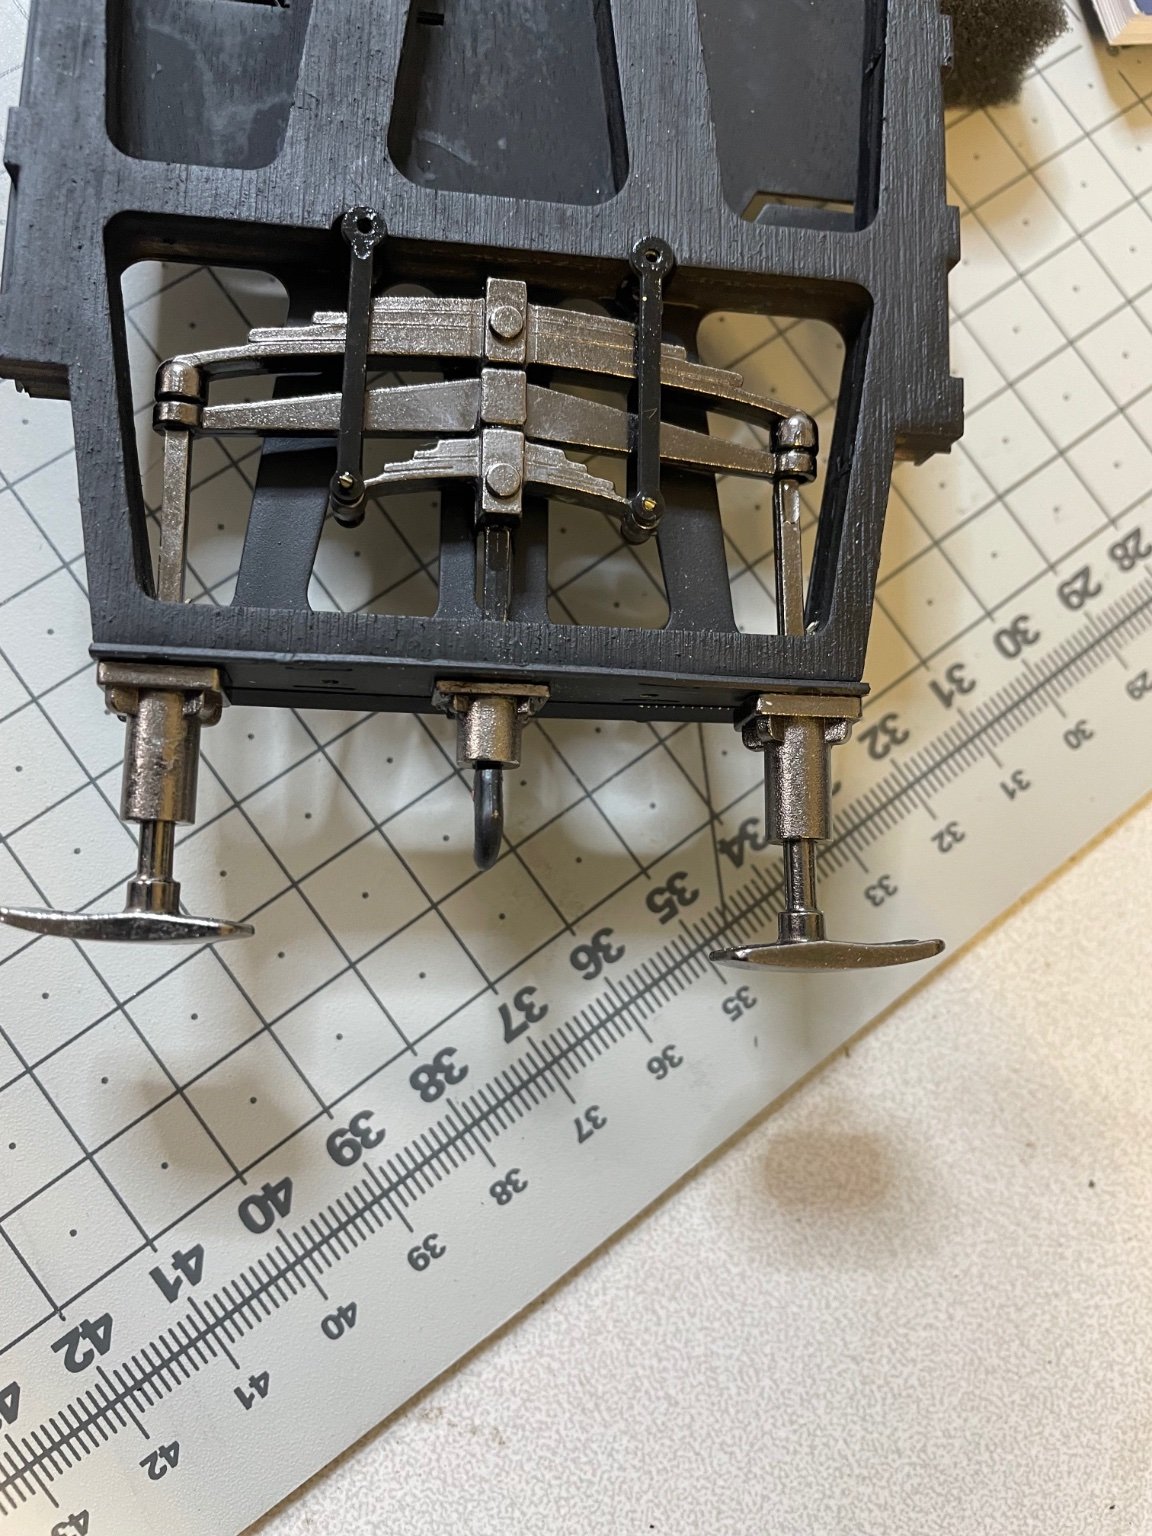
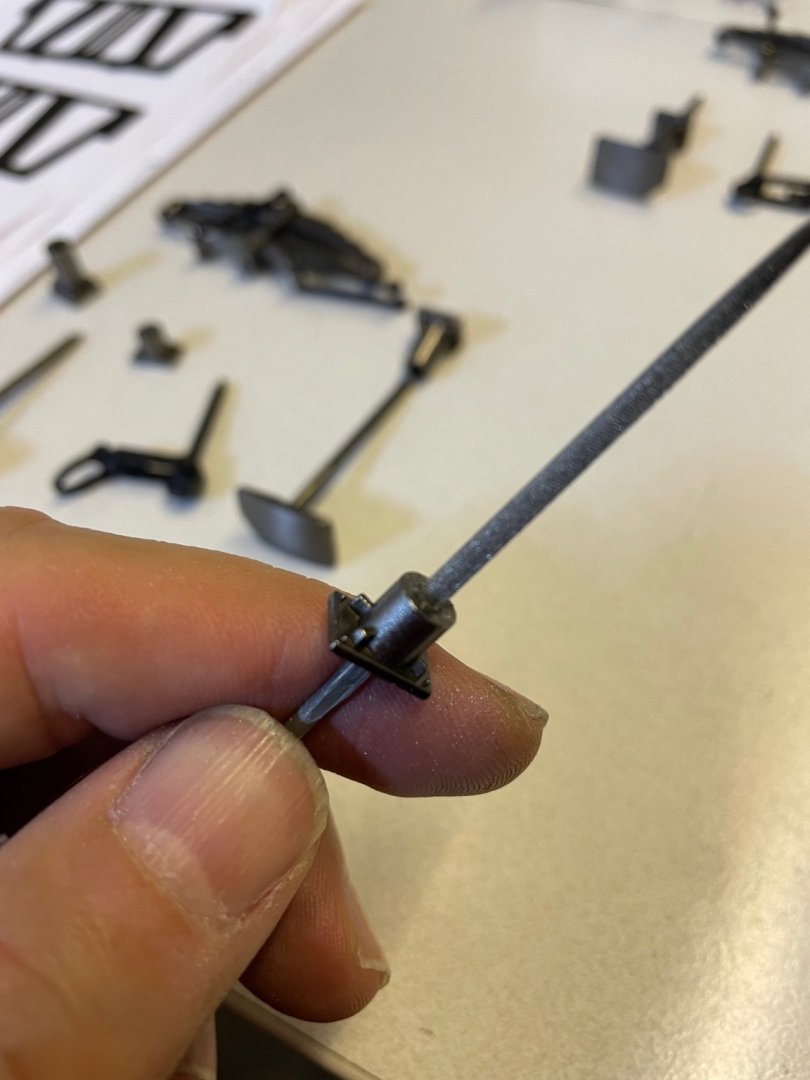
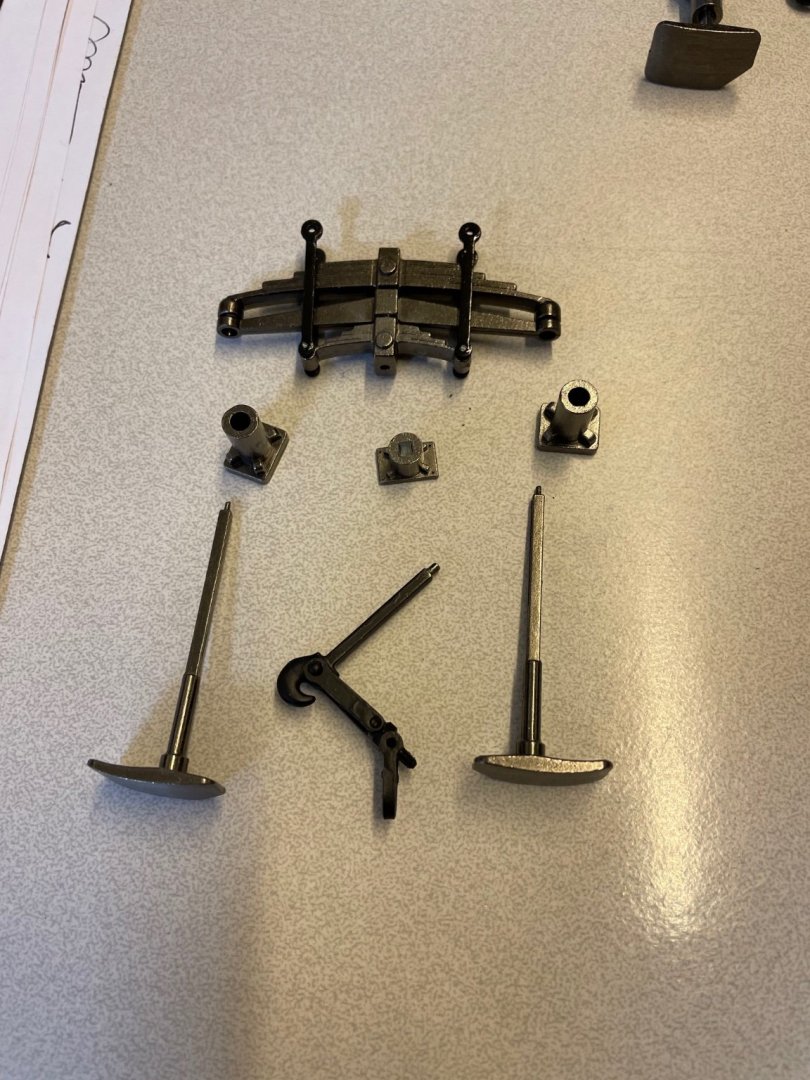
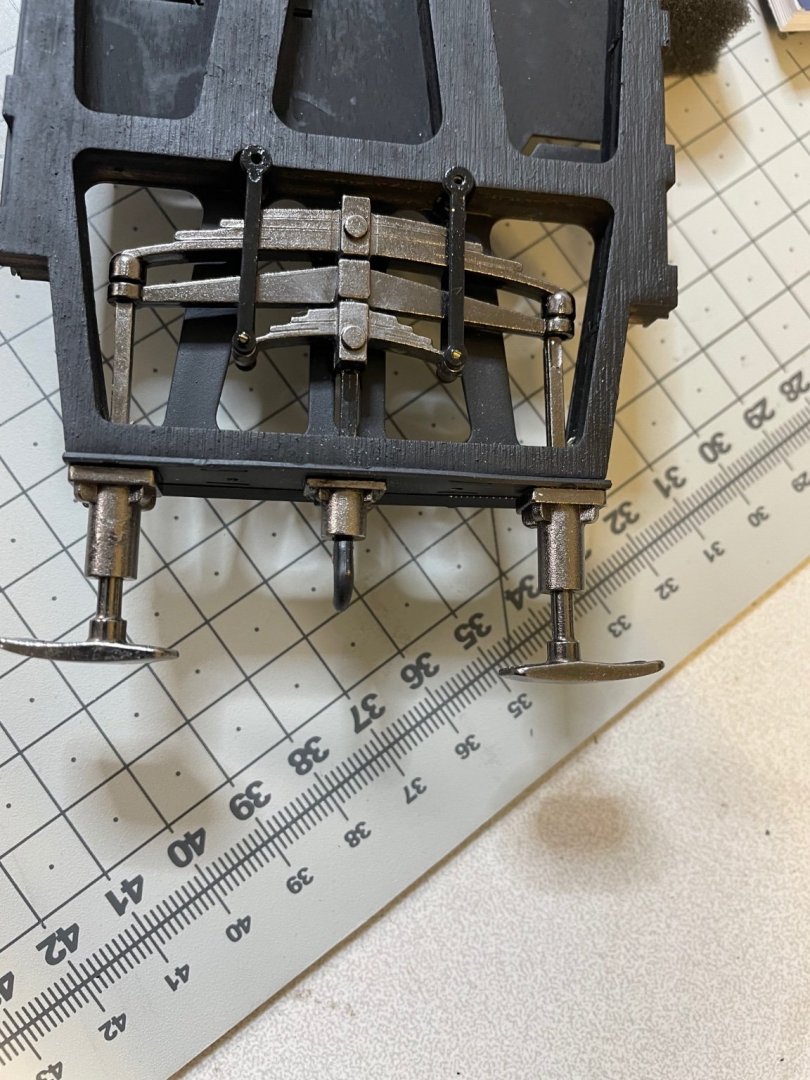
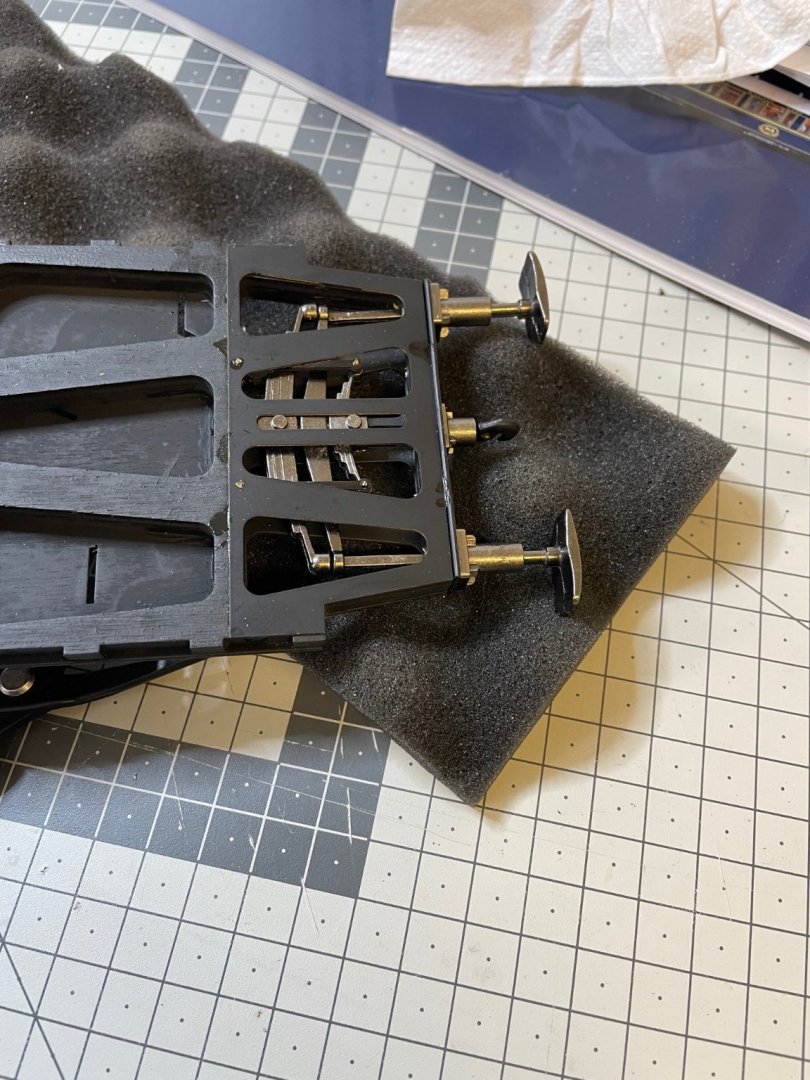
BUILD DAY 11: 2 hrs (TOTAL: 30 hrs) Buffers and leaf springs installed in place. Figure 126: More filing to enlarge the holes. Figure 127, 128, 129: Several pictures showing the setup.
- 293 replies
-
- 12
-
-
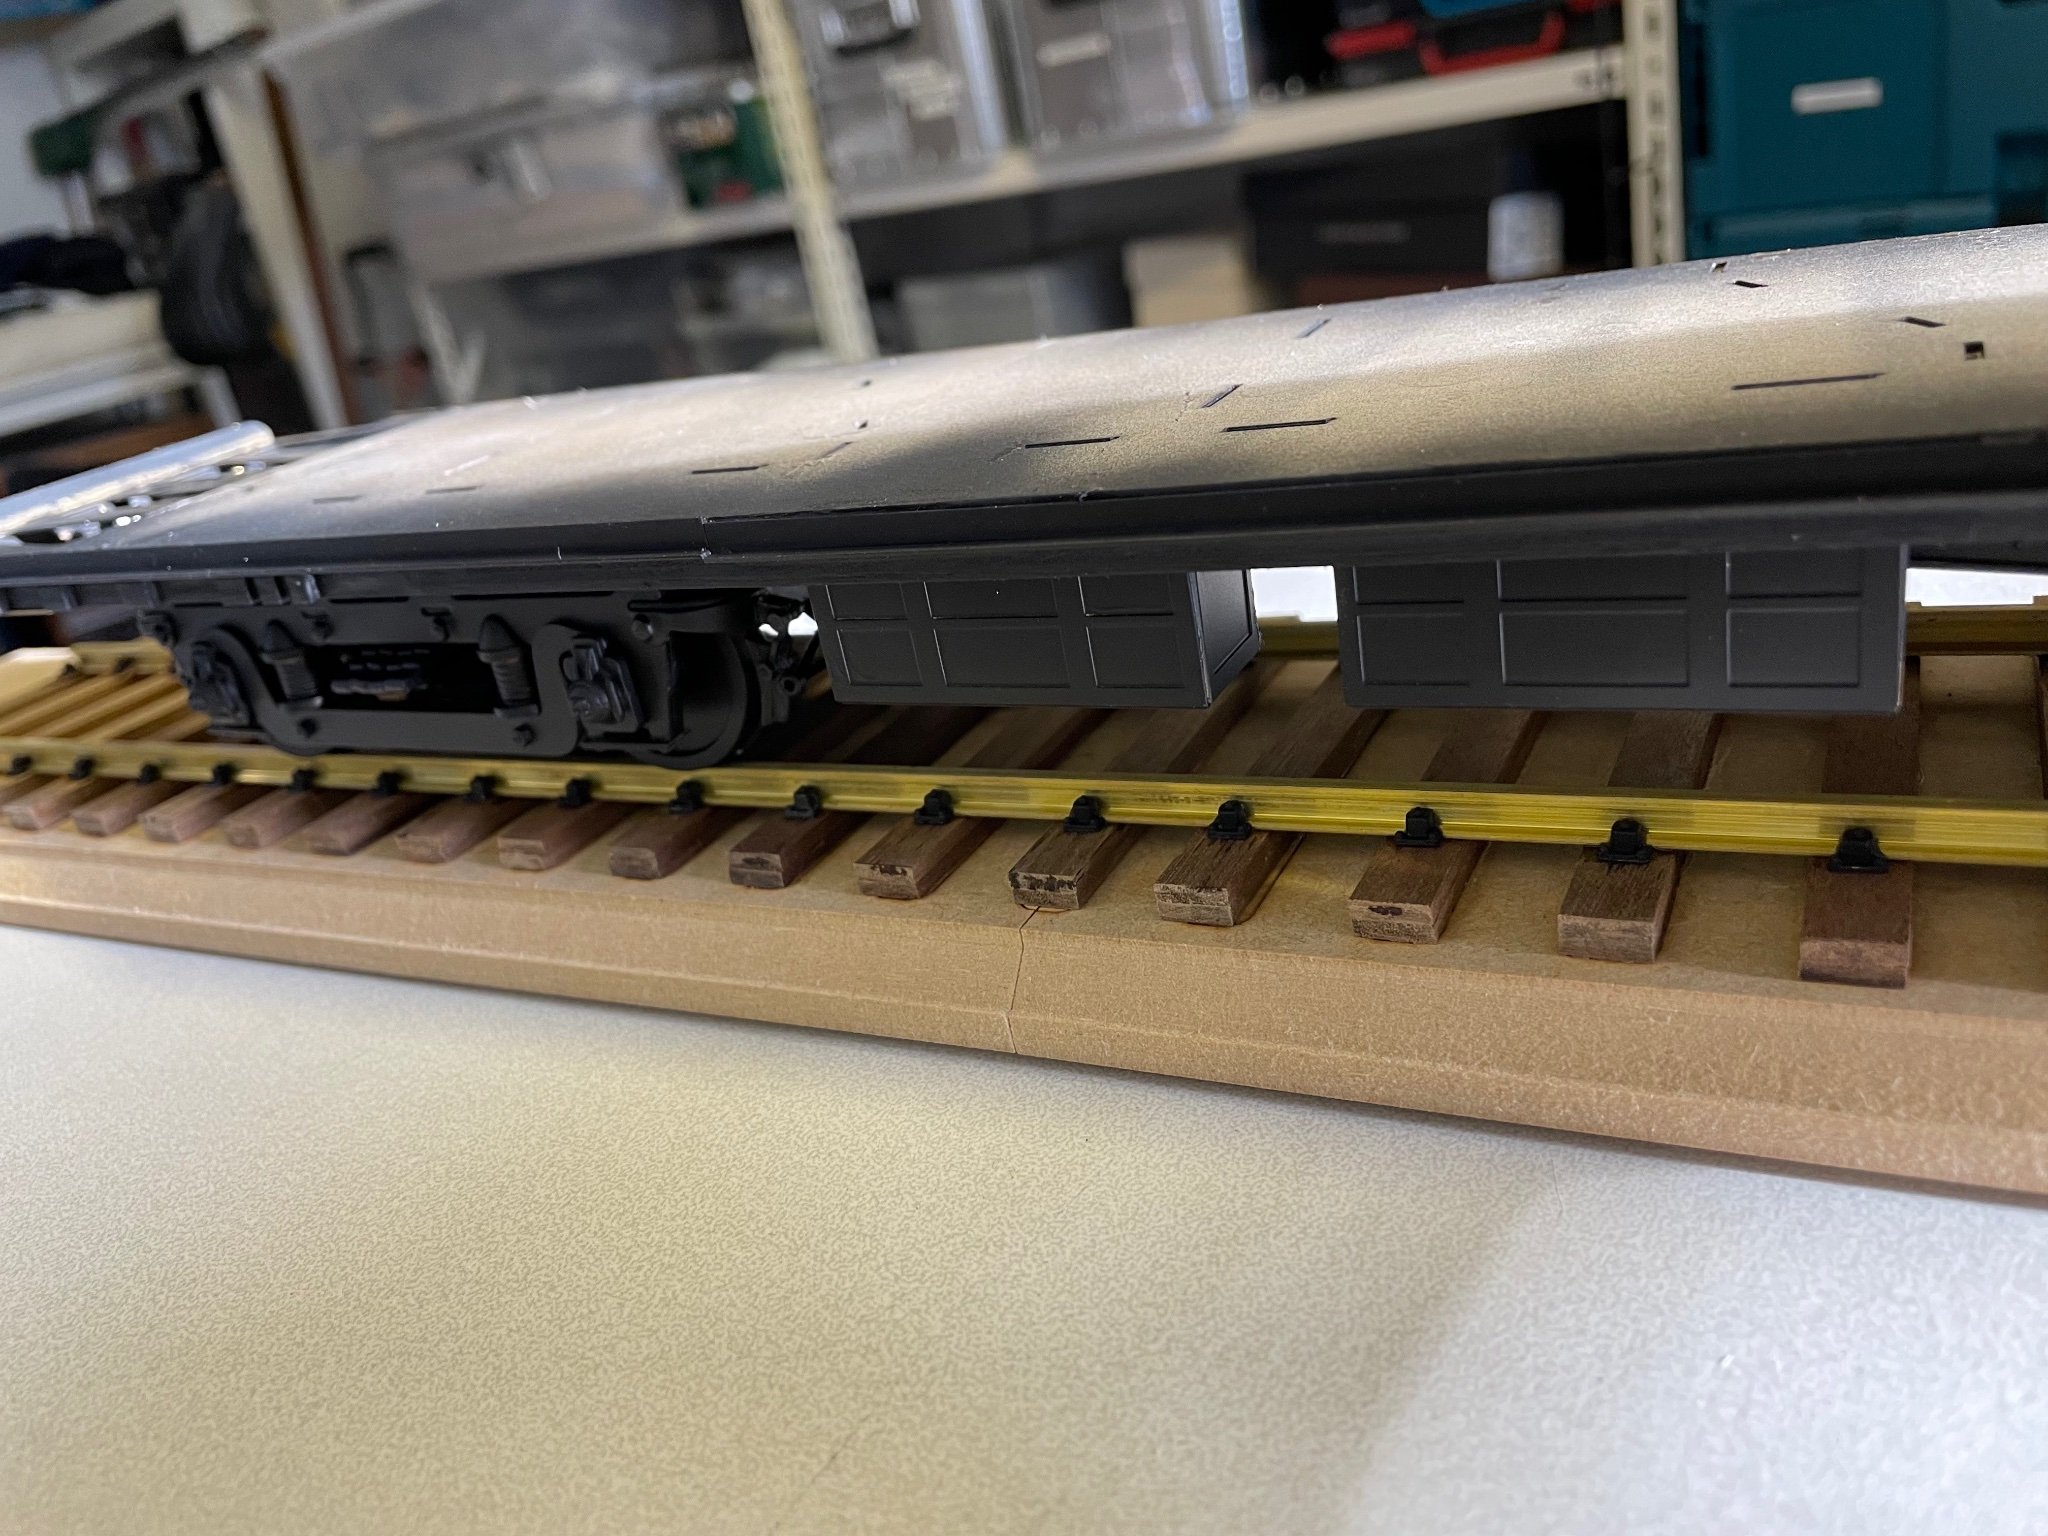
Figure 125: Finally now I am able to paint the bottom section. I used matt black in spray can.
- 293 replies
-
- 10
-
-
Figure 124: Side rail, which just arrived, glued.
-
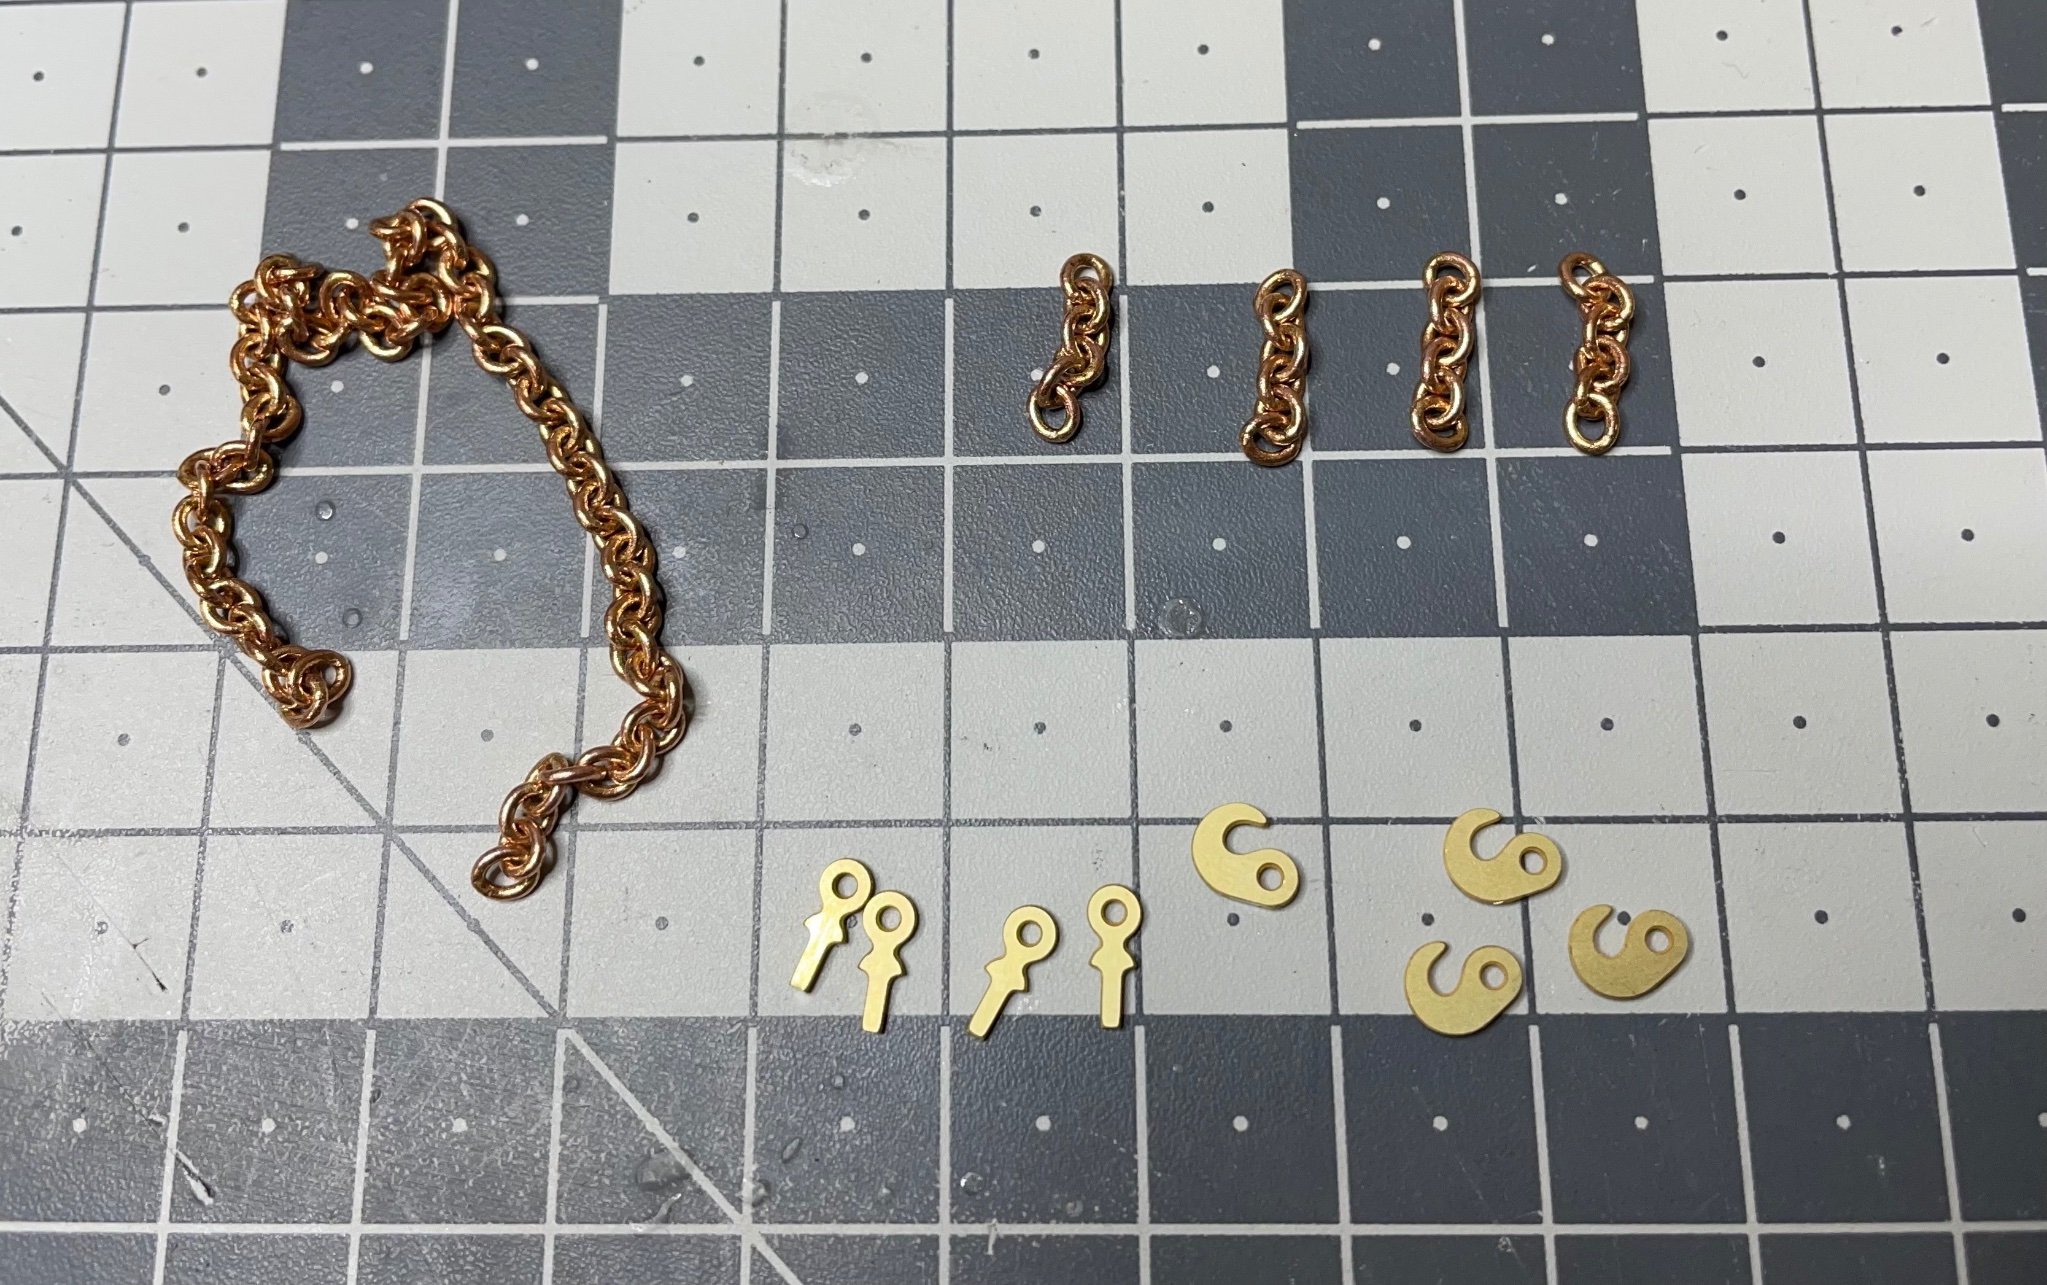
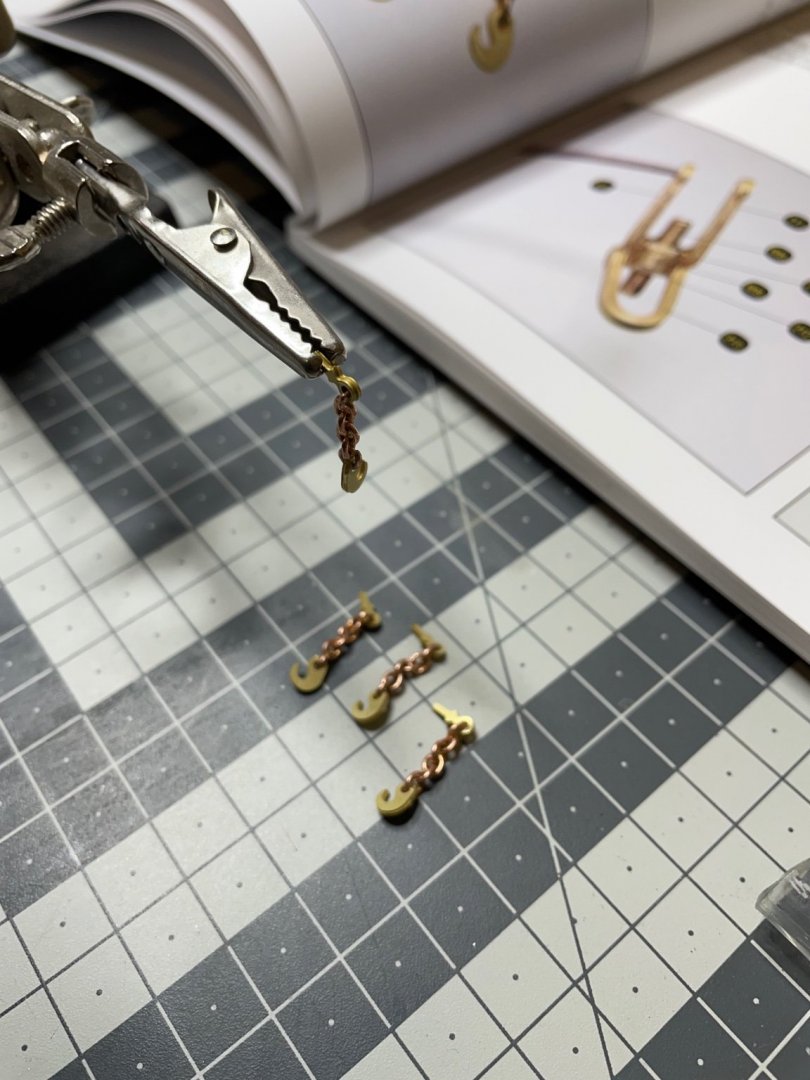
BUILD DAY 9: 1 hr (TOTAL: 28 hrs) Figure 121, 122: Hooks on either end of the wagon

-
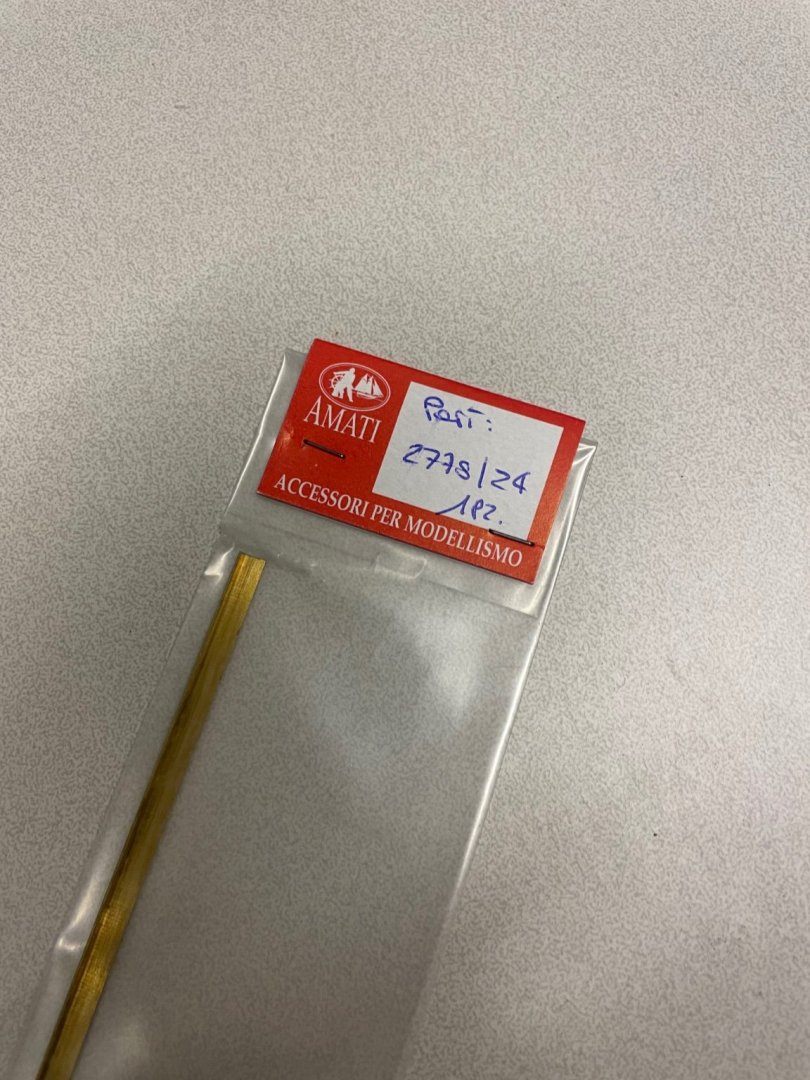
Figure 120: The missing piece has arrived from Amati. Build can continue!
-
Hi Duncan, Well well, so many years have passed since then and I can't really remember. I have glanced through my build log and all I can say is that I guess I followed the order instruction manual. If I remember correct the instructions are branching for radio control option to explain what to do. If you think some things are easier to install before the planking, then just go ahead. You may just want to cover your electronic stuff with a masking tape or something like that against dust, dirt and glue drops during planking. Best, Aydin
- 414 replies
-
- 1
-
-
- riva aquarama
- amati
- (and 2 more)
-
I follow the instructions. Most of the time I fold them so that the grooves face inwards (instructions call them "the cut lines"). Some are bent inwards, some outwards, and in some cases a part can be bent both ways (i.e. one edge of the part bent opposite direction to fold of the other edge) Here (Figure 21) they are bent inwards: Here (Figure 83) they are bent outwards:
-
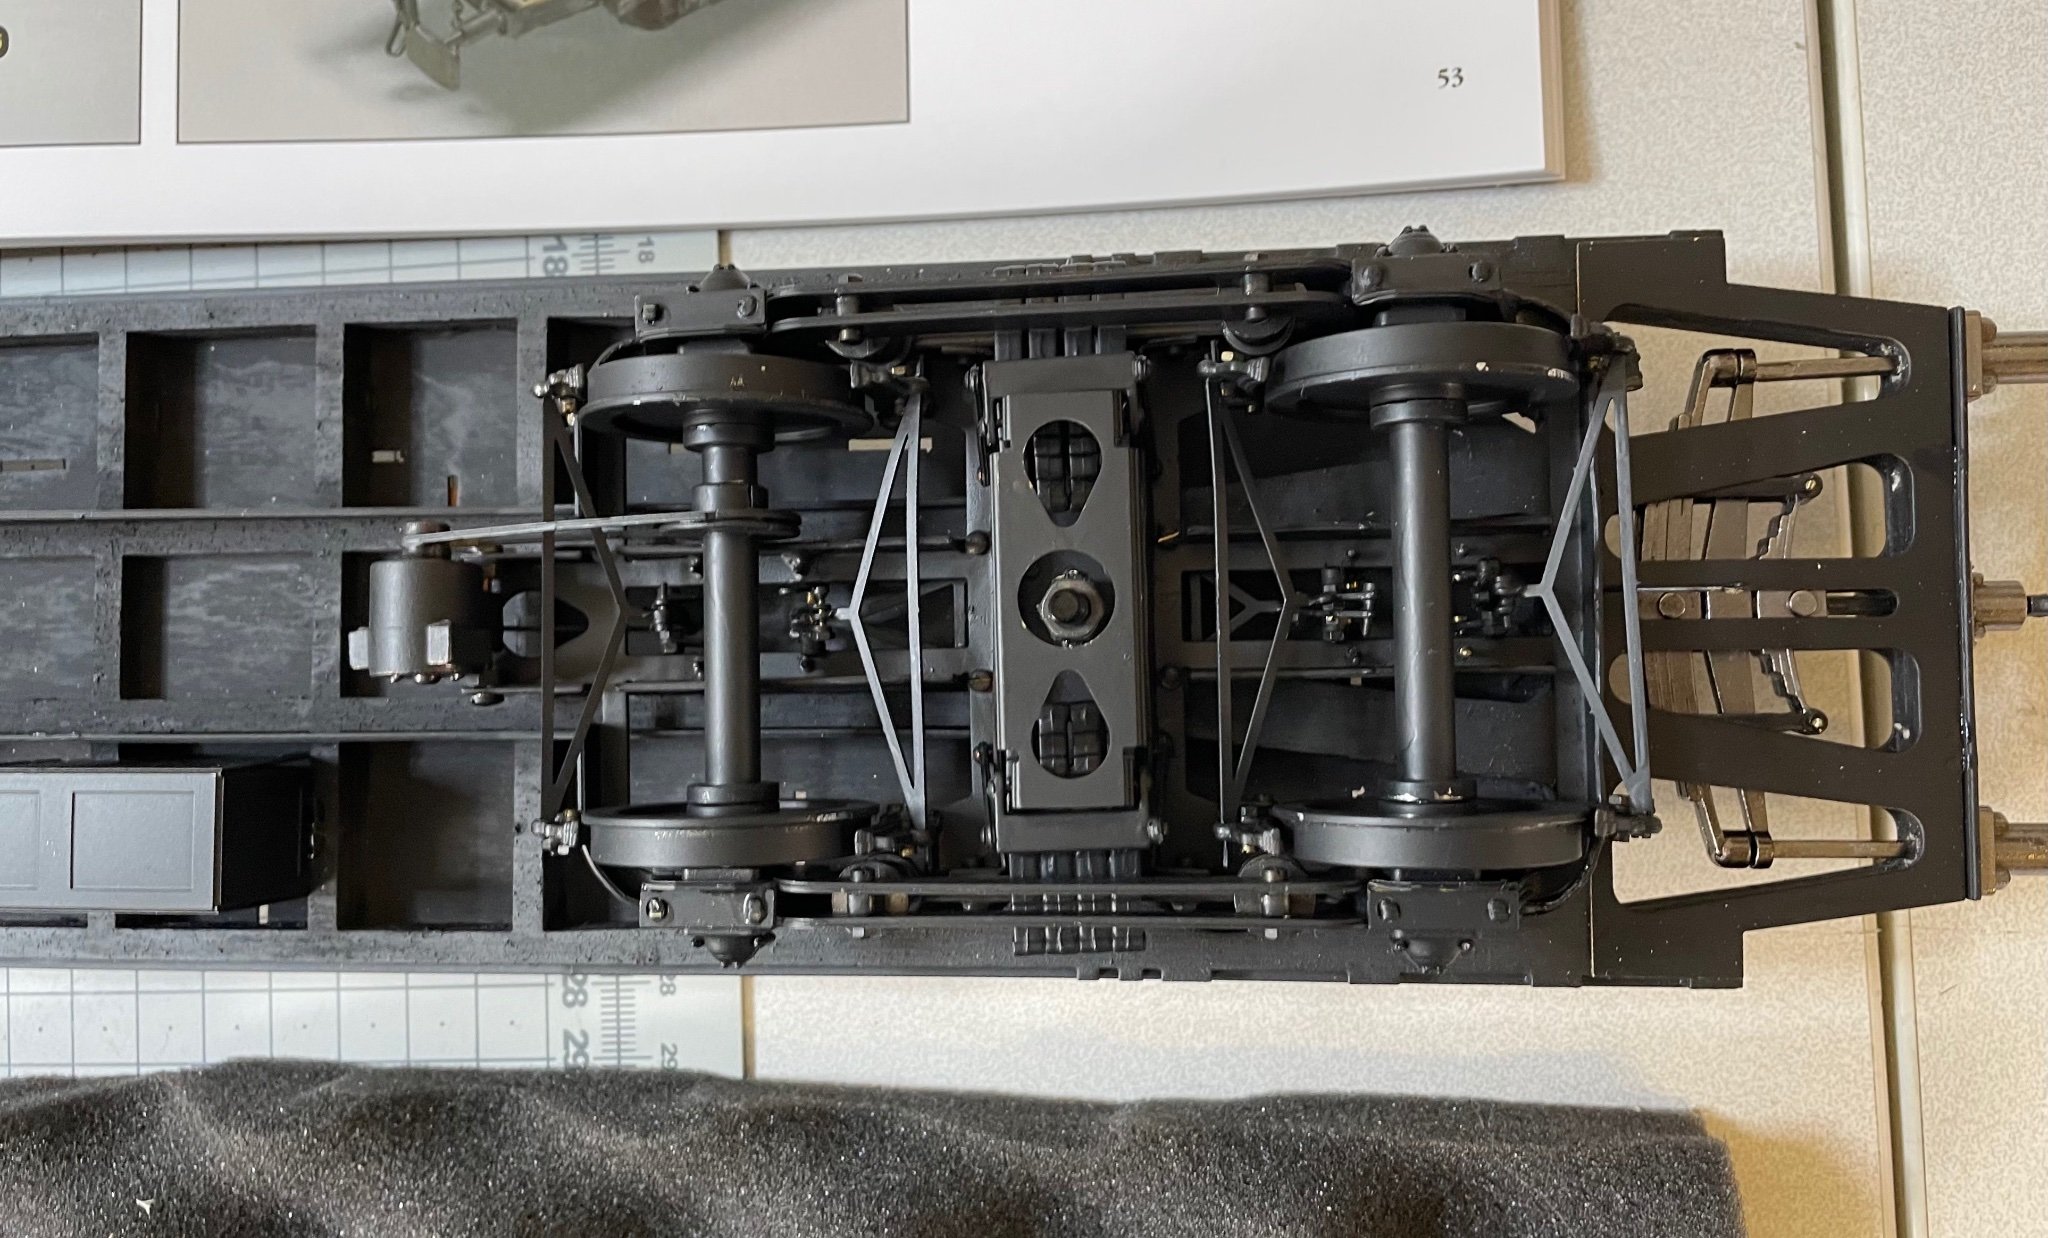
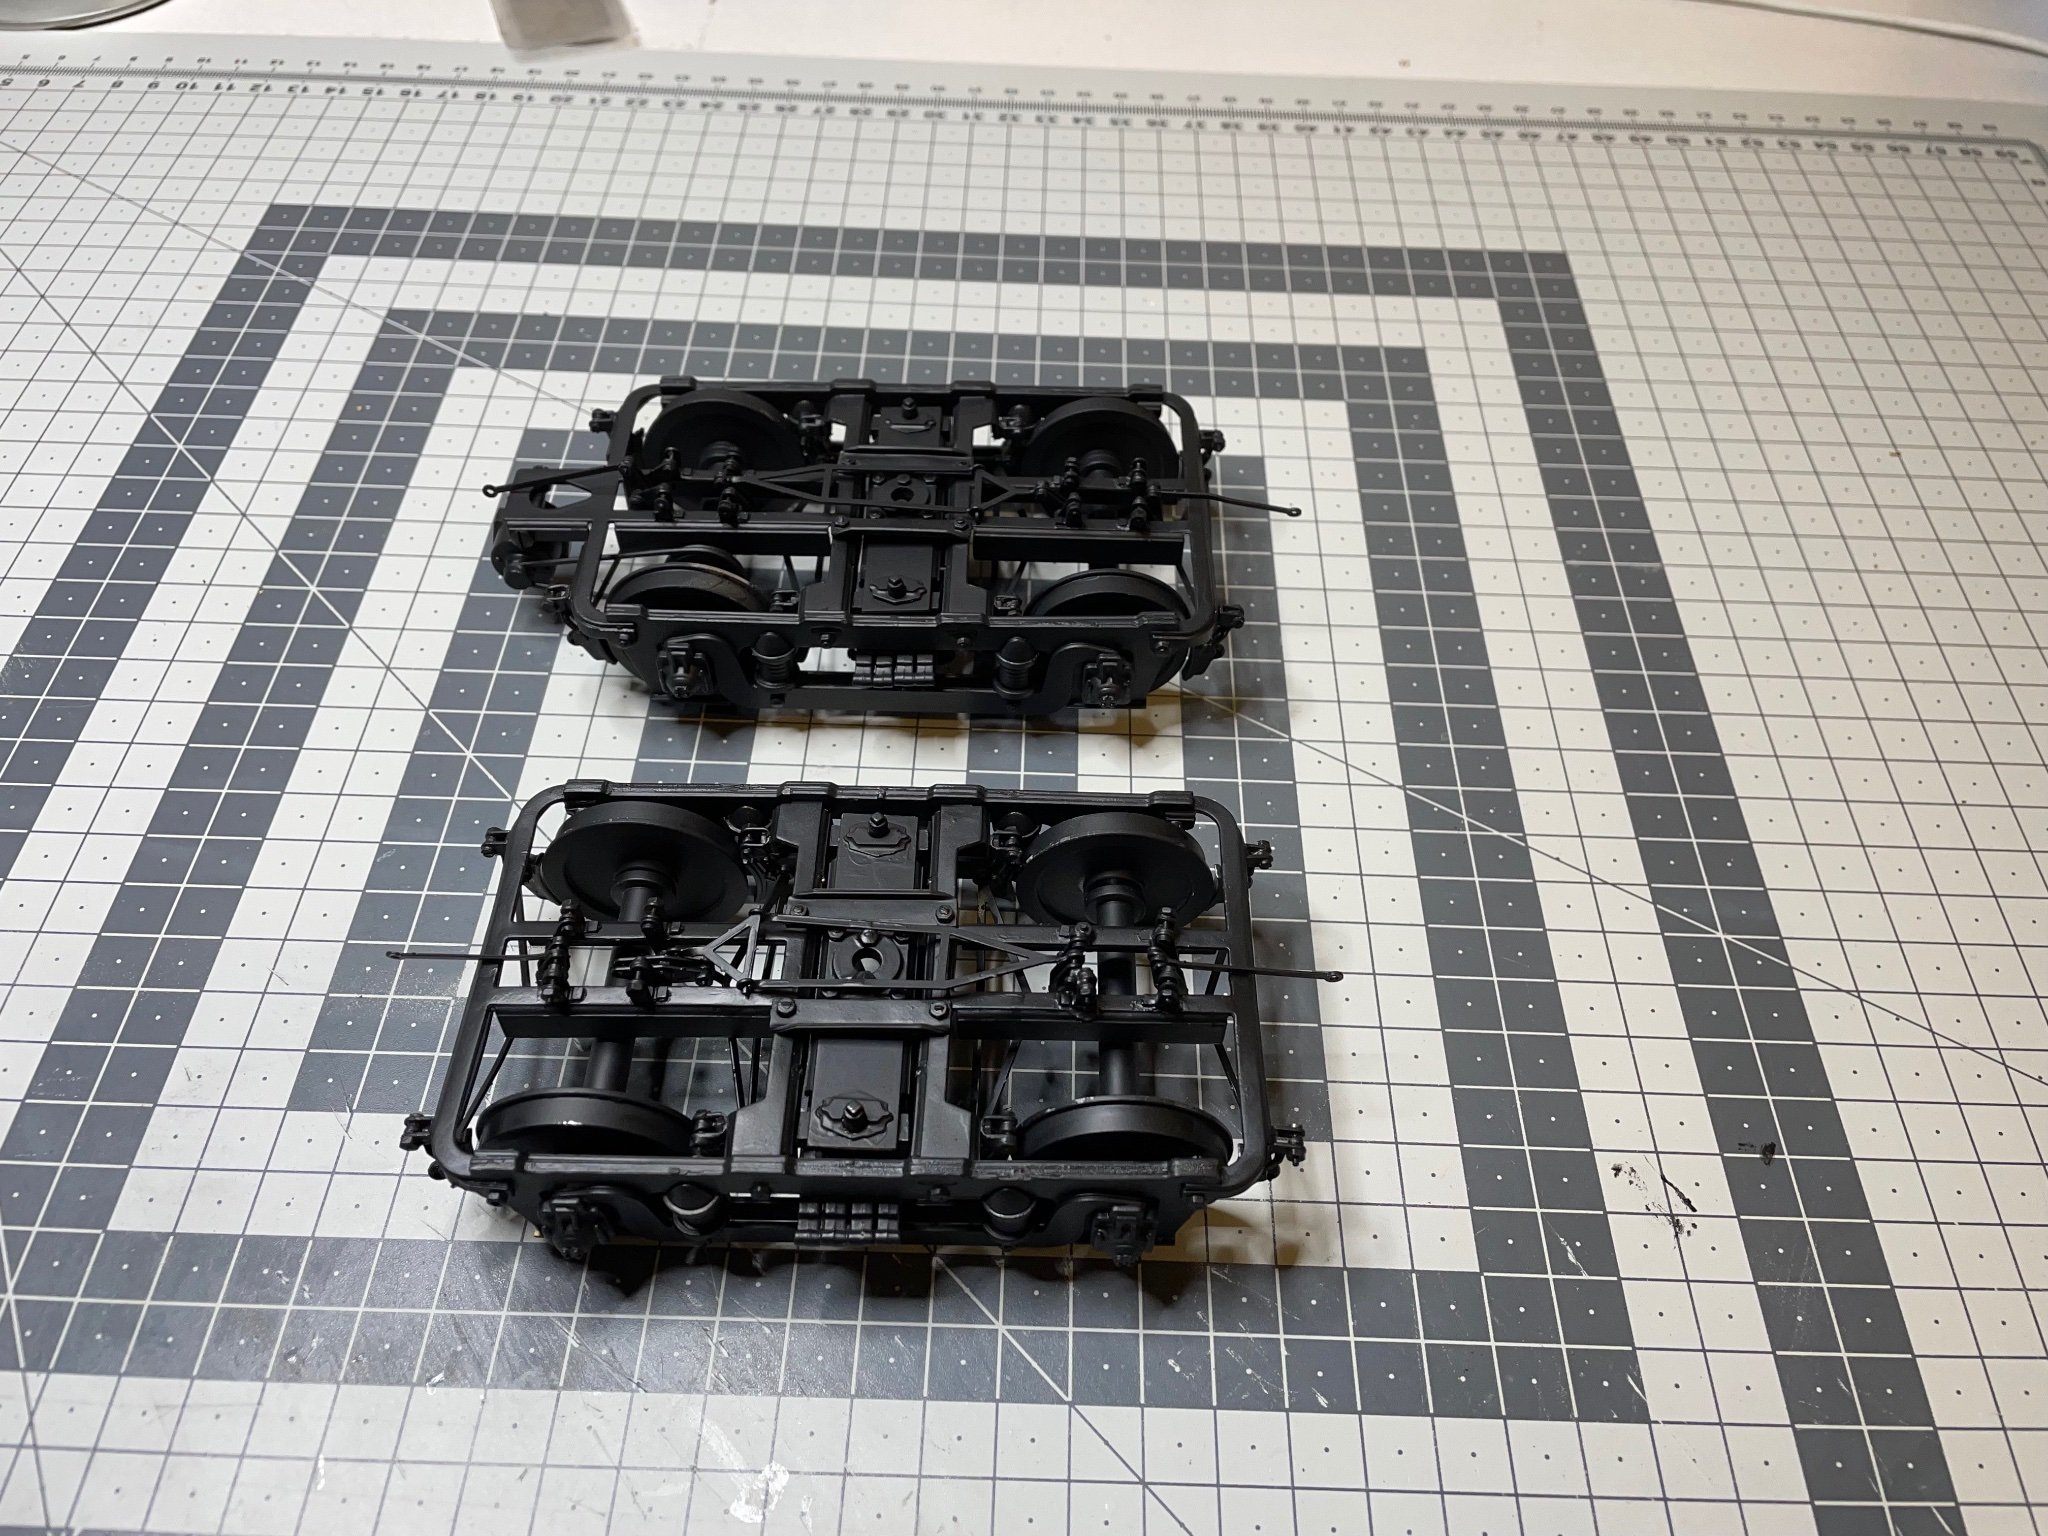
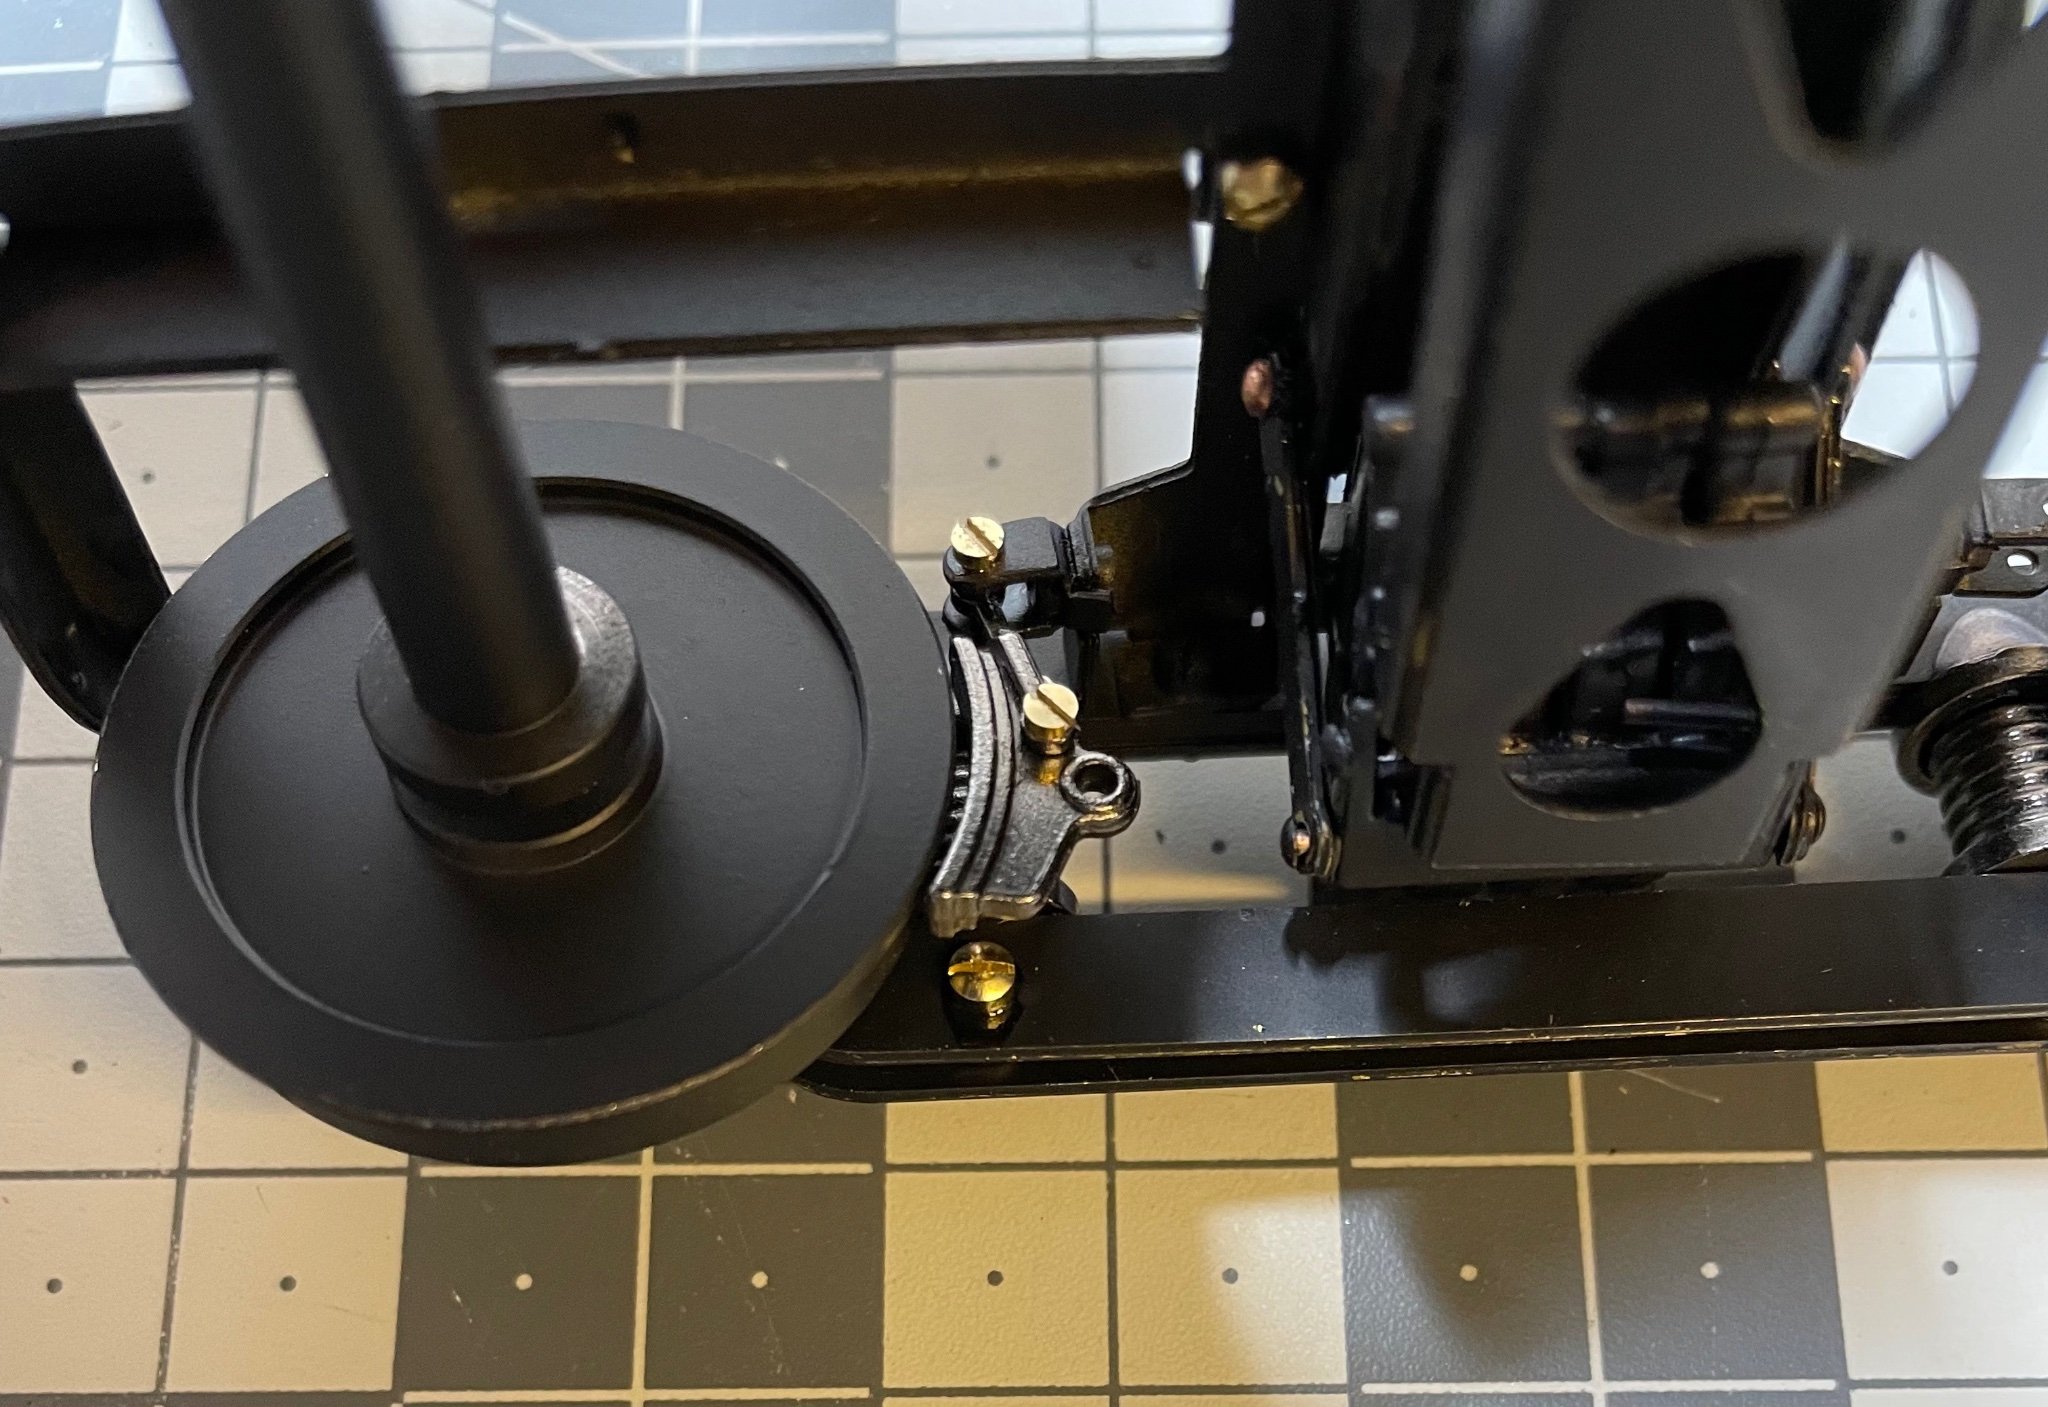
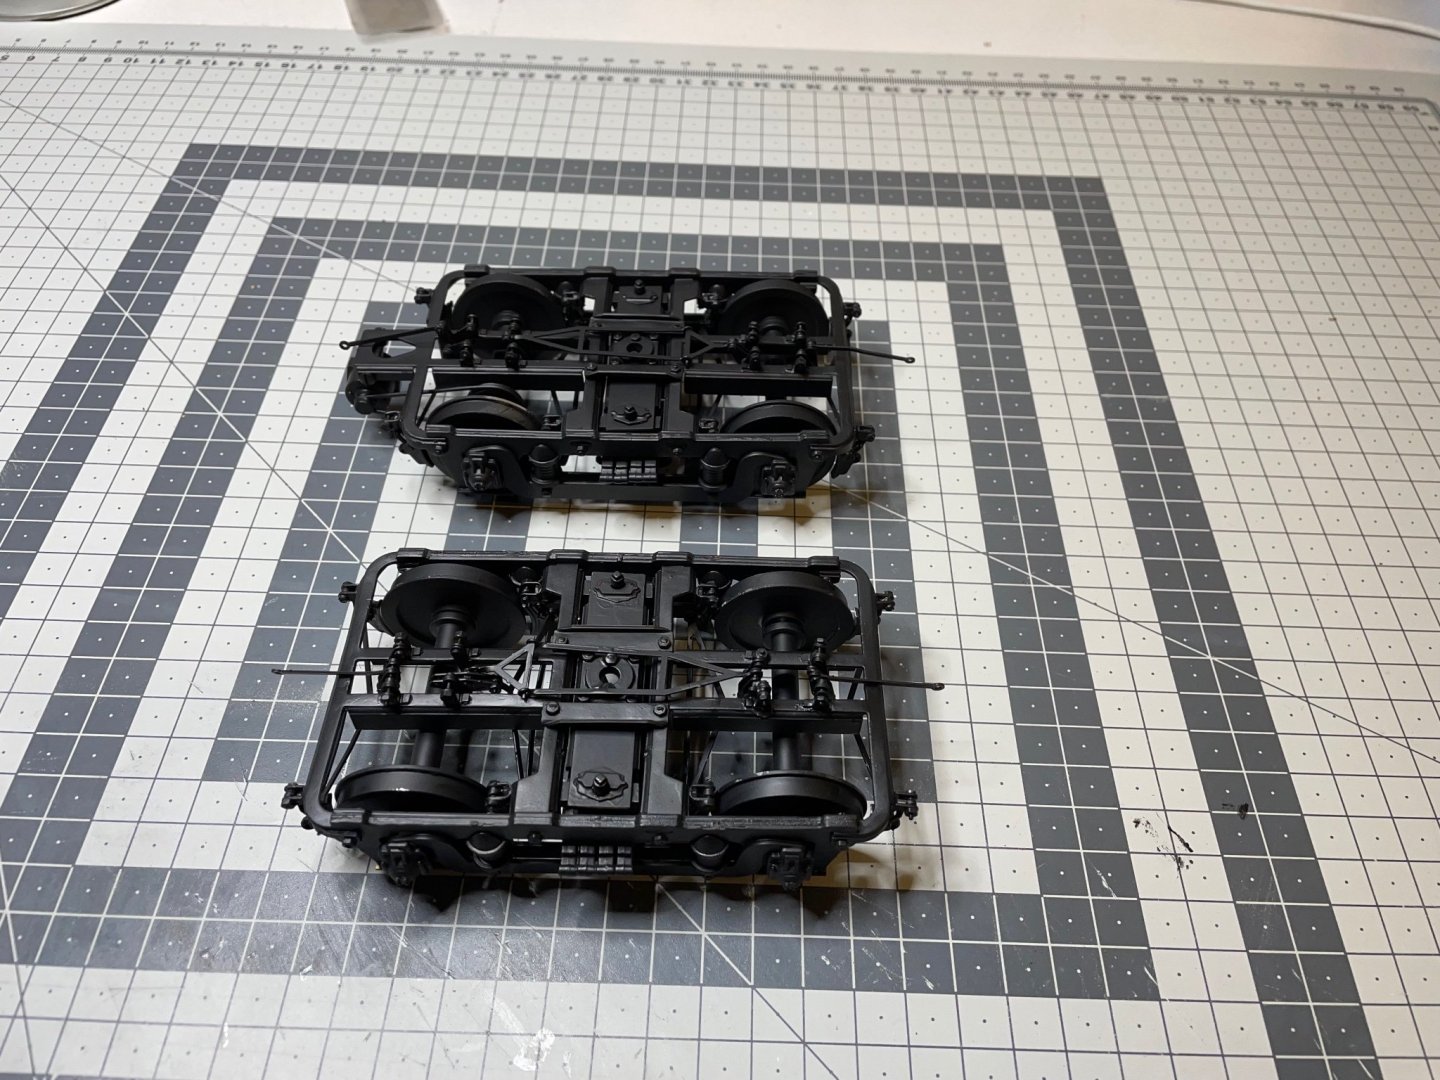
Figure 119: Alright, I have now installed the control system and repainted the bogies with my airbrush. Installation of screws and nuts did not go perfectly at every spot, e.g. sometimes I had to use superglue where I couldn't fit the nuts, but I am overall happy with the result. As per the discussion about the paint on the wheels touch surface, I don't know yet if I will remove the paint on those surfaces or not. At least this way, they are compliant with the instruction manual. I guess I will stop now for a few days. The missing L-profile, which acts as a support for the body work, has been dispatched by Amati and is on the way. It should arrive during the week. I need it in order to continue. I am also rather busy with other daily work. That's all for today! Thanks for watching!
- 293 replies
-
- 13
-
-
Figure 118: Preparing for airbrush paint. This is a nice tool I bought on Amazon. I had been missing something like this for my paint jobs. Very handy indeed. It also has a storage, you can store the sticks in it when not in use. The crocodile clamps come with removable rubber covers (removed for this purpose) for grabbing sensitive parts without harming.

- 293 replies
-
- 10
-
-
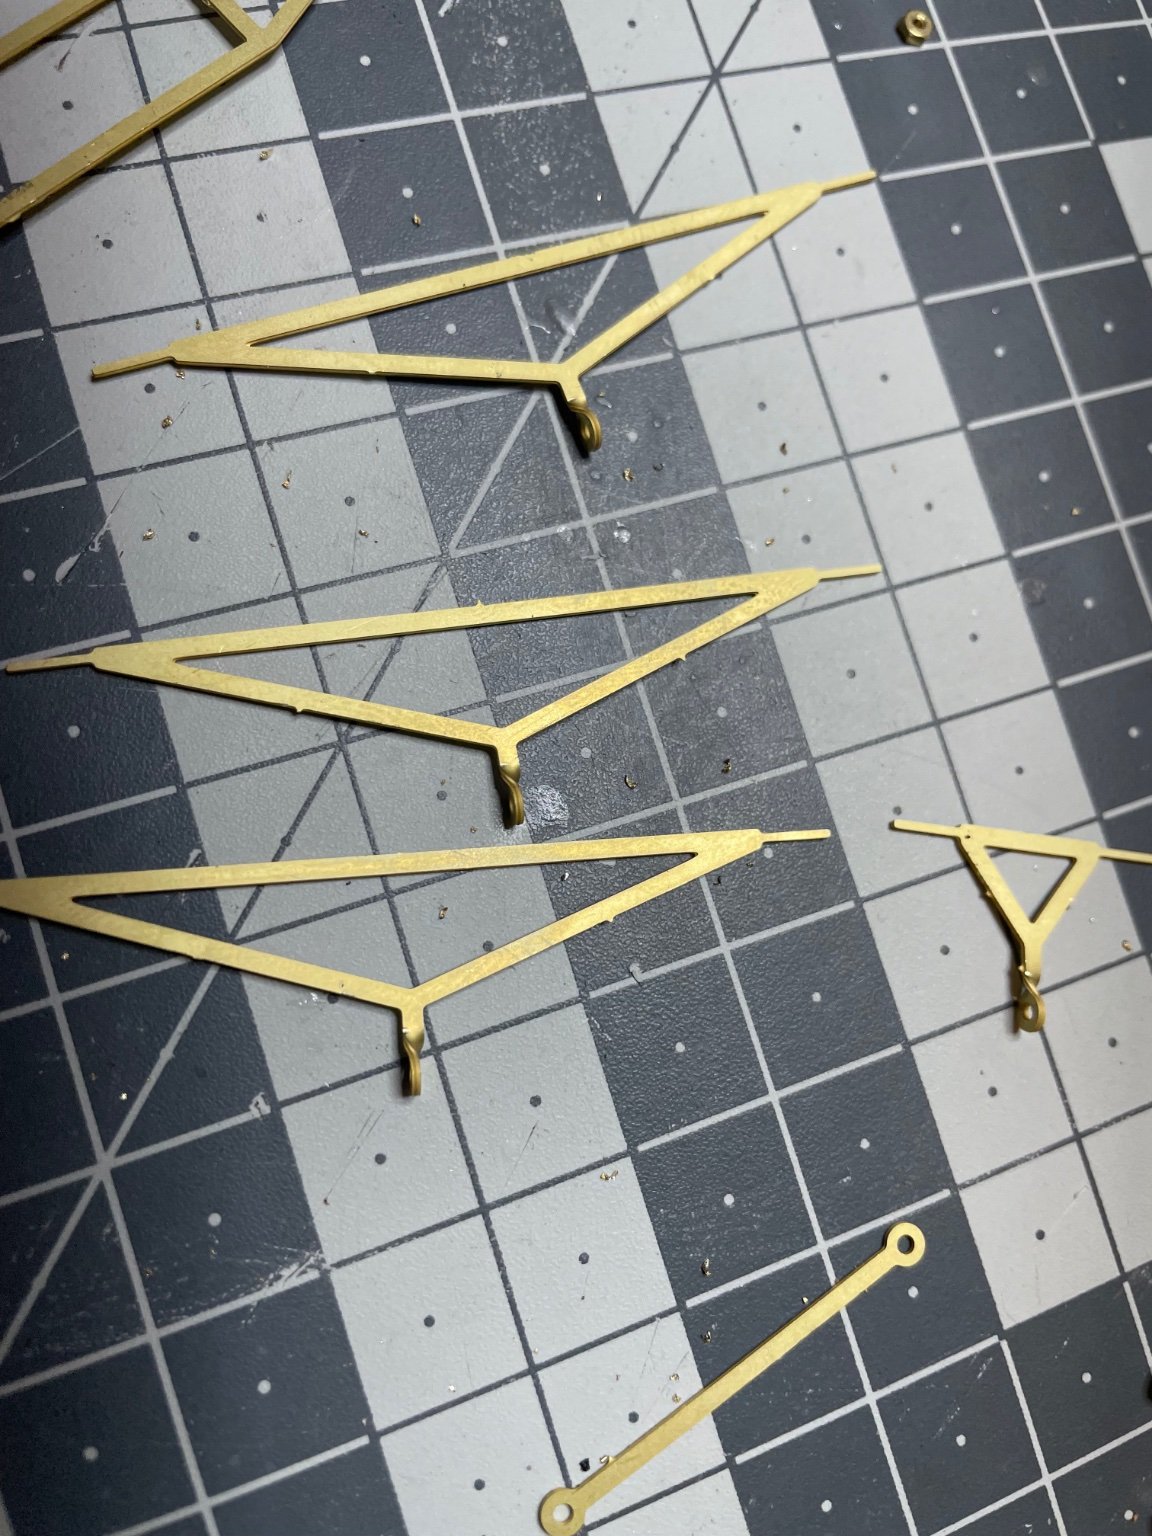
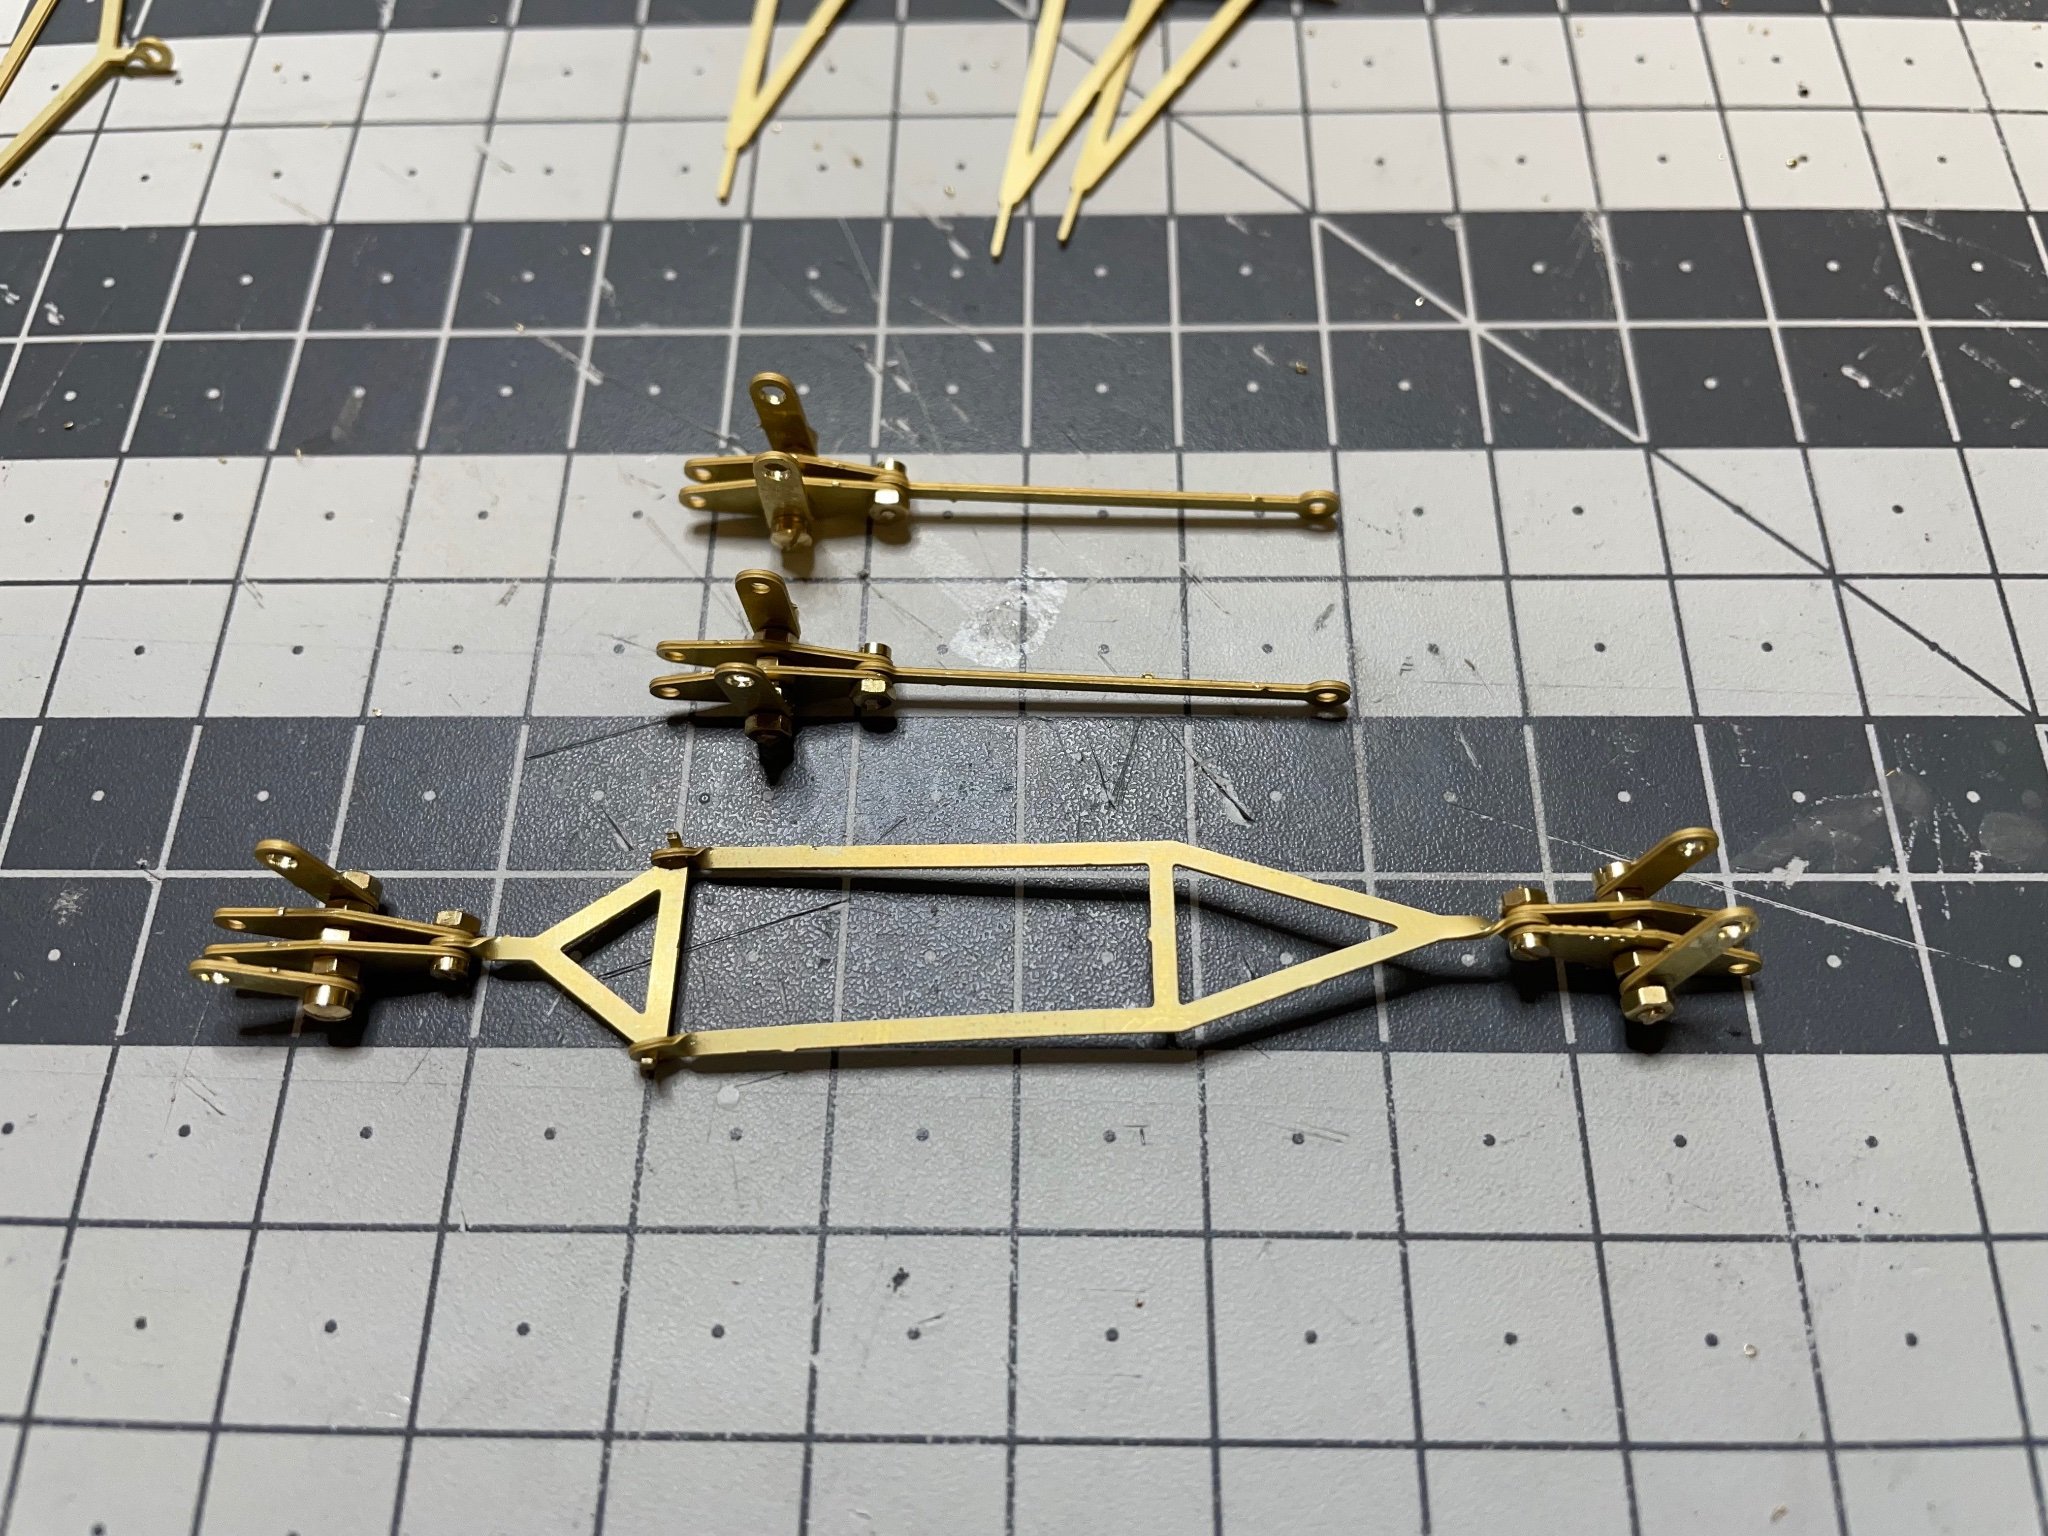
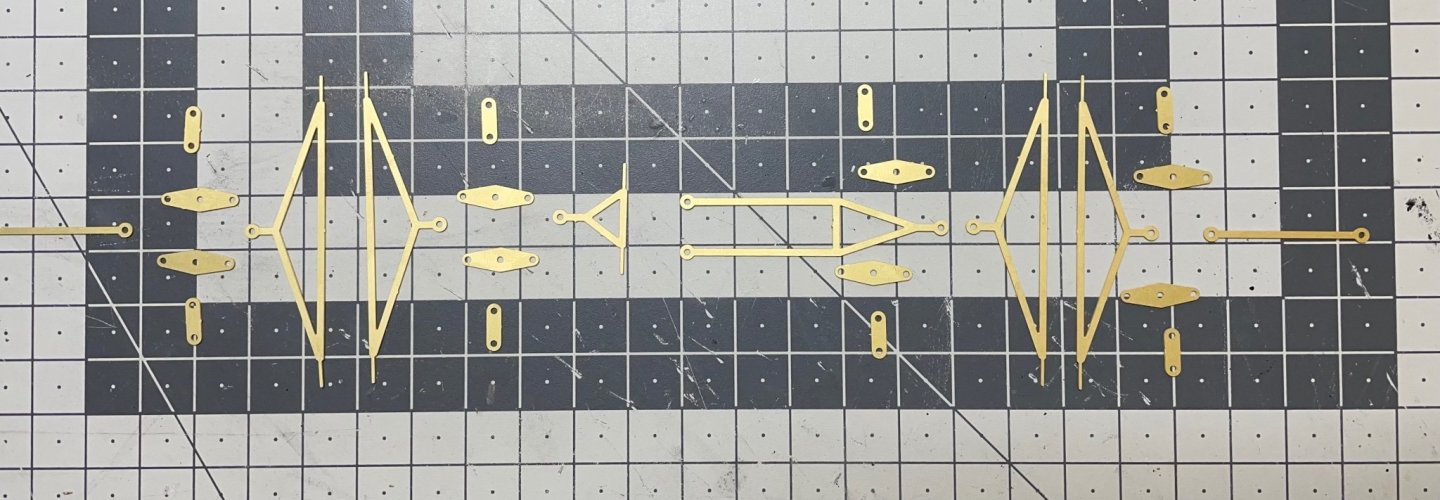
Figure 113: Parts layout for the wheel control system, on the manual... Figure 114: ... and on my workbench.

-
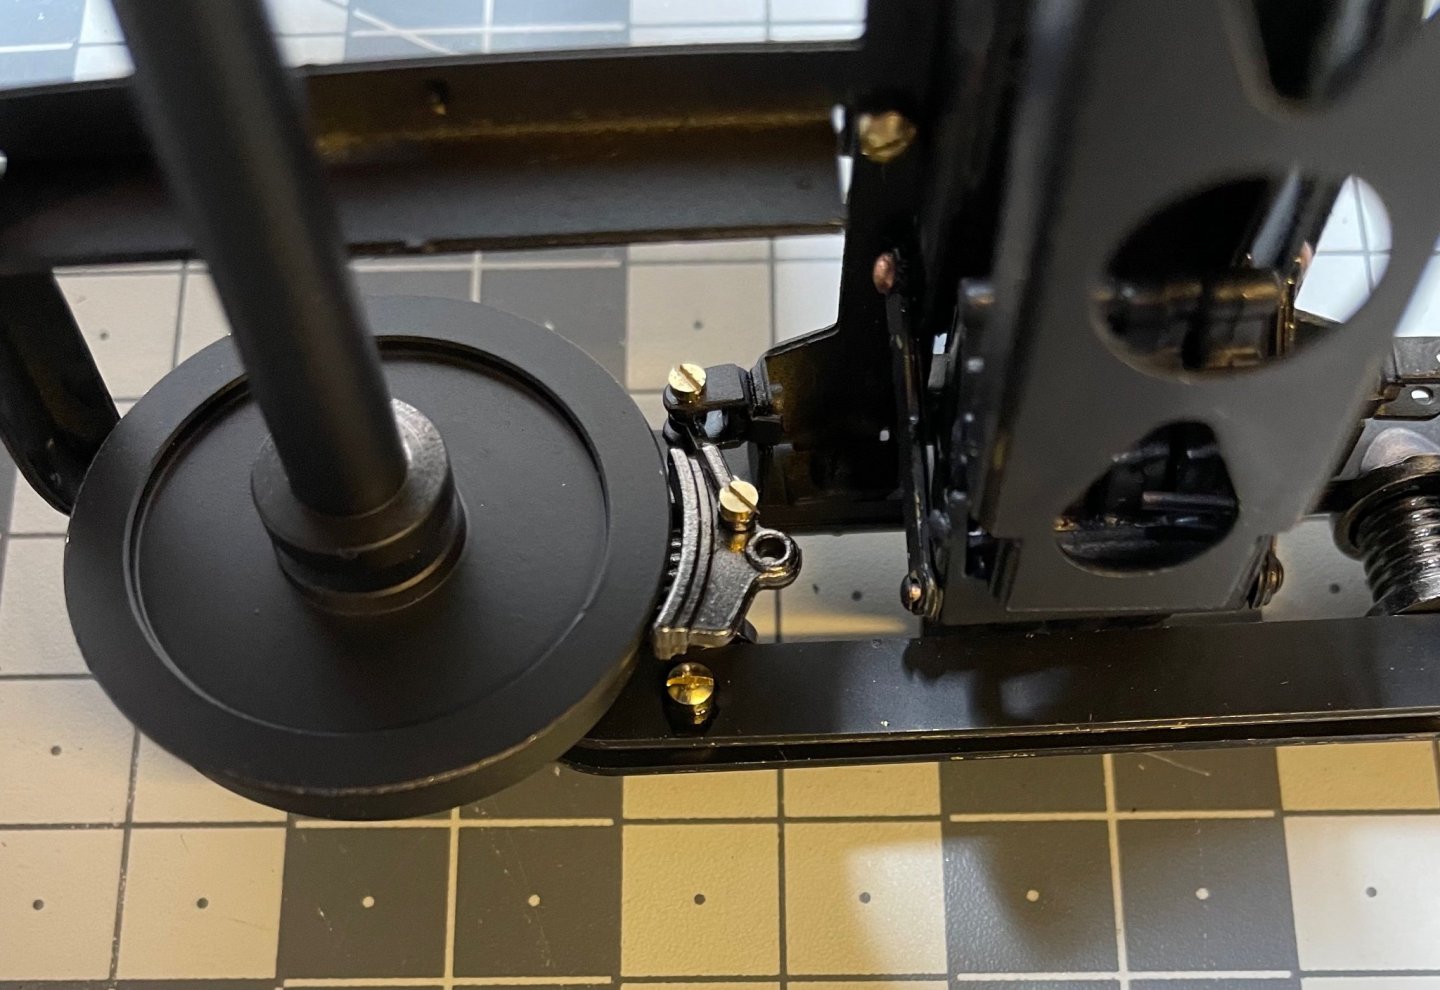
BUILD DAY 8: 4 hrs (TOTAL: 27 hrs) Figure 112 : A close-up to the brakes. Not all 16 of them came up this neat 🙂. This particular one in the photo has been my best installation of the inner-side brake shoes. At least with my skill set, even after so many done, it still feels pure luck to put those tiny nuts and bolts correctly. 🤣