aydingocer
-
Posts
916 -
Joined
-
Last visited
Content Type
Profiles
Forums
Gallery
Events
Everything posted by aydingocer
-
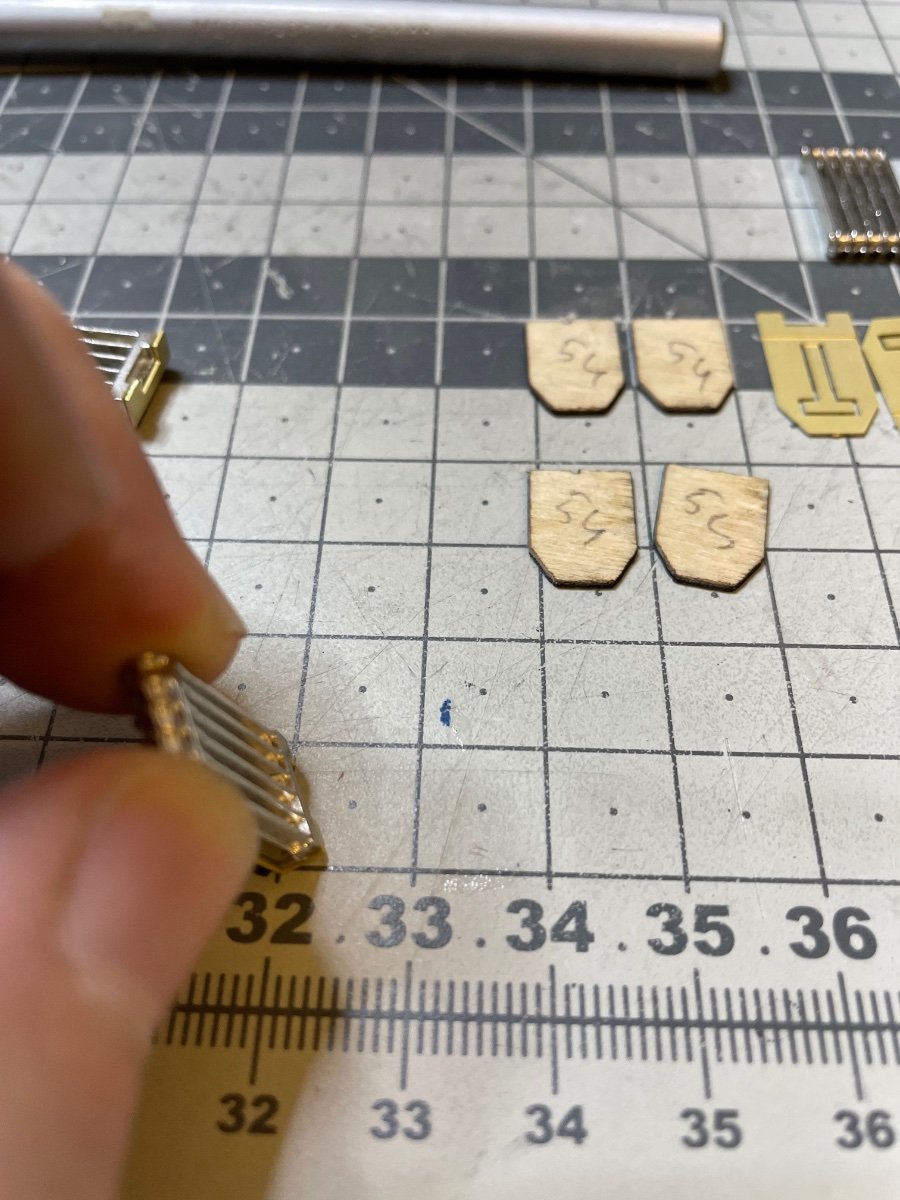
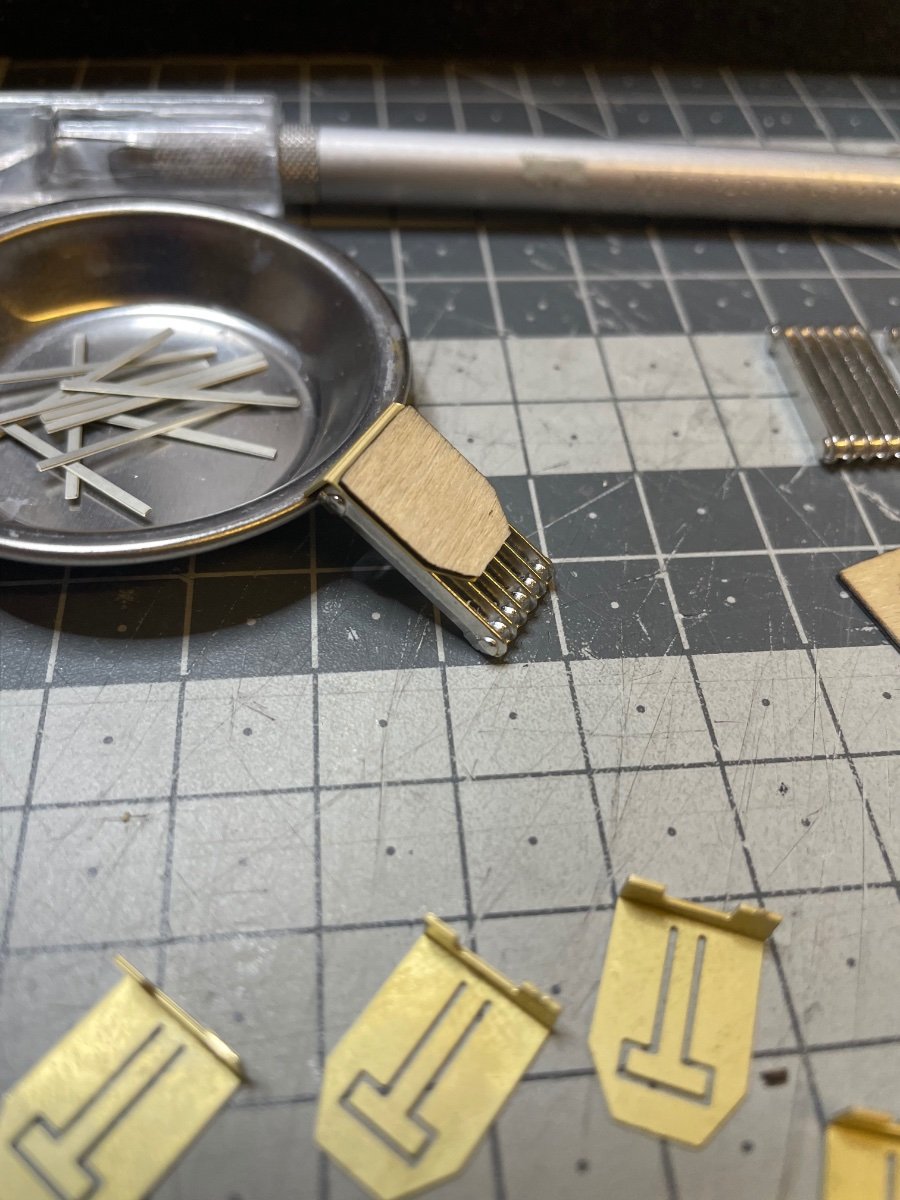
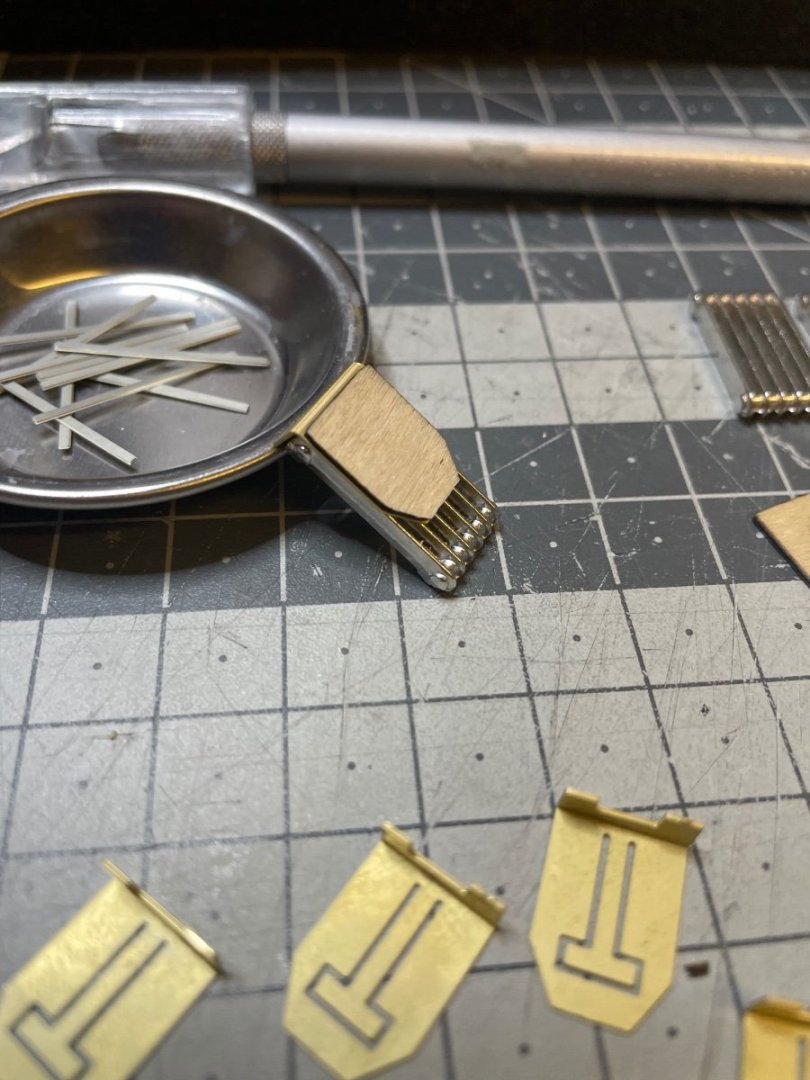
 Figures 352-353: See the folded ears extends over the radiator. They need to be trimmed (the second photo) to allow proper installation of the radiator on the wall.

- 293 replies
-
- 11
-

-
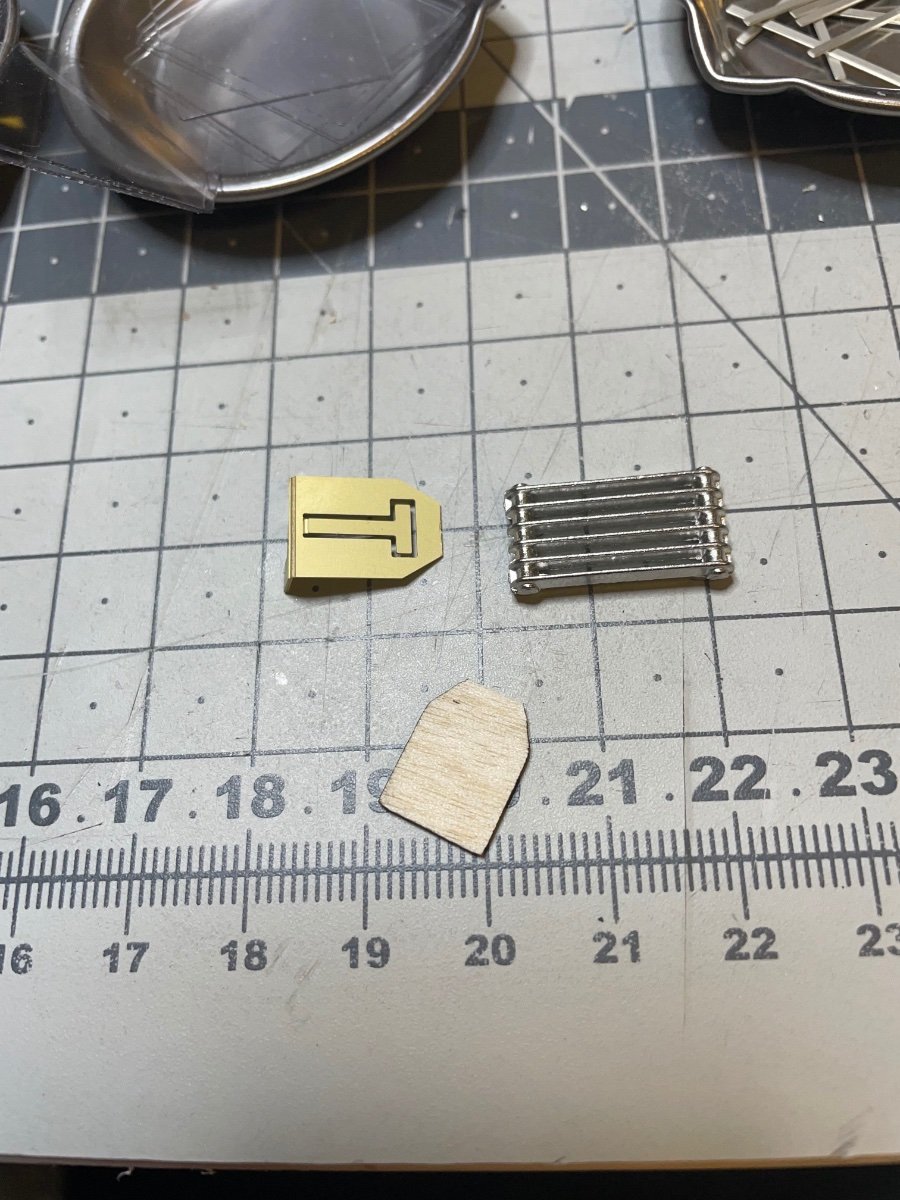
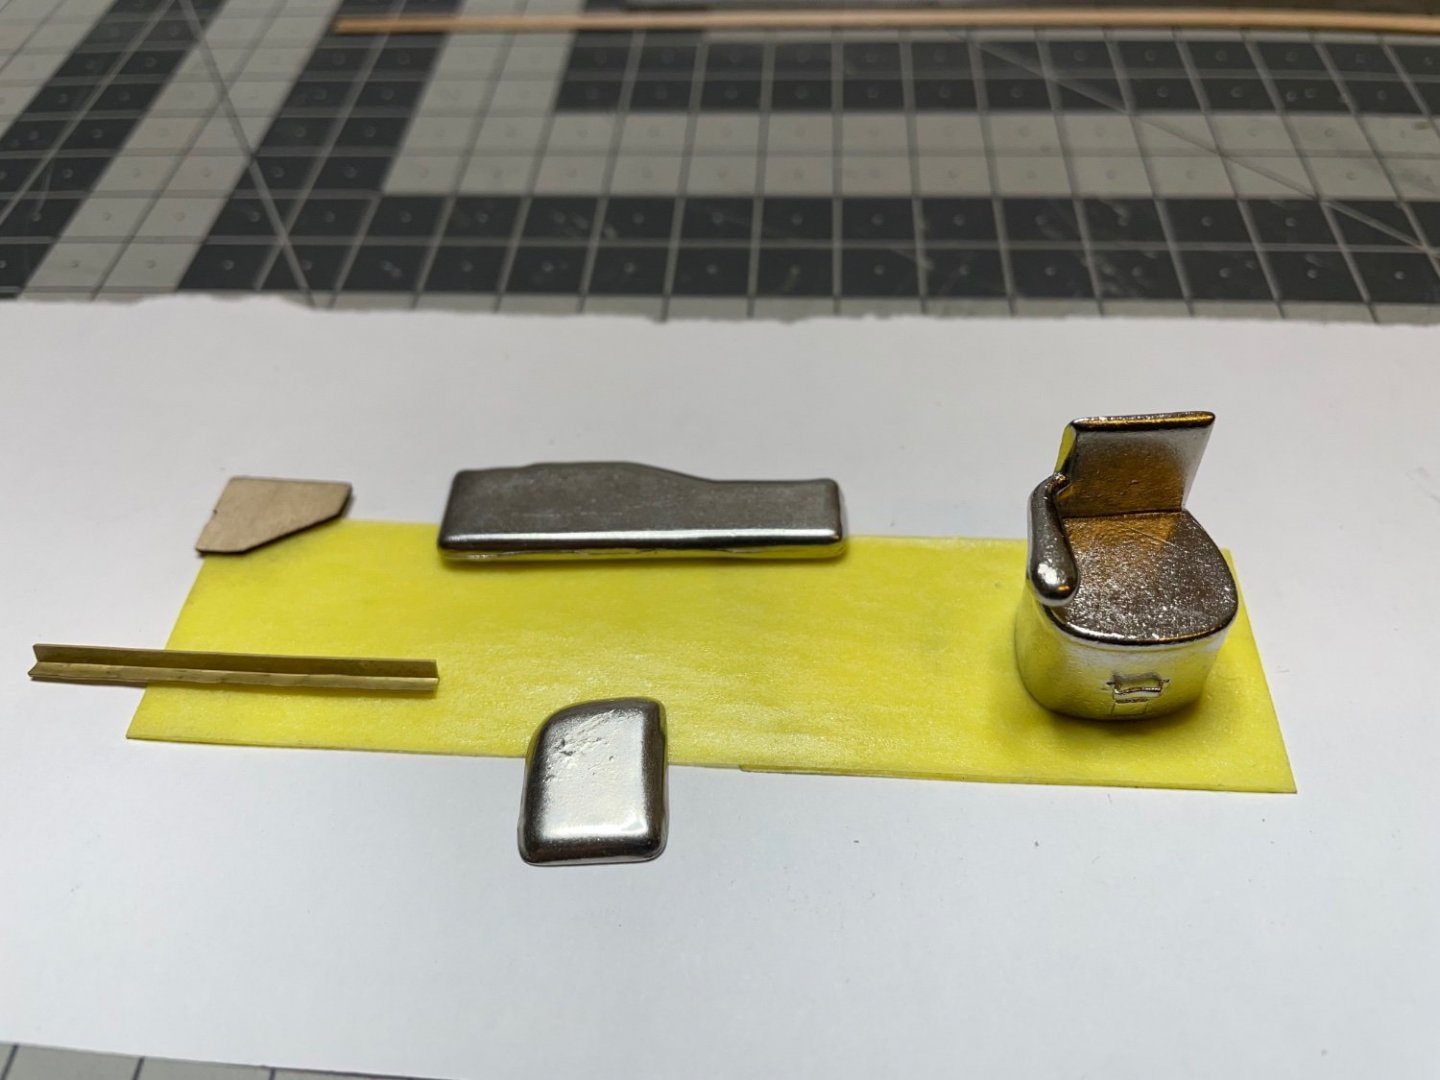
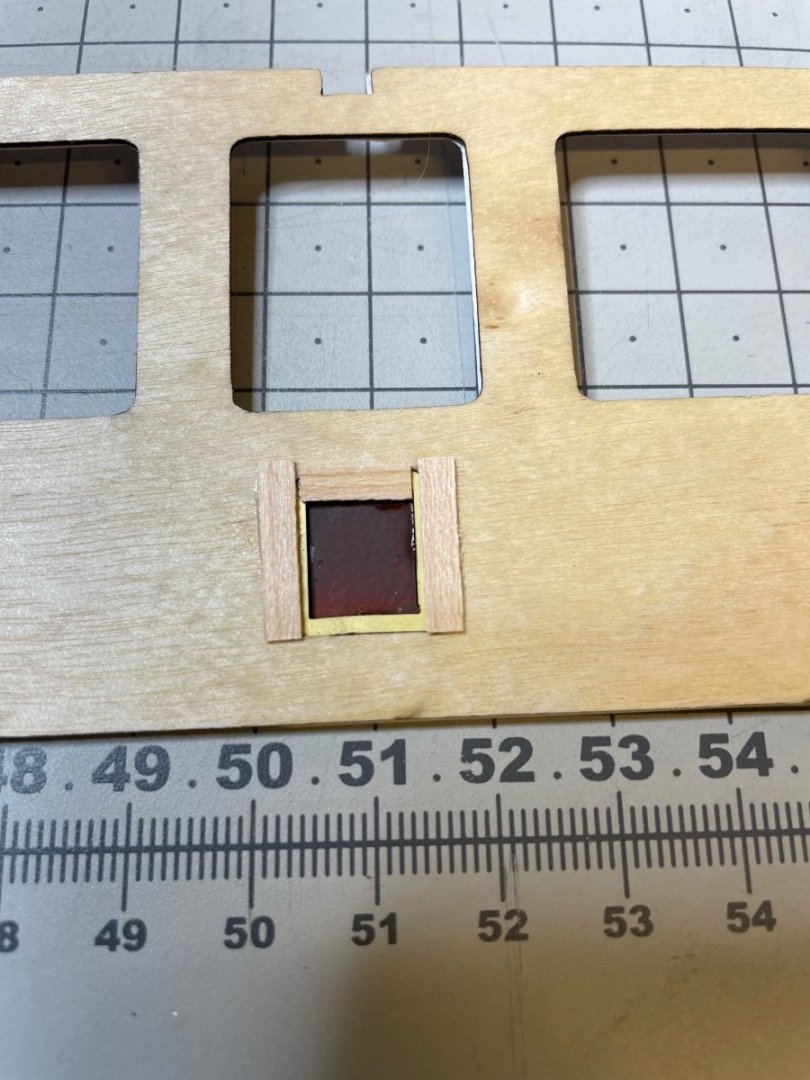
Continuing with the radiator/folding table combination. Tables can be set folded or open. It is up to the builder to decide how many of which to build. I checked carefully with each compartment to ensure that the compartment furniture (such as freely placed the stools) won't obstruct the open table and decided to build 4 of them open and 6 of them folded. Figure 350: The radiator, (metal), wooden table surface (wooden). Figure 351: First folded table ready.

-
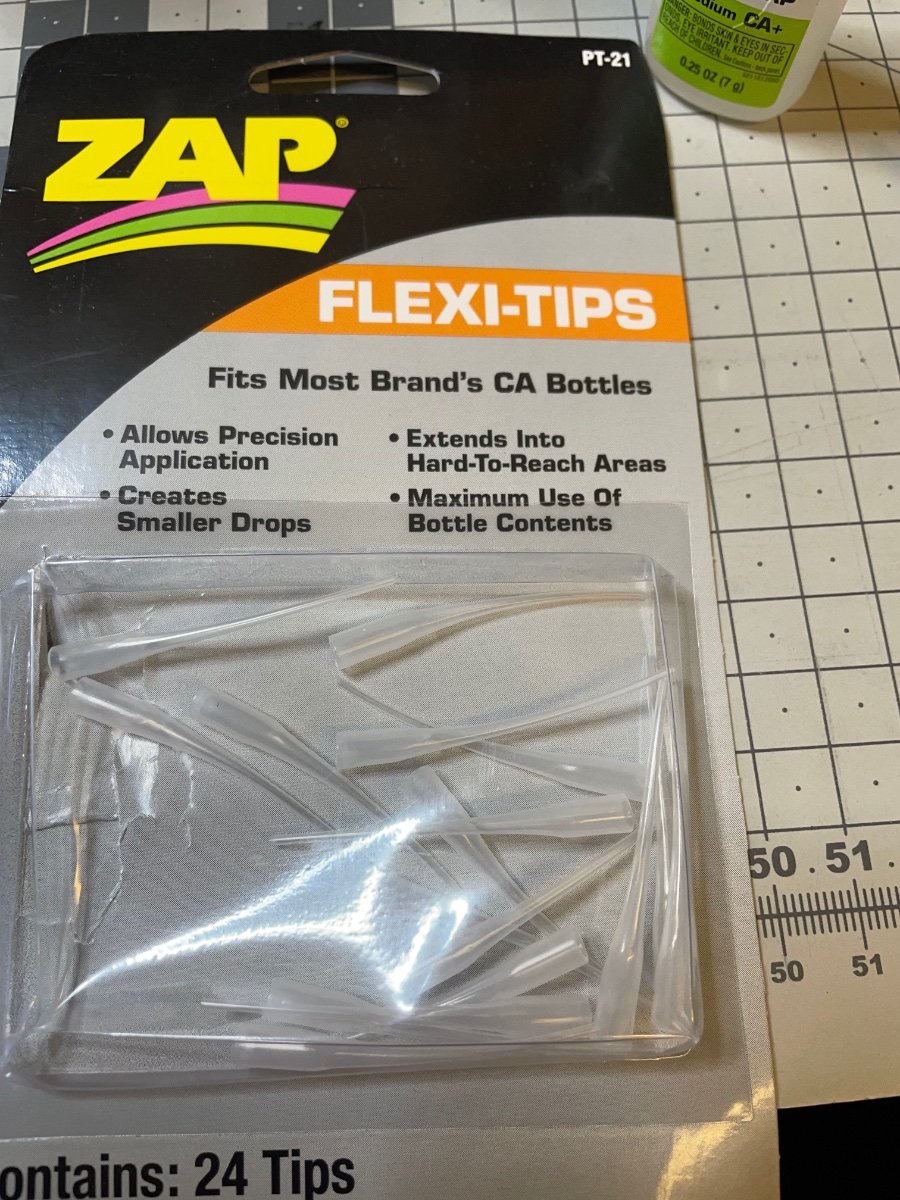
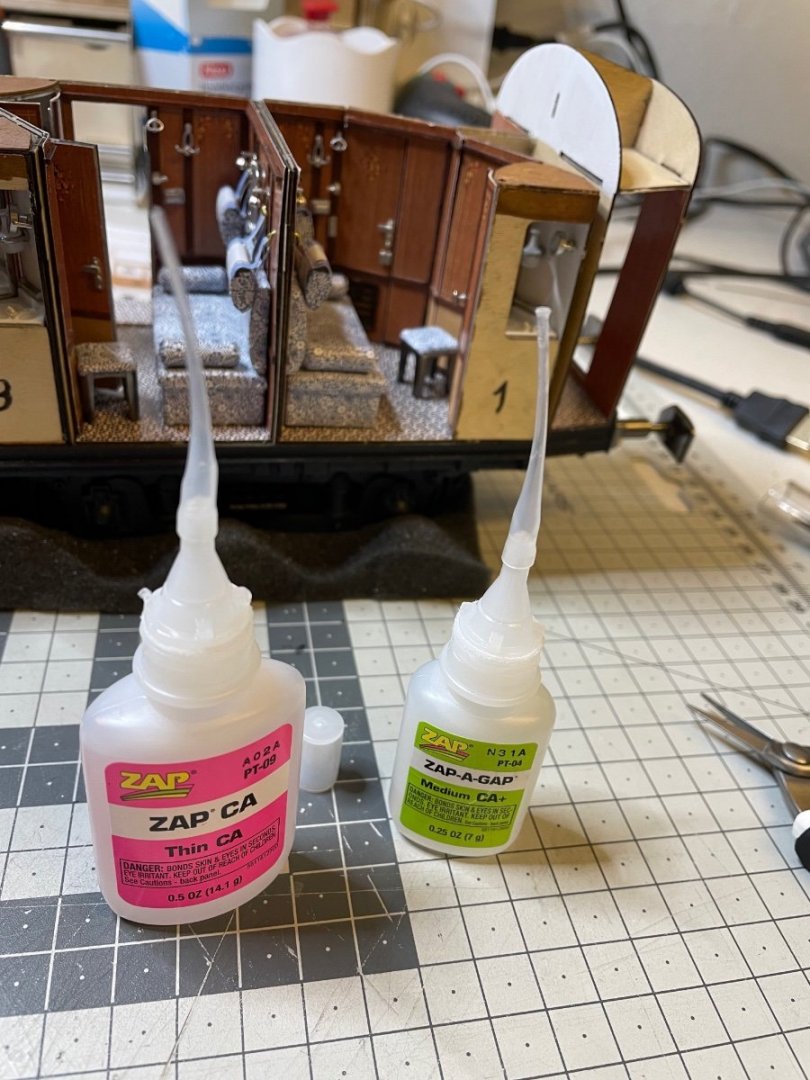
BUILD DAY 34 / 1 hr / (TOTAL: 90 hrs) Figures 348-349: A recommendation before I start this day's log. I have been using these medium and thin CA glues in this kit. The disposable flexi-tip nozzles fit both viscosities perfectly. No glue stain anywhere else than exactly where you need it to be. Highly recommended.

-
🤣 Believe me I tried to forget thinking about buying it many times, but finally the curiosity won. But it is worth every penny so far. Great kit and great experience!
-
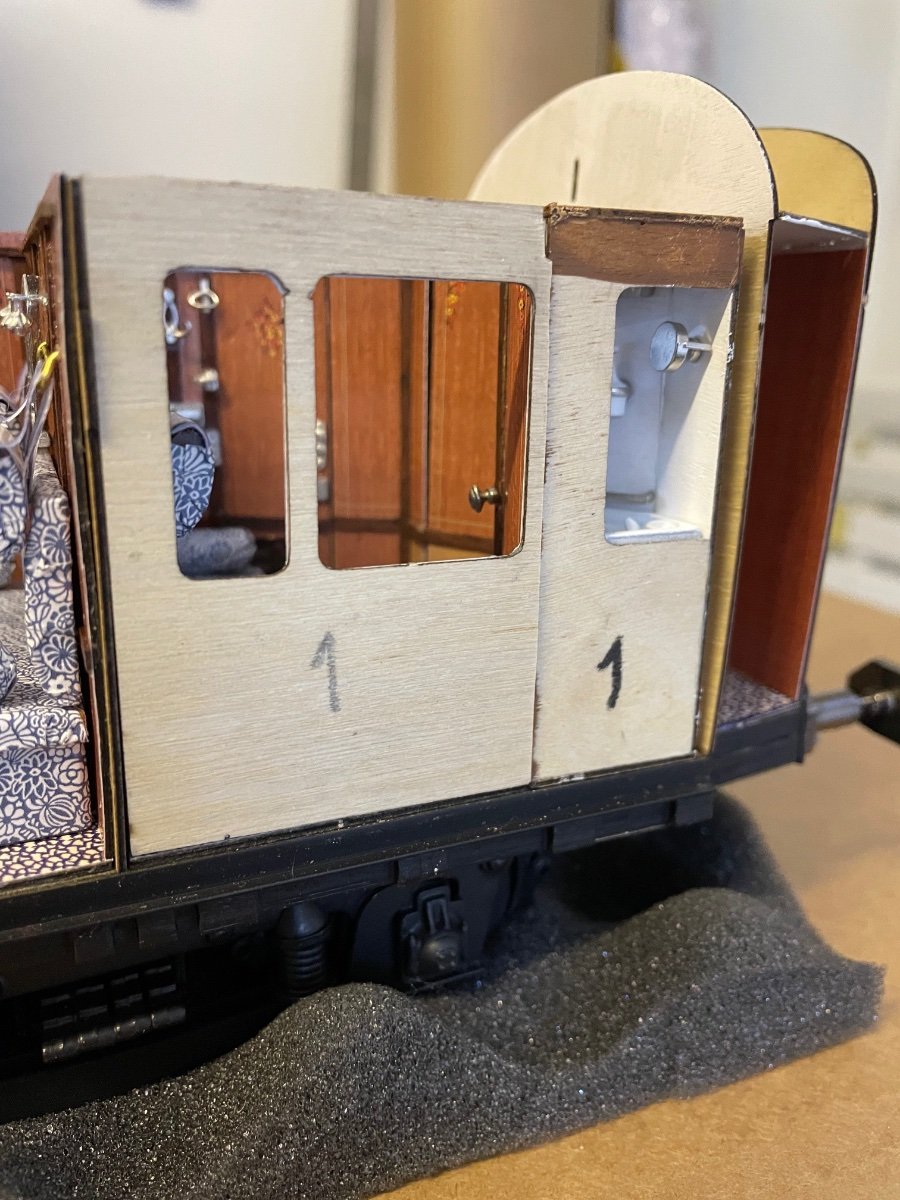
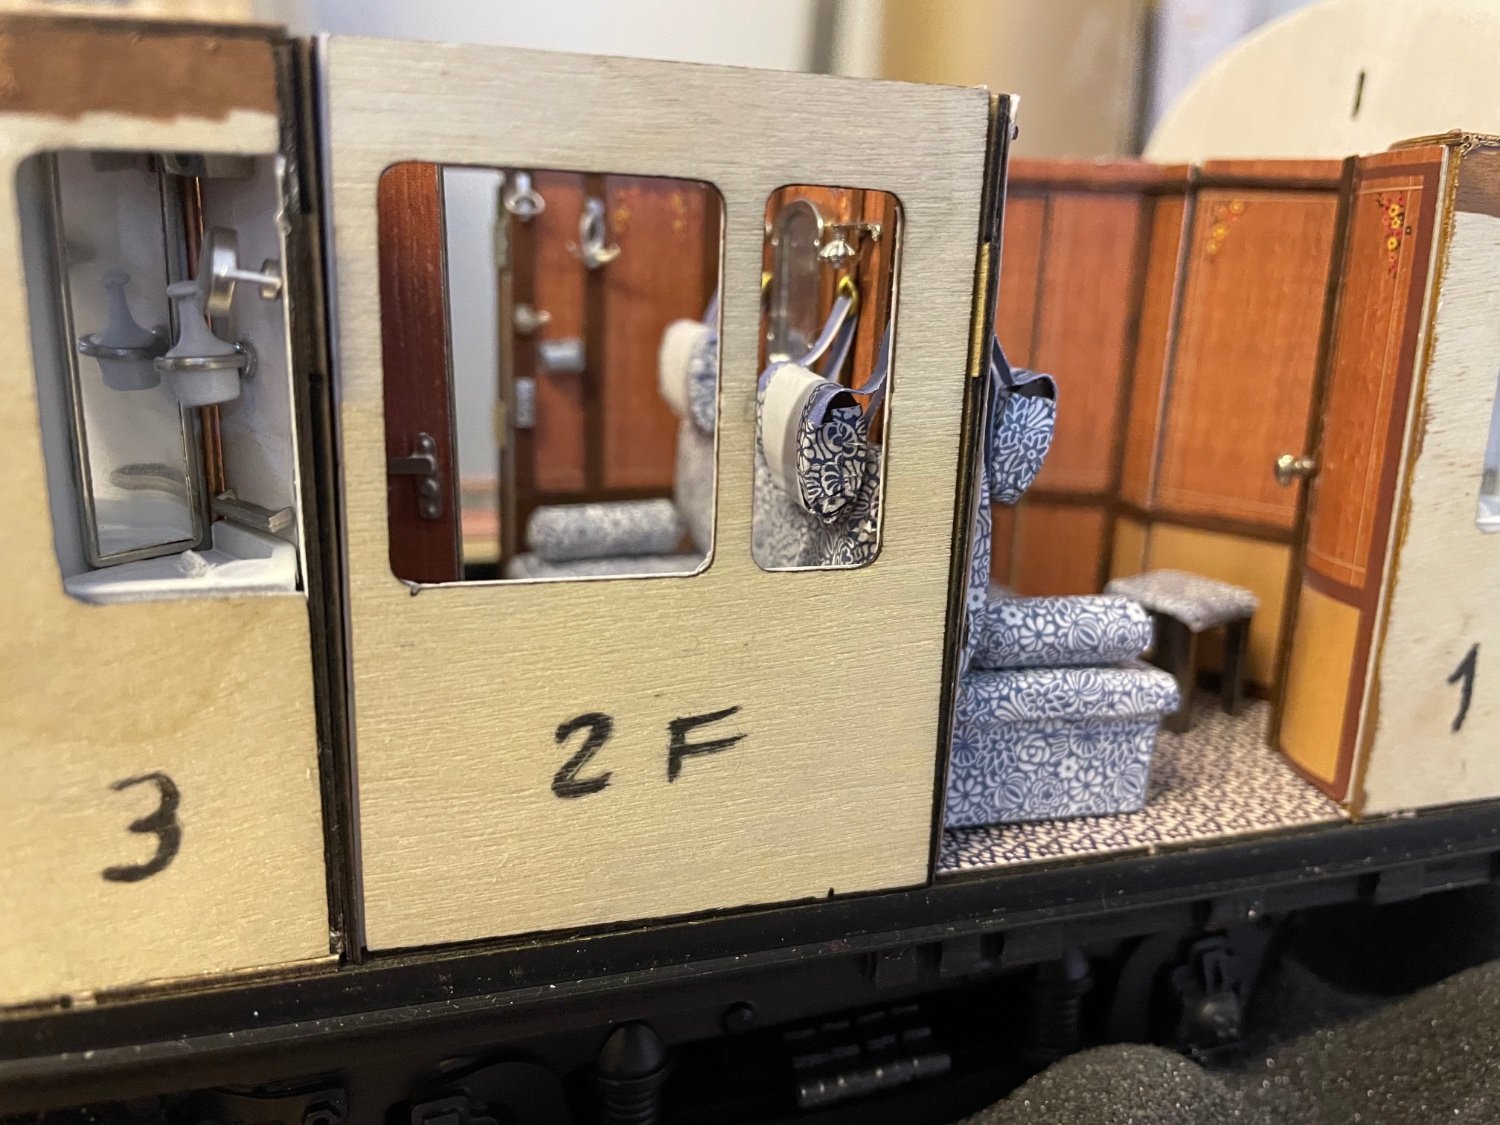
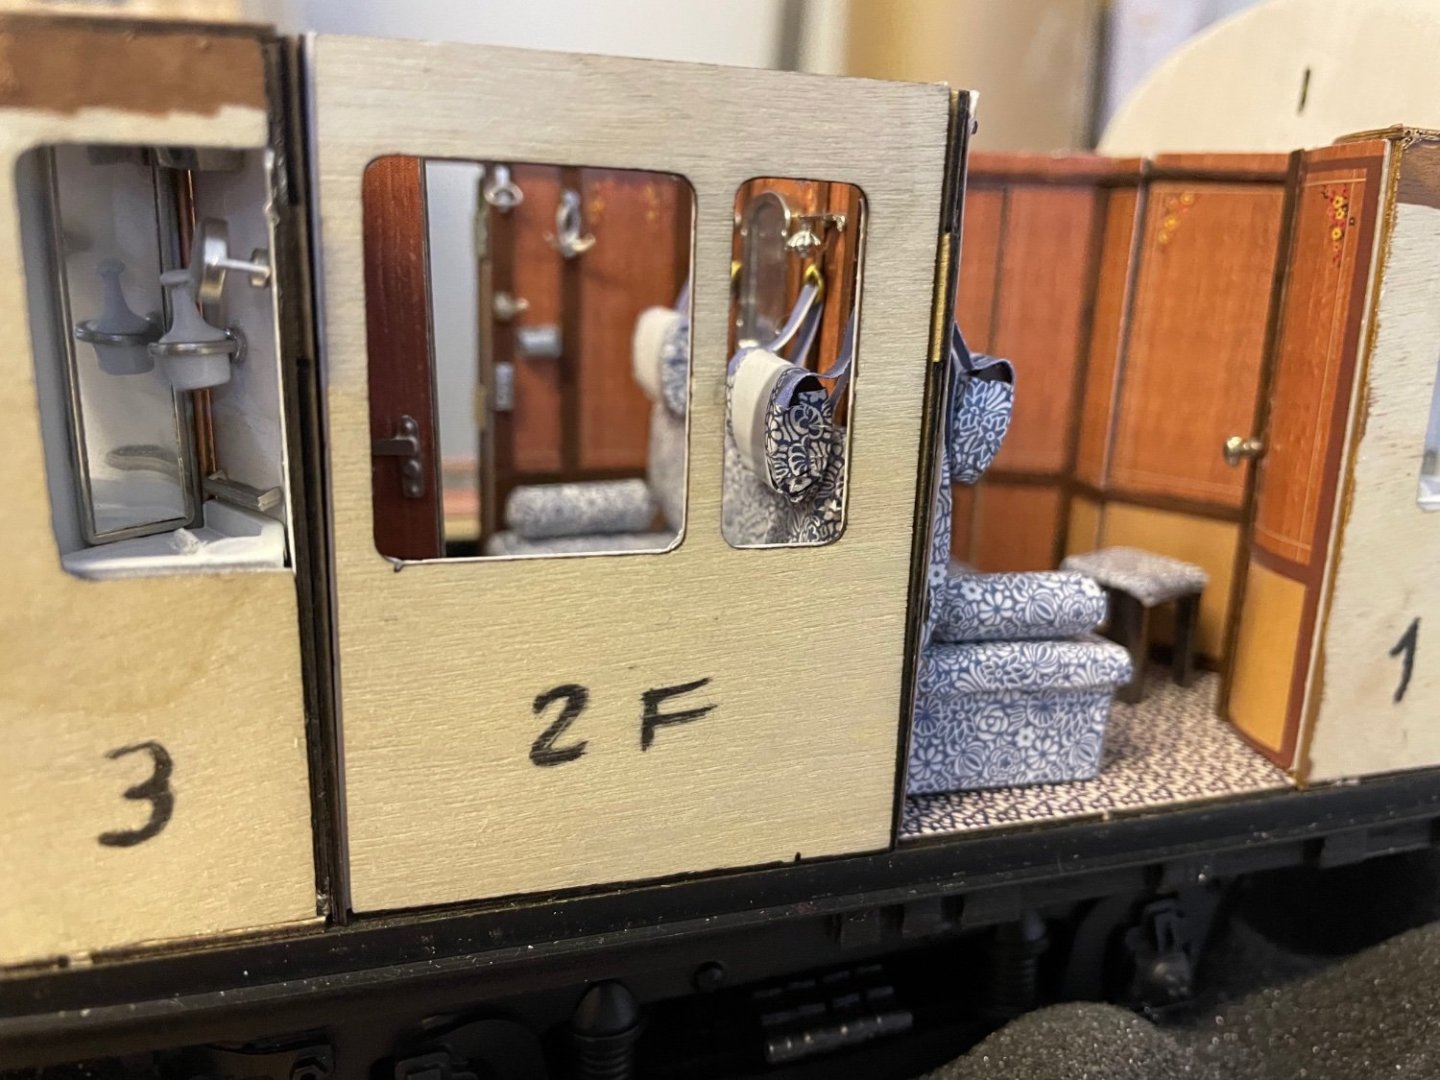
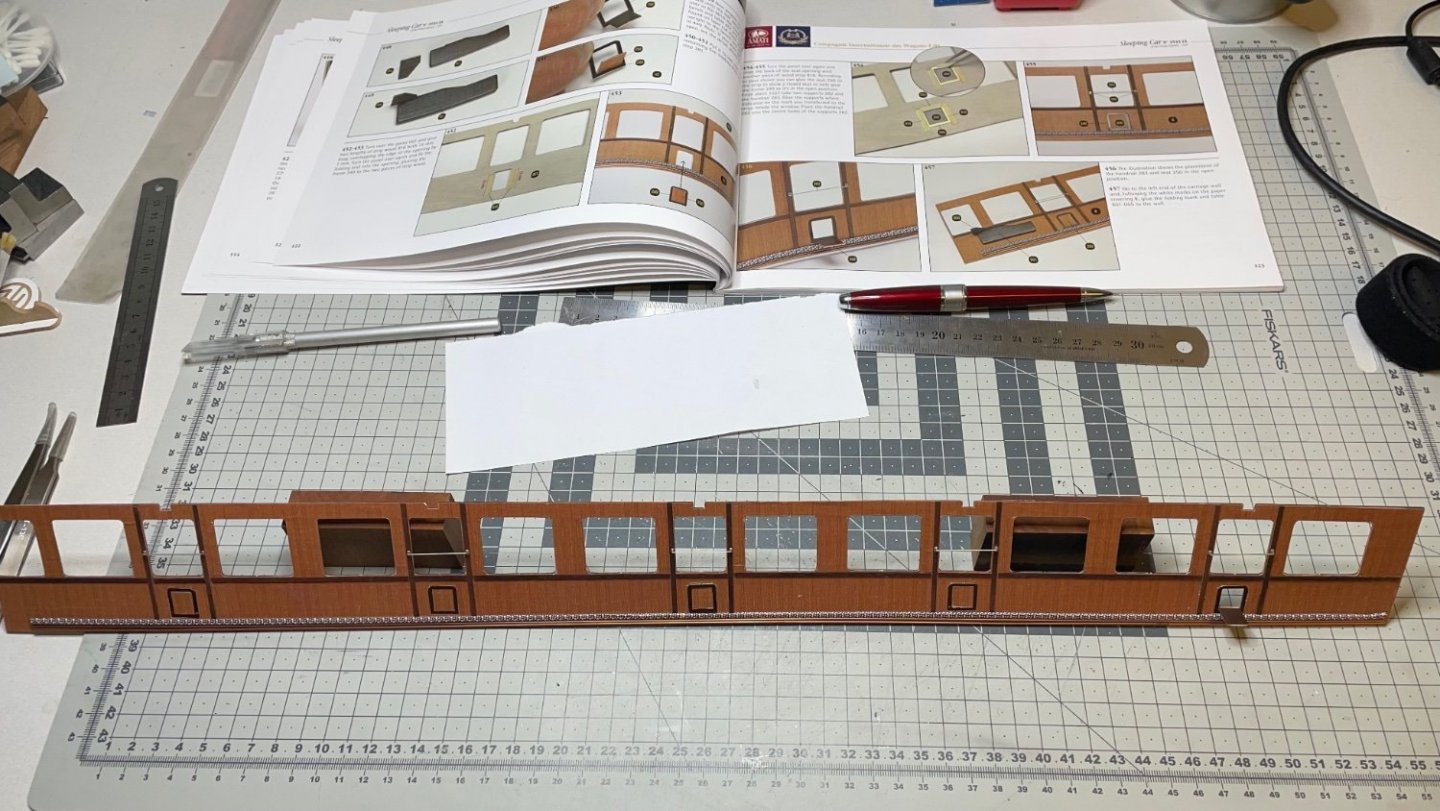
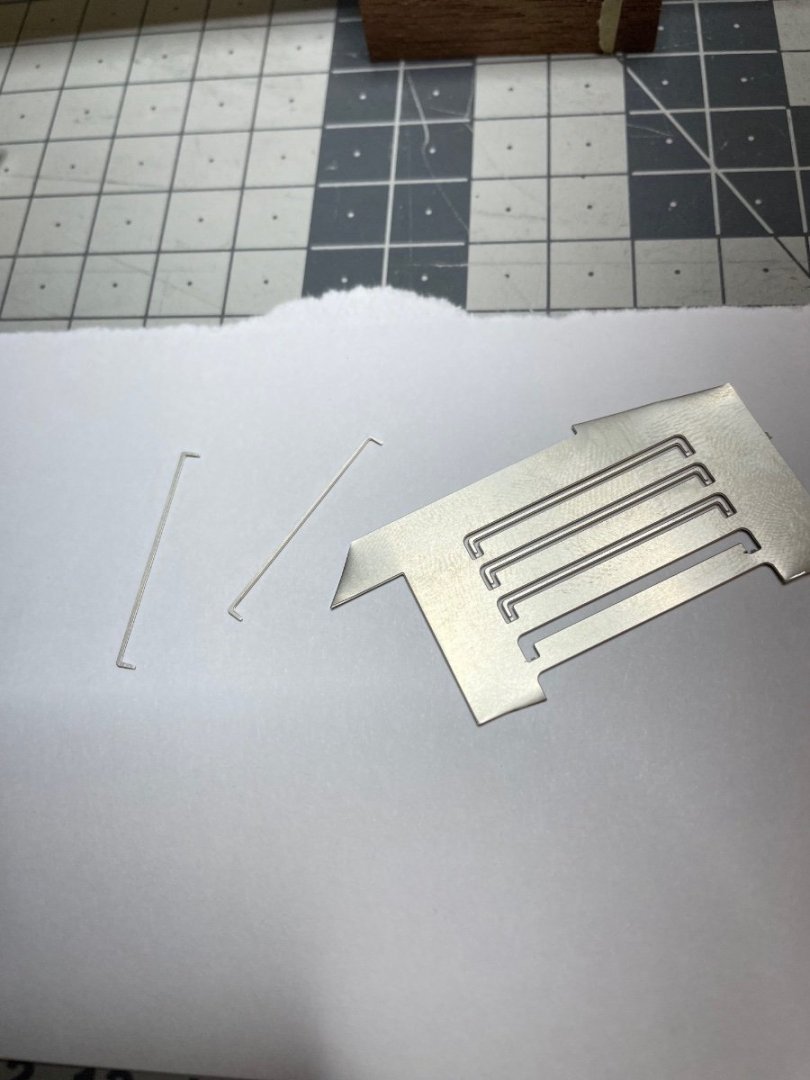
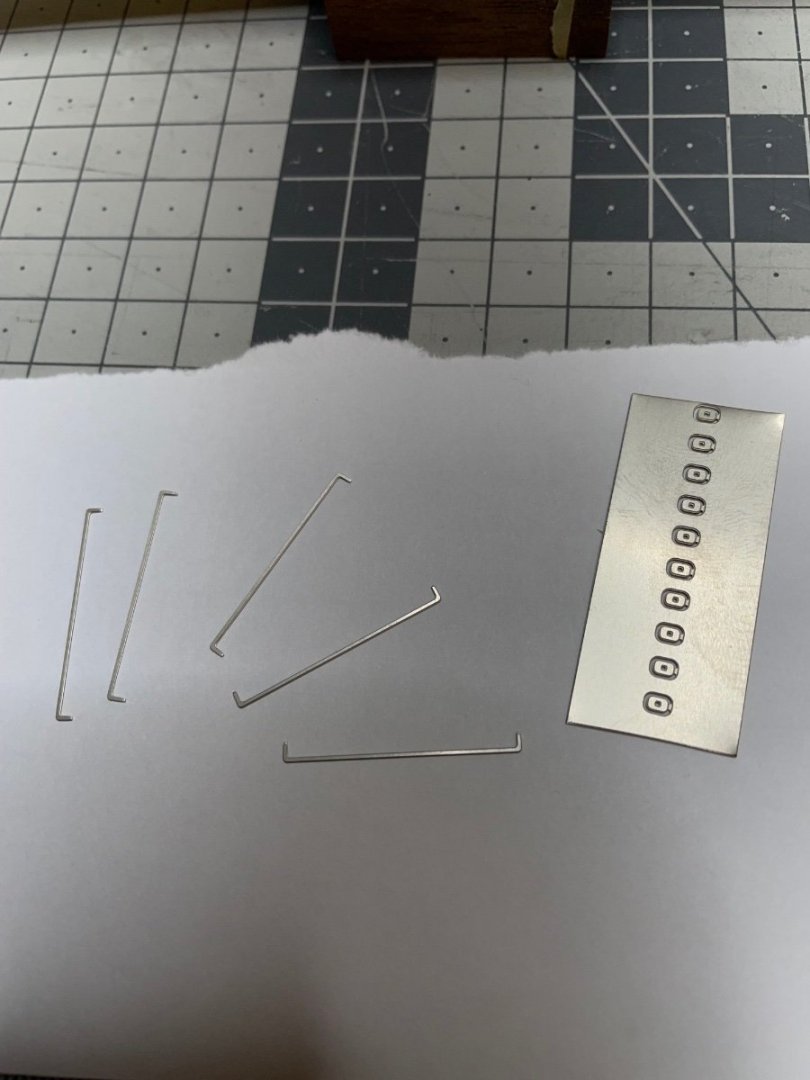
BUILD DAY 33 / 2 hrs / (TOTAL: 89 hrs) Now it is time to do the compartment side carriage wall. Here the inner walls for each compartment is separate and therefore it is a bit trickier. According to the instructions you first dry fit the inner walls and make the necessary trims and adjustments, then glue all of them to their place on the outer wall. And then you glue the whole thing to the wagon, hoping that all the sockets, walls and whatnot will just fit and snap nicely 😆. I am sure that it won't be the case for me so I decided take a different approach. If an inner wall requires trimming and adjustment, I will glue them directly to the carriage thereby reducing the risk of preventing a good installation. Figures 345-347: Some photos below showing my progress of dry fitting the inner walls. Before gluing the inner walls to their place, I will need to install on them a few things like the folding table, heating radiator, window stoppers and jacket hook. Figure 348: Parts for constructing the folding tables and radiators. That's all for now. Thanks for watching!


- 293 replies
-
- 15
-
-
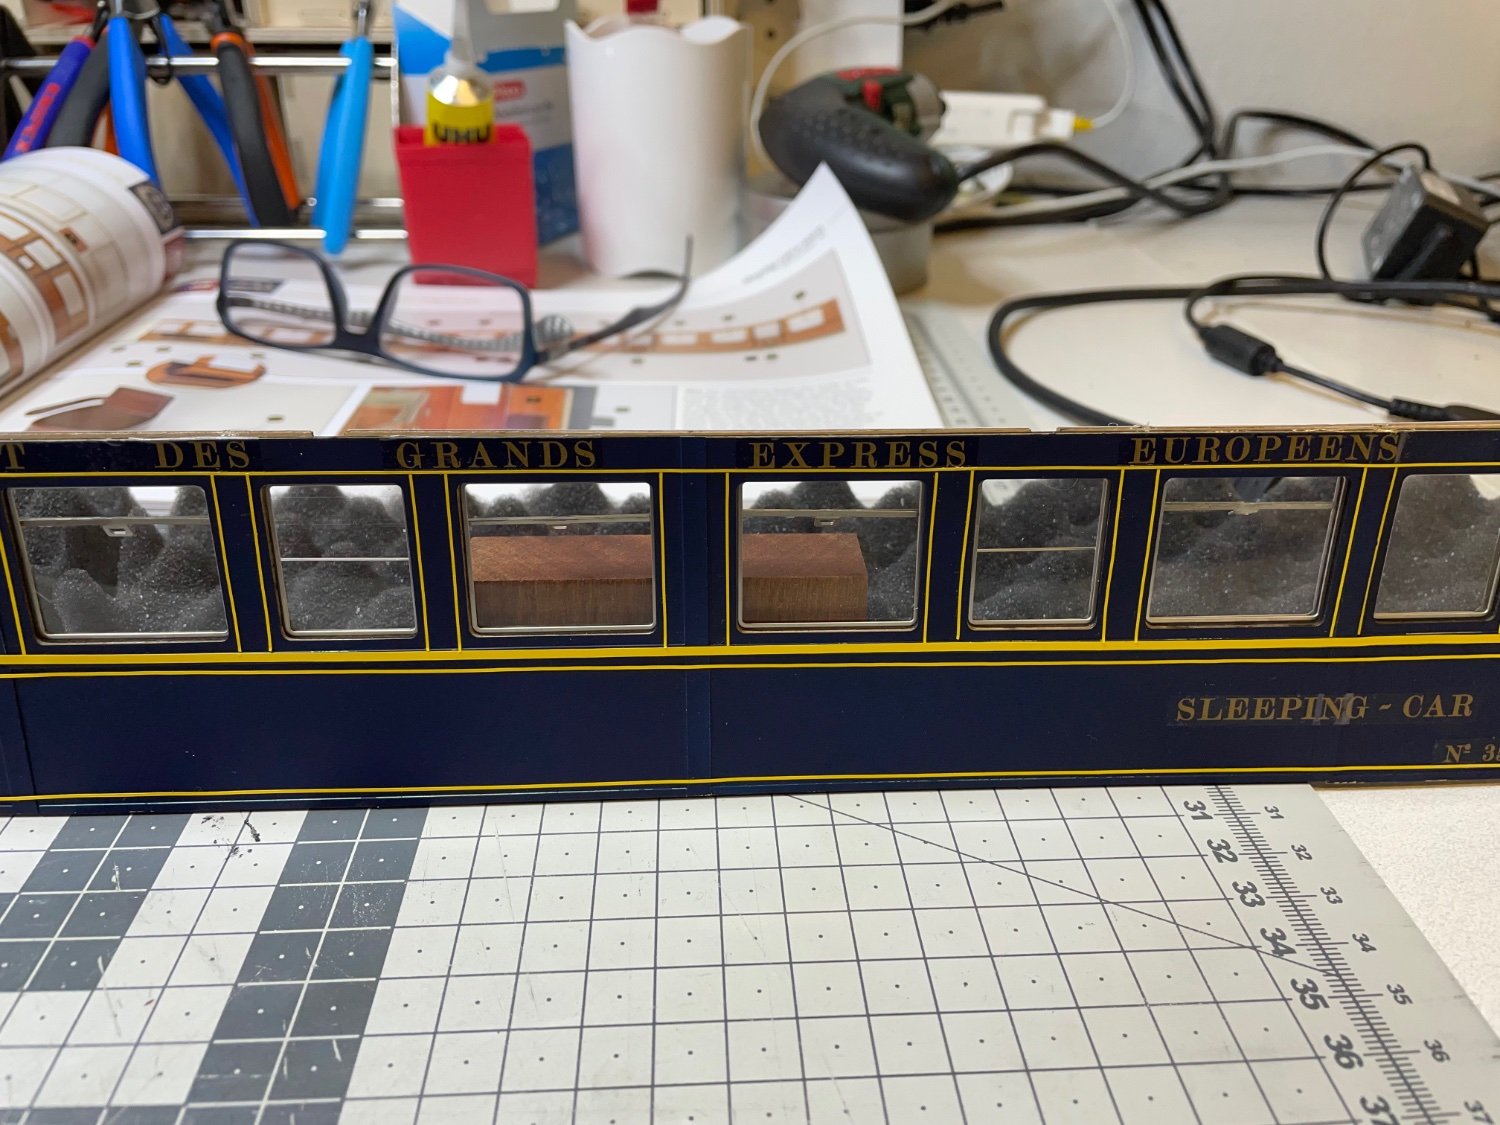
Figures 343-344: Photos from the current status: That's all for now! Thanks for watching!


- 293 replies
-
- 13
-
-
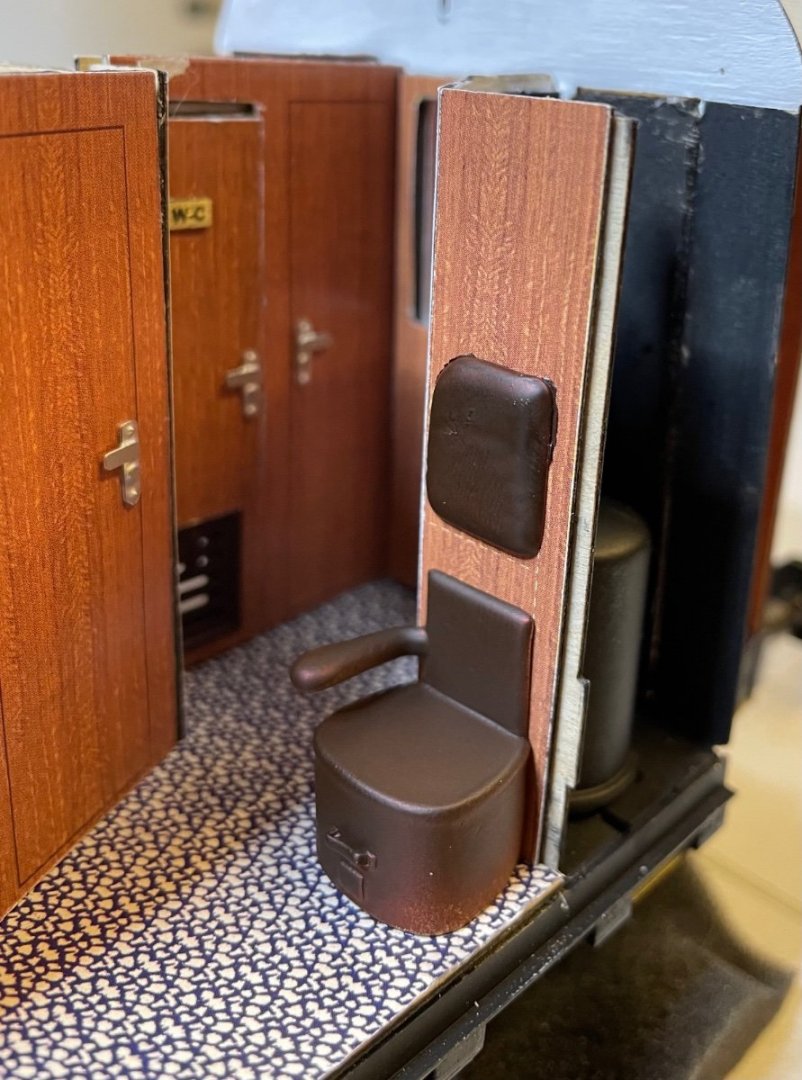
Figure 340: I installed the corridor seat in place while waiting for the wall assembly above to dry.
- 293 replies
-
- 10
-
-
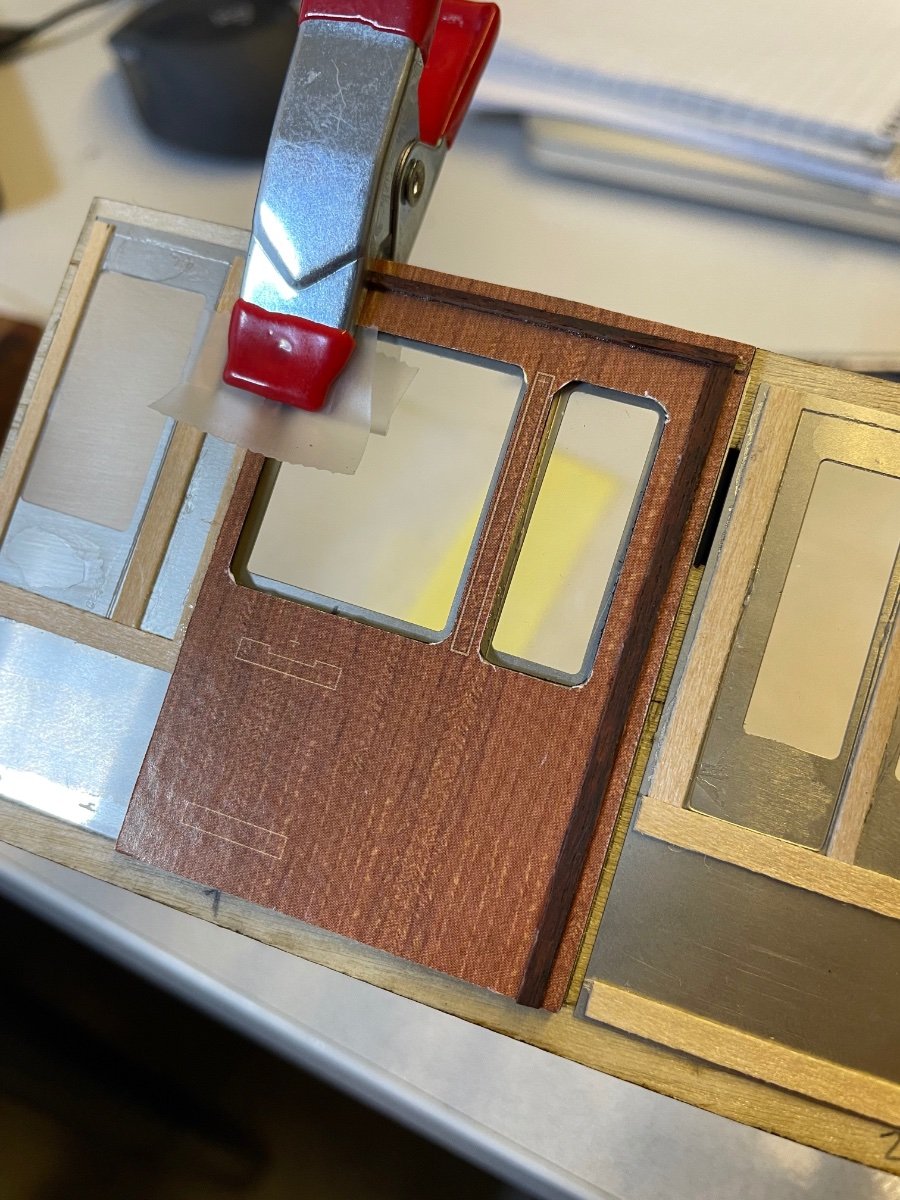
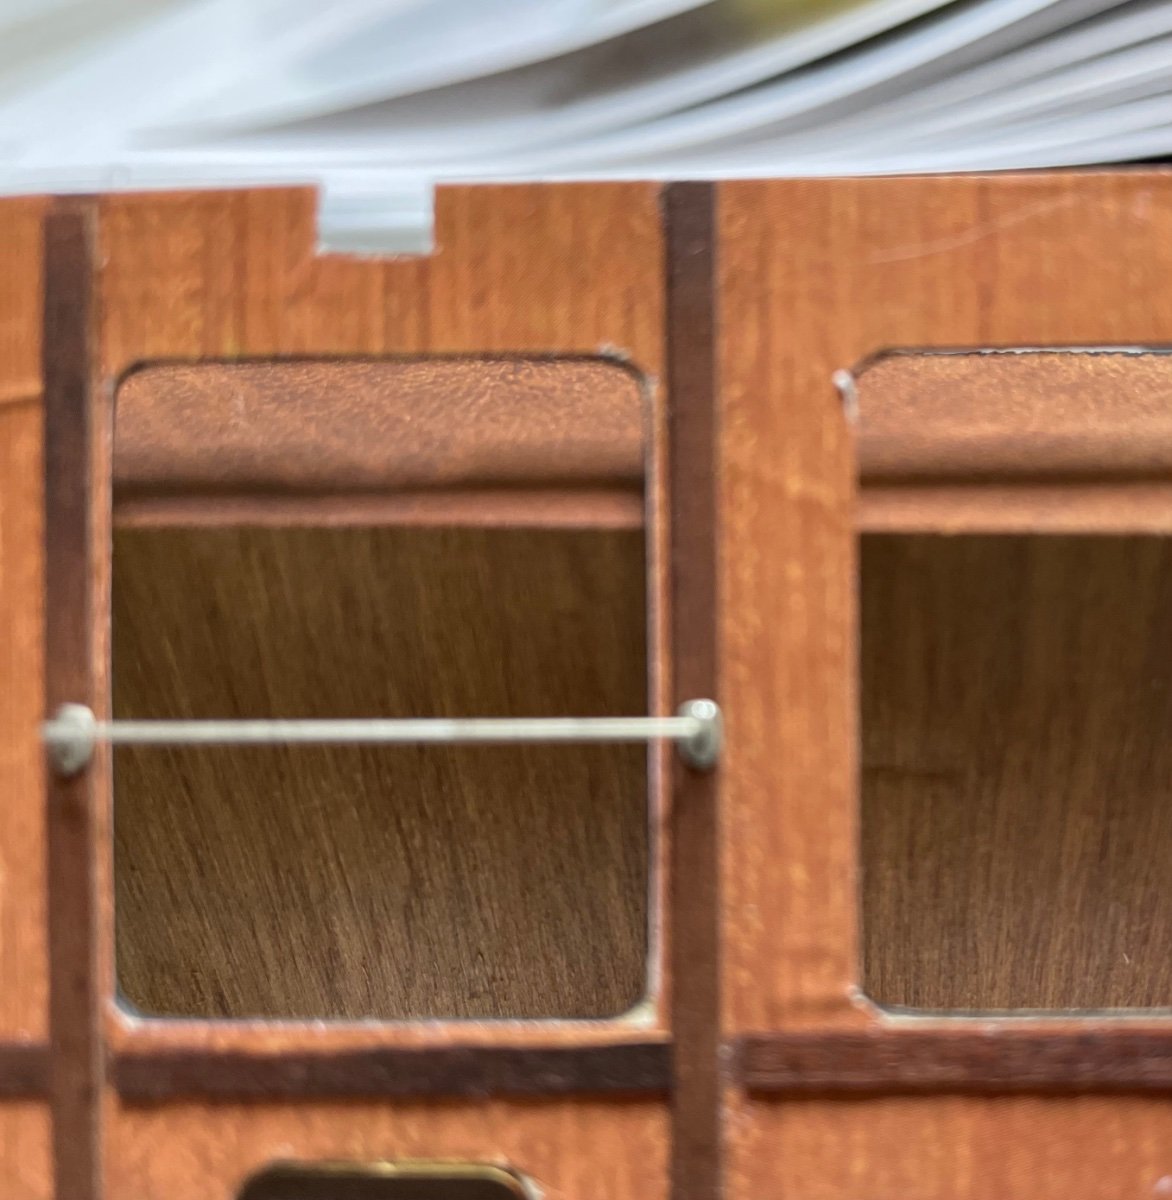
Figure 339: Gluing the inner and outer walls to each other, very very carefully. Glue is applied on the wooden strips which I glued around the windows and long edges on one side. They will provide the necessary gap to slide the window sheets through.
-
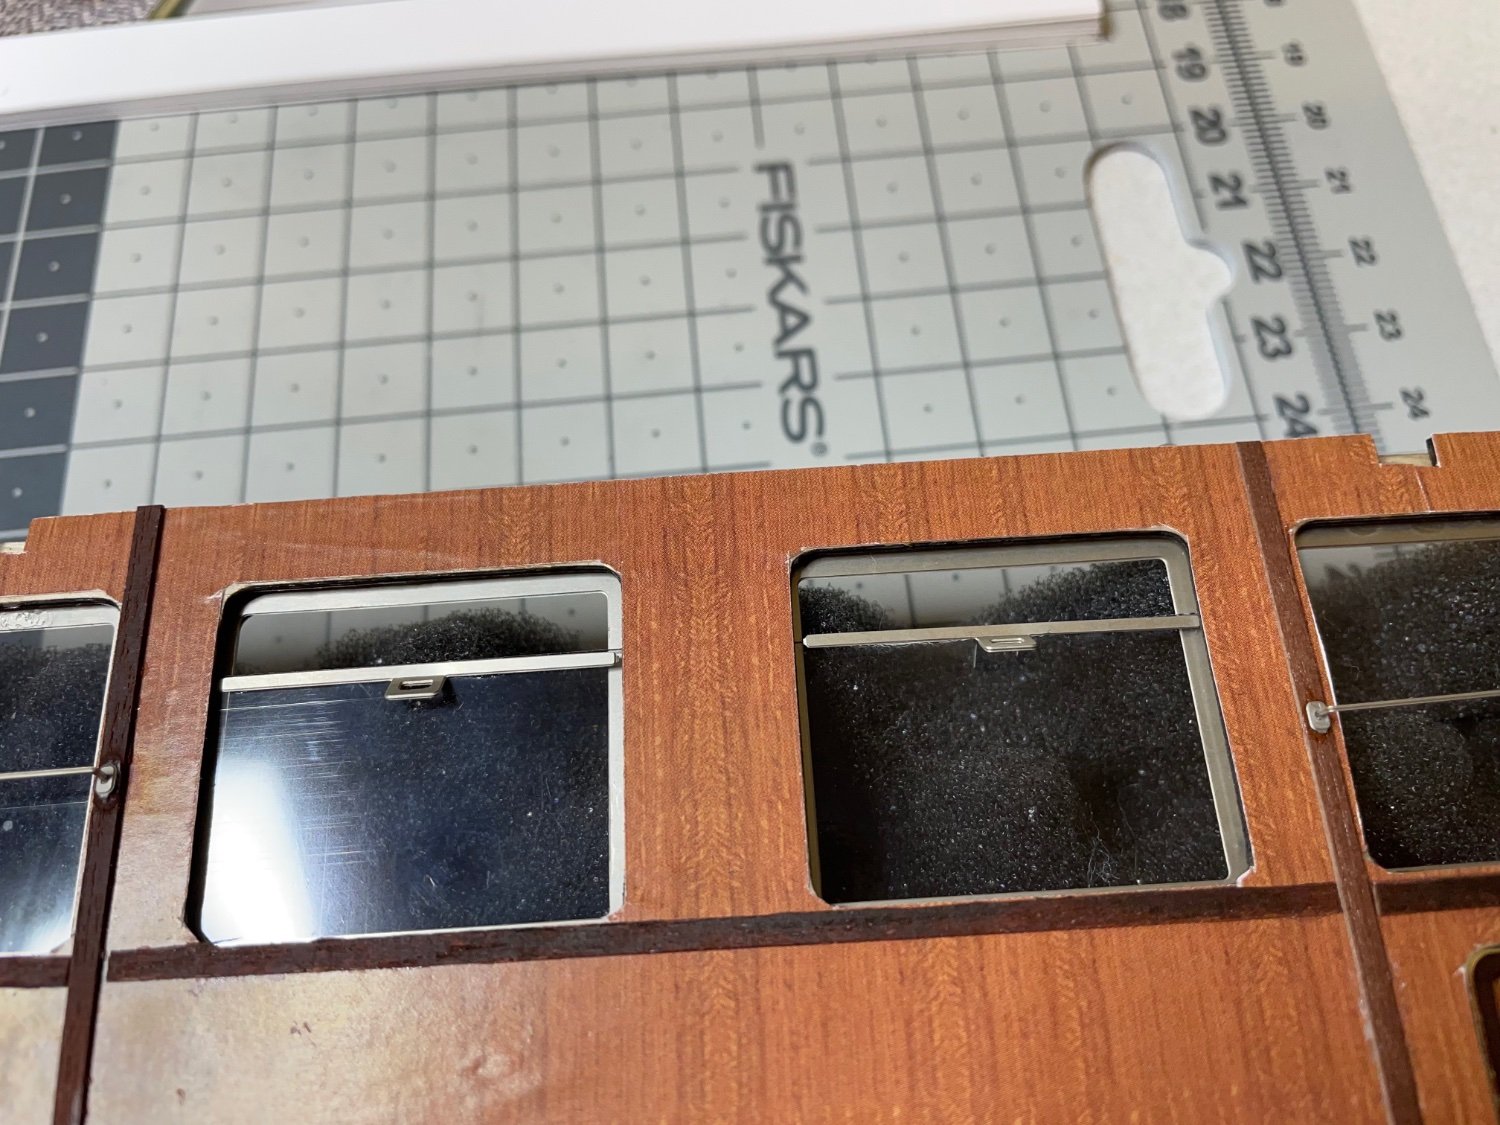
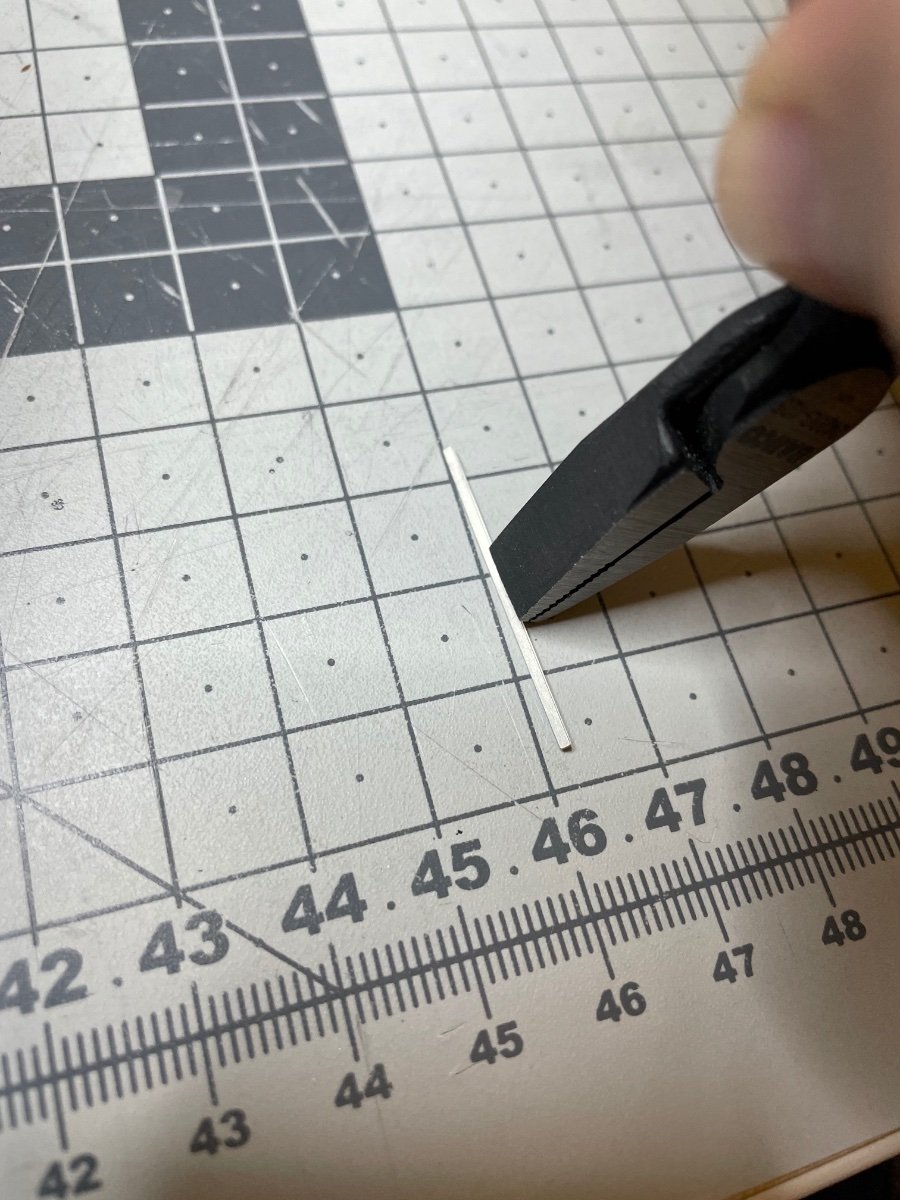
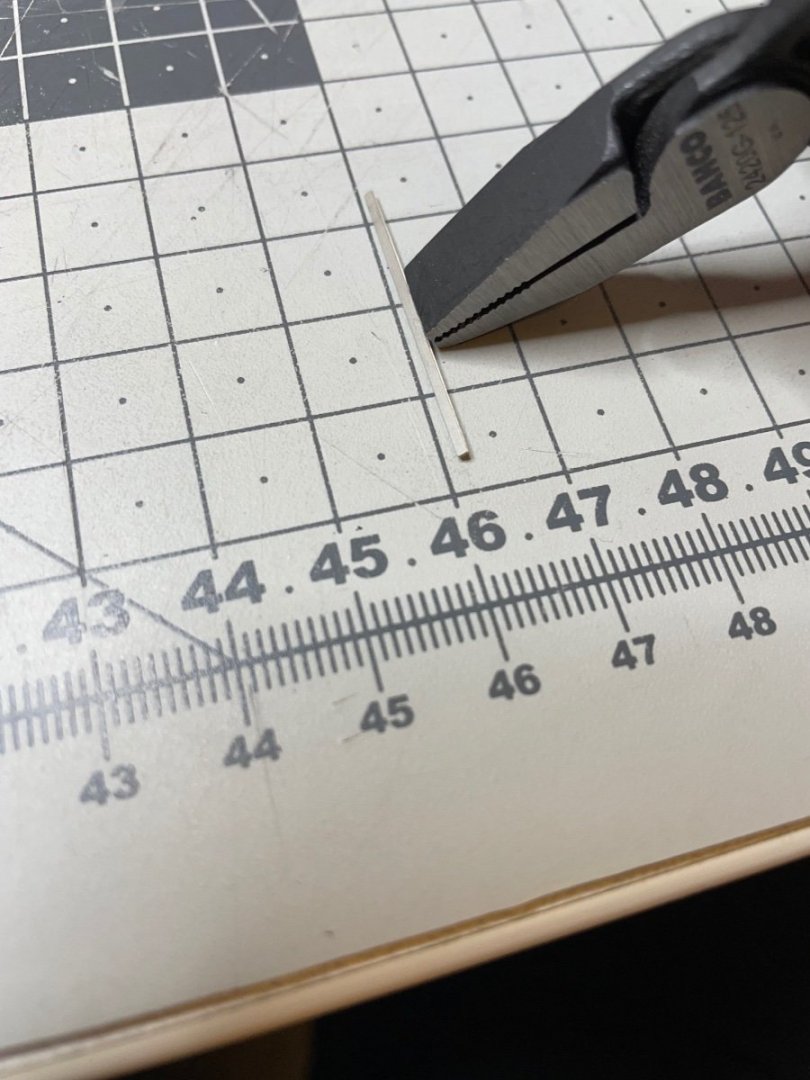
Figures 336-338: Bend the handles about 30 degrees from the rails. A flat-nosed pair of pliers is handy to grab the handle and press it at an angle over a hard surface.

- 293 replies
-
- 11
-
-
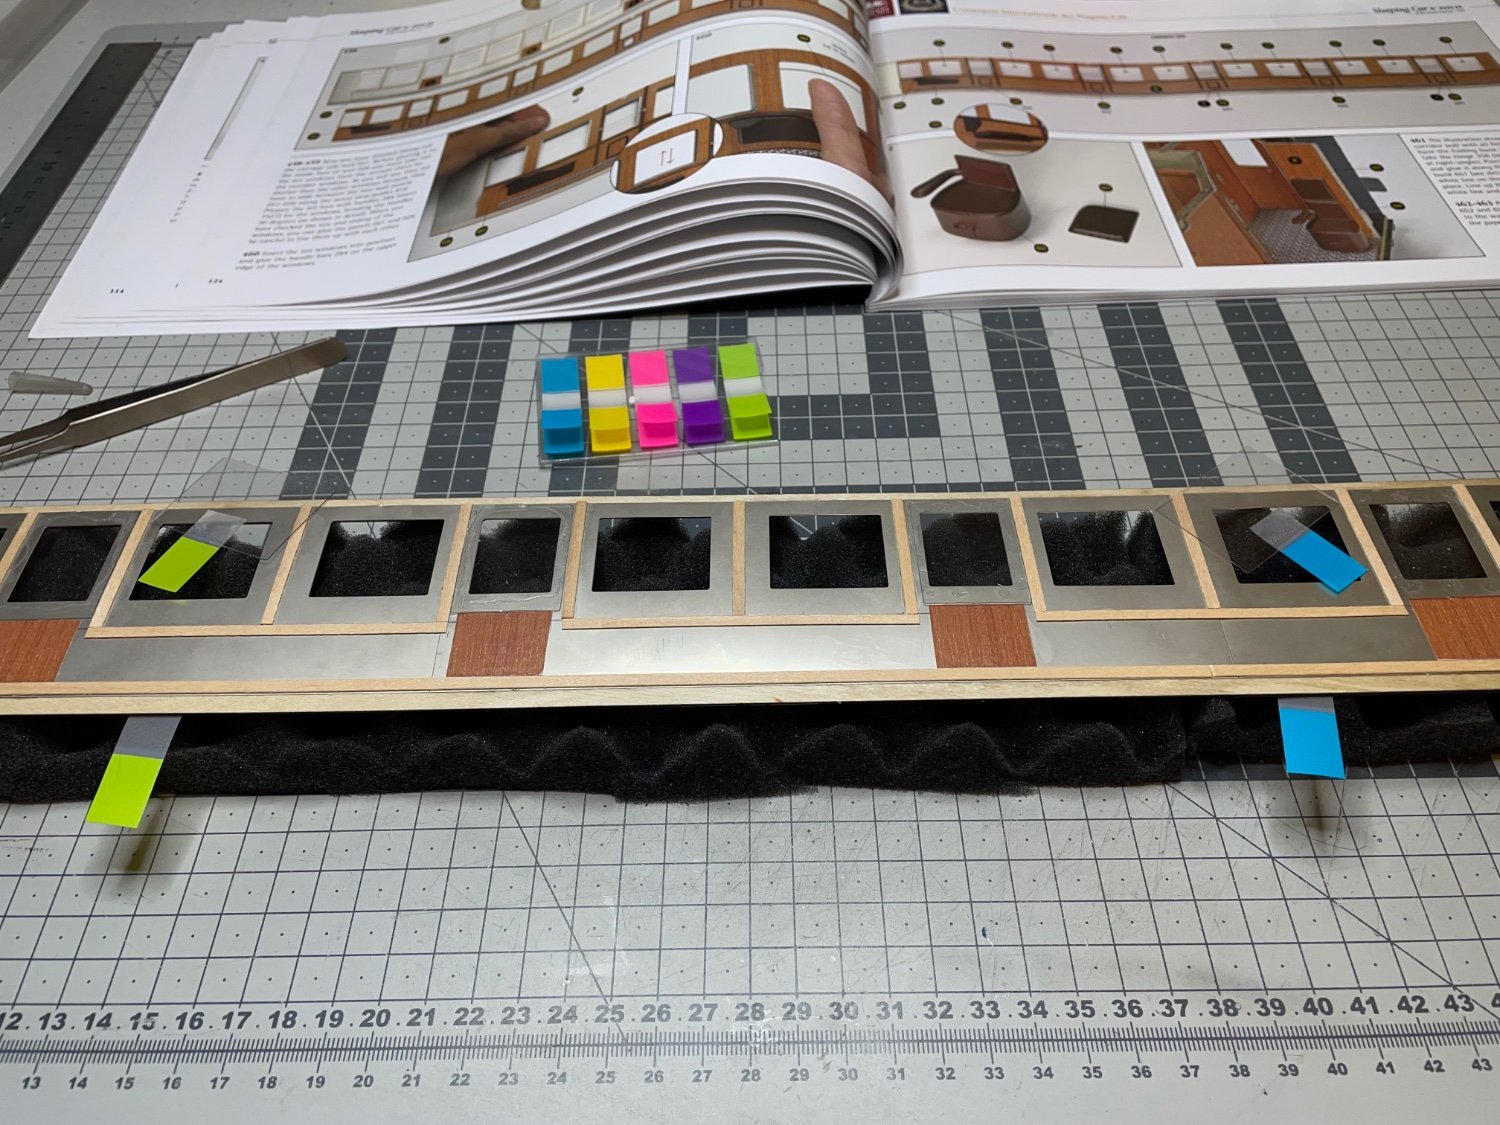
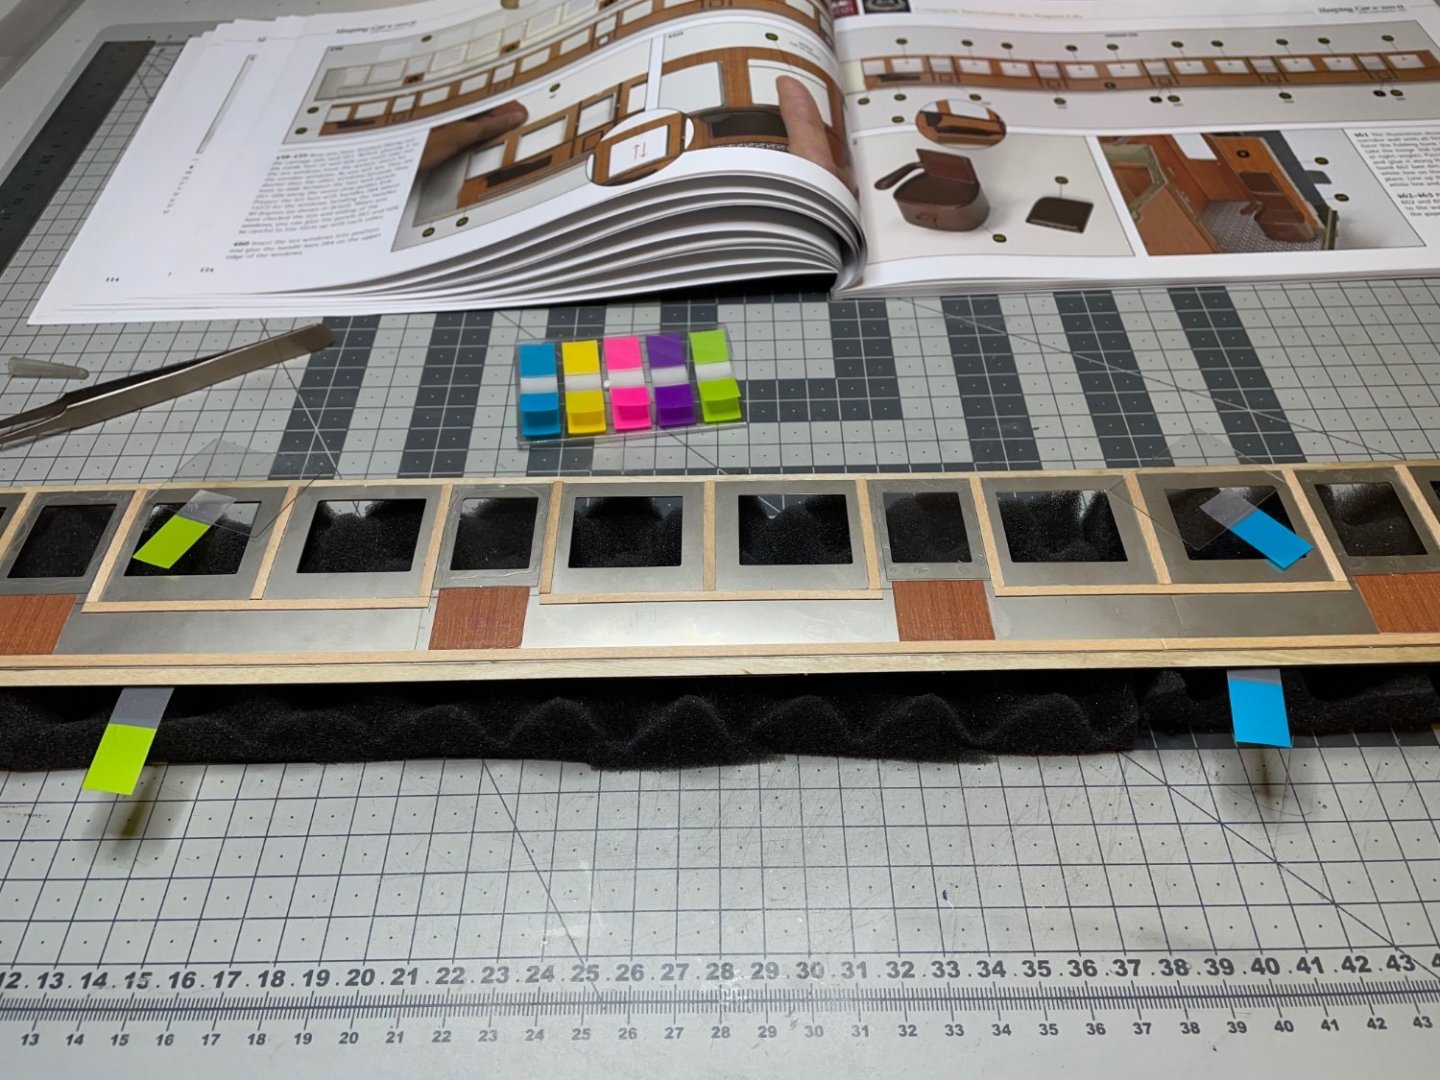
Figure 335: Some sheets need minor adjustments. I marked them with different colors to indicate correct placement.
- 293 replies
-
- 12
-
-
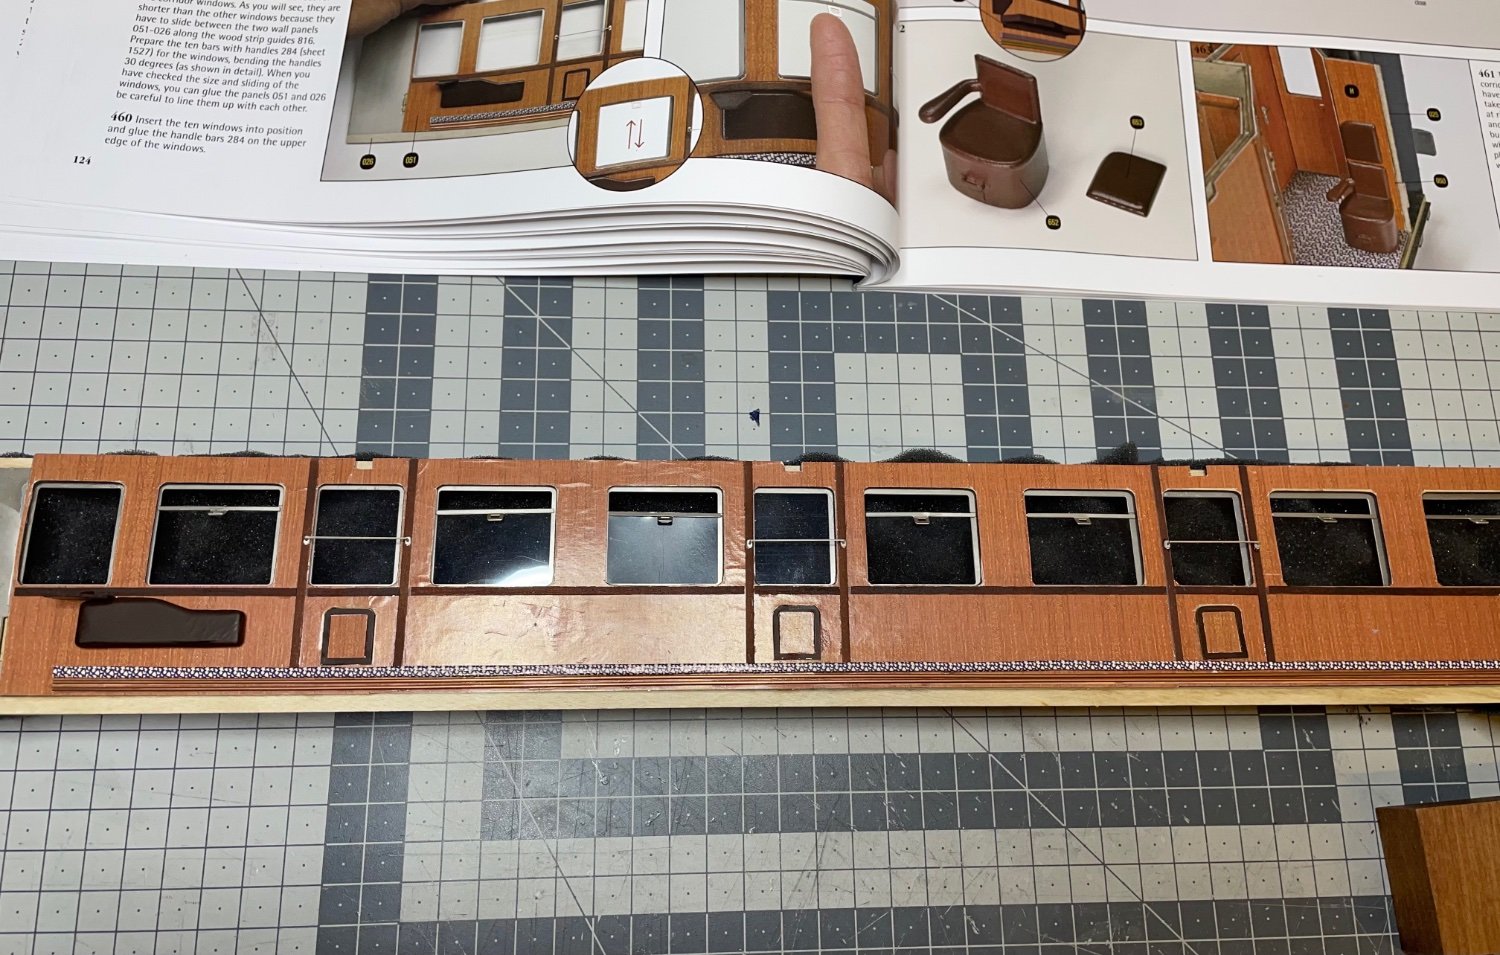
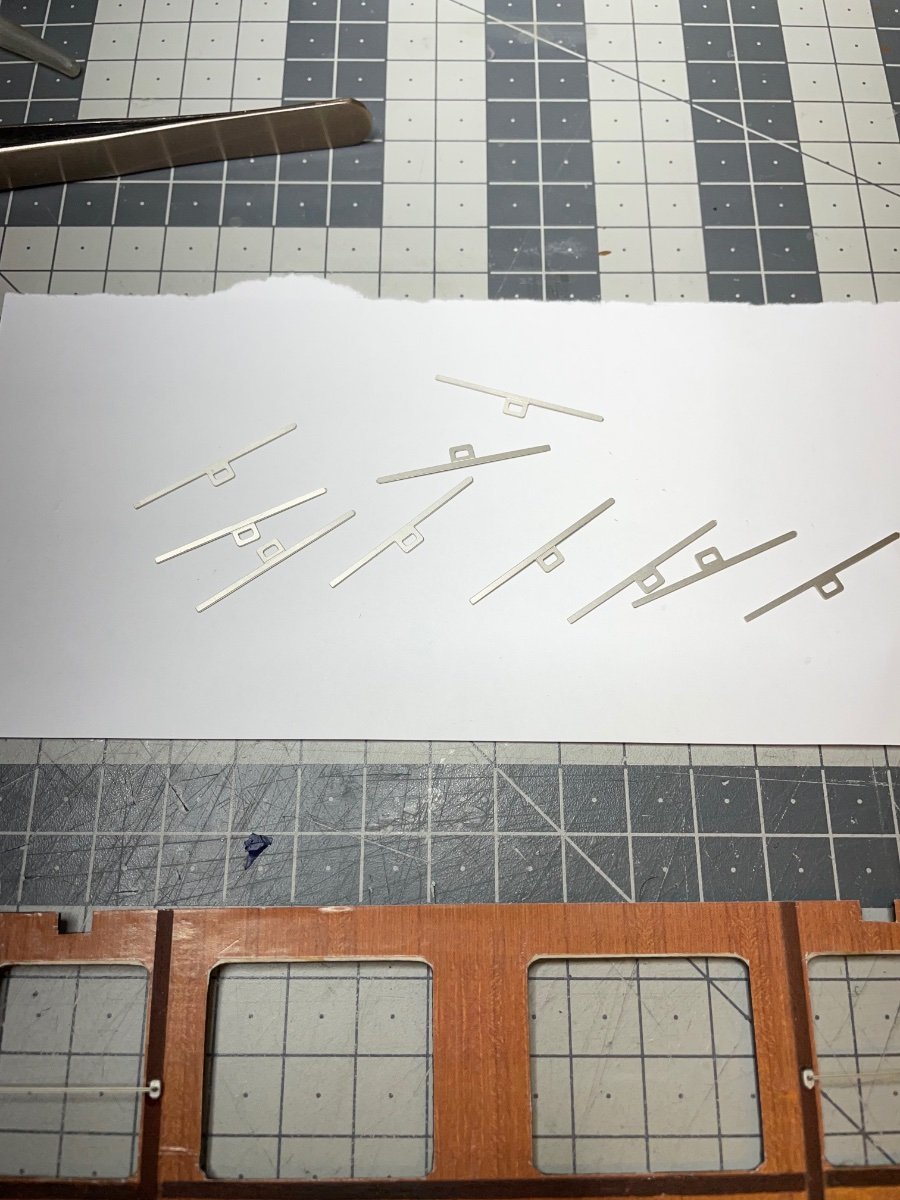
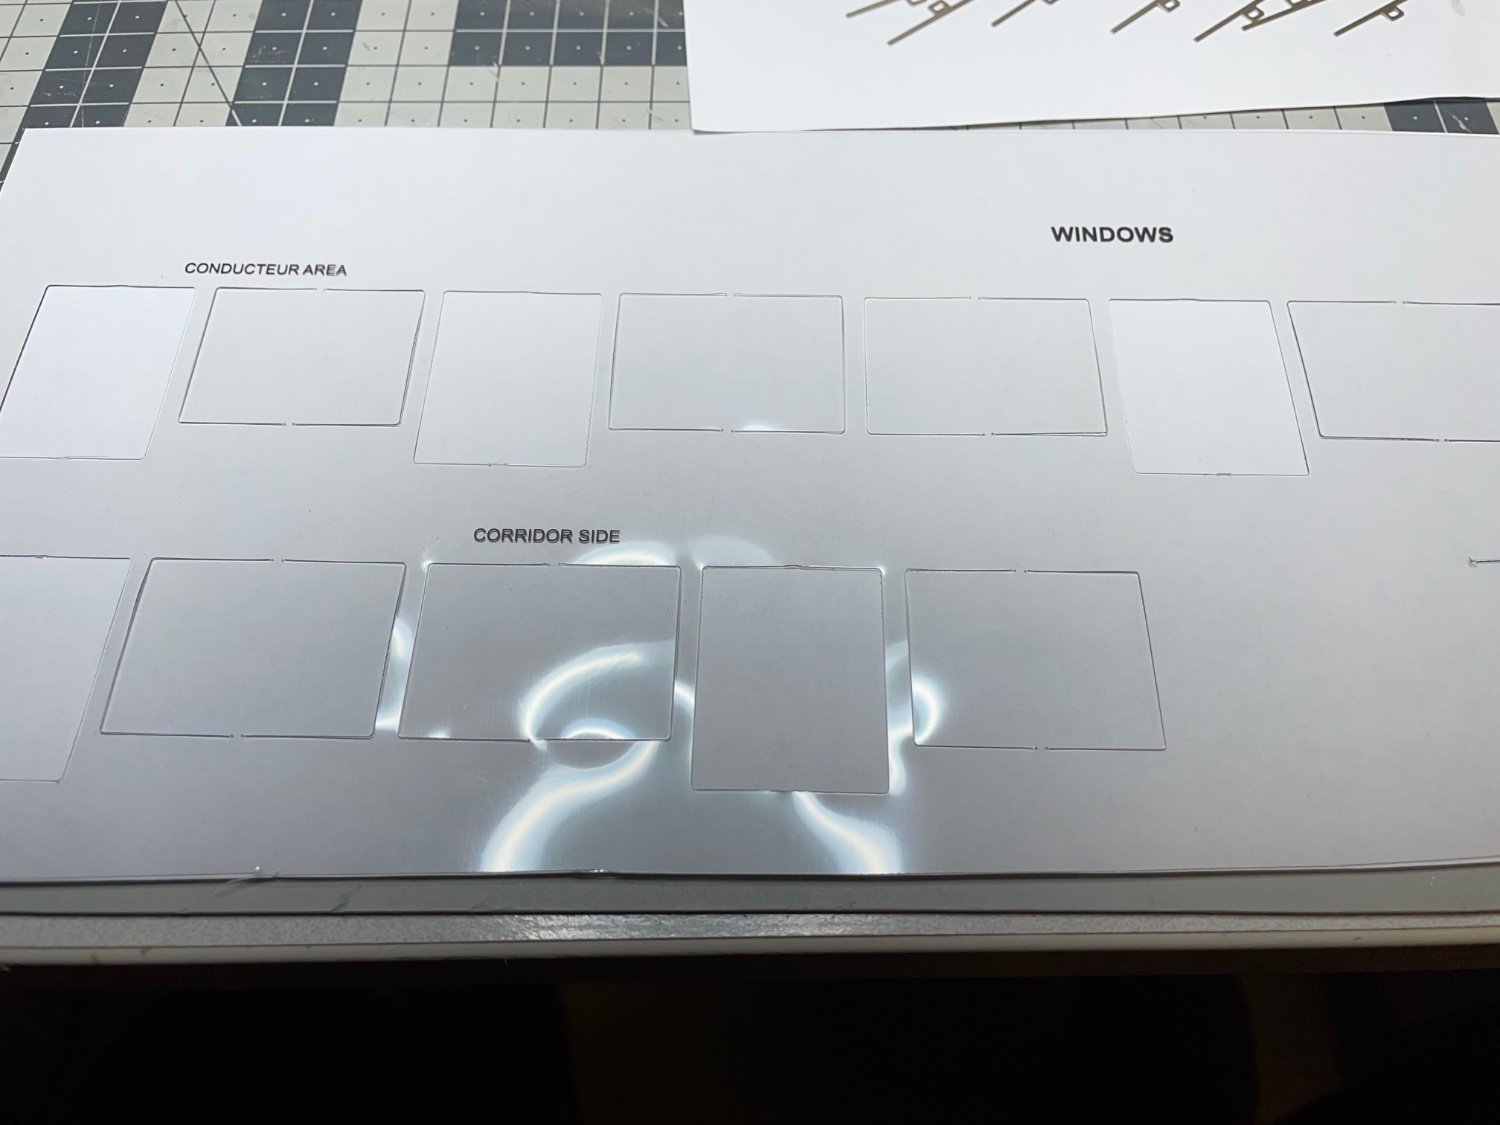
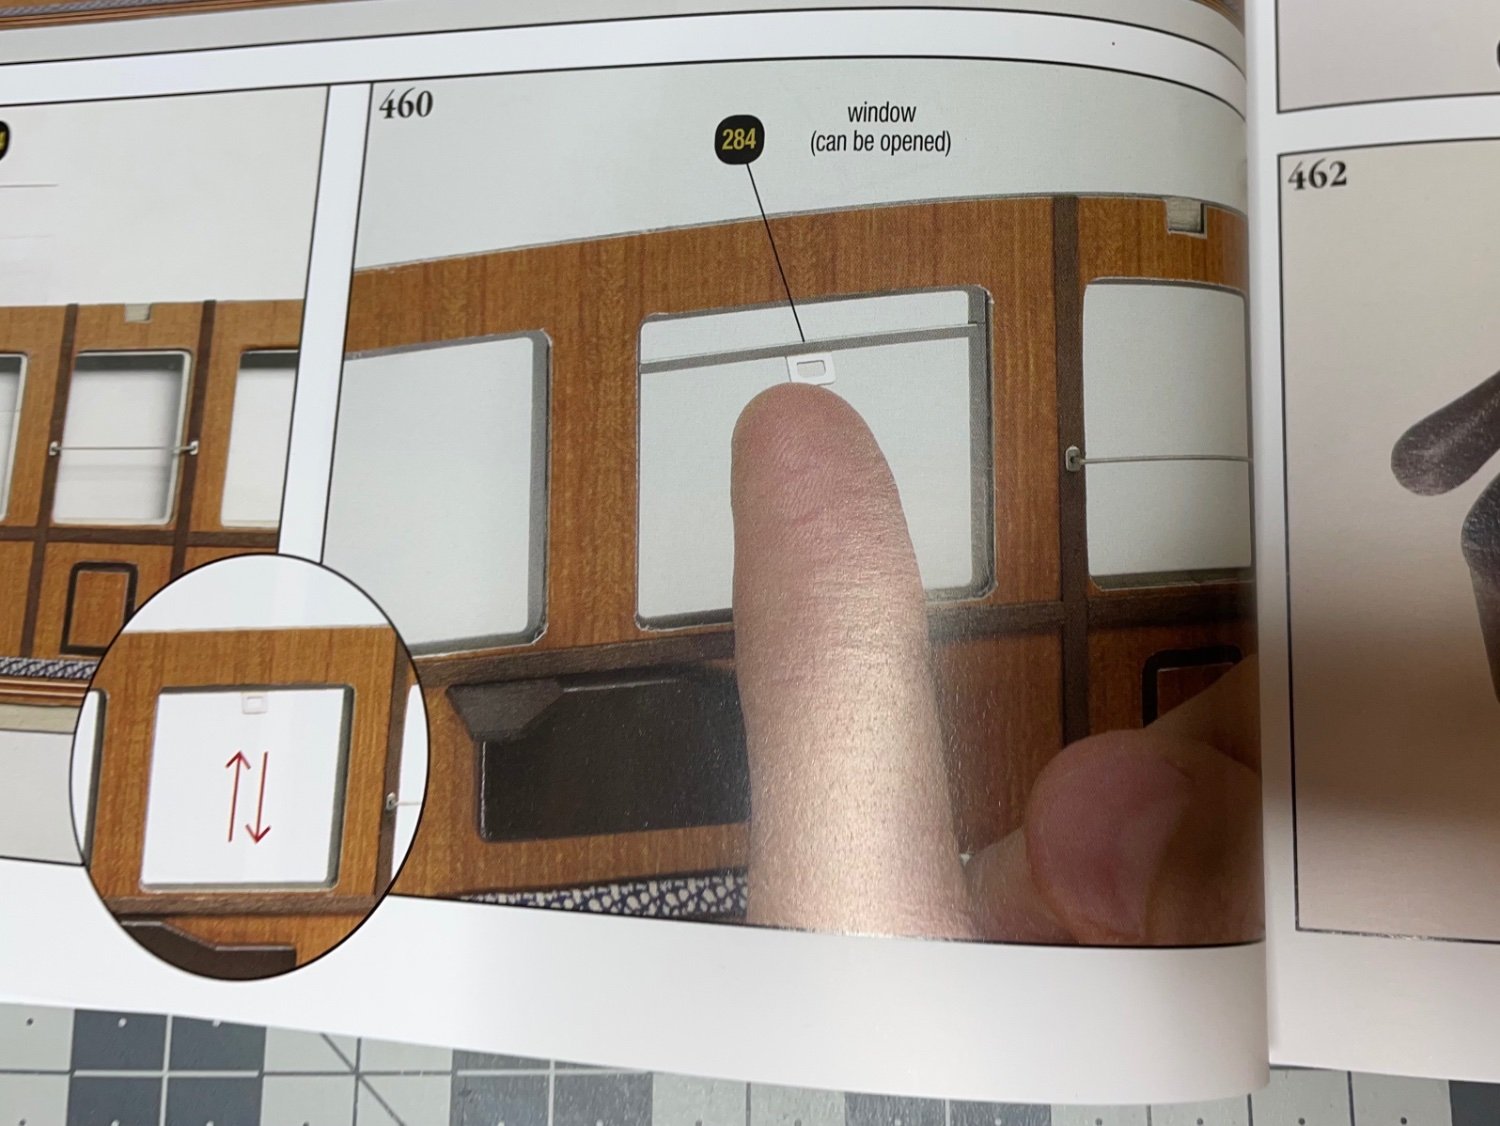
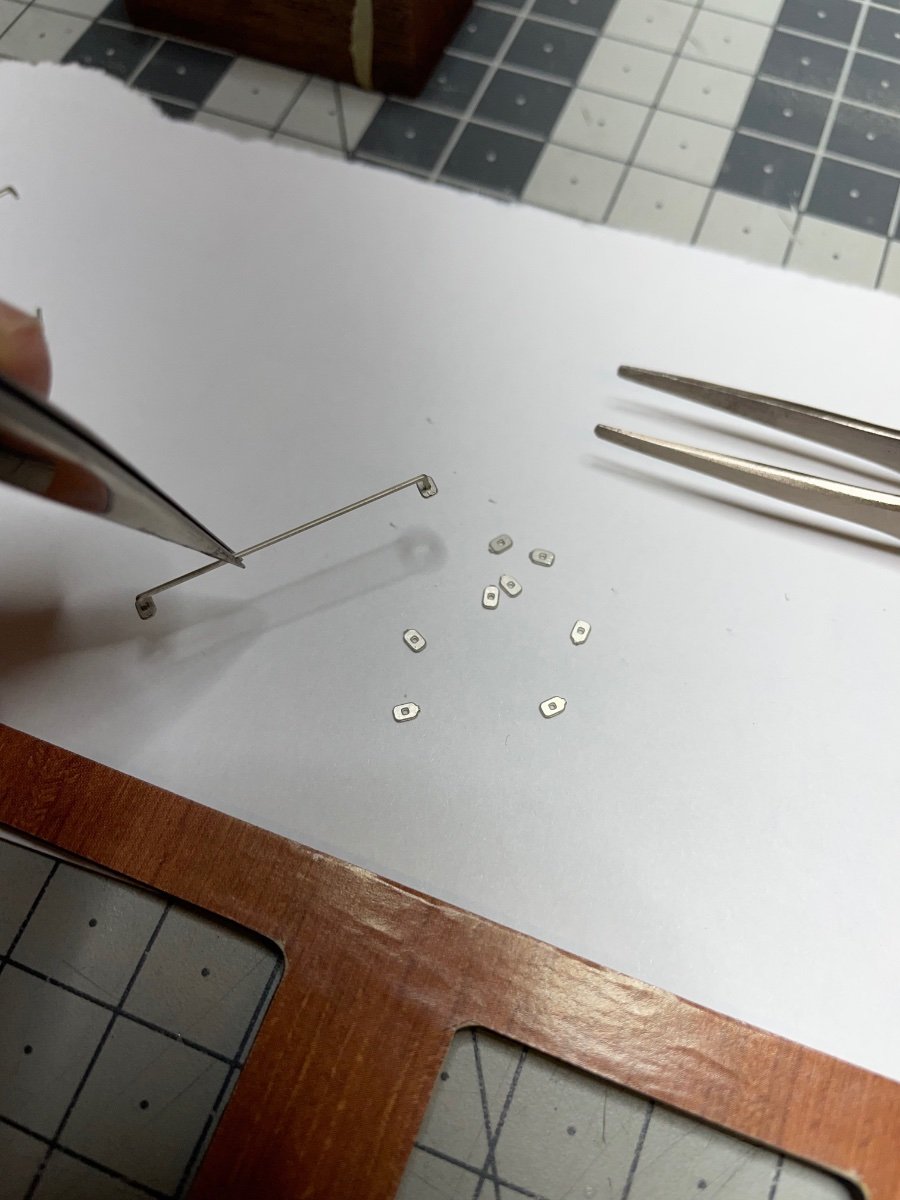
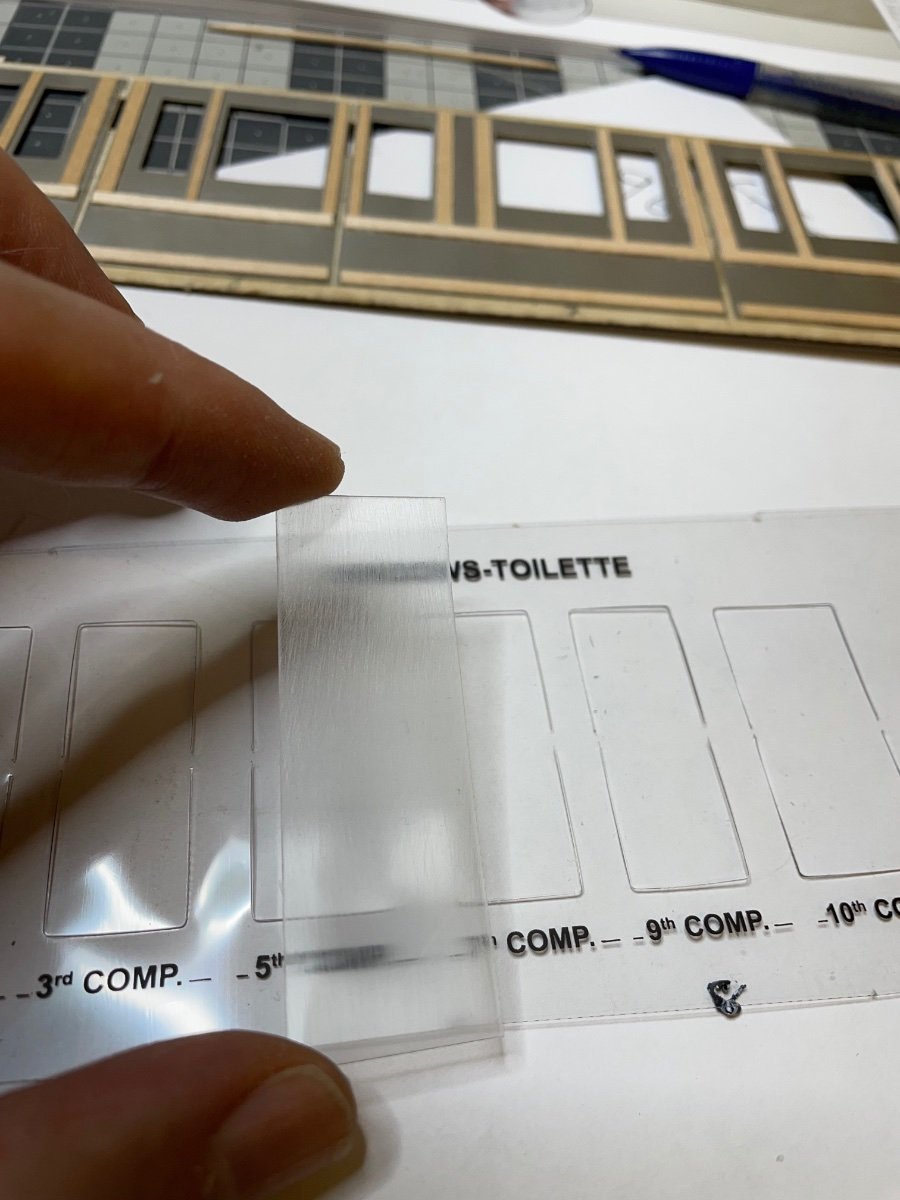
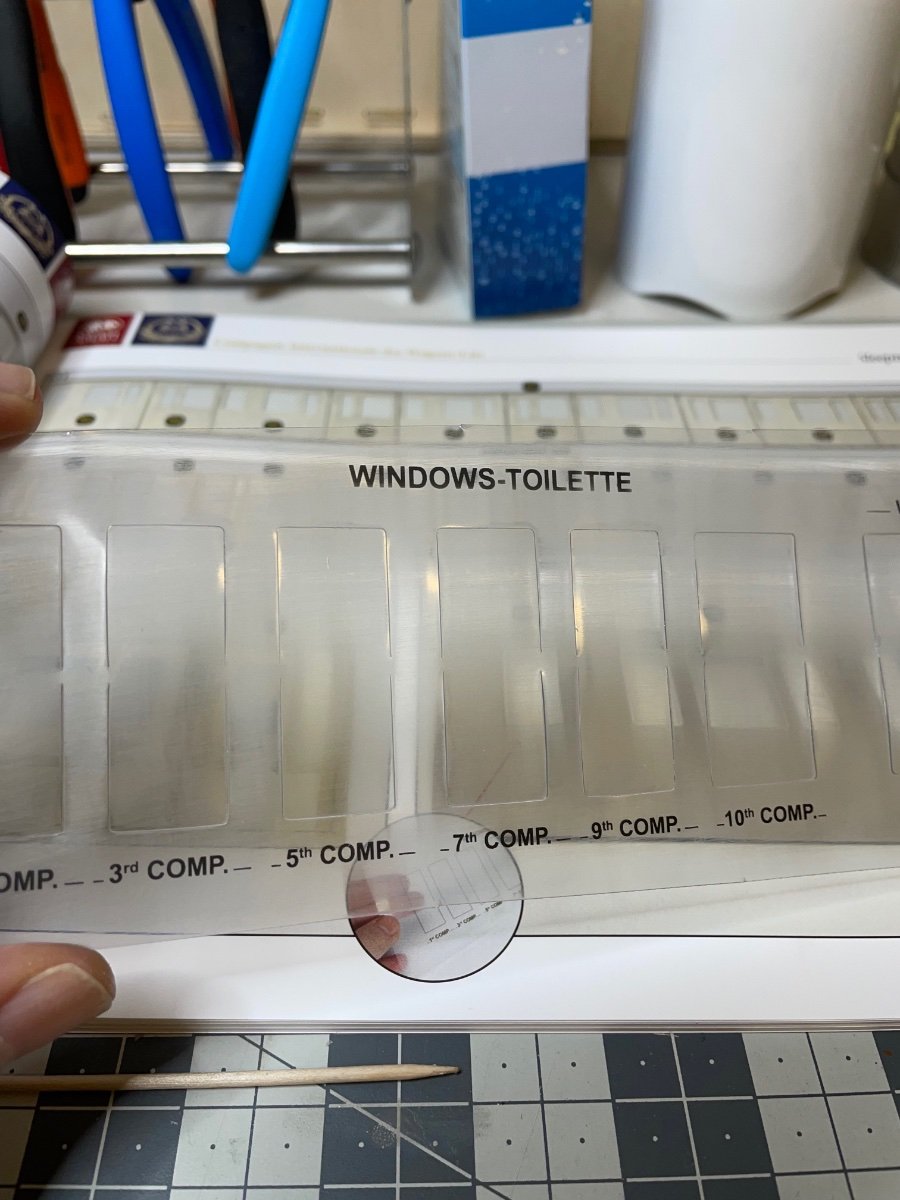
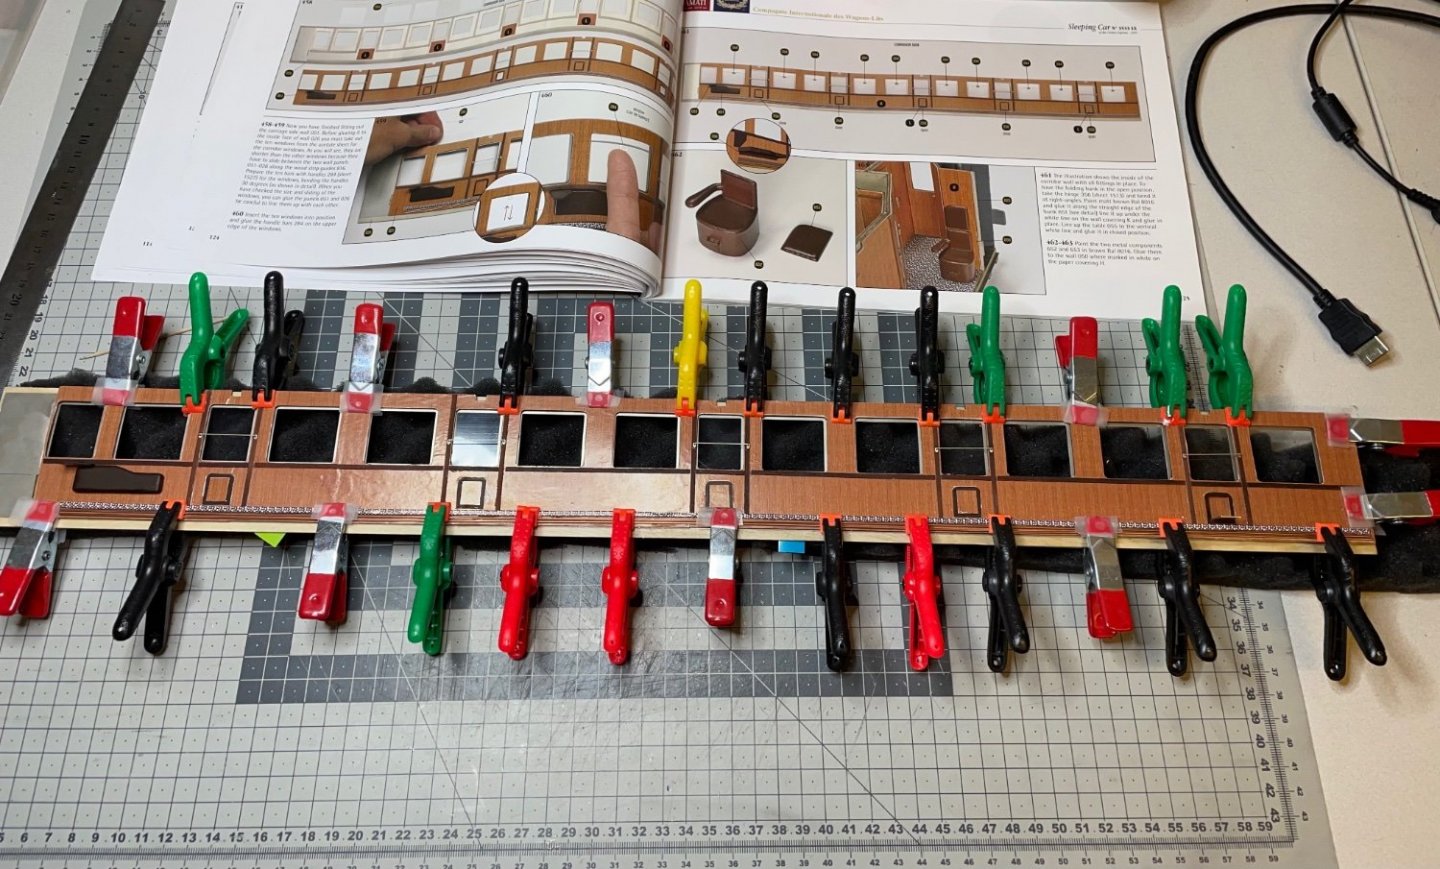
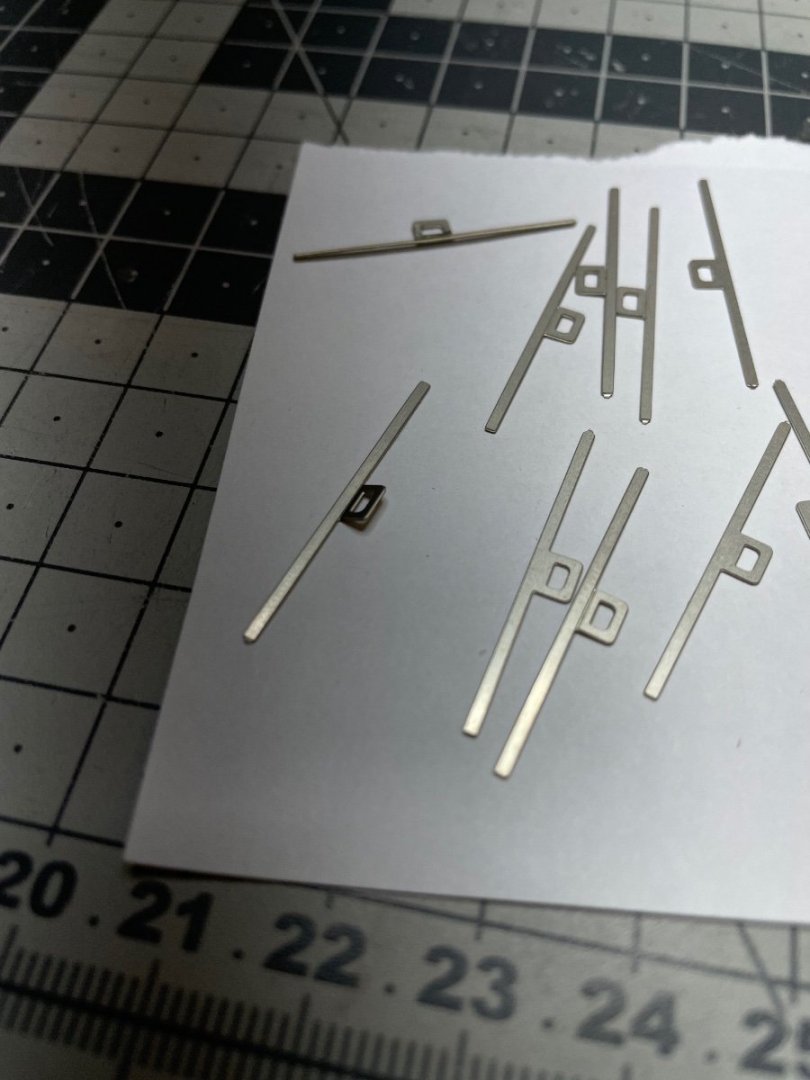
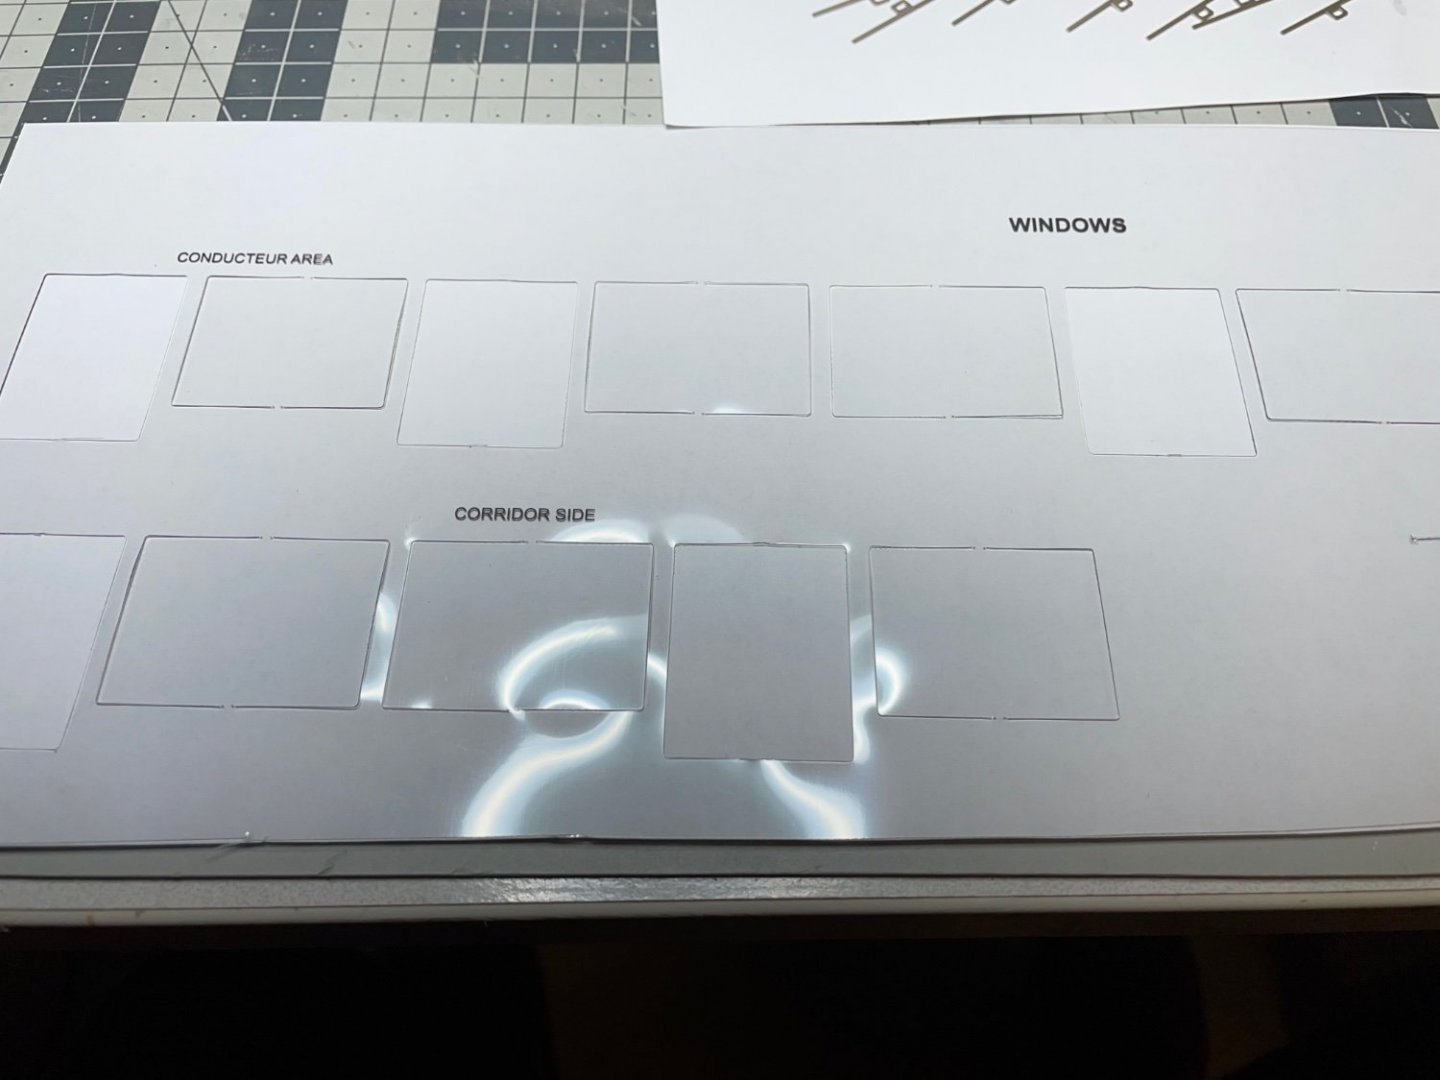
BUILD DAY 32 / 2 hrs / (TOTAL: 87 hrs) Windows on the corridor side of the carriage.These can be slide opened and closed ( Photo from the manual). Figure 333: Figures 333-334 : Window rails and sheets.


-
Indeed. Though as paying customers we reserve the right to be nagging every now and then, the overall work they do especially on high quality level kits are quite impressive.
-
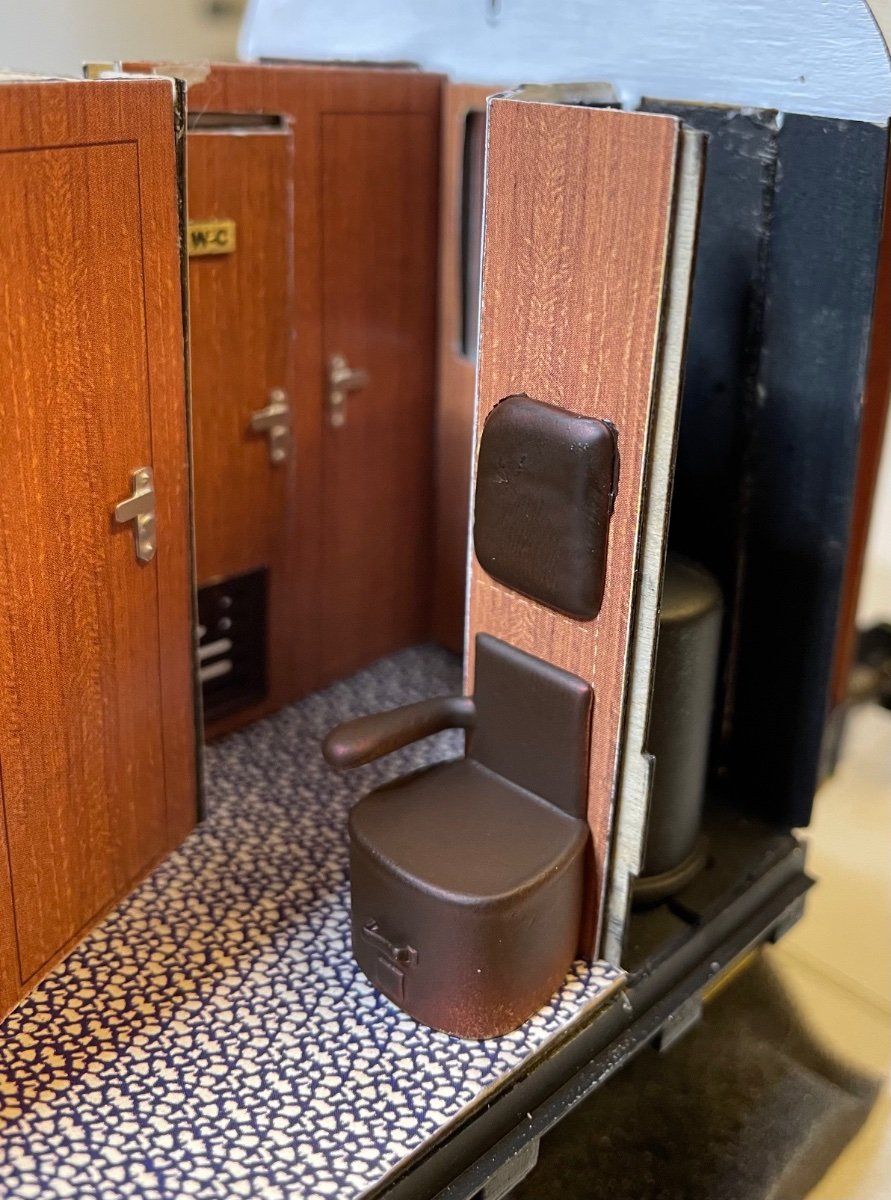
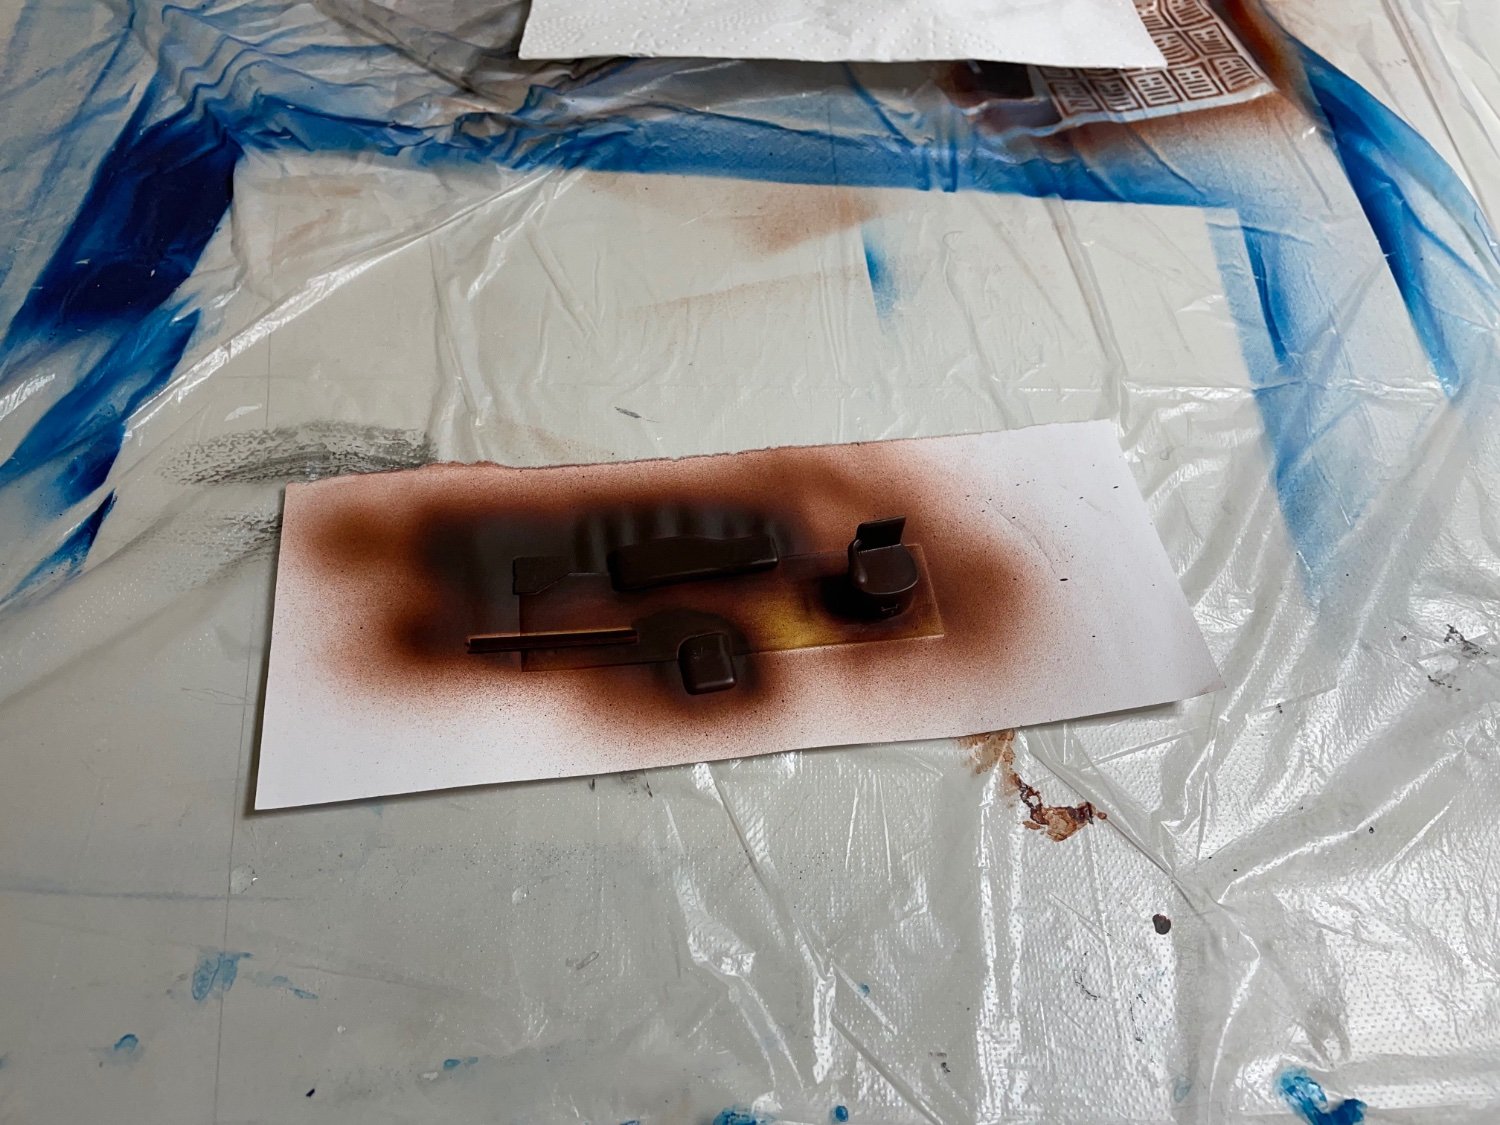
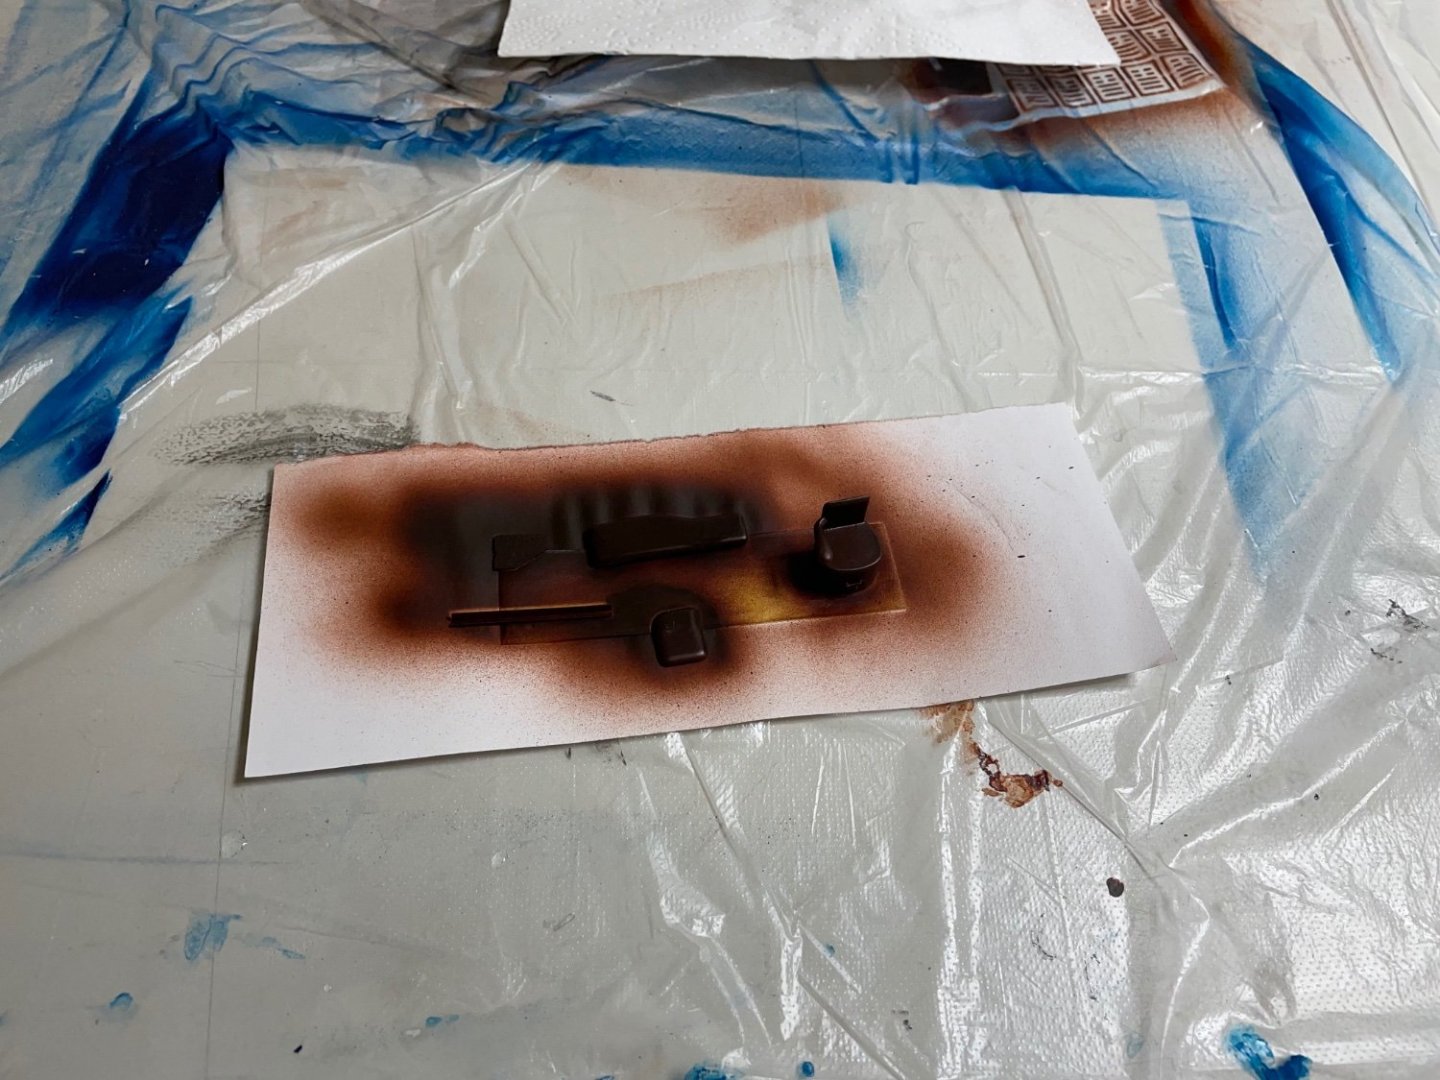
Figures 330-331: Folding bunk and the chair to be installed in the corridor. They are mixture of metal and wood. All painted in brown. That's is all for now. Thanks for watching!
- 293 replies
-
- 11
-
-
Figure 329: Handrails and seats in place.
-
Figures 325-328: Handrails and their fixings on either side. Tiny parts indeed. They are made of the nickel photo etch sheet.


-
Figures 321-324: Installing the foldable wall seats, prepared earlier. You glue two pieces of wooden strips at the back in order to support them. You can leave as many open or closed (folded up) as you like. I chose to leave one of them open, just to show. Otherwise I bet they had always been folded up while not in use.


-
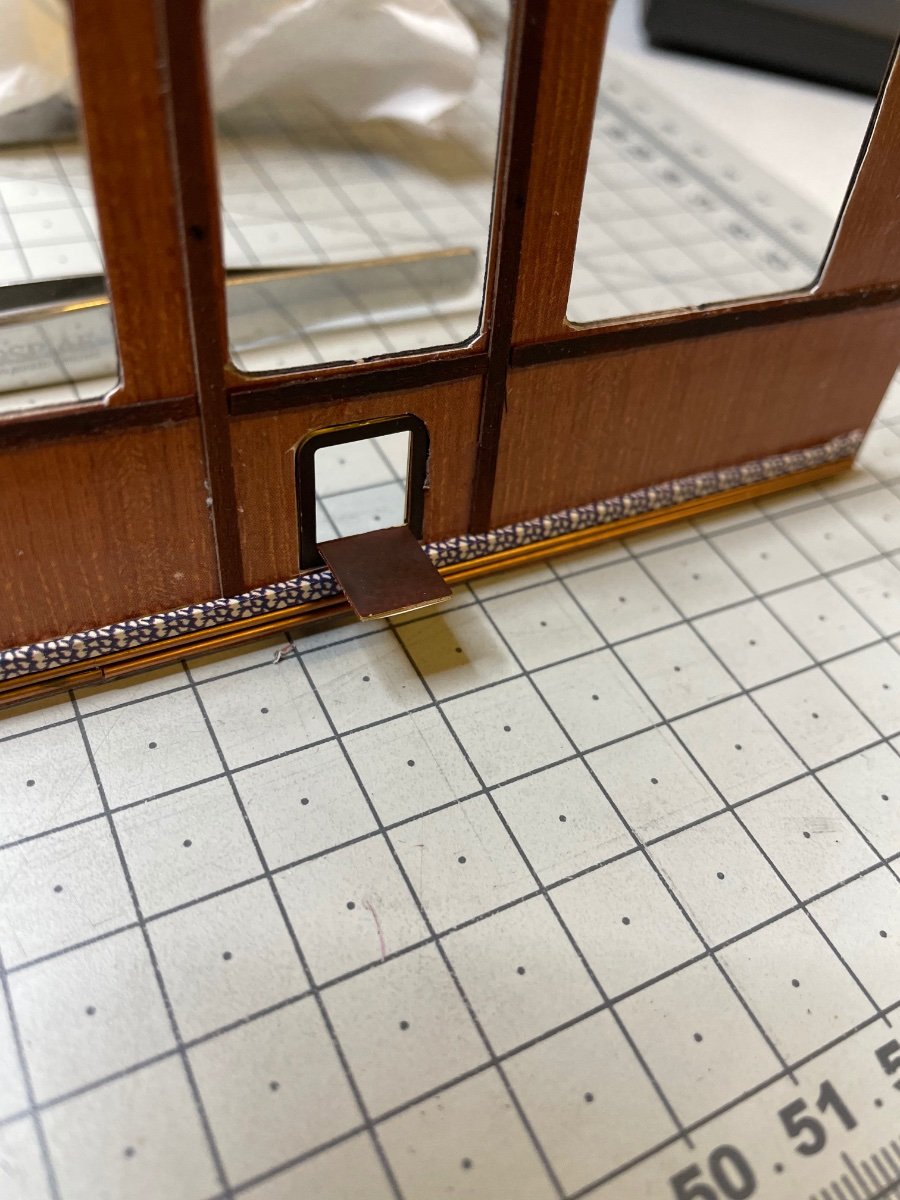
Figure 320: The skirting board and copper heating pipes are in place. Copper pipes are indeed pipes with a hole in them, not just wire 🙂.

-
Figure 318-319: Preparing the "skirting board". Covered with the carpet material. It will also cover over the heating pipes.
-
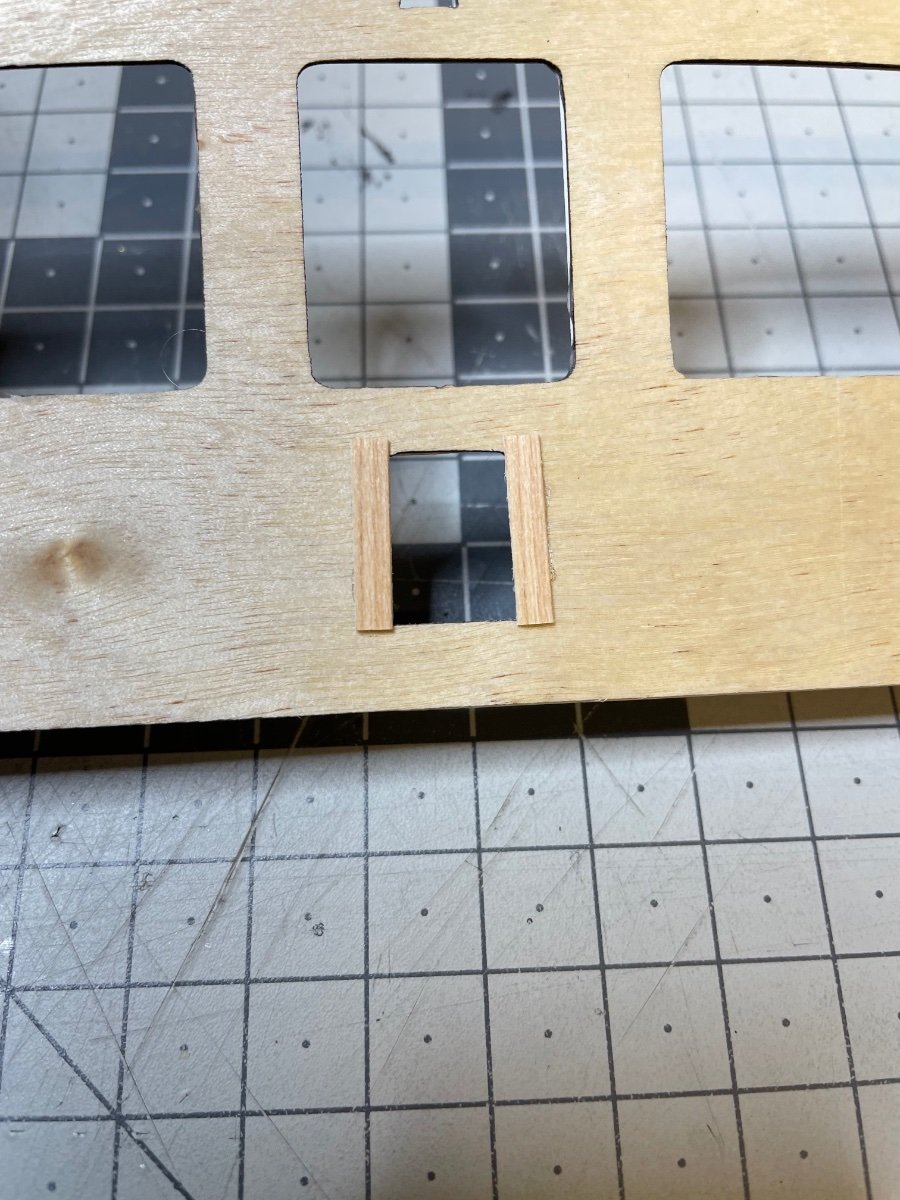
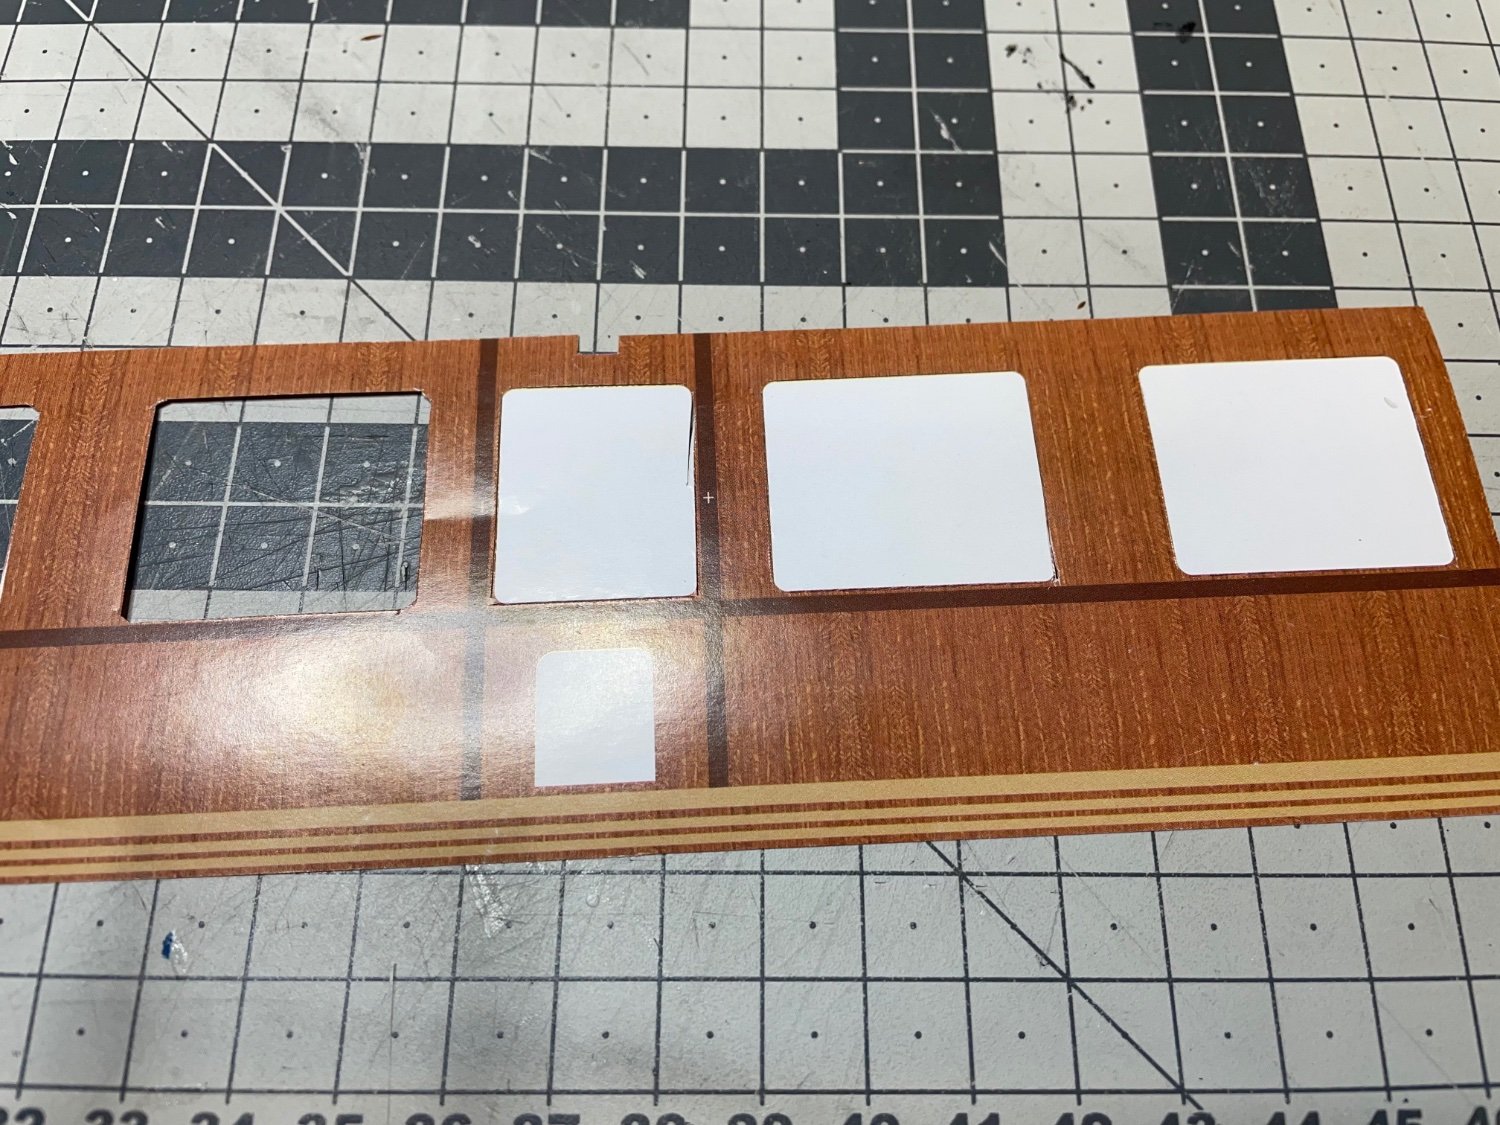
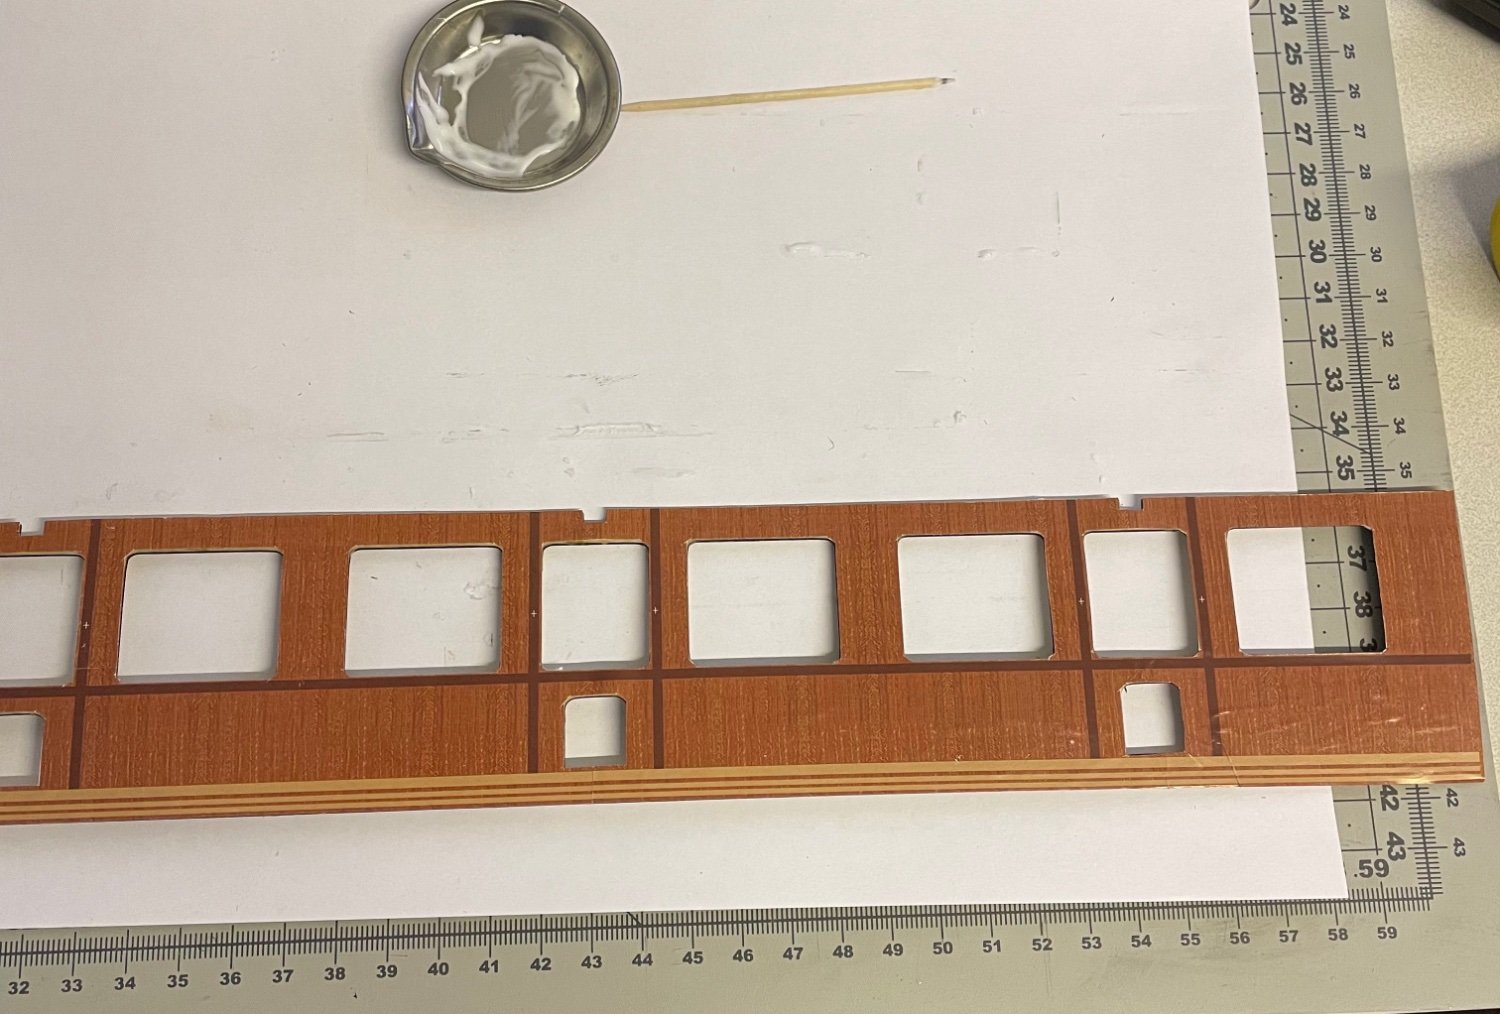
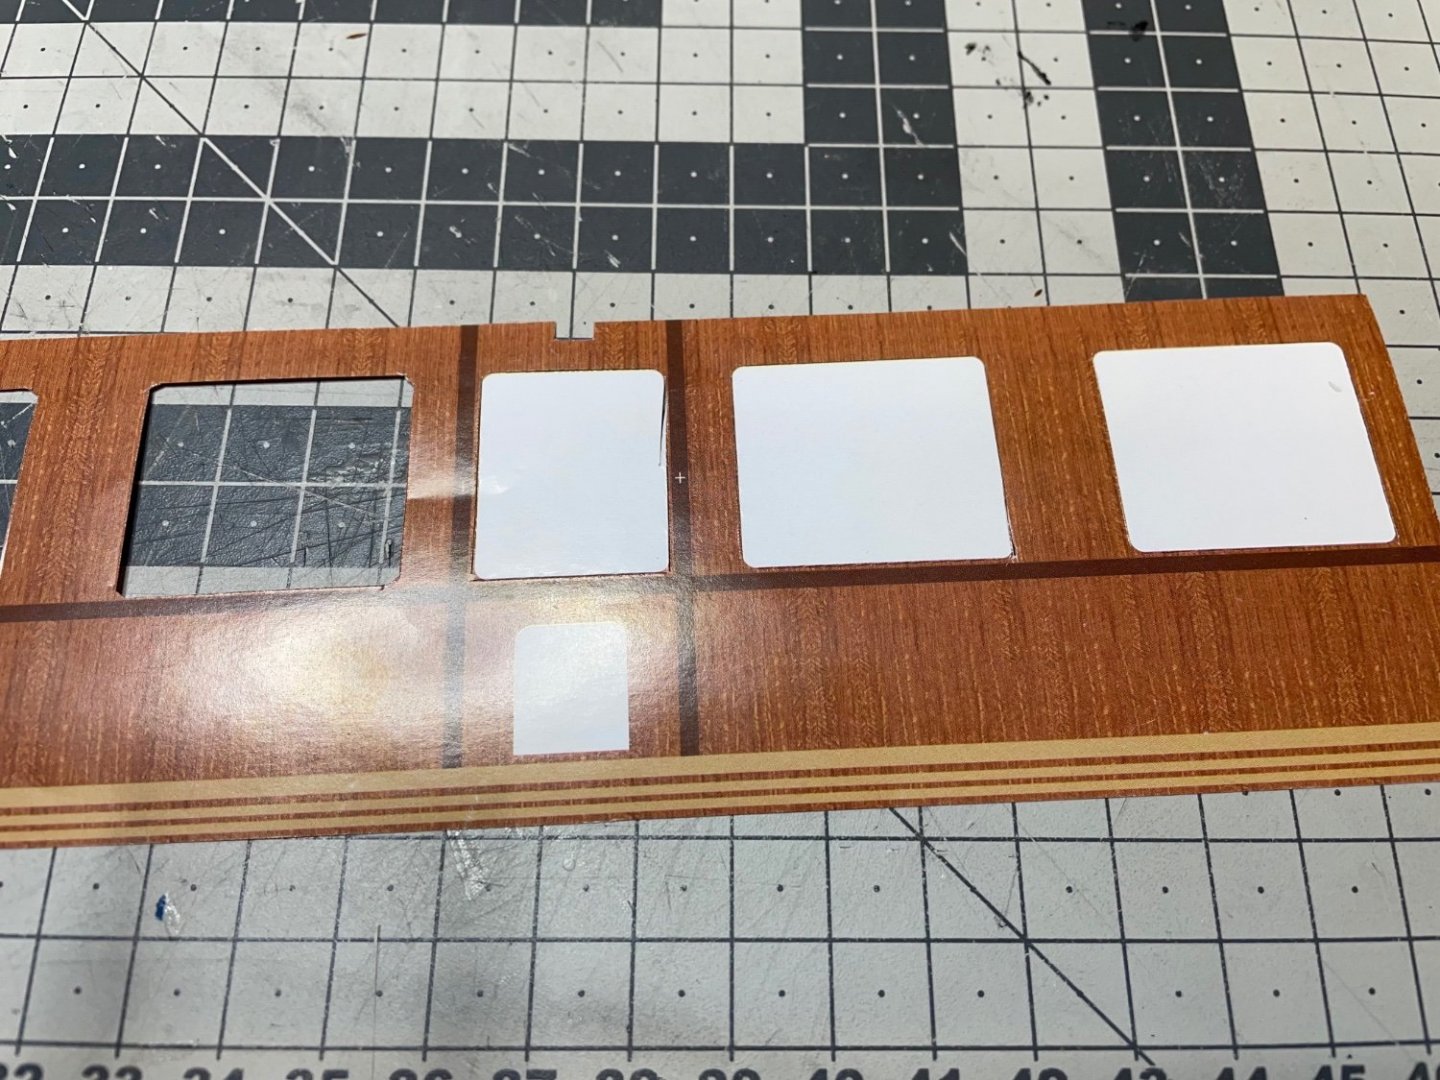
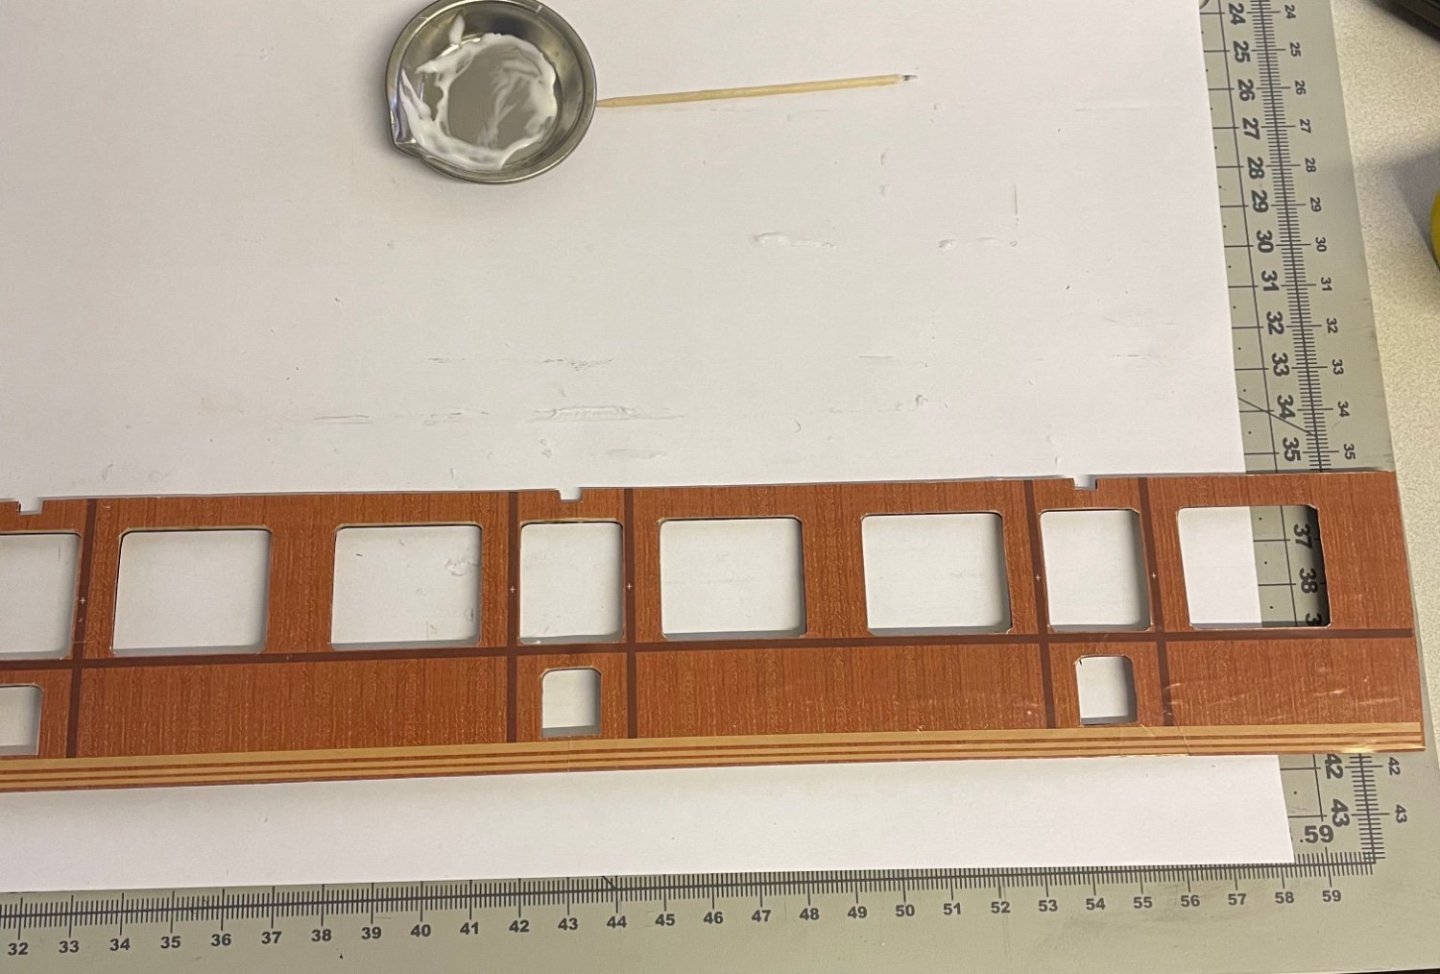
BUILD DAY 31 / 2 hrs / (TOTAL: 85 hrs) Today I started to build the corridor side carriage inner wall. Figure 316: Paper decoration. It is in 2 pieces, around 30cm each. Showing here that you'll need to carve out the window openings as well. Figure 317: Glued on the plywood sheet.
-
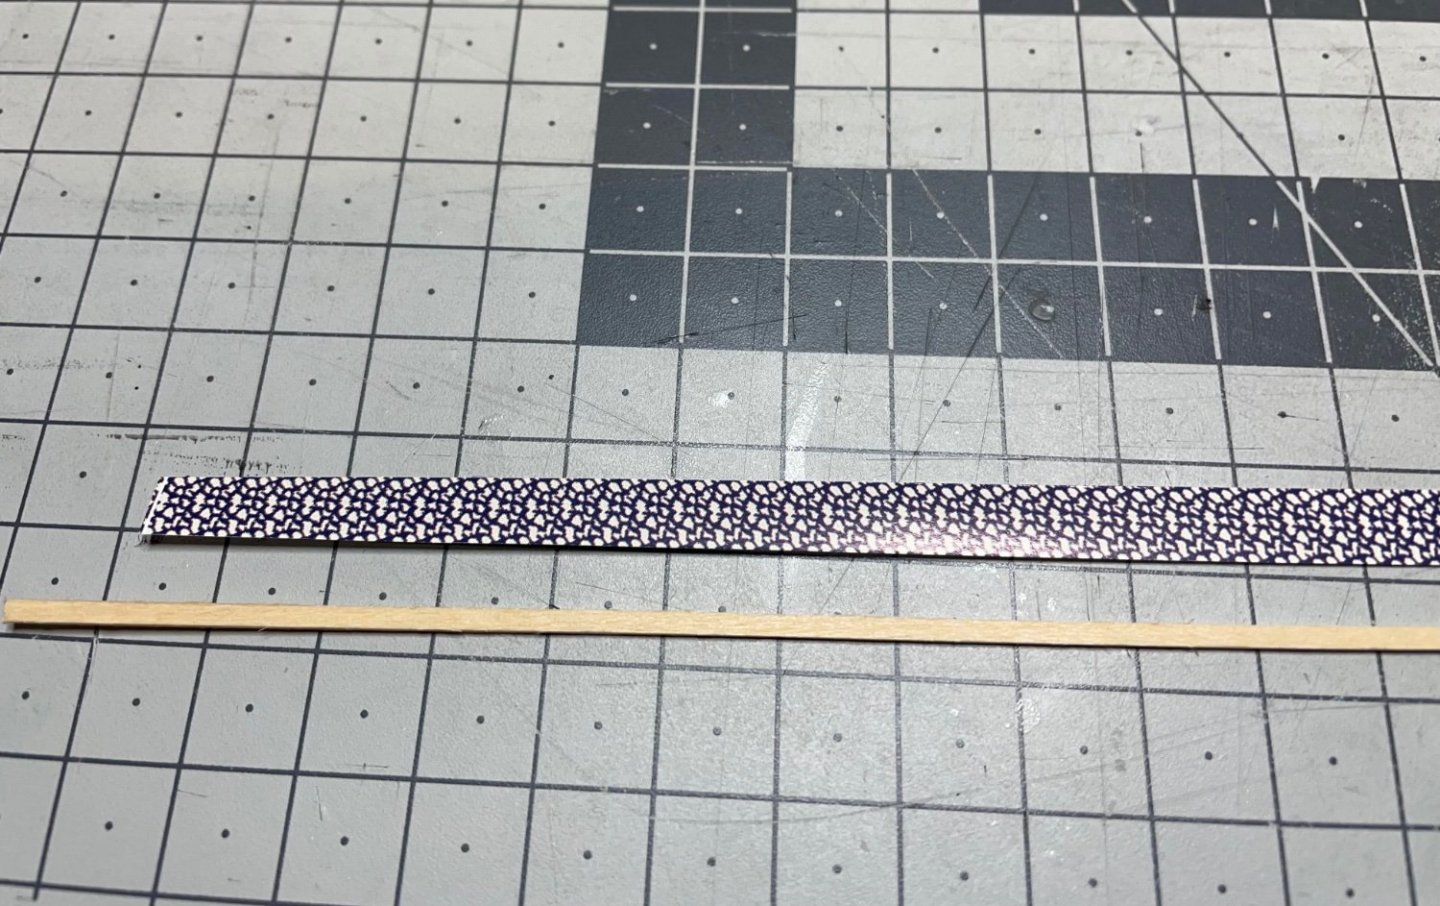
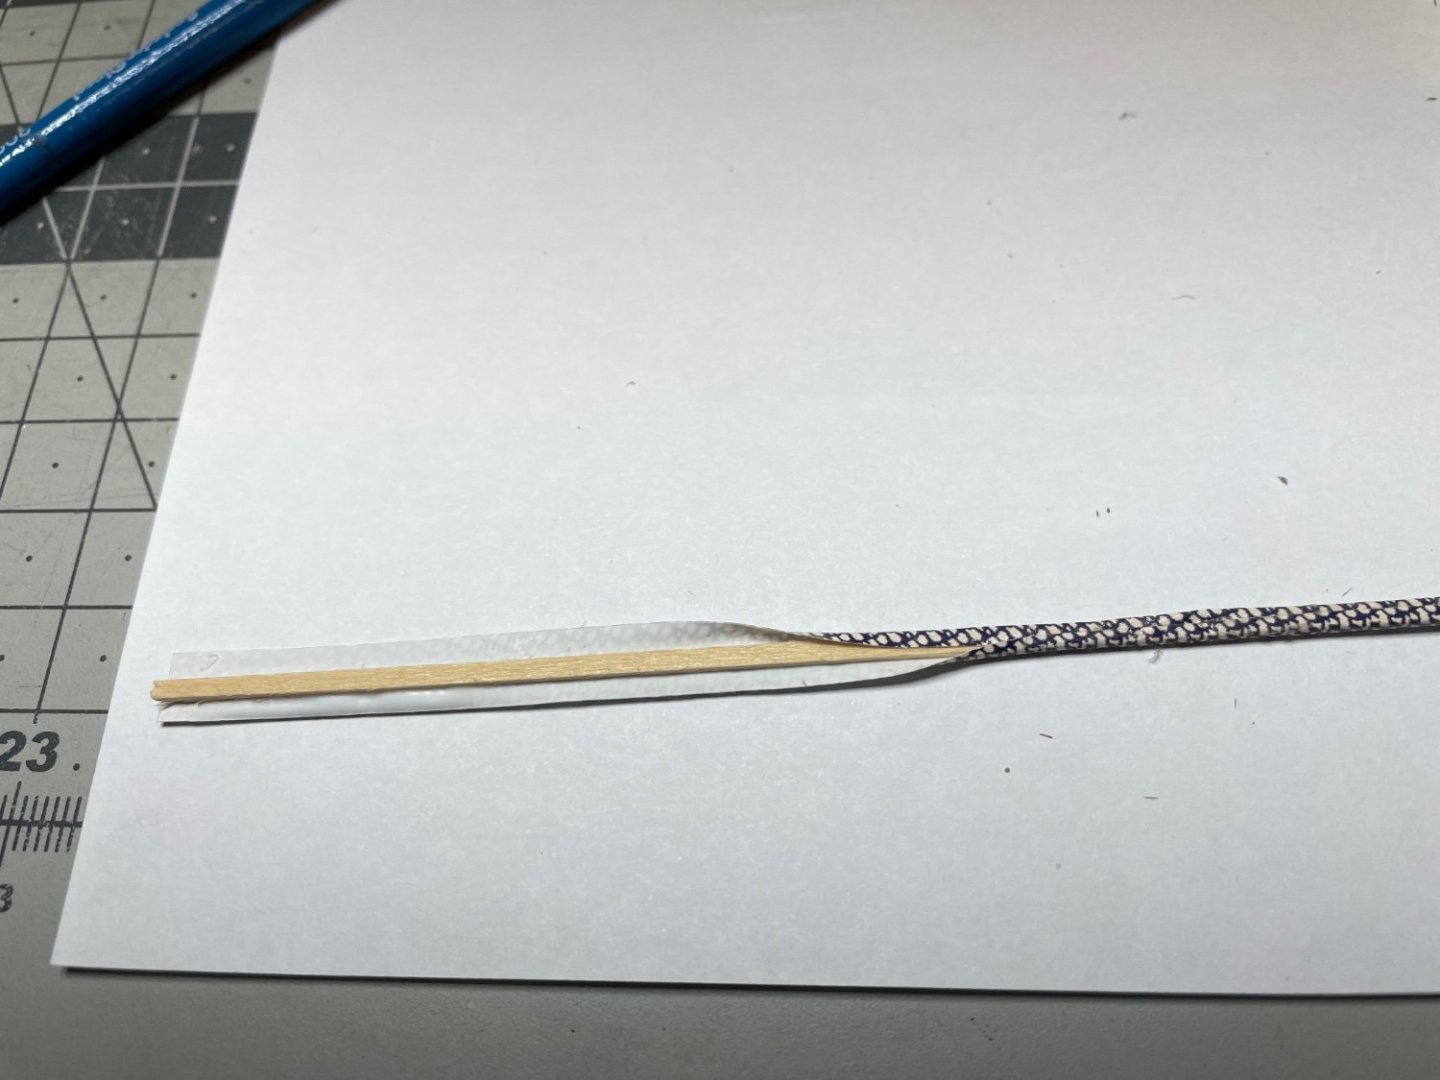
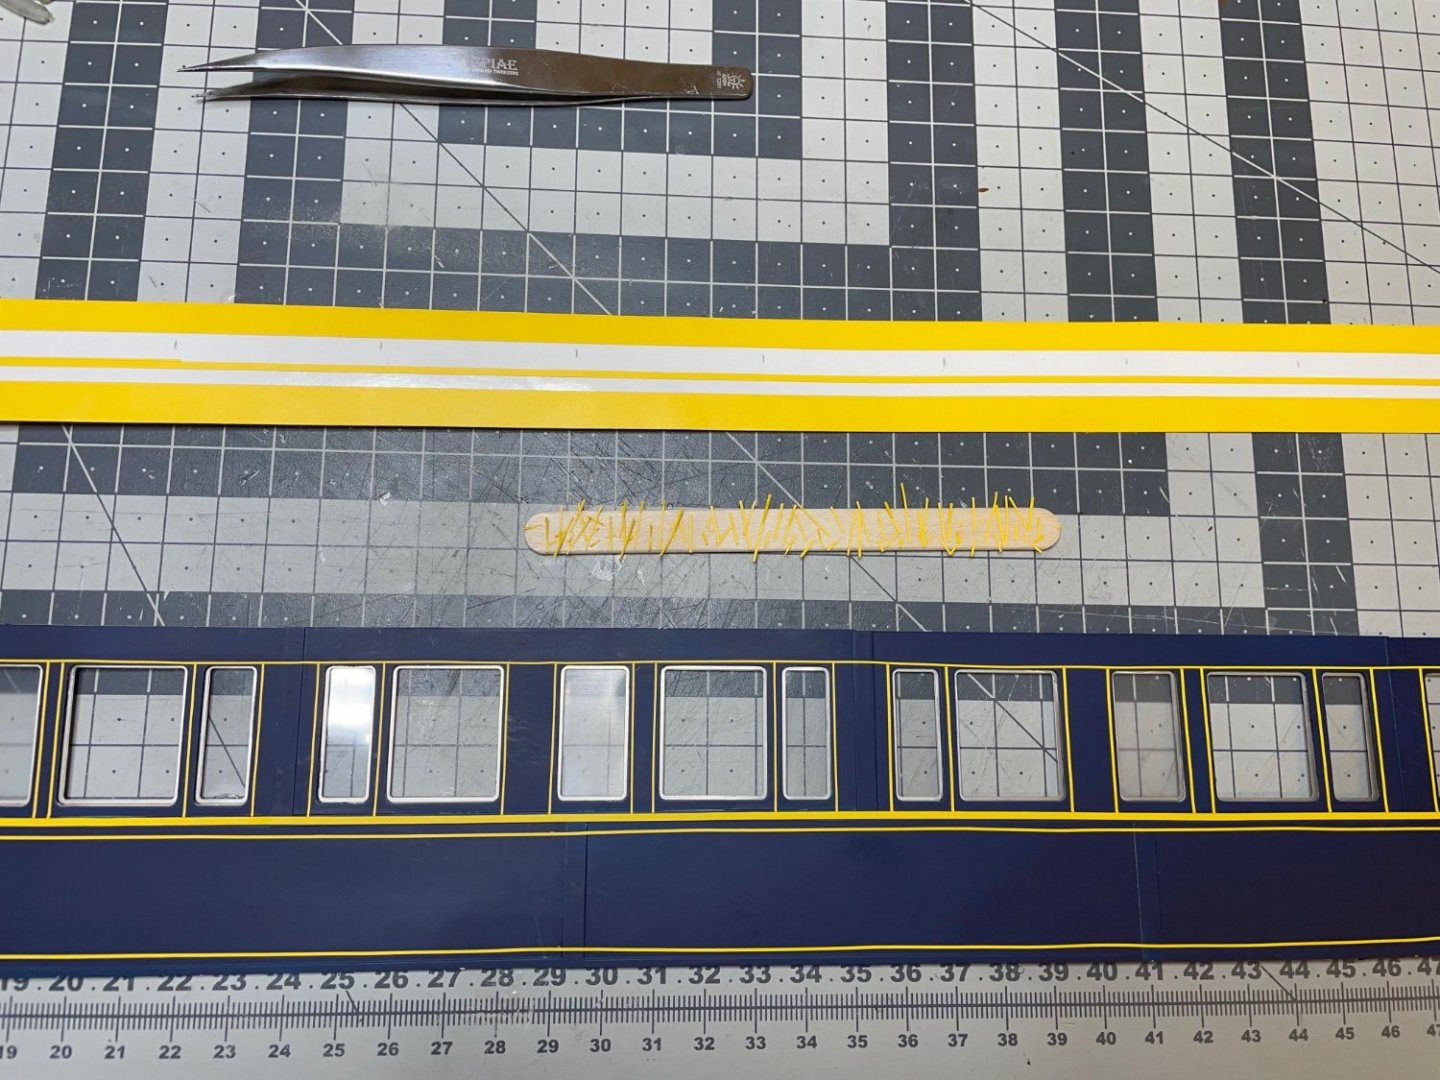
BUILD DAY 31 / 2 hrs / (TOTAL: 83 hrs) Figure 315: Blue plates and pinstripes are in place. Similar work as that of the corridor side carriage and no surprises hence I don't have many photos nor much to tell. Pinstripe trims on an ice cream stick. I have less than 10cm left of the 0.5mm stripes after the work. It was getting scary towards the end. Amati could have put one more line of cut on the sheet (which would not cost them anything). But anyways I survived. Waiting for the Micro Sol decal setters from the mail before I apply the decals.
- 293 replies
-
- 13
-
-
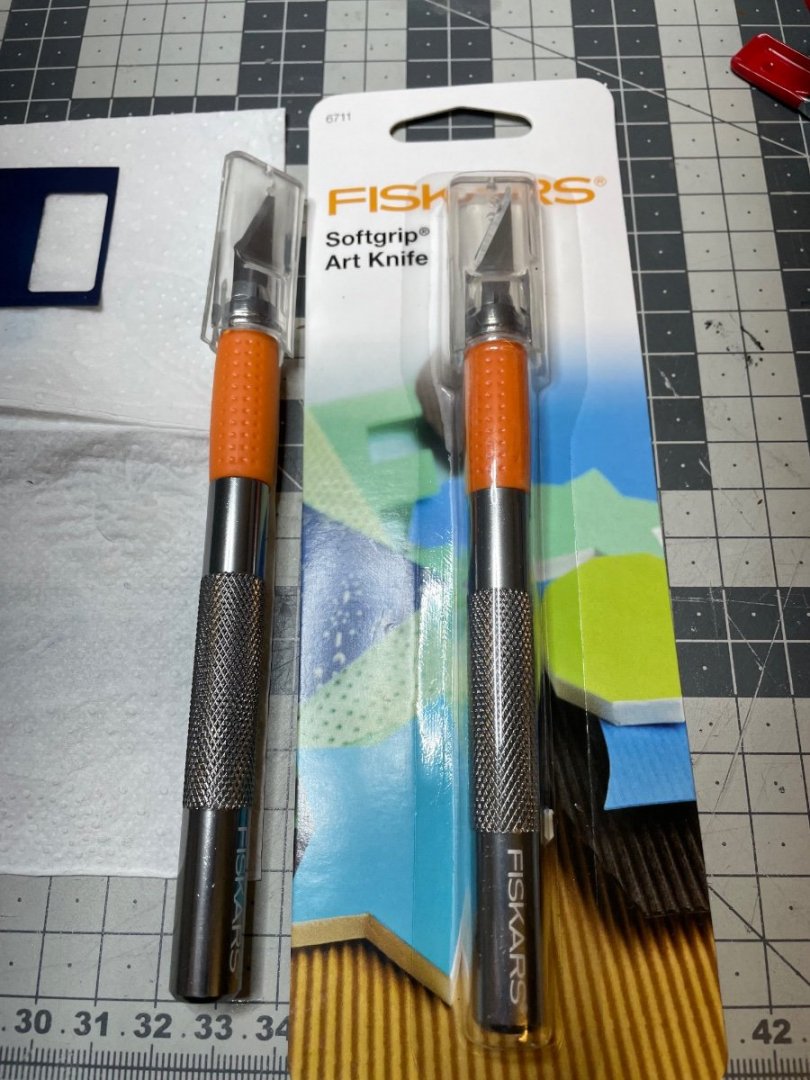
Figure 314: My Fiskars have arrived. Excellent grip and mechanism for easy blade replacement. One excuse less to blame the tools in case of a screw up 😀. P.S. They also have great frying pans (Hard Face series), but I know it is a topic for a different hobby forum 😆.
-
Figures 312-313: Similar paint job as the other side. I stop here for today. This is all for now. Thanks for watching!


- 293 replies
-
- 15
-
-
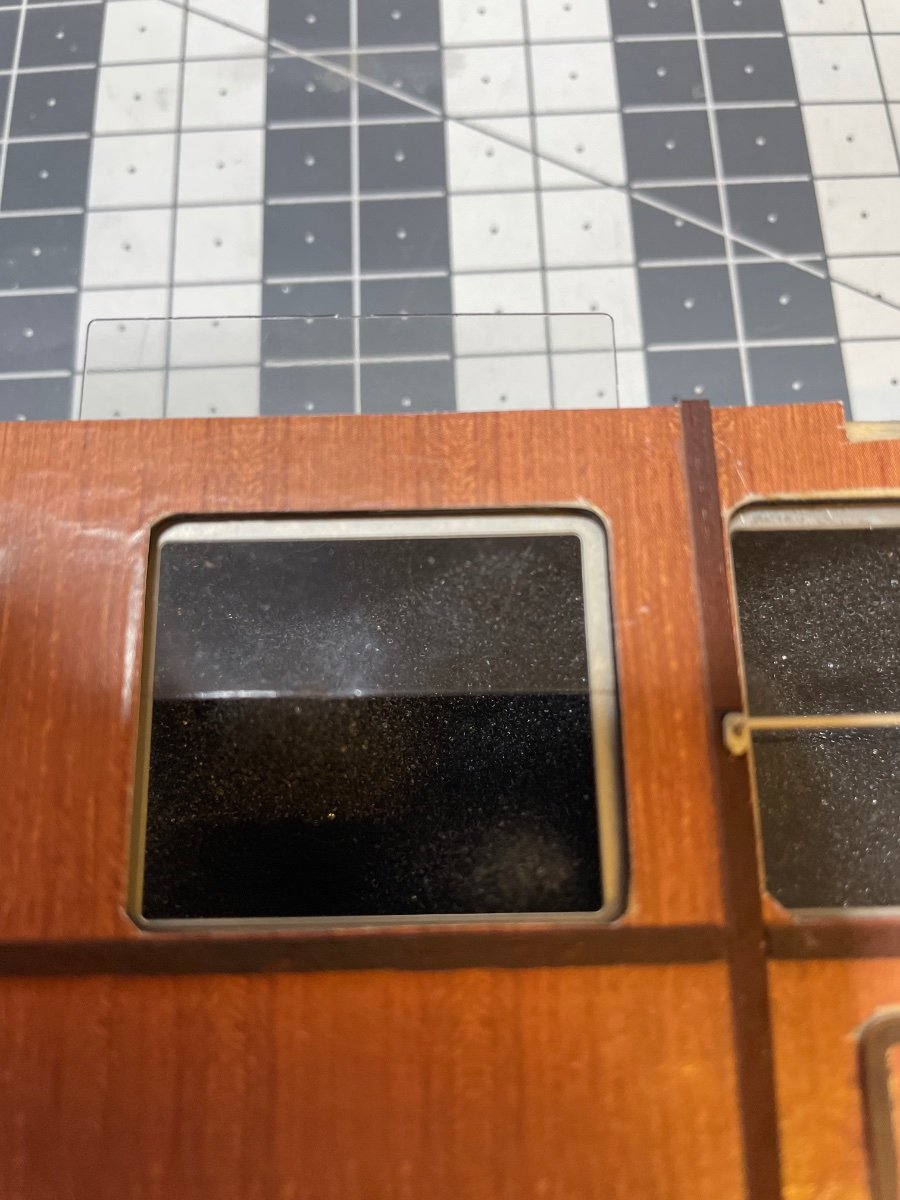
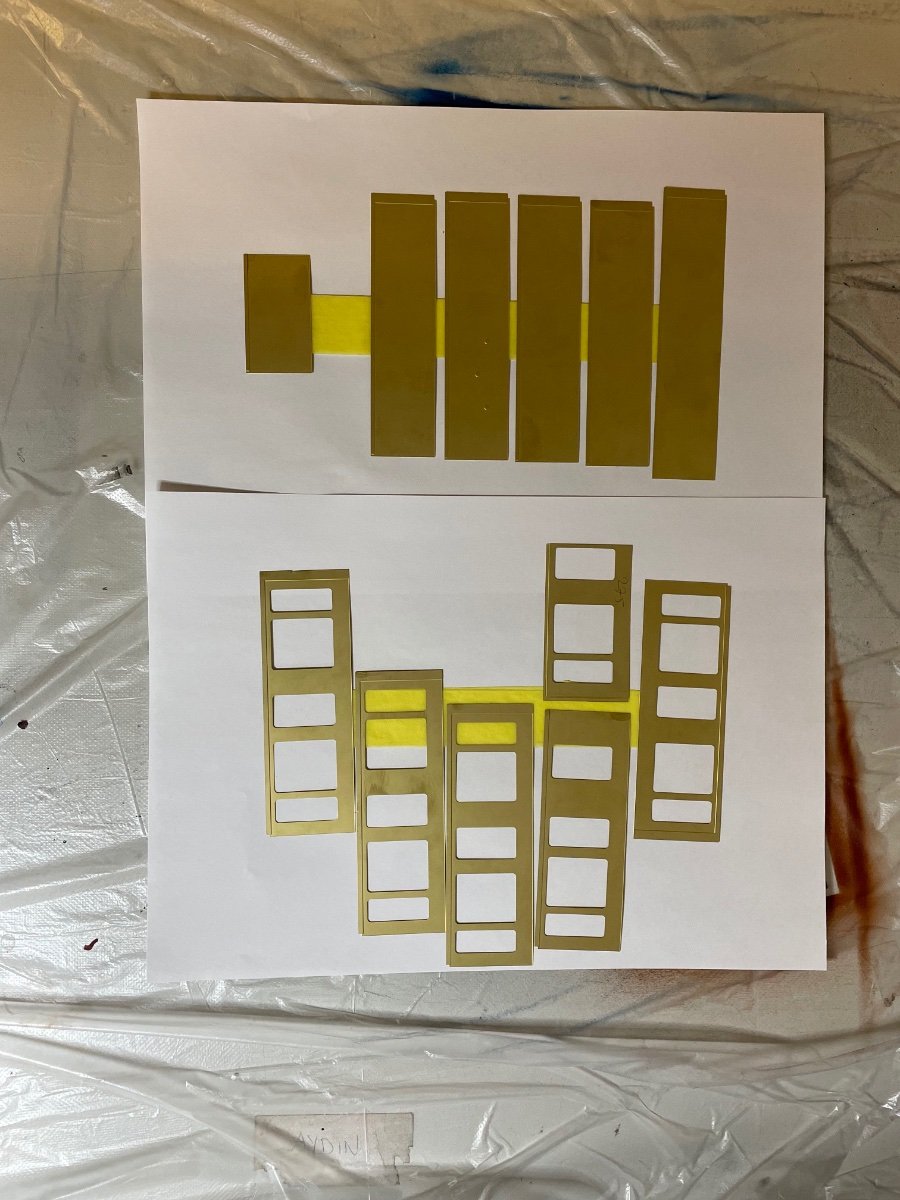
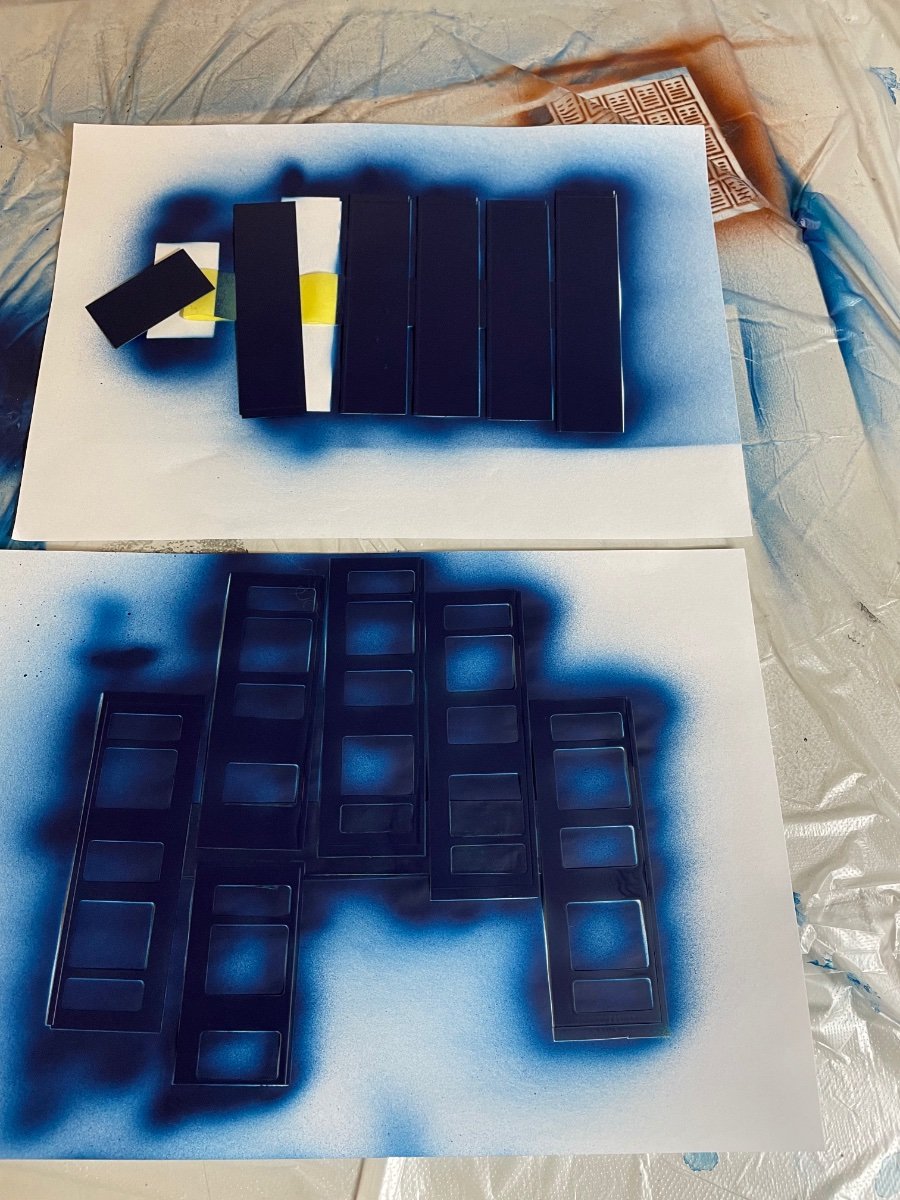
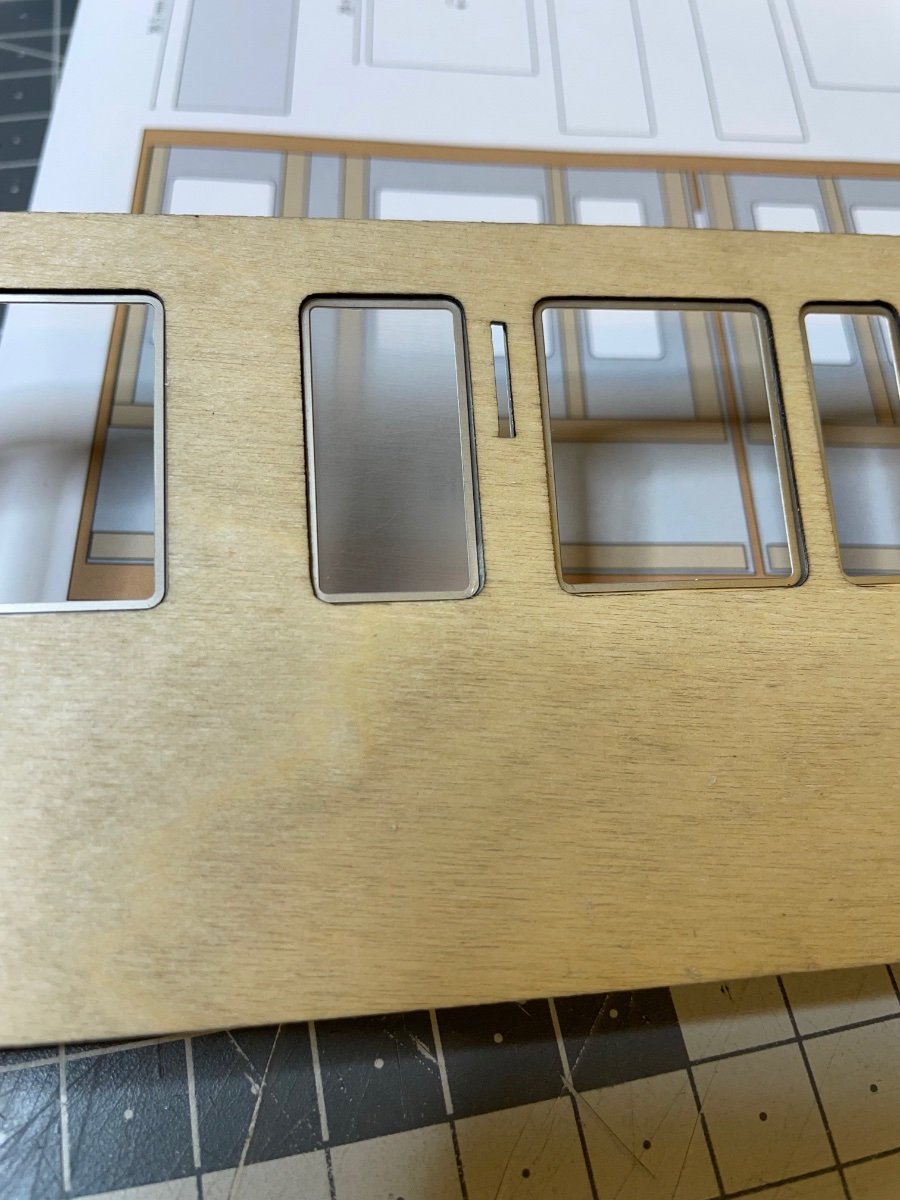
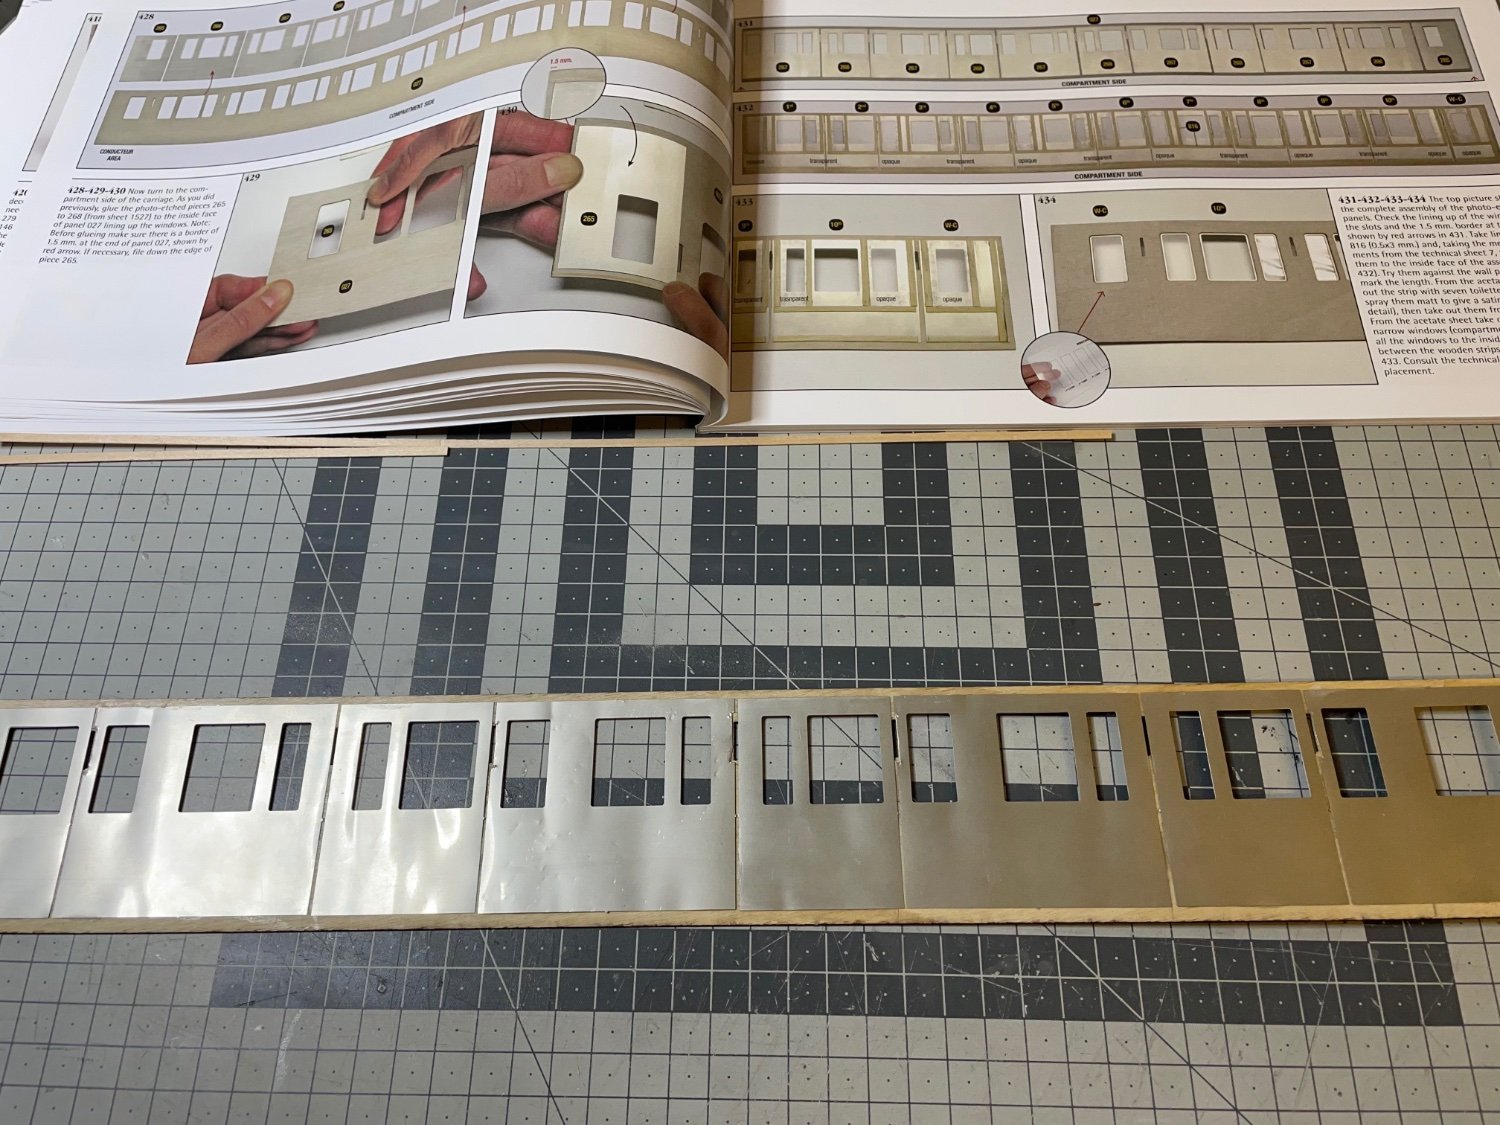
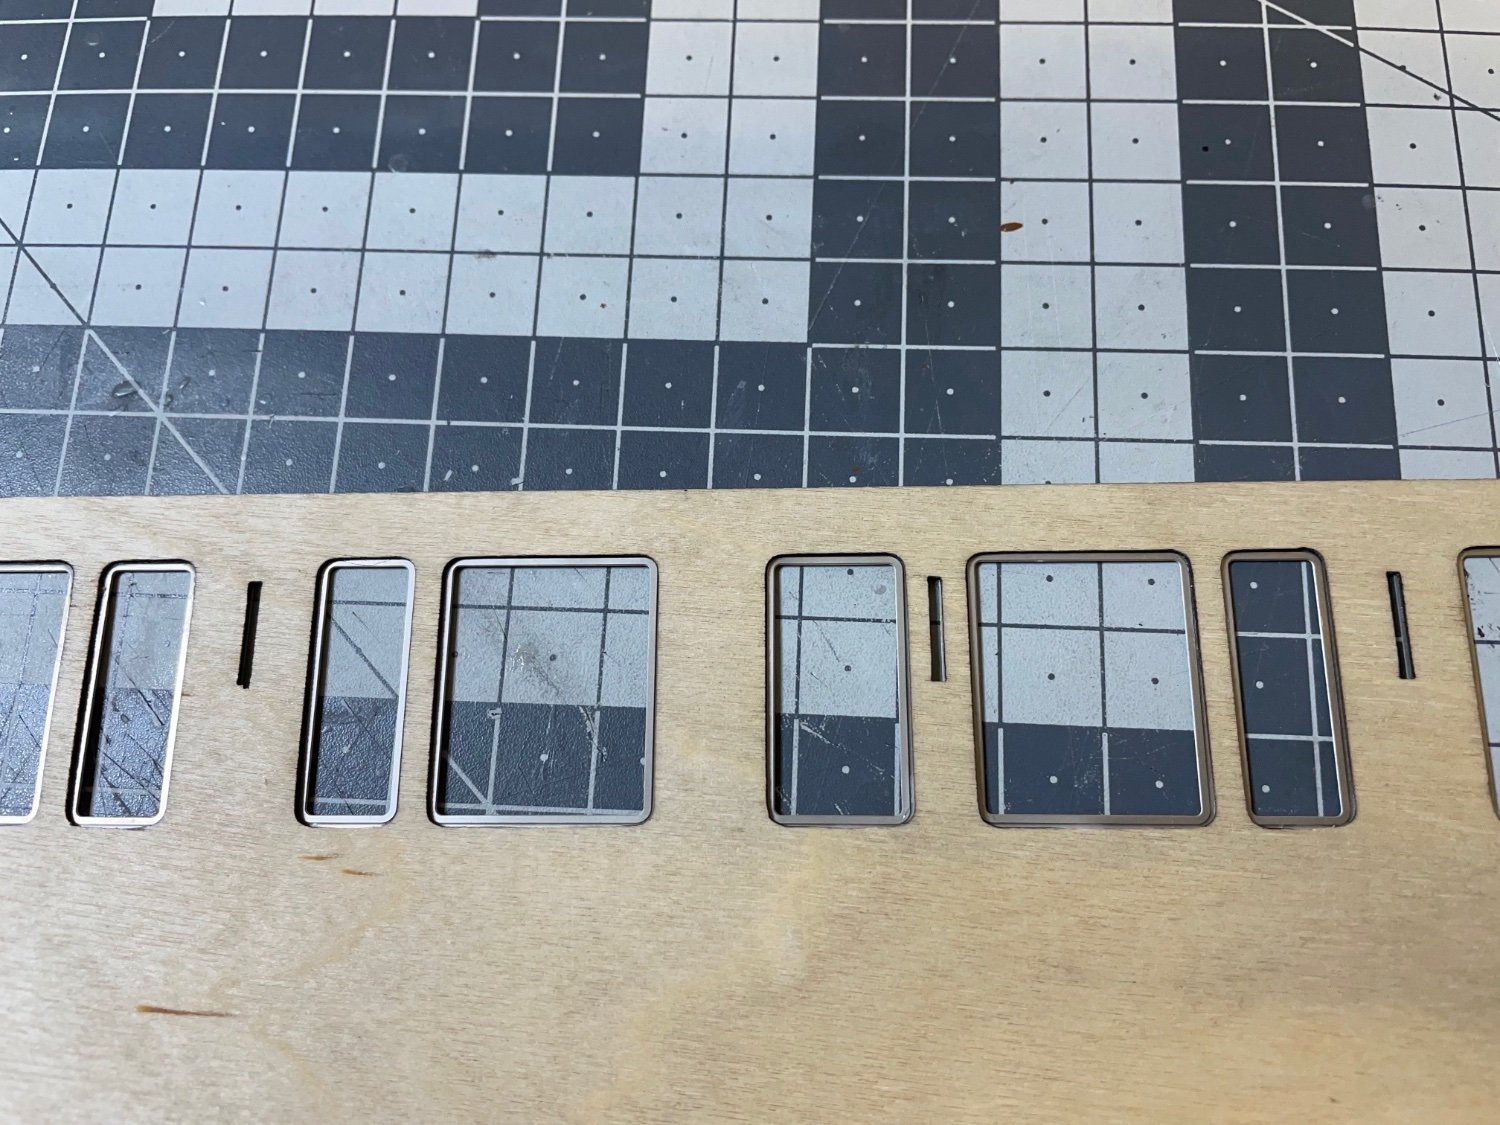
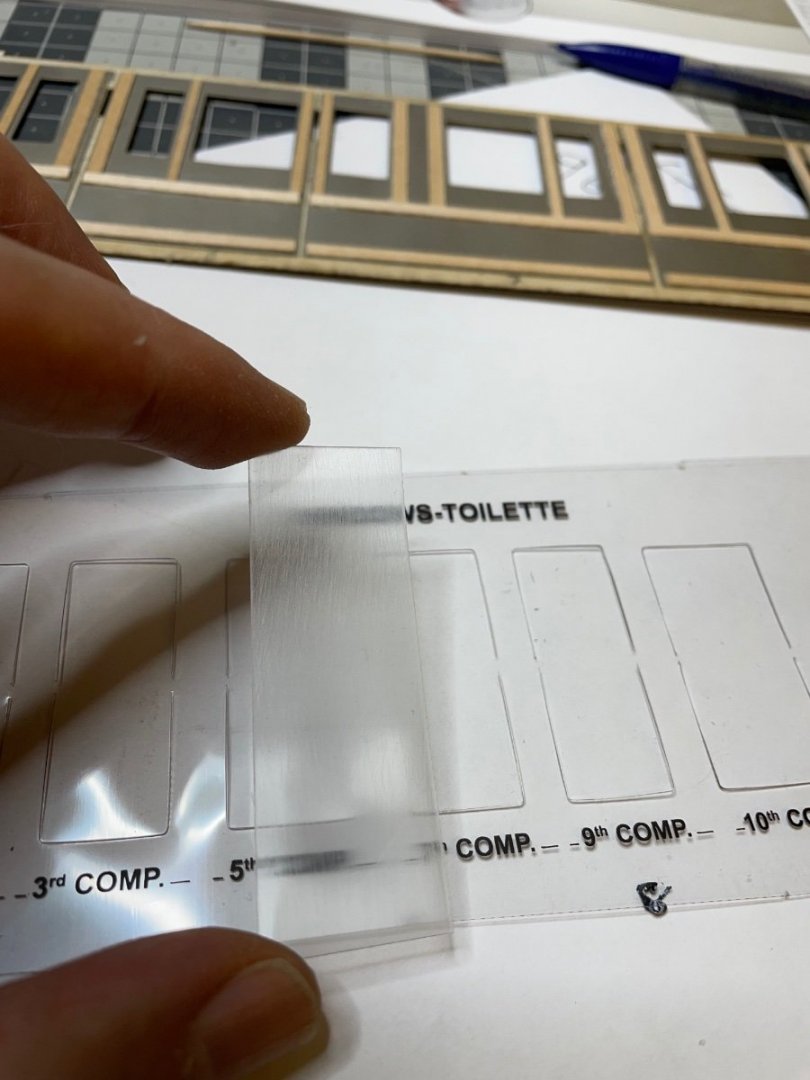
Figures 308-311: The toilet windows have to have some degree of opacity. After all it is a toilet, right? In order to achieve this, the instructions recommend to spray matt varnish on them. I tried it on a scrap piece but the result was awful. Instead I rubbed them a few times with fine grade sandpaper. Turned out not too bad.


- 293 replies
-
- 12
-
-
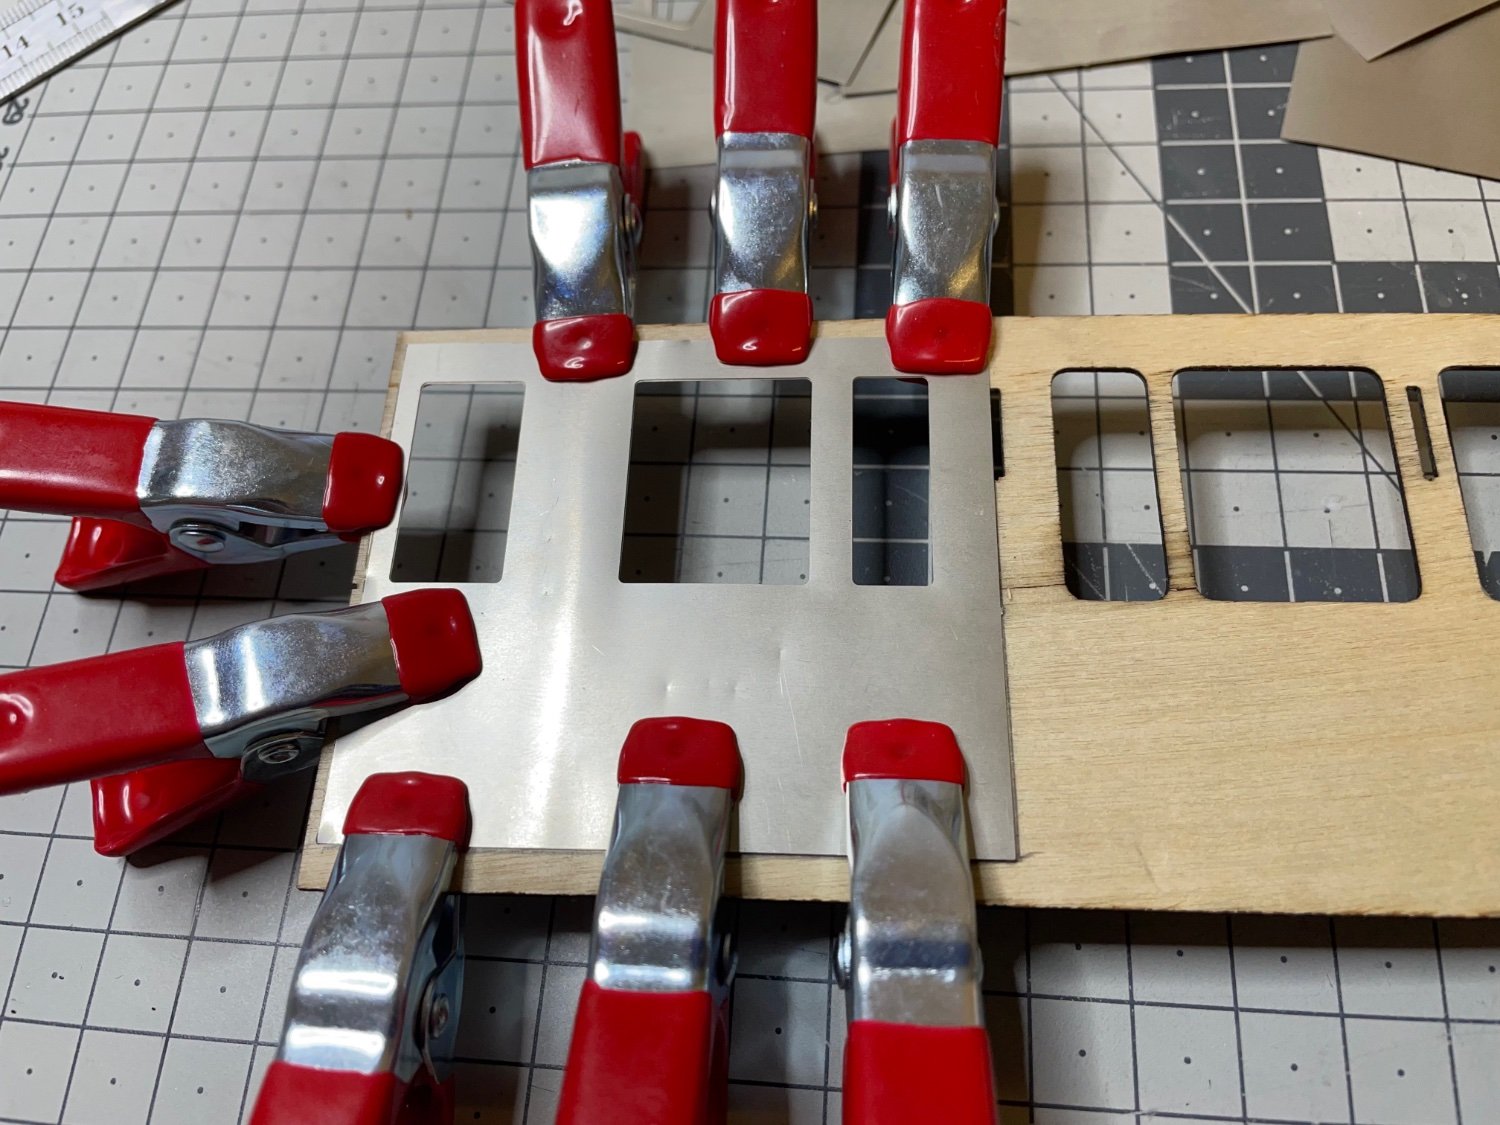
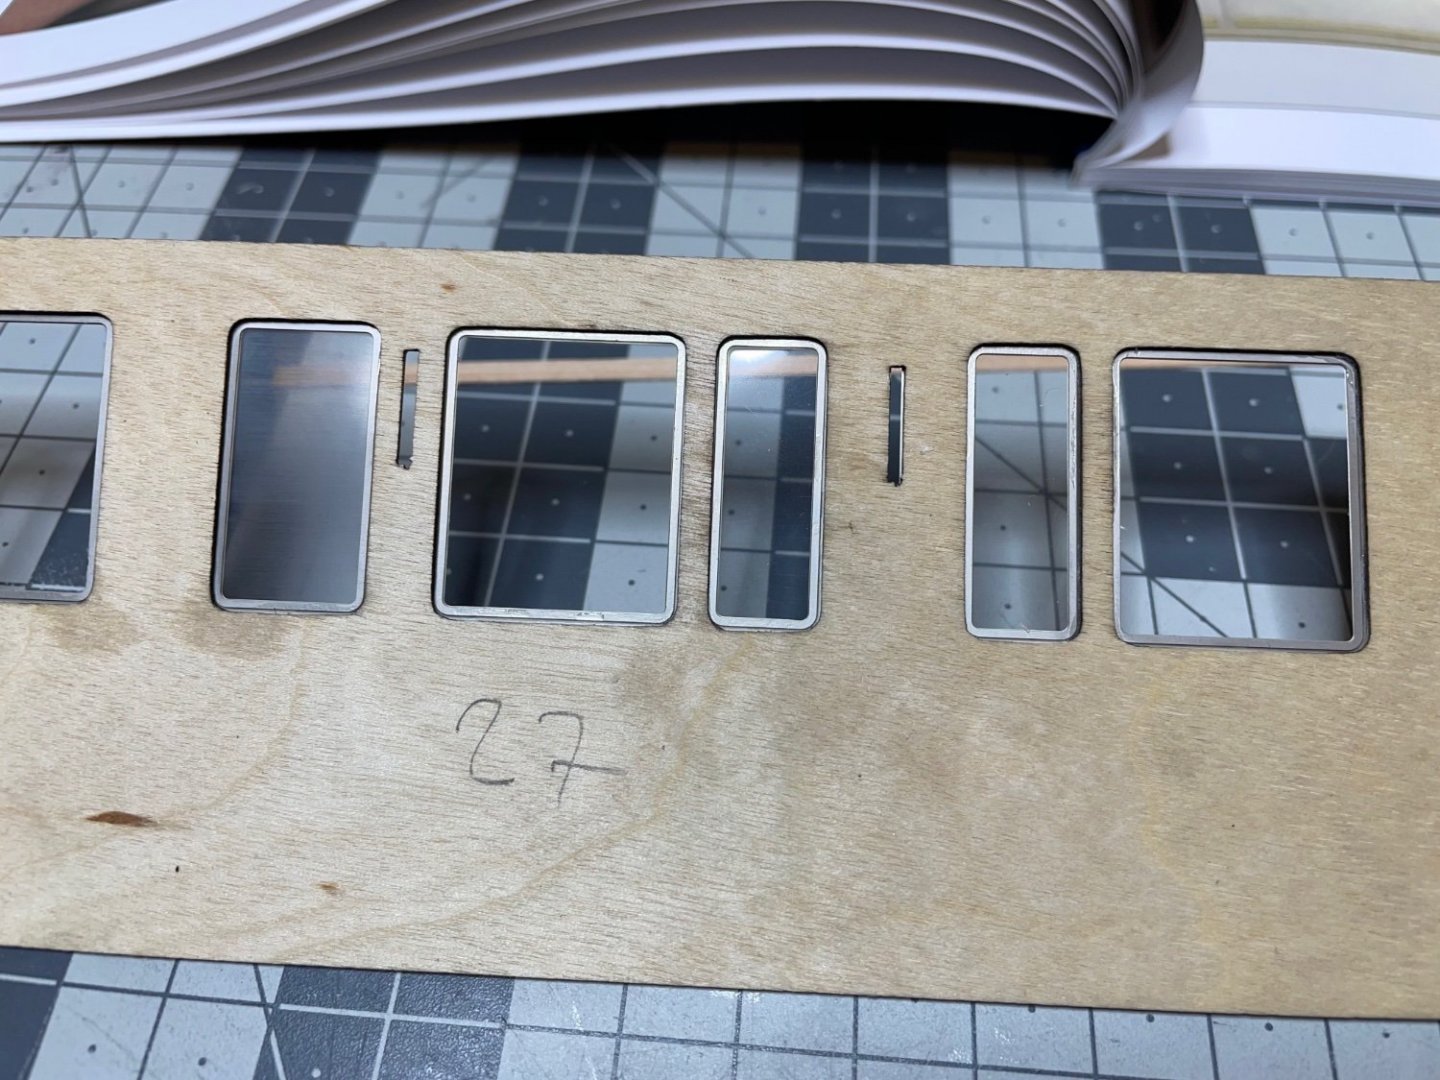
Figures 305-307: Gluing process. I used superglue. Note the window frame alignment with the plywood part on the third photo.


- 293 replies
-
- 11
-