aydingocer
-
Posts
916 -
Joined
-
Last visited
Content Type
Profiles
Forums
Gallery
Events
Everything posted by aydingocer
-
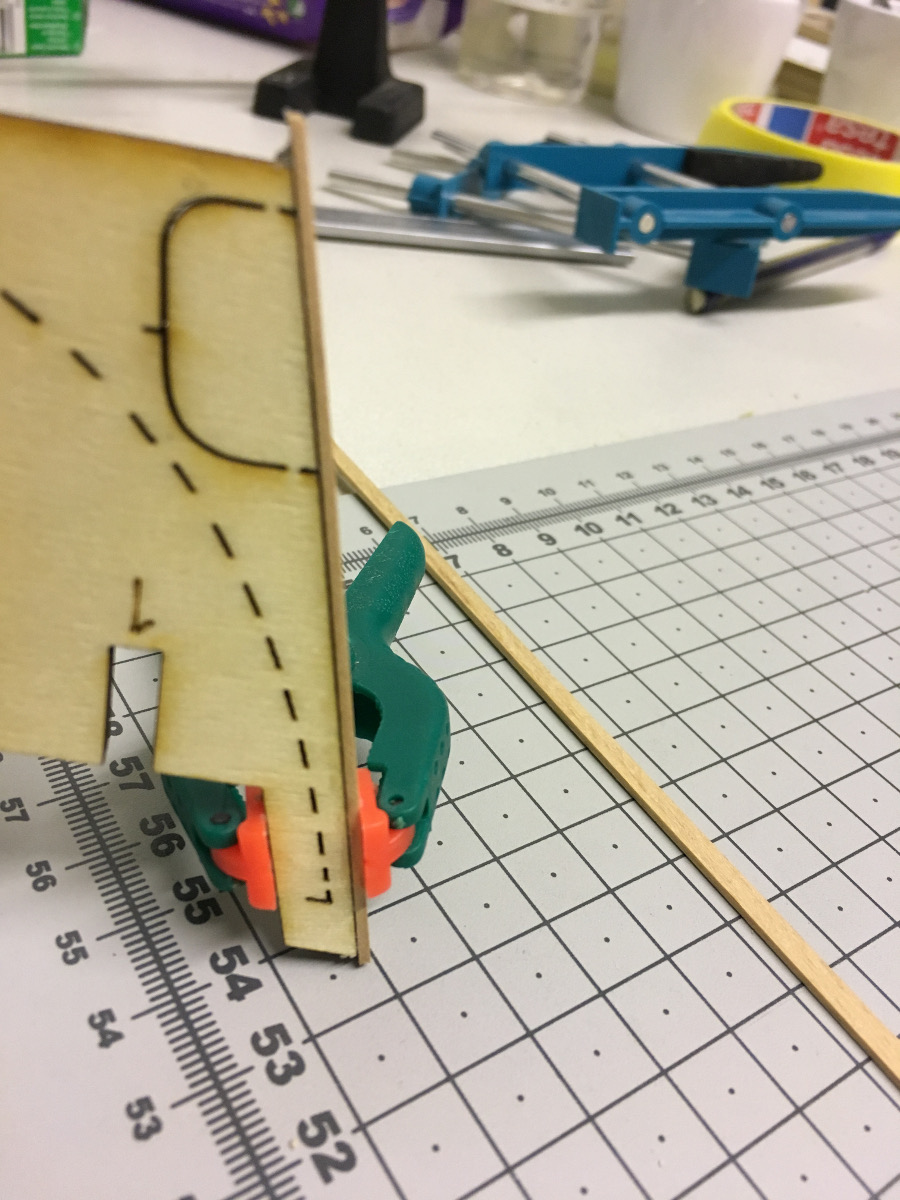
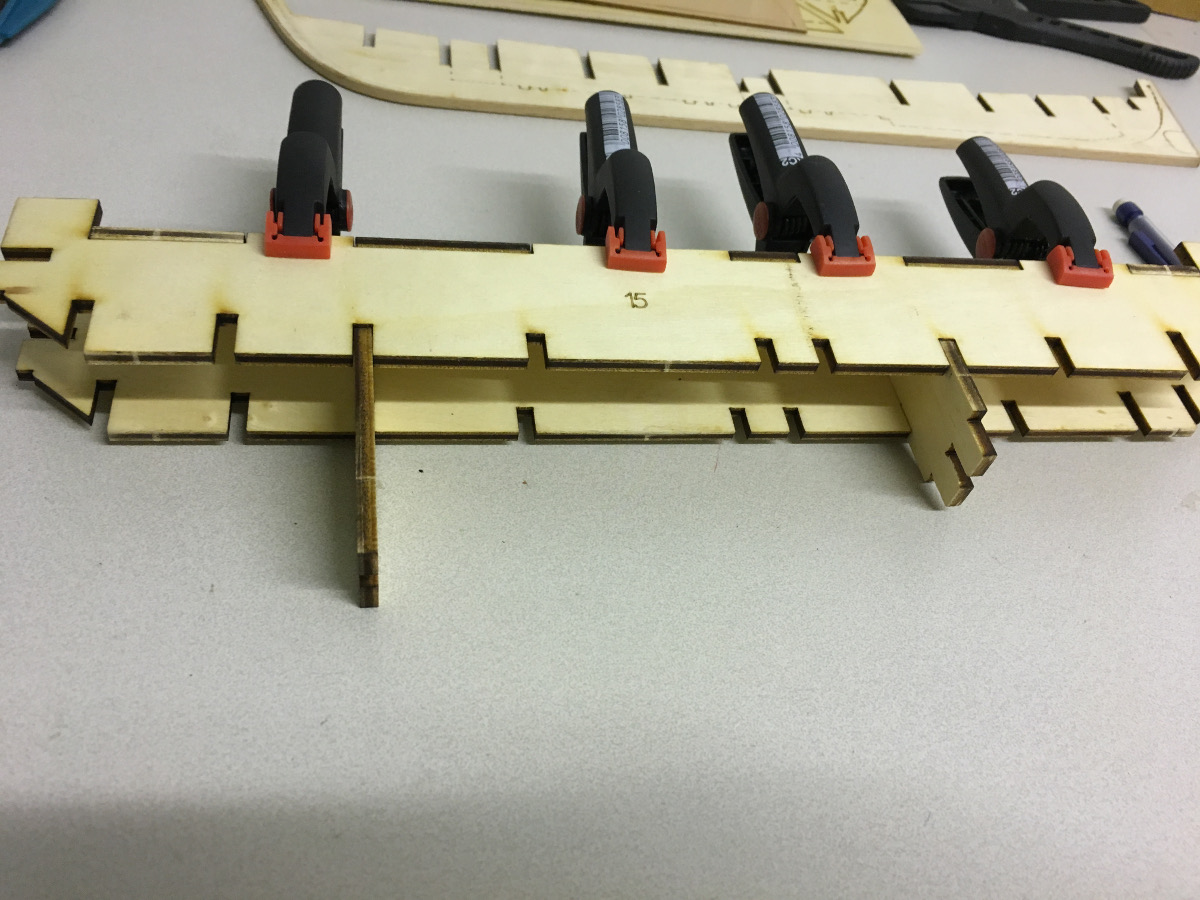
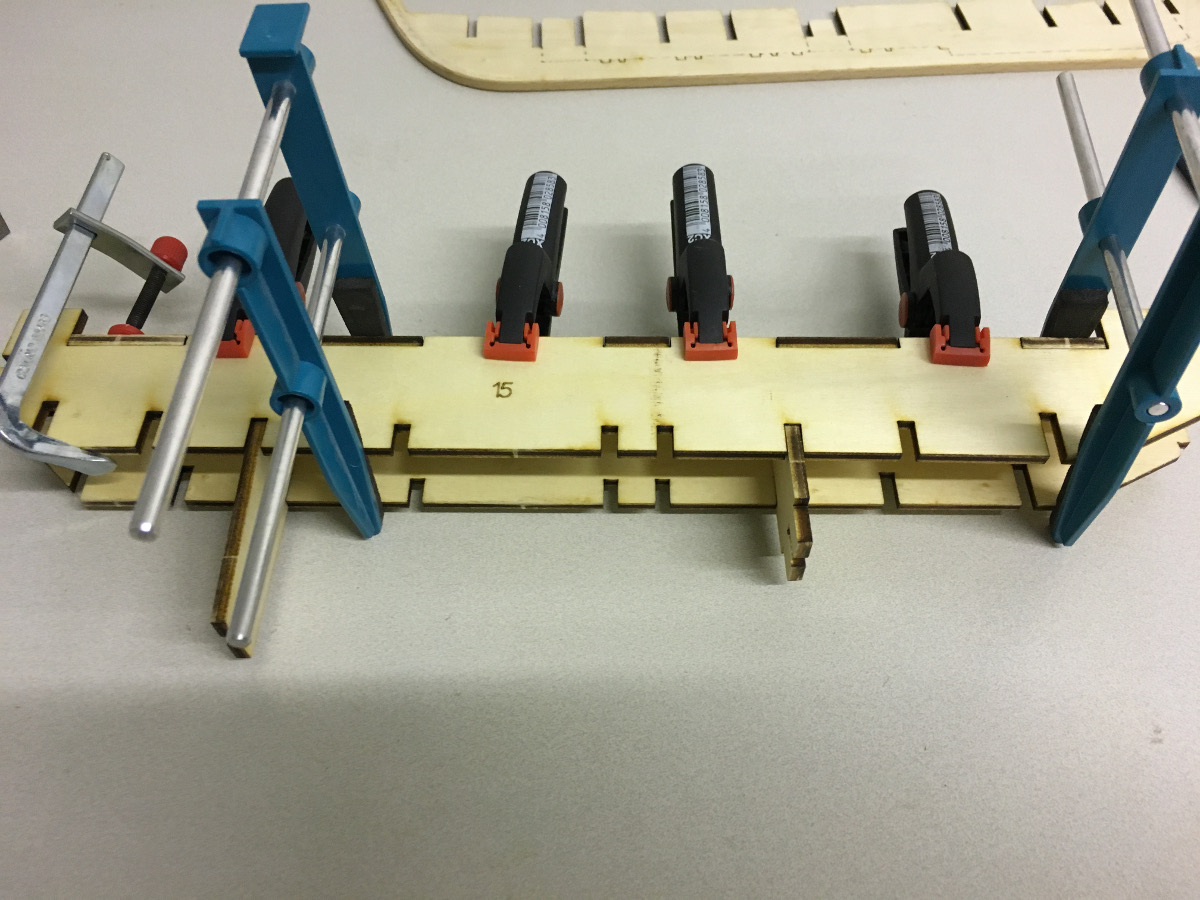
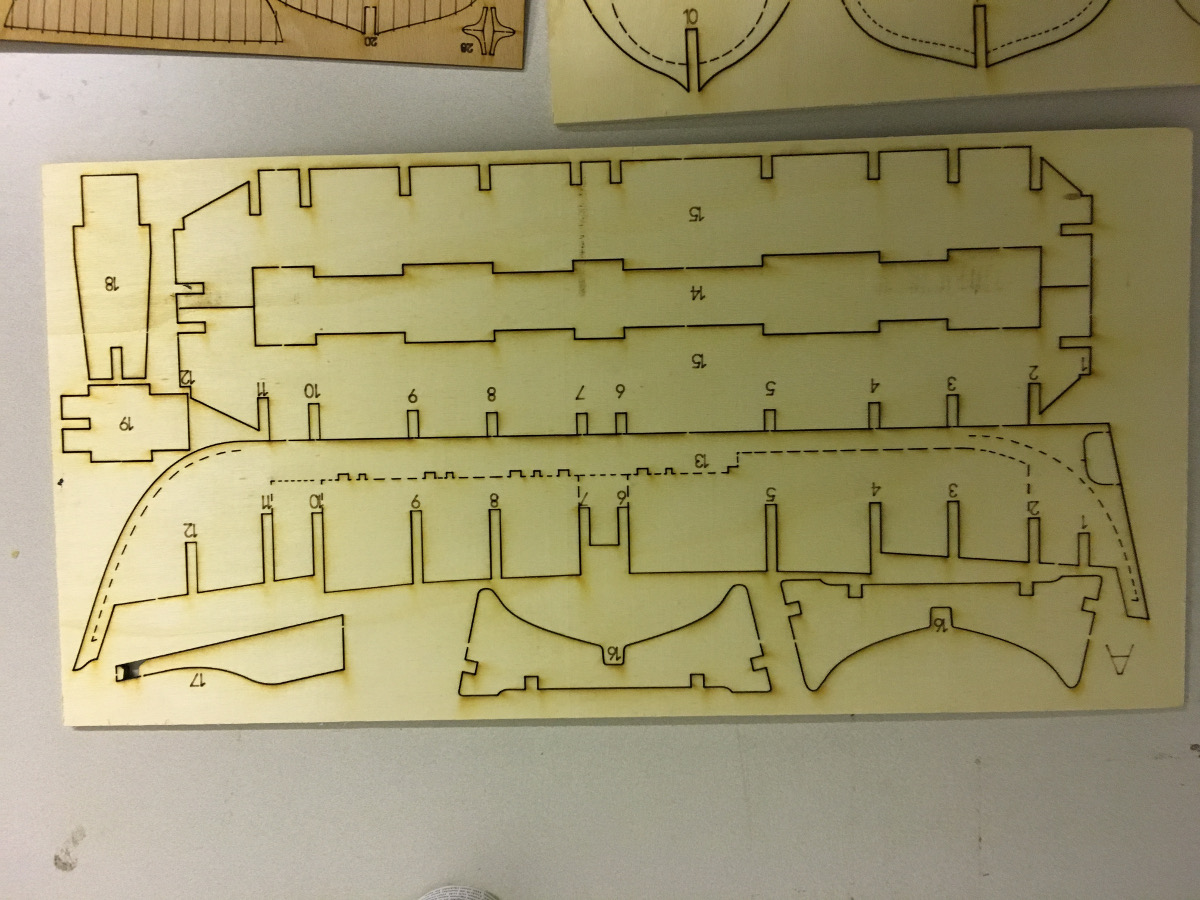
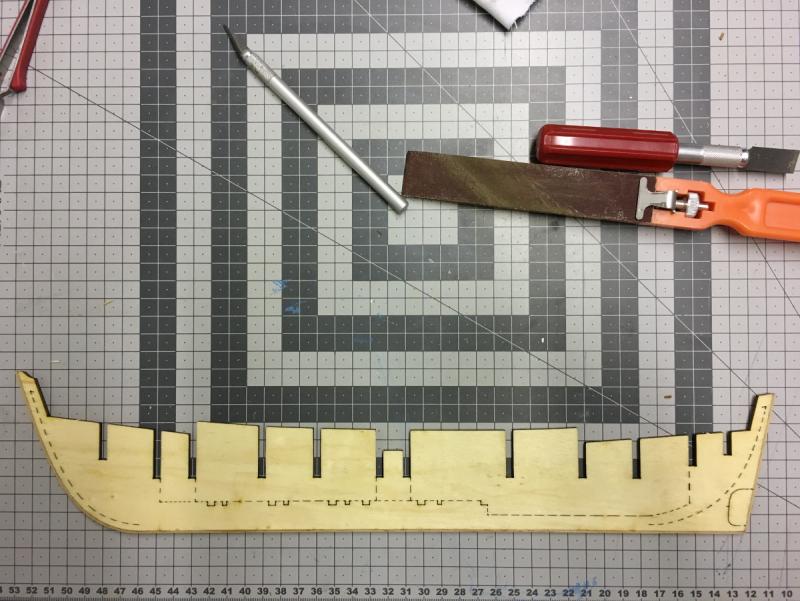
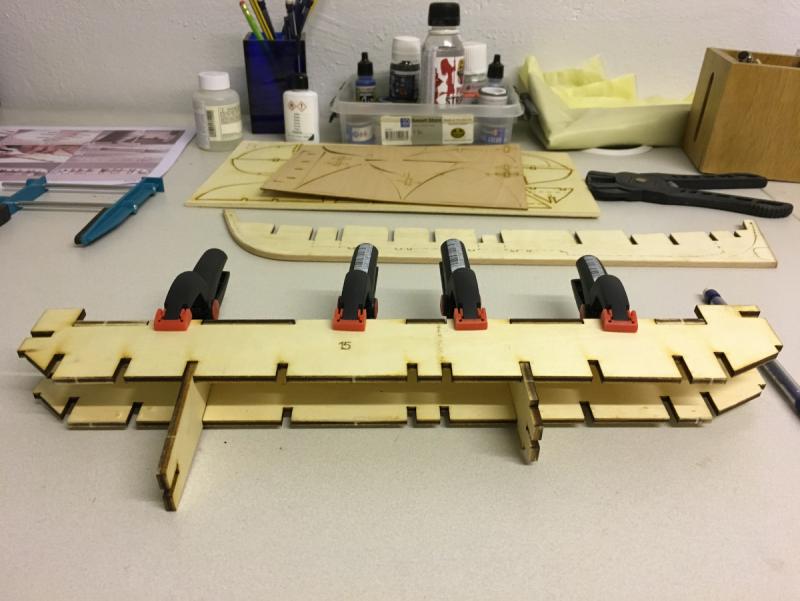
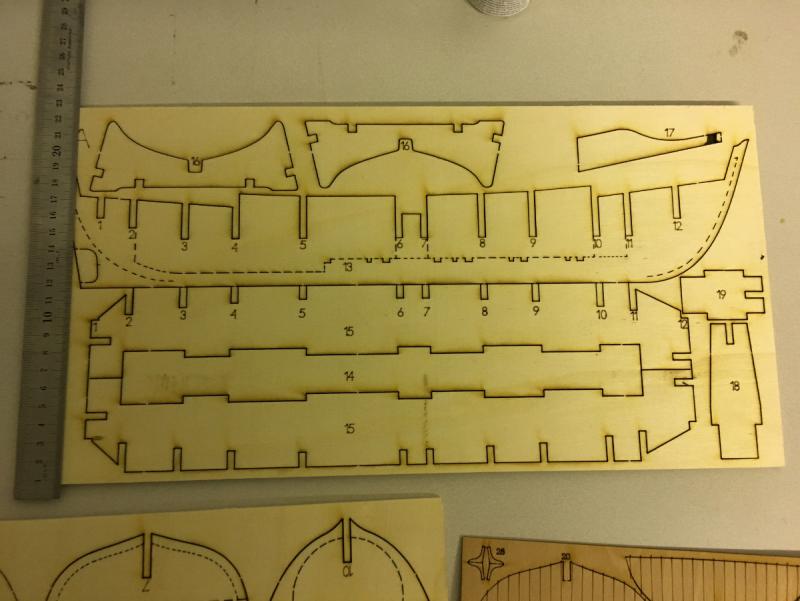
 First work on the keel is to glue walnut strips along its edges in order to cover the laser cut marks. Instructions tell not to remove the rudder cutout at this moment, therefore no glue should be on that part, in order to make it easy to remove later:


- 62 replies
-
- 3
-

-
- bosphorus
- tersane model
- (and 1 more)
-
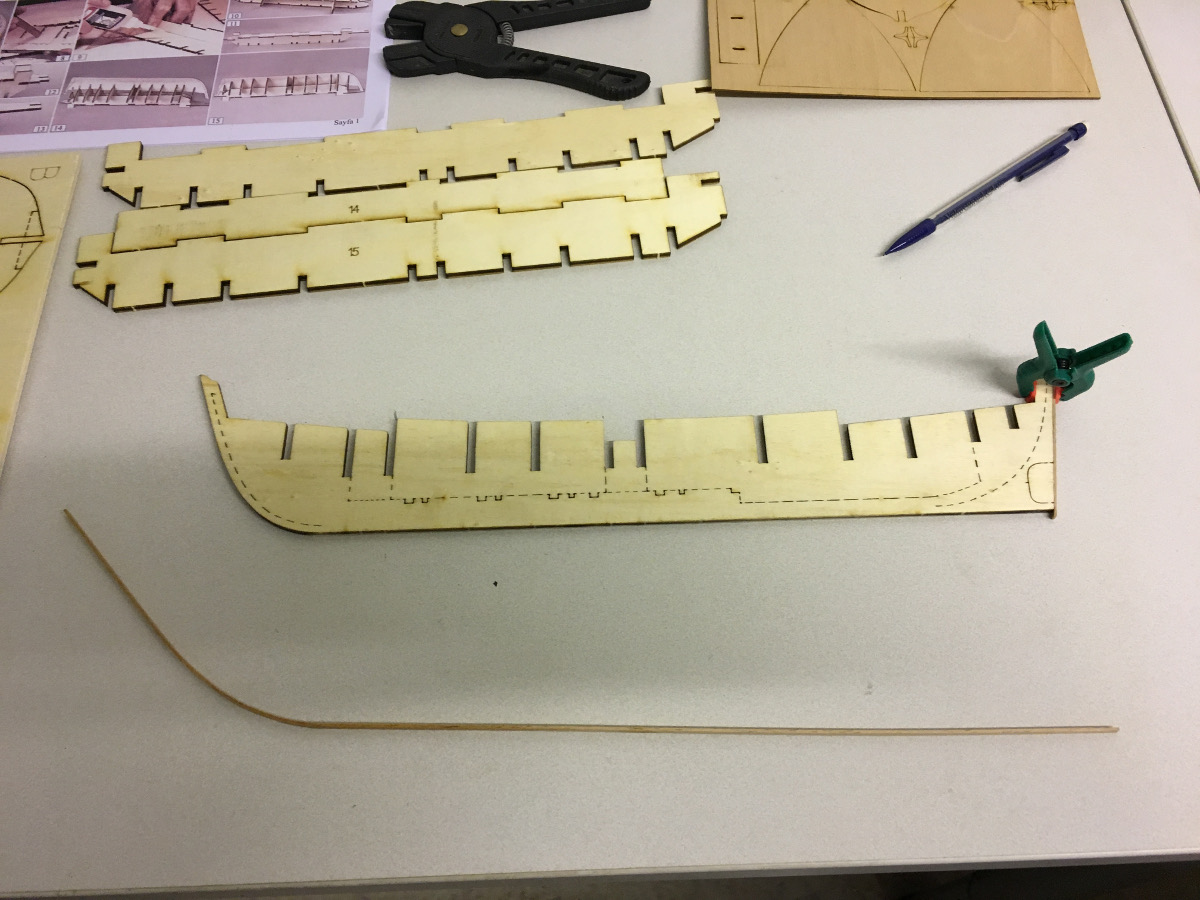
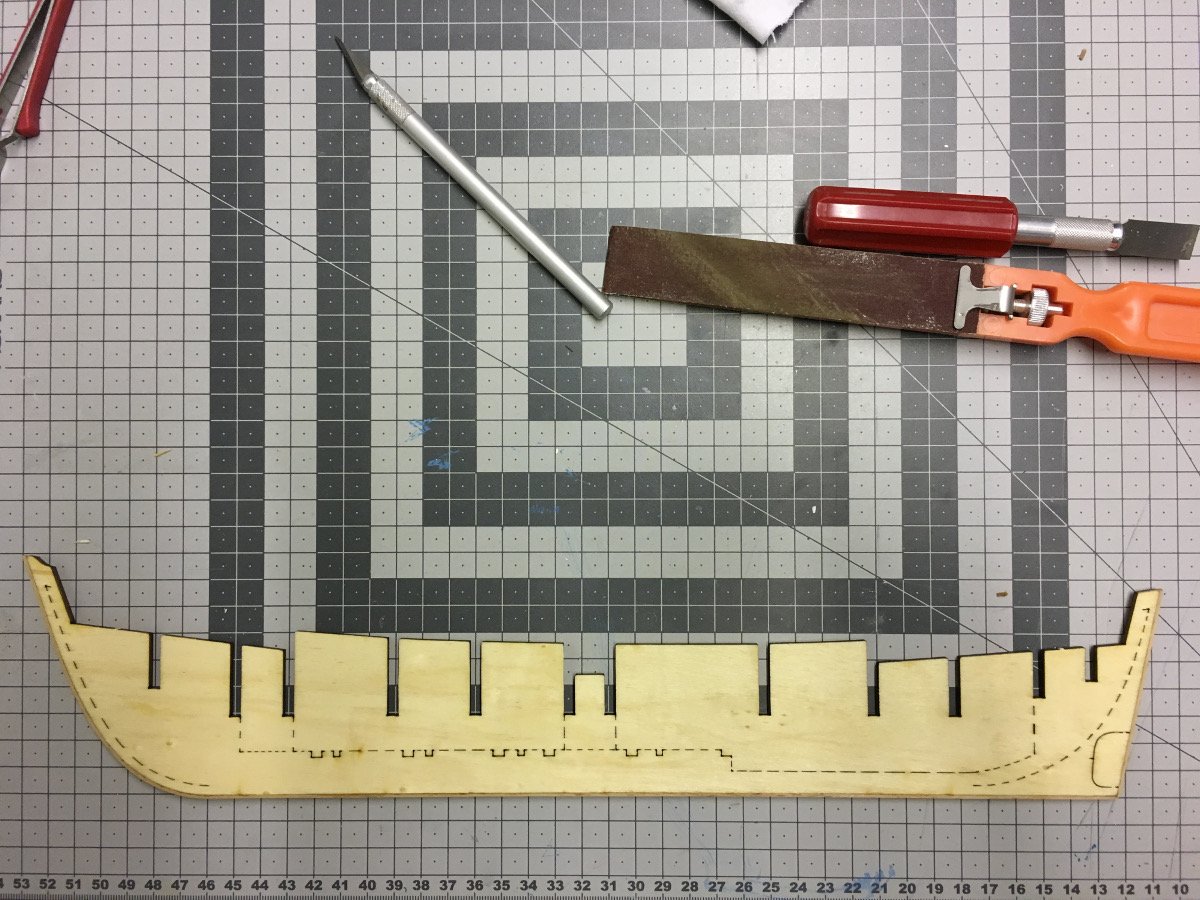
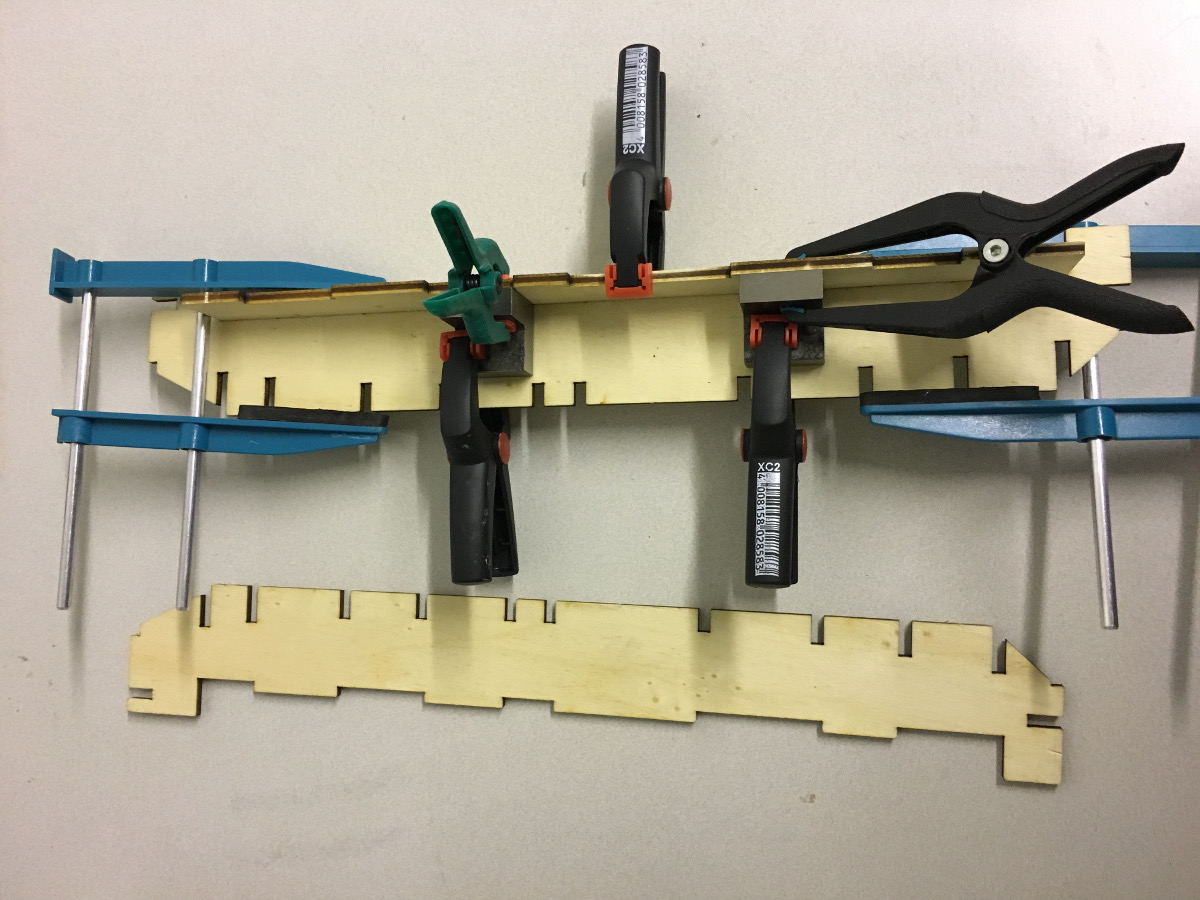
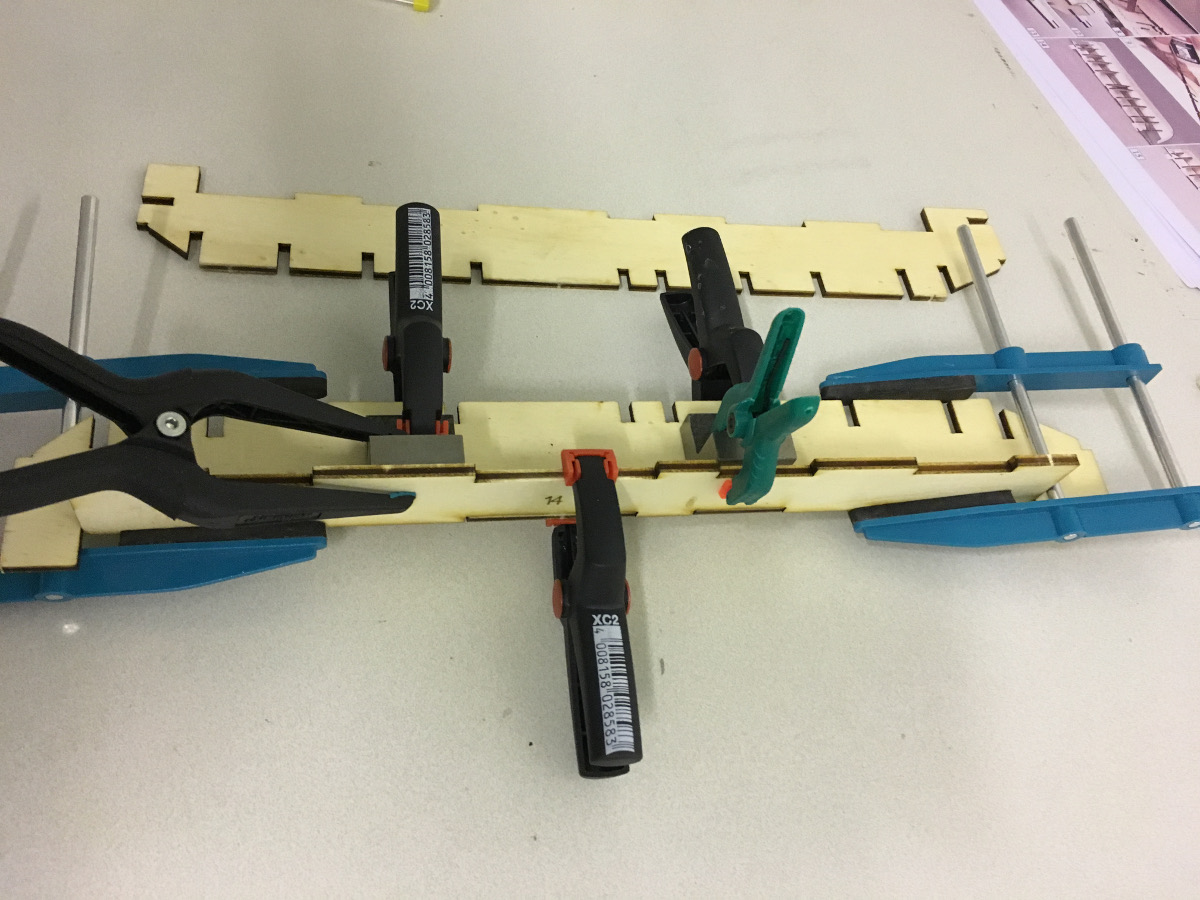
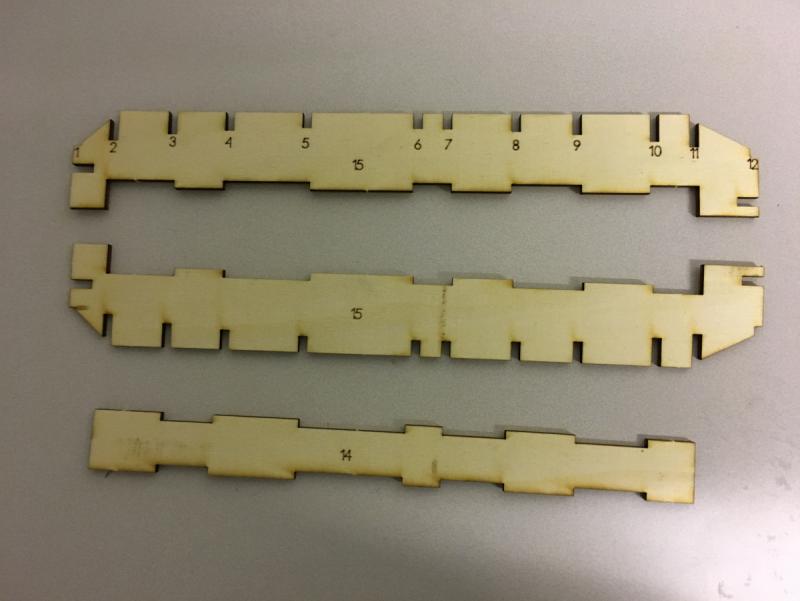
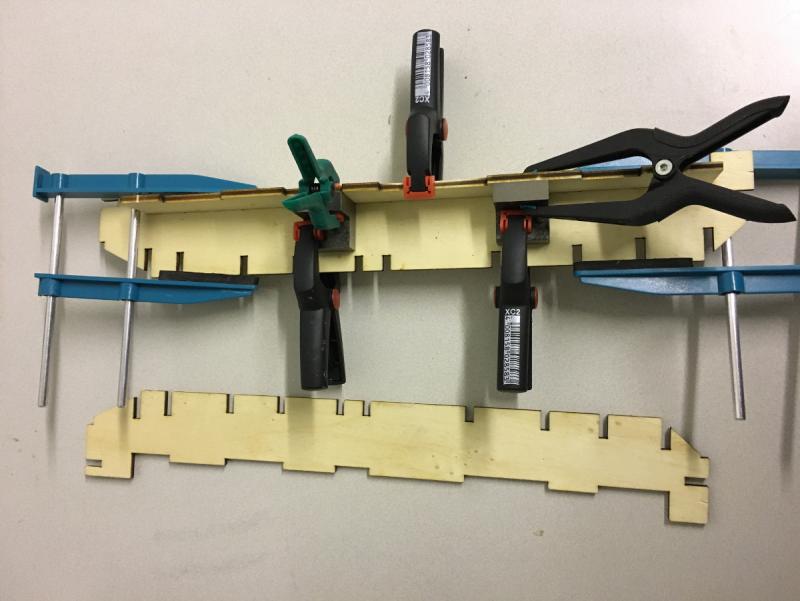
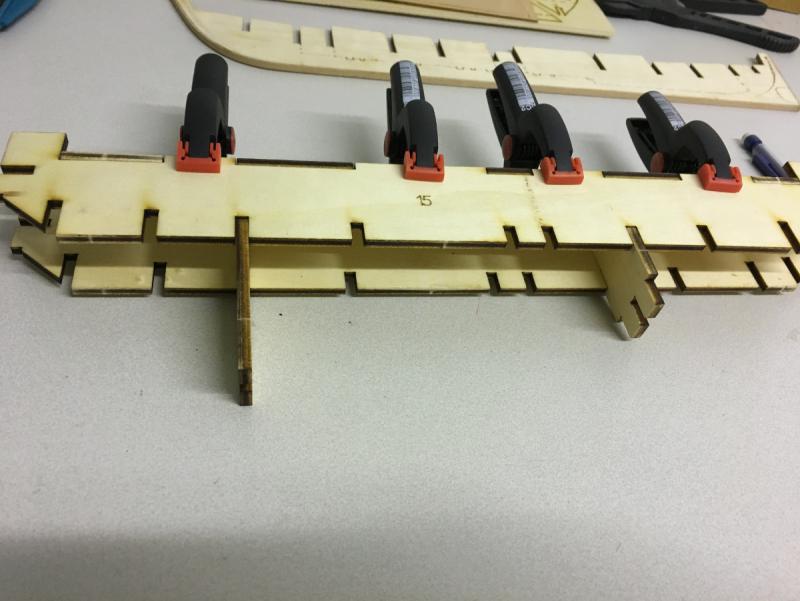
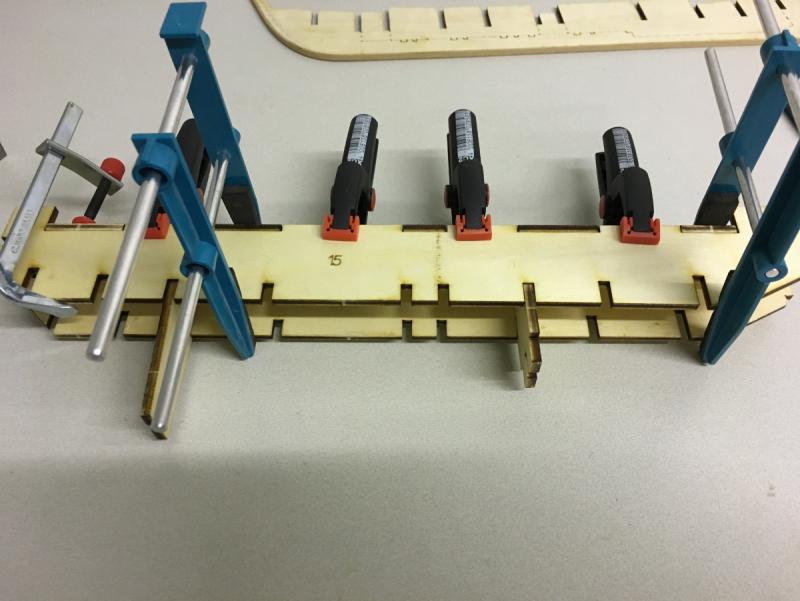
Build day 2 - Construction of bulkheads and keel The boat has its own building slip to help work accurately and easily. Two pieces in the middle are there temporarily to ensure vertical alignment. These pieces will be glued to either ends of the slip later on:

- 62 replies
-
- 5
-
-
- bosphorus
- tersane model
- (and 1 more)
-
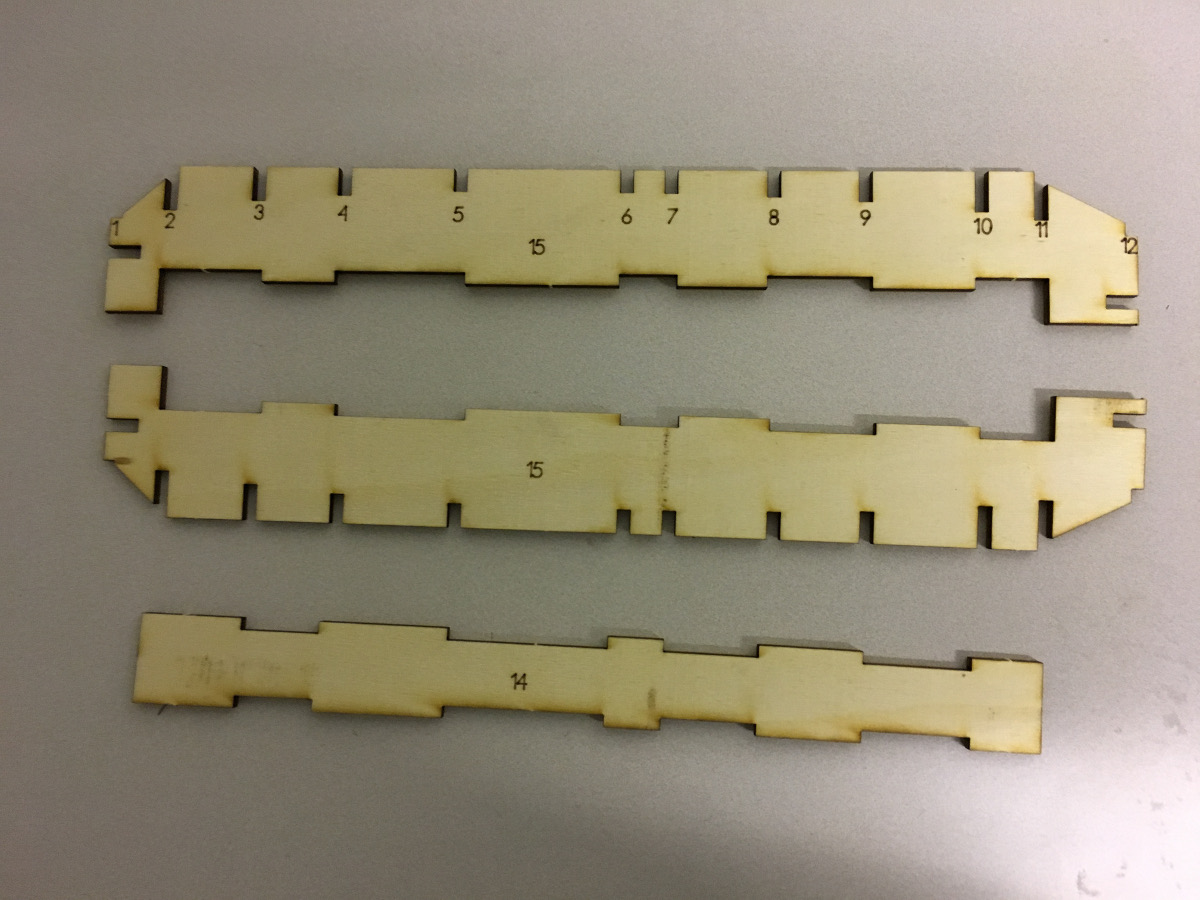
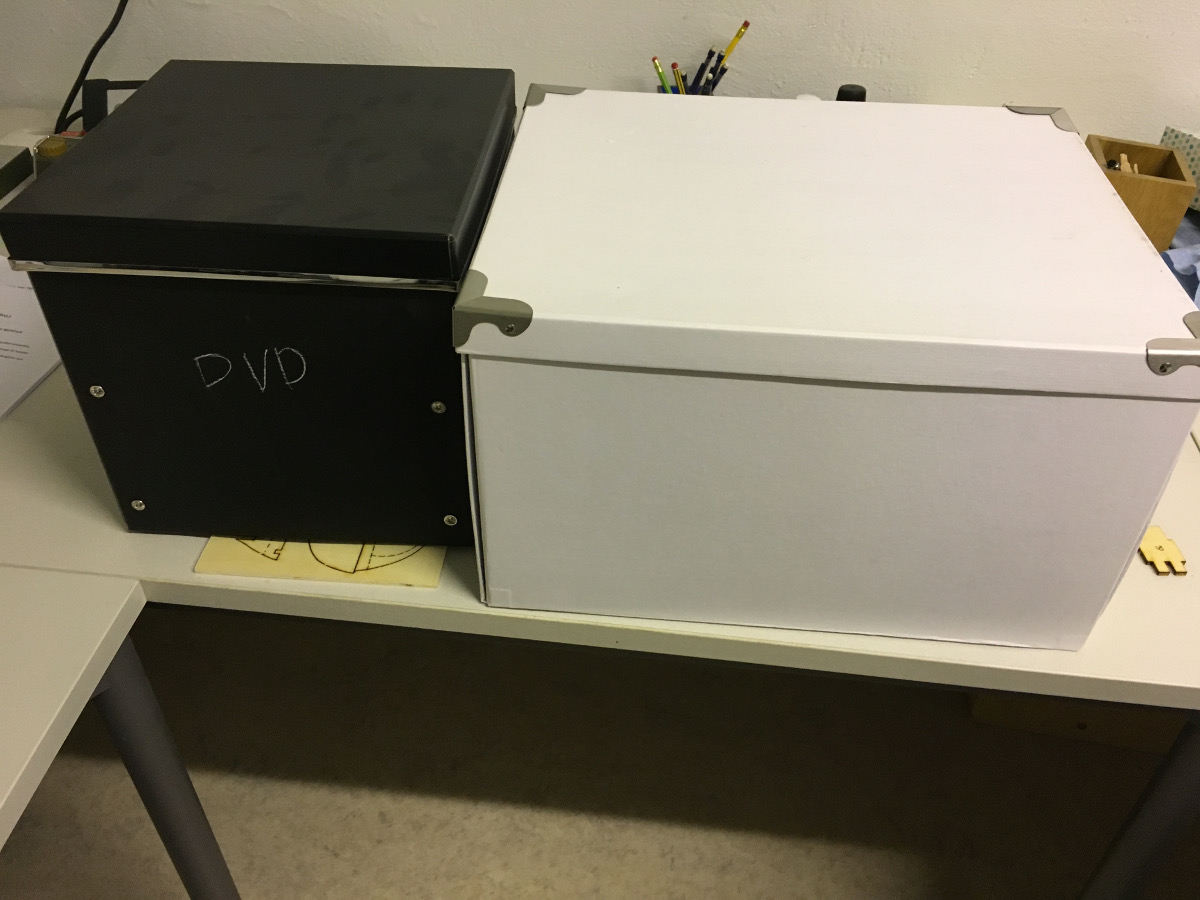
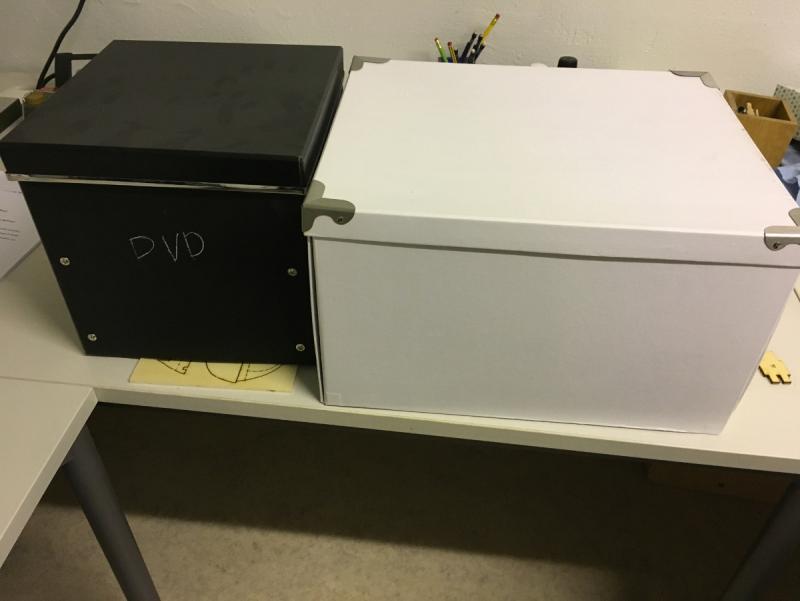
BUILD DAY 1 - Preperation This was a short day. The plywood sheets had been warped quite visibly. I used weights (boxes of DVD and books) to get them flat overnight.
- 62 replies
-
- 5
-
-
- bosphorus
- tersane model
- (and 1 more)
-
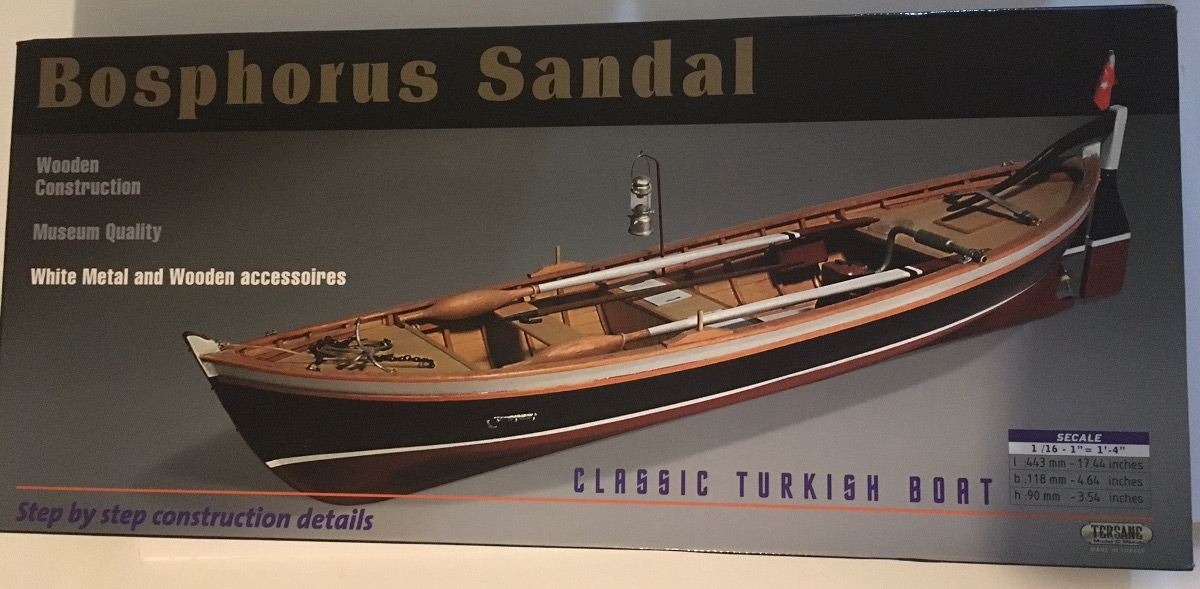
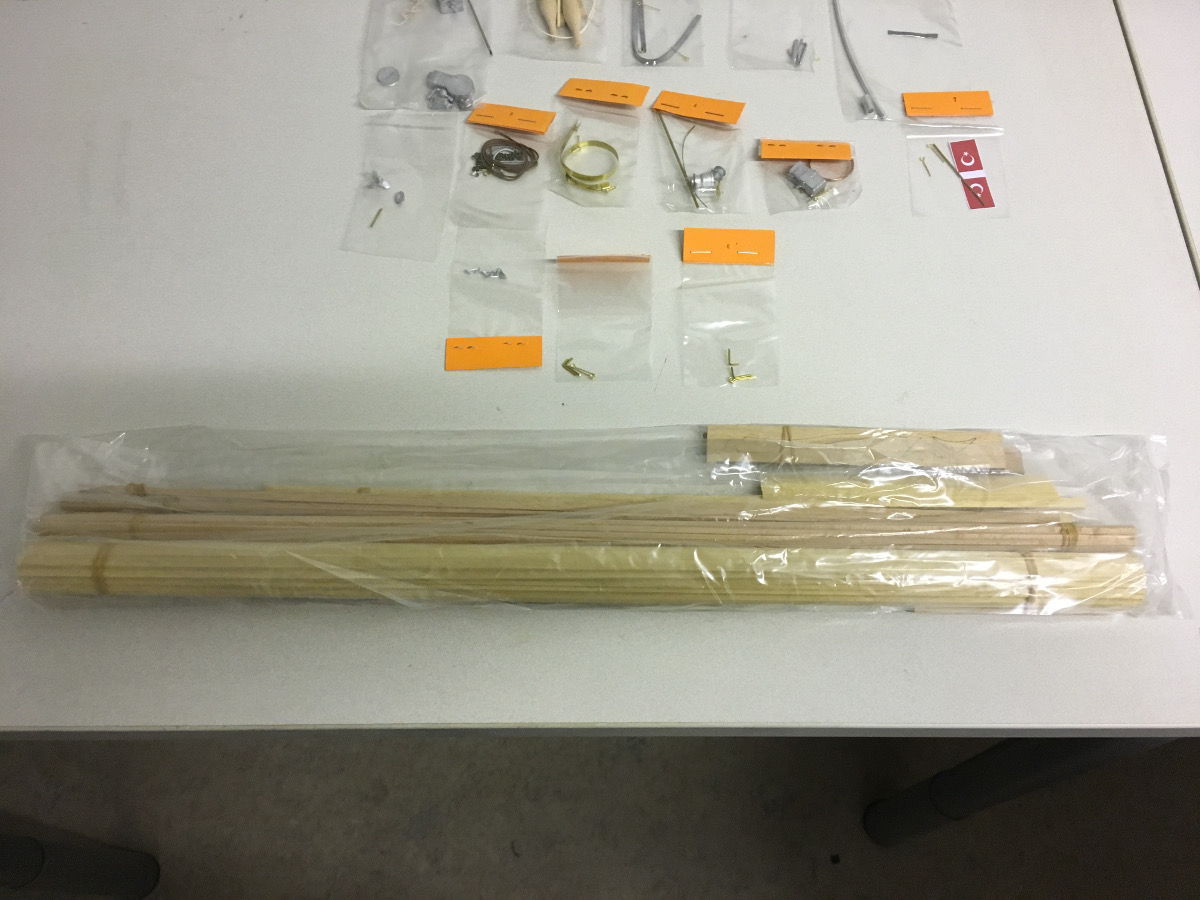
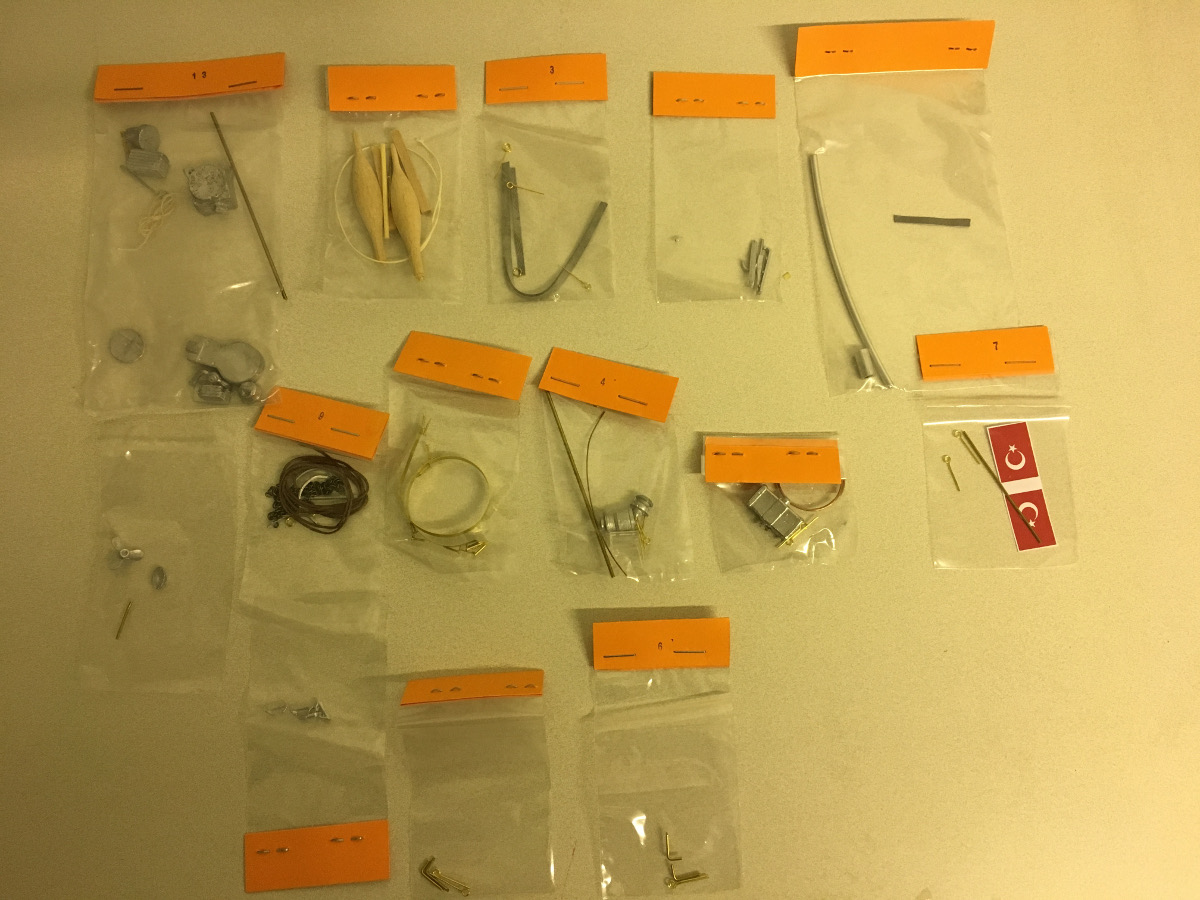
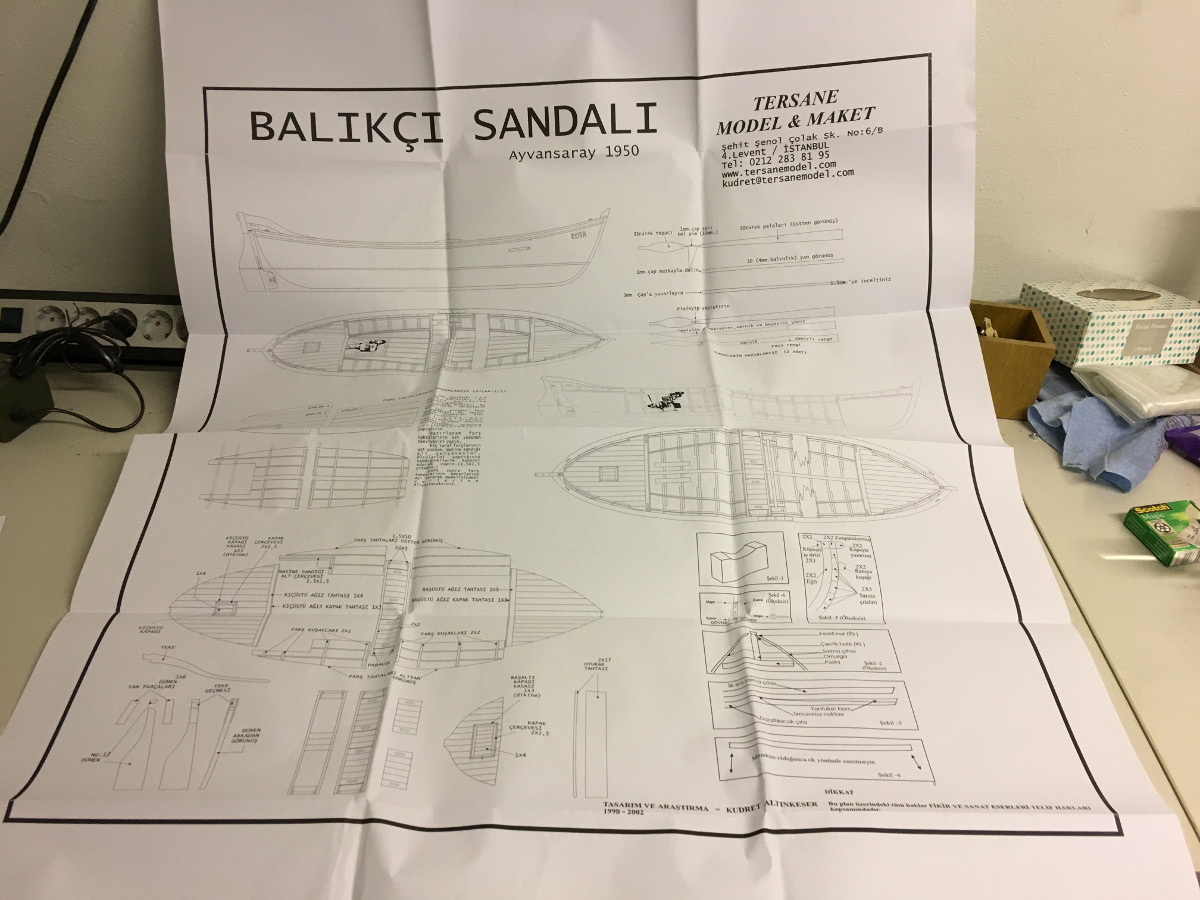
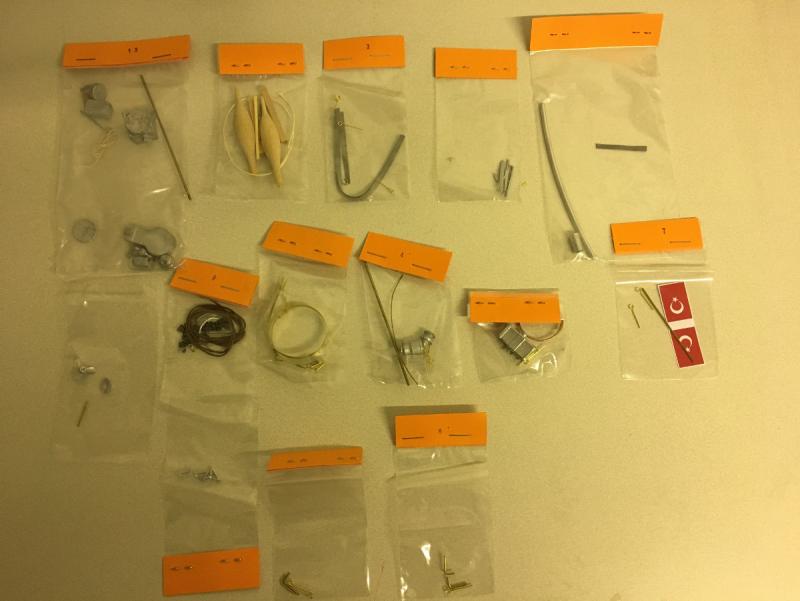
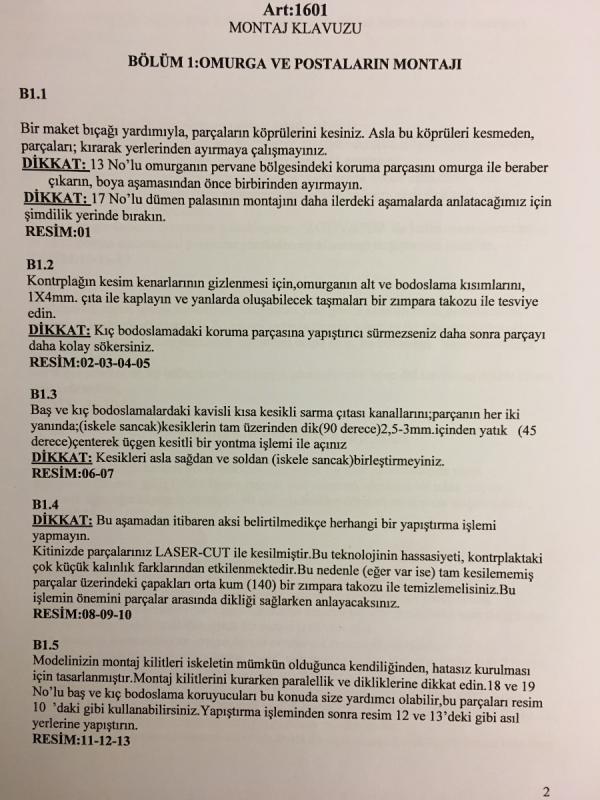
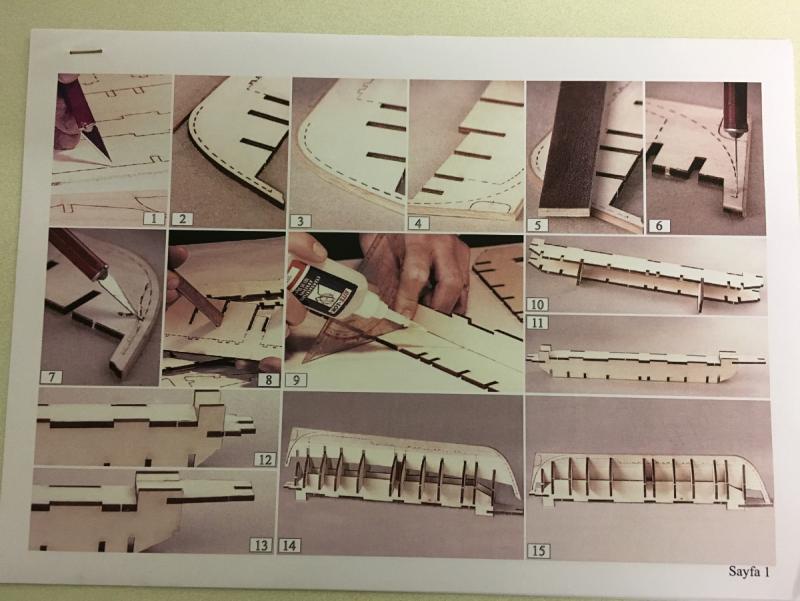
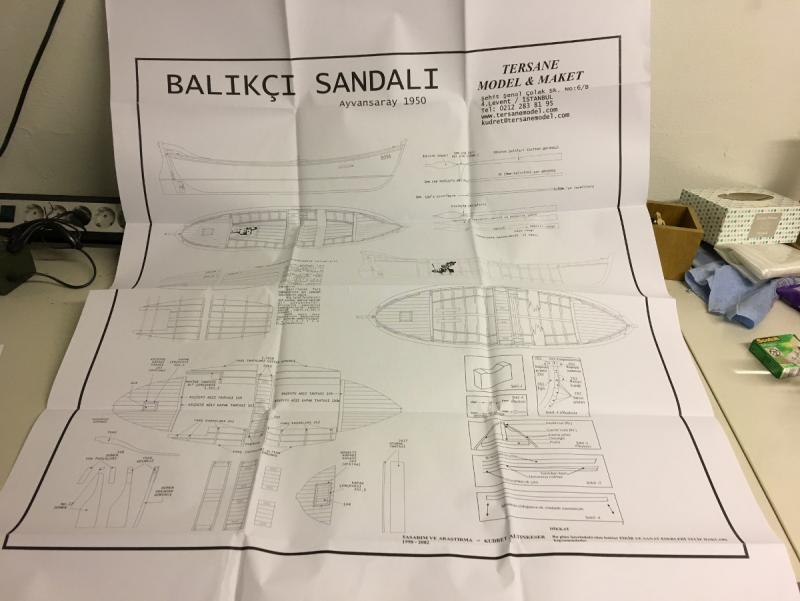
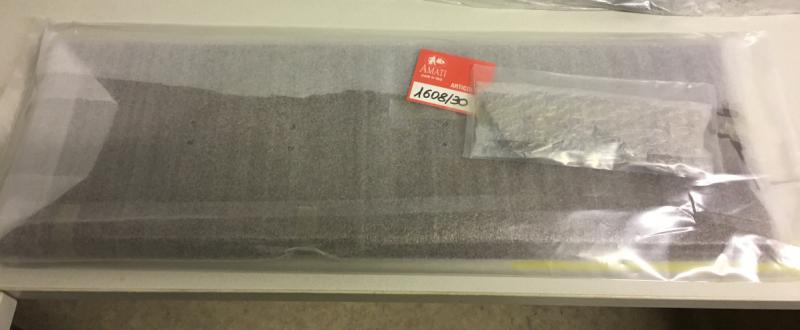
Hello Dear fellow forum members, Having finished my Riva Aquarama and waiting for the days with better weather (read: summer) in Finland to take it to her maiden voyage in water, I have now switched my attention to building a model of a classical yet beautiful boat from my homeland, Turkey. Here are some bullet points about the kit: I am actually glad to notice that this model is not new to this forum. Here is a nice blog from an earlier build, by kutaykara: http://modelshipworld.com/index.php/topic/5571-bosphorus-sandal-by-kutaykara-finished-tershane-model-scale-116-1950-classic-turkish-boat/?hl=bosphorus I don't think that the kit is widely available worldwide. I ordered it from a Turkish model boat website www.maketistan.com. The price is a little bit less than USD.100. I actually built this kit about 10 years ago (see my signature) but this time I wanted to make it better and also have a blog of it. I had met the designer of the kit, Mr. Kudret Altinkeser, who is a pioneer dedicated his life to model boats, in his atelier in Istanbul. He has designed several other great kits from Turkey commercially available. The kit is 1:16 scale, 44,3cm x 11,8cm x 9cm in dimensions. Throughout the build I will try to give more facts about this nice boat as much as I can. Now some photos and start of the build, but first of all unboxing: This is outside the box Accessories, in their own set plastic bag: Wooden strips: Laser cut parts in plywood sheets: Instruction manual consists of 2 piles of stapled A4 sheets (Credits Kudret Altinkeser): One of them contains step by step instructions and the other one includes photos. Even though the instructions are only in Turkish, I believe the photos give enough guidance for any modeller with a moderate level of experience. That's all. Build starts with the next post.


- 62 replies
-
- 6
-
-
- bosphorus
- tersane model
- (and 1 more)
-
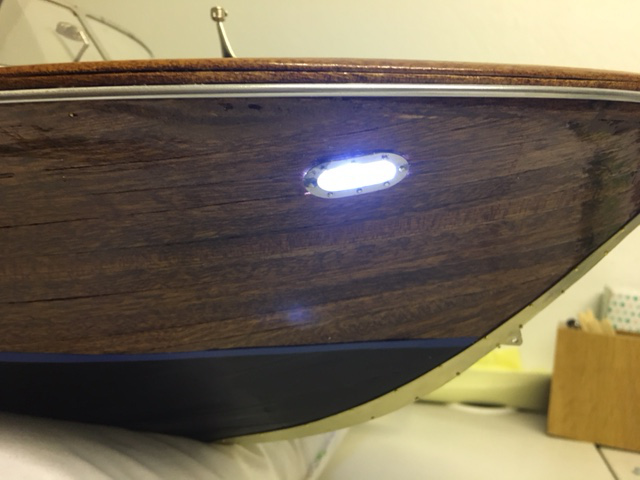
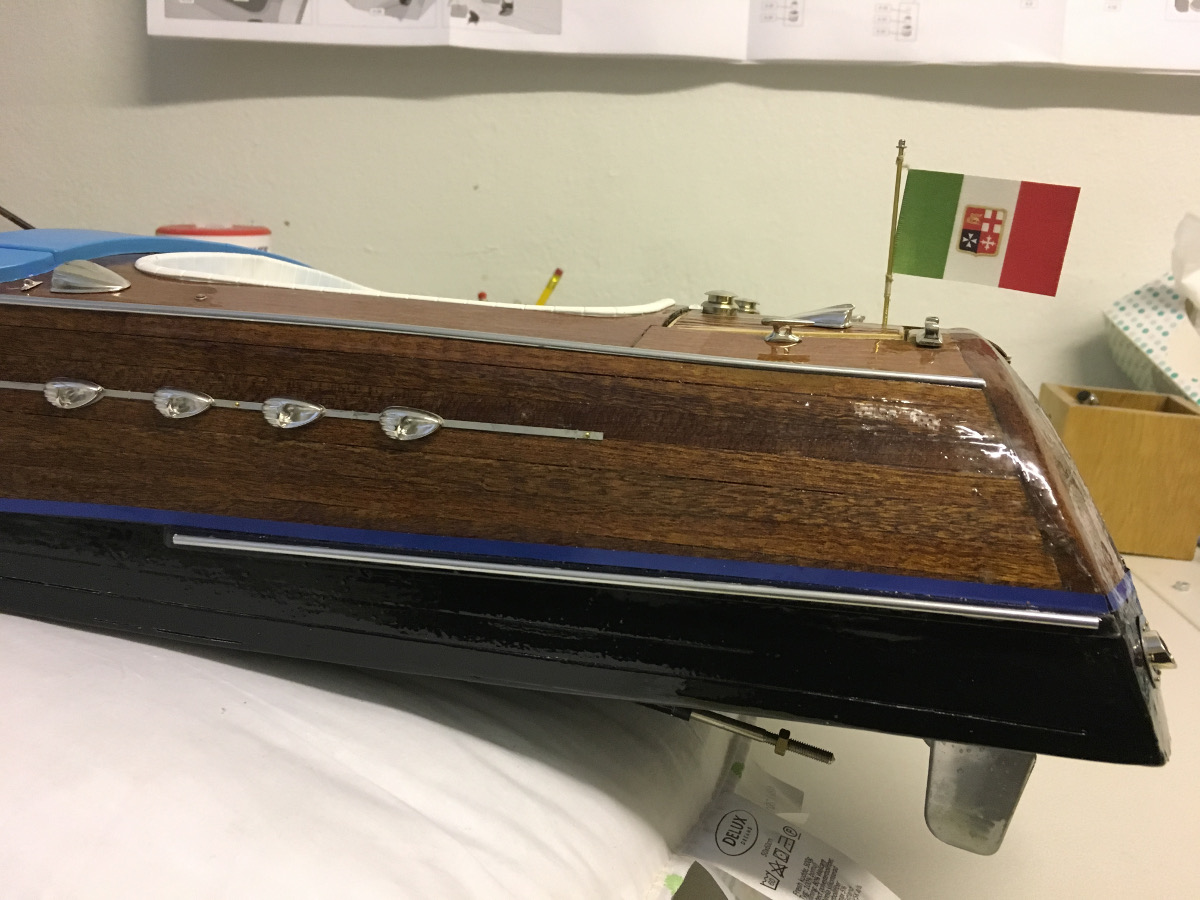
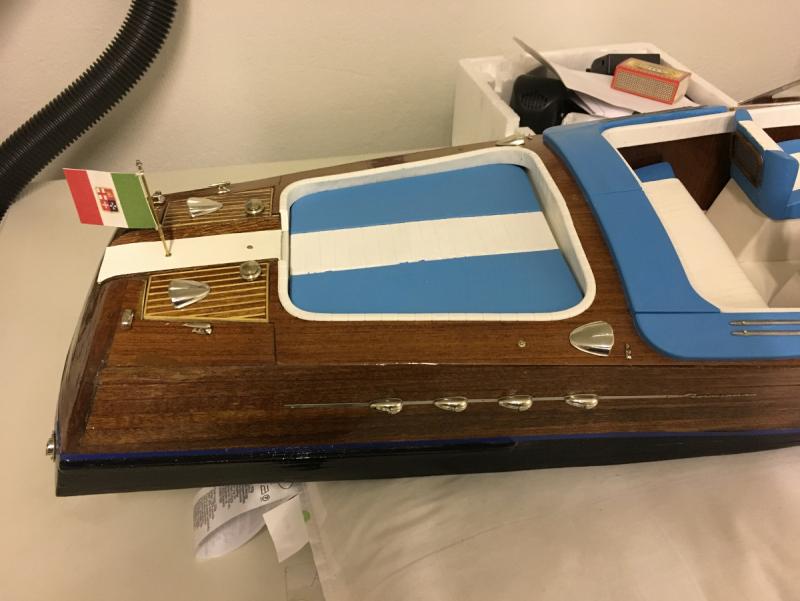
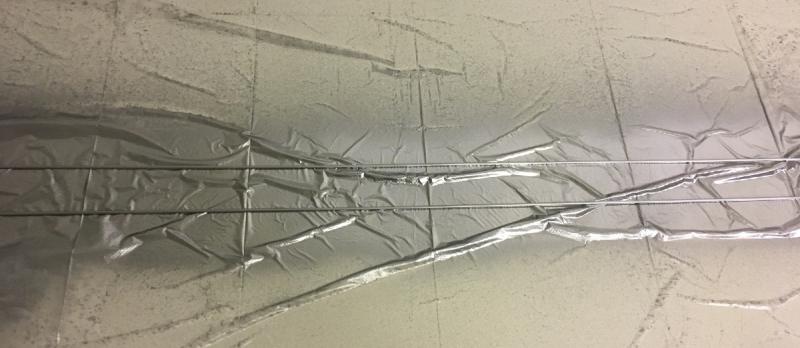
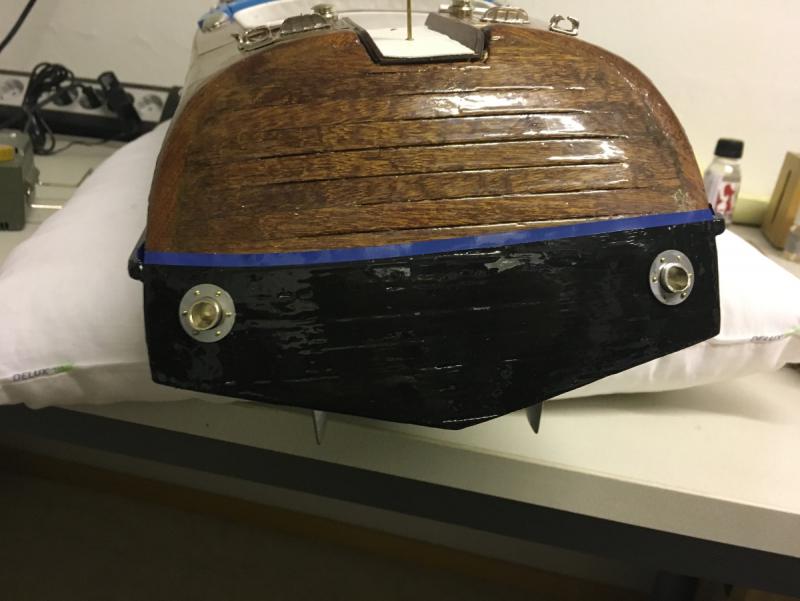
Yes, you saw right. The blue tape has a gap at a couple of spots. I plan to glue those gaps and coat the entire tape with a thin layer of z-poxy.
- 414 replies
-
- 3
-
-
- riva aquarama
- amati
- (and 2 more)
-
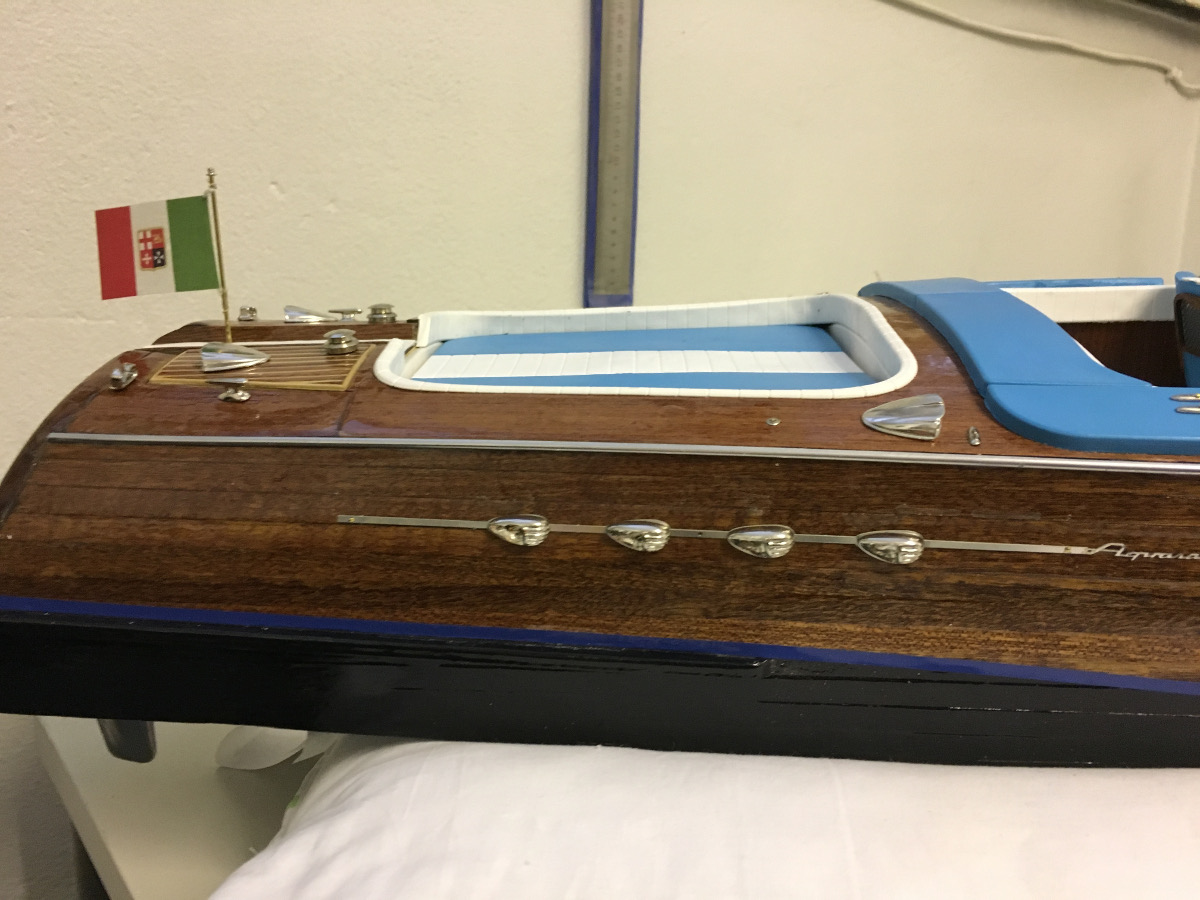
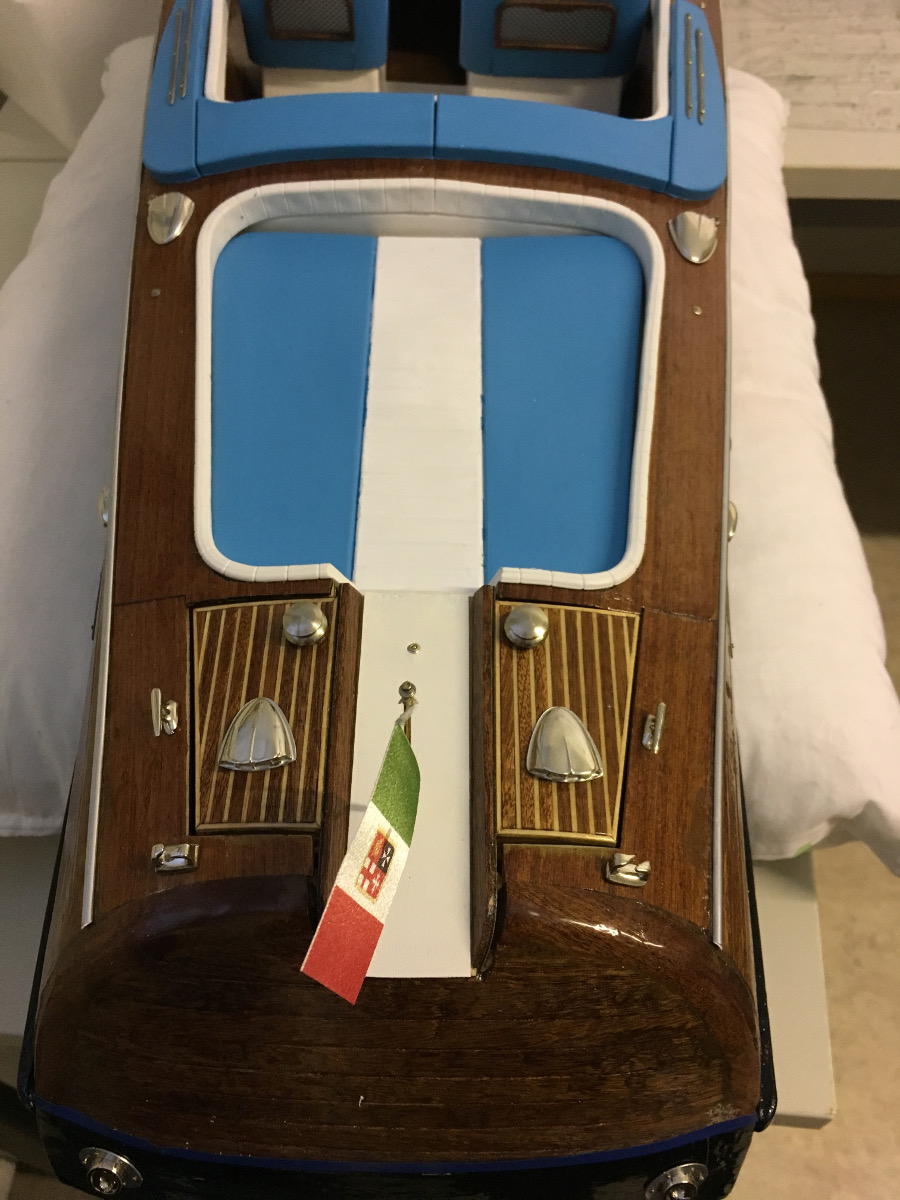
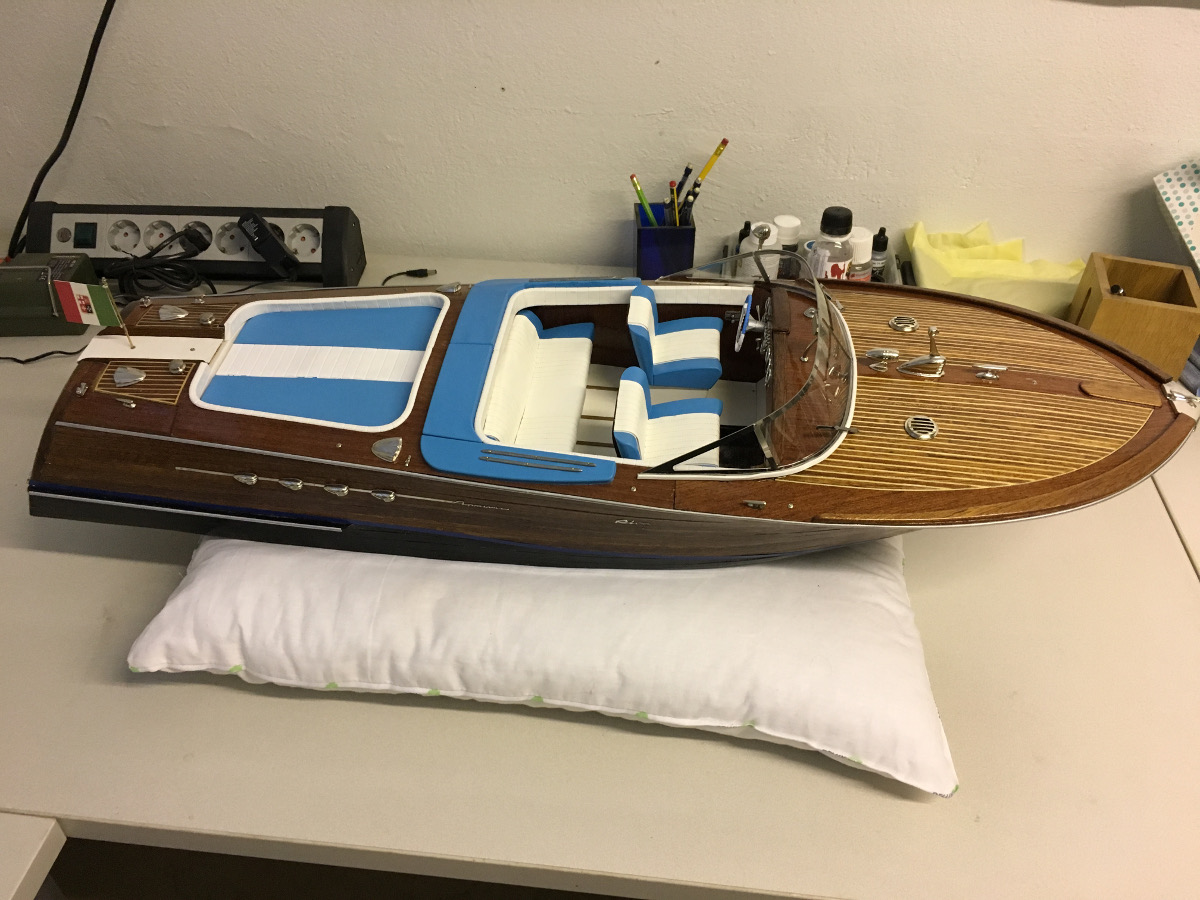
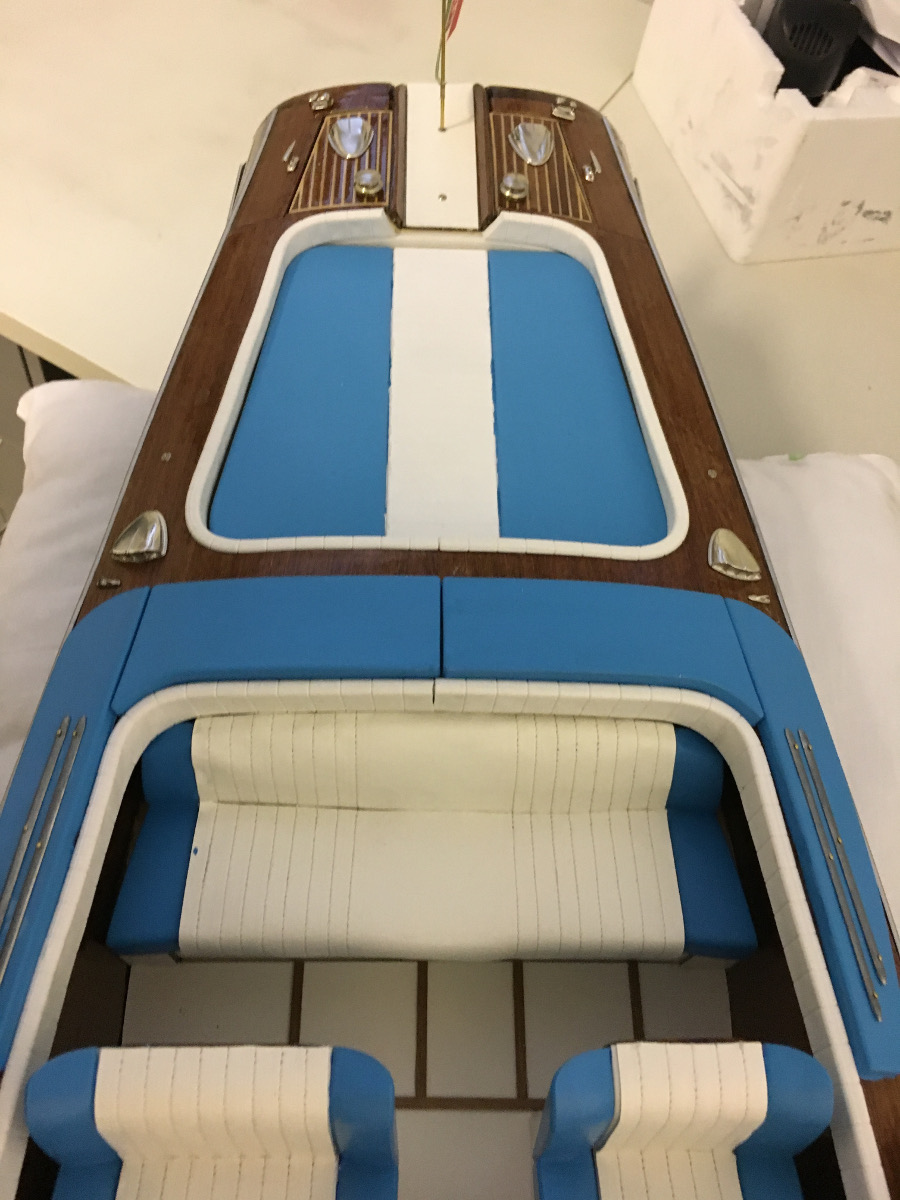
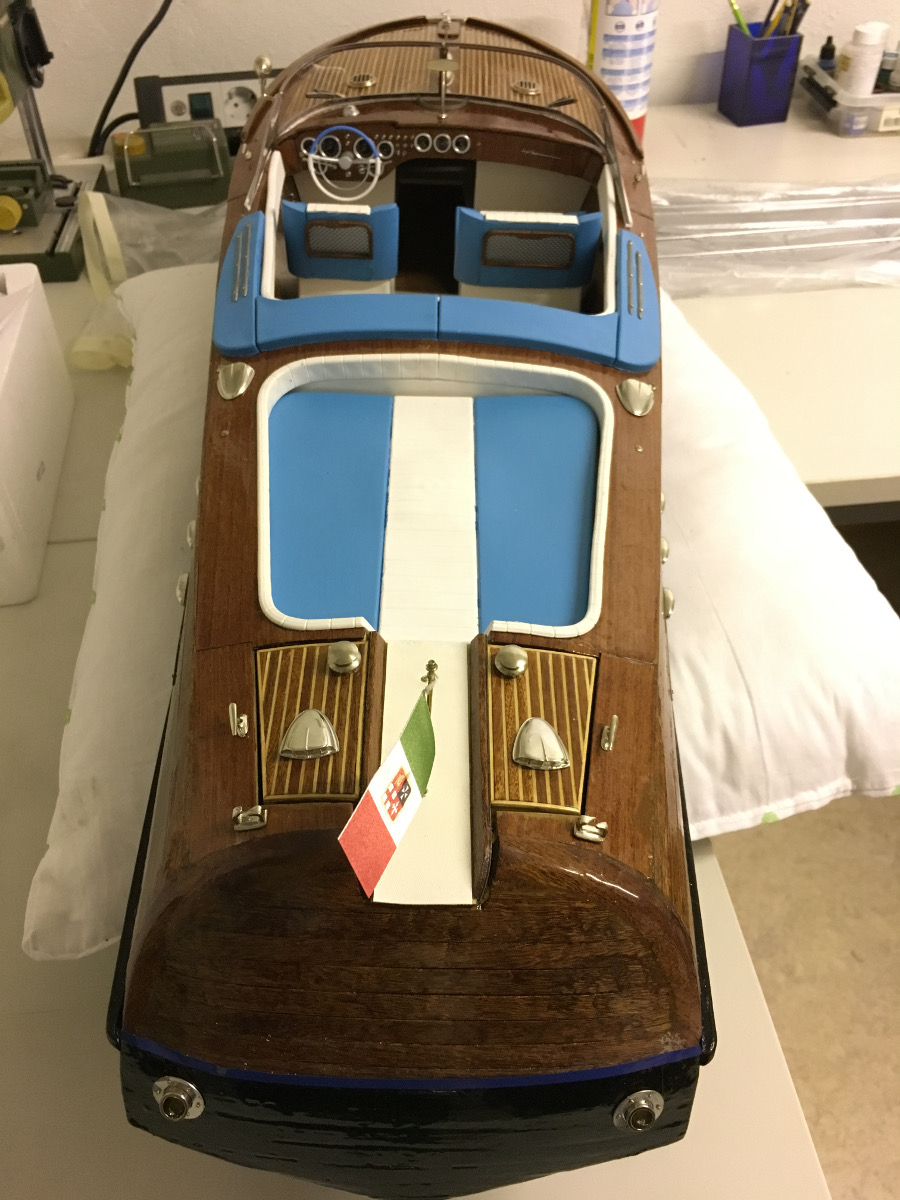
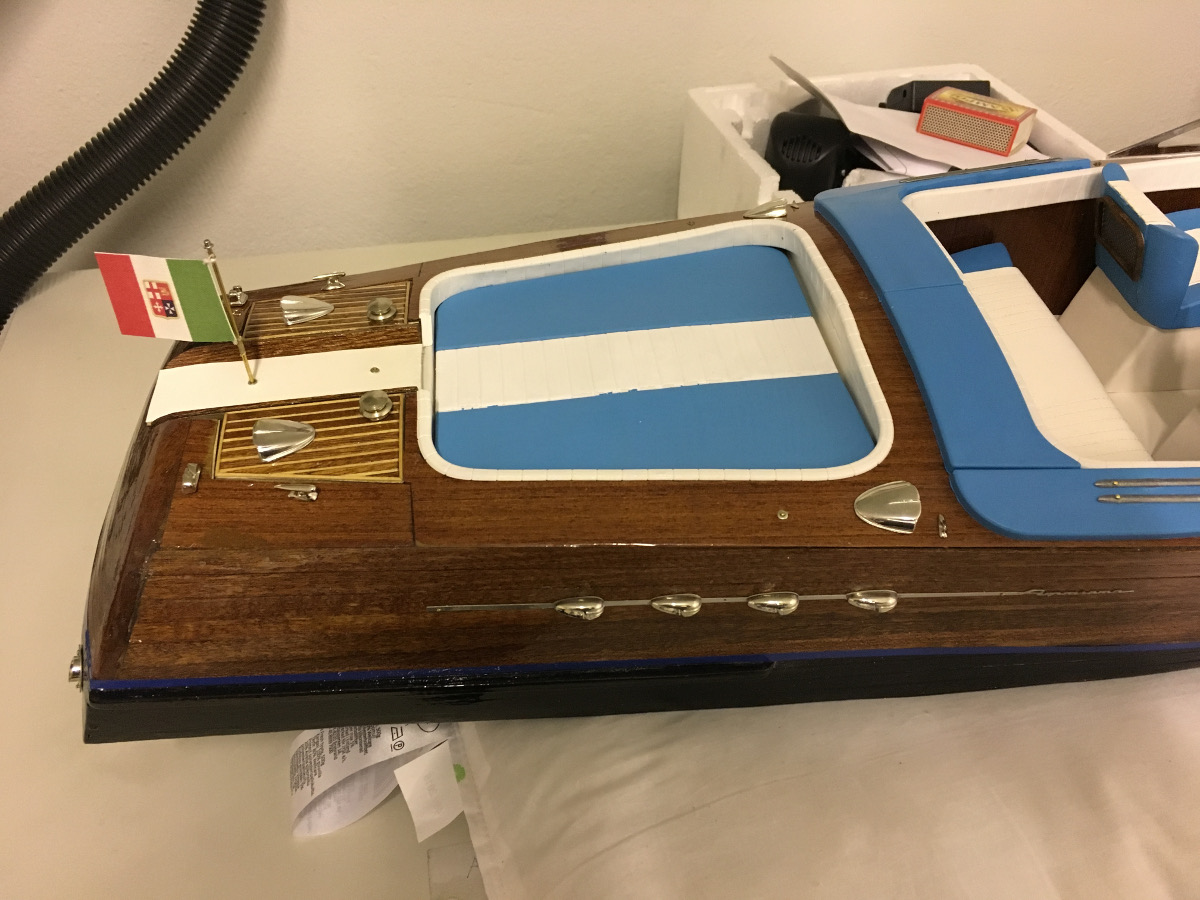
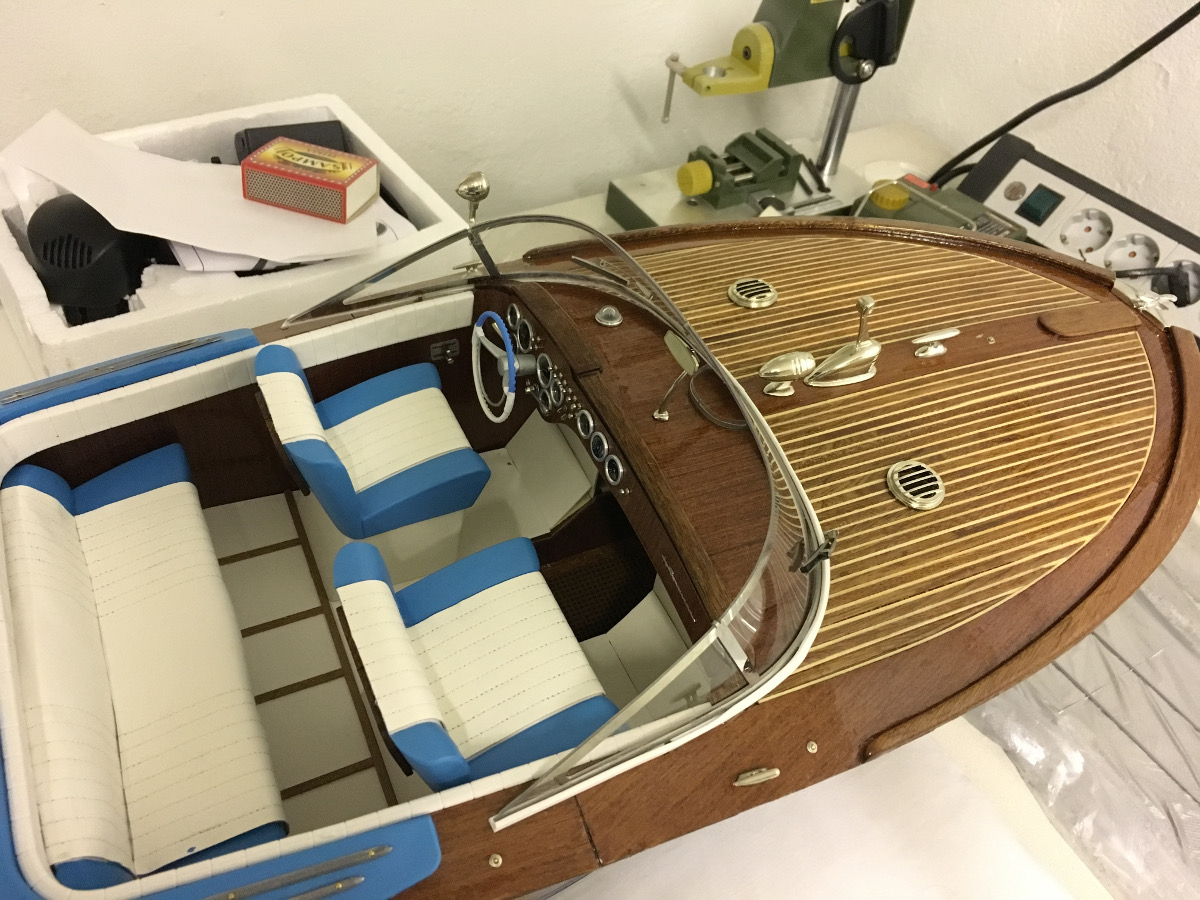
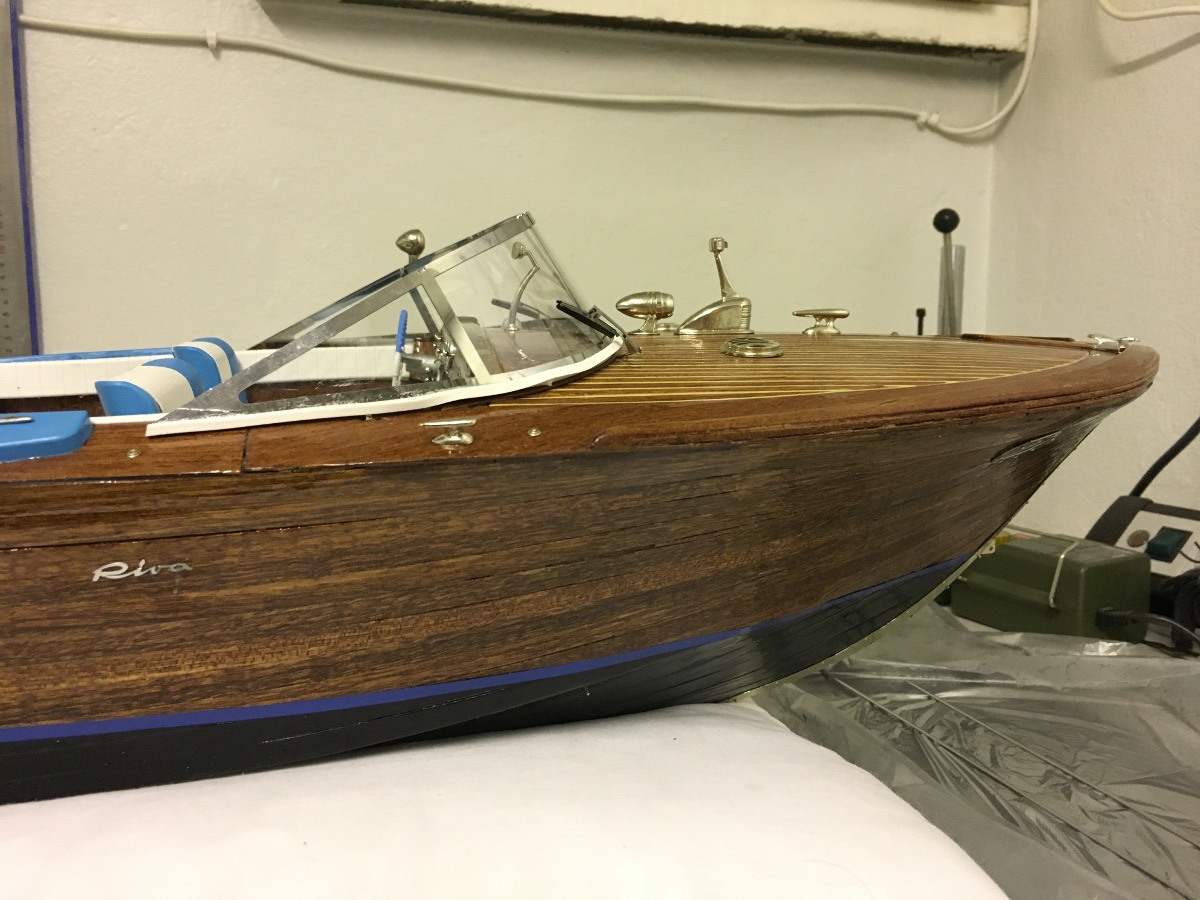
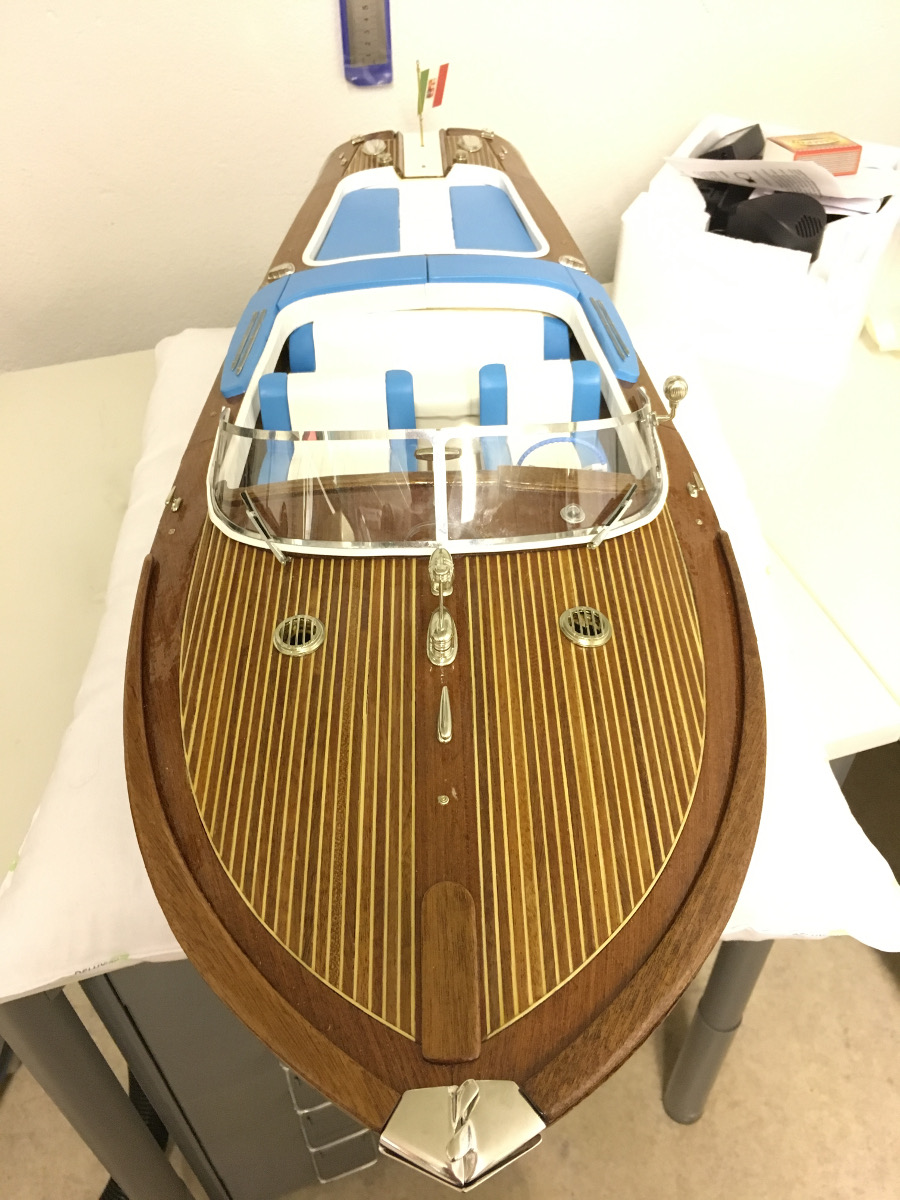
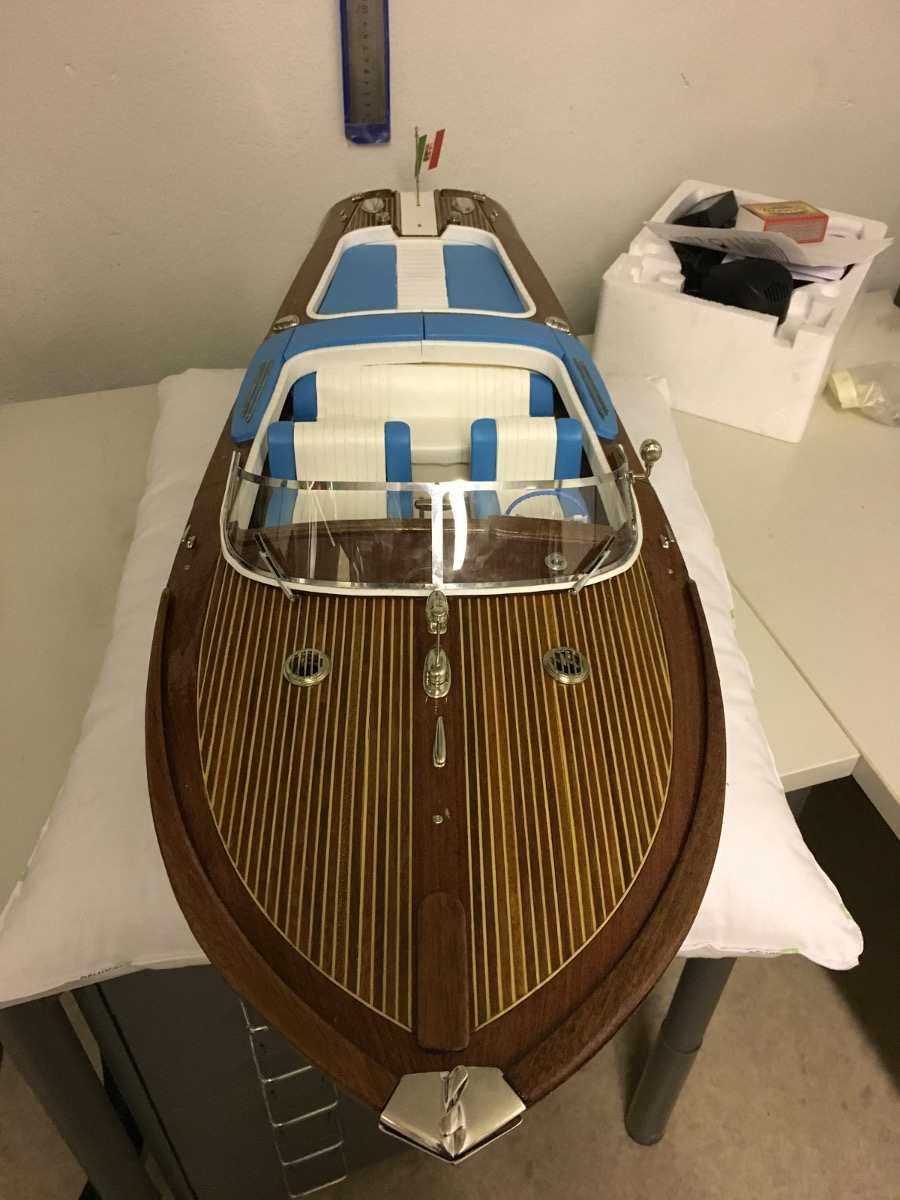
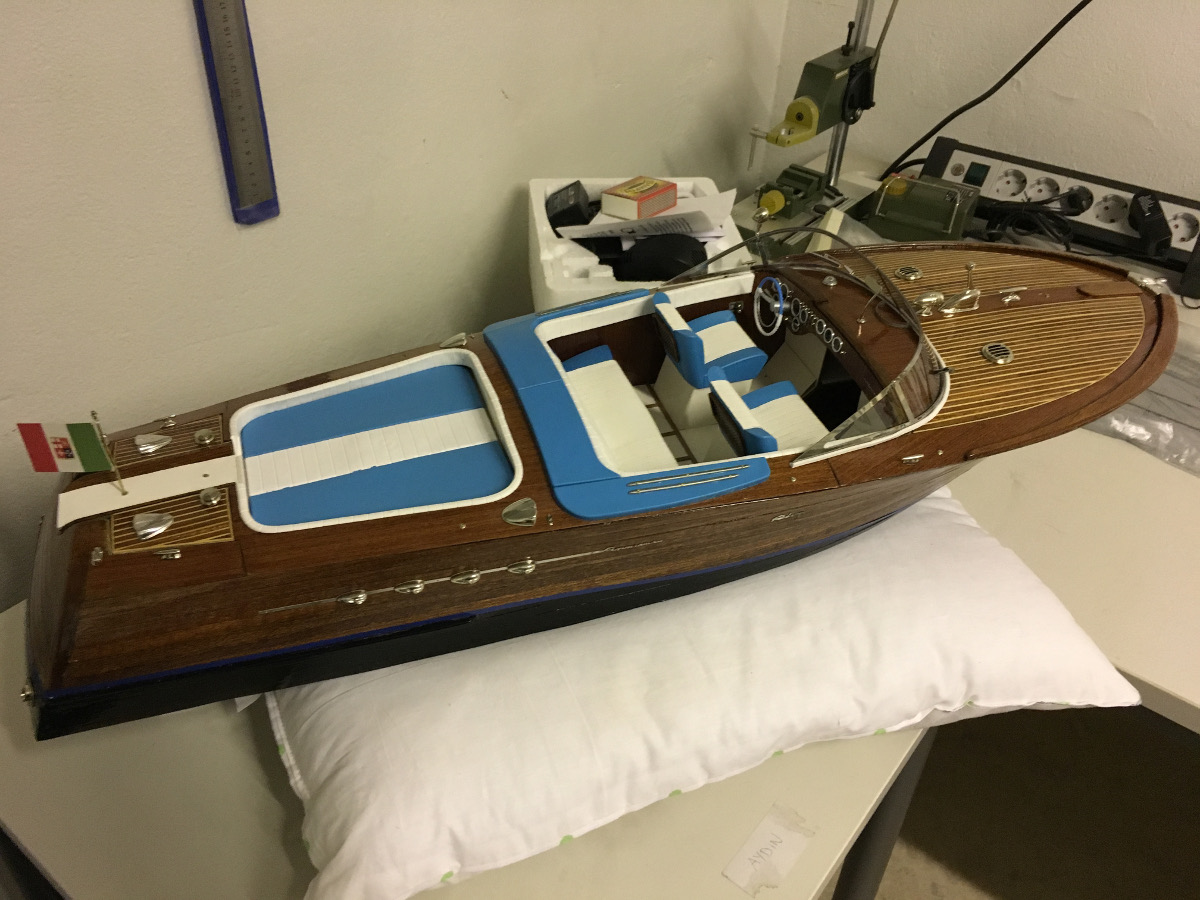
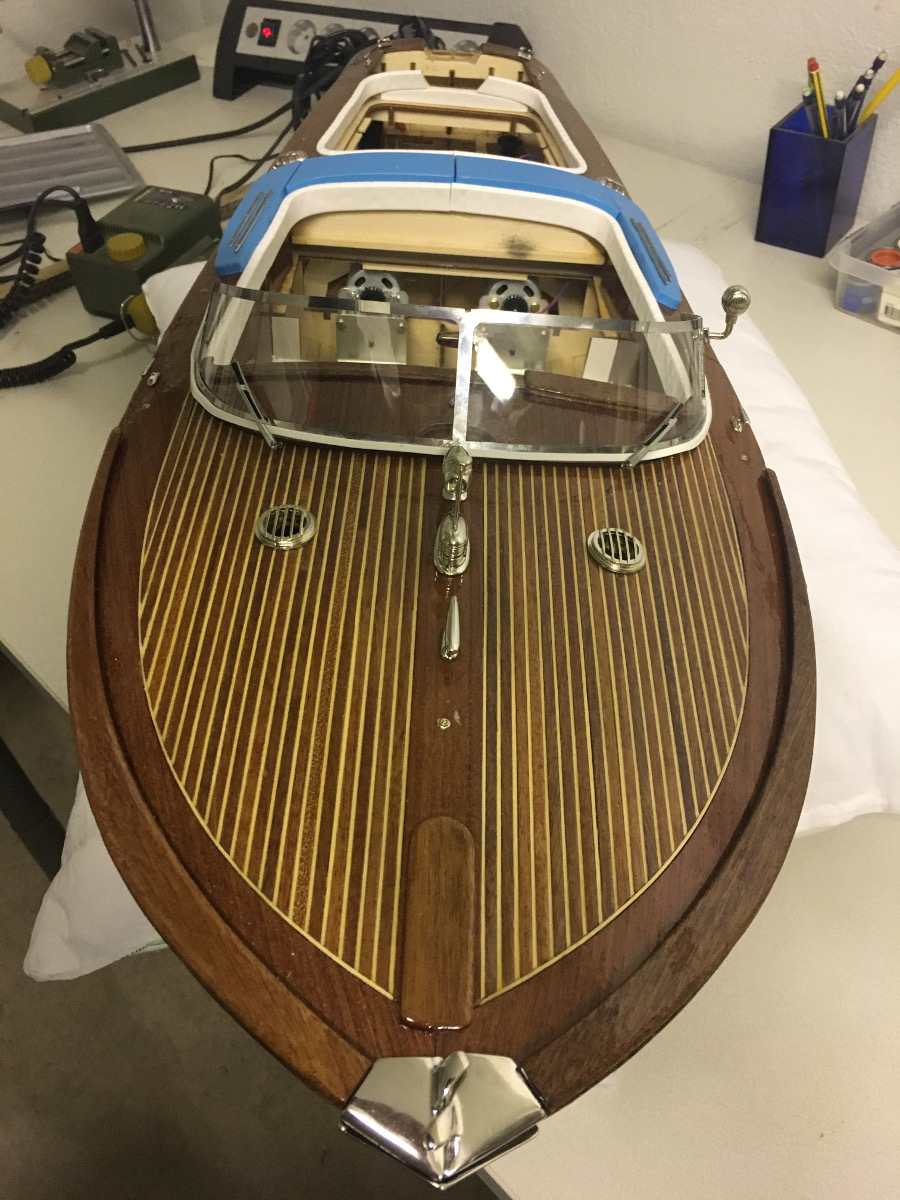
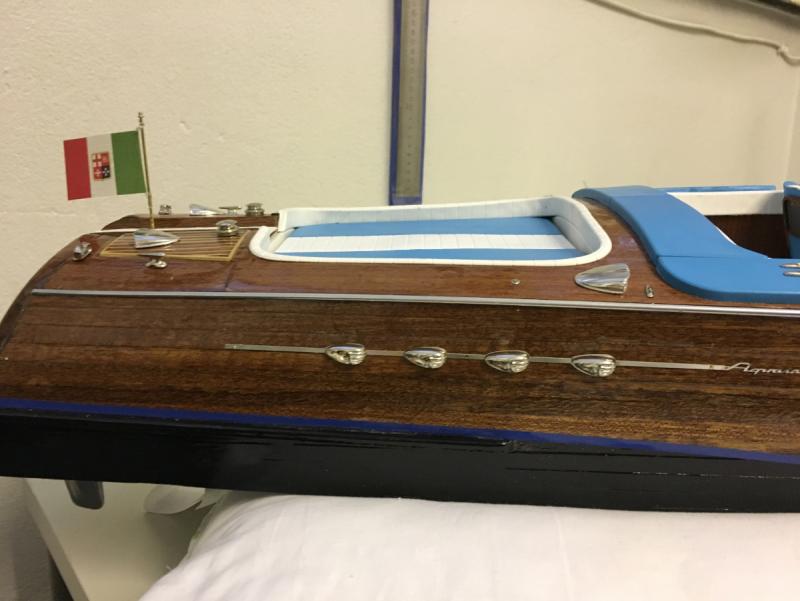
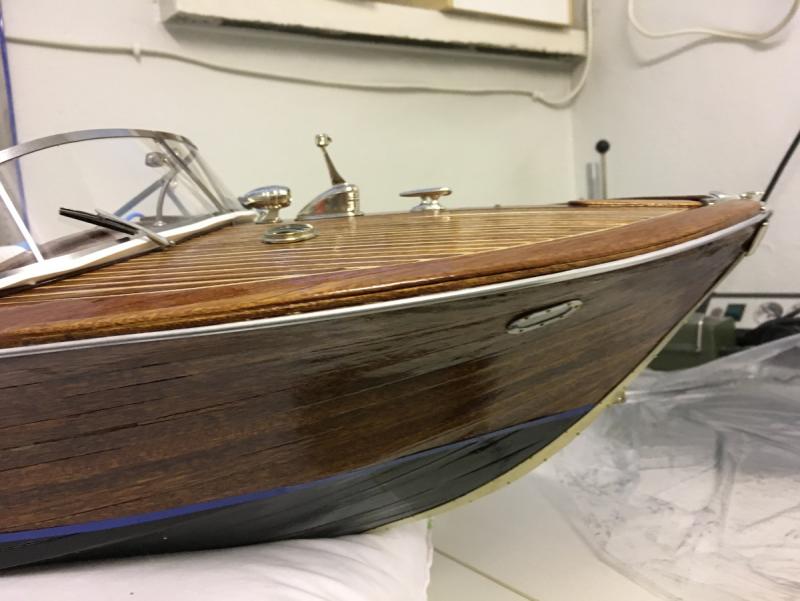
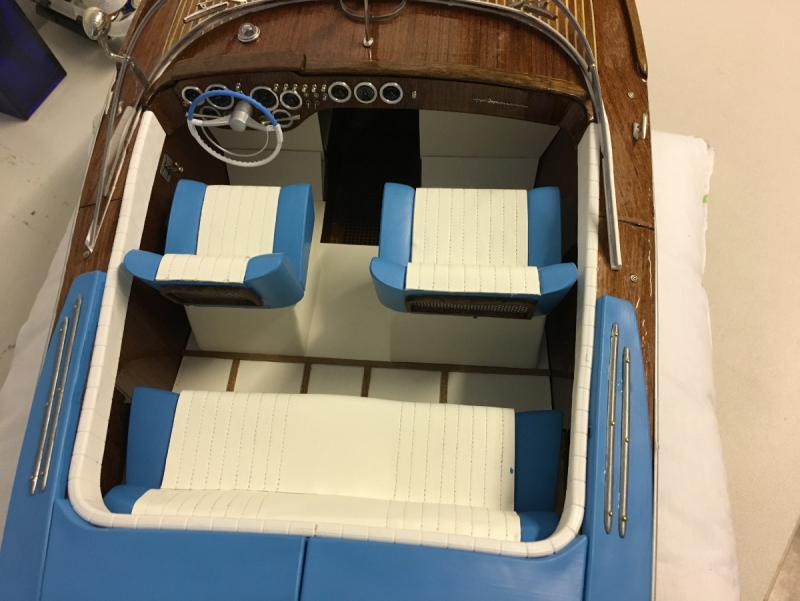
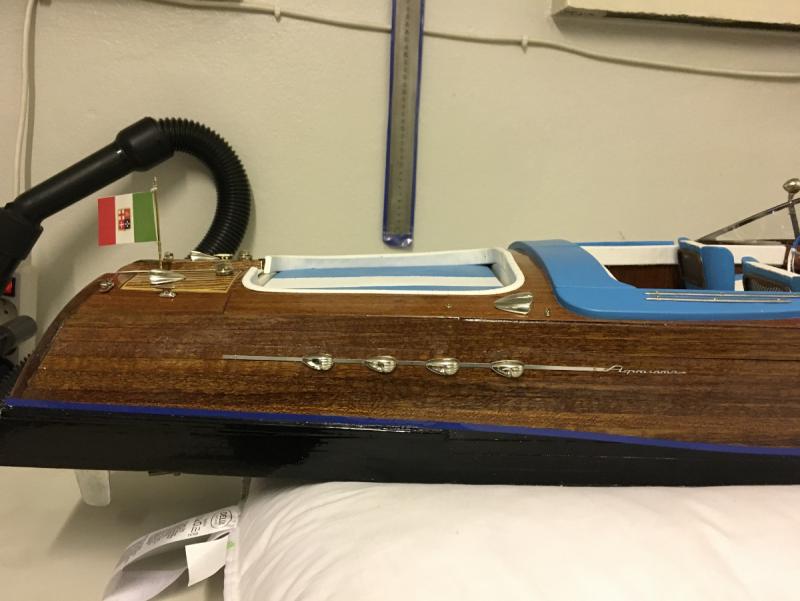
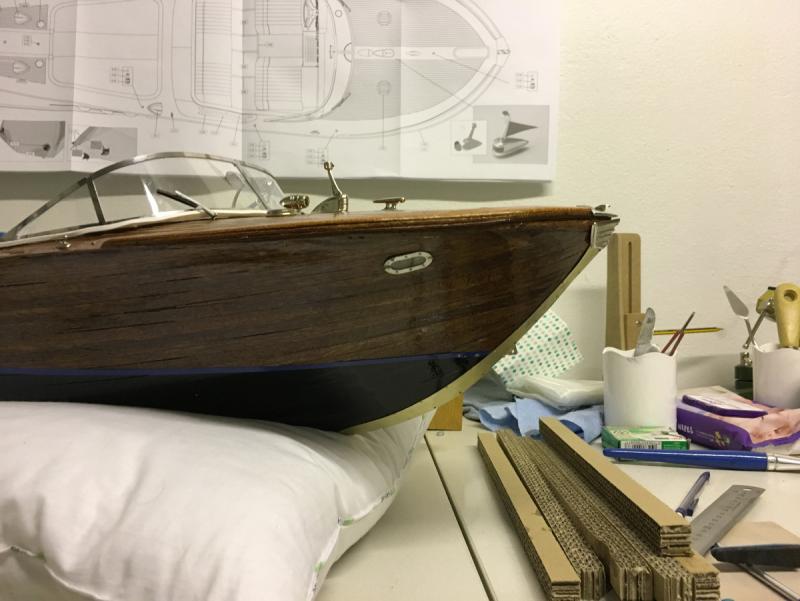
Build day 48. Finishing the looks. 1 hour today. 140 hours into build in total. Thanks a lot for the good wishes and appraisals! I can't wait for the maiden voyage either but it may unfortunately have to wait until better weather conditions. Right now it is well below freezing point, which is not the most convenient weather for it . I hope, though, to be able to perform some floating and balance etc tests, in a bathtub or similar. Today I installed the side metal bars and only the the radio control connections are remaining. I will probably have time to do them next weekend. Other than that, my Riva is ready, at least by the looks! I will continue posting as long as there is anything worth sharing with other parts like radio setup and floating tests, but until then thanks for watching and have a good time! Here are some final photos for enjoyment!


- 414 replies
-
- 14
-
-
- riva aquarama
- amati
- (and 2 more)
-
End of Build day 47. 3 hours today. 139 hours into build in total. Well, this is the result of today. I will install the side lines tomorrow, once the paint has dried. Not much work left really. After this, it will be installing the radio control units. Here are some photos for your enjoyment. Thanks for watching.


- 414 replies
-
- 16
-
-
- riva aquarama
- amati
- (and 2 more)
-
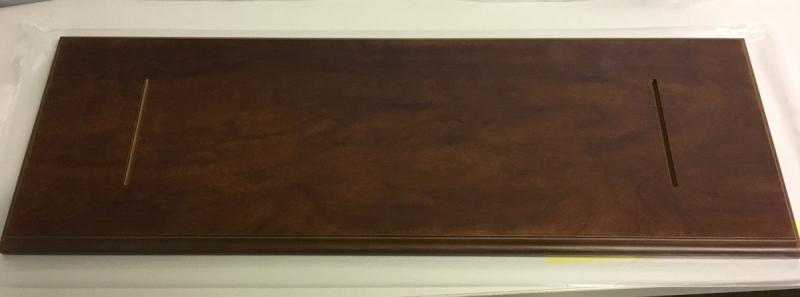
While the paint is drying, I wanted to build the base of my Aquarama. This is also by Amati, ordered from snmodels.com: Pieces glued, waiting to dry (about 24 hours):


- 414 replies
-
- 6
-
-
- riva aquarama
- amati
- (and 2 more)
-
Side frames (those which will go along the edge of the deck. Apparently in the earlier versions of the kit they were supplied in metal, while in the new version which I have they are in plastic. I assume it will make it easier to install and with a good paint job they will look like metal: Sprayed with glossy chrome paint. Waiting to dry:

- 414 replies
-
- 5
-
-
- riva aquarama
- amati
- (and 2 more)
-
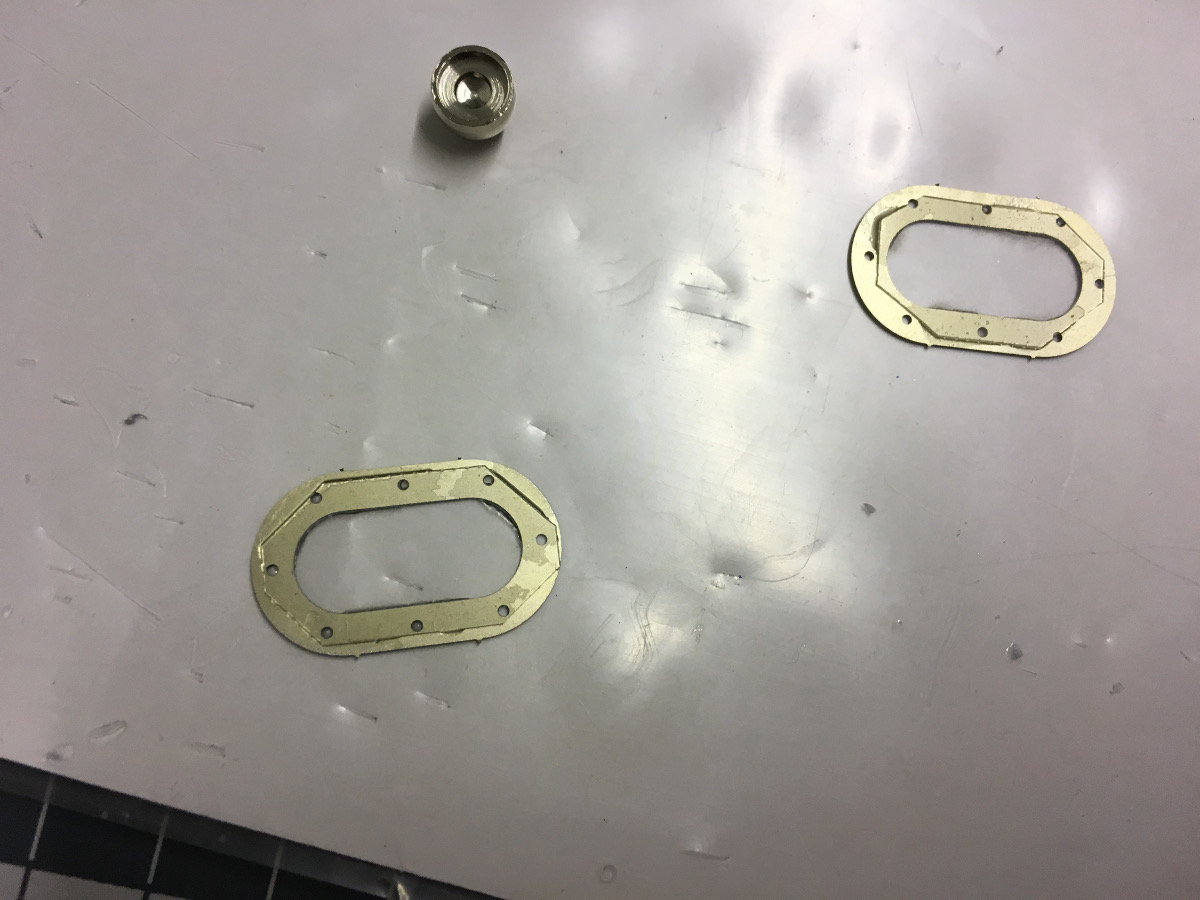
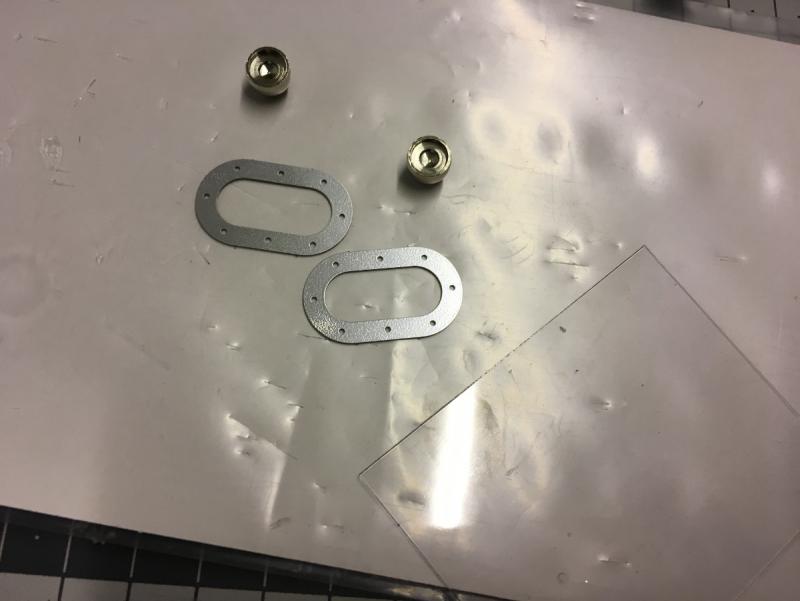
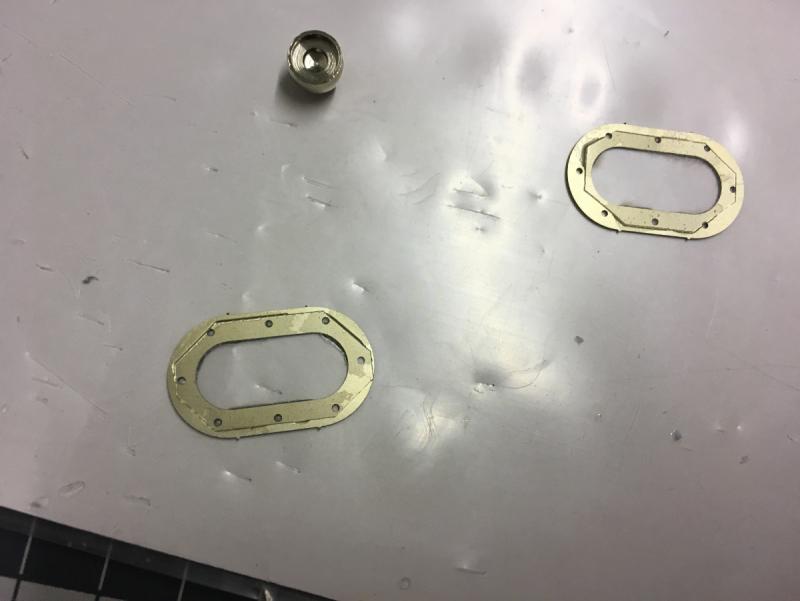
Headlight frames. The lightbulb sockets in the photo will not be used as I have installed real LEDs. Glued acetate: Headlight frames glued and nailed in place:
- 414 replies
-
- 7
-
-
- riva aquarama
- amati
- (and 2 more)
-
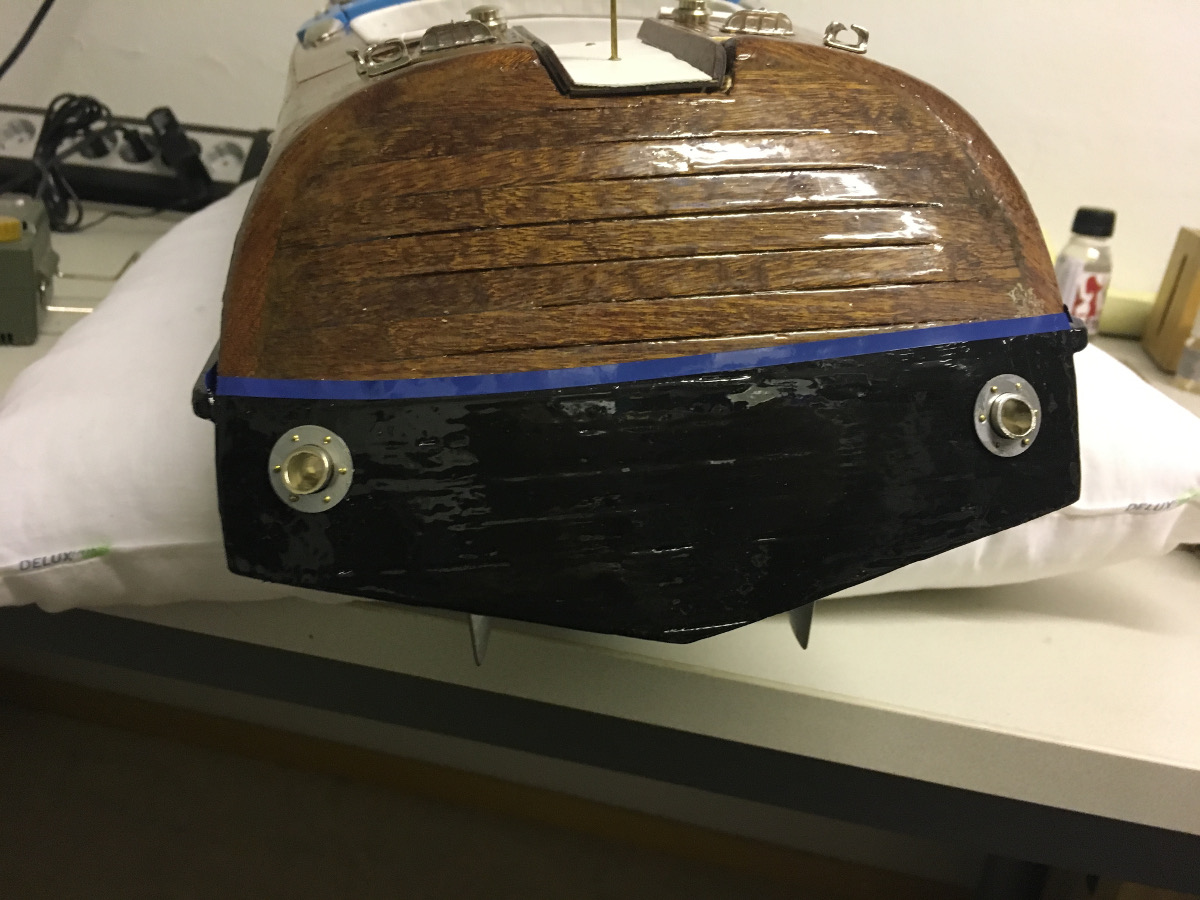
If you have checked my earlier posts, I had installed the exhaust pipe frames without nails due to a mistake I made in the order of installation, i.e. I had glued the exhaust pipe before installing the frame, making it hard to hammer the nails. Now I have the necessary tool and it is time to hammer those nails:
- 414 replies
-
- 9
-
-
- riva aquarama
- amati
- (and 2 more)
-
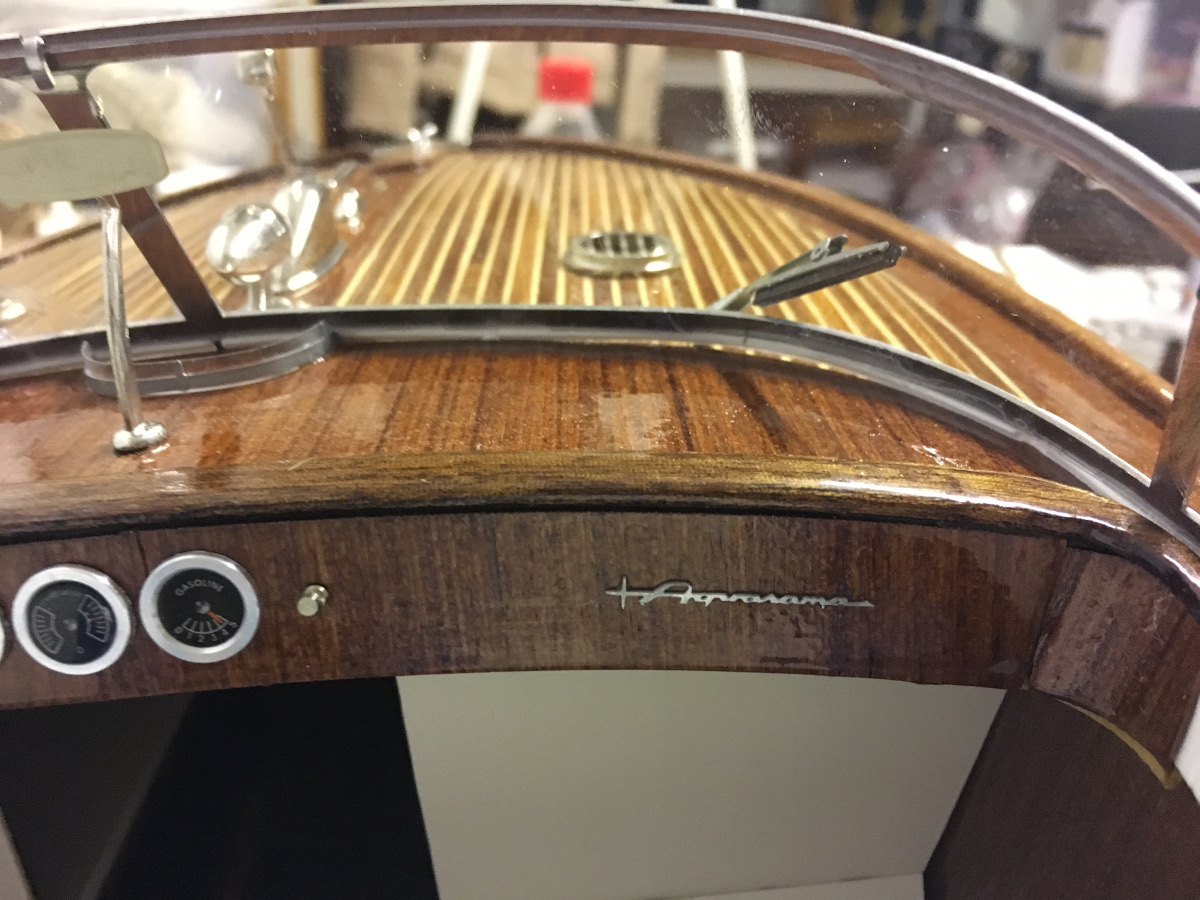
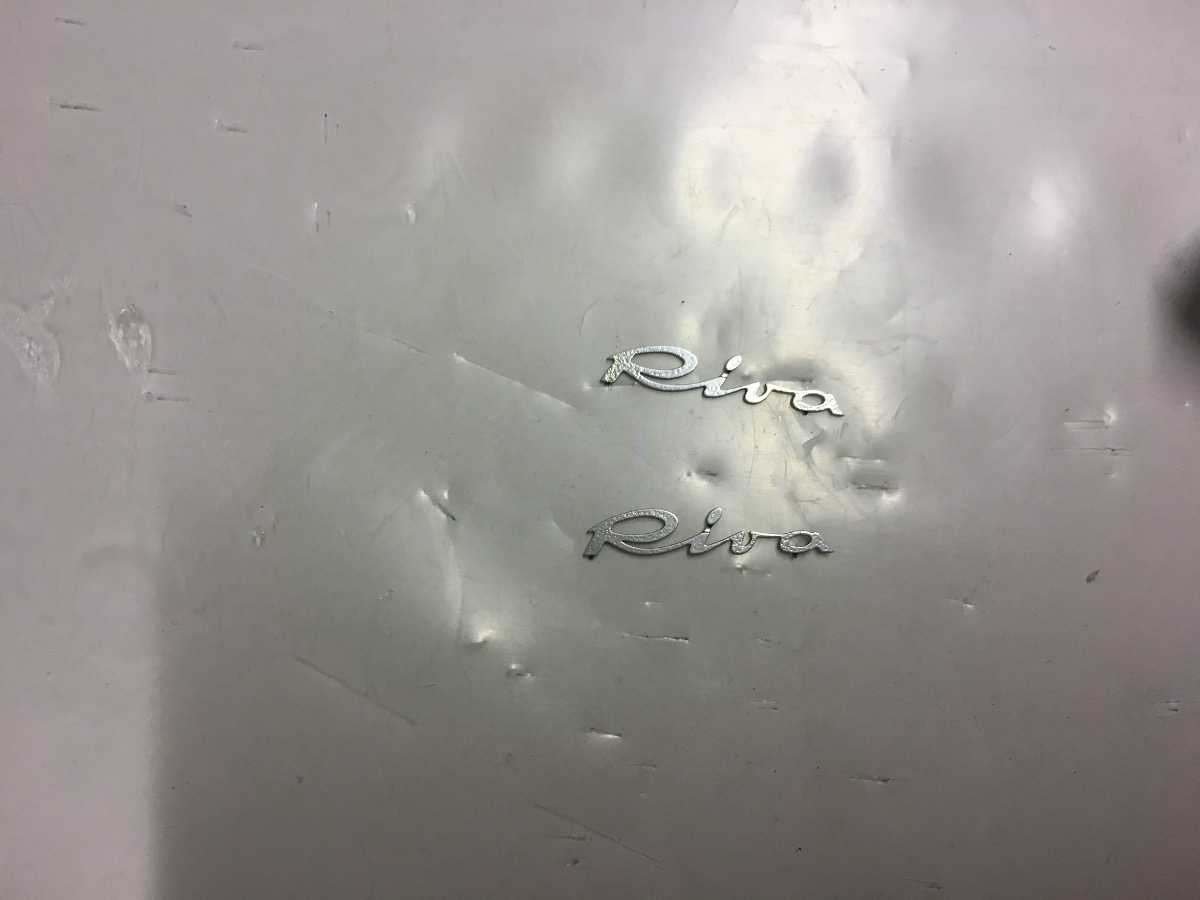
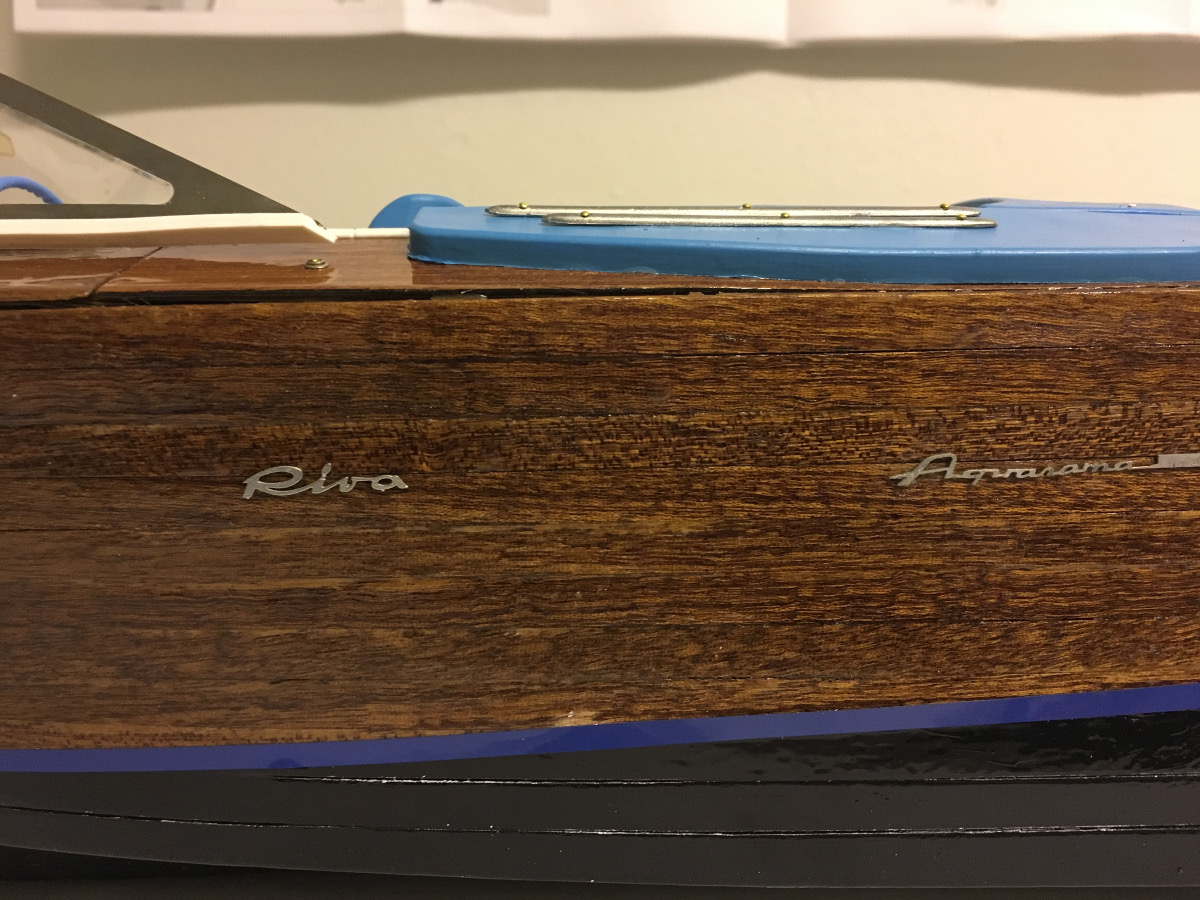
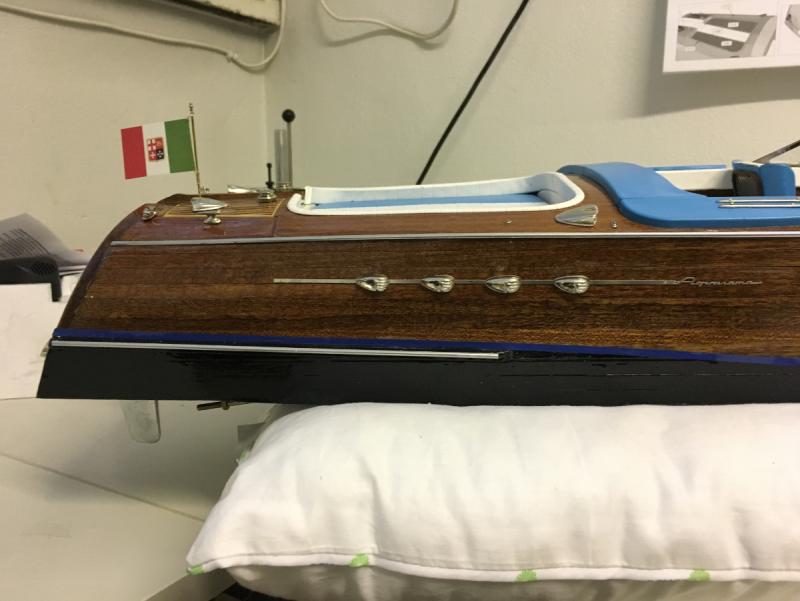
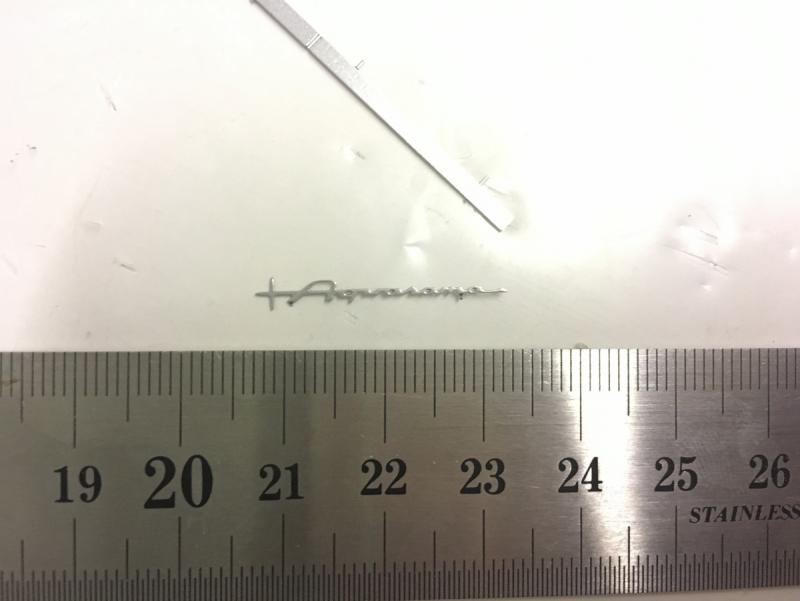
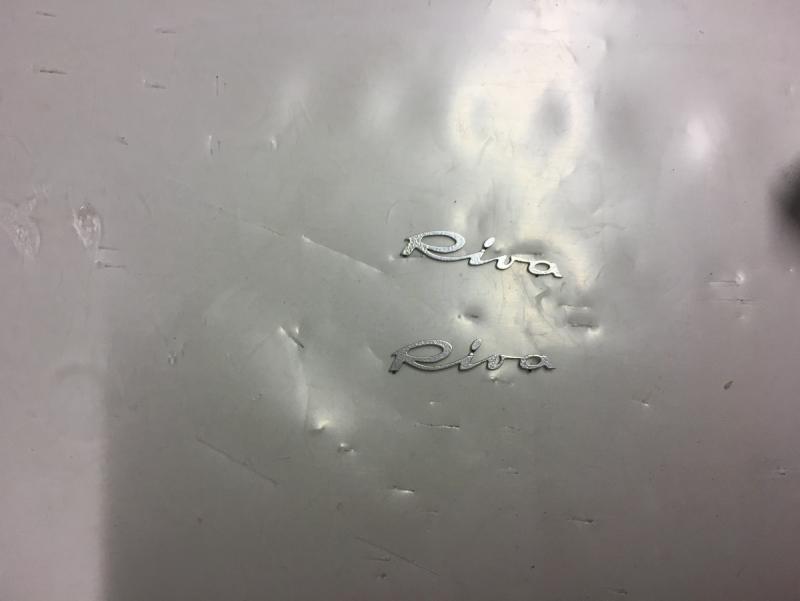
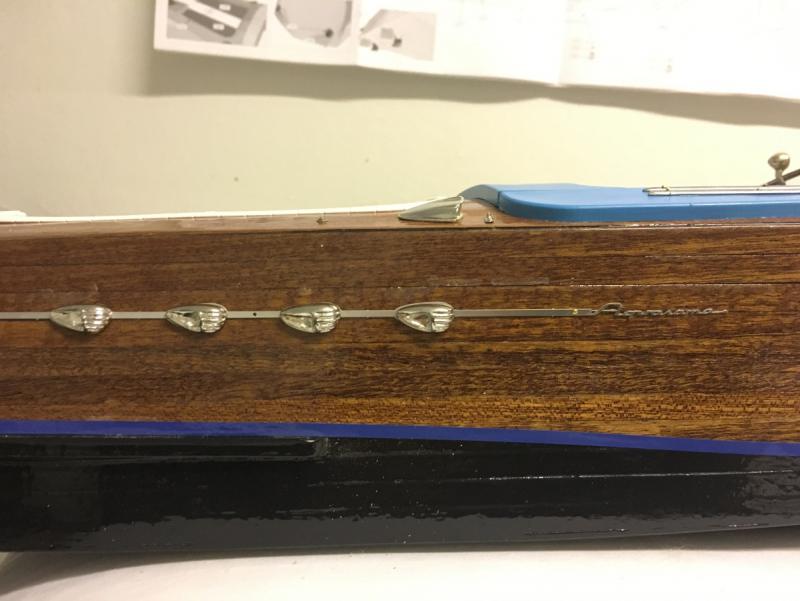
Aquarama logo on the dashboard as well as Riva logo on the sides of the hull:


- 414 replies
-
- 7
-
-
- riva aquarama
- amati
- (and 2 more)
-
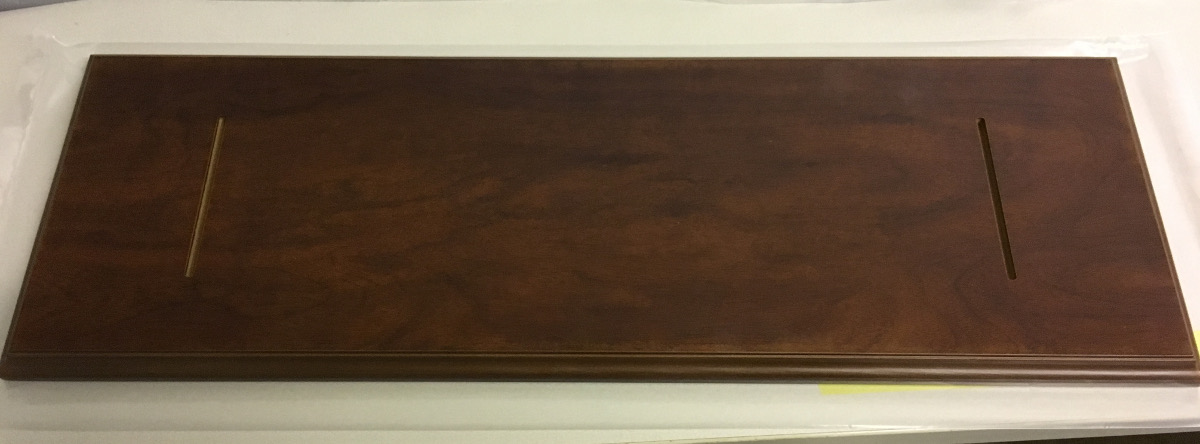
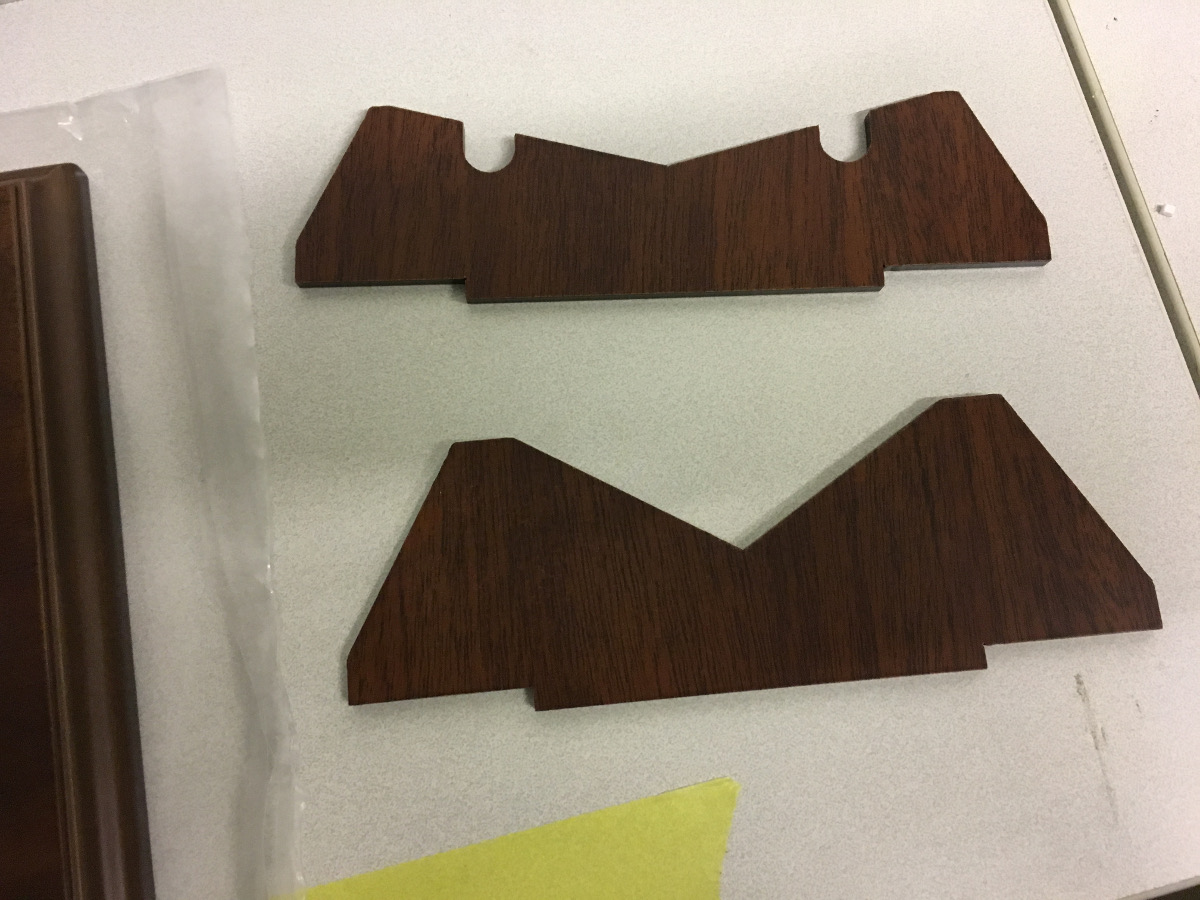
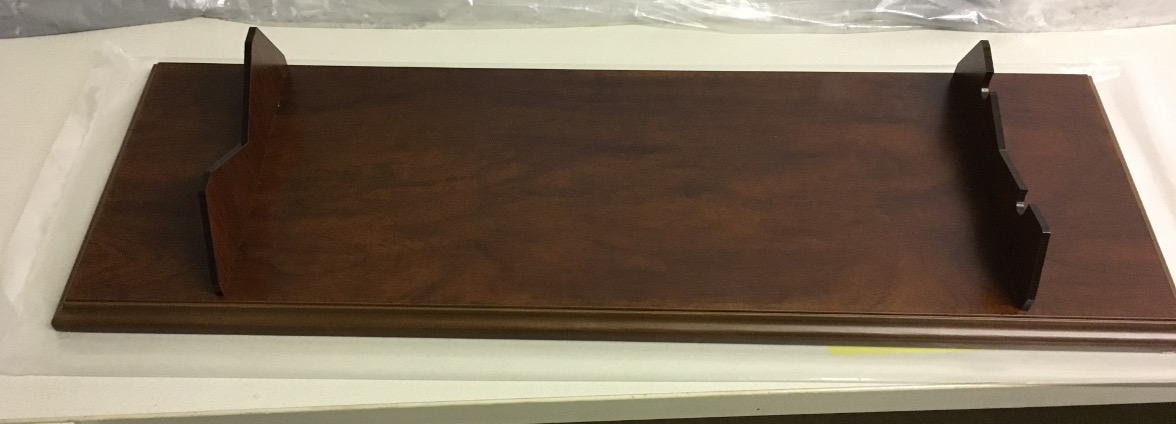
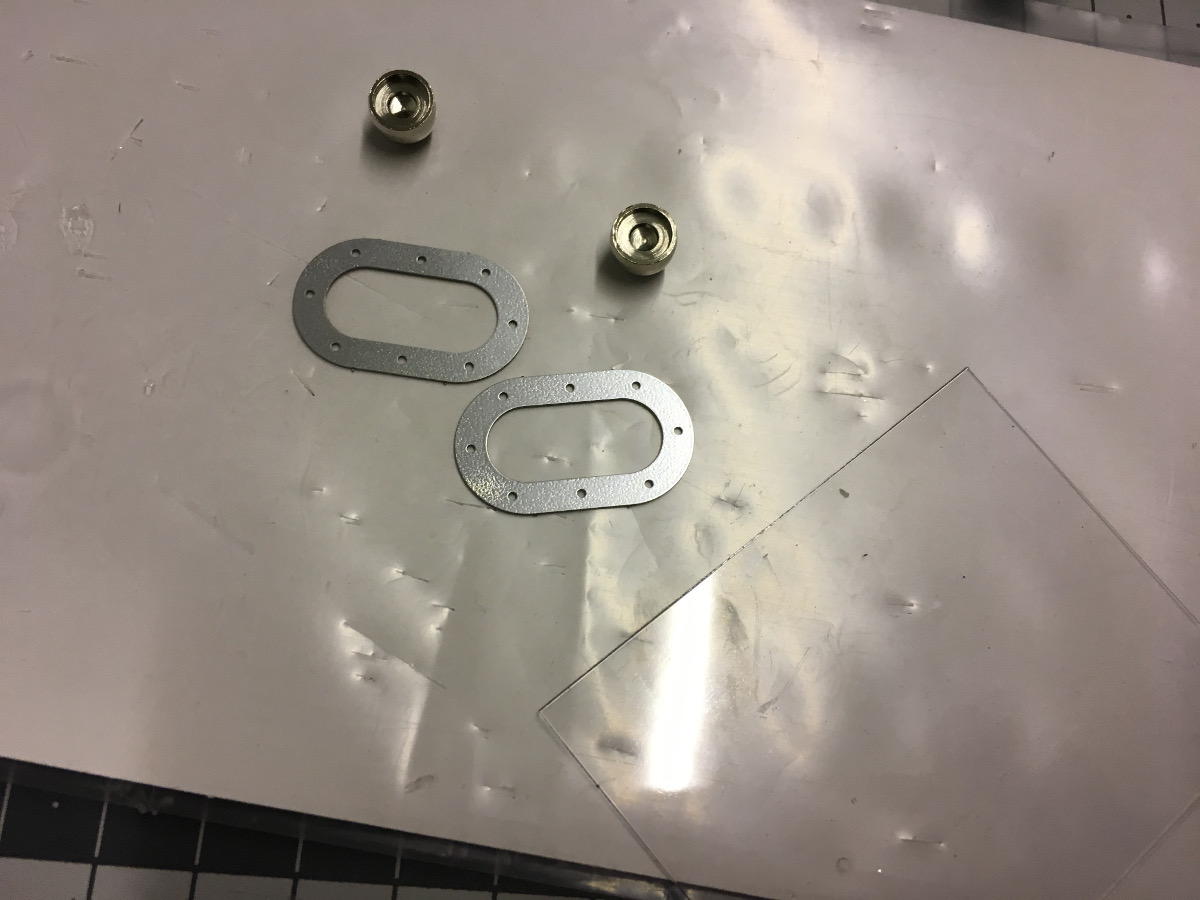
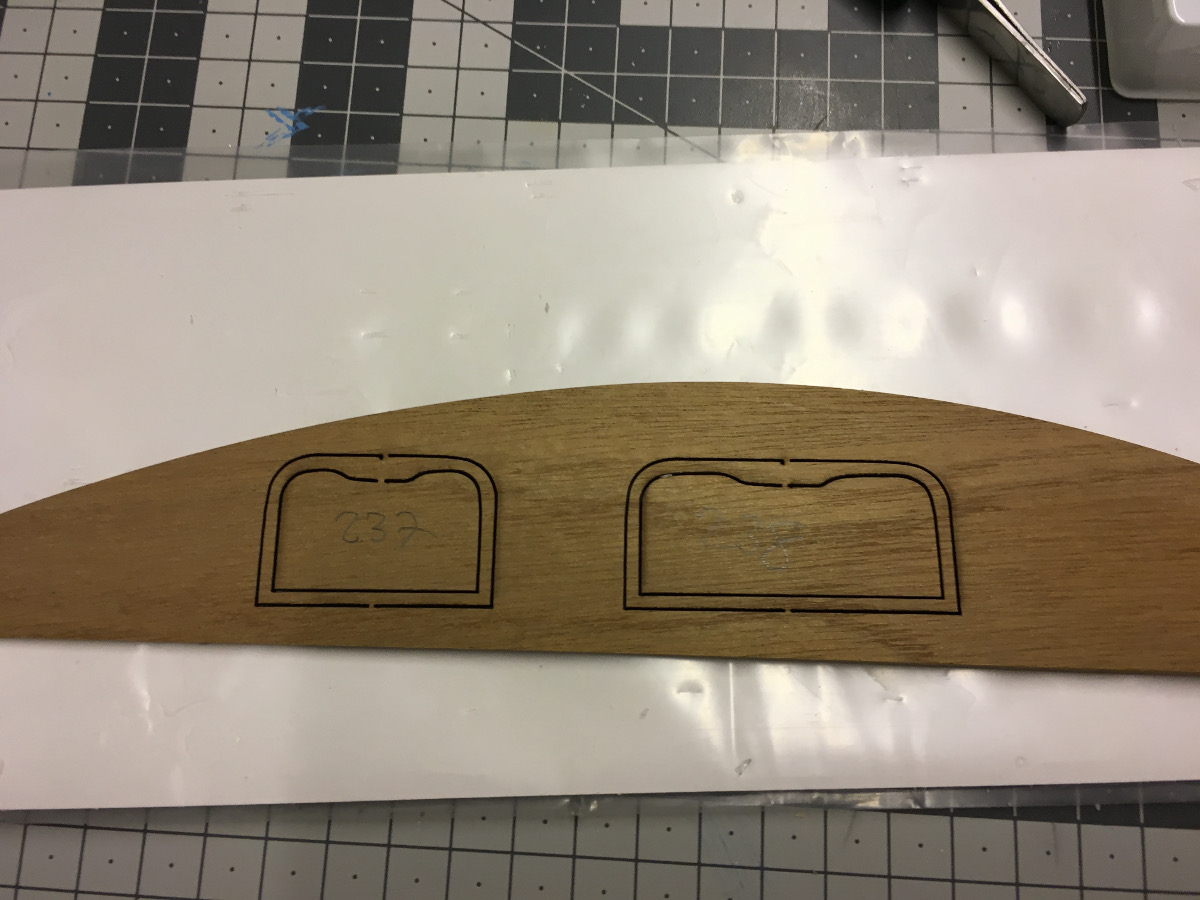
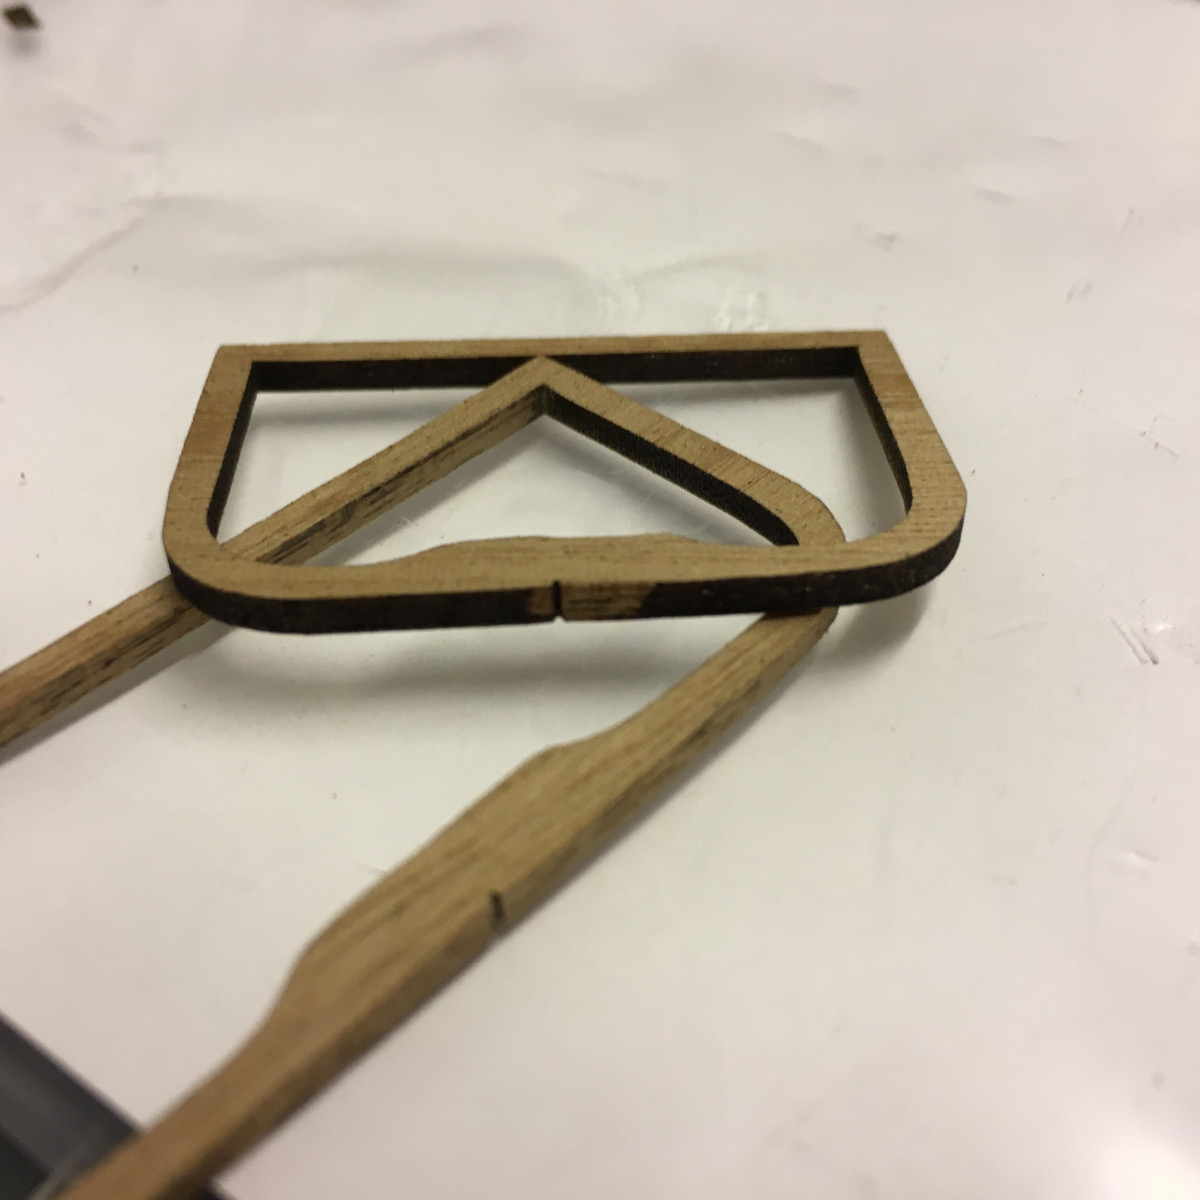
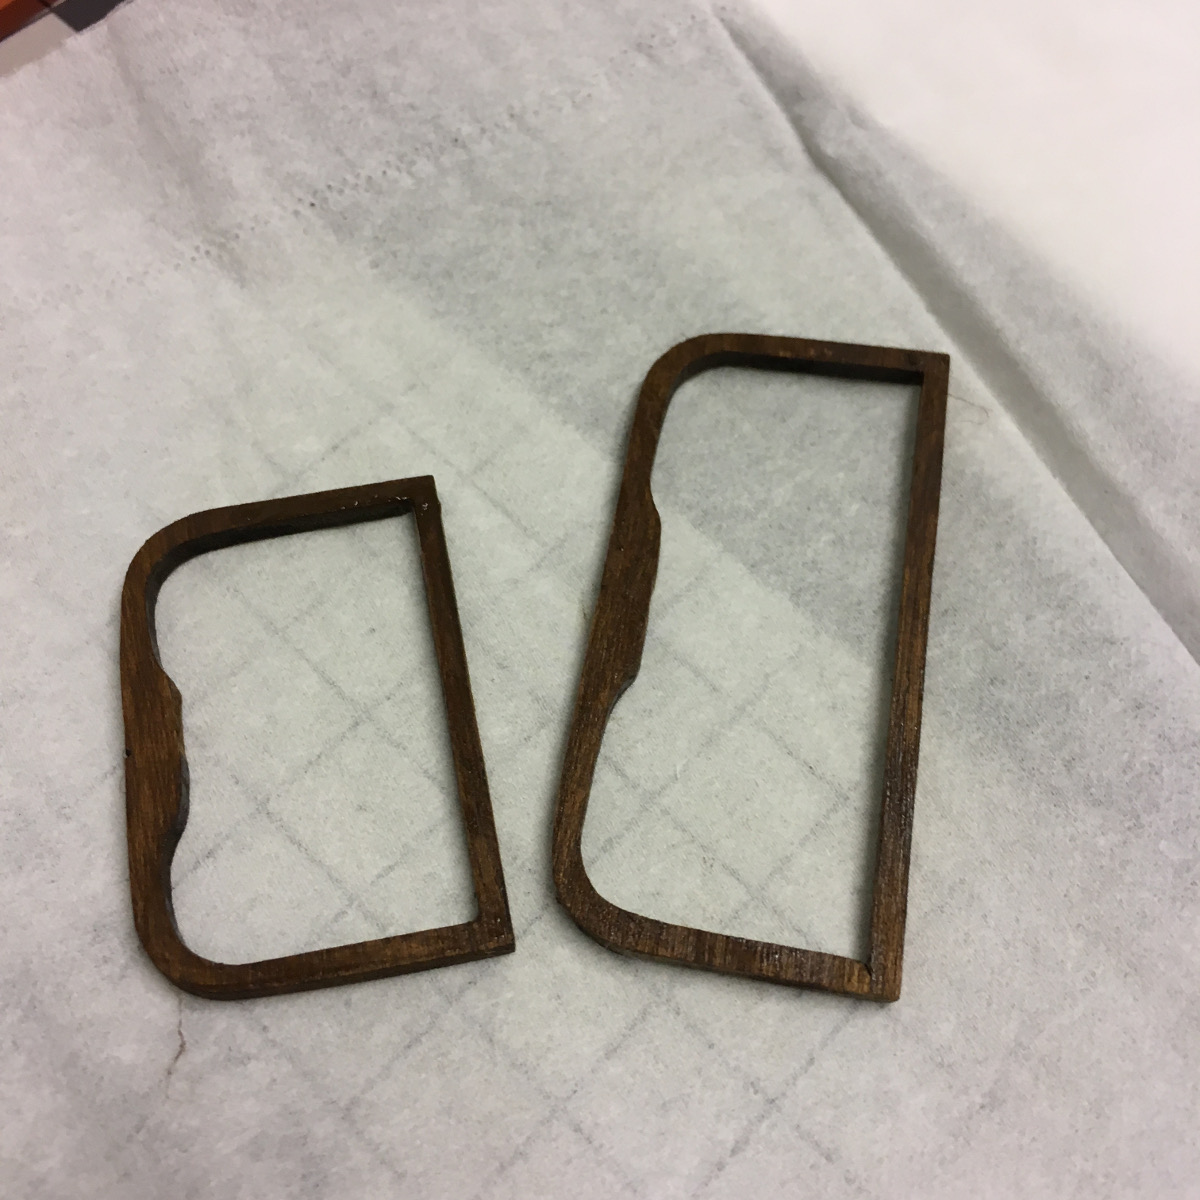
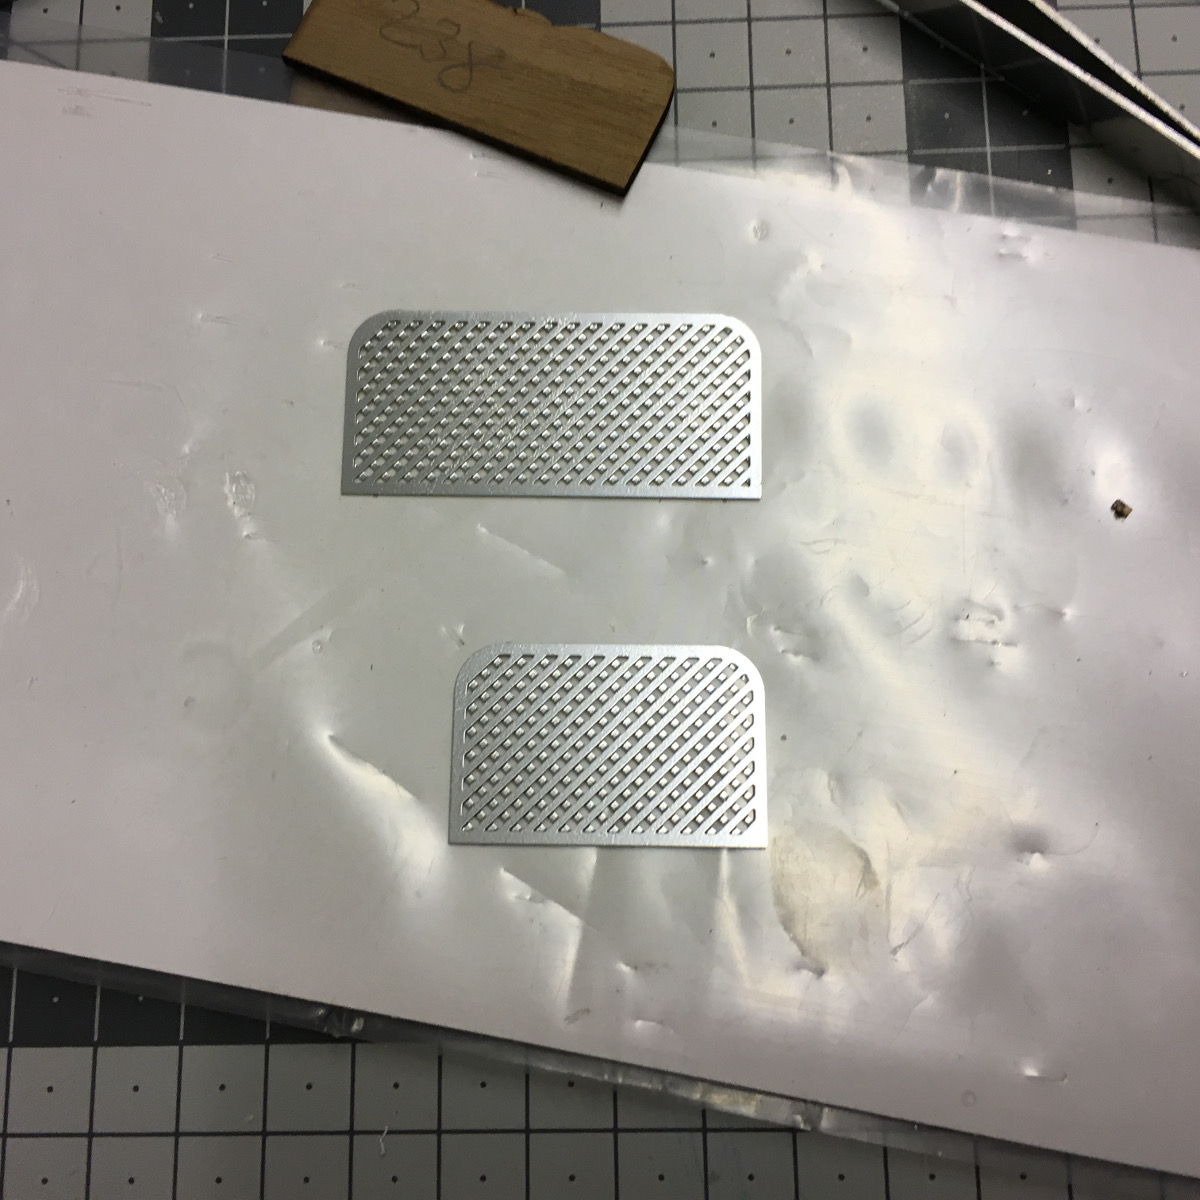
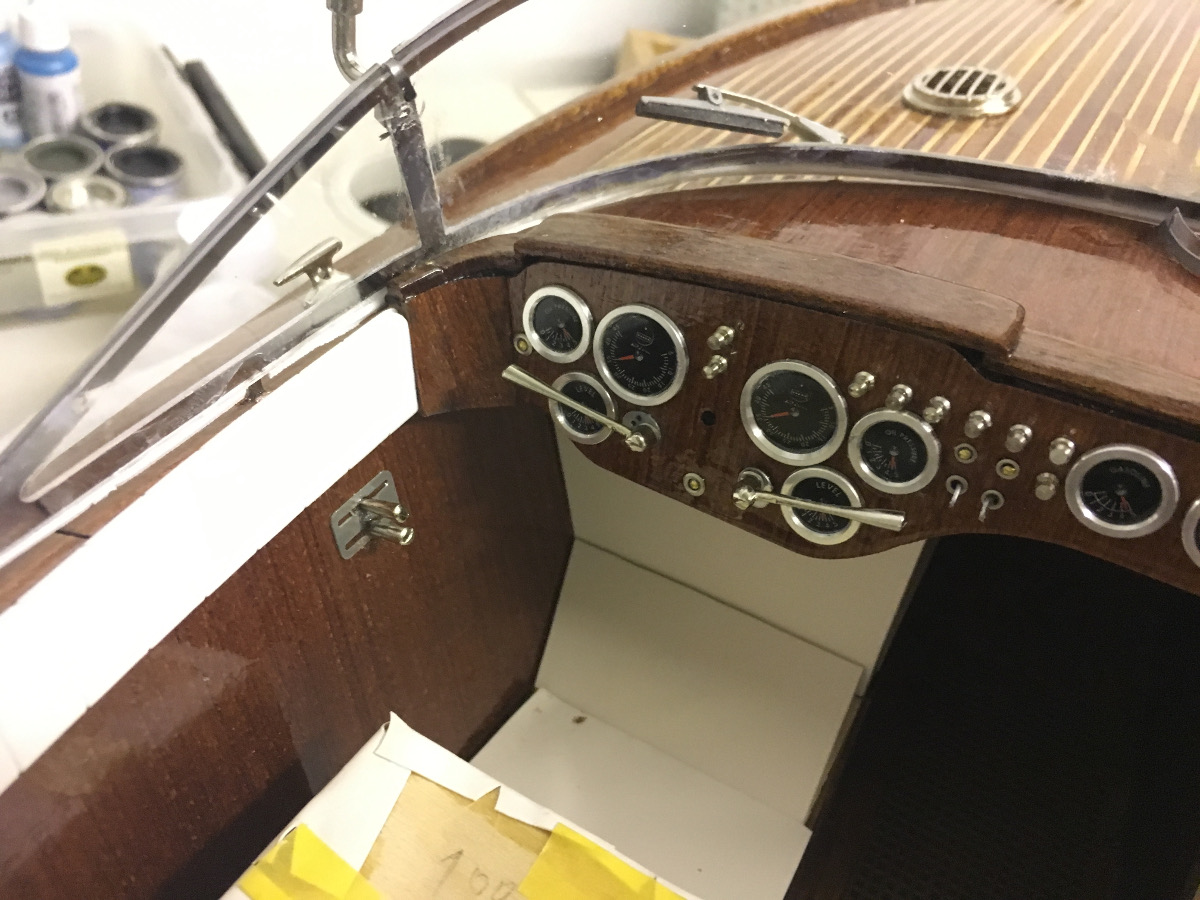
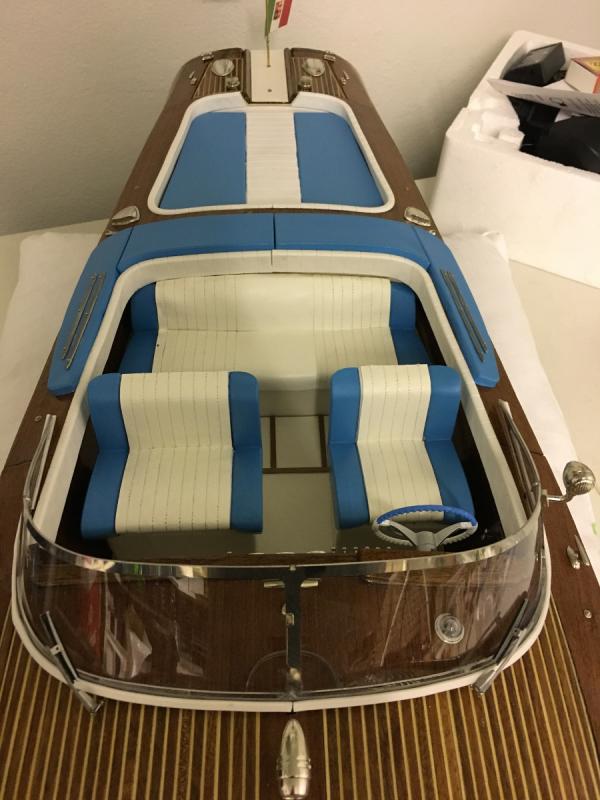
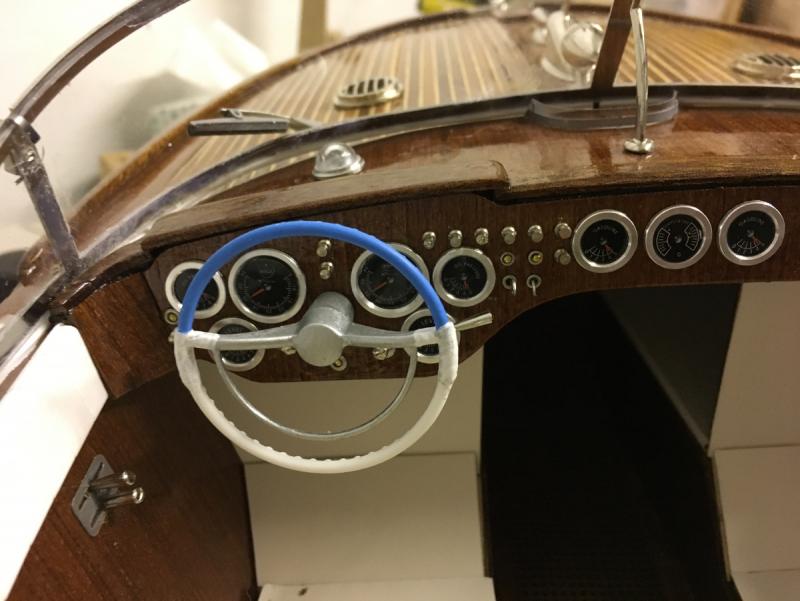
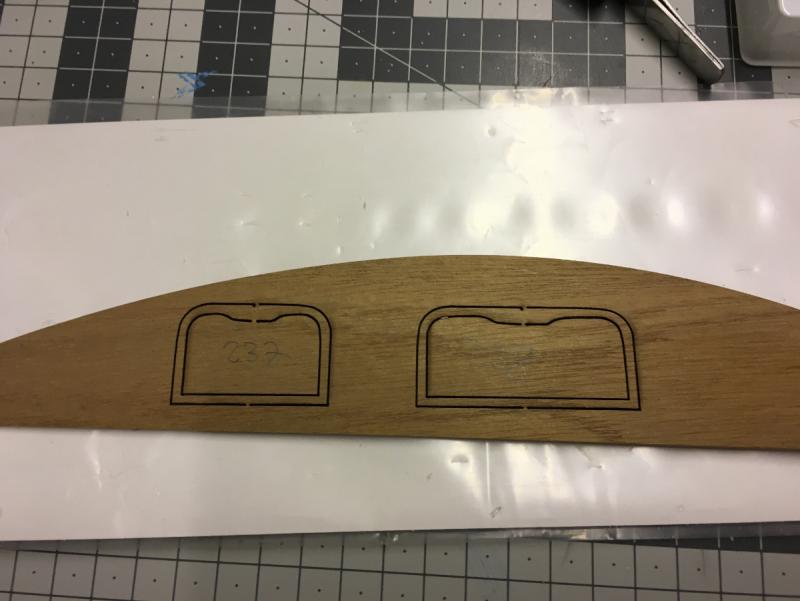
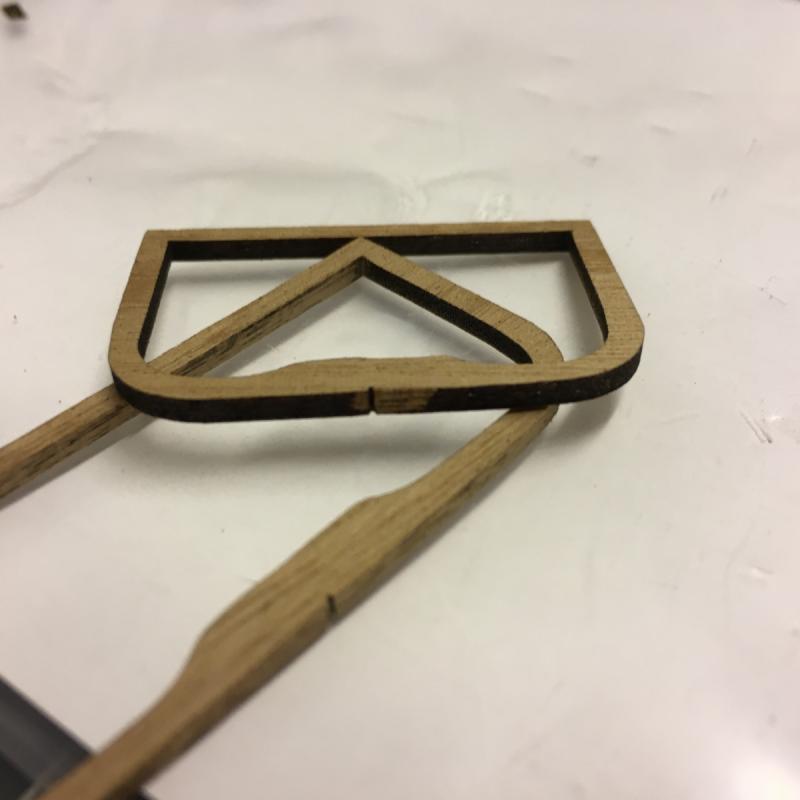
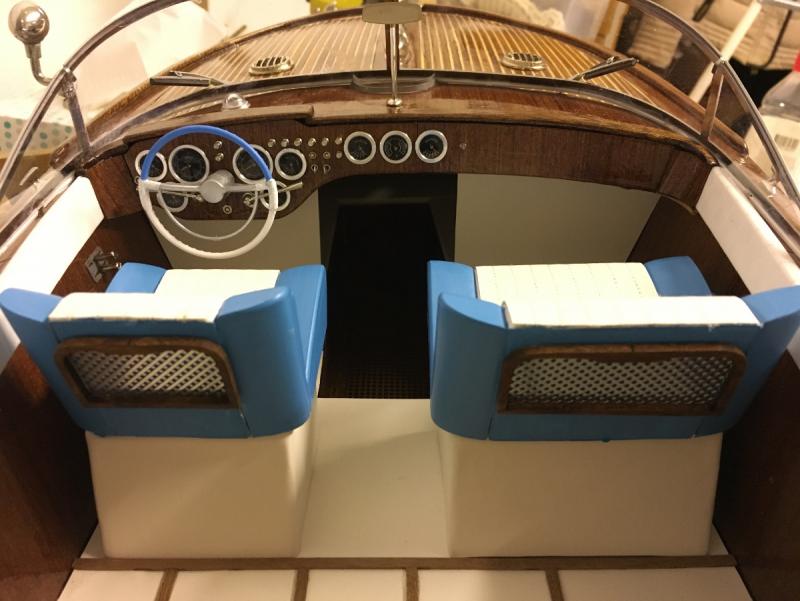
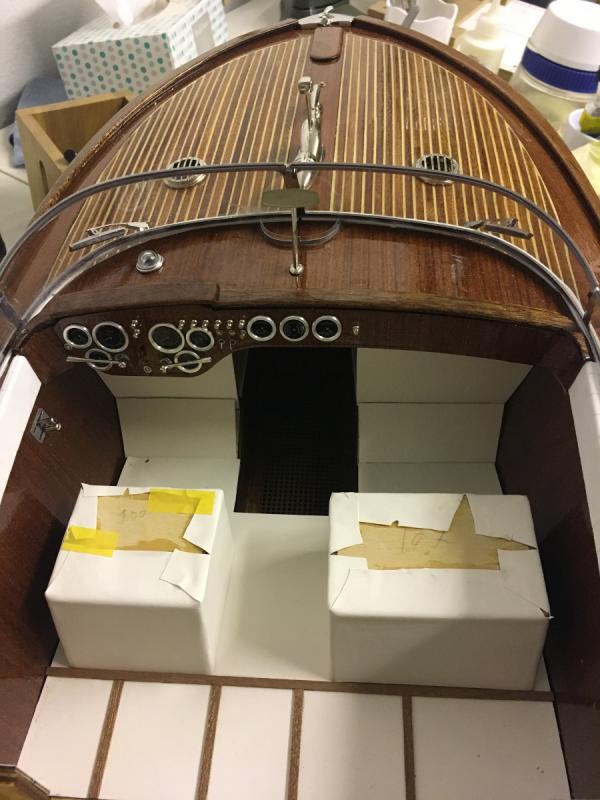
Build day 47. Almost there... Nowadays due to busy work schedule the weekends are the only days I can only spare time for my Aquarama. Excitement builds up as the end comes closer. First thing today, the steering wheel in place: Then, the trays at the back of the front seats: 1. Detach the mahogany frames: 2. Sand away the laser cut burns (in the photo you see both cleaned and uncleaned): 3. Stain the frames: 4. Detach the photo etched grills and glue them to the frames: 5. Trays in place (so are the front seats):


- 414 replies
-
- 11
-
-
- riva aquarama
- amati
- (and 2 more)
-
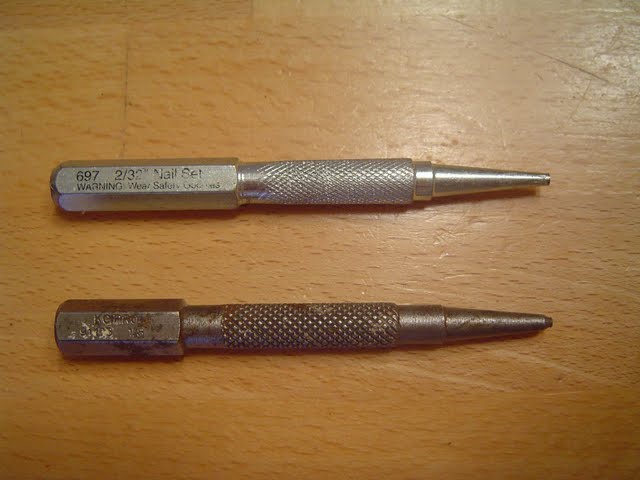
That's a good idea, too. For that, I'll have to buy a nail pusher I have something like this (photo googled from internet), to hit with hammer in the final few milimeters:
- 414 replies
-
- 5
-
-
- riva aquarama
- amati
- (and 2 more)
-
End of Build day 46. 6 hours today. 136 hours into build in total. Overall quite a productive day at least from model ship building point of view. This is the status at the end of the day. Thanks for watching.
- 414 replies
-
- 10
-
-
- riva aquarama
- amati
- (and 2 more)
-
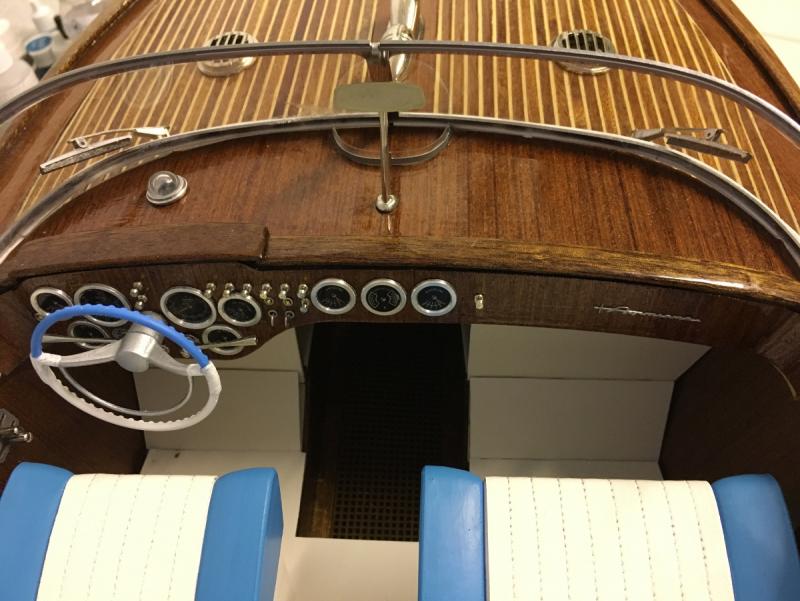
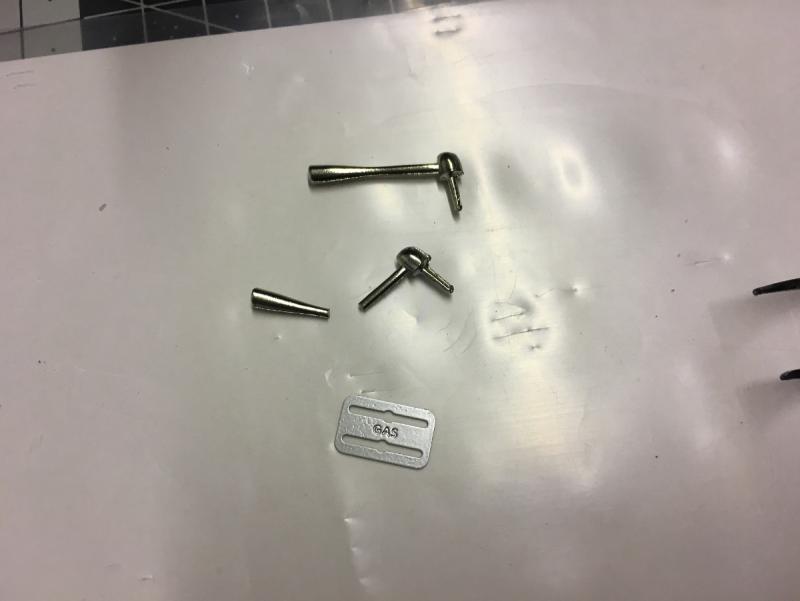
Gas levers. There are altogether 4 of them. 2 on the dashboard and 2 on the left side of the cockpit. The latter ones have to be chopped (like in the photo below): Compass, installed similar way as the dashboard frames:

- 414 replies
-
- 8
-
-
- riva aquarama
- amati
- (and 2 more)
-
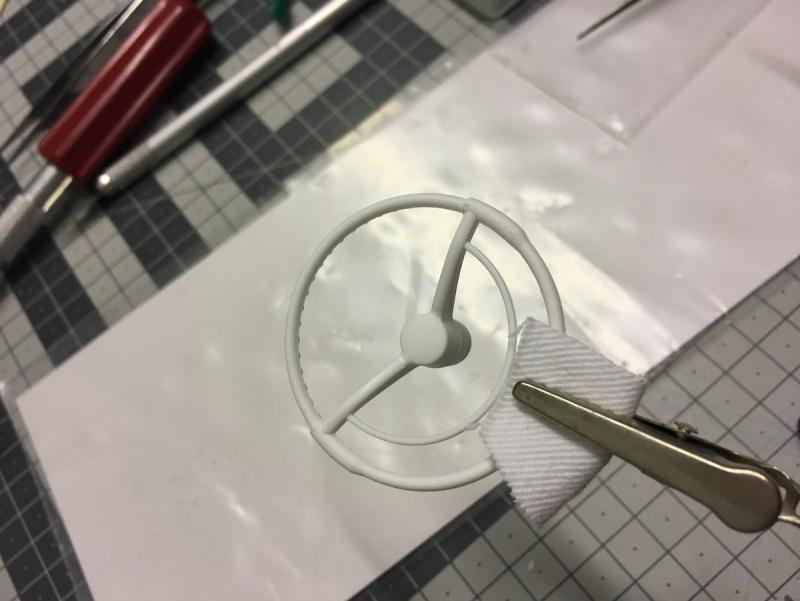
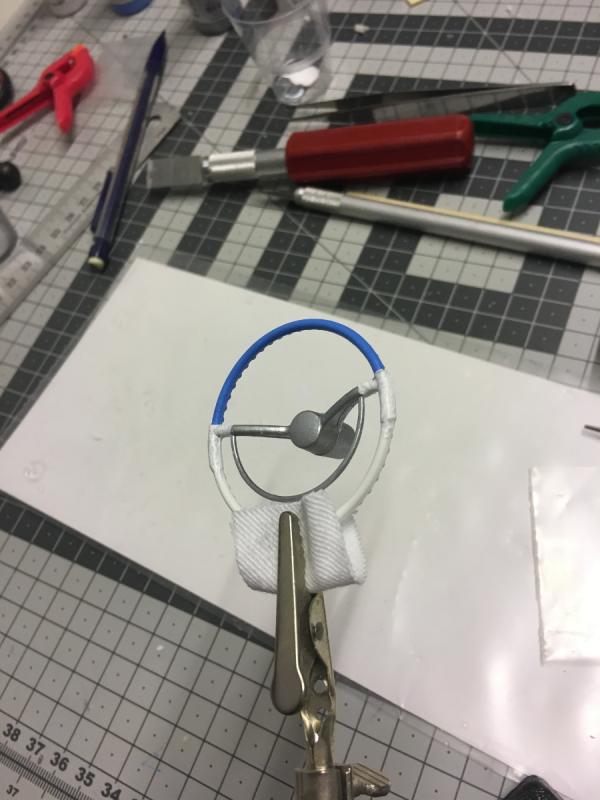
Steering wheel. NOTE: The instructions sometimes deviate quite a lot from the parts which come with the kit, I guess due to the version updates the kit has gone through in years. I would appreciate if they would update the instruction manual, too, to match the new list of parts. The steering wheel is one example. It comes in a single piece in the kit, however according to the instructions you have to assemble it from several parts: Painted and waiting to dry, before installation in place:
- 414 replies
-
- 8
-
-
- riva aquarama
- amati
- (and 2 more)
-
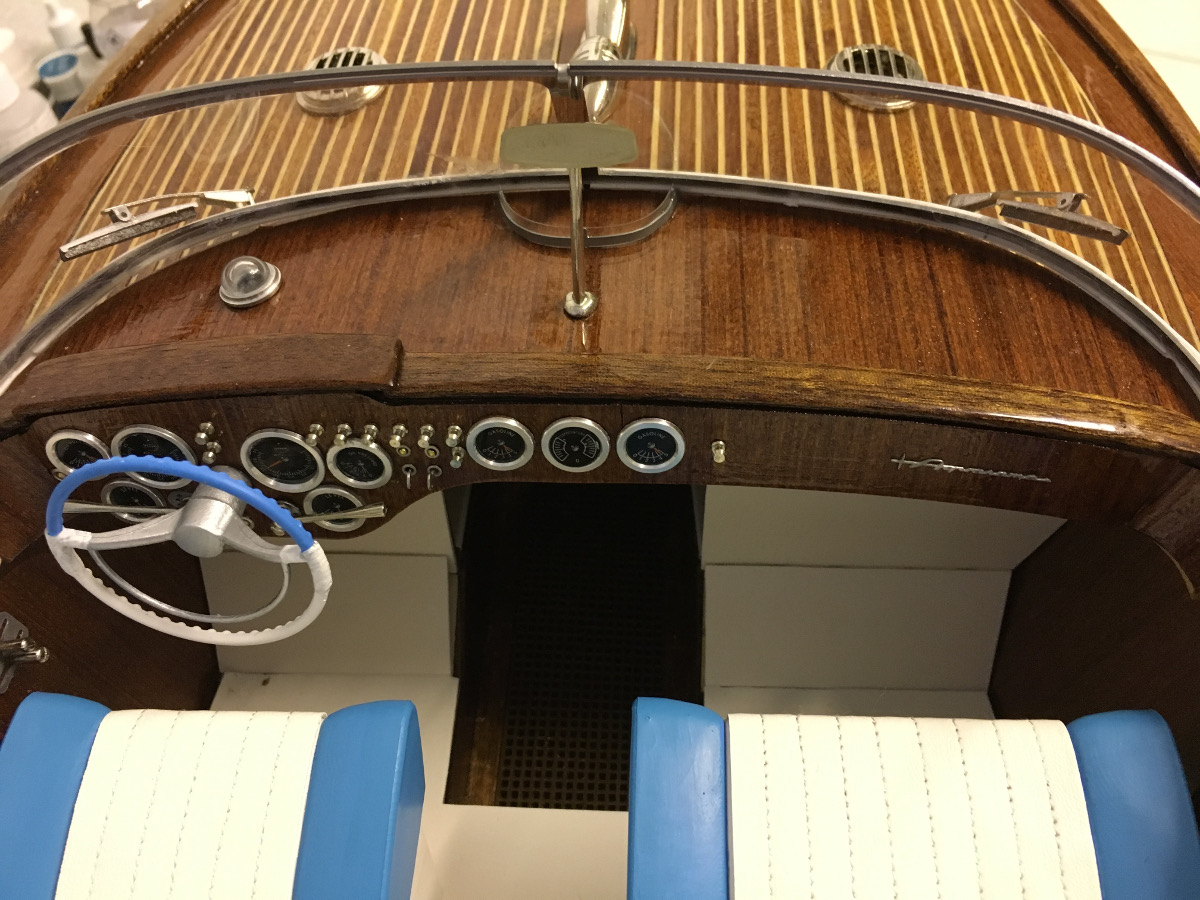
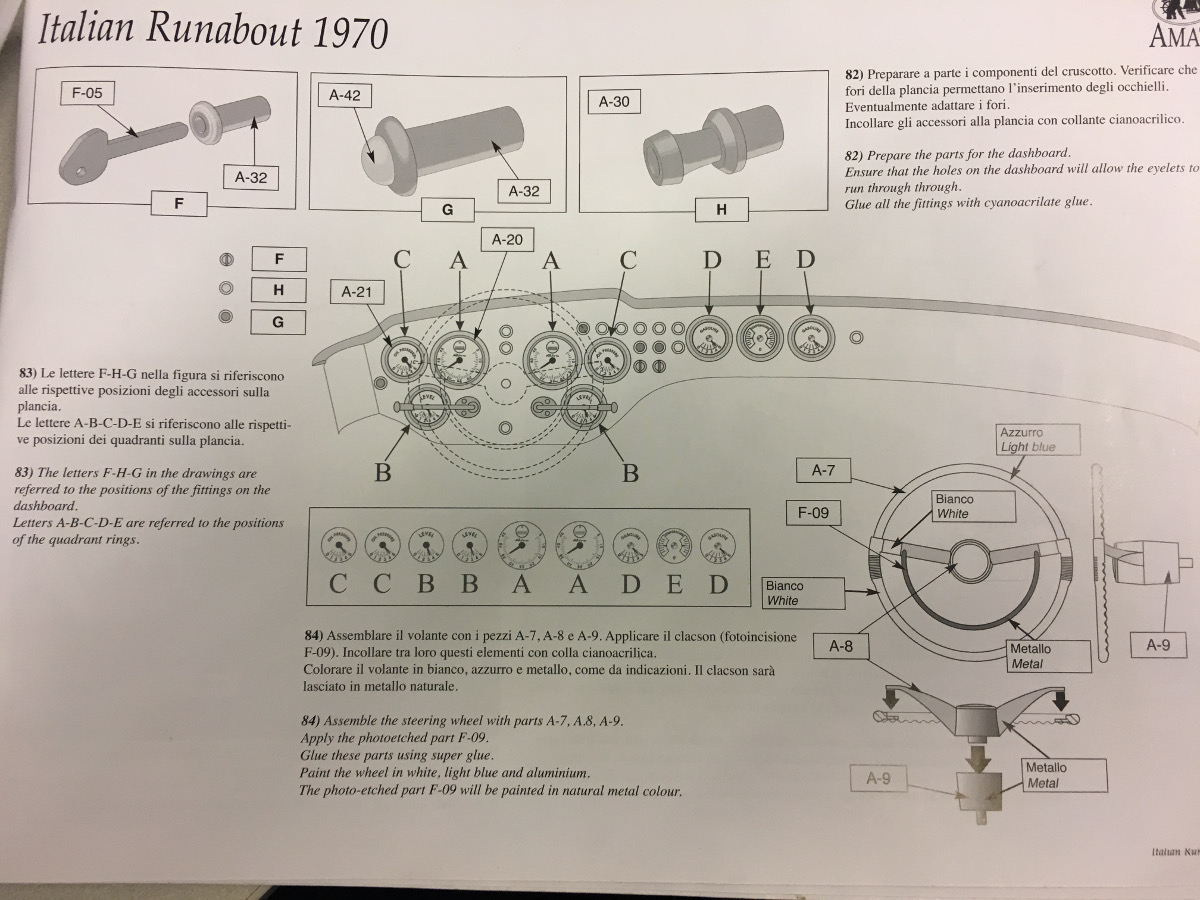
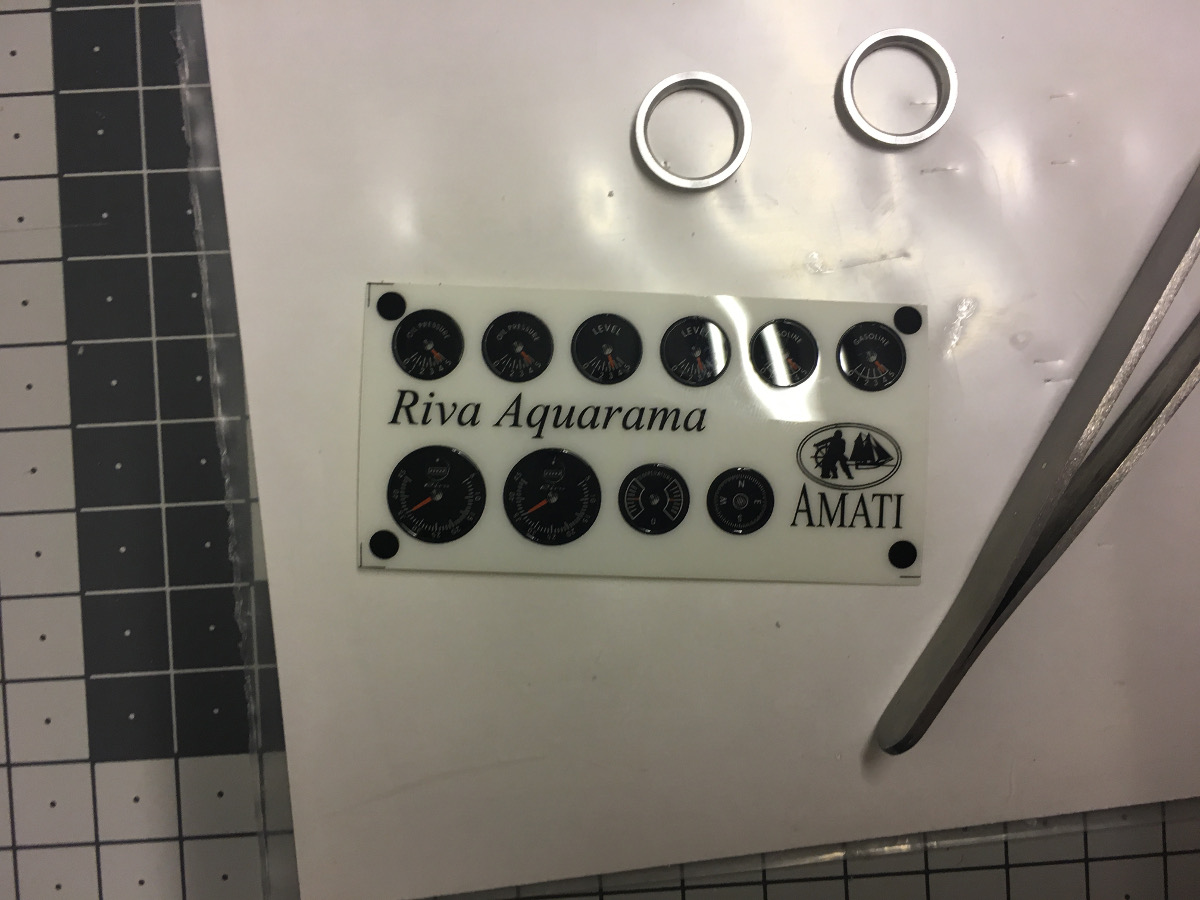
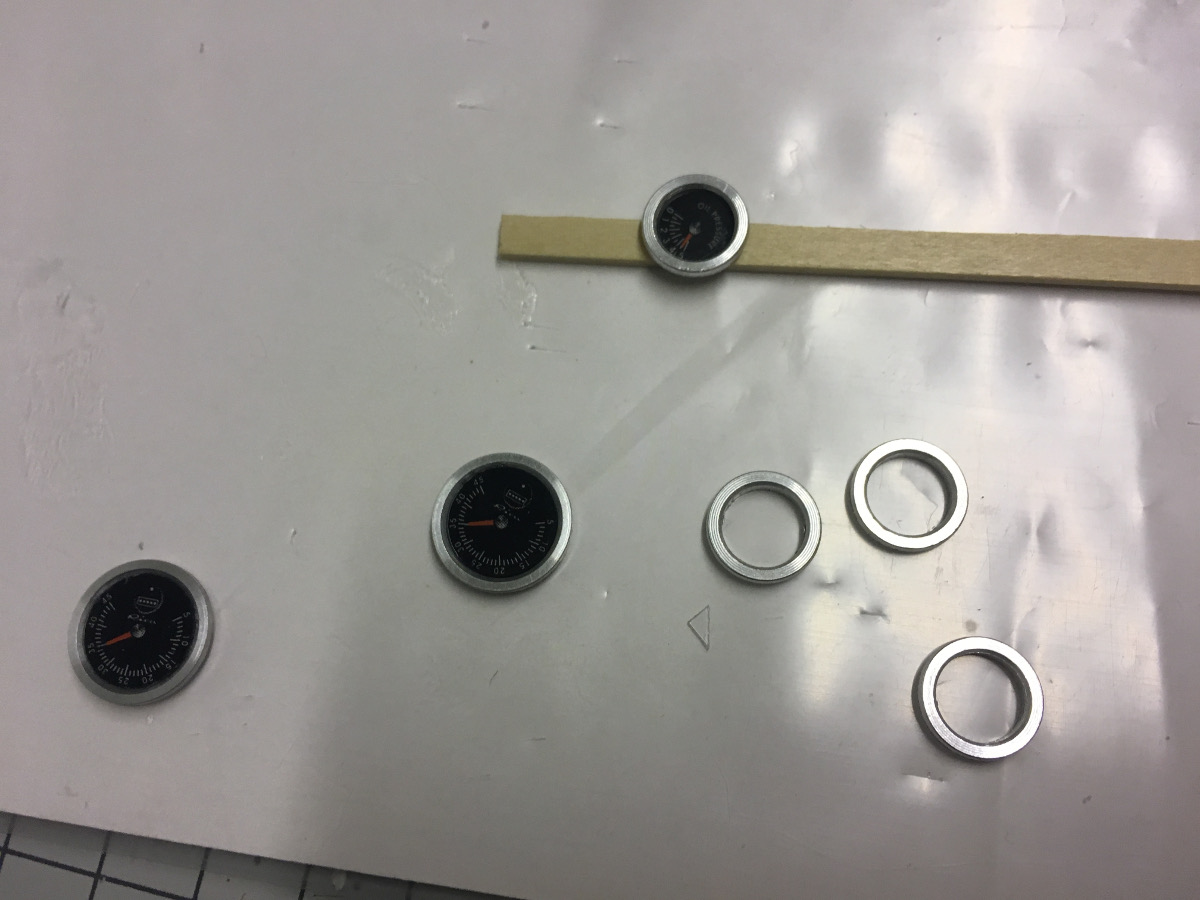
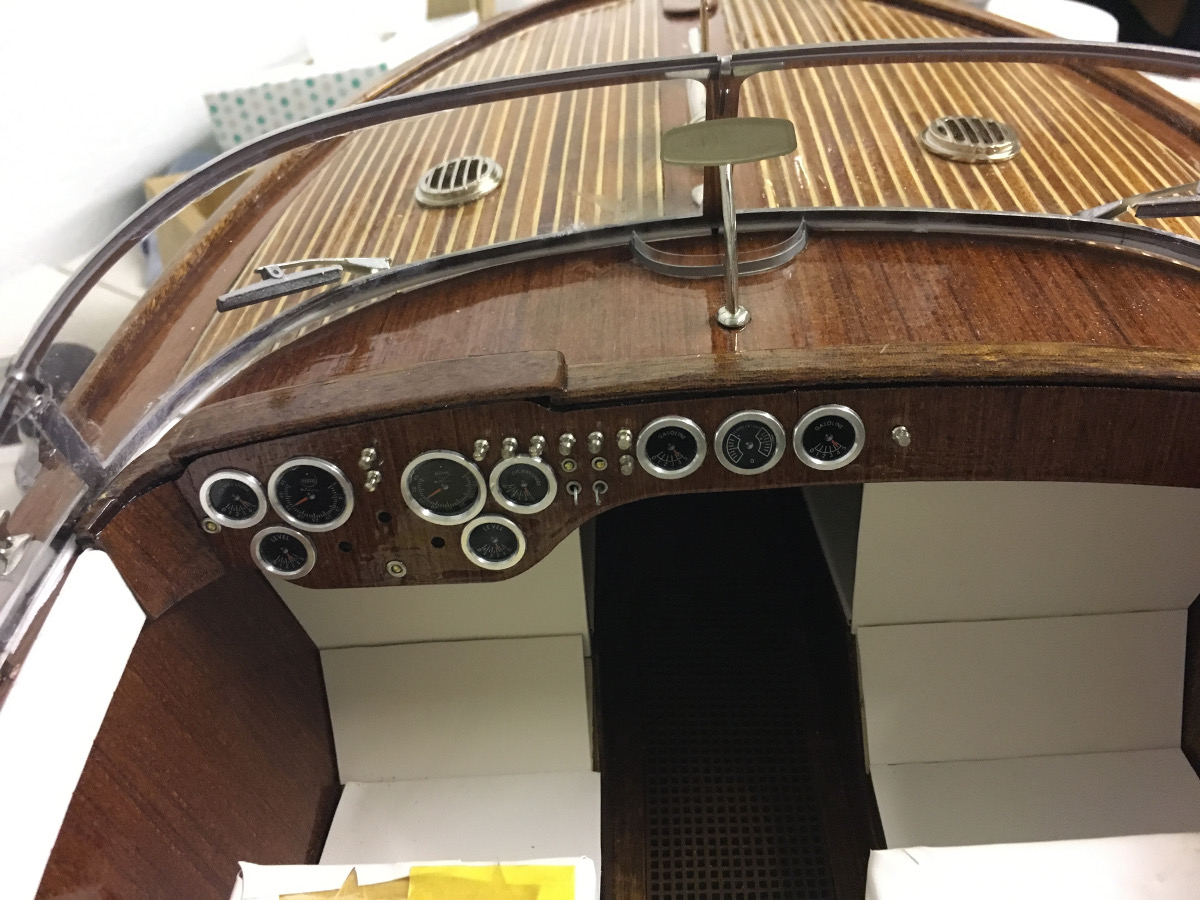
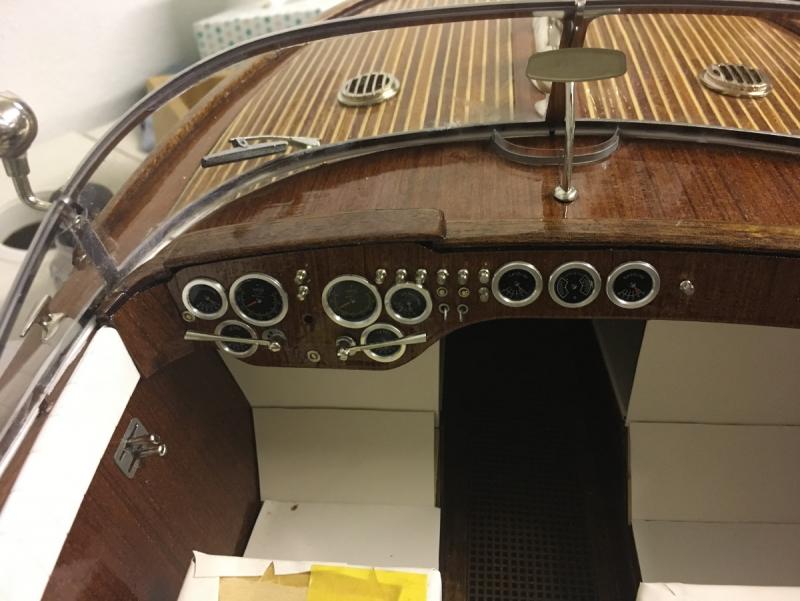
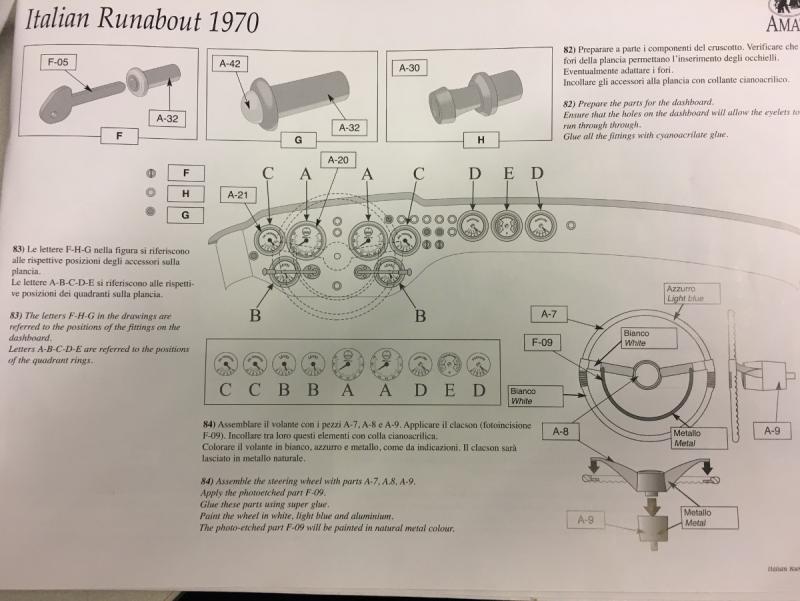
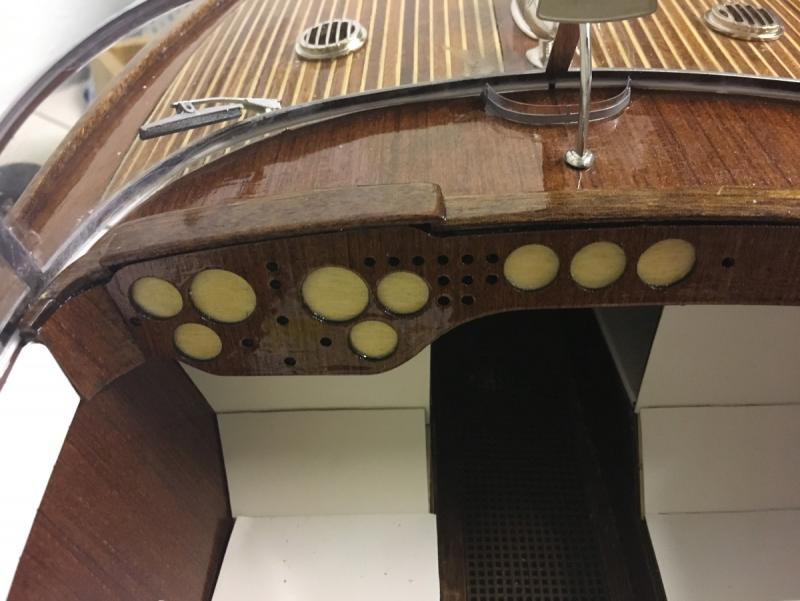
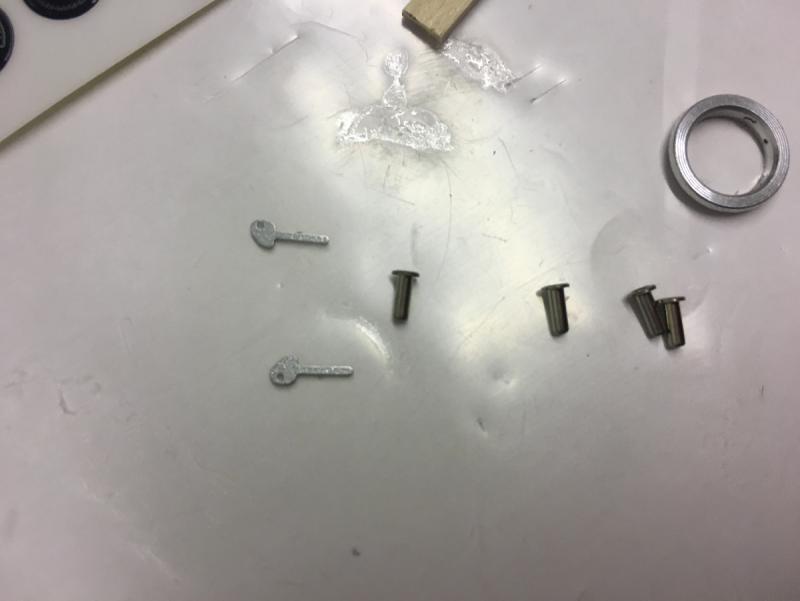
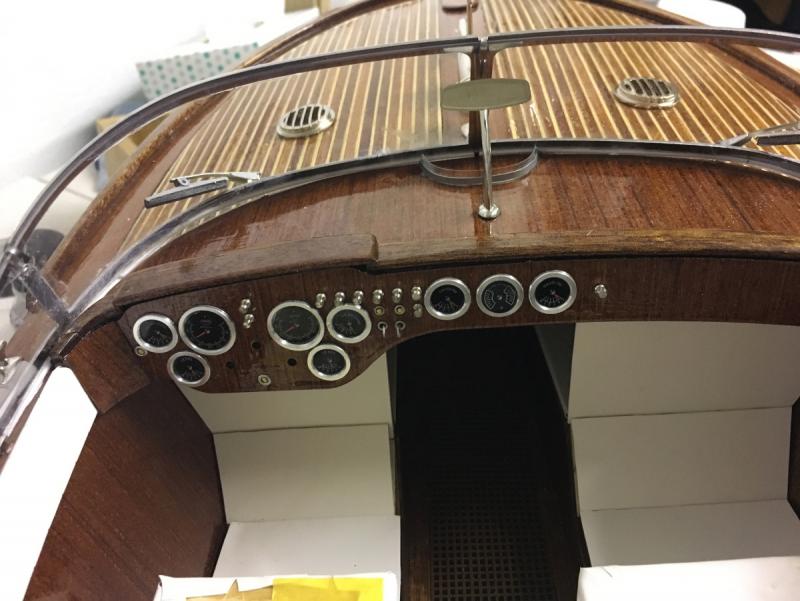
Next on the line is the dashboard decoration. Seems to be a lot of fun. Instructions: The current status of the dashboard: Gauge stickers (they don't actually stick, you'll have to use glue) and a few frames: Stickers being glued in the frames: Example of more components, here the keys and its slots: Installed them one by one on the dashboard. Quite annoying sometimes to run after small pieces which snap from the tweezer and run under the table:


- 414 replies
-
- 9
-
-
- riva aquarama
- amati
- (and 2 more)
-
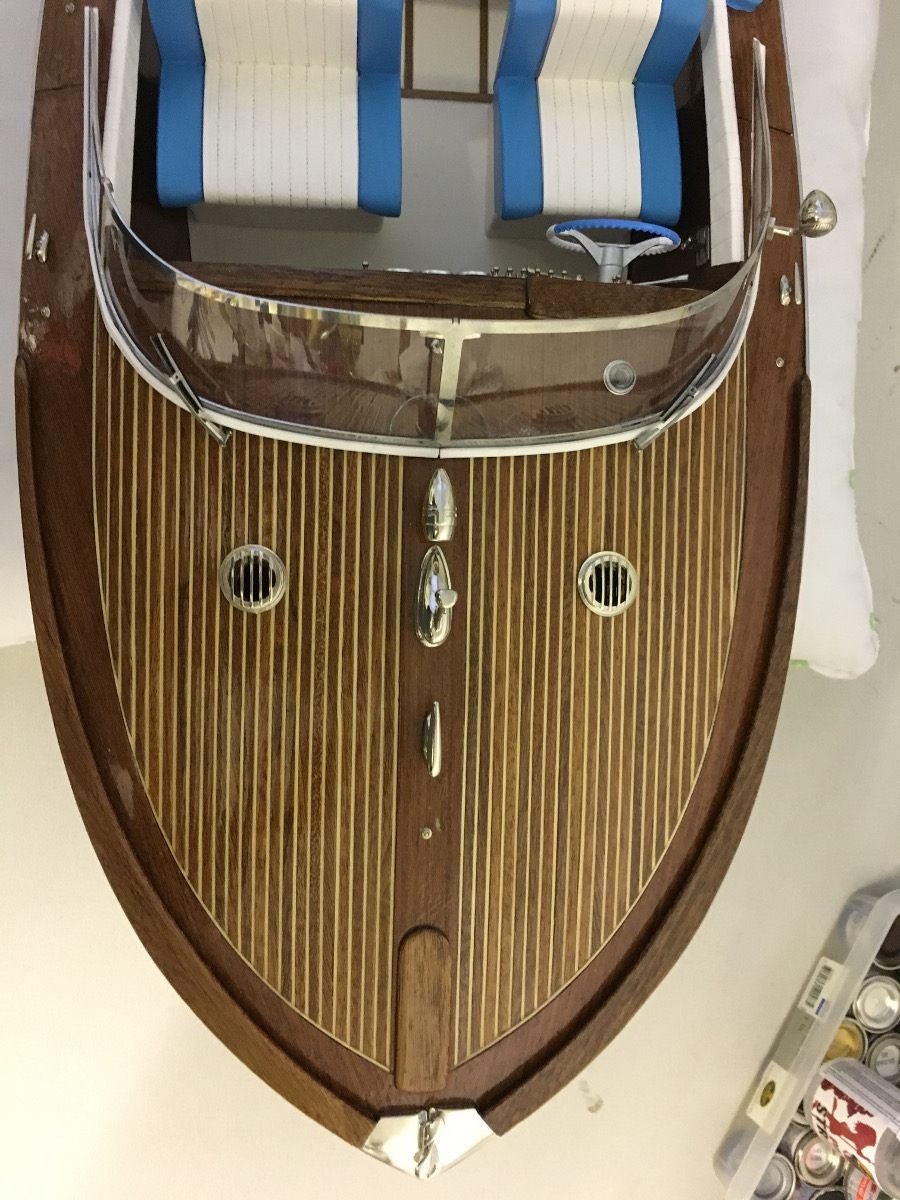
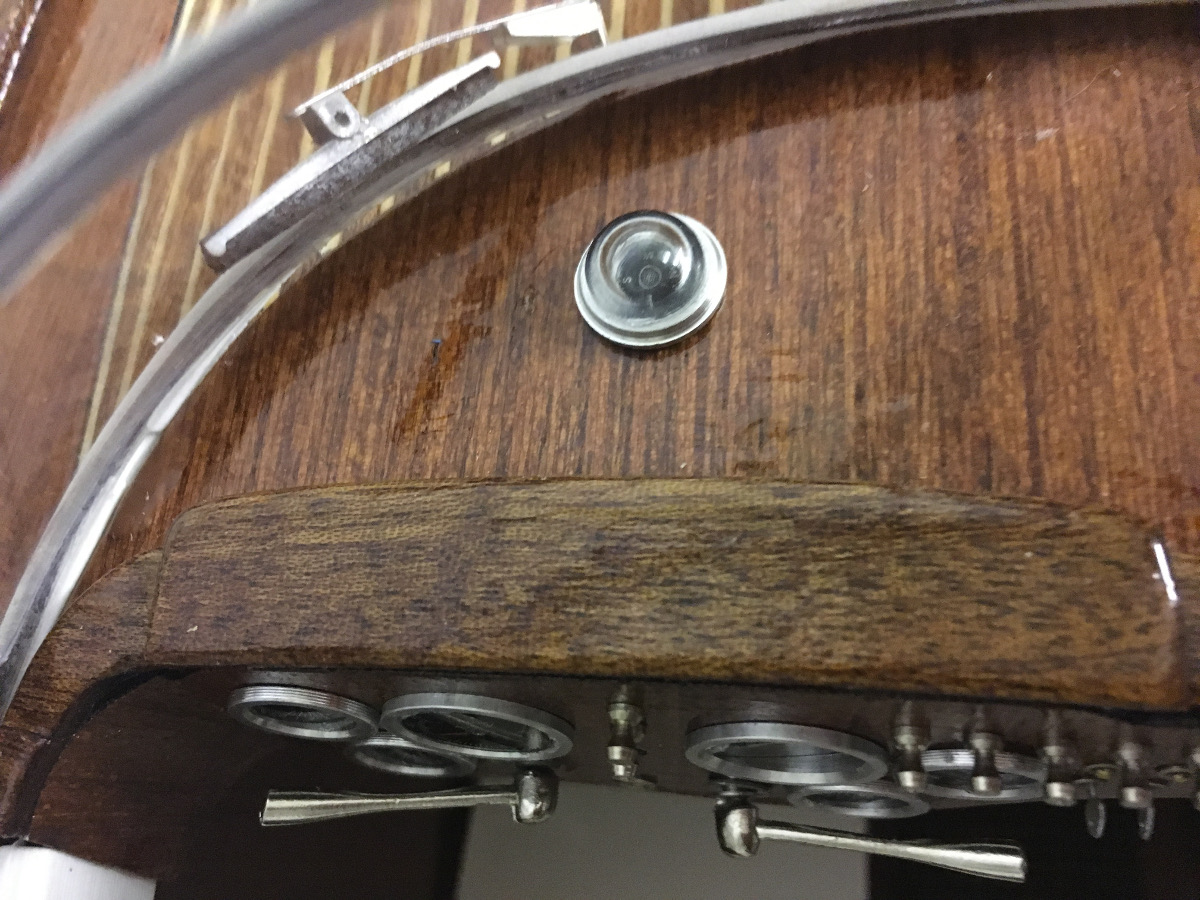
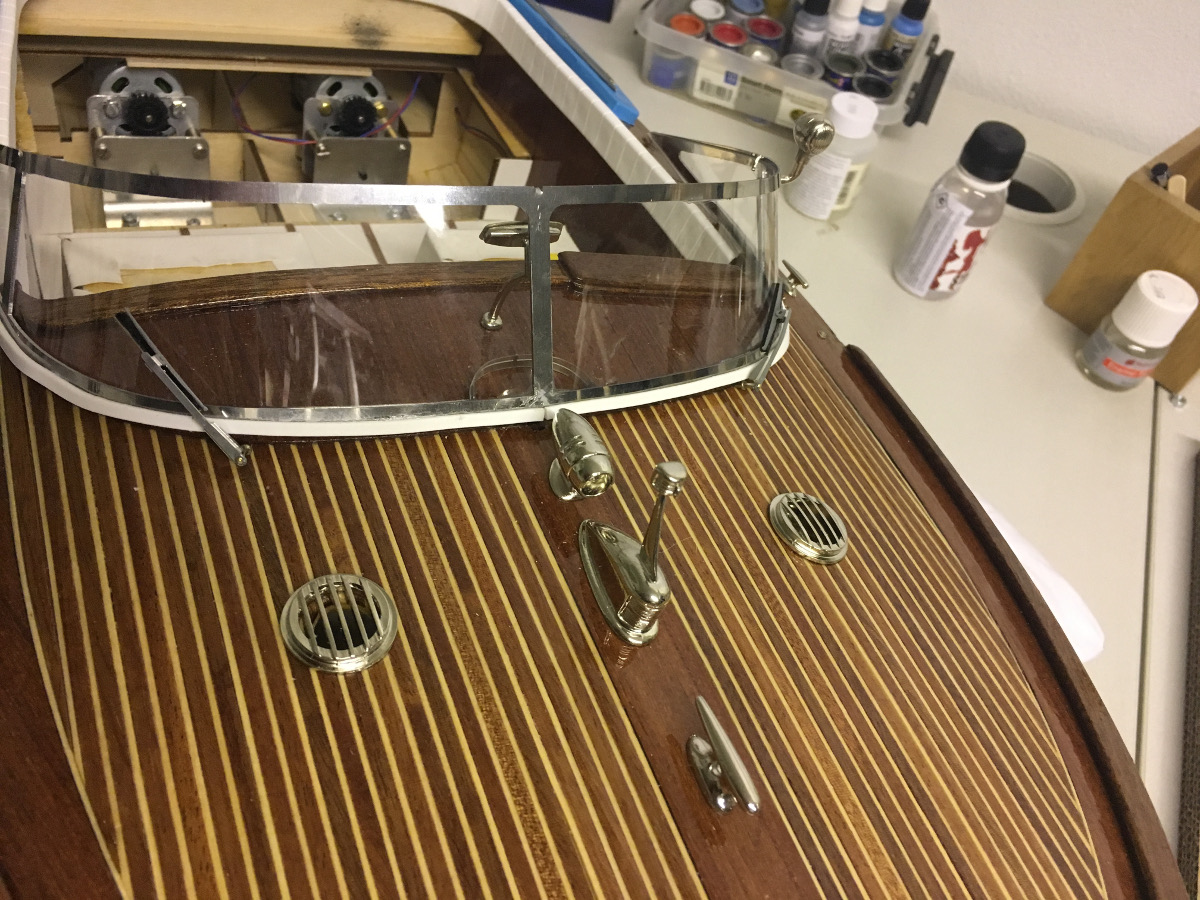
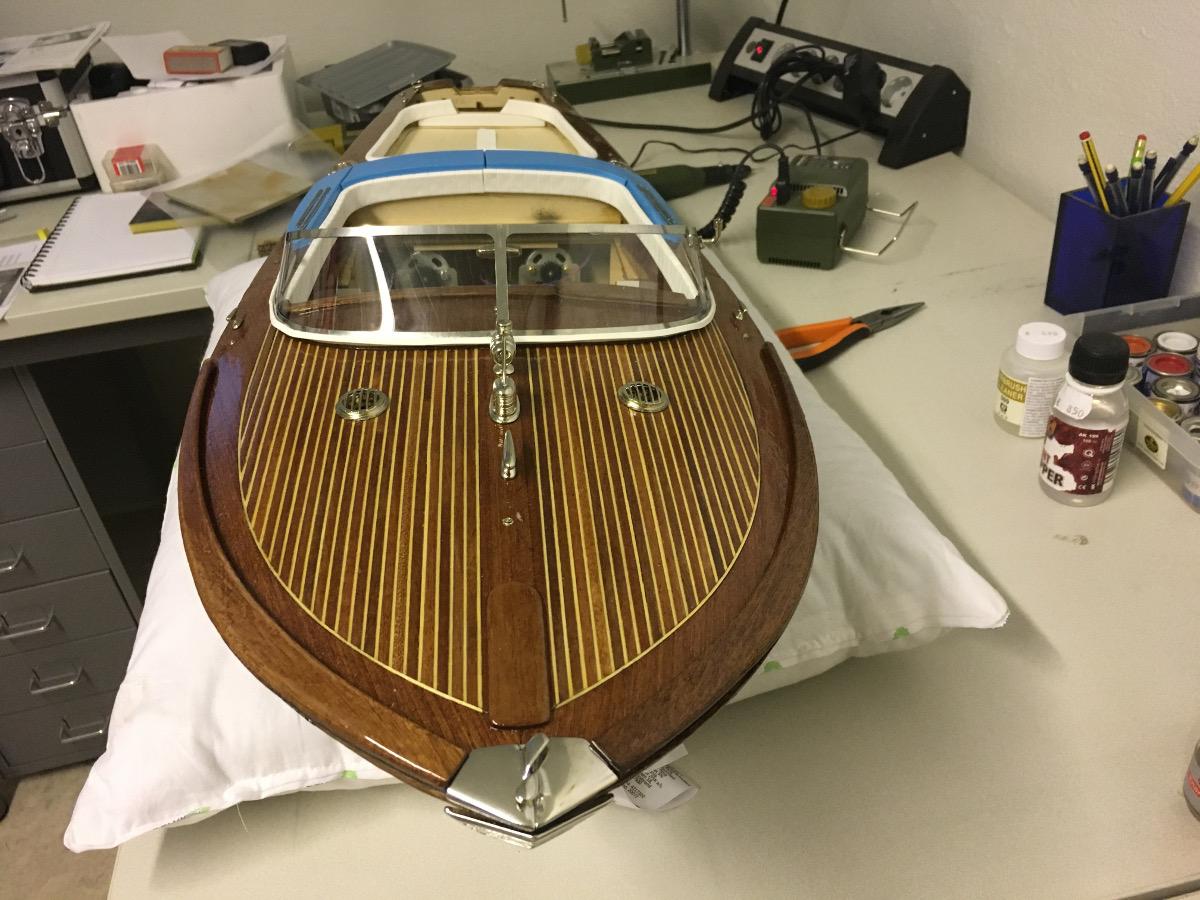
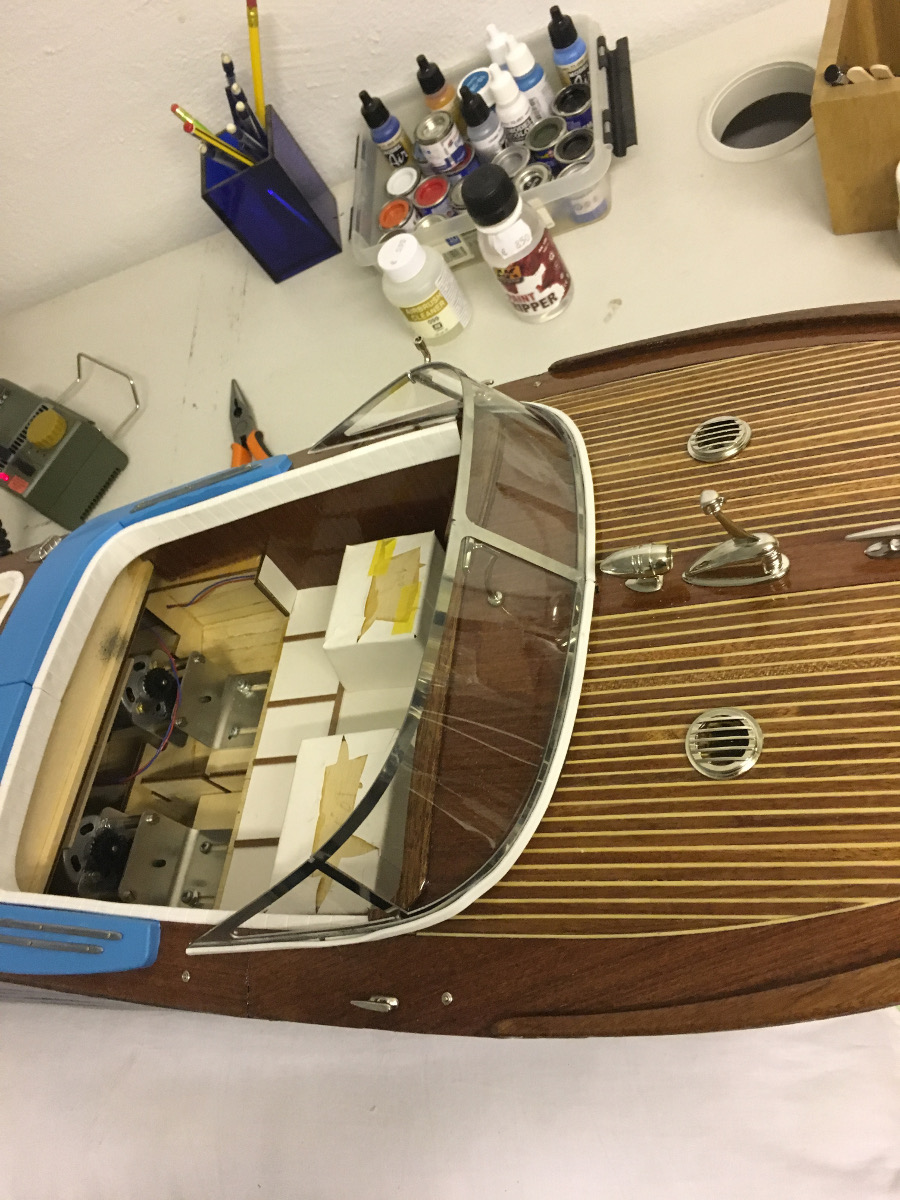
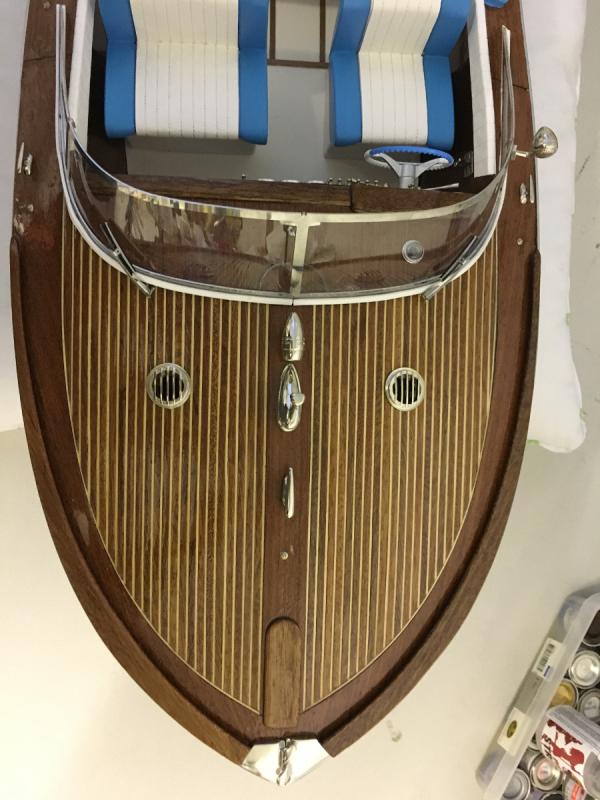
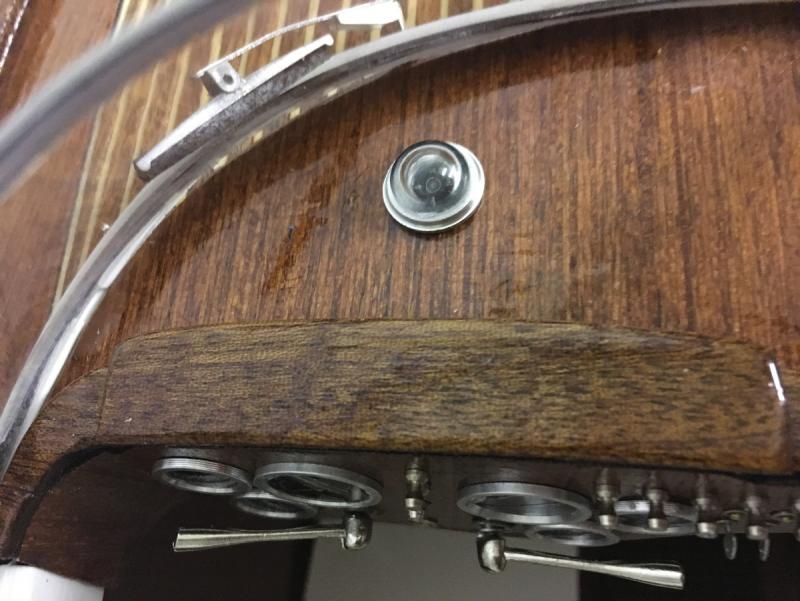
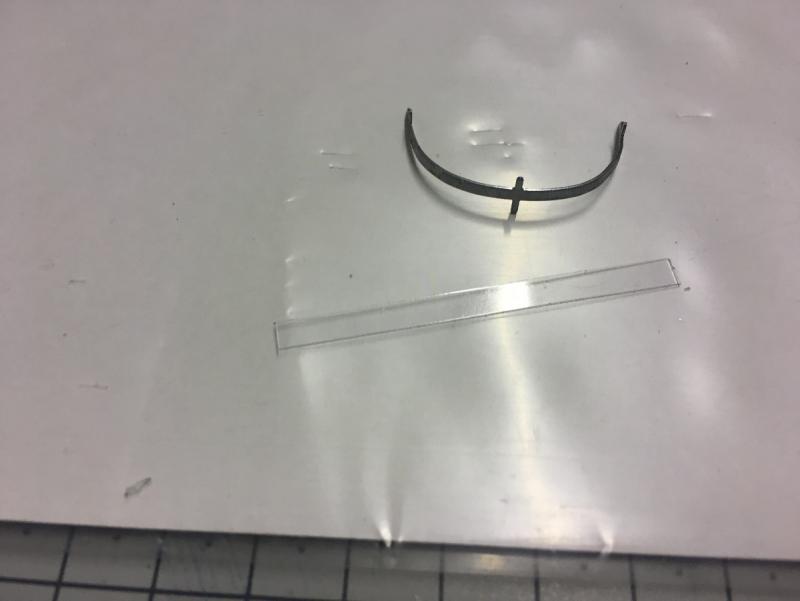
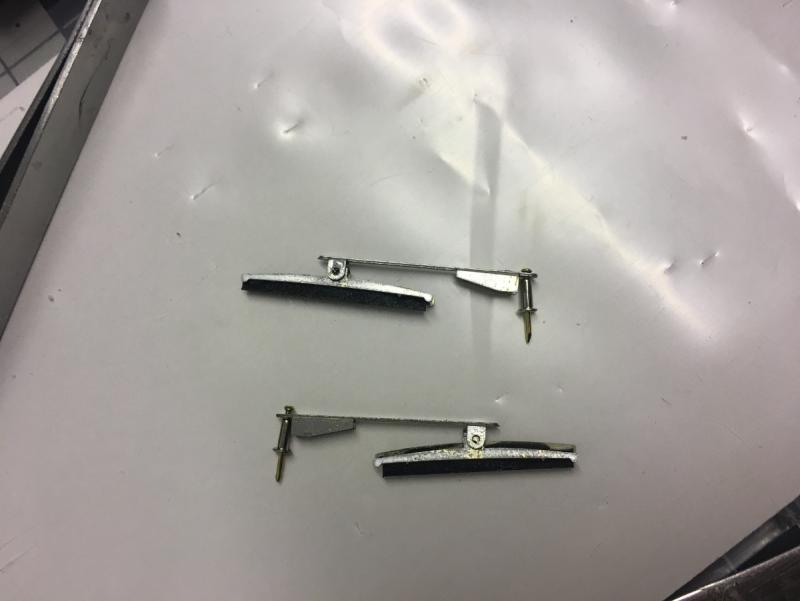
There is this round frame in front, at the back of the windshield ( I don't know what it is called or what the purpose is): In place: Windshield wipers also in place:


- 414 replies
-
- 7
-
-
- riva aquarama
- amati
- (and 2 more)
-
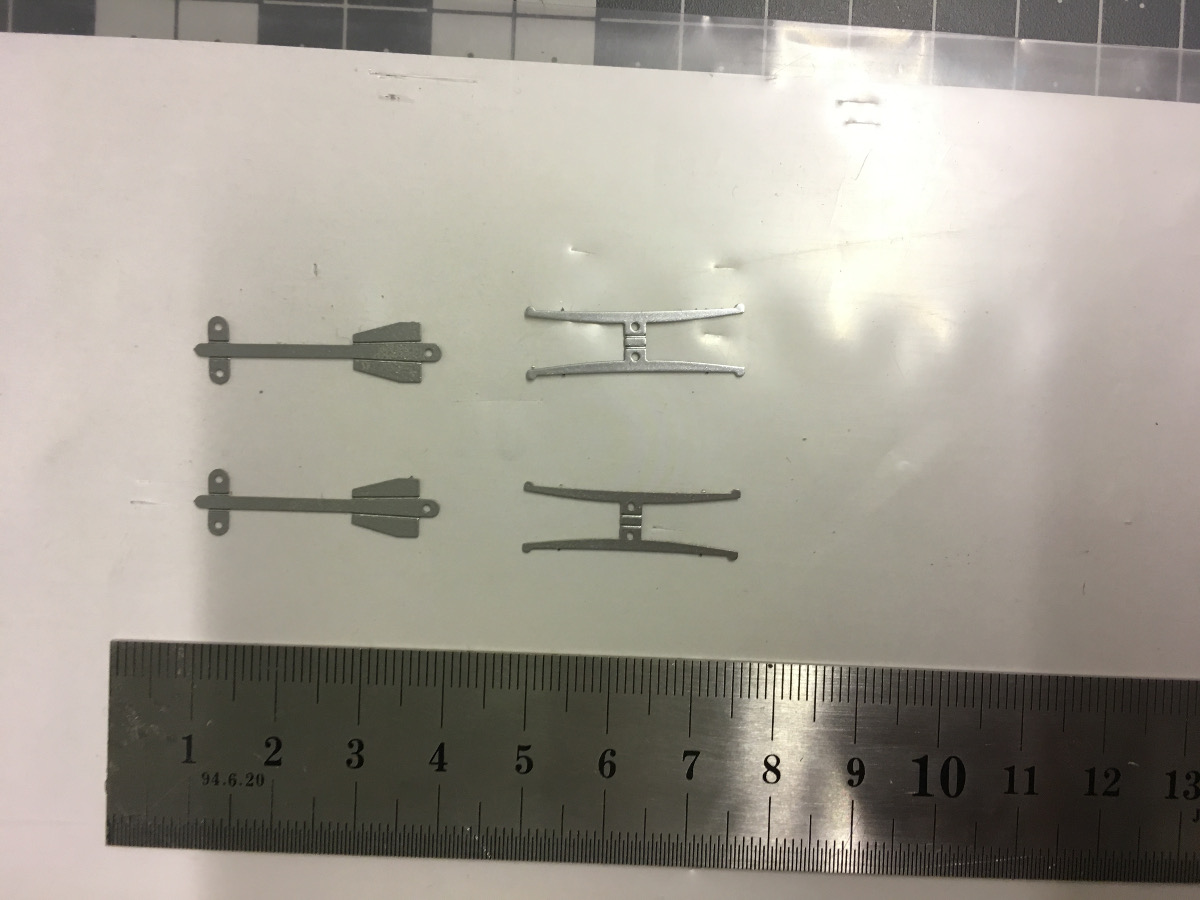
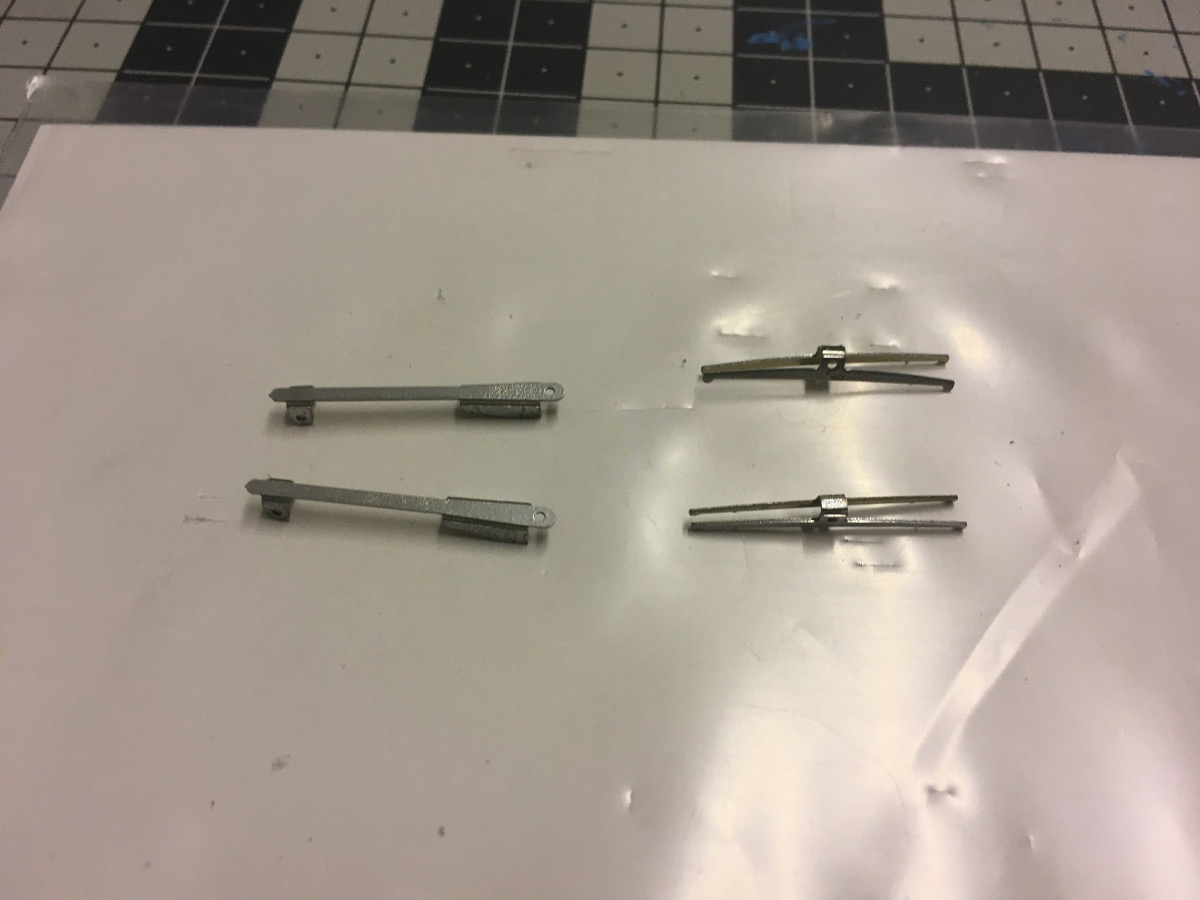
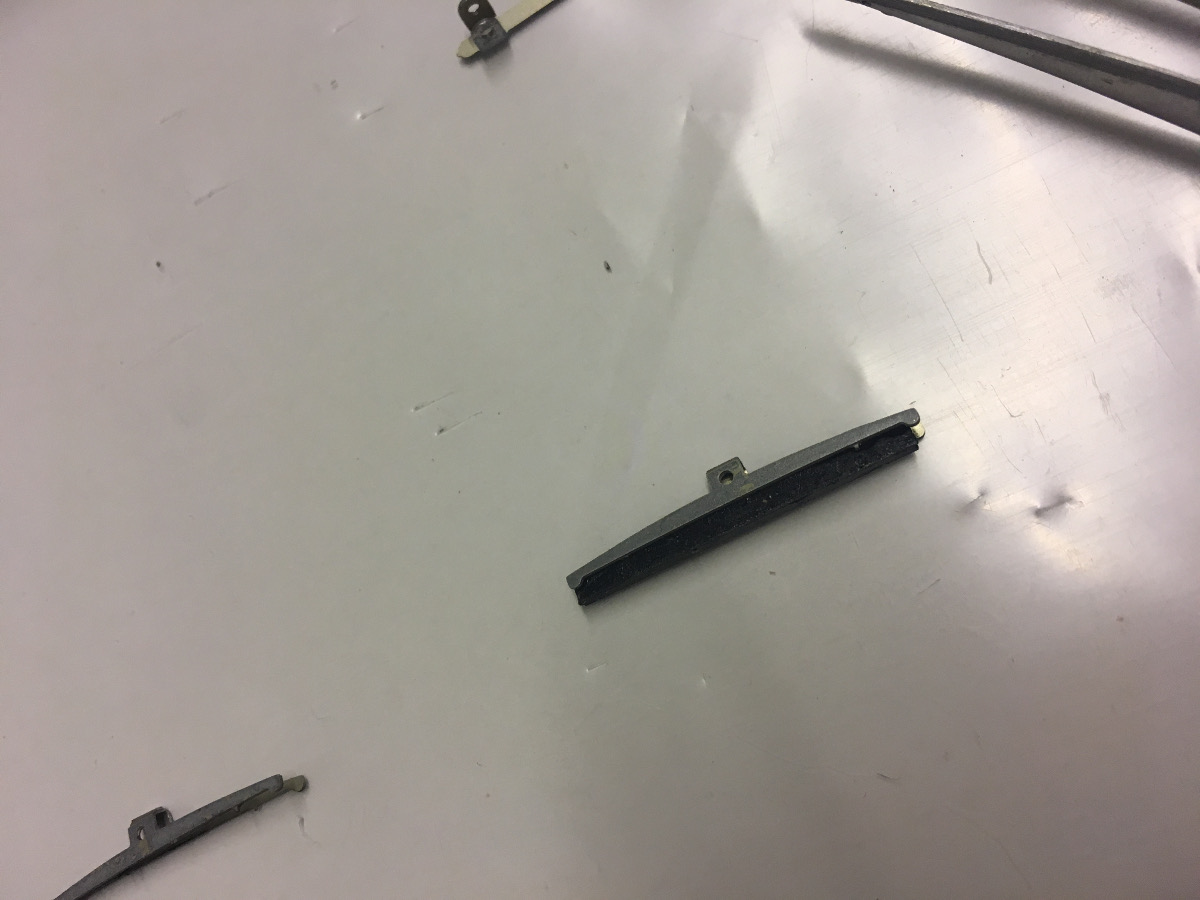
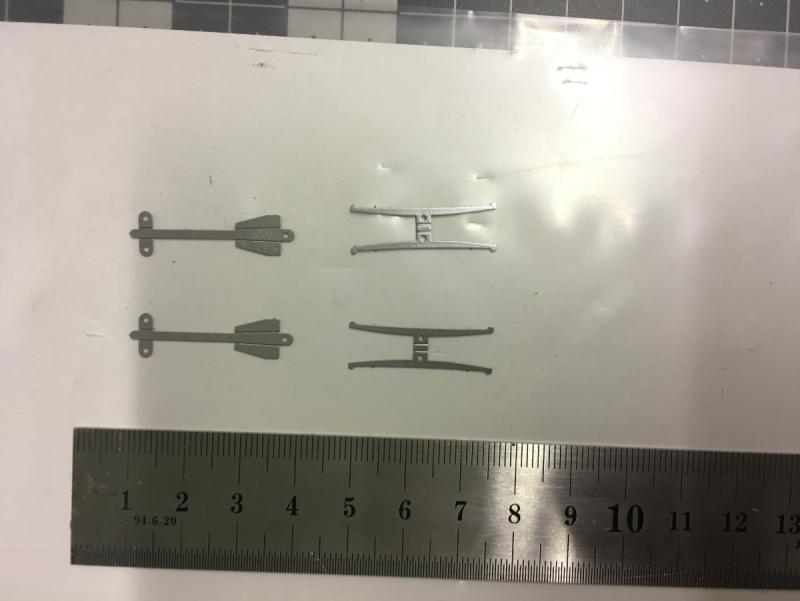
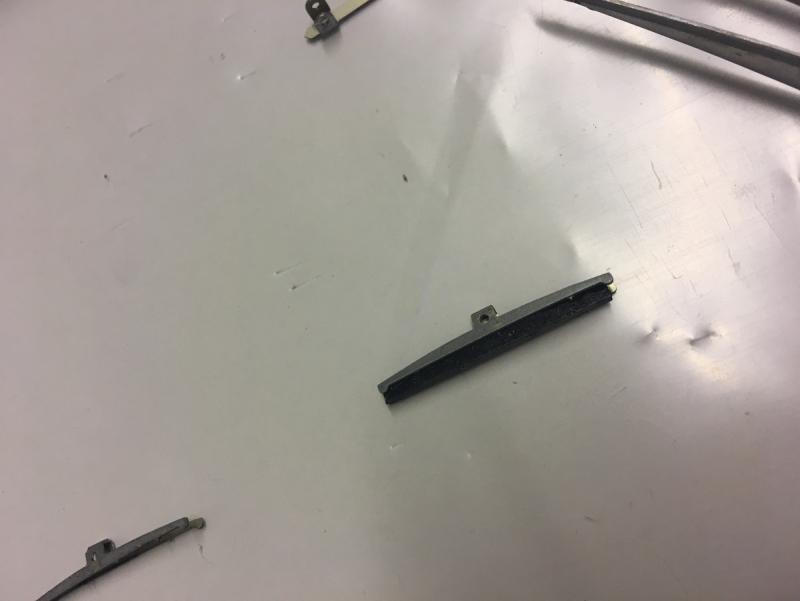
Windshield wipers: The rubbers are made of 1x2mm lime strips, painted in black:


- 414 replies
-
- 7
-
-
- riva aquarama
- amati
- (and 2 more)
-
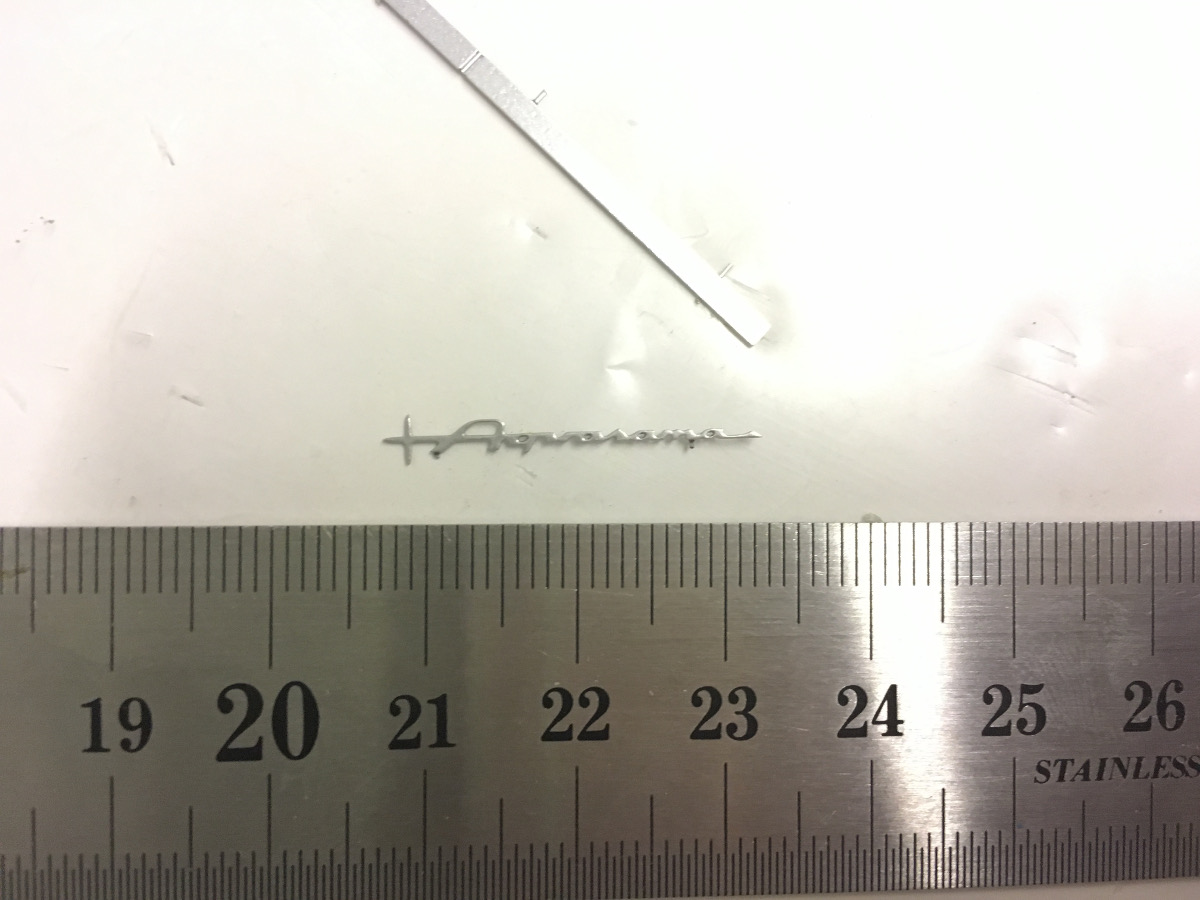
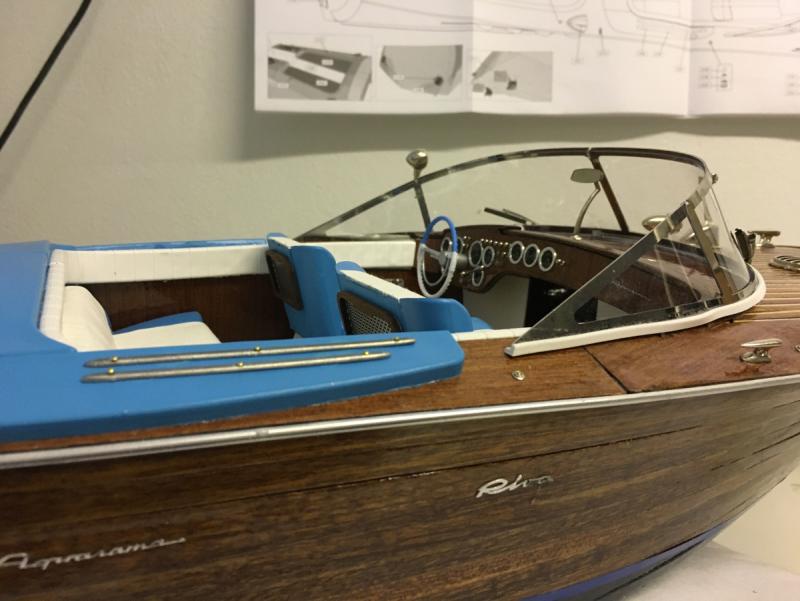
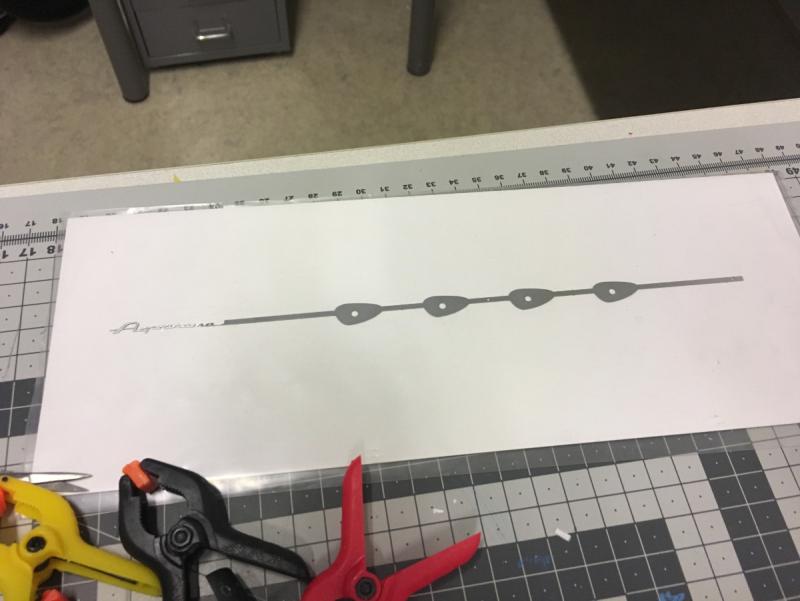
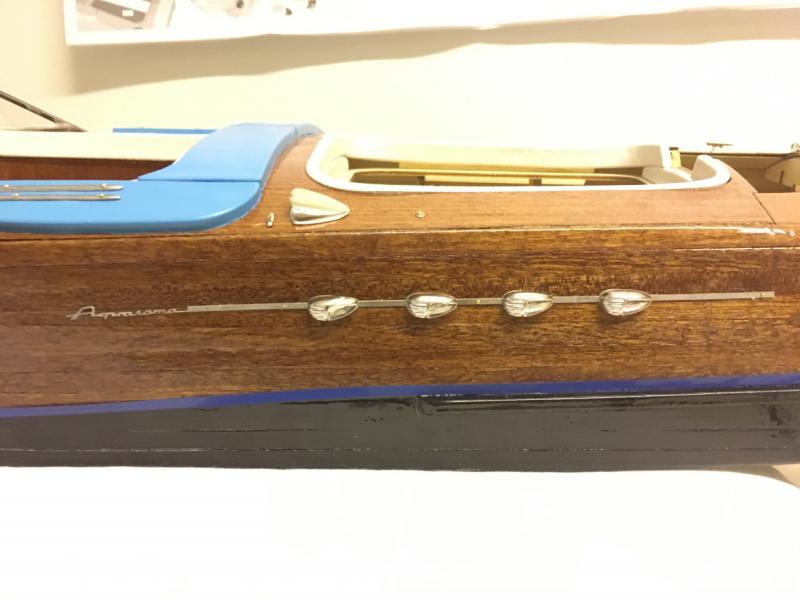
Name plates: In place. Nows she is officially an Aquarama!!!
- 414 replies
-
- 8
-
-
- riva aquarama
- amati
- (and 2 more)
-
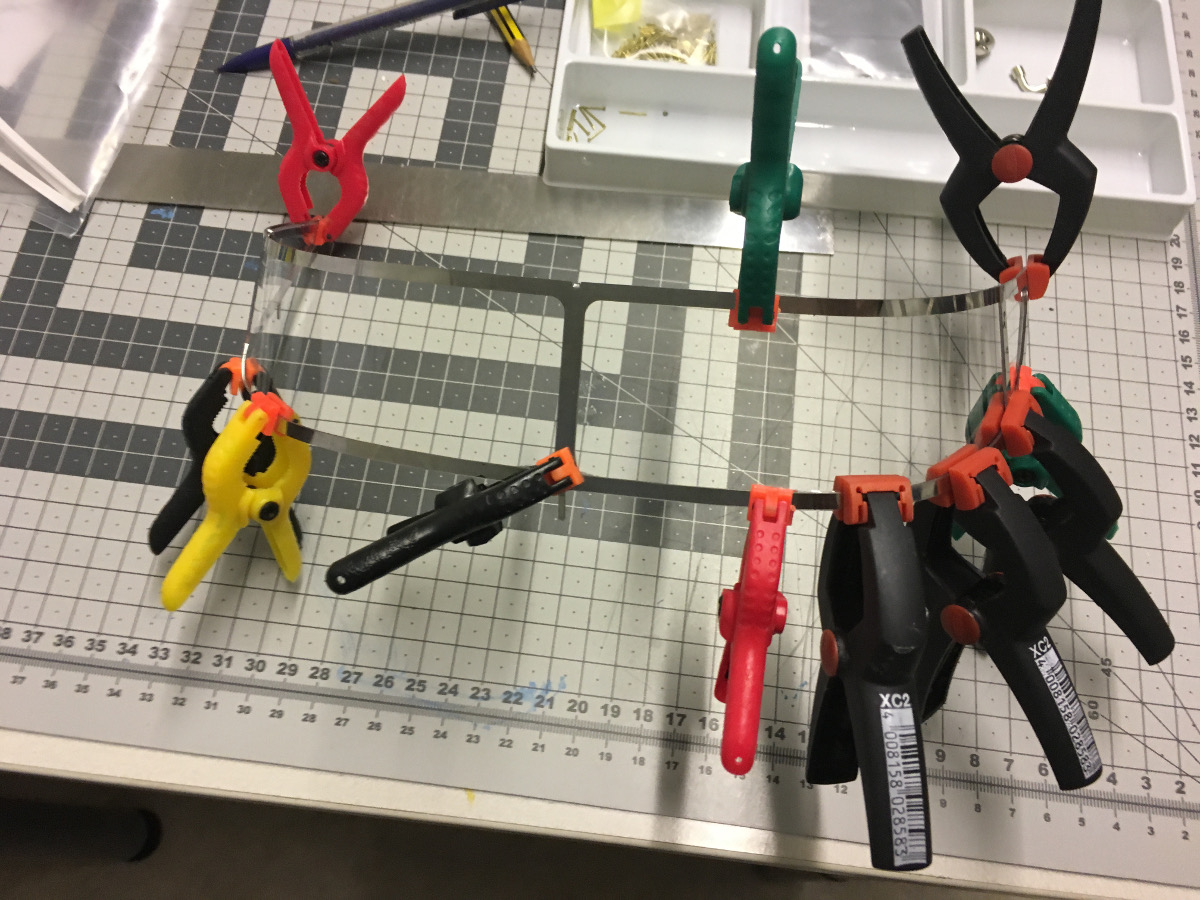
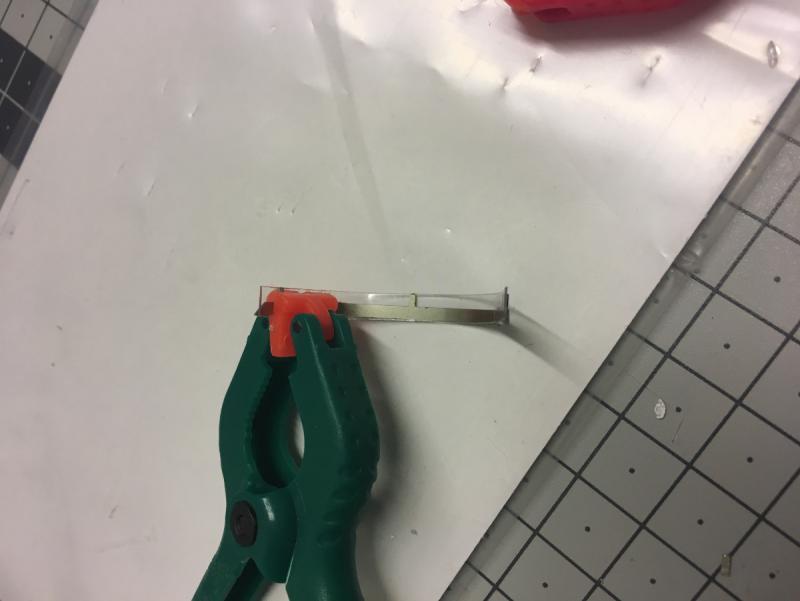
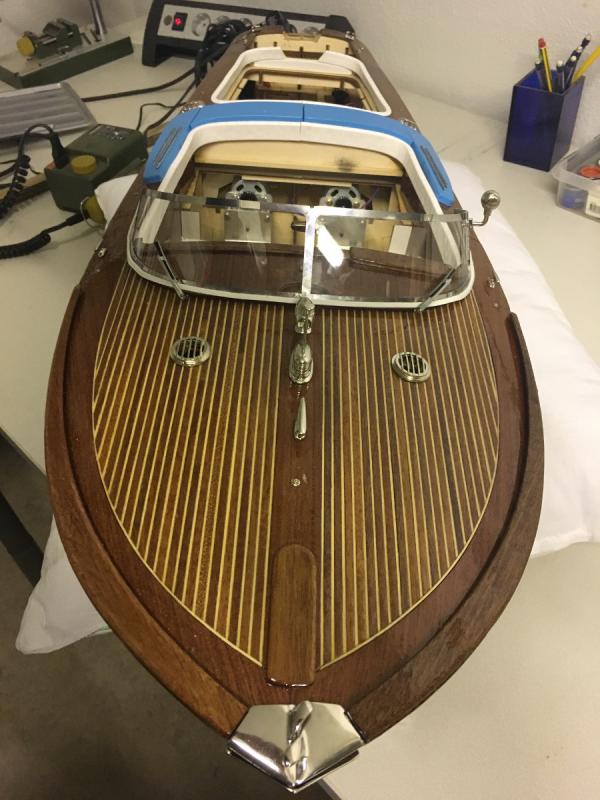
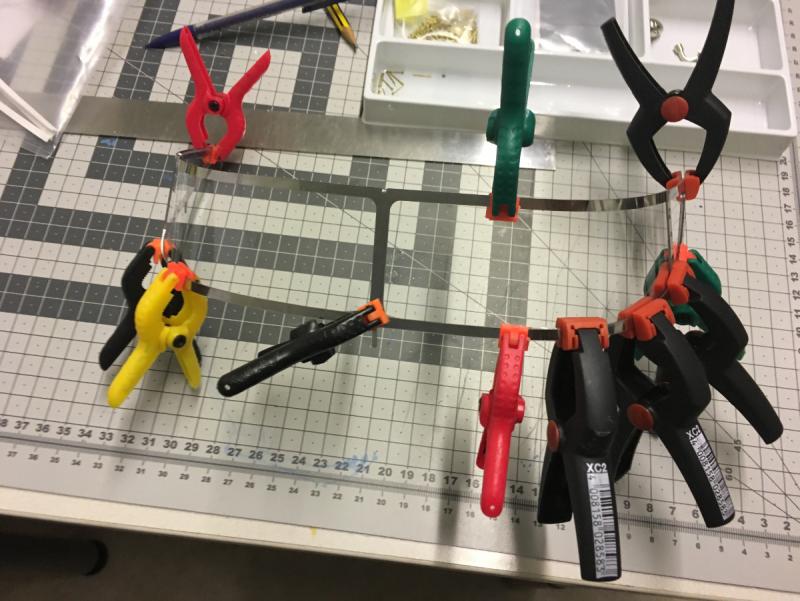
Installed the windshield glass (made of acetate): Windshield installed in place. Note also the L shaped rubber profile around the lower frame:


- 414 replies
-
- 8
-
-
- riva aquarama
- amati
- (and 2 more)
-
Drilled hole for the rear view mirror, before installing the windshield permanently:

- 414 replies
-
- 4
-
-
- riva aquarama
- amati
- (and 2 more)