aydingocer
-
Posts
916 -
Joined
-
Last visited
Content Type
Profiles
Forums
Gallery
Events
Everything posted by aydingocer
-
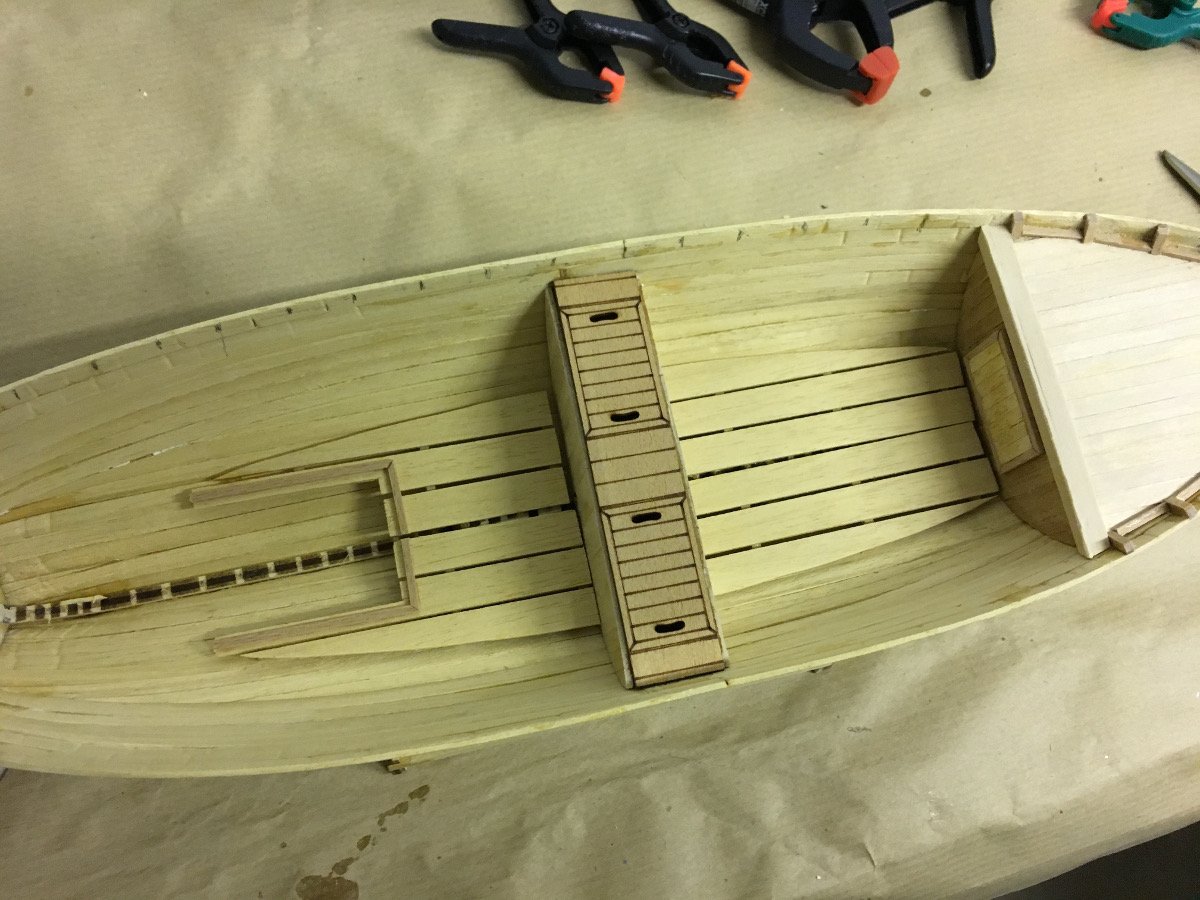
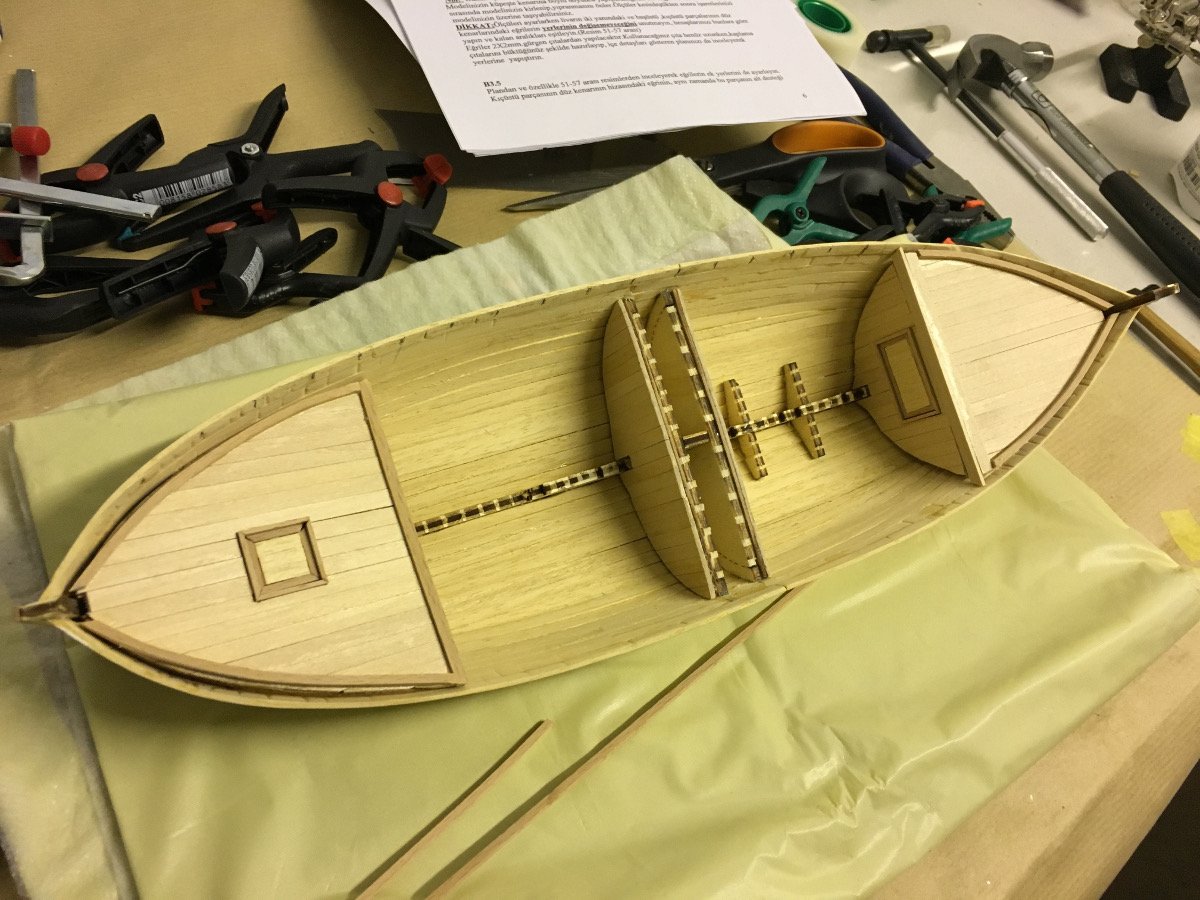
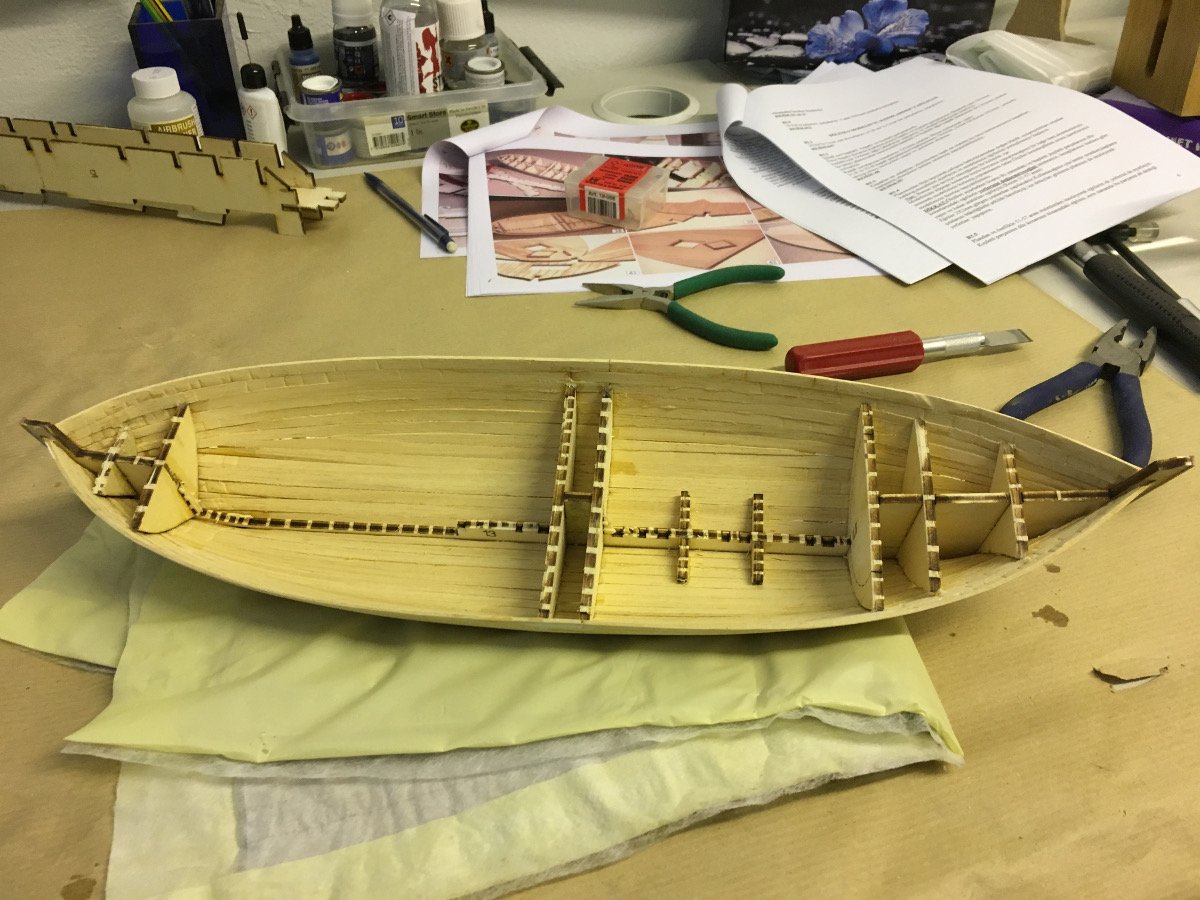
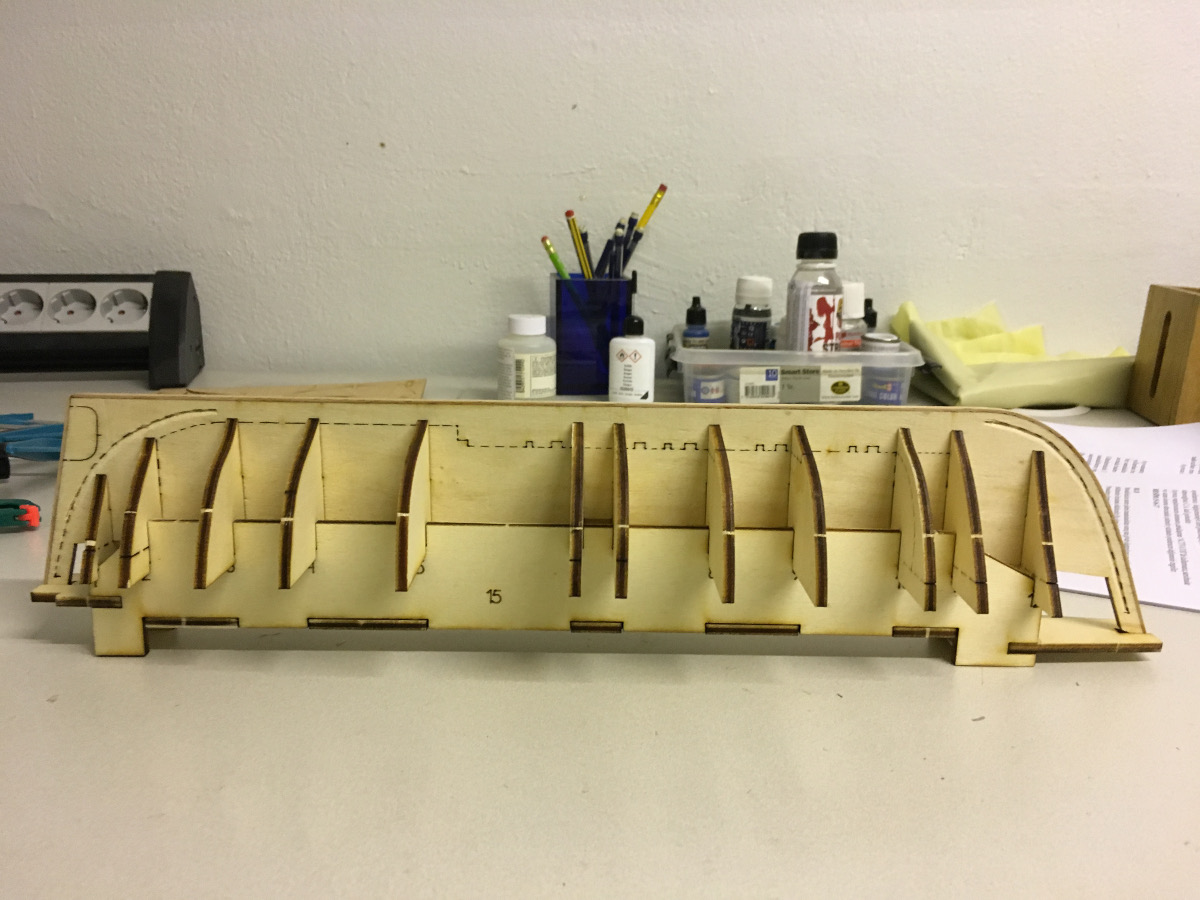
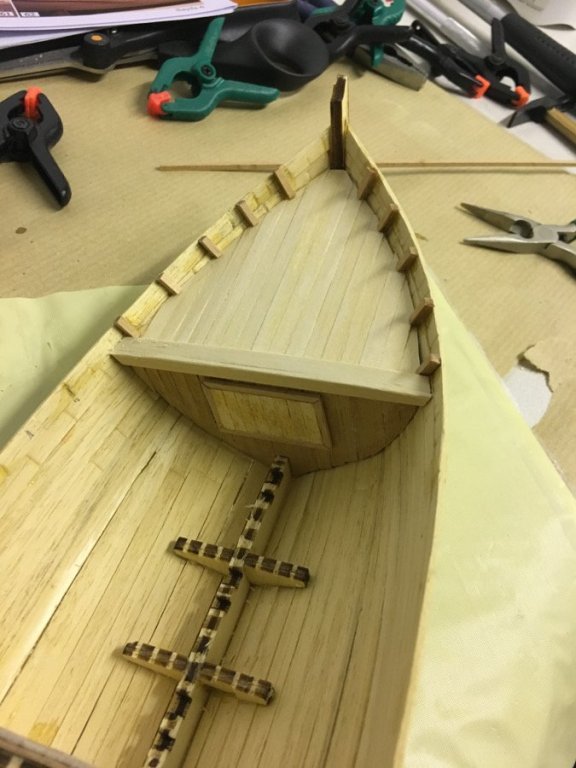
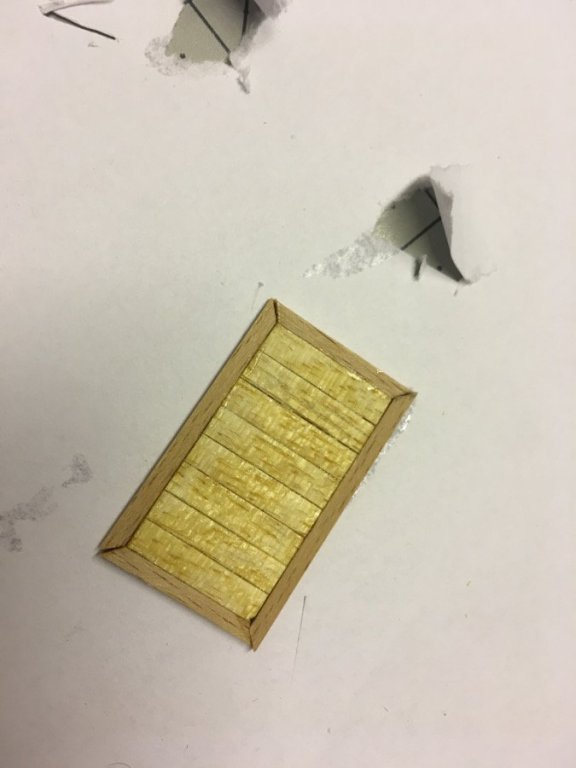
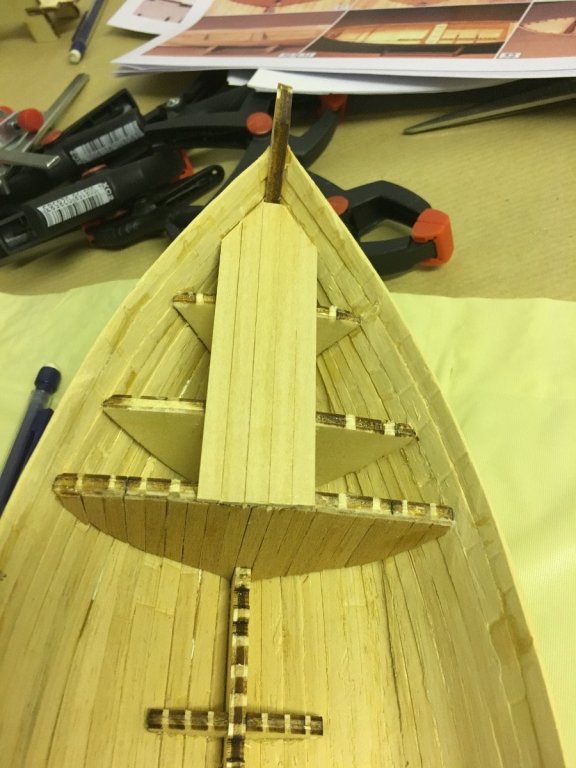
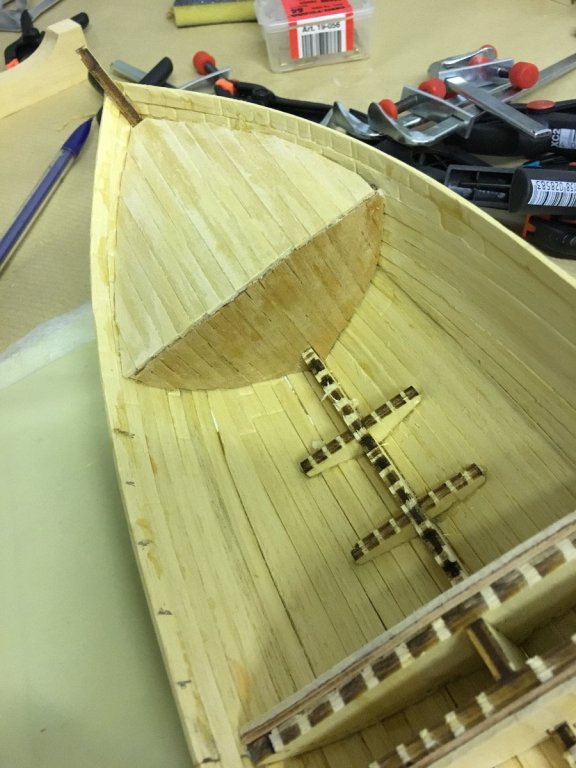
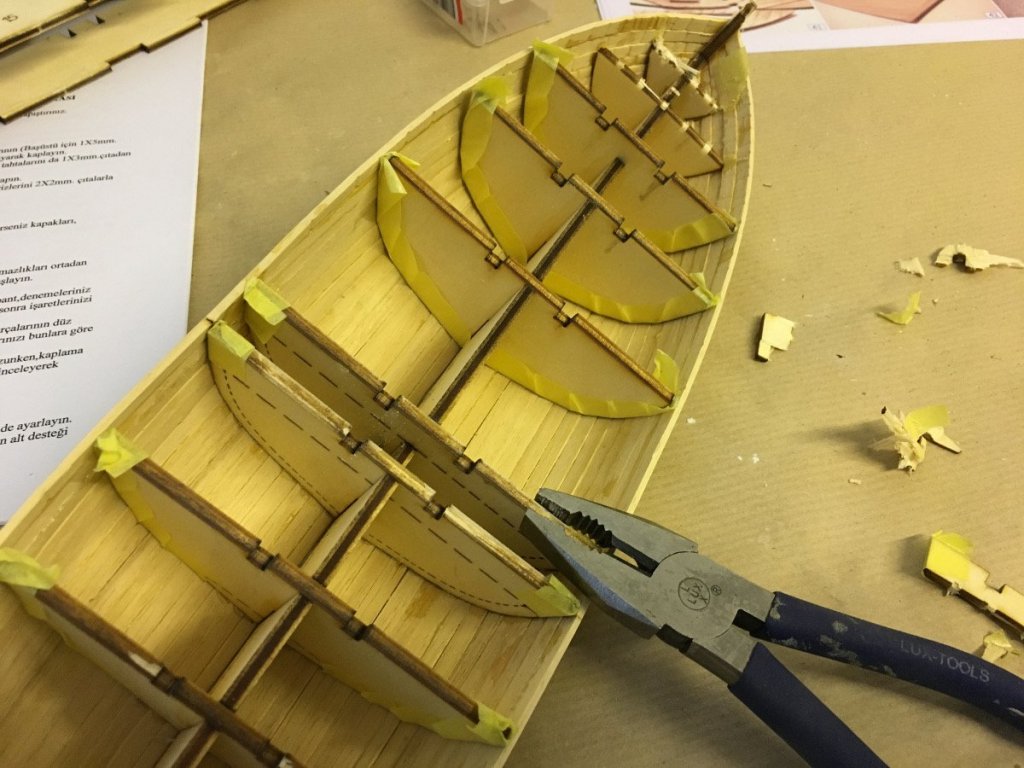
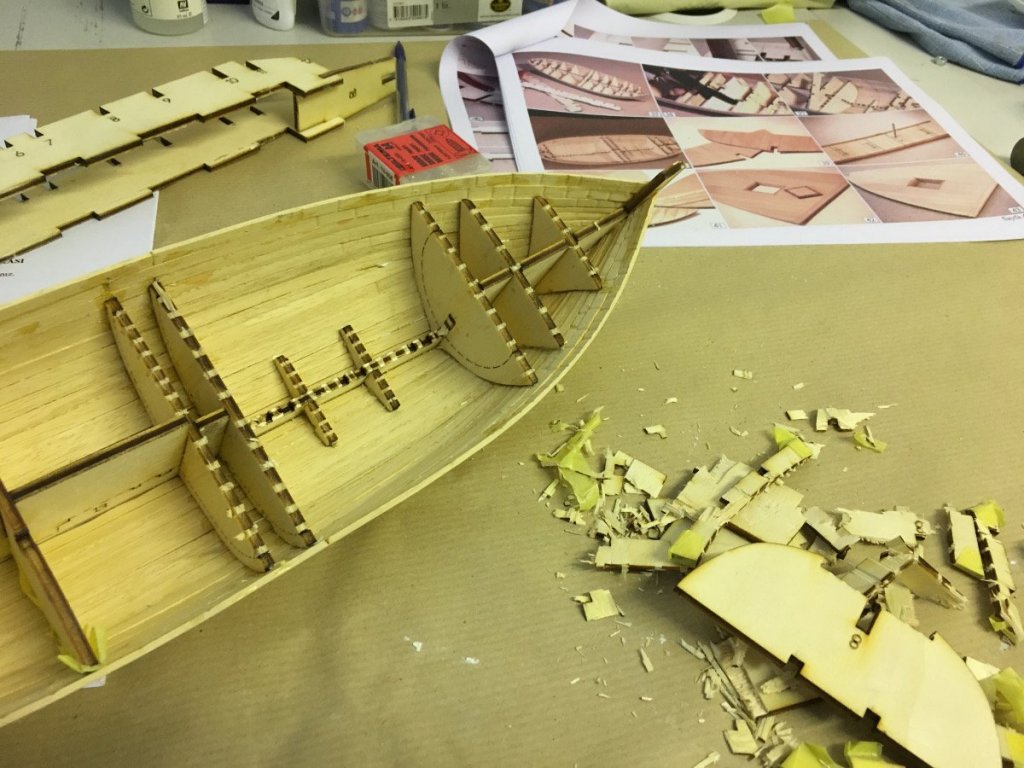
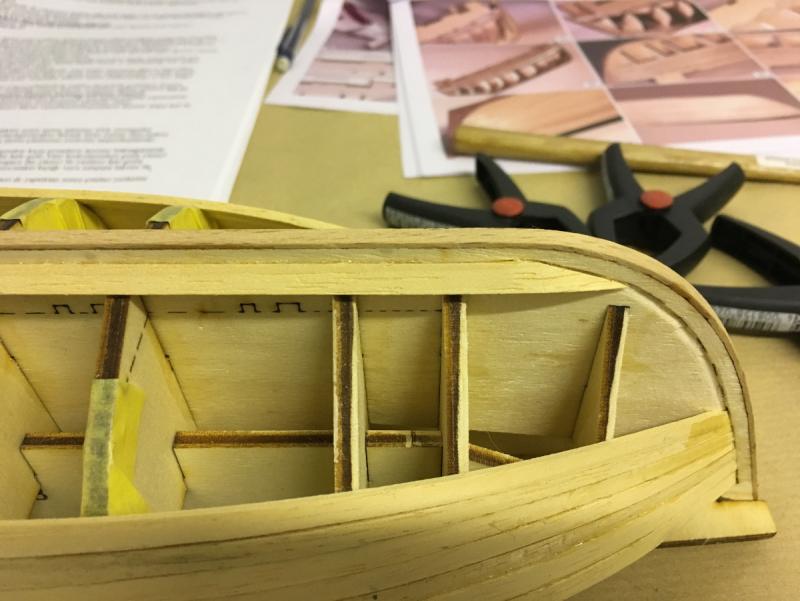
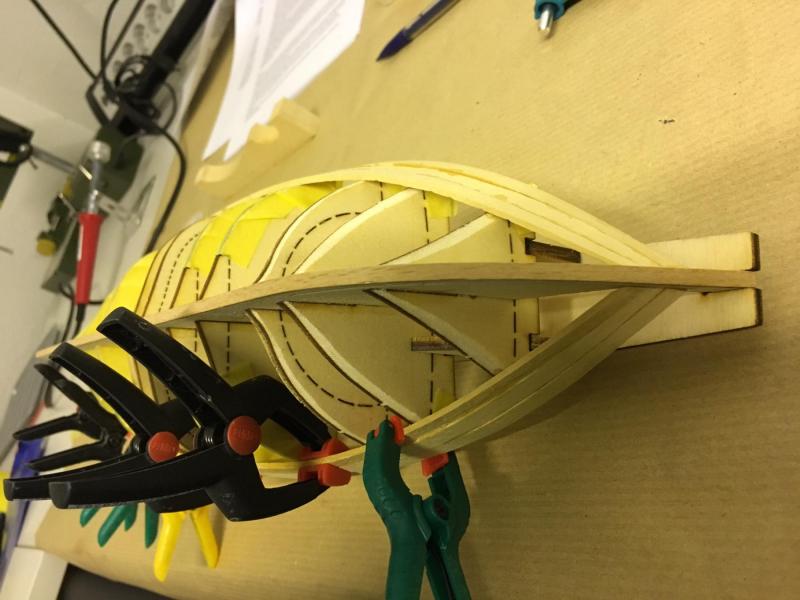
 End of Build day: 11 2 hours today, 28 hours in total. Thanks for watching. Floor boards dry-fitted to see how they would look. You may notice that I also added the strips between the ribs on front deck. They look a bit different than in the plan but I wanted to do them this way. I also glued the middle seat. Time will tell if I plank that, too, or just lacquer nicely... time will show.
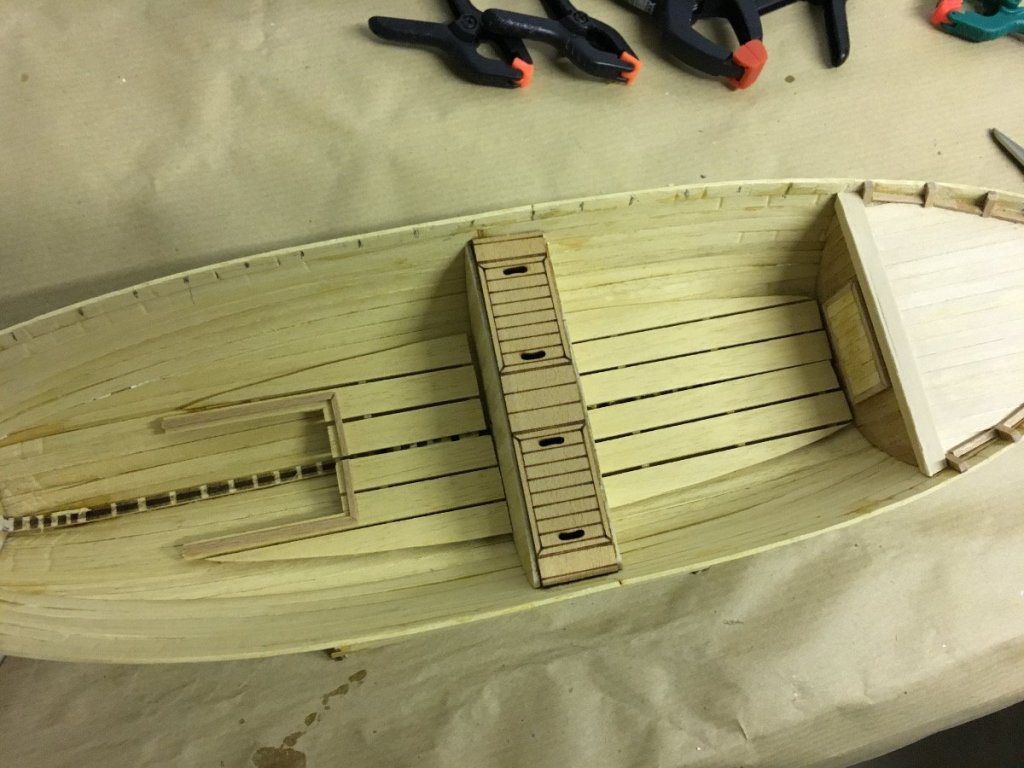
- 62 replies
-
- 5
-

-
- bosphorus
- tersane model
- (and 1 more)
-
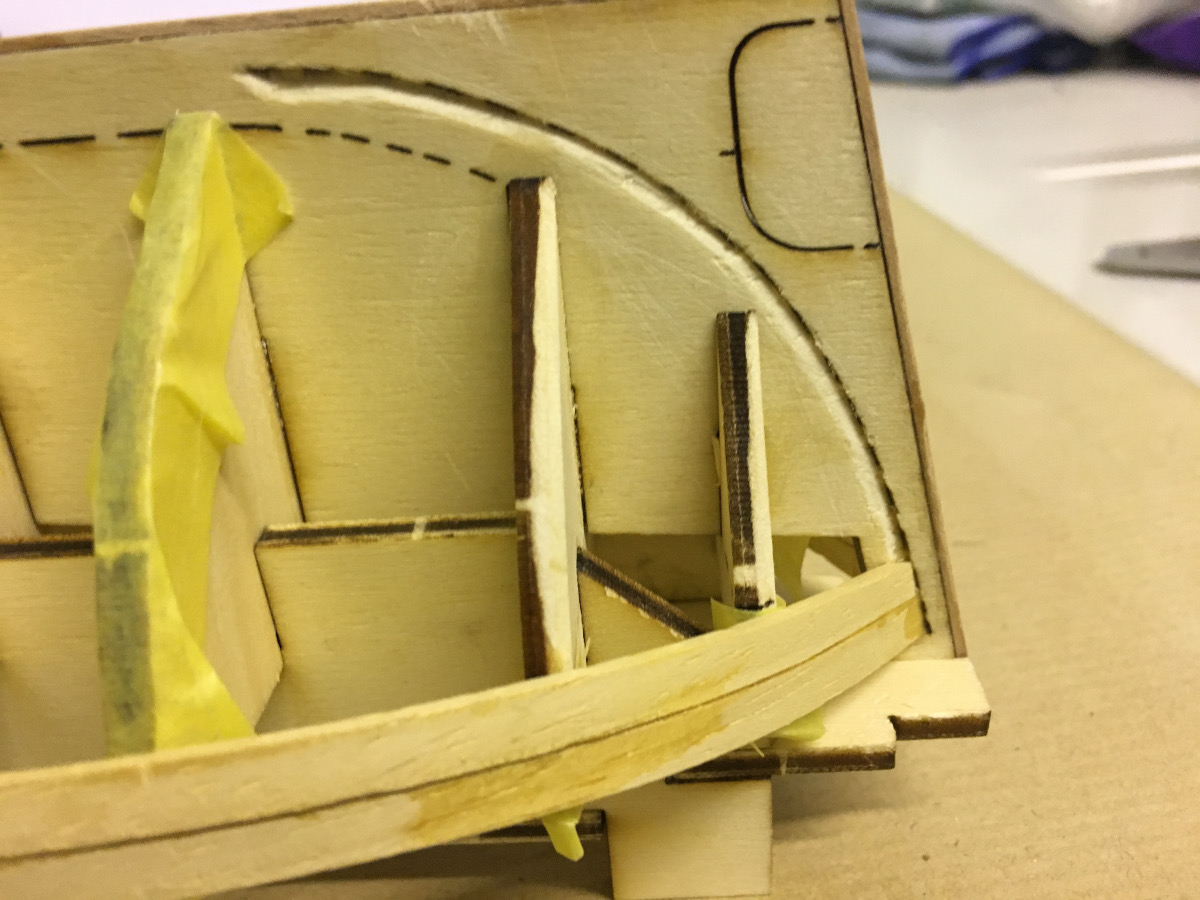
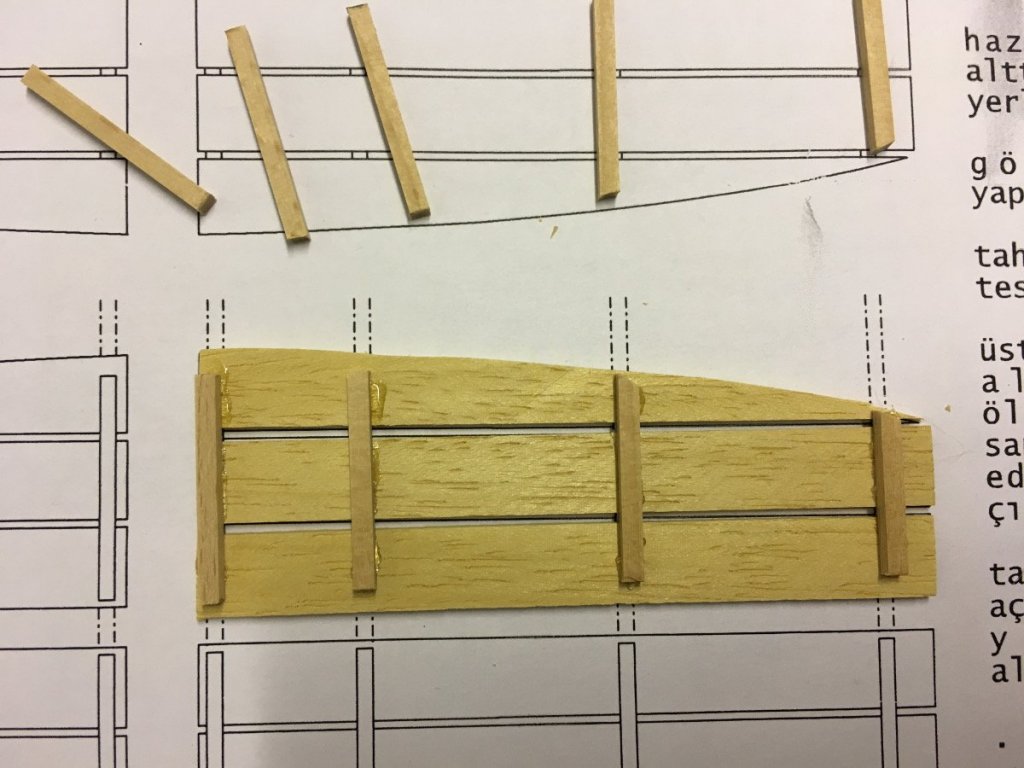
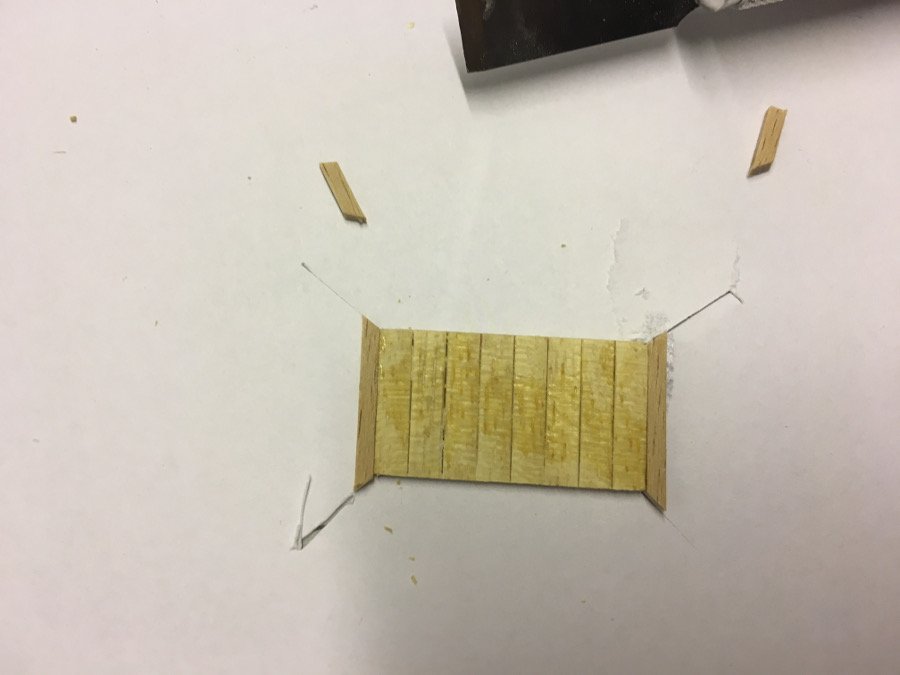
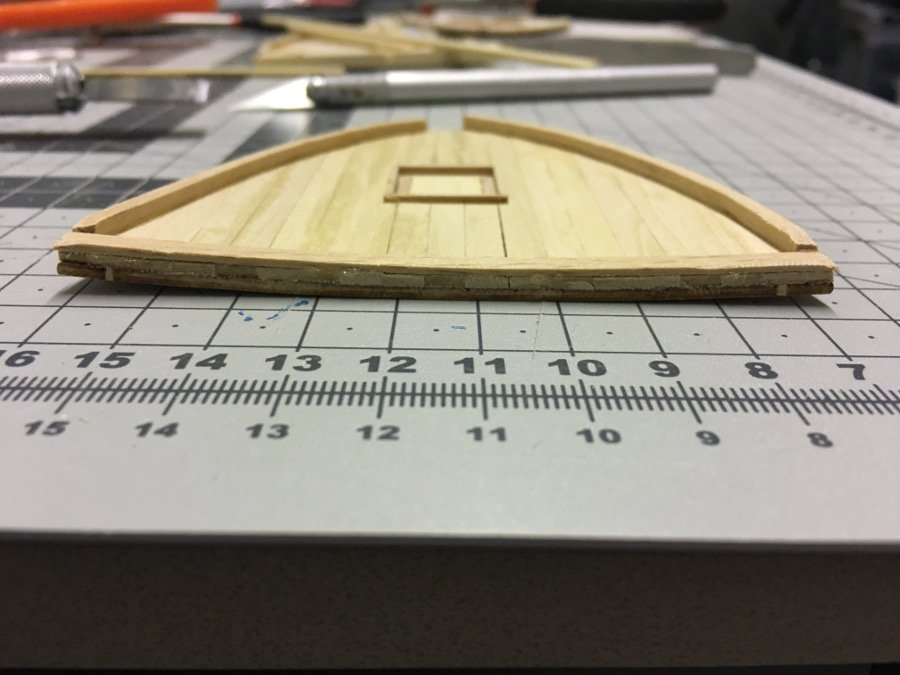
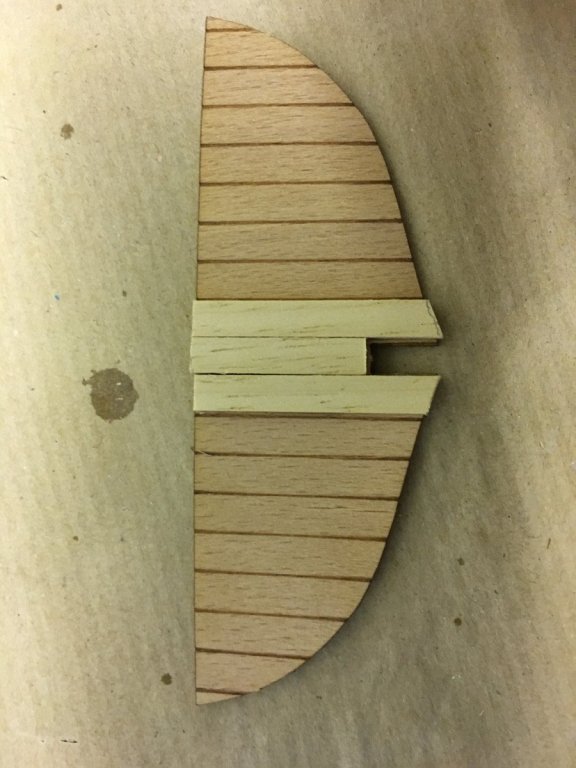
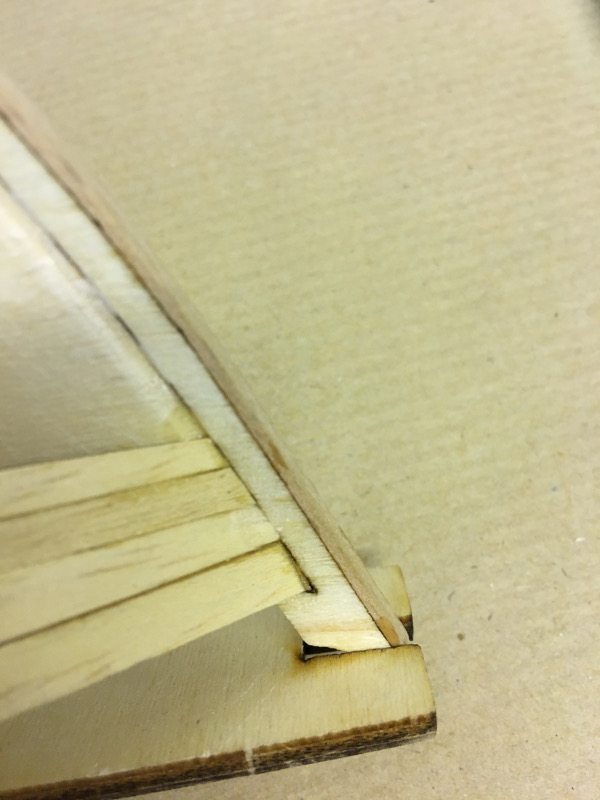
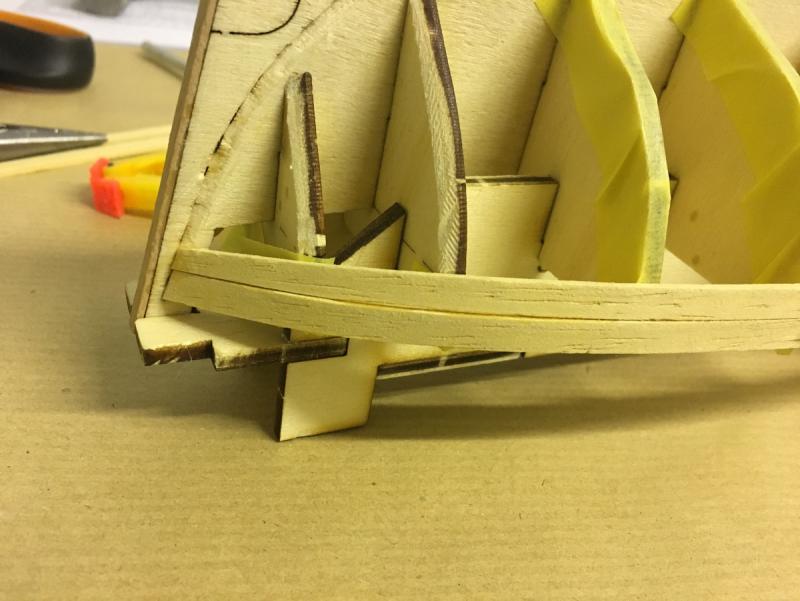
Step 4: Flip the boards and sand the surface (sanding better be done at this stage, before gluing the engine box lower frames (see 2nd image): Glue the lower frames of the engine box:

- 62 replies
-
- 2
-
-
- bosphorus
- tersane model
- (and 1 more)
-
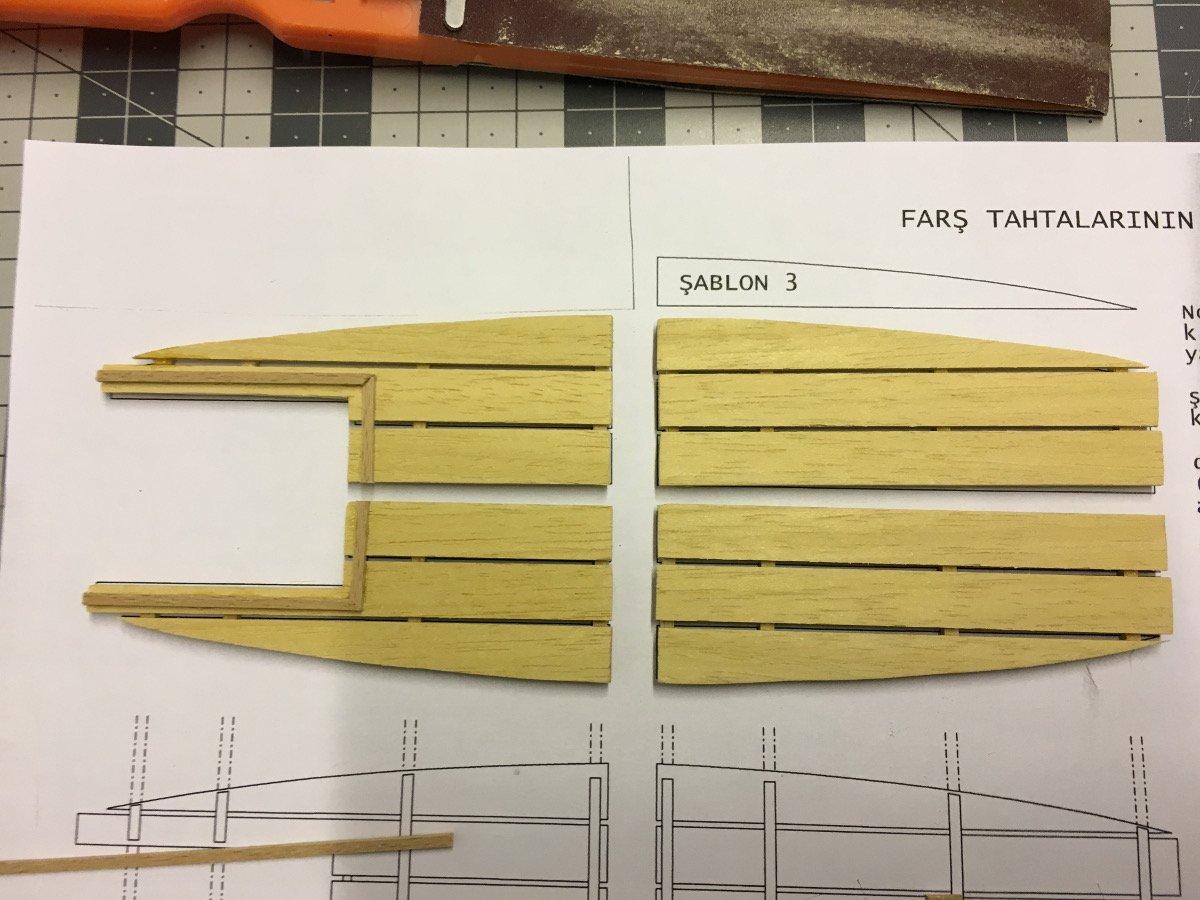
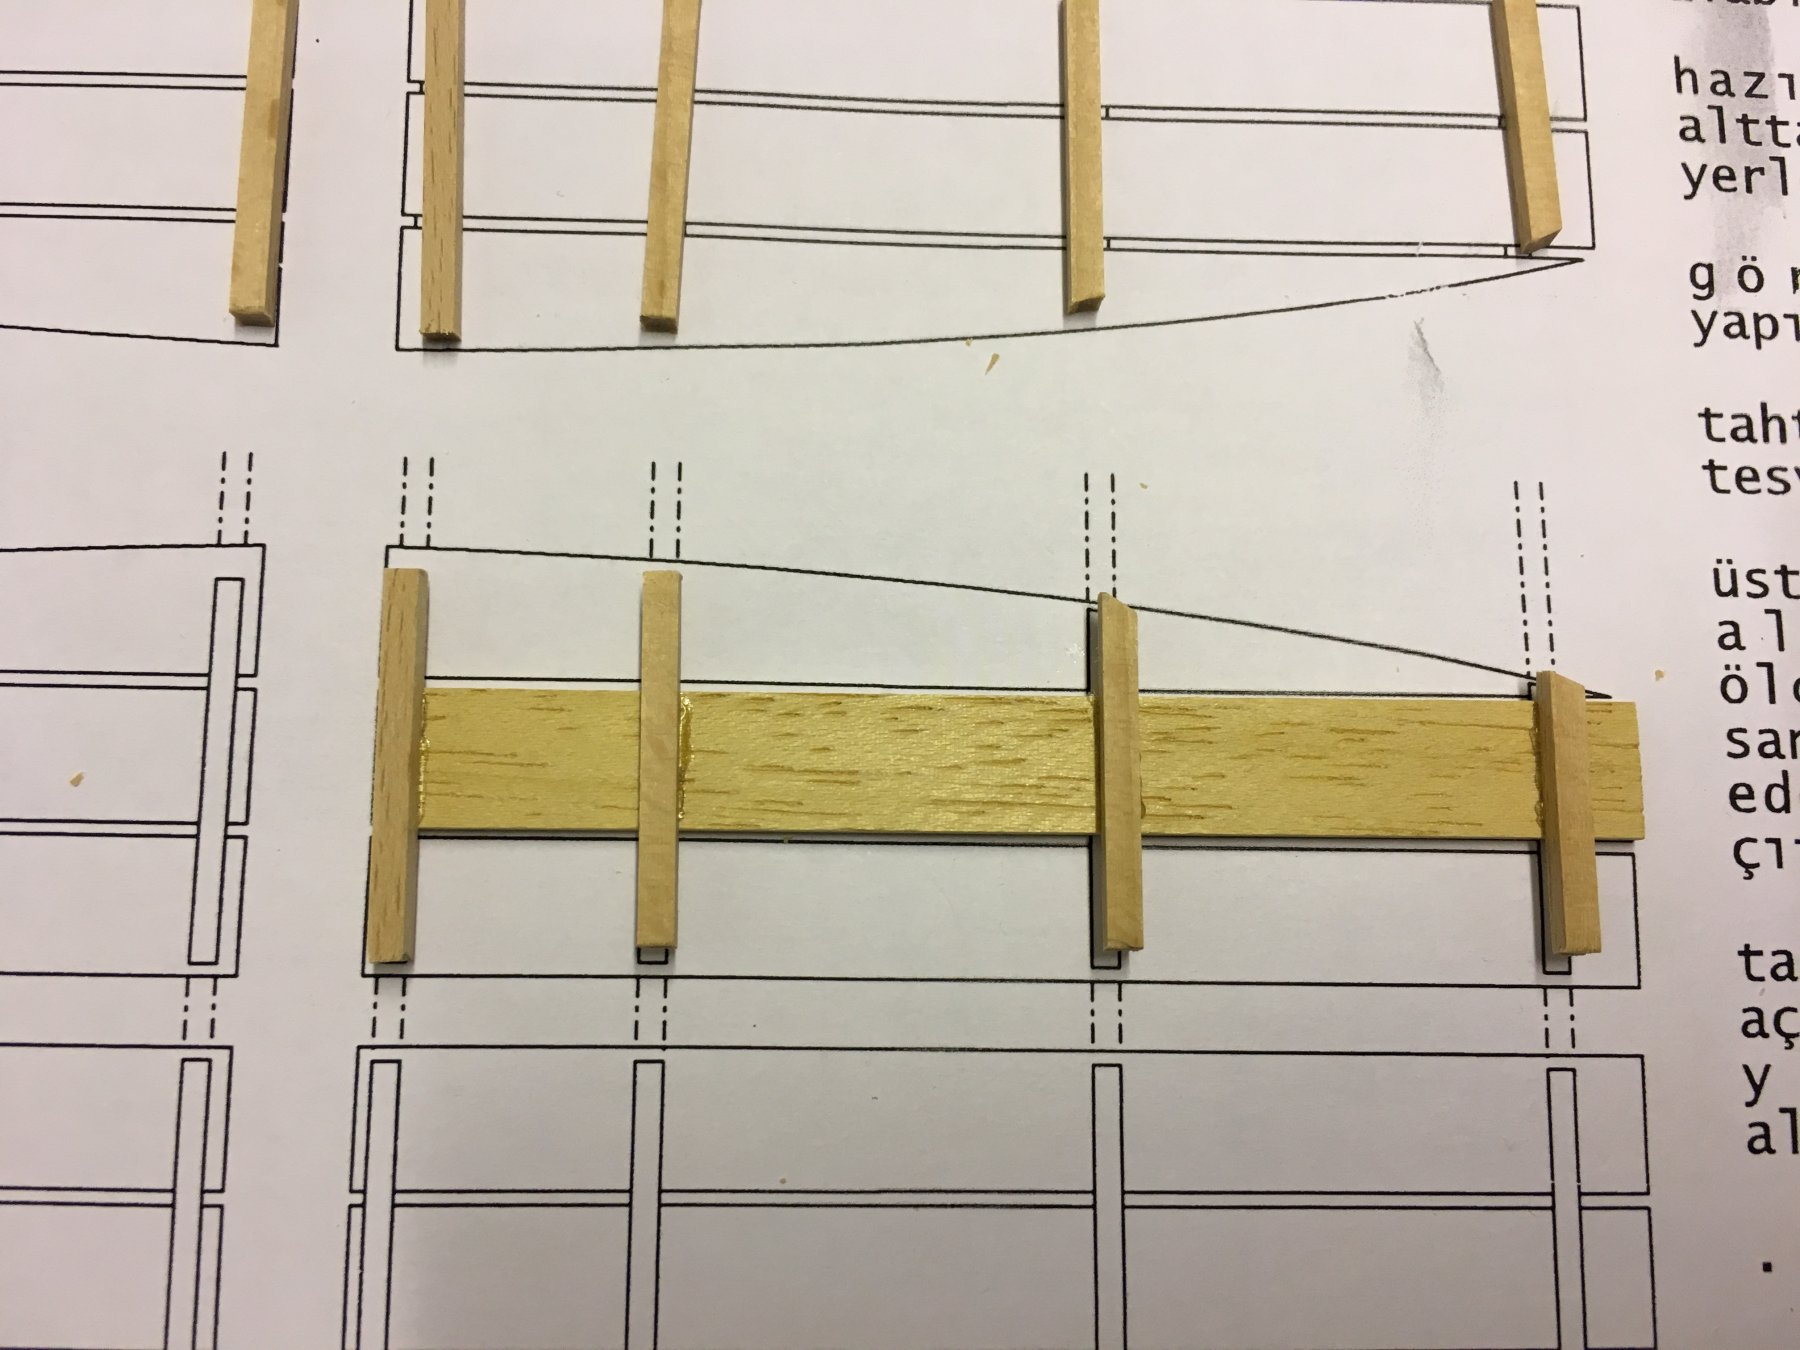
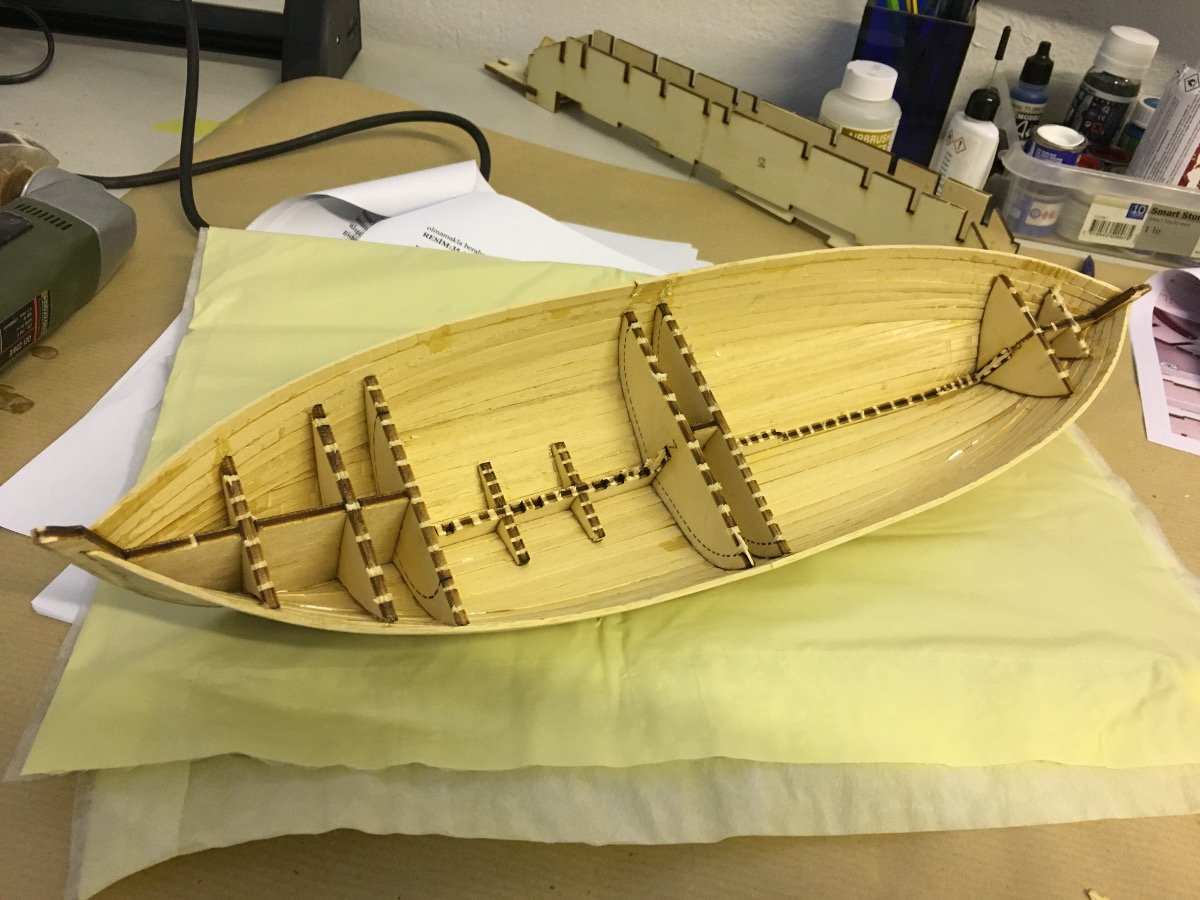
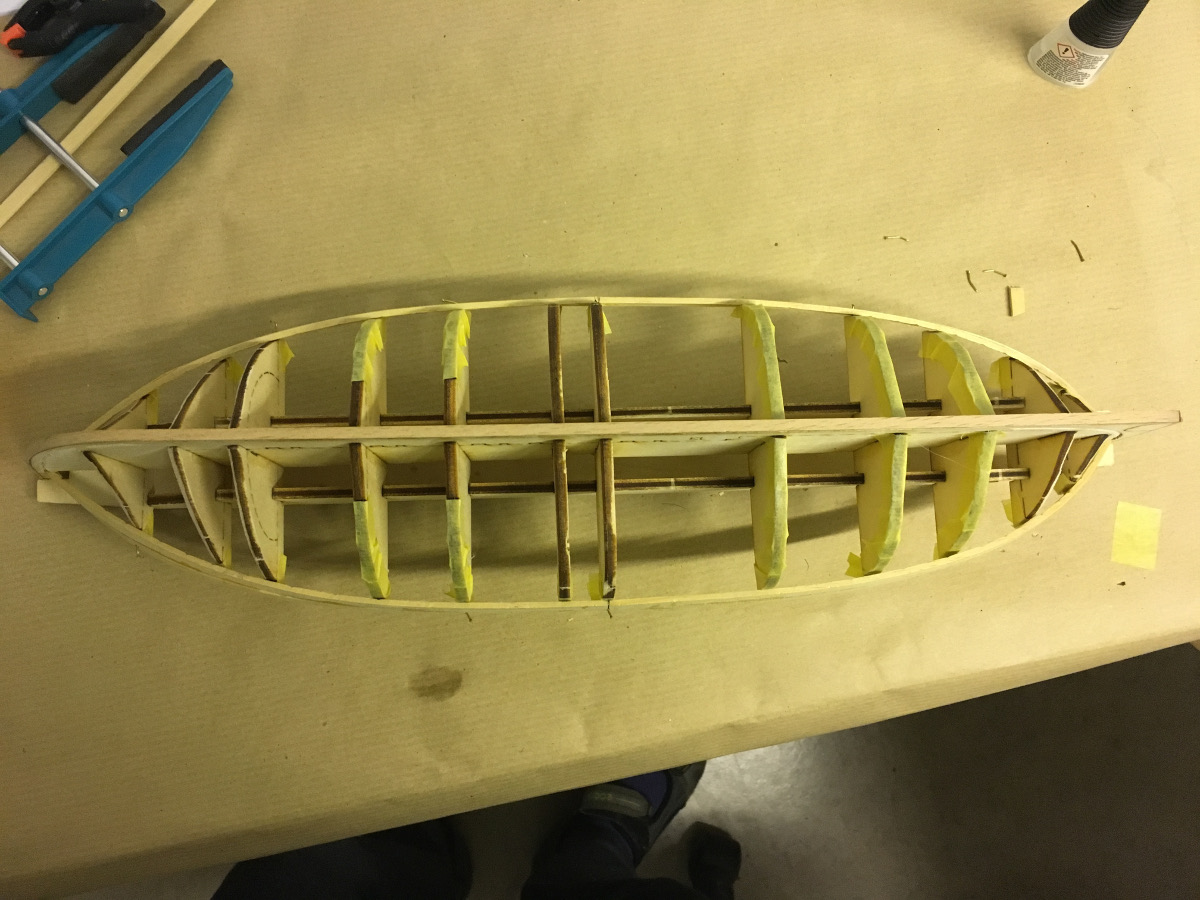
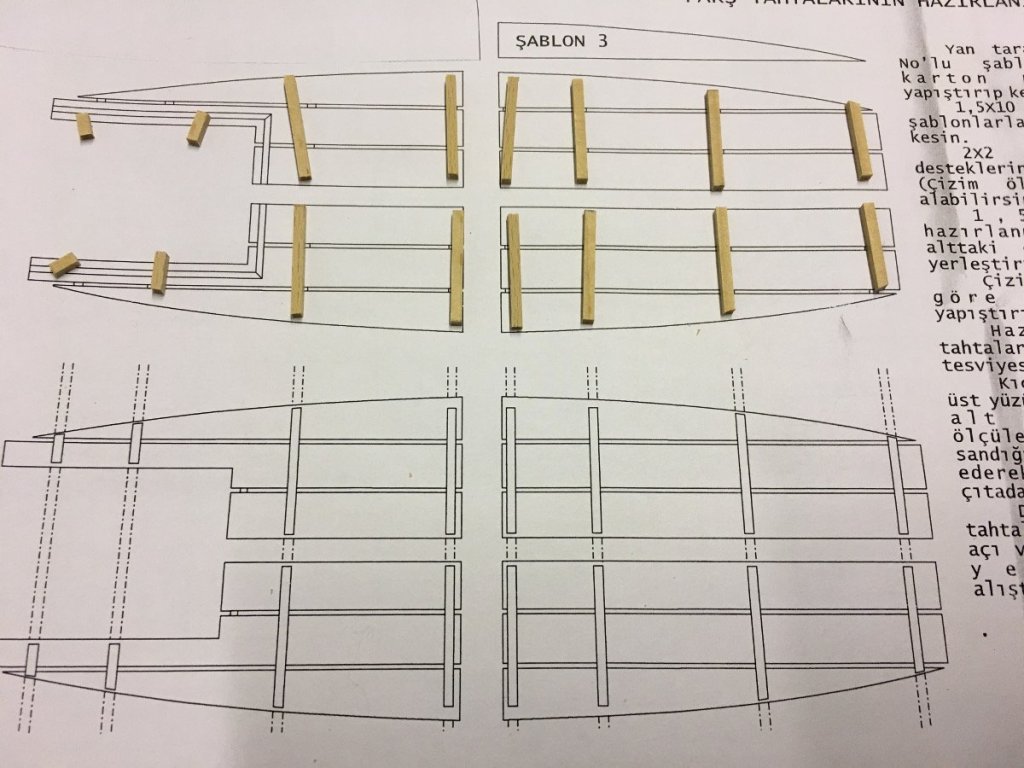
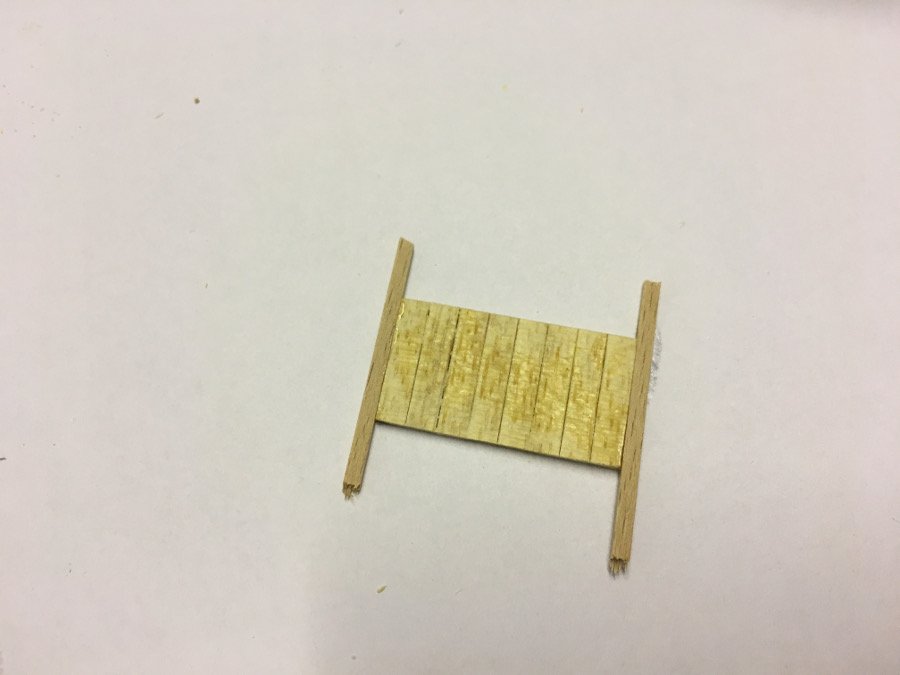
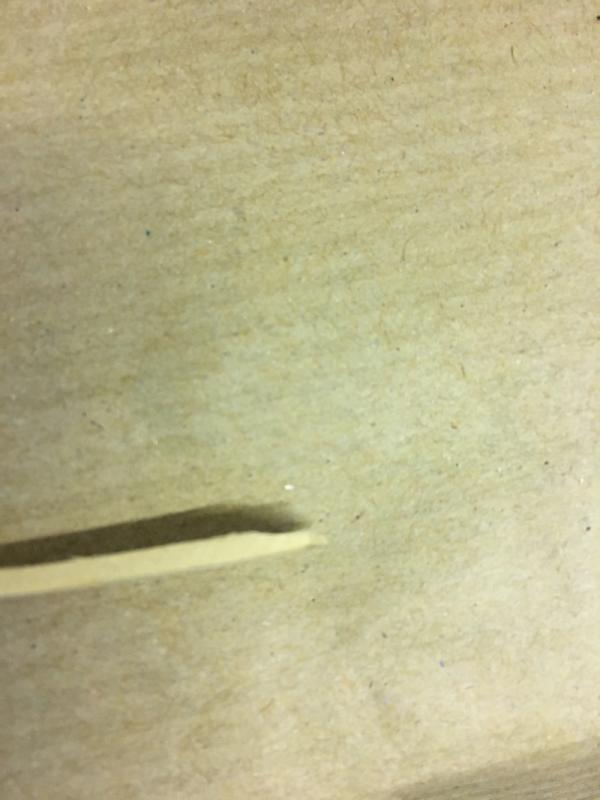
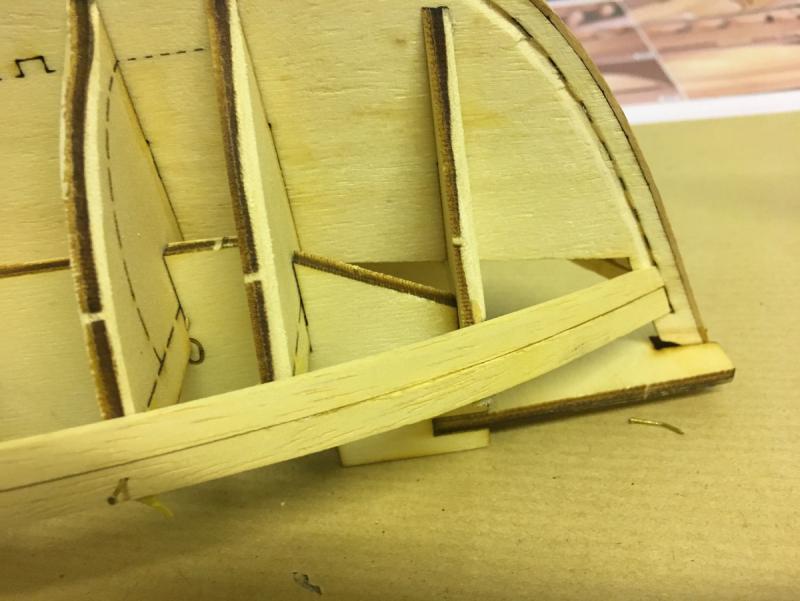
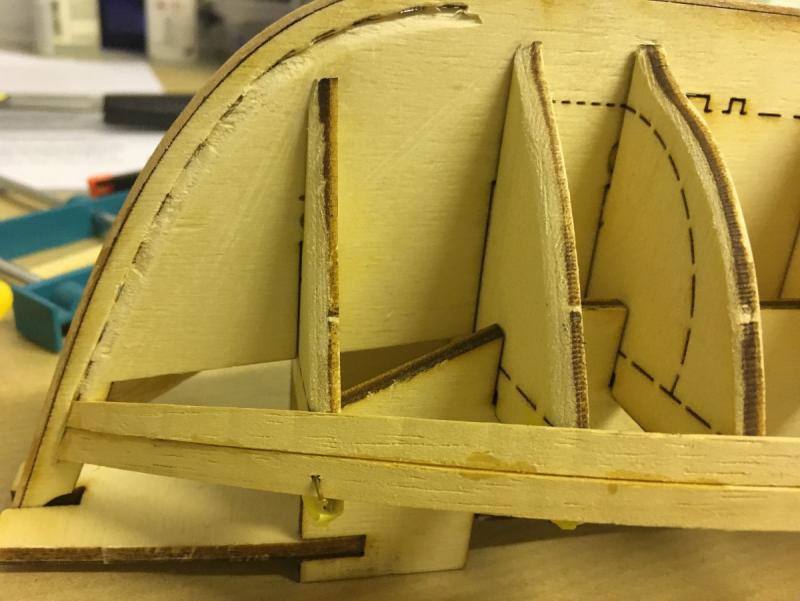
Step 3: Cut the binding strips (which will be on the bottom, once the board structures are flipped) and glue them: I thought it would be easier to align the boards if I start by gluing the binding strips to the middle board first:

- 62 replies
-
- 2
-
-
- bosphorus
- tersane model
- (and 1 more)
-
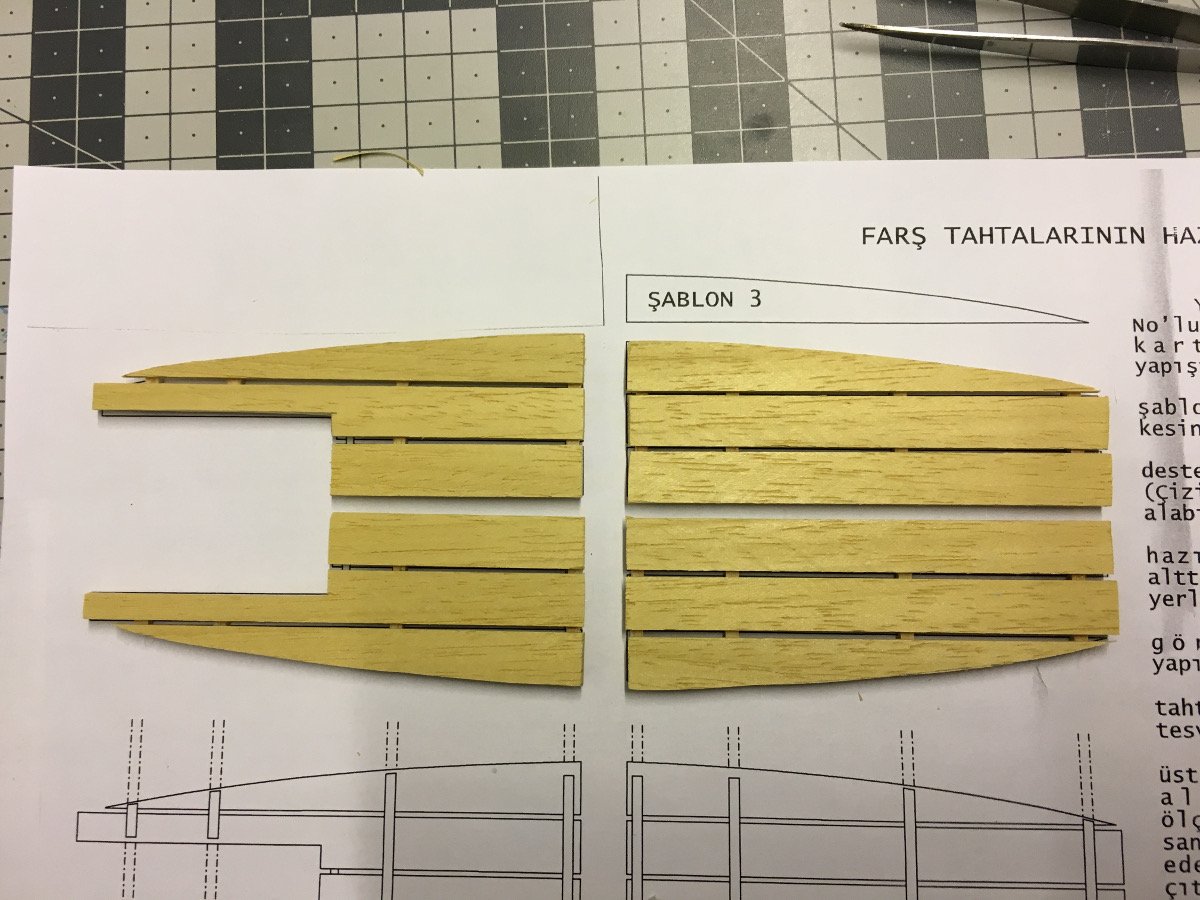
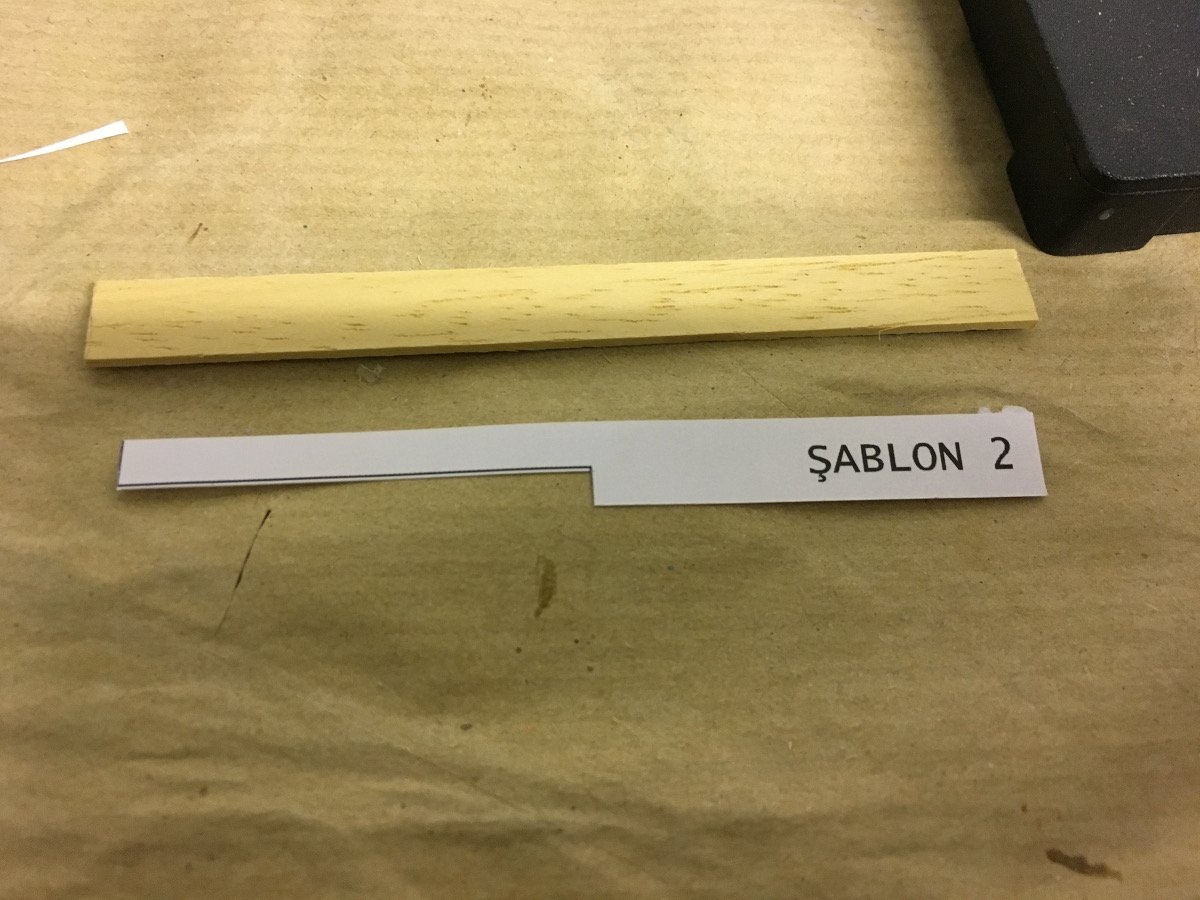
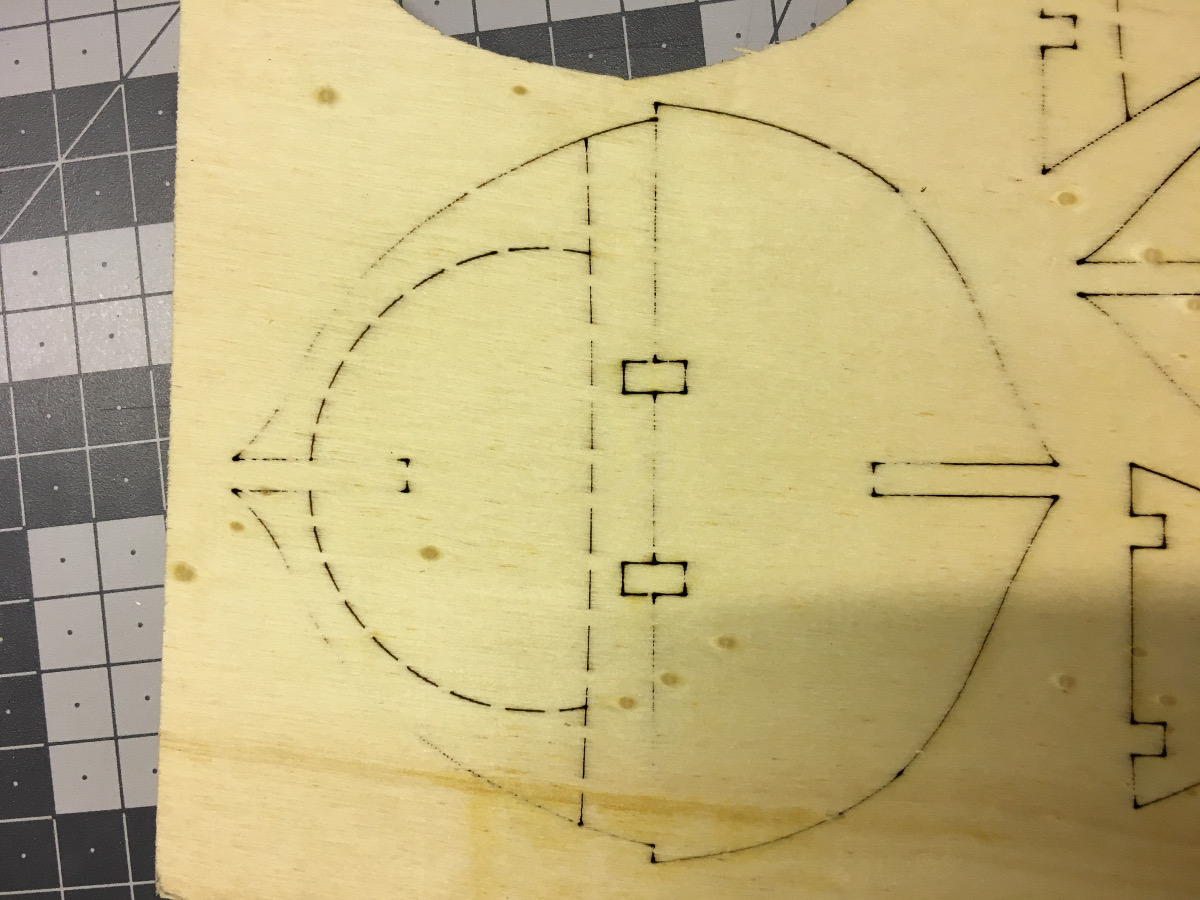
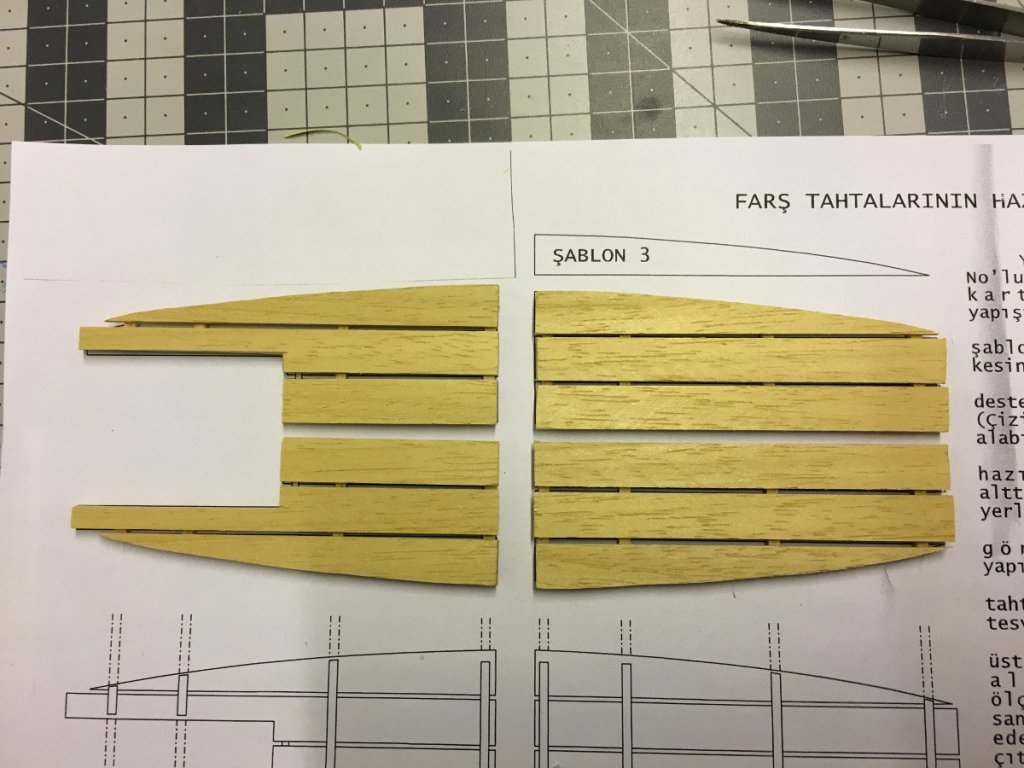
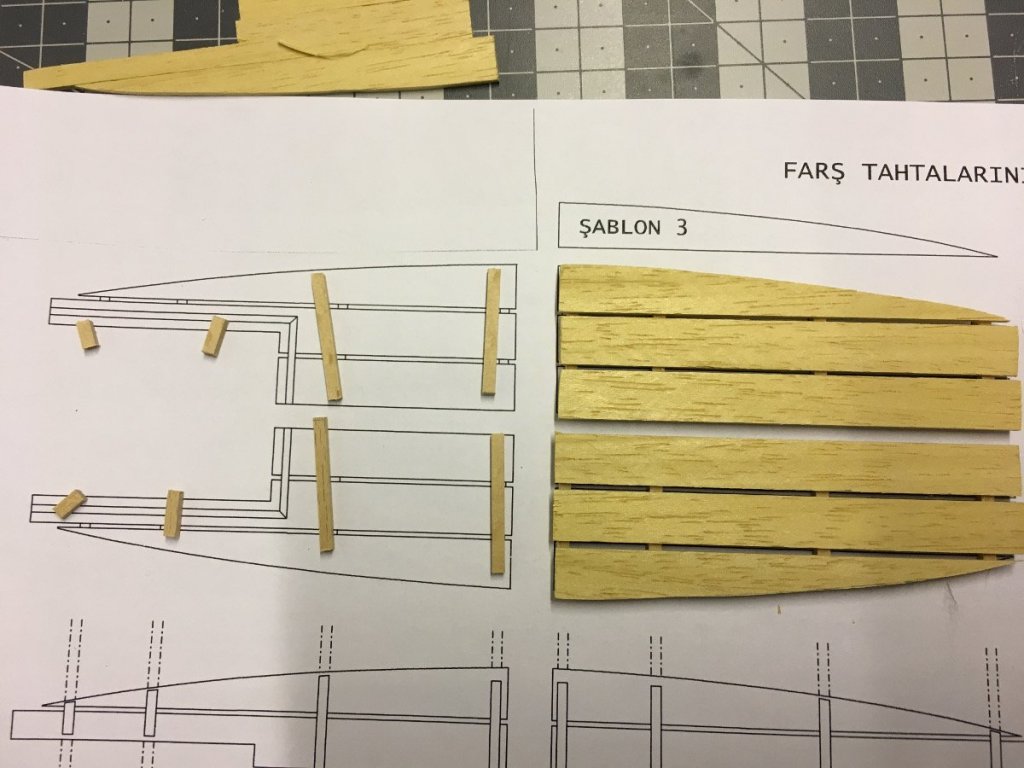
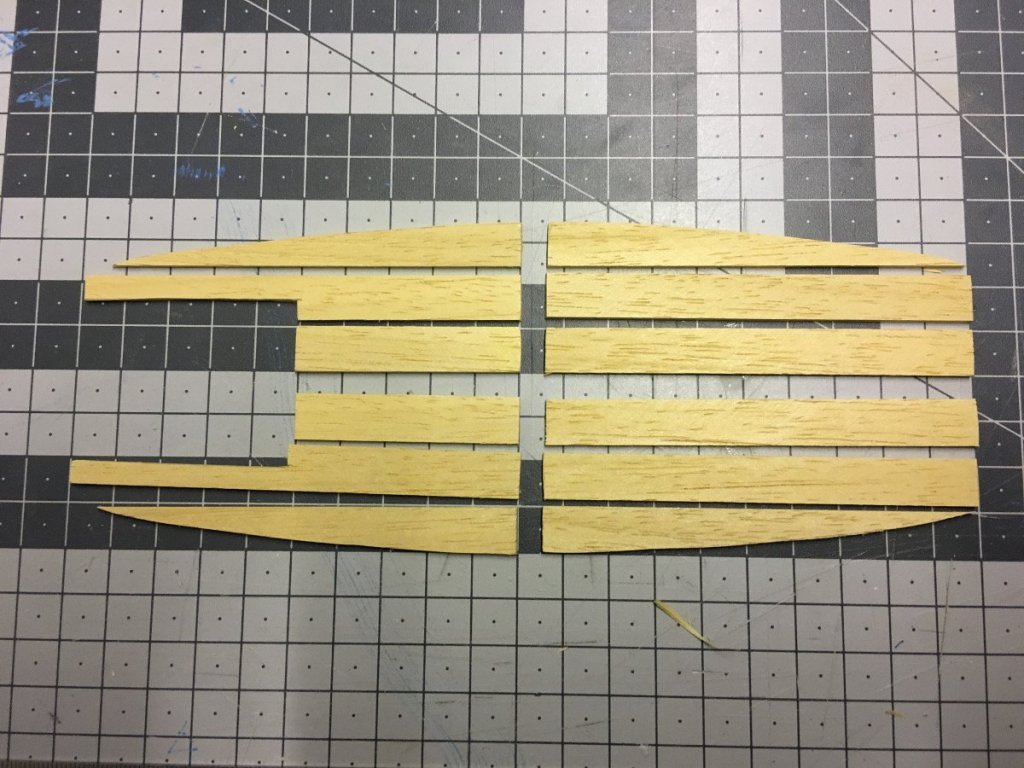
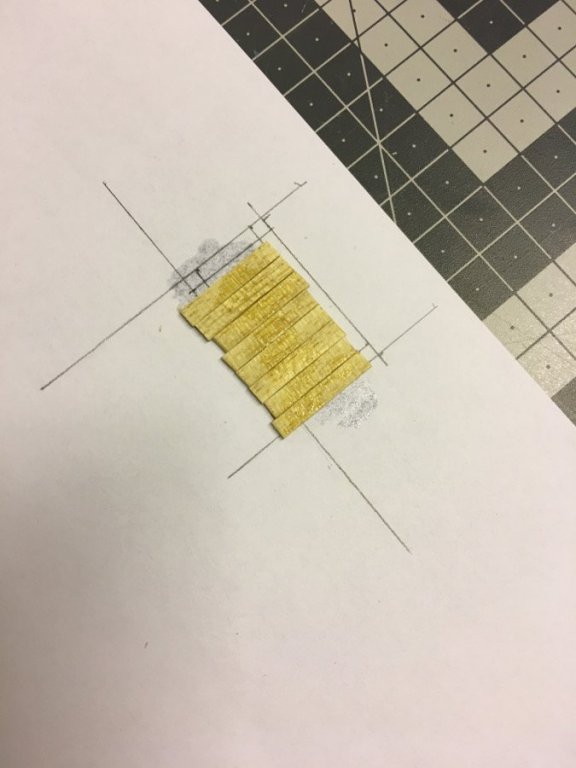
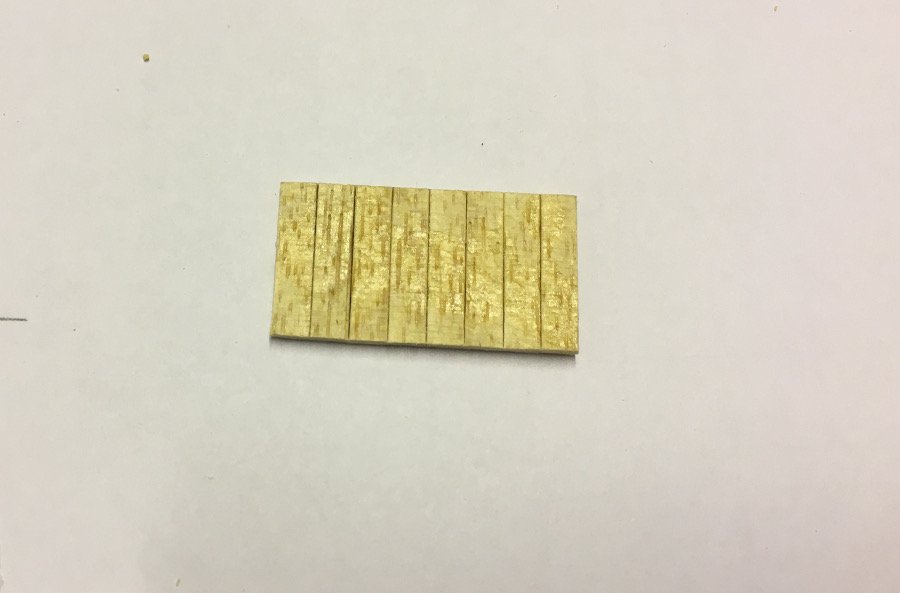
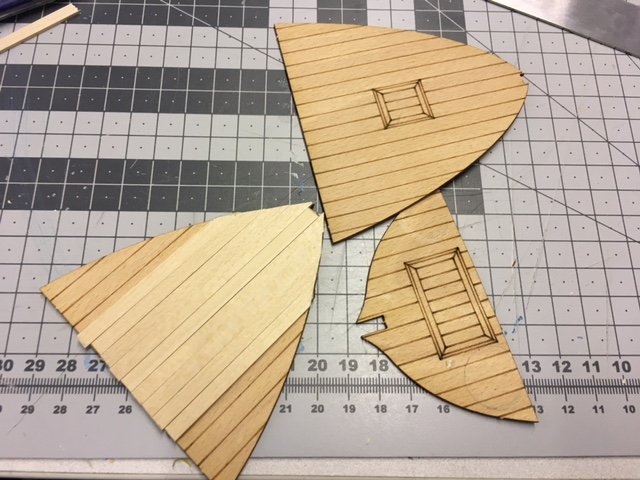
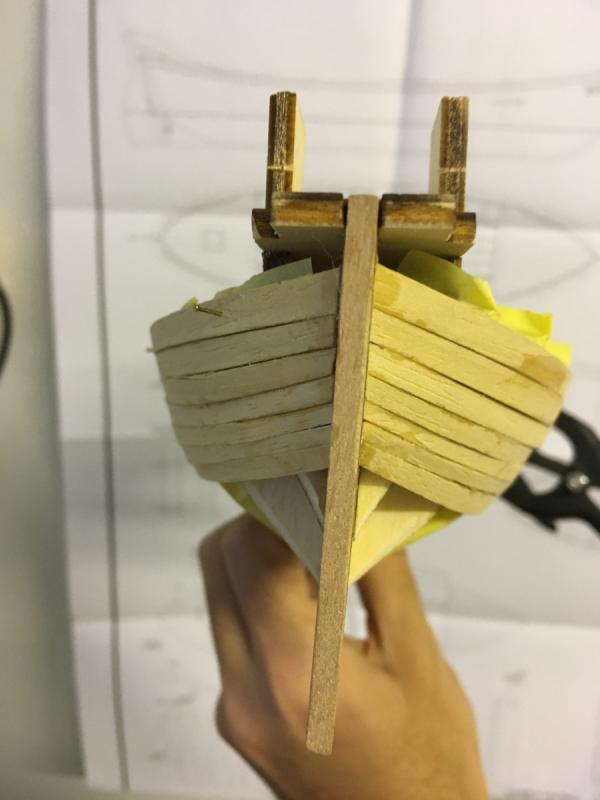
Step 2: Use template drawings to cut the boards from 10x2mm strips: Temporarily aligned to check that they are almost symmetric and identical:

- 62 replies
-
- 2
-
-
- bosphorus
- tersane model
- (and 1 more)
-
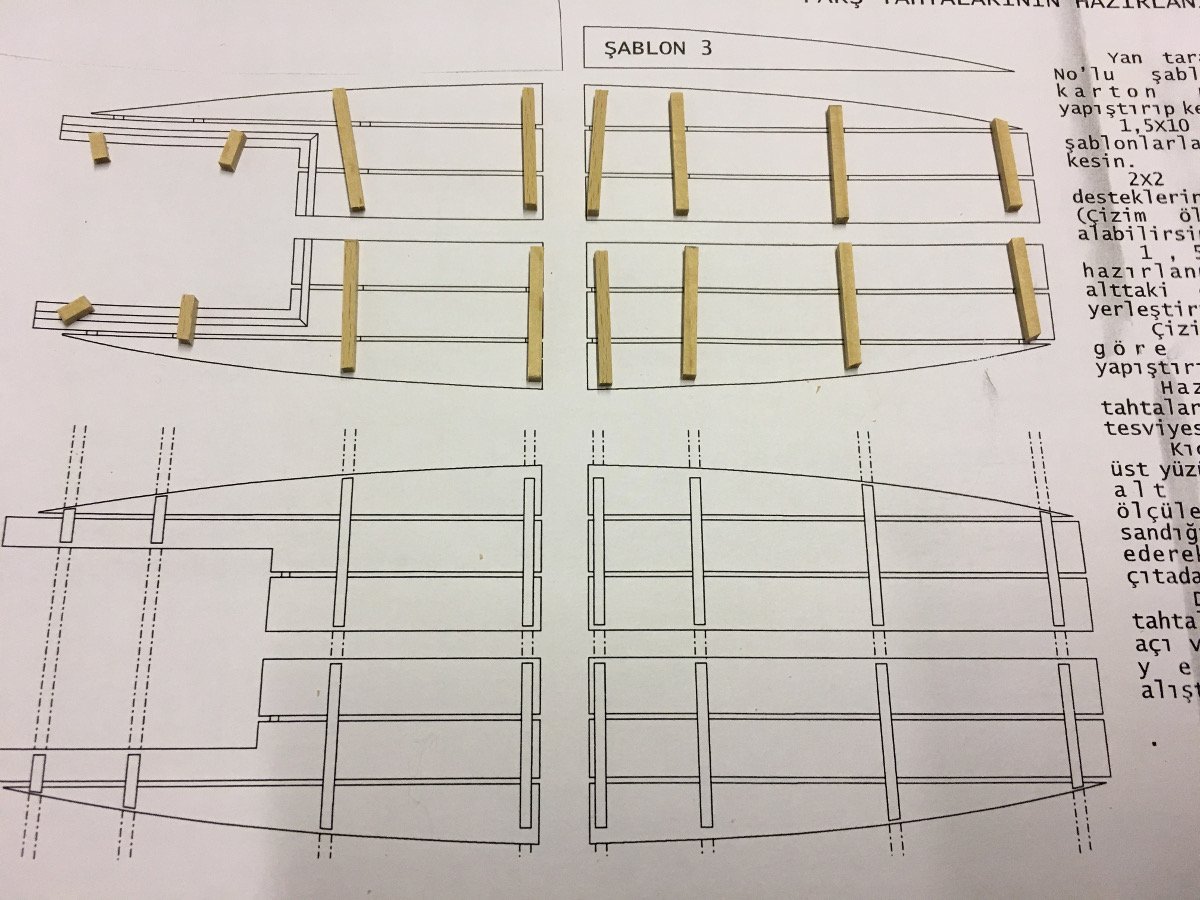
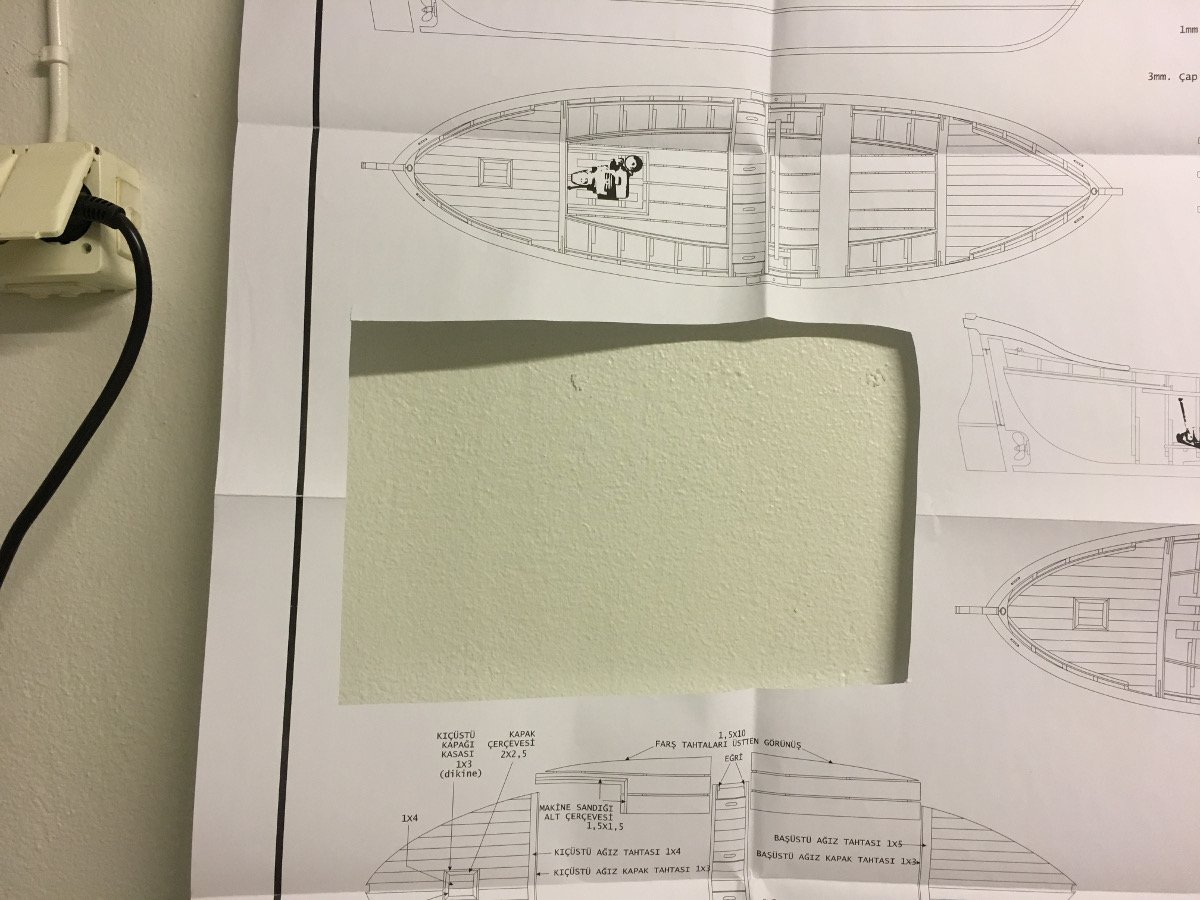
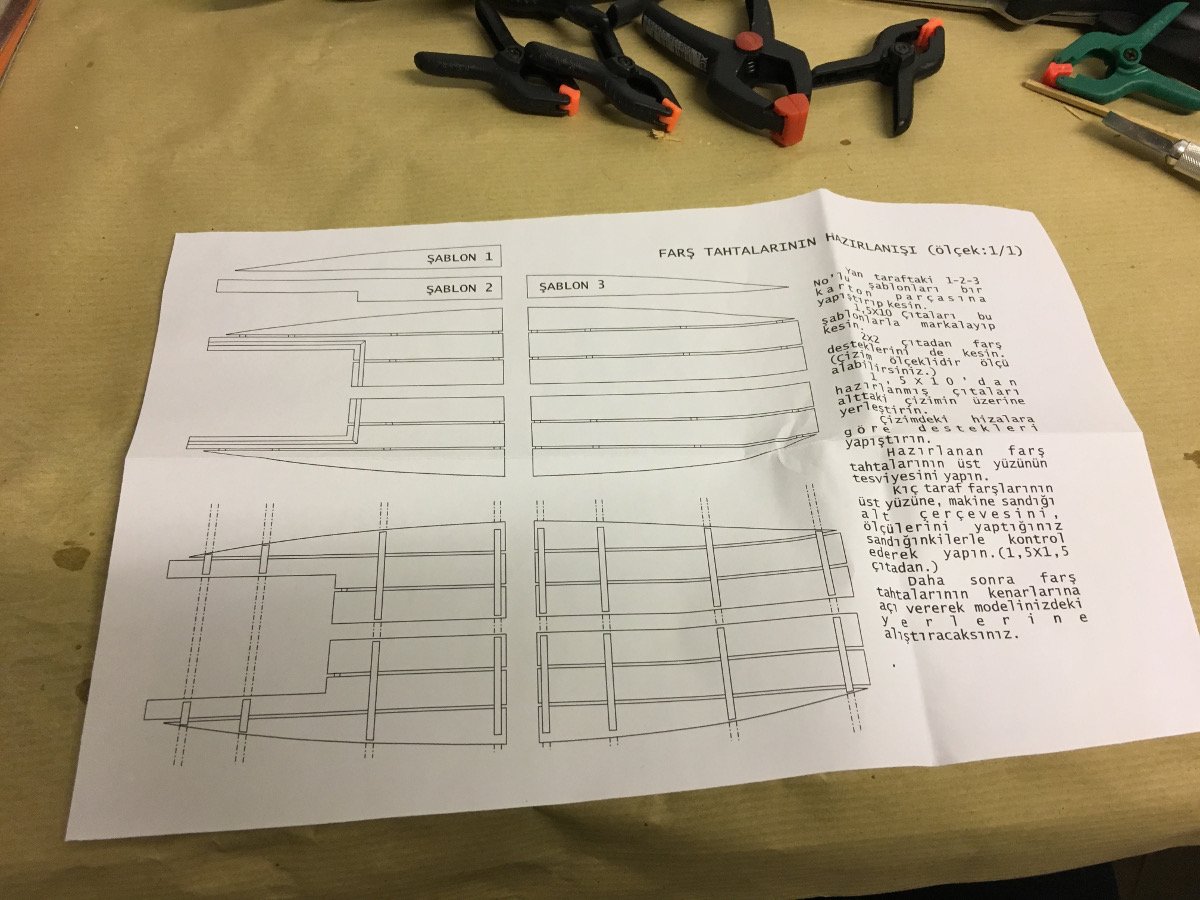
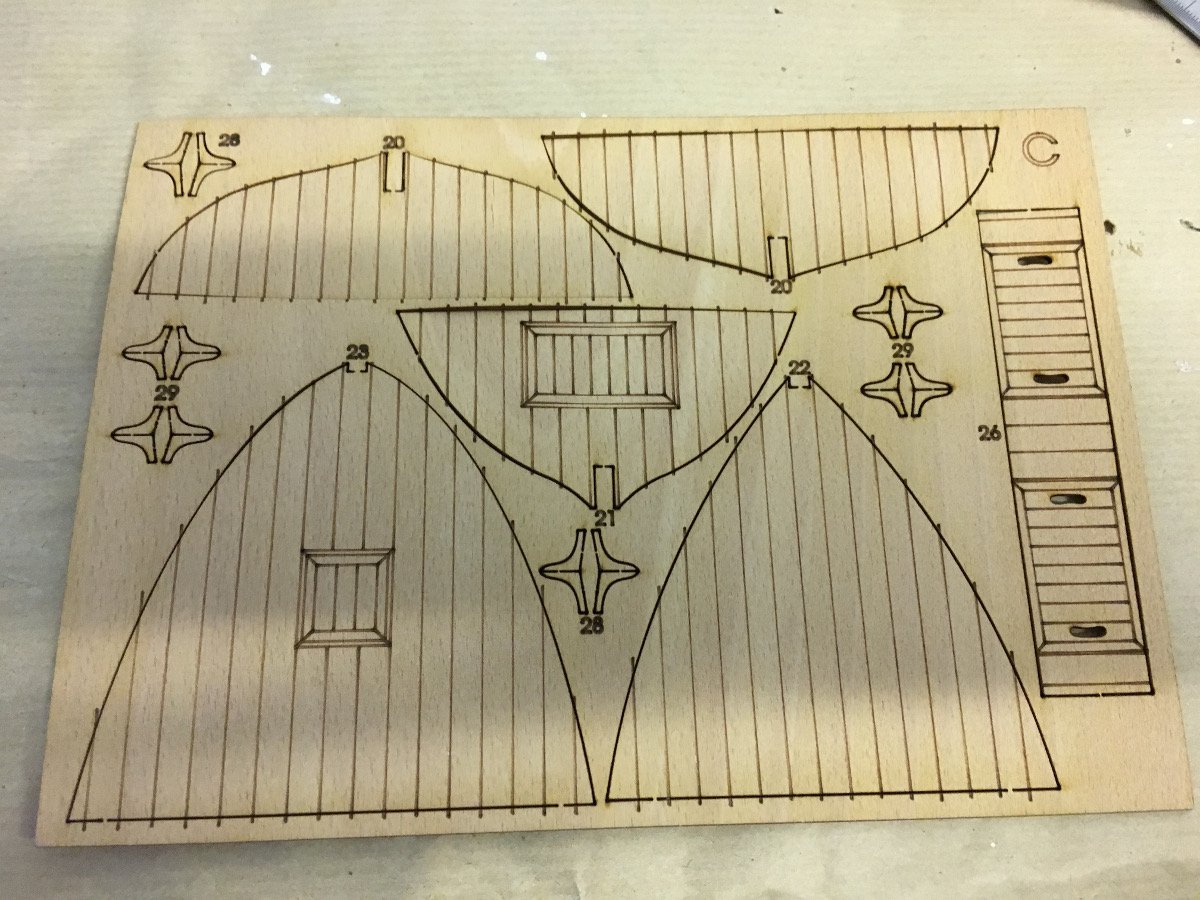
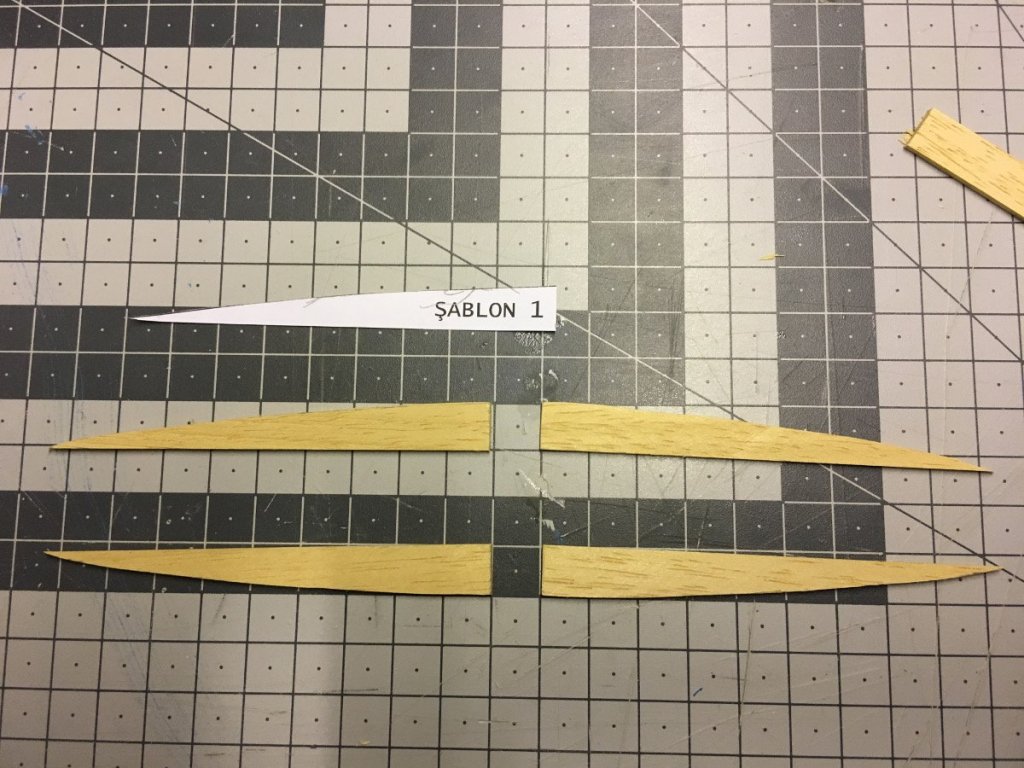
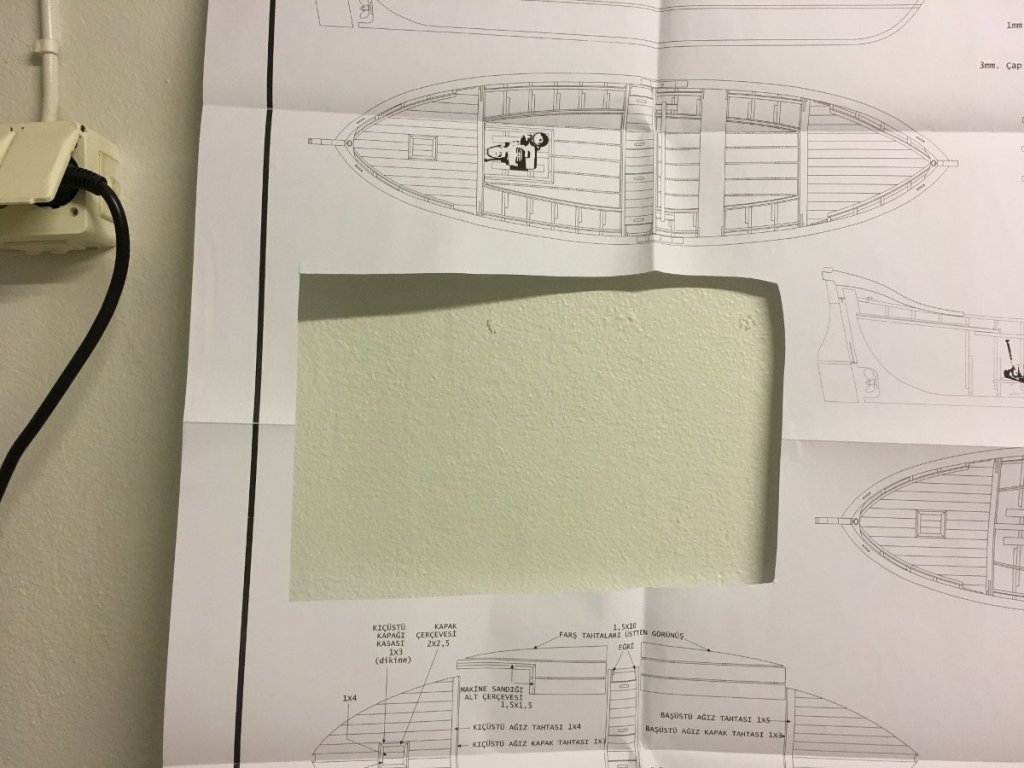
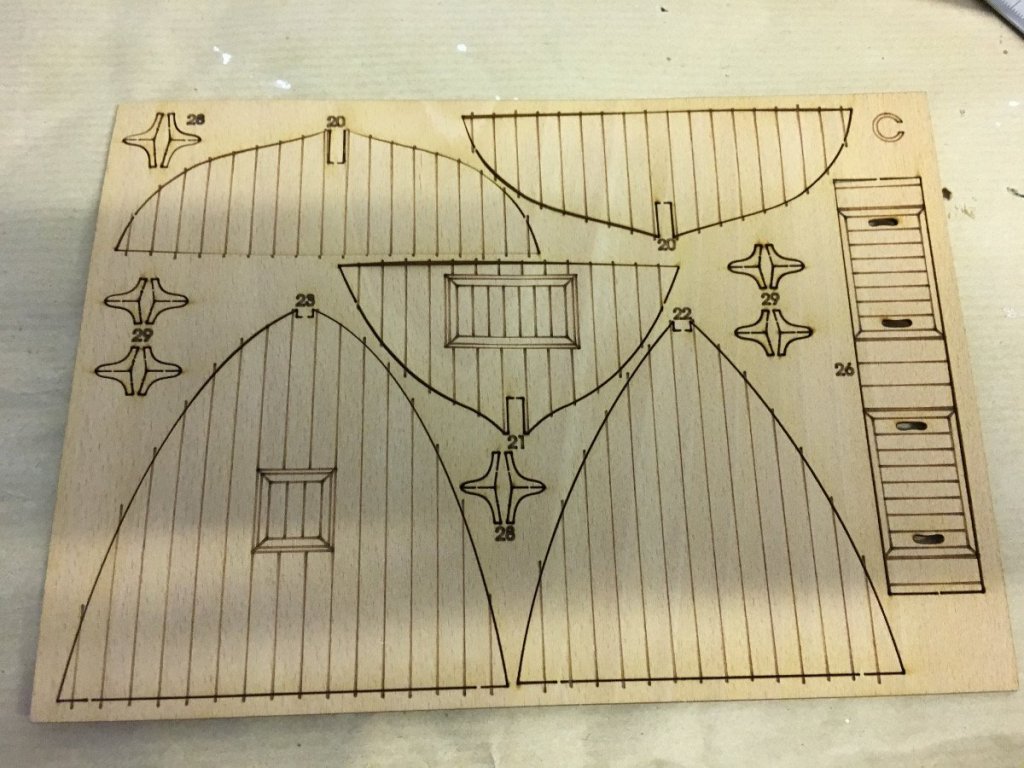
Build day: 11 - Floorboards I wanted to move a bit ahead and make the floorboards today. I could have continued with installing the "ribs" but I just wasn't up to do extensive strip bending work, mainly because I would have to use hot electric bender in order to avoid dents and bites. So, first step: Cut off the 1:1 scale drawing from the plan sheet and take a copy of it:

- 62 replies
-
- 1
-
-
- bosphorus
- tersane model
- (and 1 more)
-
Front deck top, wall, cabinet cover and ribs are in place. It will be complete once I have installed the 1x2mm strips along the edges of the deck and the wall in order to cover the gaps. End of Build day: 10 3 hours today, 26 hours in total. Thanks for watching.

- 62 replies
-
- 4
-
-
- bosphorus
- tersane model
- (and 1 more)
-
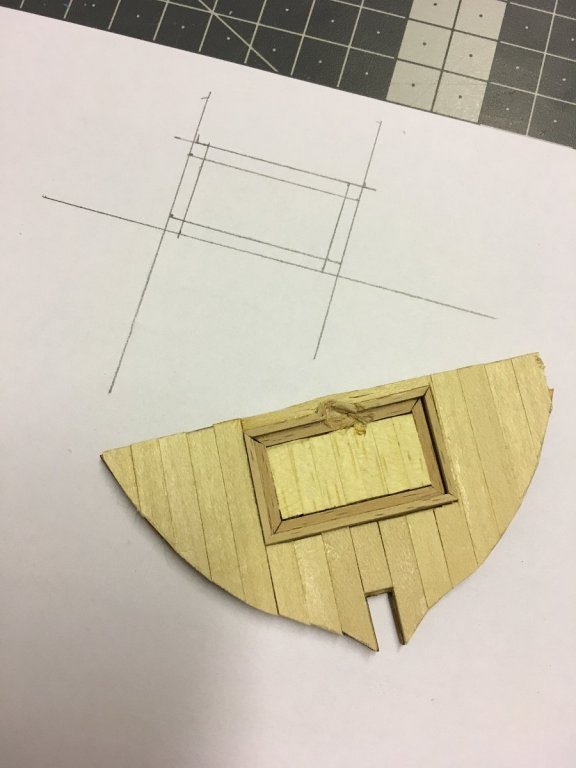
I reconstructed the front deck cabinet cover by carrying the measurements on a piece of paper:
- 62 replies
-
- 1
-
-
- bosphorus
- tersane model
- (and 1 more)
-
There is no option for me but to rip the decks off and plank straight on the bulkheads. There is no hope trying to reuse the decks. So I found suitable strips (slightly thicker to compensate for the thickness of the plywood deck guide) from my older stock and started planking right on the bulkheads. Note I used walnut planking on the front wall just for a change of taste.
- 62 replies
-
- 1
-
-
- bosphorus
- tersane model
- (and 1 more)
-
Build day: 10 I noticed after preparing the decks that the panels had returned back to their warped shape even after planking them. This is really annoying. Check the photos below to see. Especially in the rear deck (left side of the photo below) it forms large gaps in the sides and does not sit on the bulkheads properly. Morevoer, I had already glued the front deck

- 62 replies
-
- 1
-
-
- bosphorus
- tersane model
- (and 1 more)
-
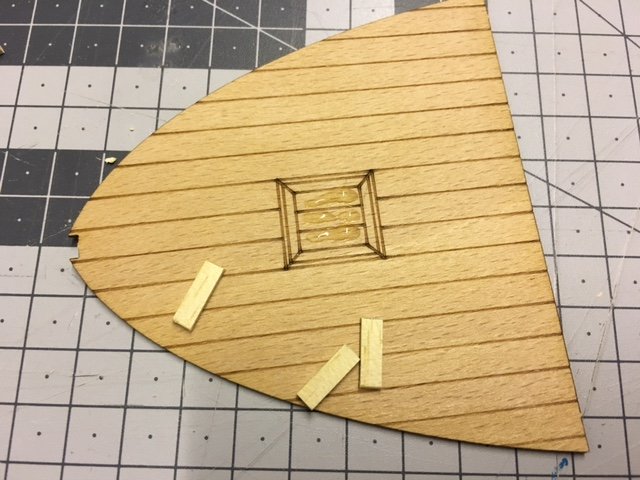
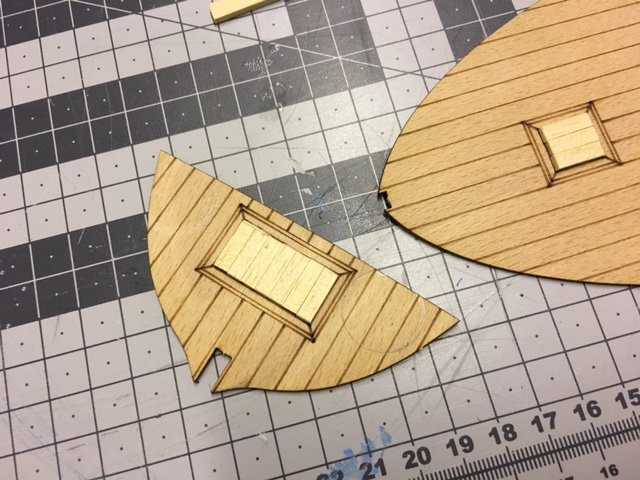
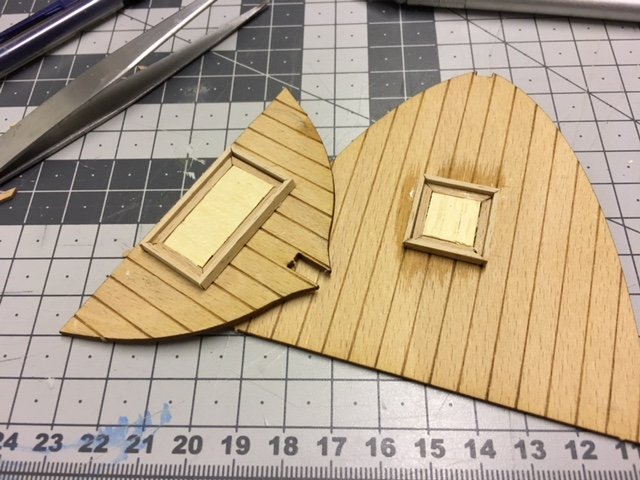
Build day: 9 4 hours today, 23 hours in total. Today I continued planking the front and rear decks plus front deck wall. Strips used: Main planking : 1x5mm, Middle of the lids: 1x4mm Frames of the lids 2x2mm (inner part), 1x3mm (outer part), the outer part strip is glued on its 1mm edge, hence it is higher than the lid's middle area. With the one in my previous post, they are altogether 4 pieces. Thanks for watching.
- 62 replies
-
- 3
-
-
- bosphorus
- tersane model
- (and 1 more)
-
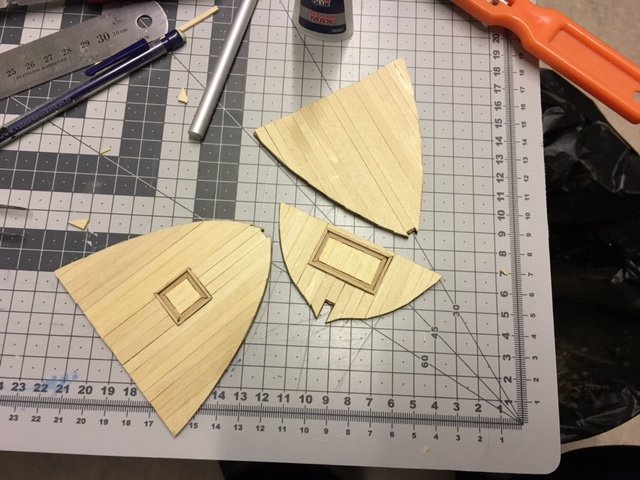
Deck sheets. They are aft and stern decks, walls, seat in the middle etc. The sheets come with fake lines to simulate planking and you can leave them like that if you like but I wanted to go for real. I found some leftover 1x5mm strips and I will use them to plank. Planking starts: End of build day: 8 3 hours today, 19 hours in total. Thanks for watching.
- 62 replies
-
- 2
-
-
- bosphorus
- tersane model
- (and 1 more)
-
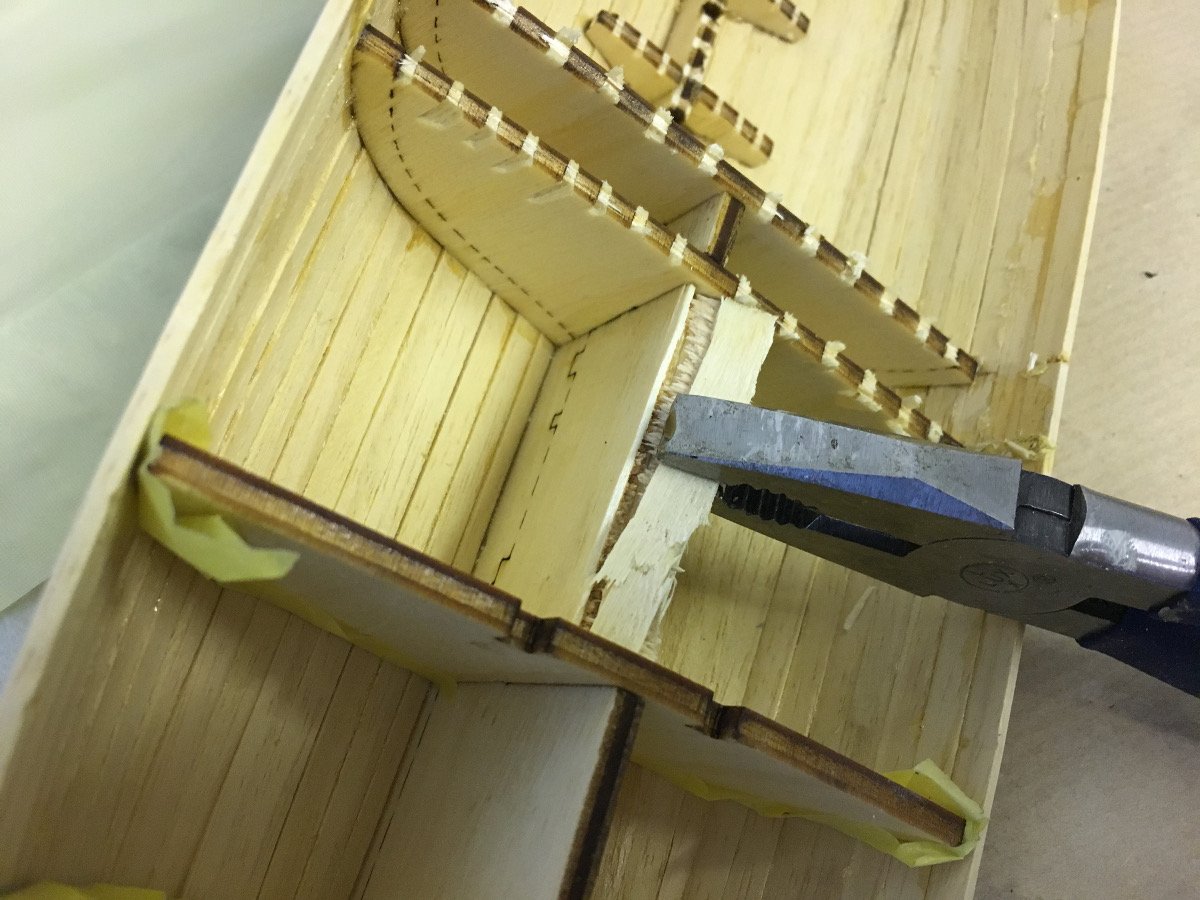
Then, it is time rip off the bulkheads from the lines indicated. They come half pre-cut and as I mentioned I had put masking tape on those sections which will be removed, where the plank strips rest on, so that it would be easier to rip off. This is a bit a rough job where you use violence at some points, but overall the process went well. Sometimes I had to be cautious so that I did not rip all the part at once but instead ripped it piece by piece (see photos) For example here I break the bulkhead piece by piece until I reach the line: Quite an amount of rubble:

- 62 replies
-
- 4
-
-
- bosphorus
- tersane model
- (and 1 more)
-
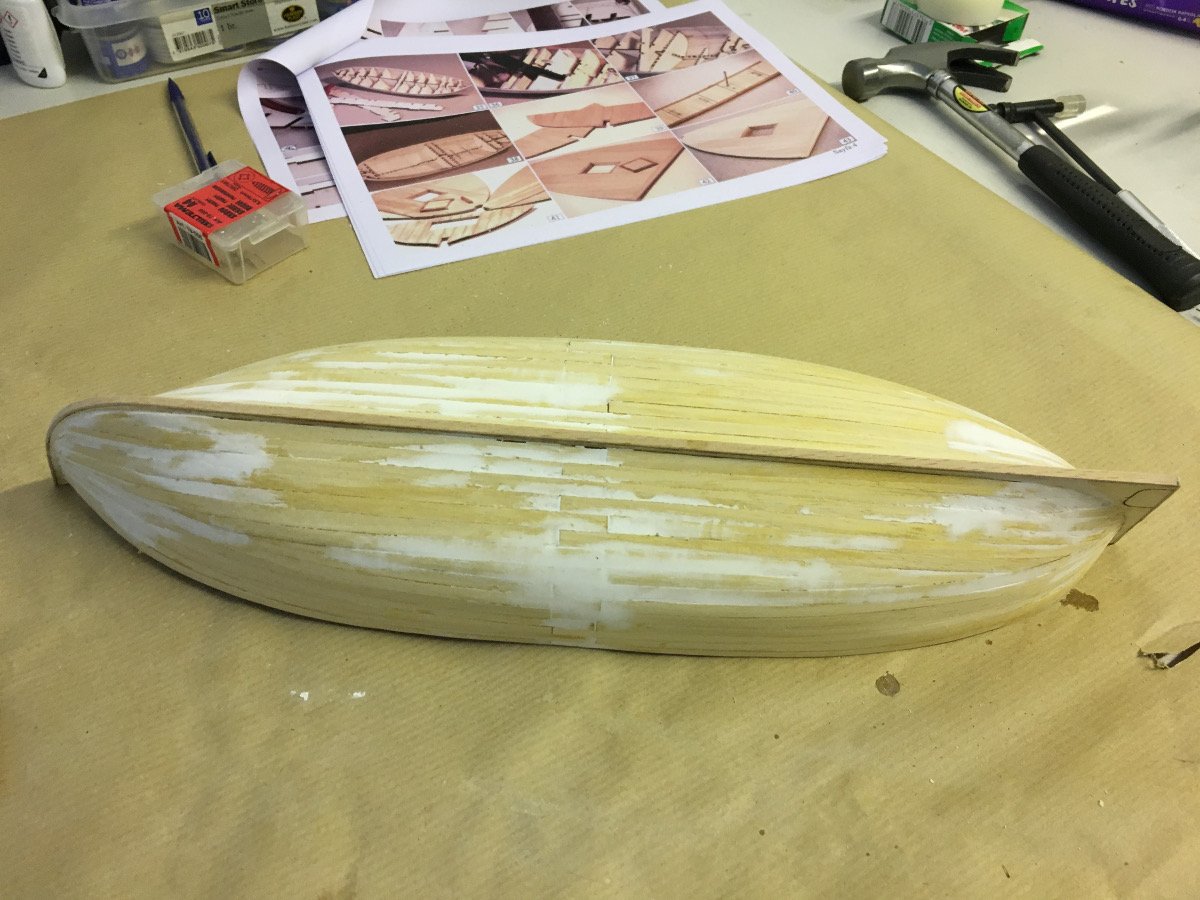
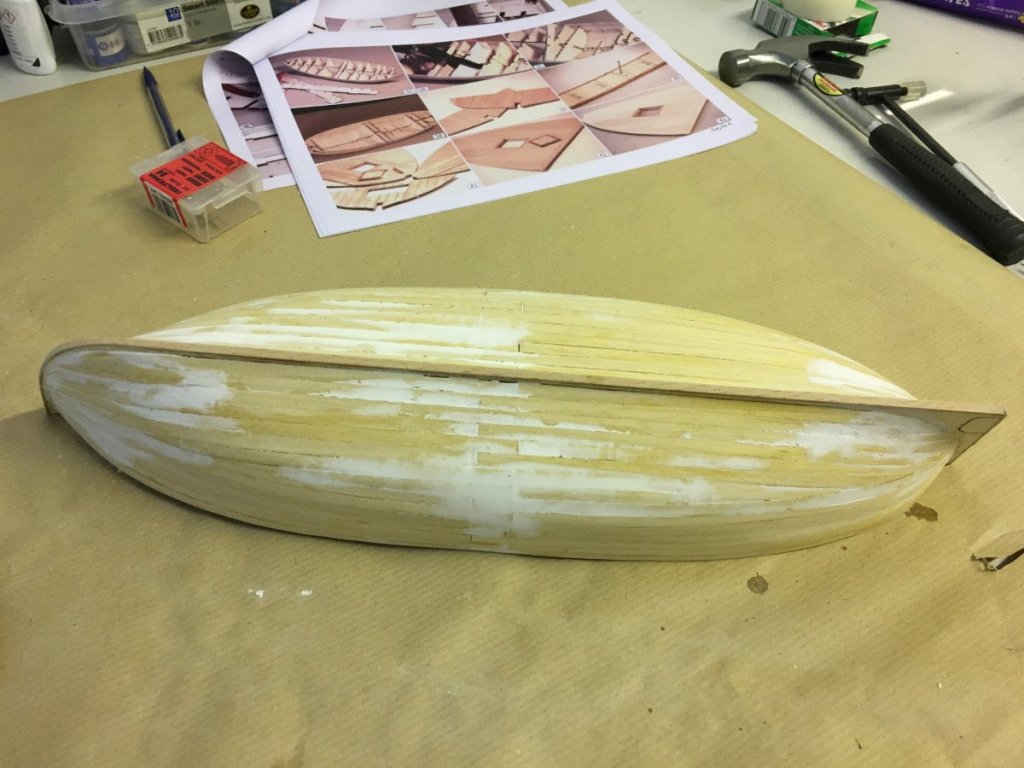
Once satisfied with sanding (150 grit followed by 240 grit) it is time to remove the supporting dock:
- 62 replies
-
- 3
-
-
- bosphorus
- tersane model
- (and 1 more)
-
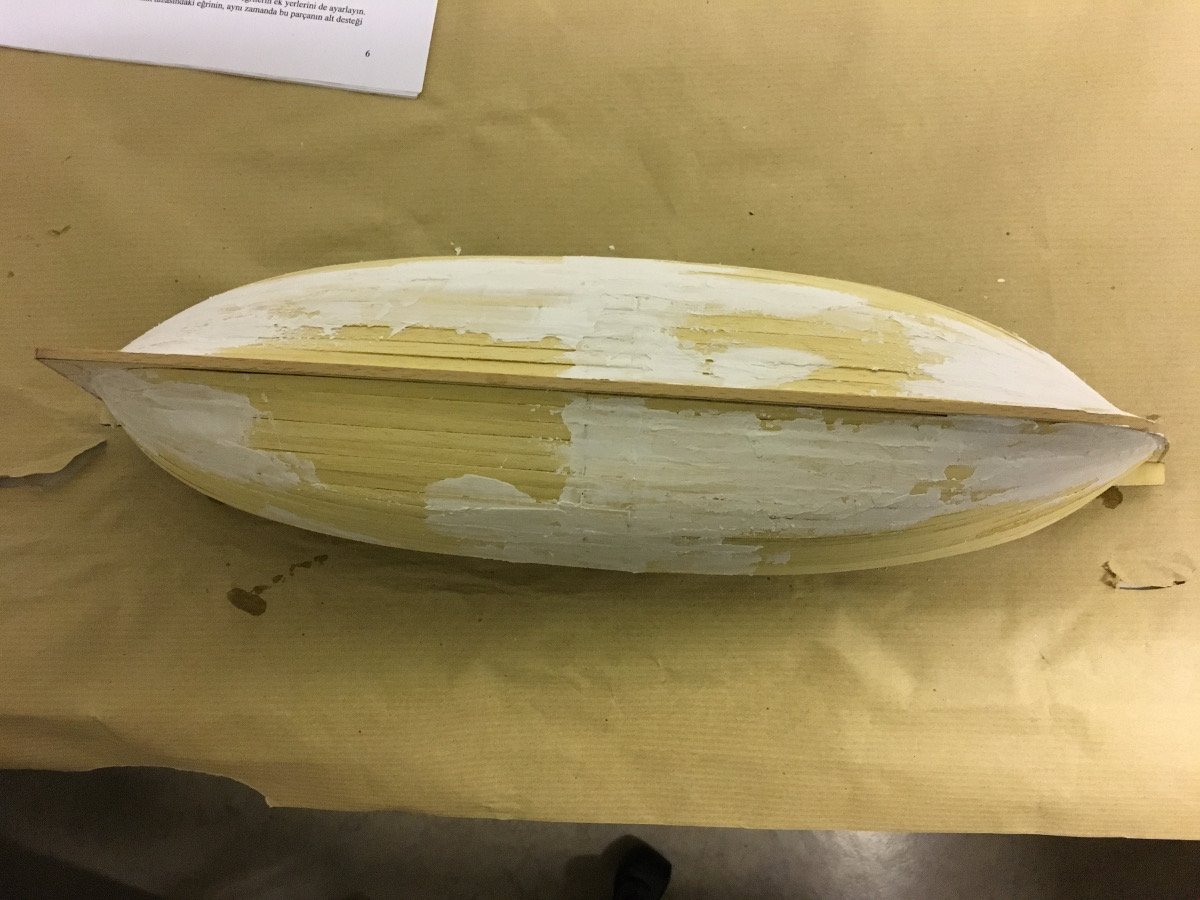
Build Day: 8 Continuing with filling and sanding of the hull. The entire hull will be painted on the outside therefore you don't need to care too much about the filling material showing. I used the same white wood filler as in my previous project (i.e. Riva Aquarama. Except in that one I had used it only on first planking) Waiting for a couple of hours and then sanding:

- 62 replies
-
- 2
-
-
- bosphorus
- tersane model
- (and 1 more)
-
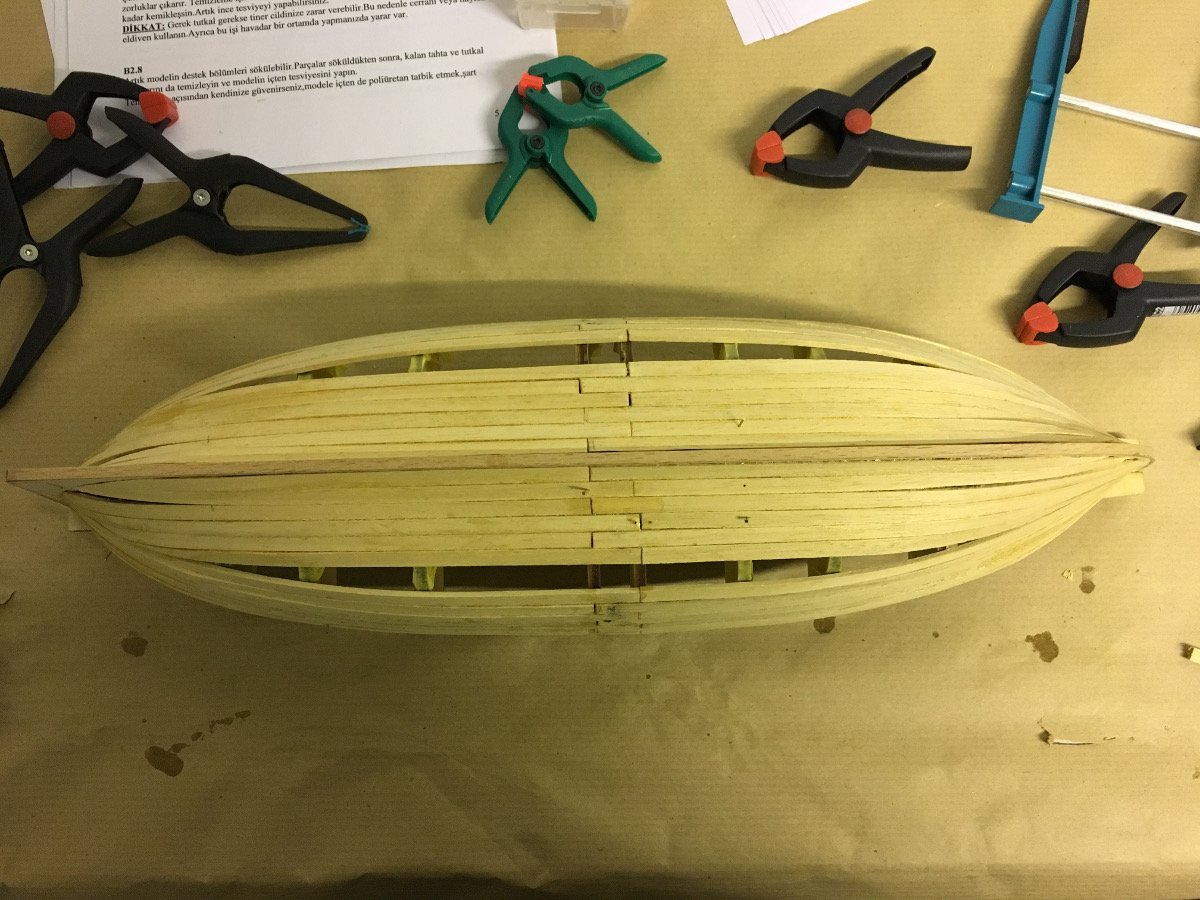
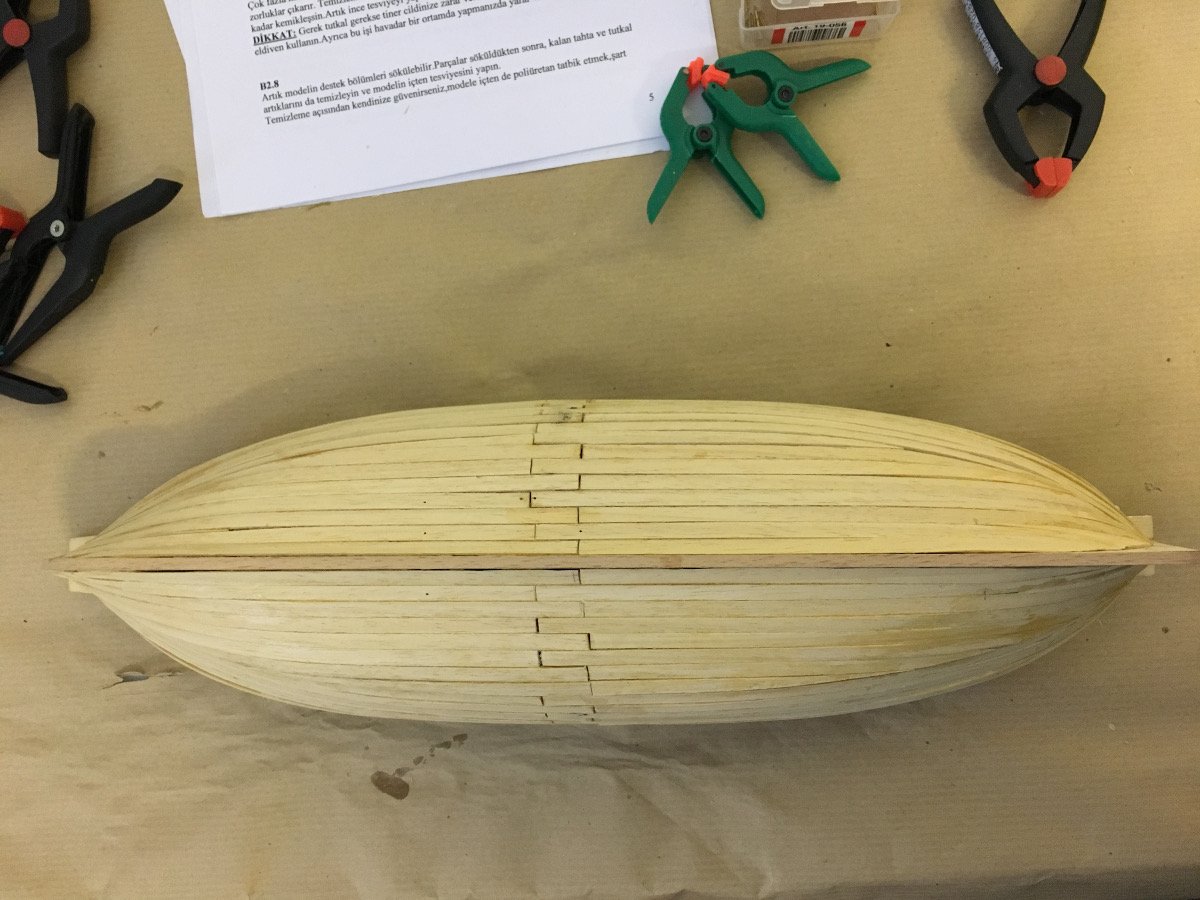
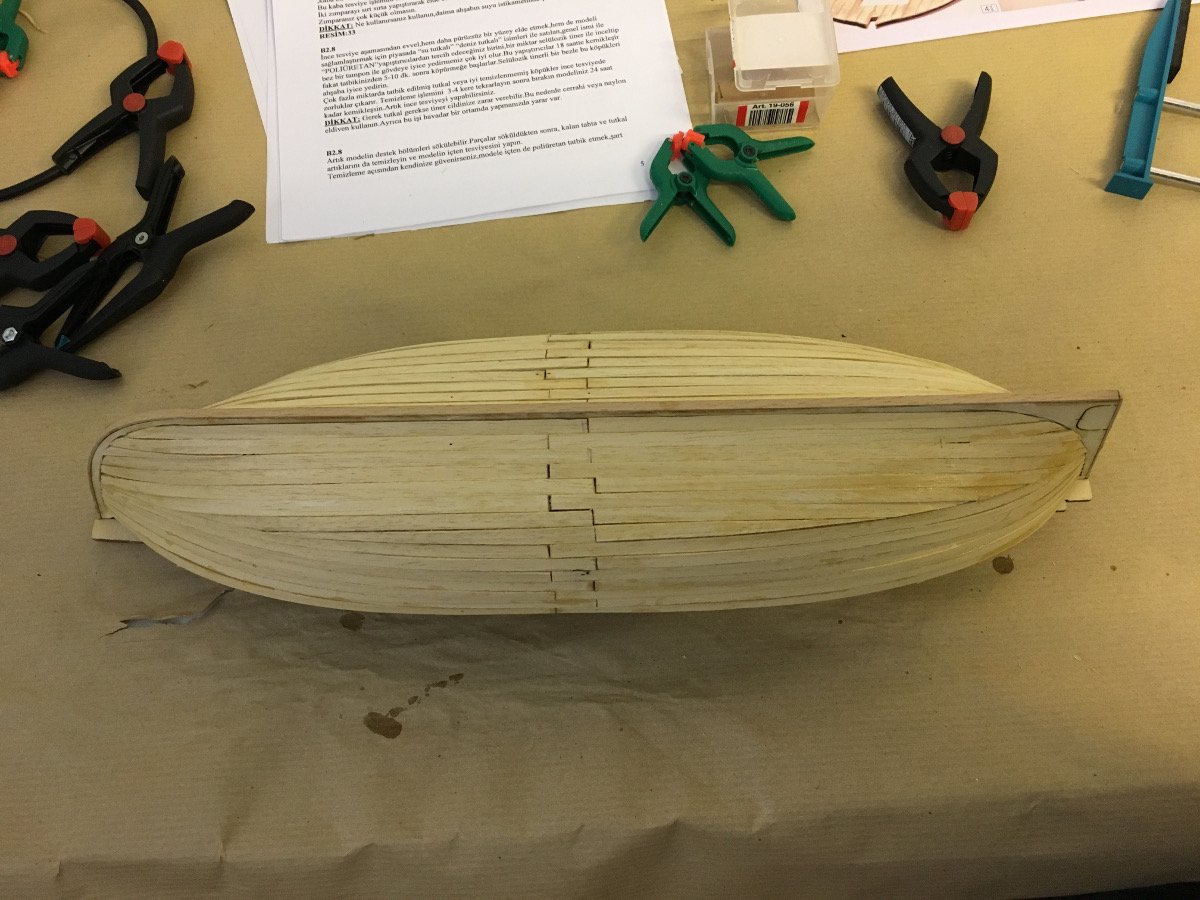
Build Day: 6-7 4 hours in two days, 16 hours in total. I have managed to finish hull planking in these two days. Tomorrow I hope to spend some time for rough scraping and first sanding of the planking. After sanding it will be filling the gaps with wood filler and fine sanding. Maybe so far there was nothing too special to show, but after the hull has been completed I hope to show you fellow forum members more exciting (or at least interesting) stuff on this beautiful Turkish boat so keep following. Here are some photos of progress. Thanks for watching.
- 62 replies
-
- 3
-
-
- bosphorus
- tersane model
- (and 1 more)
-
2 more strips on each side. There is about 4-5 lines of planking left on each side. This is the status after day 5. Thank you for watching.
- 62 replies
-
- 3
-
-
- bosphorus
- tersane model
- (and 1 more)
-
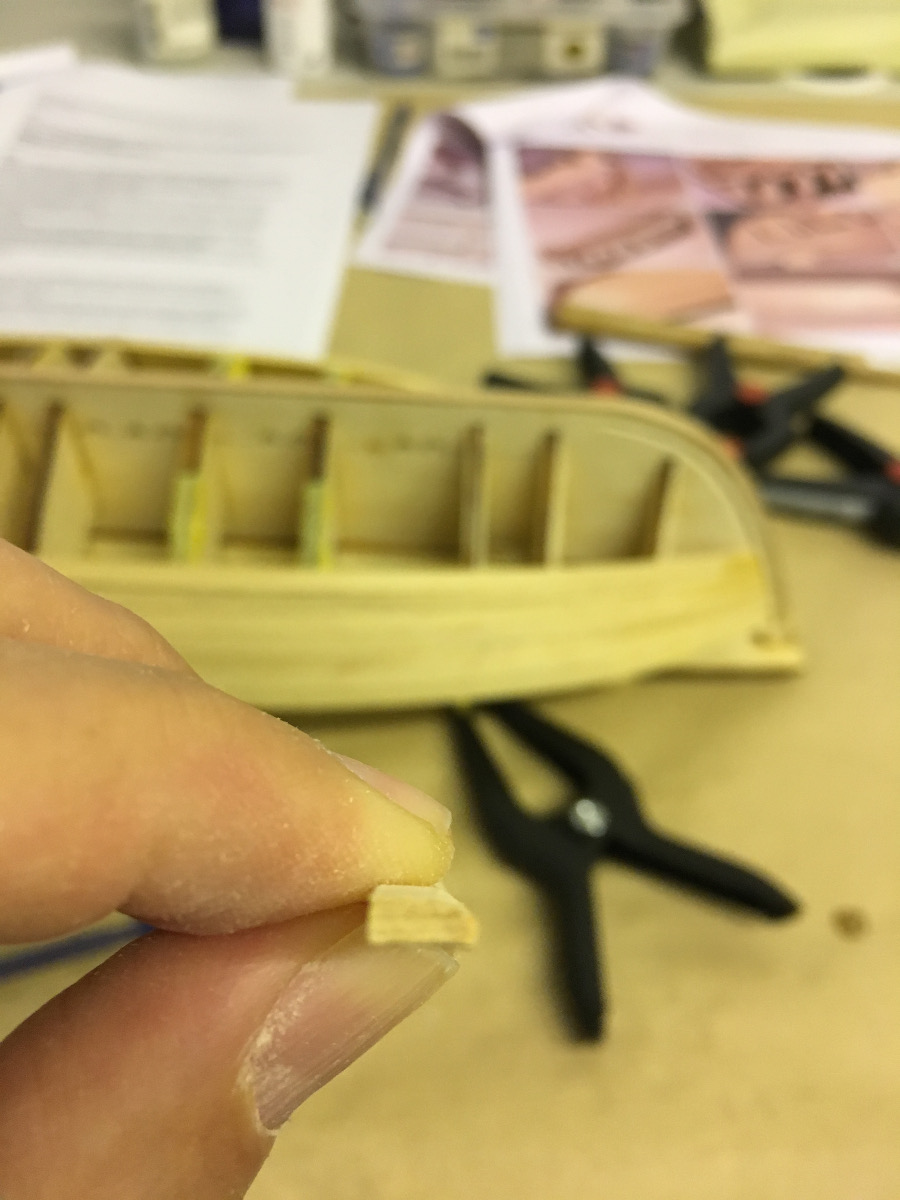
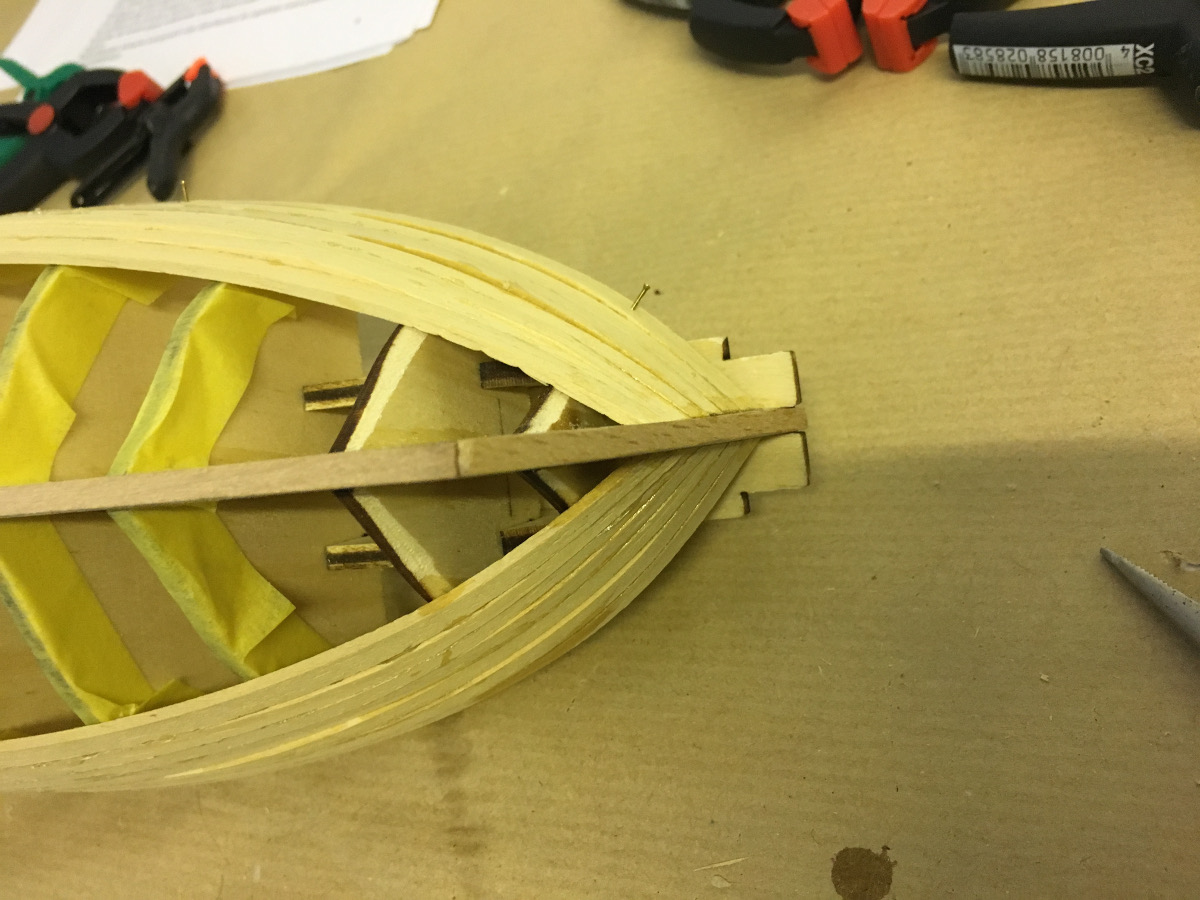
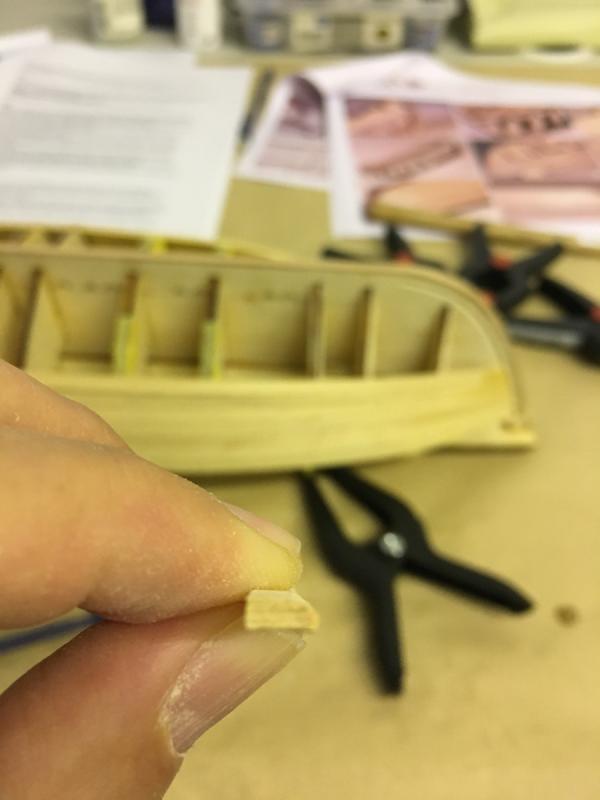
First planks to be glued on the bottom. They will rest on the keel from the sides with an angle therefore it is essential to chamfer these strips along the edge with an angle: Following this rule, they sit quite nicely on their positions, after a little bending and warping with the plank bender:
- 62 replies
-
- 2
-
-
- bosphorus
- tersane model
- (and 1 more)
-
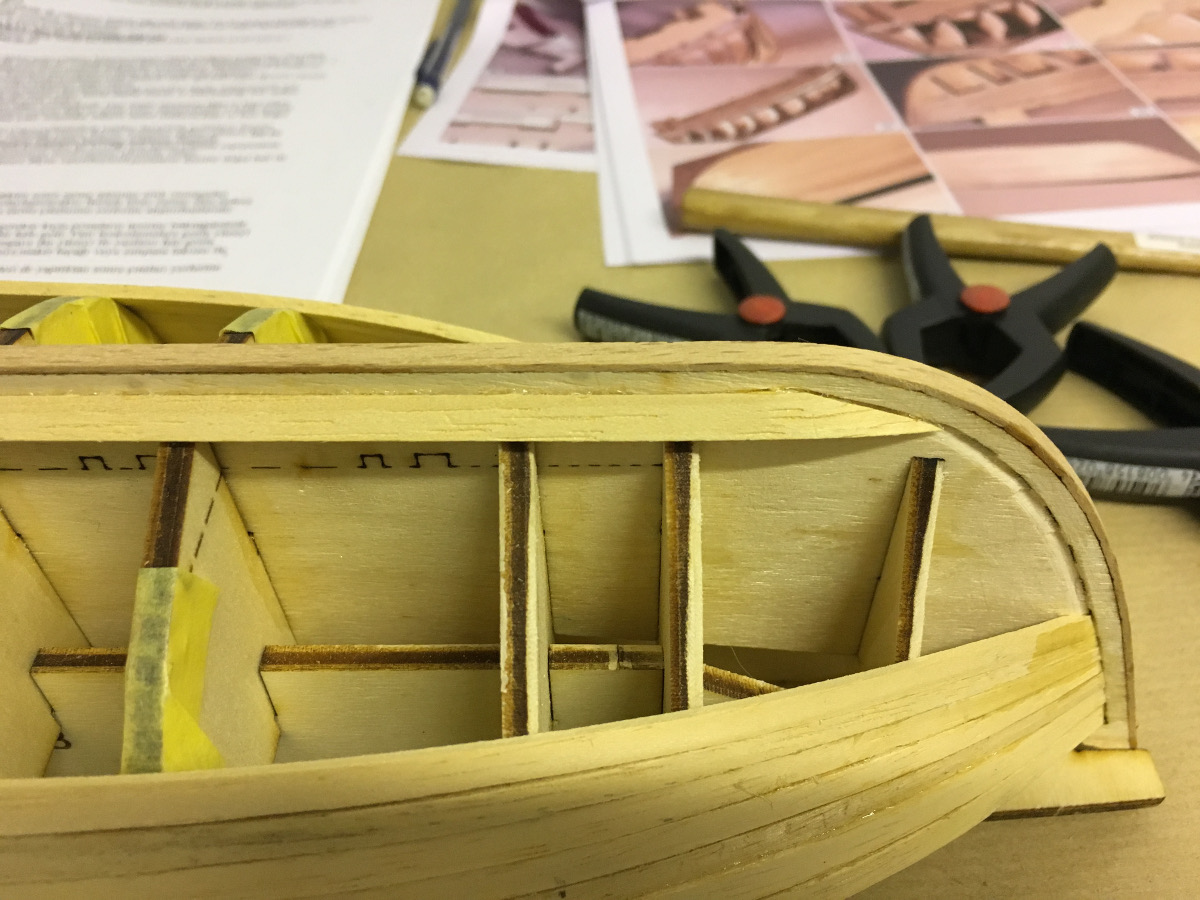
Instructions suggest that you stop after 7-8 lines of plank and continue from bottom (i.e. from the keel upwards). This is the status after 7 lines:


- 62 replies
-
- 3
-
-
- bosphorus
- tersane model
- (and 1 more)
-
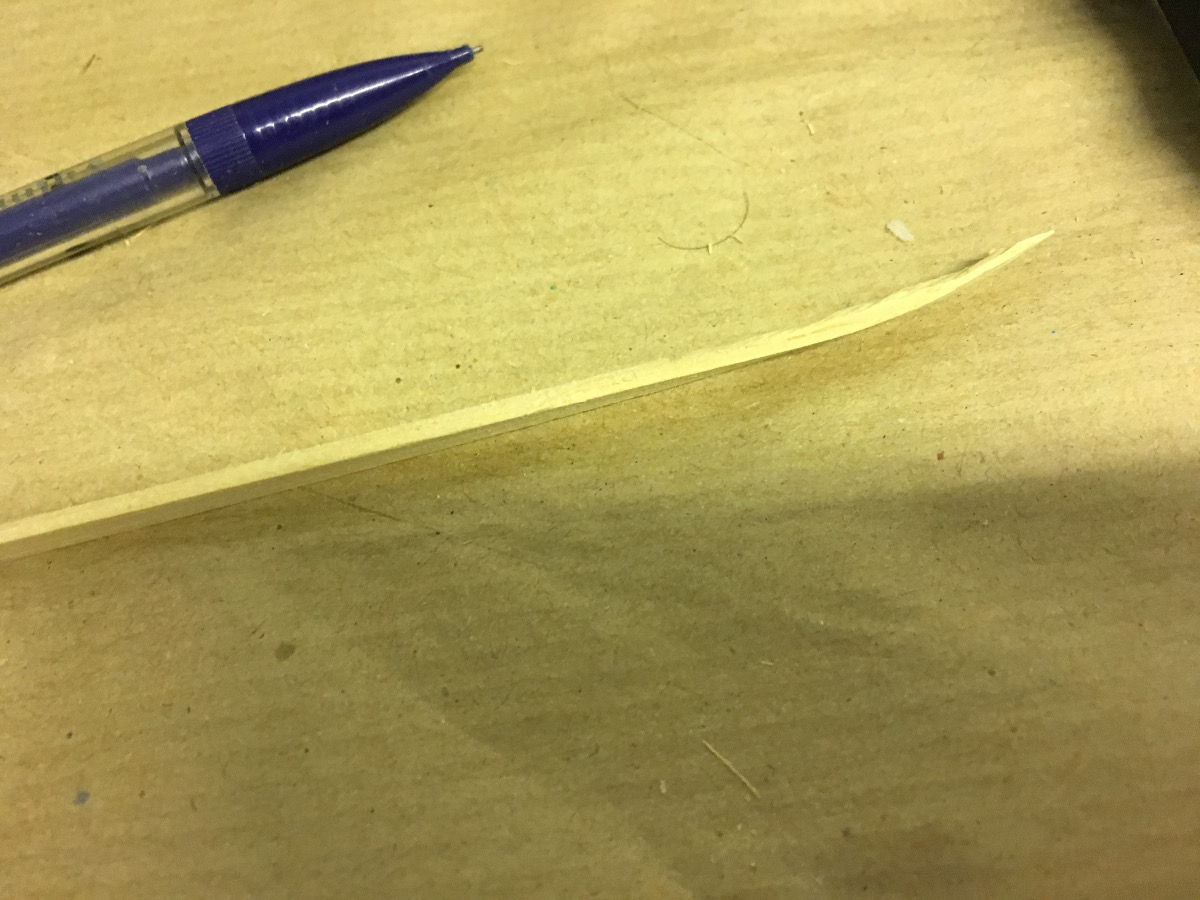
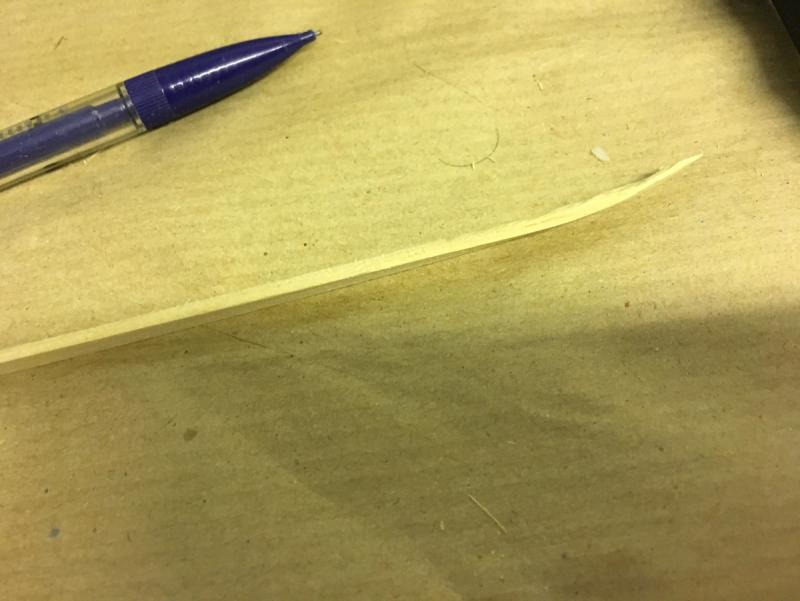
Build Day: 4-5 5 hours in two days, 12 hours in total. Looking at my latest post, it has been a while. It has just been work, some trips and other stuff, so luckily nothing bad to prevent from building. Anyway, here is the progress. The strips need to be both tapered in order to sit flush with the strip above it (as usual method) as well as made thinner, in order to sit in the rebate, at the ends: This way they ft quite nicely in their positions:

- 62 replies
-
- 2
-
-
- bosphorus
- tersane model
- (and 1 more)
-
Build Day: 3 1:30 hours today, 7 hours in total. After a break of trips, holidays and Christmas, I continued today with planking. Glued 3rd row of planking strips in both sides. These are a bit critical ones since they are actually almost the first ones to get the support from the bulkheads. The 2 rows of strips above are mostly glued only to the keel and are barely touching the bulkheads, which will be removed later. That's why these 3rd row planks have also the task to support the two strips above them as well. For that reason, after gluing them I stopped to ensure I wait until they are fully dried and settled. Thanks for watching.
- 62 replies
-
- 5
-
-
- bosphorus
- tersane model
- (and 1 more)
-
Planking starts. According to the instructions, the most realistic way of proceeding is to use two strips per row, starting at both ends and meeting in the middle. This is apparently how the boats are build in real. The "middle" will vary at each row between bulkheads 6 and 7. So, if the 2 strips of the first row meet at bulkhead 6, the strips in the row below it will meet in bulkhead 7, the next ones at bulkhead 6 .. and so on. The first planking has been the trickiest, even though it didn't need any tapering. The thing is that they can be glued only in both ends (since I cannot glue it on the bulkheads and I want to avoid using nails as much as I can). Starting from the 2nd row, it gets easier since now you can glue the strip to the one above it. This is the end of Build Day 2. 5:30 hours in total so far. Thanks for watching.


- 62 replies
-
- 5
-
-
- bosphorus
- tersane model
- (and 1 more)
-
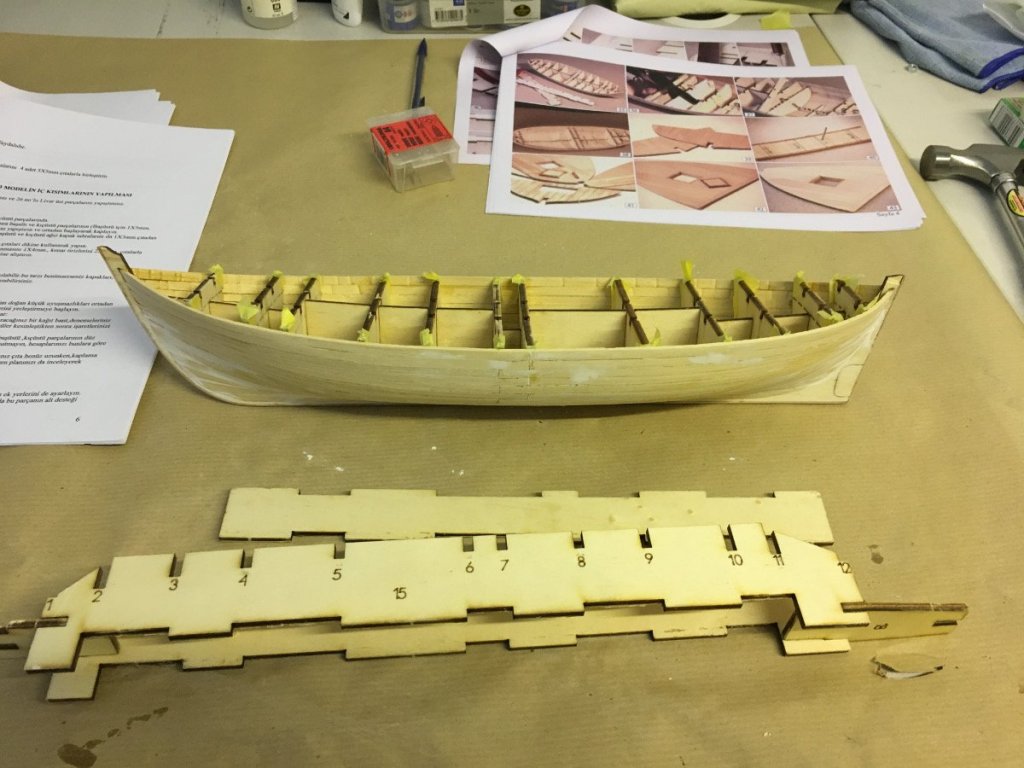
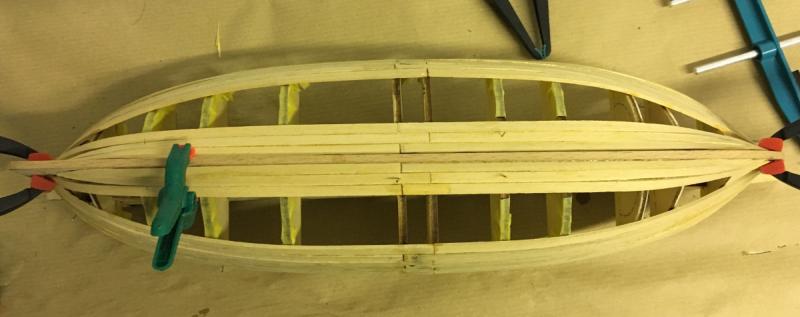
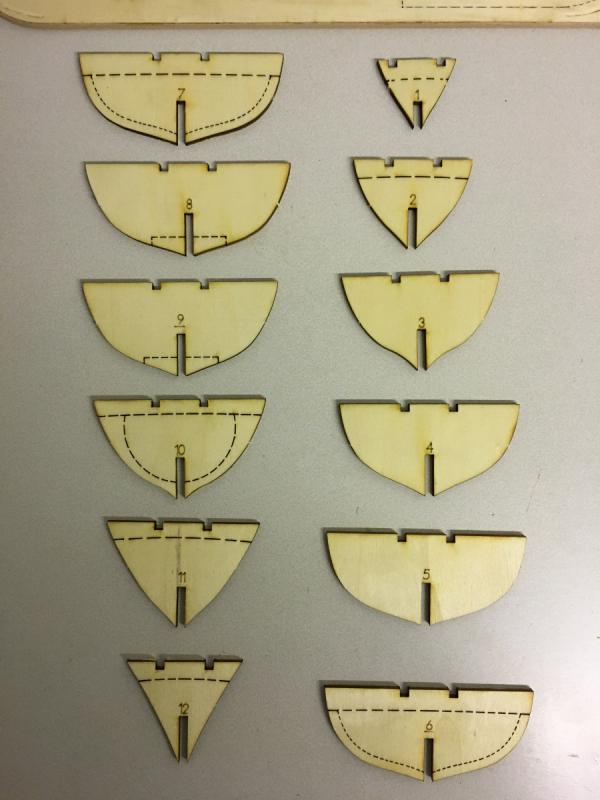
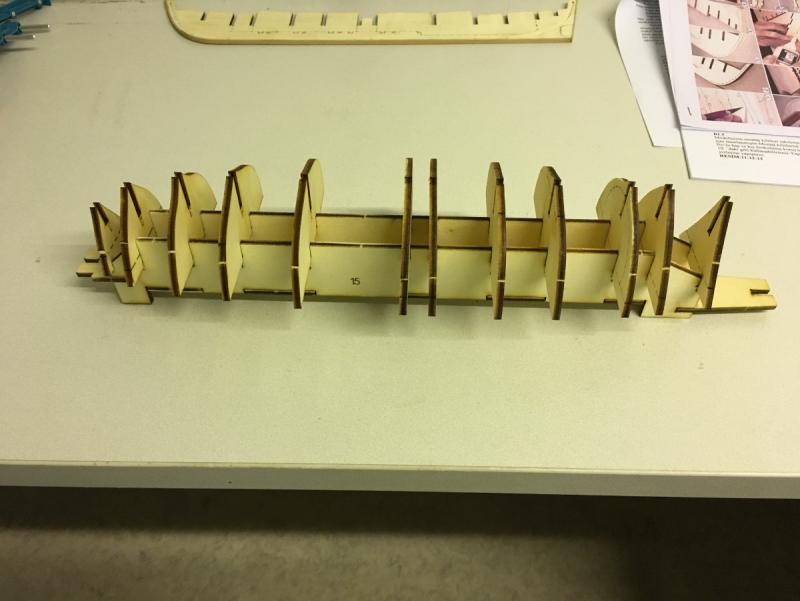
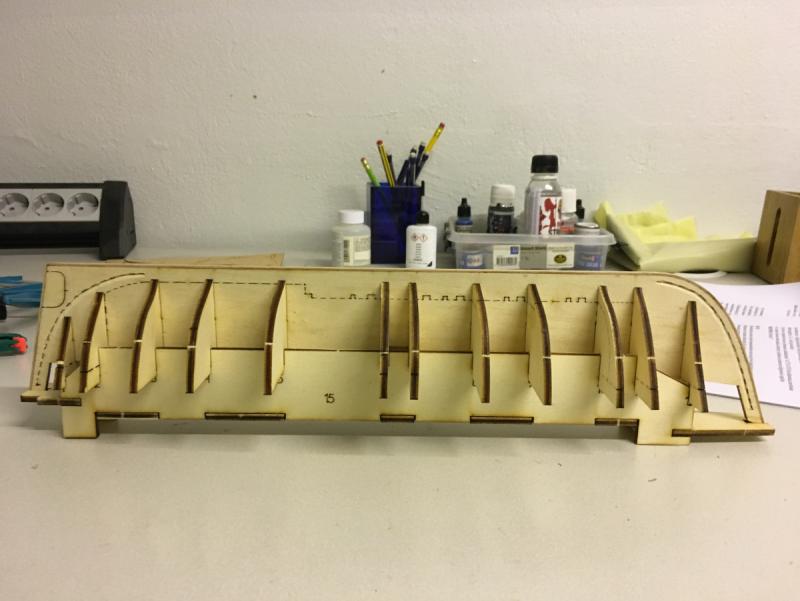
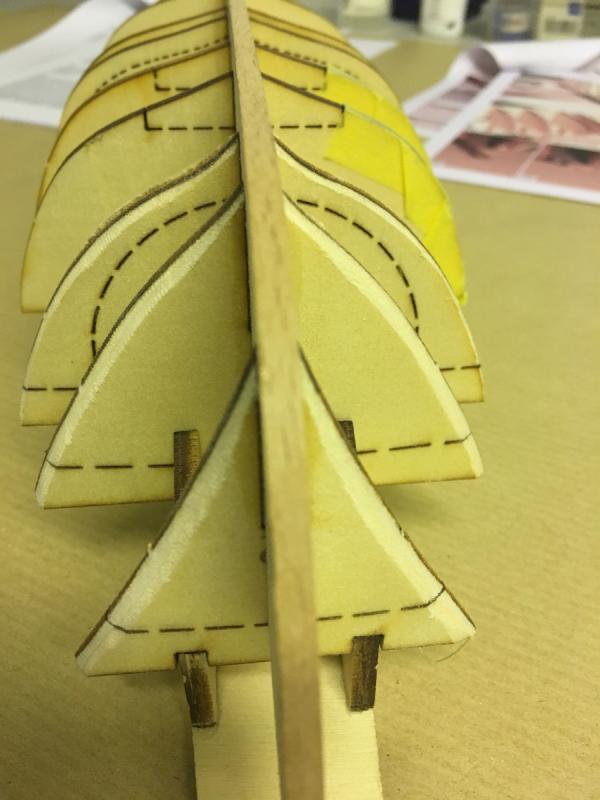
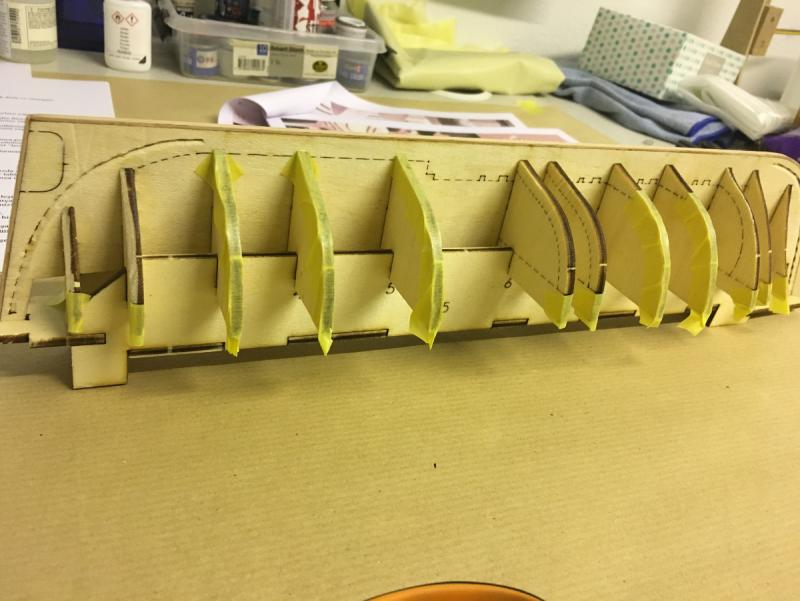
One quick observation with the laser cut plywood sheets: Laser cuts do not always go all the way through the other side of the plywood. In such cases you'll have to use your knife to be able to remove them smoothly: Bulkheads removed and cleaned: Bulkheads placed on the building slip, as addressed in the instructions. No glues used here: Keel inserted into bulkheads, fixed using super glue: Bulkheads tapered where needed: Some sections of the bulkheads will be removed later, once planking has been complete. These sections are indicated with pre-cut dotted lines on them. Those sections have been covered with masking tape to make it easier to detach from the plank strip. Instructions also say you alternatively use wax on those sections:
- 62 replies
-
- 5
-
-
- bosphorus
- tersane model
- (and 1 more)
-
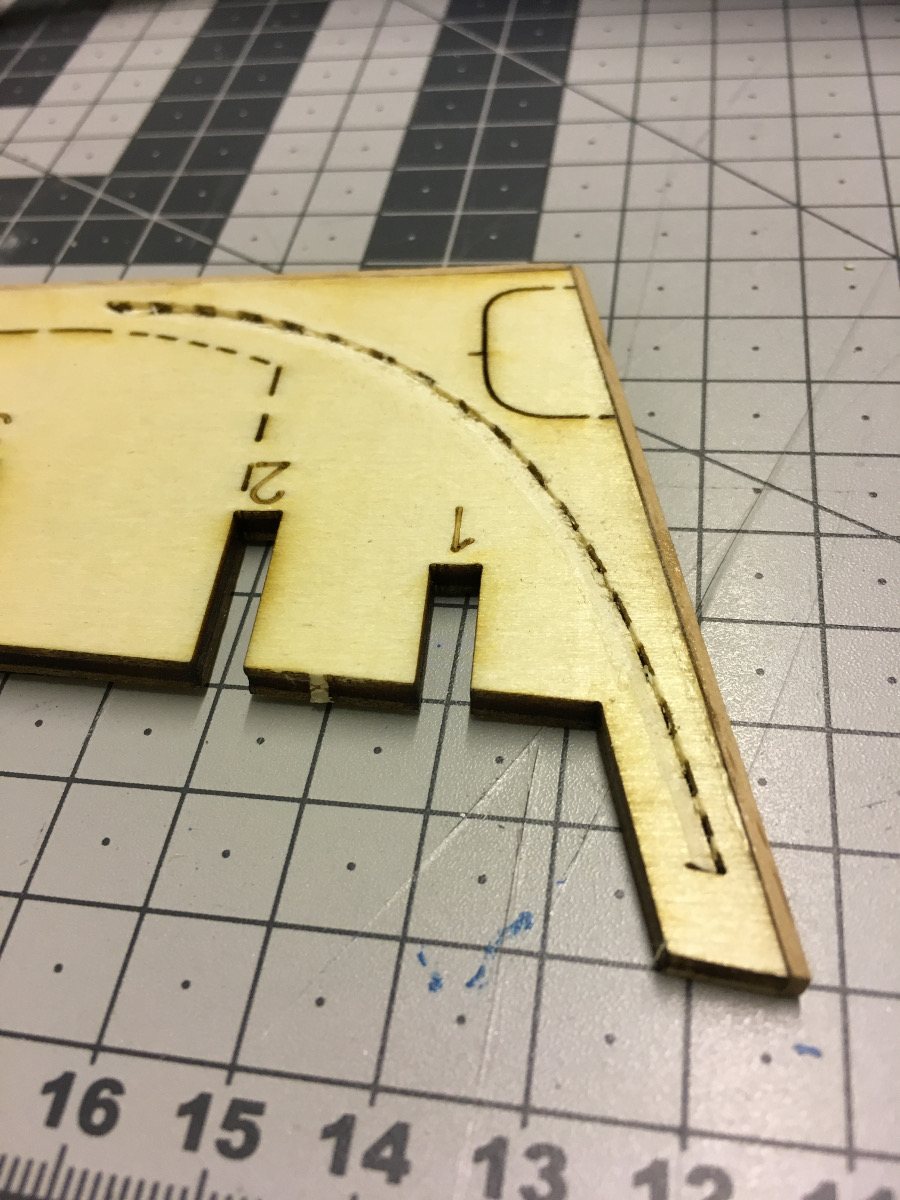
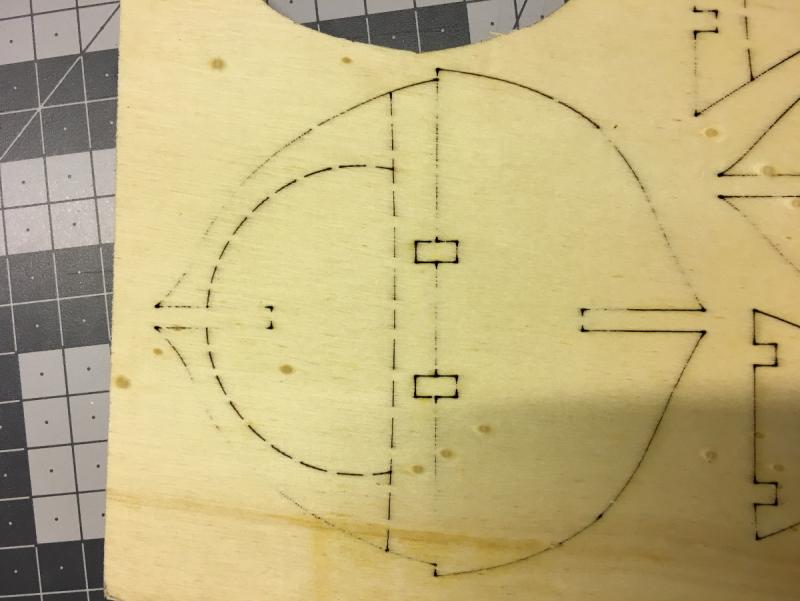
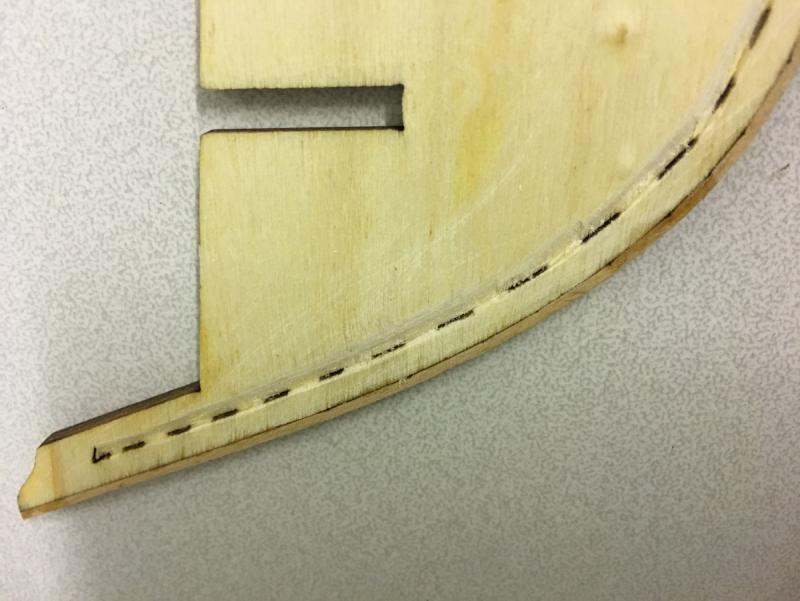
Next, rabbet recess cuts on front and beck. They should be 1mm deep with 45 degress opening. This is really nice because the lines were already marked and pre-cut:


- 62 replies
-
- 2
-
-
- bosphorus
- tersane model
- (and 1 more)