


LMDAVE29
-
Posts
97 -
Joined
-
Last visited
Content Type
Profiles
Forums
Gallery
Events
Posts posted by LMDAVE29
-
-
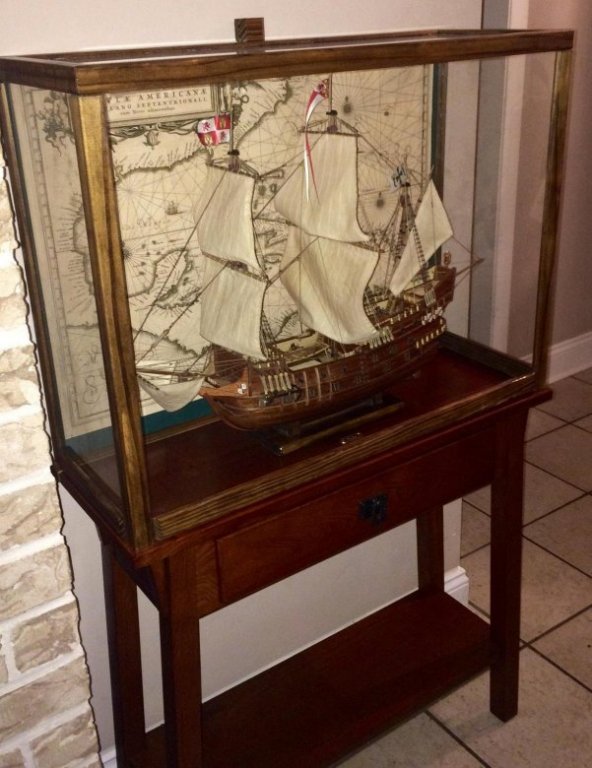
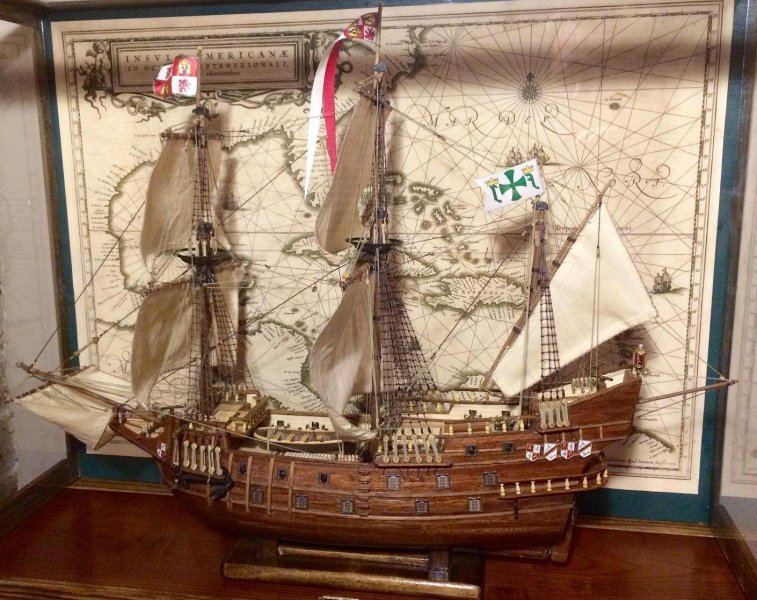
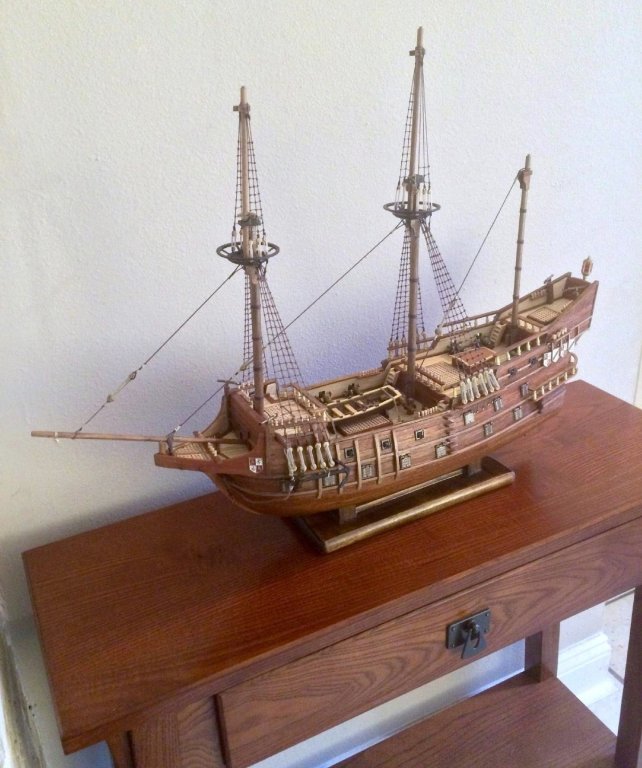
OK, finalized and published the final pics in the case. Here's a couple, the rest are in the complete ship gallery. Thanks for following this build.
- russ, stangone50, Ace47 and 2 others
-
 5
5
-
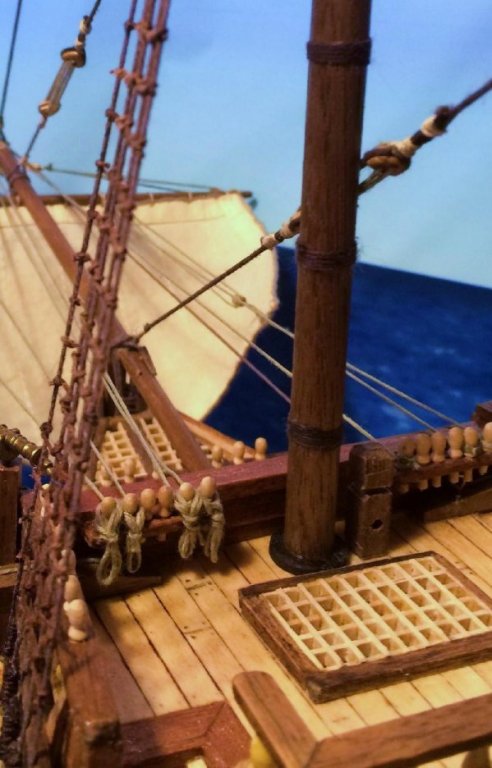
A whole rack of rope coils for the main mast...still more to go. The final sail is in place, now final rigging, and remaining rope coils.

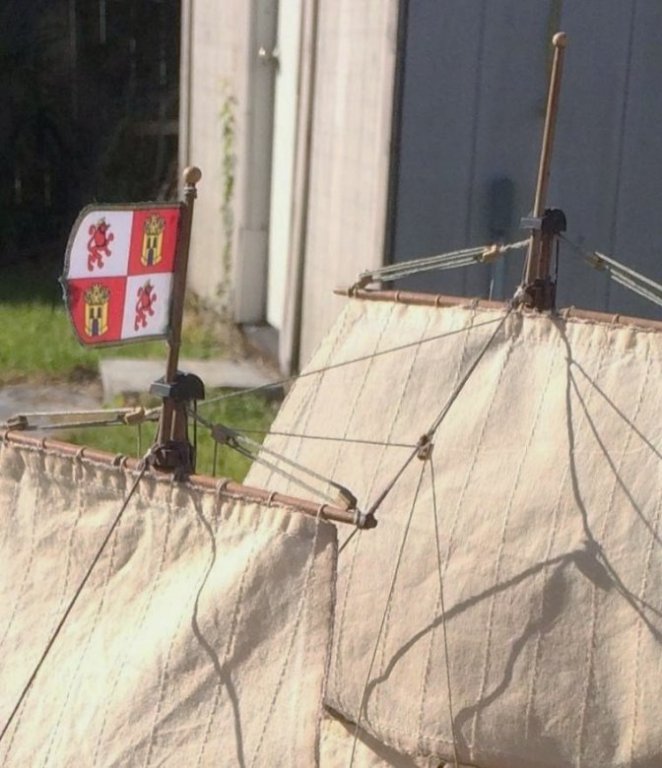
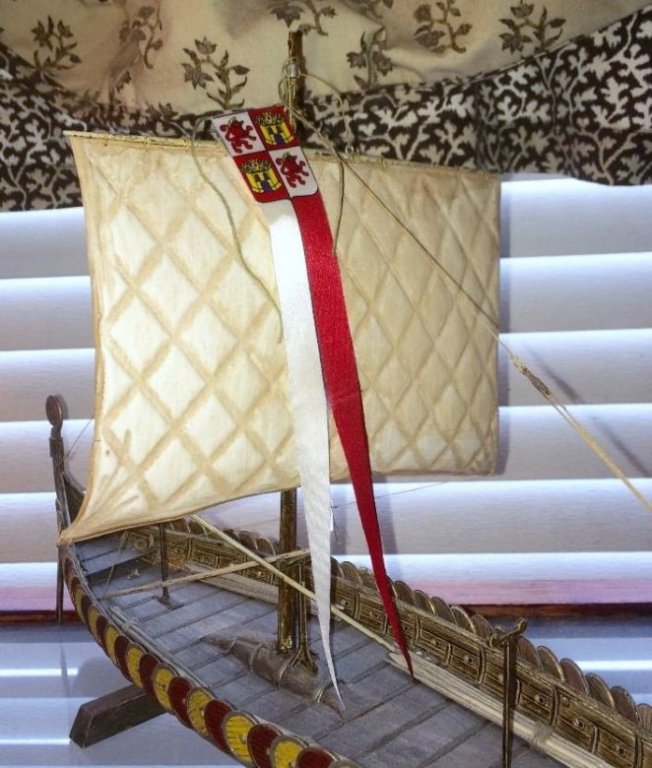
One part of the kit I was unsure about was the flags, but after looking at them and testing them in place. I do like the color and trim it adds to the overall. And the final picture of the pennant is hanging on another viking model, but that will go on the main mast when ready.
- GrandpaPhil and dgbot
-
2
-
Well, I like to be as authentic as possible, but I was considering leaving the bowlines (the pulls) off. I have small brass wire inserted in the bottom of the sails to help with the curvature some, and I'm satisfied with the hang of them now, also the fact that I have already tied and snugged the running rigging for the 3 sails, I would have to redo it all because it would add too much slack having the bowlines pull it forward now. But everything else will be added.
-
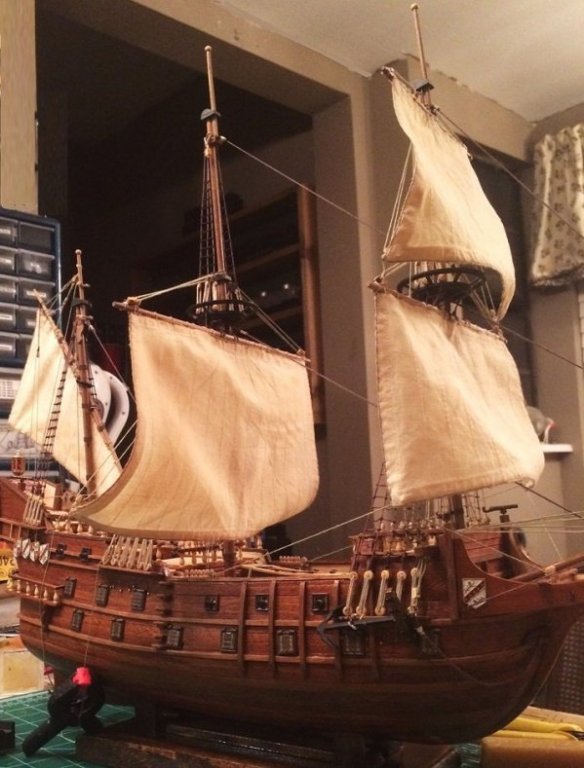
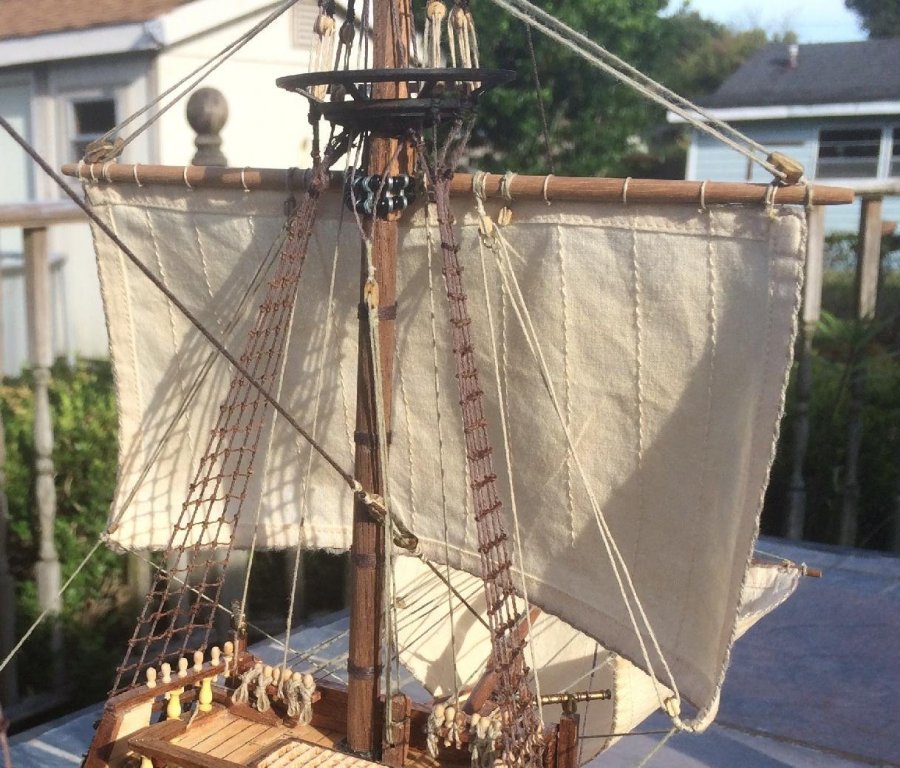
This will probably be some of my final updates, but wanted opinions on the mainsail. The kit depicts the main sail half-furled, and seen a couple of other completed models try it, I just don't see it as that natural looking with these particular sails, so I left the main fully down. I suppose some furl it to not left it hide deck details, but I feel you can see everything fine depending of your angle.
- JPAM, Captain Poison, GrantGoodale and 3 others
-
6
-
Thanks guys, can't wait to see the ship in there.
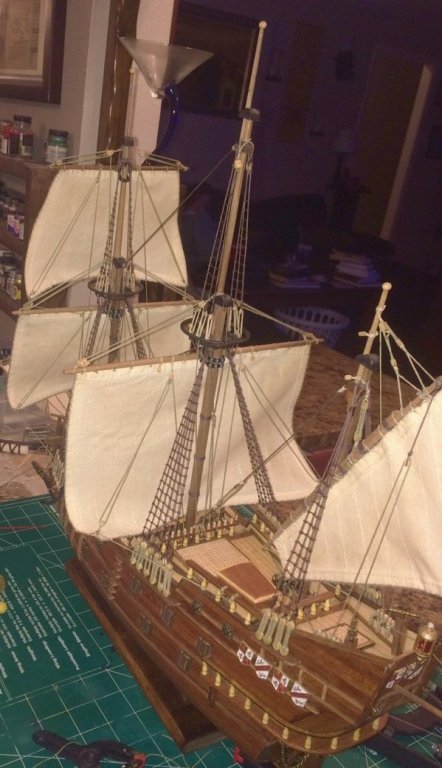
Continuing on with the sails. The upper fore sail is installed and rigging mostly complete. Rope coils are starting to get crowded and there's more to add in.
-
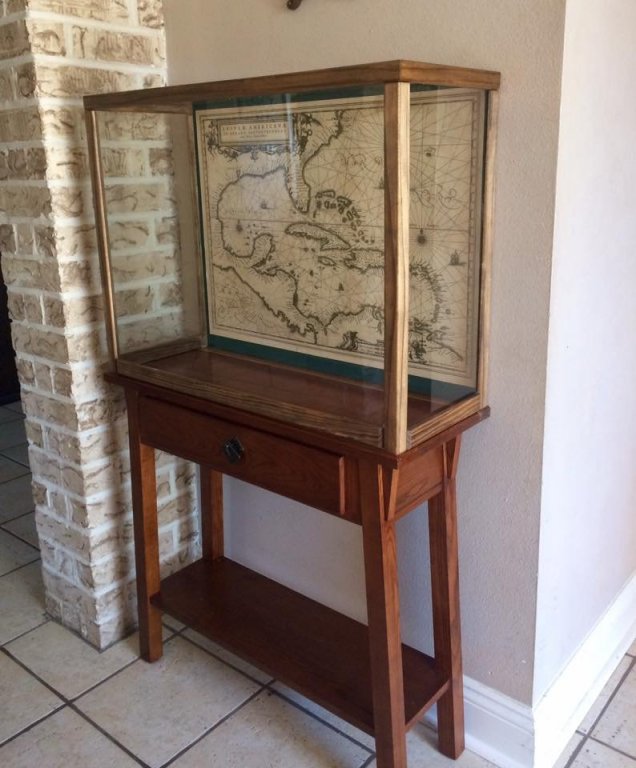
Decided to finished up my display case for this one since I can see the end of the build coming.
- russ, Captain Poison and Altduck
-
3
-
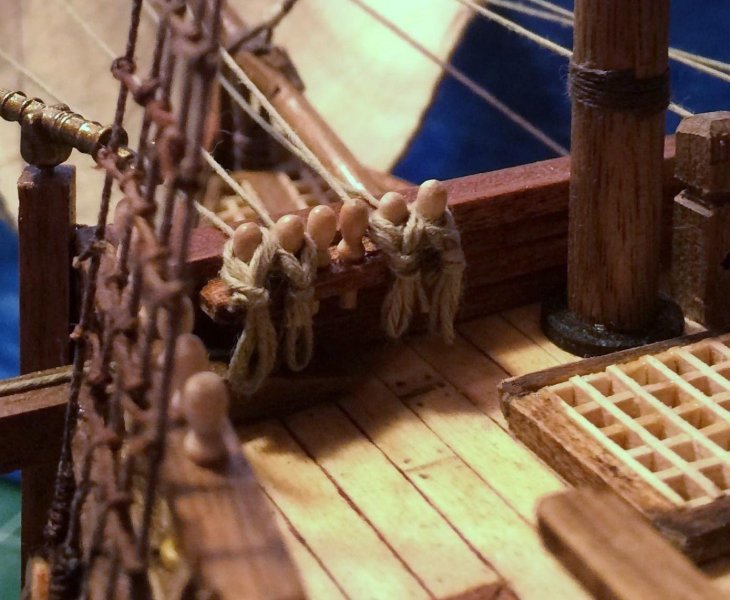
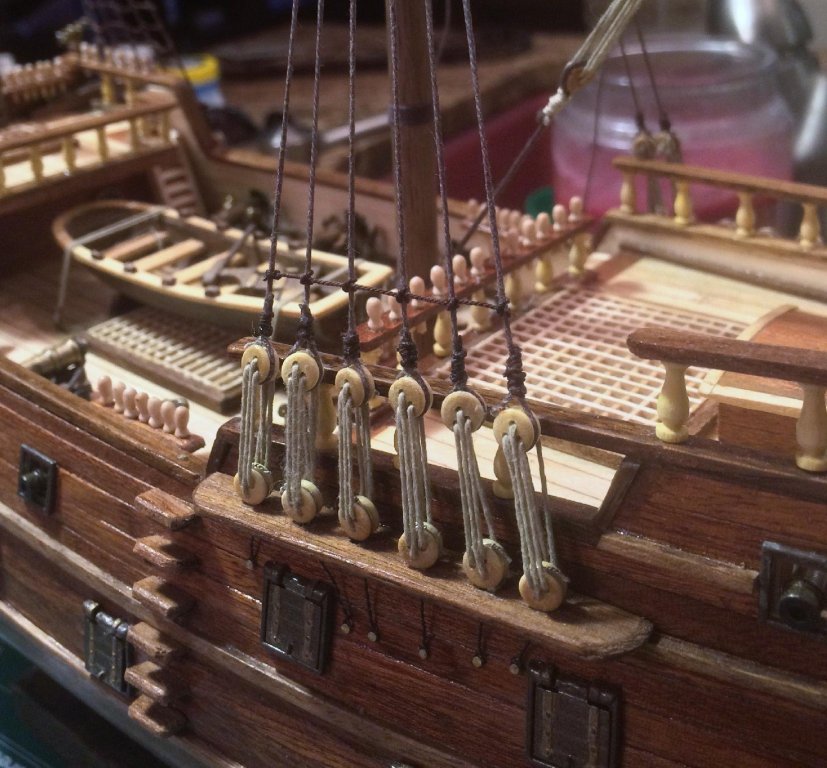
Thanks! Yeah rope coils are some of my favorite parts on the deck. You can always tell in your own picture where they need to be adjusted to have tbe natural sag look.
-
Thanks Paul. Yeah, sail making is skill that I had to learn on my first build. I feel spoiled having pre-made sails with this kit, but they aren't perfect. Mainly the hems of the sails too wide for the scale in my opinion. I actually invested in a sewing machine for my first build (MS Bluenose). Learn how to use it, and what attachment for hems, etc...It was an interesting experience but tedious.
-
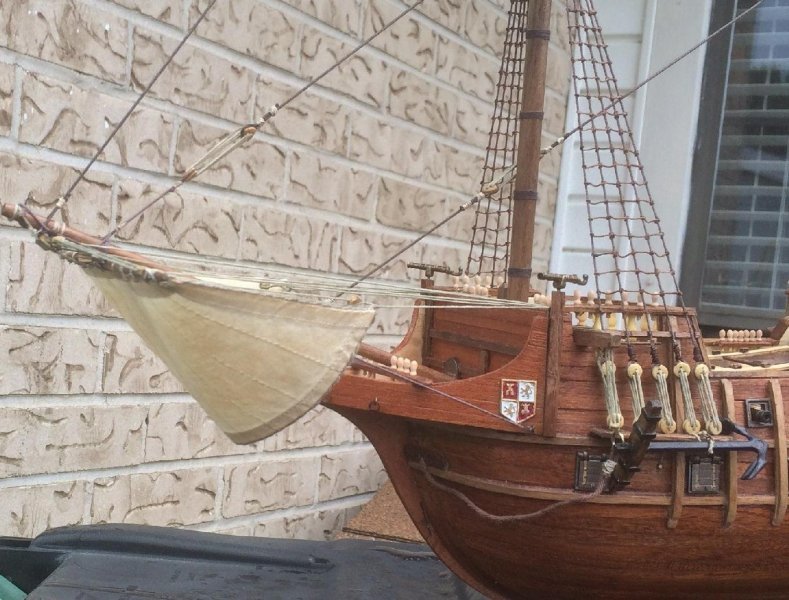
Added the foresail on this weekend. When trying to snug up all the rigging I didn't like the way the sail was being pulled, so I inserted some straight thin brass wire into the bottom hem, that allowed me to form the shape and pull the rigging tight without deforming the sail too much.
- Altduck, Karleop, GrandpaPhil and 2 others
-
5
-
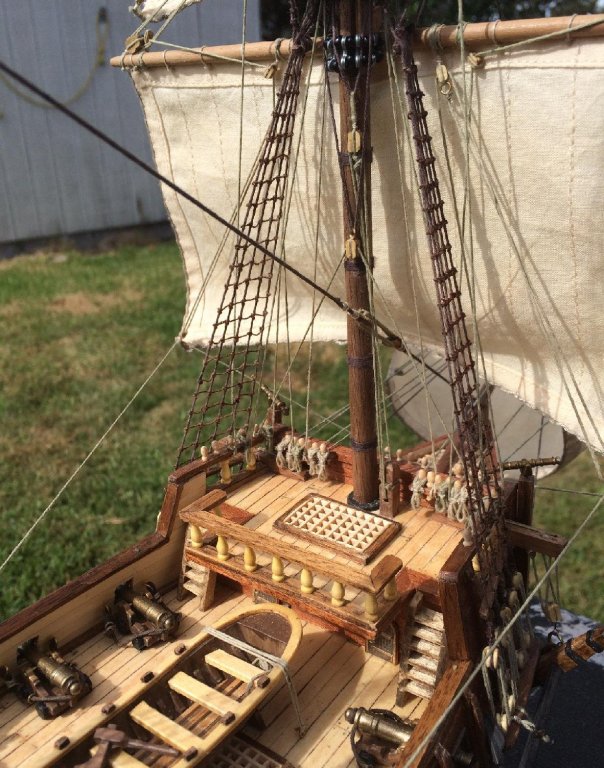
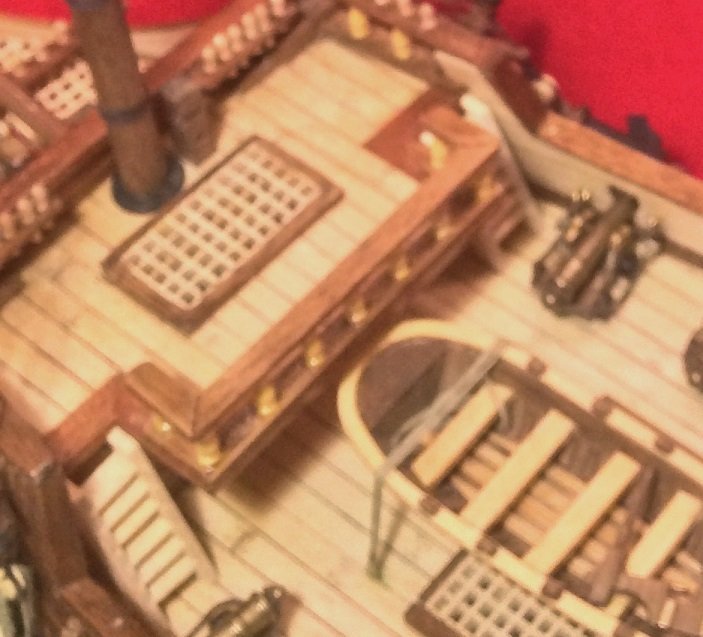
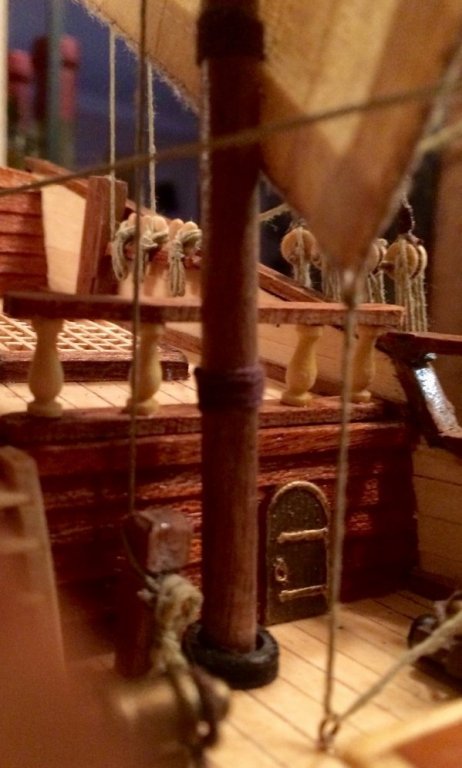
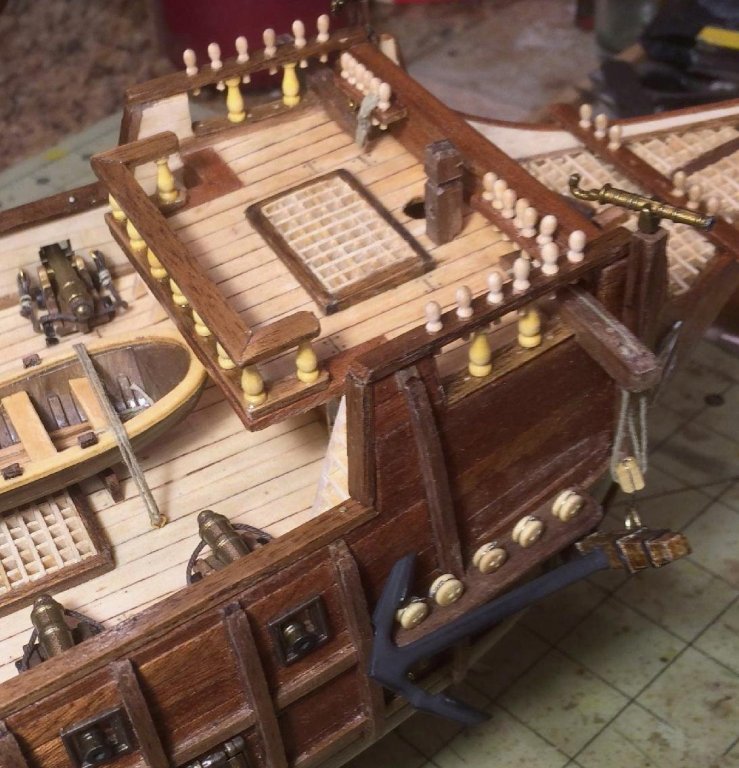
One little pet peeve I fixed was the deck ladders. The suggested pictures of the model all show the ladders being natural unfinished balsa wood color. I never did like that even though I went with it. I took them off and stained them, and like it much better for this vintage galleon.
this is how they were before
- BLACK VIKING, russ, Karleop and 1 other
-
4
-
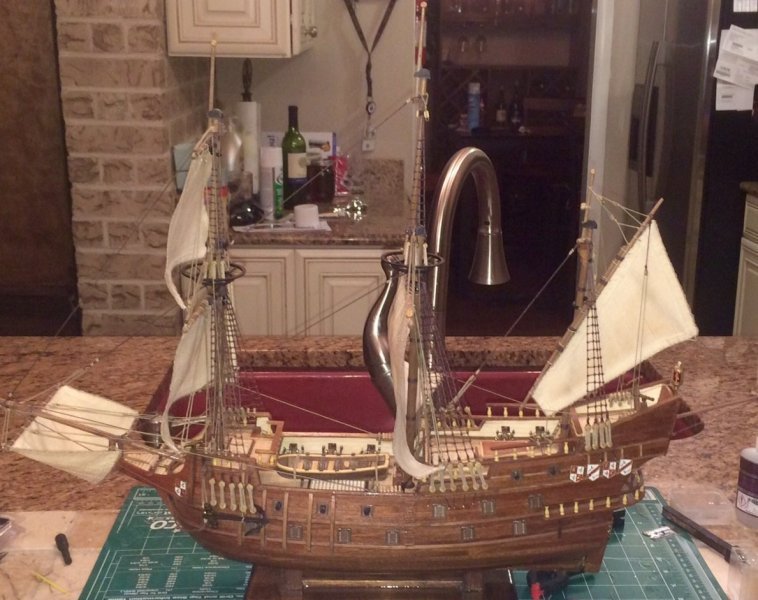
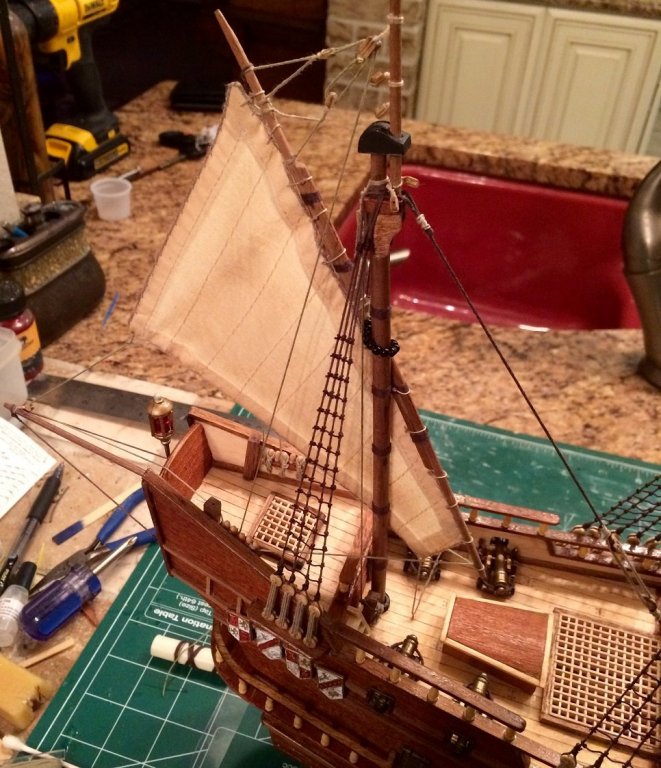
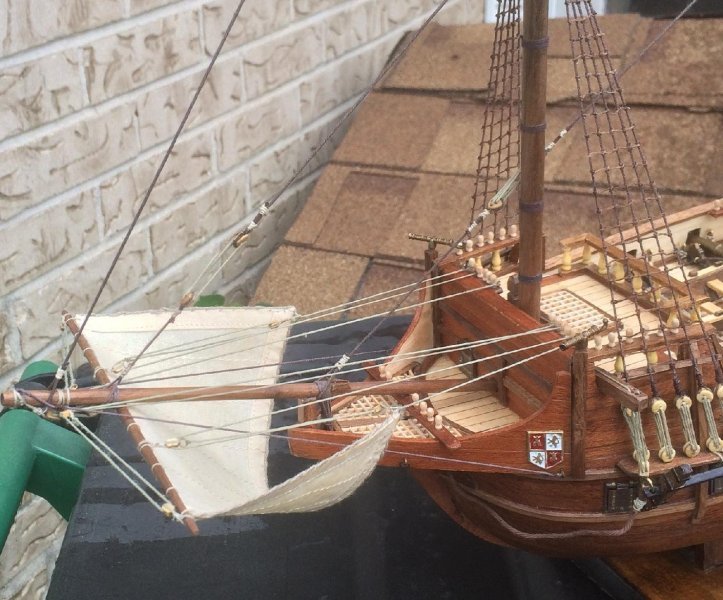
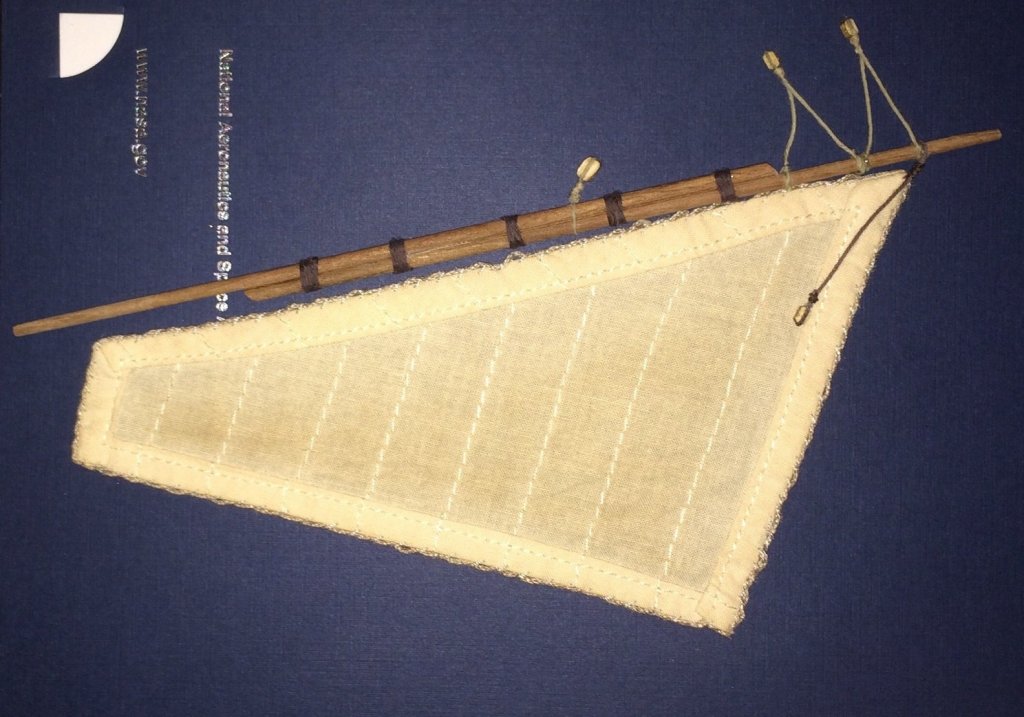
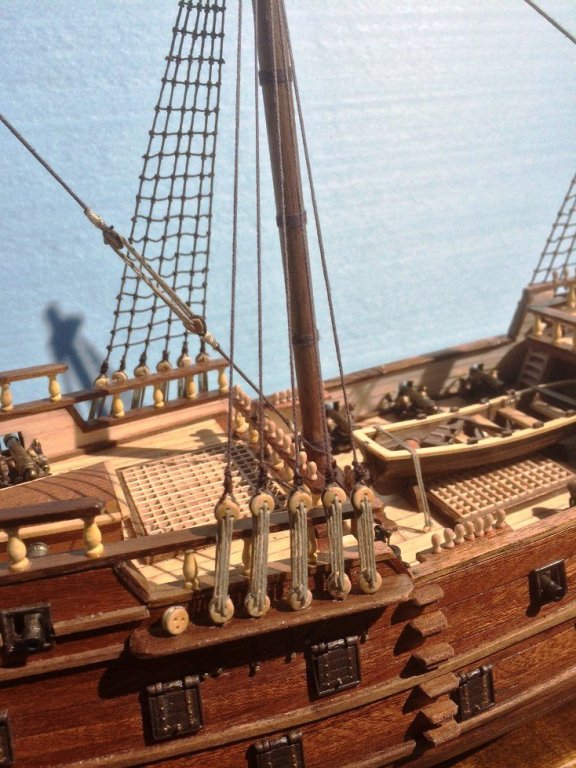
Attached the lateen sail, snugged up the rigging, and added some more rope coils
-
-
-
Its been a while since I've made an update. I've actually attached the first sail. The rigging was some mishaps. Some of my stropping wasn't as secure as I thought and some blocks popped out during adding tension. So, that makes it hard to make corrections on the spot, But, I was able to get it back enough to where it wasn't a disaster. Still need to make rope coils. Side note: I hate that anchor rope, any ideas how to give it a natural heavy sag?

- Captain Poison and russ
-
2
-
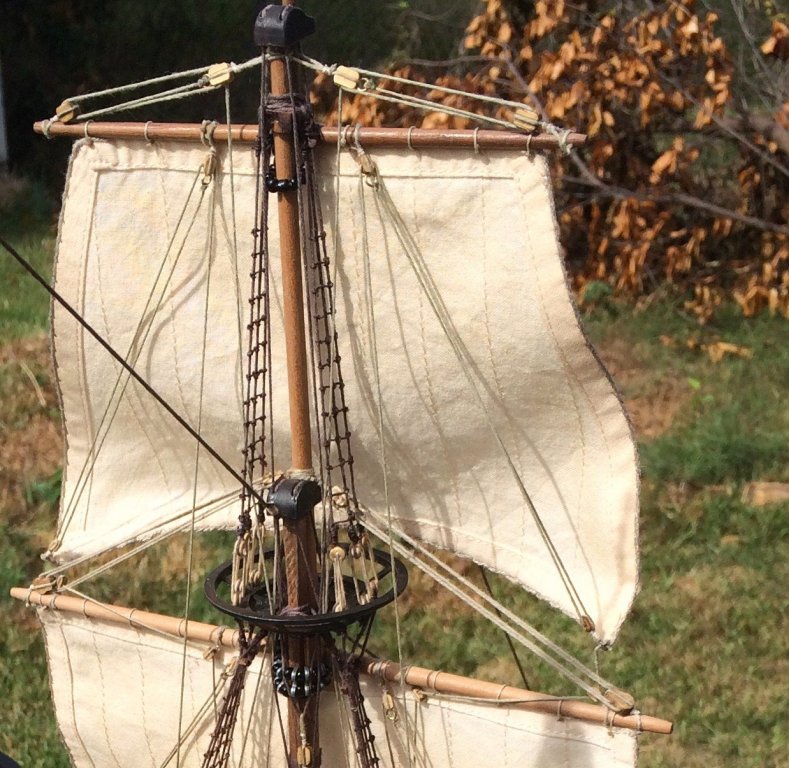
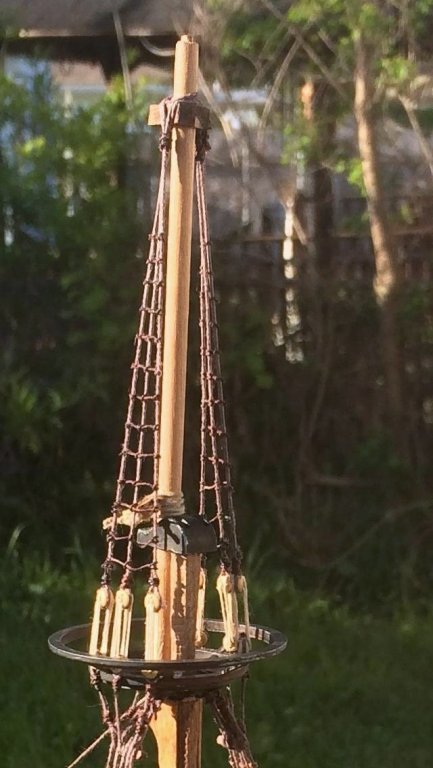
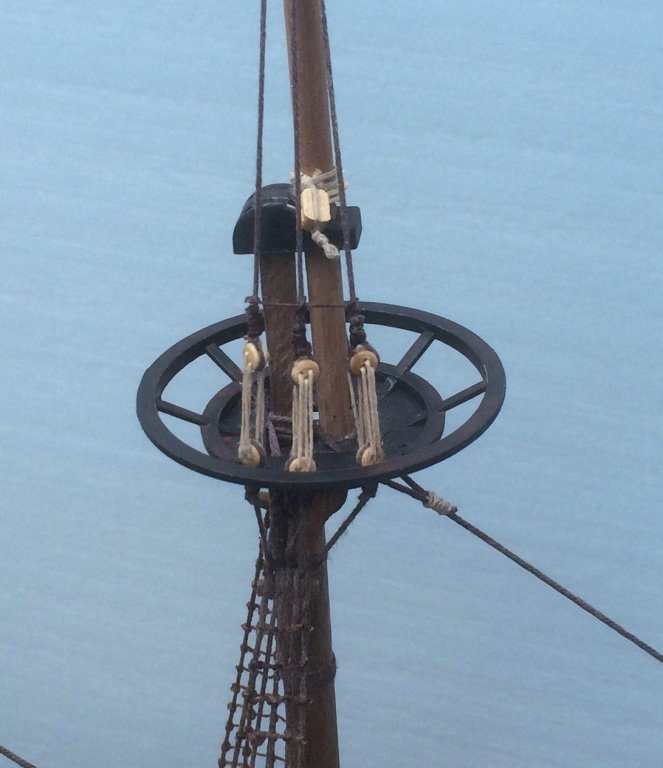
Yeah, I agree on the ratlines. I didn't like the suggested brown shrouds, with greenish rungs for the ratlines. So, I ordered some brown thread, but it didn't match the shrouds and the gauge was a little bigger than real life scale. The knots get pretty big towards the top when it all comes together. I still like the results, but in 1:1 scale the ratlines are much thinner that the shrouds.
-
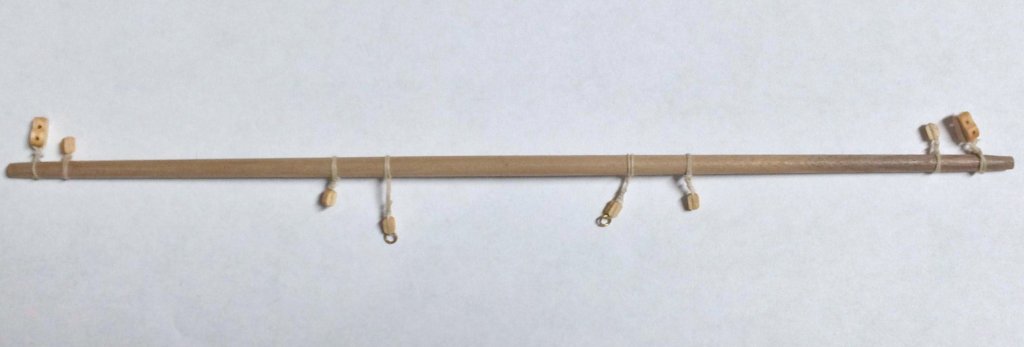
Jumping to the yard arms, starting to strop the blocks to the main yard. I want the main sail to be half furled with a good sag look. I'm not sure how good it'll look with these pre-made sails that came with the kit, but as I get to that I'll see how it comes out.
-
You build is looking great. I'll definitely follow along as I continue with mine. Yeah, the bowsprit grating was a tricky part of the build, and a part of mine that needs some correction but I just lived with it. Older kits had all of the gratings pre-made in diecast and they had to be painted to look like wood, but more rewarding building them.
-
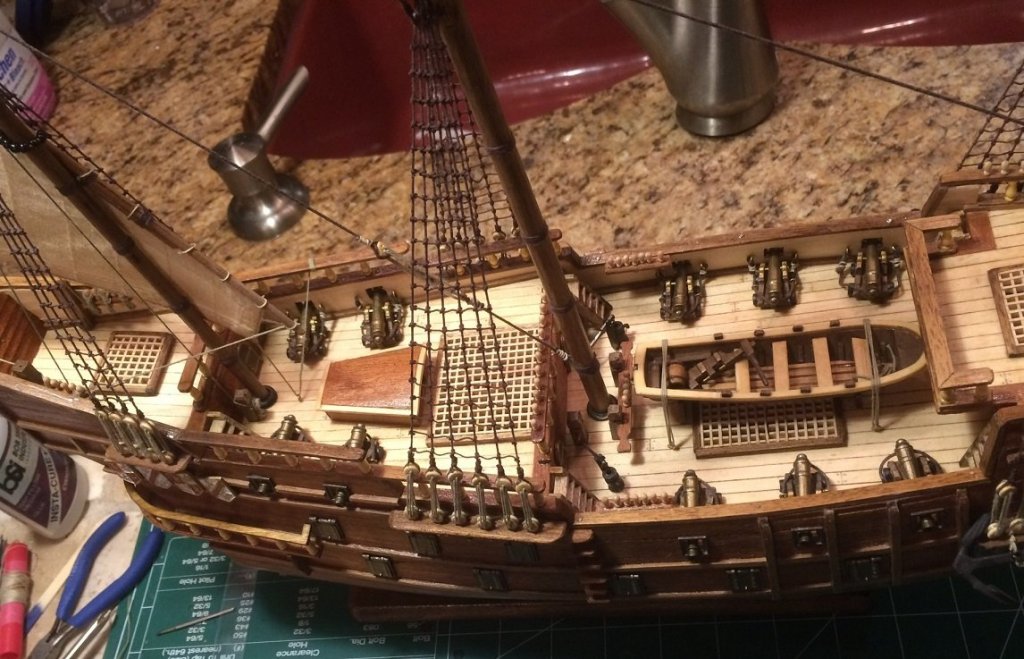
Thanks. Yeah, with the die cast pieces that are meant to look like wood I've been painting them in two steps. First, a flat tan color that's a light wood tone. And after that I paint a wood stain over it with a small artist brush. Even though it's not the type of surface stain wants to see it will dry on it. But, you need to be careful afterwards. I've seen others create wood grain over plastic/die cast that looks great. They use the method of a basecoat like I do, Then a darker brown wash, and a then a black dry brush brush for wood grain. I just could never get great results doing that. But even with the stain method I used, sometimes it works and sometimes it doesn't. I believe for the jolly boat I used the steps with undercoat and brown paint washed over it, but for the anchor stock, I used the stain method. You can see it good in this picture.
- Bobstrake, Captain Poison, slow2cool and 1 other
-
4
-
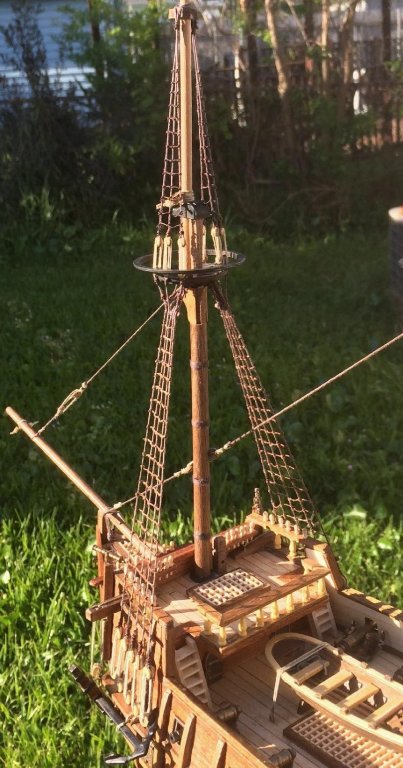
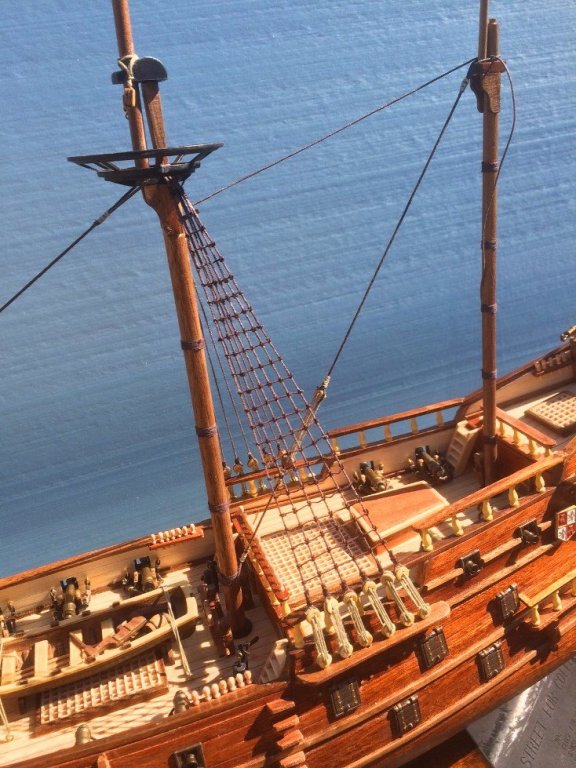
Its been a while since I gave an update on this. It's been a busy summer, and still tying clove hitches for the ratlines. I wanted to post this update picture to the log that I also posted in the general forum about displaying this ship. Some interesting ideas I got in that thread, and I'm working on for that. But, here's an update of the ratlines. Almost finished the main mast, and one more set to go after that.
- slow2cool, cristikc, theoracle09 and 4 others
-
7
-
-
-
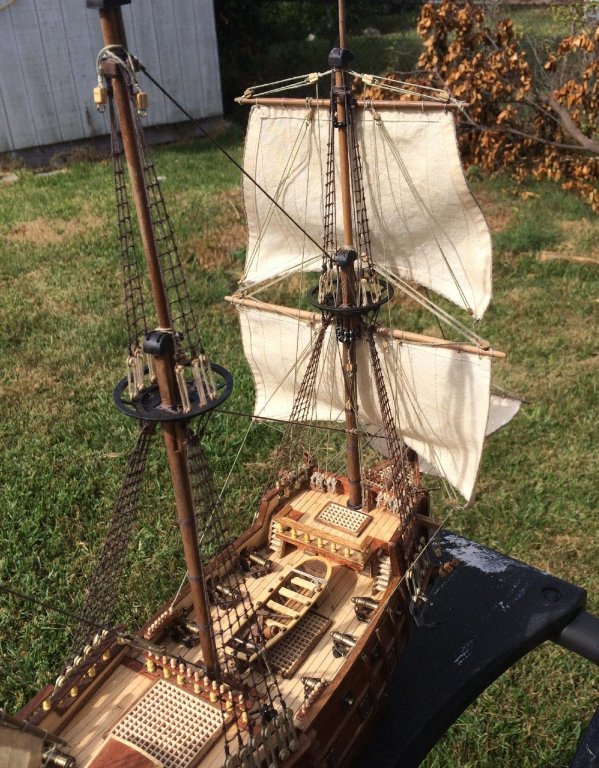
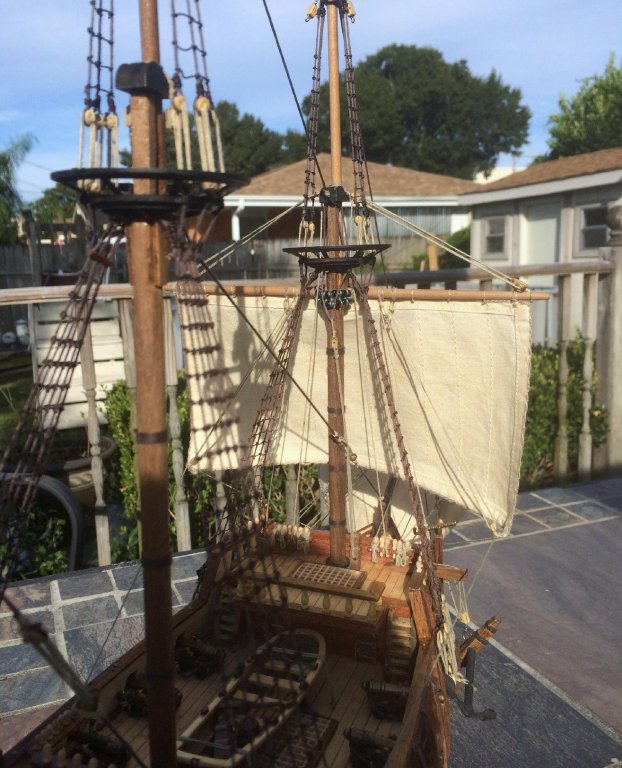
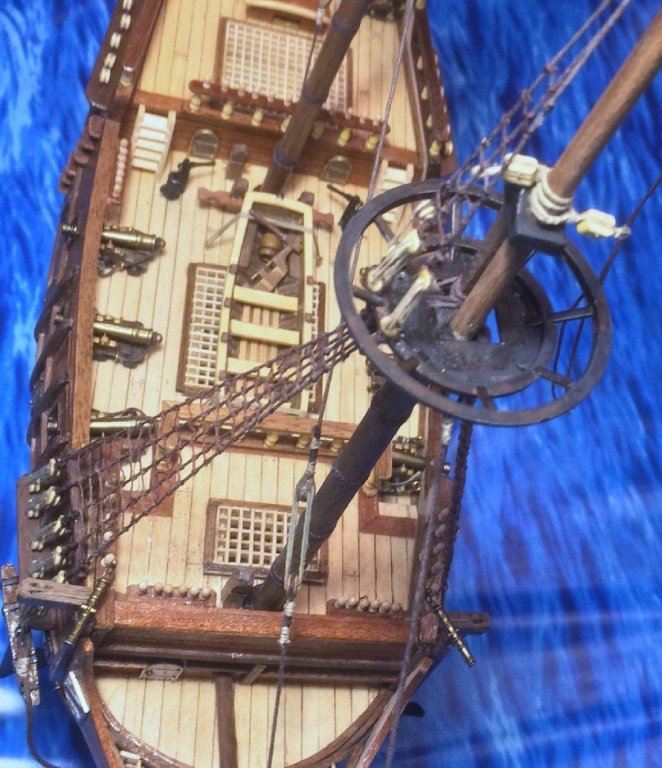
Update have been slow. Some outside pics. Finished the foremast shrouds and ratlines
- slow2cool, russ, Captain Poison and 2 others
-
5
-
-
San Francisco II by LMDAVE29 - FINISHED - Artesania Latina - Scale 1:90
in - Kit build logs for subjects built from 1501 - 1750
Posted
Thanks Russ!