-
Posts
7,760 -
Joined
-
Last visited
About CDW

- Birthday 04/16/1954
Profile Information
-
Gender
Male
-
Location
Tampa, Florida
-
Interests
Scale model building of all types; American and world history; science; religious studies; flight; grandchildren; travel; antique car and motorcycle restoration
-
 Canute reacted to a post in a topic:
1955 Chevy Convertible Indy 500 pace Car by CDW - Revell - 1:25 Scale - PLASTIC
-
 king derelict reacted to a post in a topic:
1955 Chevy Convertible Indy 500 pace Car by CDW - Revell - 1:25 Scale - PLASTIC
-
 king derelict reacted to a post in a topic:
1955 Chevy Convertible Indy 500 pace Car by CDW - Revell - 1:25 Scale - PLASTIC
-
 Landlubber Mike reacted to a post in a topic:
1955 Chevy Convertible Indy 500 pace Car by CDW - Revell - 1:25 Scale - PLASTIC
-
 Landlubber Mike reacted to a post in a topic:
1955 Chevy Convertible Indy 500 pace Car by CDW - Revell - 1:25 Scale - PLASTIC
-
 Old Collingwood reacted to a post in a topic:
1955 Chevy Convertible Indy 500 pace Car by CDW - Revell - 1:25 Scale - PLASTIC
-
 Old Collingwood reacted to a post in a topic:
1955 Chevy Convertible Indy 500 pace Car by CDW - Revell - 1:25 Scale - PLASTIC
-
 Old Collingwood reacted to a post in a topic:
1960 Corvette by gsdpic - MFH - 1/12 - Multimedia
-
 gsdpic reacted to a post in a topic:
1955 Chevy Convertible Indy 500 pace Car by CDW - Revell - 1:25 Scale - PLASTIC
-
 Ryland Craze reacted to a post in a topic:
1955 Chevy Convertible Indy 500 pace Car by CDW - Revell - 1:25 Scale - PLASTIC
-
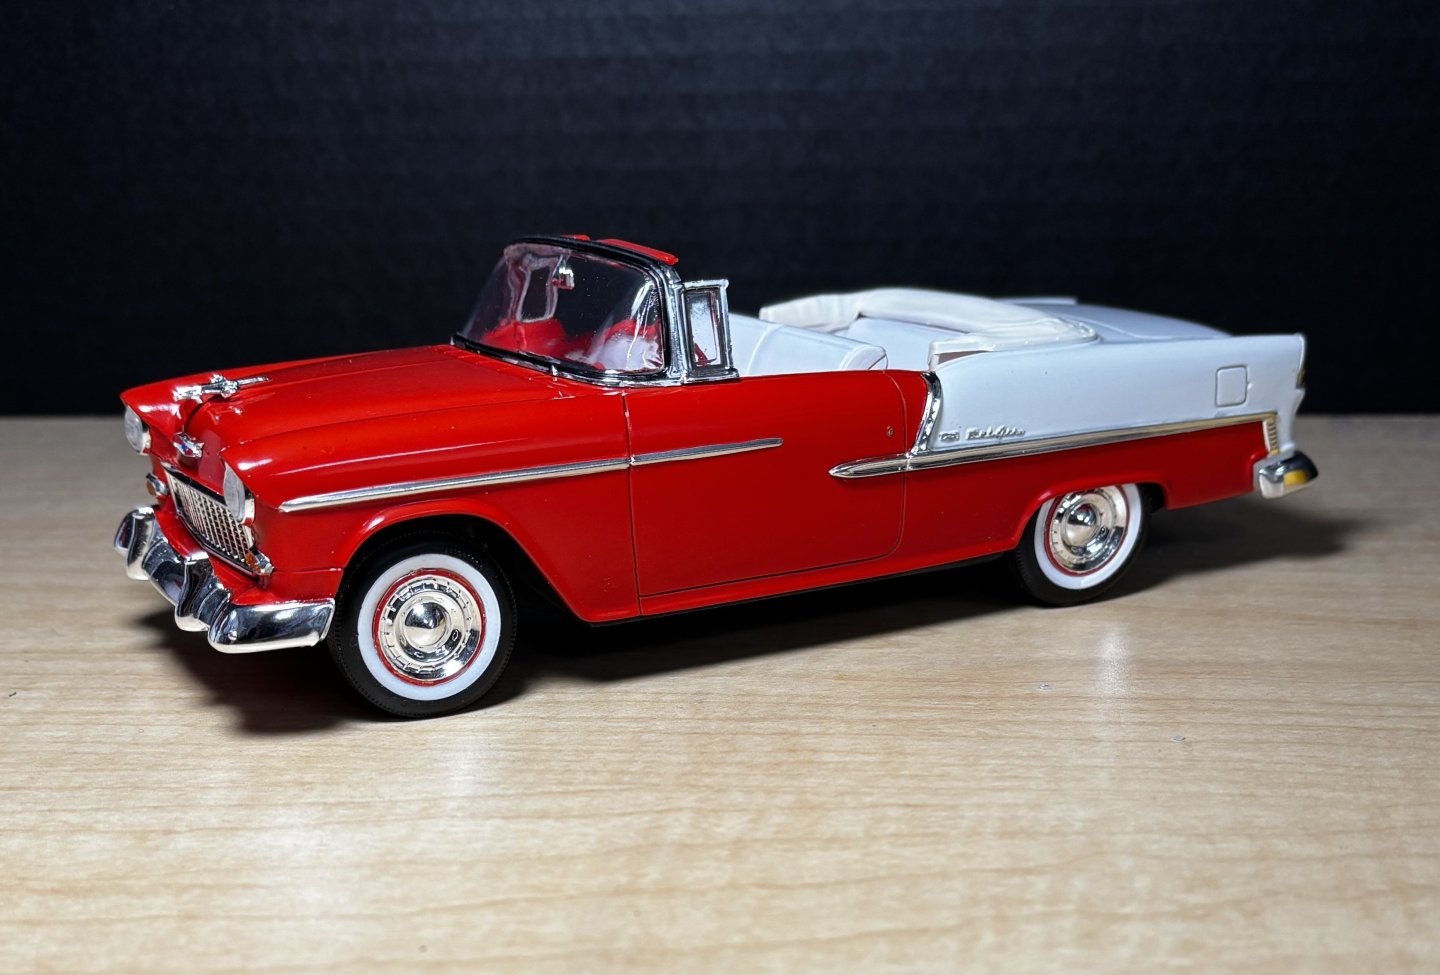
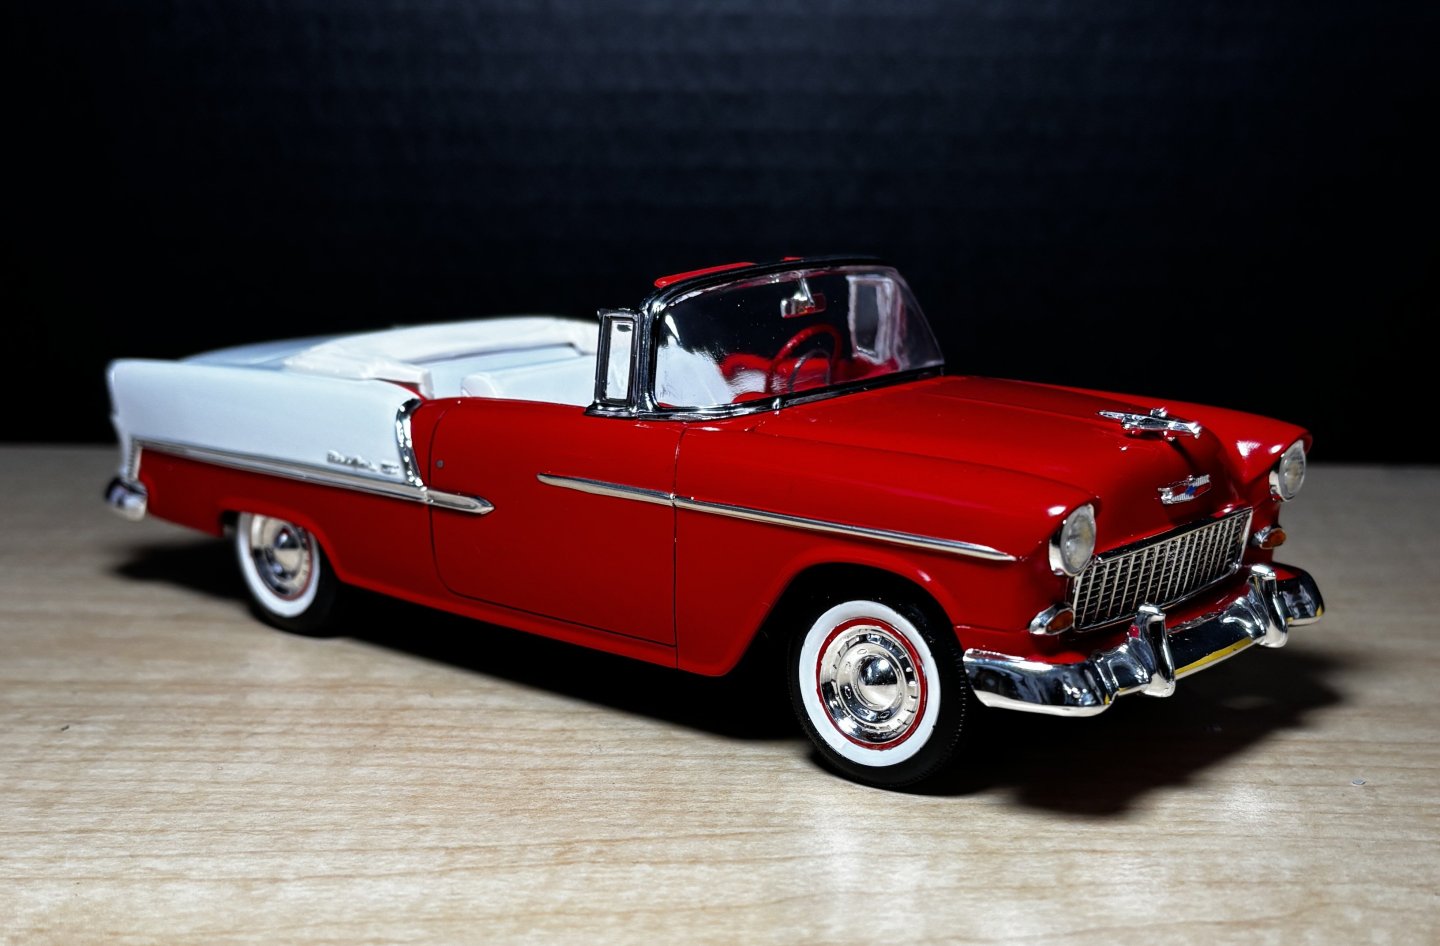
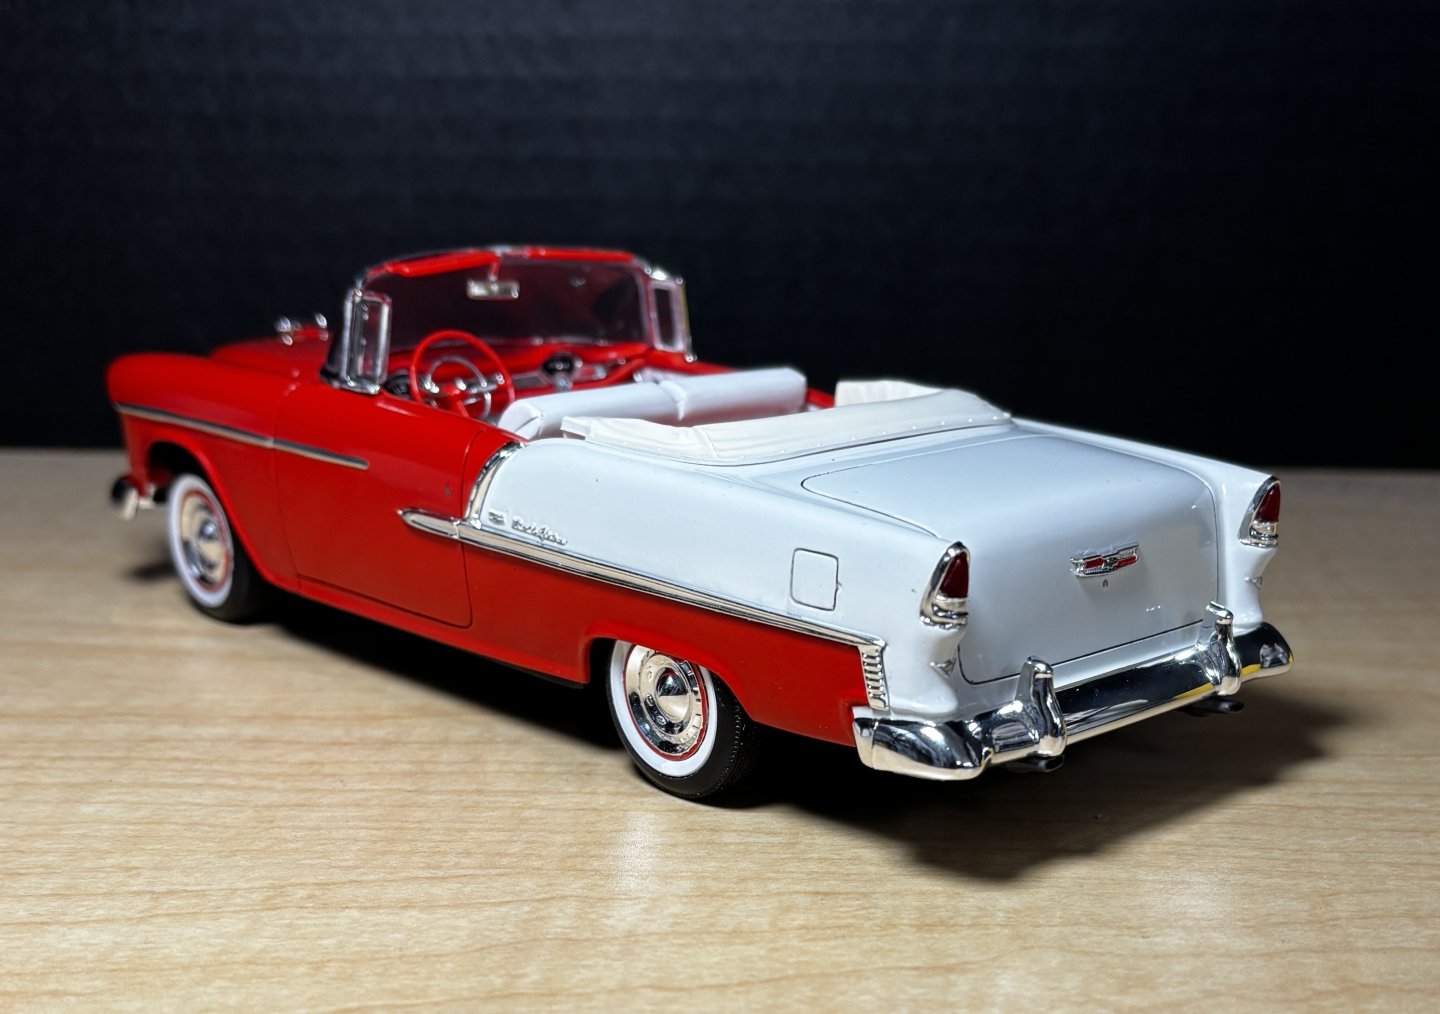
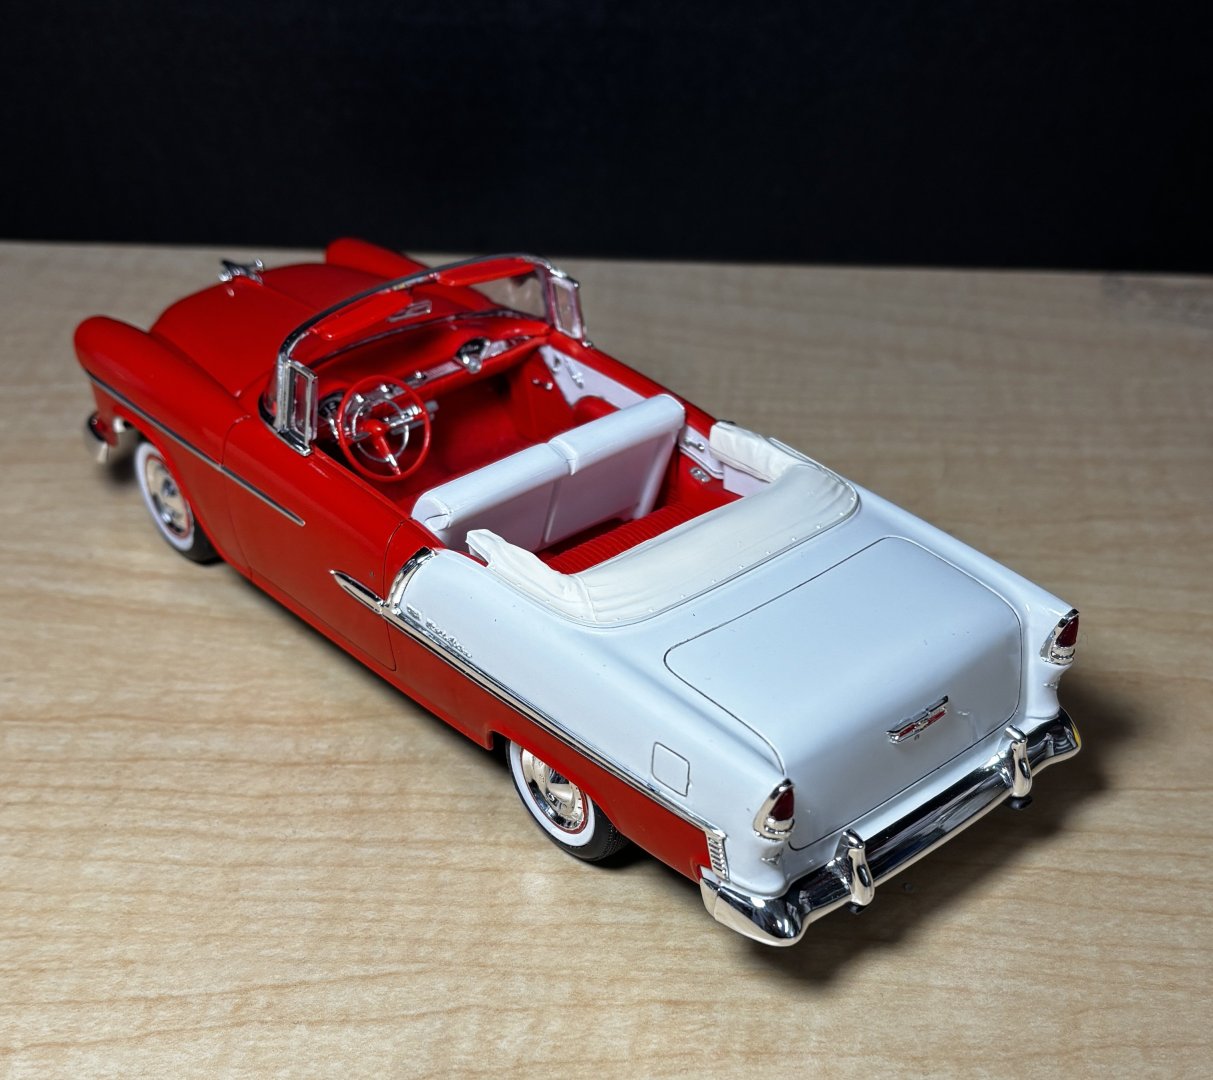
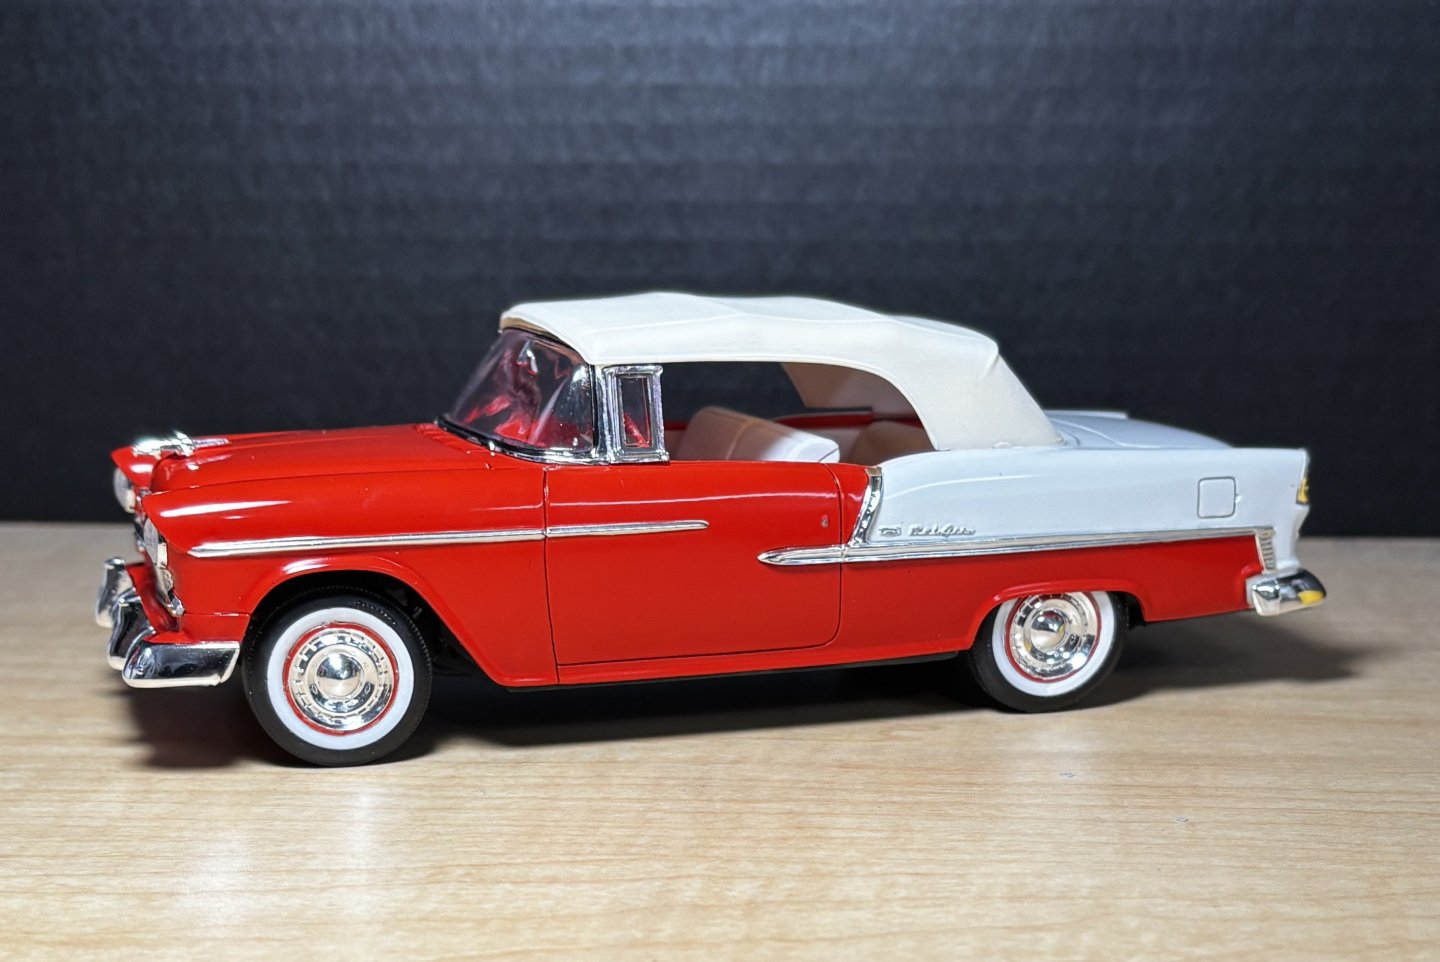
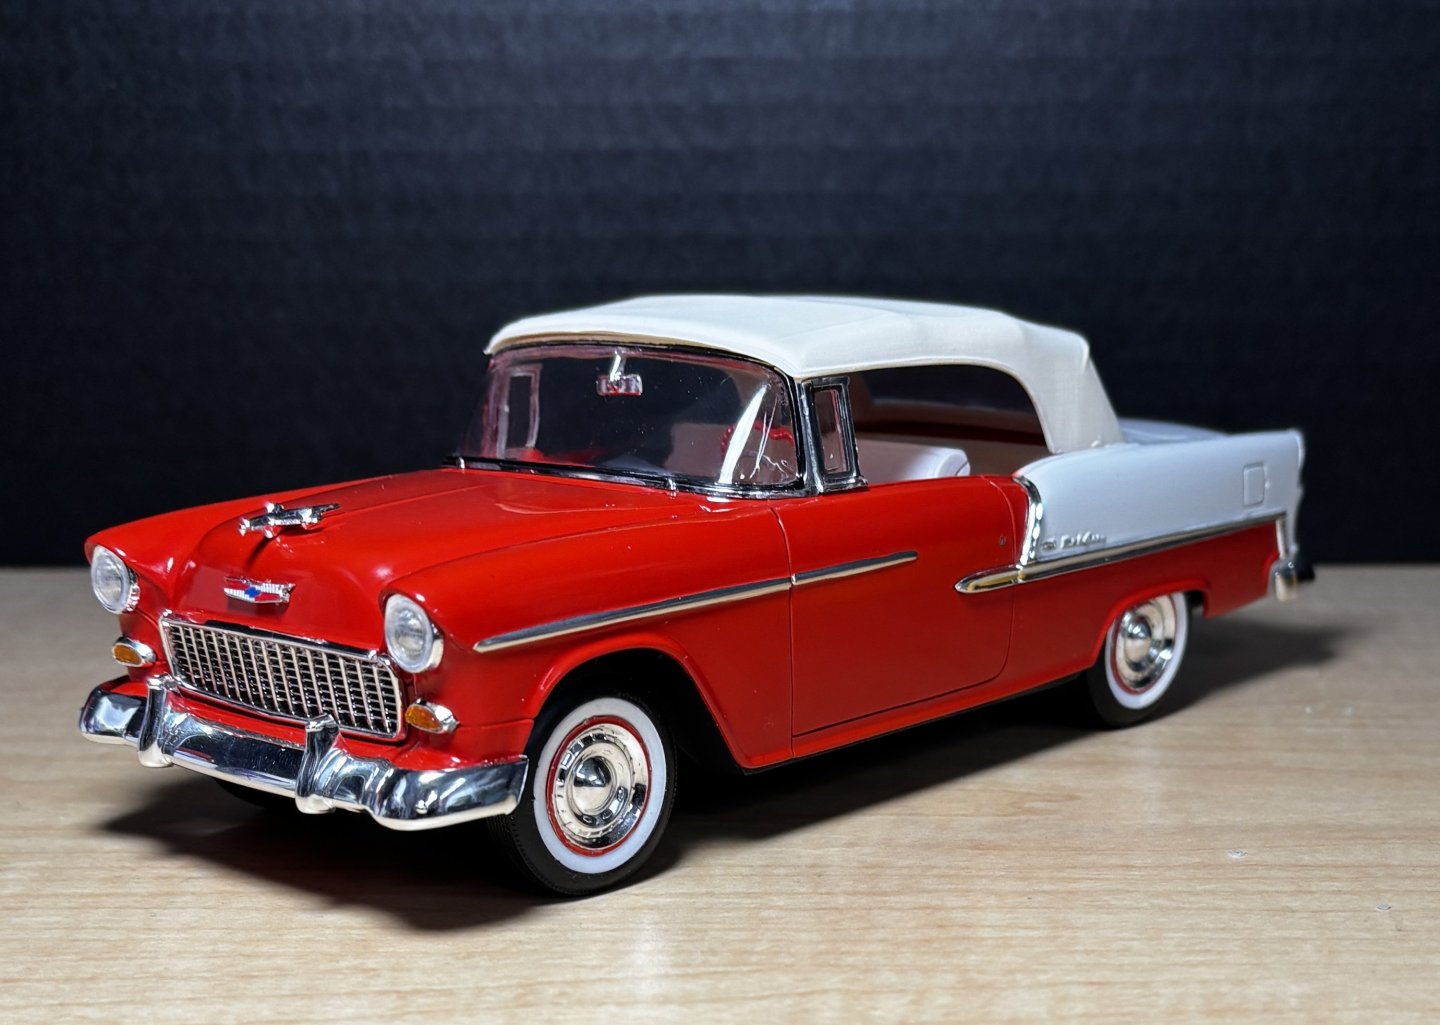
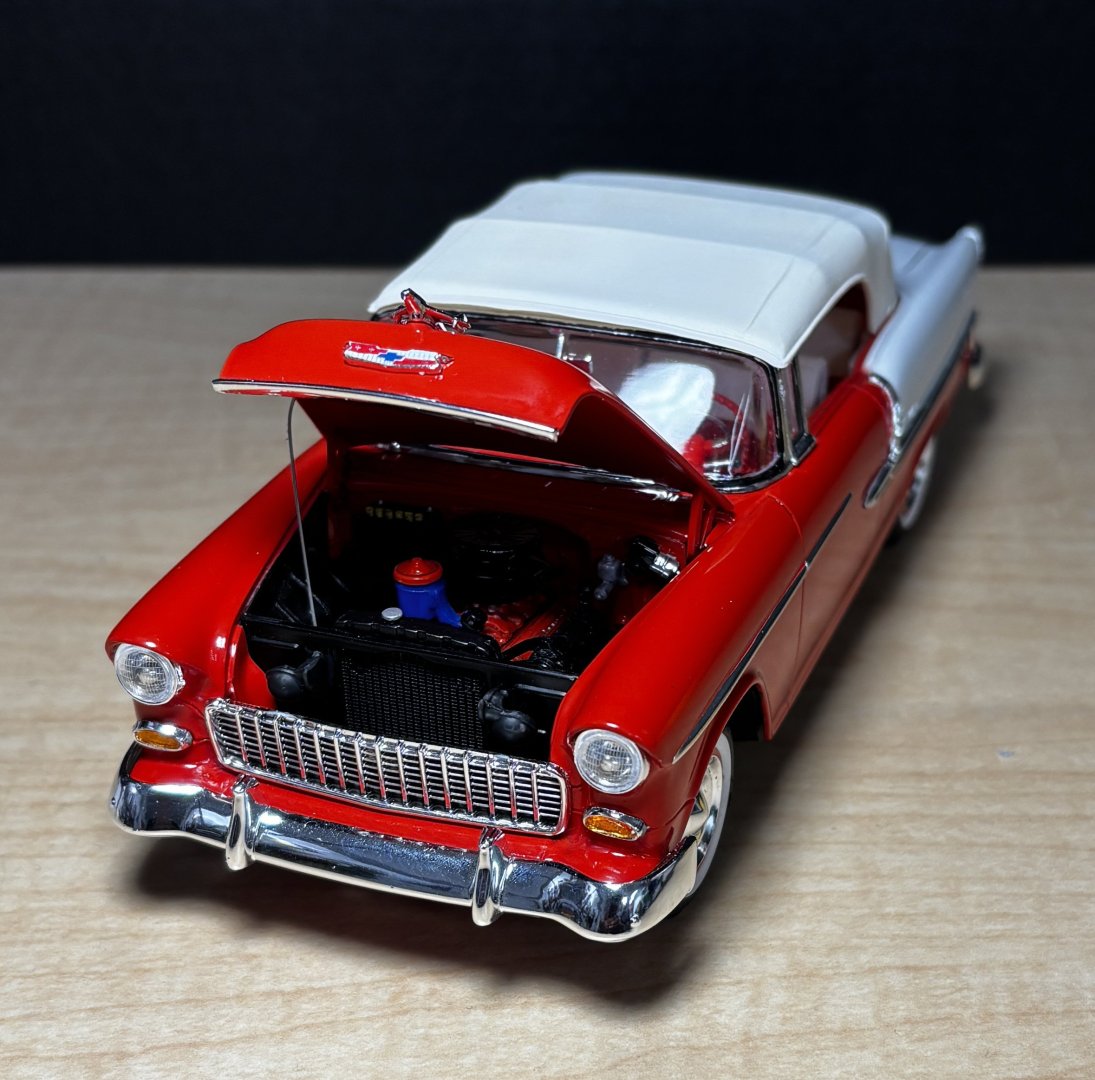
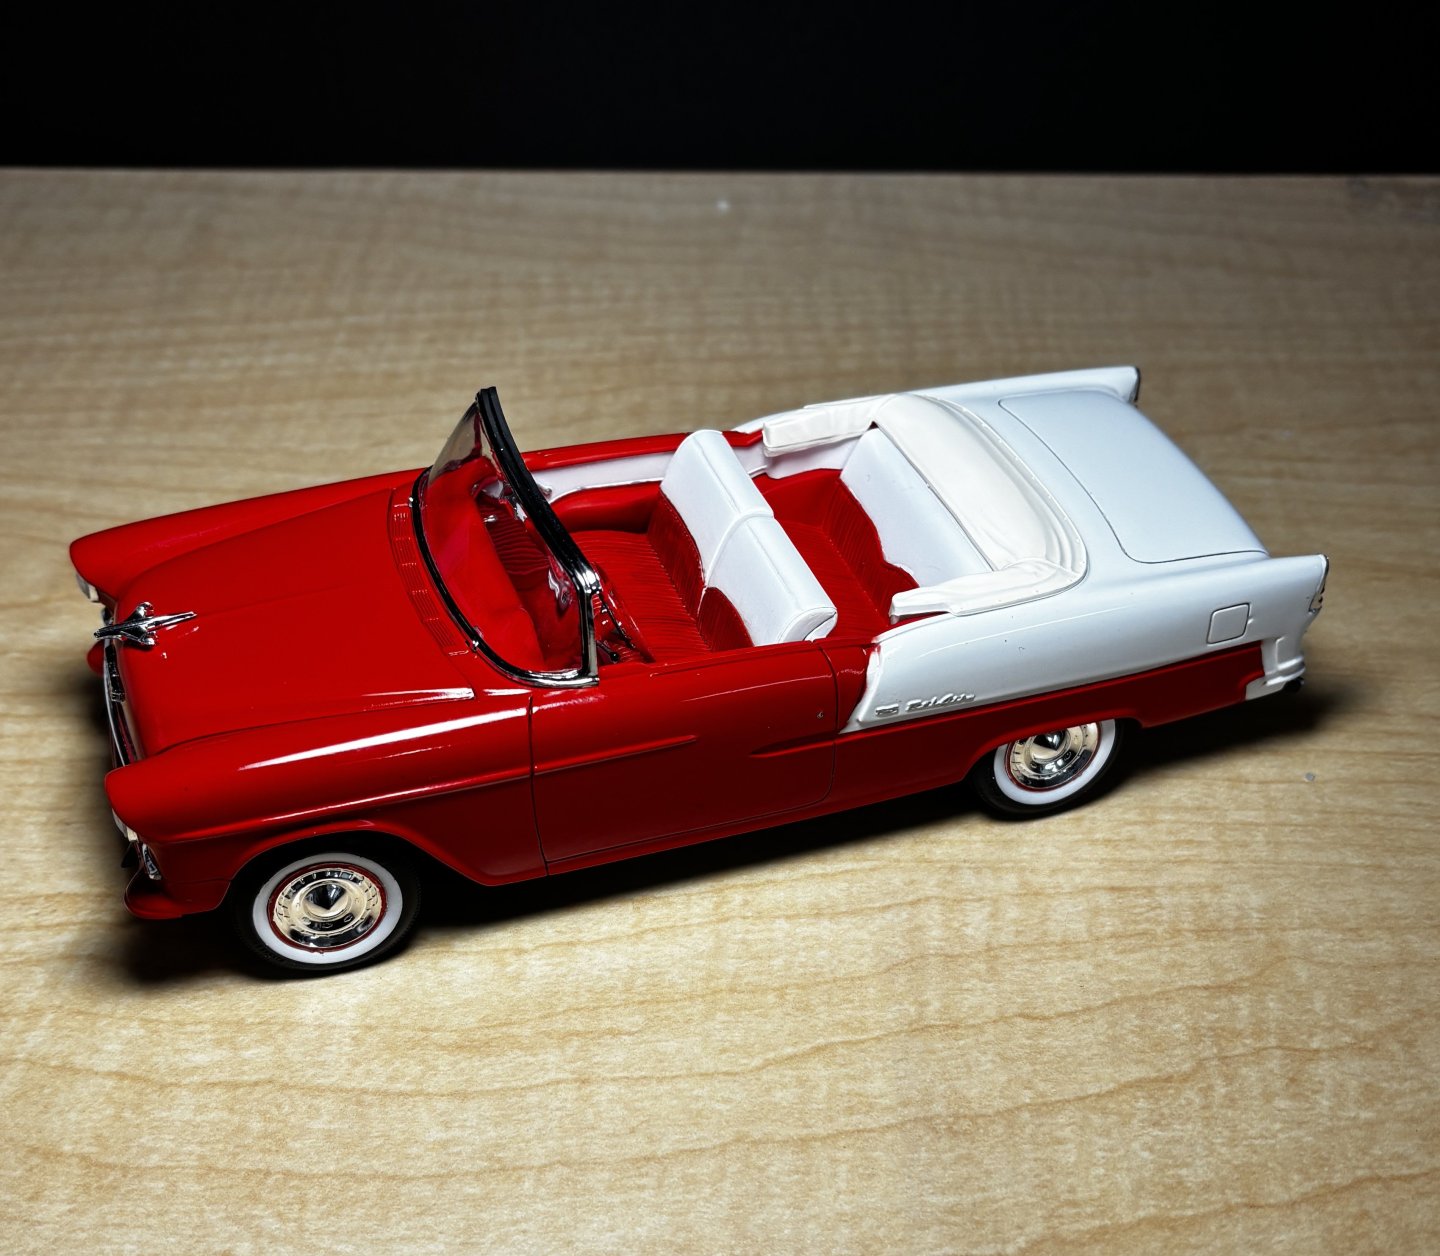
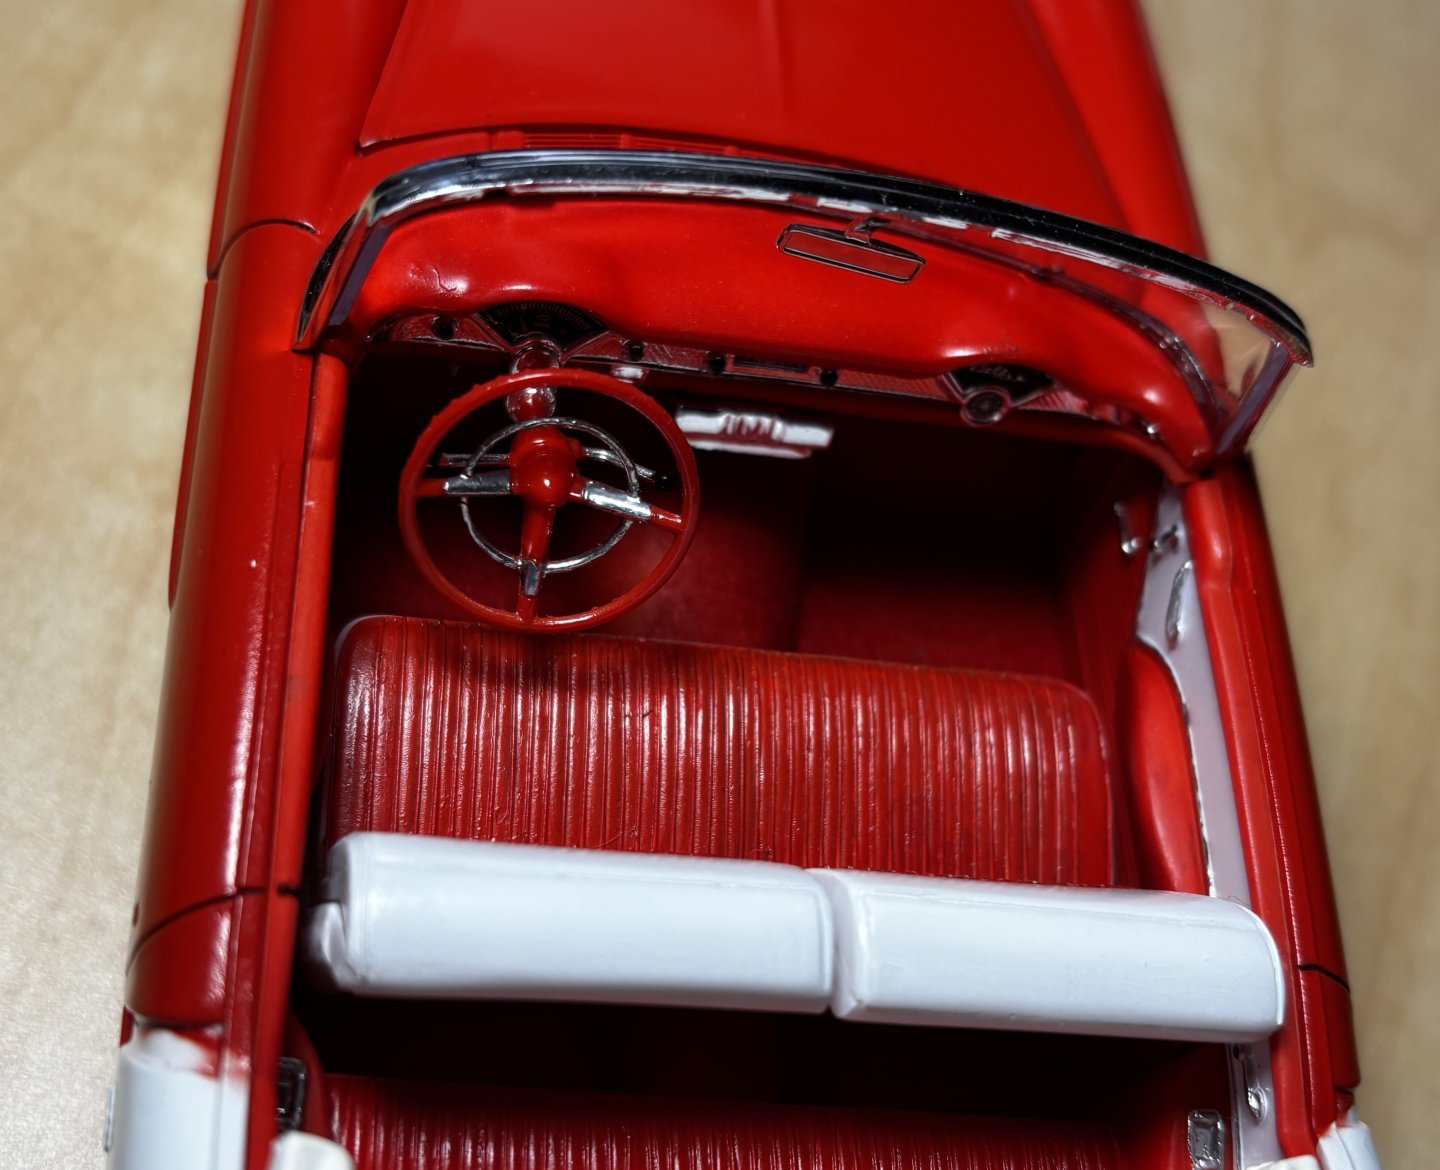
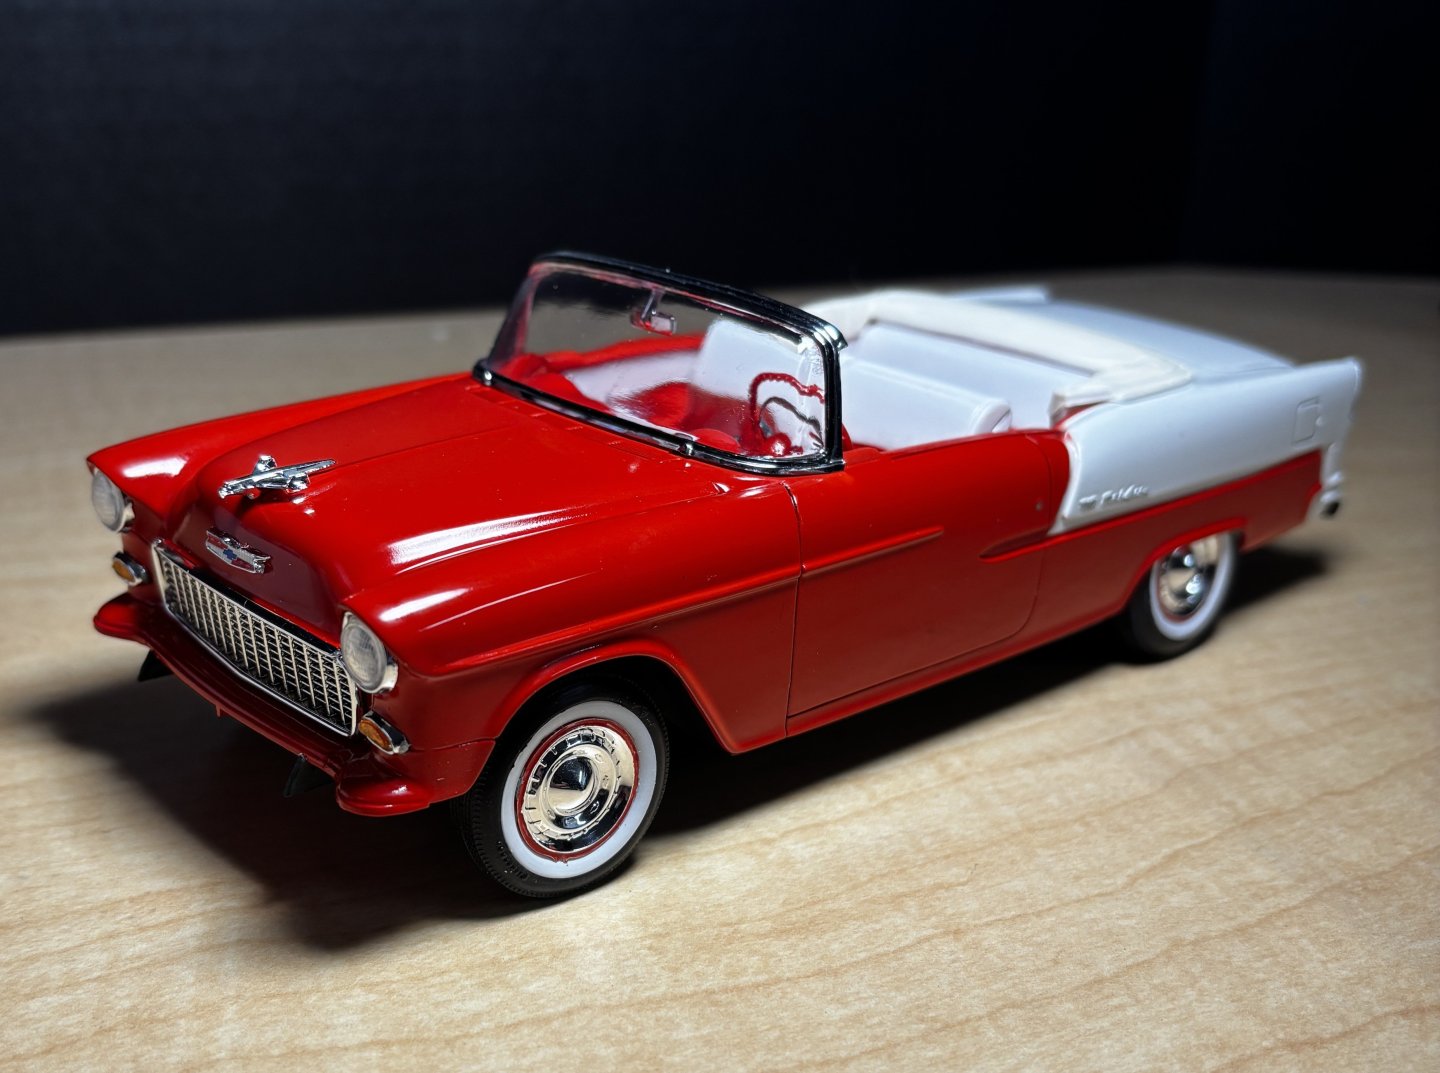
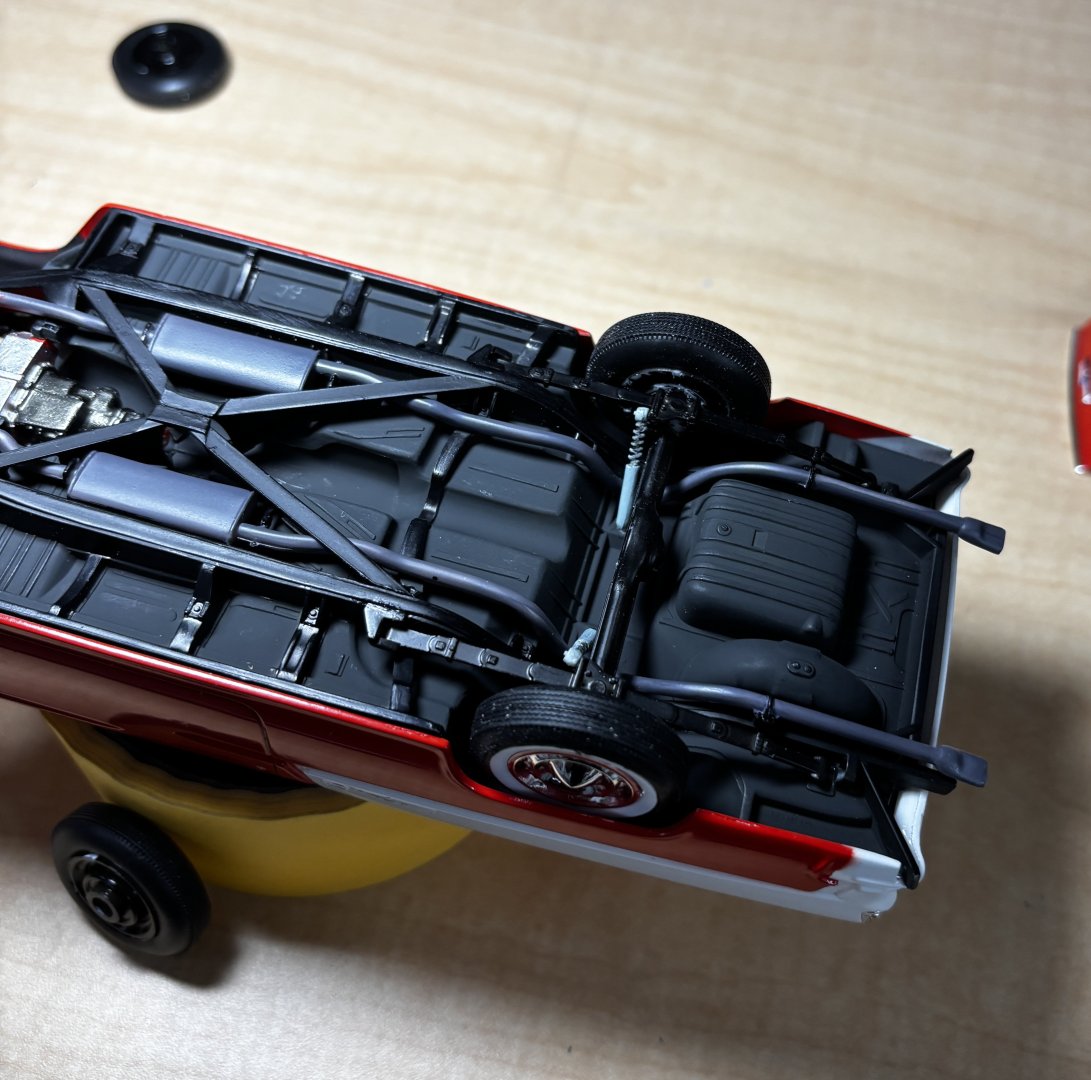
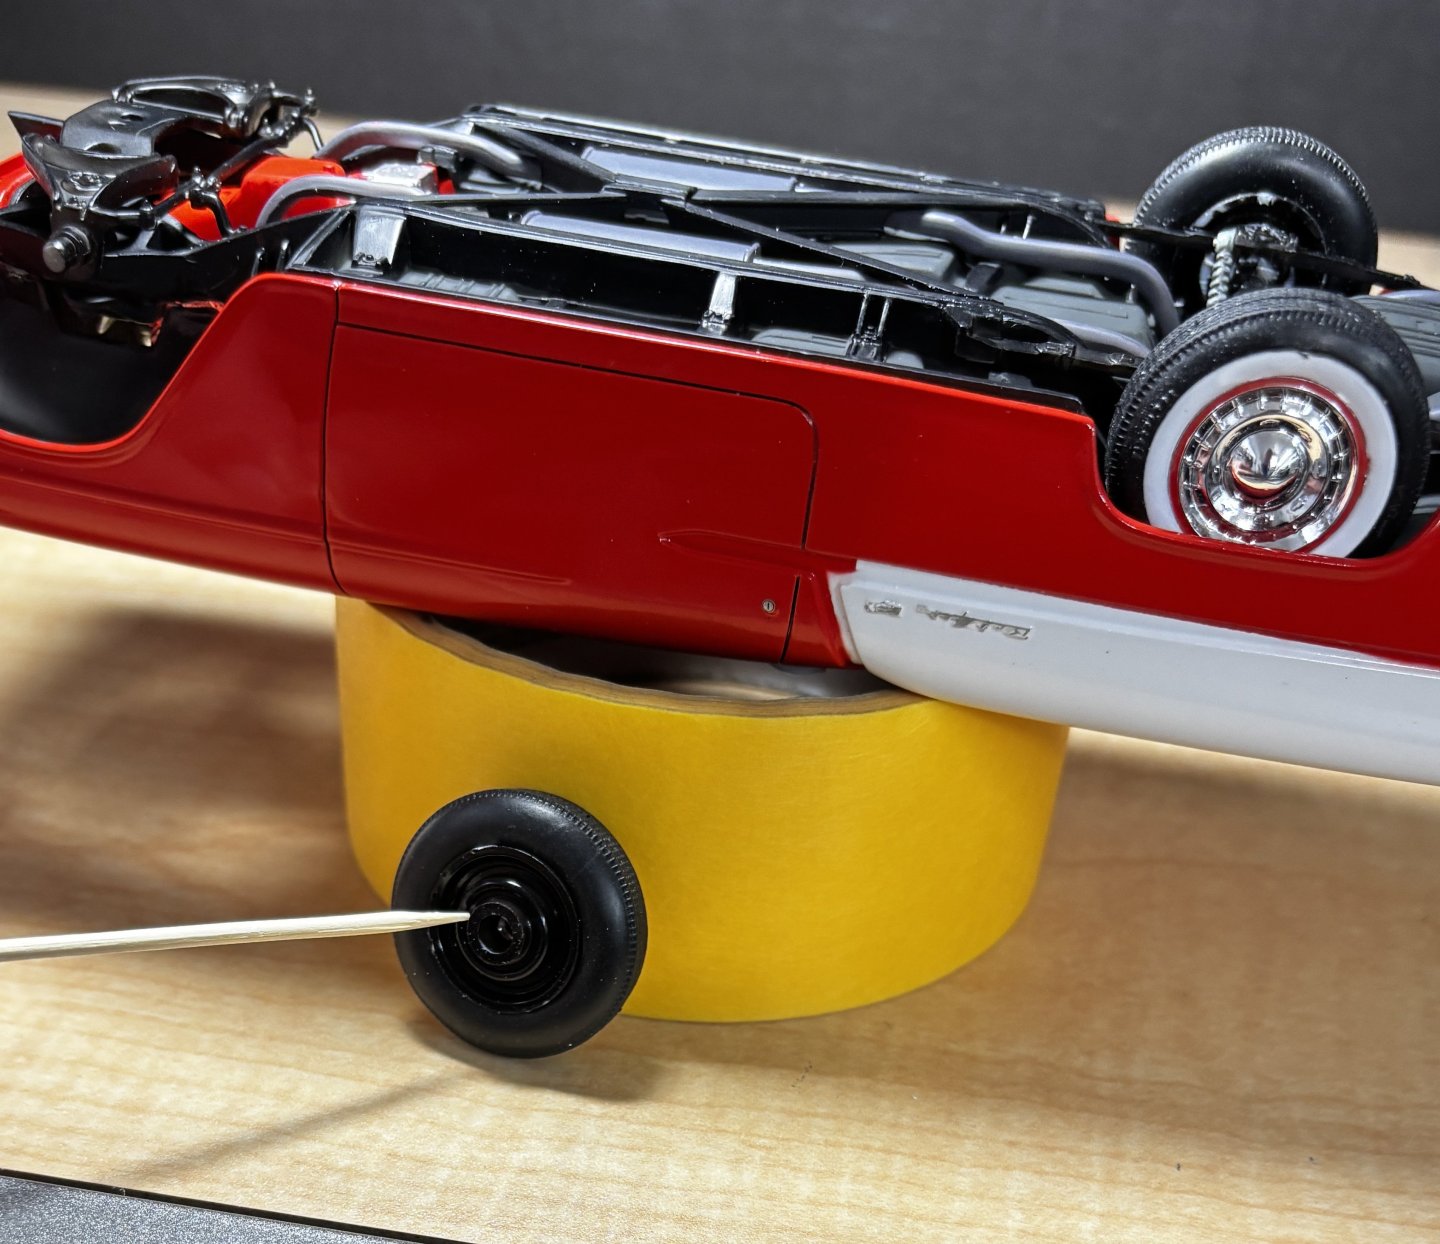
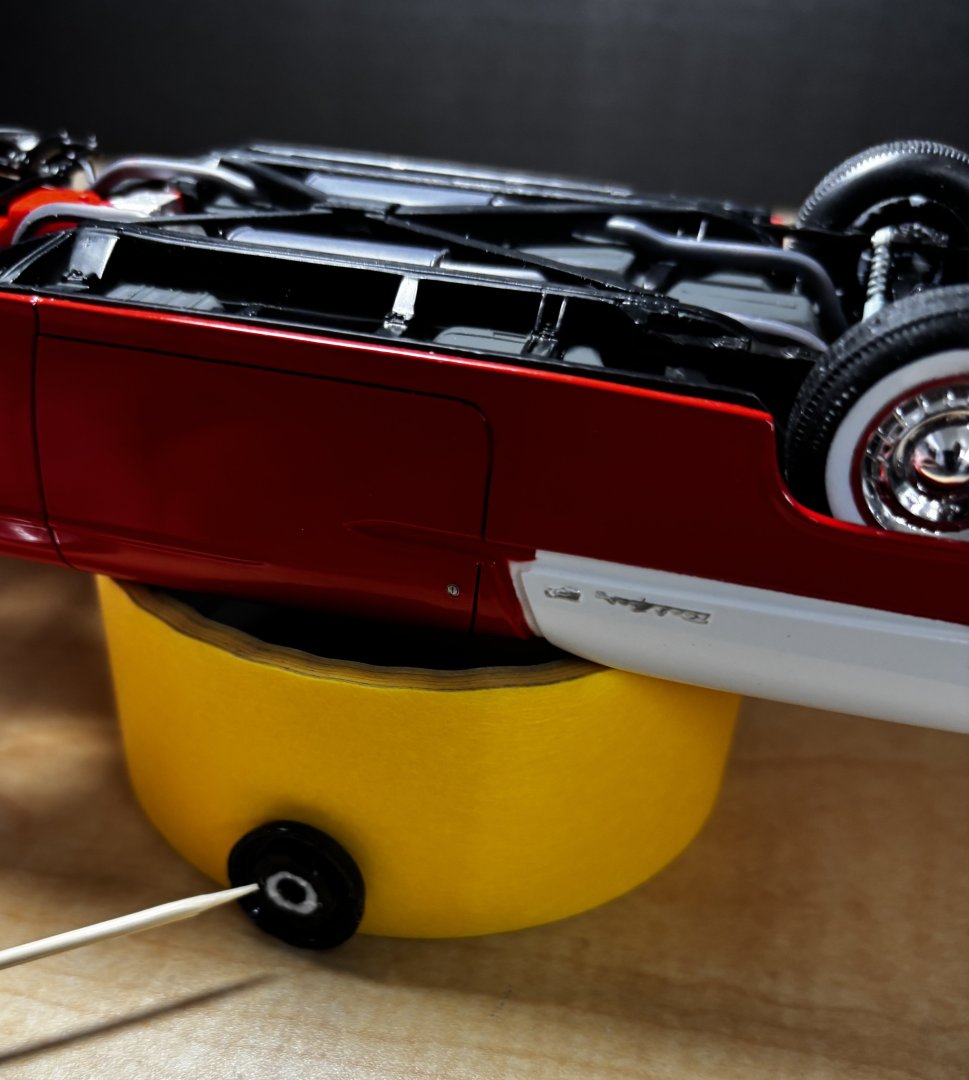
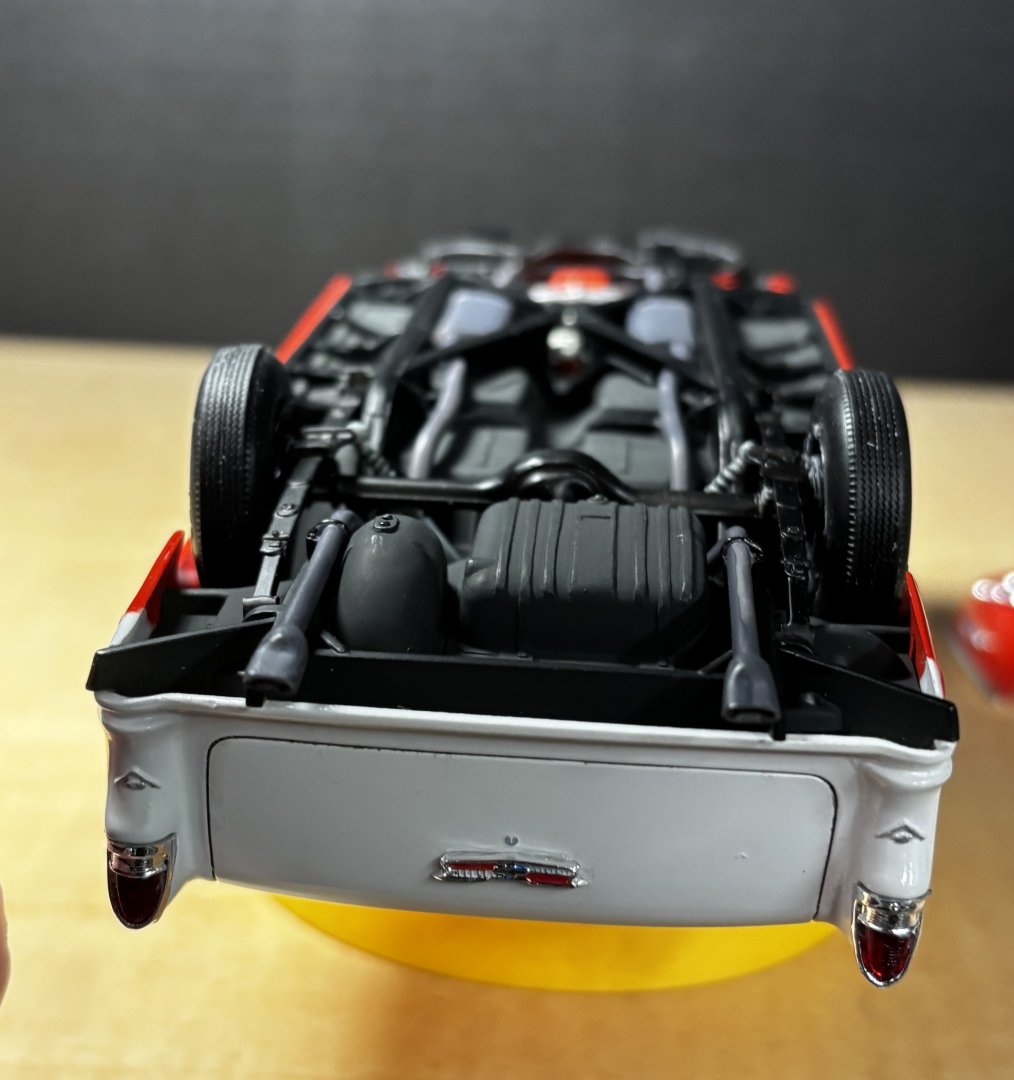
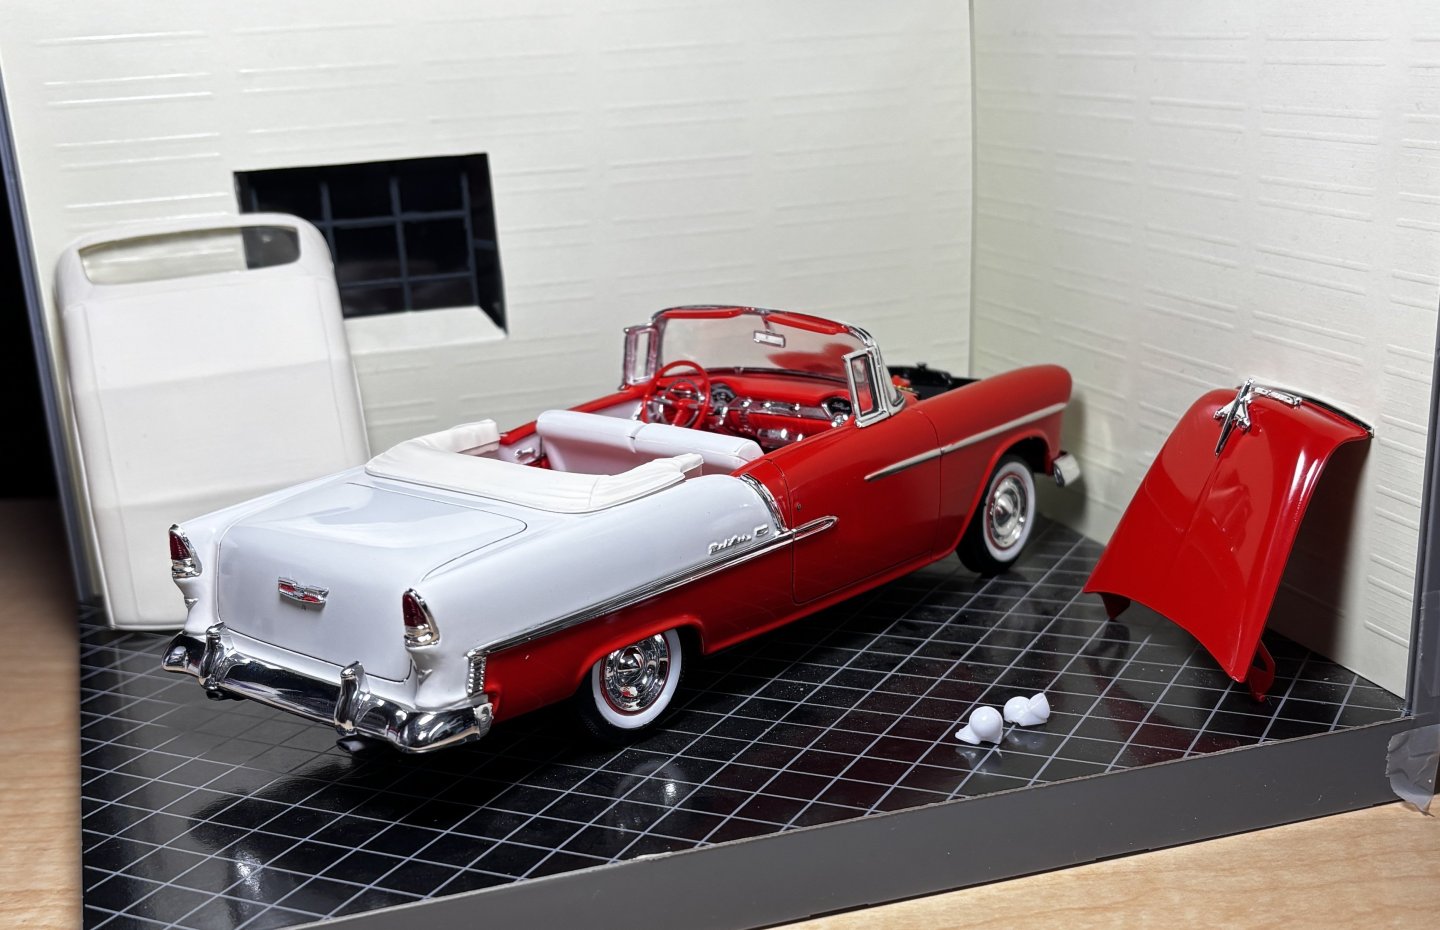
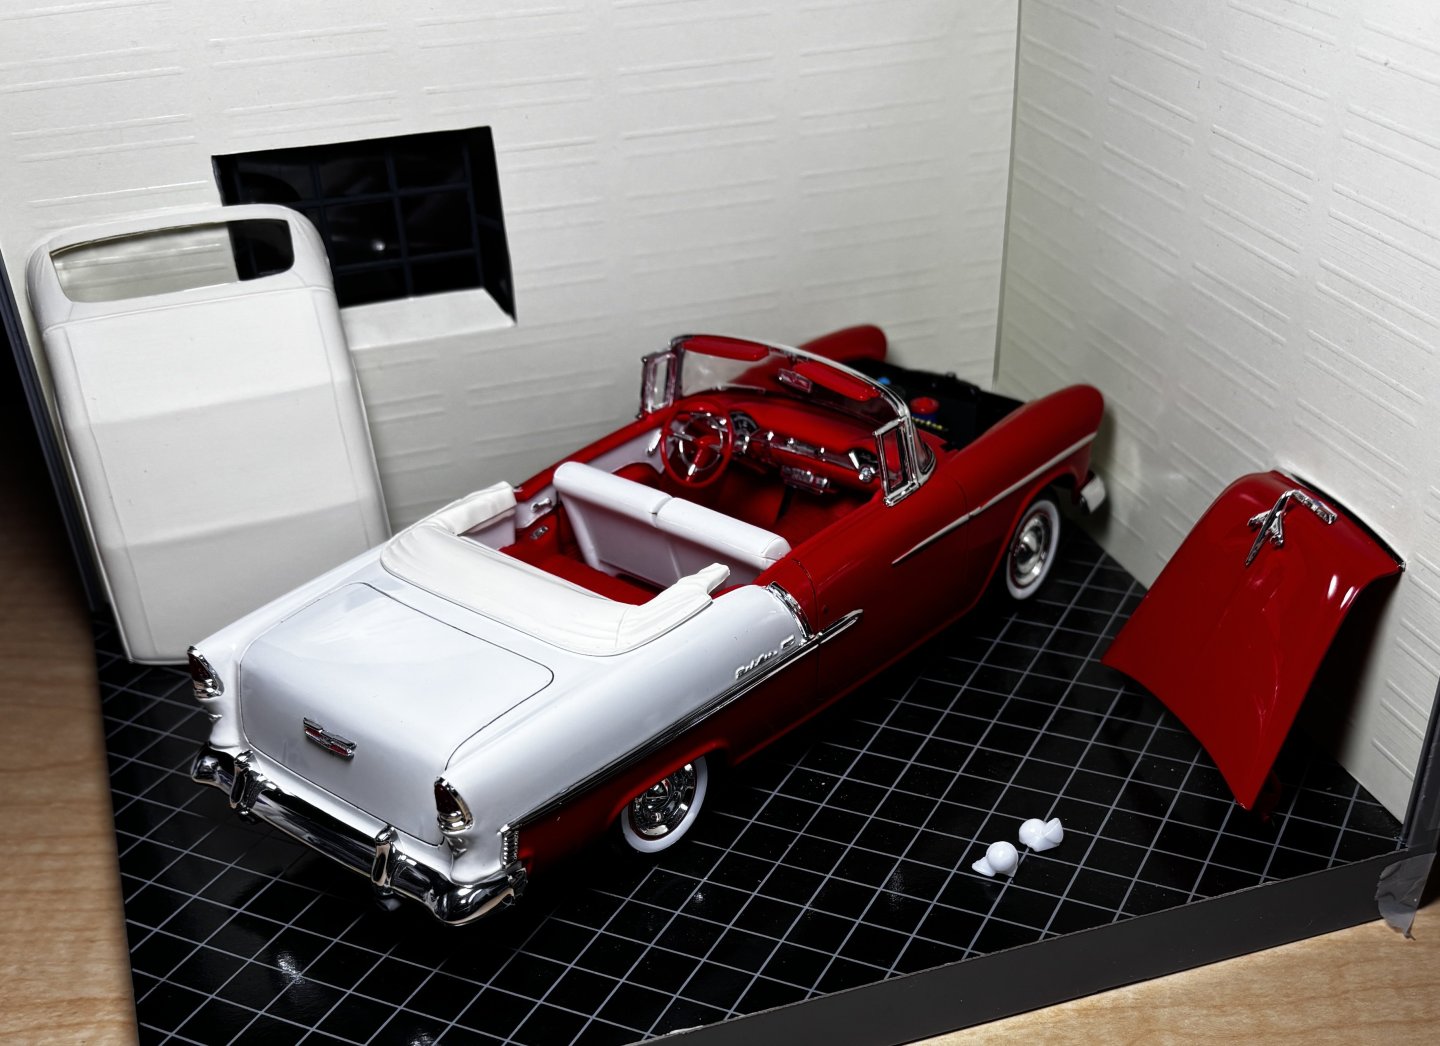
There is a back story on using this new, Kaleido gloss acrylic varnish. When I read about the new line of Kaleido paints, it got my interest. Reliable sources were giving very good reviews, so I ordered all their line of colors, primers, and clear varnishes. I didn't intend on using any of it on this model, rather, I intended to lay down a clear lacquer clear finish over the MCW gloss enamels I used for the colors last summer. It sounds counter-intuitive to use lacquer over enamel, but it's quite doable provided the enamel is fully cured and because my enamel was months old, it was ready. To do something like this, I like to use Mr Color thinner to reduce Geos GW100 ultra clear 50:50, then lay down two very lights coats over top of the enamel and decals to seal it all in. After those light seal coats, I then use the same Creos GW100 ultra clear reduced with Mr Color Leveling Thinner. Having run out of Mr Color thinner, I substituted Tamiya lacquer thinner for my first light coats. This turned out to be a near-disaster. The clear dried almost instantly, way too fast, leaving a pebbly finish over the enamel. I thought I was going to need to strip off all the paint and just start over again. I decided it was worth a try to polish down that pebbly clear, so I went to work with all my micromesh wet sanding through each grit, from 3200 to 12000. It didn't achieve perfect results, but I thought, hey, maybe this is a good time to try out this new Kaleido acrylic gloss clear. The worst that could happen is having to strip it all off which I would need to do anyway. While it not as perfect as I would have liked, it certainly not the fault of the Kaleido varnish. I got a better result than I could have dreamed of getting had I continued on with lacquer. Anyway, the model is almost finished, just a few more details to add before calling it done. Windshield wipers, side mirror, door handles, and a license tag.
-
 CDW reacted to a post in a topic:
1955 Chevy Convertible Indy 500 pace Car by CDW - Revell - 1:25 Scale - PLASTIC
-
Took almost a year for me to get fired back up on this project, but it's closer to a finished product now, just a few more small but important details to add. One major thing I did was to wet sand that enamel paint down with 4000, 6000, 8000, and 12000 micro mesh before applying a gloss clear coat while testing out a new product on the market, Kaleido Gloss Acrylic Varnish. This acrylic acts and hardens more like lacquer. Hard as nails after 48 hours. I also wet sanded and polished it out using the same method described above with additional polishing with Hasegawa Ceramic Extra Fine compound.
-

1960 Corvette by gsdpic - MFH - 1/12 - Multimedia
CDW replied to gsdpic's topic in Non-ship/categorised builds
I'm guessing it's either the weather or maybe tariffs. The product comes from England, I'm pretty sure of that. -

1960 Corvette by gsdpic - MFH - 1/12 - Multimedia
CDW replied to gsdpic's topic in Non-ship/categorised builds
Gary This fellow has some excellent videos on building MFH kits, including soldering. His videos are well worth watching. www.youtube.com/@motorsportinscale2291 -

1960 Corvette by gsdpic - MFH - 1/12 - Multimedia
CDW replied to gsdpic's topic in Non-ship/categorised builds
I'm in the same boat with you on soldering white metal, Gary. No experience with it and what little I have was bad experience. The problem is the low melting temperature of the white metal. The solder used must be one that melts at a lower temperature than white metal. Did you order some from England? That's the only source I found, a shop in England, although some modelers say a well-stocked model railroad shop carries it. There is no well-stocked model railroad shop near me and I found none online in the USA. A very experienced friend in Canada who builds many MFH kits says he uses 5-minute epoxy and CA glue to build his kits. Even he has not enough experience with solder to feel comfortable using it. Now the nice thing about using CA glue is that an acetone bath will dissolve the CA glue if you make a mistake. CA glue is a perfect match for temporary glue to check fit in temporary assemblies of white metal parts. My friend assembles his entire model temporarily before committing to a permanent glue. He gives it an acetone bath to take it back apart once he is certain everything fits properly. This of course DOES NOT include resin parts, which should not get an acetone bath. He tapes and uses blue tack, or white glue to assemble resin parts. -
 CDW reacted to a post in a topic:
1960 Corvette by gsdpic - MFH - 1/12 - Multimedia
-
 CDW reacted to a post in a topic:
1960 Corvette by gsdpic - MFH - 1/12 - Multimedia
-
 CDW reacted to a post in a topic:
1960 Corvette by gsdpic - MFH - 1/12 - Multimedia
-

1960 Corvette by gsdpic - MFH - 1/12 - Multimedia
CDW replied to gsdpic's topic in Non-ship/categorised builds
I like your improvised paint booth, Rob.! -

1960 Corvette by gsdpic - MFH - 1/12 - Multimedia
CDW replied to gsdpic's topic in Non-ship/categorised builds
Agreed, just mostly cosmetic differences between the 1960 f.i. system and the 63. The 63 looks a lot sexier than the 60 unit. I will print it out and do a fit check when I build my Corvette. -
 CDW reacted to a post in a topic:
1960 Corvette by gsdpic - MFH - 1/12 - Multimedia
-
 CDW reacted to a post in a topic:
1960 Corvette by gsdpic - MFH - 1/12 - Multimedia
-
 CDW reacted to a post in a topic:
1960 Corvette by gsdpic - MFH - 1/12 - Multimedia
-

1960 Corvette by gsdpic - MFH - 1/12 - Multimedia
CDW replied to gsdpic's topic in Non-ship/categorised builds
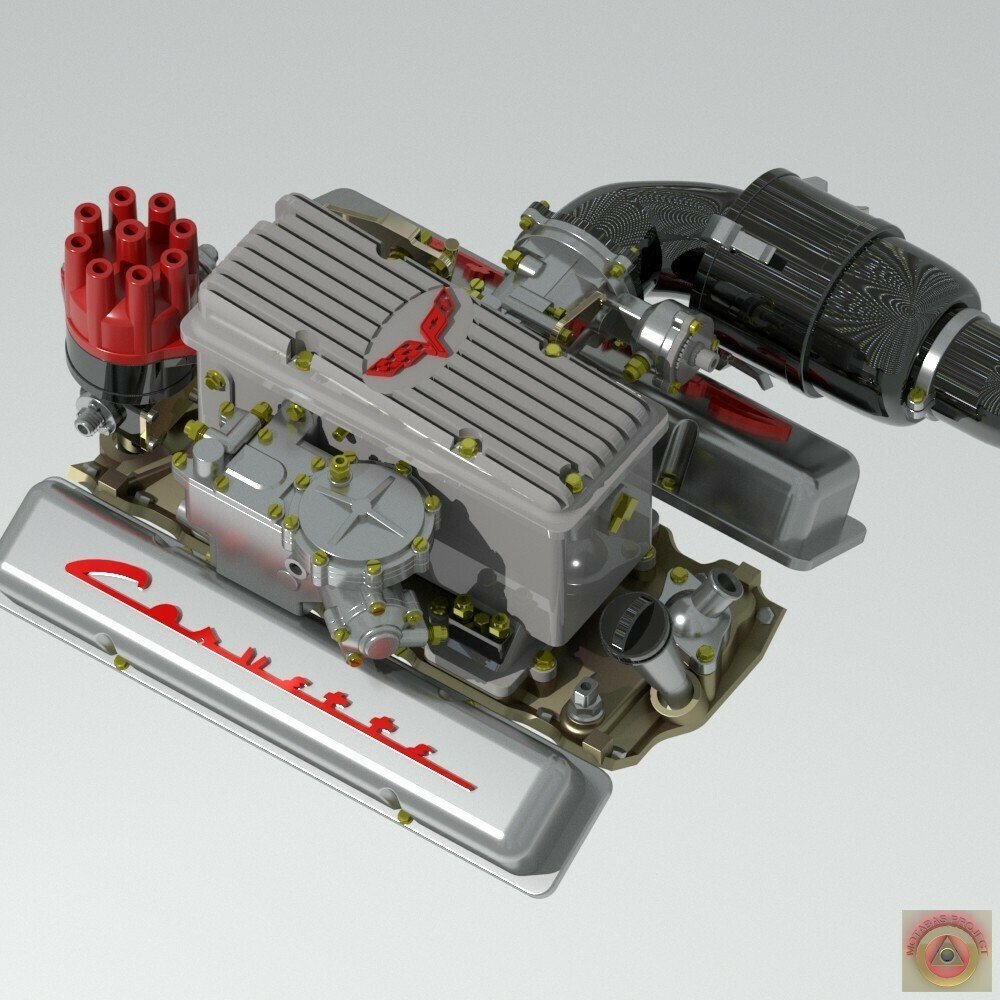
This is close, but not an exact match for the fuel injection system for the 1960 Corvette. This particular system was used on later, 327 powered Corvettes. This fuel injection system is available as a downloadable, 3D printable file. Too bad MFH doesn't offer the correct system as an add-on item for the 1960 Corvette. I tried to find a match for the 1960 version but this was as close as I could find. -

1960 Corvette by gsdpic - MFH - 1/12 - Multimedia
CDW replied to gsdpic's topic in Non-ship/categorised builds
I looked it up and here is what I found concerning engine options for the 1960 Corvettes: For the 1960 model year Corvette (C1), Chevrolet offered only one engine family, but with multiple power levels depending on induction and tuning. 1960 Chevrolet Corvette – Engine Options All 1960 Corvettes used the Chevrolet small-block 283 cubic-inch (4.6L) V8. There were four factory horsepower options: Engine Code Induction Horsepower Notes 283 cu in V8 Single 4-barrel carburetor 230 hp Base engine 283 cu in V8 Single 4-barrel carburetor 245 hp Higher compression 283 cu in V8 Dual 4-barrel carburetors 270 hp Performance option 283 cu in V8 Fuel Injection (Rochester Ramjet) 290 hp Top performance option Key Details All engines were naturally aspirated (no superchargers or turbos). The 290 hp fuel-injected 283 was famous for achieving 1 horsepower per cubic inch, a major milestone at the time. Fuel injection was expensive and rare but offered exceptional throttle response and racing credibility. Transmissions included a 3-speed manual, 4-speed manual, or 2-speed Powerglide automatic (automatic not available with fuel injection). -

1960 Corvette by gsdpic - MFH - 1/12 - Multimedia
CDW replied to gsdpic's topic in Non-ship/categorised builds
Gary Nice start on the engine. Do you recall what the four engine options were in 1960? I am guessing they were all variations of a 283 ci V8 engine. The 327 didn't come out until later. -
 CDW reacted to a post in a topic:
1960 Corvette by gsdpic - MFH - 1/12 - Multimedia
-
 CDW reacted to a post in a topic:
1960 Corvette by gsdpic - MFH - 1/12 - Multimedia
-
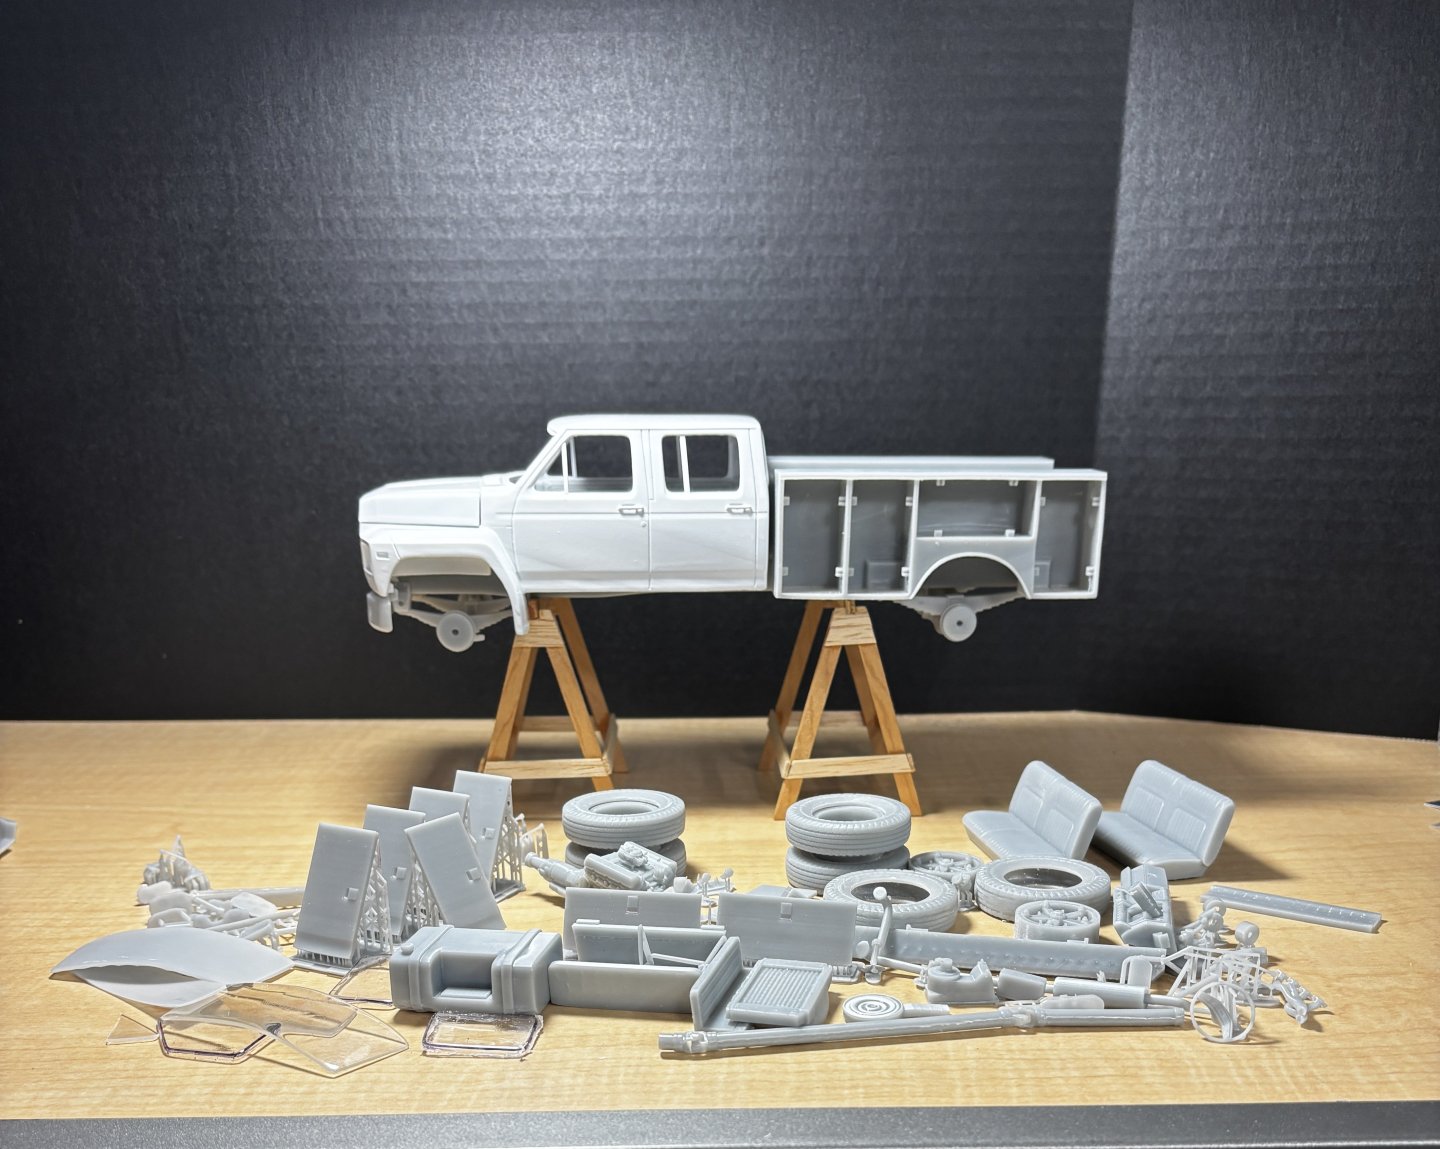
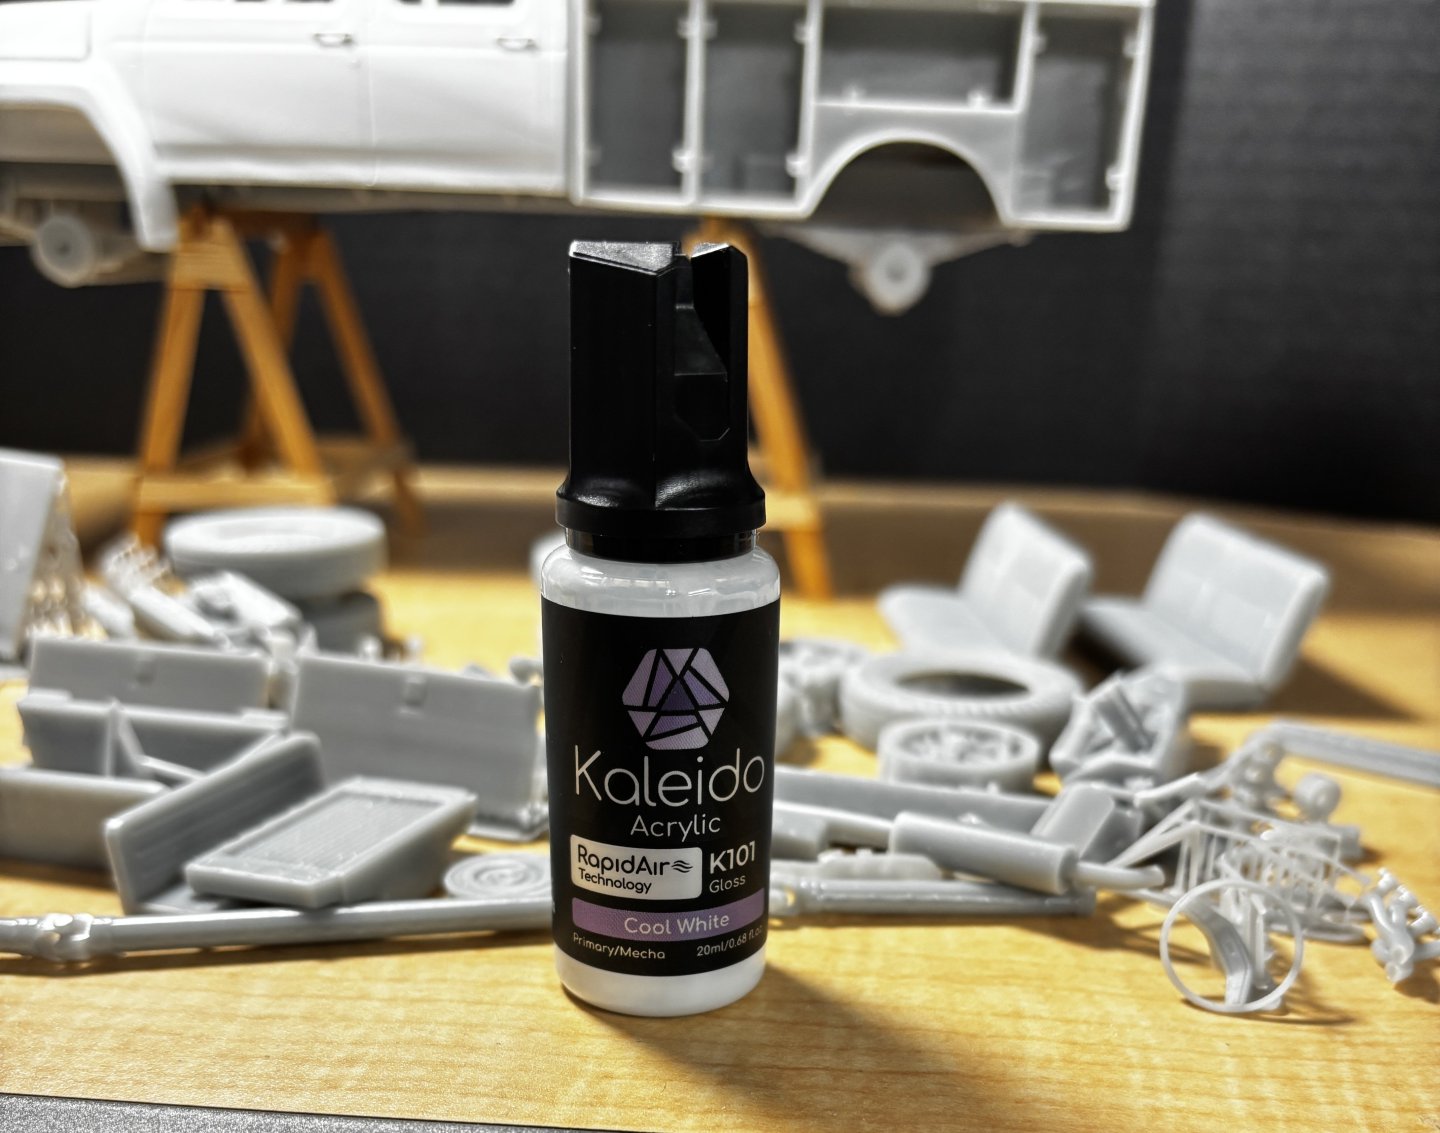
Using a file designed by Andrez Bezdrodny, I printed the parts using my Elegoo Saturn 3 printer. All parts are 3D printed with the exception of the windows. The windows are formed by using 3D printed window bucks provided in the Bezrodny files as molds, then vacuformed with 1mm thermoplastic. With this build, I am testing a brand new, innovative acrylic paint line called Kaleido. The paint is specifically designed to mimic the qualities of lacquer while eliminating all undesirable hazards of solvent based paint. Hard, durable, glossy finish. As you can see, I chose plain old white as my initial paint color. I can say so far the coverage is excellent. Quality of pigments excellent. Dries fast but not quite as fast as lacquer. There is a full range of colors available as sets of 24 colors each, all gloss. There are gloss and flat clear varnishes, gray, black, and white flat sandable primers as well as a gloss black primer. They have taken acrylic model paints to a new level. I won’t post a lot of progress photos but will post final photos of this paint/3D resin test project when completed.
-
 CDW reacted to a post in a topic:
1960 Corvette by gsdpic - MFH - 1/12 - Multimedia
-

1960 Corvette by gsdpic - MFH - 1/12 - Multimedia
CDW replied to gsdpic's topic in Non-ship/categorised builds
Looking forward to your build, Gary. Test build everything to make sure all fits well. Only commit to permanent adhesive after you are certain all subassemblies go together without a hitch. Same goes for paint. No paint until all test fitting is complete. -
-

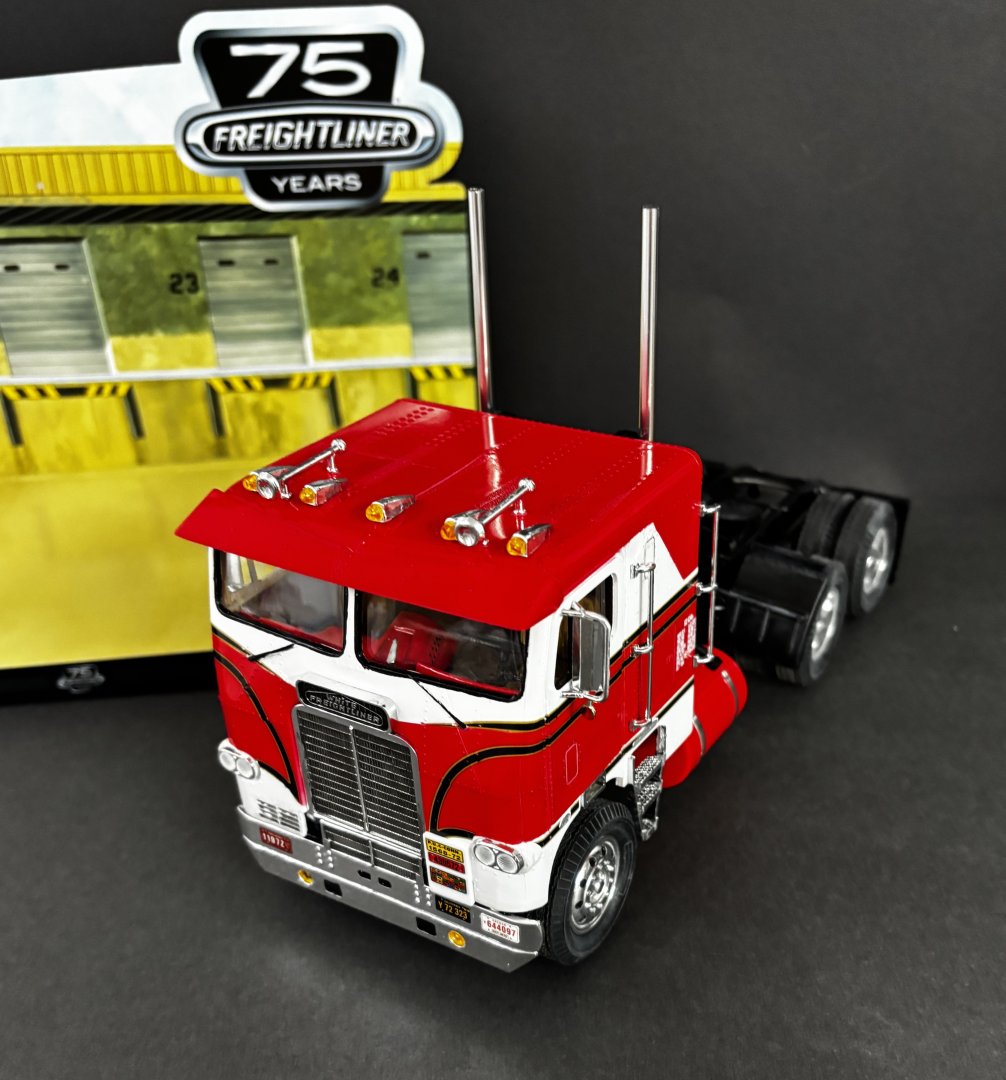
White Freightliner DD by CDW - AMT - 1:25 Scale - PLASTIC
CDW replied to CDW's topic in Non-ship/categorised builds
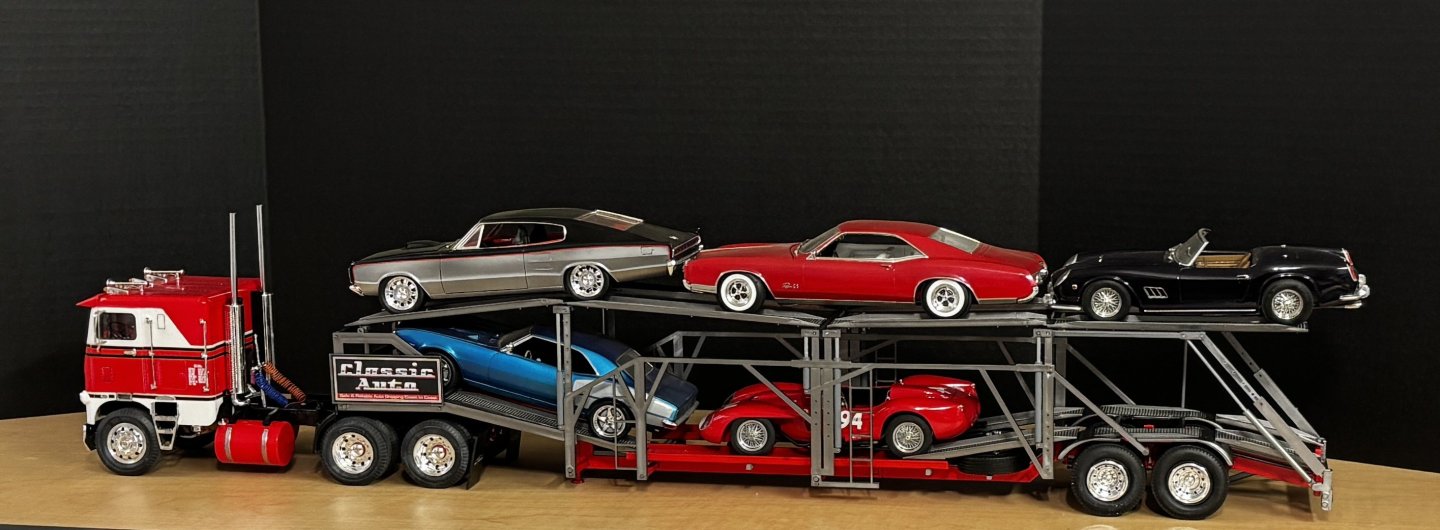
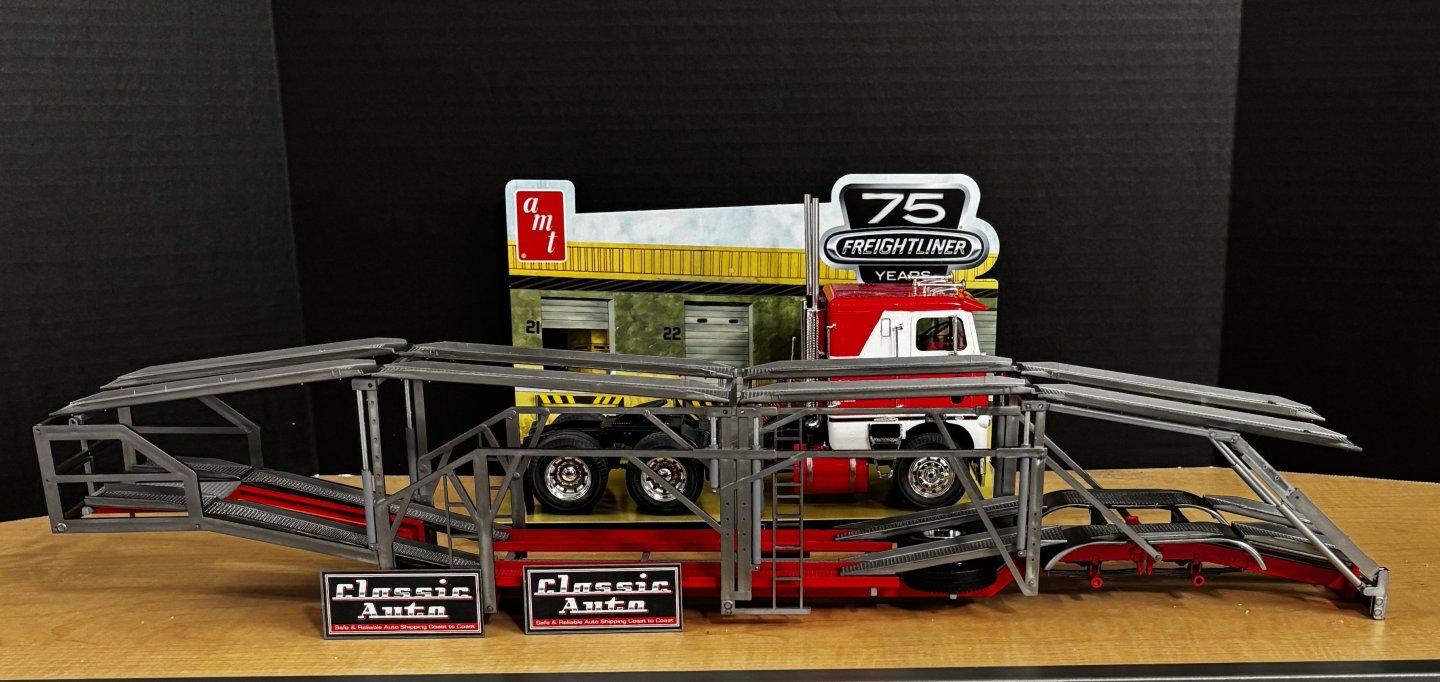
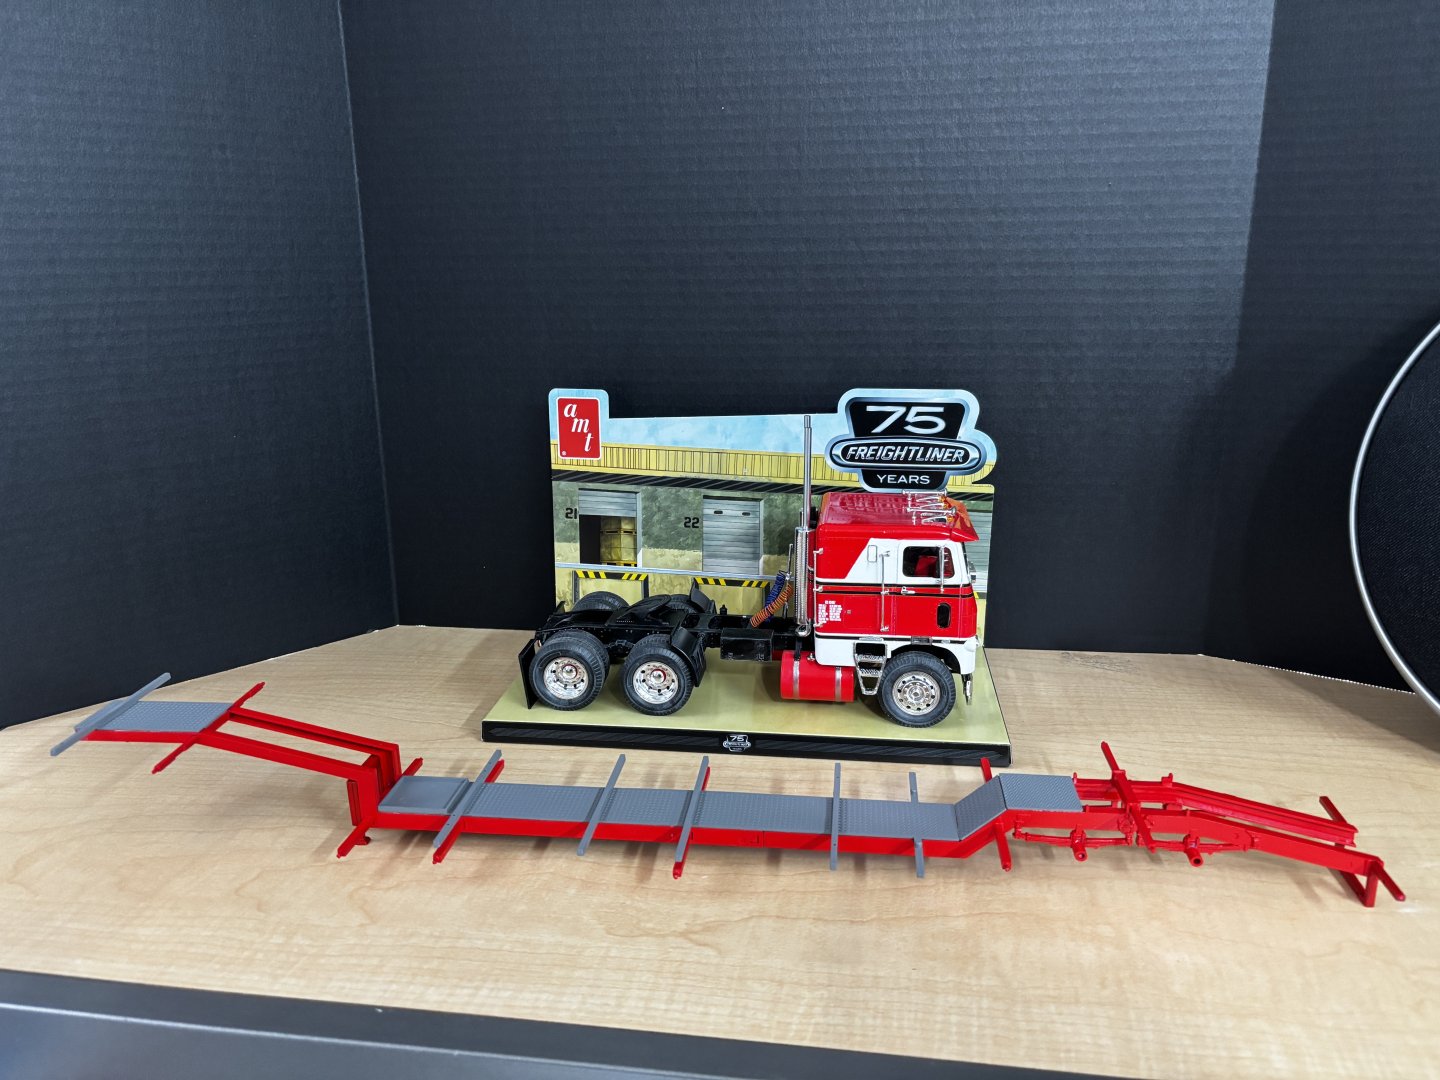
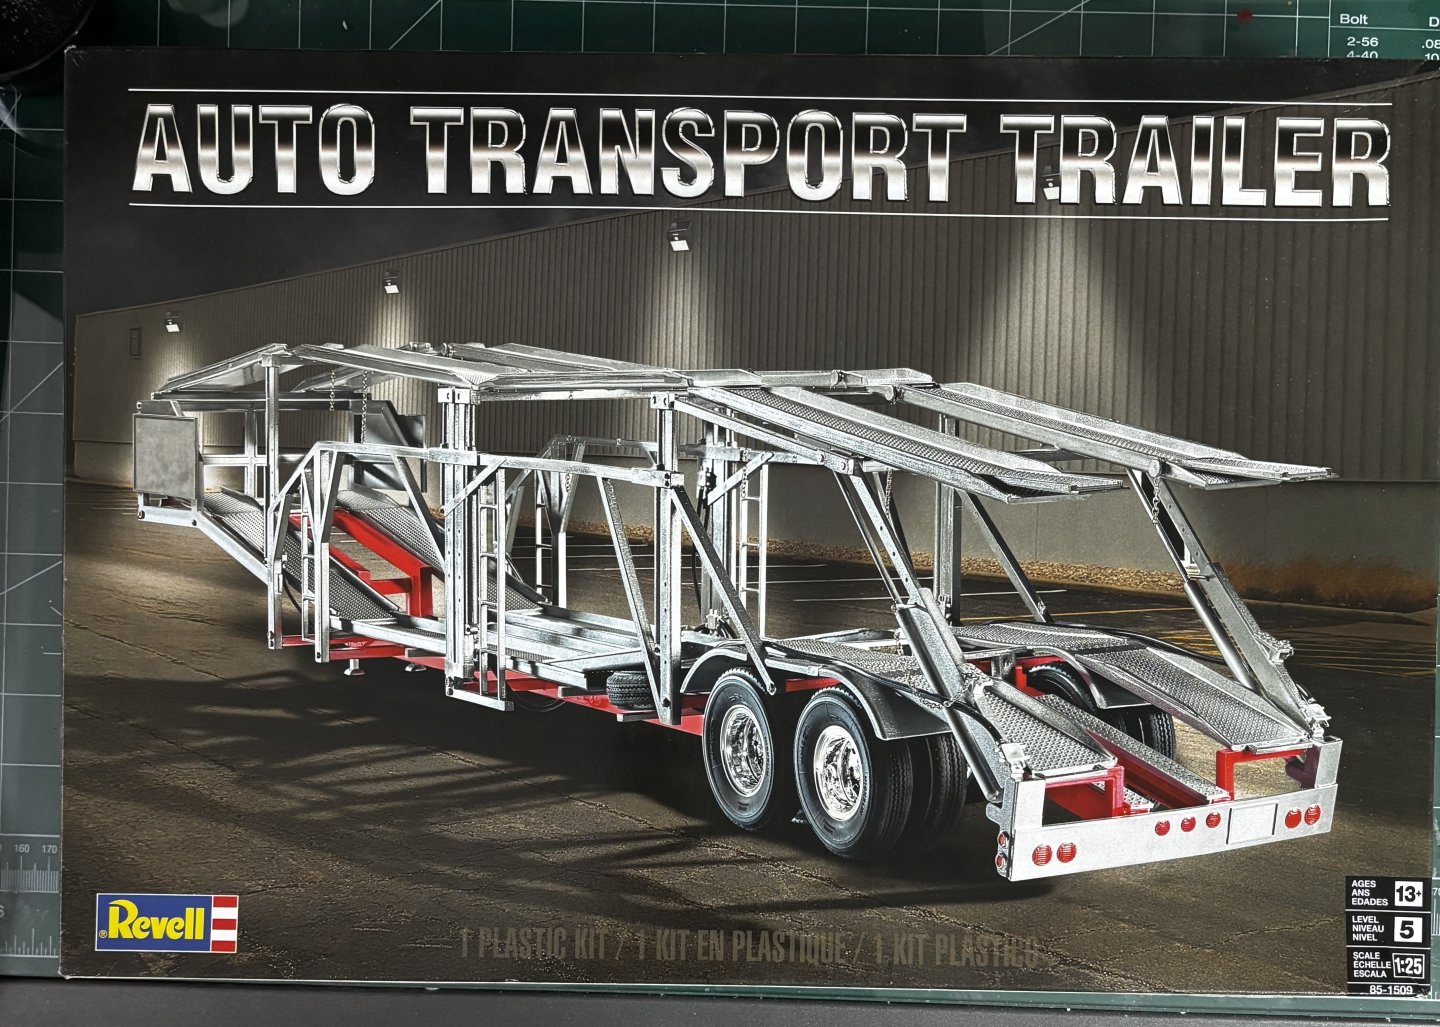
This might be the right load for the Freightliner. Besides, up to eight car models can fit on the trailer, freeing up the shelf space the truck-trailer combo would require. -

White Freightliner DD by CDW - AMT - 1:25 Scale - PLASTIC
CDW replied to CDW's topic in Non-ship/categorised builds
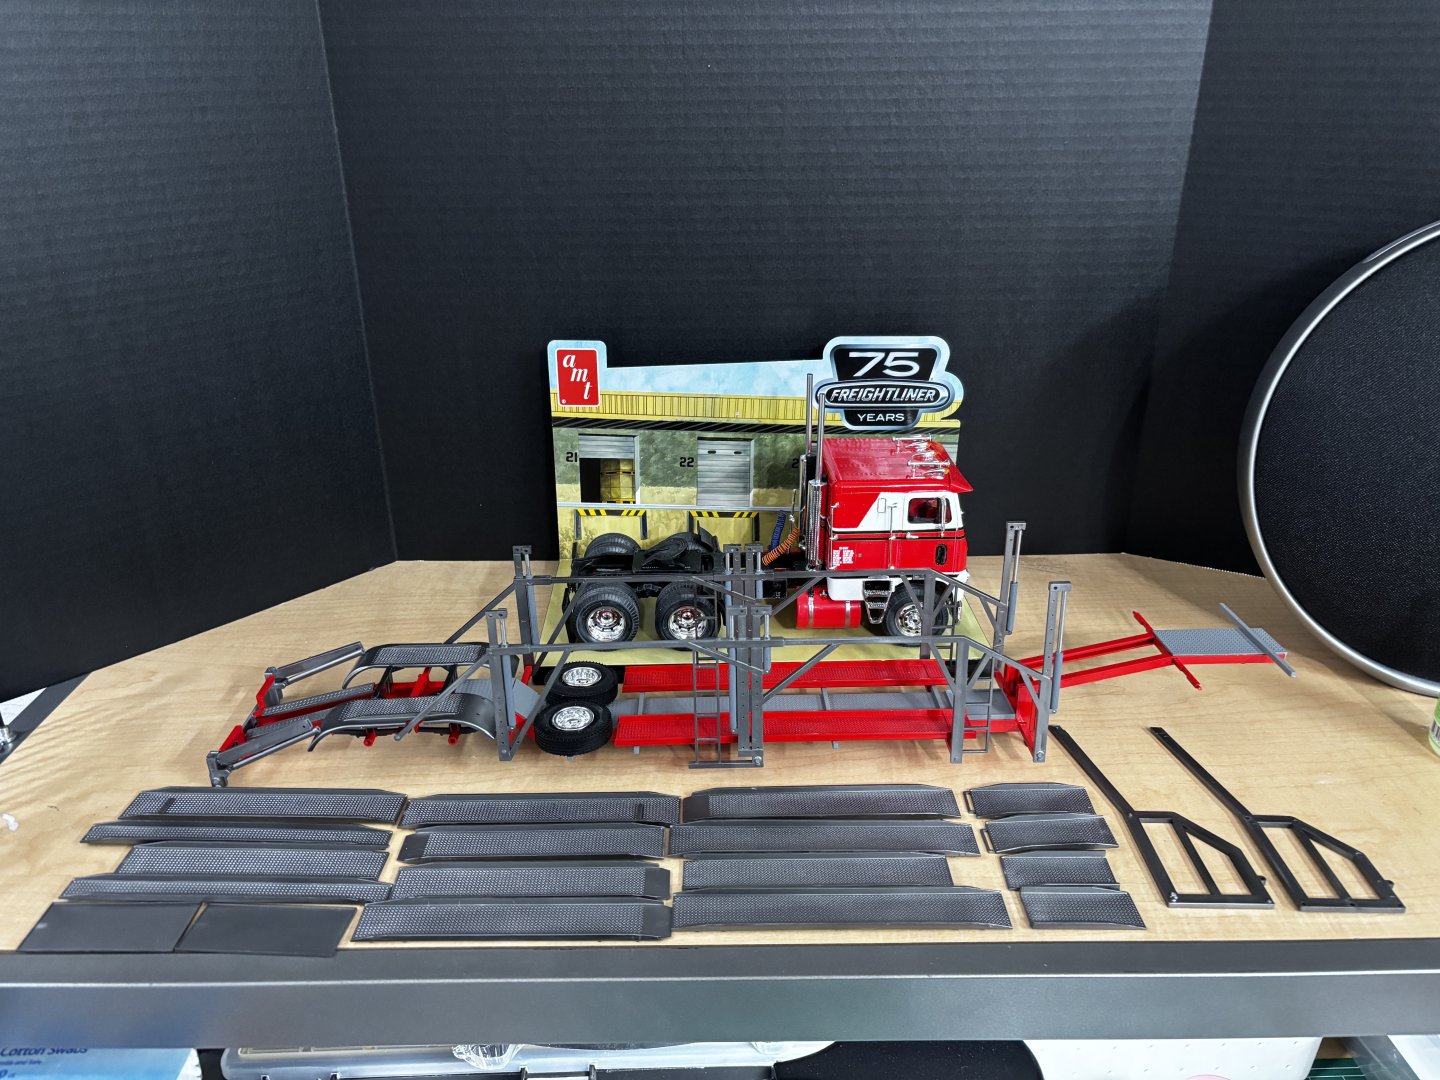
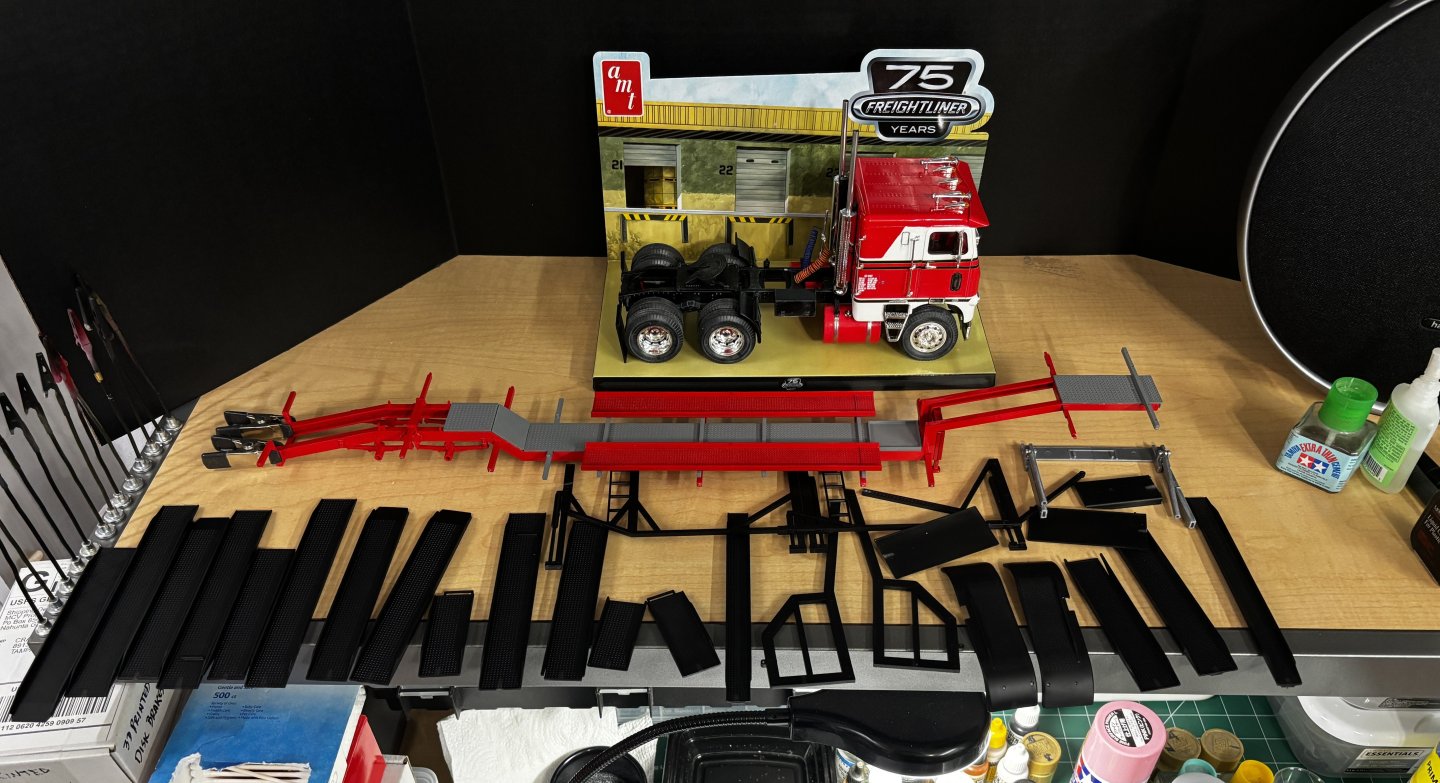
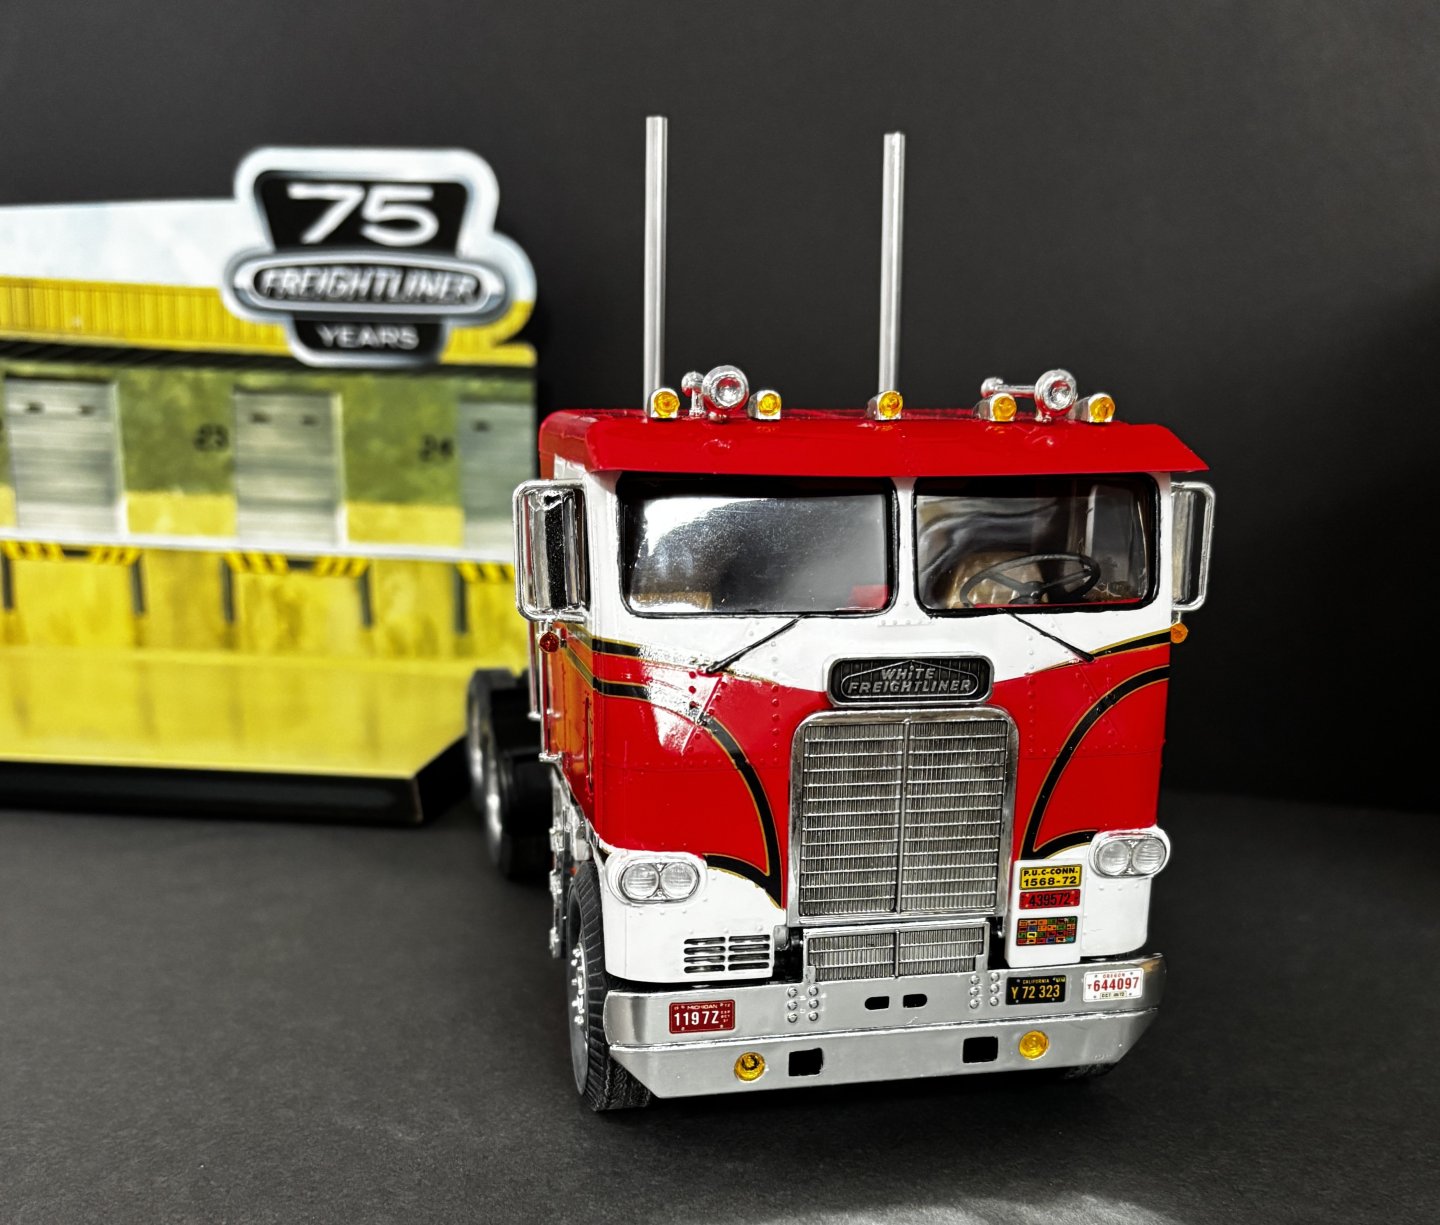
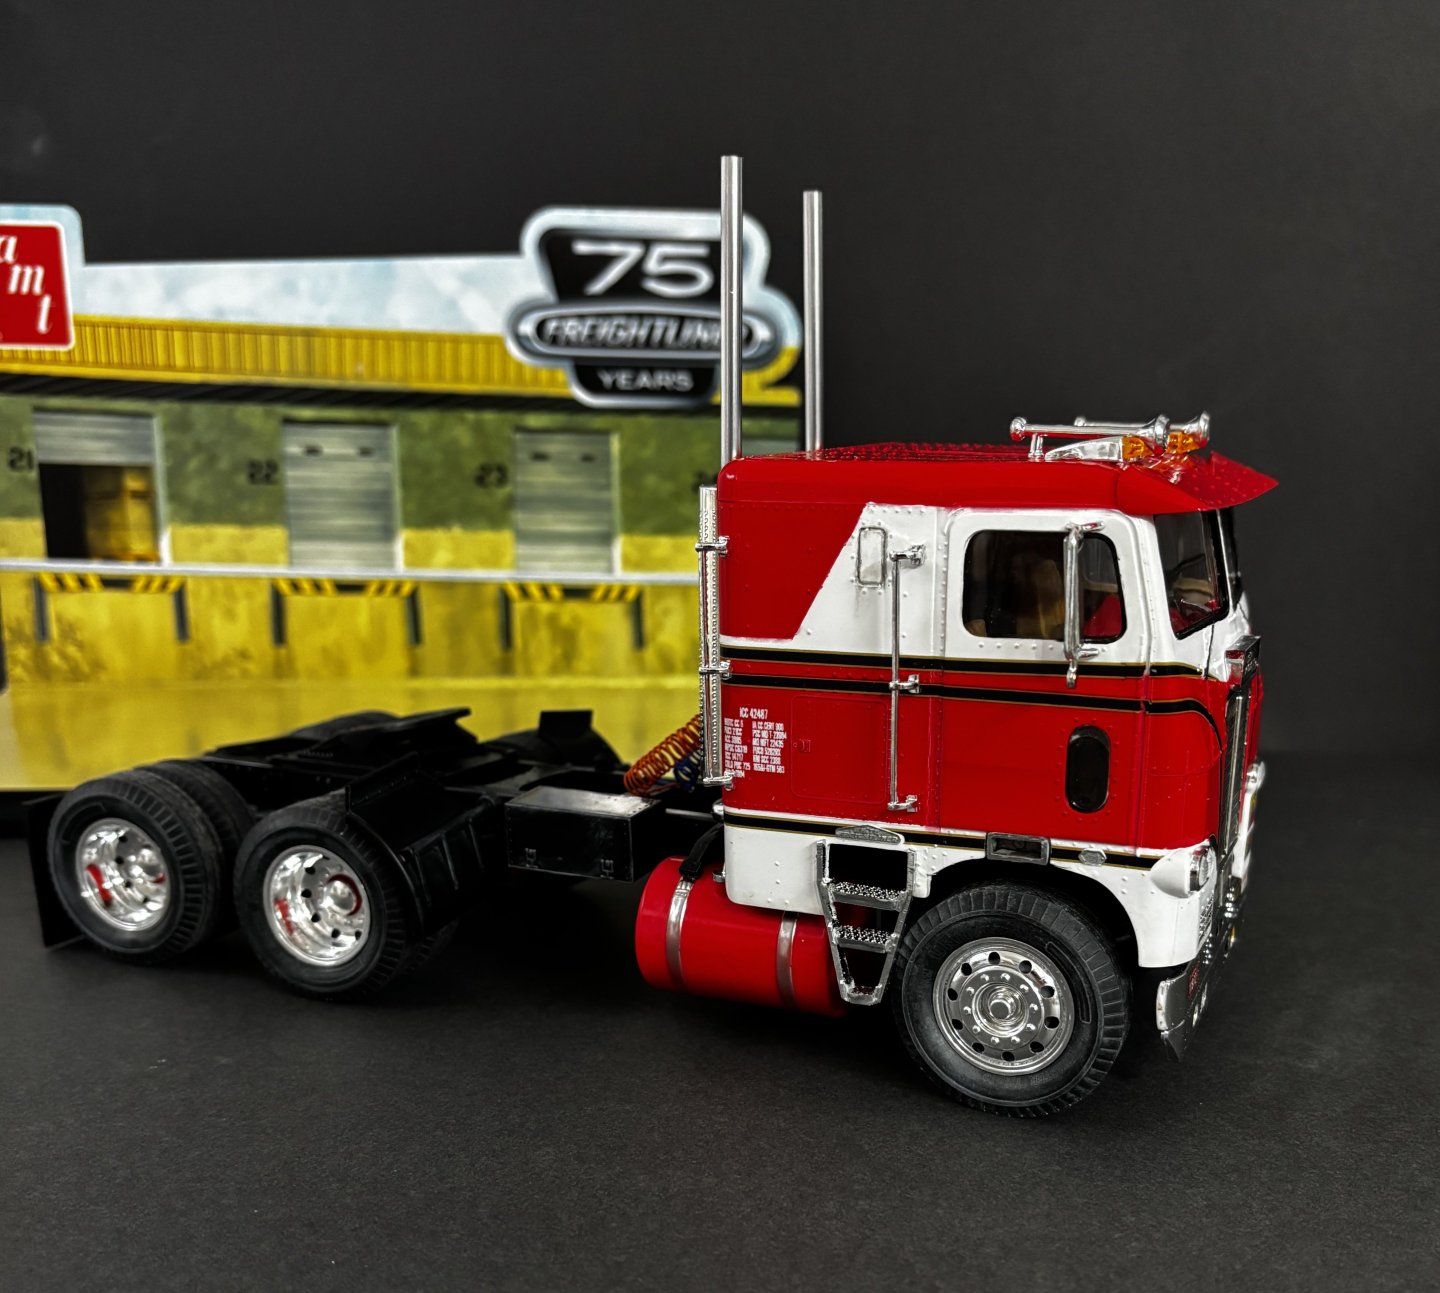
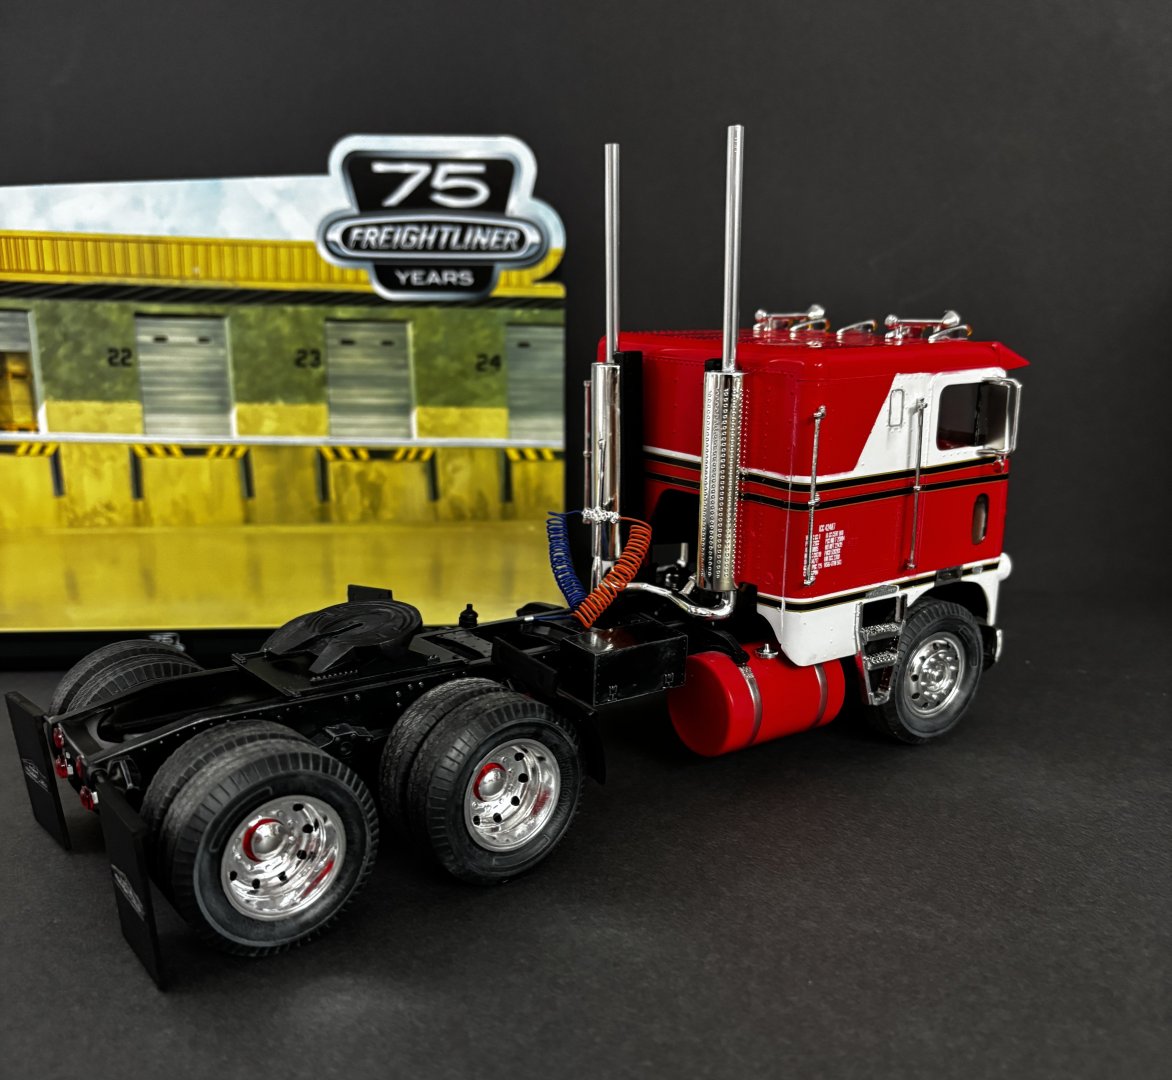
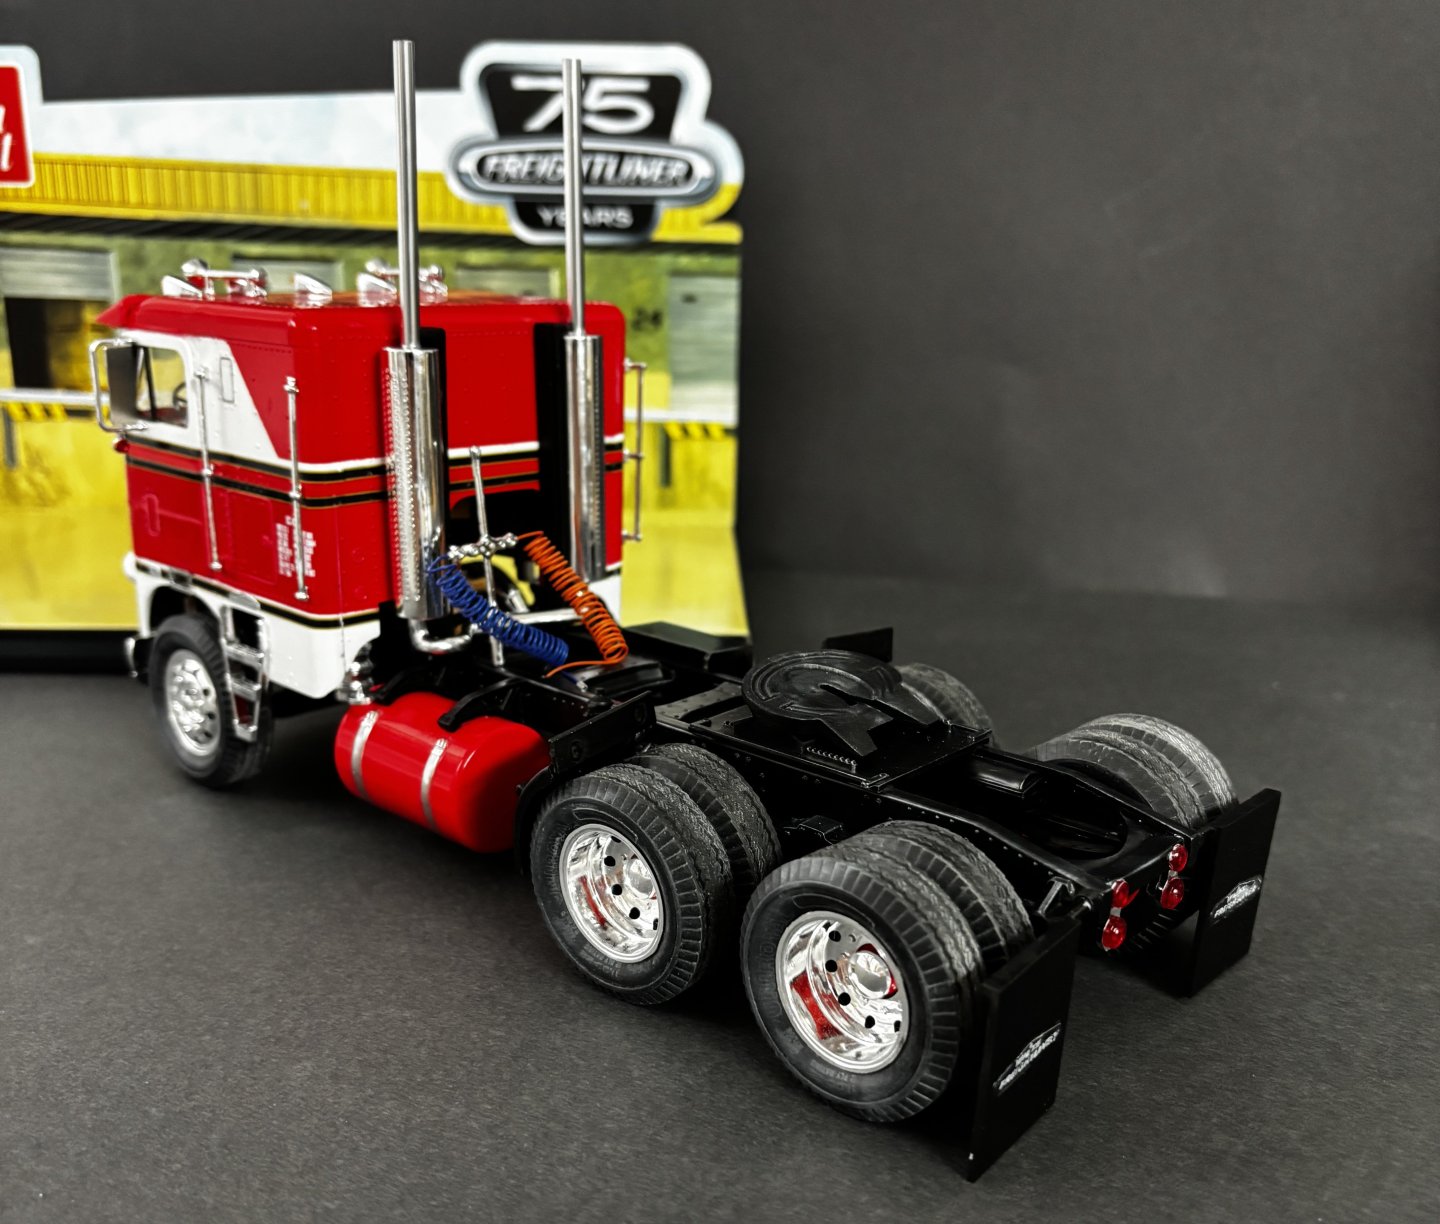
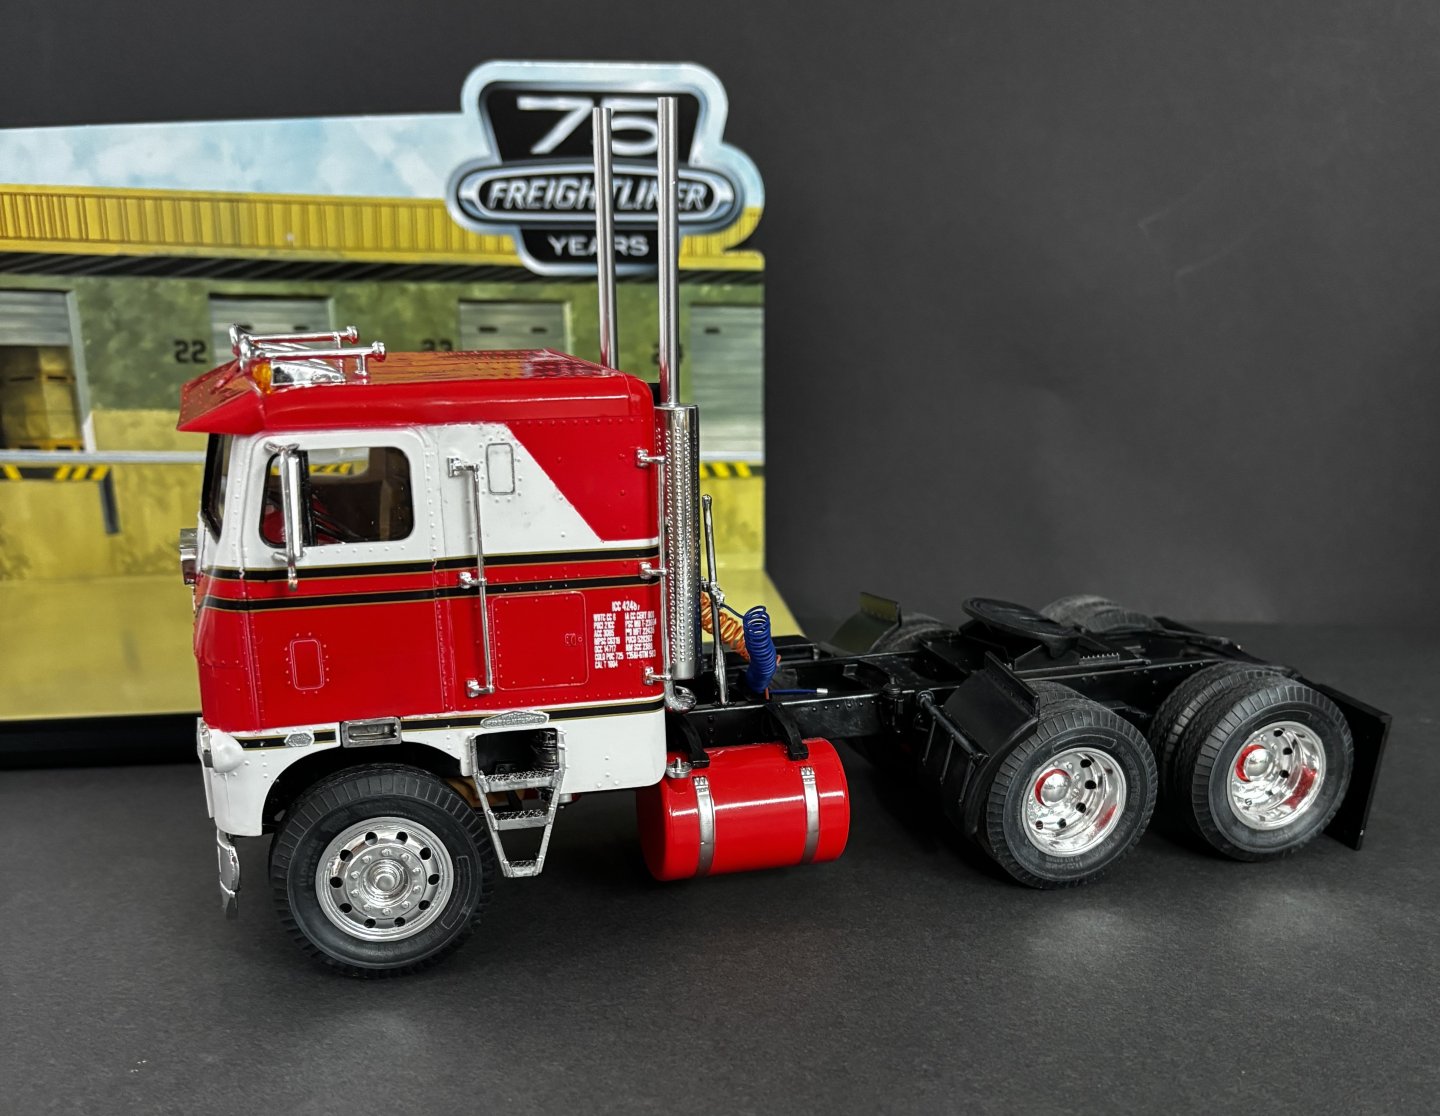
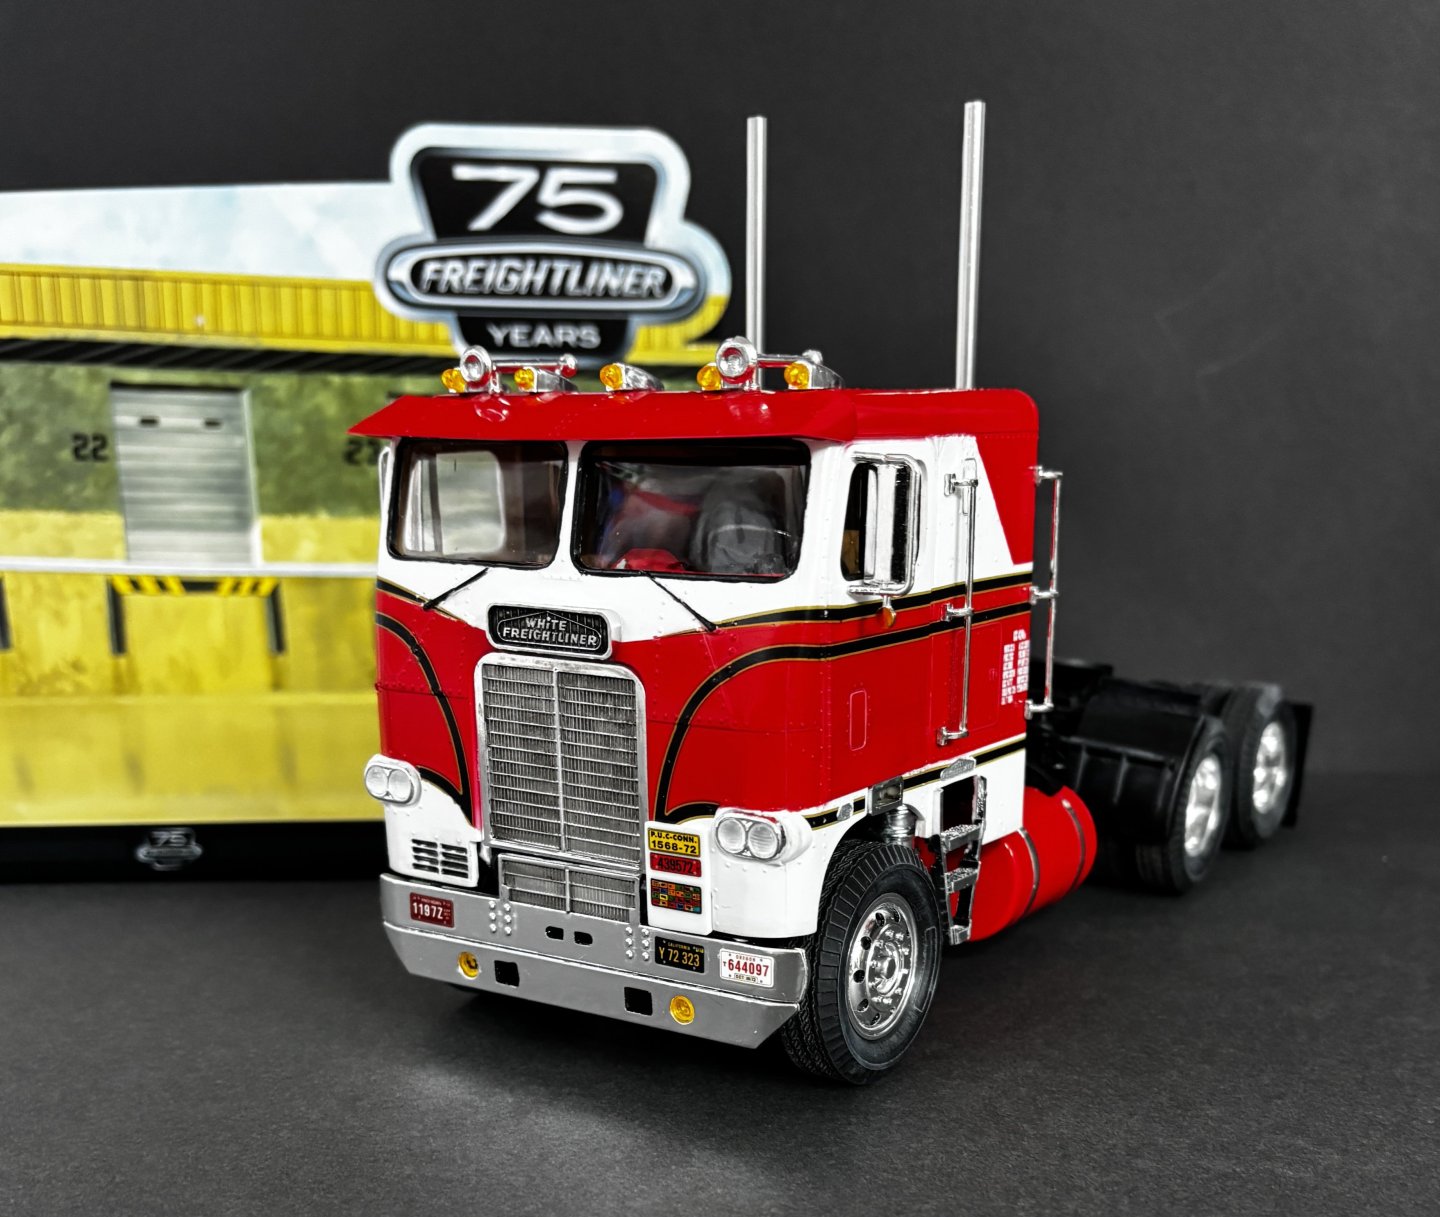
Gonna call this finished. Could have spent more time and effort but wanted to get my feet wet with a first ever big rig build for me. Learned a lot with is kit and look forward to more similar kits in the future. Thanks for following along and for all your likes and comments.
About us
Modelshipworld - Advancing Ship Modeling through Research
SSL Secured
Your security is important for us so this Website is SSL-Secured
NRG Mailing Address
Nautical Research Guild
237 South Lincoln Street
Westmont IL, 60559-1917
Model Ship World ® and the MSW logo are Registered Trademarks, and belong to the Nautical Research Guild (United States Patent and Trademark Office: No. 6,929,264 & No. 6,929,274, registered Dec. 20, 2022)
Helpful Links
About the NRG
If you enjoy building ship models that are historically accurate as well as beautiful, then The Nautical Research Guild (NRG) is just right for you.
The Guild is a non-profit educational organization whose mission is to “Advance Ship Modeling Through Research”. We provide support to our members in their efforts to raise the quality of their model ships.
The Nautical Research Guild has published our world-renowned quarterly magazine, The Nautical Research Journal, since 1955. The pages of the Journal are full of articles by accomplished ship modelers who show you how they create those exquisite details on their models, and by maritime historians who show you the correct details to build. The Journal is available in both print and digital editions. Go to the NRG web site (www.thenrg.org) to download a complimentary digital copy of the Journal. The NRG also publishes plan sets, books and compilations of back issues of the Journal and the former Ships in Scale and Model Ship Builder magazines.

.jpg.7e80607770d9078b2f0b470e8c9c33ac.jpg)


