CDW
-
Posts
7,755 -
Joined
-
Last visited
Content Type
Profiles
Forums
Gallery
Events
Everything posted by CDW
-
 First light assessment is okay. Lots of limbs and branches down. Gazebo went by by. No major damage. Neighbors west and south of here did not fare well. Storm surge over 8’ flooded many. Bridges are shut down this morning. We have already started our cleanup. By tomorrow we will be back in business. Others will need more time. Lots of debris for contractors to pick up. That will take weeks to happen. Too much for regular pickups to handle.
 -
My gazebo flew away, into my neighbors back yard just a few minutes ago.
-
Lucky for me, our home is high and dry. Storm surge poses no threat. The windfield here is protected as well. Suburbs where there are farms and open fields as well as coastal areas always suffer the worst. Thanks Jav
- 264 replies
-
- 11
-

-
Costa Passenger Coach by yvesvidal - FINISHED - OcCre - 1/32
CDW replied to yvesvidal's topic in Non-ship/categorised builds
What a super, well detailed, unusual model. Beautiful work on her, Yves. -
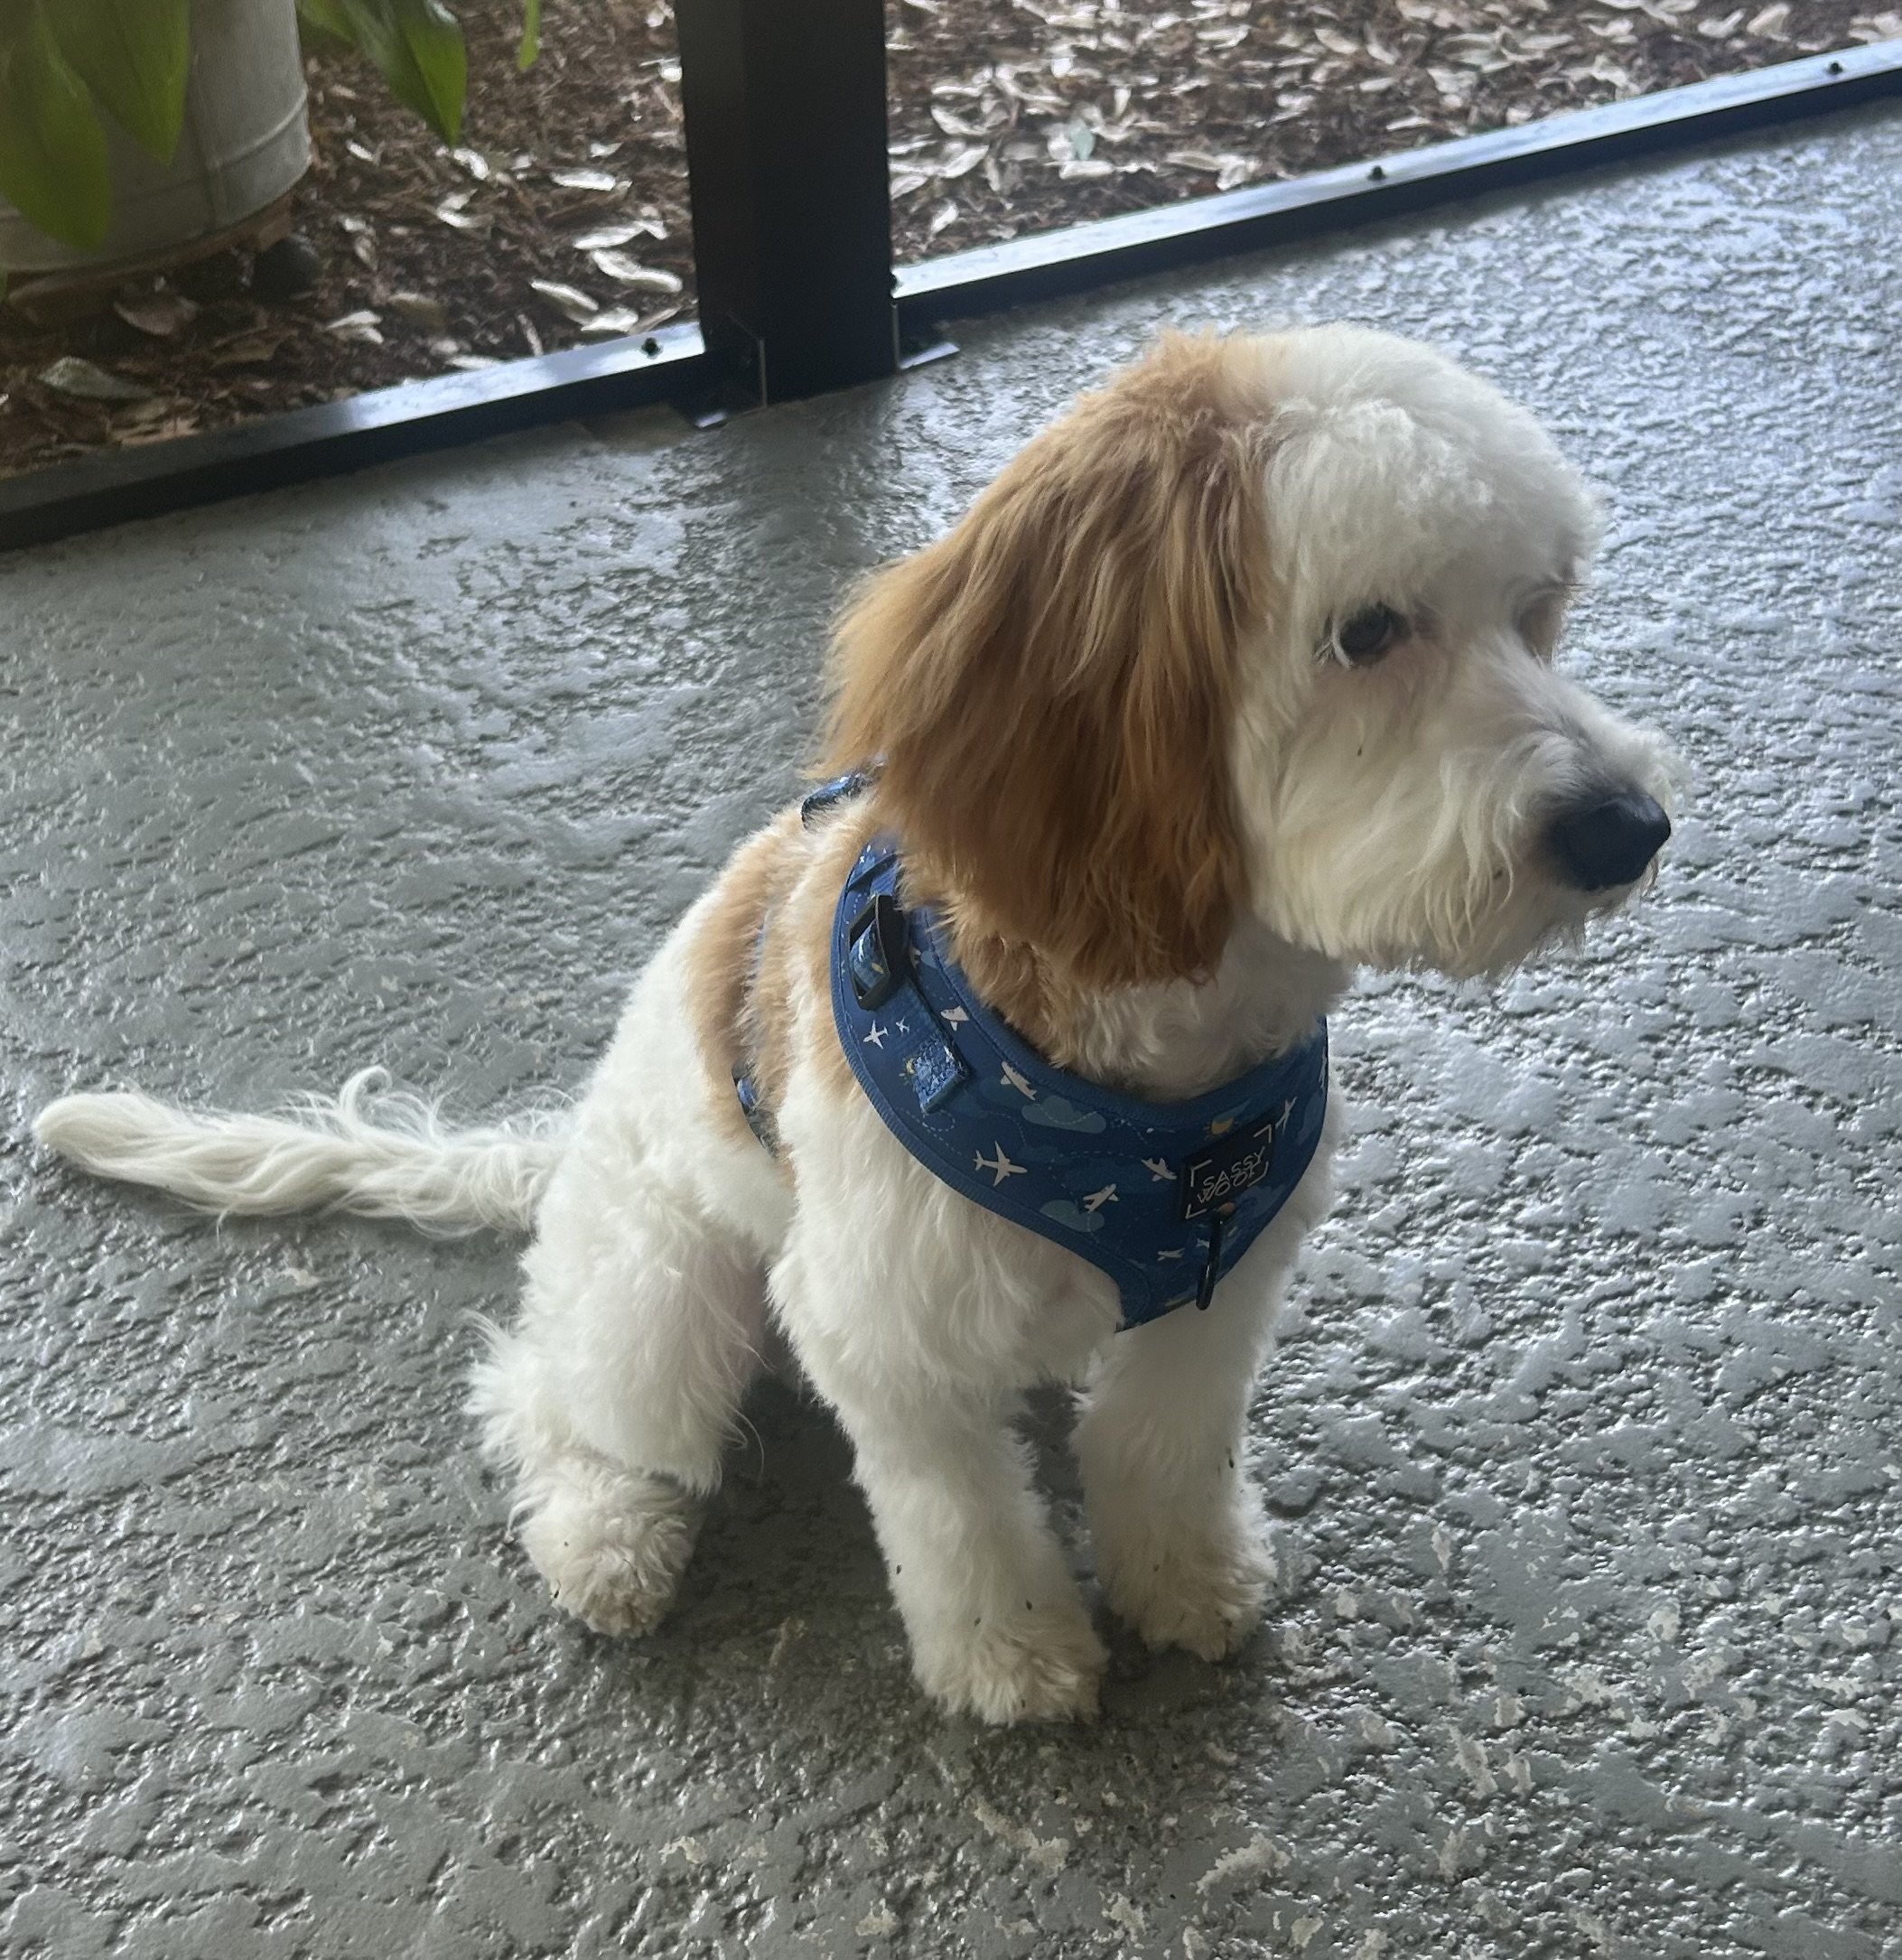
Looks like we have a big storm coming. Making preparations now. NOAA hasn't given it a name yet, but tropical force winds are a fairly high probability for my area right now early in the wee hours of Thursday morning. During the day while my daughter is at work, I'm on puppy-sitting duty. She's an energetic, sweet little thing.
-
I know what you mean, Jav.
-
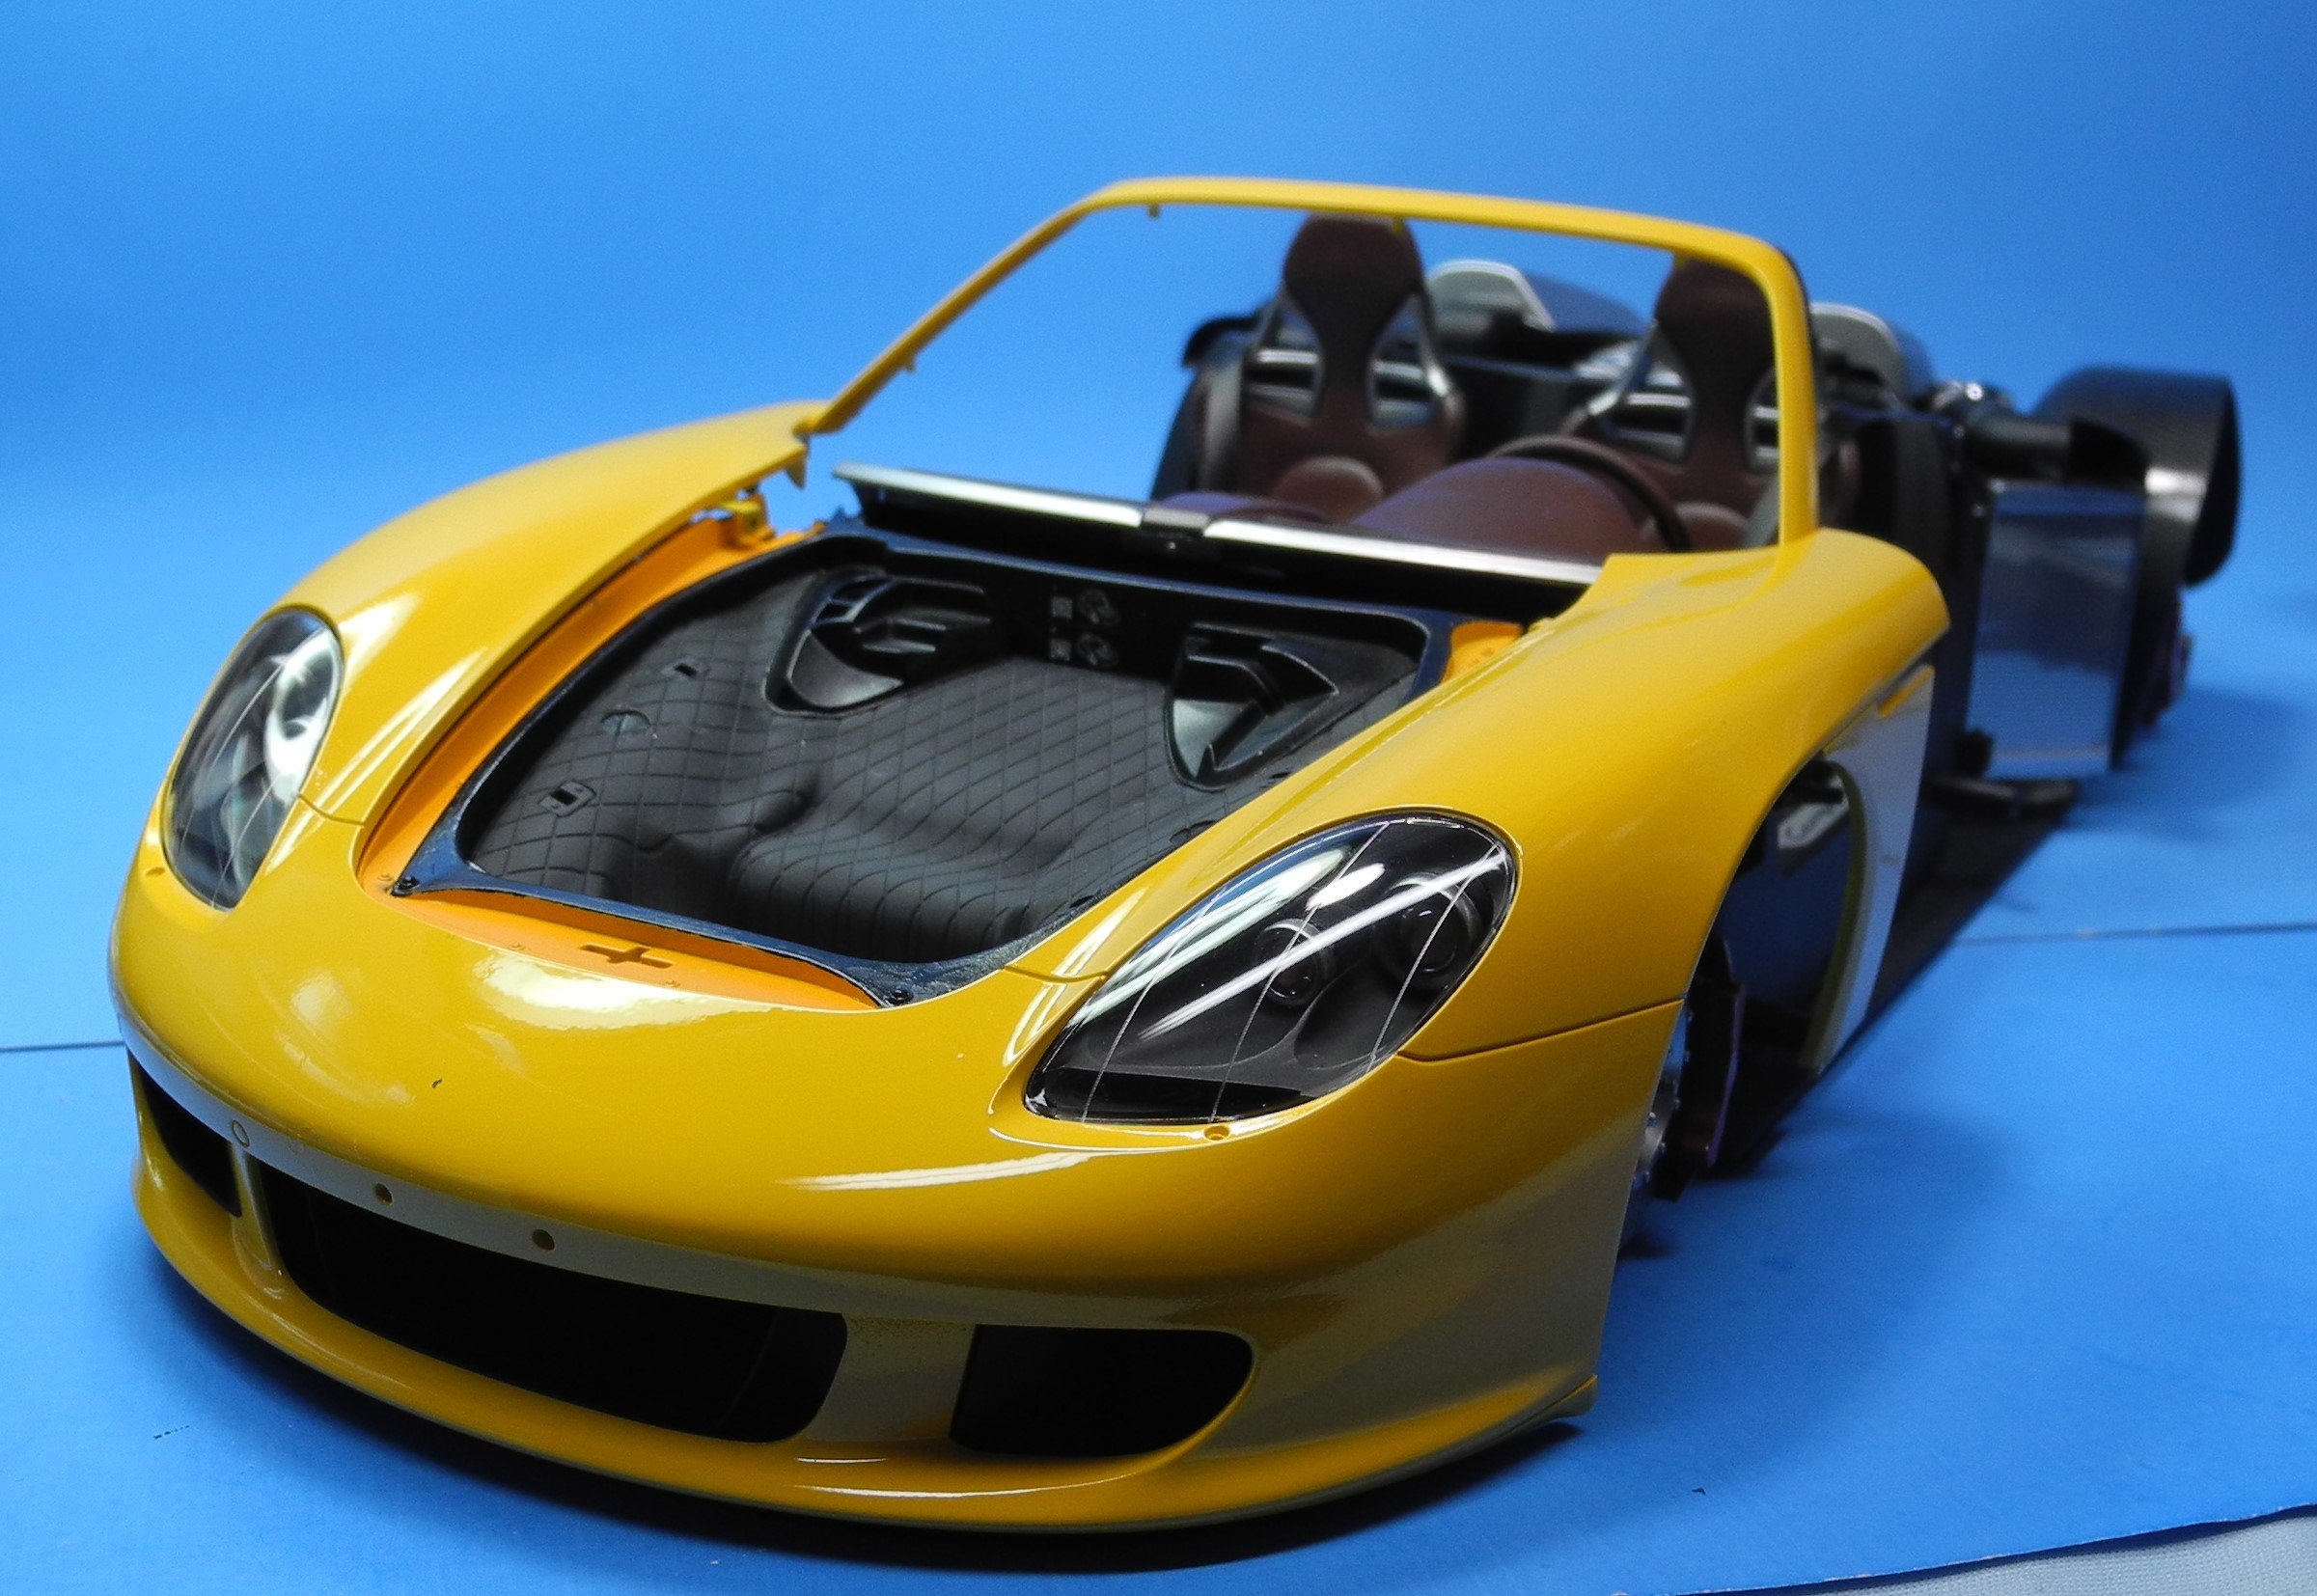
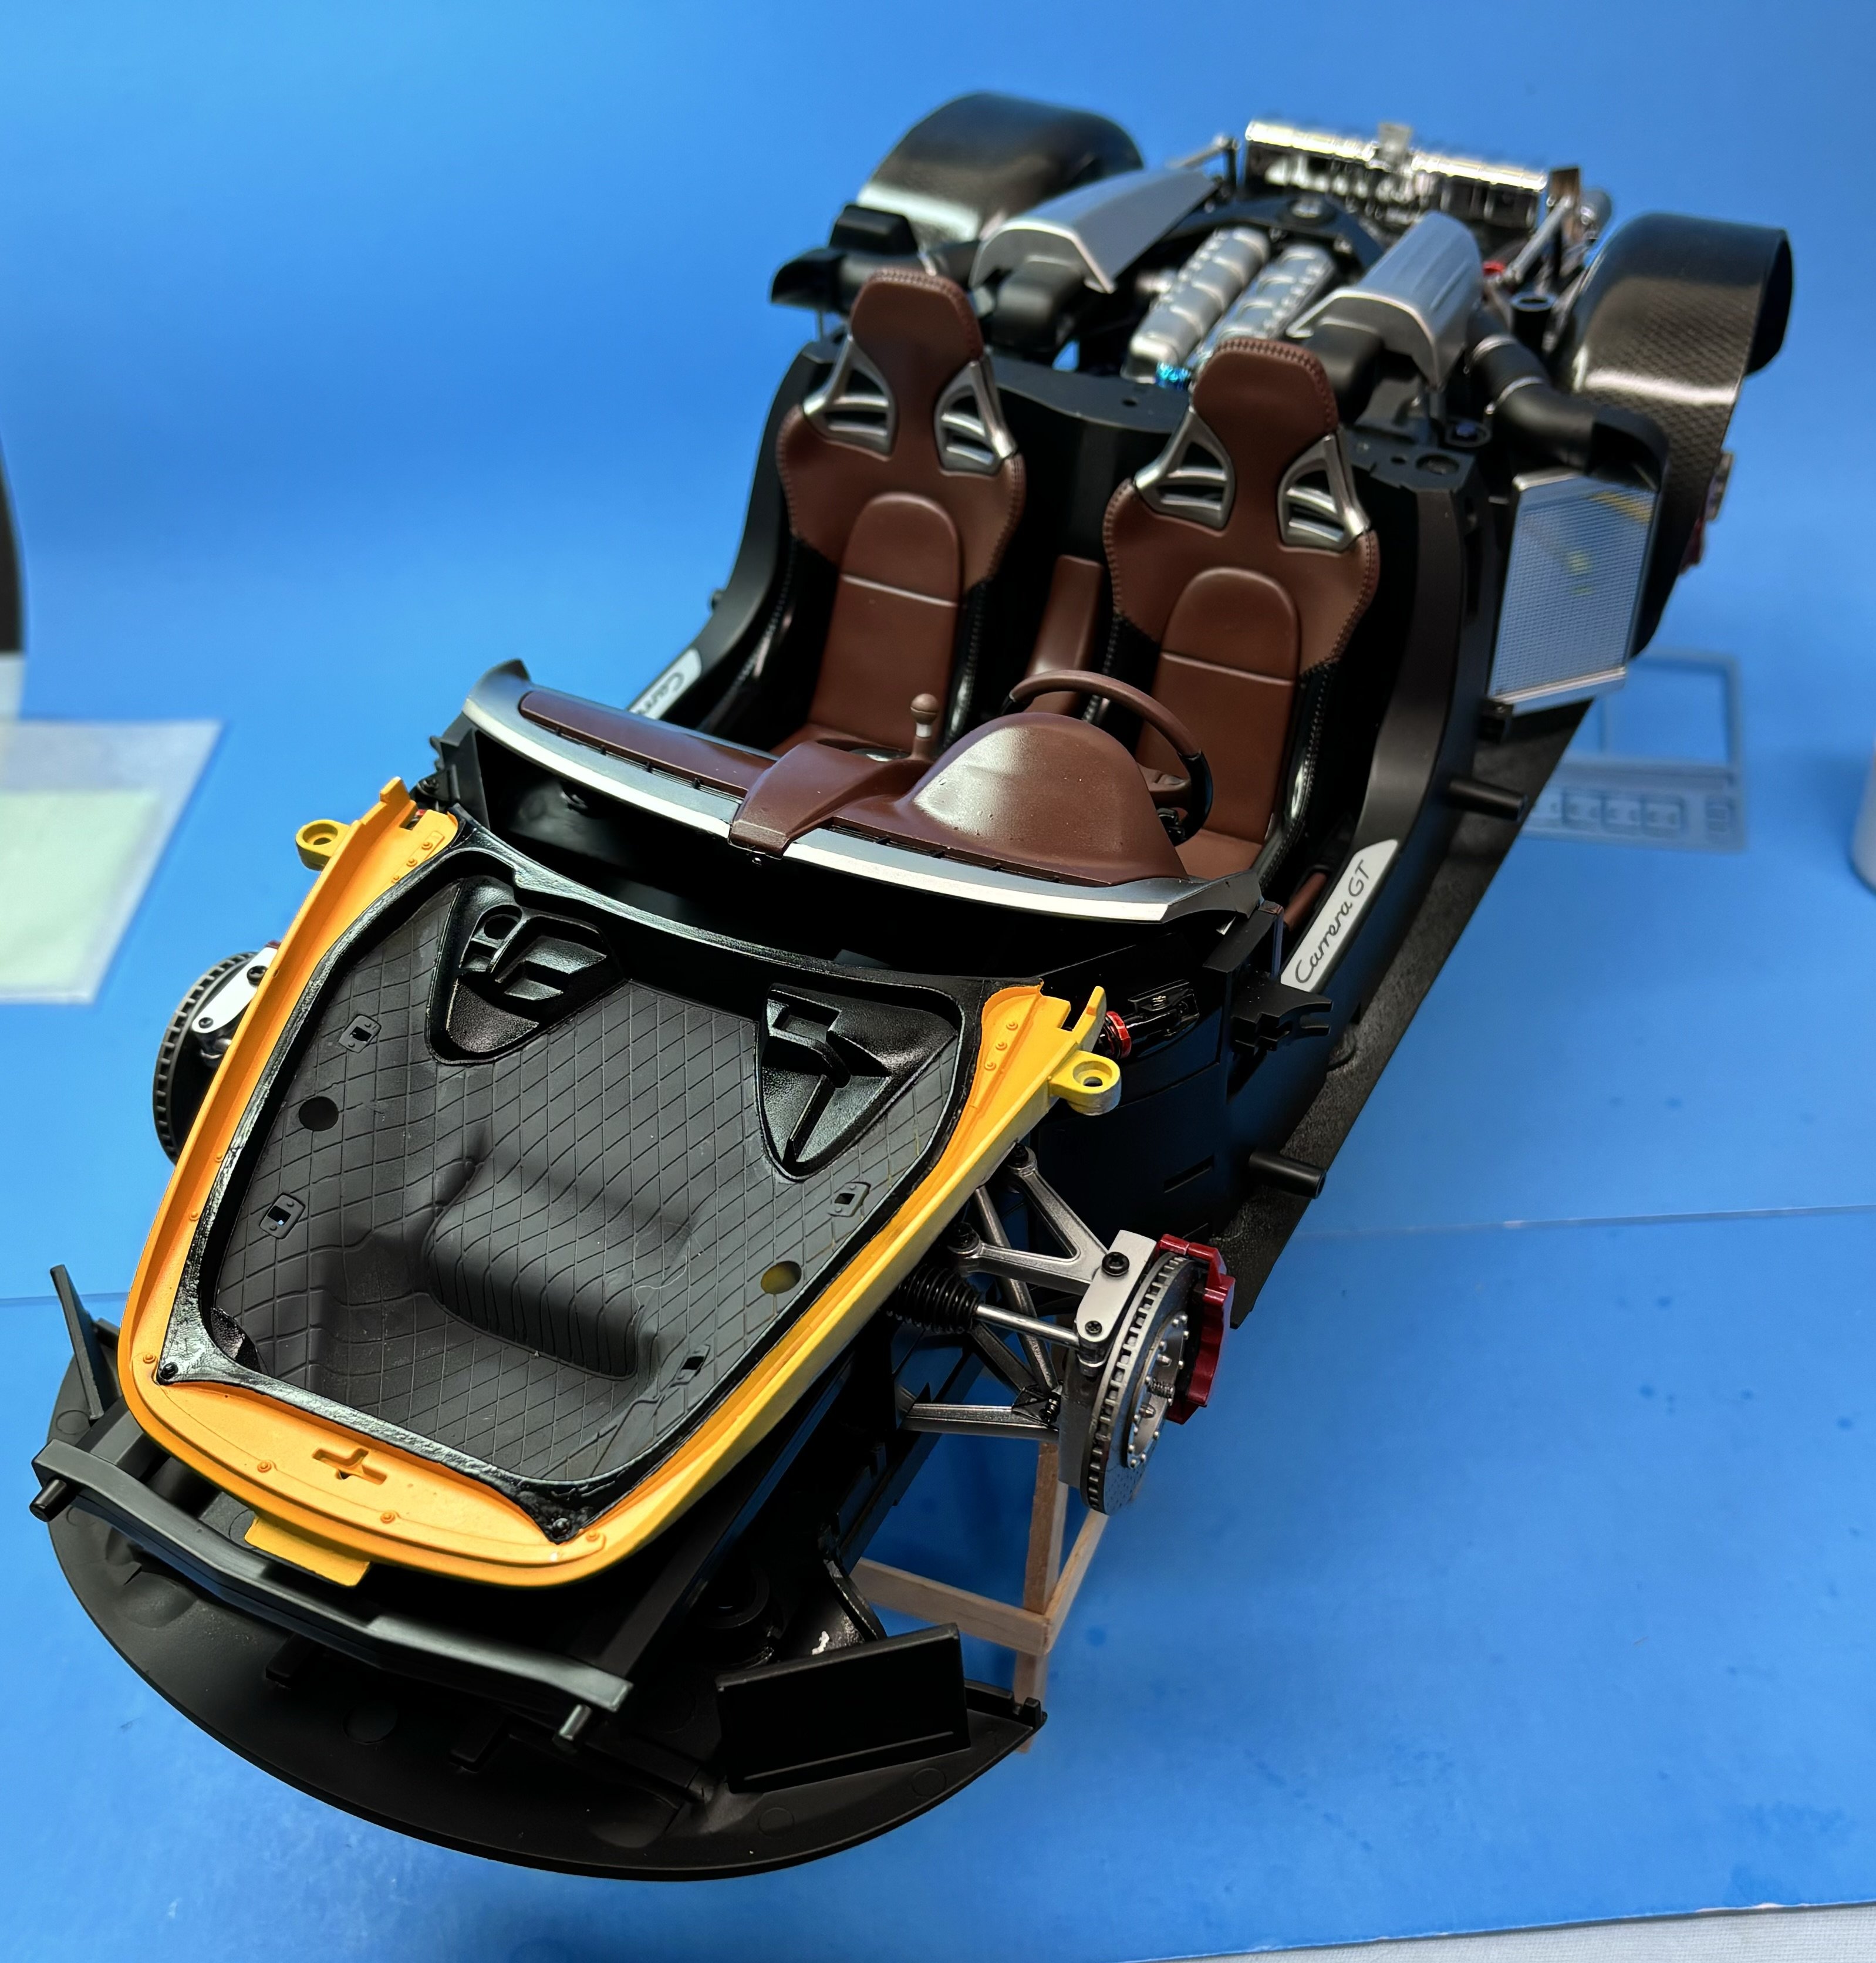
The most common paint on these Porsche Carrera GTs seems to be either silver or black, so I didn't want that. Then I read this particular yellow was done by special order for this single Porsche at a customer request. I like the yellow as well. The pup I bought for our youngest daughter, the 27-year-old who lives with us. The pups feel like another one of my children, maybe even like grandchildren. I think the older I get; I am becoming more attached to pets. It wasn't like that for me when I was a younger man. I never let myself become emotionally attached to pets. Today they give me quite a lot of joy for some reason I cannot explain. They are so innocent.
-
After giving the front body clip the enamel paint job, I put it in the dehydrator, set to a temperature of 122 degrees F for 24 hours. Then waited ten days before handling the painted piece, giving it plenty of time to cure. I don't want nasty fingerprints and prefer to err on the side of caution. The headlight lenses were cemented in, the headlamp buckets painted and cemented in place along with the air intake pieces and radiator. The front clip rests in place dry-fitted so to speak. It will actually be screwed into place in later stages of the build. Next stages include painting and installing the door jambs and door hinges. Then doors and inner door panels. It will be a slow process while I wait for enamel paint to cure and dry. Same paint process as described before.


- 264 replies
-
- 13
-
-

-
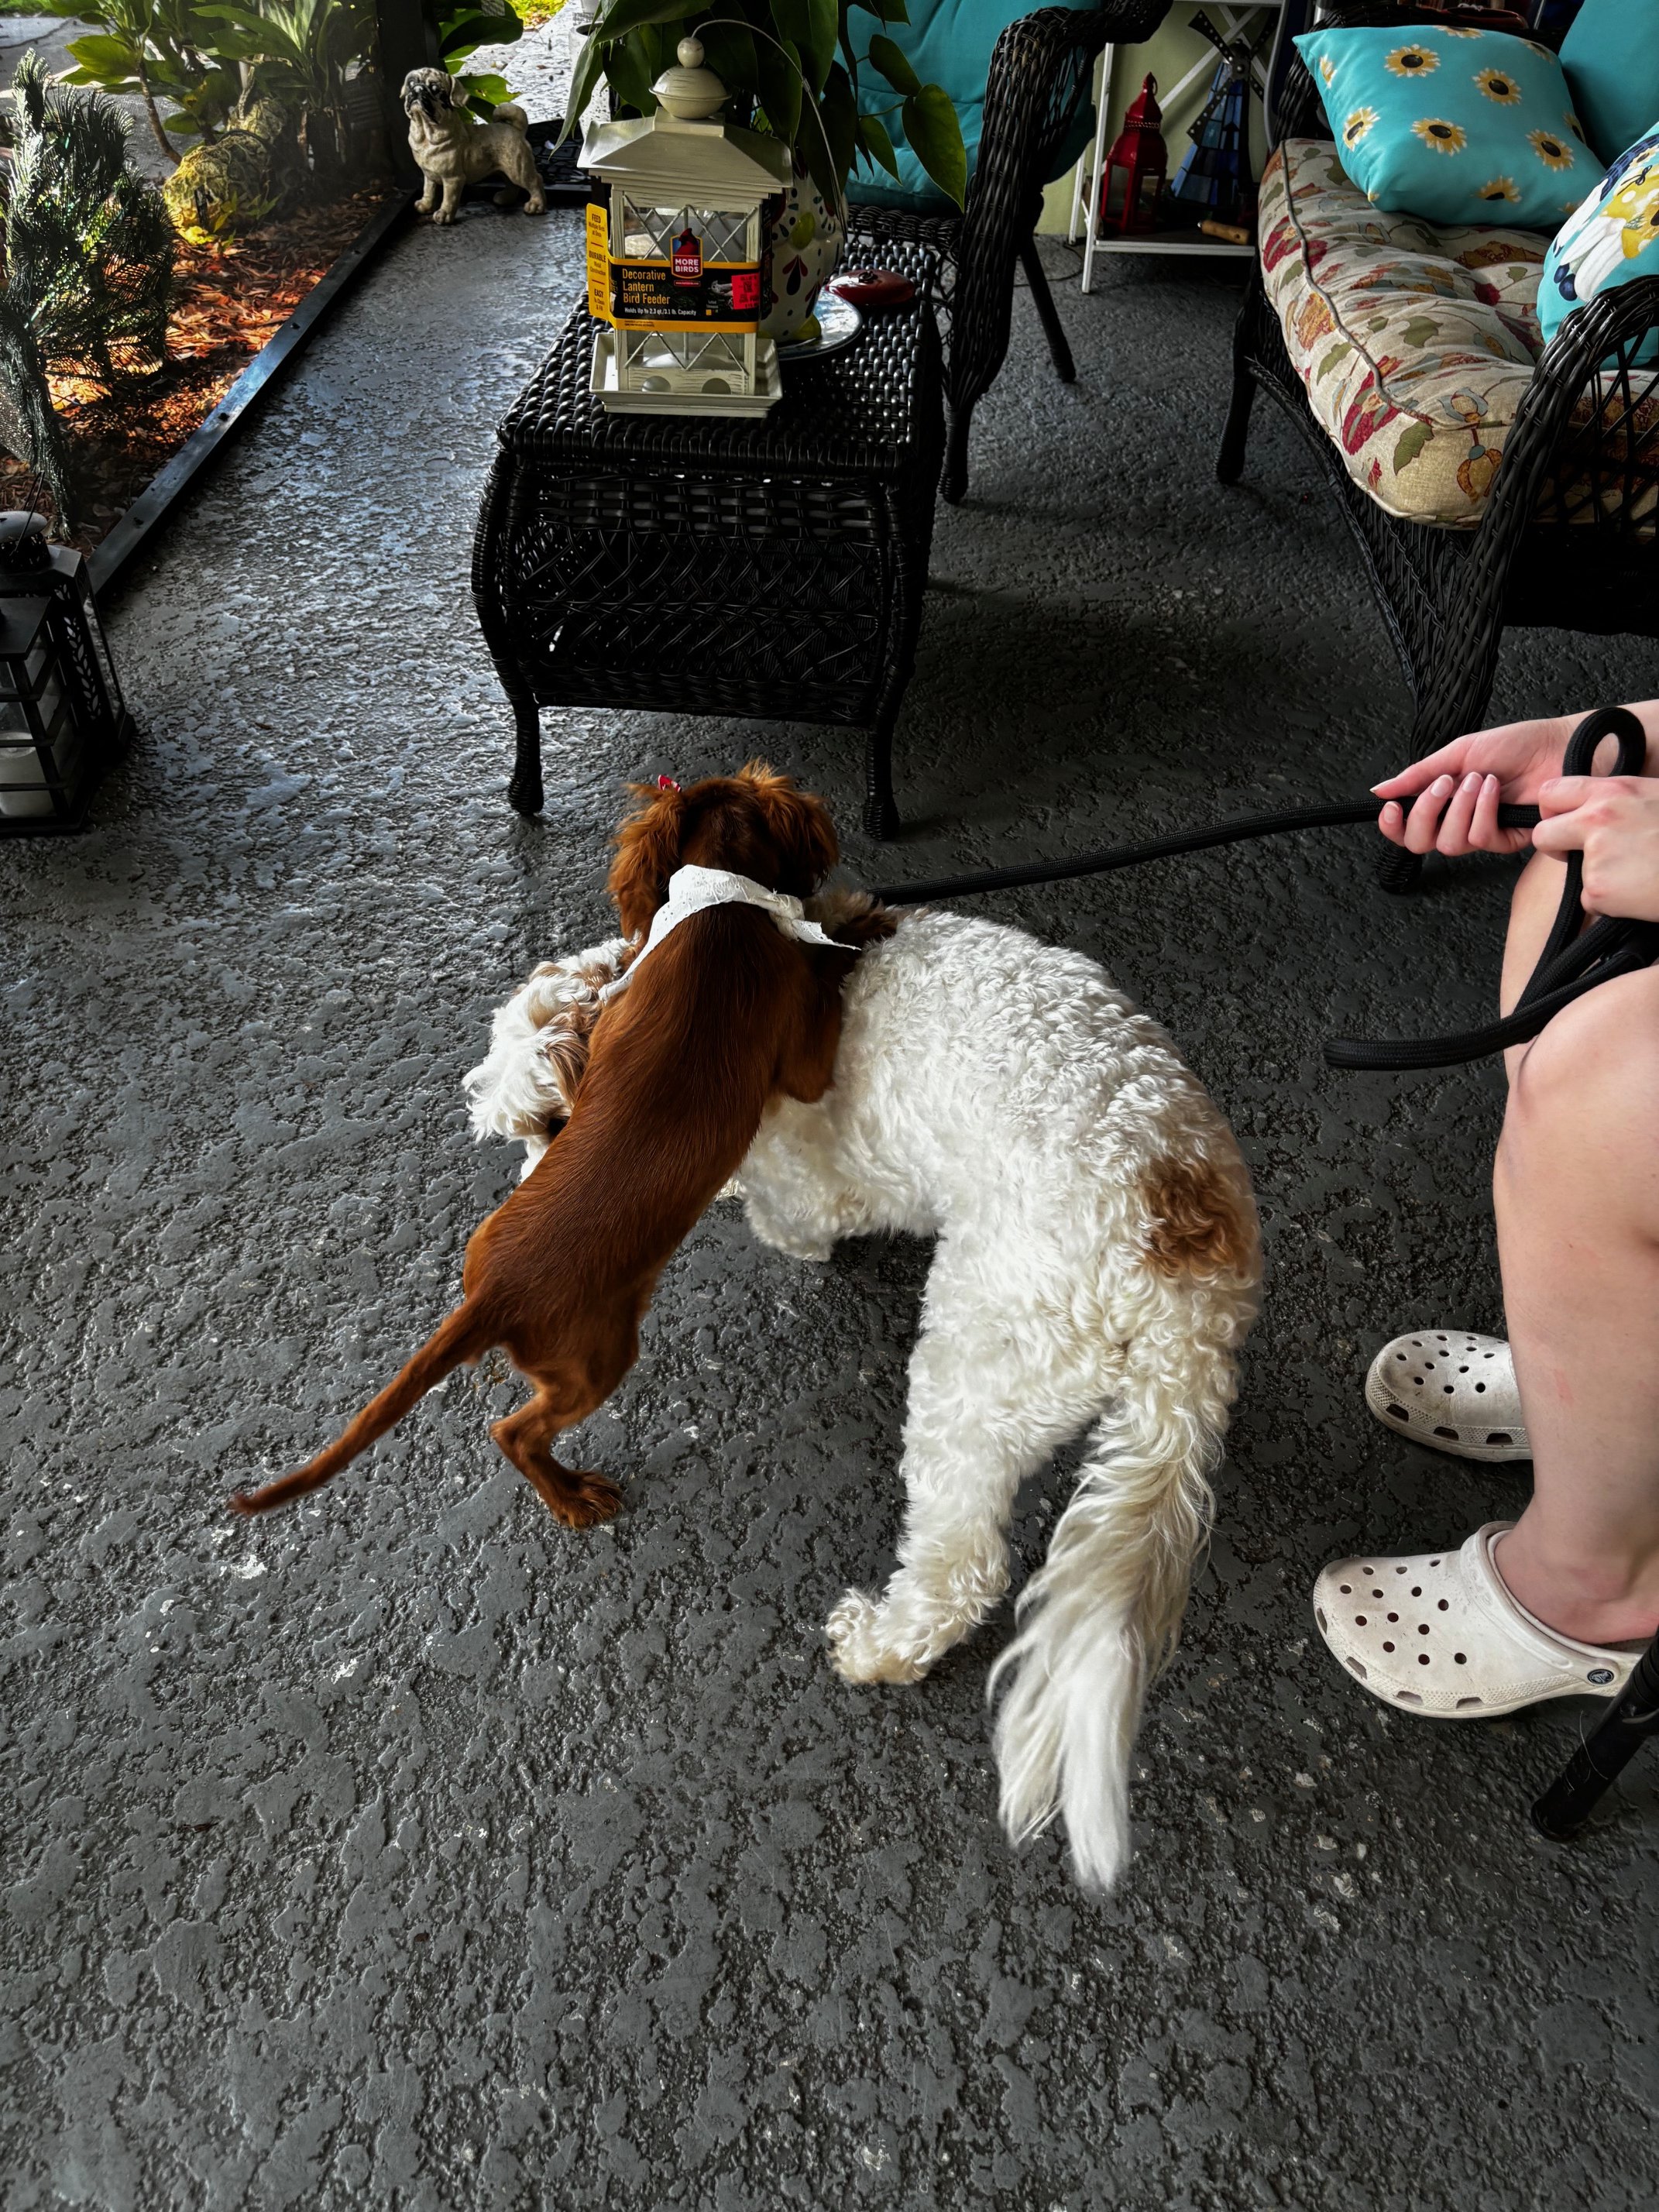
Ruby joins our Cavapoo named Topaz. These two are going to be amazing friends. Topaz is a mix of Cavalier King Charles Spaniel and Poodle. Ruby is a pure Cavalier King Charles Spaniel. She looks just like Topaz sire.


- 264 replies
-
- 11
-
-

-
It's been explained to me this way: Enamel dries to a surface finish that is nonporous whereas lacquers and acrylics are porous. While enamel has slow dry and cure times which are a pain to deal with, and slow down production, a glossy surface can be achieved without the polishing and buffing that's needed on lacquer finishes. Scale model car builders, particularly the old school ones, prefer enamel for model cars. I used a white lacquer primer for this color and the enamel went down with no problems, easily covering and reaching the intended color. Scale Finishes mixes and bottles his colors using DuPont Axalta paints, a high-quality brand. Surface preparation makes ALL the difference in a final finish. You want that surface to be prepared to where it feels as smooth as a baby's butt when you lay down your color.
- 264 replies
-
- 11
-
-

-
One of the beauties of spraying on enamel, a random hair or speck of matter that gets into the paint while spraying can be carefully removed (before it sets up) with a set of fine tip tweezers then another coat of enamel will level out the spot where that trash was located so you never see it ever happened. Unlike lacquer or acrylic which kick off too quickly to allow that, The downside to enamel is a wait for a week or two for it to fully cure to the extent it can be handled without fear of leaving fingerprints. Enamel dries from the top down. It may look or even feel like it has set up when it really has not. It's still wet underneath.
-
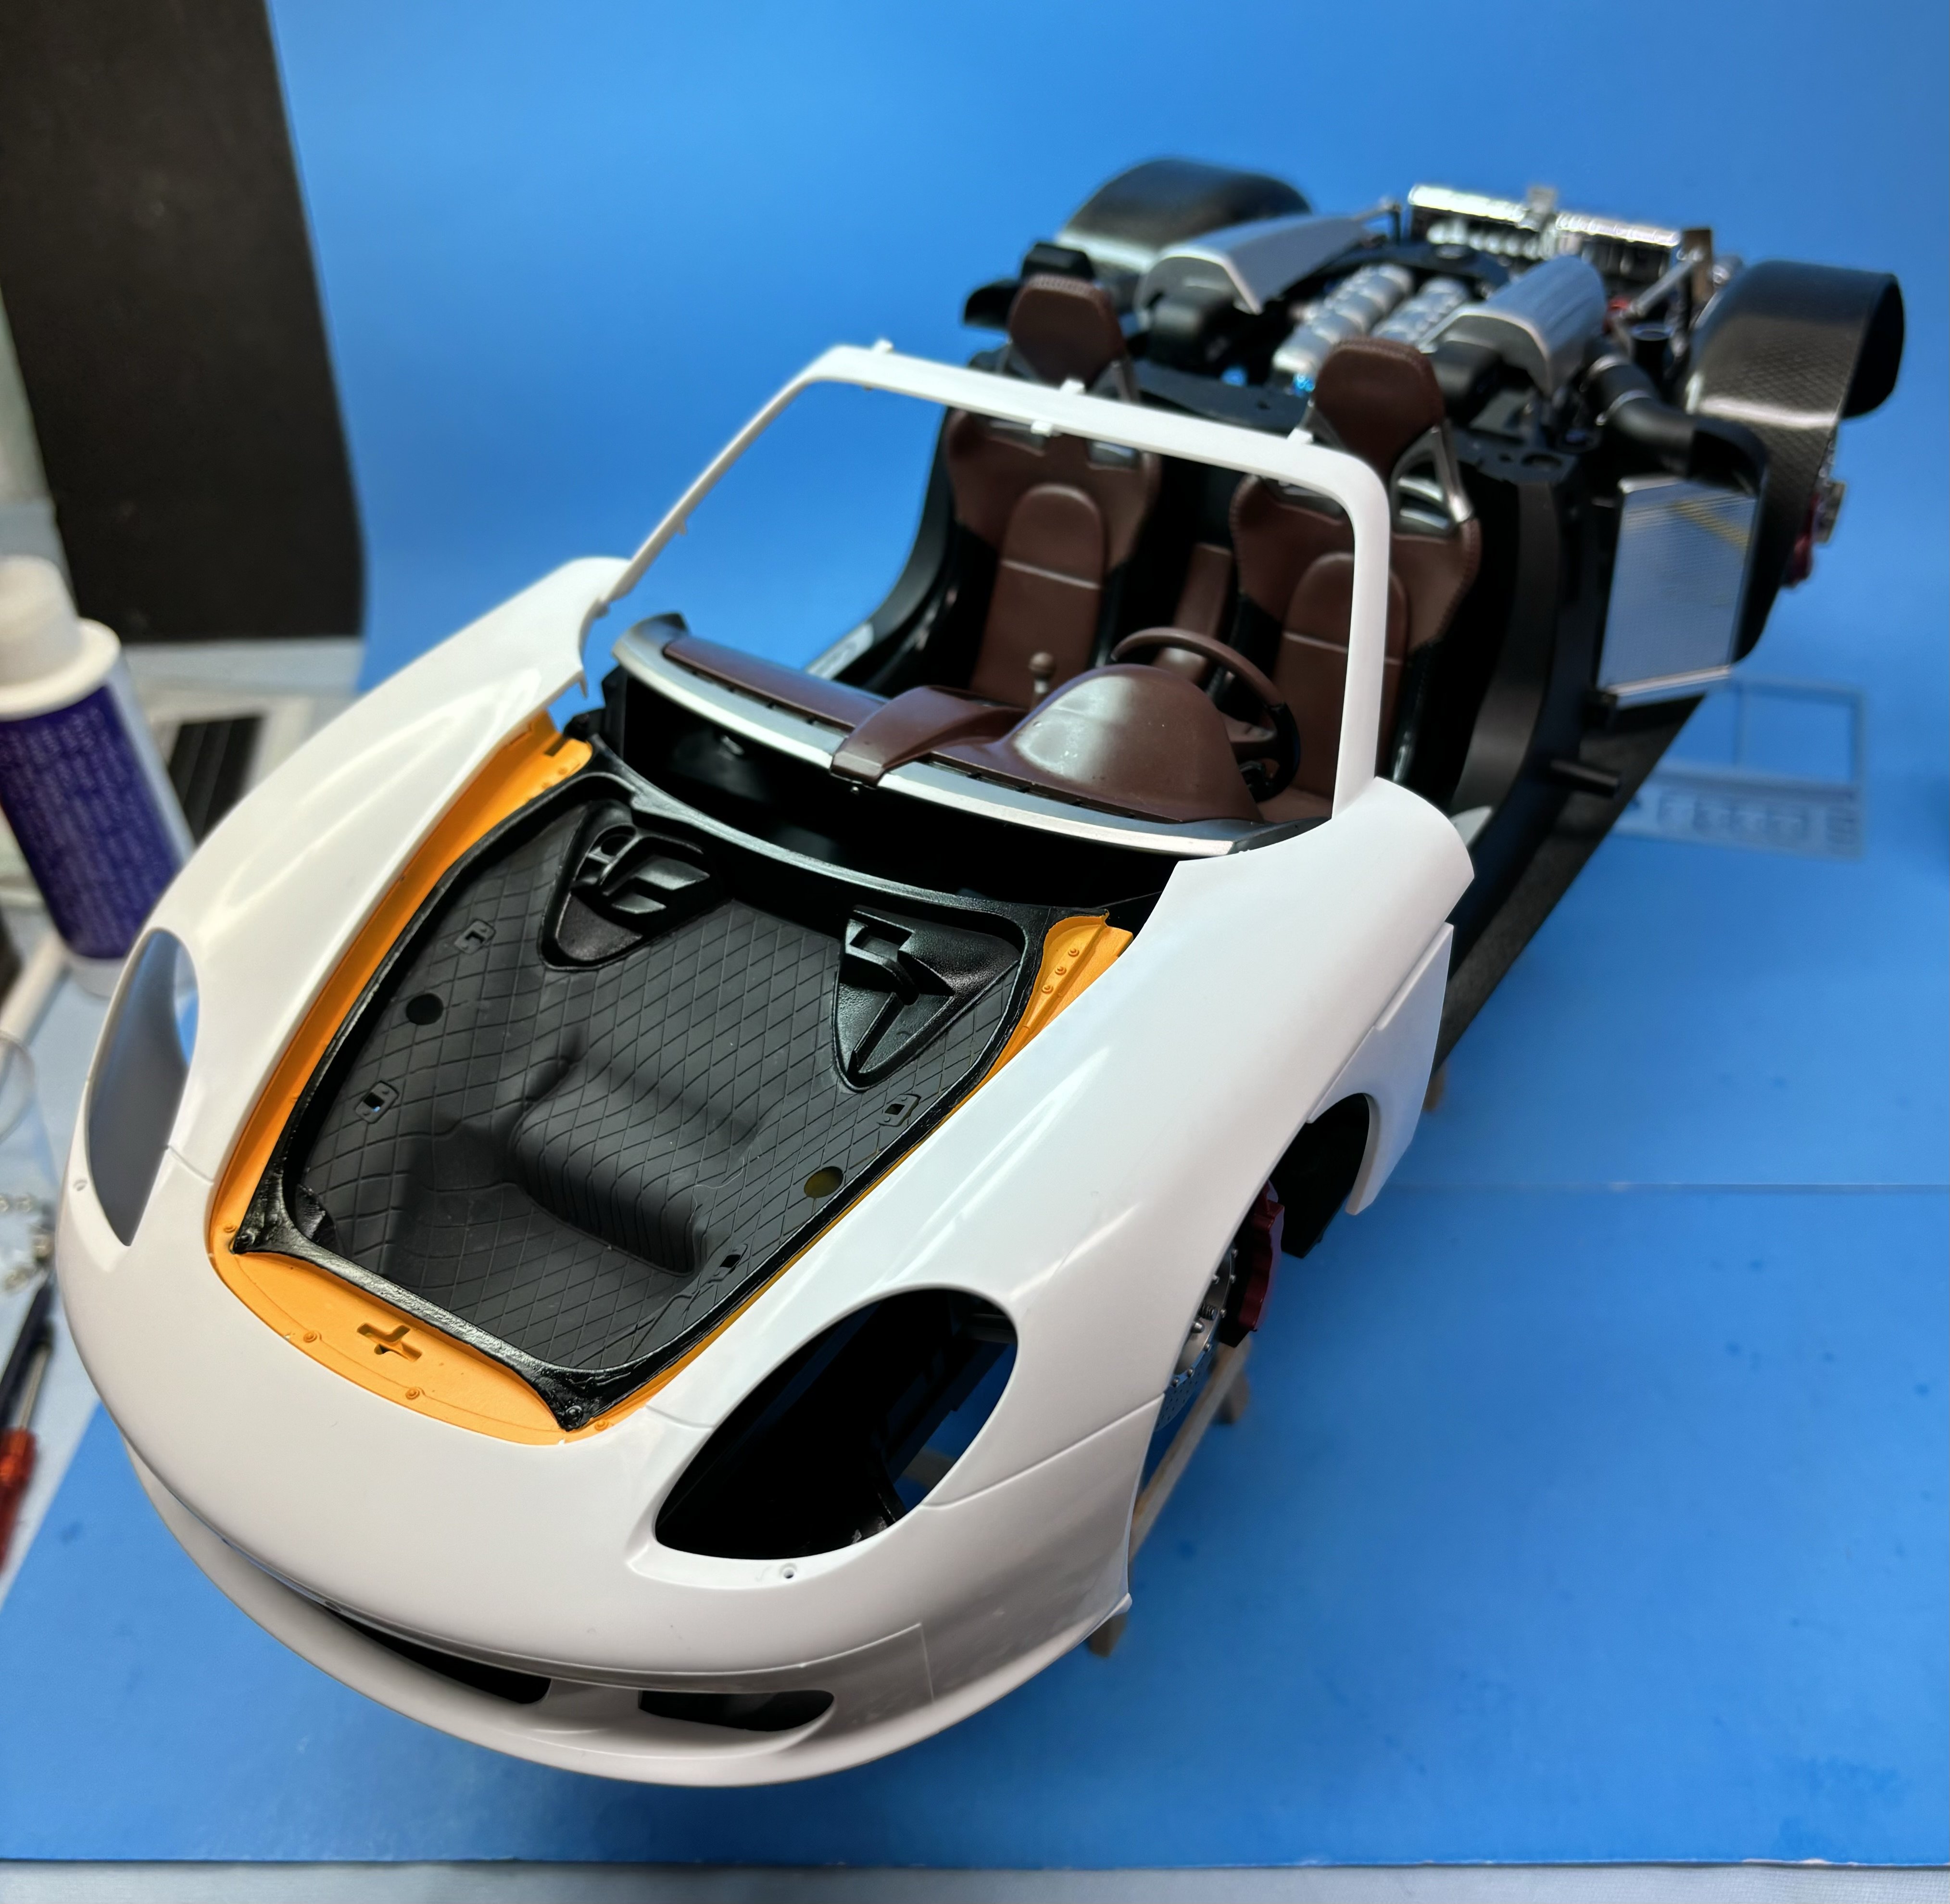
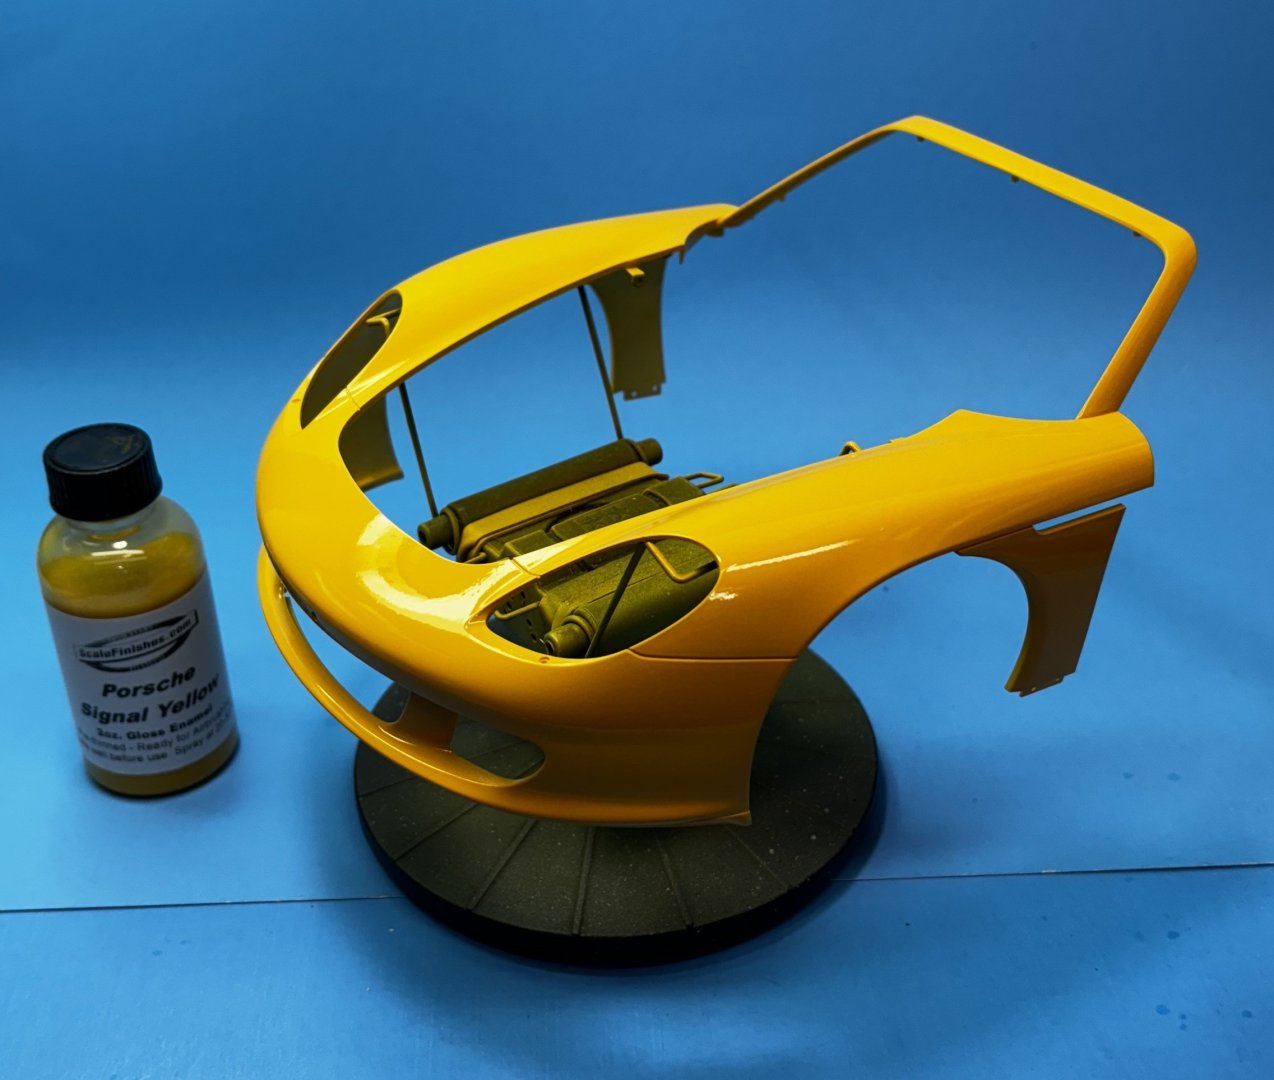
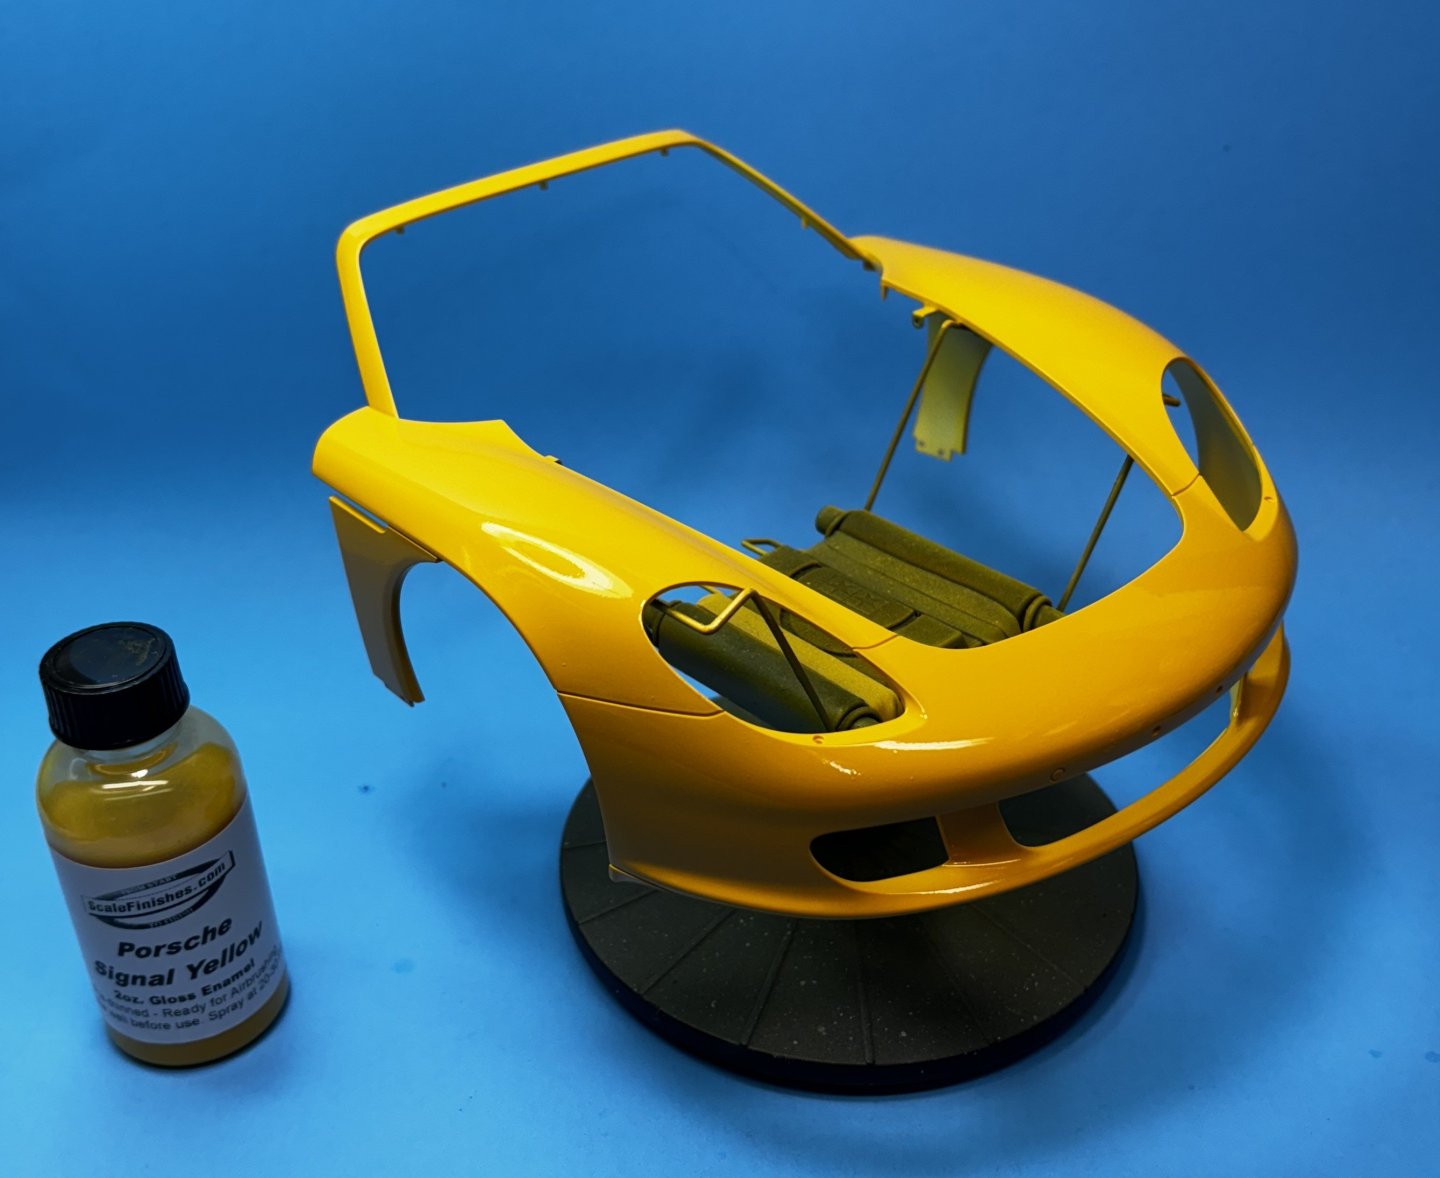
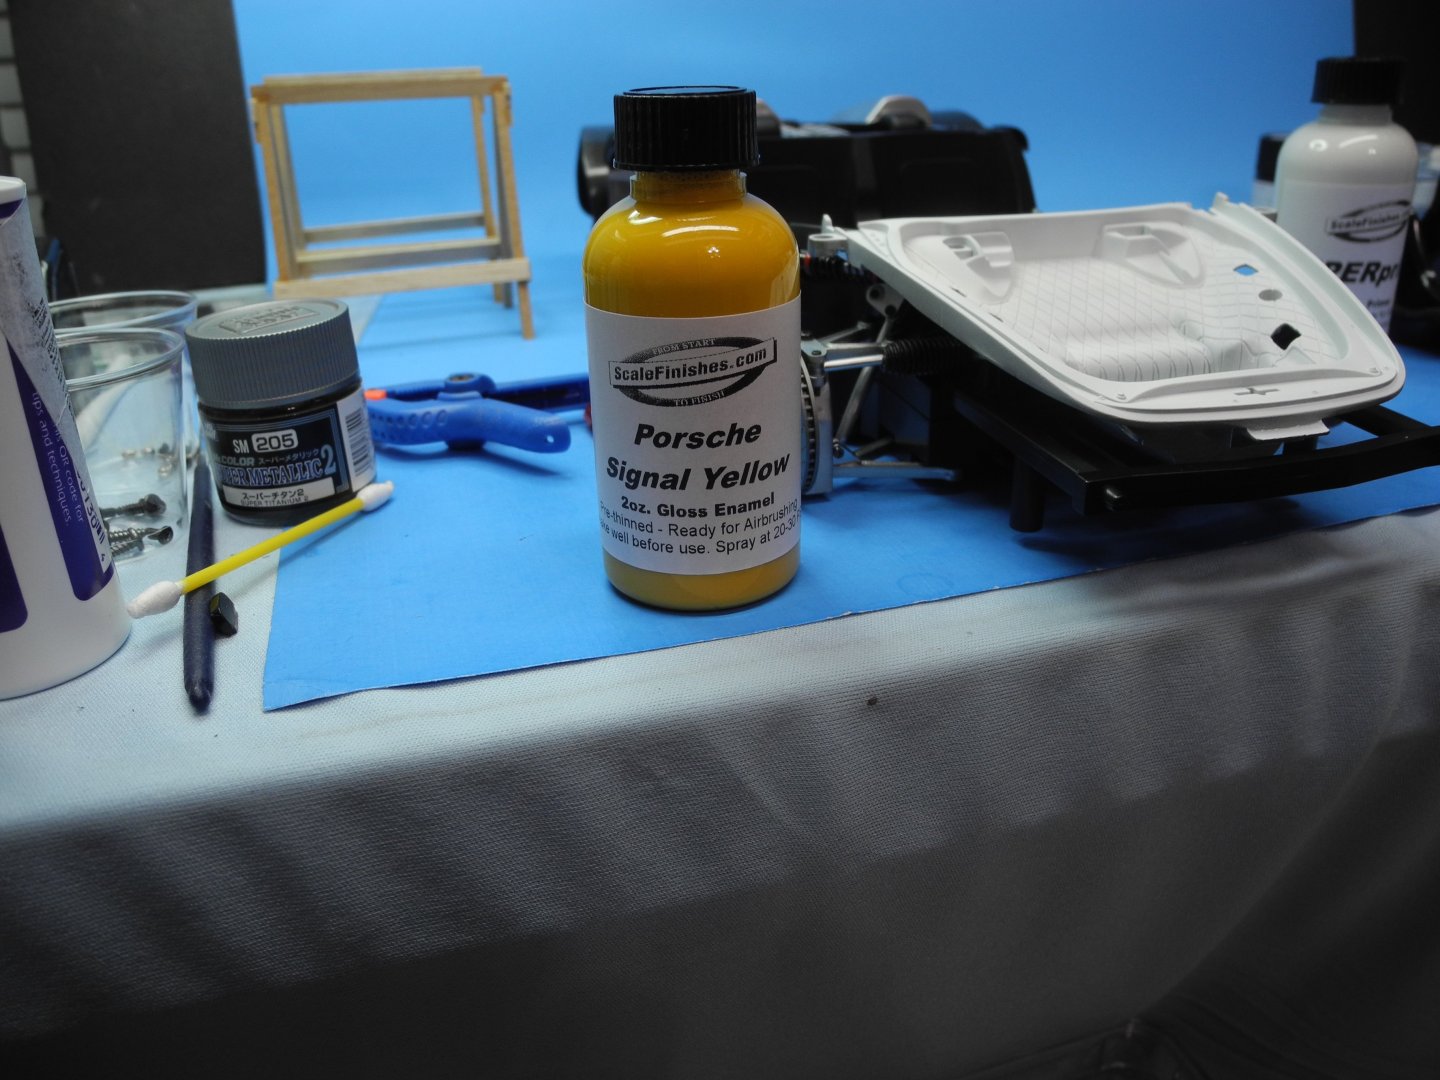
Porsche Carrera GT - Front Clip - a special shout-out to Dennis Graham for turning me on to Scale Finishes enamel paints. It's the 1st time I have used it and am very pleased with the performance of the paint. They mixed this unique Porsche color, Signal Yellow, upon request and it matches perfectly with photos of the real car. I took the front clip out of my dehydrator for these photos, and will now place it back inside to allow the enamel to cure/bake in. I found it helpful to add a squirt of Mr Color Leveling Thinner 400 to help the paint self-level. Just a few drops into the cup of my airbrush before giving it the last coat of paint. I put on three light coats then one last heavier coat at the end.
- 264 replies
-
- 15
-
-
-
That’s just beautiful. It’s my favorite of all you have done thus far. What a nice collection you’re building.
-
I’ll bet those breast plates were very uncomfortable to wear. Heavy, too. That treatment you applied to the metal looks splendid. What color did you use on the boots for leather?
-
In general, I find any form of scale modeling to be therapeutic as long as I don't get too carried away with it. Given the opportunity, it can become obsessive, and in my humble opinion, life should be as "rounded" as possible.
-
Every figure you do gets better and better. Great work, Alan.
-
I bought it for $680 from Spraygunner dot com. It was discounted due to a box that was scuffed up in shipping but contents perfect. Their regular price is $800. Most of their MFH kits are already sold out. Not a large selection of MFH kits in the USA and when they get new stock, it goes fast.
-
Seeing your beautiful work on this MFH kit convinced me to acquire one and give it a go. I bought the 1:12 1960 Corvette kit as my first MFH kit. It will be a while before I start it. Bought the magnetic tumbler, too. I can't see myself hand cleaning and polishing all those metal parts. You are doing their company a huge favor showing your build of their kit.
-
Costa Passenger Coach by yvesvidal - FINISHED - OcCre - 1/32
CDW replied to yvesvidal's topic in Non-ship/categorised builds
It must be the small amount of Spain in my DNA. I like the red as well. -
Besides the beautiful job you did on your model, Mike, you built one that will rarely be seen on model show tables. It's a rare, unique, and beautiful piece of flight history. A pleasure to see.
- 112 replies
-
- 10
-
-
-
Thanks, Ken. Would love to see your Civil War saddle.
-
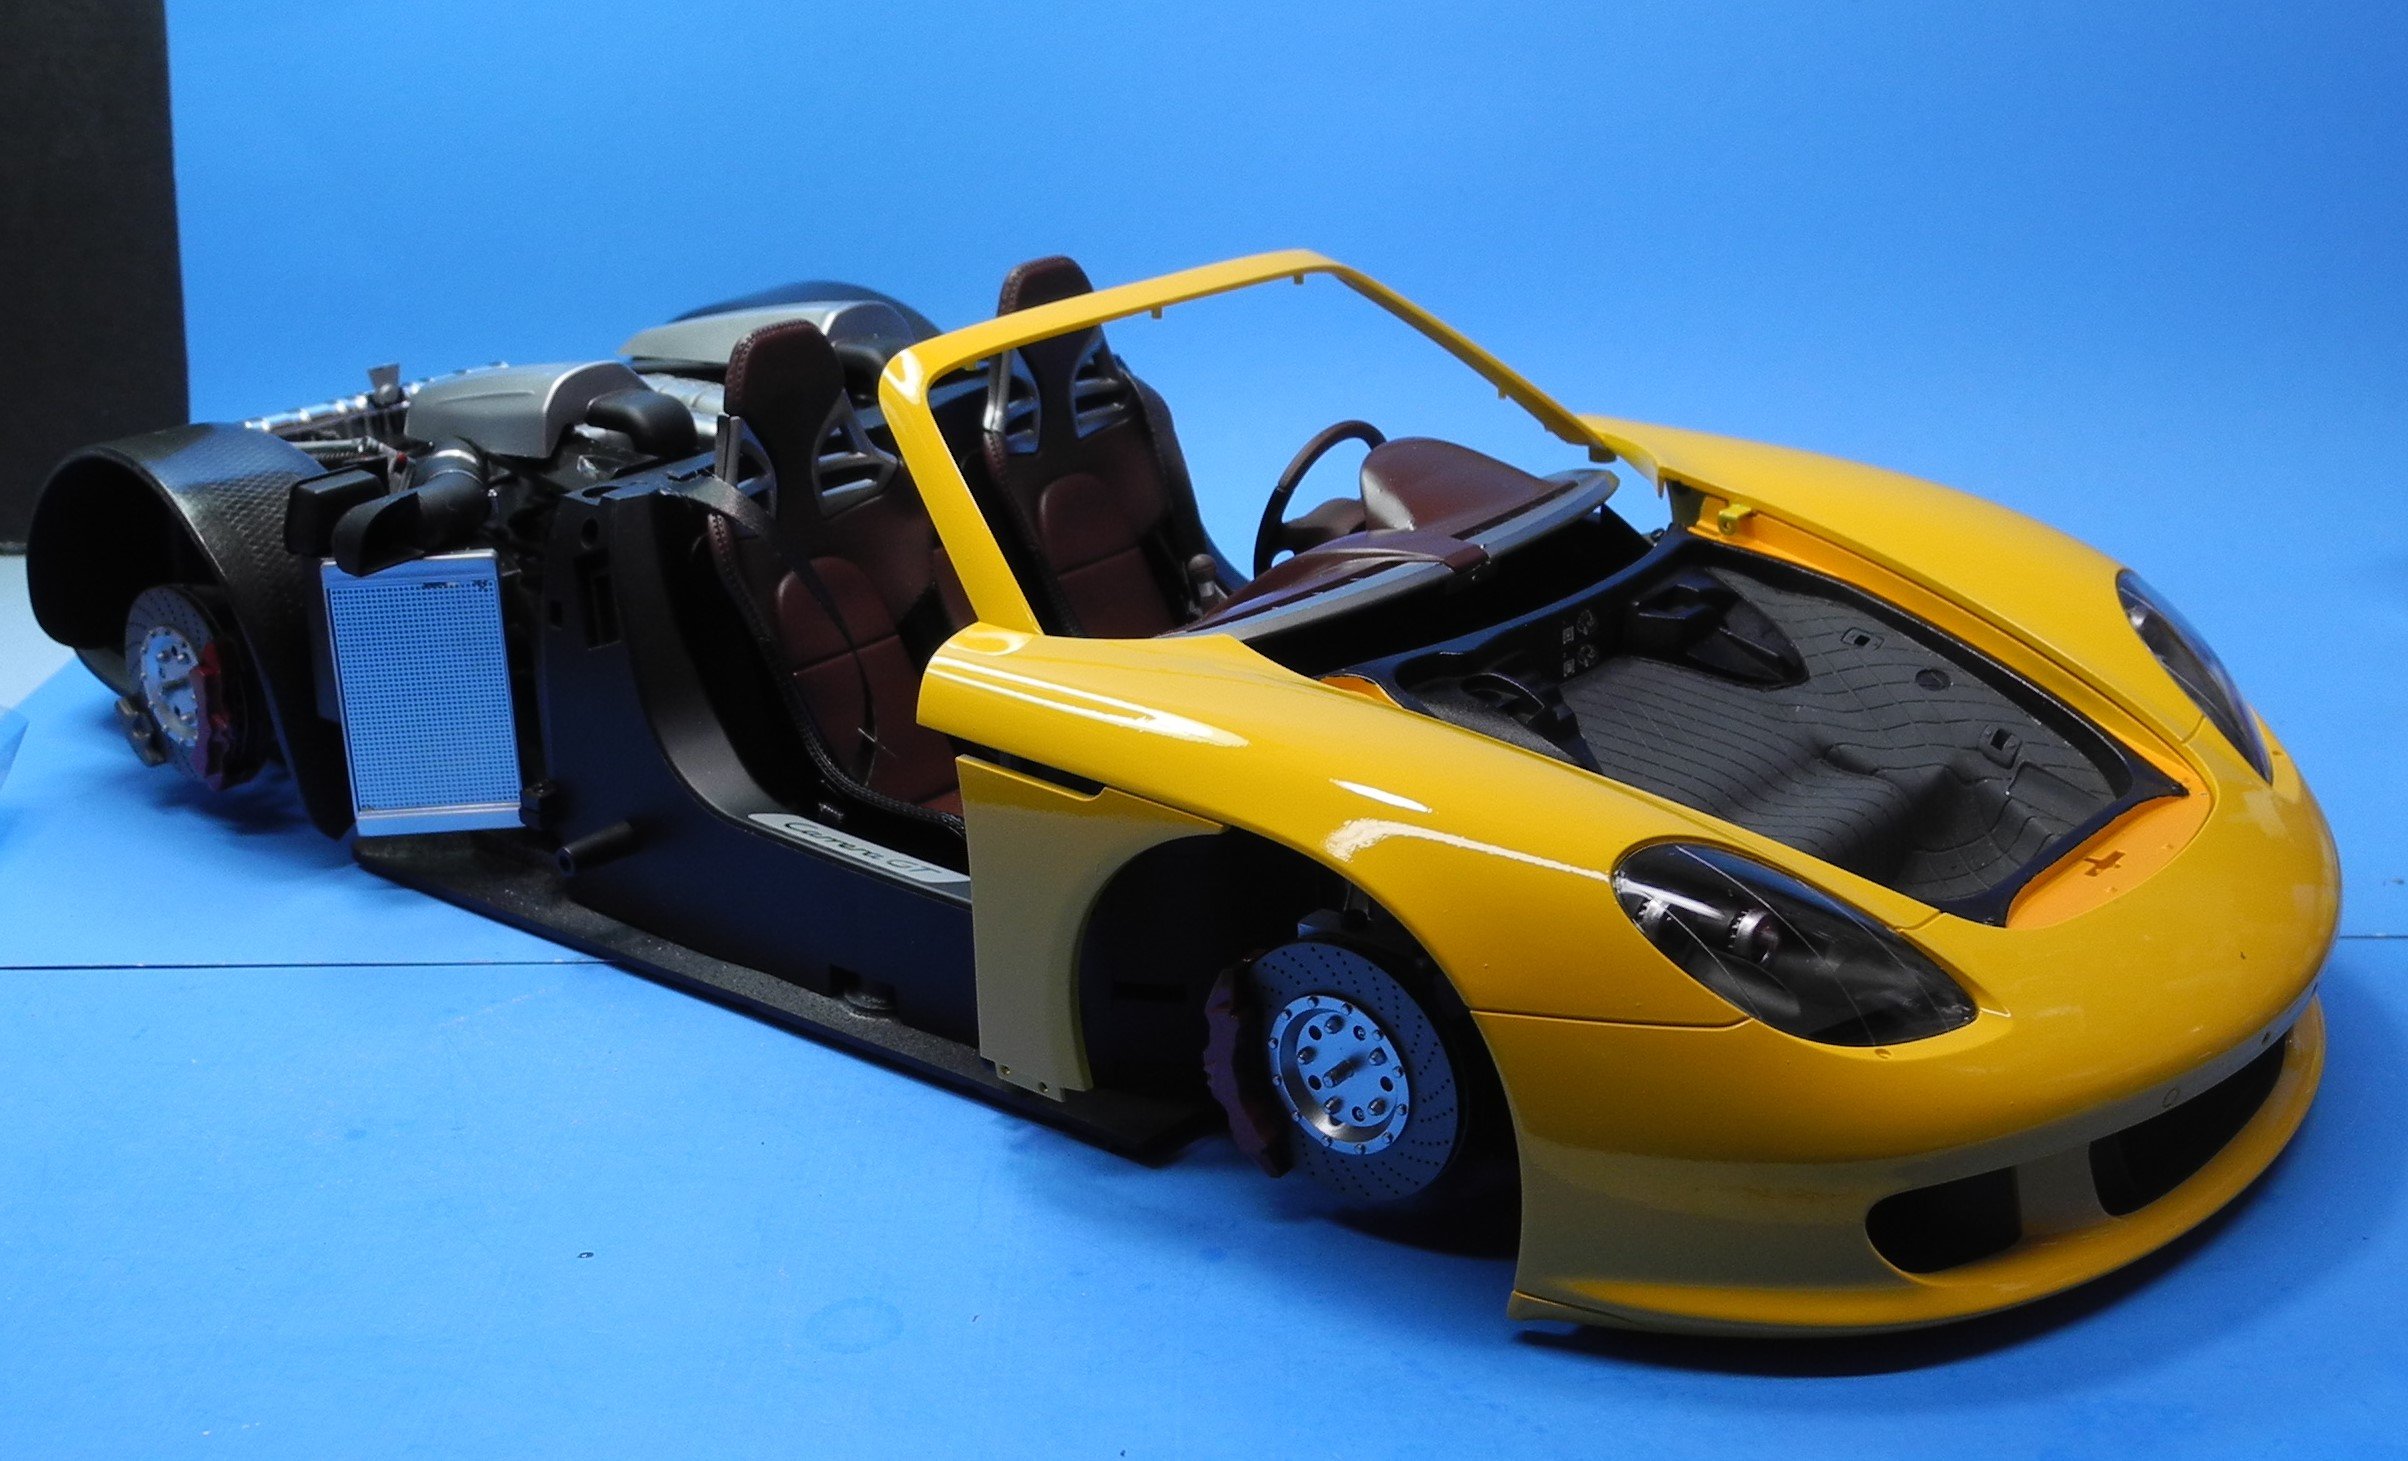
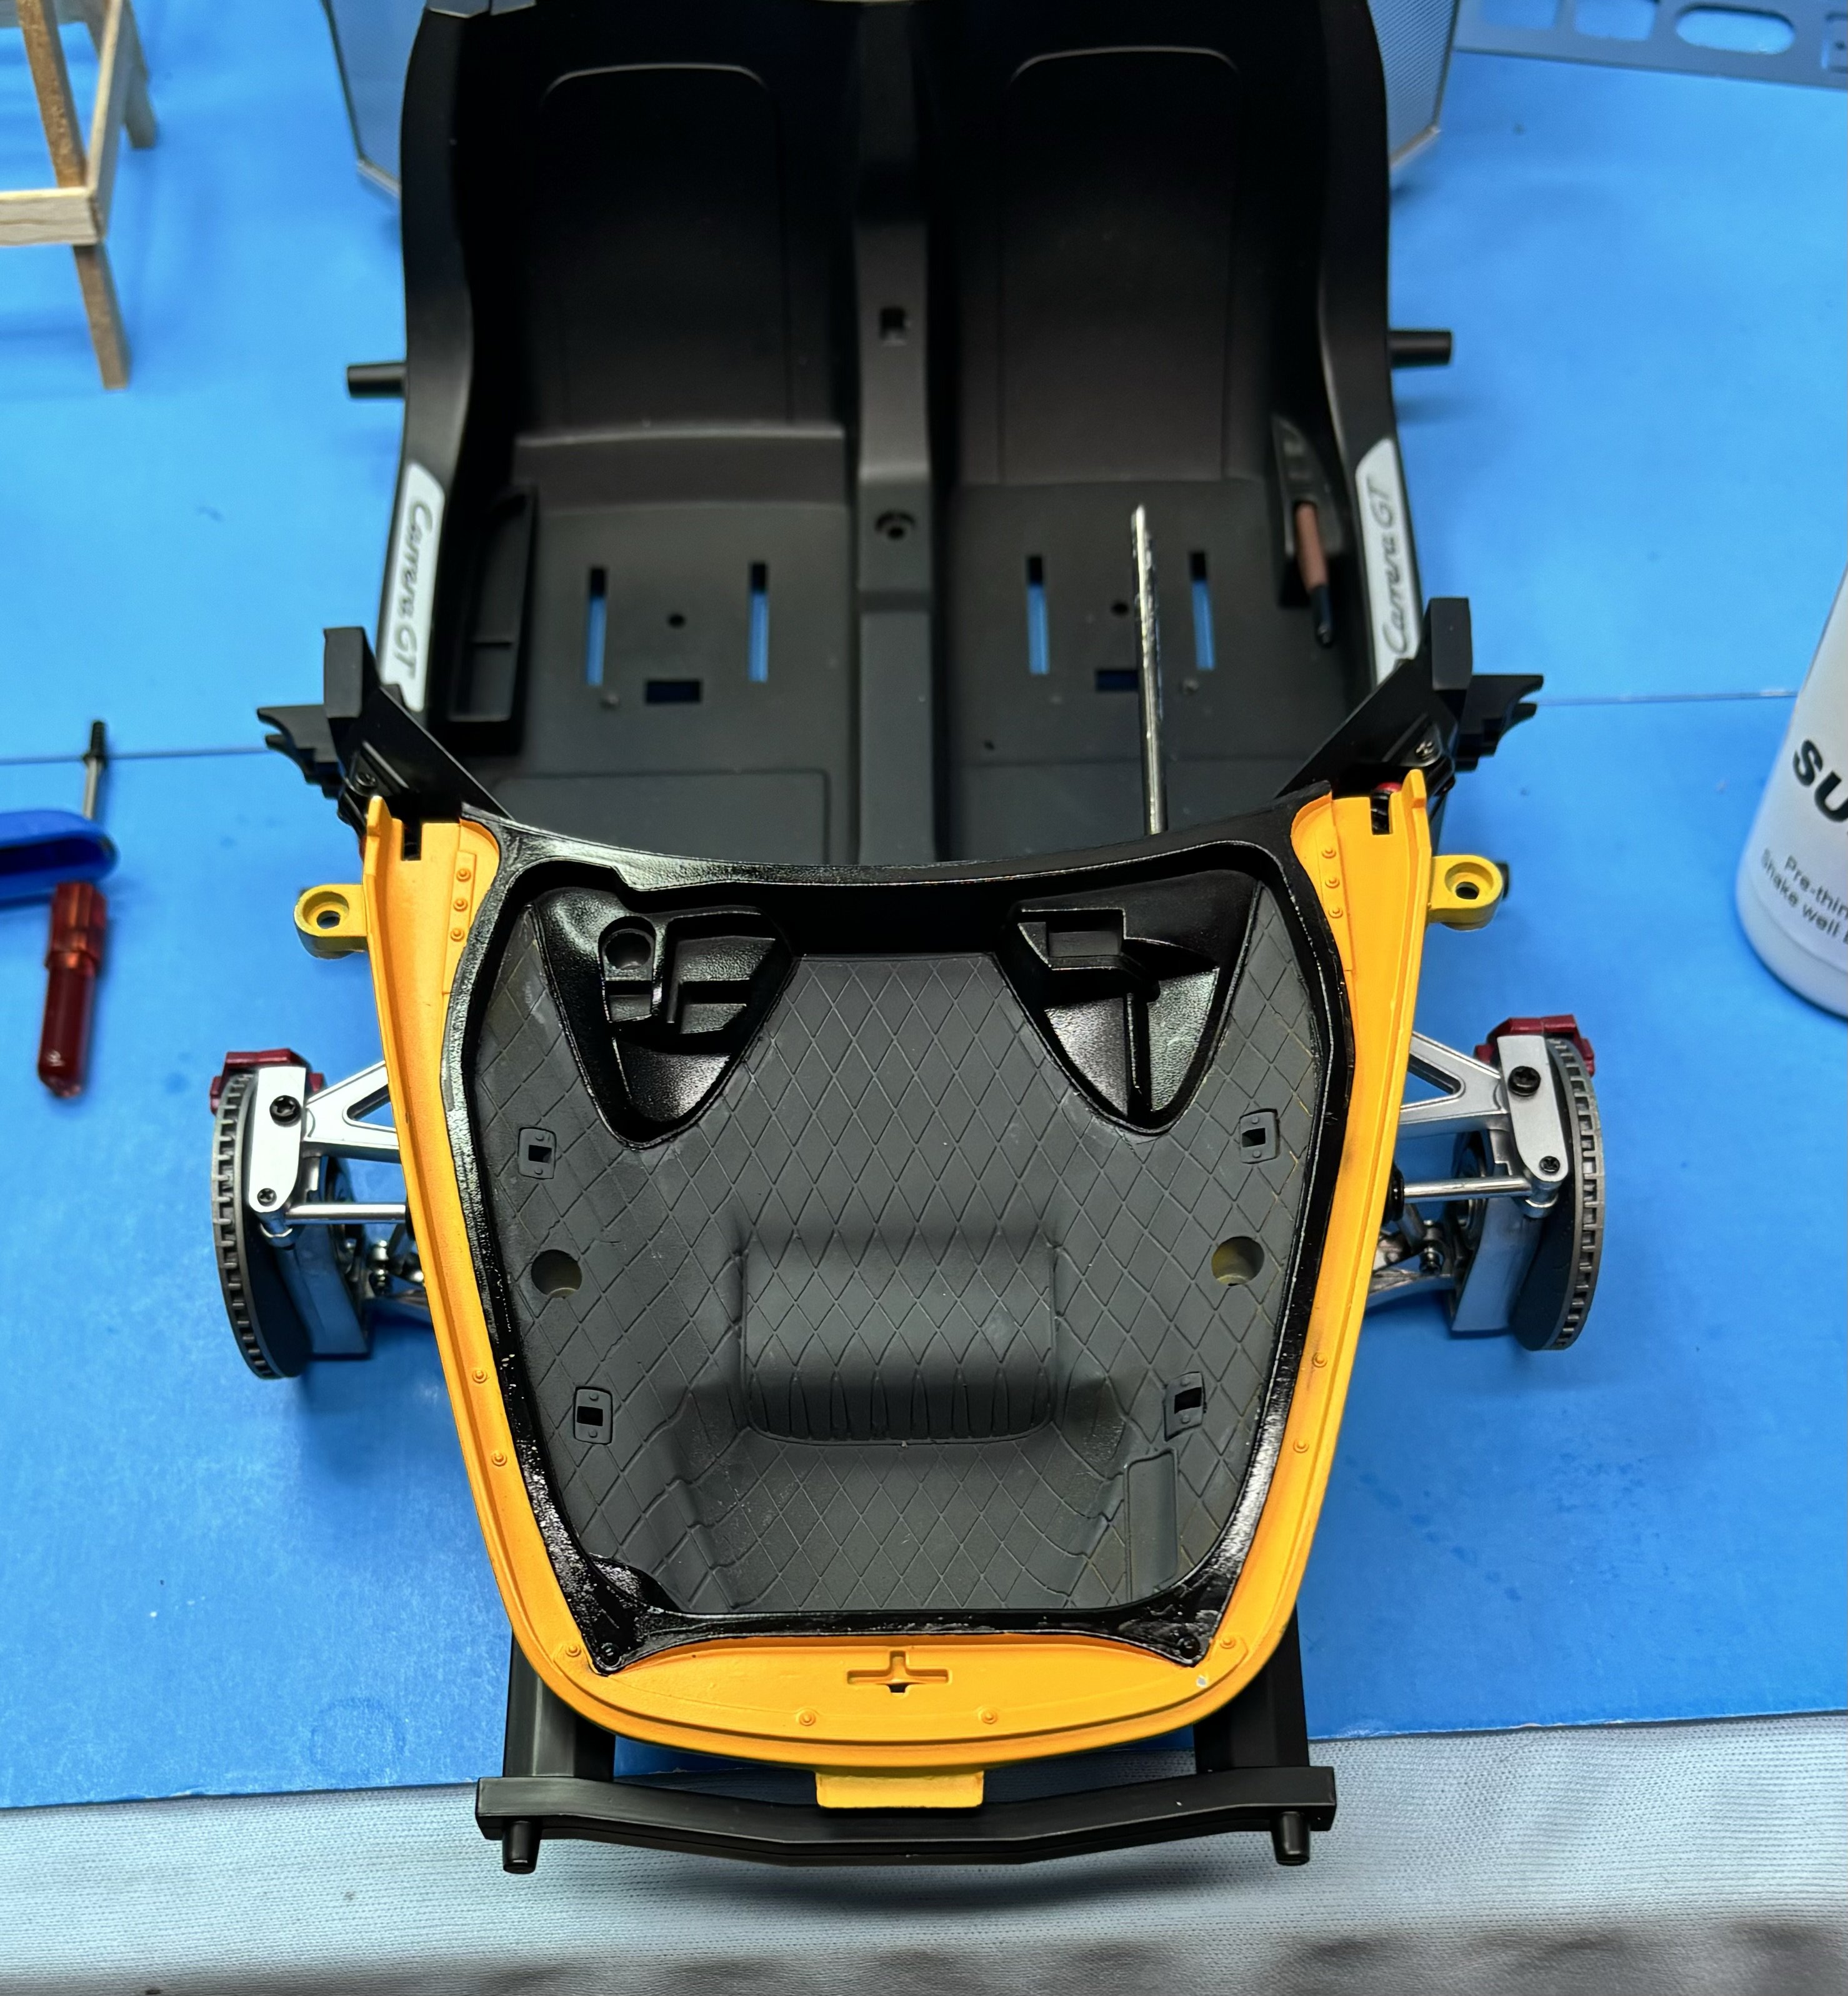
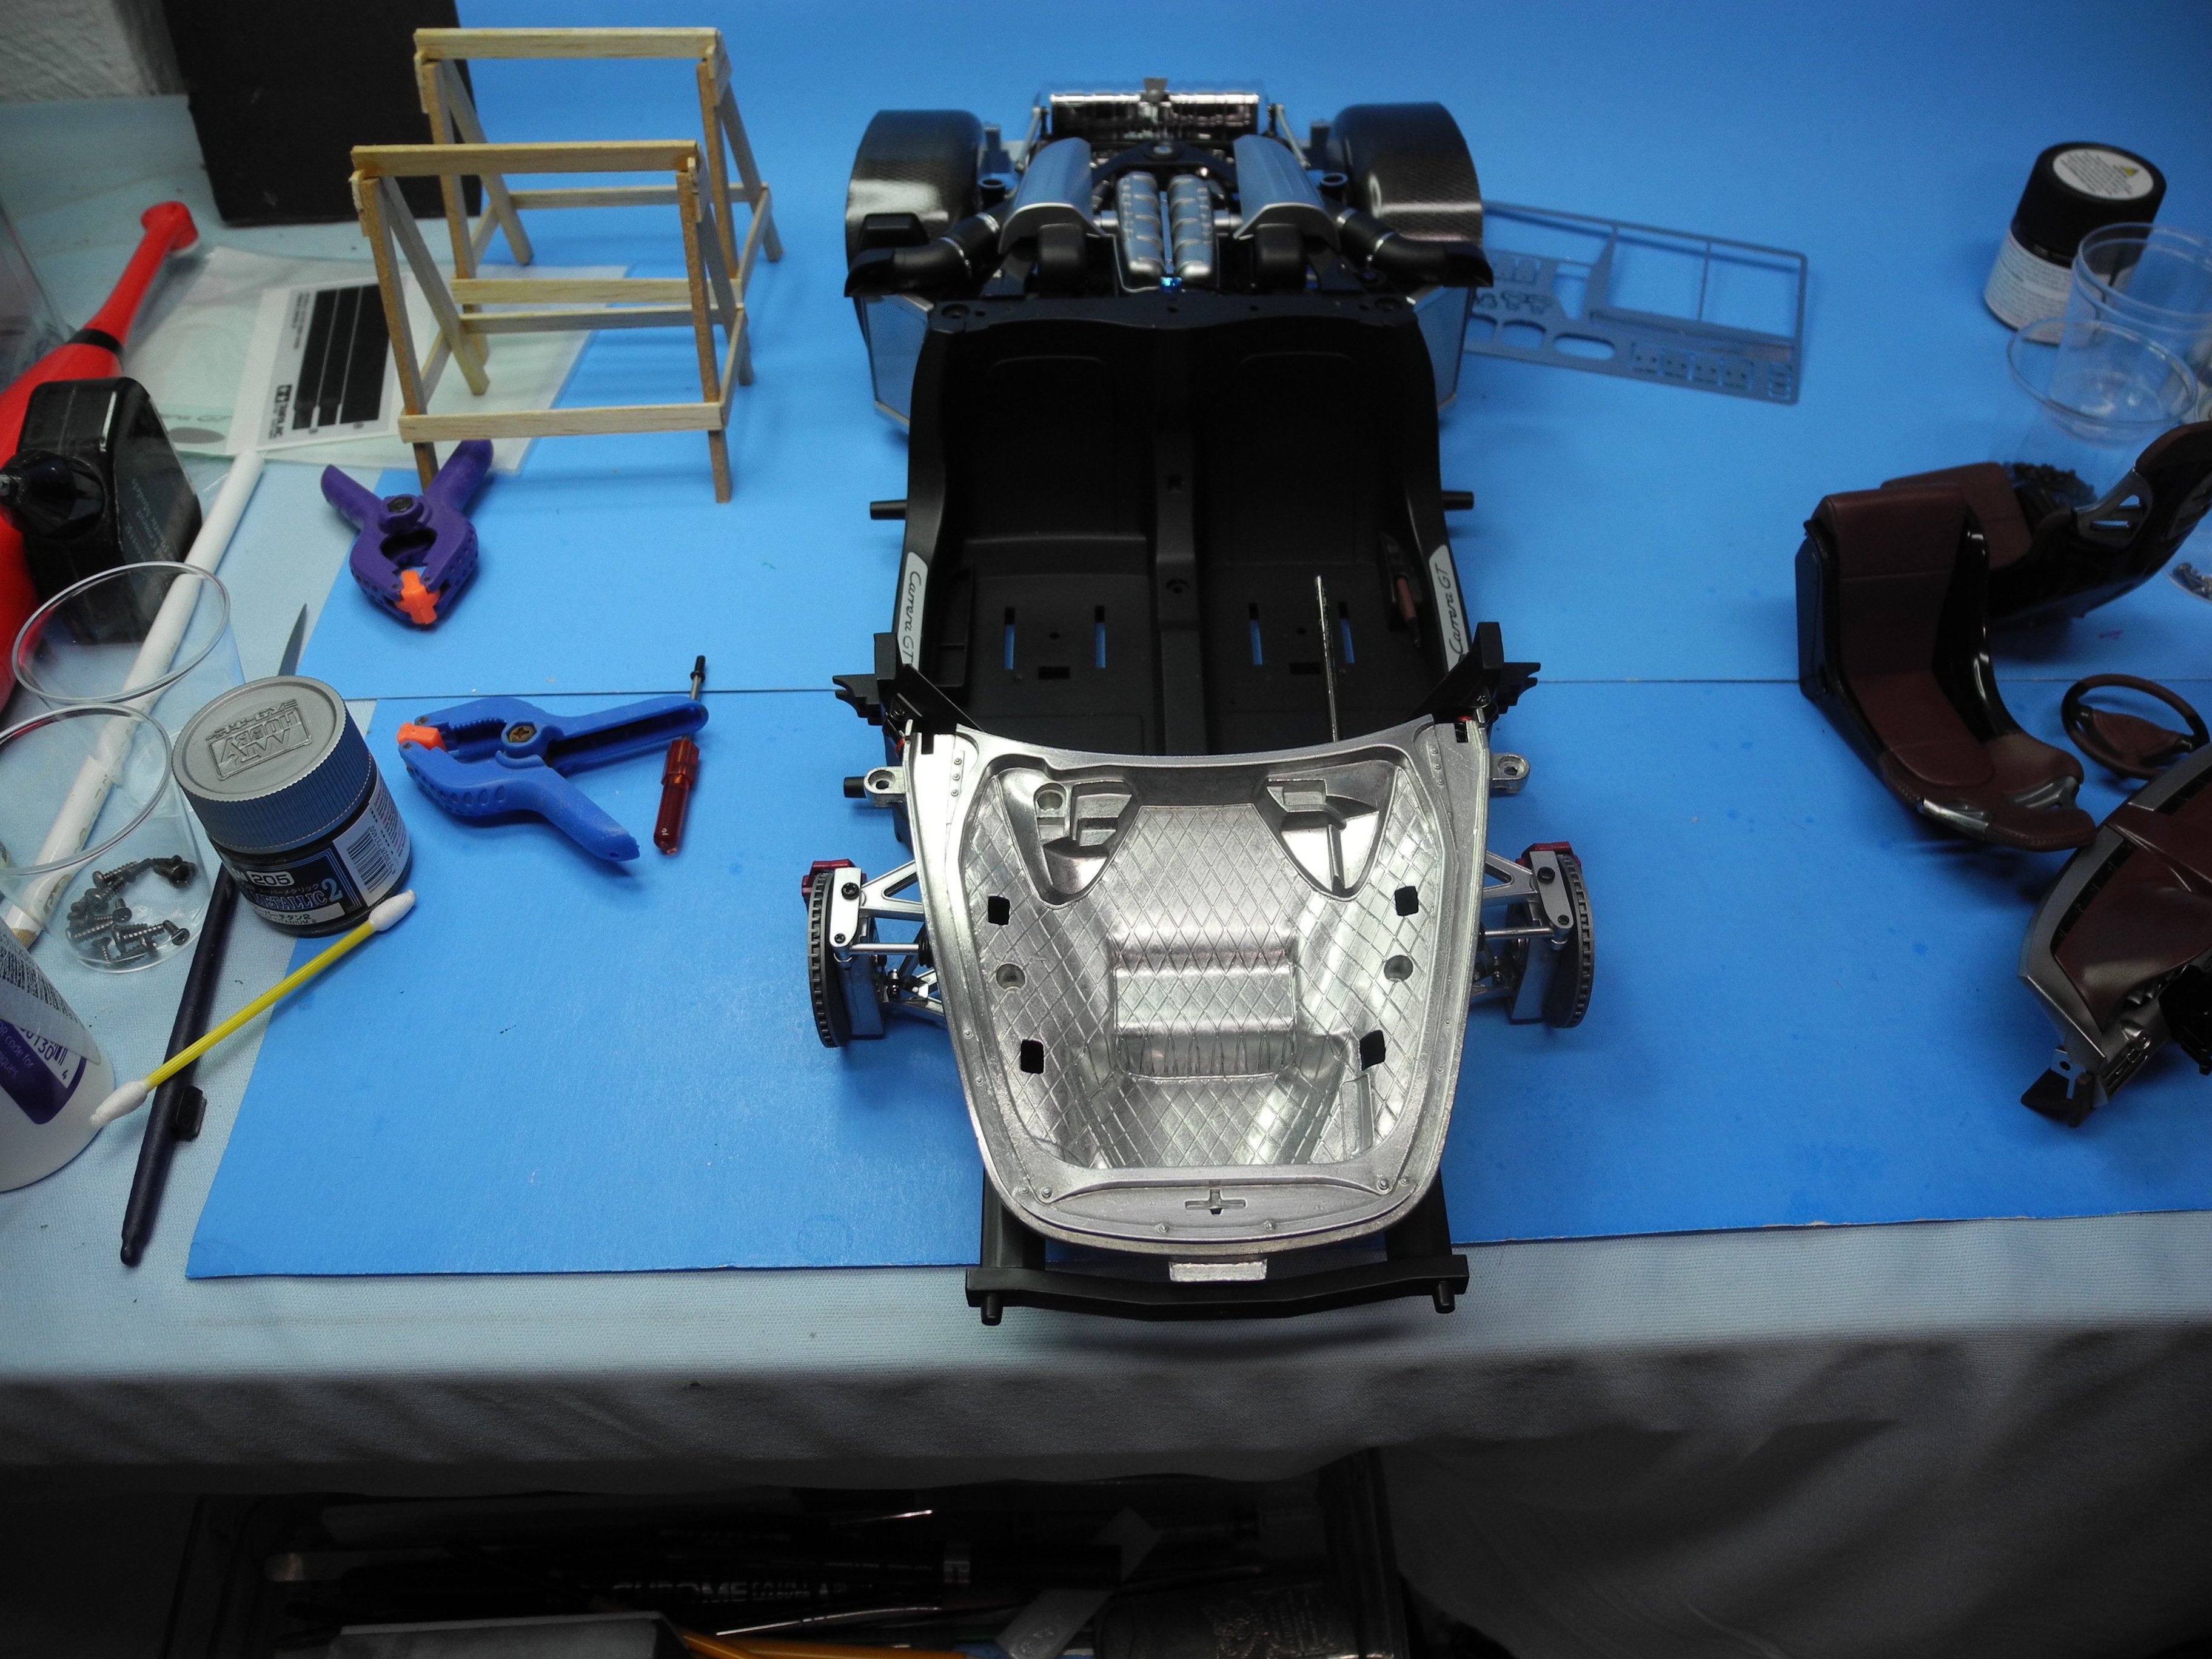
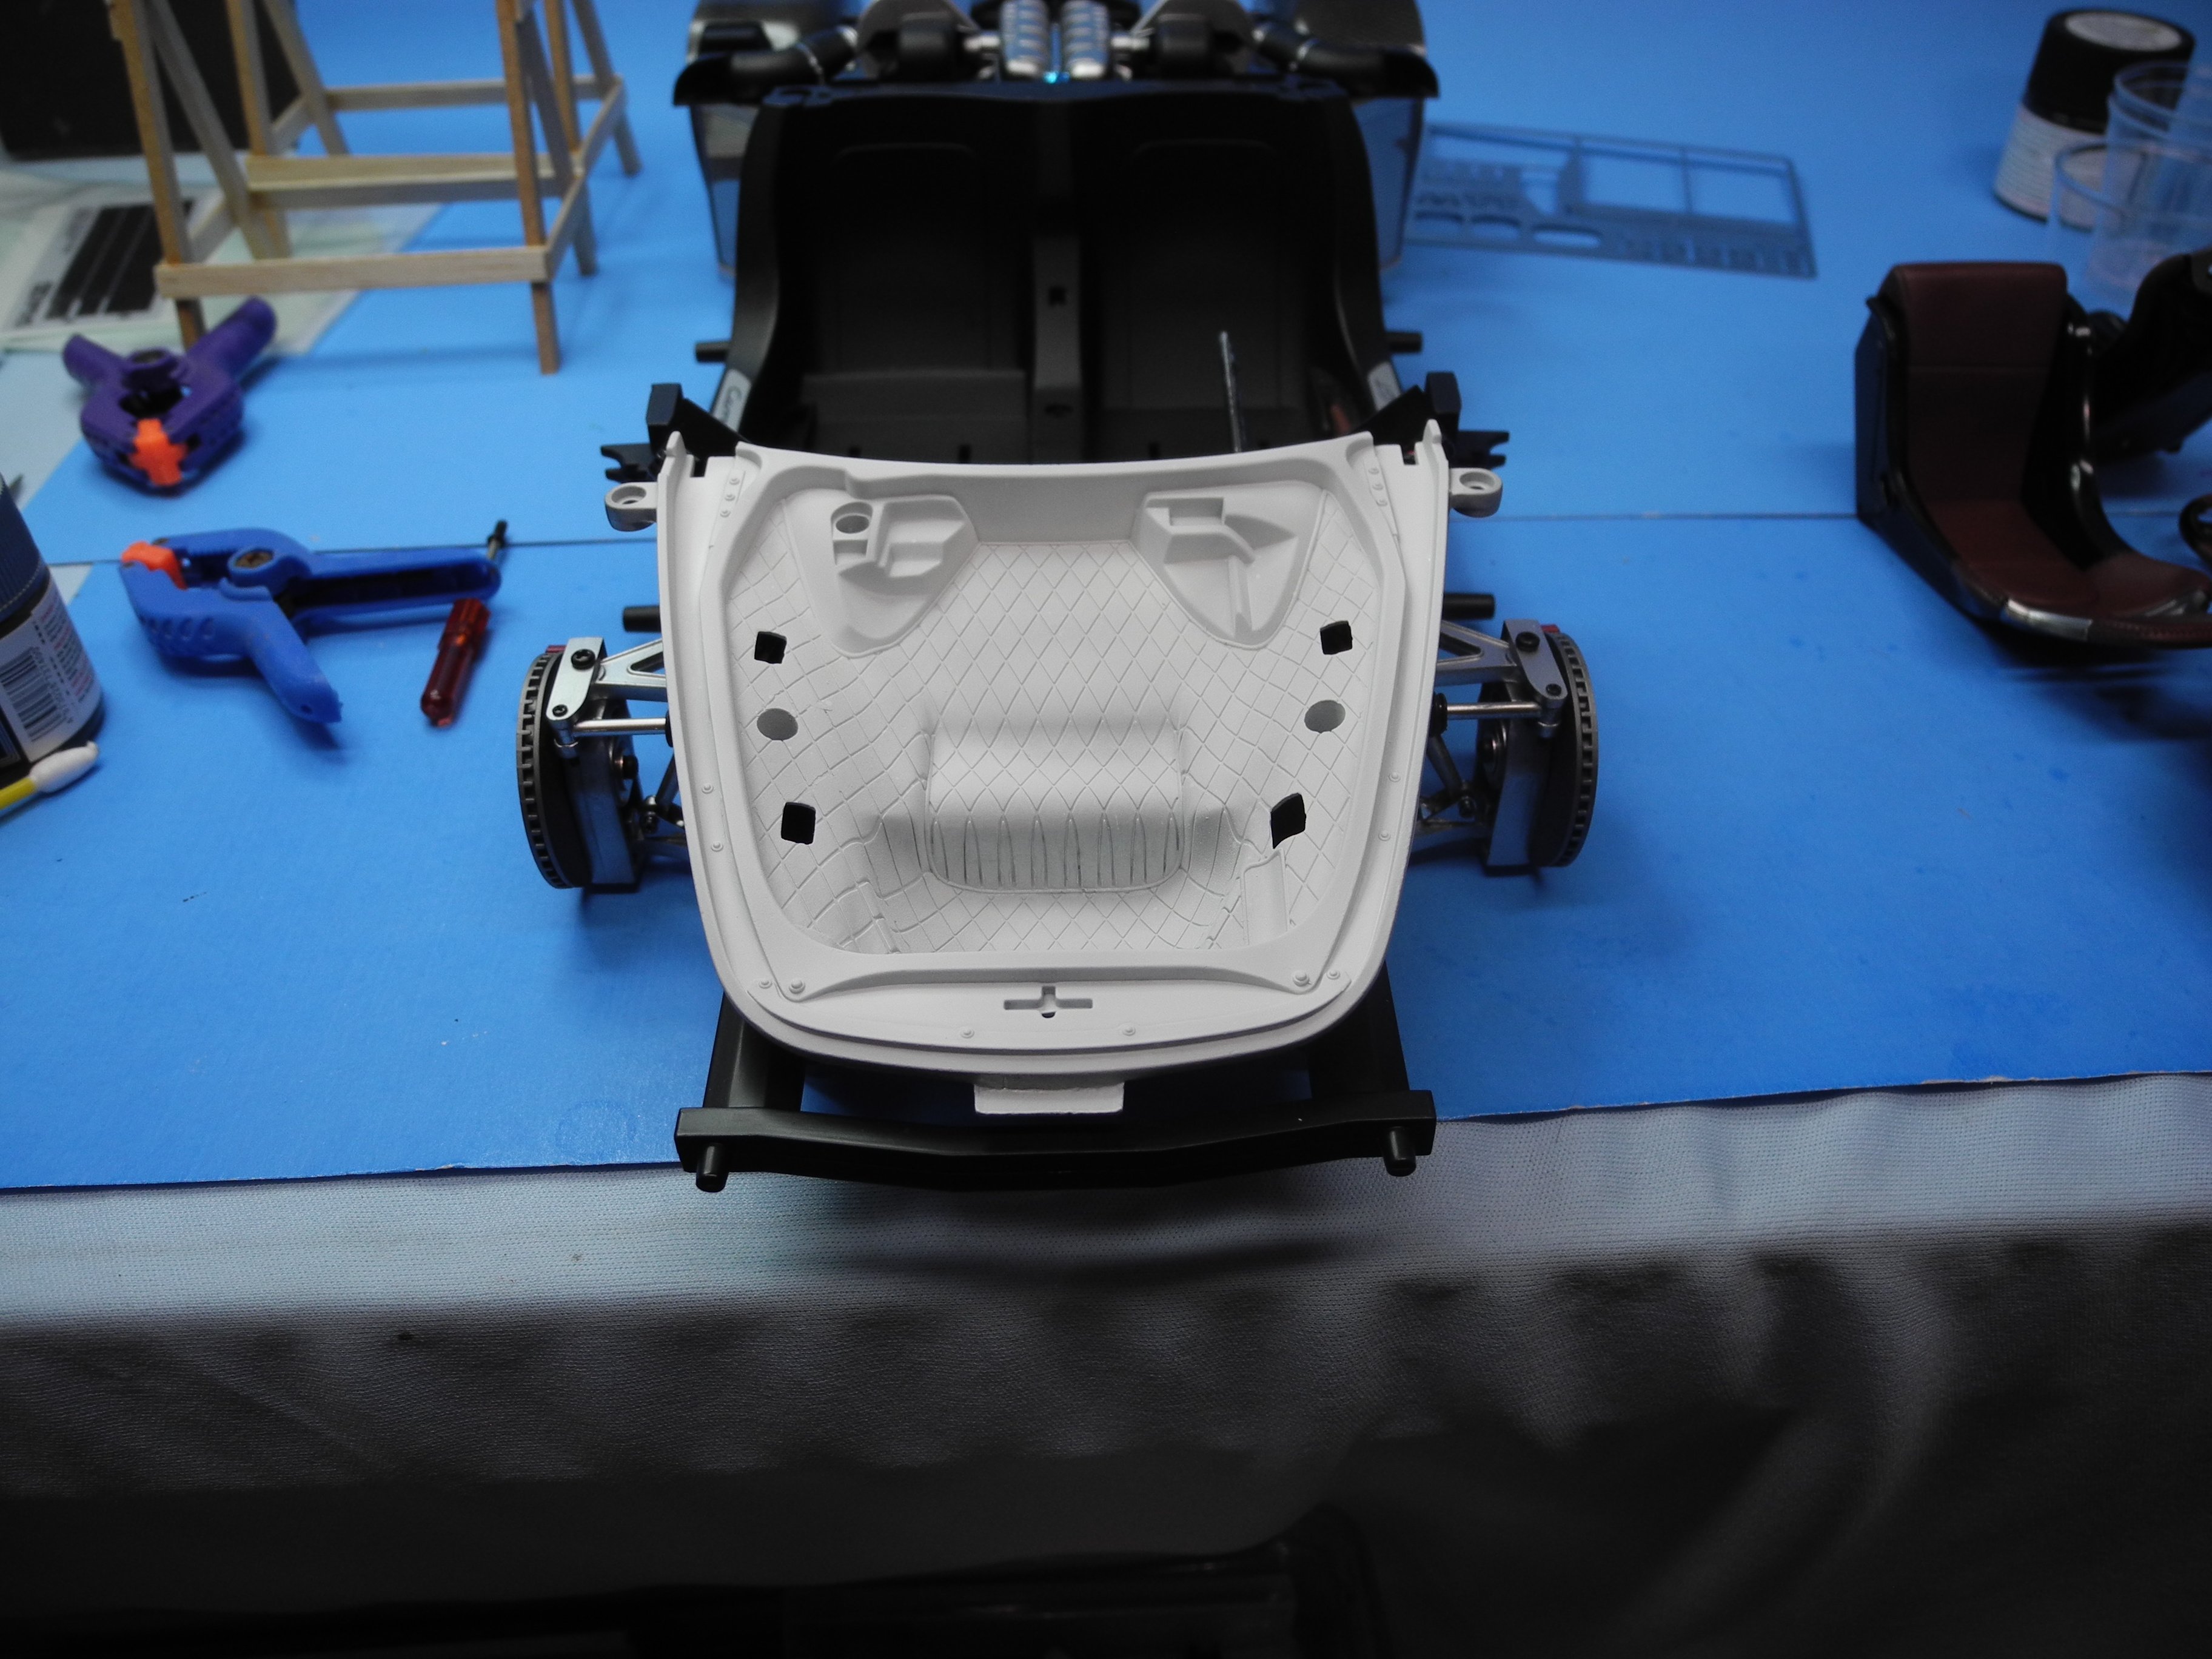
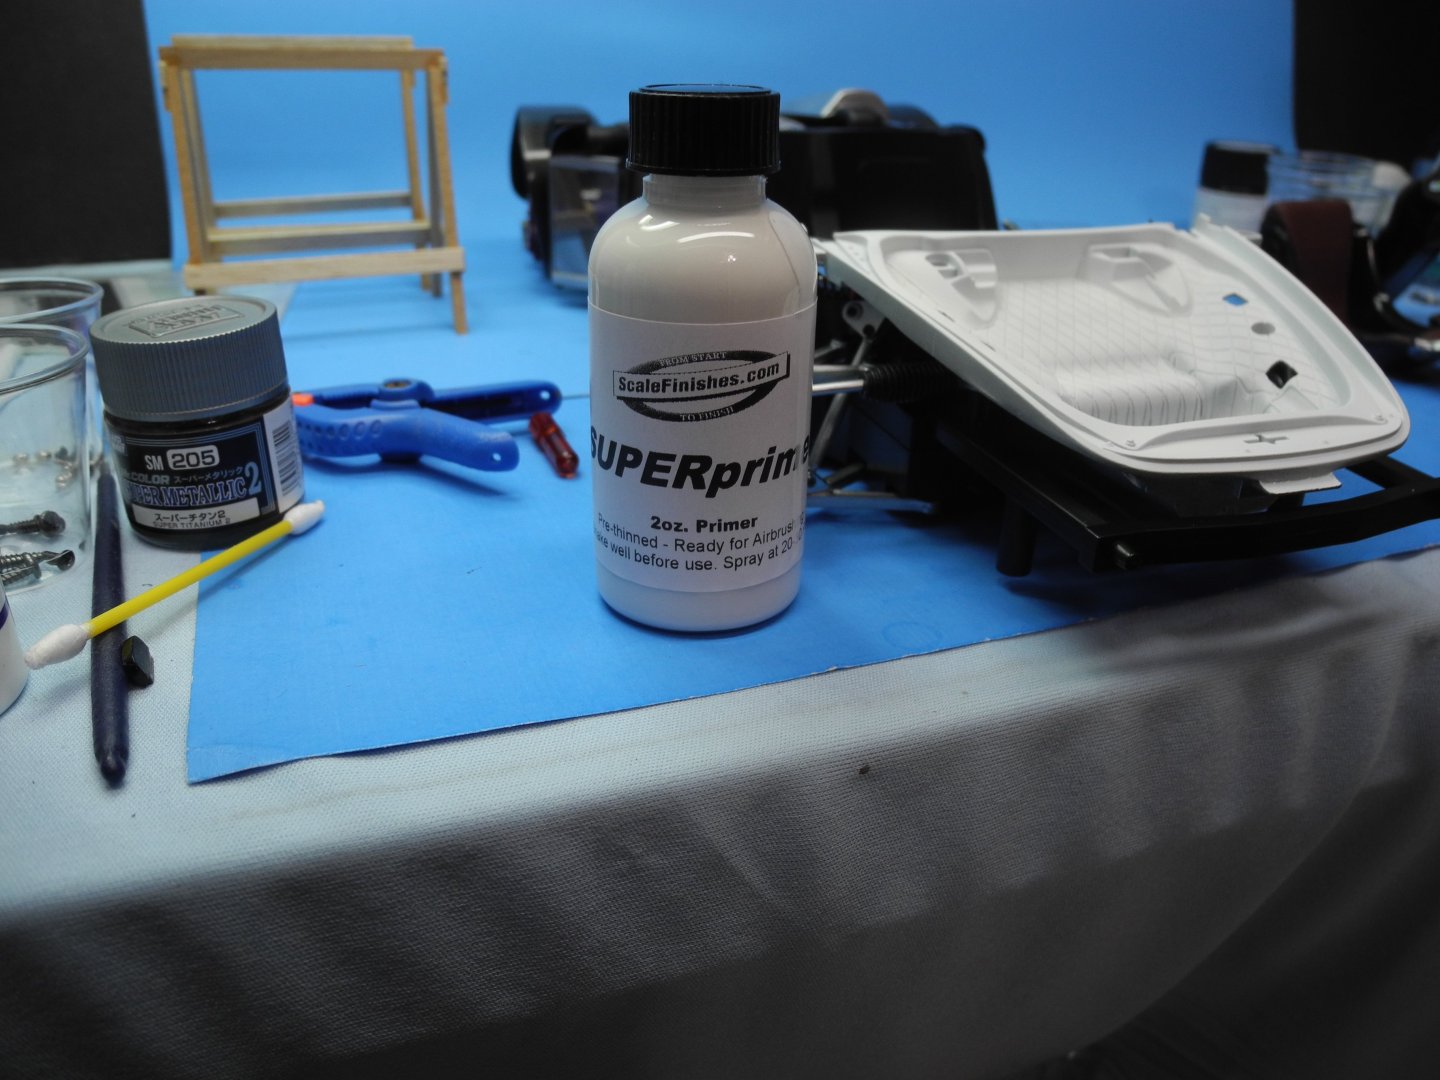
The next order of business is the trunk area. The trunk is a heavy white metal casting, apparently designed to give the finished model a more heavy, realistic feel. Here, I have polished and then primed the metal casting with Mr Metal Primer, which is a clear primer. Once the metal primer kicked off, I primed the casting with Scale Finishes white primer, a lacquer-based primer. The 2 oz bottle comes prethinned, airbrush ready. It went down very smoothly and does not build up heavily in a couple of passes. This will probably be a very good base coat for my next steps, the finish coats. I'm working outside my comfort zone as this time I will be using a gloss enamel for the finish color of the model. Enamels dry slowly and will require several days or more curing time after painting before handling. Handling too soon is a sure way to leave fingerprints and a marred finish. The advantage of enamel is the extreme gloss finish without the need for polishing or clear coats. Again, I'll be using a Scale Finishes product for the final finish, Porsche Signal Yellow. I have read very good reports from other modelers about Scale Finishes gloss enamels and have seen some beautiful results from skilled modelers using the paint. Like their primer, the gloss enamel also comes ready for airbrush use and does not need to be thinned before spraying. This vendor can color match any year model color by request. His enamels are DuPont Axalta paints. Only the area around the perimeter of the trunk will be finished in the body color, yellow. Once the yellow paint has been applied and fully cured, I will mask it off then paint the inner, carpeted area of the trunk in dark gray.


- 264 replies
-
- 11
-
-
Thanks for the kind words. They are encouraging.