CDW
-
Posts
7,760 -
Joined
-
Last visited
Content Type
Profiles
Forums
Gallery
Events
Everything posted by CDW
-

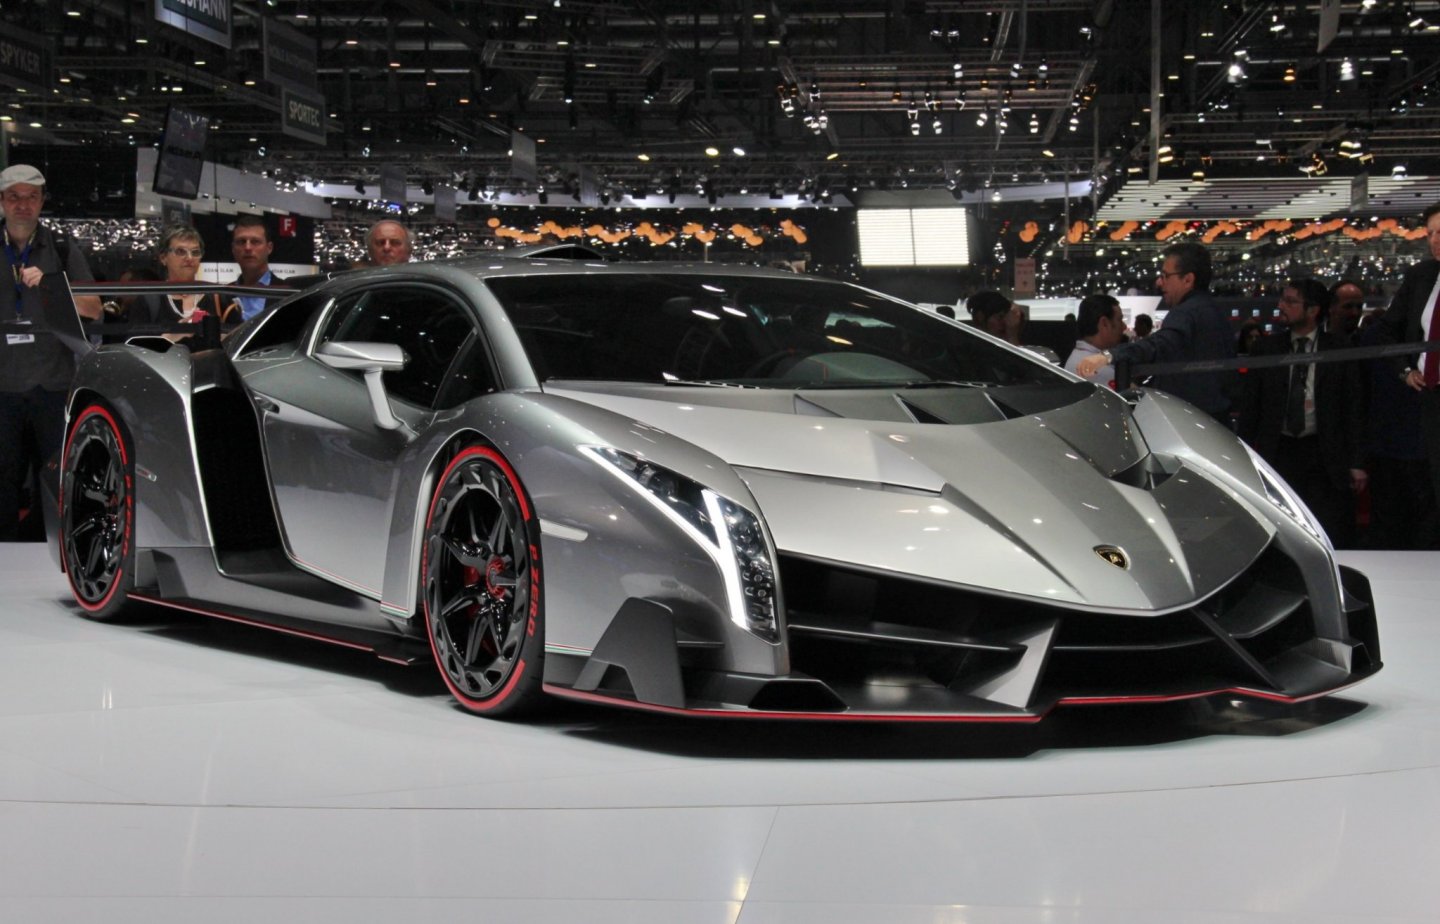
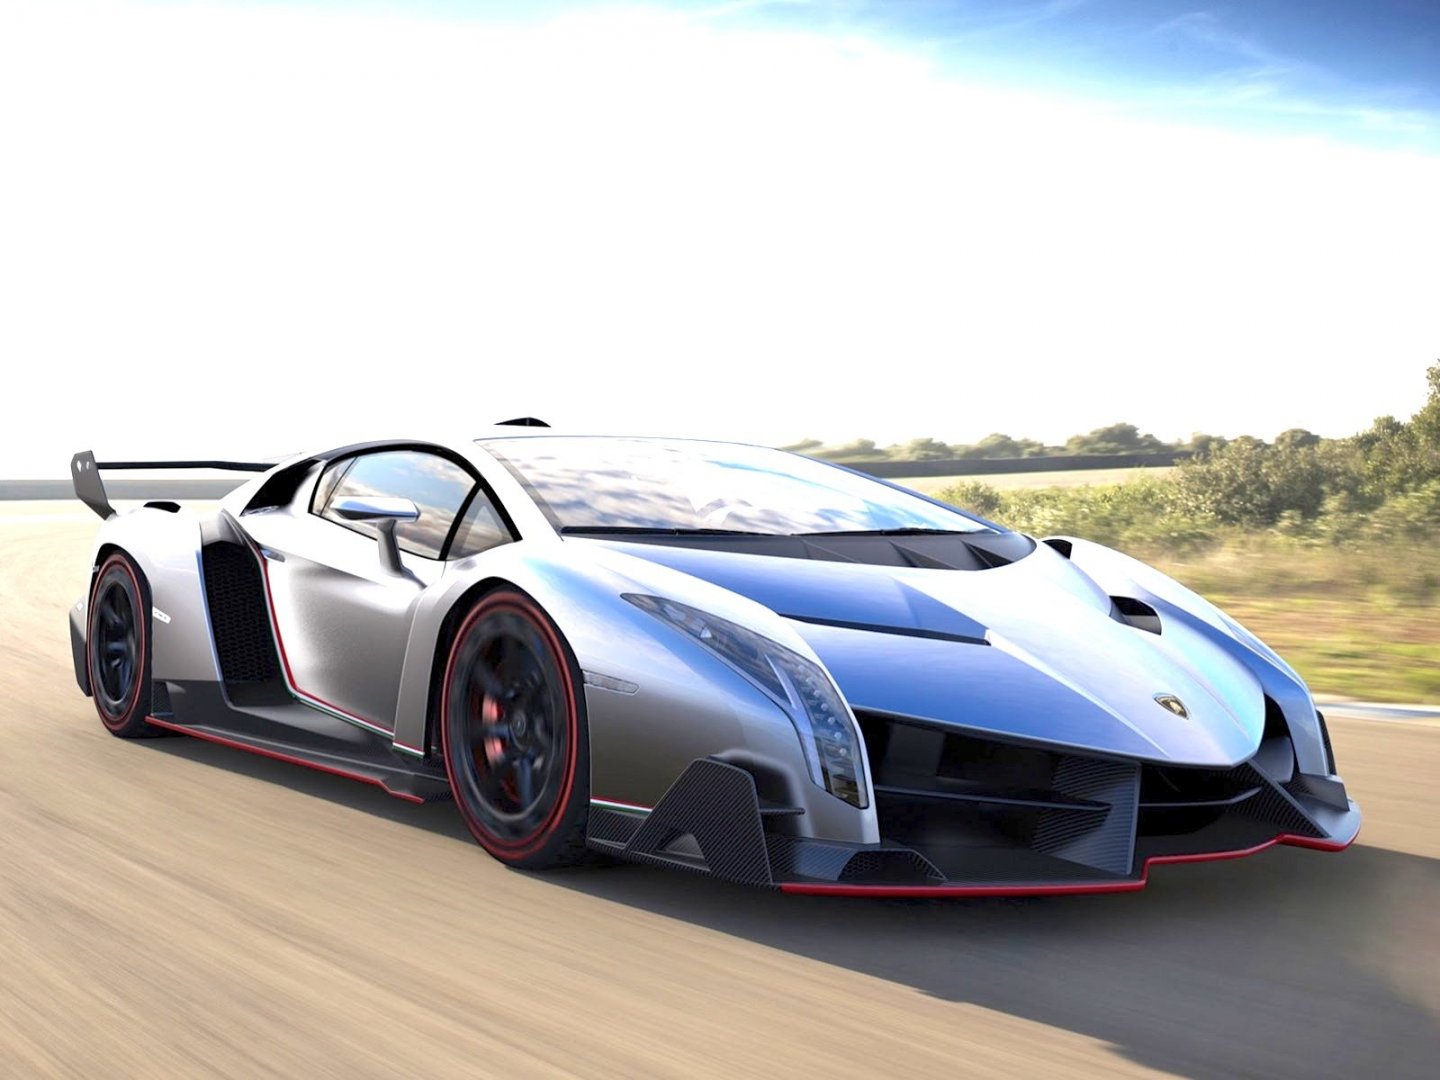
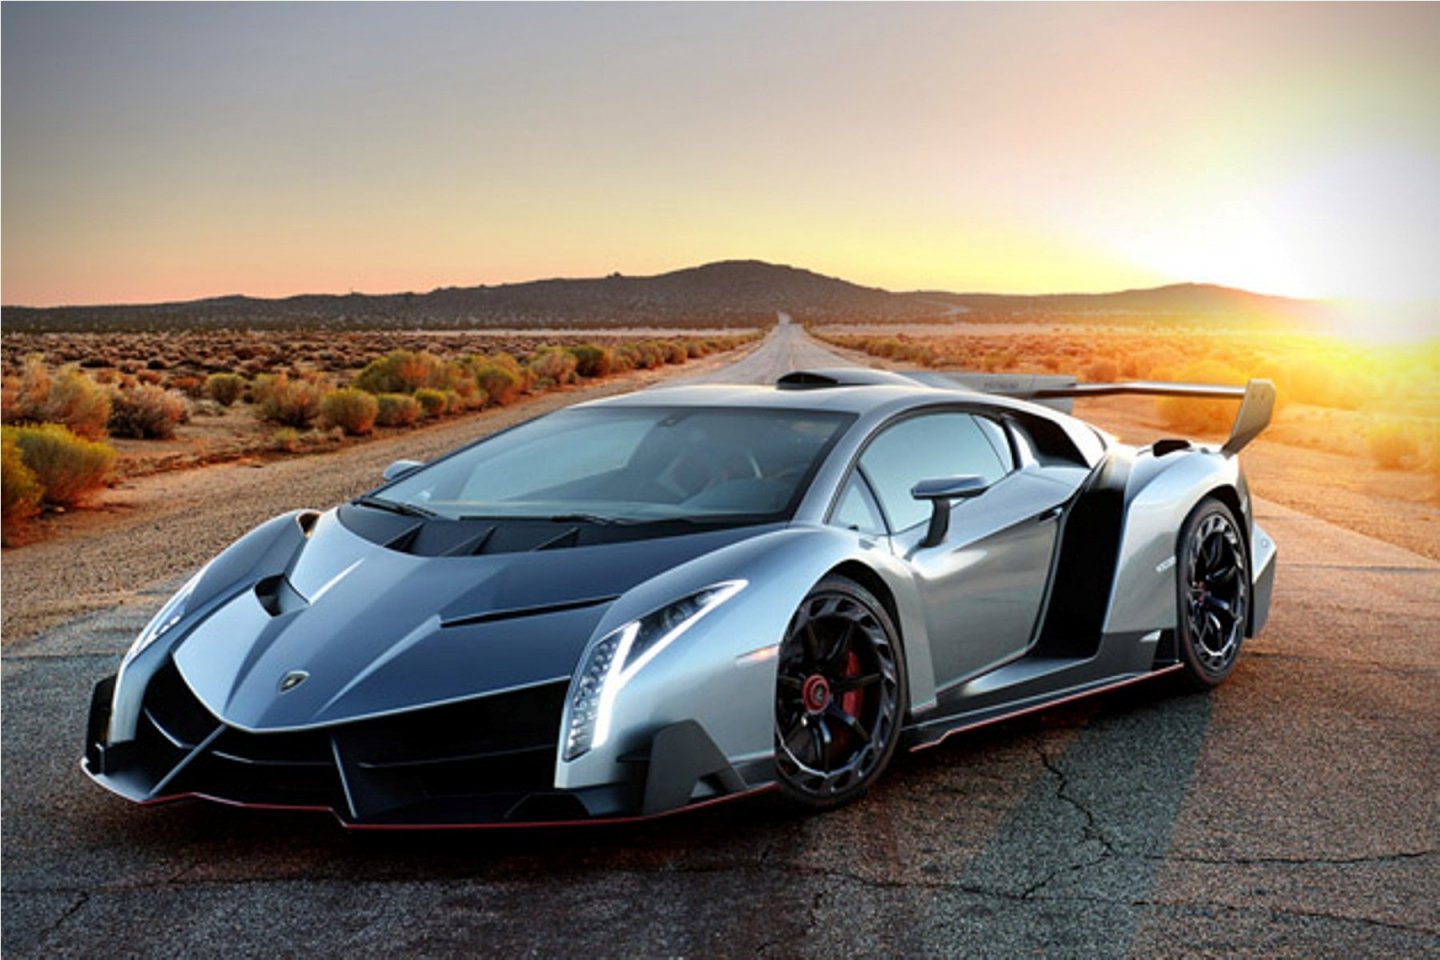
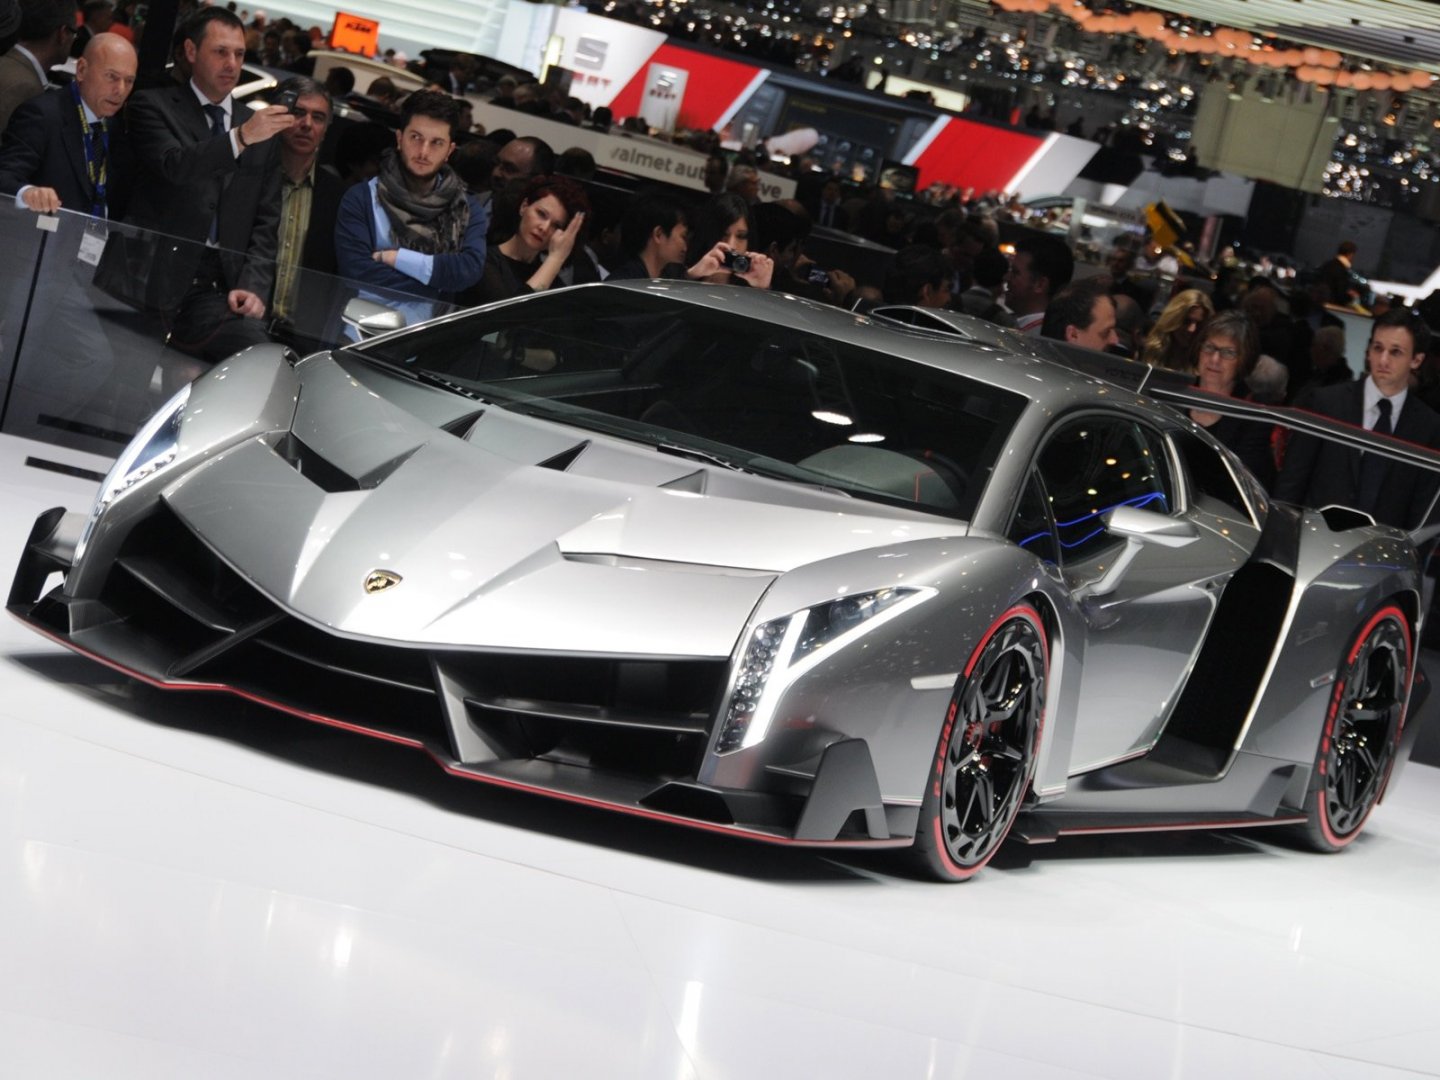
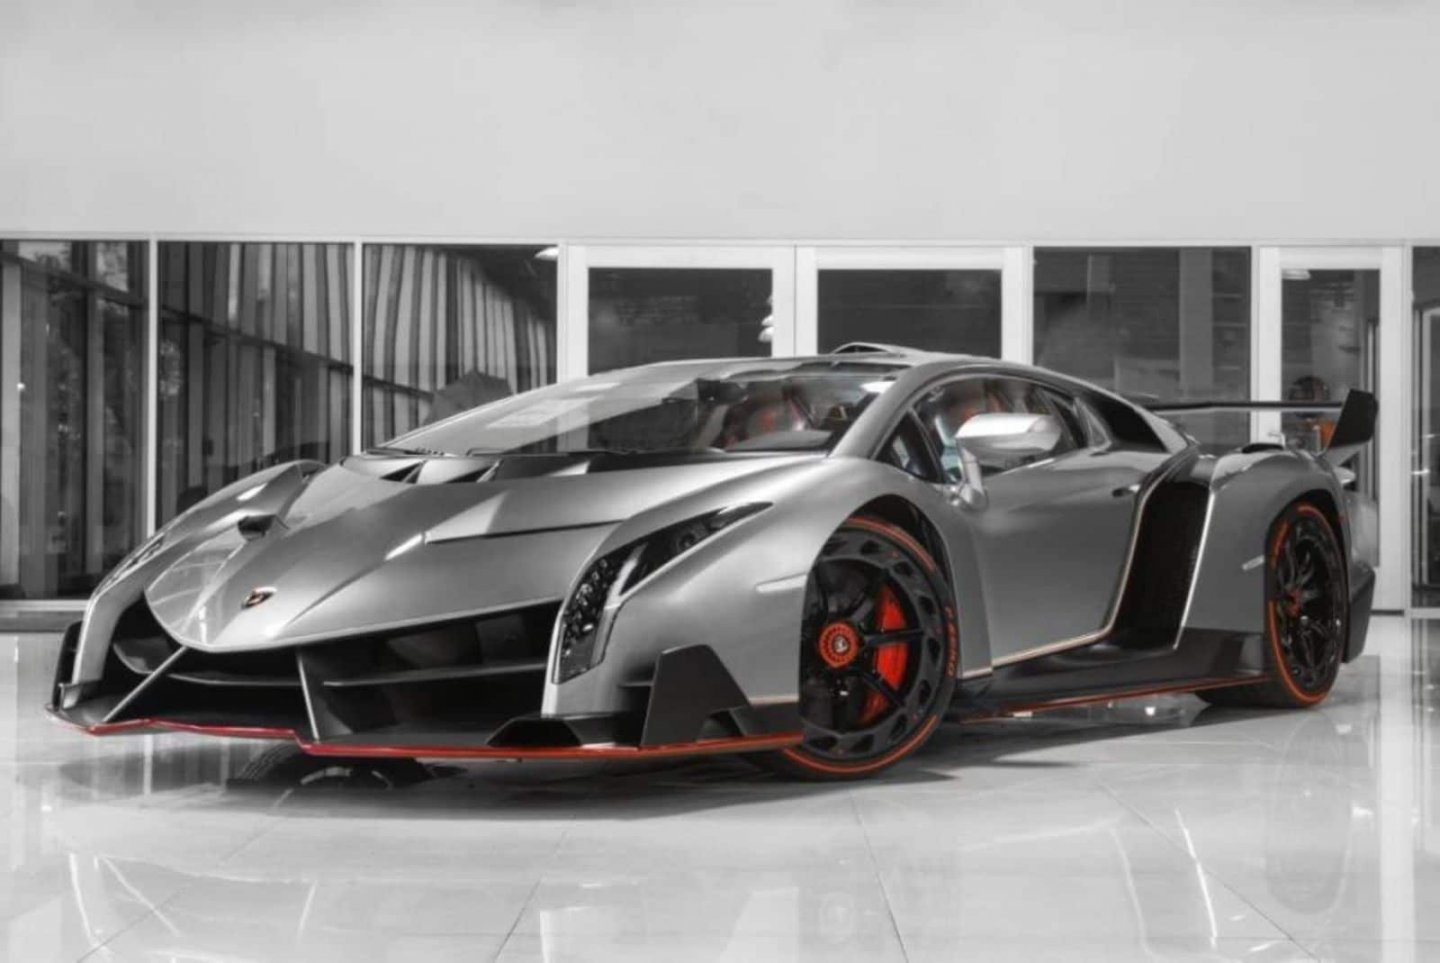
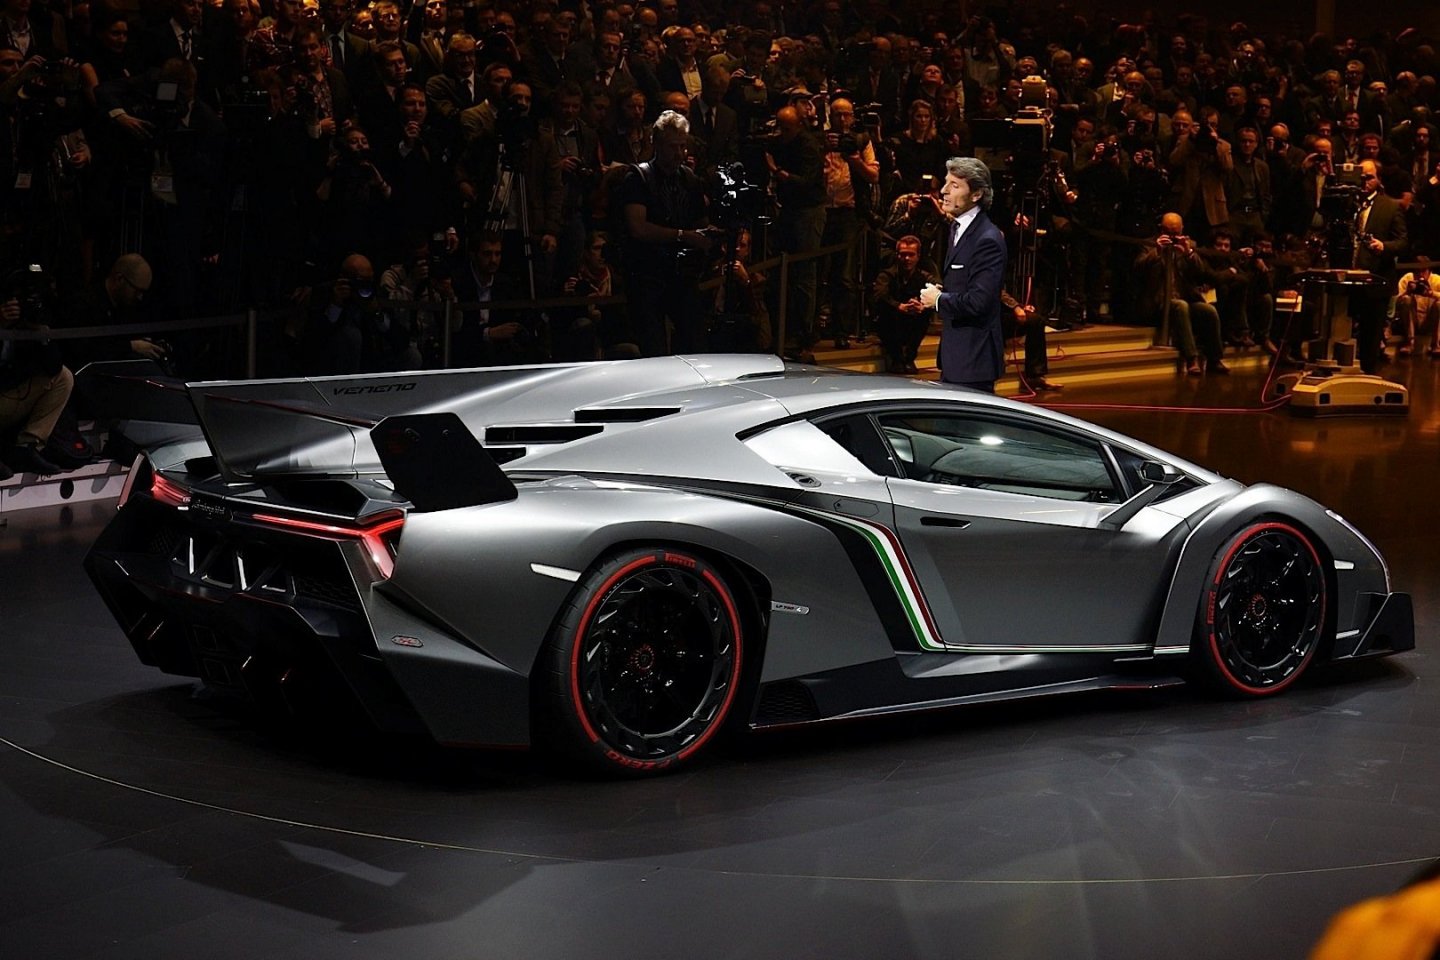
Lamborghini Veneno by CDW - Fujimi - 1:24 Scale - PLASTIC
CDW replied to CDW's topic in Non-ship/categorised builds
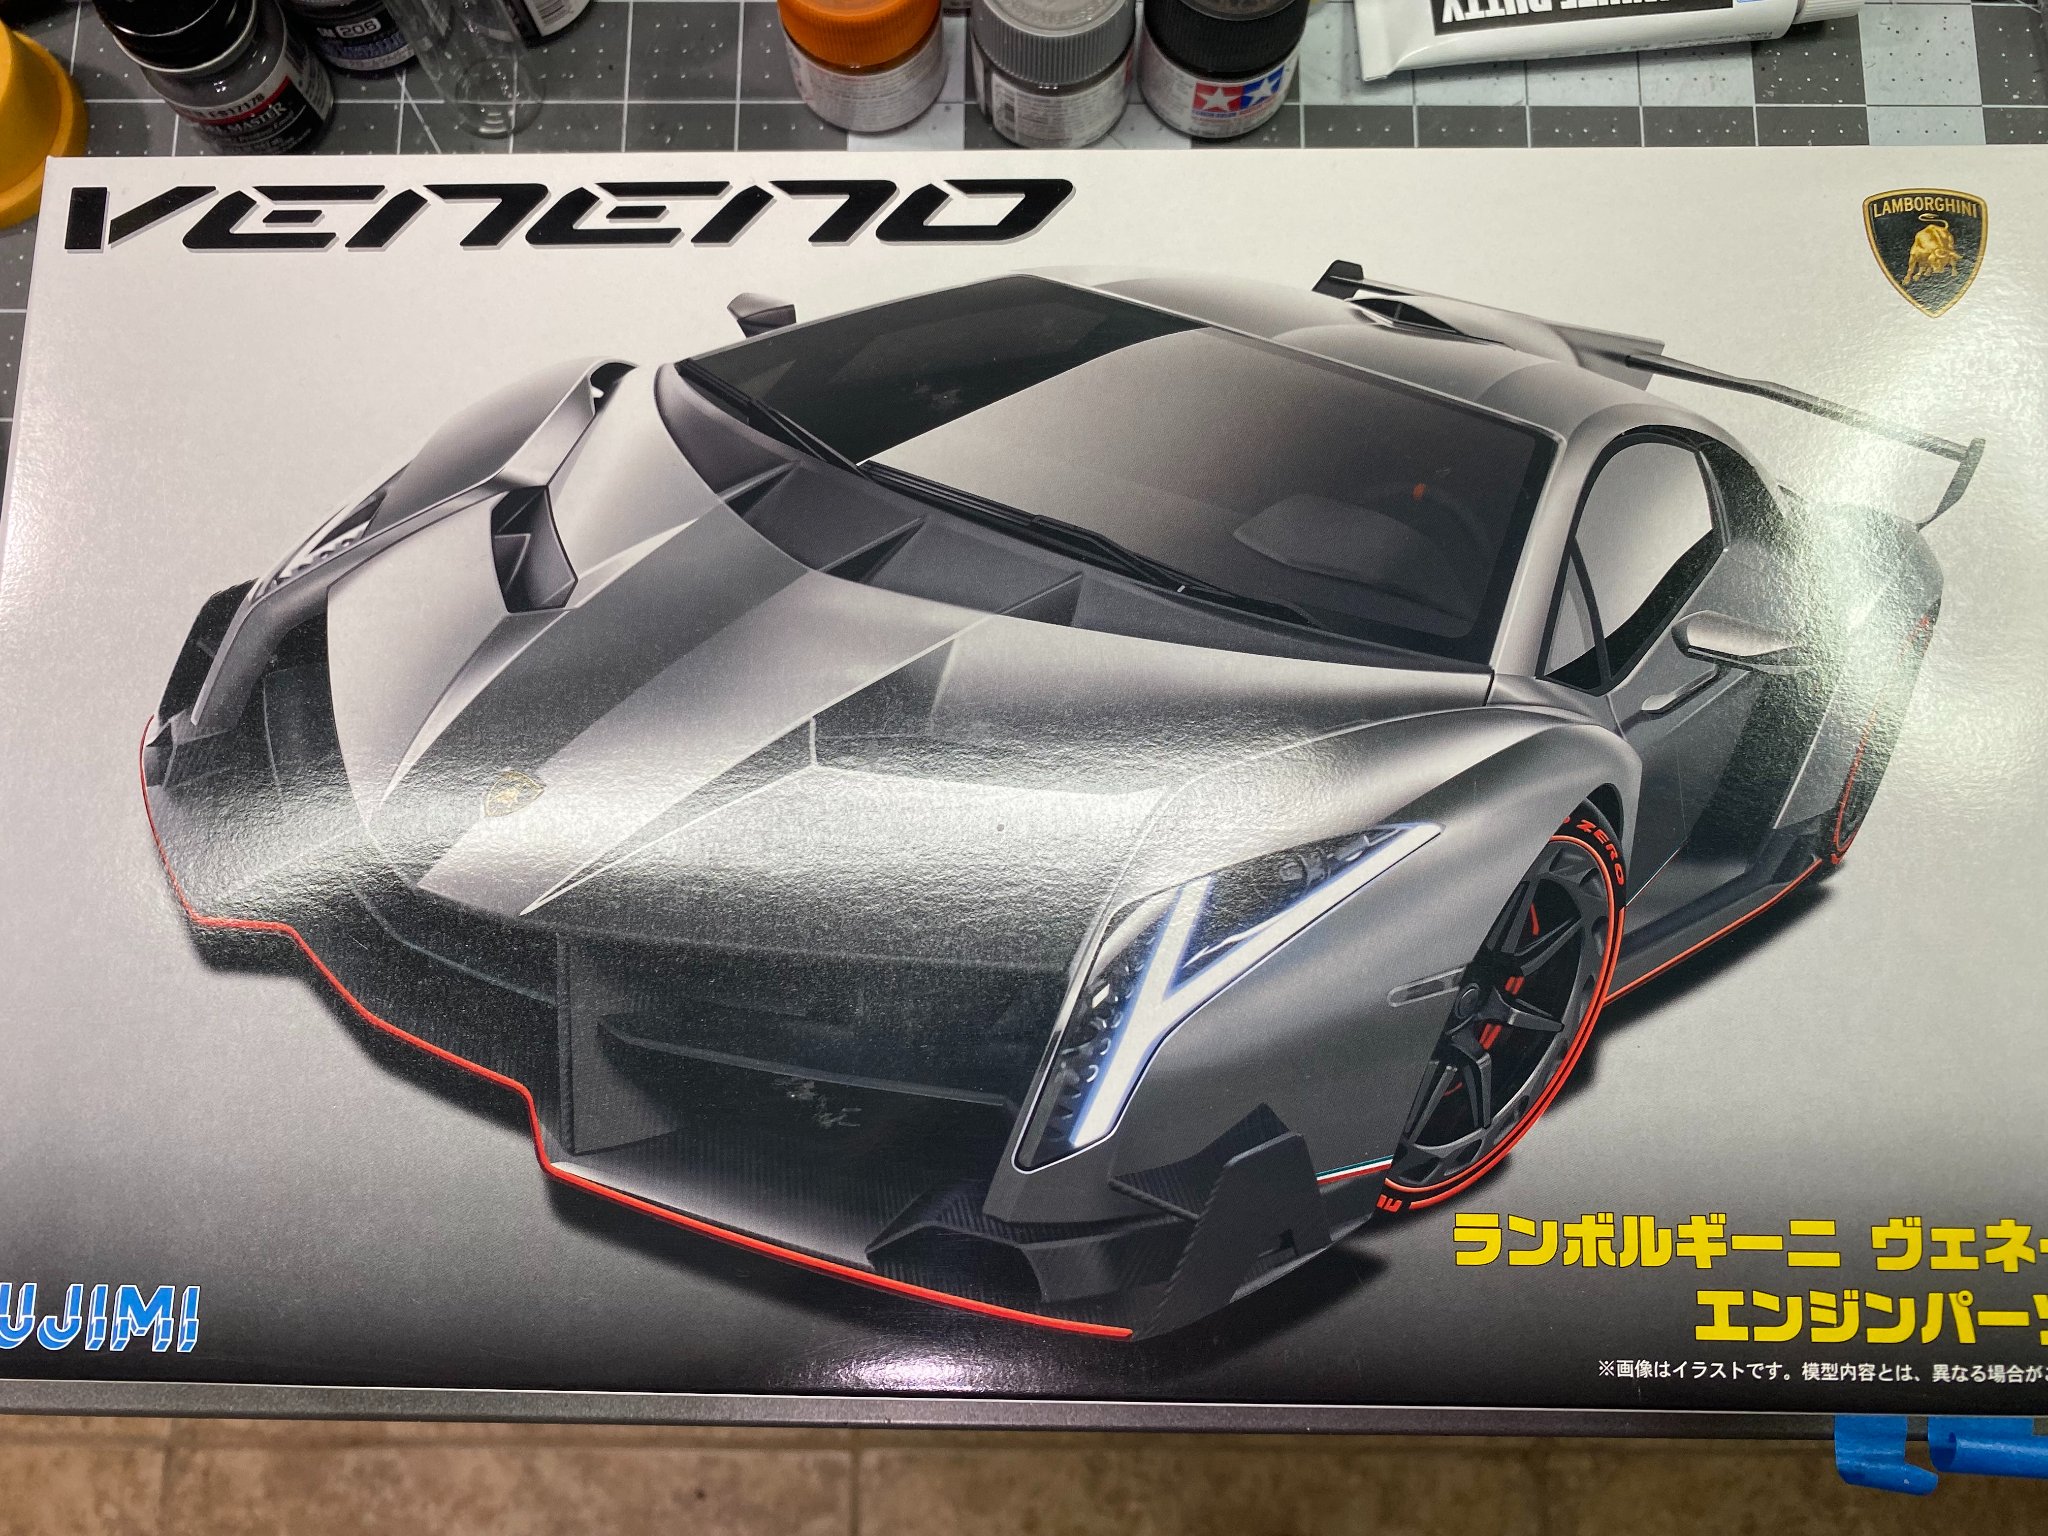
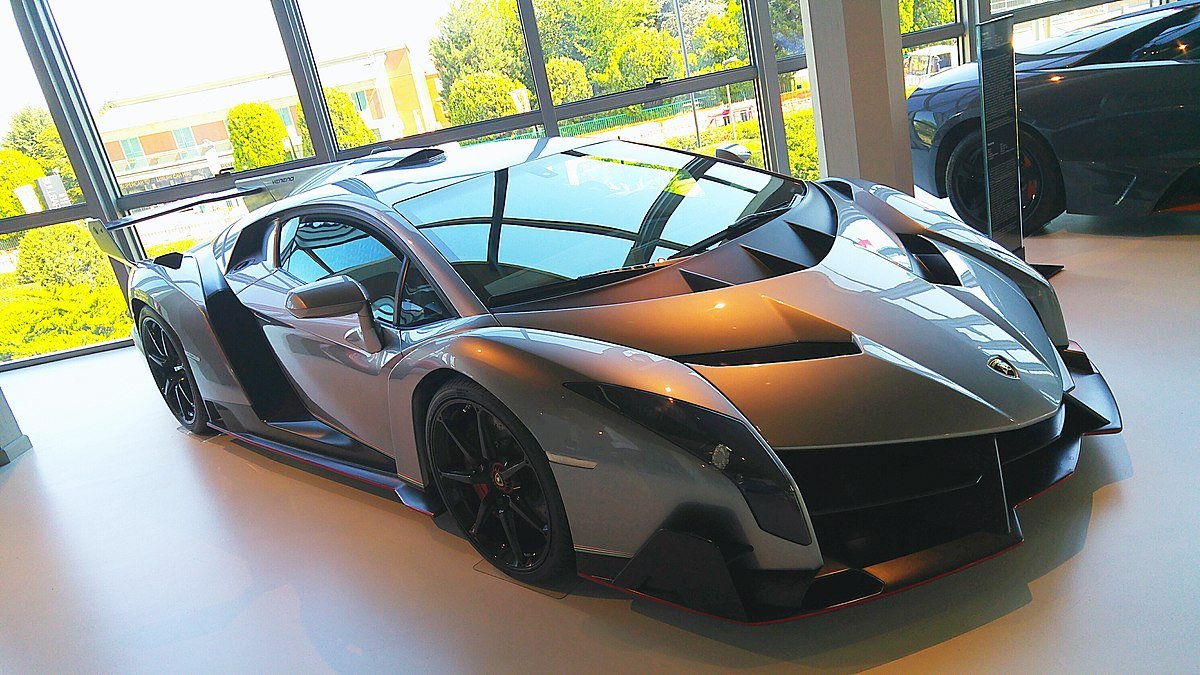
It almost looks like a Gundam science fiction machine. -
Lamborghini Veneno by CDW - Fujimi - 1:24 Scale - PLASTIC
CDW replied to CDW's topic in Non-ship/categorised builds
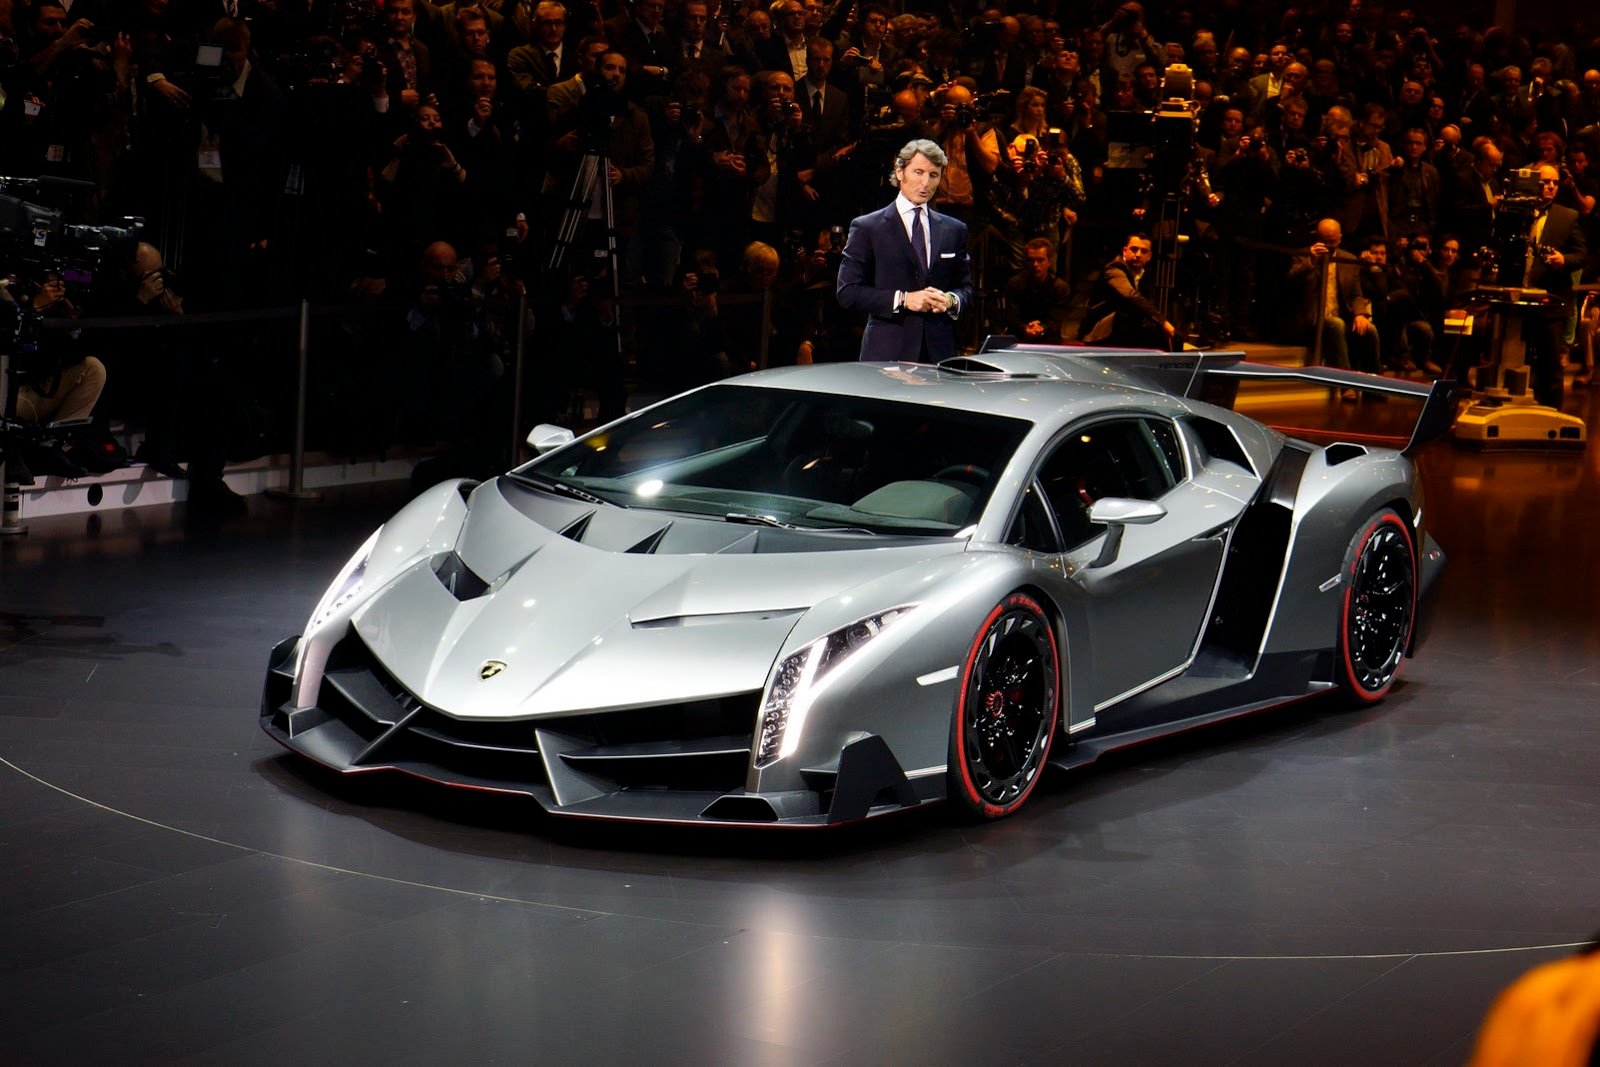
Oh by the way, I checked my piggy bank and I am a tad bit short of the $9 million dollar+ sticker price for this beauty. I'll be thinking about starting a "go-fund-me" page for the shortfall. 🤑- 29 replies
-
- 13
-

-

-
The Lamborghini Veneno is an all wheel drive supercar capable of a top speed of over 220 mph. These stock photos are borrowed from a search on Bing:


- 29 replies
-
- 11
-
-
Porsche GT-1 Evo by CDW - FINISHED - Revell - 1:24 Scale - PLASTIC
CDW replied to CDW's topic in Non-ship/categorised builds
Thanks Mike. You ready to start? -
Porsche GT-1 Evo by CDW - FINISHED - Revell - 1:24 Scale - PLASTIC
CDW replied to CDW's topic in Non-ship/categorised builds
Thanks for the kind words. By now I know that no build is ever perfect. For me, the builder, I see every flaw. The flaws drive me to find a way to do the next build better and learn from the experience. Your words encourage me for the next one. -
Porsche GT-1 Evo by CDW - FINISHED - Revell - 1:24 Scale - PLASTIC
CDW replied to CDW's topic in Non-ship/categorised builds
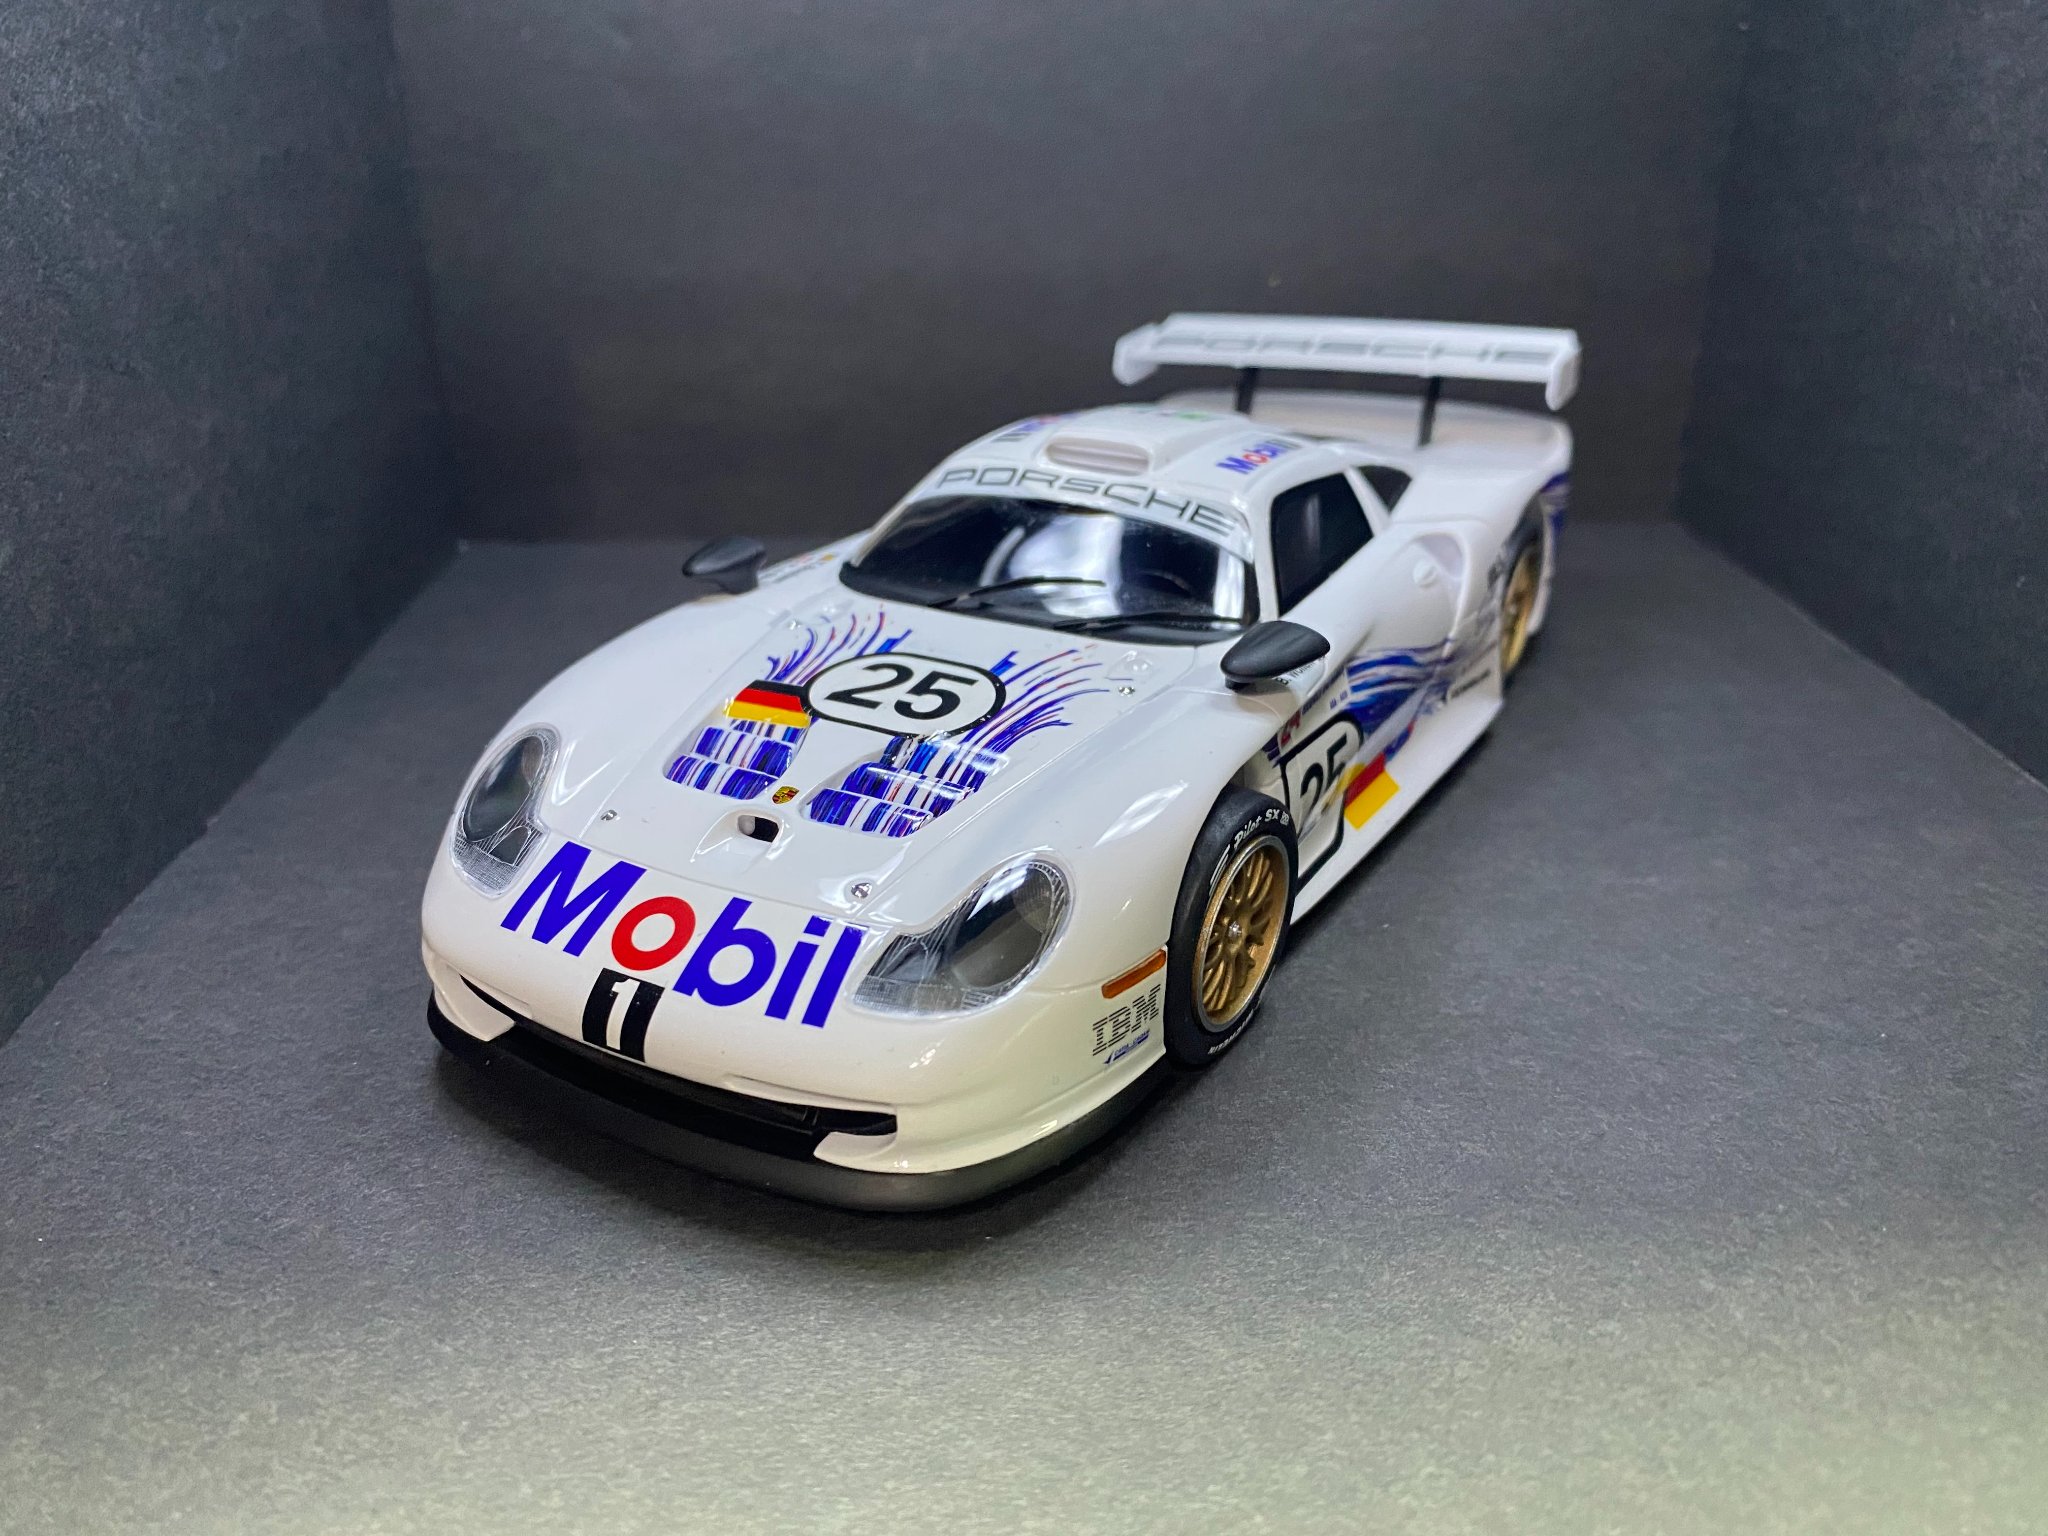
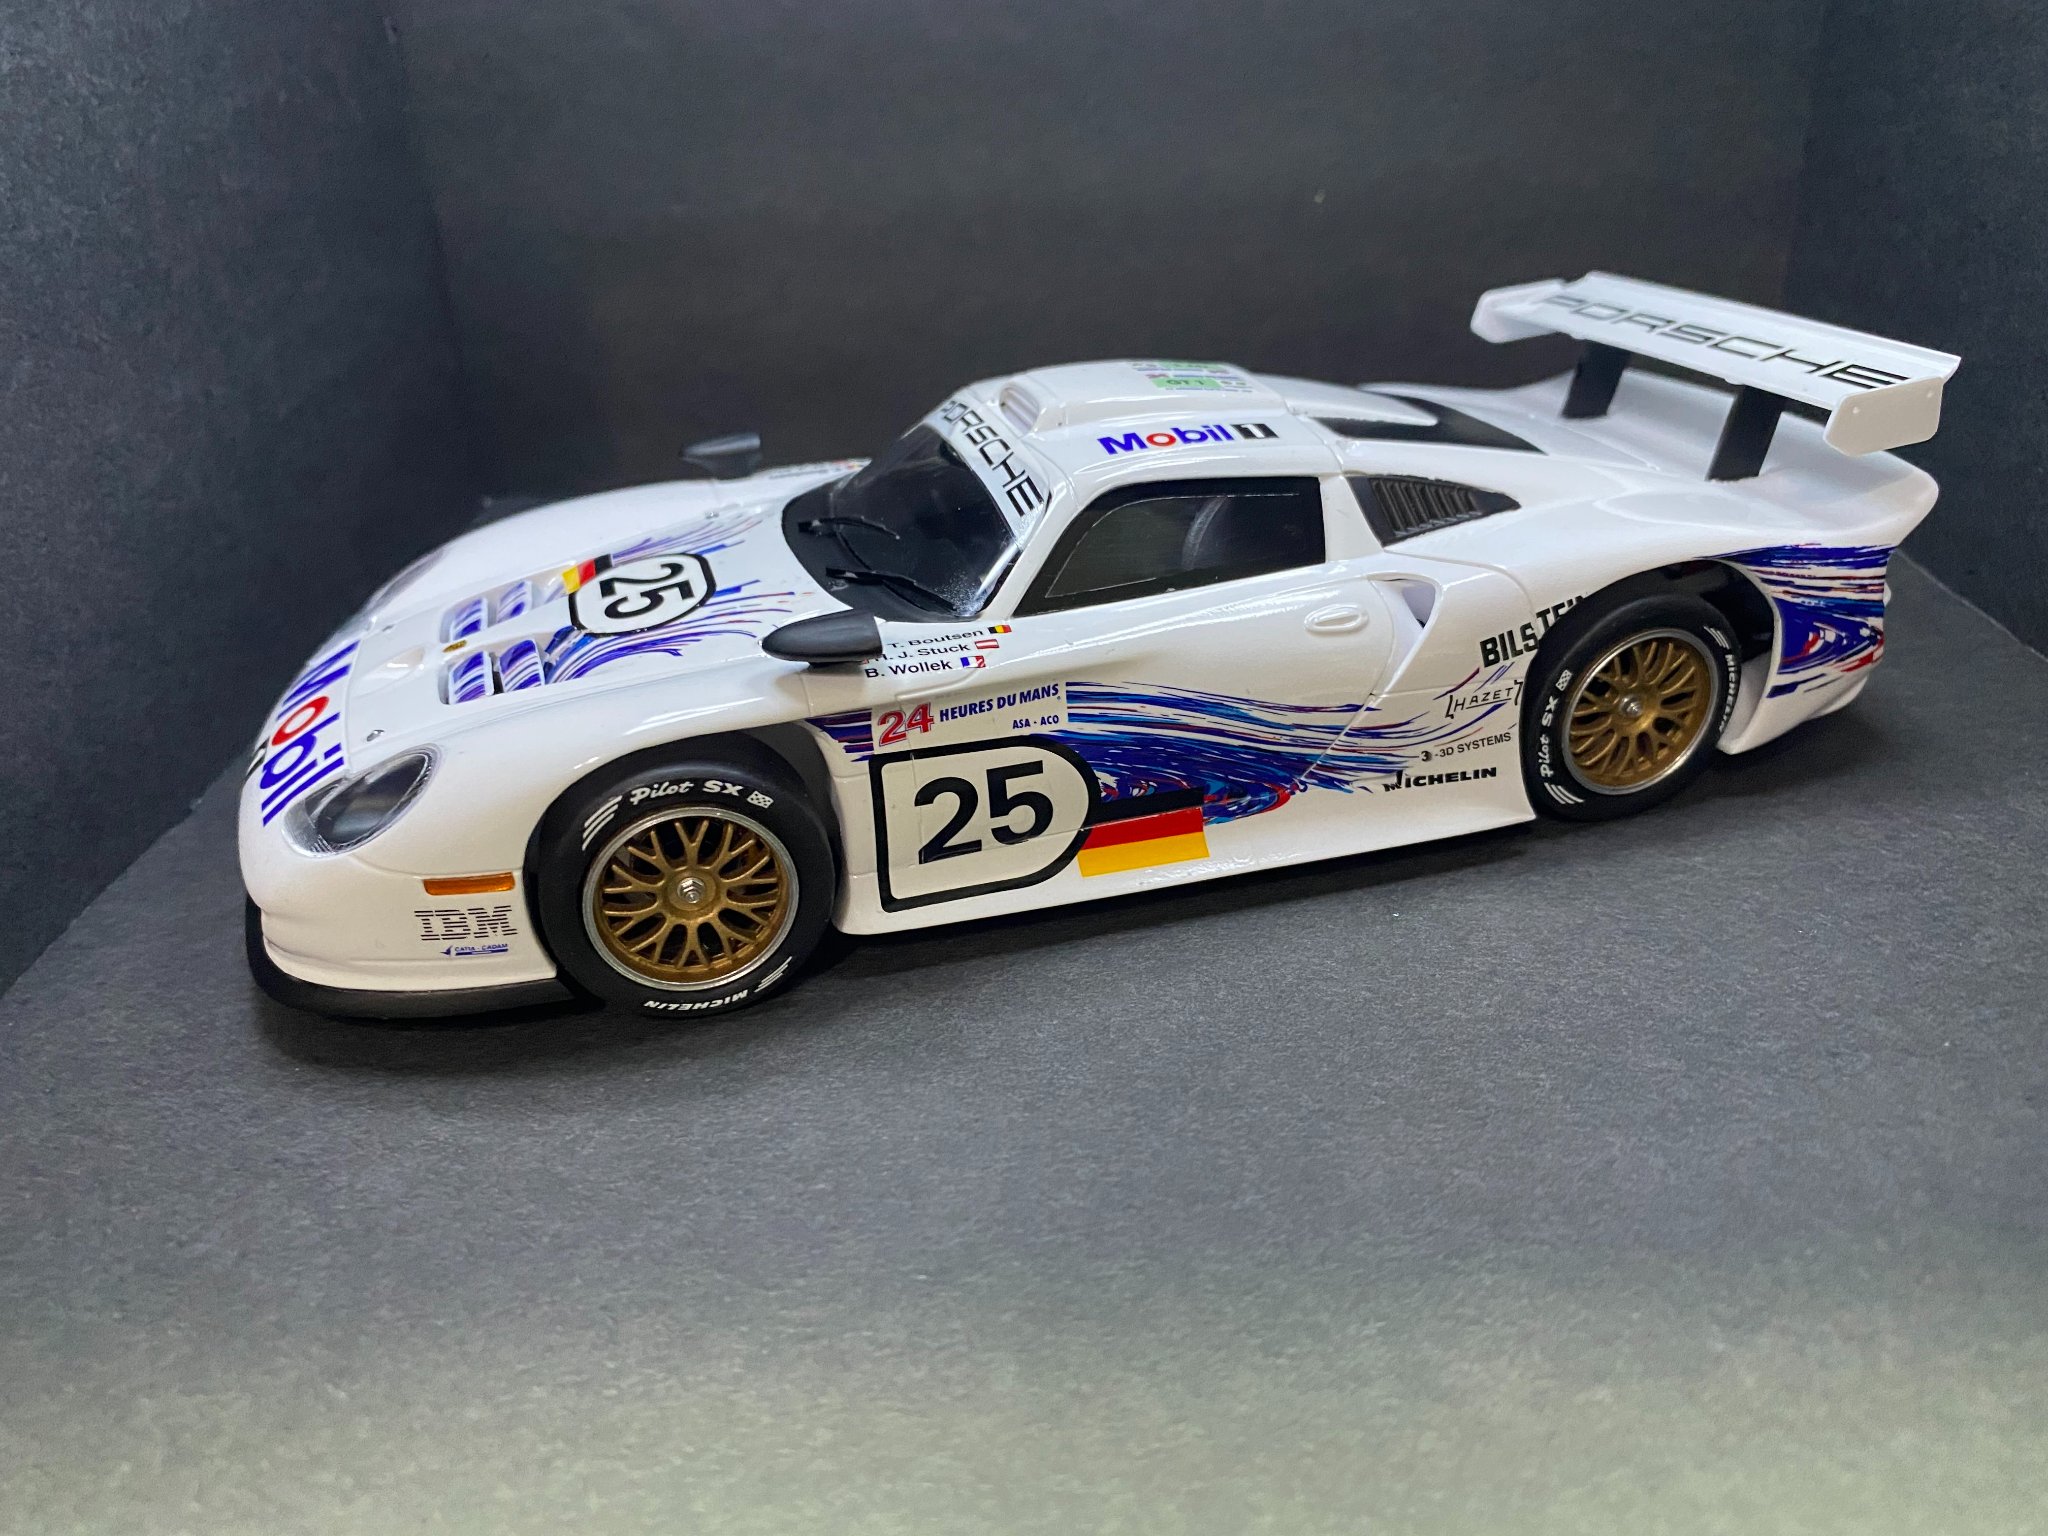
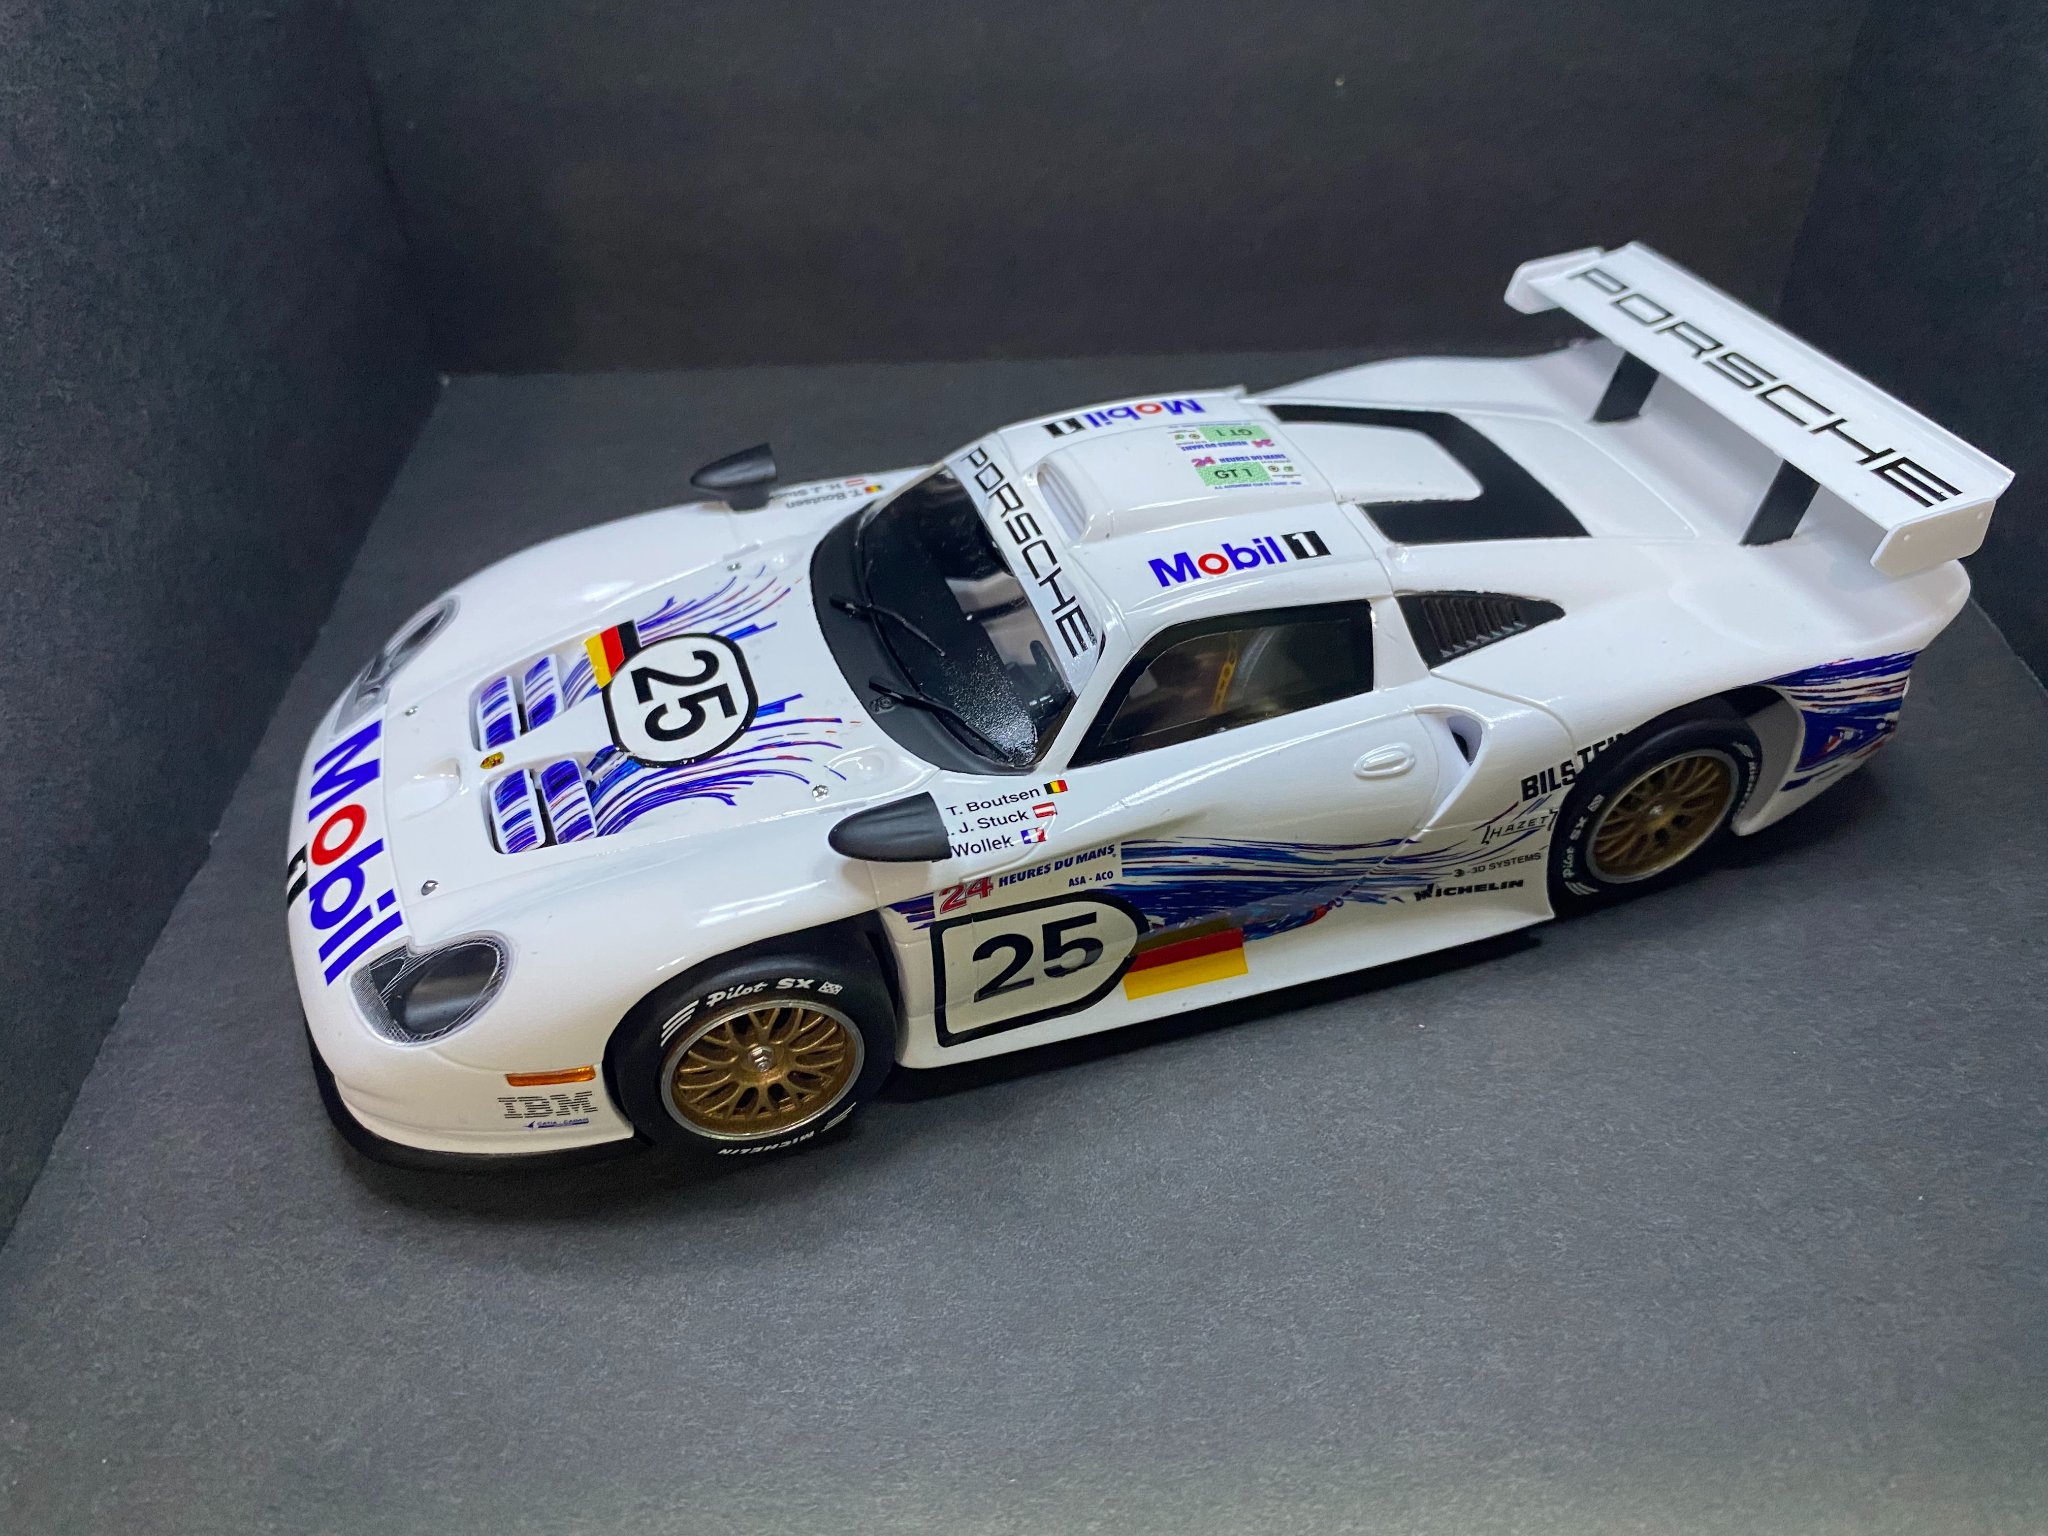
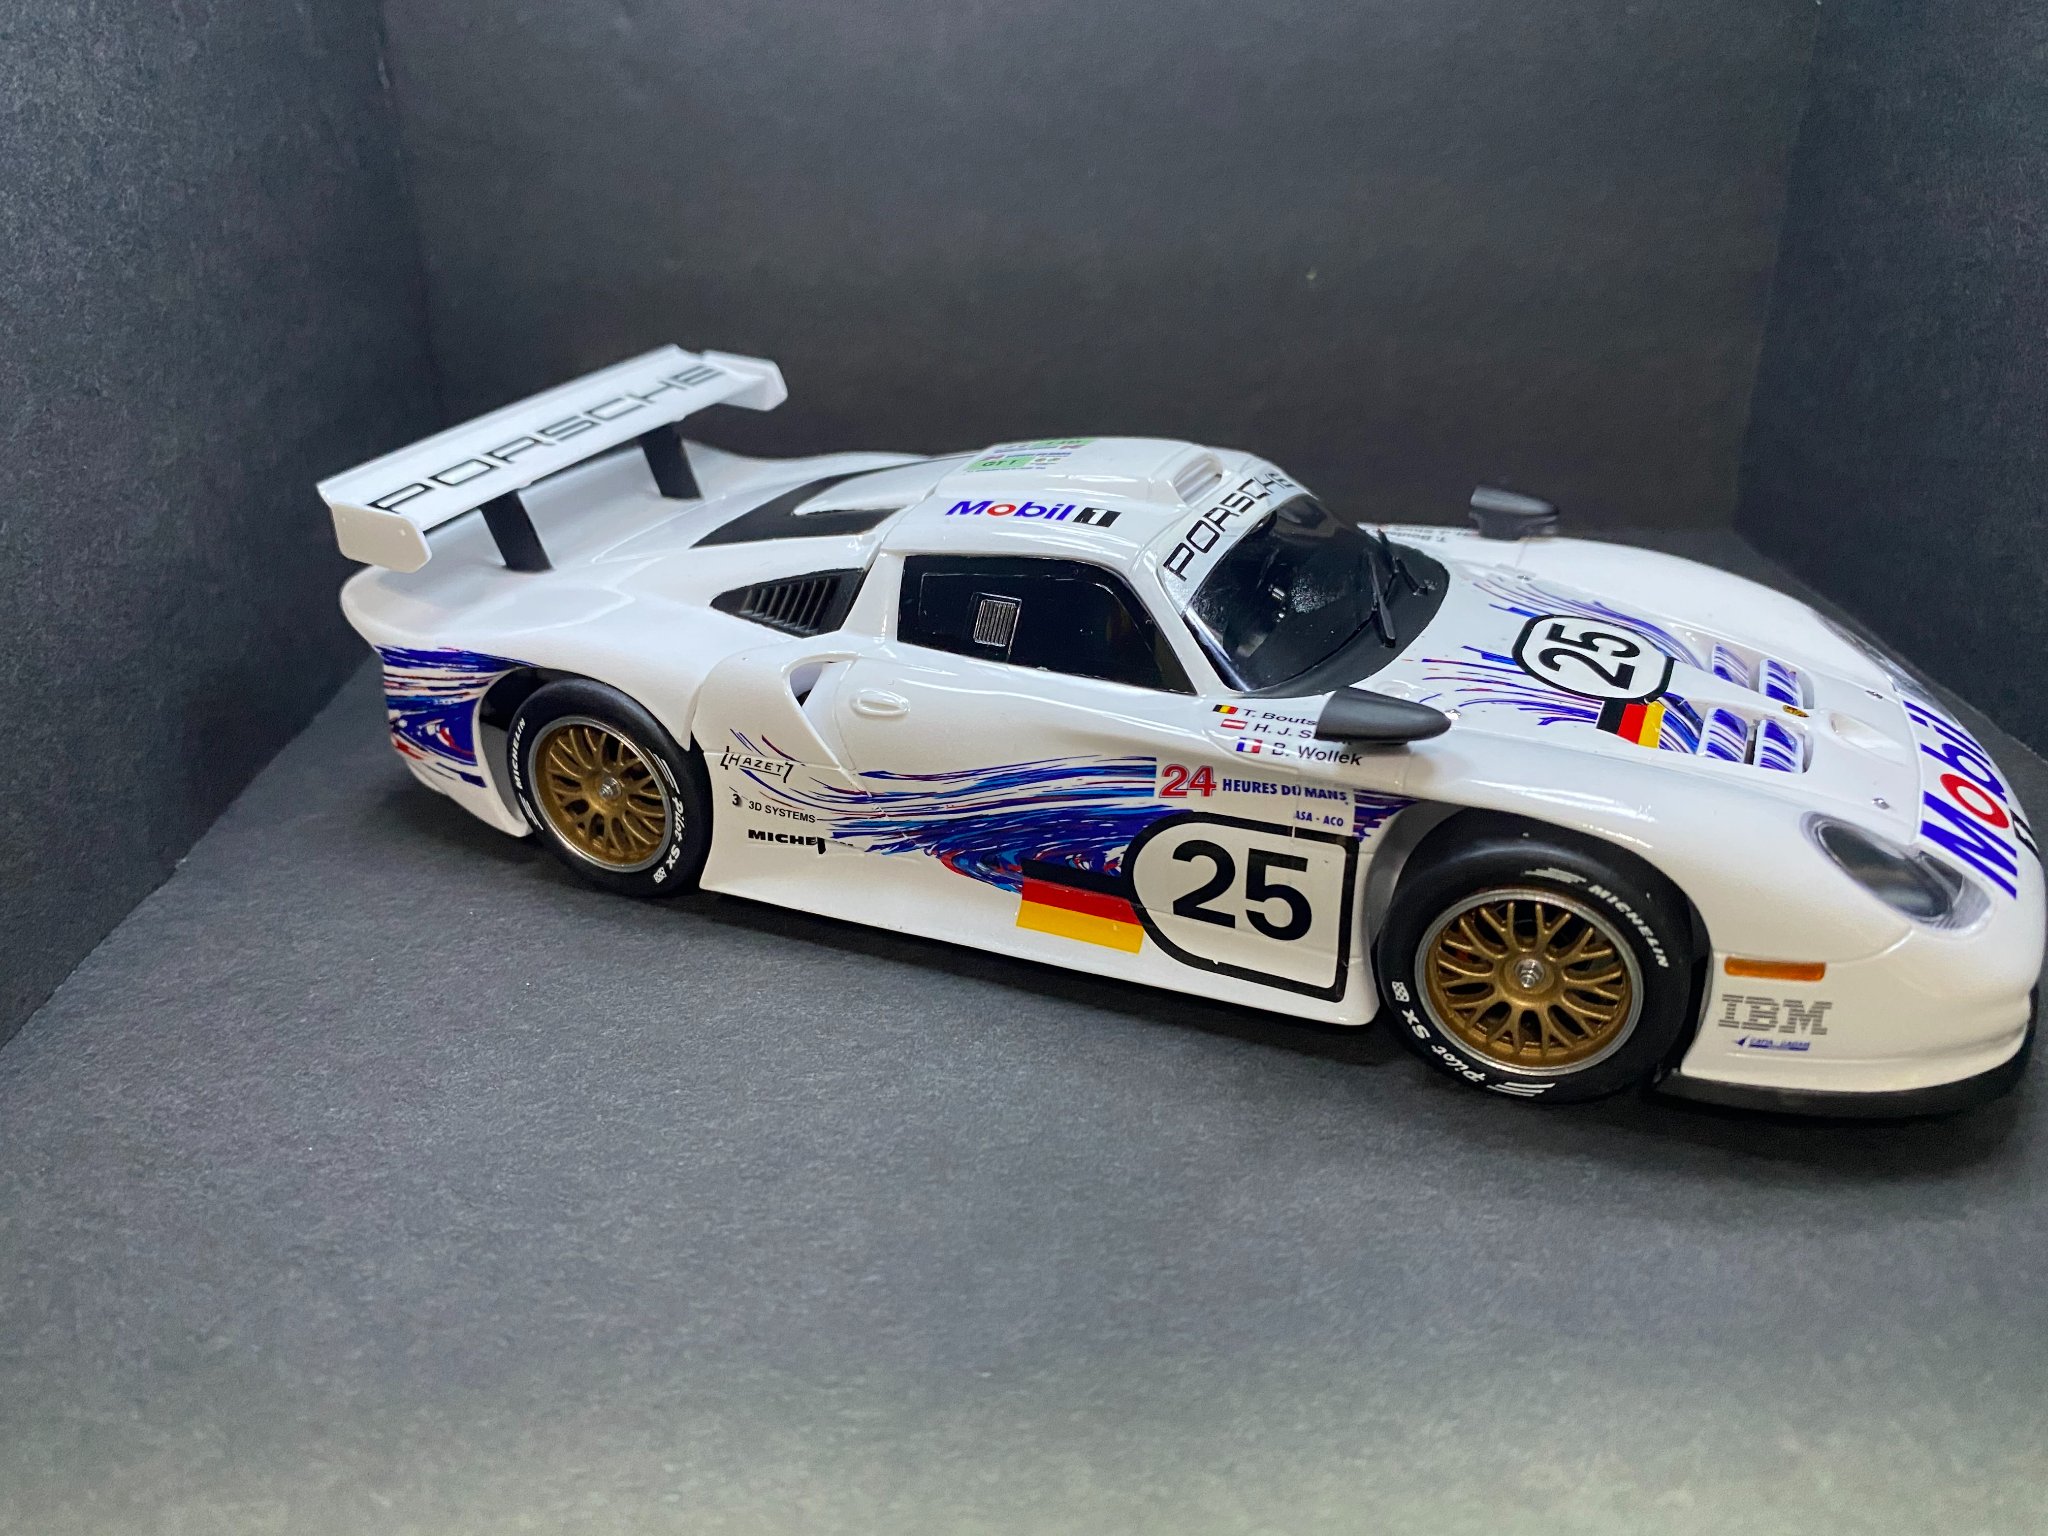
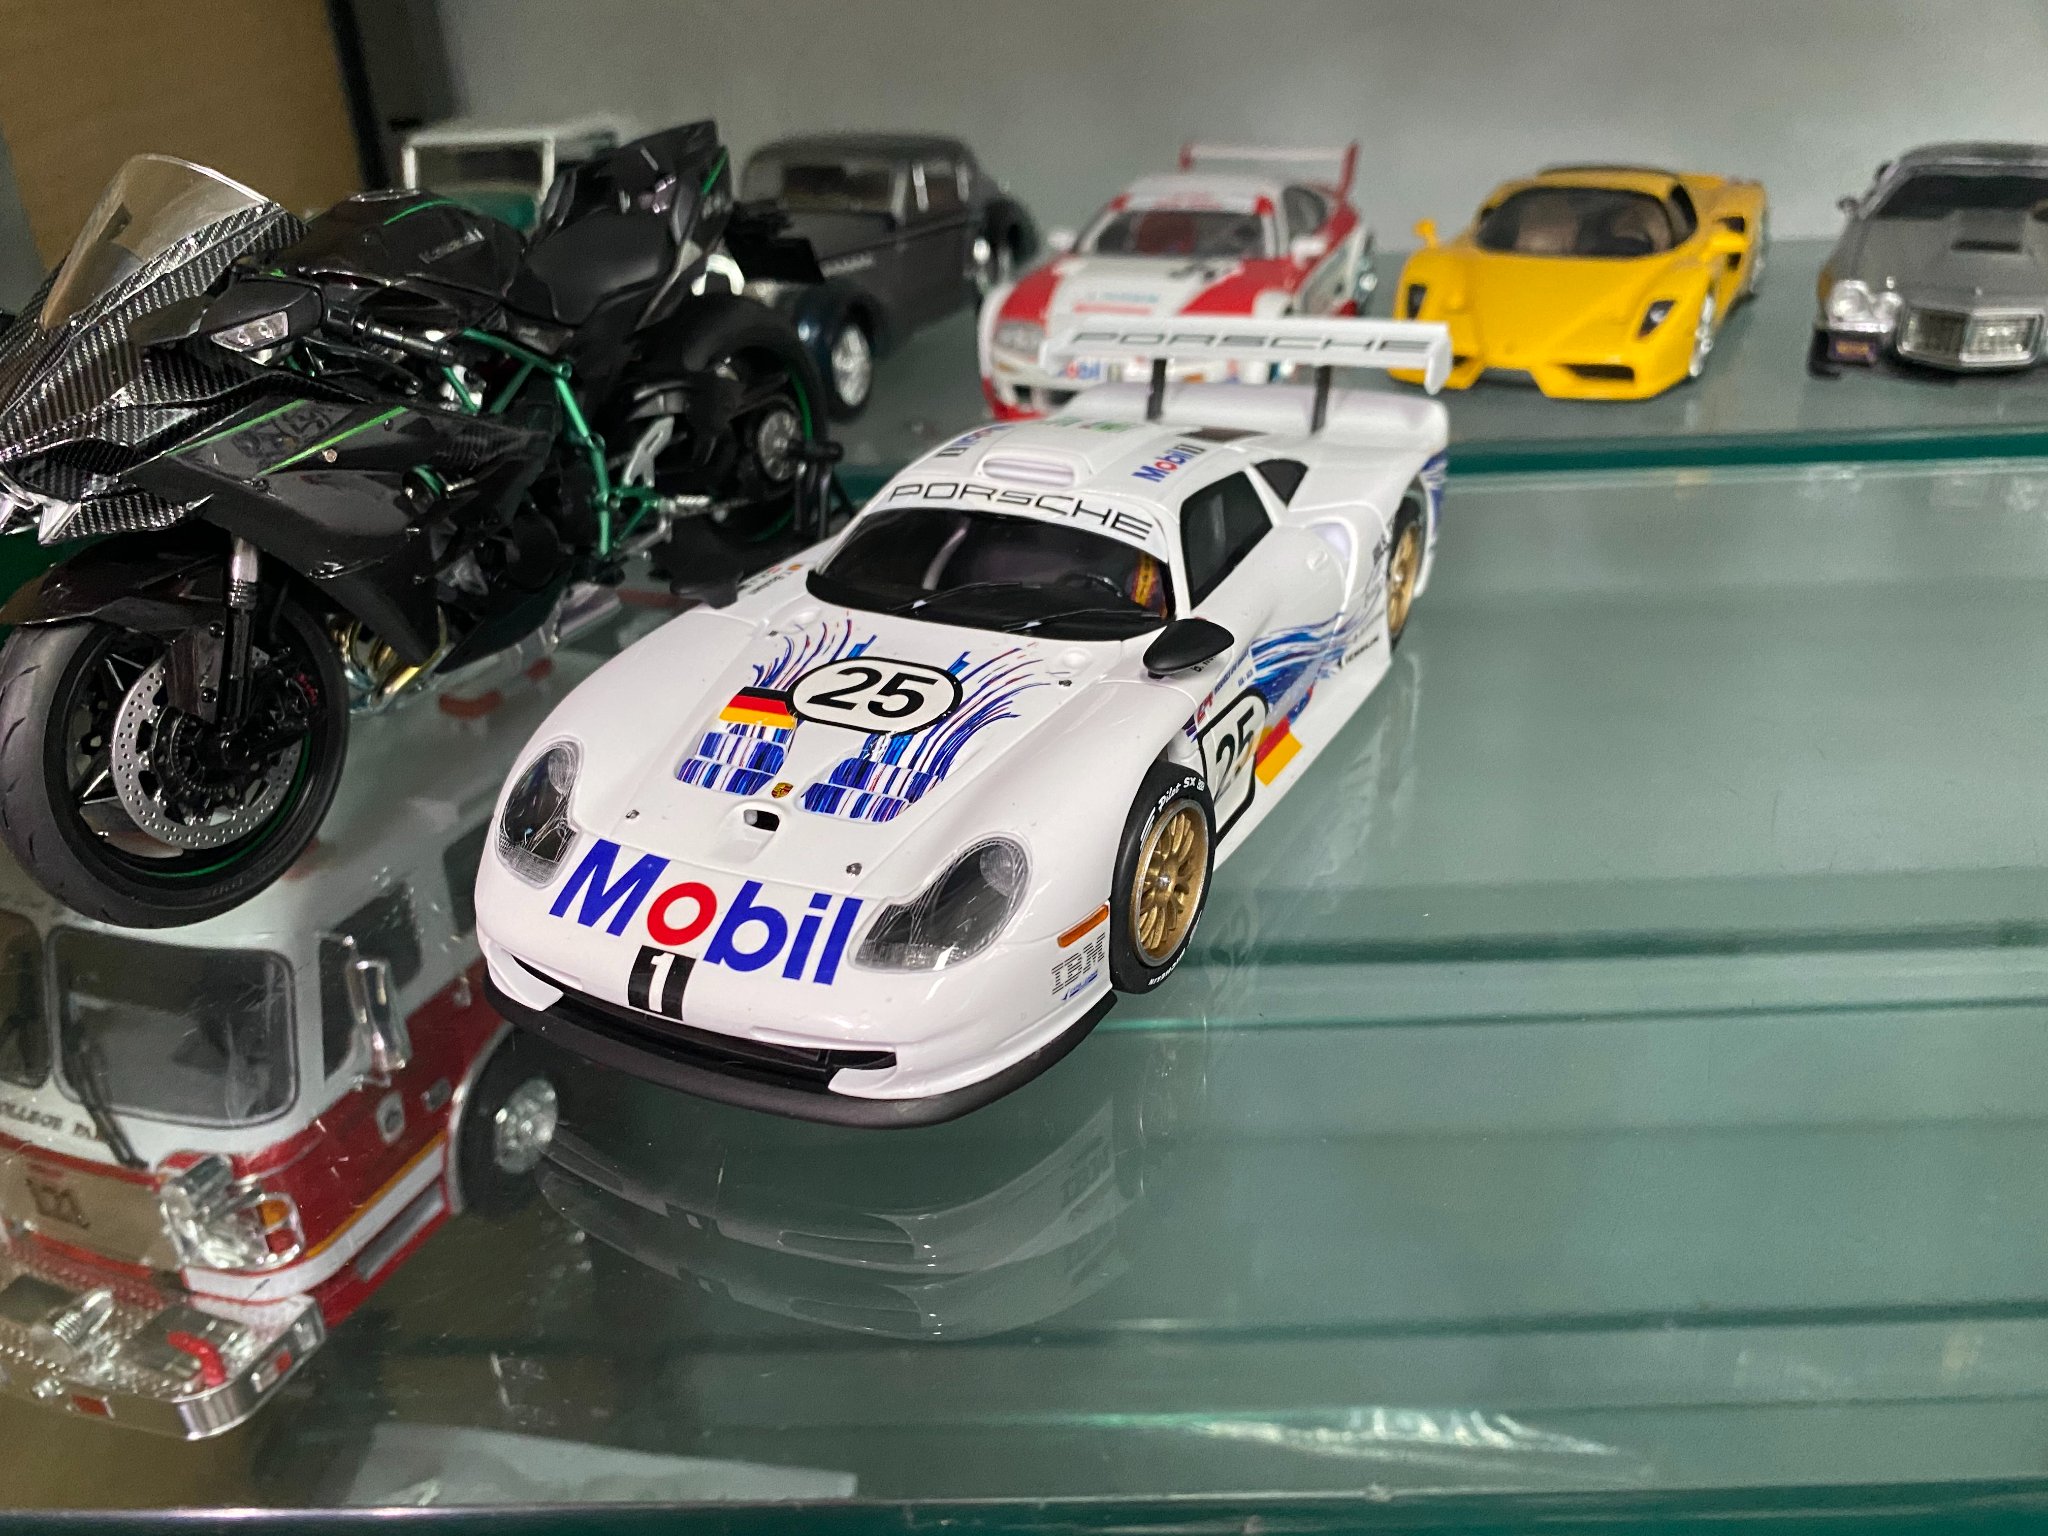
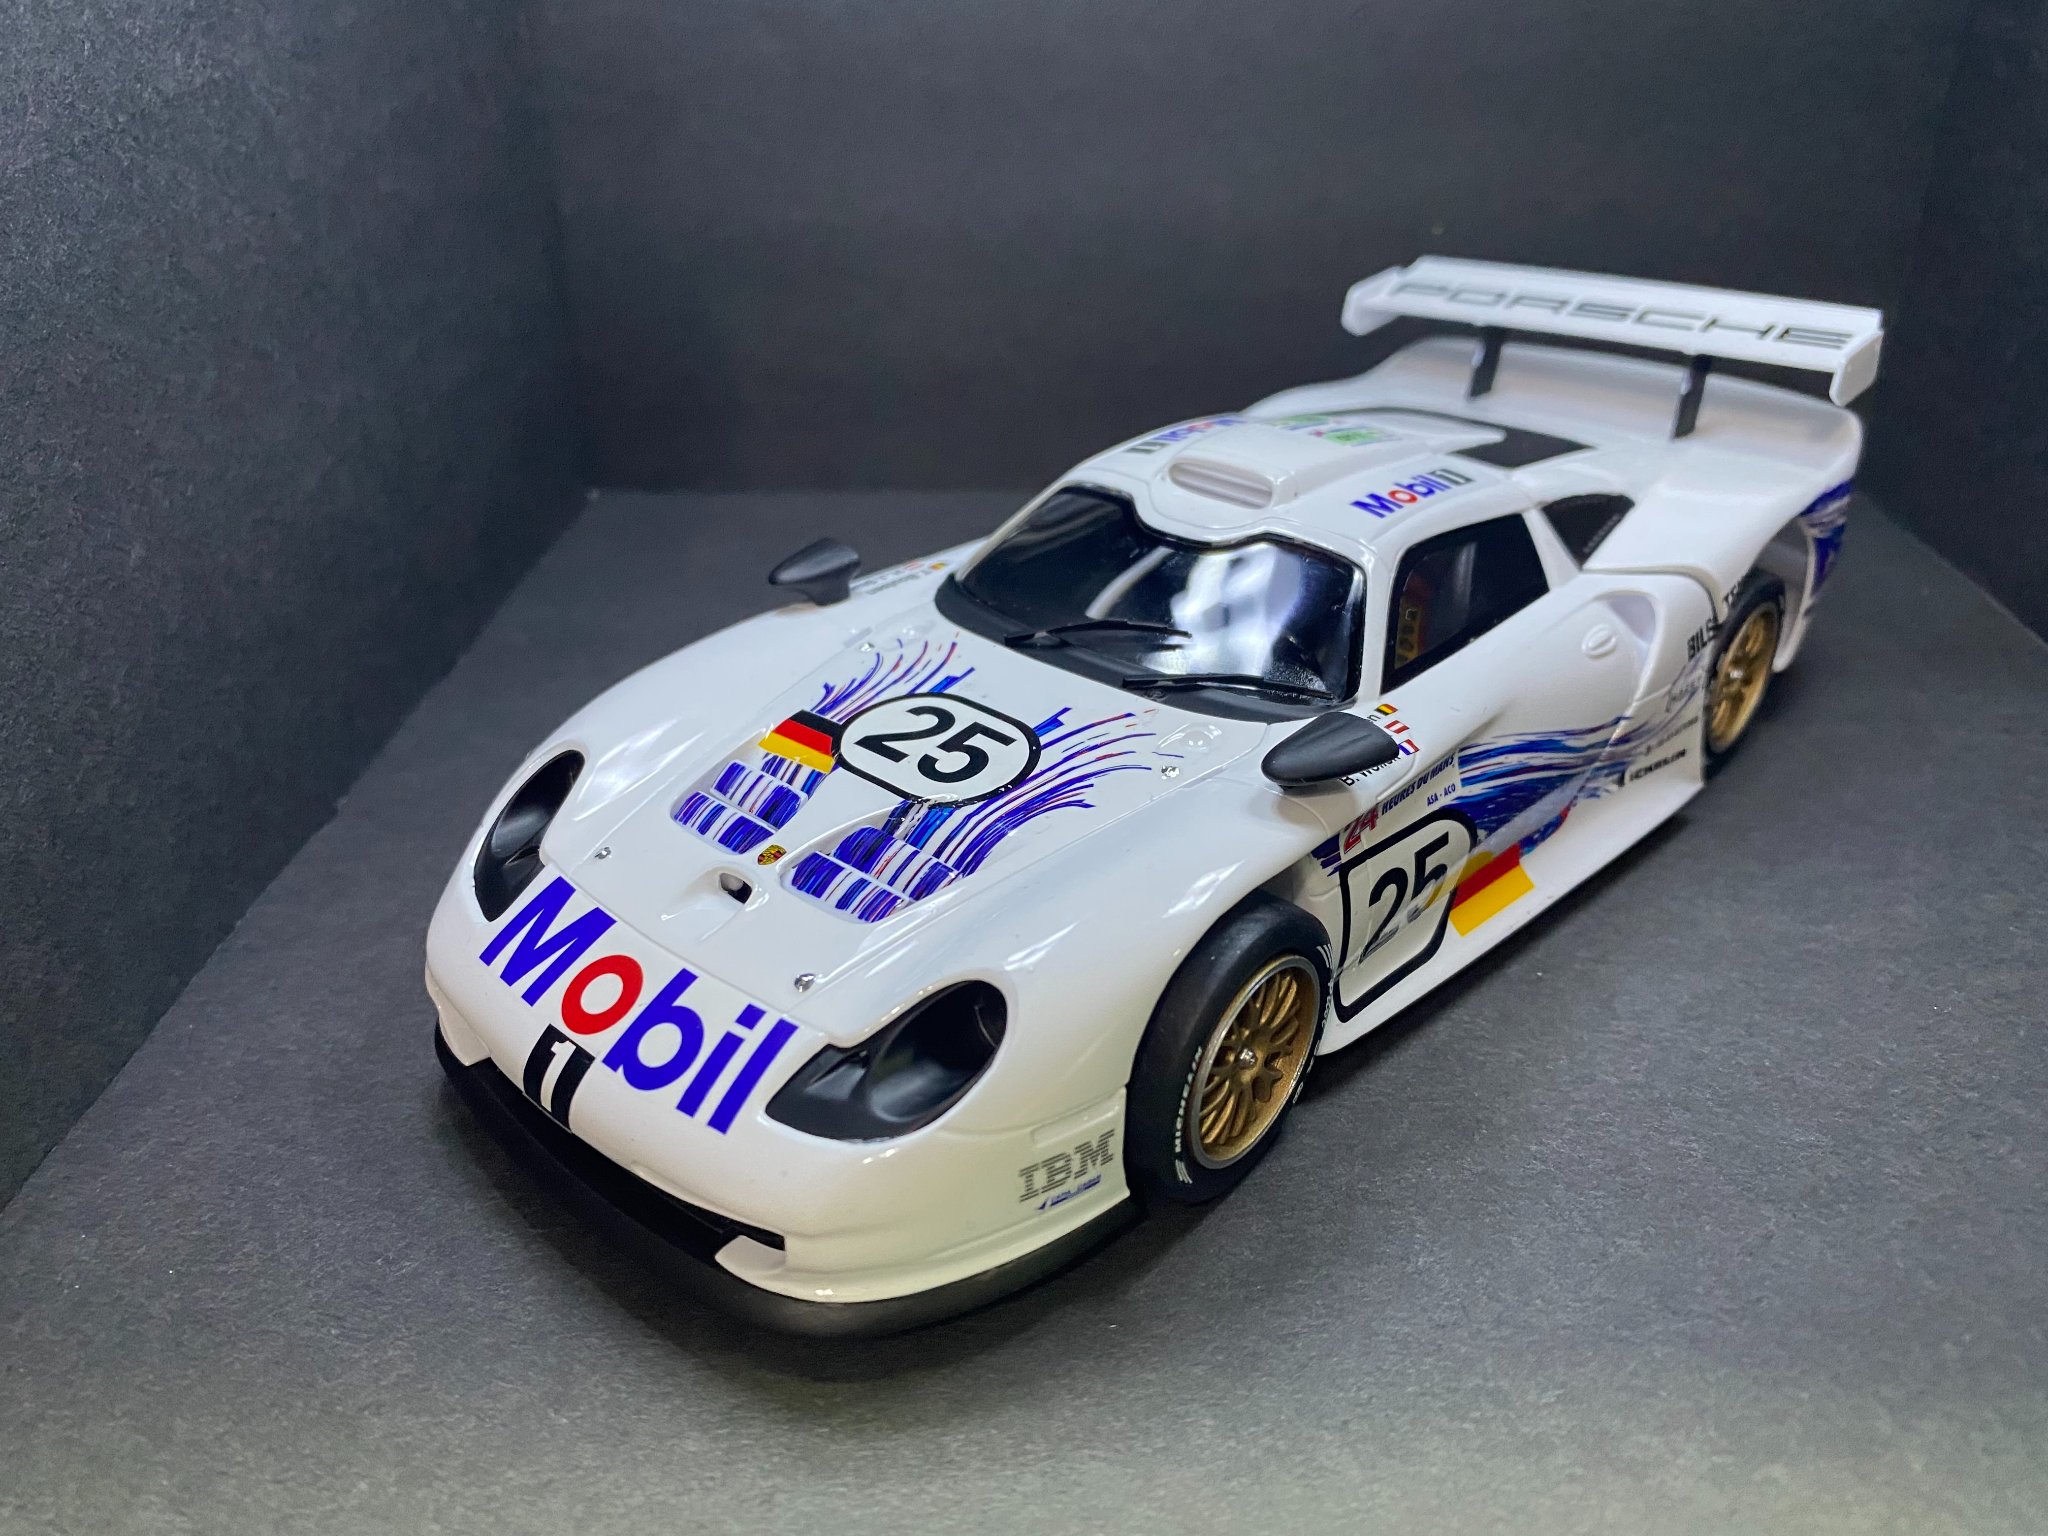
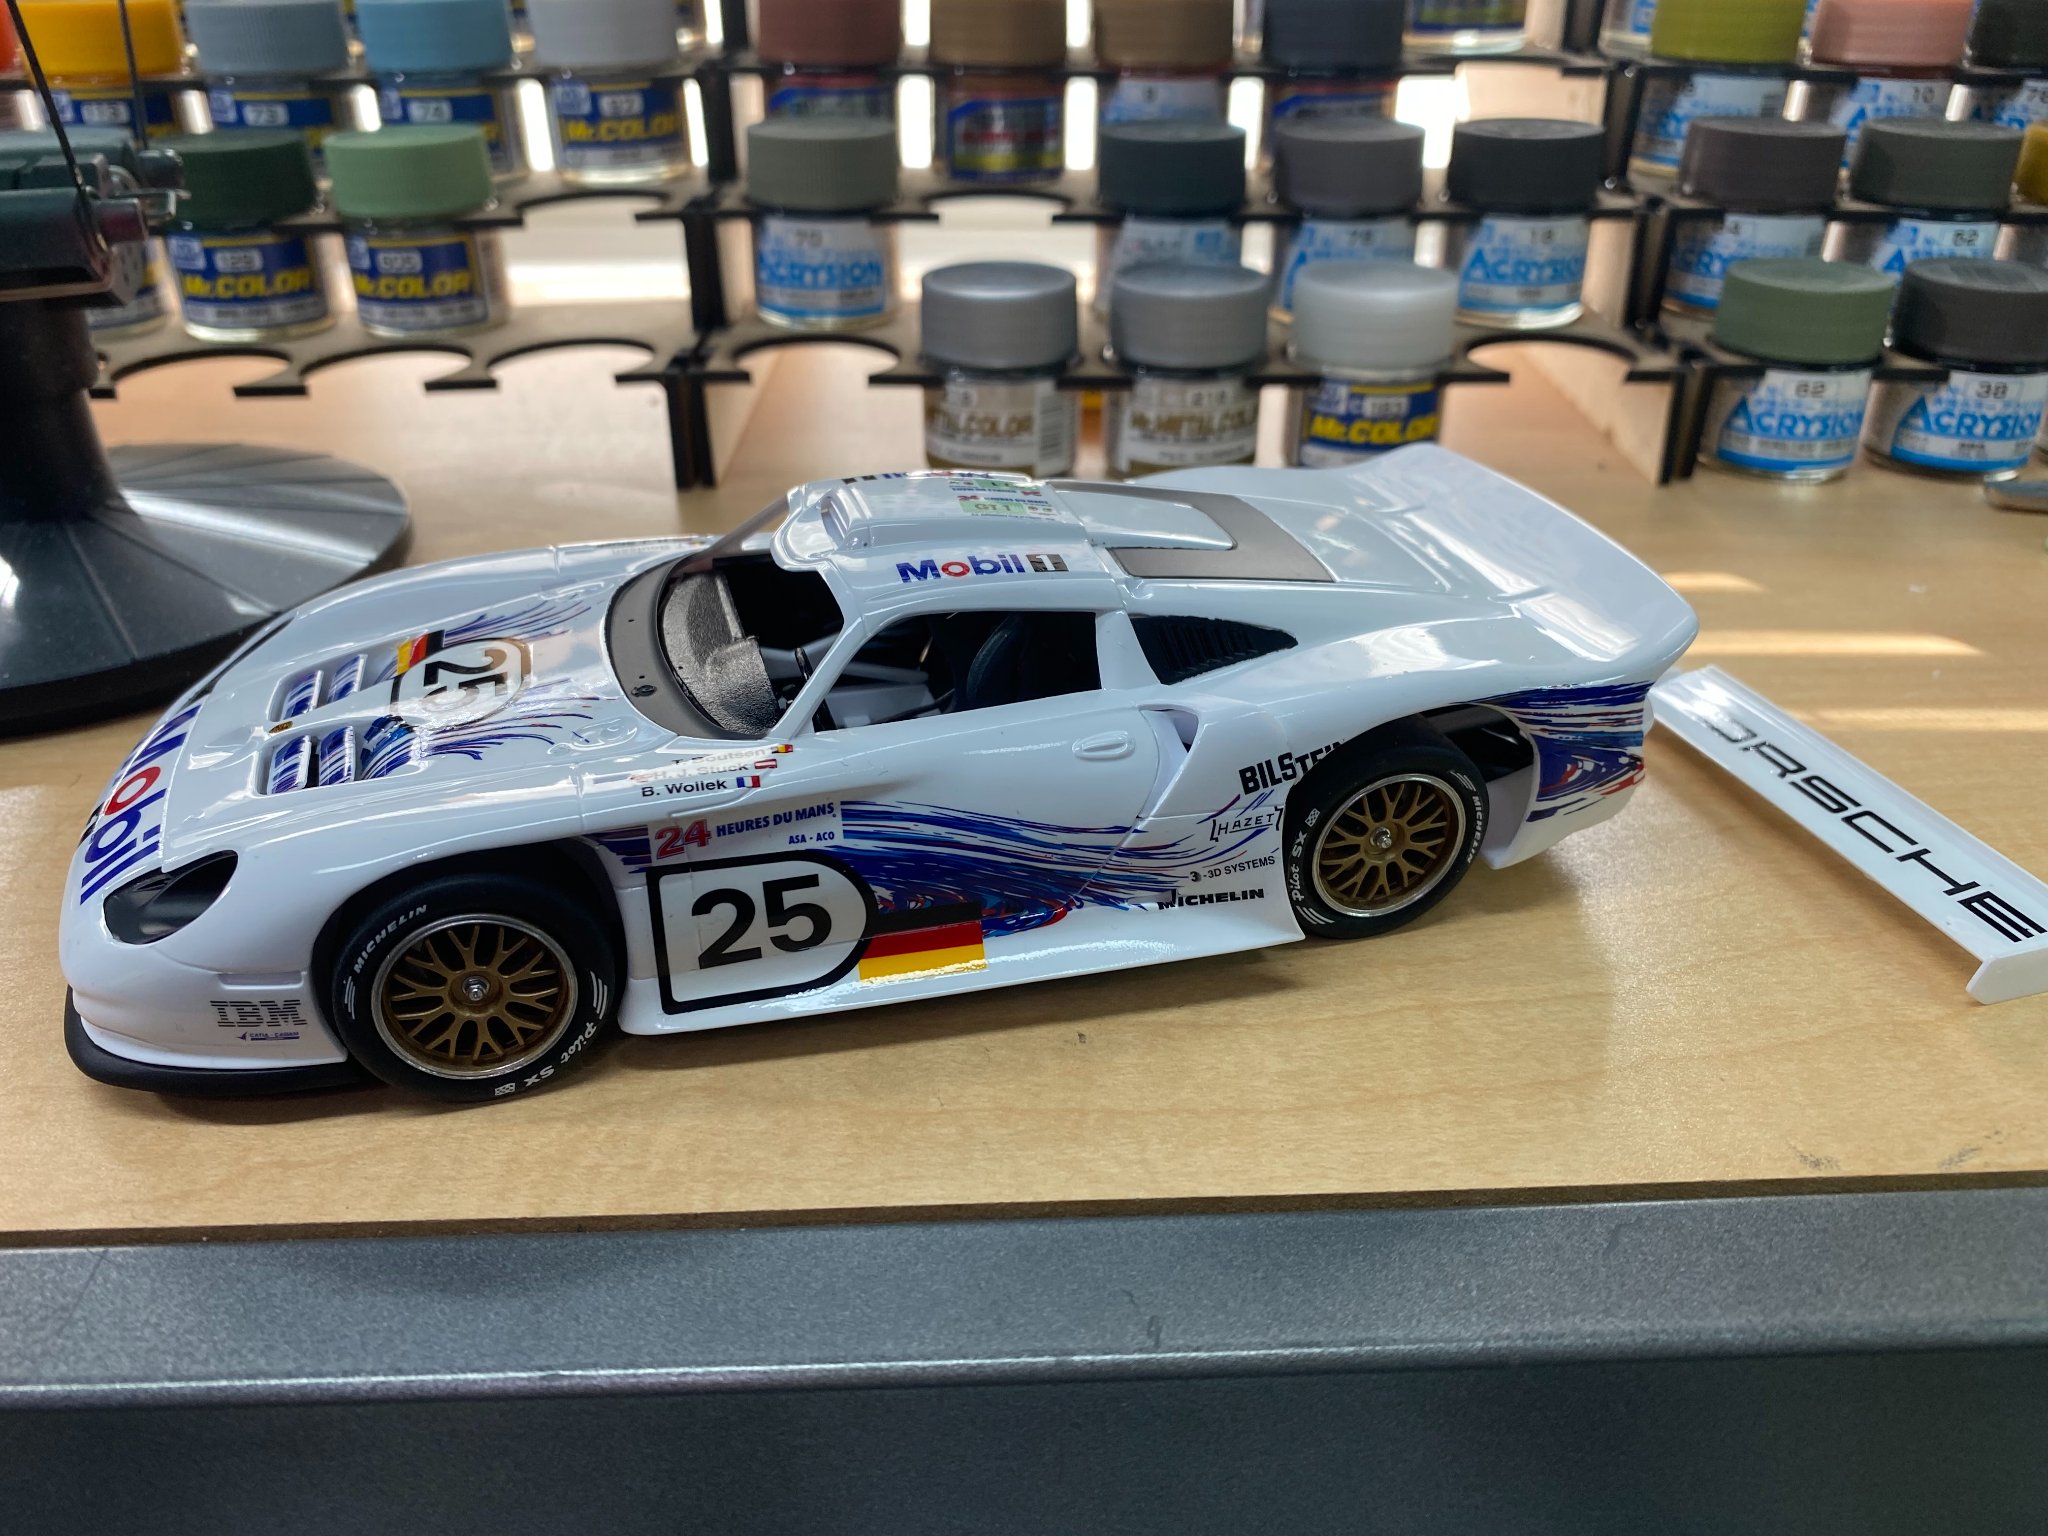
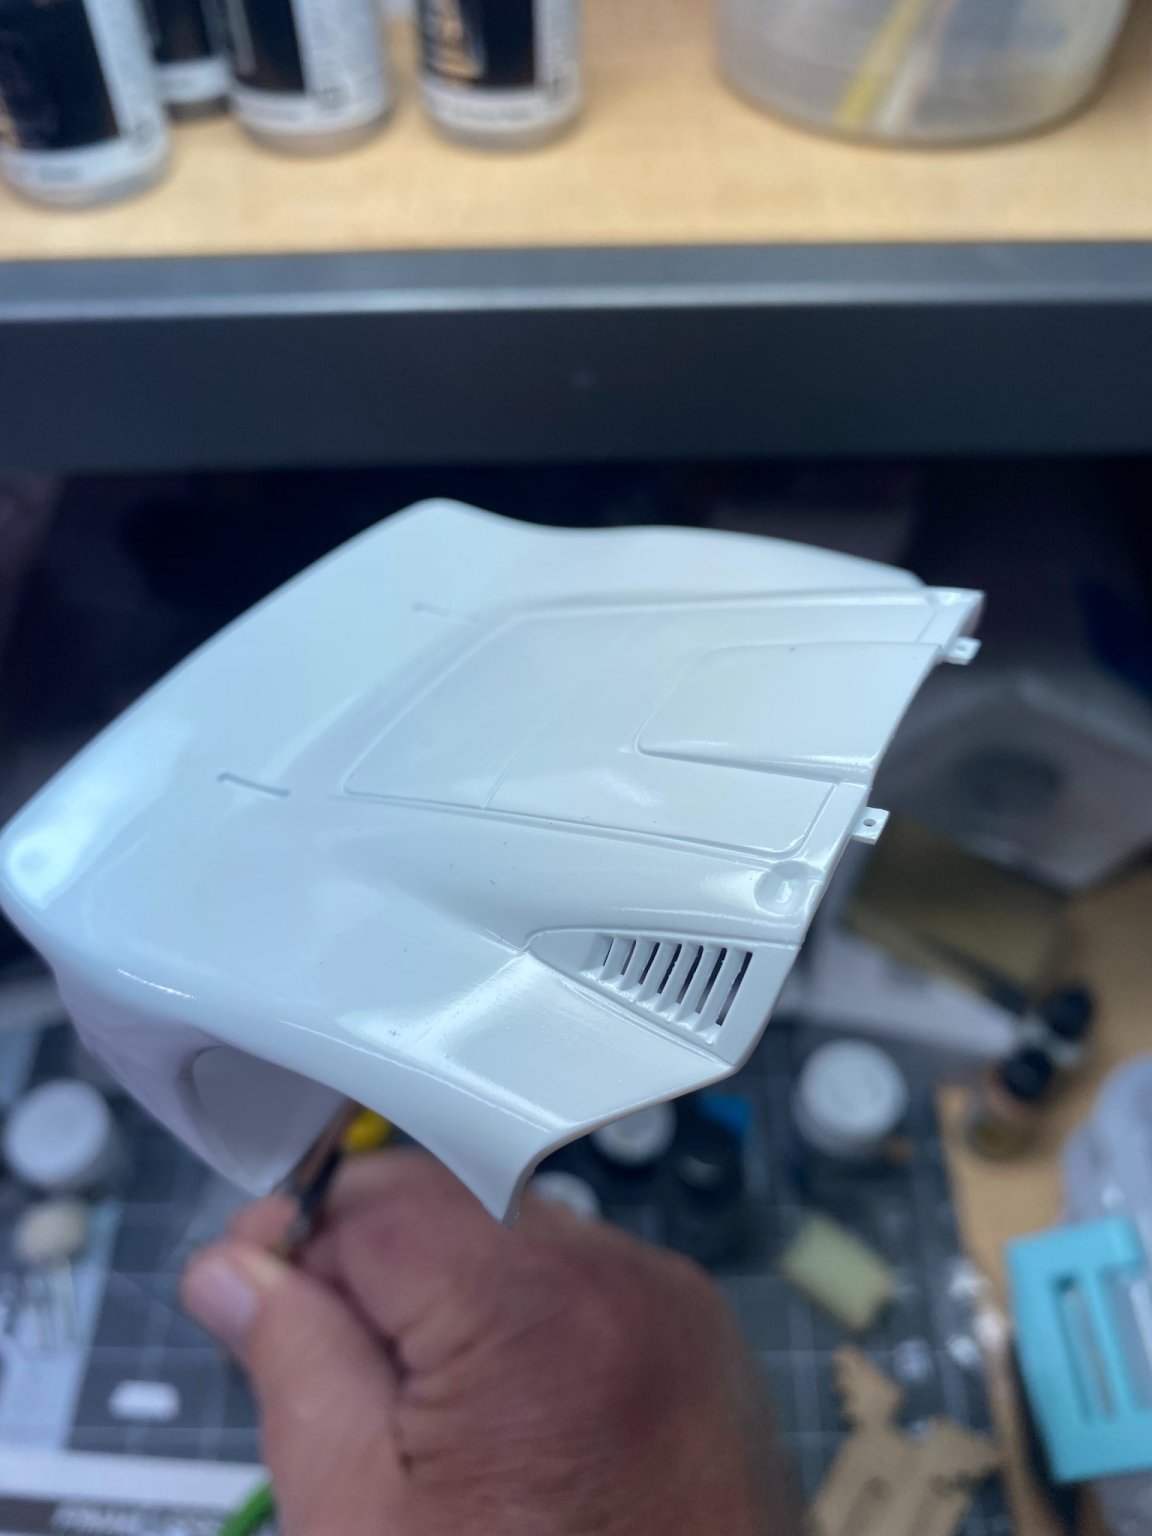
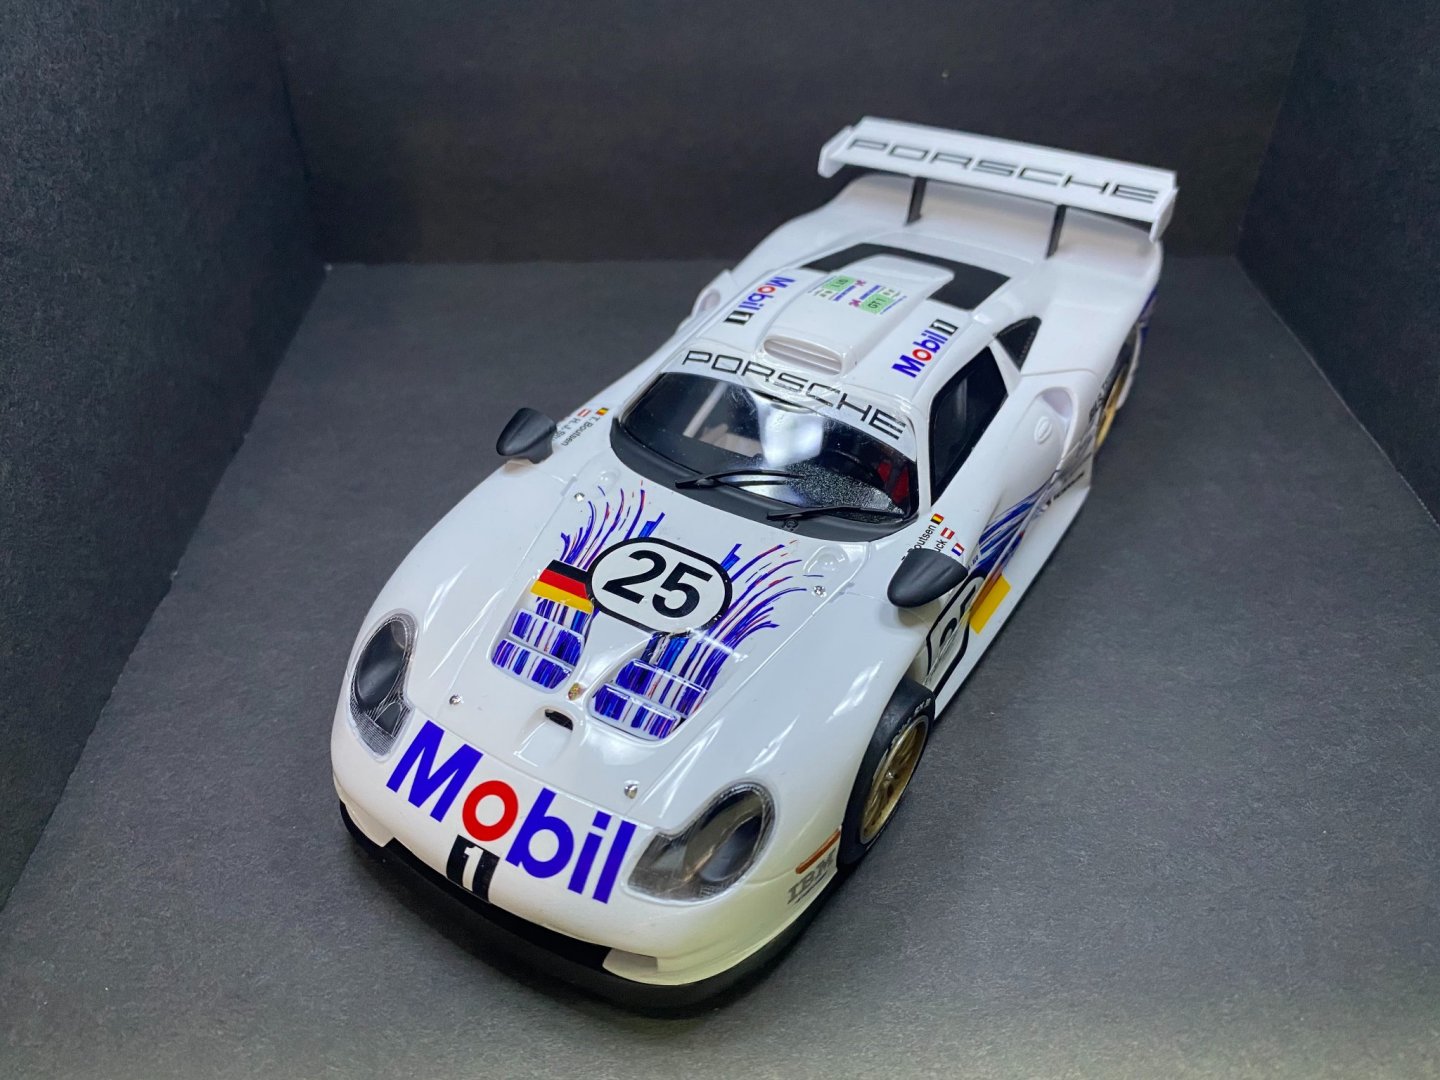
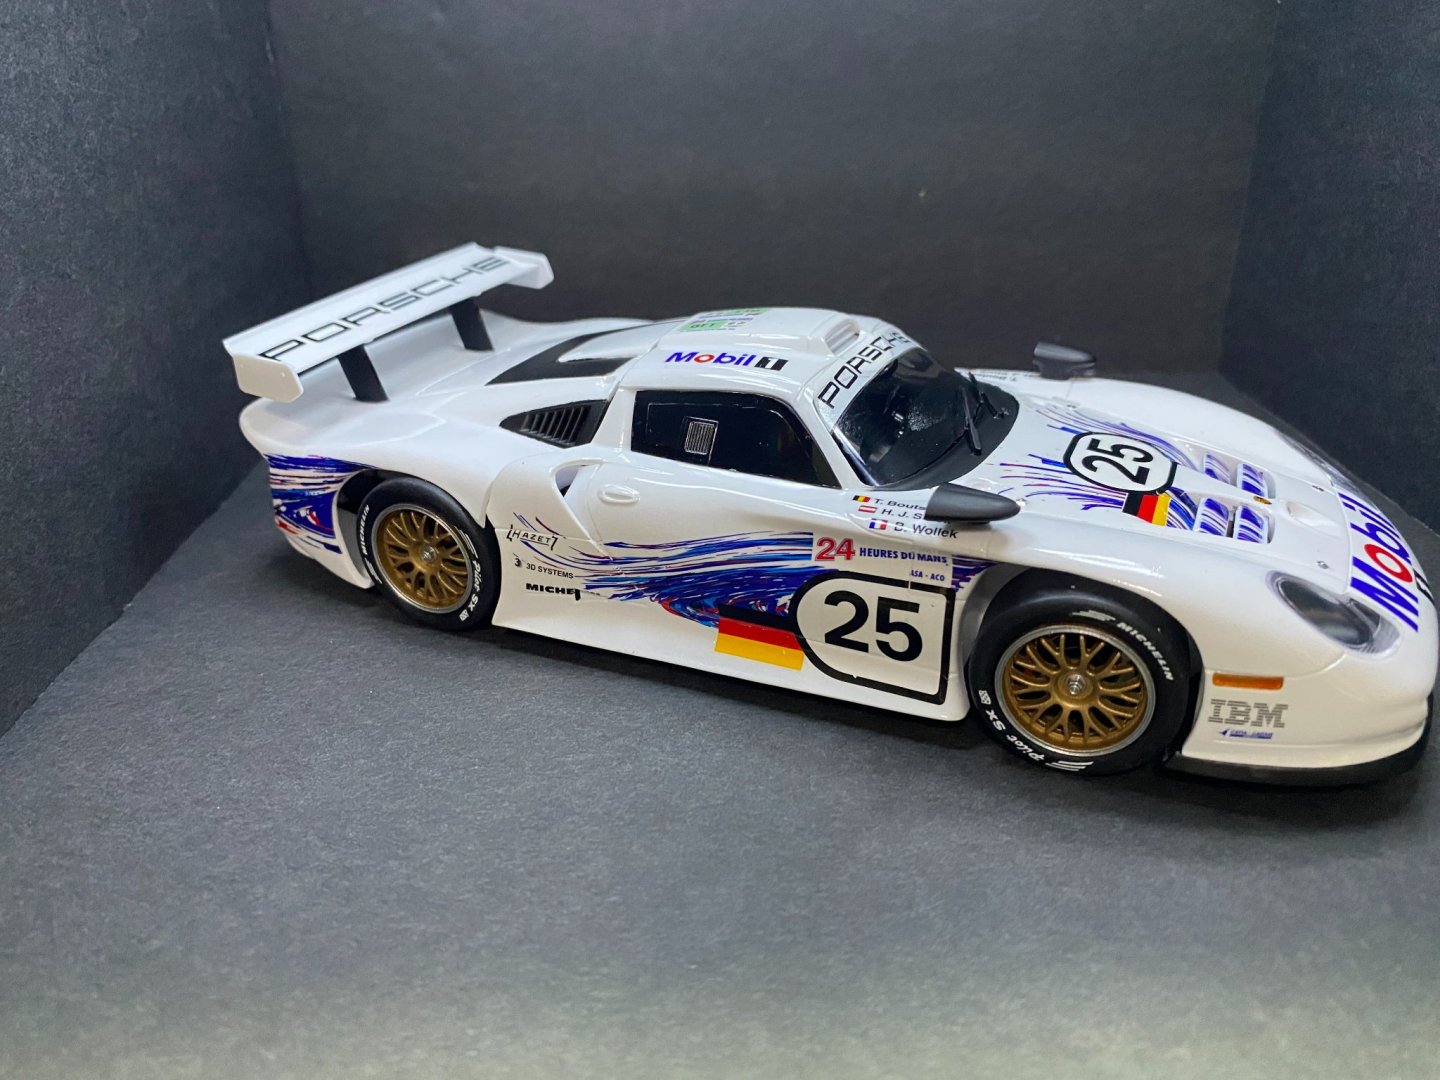
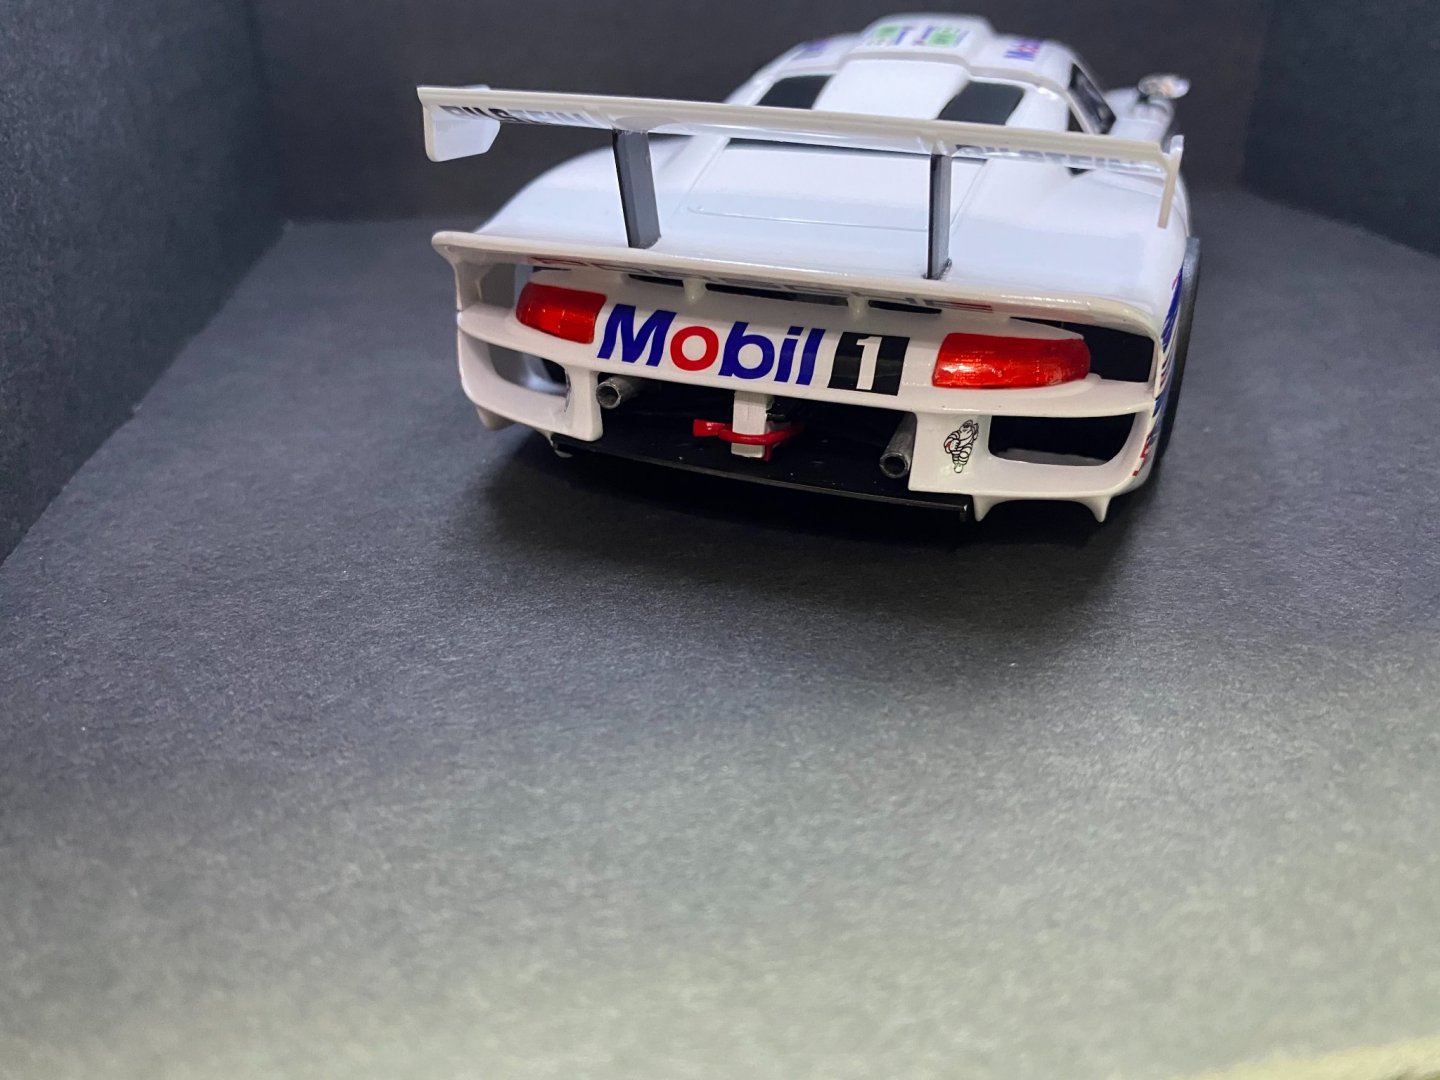
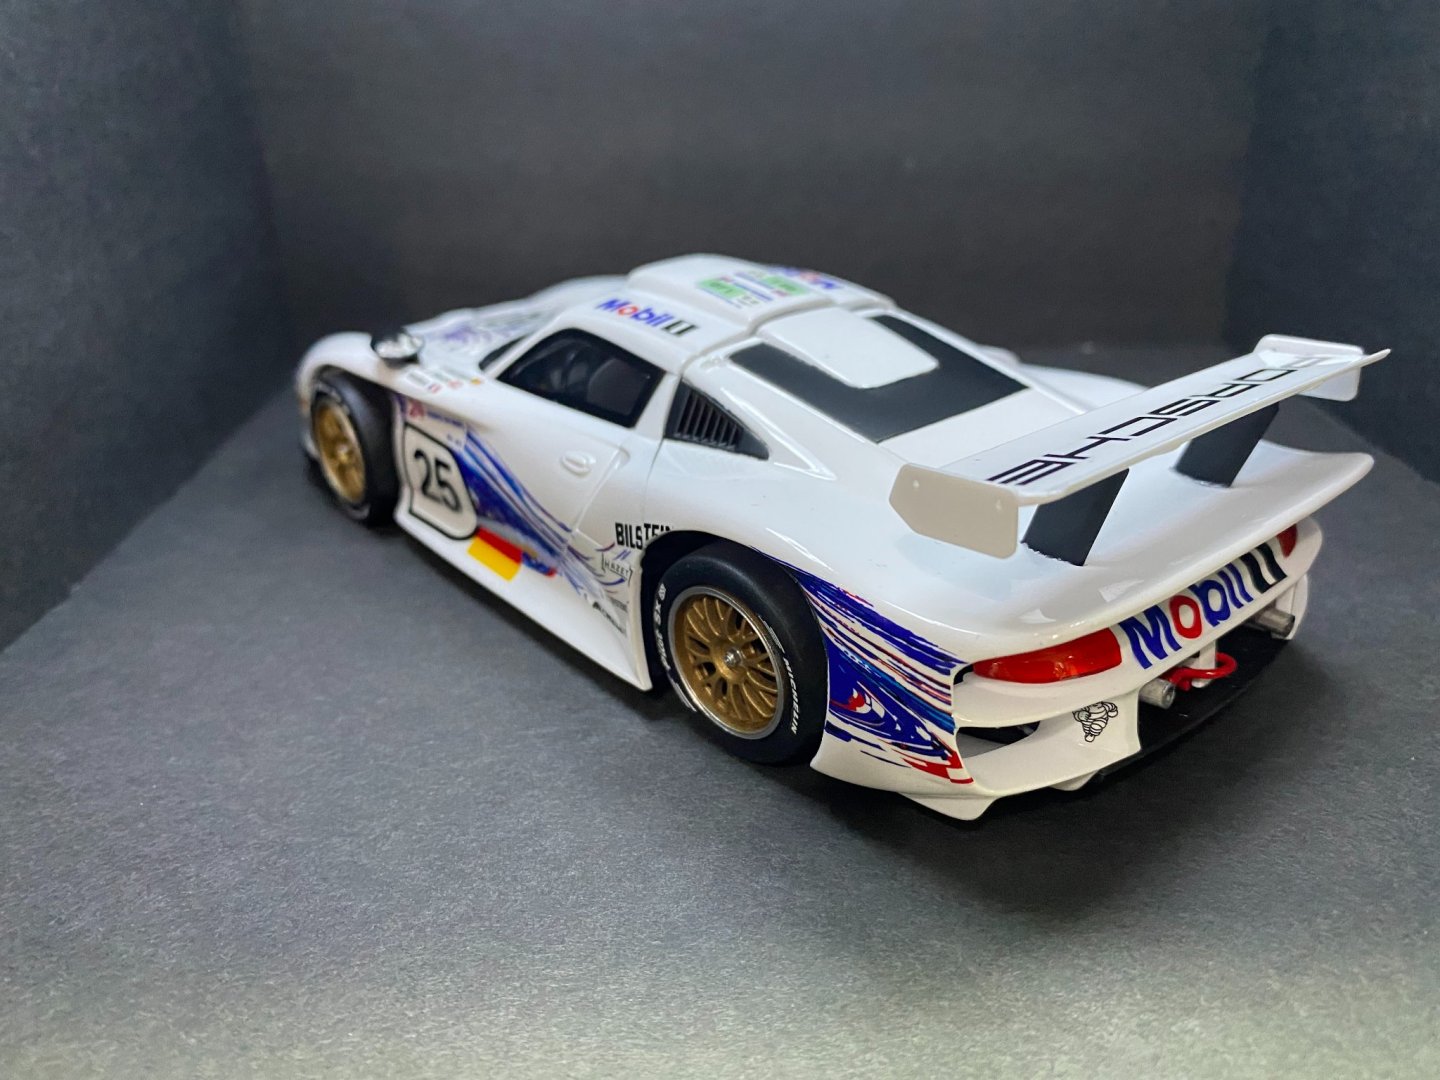
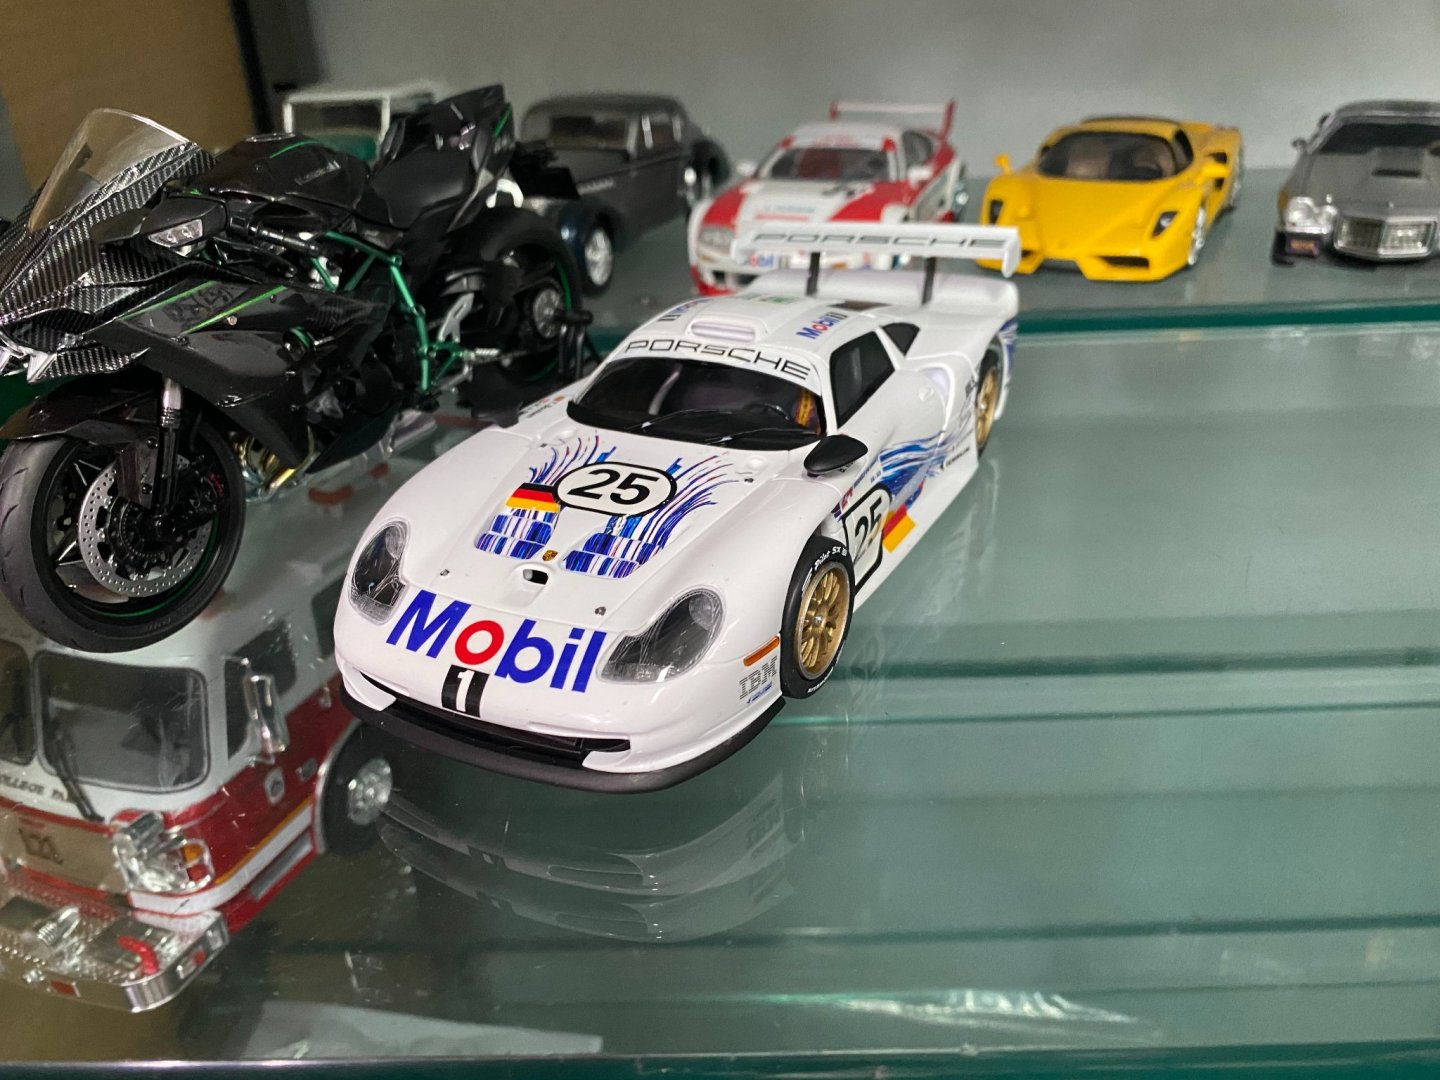
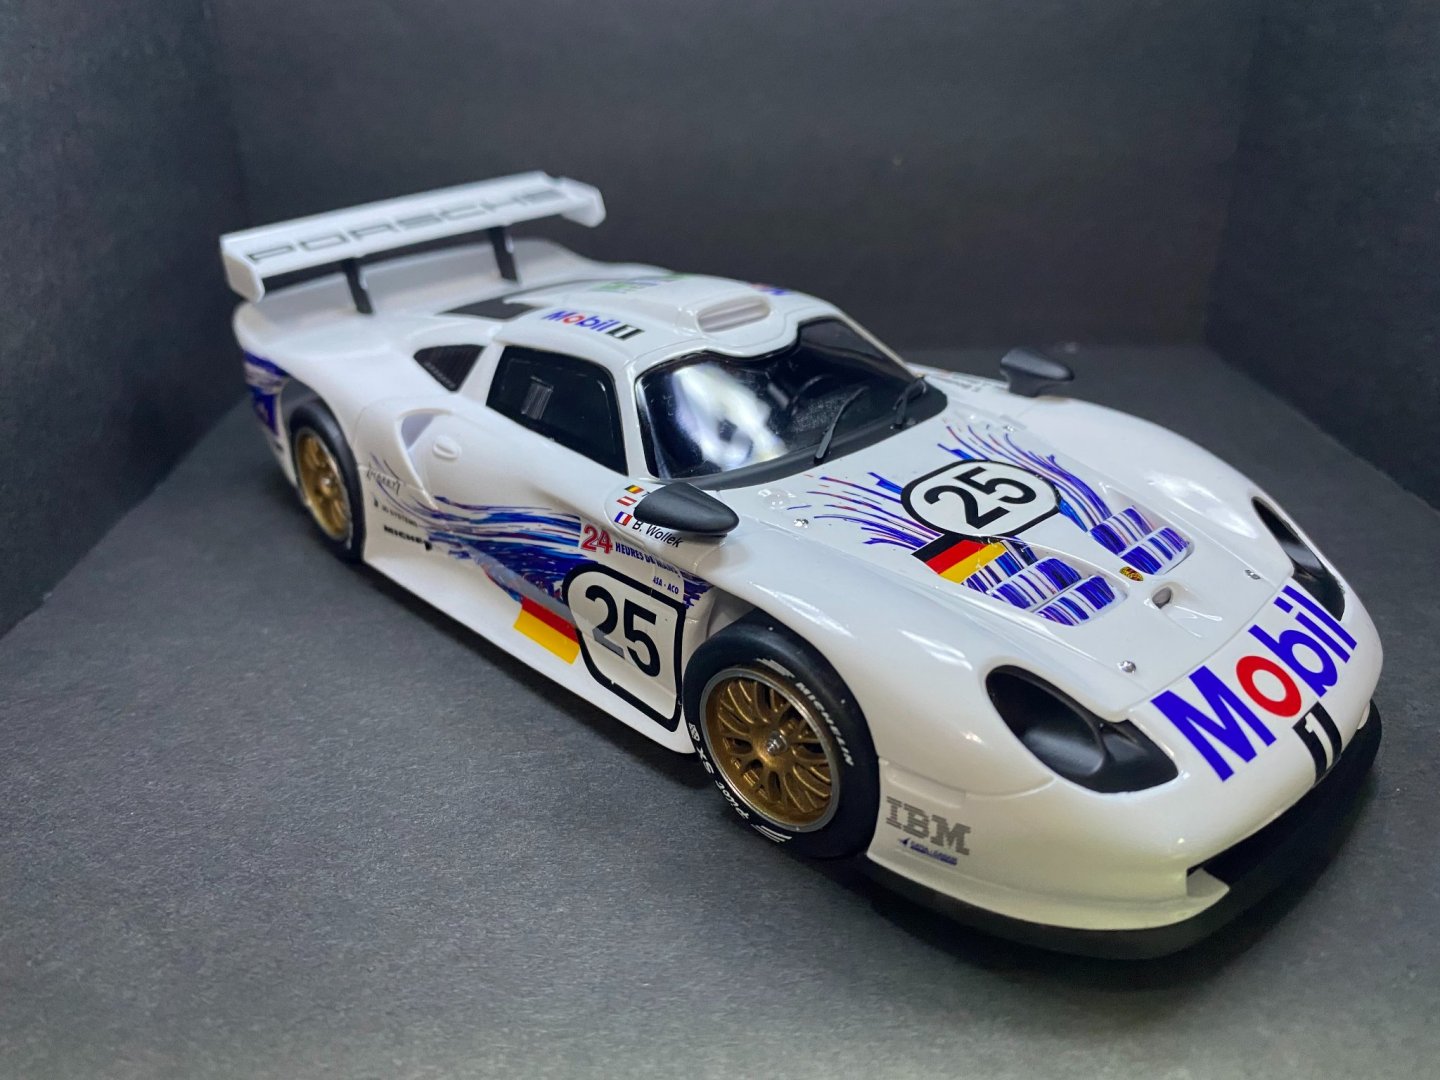
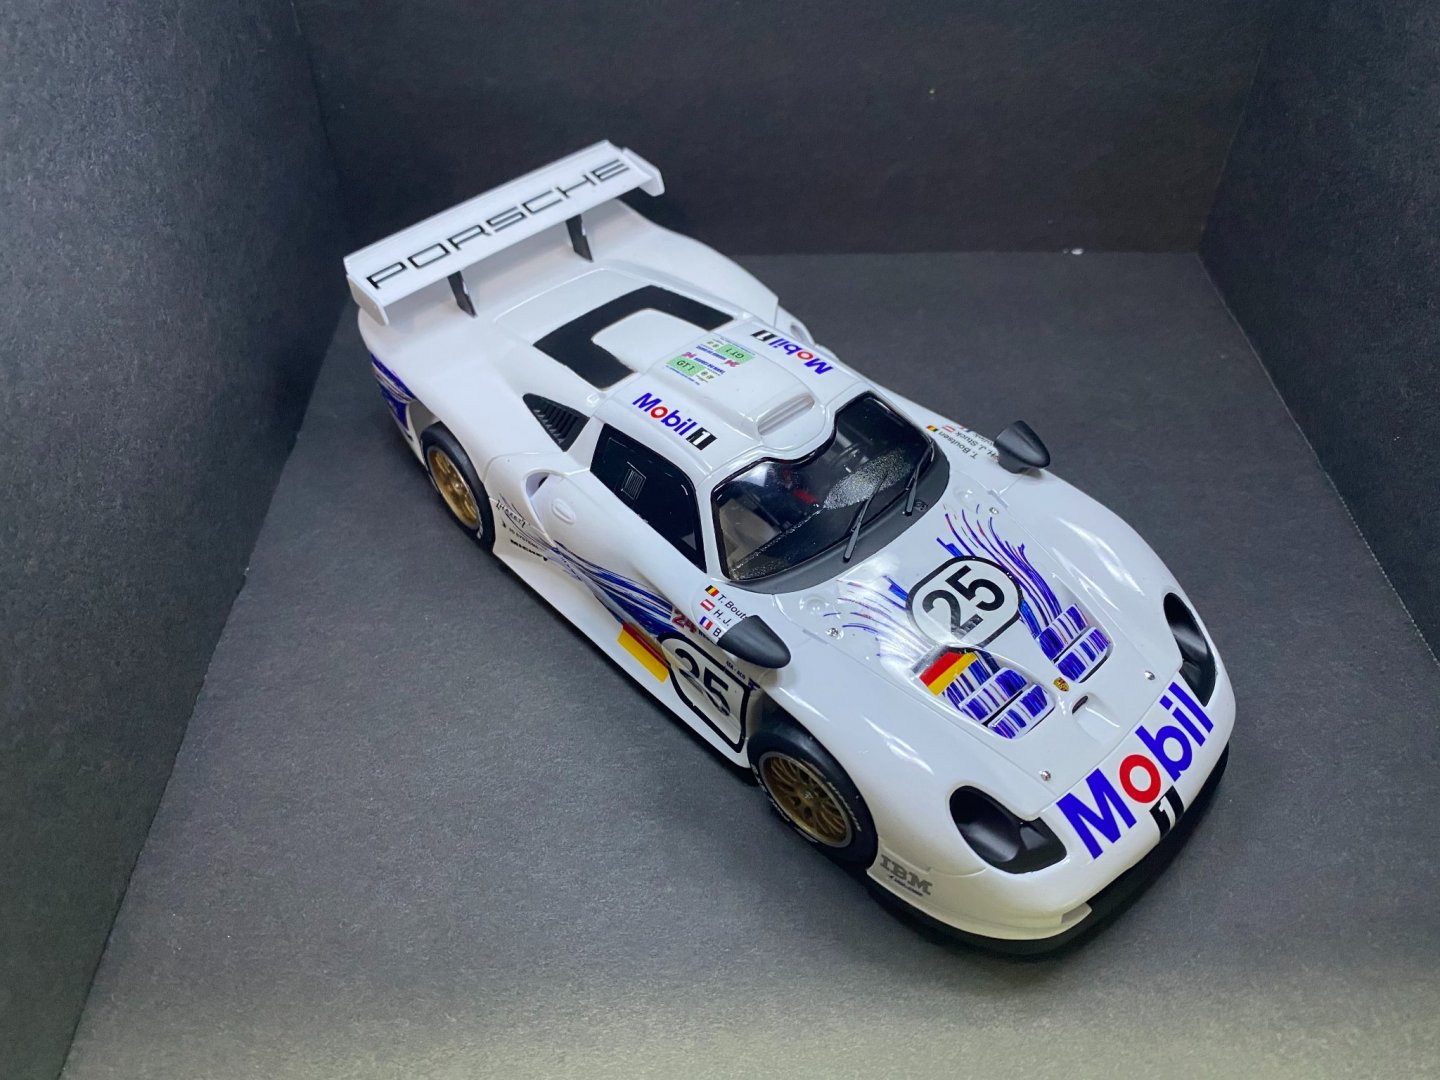
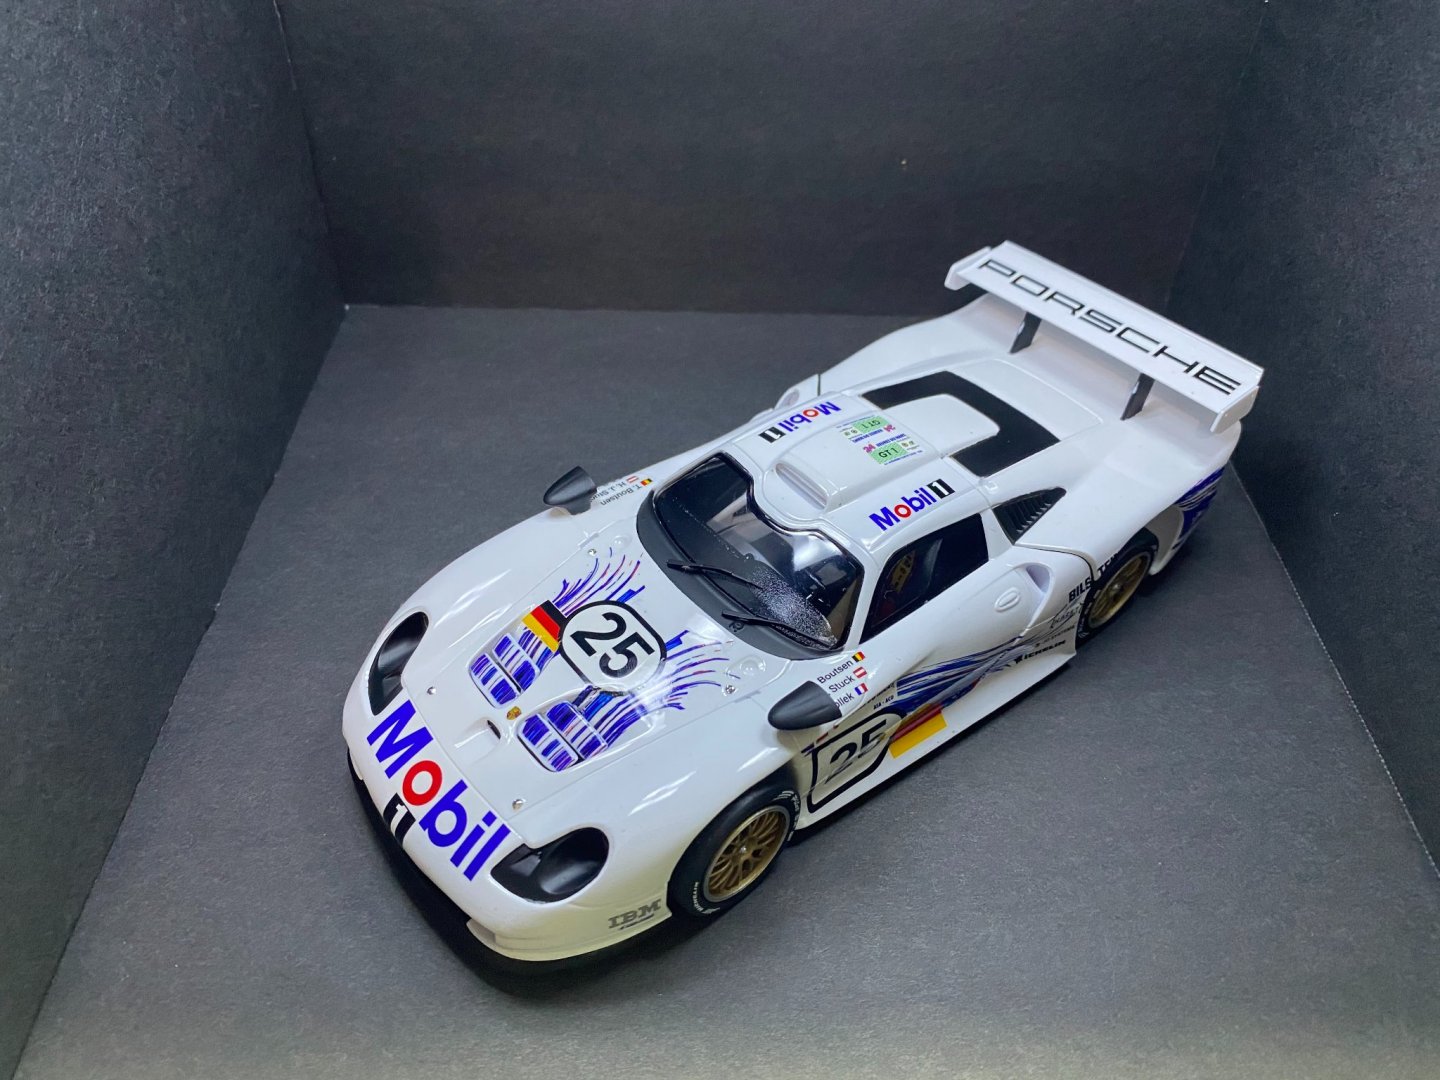
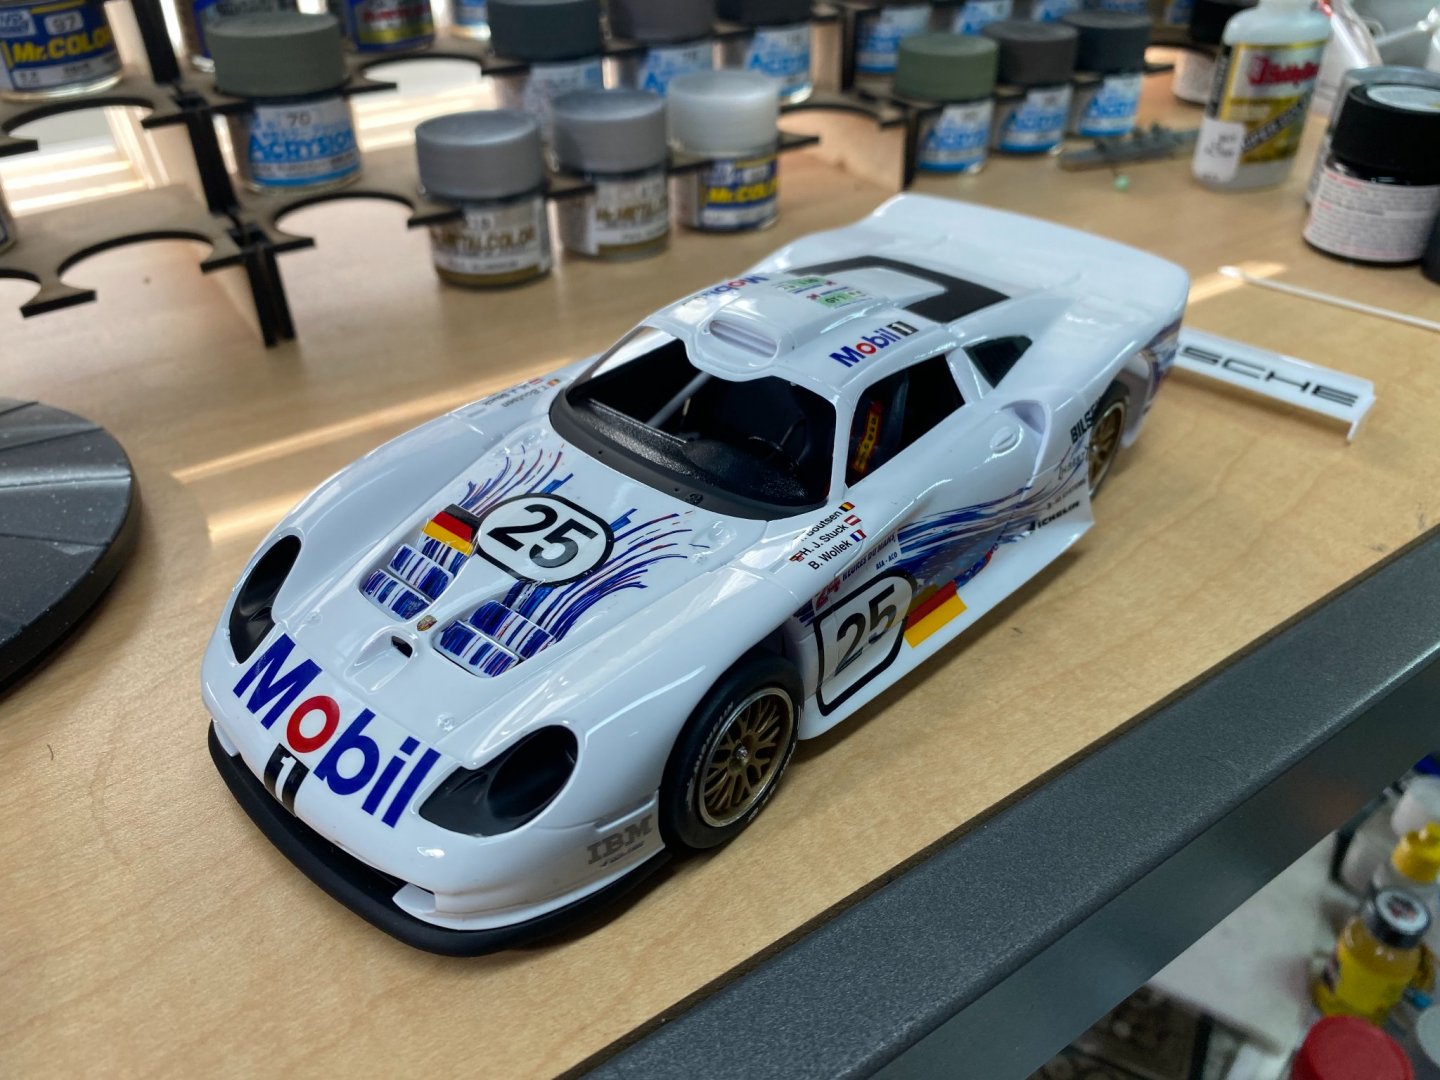
It's done. The rear cowl does not fit very well in closed position. Might glue it in the raised position. Will decide later. Onward and upward!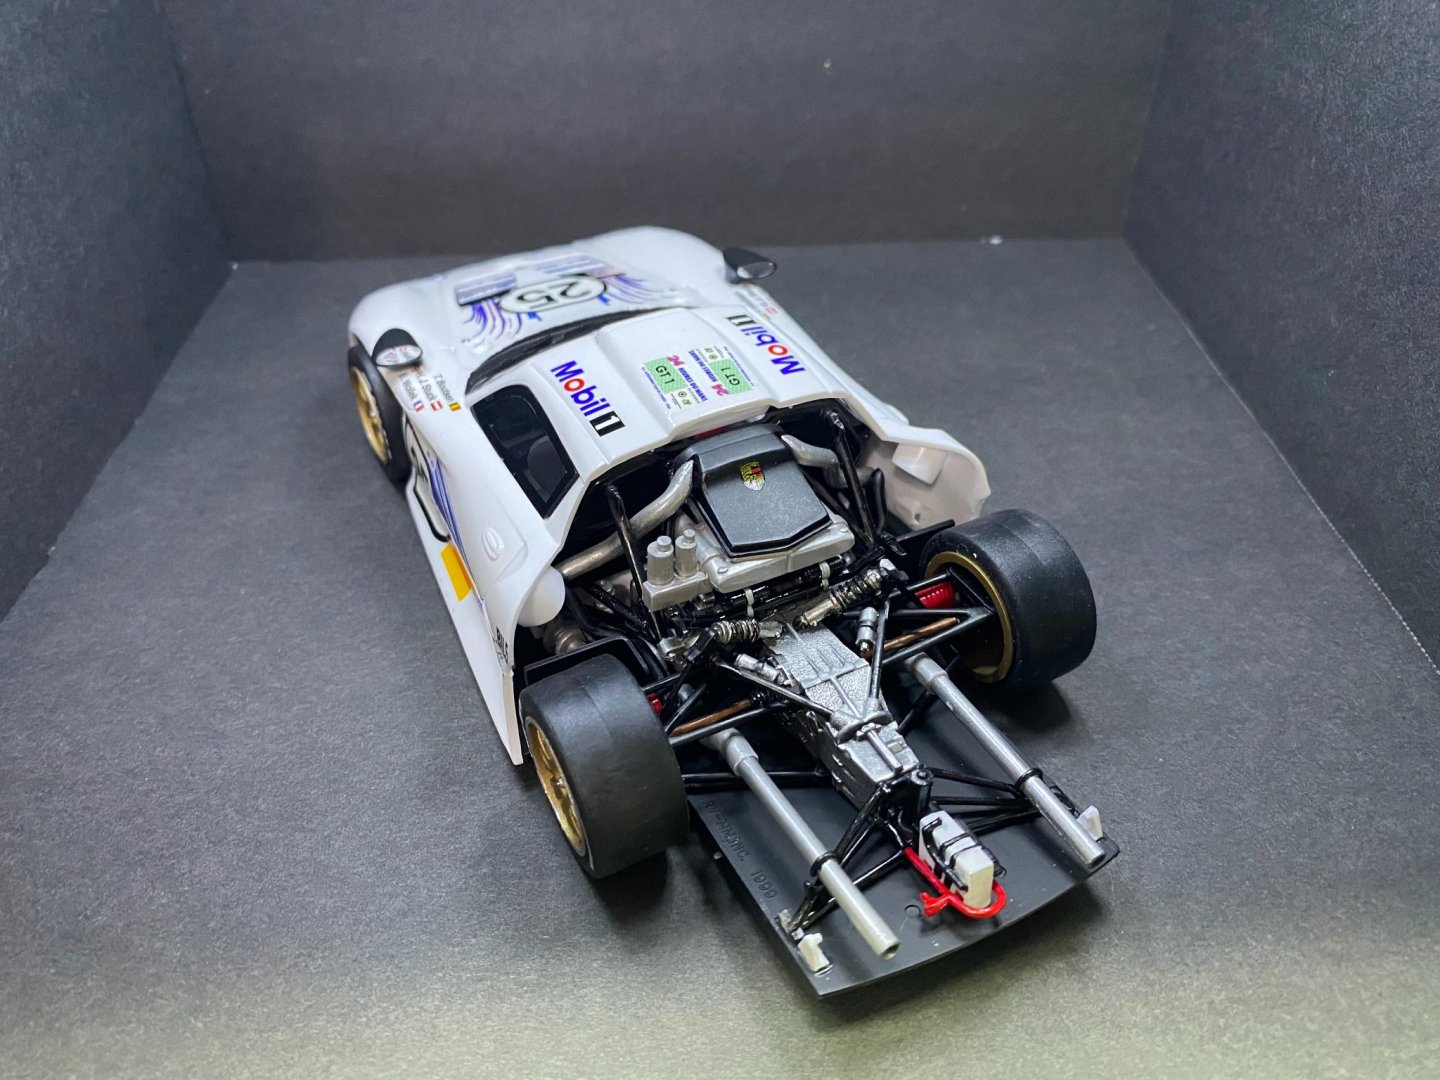


- 44 replies
-
- 14
-
-
Porsche GT-1 Evo by CDW - FINISHED - Revell - 1:24 Scale - PLASTIC
CDW replied to CDW's topic in Non-ship/categorised builds
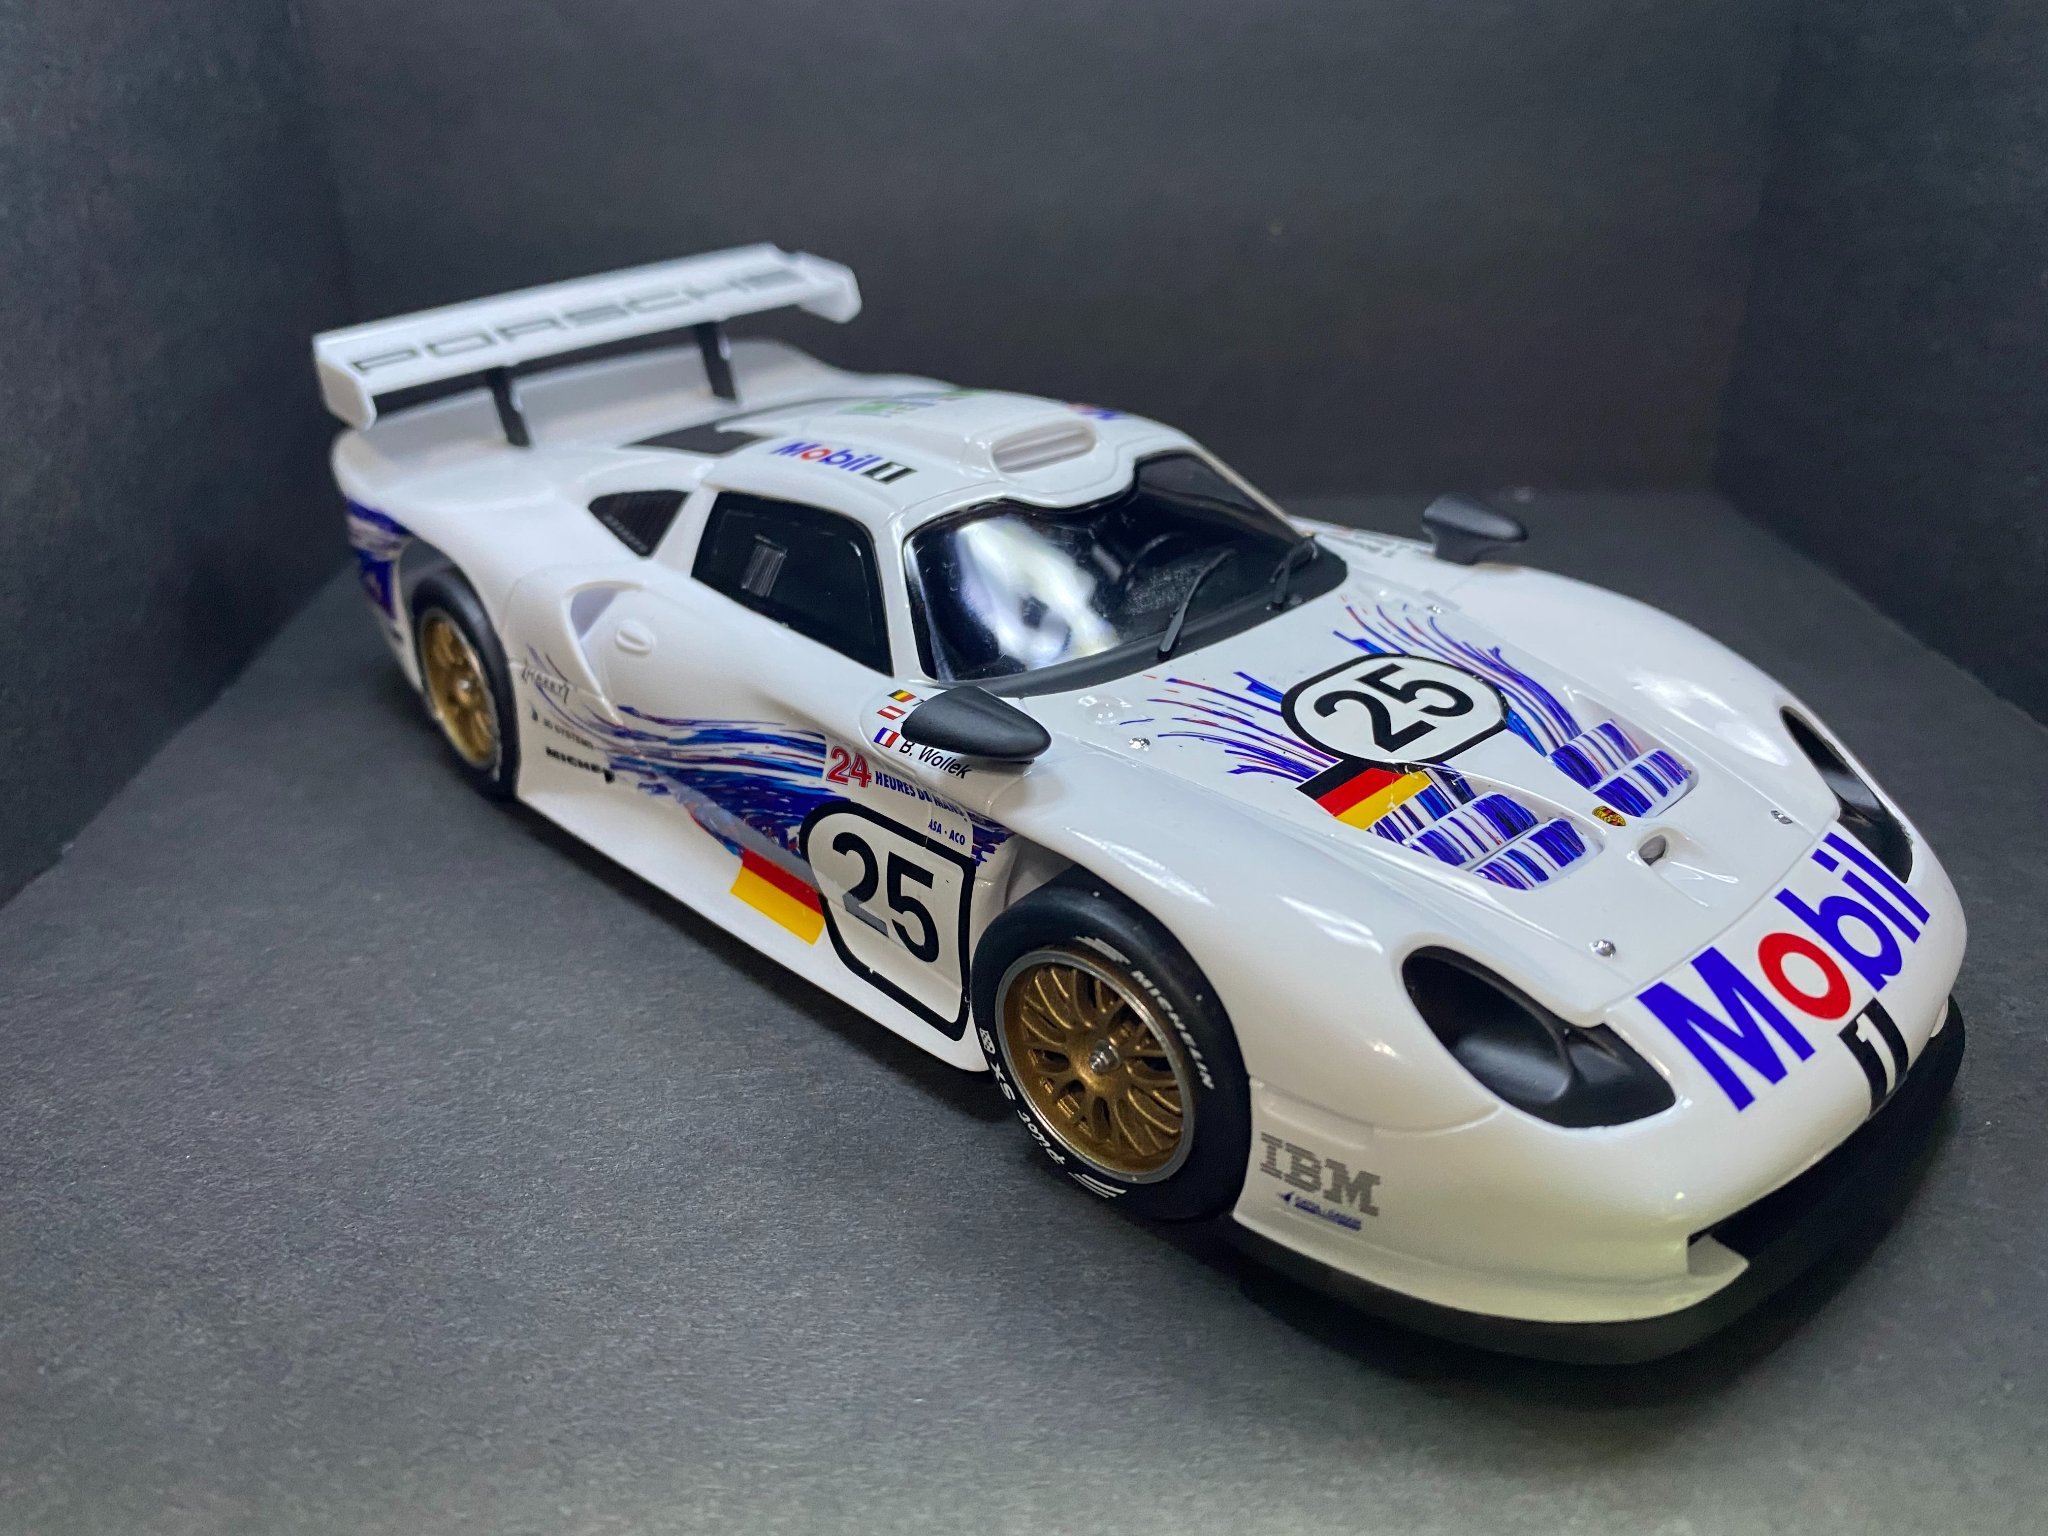
Still have to install my head and tail light lenses then this model is all done. Waiting for some acrylic paint to dry.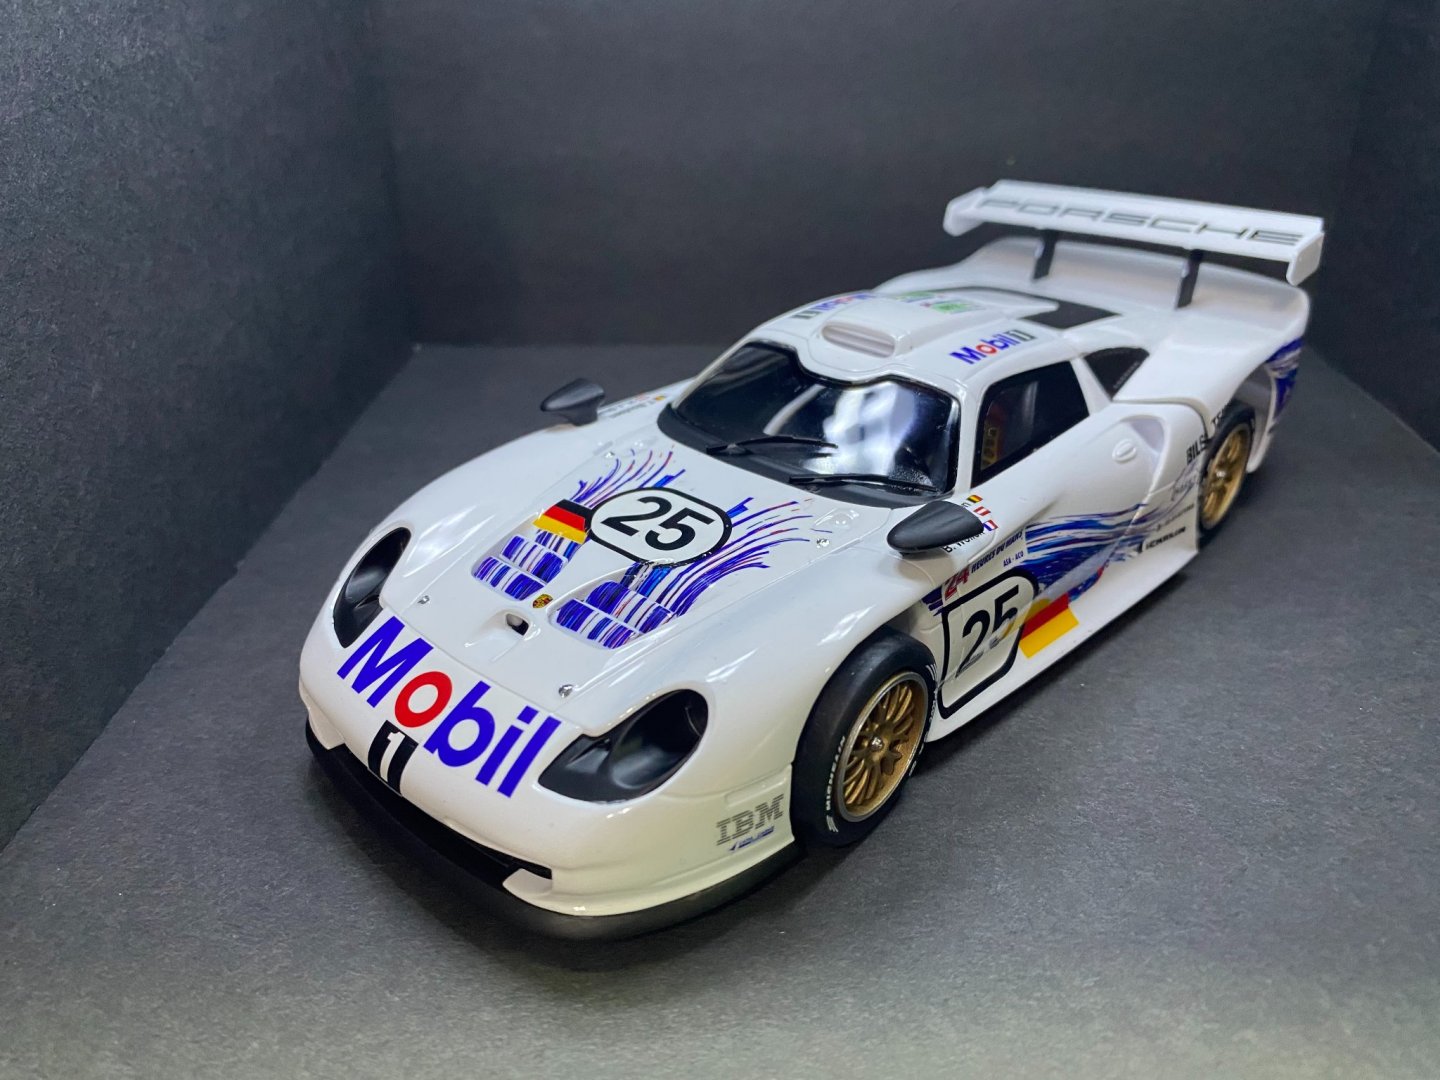
- 44 replies
-
- 11
-
-
Porsche GT-1 Evo by CDW - FINISHED - Revell - 1:24 Scale - PLASTIC
CDW replied to CDW's topic in Non-ship/categorised builds
Saw this Mercedes GTR in my travels today. Beautiful satin green paint. Not sure if that's a factory paint job or aftermarket, but it looked super either way.

-
Porsche GT-1 Evo by CDW - FINISHED - Revell - 1:24 Scale - PLASTIC
CDW replied to CDW's topic in Non-ship/categorised builds
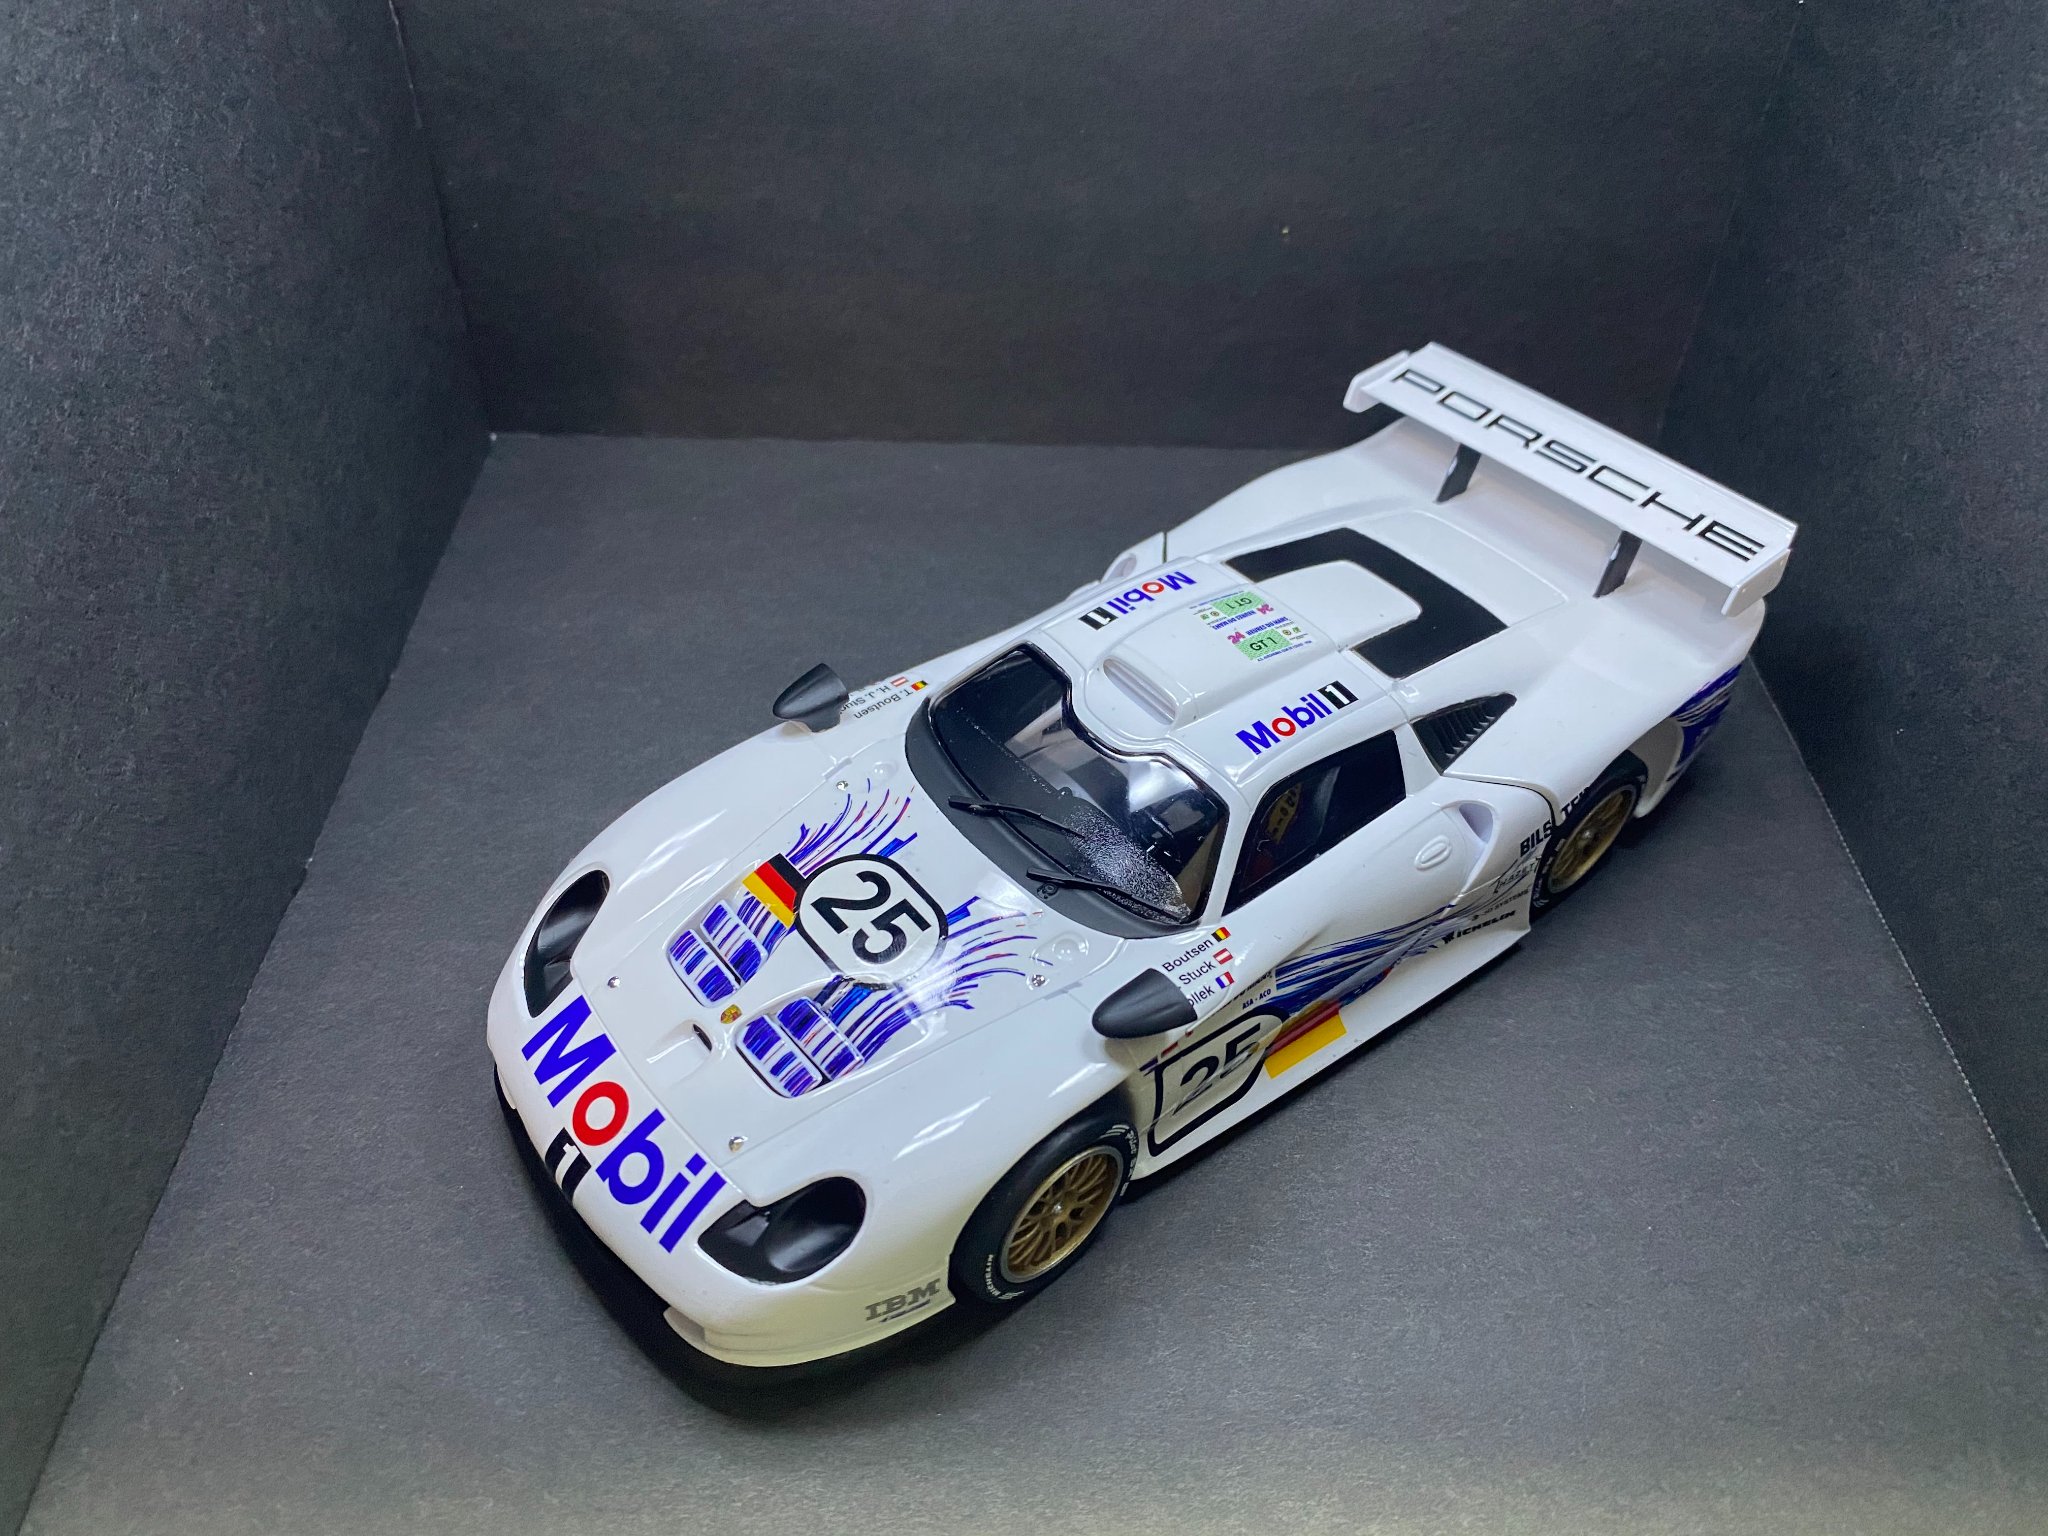
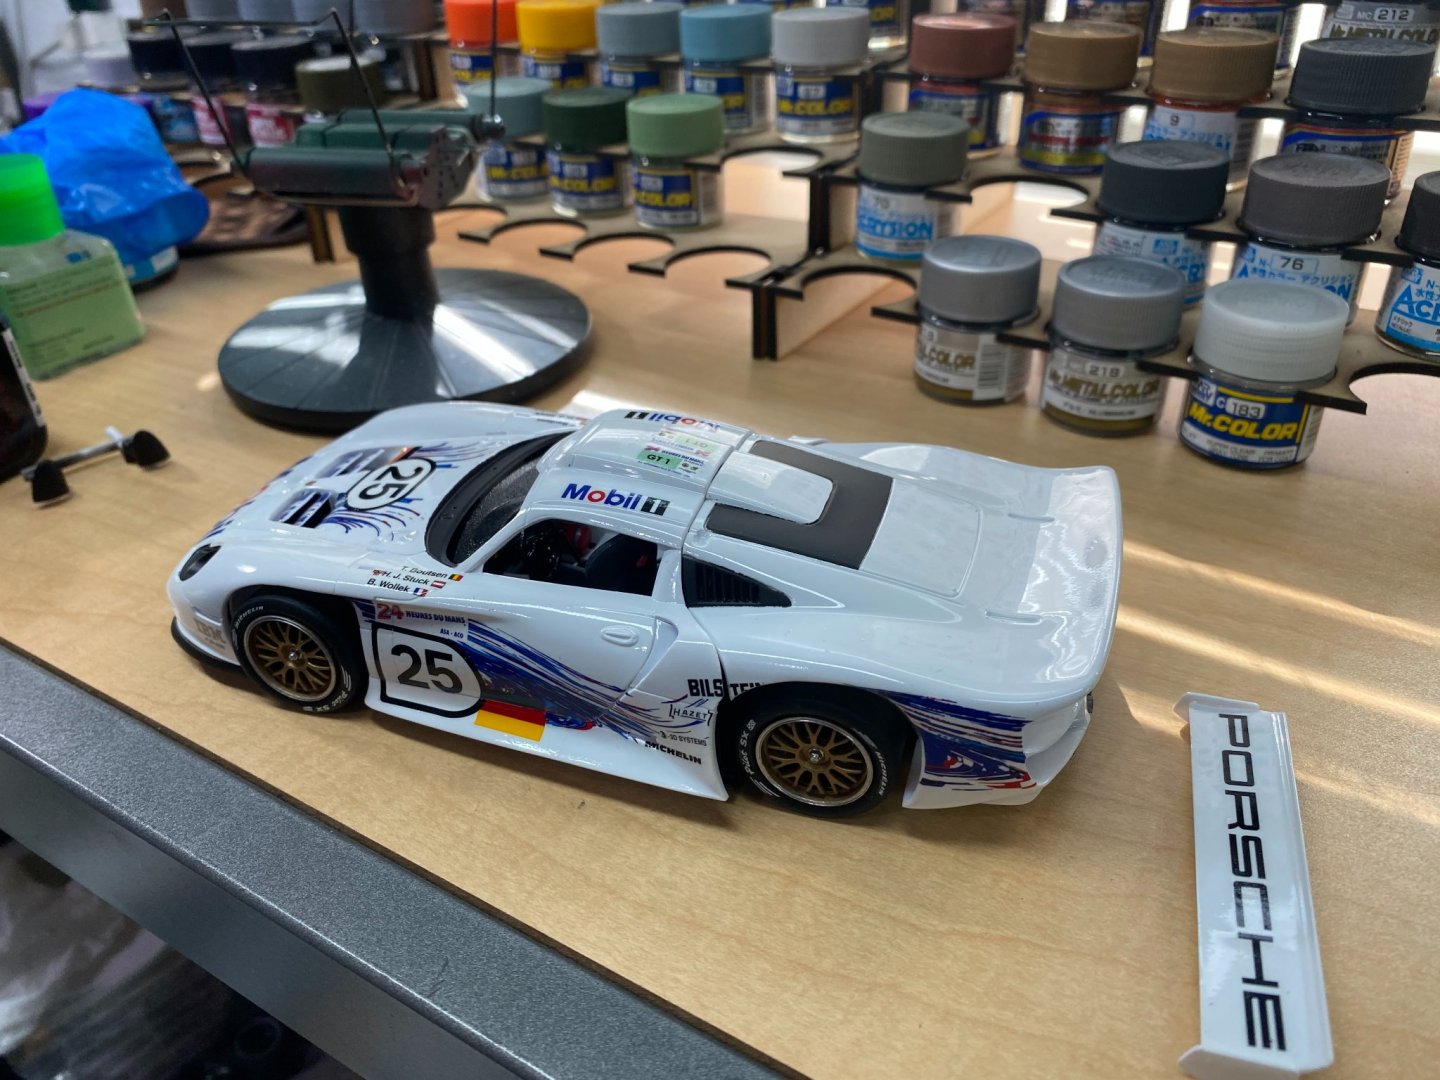
Getting very near the finish line now. Did some masking and painting of satin black details on the body. Next will add the glass, headlight lenses, spoiler, and attach the body to the chassis to wrap it all up. Might do a little shading of panel lines. We'll see.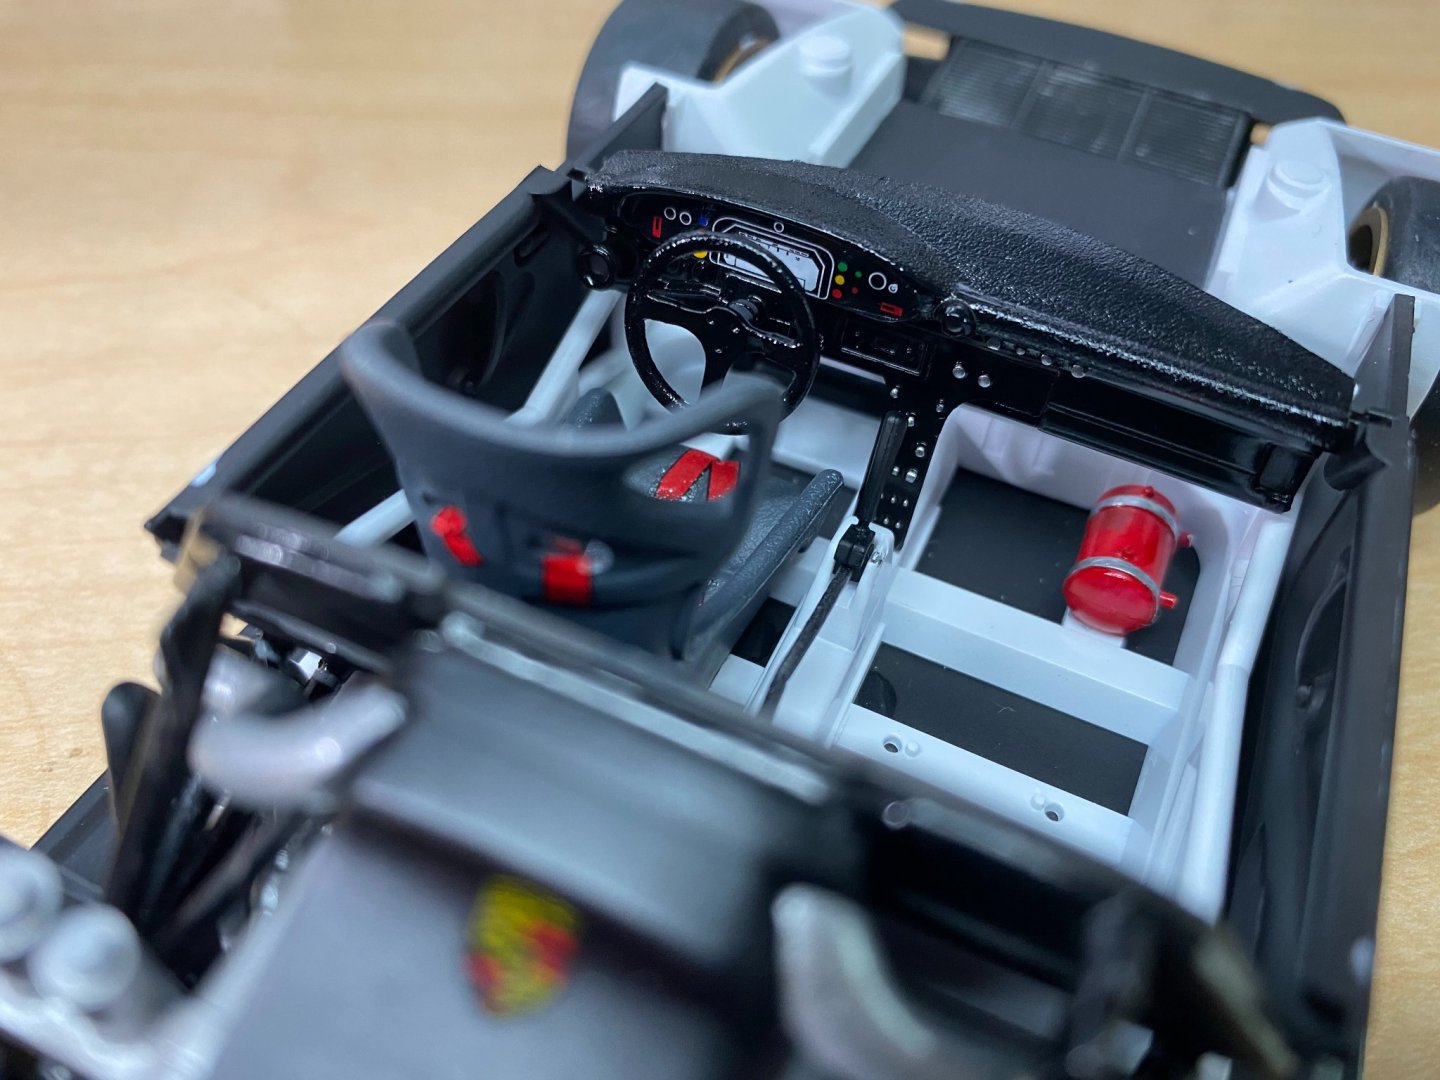


- 44 replies
-
- 10
-
-
Porsche GT-1 Evo by CDW - FINISHED - Revell - 1:24 Scale - PLASTIC
CDW replied to CDW's topic in Non-ship/categorised builds
Thanks. Spanked those decals right into place. -
Porsche GT-1 Evo by CDW - FINISHED - Revell - 1:24 Scale - PLASTIC
CDW replied to CDW's topic in Non-ship/categorised builds
Remember when we were kids and rabbit foot keychains were a thing? Kinda gross when you think about it now, but it seemed pretty natural back then. 😄 -
Porsche GT-1 Evo by CDW - FINISHED - Revell - 1:24 Scale - PLASTIC
CDW replied to CDW's topic in Non-ship/categorised builds
After drying overnight, the decals were ready to seal. 2K clear coat seals the decals and adds some over all pizzaz. Going to let the clear coat cure out all day and over night before handling it too much. Tomorrow will attach the glass and other details before mating the body to the chassis. There are a couple of places to mask off and paint semi gloss black on the body.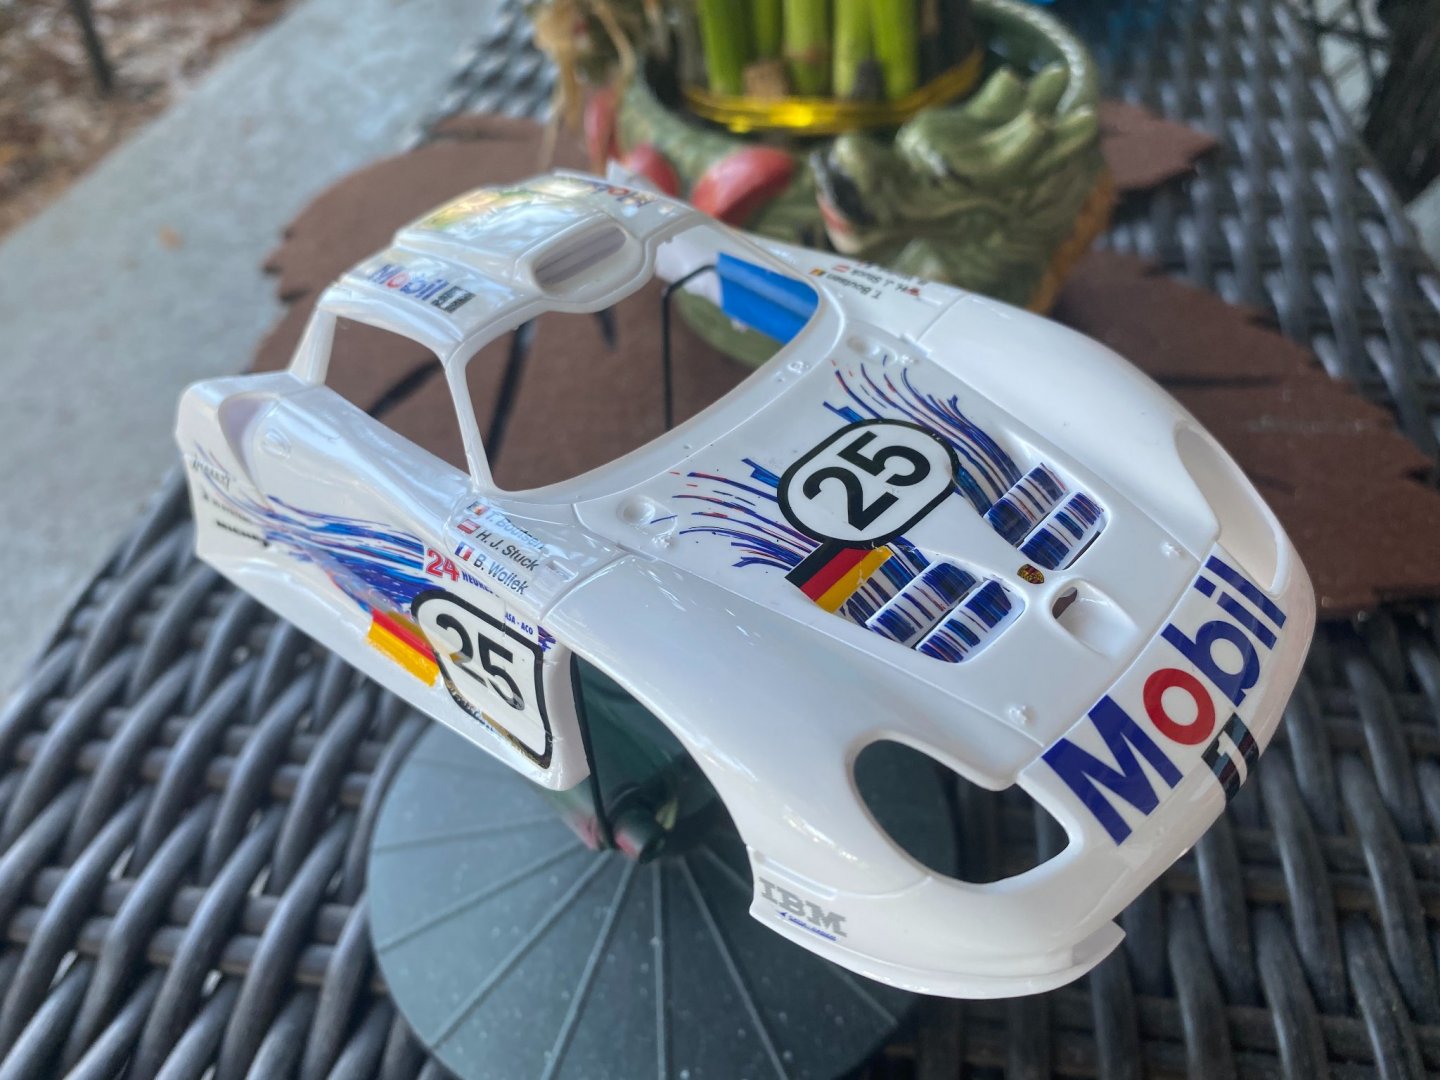
- 44 replies
-
- 10
-
-
Porsche GT-1 Evo by CDW - FINISHED - Revell - 1:24 Scale - PLASTIC
CDW replied to CDW's topic in Non-ship/categorised builds
Got lucky this time OC. My rabbit's foot keychain must be the trick. 🙂 -
Porsche GT-1 Evo by CDW - FINISHED - Revell - 1:24 Scale - PLASTIC
CDW replied to CDW's topic in Non-ship/categorised builds
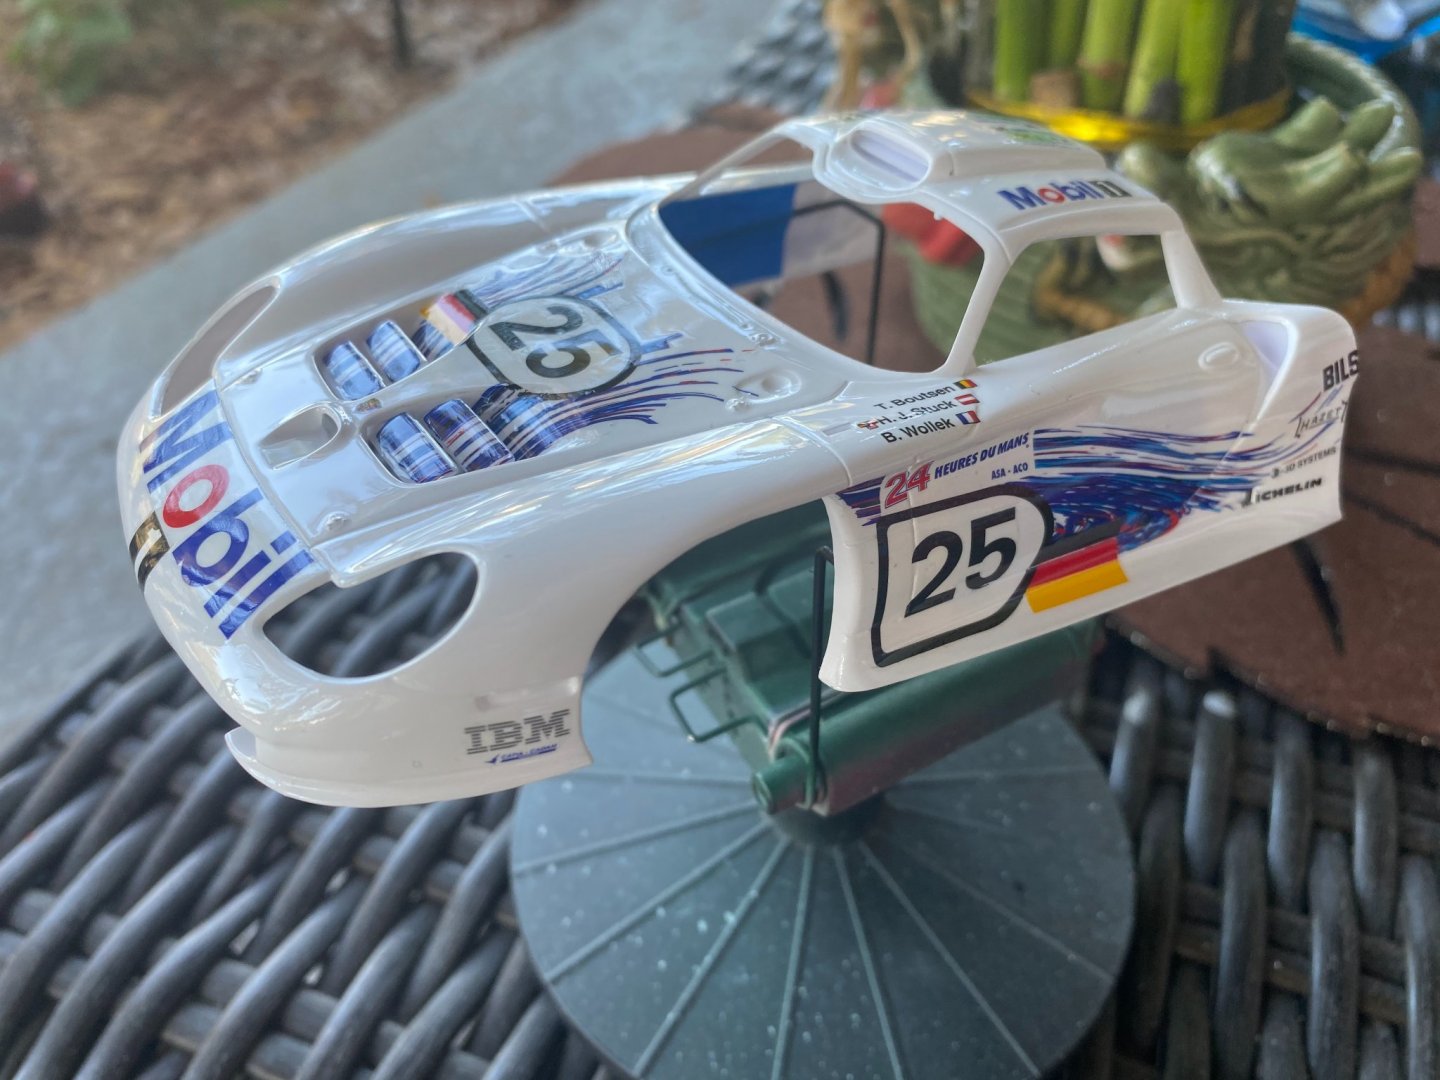
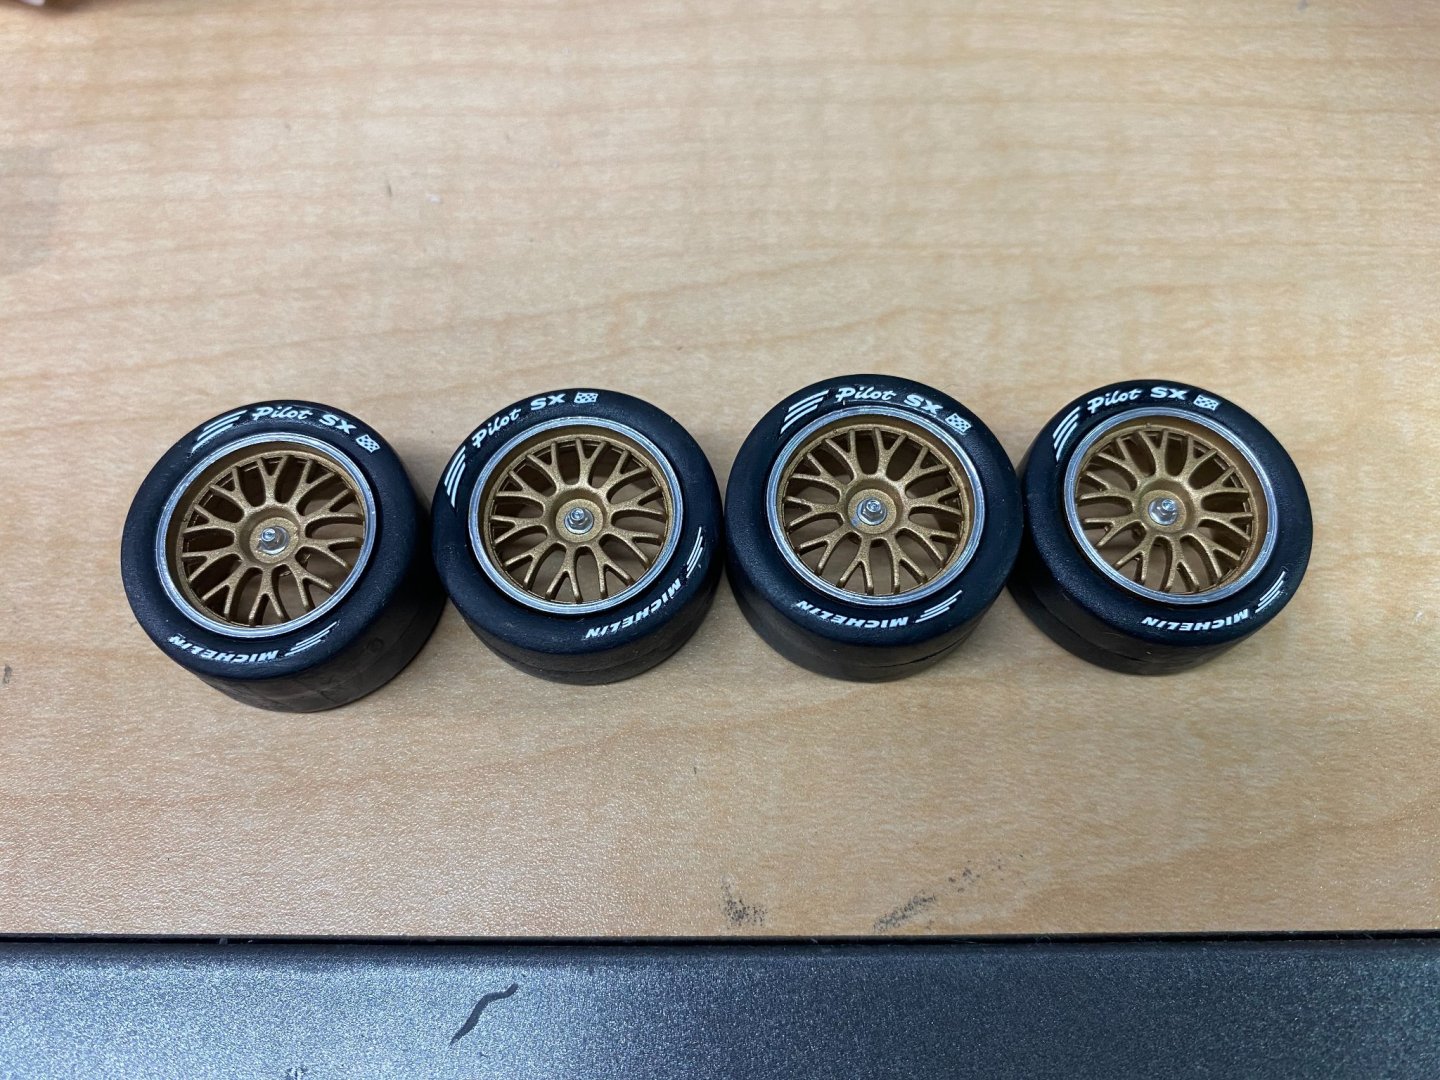
This is the first car model I can recall that used water slide decals for the tire logos. They look good, but I have my doubts about how long they will last before shedding off of the tire.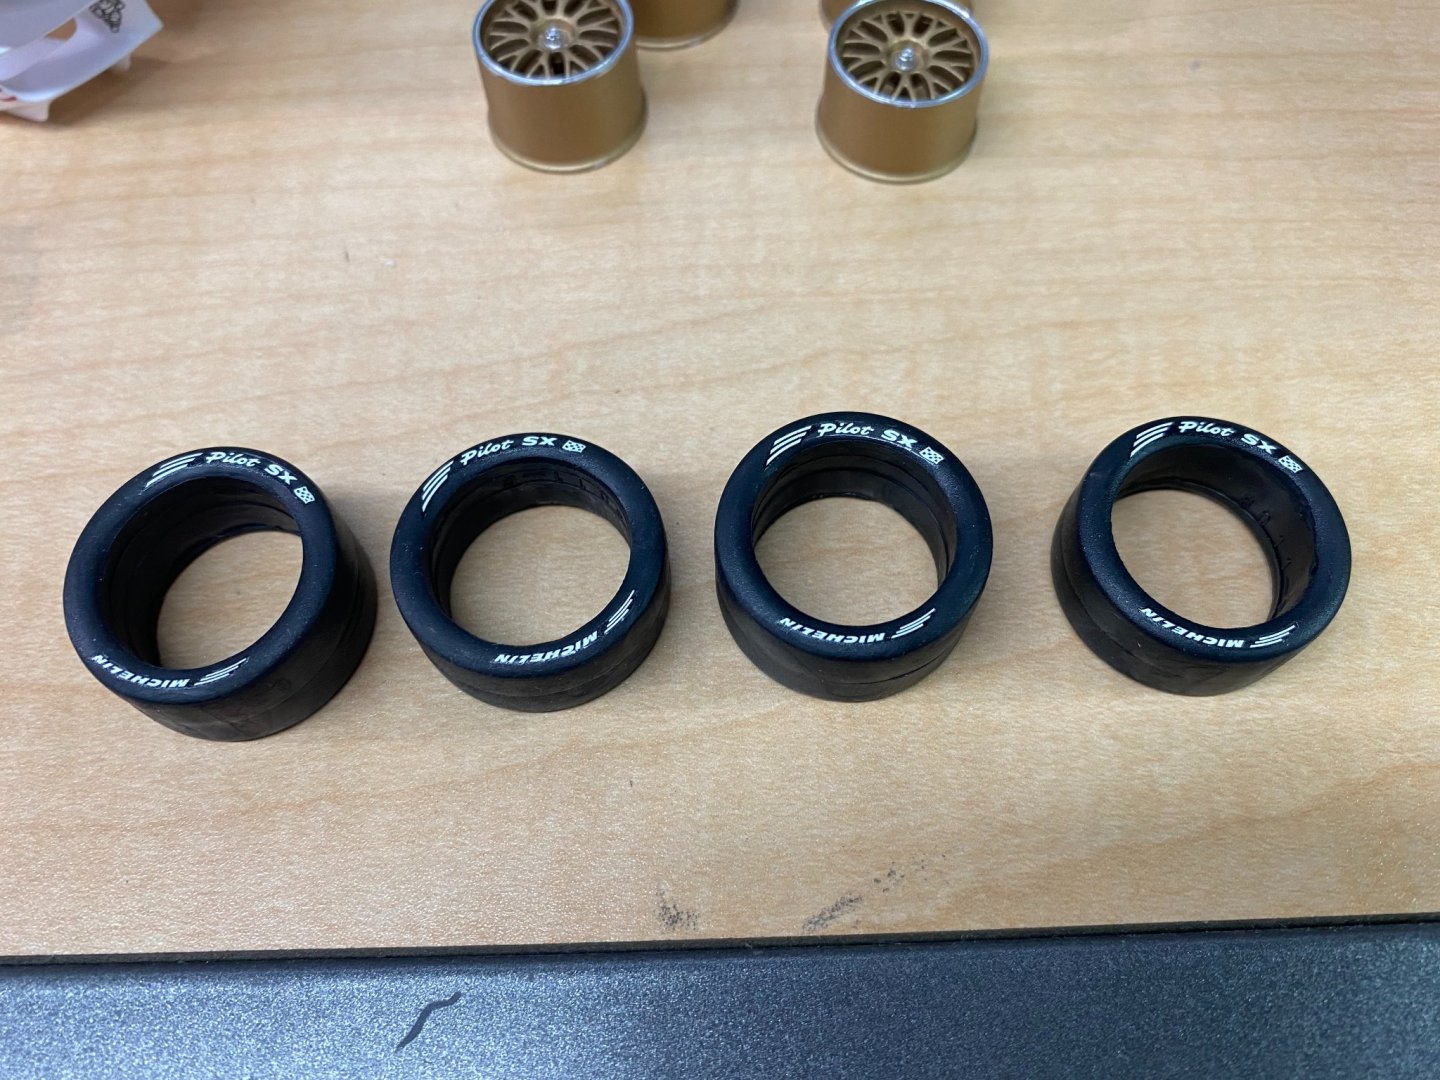
- 44 replies
-
- 11
-
-
Porsche GT-1 Evo by CDW - FINISHED - Revell - 1:24 Scale - PLASTIC
CDW replied to CDW's topic in Non-ship/categorised builds
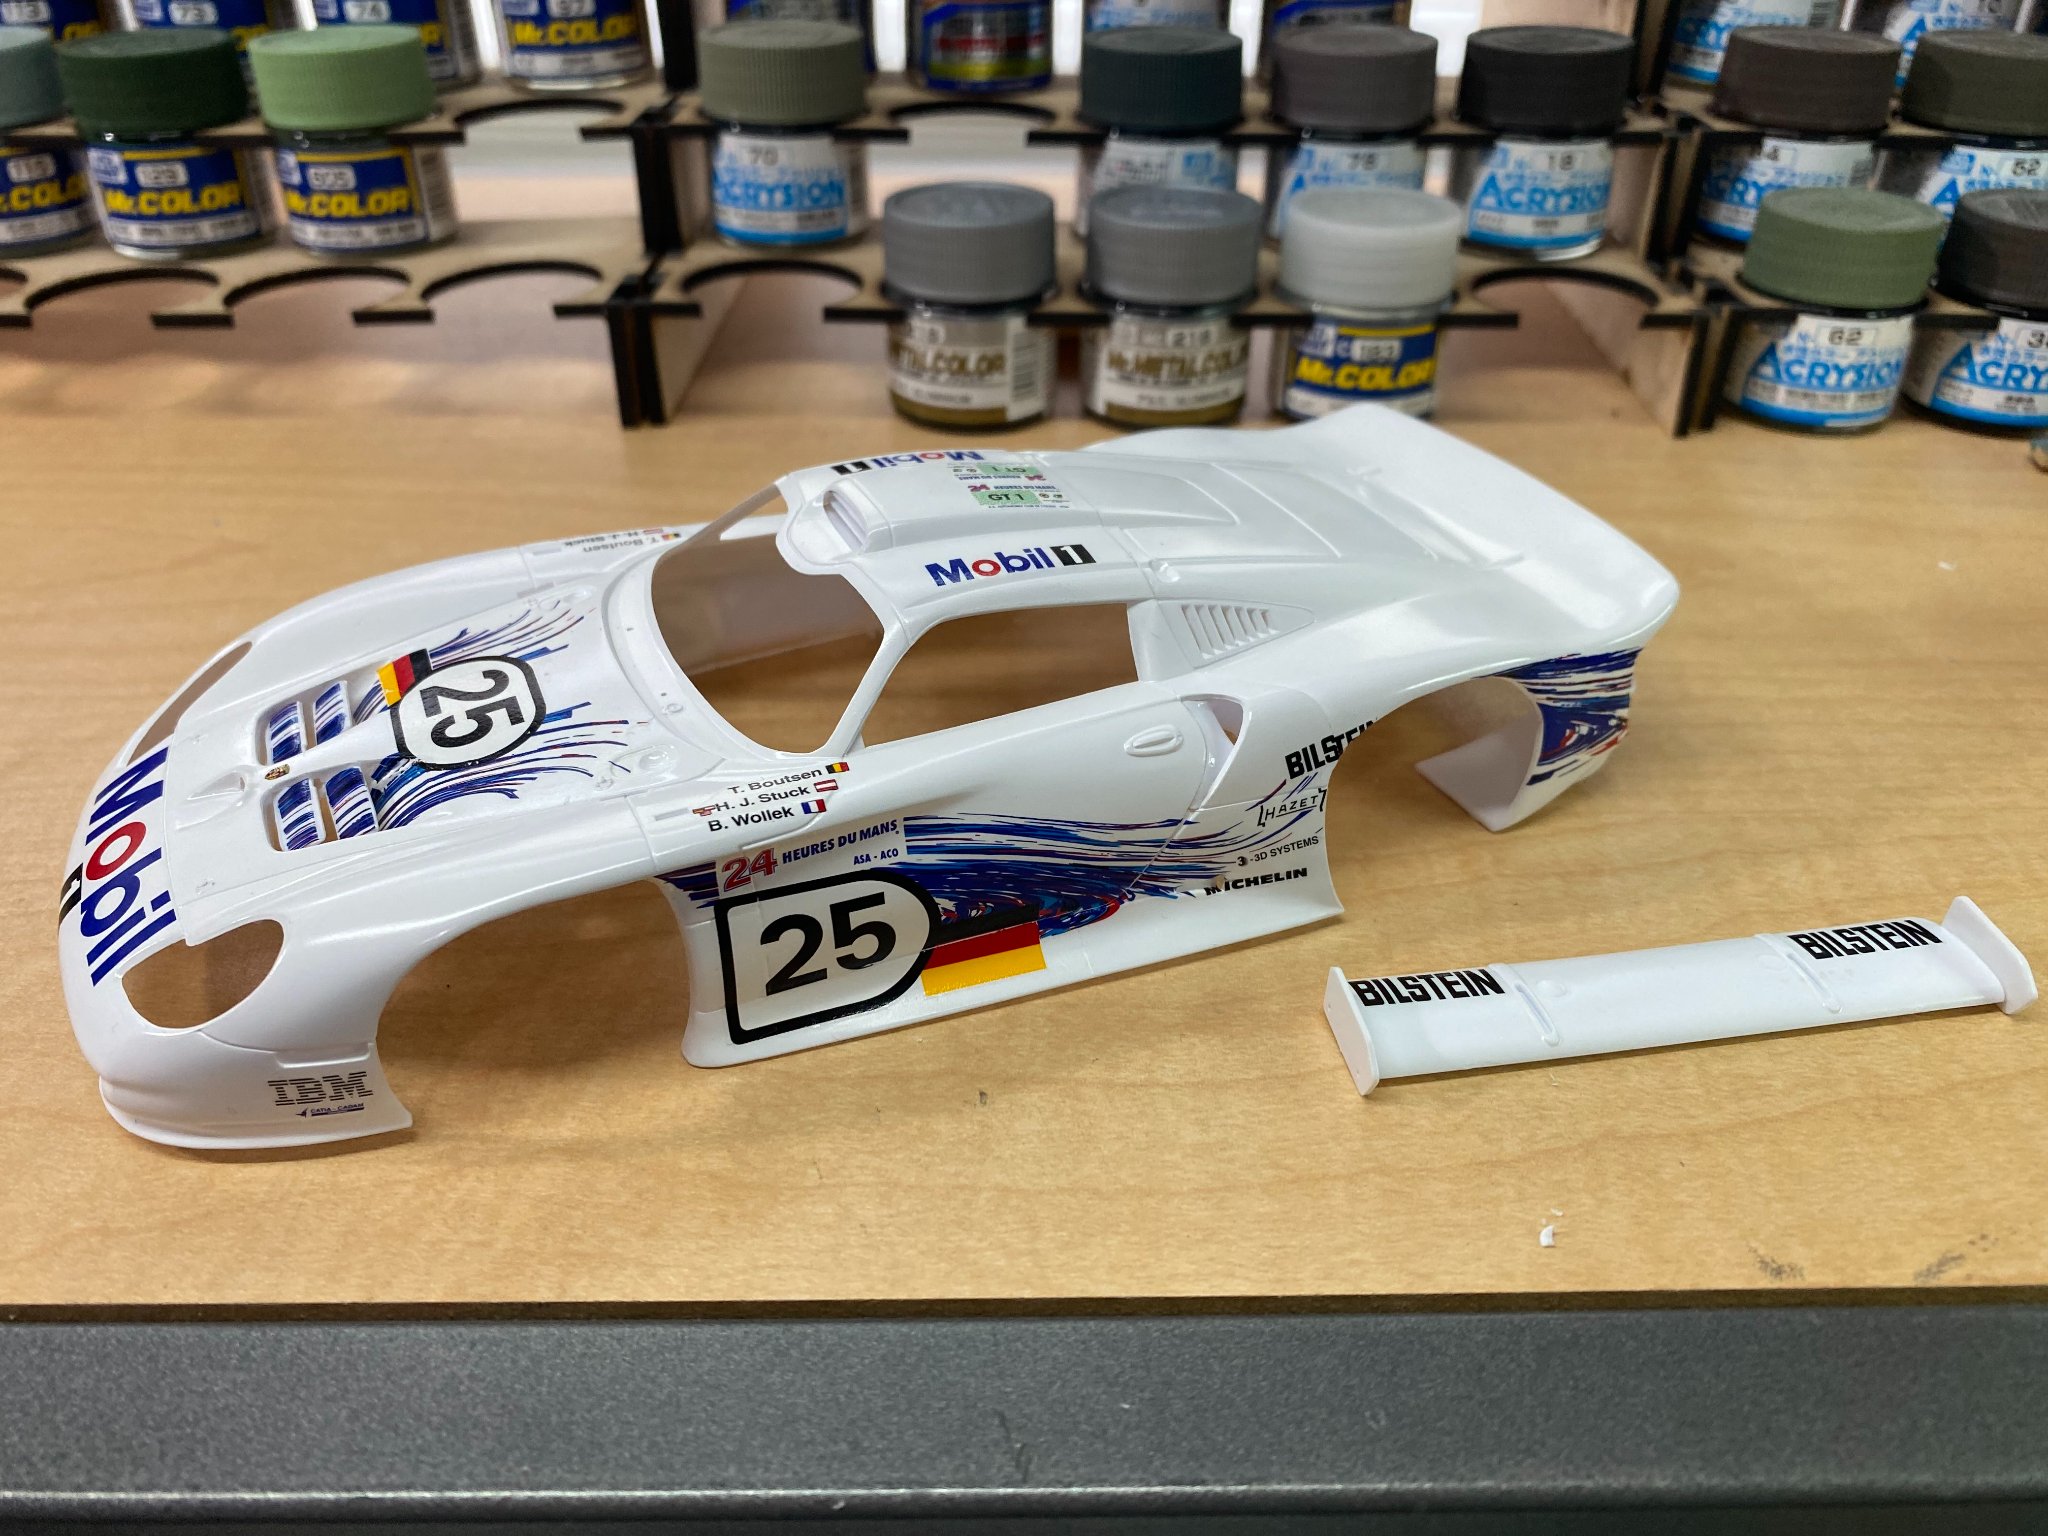
With all the decals now in place, it's time to set everything aside for a day to let the decals dry completely. Will give the whole body a clear coat tomorrow to seal the decals before adding the glass, spoiler, and attaching the body to the chassis.
- 44 replies
-
- 12
-
-
Porsche GT-1 Evo by CDW - FINISHED - Revell - 1:24 Scale - PLASTIC
CDW replied to CDW's topic in Non-ship/categorised builds
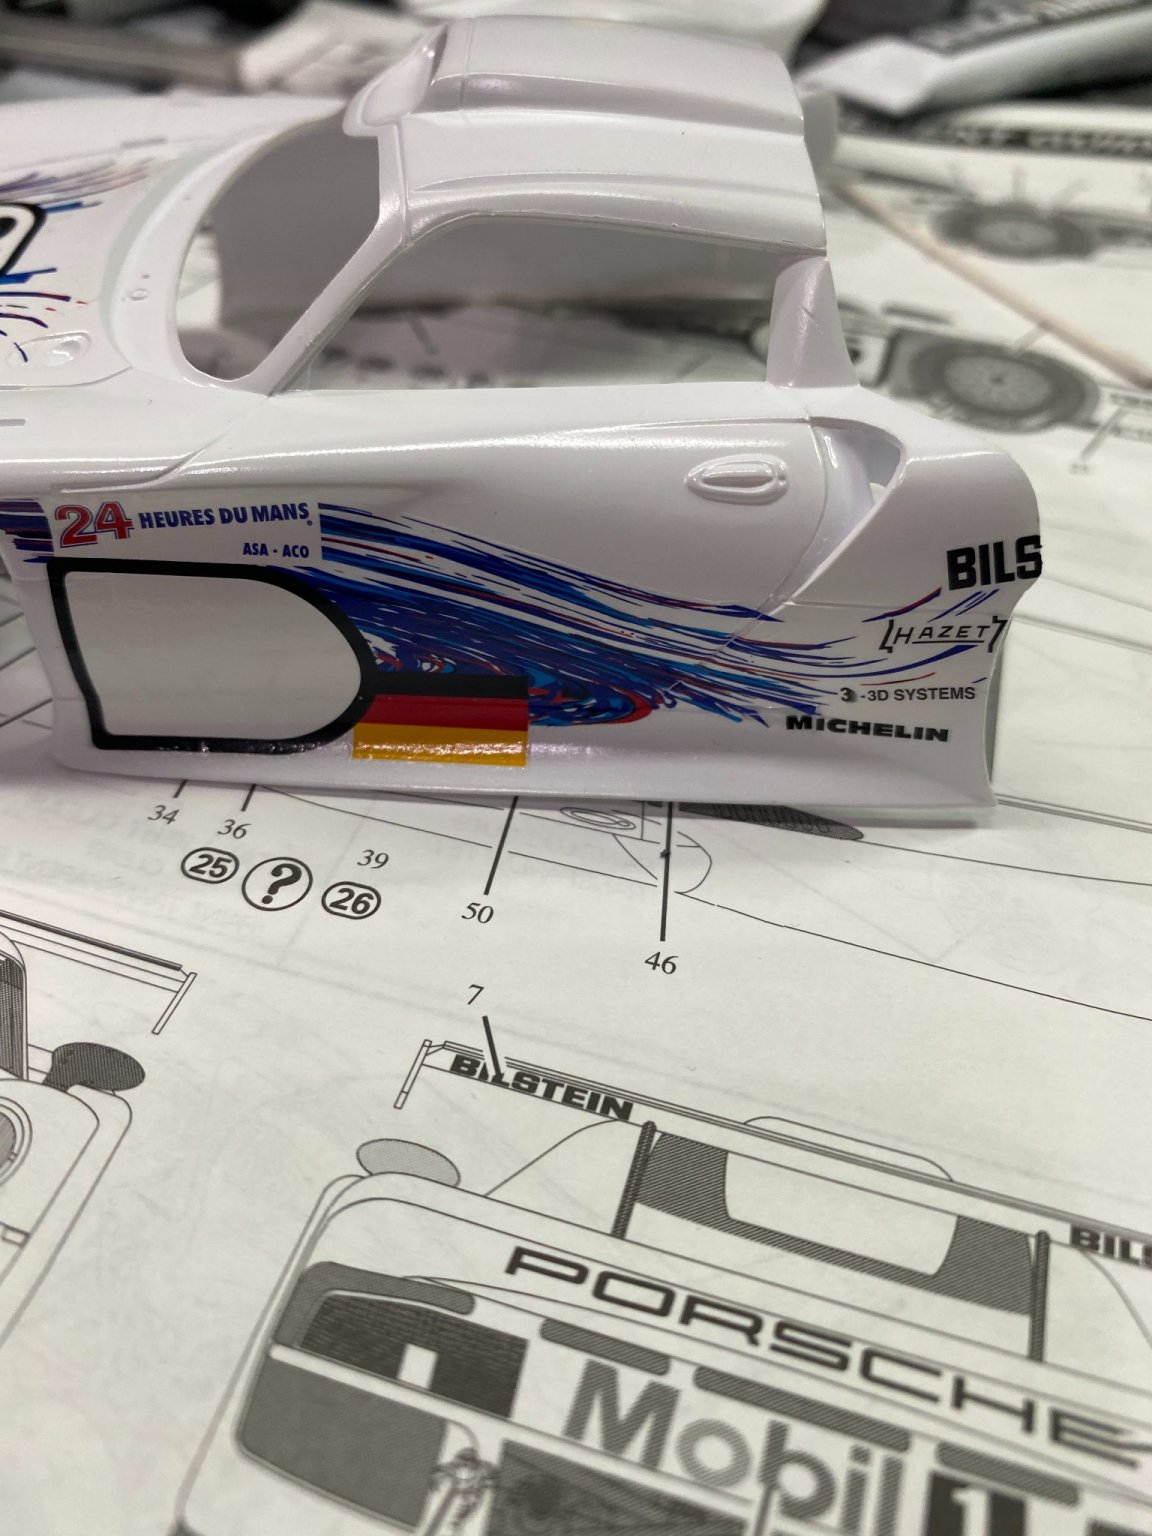
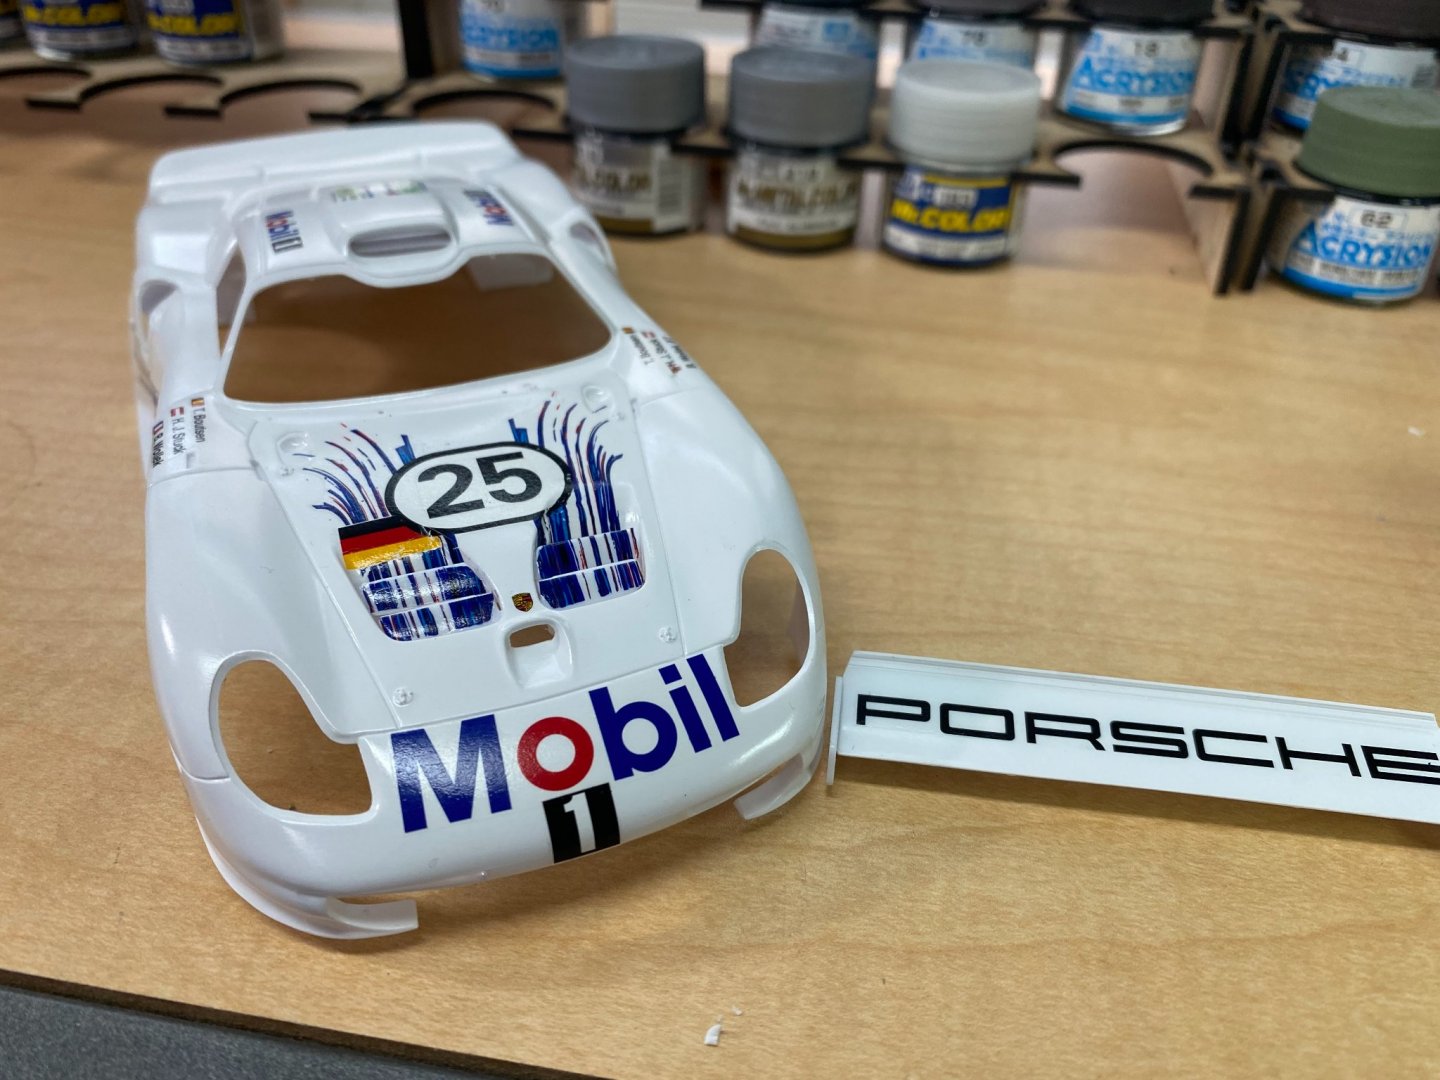
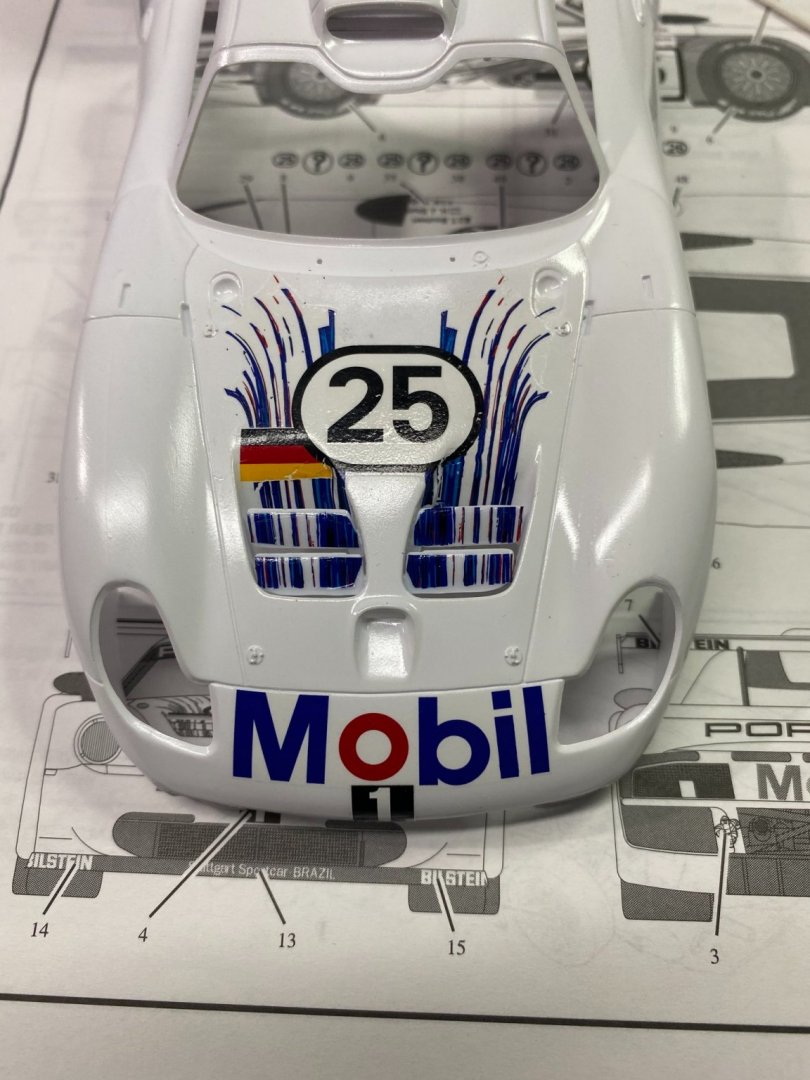
After a couple of hours passed from the previous photos, we can see the decals are finally behaving better, conforming to the curves. The decal on the side of the car is laying on pretty much a flat surface, so that's not a problem. I believe the remainder of the decals will be equally easy to apply without too much problem. Sometimes, it takes overnight for the decal solvent solution to really do it's thing. (Solvaset in this instance)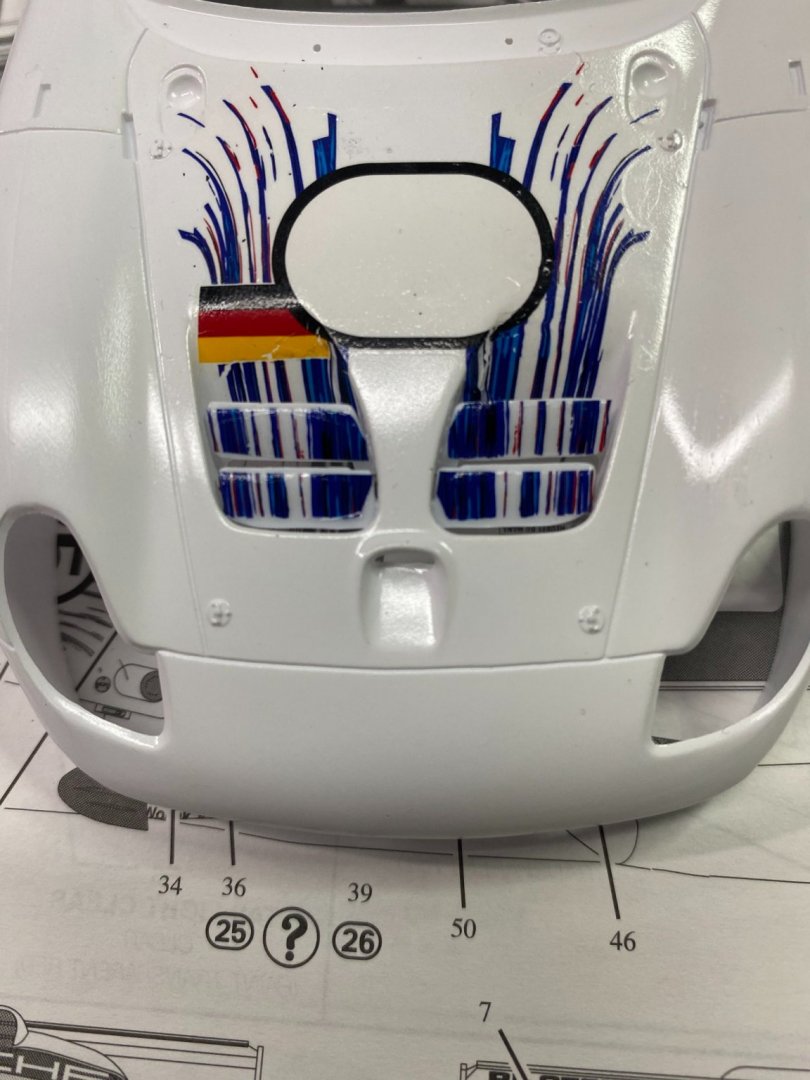

- 44 replies
-
- 11
-
-
Porsche GT-1 Evo by CDW - FINISHED - Revell - 1:24 Scale - PLASTIC
CDW replied to CDW's topic in Non-ship/categorised builds
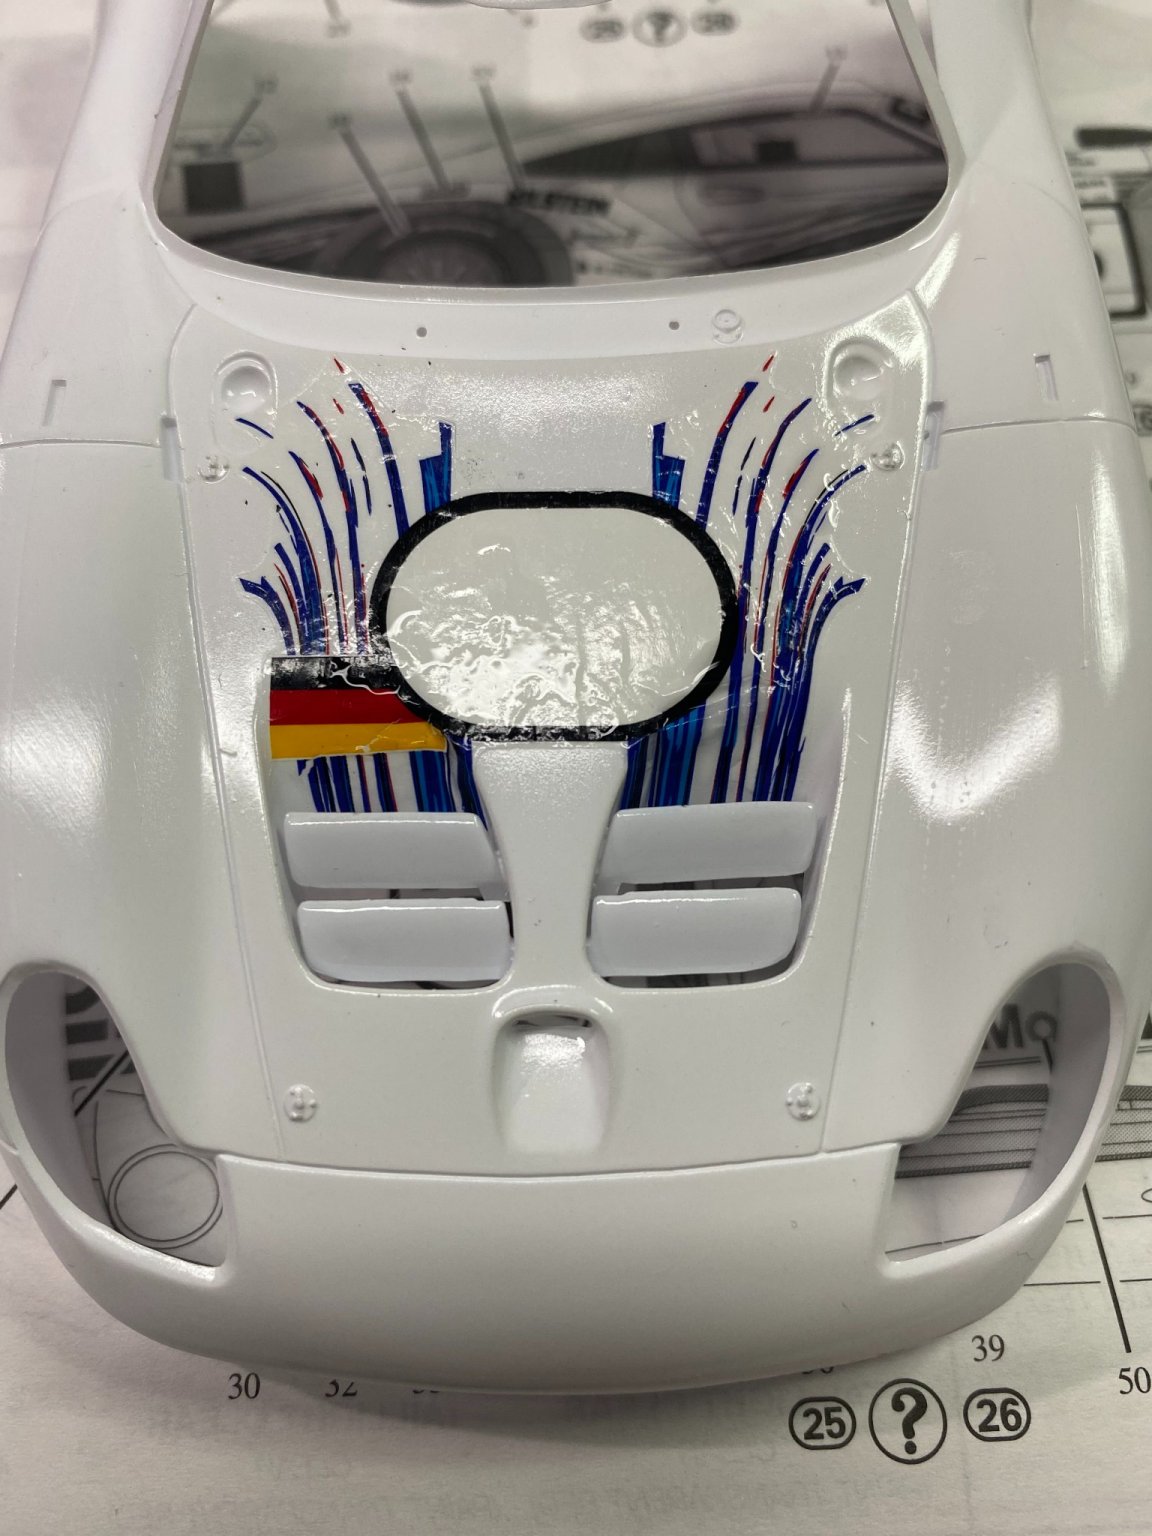
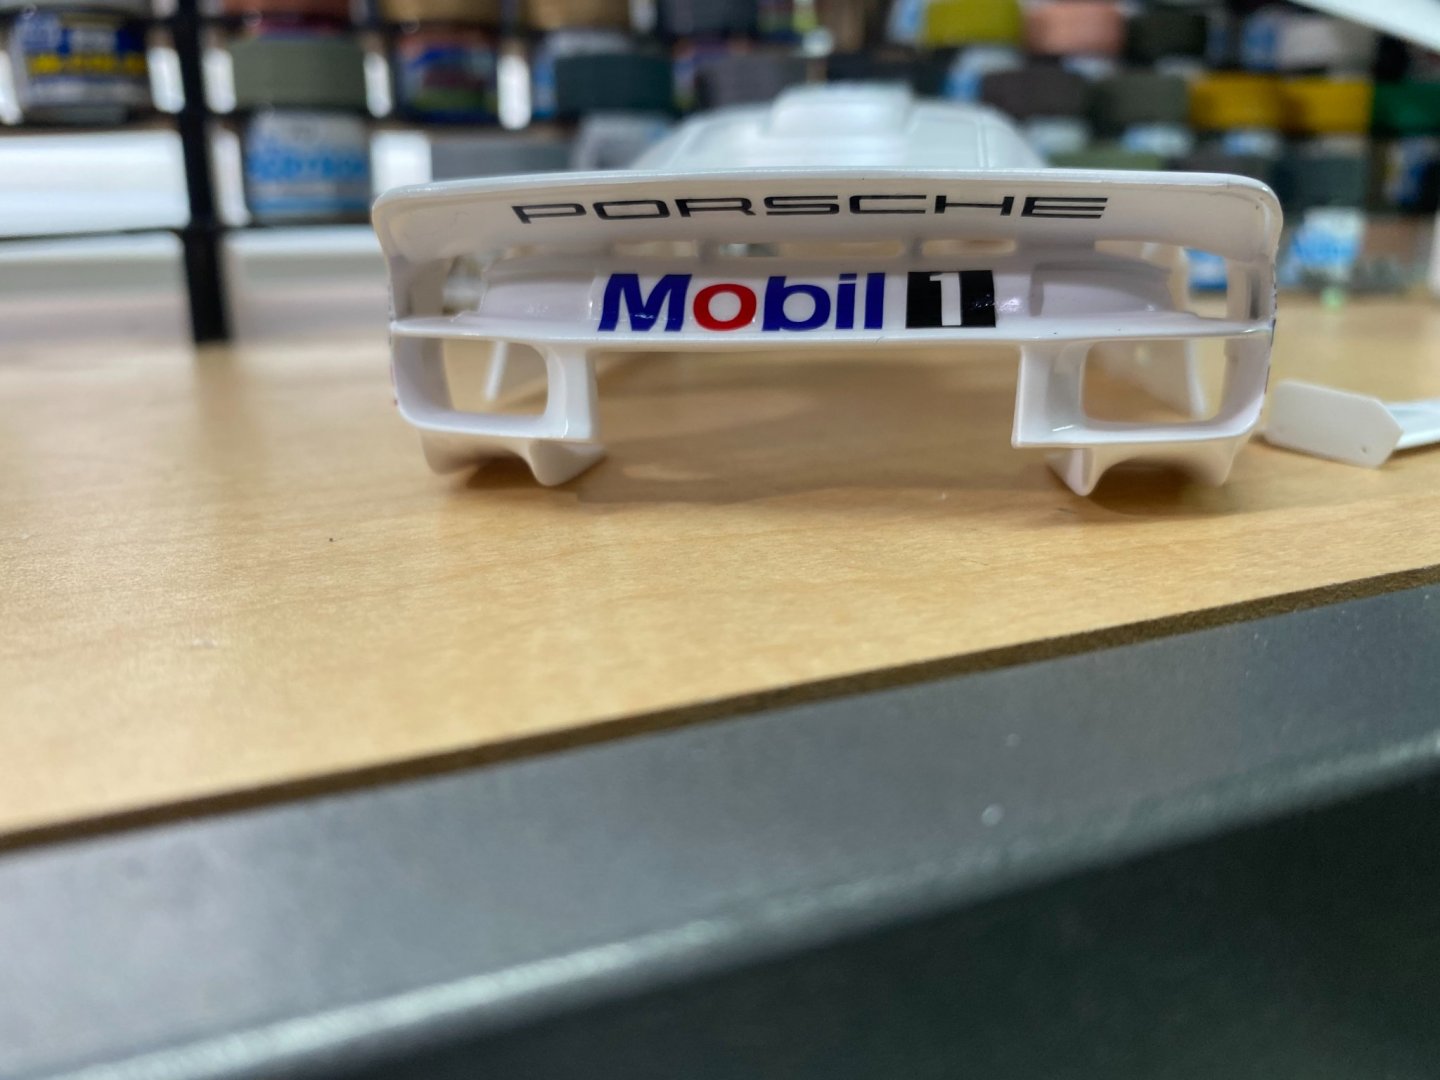
This kit was copyrighted in 1999, so I am guessing the kit is at least 20 years old. It's becoming a recurring theme when I'm working with these older kits, the decals are questionable at best. These are no different. While they look decent when you look at the whole decal sheet, you find they are less than optimal when you begin to place them on the model, particularly if they are placed in an area with compound curves. Fortunately, the decal on the hood is the worst of the complex areas to be done. We will have to see how well the decals respond to setting solutions and solvent to help them settle into place over the curves. I'm keeping my fingers crossed (again). The two photos were taken about an hour apart. A third and fourth application of decal solvent will be necessary before it's all said and done.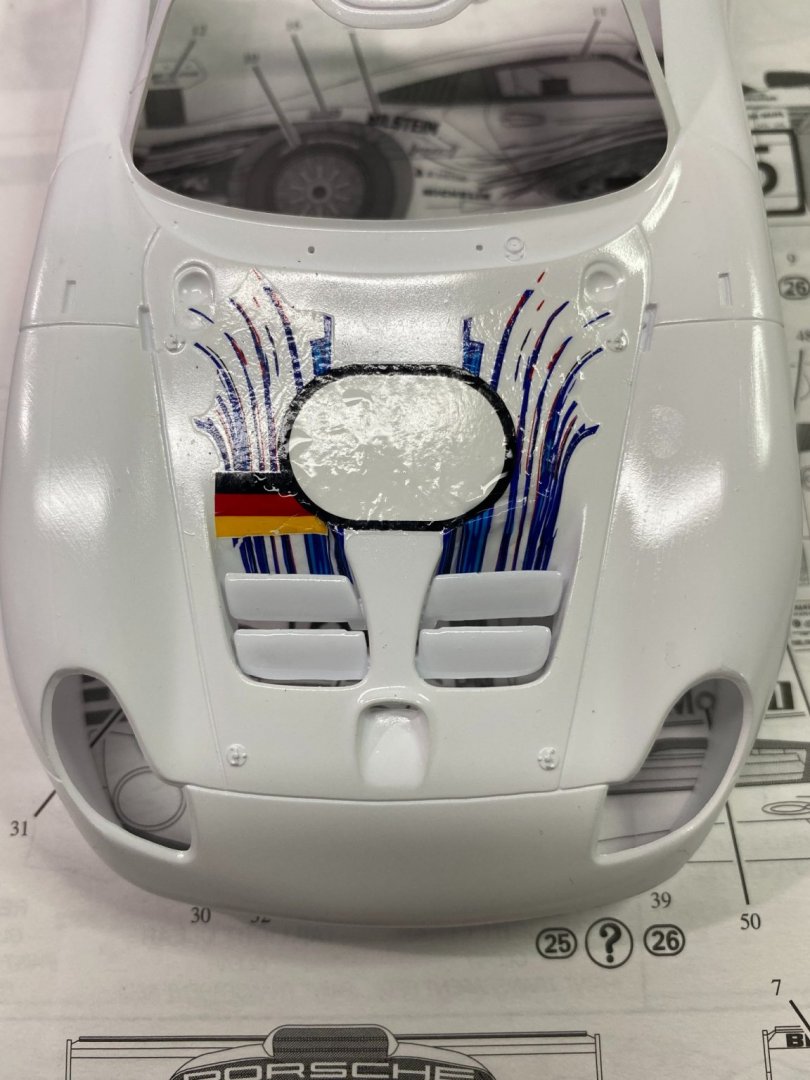

- 44 replies
-
- 10
-
-

-
Porsche GT-1 Evo by CDW - FINISHED - Revell - 1:24 Scale - PLASTIC
CDW replied to CDW's topic in Non-ship/categorised builds
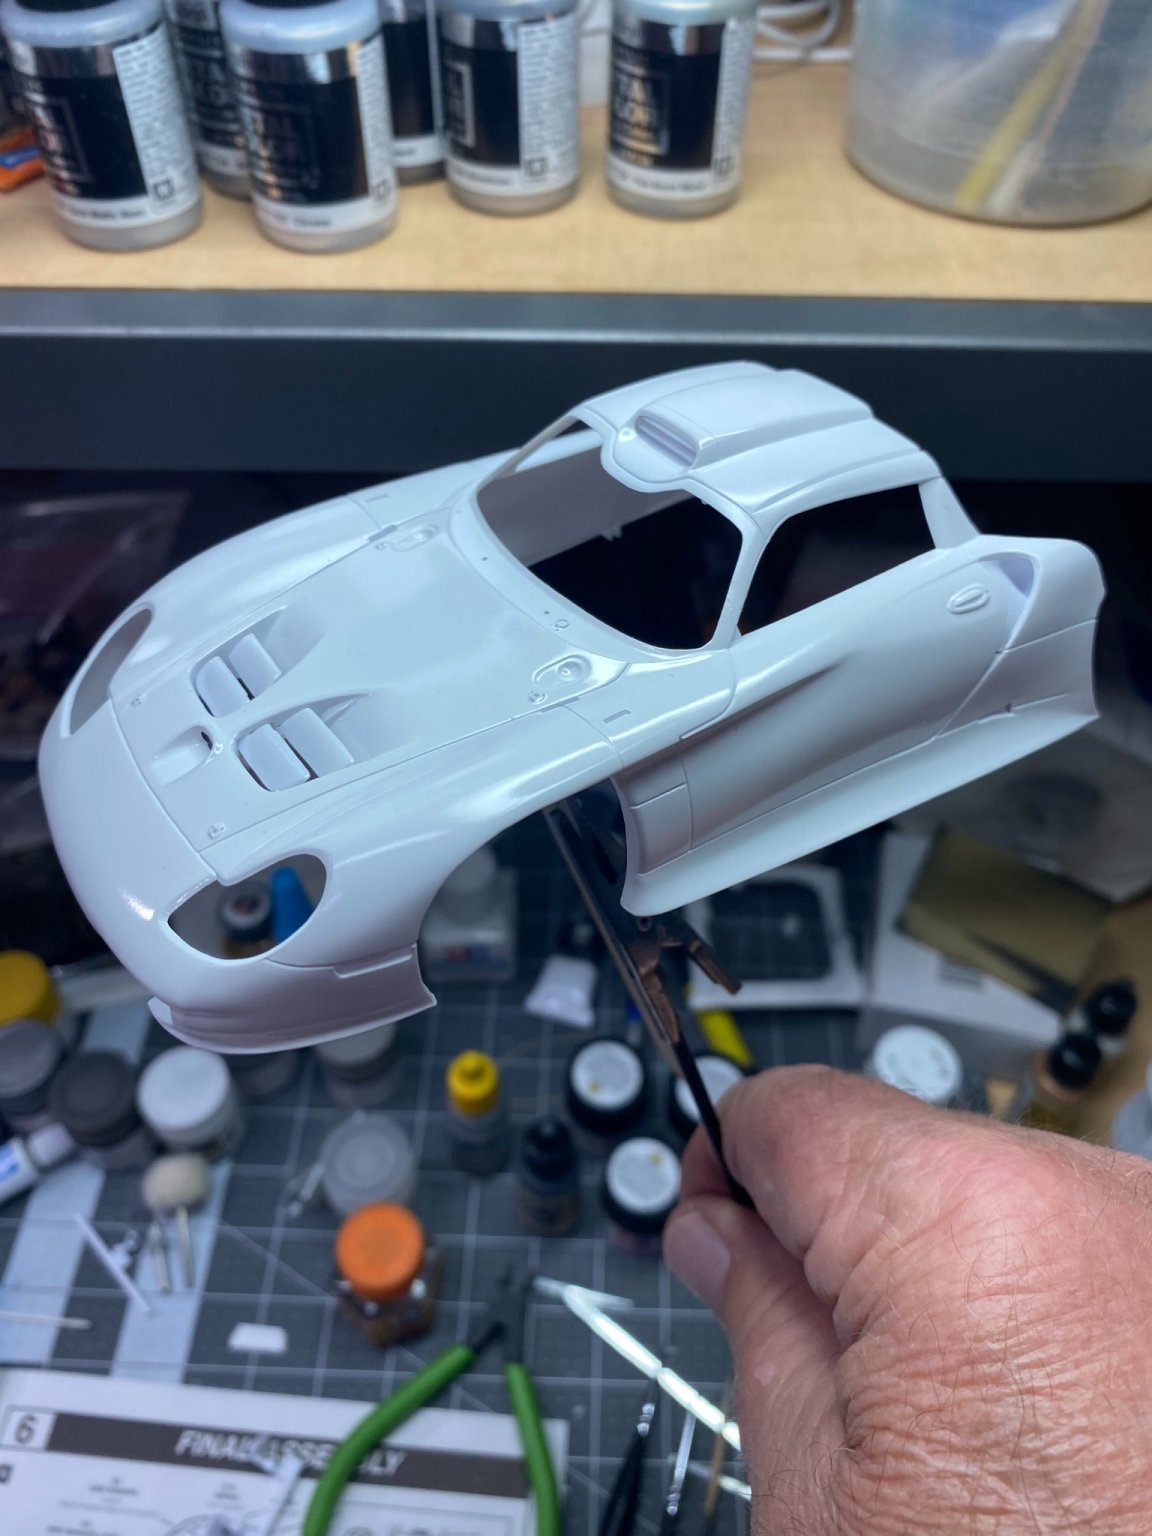
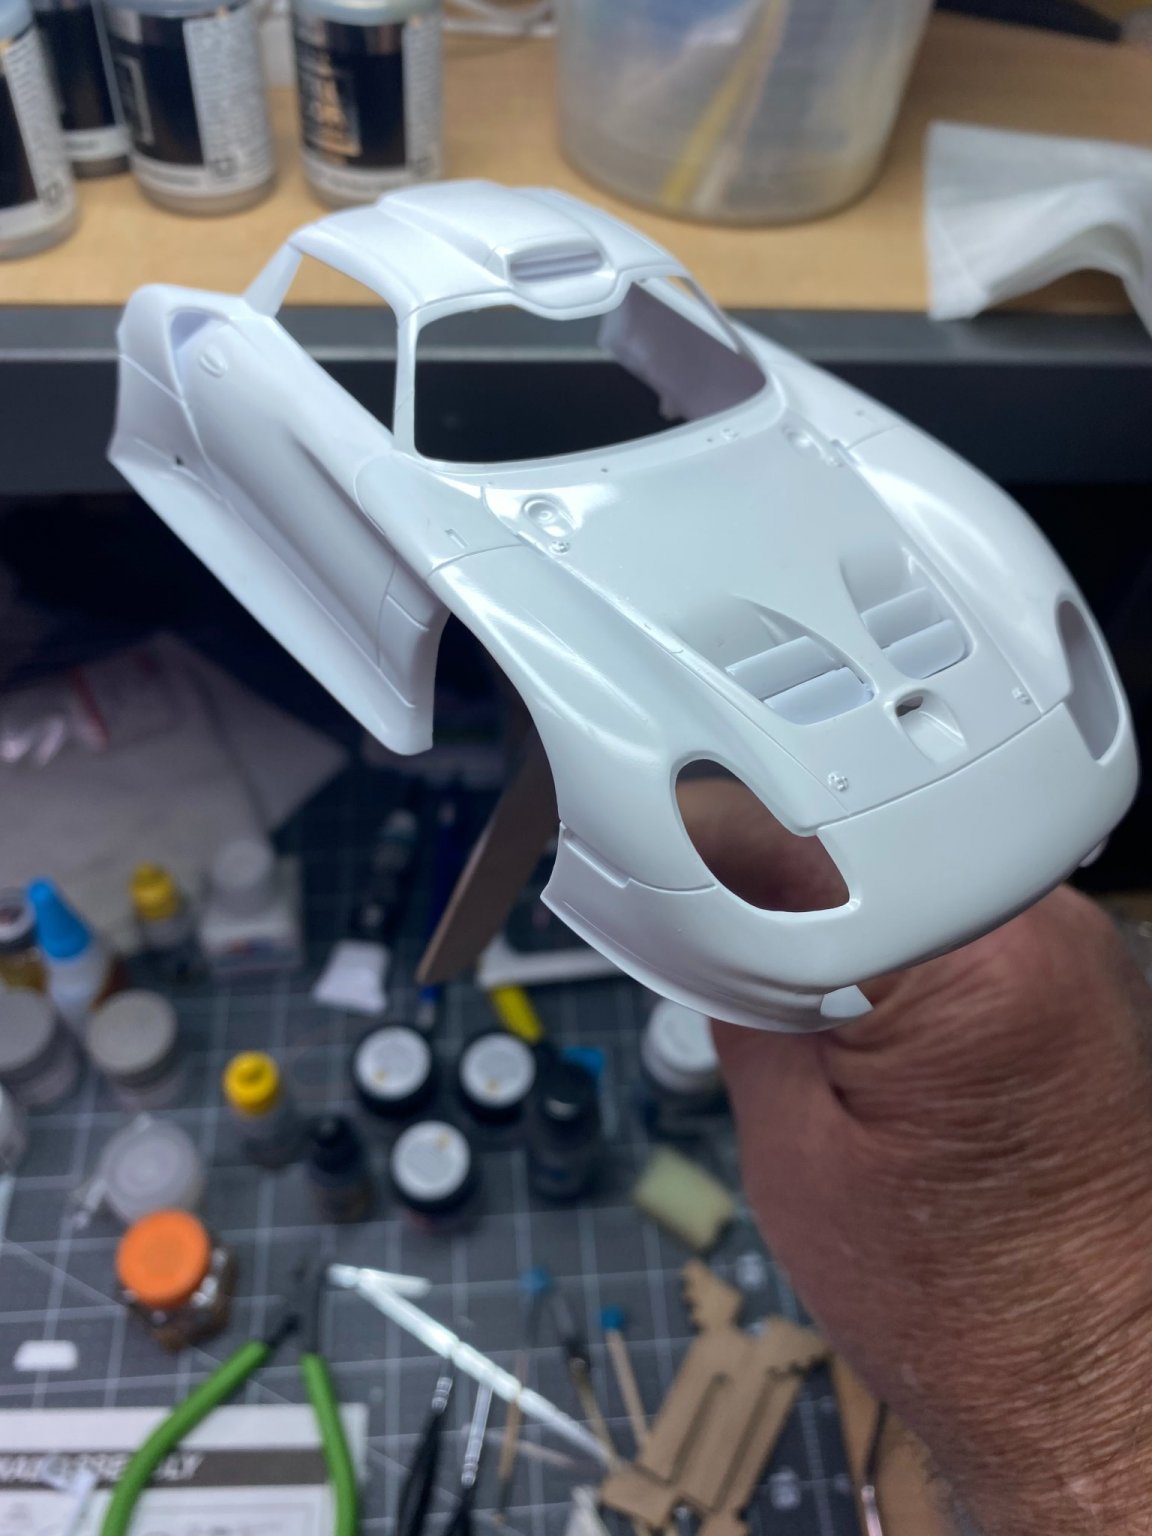
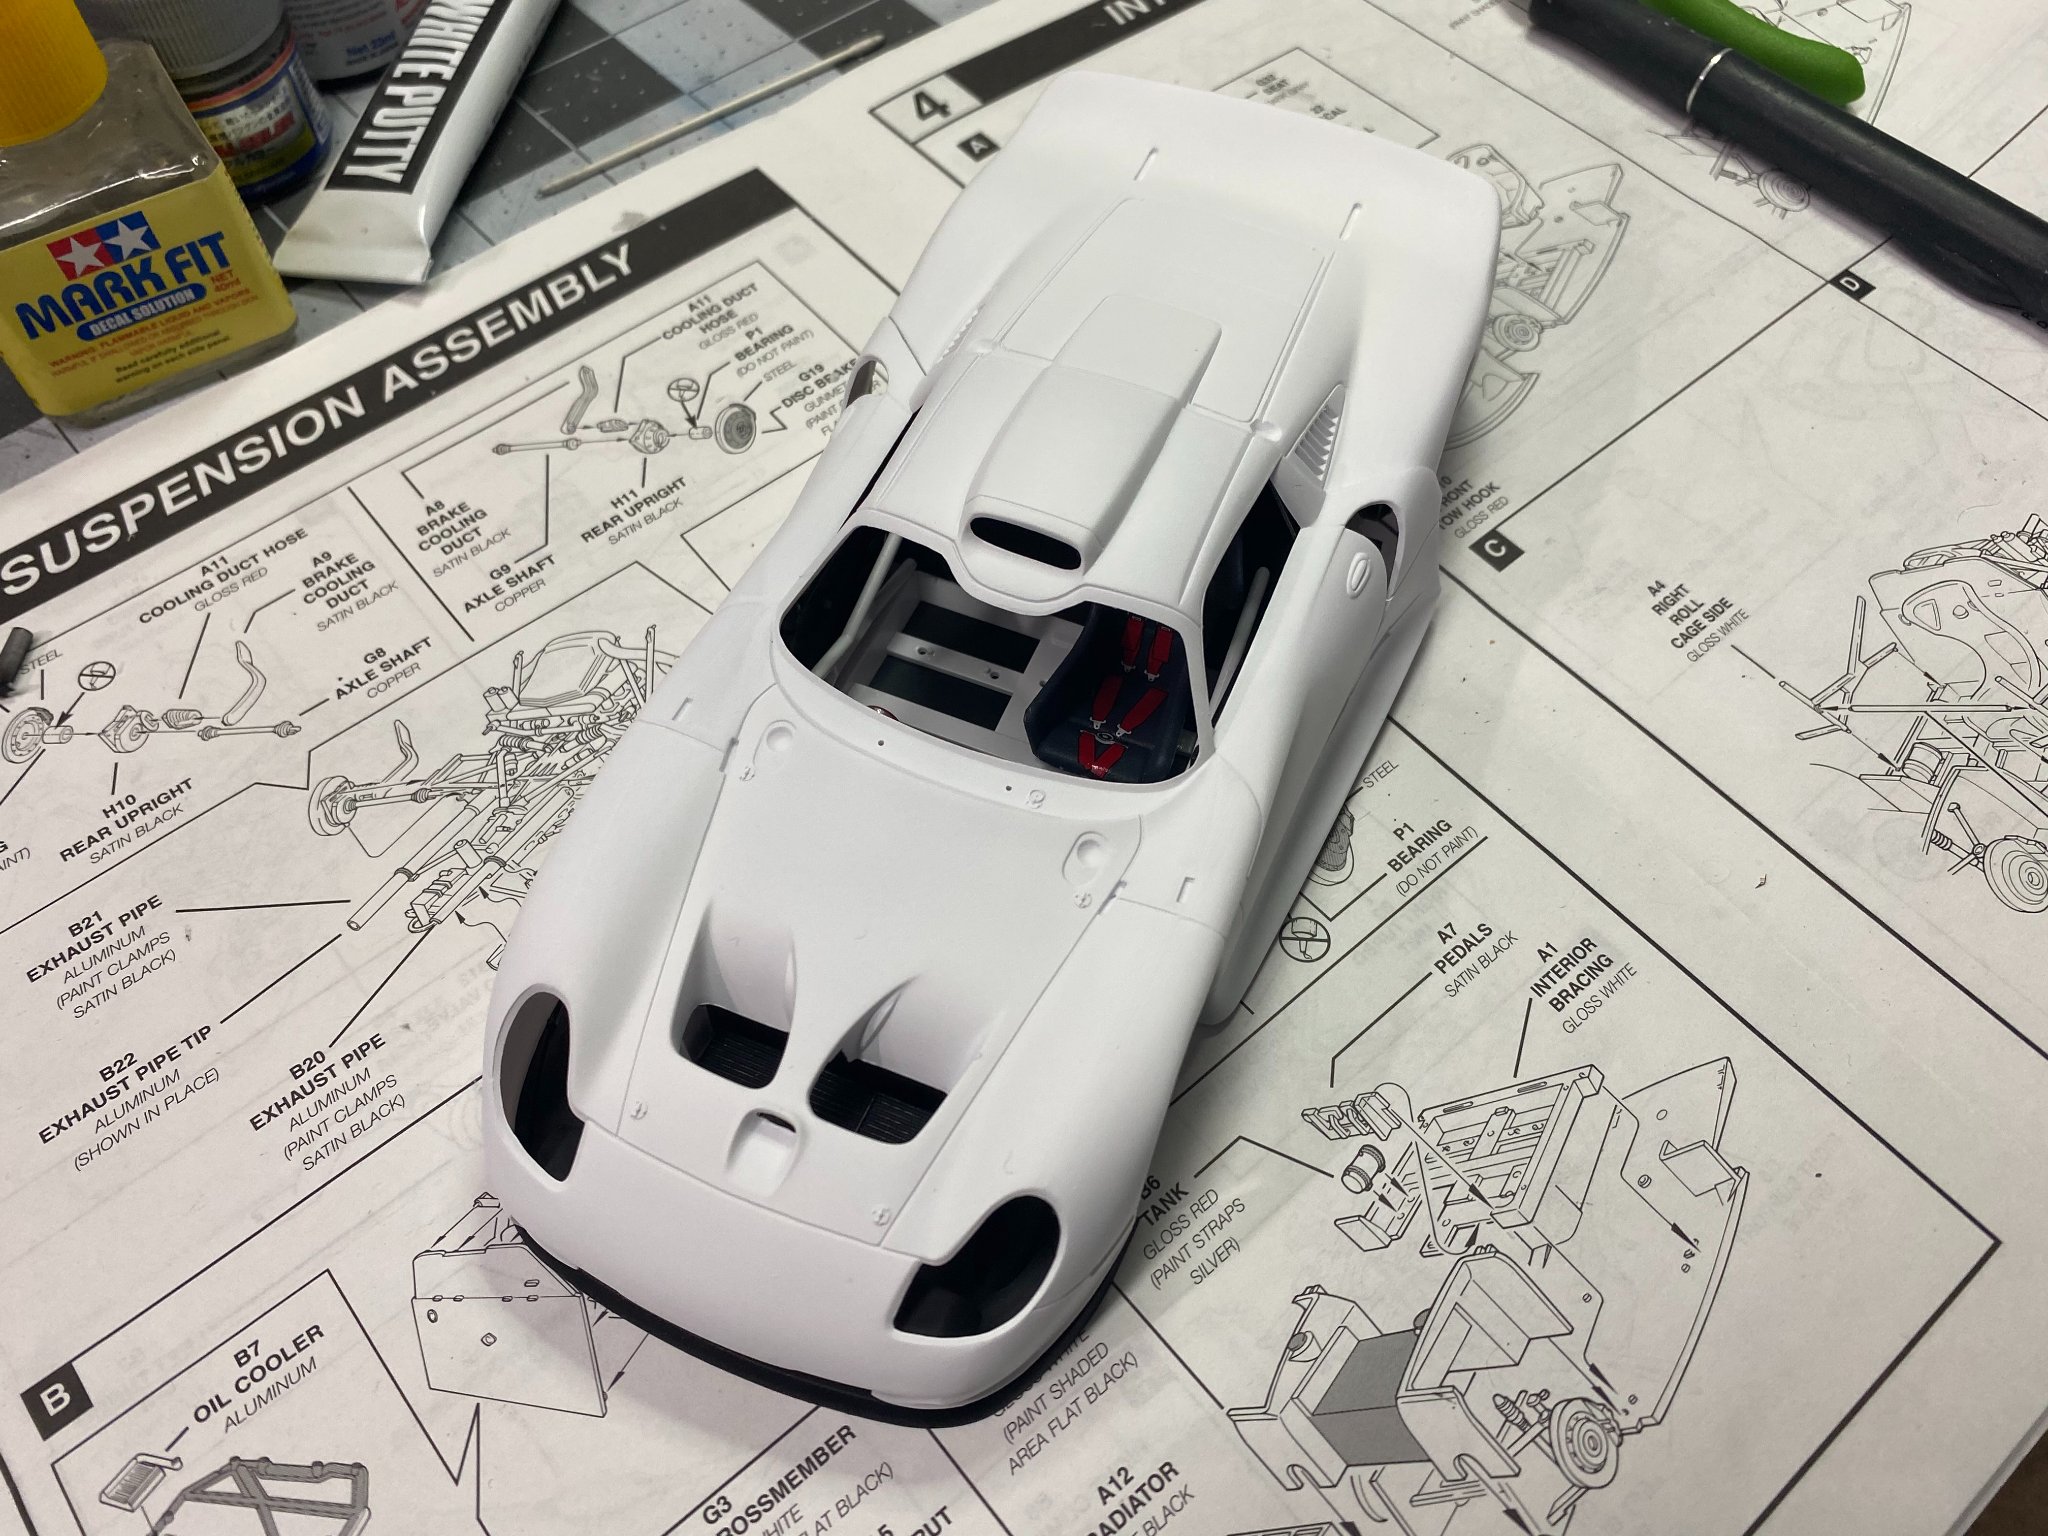
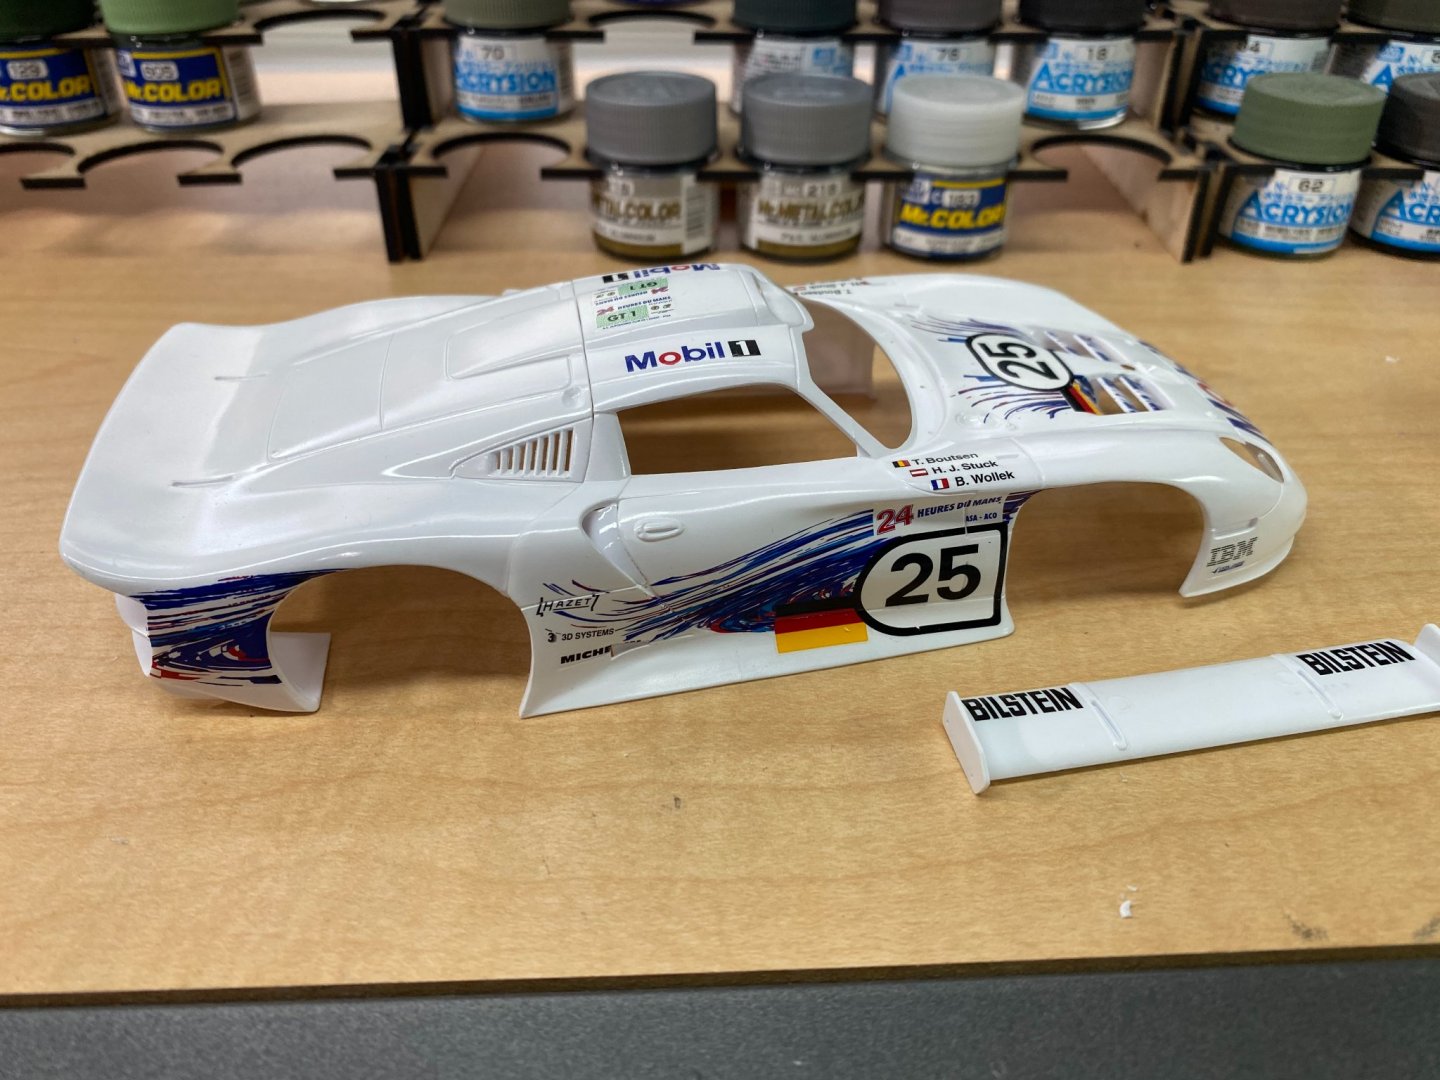
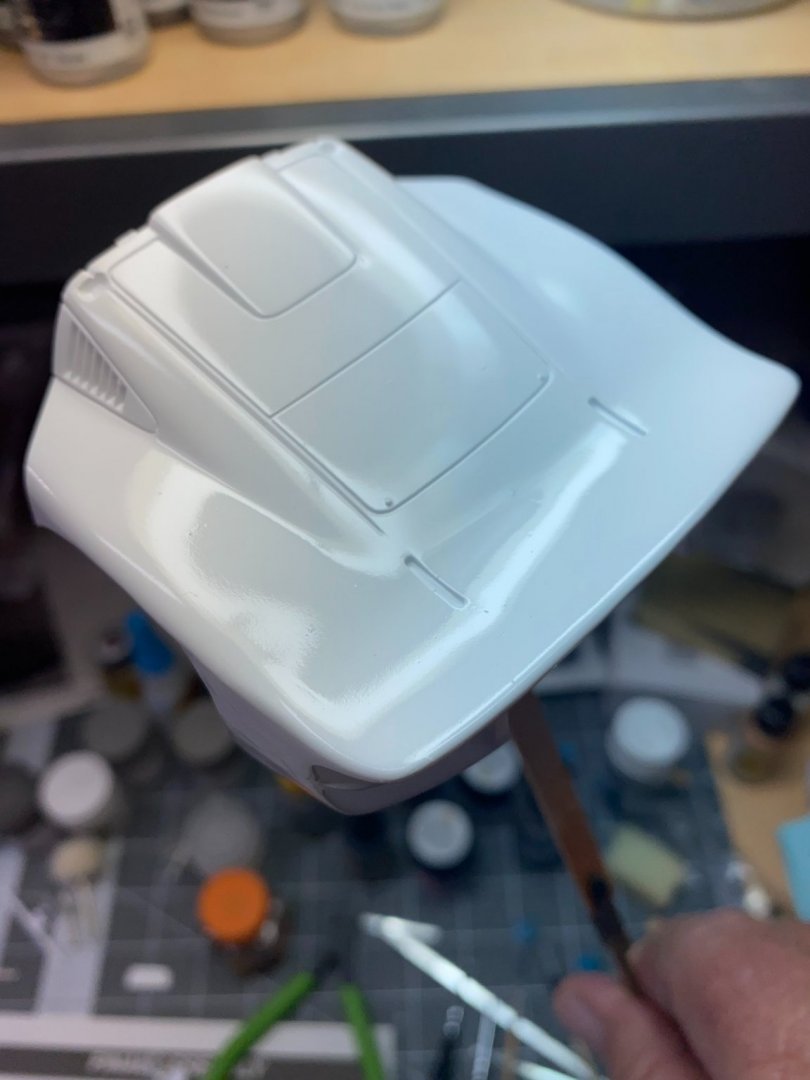
Body painted with Tamiya gloss white reduced with Mr Color 400 levelling thinner. Once this has cured, will begin applying the decals.


- 44 replies
-
- 12
-
-
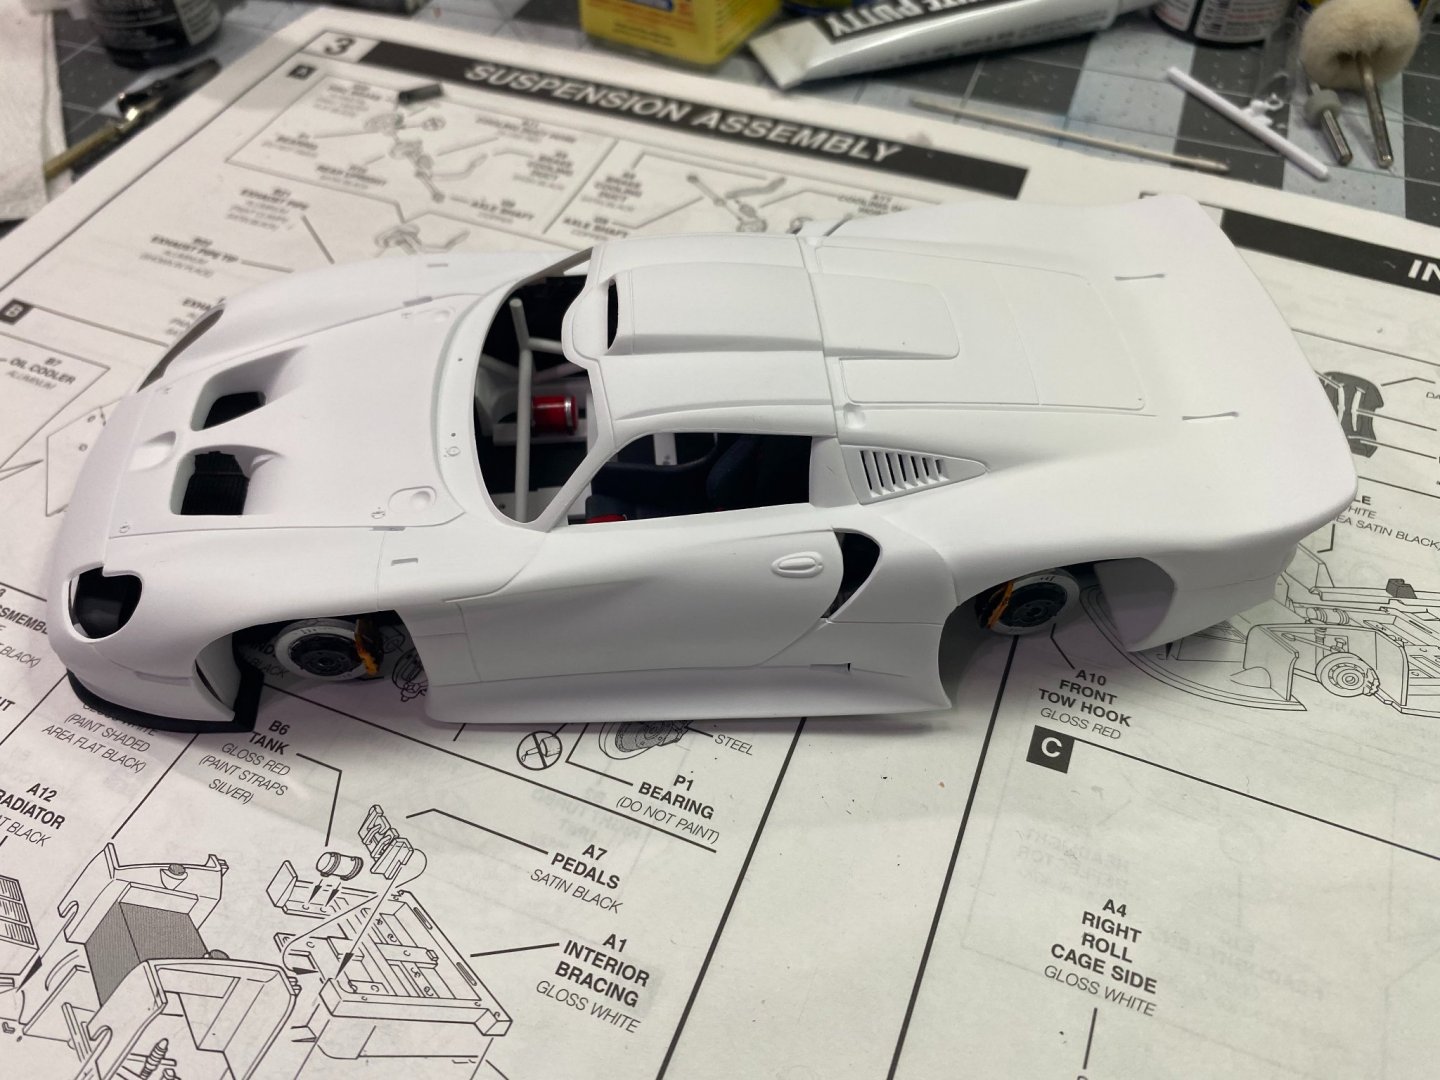
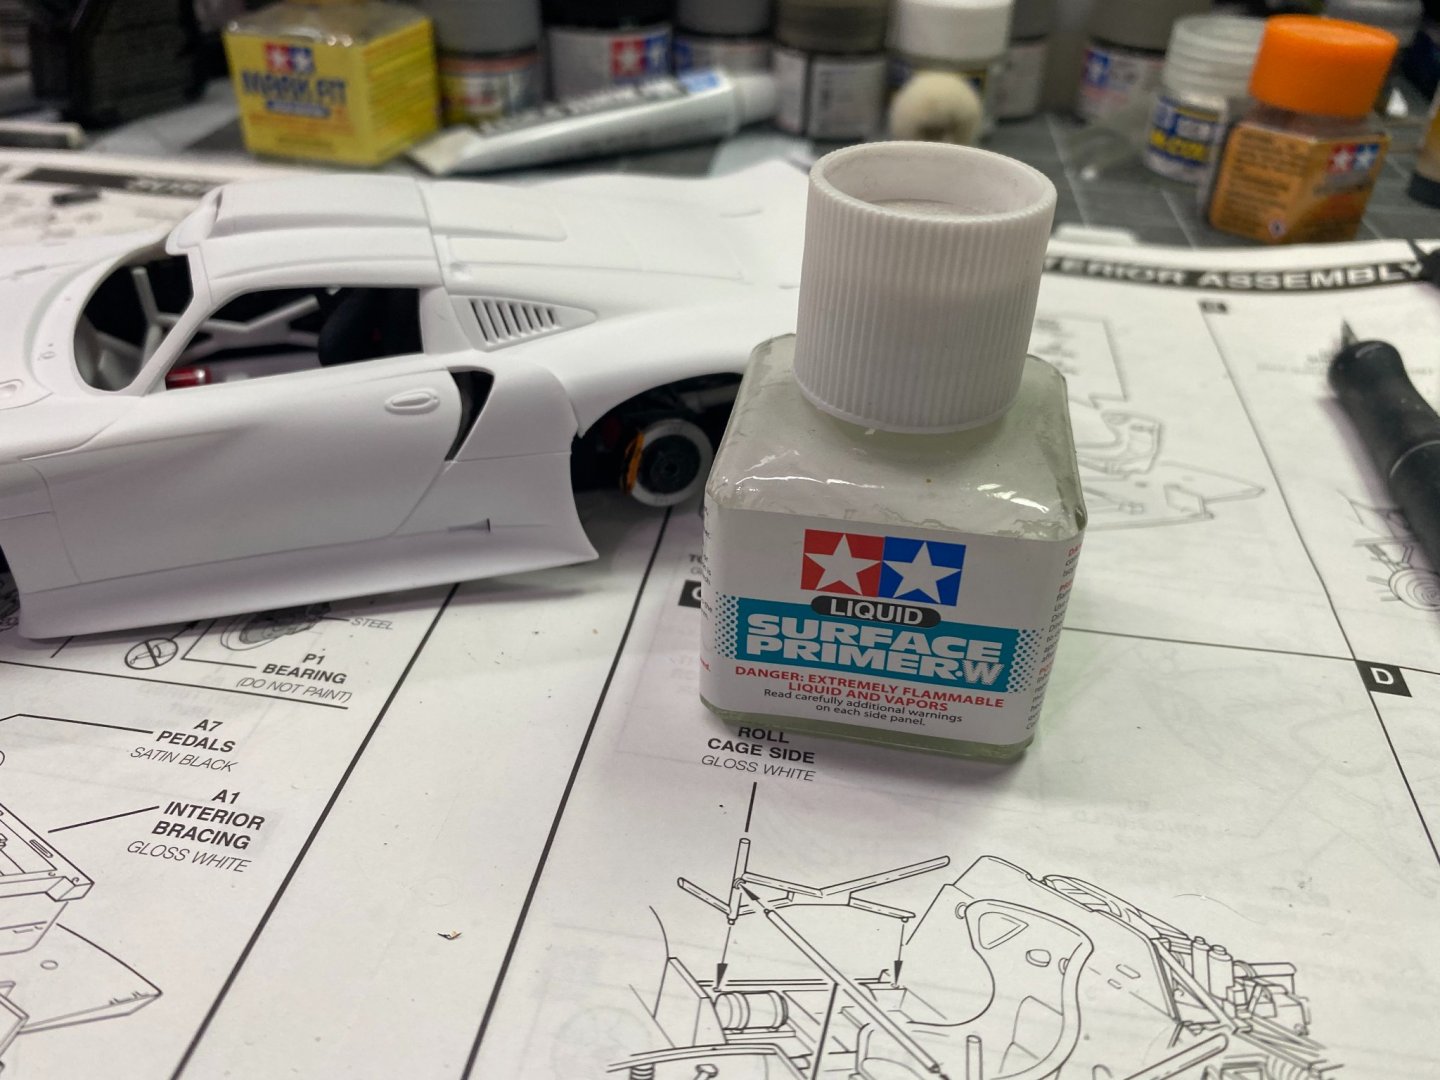
Porsche GT-1 Evo by CDW - FINISHED - Revell - 1:24 Scale - PLASTIC
CDW replied to CDW's topic in Non-ship/categorised builds
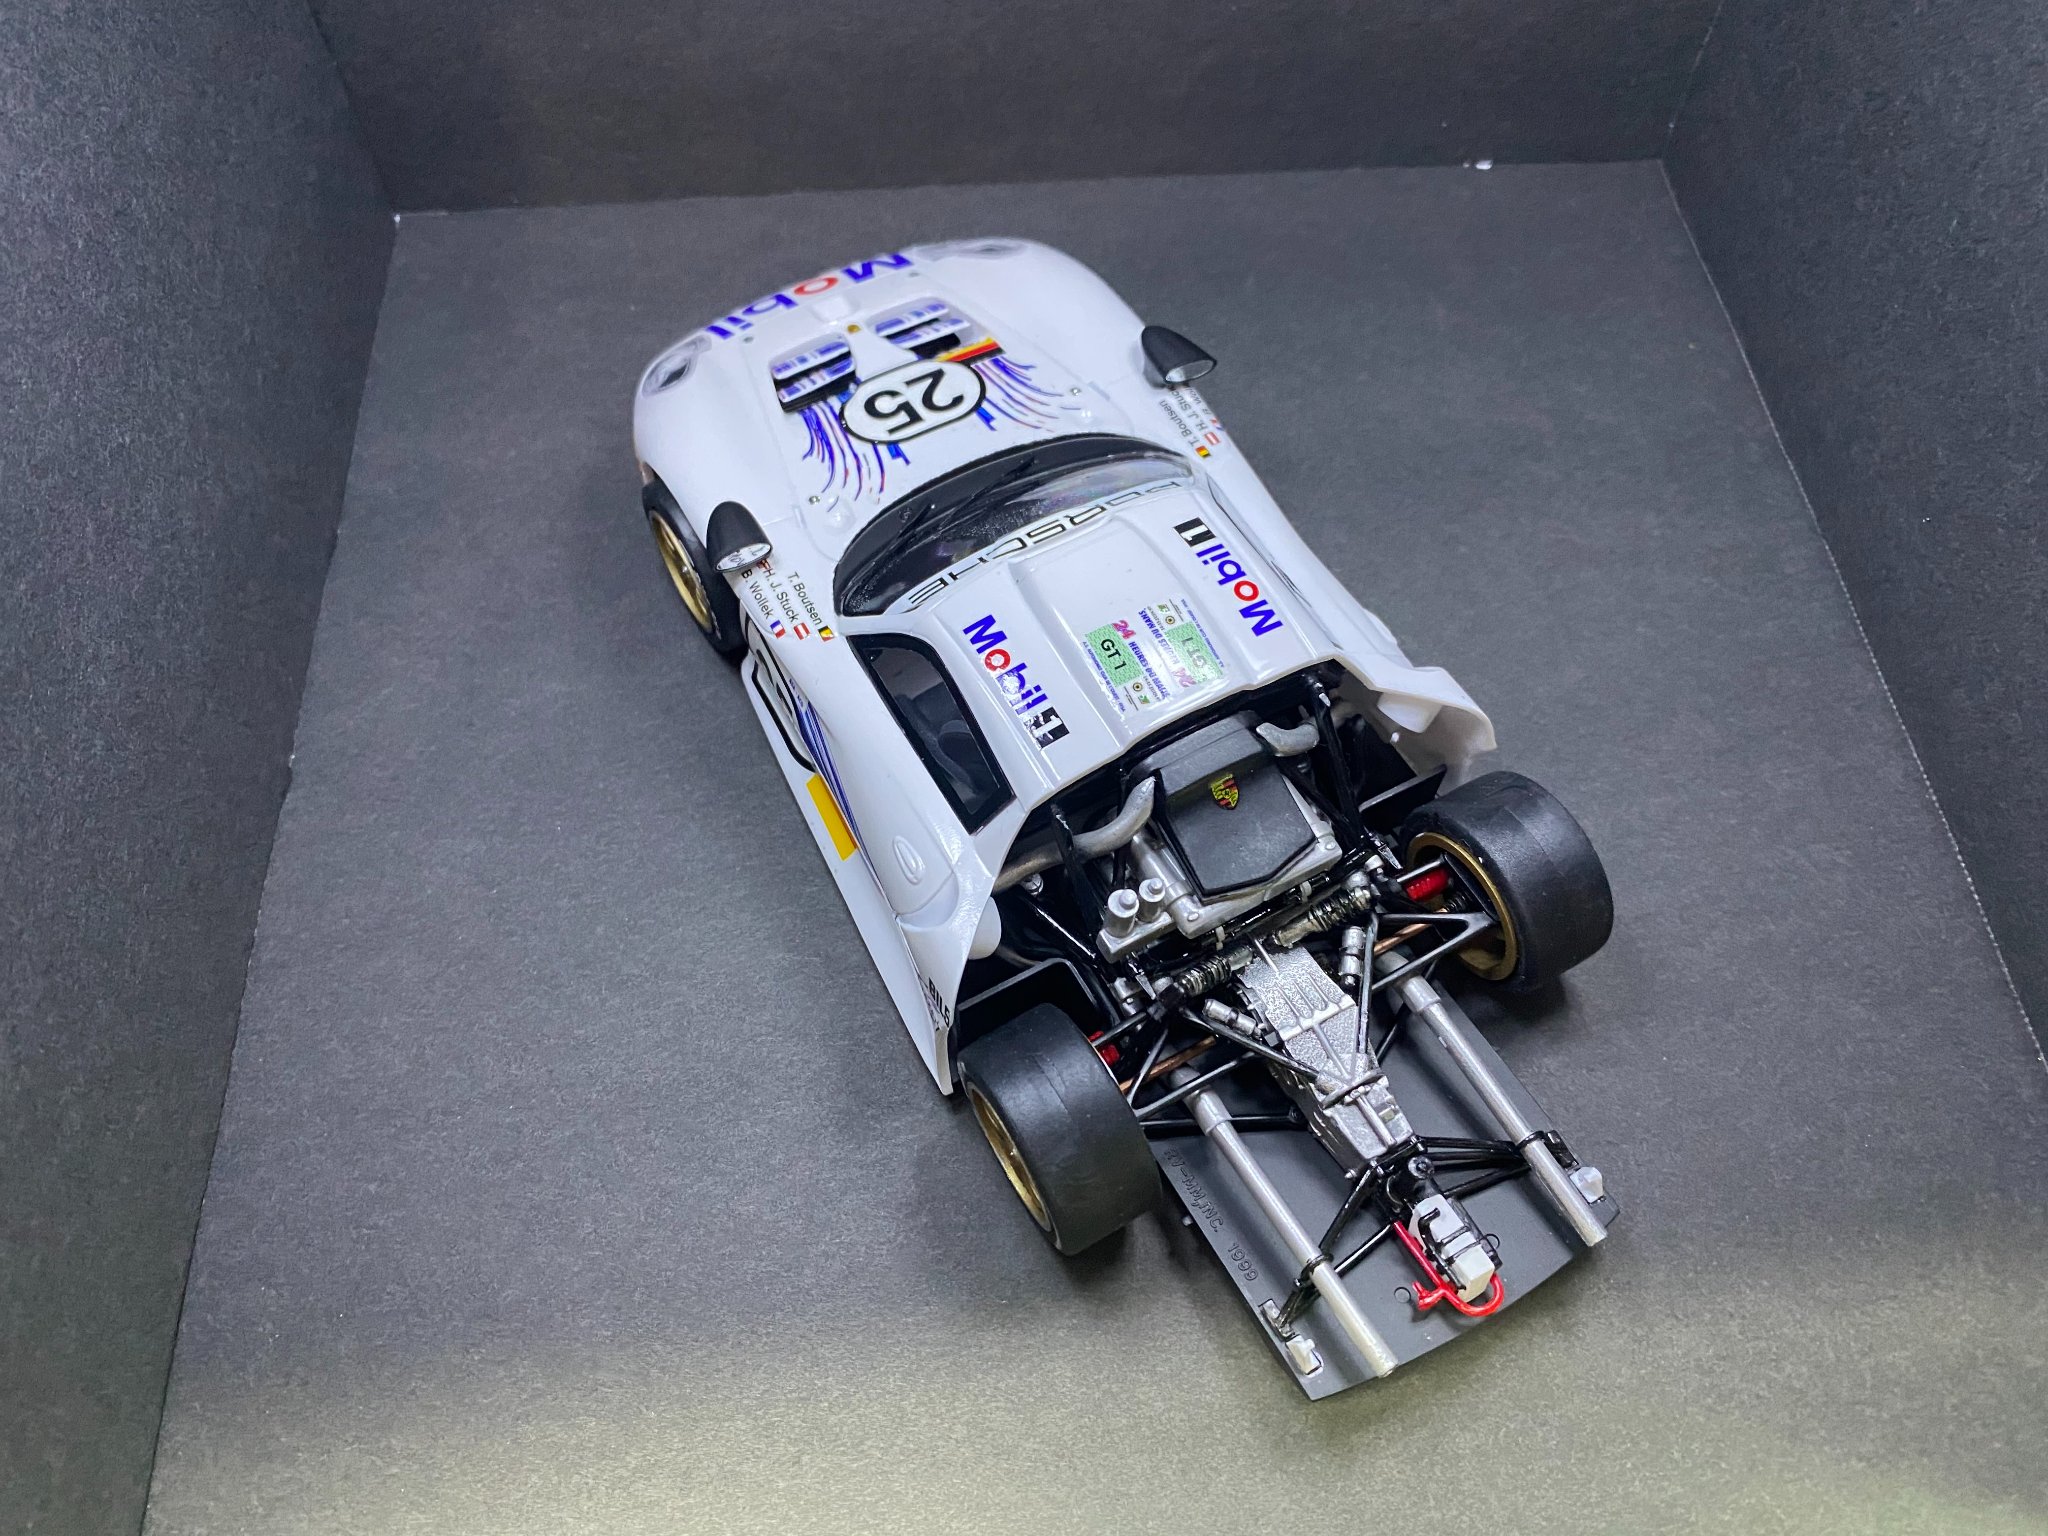
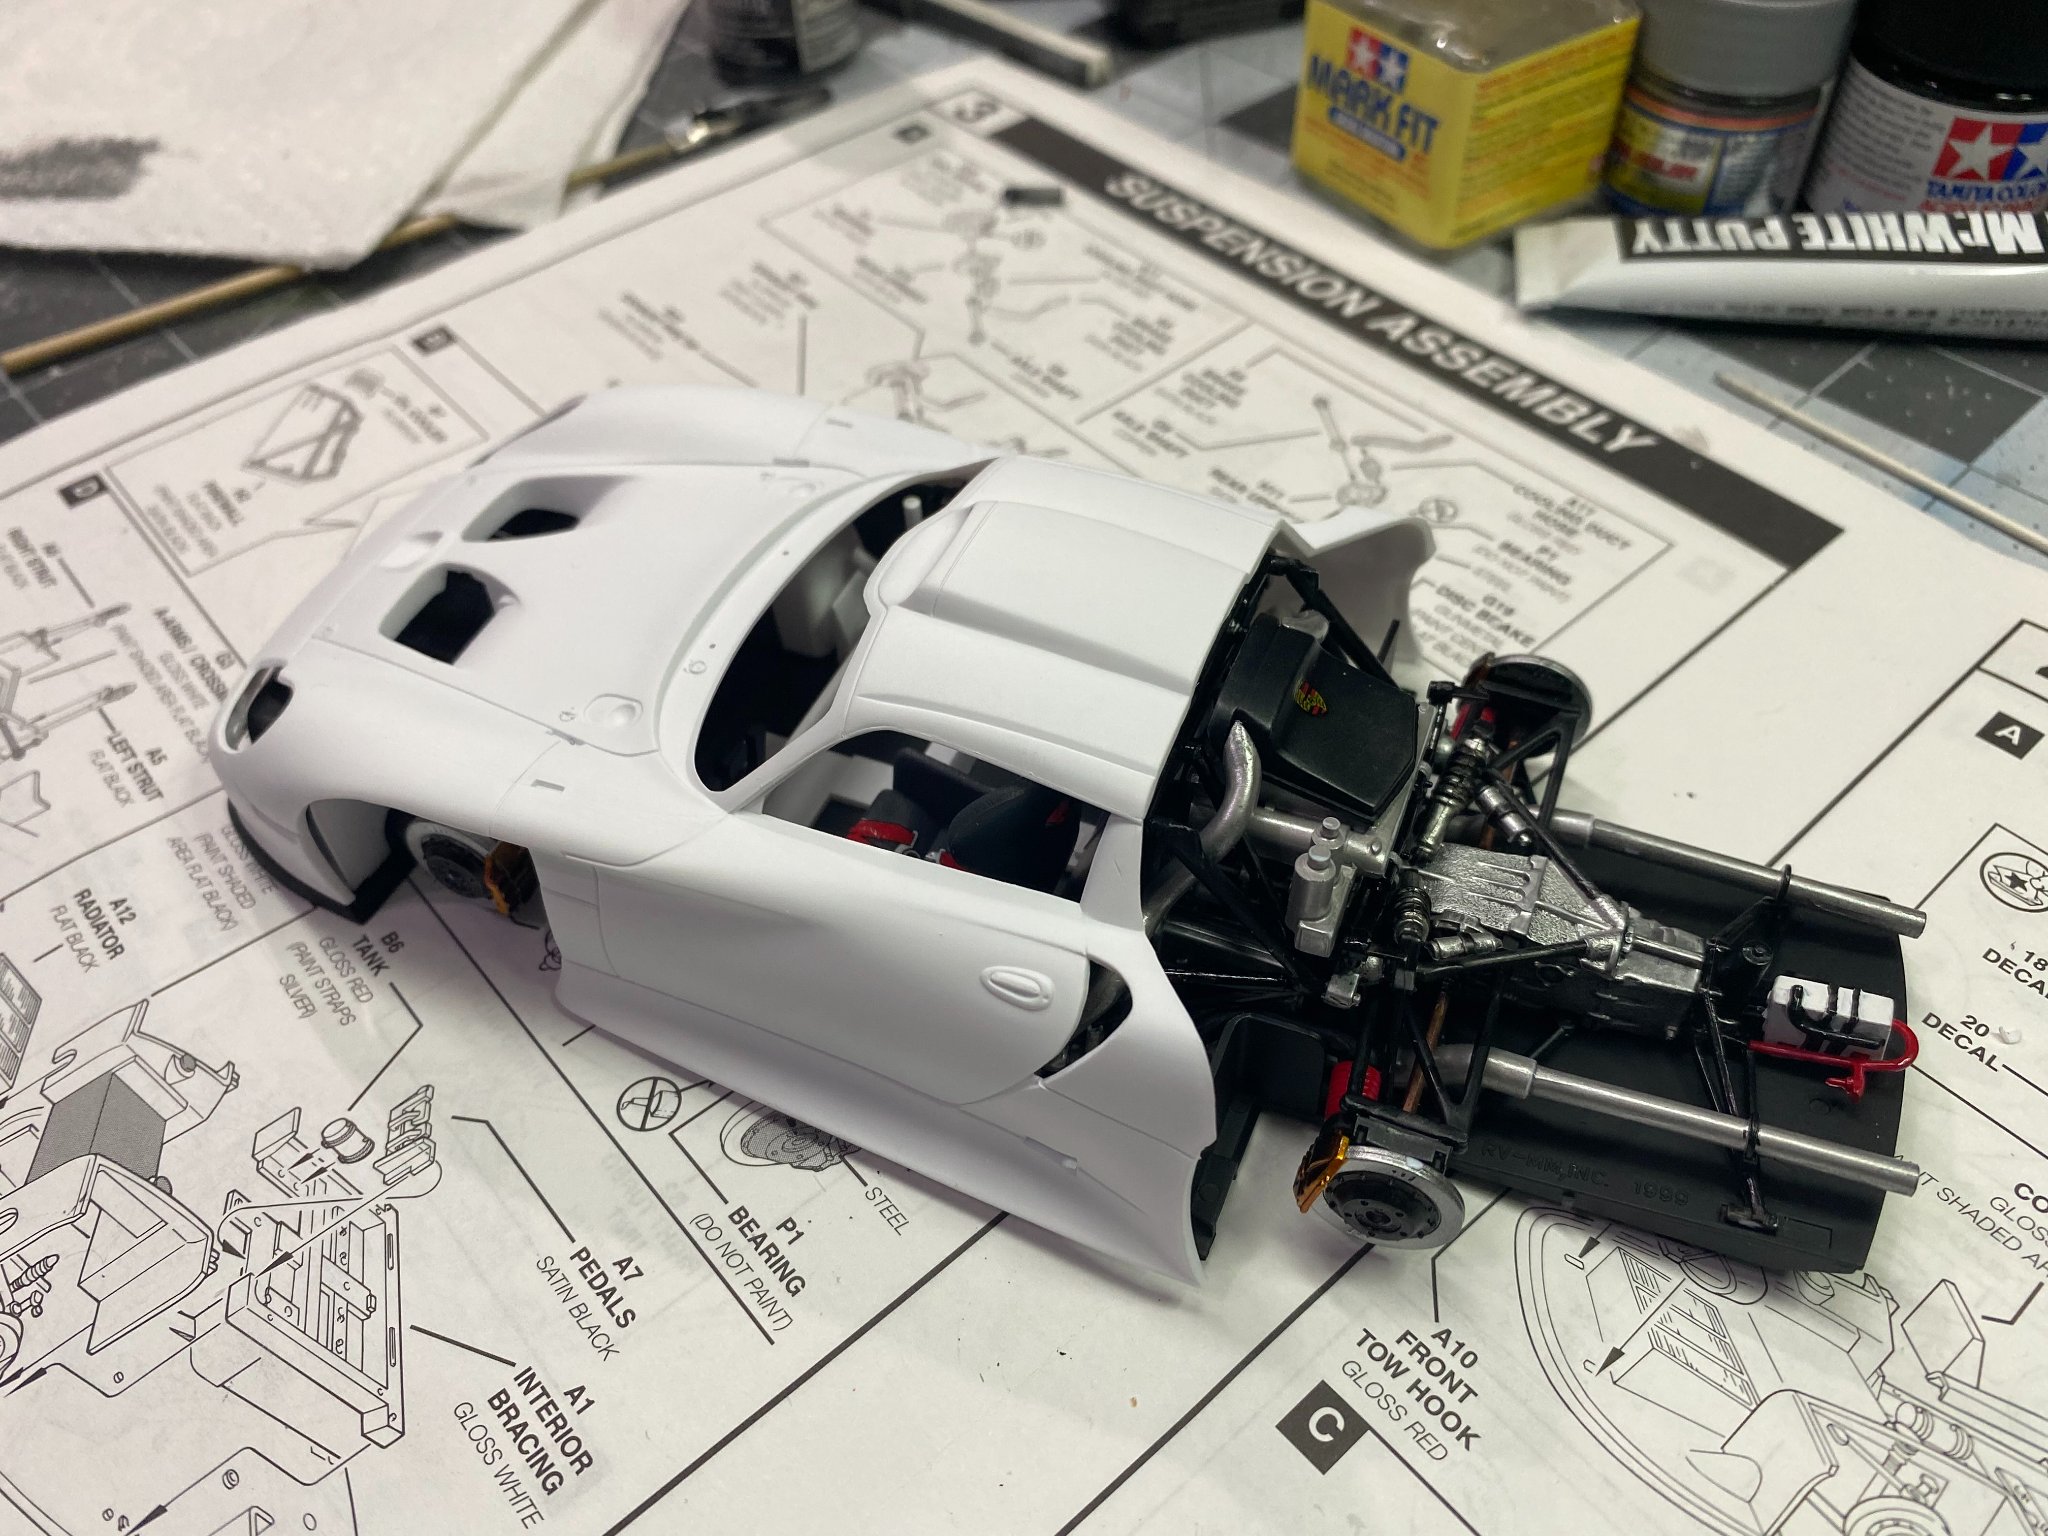
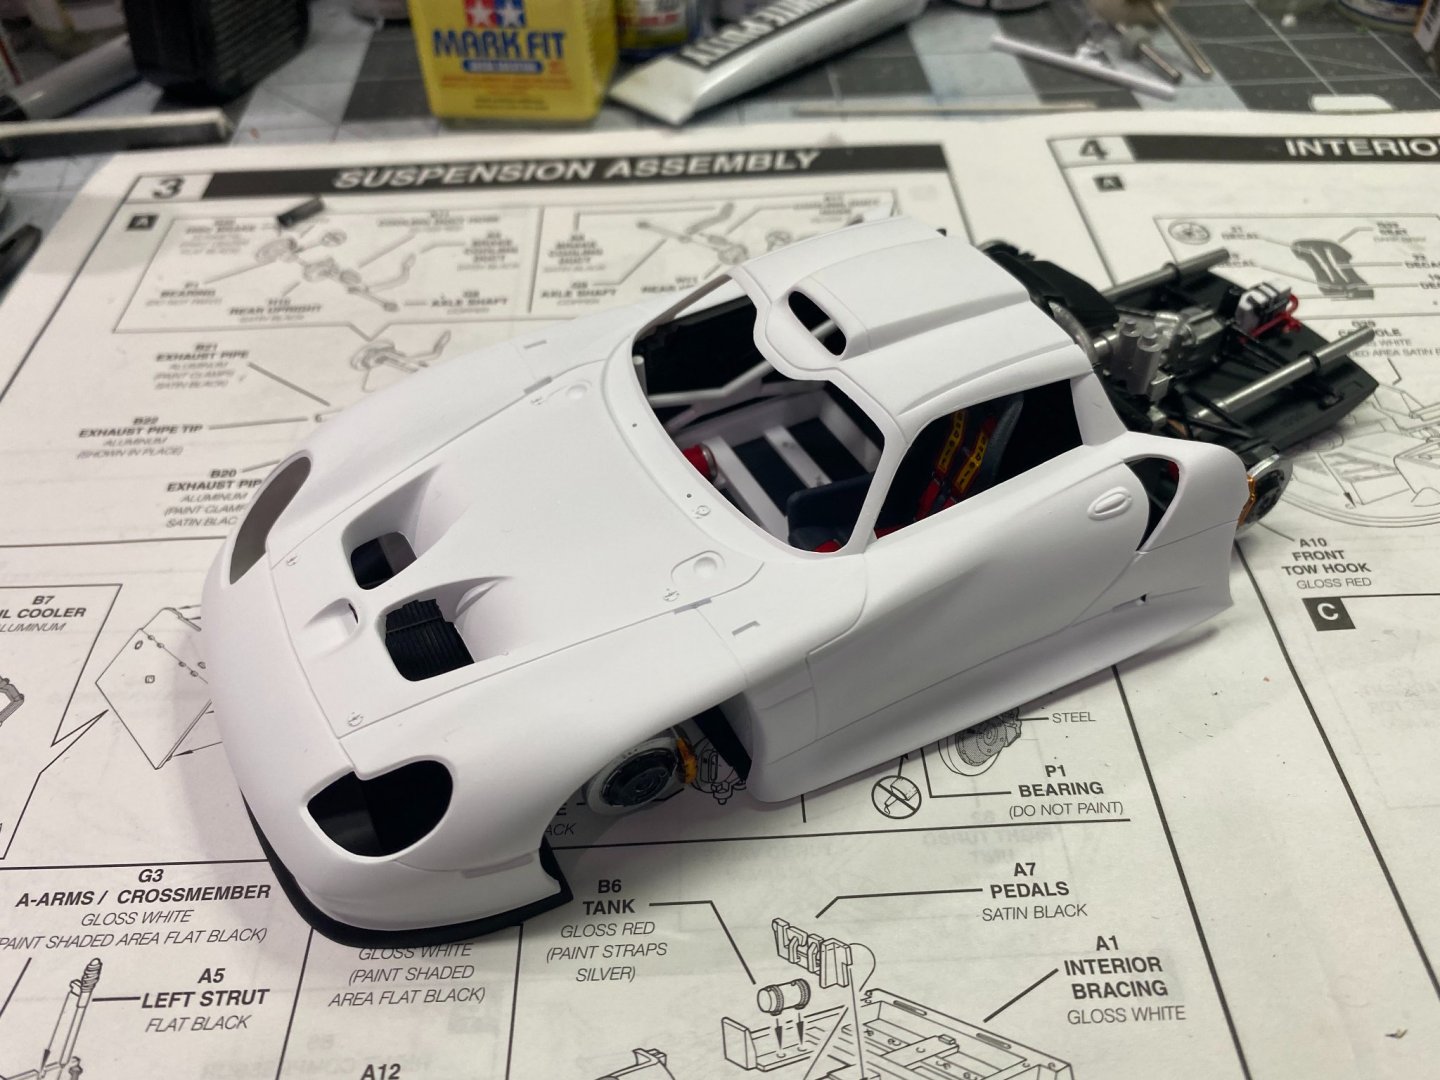
The chassis is mostly finished now. Must add the instrument panel, gear shifter and linkage, and the steering wheel. Body has been sanded, prepped, and shot with Tamiya liquid white primer before the final white gloss coat. Test fitting before doing the final body paint and decal work. Everything has fit well with this kit. Too bad it's no longer in production, it's quite a good value for the quality of it. By the way, I have included a photo of the Tamiya white primer. I much prefer this over the rattle cans, where I can spray it through my airbrush giving superior control and paint economy. It is a lacquer based primer, not water based.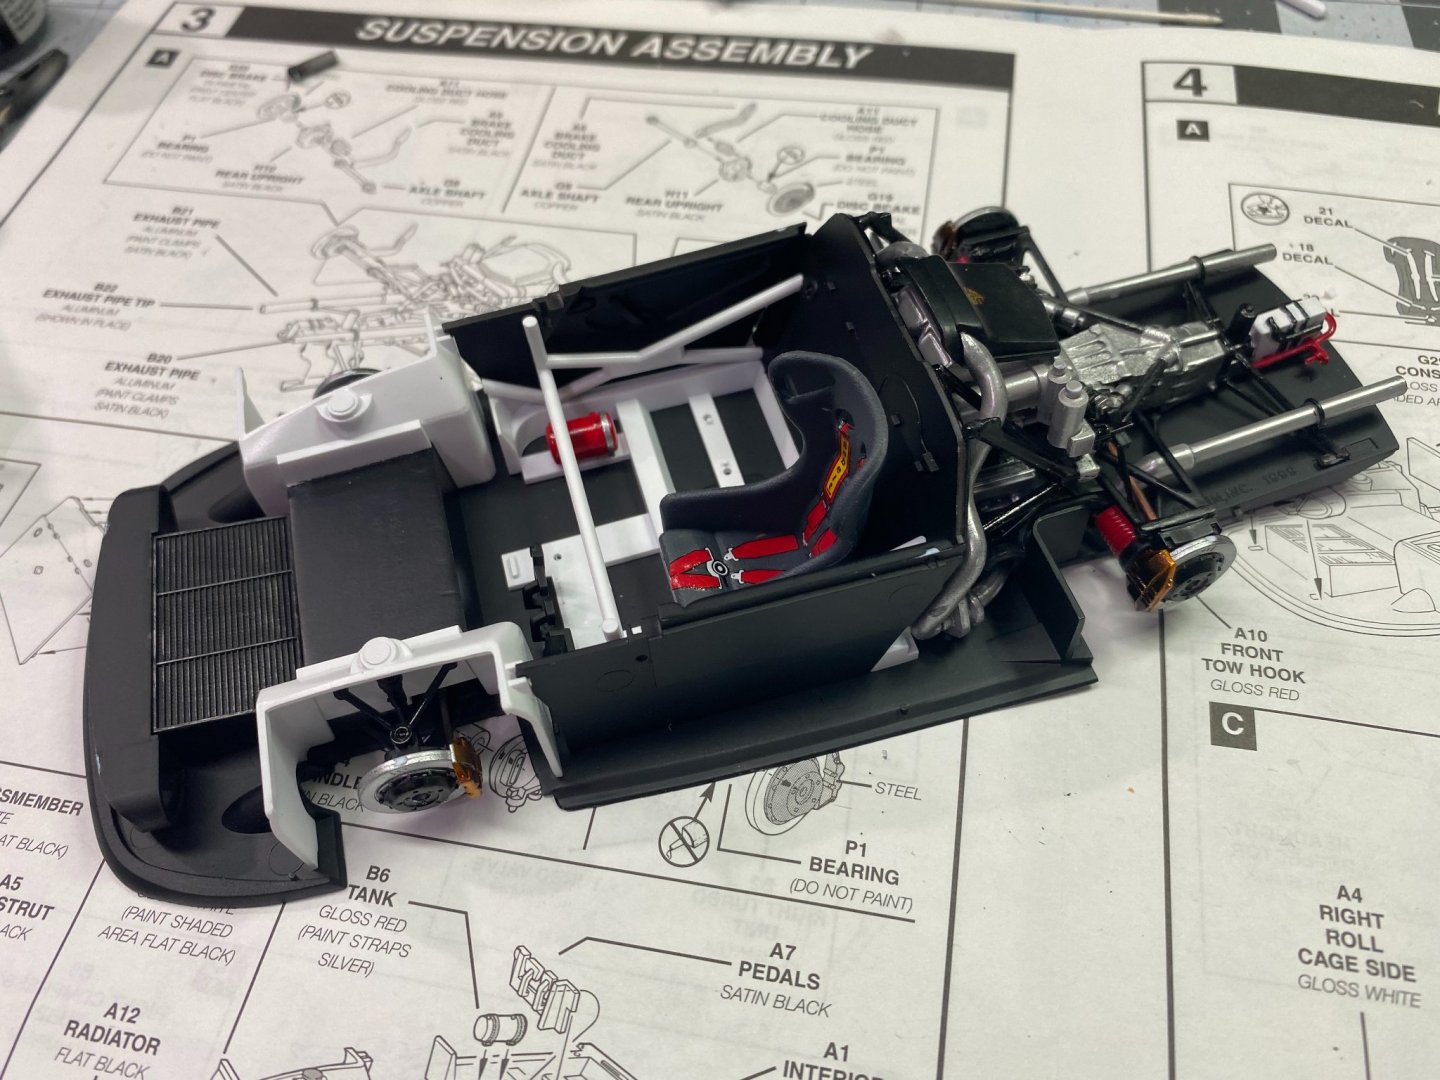


- 44 replies
-
- 12
-
-
Porsche GT-1 Evo by CDW - FINISHED - Revell - 1:24 Scale - PLASTIC
CDW replied to CDW's topic in Non-ship/categorised builds
Such a pleasure seeing a legend in our own time, Tom Brady, win his 7th super bowl at age 43. Just amazing. -
Porsche GT-1 Evo by CDW - FINISHED - Revell - 1:24 Scale - PLASTIC
CDW replied to CDW's topic in Non-ship/categorised builds
Sorry Lou. Bucs defense has been brutal tonight. -
Porsche GT-1 Evo by CDW - FINISHED - Revell - 1:24 Scale - PLASTIC
CDW replied to CDW's topic in Non-ship/categorised builds
Go Bucs! Fire the Cannons!
-
Porsche GT-1 Evo by CDW - FINISHED - Revell - 1:24 Scale - PLASTIC
CDW replied to CDW's topic in Non-ship/categorised builds
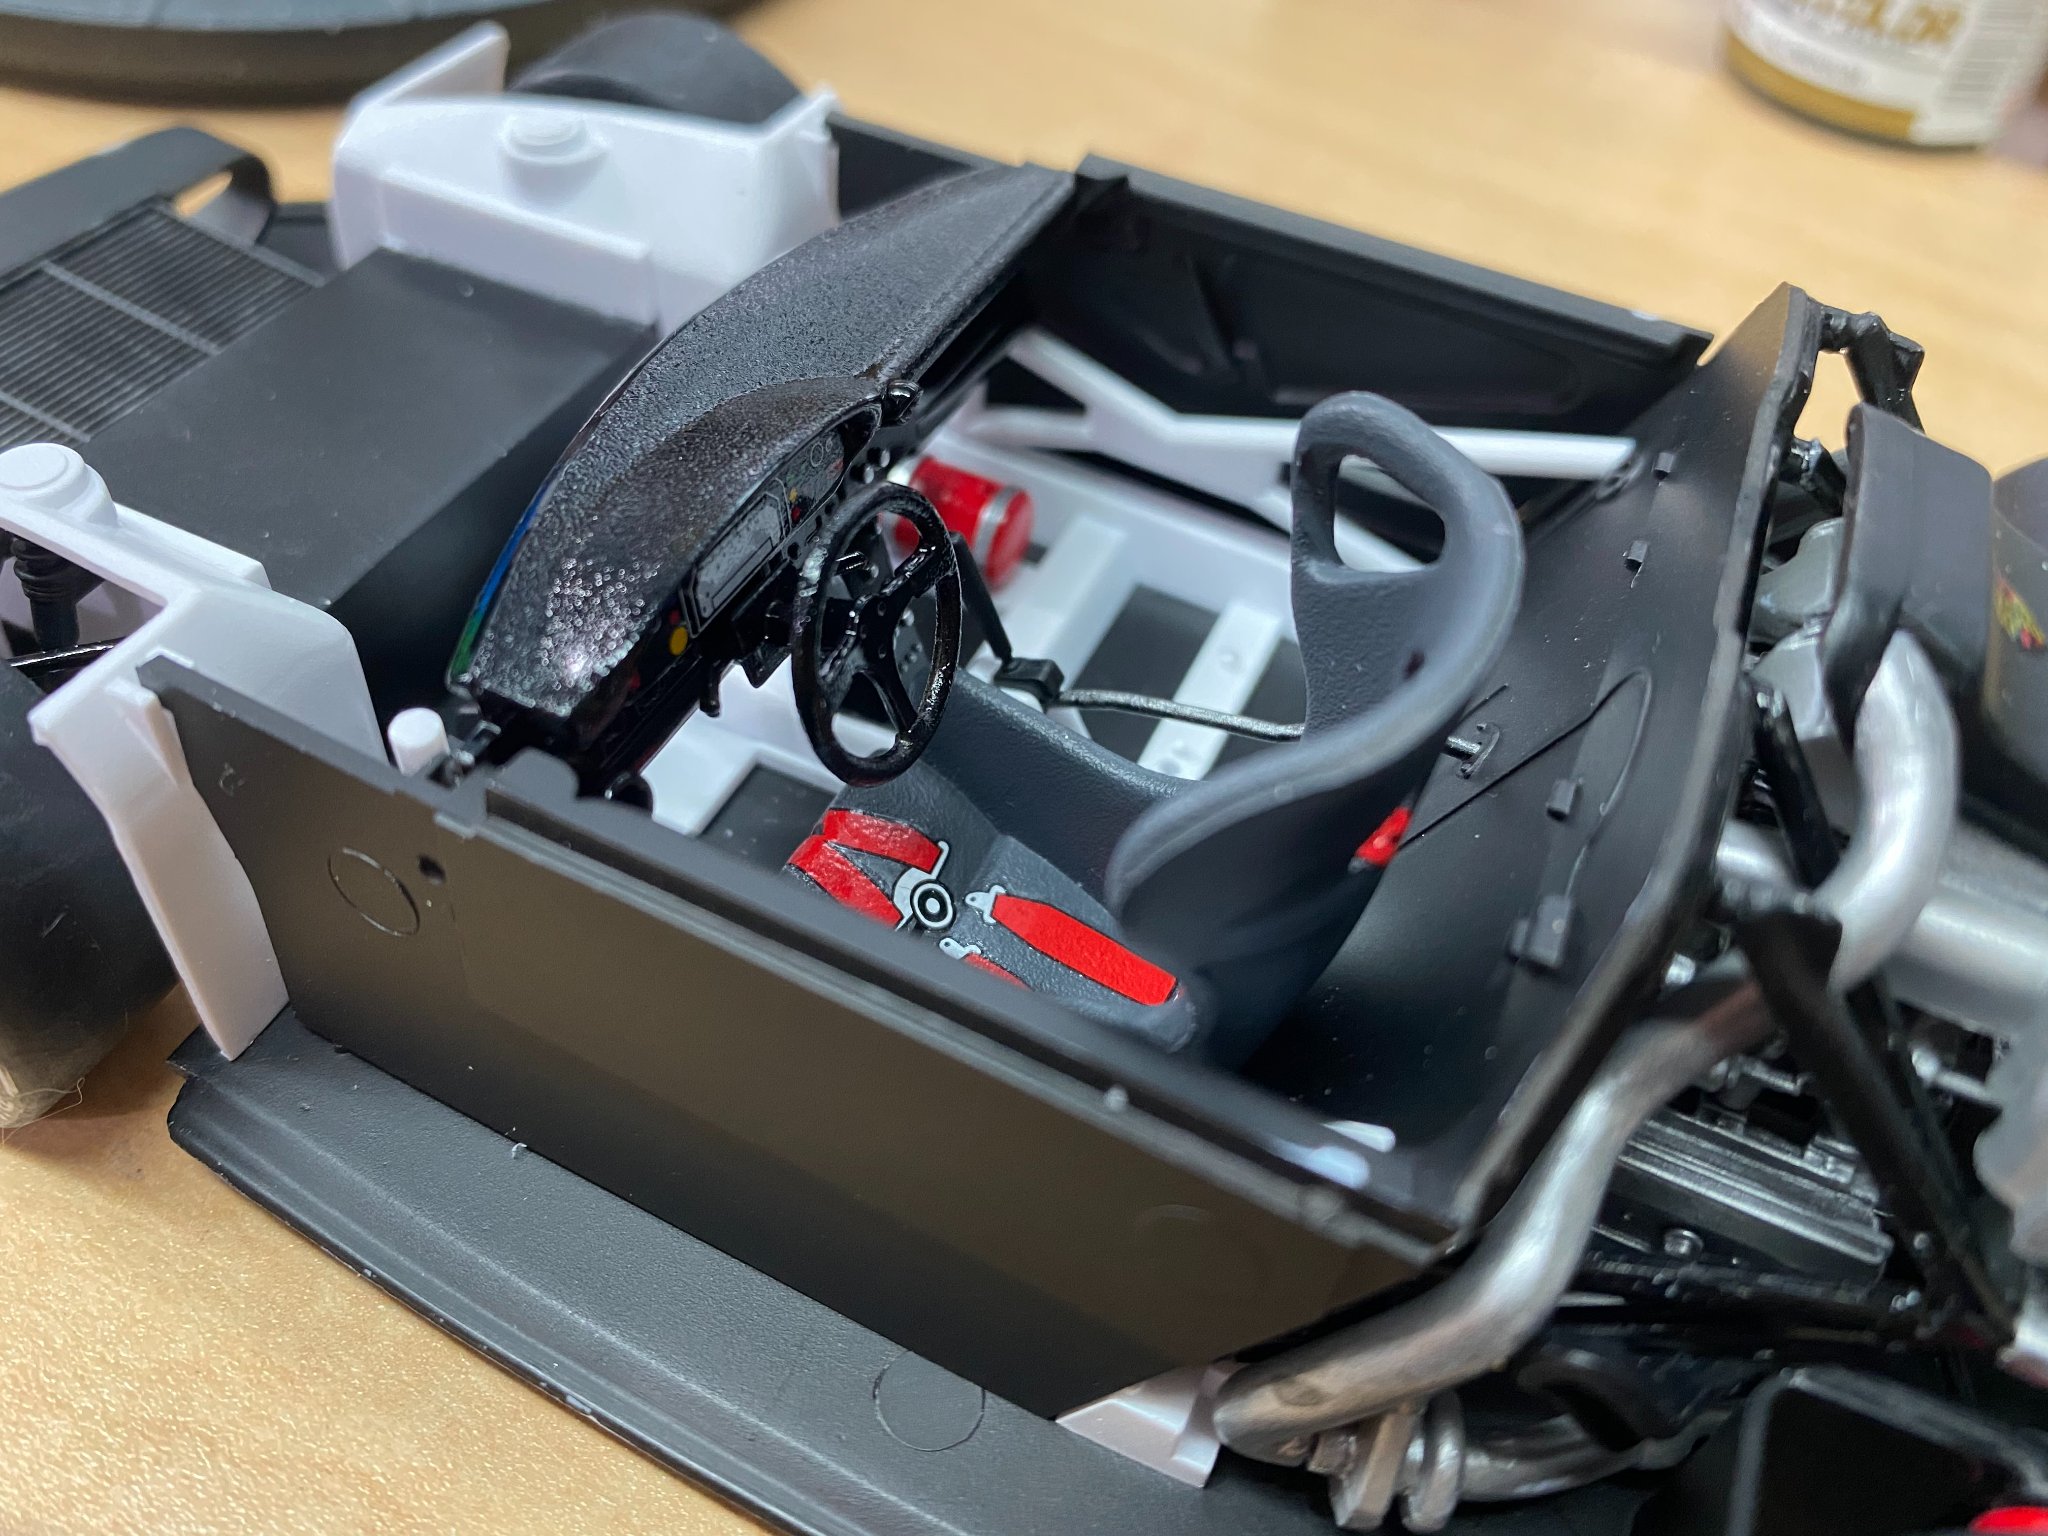
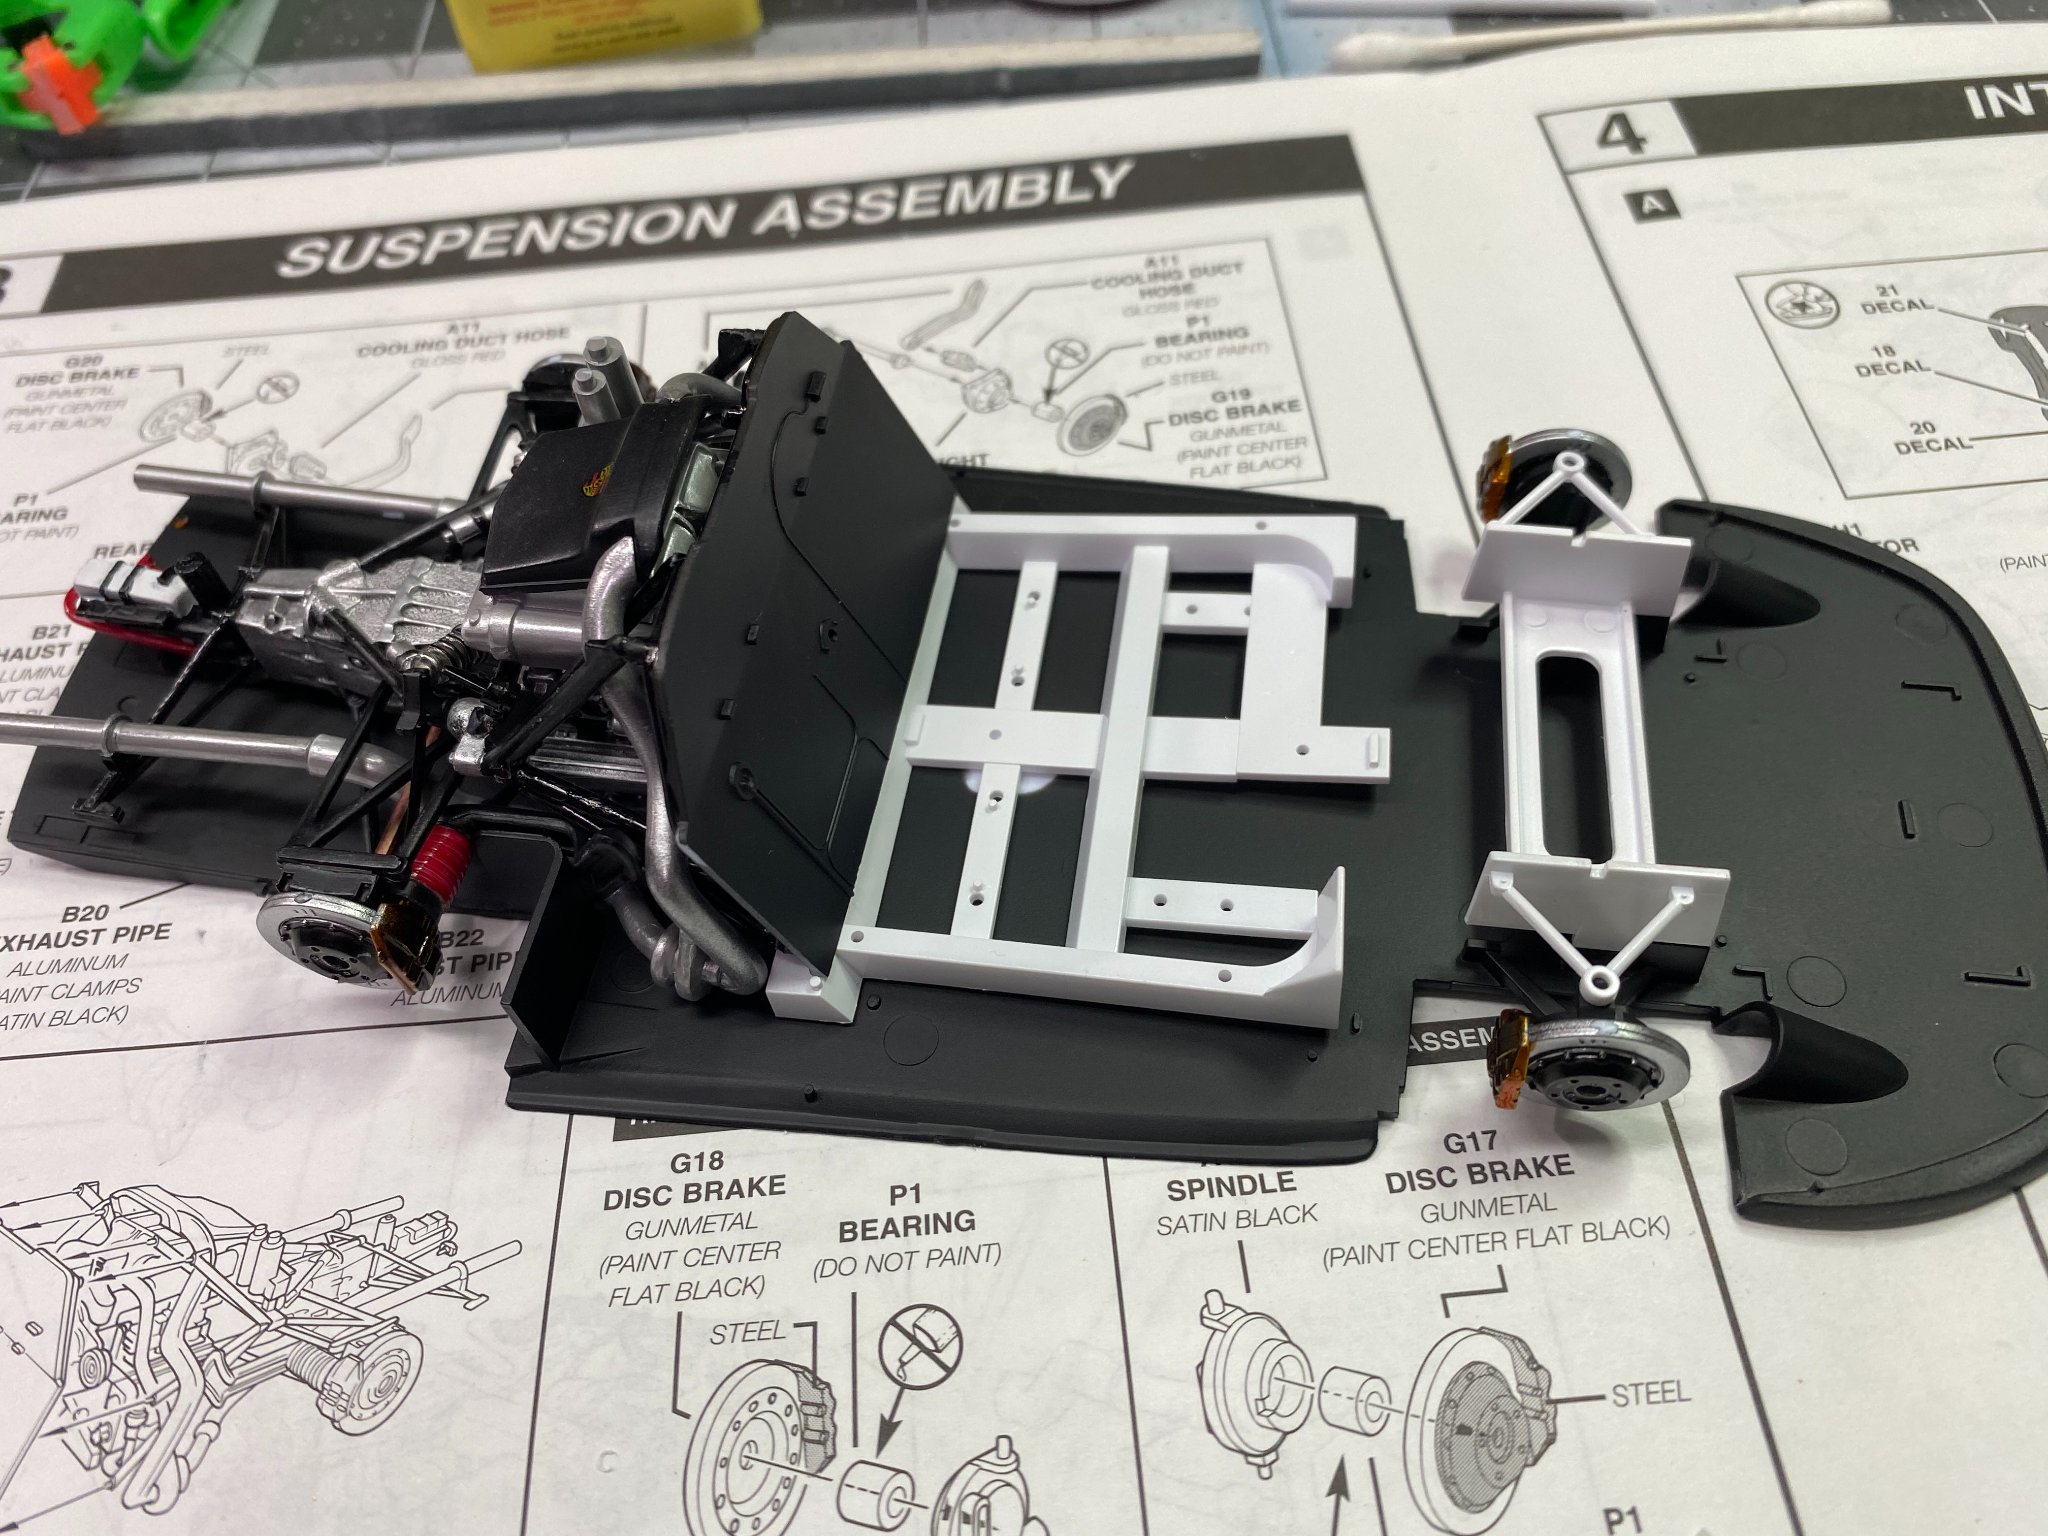
Mock up of chassis assembly. Paint scheme is plain old black and white, many more details to be added, fit check. Black is Mr Color, white is Tamiya.

- 44 replies
-
- 14
-
-
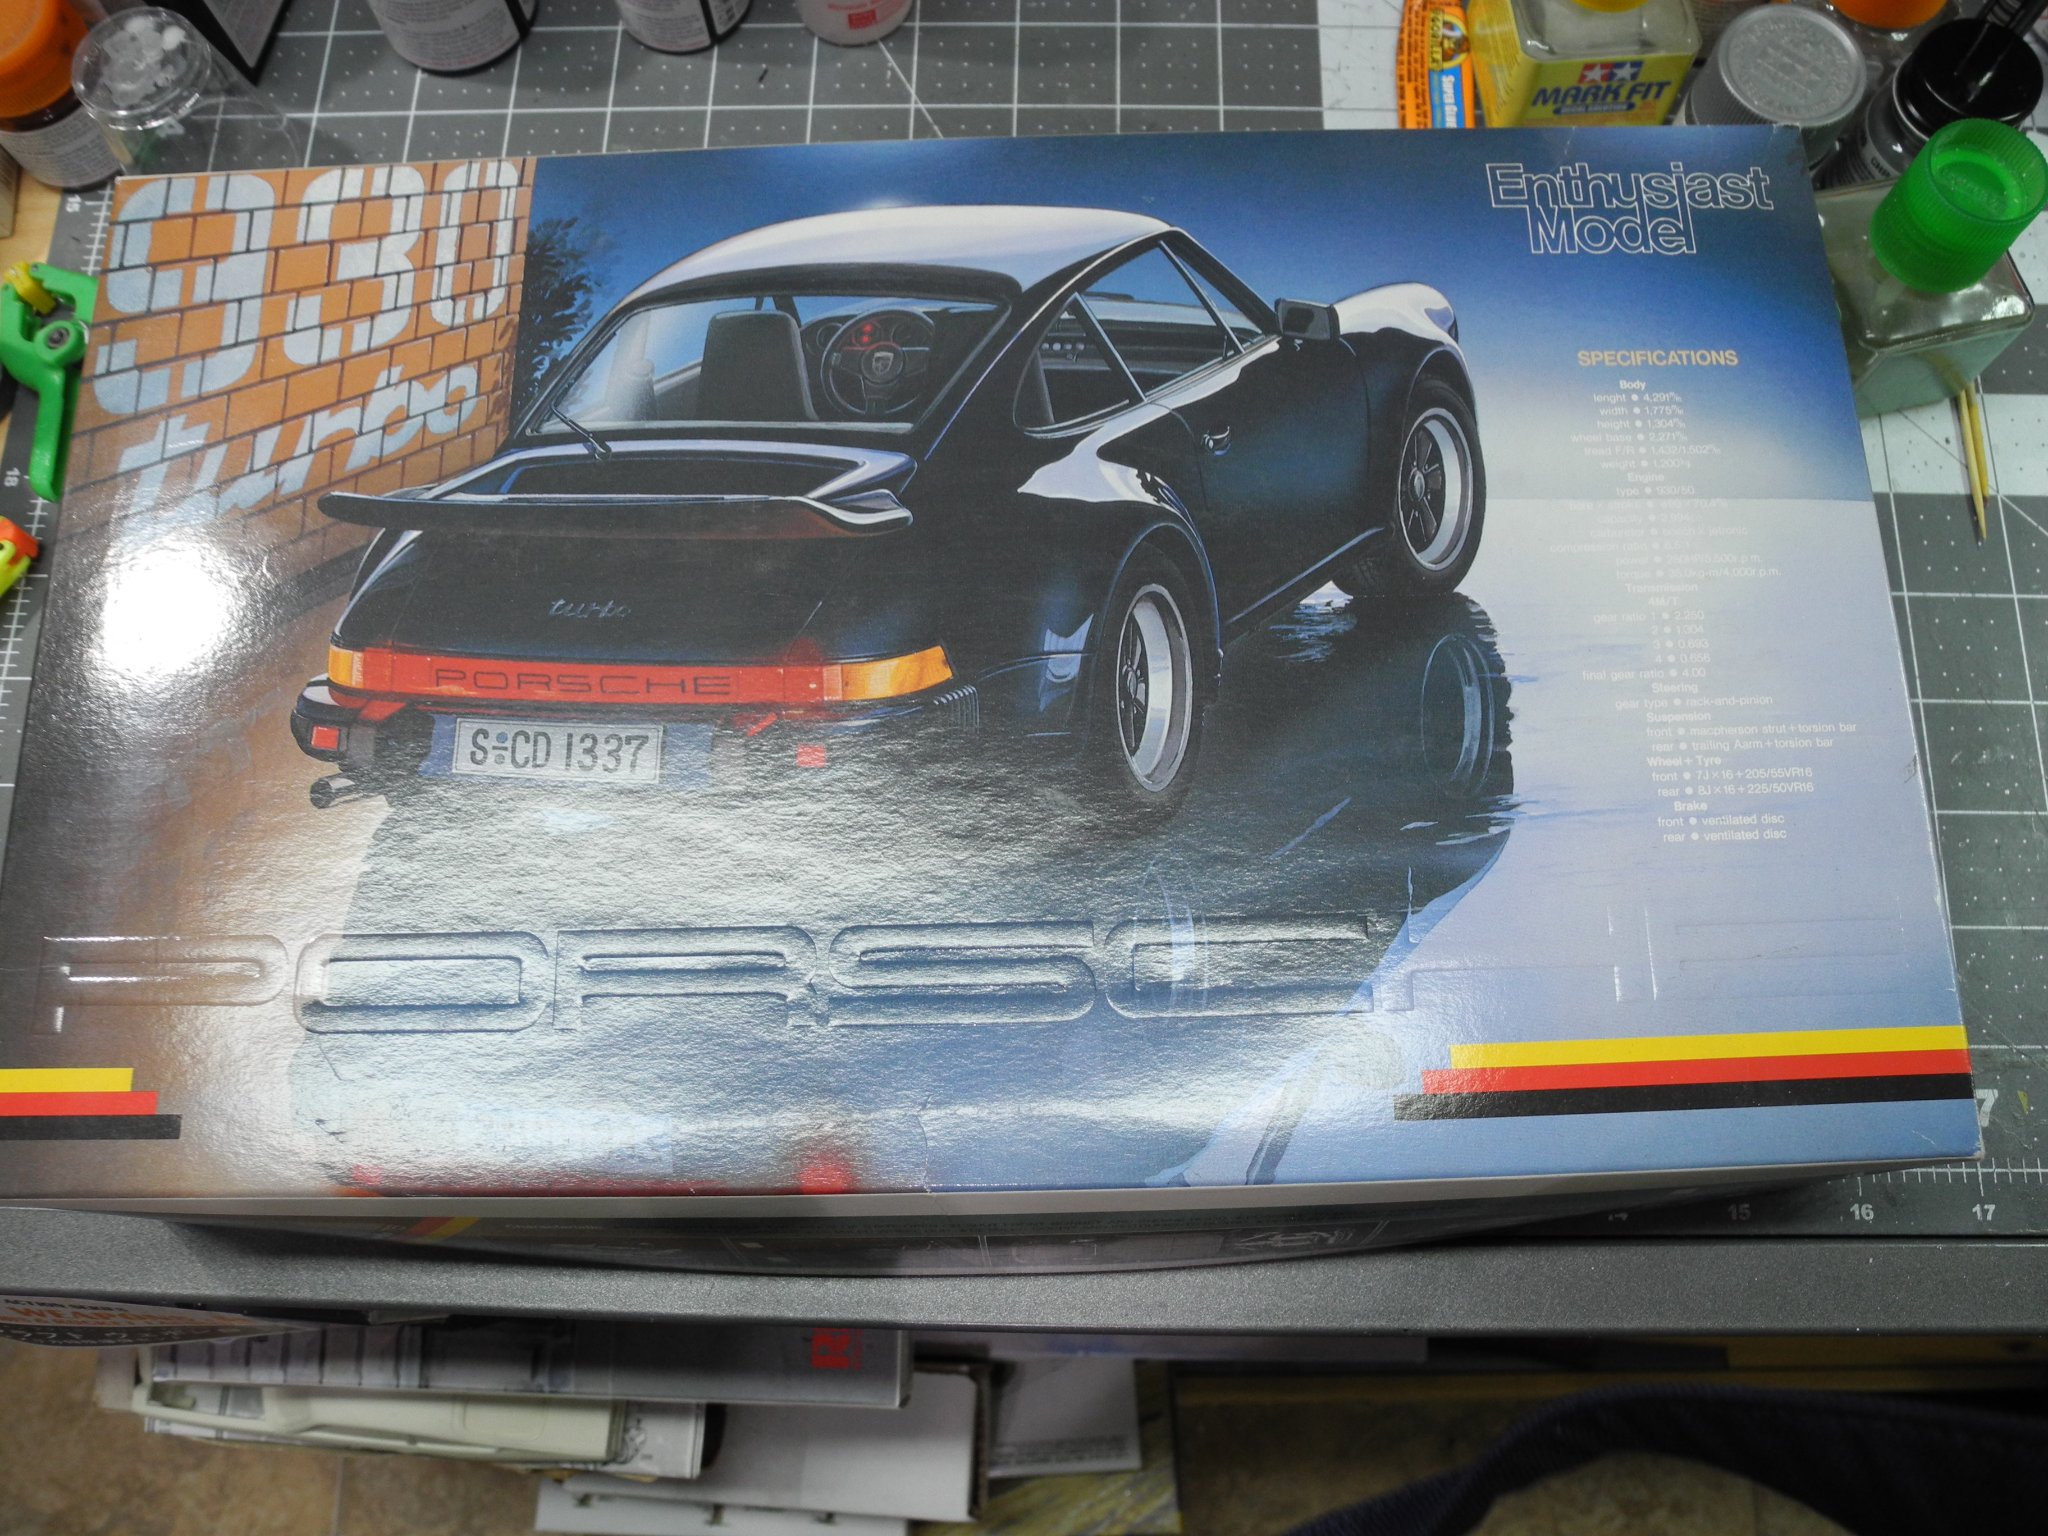
Porsche GT-1 Evo by CDW - FINISHED - Revell - 1:24 Scale - PLASTIC
CDW replied to CDW's topic in Non-ship/categorised builds
Considering this Porsche 930 Turbo as my next project when this one is complete. A street version will go along side the racing version.
- 44 replies
-
- 11
-
-
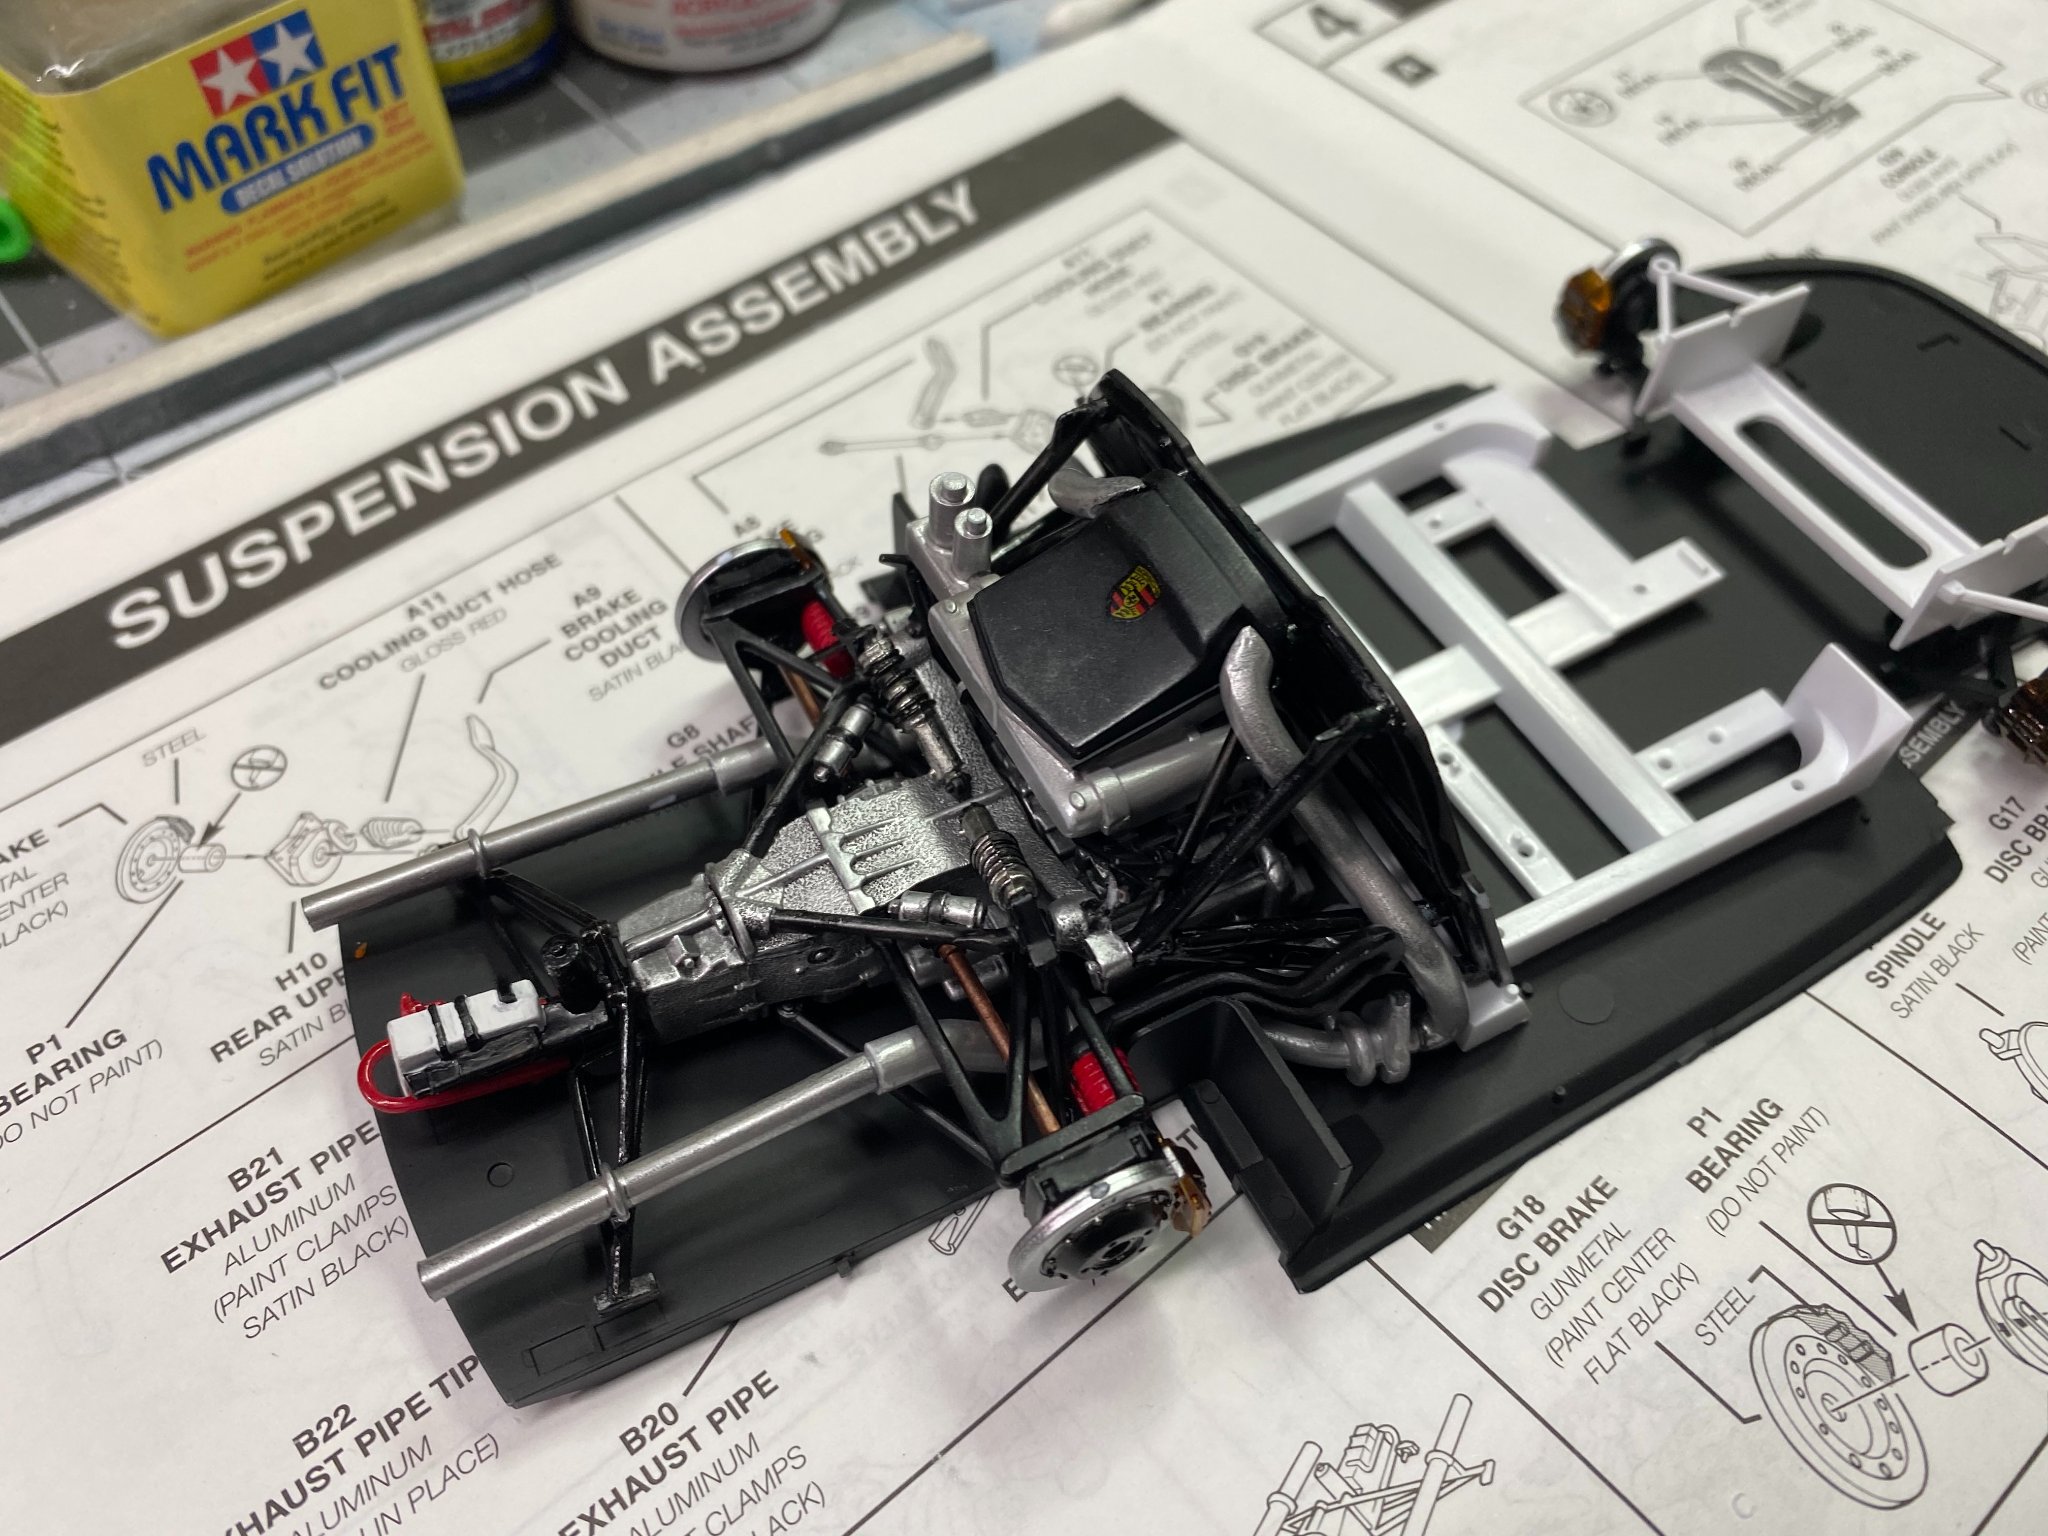
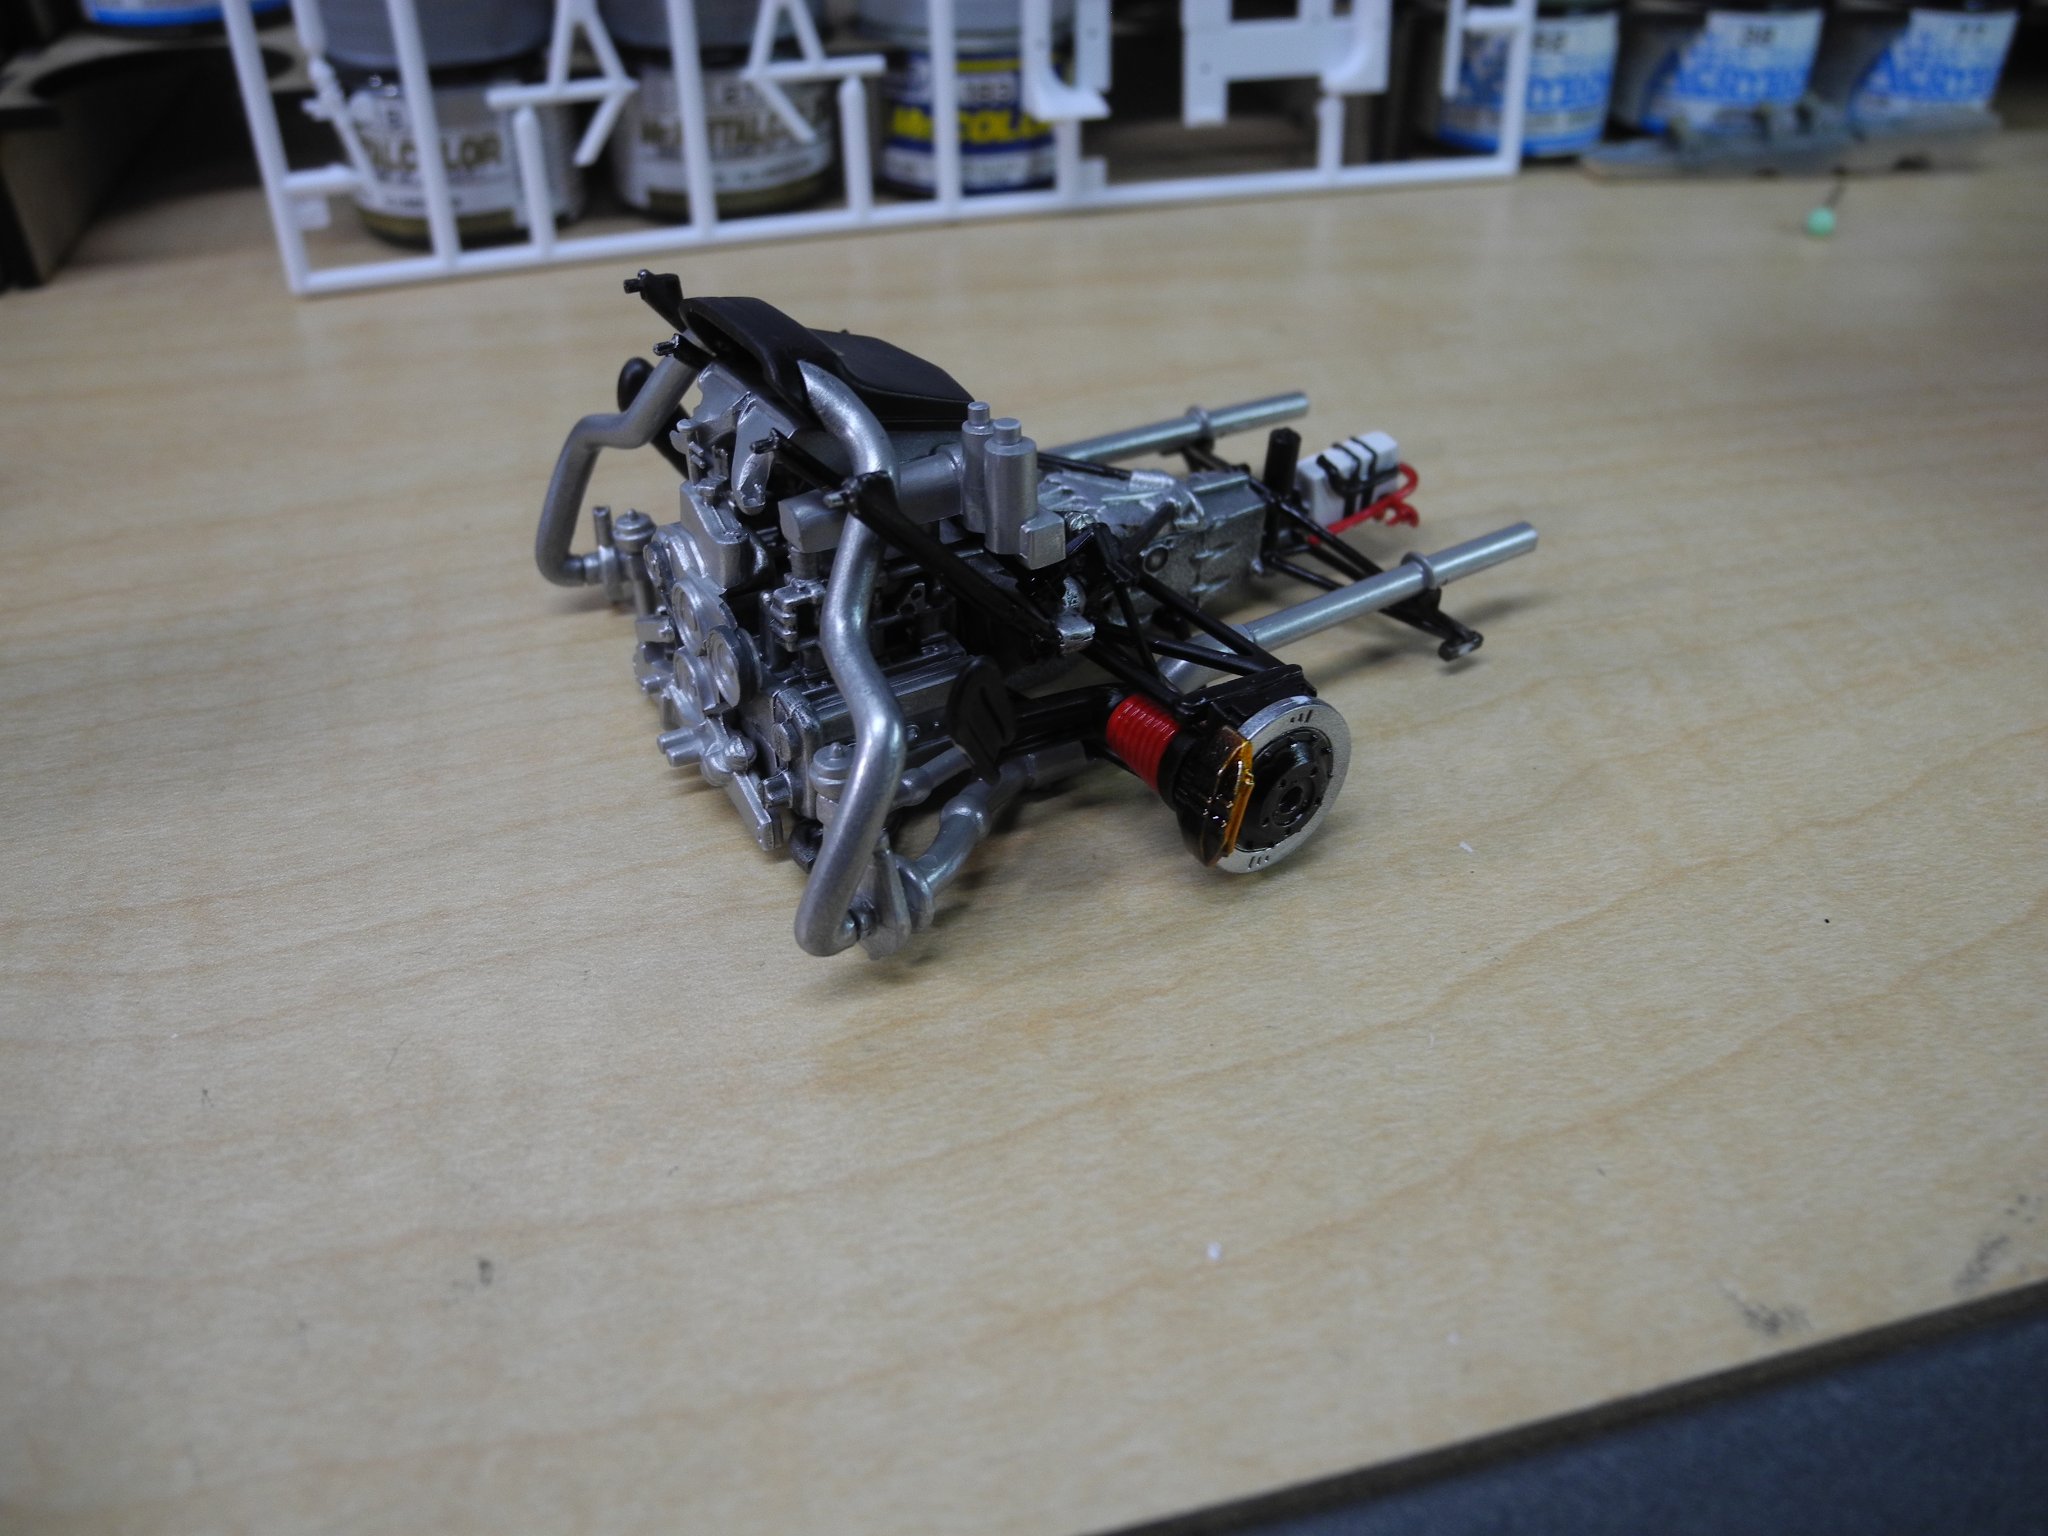
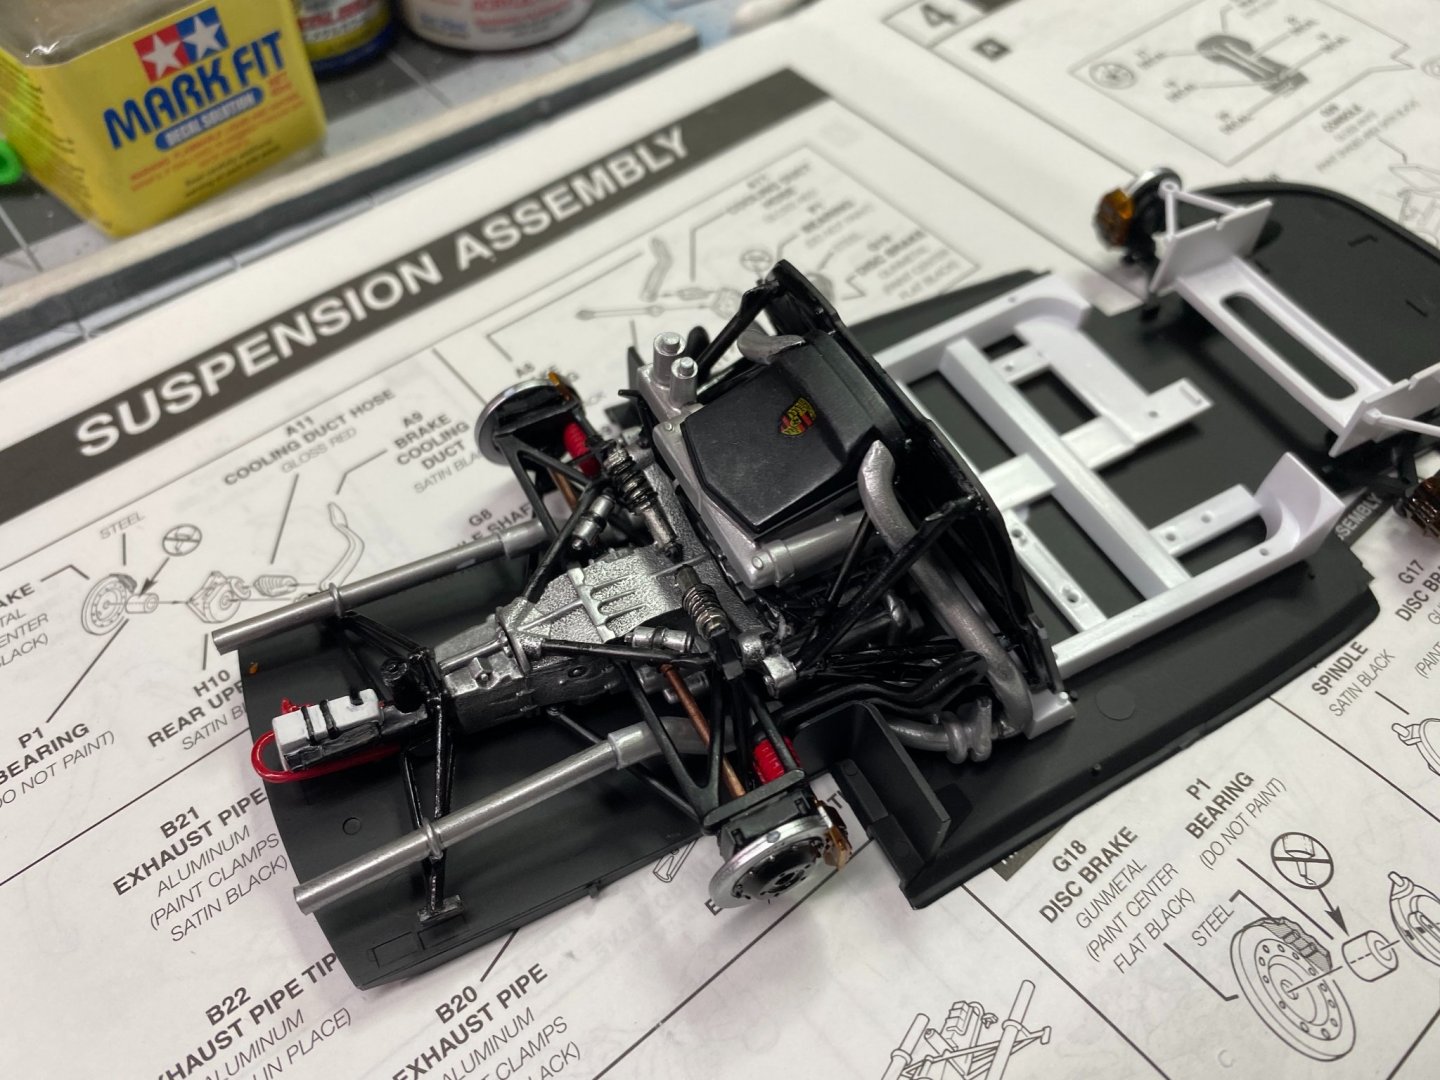
Porsche GT-1 Evo by CDW - FINISHED - Revell - 1:24 Scale - PLASTIC
CDW replied to CDW's topic in Non-ship/categorised builds
Added disk brakes, drive shafts, brake cooling ducts, and the remainder of the exhaust system attached to turbo charger units.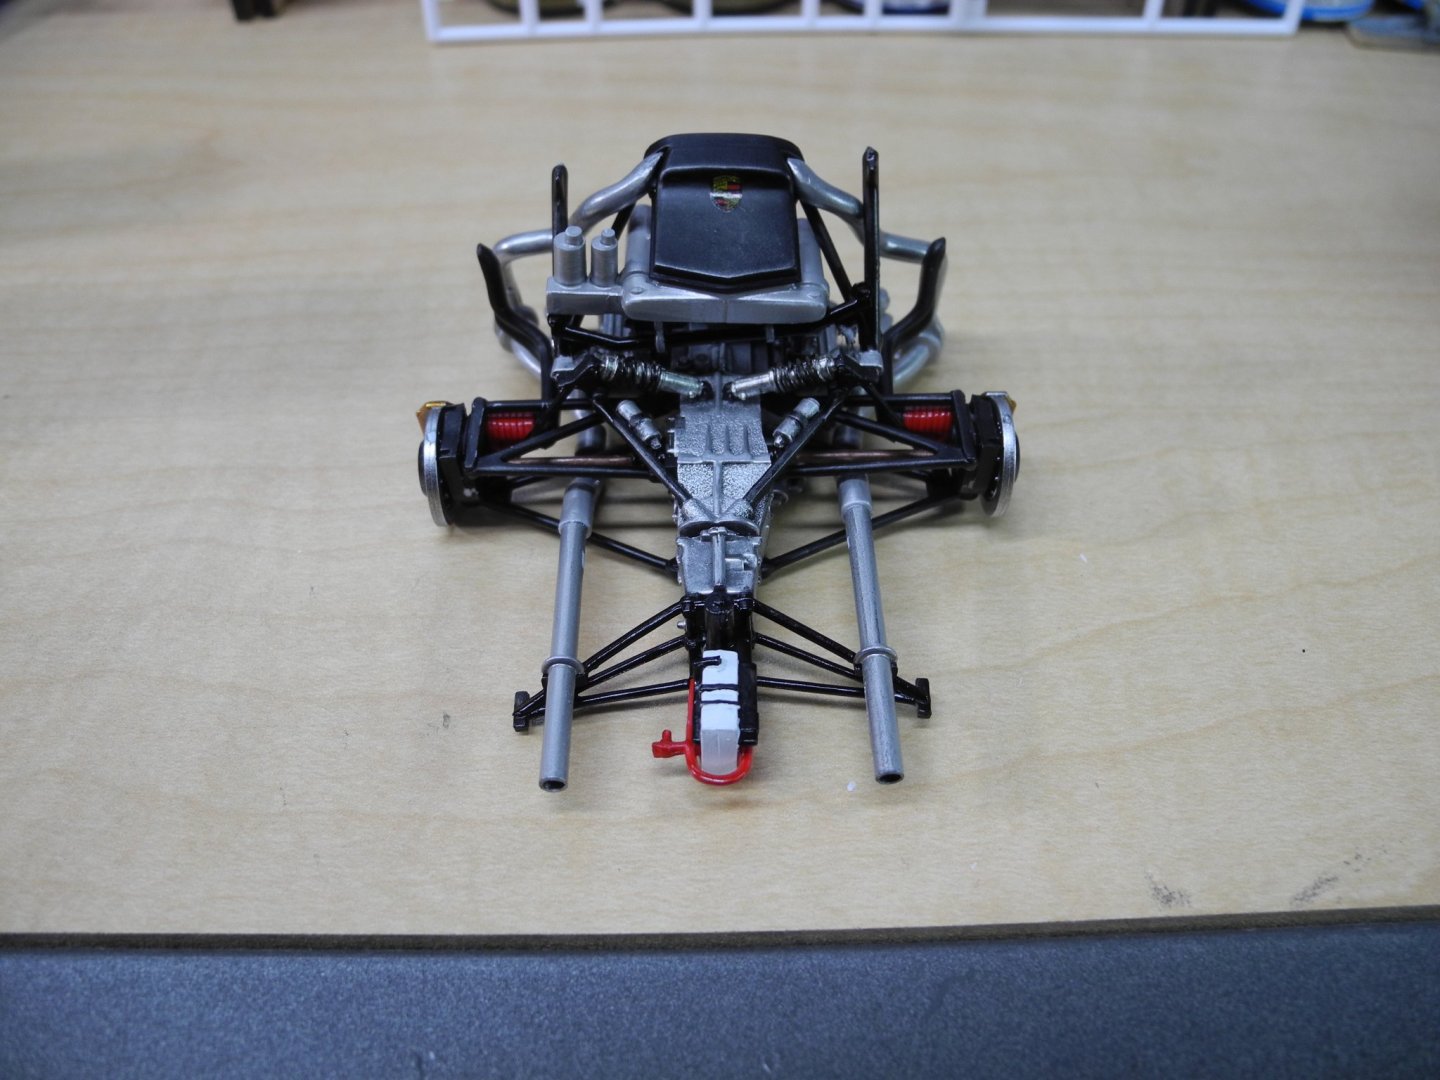
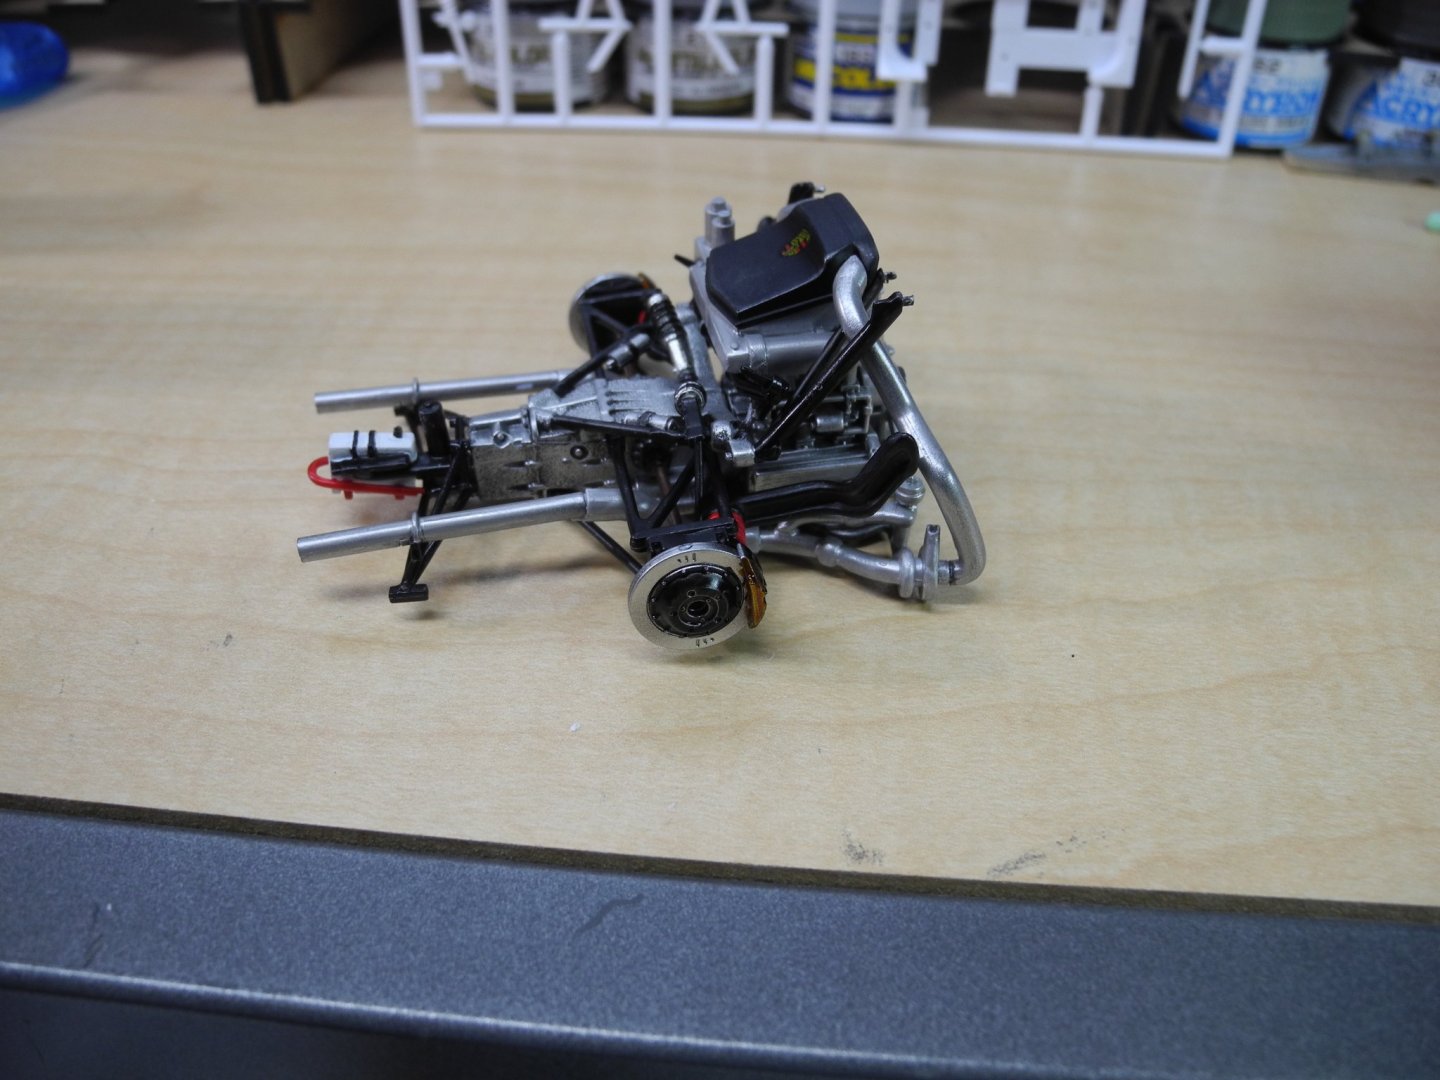
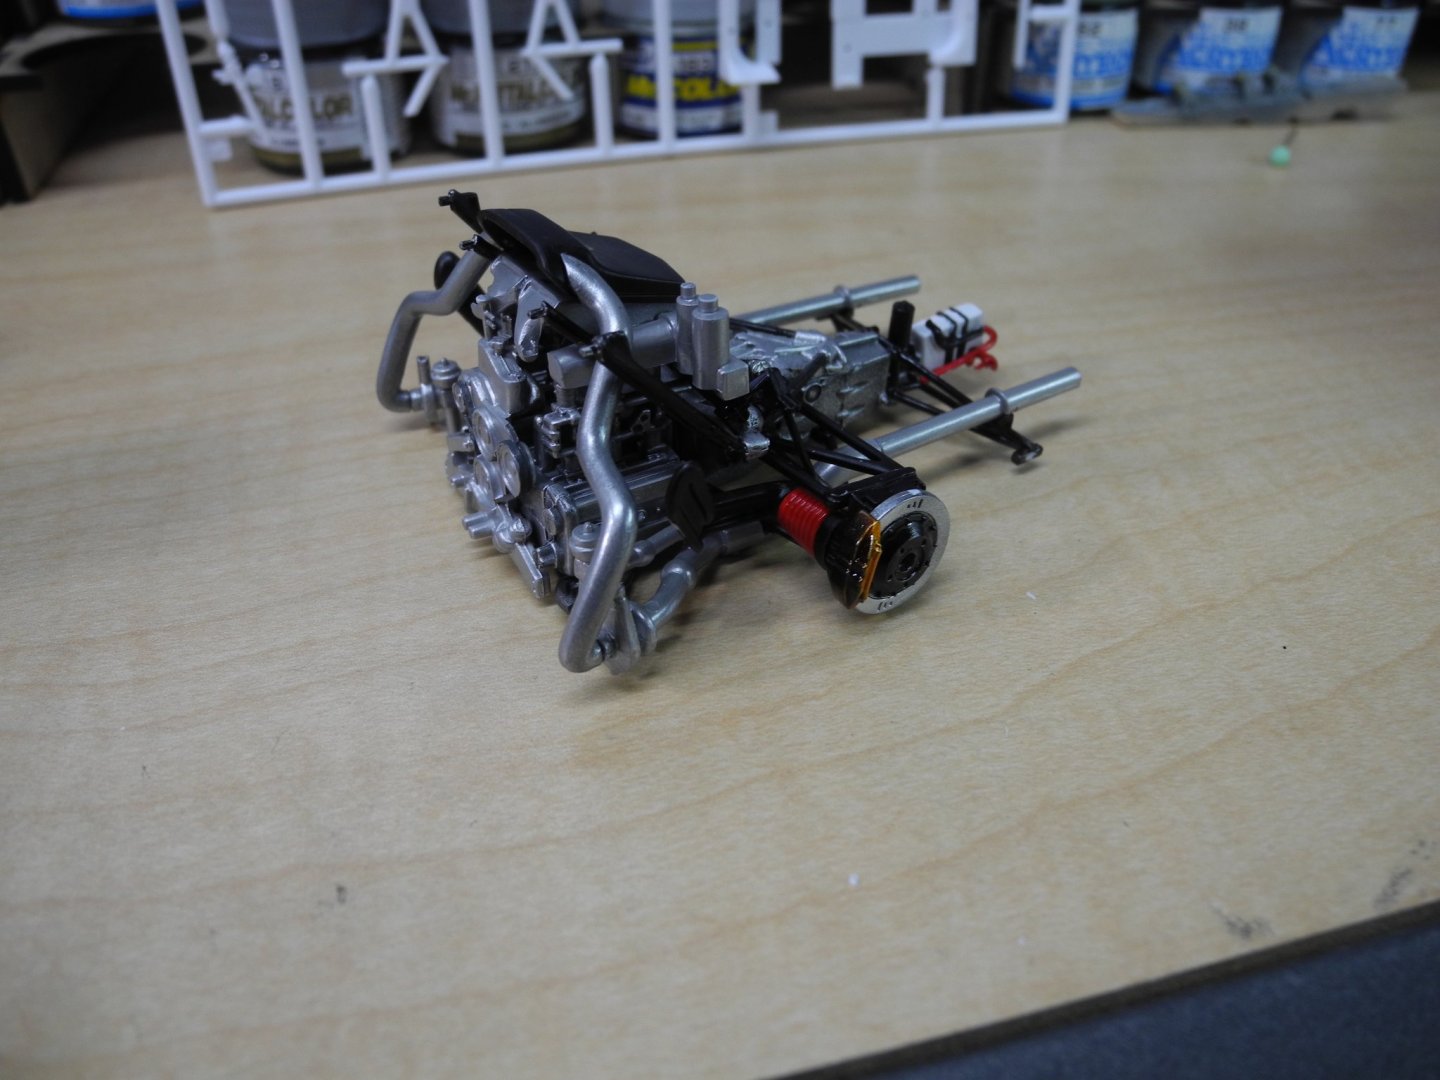
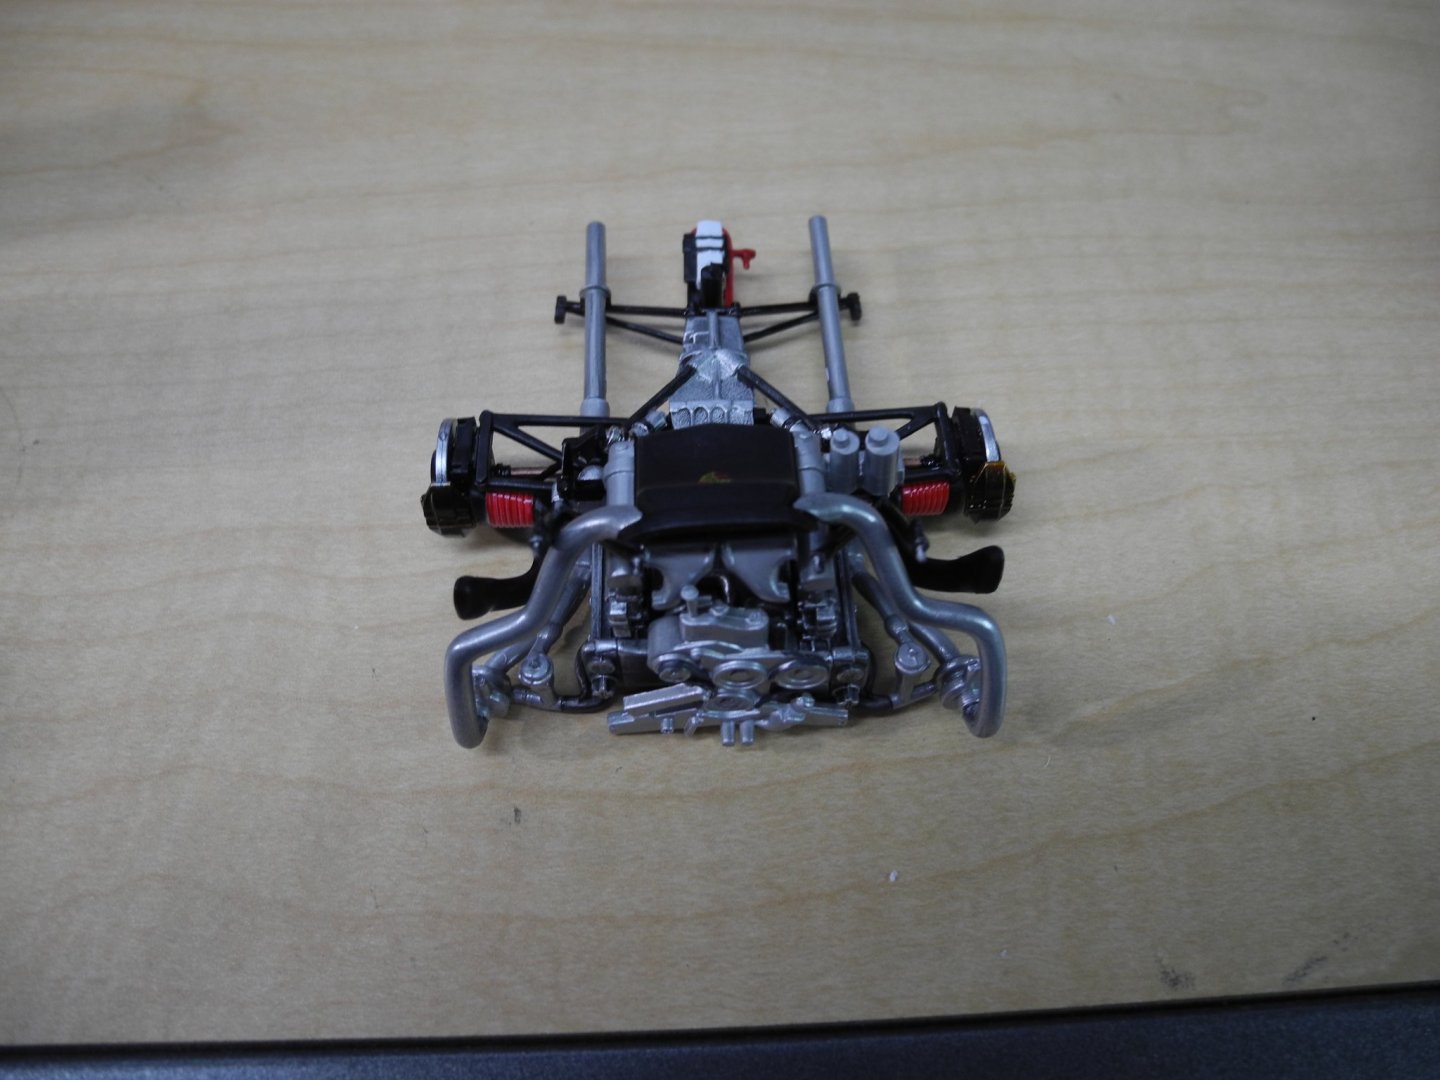
- 44 replies
-
- 10
-