-
Posts
7,760 -
Joined
-
Last visited
Content Type
Profiles
Forums
Gallery
Events
Everything posted by CDW
-

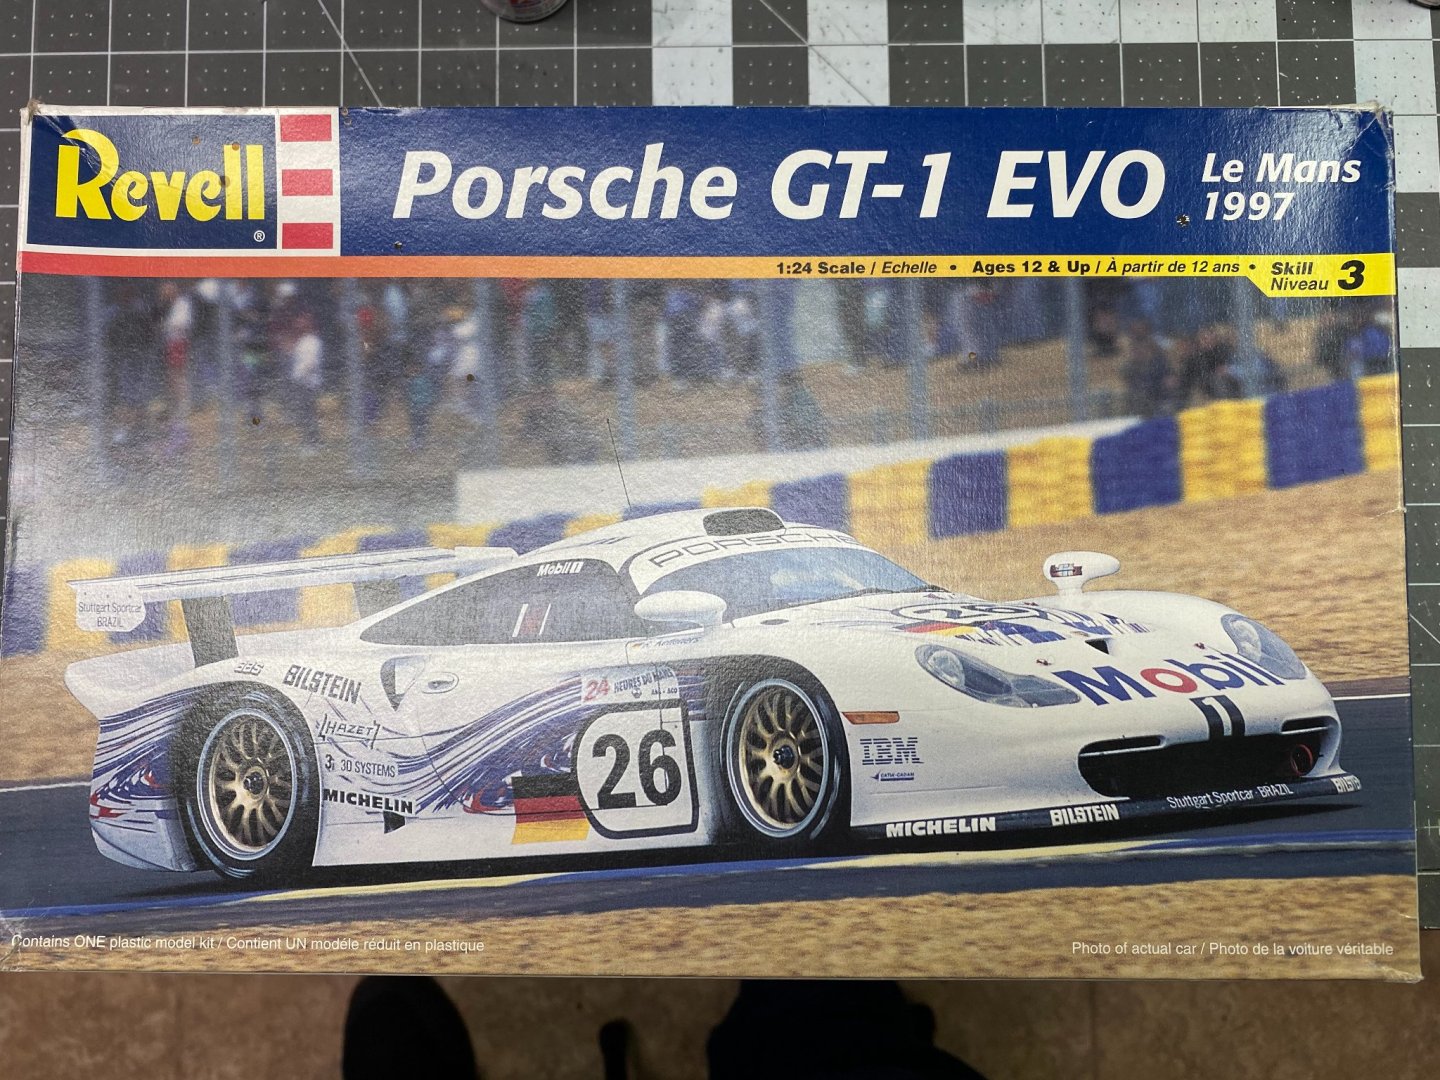
Porsche GT-1 Evo by CDW - FINISHED - Revell - 1:24 Scale - PLASTIC
CDW replied to CDW's topic in Non-ship/categorised builds
-

Porsche GT-1 Evo by CDW - FINISHED - Revell - 1:24 Scale - PLASTIC
CDW replied to CDW's topic in Non-ship/categorised builds
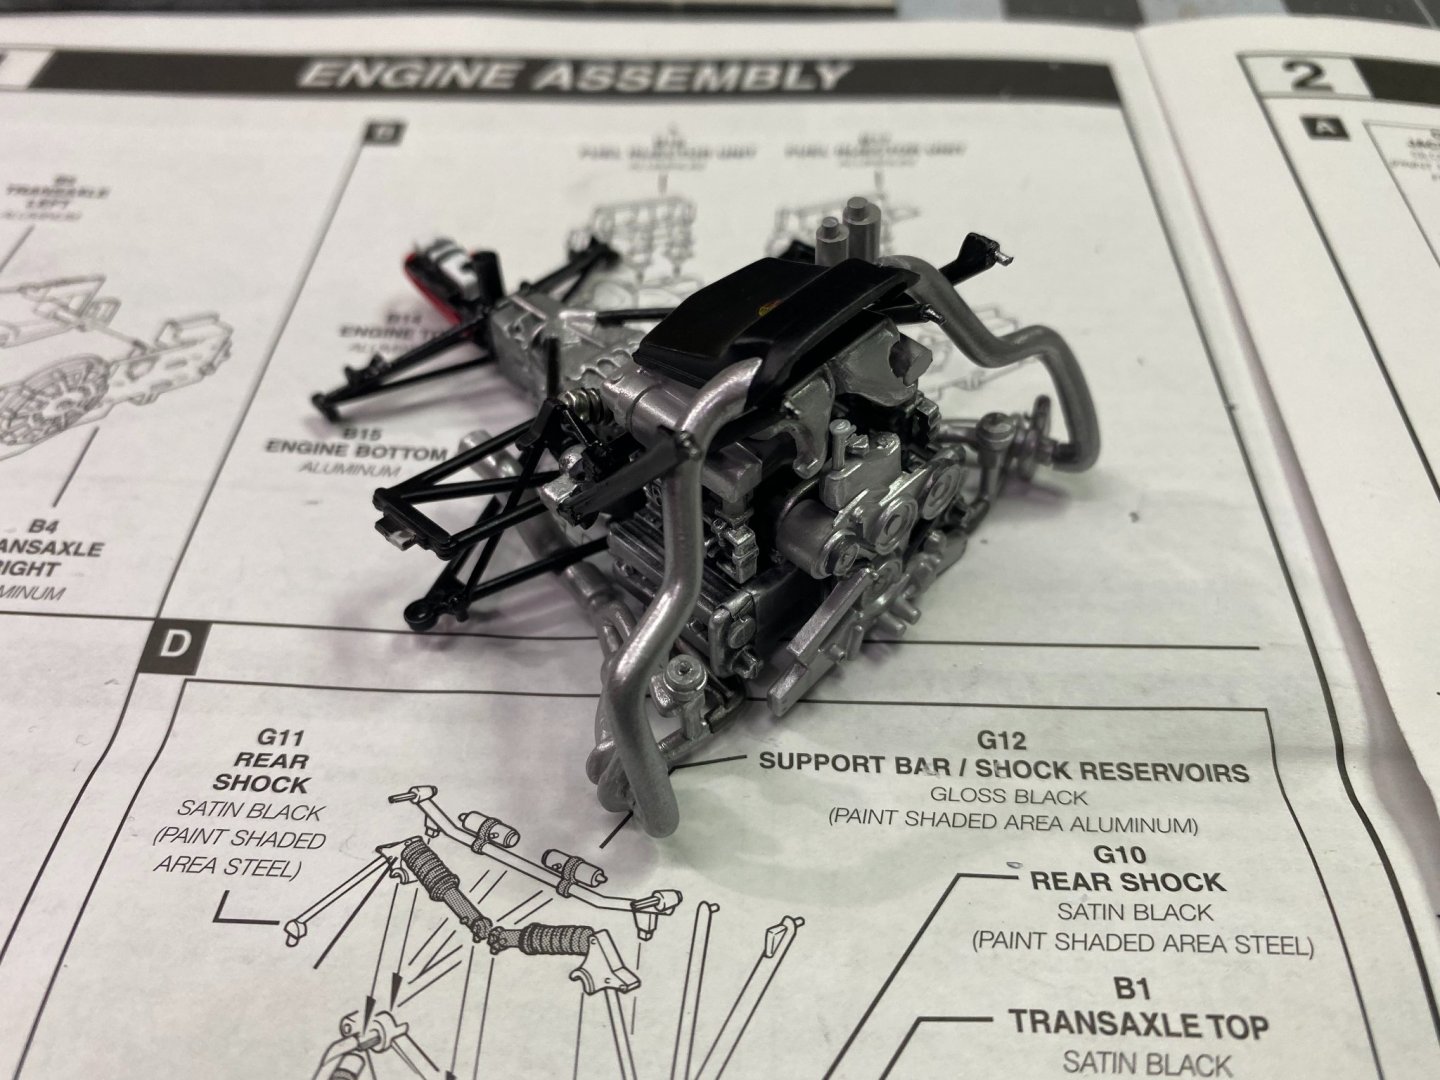
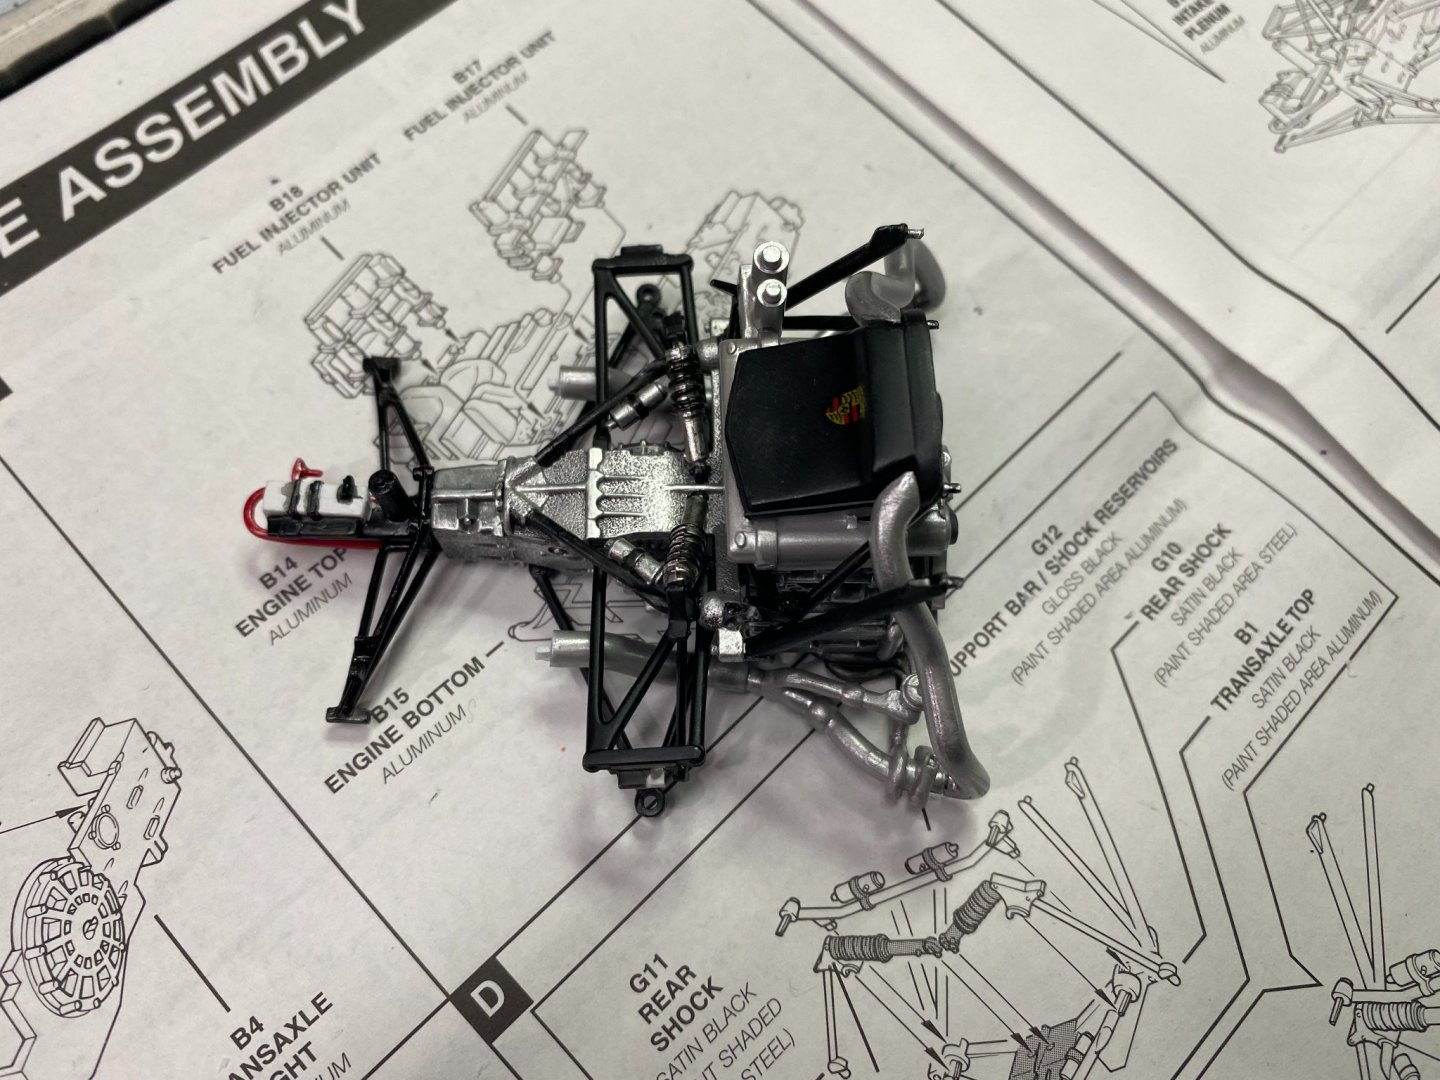
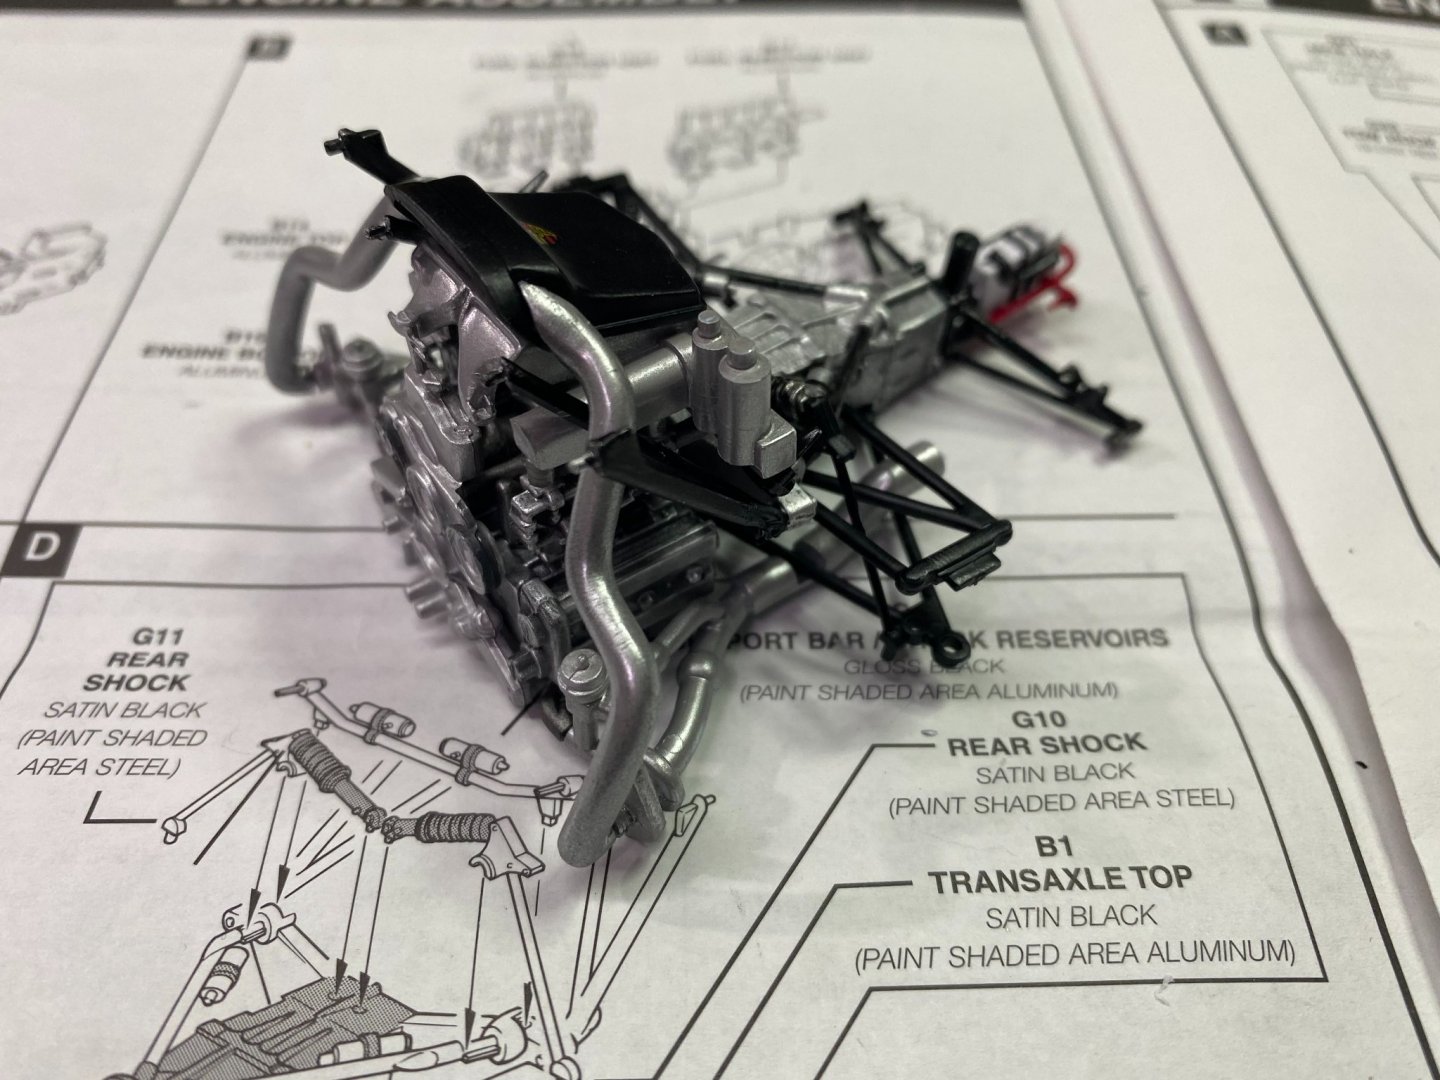
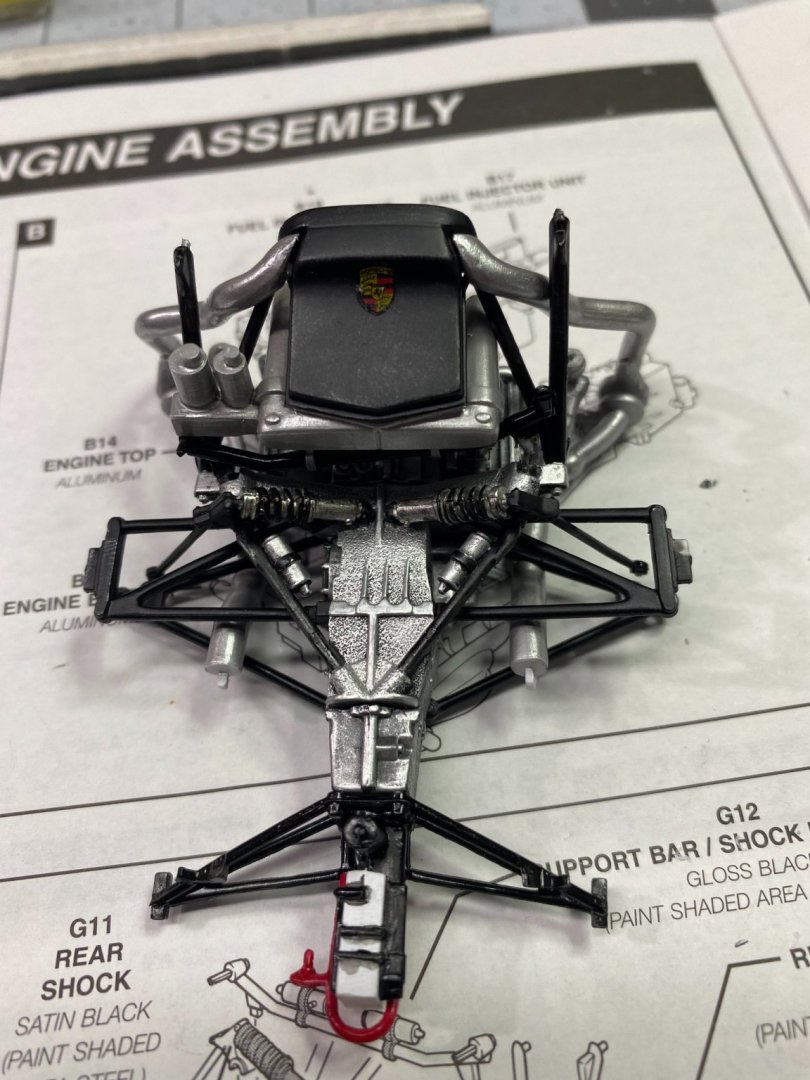
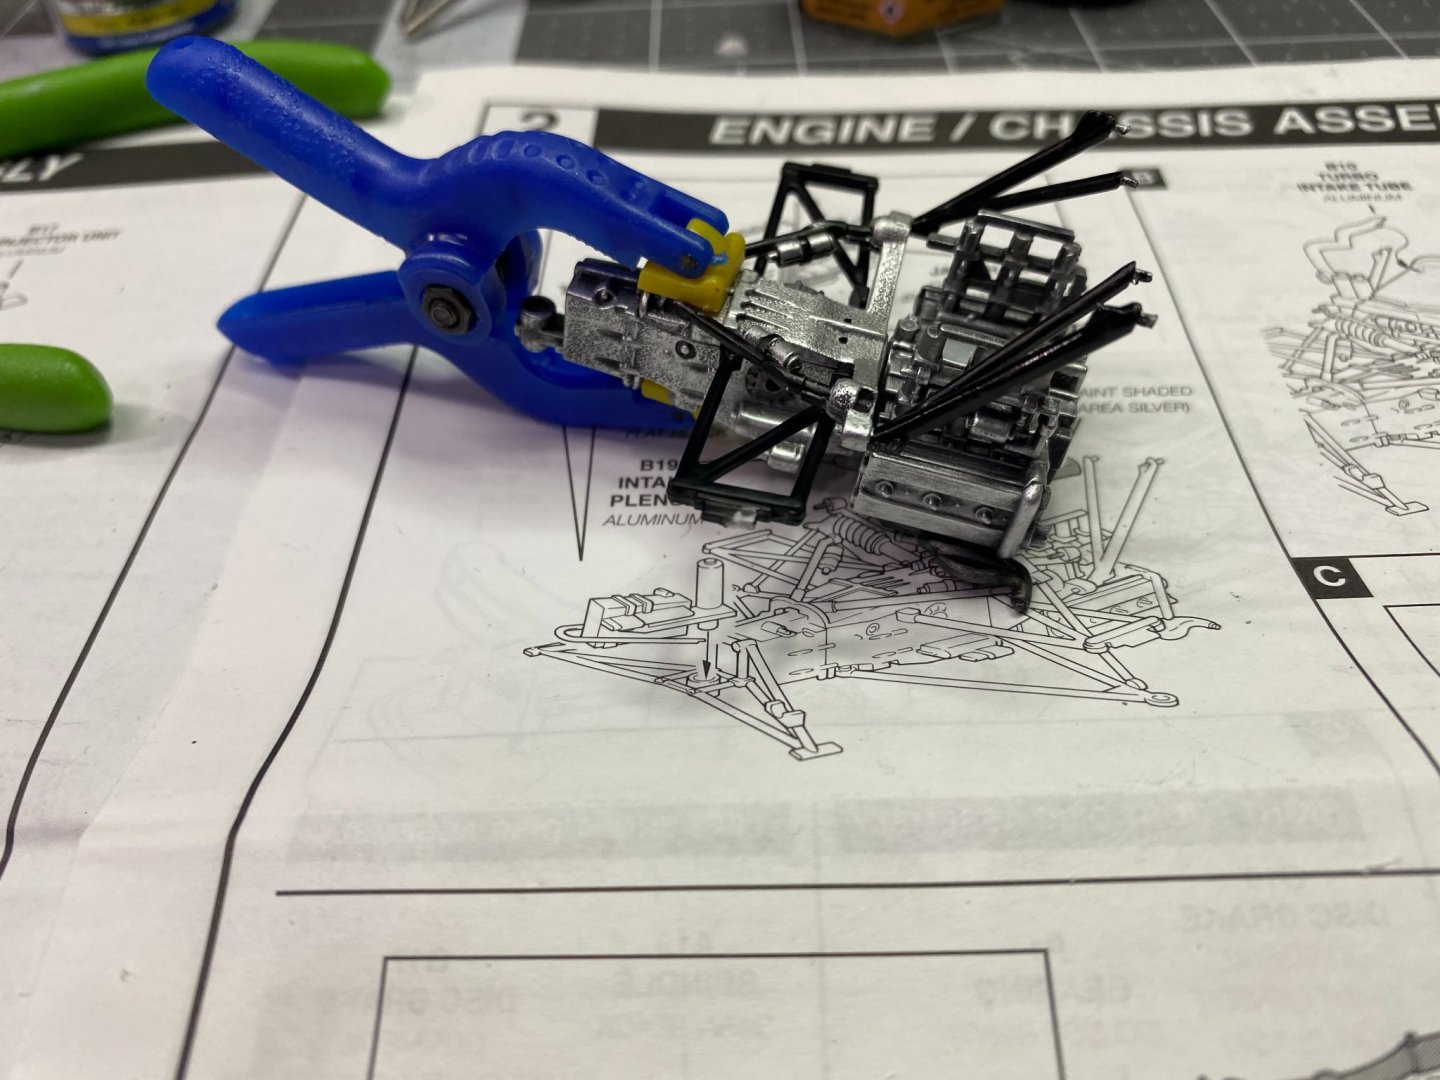
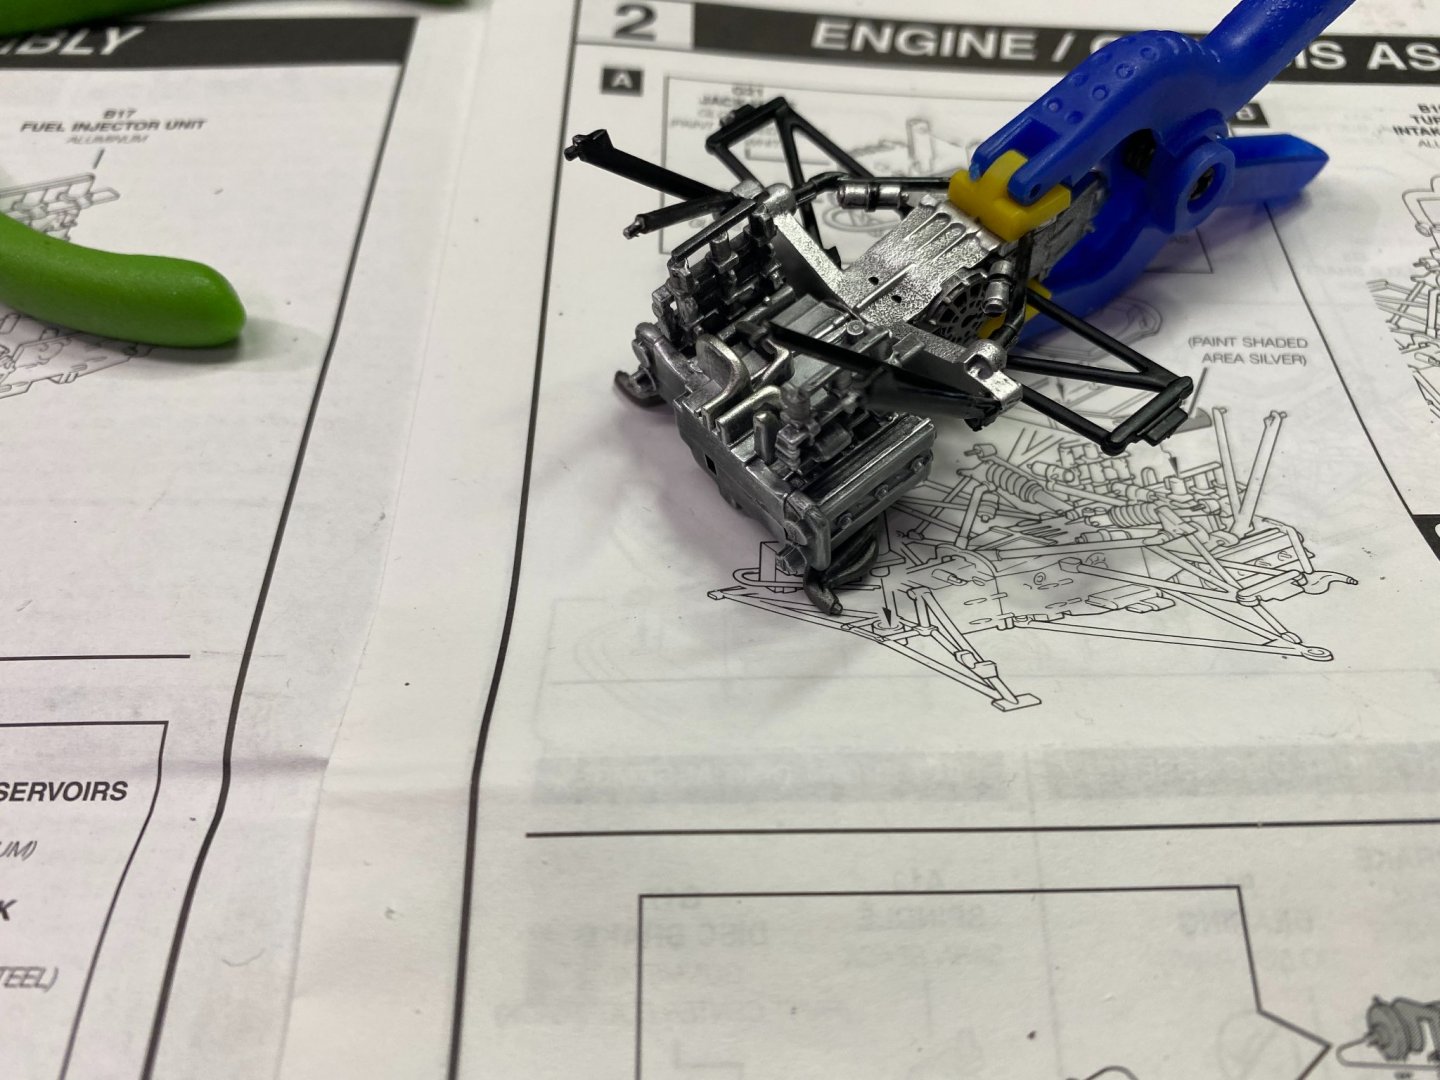
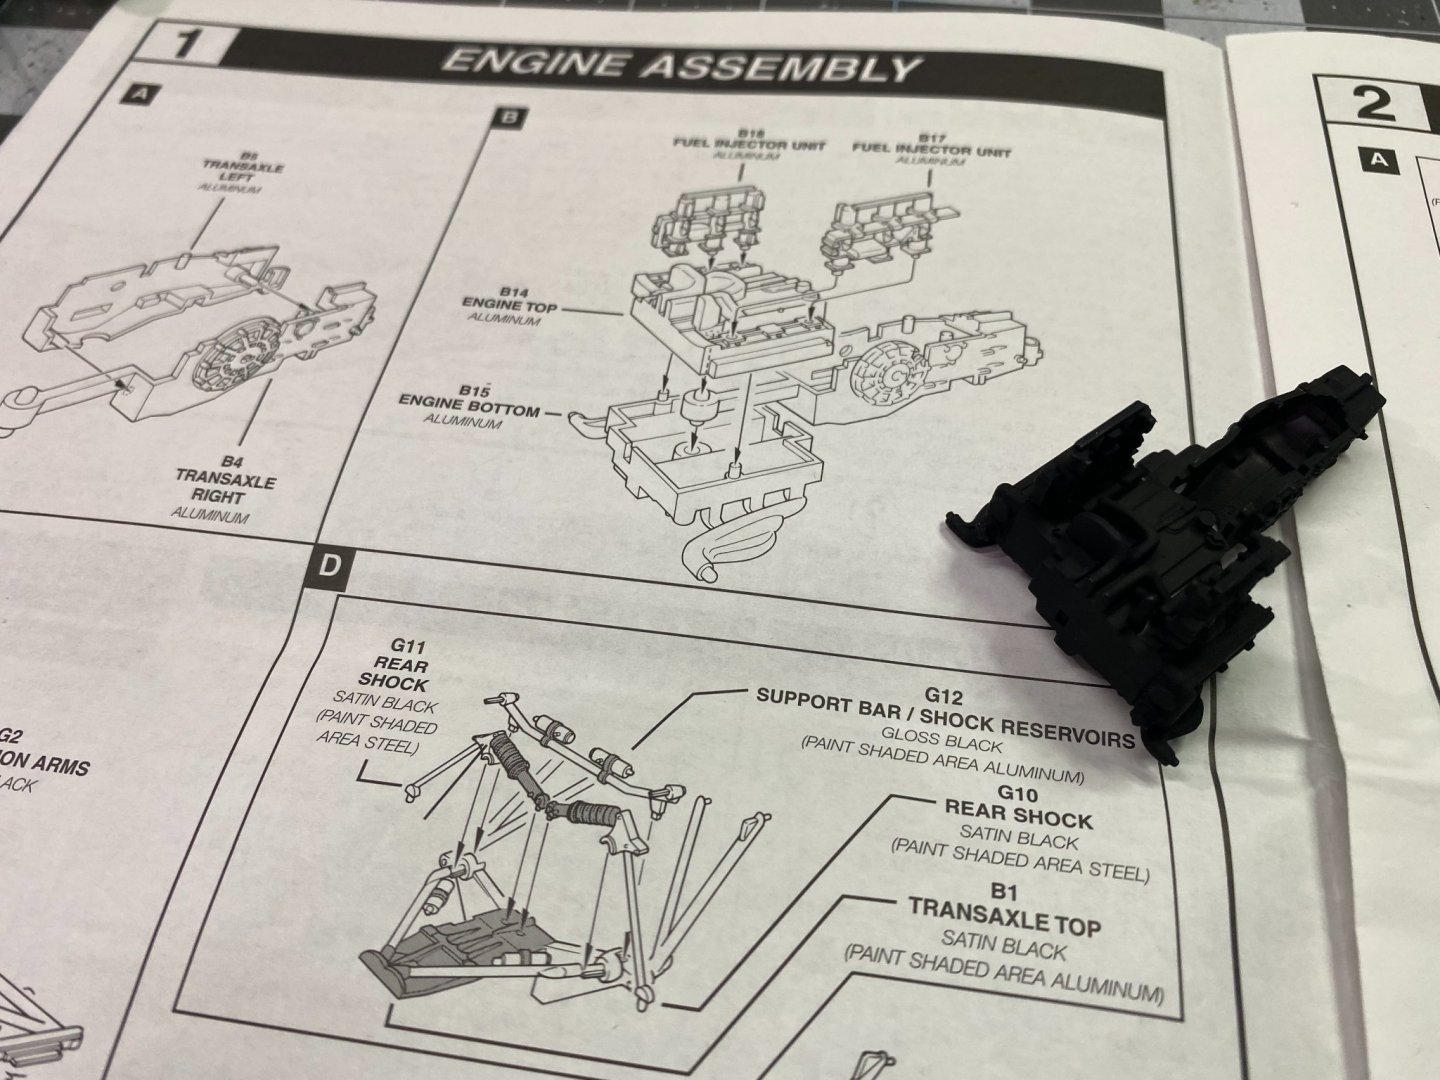
Construction begins with the engine/transmission/rear suspension. Flat black base coat (Tamiya), then dry brushing of various metallic colors from Mr Color. -
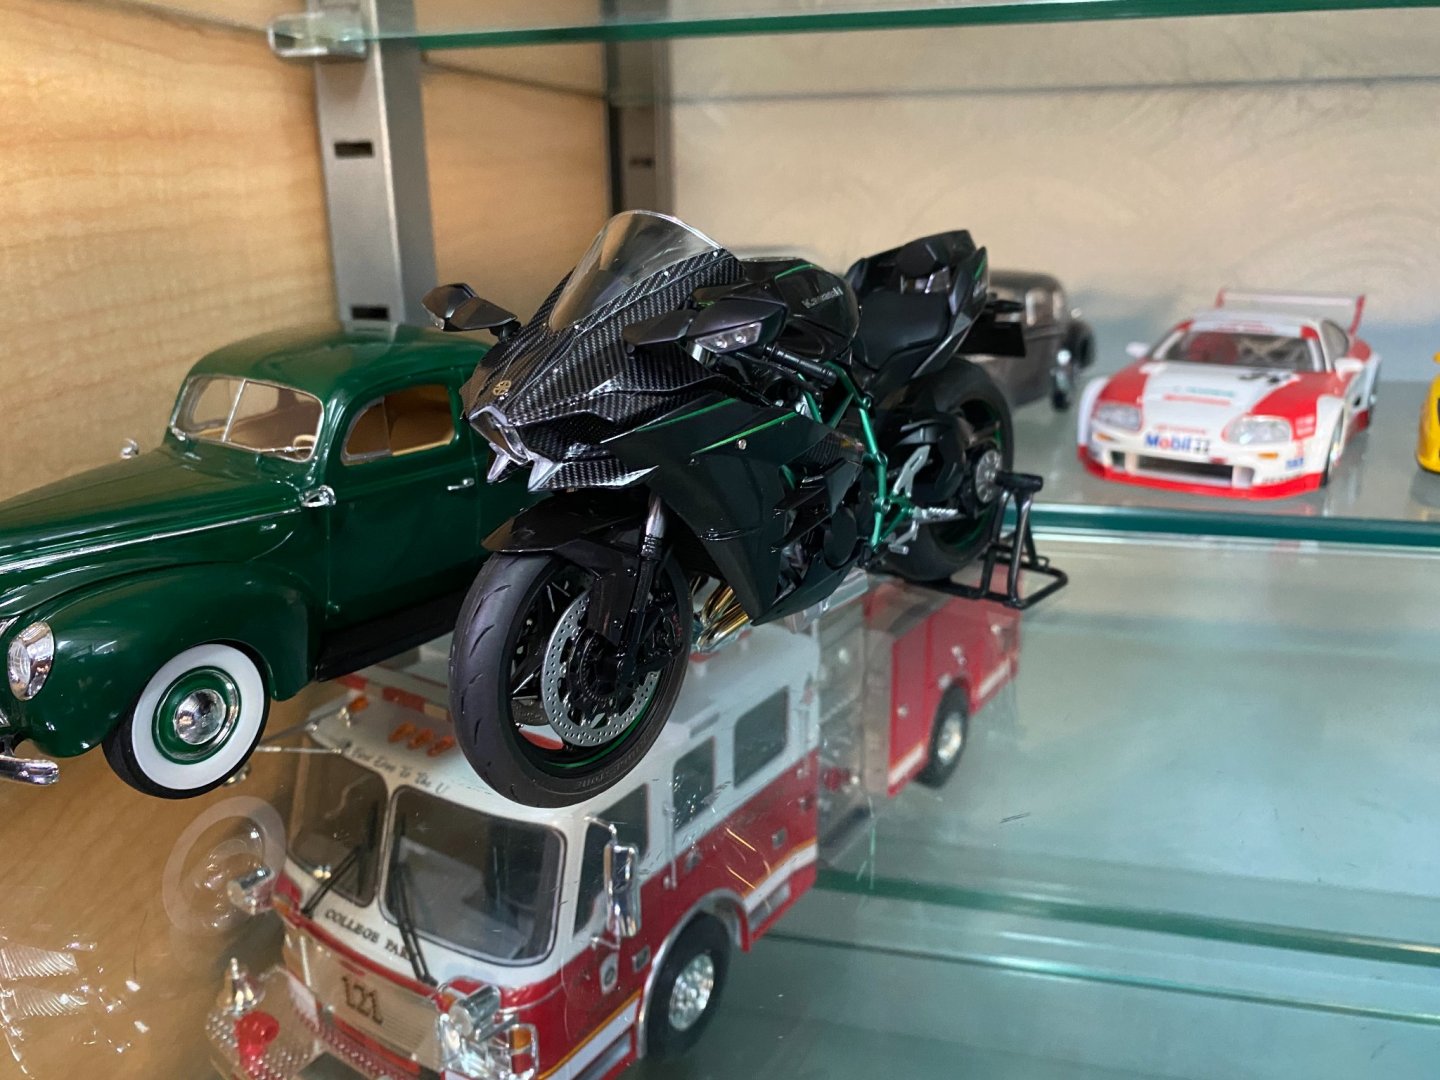
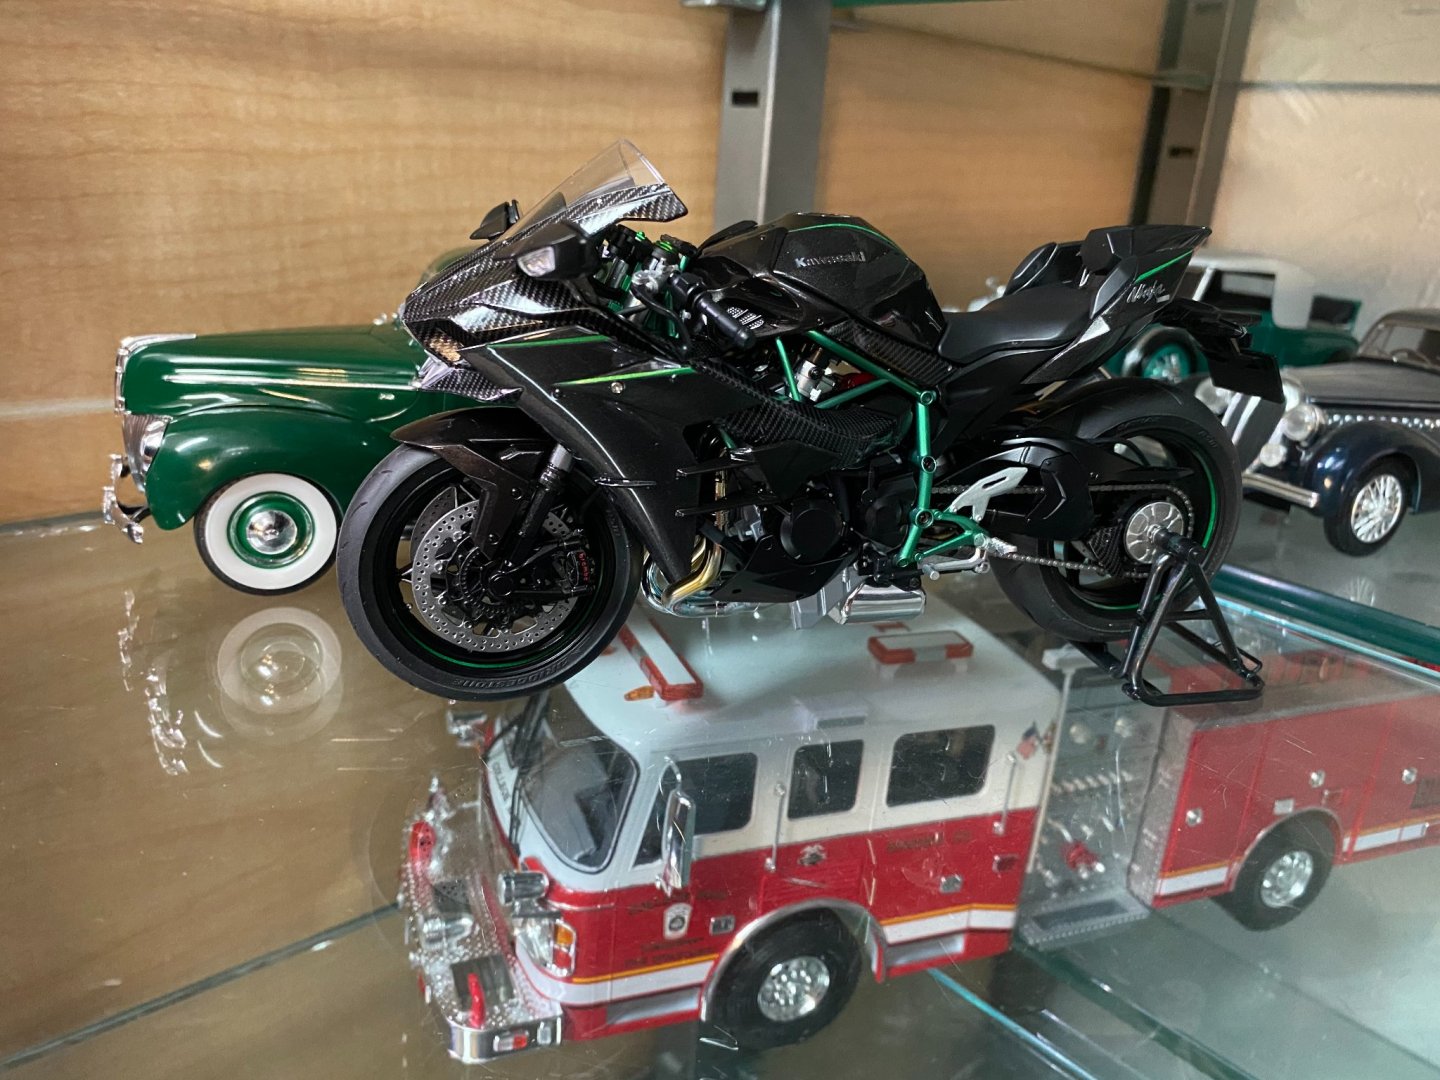
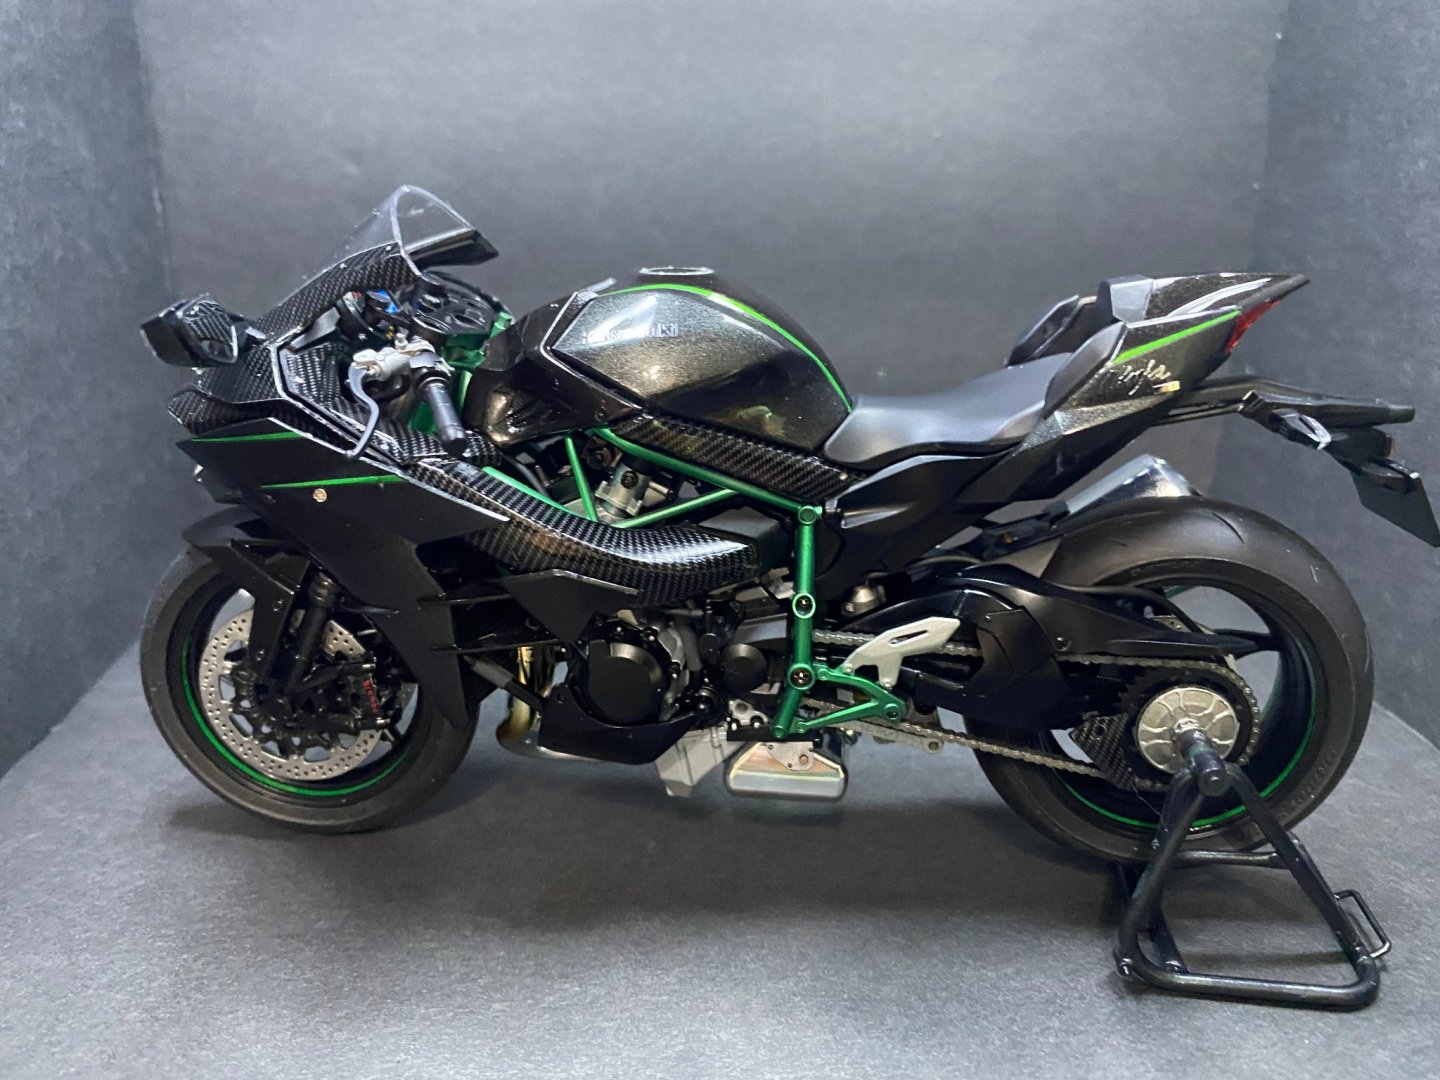
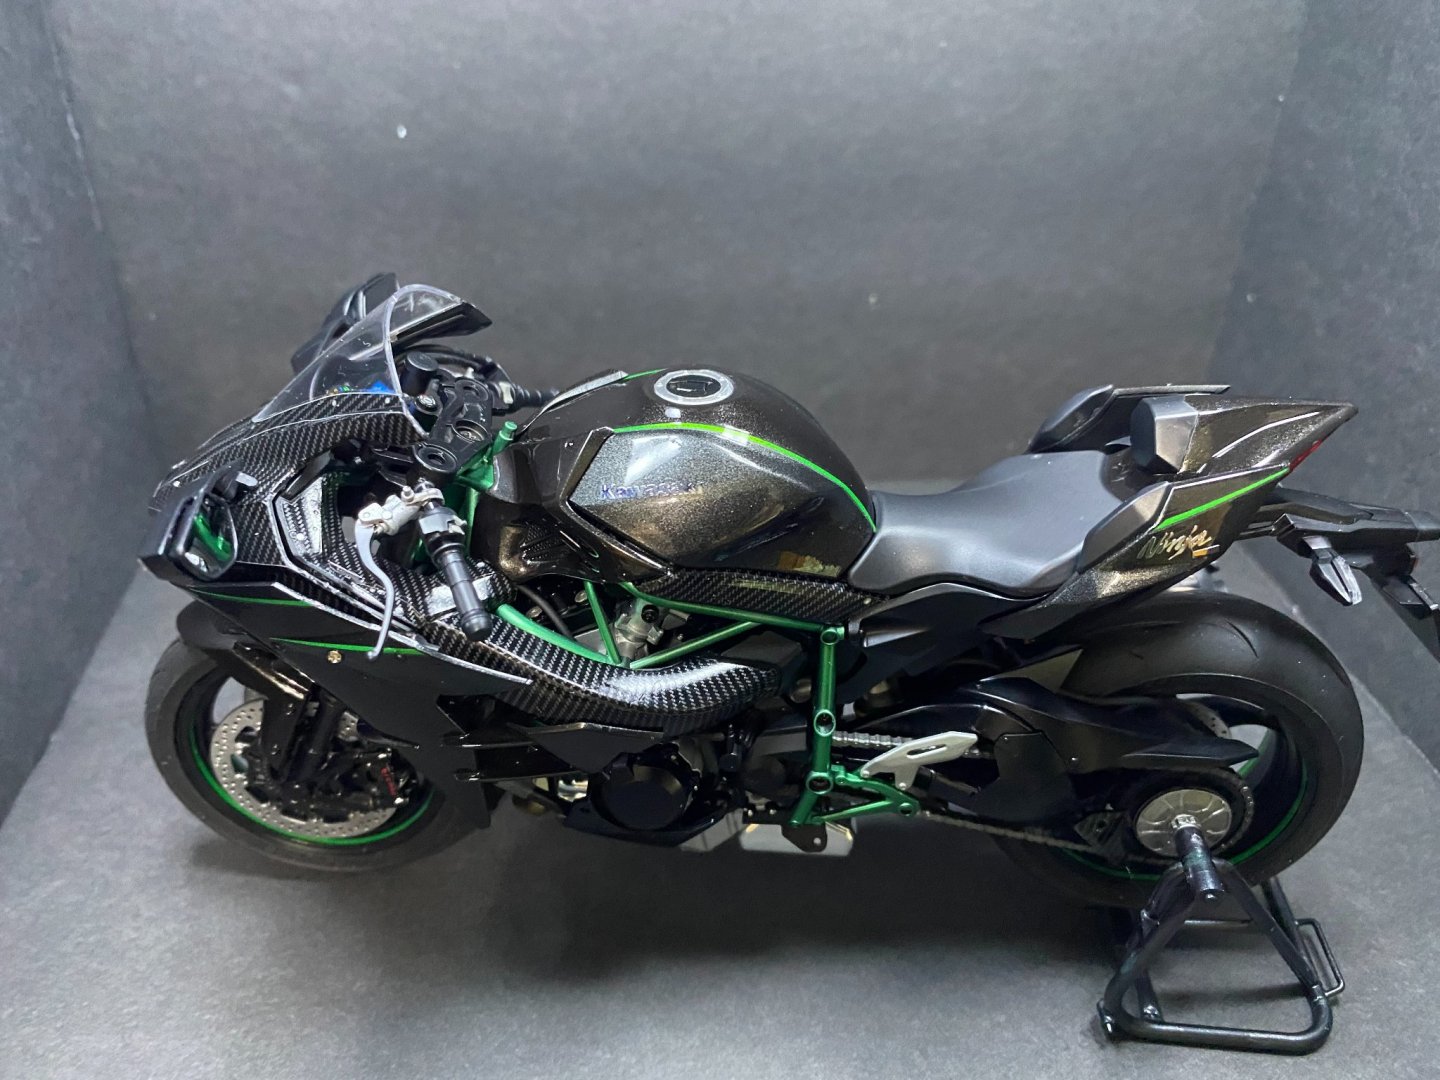
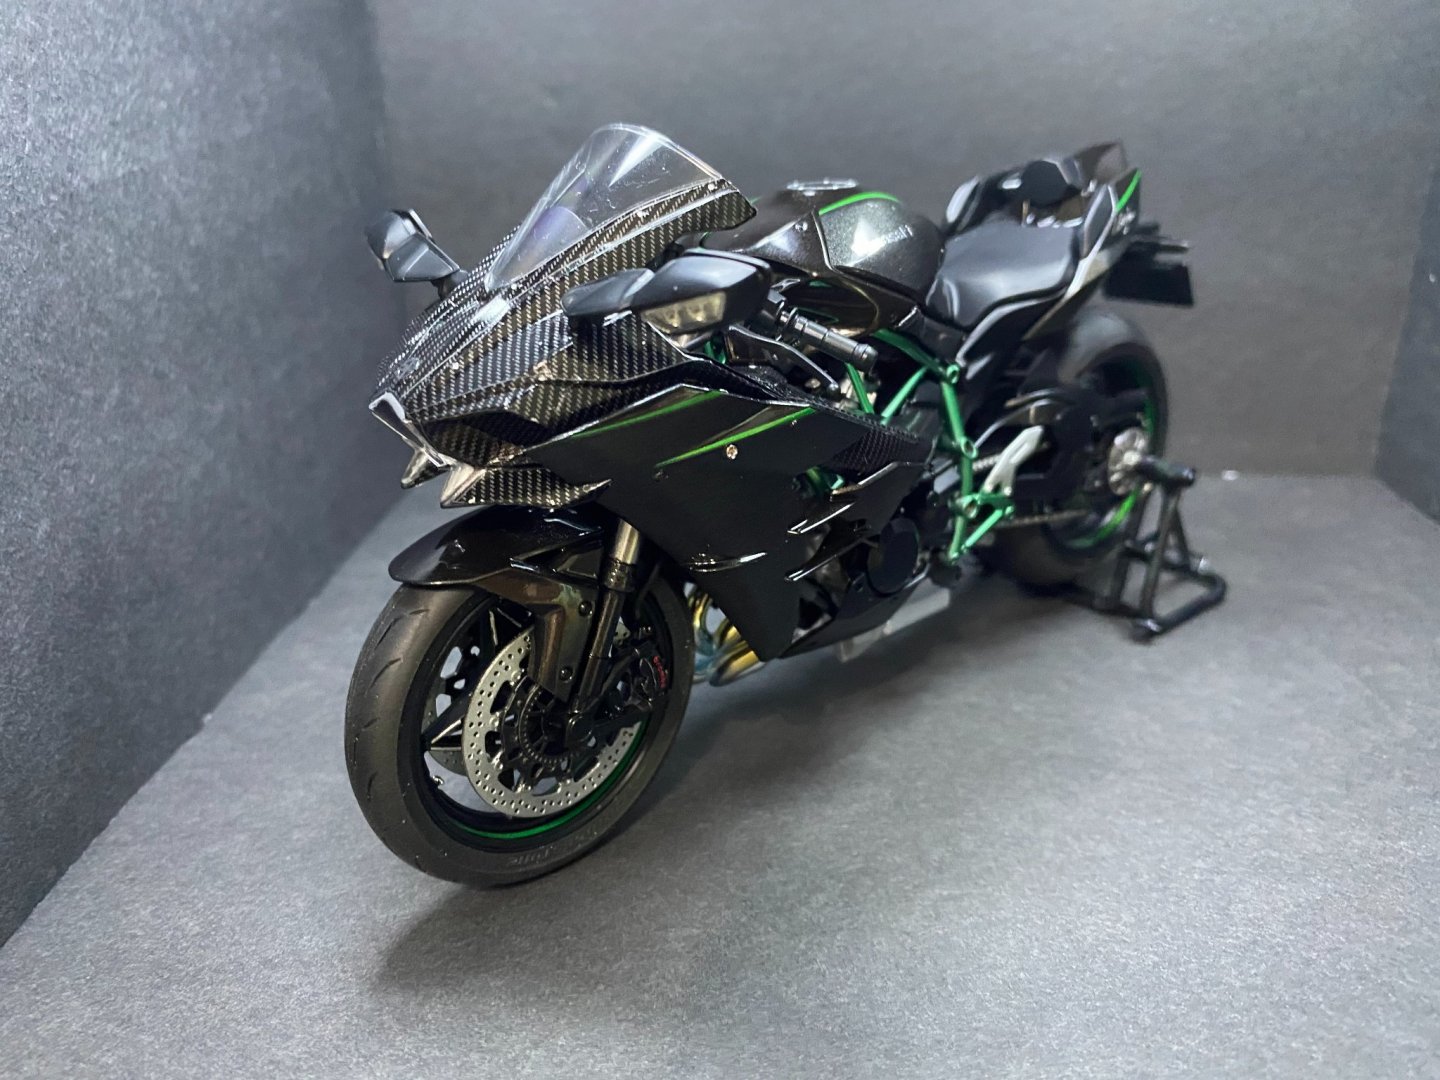
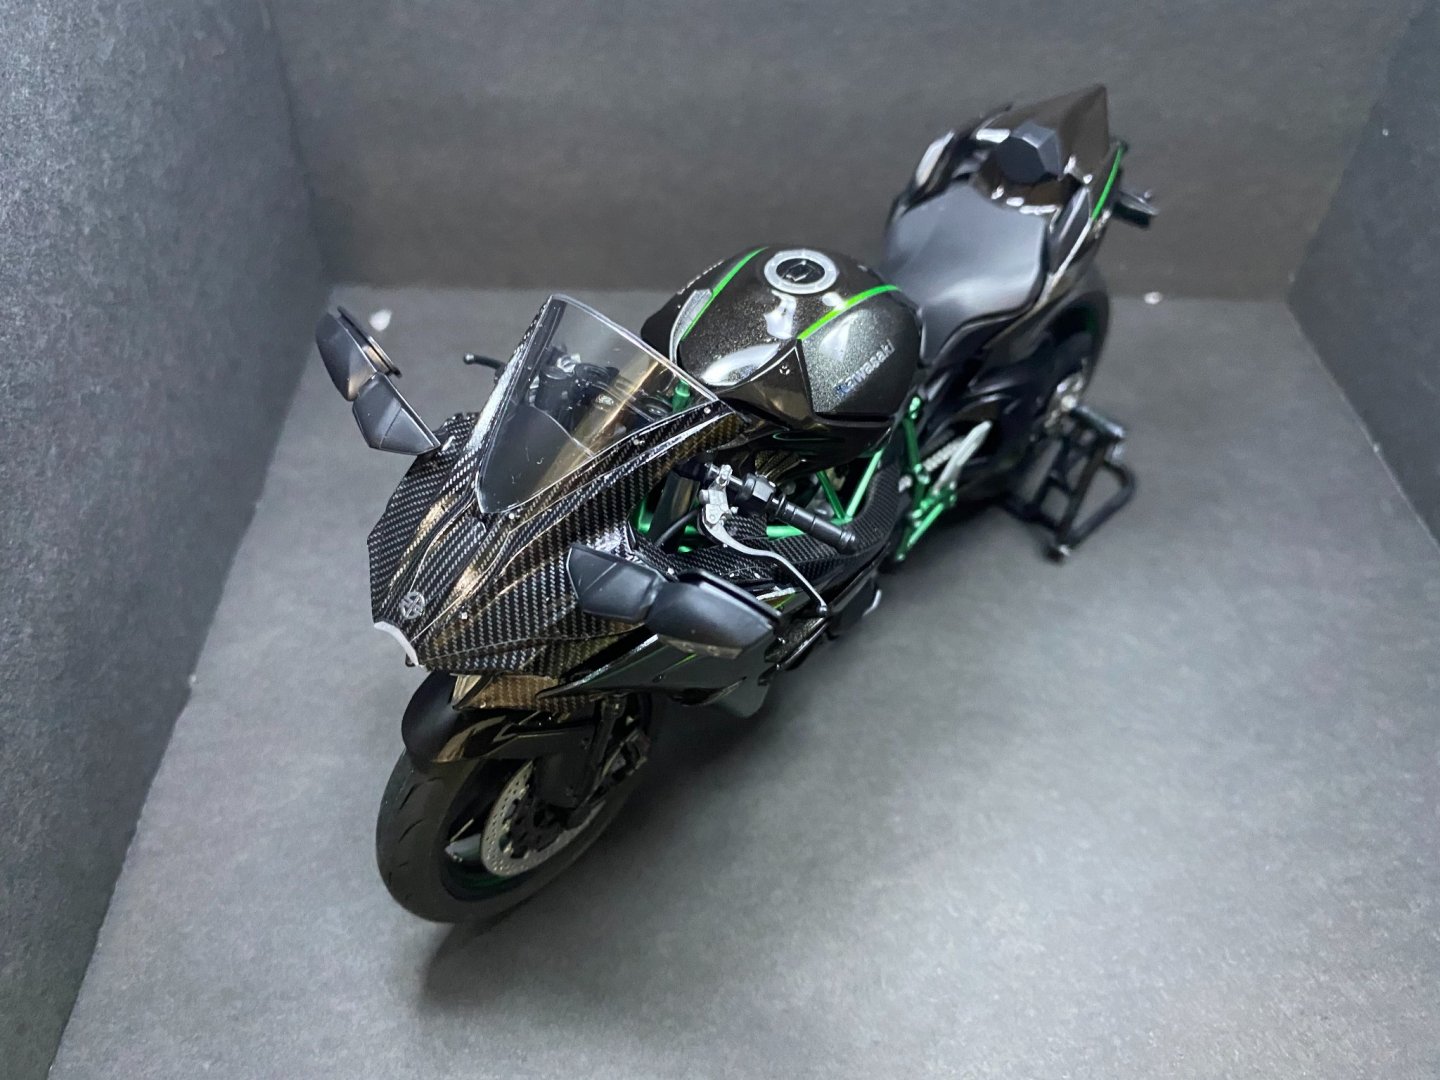
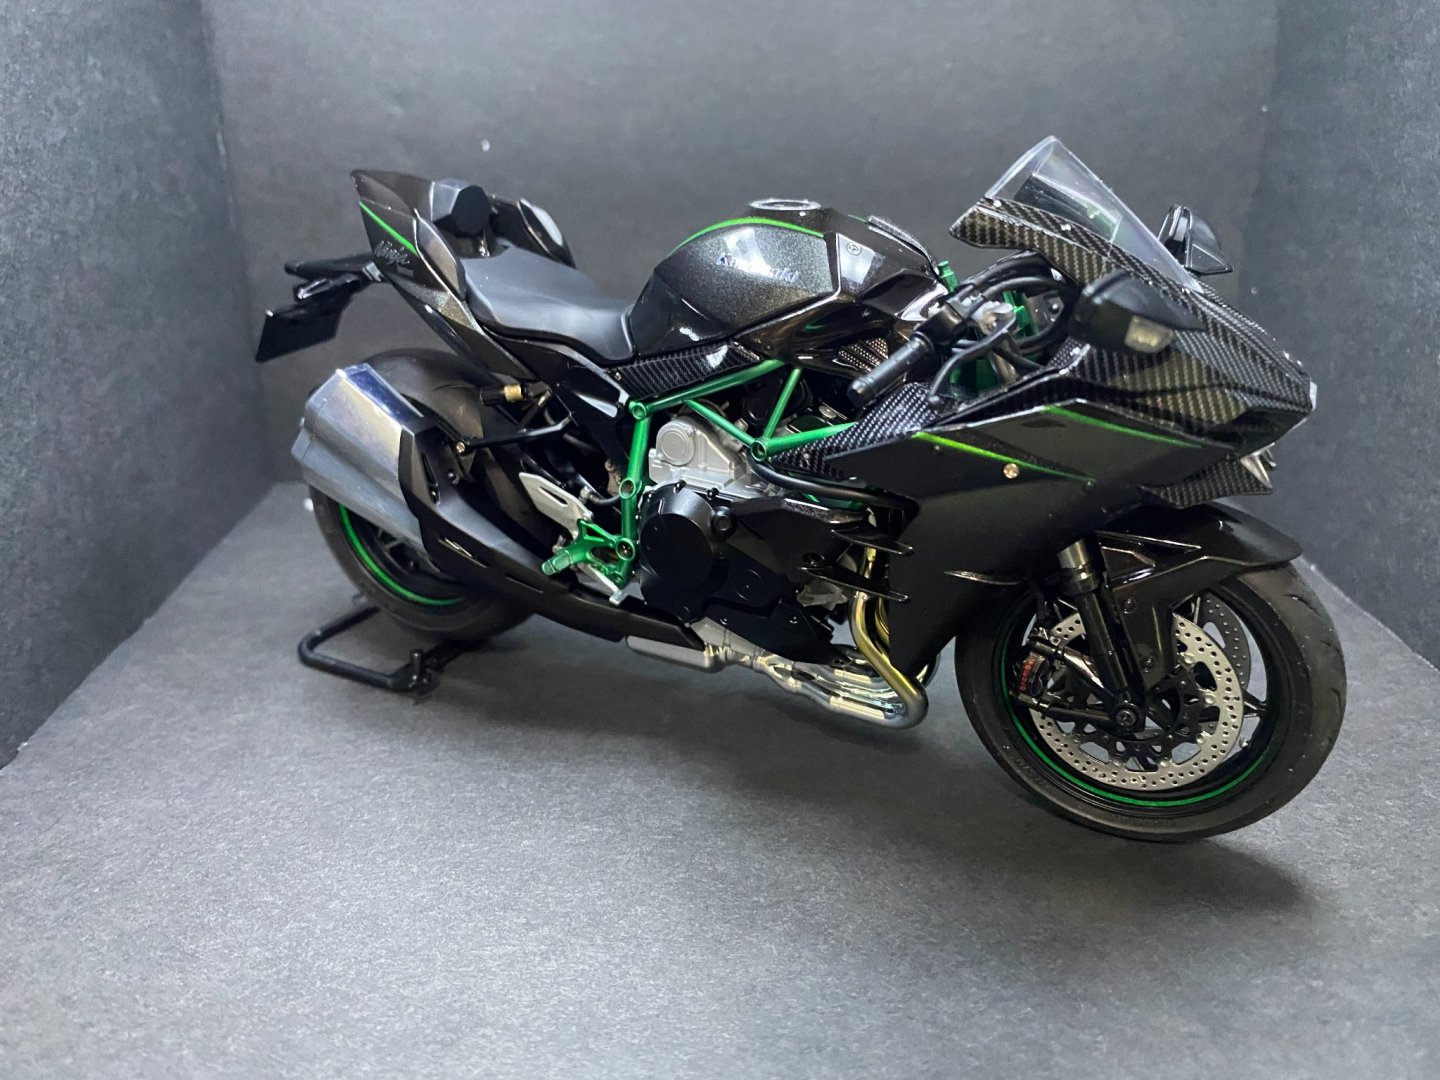
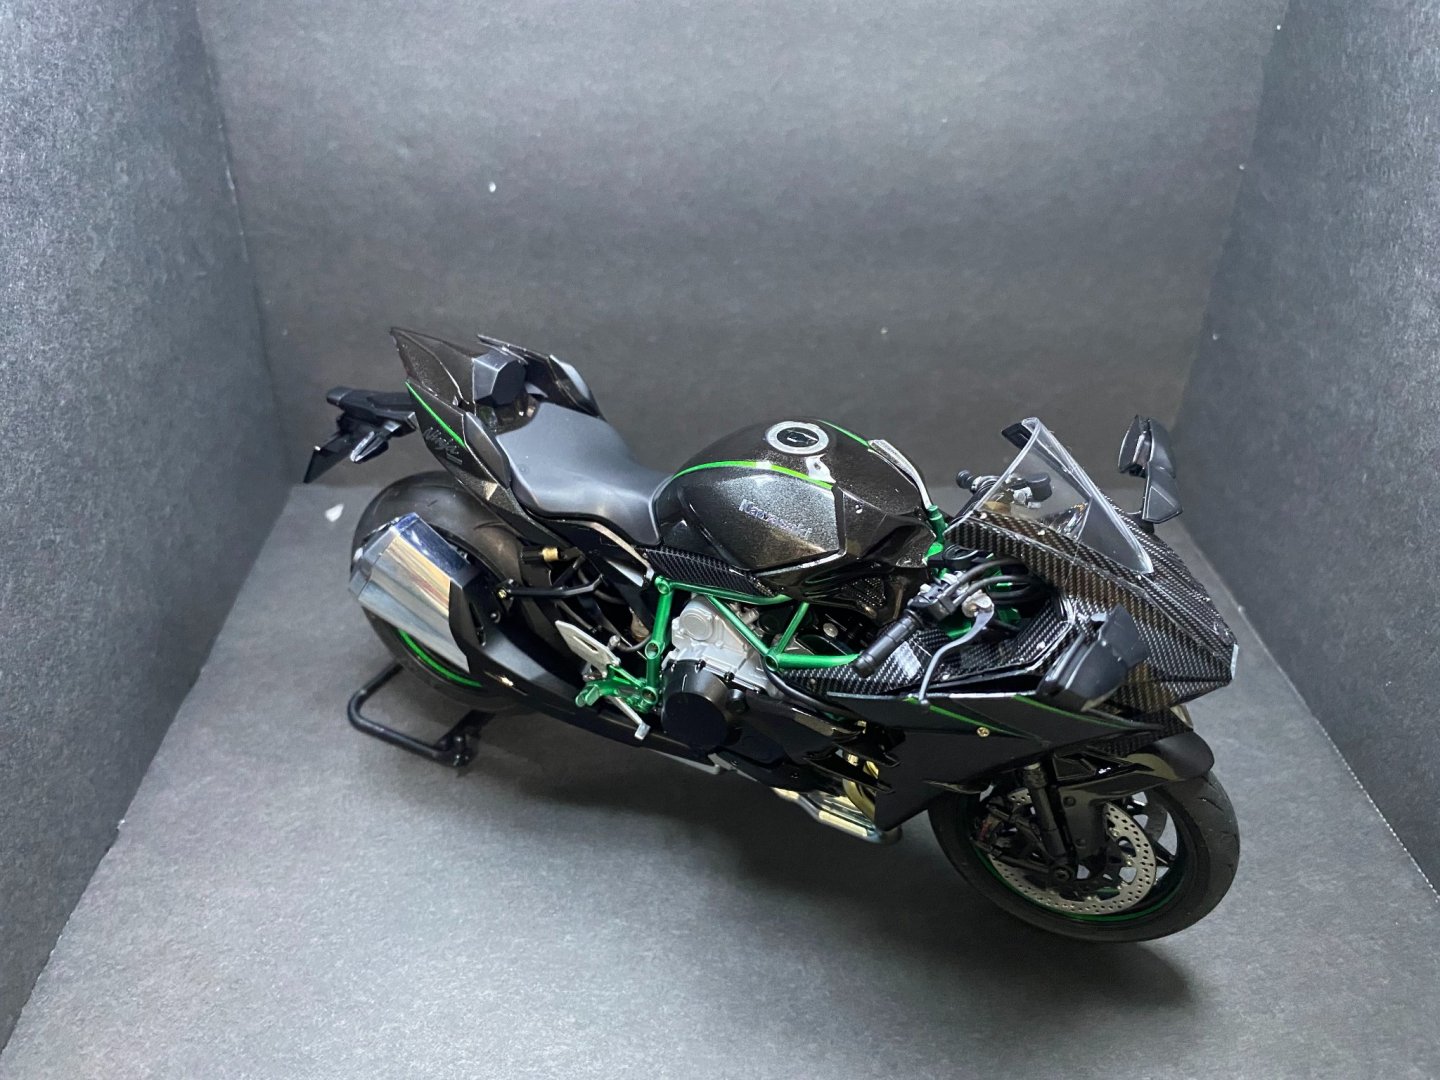
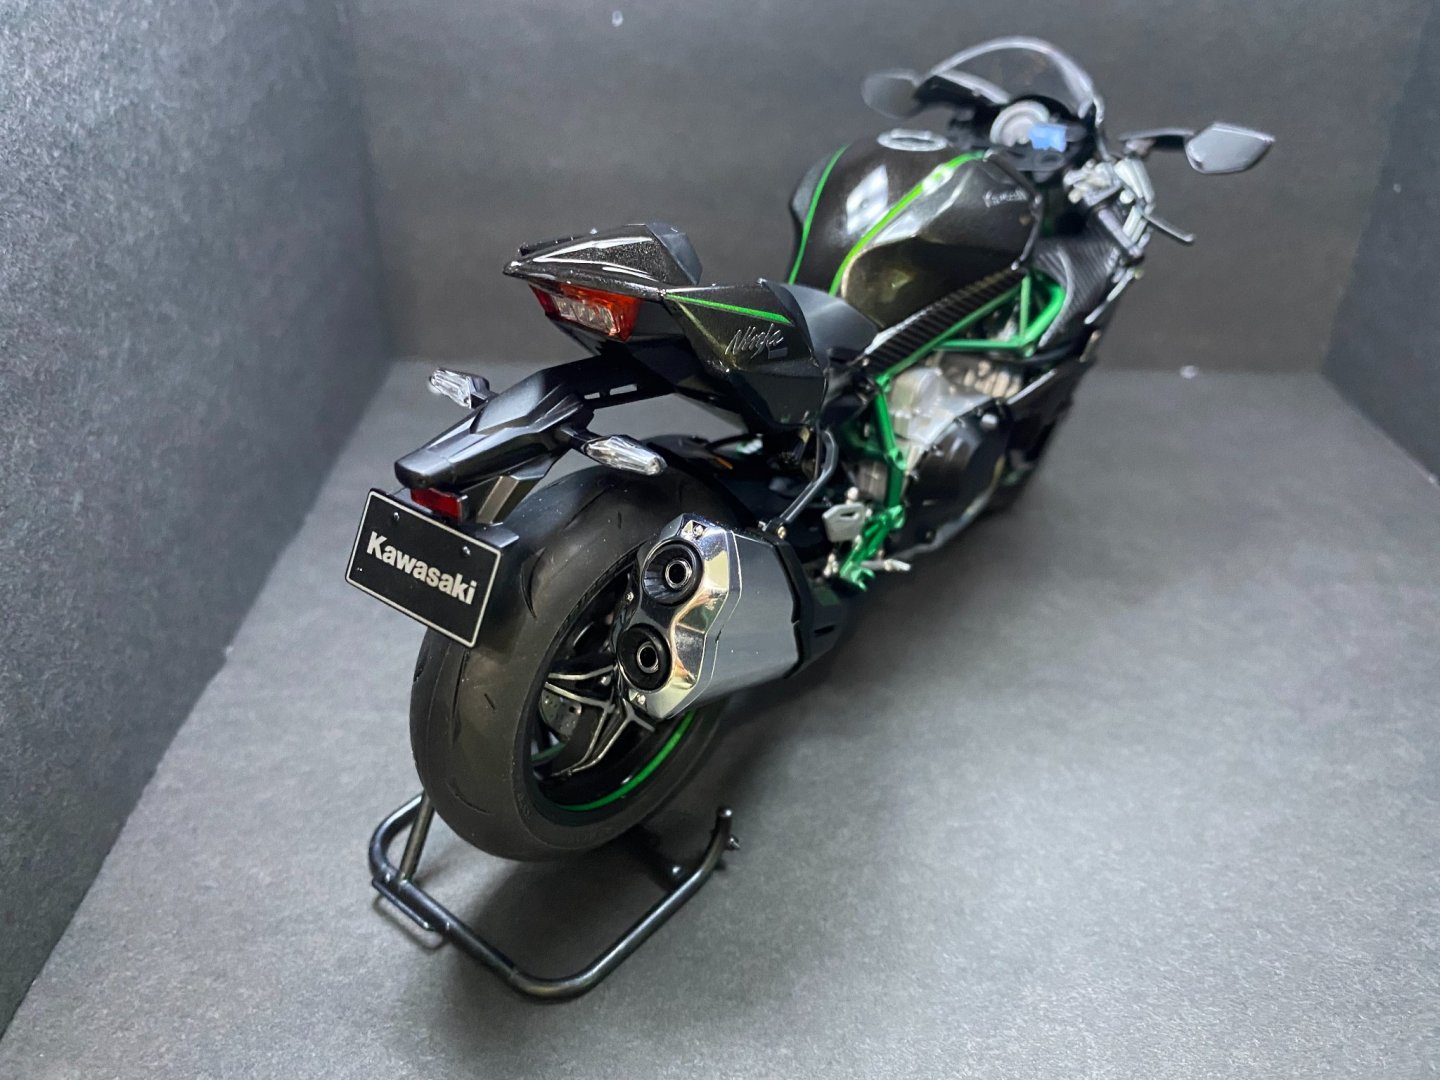
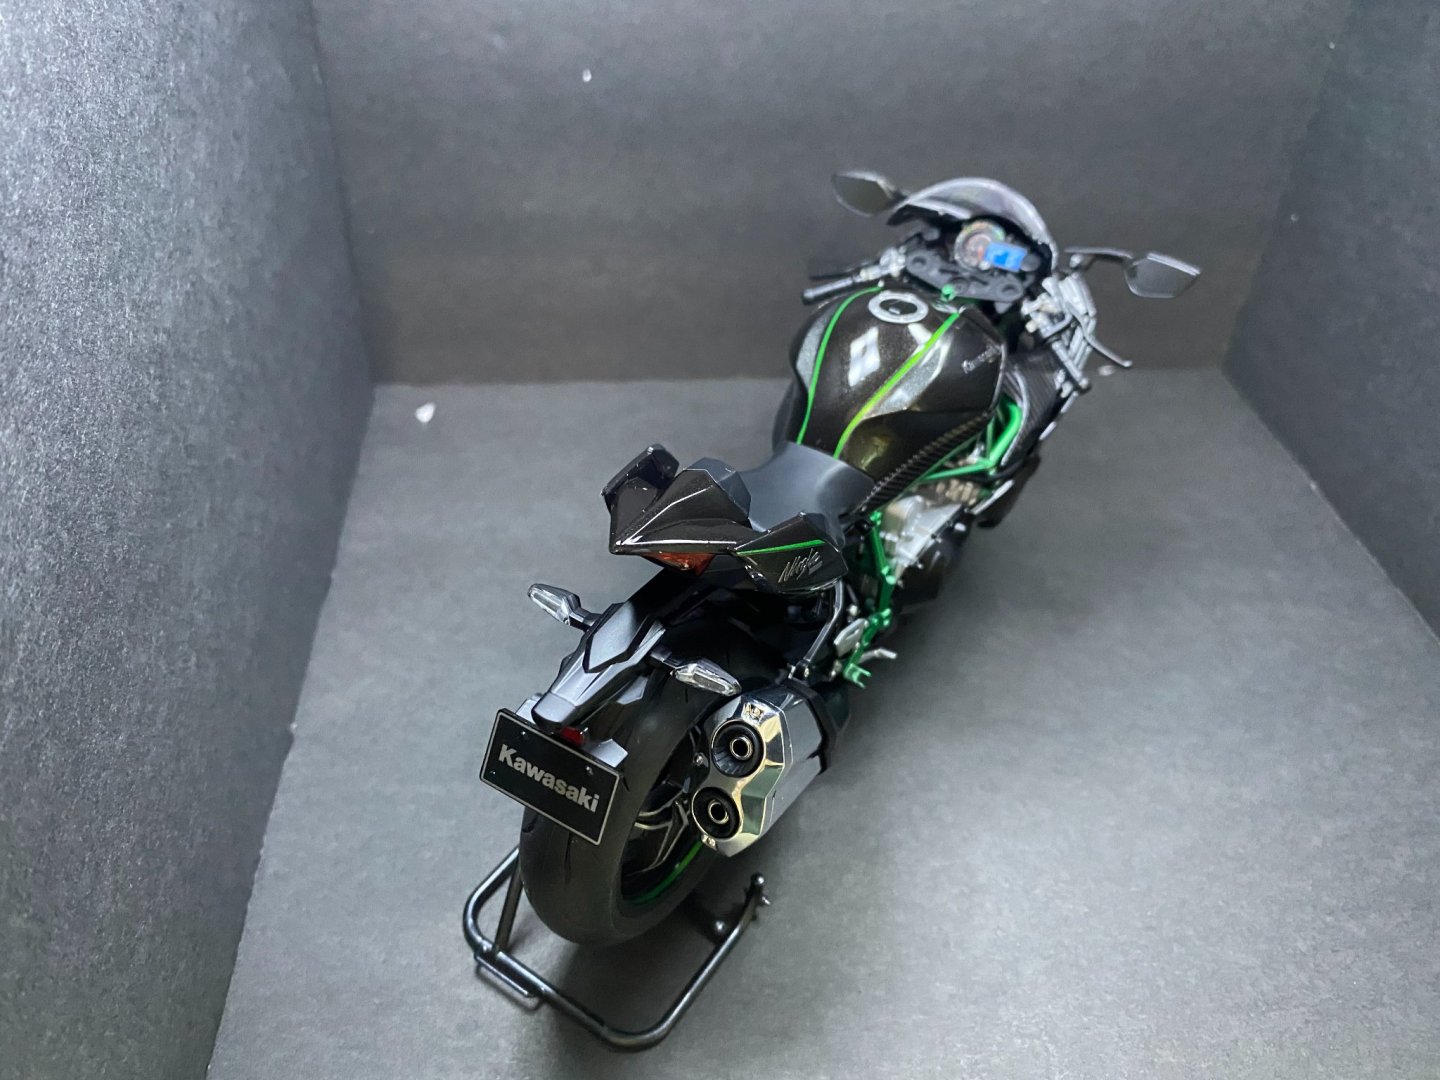
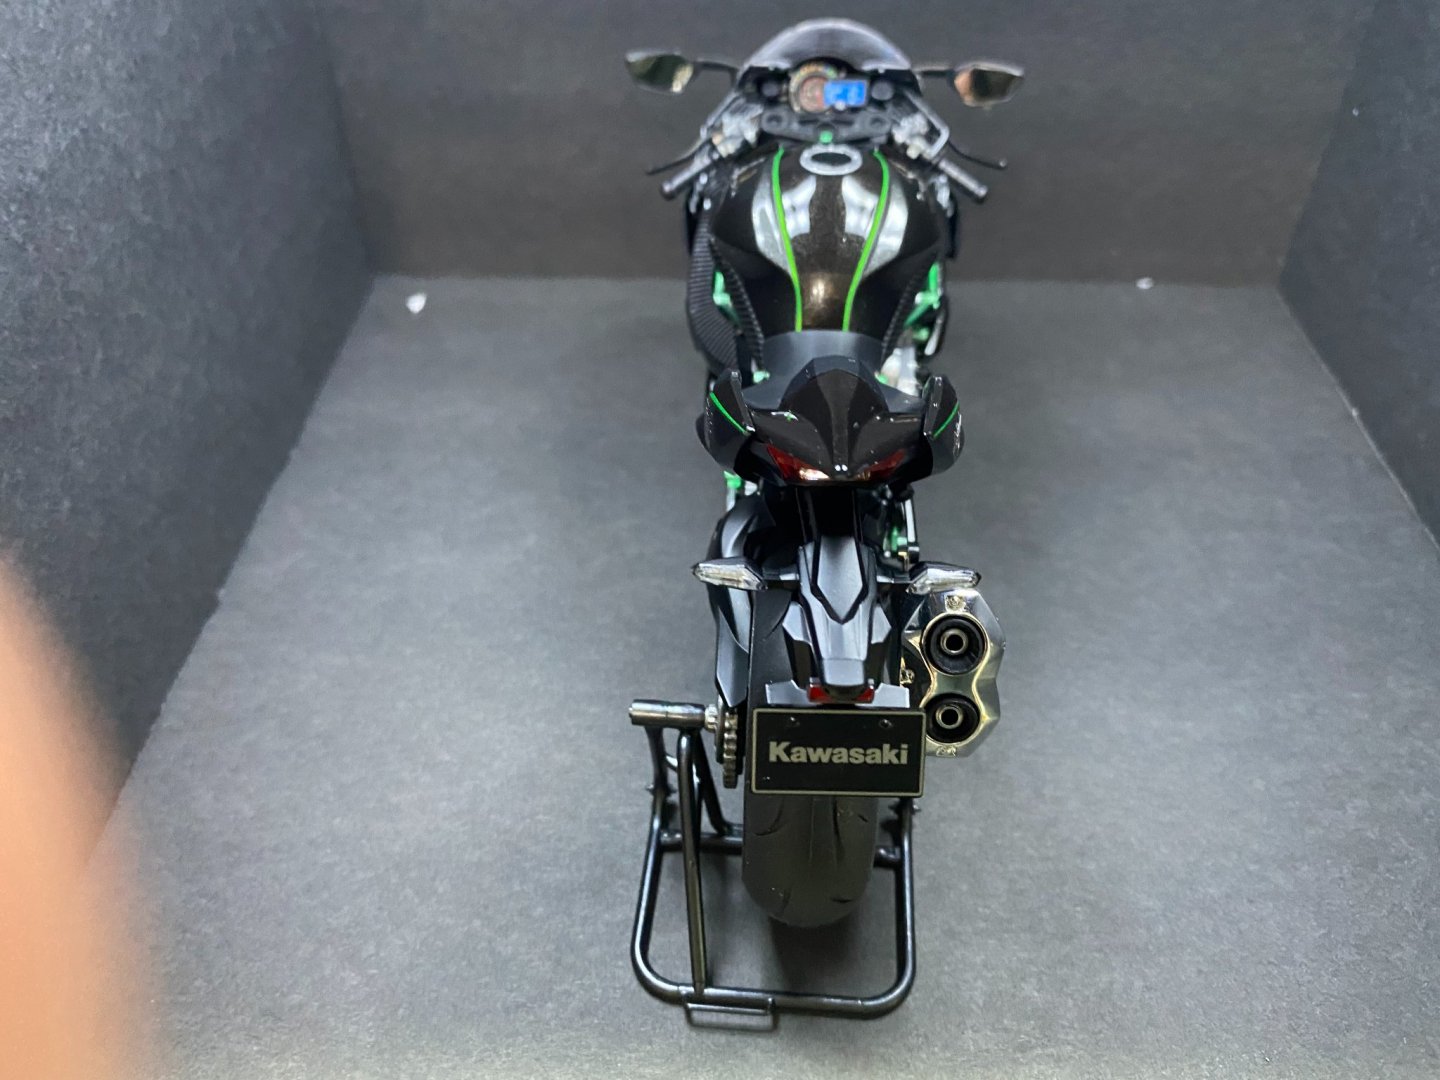
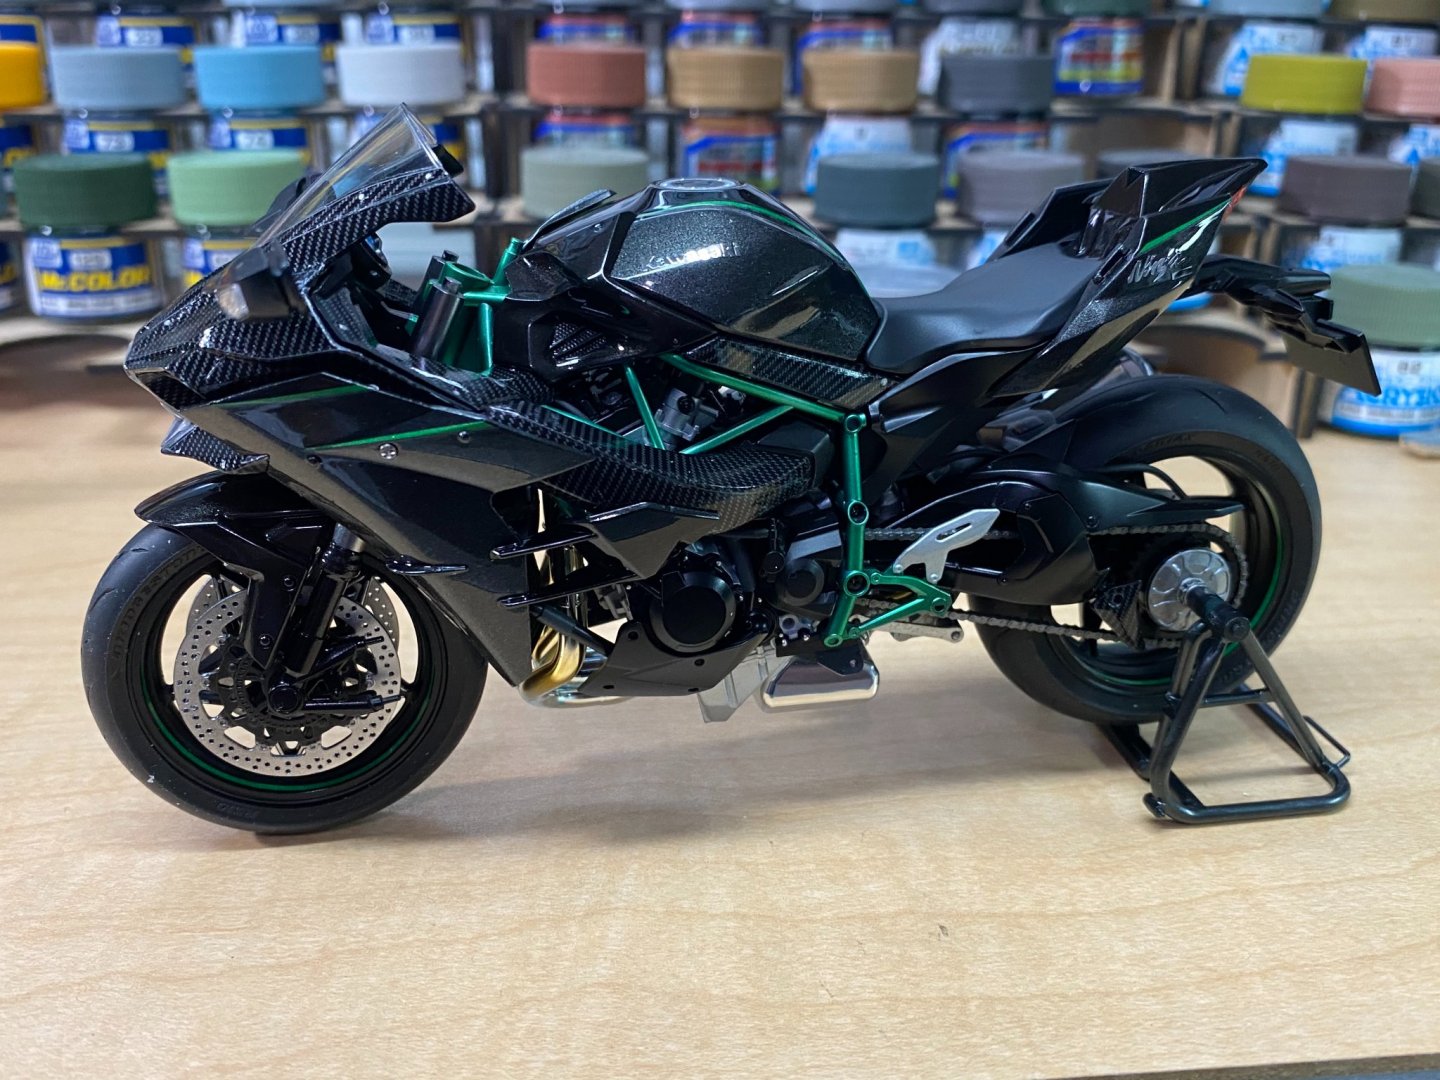
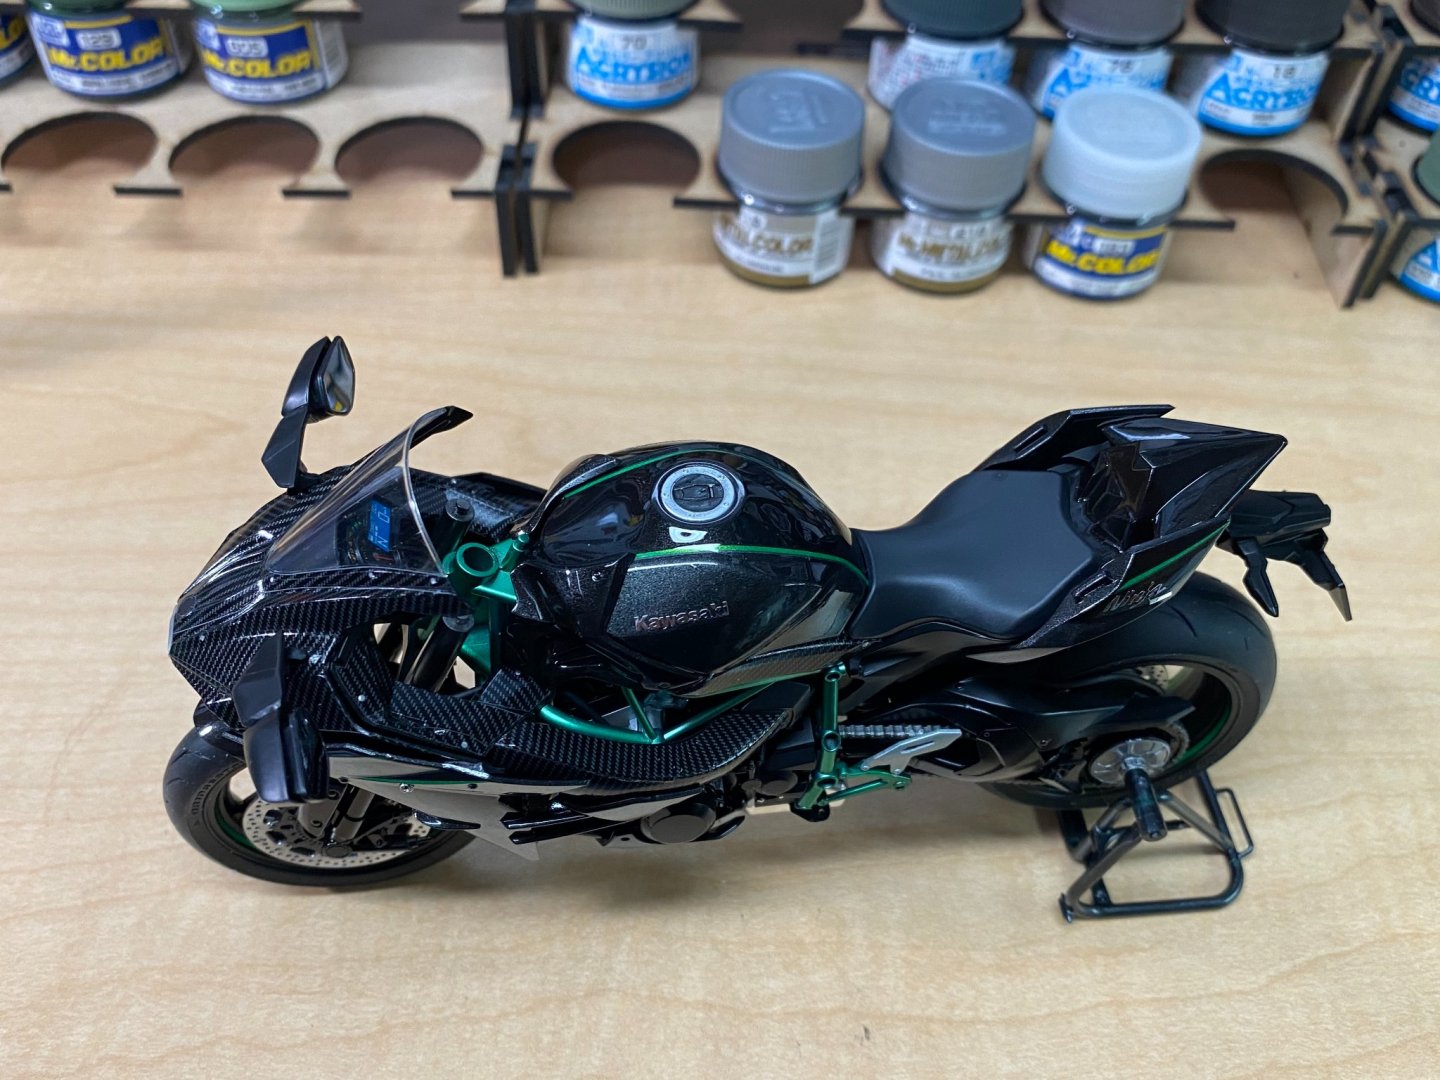
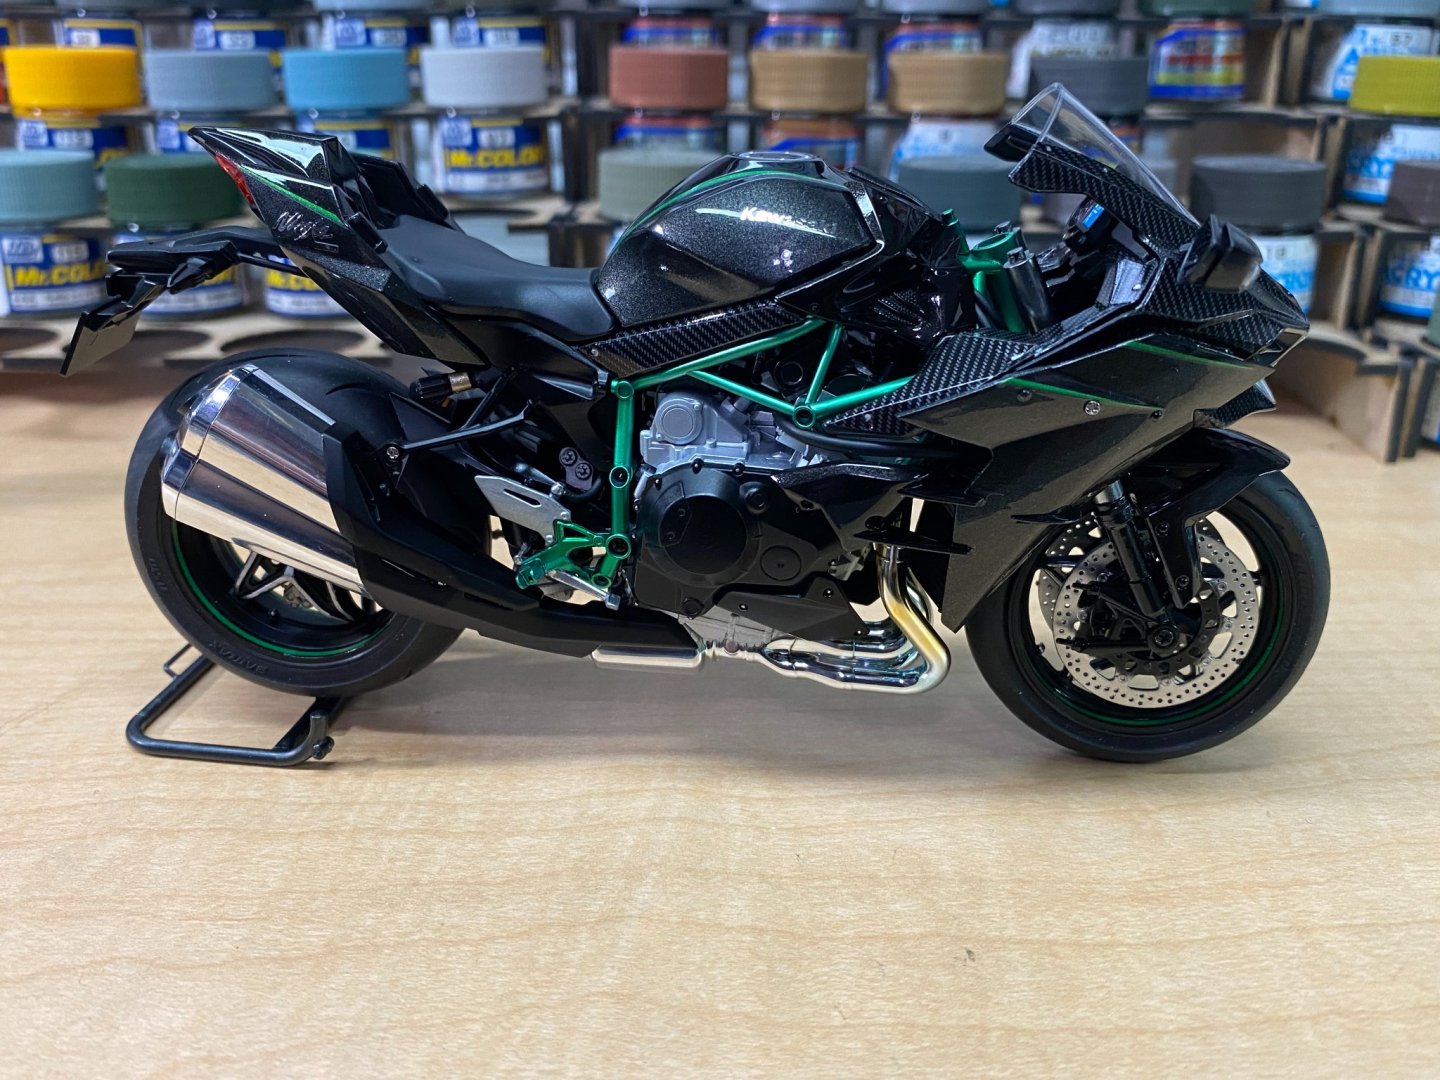
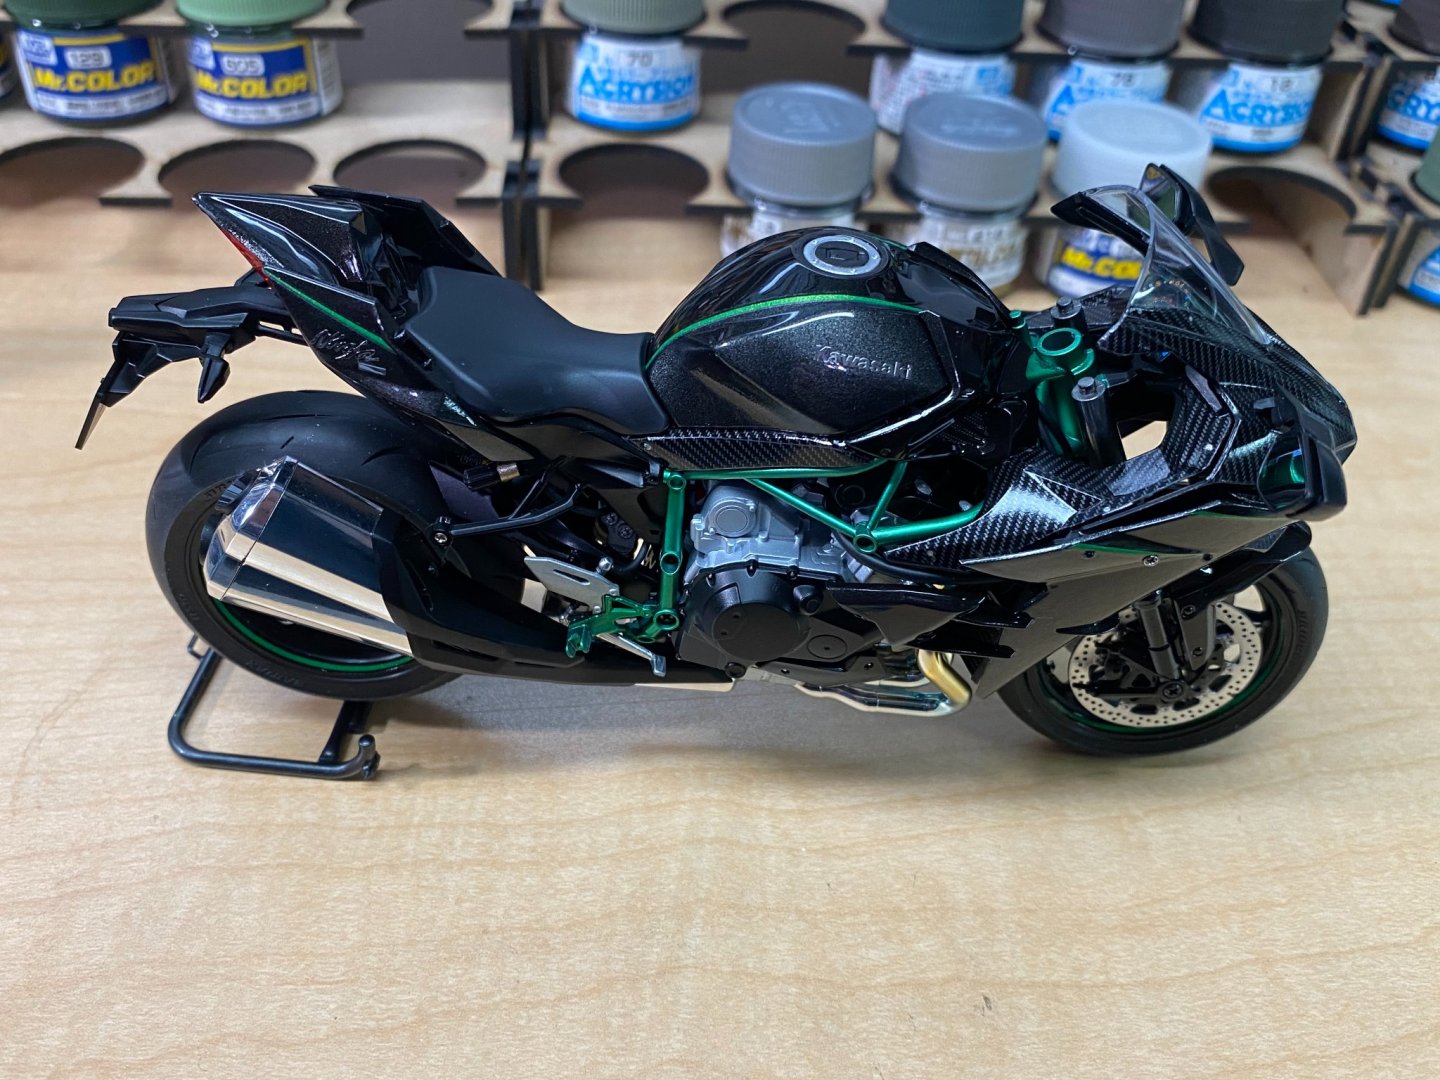
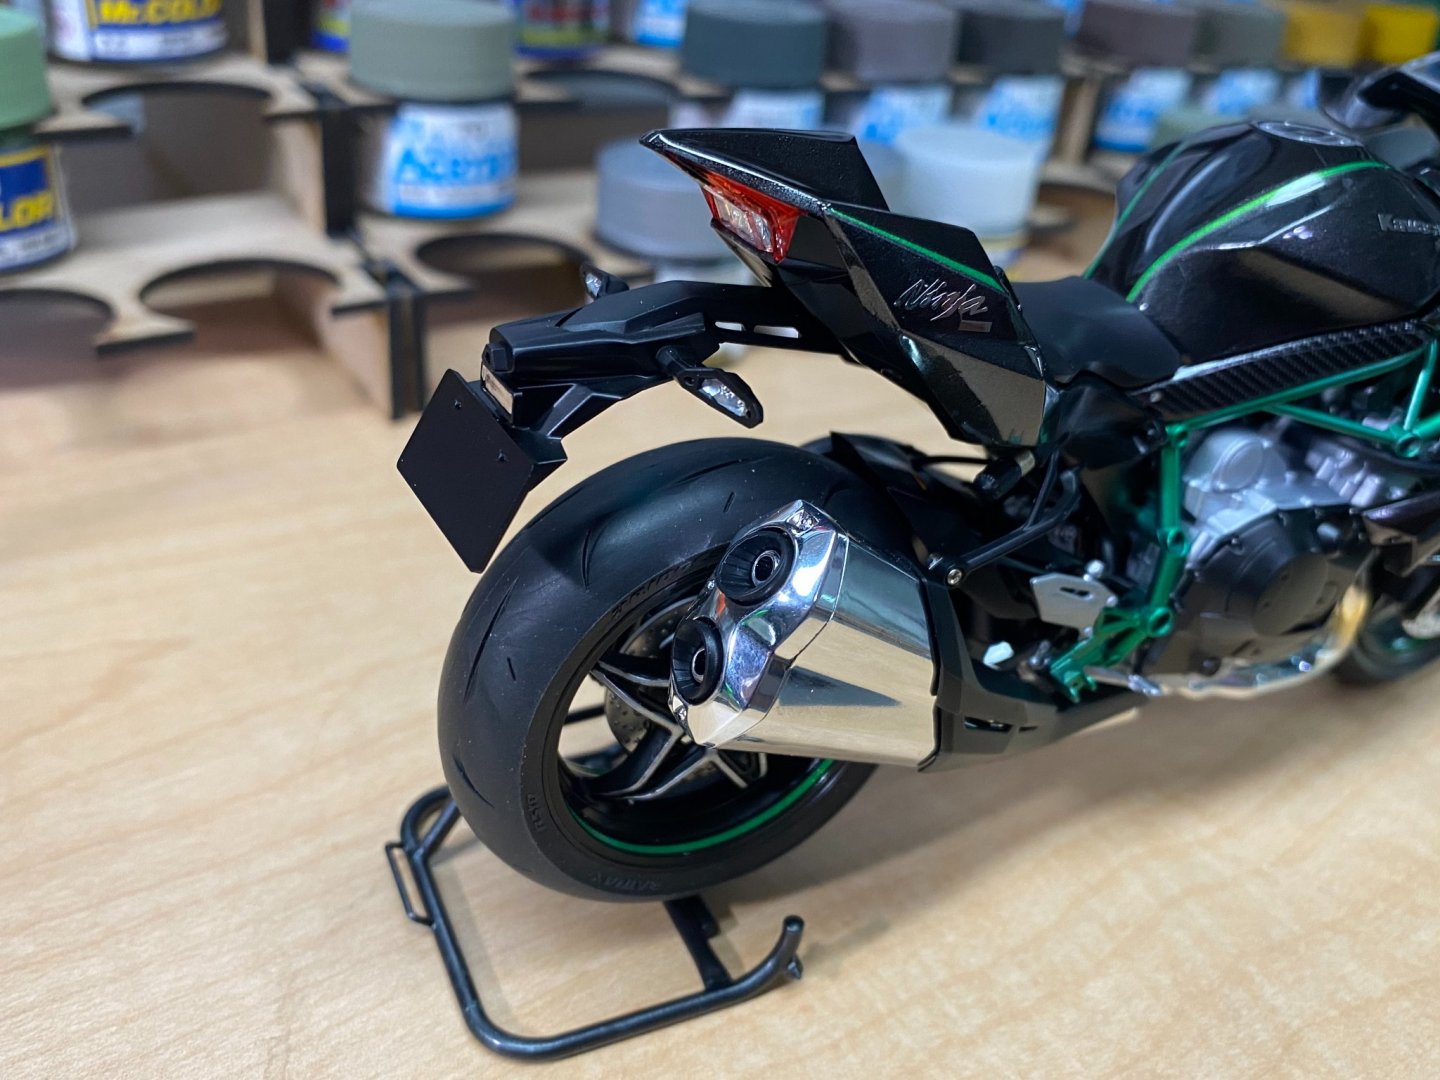
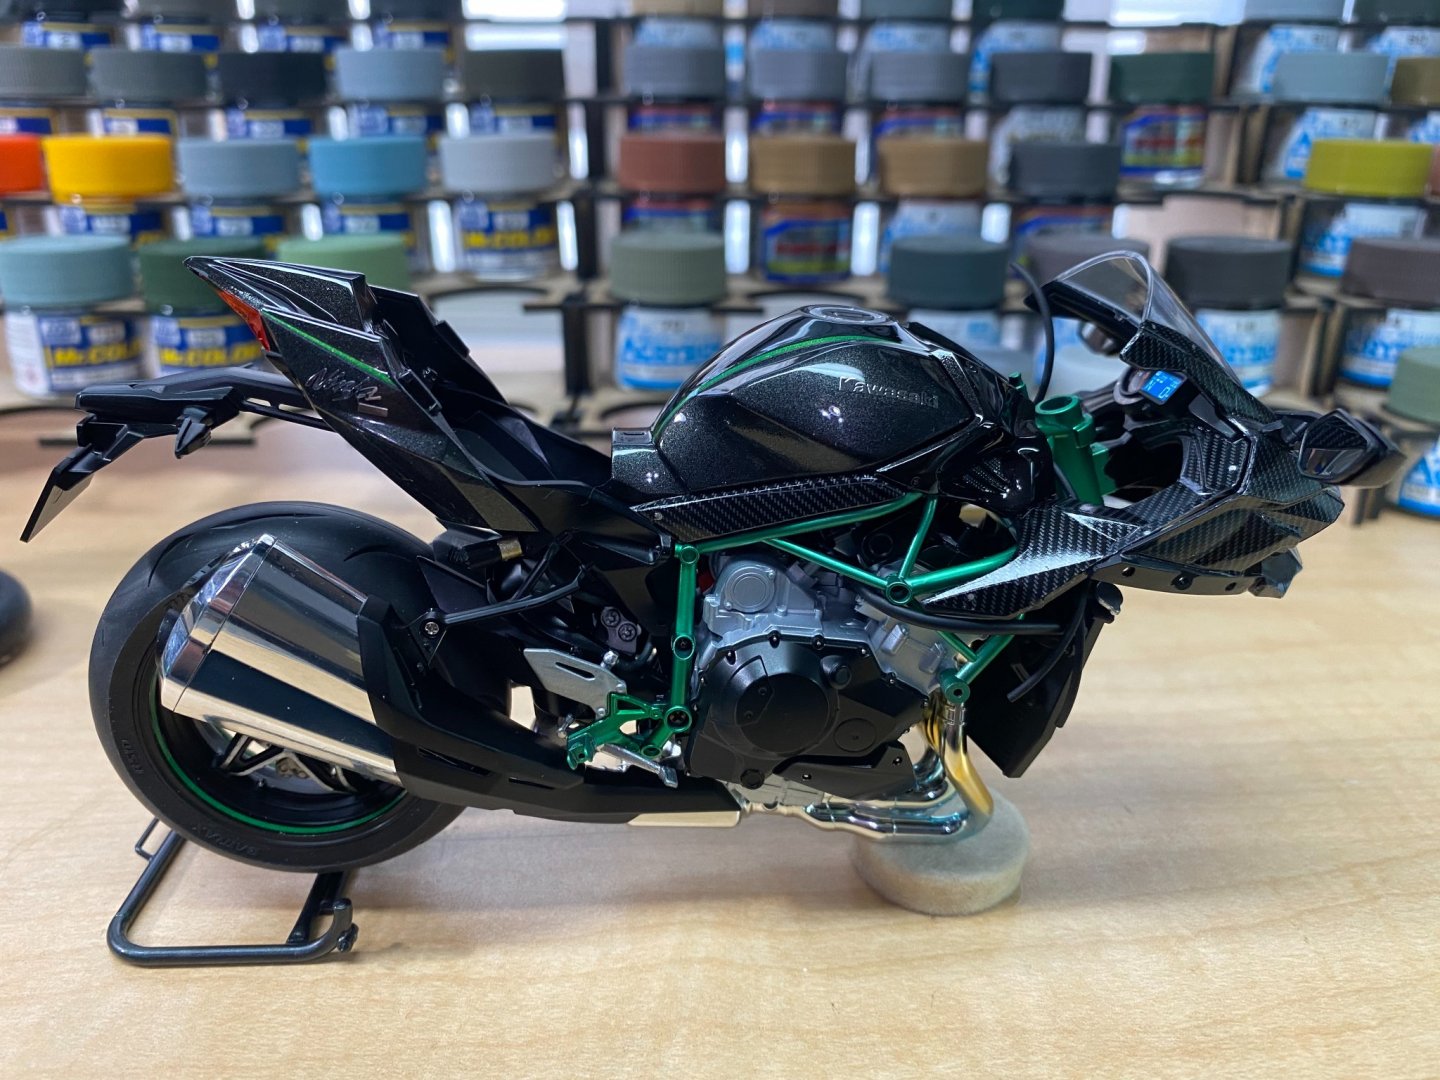
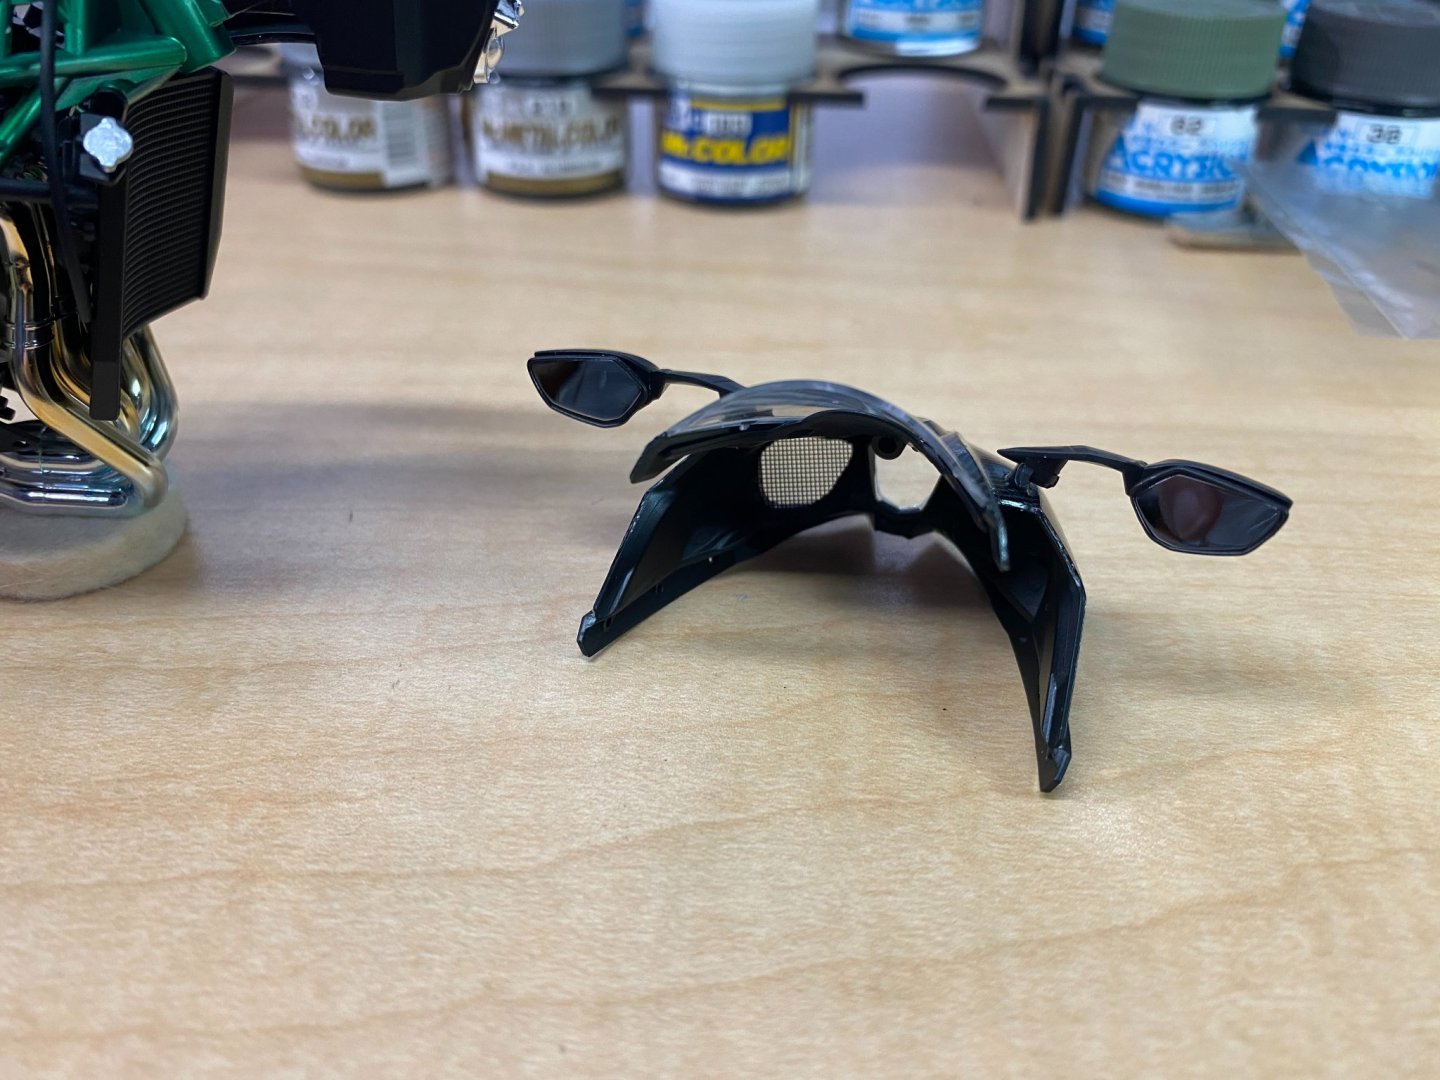
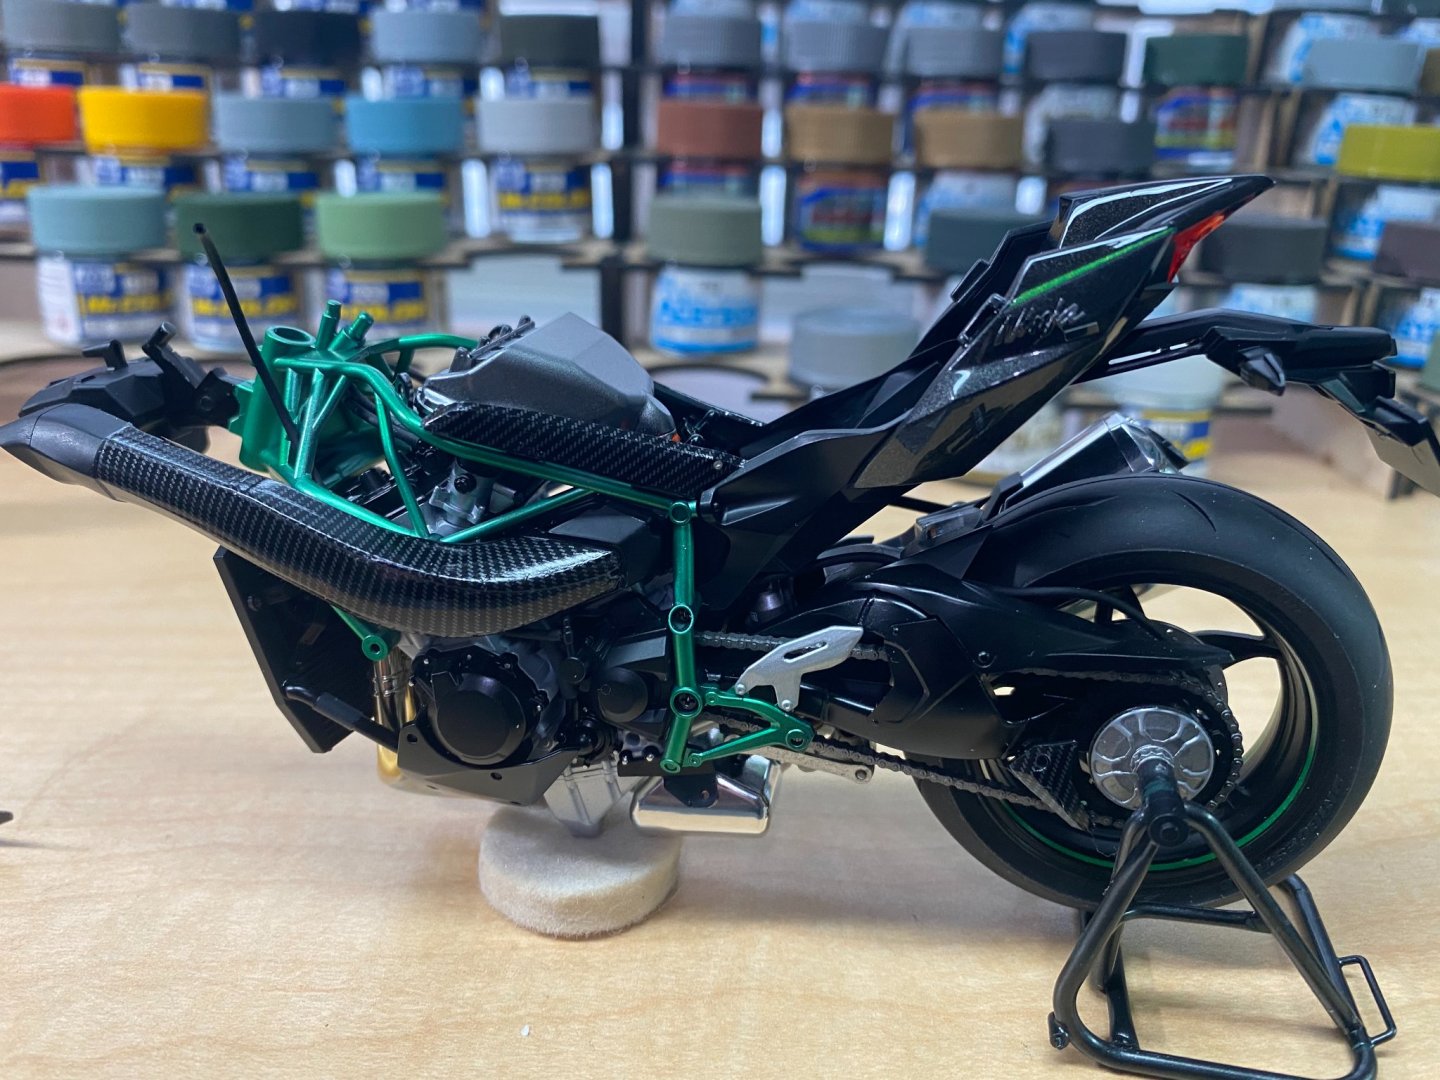
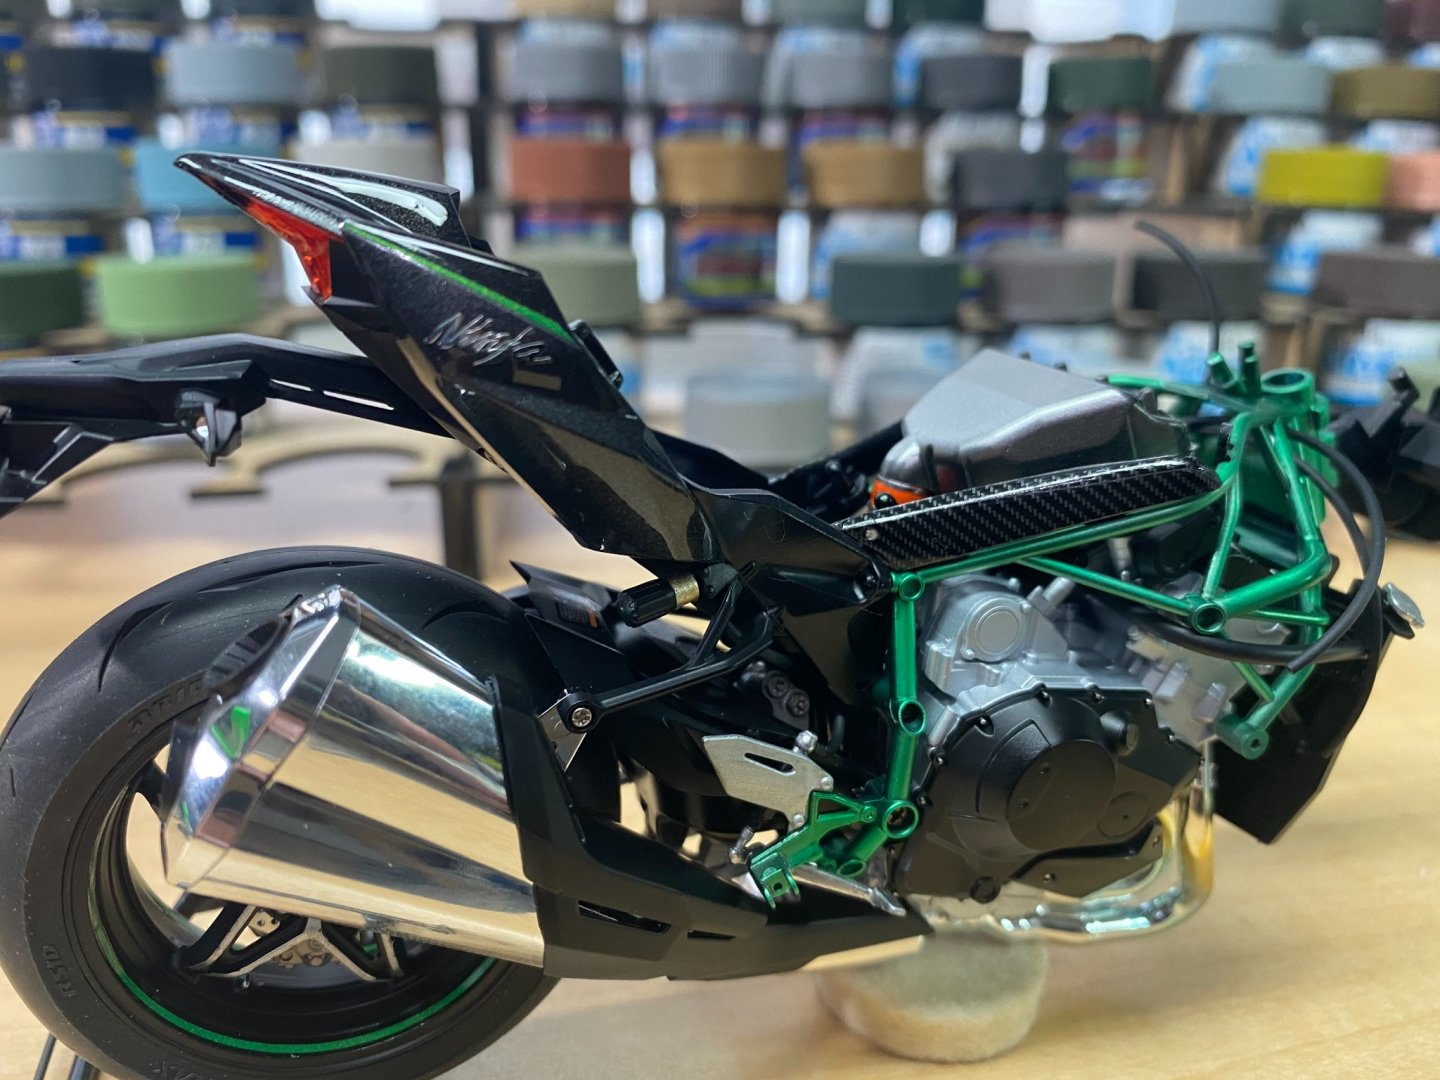
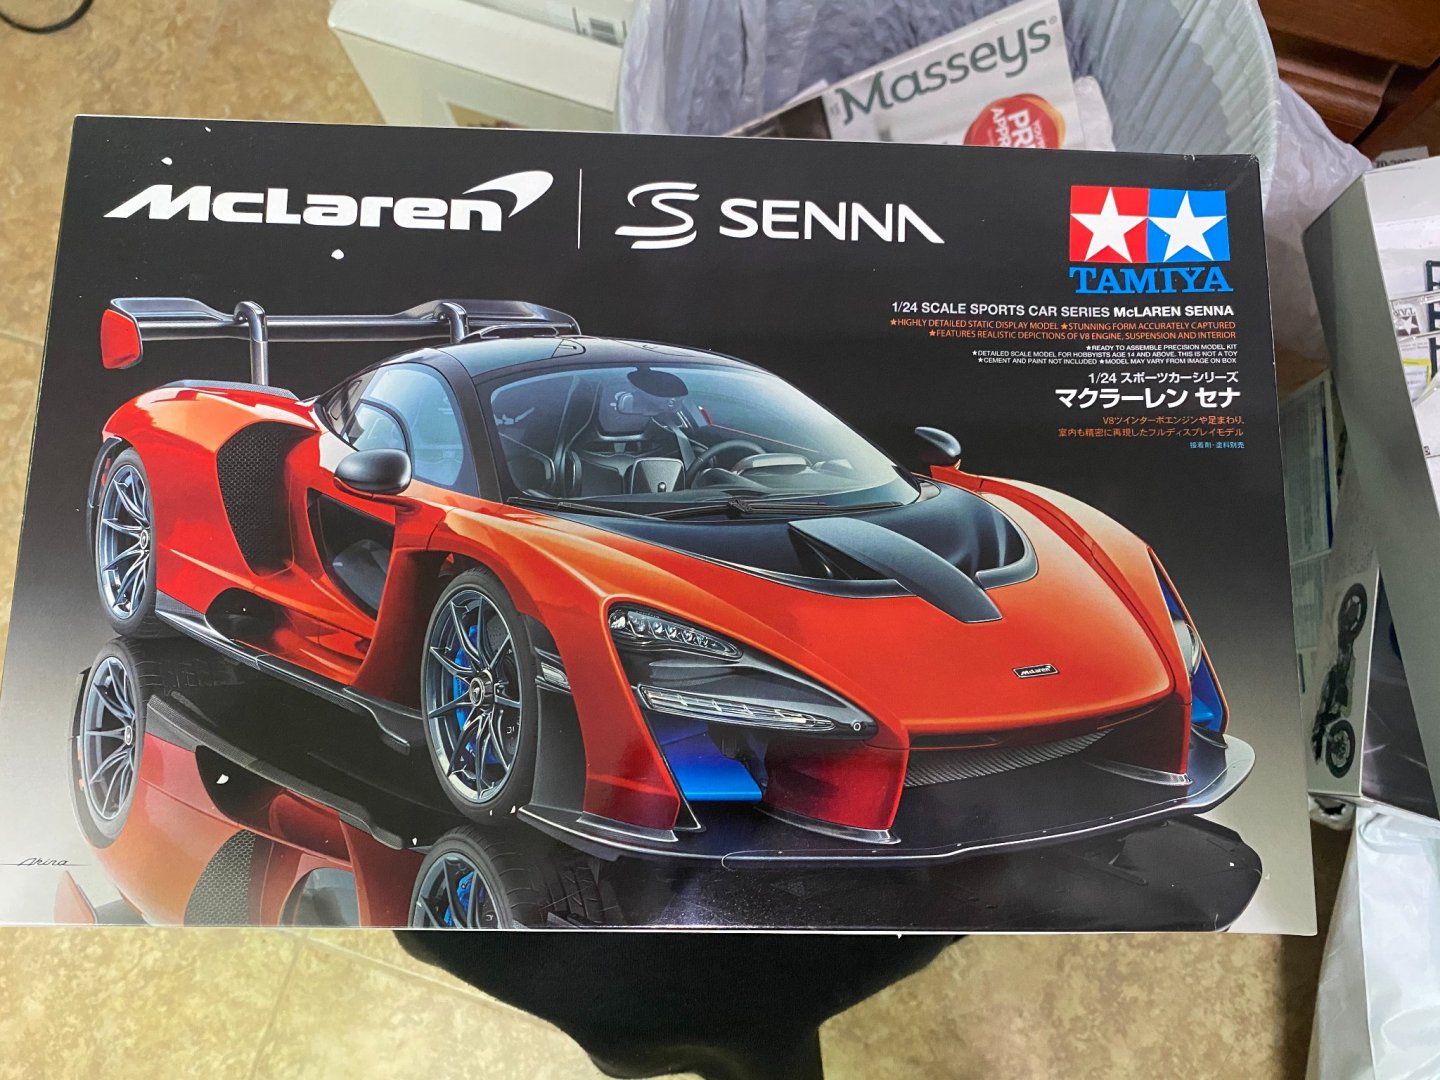
And another build comes to an end. Tamiya did a great job on this kit, it was a pleasure to build. She now finds herself in her resting place along side the '40 Ford Coupe in the display case. At some time in the future, will need to devote one entire shelf to motorcycles only. Others are waiting in line to be built. Thanks for following along and for all the encouragement along the way!
-
Strength to weight ratio is the major advantage of carbon fiber. Status/prestige is no small factor as it is very pricey, so yes to prestige. When I was building and flying RC models, nothing gave more strength for less weight than carbon fiber. I used small diameter carbon fiber rods as wing spars in lightweight model aircraft where a light wing loading was essential for the power system.
-
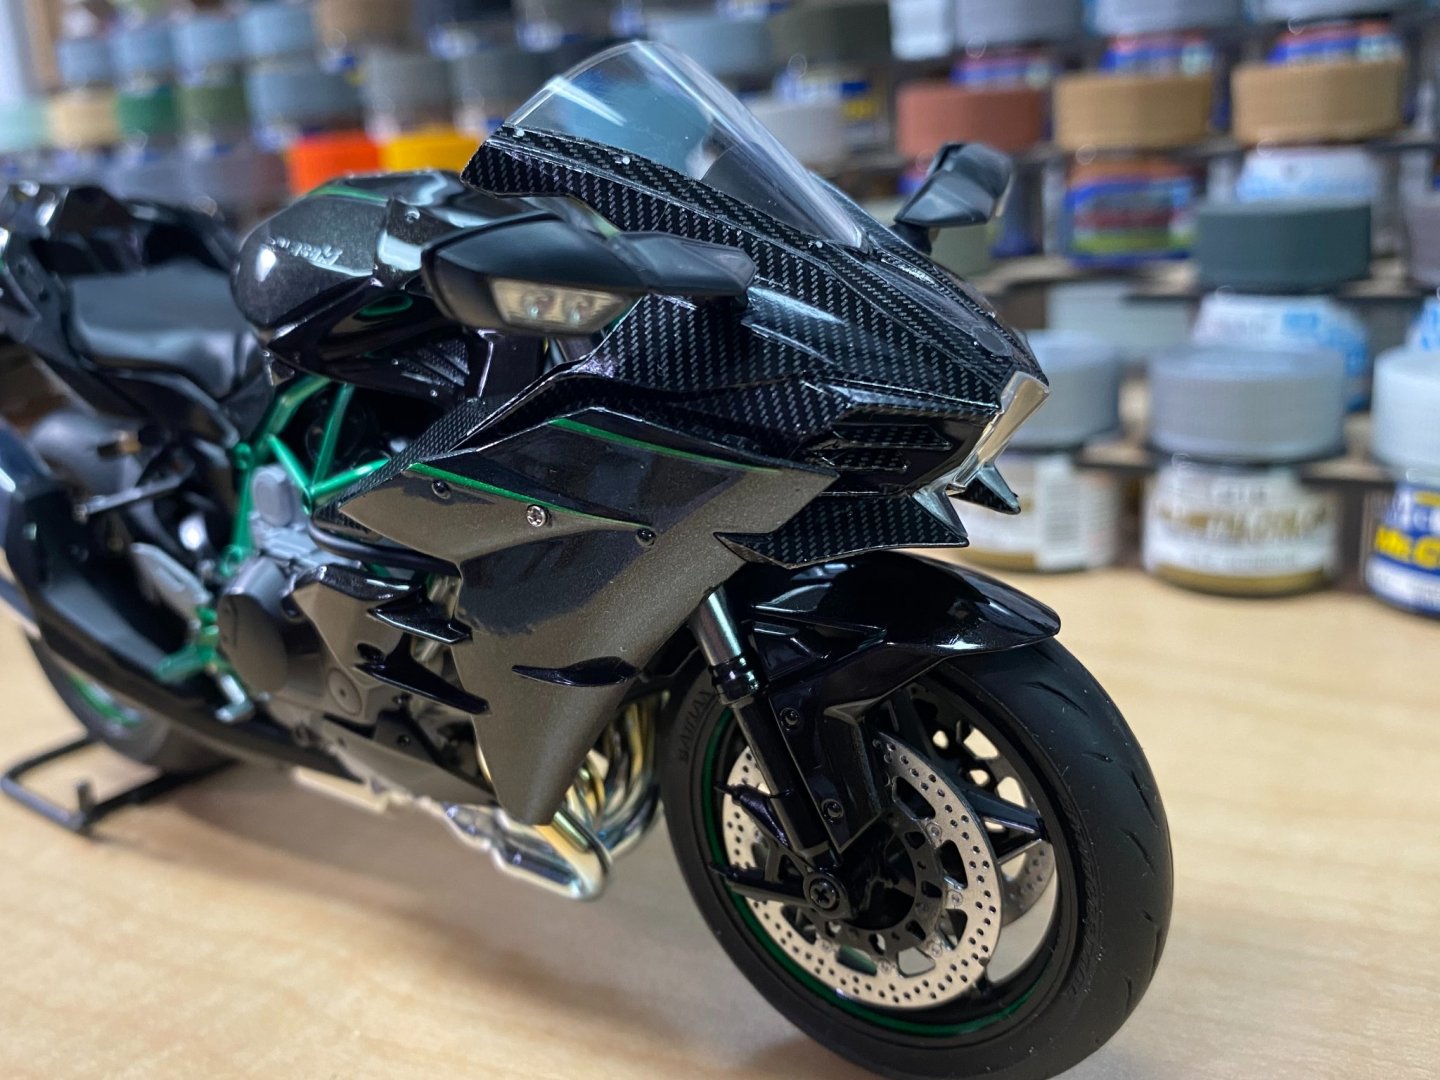
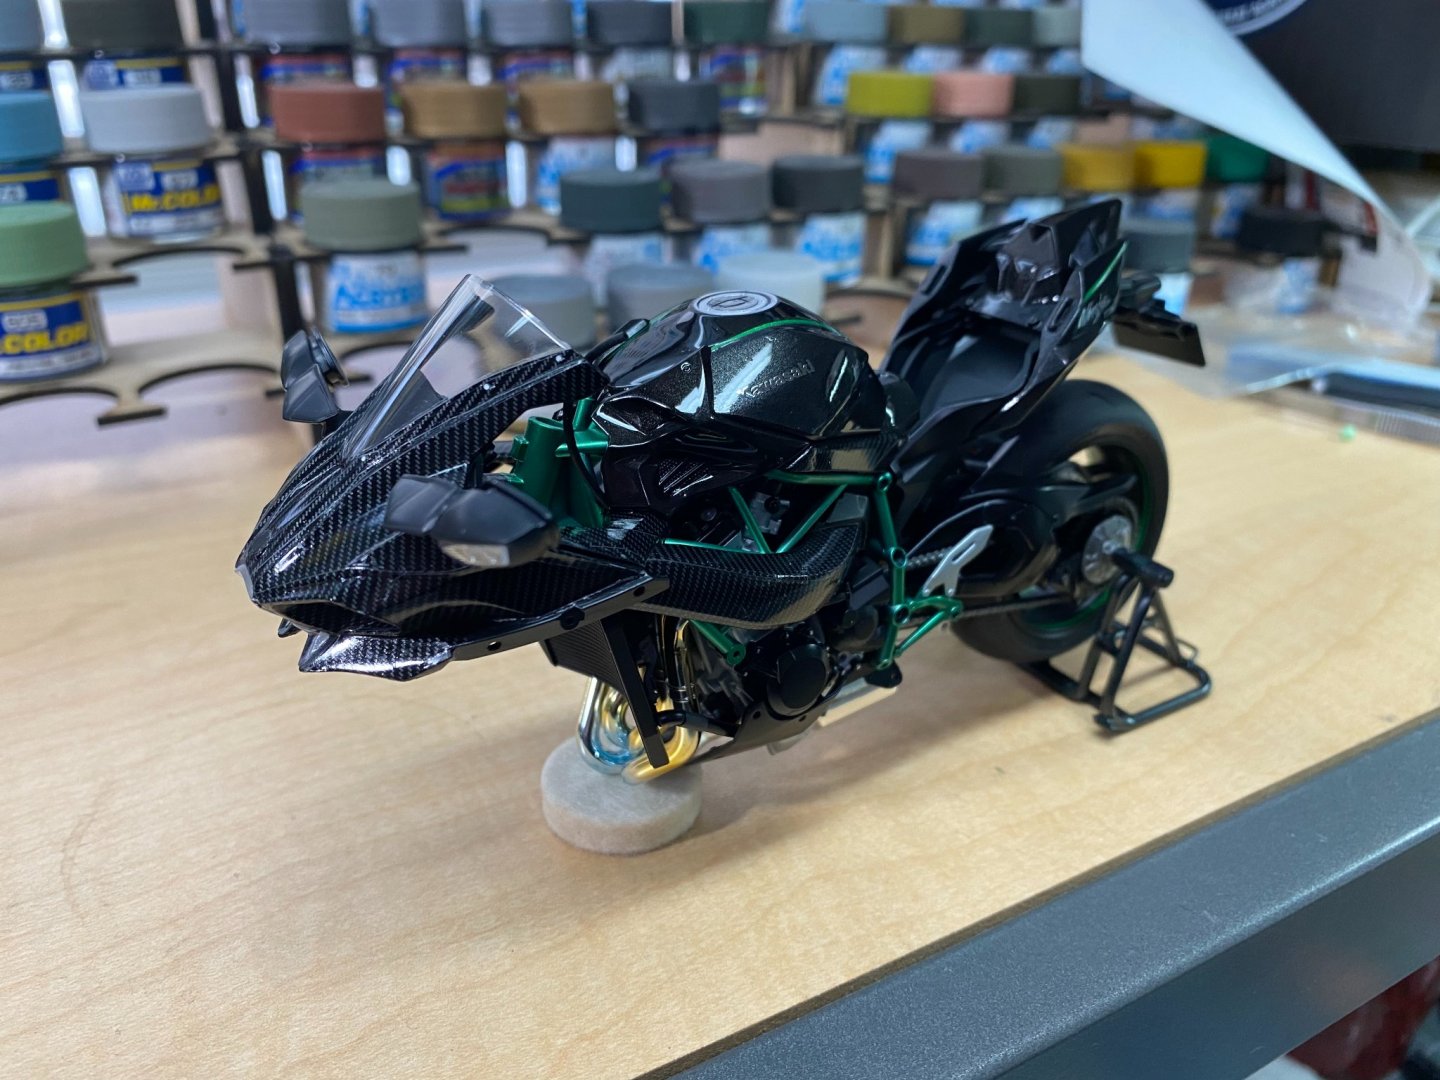
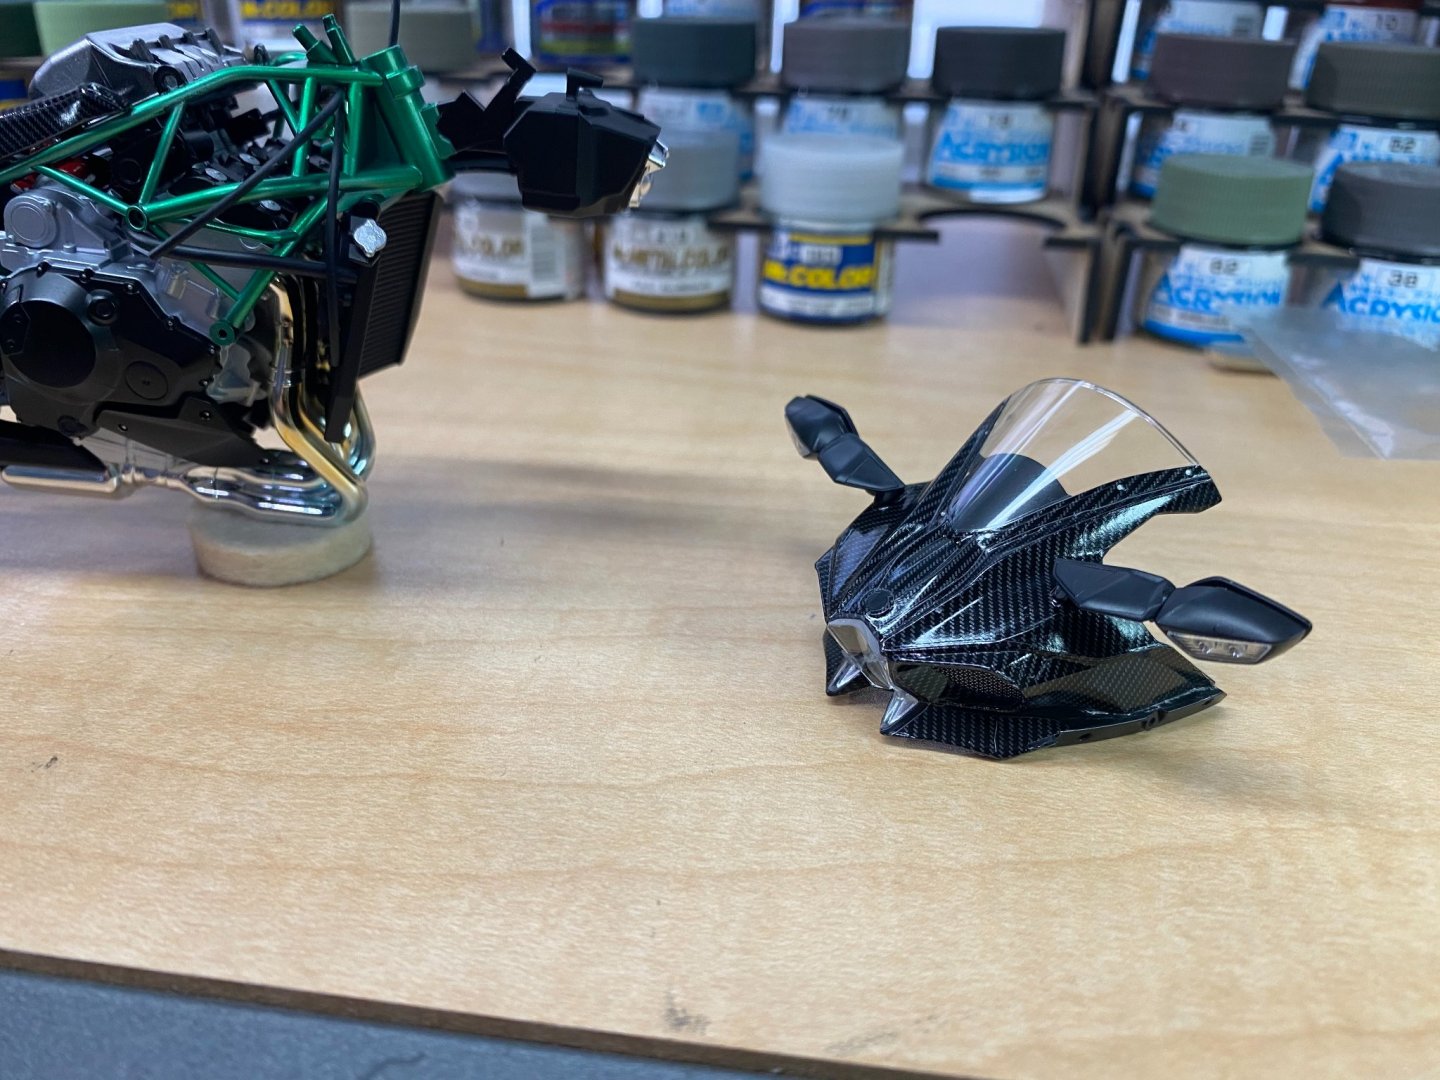
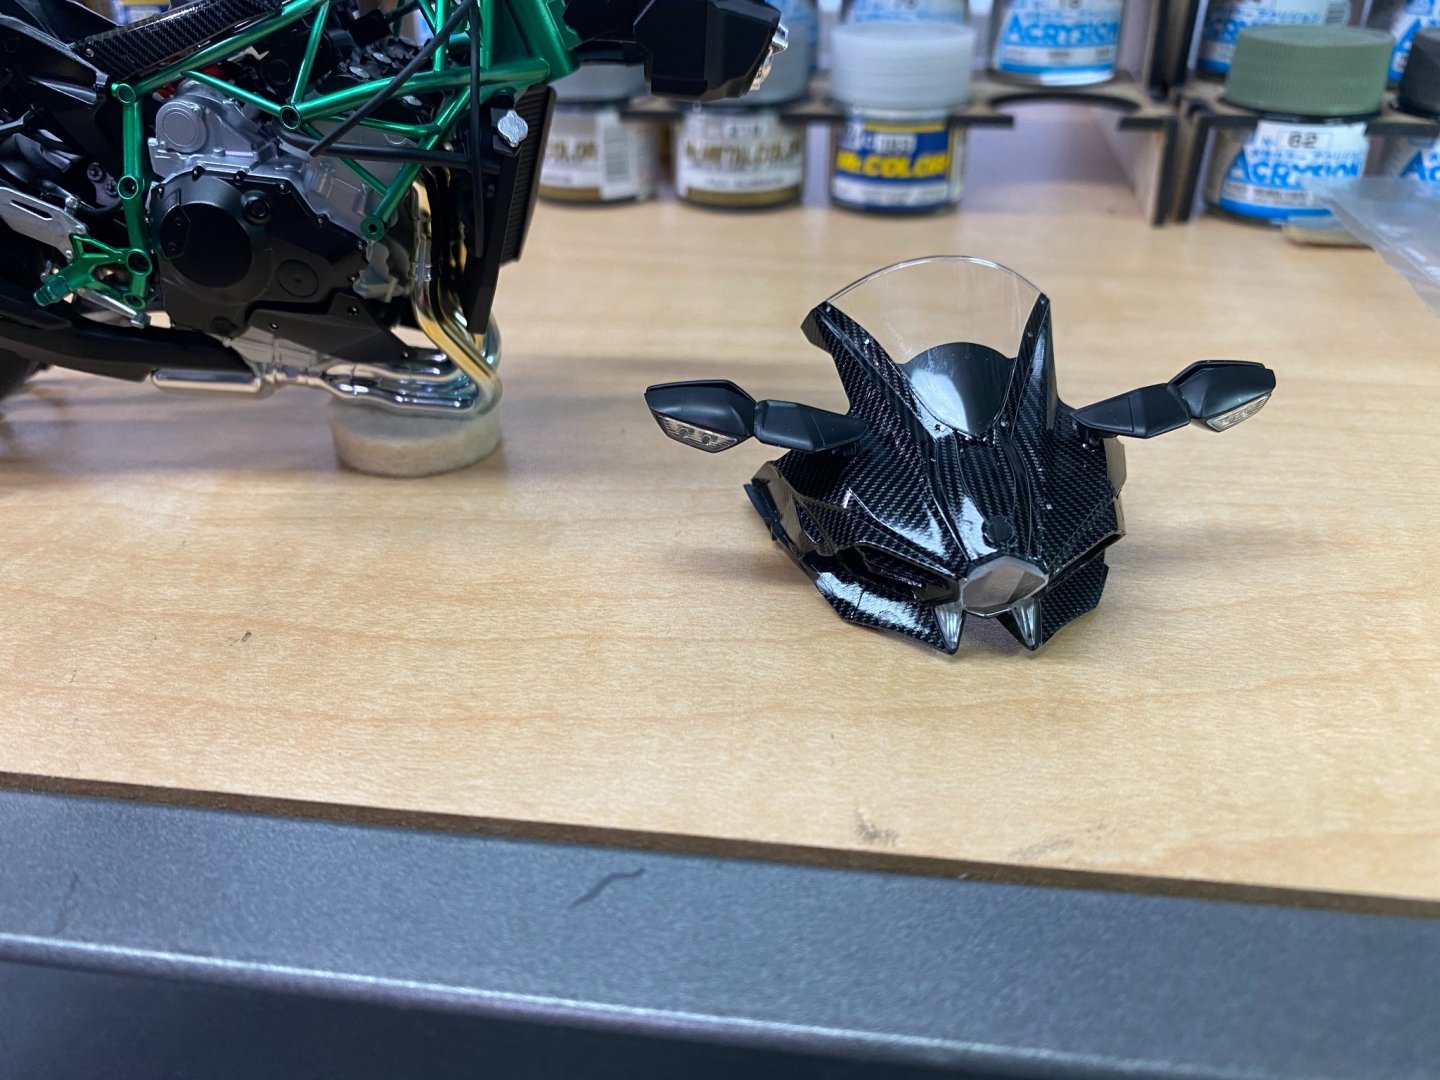
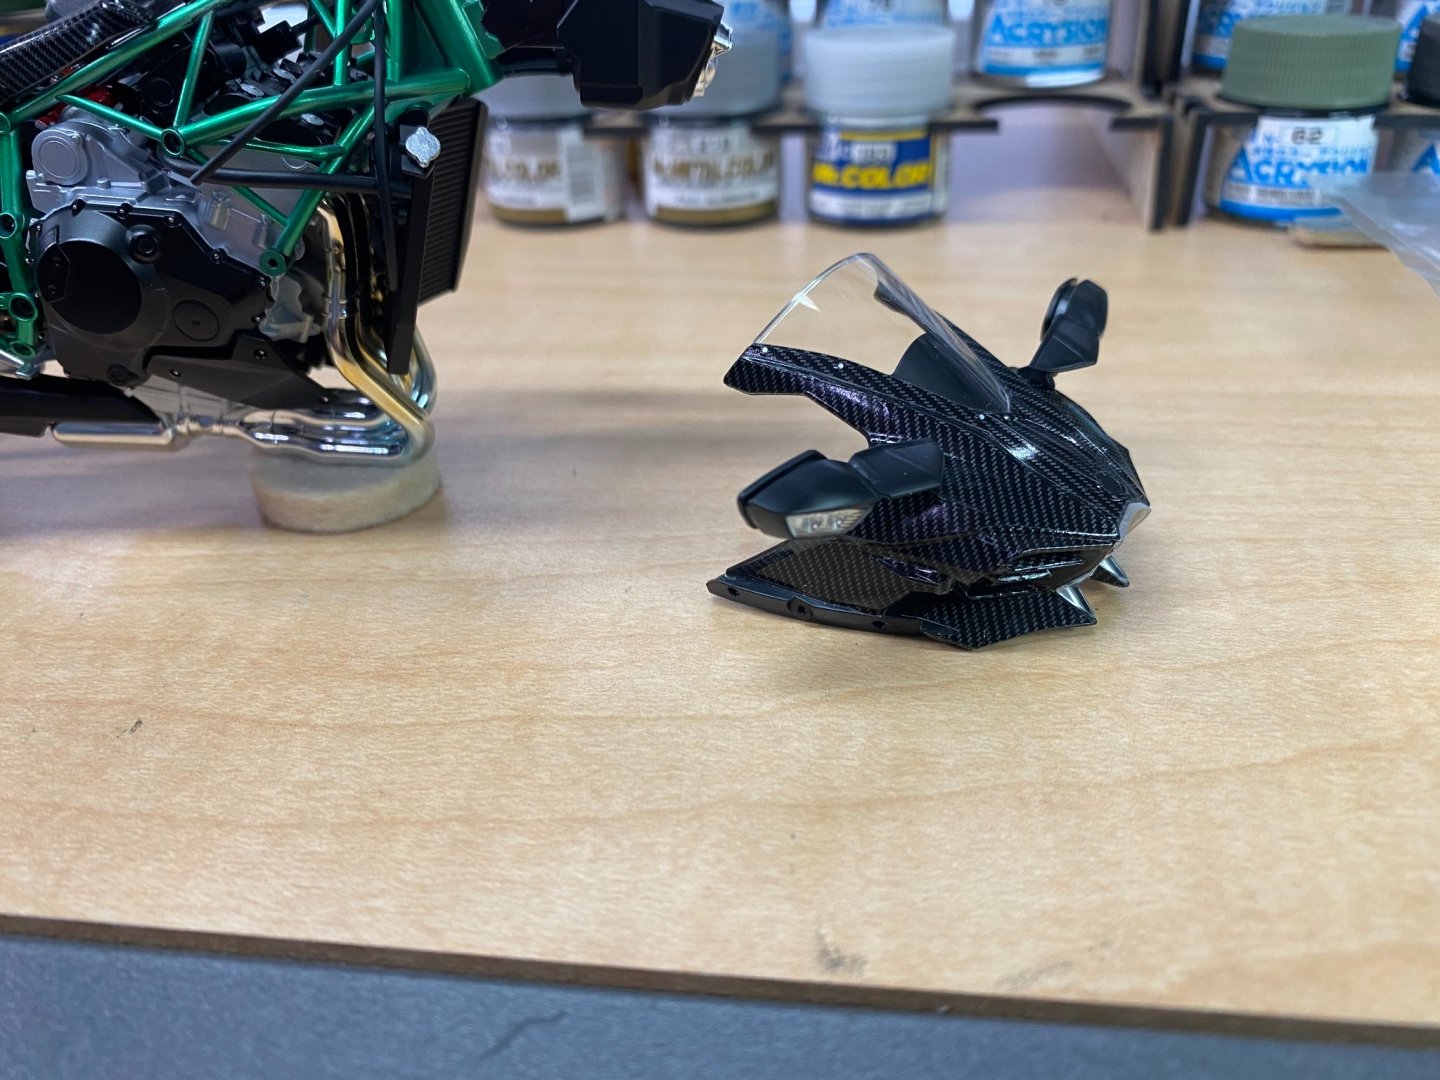
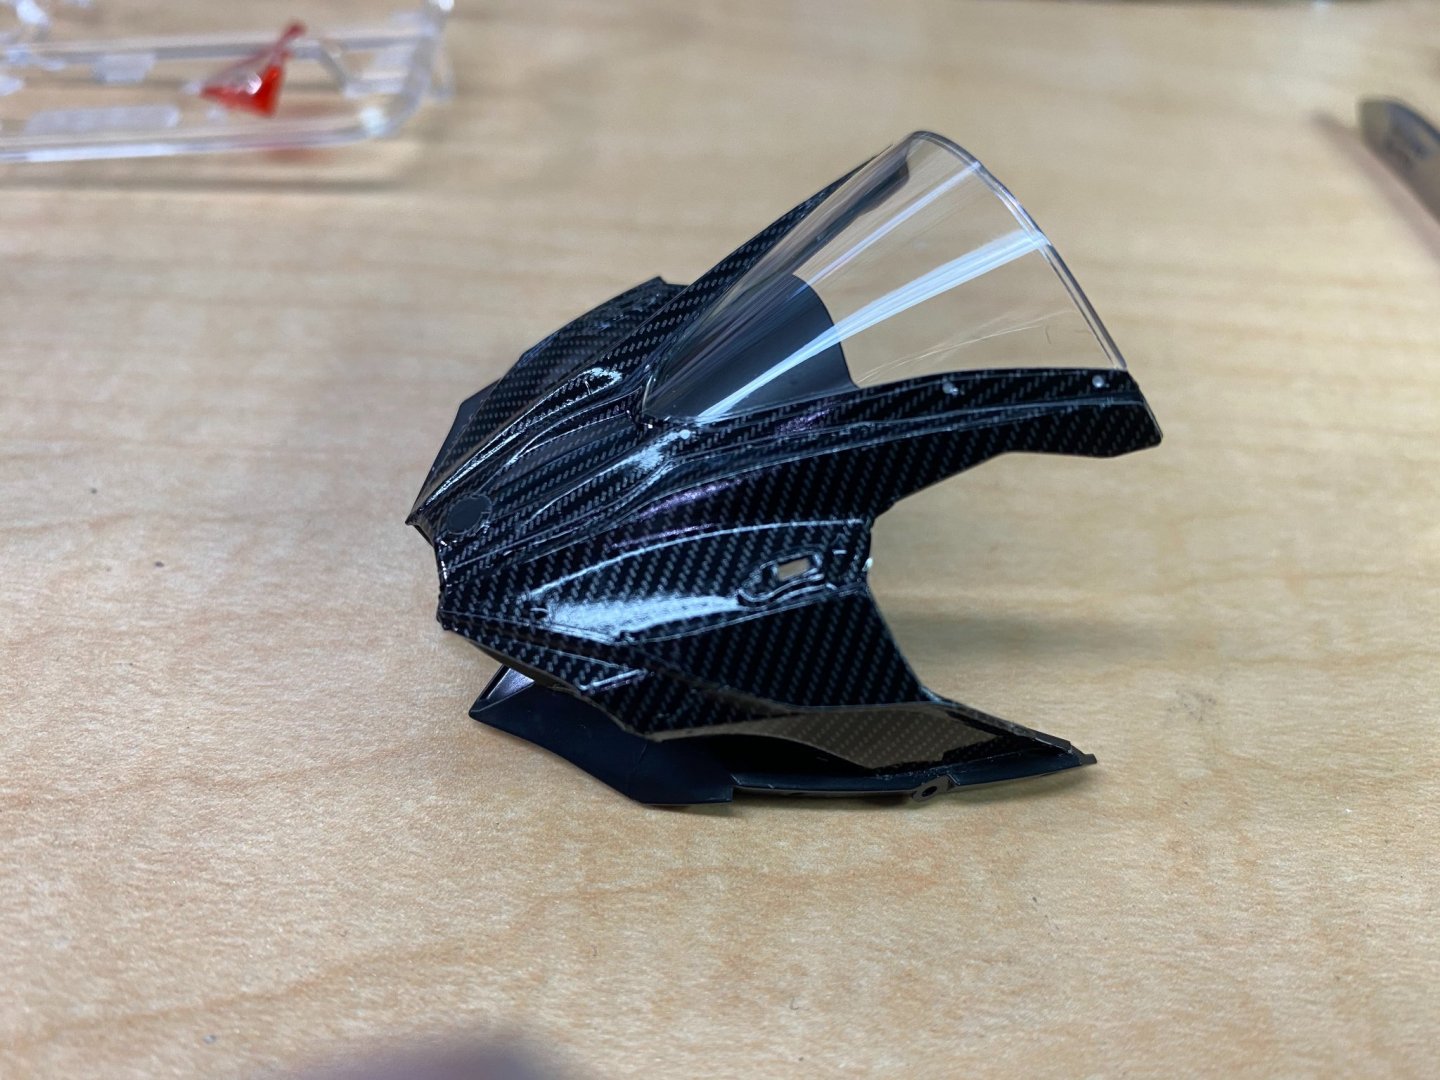
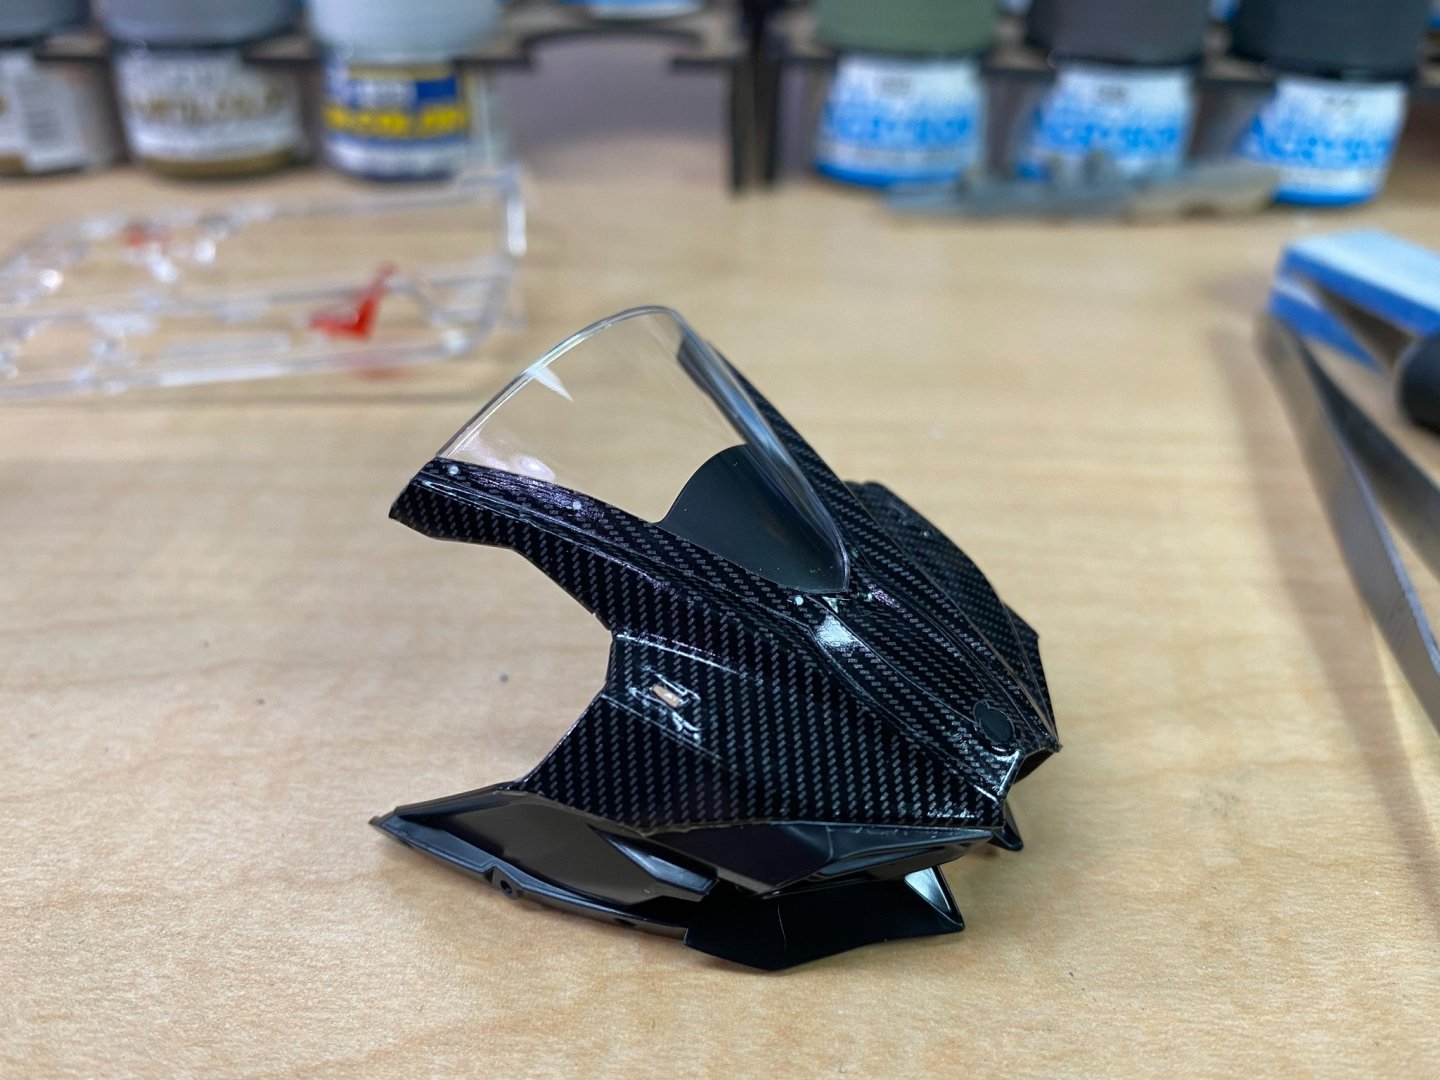
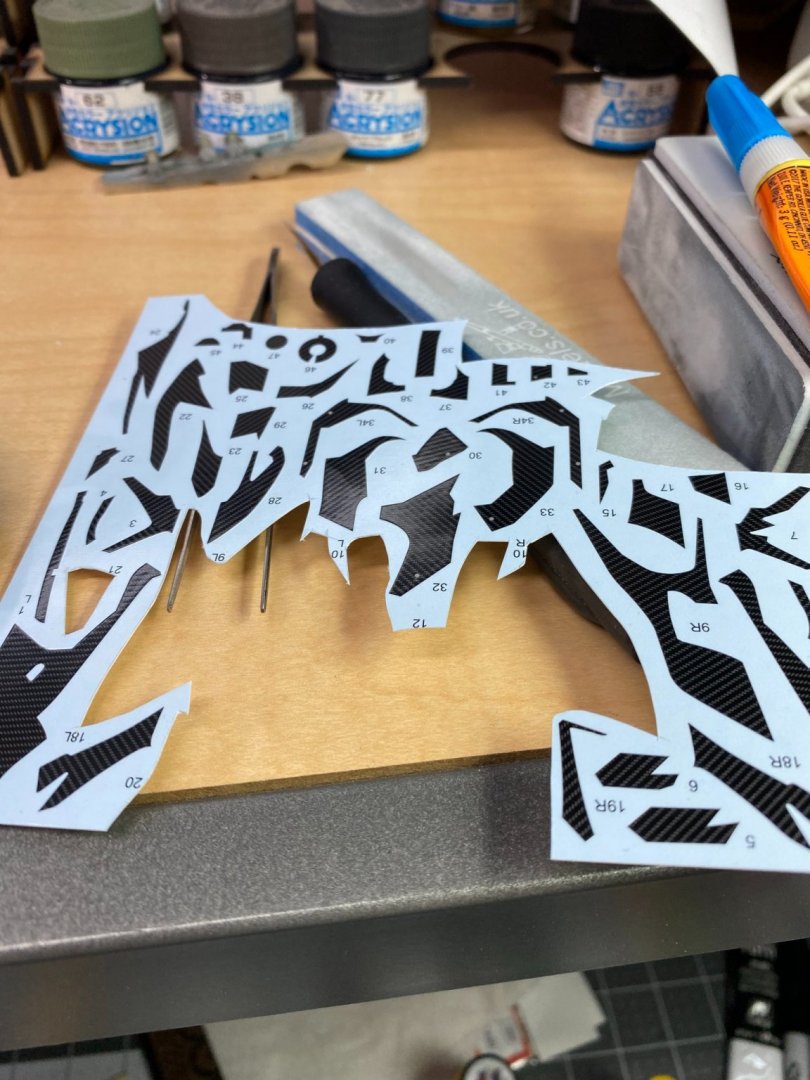
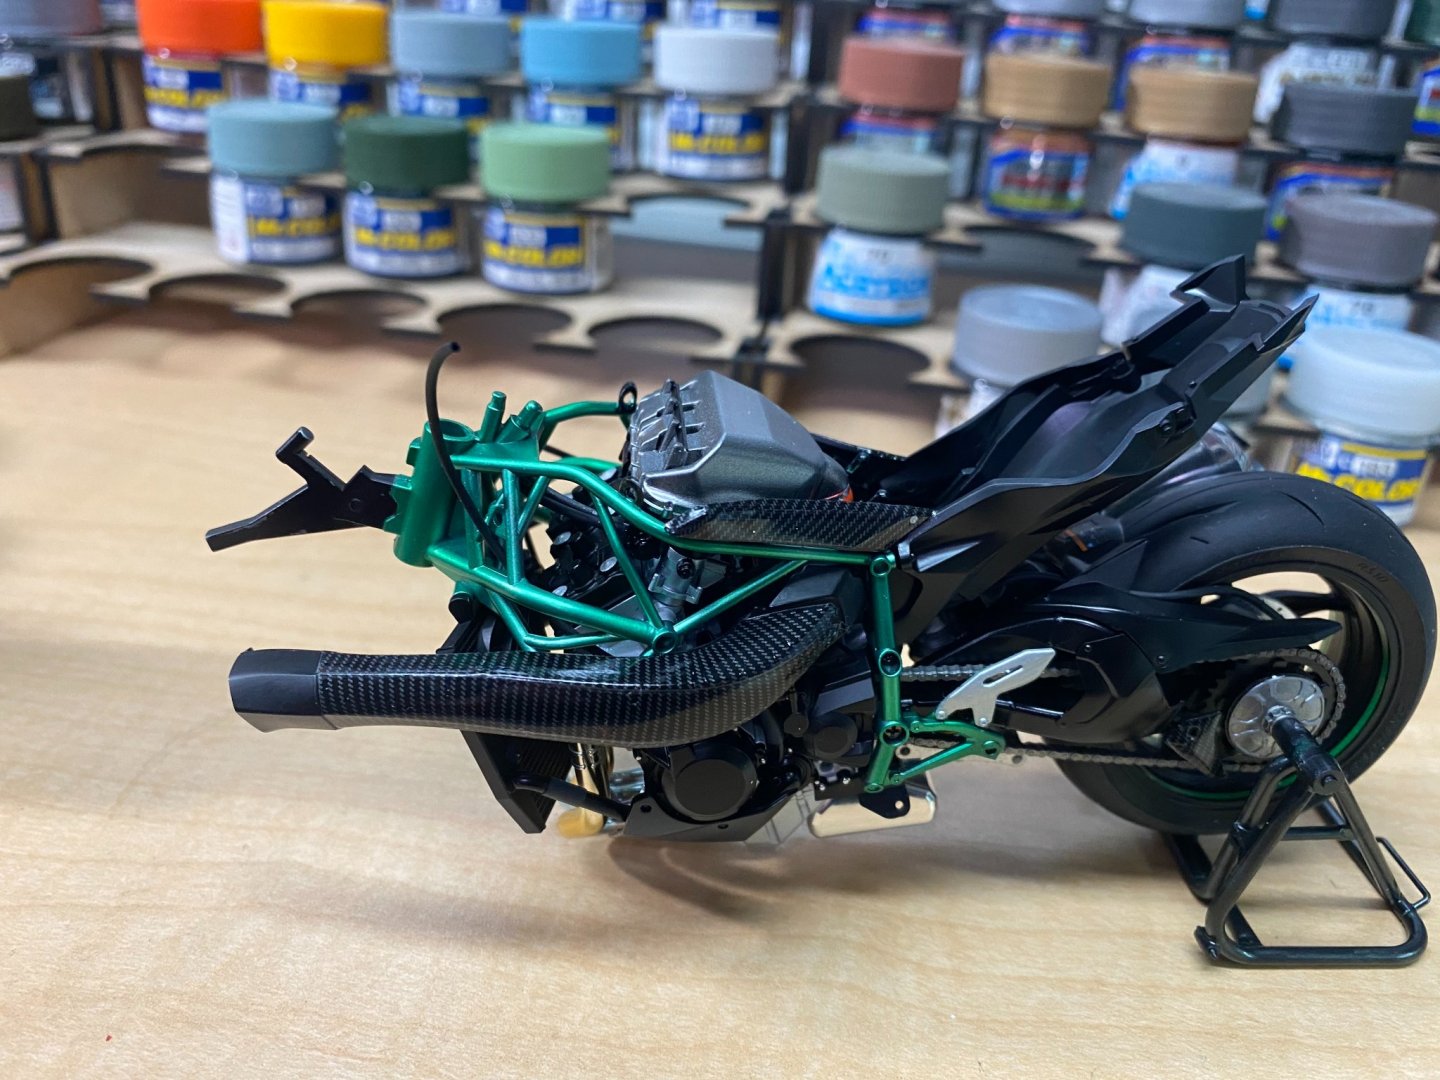
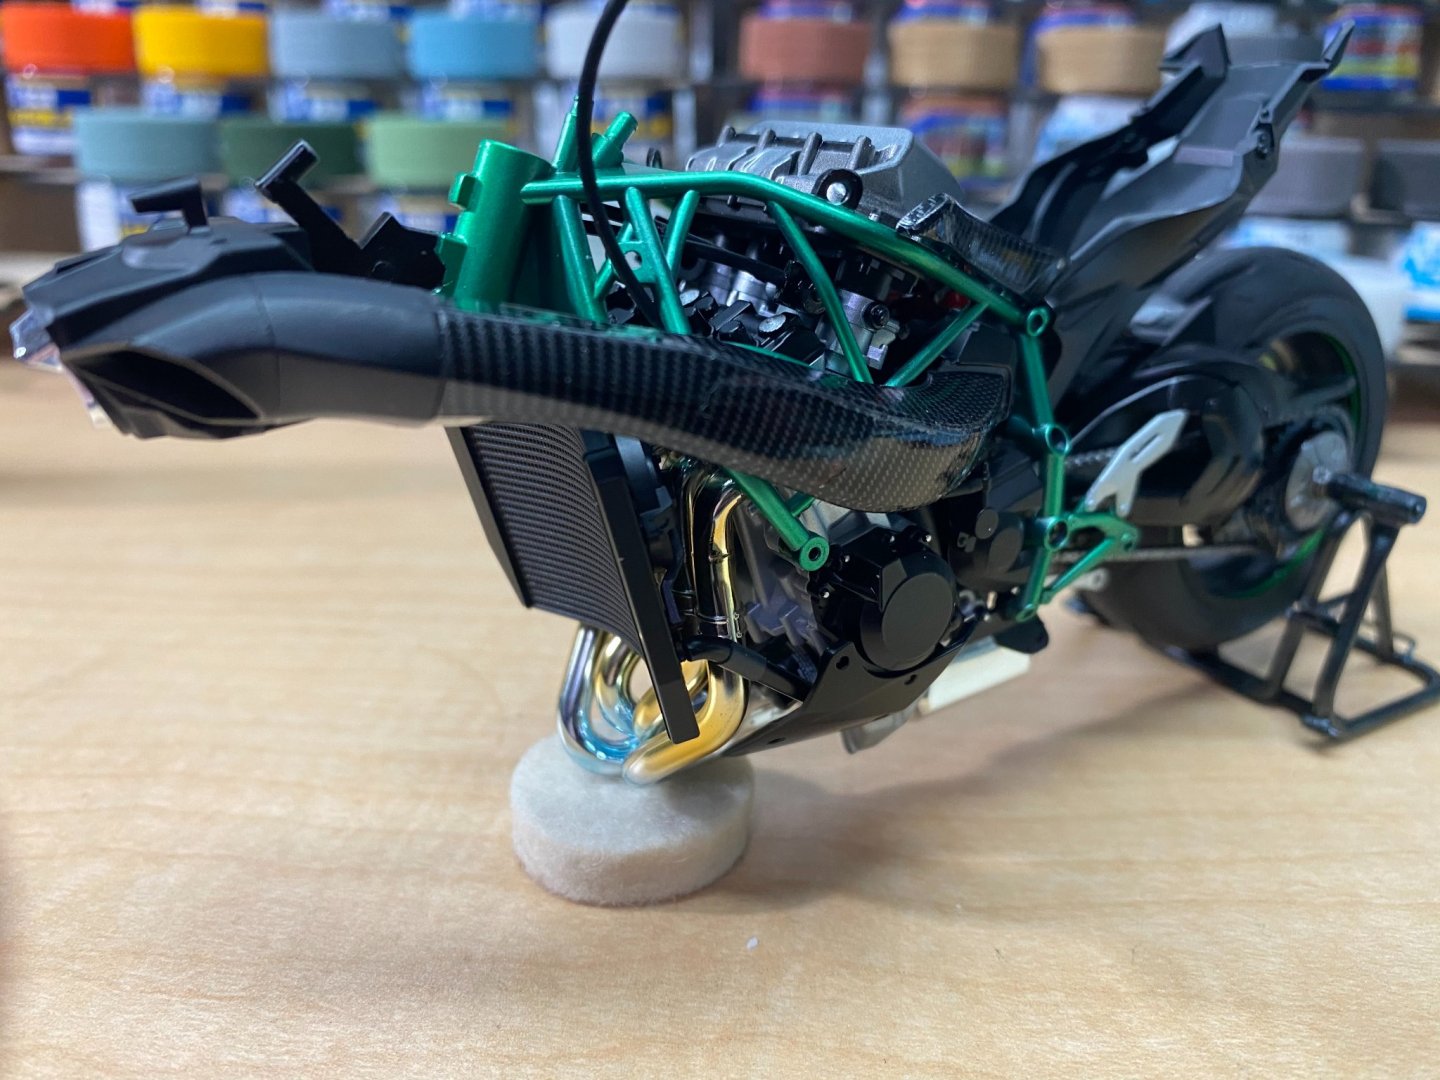
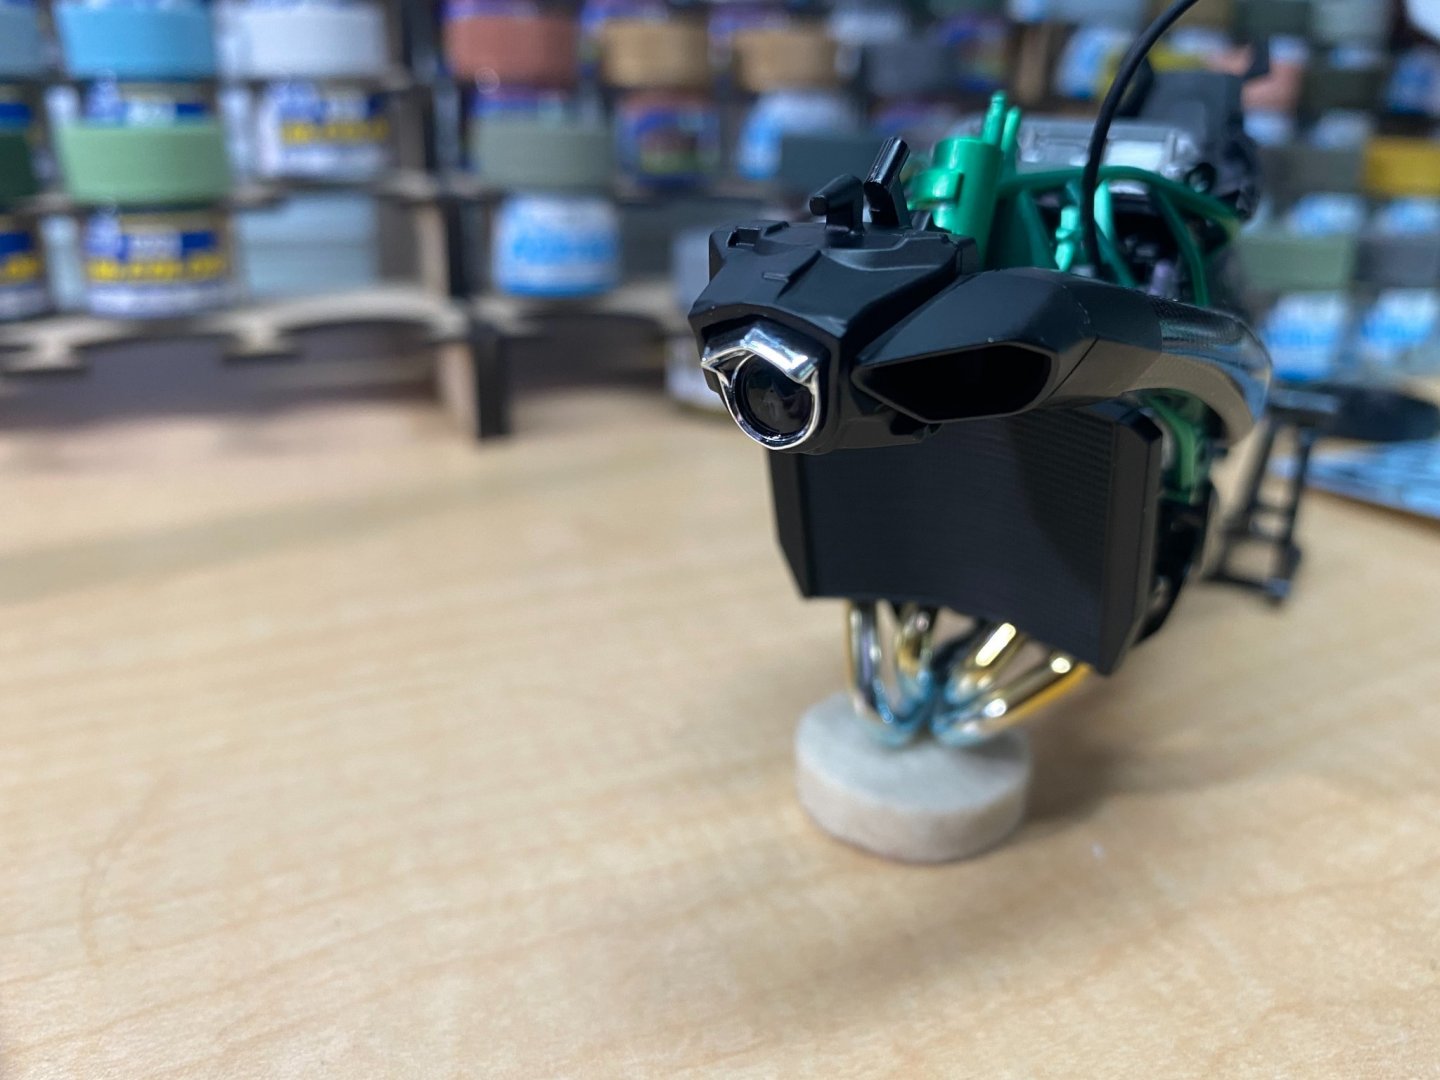
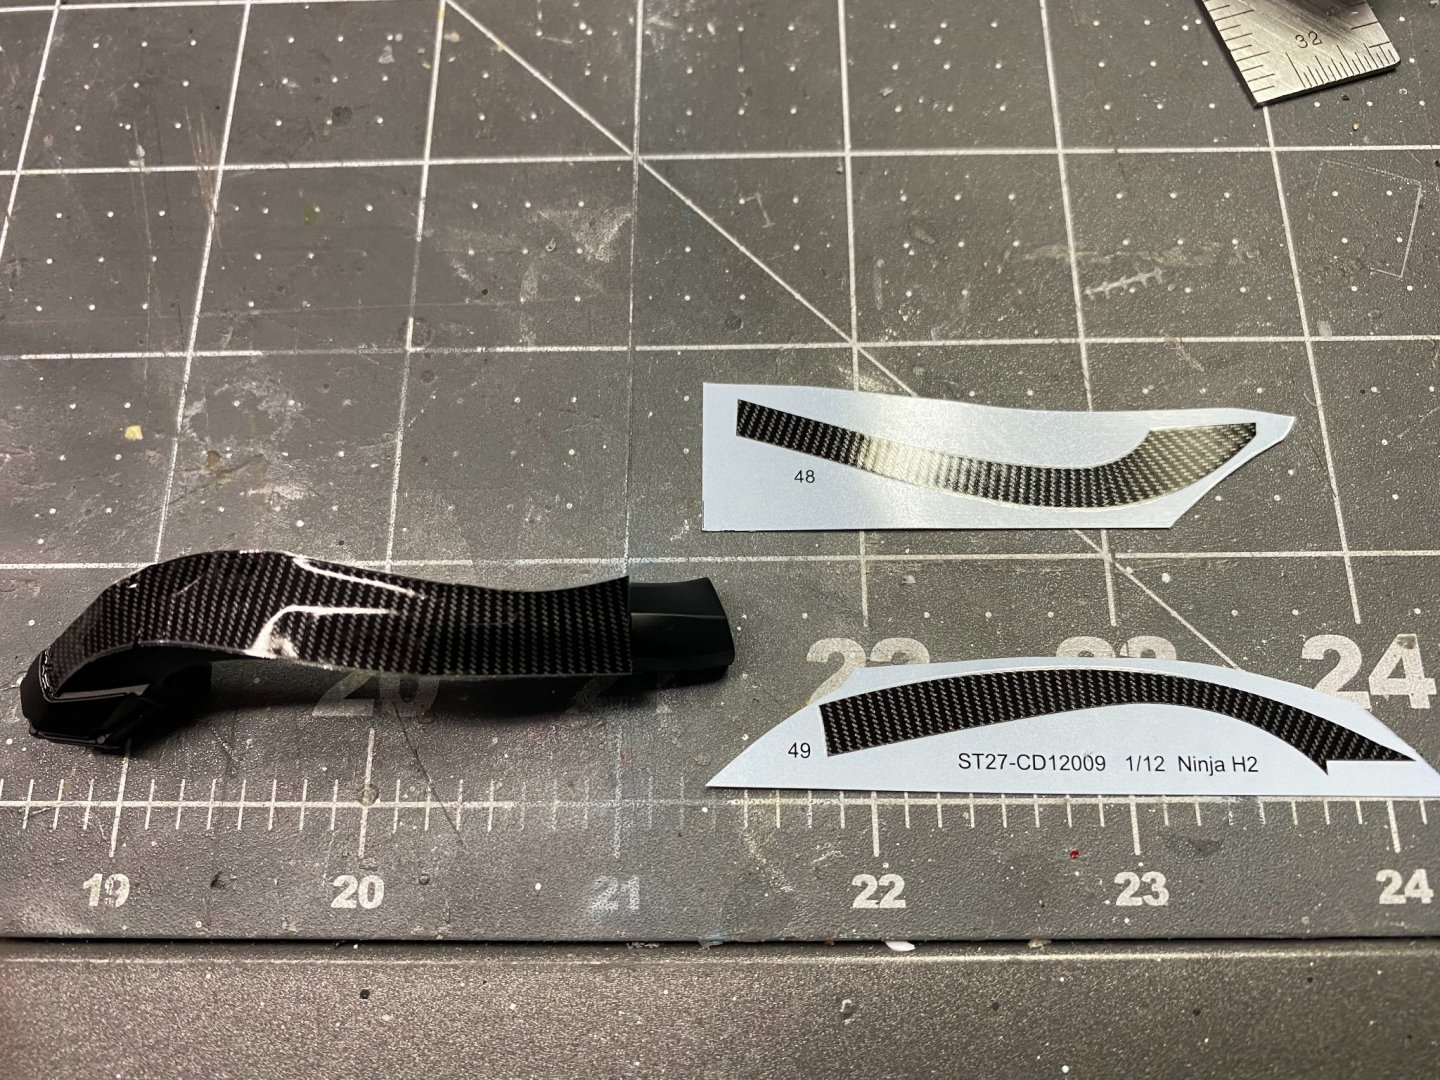
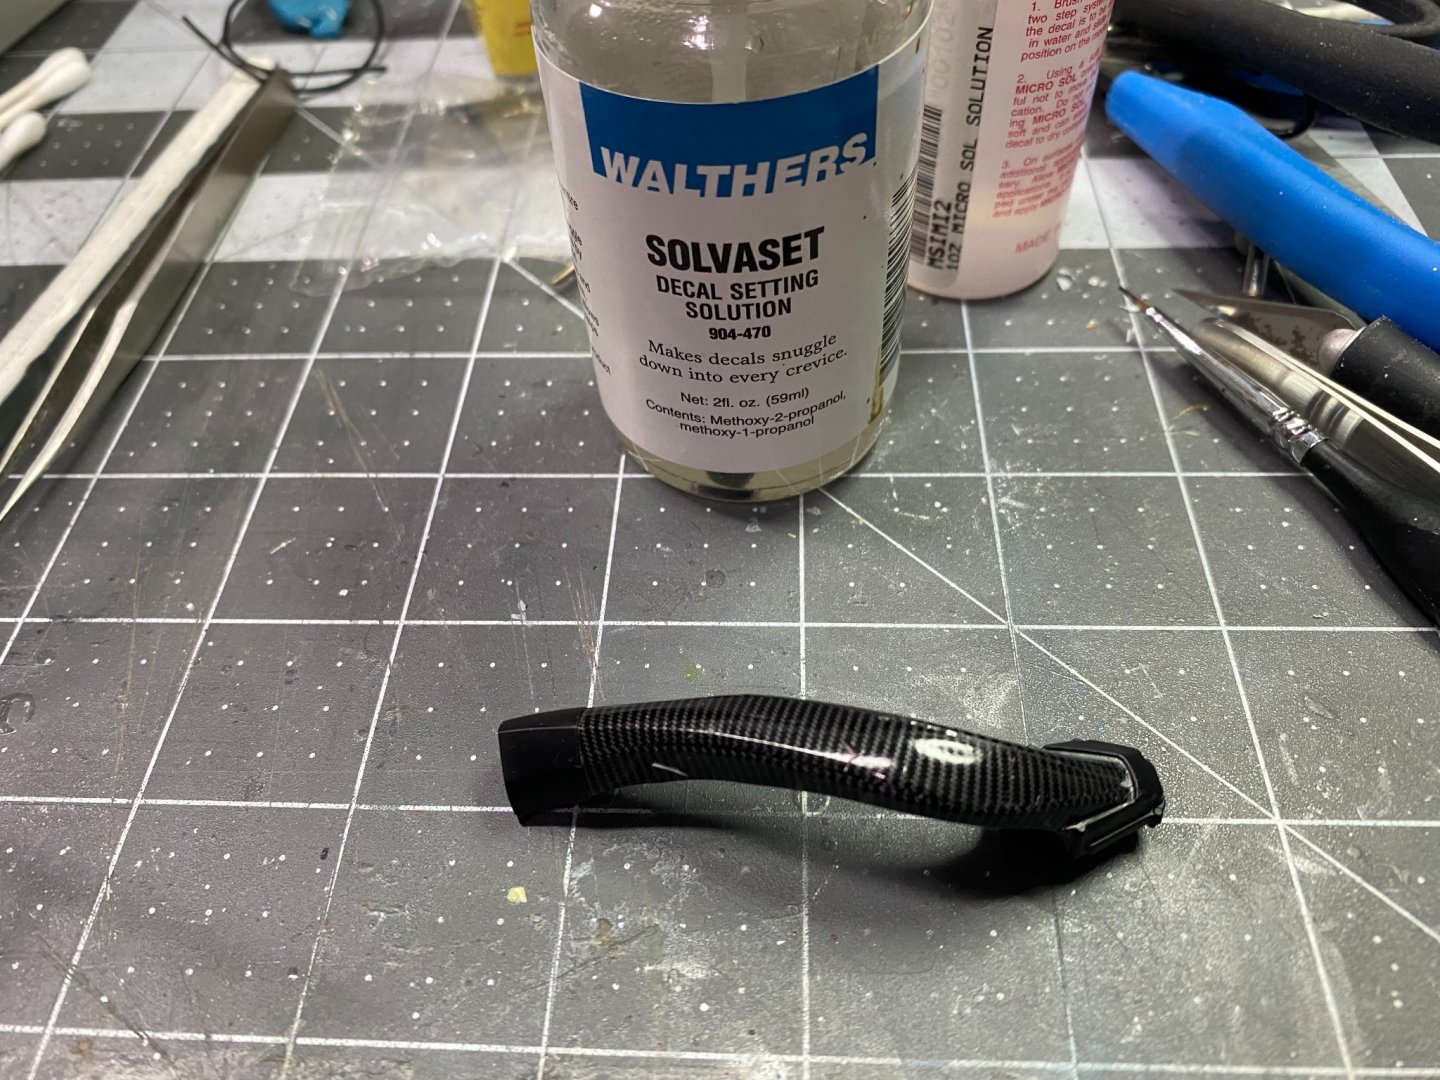
The fairing receives the lion's share of the carbon fiber decals. There are many individual pieces of decal required for the fairing. As a result, it's painfully slow getting the job done. However, the results are satisfying as the decals are of a high quality. Without a strong decal solvent like Solvaset, this task would be next to impossible.
-
I believe the simple answer is, the Asian market for models dwarfs the Western market. Many many more modelers in Asia than the West. The answer is an economic one. They produce models for sales. Not enough sales in the Western market. The Japanese ships are big sellers in Asia.
- 179 replies
-
- hatsuzakura
- pit road
-
(and 2 more)
Tagged with:
-
Looks fabulous Mike. Takes someone with the skills of a watchmaker to work in that scale. Your work almost persuaded me to buy a 1:700 scale Tirpitz this weekend, but I resisted the temptation. I do have an aircraft carrier in that scale. Will do that one before I buy anything else, just to make sure I'll follow through.
- 179 replies
-
- hatsuzakura
- pit road
-
(and 2 more)
Tagged with:
-
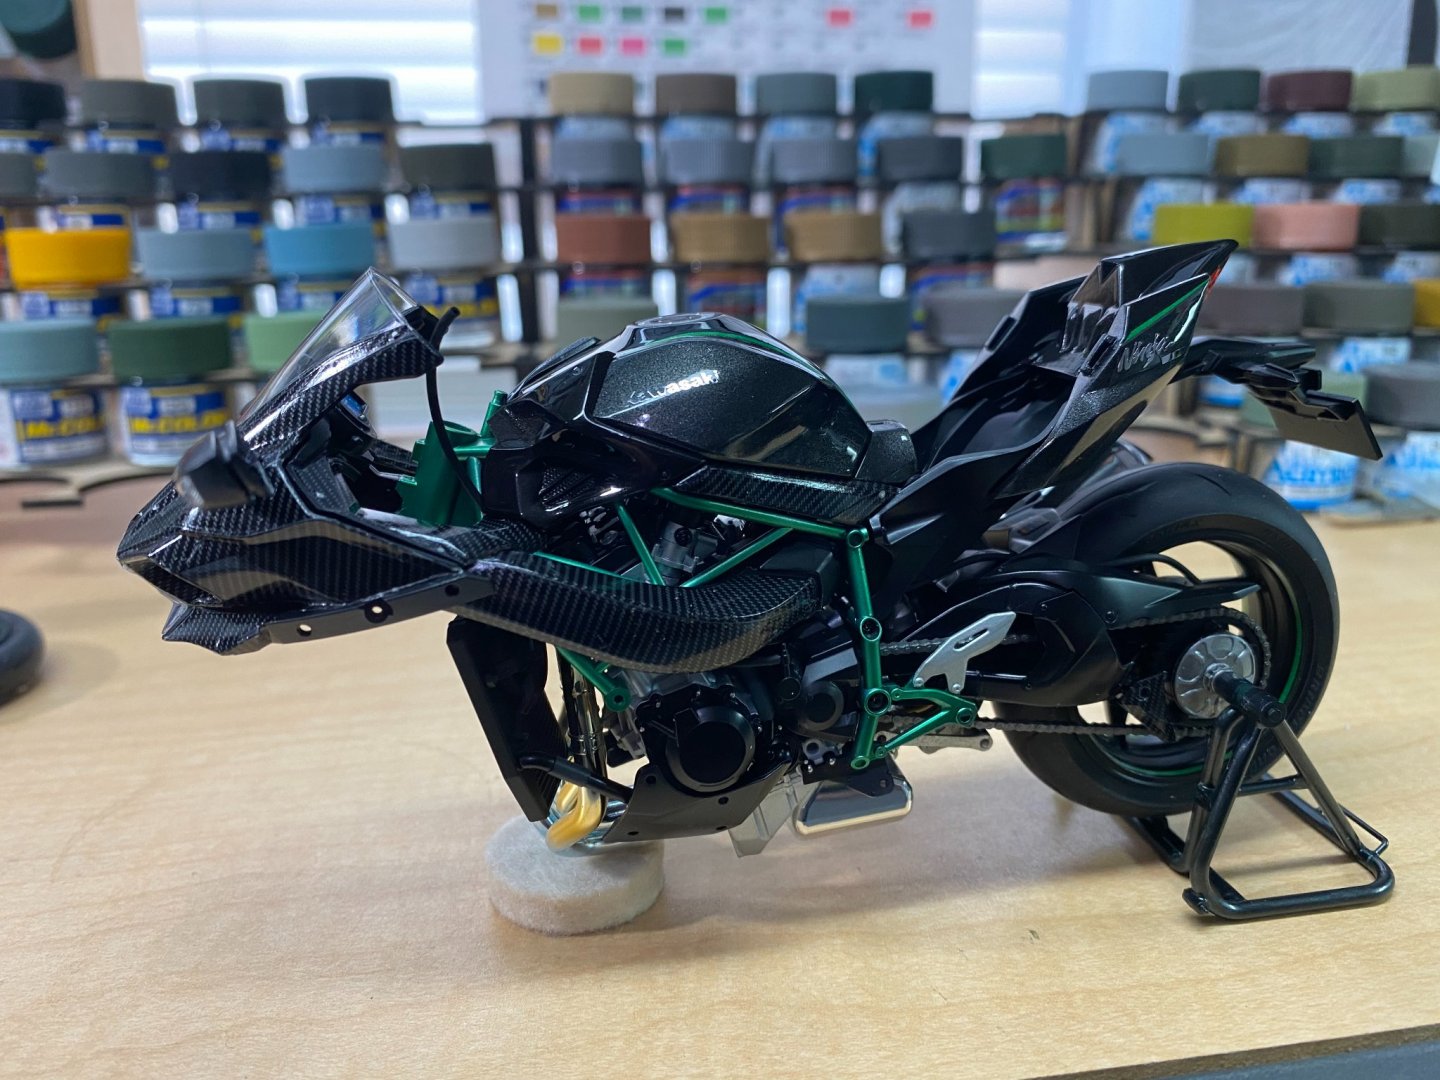
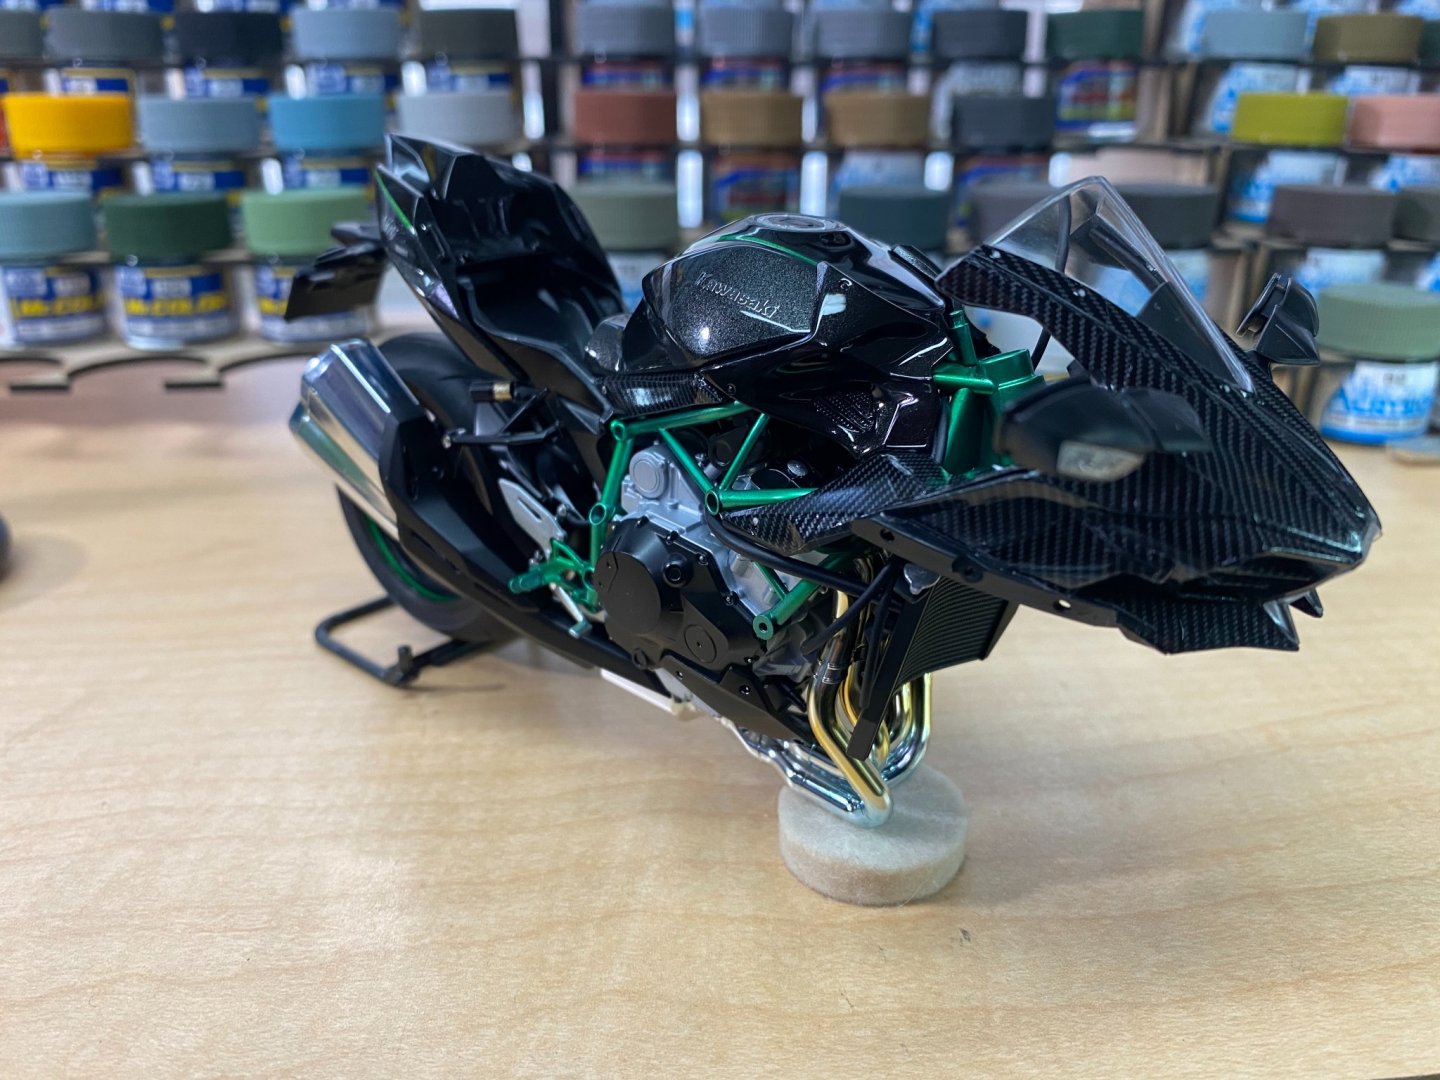
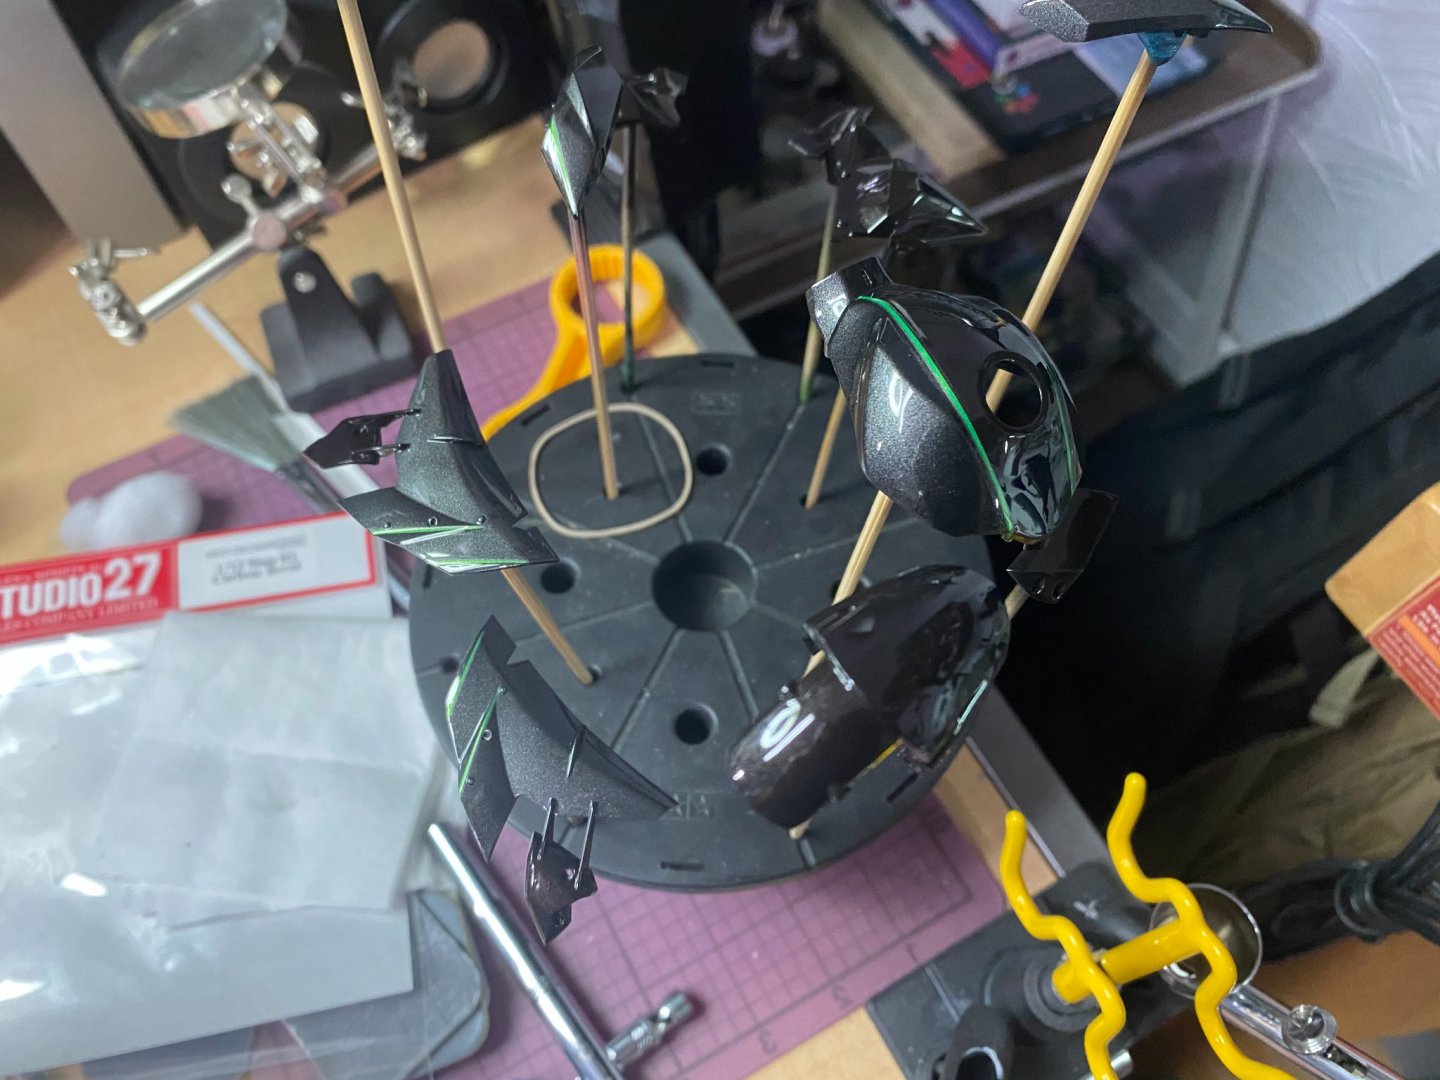
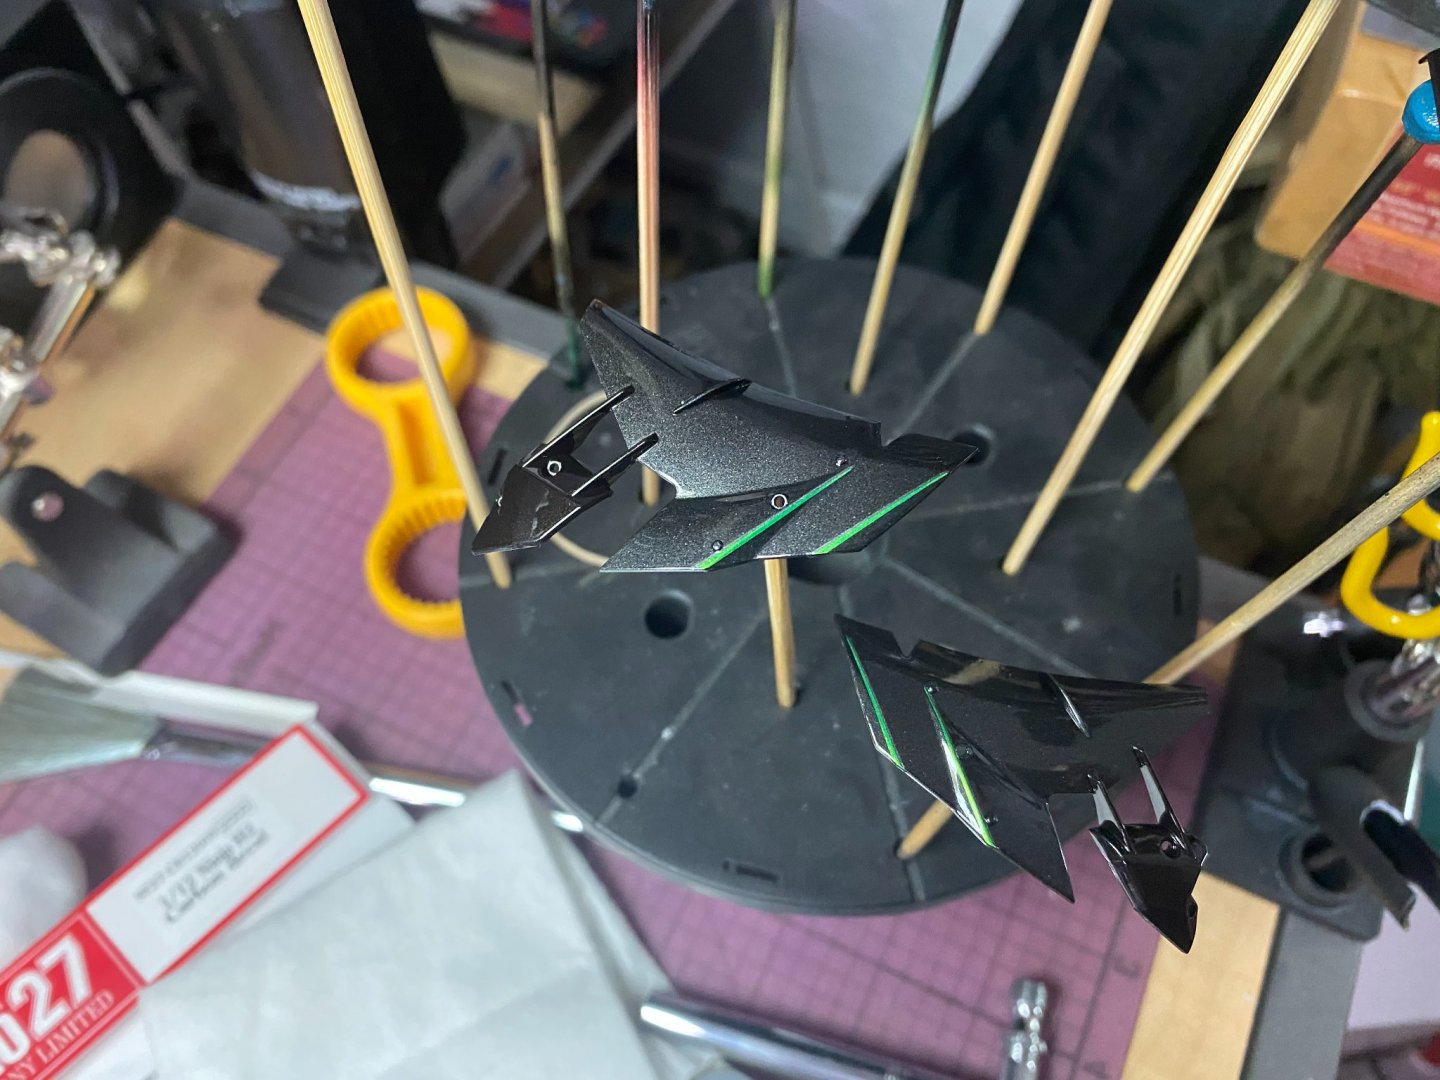
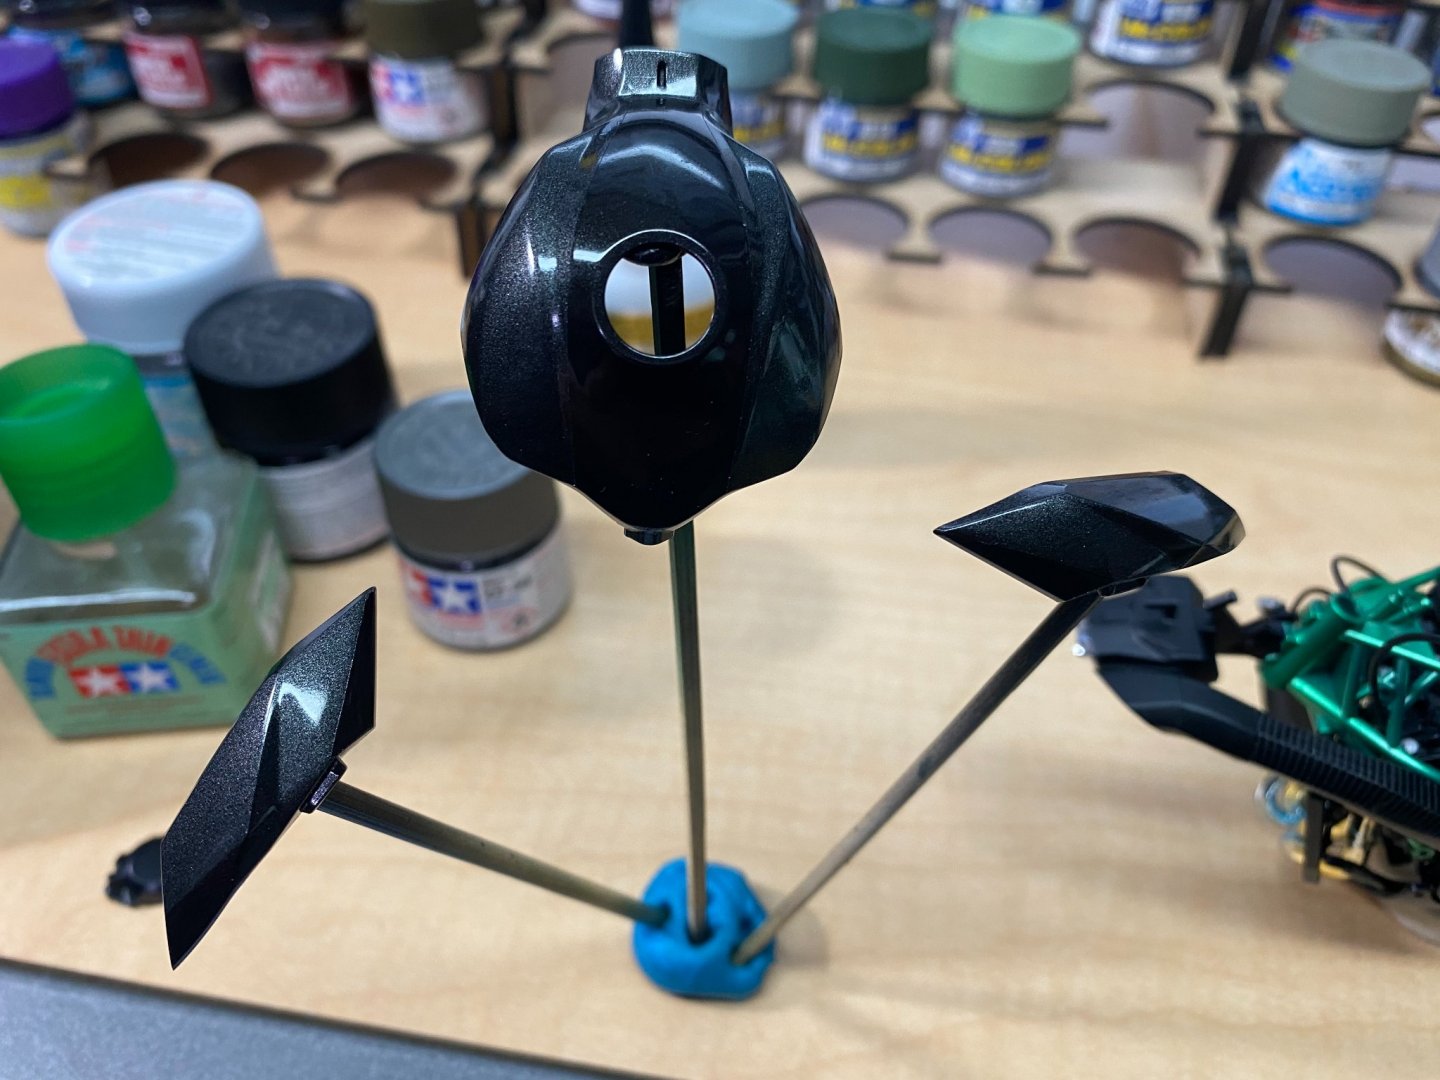
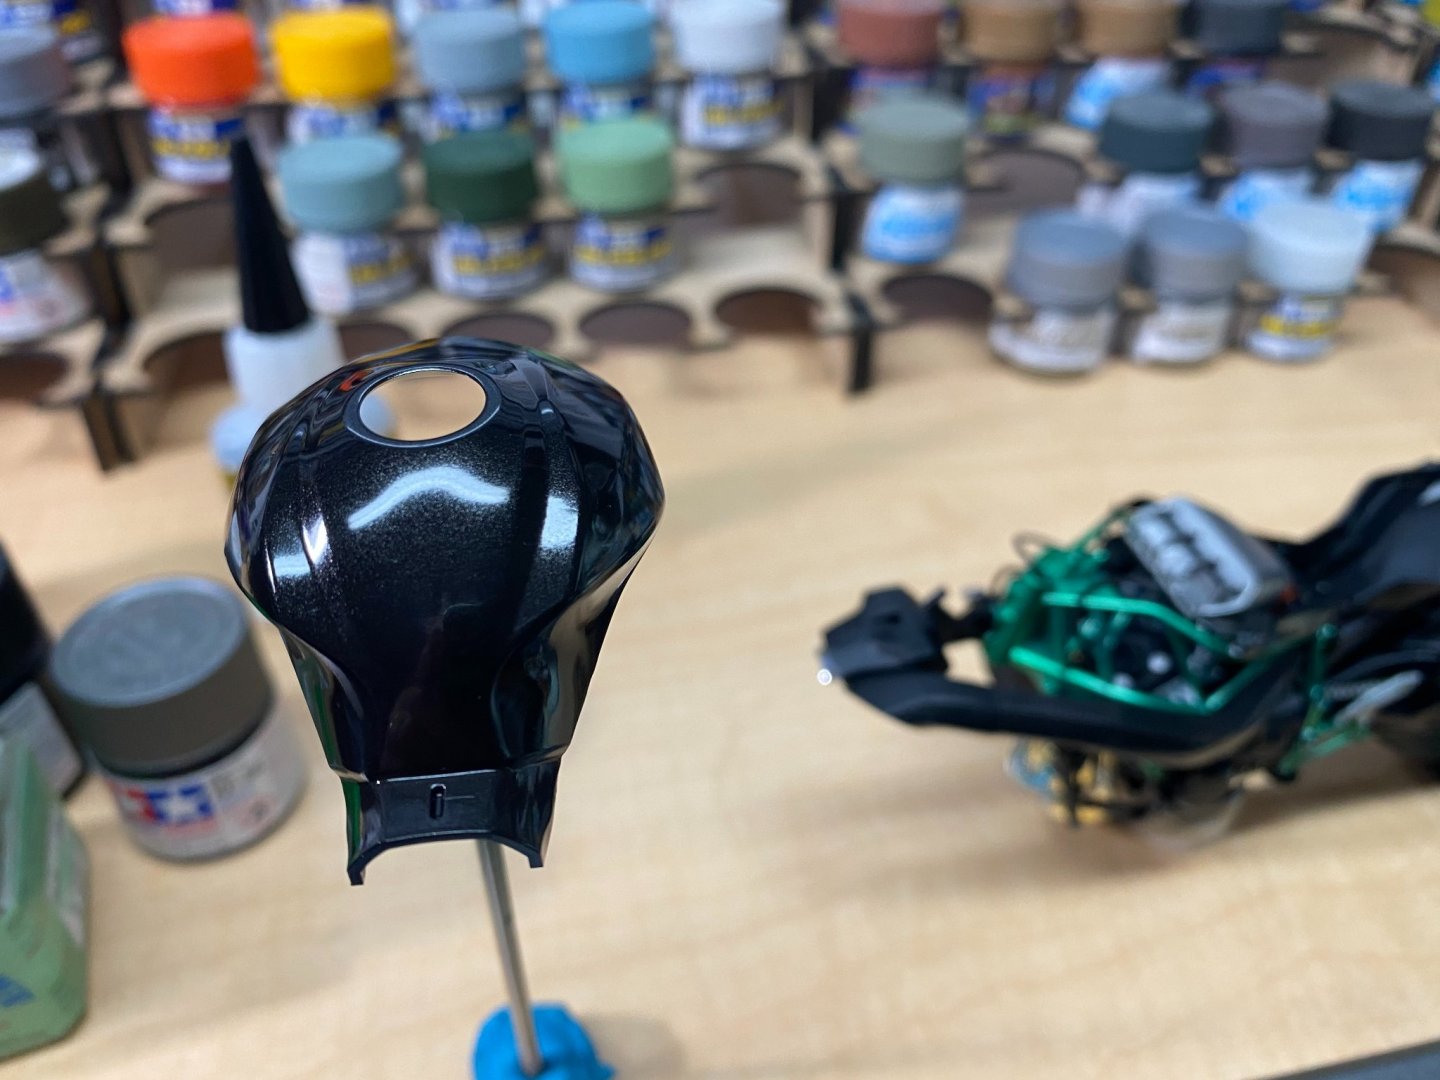
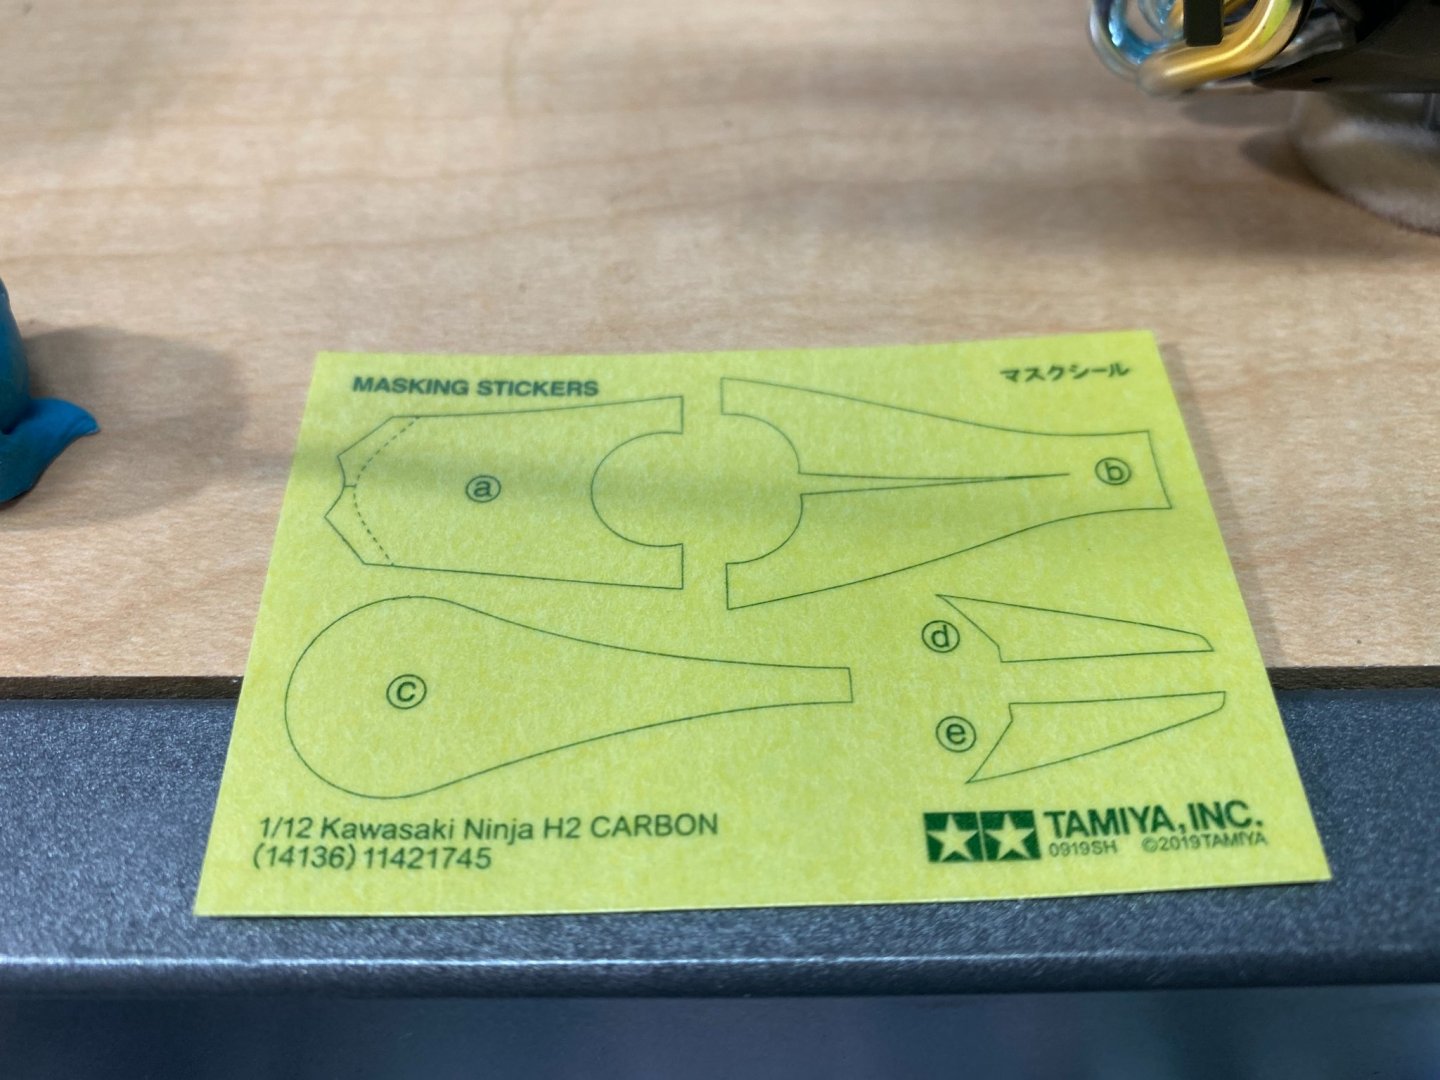
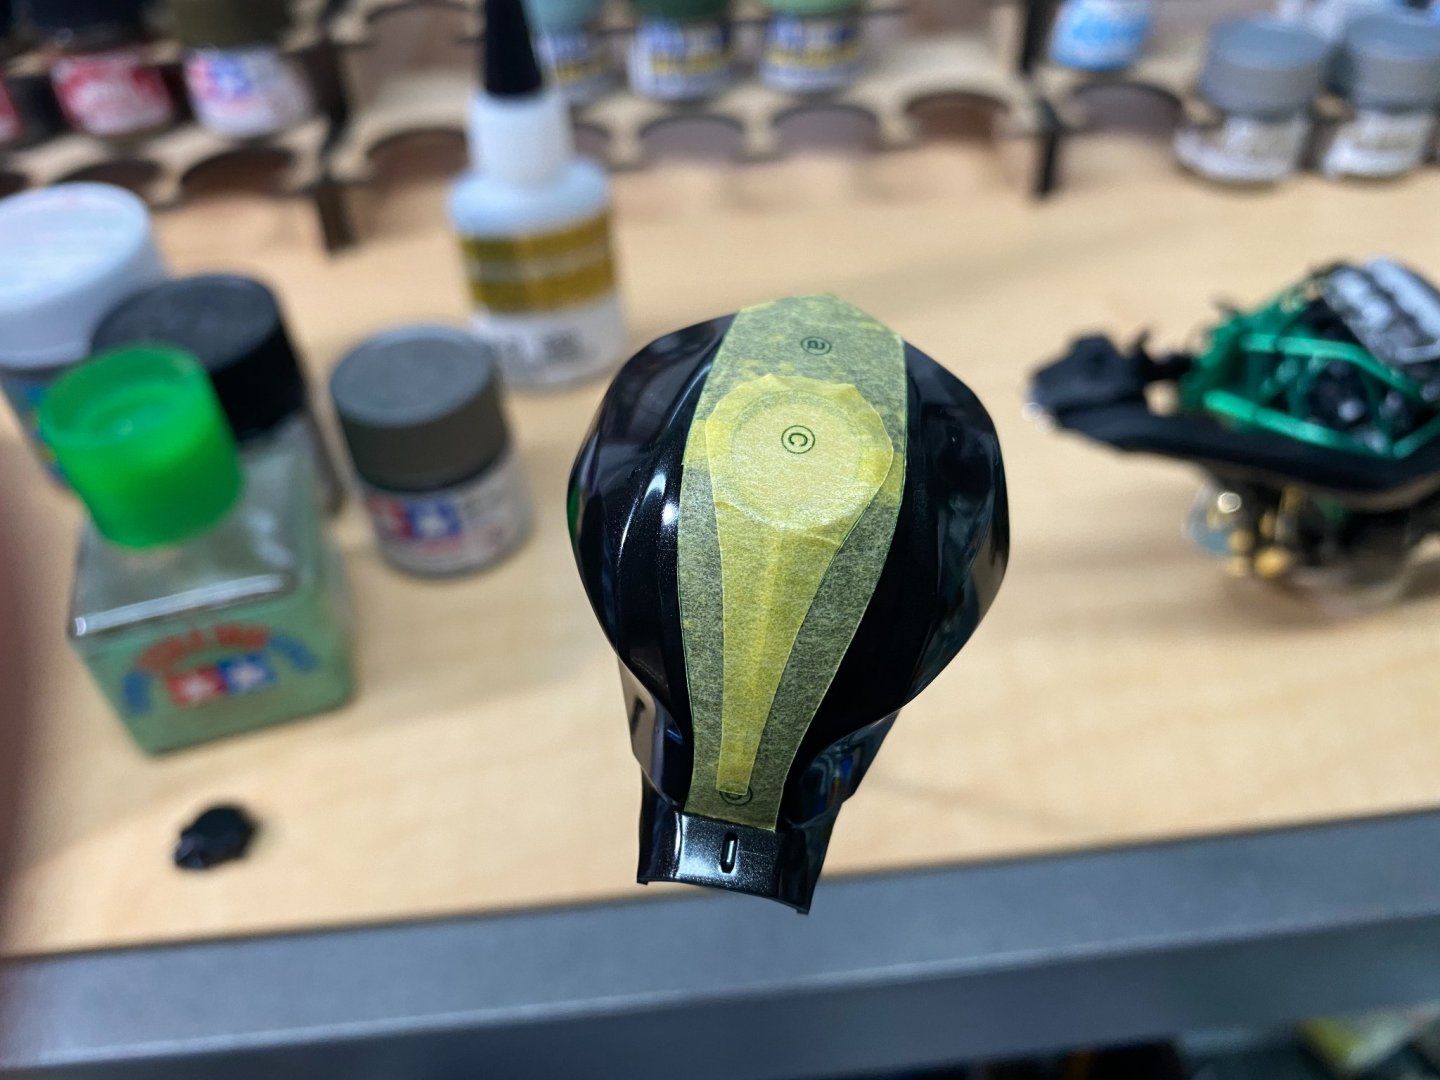
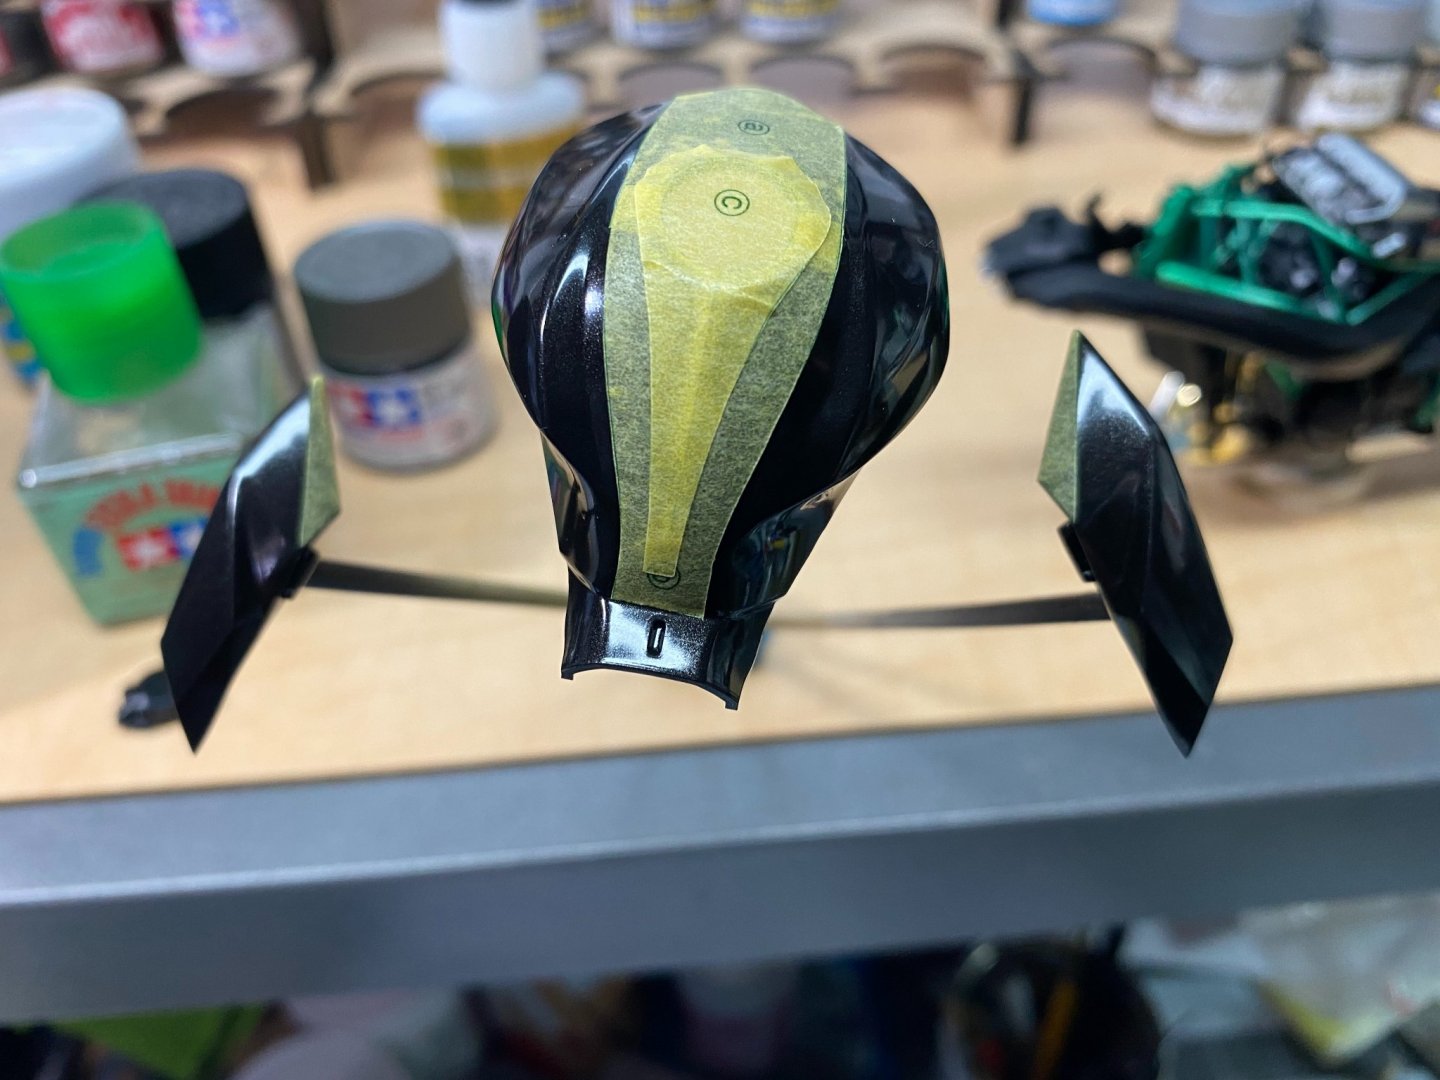
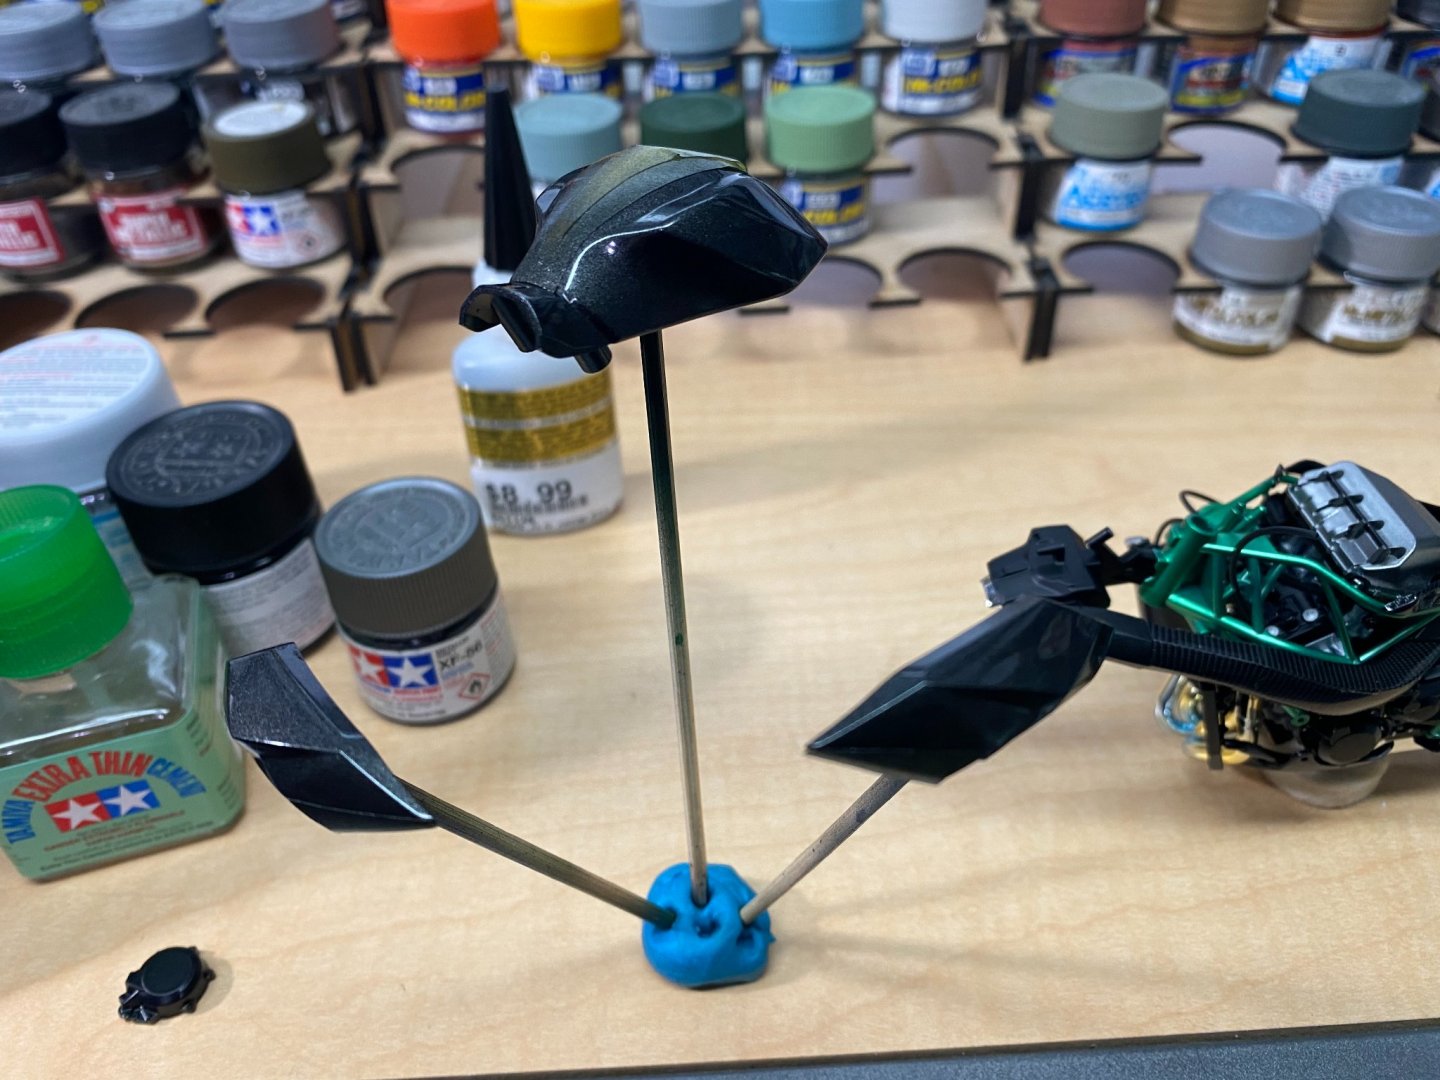
The main paint call outs for this model are metallic black and gun metal. Those parts get a clear coat. Here, I have painted the parts that are metallic black. The kit provides paint masks. The paint masks are applied to the parts that were painted metallic black After the masks have been applied, gun metal color is sprayed on.
-
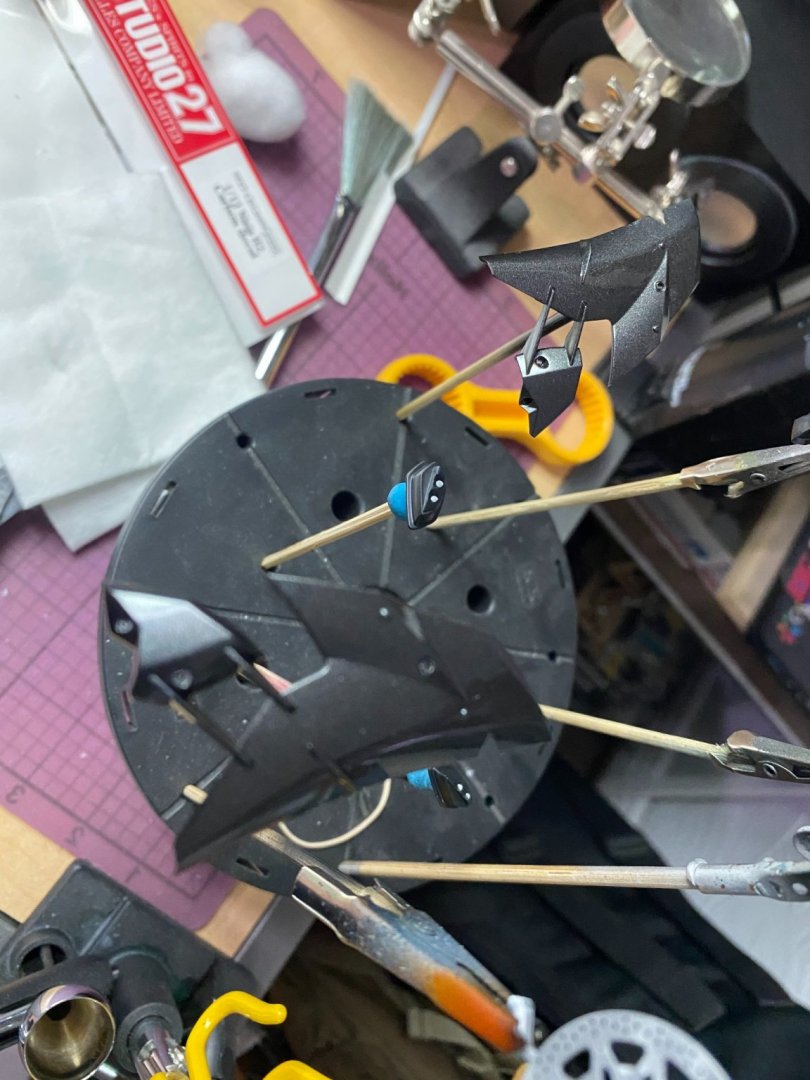
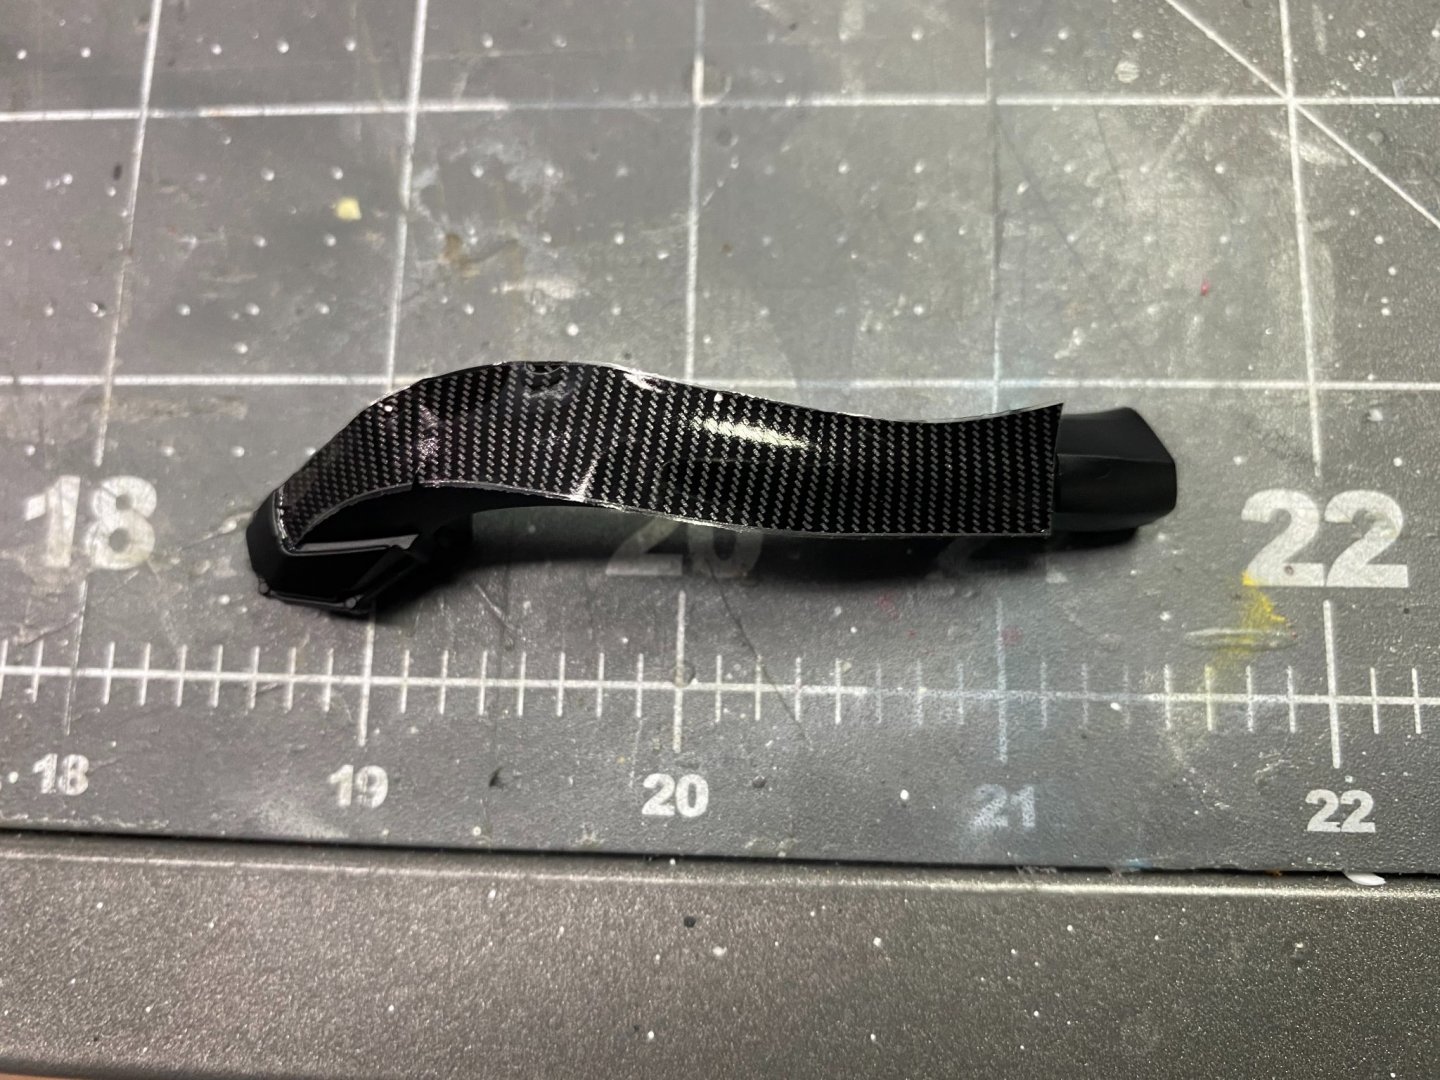
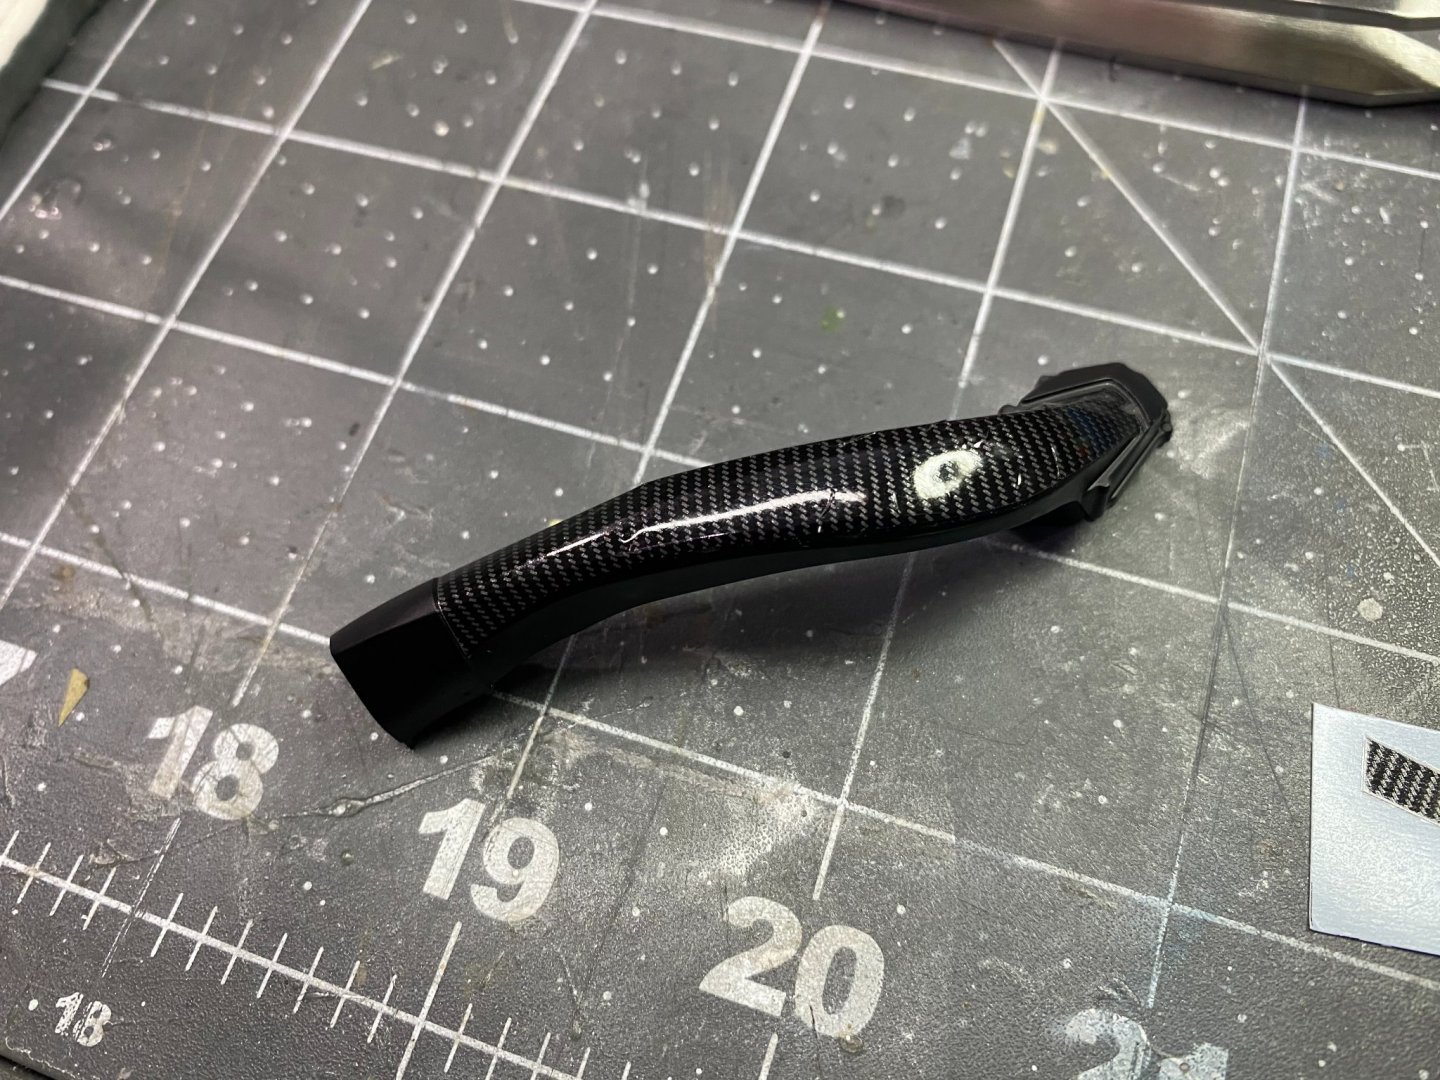
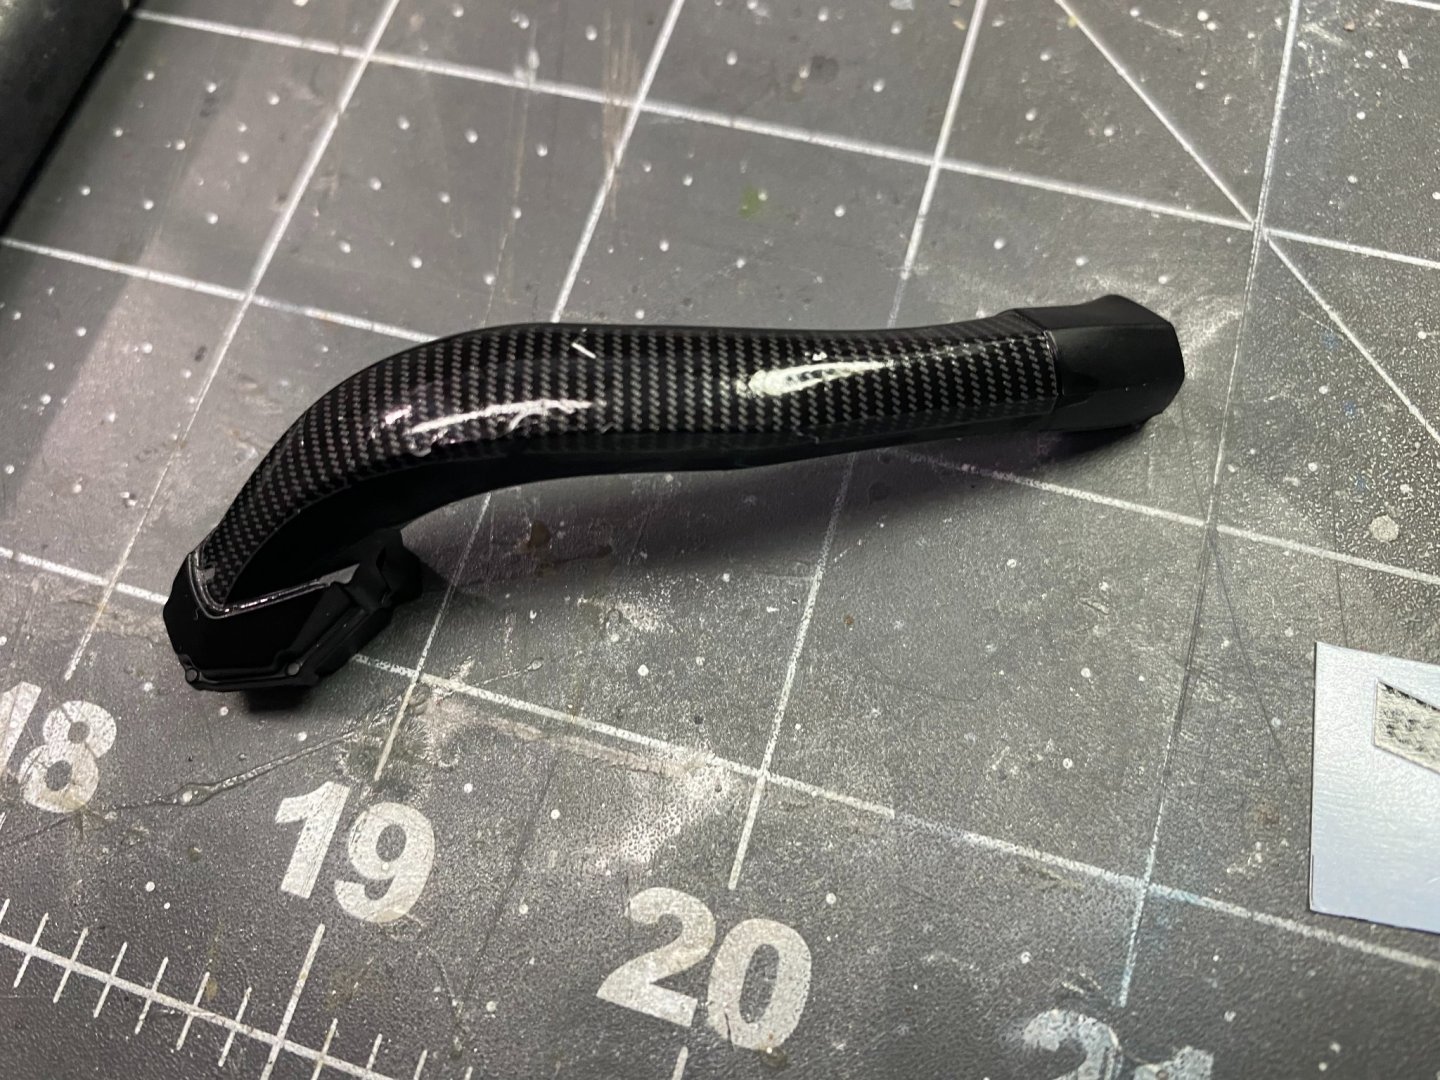
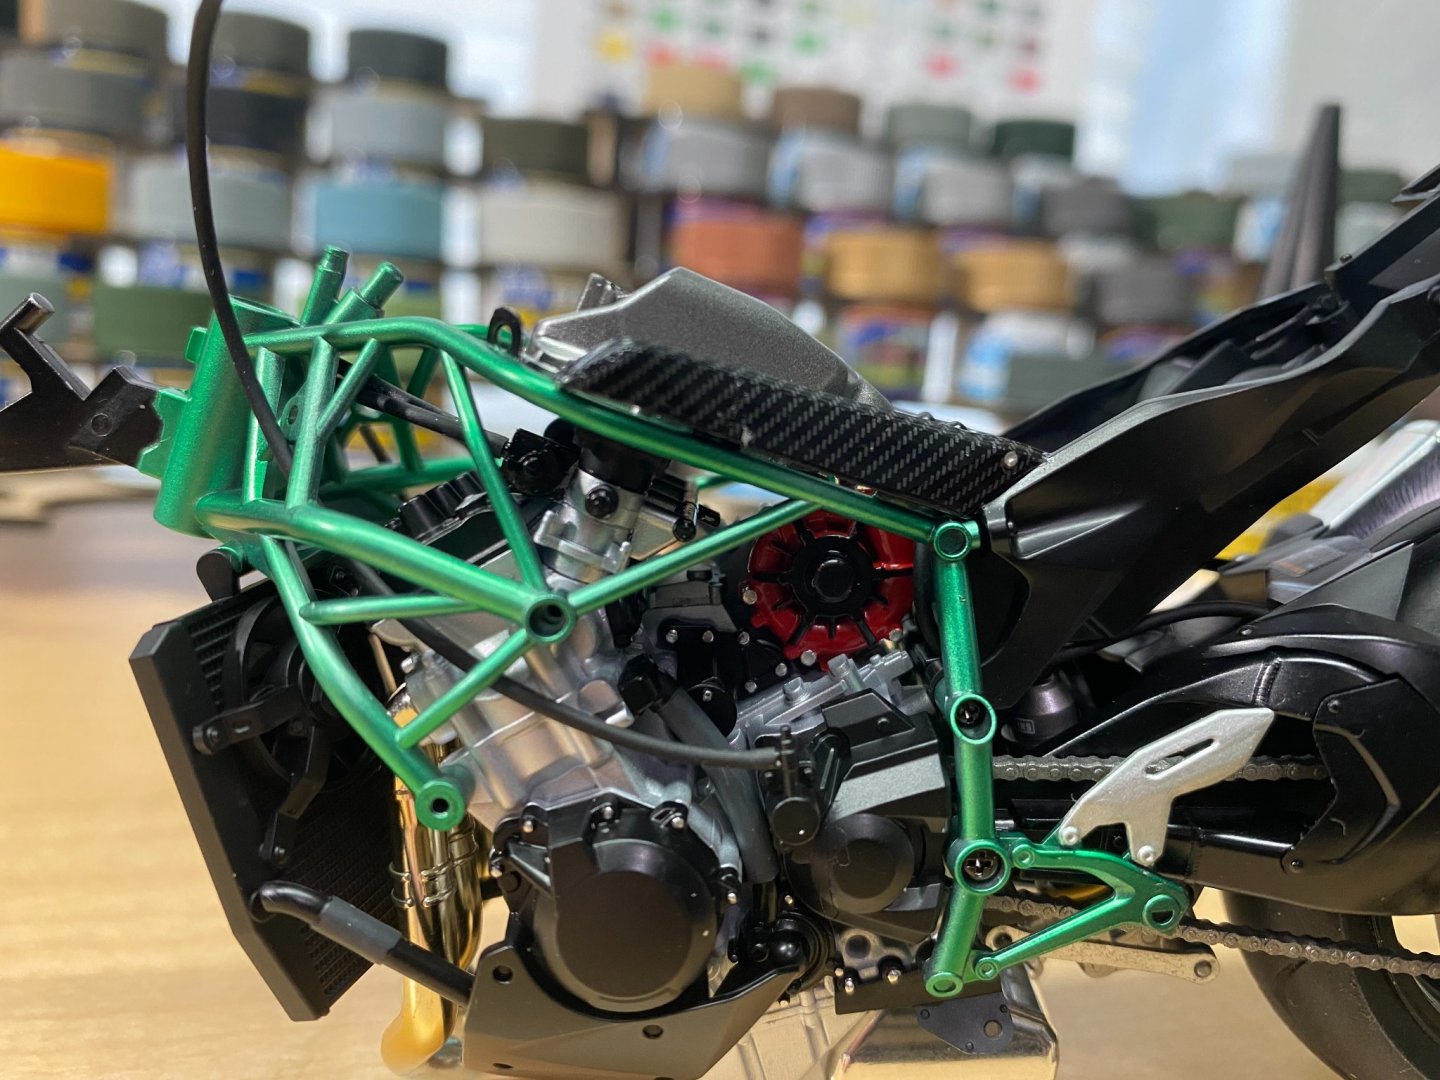
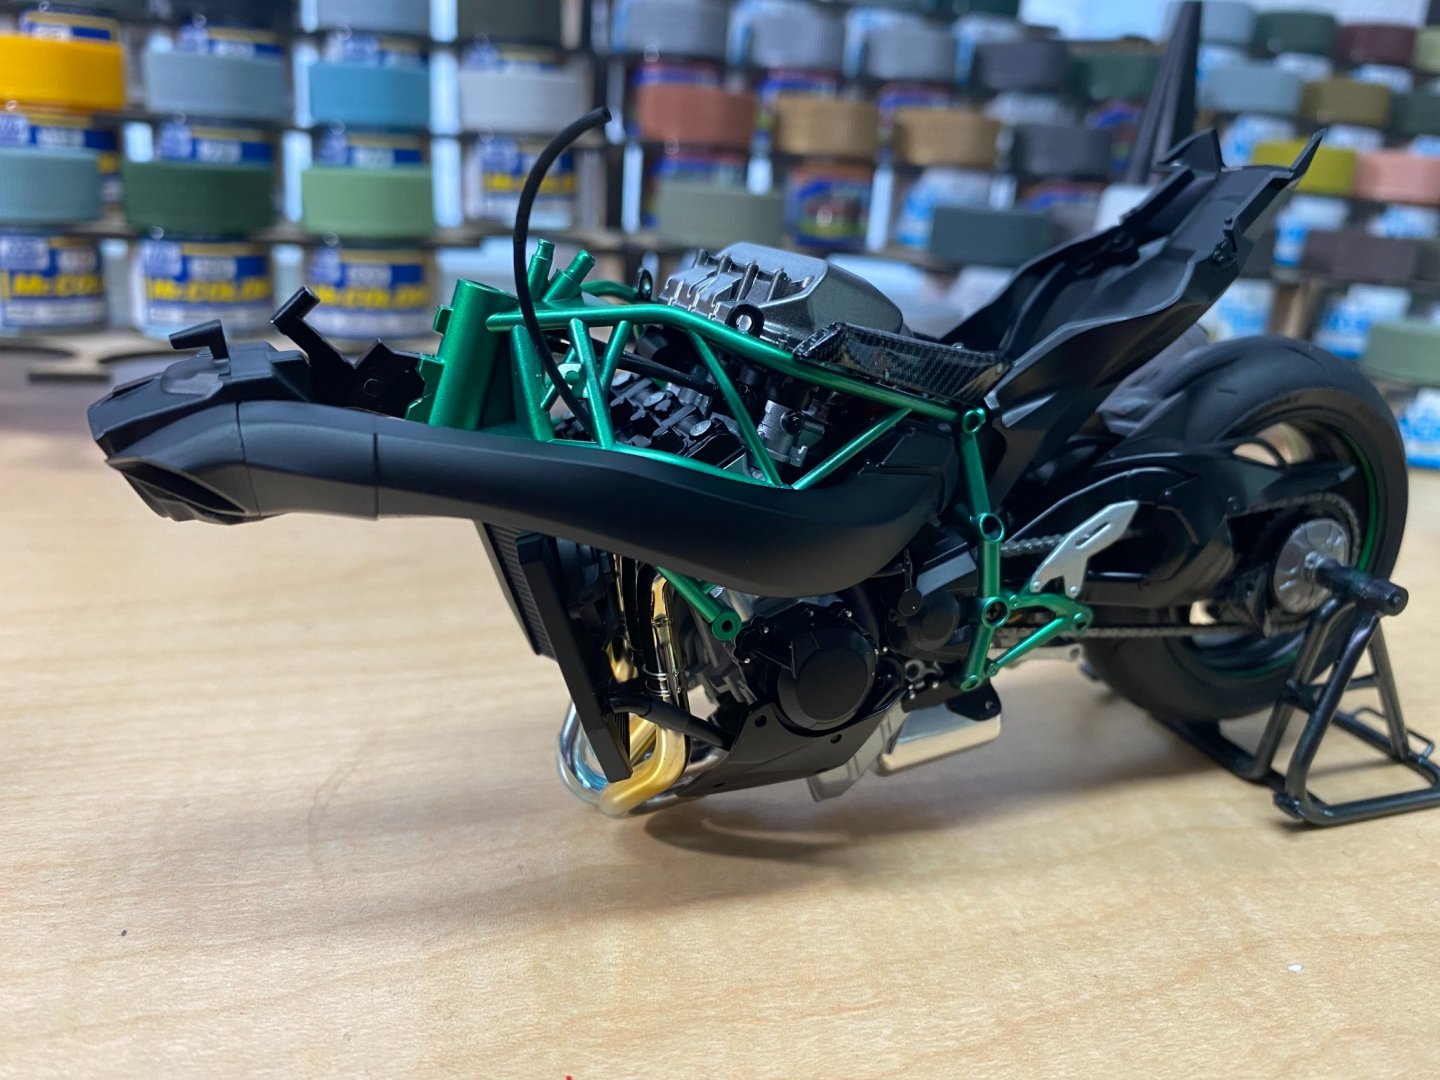
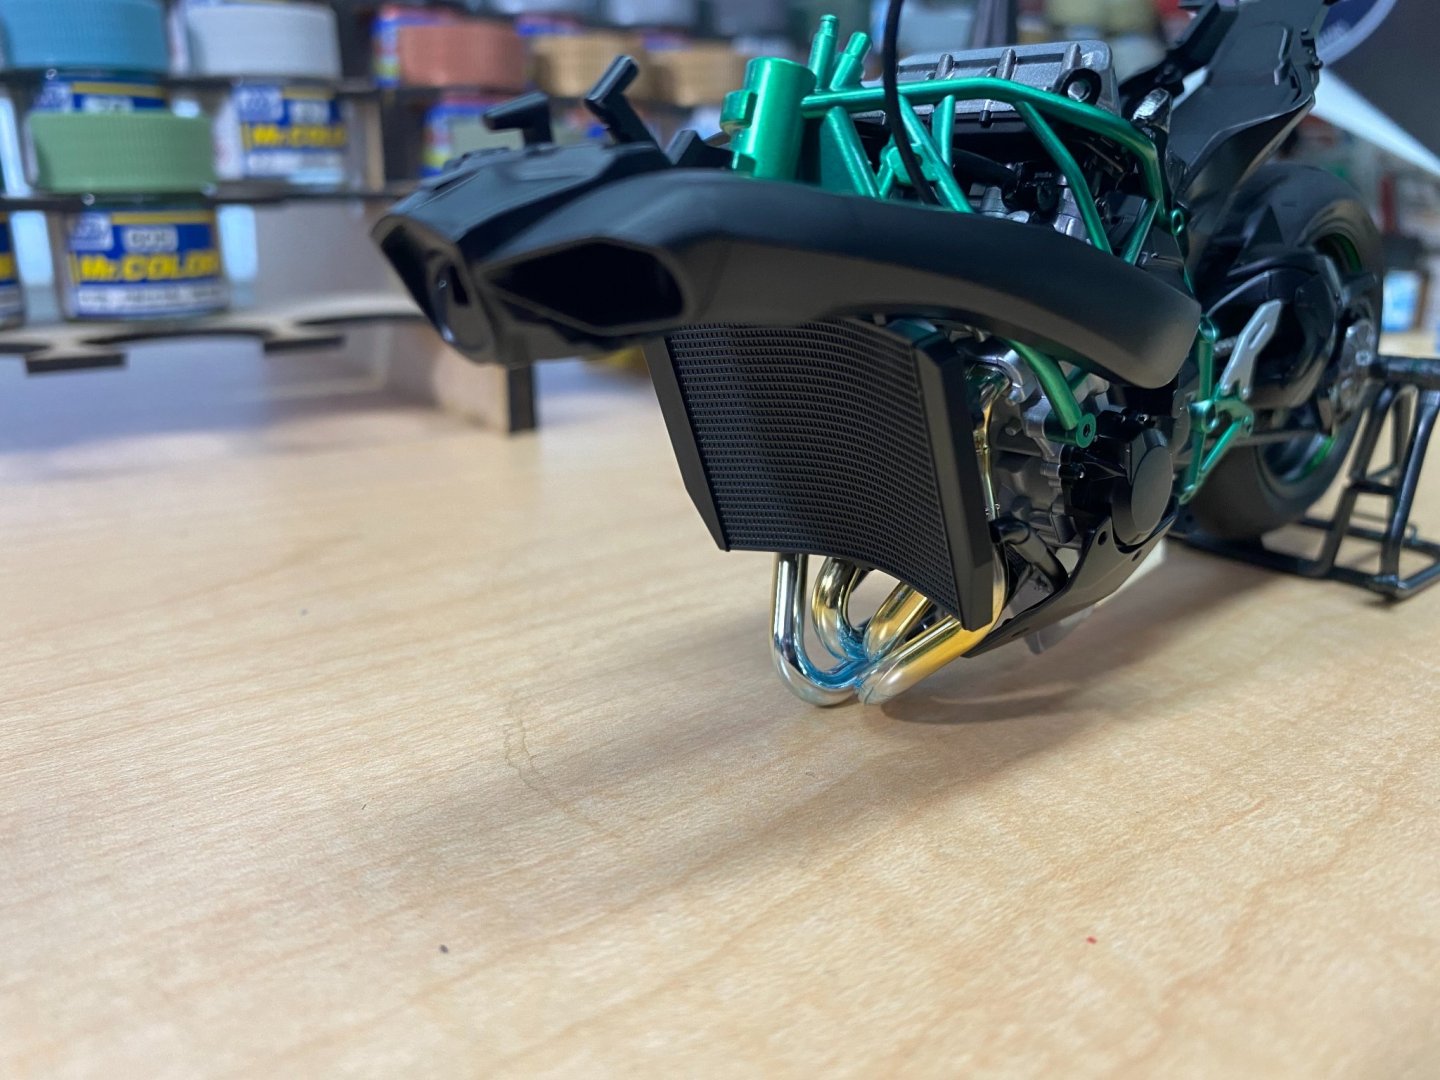
Here is the air intake trunk after application of the carbon fiber decals. After trial and error, I switched from Microsol decal solvent solution to the stronger Solvaset decal solvent solution. The Microsol required too many applications and consequently, time. Even with Solvaset, several applications are needed for the Studio 27 carbon fiber decals to settle down and conform to shape. I think the end results are worth the effort.
About us
Modelshipworld - Advancing Ship Modeling through Research
SSL Secured
Your security is important for us so this Website is SSL-Secured
NRG Mailing Address
Nautical Research Guild
237 South Lincoln Street
Westmont IL, 60559-1917
Model Ship World ® and the MSW logo are Registered Trademarks, and belong to the Nautical Research Guild (United States Patent and Trademark Office: No. 6,929,264 & No. 6,929,274, registered Dec. 20, 2022)
Helpful Links
About the NRG
If you enjoy building ship models that are historically accurate as well as beautiful, then The Nautical Research Guild (NRG) is just right for you.
The Guild is a non-profit educational organization whose mission is to “Advance Ship Modeling Through Research”. We provide support to our members in their efforts to raise the quality of their model ships.
The Nautical Research Guild has published our world-renowned quarterly magazine, The Nautical Research Journal, since 1955. The pages of the Journal are full of articles by accomplished ship modelers who show you how they create those exquisite details on their models, and by maritime historians who show you the correct details to build. The Journal is available in both print and digital editions. Go to the NRG web site (www.thenrg.org) to download a complimentary digital copy of the Journal. The NRG also publishes plan sets, books and compilations of back issues of the Journal and the former Ships in Scale and Model Ship Builder magazines.

.jpg.7e80607770d9078b2f0b470e8c9c33ac.jpg)

