CDW
-
Posts
7,180 -
Joined
-
Last visited
Content Type
Profiles
Forums
Gallery
Events
Everything posted by CDW
-

P-51D Mustang by CDW - FINISHED - Dragon - 1:32 Scale
CDW replied to CDW's topic in Non-ship/categorised builds
Scale perfection is over rated and it can become a disease that will prevent an average modeler from getting anything done in the model building department. I know because it impacted me that way for a time some years ago. An interesting finish and not over stressing on minute details is most relaxing and fun for me. It’s the thing that allowed me to open the box and finish a kit I started almost 20 years ago, put on hold, and finish it in less than a month. It’s not perfect by a long shot but it was fun and looks good on the shelf. Thanks for following and for your support along the way. -
F-100C Super Sabre by CDW - Trumpeter - 1:48 scale
CDW posted a topic in Non-ship/categorised builds
On a roll now with natural metal finish. Will build the 1:48 scale Trumpeter F-100C Super Sabre. i have no plans for aftermarket pieces at this time but I may reevaluate and adjust along the build process.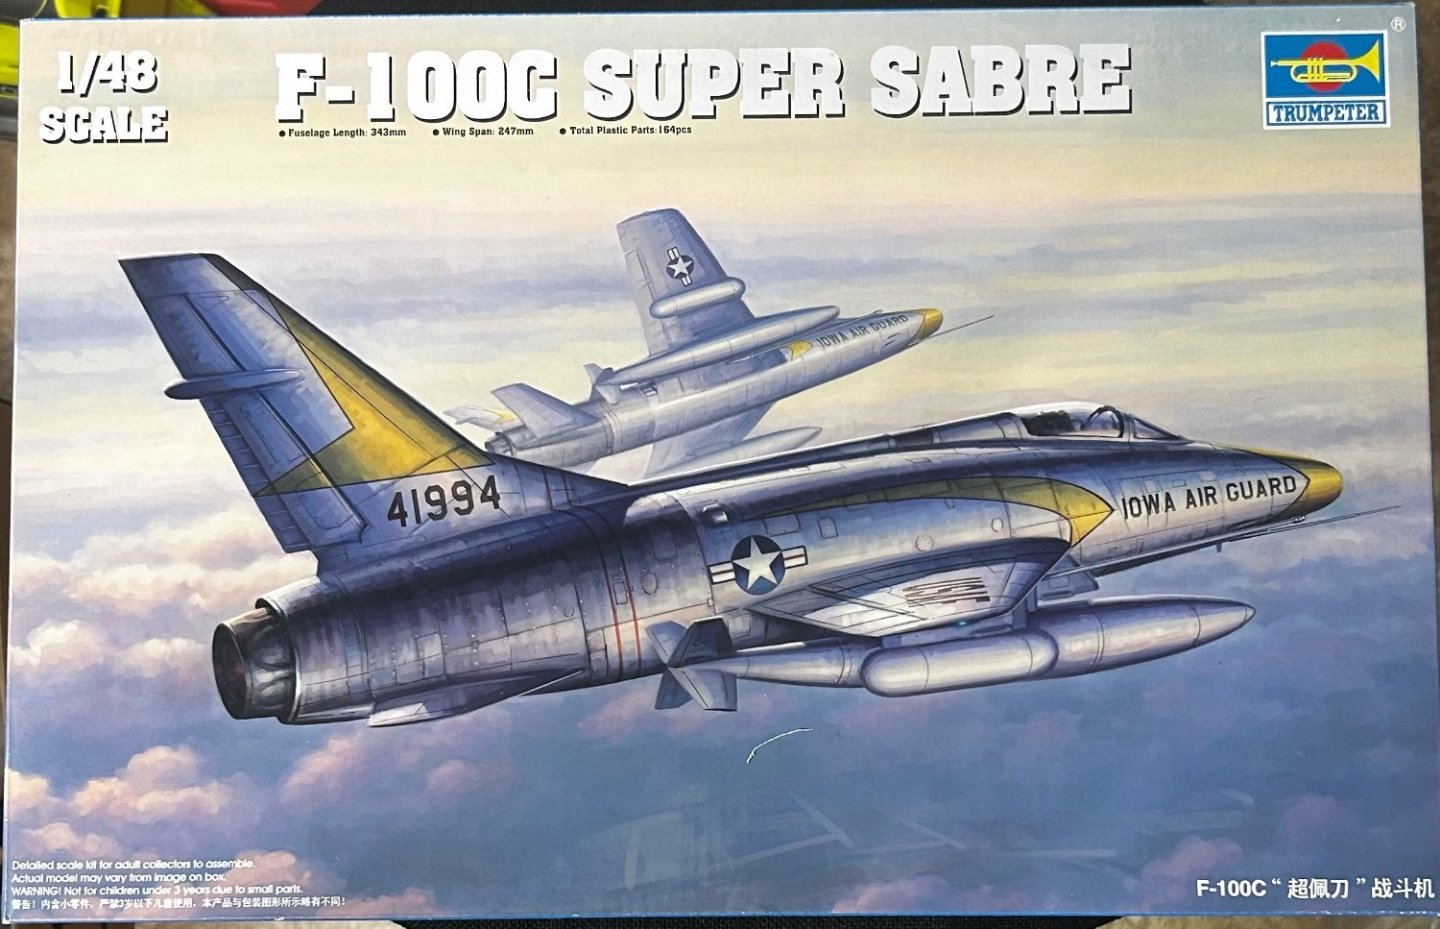
- 35 replies
-
- 15
-

-
P-51D Mustang by CDW - FINISHED - Dragon - 1:32 Scale
CDW replied to CDW's topic in Non-ship/categorised builds
Thanks, gentlemen. -
P-51D Mustang by CDW - FINISHED - Dragon - 1:32 Scale
CDW replied to CDW's topic in Non-ship/categorised builds


- 121 replies
-
- 24
-
-

-
P-51D Mustang by CDW - FINISHED - Dragon - 1:32 Scale
CDW replied to CDW's topic in Non-ship/categorised builds
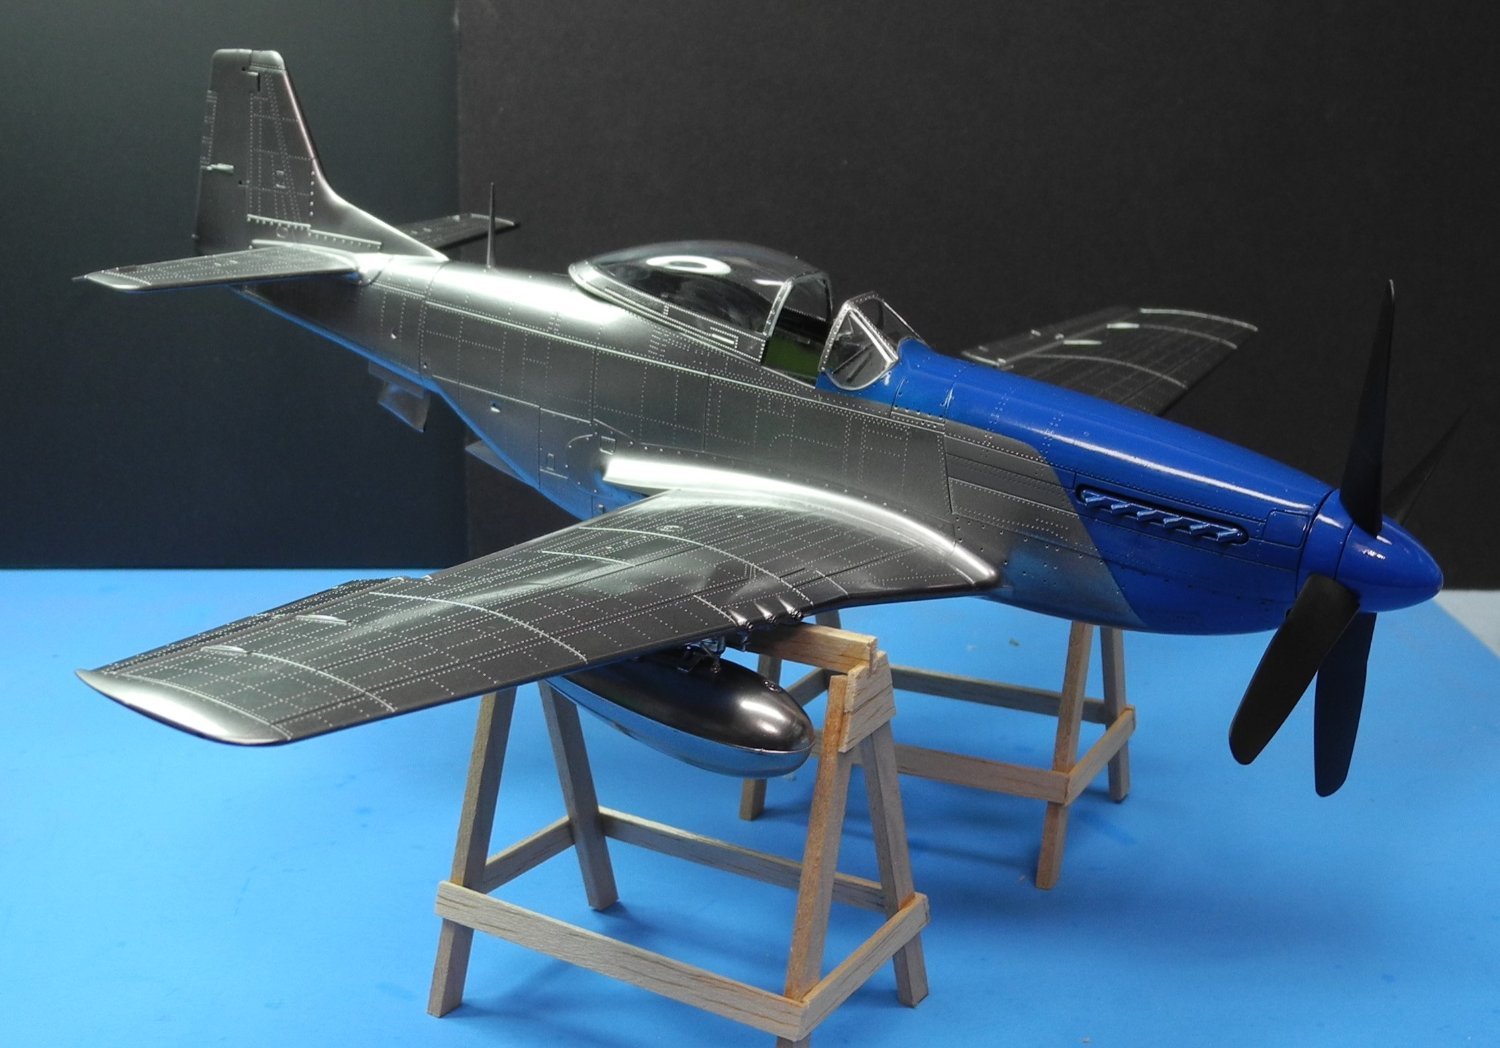
Thanks, Rob. I used Tamiya X1, reduced at a ratio of 4 parts paint to 6 parts leveling thinner as a base for the Alclad. For the drop tanks and weapons mounts, I used the Extreme Metal black primer as a base, then sprayed Mr Color Super Silver 2, mixed at a ratio of 1 part paint to 10 parts leveling thinner. I had read reports the super silver applied in this heavily reduced fashion, sprayed on at low psi and light misting coats gave a finish that would rival Alclad. it does, in my opinion. At a much lower cost. As for the AK black base, I just sprayed it in very light coats allowing each coat to flash before applying another coat. It was dry to the touch in minutes, although I allowed it to dry about 4 hours before applying the super silver. Did you apply it over primer or bare plastic? I applied mine over bare plastic, -
P-51D Mustang by CDW - FINISHED - Dragon - 1:32 Scale
CDW replied to CDW's topic in Non-ship/categorised builds
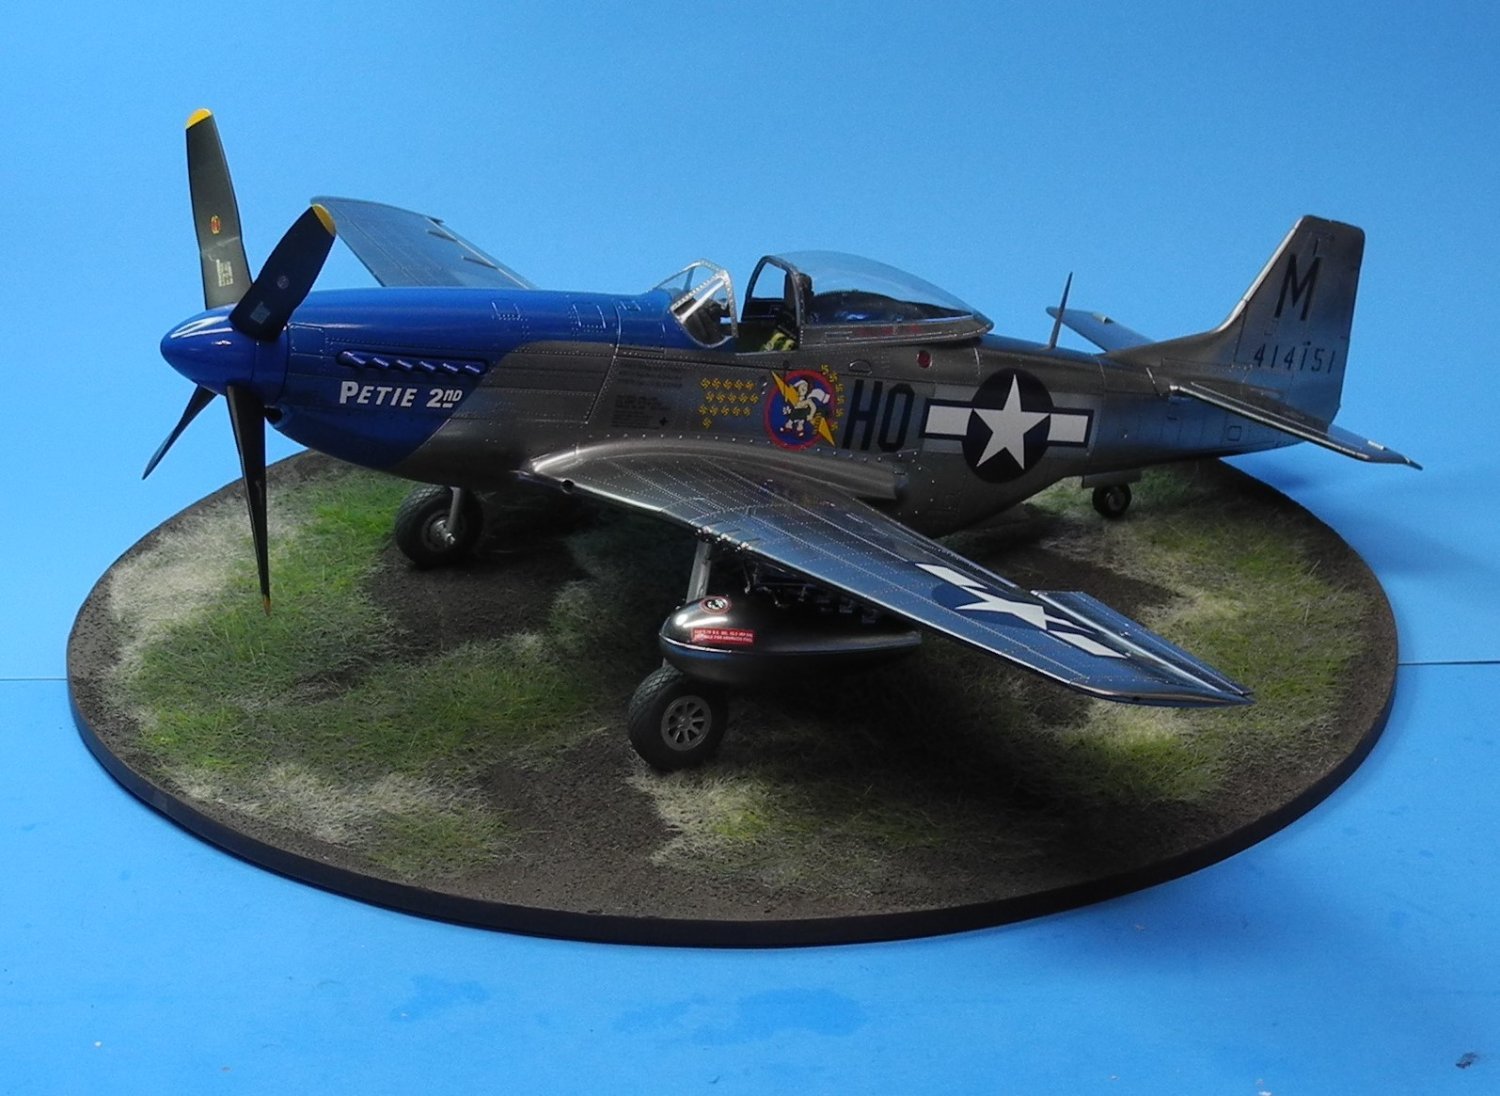
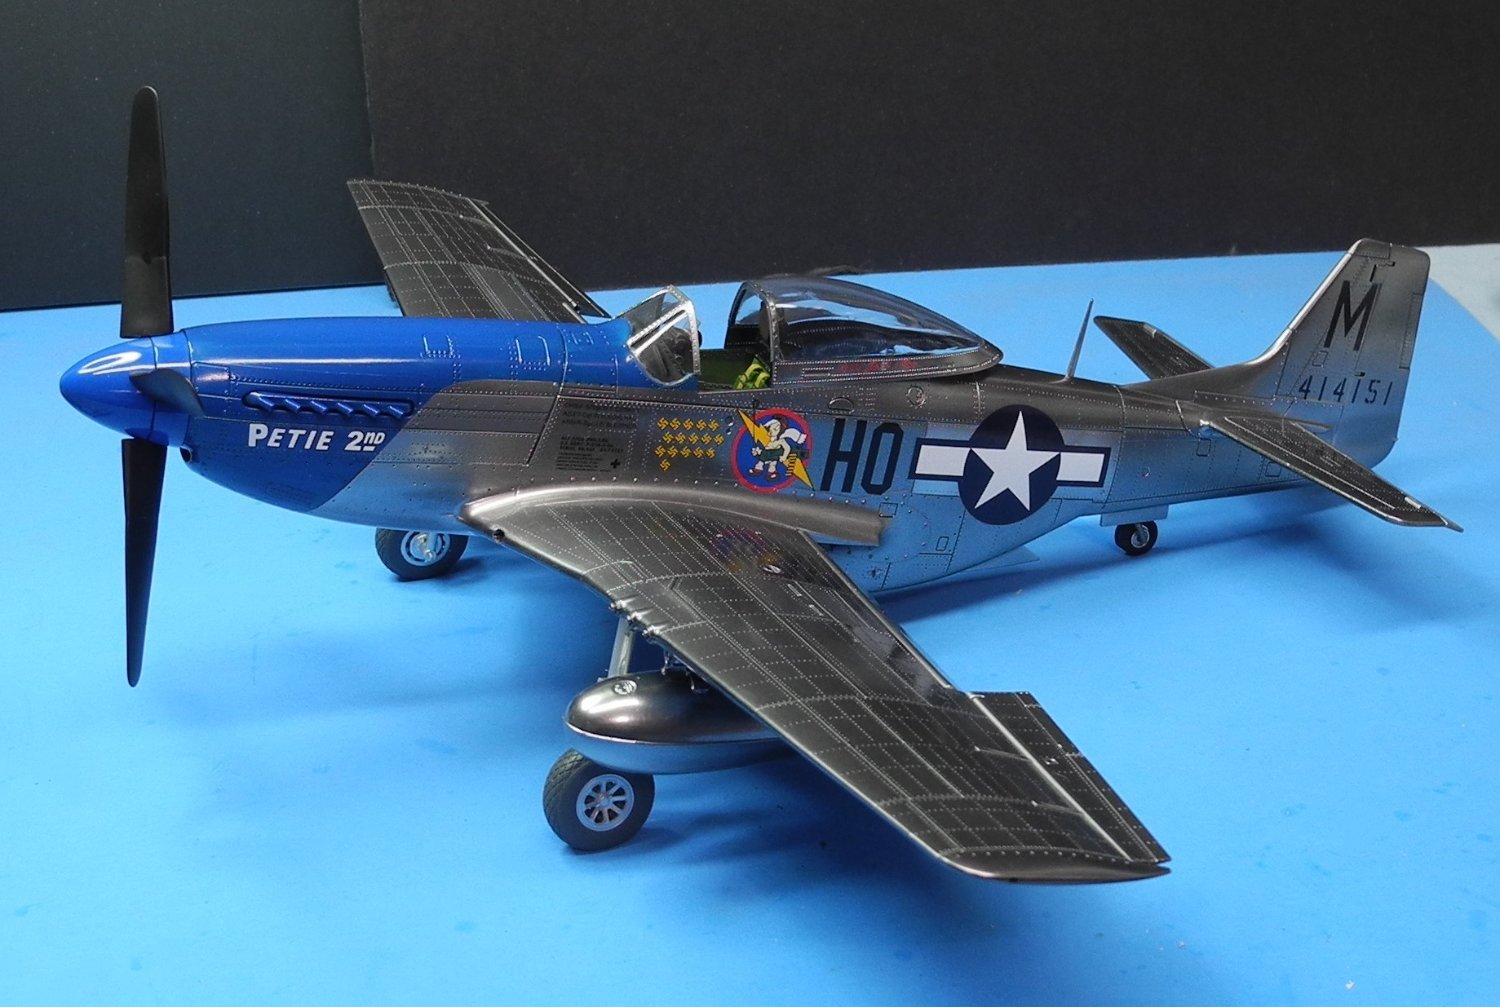
The original kit decals are Cartograf and as such, high quality as new. However, since the kit is now some 18 years old, and the decals stored inside the kit having seen some less than favorable storage conditions over the past couple of decades, decided it might be prudent to use a new, fresh set of decals rather than fight with the old set. Yesterday at the last minute, decided I would go ahead and try using the original decals, know I had a backup plan if the first couple of small decals used as a test went wrong. As it turned out, I was happy to learn the old decal sheet was in better condition than I thought it might be. They are going down just fine. There remain more decals to place, but this is the start, and I am happy with it.
- 121 replies
-
- 17
-
-
-
P-51D Mustang by CDW - FINISHED - Dragon - 1:32 Scale
CDW replied to CDW's topic in Non-ship/categorised builds
Thank you, gentlemen. Later I'll be experimenting with HGW wet transfer decals. Once they are positioned and given overnight to dry, the clear transfer film is peeled off the top of the decal and they are supposed to look like they were painted on. We'll see what happens together. Never used this type of decal before now. -
P-51D Mustang by CDW - FINISHED - Dragon - 1:32 Scale
CDW replied to CDW's topic in Non-ship/categorised builds
I may yet decide to dirty her up a bit but that won't happen, or a decision made until after the decals have been applied. From all I can see, the crews maintained these planes very well for the most part. -
P-51D Mustang by CDW - FINISHED - Dragon - 1:32 Scale
CDW replied to CDW's topic in Non-ship/categorised builds
She's standing on her own legs now.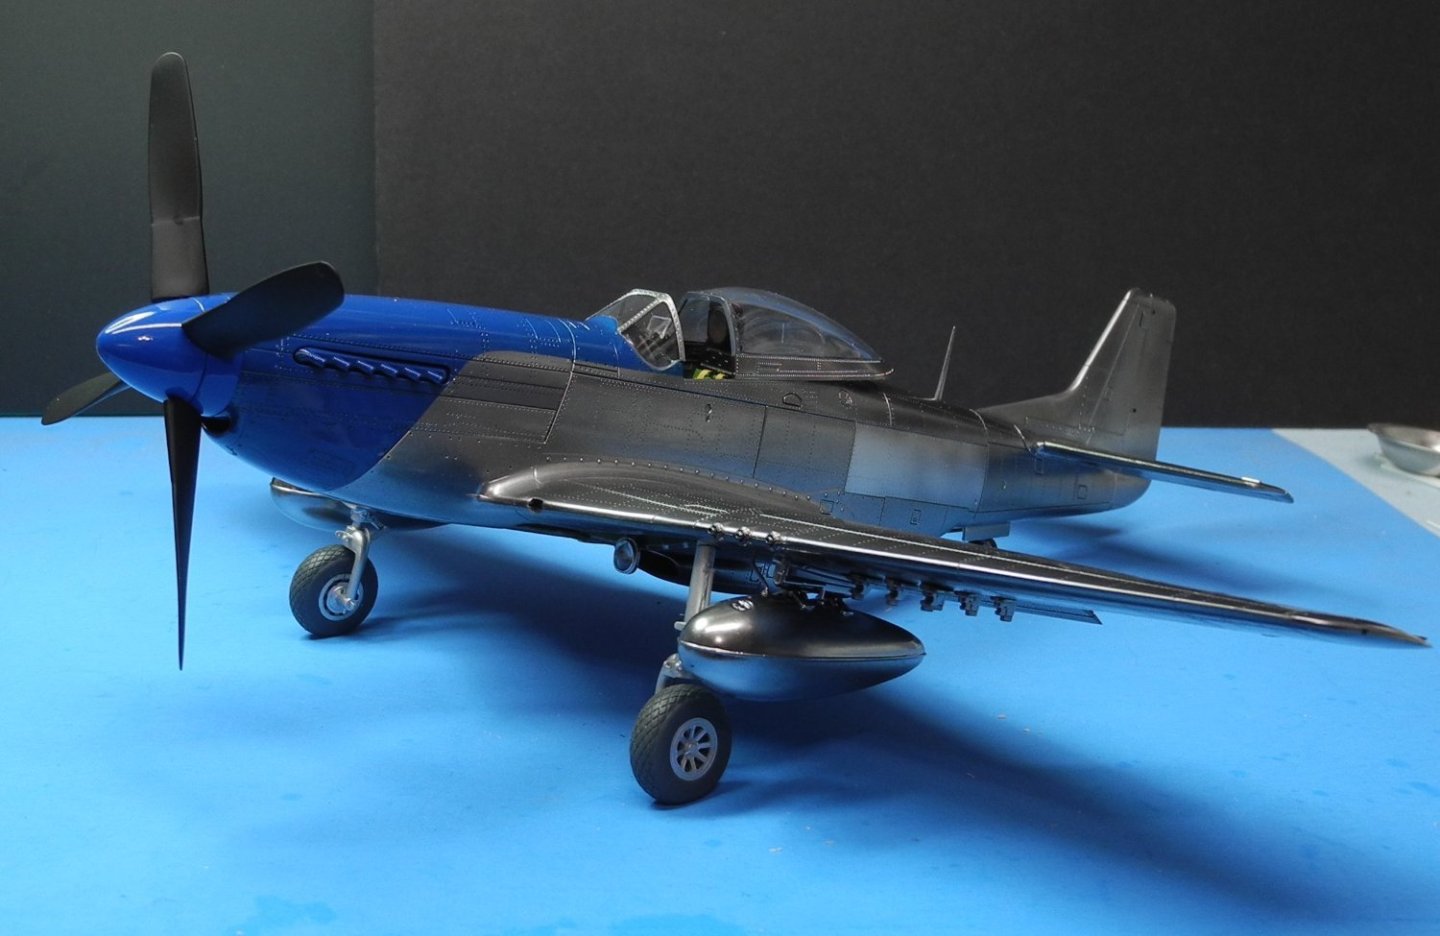


- 121 replies
-
- 15
-
-
-
Westland Sea King HU.5 by chadwijm6 - Airfix - 1/48
CDW replied to chadwijm6's topic in Non-ship/categorised builds
Turning out to be a very impressive model. I like Airfix kits, particularly the newer releases. I agree with you, James, about photo etch to a certain extent. There are times when it's helpful and adds detail not available with the kit parts, but more often than not, I end up not using much of the set parts because they specifically do not add detail or realism to the kit. It's as if the parts are there simply as a "parts count", to make it appear the set is a bigger value for the money spent than it actually is. Many partially used photo etch sets sit idly in my spares box. I do admit however, sometimes the parts became useful in some other build the set was never intended for. For the most part, I try to stay away from buying photo etch sets unless I think it's something too important to pass up. Most of the time, it's not.- 54 replies
-
- 12
-
-
P-51D Mustang by CDW - FINISHED - Dragon - 1:32 Scale
CDW replied to CDW's topic in Non-ship/categorised builds
- 121 replies
-
- 10
-
-
-
P-51D Mustang by CDW - FINISHED - Dragon - 1:32 Scale
CDW replied to CDW's topic in Non-ship/categorised builds
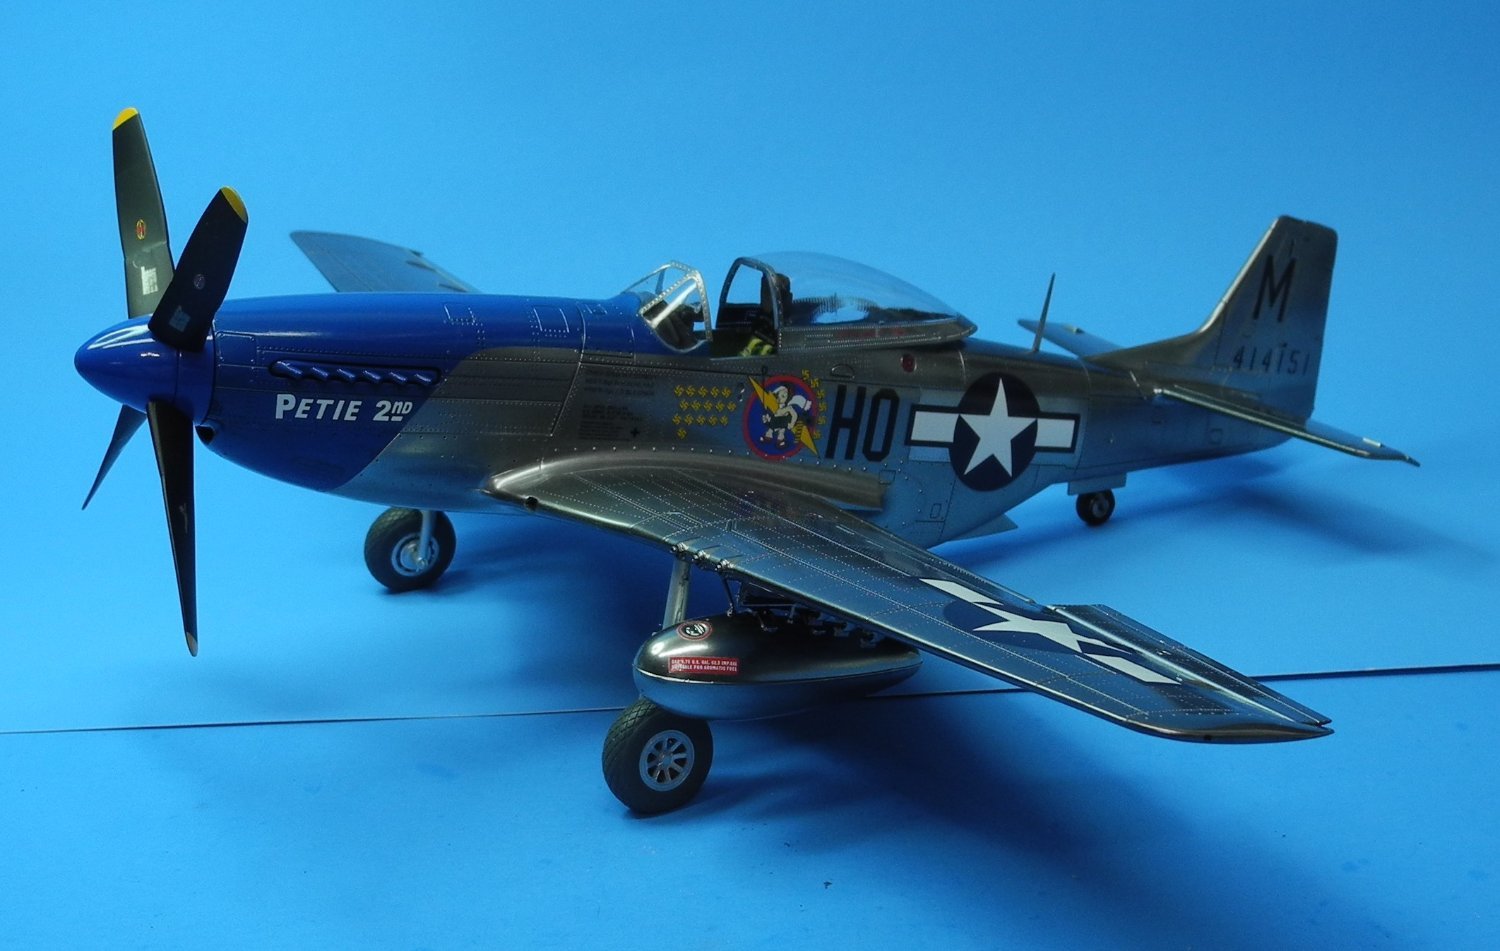
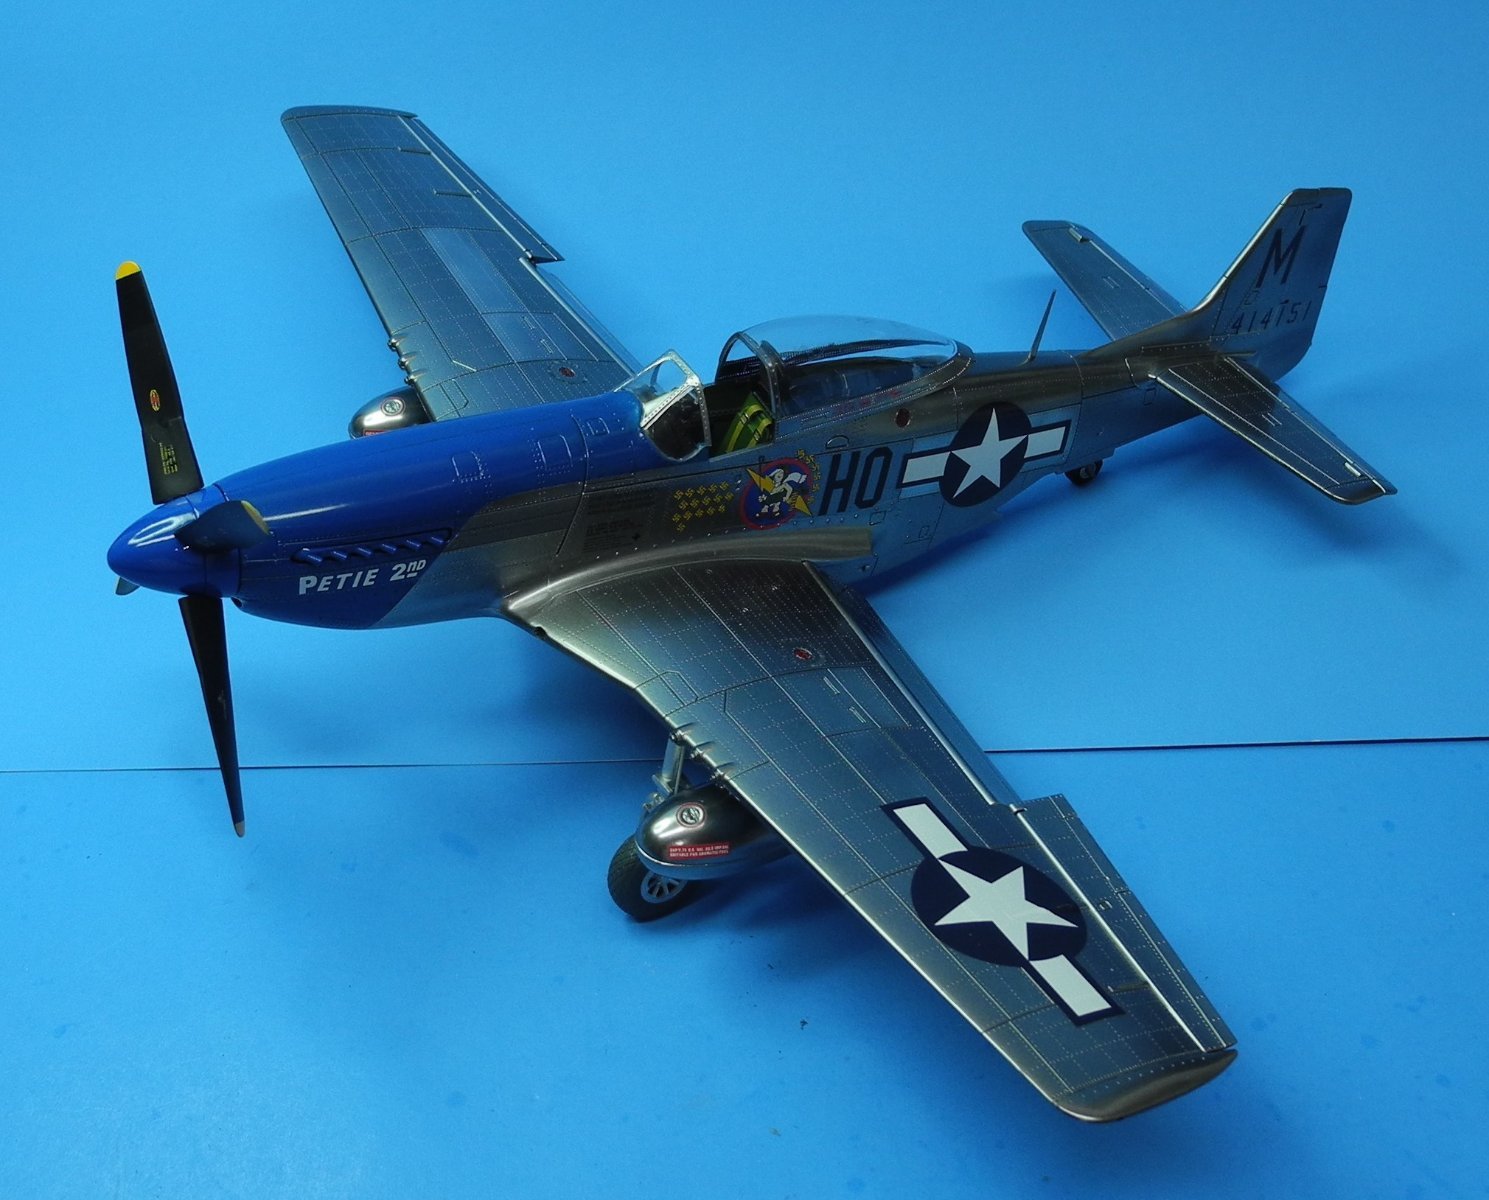
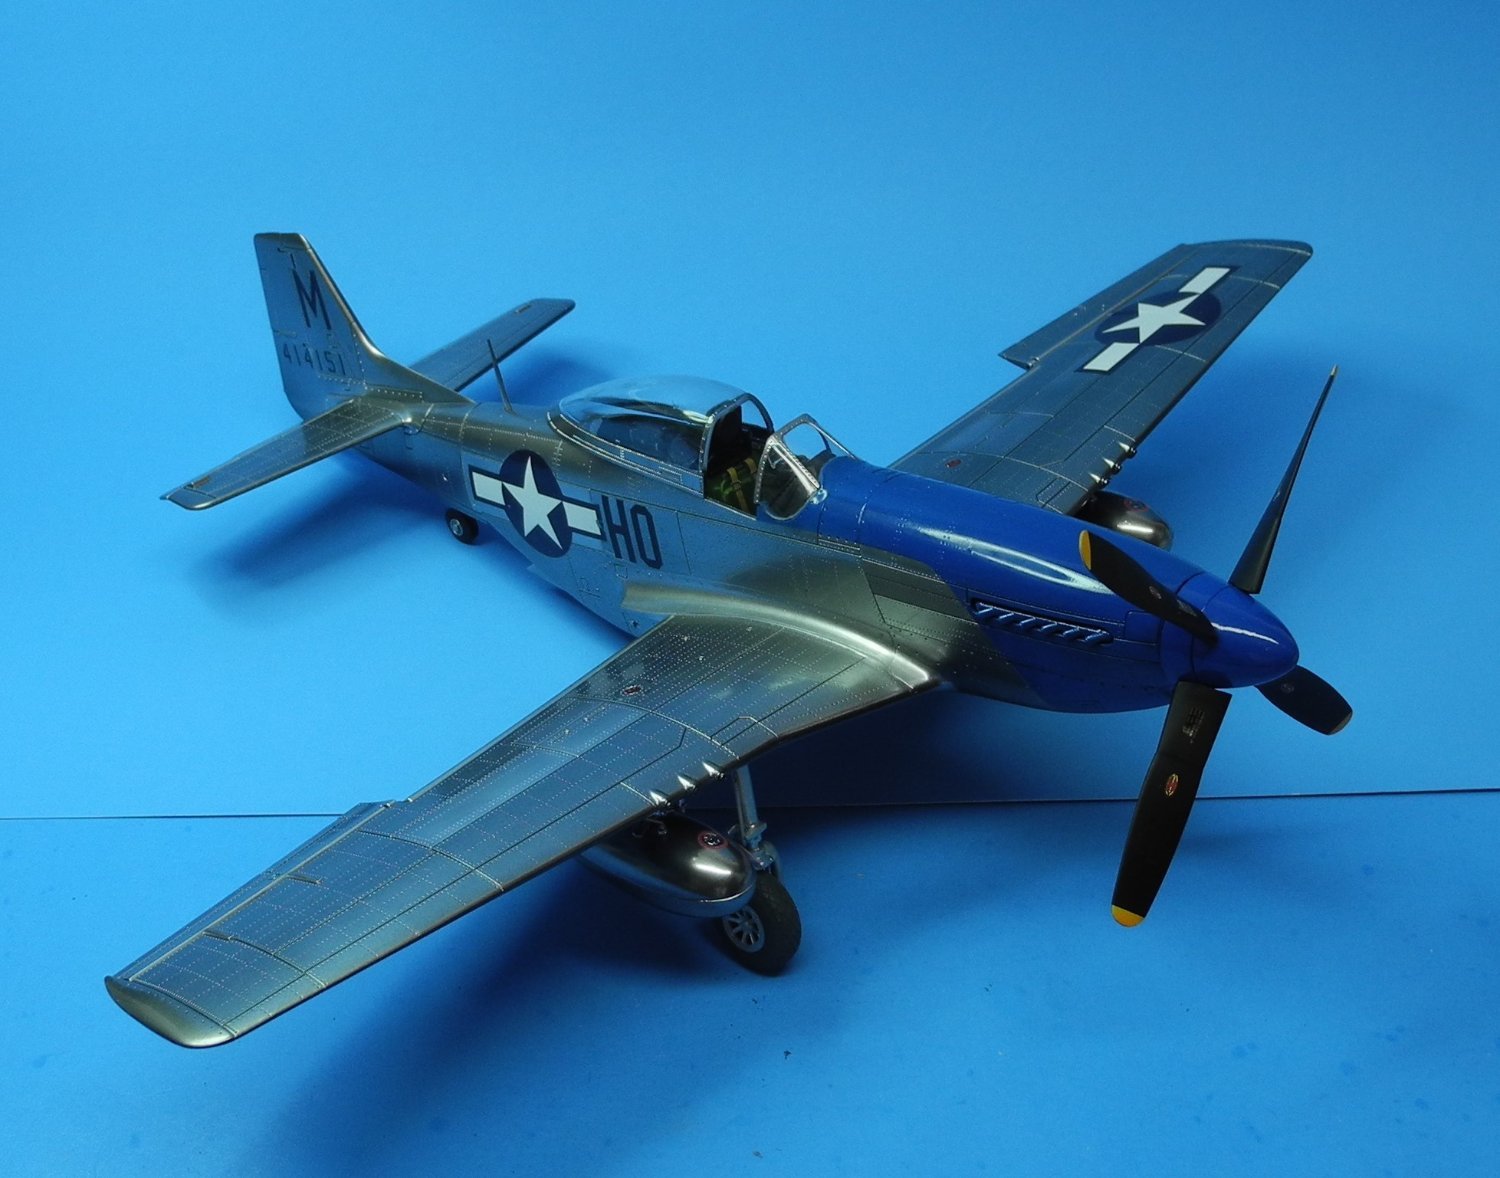
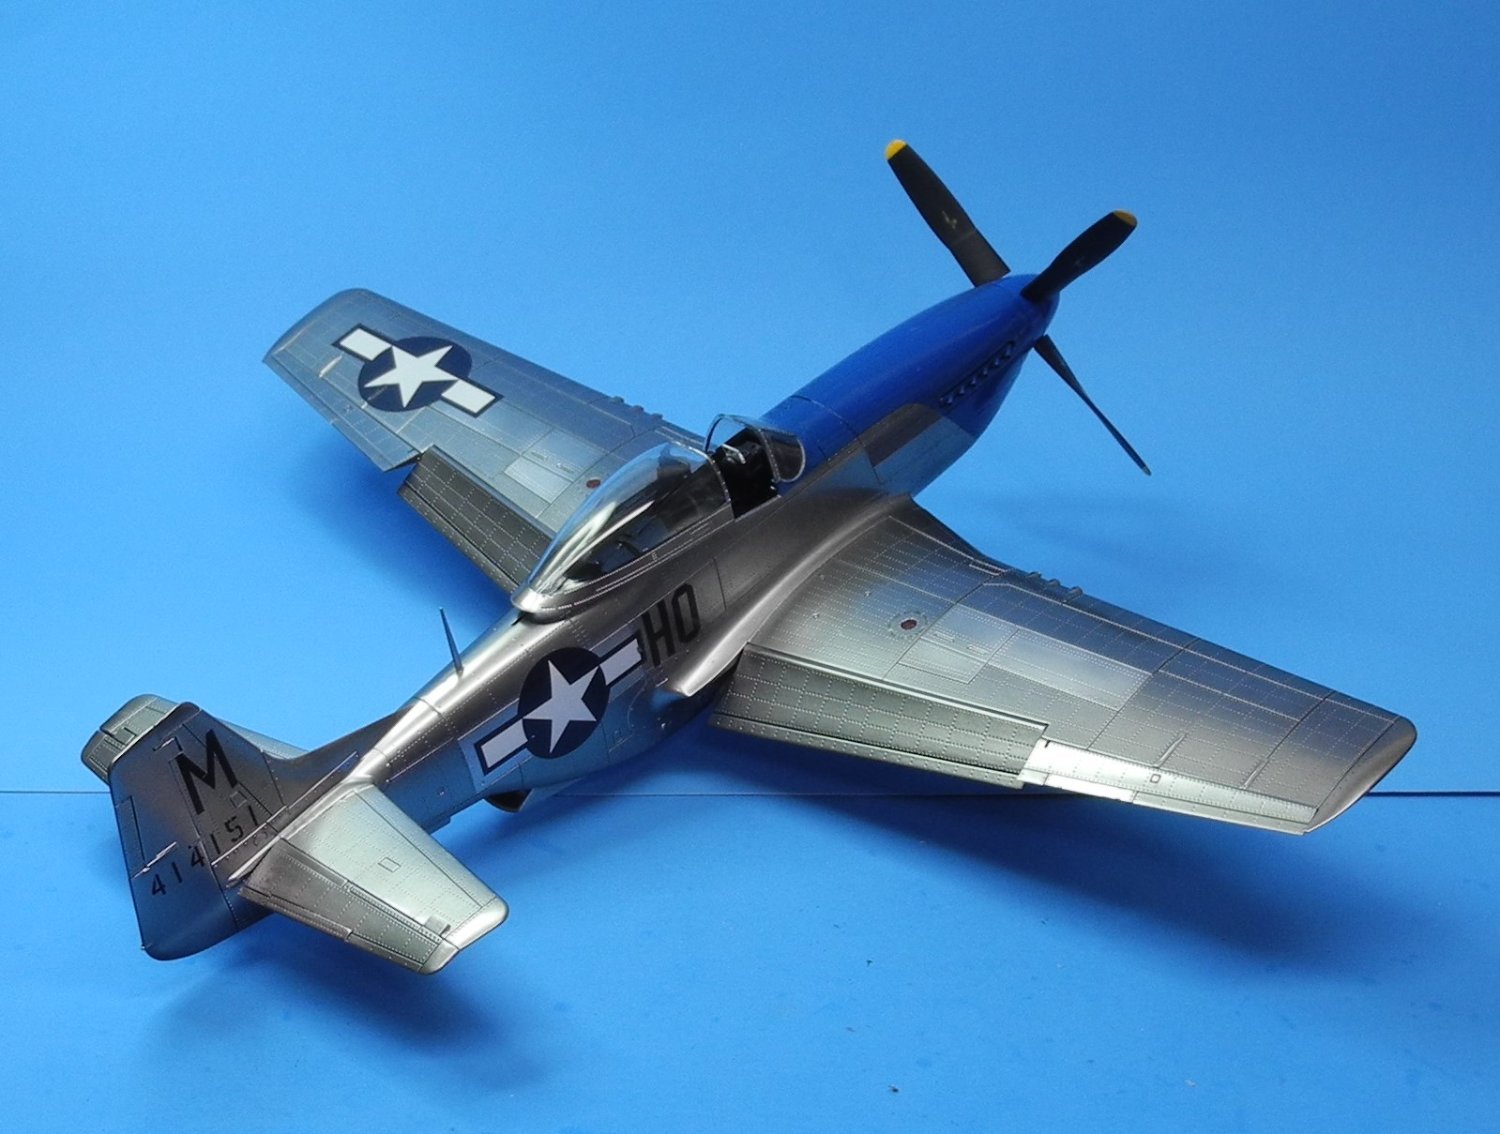
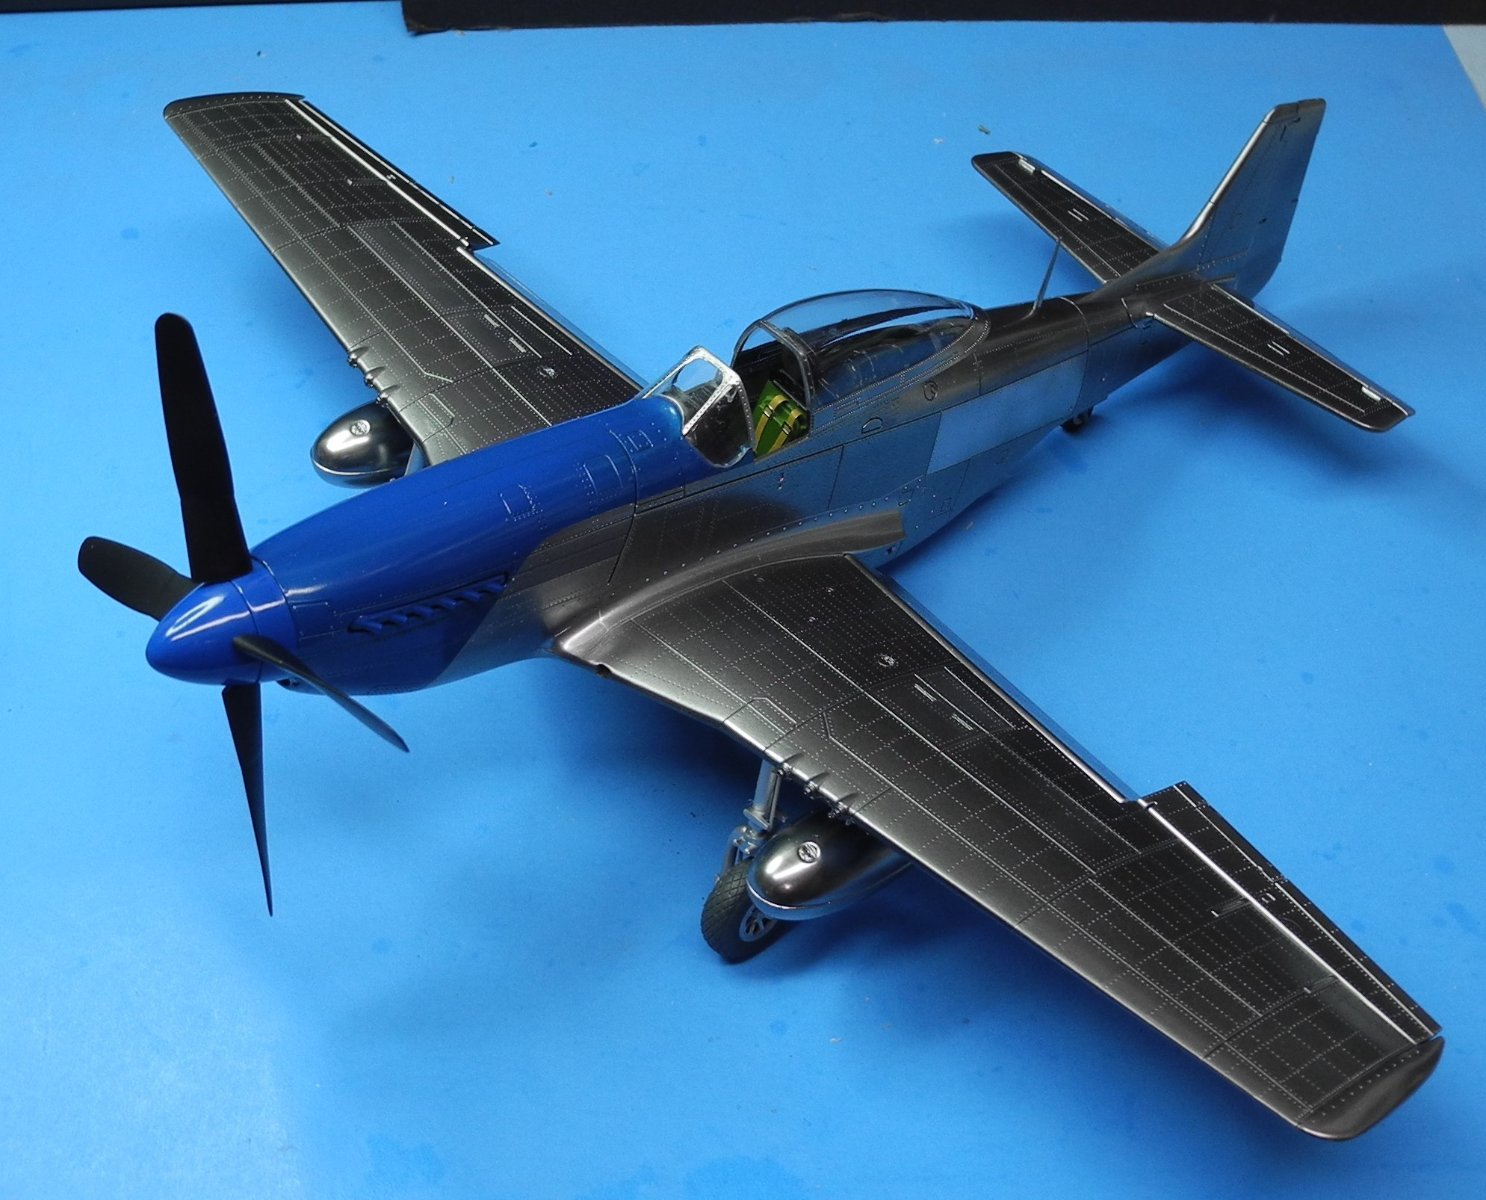
I masked up and painted a few panels in different colors to break up the monotone gloss silver of the airframe, and to make the model more interesting-looking. Before I move forward with more masking and painting of panels, I wanted to use this photo to proof-test the concept. In the lighting of my work room, it's not easy for me to see if the difference is worth the time and effort of masking. It's time consuming to be sure. In this photo, you can perhaps (you tell me) see the stainless-steel colored panels directly behind the exhaust and the blue nose color. On the wing top, the machine gun/ammo feed cover is painted in dull aluminum. Can you see it, and do you think it makes enough difference to continue. Should I use a different shade of aluminum perhaps? PS: Maybe I'll try that "post-it note" masking trick Ken wrote about his buddy using. It would be a lot faster I think than the way I mased and painted these first few panels.
-
Very interesting subject matter. Following along with your build, Rick.
-
Did you do your primer from a rattle can or from your airbrush? It laid down super smooth. Nice job, Jack.
-
P-51D Mustang by CDW - FINISHED - Dragon - 1:32 Scale
CDW replied to CDW's topic in Non-ship/categorised builds
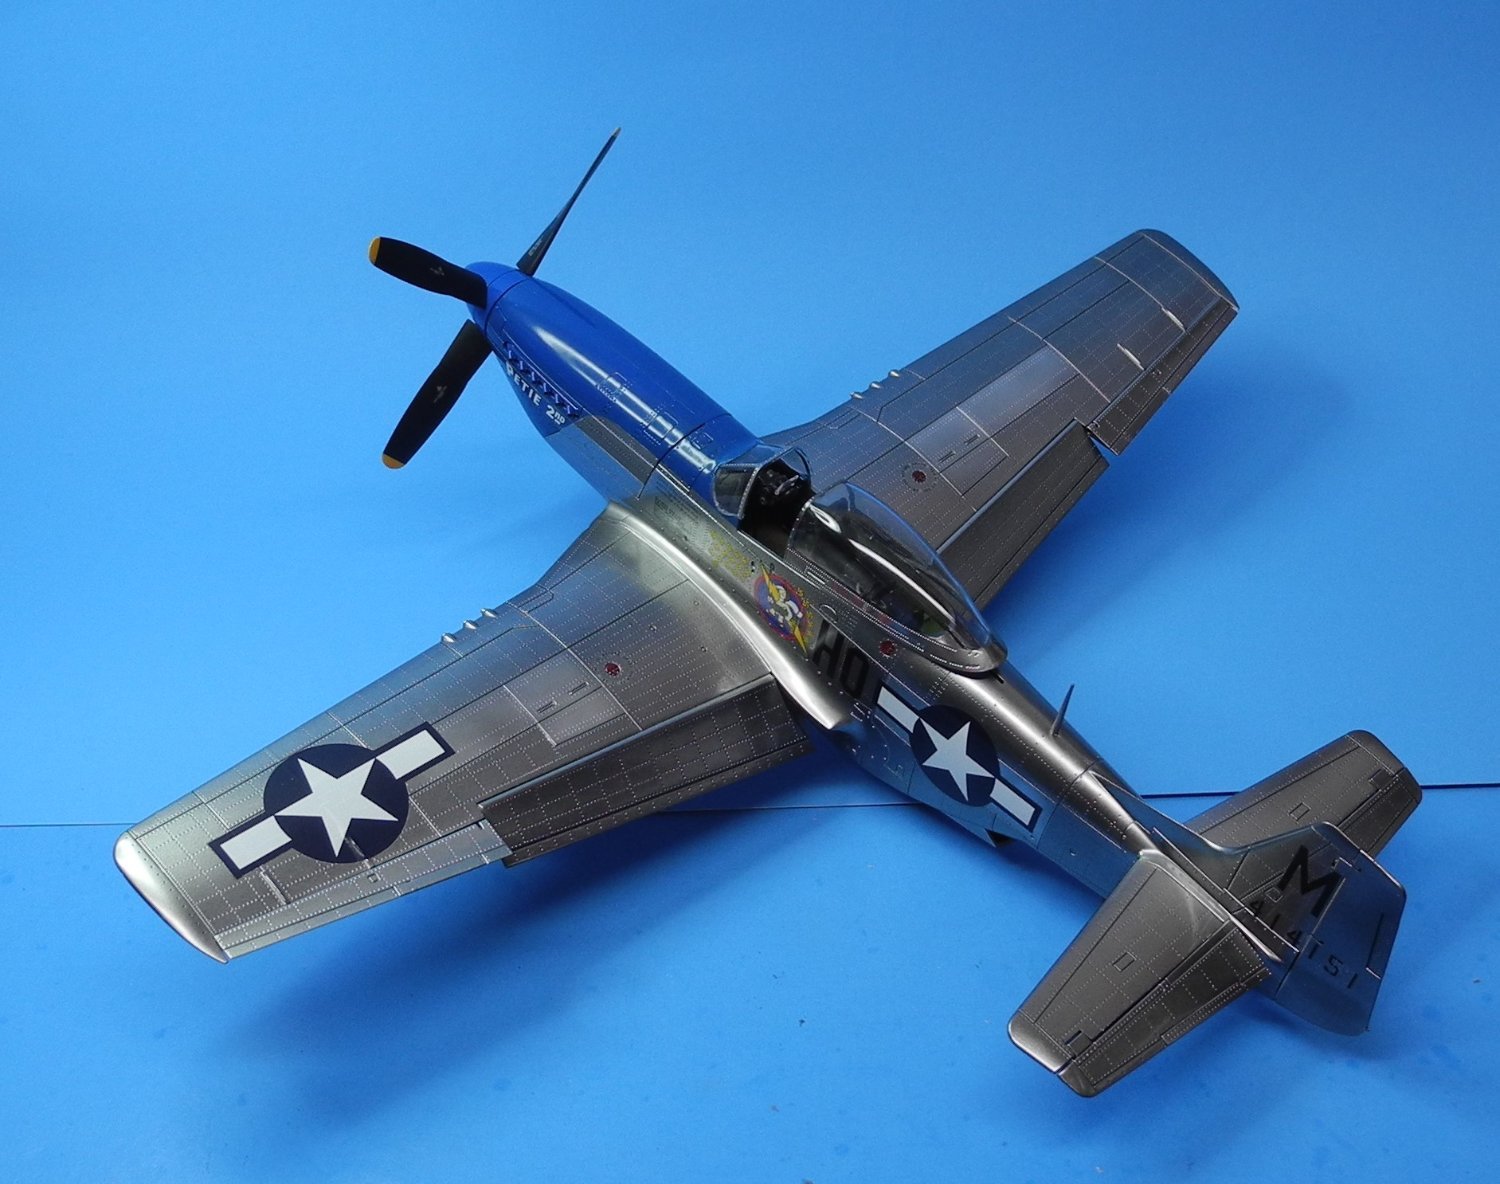
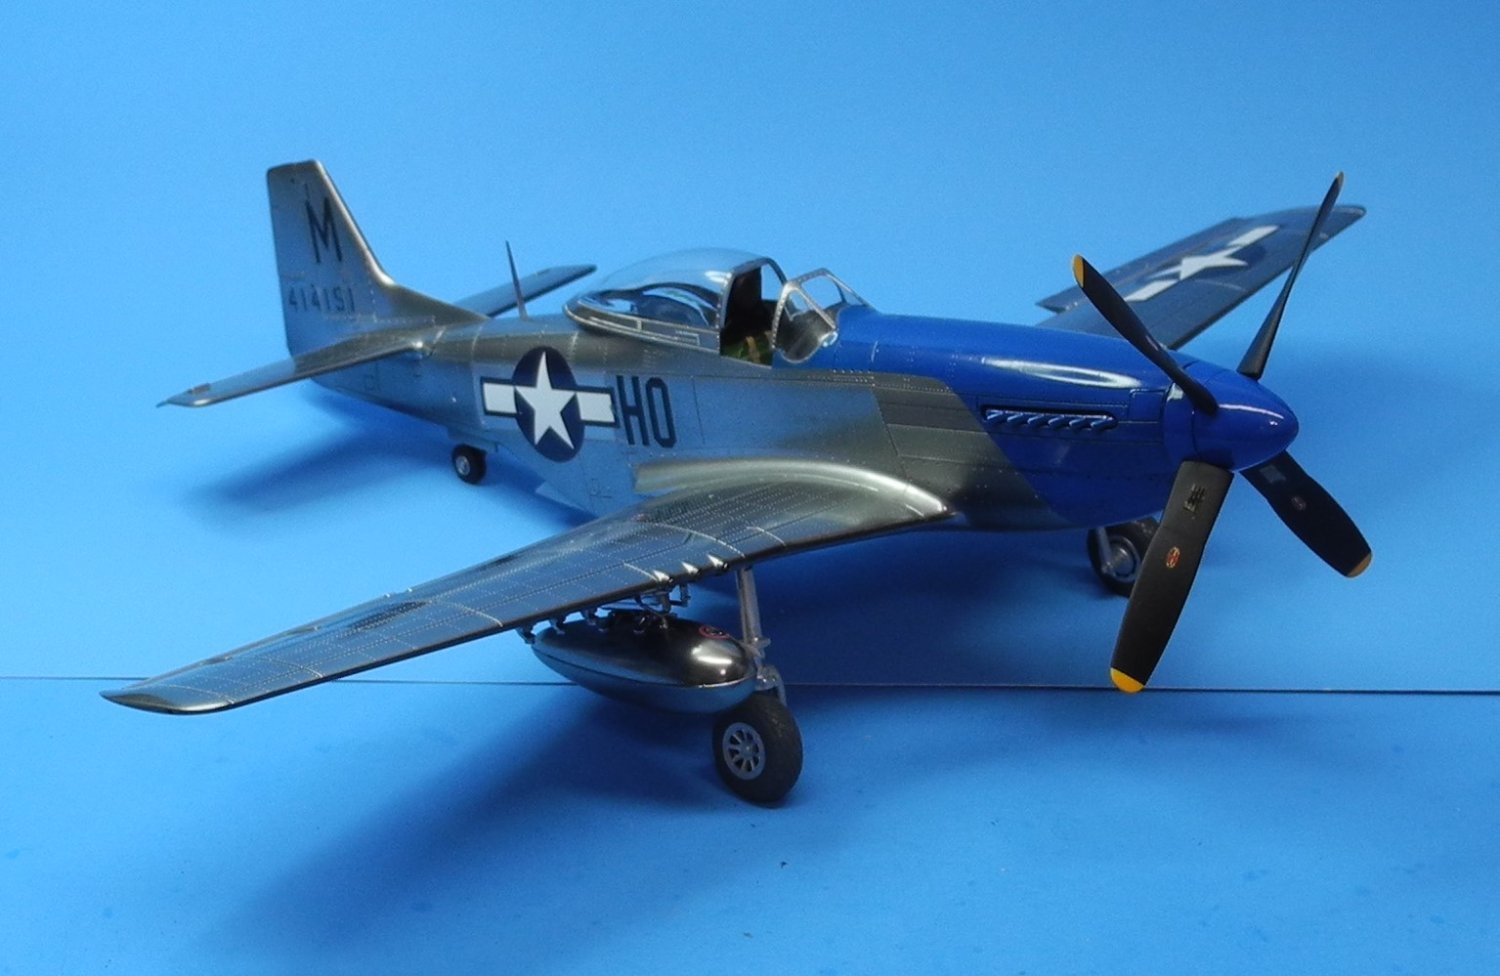
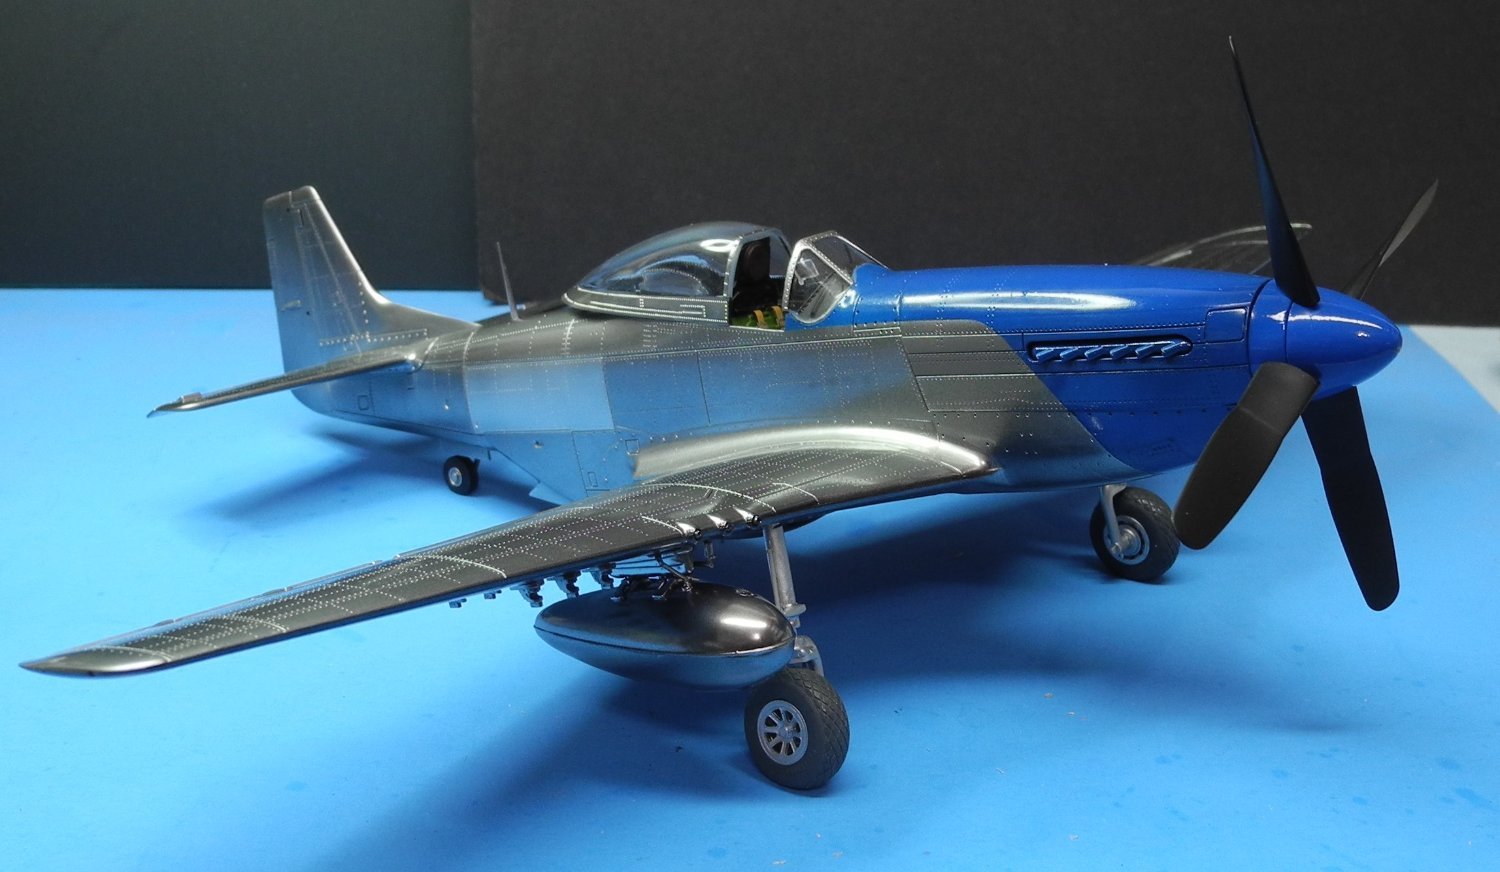
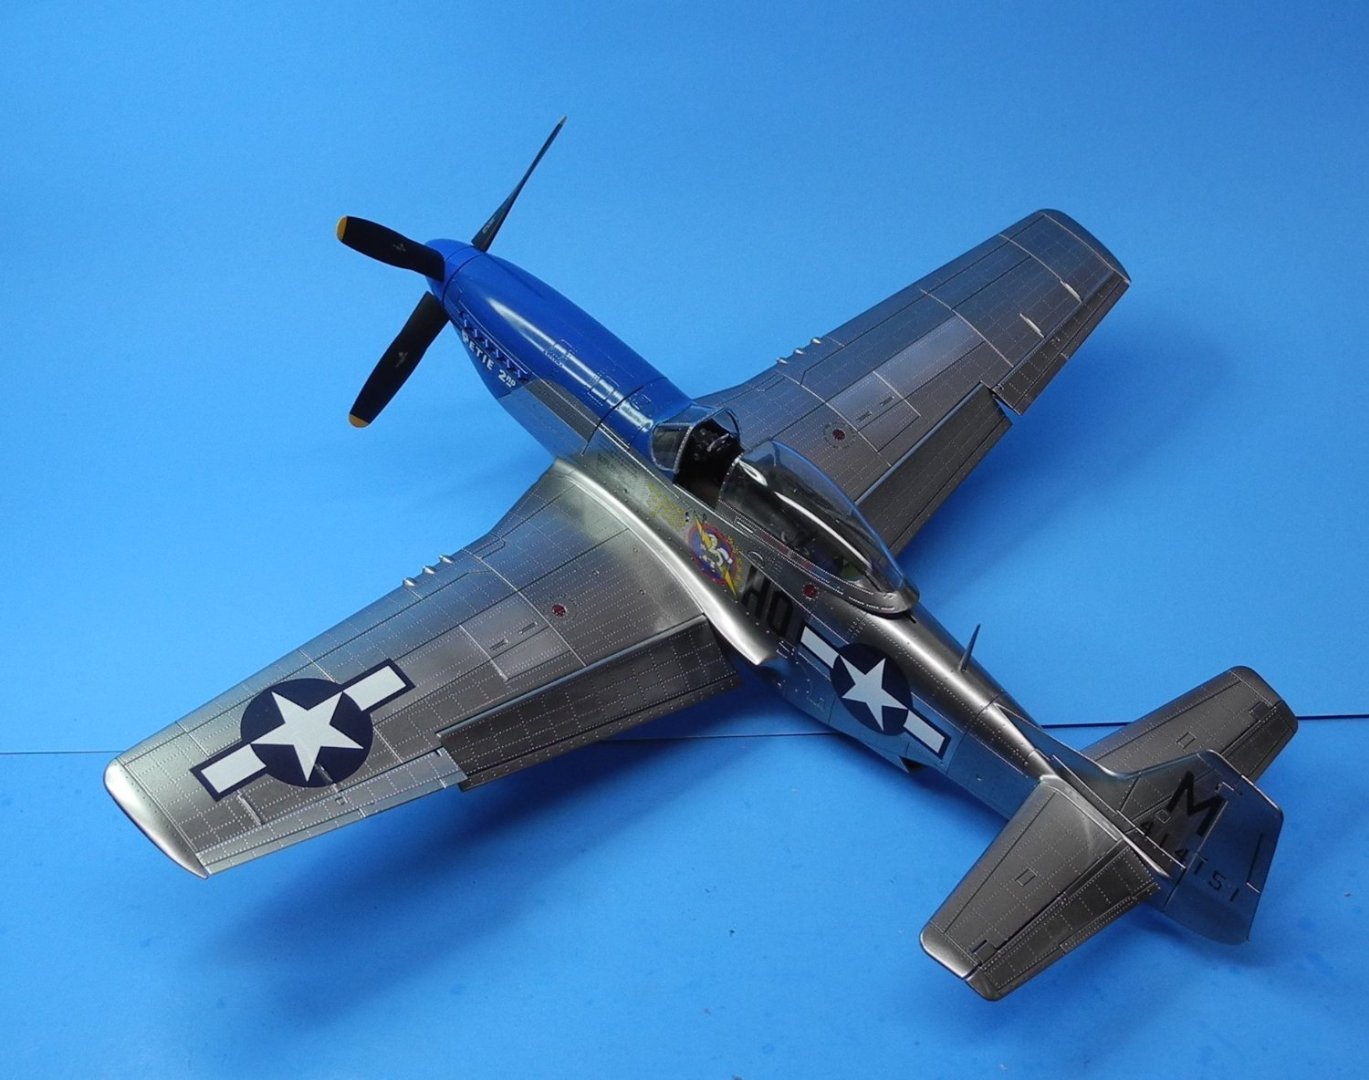
The auxiliary fuel tanks and mounts have been attached to the wings. The prop and spinner have been assembled and attached. The windscreen required some reshaping with sanding sticks to fit on the fuselage. Without reshaping, a nasty gap would have resulted between the windscreen and fuselage. After reshaping, applied a Pledge clear coat on the windscreen and canopy before masking and painting the frames on both. Here in these photos, the windscreen and canopy are dry-fitted to check for a decent fit before cementing in place. I've yet to install the seat and aerial wiring before cementing the canopy in place. Will fix the canopy in an open position.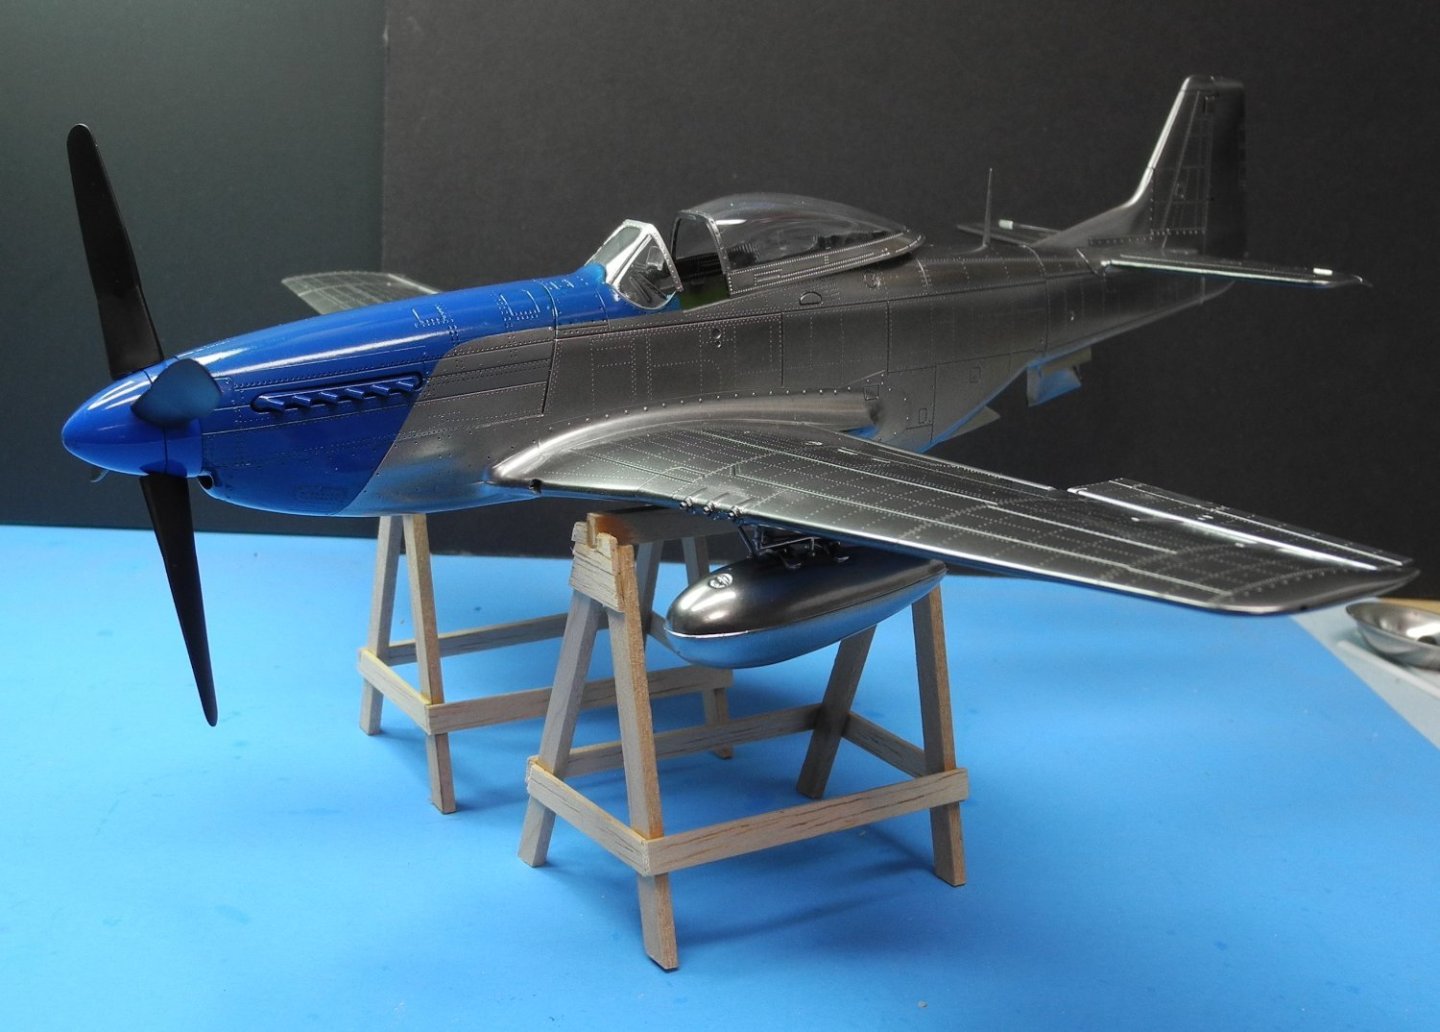

- 121 replies
-
- 17
-
-
-
Krupp 420mm Big Bertha by Haliburton - Takom - 1/35
CDW replied to Haliburton's topic in Non-ship/categorised builds
What I would like to know, was Bertha really as big as she appears in the photo? She seems to dwarf her husband. Perhaps the name, "Big Bertha" was literal in more than one sense of the words. Look at the size of her hands! Sheesh. -
Krupp 420mm Big Bertha by Haliburton - Takom - 1/35
CDW replied to Haliburton's topic in Non-ship/categorised builds
The Dora will require about a lot of shelf space. Lots of parts, too. -
That's exactly what I do/have done on my 1:700 and 1:350 warship models, except I used commercially available scale flag decals. PS: I first place the decals on the foil and allow it to dry before shaping the flag to appear as though it's waving in the wind.
-
Wow, that's a lot of decal work.
-
The parents of one of my best friends from junior high school days used to drive new Cadillacs. They would drive us over to Daytona Beach for the weekends where we spent many hours on the boardwalk, riding the rides and playing the games of chance. I always thought riding in those Cadillacs was a big deal back then. They went down the road super smooth, quiet, and the air conditioning was superb. My oldest brother had several convertible Caddys down through time. They rode the best of them all because they weighed more. Super smooth rides. I bought the same M-41 kit just to get the turret mounted .50 caliber machine gun from it, which I used on an Israeli Sherman tank. One day I should find another .50 cal to replace the one I stole then build my M-41, too. Looking forward to seeing how yours turns out.
-
The M41 was made by Cadillac. Wonder if it was as comfortable inside as a Cadillac? 😀
-
Hawker Hurricane Mk. I by ccoyle - Halinski - 1/33 - CARD
CDW replied to ccoyle's topic in Non-ship/categorised builds
Agree 100 percent!- 100 replies
-
- 10
-
-
Krupp 420mm Big Bertha by Haliburton - Takom - 1/35
CDW replied to Haliburton's topic in Non-ship/categorised builds
What a gun! Great looking model. I’ve wanted this one, too. Seeing it built is fun to watch. -
P-51D Mustang by CDW - FINISHED - Dragon - 1:32 Scale
CDW replied to CDW's topic in Non-ship/categorised builds
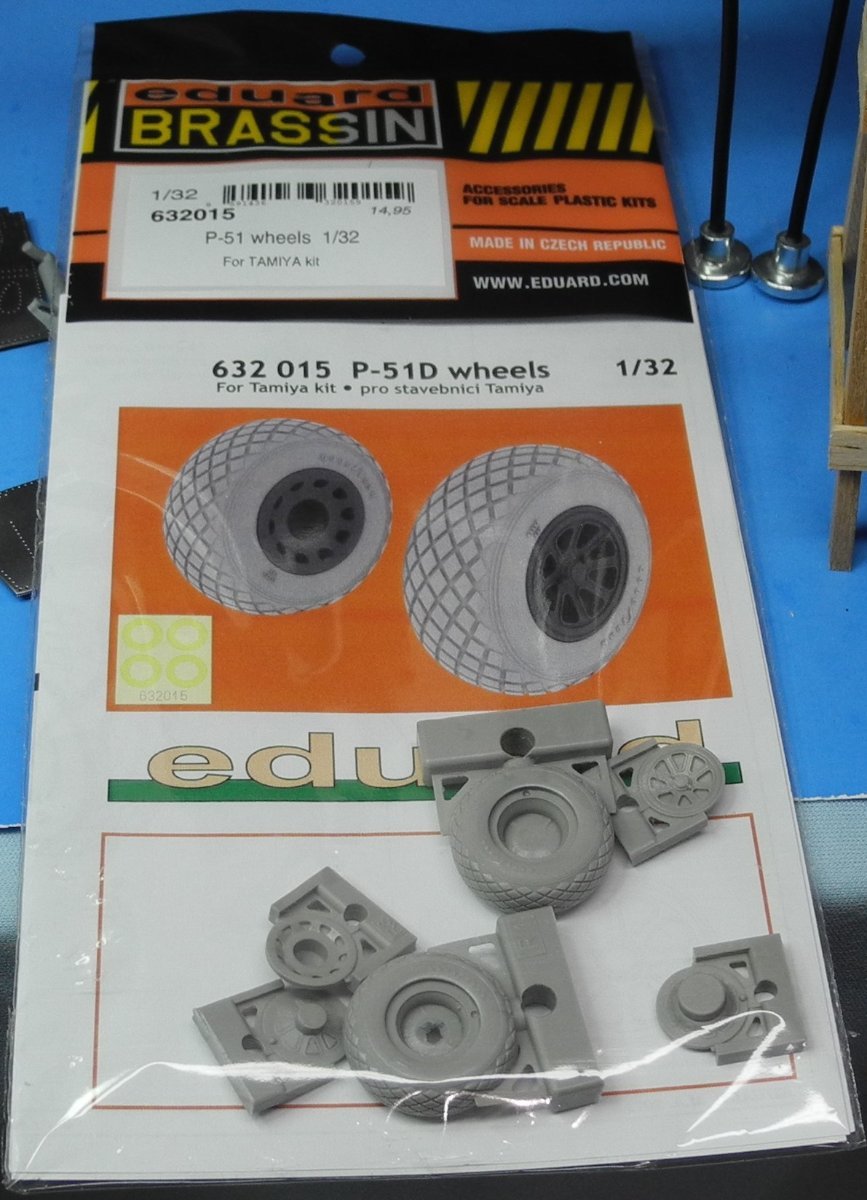
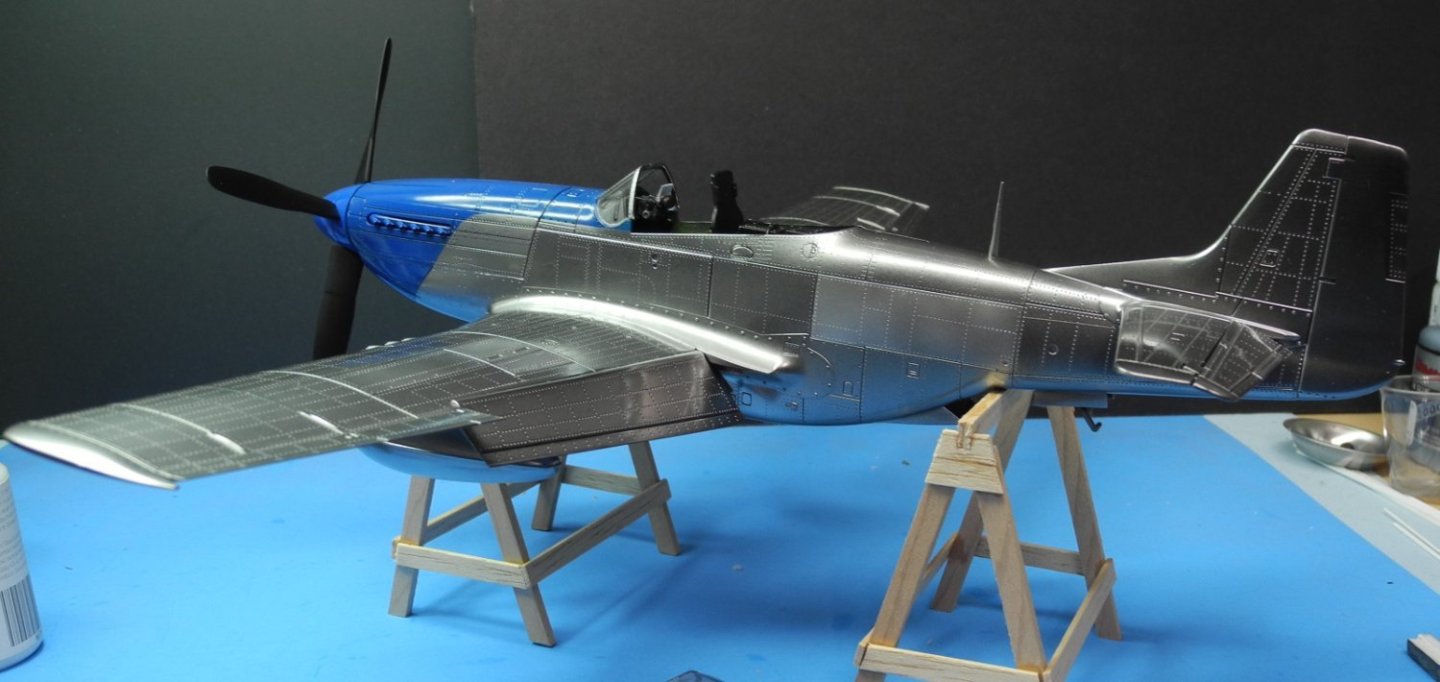
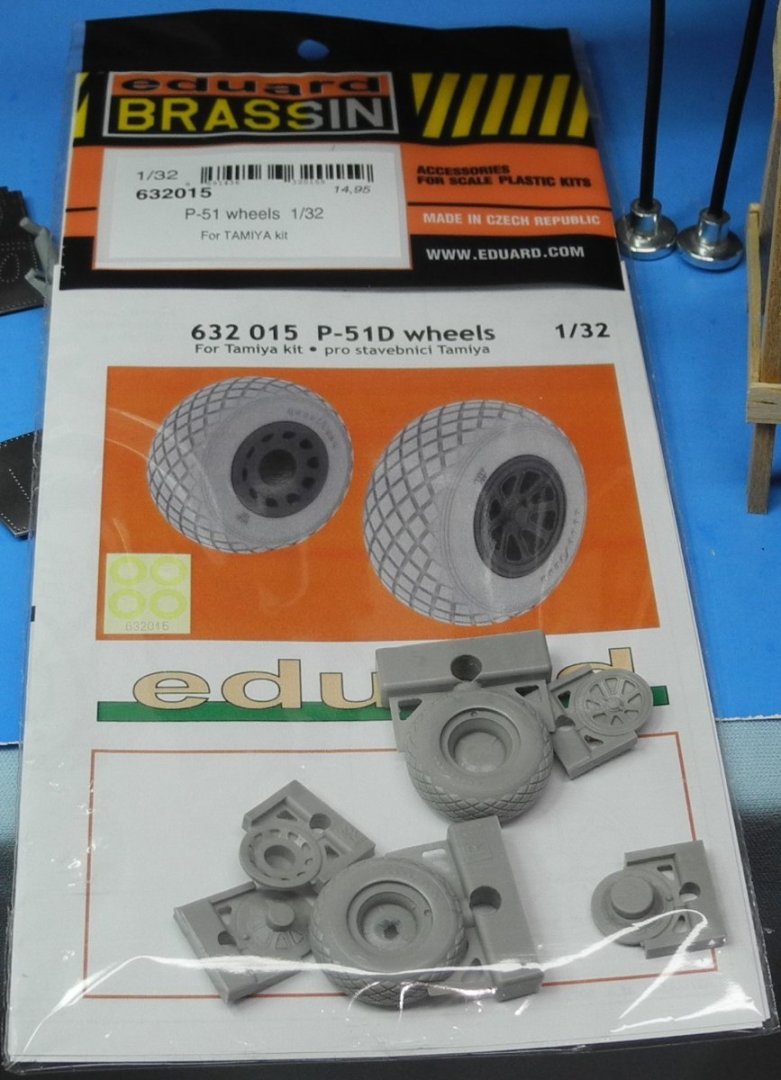
When test fitting the stock wheels and rubber tires, I discovered the tires are too big for the wheels. Either Dragon didn't do any proof build of their kit before putting it out there for the public to buy, or they knew about the fit issues and put it out there anyway. Whatever the cause, I needed to find and purchase a set of wheels and tires as a replacement. I bought these Eduard wheels for that purpose. I ran a little test on the drop tanks and wing mounts. I mixed Mr. Color super silver2 with Mr. Color leveling thinner 400 at a ratio of 1 part paint to 10 parts thinner. I sprayed on the highly reduced paint in light, thin coats, at 12psi ala Alclad application style. The silver was applied over a base of AK Xtreme Metal black base. The black base is a lacquer. It went down super smooth and glossy, very fast drying. The black base was shot straight from the bottle using my airbrush. I believe the silver finish may take a light polish. It is said to have much better durability with handling and masking than does Alclad, no clear coat needed. I'm interested to see how it works out. I like the silver finish, much similar to the Alclad in appearance. Very fine silver pigment.
- 121 replies
-
- 14
-
-
Westland Sea King HU.5 by chadwijm6 - Airfix - 1/48
CDW replied to chadwijm6's topic in Non-ship/categorised builds
Excellent cockpit! That’s eye-popping good.- 54 replies
-
- 10
-

-