CDW
-
Posts
7,730 -
Joined
-
Last visited
Content Type
Profiles
Forums
Gallery
Events
Everything posted by CDW
-

SU-85 WW2 Soviet Tank Destroyer by CDW - MiniArt - 1:35 Scale
CDW replied to CDW's topic in Non-ship/categorised builds
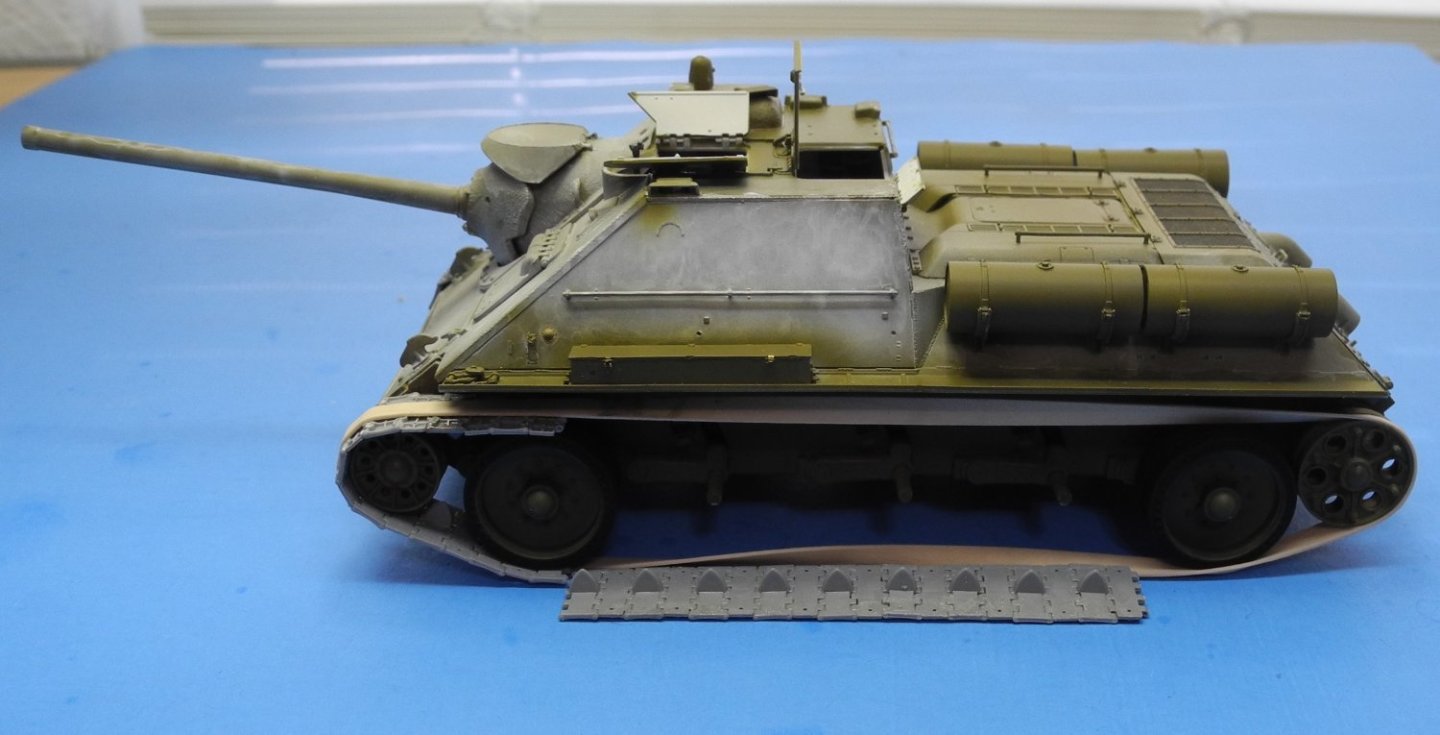
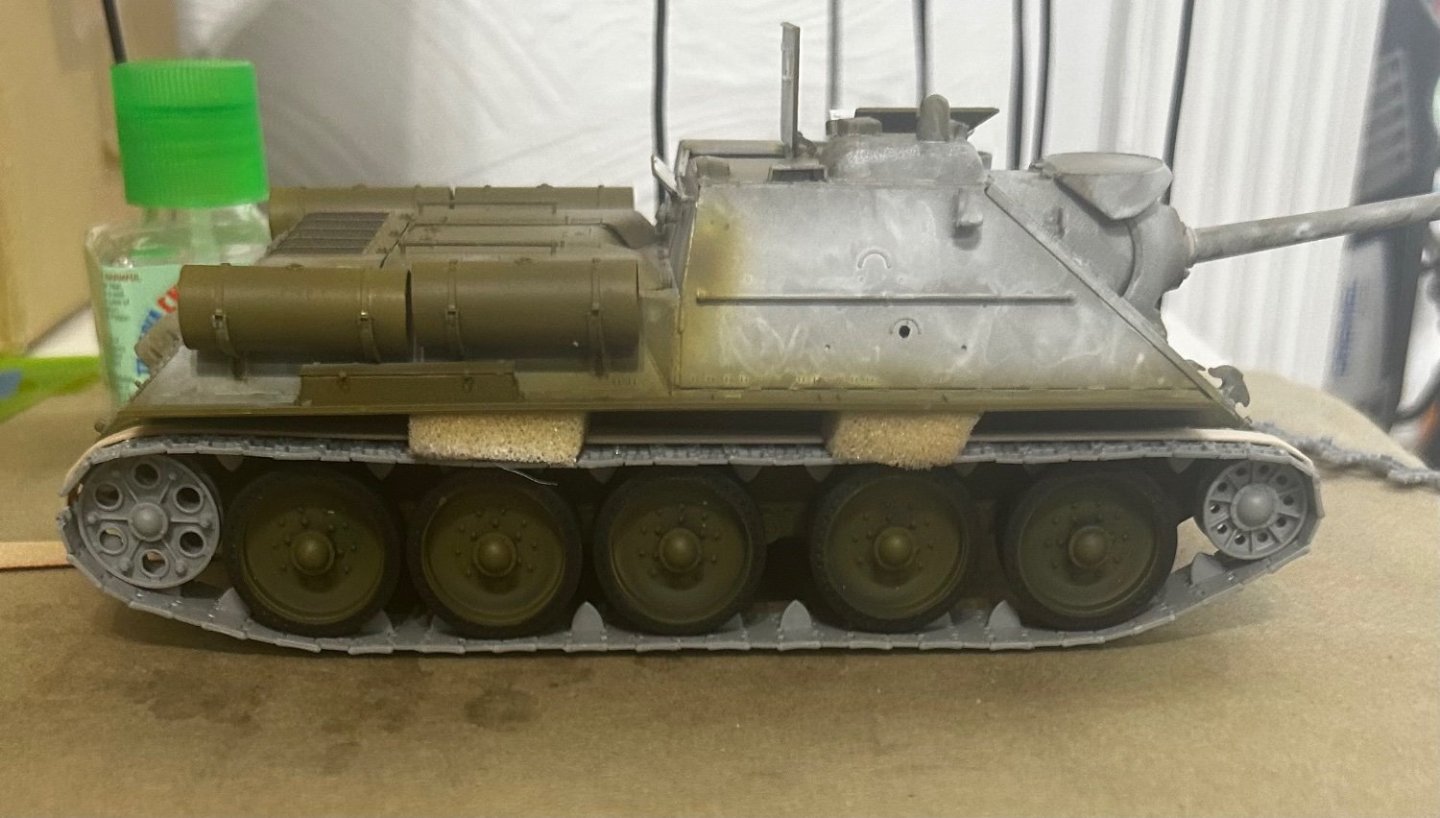
Individual track links are generally a real pain in the rear to assemble and fit to the model. The following photos show the way I approach the task in individual steps. I first assemble the number of links necessary to carry the track around the idler wheel and first road wheel. I use Tamiya thin cement to put the links together then before they completely set up to dry, shape/form them around the idler and road wheel to conform to the shape. Use a large rubber band to hold the links in place while they set up. Repeat the same process to shape a track section around the drive wheel and last road wheel. Again, use the rubber band to hold it in place while the glue sets up. Assemble the links required to fill in the straight sections between the fore and aft sections completed previously. This is how it looks when it's all finished. It's important to NOT glue the wheels in place in the previous steps, as you will later remove the track and wheels so the track may be painted. Once painted, the wheels and track can then be glued in place.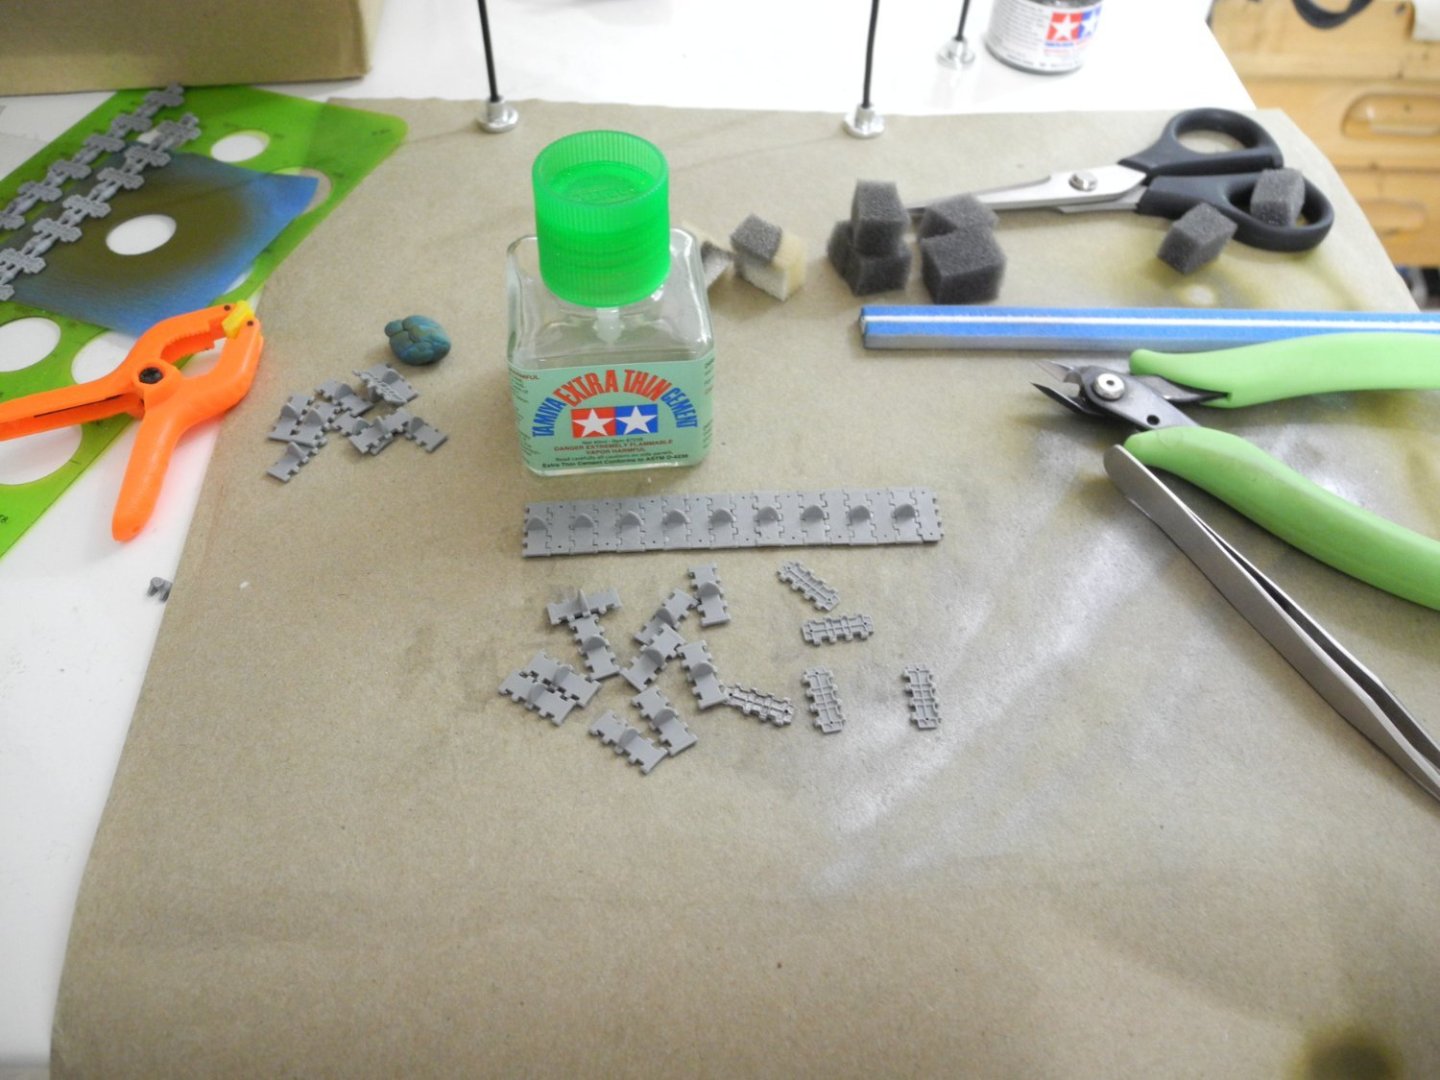
- 96 replies
-
- 13
-

-

-
SU-85 WW2 Soviet Tank Destroyer by CDW - MiniArt - 1:35 Scale
CDW replied to CDW's topic in Non-ship/categorised builds
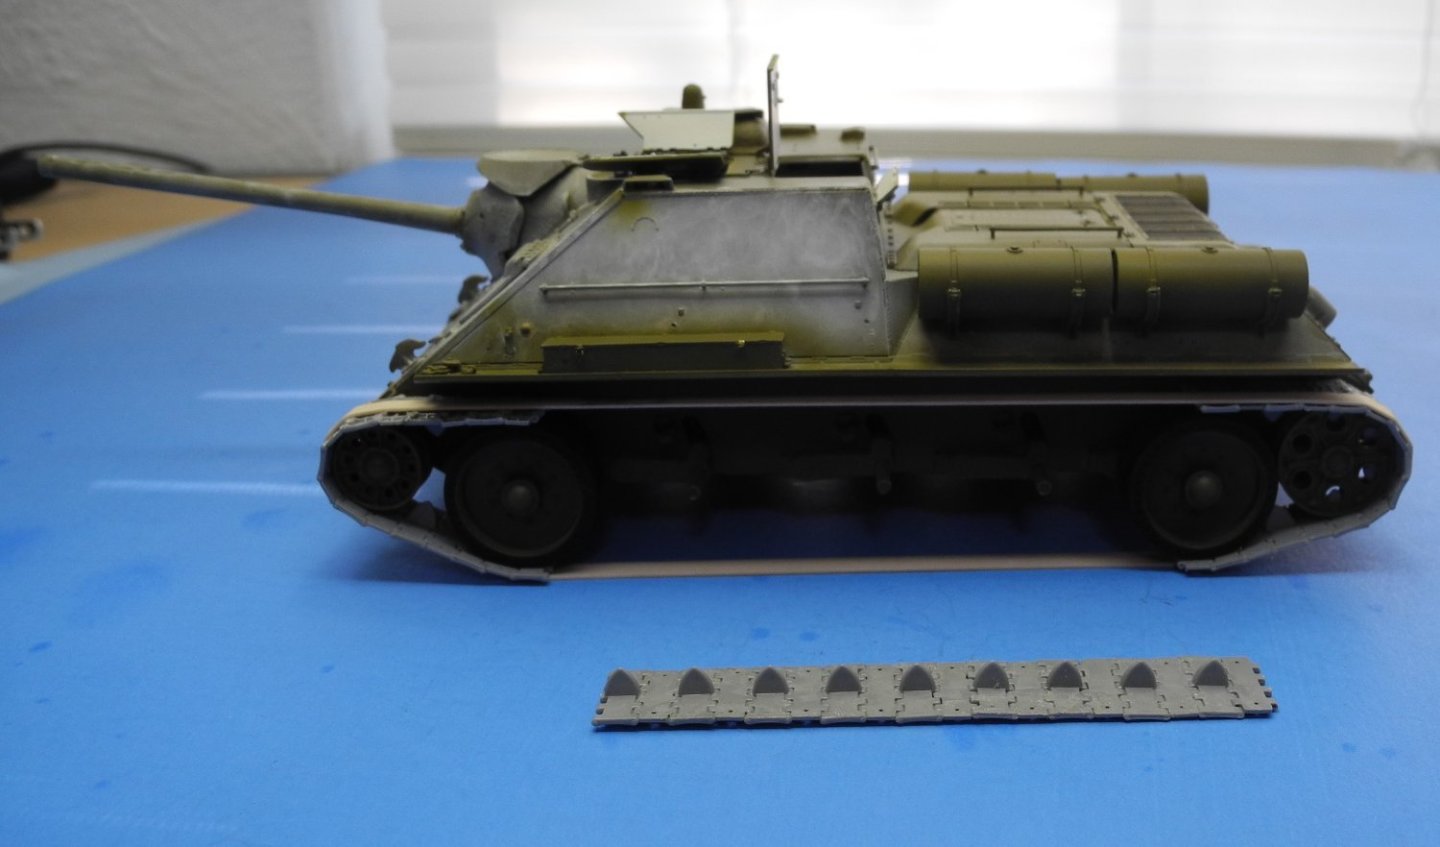
The instructions call for 72 track links per side but that’s obviously too short. Extra links are provided and will probably need three more additional to allow for some sag between road wheels at the top. Maybe two will do it.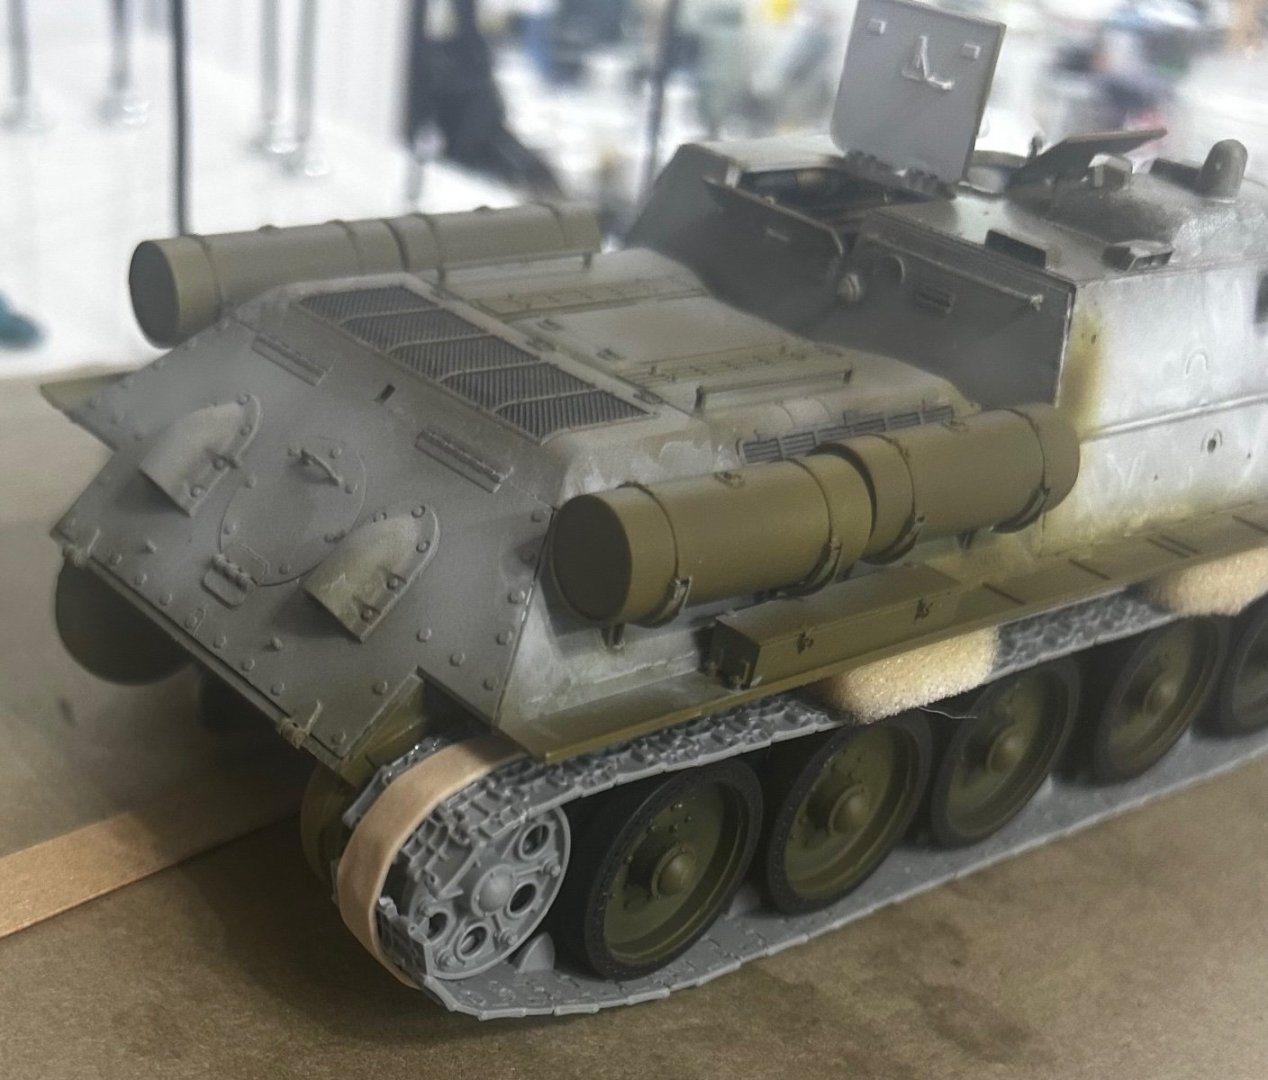
- 96 replies
-
- 13
-
-
SU-85 WW2 Soviet Tank Destroyer by CDW - MiniArt - 1:35 Scale
CDW replied to CDW's topic in Non-ship/categorised builds
Thanks Rob. I planned on snow but your idea of icicles is great. I had not thought of that. -
SU-85 WW2 Soviet Tank Destroyer by CDW - MiniArt - 1:35 Scale
CDW replied to CDW's topic in Non-ship/categorised builds
We were shocked when he never tried to remove it. Thought he would for sure. Thanks Andrew. Can you even imagine how cold it must have been inside a tank during the winter in Russia? Your skin would probably stick to the steel if you touched it. -
SU-85 WW2 Soviet Tank Destroyer by CDW - MiniArt - 1:35 Scale
CDW replied to CDW's topic in Non-ship/categorised builds
If you are an armor model builder, your best friend will be a circle template when it’s time to paint the wheels. A real pain without it.
- 96 replies
-
- 12
-

-
-
SU-85 WW2 Soviet Tank Destroyer by CDW - MiniArt - 1:35 Scale
CDW replied to CDW's topic in Non-ship/categorised builds
Our pooch celebrated his first birthday yesterday. He’s a ball of energy.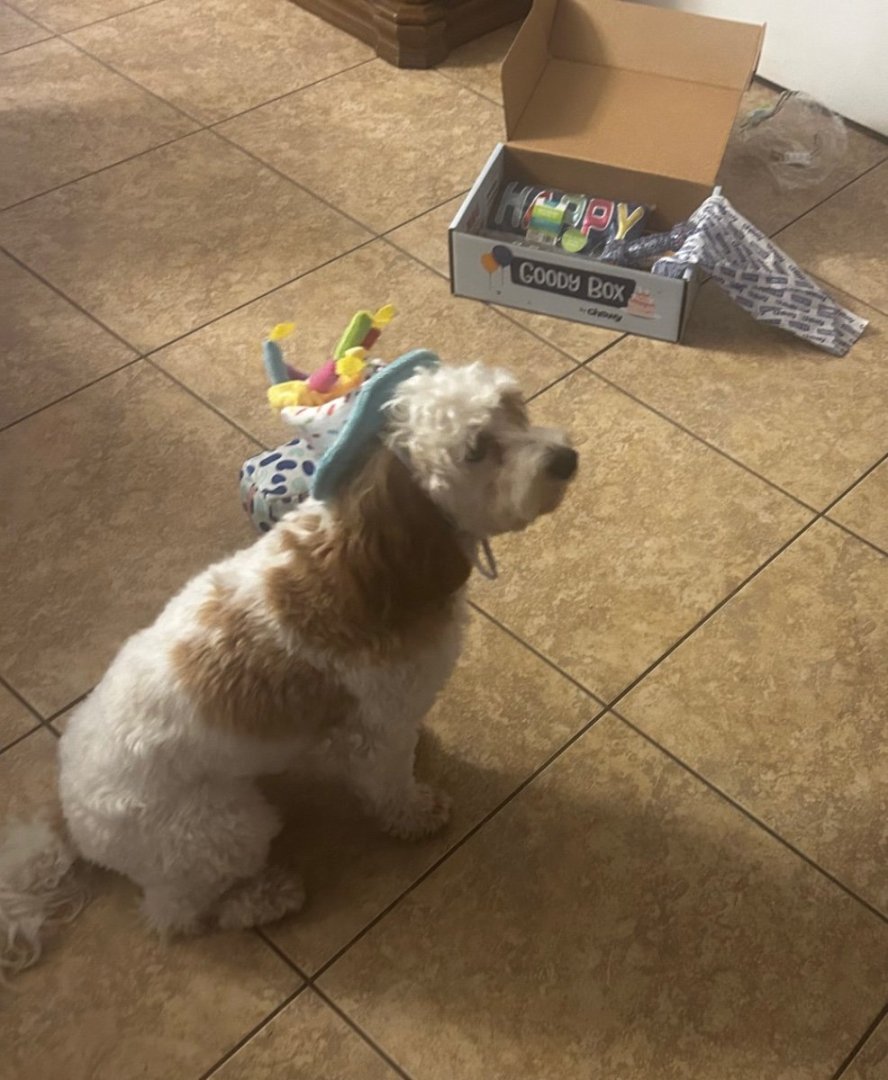
- 96 replies
-
- 14
-
-

-
SU-85 WW2 Soviet Tank Destroyer by CDW - MiniArt - 1:35 Scale
CDW replied to CDW's topic in Non-ship/categorised builds
Nothing but respect for tank crews. Tough duty right there. -
SU-85 WW2 Soviet Tank Destroyer by CDW - MiniArt - 1:35 Scale
CDW replied to CDW's topic in Non-ship/categorised builds
Believe it or not, it had a crew of 4. Hard to believe. The good thing about it, farts freeze in mid-air in the winter months in that climate. 😄 -
SU-85 WW2 Soviet Tank Destroyer by CDW - MiniArt - 1:35 Scale
CDW replied to CDW's topic in Non-ship/categorised builds


- 96 replies
-
- 12
-
-
-
Lotus 72D by gsdpic - FINISHED - Tamiya - 1/12 - PLASTIC
CDW replied to gsdpic's topic in Non-ship/categorised builds
Thanks EG. Those are good resources to bookmark. Interesting what indyals says about the gold markings on the WR1 -
SU-85 WW2 Soviet Tank Destroyer by CDW - MiniArt - 1:35 Scale
CDW replied to CDW's topic in Non-ship/categorised builds
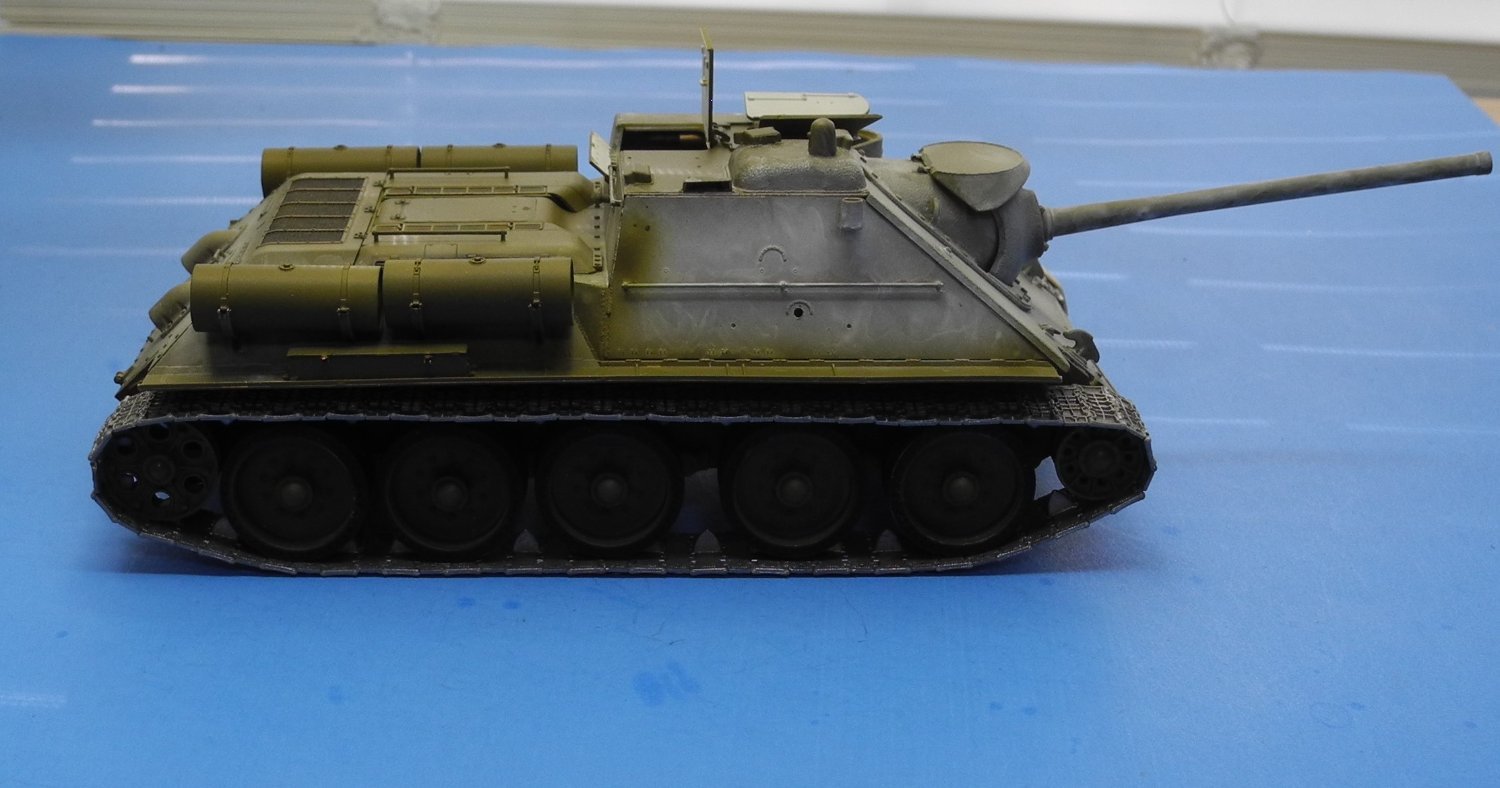
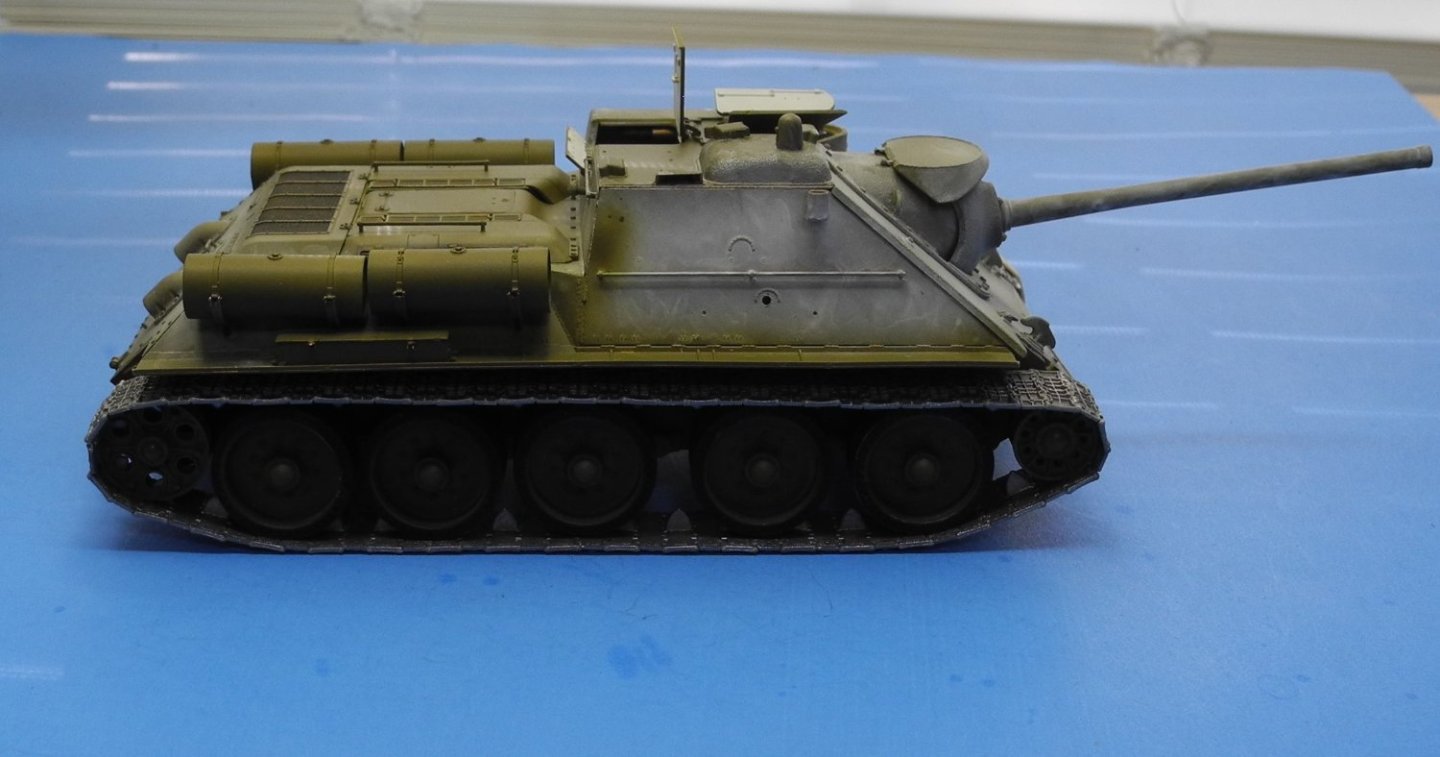
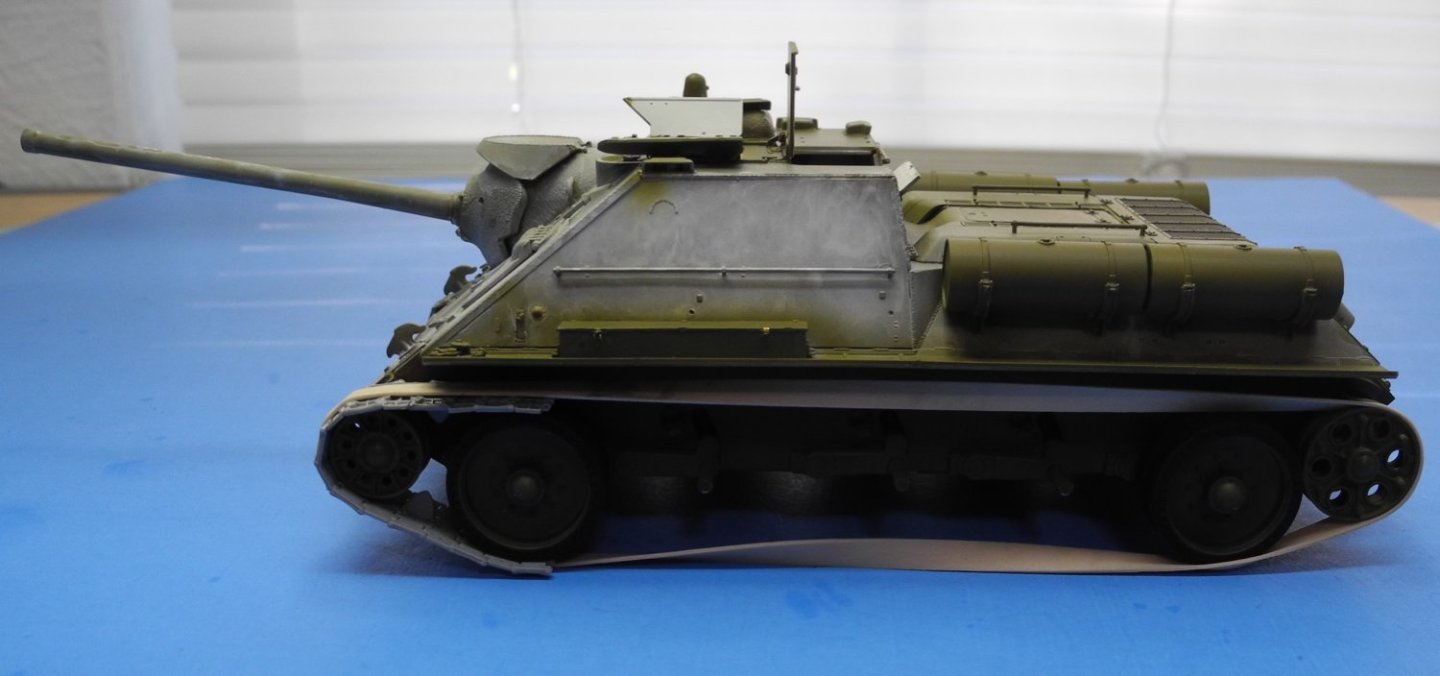
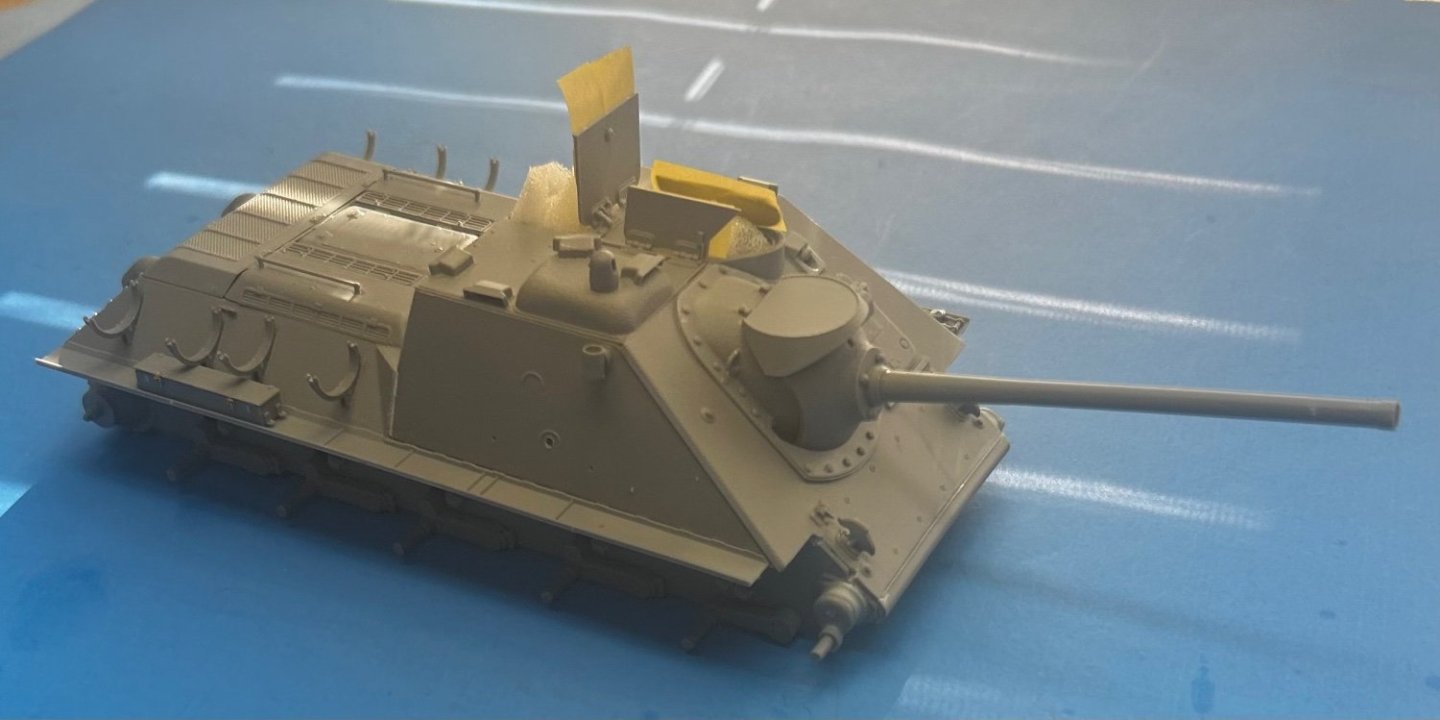
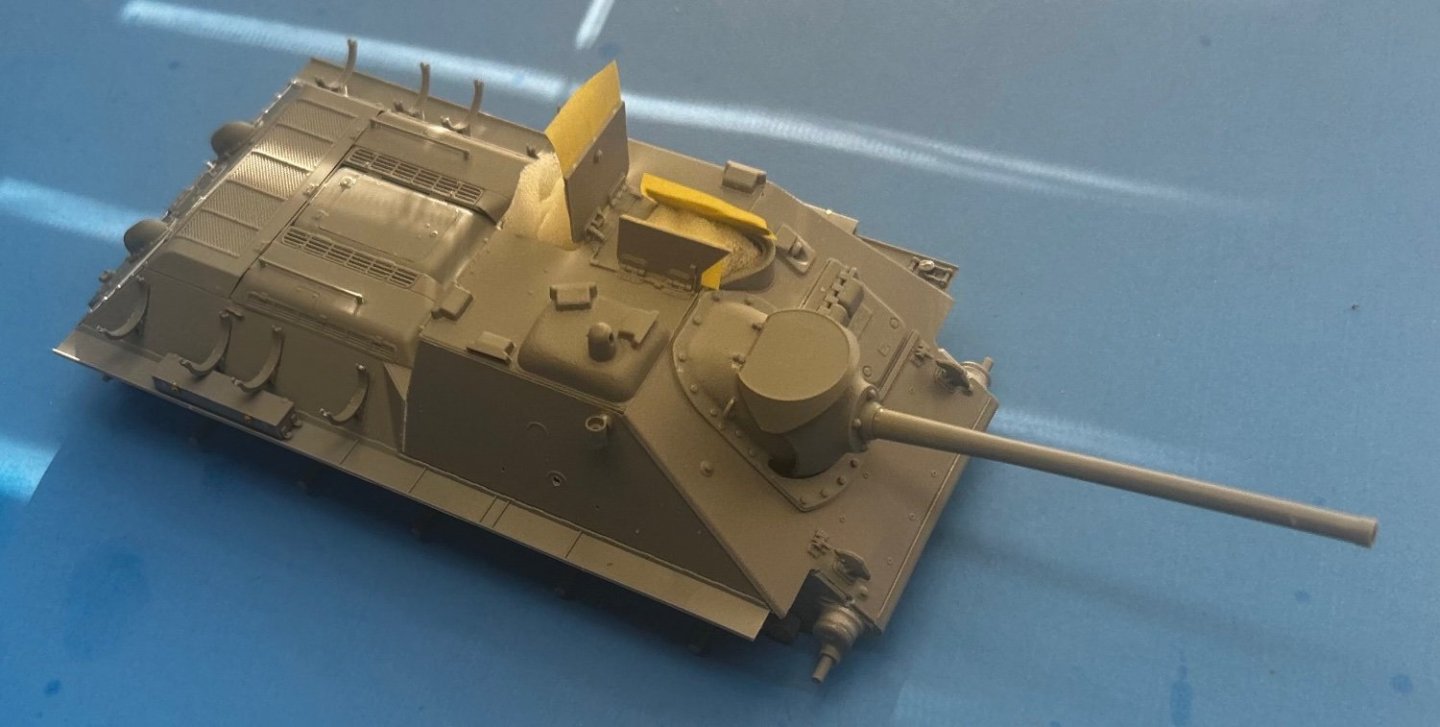
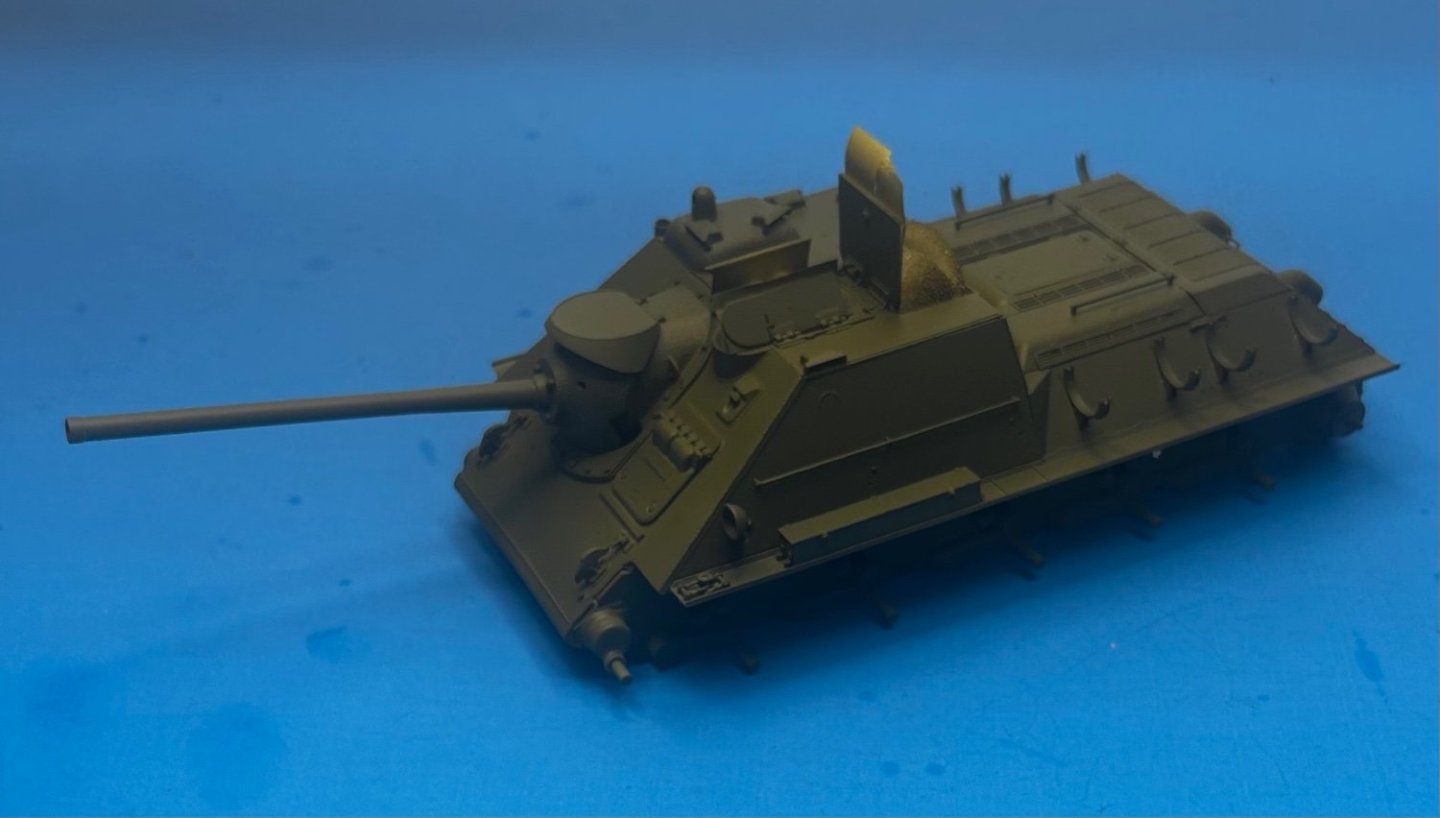
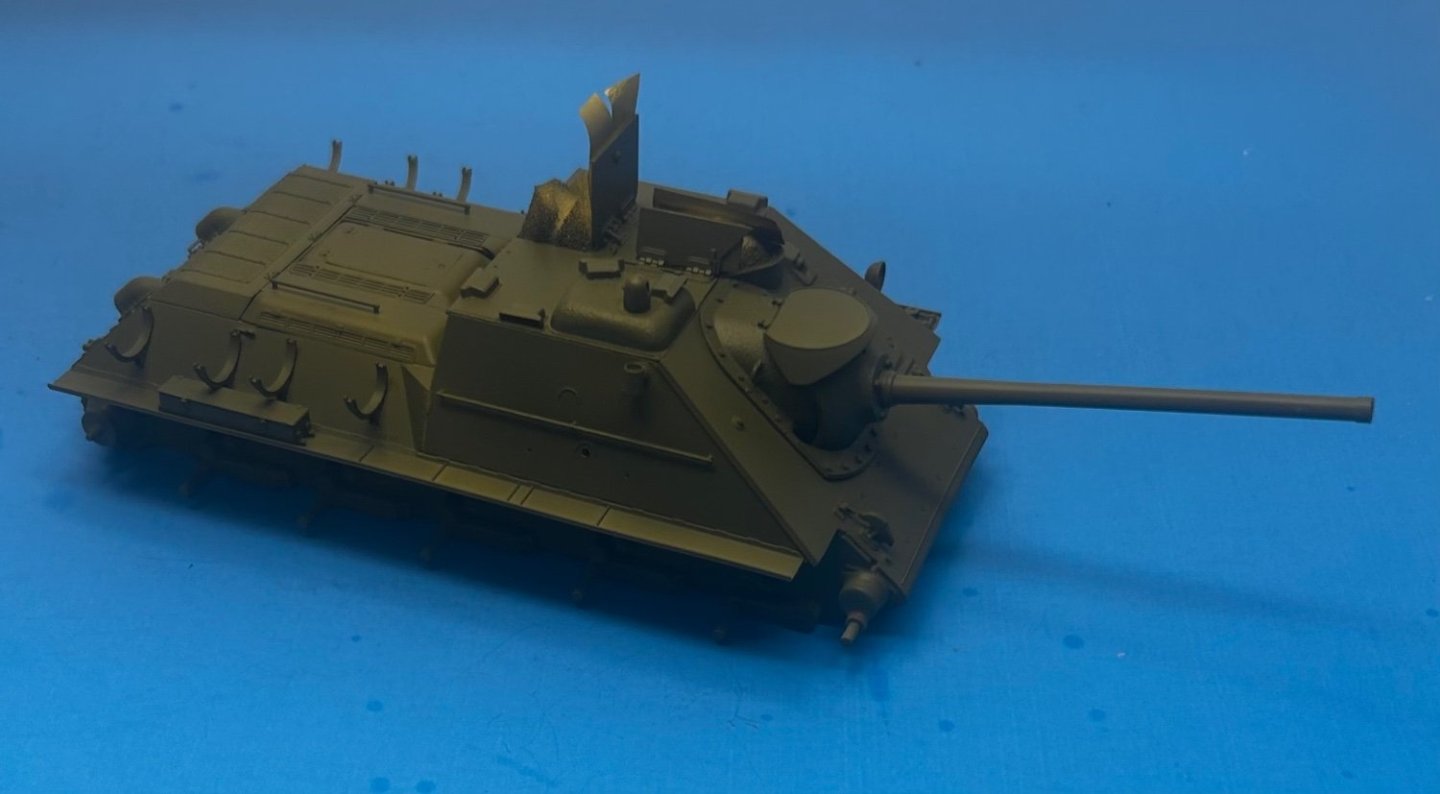
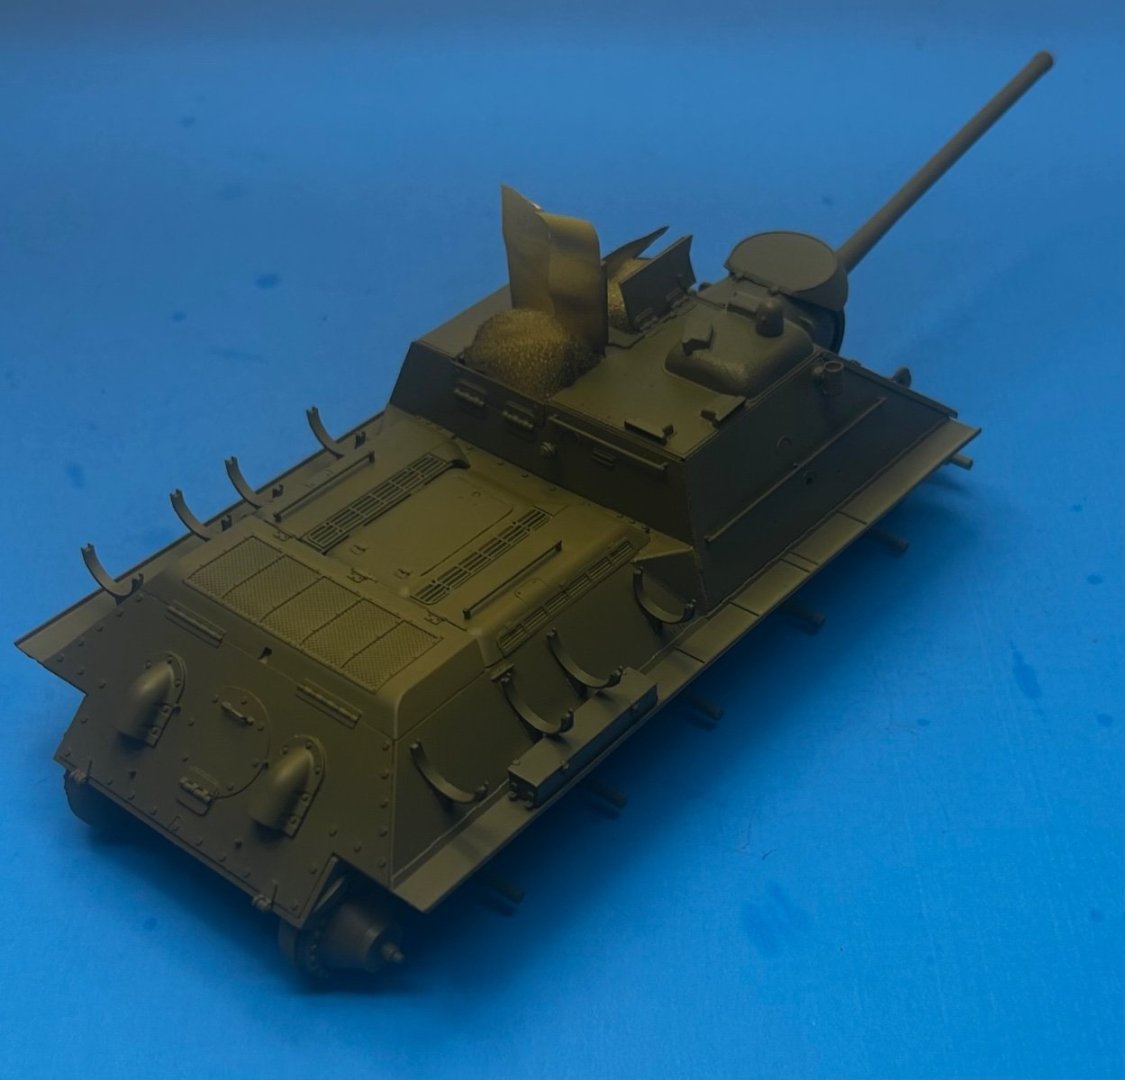
With the base paint of Russian green laid down, will next add fuel tanks, some other miscellaneous hardware and wheels/tracks before doing a winter scheme white wash and weathering.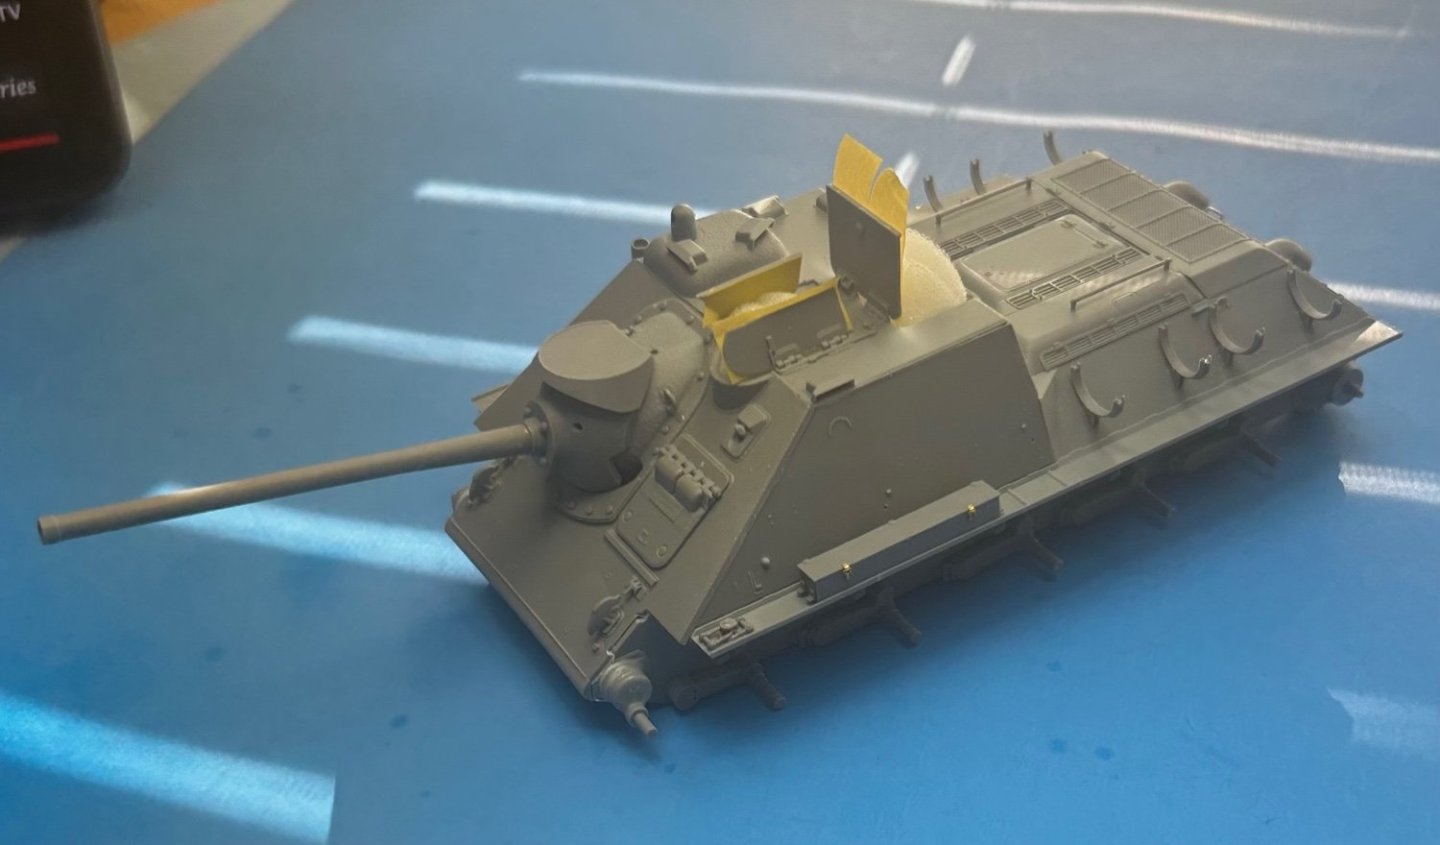
- 96 replies
-
- 16
-
-
Lotus 72D by gsdpic - FINISHED - Tamiya - 1/12 - PLASTIC
CDW replied to gsdpic's topic in Non-ship/categorised builds
I recently acquired the 1:12 Tamiya Wolf WR1 formula one model and there are issues with the gold decals. Haven’t found a replacement sheet. Thinking about masking and painting the metallic gold myself when the time comes rather than depending on the decal. Even when I bought replacement/aftermarket gold decal sheets in the past, the gold has not been opaque, causing the need for a proper base color underneath. Fred Cady decals come to mind. Printers have a hard time with opaque metallics it seems. -
SU-85 WW2 Soviet Tank Destroyer by CDW - MiniArt - 1:35 Scale
CDW replied to CDW's topic in Non-ship/categorised builds
The SU-85 was based on the venerable T-34 chassis. It was built to combat the Tiger tank as the T-34 at that time was equipped with a 76mm gun that could not penetrate the Tiger armor at combat range (1000 yards). The 85mm gun, a modified anti-aircraft gun, was too big to fit inside the T-34 turret, thus the stop-gap measure that brought about the SU-85. Tight quarters, very tight. For any who might be interested, I highly recommend watching the Russian movie (with English subtitles) T-34. I was pleasantly surprised at the quality of the film and how it captivated my interest all the way to the end. Watch it. You will like it. -
SU-85 WW2 Soviet Tank Destroyer by CDW - MiniArt - 1:35 Scale
CDW replied to CDW's topic in Non-ship/categorised builds
Thanks Ken. For me, the "coziness" would be secondary to the thoughts of incredible heat in the summer months and a real bad place to be when or if targeted by Witmann or perhaps Ernst Udet. -
SU-85 WW2 Soviet Tank Destroyer by CDW - MiniArt - 1:35 Scale
CDW replied to CDW's topic in Non-ship/categorised builds
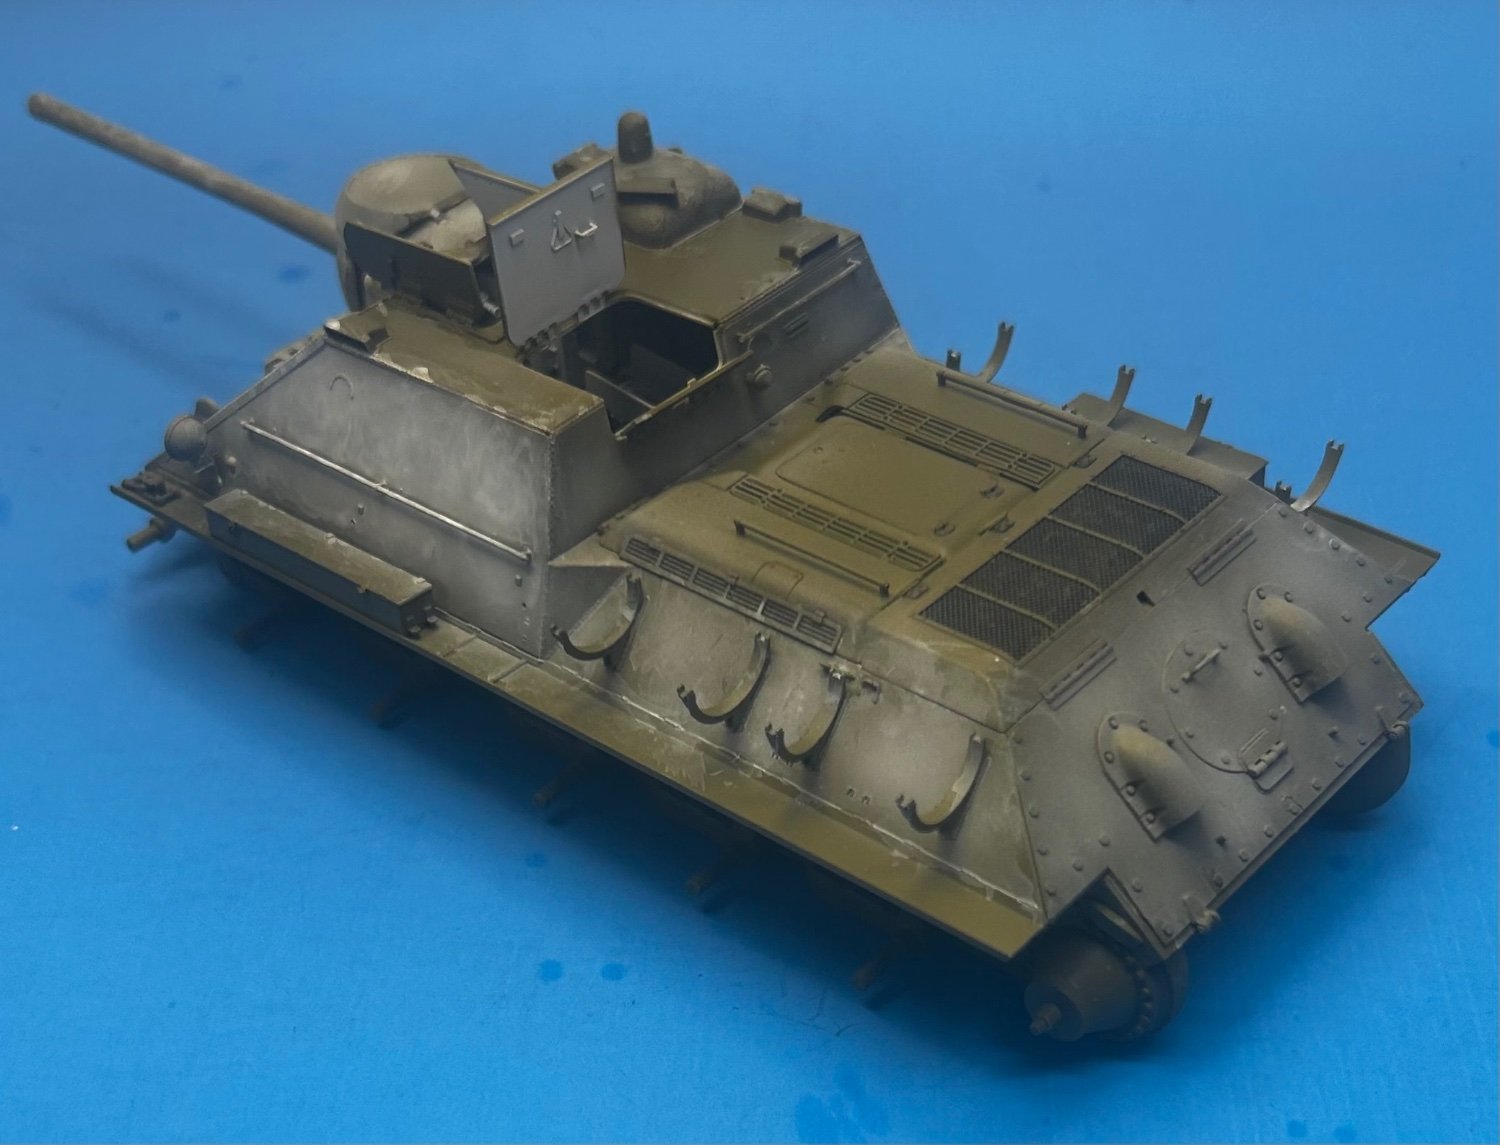
Today or tomorrow, will begin laying down exterior paint.


- 96 replies
-
- 12
-
-
Excellent
-
Lotus 72D by gsdpic - FINISHED - Tamiya - 1/12 - PLASTIC
CDW replied to gsdpic's topic in Non-ship/categorised builds
You've done remarkably well to manage those old decals. Looks real nice. My luck with old decals has been rather poor lately. It just depends on what kind of temperature and humidity the old decals have been exposed to over a long time of storage. I've got another set of old ones I'm keeping my fingers crossed, will work. I can't replace them so if they don't work, I am rather out of luck. I think you might be in the same position with your John Player Lotus decals. It would probably be very difficult to source a decent replacement set. -
That's a great looking kit OC. Hope you get your mojo going and finish her up so we can watch it in progress. On a side note, I've heard from good sources that this tank sucks down fuel at an incredible rate, something on the order of a full tank fill-up required at 8-hour intervals. Further to that, its heat signature is such that it can easily be seen by low orbit satellite which make it a very fat target.
-
SU-85 WW2 Soviet Tank Destroyer by CDW - MiniArt - 1:35 Scale
CDW replied to CDW's topic in Non-ship/categorised builds
I'll just have to whip it into shape then. 😁 -
SU-85 WW2 Soviet Tank Destroyer by CDW - MiniArt - 1:35 Scale
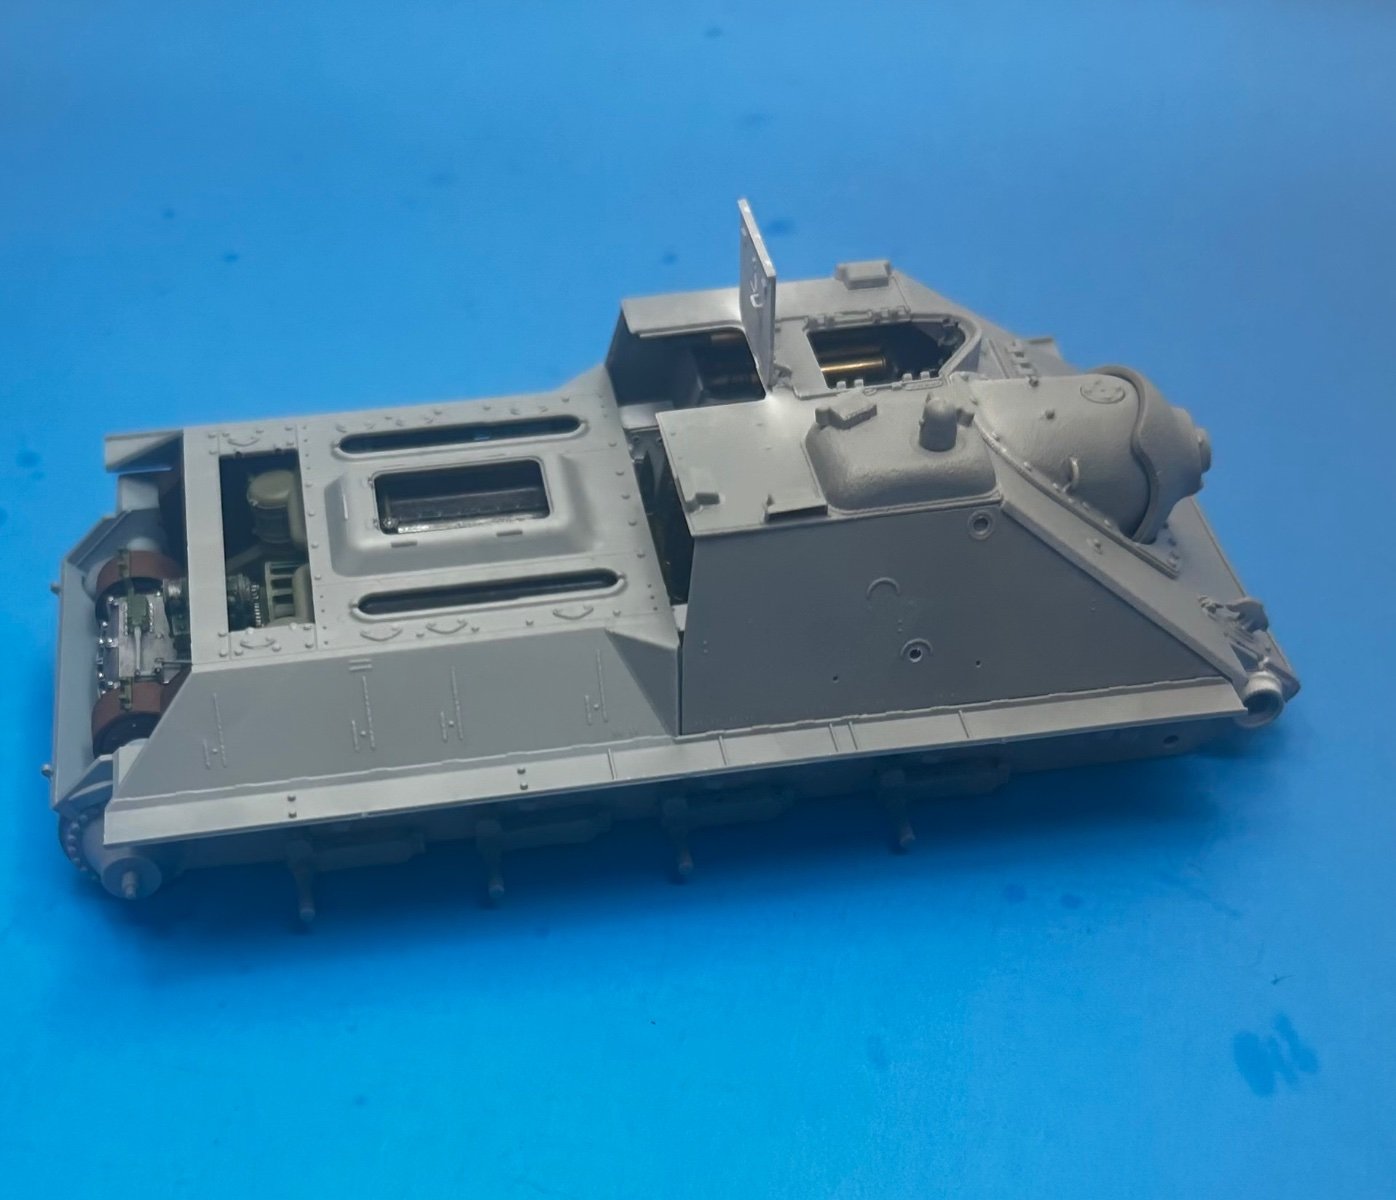
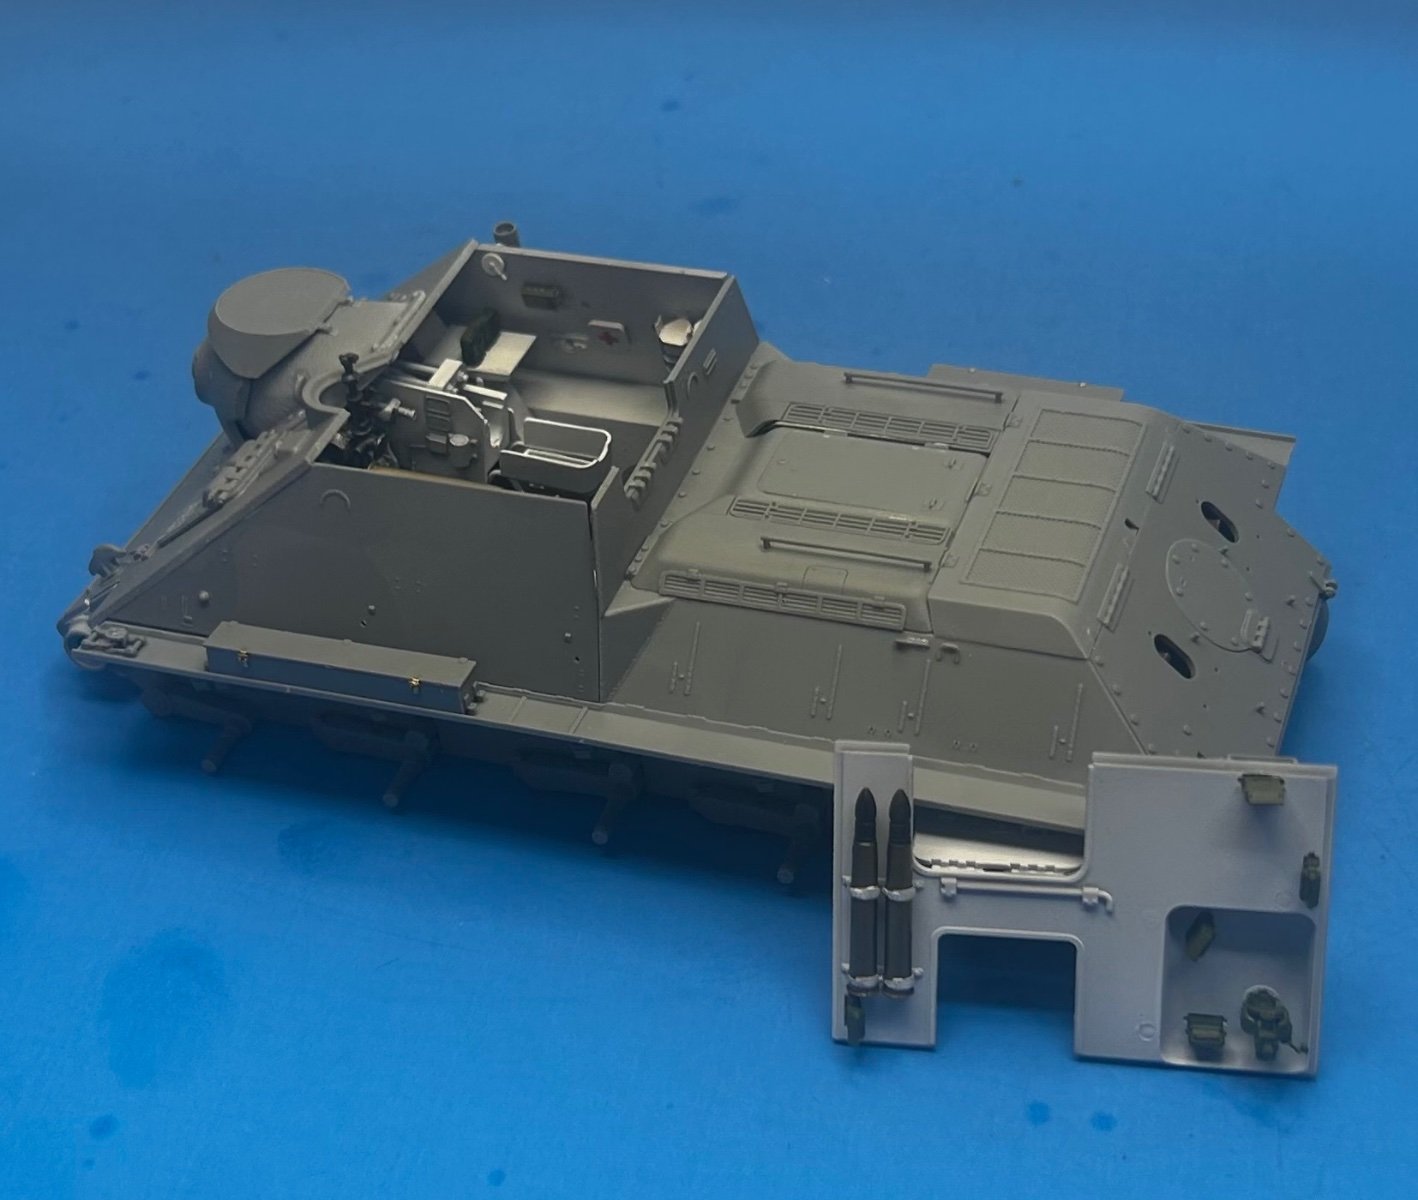
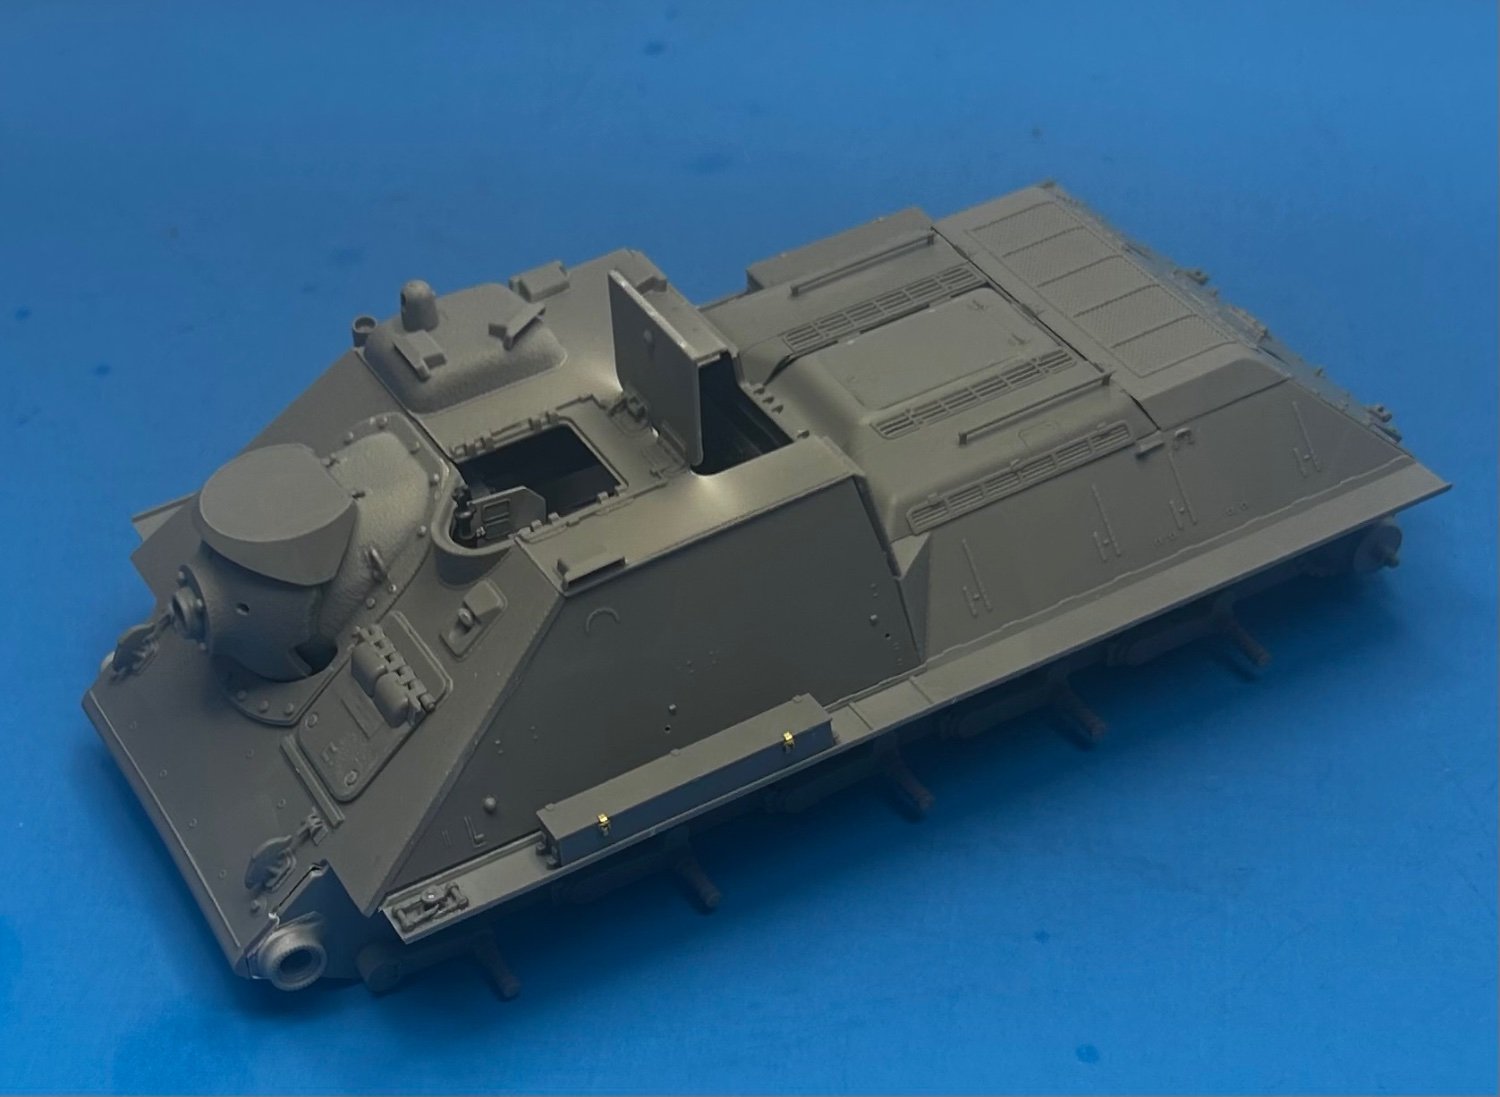
CDW replied to CDW's topic in Non-ship/categorised builds
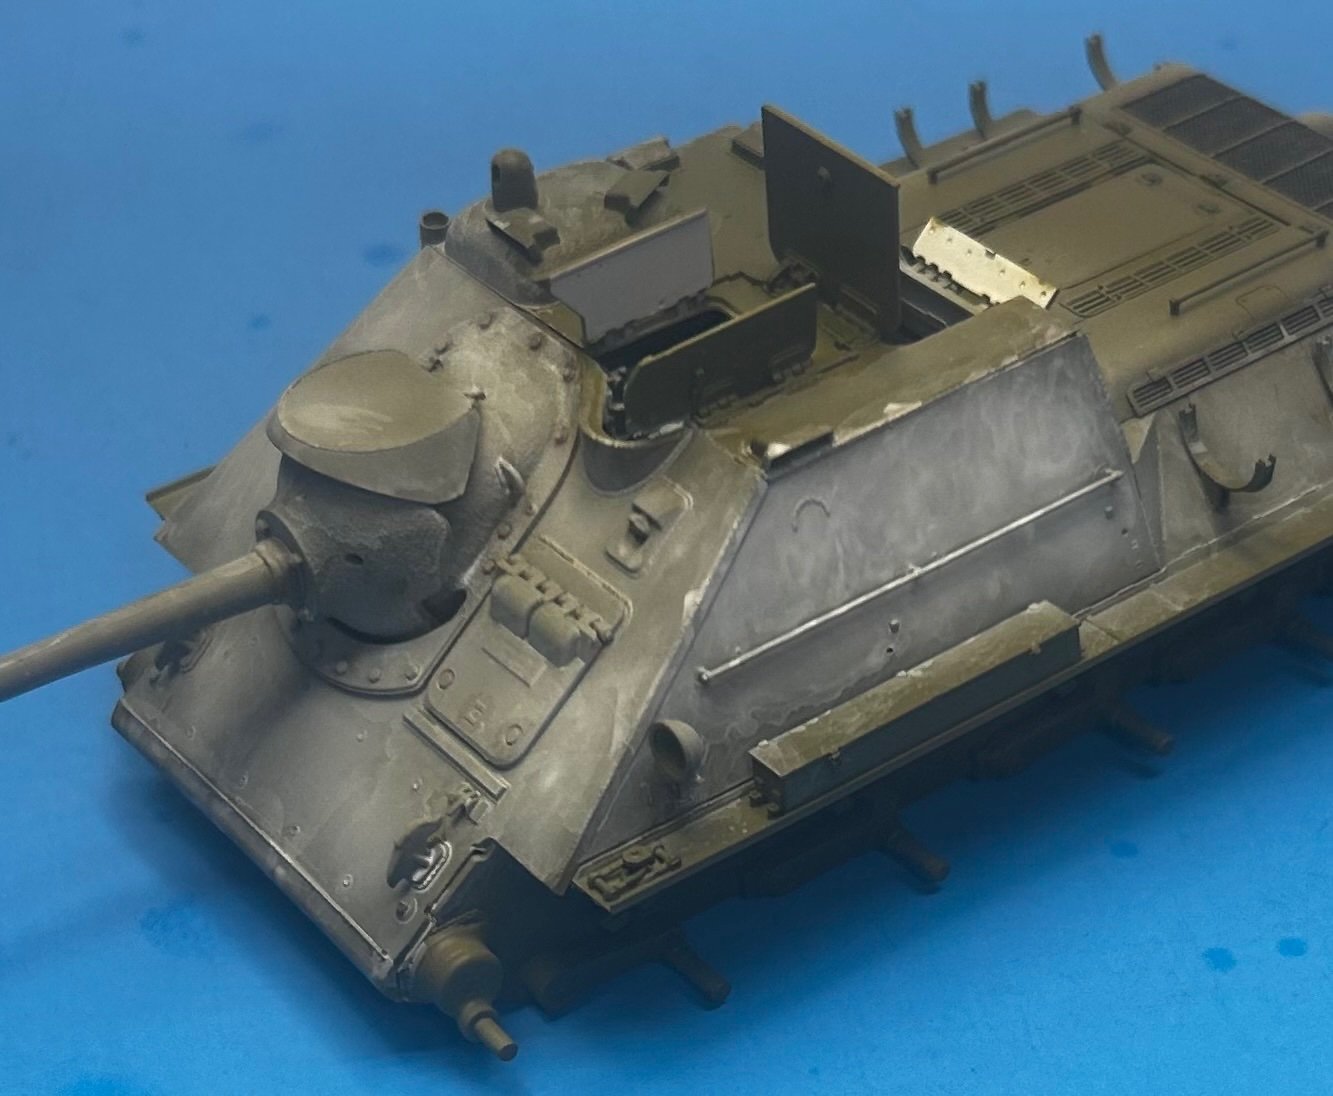
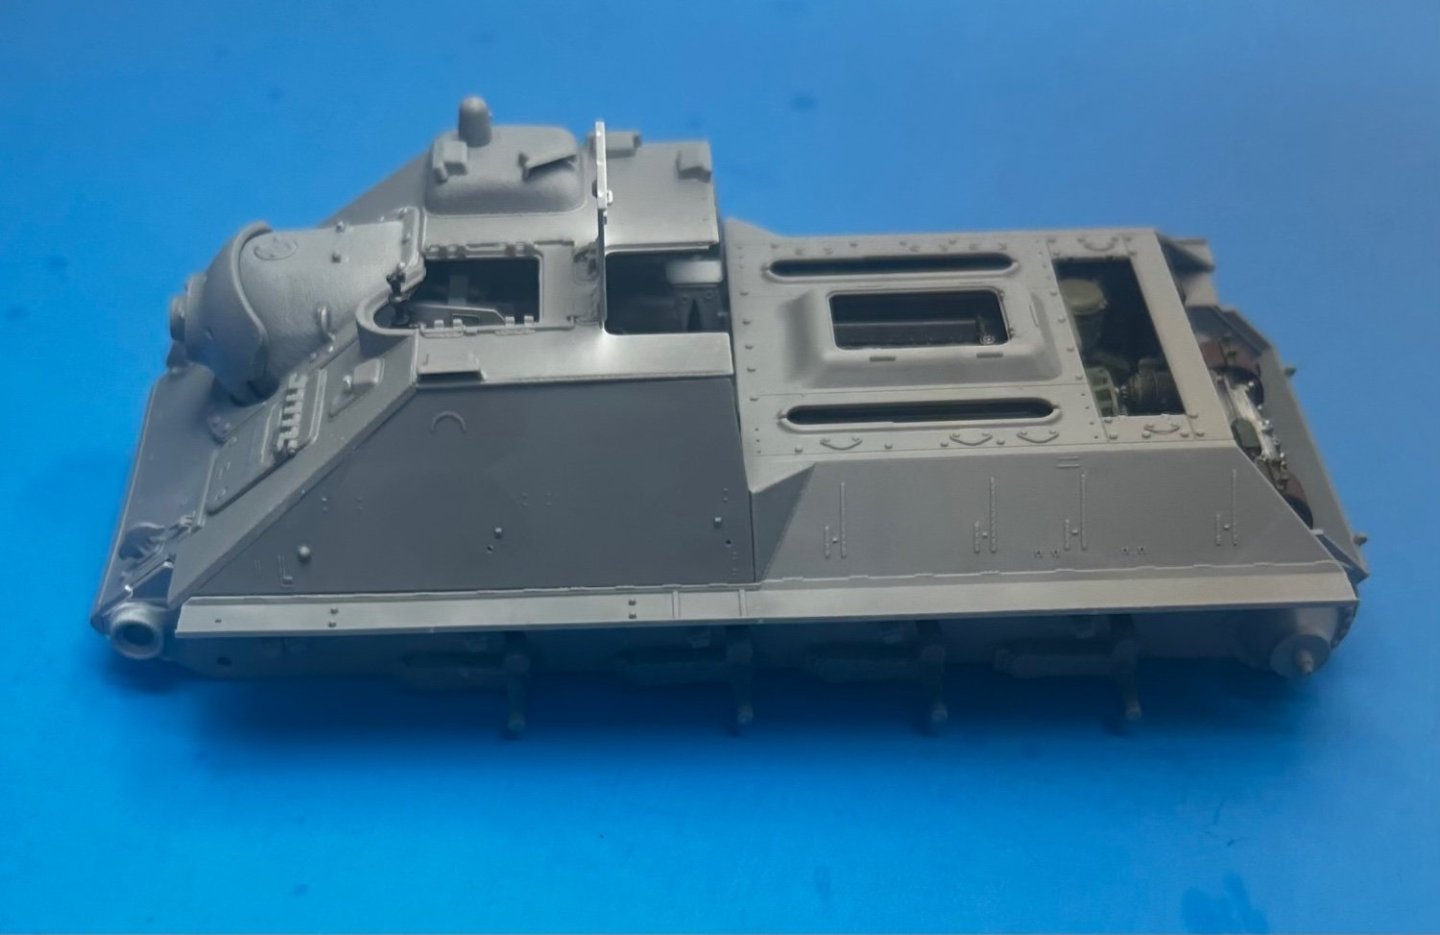
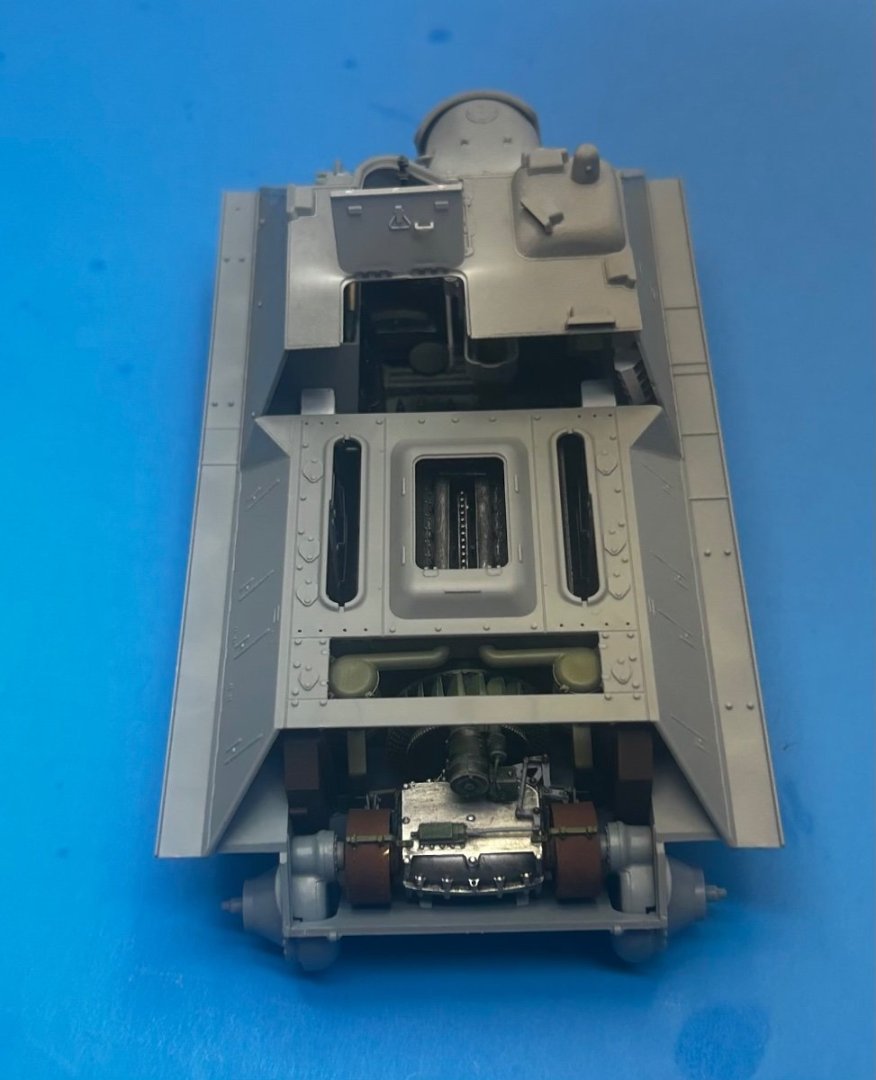
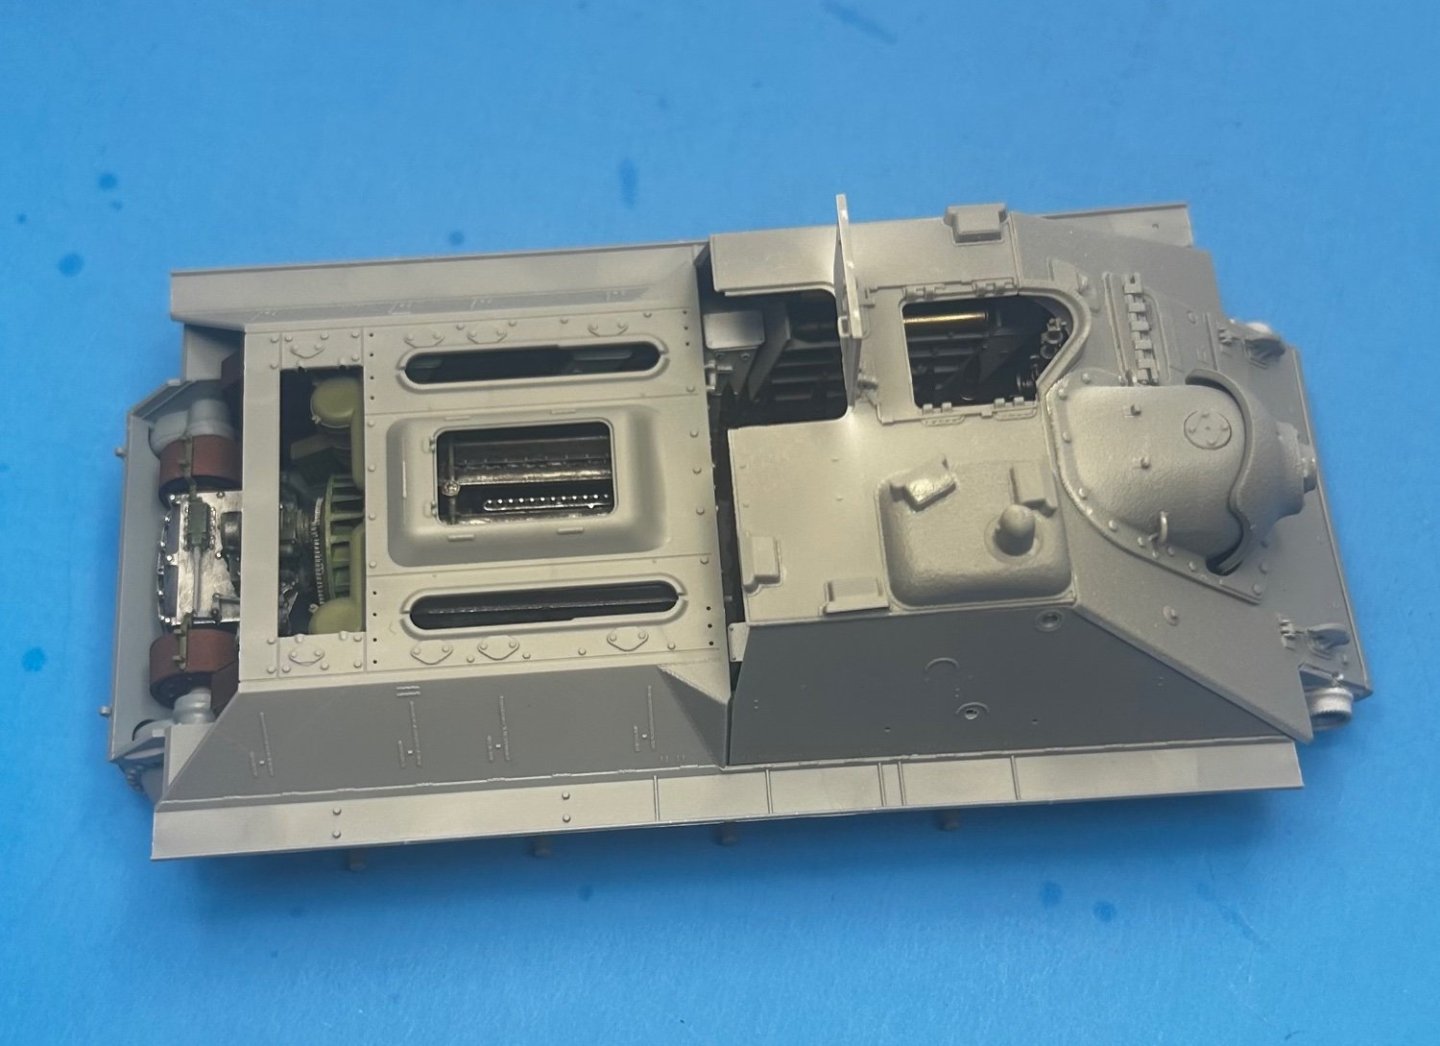
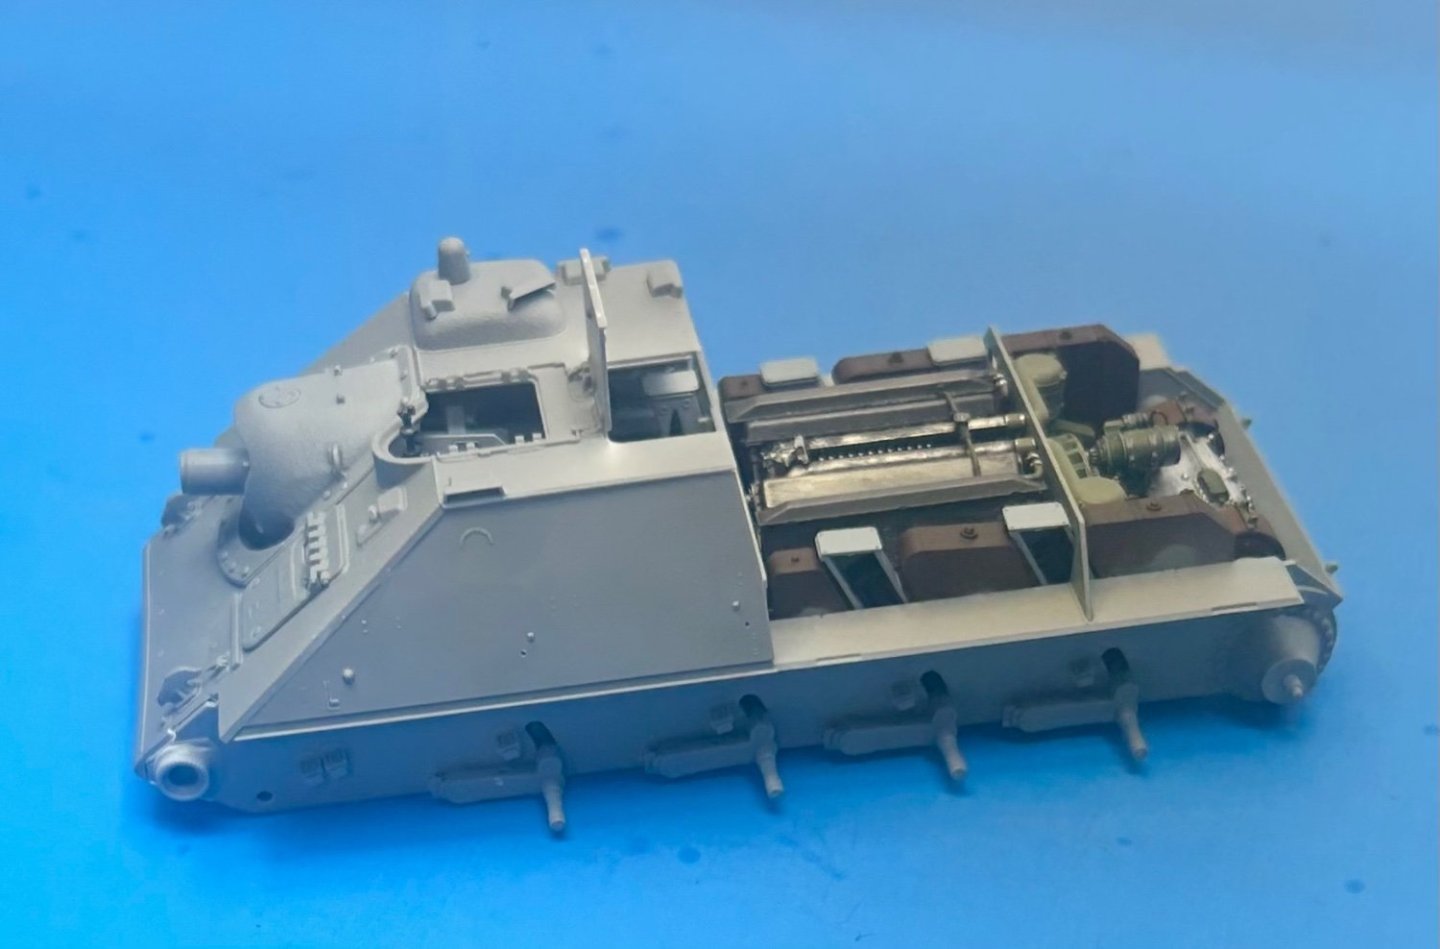
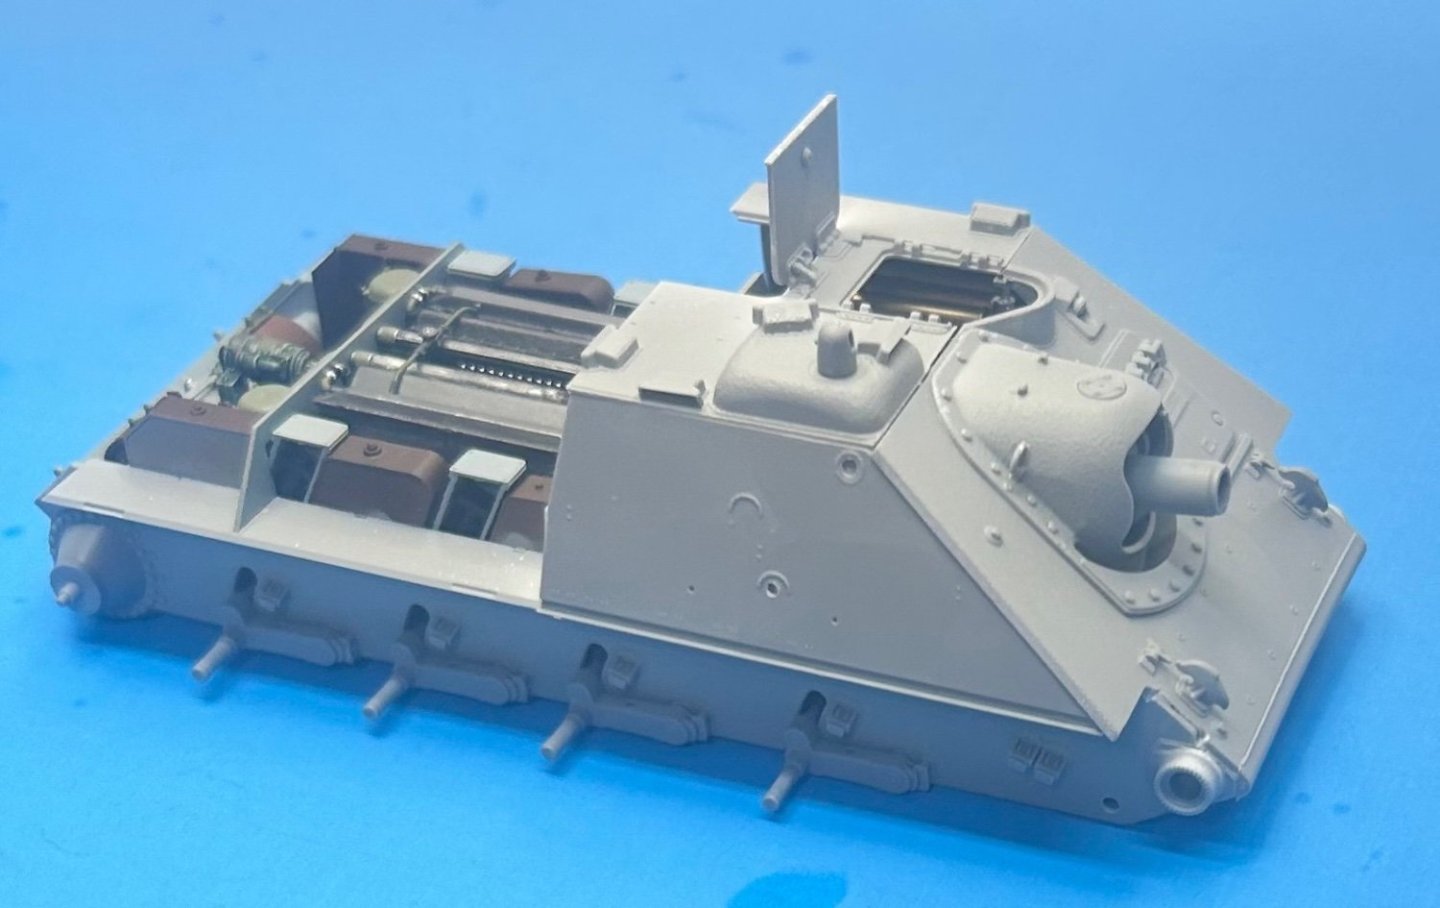
While my initial vision was to leave parts of the armor removable so the interior could be seen, it was an open question as to whether or not the panels would line up sufficiently (without huge seams and gaps) to allow for this possibility. For at least the fighting compartment, this now seems to get a green light. Will just have to wait and see if the engine compartment deck fits as well.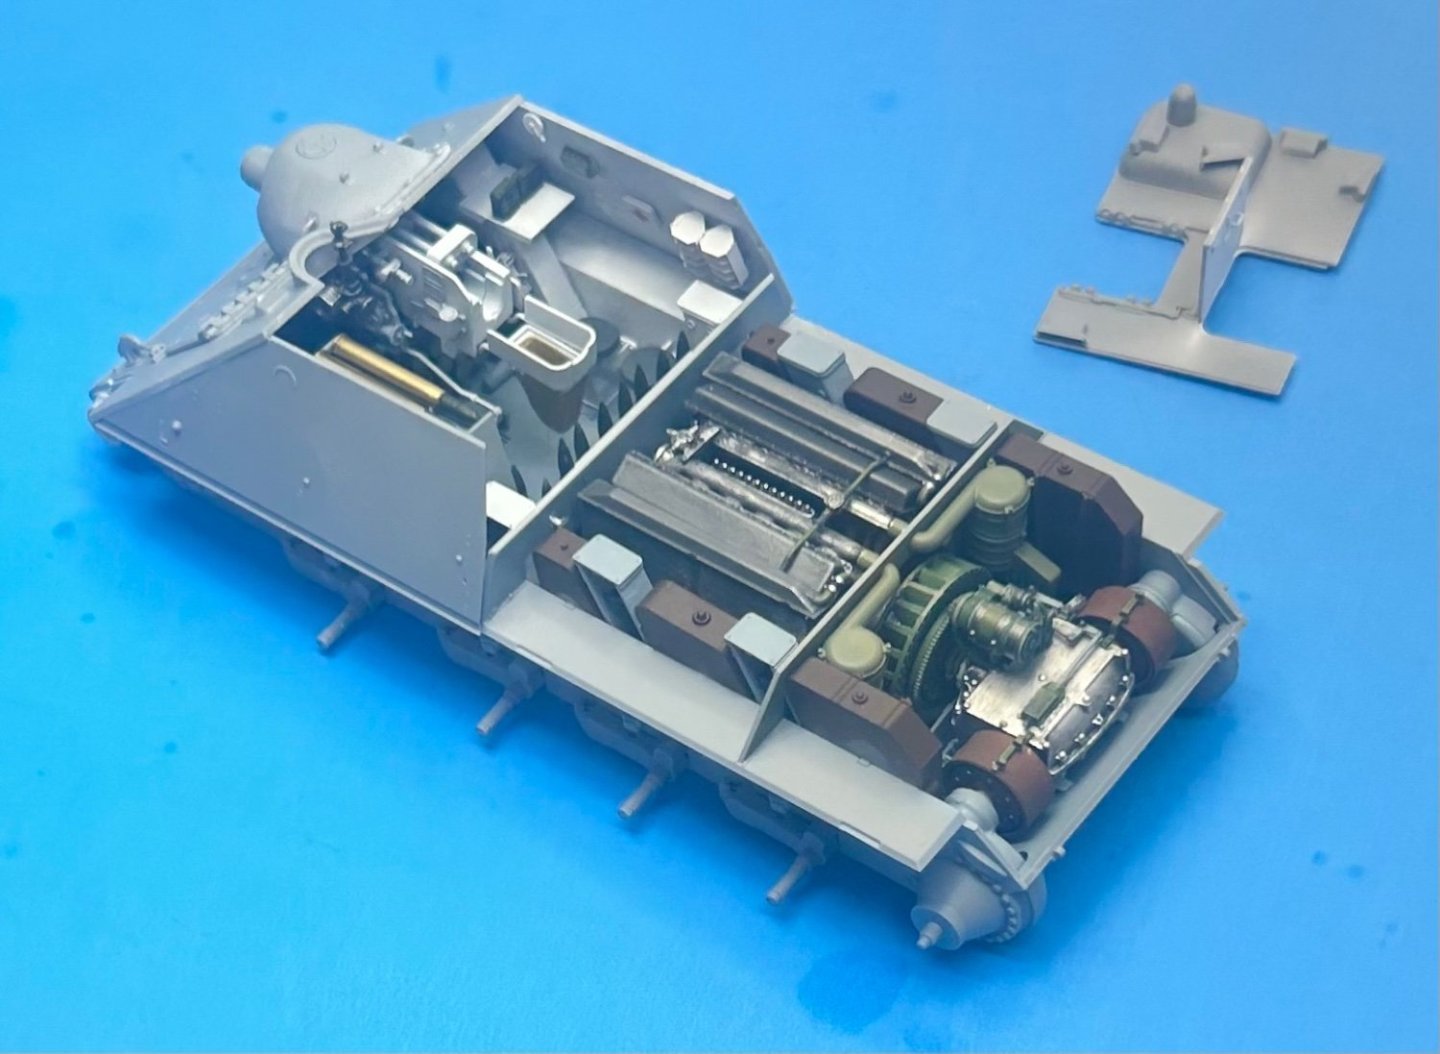

- 96 replies
-
- 15
-
-
That's a beauty OC! Glad to see you finished it, it's superb.
-
P-38J Wicked Woman by DocRob - FINISHED - Tamiya - 1/48
CDW replied to DocRob's topic in Non-ship/categorised builds
Just found your build log Rob. Fantastic start! Looking forward to further installments. -
Lotus 72D by gsdpic - FINISHED - Tamiya - 1/12 - PLASTIC
CDW replied to gsdpic's topic in Non-ship/categorised builds
Excellent project and look forward to your build. -
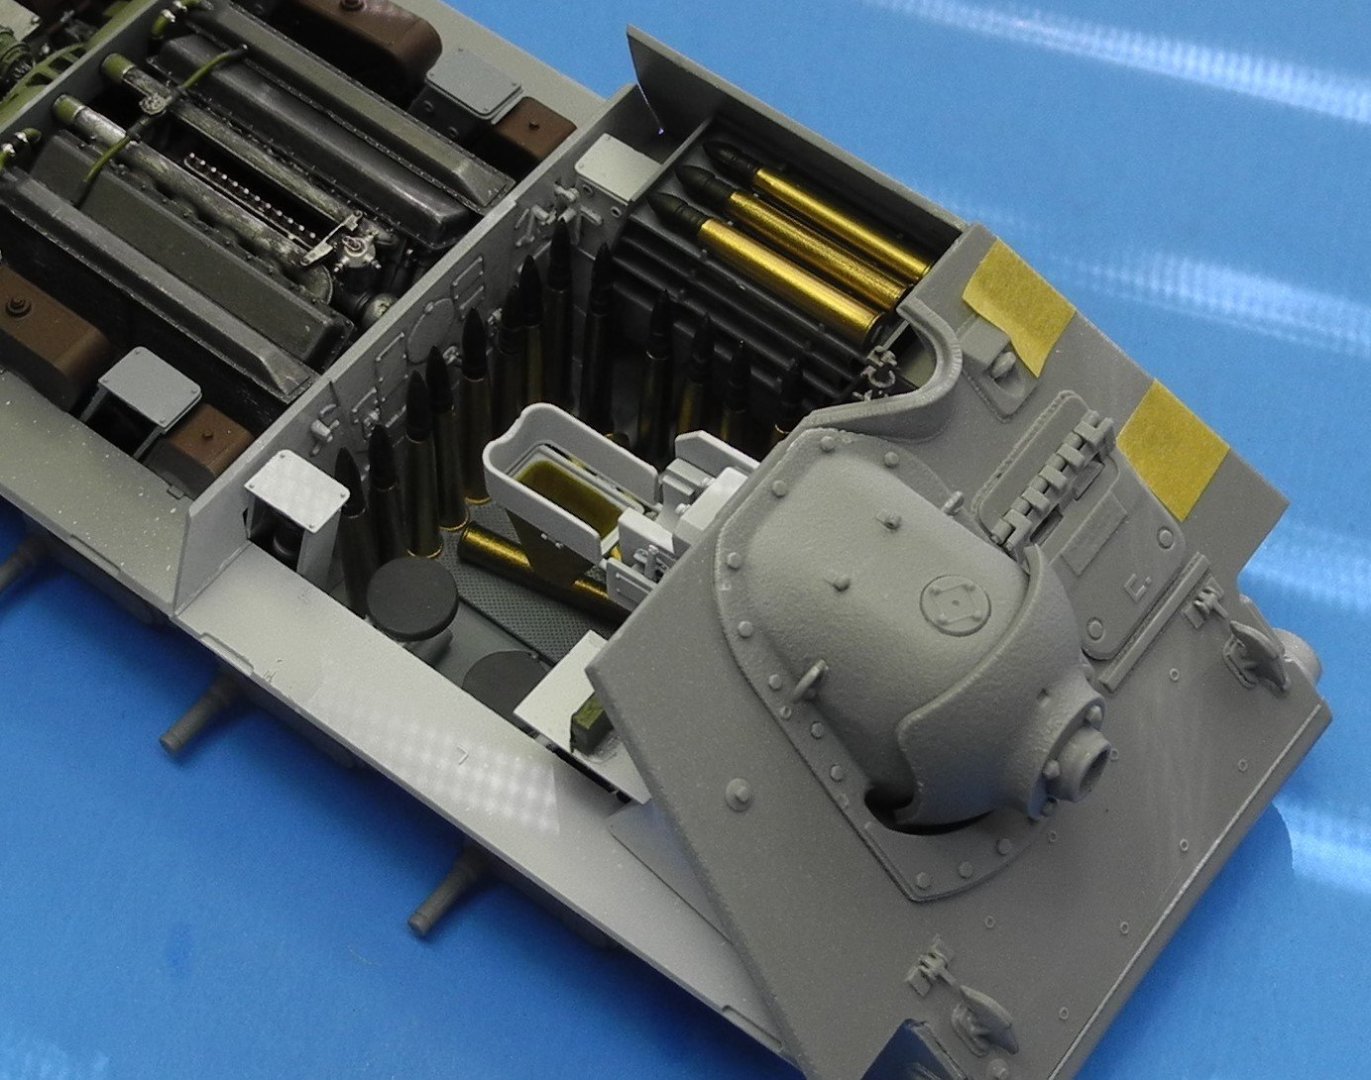
SU-85 WW2 Soviet Tank Destroyer by CDW - MiniArt - 1:35 Scale
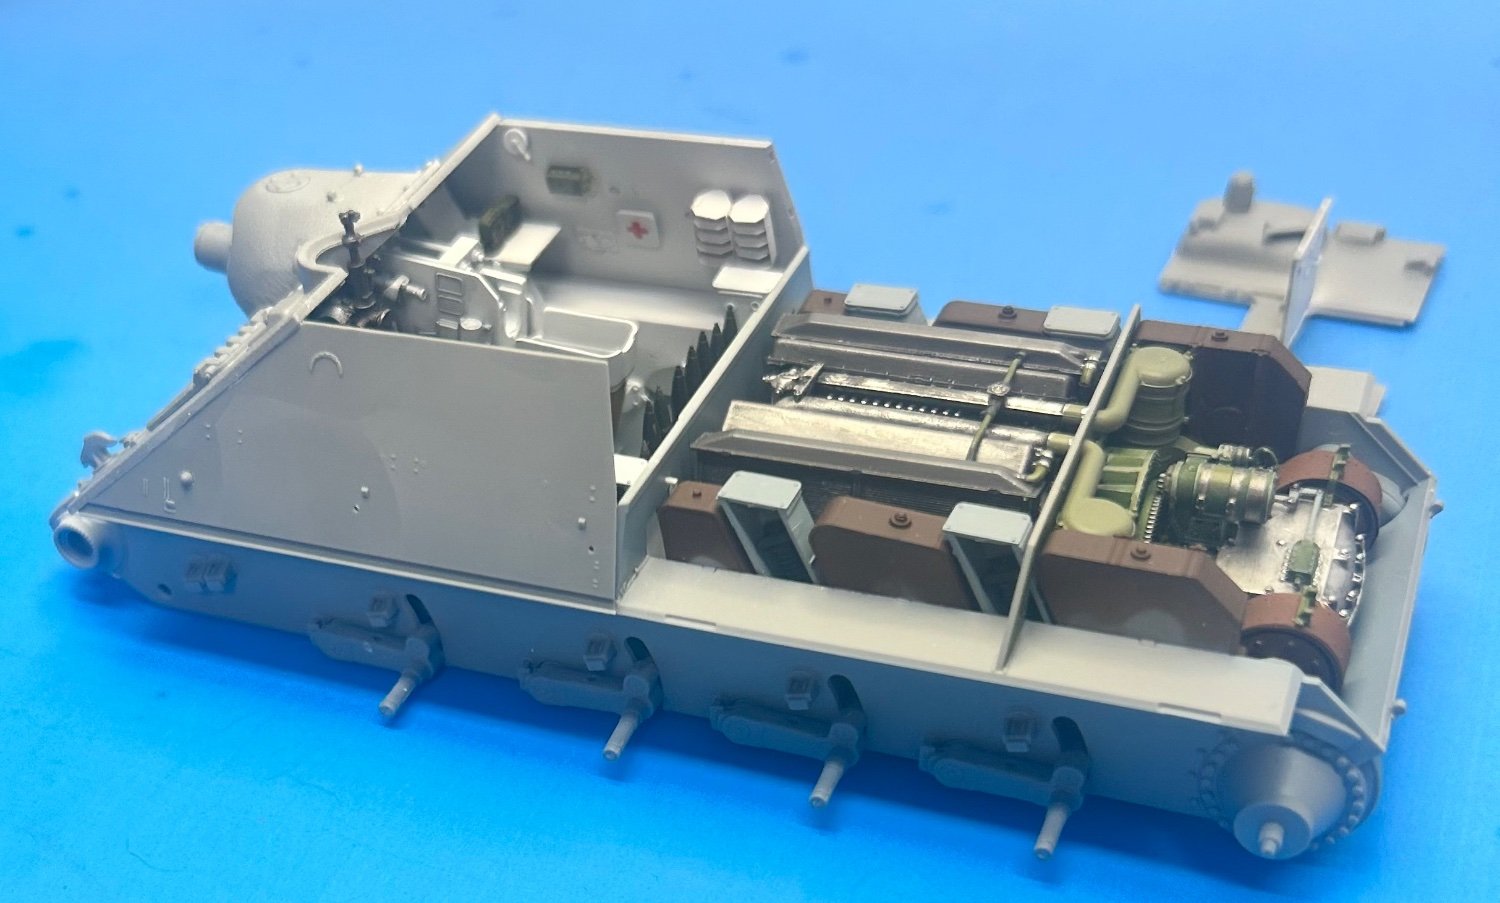
CDW replied to CDW's topic in Non-ship/categorised builds
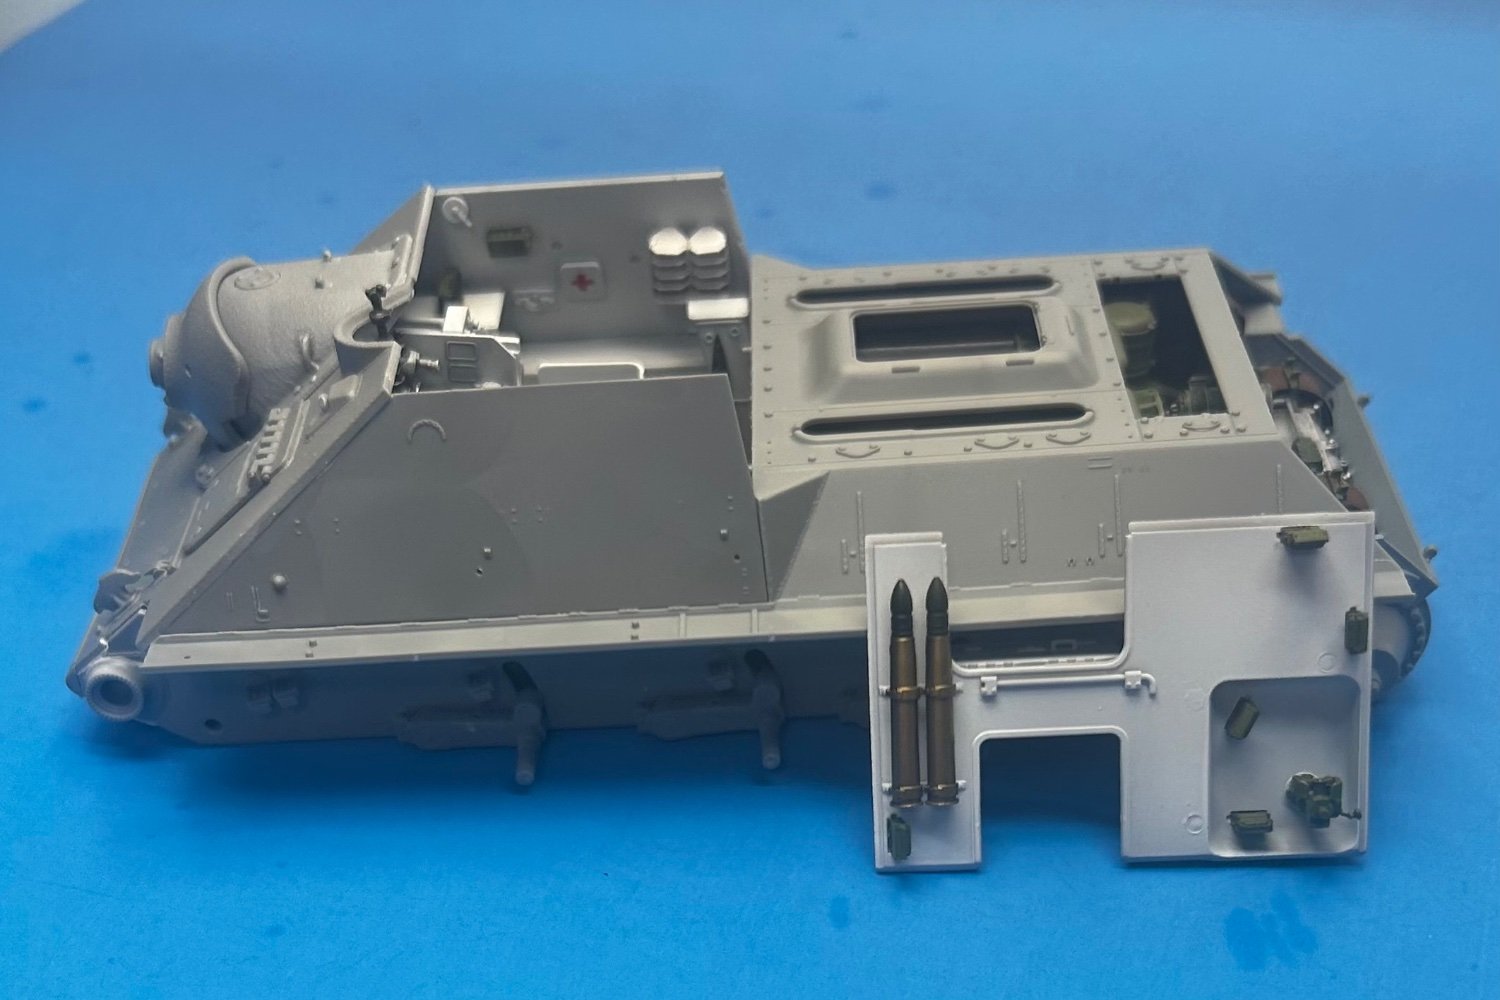
It's getting very busy inside. No lack of ammunition.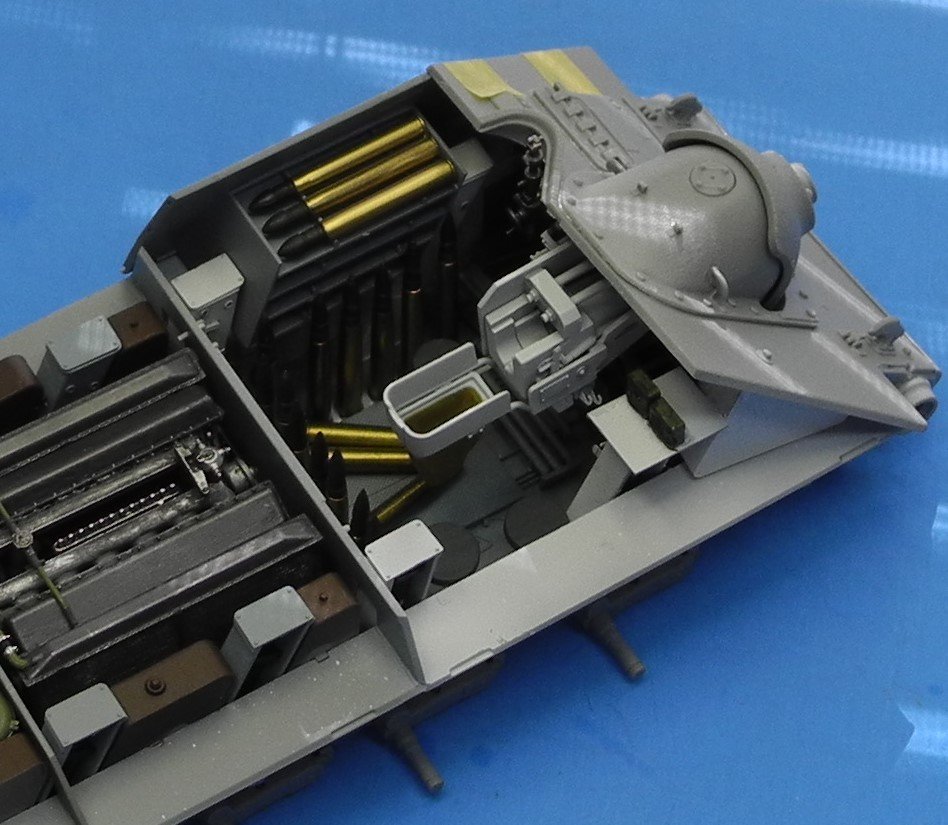

- 96 replies
-
- 16
-
-