CDW
-
Posts
7,756 -
Joined
-
Last visited
Content Type
Profiles
Forums
Gallery
Events
Everything posted by CDW
-

1936 Rolls Royce Phantom III by CDW - Revell - 1:16 scale
CDW replied to CDW's topic in Non-ship/categorised builds
Have not hear a word on it yet. Should be soon. -
1936 Rolls Royce Phantom III by CDW - Revell - 1:16 scale
CDW replied to CDW's topic in Non-ship/categorised builds
And this one off Ebay
- 97 replies
-
- 15
-

-
1936 Rolls Royce Phantom III by CDW - Revell - 1:16 scale
CDW replied to CDW's topic in Non-ship/categorised builds
Snagged this kit from Spruebrothers website last week.
- 97 replies
-
- 13
-
-
F4U-1A Corsair by DocRob - FINISHED - Tamiya - 1/32
CDW replied to DocRob's topic in Non-ship/categorised builds
Gotta be a hard-core modeler to go the painted insignias/stencil placards route. I watch a lot of modeling videos and I can count on one hand the ones I've seen that do markings this way. Maybe if the cost goes down a bit, more modelers may try it. The stencils sell for $35 plus postage here in the USA. I think it's a good deal when you think of the level of realism it adds, but not too many will do it. -
F4U-1A Corsair by DocRob - FINISHED - Tamiya - 1/32
CDW replied to DocRob's topic in Non-ship/categorised builds
I like this much better than insignia decals. Very nice touch. -
F4U-1A Corsair by DocRob - FINISHED - Tamiya - 1/32
CDW replied to DocRob's topic in Non-ship/categorised builds
Is this the Tesa tape you are using instead of Tamiya? Is the tape low tack, or mostly similar to Tamiya tackiness? Some commercial tape available here in the USA is good, but way too tacky for our scale models and must be places to a flat smooth surface (such as glass) first, then removed over and over again to help remove some of the glue. Otherwise, it can pull the paint off the model. tesa 4334 Precision Mask Painters Tape: 2 in x 55 yds. (Yellow) 4042448816139 | eBay -
F4U-1A Corsair by DocRob - FINISHED - Tamiya - 1/32
CDW replied to DocRob's topic in Non-ship/categorised builds
Outstanding! Very authentic and life-like. -
Camel by RGL - FINISHED - Machinen Krieger - 1/20
CDW replied to RGL's topic in Non-ship/categorised builds
Great model! Reminds me of the days in the 60's, watching Sci-Fi movies on TV. Love it. The colors and weathering look fantastic together. -
Particularly during this time of year when flu runs rampant, vitamin D is a really big deal as it works with our immune systems to combat influenza. Sunlight is one of the best ways to take in vitamin D, but that's not always available for some climates. I try to get at least 30 minutes of sunlight per day. Short of that, there are vitamin D supplements. The old saying, an ounce of prevention is worth a pound of cure, is a true statement I think.
-
Hang in there, OC. Get well soon.
-
I am not a cat person, but the cats I have known did not respond well to oral instruction. Perhaps a set of written instructions on what should be done while you were away would have helped? 🙂 Your model looks great, so I know it aged well if nothing else! Very nice photos of your trip.
- 65 replies
-
- 3
-

-
-
- X Craft
- I Love Kit
- (and 2 more)
-
Sea Harrier FRS1 by AJohnson - FINISHED - Airfix - 1:72
CDW replied to AJohnson's topic in Non-ship/categorised builds
That's a very good video, Mike. Thanks for sharing it. It's important to know that the acrylic paints this gentleman is talking about are water-based acrylics, such as Vallejo or Mig Ammo, not solvent-based acrylic paints such as Mr. Color or Tamiya. These most definitely are not reduced with water, instead are reduced by IPA, trade-name reducer, or lacquer thinner.- 71 replies
-
- 11
-
-
Great model, Jack. Glad to see you get another one done in fine order.
-
1936 Rolls Royce Phantom III by CDW - Revell - 1:16 scale
CDW replied to CDW's topic in Non-ship/categorised builds
Thanks, EG. There is still so much to do on this thing, but I am moving along at a snail's pace. So much part cleanup needed on almost every single part. An old kit like this reminds me how spoiled I am with the new kits today, where so very little is needed except to cleanly remove the parts from the tree.- 97 replies
-
- 10
-
-
1936 Rolls Royce Phantom III by CDW - Revell - 1:16 scale
CDW replied to CDW's topic in Non-ship/categorised builds

- 97 replies
-
- 15
-
-
1936 Rolls Royce Phantom III by CDW - Revell - 1:16 scale
CDW replied to CDW's topic in Non-ship/categorised builds
And it doesn't take much alcohol to land one with a DUI charge nowadays either. They are watching very closely around here during the holiday season. -
Sea Harrier FRS1 by AJohnson - FINISHED - Airfix - 1:72
CDW replied to AJohnson's topic in Non-ship/categorised builds
I wish I could sit down next to an expert user of acrylic paints through the airbrush, and just observe what they do and how they do it. I know for sure there are those who get incredibly good results from acrylic paints and primers because I have seen their finished products. If there is a truly "sandable" acrylic primer, I am unaware of what it is or who makes it. Acrylic paints through the airbrush remain an enigma for me. -
1936 Rolls Royce Phantom III by CDW - Revell - 1:16 scale
CDW replied to CDW's topic in Non-ship/categorised builds
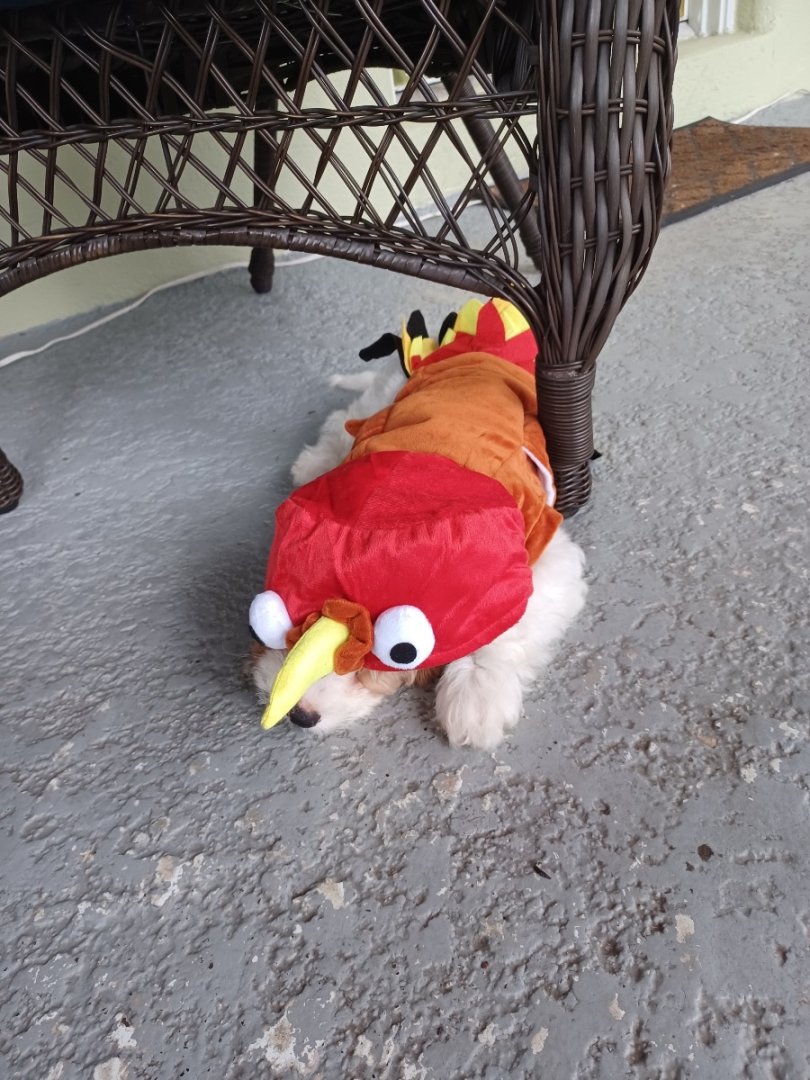
Happy Thanksgiving everybody. No matter if this is a holiday from the USA, no matter where we are from, we all have things to be thankful for. I am thankful for all the fine folks at MSW and this wonderful forum for this super hobby of ours. My daughter dressed Topaz in a turkey suit today. Gobble-gobble.
- 97 replies
-
- 13
-
-
-
1936 Rolls Royce Phantom III by CDW - Revell - 1:16 scale
CDW replied to CDW's topic in Non-ship/categorised builds
Check out this fish my grandson caught yesterday. Fishing with his rod and reel using dough balls for bait. A carp. Catch and release of course.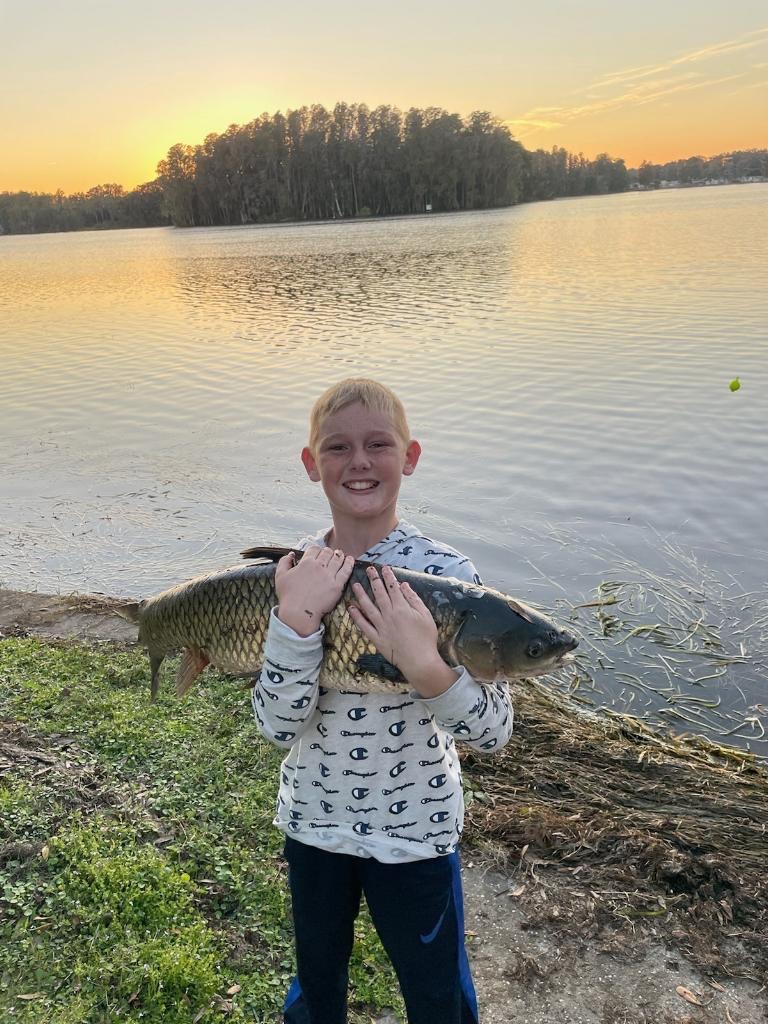
- 97 replies
-
- 18
-
-

-
1936 Rolls Royce Phantom III by CDW - Revell - 1:16 scale
CDW replied to CDW's topic in Non-ship/categorised builds
Mostly it’s just personal preference between plated vs painted bright metal. Every place where plated parts are removed from the plastic sprue tree leaves marks that need to be matched with touch up paint. Near impossible to match. Often there are imperfections under the plating that needs attention by filling sanding or general imperfections in the plating itself. There are very good paint options nowadays that give a very good representation of polished metal and I find this finish more consistent once applied.- 97 replies
-
- 11
-
-

-
1936 Rolls Royce Phantom III by CDW - Revell - 1:16 scale
CDW replied to CDW's topic in Non-ship/categorised builds
And also the new pup came home this week. Daughter is thrilled.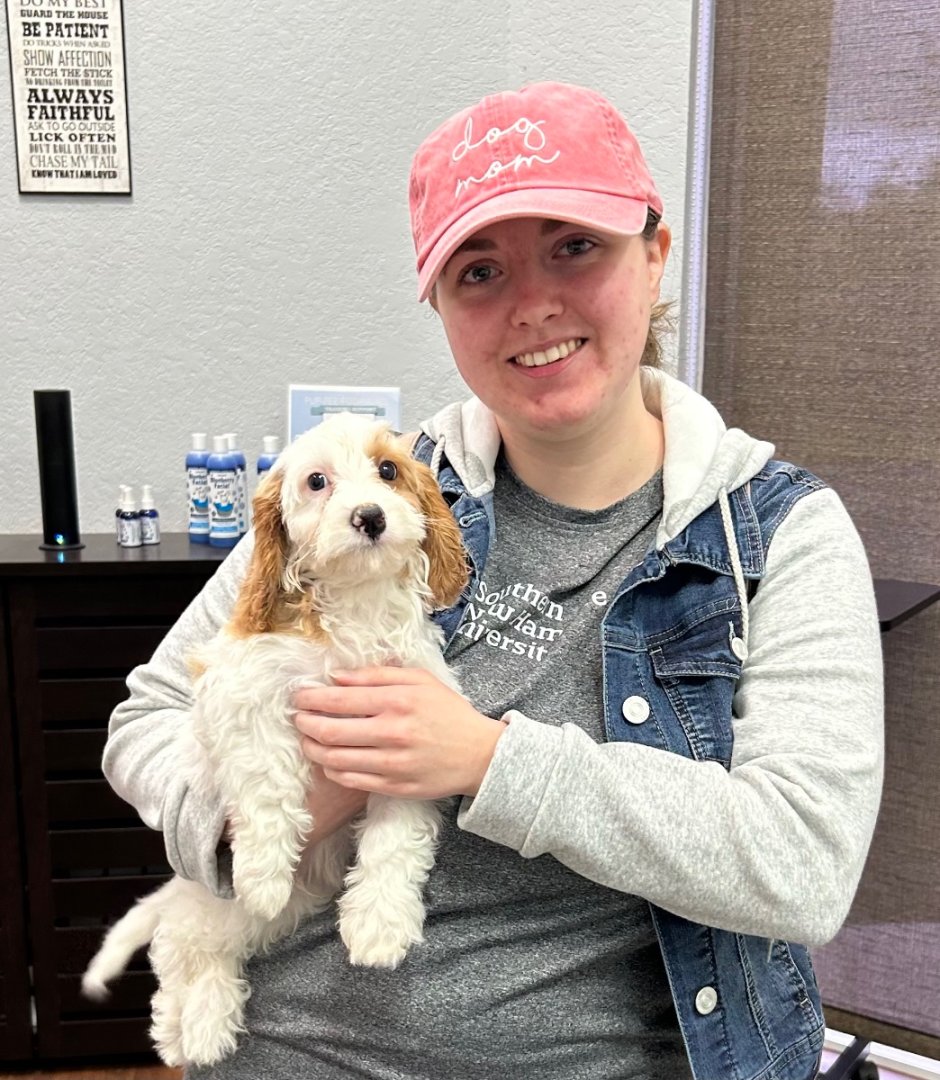
- 97 replies
-
- 16
-
-
1936 Rolls Royce Phantom III by CDW - Revell - 1:16 scale
CDW replied to CDW's topic in Non-ship/categorised builds
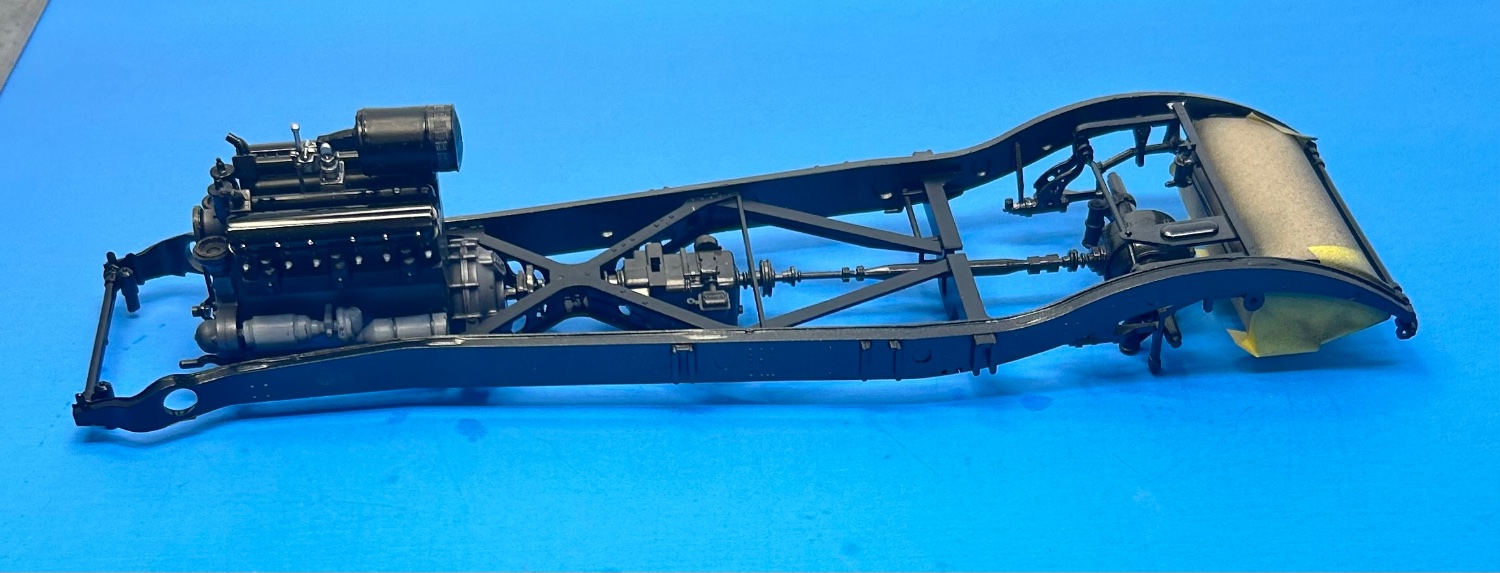
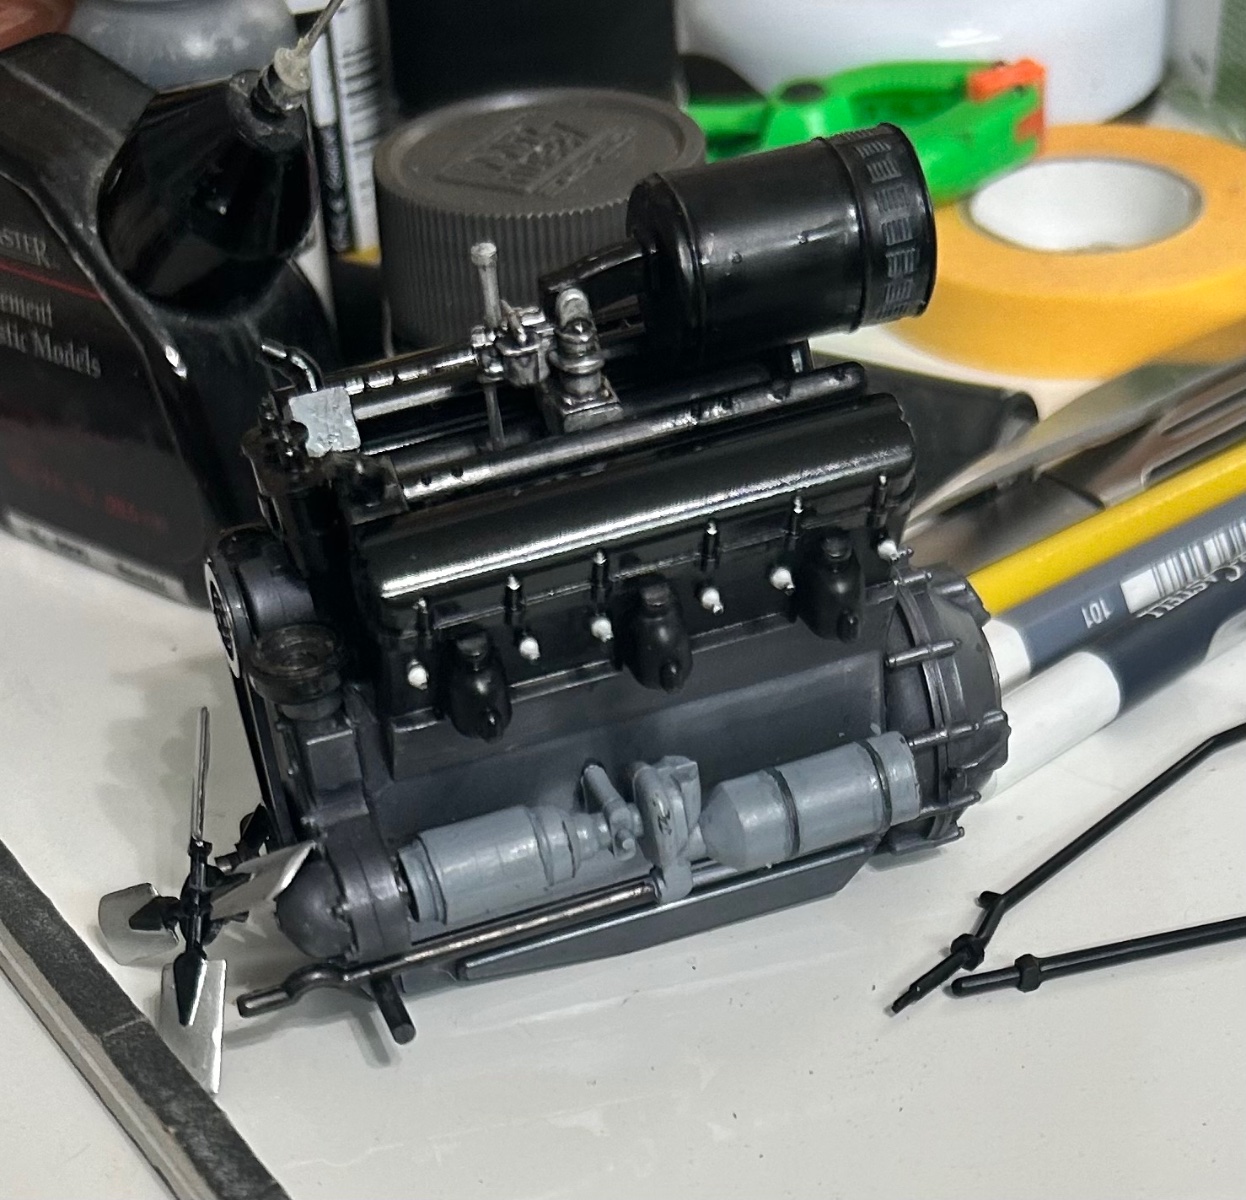
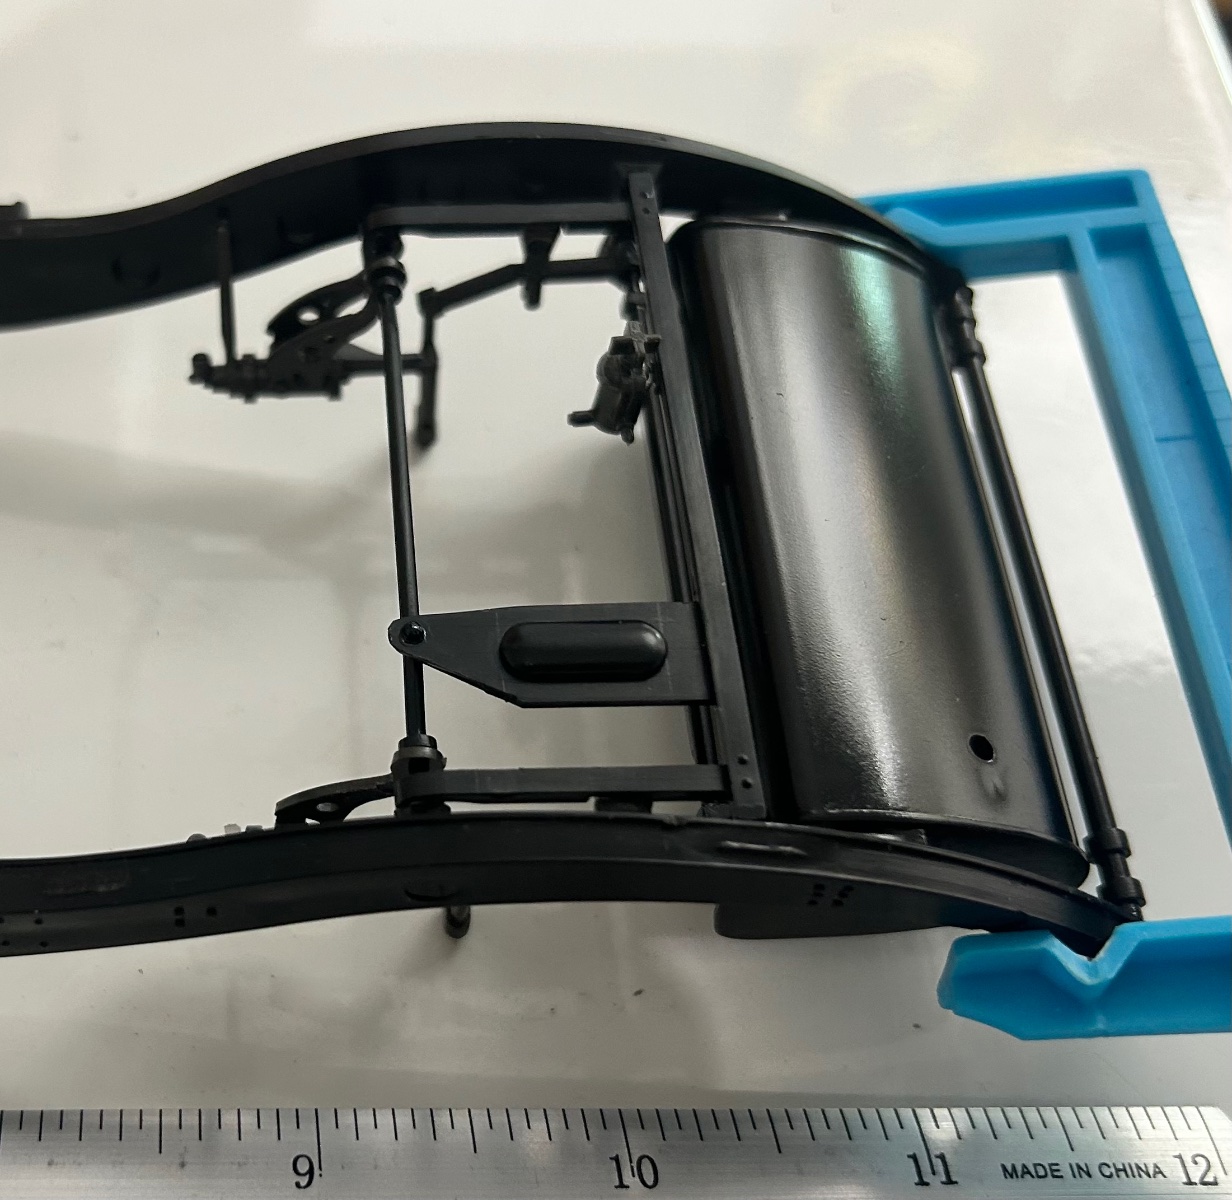
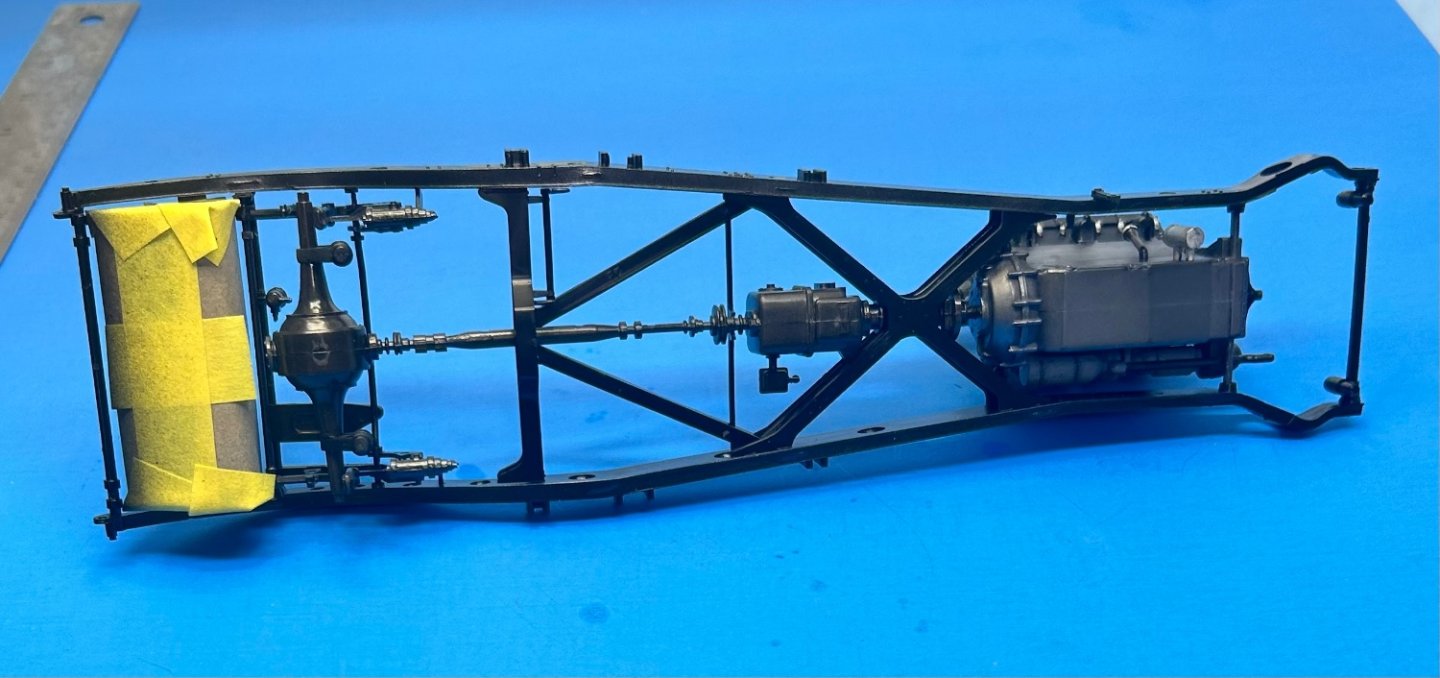
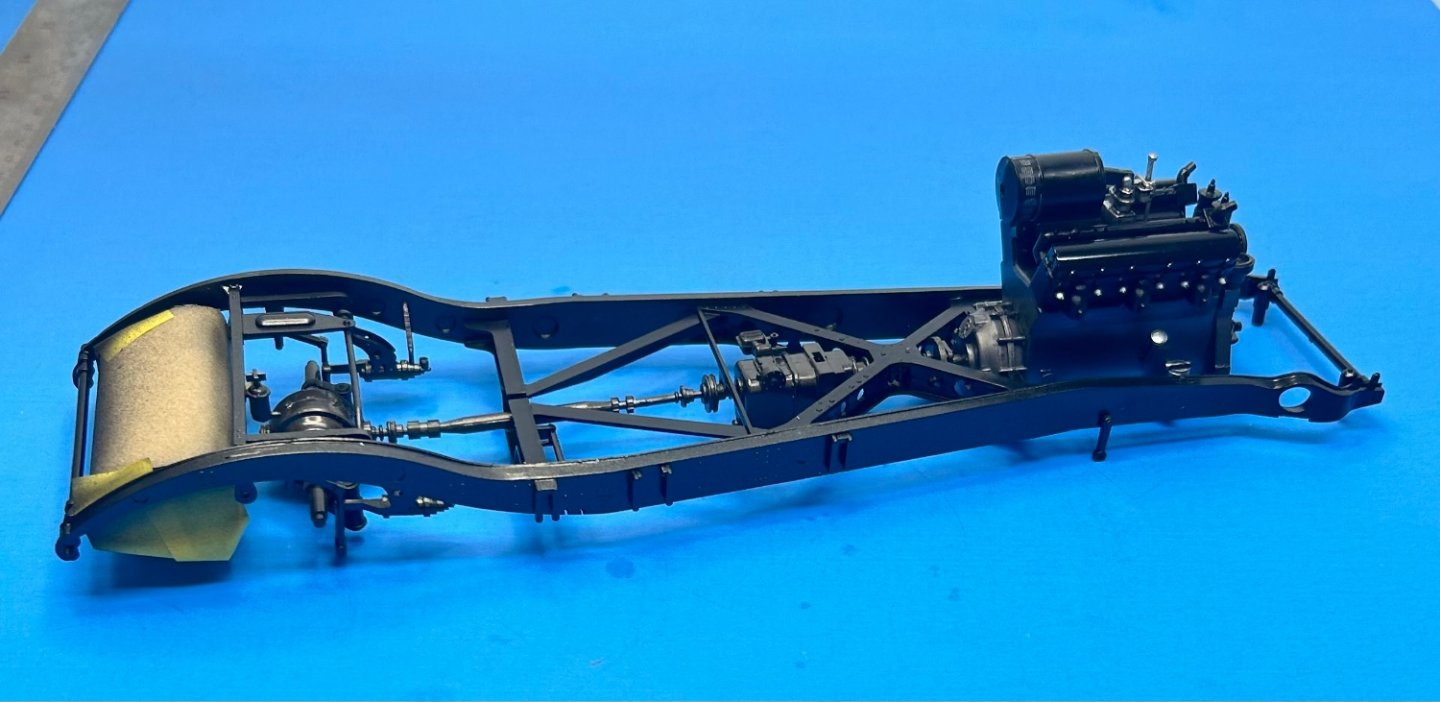
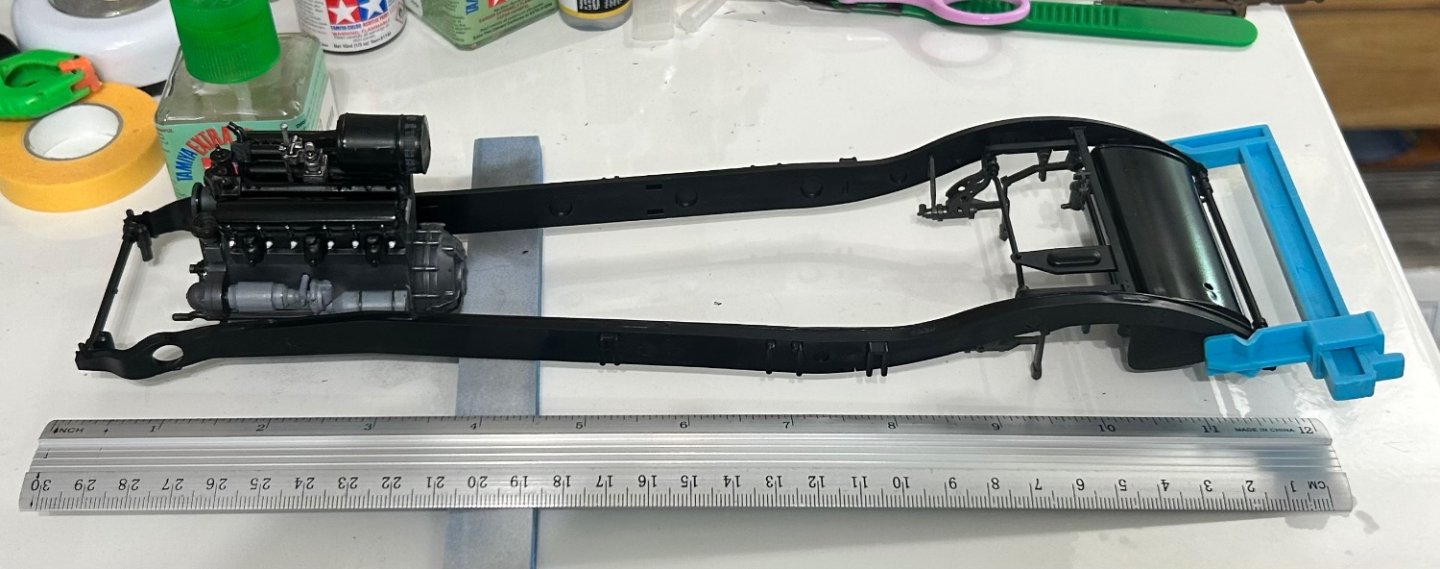
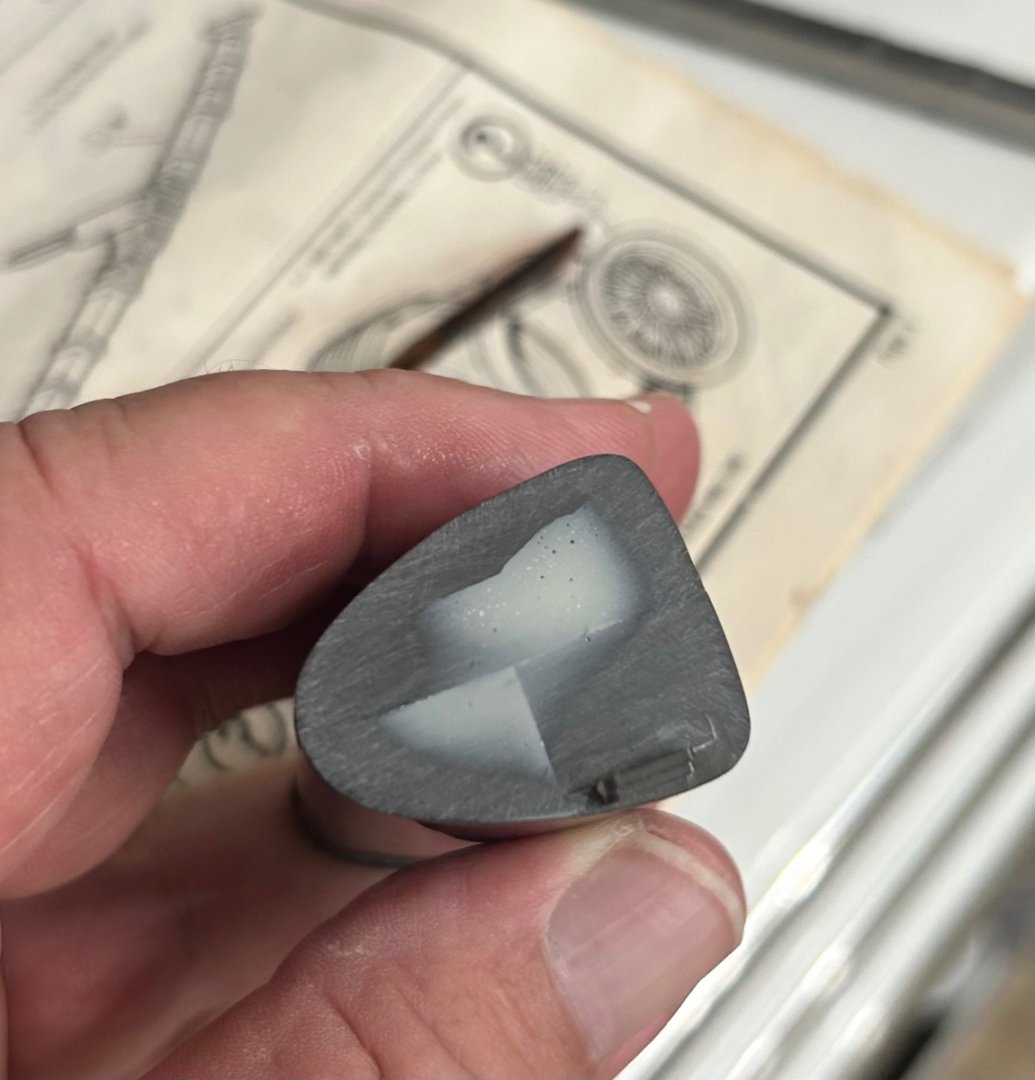
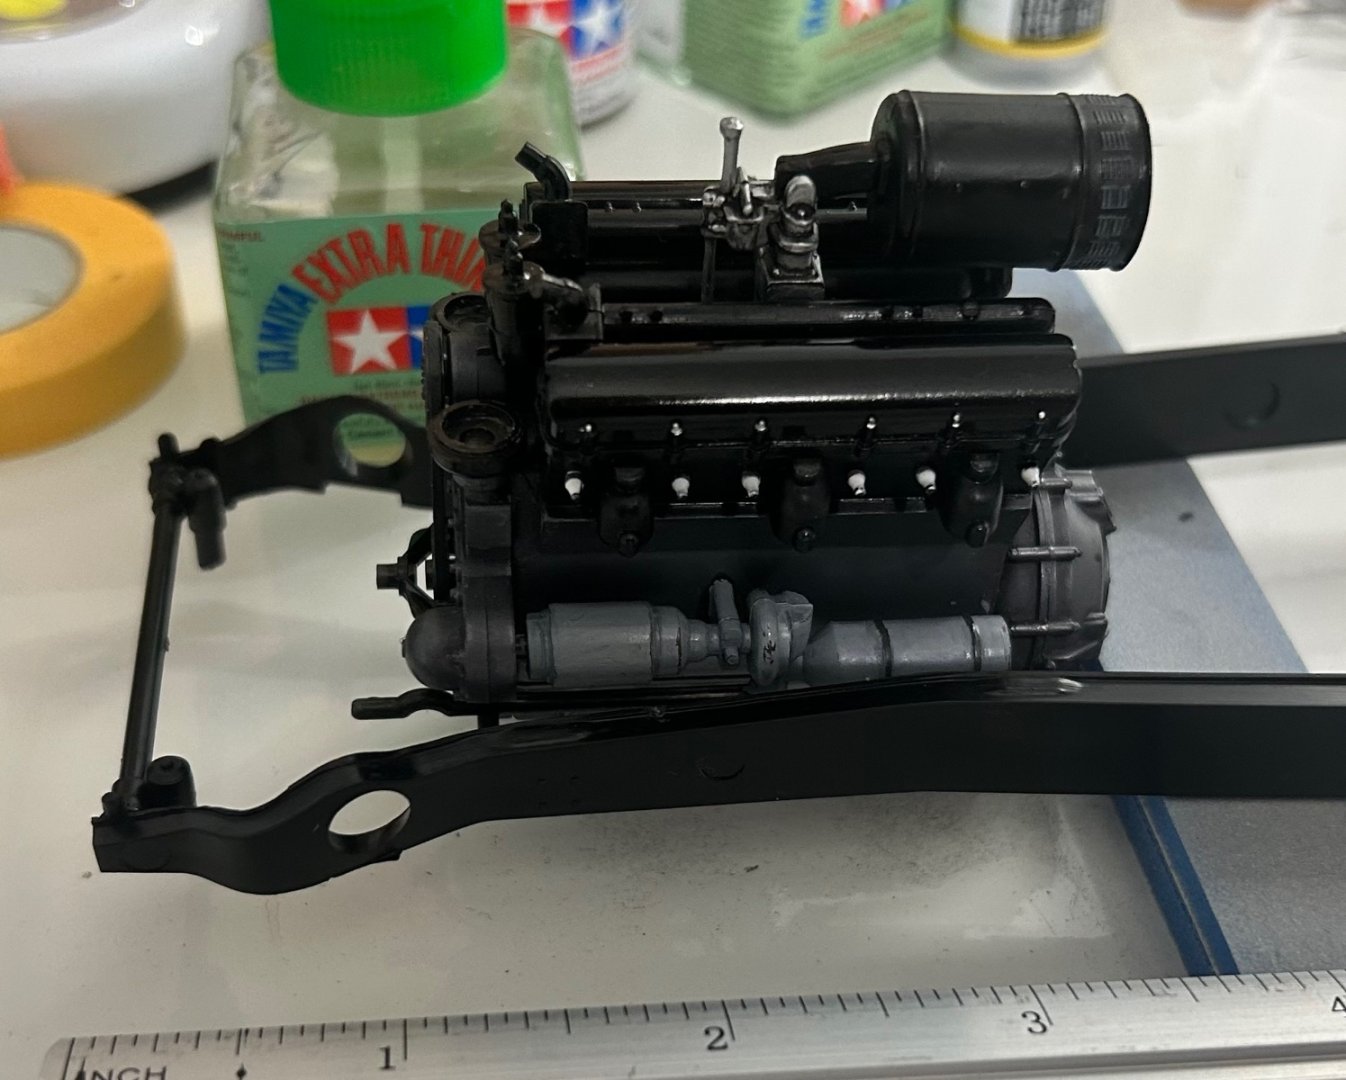
Moving along slowly. Quite a lot of fit, filling, and finish issues to take care of on this vintage kit. Chassis is going together while there are details to finish on the drivetrain and engine.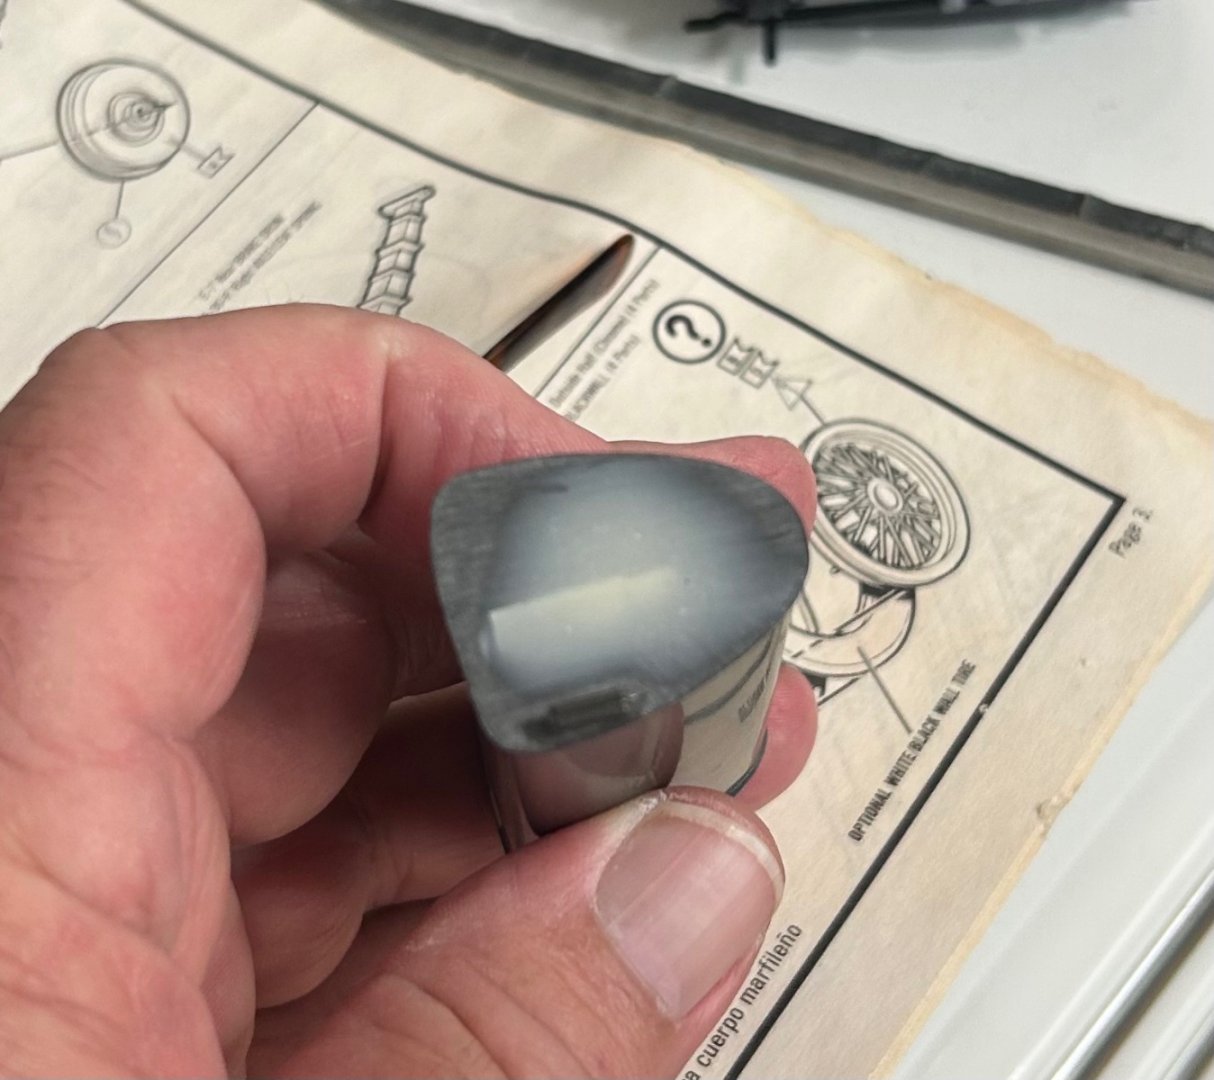


- 97 replies
-
- 18
-
-
She's a beautiful bird Edward! Outstanding.
-
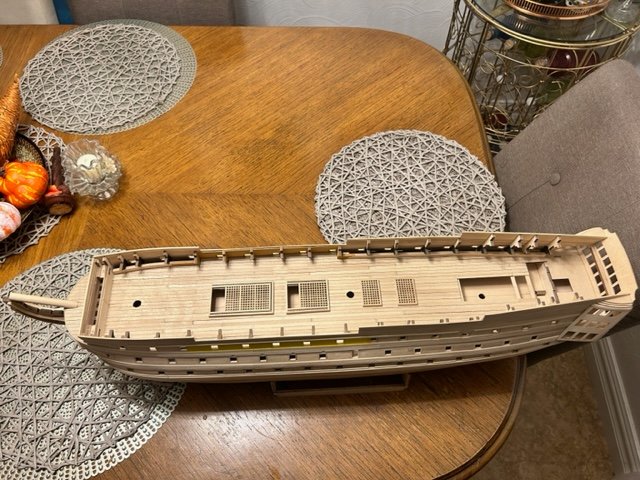
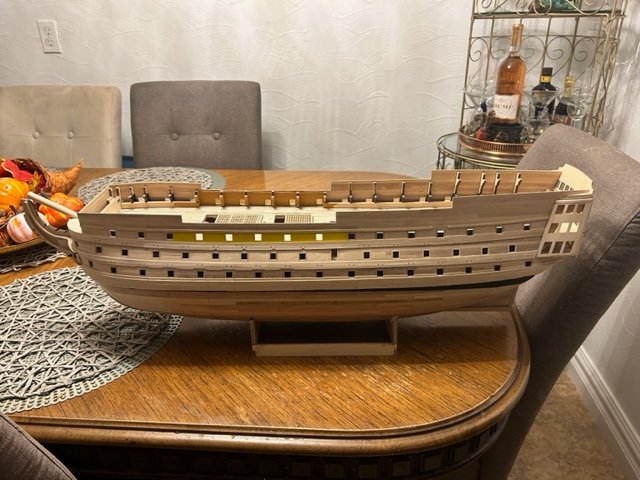
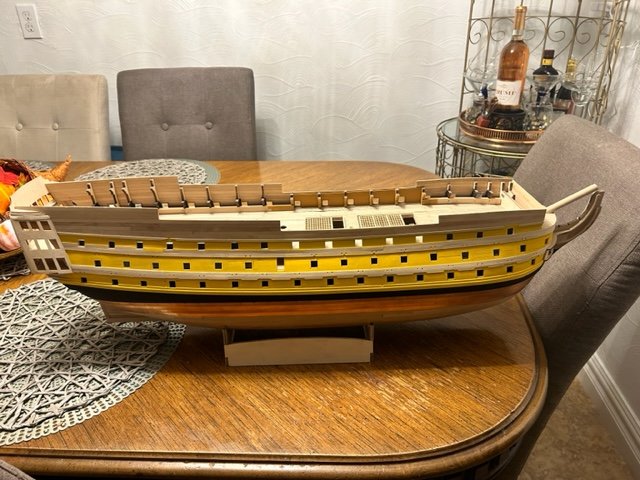
This is my feeble attempt at building the DeAgostini HMS Victory in 1:84 Scale. I started building my model some few or more years ago but have not worked on it again since 2016. I am hoping by starting this build thread it will prod me into maybe even finishing it. I am not an accomplished model ship builder and will be happy to receive hints, tips and advice along the way. Looking back, I recall stalling at the stage where I began to lay down "copper" tape on the lower part of the hull. I was not thrilled with the way my attempt was looking, so I will need to start there and see what I can do. probably with my lack of experience, I am hoping for a level of perfection that is unreasonable. But I would like to finish this model even if it's not near perfect.
-
1936 Rolls Royce Phantom III by CDW - Revell - 1:16 scale
CDW replied to CDW's topic in Non-ship/categorised builds
Oh, and please let me also mention that between some academic scholarships, grants, and her working part time jobs, all her education costs have been paid in full. She owes nothing, nada, zilch. I am really proud of the way she put her nose to the grindstone and did it all without a ridiculous accumulation of debt. For reasons I don't fully understand, some of her classmates through high school who were equally good students with consistent high grades, honors societies, and so forth, have graduated under a mountain of debt.- 97 replies
-
- 15
-
-