CDW
-
Posts
7,756 -
Joined
-
Last visited
Content Type
Profiles
Forums
Gallery
Events
Everything posted by CDW
-
 Good lighting, optical magnification, and a great sound track of your choice. The sound helps keep me in a zone that ignores the tedium.
 -
Bristol F.2B WW1 Fighter by CDW - FINISHED - Eduard - 1:48 Scale
CDW replied to CDW's topic in Non-ship/categorised builds
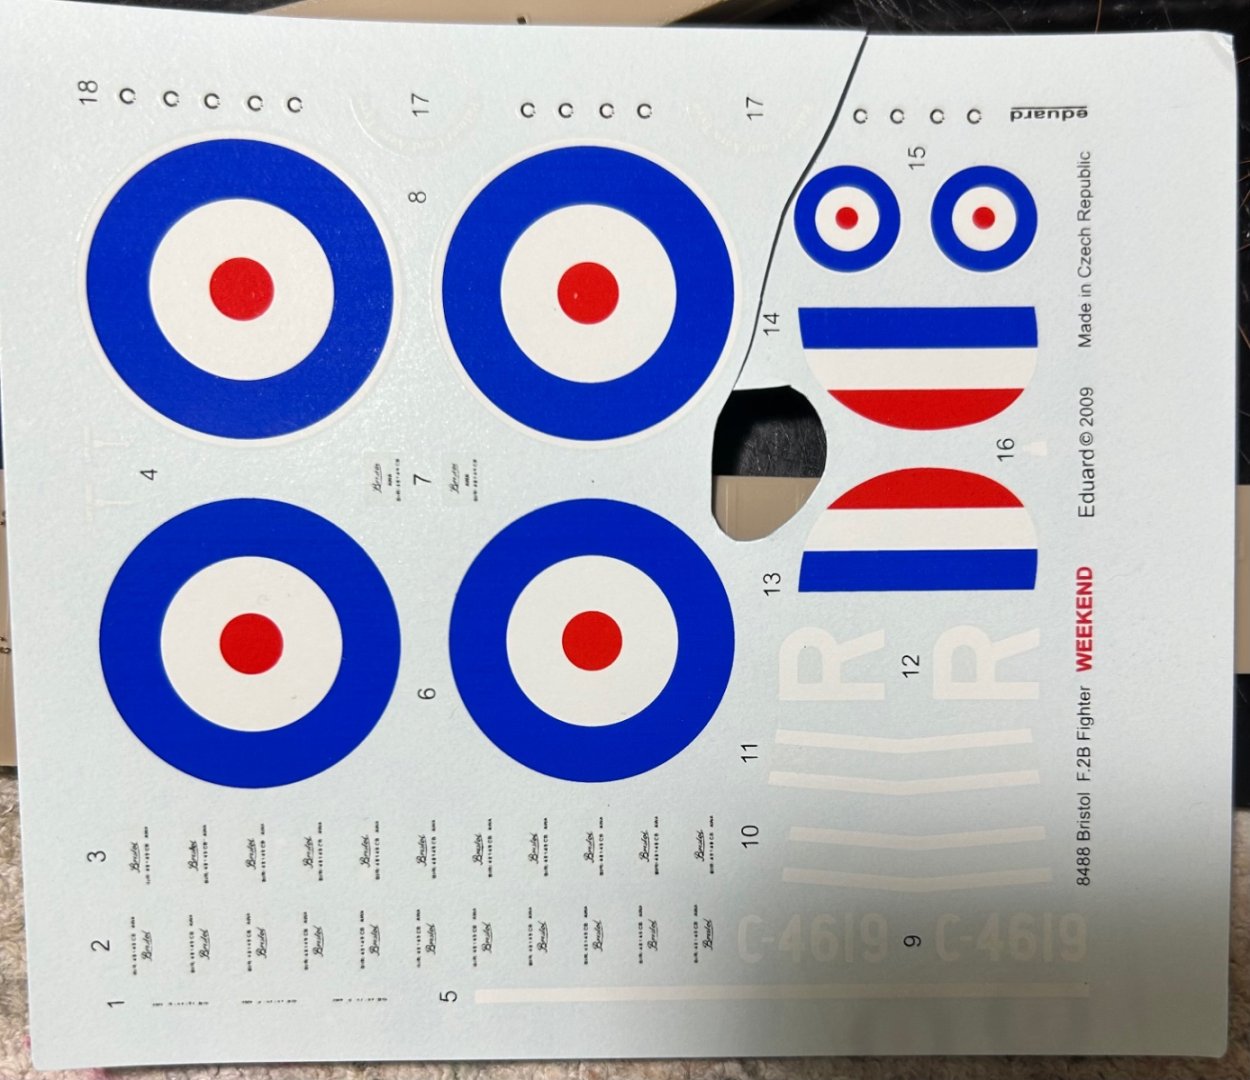
The upper and lower wings each have need of 20 tie-off points for rigging. The fuselage needs 6 points, 3 on each side. Next steps will include prepping and painting the wings. Will pre-shade the wings before color coats. I may paint the rounders depending on how the decals look. Eduardo usually have nice decals but we shall see.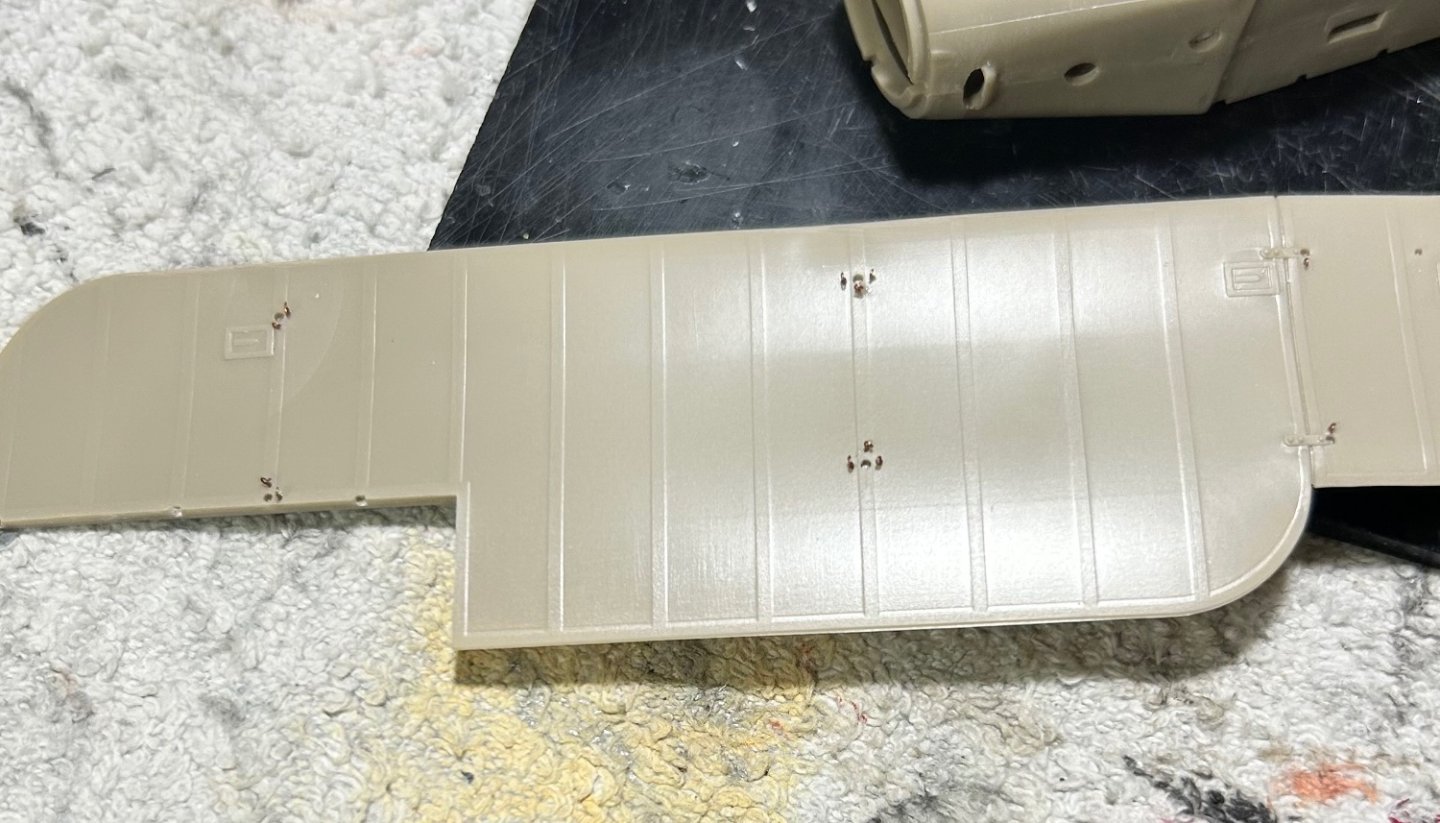
- 140 replies
-
- 19
-

-
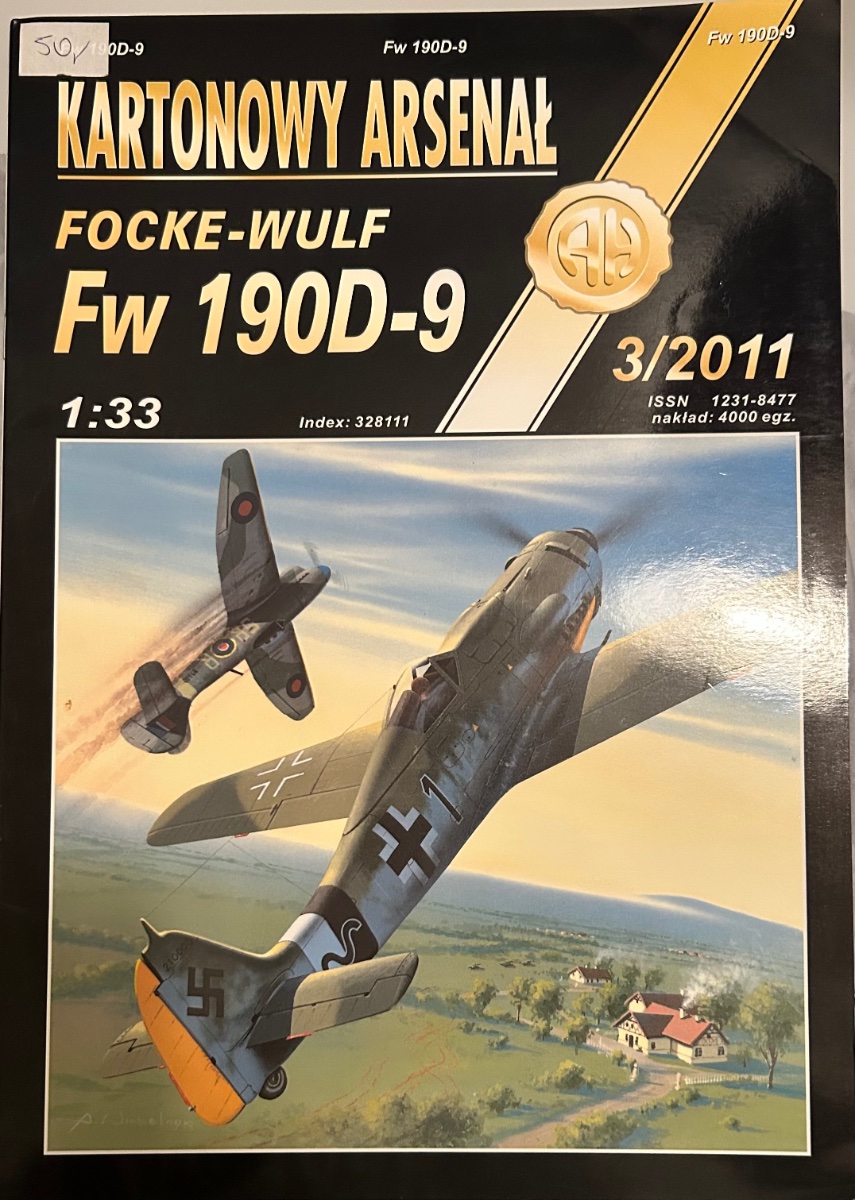
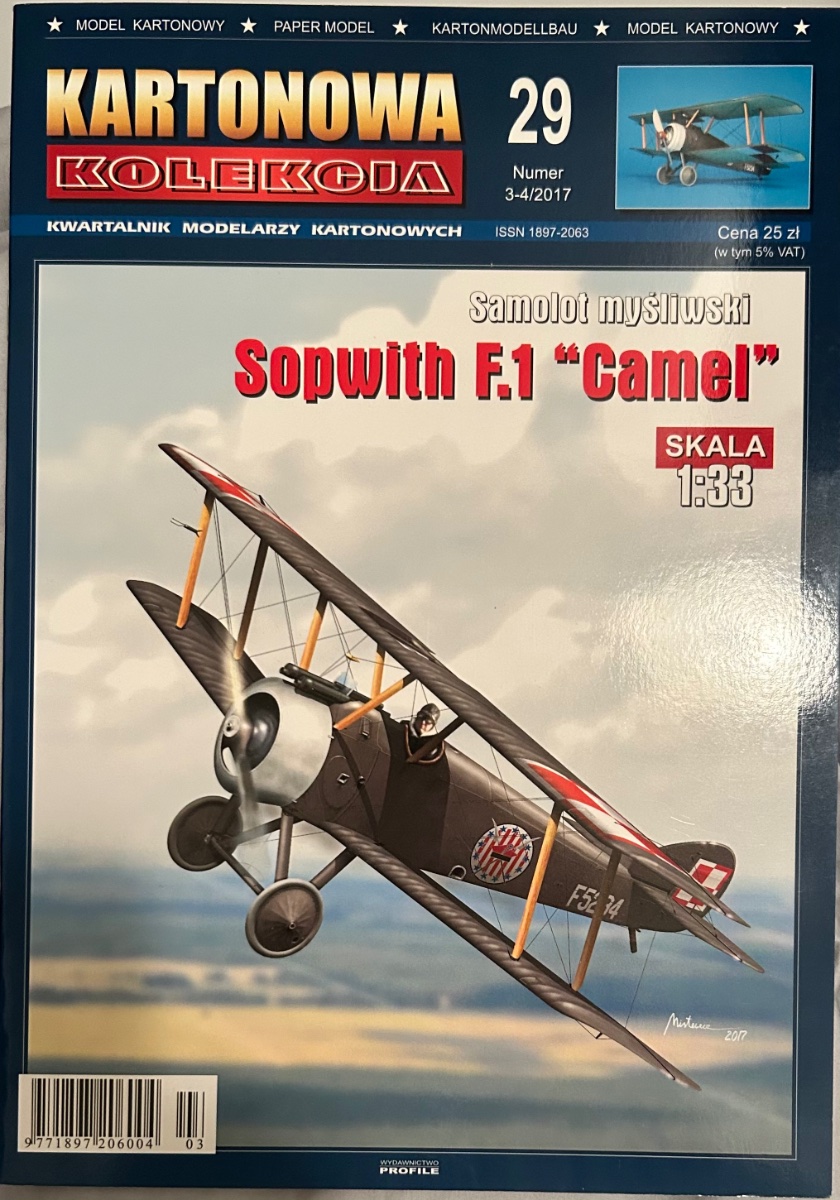
On Hold - Nakajima Type KO 3 by CDW - Answer - 1:33 Scale - CARD
CDW replied to CDW's topic in Non-ship/categorised builds
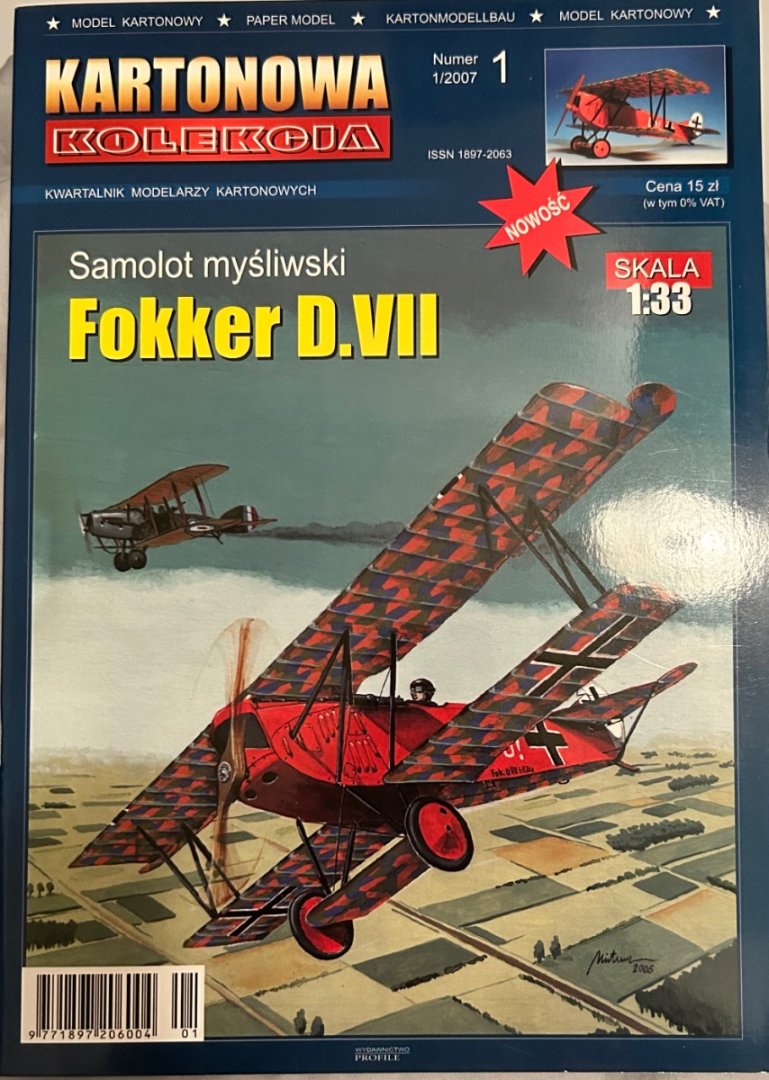
I received these in the mail today but won’t start them until I scan and reduce them to 1:72 scale first for printing. I have frames on order from Poland.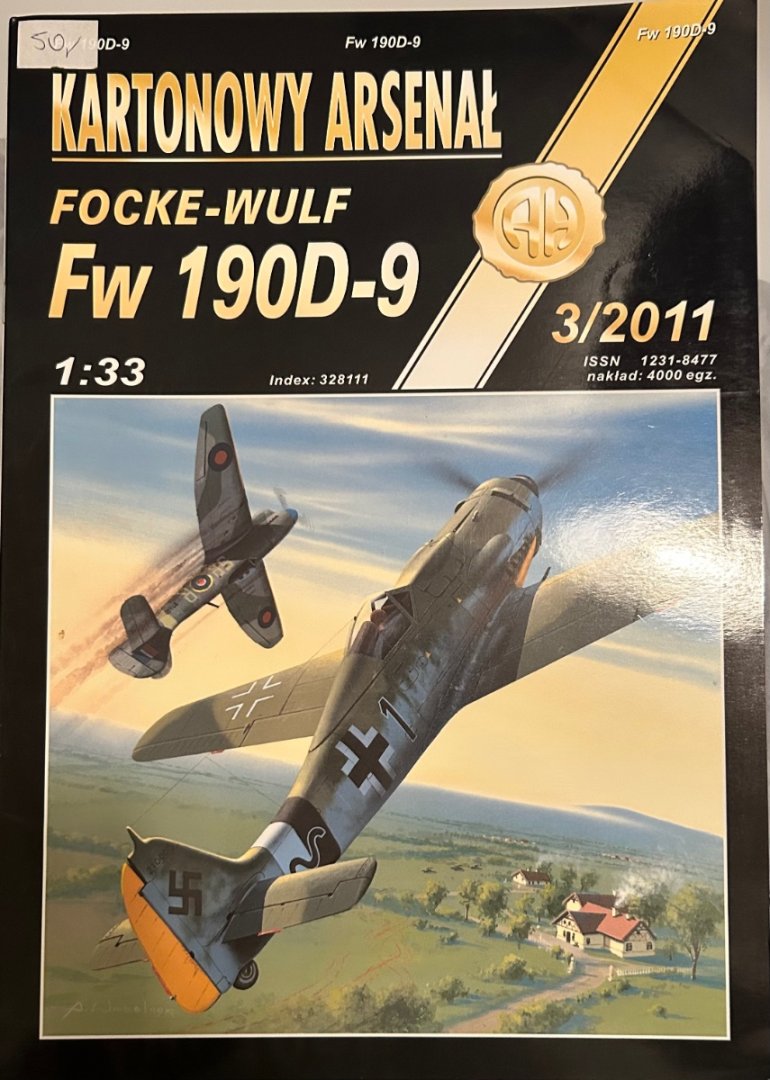

-
On Hold - Nakajima Type KO 3 by CDW - Answer - 1:33 Scale - CARD
CDW replied to CDW's topic in Non-ship/categorised builds
Chris I found this fellow's paper modeling channel. Builds some very nice models in 1:72 scale after he scaled them down from 1:33 kits. I like the channel and am learning a lot from watching his videos. -
On Hold - Nakajima Type KO 3 by CDW - Answer - 1:33 Scale - CARD
CDW replied to CDW's topic in Non-ship/categorised builds
Been doing a bit of research and homework on card modeling before I make another attempt at it, albeit this kit is toast I do have others waiting on the wings (no pun intended). One lesson learned is how easy it is to screw up a part or even a whole parts page. What I would like to do is scan my kit then scale it down from 1:33 to 1:48 or 1:72. Question is, what’s the best home printer to use for a good quality color print? Is it a better idea to just have it color printed by a commercial printing service? I don’t think my ink jet printer is up to the task of a good quality print. -
Airbrush clogs most usually come down to the ratio/mix of paint to thinner. With acrylic paints, a flow improver additive is sometimes needed to stop needle tip drying. Play with your mix ratios on scrap until you find the correct mix. It's a problem that happens to all of us, particularly when you go from one brand of paint to another because each have their own peculiar quirks it seems to me.
- 136 replies
-
- 10
-
-

-
Bristol F.2B WW1 Fighter by CDW - FINISHED - Eduard - 1:48 Scale
CDW replied to CDW's topic in Non-ship/categorised builds
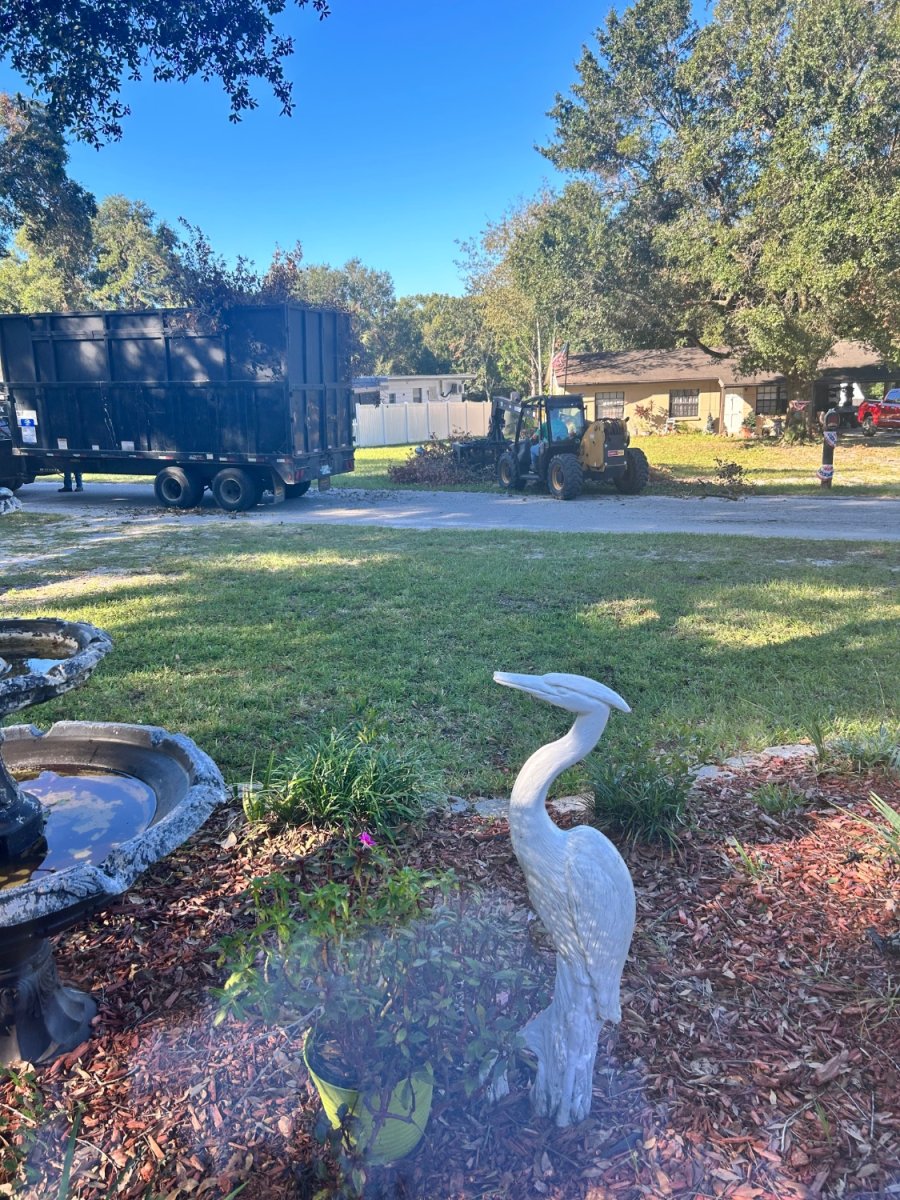
Just this morning debris contractors began collecting debris created as a result of Hurricane Ian on our street. Our damage was next to nothing compared to counties south of us. It will take years, maybe decades for them to recover.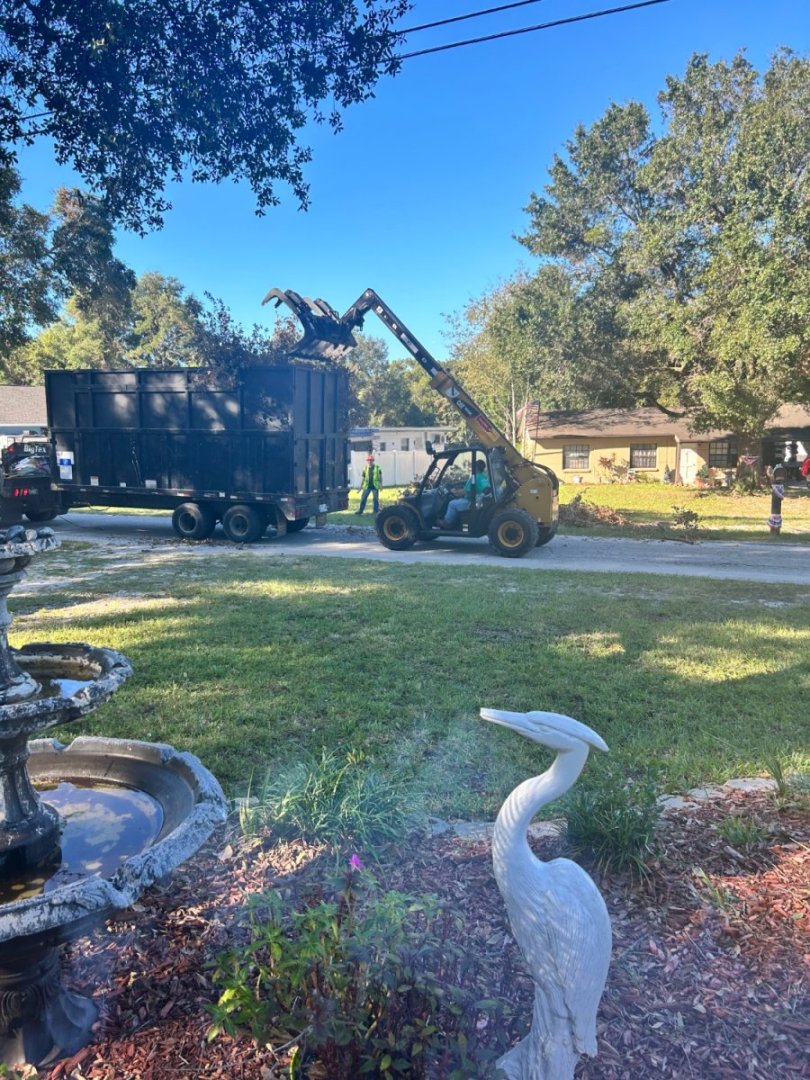
- 140 replies
-
- 13
-
-
Churchill Mk.III tank by King Derelict - Italeri - 1/72
CDW replied to king derelict's topic in Non-ship/categorised builds
Indeed, that Camo is super Alan. Very nice. -
Bristol F.2B WW1 Fighter by CDW - FINISHED - Eduard - 1:48 Scale
CDW replied to CDW's topic in Non-ship/categorised builds
Wife and I going to our 50th school graduating class reunion tonight.
- 140 replies
-
- 16
-
-
Bristol F.2B WW1 Fighter by CDW - FINISHED - Eduard - 1:48 Scale
CDW replied to CDW's topic in Non-ship/categorised builds
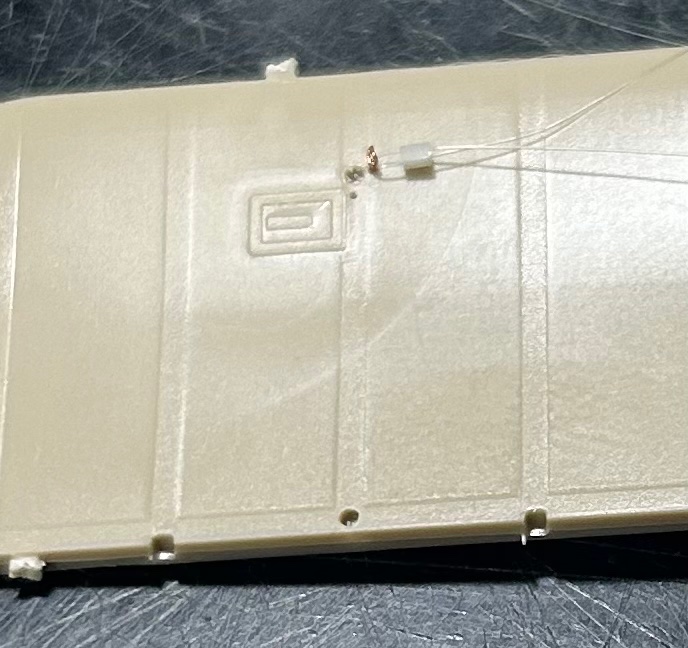
Two attachment points will be made adjacent to each wing strut. I’ve drilled .25mm holes at each point being careful not to drill through the wing but enough to enable our twisted wire attachment points to be super glued to the wing. Now the little plastic sleeves made earlier come into play. Slide the monofilament rigging wire through a sleeve, then slide the rigging wire through the attachment point loop. Bring the wire back through the sleeve then super glue the sleeve to the wire…attachment complete. I find this method much simpler and cleaner than trying to knot the wire at the attachment point. Plus it looks pretty good after the assembly is all finished.
- 140 replies
-
- 15
-
-
-

-
Bristol F.2B WW1 Fighter by CDW - FINISHED - Eduard - 1:48 Scale
CDW replied to CDW's topic in Non-ship/categorised builds
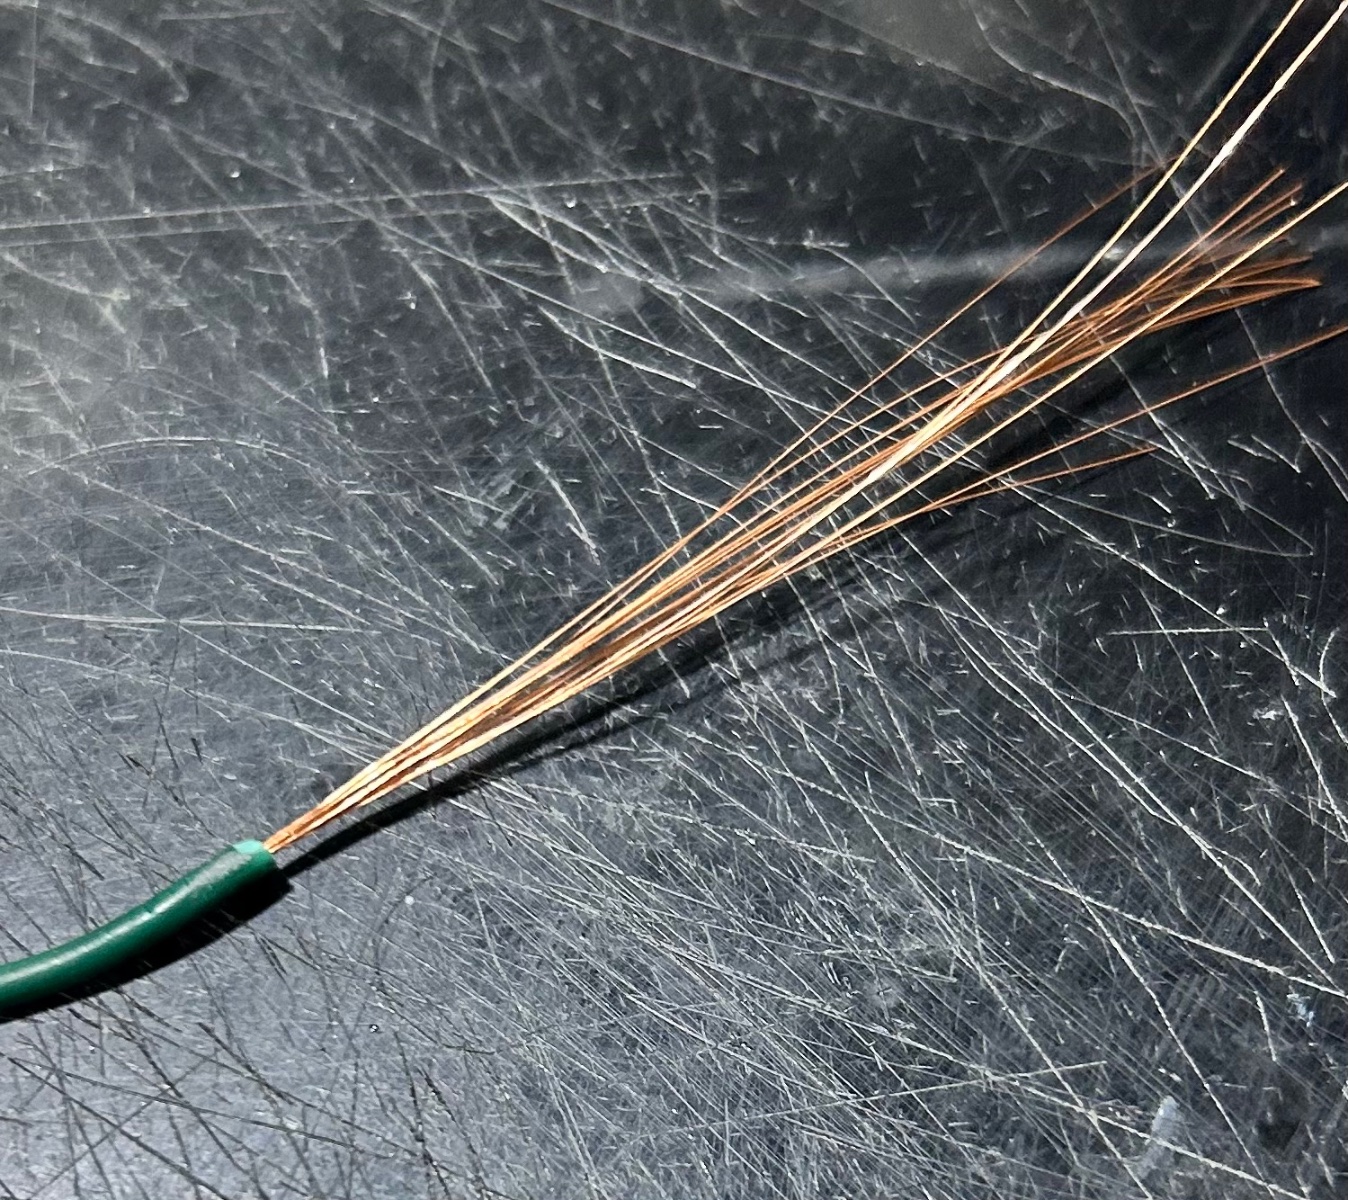
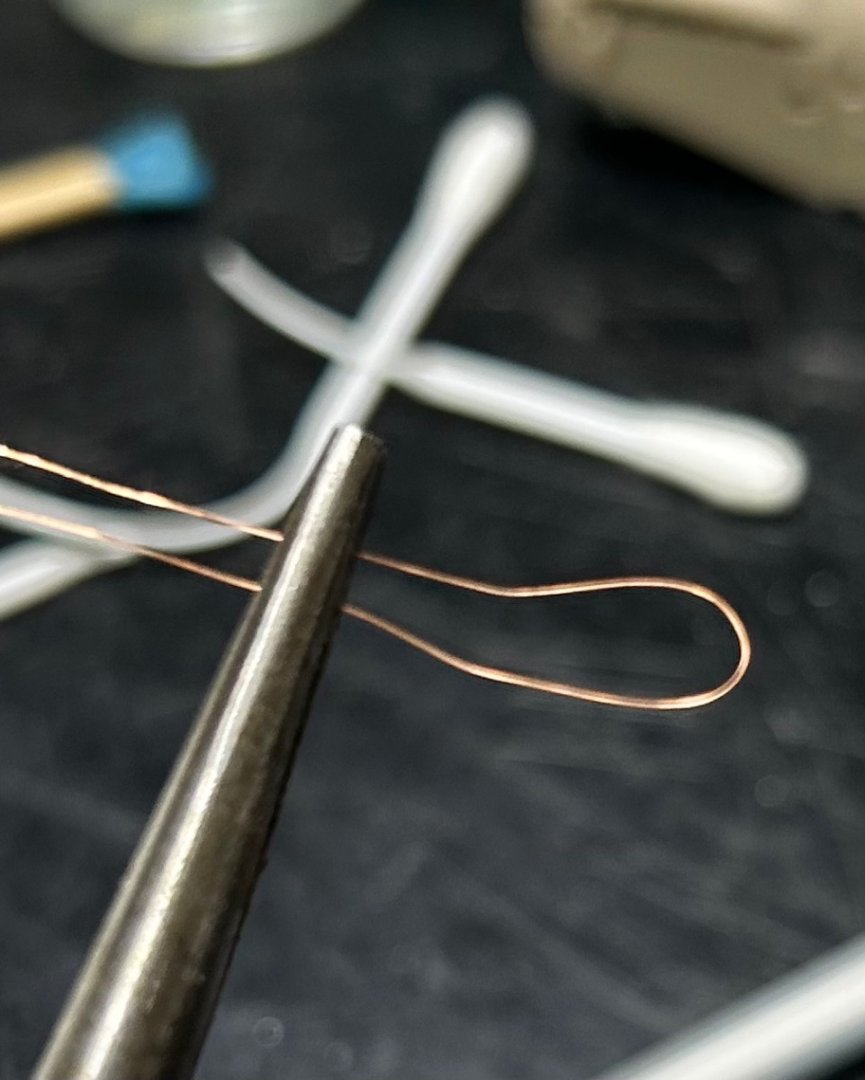
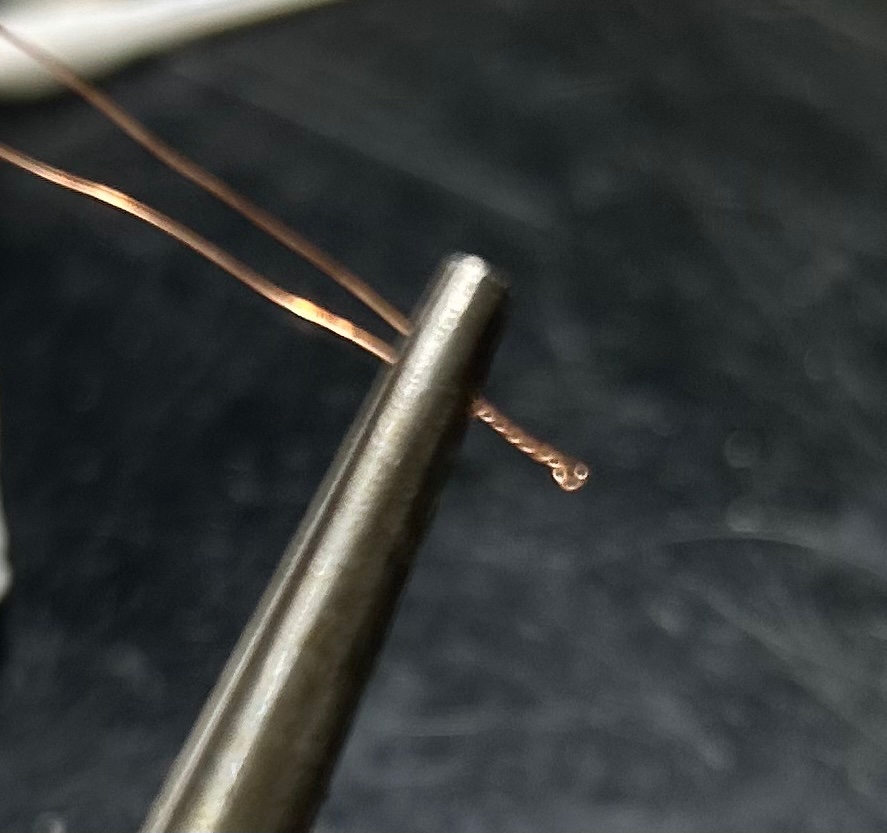
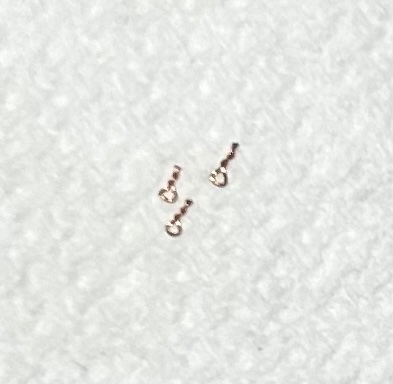
I create my attachment points by first stripping the insulation from fine gauge electrical wire. Then using individual strands of wire, twist them into loops as per the photos. On this model, I will need a couple dozen attachment points. I made a tool to twist the loops by bending the needle of a hypodermic syringe. The wire is too fine to do it by hand. Need a tool like this one or similar to do it.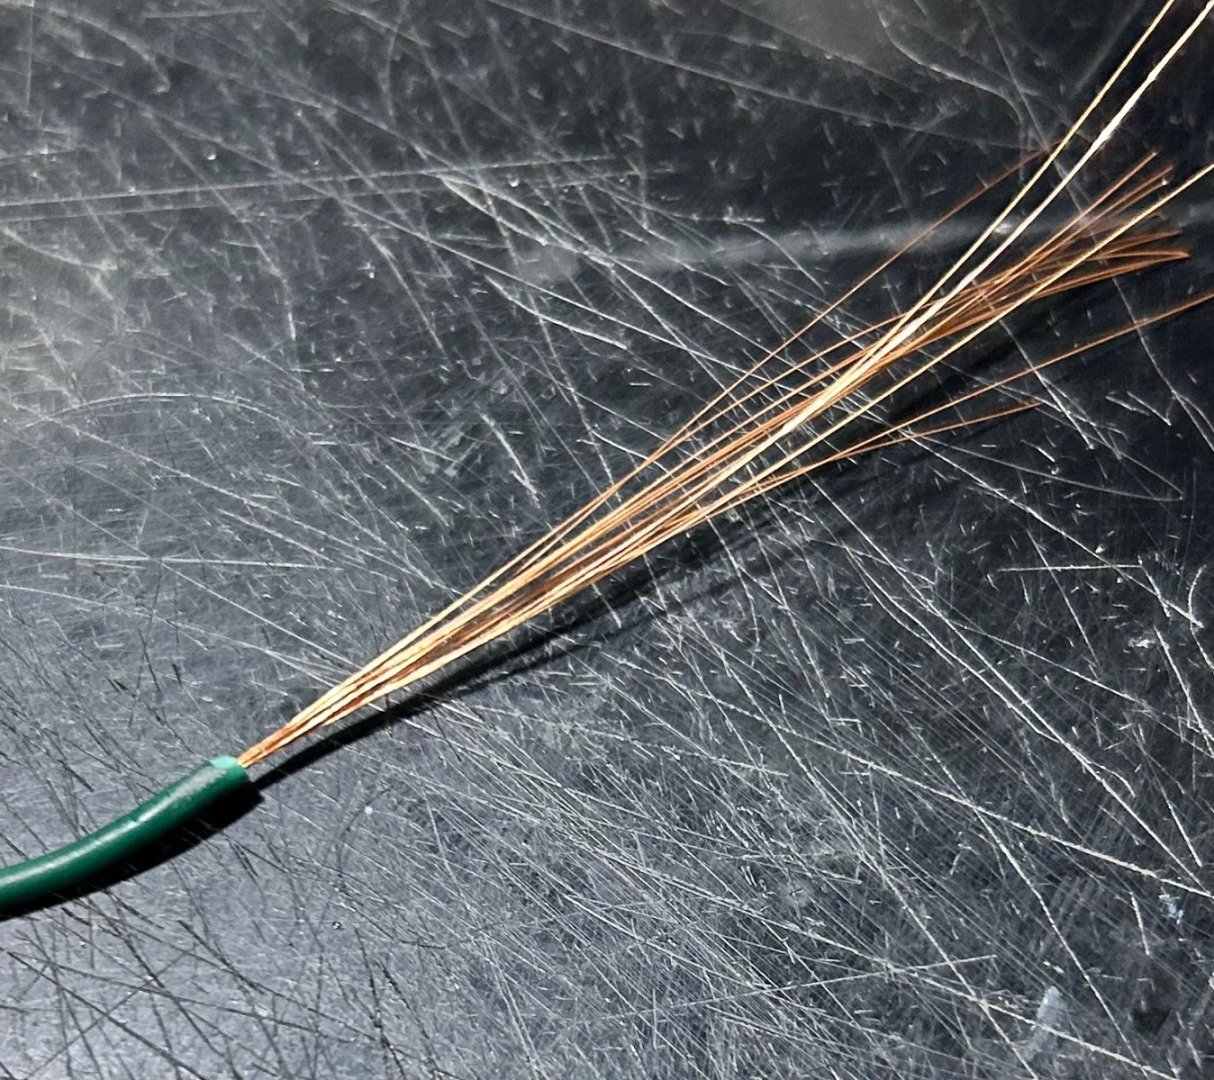

- 140 replies
-
- 12
-
-
Bristol F.2B WW1 Fighter by CDW - FINISHED - Eduard - 1:48 Scale
CDW replied to CDW's topic in Non-ship/categorised builds
For my rigging, I will be using 2 pound test monofilament fishing line. It’s almost hair-like in diameter.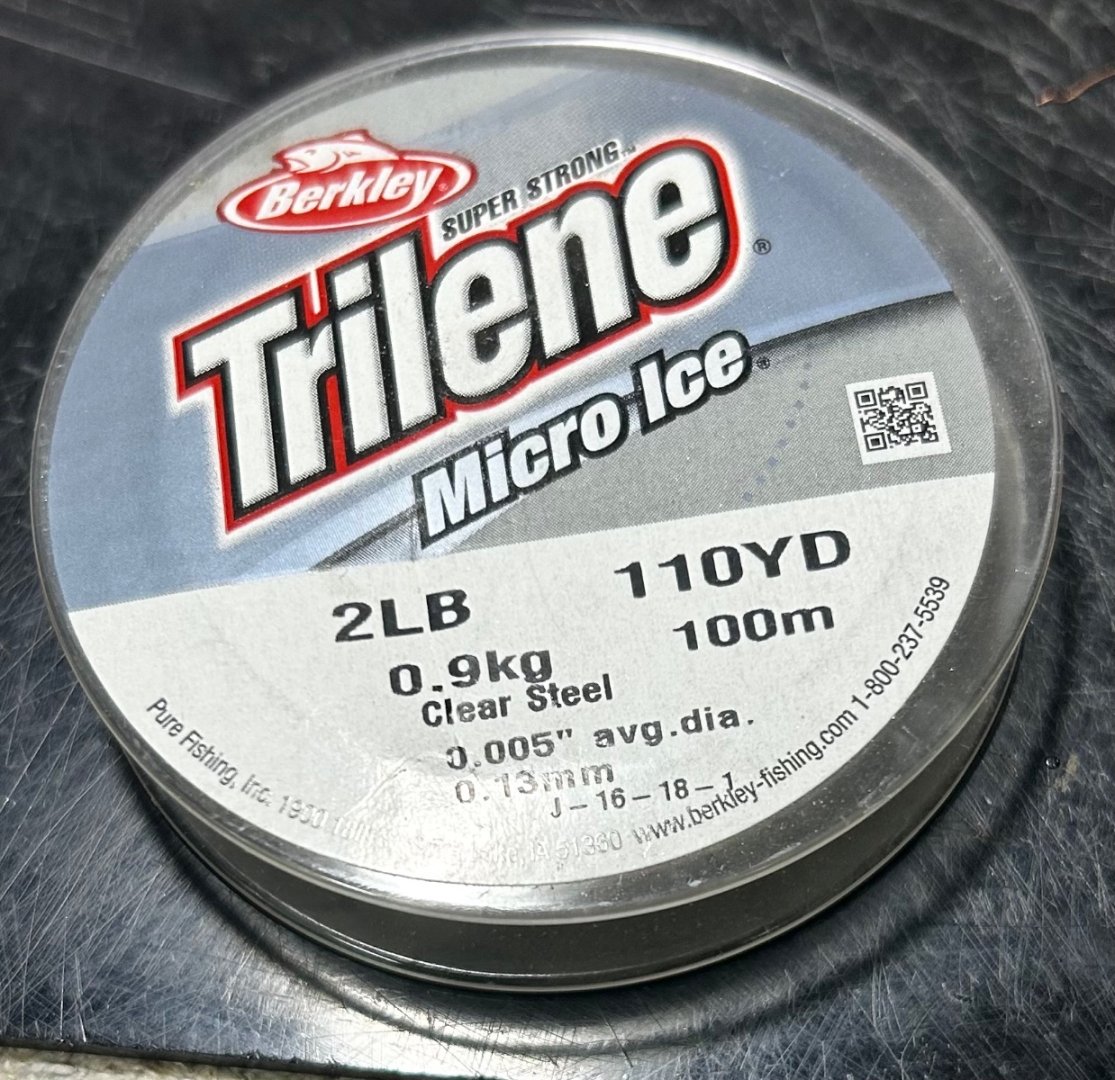
-
Bristol F.2B WW1 Fighter by CDW - FINISHED - Eduard - 1:48 Scale
CDW replied to CDW's topic in Non-ship/categorised builds
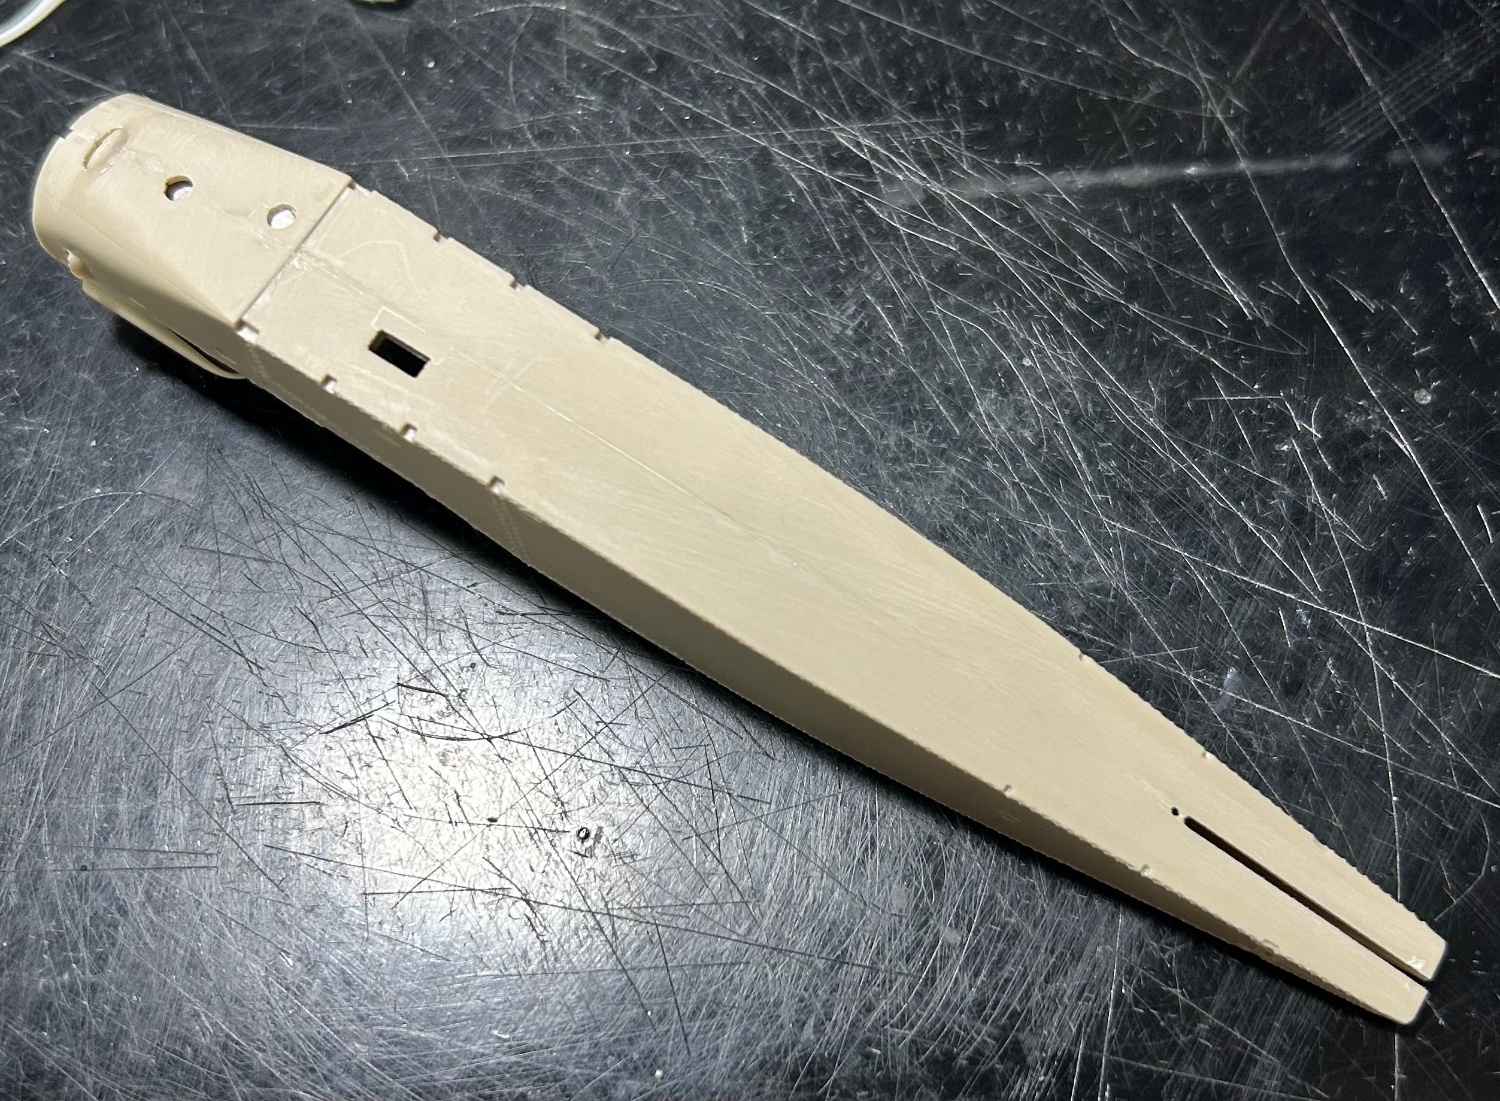
The fit of the fuselage halves was pretty good. After some sanding of the seams, adding super glue as a seam filler then sanding some more, the seams have virtually disappeared.

- 140 replies
-
- 15
-
-
Bristol F.2B WW1 Fighter by CDW - FINISHED - Eduard - 1:48 Scale
CDW replied to CDW's topic in Non-ship/categorised builds
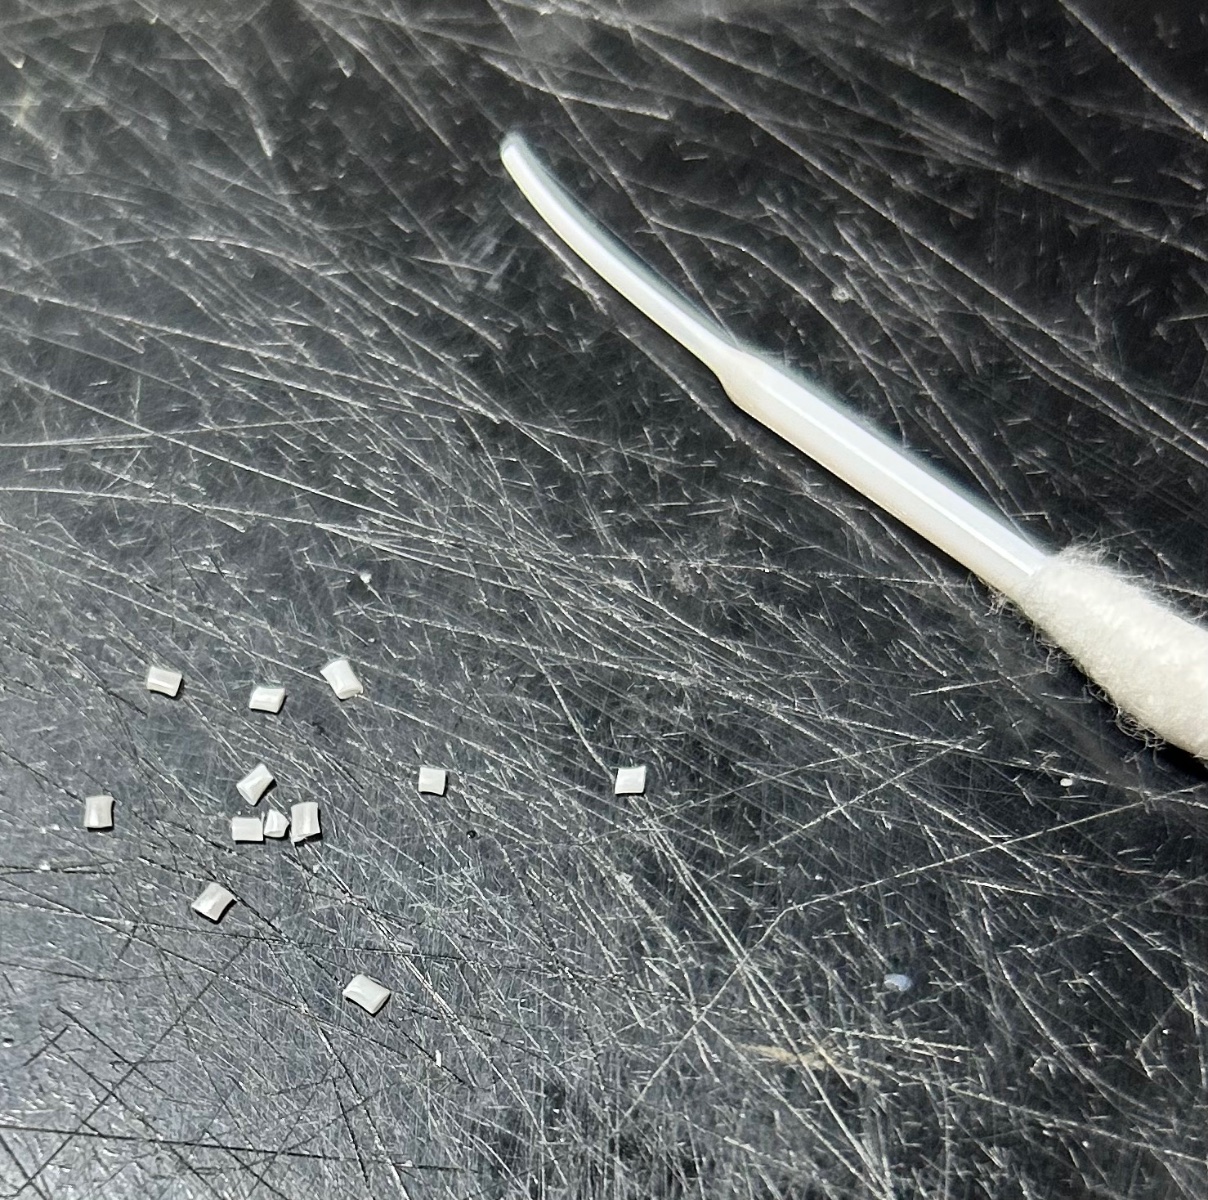
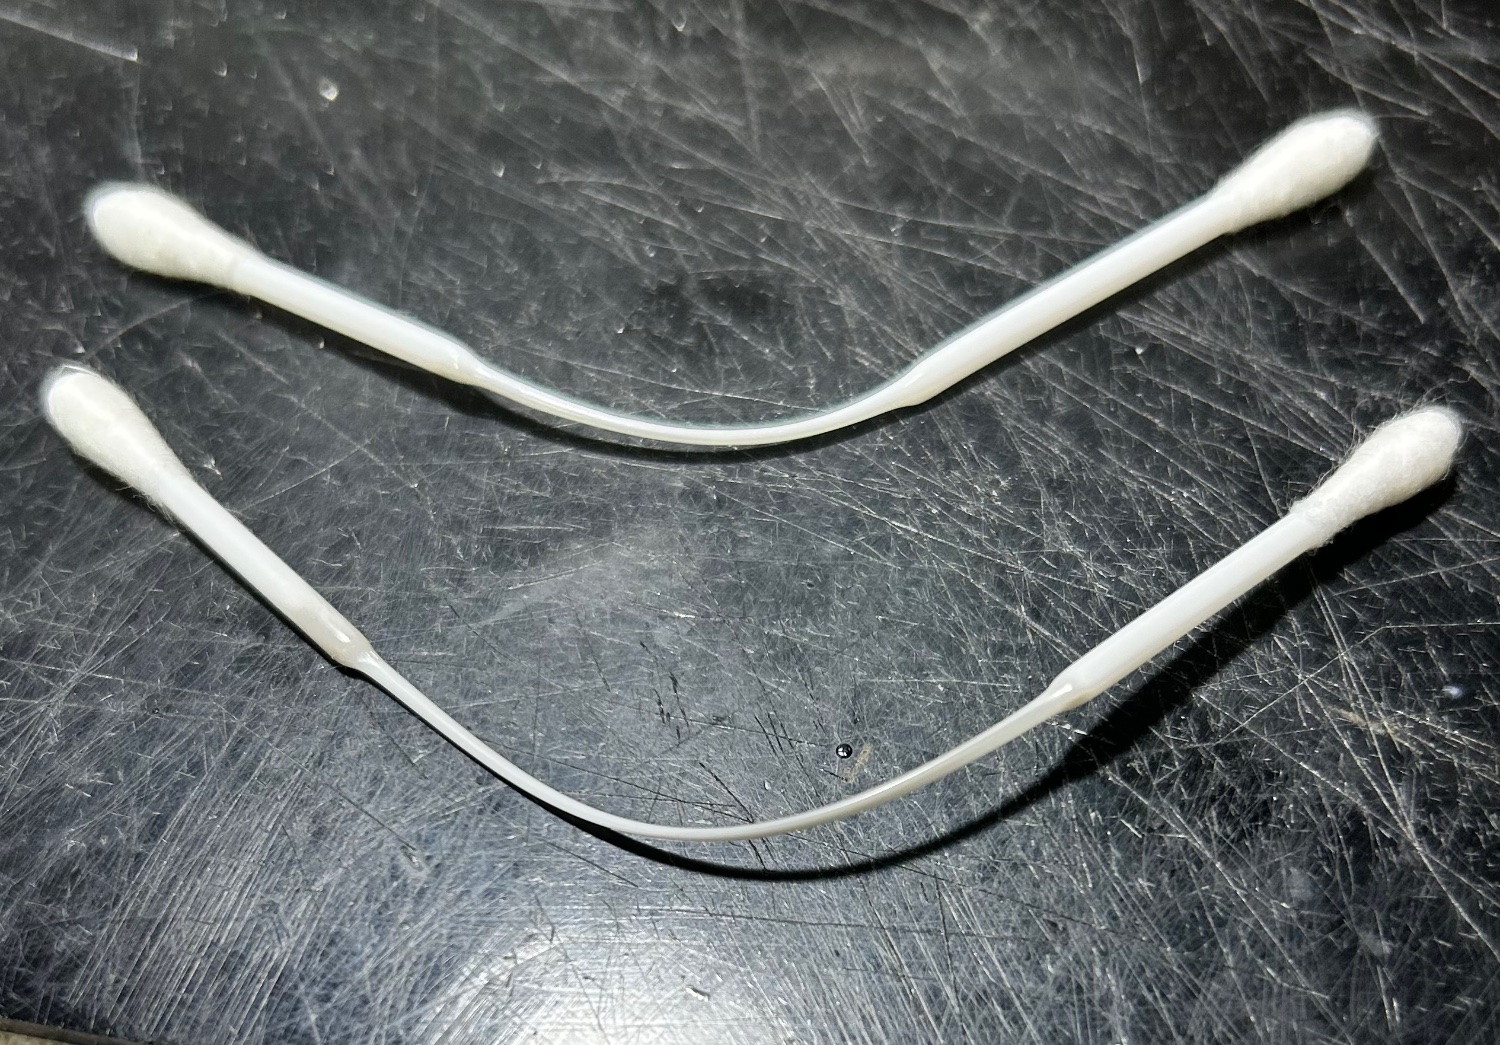
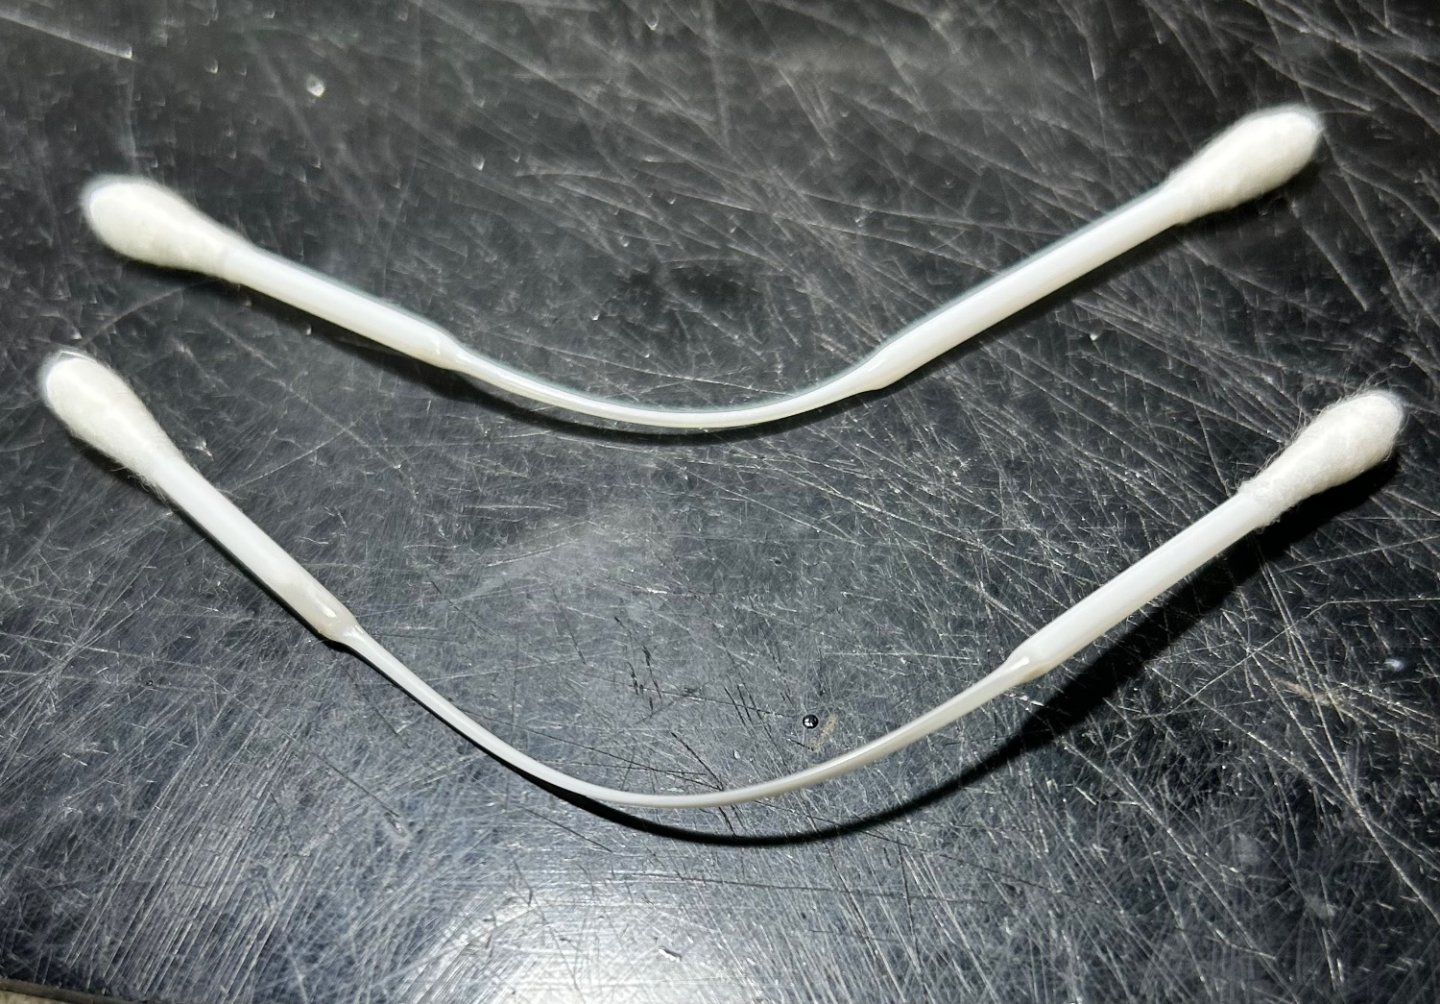
Not ready for rigging at this time, but to prepare for it, find some cheap cotton swabs with plastic sticks. Paper sticks won’t work for this exercise. The plastic sticks are tubes. Slowly heat the plastic stick over a lit candle until it’s soft, then stretch it into a small diameter tube. Cut the stretched plastic tube into 2 or 3mm long sections. These will be used later on in the rigging process. You could alternatively use 1 or .5mm brass tubing cut into similar size pieces, but it’s harder to source small diameter brass tubing. You may need to practice a bit to stretch the heated plastic tube. It’s easy to over heat or over stretch it and ruin it, but it’s no big deal.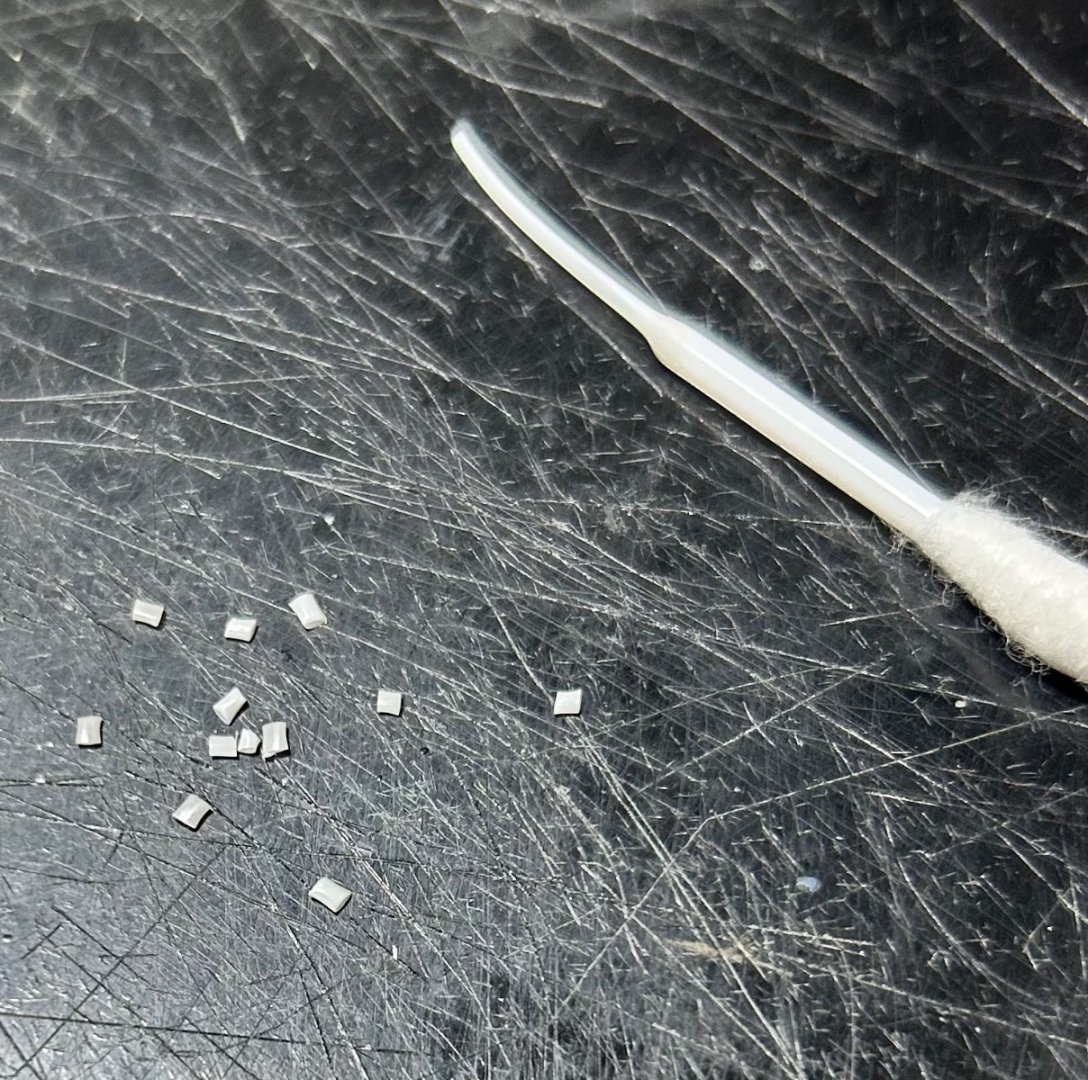
- 140 replies
-
- 12
-
-
Bristol F.2B WW1 Fighter by CDW - FINISHED - Eduard - 1:48 Scale
CDW replied to CDW's topic in Non-ship/categorised builds
I have a few tricks up my sleeve for rigging. Will take photos of it along the way. -
Bristol F.2B WW1 Fighter by CDW - FINISHED - Eduard - 1:48 Scale
CDW replied to CDW's topic in Non-ship/categorised builds
I always liked the smell of castor oil in the alcohol-based fuels we used in our model airplanes. Having it splattered in my face and goggles while flying would have been quite another story.- 140 replies
-
- 10
-
-
Bristol F.2B WW1 Fighter by CDW - FINISHED - Eduard - 1:48 Scale
CDW replied to CDW's topic in Non-ship/categorised builds
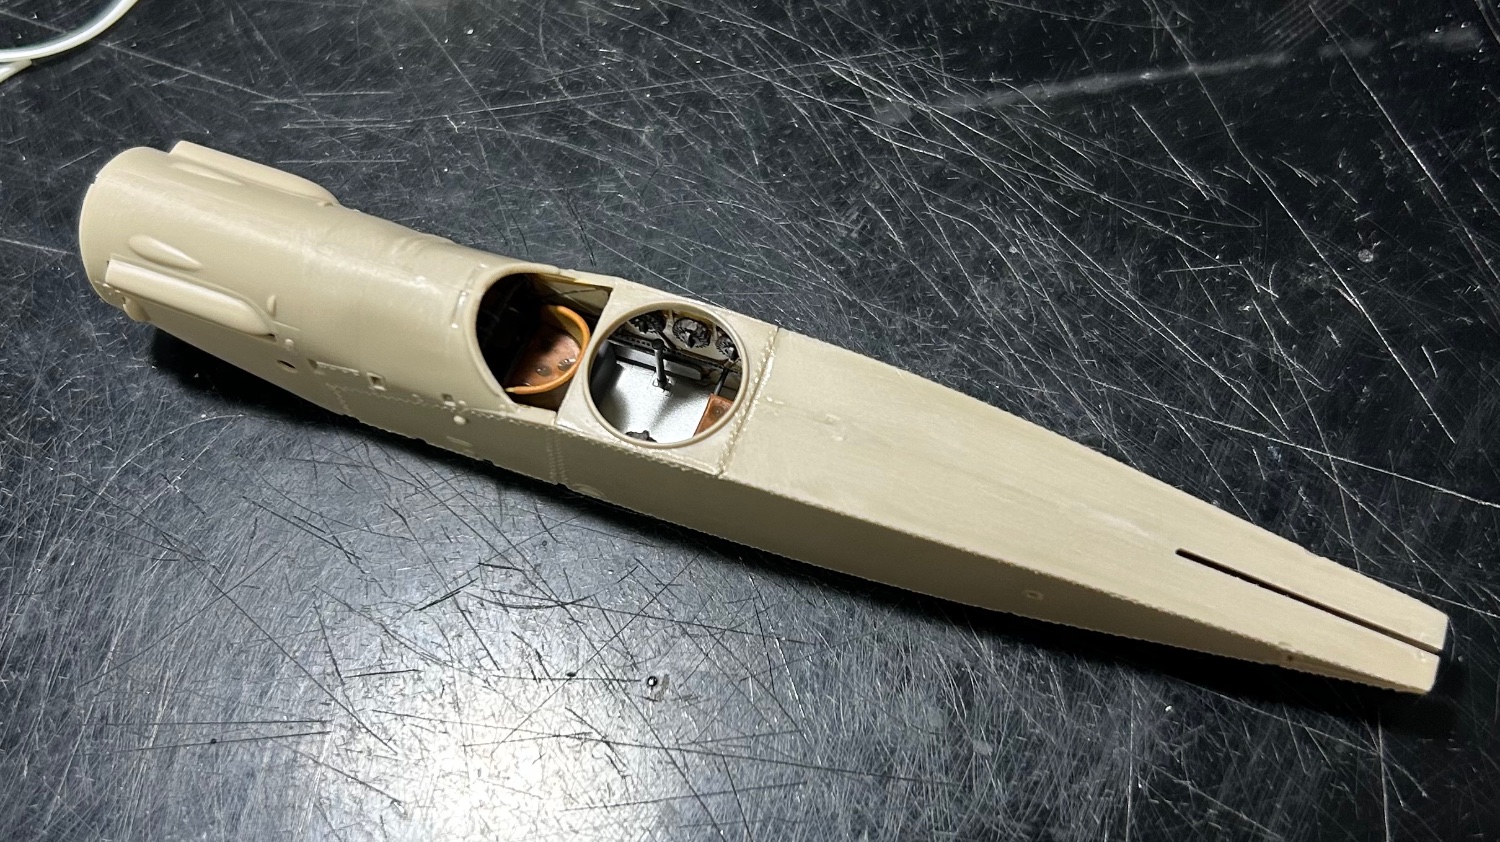
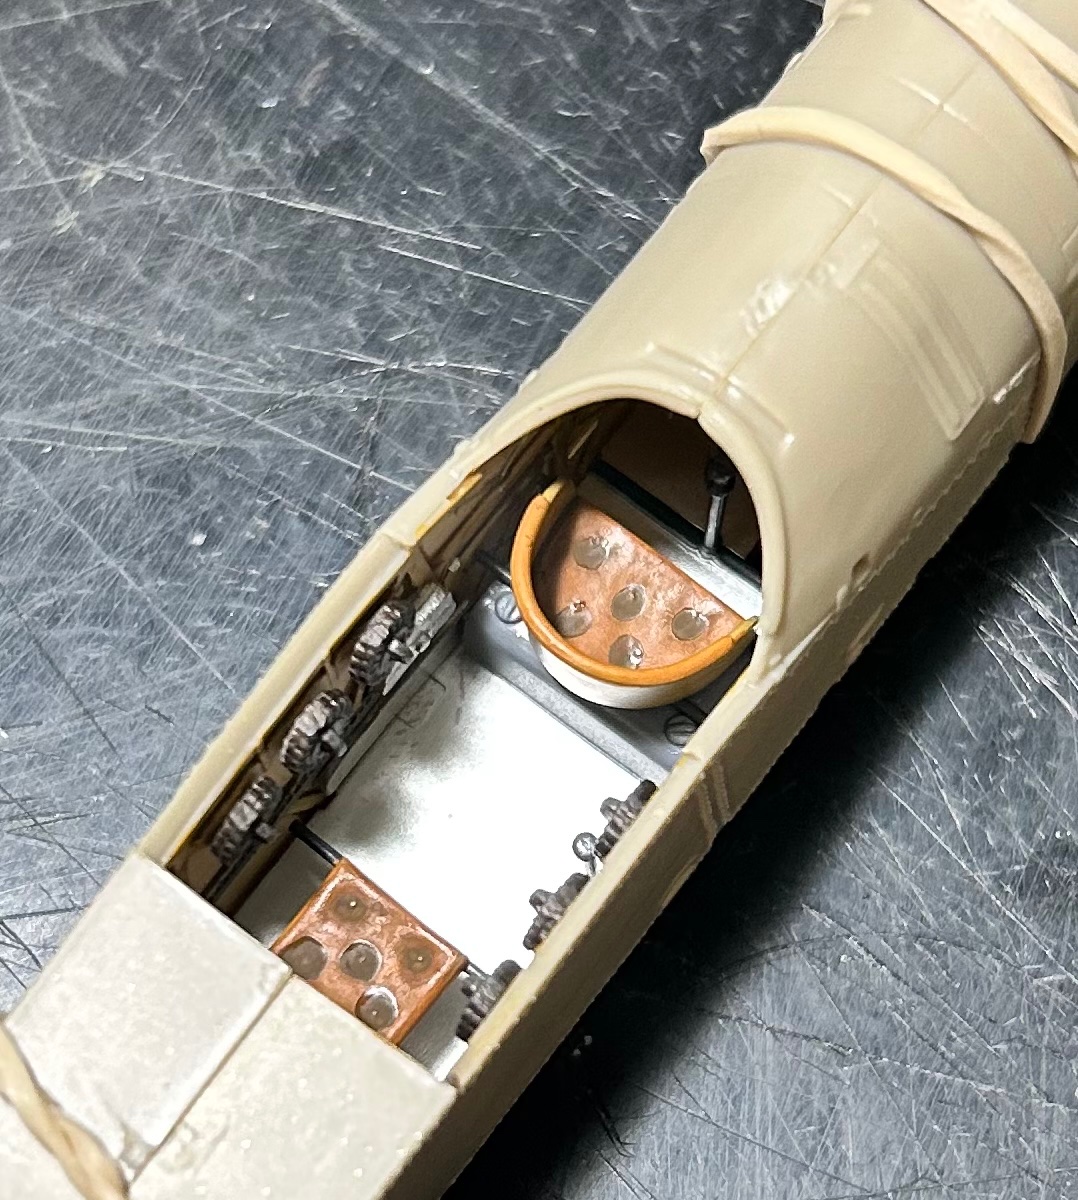
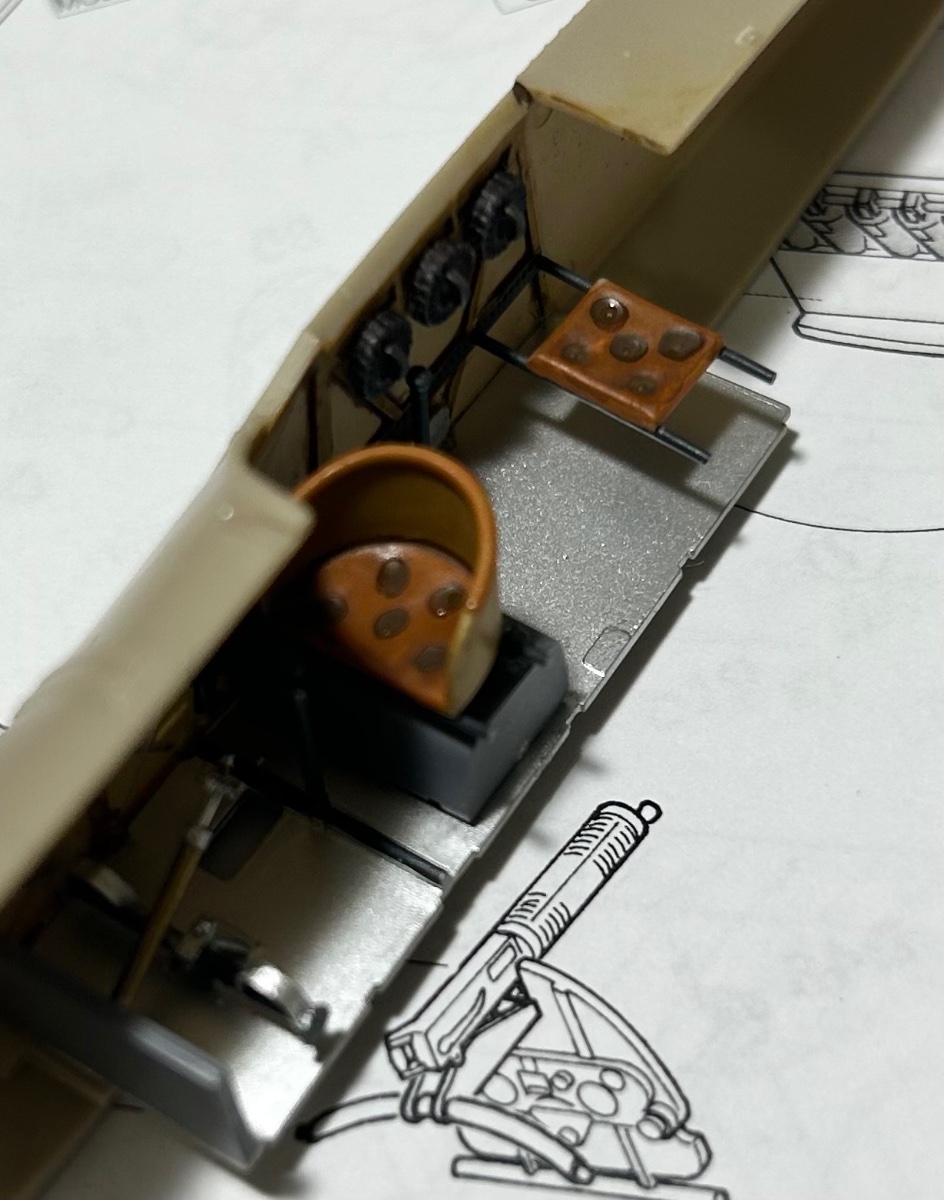
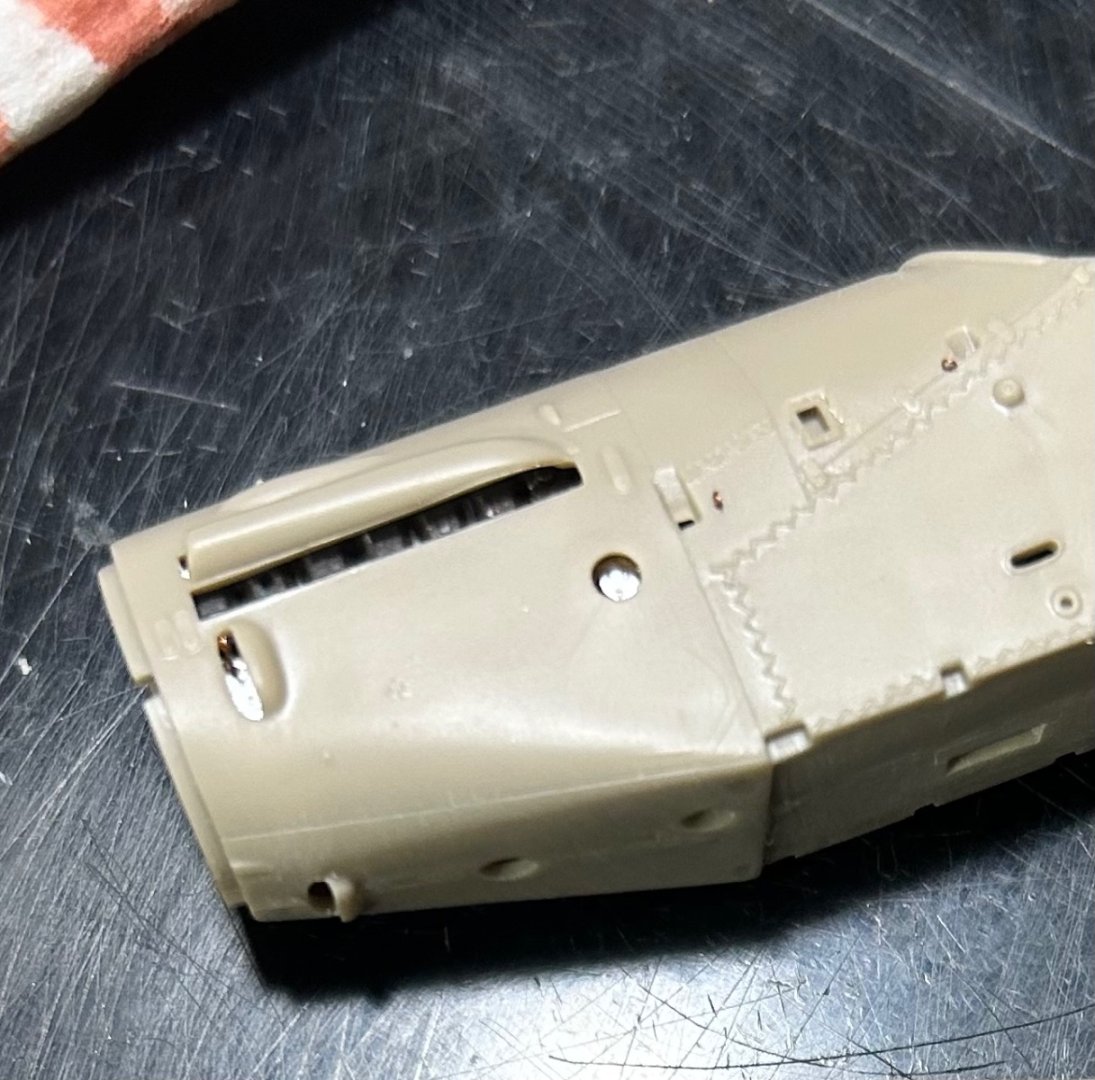
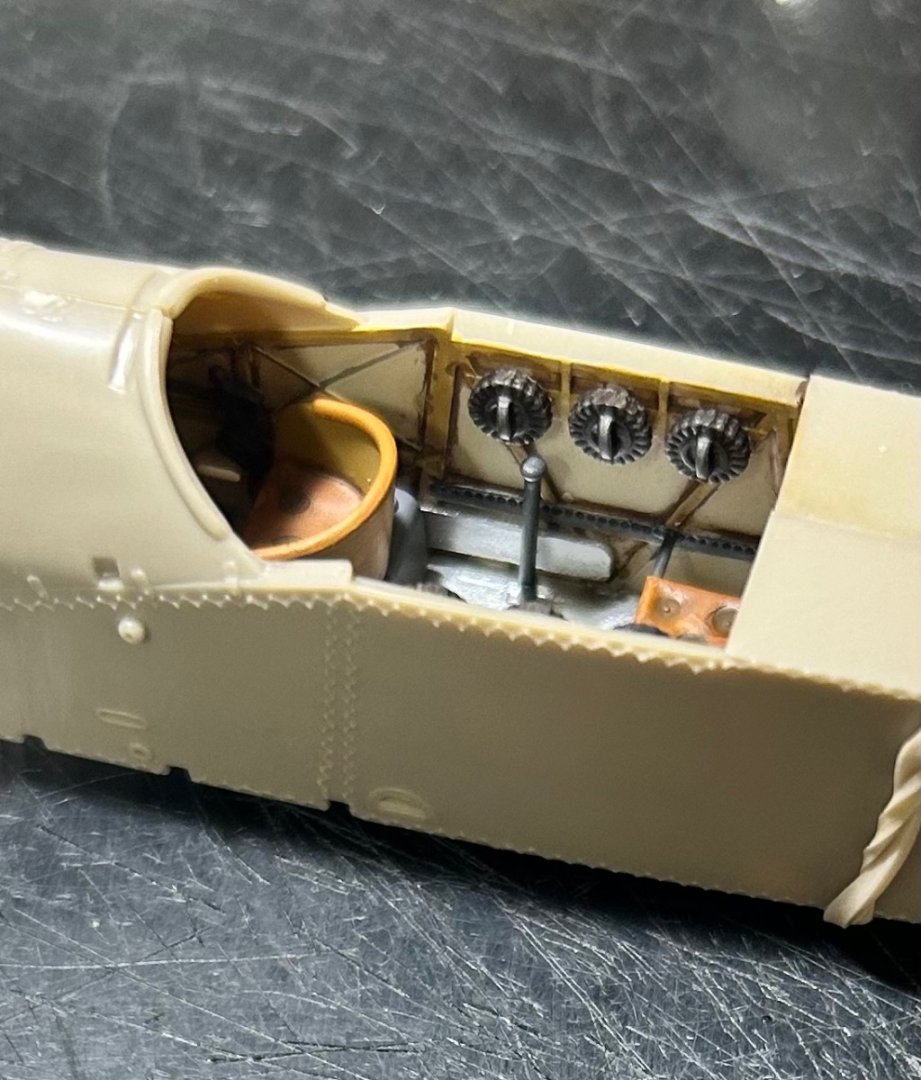
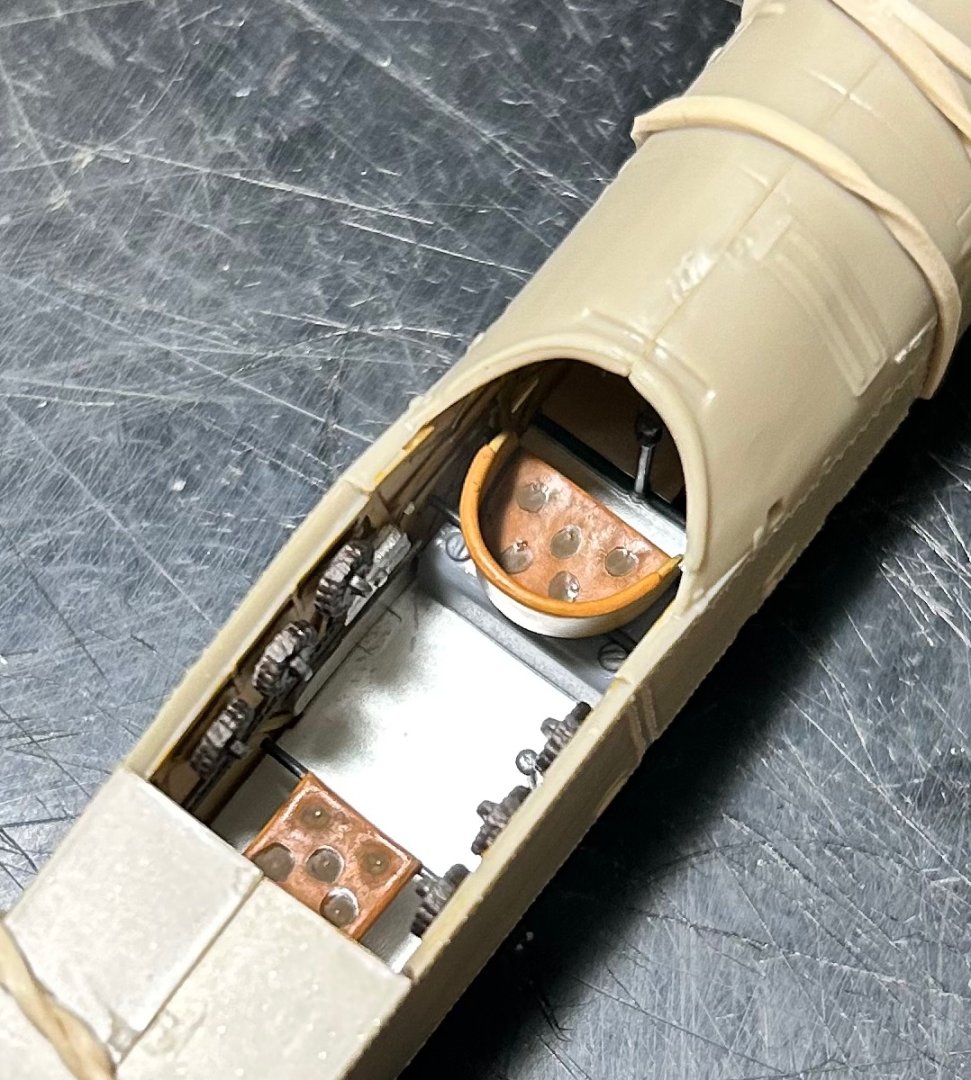
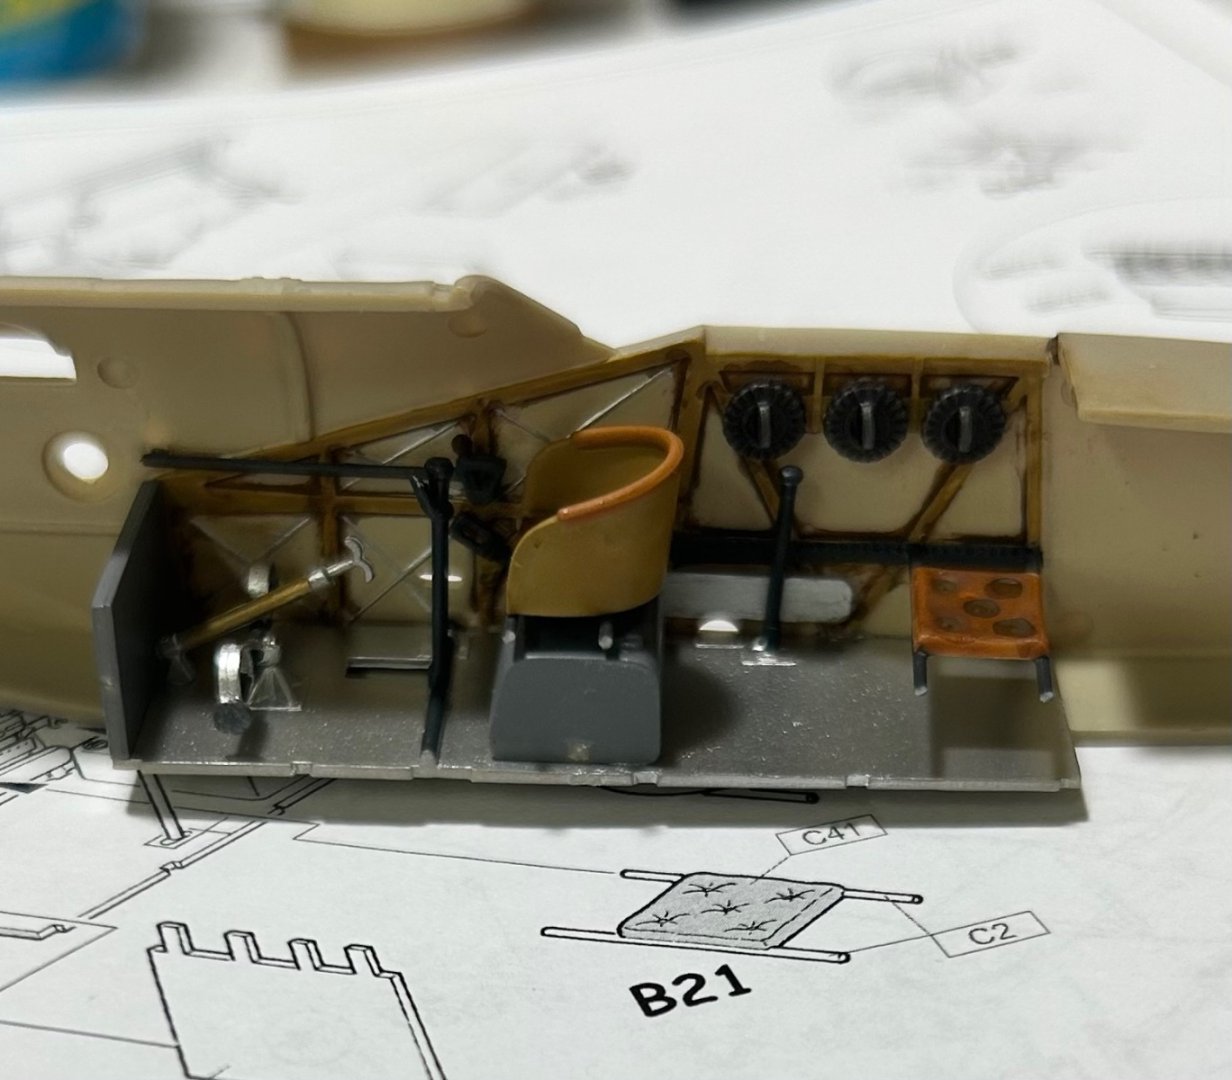
Until building this kit, I never realized the F.2 B had a Vickers MG hidden under the fuselage. She fired through the forward fuselage, radiator, cowl, and propeller blades vis a vis a synchronizing gear. Once the fuselage goes together, the weapon will remain pretty much hidden from view. With some amount of effort, it might be seen just above the top of the instrument panel. I have a few more minor things to add to the cockpit before joining the fuselage halves. Note that the lucky pilot sits on top of the fuel tank! Sheesh, that must have been nerve racking all by itself, not to mention the flimsy box kite nature of construction. This pilot must have been pretty darned good to have had 25 1/2 kills in this plane, although on the other hand, with the large wing area and dihedral in the wings, it was probably a very stable gun platform.

- 140 replies
-
- 14
-
-
-
Bristol F.2B WW1 Fighter by CDW - FINISHED - Eduard - 1:48 Scale
CDW replied to CDW's topic in Non-ship/categorised builds
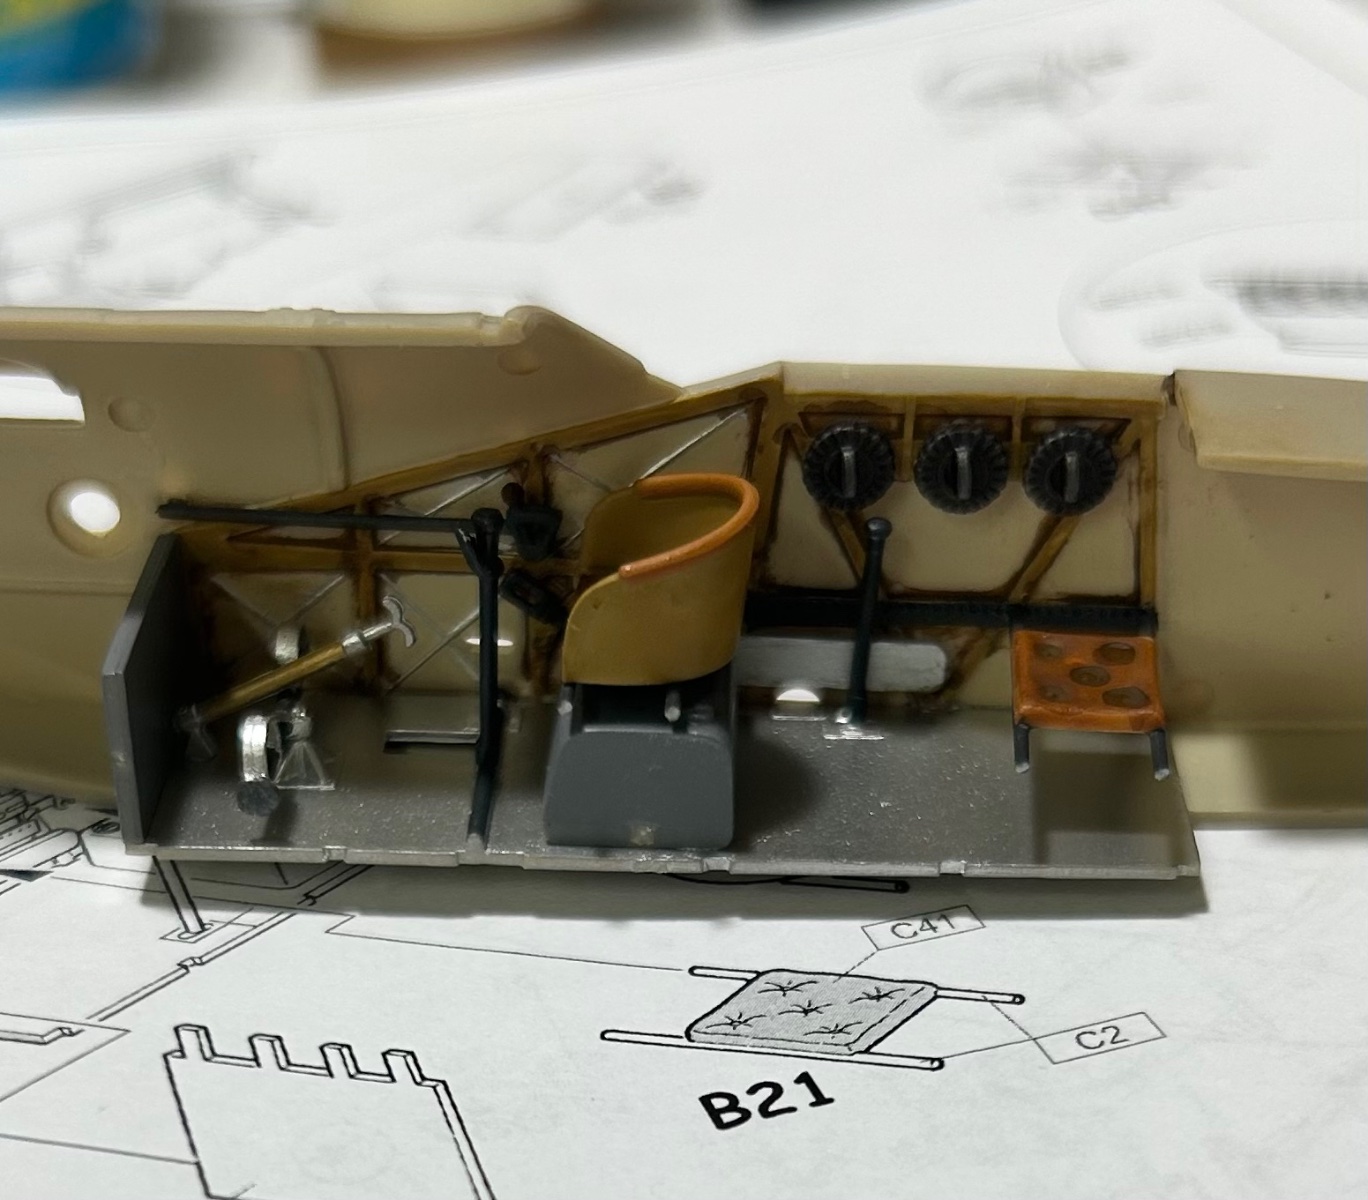
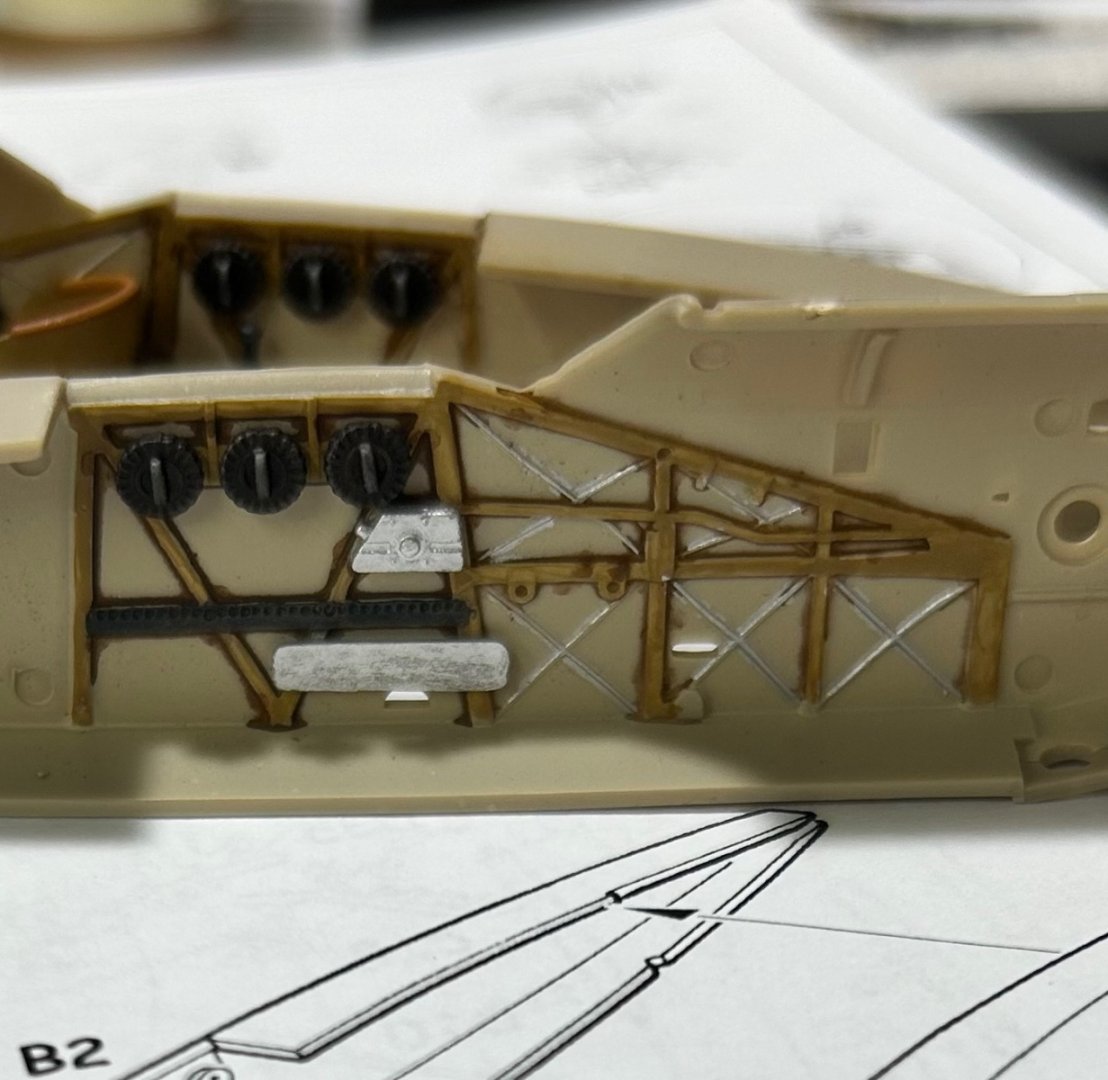
As is typical of most aircraft models, construction begins with the cockpit and fuselage sides.
- 140 replies
-
- 17
-
-
Bristol F.2B WW1 Fighter by CDW - FINISHED - Eduard - 1:48 Scale
CDW replied to CDW's topic in Non-ship/categorised builds
I went over to Draf Models and took a look at their F.2B kit and accessories. That is a very impressive model, and the extras add to it. Did you order it and if so, did you order any of the extras? -
Bristol F.2B WW1 Fighter by CDW - FINISHED - Eduard - 1:48 Scale
CDW replied to CDW's topic in Non-ship/categorised builds
Welcome, glad to have you aboard. Will be posting a progress update later today so stay tuned. -
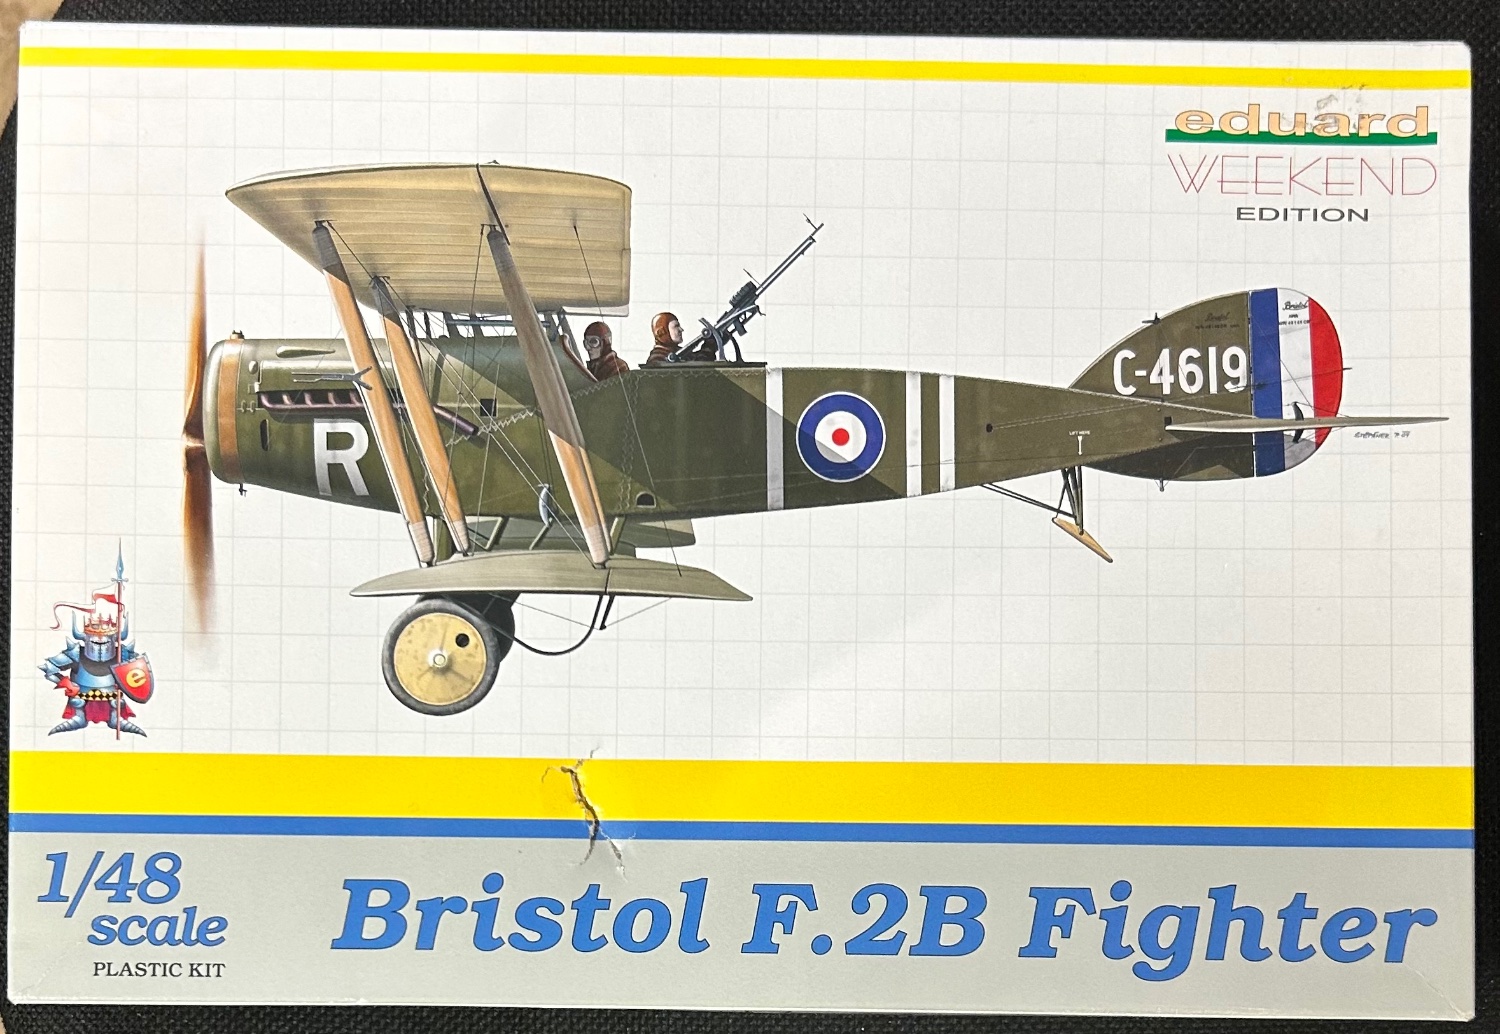
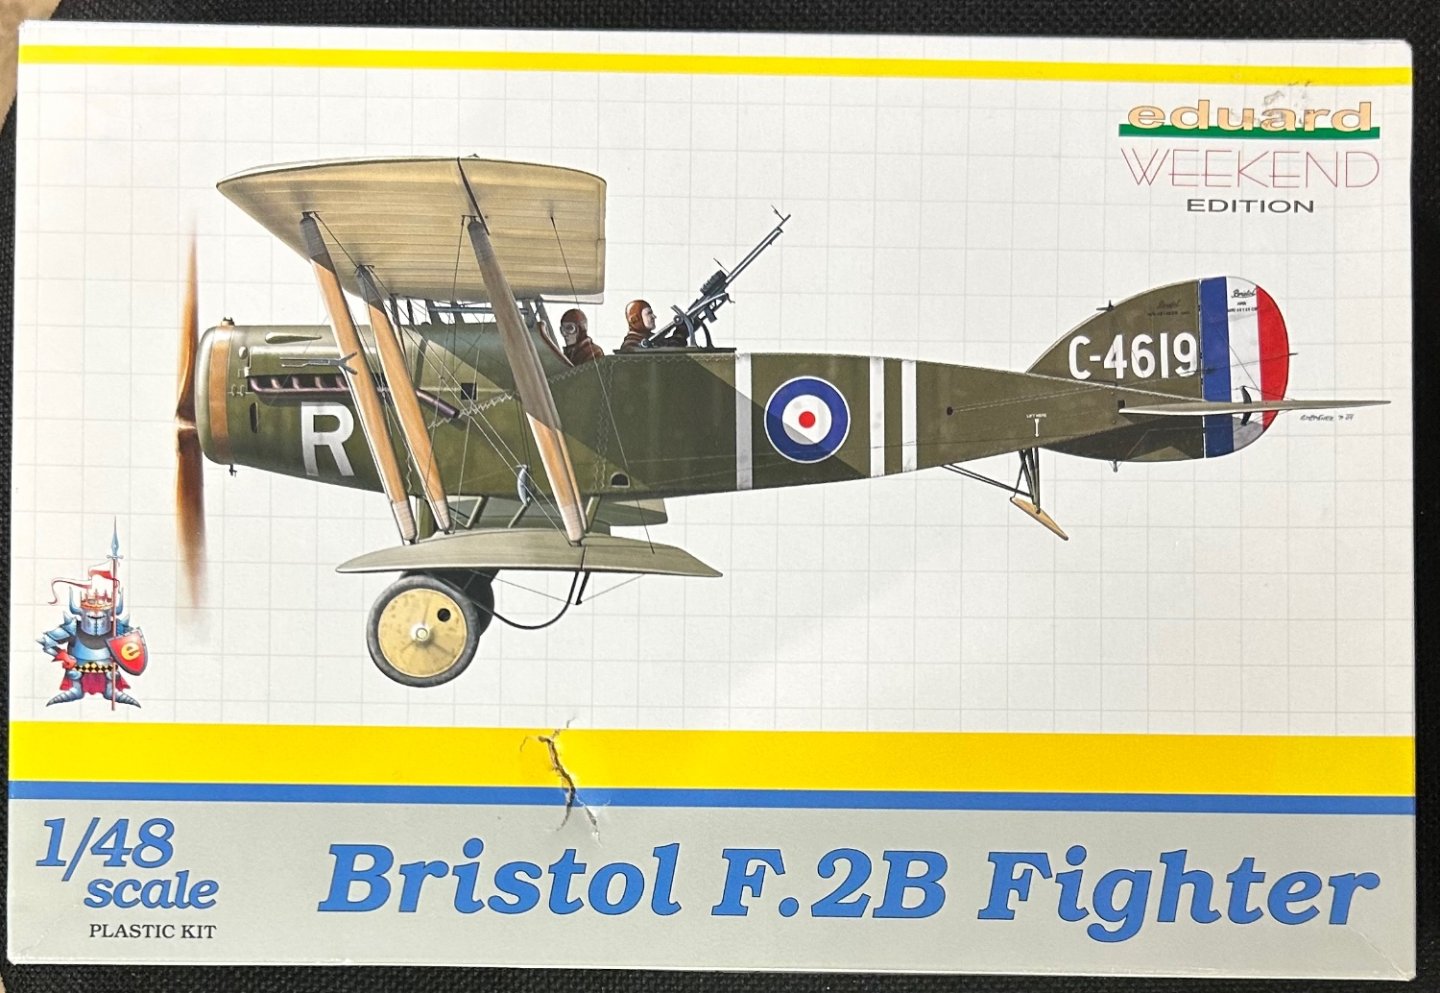
I'll be building the 1:48 Scale Bristol F.2B World War 1 fighter by Eduard in 1:48 scale. She will be finished in the livery of No. 62 Squadron, RFC, France, early 1918 as flown by Lt W.E. Staton, 25 1/2 confirmed victories. No aftermarket items are planned at this time although I will likely add some scratch-made details particularly as it pertains to rigging. I welcome you to follow along, comment, and make yourself at home. Well heck, I better add a photo of the kit.
- 140 replies
-
- 16
-
-
On Hold - Nakajima Type KO 3 by CDW - Answer - 1:33 Scale - CARD
CDW replied to CDW's topic in Non-ship/categorised builds
Indeed Chris. I do feel I have learned quite a bit from this first attempt. In the future, it will be more important to me to actually see the kit and parts breakdown before I buy or attempt it. If there were any joiner strips with my kit, I don't see them. However, experience now tells me there must be some, regardless of whether the kit includes them or not. Thanks for following and providing advice along the way. Much appreciated. -
On Hold - Nakajima Type KO 3 by CDW - Answer - 1:33 Scale - CARD
CDW replied to CDW's topic in Non-ship/categorised builds
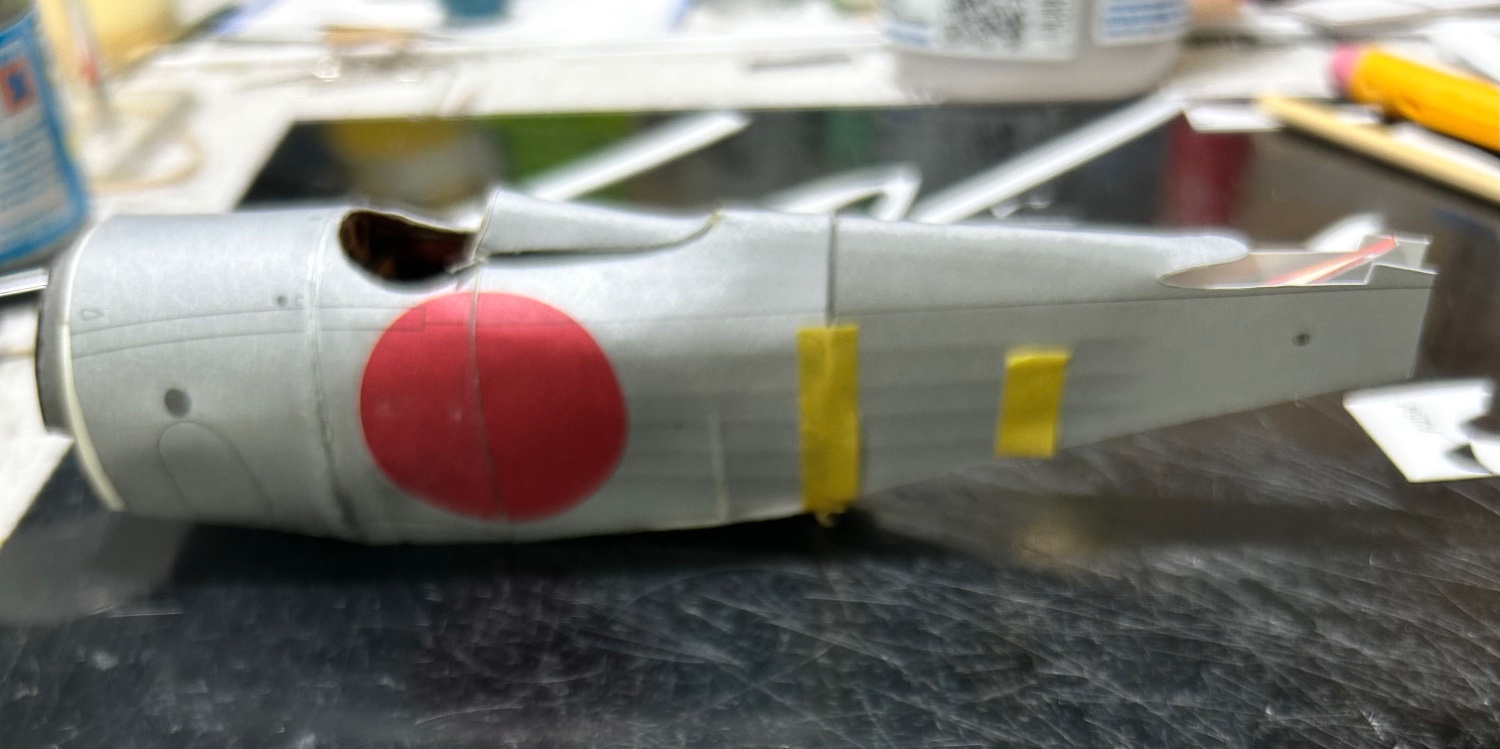
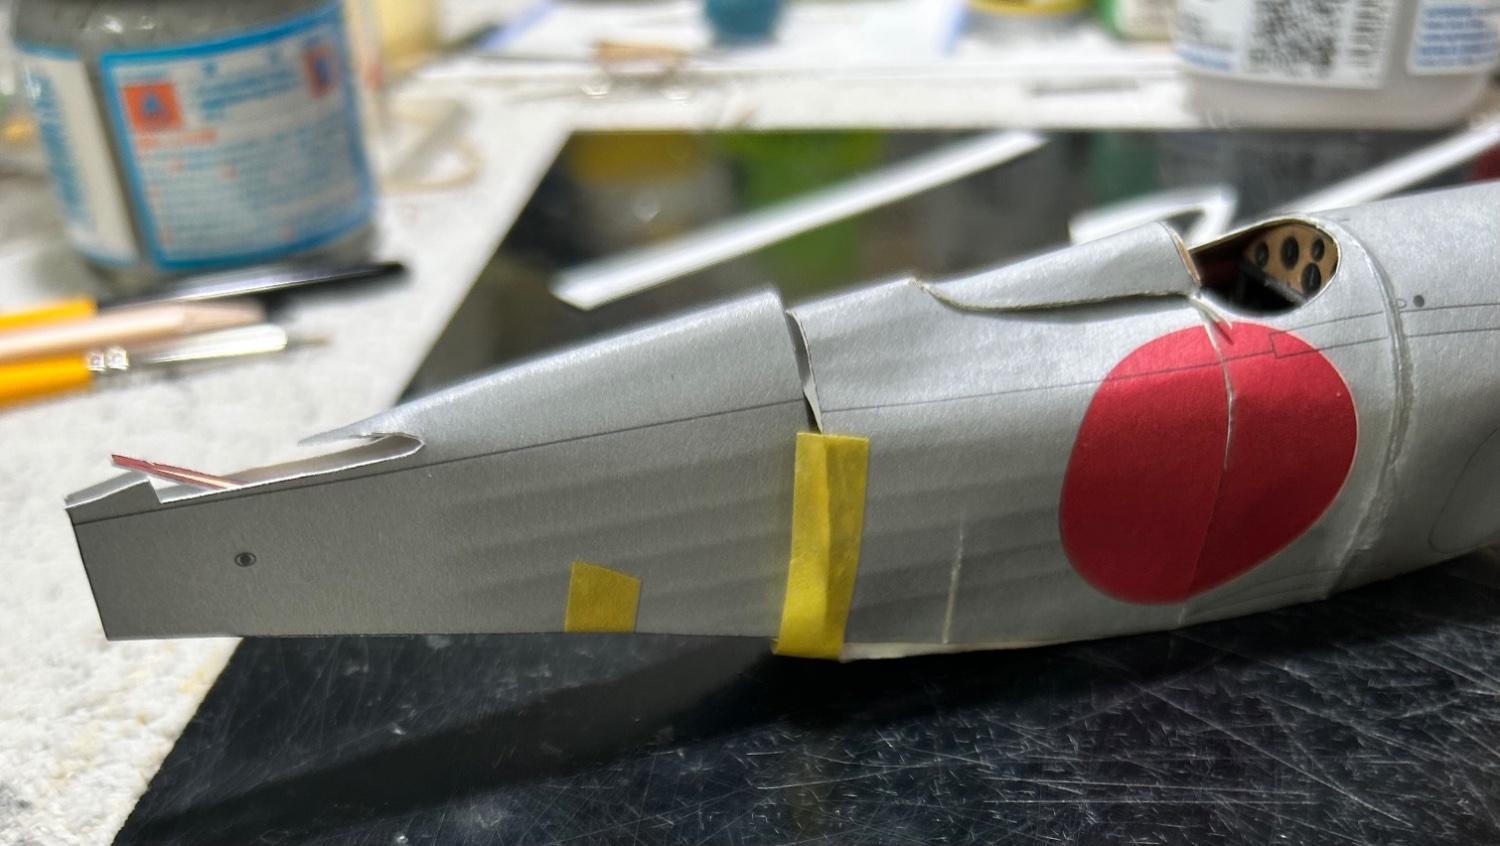
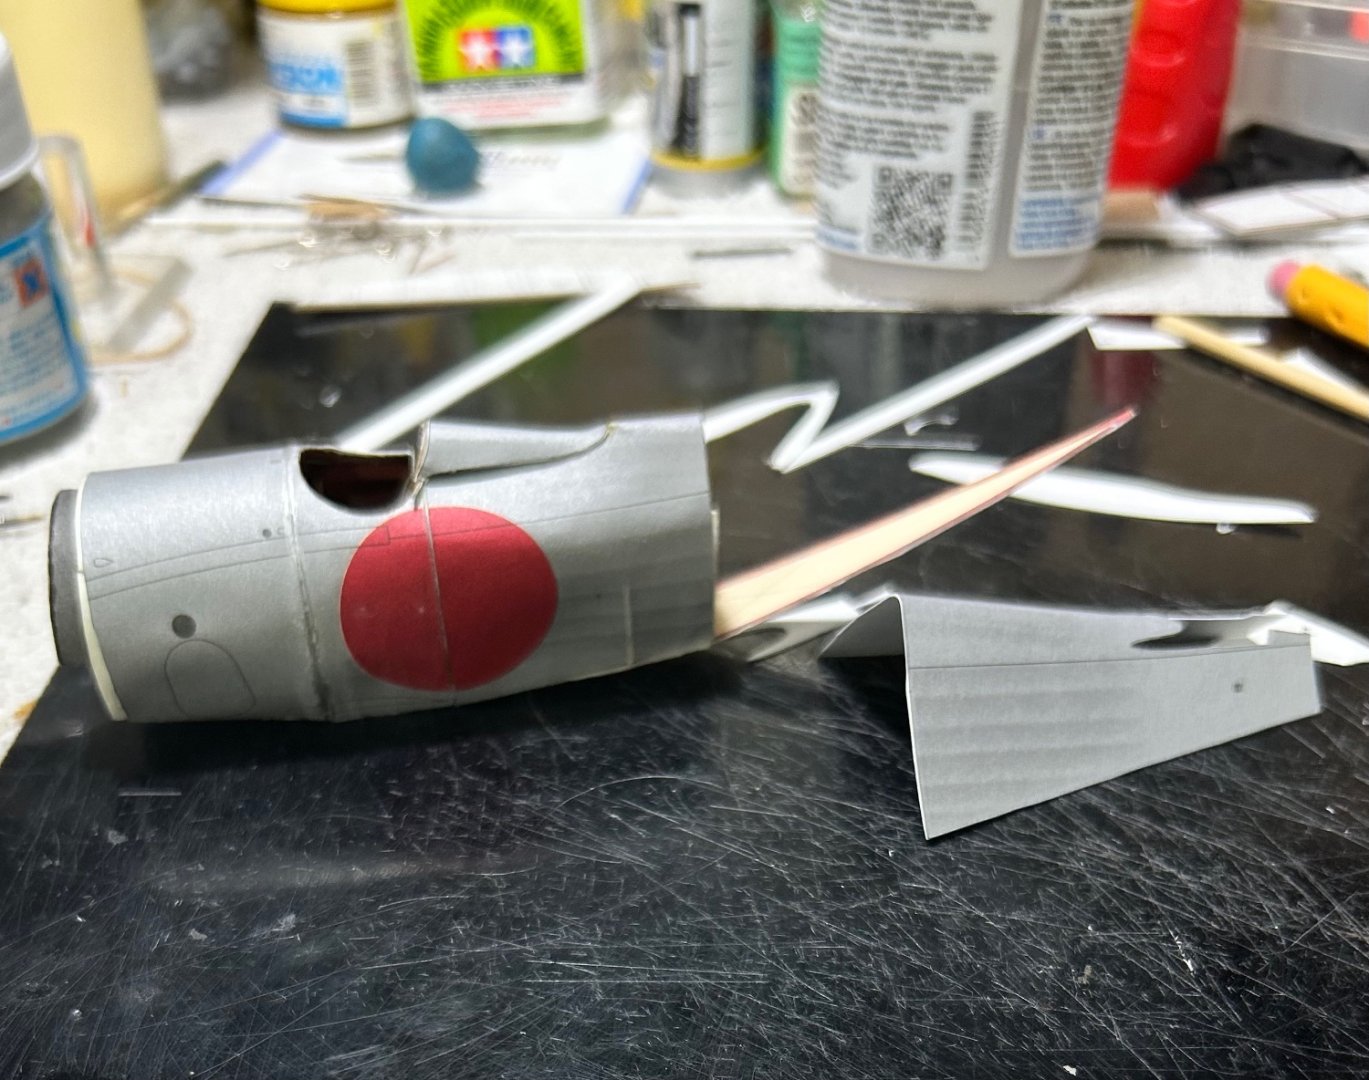
Looking at this kit, it seemed odd to me that the forward half of the fuselage was built around a fairly substantial framework while the rear half was pretty much built around air, no framework at all. My concerns matured today once I got past that first half of the fuselage and started to proceed to the rear half. There seems to be things involving joint reinforcement and maybe other things the plan doesn’t show that have come to bite me on the backside. Parts fit is poor to sketchy at best. Maybe there are things I can do to remedy the problem but I lack the enthusiasm to generate ideas for a fix. I feel as though there were things I could have foreseen for a greater chance for success at this juncture but at this time I am going to chalk it up as a learning experience and move on. Will put all the pieces in a box and wait to see if I get an epiphany that drives me back to finish this project at a later time. Thanks for following along on this and forgive me for cutting this short in such an abrupt fashion. There are many other projects I want to do and will start another very soon.

- 114 replies
-
- 12
-
-

-
That is quite an elaborate bomb bay. The PE set will help do it justice for sure. IMO, masks are a must for a model like this as cutting them yourself is so time consuming and definitely not a fun activity. Looking forward to watching your progress with all this.
- 174 replies
-
- 10
-
-
Following this interesting subject