CDW
-
Posts
7,756 -
Joined
-
Last visited
Content Type
Profiles
Forums
Gallery
Events
Everything posted by CDW
-

1936 Rolls Royce Phantom III by CDW - Revell - 1:16 scale
CDW replied to CDW's topic in Non-ship/categorised builds
My baby girl graduated with her bachelors degree this morning in New Hampshire. Wife and big sisters are up there with her while I babysit our dog, Snowball, here at home in sunny Florida.
- 97 replies
-
- 18
-

-
1936 Rolls Royce Phantom III by CDW - Revell - 1:16 scale
CDW replied to CDW's topic in Non-ship/categorised builds
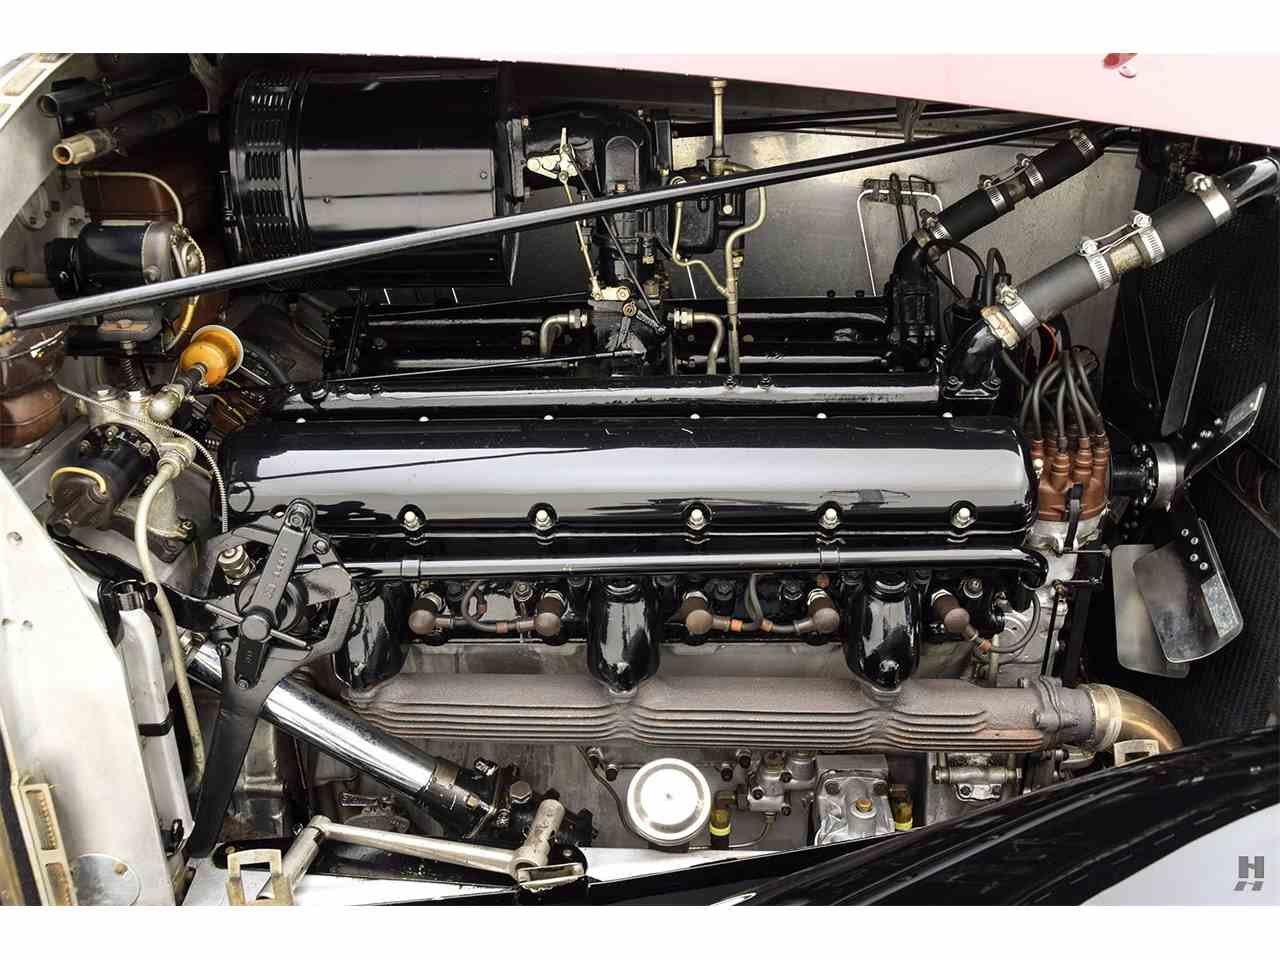
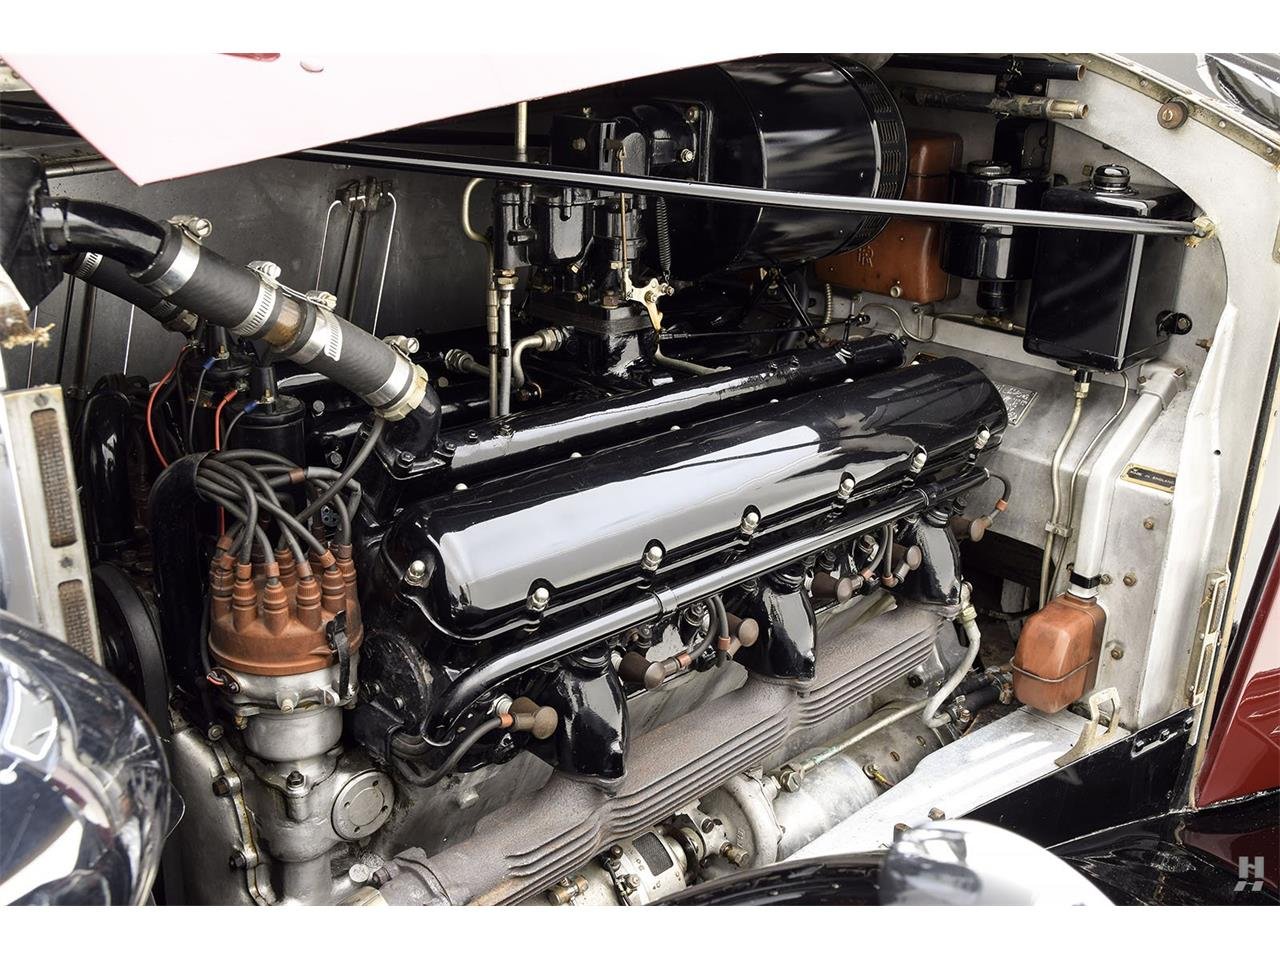
Looking at the three engine compartment photos, the 1st is somewhat different than the other 2. I think that possibly the first photo is of a different year model, maybe? The first photo seems more original as the other two photos appear to be maybe, restored? For sure the second two photos are of a cleaner engine compartment, but I think maybe the first one is more original. Any thoughts? My kit does not have what looks in the first photo to be some type of coolant reservoir just behind the radiator and in front of the cylinder heads. Been off on other tangents of late and haven't done a whole lot of work on the model. Will have some update photos, hopefully in the next few days. The age of this kit and the engineering of it bring back memories as I work on it. Reminiscent in some ways of the old JoHan classic car kits but a much larger, 1:16 scale. A little crude by today's standards. More attention required to prepping the parts before assembly as well as filling minor gaps and other little flaws here and there. This Rolls Royce has a very distinct and unusual chassis and suspension setup. You'll see it when I get there.🙂 -
There was a Fokker D.VII, Sopwith Camel, and a SPAD as I recall. an oddball box-scale sort of series of WW1 planes came out in the '60's. Very good for their time.
-
Camel by RGL - FINISHED - Machinen Krieger - 1/20
CDW replied to RGL's topic in Non-ship/categorised builds
What a great model. I love things like this. So much visual appeal and the fact that it's so much different than what we are used to seeing makes it stand out. Now you have drawn me to look at the entire series of these type kits. Never knew about them before. My grandsons would love stuff like this. -
What a beautiful addition to your model aircraft collection. Congratulations on another fine model completed.
-
I had a dearly departed friend who was a B-17 tail gunner. He survived being shot over Europe down 3 times! The third time he was captured and spent the remainder of the war in a German POW camp. He never talked much about it, but he sure could pound down Wild Turkey. I always imagined it was his pain killer for everything he had seen and gone through during the war. A very successful road and bridge contractor.
-
Until now, never had any idea that a shade of red was used inside certain British aircraft fuselage. It's the first time I have ever seen it. Looks very interesting and different for sure. Reminds me of the red seen inside ship hulls on the gun decks.
-
Bristol F.2B WW1 Fighter by CDW - FINISHED - Eduard - 1:48 Scale
CDW replied to CDW's topic in Non-ship/categorised builds
I saw that too. Also, their "news" section tells about it. Says they are expecting delivery very soon, but they are not offering preorder. First come, first served when it gets here. -
Bristol F.2B WW1 Fighter by CDW - FINISHED - Eduard - 1:48 Scale
CDW replied to CDW's topic in Non-ship/categorised builds
My son is a huge Ebay seller, just not model kits. He has taught me a lot of tricks to watch for when buying or selling. His knowledge and recall of what items are worth is astounding to me. He can spot a valuable item a mile away. Things I wouldn't notice or give a second look if I did, he can spot it and immediately know how much he can make from the sale of it. He bought a big box of new old stock electrical items one day when I was with him garage sale hopping. I think he gave maybe $25 for the entire box. He sold individual items out of that box for hundreds of dollars each. They were component parts for commercial grade HVAC units. -
Bristol F.2B WW1 Fighter by CDW - FINISHED - Eduard - 1:48 Scale
CDW replied to CDW's topic in Non-ship/categorised builds
I always check the "sold" prices on Ebay, not the active, asking prices. Often there is a large disparity between the asking prices and the actual sold prices. There was one particular WnW kit I wanted from Ebay but the asking prices were $150 or even more than the actual, historical sold prices. I made a seller an offer for the sold (history) price and explained why. He declined. I waited and within a week or two bought another one for the historic sold amount. That other seller never sold his kit and took it down from Ebay listing. But yeah, there are some ridiculous prices people are asking for their stuff. Probably sometimes they even get it because people don't take the time to thoroughly check history. For those that don't know, you can begin a search for an item on Ebay, then select the check mark for "sold" items only. This will give you a list f items that match your search that have sold in the last 90 days or so. -
Bristol F.2B WW1 Fighter by CDW - FINISHED - Eduard - 1:48 Scale
CDW replied to CDW's topic in Non-ship/categorised builds
I agree with you 100% on this. Wish Andy had limited the orders to one of each, because I have a feeling there were resellers who came along and ordered dozens each of certain kits that have the highest resale value, and that hurts the modeler who actually builds the kits. I don't know what else could explain certain kits being sold out just two minutes past 6:00 PM. I seriously doubt it was from modelers who bought one of each. -
Bristol F.2B WW1 Fighter by CDW - FINISHED - Eduard - 1:48 Scale
CDW replied to CDW's topic in Non-ship/categorised builds
I don't see anything about the kits on Spruebrothers website. Where did you hear about it? -
Bristol F.2B WW1 Fighter by CDW - FINISHED - Eduard - 1:48 Scale
CDW replied to CDW's topic in Non-ship/categorised builds
Didn't know Spruebrothers were also getting a shipment. Thanks for that update. Andy said the container had thousands of kits. Hard to believe so many sold out in just minutes like that. Some people must have been ordering many of each. -
Bristol F.2B WW1 Fighter by CDW - FINISHED - Eduard - 1:48 Scale
CDW replied to CDW's topic in Non-ship/categorised builds
Unbelievable....I started trying to open the page at 6:00 PM on the dot. Wouldn't show the products. After hitting "refresh" over and over again, it finally came up around 6:02 PM. Some of the inventory was already "sold out". I did manage to order a duelist kit which contains two kits, the Halberstadt Cl.II and an RE8 Harry Tate. In addition, snagged the Jeannin Stahltaube, and the DH.2 with Lanoe Hawker figure. I am happy to land these kits, for sure. Maybe will be here by Christmas, we'll see. -
Bristol F.2B WW1 Fighter by CDW - FINISHED - Eduard - 1:48 Scale
CDW replied to CDW's topic in Non-ship/categorised builds
Before the virus debacle, Andy had a big order in place. All the warehouses were scoured recently, and it was found they had a quantity of old stock kits stashed away inside a warehouse in NZ that were hitherto unfound. This is the shipping container that Andy is just now preparing to receive in mid-December. To the best of my knowledge, any future production of new inventory is still in limbo. Andy says he WILL NOT be jacking up the prices. They will be sold at their original MSRP. First come, first served. If you want one or more of these, I highly suggest ordering them at the very first opportunity starting at 6:00 PM EST. Once word gets out, they will be gone in short order IMO. -
Bristol F.2B WW1 Fighter by CDW - FINISHED - Eduard - 1:48 Scale
CDW replied to CDW's topic in Non-ship/categorised builds
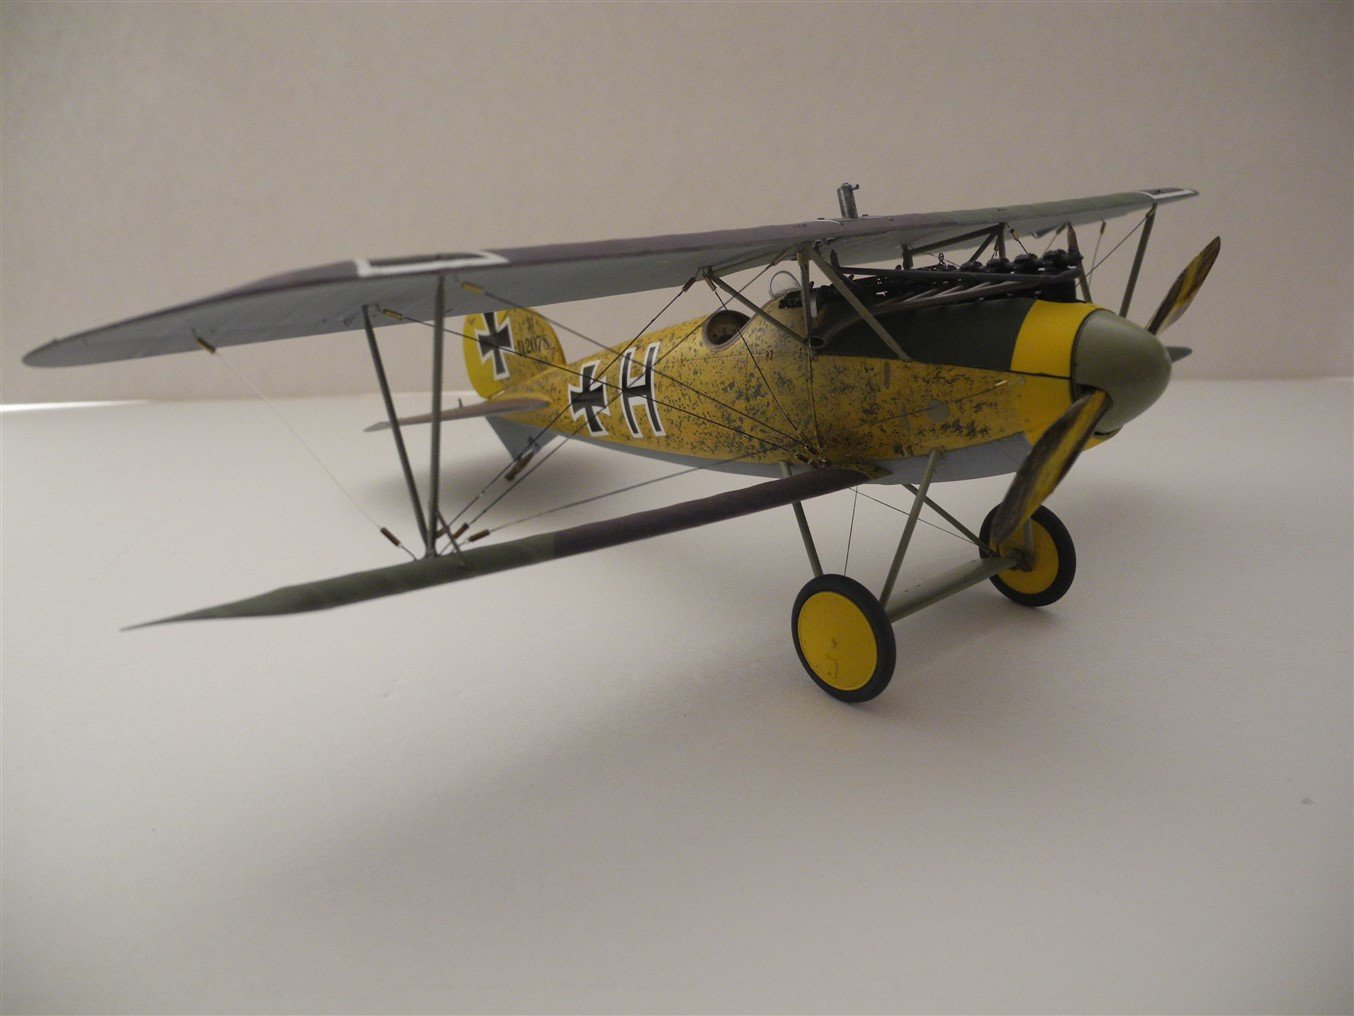
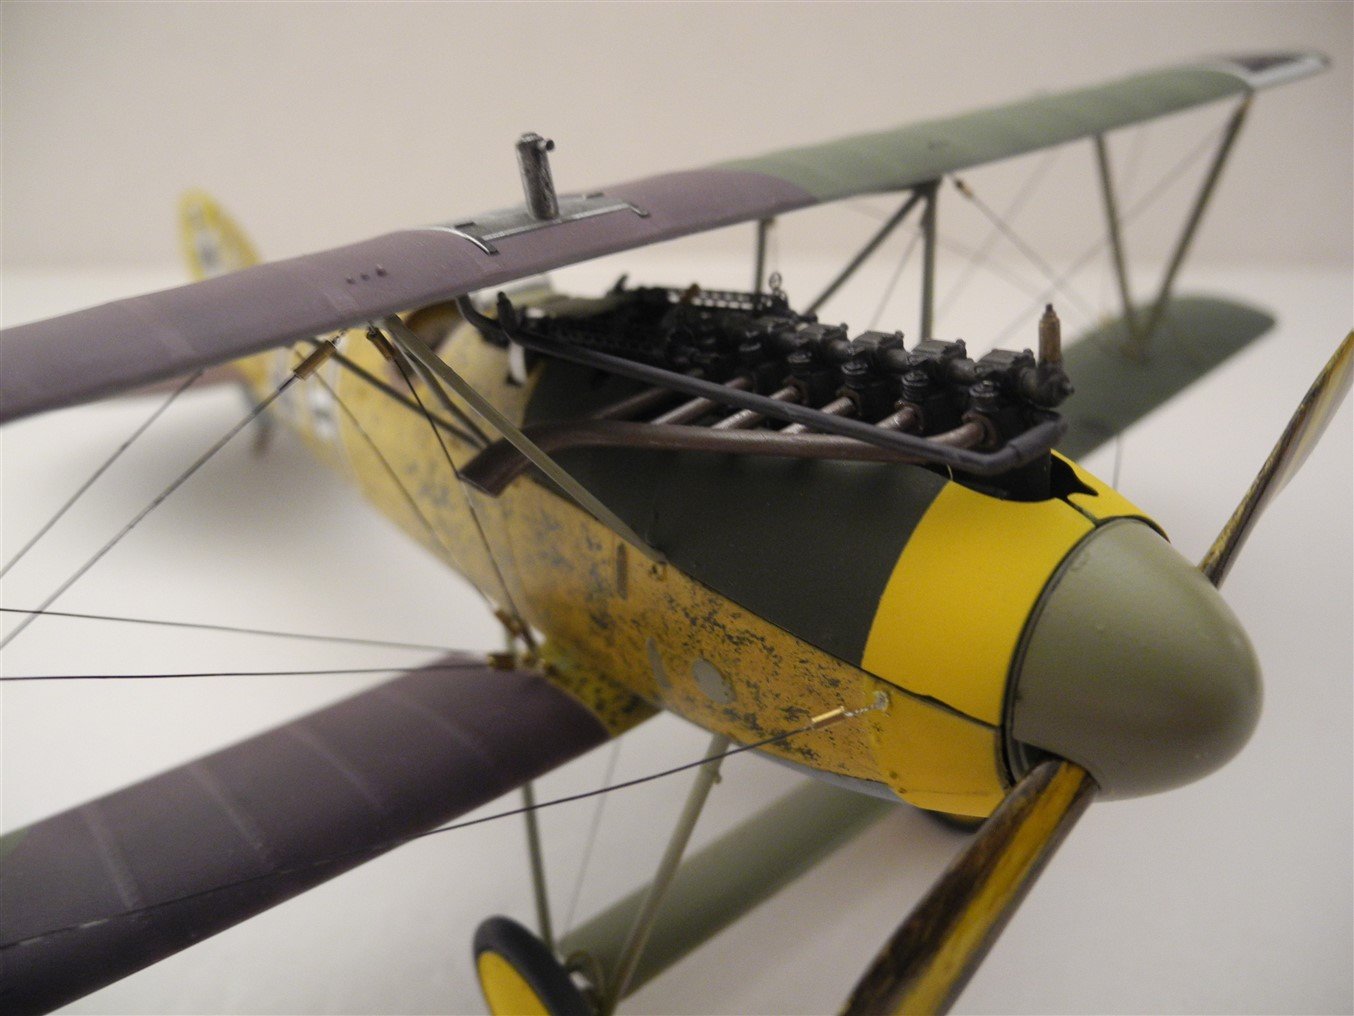
This is a Wingnut Wings Albatros D.V kit I built in 2019

- 140 replies
-
- 13
-
-

-
Bristol F.2B WW1 Fighter by CDW - FINISHED - Eduard - 1:48 Scale
CDW replied to CDW's topic in Non-ship/categorised builds
Public Service Announcement - Newsflash! Andy's Hobby Headquarters NEW (andyshhq.com) as of 6:00 PM tonight will be taking preorders for brand spanking new WINGNUT WINGS kits. As you may or may not know, Wingnut Wings, a New Zealand company produced the finest injection molded 1:32 WW1 kits ever made but went out of business about 2 years ago. This caused the Wingnut Wings kit prices to skyrocket to astronomical prices on Ebay, making them out of reach for many modelers. Well, today, the kits are coming back on the scene. Andy is received a 40-foot container of the kits sometime in mid-December and is taking preorders as of 6:00 PM today. Don't know exactly what is going to be available nor the prices yet, but you can bet I am going to visit the site at 6:00.- 140 replies
-
- 11
-
-

-
-
F-86F-30 Sabre by Egilman - Kinetic - 1/32nd scale
CDW replied to Egilman's topic in Non-ship/categorised builds
If we had a spare $250k laying around and no other pressing needs, we could buy our very own F-86. PS: and for the bargain price of $2.95 million, Canute could bring home his very own F-4. If you buy one Ken, can I has a ride? -
1936 Rolls Royce Phantom III by CDW - Revell - 1:16 scale
CDW replied to CDW's topic in Non-ship/categorised builds
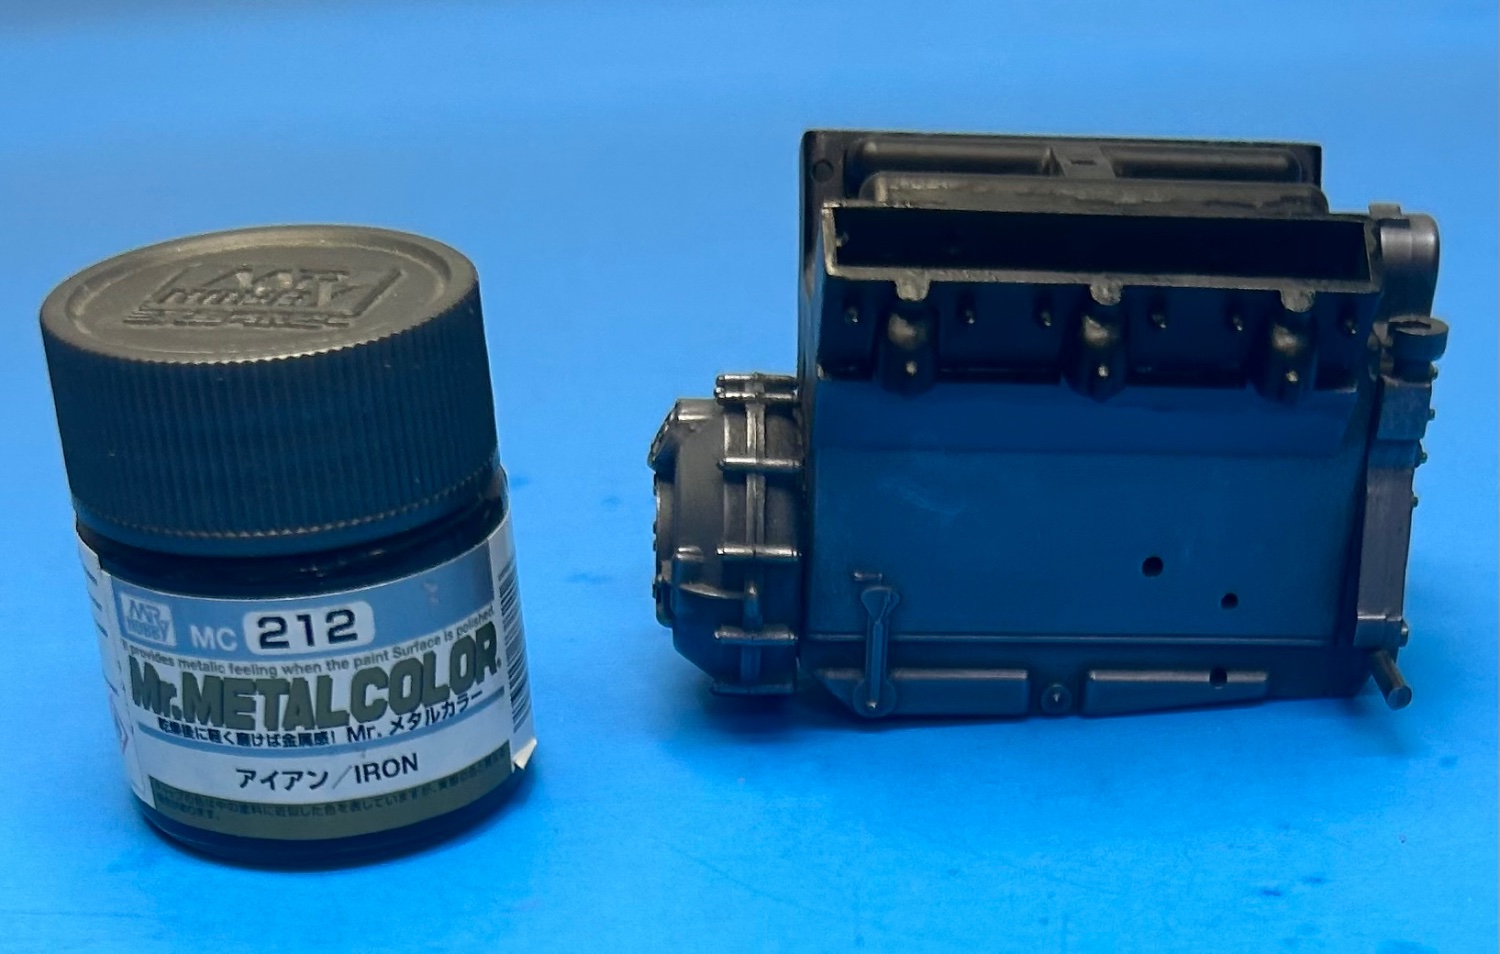
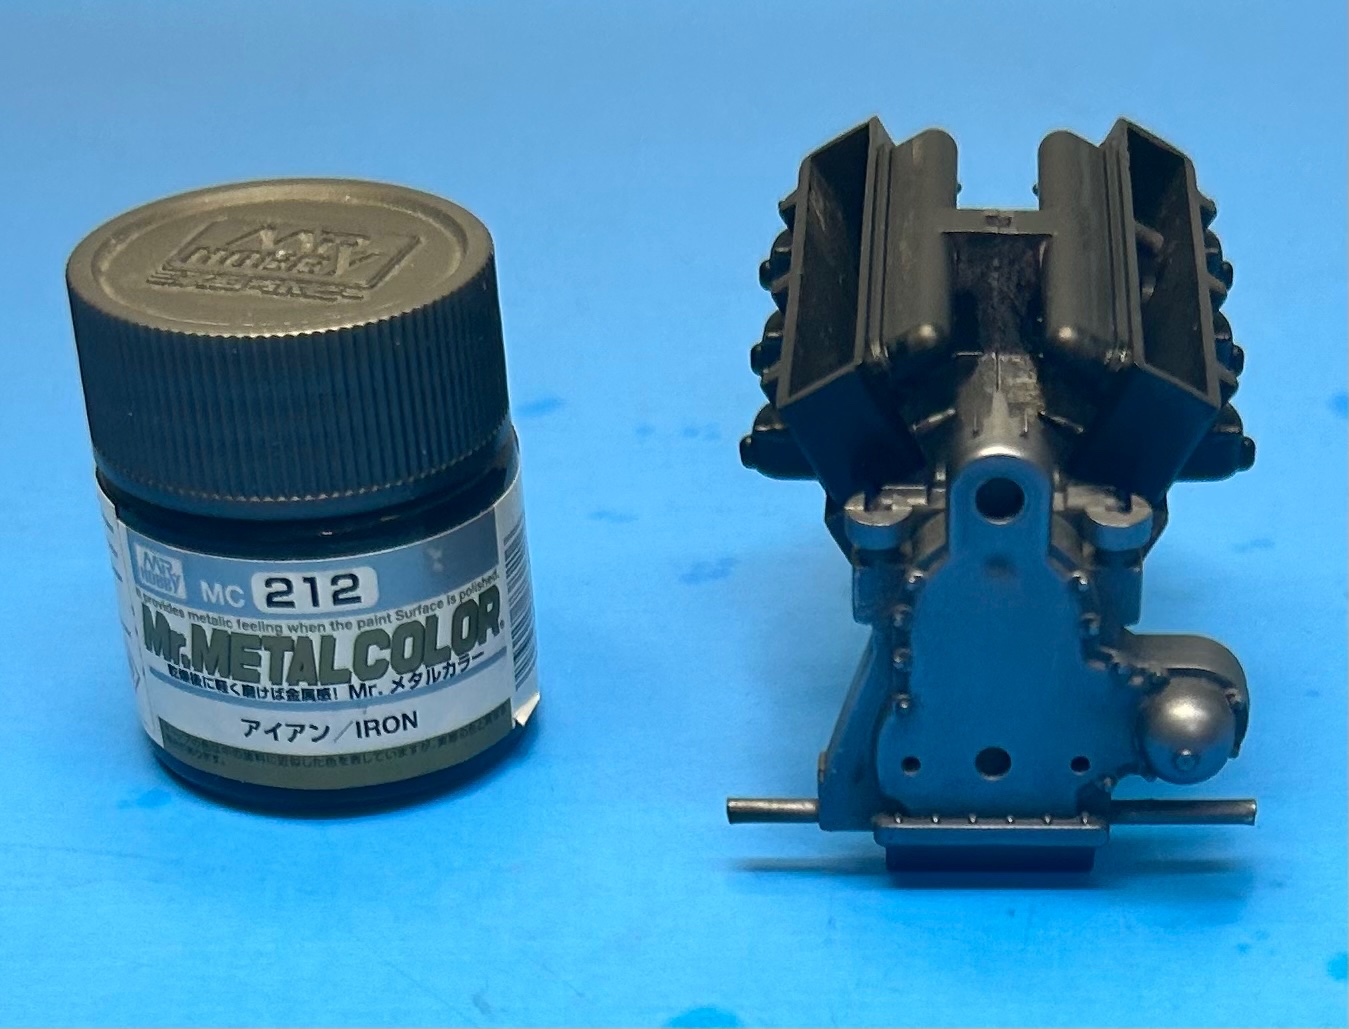
Painted the heads with Tamiya semi gloss black, then masked them off and painted the block with Mr Metal Color iron. After spraying it on, gave the iron a little buff with a soft cotton rag. I think this is more convincing than the AK paste.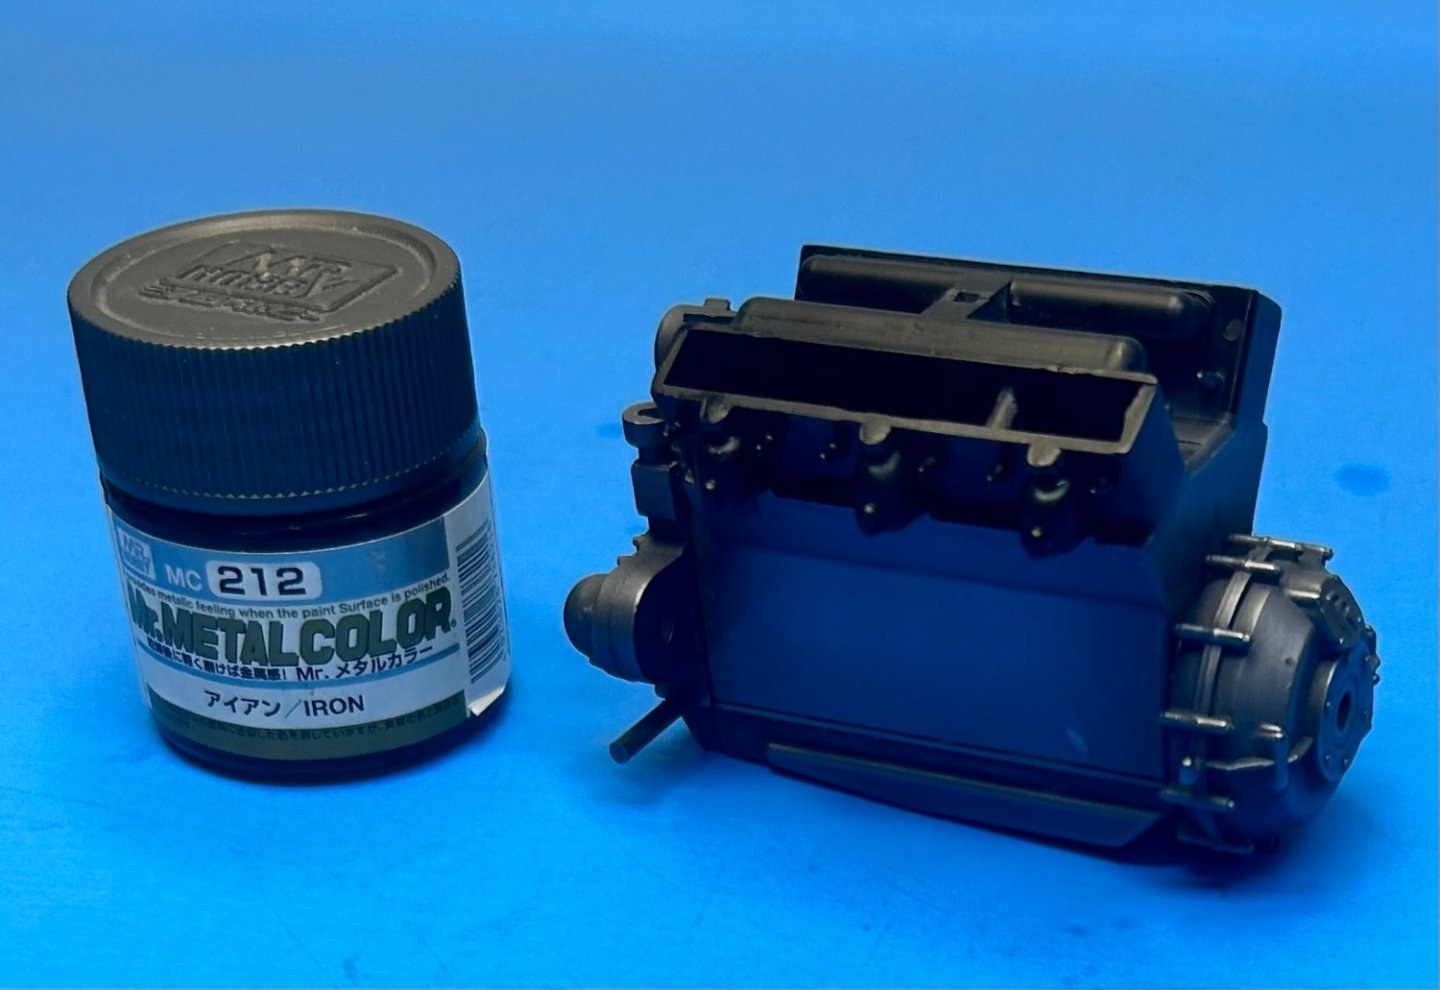

- 97 replies
-
- 22
-
-
-
1936 Rolls Royce Phantom III by CDW - Revell - 1:16 scale
CDW replied to CDW's topic in Non-ship/categorised builds
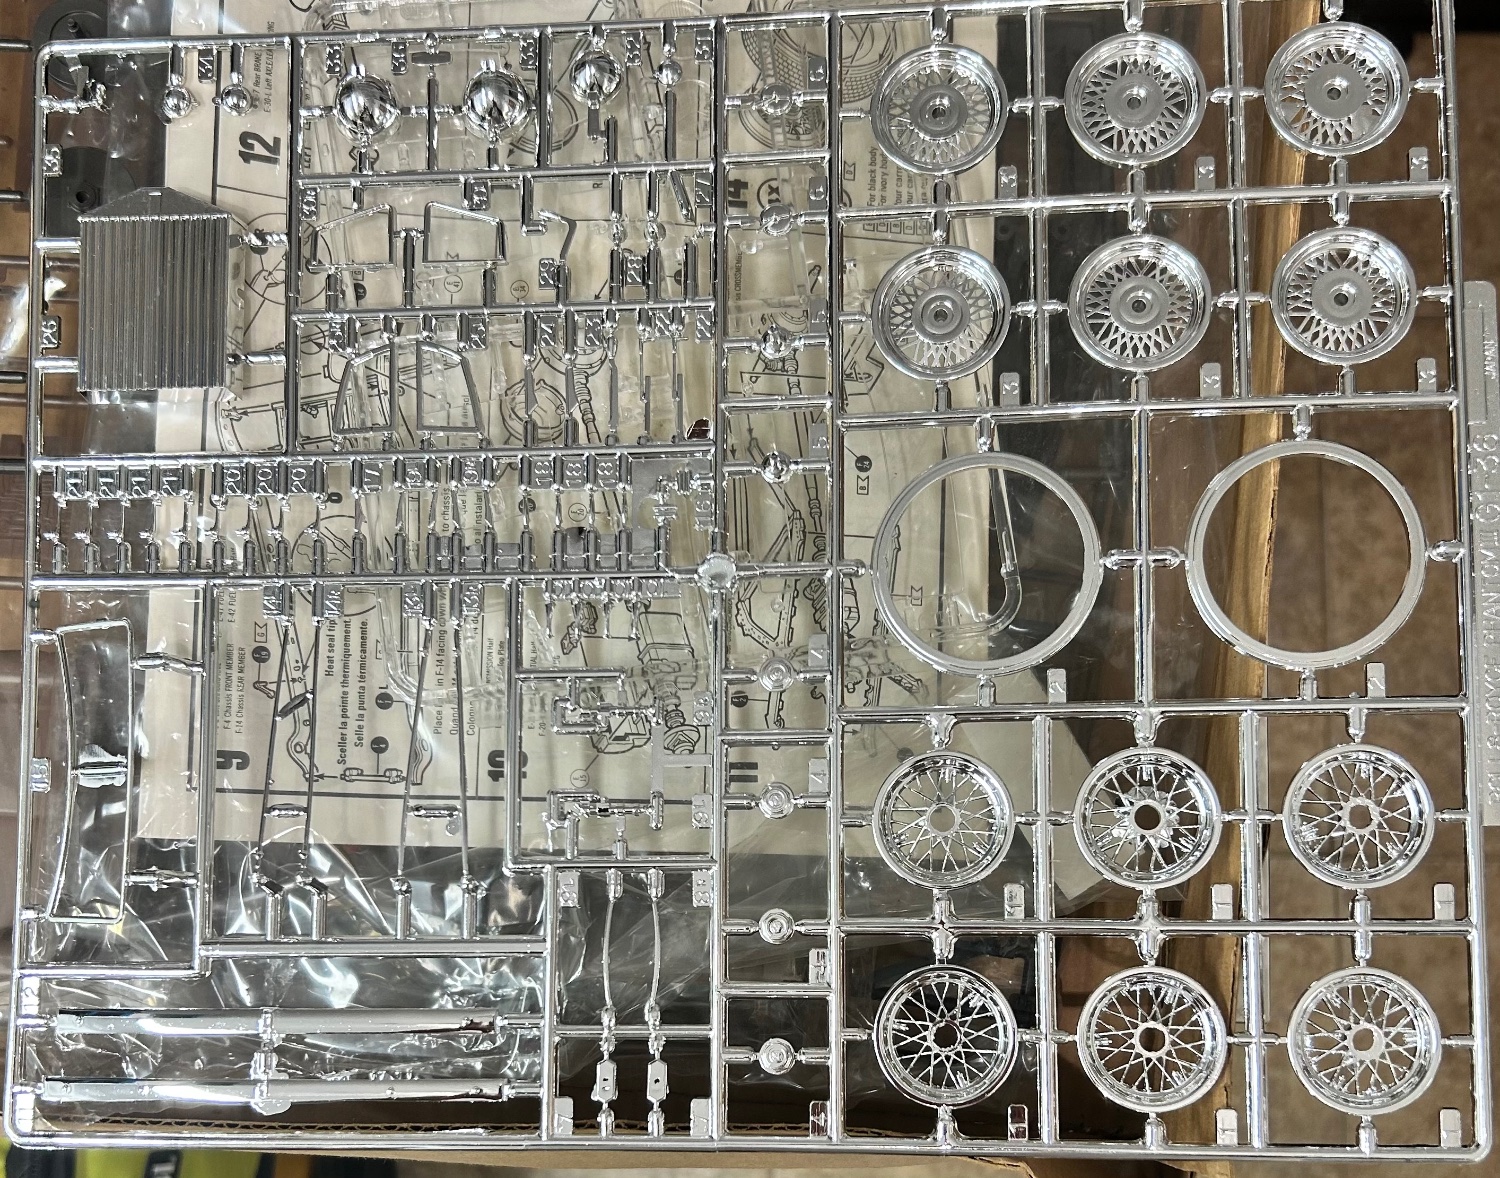
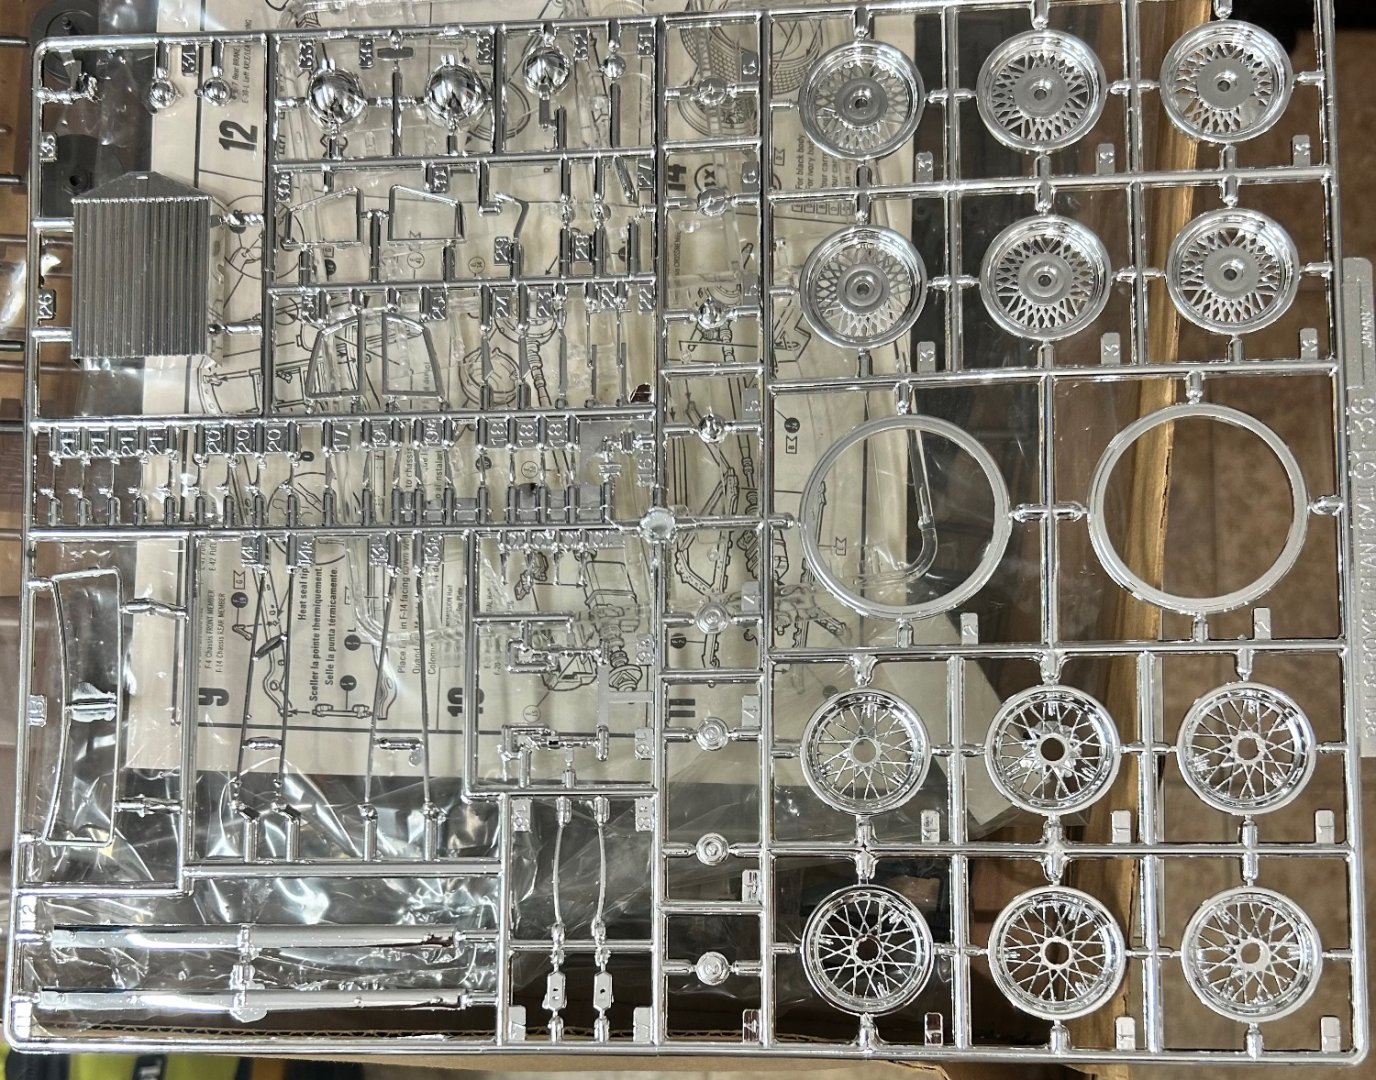
The yellowish tint on the parts tree is the clear paint under the chrome that has not been removed yet. In another hour or so, I will scrub the parts a bit with a toothbrush and rinse them off. They will be bare plastic then.
- 97 replies
-
- 16
-
-
-
1936 Rolls Royce Phantom III by CDW - Revell - 1:16 scale
CDW replied to CDW's topic in Non-ship/categorised builds
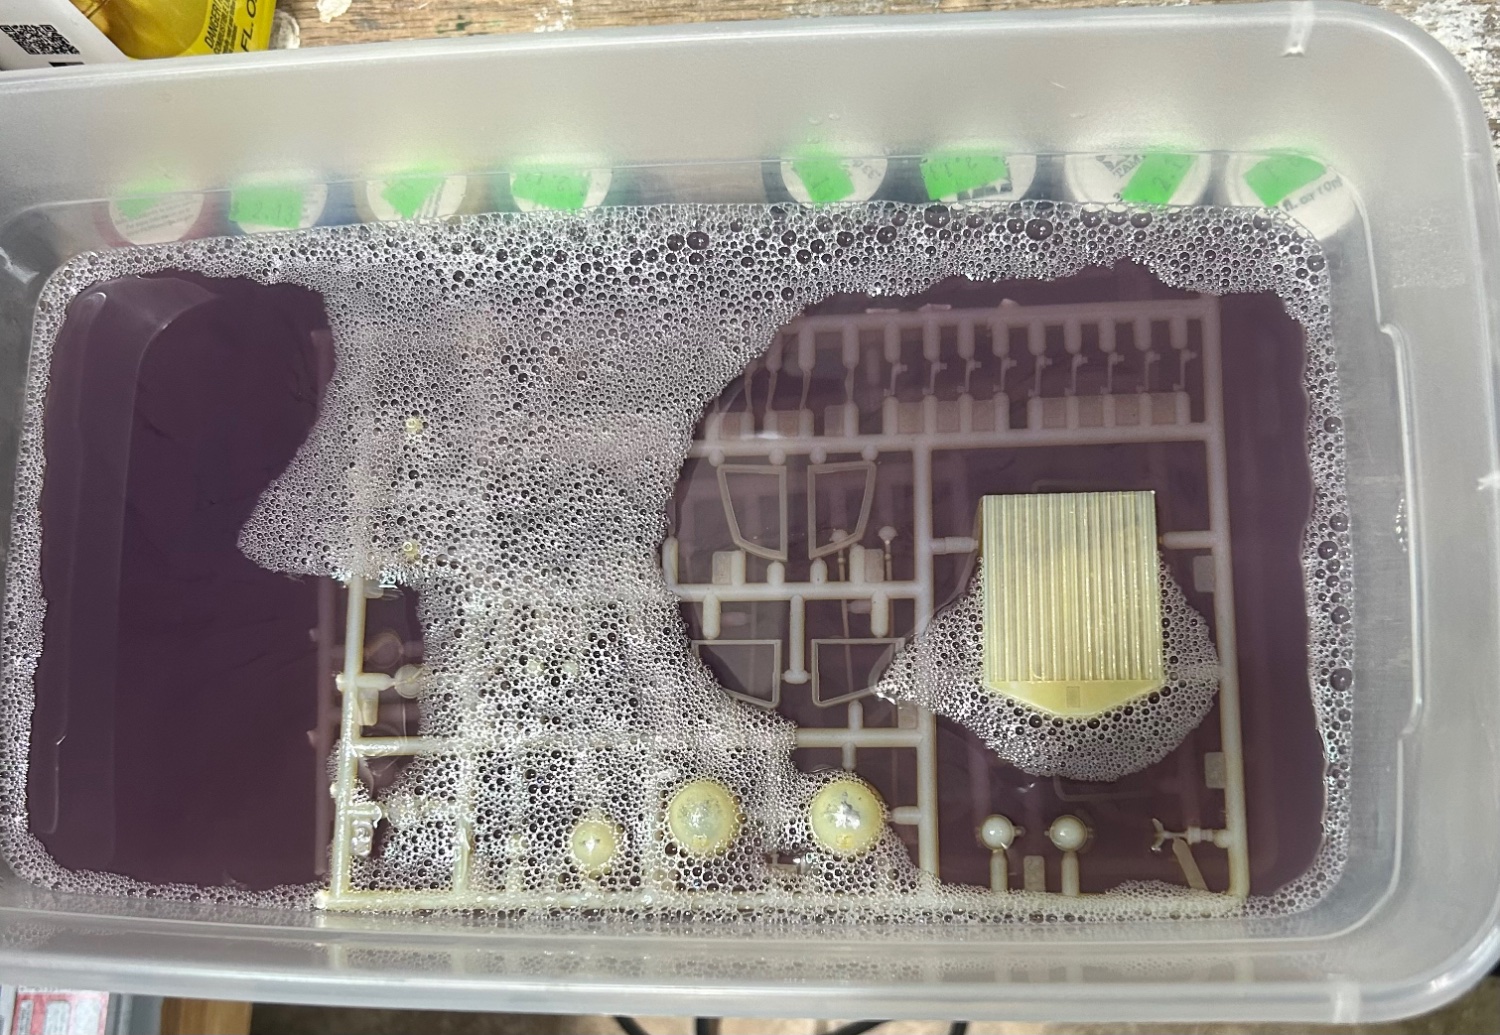
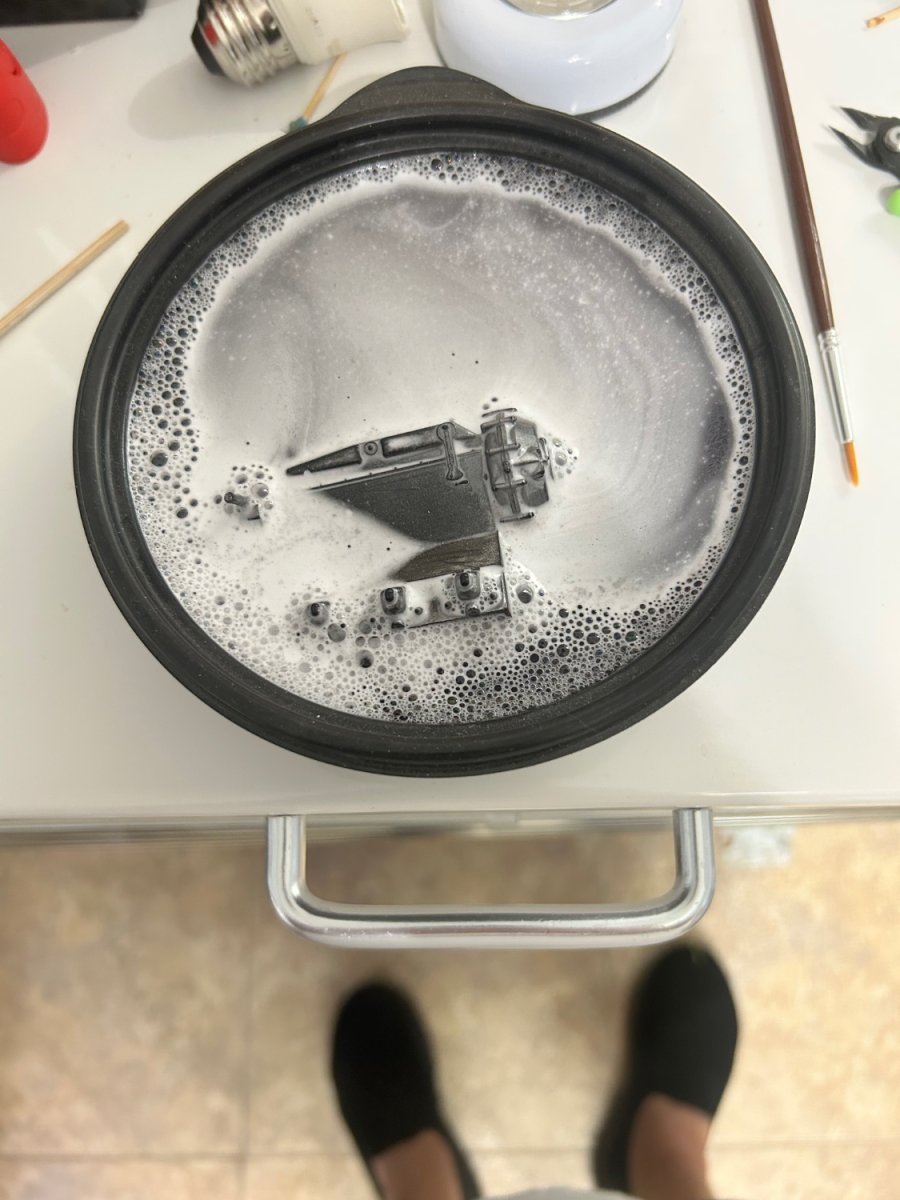
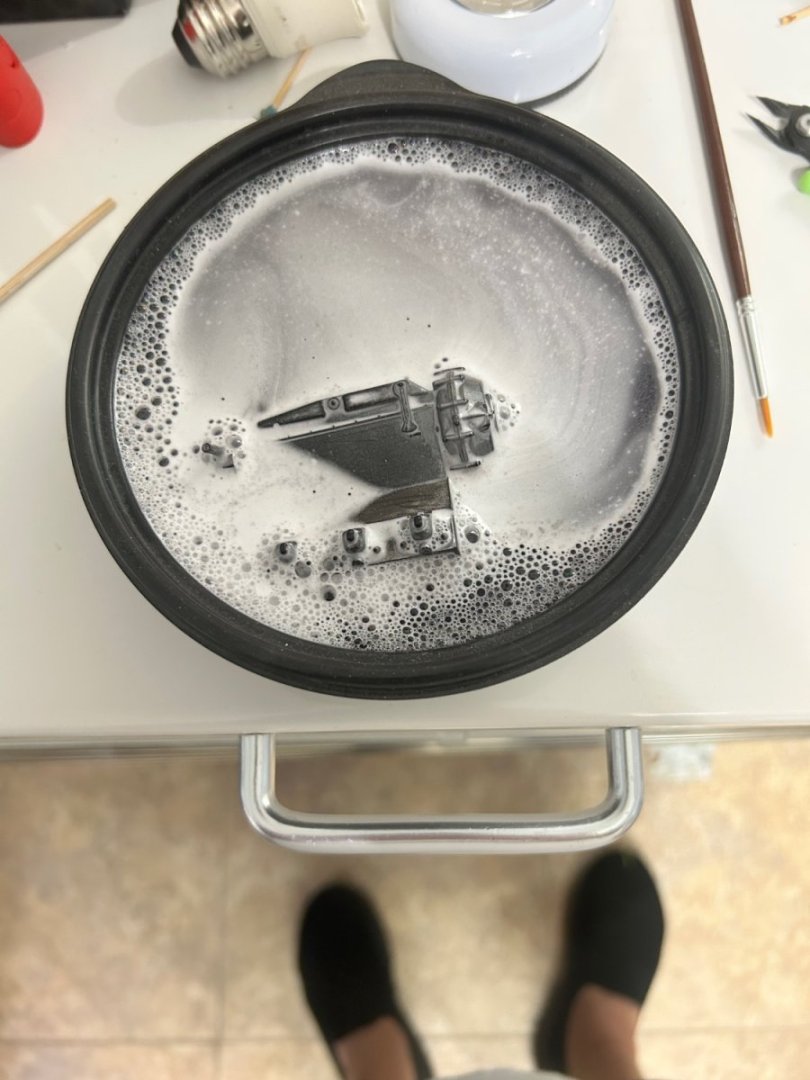
I didn't care for the AK True Metal paste I used on the engine block, so I decided to strip it off and go another route. I'll take this opportunity to show what I use to strip paint and the "chrome" off of molded plastic parts. It's a product many in the plastic modeling community are familiar with, called Super Clean. It come in gallon size plastic jugs, and I buy mine from the automotive section of Wal Mart. Seels for around $10 a gallon last time I bought some. It will last a long, long time, and can be used over and over again, just pour it back into the jug after use. It stripped the wax off the engine block in just seconds, using a stiff brush to loosen the paste from cracks and crevices. Took it all the way down to my primer, which was Mr Color lacquer. Had I left it in the solution for an hour or so, it would have stripped the primer as well, down to bare plastic. If you use it to strip a model that's been painted a long time, like years, it may need overnight and a toothbrush the next day to loosen and remove the paint. it will not harm clear plastic such as canopies and windows, so that's a plus. Next, I am using it to strip my chrome parts tree. What I really like about it, it also removes the clear paint that's underneath the chrome. The clear paint is part of the plastic plating process. Other methods such as brake fluid or bleach will also remove the chrome plating, but it won't remove the clear paint under the plating. Not to mention the fact that brake fluid is just a p-i-t-a to get rid of when you're done with it, AND it fogs/ruins clear plastic. I know, I know, I also used it back in the day but that was all we had back then except for spray-on oven cleaner, and that has all its own set of drawbacks. Stripping the chrome tree down to bare plastic usually takes a couple of hours, and sometimes a toothbrush to scrub the parts a bit to remove stubborn clear paint. Just a word or two of caution: make sure to wear latex gloves and keep the Super Clean off your bare skin. Do not put your uncovered hands down into it. Keep it off/away from anything you don't want damaged in case you accidentally spill it. Lastly, use a container with a lid if you are using the product indoors.


- 97 replies
-
- 15
-
-
-
Sea Harrier FRS1 by AJohnson - FINISHED - Airfix - 1:72
CDW replied to AJohnson's topic in Non-ship/categorised builds
It pains me but it seems the "new normal" for newly released 1:48 modern fighter planes are right around the $100 mark. Sometimes more, sometimes a little less. Unless there is a drastic change of some sort, I don't expect this upward cost trend to get any better. Makes me wonder if we all might one day be building card models just so we can afford the model building hobby. I have recently paid as much as $150 for a newly released SU-27 kit. For me, this trend is unsustainable. -
Sea Harrier FRS1 by AJohnson - FINISHED - Airfix - 1:72
CDW replied to AJohnson's topic in Non-ship/categorised builds
Beautiful build on your Buc! My old air force buddy tells me a tale about him flying at Red Flag in his F-16 while he watched a Buccaneer race past almost on the deck supersonic. They were by all accounts a very impressive aircraft. Mine was also done in Desert Storm markings, although I gave it away long ago and have no photos of it to share. Wish I did, but in those days I did not have a digital camera and developing film was such a hassle I neglected to take photos of many many models I wish I had photos of now. -
1936 Rolls Royce Phantom III by CDW - Revell - 1:16 scale
CDW replied to CDW's topic in Non-ship/categorised builds
The comparison is closer to Protar, although it’s my opinion the Gunze kits are a bit better molded while Protar gives multi media parts in their kits, Gunze does not. Gunze Kia are typical of Japanese models from the 70’s. Back then they were considered high quality. Poacher is in a league all their own, twice the size and orders of magnitude more parts.- 97 replies
-
- 10
-
-
1936 Rolls Royce Phantom III by CDW - Revell - 1:16 scale
CDW replied to CDW's topic in Non-ship/categorised builds
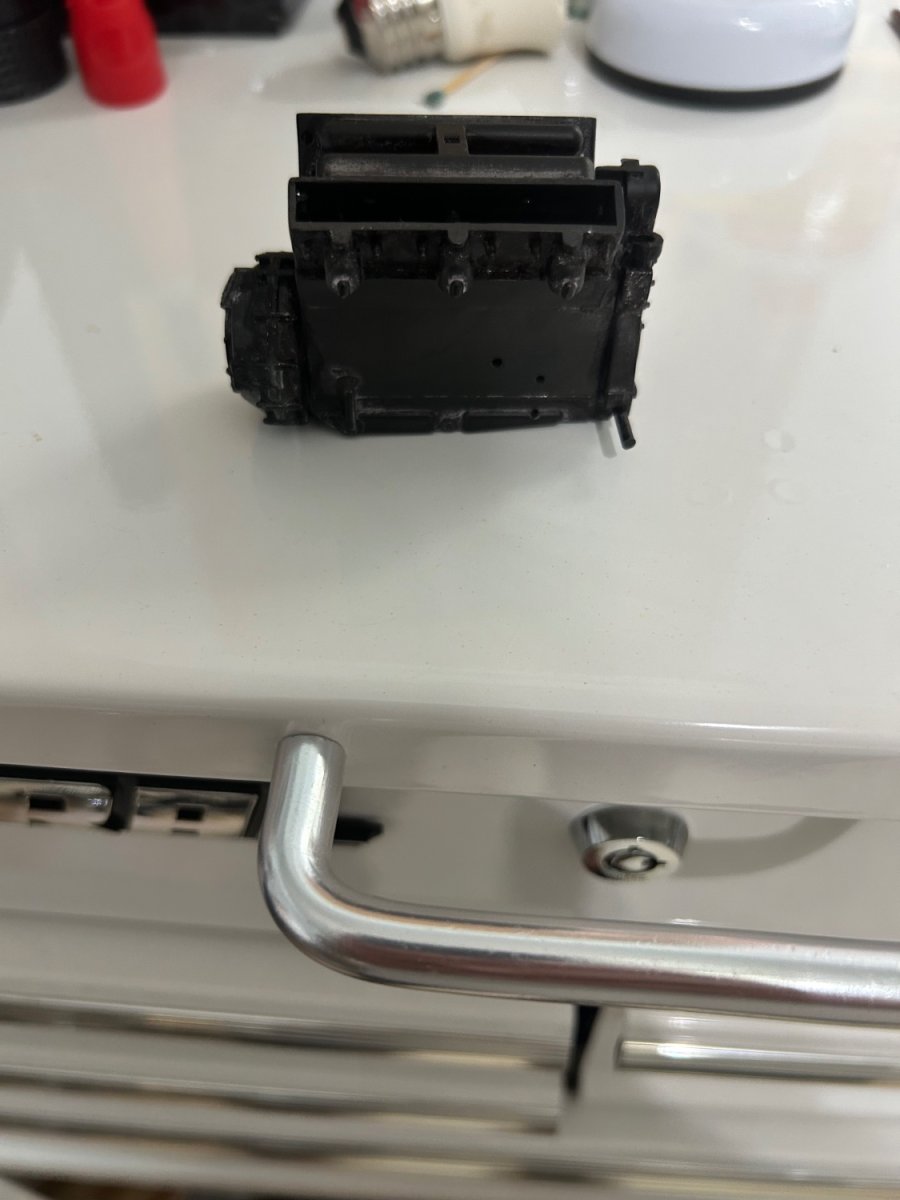
Cast metal block with black cylinder heads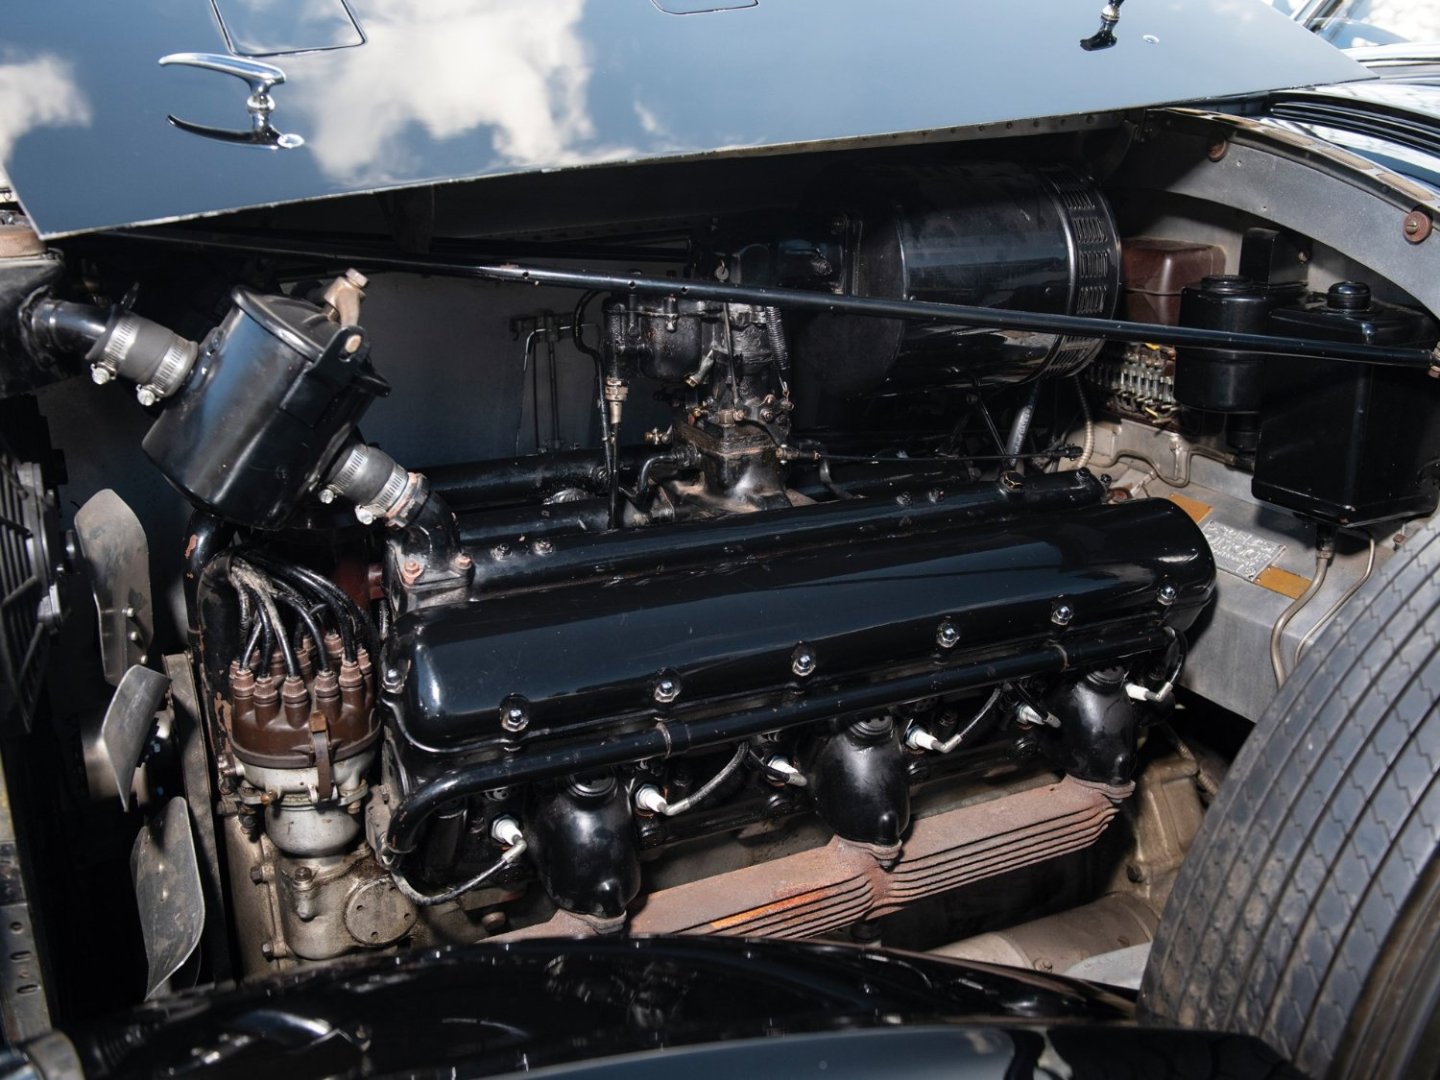
- 97 replies
-
- 13
-
-