CDW
-
Posts
7,760 -
Joined
-
Last visited
Content Type
Profiles
Forums
Gallery
Events
Everything posted by CDW
-
 https://finescale.com/product-info/kit-reviews/2015/05/wolfpack-designs-t-2c-buckeye Above is a link to a FineScale Modeler review of this Buckeye kit. No mention of whether it’s a rebox, so I guess it’s safe to assume it’s Wolfpacks own mold but we know what they say about assumptions. ps I picked up the paint I needed to start this build. Will finish the pair of Fuji Trainers first.
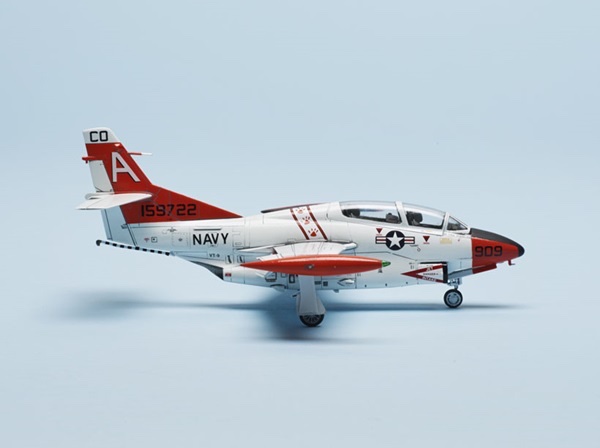
- 25 replies
-
- 10
-

-
Mike, this reminds me of a Fujimi or similar quality kit. Good but not as great as some of the newer molds that have been tooled lately. I believe Wolfpack might have reboxed this kit from some other manufacturer, but I don't know this for sure. It's better than average IMO.
-
Just watched a lizard catch a grasshopper this morning in my front yard. Call of the wild.
- 25 replies
-
- 10
-

-

-
-
From an individual on EBay
-
Martin B-26B Marauder by CDW - FINISHED - Airfix - 1:72 Scale
CDW replied to CDW's topic in Non-ship/categorised builds
Thanks for the nice comments. That glass looks good from six feet…just right -
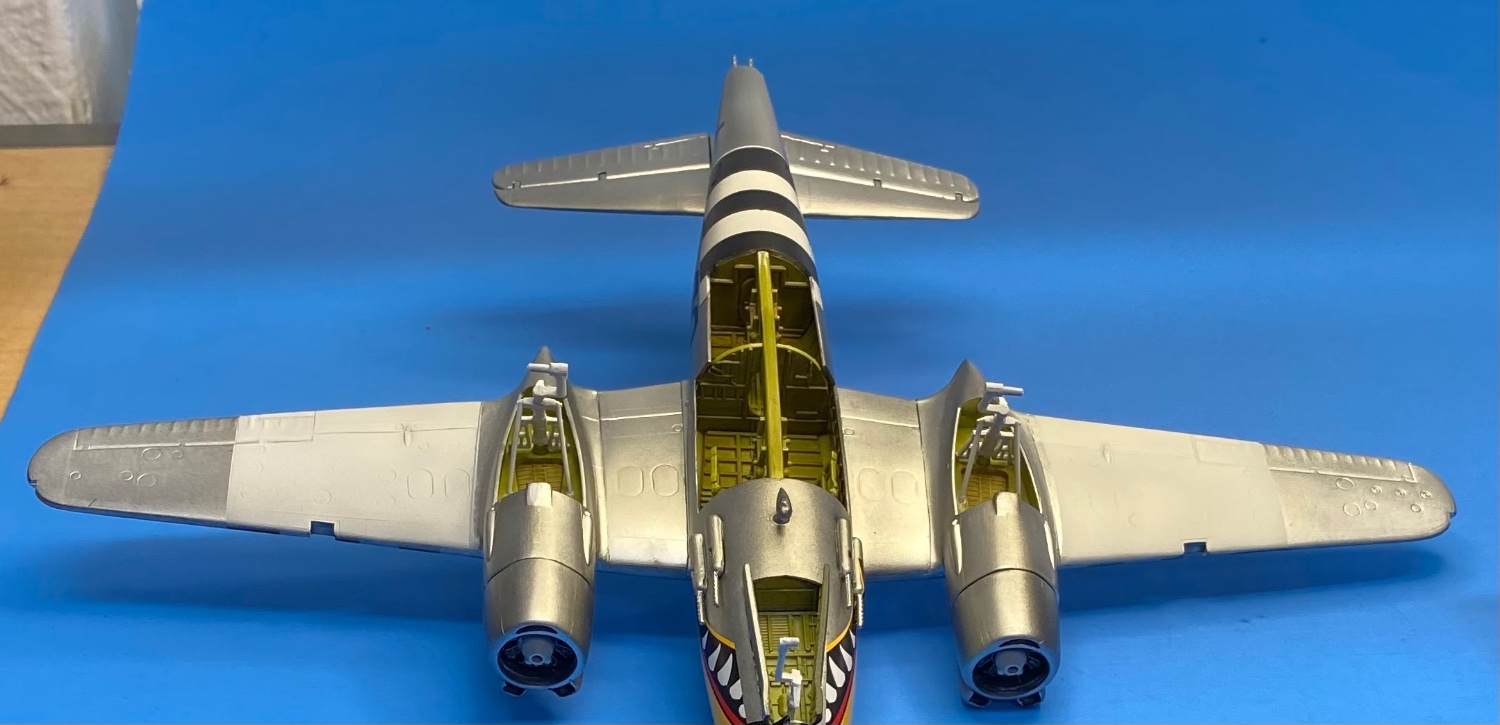
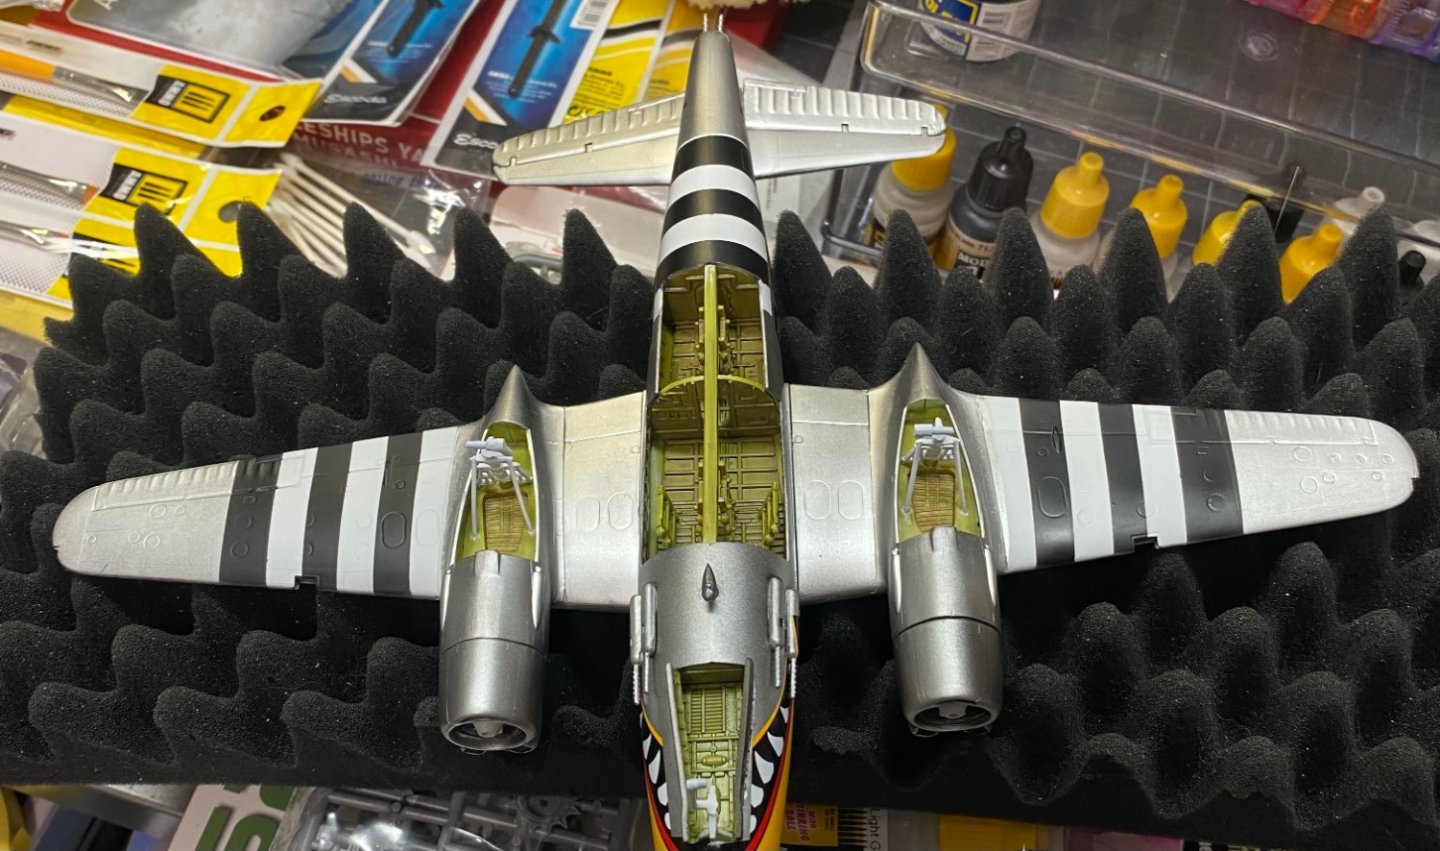
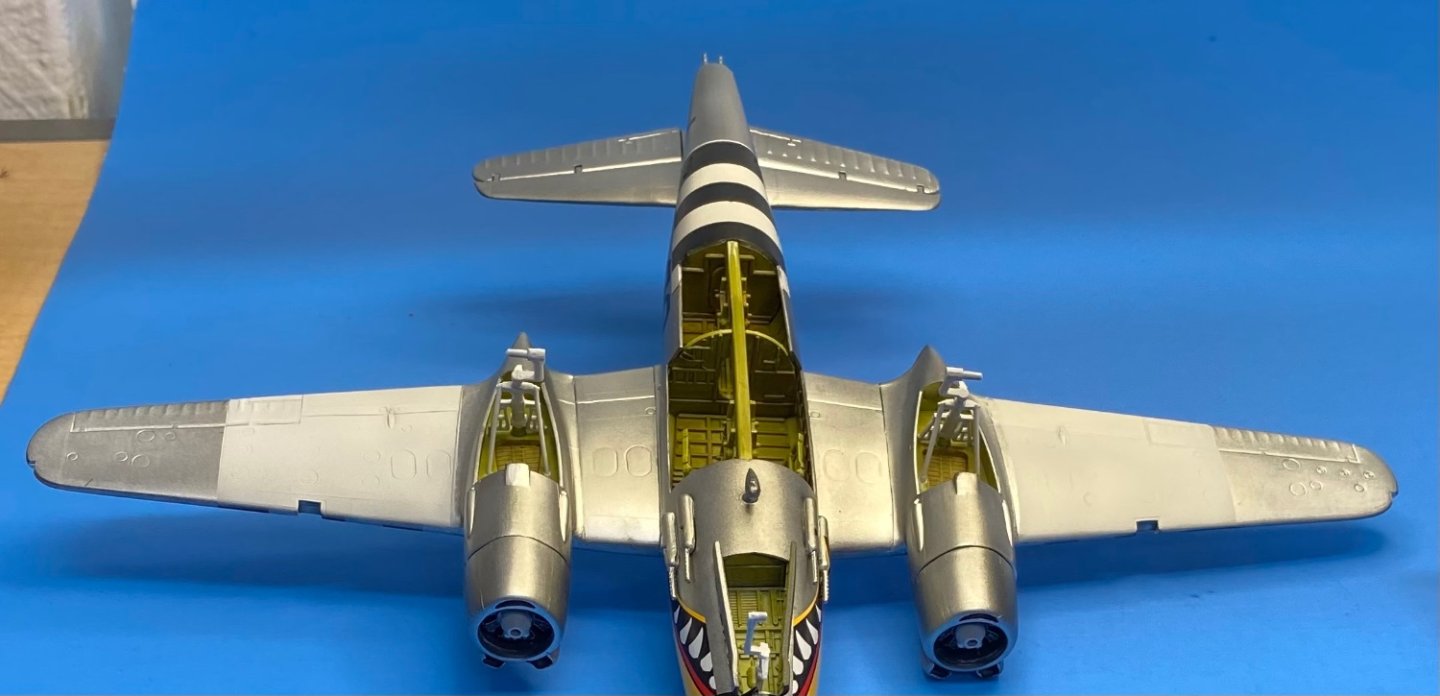
Next, will add the wings and a few other small details, then begin preparation for paint.
- 45 replies
-
- 10
-
-
It’s going to be a short work if everything works out alright. Most of the time spent might be decals.
- 45 replies
-
- 10
-
-
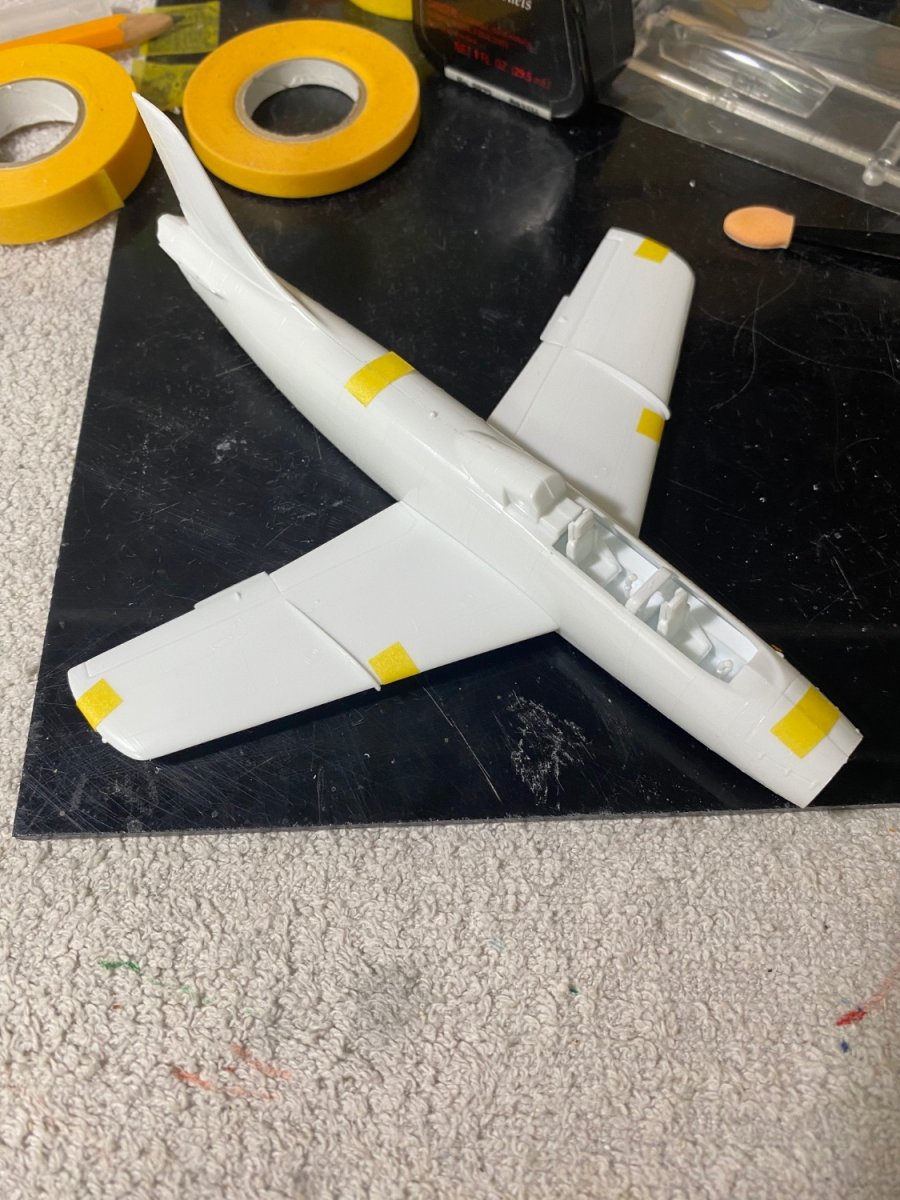
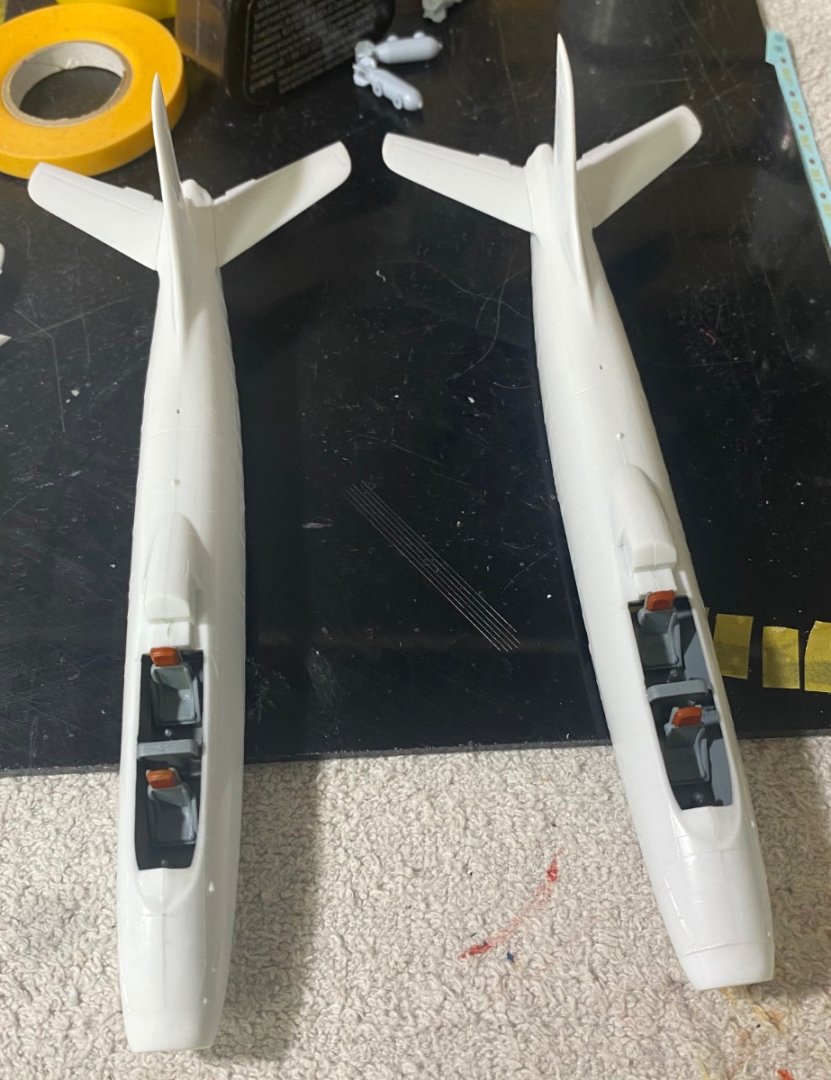
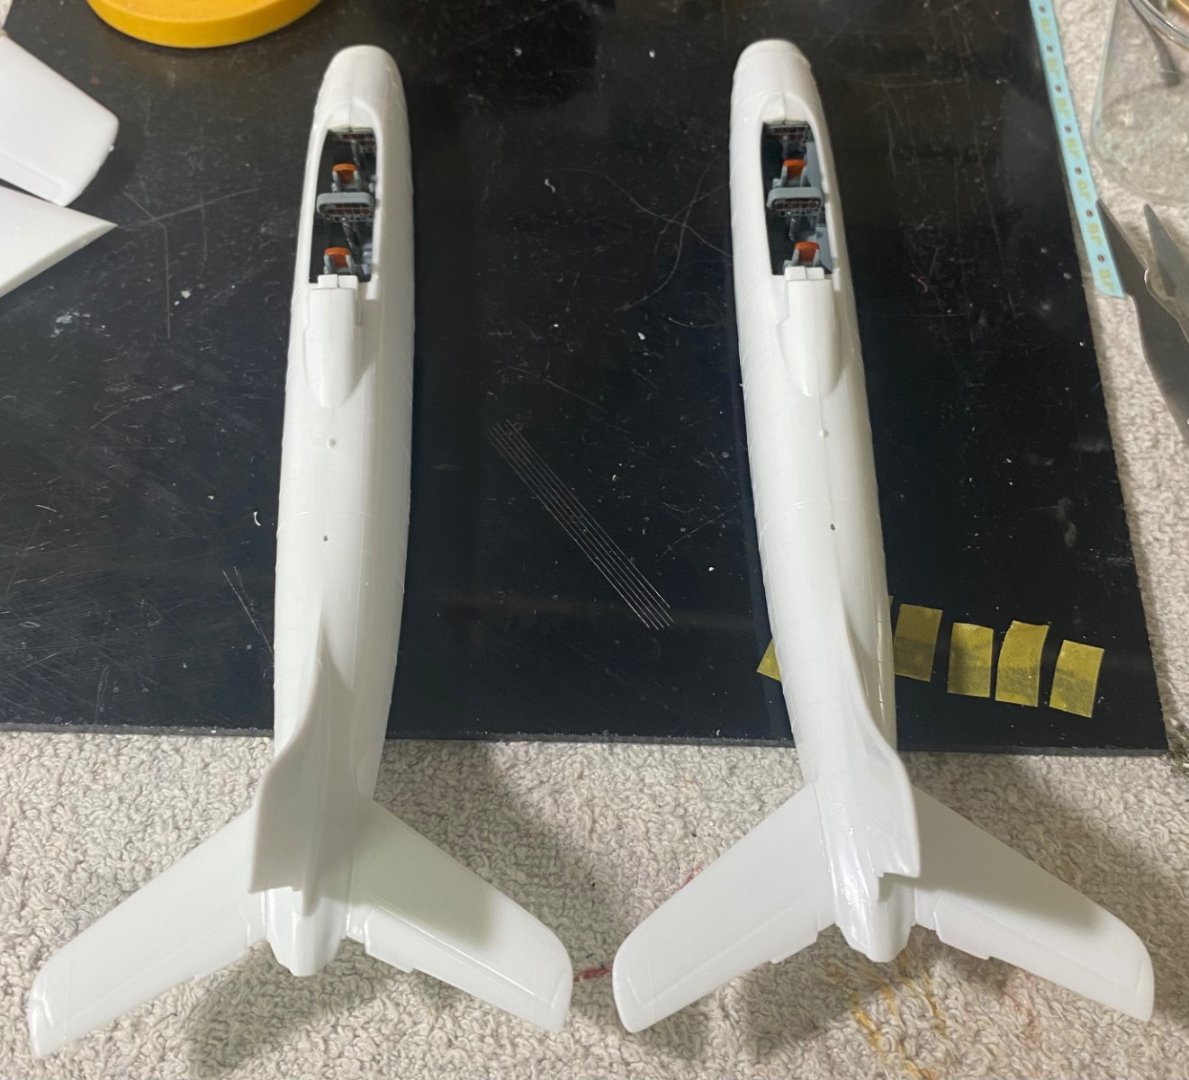
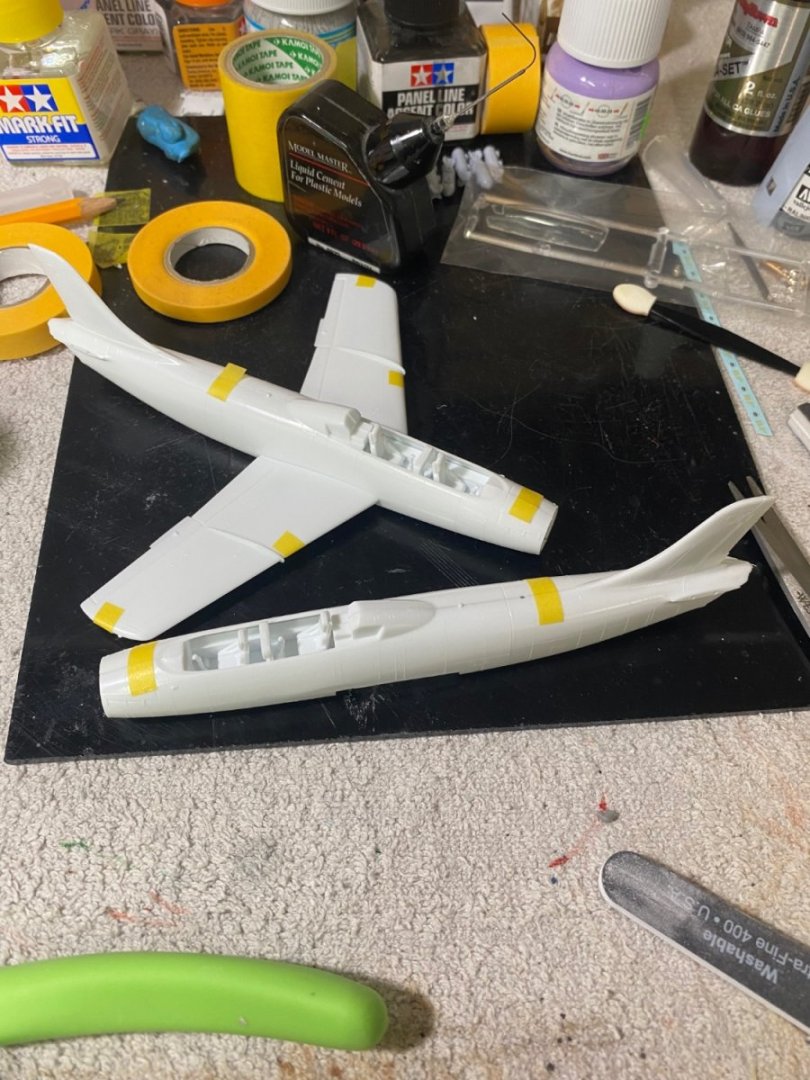
While the paint is mixed and the airbrush is out, it just makes sense to me to build the pair of the aircraft at the same time. The only difference in the two will be the decal markings. Both have the same basic airframe colors.
- 45 replies
-
- 13
-
-
Chieftain tank by king derelict - FINISHED - Takom - 1/72
CDW replied to king derelict's topic in Non-ship/categorised builds
Wow, these look great Alan. 1:72 scale armor has come a long way. -
By Arjun Sarup - Own work, CC BY-SA 4.0, https://commons.wikimedia.org/w/index.php?curid=87487043
- 45 replies
-
- 10
-
-
By Josephus37 - Own work, CC BY-SA 4.0, https://commons.wikimedia.org/w/index.php?curid=51195861
_at_Tokorozawa_Aviation_Museum_Saitama_prefecture_Japan.thumb.jpg.e93f1188c18d19fe227bc325a0965230.jpg)
-
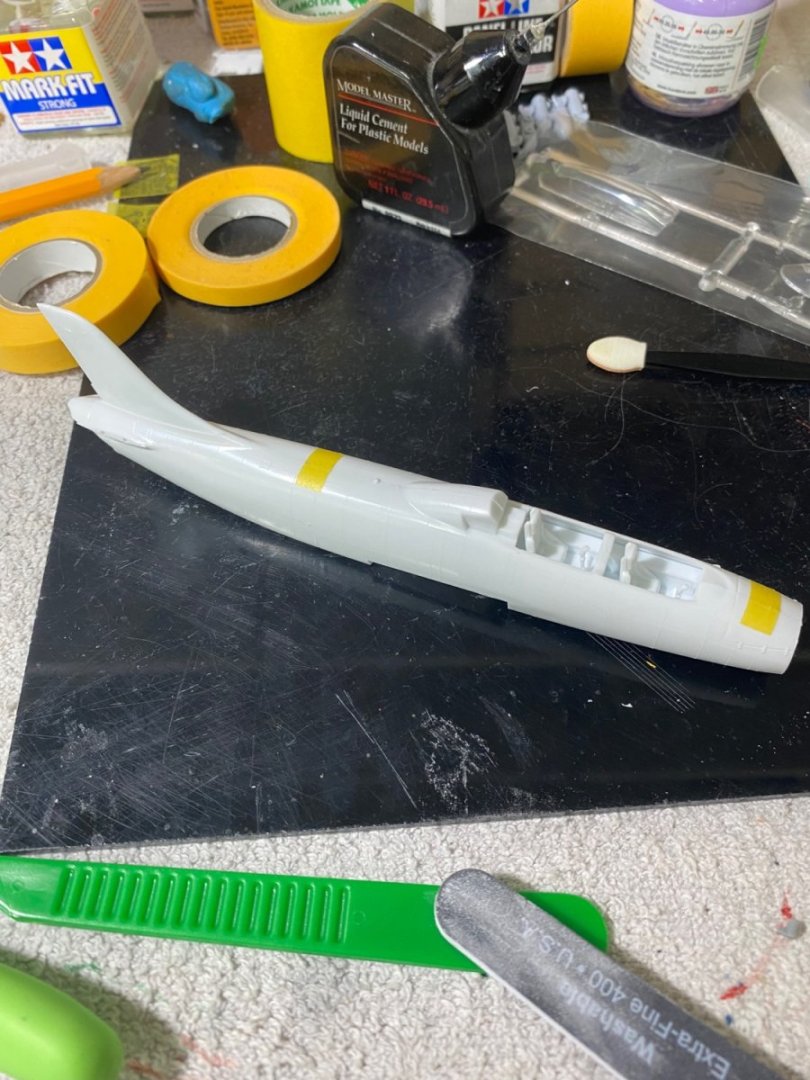
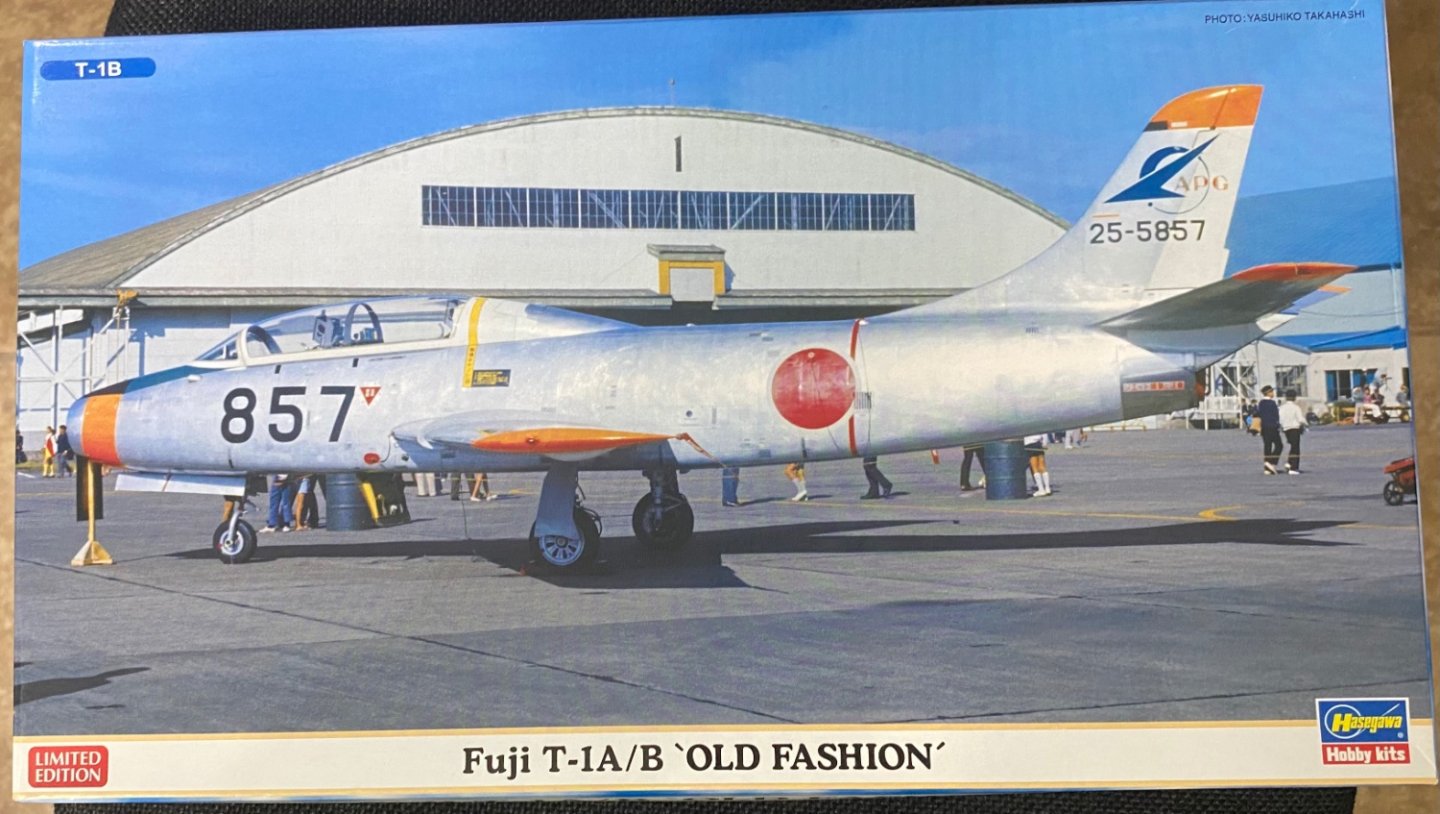
Looks to me the Japanese borrowed heavily from the F-86 Sabre and F-100 Super Sabre designs for the T-1.
-
Welcome aboard. As the first to arrive, you have your choice of any seat in the house. 🙂
-
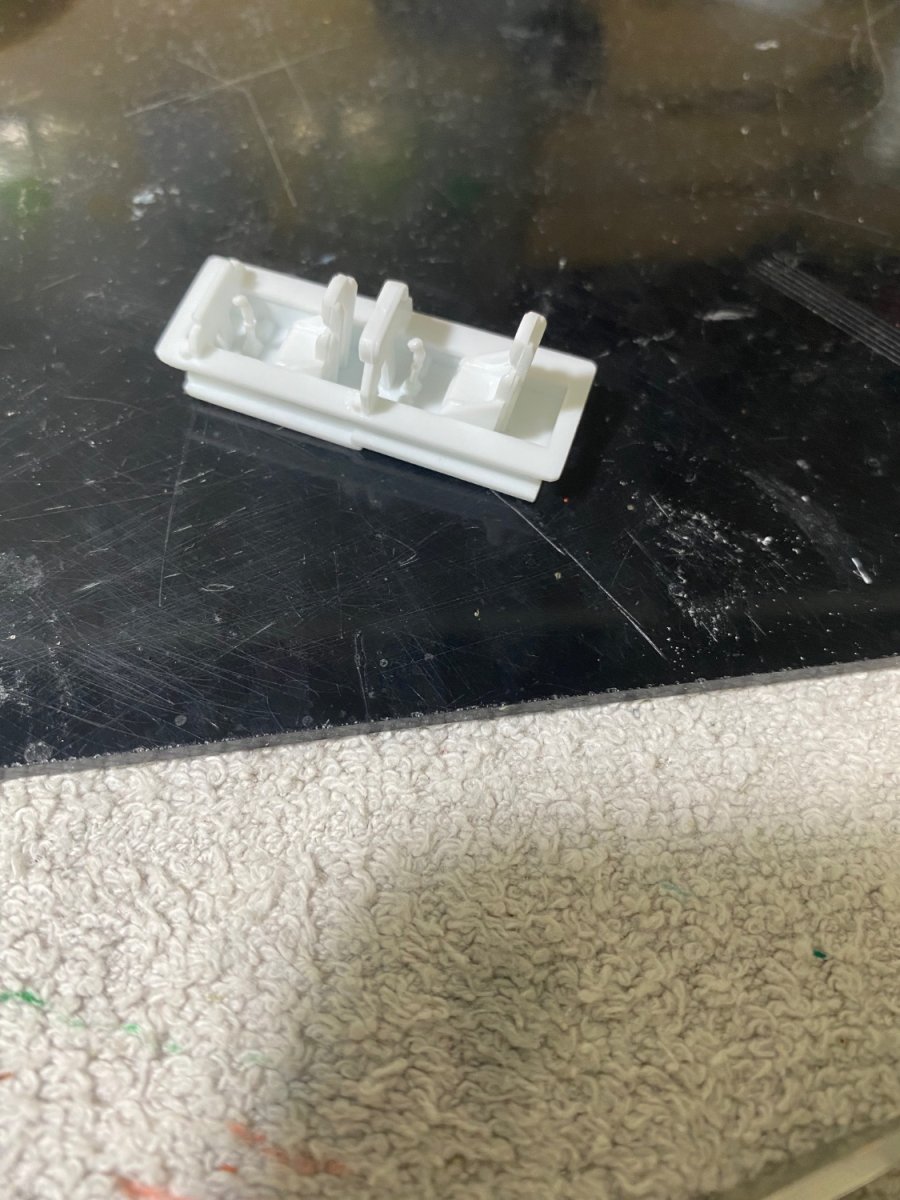
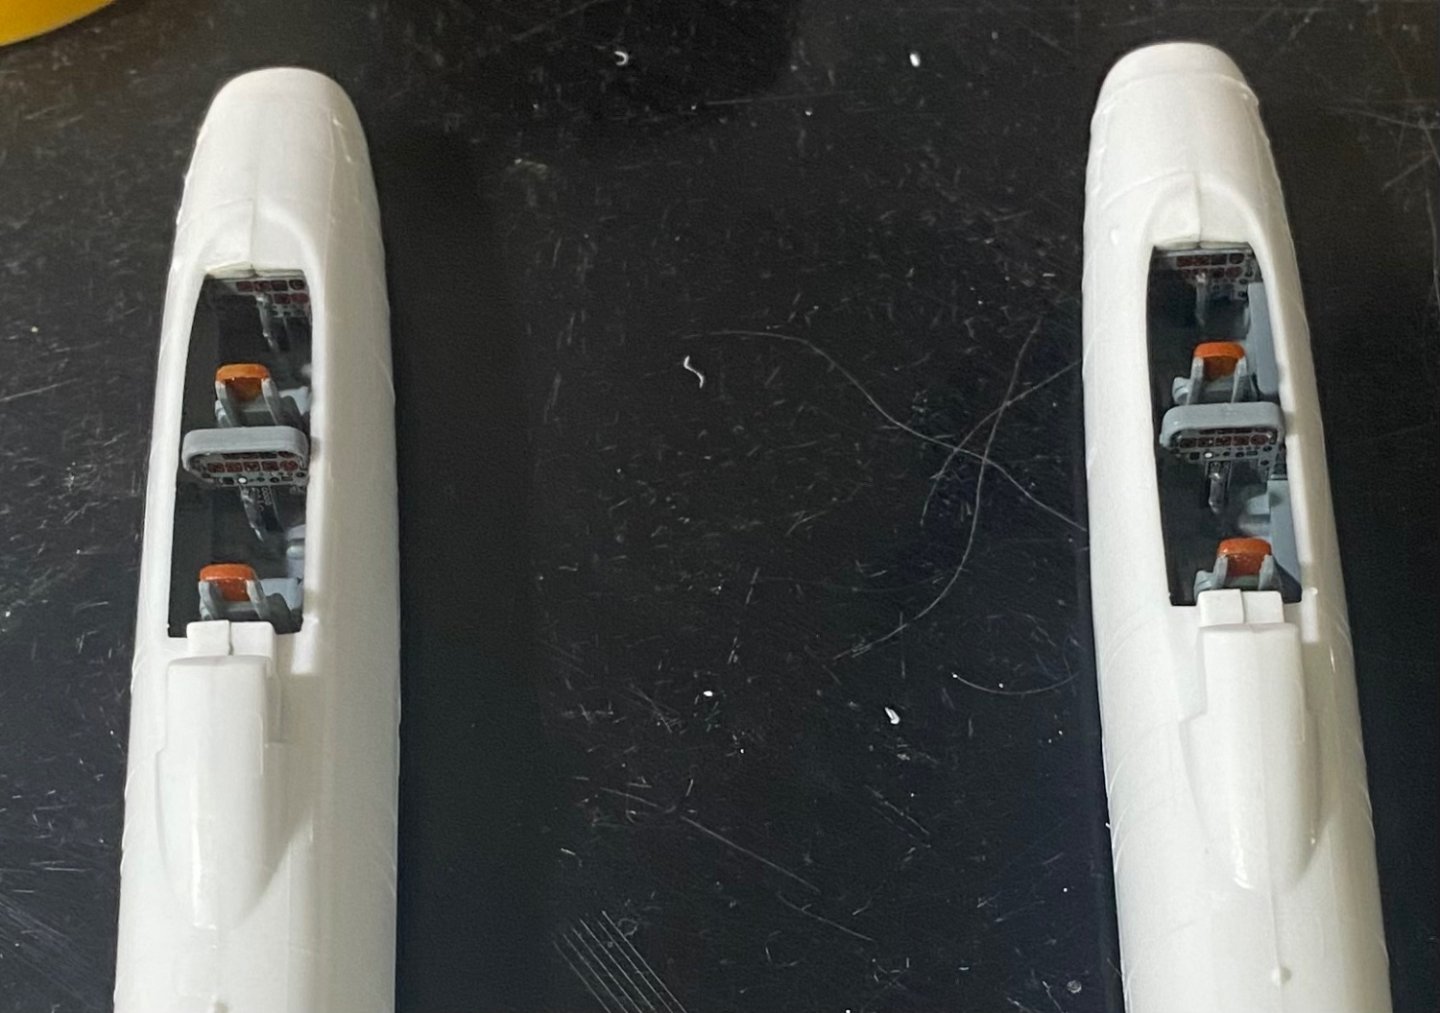
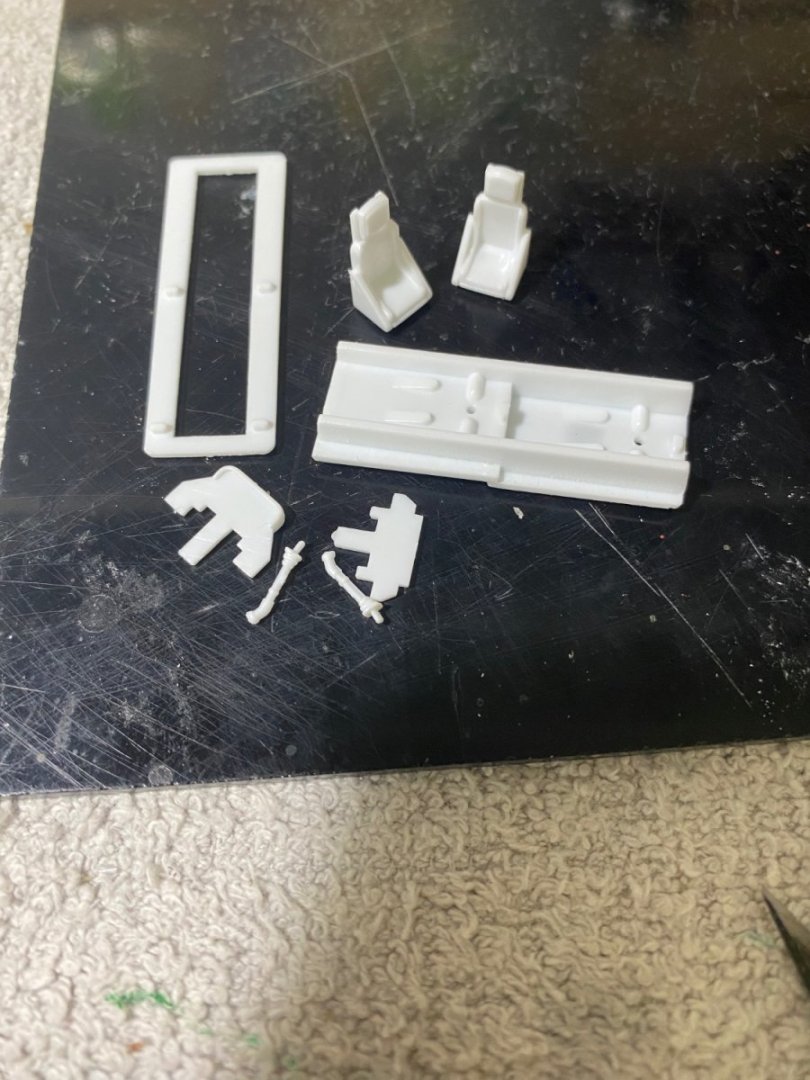
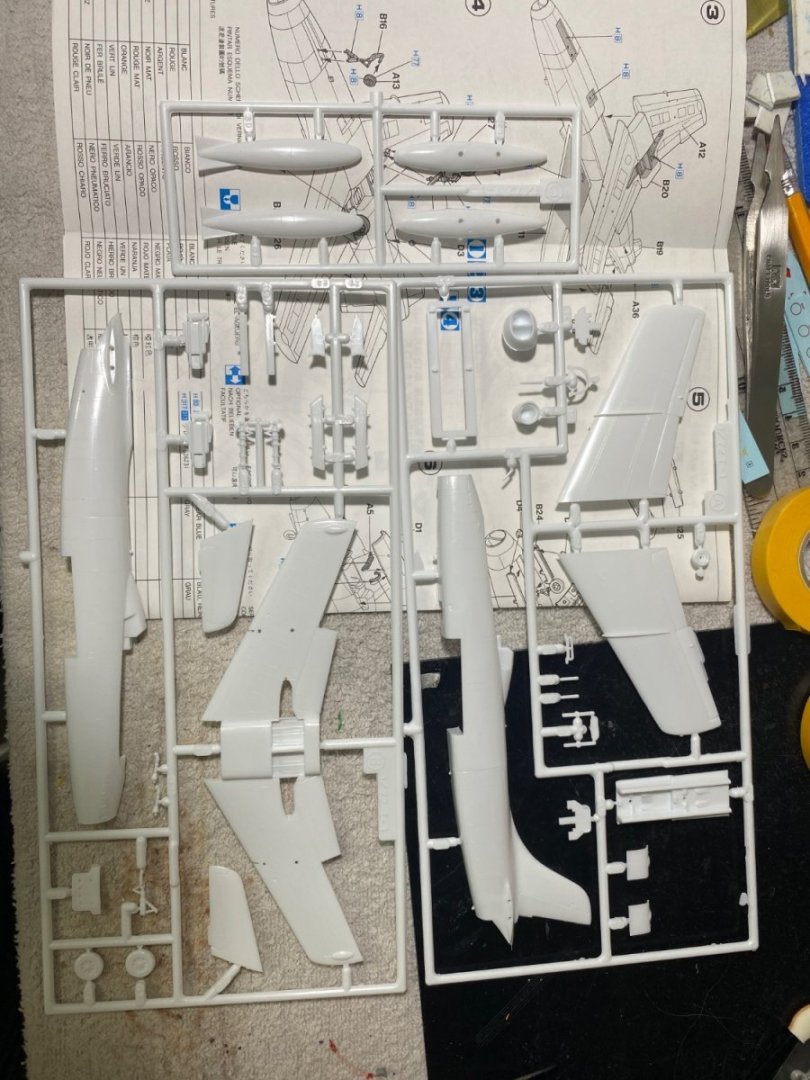
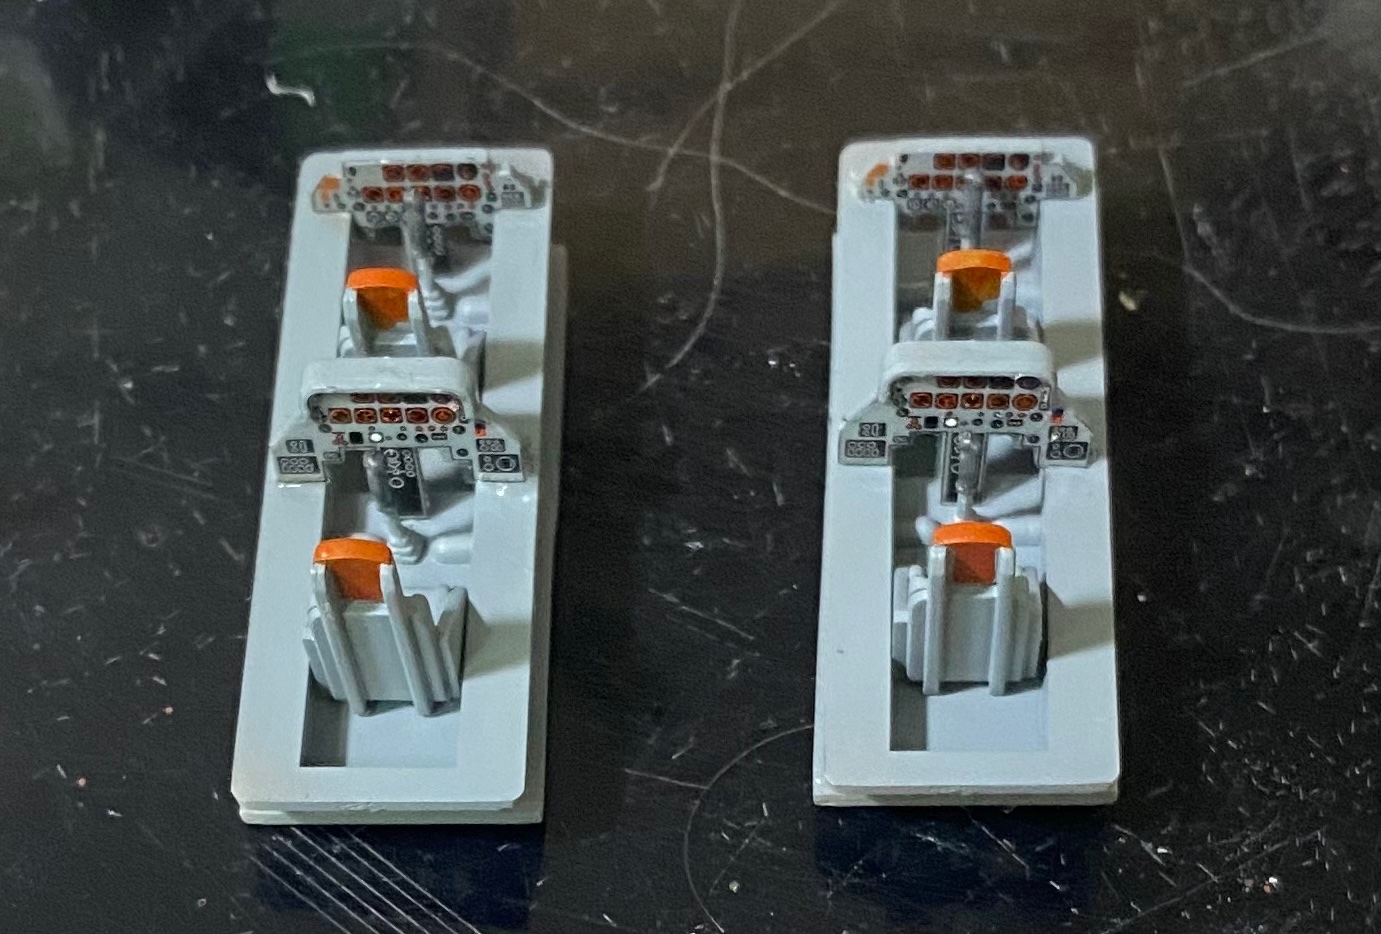
The cockpit goes together quickly. A dry fit indicates fairly smooth sailing to get this kit together. Now for some interior paint…


-
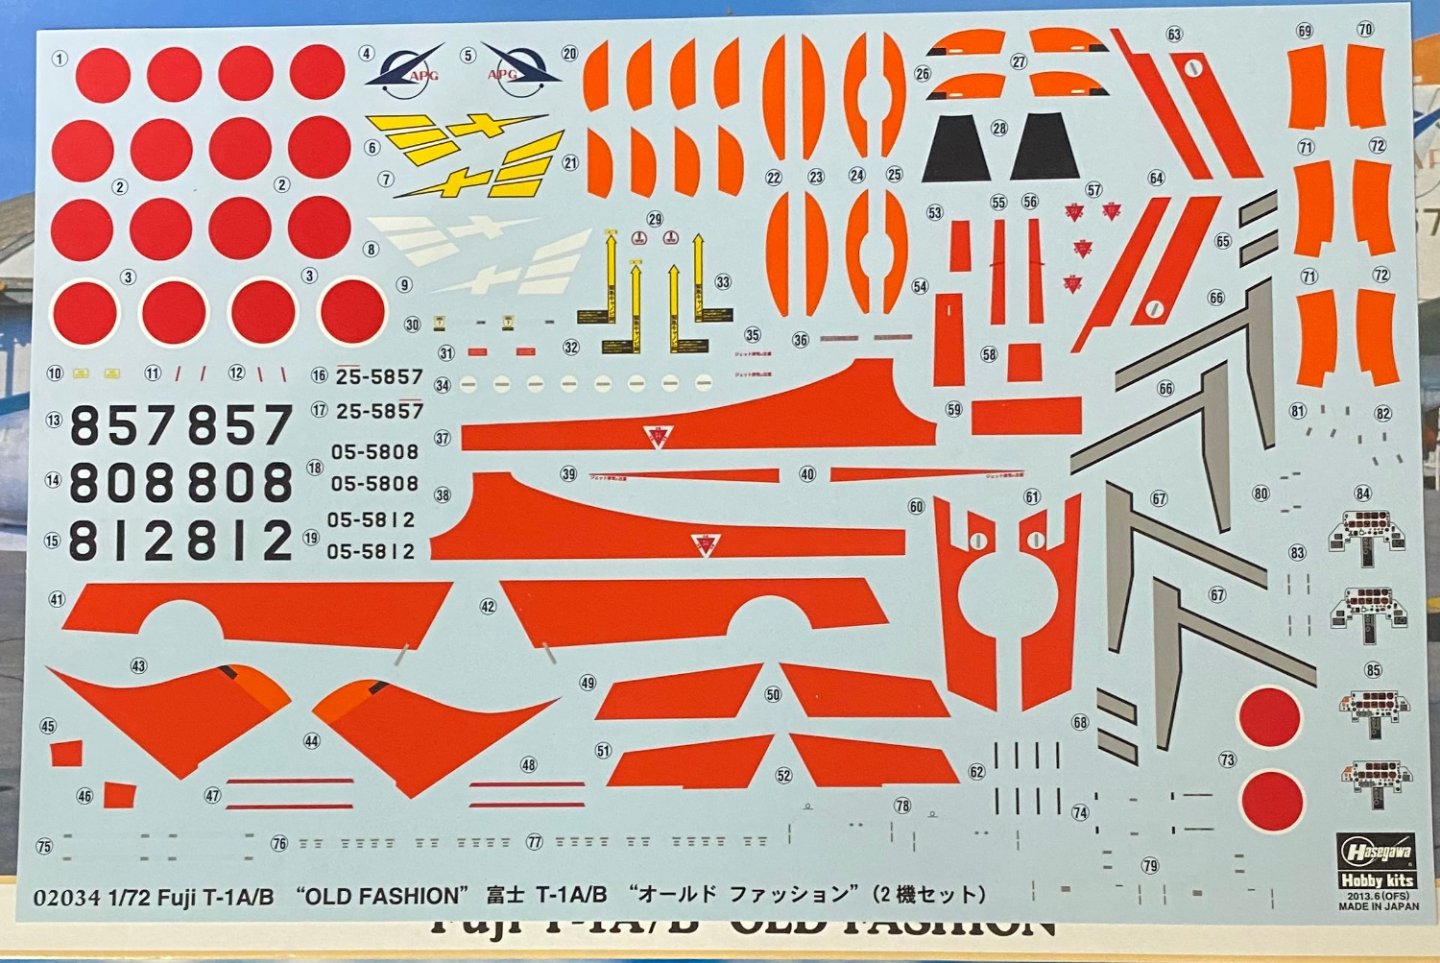
The Fuji T-1 is an intermediate jet training plane used by the Japan Air Defence Force (JADF). It was the first plane to be developed in Japan after World War 2. I picked up this kit in my local Hobby Town store on a deep discount. It’s a 2 in 1 kit with parts to build two complete planes the A and B models. The A version is equipped with the British-made Bristol-Orpheus Mark 805 engine while the B model carries the domestic-made IHI-J3 engine. With a low parts count of 49 pieces for each kit and a beautiful decal sheet, this should be a low stress/quick build of two colorful aircraft that are seldom seen or modeled.
-
Martin B-26B Marauder by CDW - FINISHED - Airfix - 1:72 Scale
CDW replied to CDW's topic in Non-ship/categorised builds
I intended to build the T-2C Buckeye next, but I just realized I do not have the all-important "florescent orange" paint color I need to finish it. I want to make sure I have everything in hand before I start the little project, so I will decide on something else to do before the Buckeye. Stay tuned.... -
Martin B-26B Marauder by CDW - FINISHED - Airfix - 1:72 Scale
CDW replied to CDW's topic in Non-ship/categorised builds
Arthur, Ken, Thanks for the kind words -
Martin B-26B Marauder by CDW - FINISHED - Airfix - 1:72 Scale
CDW replied to CDW's topic in Non-ship/categorised builds
Thanks for the kind words gents. I was happy with the Airfix decals. They were a pleasant surprise. In the old days, Airfix decals were notoriously bad. That photo looks very familiar. 🫡 -
Martin B-26B Marauder by CDW - FINISHED - Airfix - 1:72 Scale
CDW replied to CDW's topic in Non-ship/categorised builds
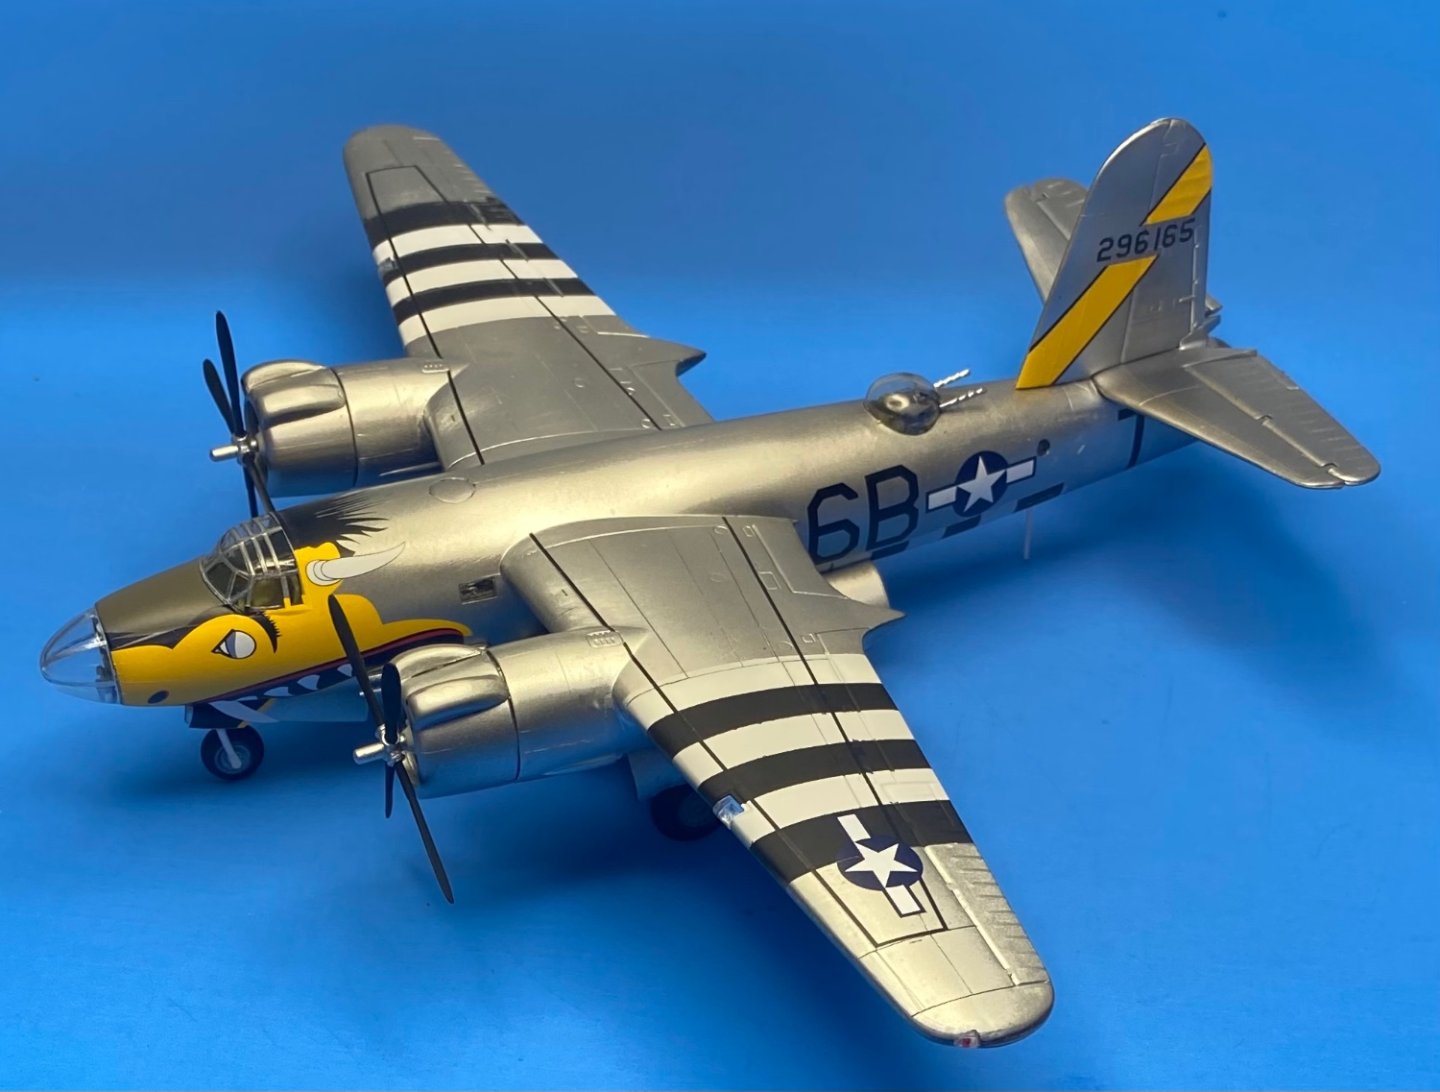
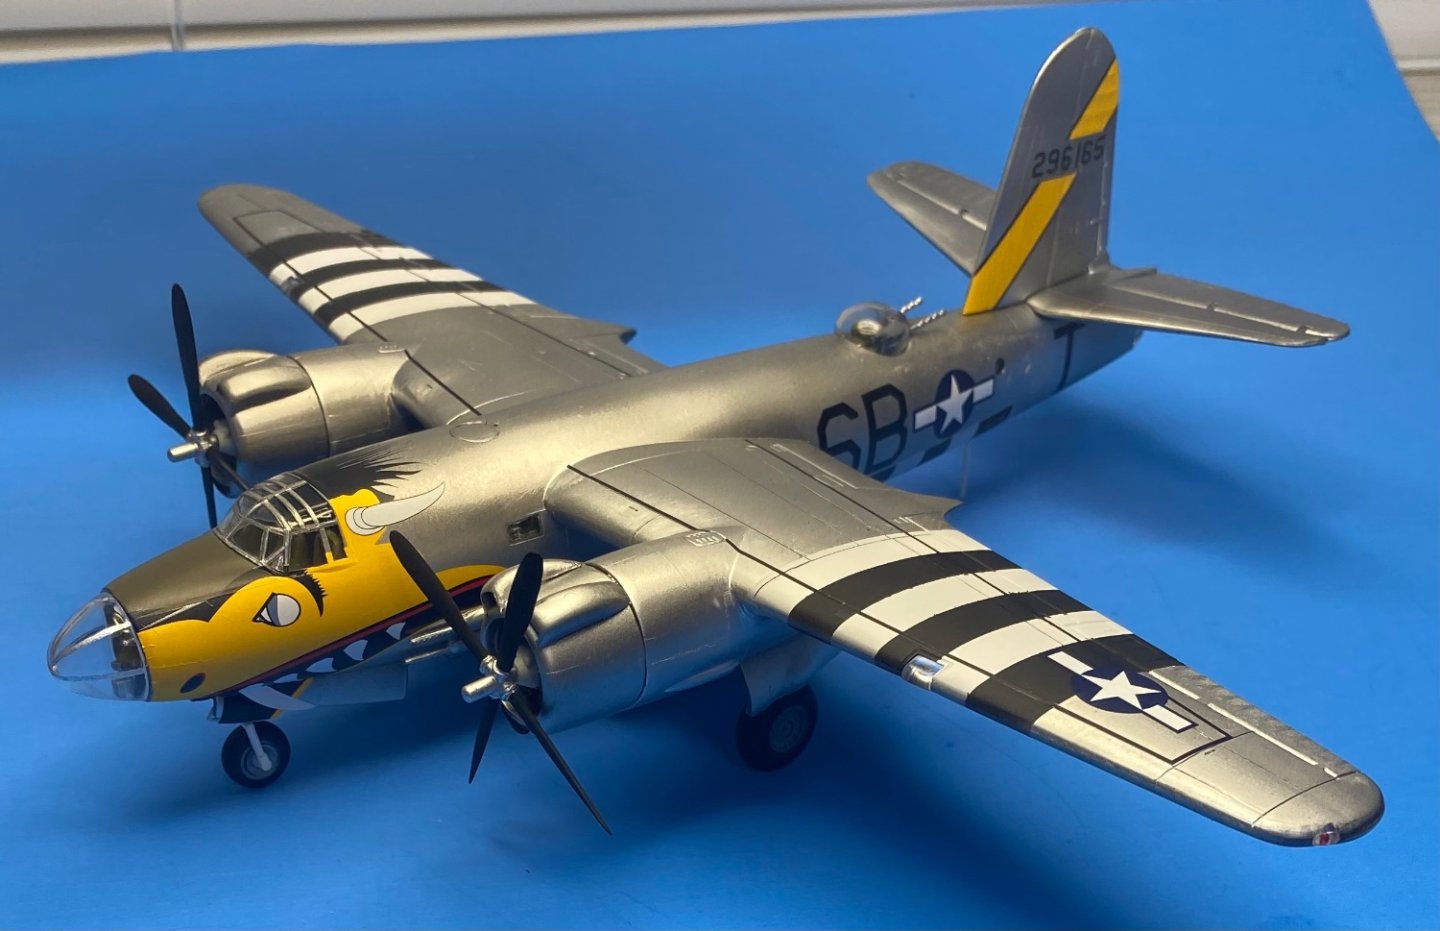
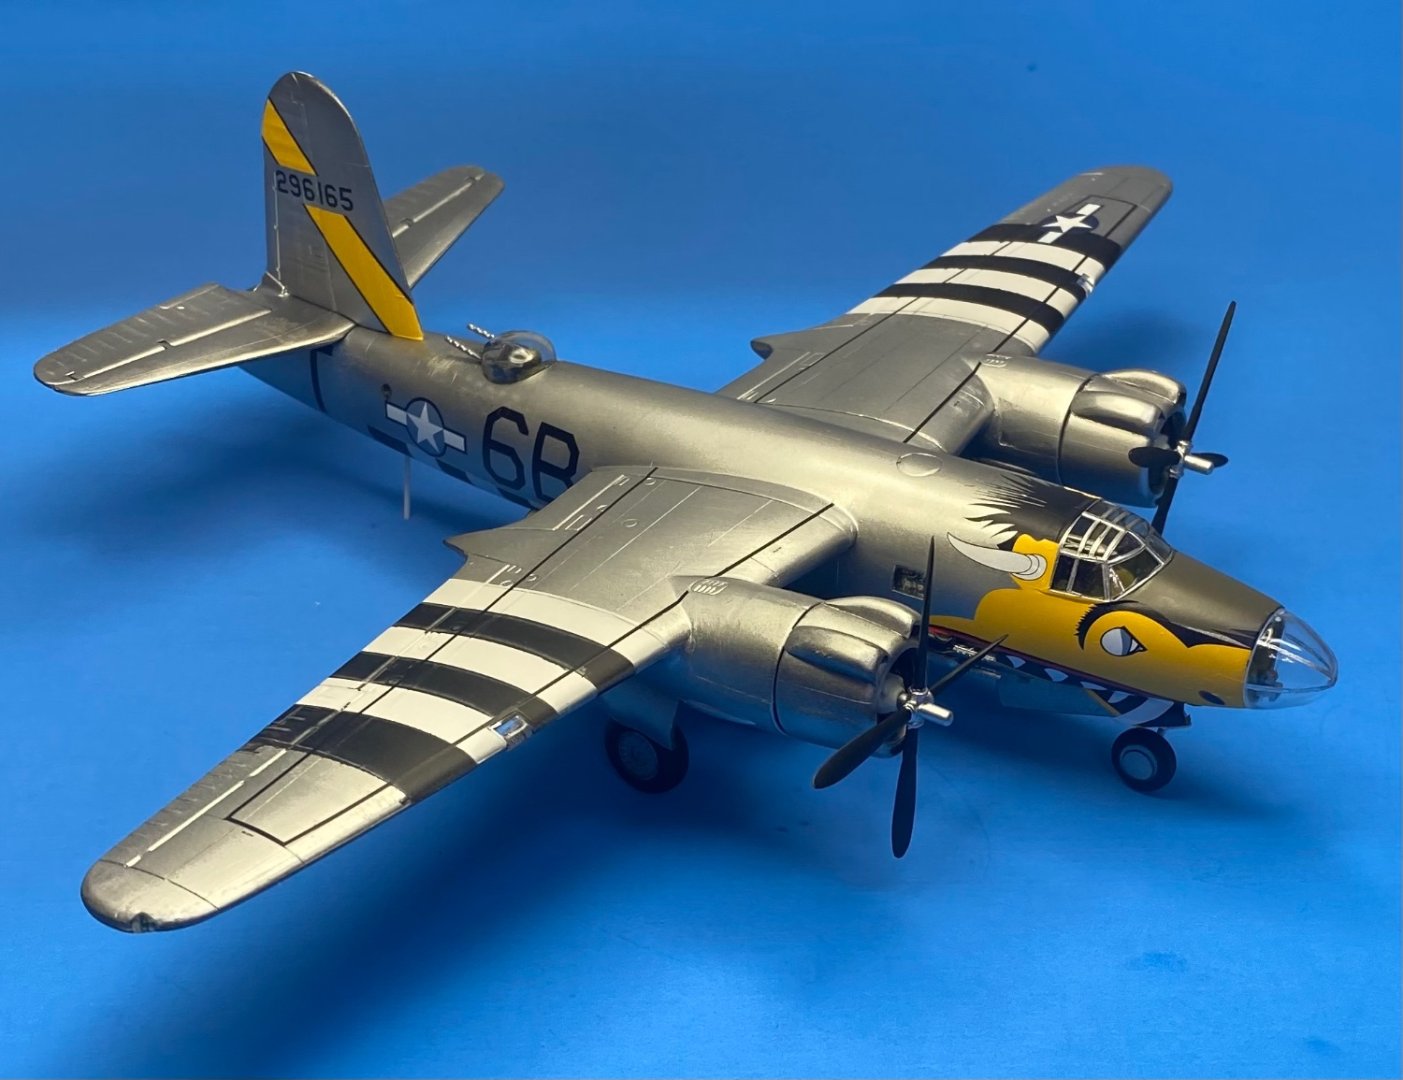
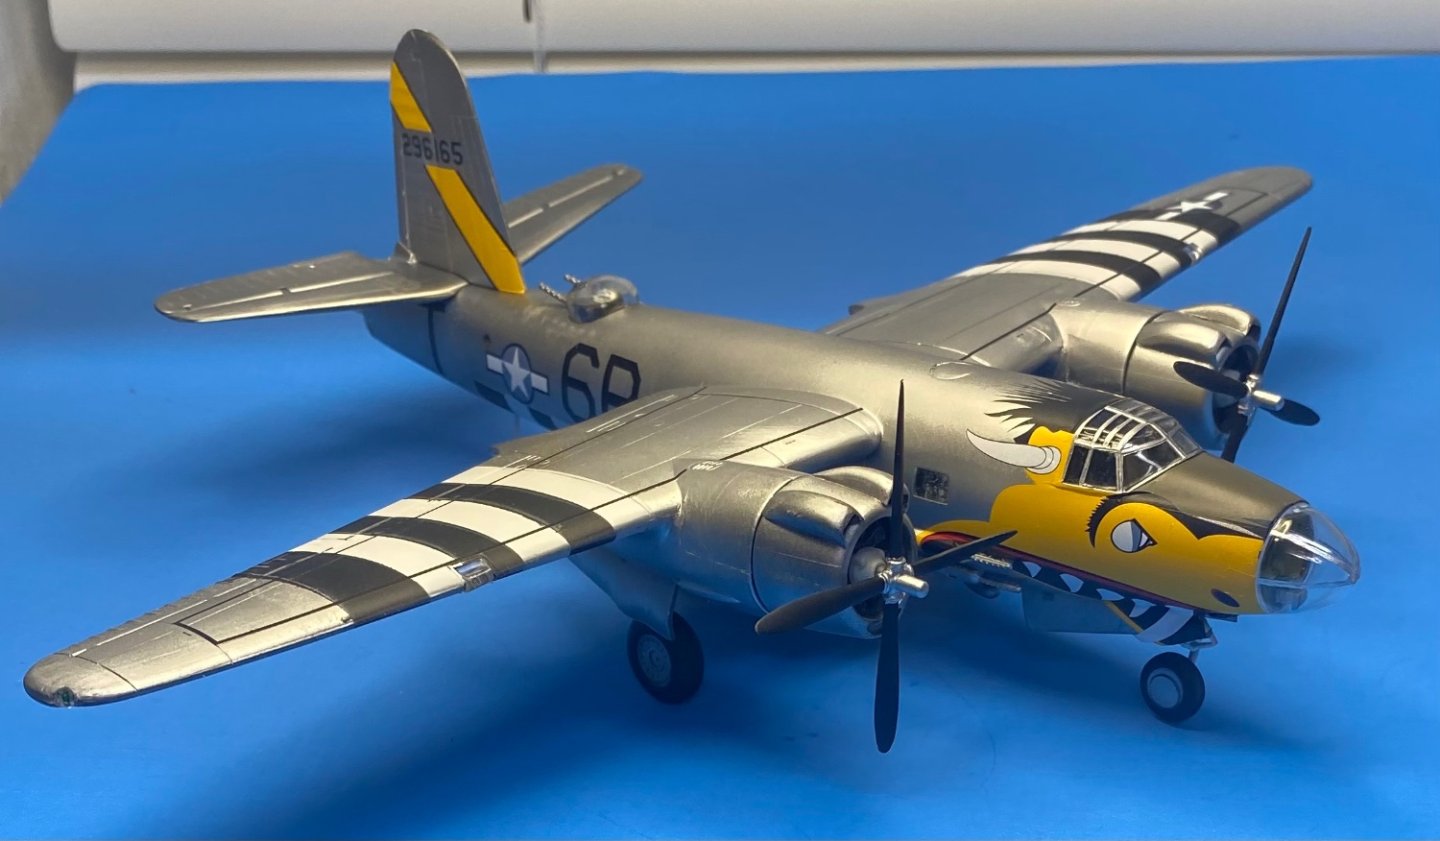
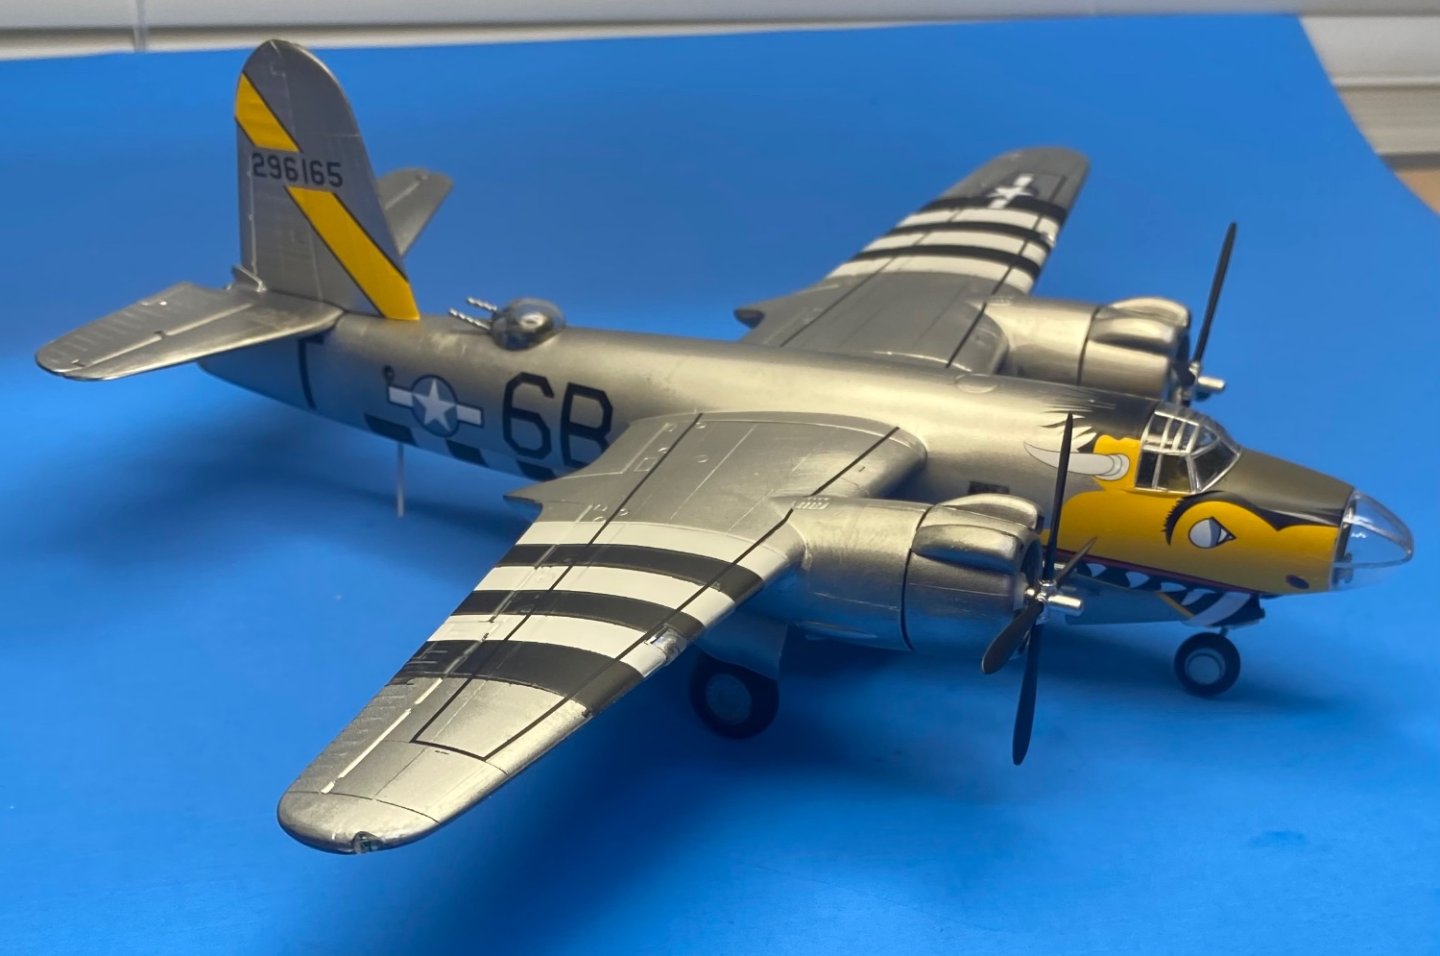
Finished Martin B-26B-55-MA Marauder The Big Hairy Bird, 599th Bombardment Squadron, 397th Bombardment Group, 9th Air Force United States Army Air Force, England 1944/45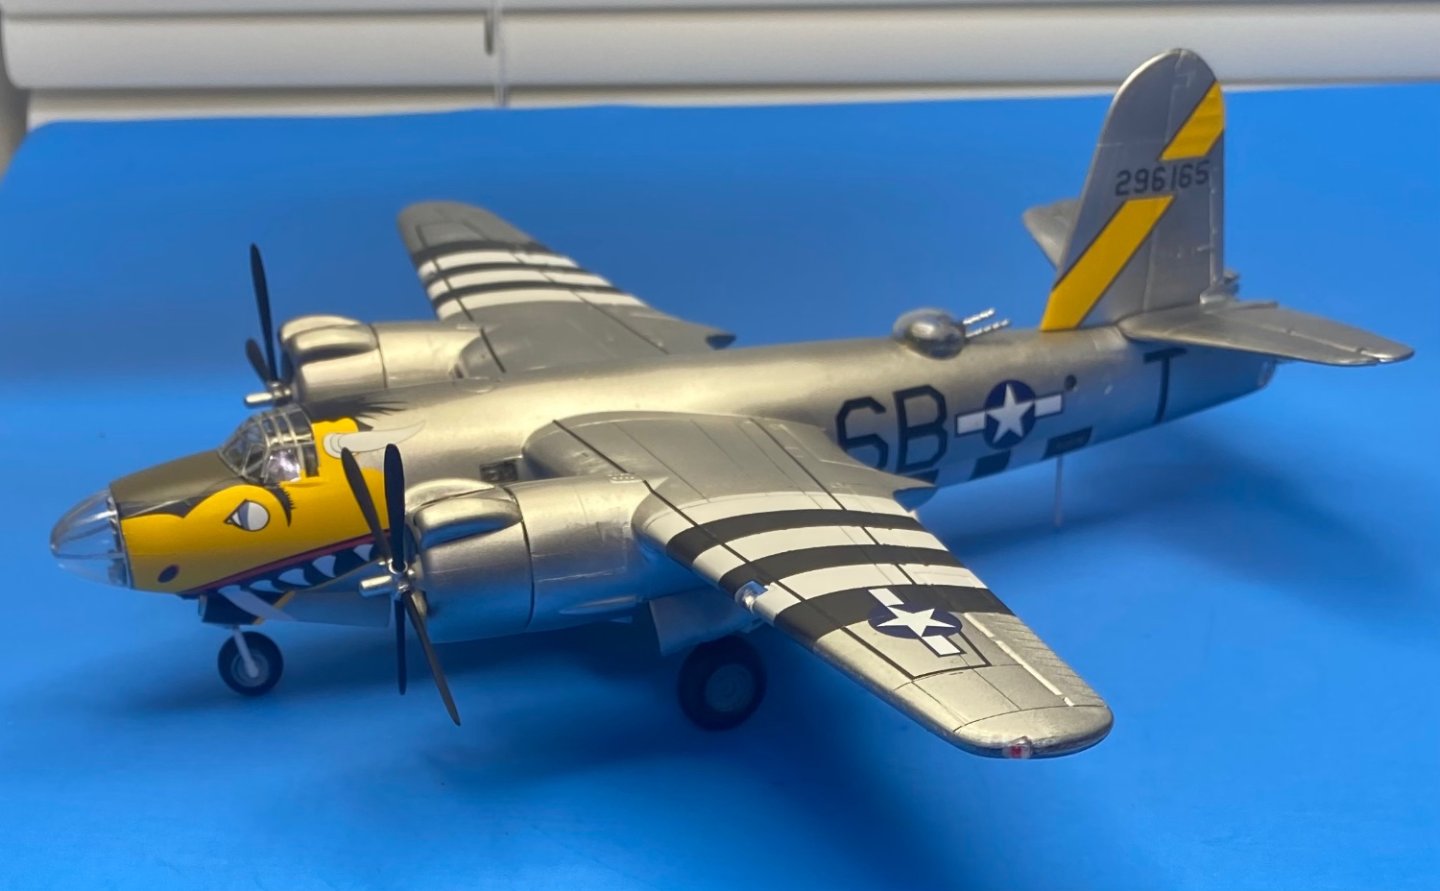
- 97 replies
-
- 16
-
-
-
Martin B-26B Marauder by CDW - FINISHED - Airfix - 1:72 Scale
CDW replied to CDW's topic in Non-ship/categorised builds
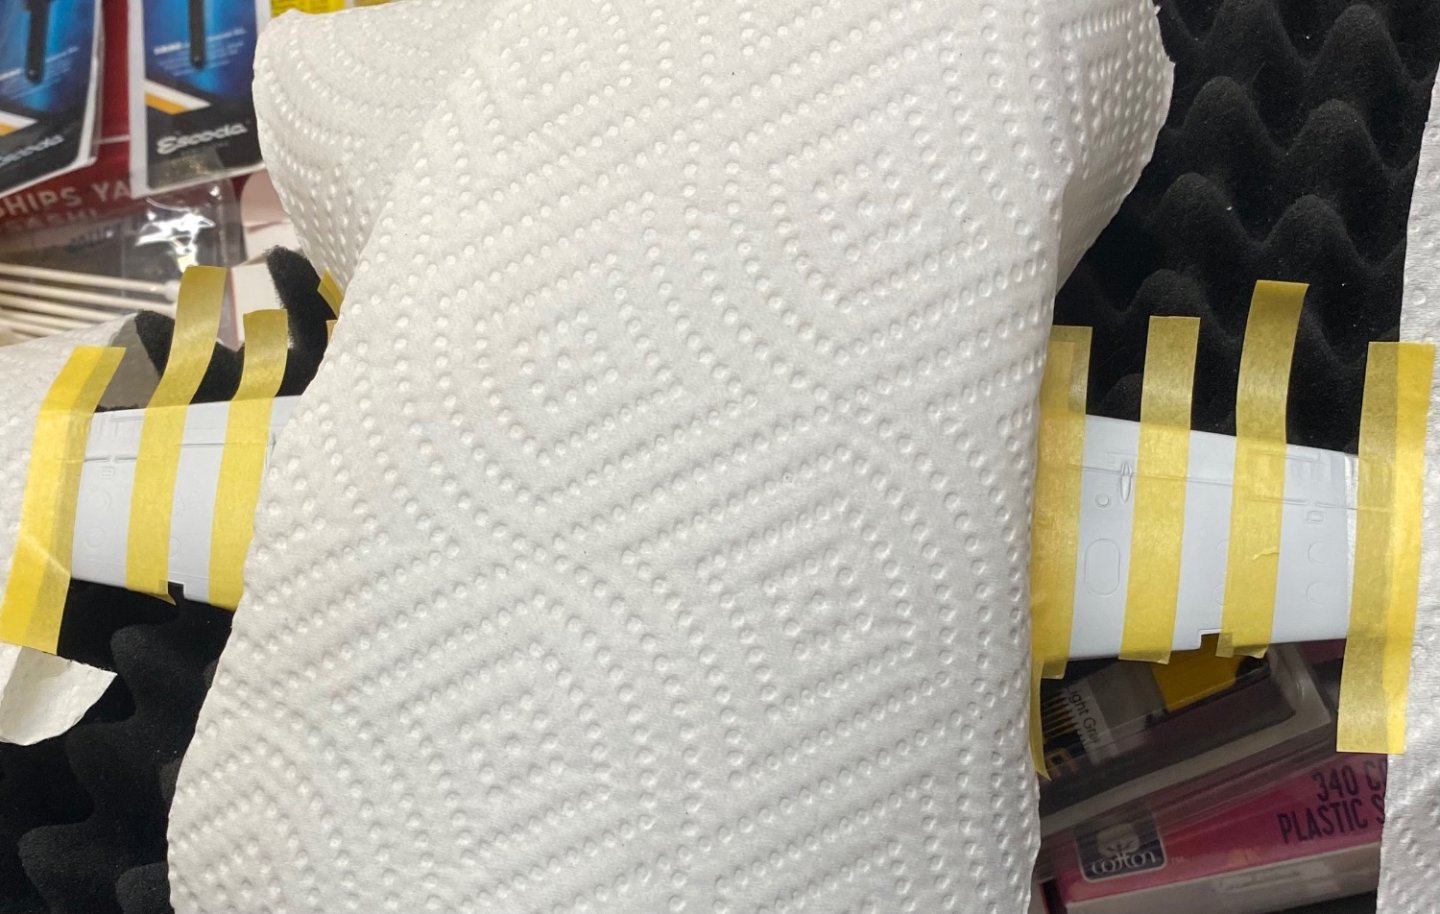
I have a good selection of Tamiya masking tape in various widths; 1mm, 6mm, 10mm, 18mm, and up. Something weird I realized working on this model, all sizes are of consistent quality/characteristics except for the 18mm width tape. That size has more adhesive which caused a residue to remain on the surface of my model after I removed it. I was able to remove the residue with IP alcohol, but that would have been a big problem on acrylic paint. Fortunate for me, I was using lacquer and the alcohol did not hurt the paint when I removed the tape residue. Make sure your roll of 18mm Tamiya tape (if you have it) isn't 'extra-sticky' before you use it or you could wind up with a screwed-up paint job. Maybe this was just a one-off roll. -
Martin B-26B Marauder by CDW - FINISHED - Airfix - 1:72 Scale
CDW replied to CDW's topic in Non-ship/categorised builds
Nearing completion, I forgot to place nose weight inside the fuselage before I glued it all together. Too late now, so I will add a post on the tail to make her sit on all three legs. Also I lost the nose machine gun or it was not inside the kit. Don’t really feel like making one so will look in my spares box or do without it altogether.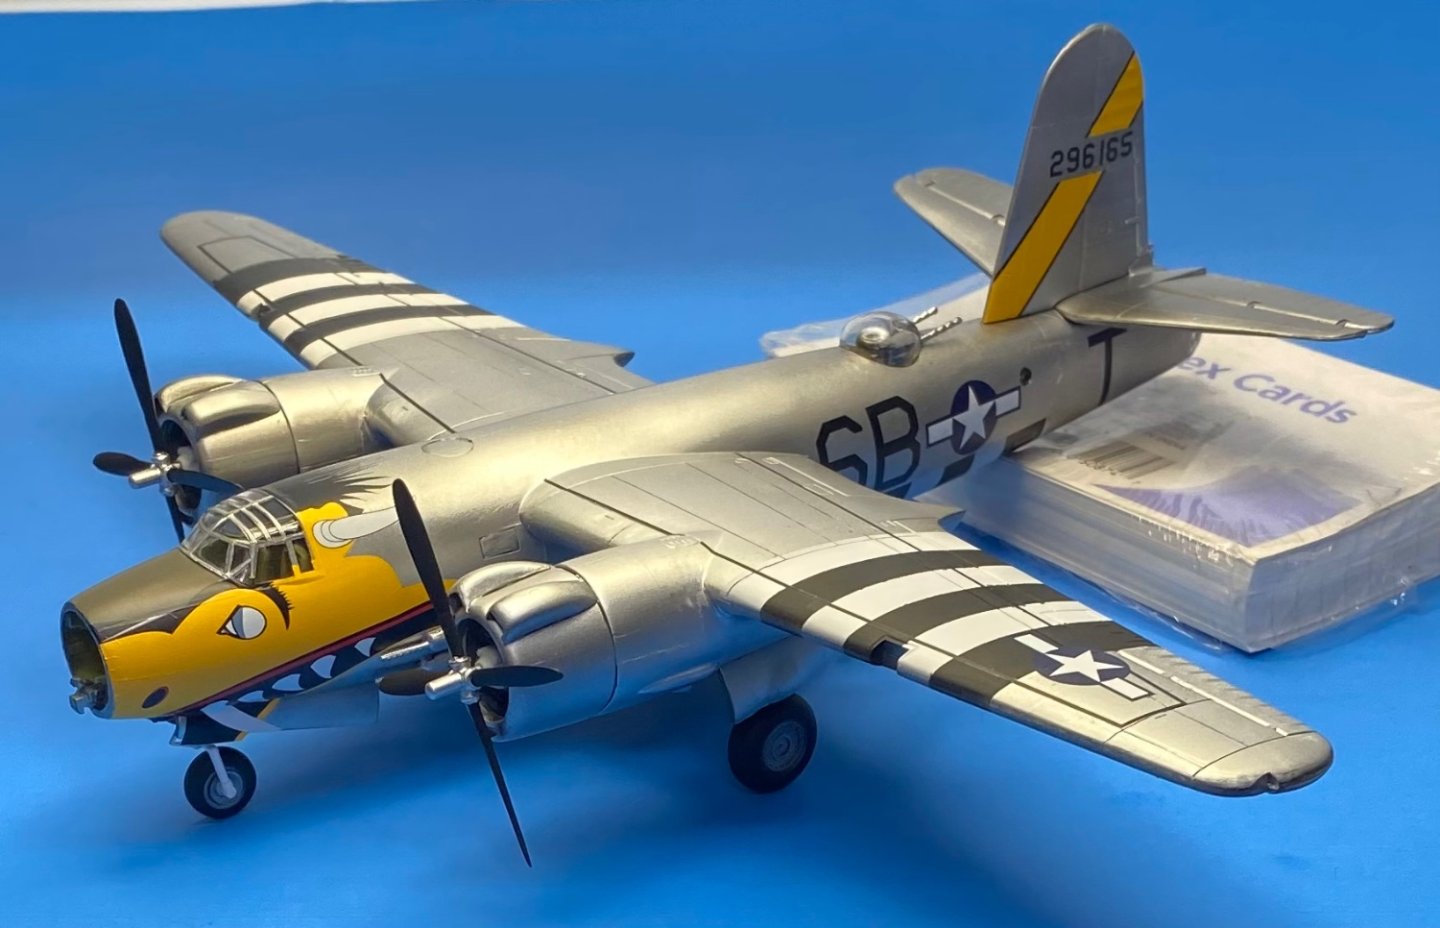

- 97 replies
-
- 12
-
-
Martin B-26B Marauder by CDW - FINISHED - Airfix - 1:72 Scale
CDW replied to CDW's topic in Non-ship/categorised builds
Low wing drag, high stall speed, low wing area…all these things gave rookie pilots lots of problems -
Martin B-26B Marauder by CDW - FINISHED - Airfix - 1:72 Scale
CDW replied to CDW's topic in Non-ship/categorised builds
- 97 replies
-
- 13
-
-
Martin B-26B Marauder by CDW - FINISHED - Airfix - 1:72 Scale
CDW replied to CDW's topic in Non-ship/categorised builds
Thanks for the comments. Just wanted to remove this kit from the stash pile. Not one of Airfix best efforts but one of the only 1:72 Marauders around. While I was on the Arma Hobby website yesterday, I saw where a new release of Marauder is coming soon. Looks like a rebox of the Hasegawa kit under another label, but a much nicer kit than this Airfix one.


_at_Tokorozawa_Aviation_Museum_Saitama_prefecture_Japan.jpg.0d8439fcac9e539b449d9c7ba1ea6cf9.jpg)