


eclipsefire
-
Posts
13 -
Joined
-
Last visited
Content Type
Profiles
Forums
Gallery
Events
Posts posted by eclipsefire
-
-
I took a look at the other kits I have, the rope line looks far superior and good quality. I order some Syren line to replace the rigging line in the Phantom kit, should be a big improvement. I may cut off the rigging line I've done so far after it arrives so it all matches.
I was rather amazed after seeing the difference in line from the MS kit and the Corel and Mamoli kits. Like night and day. Thanks again for the insight Brian.
-
Thanks GuntherMT, I actually ended up using your cheat on the bobstay line, it worked pretty well. I'll keep that in mind for my next kit. Is the line provided with Corel and Mamoli of better quality? Those are the other two kits I have waiting in the wings.
-
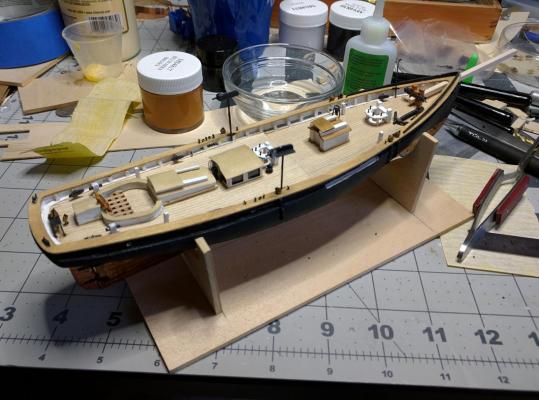
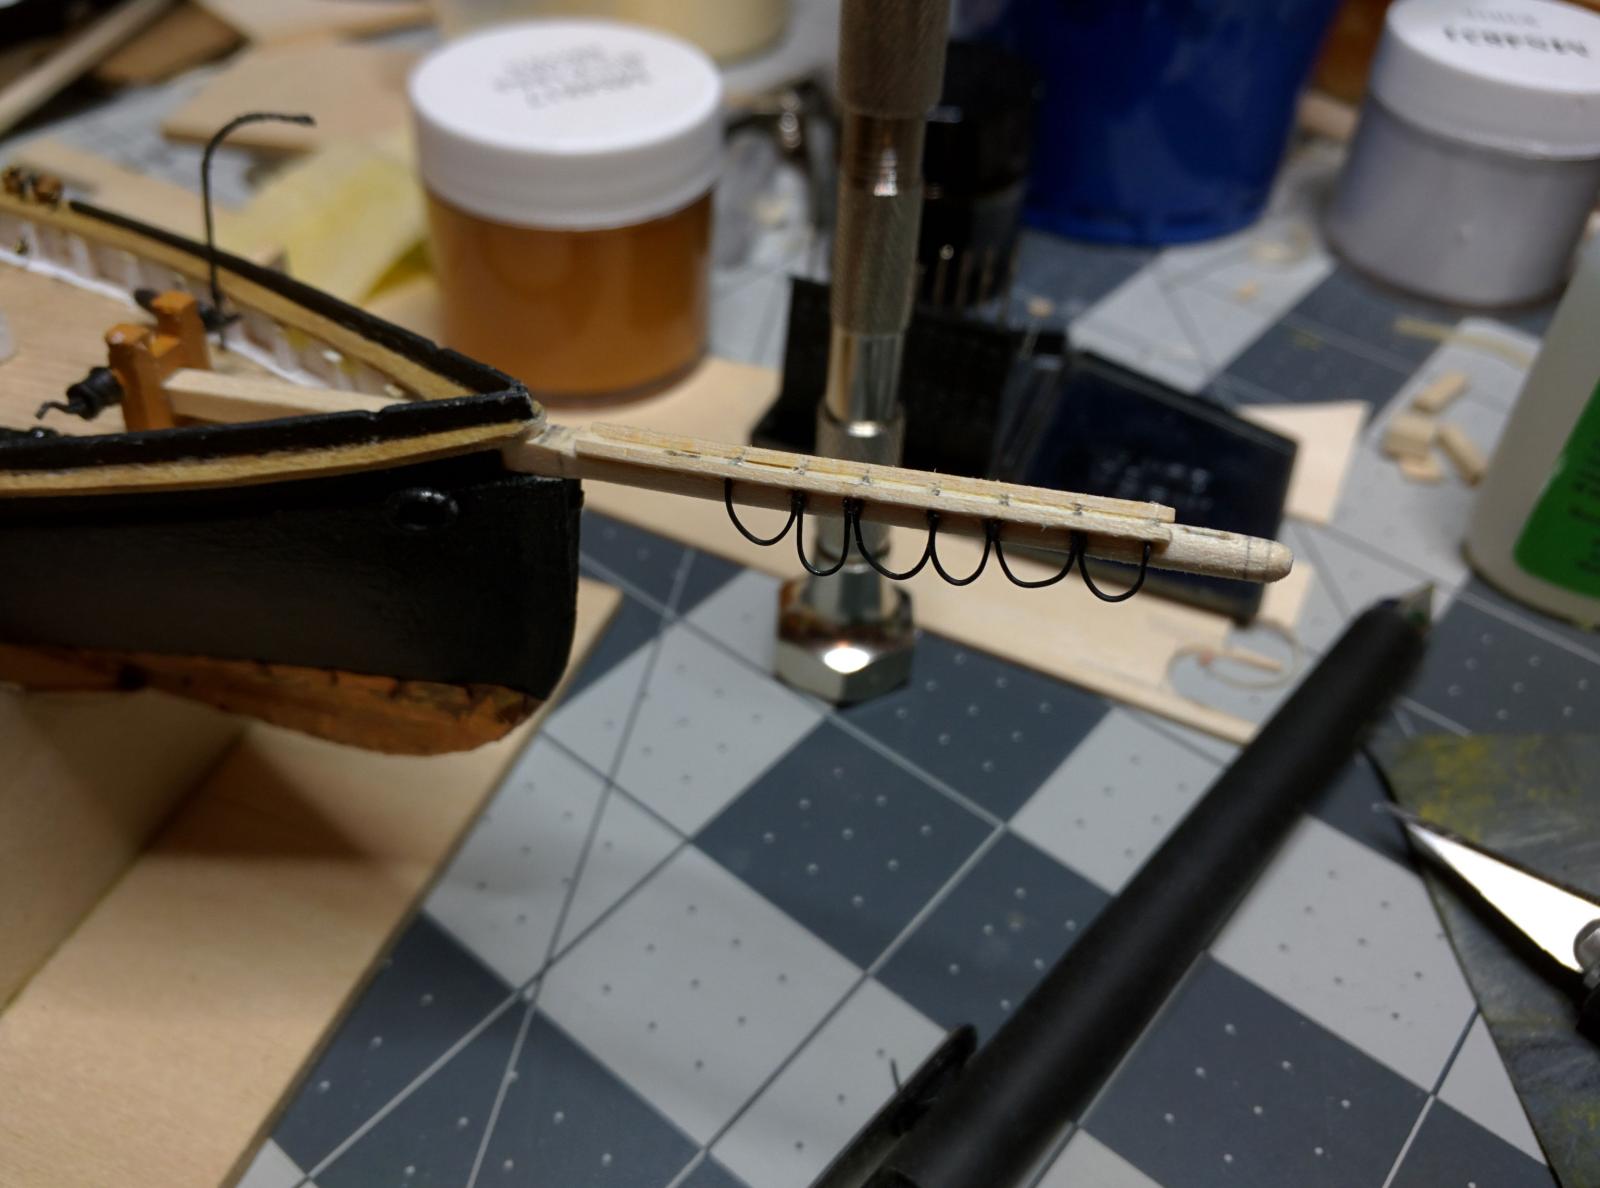
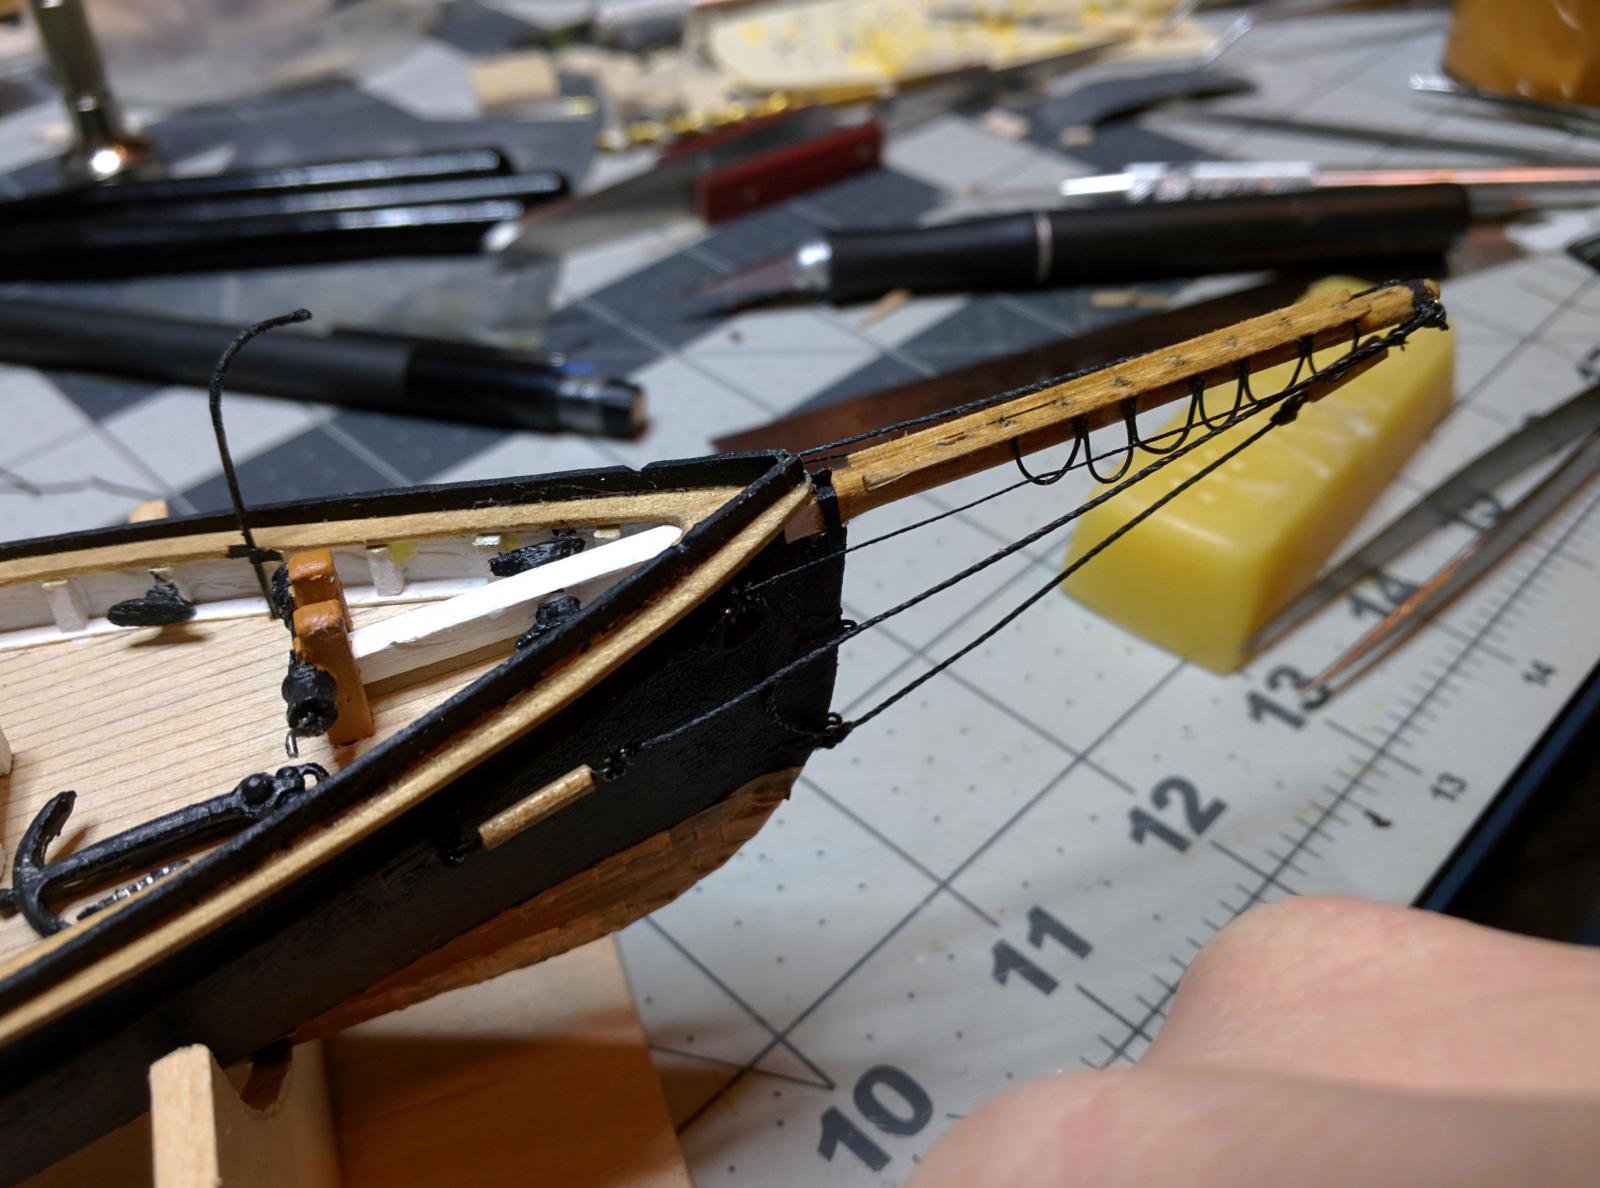
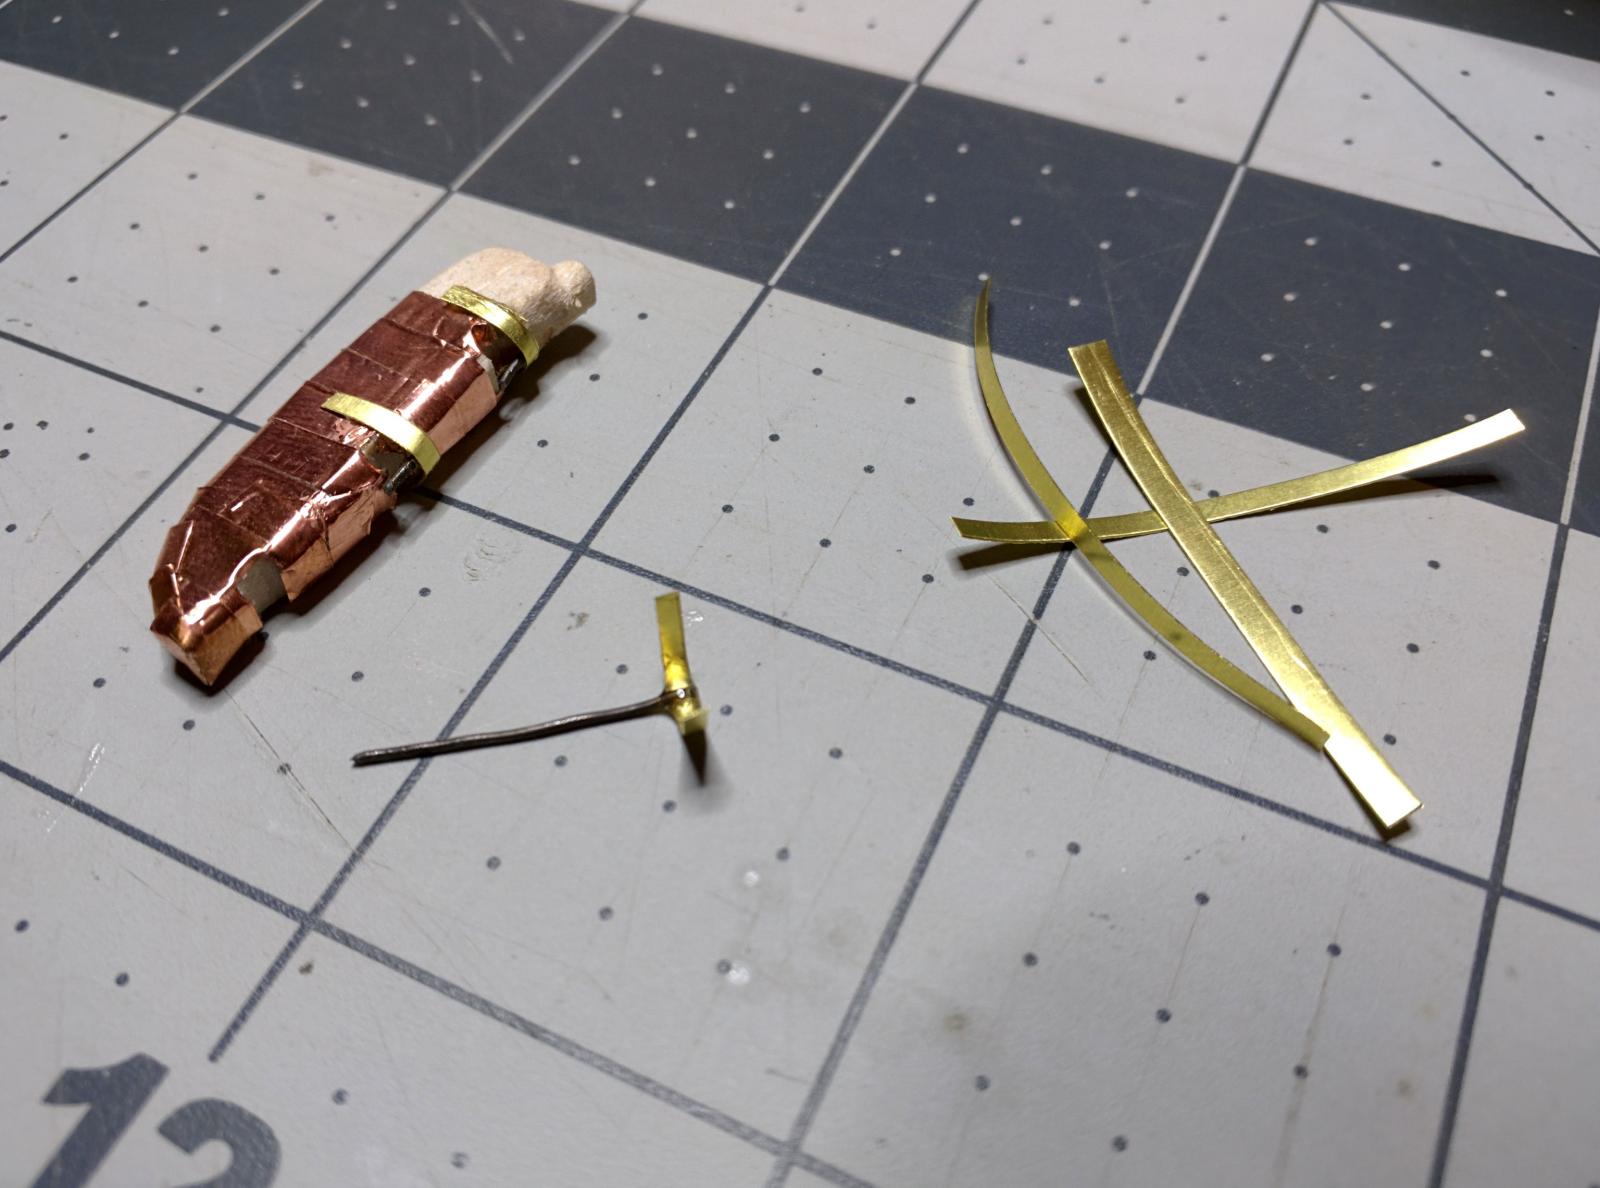
This post will get the log up to current. Tonight I finished up the details with the bowspirit and tied on the first bits of rigging. I also made some stretching screws which were pretty fun to make.
Deck fittings are all finished in this shot. The unfinished bowspirit is placed for fitting as well.
Some details roughed in, jackstays and gaskets added.

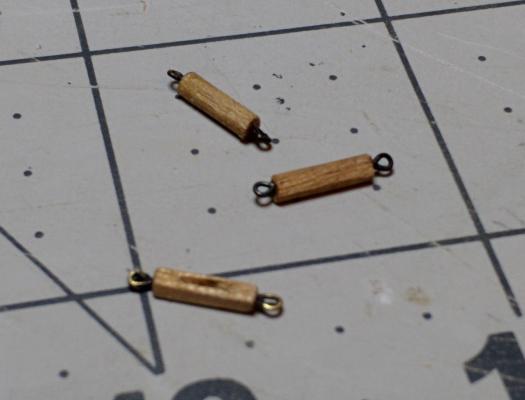
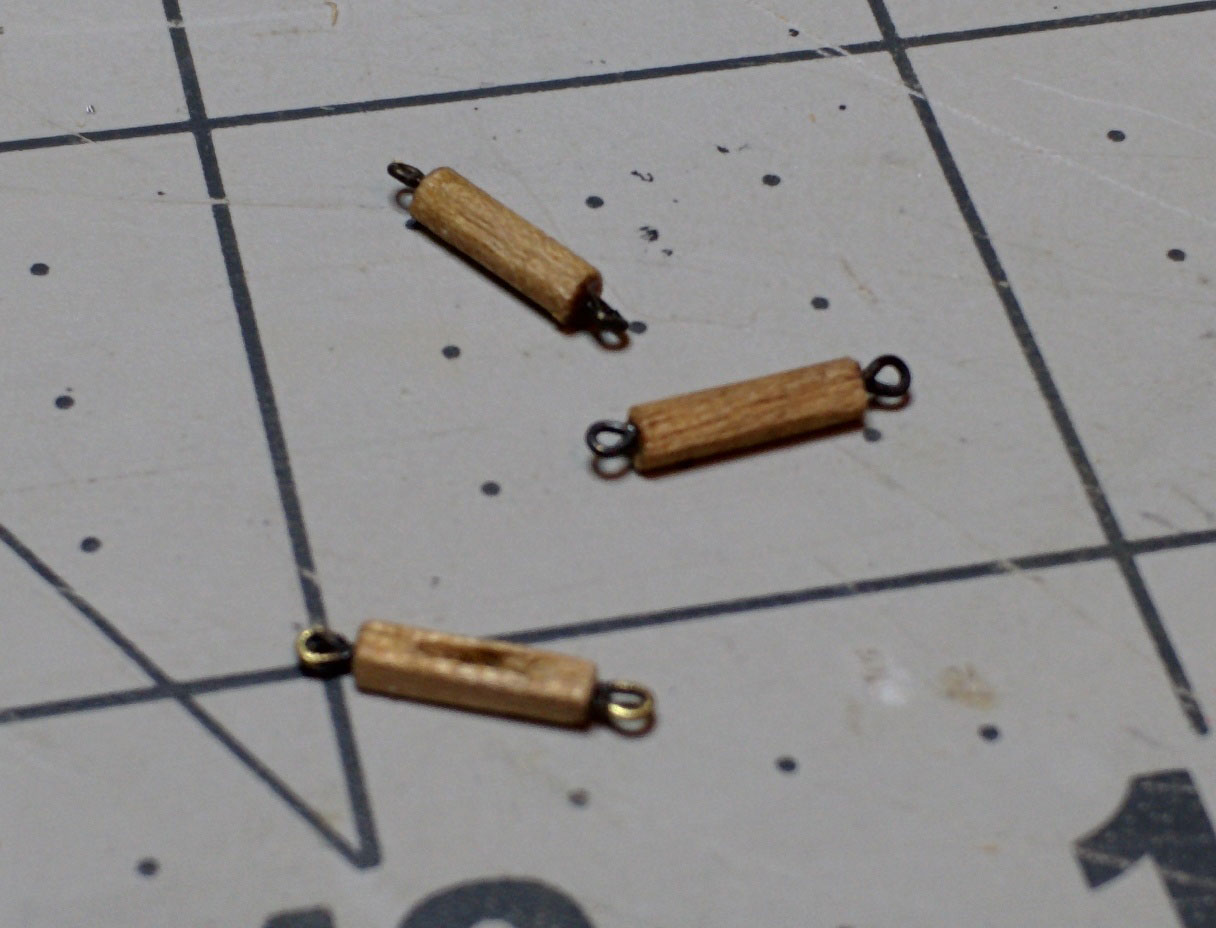
Progress of the stretch screws. They were made from toothpicks and the eye bolts that came with the kit. This was the suggested method from Chuck Passaro's practicum. It worked really well.
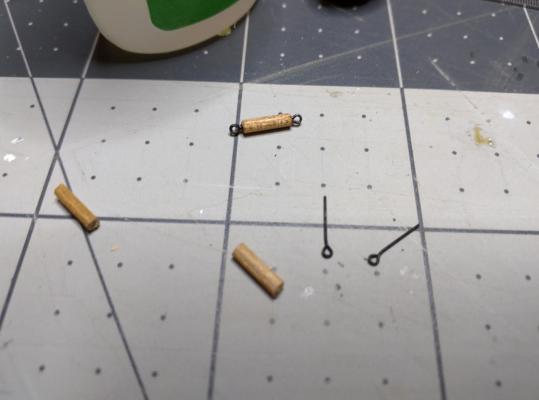
More progress.
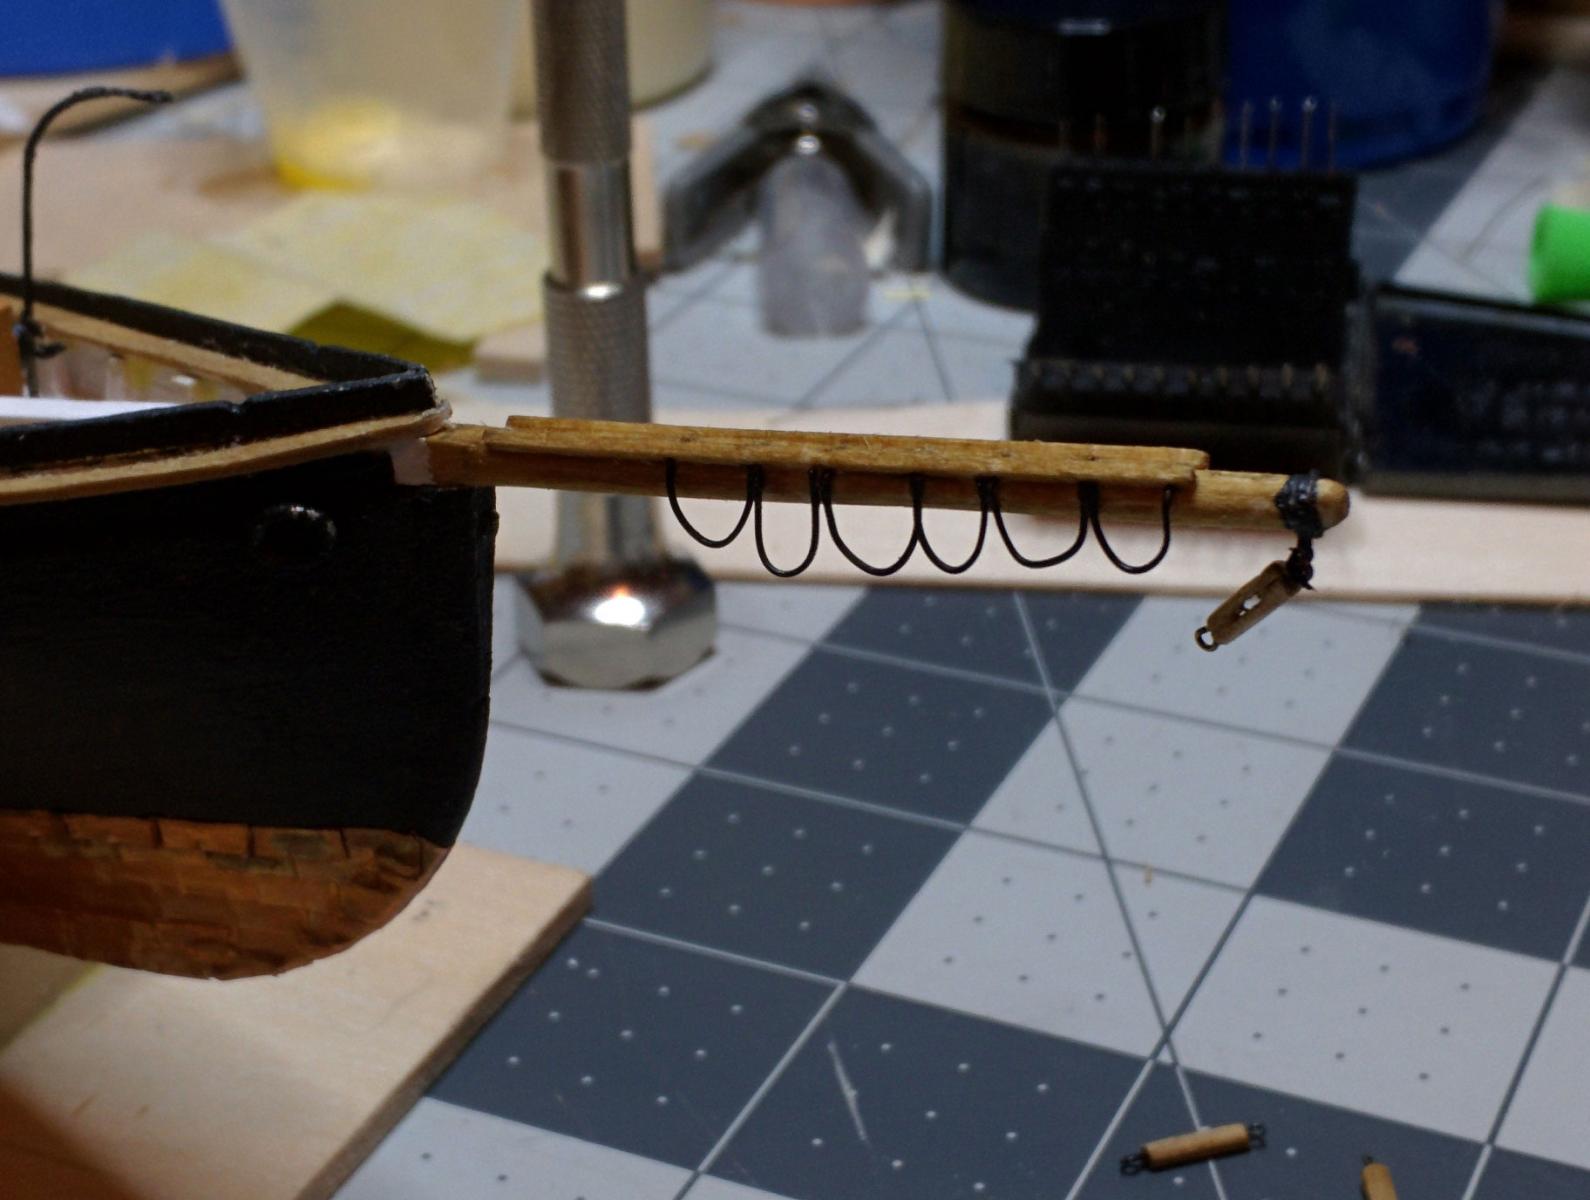
Stained bowspirit and stretch screw attached

Rigging lines attached.

One thing I was having trouble with was getting the rigging lines tight, what's the best way to get the lines snug?
Next up, the masts!
-
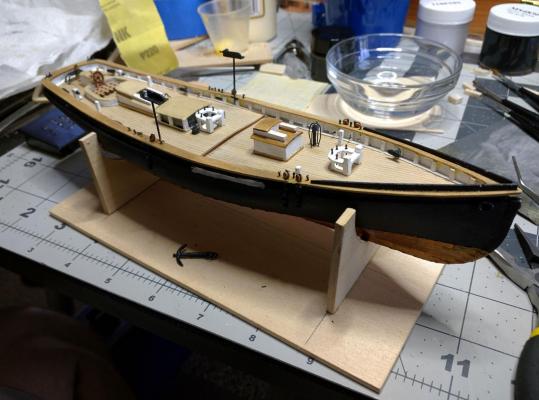
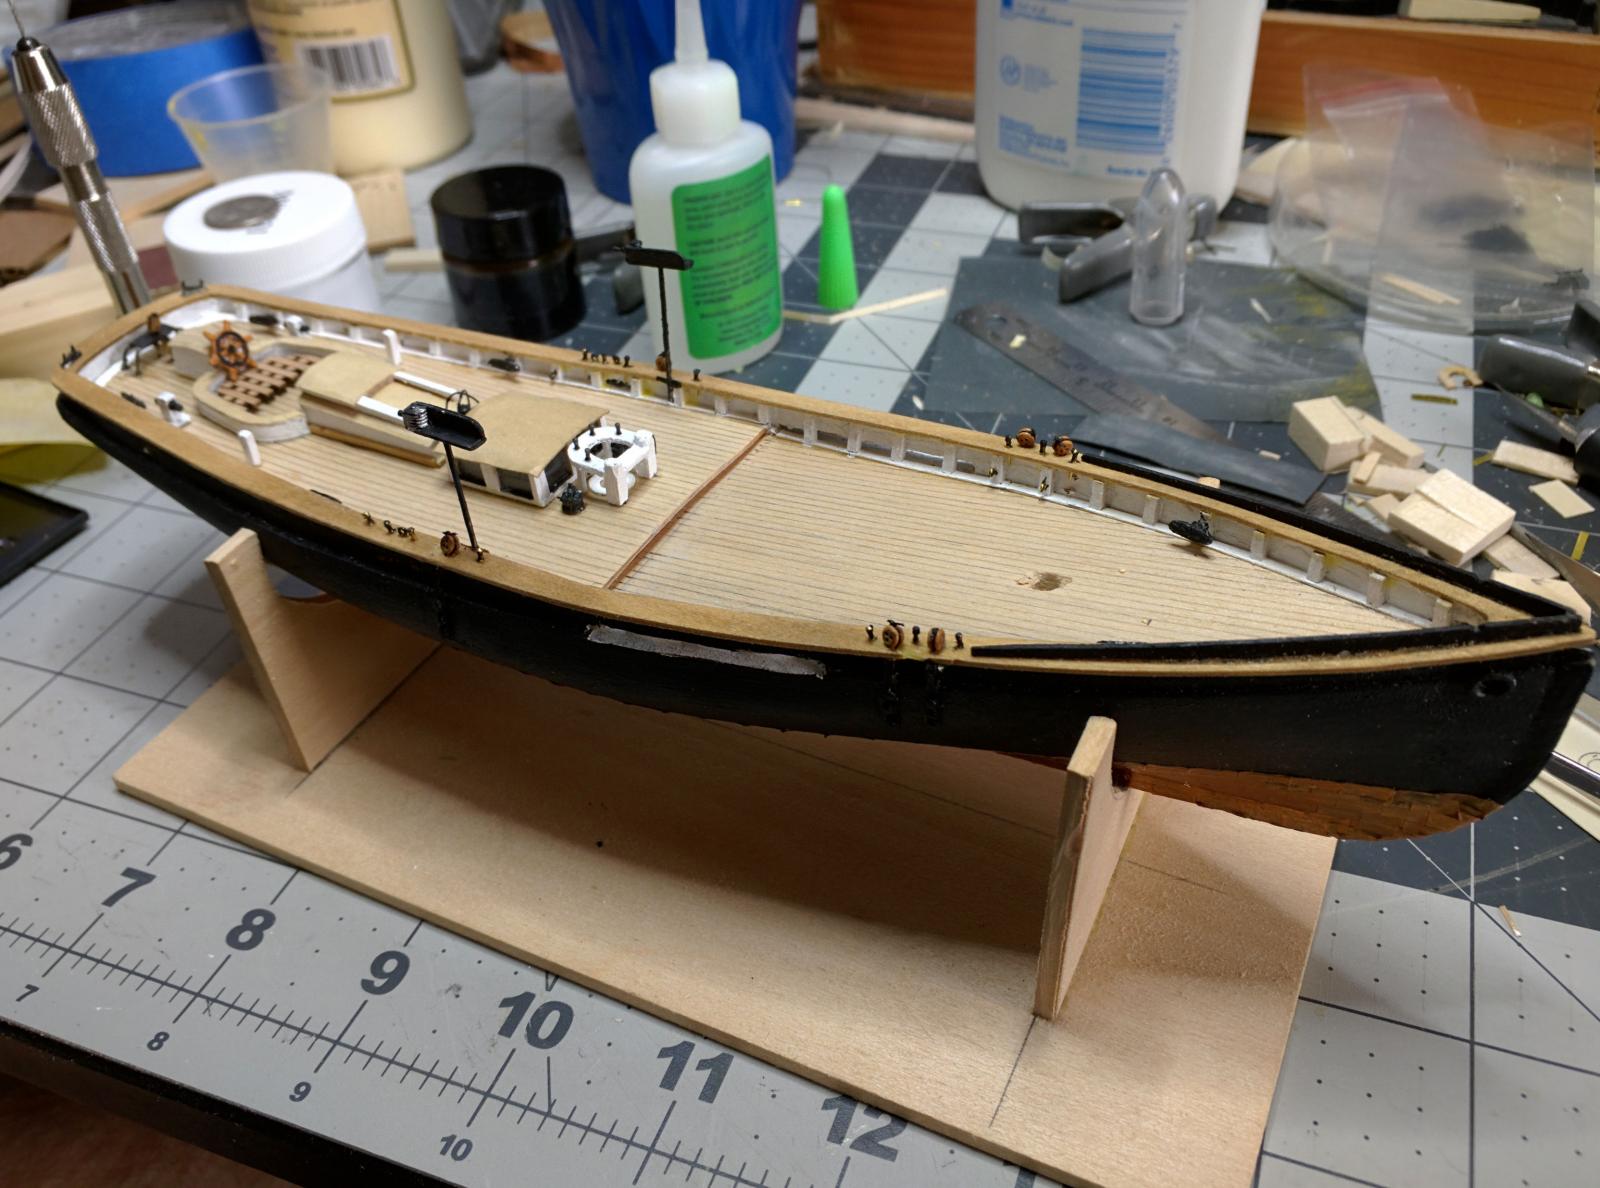
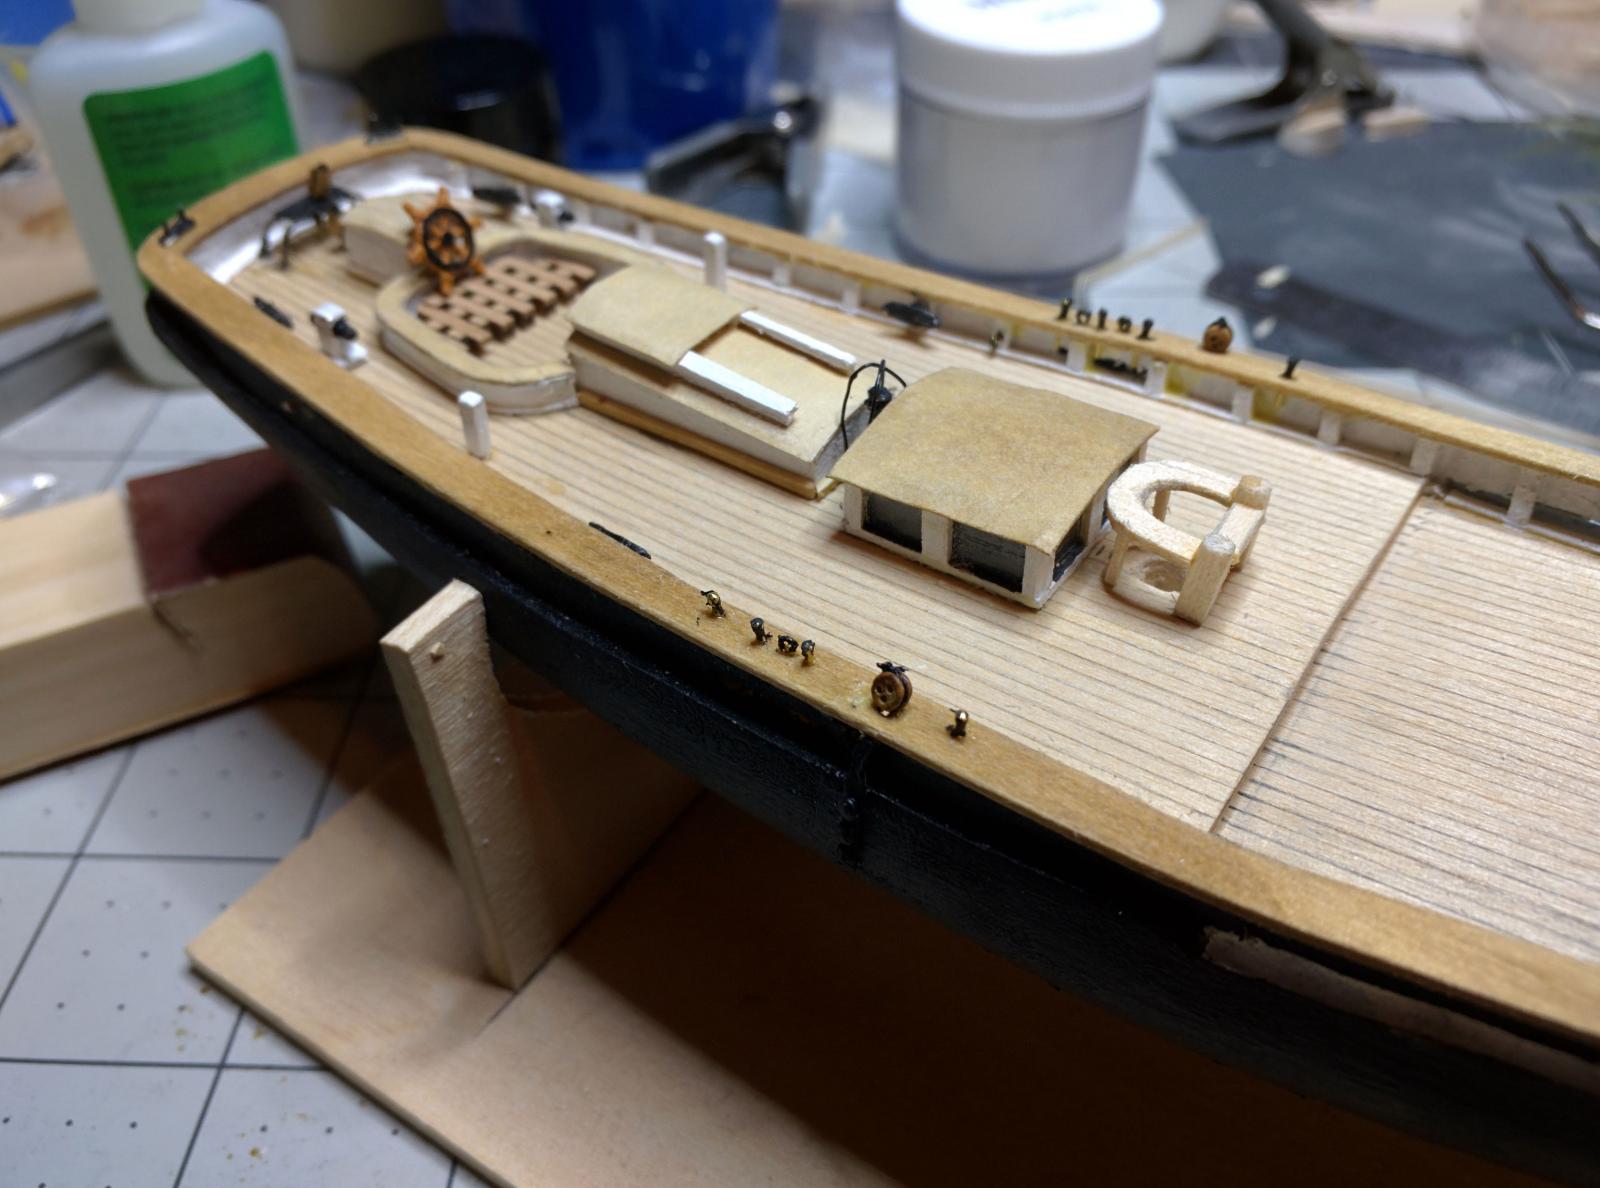
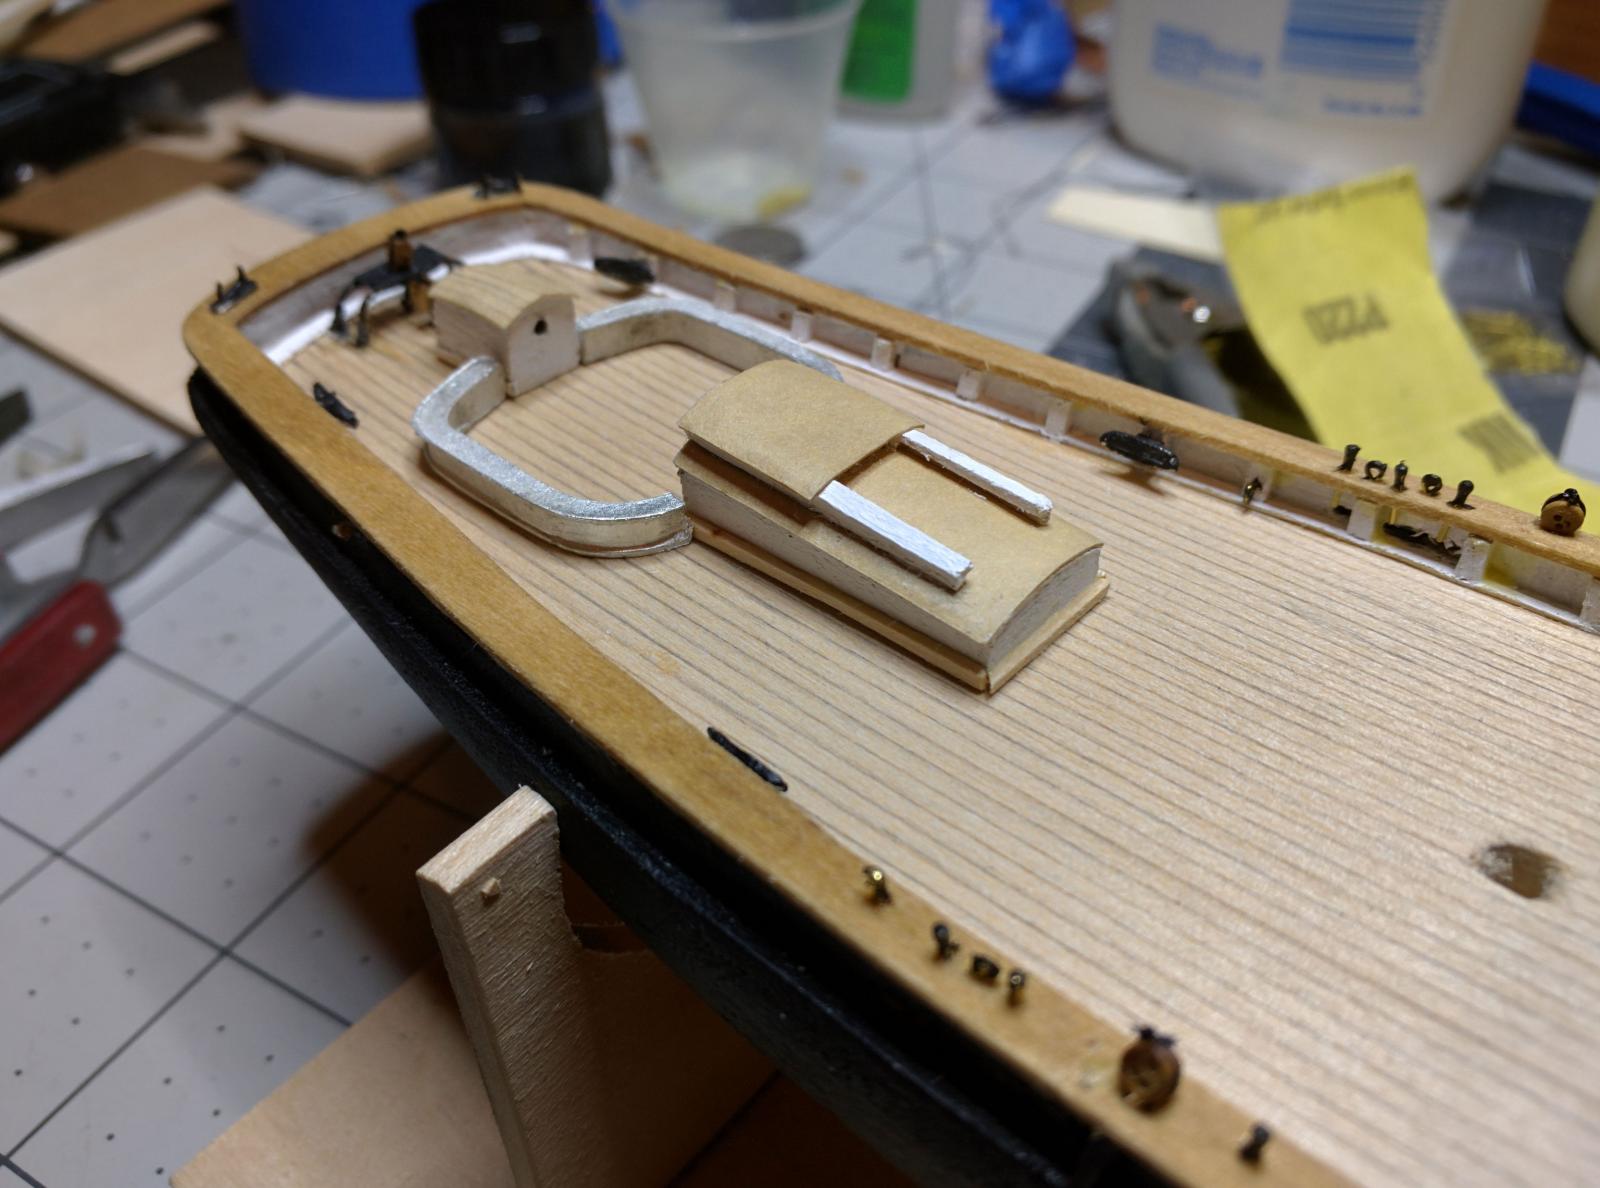
Full shot of the ship with the aft deck complete.

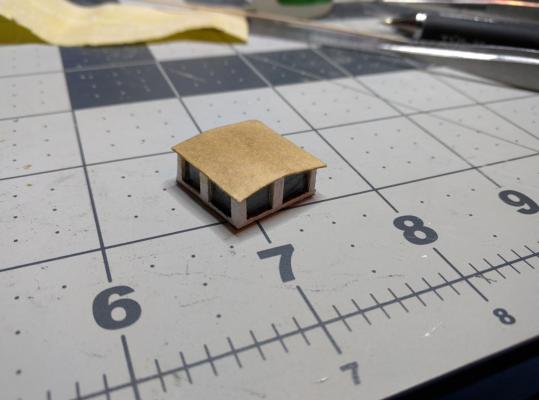
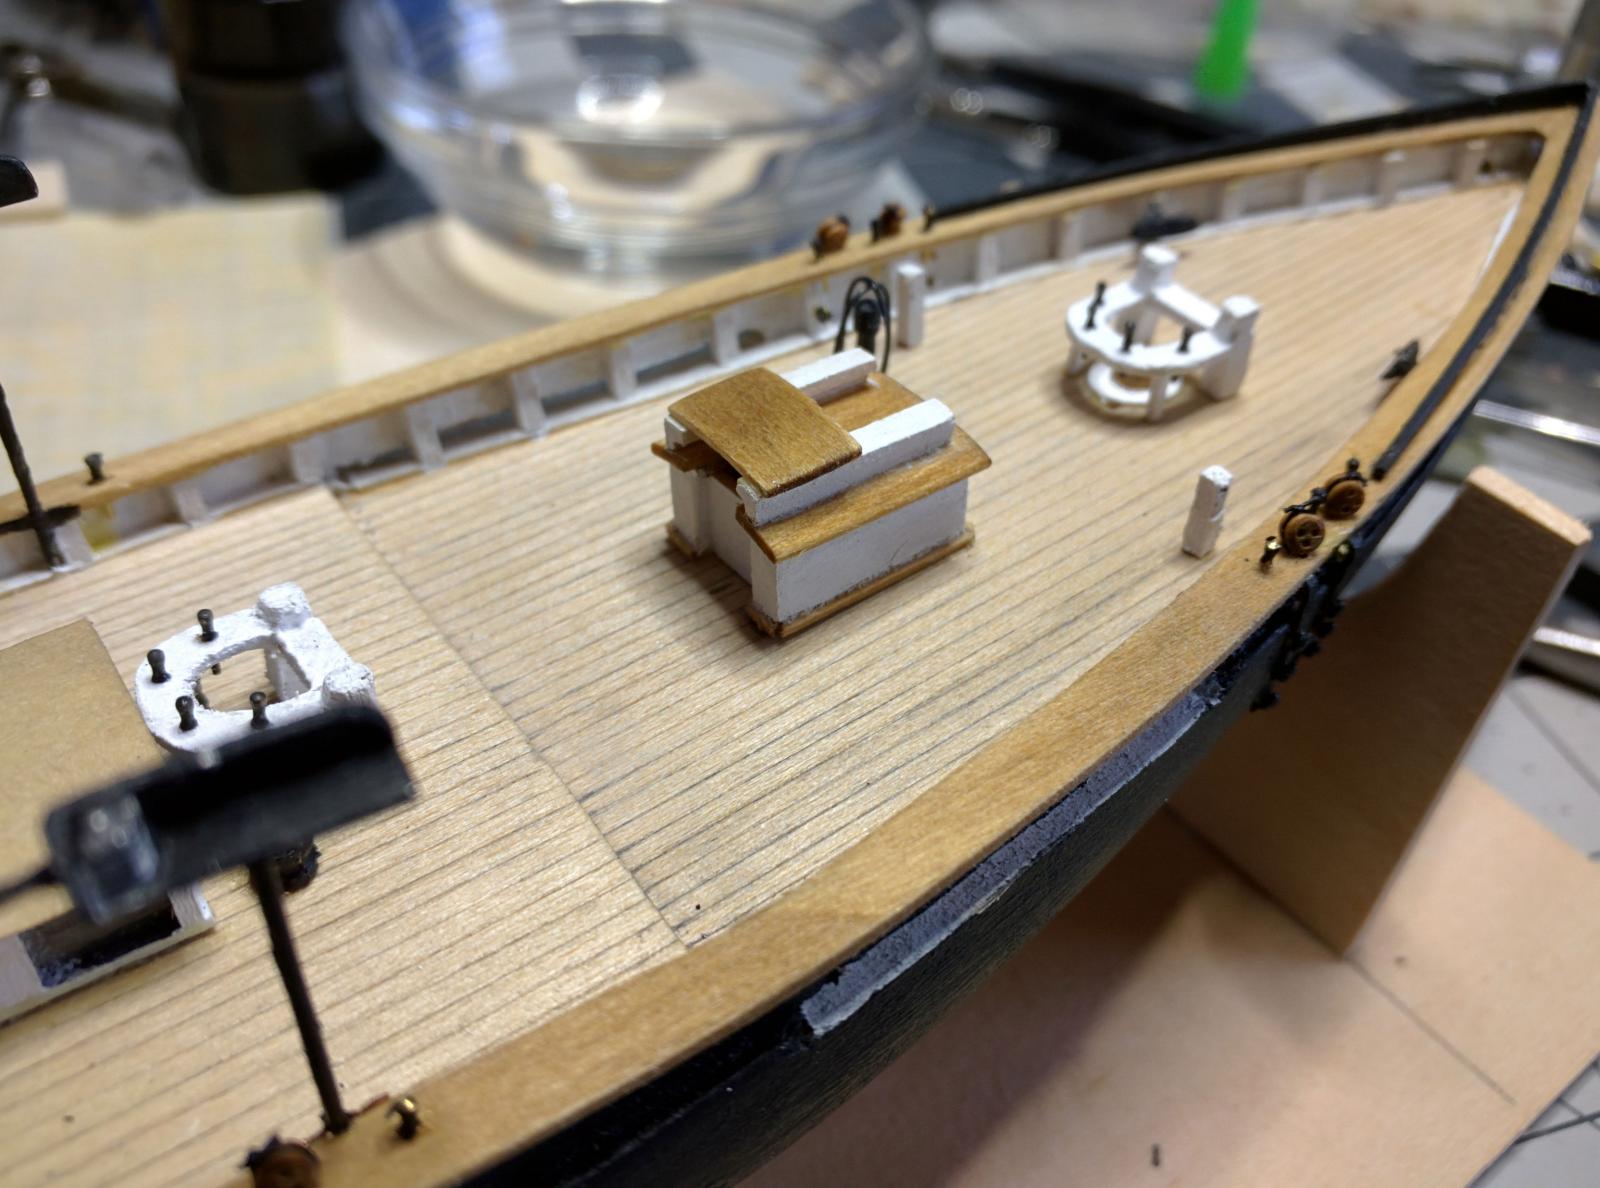
The fore deck has the same companionway but I wanted to try a different construction method. I felt I could do better than the one on the aft deck.
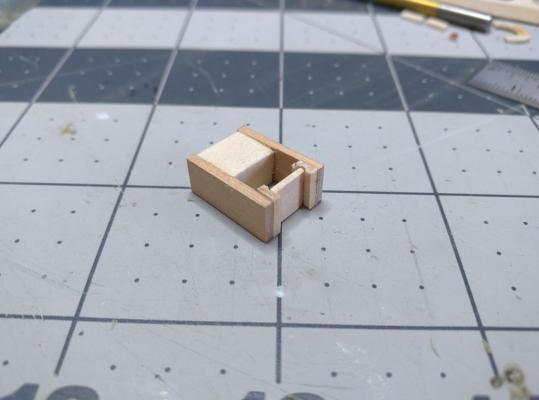
I wanted to match it closer to how the actual companionway would work.
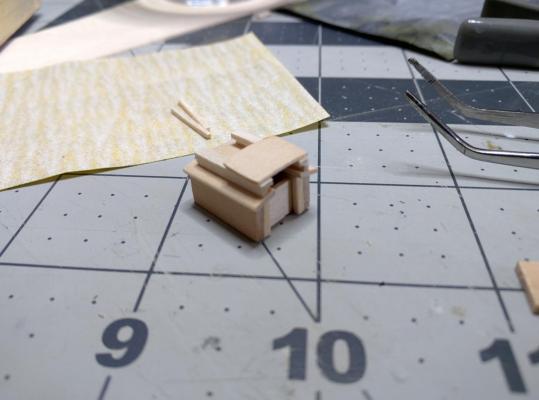
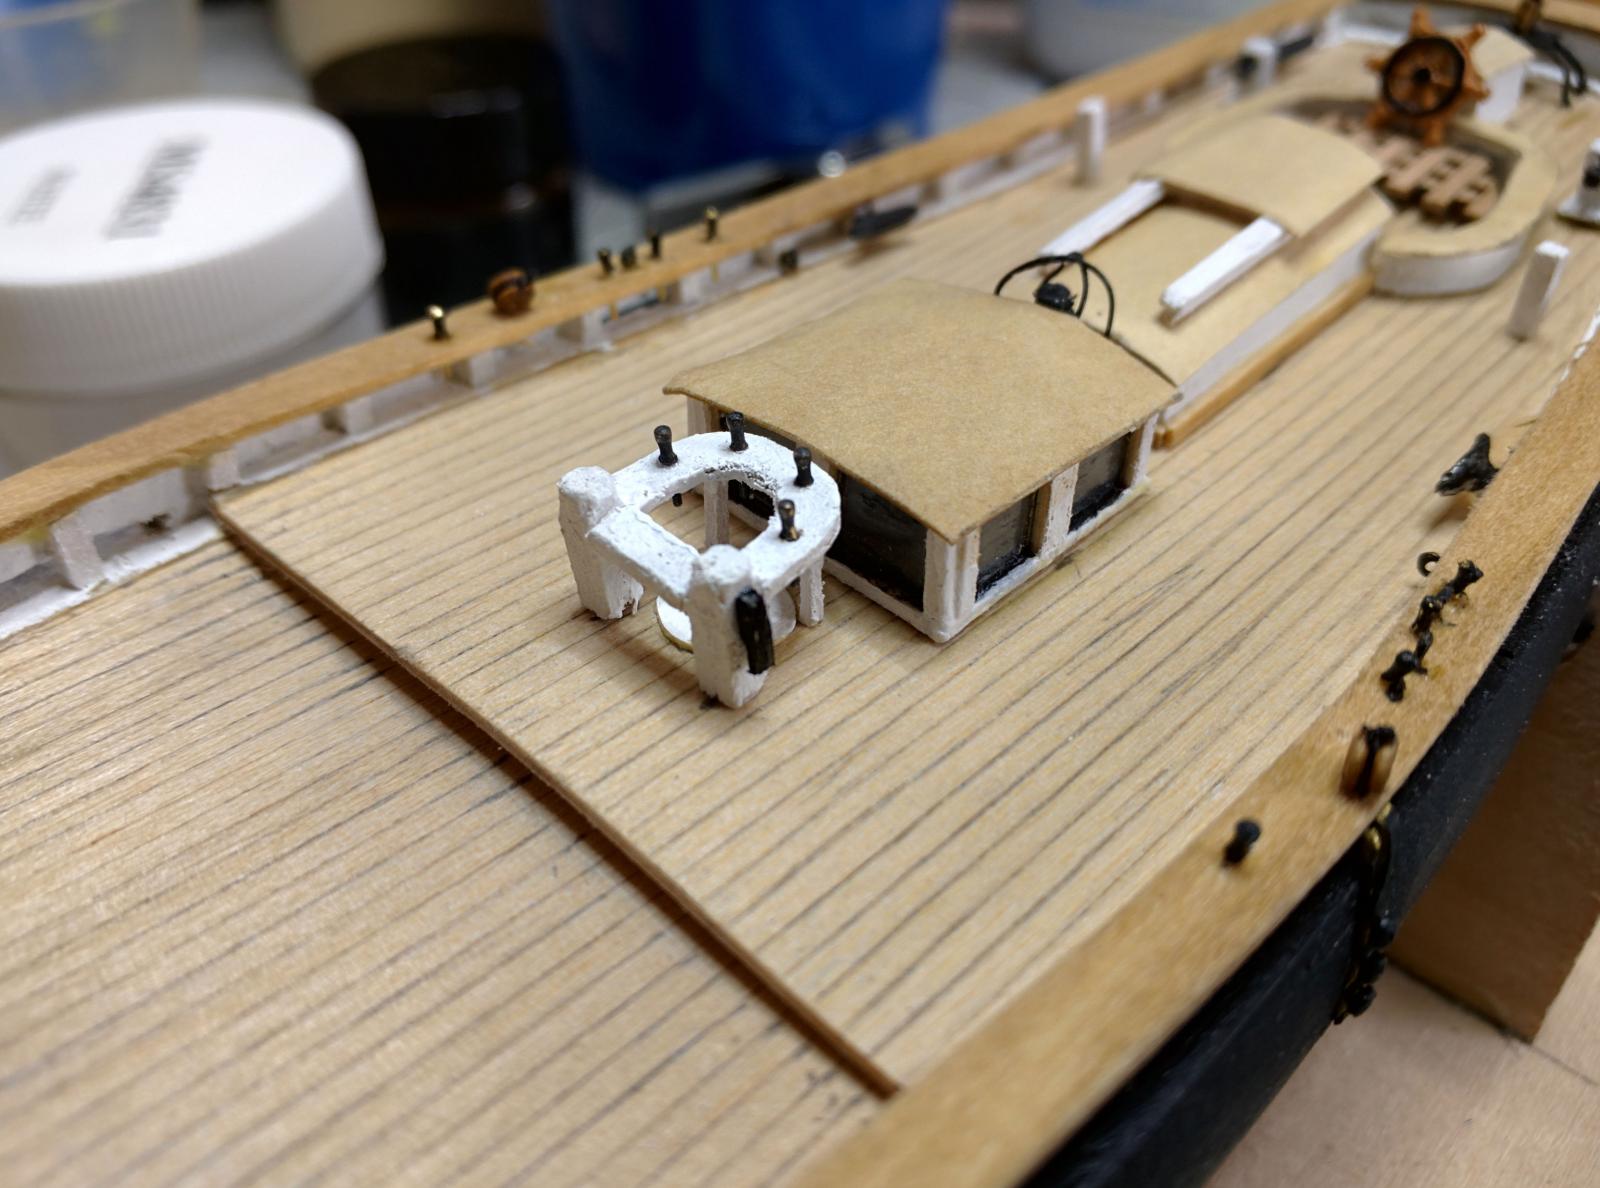
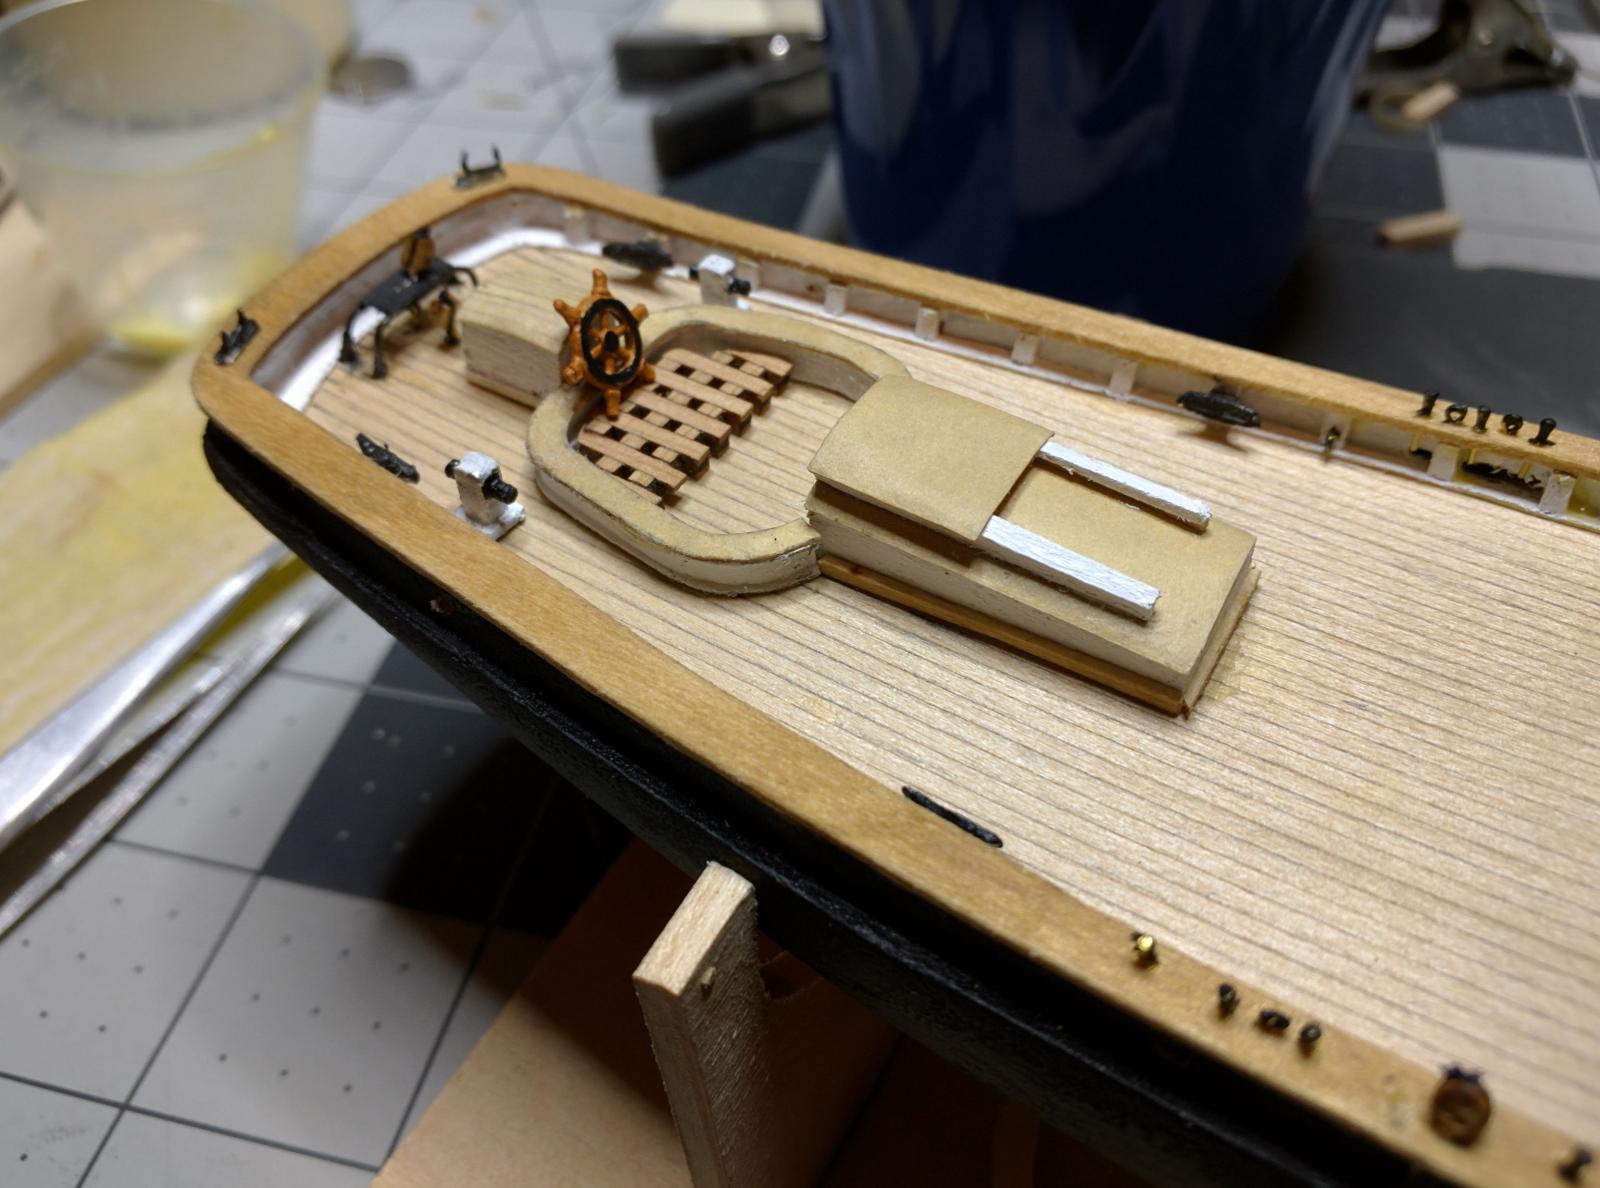
Here the fore deck is mostly complete. I'm a lot happier with the fore deck companionway, but they do look quite different. I figure since this is my first ship it's more about learning than the preciseness of the outcome.
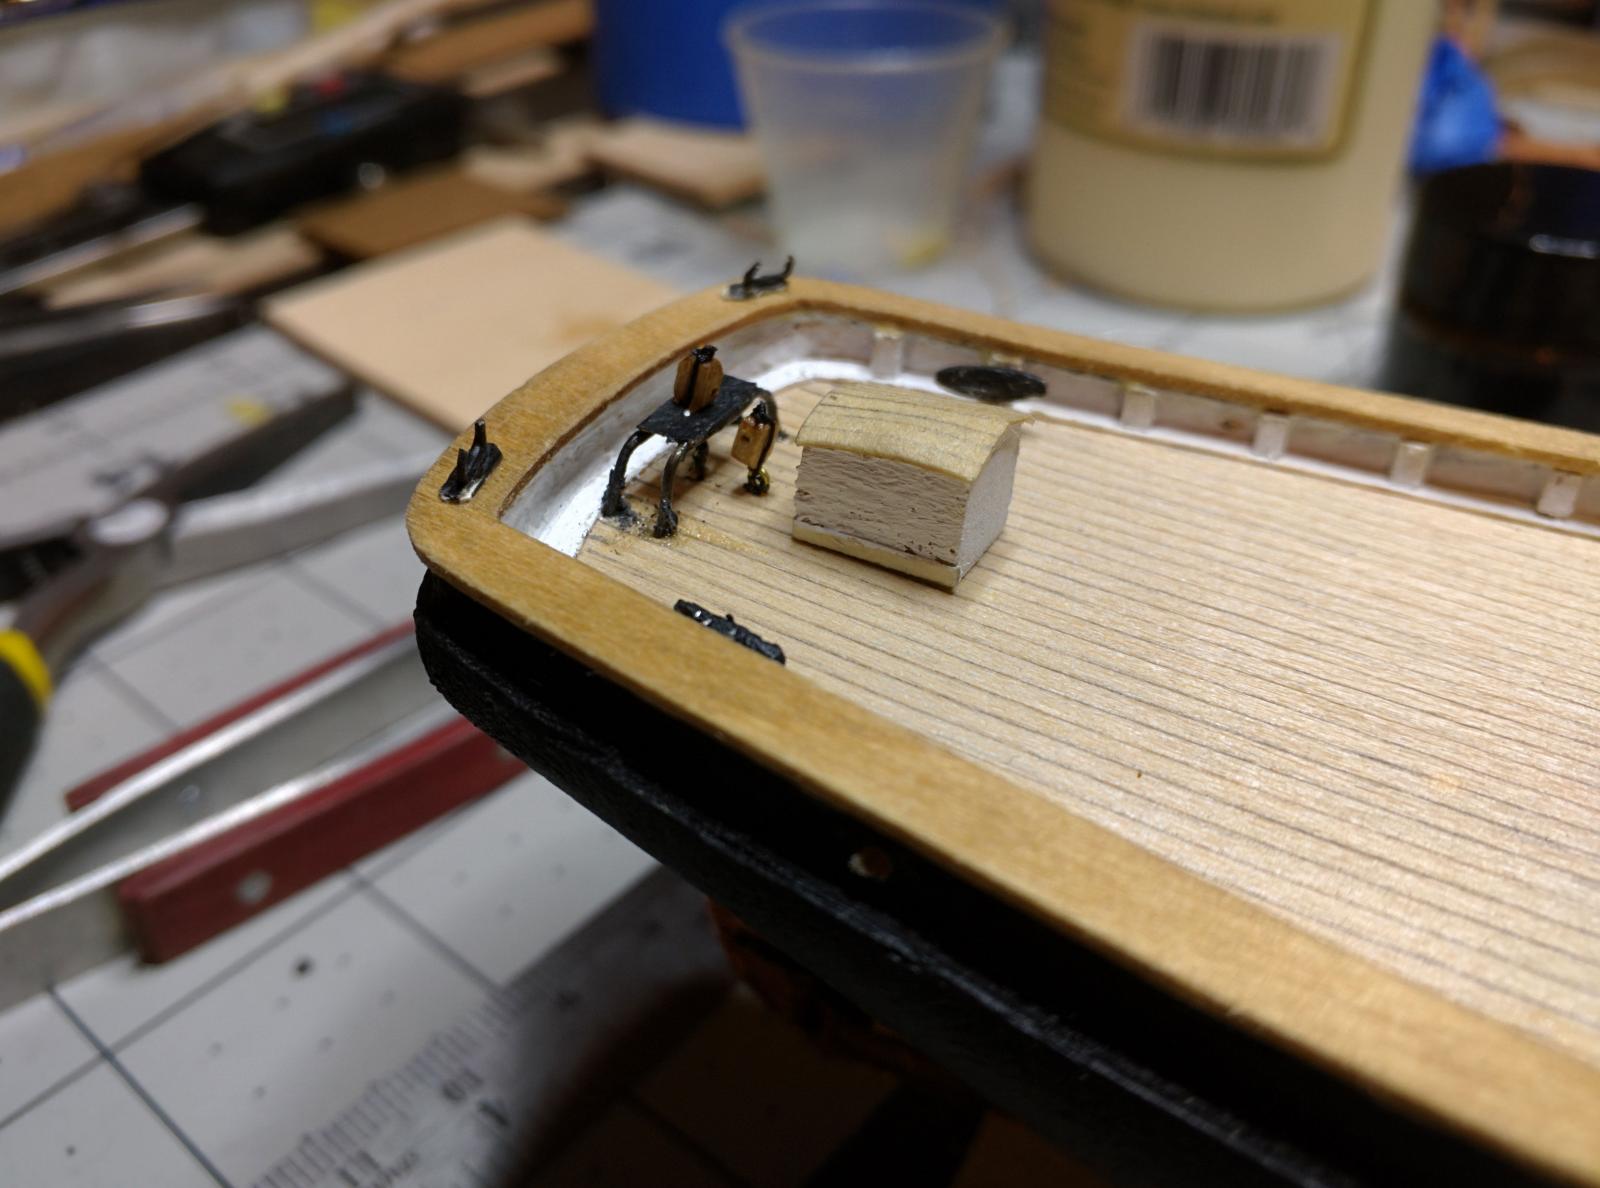
Full shot of the deck, just missing the winch bits and bowspirit.
-
At some point around here spacing got messed up and as you see coming up I ended up running short on space and had to make some adjustments. I'll call them out in the photos, I think they turned out okay though in the end.
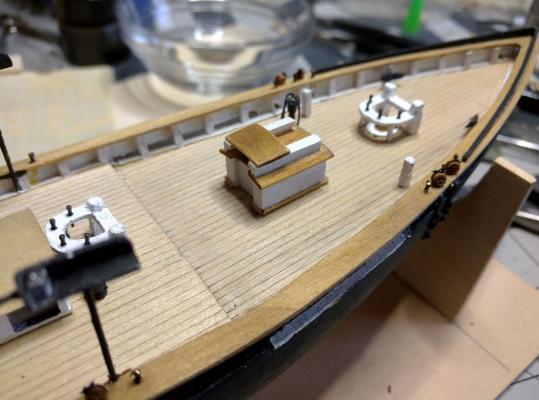
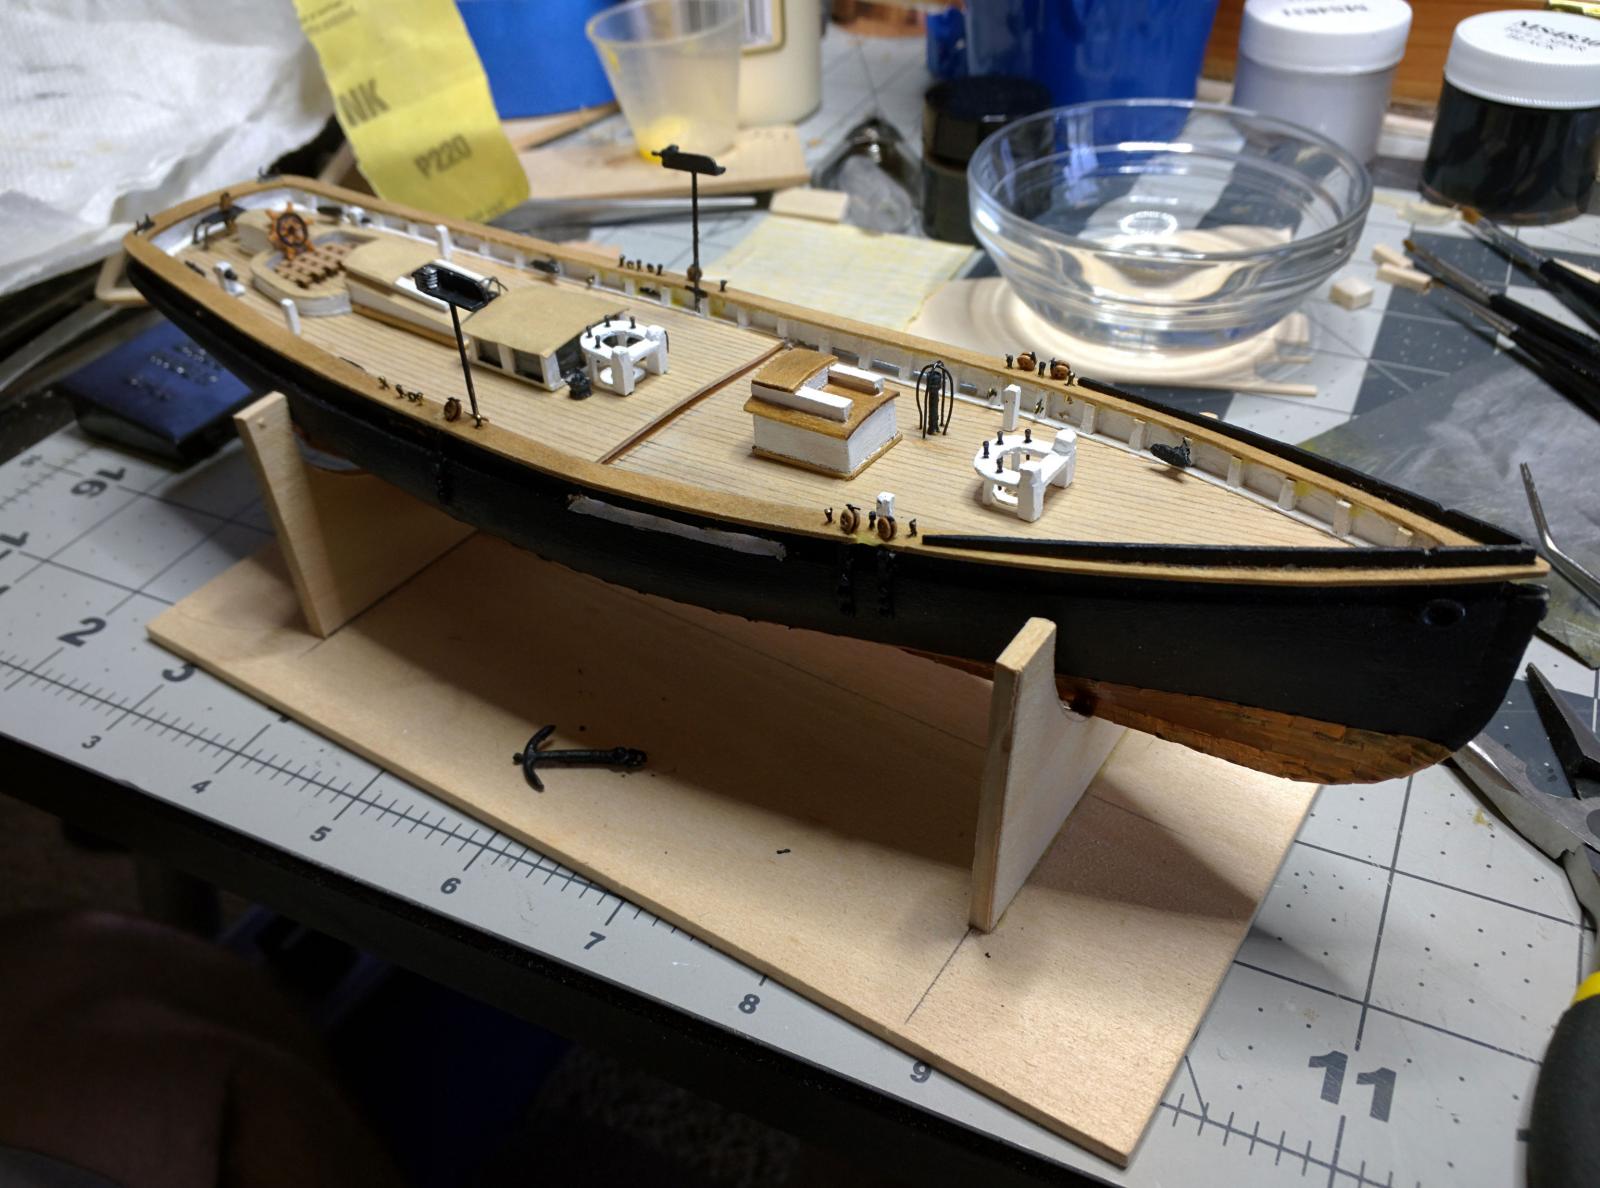
The kit also didn't have the cast fife rails, so I figured I'd give hand making them a go. I think the turned out pretty well.
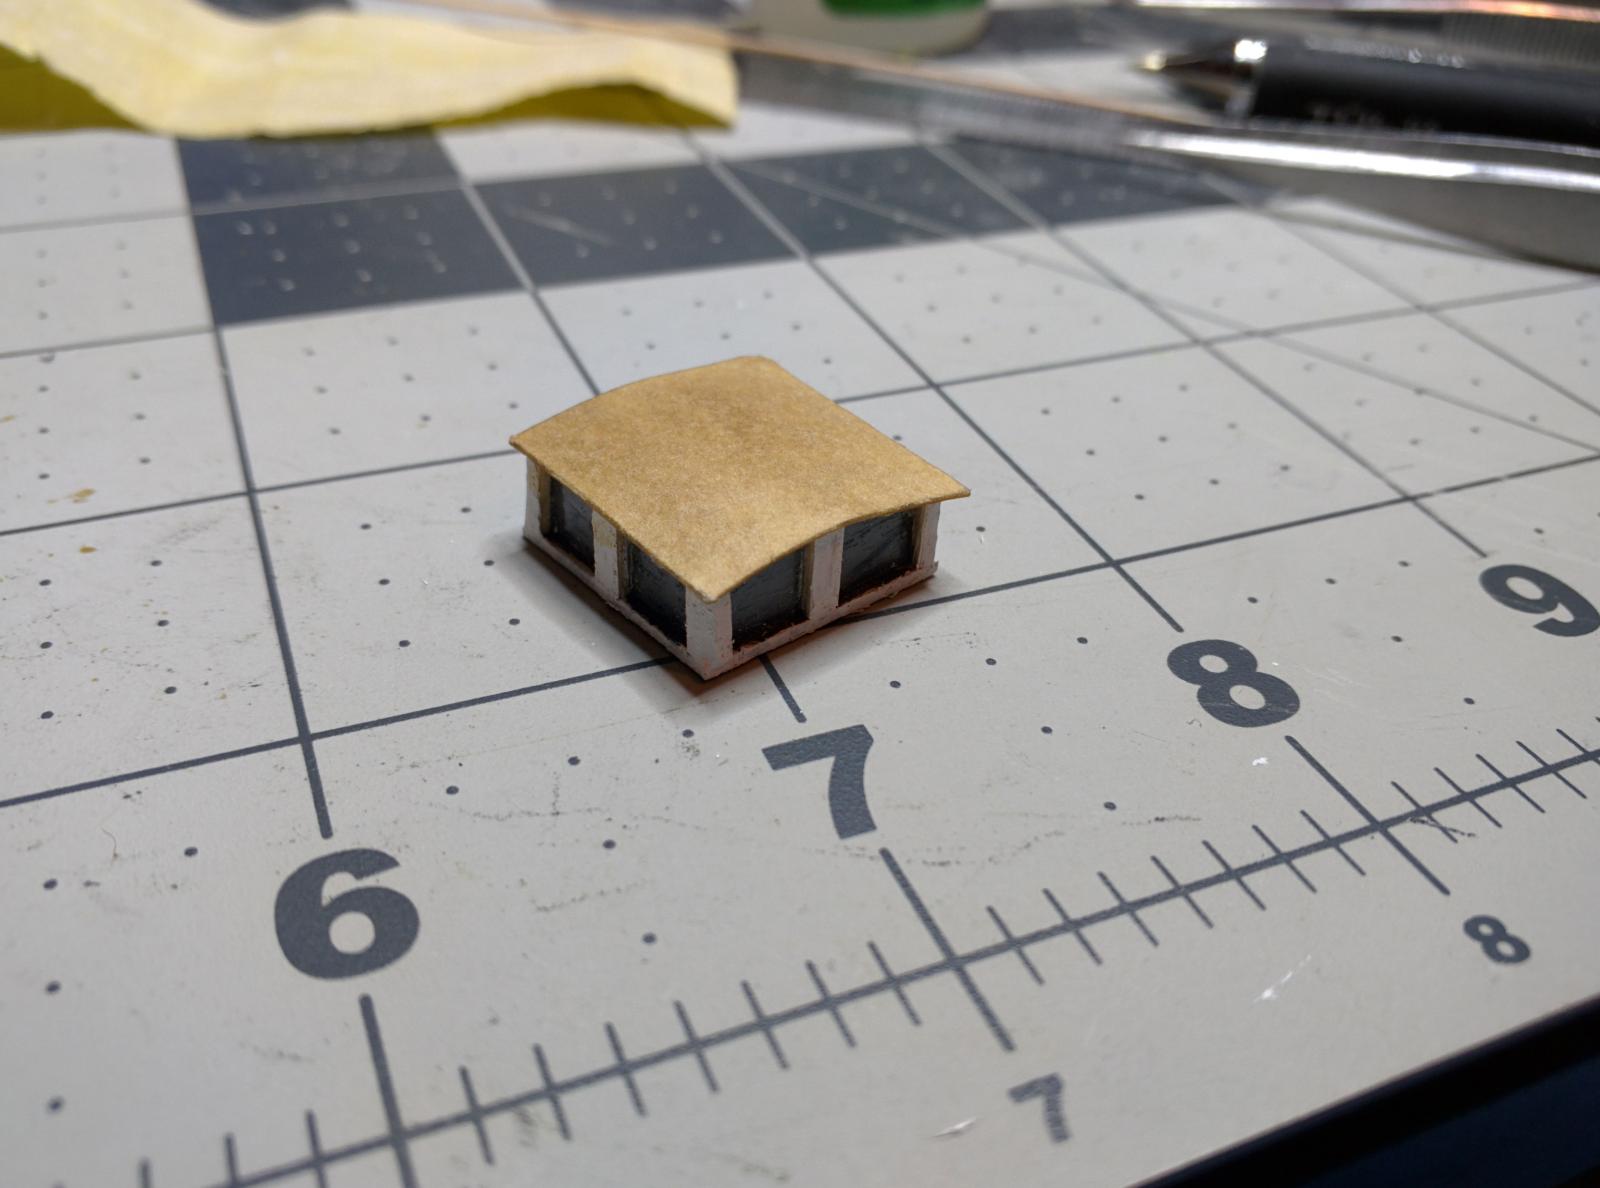
I ended up having to make the skylight smaller than the charts specified. I still can't quite figure out where things went awry.
Here it is fitted in with the hand made fife rail test fit in place.

Aft deck mostly completed.

As you can see it mostly worked out, I don't think most people will be able to tell something is off.
-
-
Thanks for the kind words everyone.

Chief Don, have a build log? Would like to see someone else's go at it.
Hamilton, uh oh, we are expecting our first child in just a few weeks now so I'll be having to figure out child protection in the not too distant future.
Here's some more progress shots.
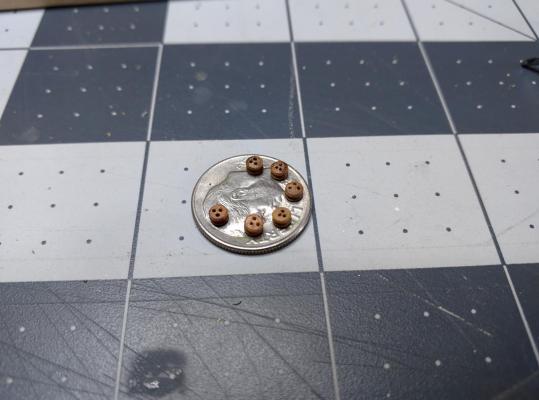
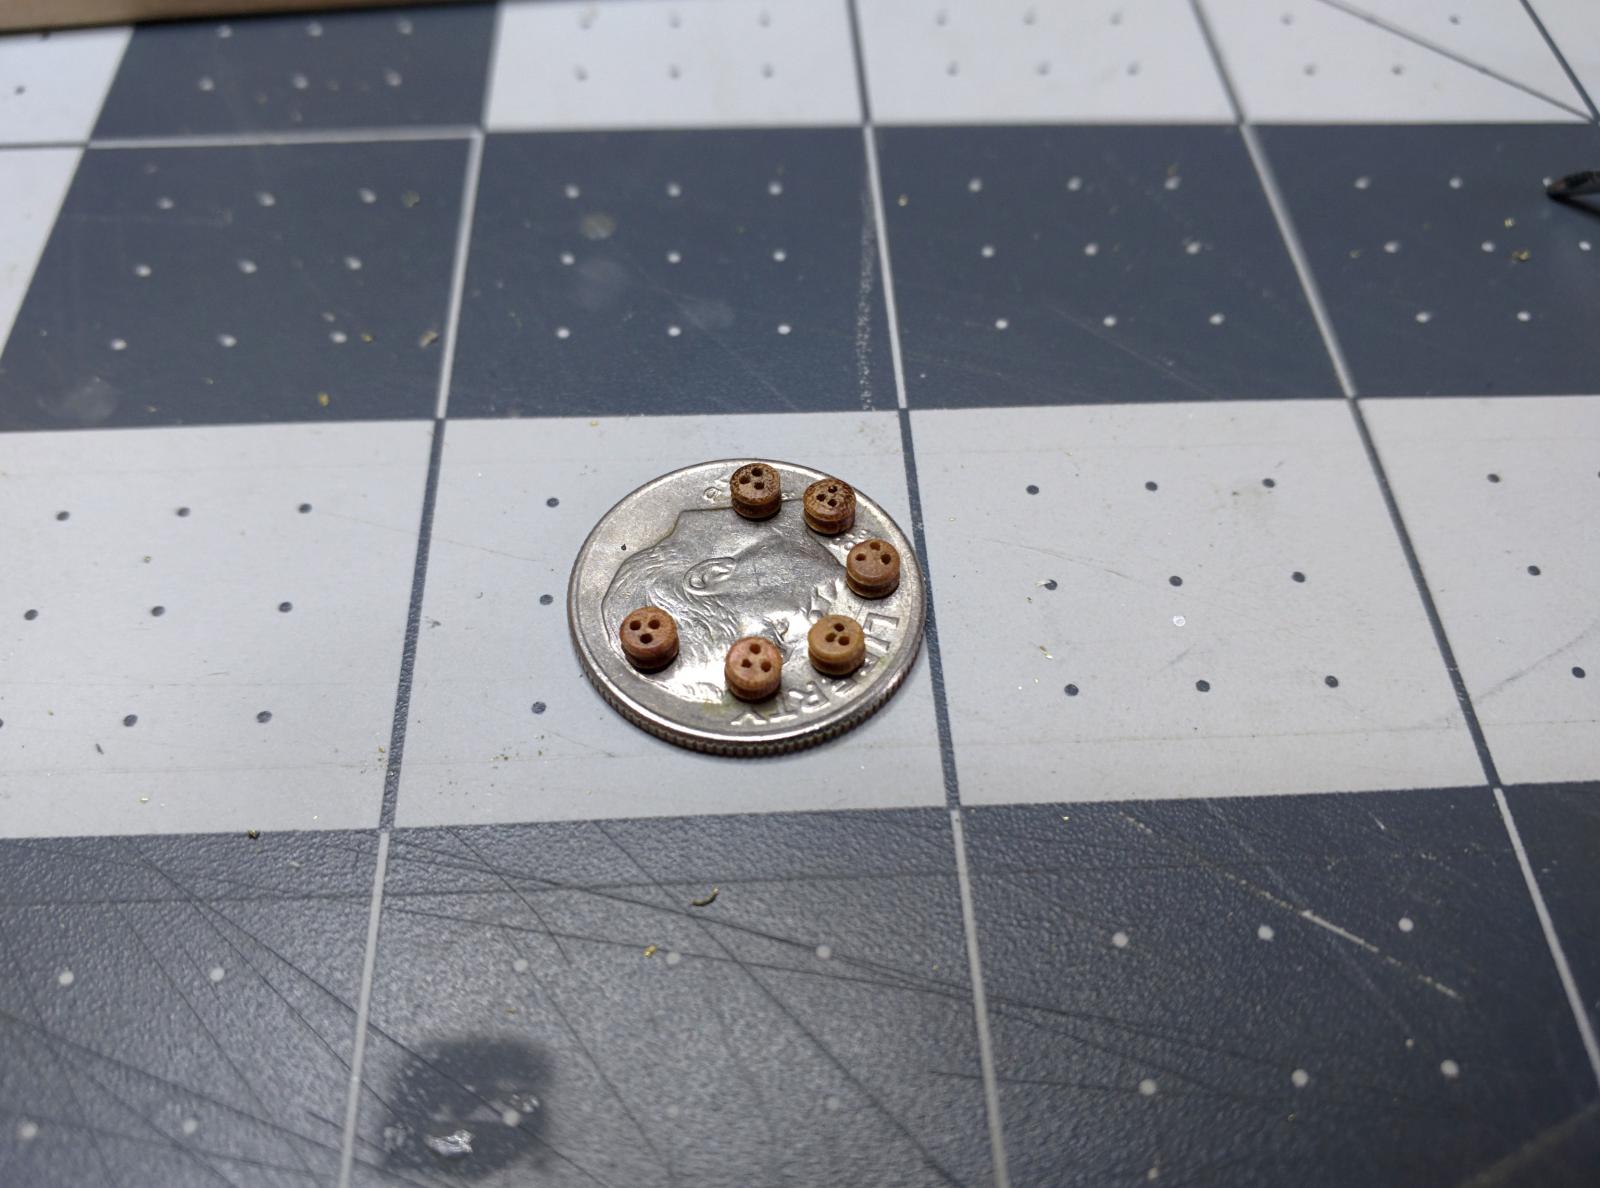
Small deadeyes are small.
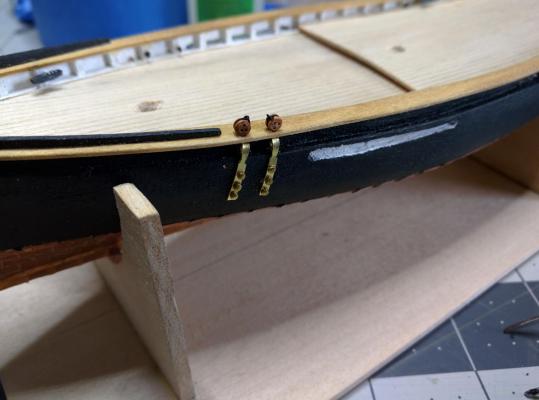
Chainstays put on with deadeyes attached. It was interesting tying knots with tweezers.
Belay pins and all cap rail fittings installed

-
Onwards!
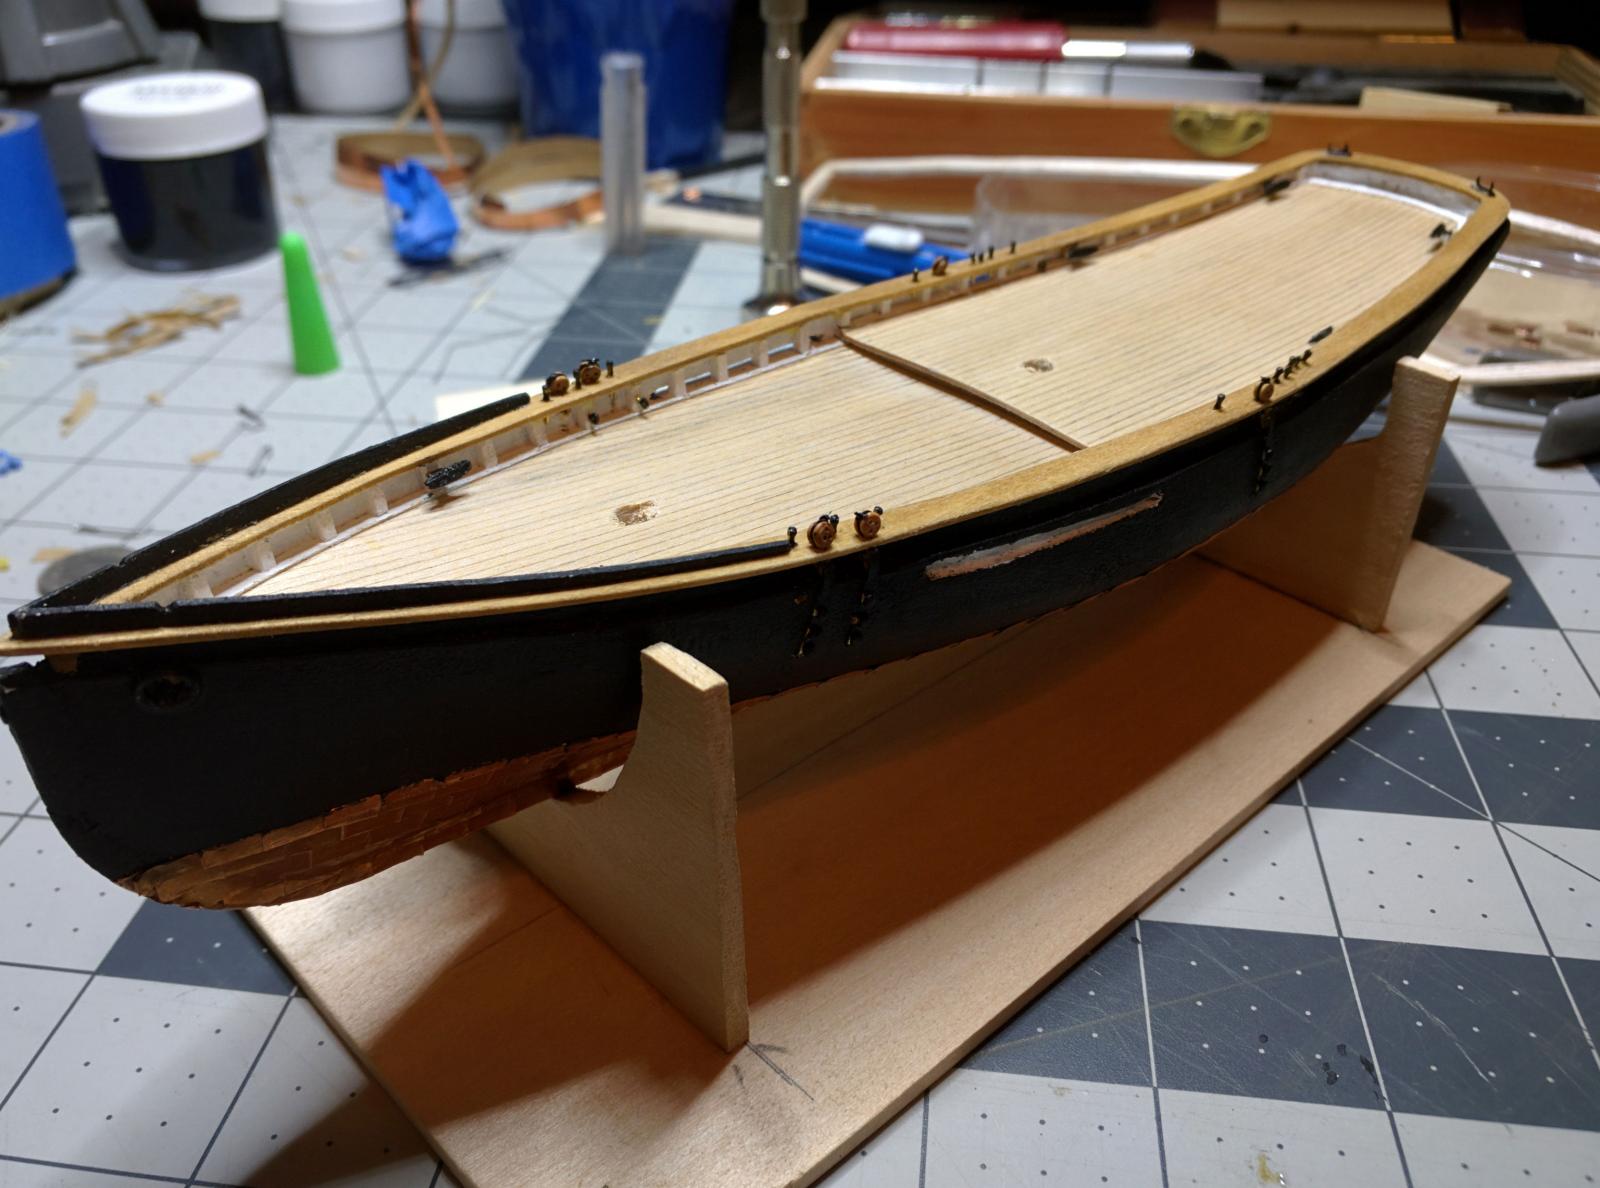
Cap rail added
Stained cap rail
Splash rail added as well as cleats and eye bolts

Full shot of progress from the aft side
I have quite a bit more progress to share, but running out of steam tonight. Will add a lot more tomorrow!
- Mirabell61, Jack12477, captainbob and 2 others
-
 5
5
-
-
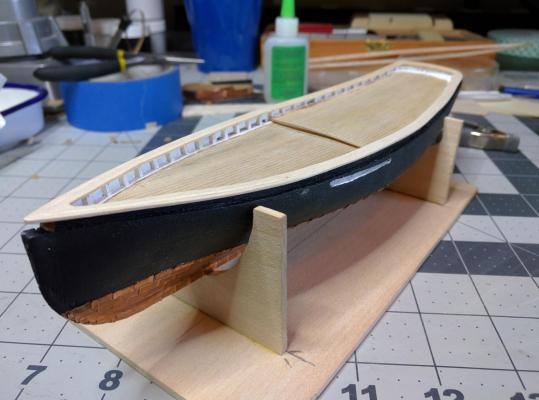
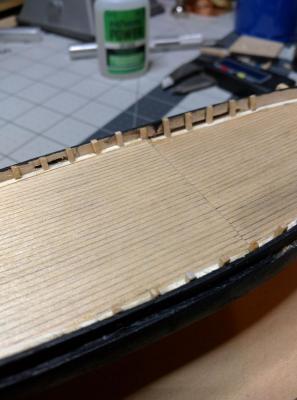
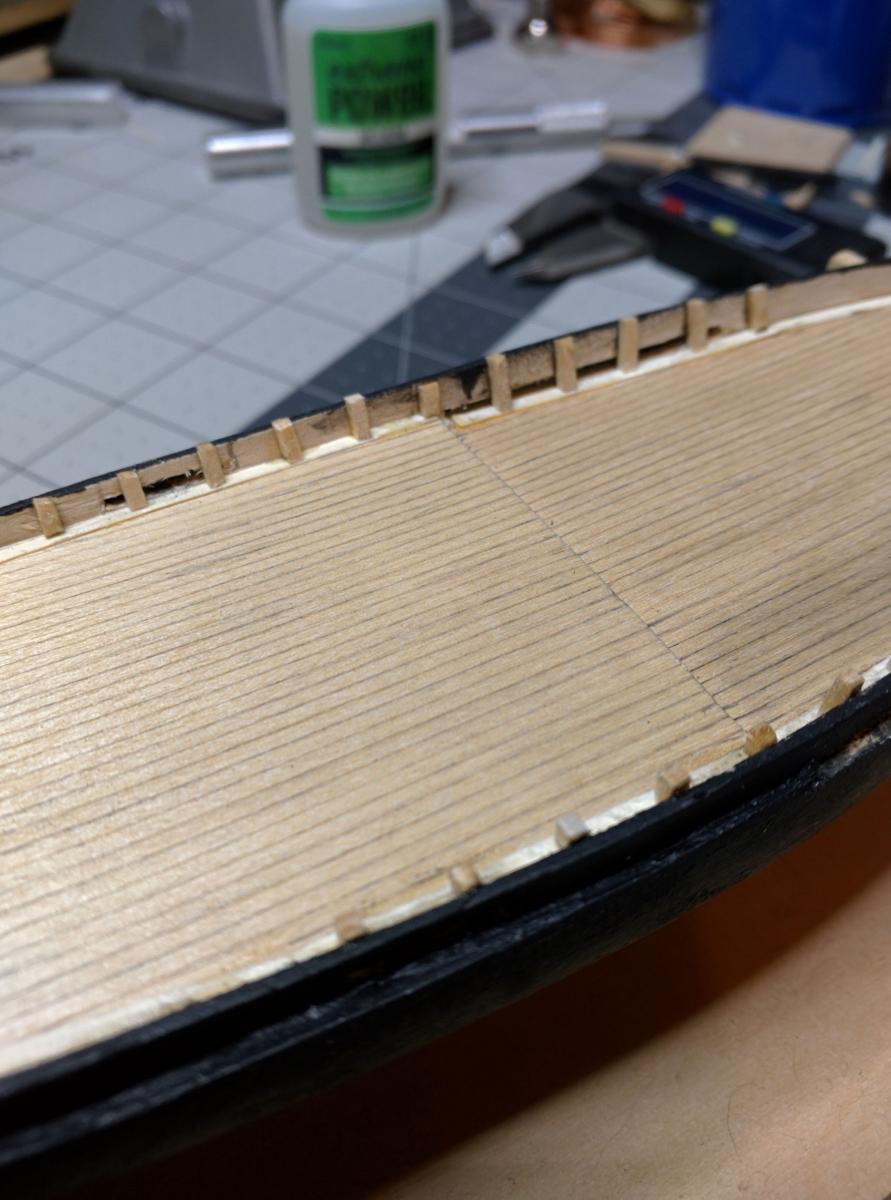
Here I added the decking, and also had to do a bit more carving on the fore deck as it wasn't quite deep enough.
I've added in the scuppers here.

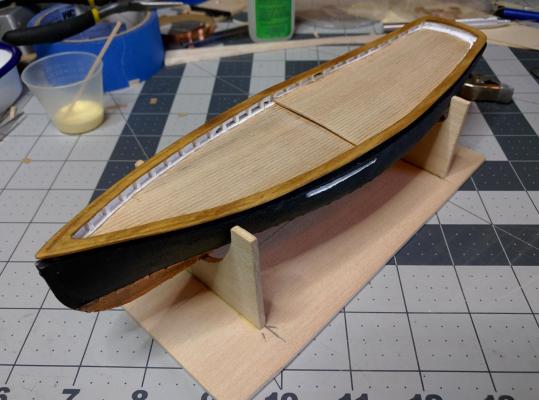
And here you can see the waterway added. I'm following the practicum by Chuck Passaro and he recommended using a manila folder for this. I liked that, but as you can see it got a bit marked up from the pencil lead. I fixed this by painting it and the inside of the bullwarks white, which you'll see here in a bit.
Progress photo of the stanchions going in.
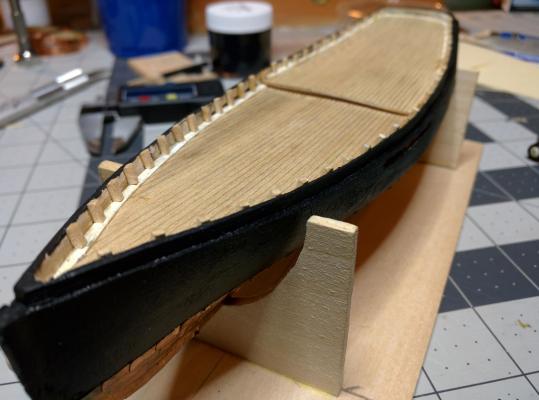
Stanchions installed an painted.
-
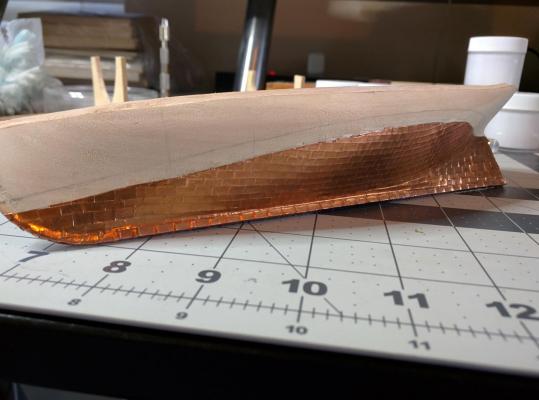
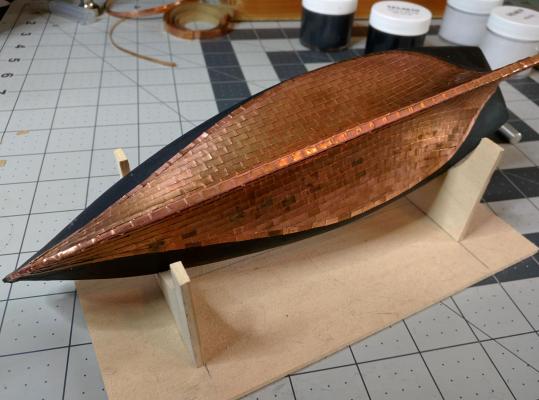
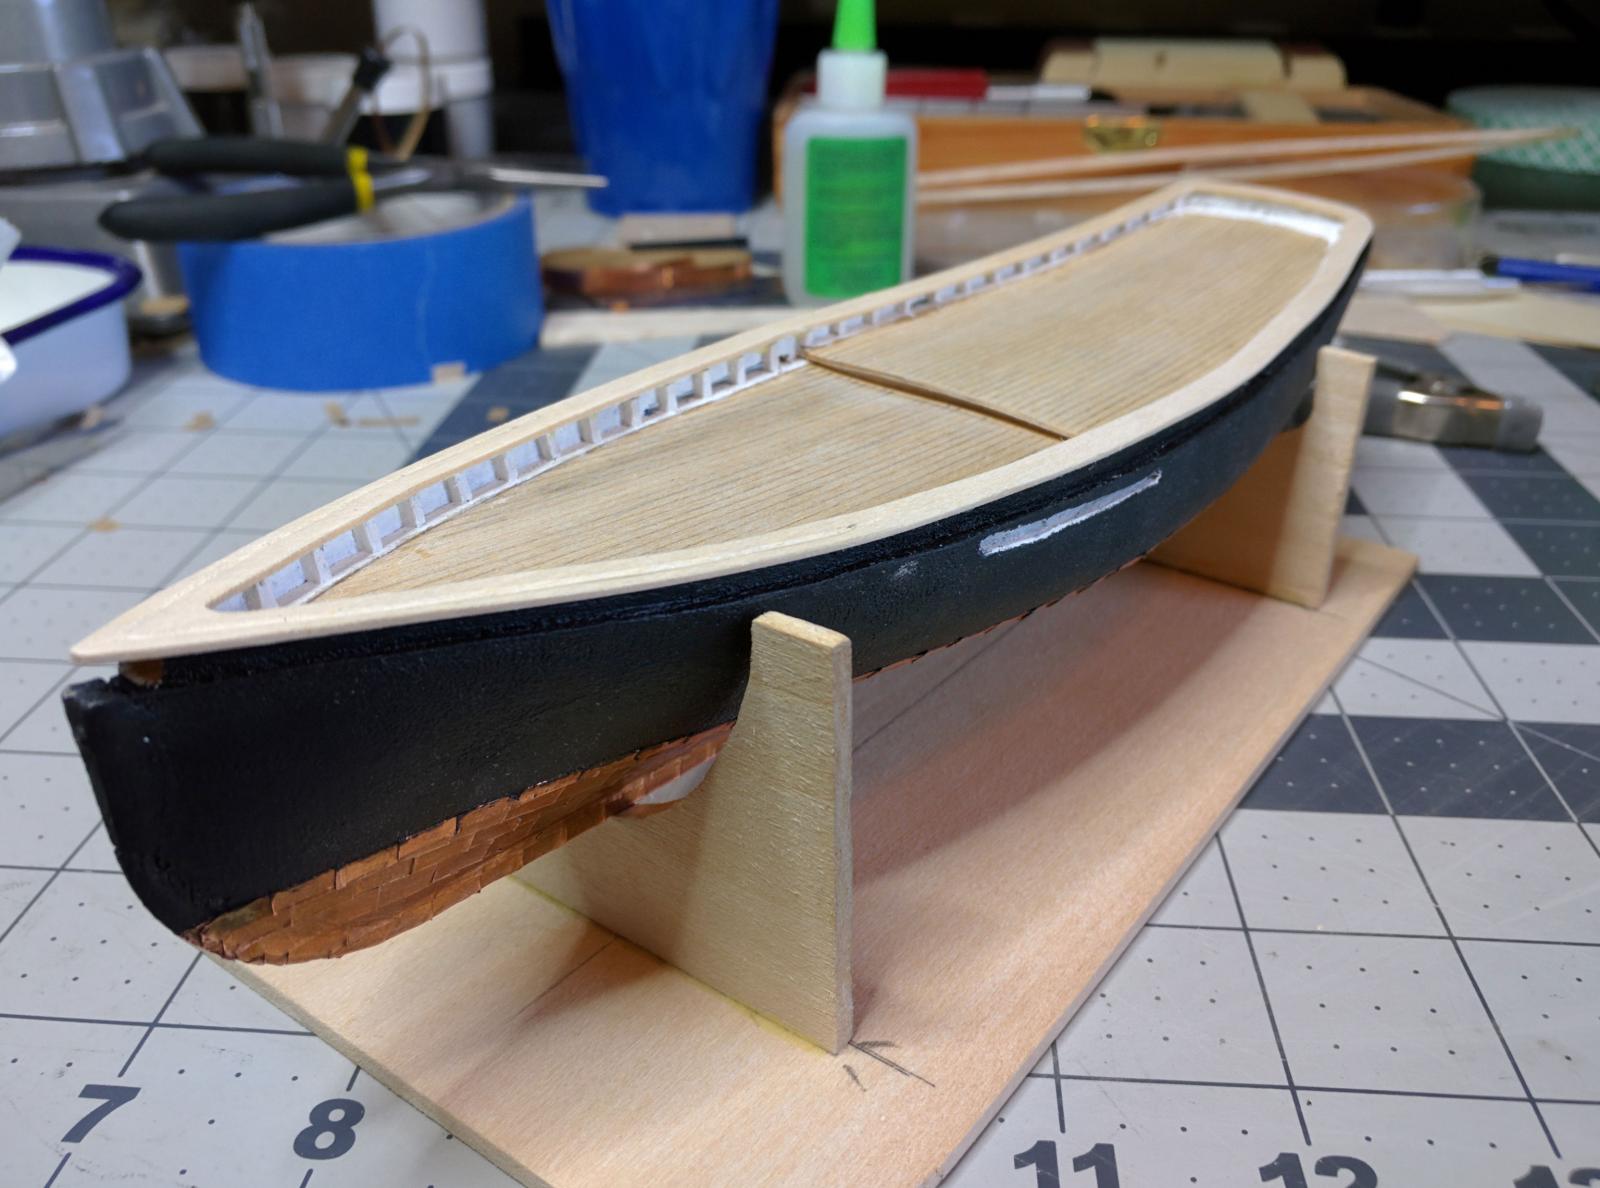
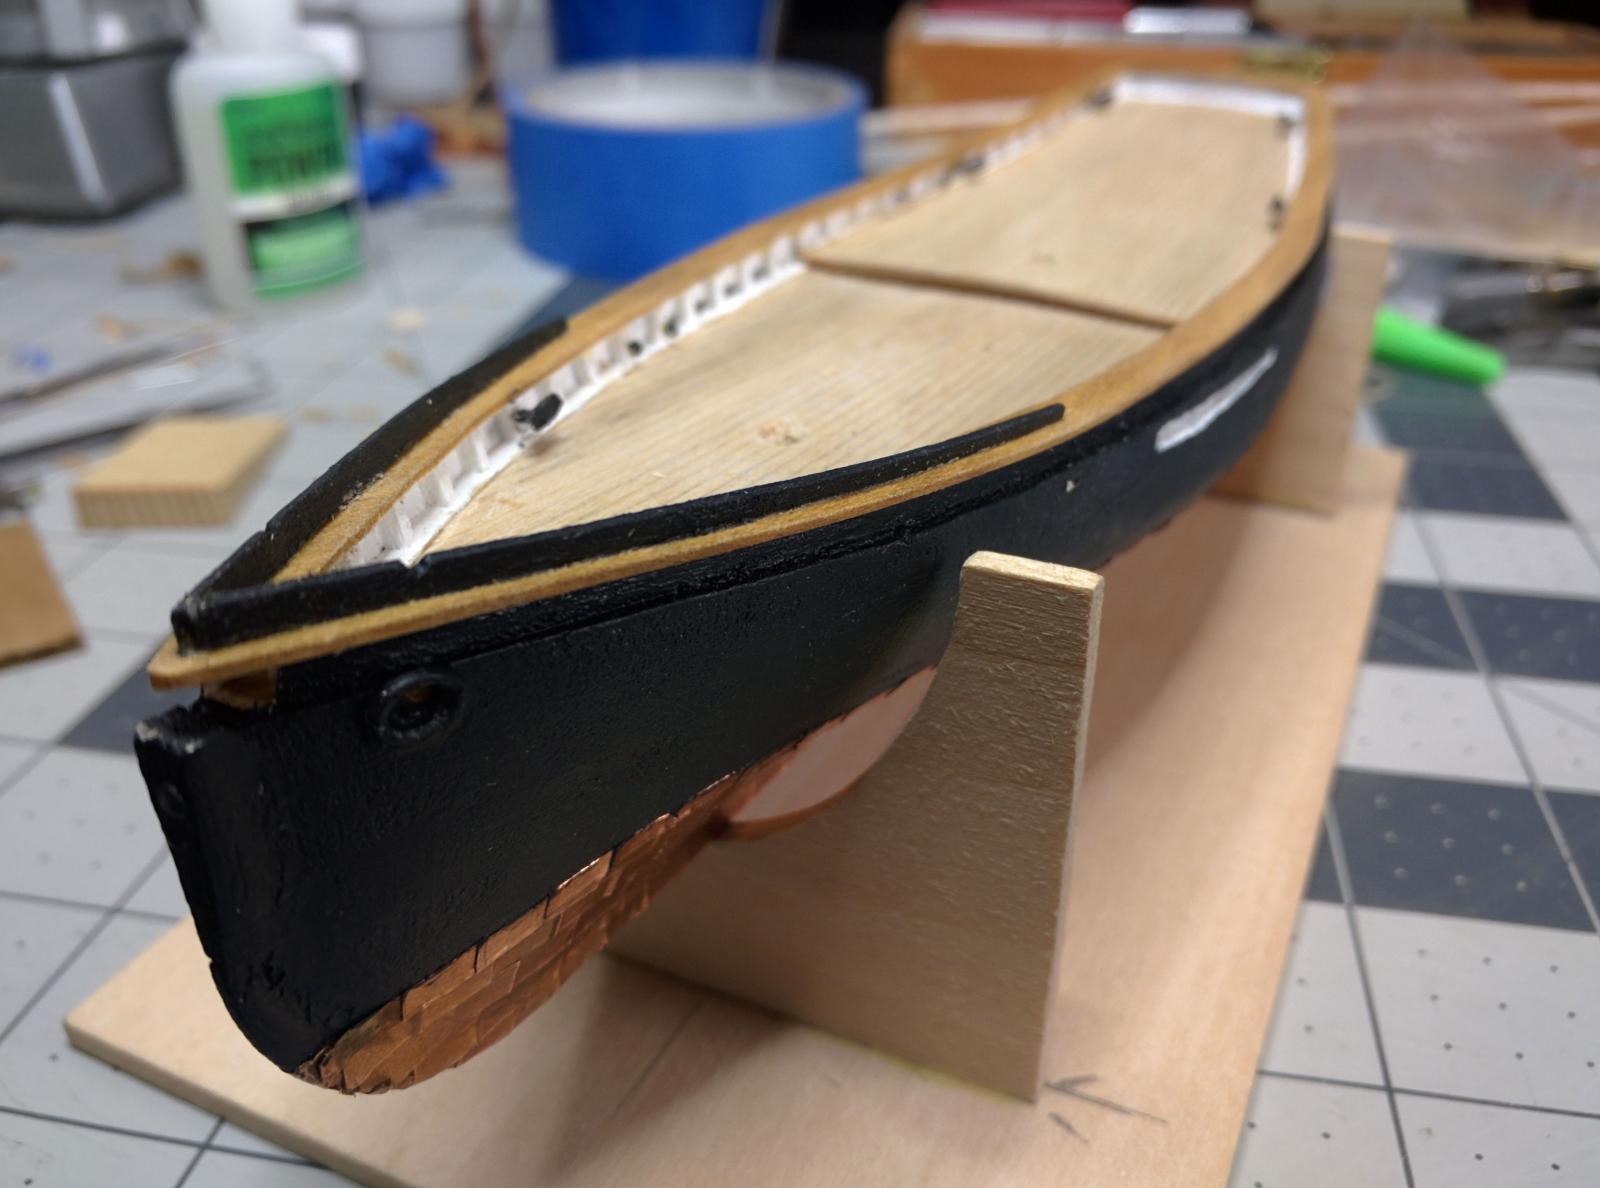
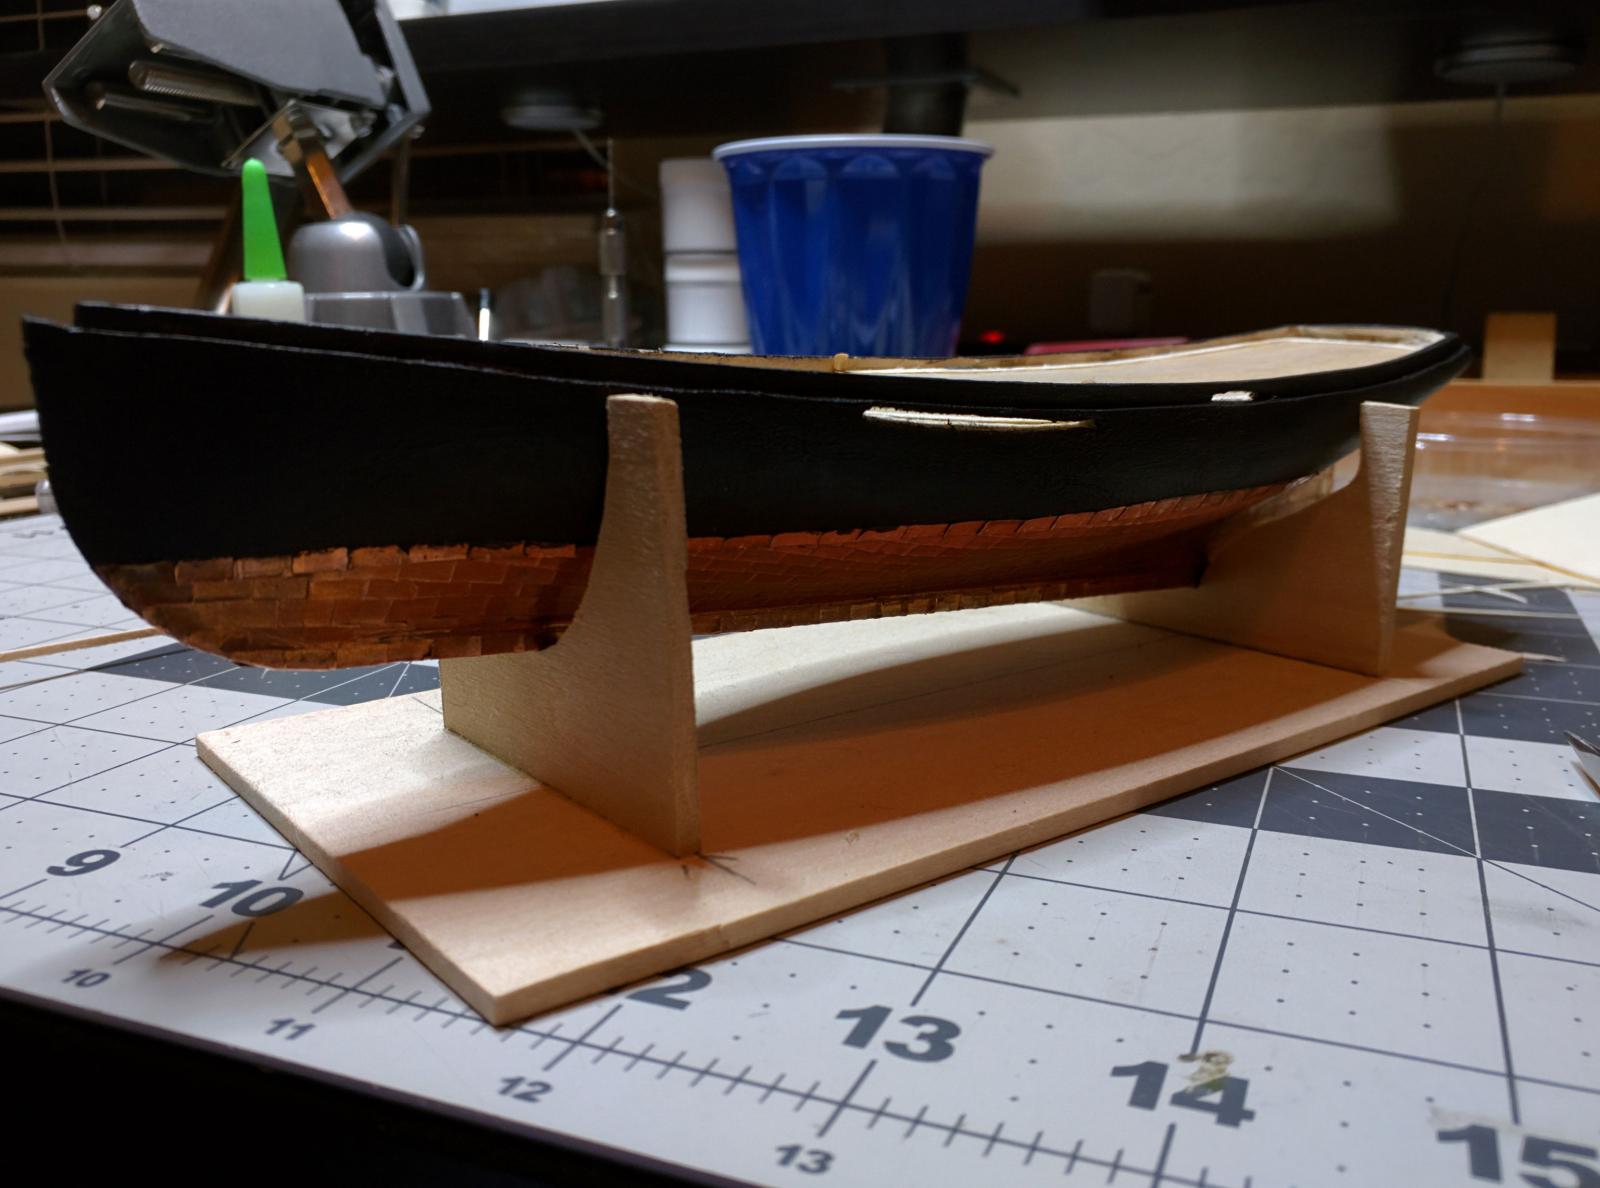
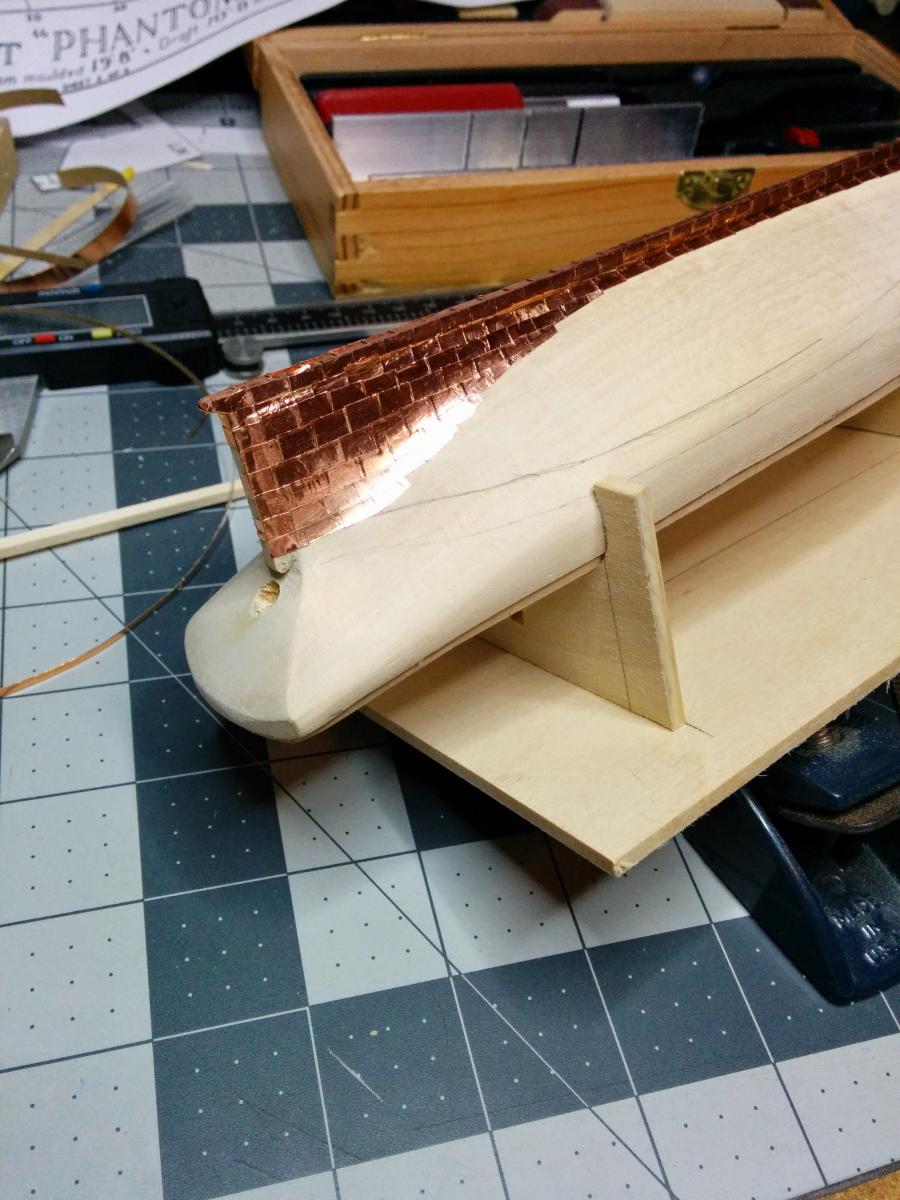
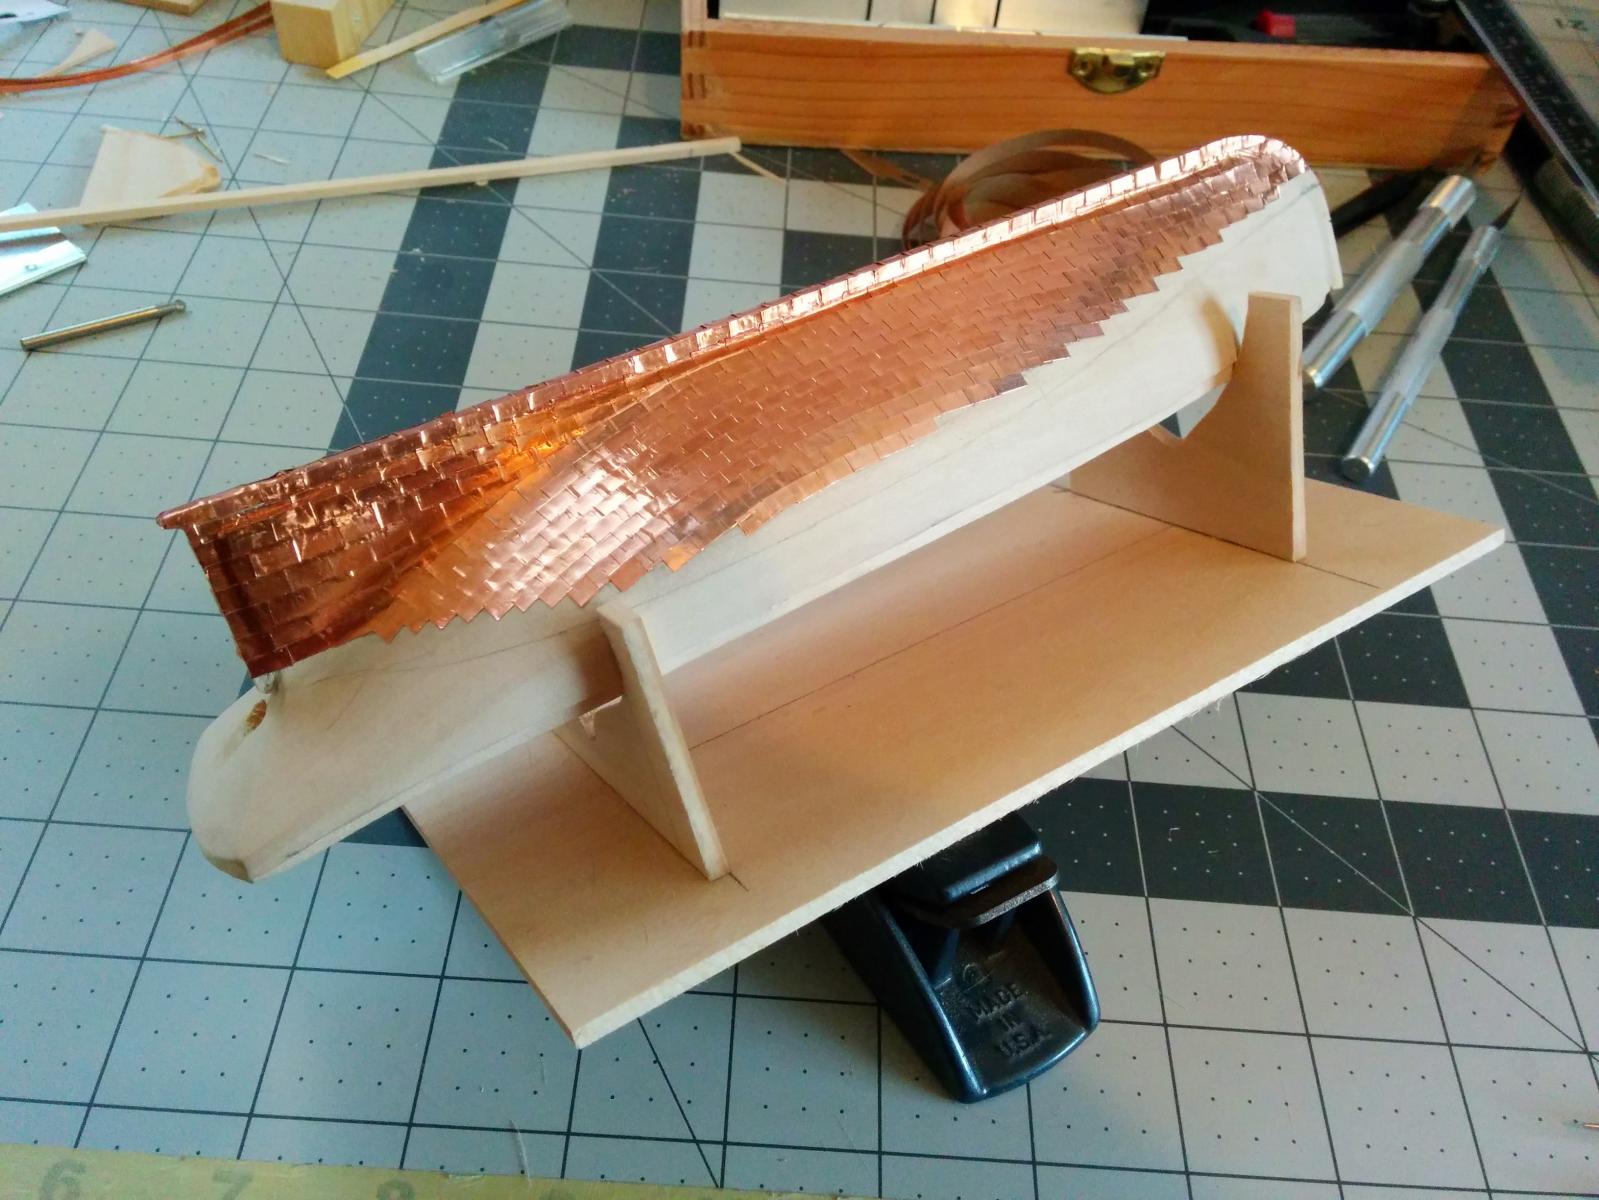
I started the coppering across the keel and working my way up the sides. These photos represent about 20 or so hours of work. Coppering the hull took a long time and got to be a bit tedious.


It was shortly after this point where I took a break for awhile before starting up again.

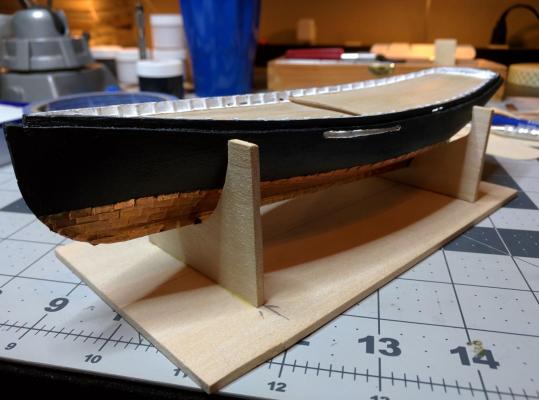
Here you can see I've trimmed up the copper plating along the water line.
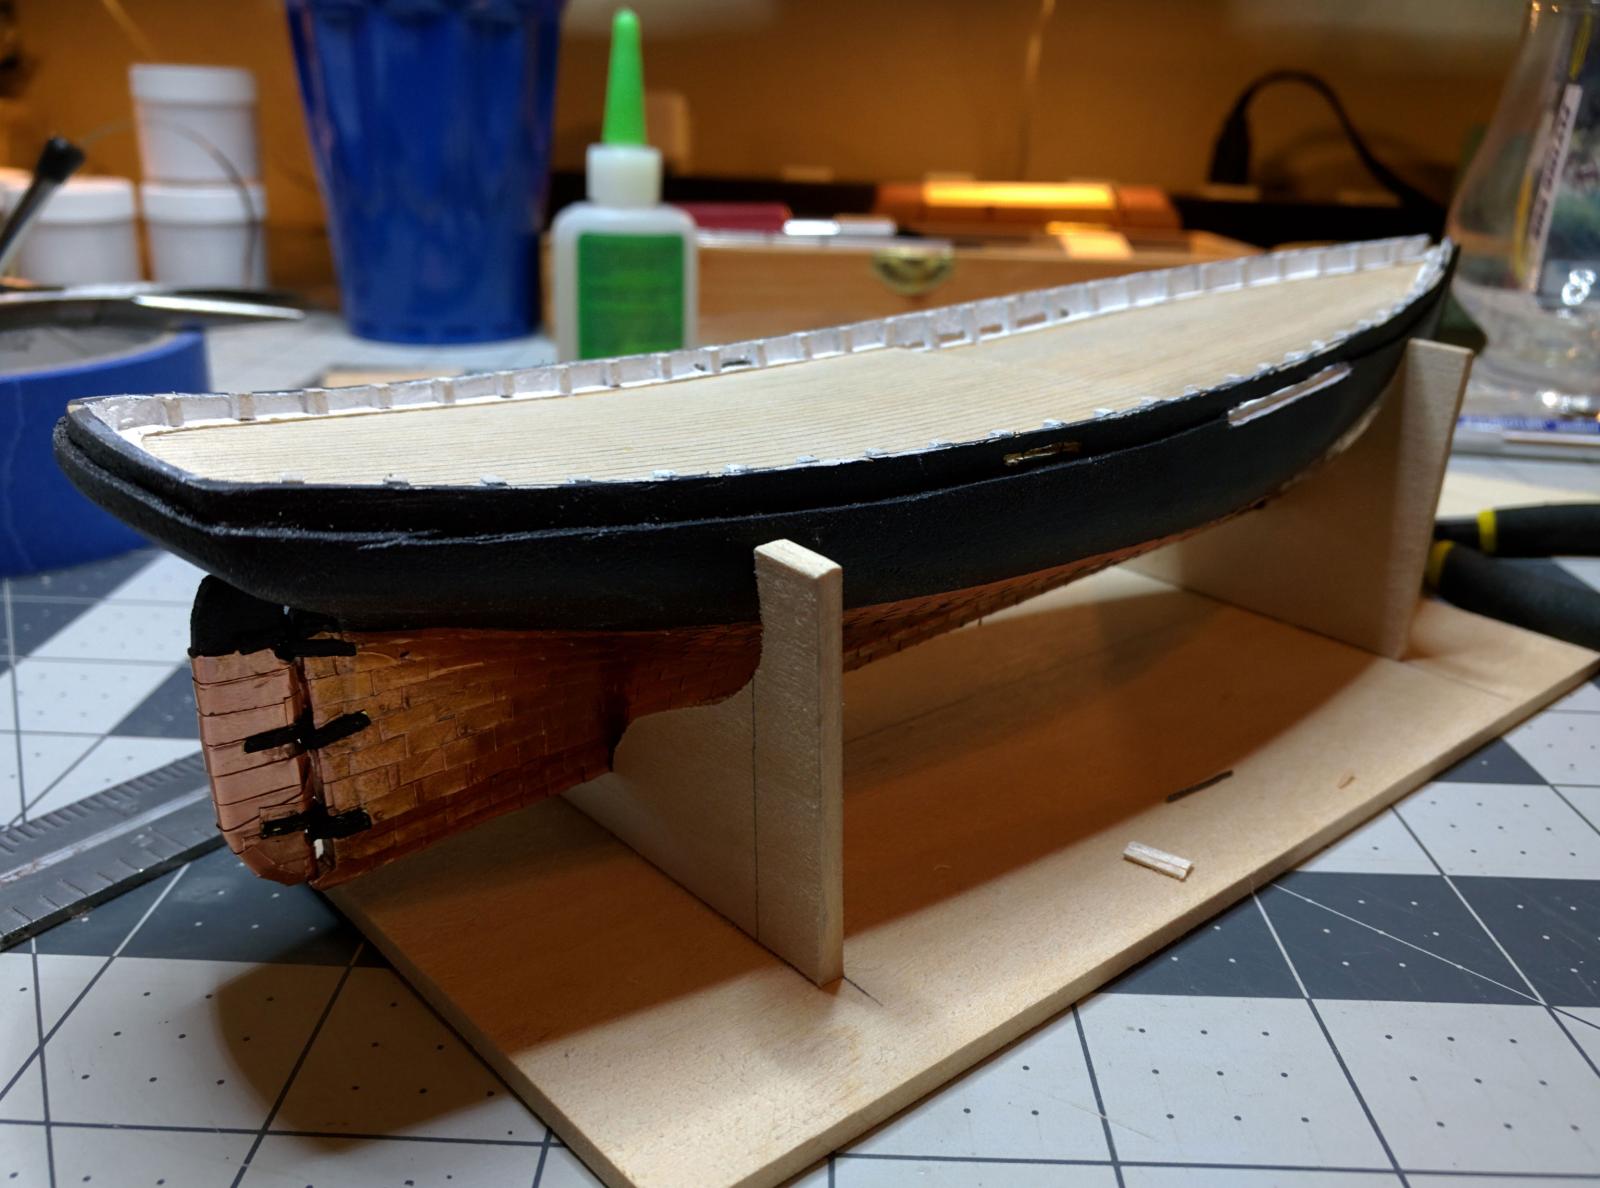
I painted the hull black before adding the final line of coper plates.
A look from the starboard side.
-
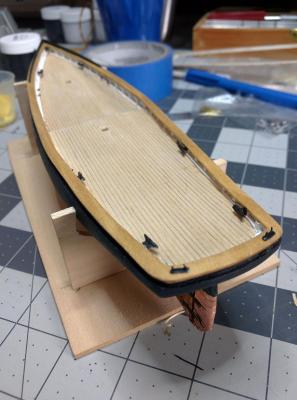
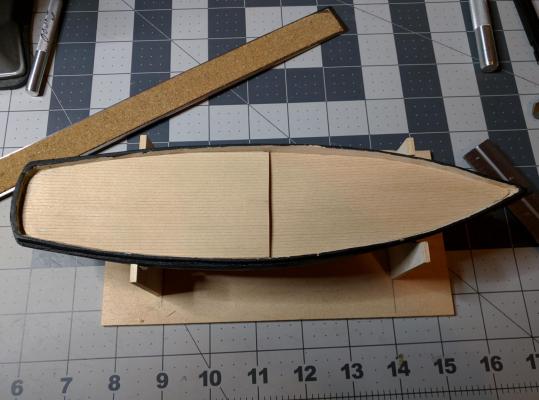
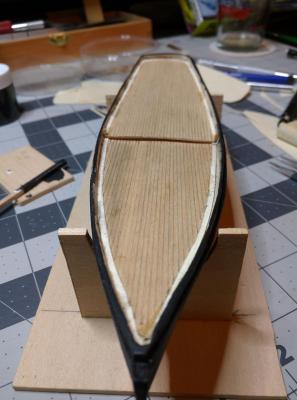
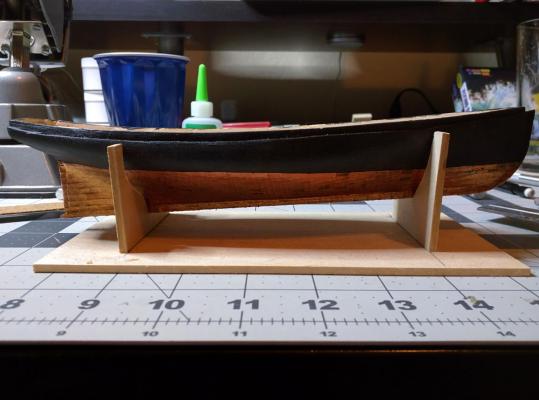
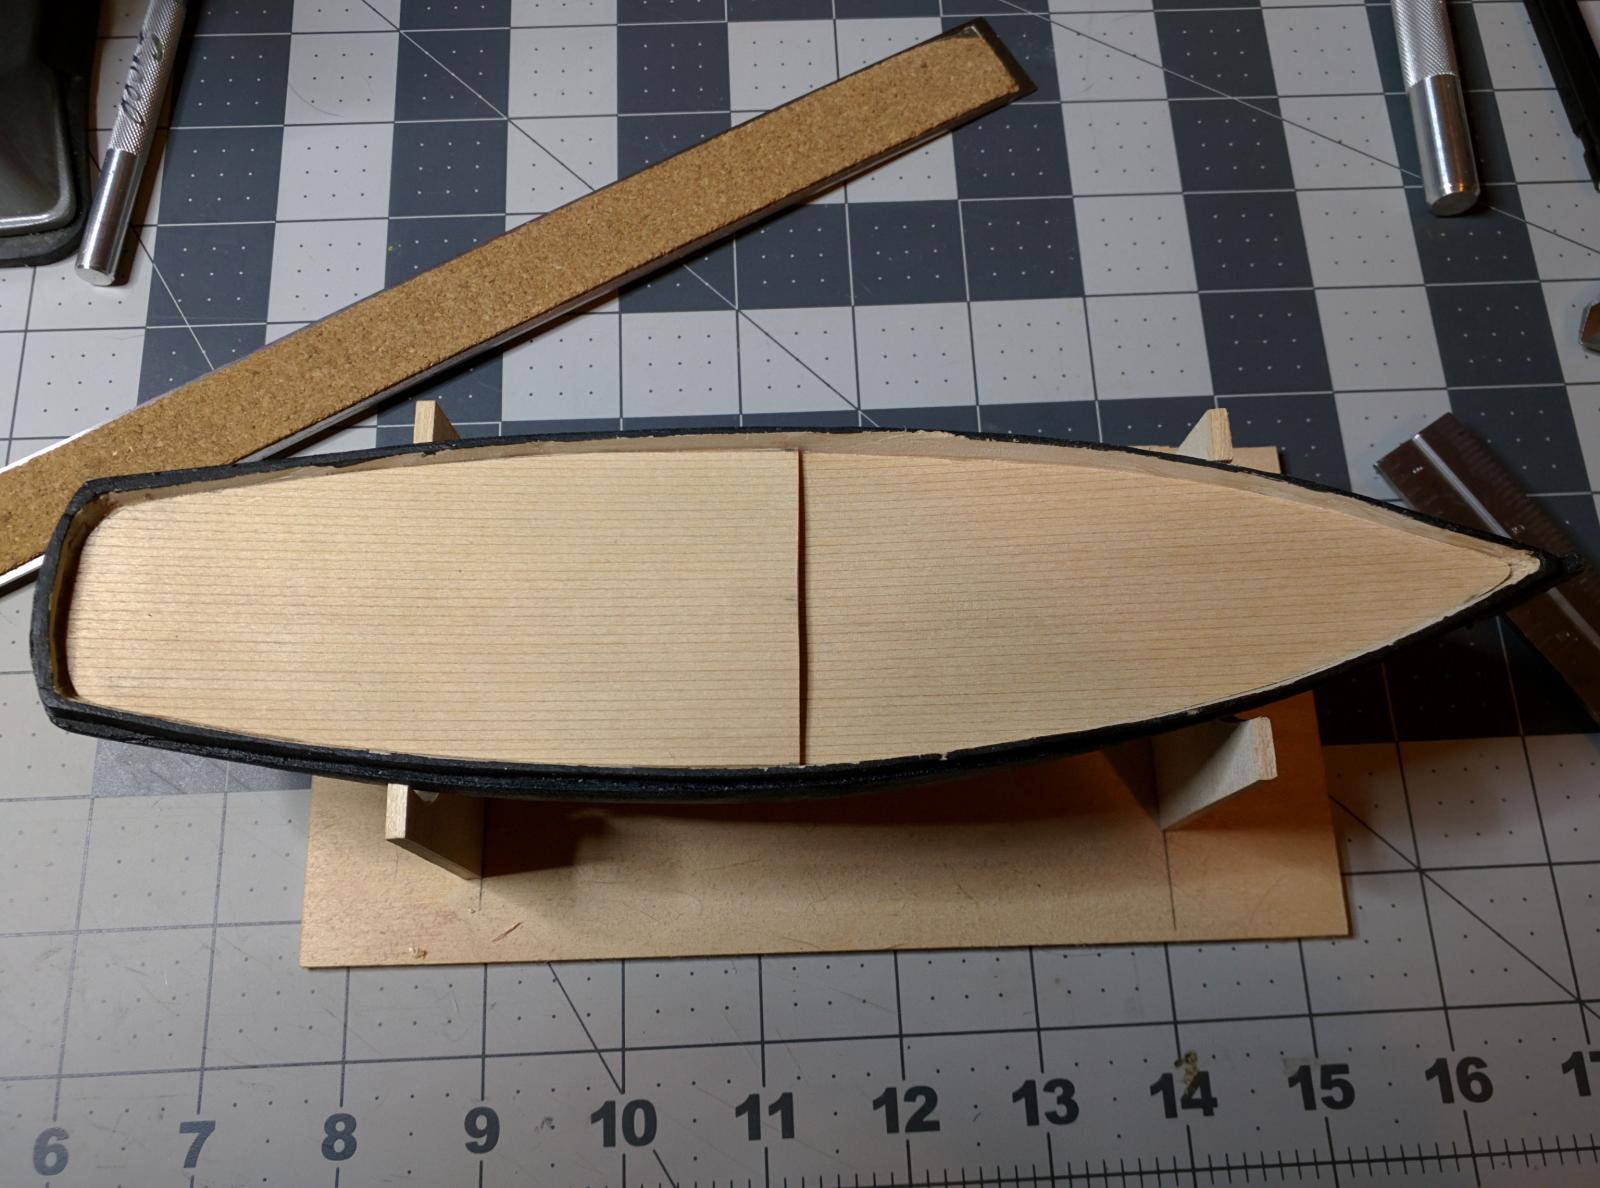
Hello! Happy to be posting my first build log. I've been working on this ship for awhile now. i originally started it back in February 2014, but coppering the hull got a bit tedious so I didn't work on it for awhile. Recently I started back up on it though and have been making a lot of progress. Anyways, enough background, on to the build.
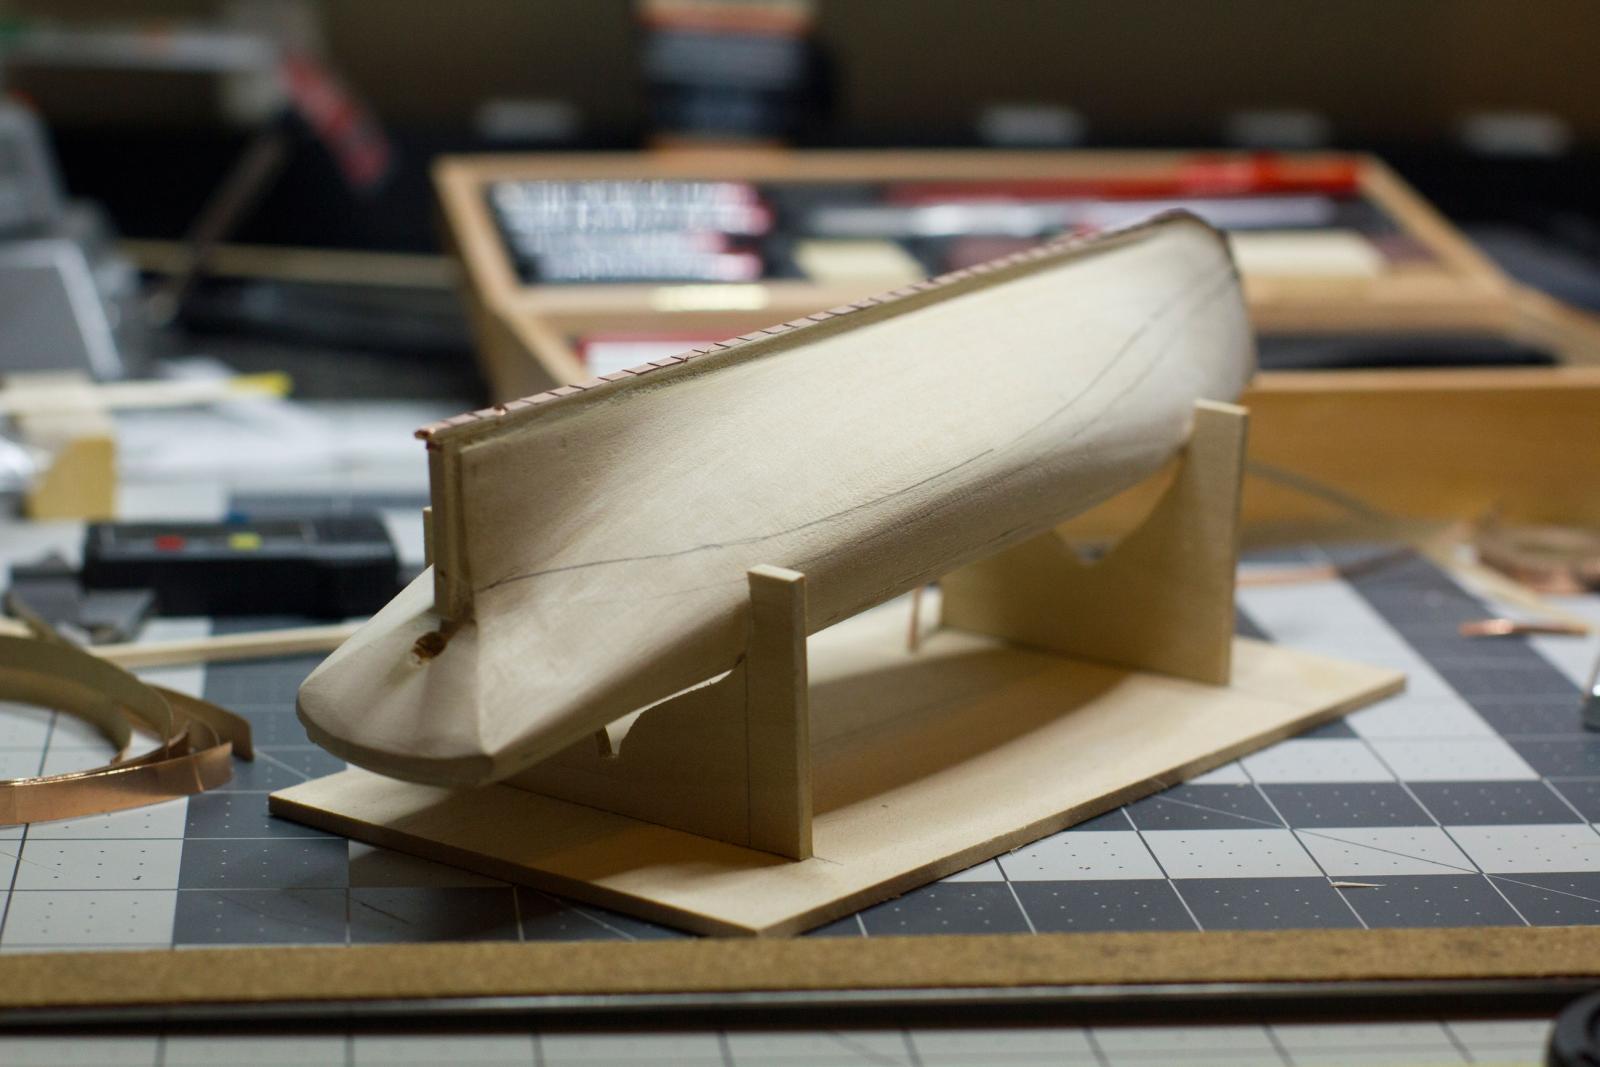
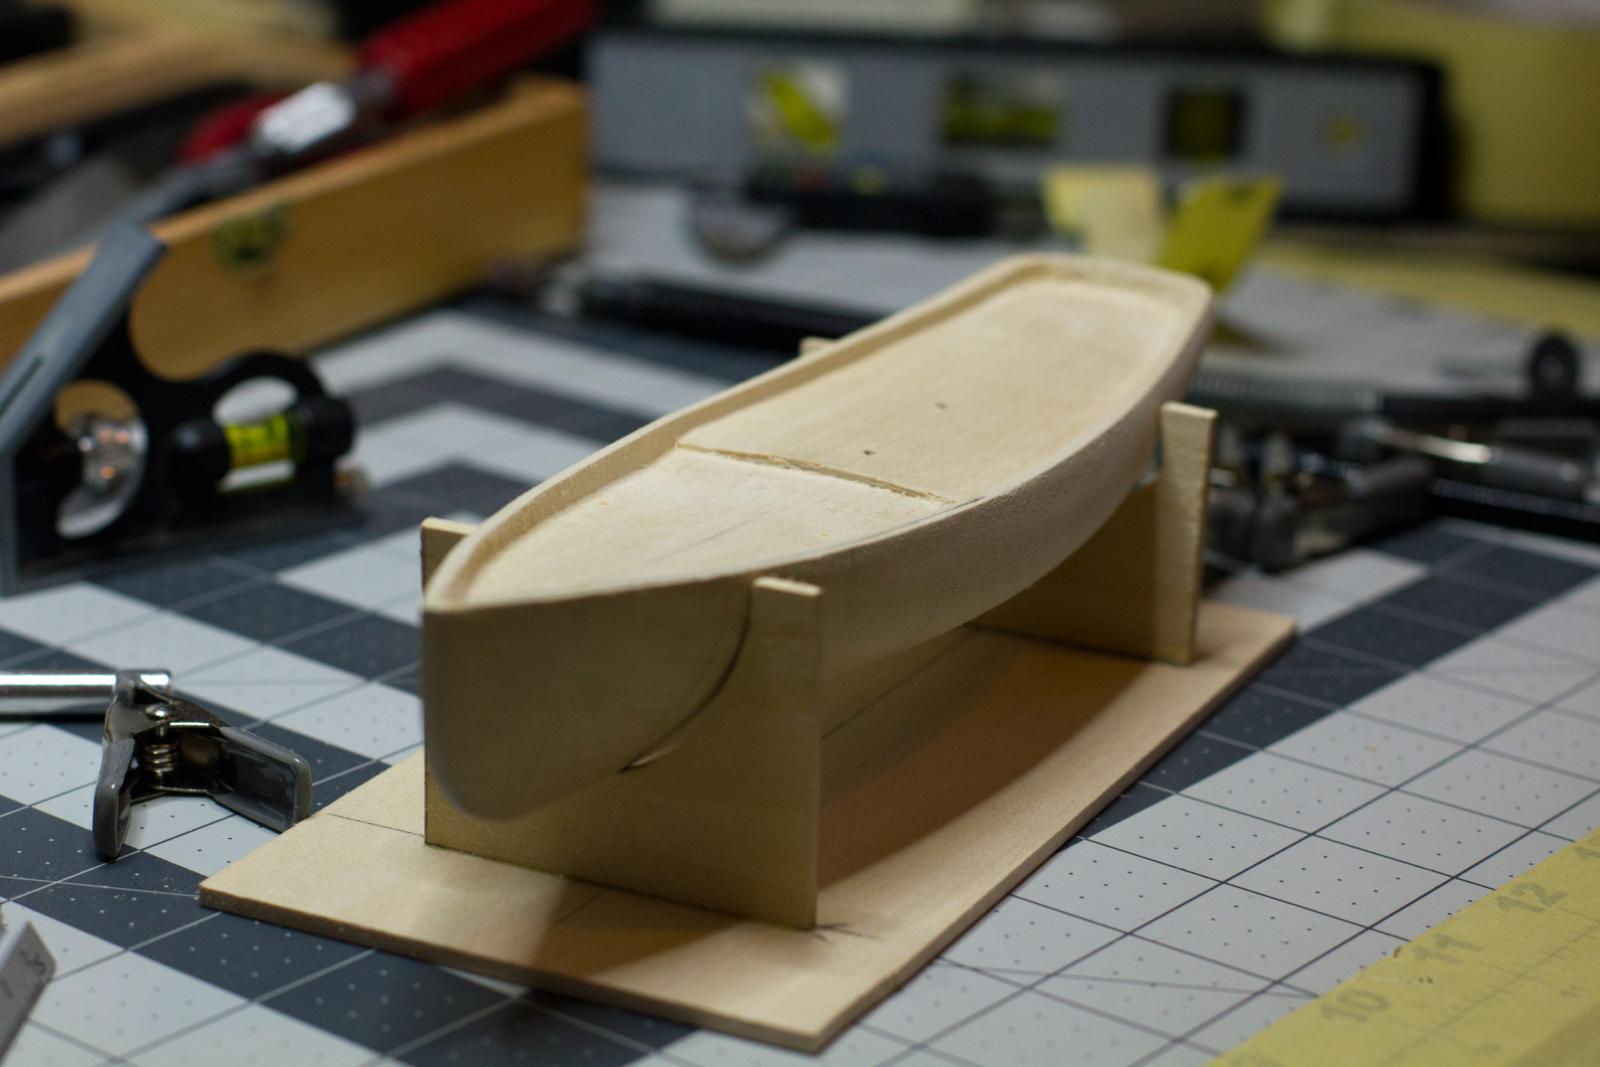
First up, I started shaping the hull. I'll be honest I'm not a huge fan of the solid hull. The sanding wasn't that enjoyable for me, but it went pretty quick so wasn't a big deal.
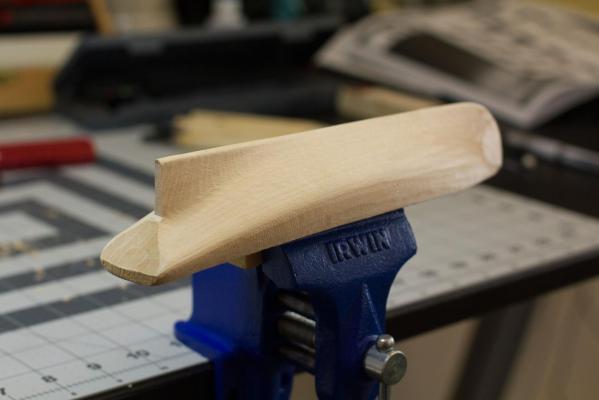
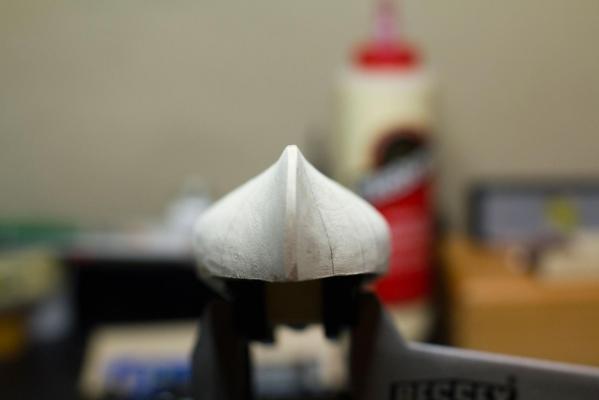
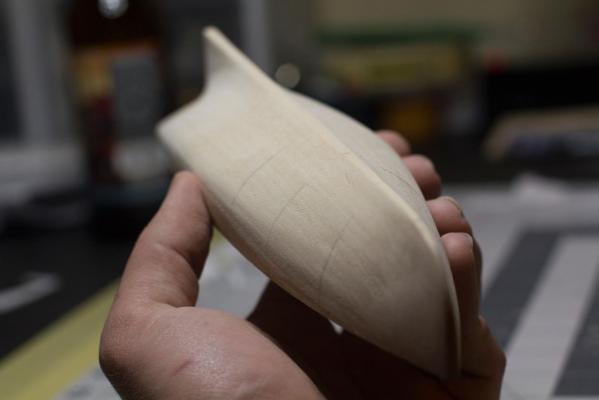
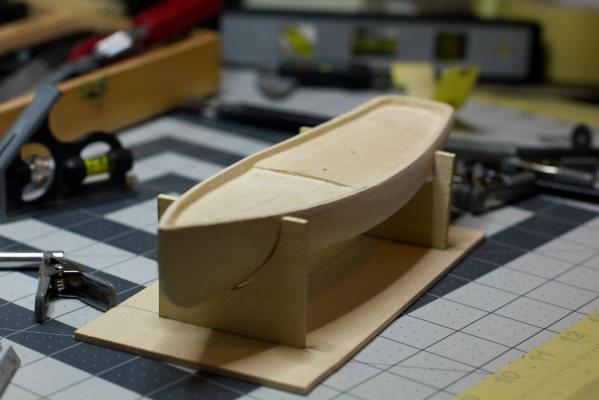
I ended up not having a ton of pictures from this part before I started on coppering the hull.


Multiple builds at once? How do you keep it all organized?
in Wood ship model kits
Posted
Mostly out of curiosity, how many people have more than one build going at a time? And do you have them at different stages to jump around when you want to say, do planking, instead of deck furniture building?
I've been thinking about maybe doing something like that with my next builds and figured I'd see what others were doing.
And as a follow up, if you do have multiple builds going, how do you keep things organized in your workspace?