Hsae
-
Posts
225 -
Joined
-
Last visited
Content Type
Profiles
Forums
Gallery
Events
Everything posted by Hsae
-
 Thank you Yves. I am actually waiting for same reference material. It’s a slow process. Lol
- 321 replies
-
- 6
-

-
- Finished
- Flower-class
- (and 1 more)
-
I apologize, I thought you have to add it to your model. The photos were just for modelers who want to build the 1944 outfit. Yep, it is amazing what you can find, if you do your research carefully. Thanks to the internet! I am waiting for some photos from the Imperial War Museums, for instance. I would have never known about these resources without it. Hermann
-
But is it the same time? Looks like the photos are from a different time frame, after a retrofit (see mast) Hermann
-
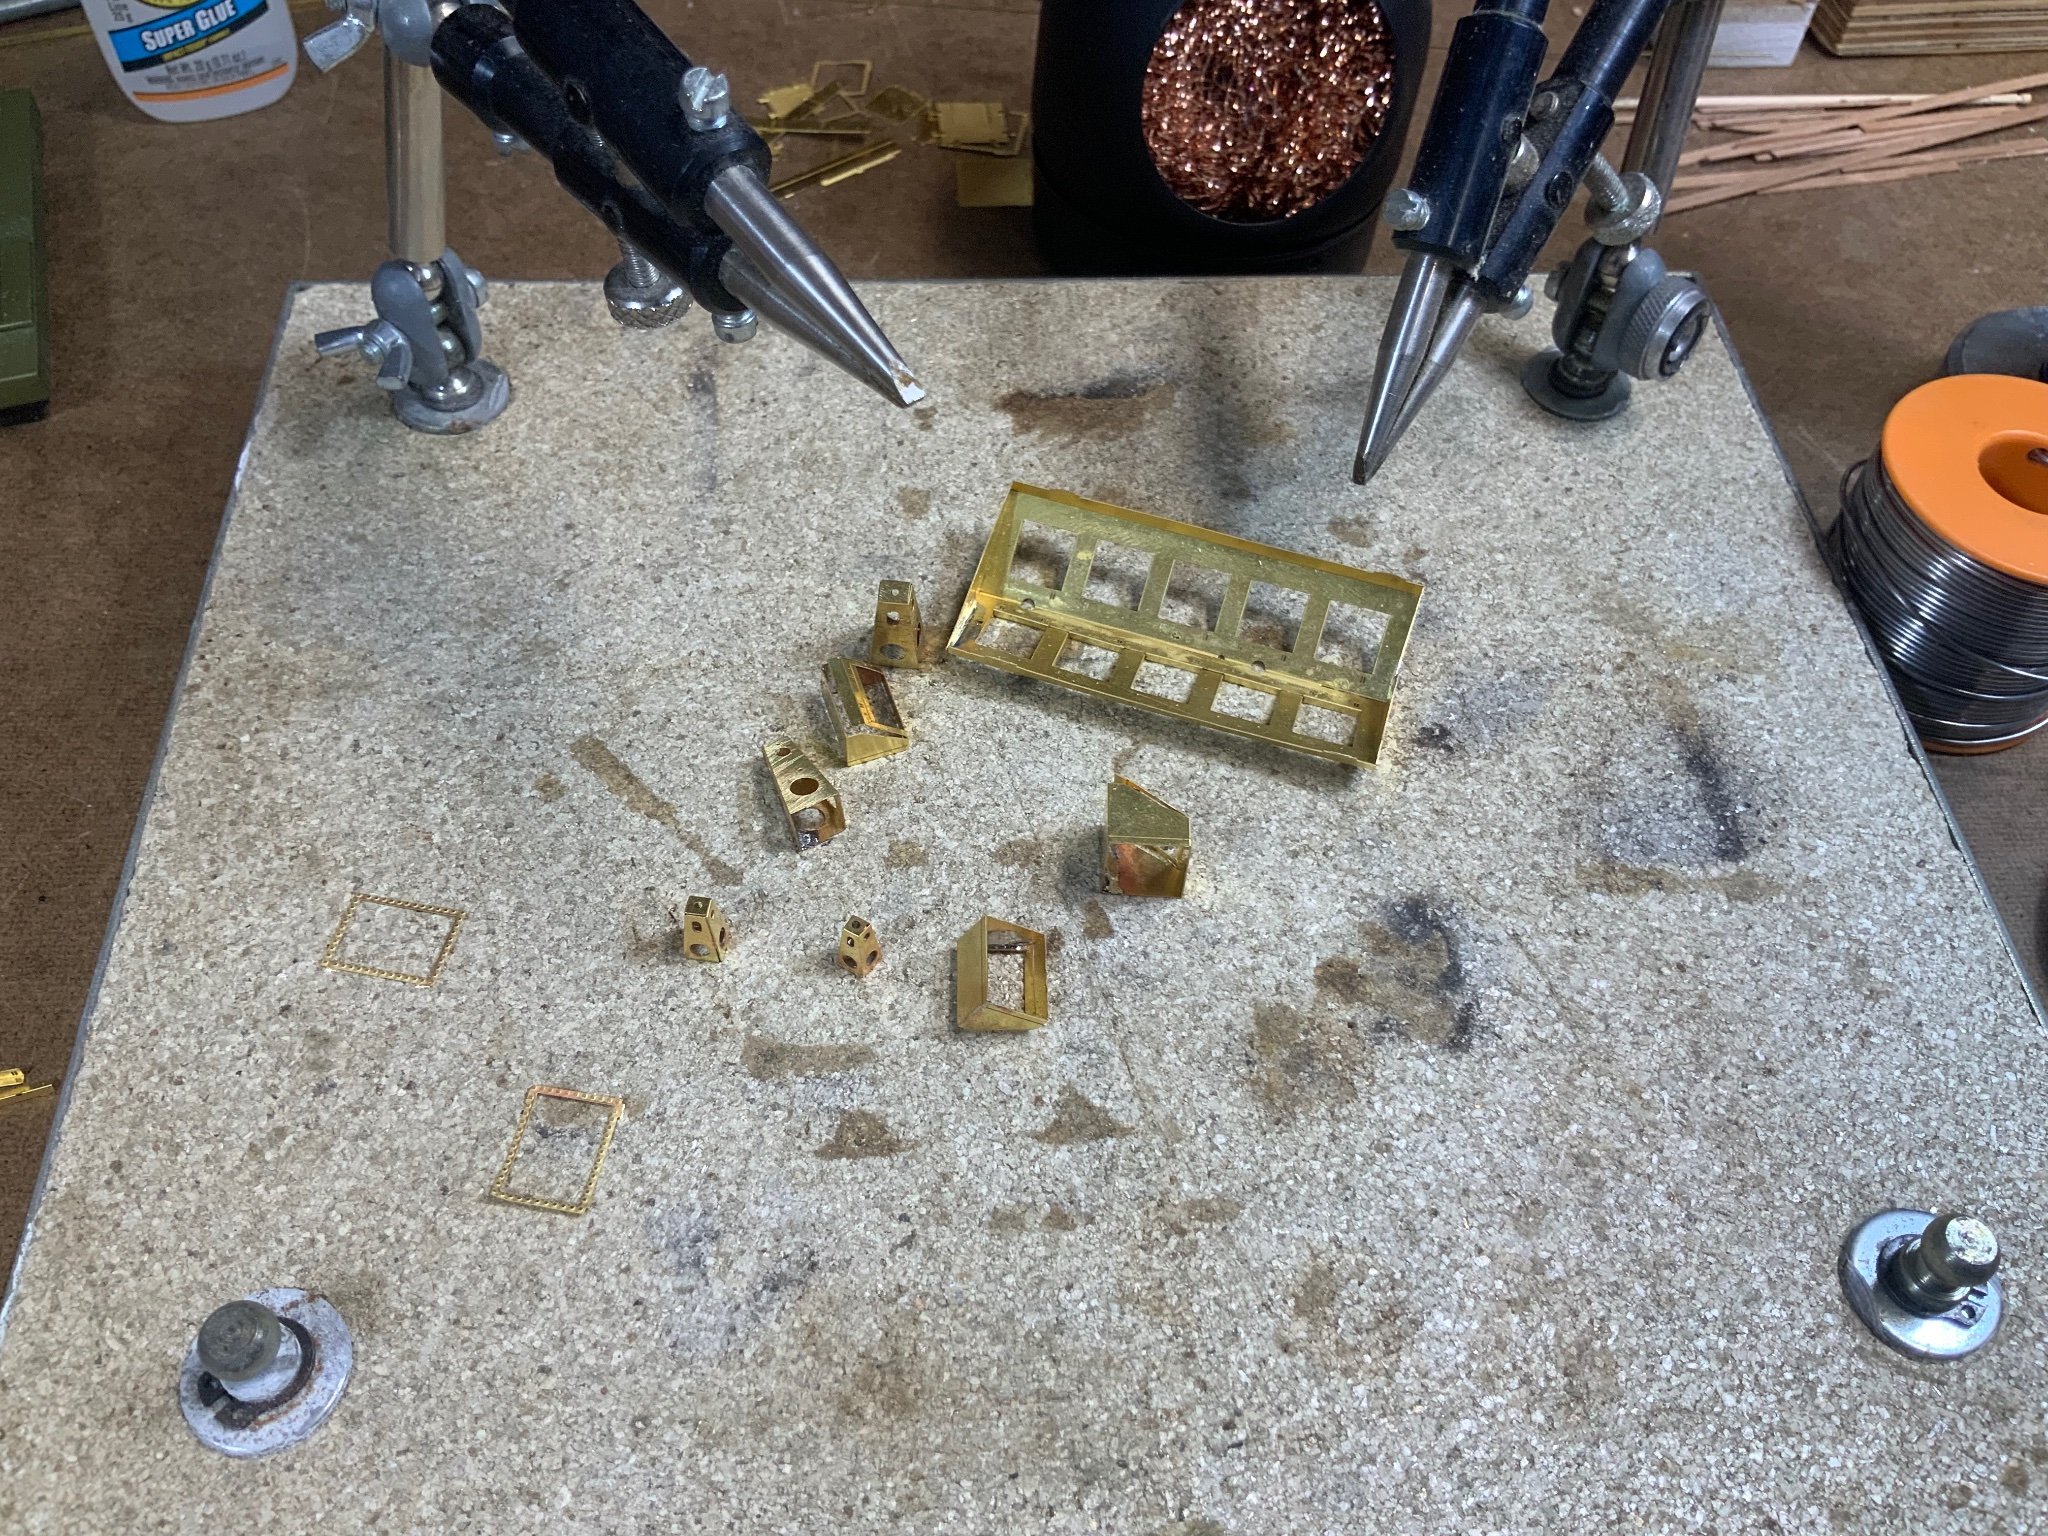
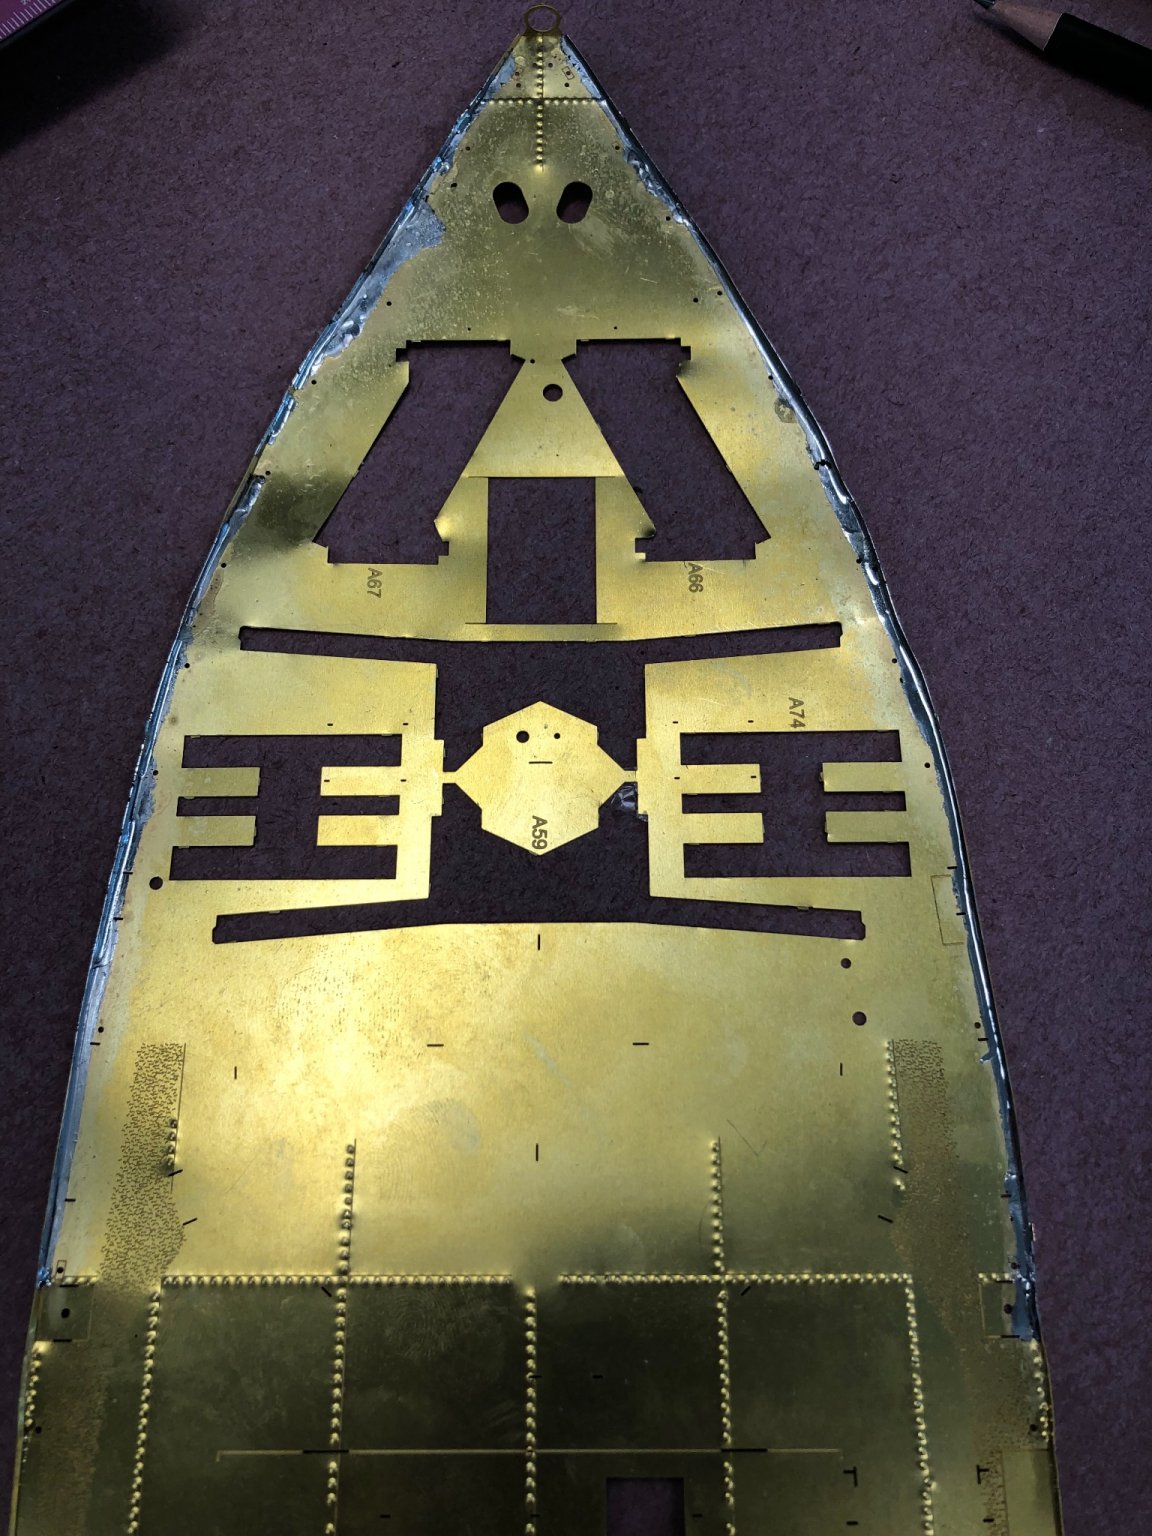
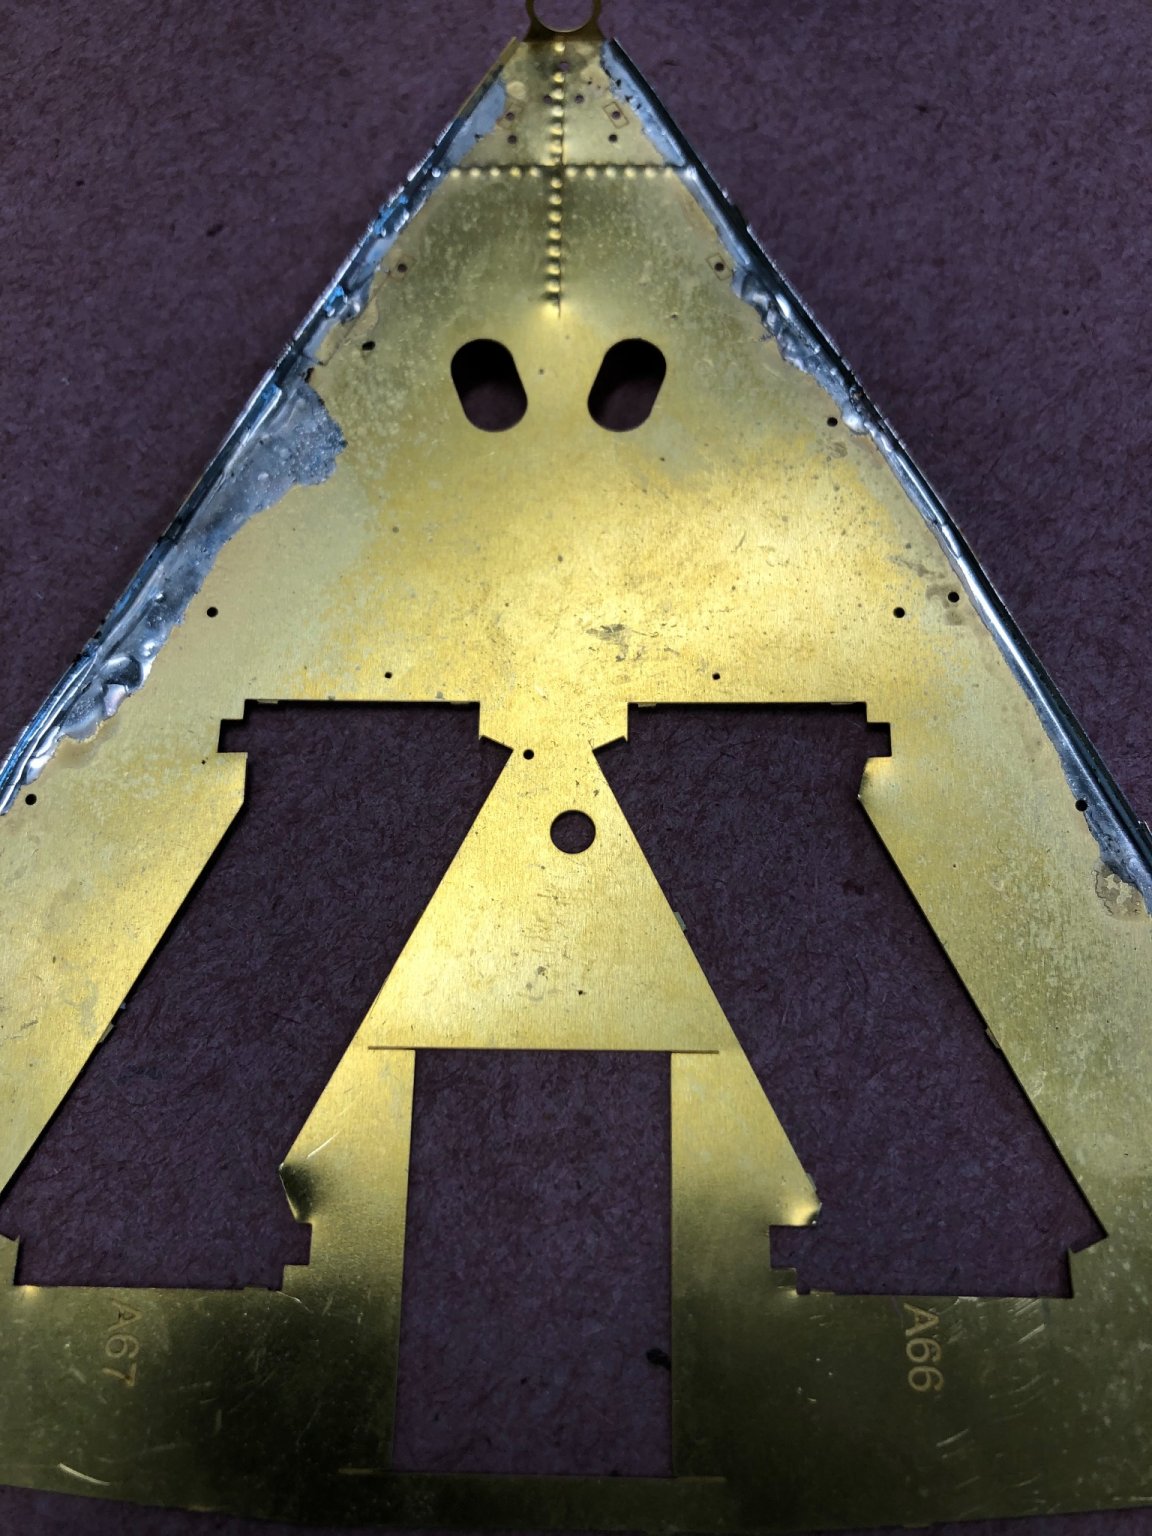
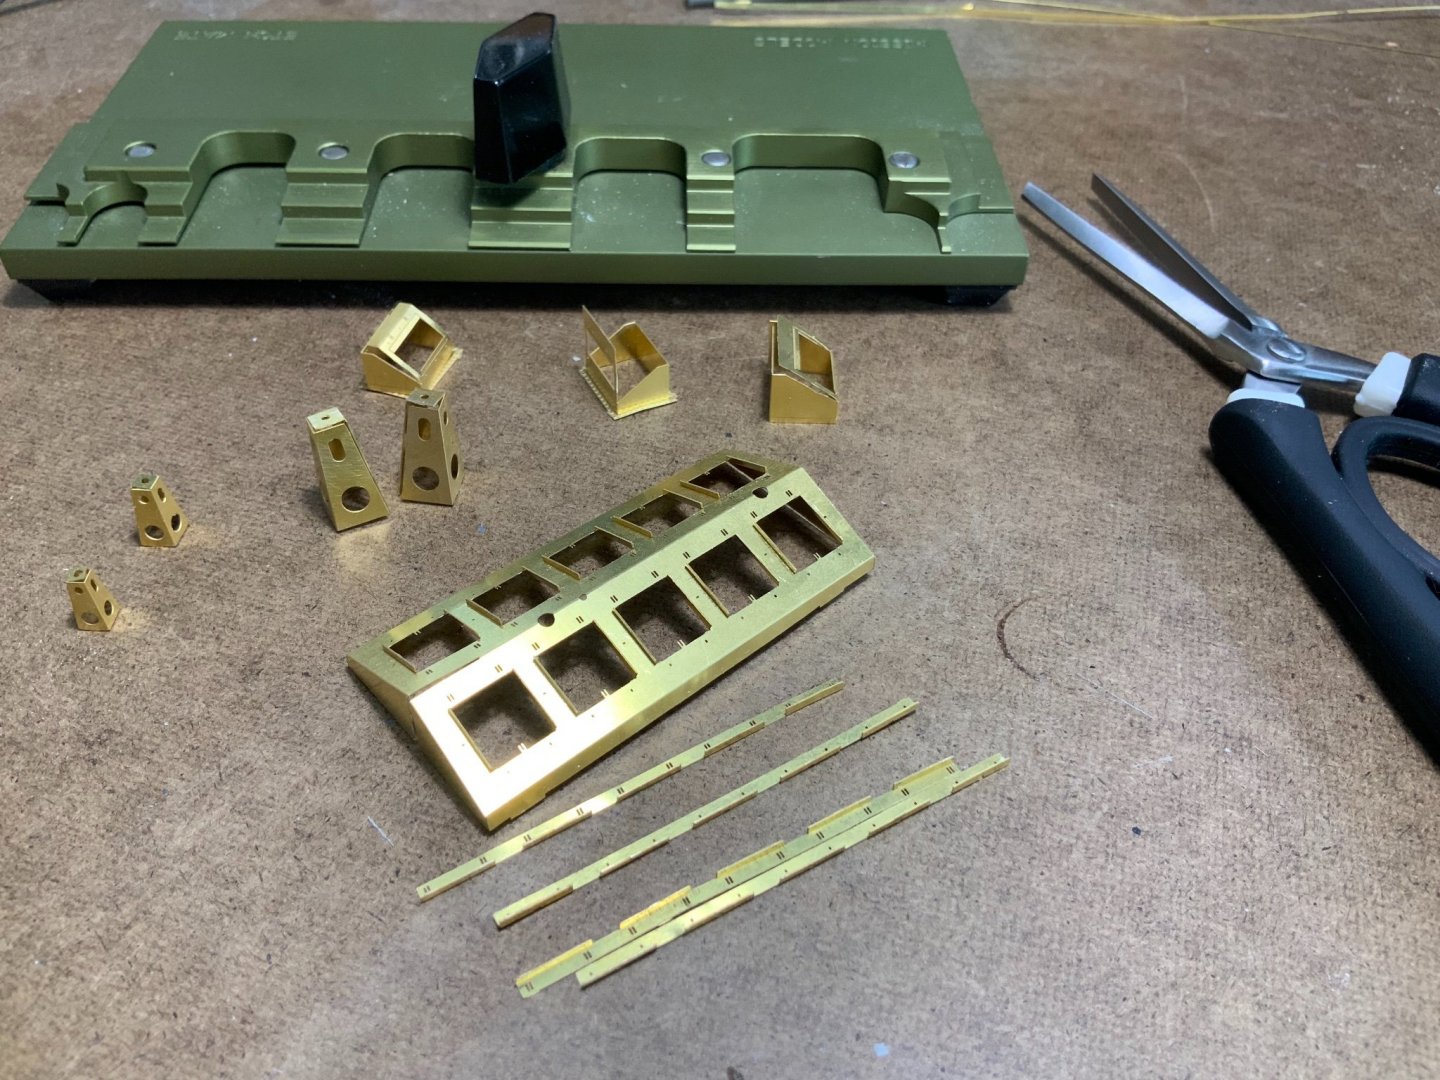
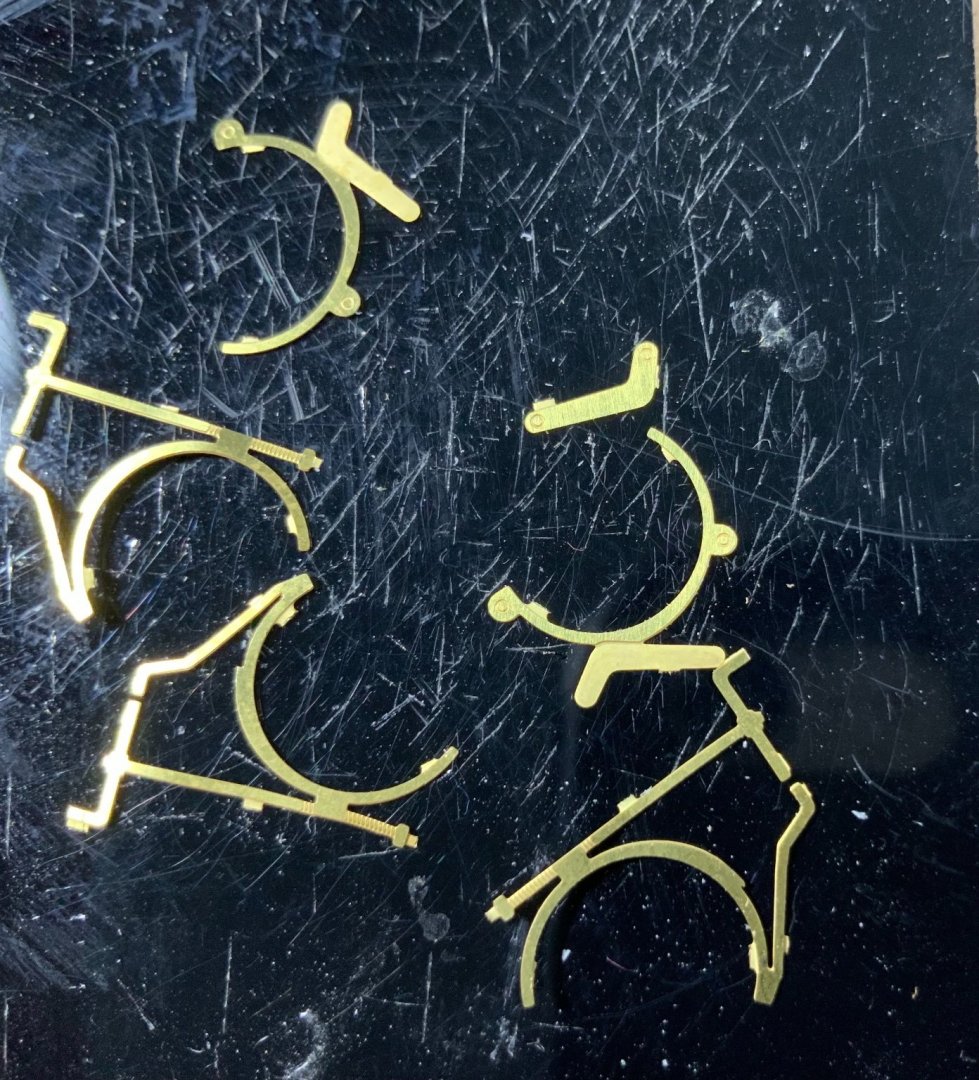
Small update, working on photo etched parts. I still have to glue/ solder them together.
-
Glenn, well done! It was quite a journey with ups (most of it) and downs (frame issue). Like everybody else, I really appreciate that you took the time to make a lot of photos and explained your process very well. I am looking forward to your next build! Hermann
- 778 replies
-
- 1
-
-
- cheerful
- Syren Ship Model Company
- (and 1 more)
-
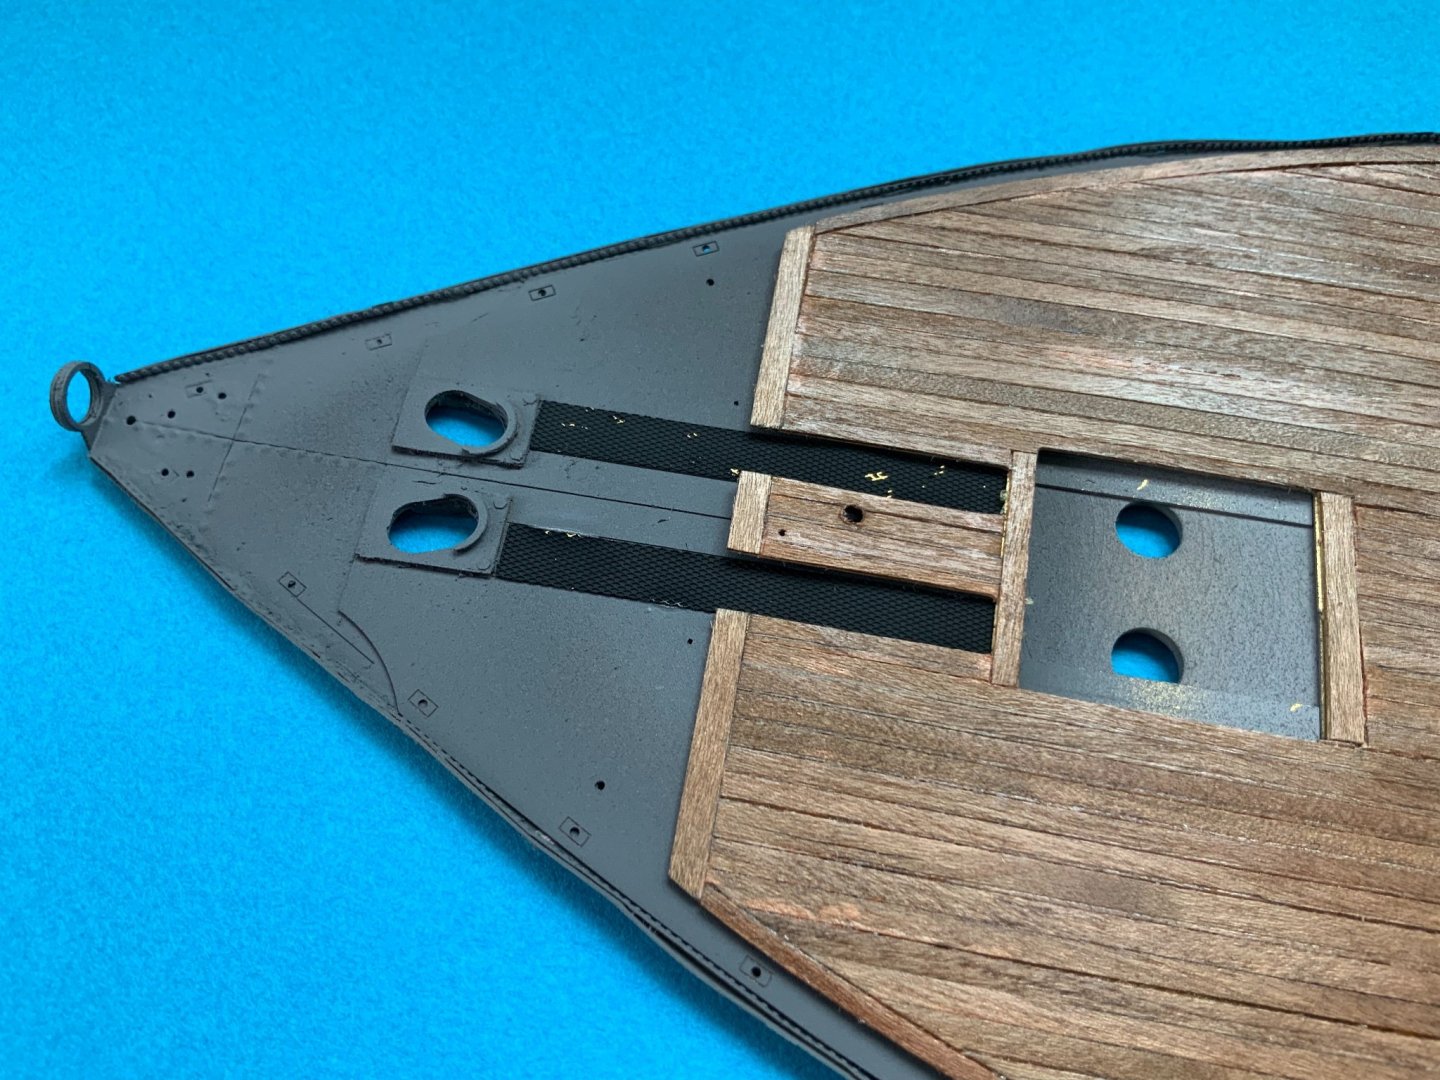
I also was working on the rivets at the forecastle. I still need to touch up here and there. The wooden deck is not glued into place yet.
-
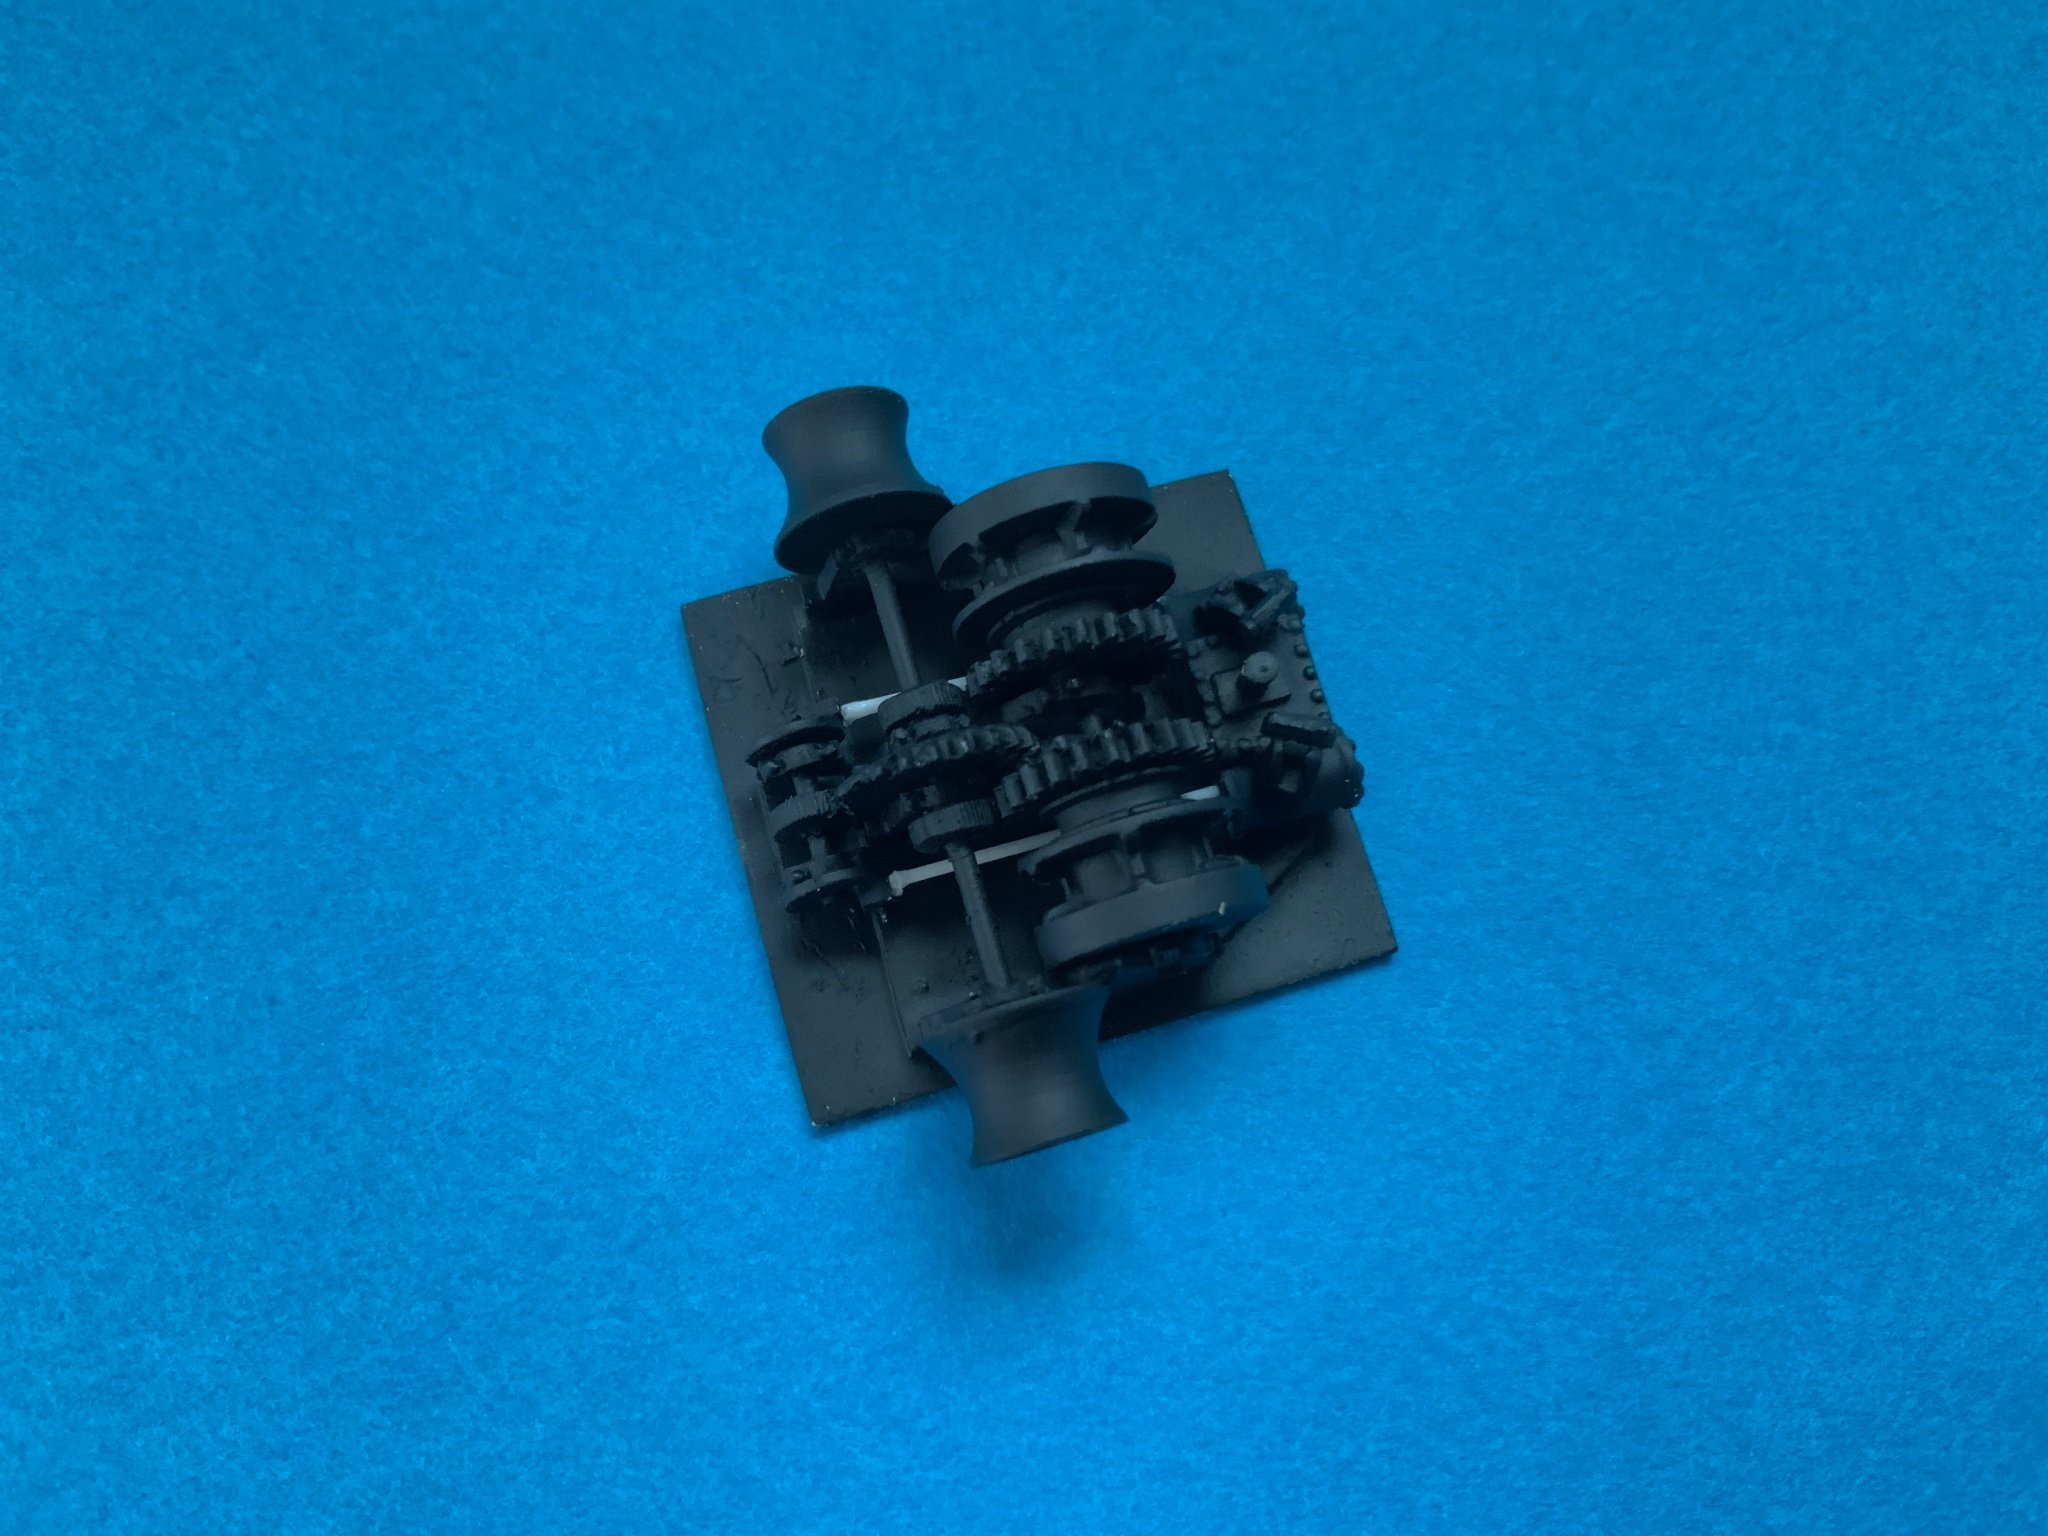
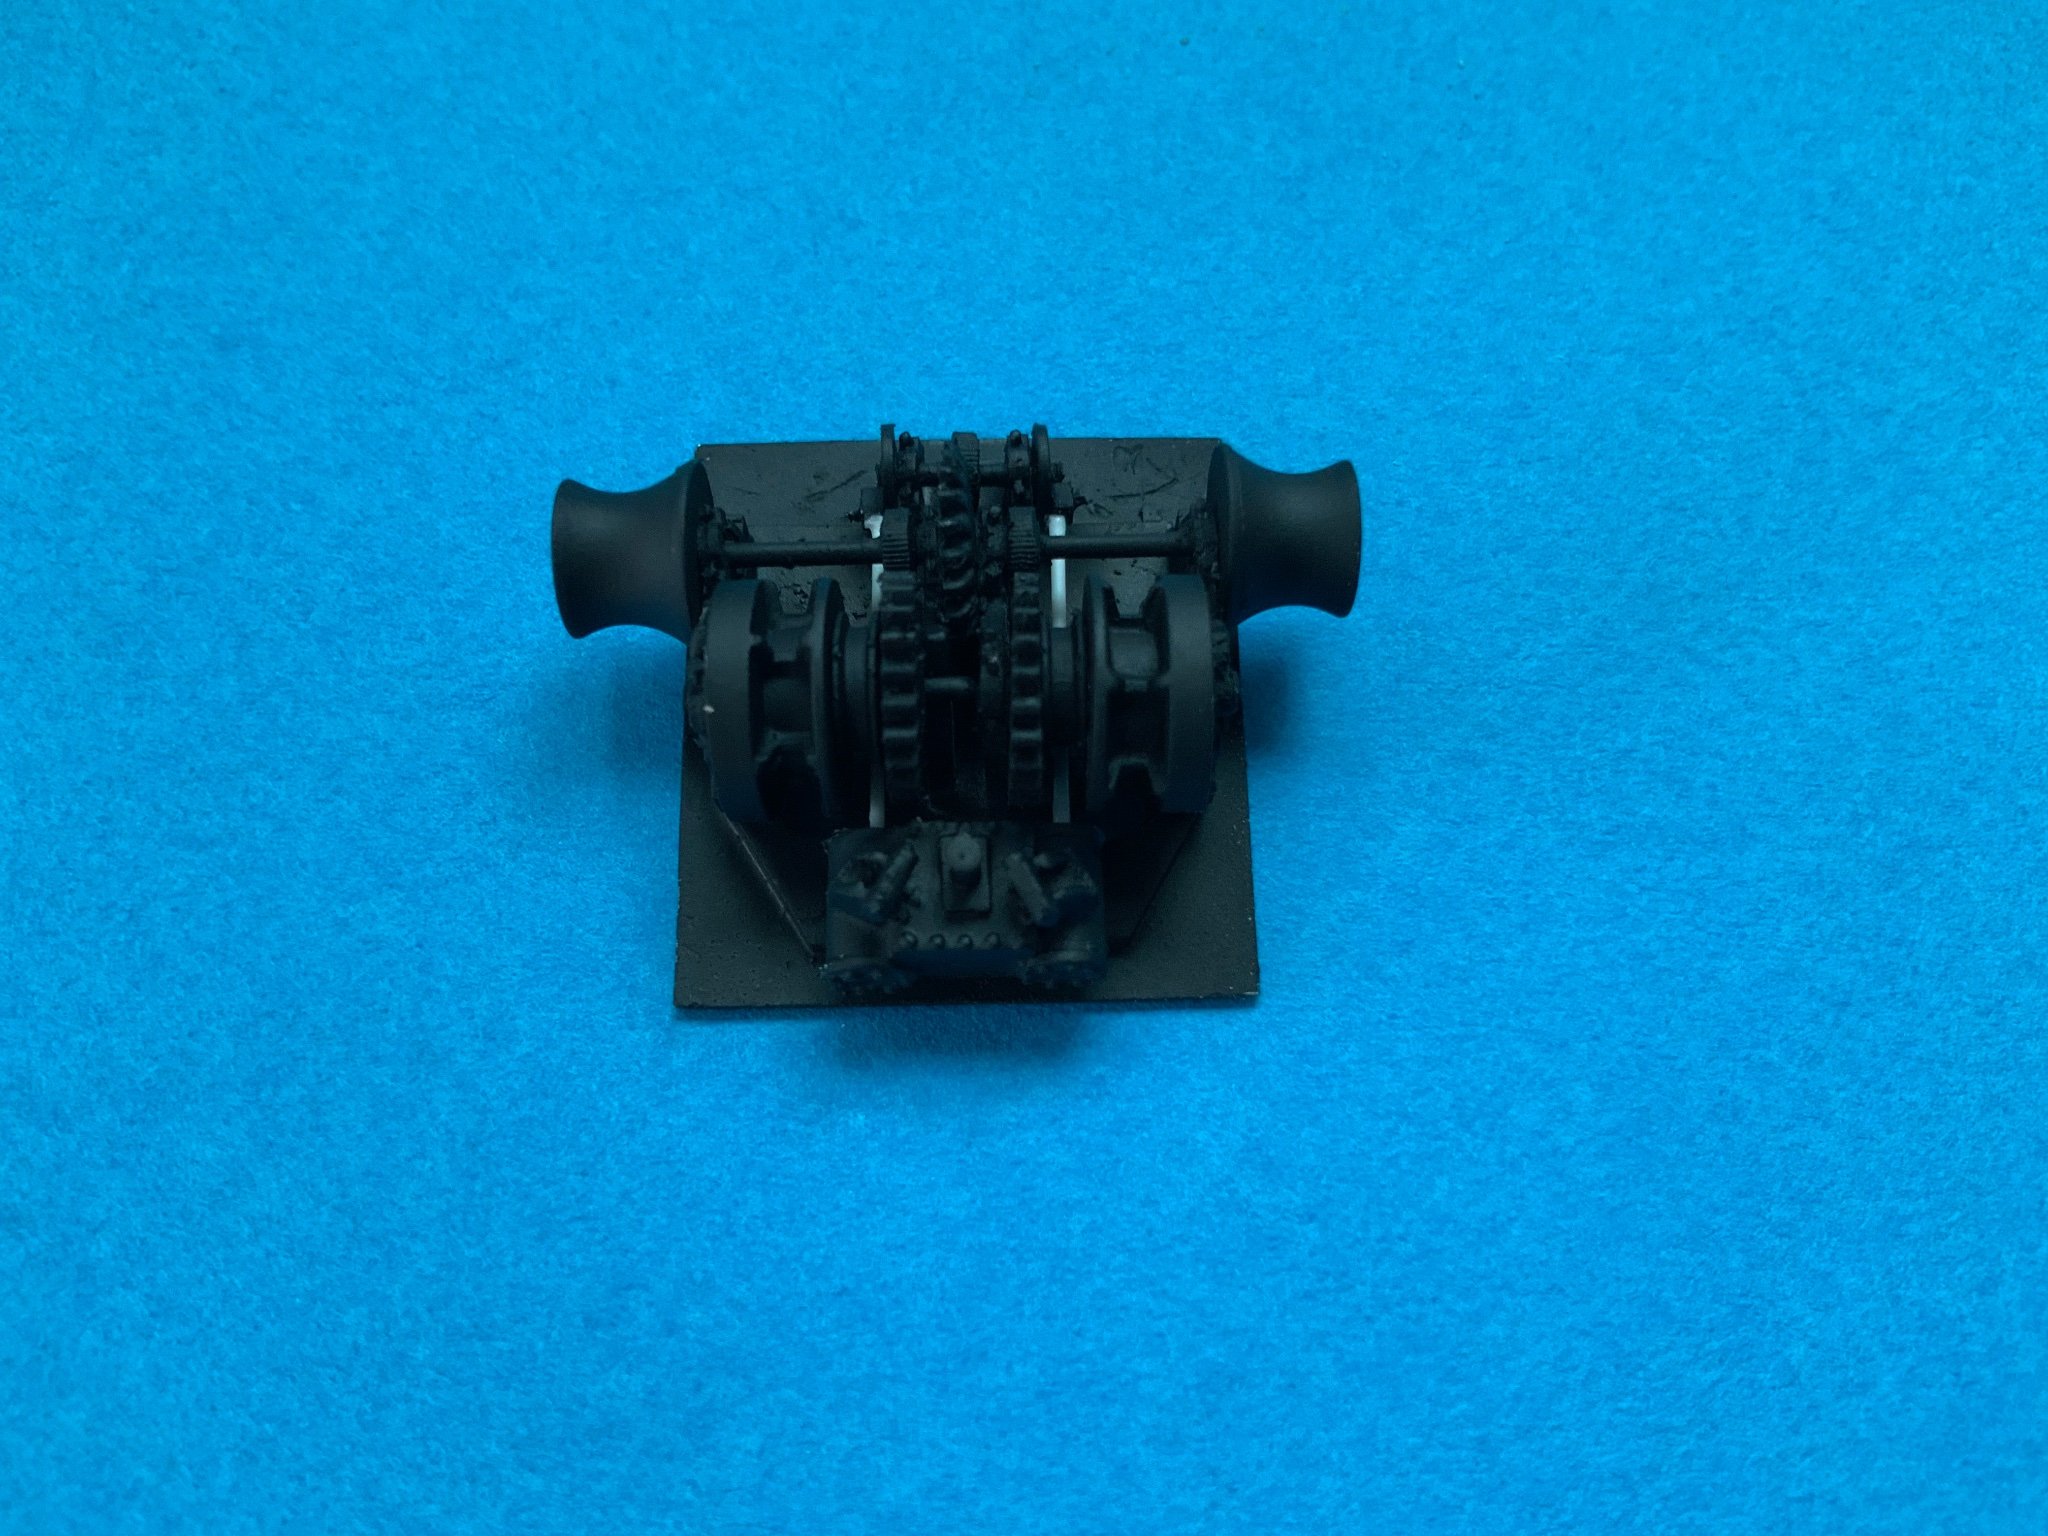
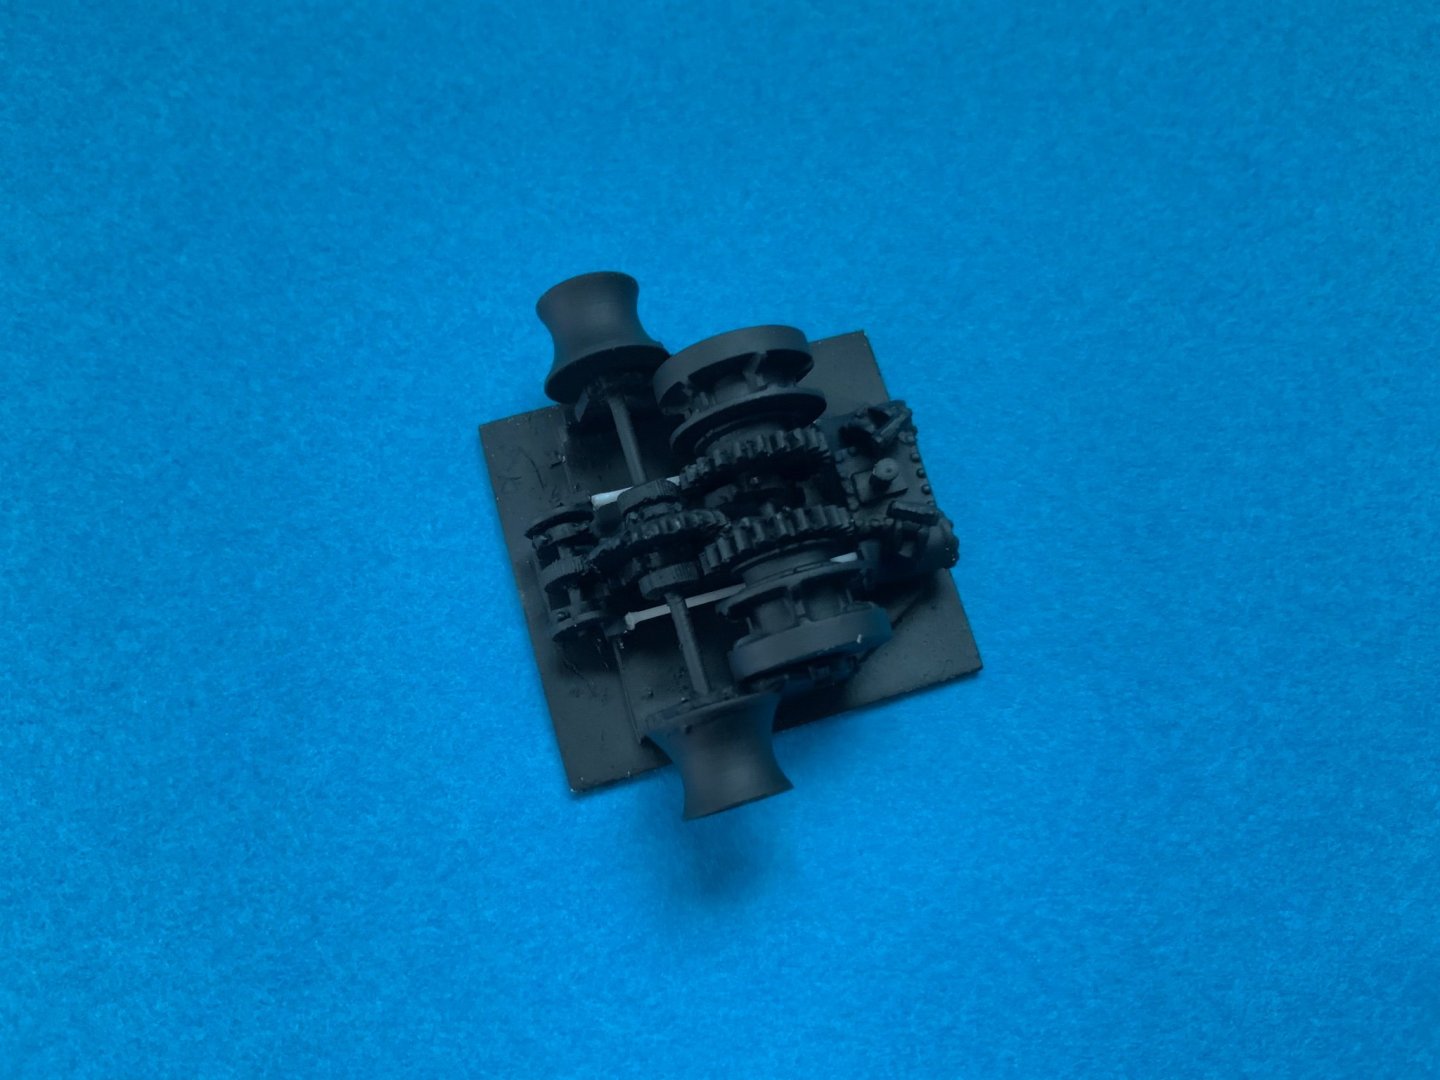
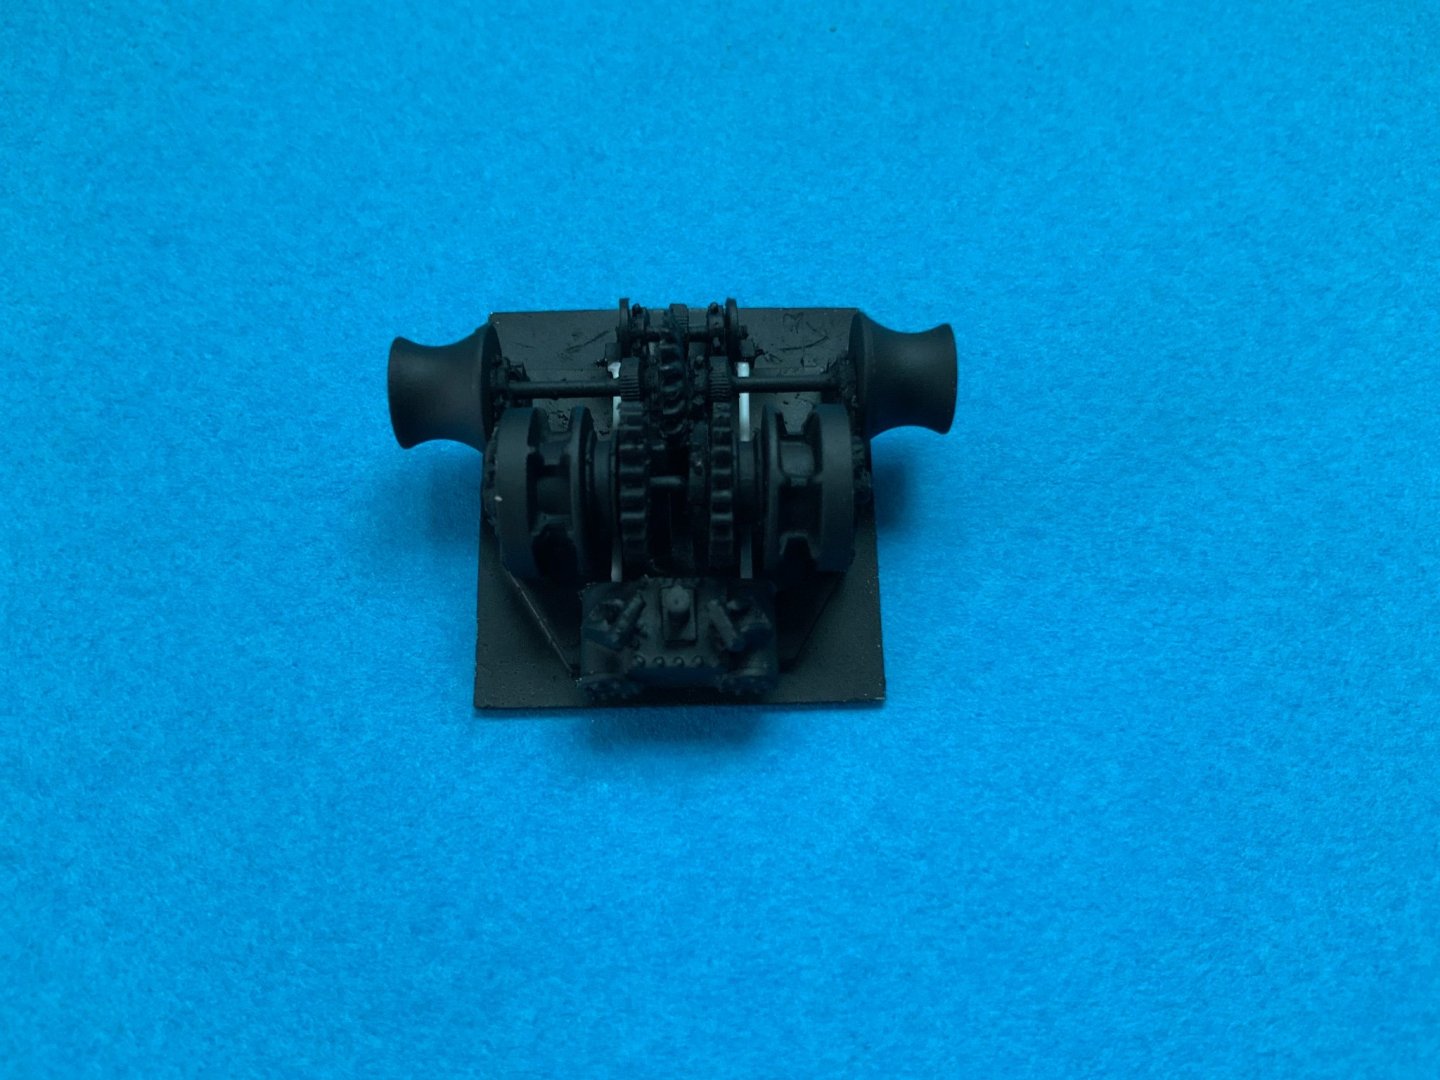
And finally I was working on the anchor windlass. The photo etched parts are phenomenal, you can even see the threads. However I still have to decide how I am add the band breaks. And I guess I have to paint the anchor windlass white, how it be can seen at the Snowberry photo.
-
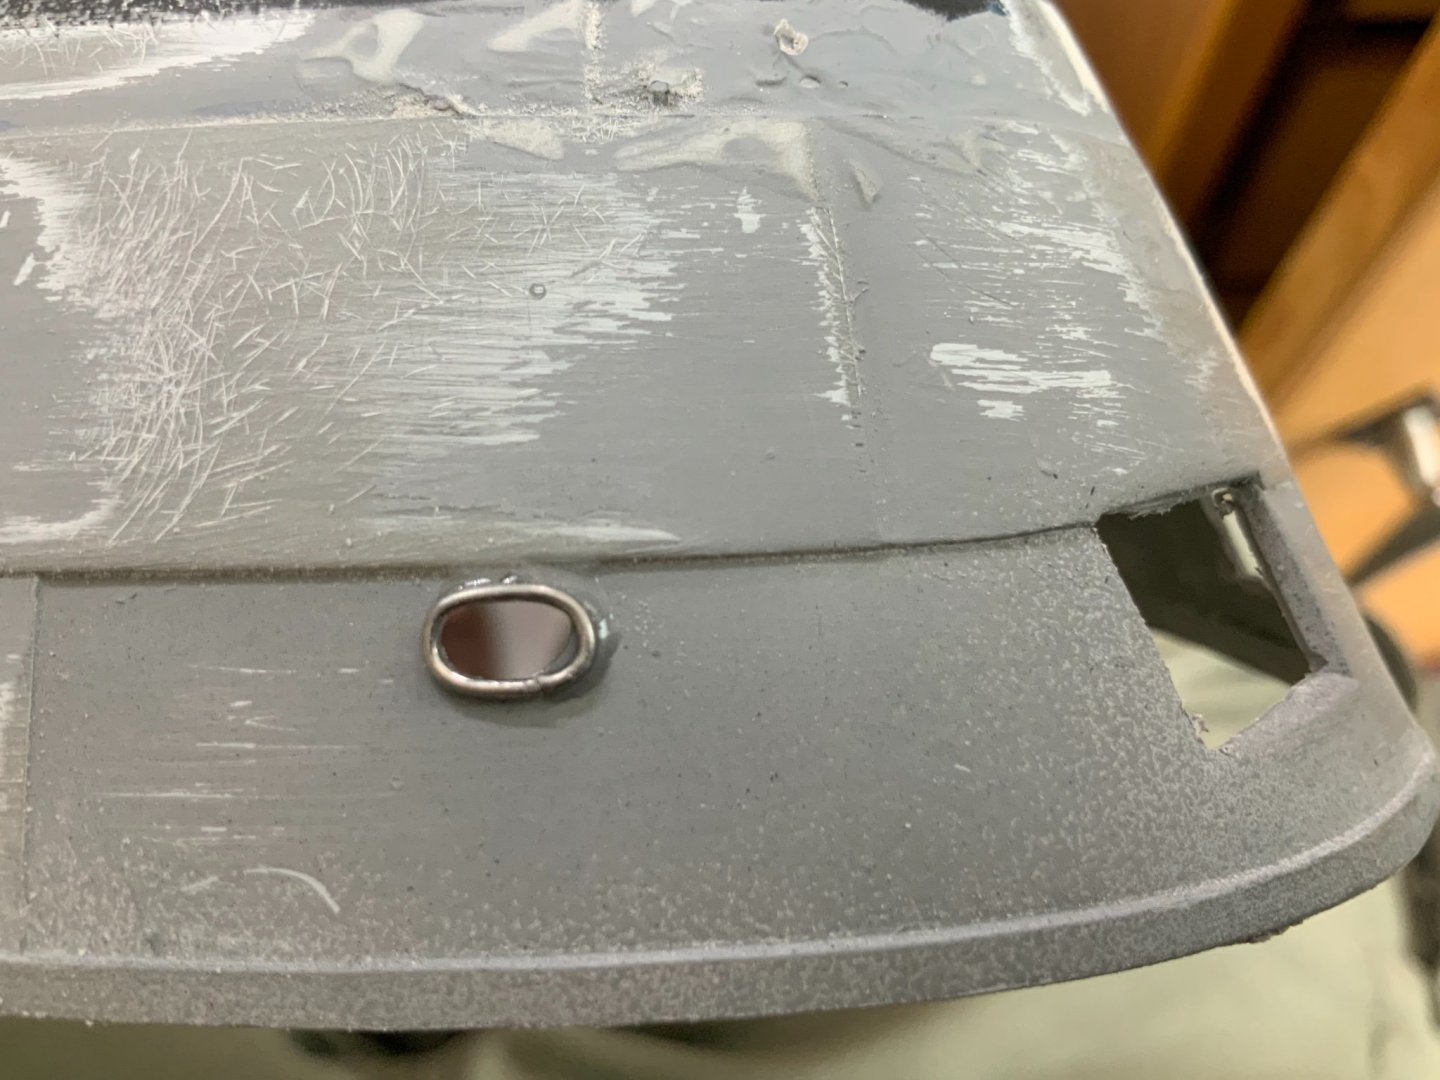
Thank you for all the thumbs up! I was working on the hawseholes. This will also be done from the inside of the hull, after gluing the deck in. Unfortunately I didn’t receive the parts for the portholes yet, so I can’t finish the hull.

-
I did also the breakwater, but I messed them up. According to instruction you have to fold the top forwards and downwards through 180 degrees…. Didn’t work for me. I replaced them with plastic and glued a 1/4 round to it.

-
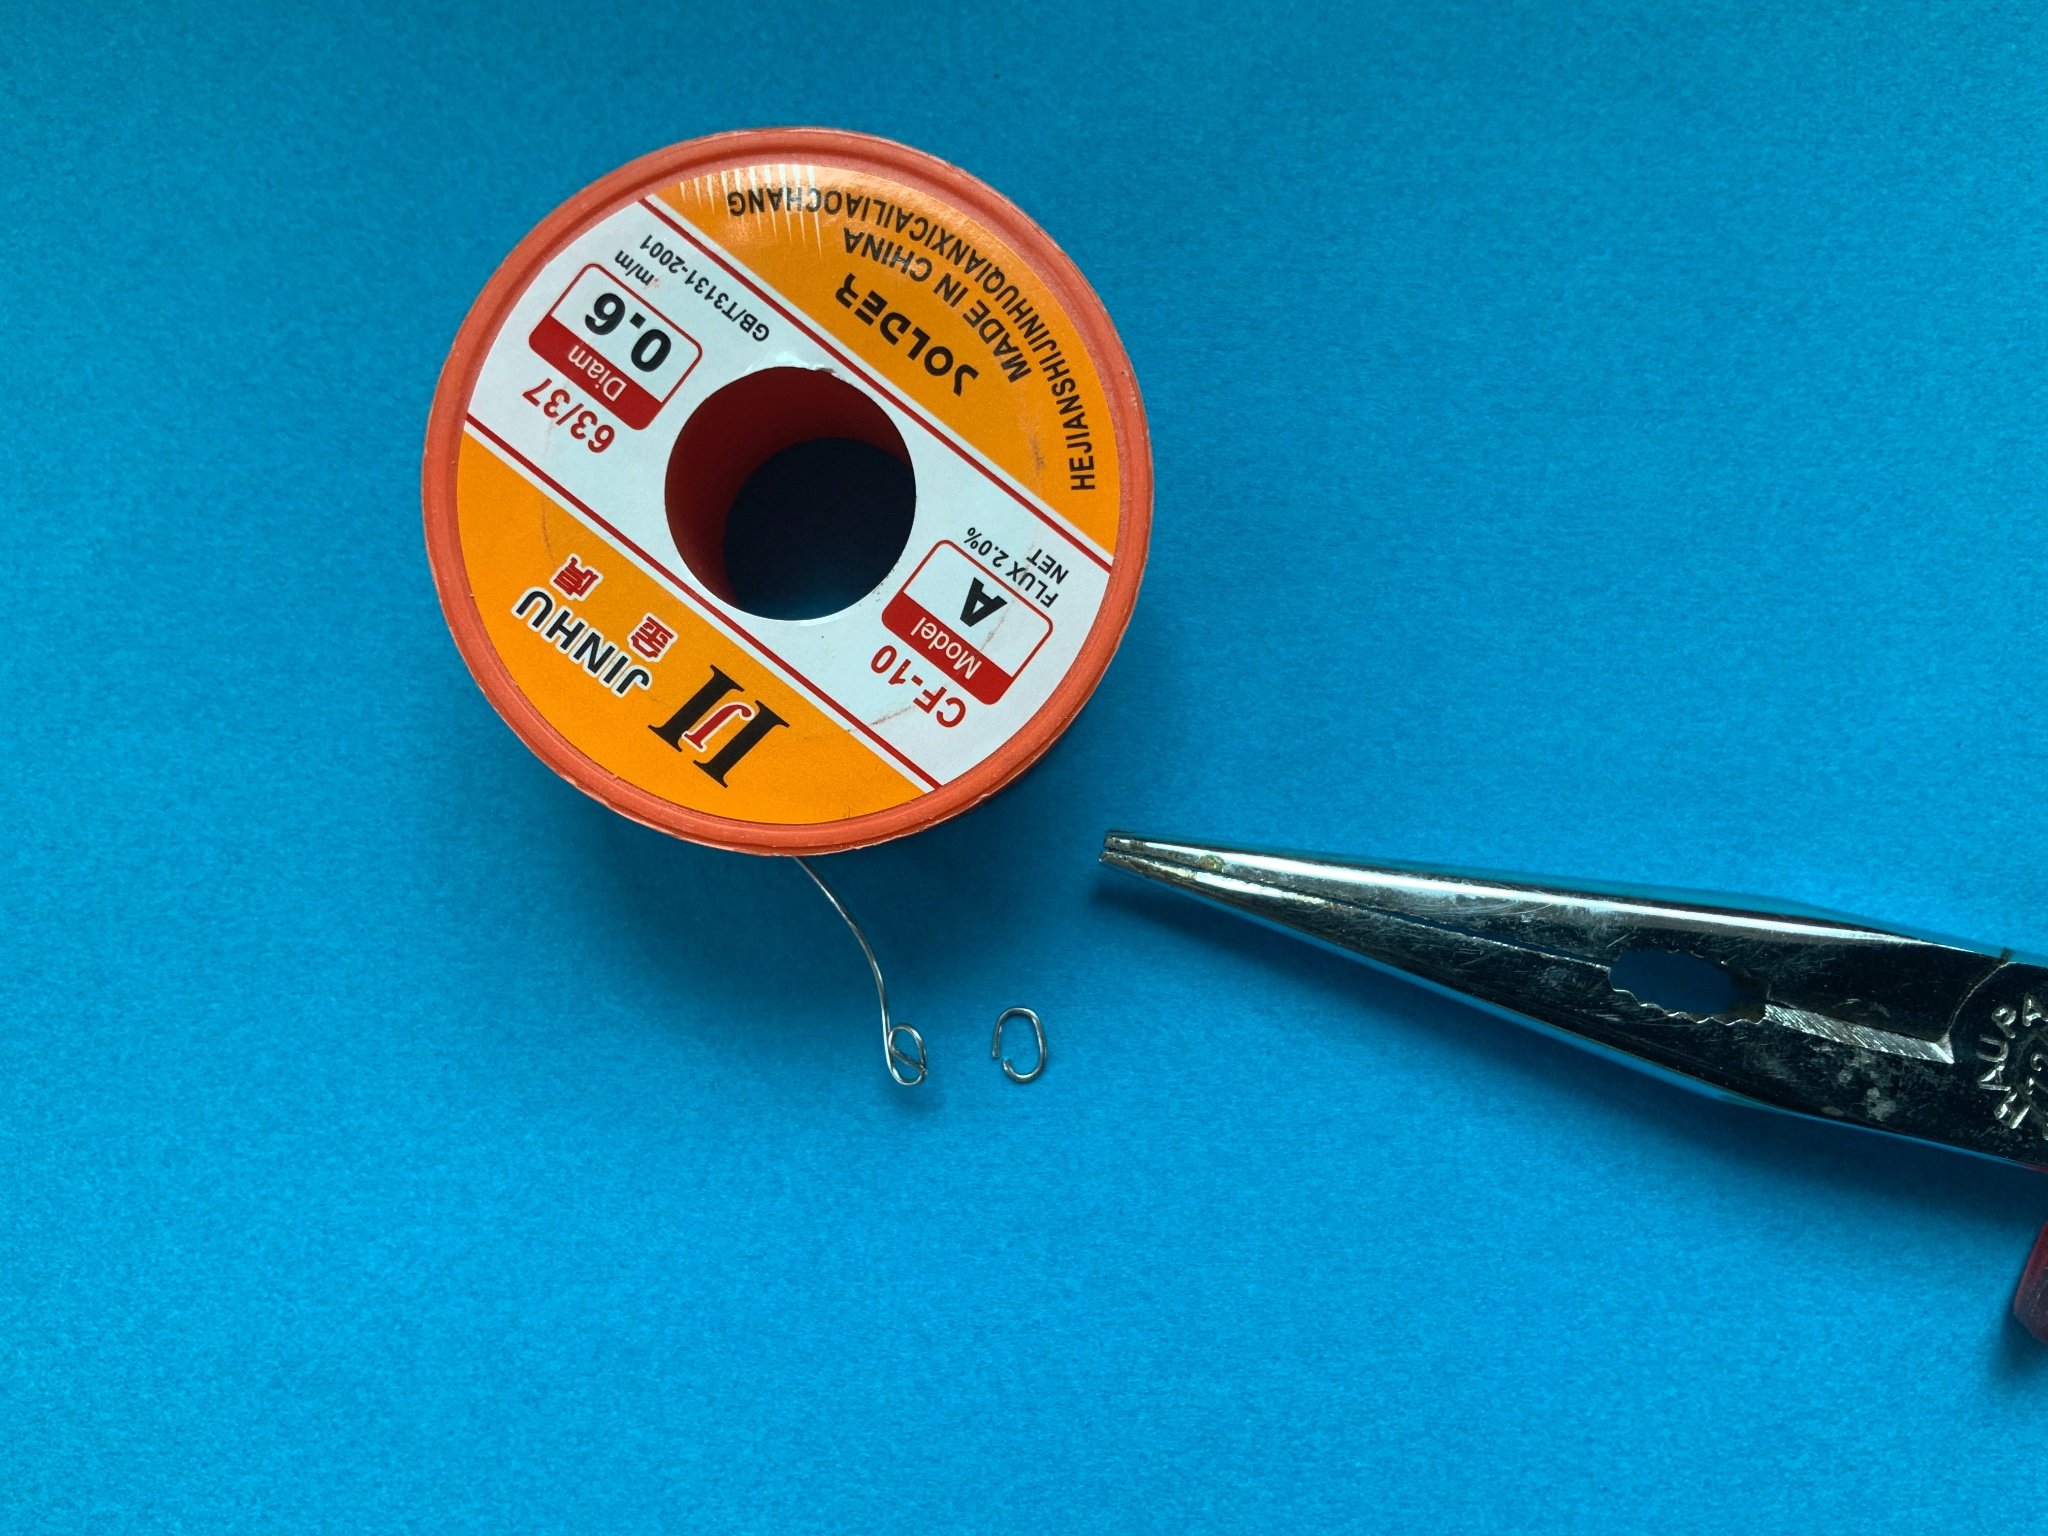
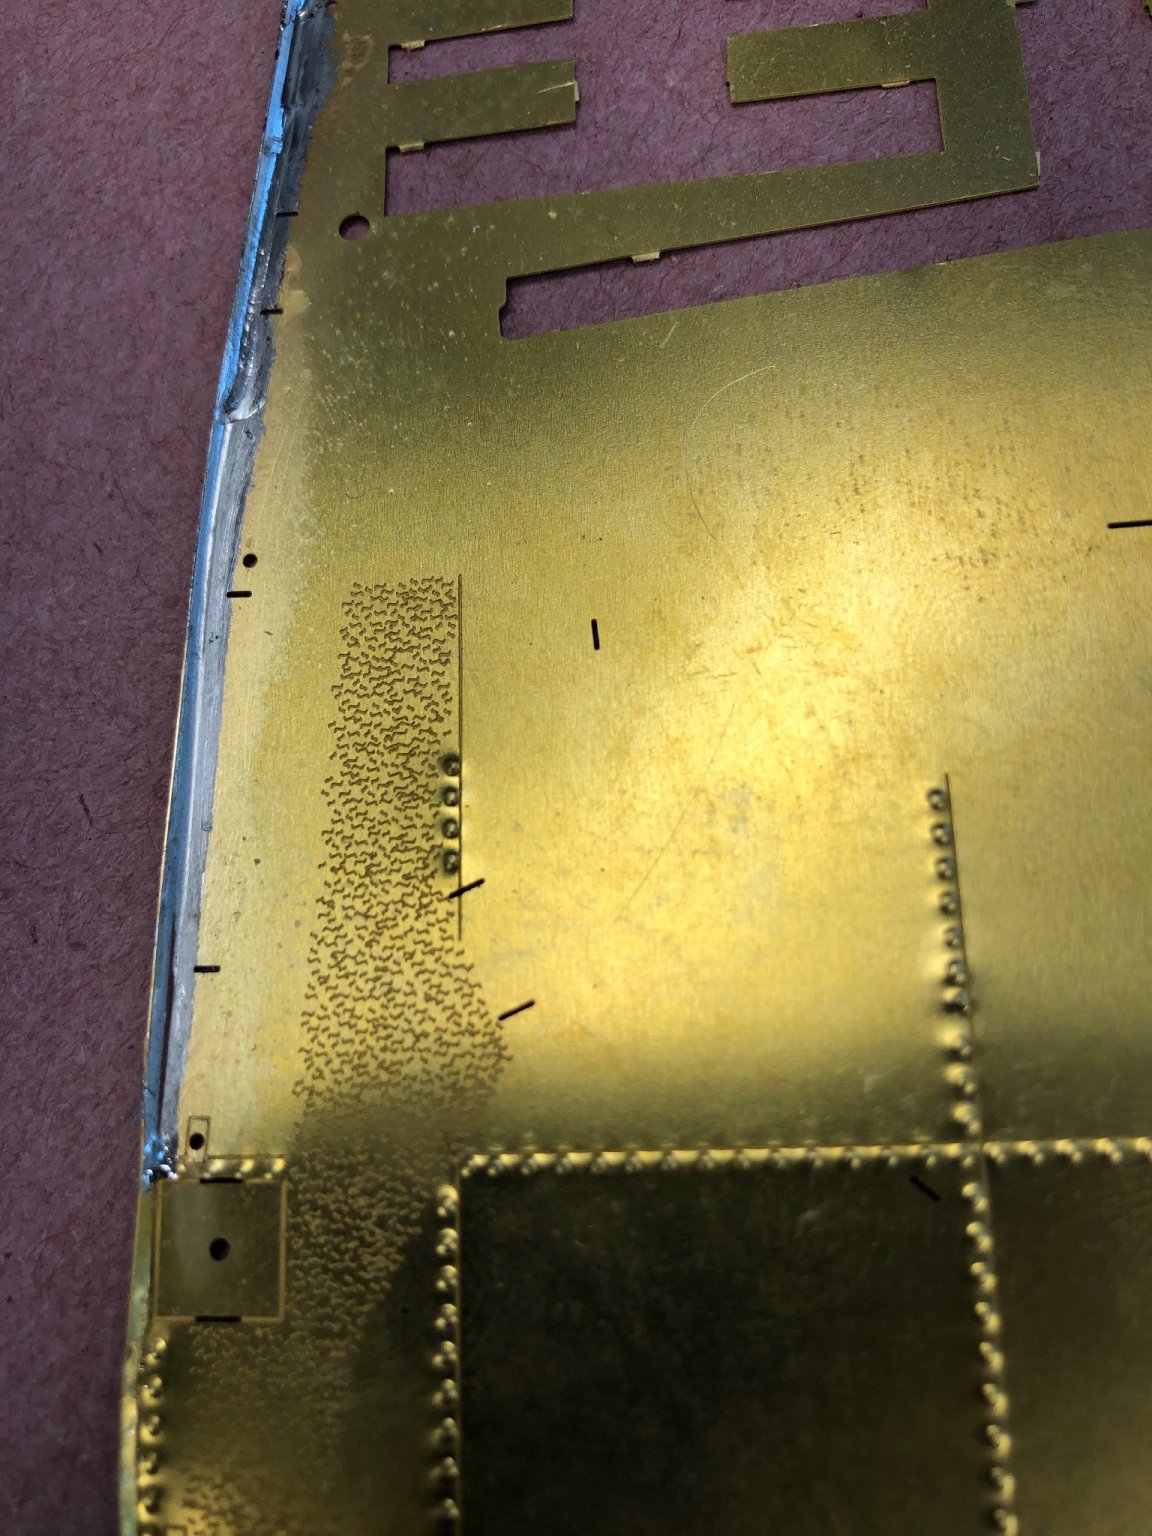
I tried tonight to do some rivets. I was using the 0.36 mm Archer rivets. Let me say this, it is not easy! And I don’t know if it is worth the effort.

-
According to an article (In Tribute to Riveted Ships by Harry Benford) the rivet diameter is: “They varied in diameter from 1/2 inch to 1 1/4 inch in 1/8 inch increments …” In a scale of 1/72 we would get with a rivet diameter of say 0.75” in real life, a Modell rivet of 0.01” or 0.26 mm
-
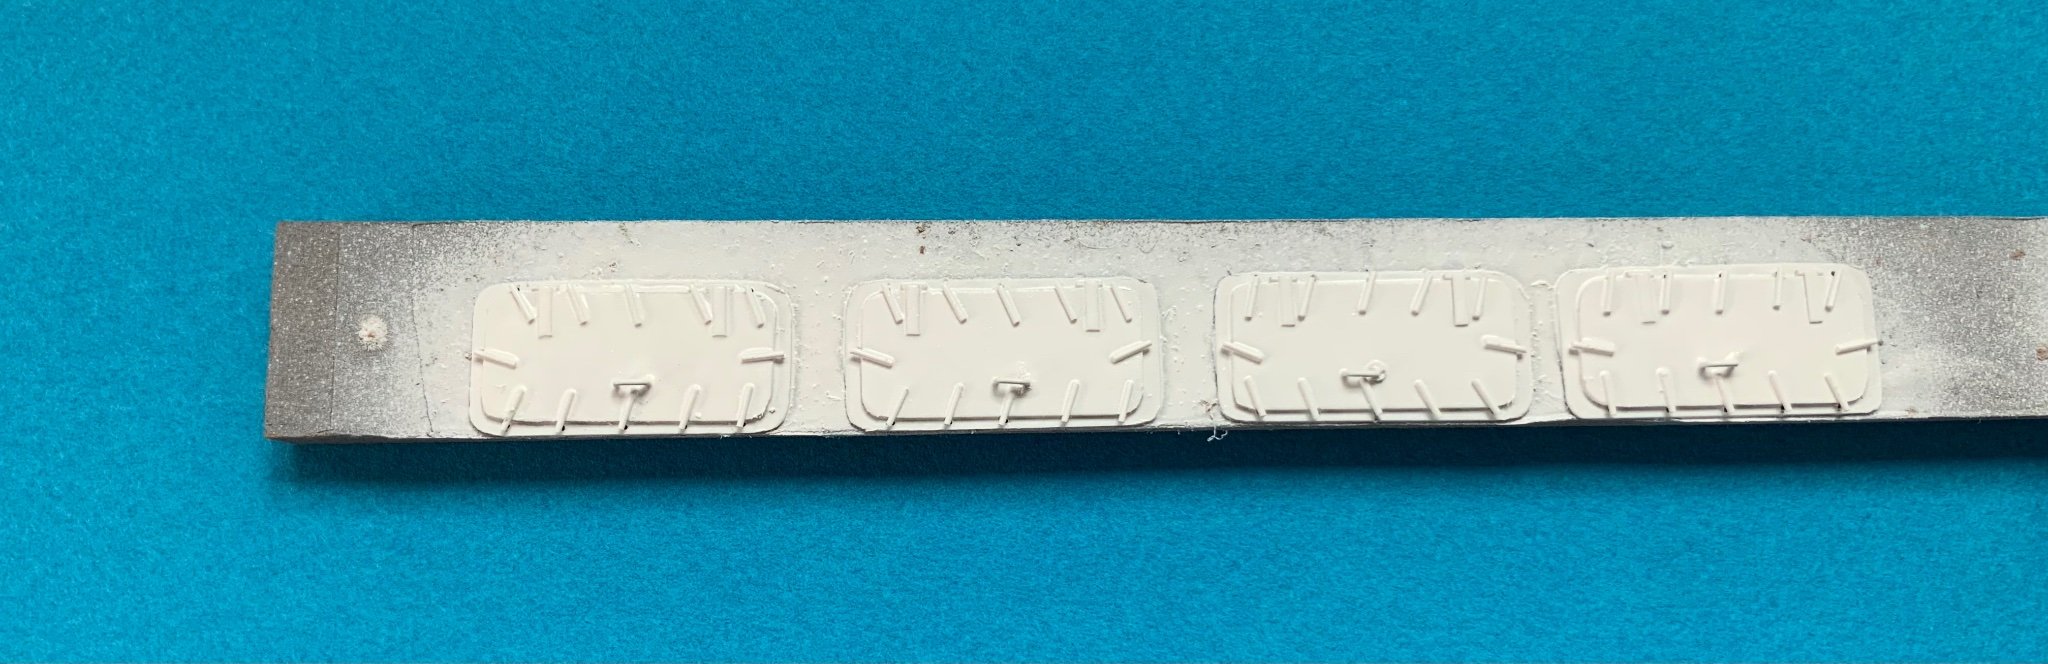
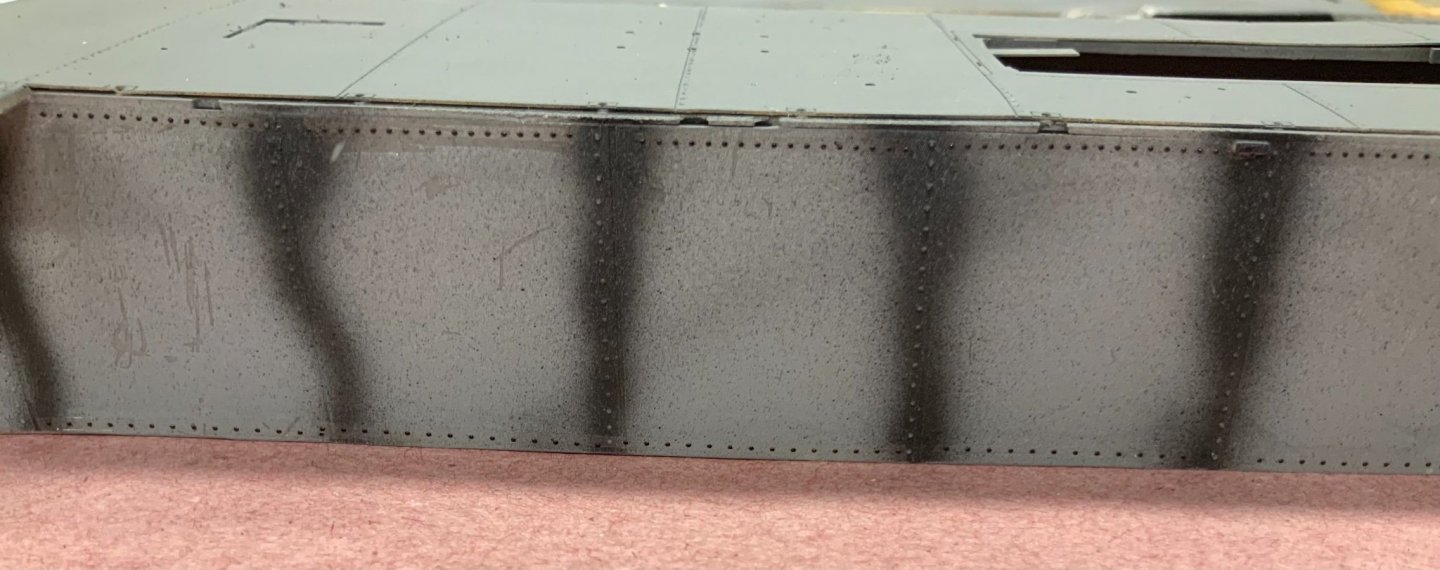
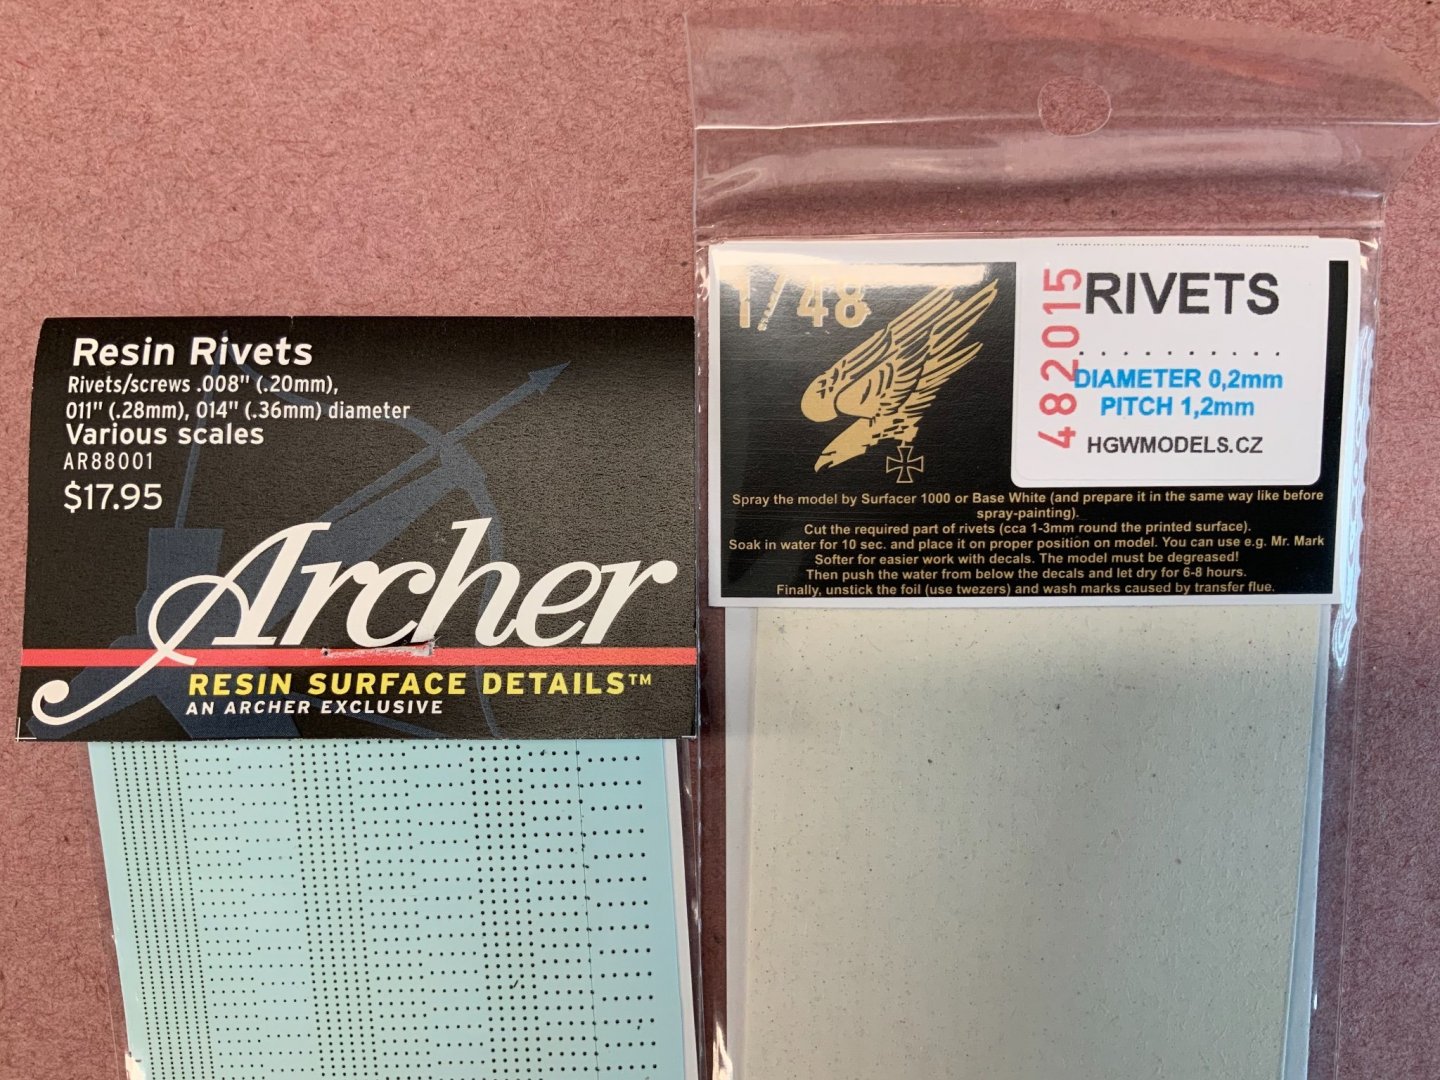
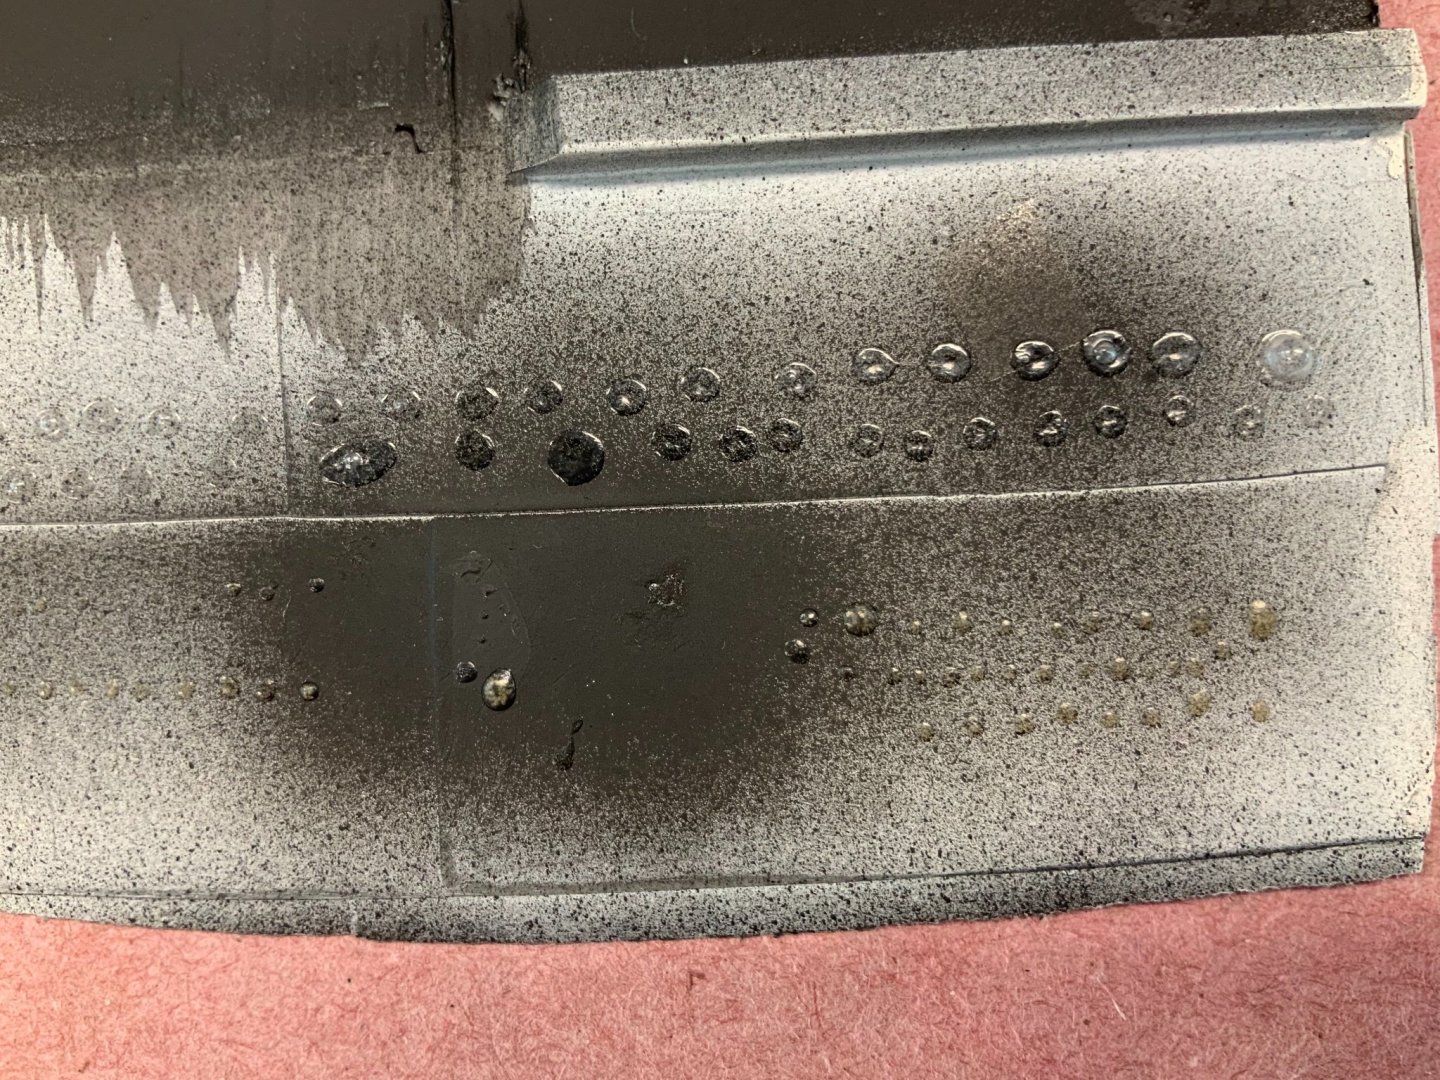
For same time I am fuzzing around with replicating rivets. I got the decal rivets from Archer ($$$) and HGW Models ($). The rivets from Archer seems to be a little bit better than HGW, but the final verdict is not out yet. I have to do some more testing. I was also trying to replicate rivets with a syringe & glue. The best glue so far was Titebond. The results are quite promising. The challenge is here to get them lined up and with the same distance between them. I was thinking to make a template for accomplishing this task. Does anybody have experience with replicate rivets? The top rows are with Elmers, the lower rows are with Titebond.
-
Thank you for all the comments and likes.🙃 Kevin, thank you for posting the photos. It is tough to find Carr’s soldering stuff here in the US. So far I am happy what I have. I only need more praxis to get nice clean soldering lines. 😉 For what we’re you using the Phoenix Precision products. Is it just a cleaner & primer?
-
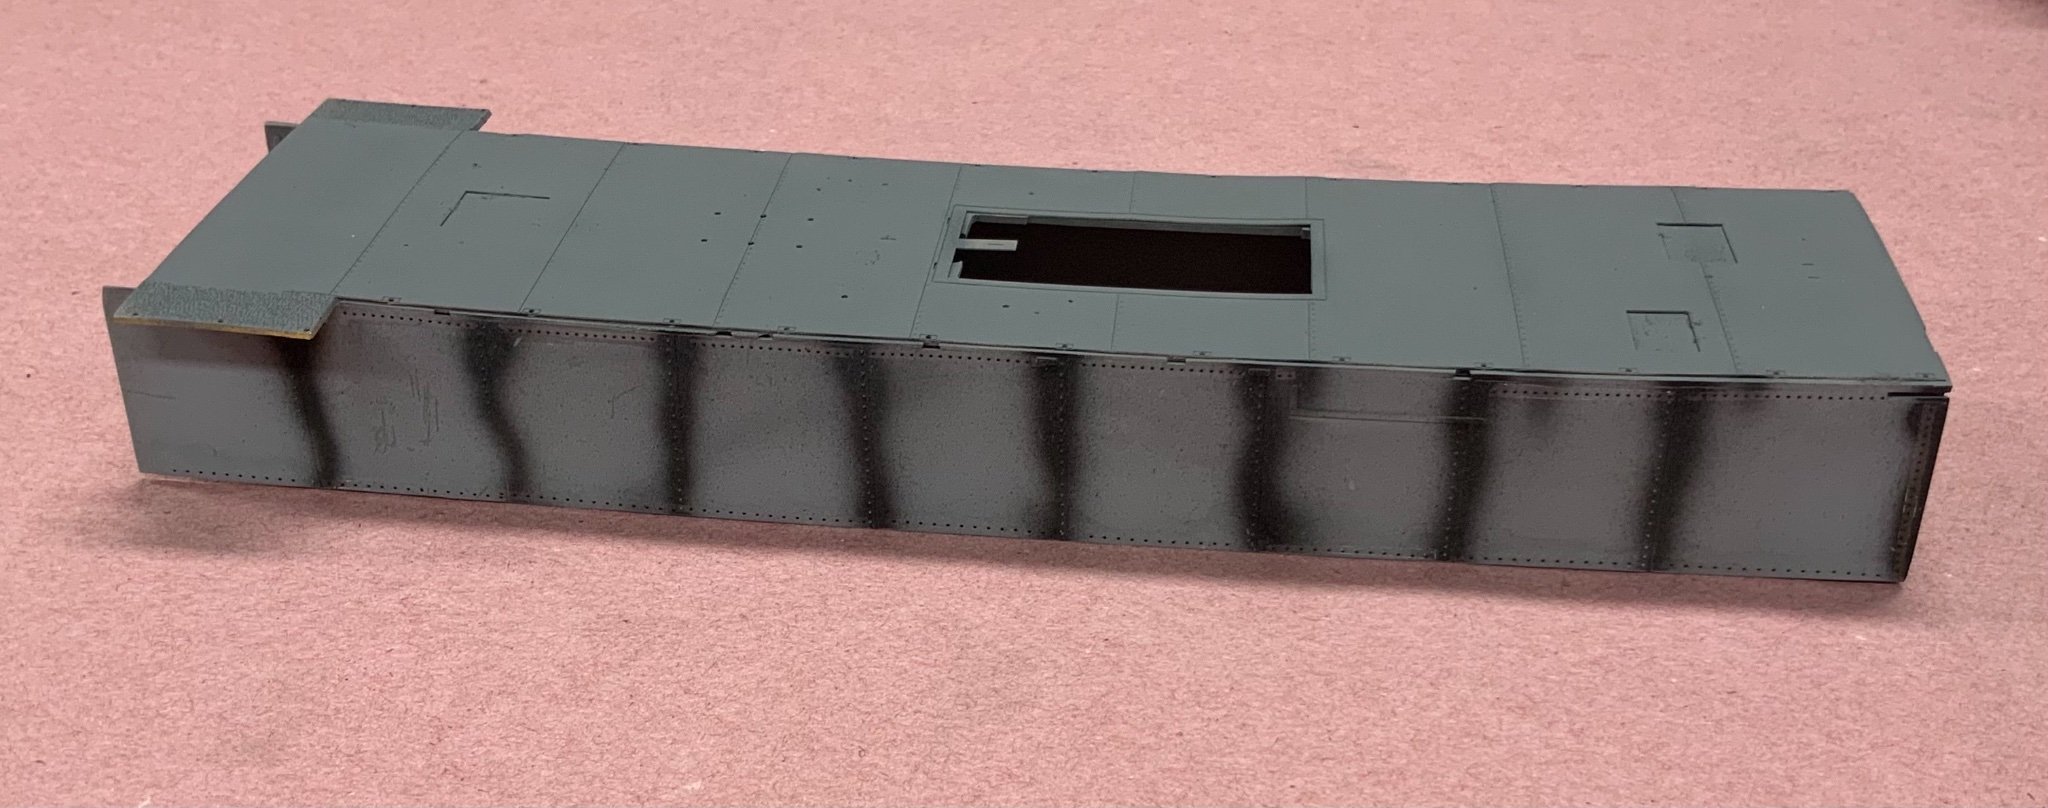
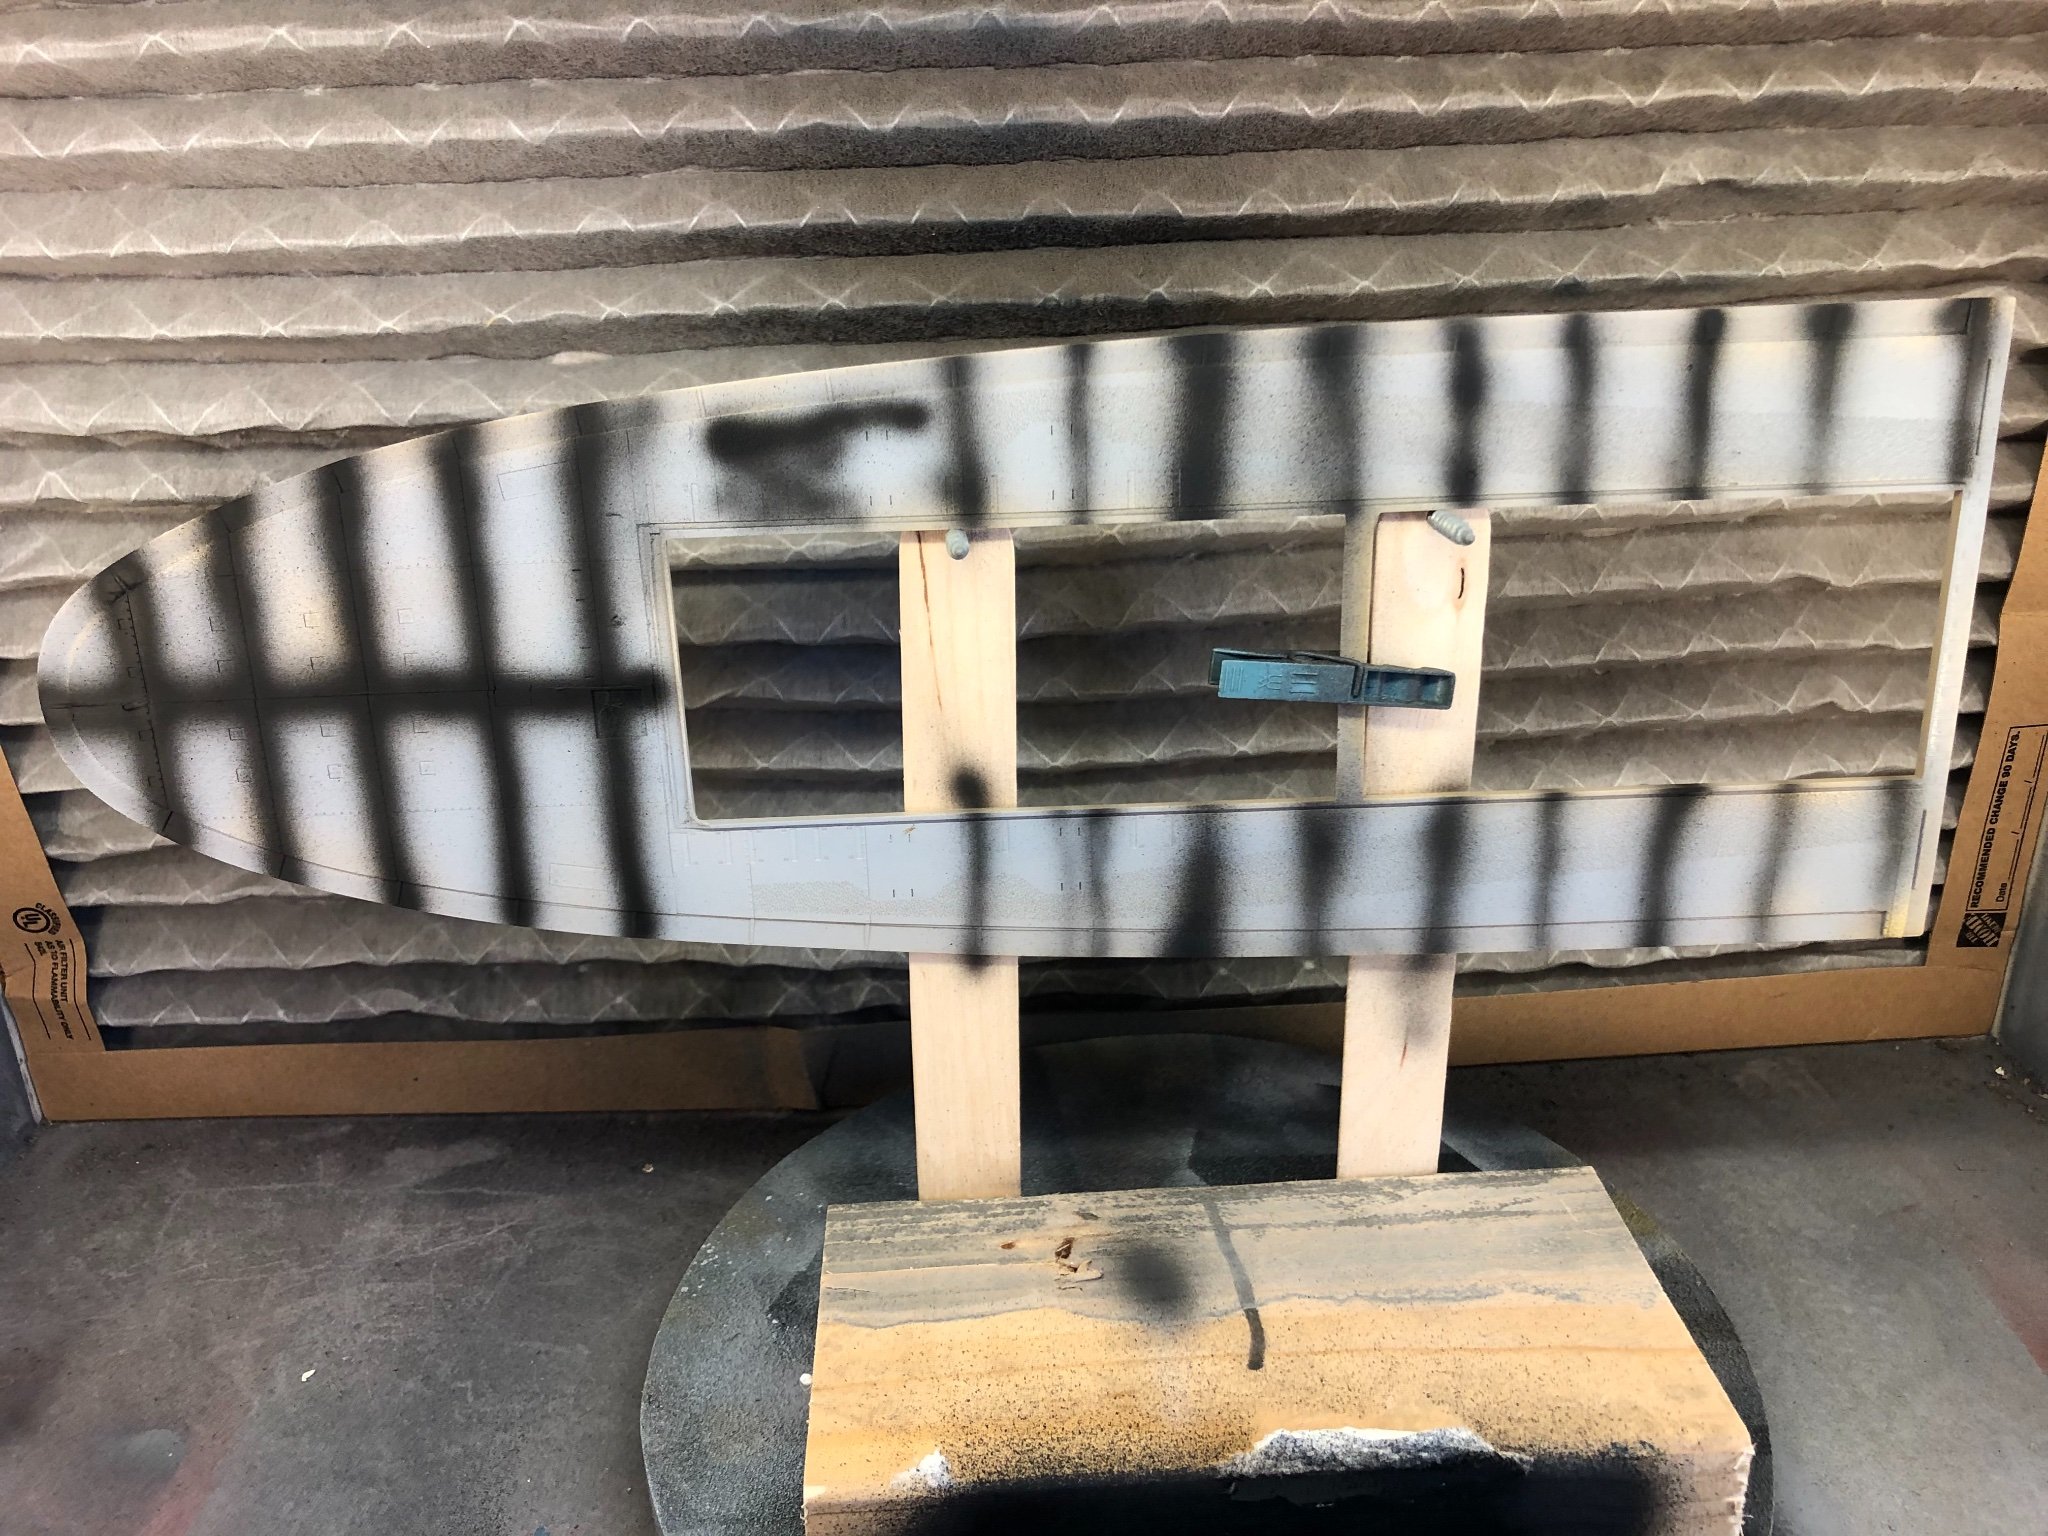
After cleaning up with steel wool & Alkohol, I primed the deck with AK gray primer and pre-shaded it with AK black primer.

-
I was trying some soldering today. Haven’t done it for years … The problem I had, was that the forecastle was blended a little bit and I didn’t get it completely resolved.


-
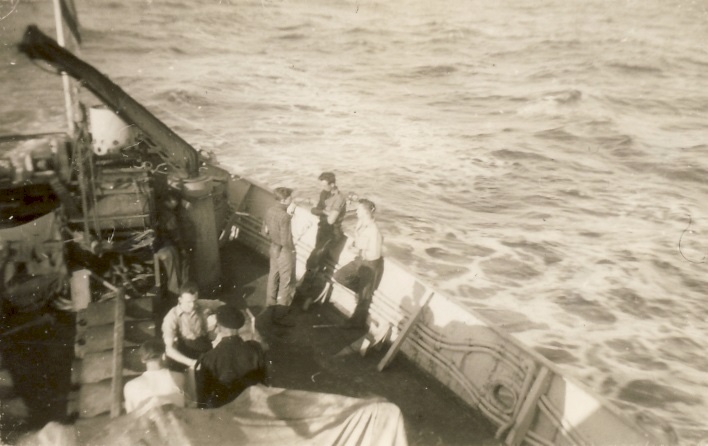
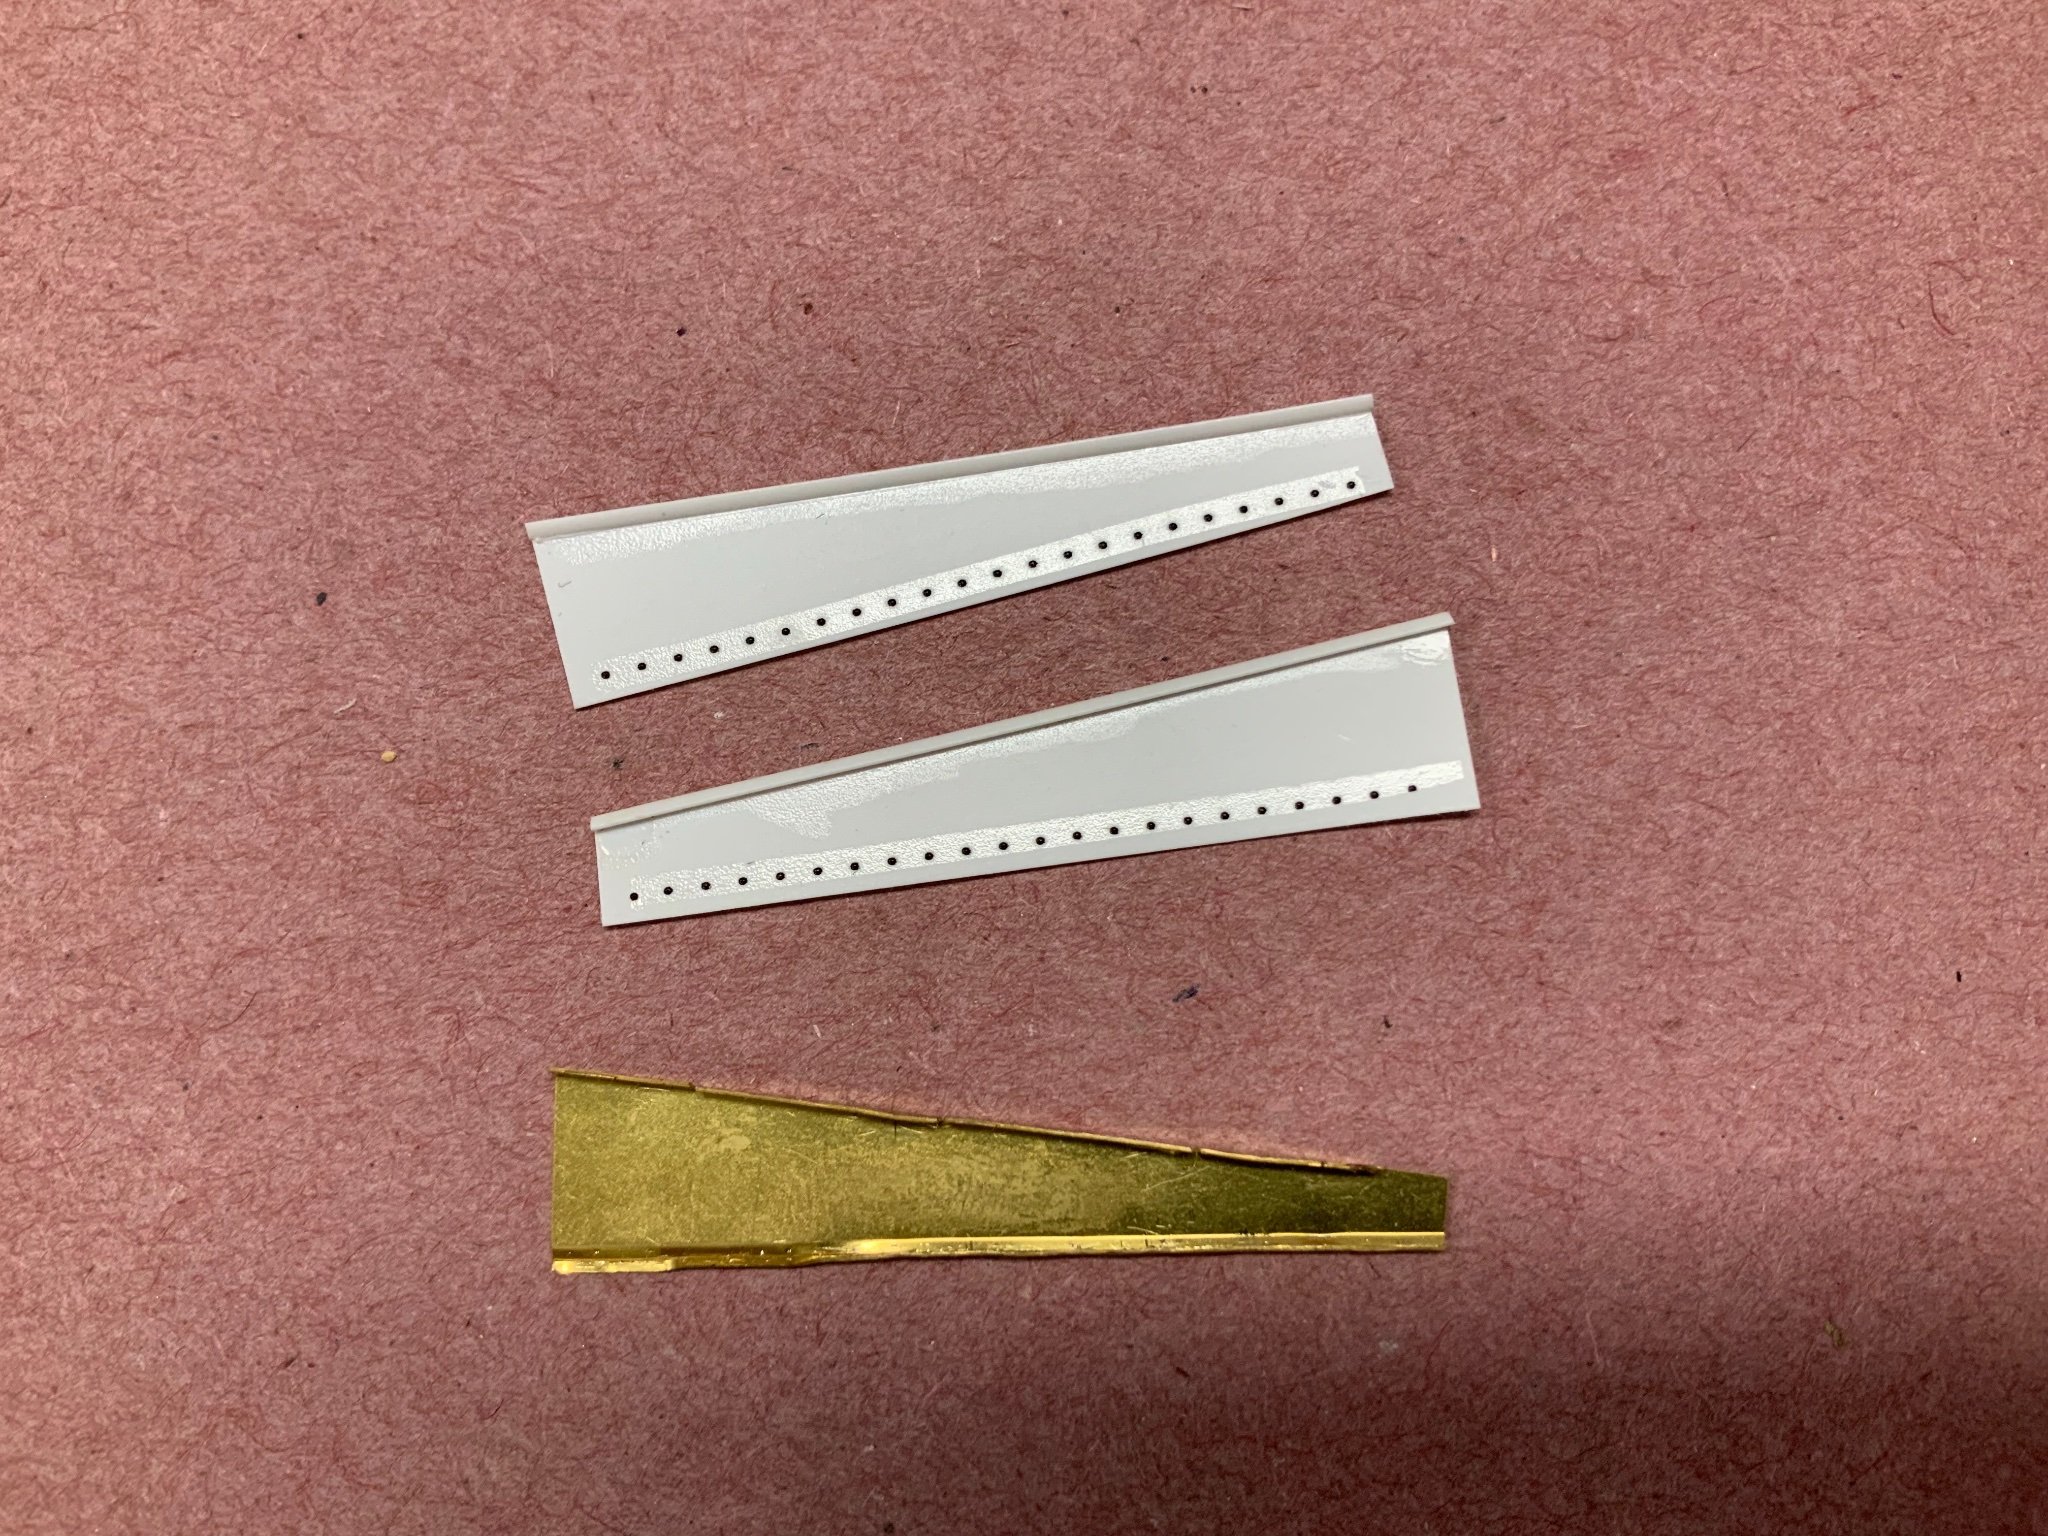
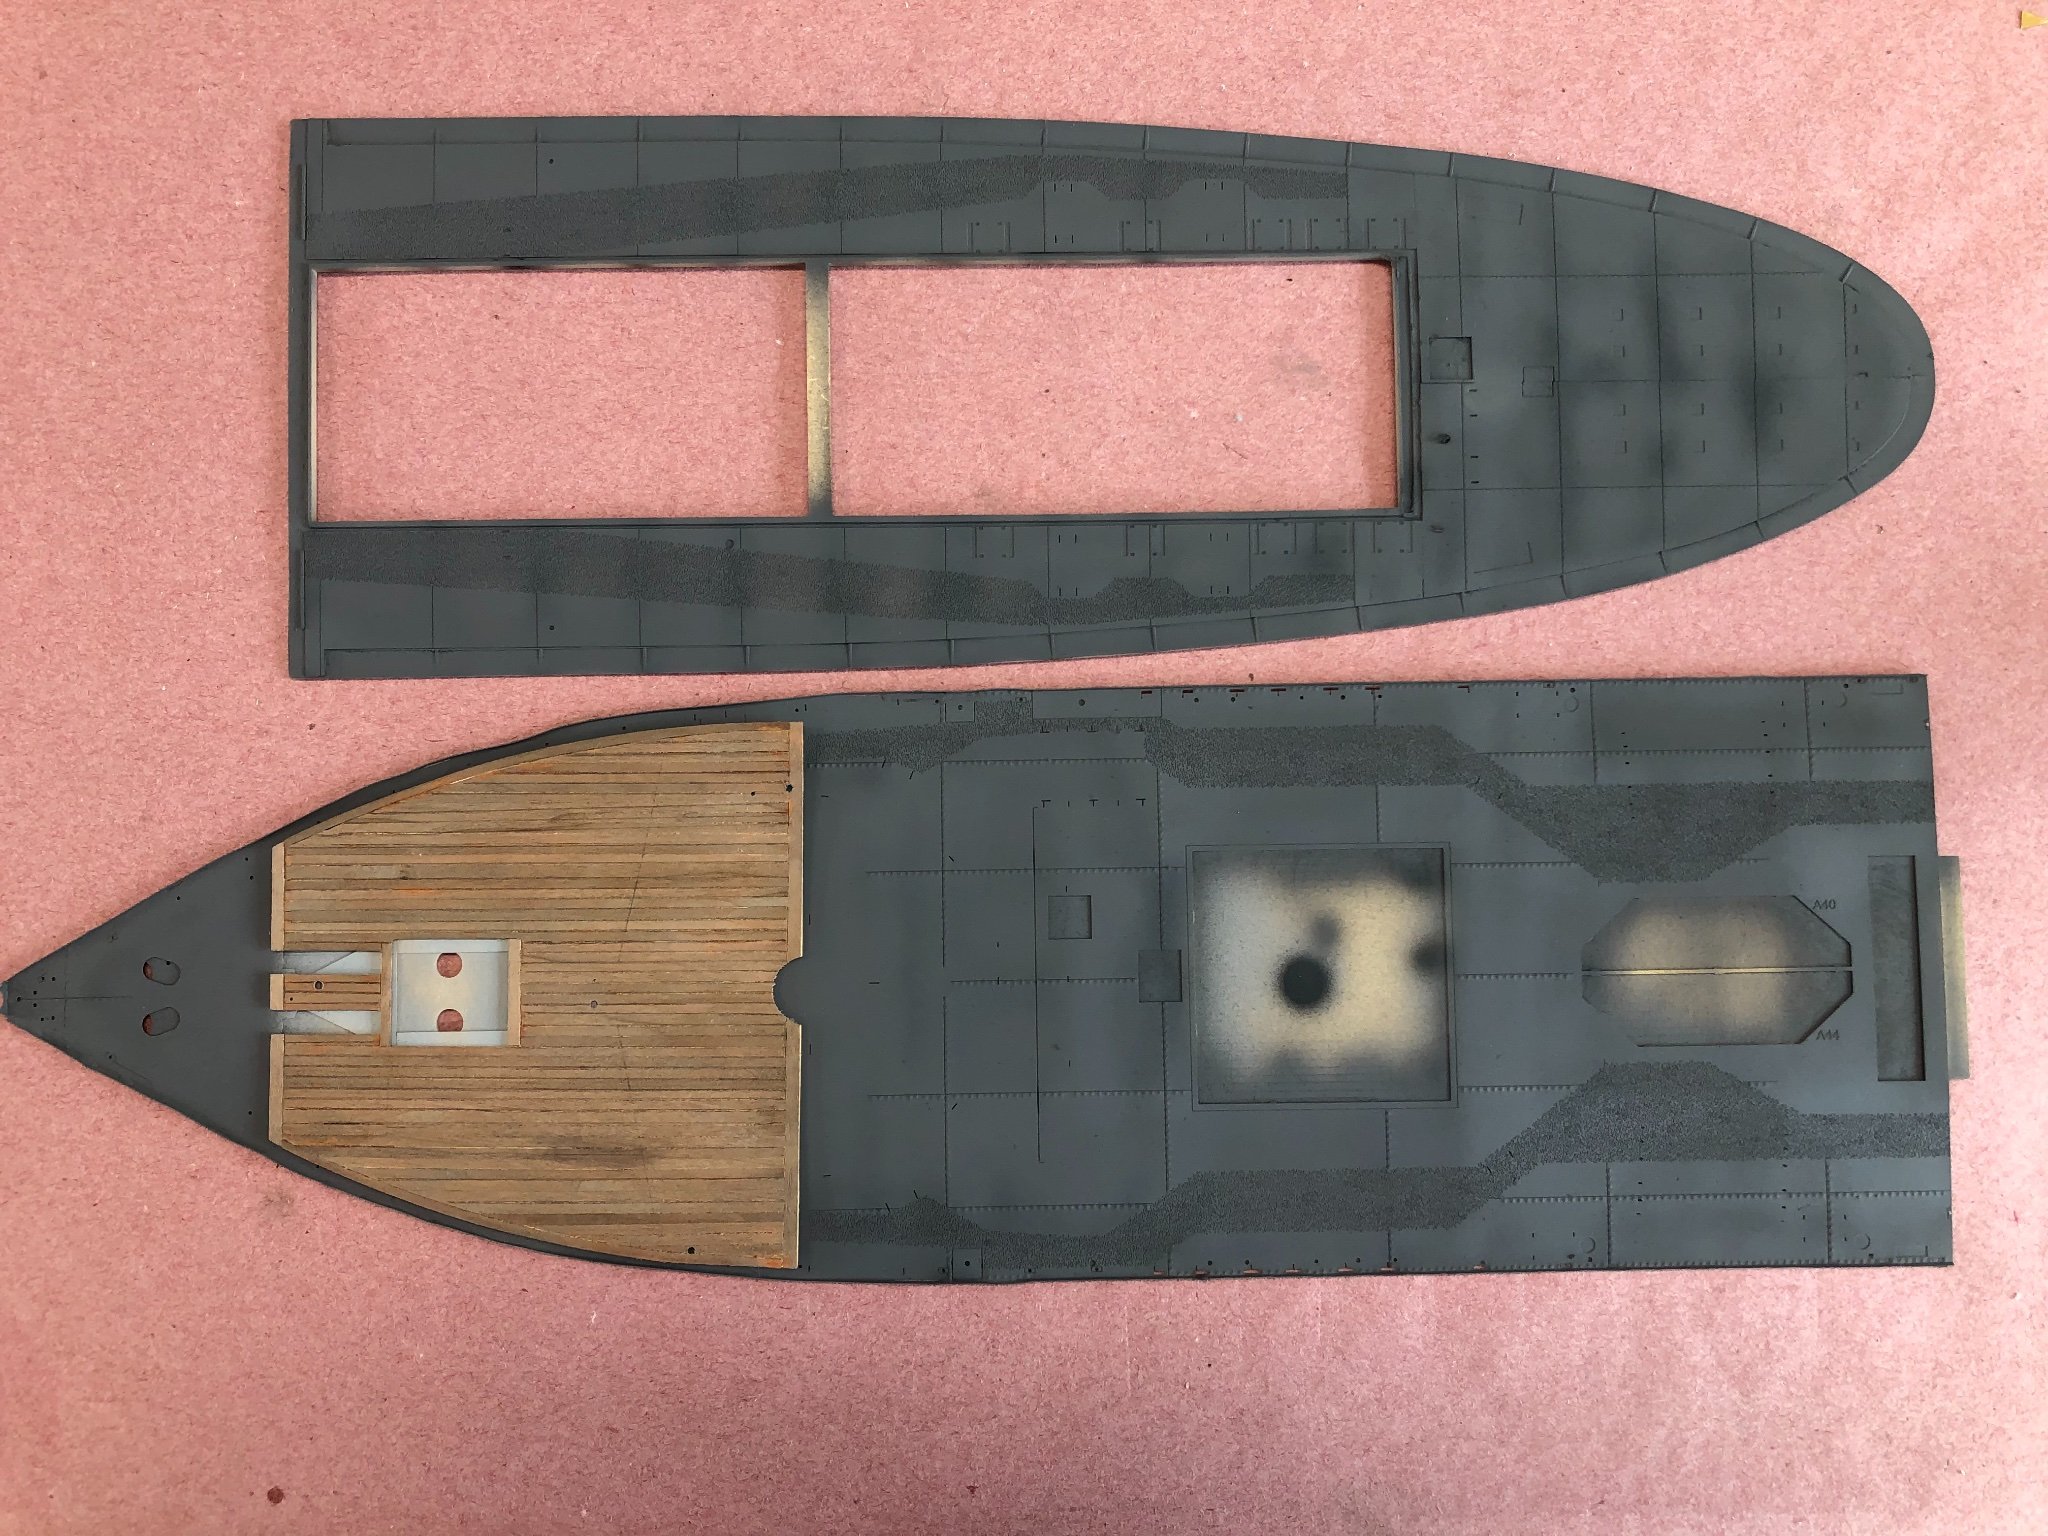
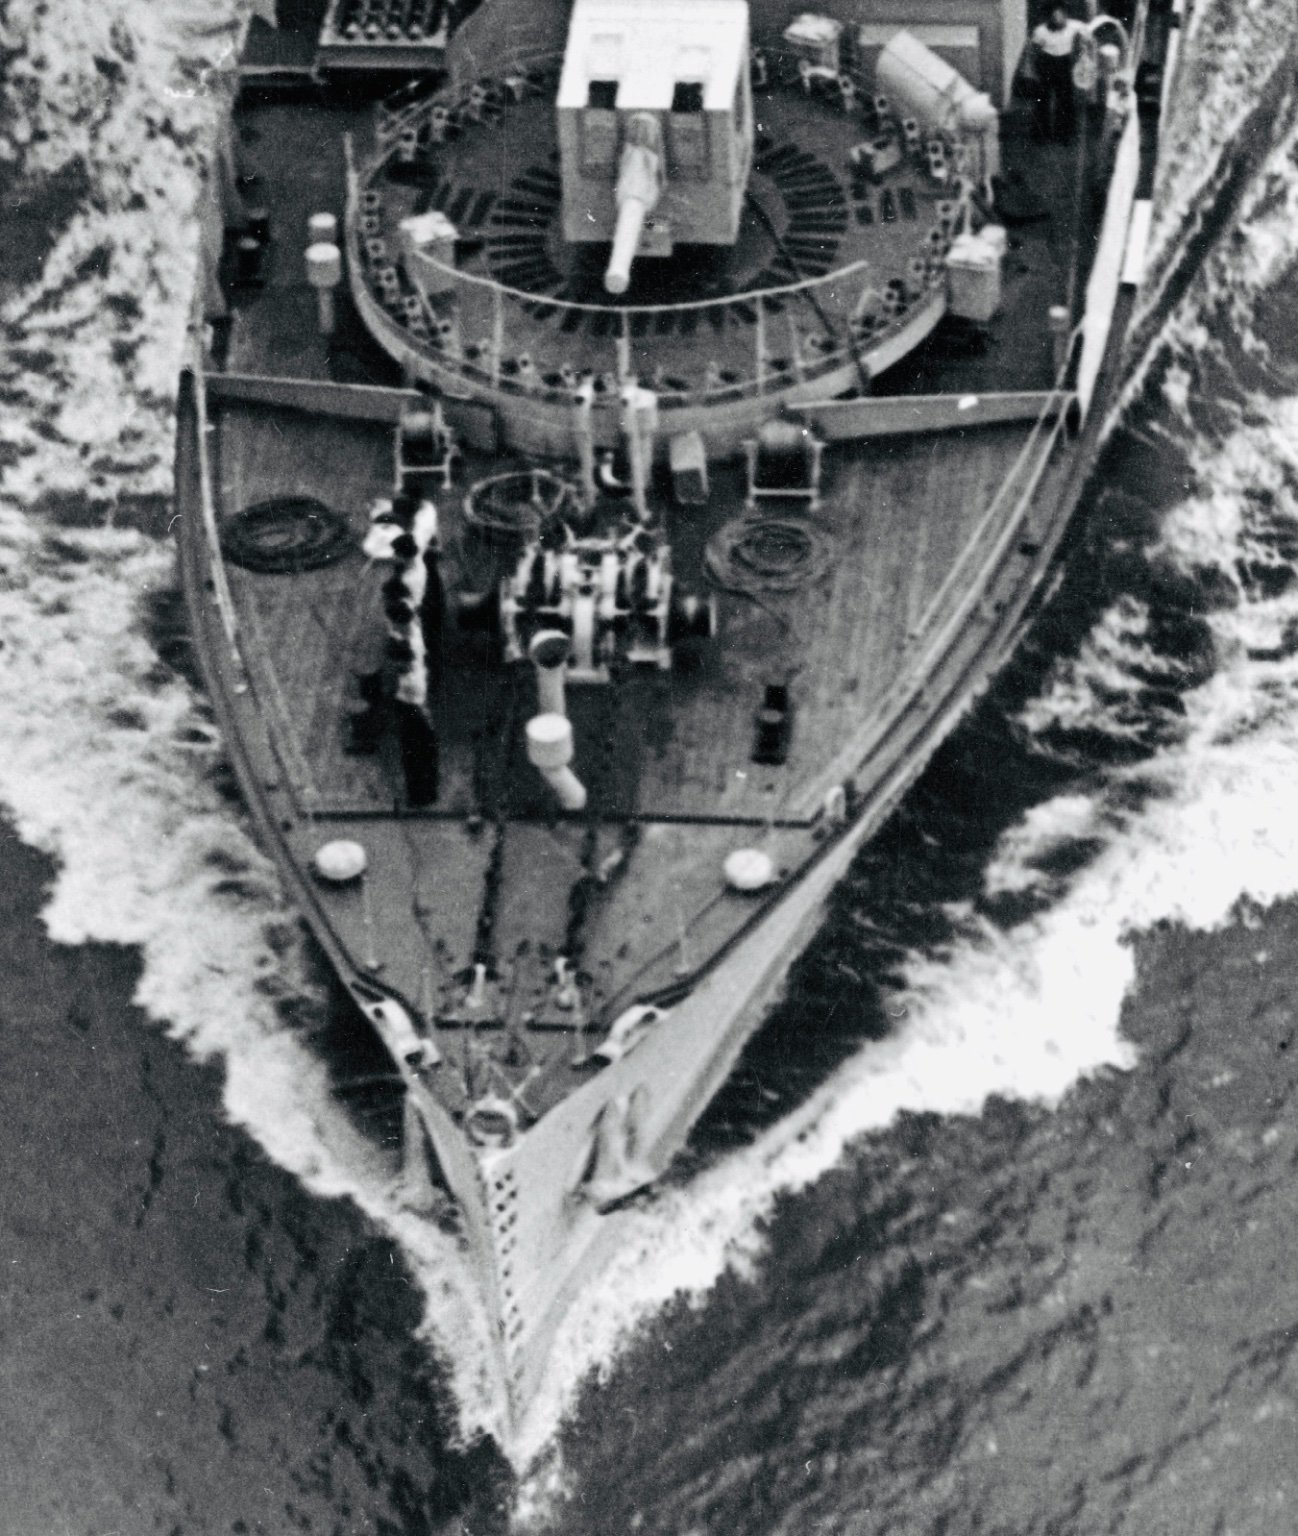
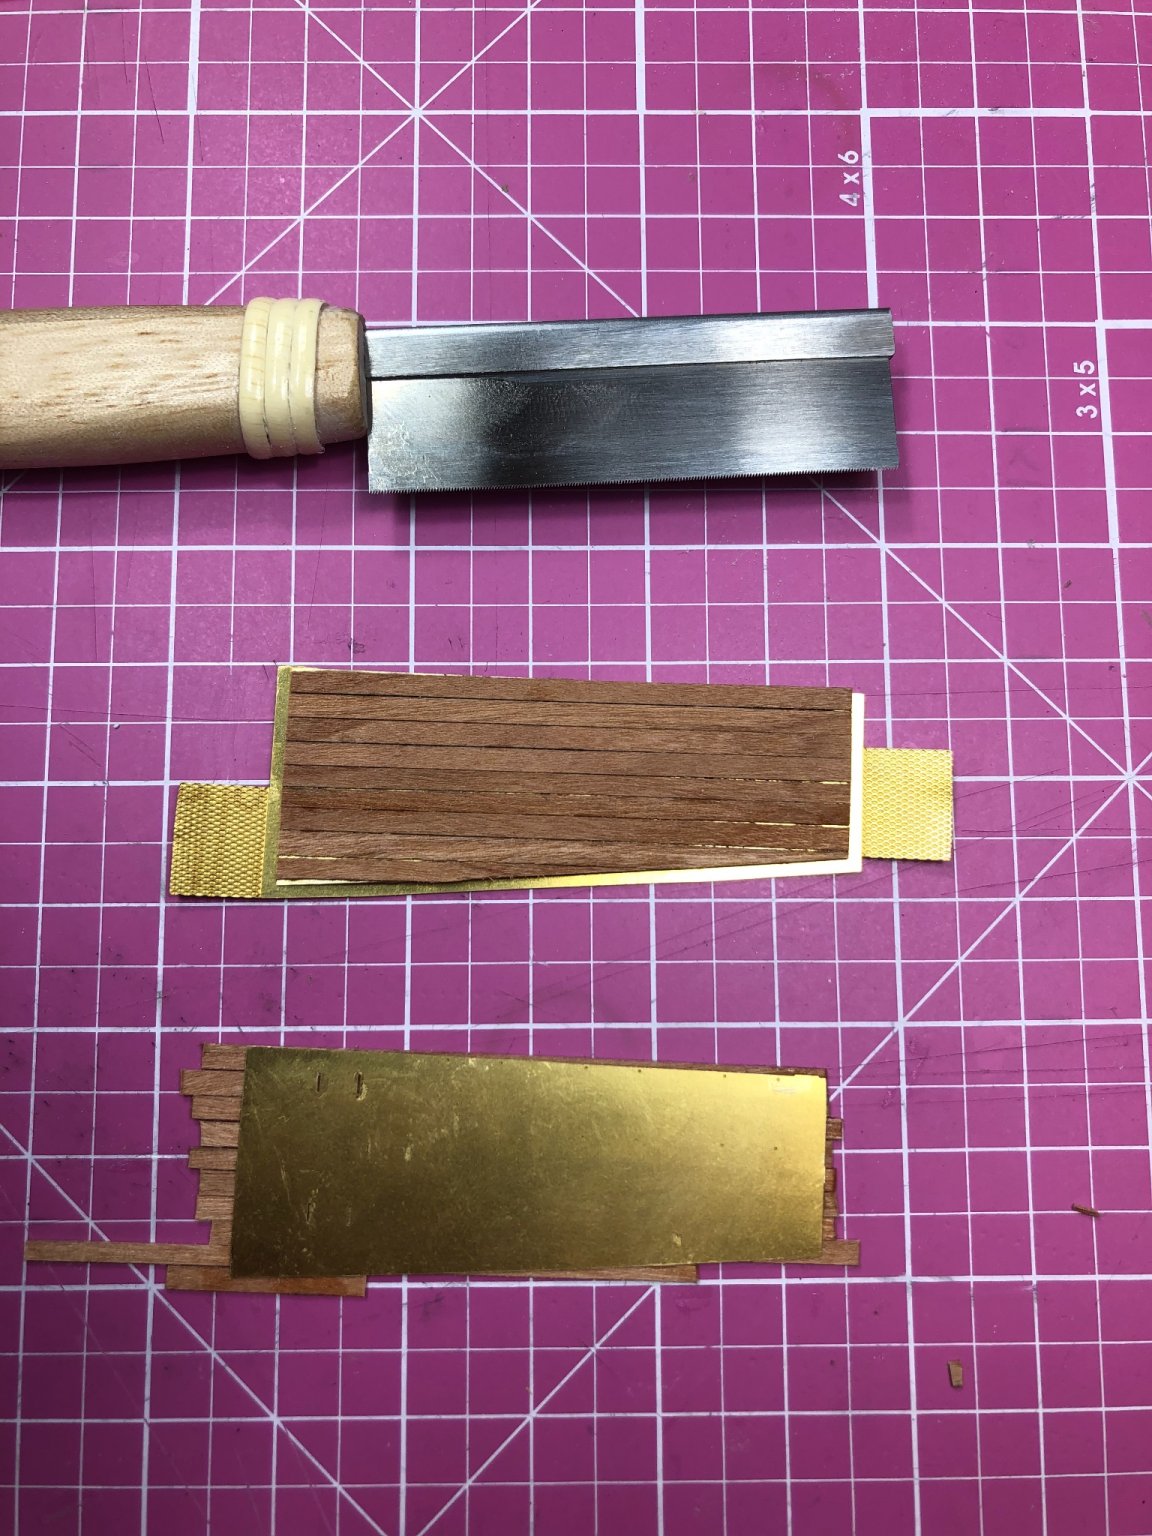
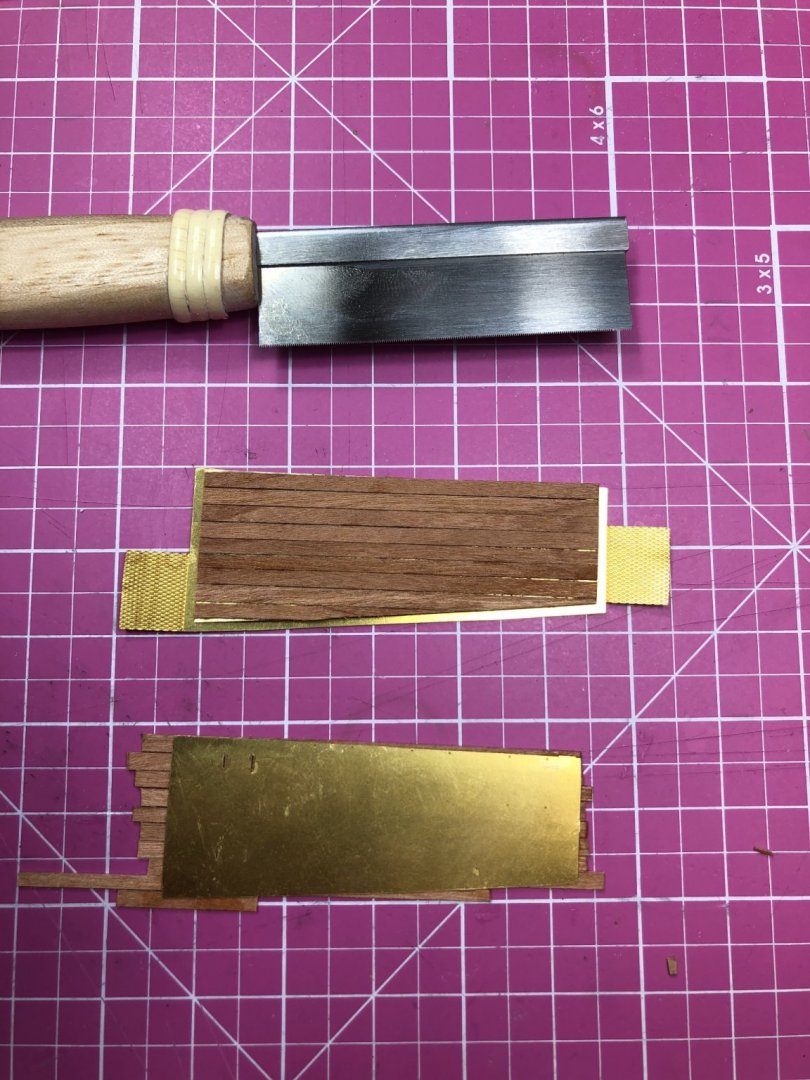
Mike, I agree. The only problem with wooden decks is, to find wood with very fine grain. Btw, I think the brass deck is not accurate because according to my sources (photos) there was only one plank next to each other, not multiple in line like at the brass deck. Which actually makes sense considering the corvettes have been built in small shipyards under deadline pressure. They for sure didn’t have time for fancy woodwork. As you can see in the photo, there is only one plank running from front to back. At least how I see it.

-
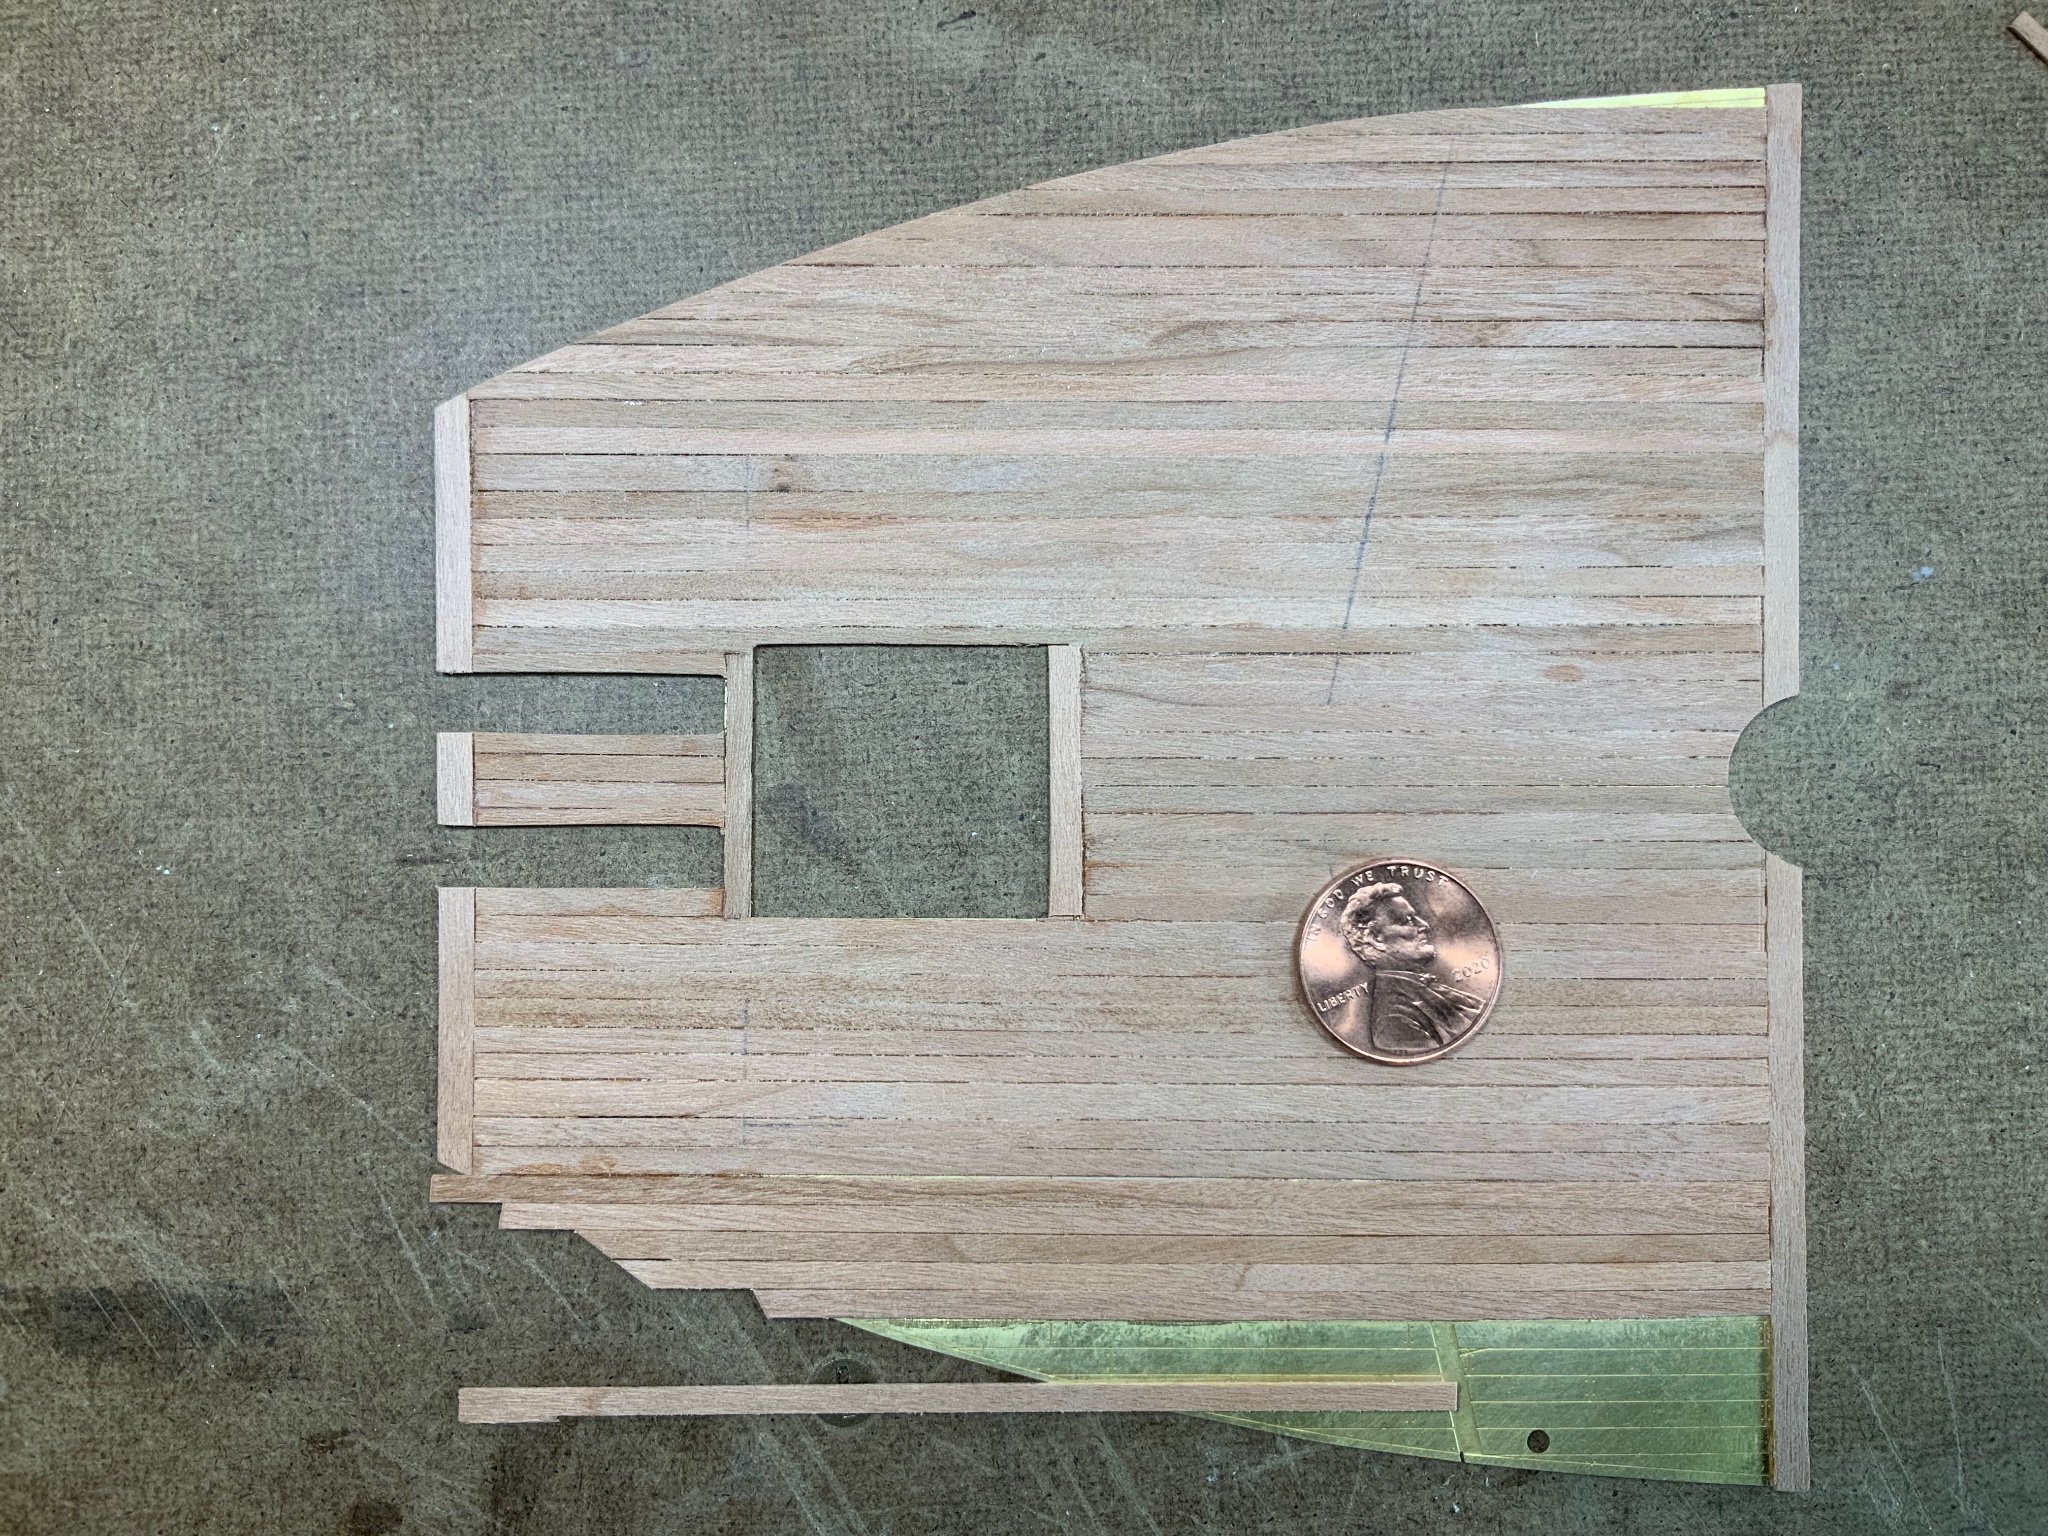
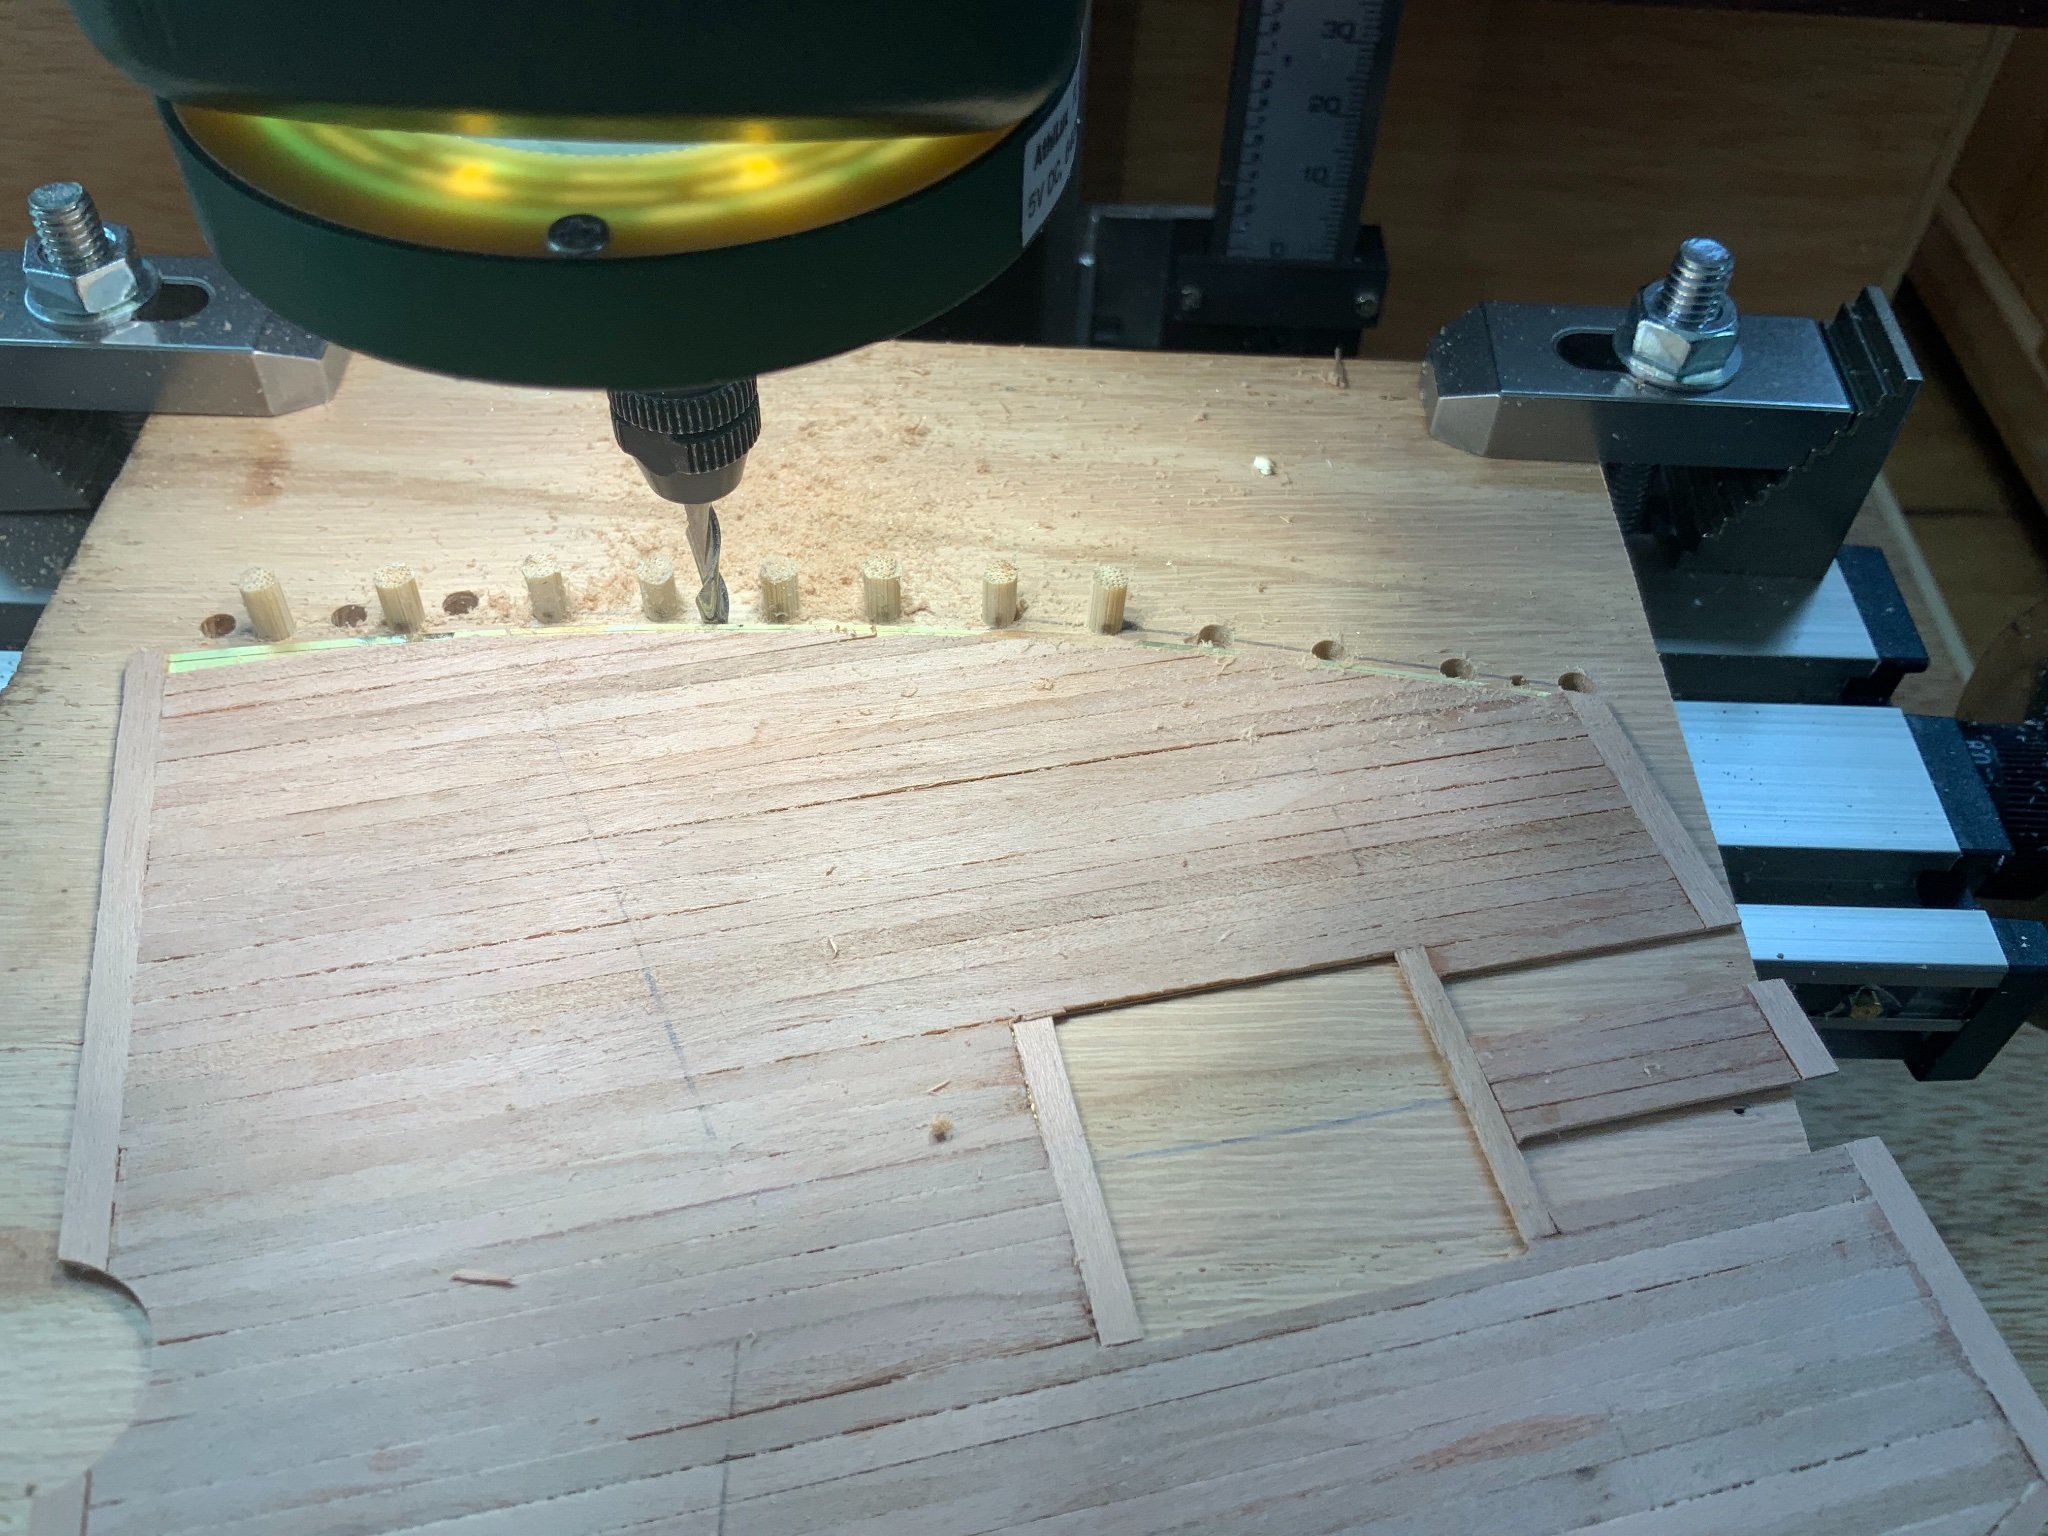
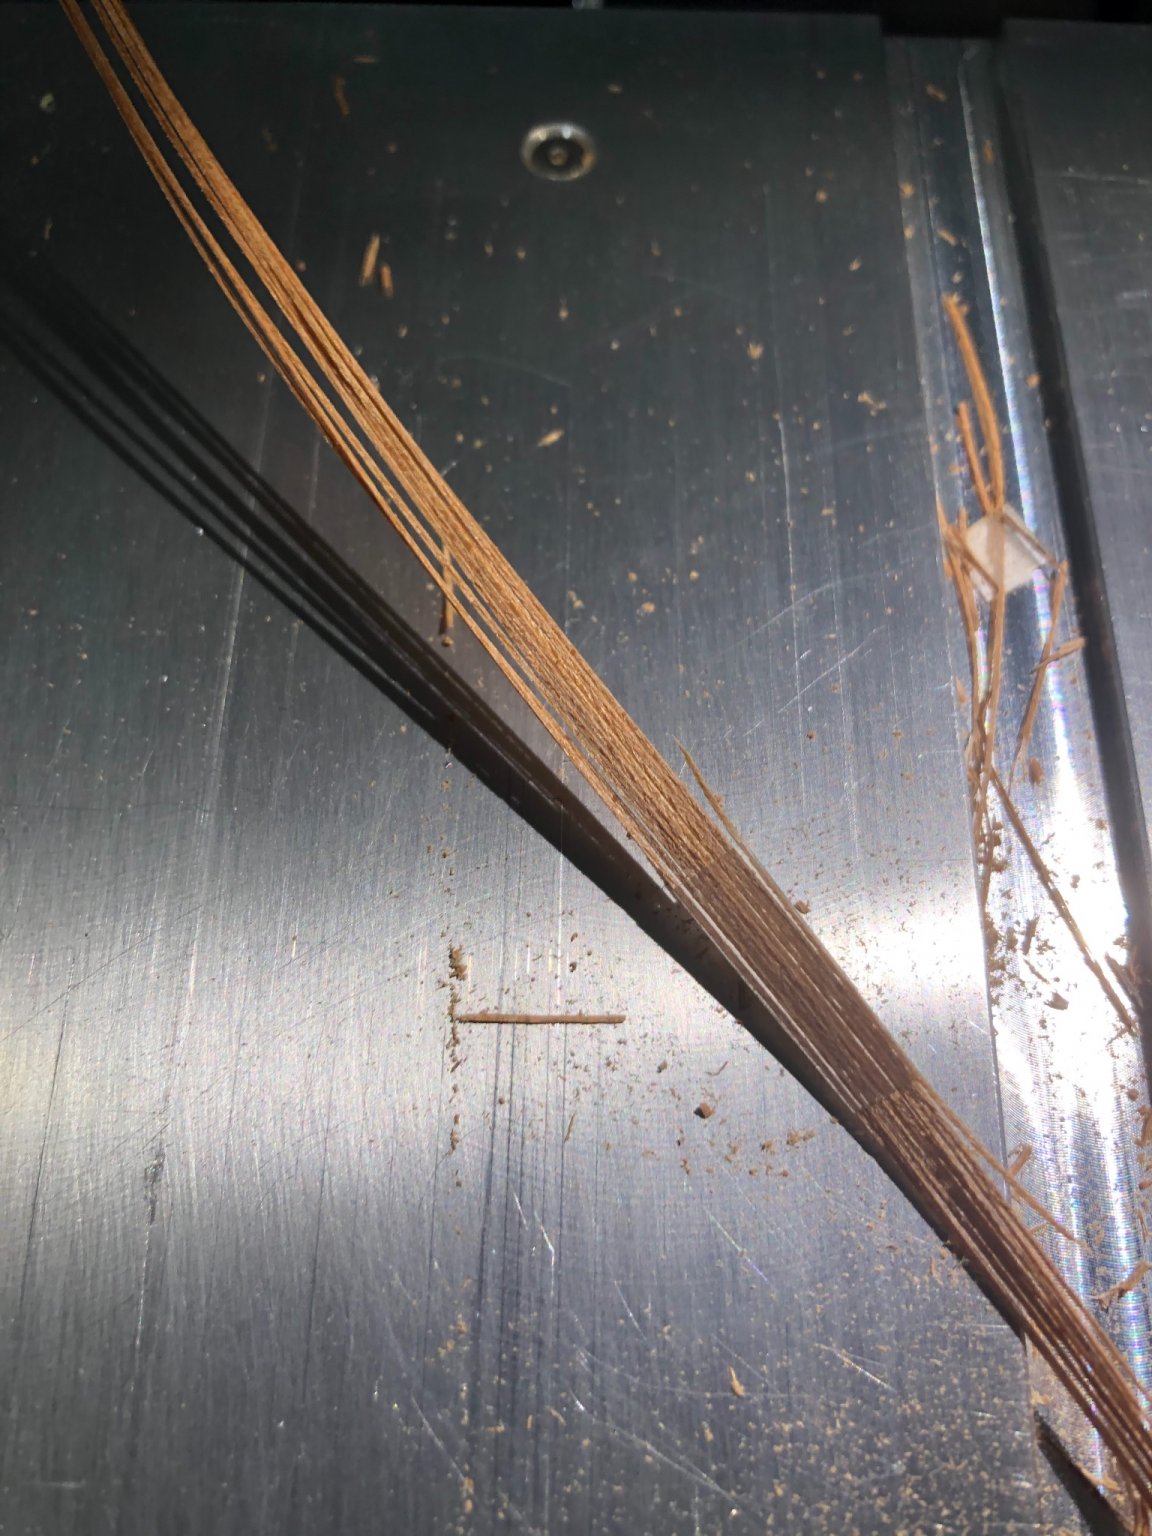
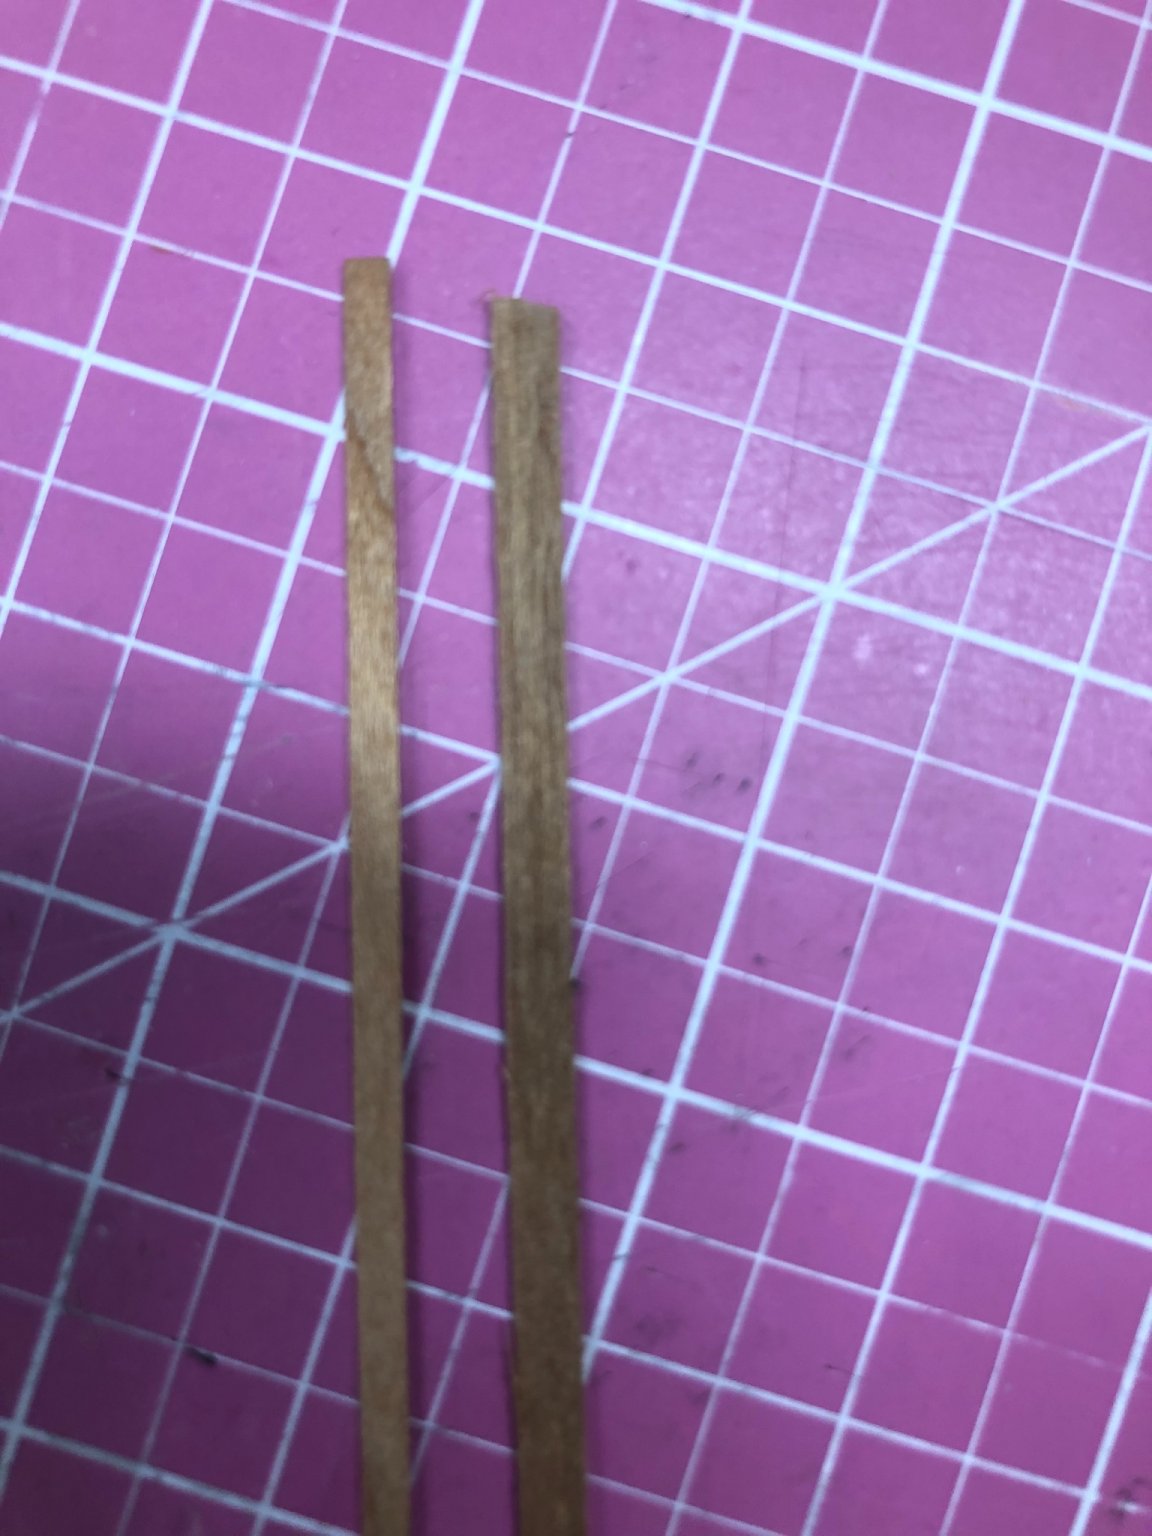
Thank you for all the likes and comments! Tonight I was working on cutting more deck planks. I have 3.25 mm wide x 0.5 mm thick cherry strips which have been to wide for scale decking. I had to cut them down to roughly 2.5 mm wide planks. Which was easier than I thought. I stuck them together with tape to cut the whole bundle. Worked fine for me.


-
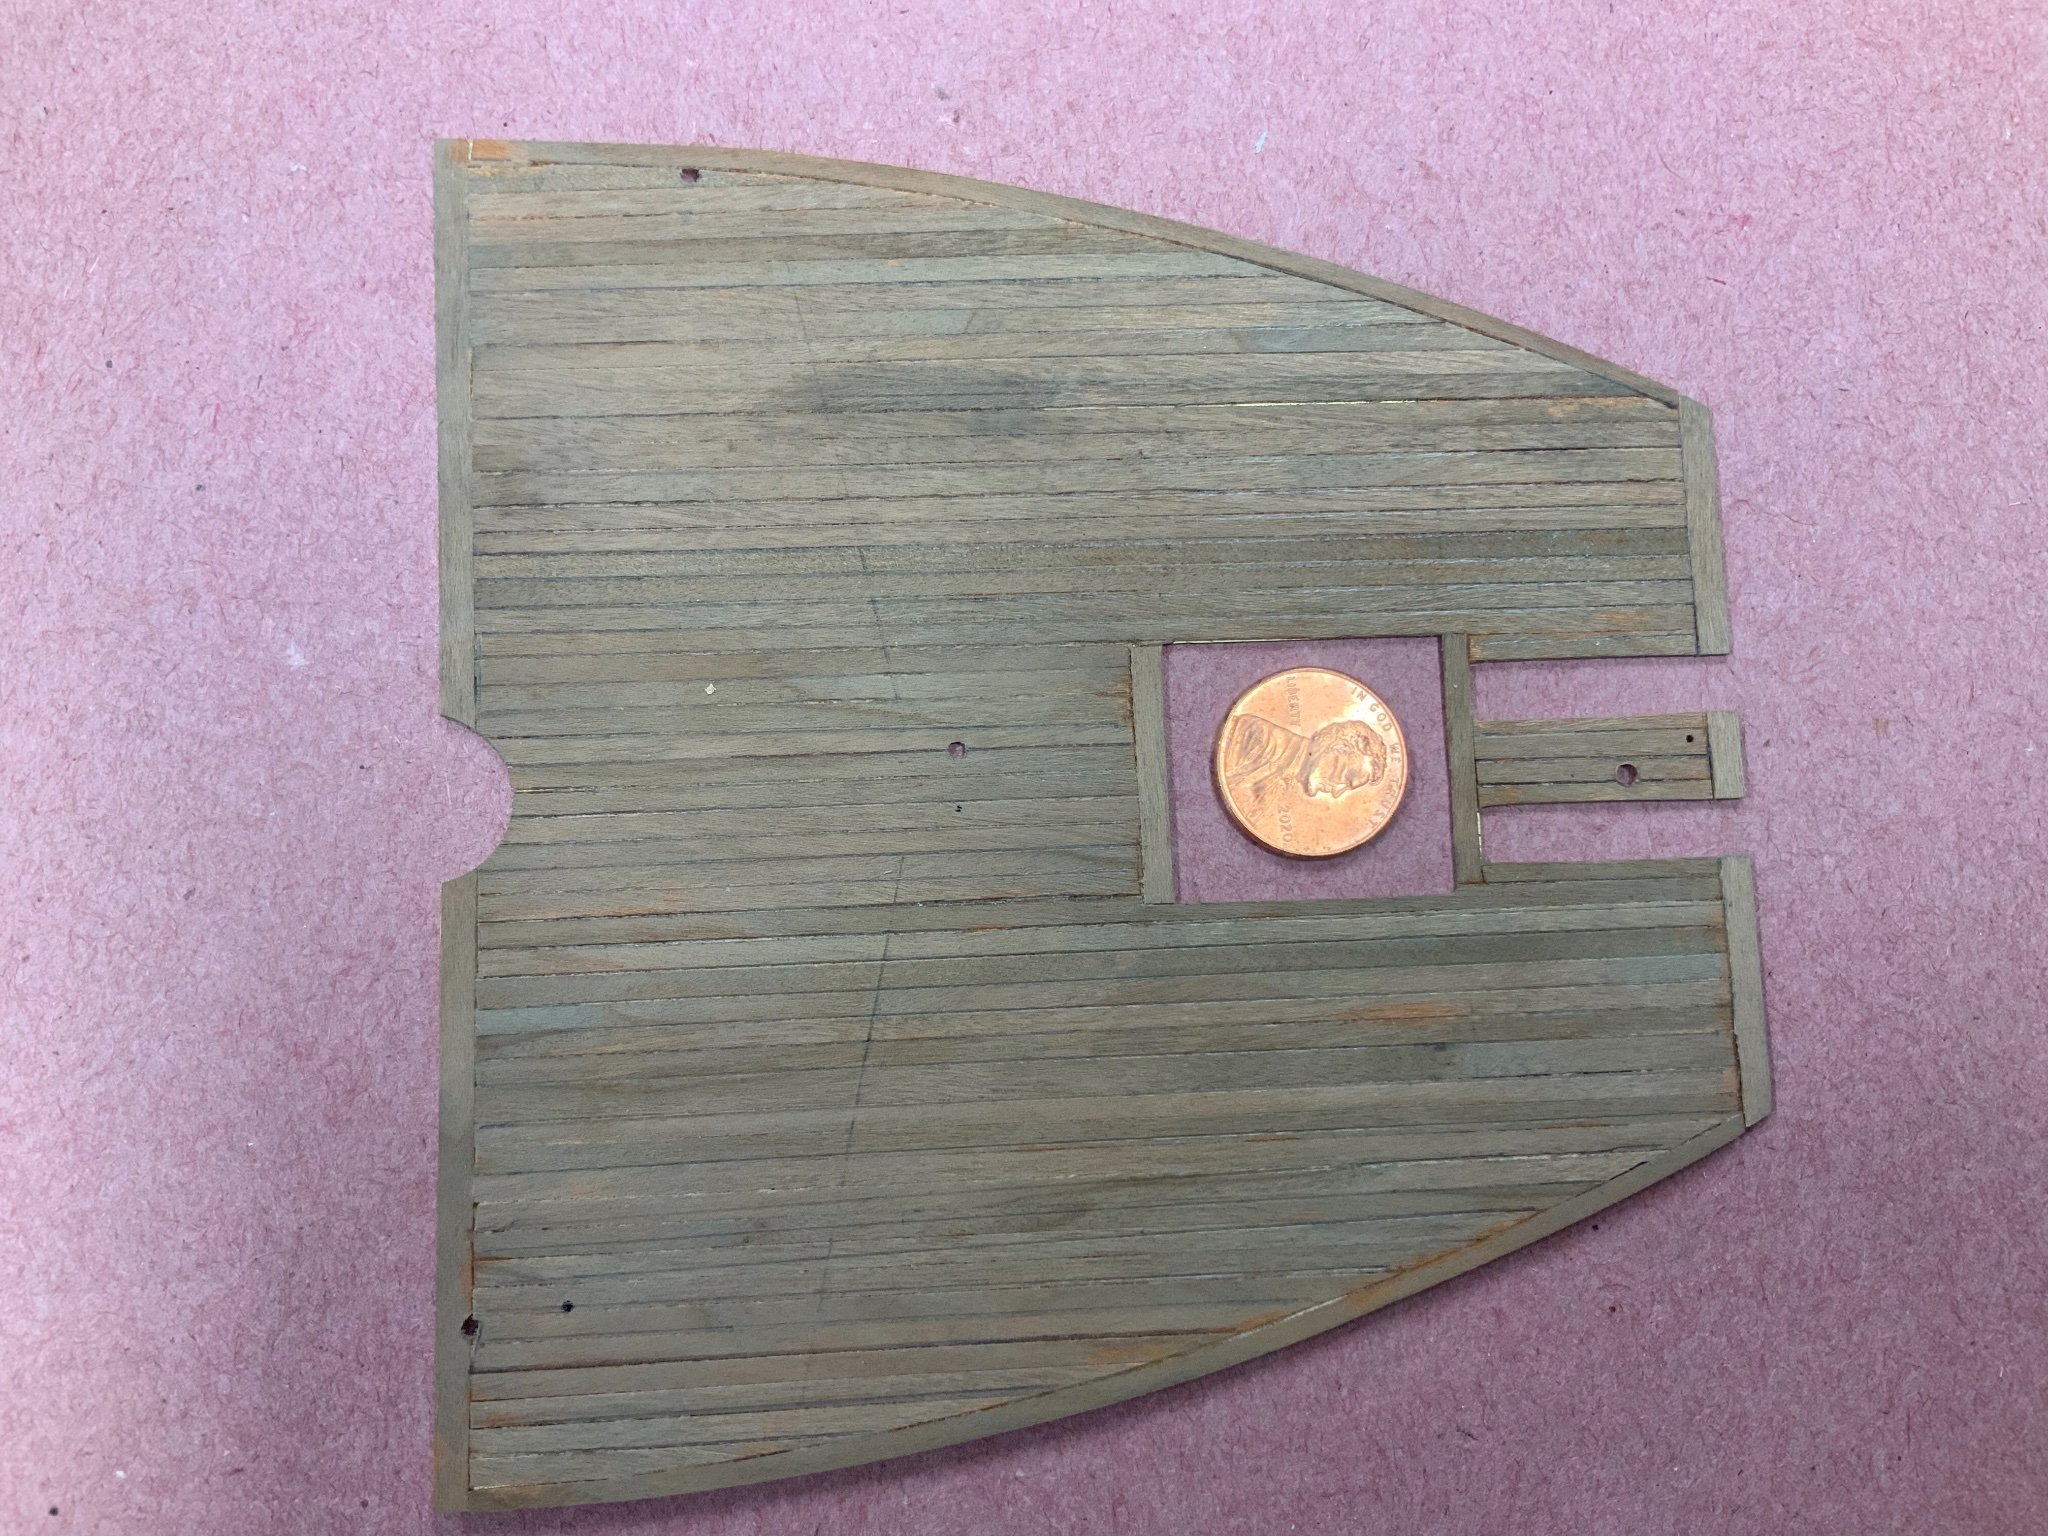
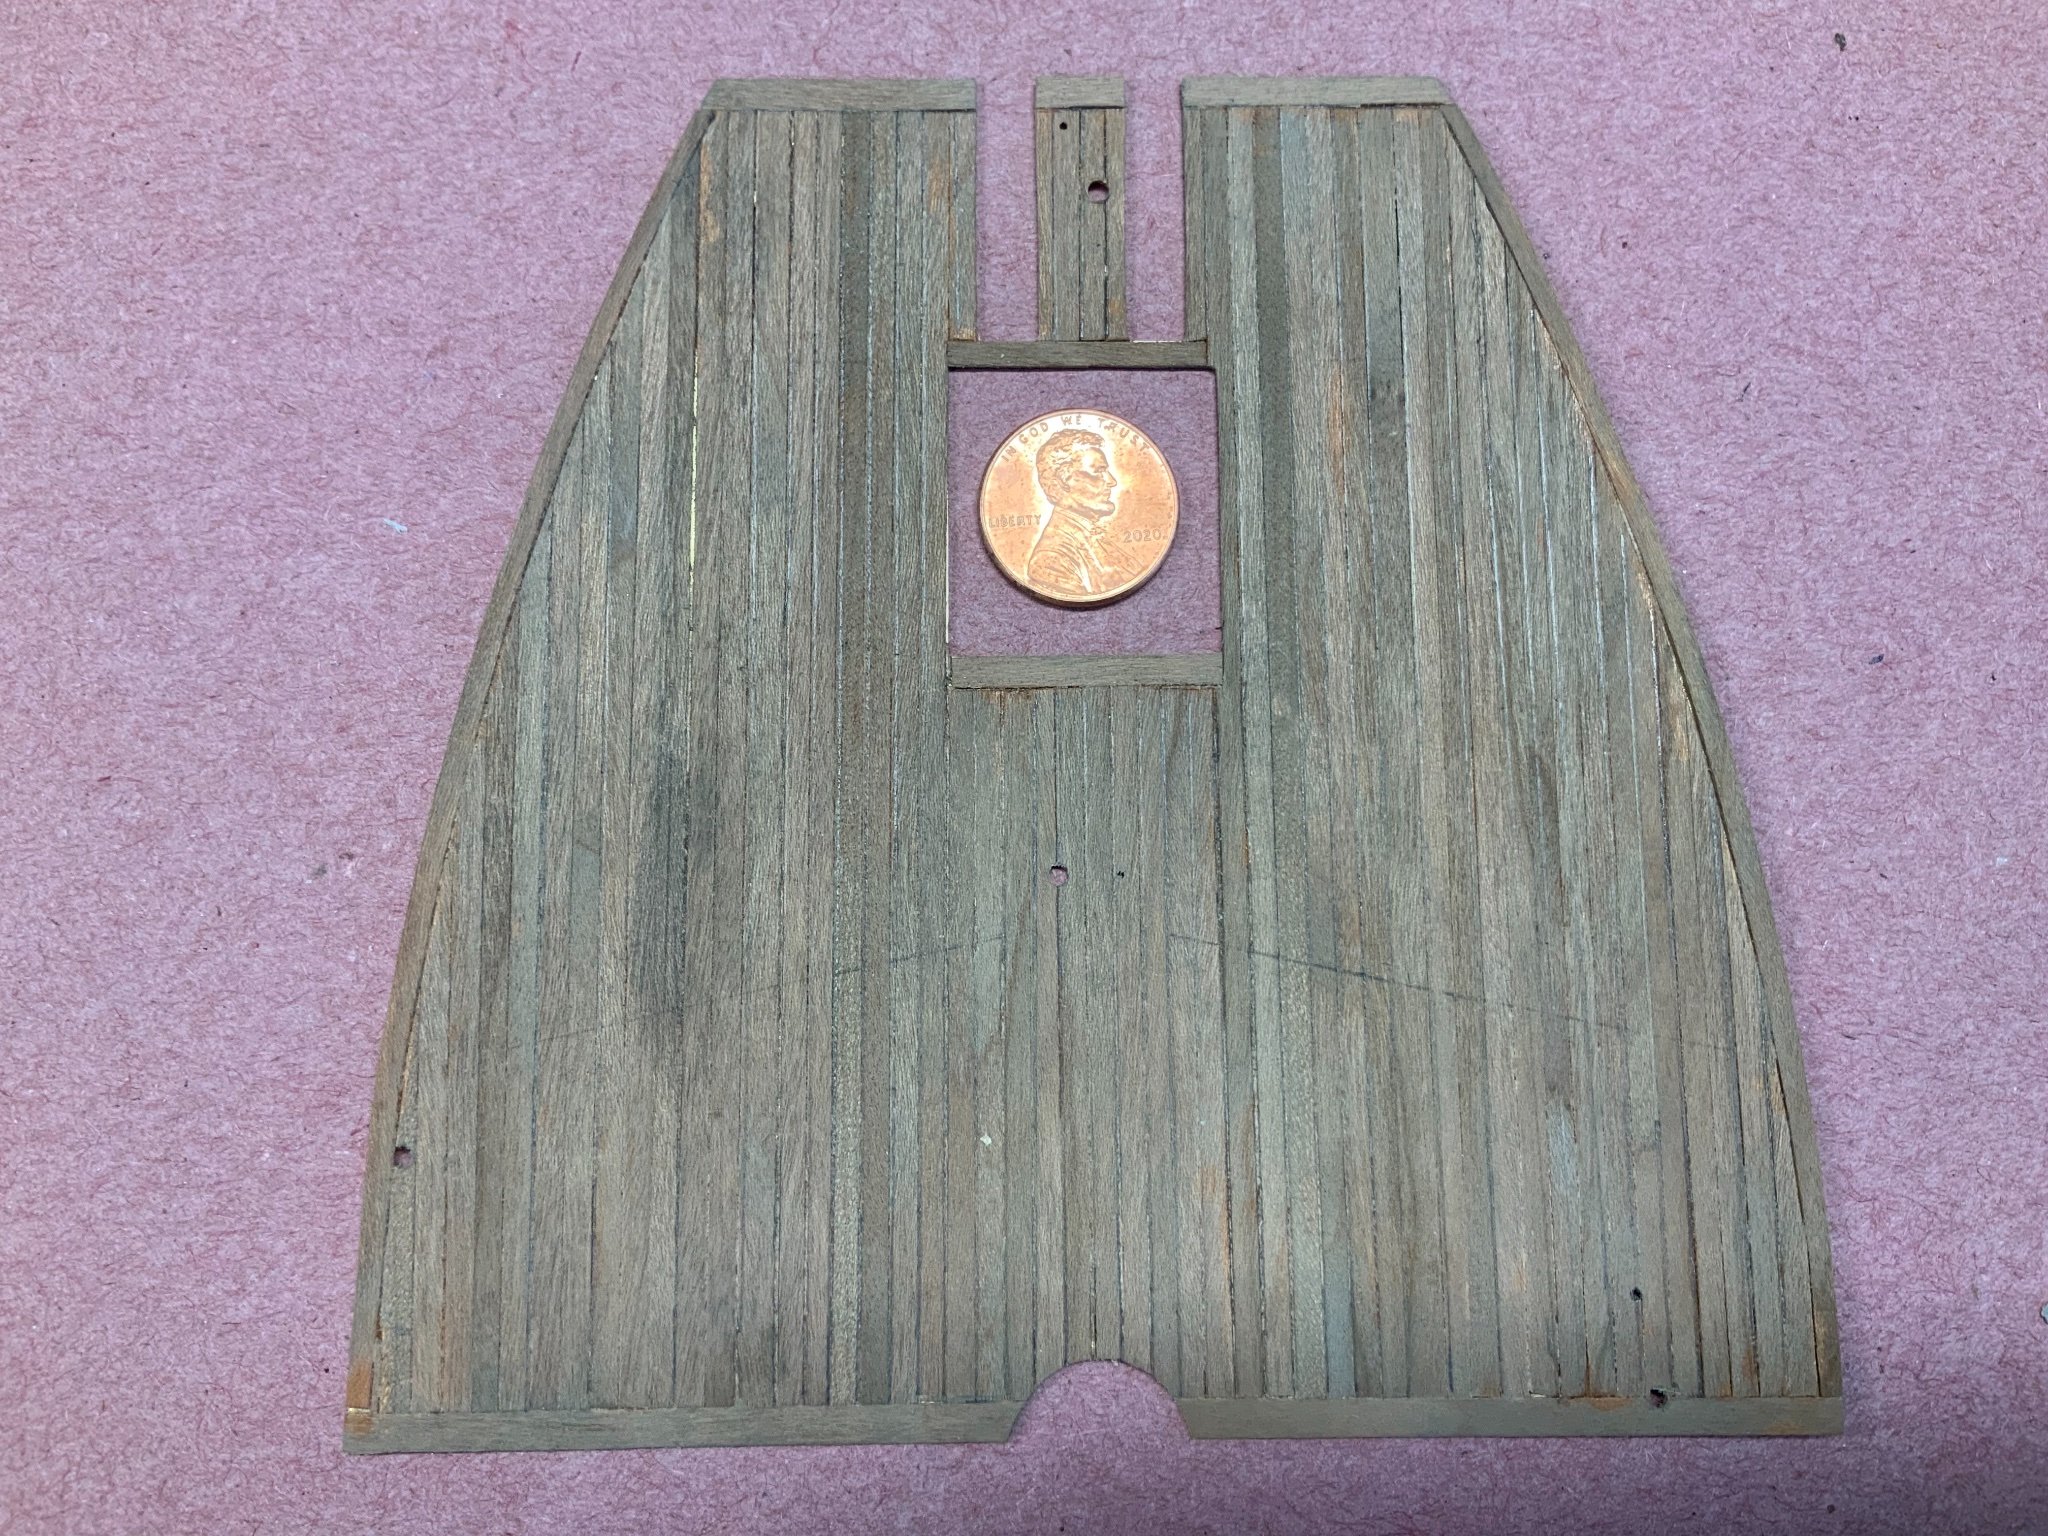
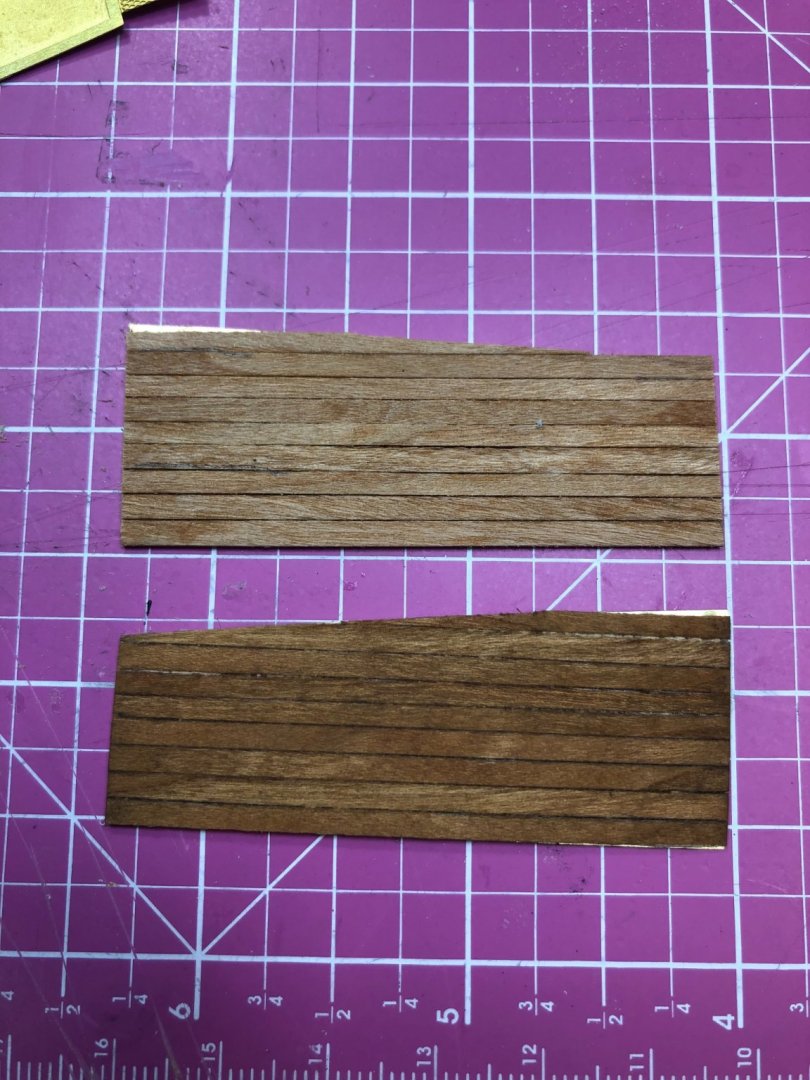
I was experimenting with a real wooden deck today, because I didn’t like the photo etched one. The top one is raw, the bottom one weathered. Btw, the saw is a Japanese saw with a 0.1 mm kerf and 0.3 mm pitch. Comes in handy for fine cuts.
-
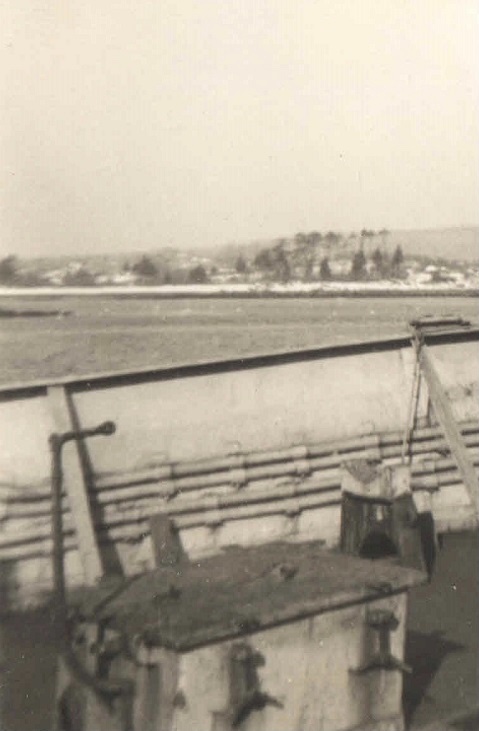
Does anybody know if the Snowberry was carrying degaussing cables 1942? Or, was the hull already “wiped” (external degassing, good for several month). I see a lot of photos from other corvettes who were carrying it.