


hopeful
-
Posts
278 -
Joined
-
Last visited
Content Type
Profiles
Forums
Gallery
Events
Posts posted by hopeful
-
-
Hey Scott,
The most challenging aspect of solid hull modeling in my case was establishing the centerline of the hull 360 degrees all around the hull as mentioned earlier.
The key, as a first step, is to get the false keel perfectly flat, not as easy as it sounds. You noticed, when adding the strip to the false keel that it did not lay flat but at an angle in some places. I suggest you carefully work to get the false keel perfectly flat by sanding and checking for flatness until you are satisfied its perfect. I use a small triangle level (3" X 3") which works well for me. Unfortunately level ain't nothing but level! Stick with it. If you get frustrated walk away and try again later.
Once the false keel is level you can pencil in the centerline. I placed a small pencil dot at the stern and another at the lowest part of the bow end and joined the dots with a fine light pencil line. By eye balling the line you can tell immediately if its right If not, give it another go. Then mark the centler line on the stern of the vessel from the end of the false keel to the top of the transom. Then give the centerline at the bow a shot. Once you are satisfied the centerline looks right from the top of the bow to the top of the stern, mark the centerline on the deck by connenting th pencel line at the top of the stern to the one at the top of the bow. At this point you will have the 360 degree centerline aroung the hull. It does not matter that the hull has not been frared to the shape of the templates in order to establish the 360 degree centerline.
....Regarding the centerline indicated by your #2 above, you should continue that line to the top of the transom as noted in para 3 of this post.
....Yes you are correct, the material at your #3 will be removed as you fair the hull in the stern area. I had a lot of fairing to do in that area.
Shaping the hull is like anything new. Once you work at it a bit the task gets easier. By the way, I find it easier for me to fair the hull on both the starboard and port sides as I moved from station to station.
Kep on.....
Cheers,
Hopeful aka DAvid
"Standards set are standards met".
-
Hi,
Pete, thanks for your encouragement. I continue to be as slow as ever, hahaha!
Grant, Thanks for looking in on my build. Your build is light years ahead of what I am doing.
Scott, there are a lot of differenf ways to approach varius cahllenges when building a vessel. Take a look at all the Phantom builds on the forum and you will have a wealth of ideas to consider as you build your Phantom. Let me know if I can assist you in any way.
BFN,
Hopeful aka David
"Standards set are standards met".
-
Hi Scott.
I was referring to the centerline that extends 360 degree around the vessel, e.g. keel, bow, deck, and stern. Keeping that line constant will help you end up with a hull in the correct proportion. Suggest you measure the distance from the centerline of the deck to the bulwarks on both the starboard and port sides of the vessel to make sure they are dimensionally the same. This will help you avoid probems later.
Cheers,
Hopeful aka David
"Standards set are standards met".
-
HI Mates,
Time to post an update to my log.
Bob M (hexnut): Thanks for looking in and for the information regarding “bare metal foil”. Going to put the web address in my diary.
Russ: Nice to hear from you. You are correct when stating the kit comes with adhesive backed foil. I am definitely going to save it for future use.
Scott (gulfmedic1): Sorry for not getting back to you sooner re the dimension you requested. Please refer to the drawing titled “Arrangement & Lines”. The dimension from the step to the out board edge of the stem is 123.0mm. As the stem is 3.0mm, the hull measurement from the step to the bow is 120.0mm.
Post 8 of my Phantom build log:
Objectives:
Construct the water ways from bass wood, and size the deck material provided in the kit to ensure the two decks fit correctly. There are two decks separated by a step. The step is located just aft of amidships.
Also roughed out the cap rail at this time.
These components will be added to the vessel after the outside of the bulwarks have been correctly sized and the hull painted.
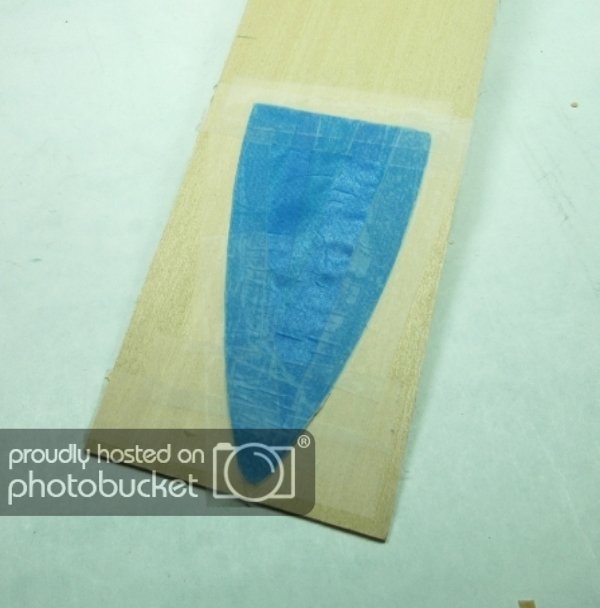
Photo 28
First step was to make patterns of the waterways and decks. I made the templates of low tack tape.
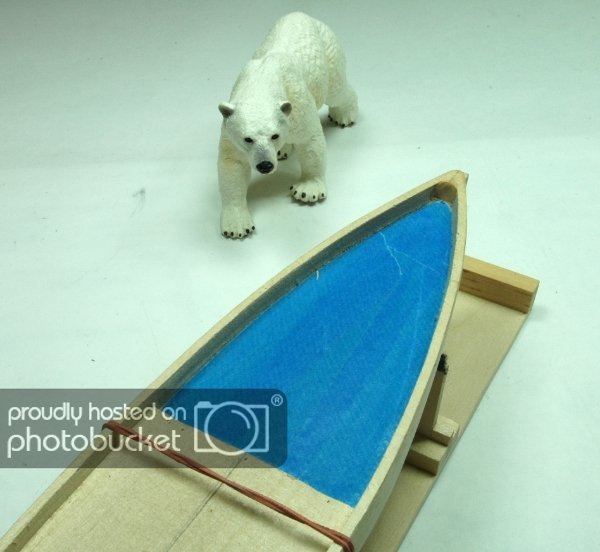
Photo 29
After removing the tape I fixed the patterns to 1/16” bass wood with scotch tape. Next I scribed the outside edge of the templates with a #11 blade transferring the shape of the templates to the wood and removed the tape. The outside edge of the template is now the correct size of the outboard edges of the water ways and fore and aft decks.
Photos 30-31
Shows the finished forward water way and deck. The water way is 1/32” thick. The part is very fragile, but I wanted to make it a one piece component out of wood.
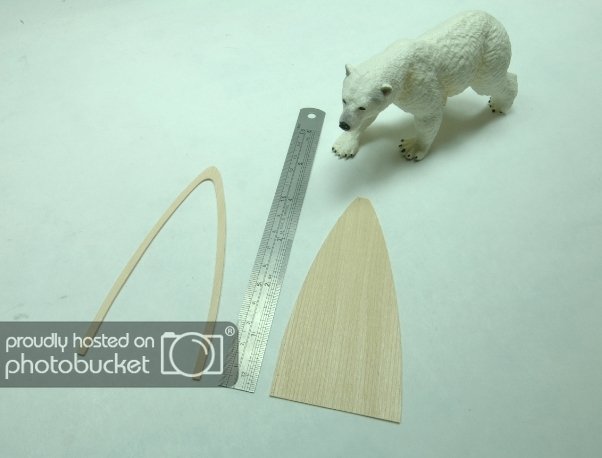
Photo 32
Shows the completed aft deck and waterway.
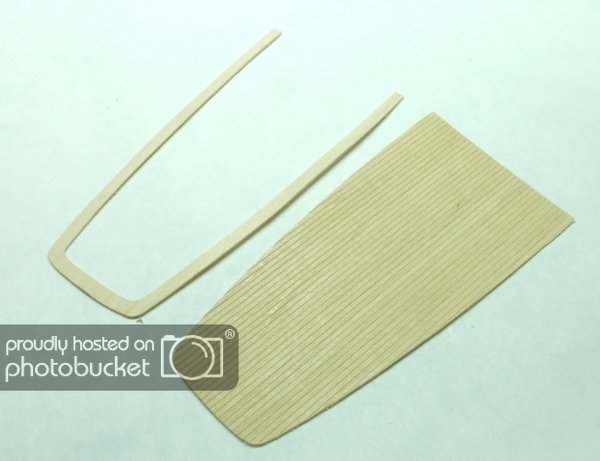
Photo 33
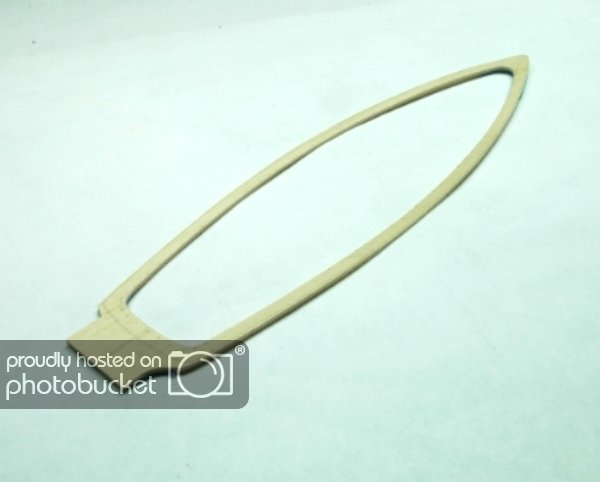
The cap rail, made of 1/16” bass wood, was made in one piece following Chuck’s method explained in his practicum. The part will be made more narrow and thinner (1/32) after it is attached to the top of the bulwarks.
Next steps
- Carve and sand the outside of the bulwarks.
- Affix the rudder
- Paint the hull, rudder, and interior of the bulwarks
Thanks for checking out the build. Questions, advice, and constructive remarks are appreciated.
Cheers,
Hopeful aka David
“Standards set are standards met”.
-
-
Hi Scott,
Am following your build and everything looks real good. Take your time and have fun, By the time you are finished with the hull you will have a great appreciation of how to read drawings and translate them to the vessel. Don't lose sight of the 360 degree centerline as you continue shaping the hull.
Look forward to your next post.!
Hopeful aka David
"Standards set are standards met".
-
Sooooo nice! Am very much enjoying your build.
Cheers,
Hioeful aka David
-
Hi Craig,
A wonderful accomplishment thus far. Your Emma has a most wonderful sheer line. Wish you well as you continue along.
cheers,
Hopeful aka David
"Standards set are standards met!"
-
-
JP
Terrific job on your hull planking. Will return when I hull plank my next build. Thanks for taking the tine to construct a super log for the rest of us. Wish you well as you move along.
Cheers,
Hopeful aka David
"there is wisdom in many voices"
-
Happy Birthday Anja. Wish you many,many more!
Cheers,
Hopeful aka David
"There is wisdom in many voices"
-
Hi Jerry,
Just caught your build log and read it through this morning. Wow, lots of lumber needed to build the Victory. It is amazing how quickly you are moving along. Look forward to your next post. BTW, beautiful job on your Cutty!!
Keep on......
Cheers,
Hopeful aka David
-
Hey JP,
Thanks for looking in. Tossing the copper because I have too many other things going on at this time. I will paint the hull below the waterline with a good copper colored acrylic paint.......a feux copper bottom. Actually, the plans give the build the alternative to use copper or paint.
BFN,
Hopeful aka David
-
Yes you are correct. Bulwarks, not wales. Thanks Russ! Corrections made.
Hopeful aka David
-
HI,
Russ, thanks looking in on the build, much appreciated.
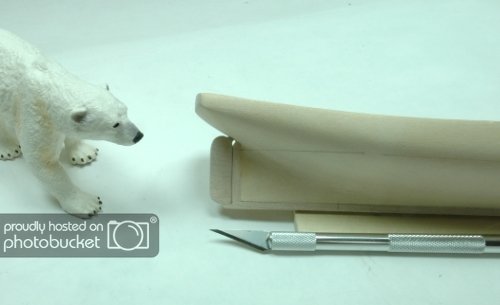
Post 7 of my Phantom Build Log.
As I will not be using copper plates to copper the hull of my Phantom my next step is to taper the bulwarks from about 1/4" to 1/32" in three steps. The first step for me is to carve and finish sand the bulwarks from the inboard side to a uniform 3/32" all around.
My tools of choice is a set of 4 block cutter gouges from 1/8" to 3/8" wide. The gouges are stainleess steel, 5 inches long, and very, very sharp. These cutters should never be used as levers! Block cutters are avaiable at good art stores or through the web. I paid under $50 for the set and they will last several life times if properly cared for. The handles are Swiss Pear.
Photo 25
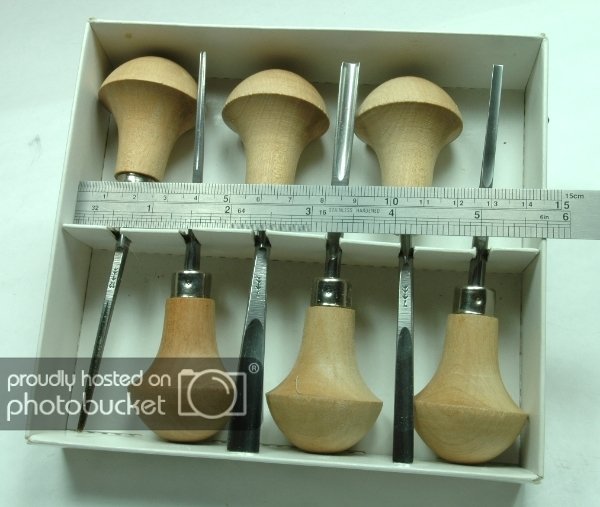
Photo 26
Carving the step to make sure it is perfectly square and 3.0mm deep. I pinned a piece of scrap to the deck to use as a guide.
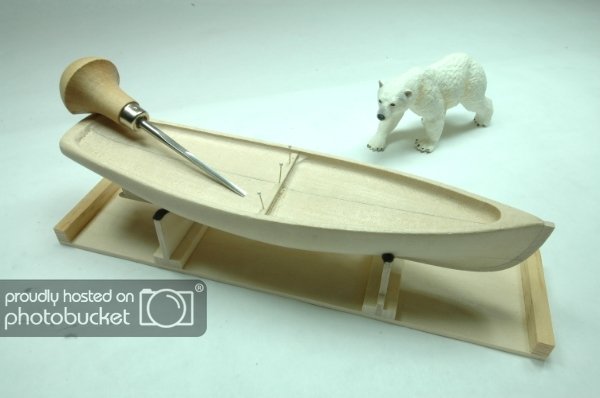
Photo 27
Final result of step one of my process. At this point the bulwarks are uniformly 3/32 thick and the correct depth per the drawings. I also smoothed the deck at this time making sure not to remove its camber.
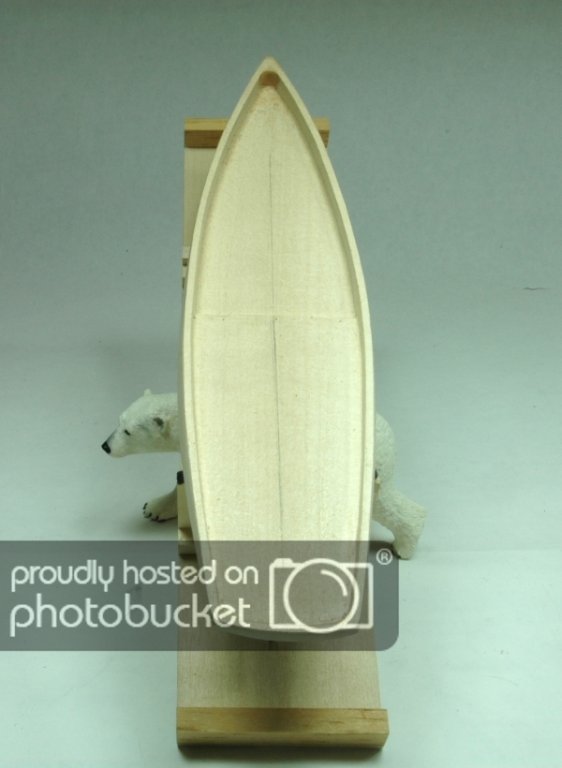
At this point I will go ahead and make the waterways and fit the deck. They will be set aside until later in the build. Now is the safe time to construct and dry fit those pieces since the bulwarks are 3/32" thick and quite strong. making and fitting the parts when the wales are 1/32 is a prescription for disaster.....
Thanks for looking in on the build. Comments, questions, and constuctive input always welcome.
Cheers,
Hopeful aka David
-
HI,
A bunch of Phantom builds are going on at this time and some in the completed kit gallery section. Plenty of photos and logs to visit for sure. Though small, you will have fun building her. Be patient and take your time.
Wish you well as you build along.
Cheers,
Hopeful aka David
-
Hi Buck,
My vote is the Dallas Revenue Cutter!!! Beauuuuuutiful! .....28"'s of fun!
Seriously, build the vessel of your choice, the vessel that really rings your bell!
Good luck,
Hopeful aka David
-
HI Alistair,
Enjoyed working my way through your build log. Your AVS is a beautiful model. Terrific work!
Cheers,
Hopeful ala David
-
Bob,
Beautifully done!!! Thanks for the tutorial.
BFN,
Hopeful aka David
-
HI Mates,
Just back from a trip. Did a bit of work today after taking care of the lawn work, blah!
Post 6 of my Phantom Build Log
Photo 23
As I am not yet certain how I will display the model I am drilling 1/16" diameter holes 1/2" deep through the keel and into the hull. To make certain the drill does not wonder when entering the wood I always make a starter hole with an awl. The keel is 1/8" wide. The blue tape is a depth gauge. I use my drill press to drill the holes perfectly straight.
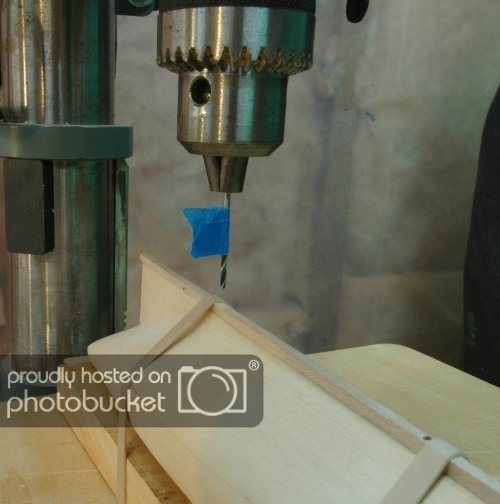
Photo 24
Completed the rudder out of maple. I tend to sand to far on small pieces of wood. The maple slows me down. Nanoo is always has here nose into everything.
Thanks for looking at the build. Comments and constructive advice always welcome.
Cheers,
Hopeful aka David
-
-
Hi Shaun,
Thanks for reposting you build log. I like your finished work, nicely done. Congrats!!!
Cheers,
Hopeful aka David
-
Garwood,
Good advice. I find drill run-out can occur anytine with out a tiny starter hole as with an awl.
My two cents.
BFN
Hopeful aka David
"there is wisdom in many voices".
-
Hey JP,
Thanks for putting in the time to create a terrific "how to" log, especially when it some to planking. Very well done. Will look at your work over and over when i construct my Lady Nelson. Its good to have someone pave the way. Makes it easy on the rest of us. I also look often at the Russ's Biloxi Schooner build for "how to" info. Lots to learn there, too
Keep moving......
BFN,
Hopeful aka David
"there is wisdom in many voices"

Bluenose by sawdust - Billing Boats - scale 1/75 - A kit previously abandoned and then resuscitated
in - Kit build logs for subjects built from 1901 - Present Day
Posted
HI Kip,
Glad to see your Bluenose on the ways again. Look forward to following your build.
Cheers,
Hopefu aka David
"Standards set are standards met".