RGL
-
Posts
5,388 -
Joined
-
Last visited
Content Type
Profiles
Forums
Gallery
Events
Everything posted by RGL
-
 IMO Eduard is fairly expensive for what you get. Cog, close ups please of the Shapeways guns please? Apparently there is a Royal wedding Northside today? Off to multiple rugby games.
- 1,090 replies
-
- 7
-

-
- showcase models
- vendetta
- (and 2 more)
-
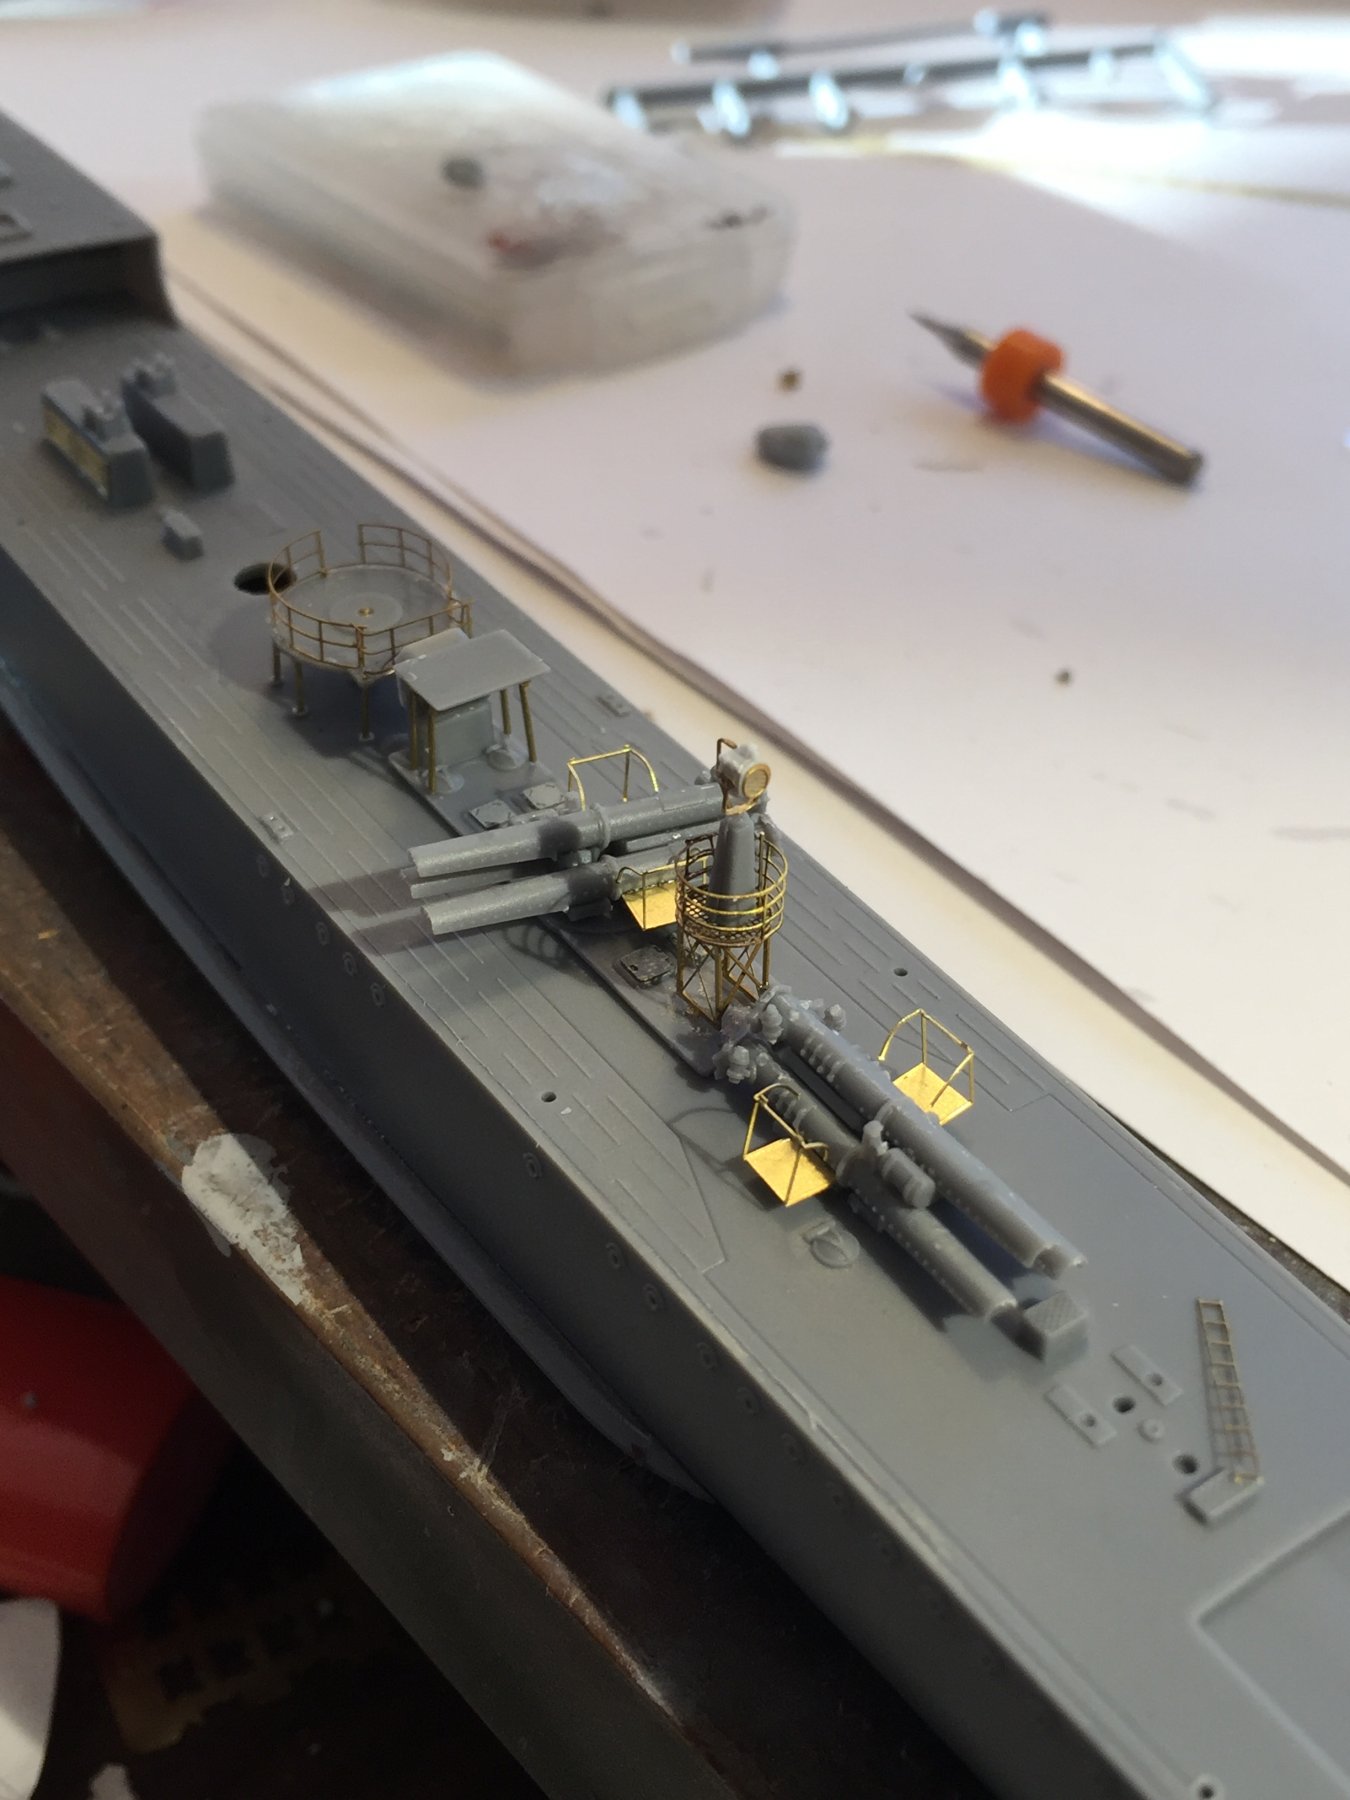
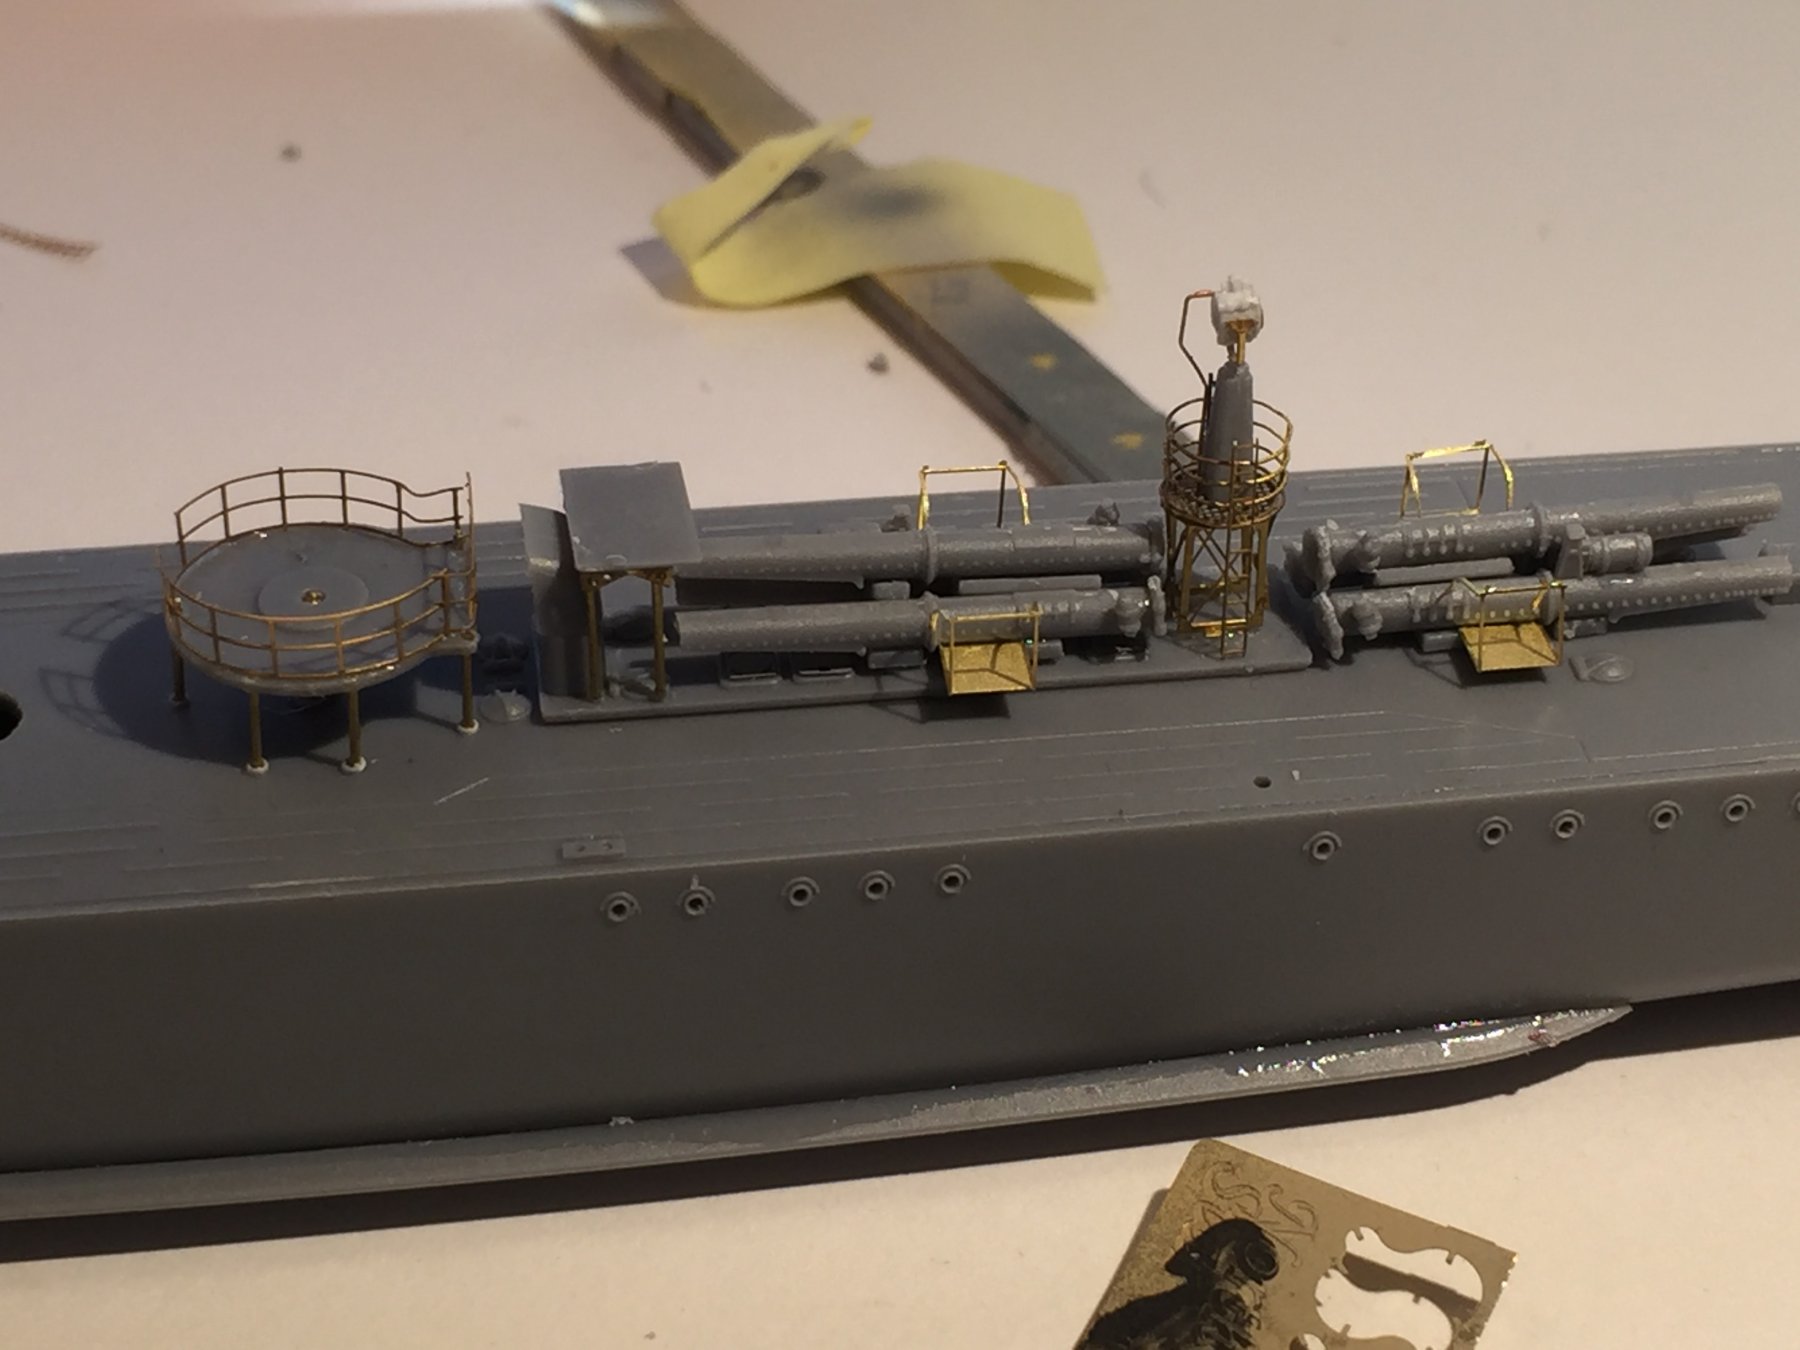
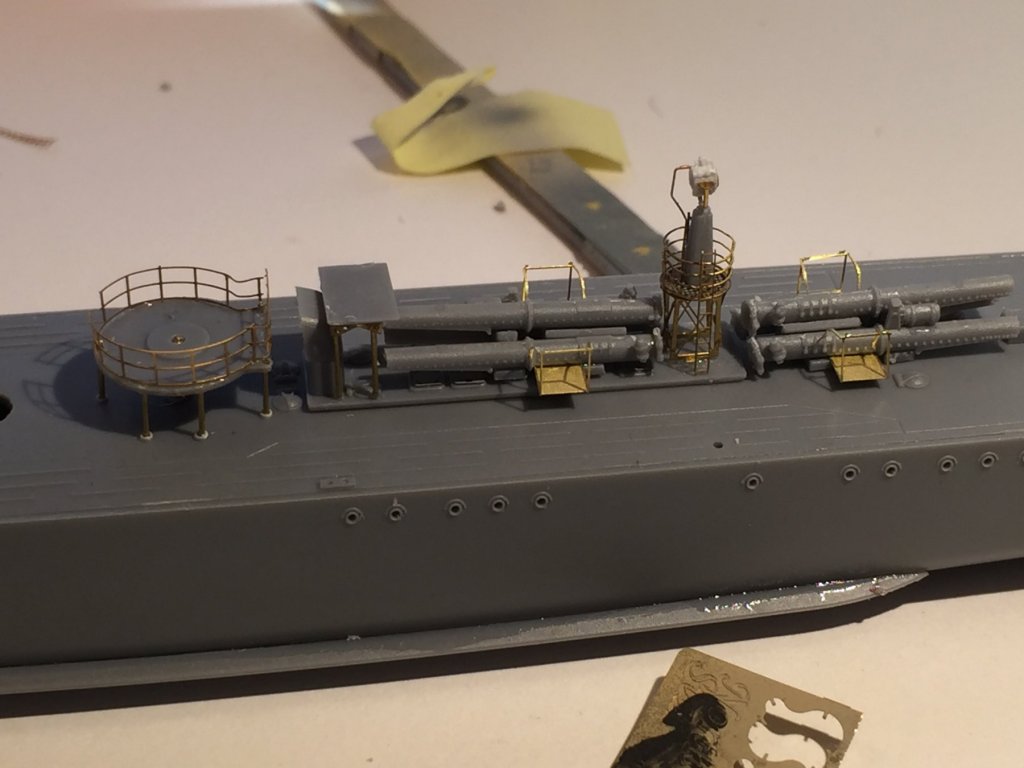
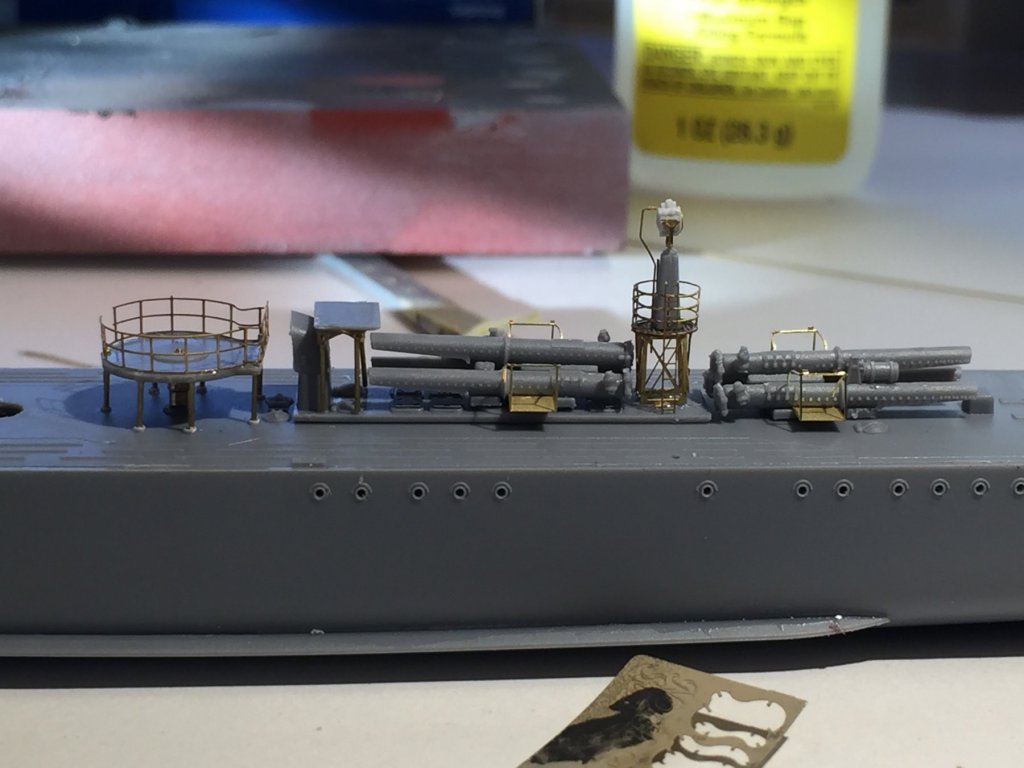
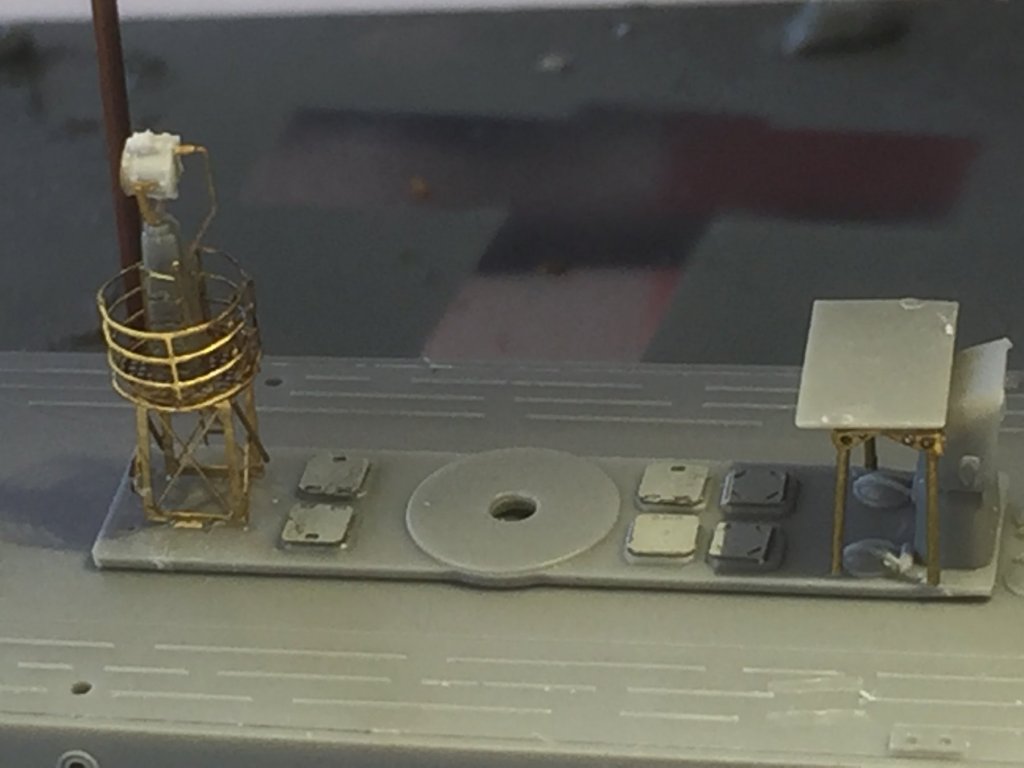
I bashed the grandstand for the 12pdr, mainly because I sent the centre pedestal into space and re fitted it with a brass one and replaced the support rods with brass as essentially you can’t cut 1mm rod from sprue and expect it to remain round. The kit gives you PE canvas dodgers to use as railing but the inside is smooth so I’m just going to go bare bones and add normal railing. the two triple torpedo tubes are done. None of this stuff is glued down as it will make painting so much easier.

- 1,090 replies
-
- 8
-
-
- showcase models
- vendetta
- (and 2 more)
-
Of course I’m right, that’s what I tell my wife all the times as she rolls her eyes.
- 1,090 replies
-
- 8
-
-
- showcase models
- vendetta
- (and 2 more)
-
Yes, BUT, you’ll know all the pitfalls and what way you want to go with it. And what aftermarket to get.
- 1,090 replies
-
- 5
-
-
- showcase models
- vendetta
- (and 2 more)
-
I actually got mine off eBay (but only use PayPal), Starling Models has it as does BNA.
- 1,090 replies
-
- 3
-
-
- showcase models
- vendetta
- (and 2 more)
-
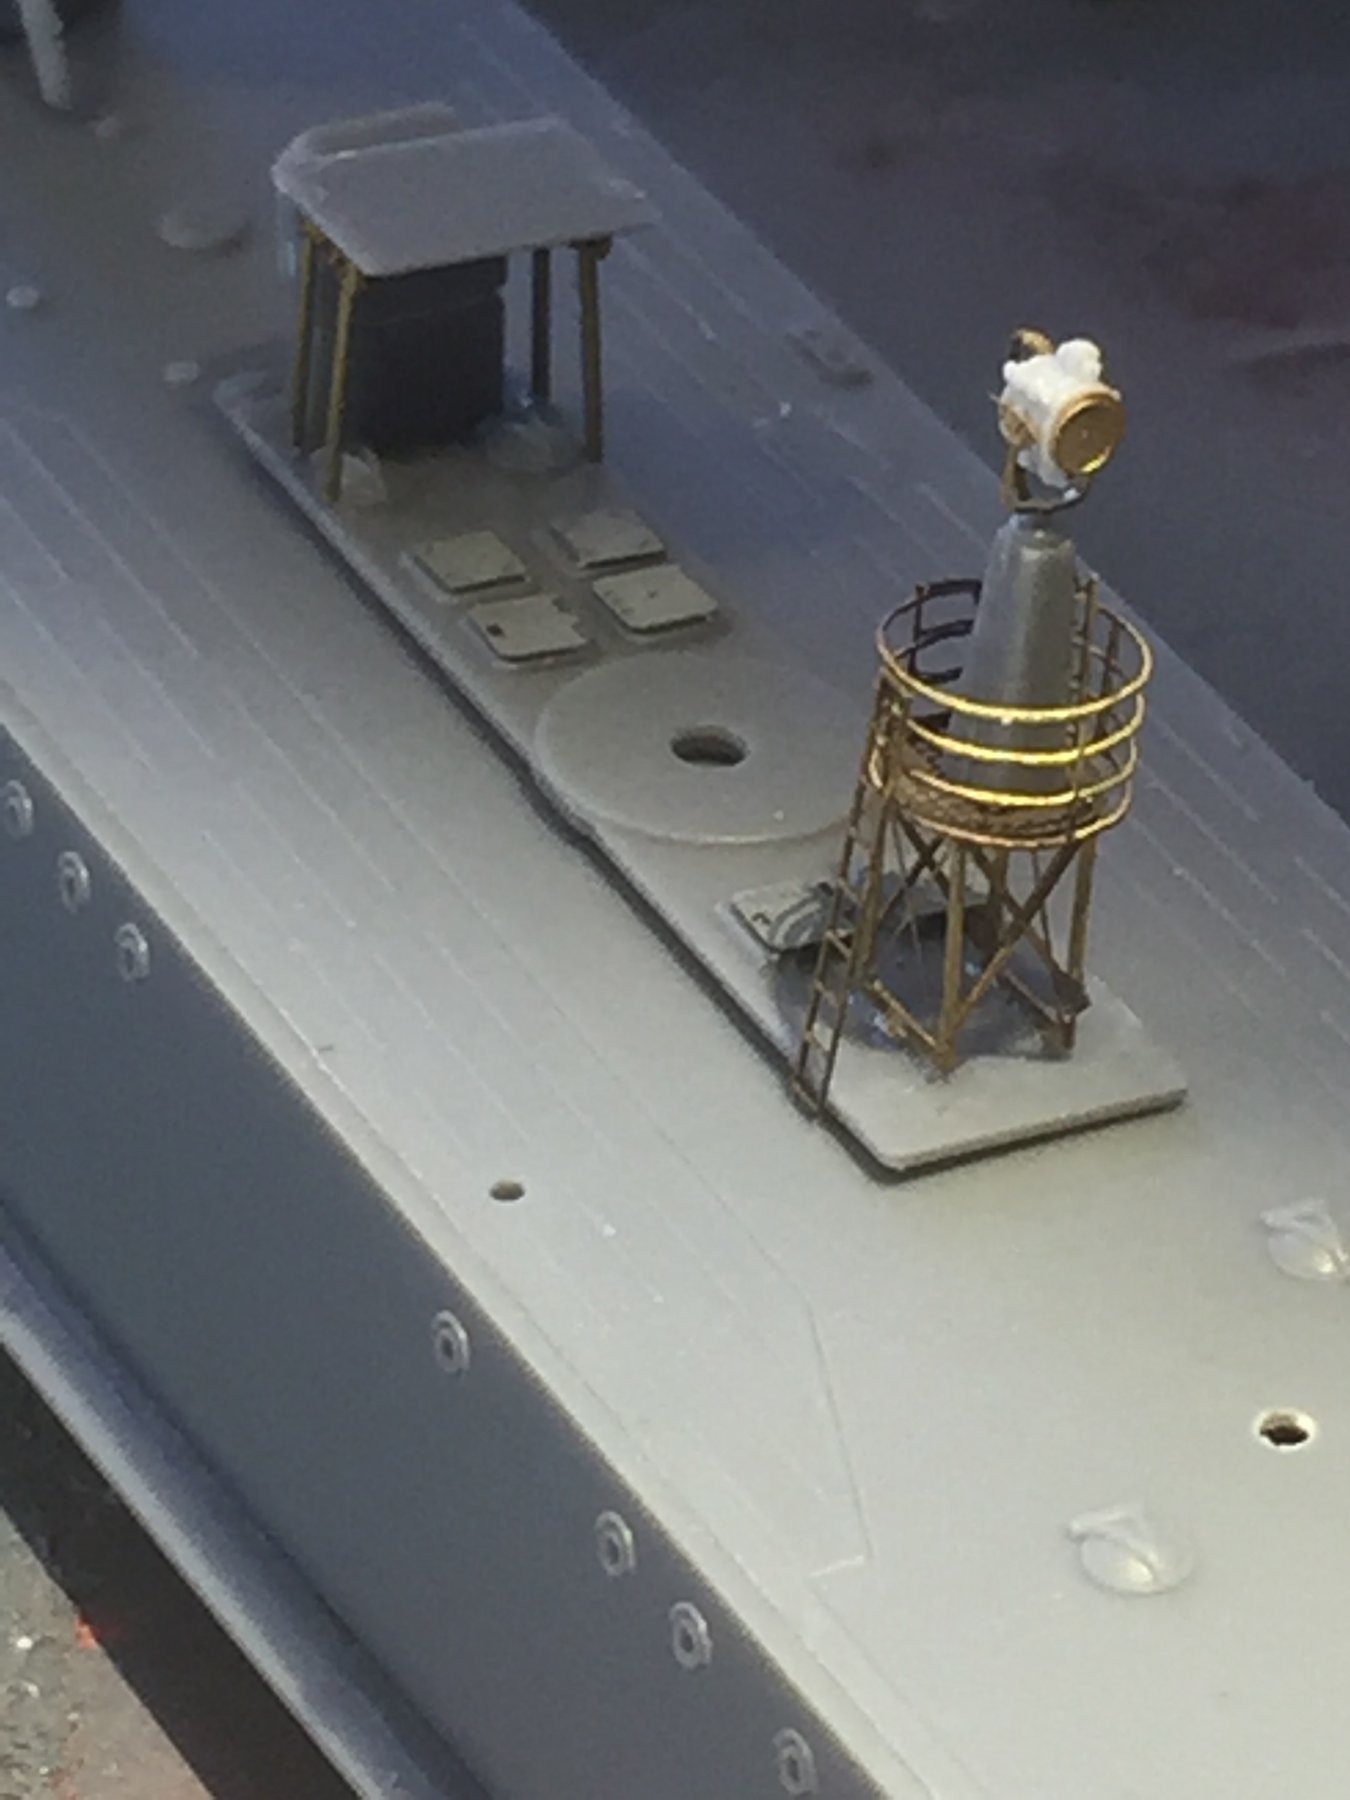
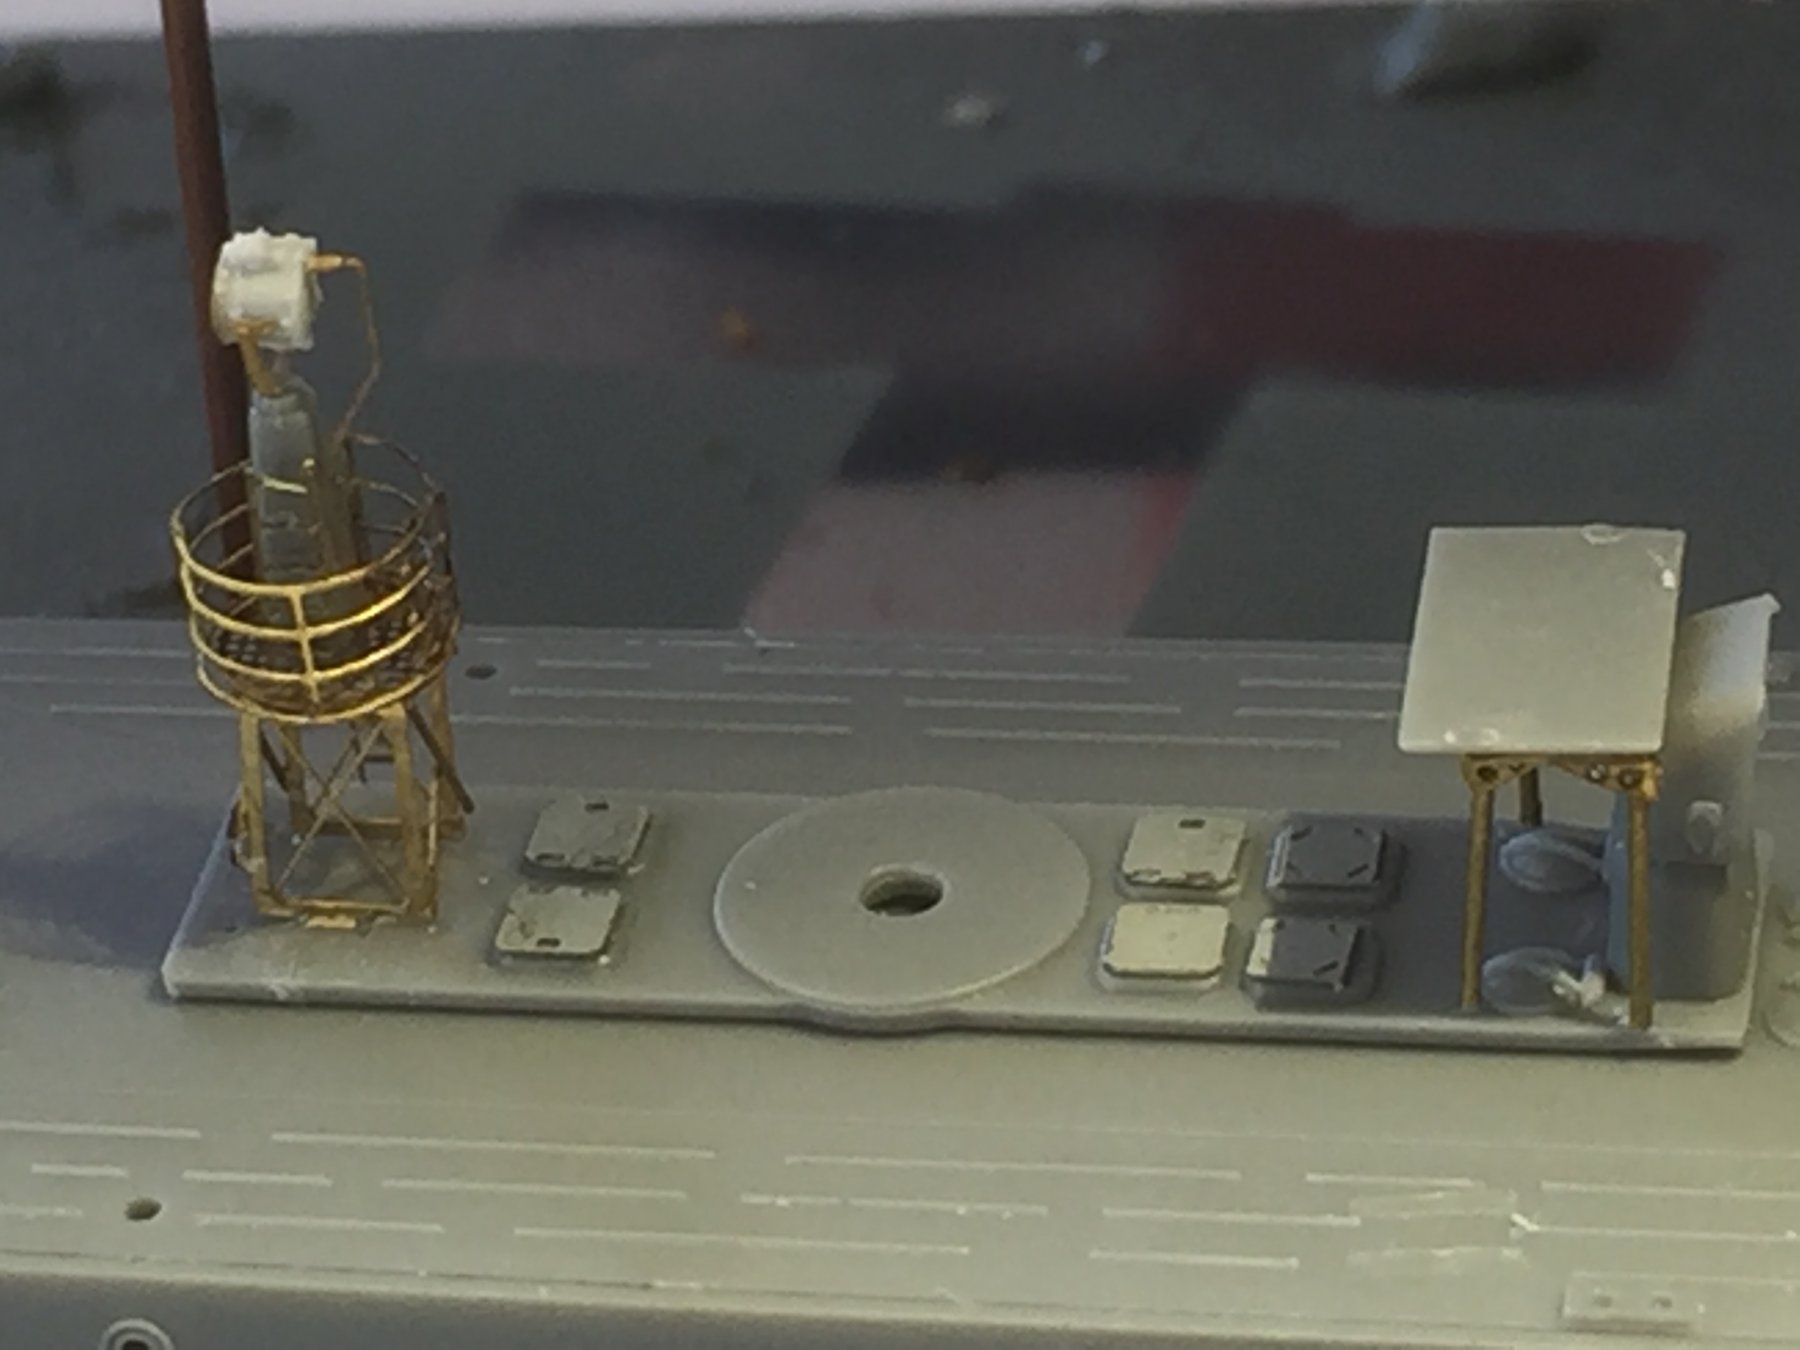
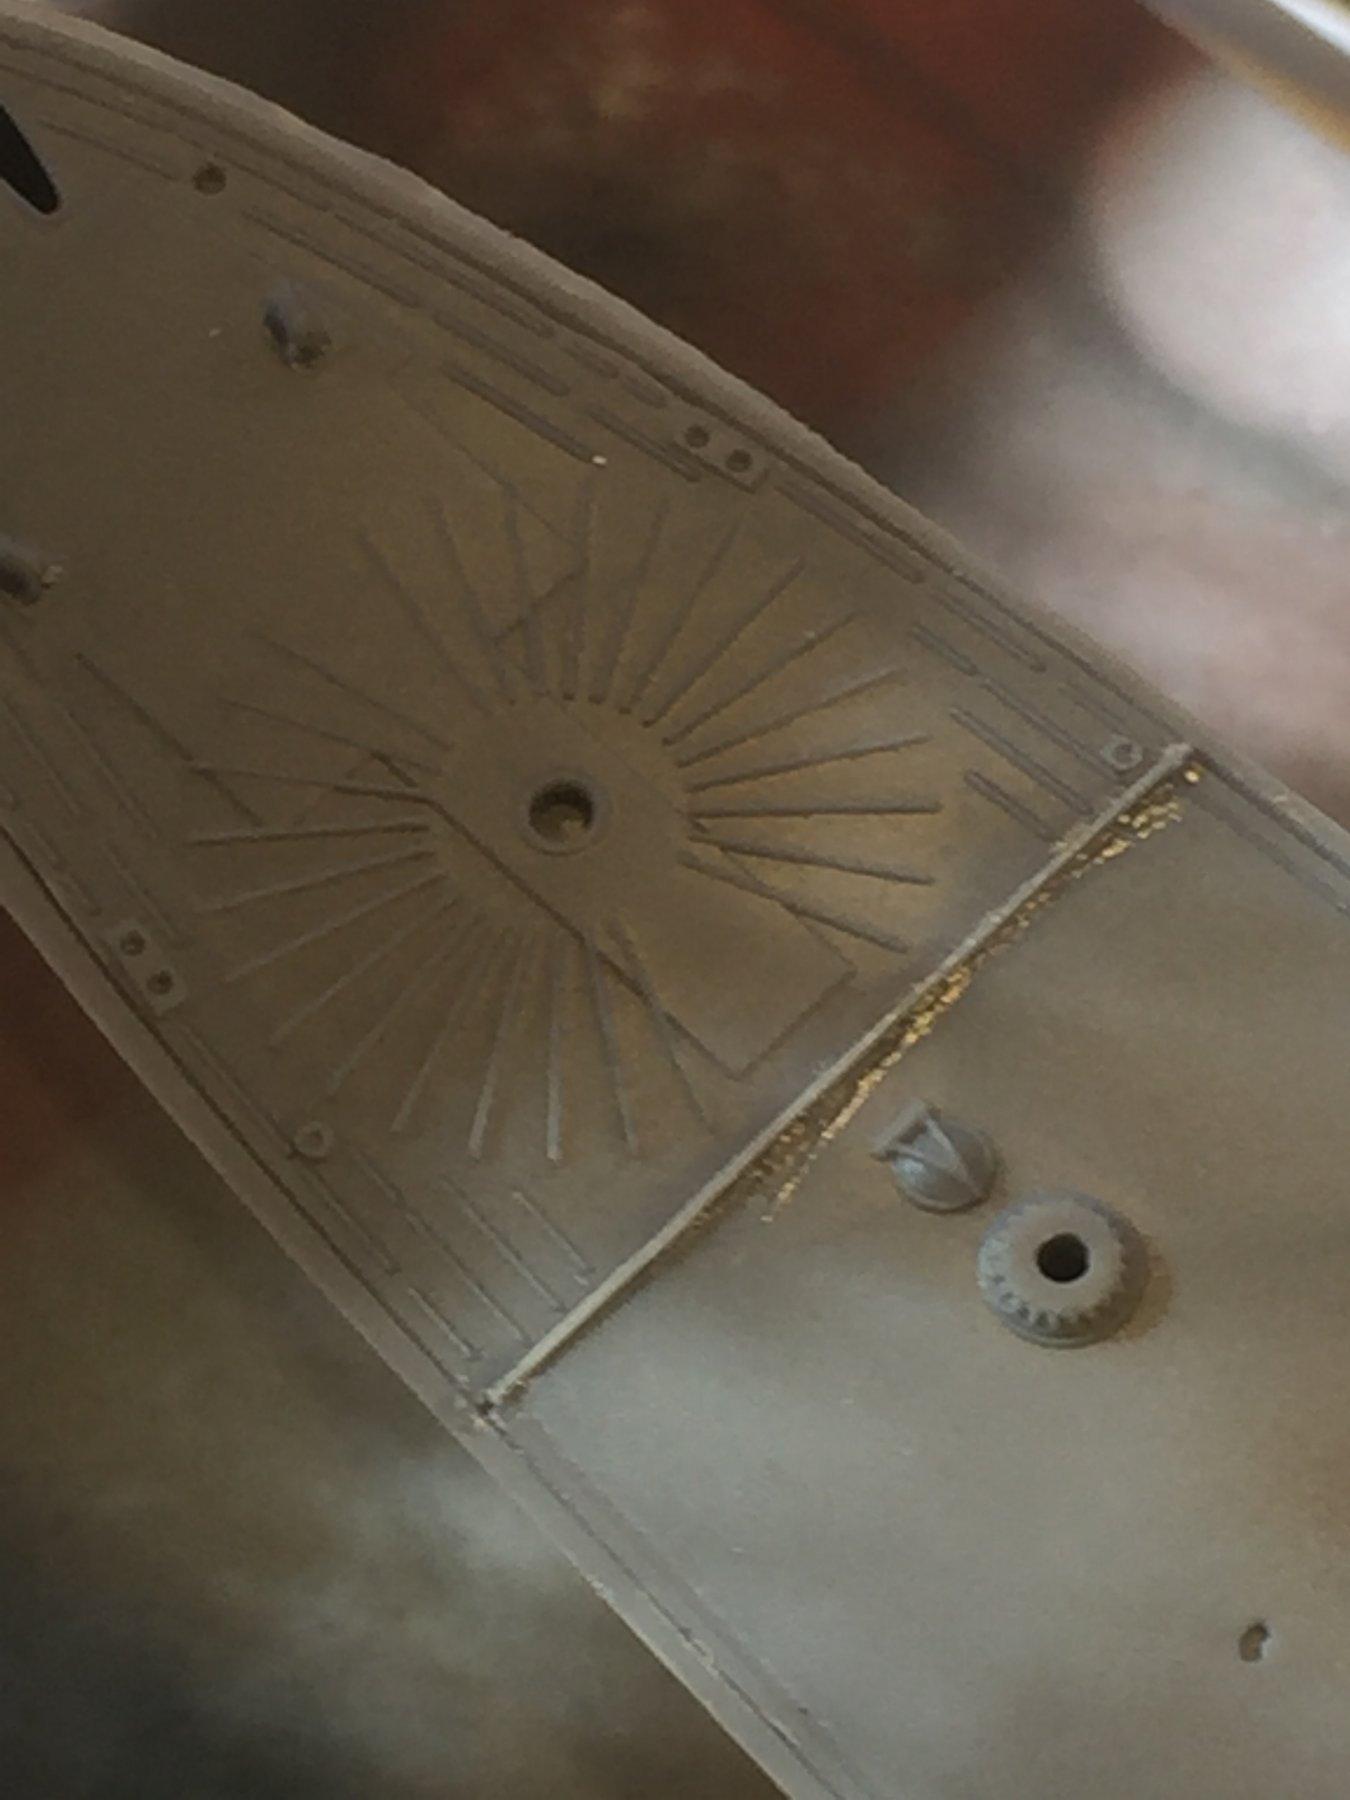
I wasn’t happy with the kit search light or it’s accuracey compared to the original plans so I based it a bit to bring it a little more in line.

- 1,090 replies
-
- 10
-
-
- showcase models
- vendetta
- (and 2 more)
-
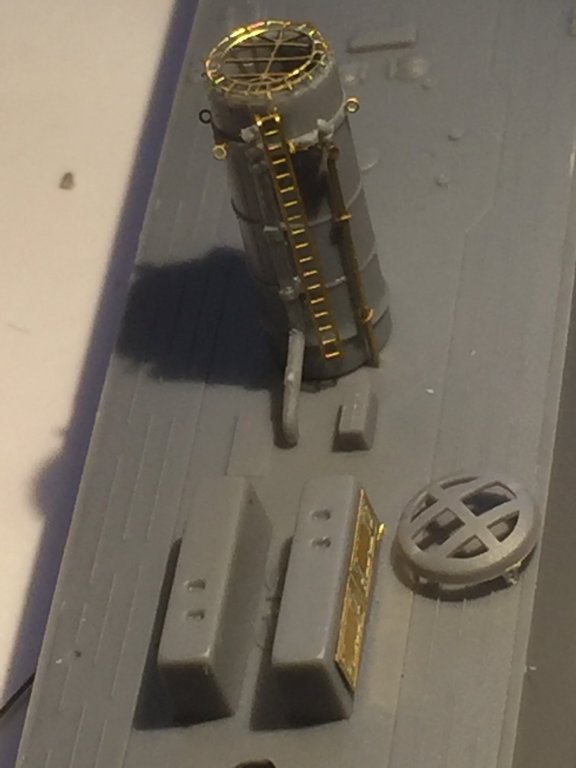
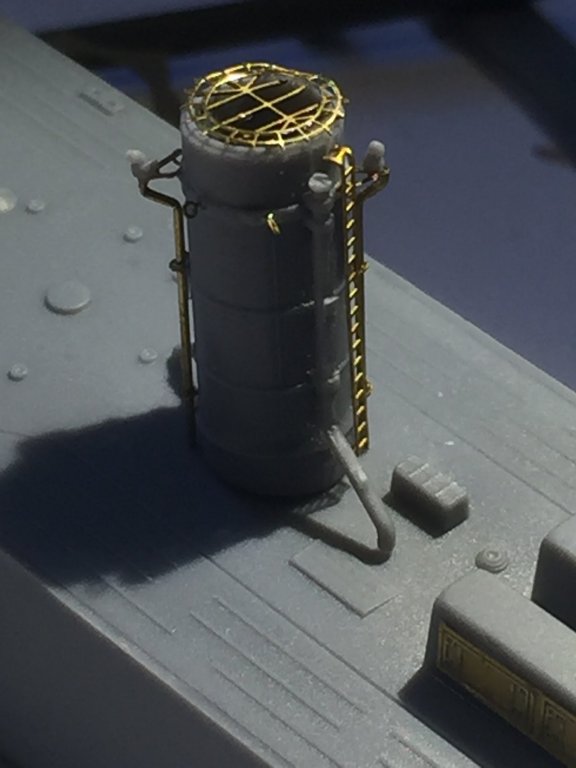
The funnel grill is not on the PE fret, it’s from spares but you could just use railings really.
- 1,090 replies
-
- 5
-
-
- showcase models
- vendetta
- (and 2 more)
-
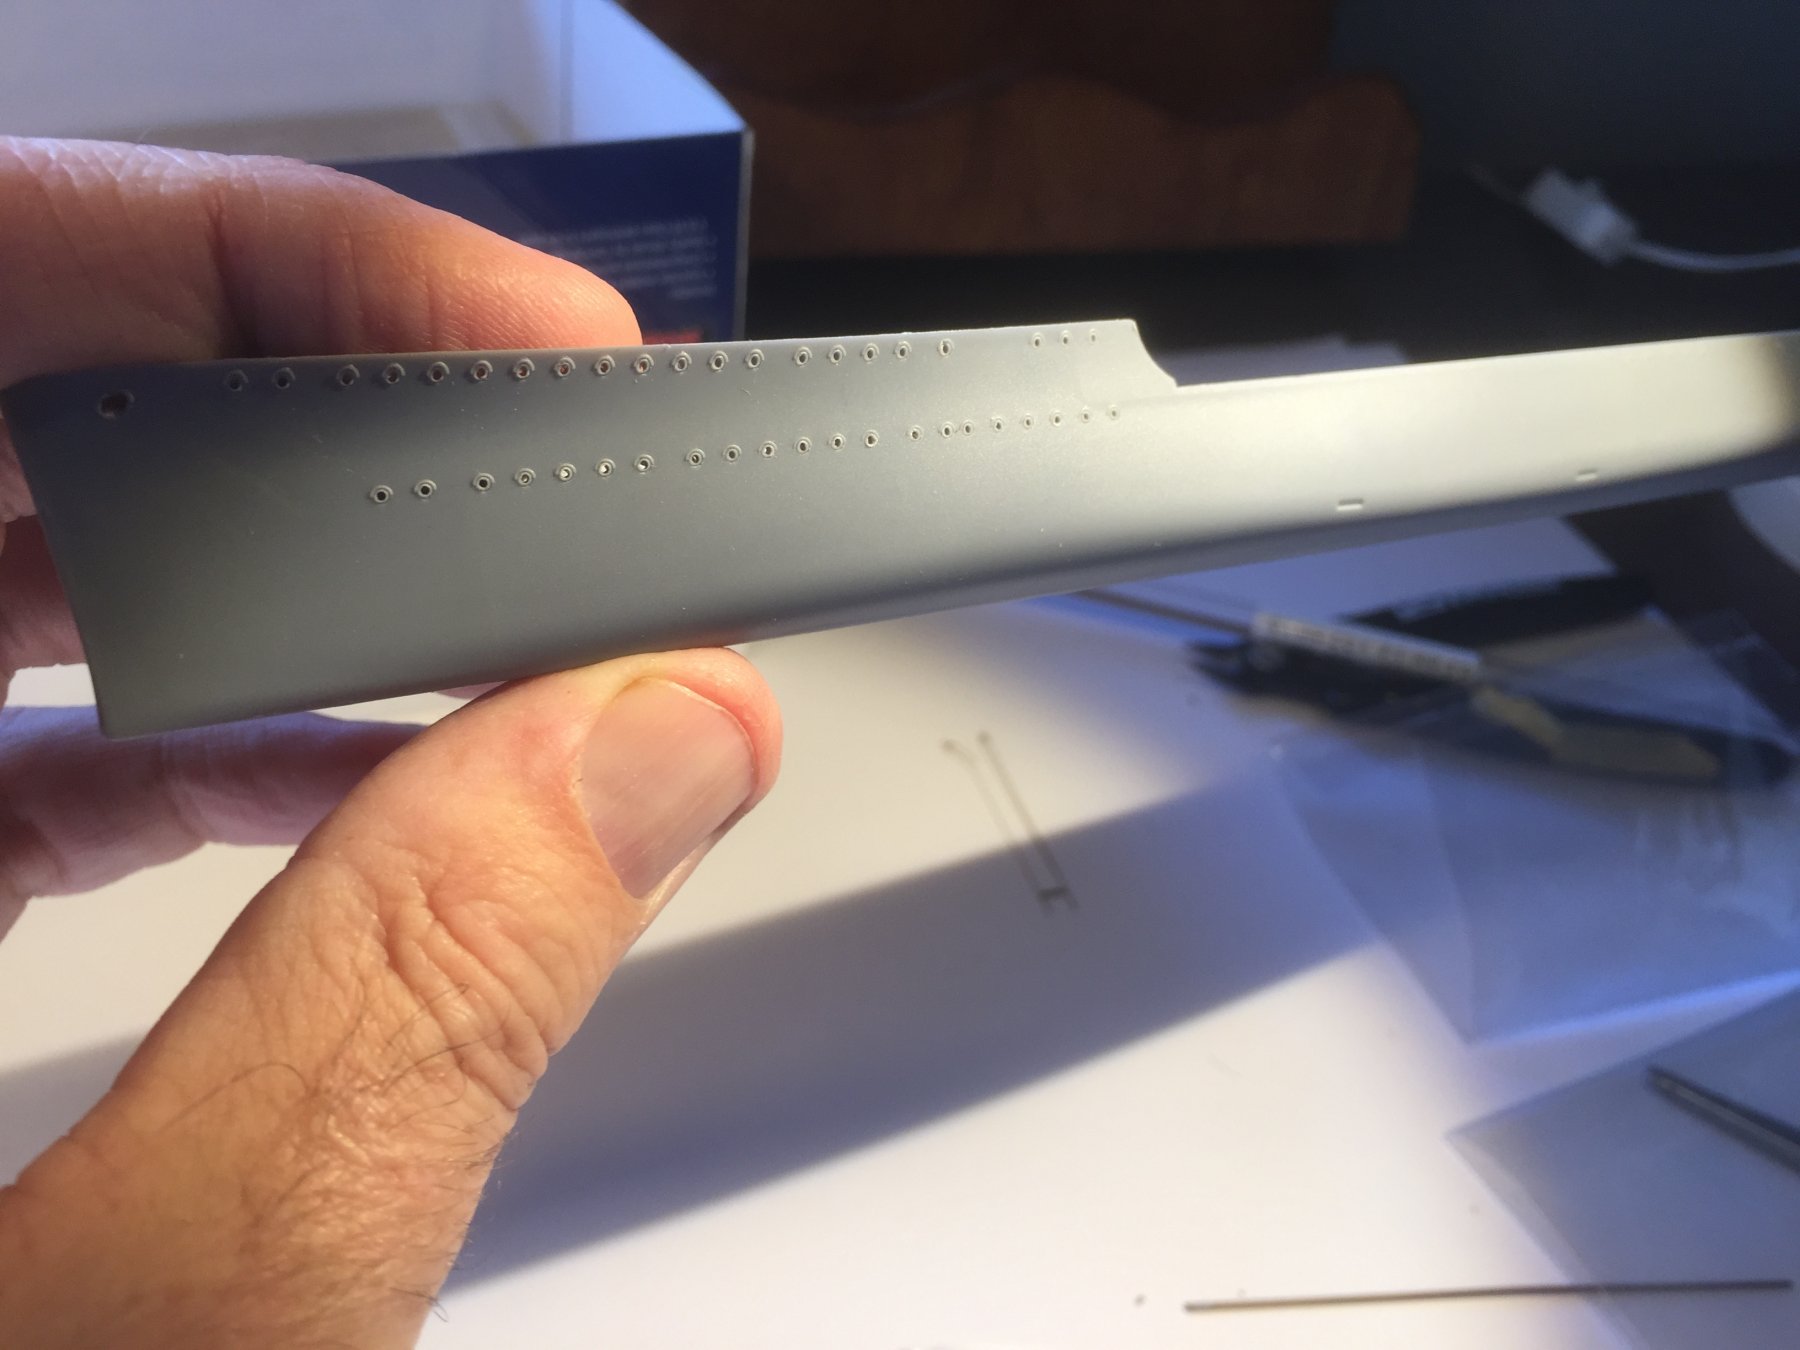
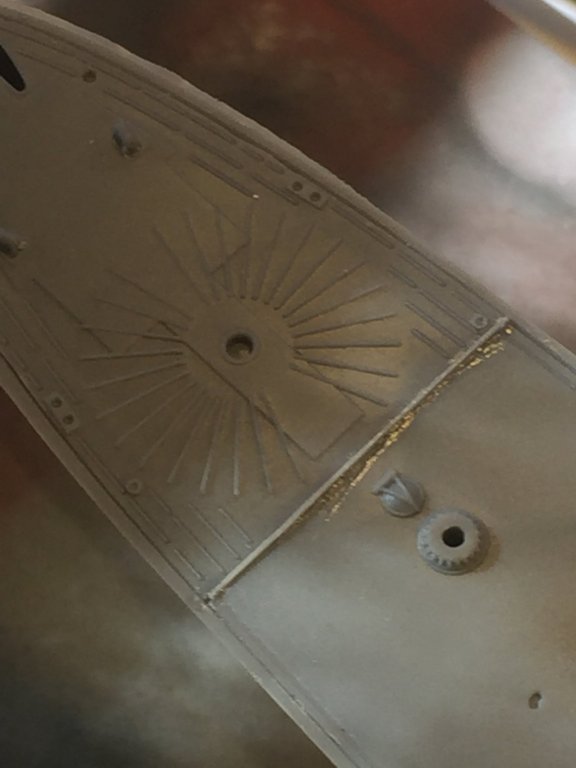
Morning all! 140 port holes The the bump on the stern piece are either the prop guard or stands for the depth th charges. Ive been pottering around yesterday afternoon doing up the aft funnel as per the original plans, and being comfortably smug I pulled out the WEM fret to get the funnel grill off and.... they don’t fit. I flat out out refuse to use the kit plastic one (on the deck beside the funnel) so I fabricated one from spares, as they’ll be black it won’t be that noticeable

- 1,090 replies
-
- 13
-
-
- showcase models
- vendetta
- (and 2 more)
-
Distraction is the key. Quickly buy a bottle of champers.
- 1,090 replies
-
- 7
-
-
- showcase models
- vendetta
- (and 2 more)
-
Being a shift worker I’m used to being on all ends of the clock, but it’s nice to bash again after the last build. I think we need to exert some peer group pressure to obtain another part of the globe.
- 1,090 replies
-
- 5
-
-
- showcase models
- vendetta
- (and 2 more)
-
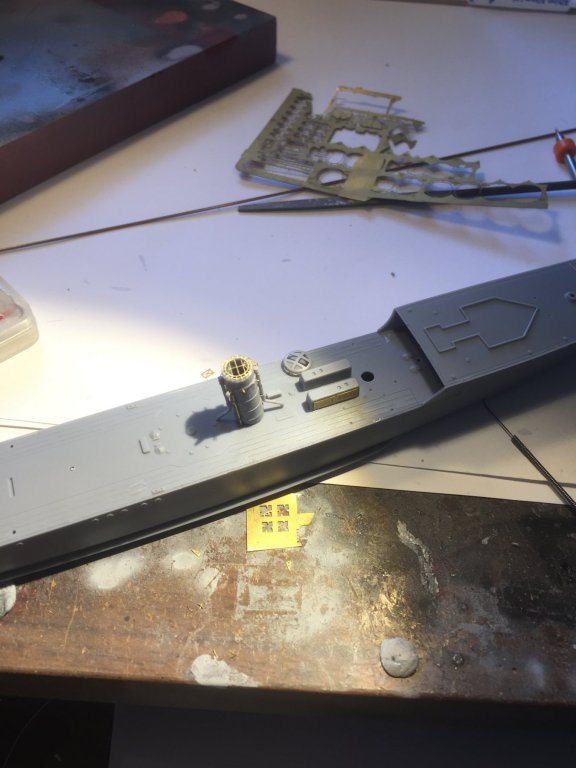
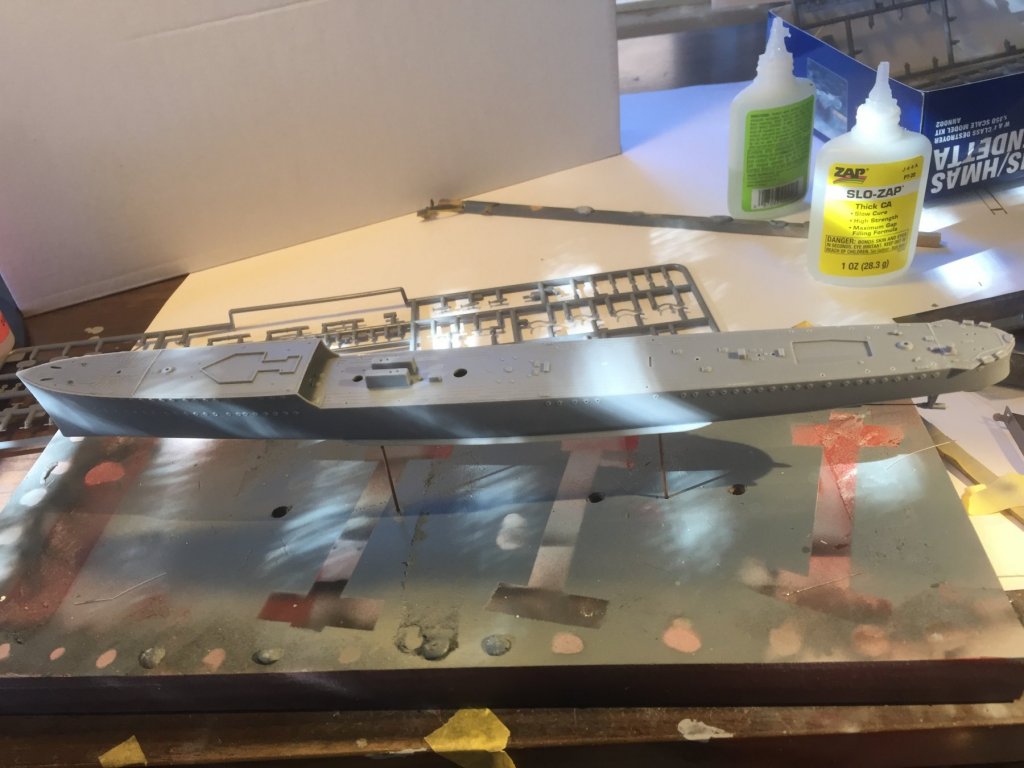
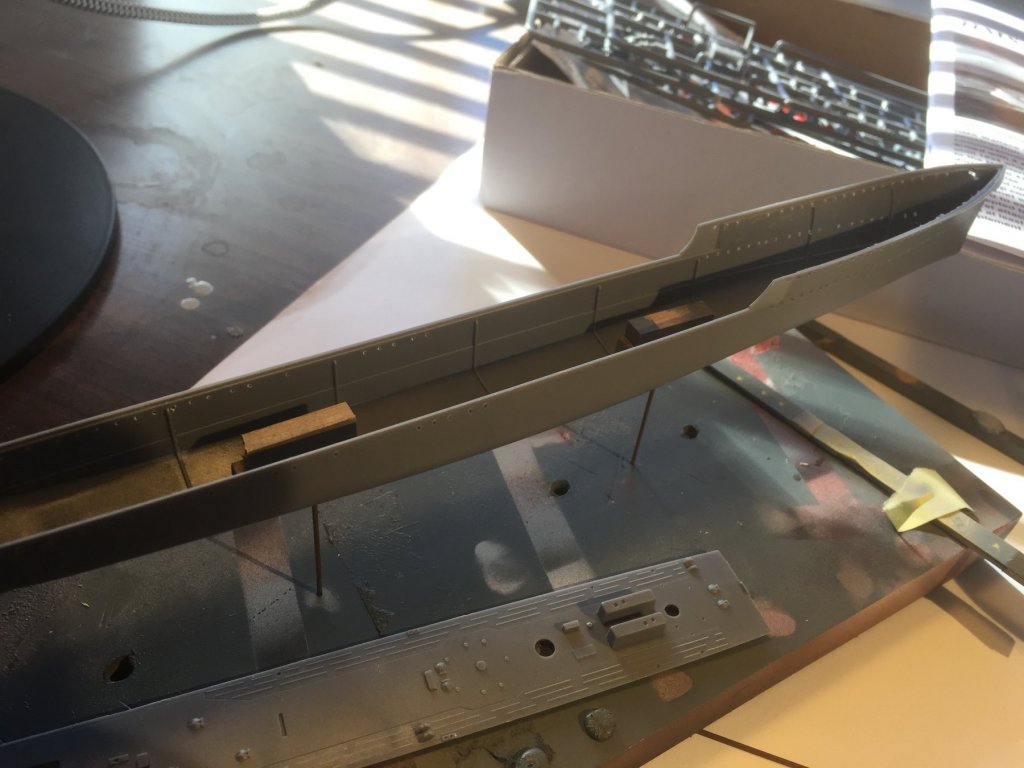
That’s an easy fix with a bit of CA to fill that gap and there will be a railing on it anyways! This is is my working base, I’ve asked the bloke who does the usual bases to make me some more. Ive tossed the bollards as they just look crap and will get some brass ones. The bilge keels are a challenge! I’m now onto the funnels, adding some rings for the stays and some pipes for the horns.
- 1,090 replies
-
- 7
-
-
- showcase models
- vendetta
- (and 2 more)
-
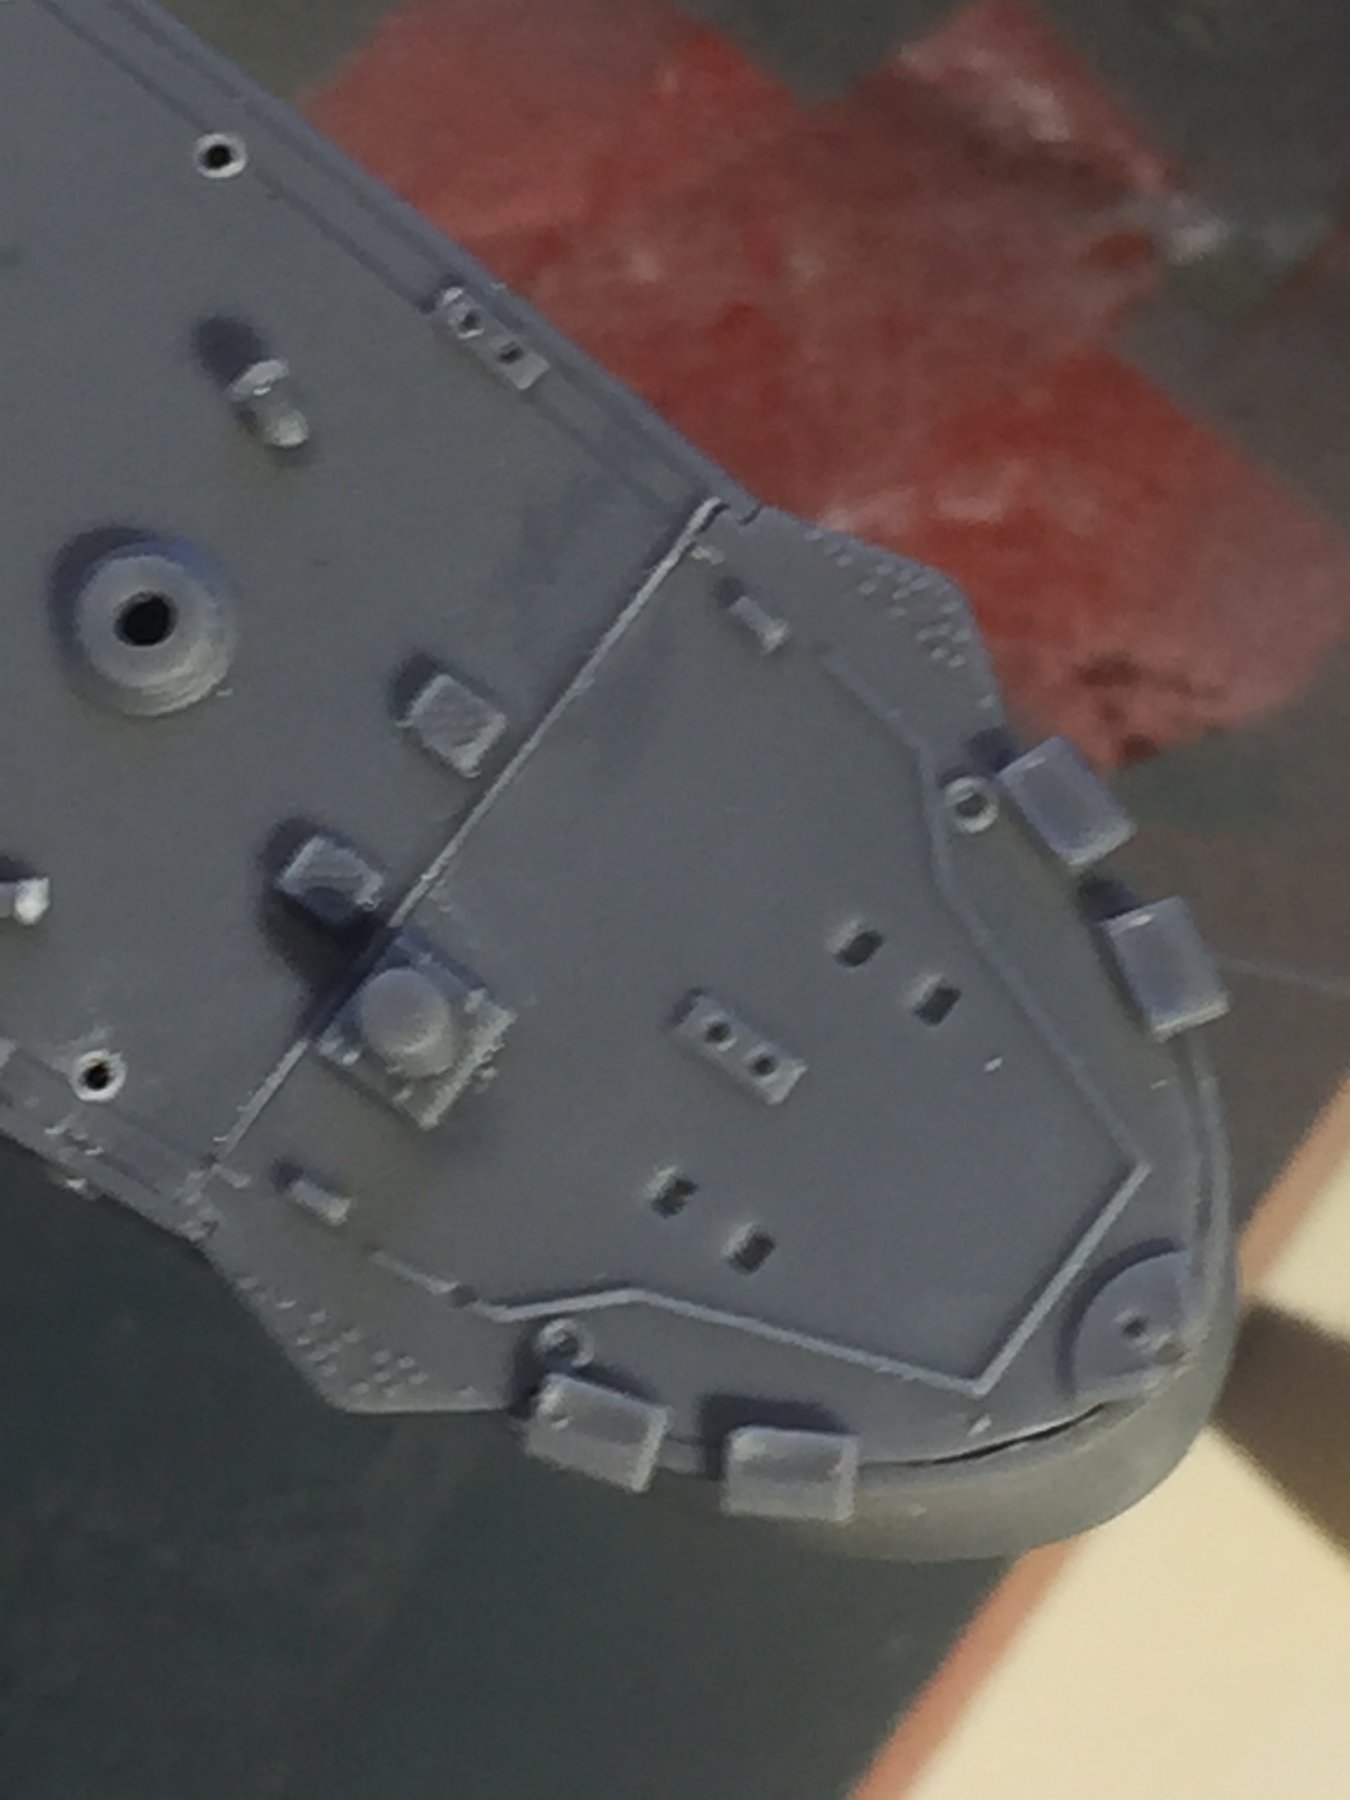
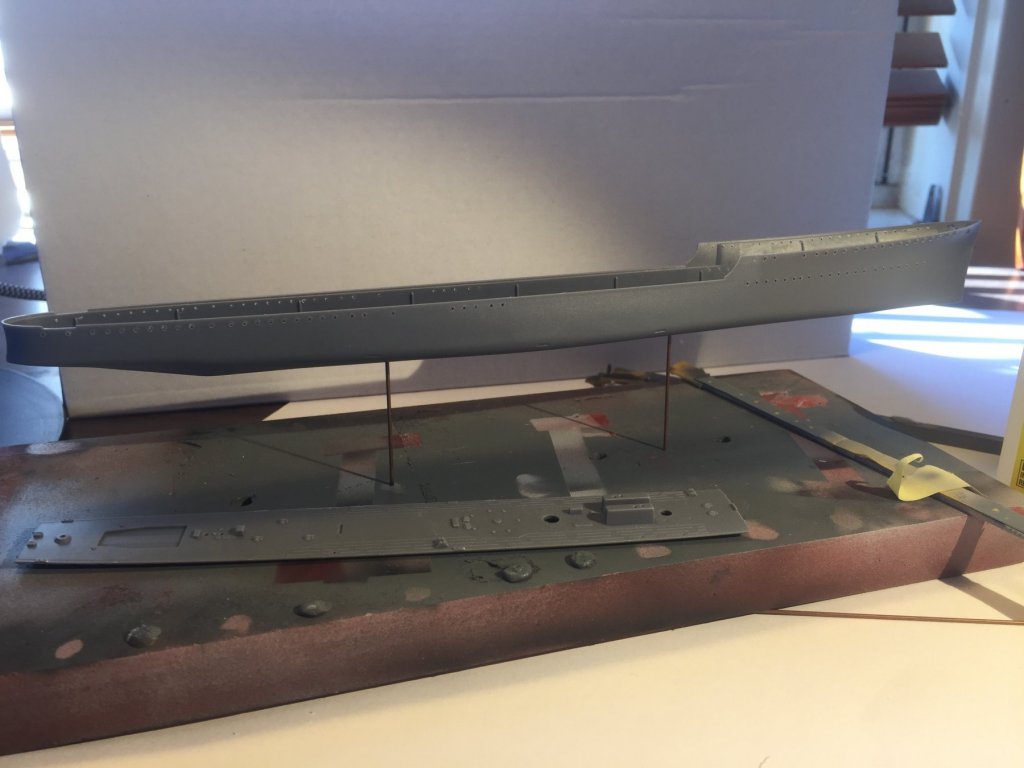
The deck, bilge keels and shafts added. The shifts were warped on the spruce and replaced with brass red. There are some small gaps between the deck joins which I’ve filled with stretched spruce. The stern appears to have some prop Garda which I’ll cut off the little dimples, drill holes and add a few small gussets. The bollards are just so tiny I’ll probably use the horrible ones provided by the kit as they are so tiny it’s unnoticeable. We have ave no one from the US yet!

- 1,090 replies
-
- 9
-
-
- showcase models
- vendetta
- (and 2 more)
-
And the work stand set up. I’m going to just use thin brass rods this time as stands as the kit is so small. Pat, you are more than welcome to Join! Showcase is a Victorian company.
- 1,090 replies
-
- 10
-
-
- showcase models
- vendetta
- (and 2 more)
-
And on the other side of the globe and no doubt the other side of the clock, 140 port holes drilled out. Cog is right about the injection ports, lots of them to sand.

- 1,090 replies
-
- 8
-
-
- showcase models
- vendetta
- (and 2 more)
-
Buy a set of flat beading pliers, covers most needs.
- 1,090 replies
-
- 8
-
-
- showcase models
- vendetta
- (and 2 more)
-
It’s a matter of improv really. It appears to be Gunze light grey (it looks white in the old b&w photos) so I’m thinking a dull white overspray with some rust lines on the panels, oilcanning below the waterline, add some barnacles............ The kit is so small you can use the kit and no aftermarket at all. The rest is just OCD
- 1,090 replies
-
- 9
-
-
- showcase models
- vendetta
- (and 2 more)
-
I reckon we do it all on the one log to show the changes
- 1,090 replies
-
- 8
-
-
- showcase models
- vendetta
- (and 2 more)
-
You’re welcome Popeye, anyone else is welcome to join us. This is a very simple kit, I’ll value add as I have a little bit left over from other builds. It’s cheap you’ll enjoy cog’s wit. Greg
- 1,090 replies
-
- 8
-
-
- showcase models
- vendetta
- (and 2 more)
-
Combrig has some, but very expensive in resin. Ozmods have some of the newer ones.
- 1,090 replies
-
- 8
-
-
- showcase models
- vendetta
- (and 2 more)
-
This is your time to join in and shine Mr Taylor
- 1,090 replies
-
- 10
-
-
- showcase models
- vendetta
- (and 2 more)
-
We both build the model, just on different sides of the globe; you are welcome to join in!
- 1,090 replies
-
- 8
-
-
- showcase models
- vendetta
- (and 2 more)
-
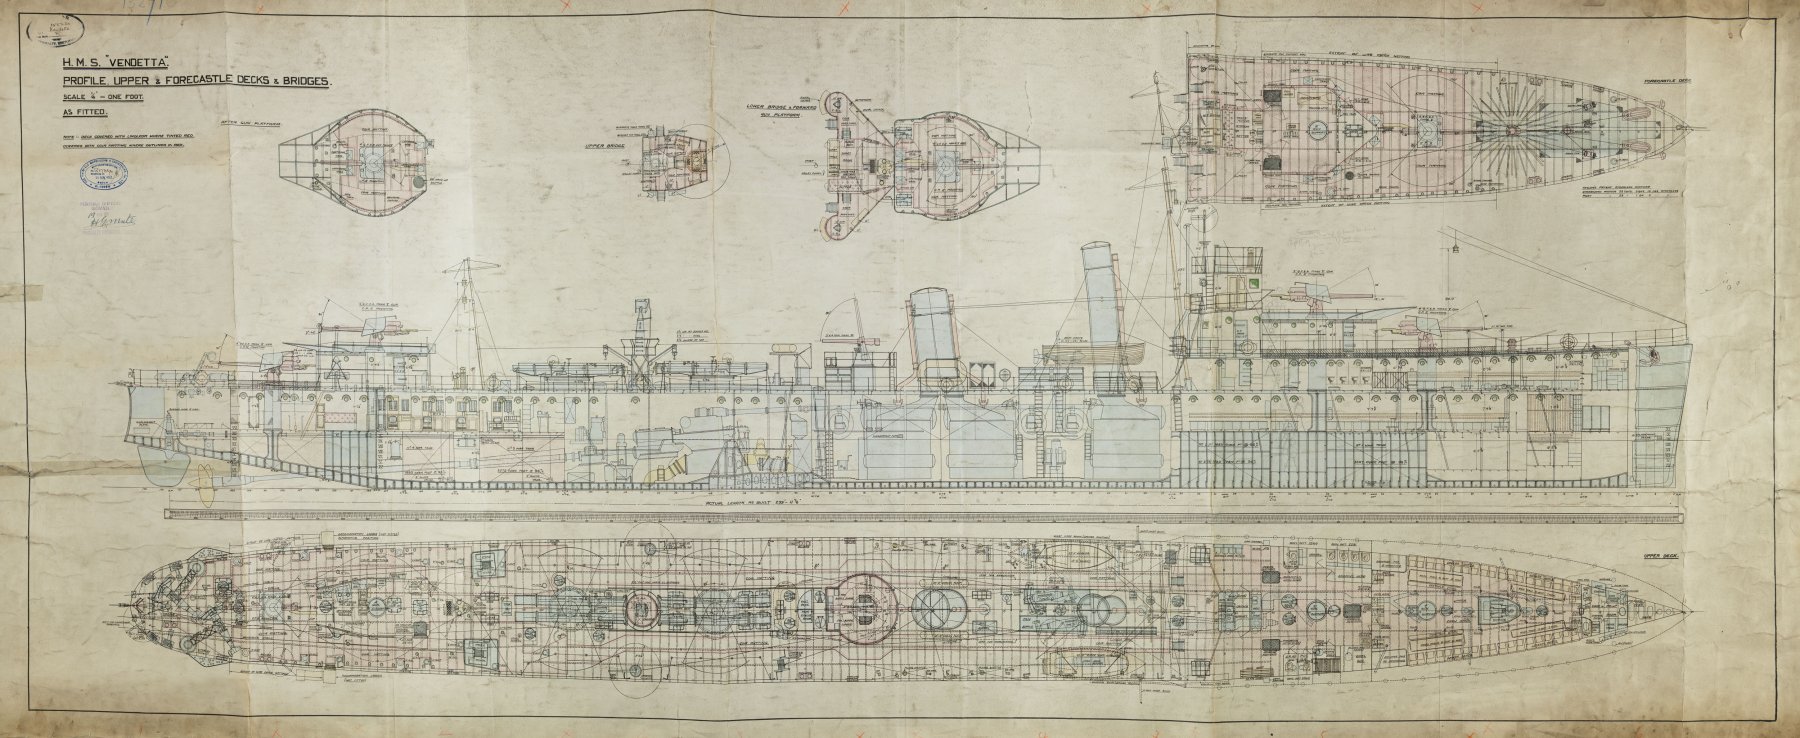
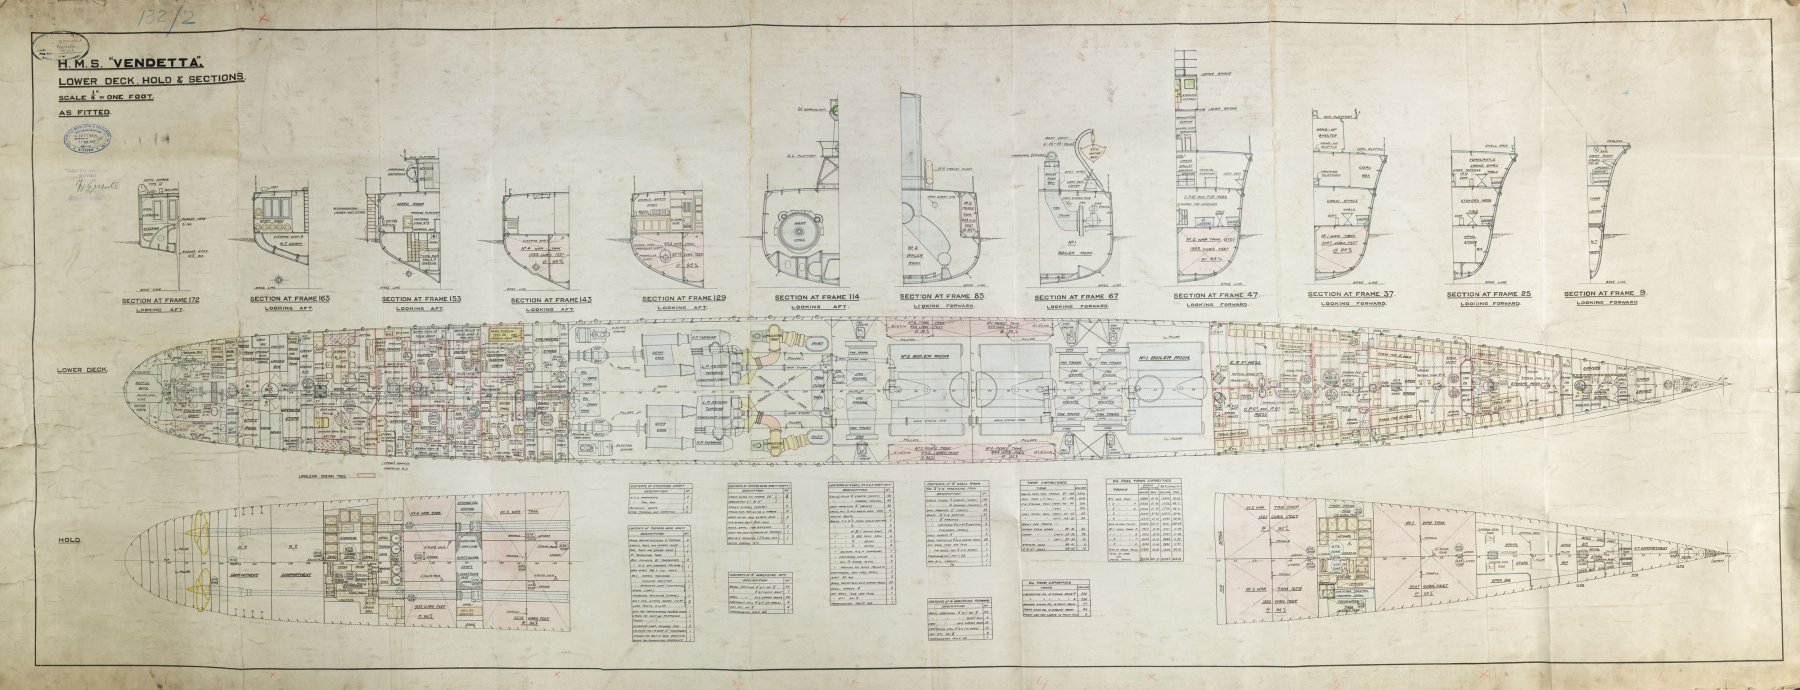
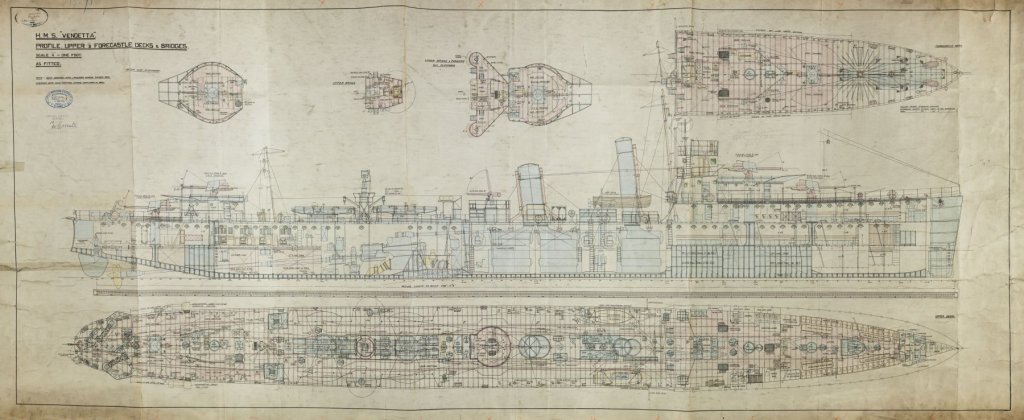
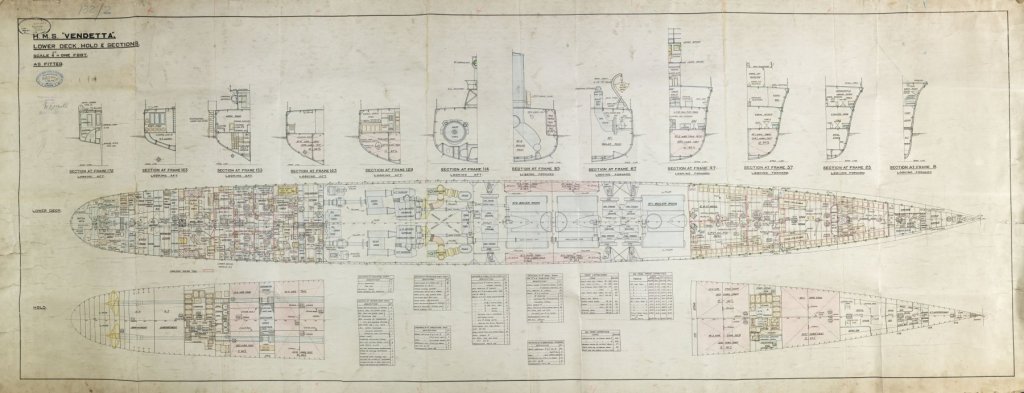
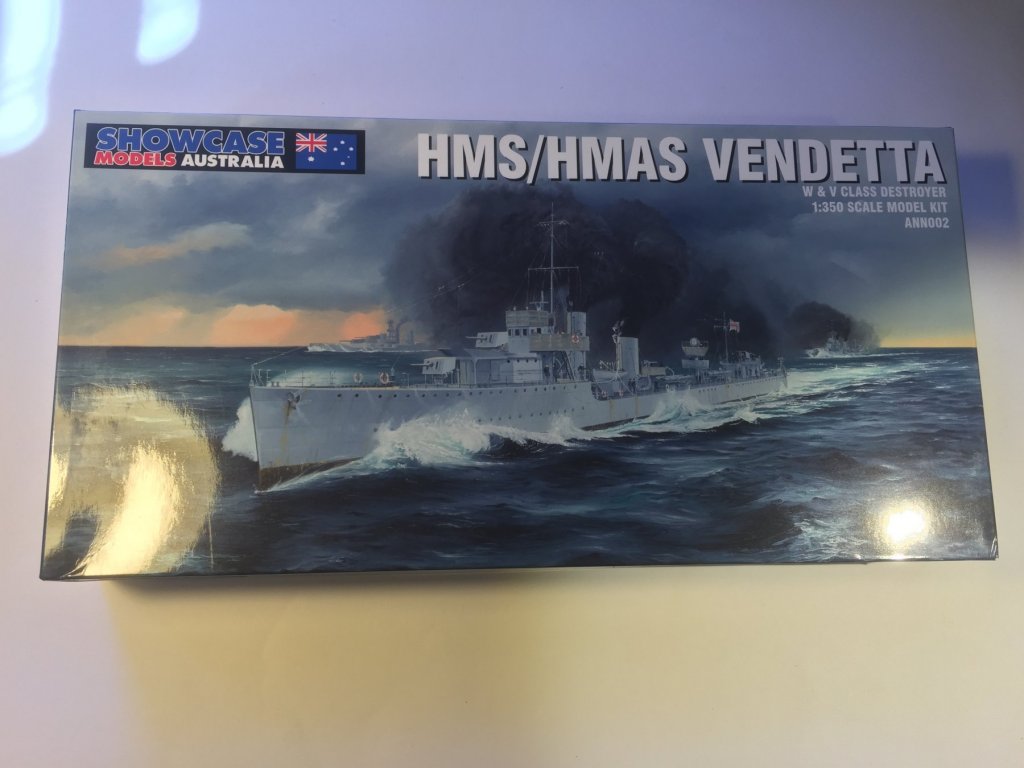
Via the Australian National Archives there is a set of plans for the Vendetta as purchased. Now if you wish to join us feel free, the kit is about $50 Australian available via BNA in Oz, Ebay or Starling Models in the UK. I purchased a set of PE from White Ensign Models for g class destroyers which has little bits such as funnel grilles.
- 1,090 replies
-
- 12
-
-
- showcase models
- vendetta
- (and 2 more)
-
Cog and I both have our kits, as you can see from the obligatory comparison photo it is tiny!


- 1,090 replies
-
- 12
-
-
- showcase models
- vendetta
- (and 2 more)
-
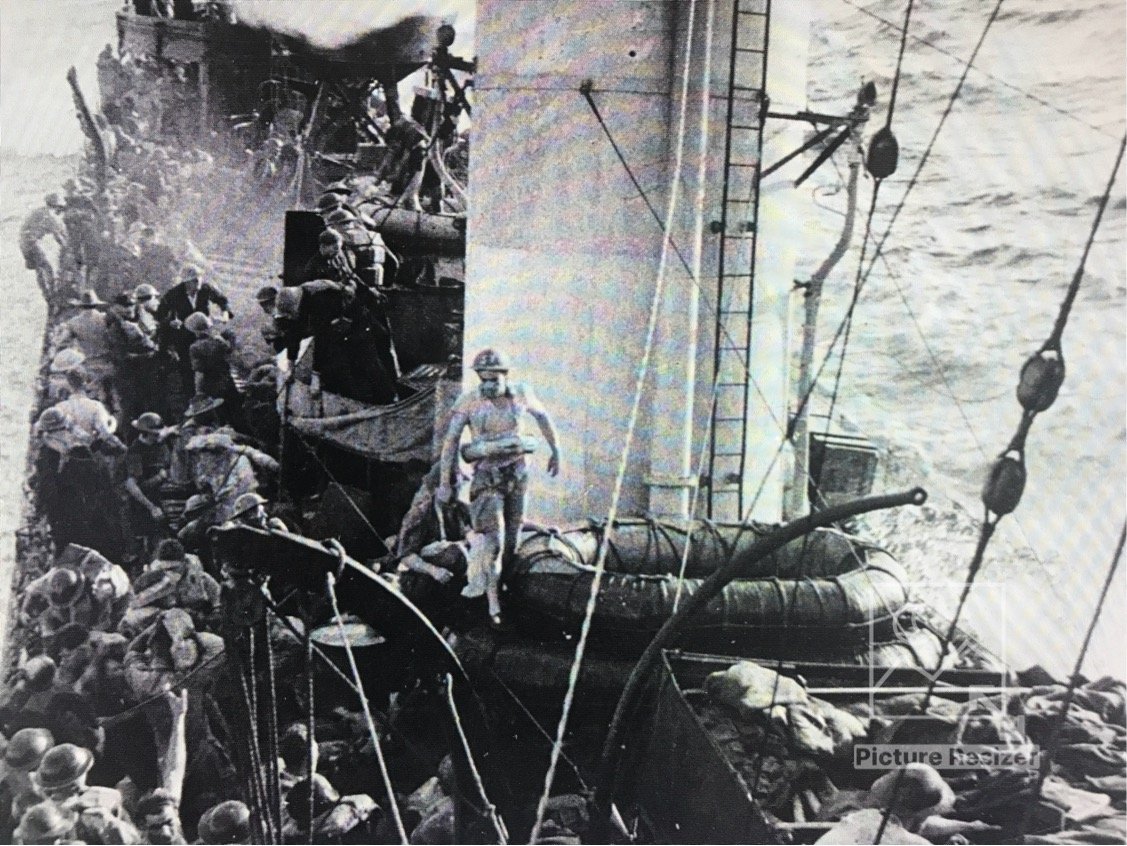
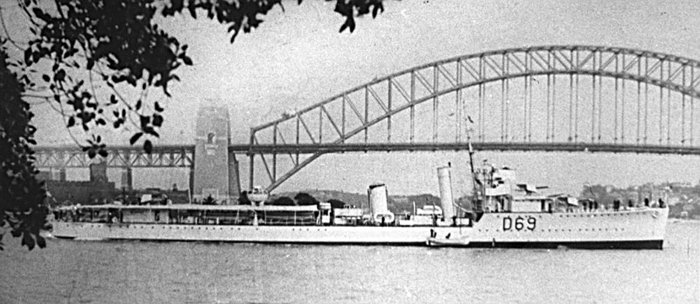
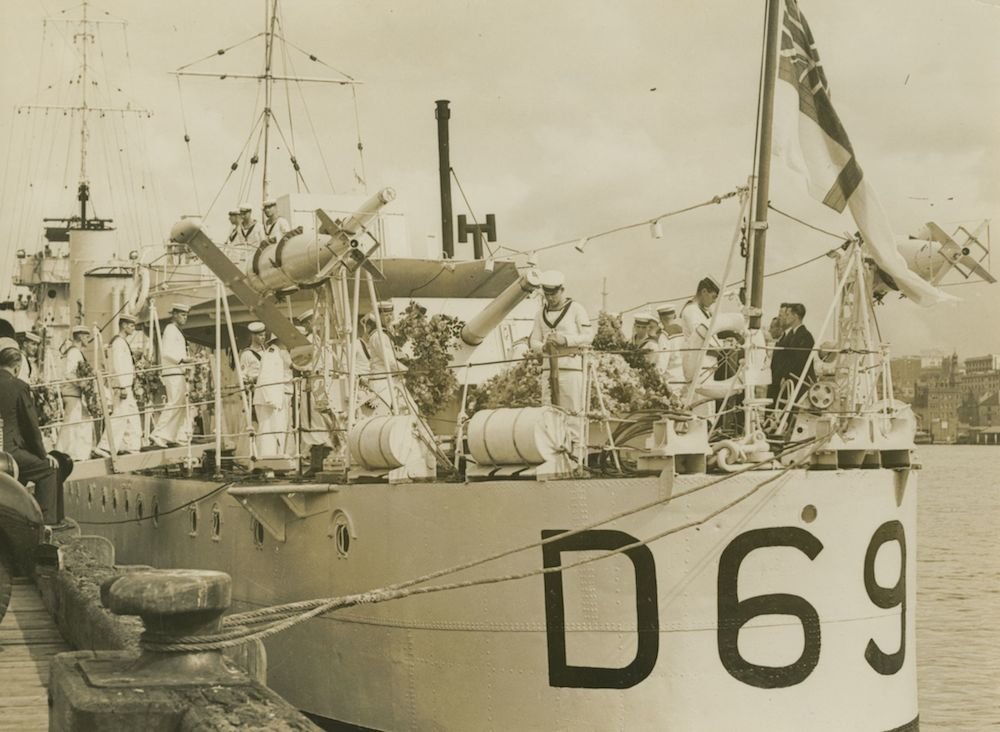
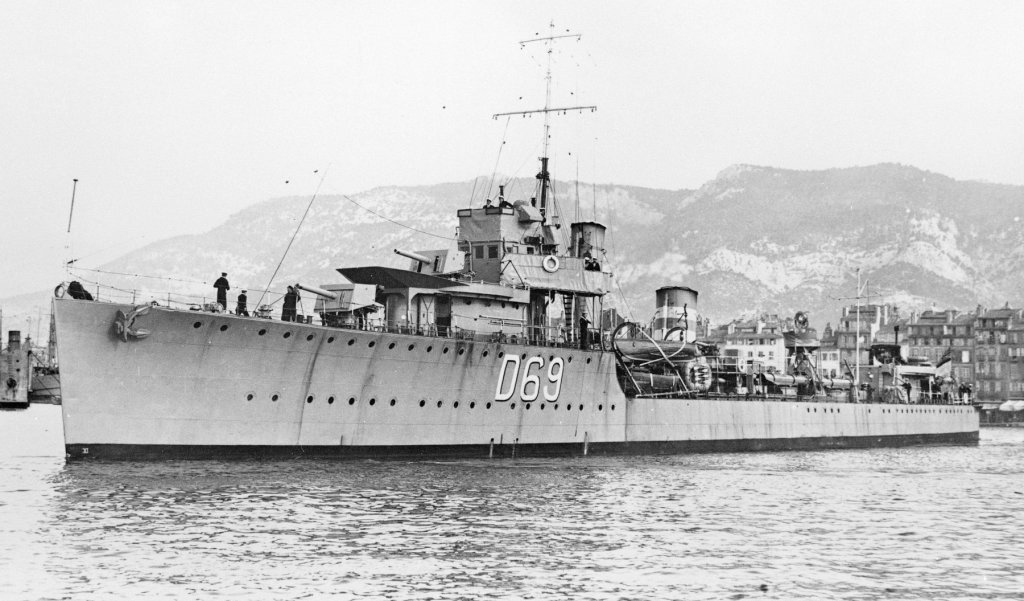
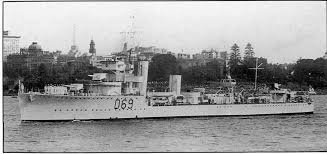
Cog and I discussed doing a group build, then I read the instructions and you need 8 people, so unless anyone else wishes to join, we are going to do a Northern Hemisphere and Southern Hemisphere build of the HMAS Vendetta by Showcase models. A quick google search will reveal the ships history as a V&W Class destroyer of WW1 vintage. She lasted from 1917 to 1945, but we intend to build it strait from the box.

- 1,090 replies
-
- 10
-
-
- showcase models
- vendetta
- (and 2 more)