RGL
-
Posts
5,539 -
Joined
-
Last visited
Content Type
Profiles
Forums
Gallery
Events
Everything posted by RGL
-
 Ha, so many patient women (or men; we went to the stage show of Priscilla last night, marvellous). Minus 6 her last night apparently which is exceptionally cold here in Oz. Popeye, how far off are you? Take your time, more time to offer Cog advice of course.
- 1,090 replies
-
- 7
-

-
- showcase models
- vendetta
- (and 2 more)
-
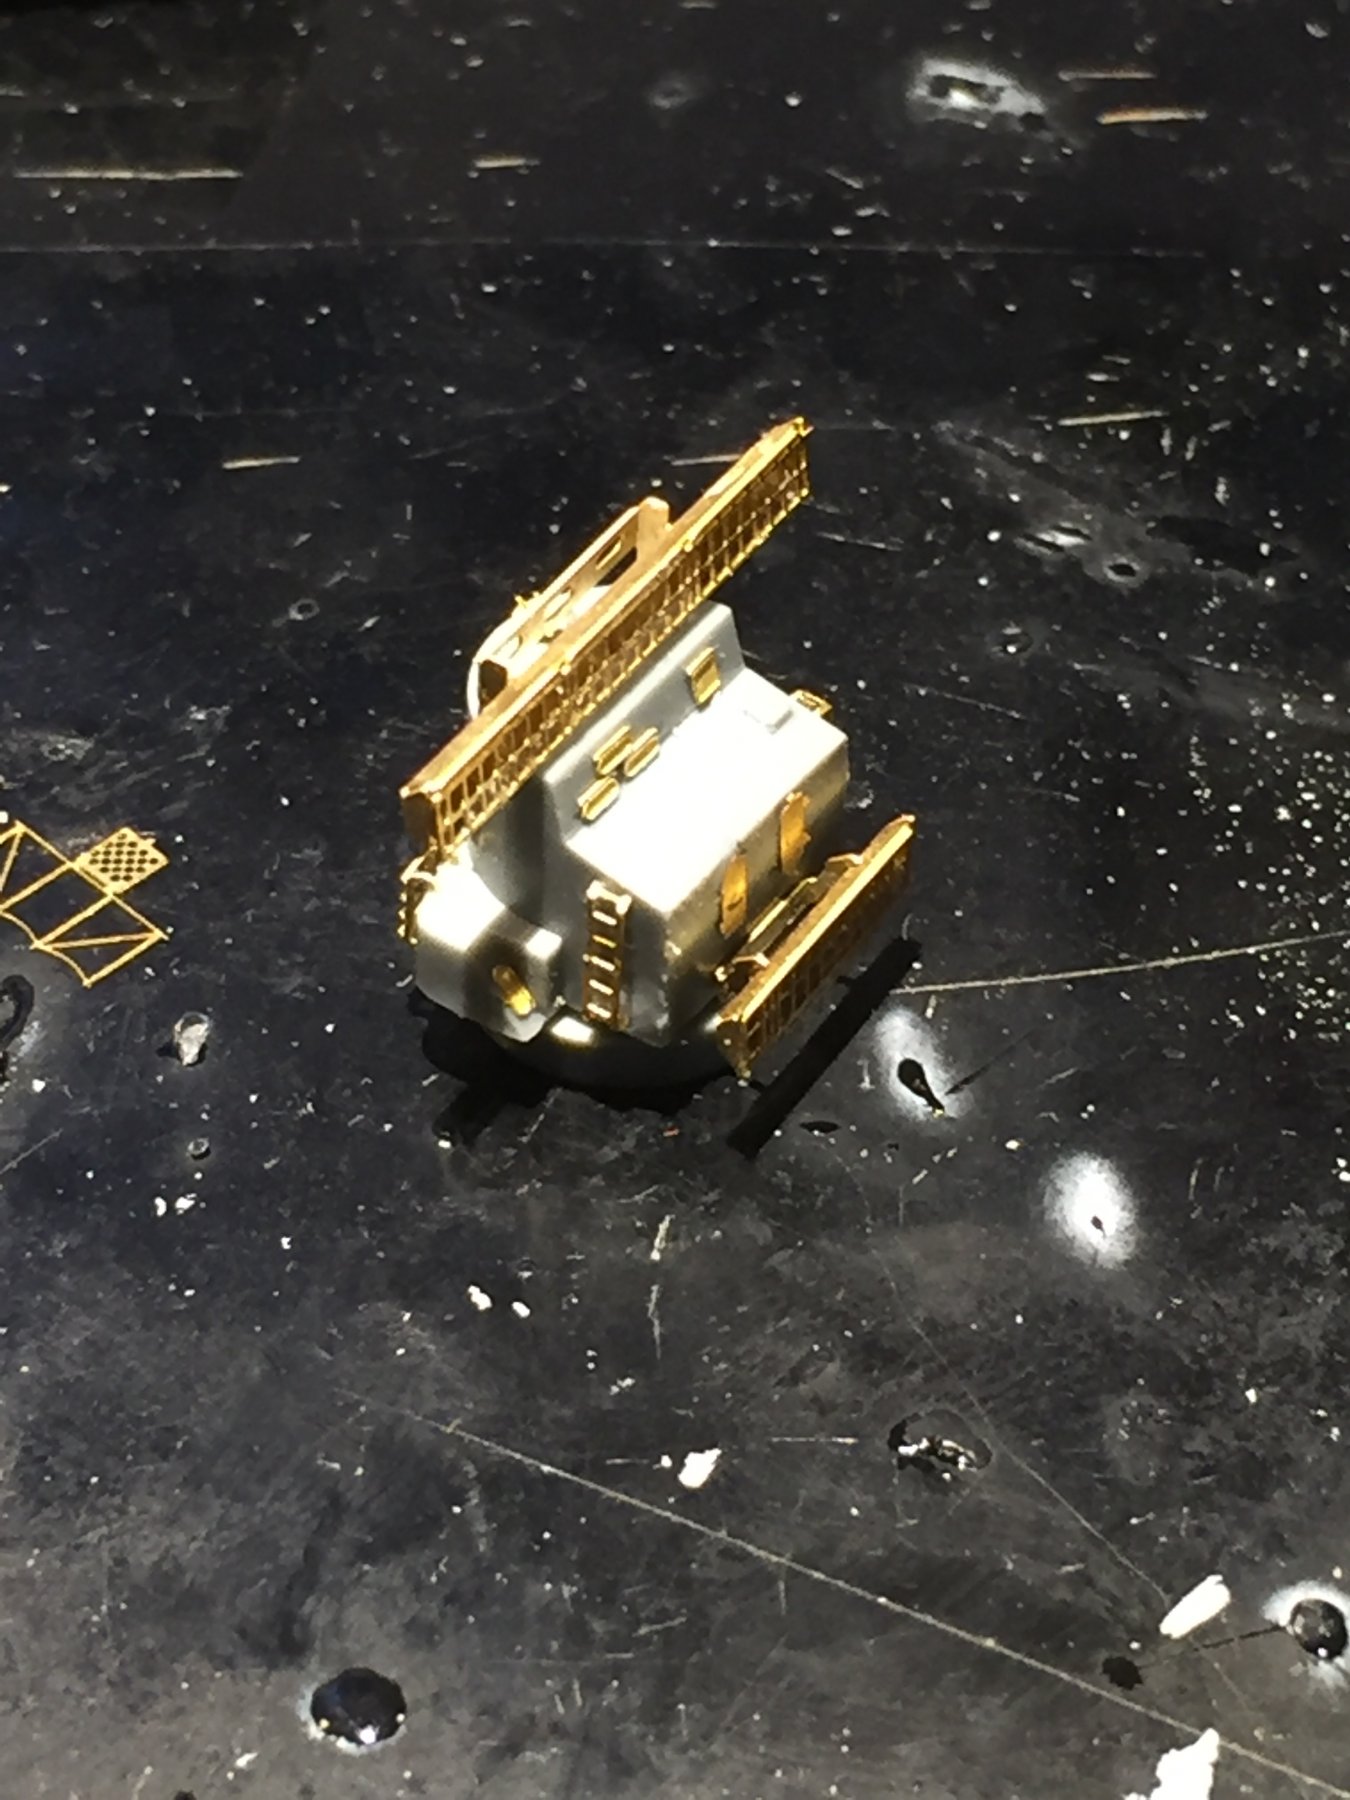
For some reason the Pontos instructions are not for the Tamiya KVG. The main gun director is a different piece to the ones used in the instructions and is about 3mm too low and both are utterly devoid of details at the front. I used the main turret lug to lift it up enough. The secondary gun directors had a radar between them in the Pontos 41 version but not in the 43 version. It also gives you some gantry that go beneath them that are on the POW but never on KGV. Next will be the bridge facade and wind deflectors. I can’t glue it all up yet as I want to prime it then do the decks on this piece as there are binoculars, search lights, signal lamps, more MG directors, flag lockers.


- 405 replies
-
- 15
-
-
- tamiya
- king george v
- (and 2 more)
-
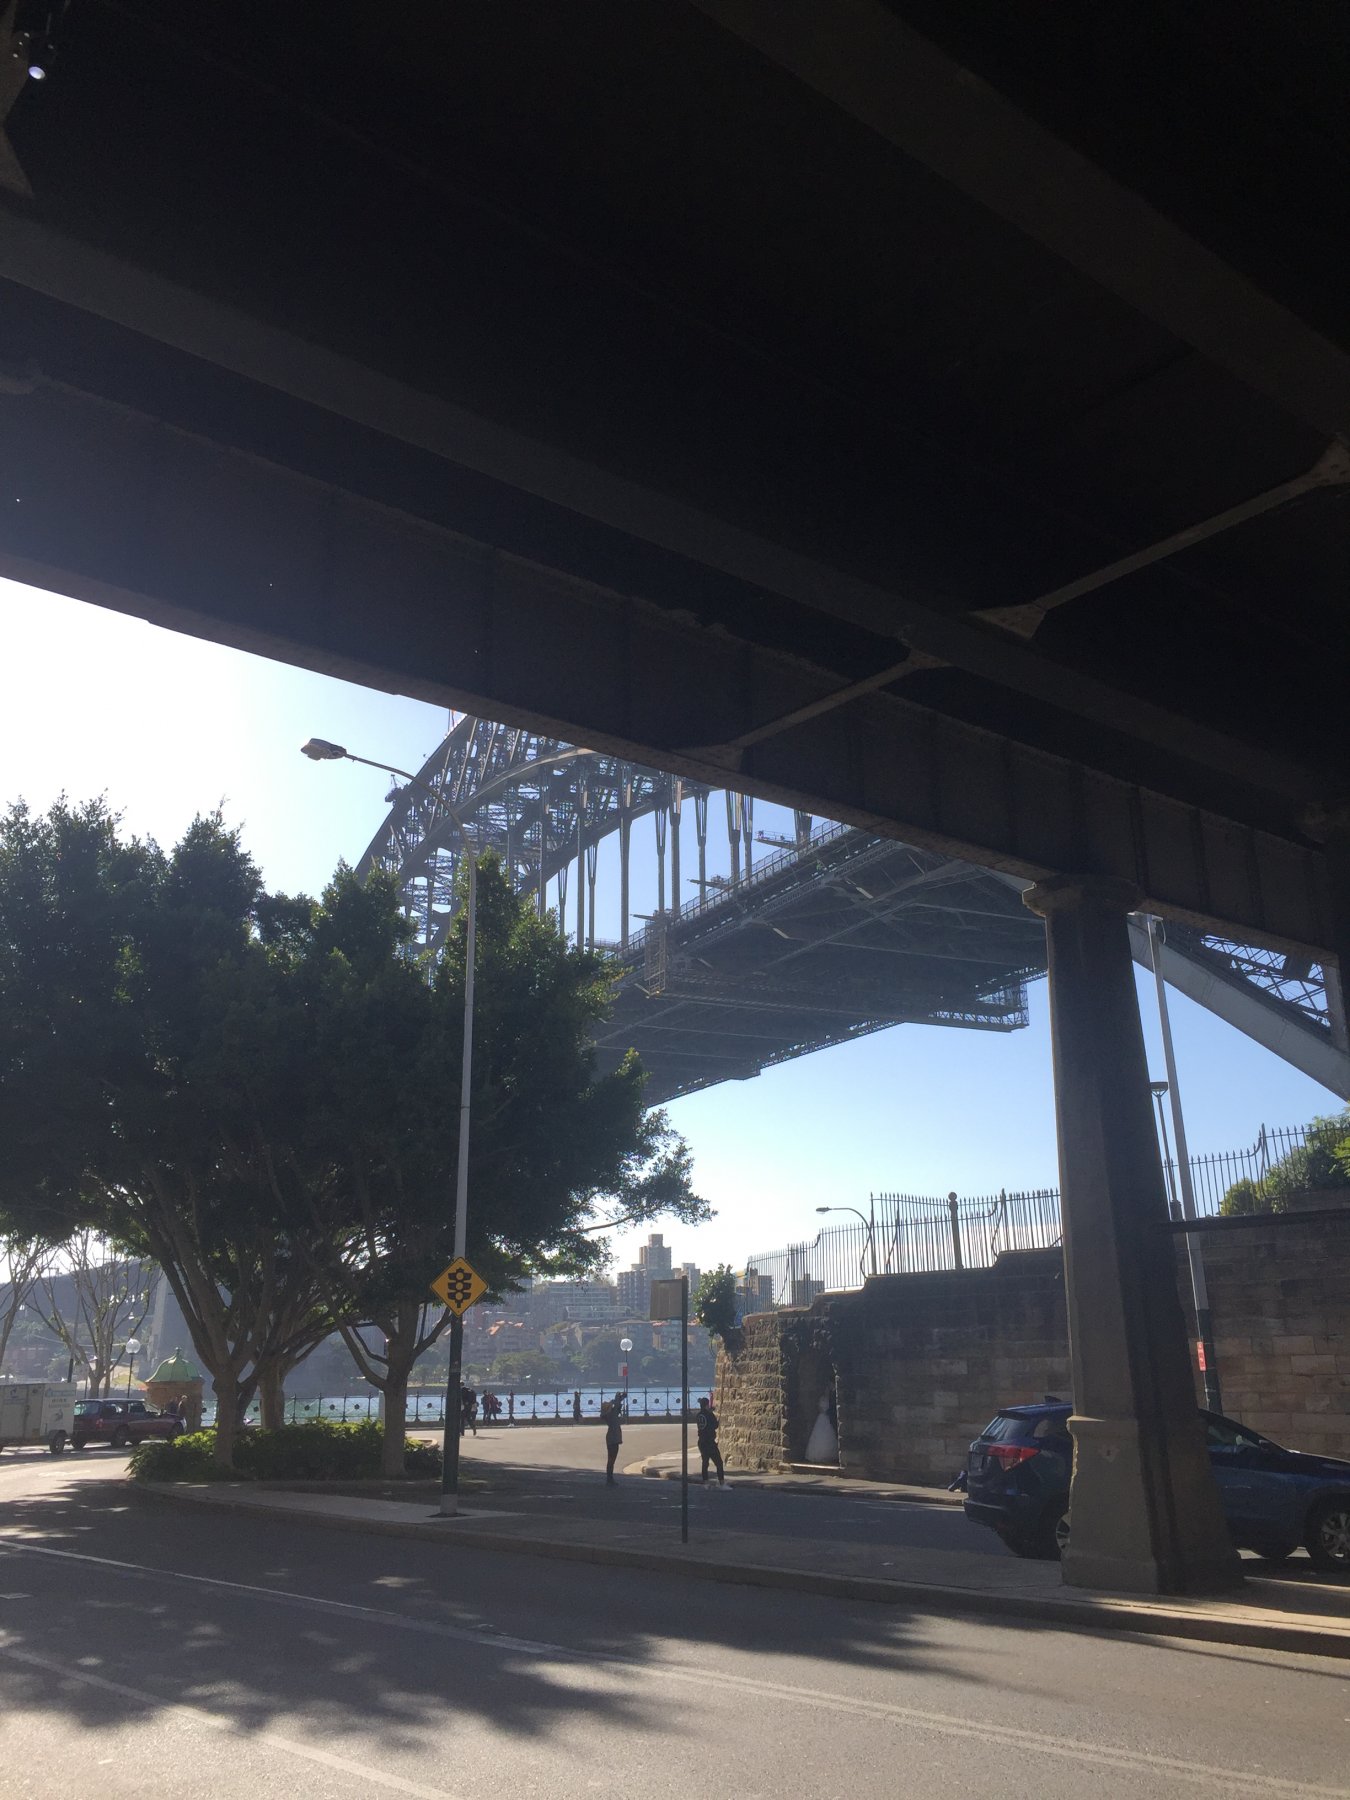
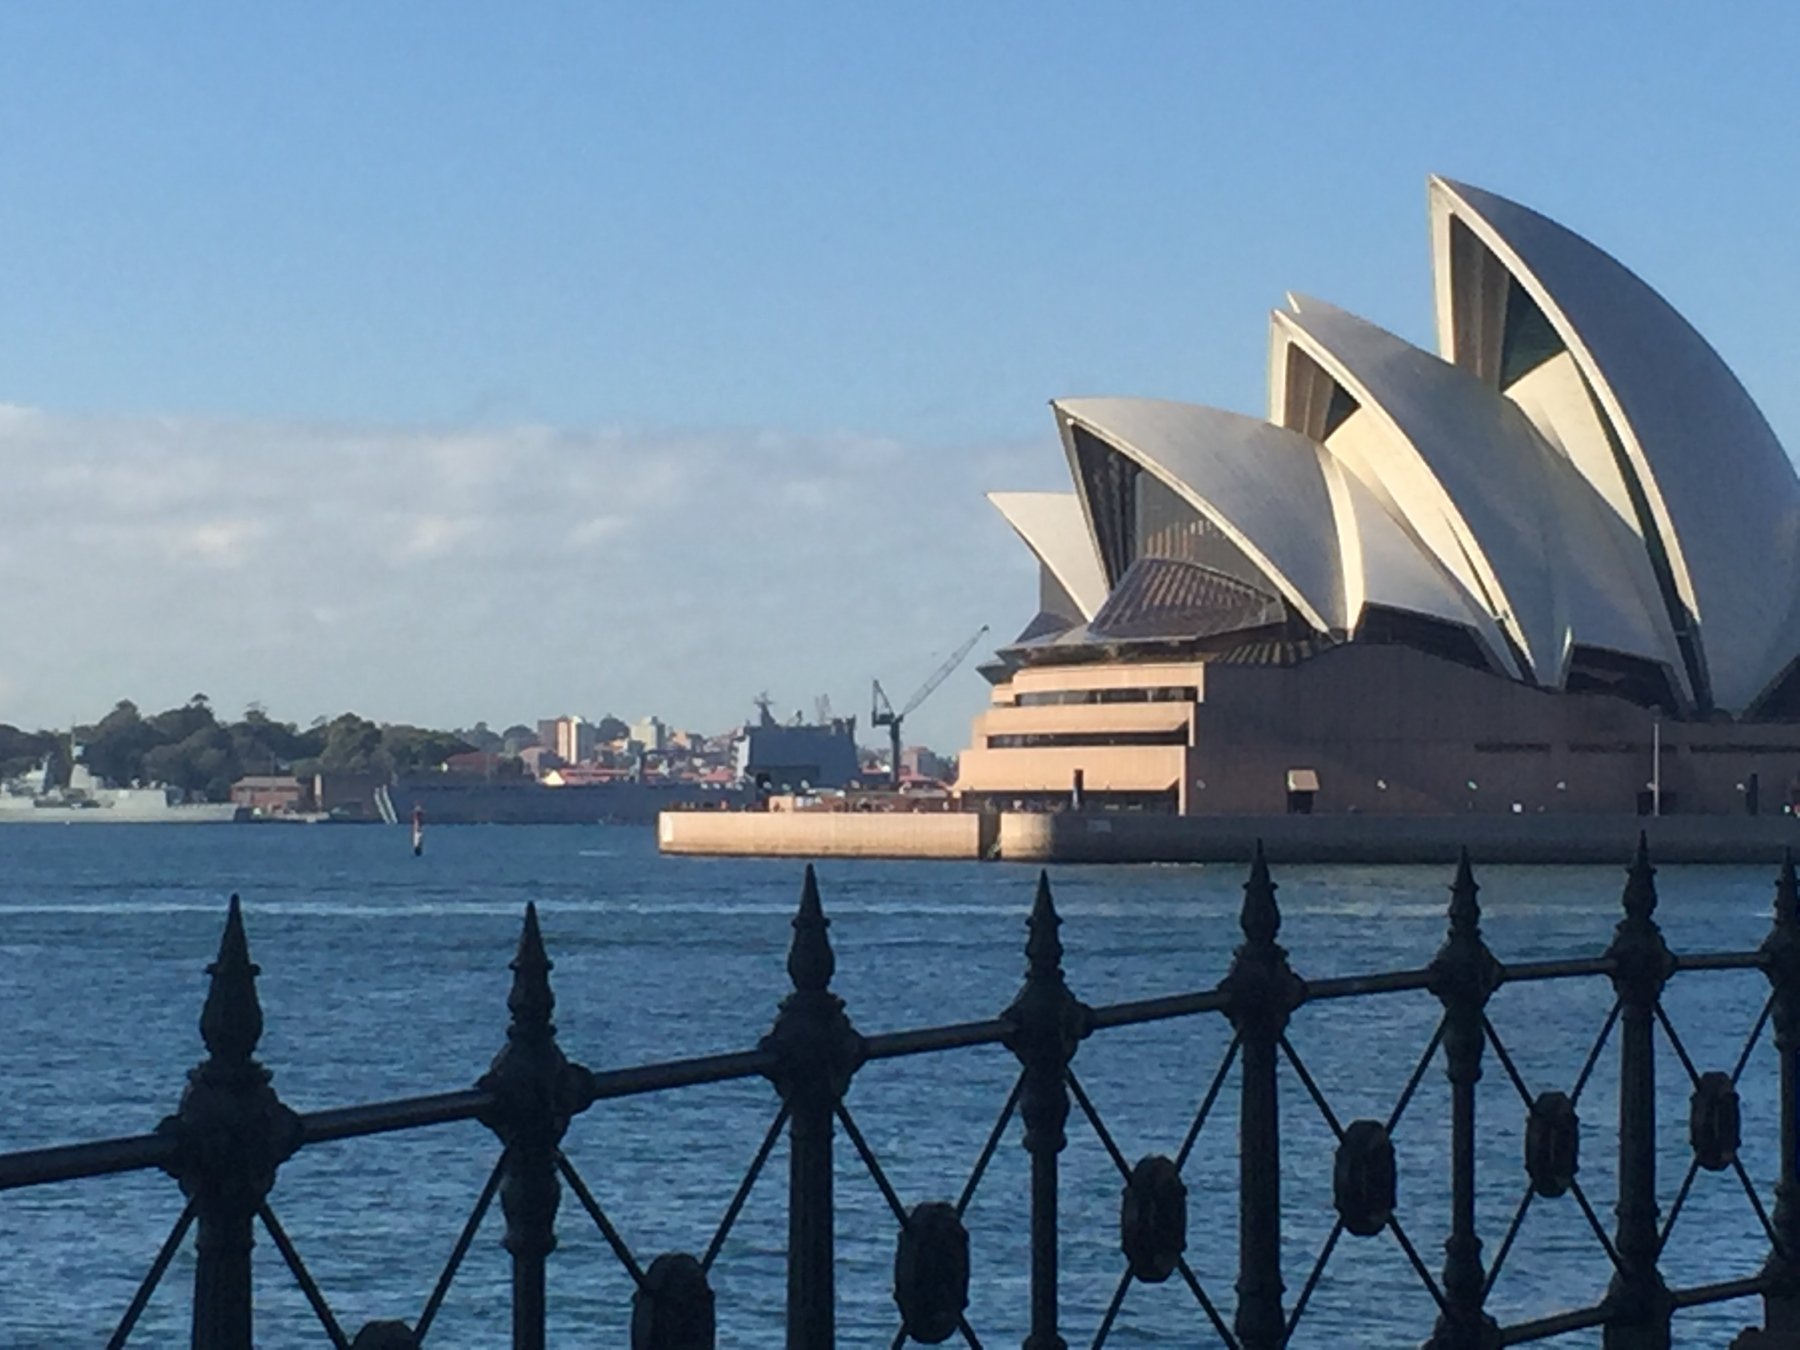
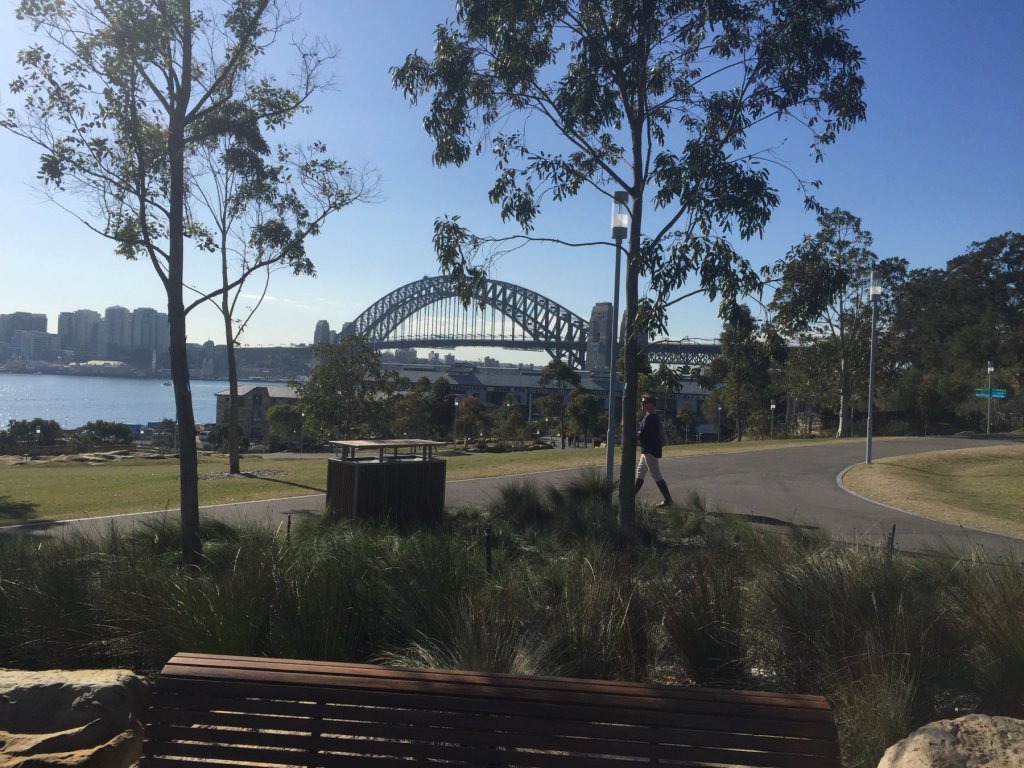
Quick 3 hour drive up the road for our wedding anniversary, I love this town, a couple of days away from the tools.


- 1,090 replies
-
- 10
-
-
- showcase models
- vendetta
- (and 2 more)
-
It’s loosely translated as “can talk underwater with mouth full of marbles”. Kangaroos on the other hand, are nowhere near as dangerous as the traditional Australian drop bear
- 1,090 replies
-
- 9
-
-
- showcase models
- vendetta
- (and 2 more)
-
Bugger! I think you should anyway last so you can teach me.
- 292 replies
-
- 6
-
-
- g class destroyer
- trumpeter
- (and 4 more)
-
It’s a good looking kit, I really like the camo designs they used, and I’m looking forward to how you weather her and the weathering between the colours
- 292 replies
-
- 6
-
-
- g class destroyer
- trumpeter
- (and 4 more)
-
Bloody dangerous creatures, they’ll gut you if you get too close and love to jump in front of cars. Tough buggers
- 1,090 replies
-
- 7
-
-
- showcase models
- vendetta
- (and 2 more)
-
As long as you have a good set of flat noses pliers and /or a PE bender you’ll be fine. If you can do those Pom Poms so well you can do anything. When some of the PE is ludicrously small I don’t bother either.
- 122 replies
-
- 7
-
-
- tamiya
- King George V
- (and 2 more)
-
Oh, yes I can! Mr Taylor wants to join and tease you too
- 1,090 replies
-
- 6
-
-
- showcase models
- vendetta
- (and 2 more)
-
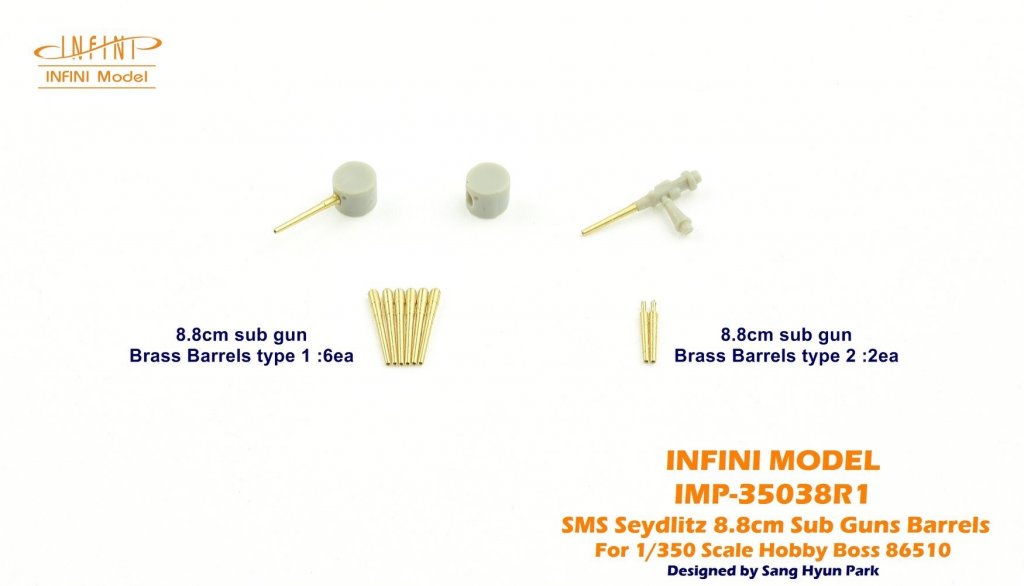
Ok, little reminder for our next group build, SMS Seydlitz. Infini Models has started the upgrade set to go with it. Love to see y’all join in.

- 1,090 replies
-
- 8
-
-
- showcase models
- vendetta
- (and 2 more)
-
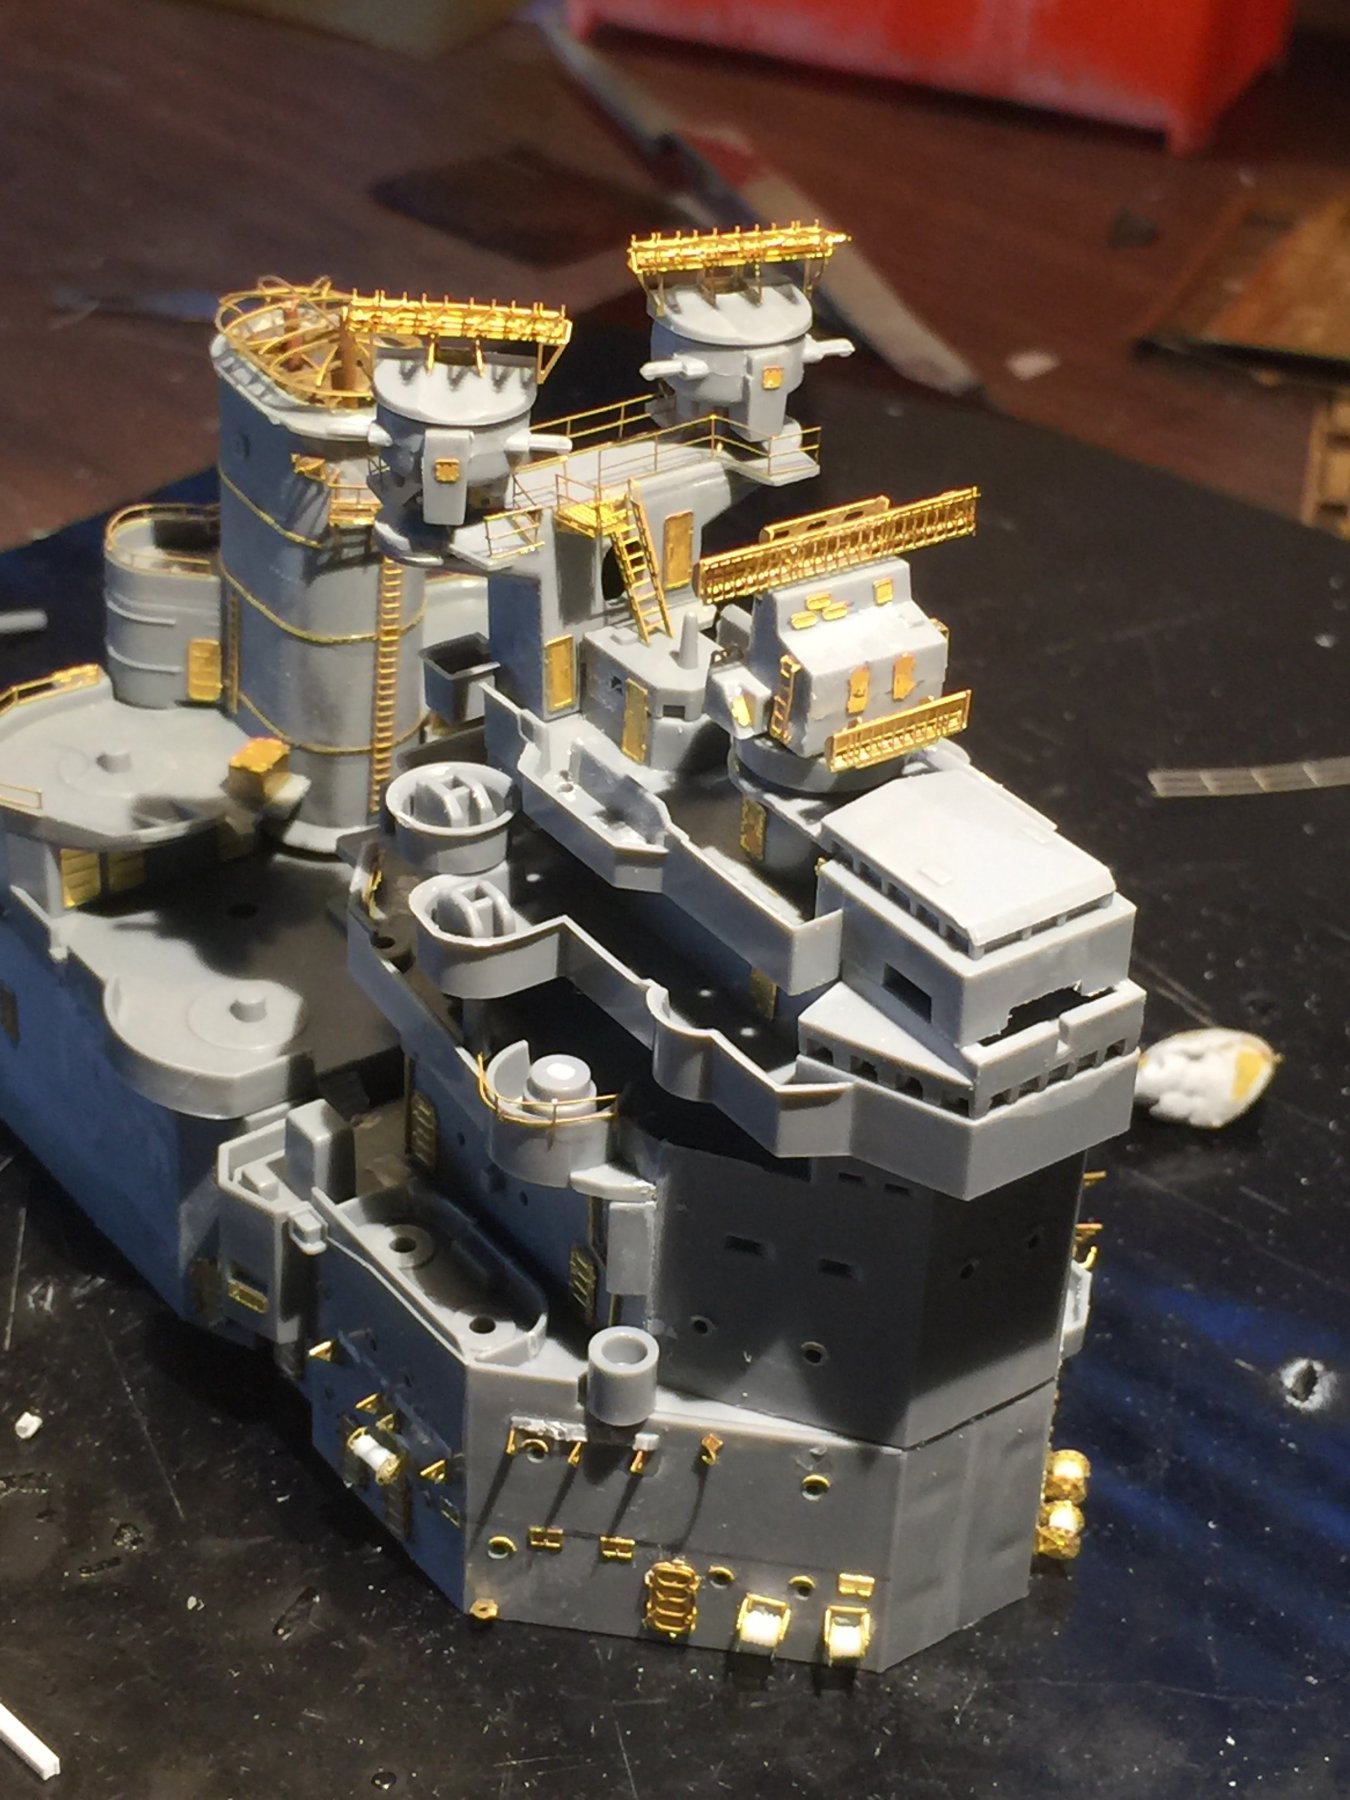
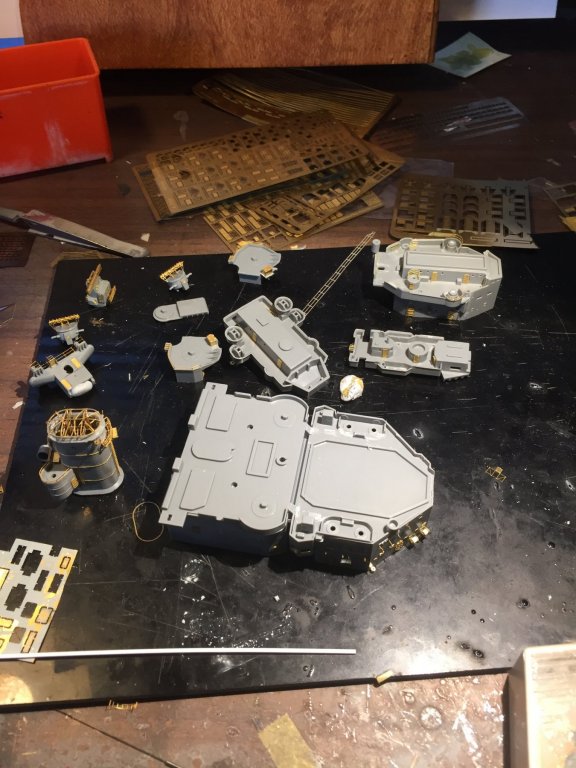
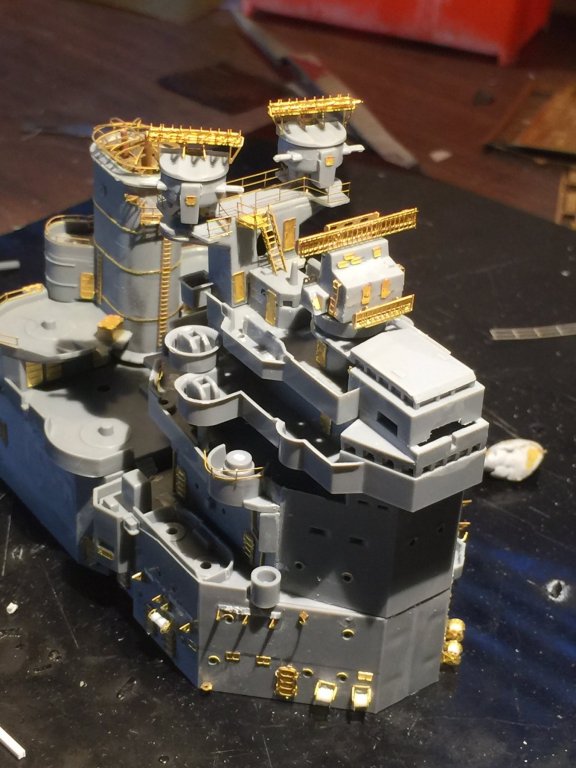
Yes, there are 2 large tripod masts to add. Given the difficulty level I’ll probably leave them till last. Lots of work to go on this bridge superstructure to go get, it will soak up a lot of PE and extra details. You’d be disappointed otherwise.
- 405 replies
-
- 8
-
-
- tamiya
- king george v
- (and 2 more)
-
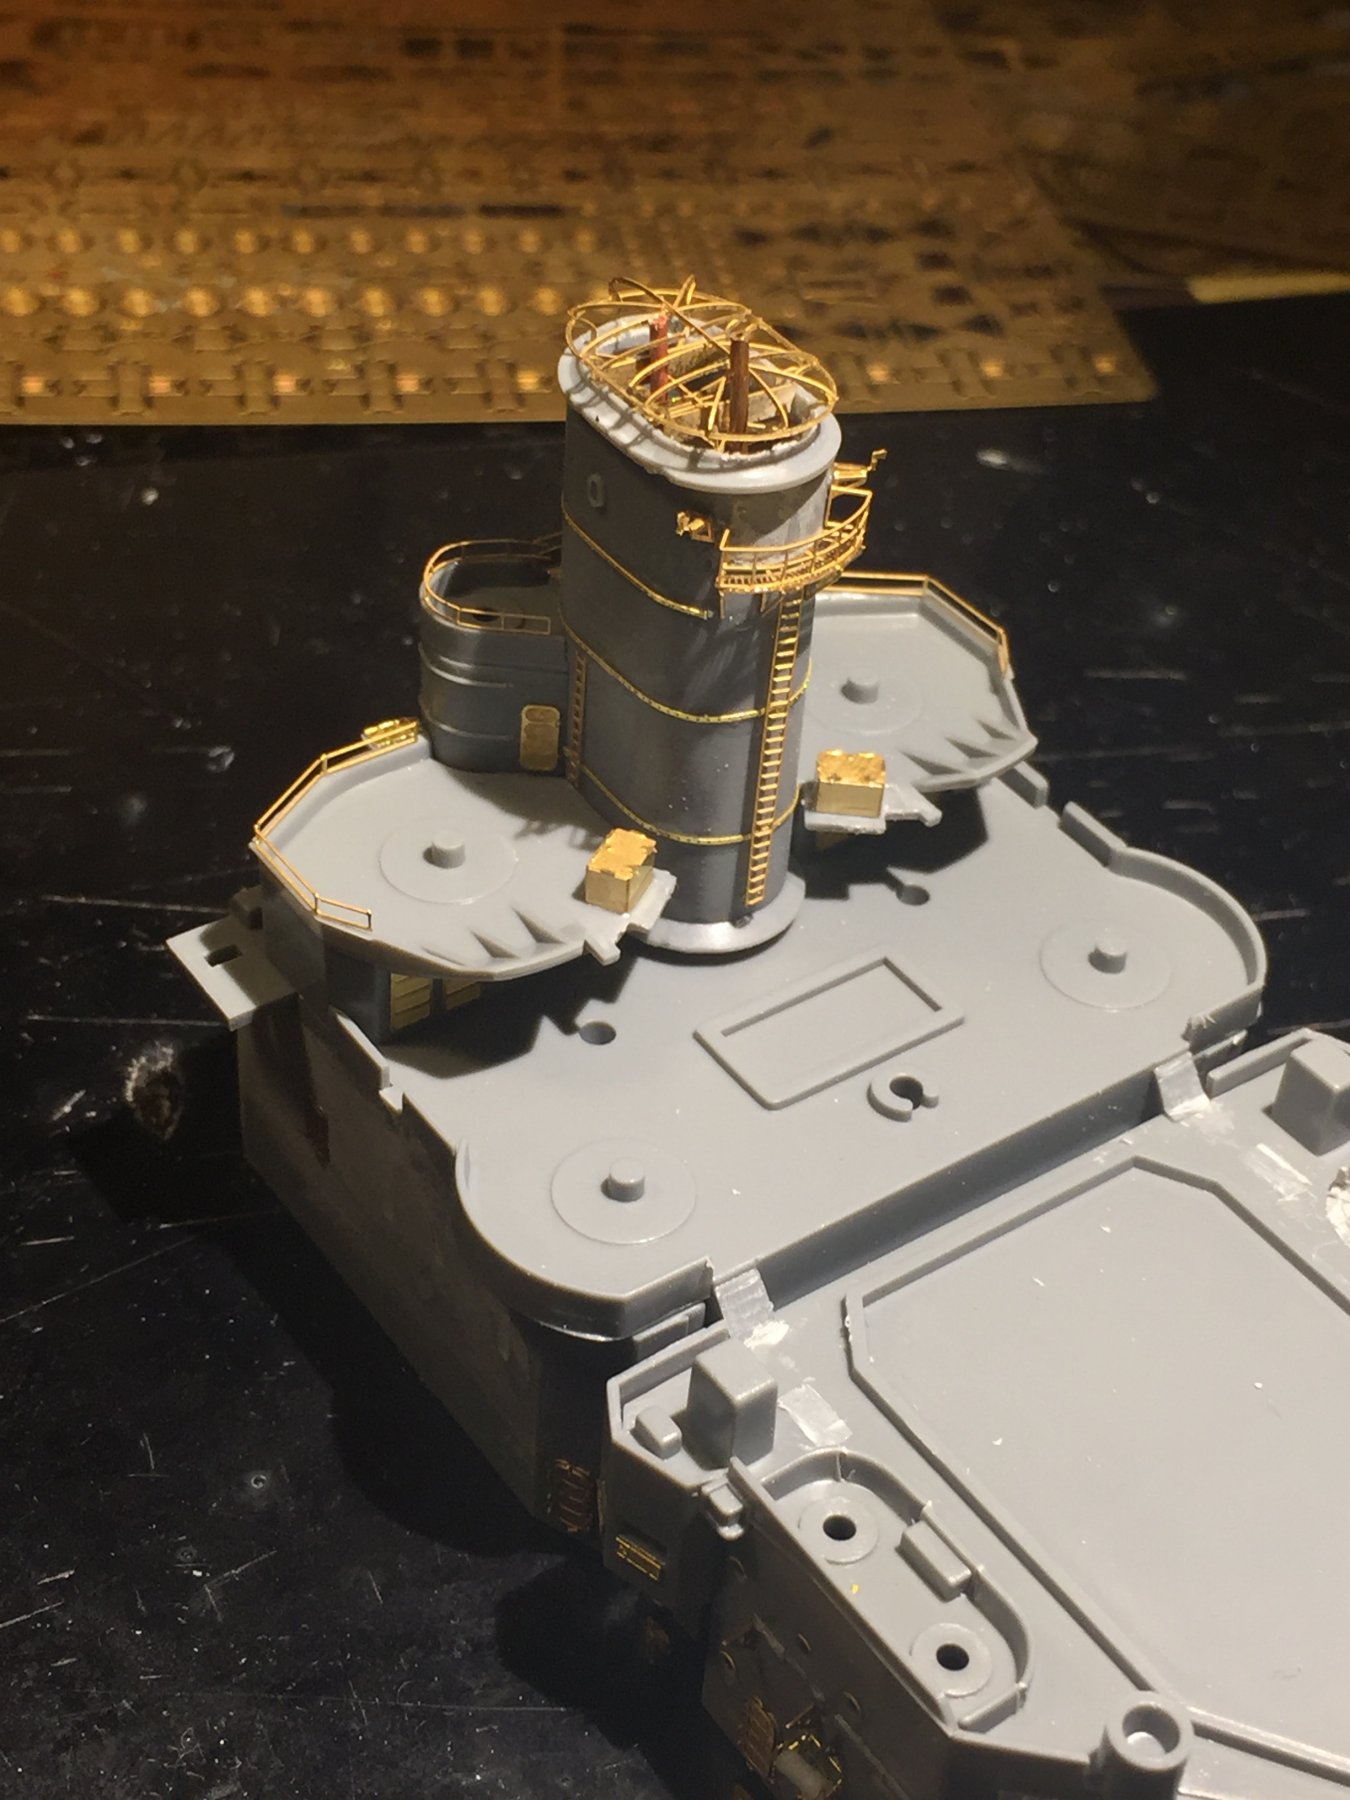
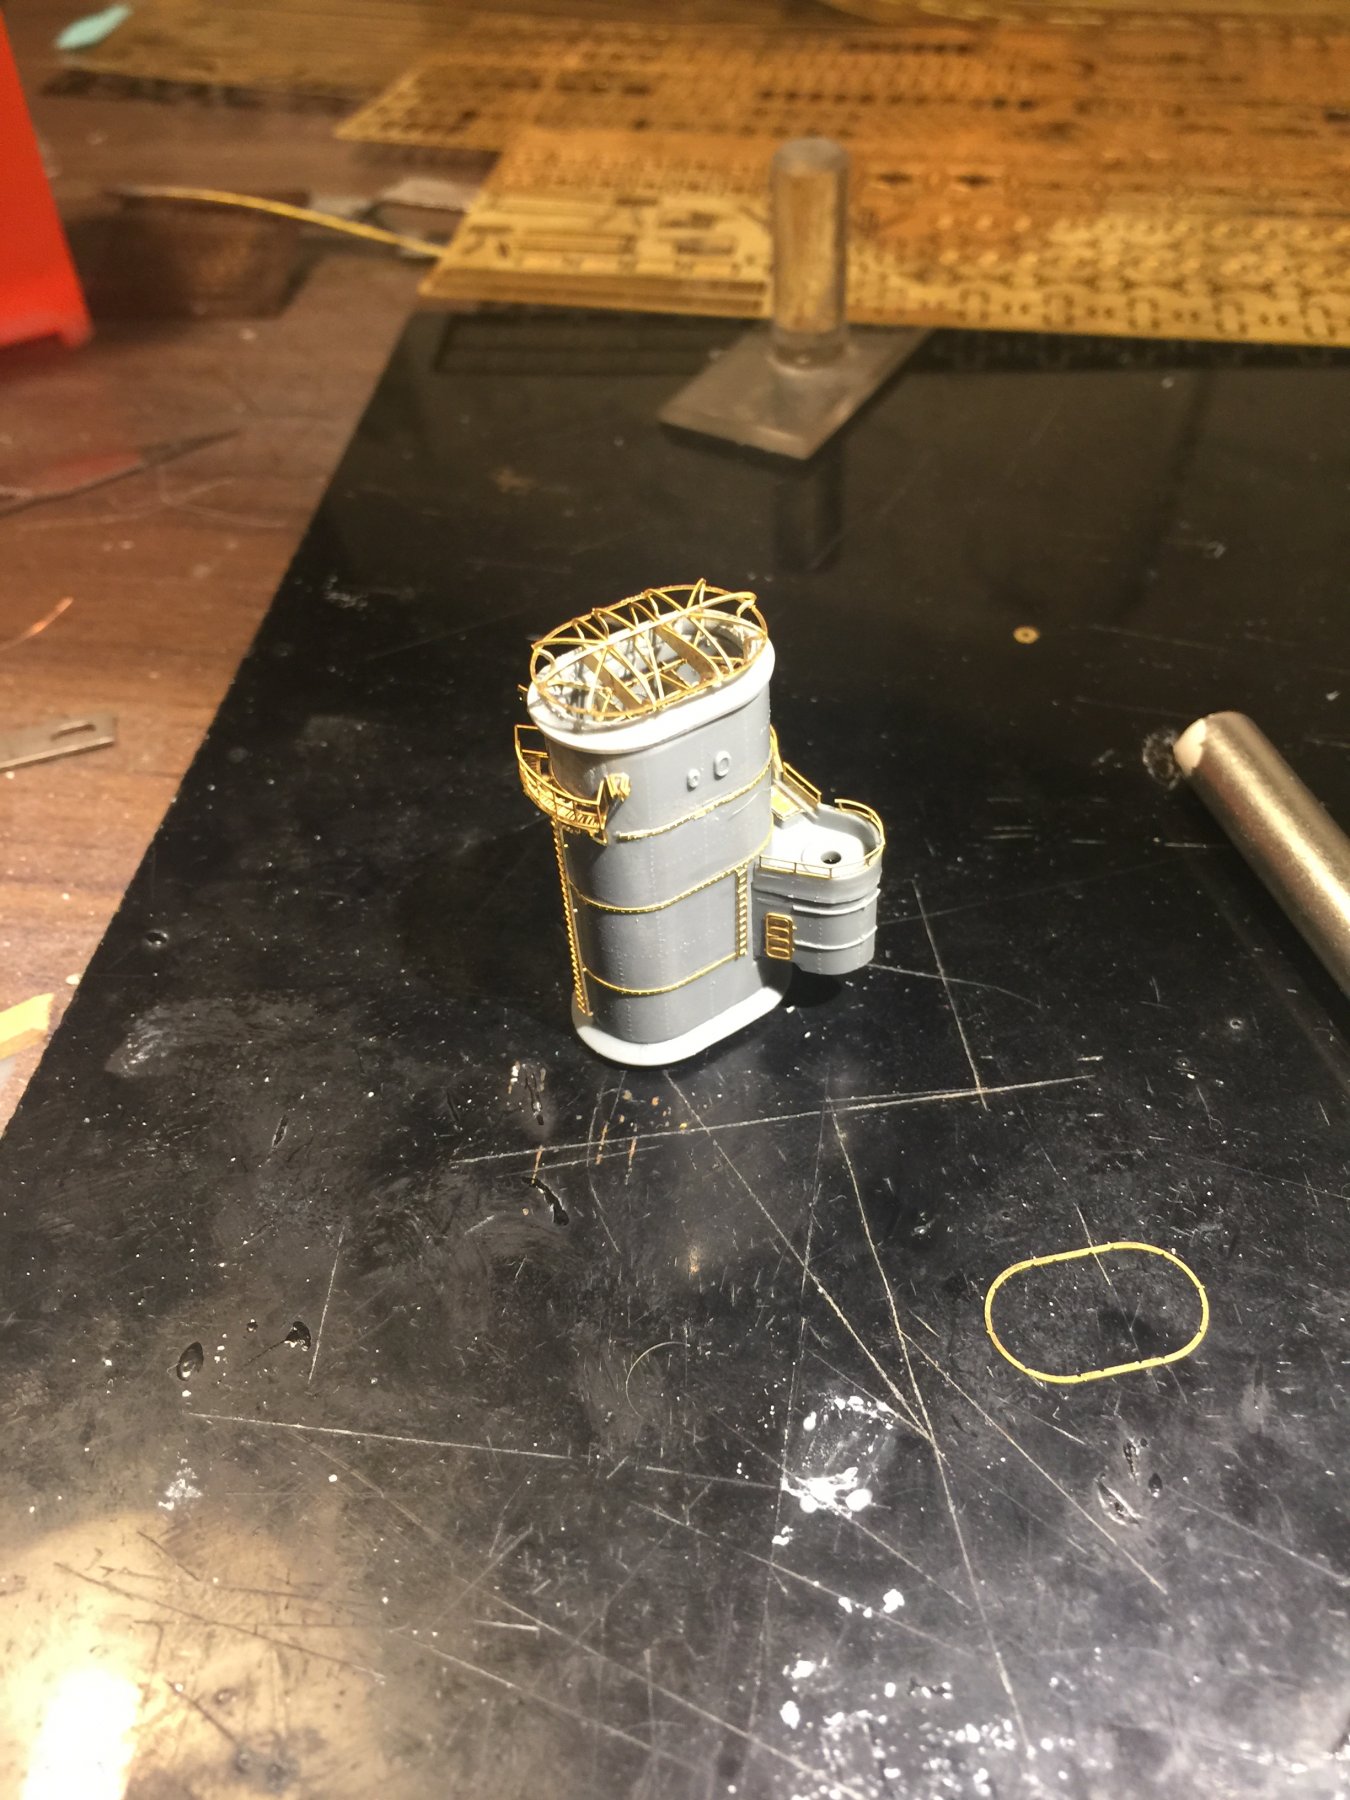
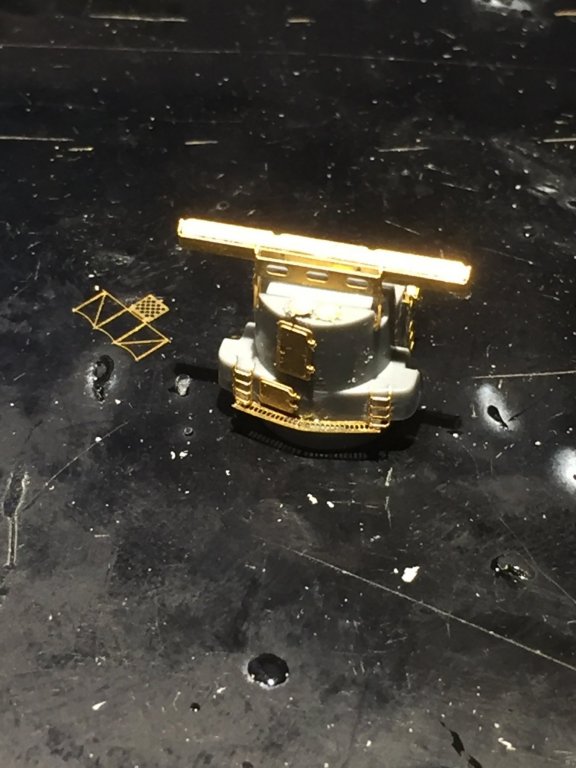
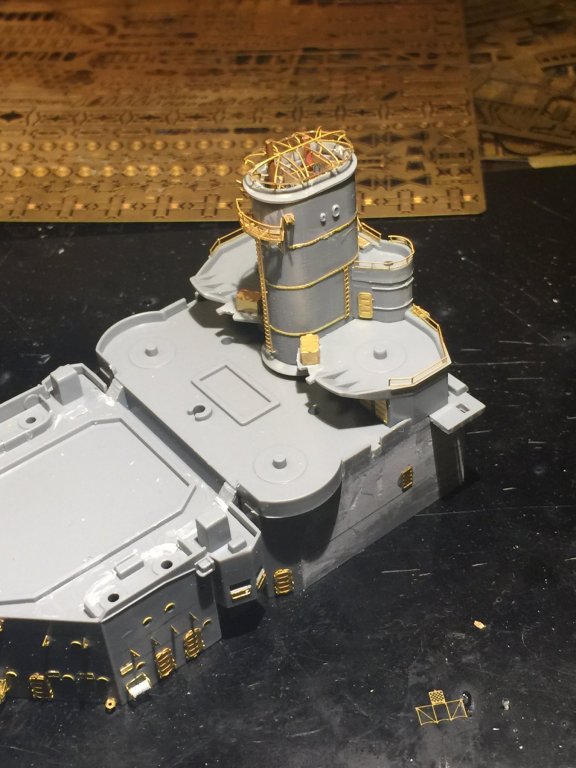
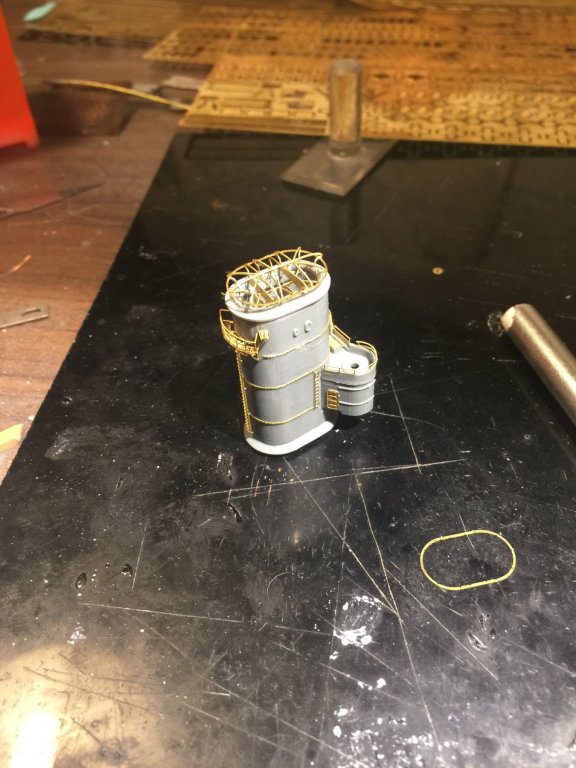
Fore funnel done. The funnel grills are a stressful exercise but they really transform it from a toy to a model. I need to add a few more ladders but not until I know how the masts sit.

- 405 replies
-
- 13
-
-
- tamiya
- king george v
- (and 2 more)