RGL
-
Posts
5,539 -
Joined
-
Last visited
Content Type
Profiles
Forums
Gallery
Events
Everything posted by RGL
-
 I can only do one at a time, too many details on one yet alone multiple kits.
- 292 replies
-
- 5
-

-
- g class destroyer
- trumpeter
- (and 4 more)
-
It was a micro file set, with the files held in the body of the handle, so it is not designed for it but it works
- 405 replies
-
- 7
-
-
- tamiya
- king george v
- (and 2 more)
-
I’m probably lucky the shipping is so expensive as they have lots of loveyshiny things I want.
- 292 replies
-
- 6
-
-
- g class destroyer
- trumpeter
- (and 4 more)
-
You can give it a light brown wash then dry brush a lighter shader to bring out the creases and another lighter coat to highlight
-
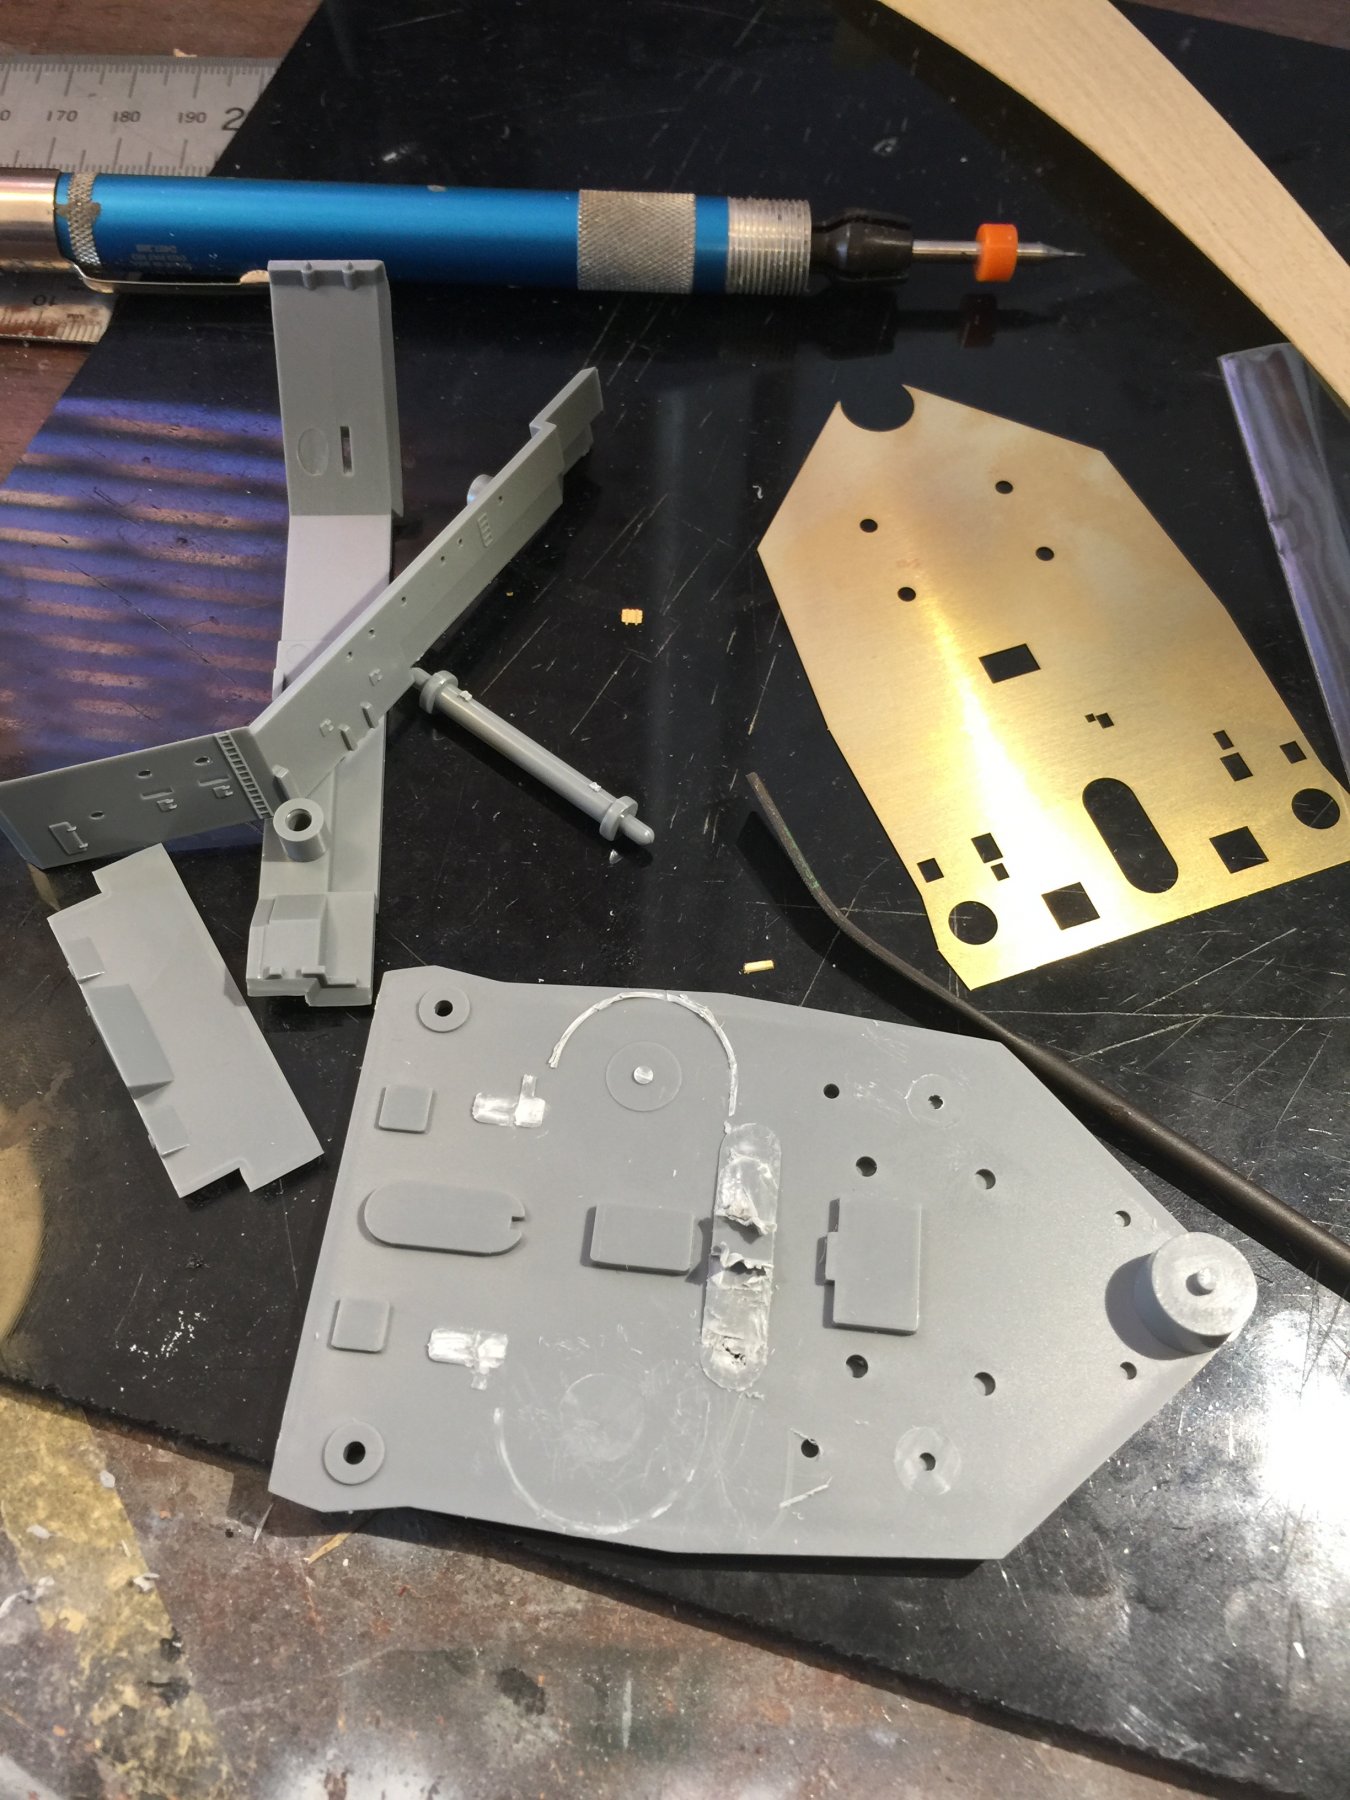
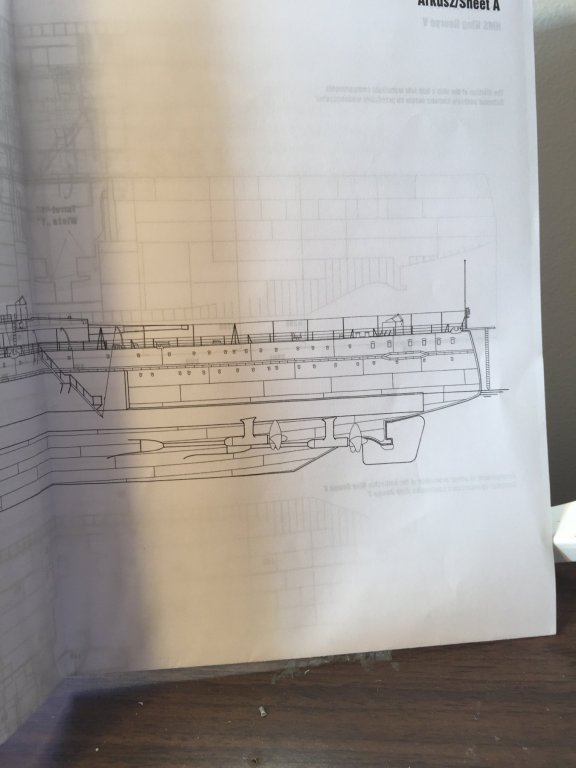
Eyes open Cog! I spend the day shaving off the modified boat deck deck to make it a boat deck. By 1945 this was an AA platform and the catapult area between the superstructures was the boat deck. Pontos gives you a nice brass shim to cover this area up. I’ve shaved a mil of the edge so I can add individual rail stanchions. The white plasric is a splinte shield added instead of railing in 1943 with som gussets for support. There will be two 20mm cannons behind them. Lots of doors and a few ringols too. I sought an extra few sets of RN doors as Pontos never really provides enough of them. There are about 8 carley floats, three cable drums and 2 booms to go. I can then move upwards towards the mast.


- 405 replies
-
- 11
-
-
- tamiya
- king george v
- (and 2 more)
-
Yes, it’s on it’s way south. This is one needs a bit of bashing yet as it is a 1945 version and I need to retrograde it 2 years.
- 405 replies
-
- 8
-
-
- tamiya
- king george v
- (and 2 more)
-
Pat you are always welcome to sit alongside me as I might learn something. I enjoy the research as we might as well be as accurate as possible.
- 405 replies
-
- 8
-
-
- tamiya
- king george v
- (and 2 more)
-
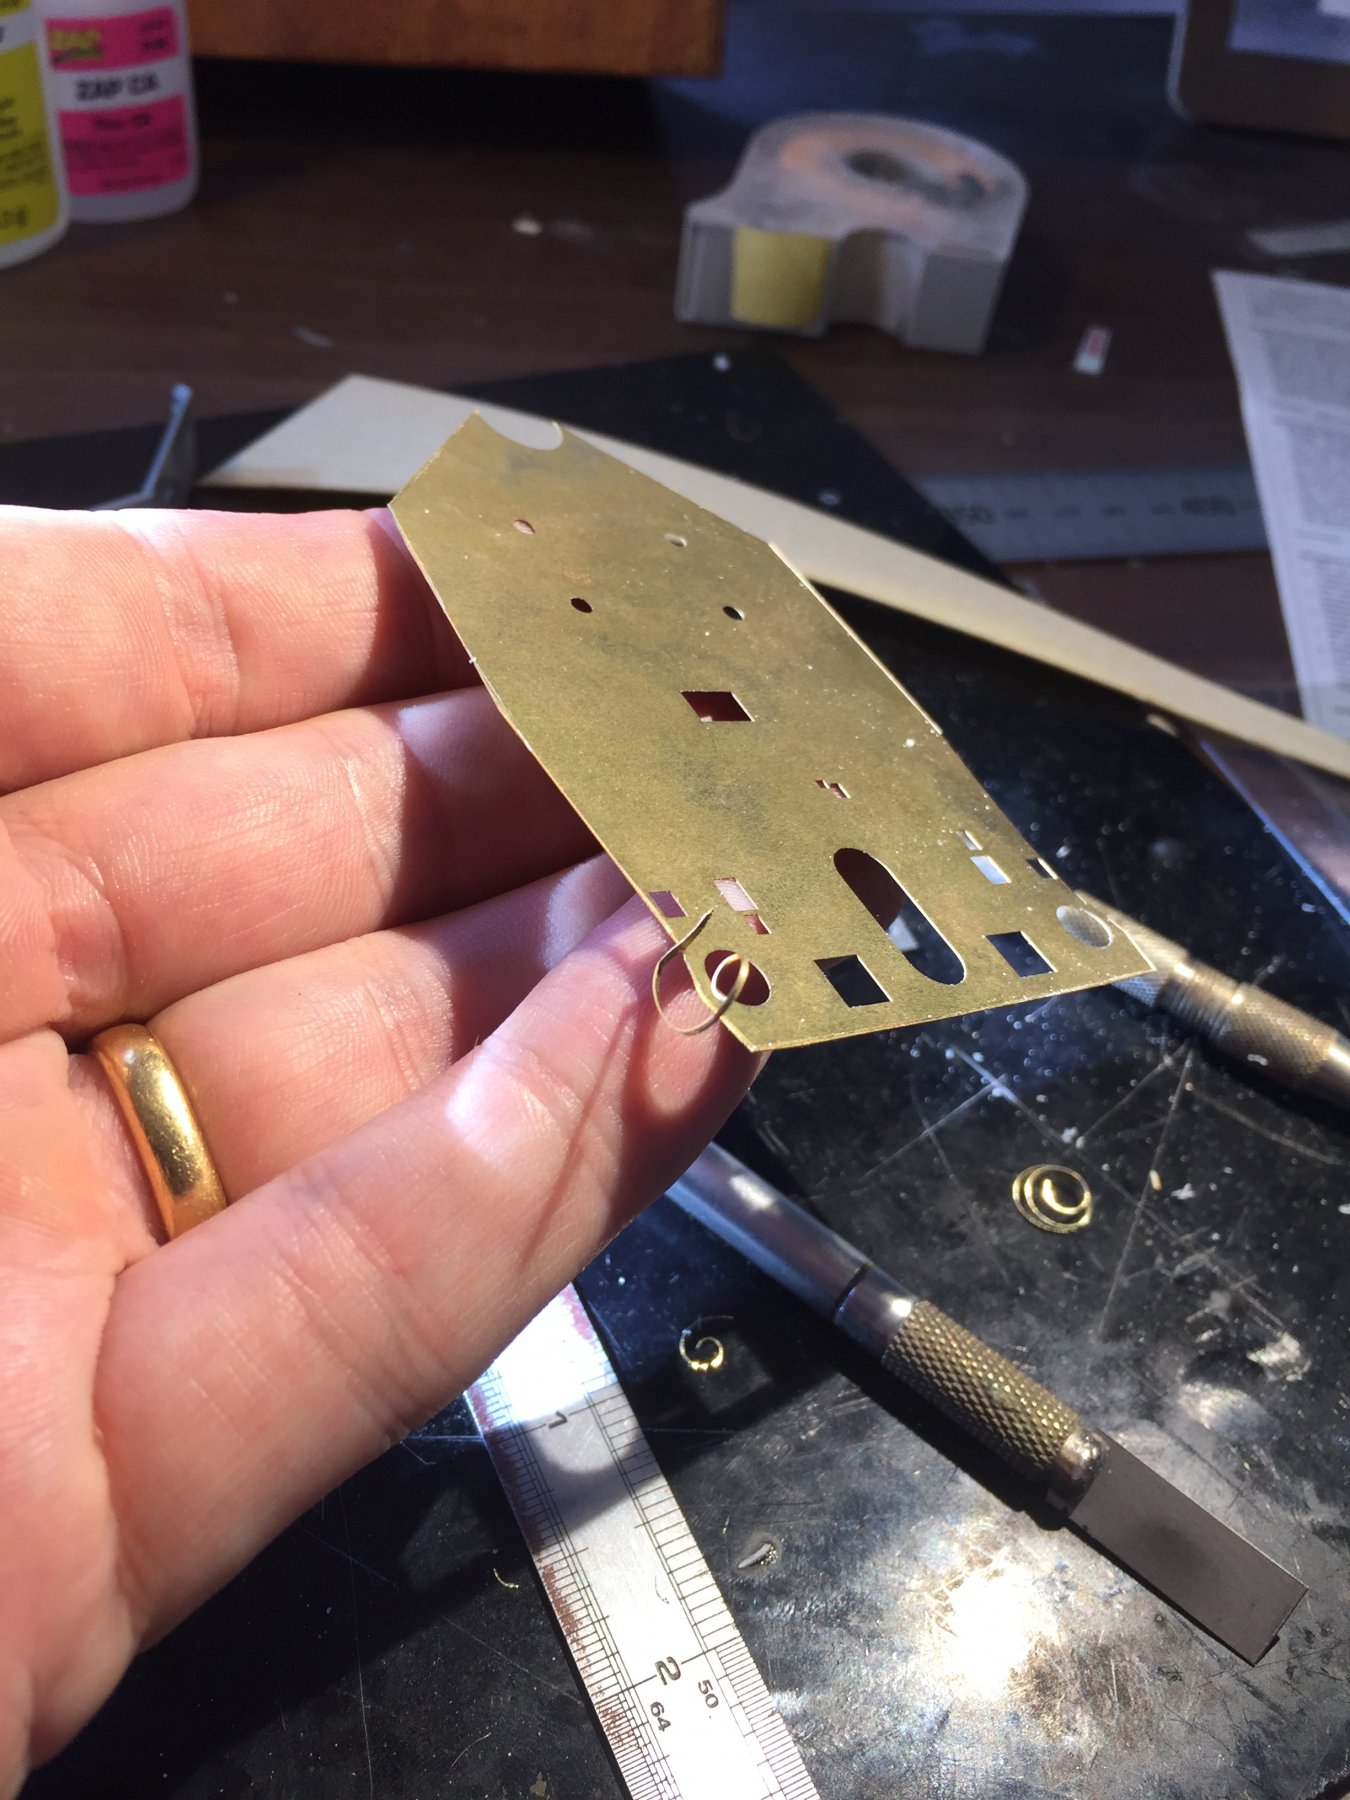
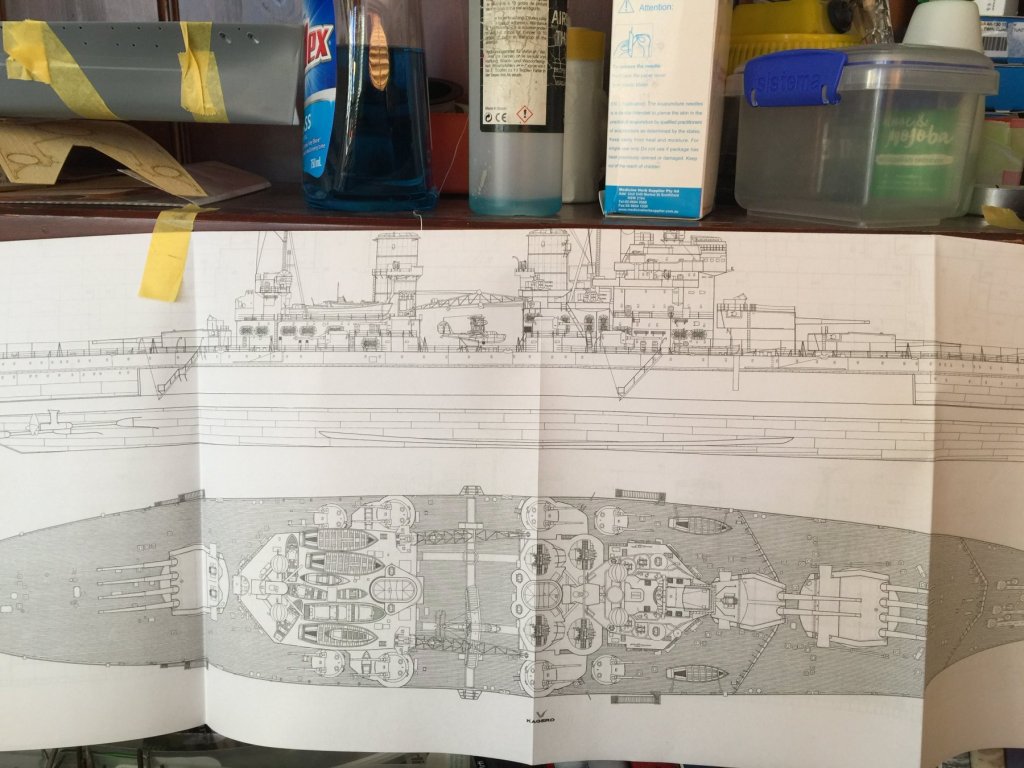
Ringols added, degaussing cable added but terminated near the A turret, as far as I can tell the bow cabling was placed internally in 1942. The 6 a side square hatches added.
- 405 replies
-
- 12
-
-
- tamiya
- king george v
- (and 2 more)
-
Why yes they are! How could I not? I’m surprised that Pontos did not include some but I got some from MK1 design, same as I used in HMS Dreadnought
- 405 replies
-
- 6
-
-
- tamiya
- king george v
- (and 2 more)
-
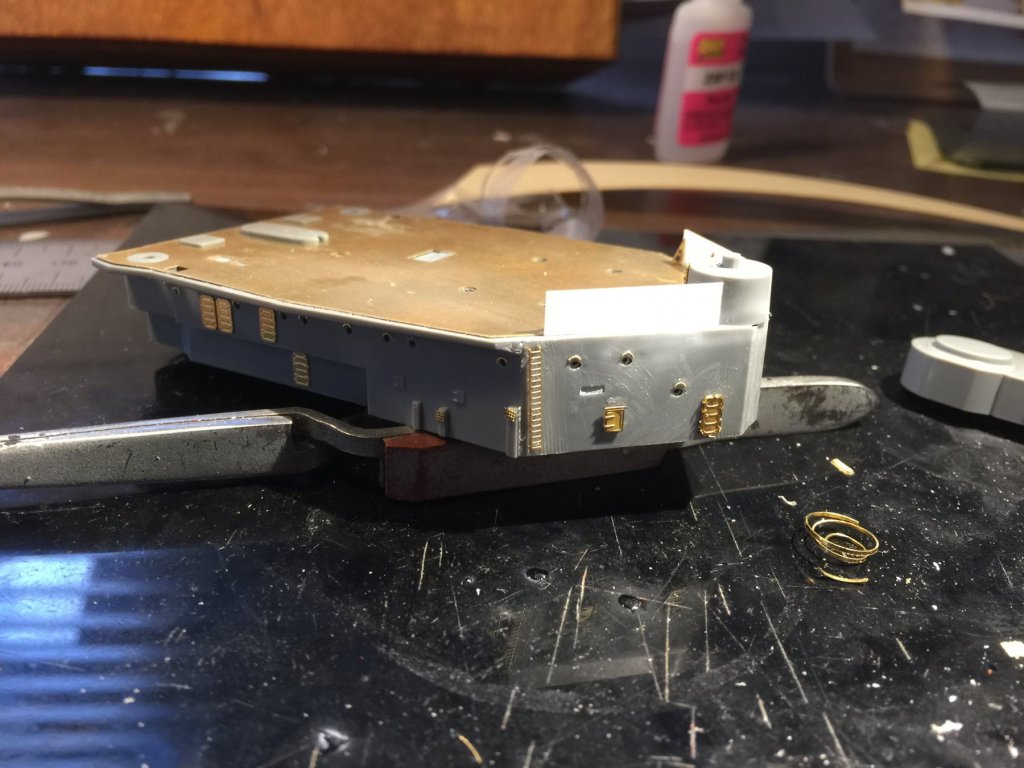
Apparently that’s what we all do when born, curl our toes, a memory from the days of apes. I suppose the further away from the cradle of civilisation the more civilised we are. Im pretty happy with using a rattle can as a primer a lot of the time as it sticks toPE better but it easier to get colour modulation with the airbrush.
- 1,090 replies
-
- 7
-
-
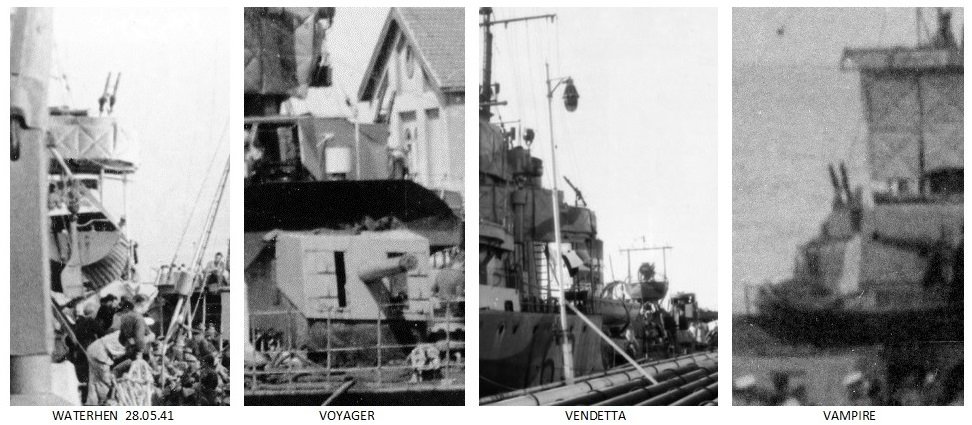
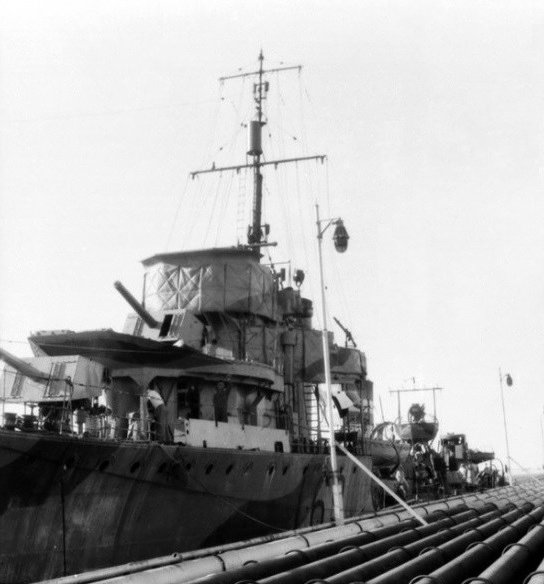
- showcase models
- vendetta
- (and 2 more)
-
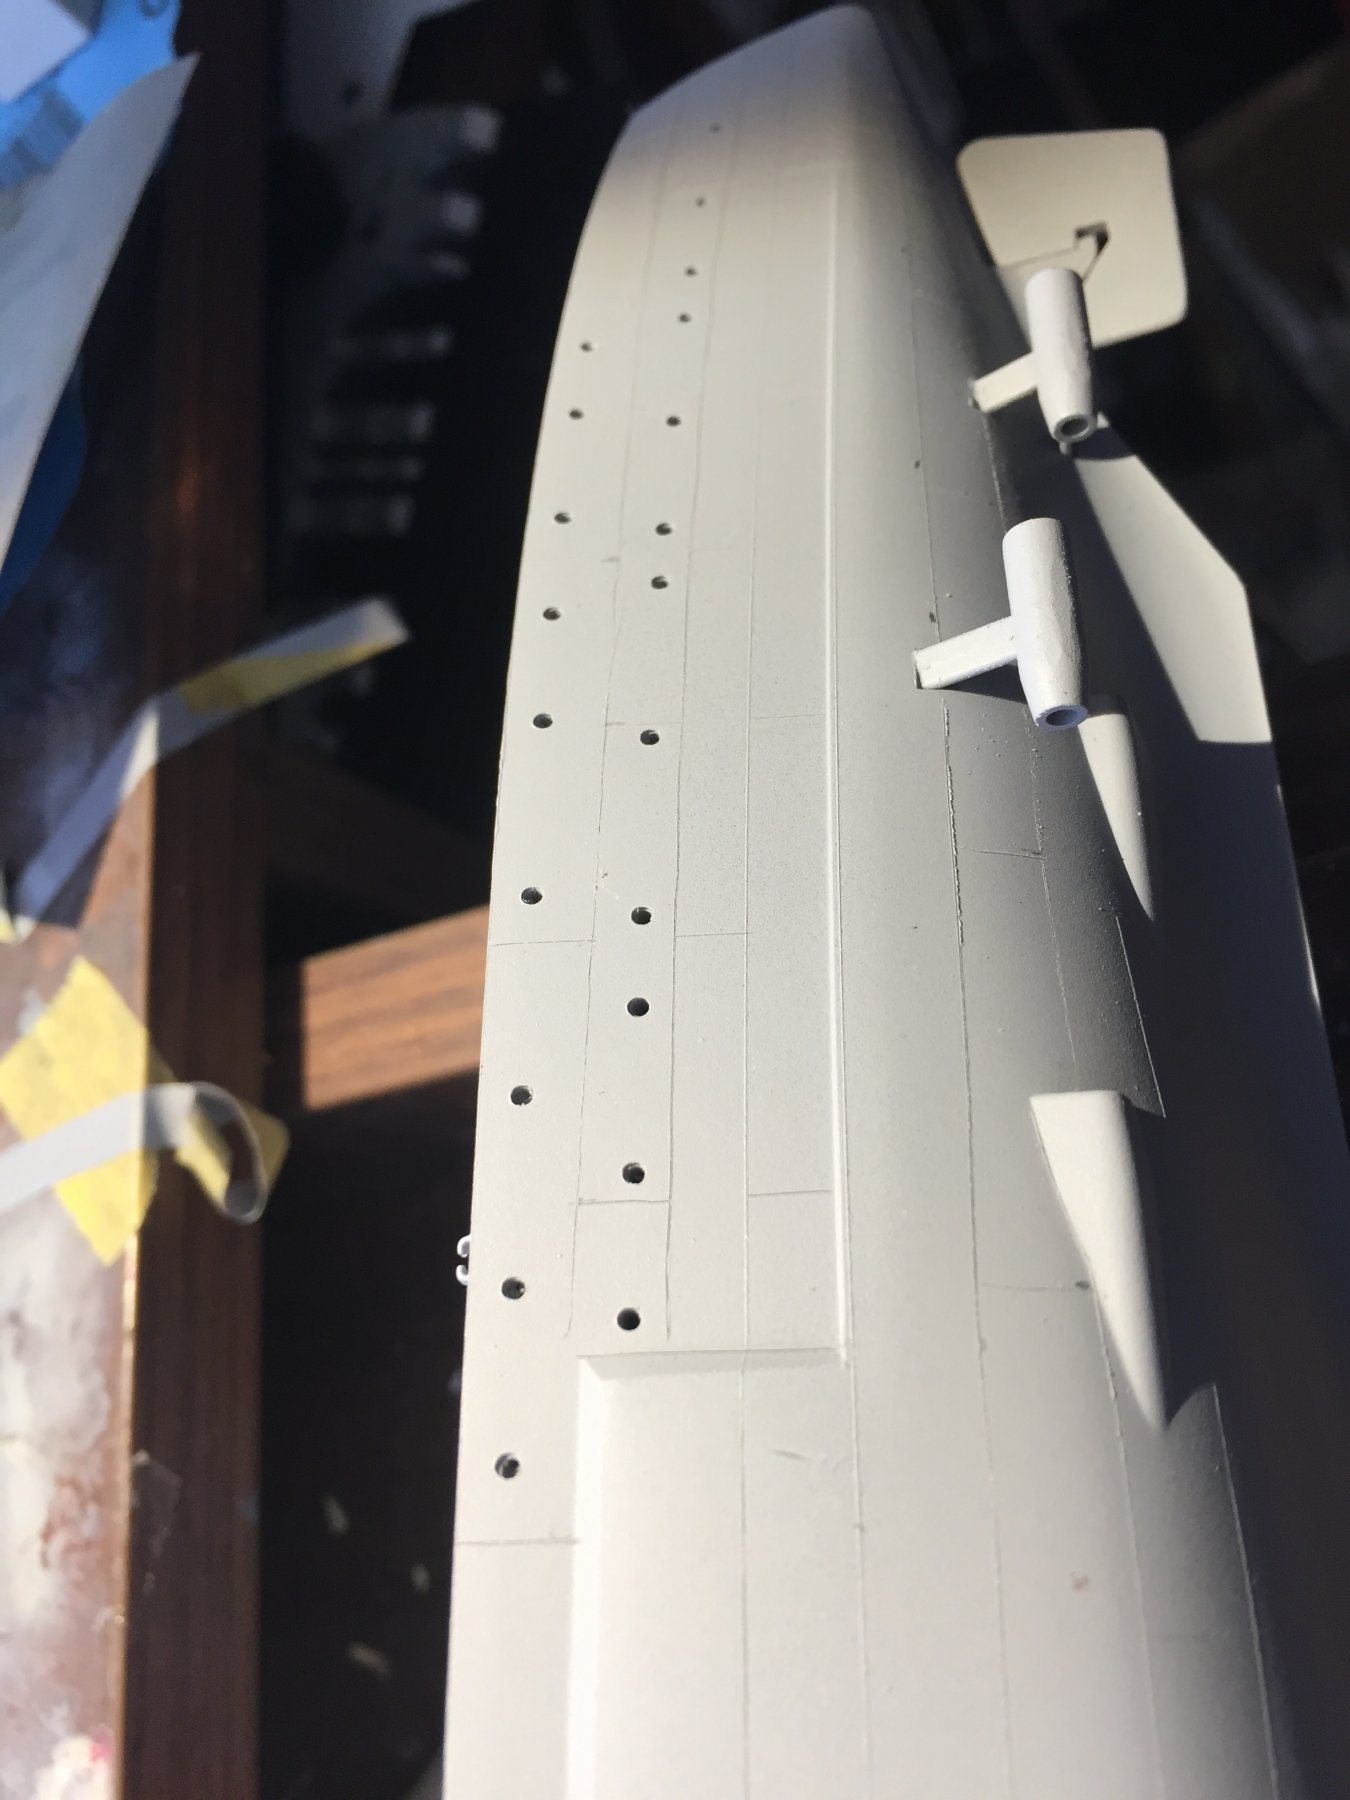
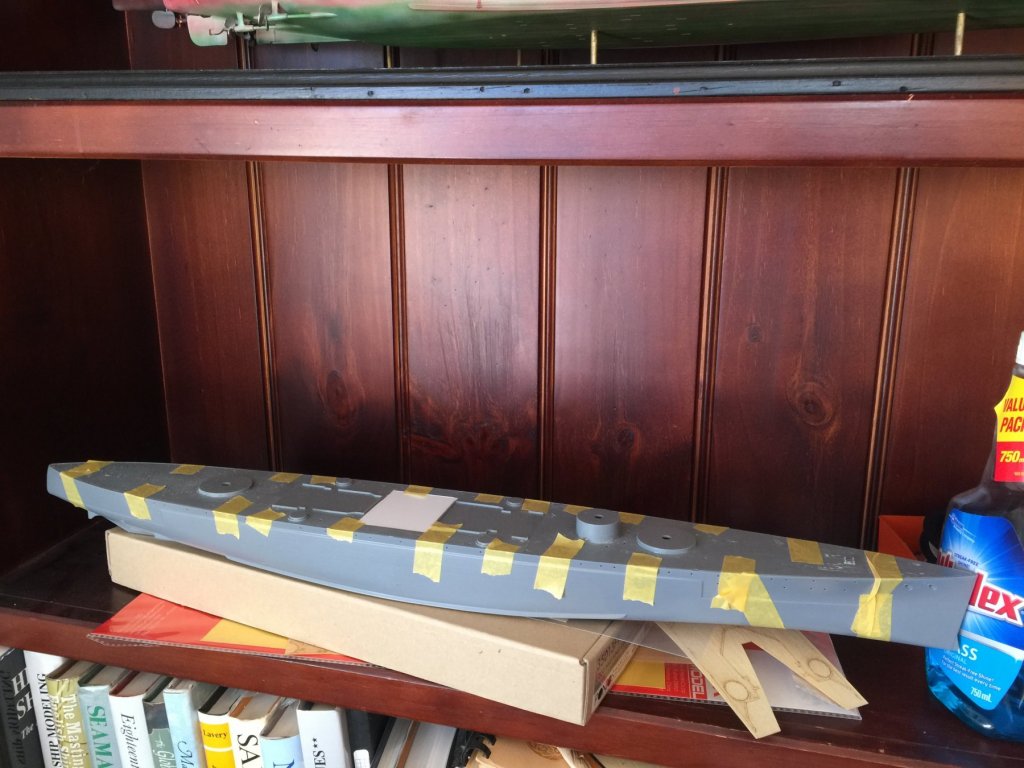
A few coats of rattle can primer today and some armour plates scribed in.
- 405 replies
-
- 11
-
-
- tamiya
- king george v
- (and 2 more)
-
Well you can practice on that one before joining the Seydlitz build later this year
- 1,090 replies
-
- 8
-
-
- showcase models
- vendetta
- (and 2 more)
-
Jack, I merely choose what is rarely done before and what has good aftermarket. The difference between different parts of the globe are exchange rates and shipping costs. Something from the US or Europe to Australia if a large parcel is $100’s of dollars but small parcels are OK (no idea), and EBay shipping prices are an out and out rort. Cog was saying how he gets the Shapeways stuff with cheap shipping in Europe but a 5cm x 5cm box would coat $20-40 to ship here. No matter how good the kit, they look a bit like bath tub toys strait out of the box unless you have good airbrush skills. Simple replacements like doors and barrels plus some simple generic pe rails make all the difference and w’re Happy to encourage you (Cog will bully you but that’s just him, tall mans syndrome).
- 1,090 replies
-
- 8
-
-
- showcase models
- vendetta
- (and 2 more)
-
Excellent work Cog! Very happy with the outcome. One to go then we can join them up.
- 1,090 replies
-
- 8
-
-
- showcase models
- vendetta
- (and 2 more)
-
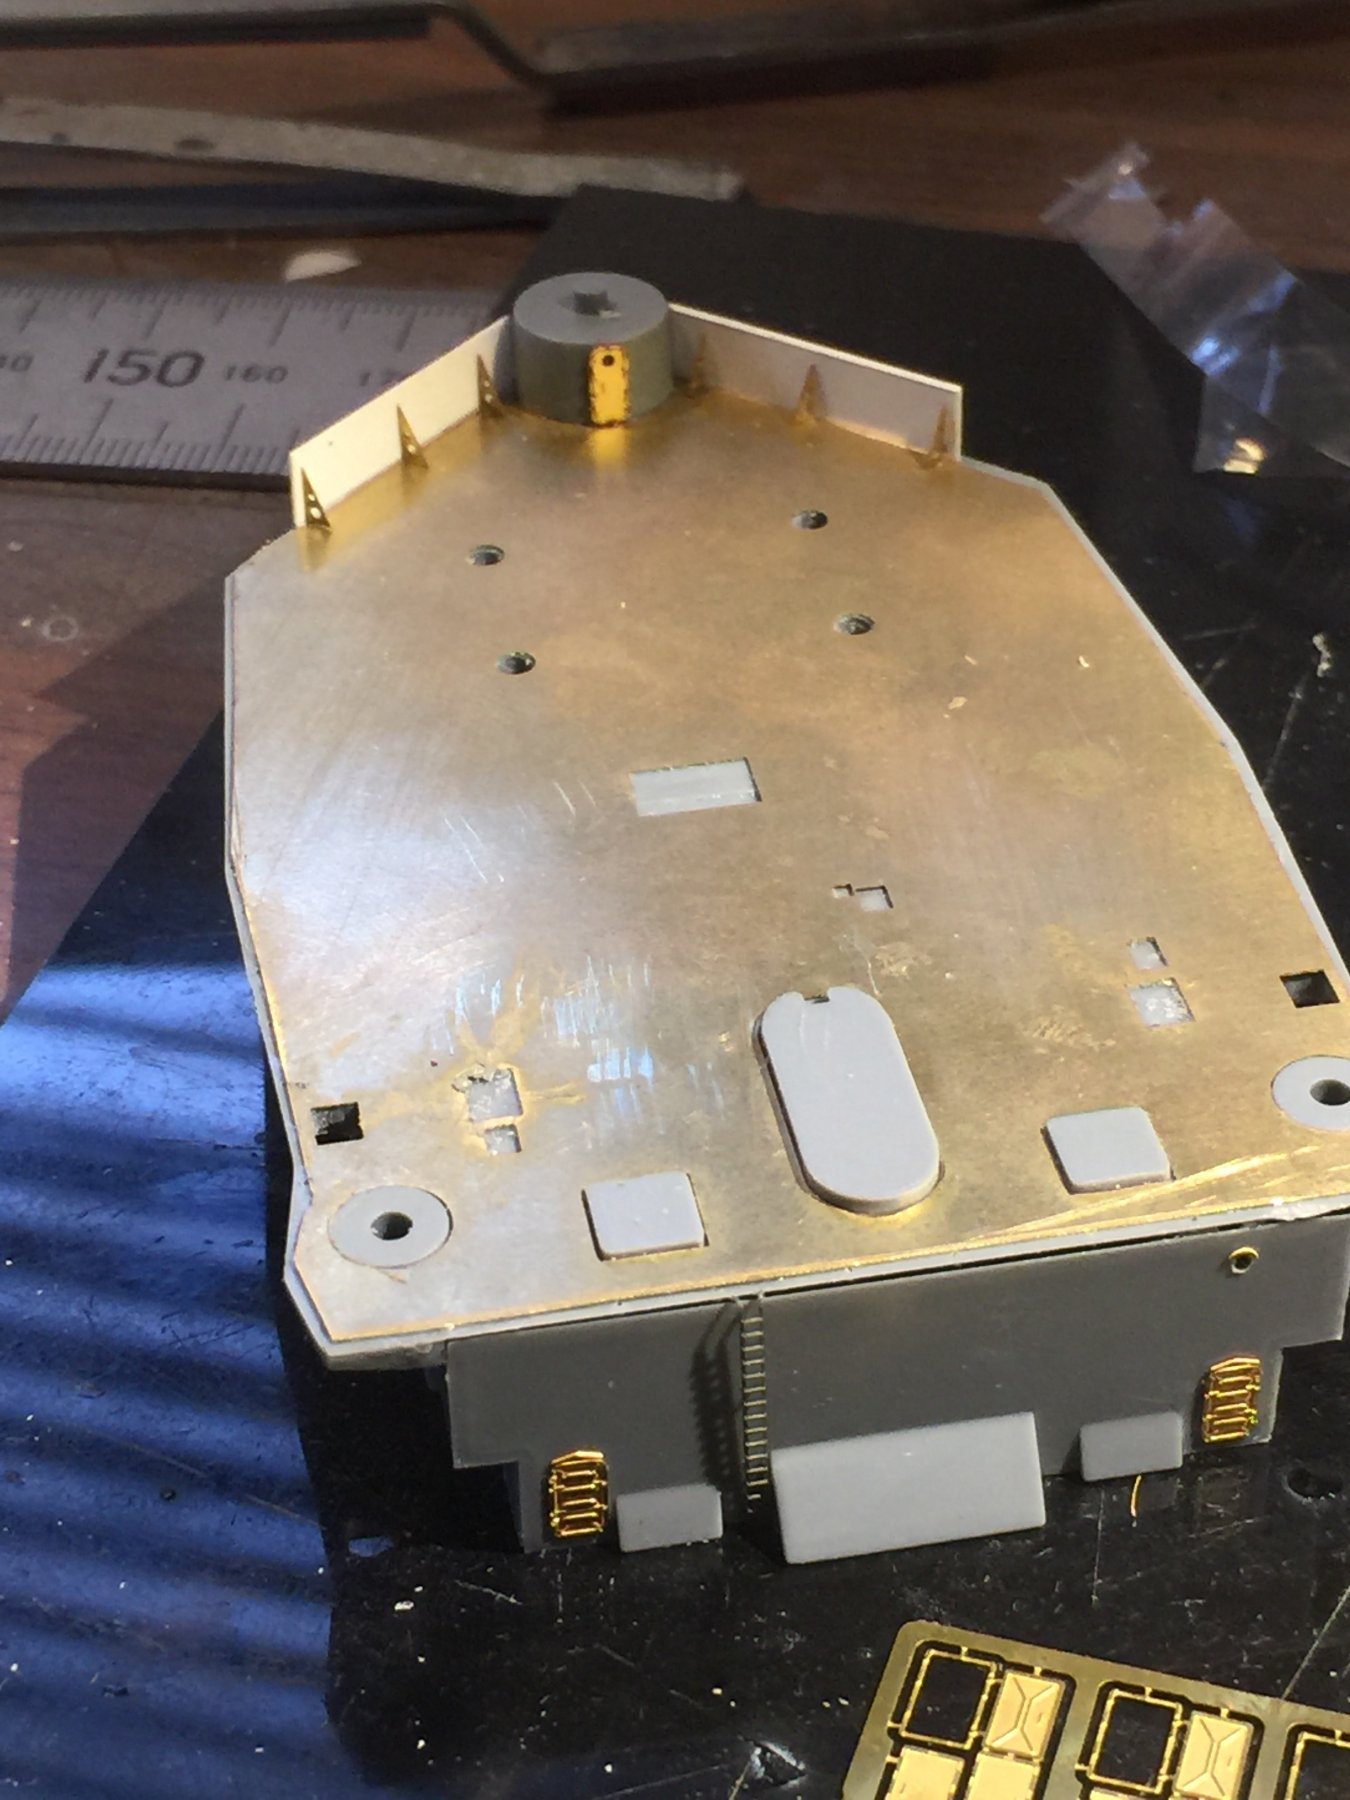
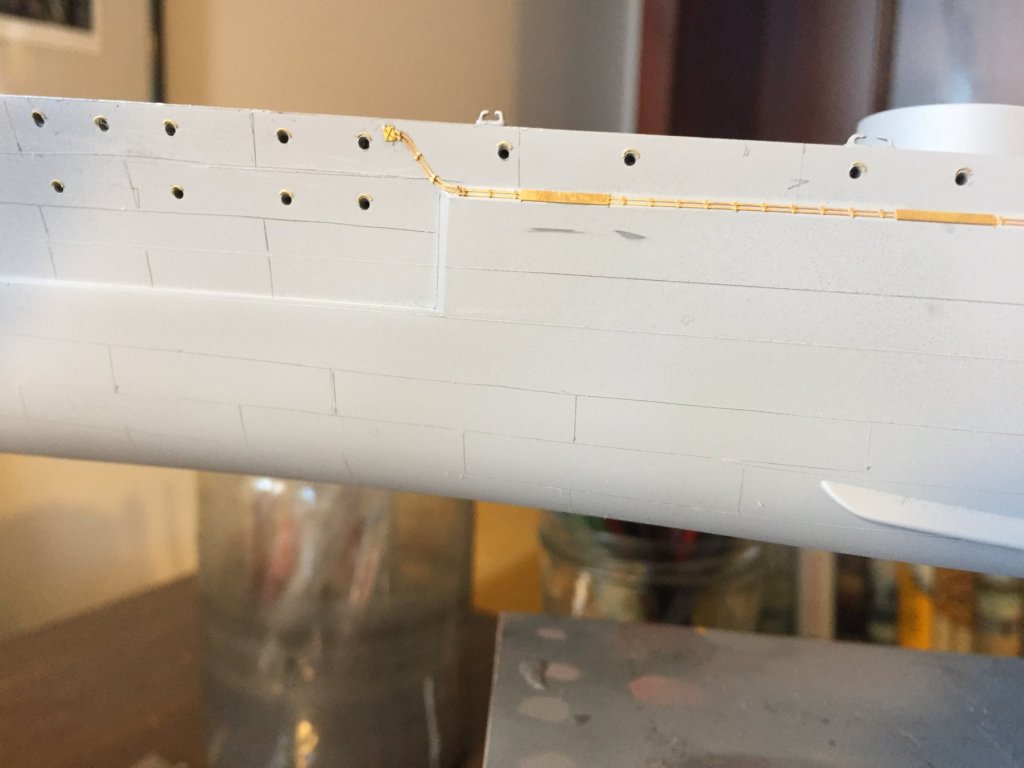
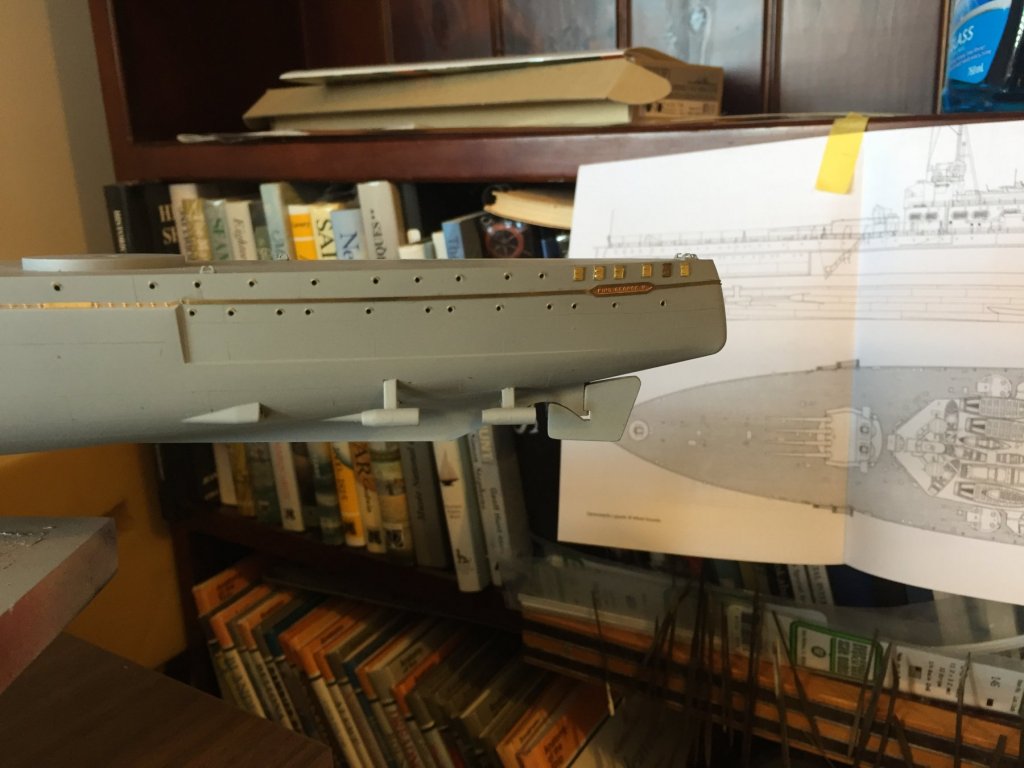
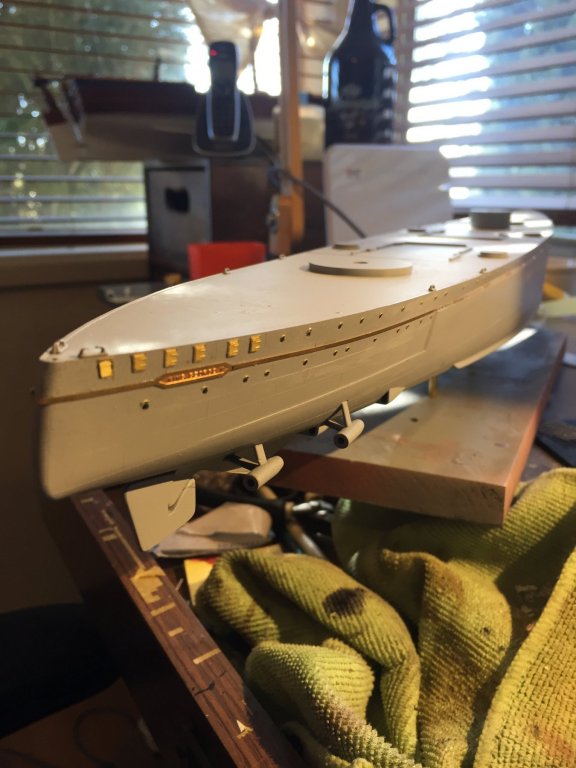
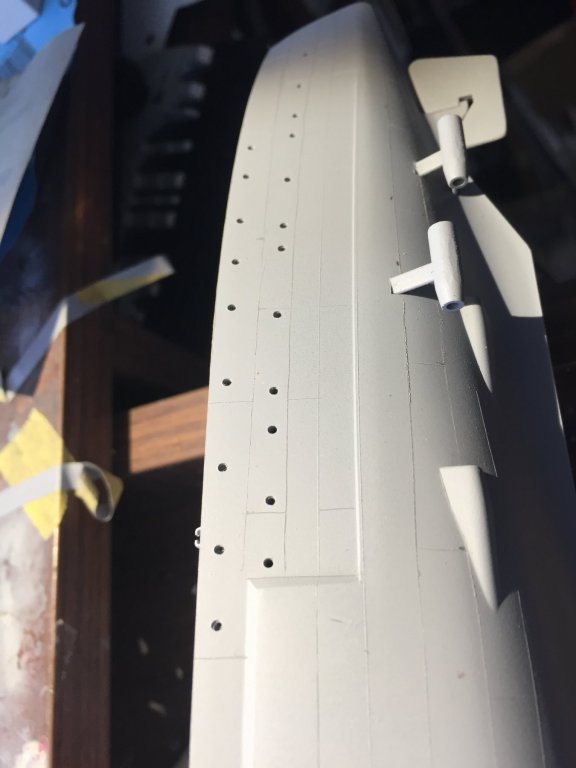
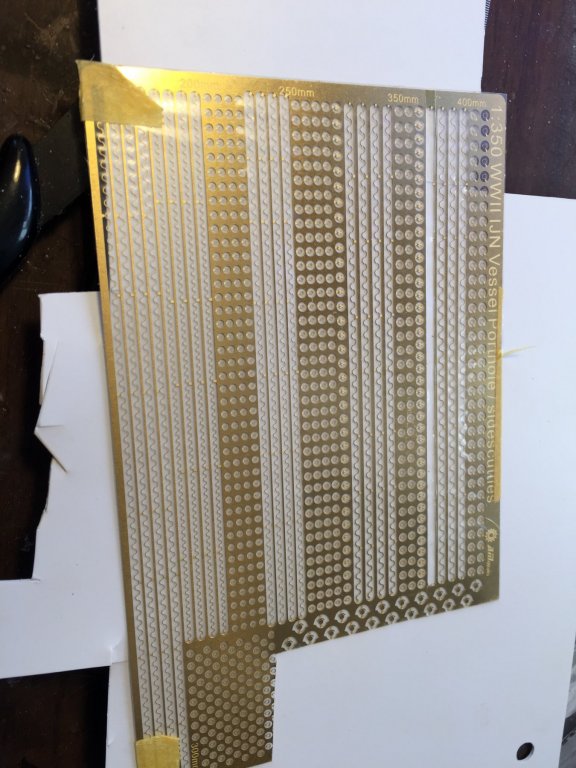
Ok, I’ve made a start on the hull, only 120 or so portholes drilled out, all the deck details cut off and sanded and the 3 purge ended deck stuck on, including some plastic card to fill the hole amidships. This Ringol set from alliance Modelworks will be used above the portholes, and you can also see the amount of detail that needs to be scribed into the smooth hull. The plan is to do the layers of primer first so I can build up some thickness then place the ringols and the rear part of the ships degaussing cable.
- 405 replies
-
- 12
-
-
- tamiya
- king george v
- (and 2 more)