RGL
-
Posts
5,555 -
Joined
-
Last visited
Content Type
Profiles
Forums
Gallery
Events
Everything posted by RGL
-
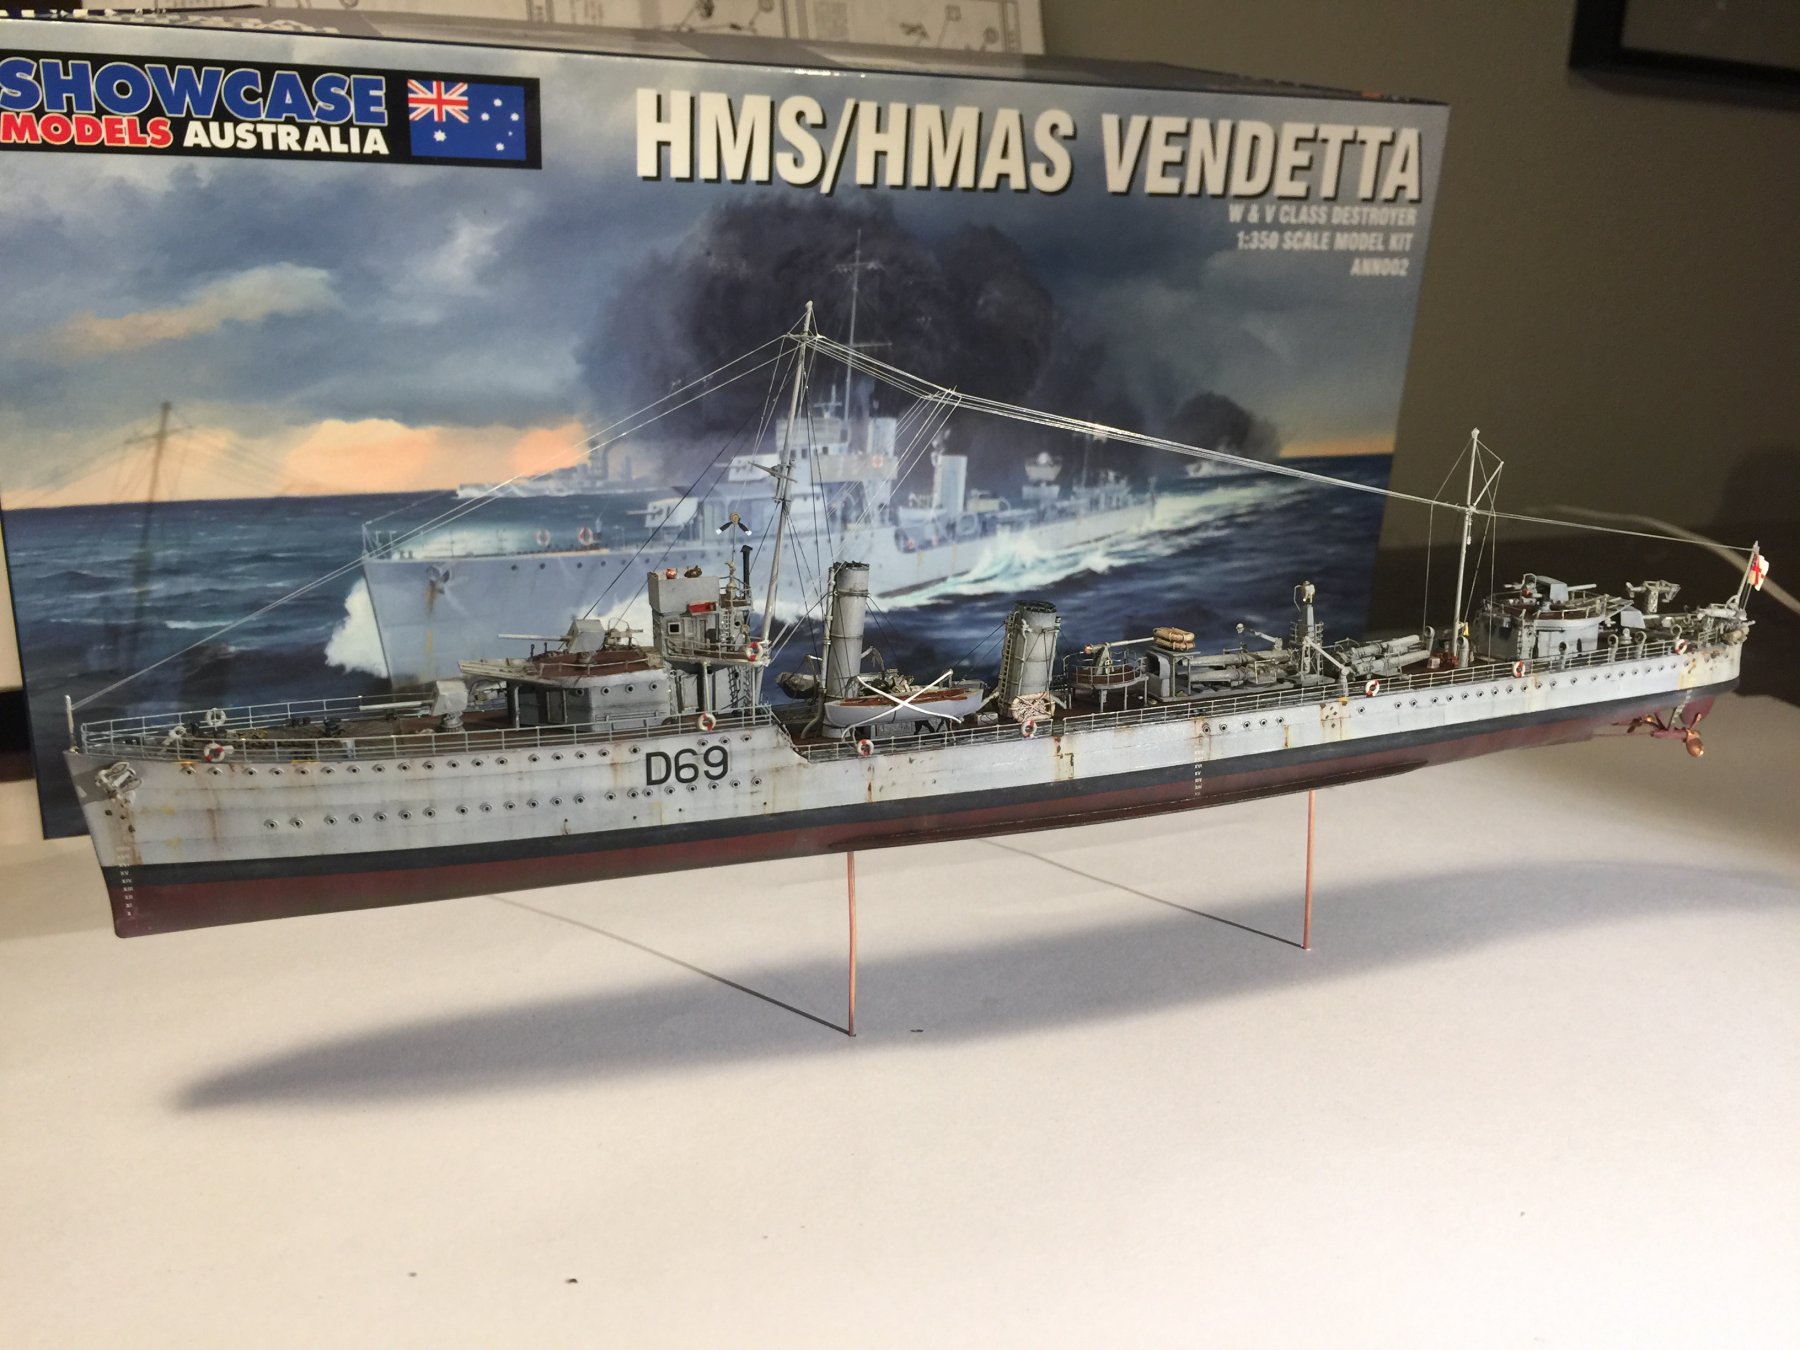
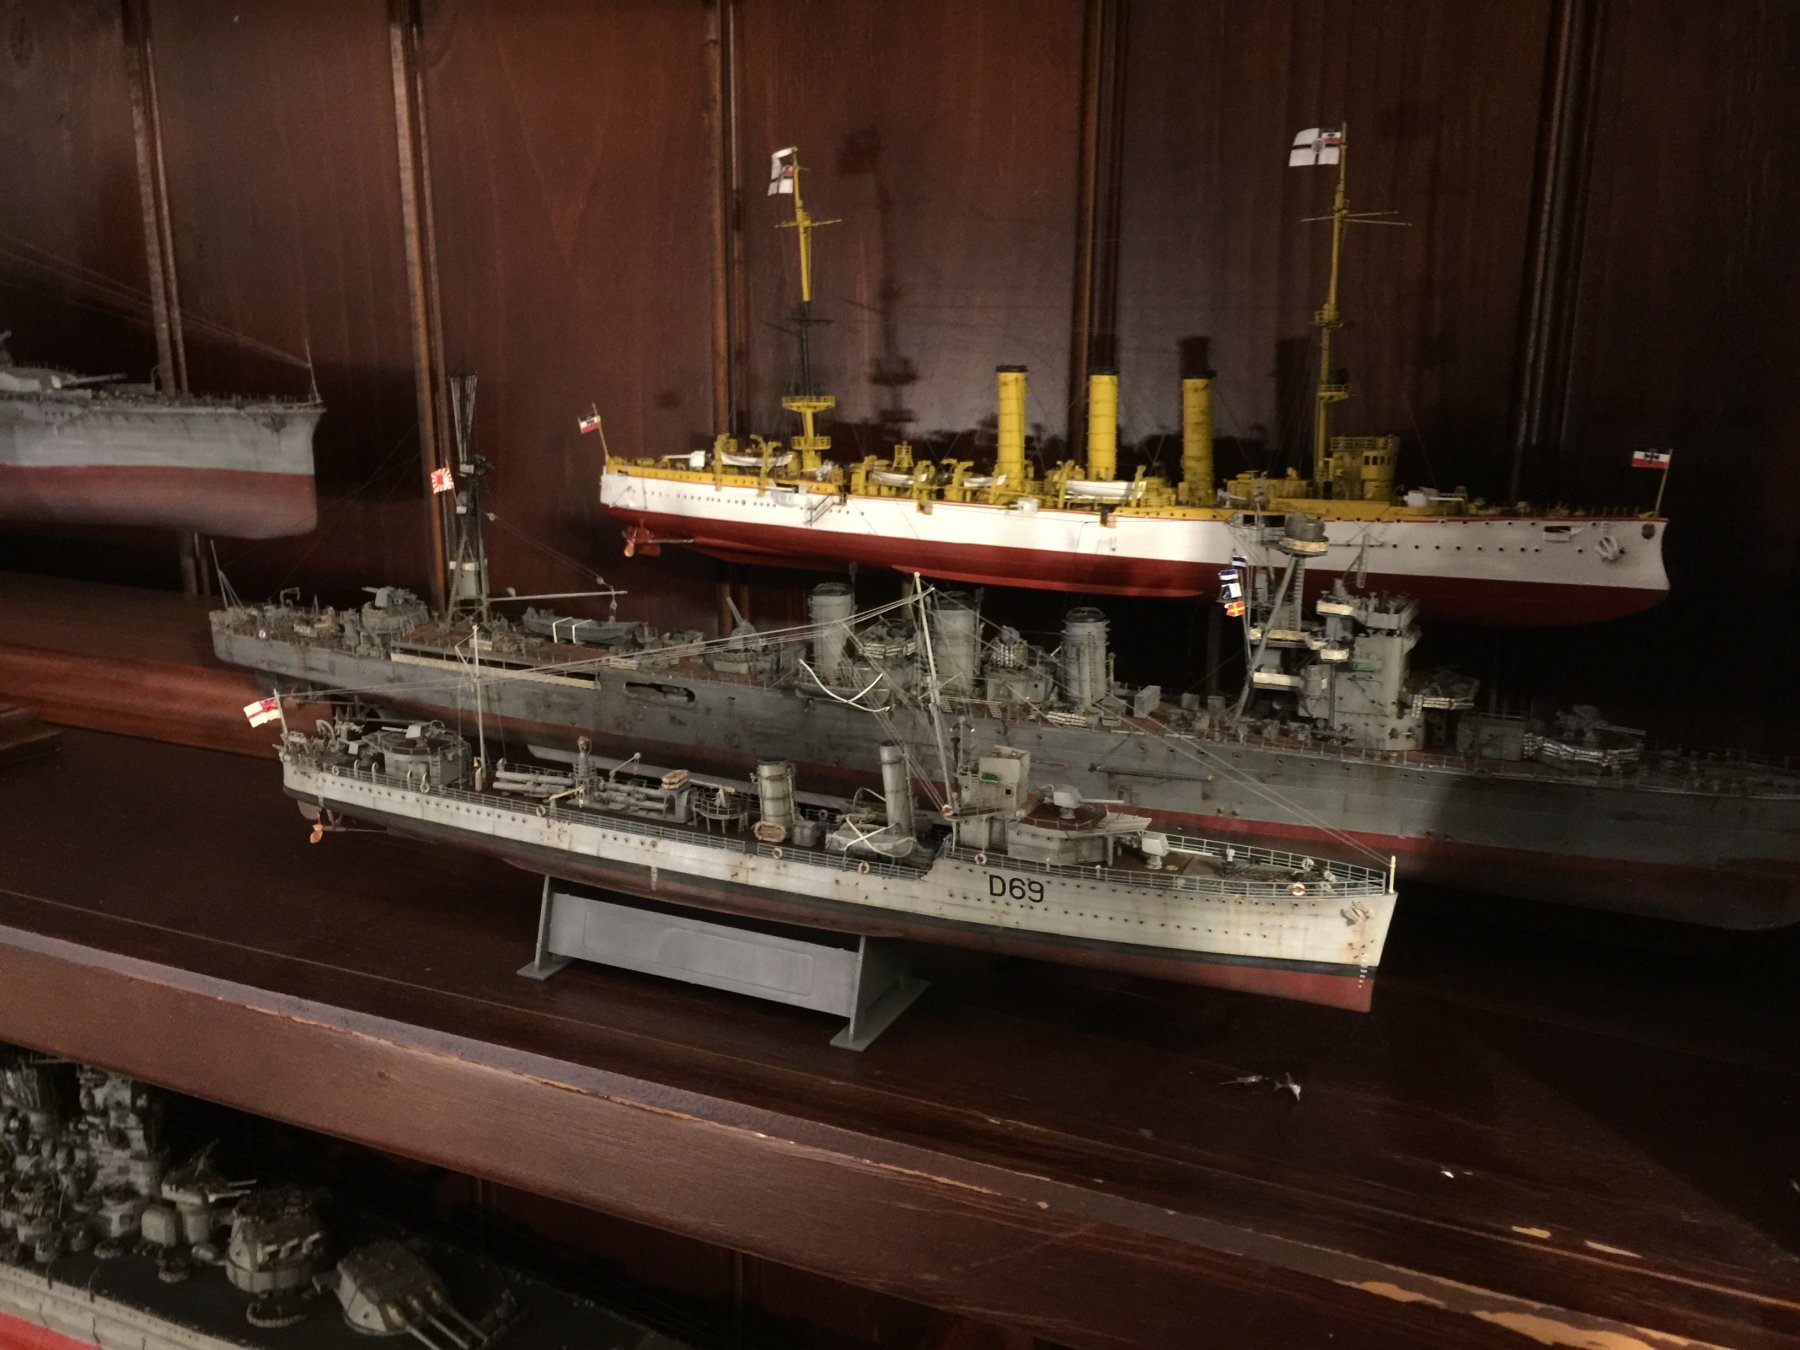
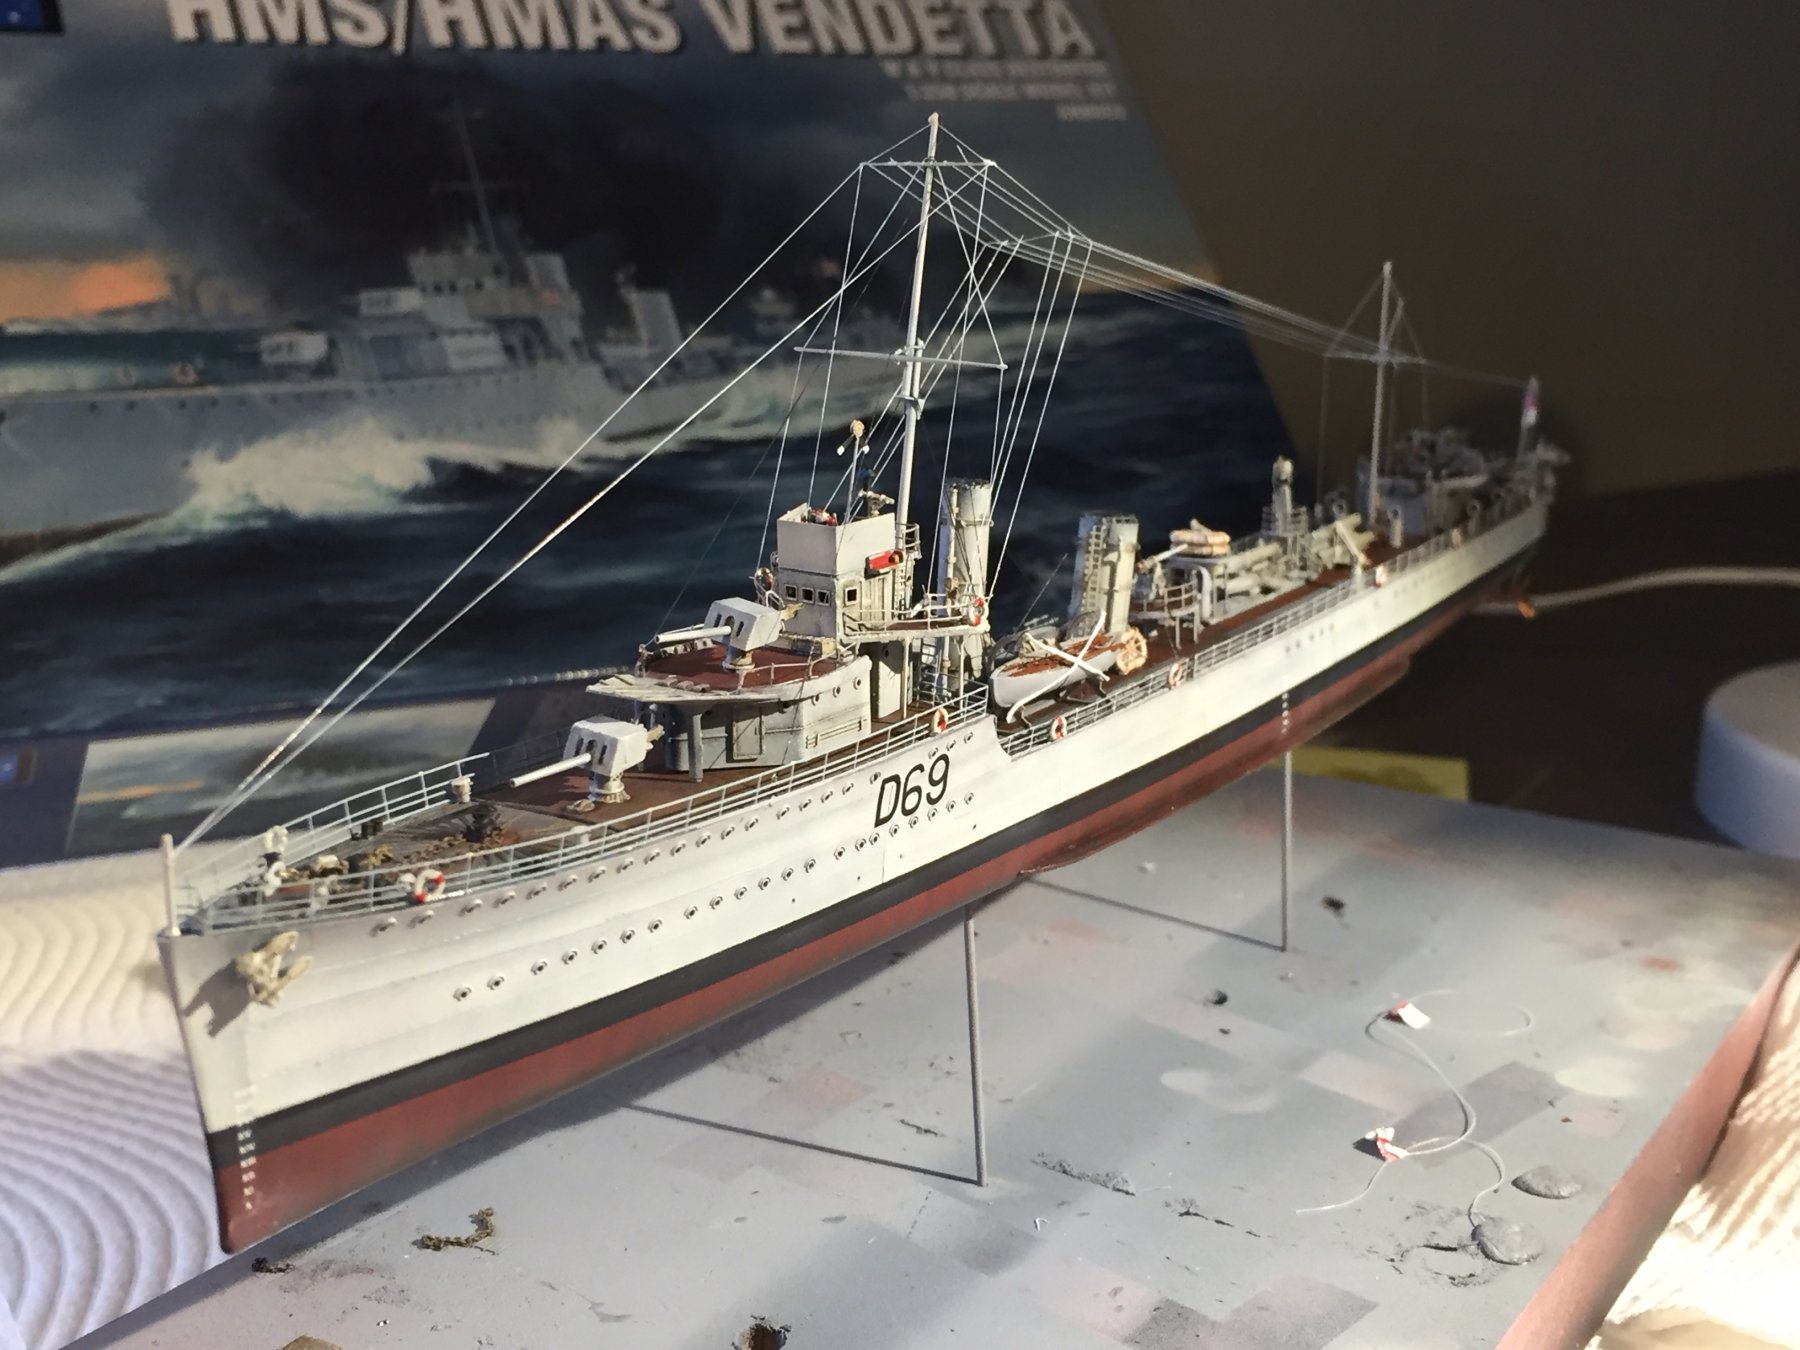
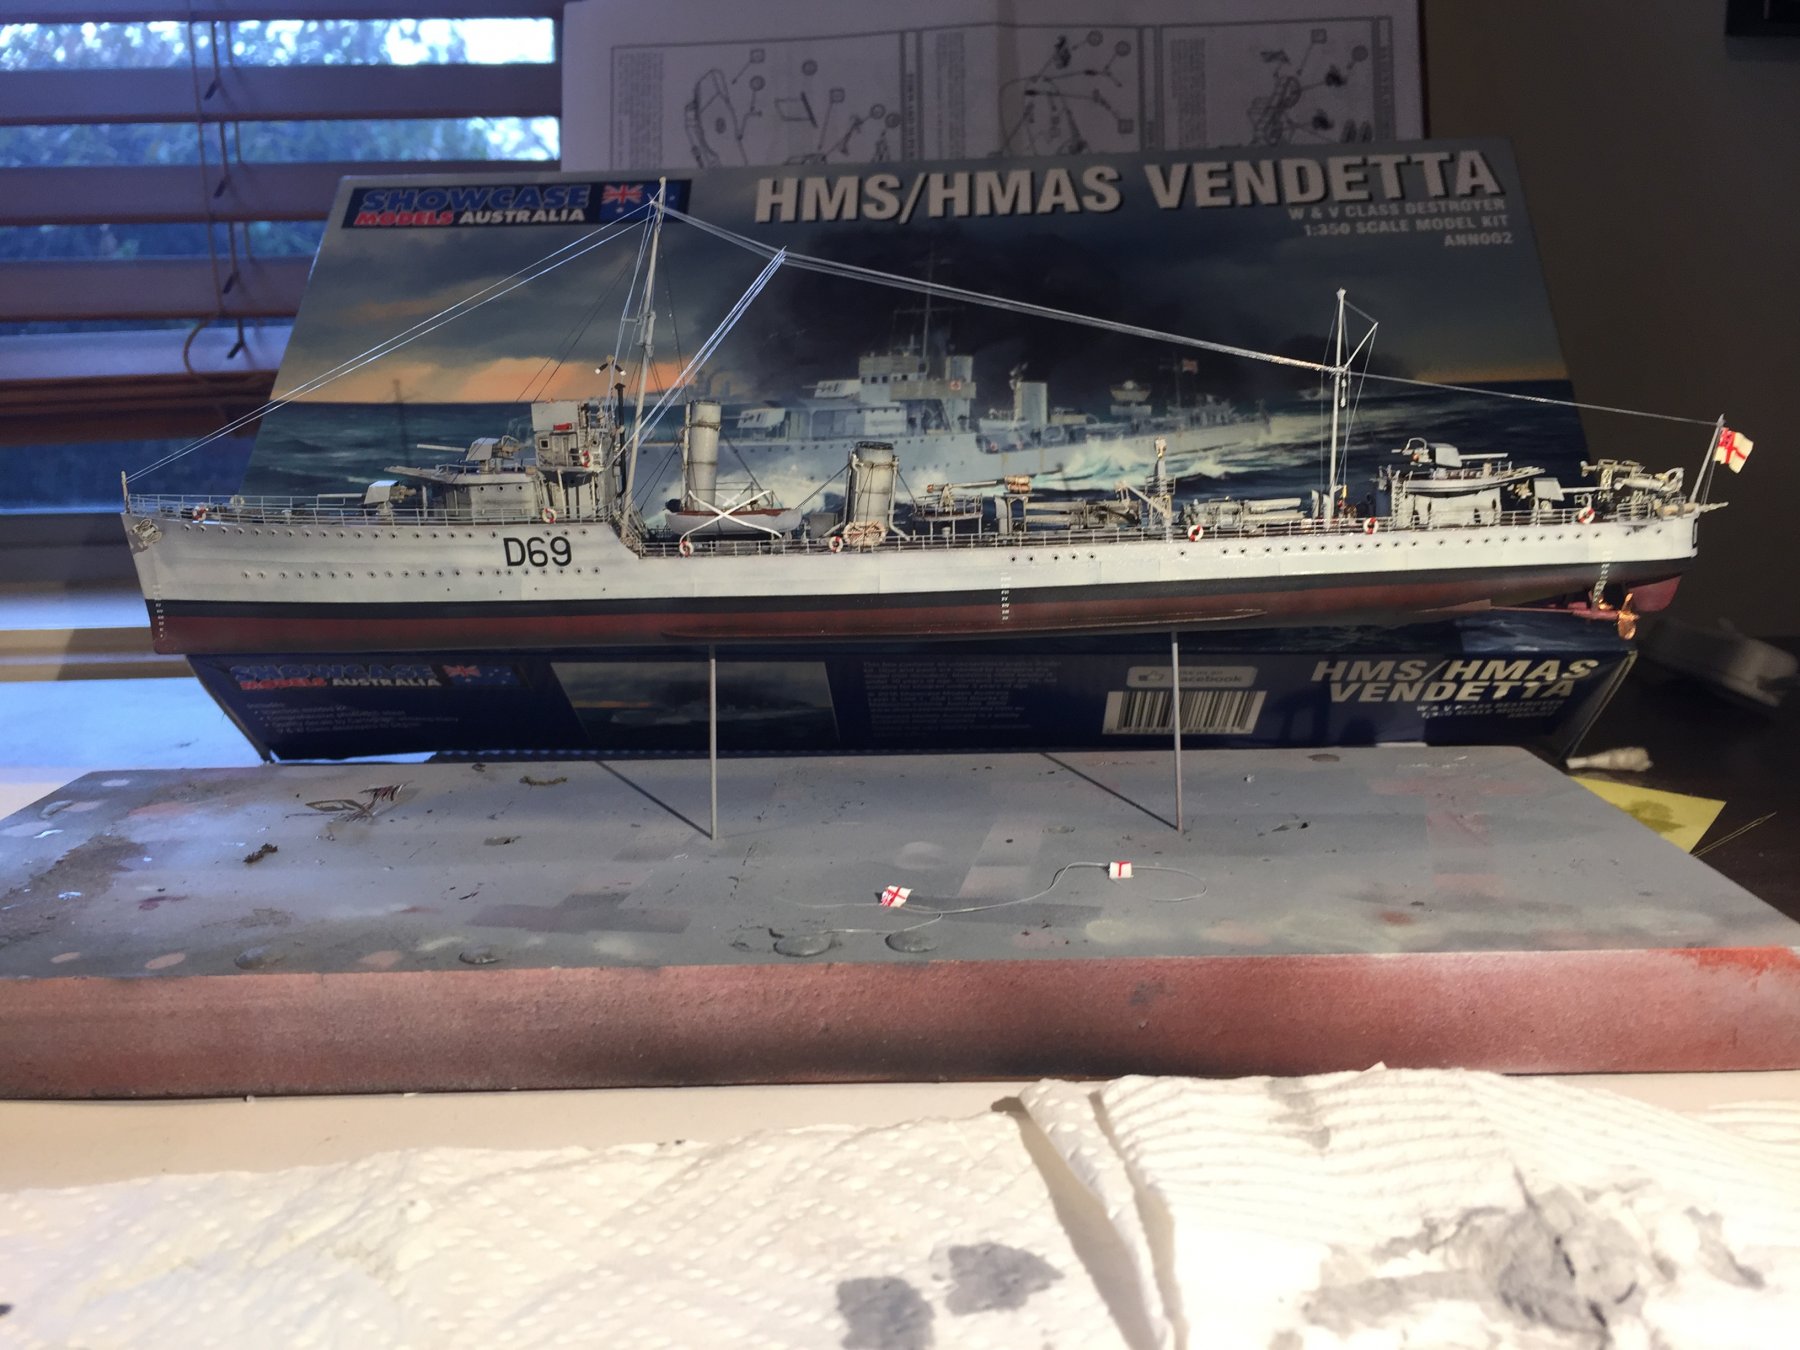
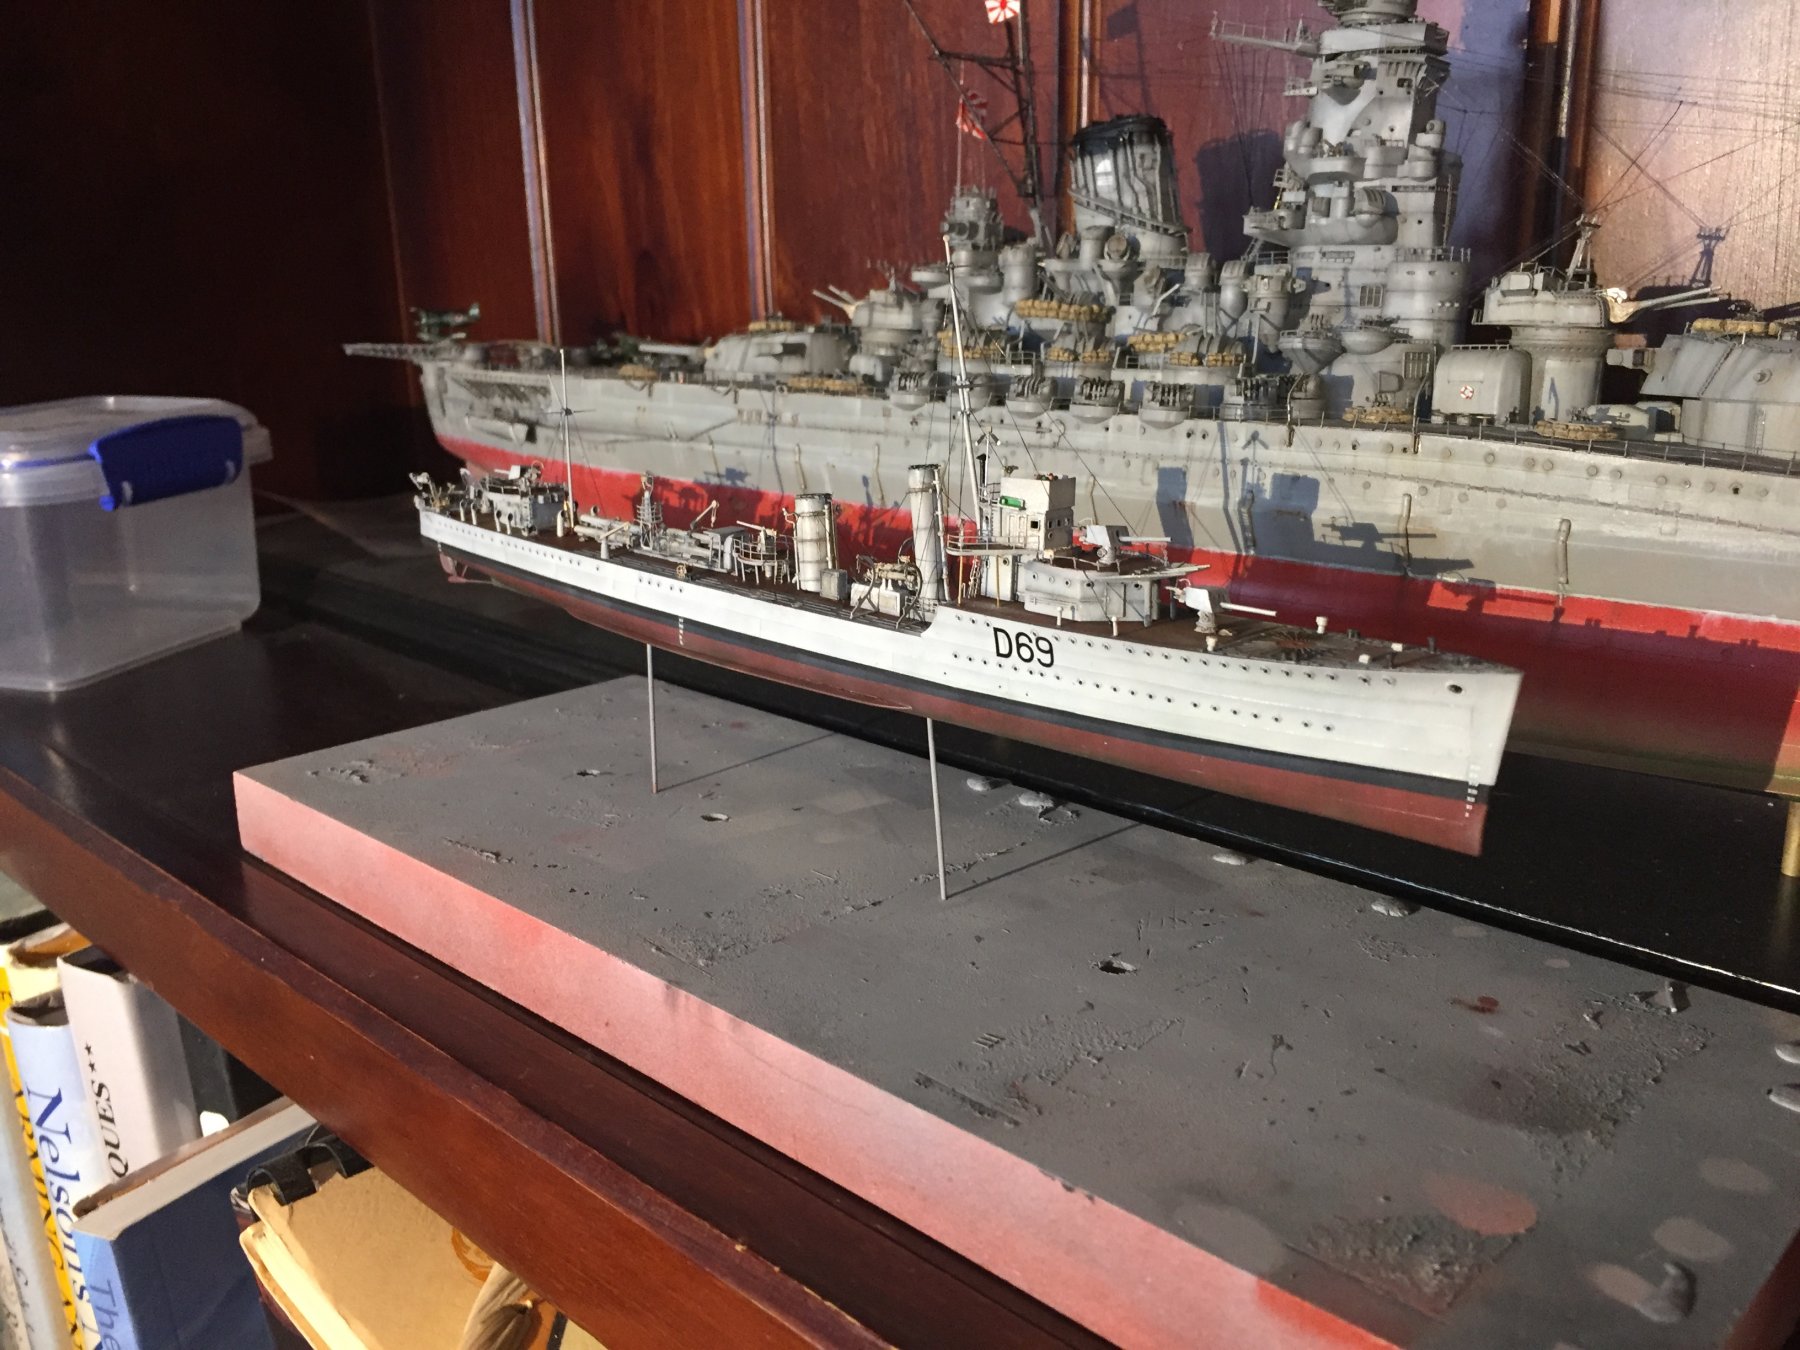
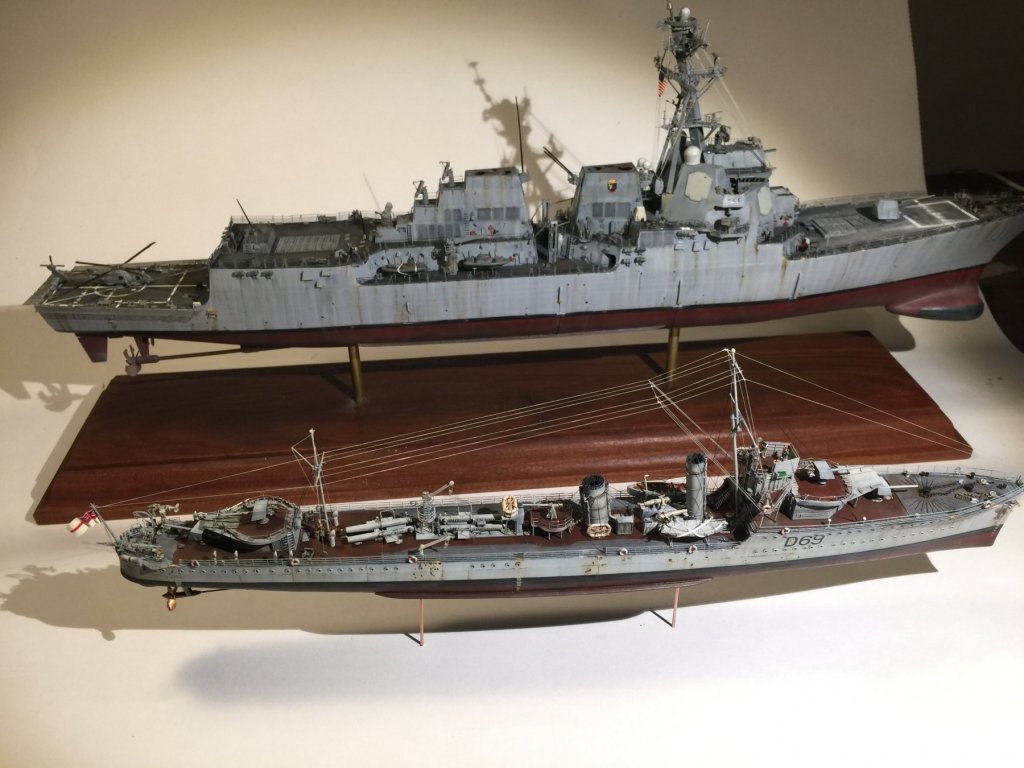
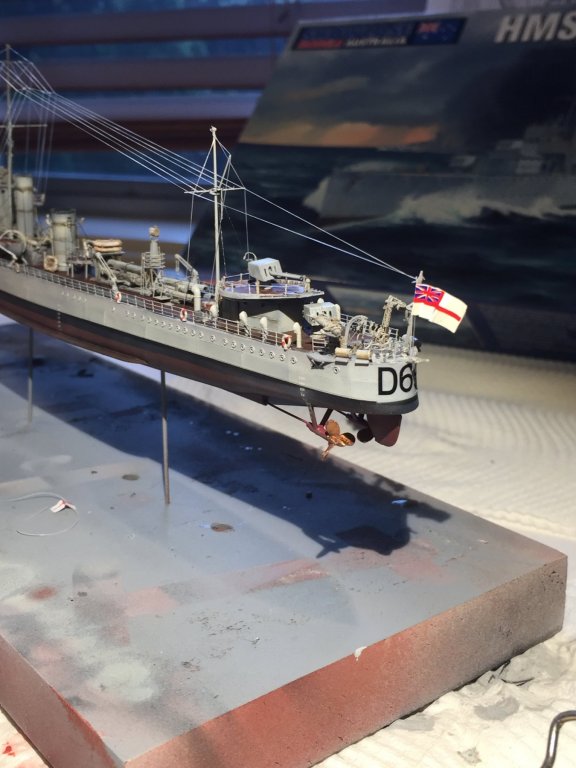
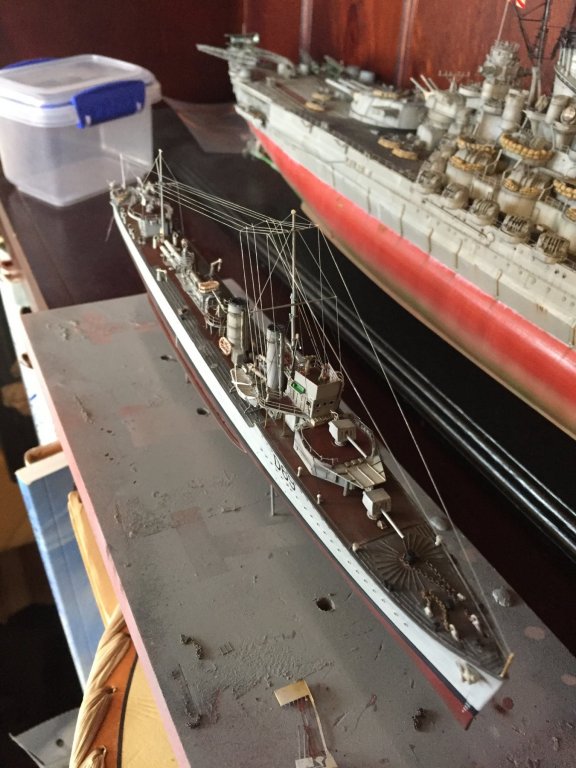
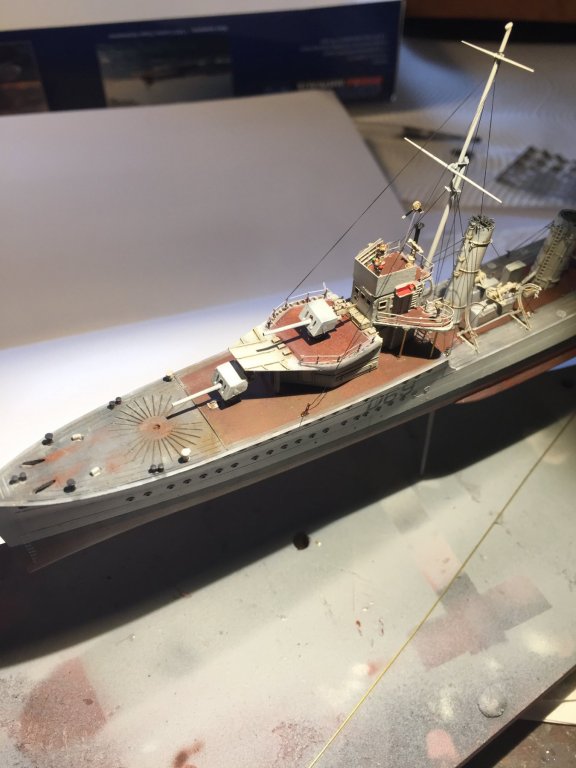
 Salt added at the waterline and done. Just park it up with the others awaiting Cog and Popeye. So small compared to a modern DDG.


- 1,090 replies
-
- 21
-

-
- showcase models
- vendetta
- (and 2 more)
-
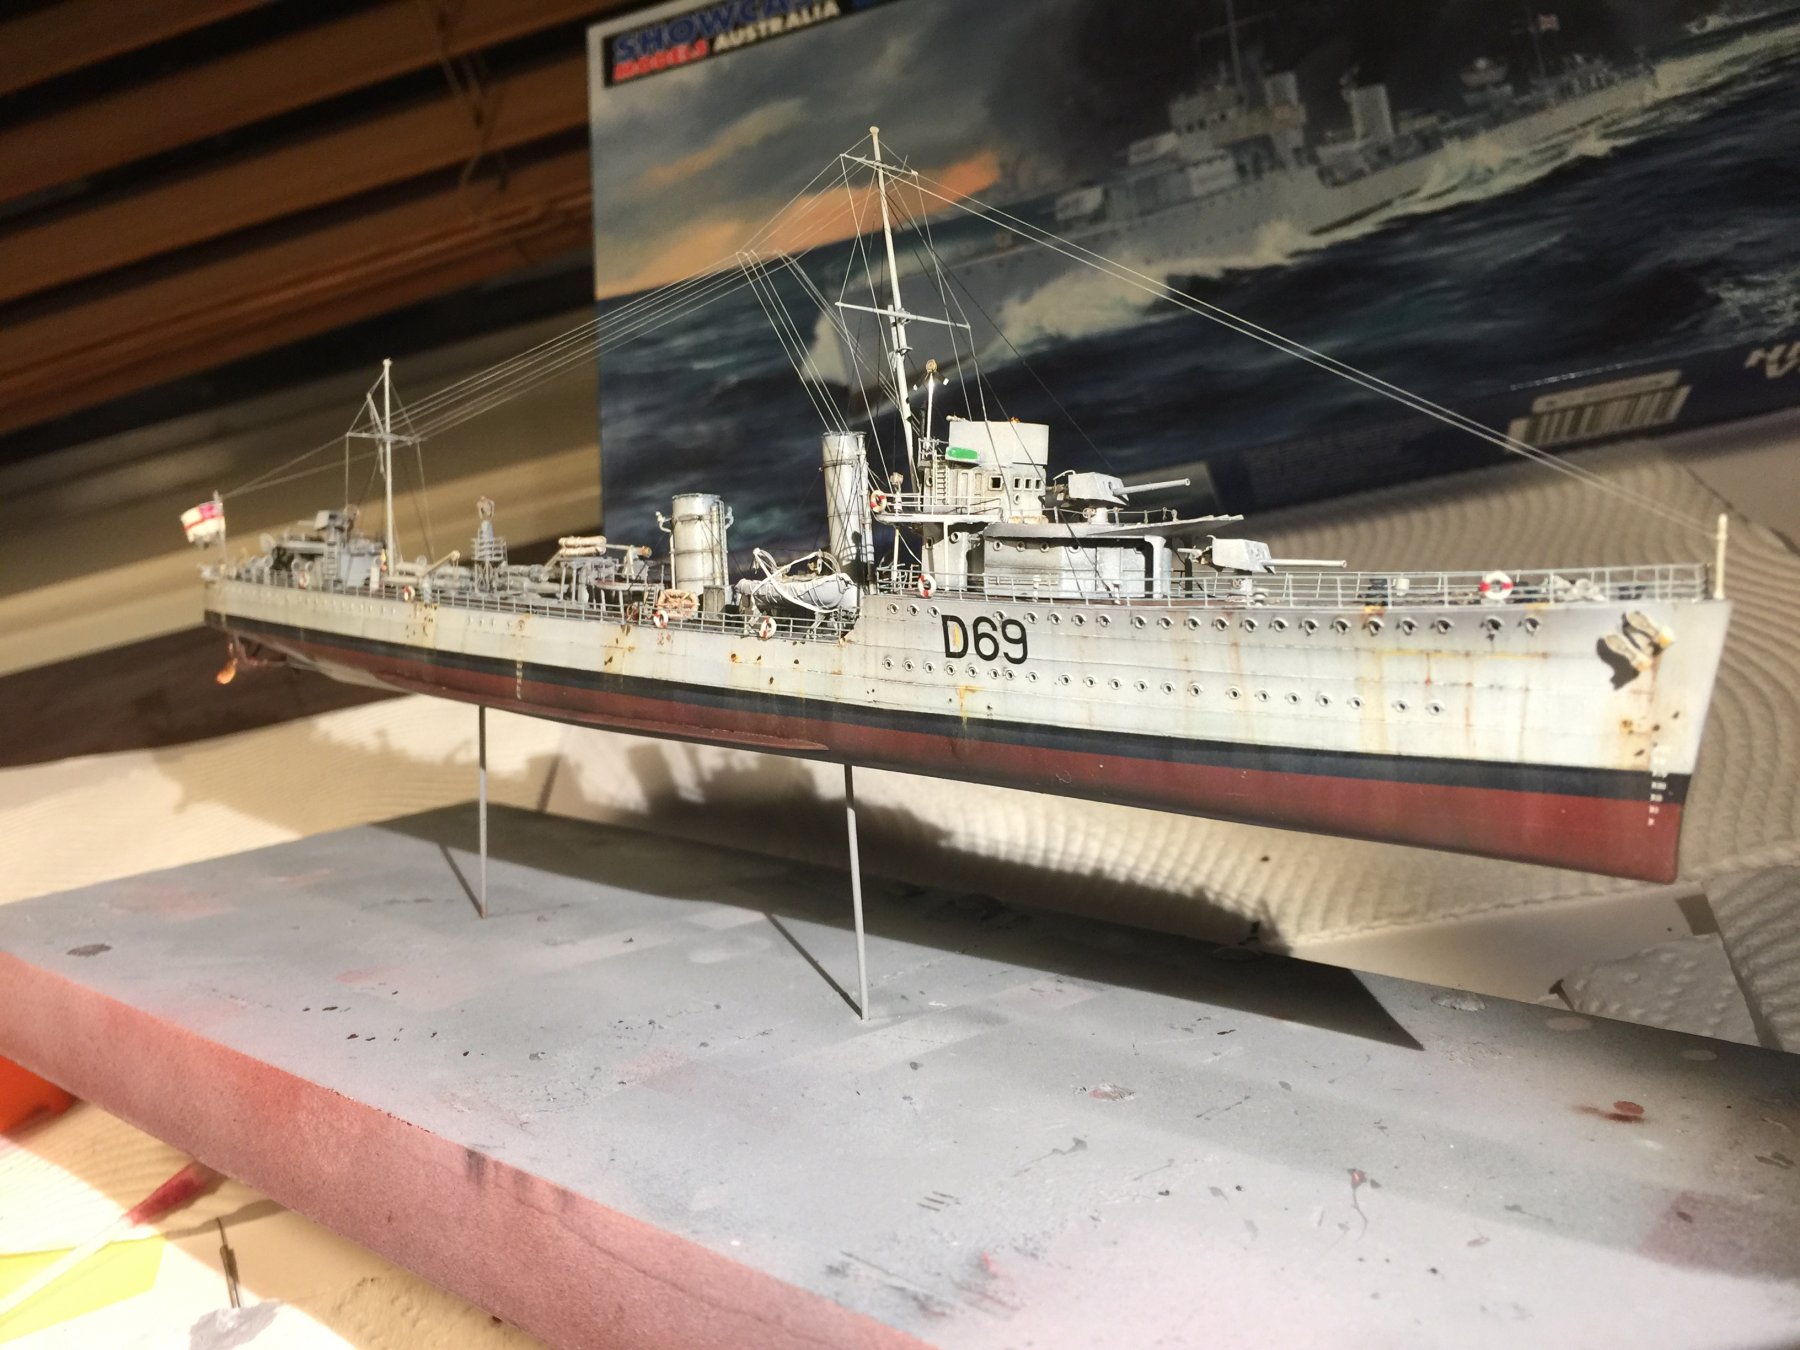
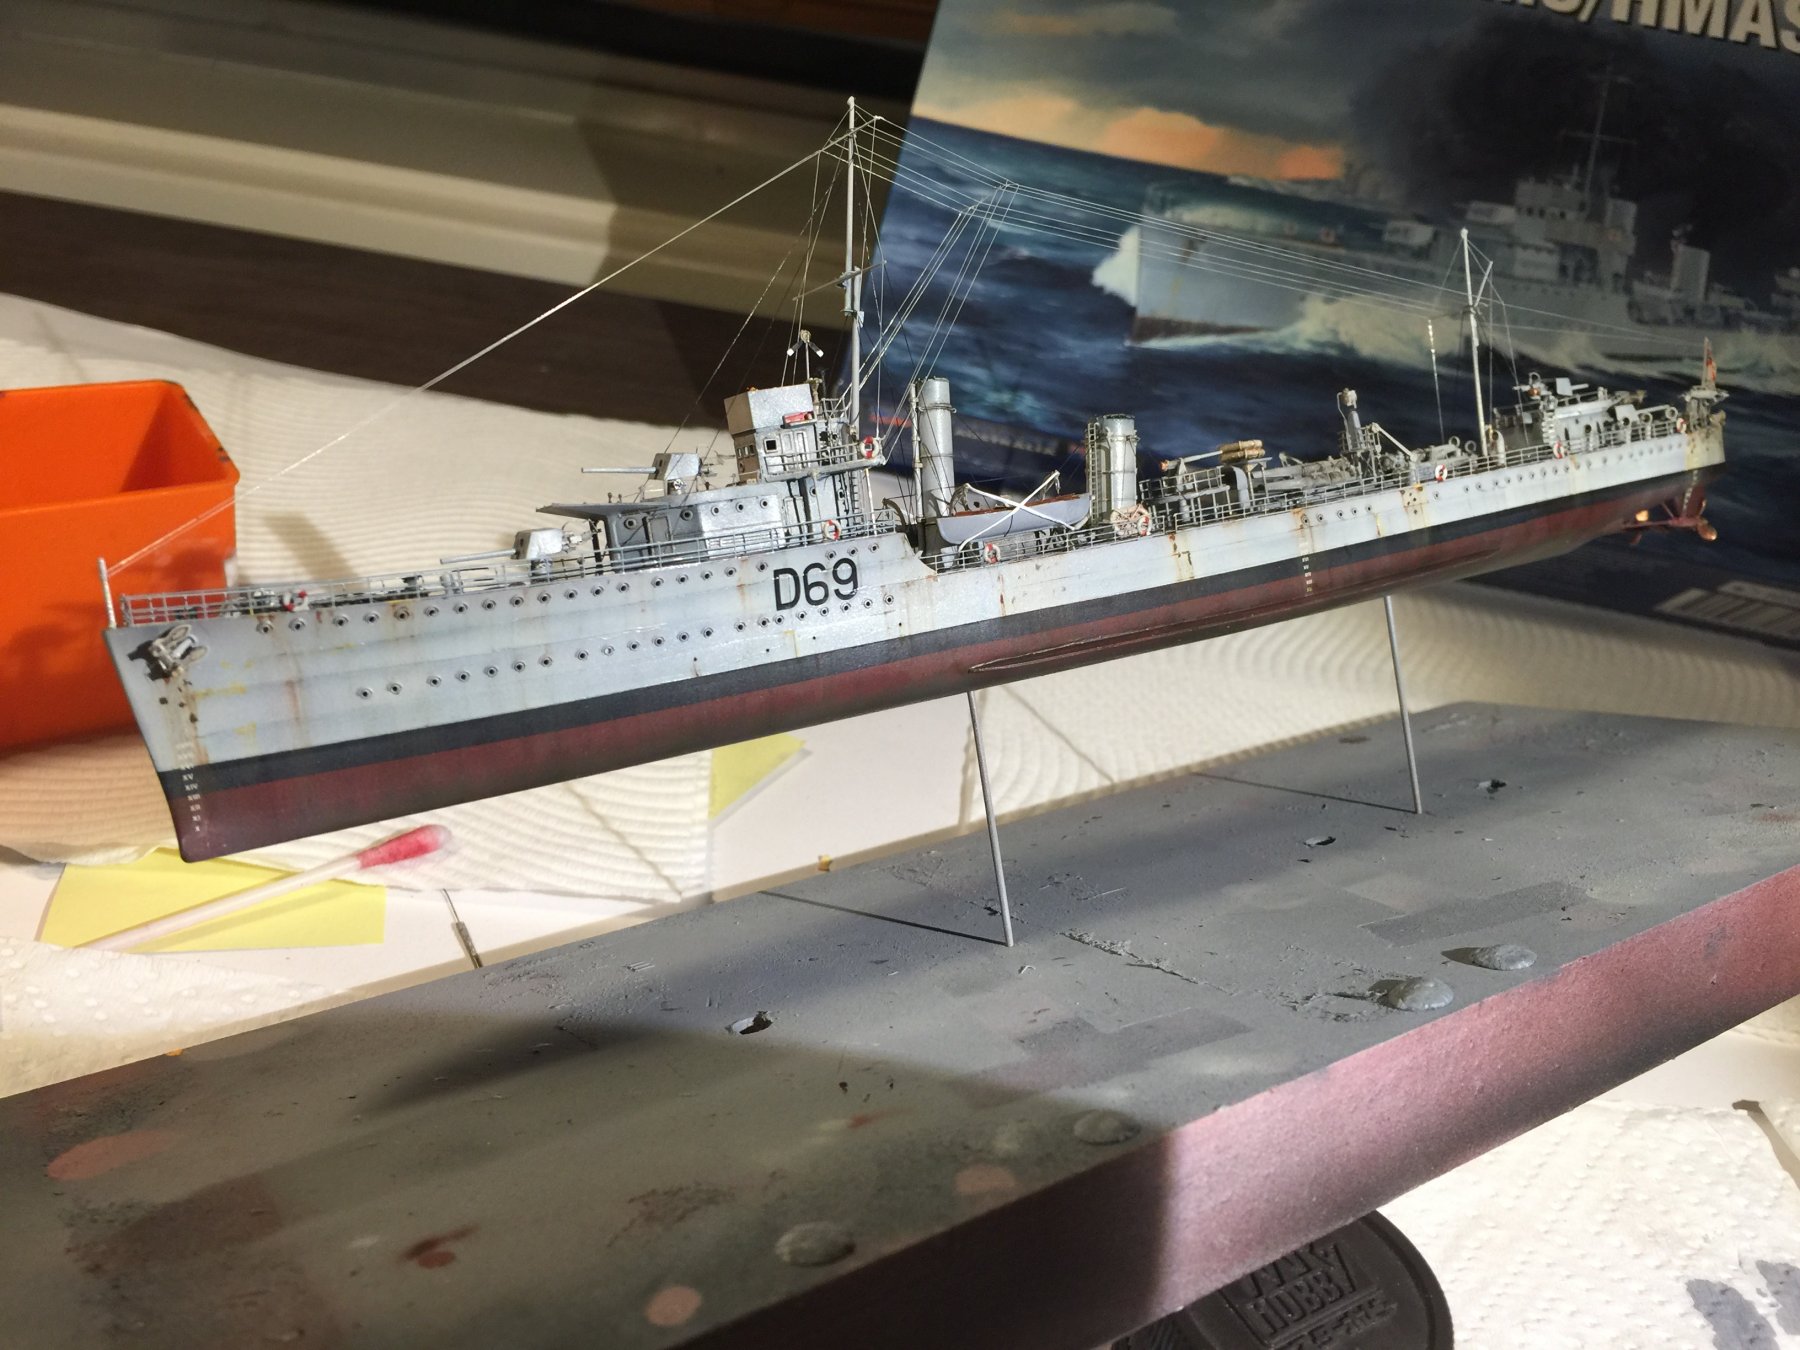
Nice work on the davits Cog. Talking about food, you do bite very well. Railings are on, re did the flag as the ensign with the southern cross apparently didn’t come into service till 1967 ( I think the year Cog left school), and apparently there is no clad on the main mast, the national flag only goes on the bow. At this scale you can stick the decal onto tin foil then bend as to have it fluttering but the kit ones are a bit small so I used a ensign from the Dreadnought, not as sharp but folds better. I used the kit liferingwhich aren’t that bad. Ready to weather.


- 1,090 replies
-
- 13
-
-
- showcase models
- vendetta
- (and 2 more)
-
Dead right Mr D. I have already stripped them as a) they looked crap and (b) they are wrong.
- 1,090 replies
-
- 7
-
-
- showcase models
- vendetta
- (and 2 more)
-
I’m only 6’3”, you Northern Europeans are supposed to be tall. And yes, it’s a capsicum
- 1,090 replies
-
- 7
-
-
- showcase models
- vendetta
- (and 2 more)
-
I did had to explain to a Ralph’s grocery manager in San Diego that humans actually eat pumpkin once. Maybe it was the Australian accent that made him believe I was winding him up.
- 1,090 replies
-
- 9
-
-
- showcase models
- vendetta
- (and 2 more)
-
Well, I did have a burger for dinner last night. Diced onion, capsicum, lean beef, marinated in Soy, Worcestershire sauce, paprika for a few hours before making the paddies. Burgo s must have beetroot.
- 1,090 replies
-
- 9
-
-
- showcase models
- vendetta
- (and 2 more)
-
I’m holding gardening off until I finish her. As it’s winter nothing grows, trees to prune etc. this is is my Wednesday
- 1,090 replies
-
- 6
-
-
- showcase models
- vendetta
- (and 2 more)
-
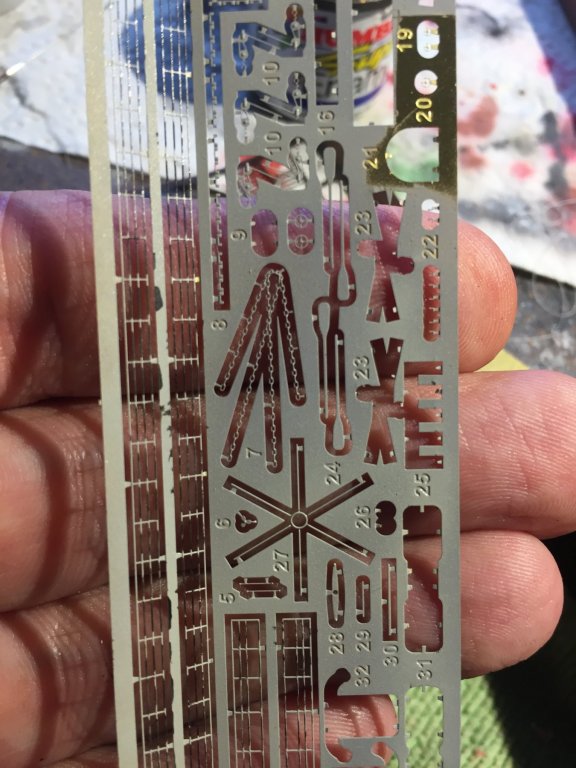
Still picking on me I see Cog. I can’t start on the railings for a couple of days, so you should catch up. I’ve promised myself to clean up the garden before I start my next one. I’m awaiting the PE from Korea and a reference book from the UK. This is such an international sport. The bloke who makes my wooden bases is busy at the moment so that final bit may be a while. I still need one for Isuzu. Popeye, you just can’t rig something like this without using the Elastic or Denier lines. One roll lasts forever.
- 1,090 replies
-
- 8
-
-
- showcase models
- vendetta
- (and 2 more)
-
Look up North Star Models turnbuckles and eyelets.
- 1,090 replies
-
- 6
-
-
- showcase models
- vendetta
- (and 2 more)
-
Rigging based on the box art, I’m just not going to make it complicated, a couple of flags to go.
- 1,090 replies
-
- 11
-
-
- showcase models
- vendetta
- (and 2 more)
-
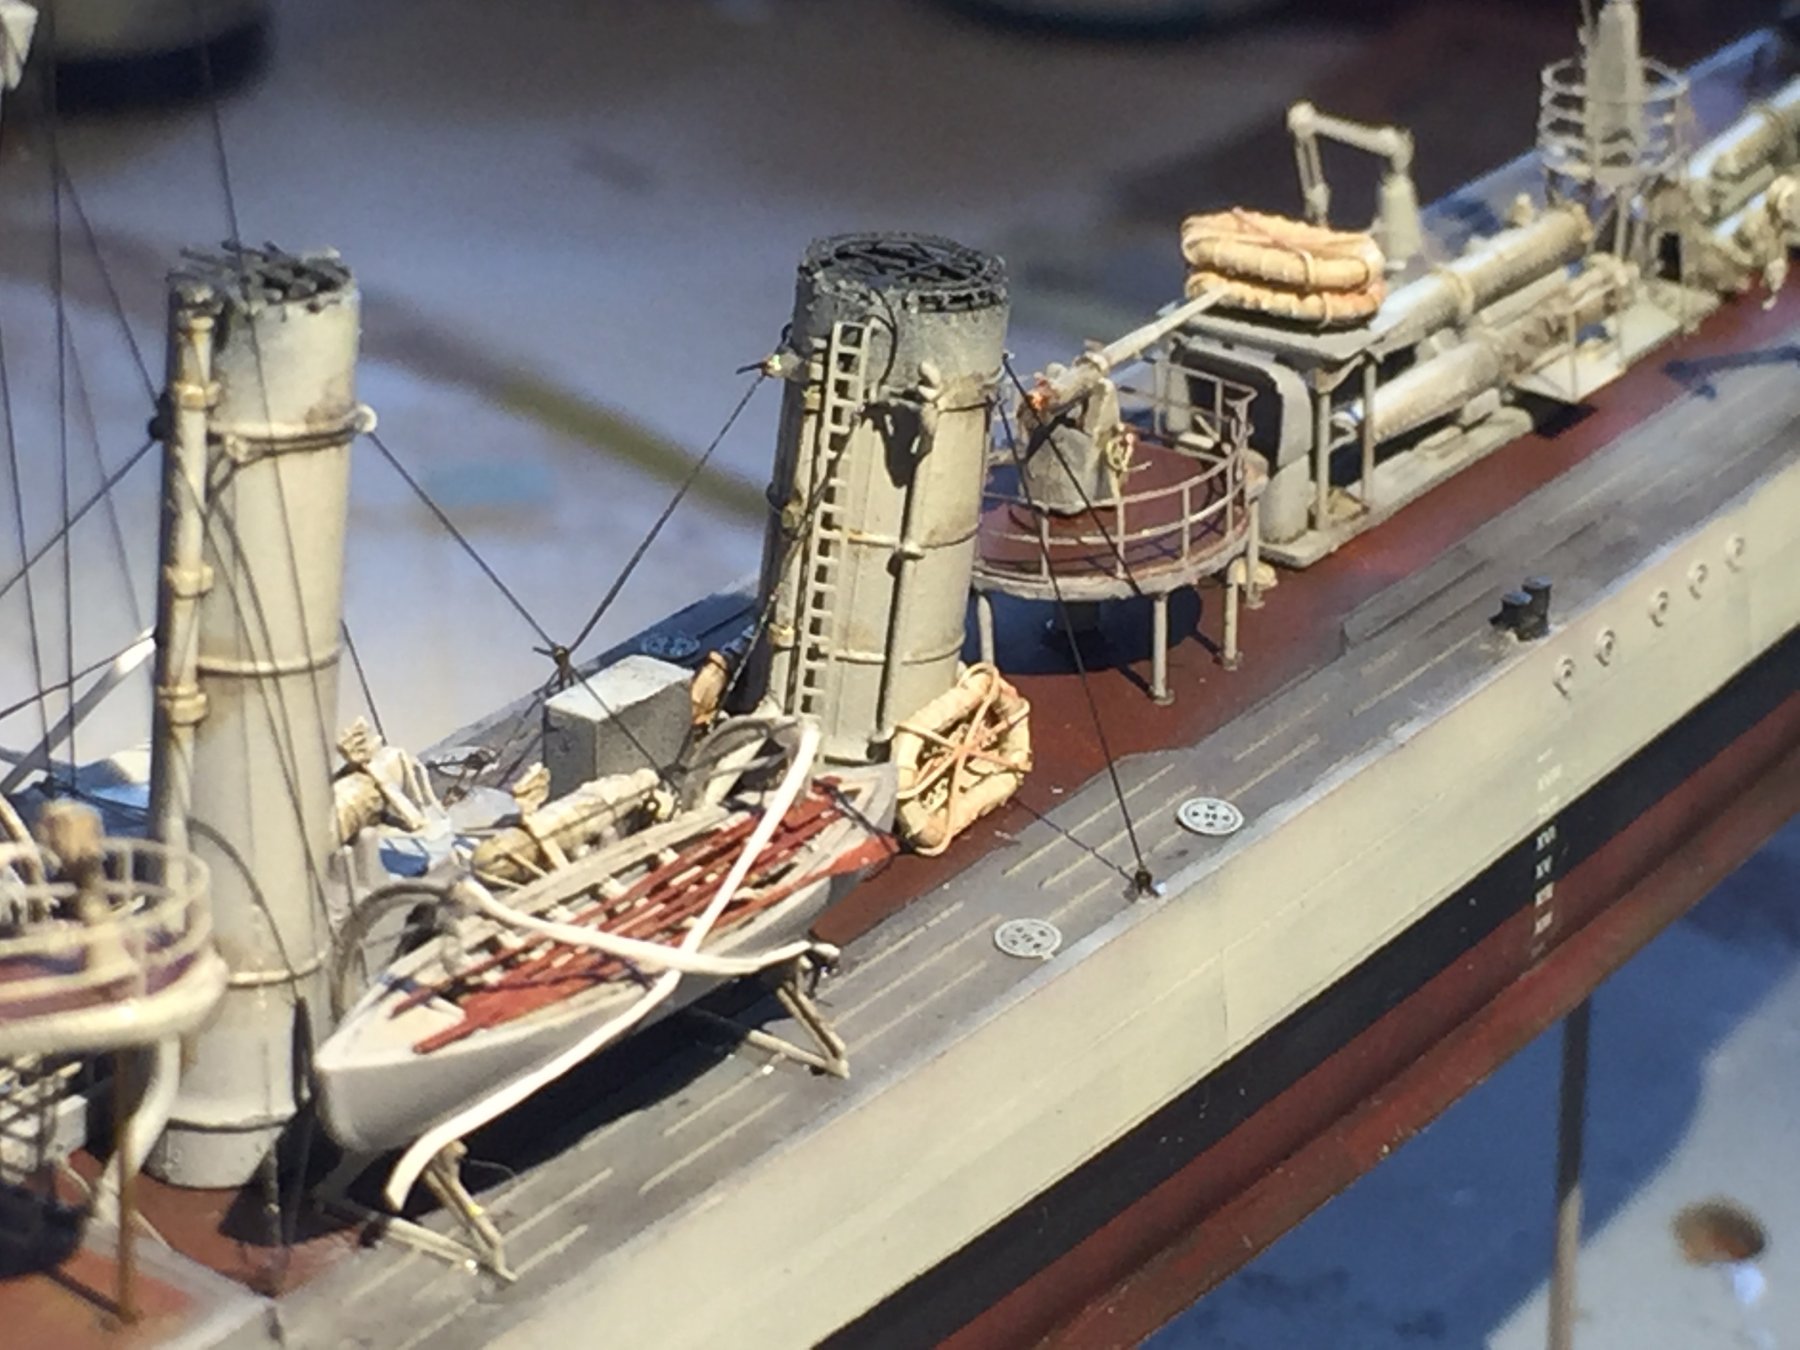
Ships boats and carley floats done, rigging next.


- 1,090 replies
-
- 10
-
-
- showcase models
- vendetta
- (and 2 more)
-
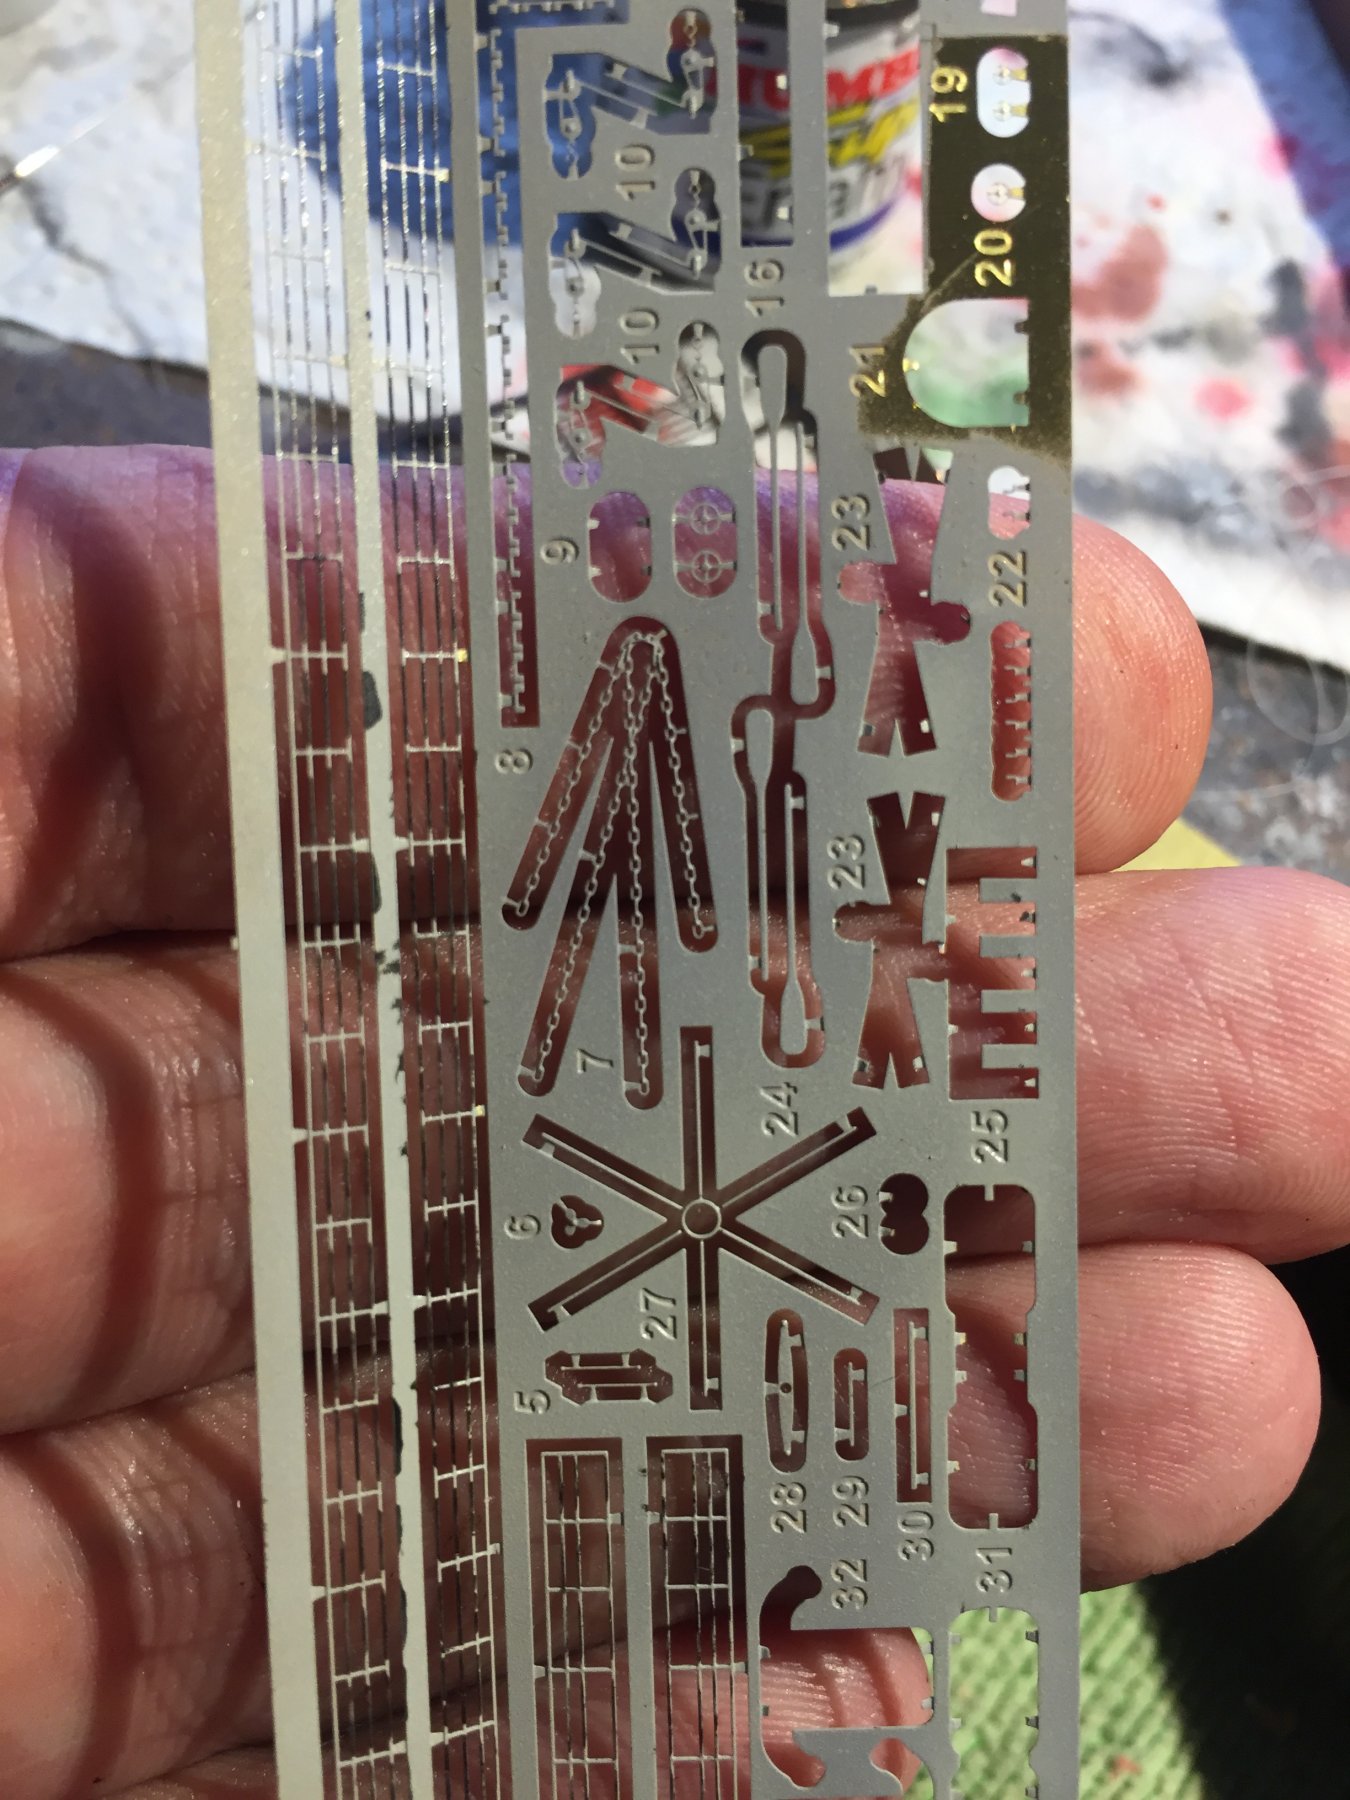
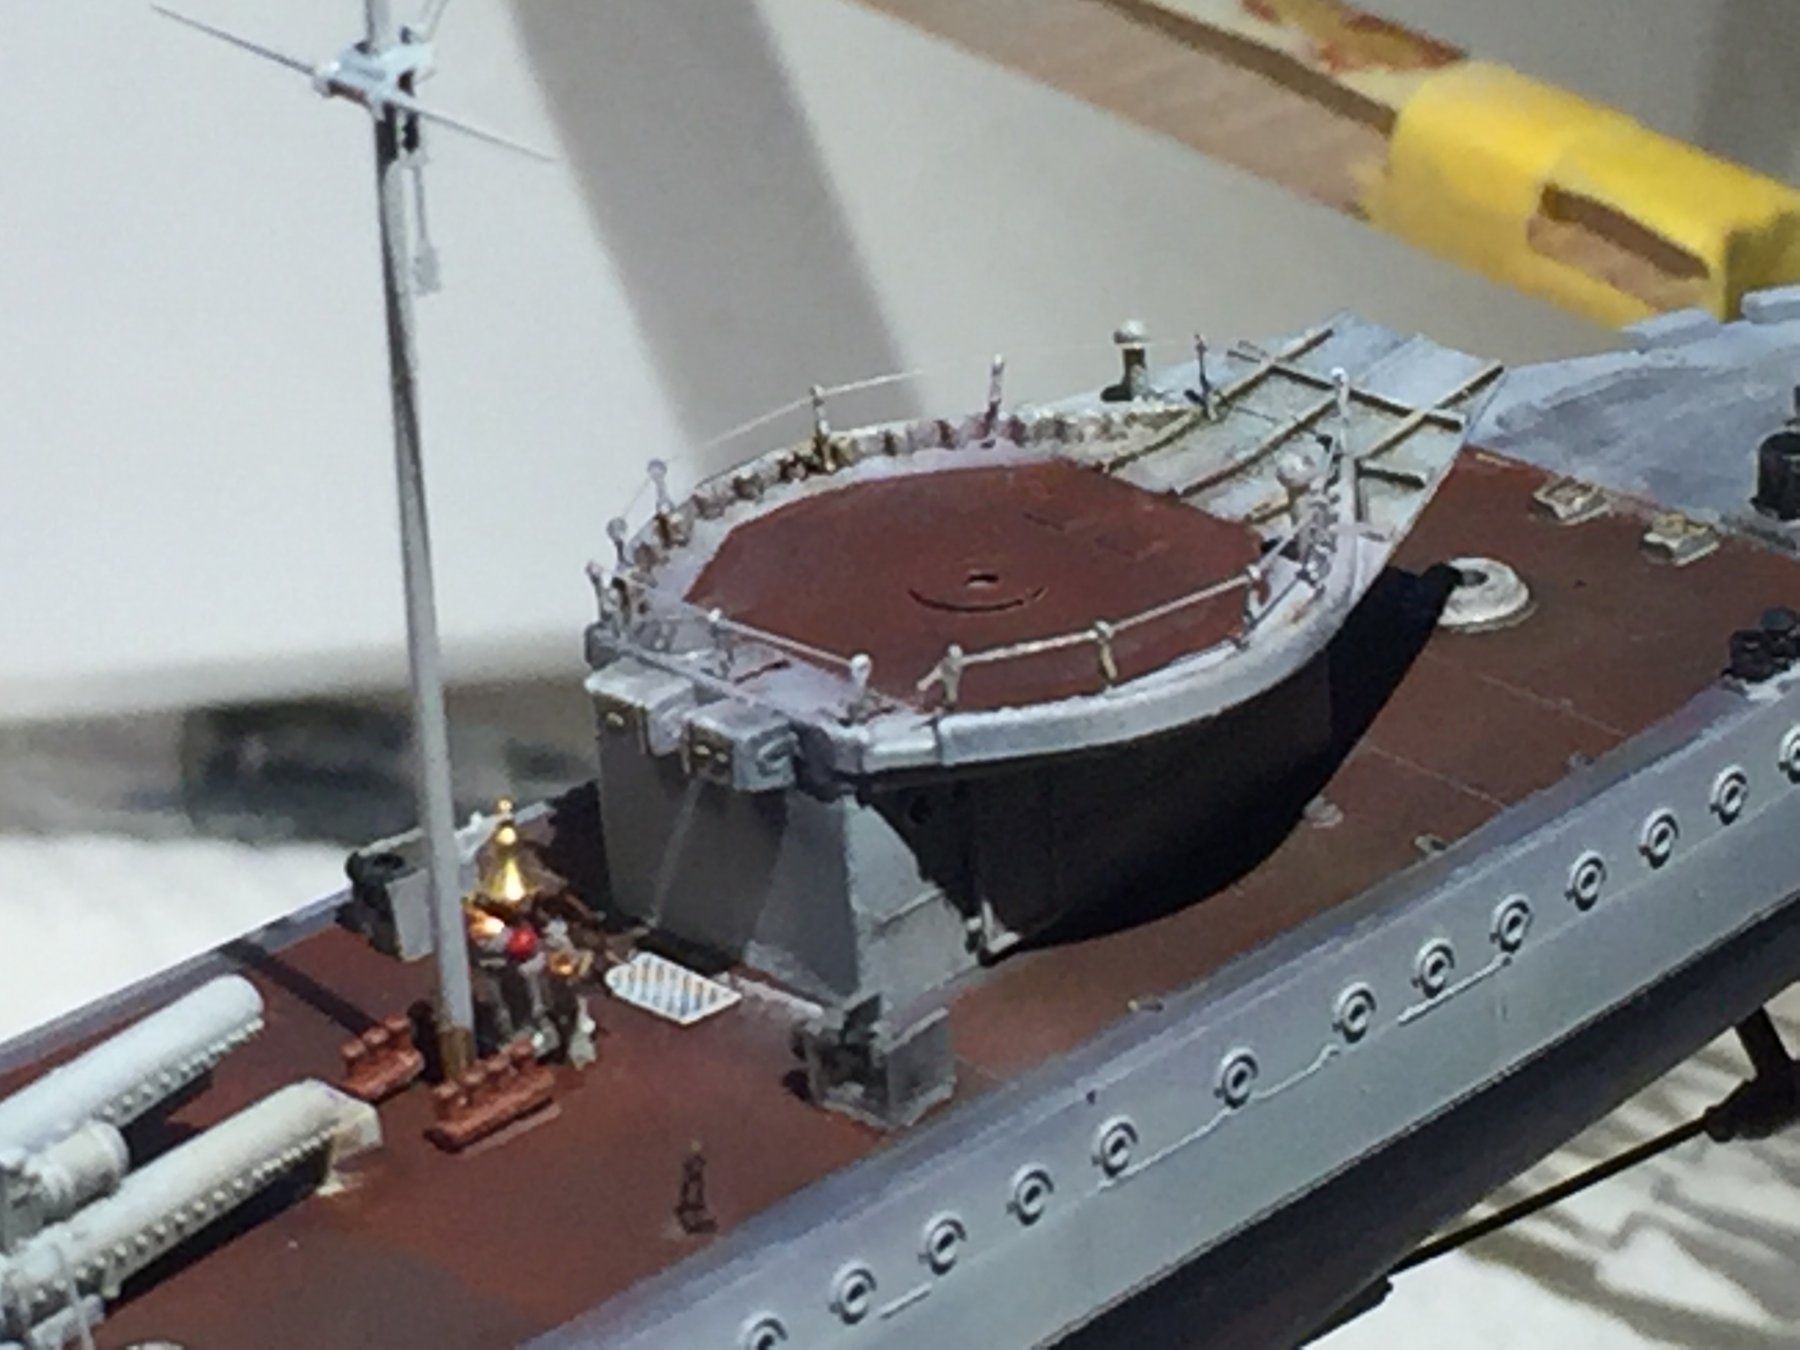
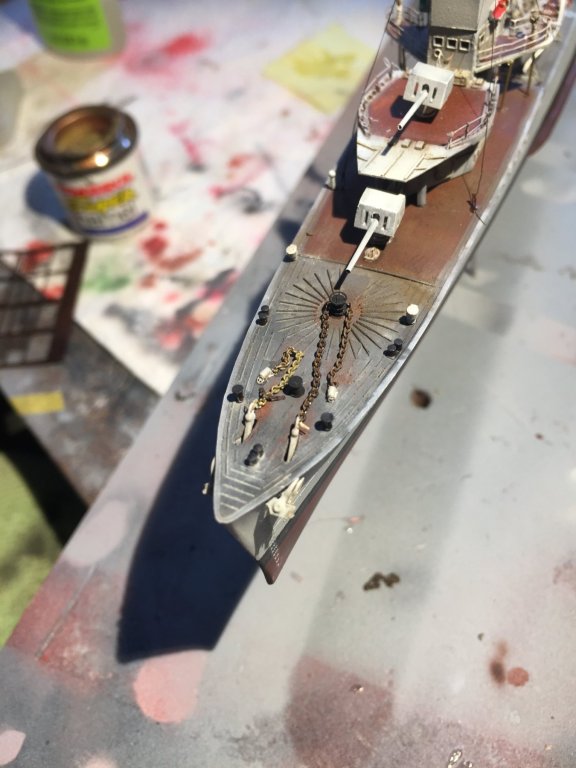
The kit provided some PE chain, which crosses over on the capstan which does not make sense. A few photos back there is one of the anchor deck where 1 chain goes around the capstan and 1 is lashed. I used aftermarket RN anchors cut so I could actually fit them in, tied them to rusty chain, wrapped one around the capstan and dogged 1 to the deck, there is some CA shining which I’ll hit with matte varnish at the end.
- 1,090 replies
-
- 12
-
-
- showcase models
- vendetta
- (and 2 more)
-
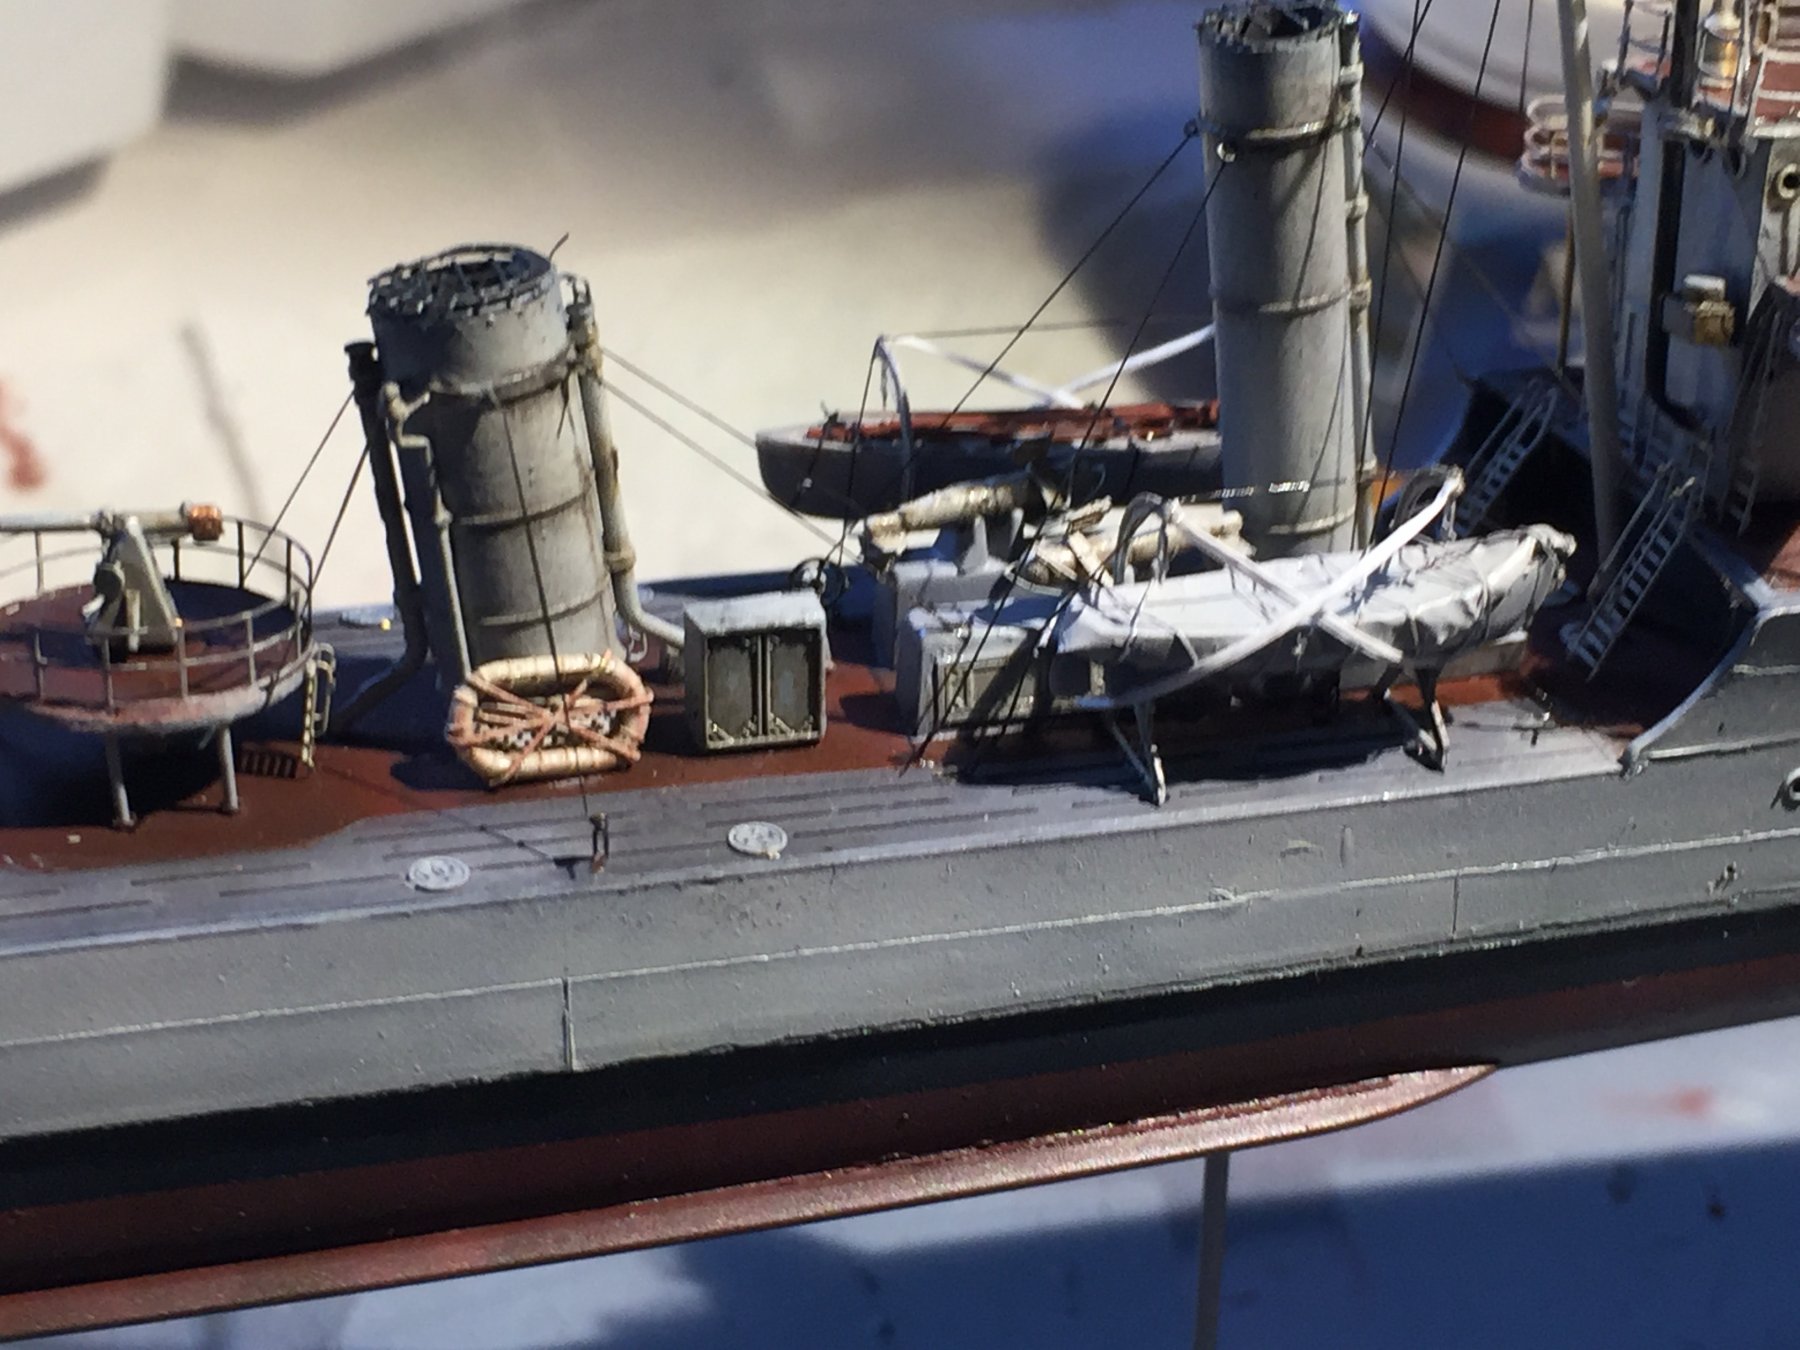
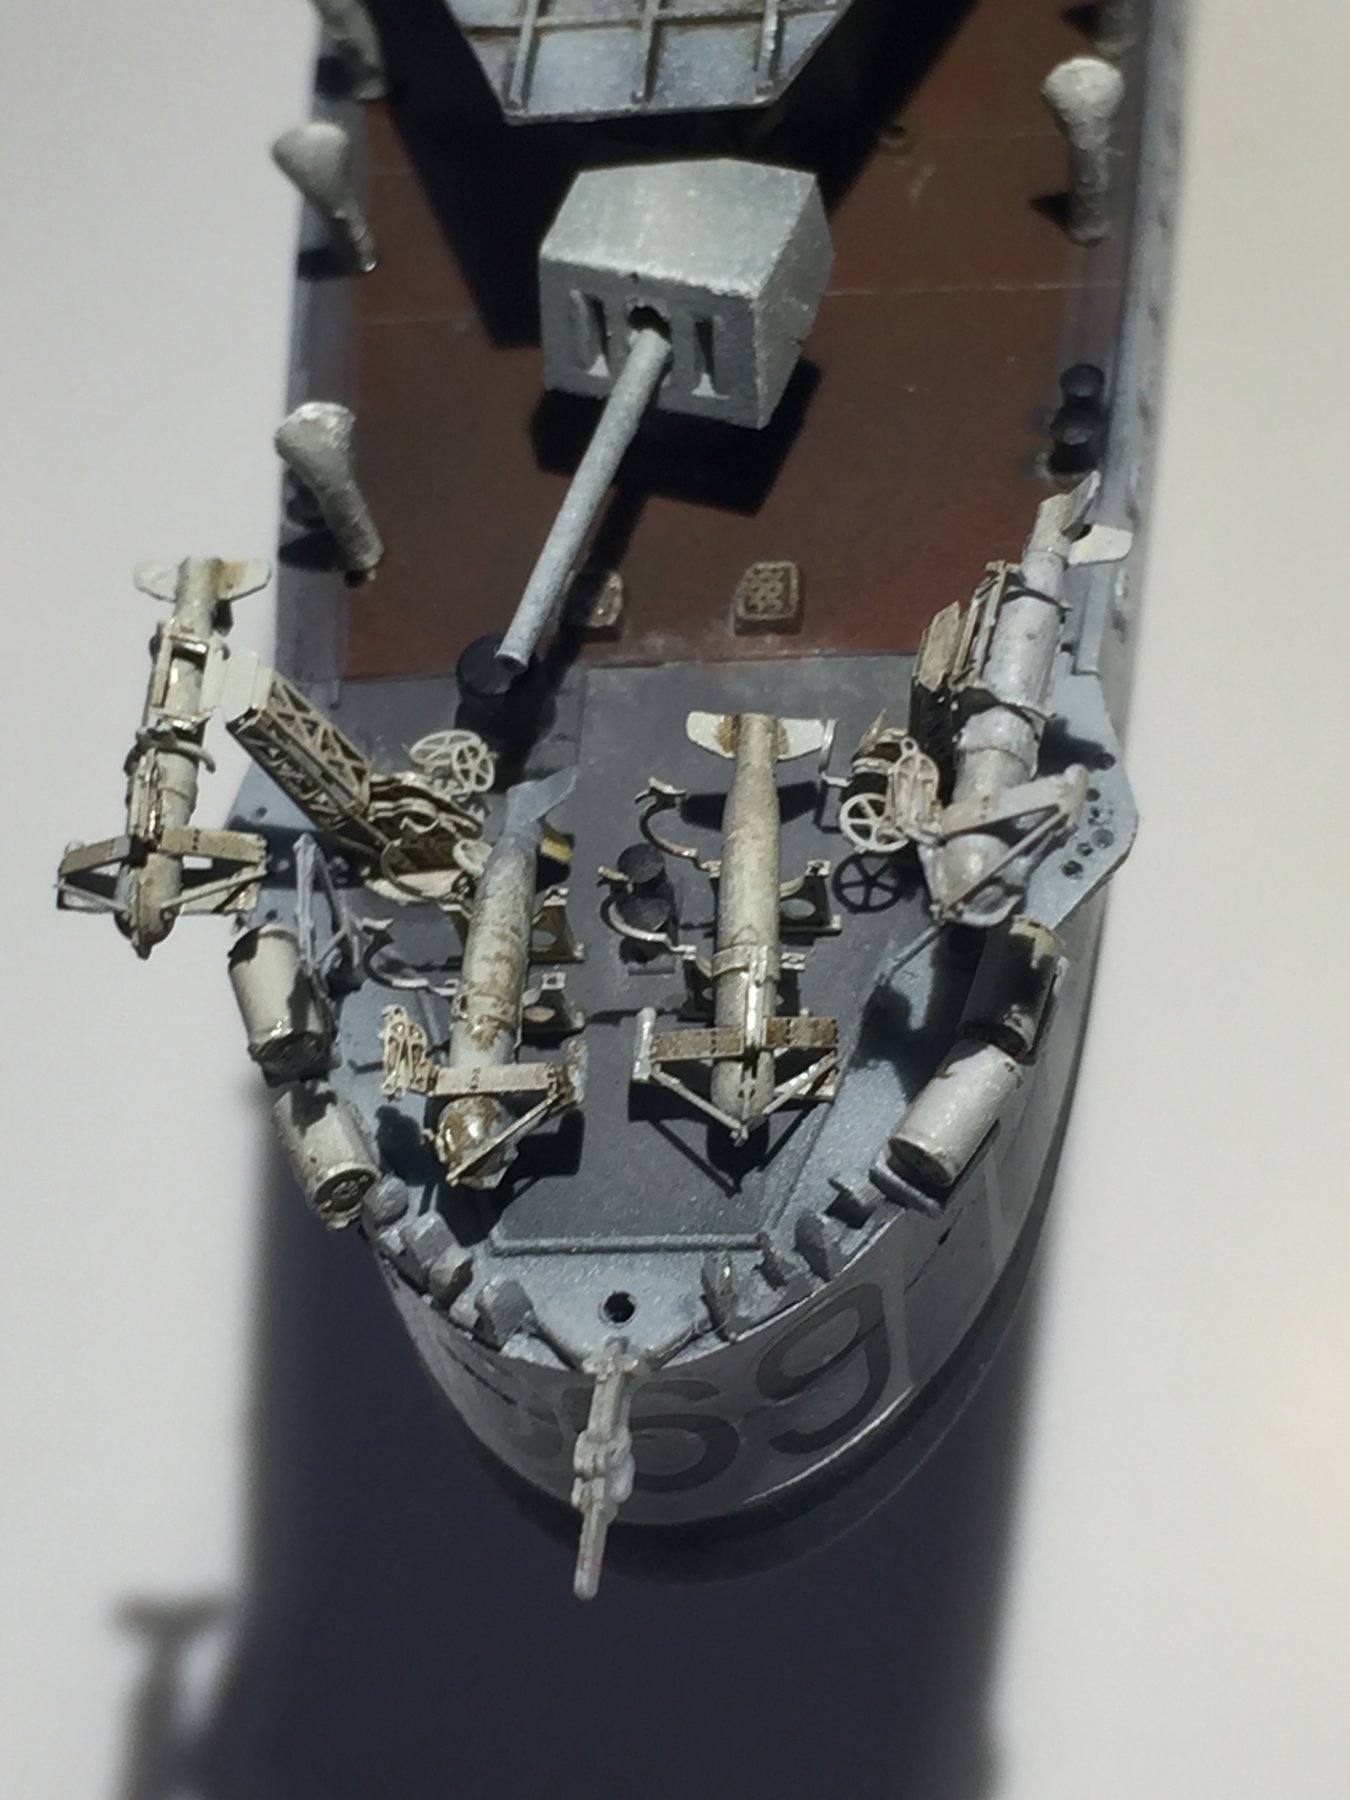
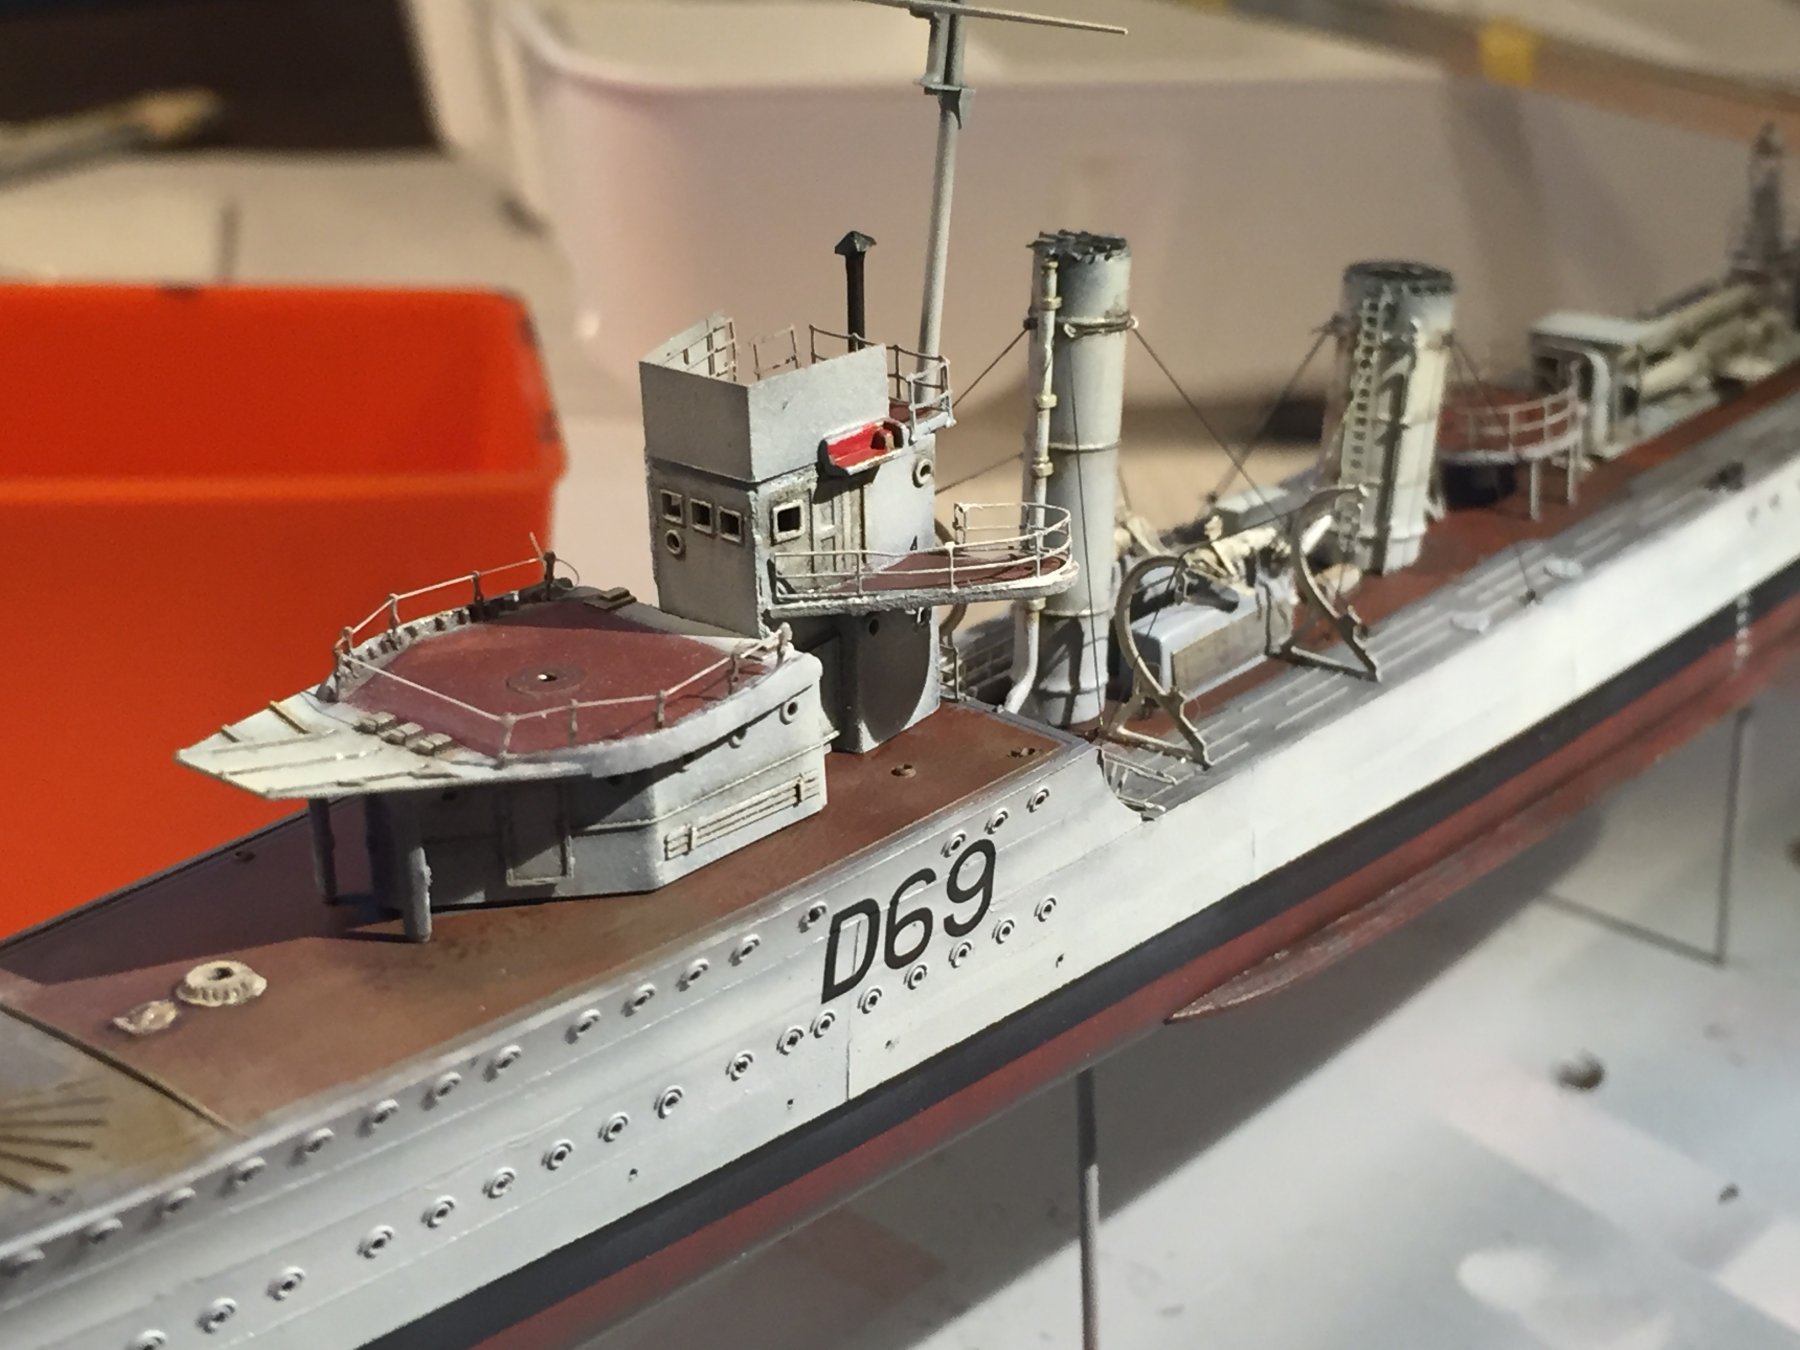
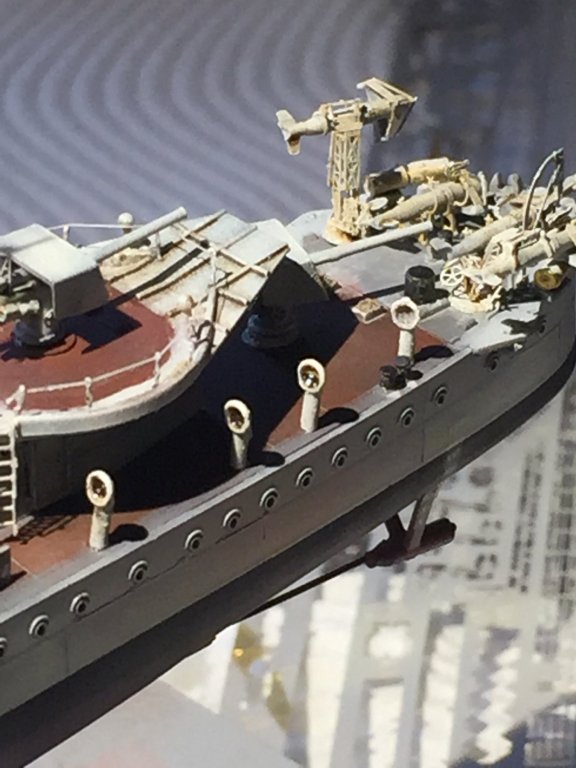
The barrels are probably a bit too long but it was available in spares and not plastic, I think that there was probably only 2 paravane a on the stern not 4, as it is just too busy and the crane is probably a bit too big but I like them. The funnels/ vents down the sides are resin spares and probably about 1 to 1.5 mm too highly, but once the railing goes on it won’t matter. I imagine the rear rear cannon would be a broadside weapon or if being chased.
- 1,090 replies
-
- 8
-
-
- showcase models
- vendetta
- (and 2 more)
-
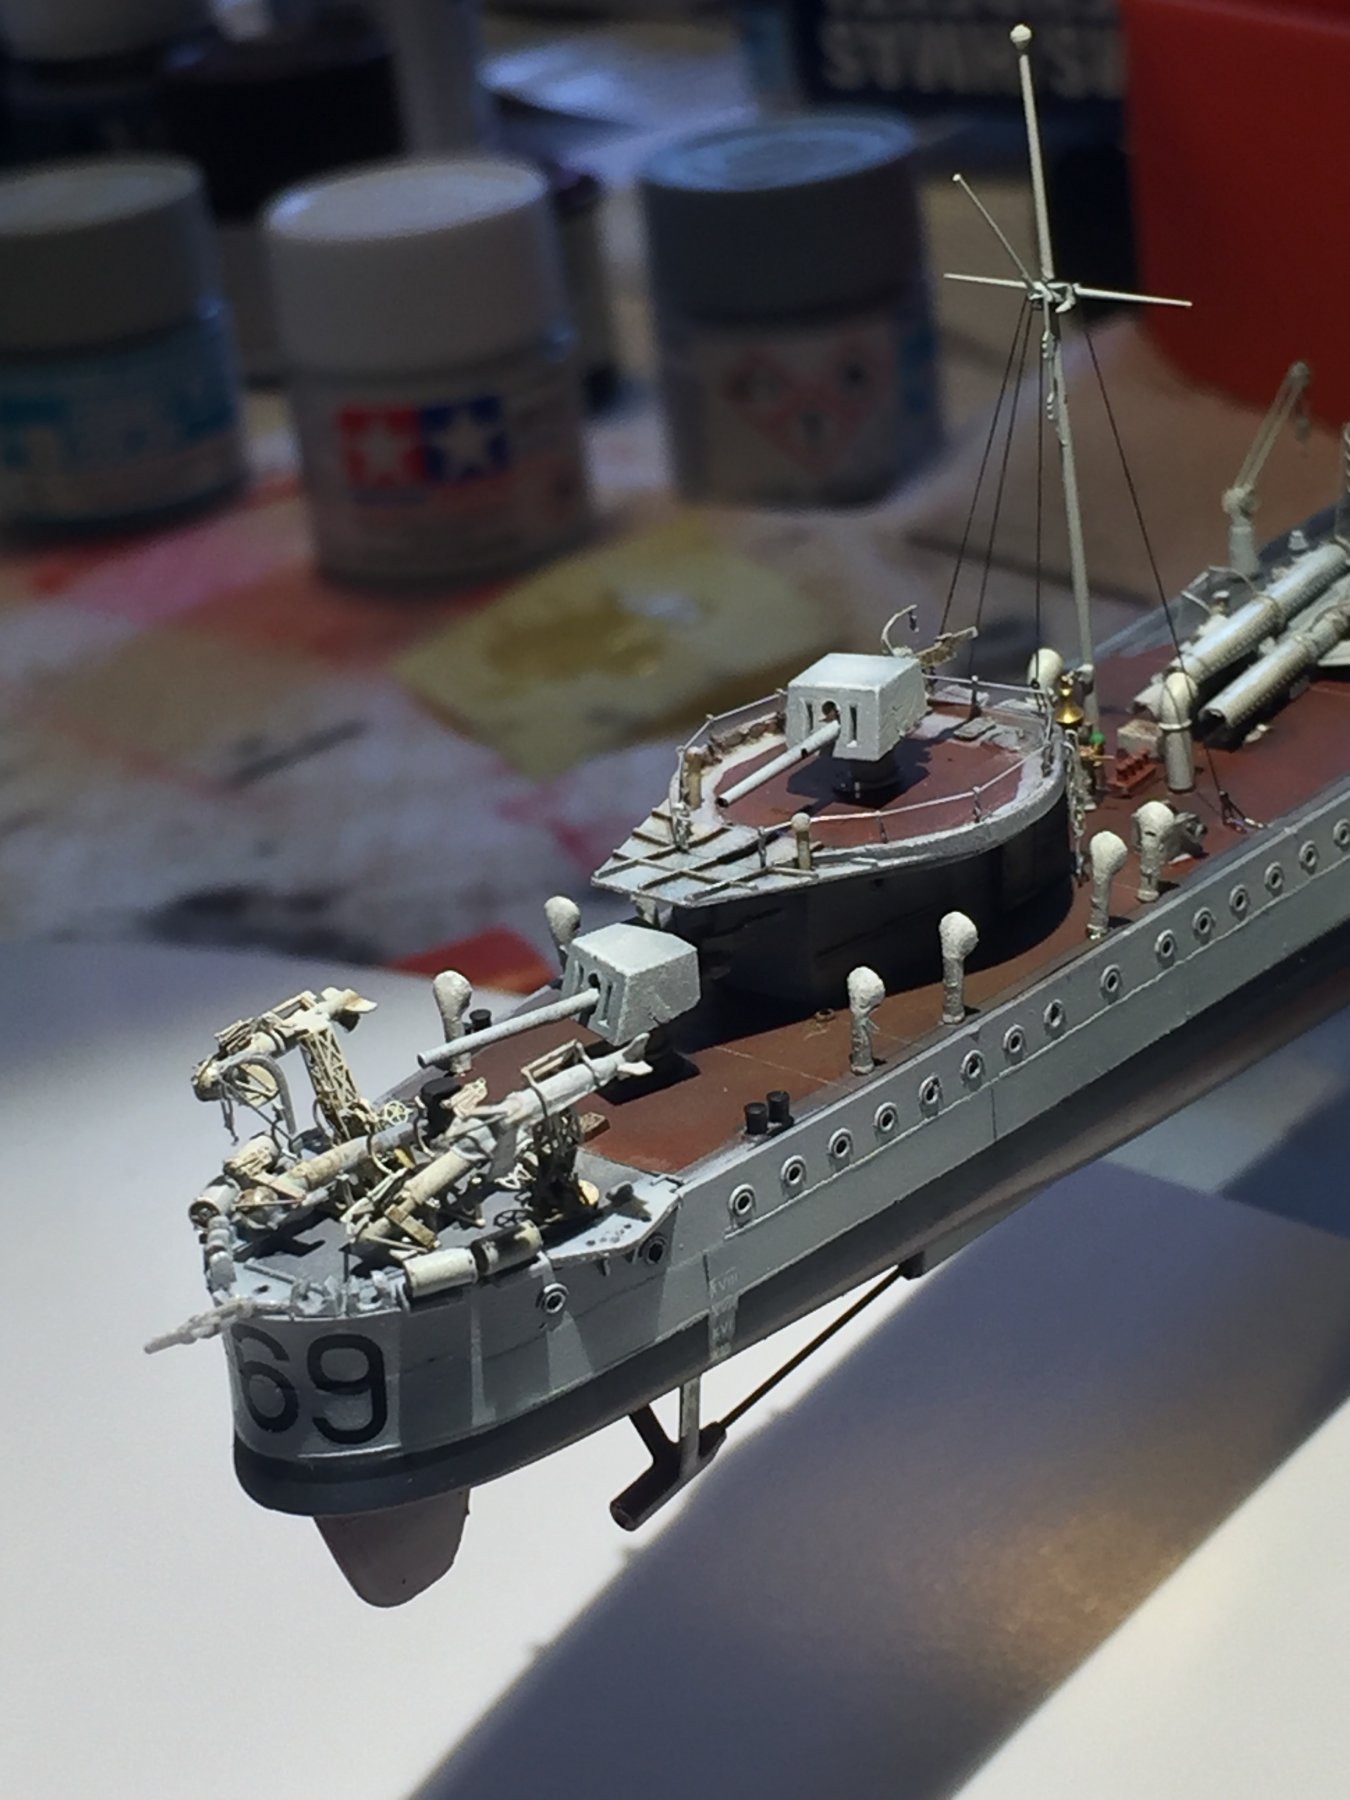
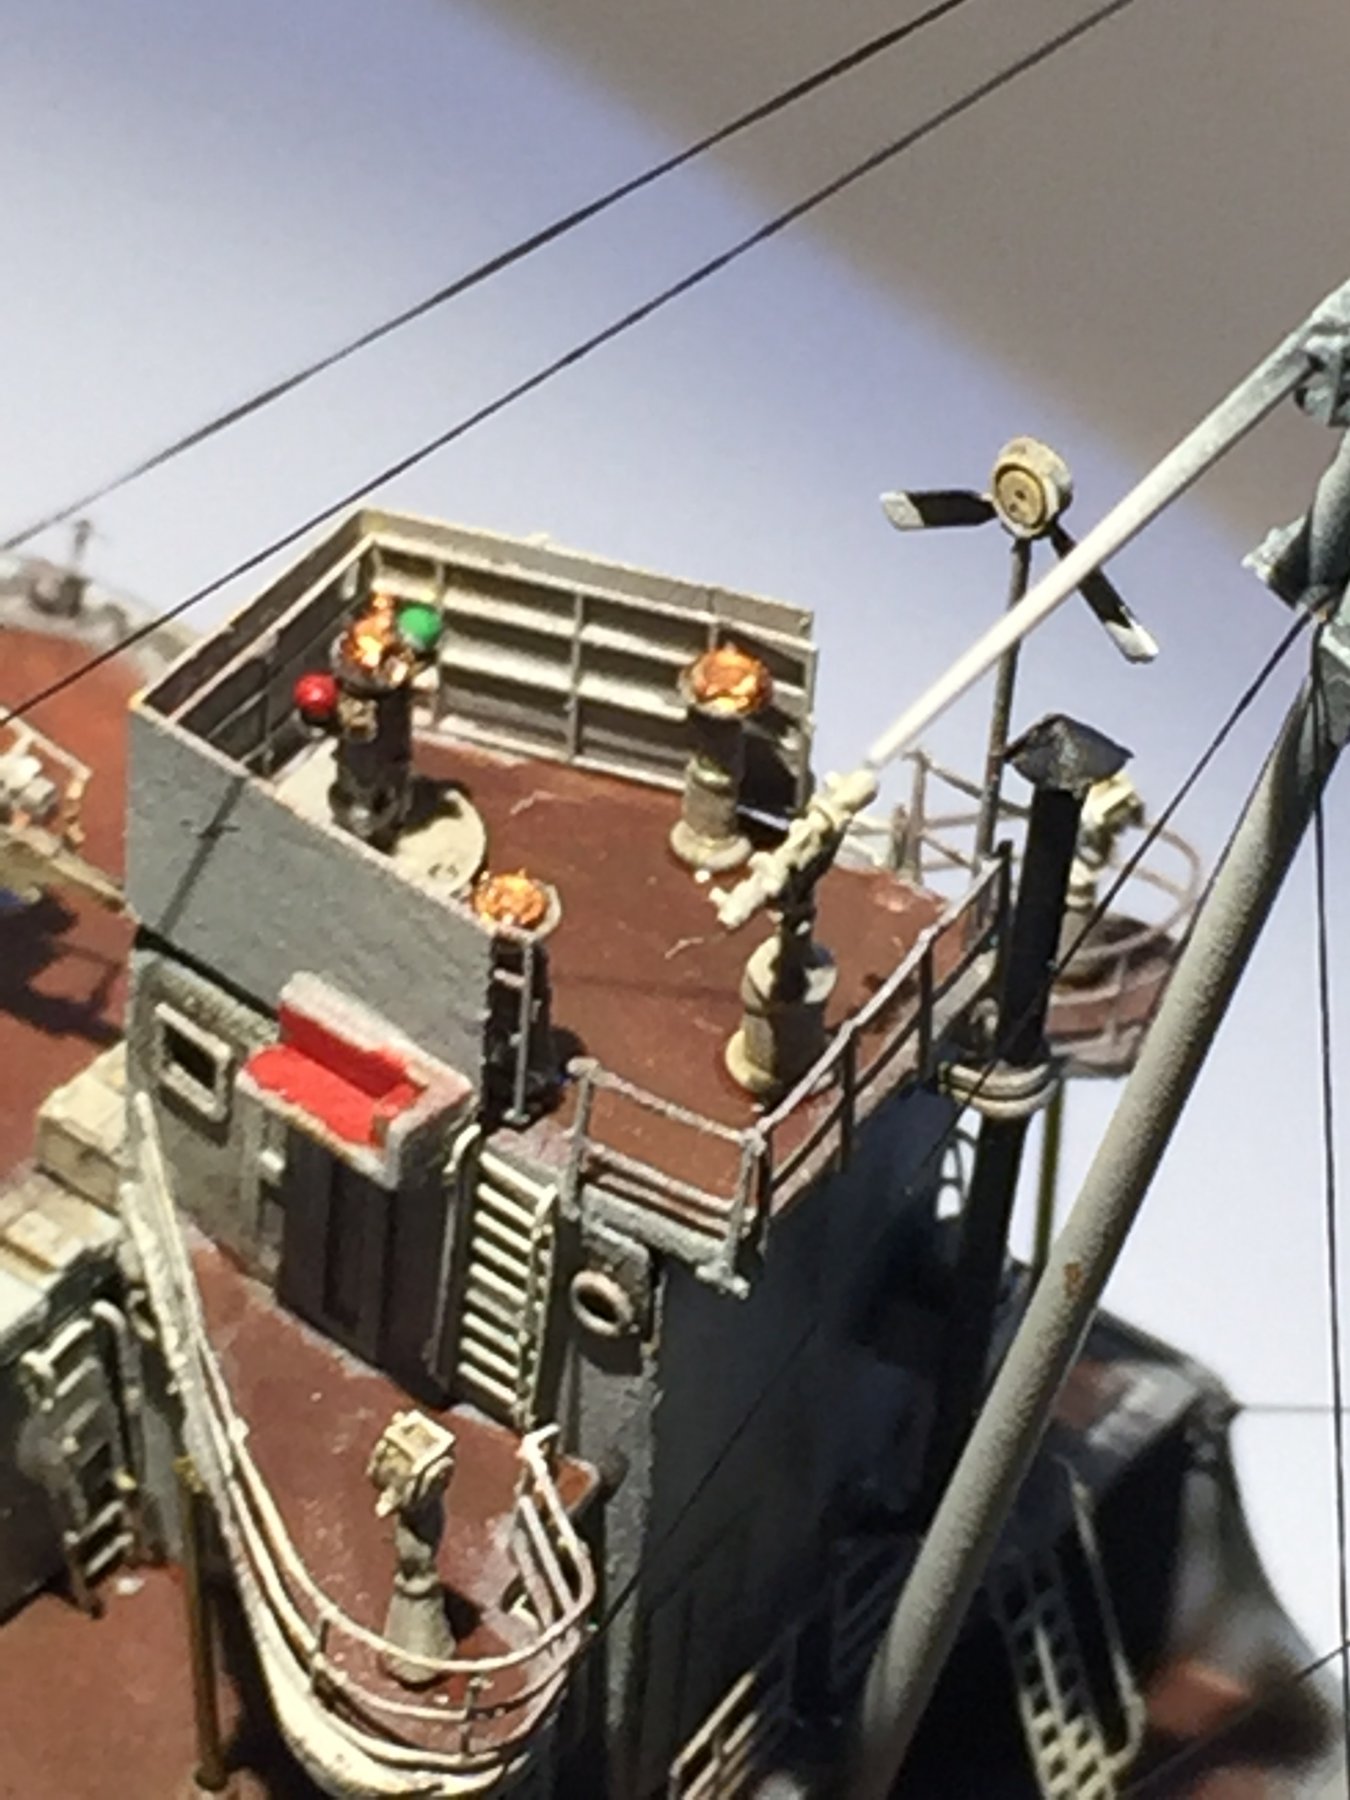
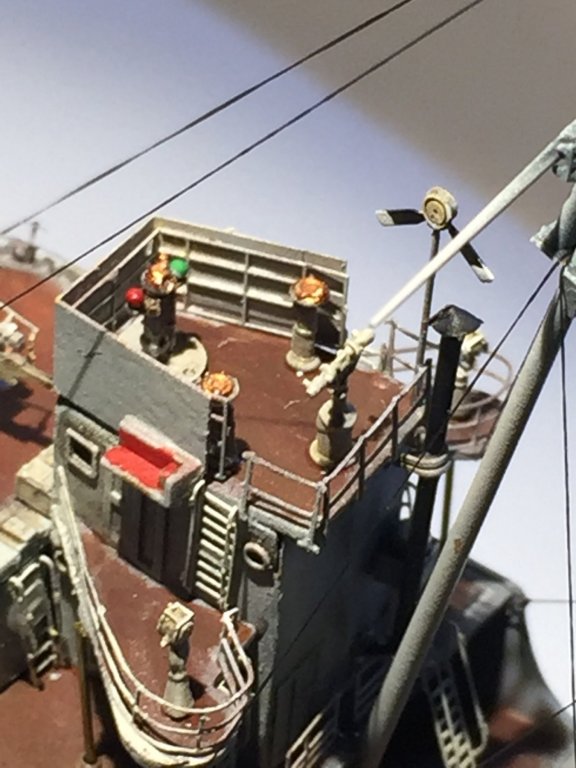
Guns, vents, paravane sand winches, the back deck is soobusy the machine guns won’t fit. Bridge equipment and signal lights. Liferafts, liferings and railings to go.


- 1,090 replies
-
- 17
-
-
- showcase models
- vendetta
- (and 2 more)
-
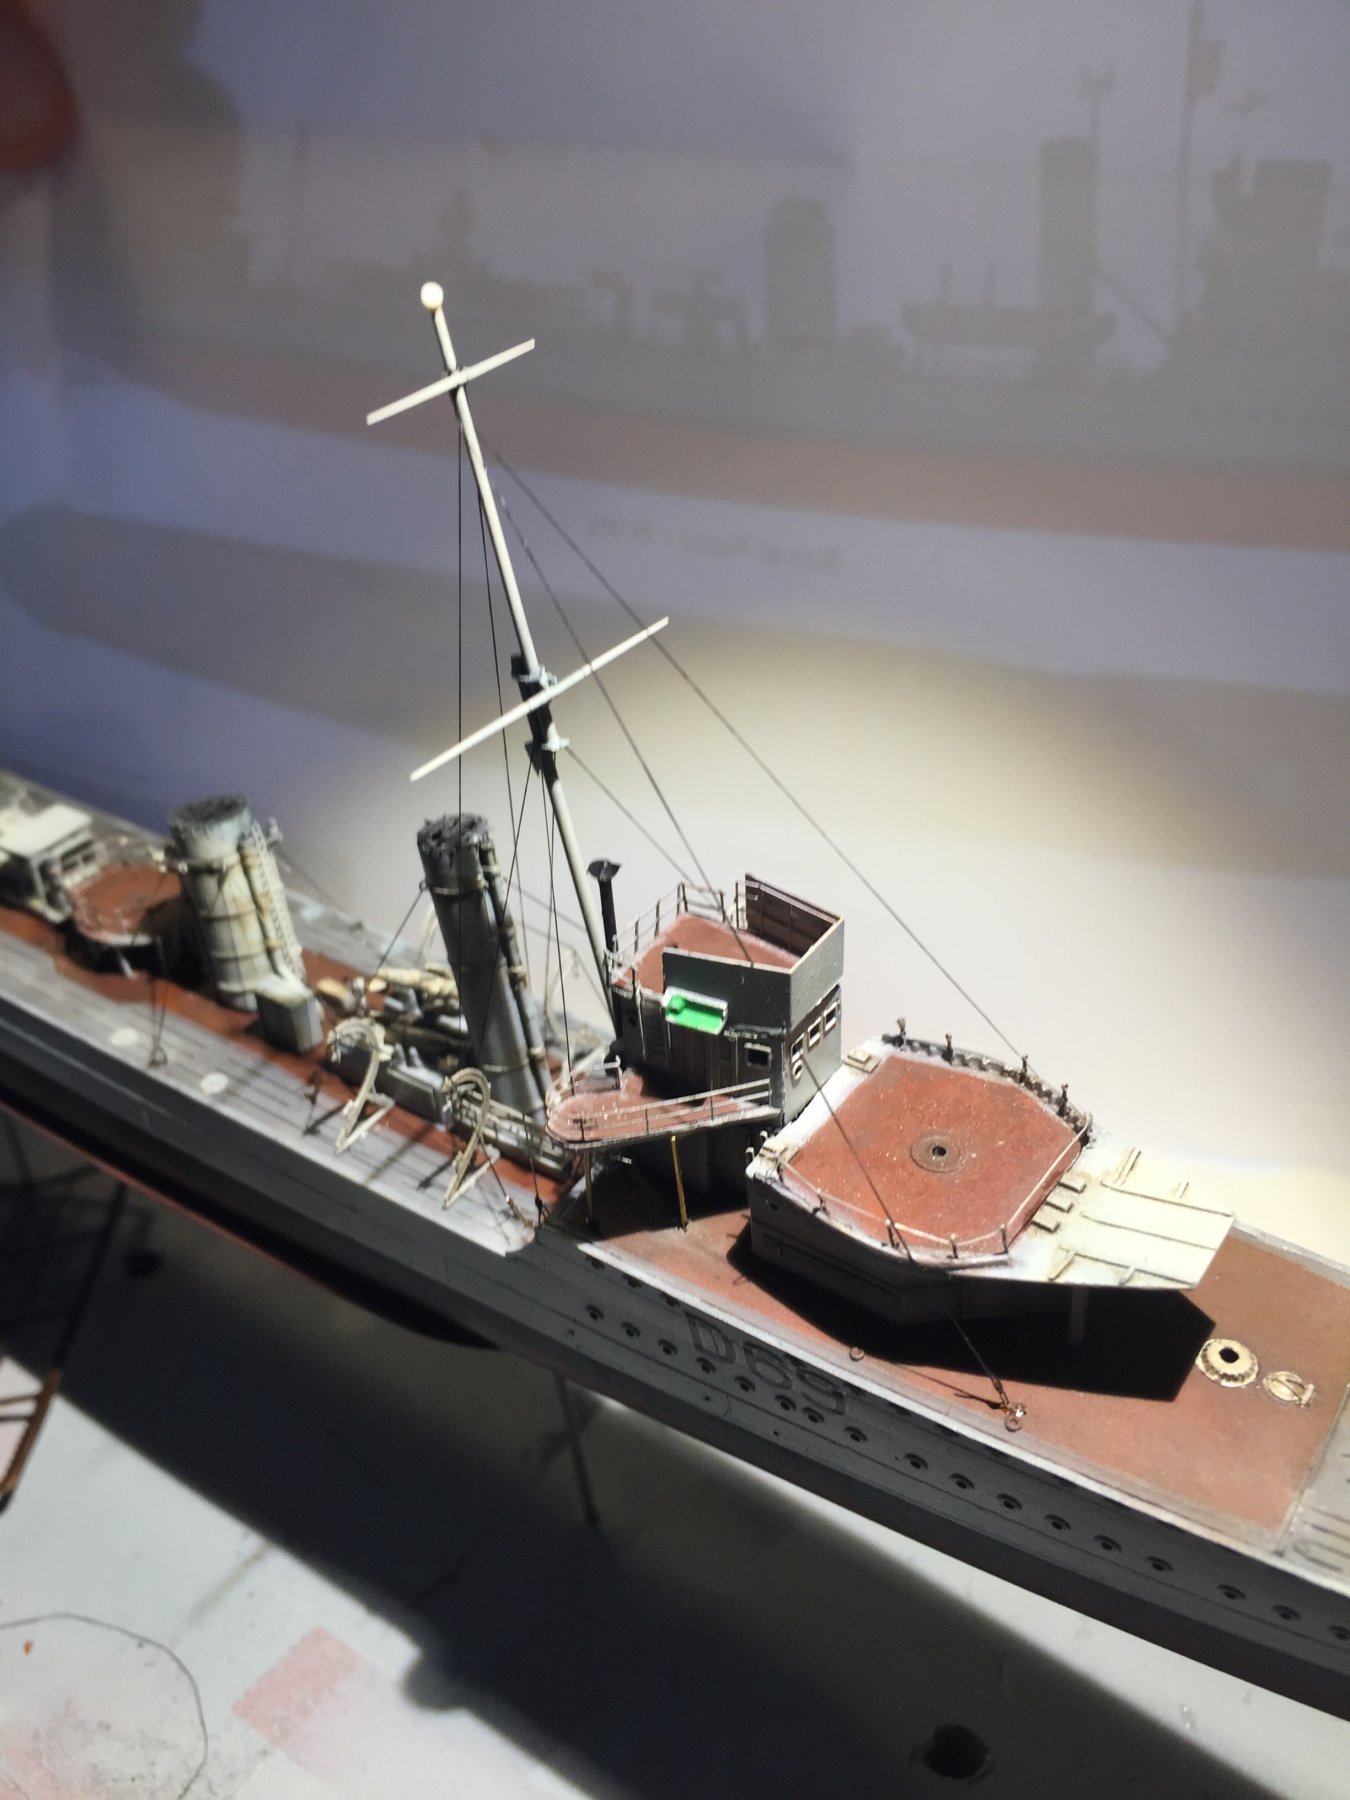
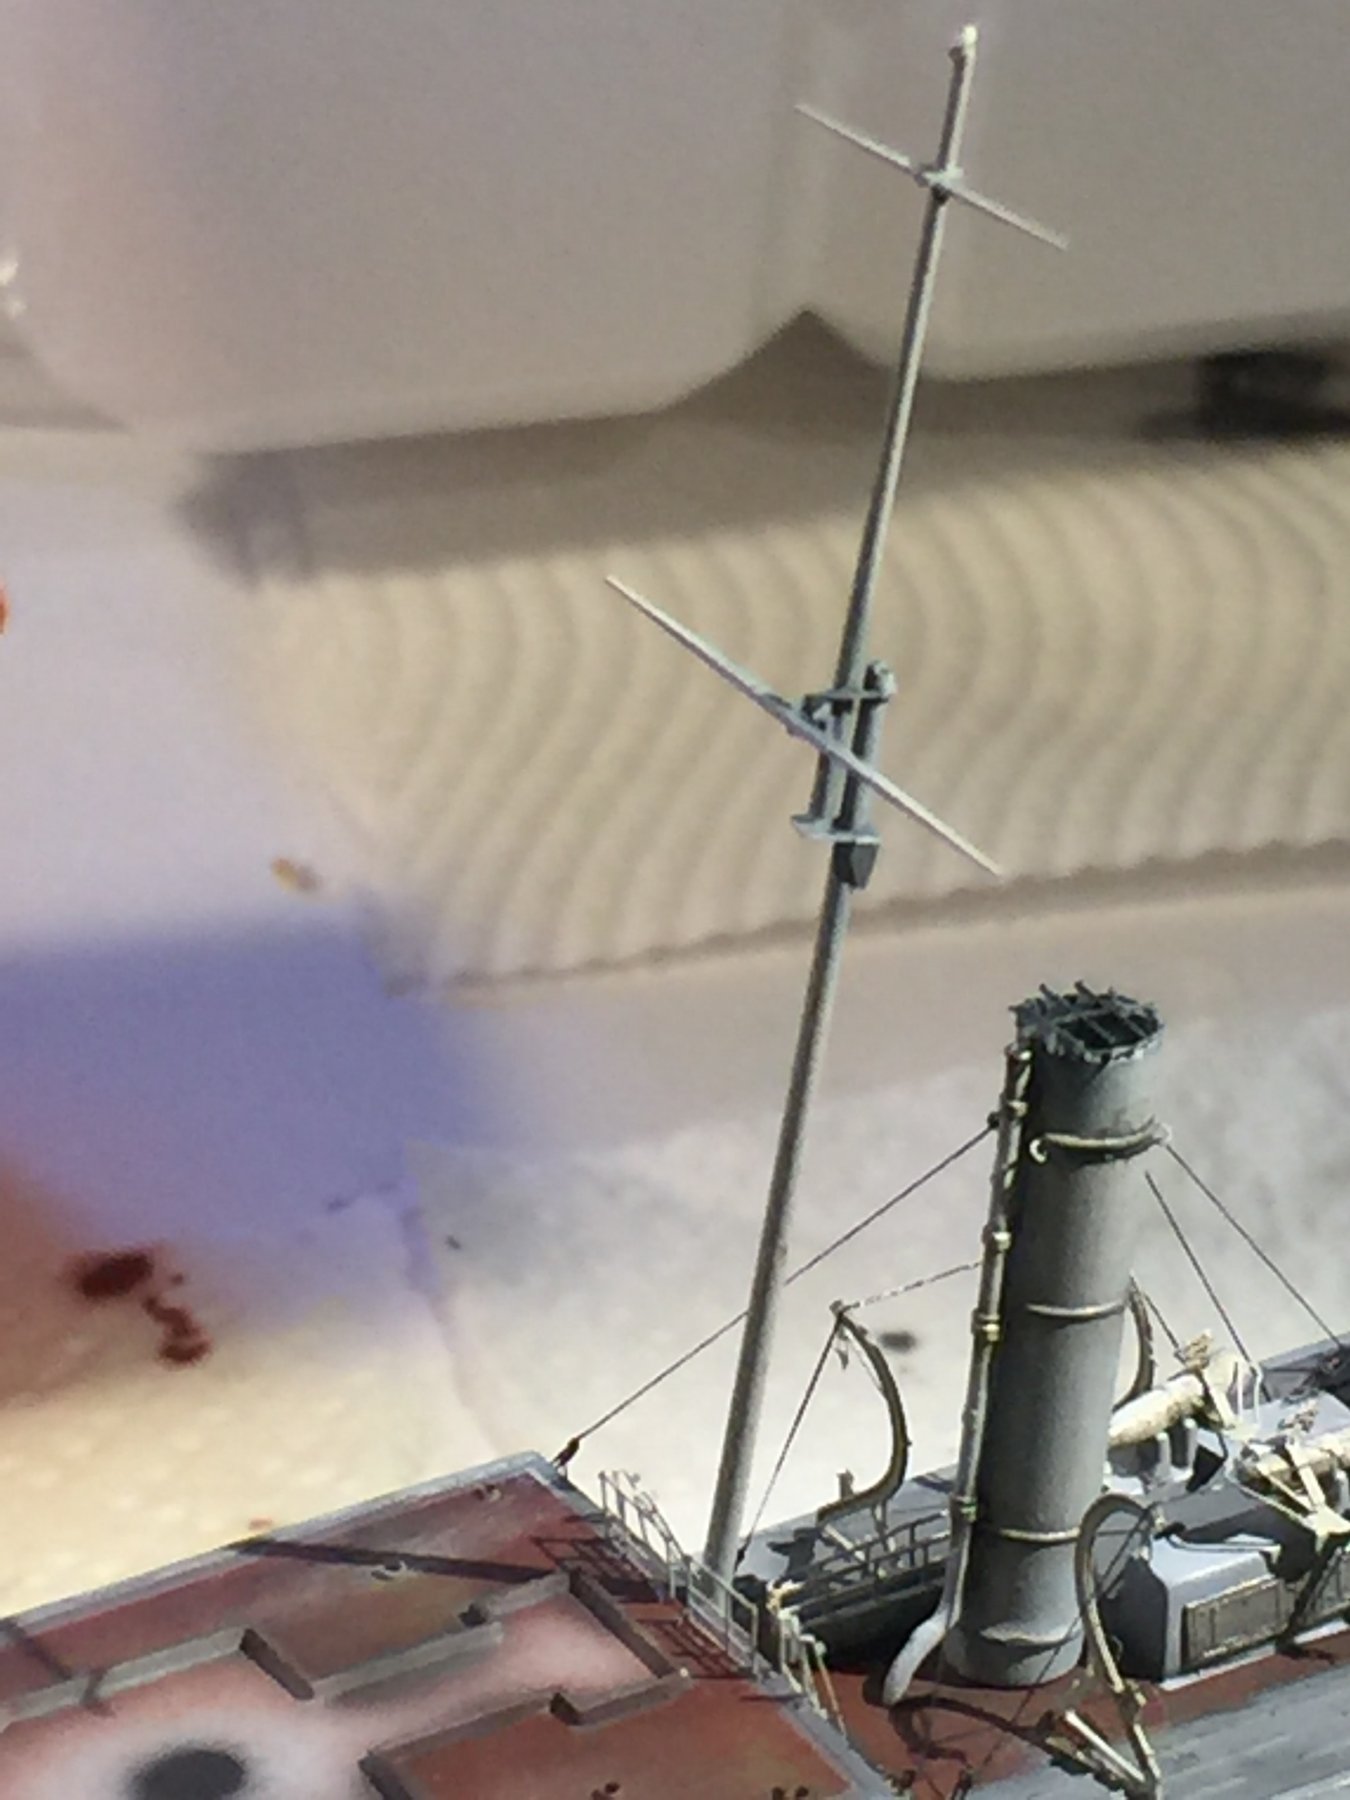
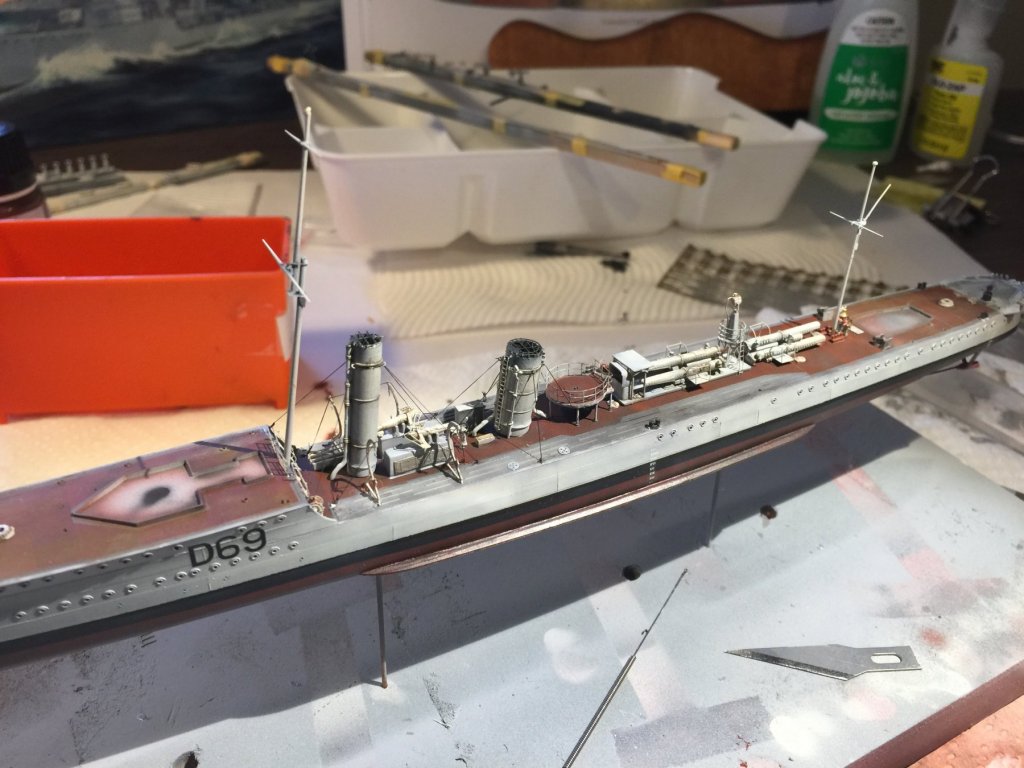
All the ladders added, stays added to the masts as per the plans. Catching up Cog.

- 1,090 replies
-
- 13
-
-
- showcase models
- vendetta
- (and 2 more)
-
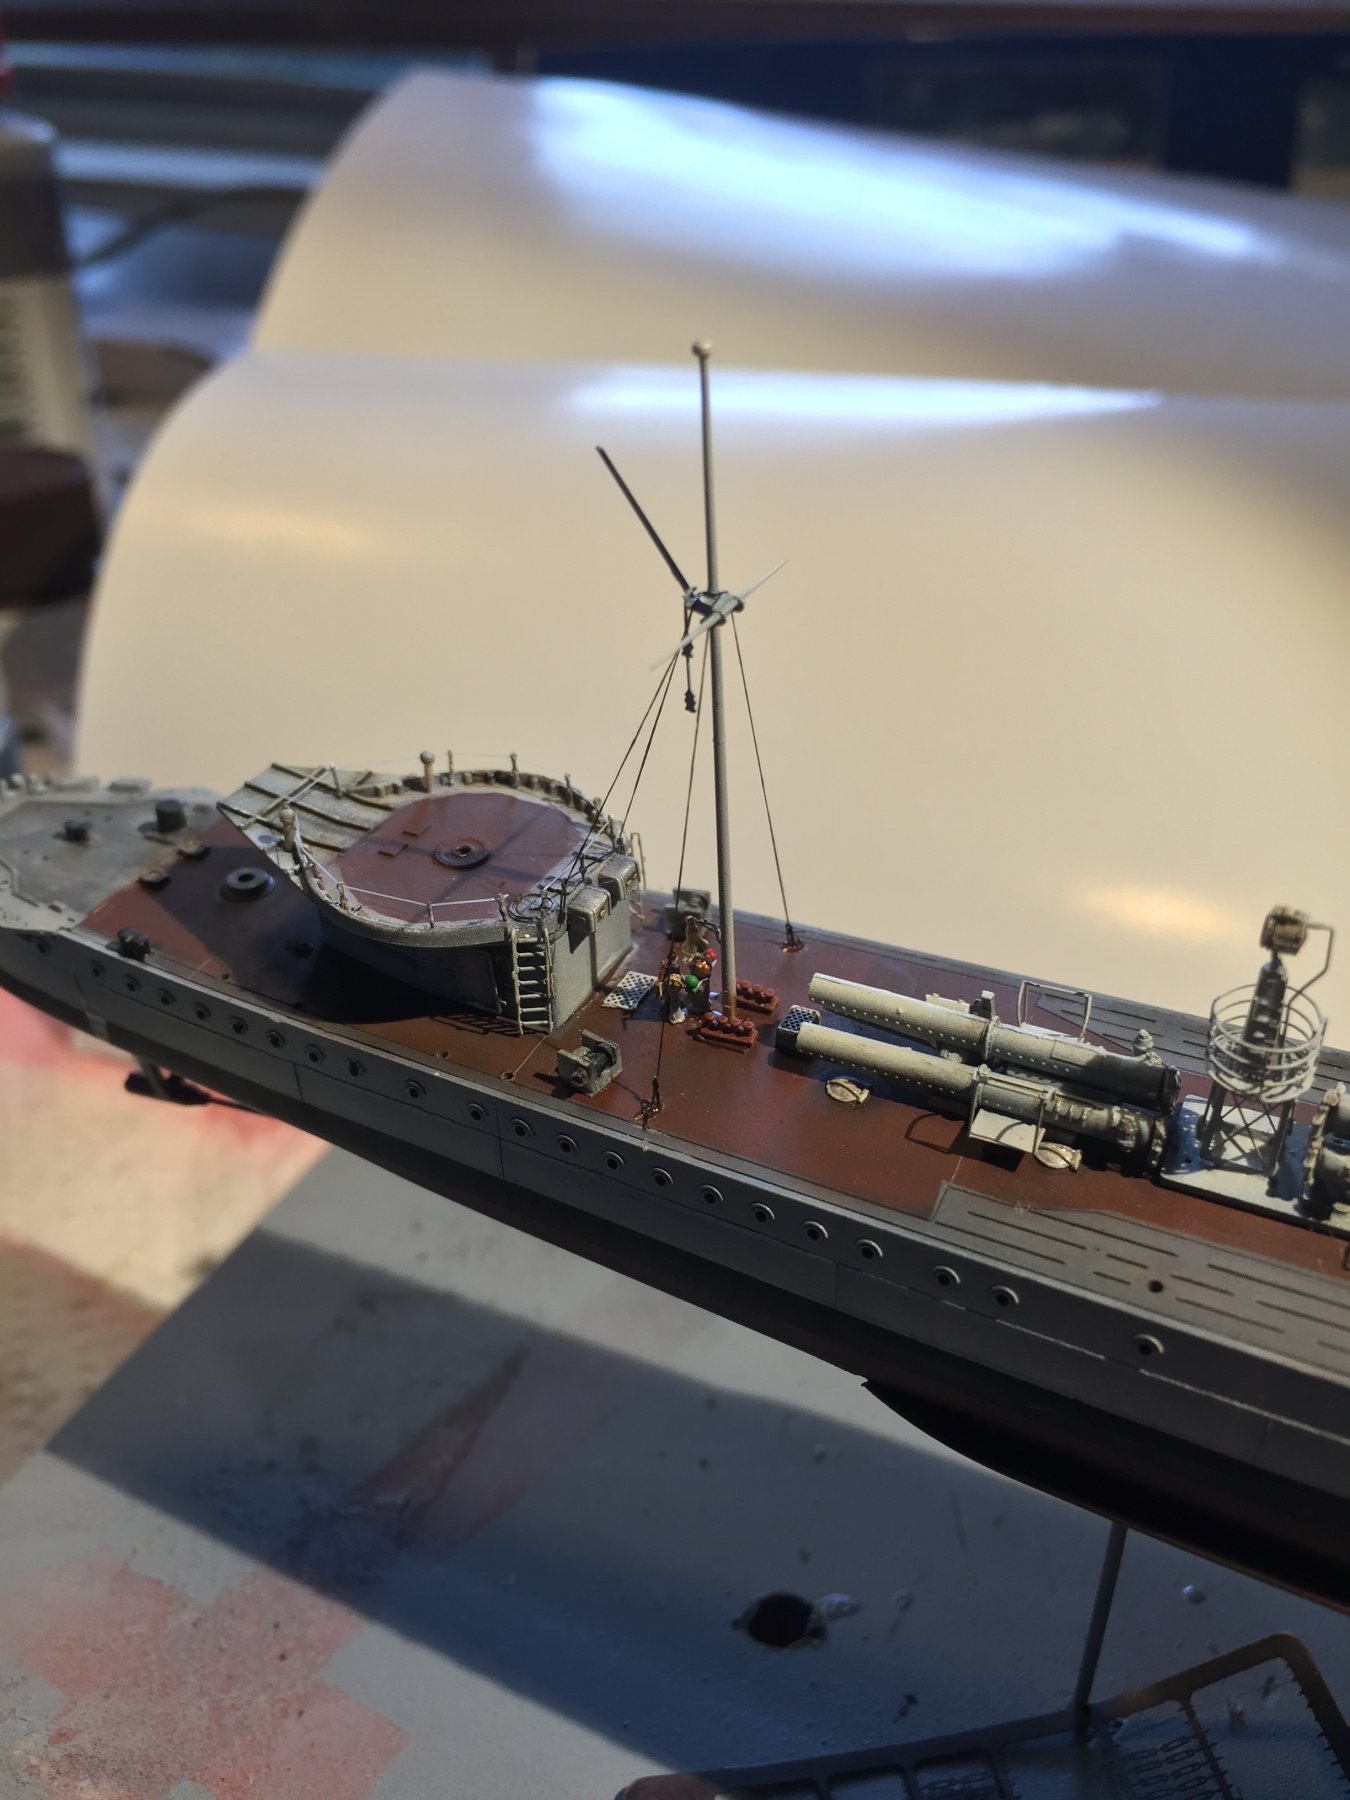
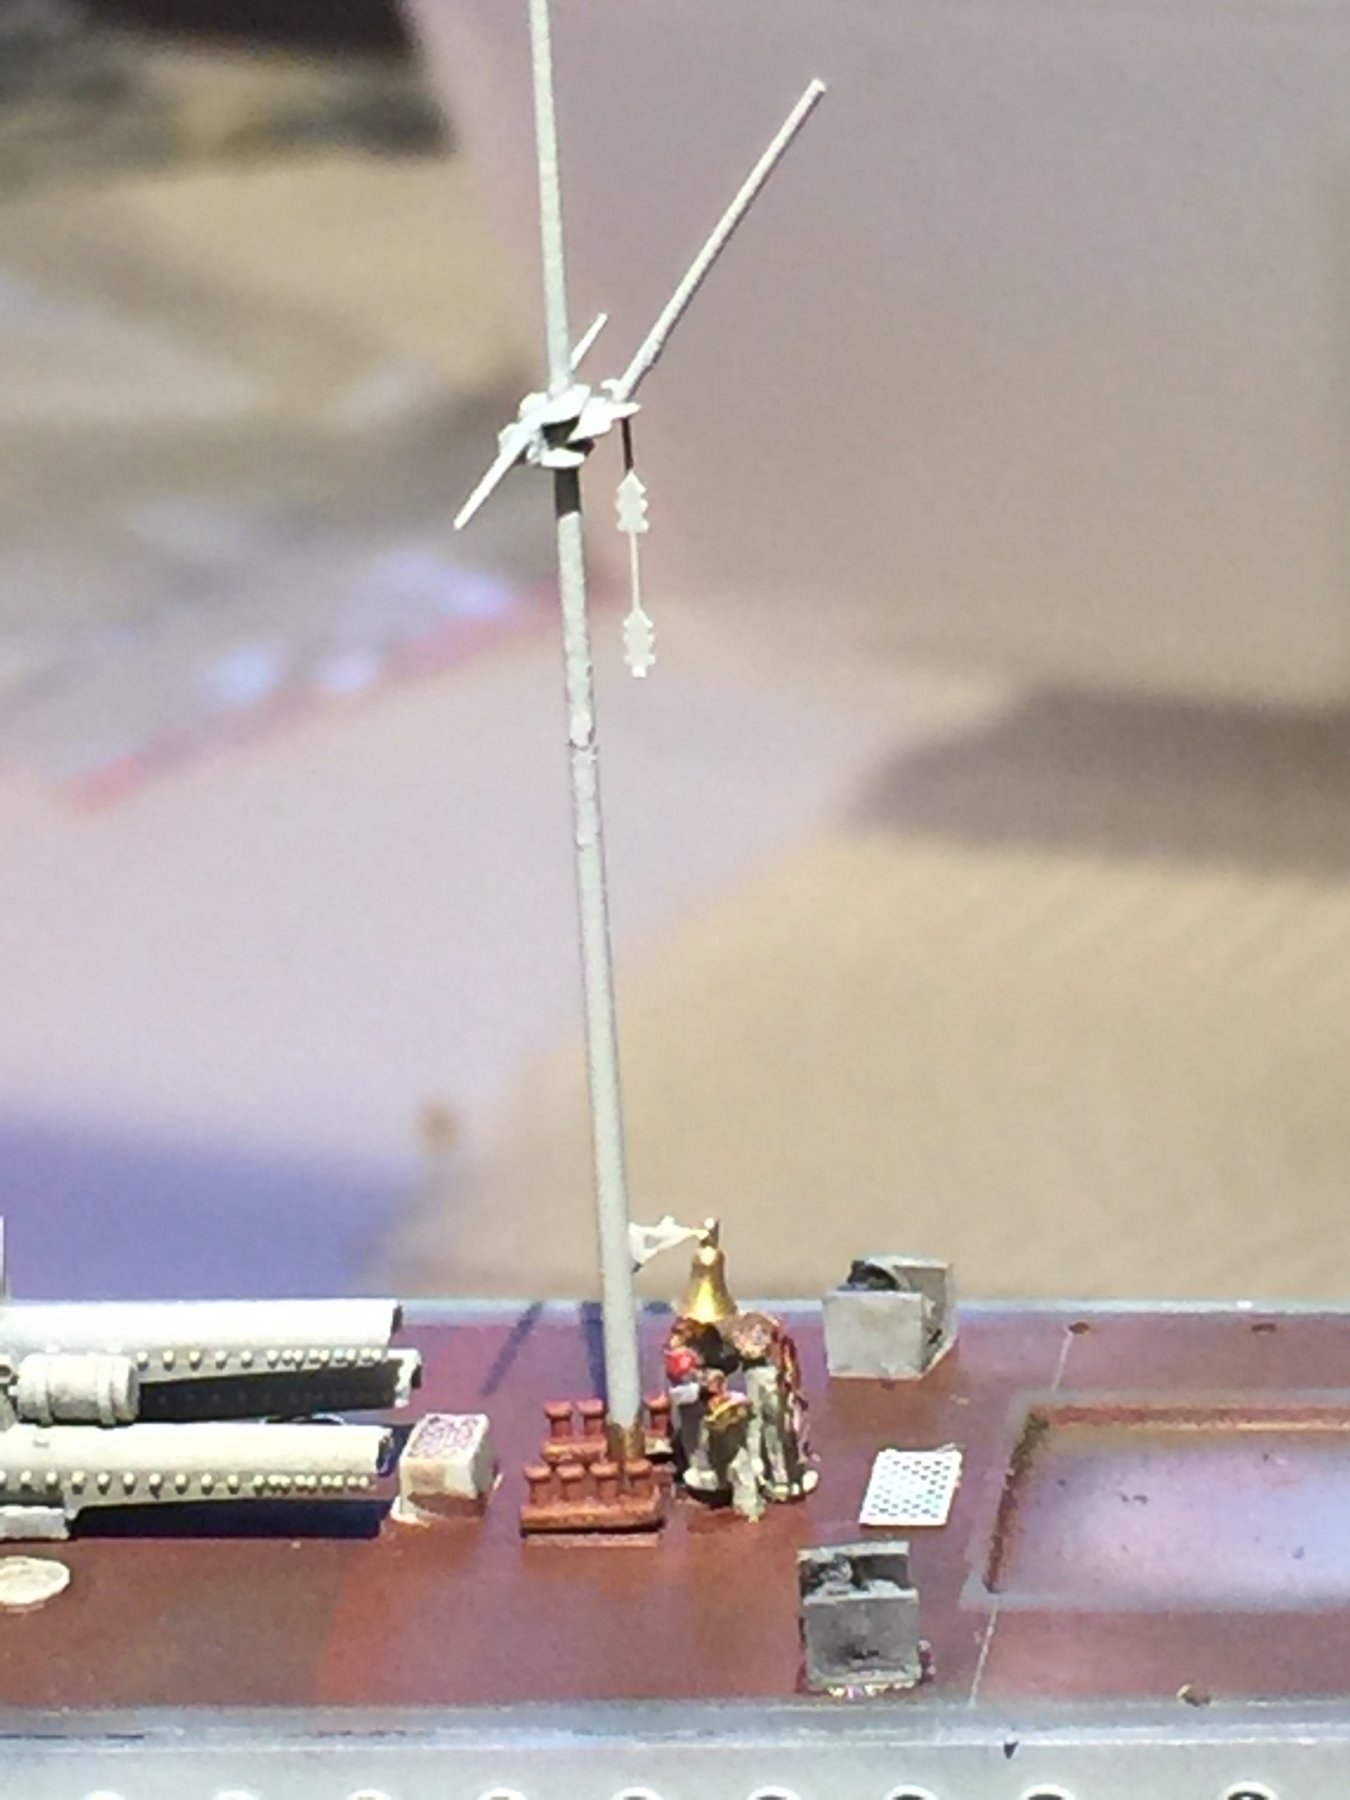
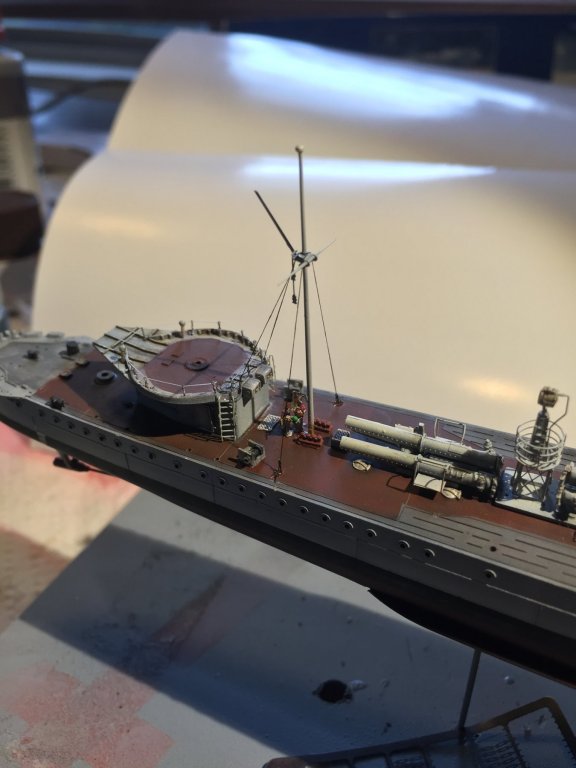
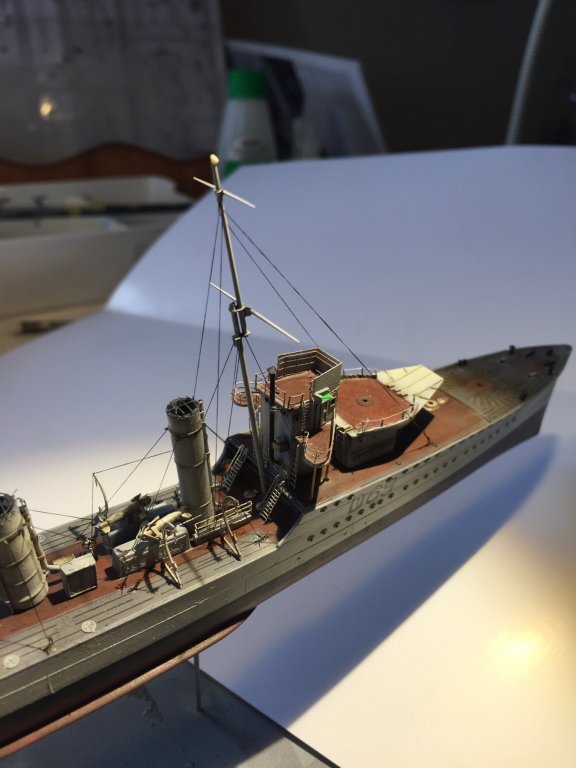
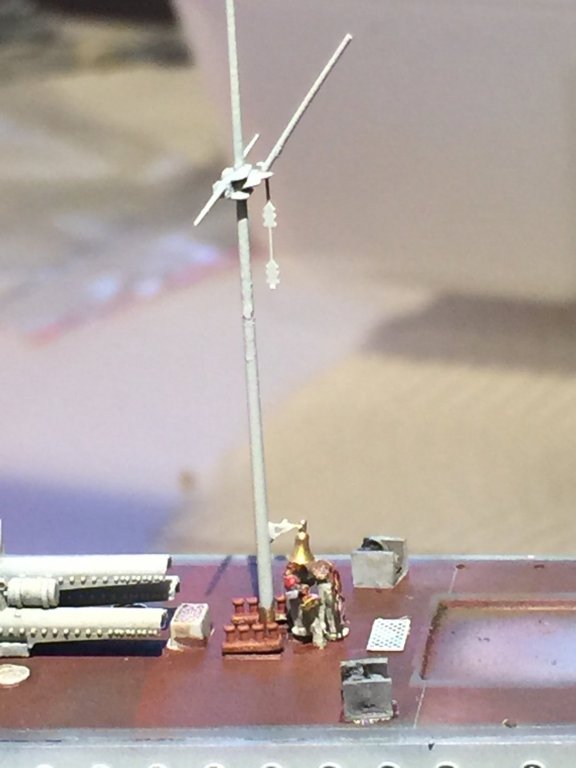
Popeye is catching up very quickly. The masts are now stepped, and I threw in a ship’s bell. Just have to rig them now, but just the stays, the upper stuff will come later.

- 1,090 replies
-
- 12
-
-
- showcase models
- vendetta
- (and 2 more)