RGL
-
Posts
5,539 -
Joined
-
Last visited
Content Type
Profiles
Forums
Gallery
Events
Everything posted by RGL
-
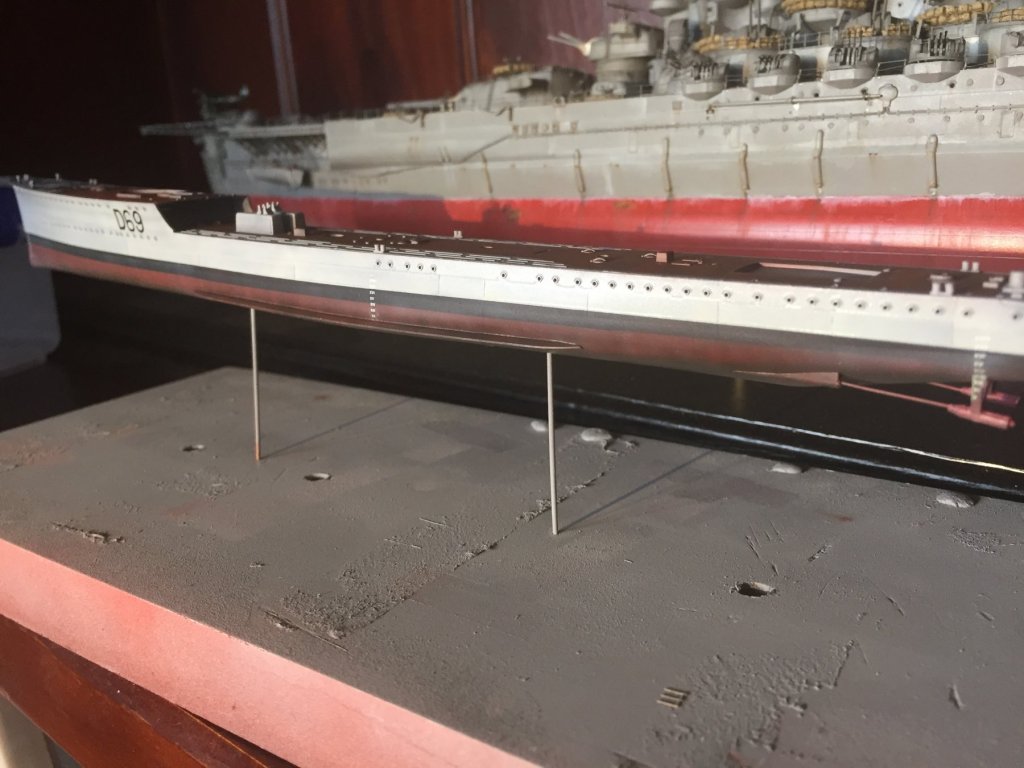
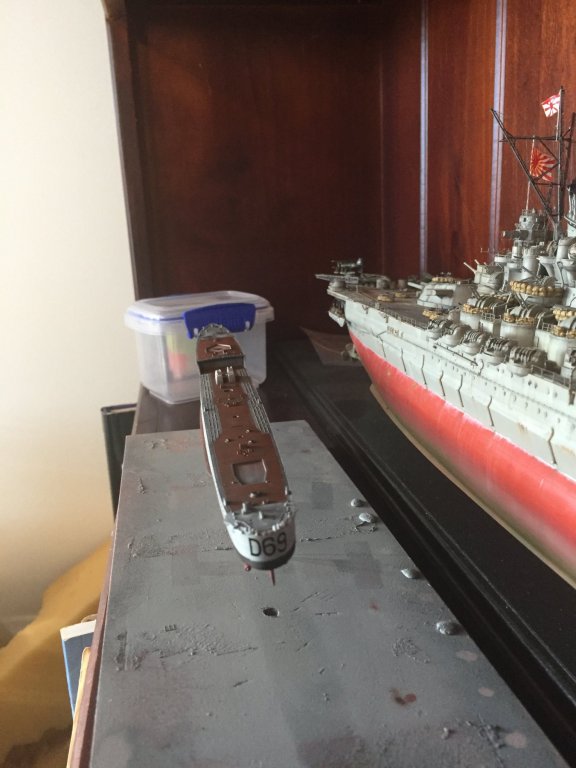
 Hull grunge. I used diluted light grey to dull down the red hull, then diluted black to blend that in, then some green for alge and finally some more light grey to put a tide mark on the boot strap using a piece of paper as a mask. Not overly noticeable but it makes it all less shiny.
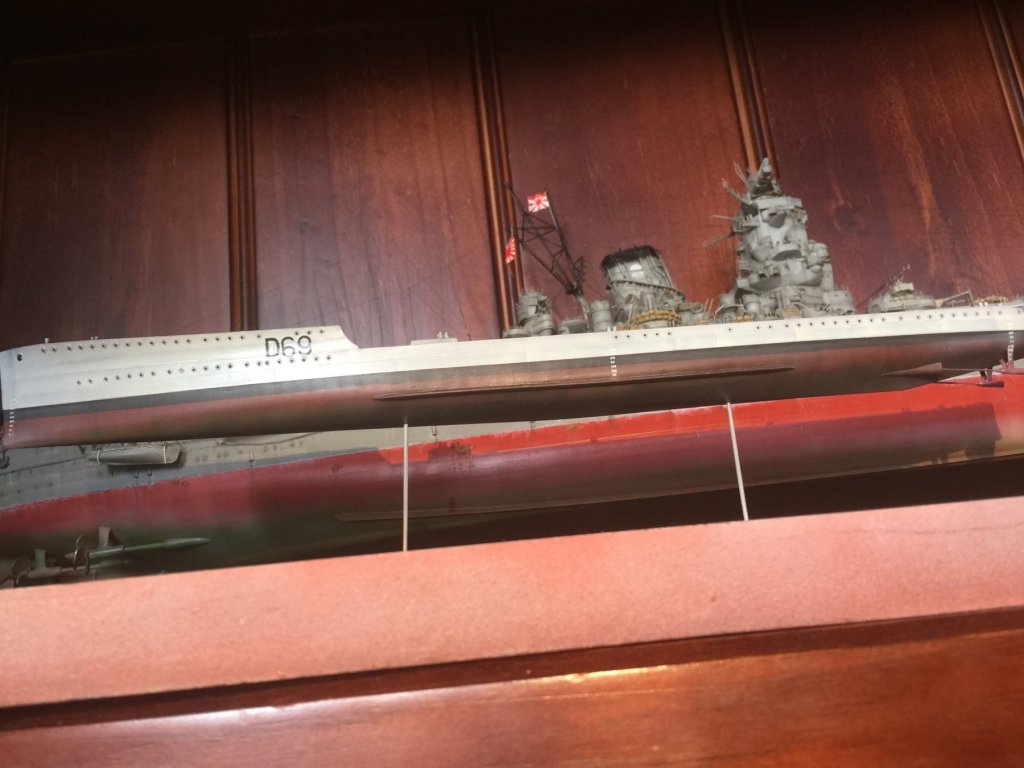
- 1,090 replies
-
- 13
-

-
- showcase models
- vendetta
- (and 2 more)
-
It just completely clogs my H&S airbrush regardless of thinning. Tamiya and Gunze are just soo much easier. Hull numbers and depth markers added.

- 1,090 replies
-
- 14
-
-
- showcase models
- vendetta
- (and 2 more)
-
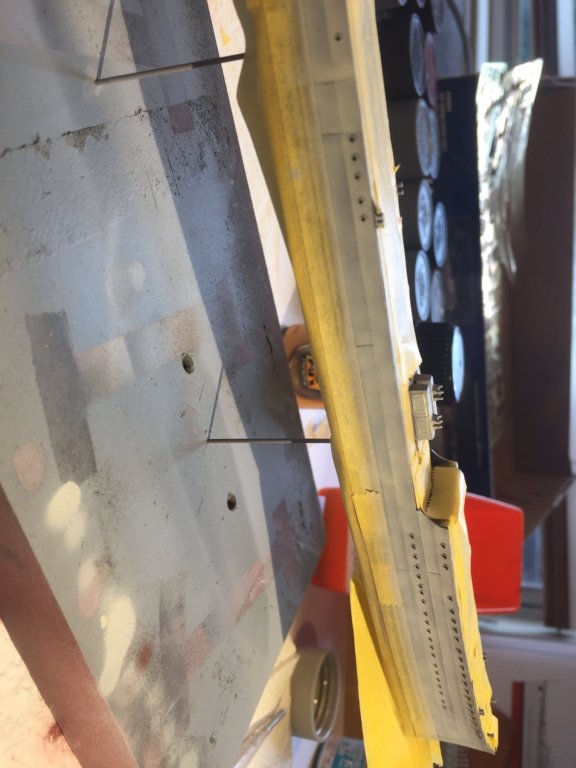
Light hull grey from Gunze, I won’t use Vajello as it does not like me.
- 1,090 replies
-
- 5
-
-
- showcase models
- vendetta
- (and 2 more)
-
Vossy was right! Found some more, nothing past 1943 though.


- 1,090 replies
-
- 10
-
-
- showcase models
- vendetta
- (and 2 more)
-
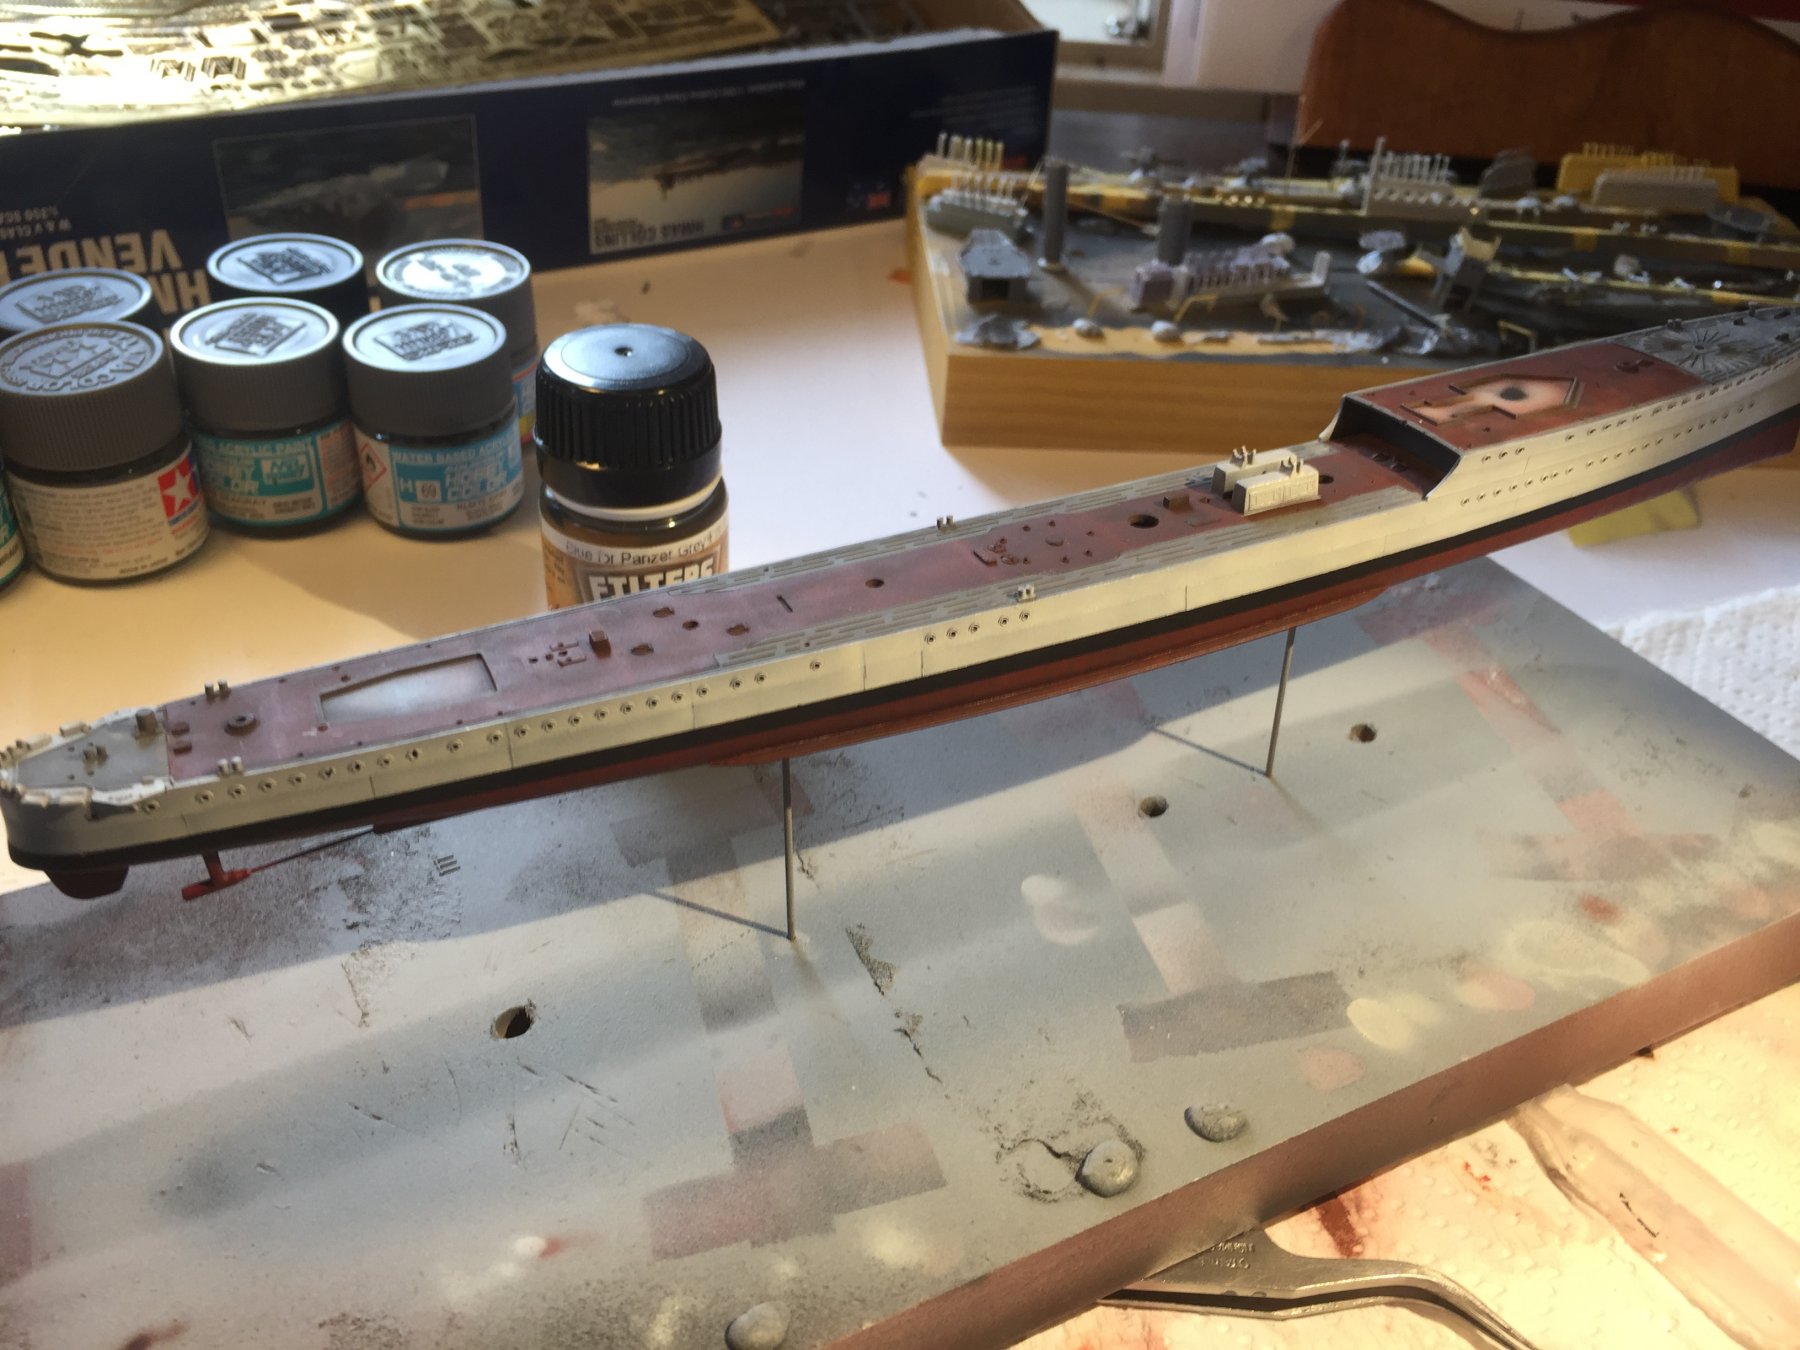
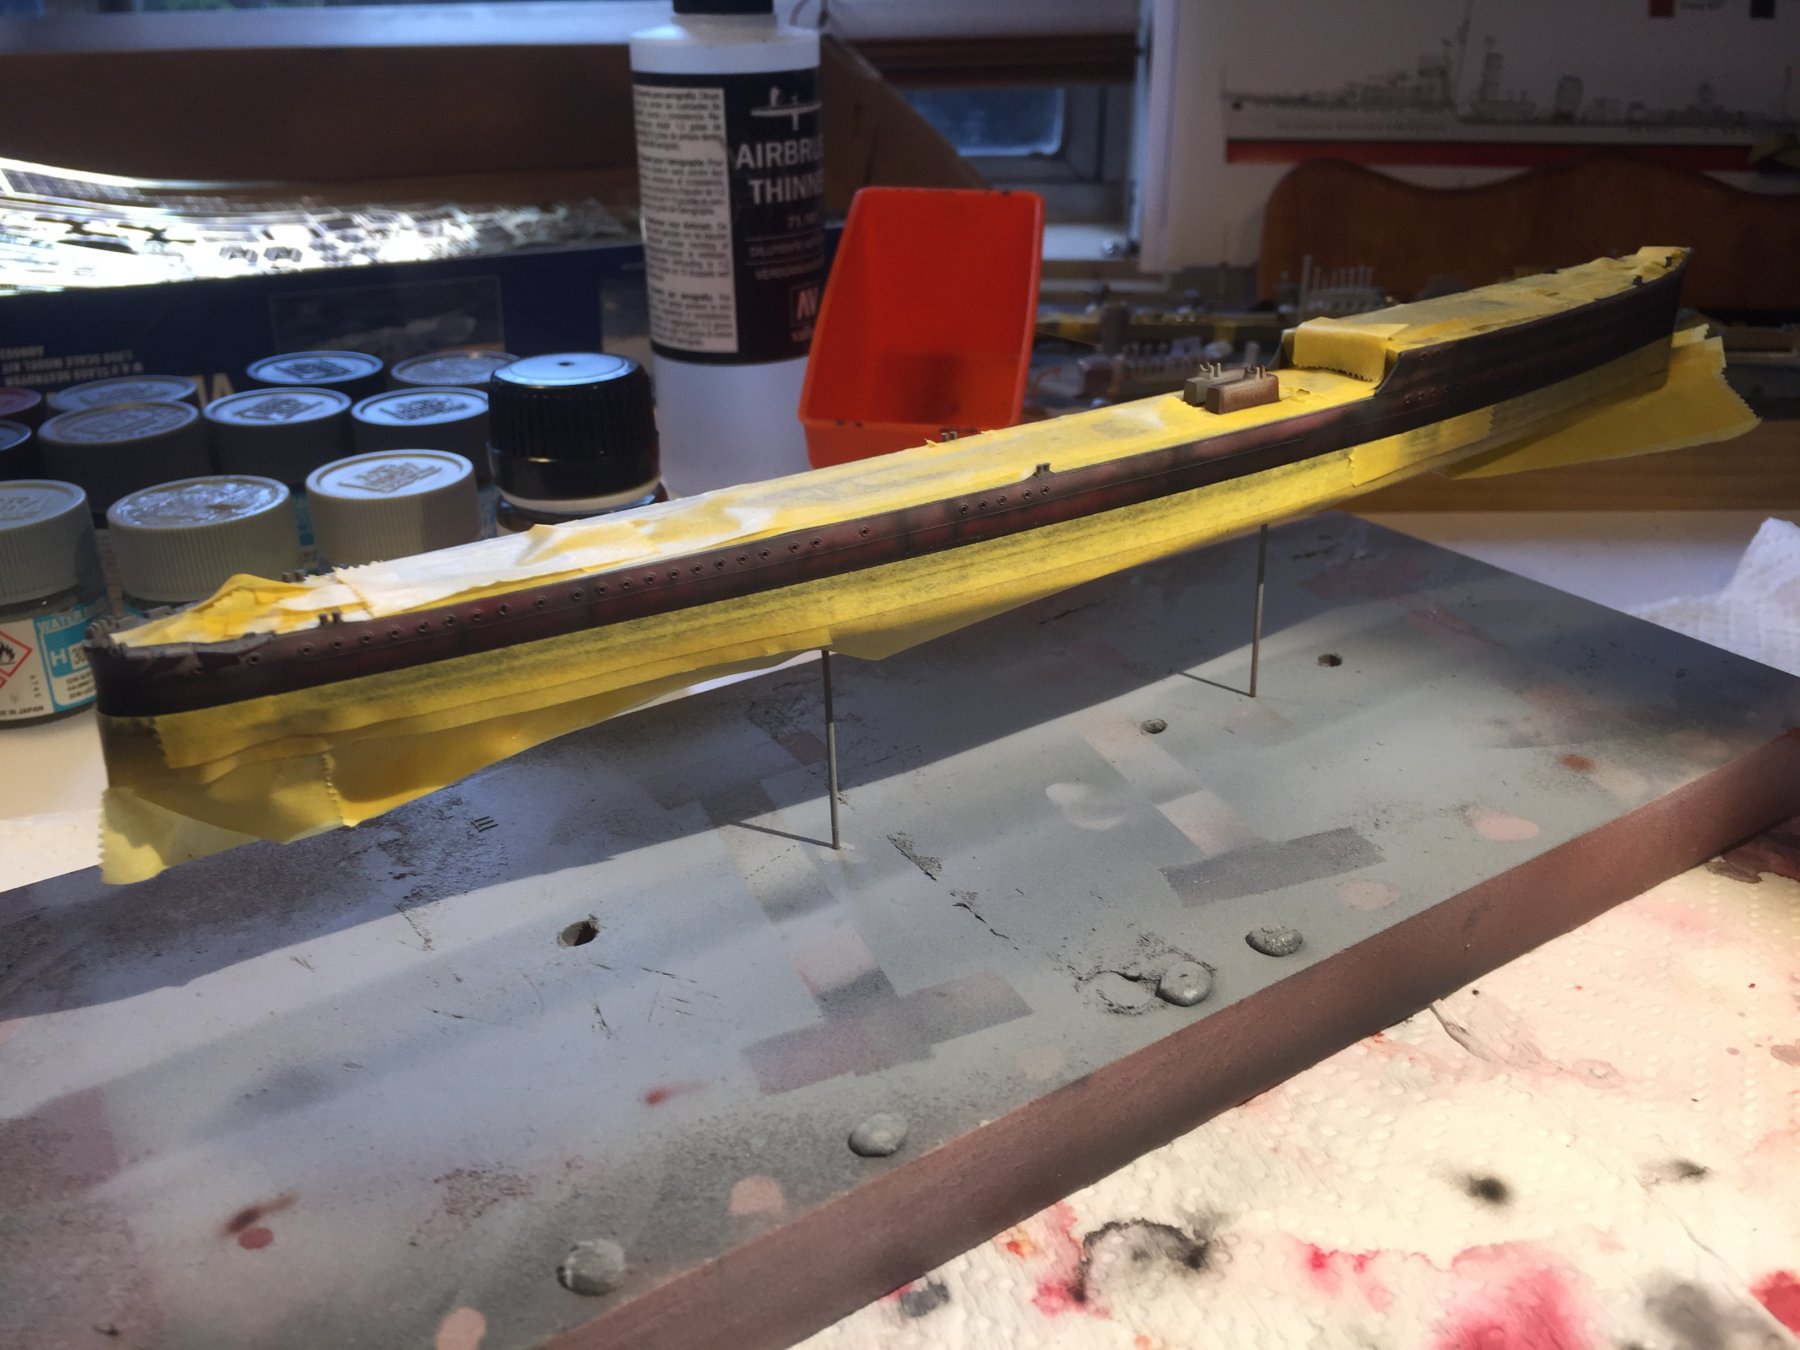
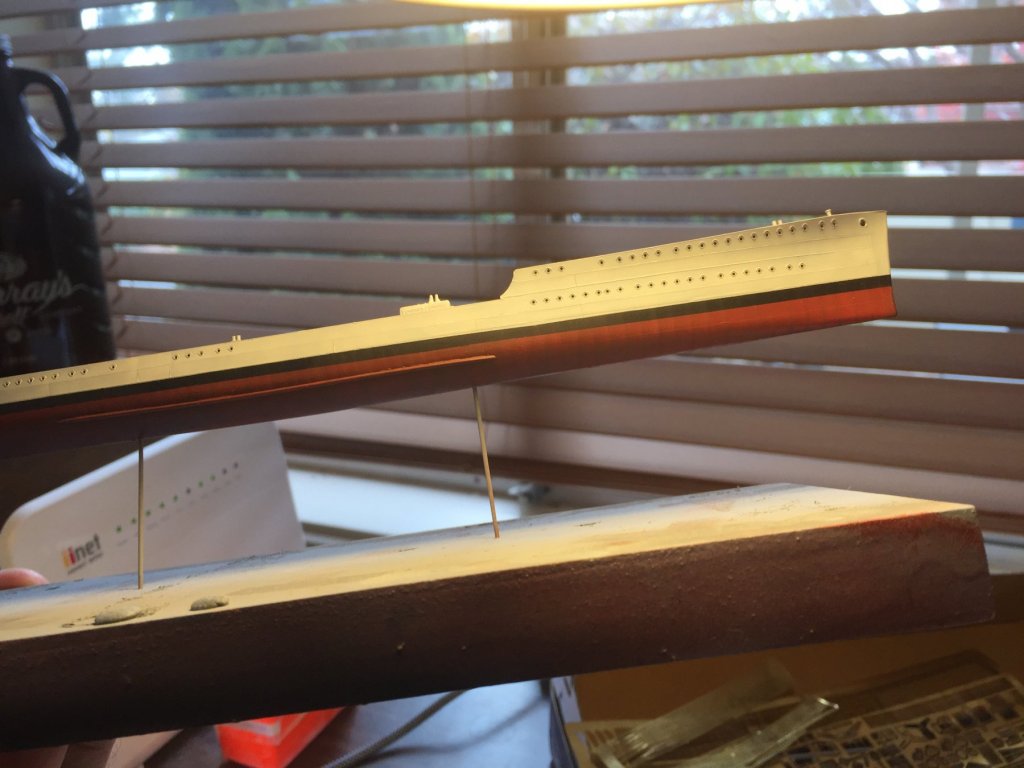
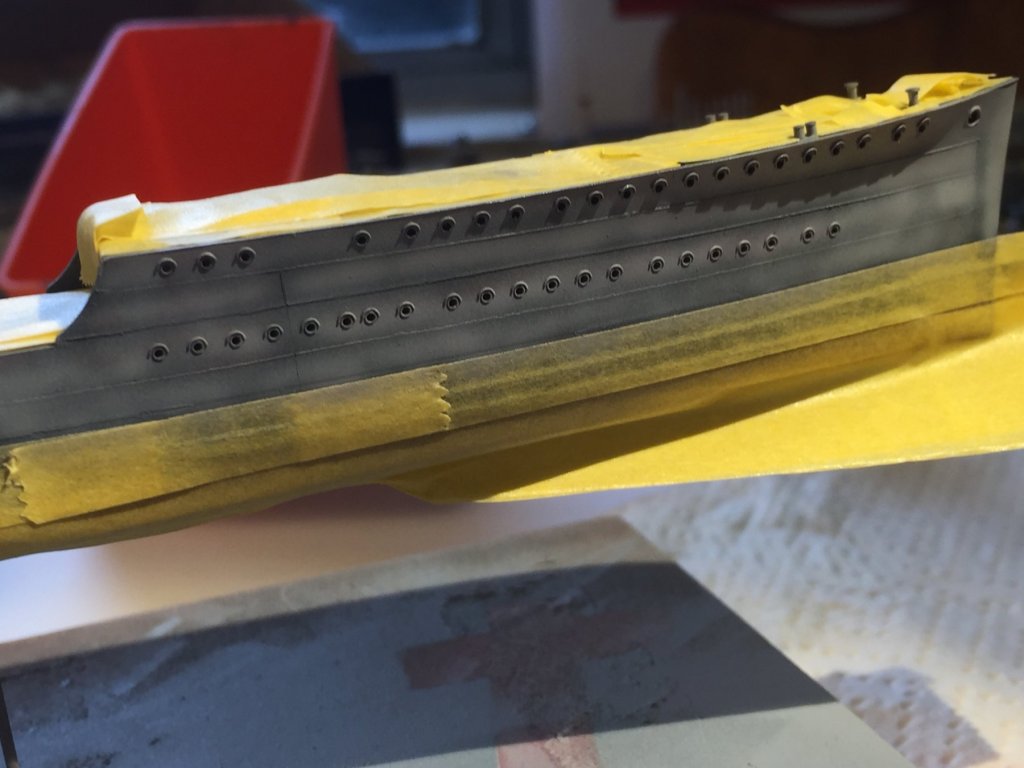
Masking removed, pretty happy so far. Next will be the decals and I can start grunge.

- 1,090 replies
-
- 12
-
-
- showcase models
- vendetta
- (and 2 more)
-
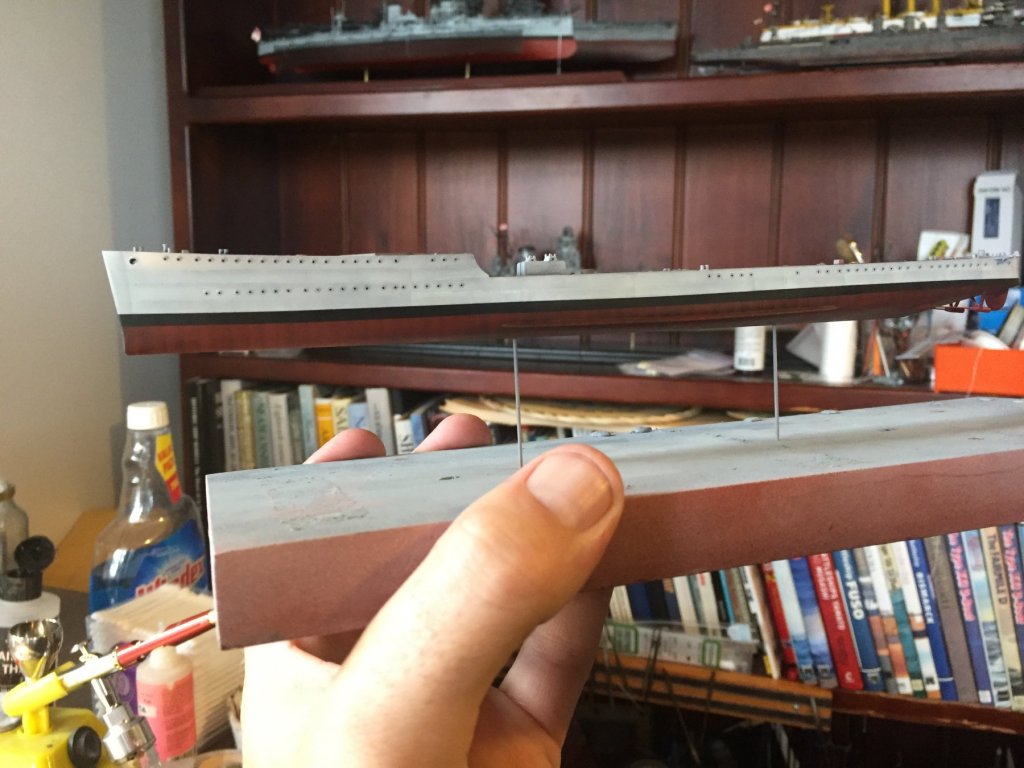
So, modulation. Grey, then Gull Grey then 50/50 hull grey and white overspray
- 1,090 replies
-
- 9
-
-
- showcase models
- vendetta
- (and 2 more)
-
You just know there are perfect photos or models sitting in a Mess or RSL somewhere and the diggers are too old to care about the Internet
- 1,090 replies
-
- 6
-
-
- showcase models
- vendetta
- (and 2 more)
-
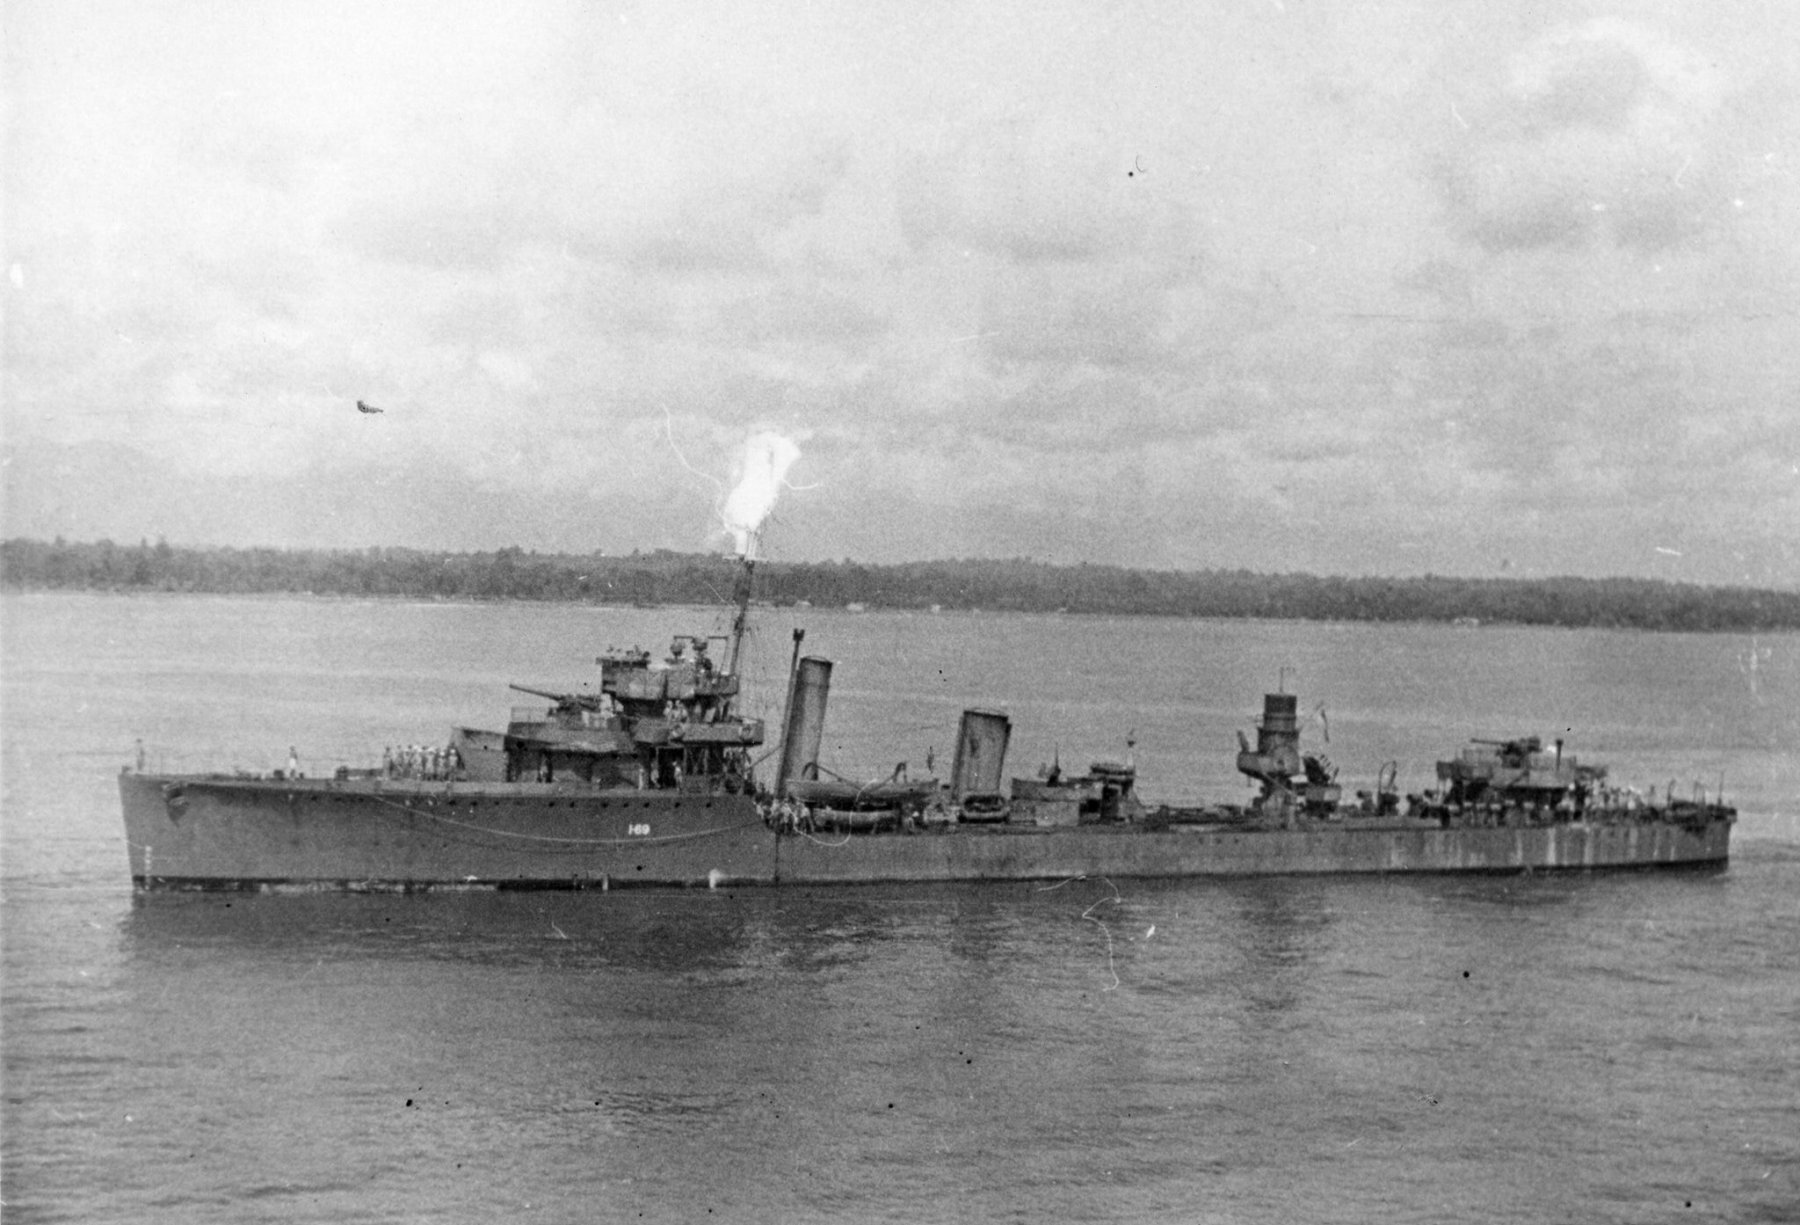
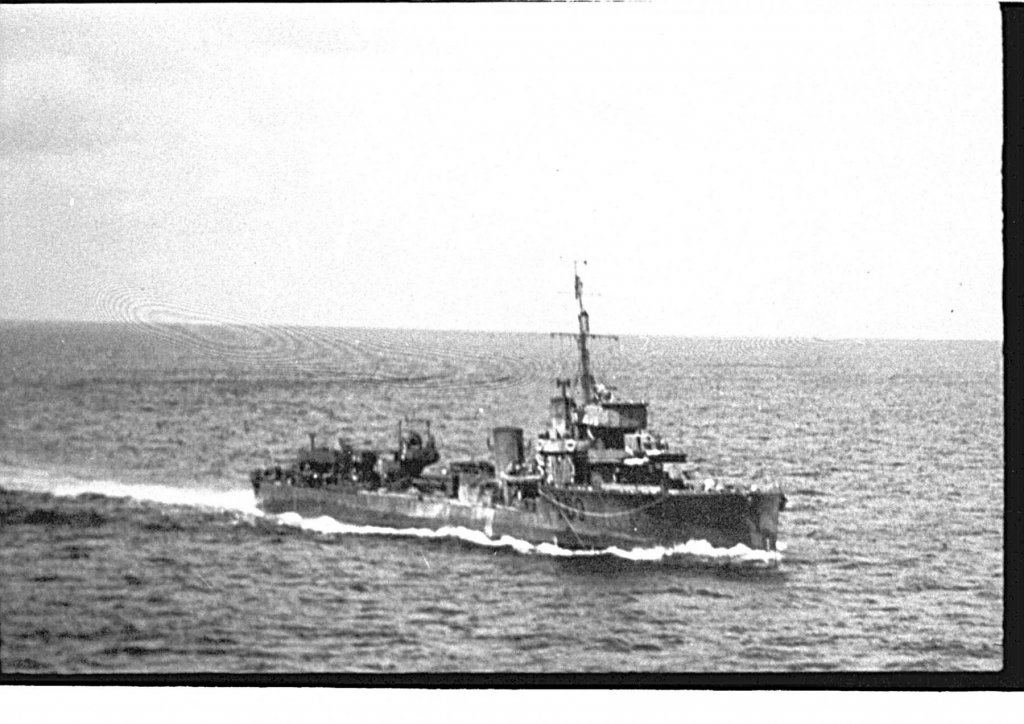
by 1944 the search light tower was replaced by radar which just looks like a large barrel. It’s referenced in one of the AWM photos. Vossy, you may be able to source some other photos being ex RAN. I’d love to build her in the final configuration but not without a decent set of images. The AWM ones are too distant
- 1,090 replies
-
- 6
-
-
- showcase models
- vendetta
- (and 2 more)
-
Vossy it’s because I’ve been at work all weekend and can’t get on the tools. I’m at a stage where I need a few hours on the airbrush and I just can’t do it after work as the 445am starts are a killer. We’ll get there.
- 1,090 replies
-
- 10
-
-
- showcase models
- vendetta
- (and 2 more)
-
So he should have invaded? I could have been born in a French penal colony not a British one!
- 1,090 replies
-
- 10
-
-
- showcase models
- vendetta
- (and 2 more)
-
There are lots of masts everywhere on the original photo so it probably is a parking lot.
- 1,090 replies
-
- 8
-
-
- showcase models
- vendetta
- (and 2 more)
-
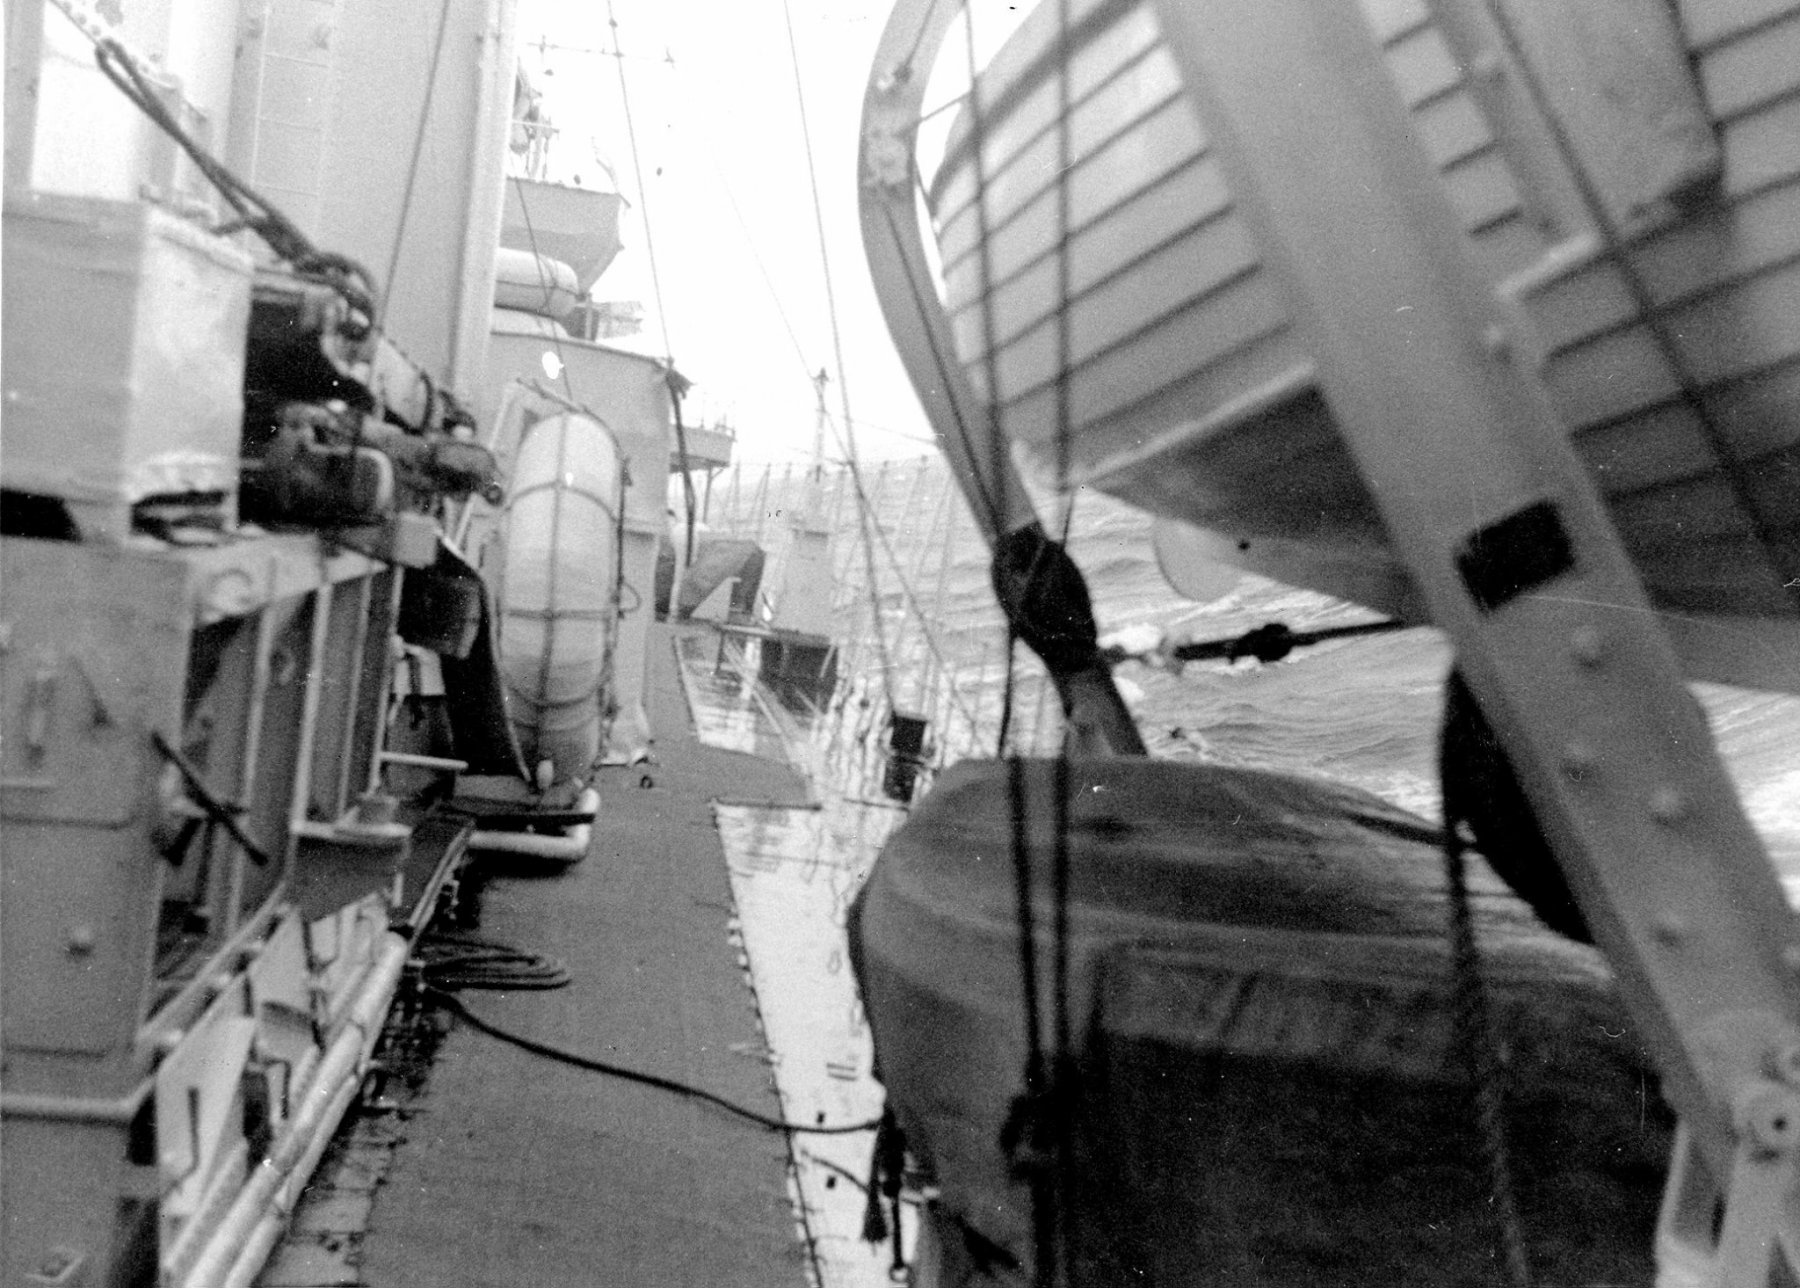
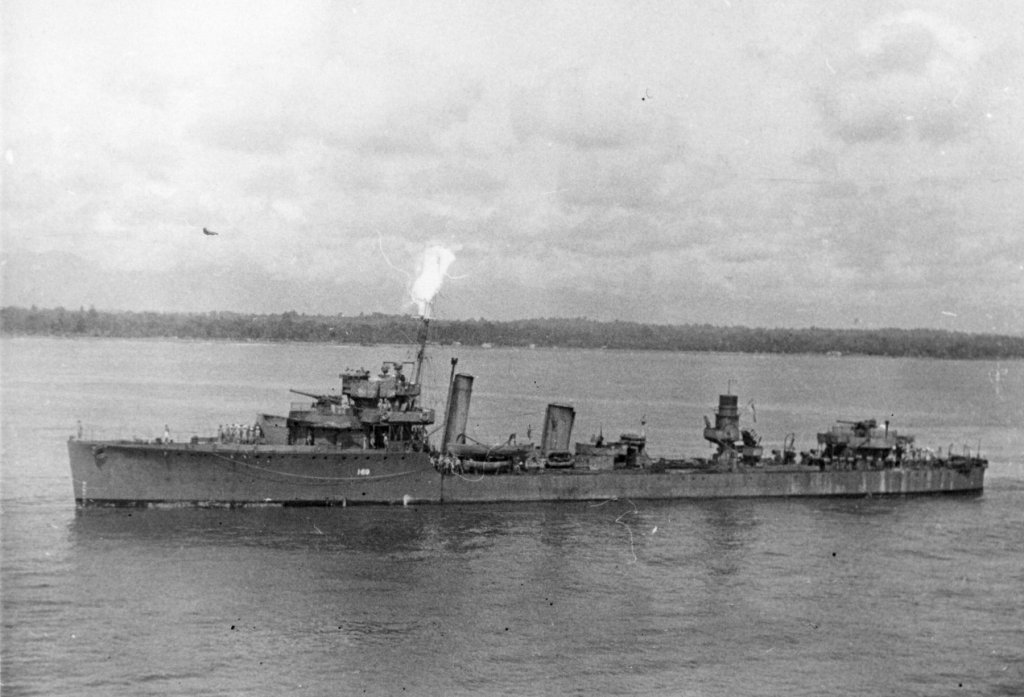
This is a capture image I found in the imperial War Museum. Note the funnels are covered and there are boats on the deck. I suspect this is post WW1 but a nice image to show how grungy the hull was.

- 1,090 replies
-
- 11
-
-
- showcase models
- vendetta
- (and 2 more)
-
And the Molongolo river gets worse when the neighbouring Megopolis of Queanbeyan’s sewerage overflows into it.
- 1,090 replies
-
- 6
-
-
- showcase models
- vendetta
- (and 2 more)
-
little camera in my car records where I’ve been usually
- 1,090 replies
-
- 7
-
-
- showcase models
- vendetta
- (and 2 more)
-
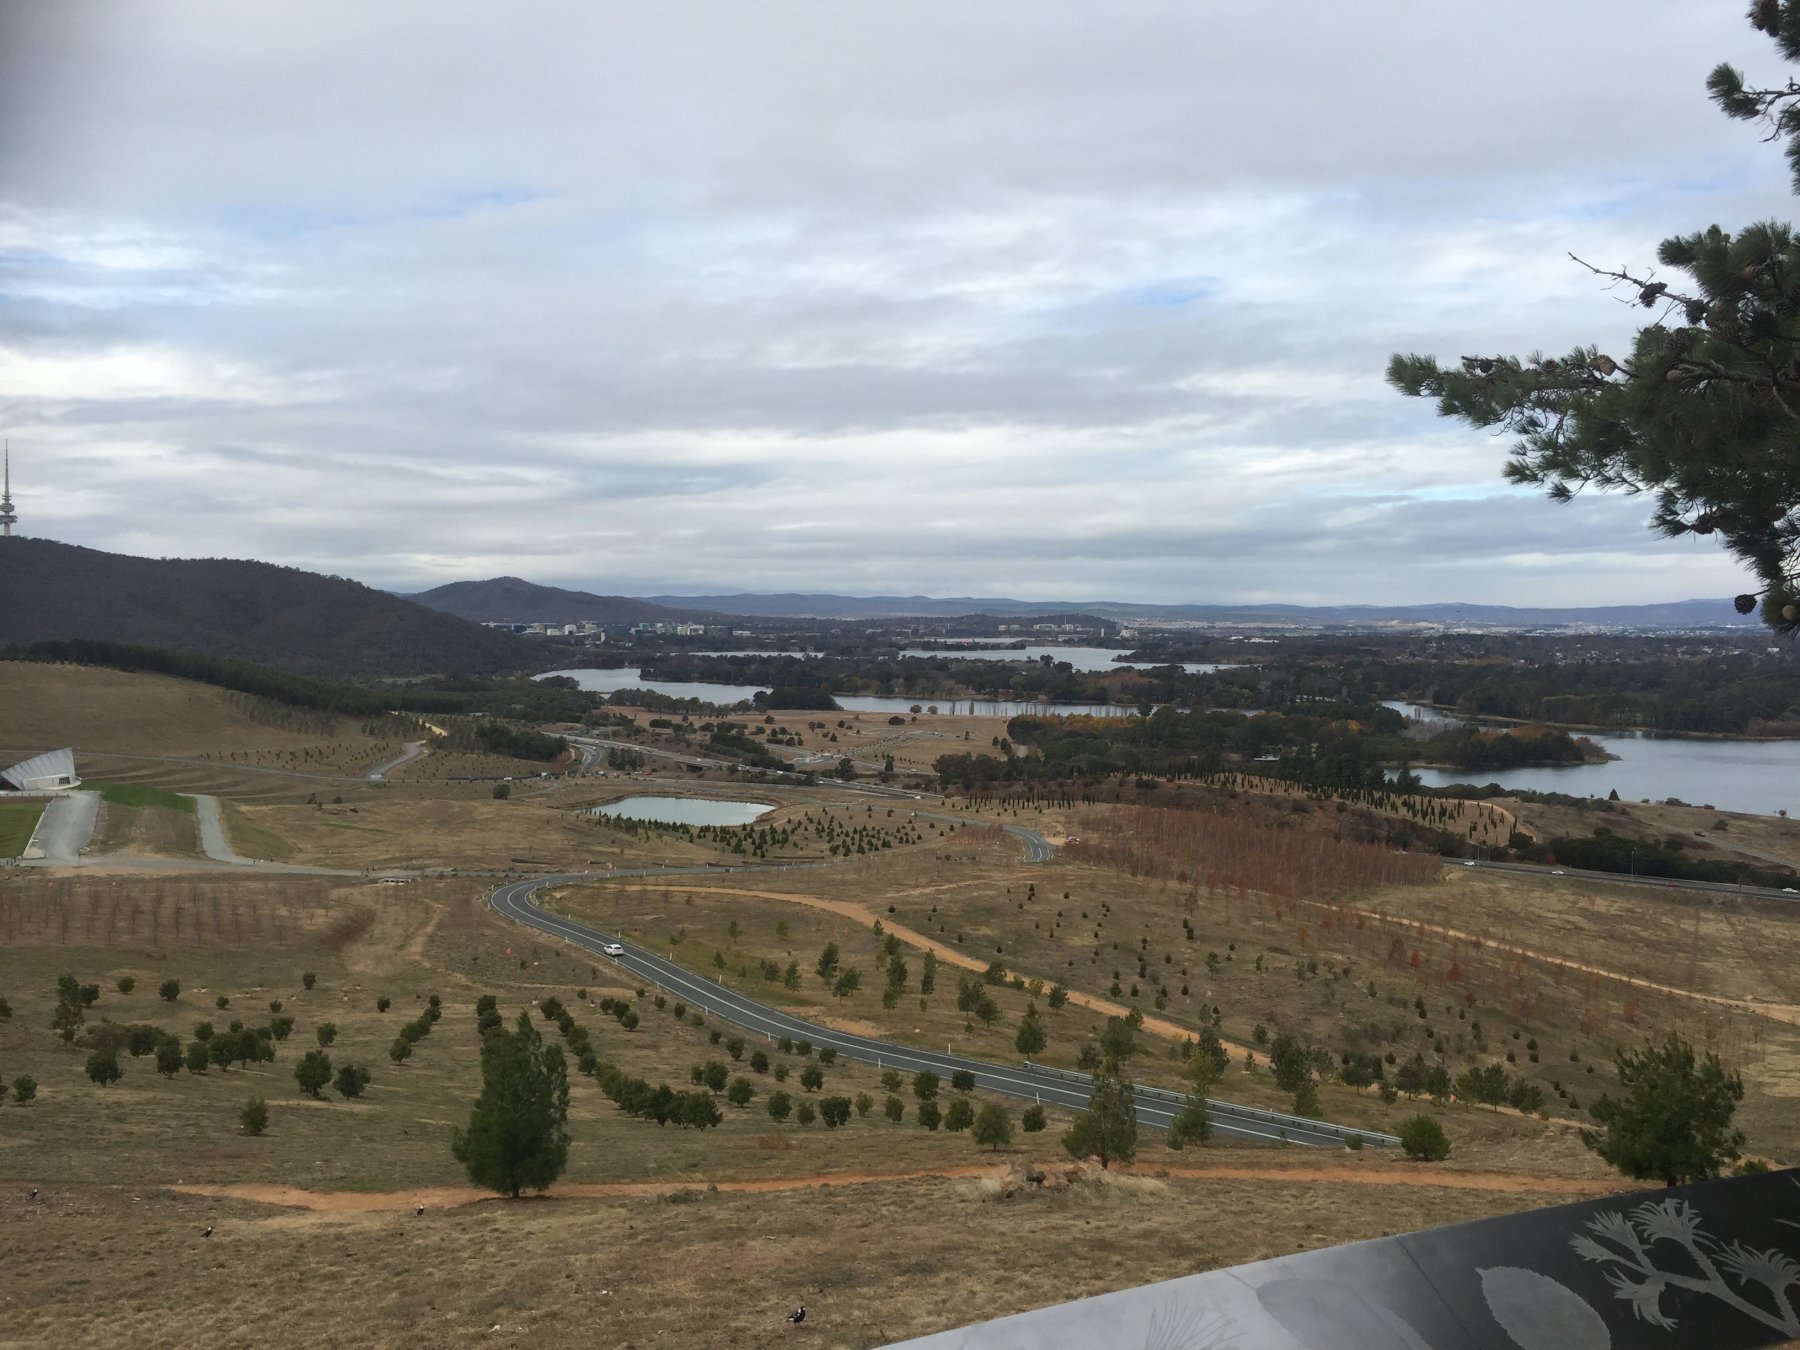
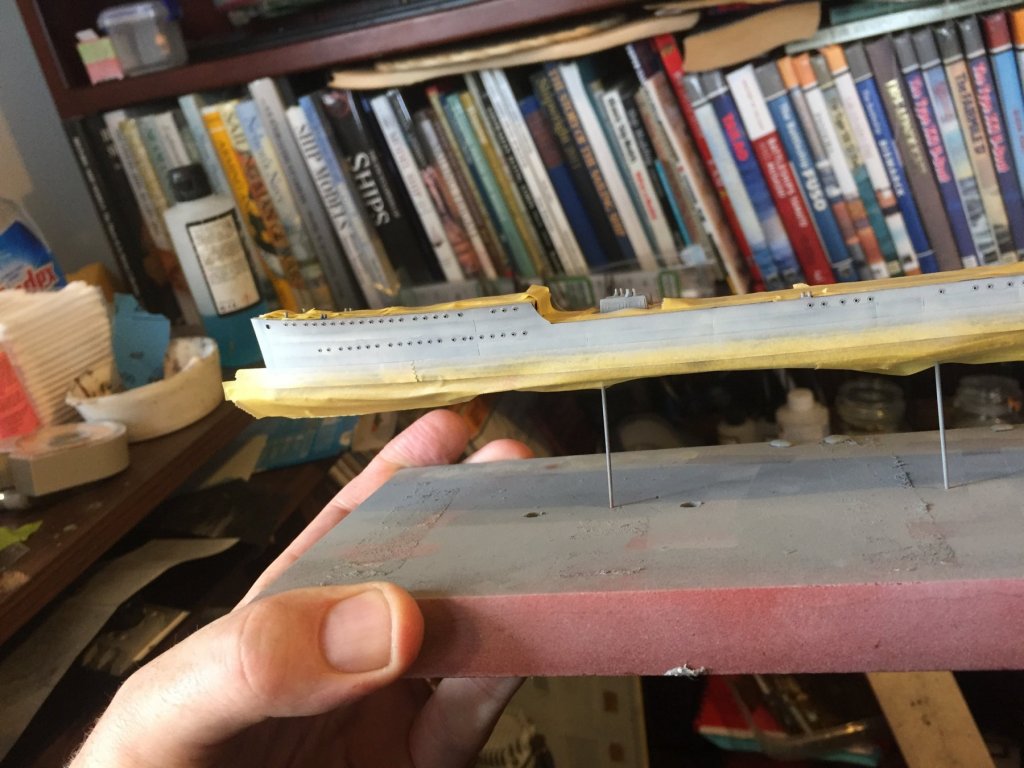
Took the photo whilst at work. Had an appointment with someone nearby and thought I’d take a photo. I have to do some masking yey before the next lot of painting. Wed\Thurs is my weekend this week.
- 1,090 replies
-
- 6
-
-
- showcase models
- vendetta
- (and 2 more)
-
We mummy’s boys are used to the blood running to our heads.
- 1,090 replies
-
- 8
-
-
- showcase models
- vendetta
- (and 2 more)
-
Morning from Oz. Too early for rum (though it is mother’s milk), I was once asked by a chap from Africa why Aussies only speak one language, I told him because we and the kiwis are the only ones down here. You notice Cog learnt to speak English from a pirate, which is very impressive as I thought it would be Vikings up that ways.
- 1,090 replies
-
- 9
-
-
- showcase models
- vendetta
- (and 2 more)
-
I’m loving the water, it’s very much done everywhere now and you’ve got it right.
- 378 replies
-
- 9
-
-
- java
- pacific crossroads
- (and 2 more)