RGL
-
Posts
5,550 -
Joined
-
Last visited
Content Type
Profiles
Forums
Gallery
Events
Everything posted by RGL
-
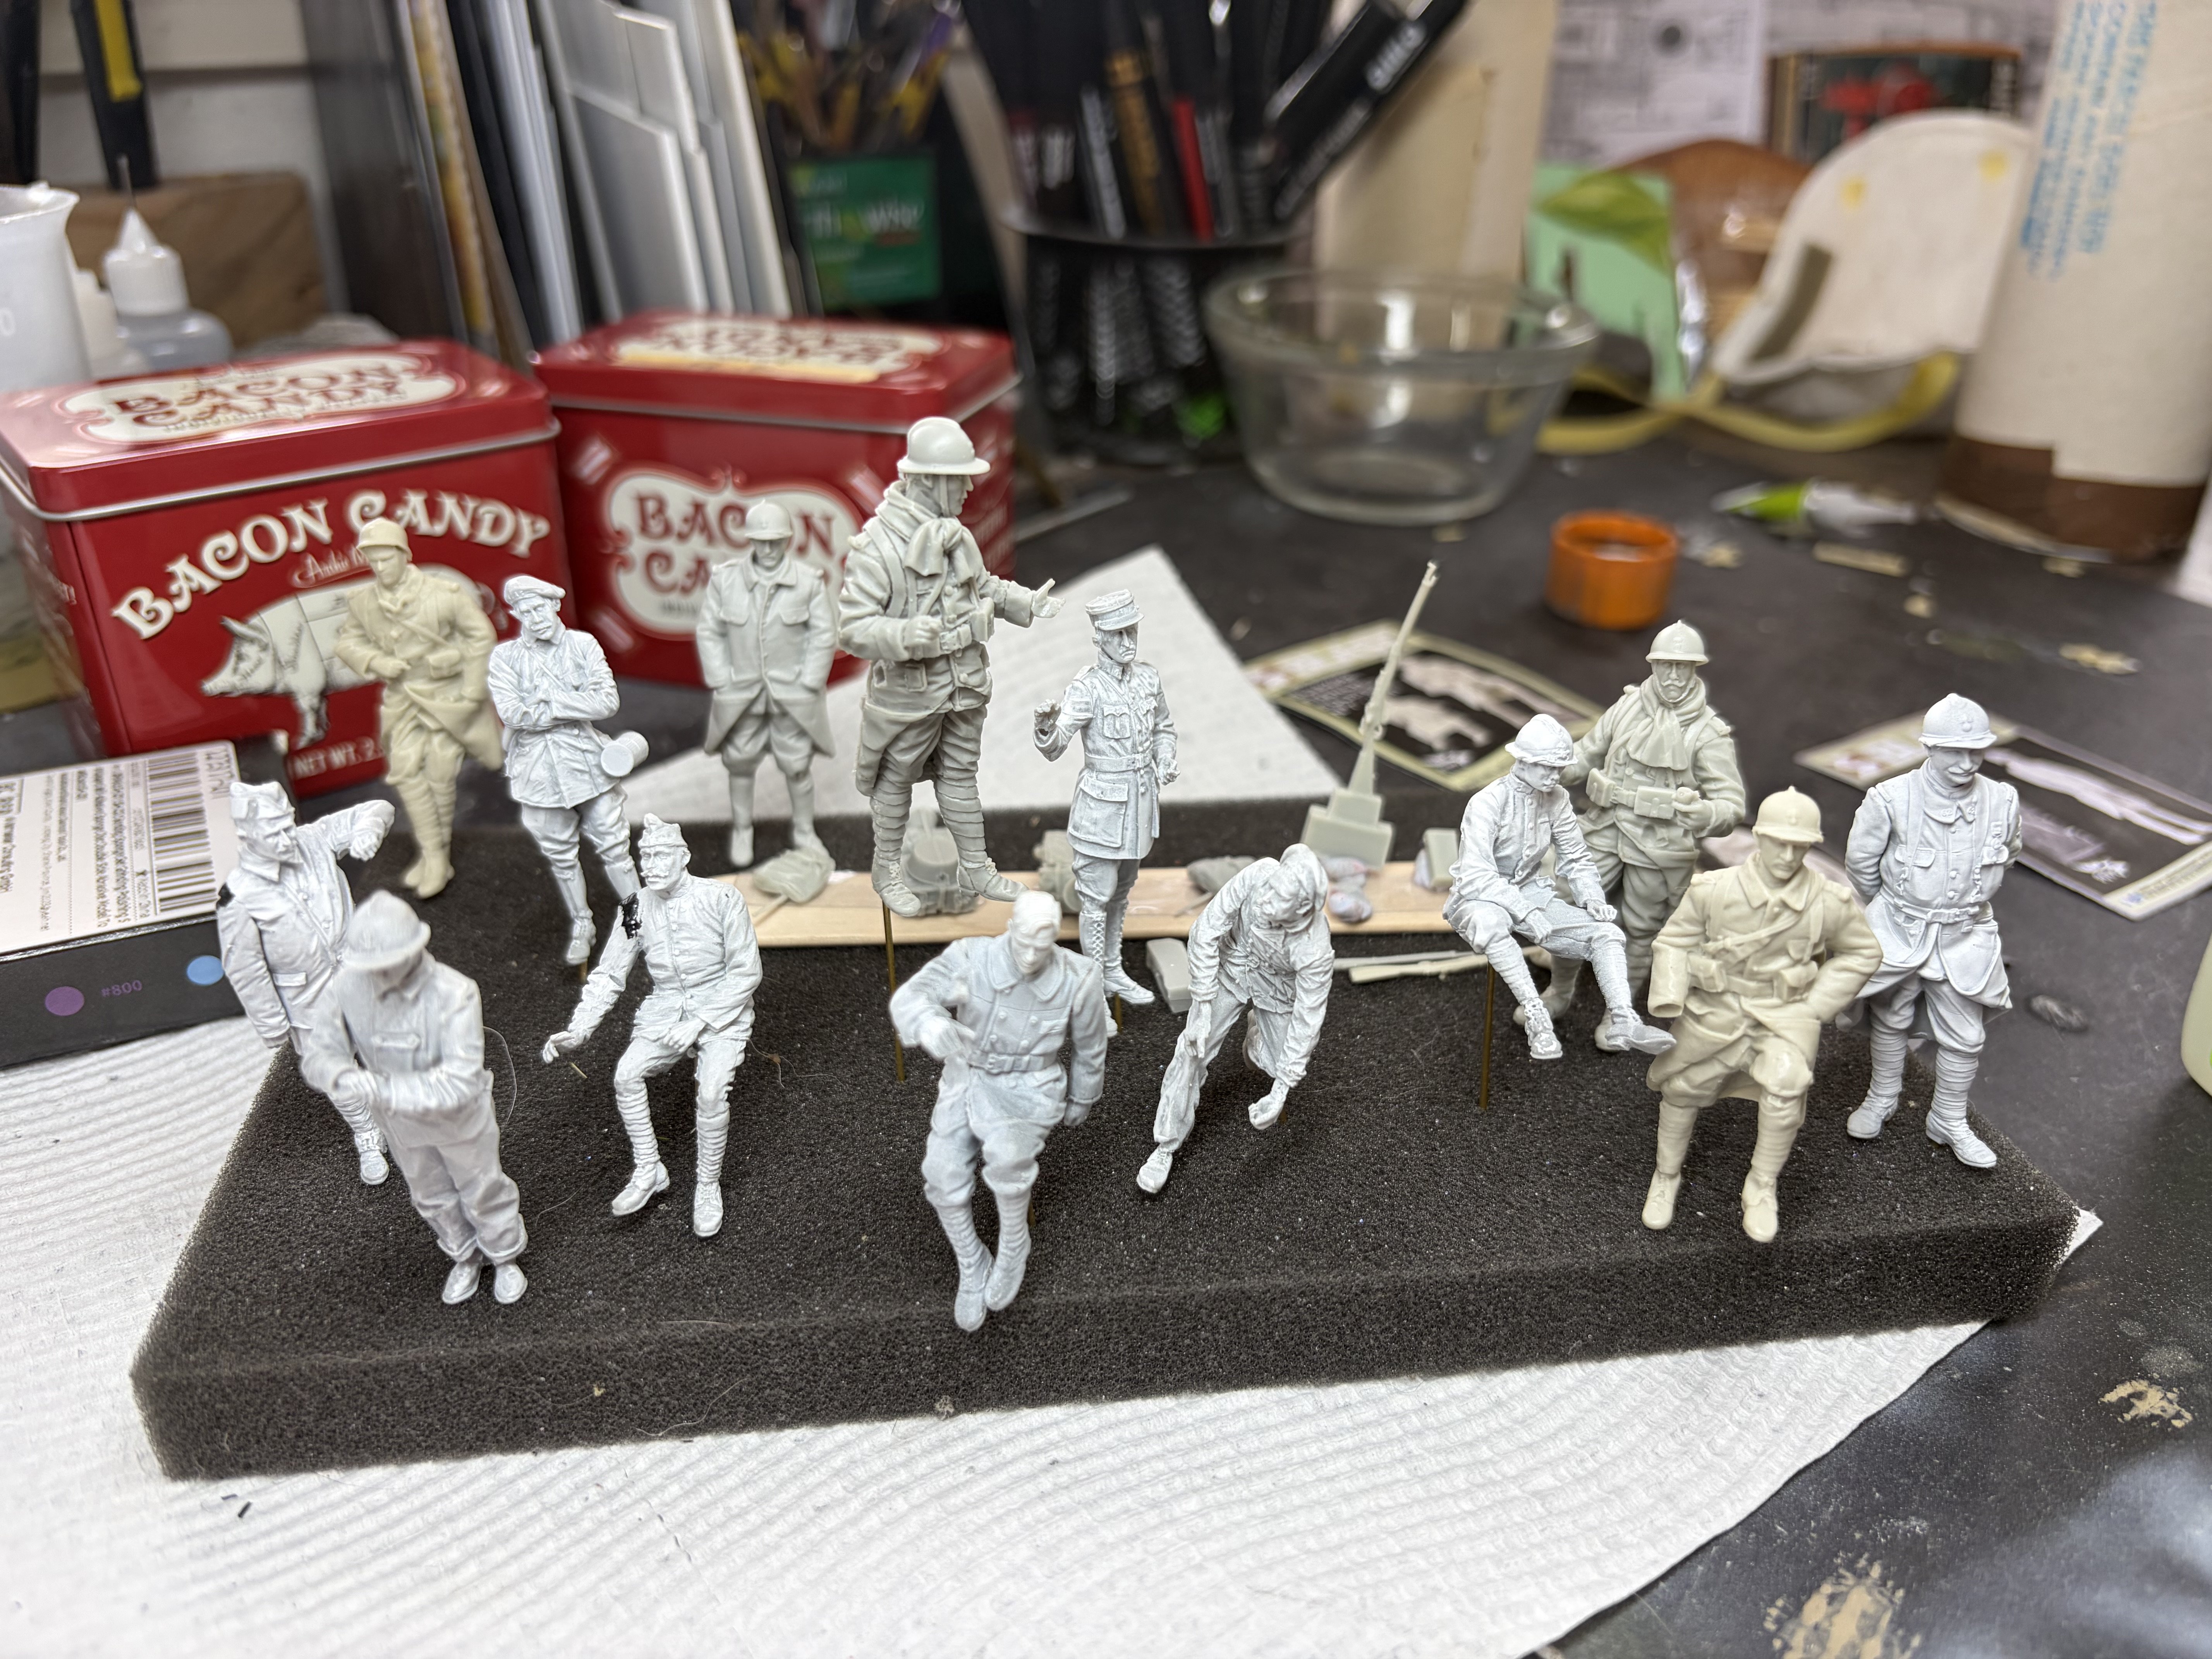
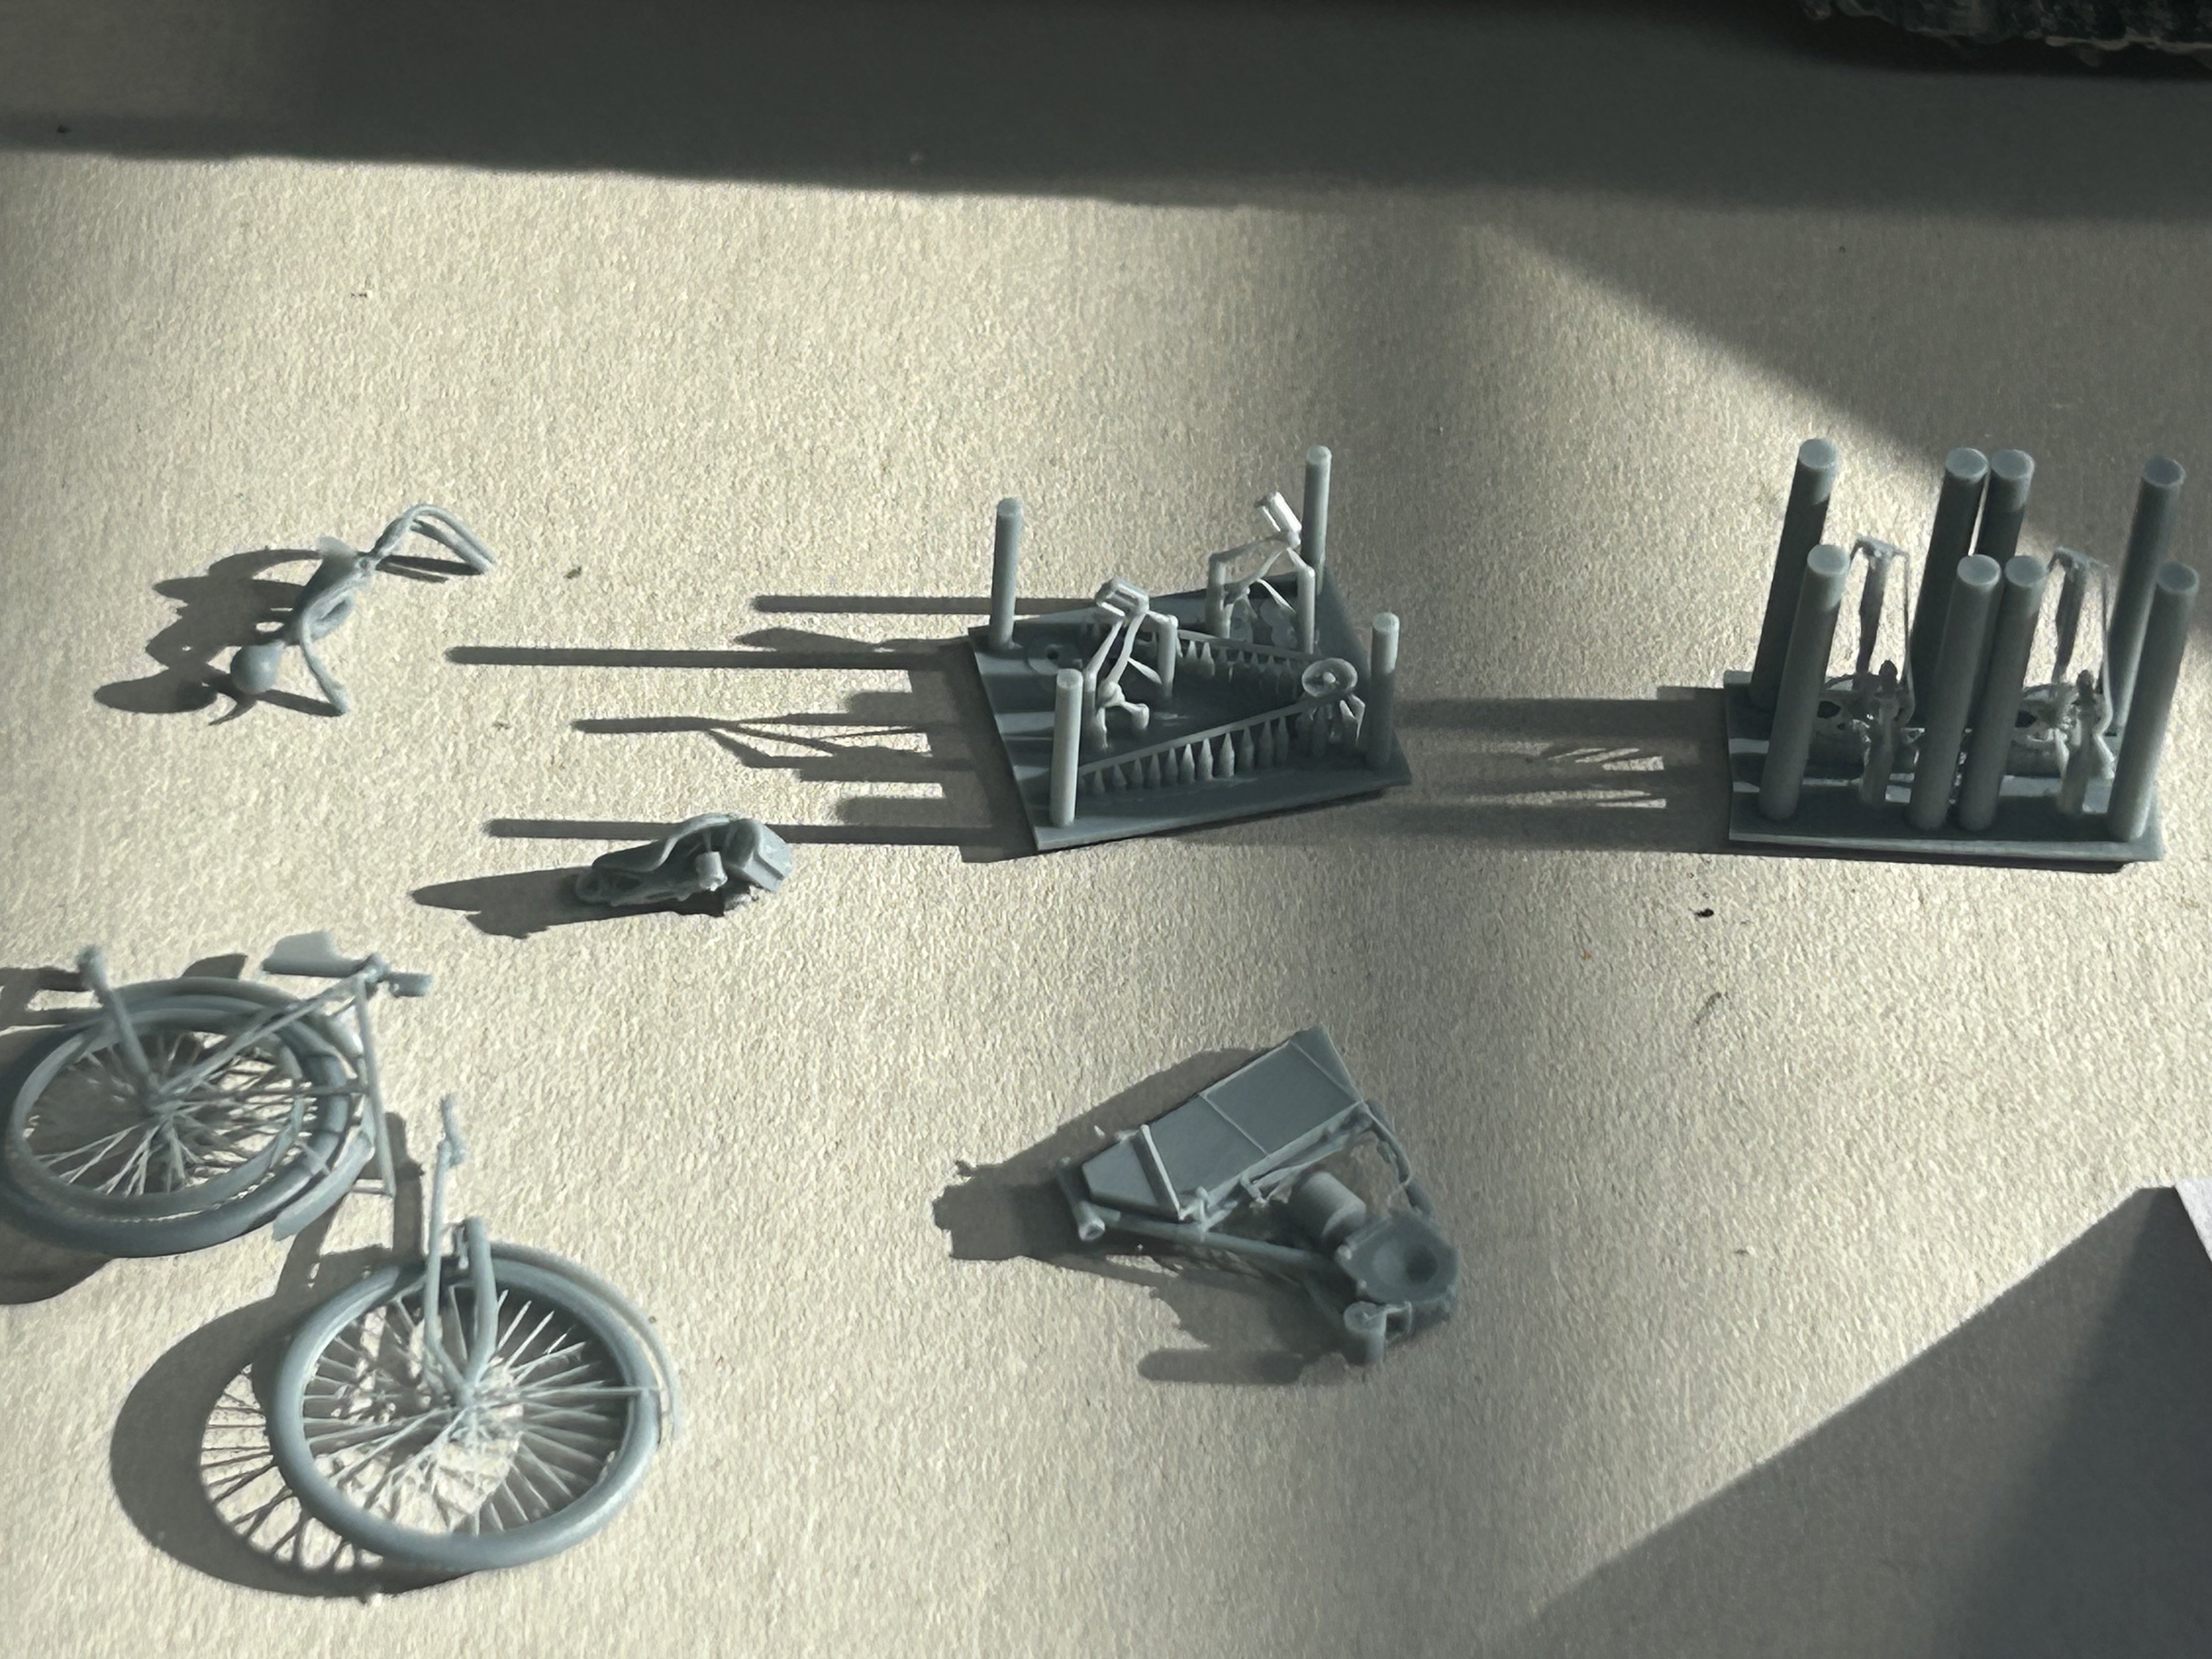
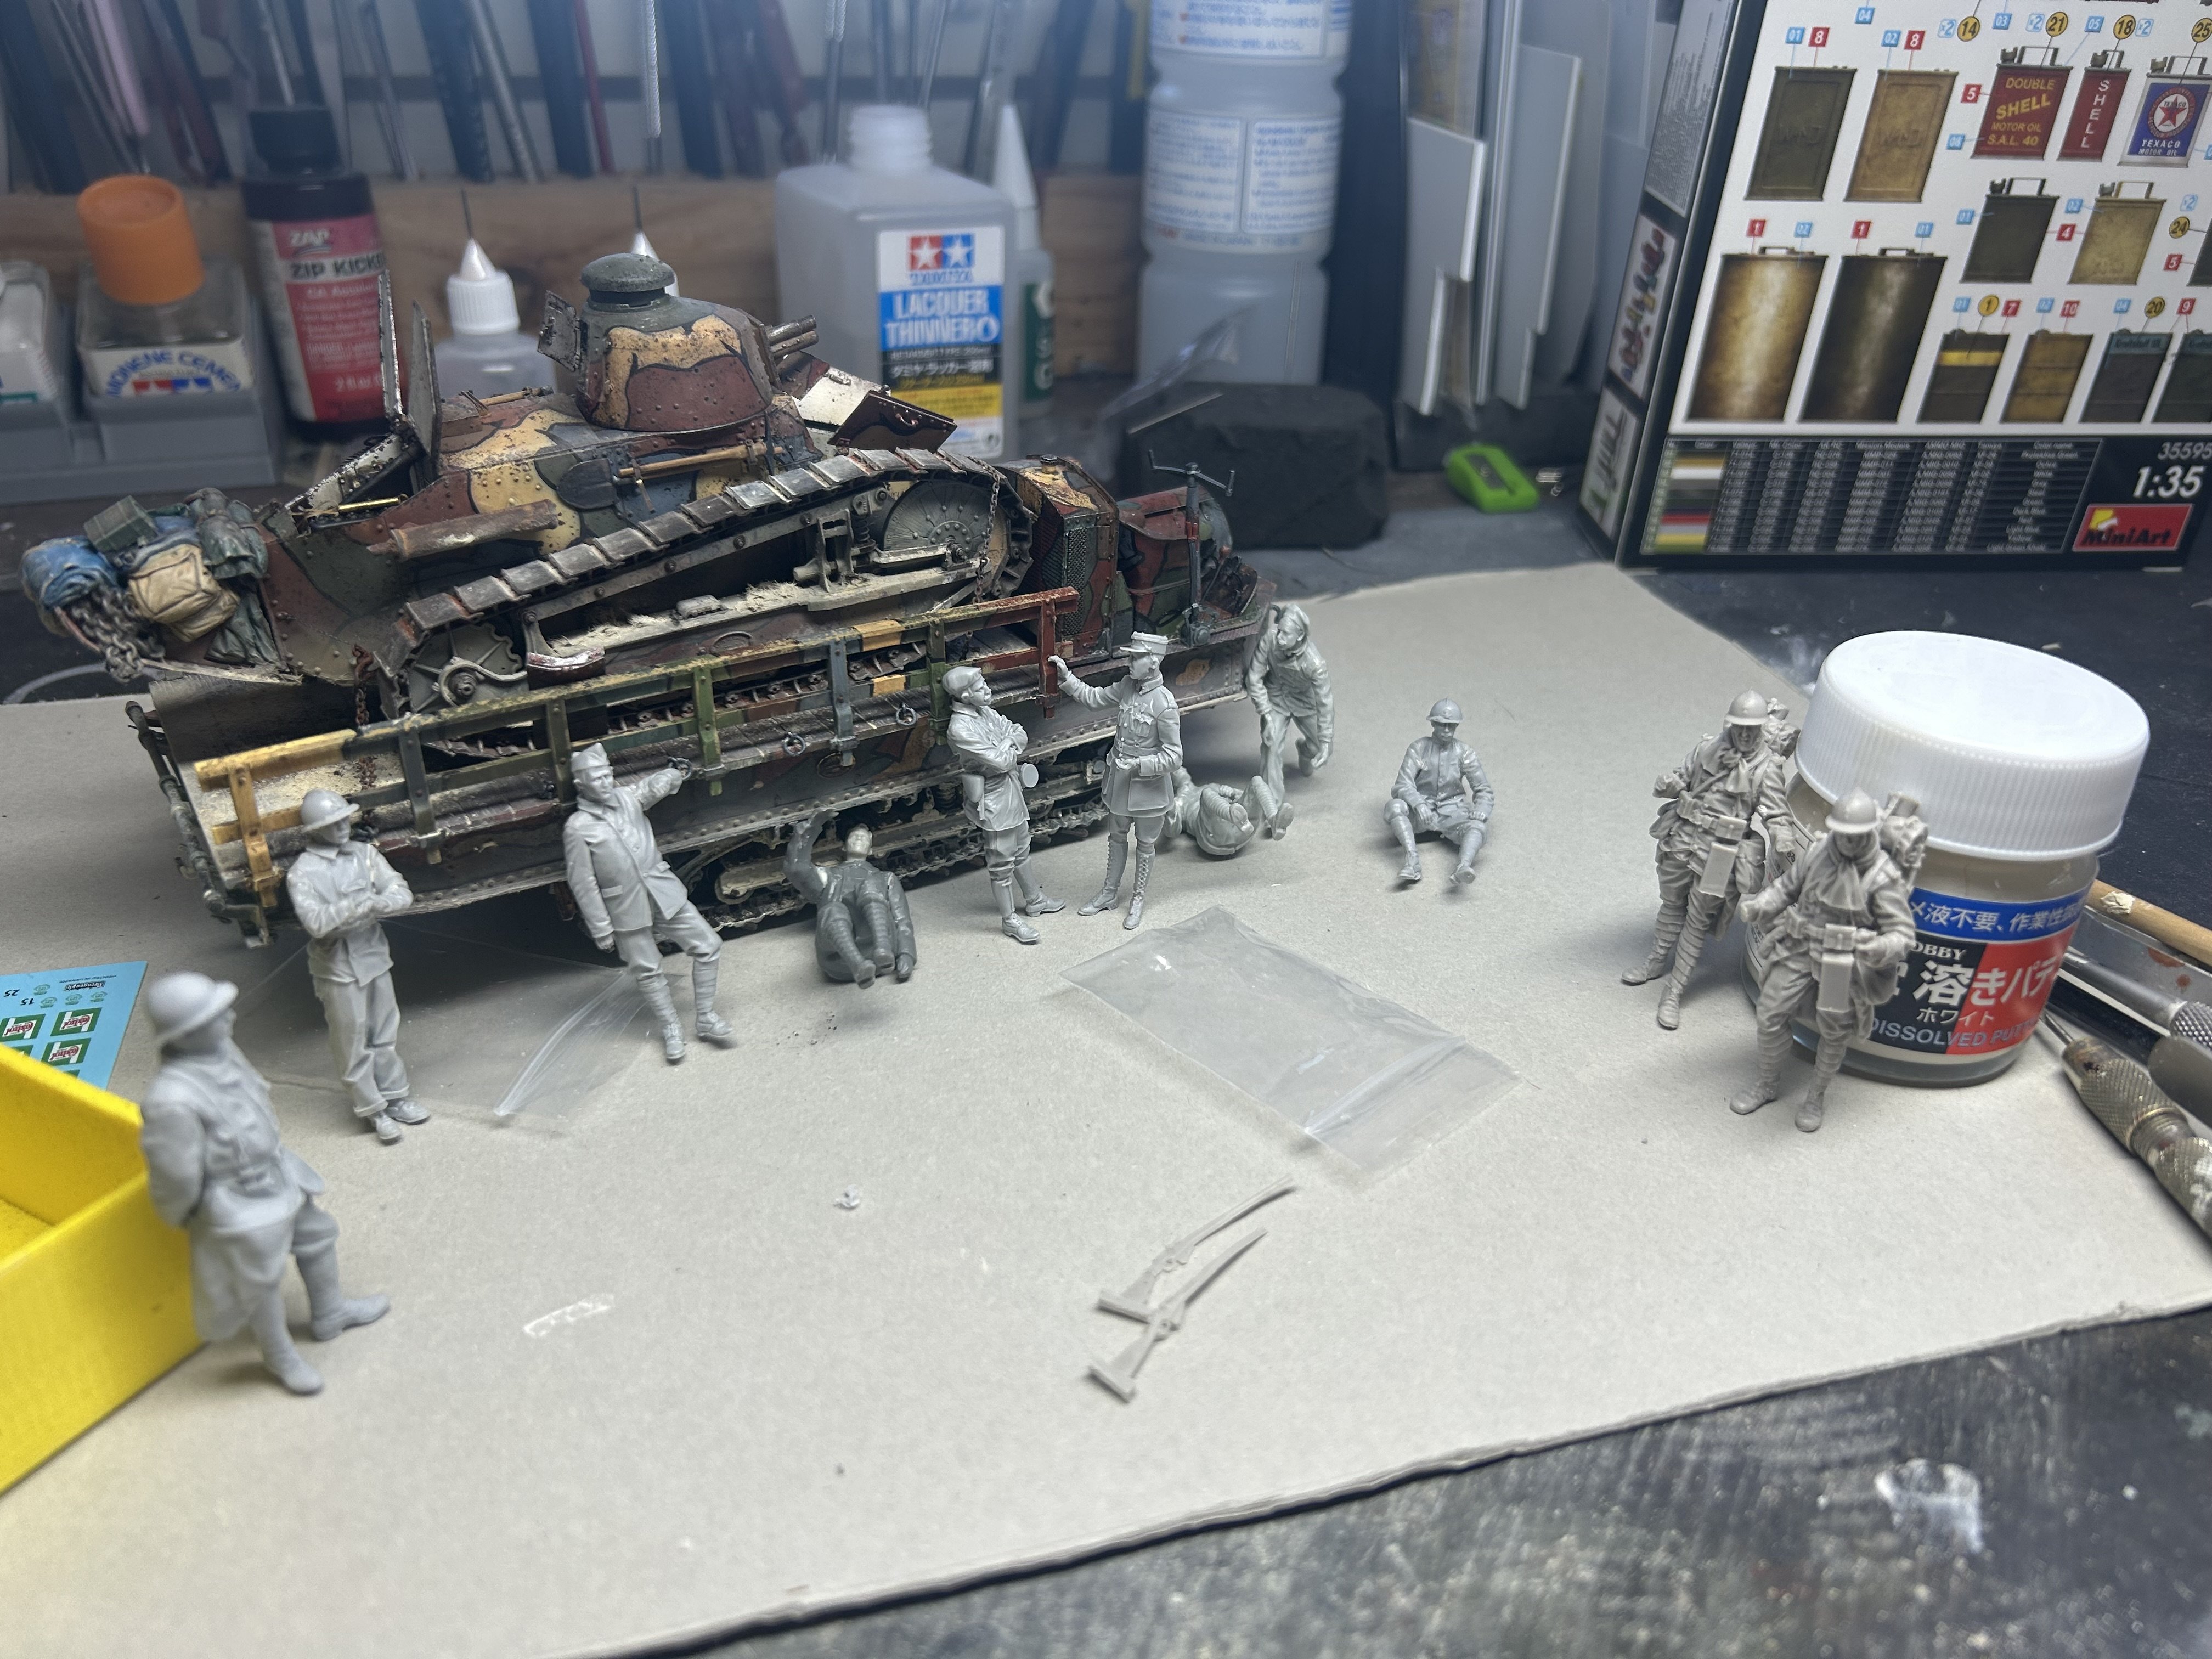
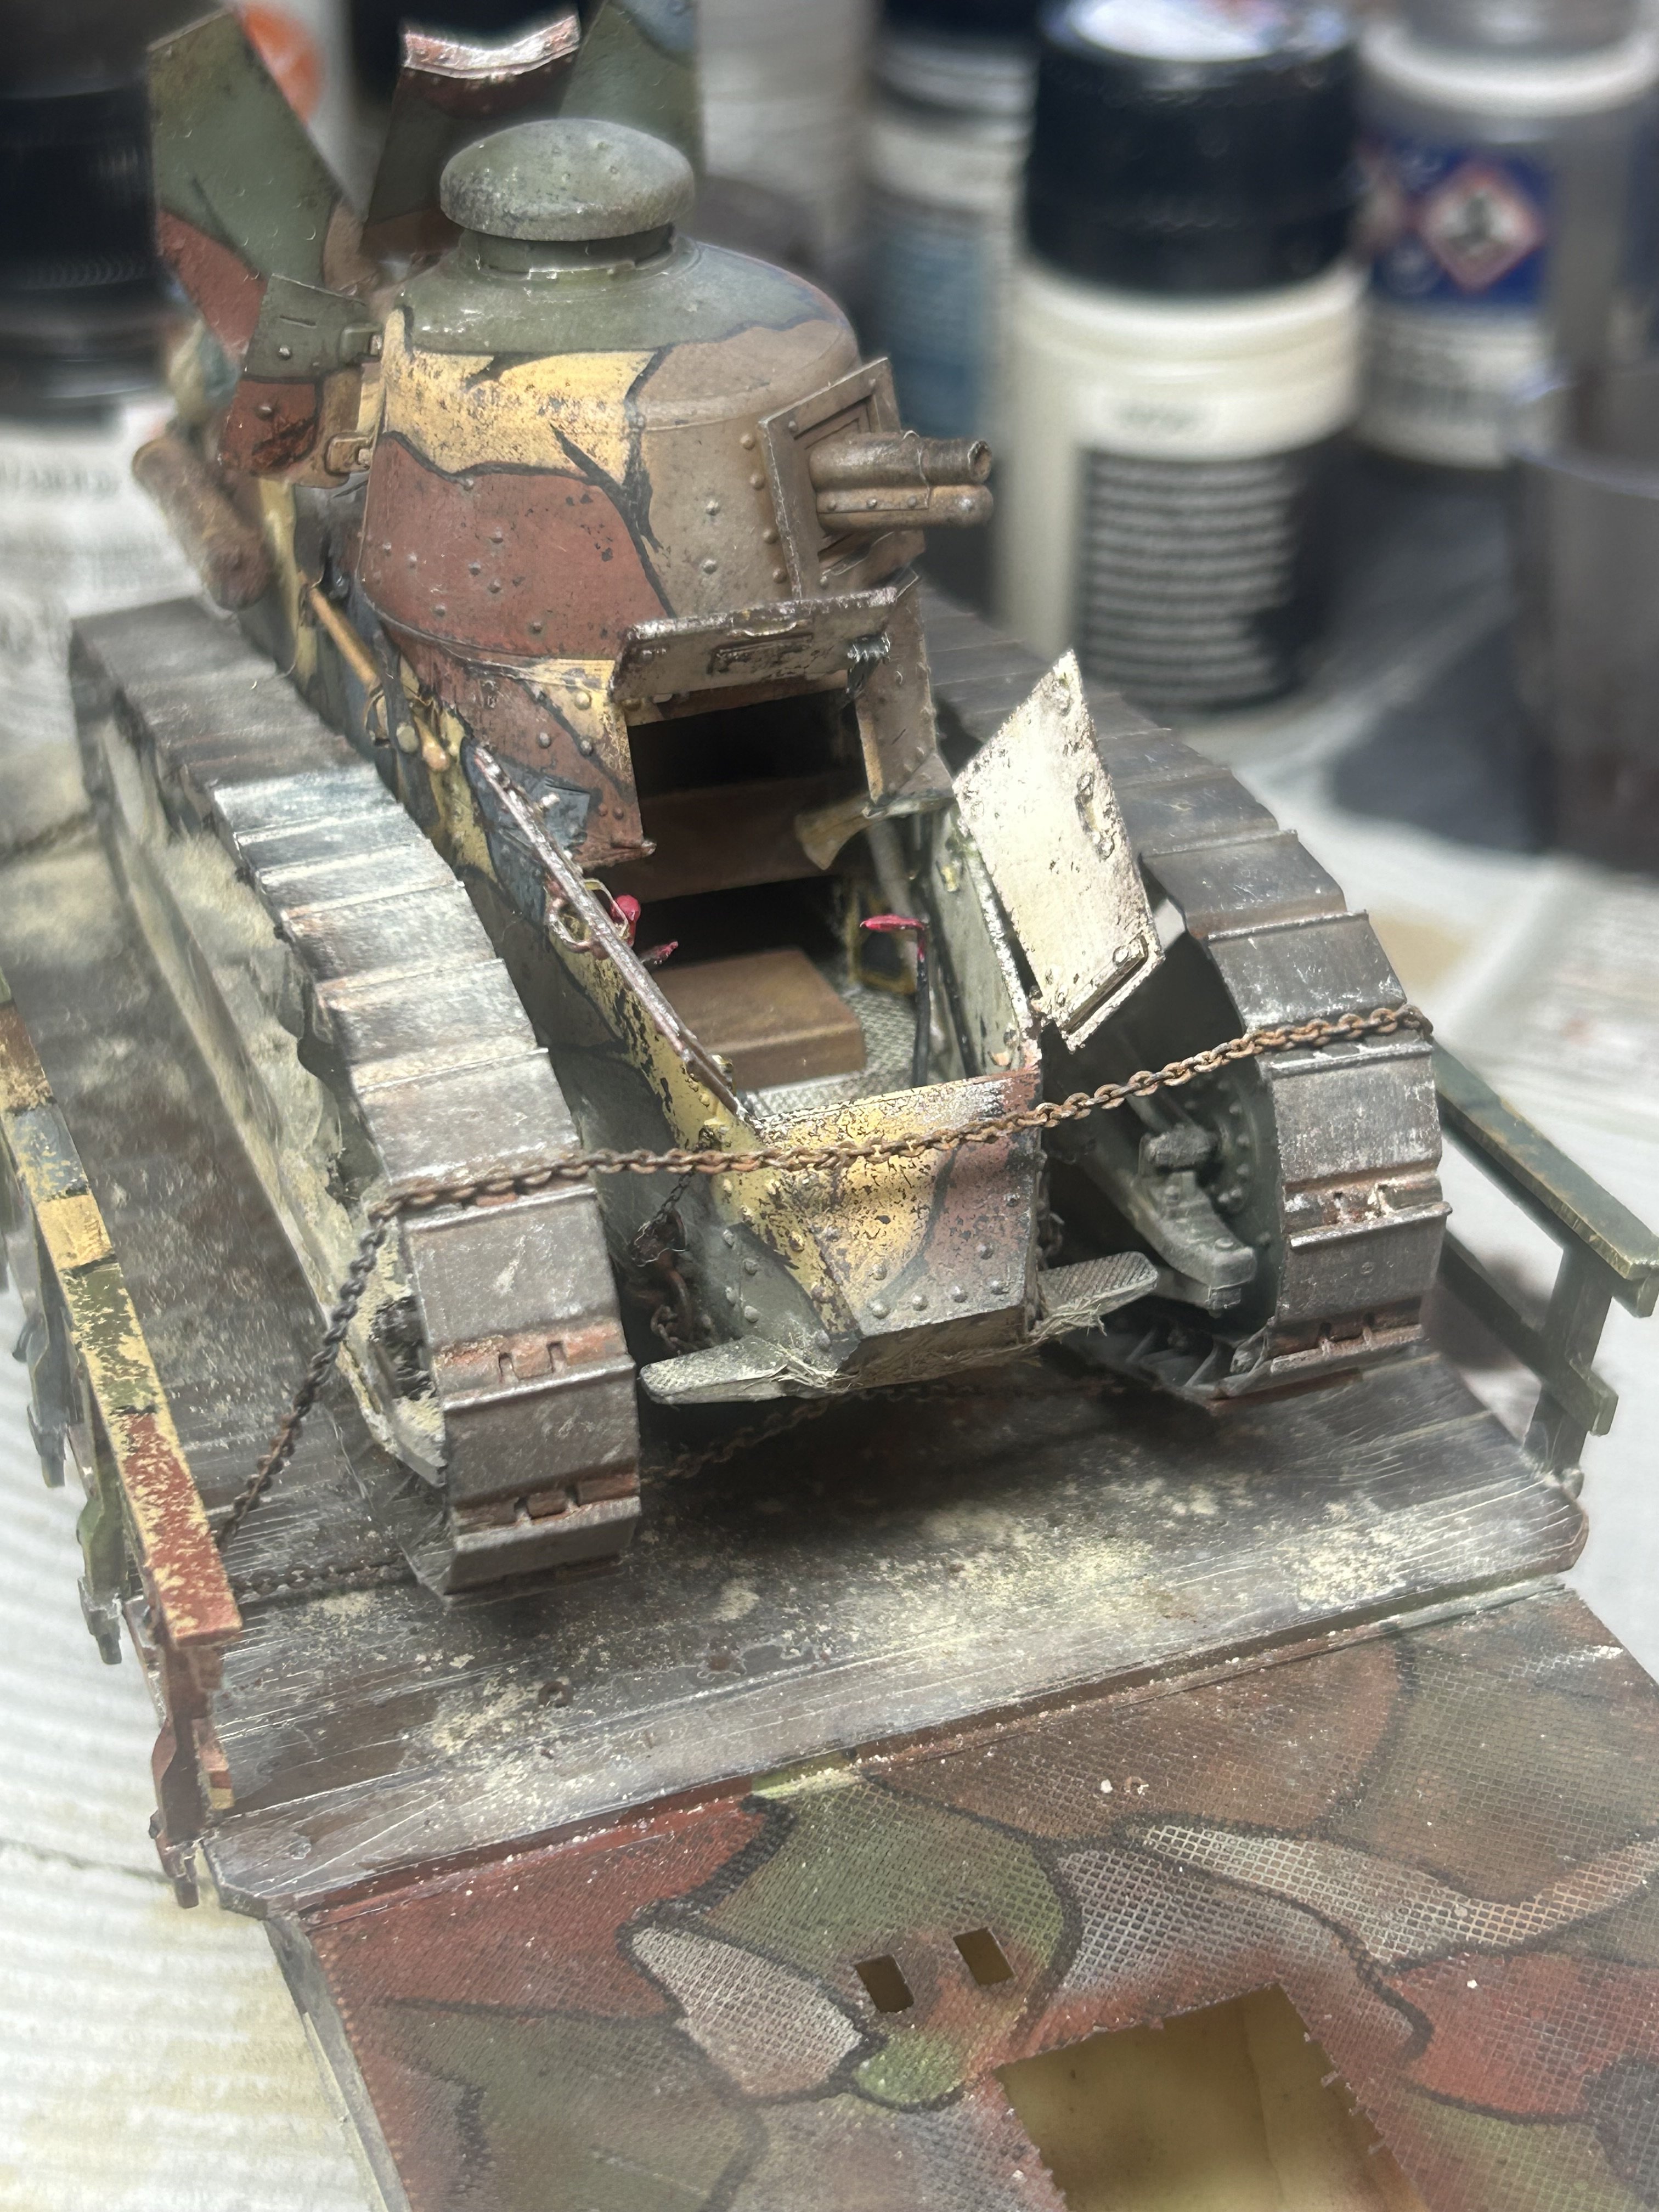
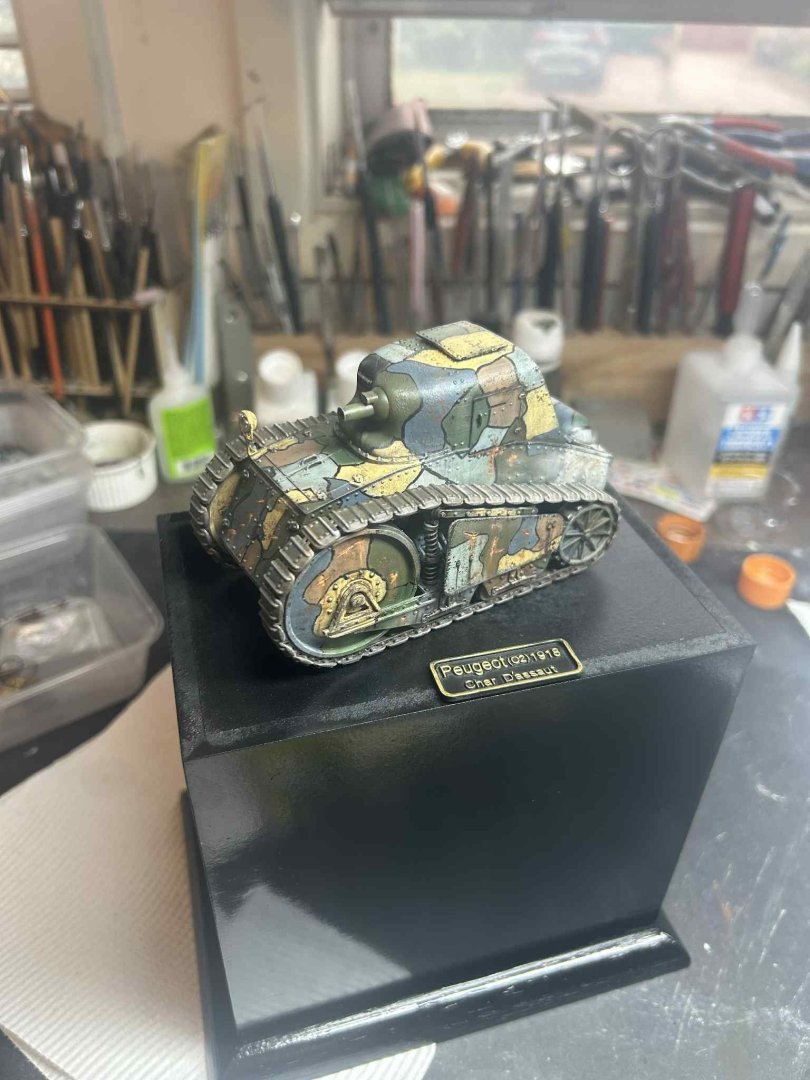
 The cast is now all here
-
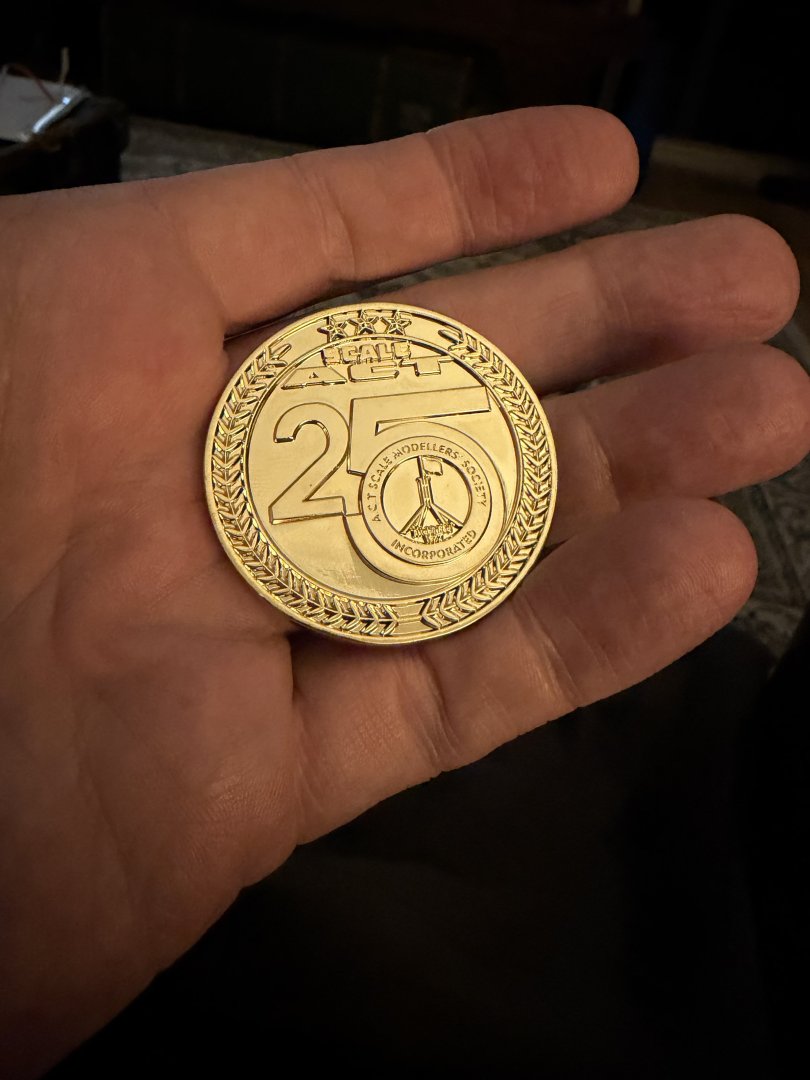
So to finish this build, got a gold medal in standard military vehicles at Australia’s biggest show today
- 39 replies
-
- 10
-

-

-
So to finish off this build, today I was given a gold for ships masters for my Emden at Australia’s biggest show

- 81 replies
-
- 10
-
-
-
- Micromaster
- Eduard
- (and 4 more)
-
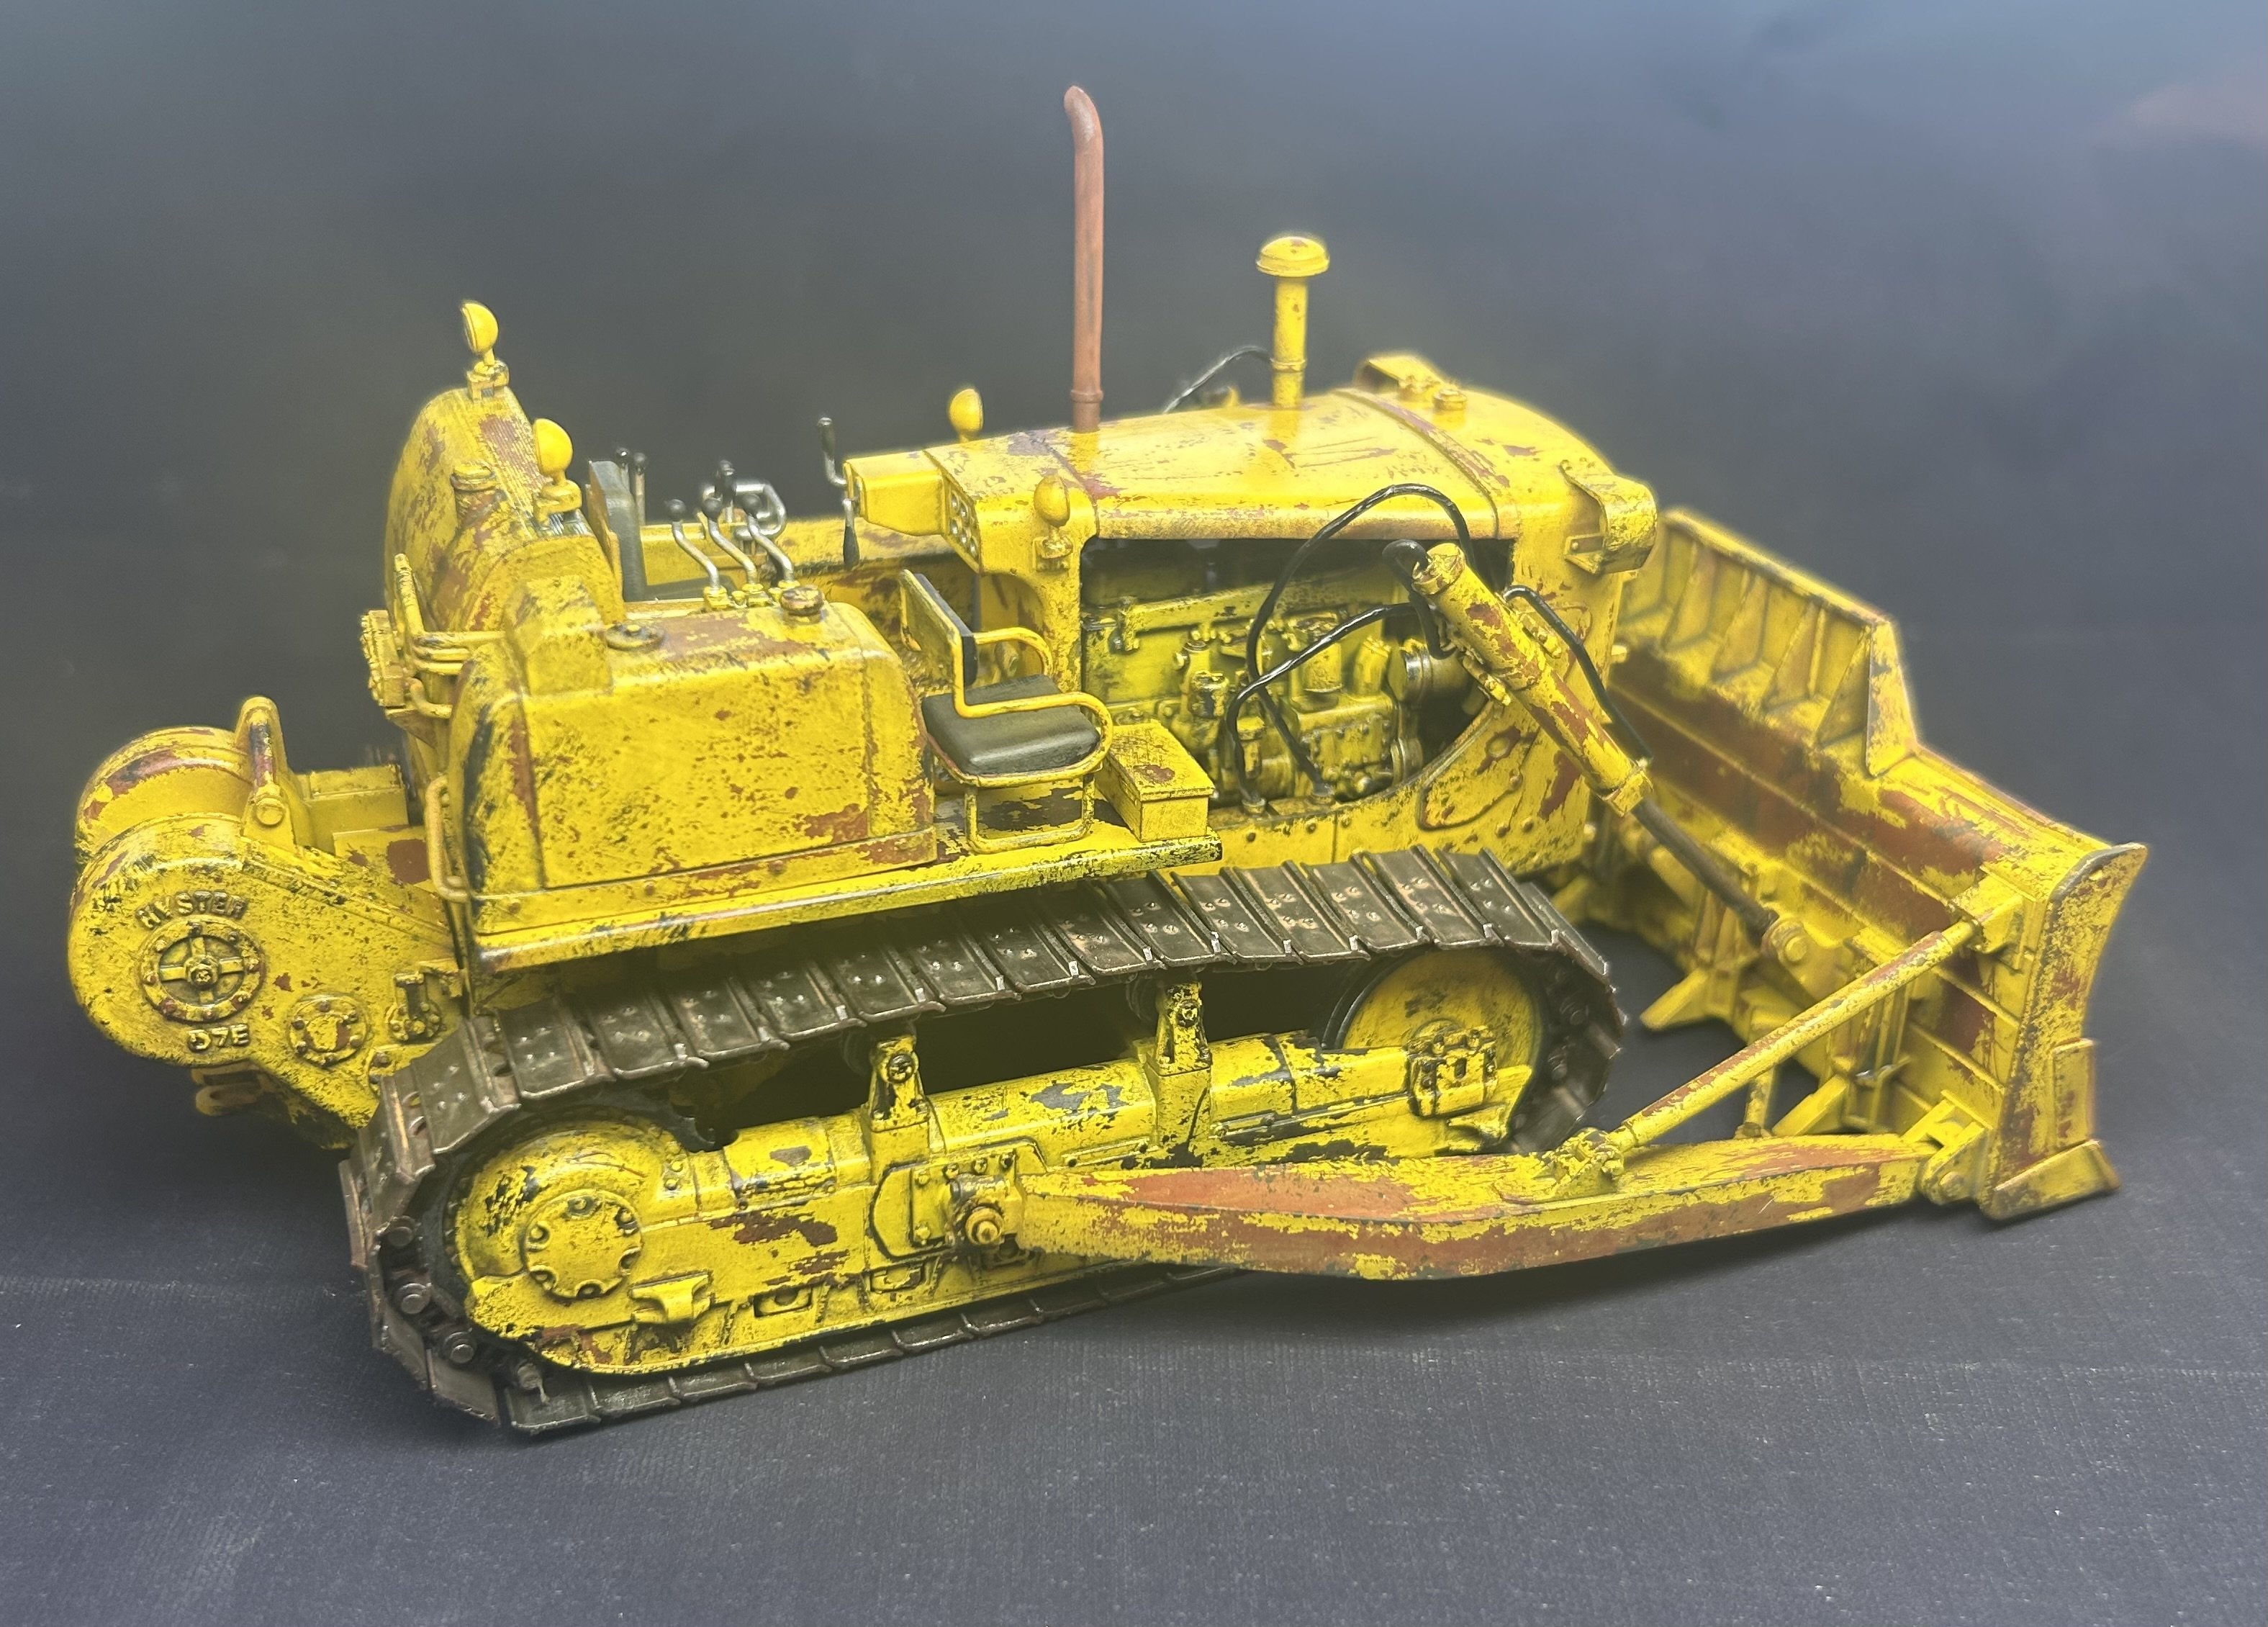
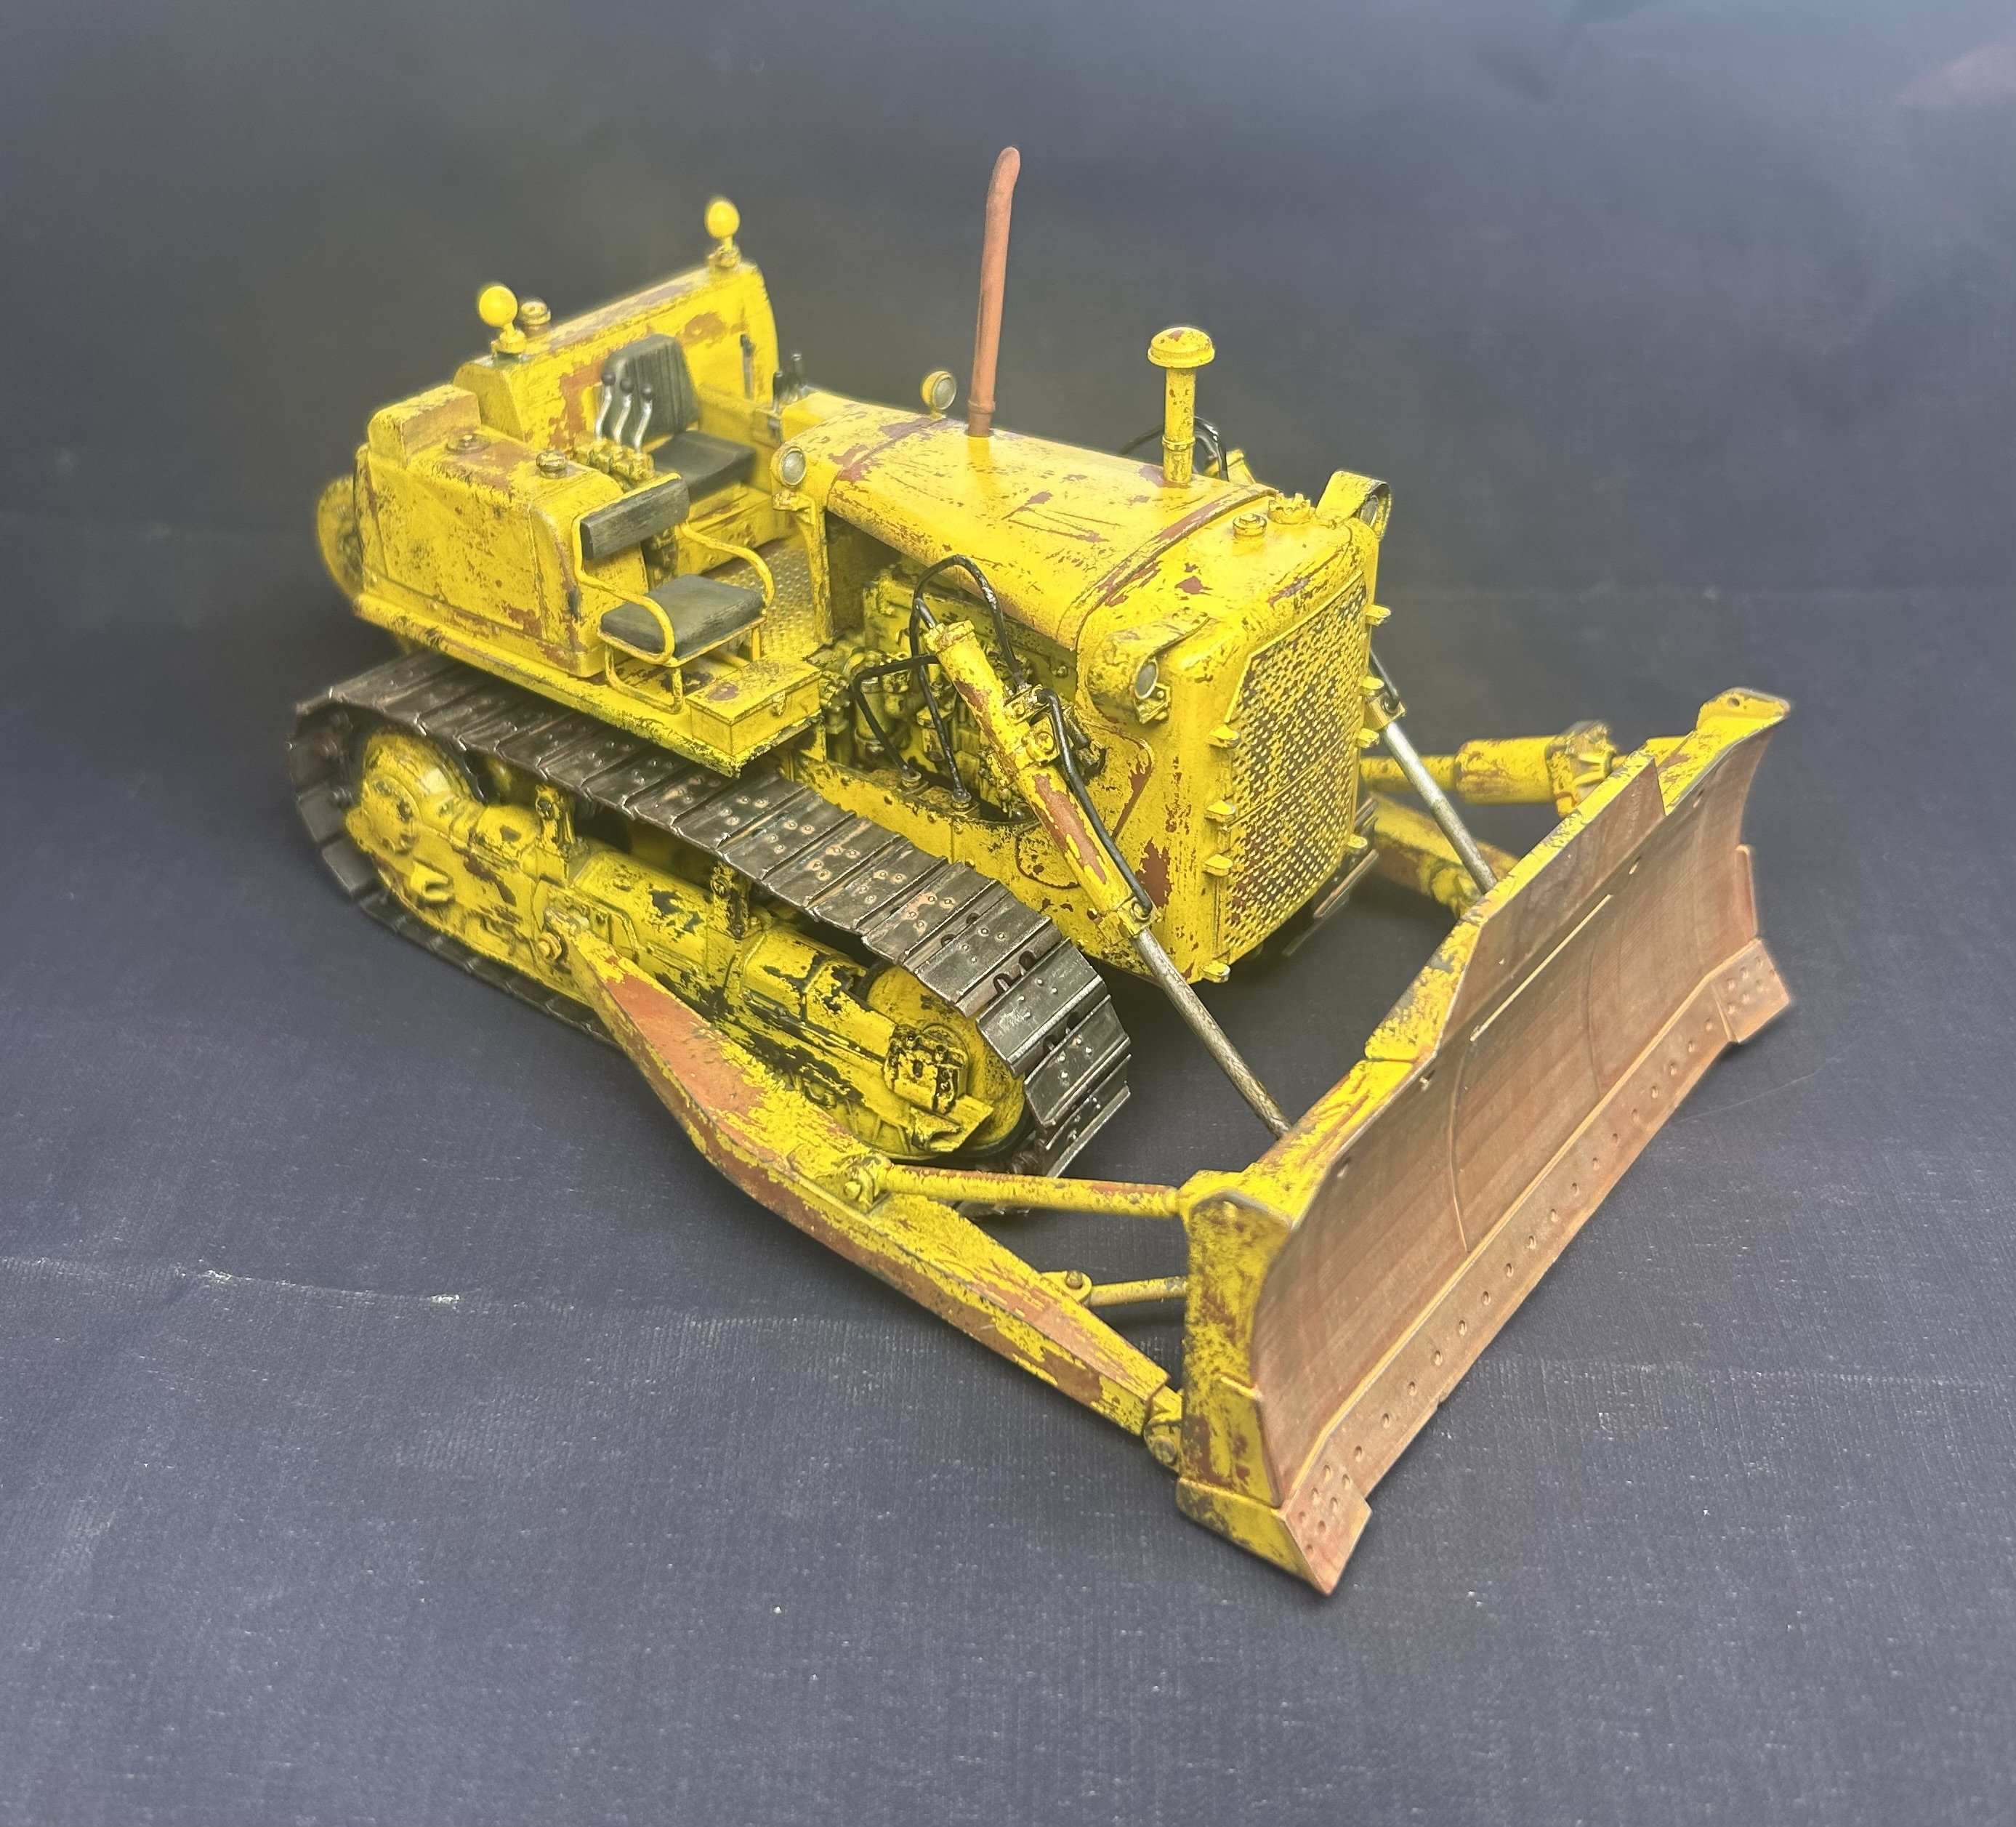
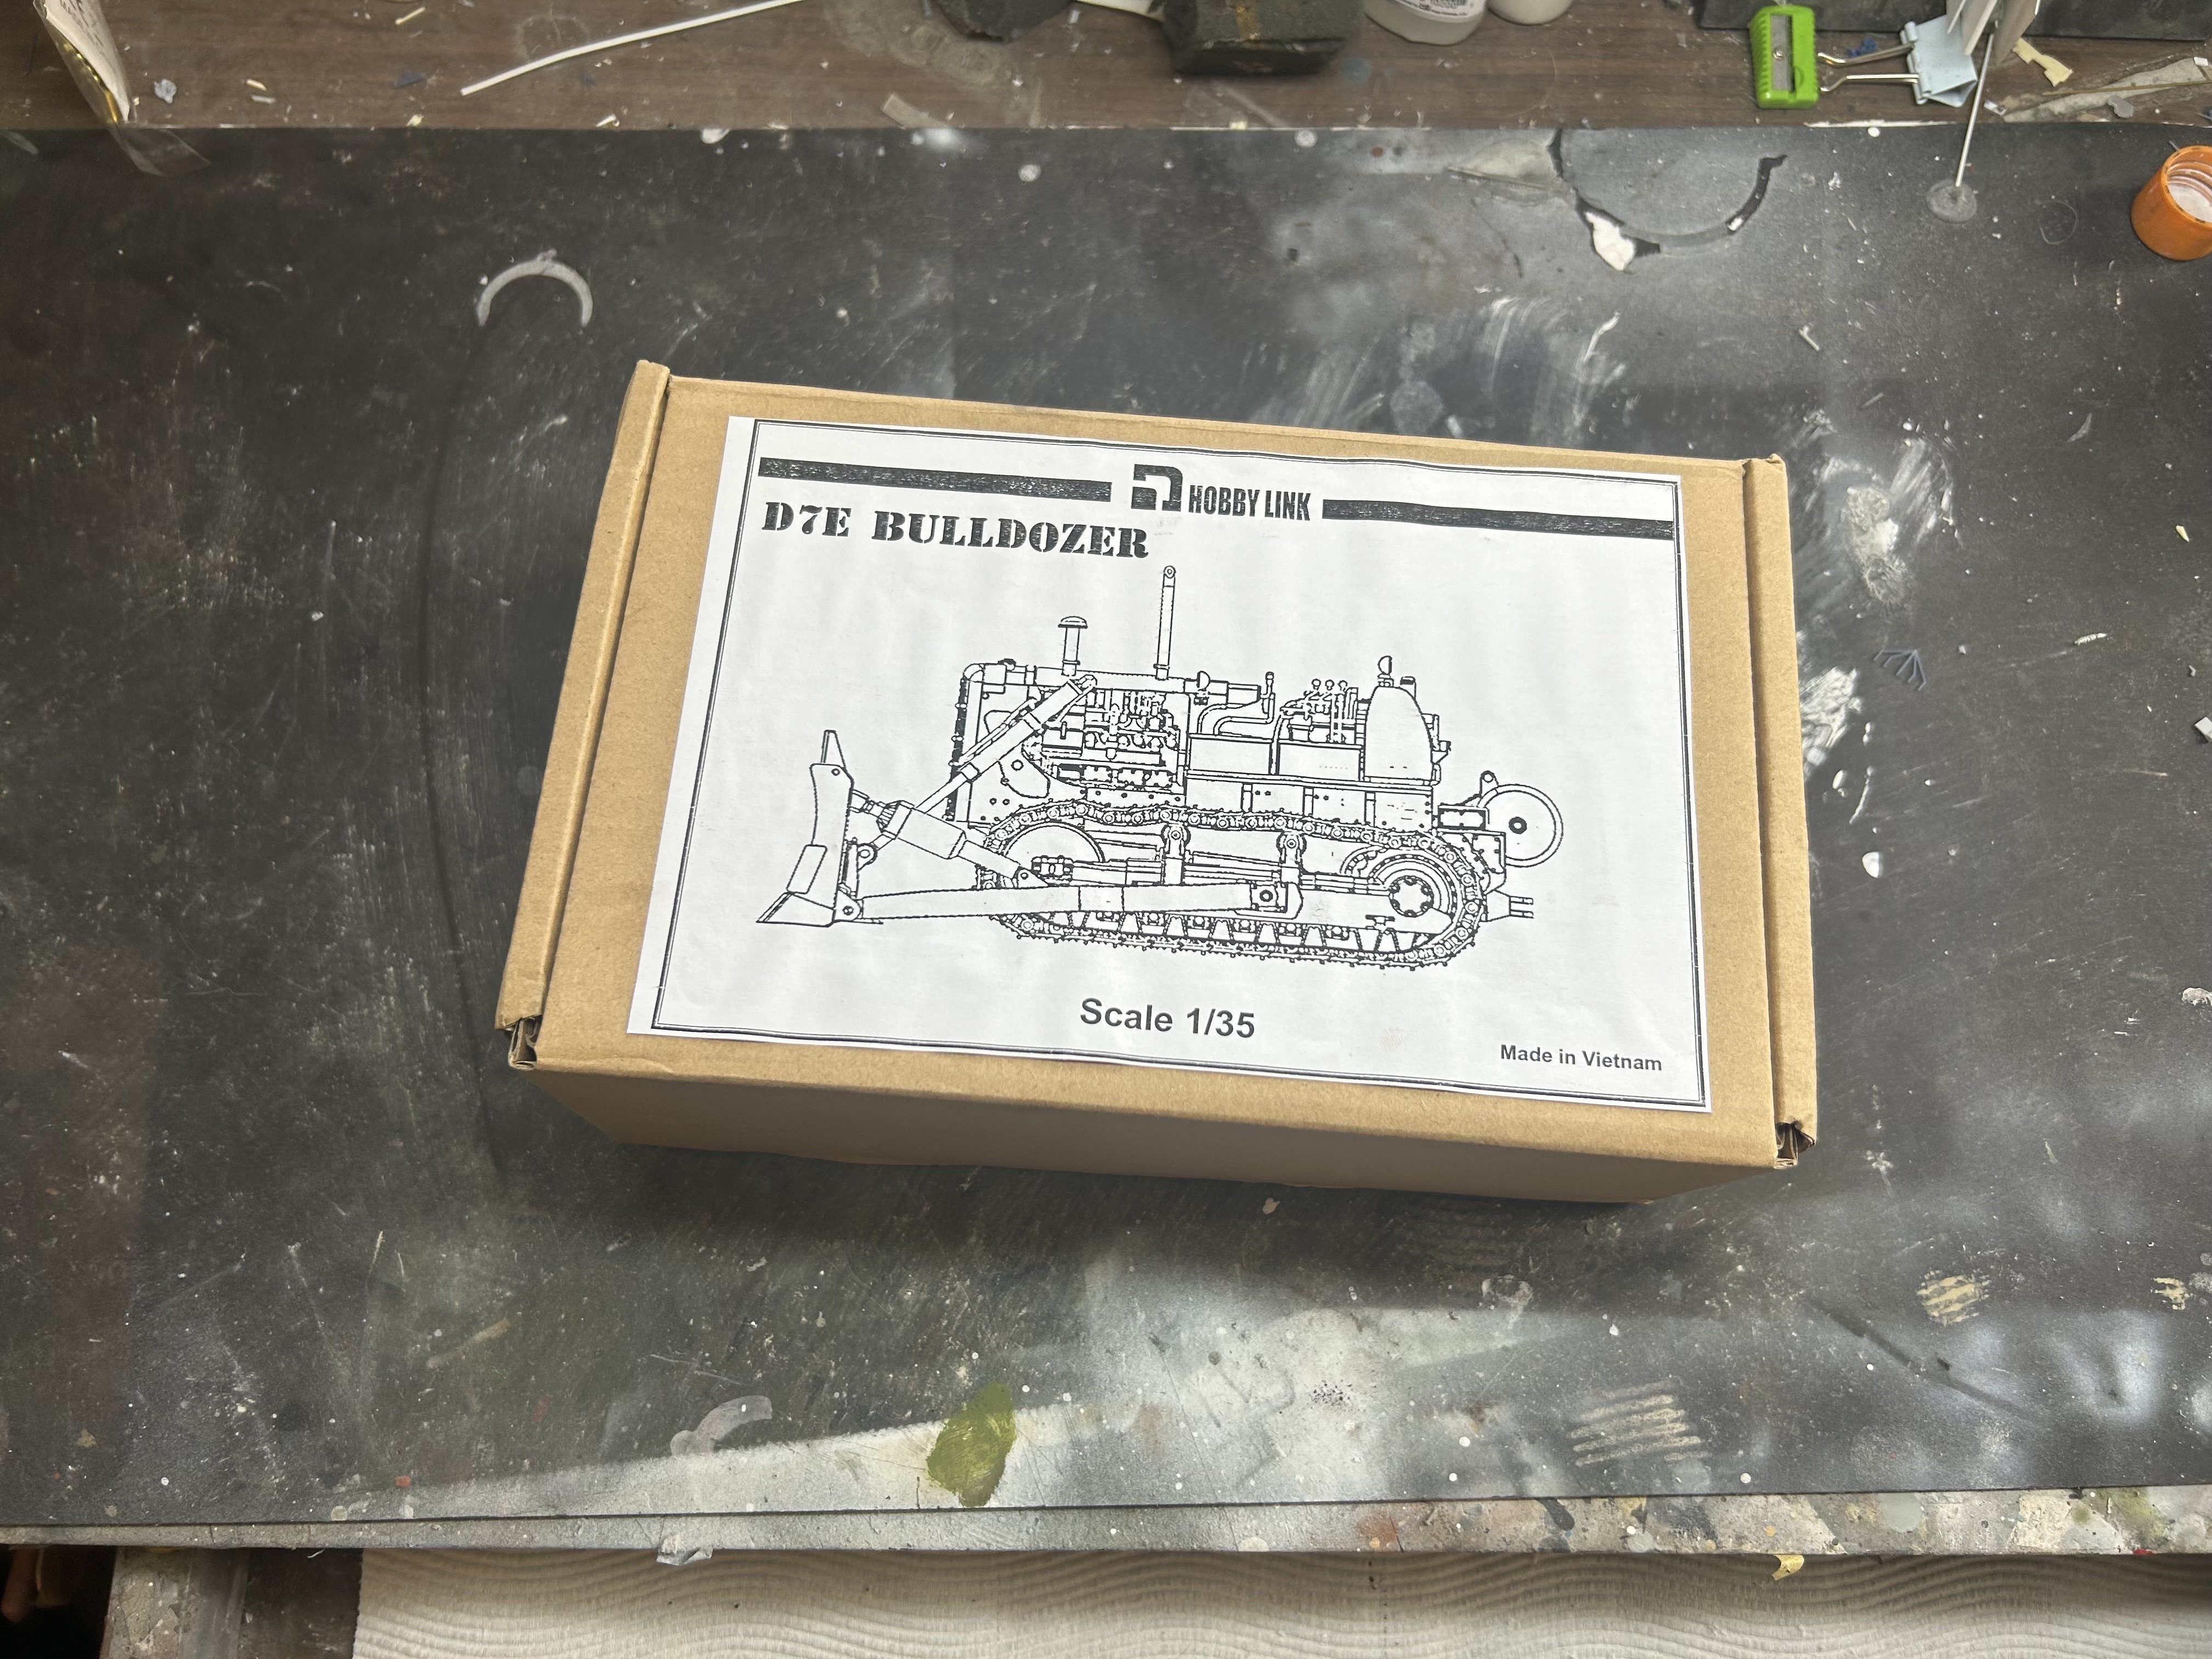
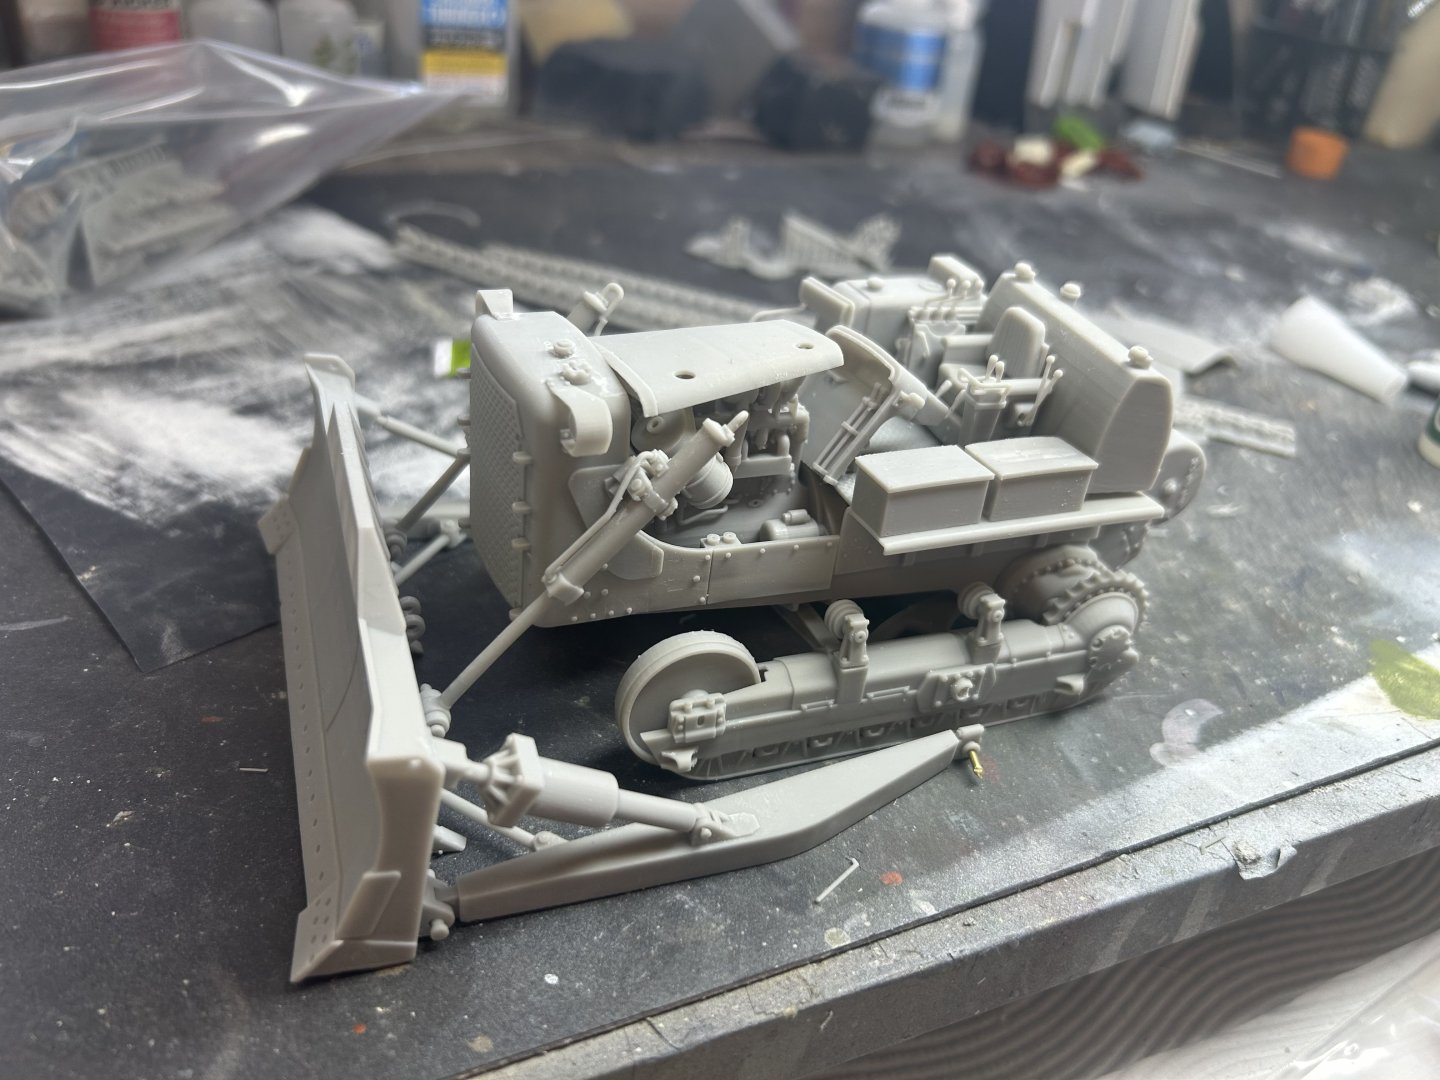
D7E Bulldozer by RGL - FINISHED - Hobby link - 1/35 - 3D-printed
RGL replied to RGL's topic in Non-ship/categorised builds
Done !


- 11 replies
-
- 23
-
-
-
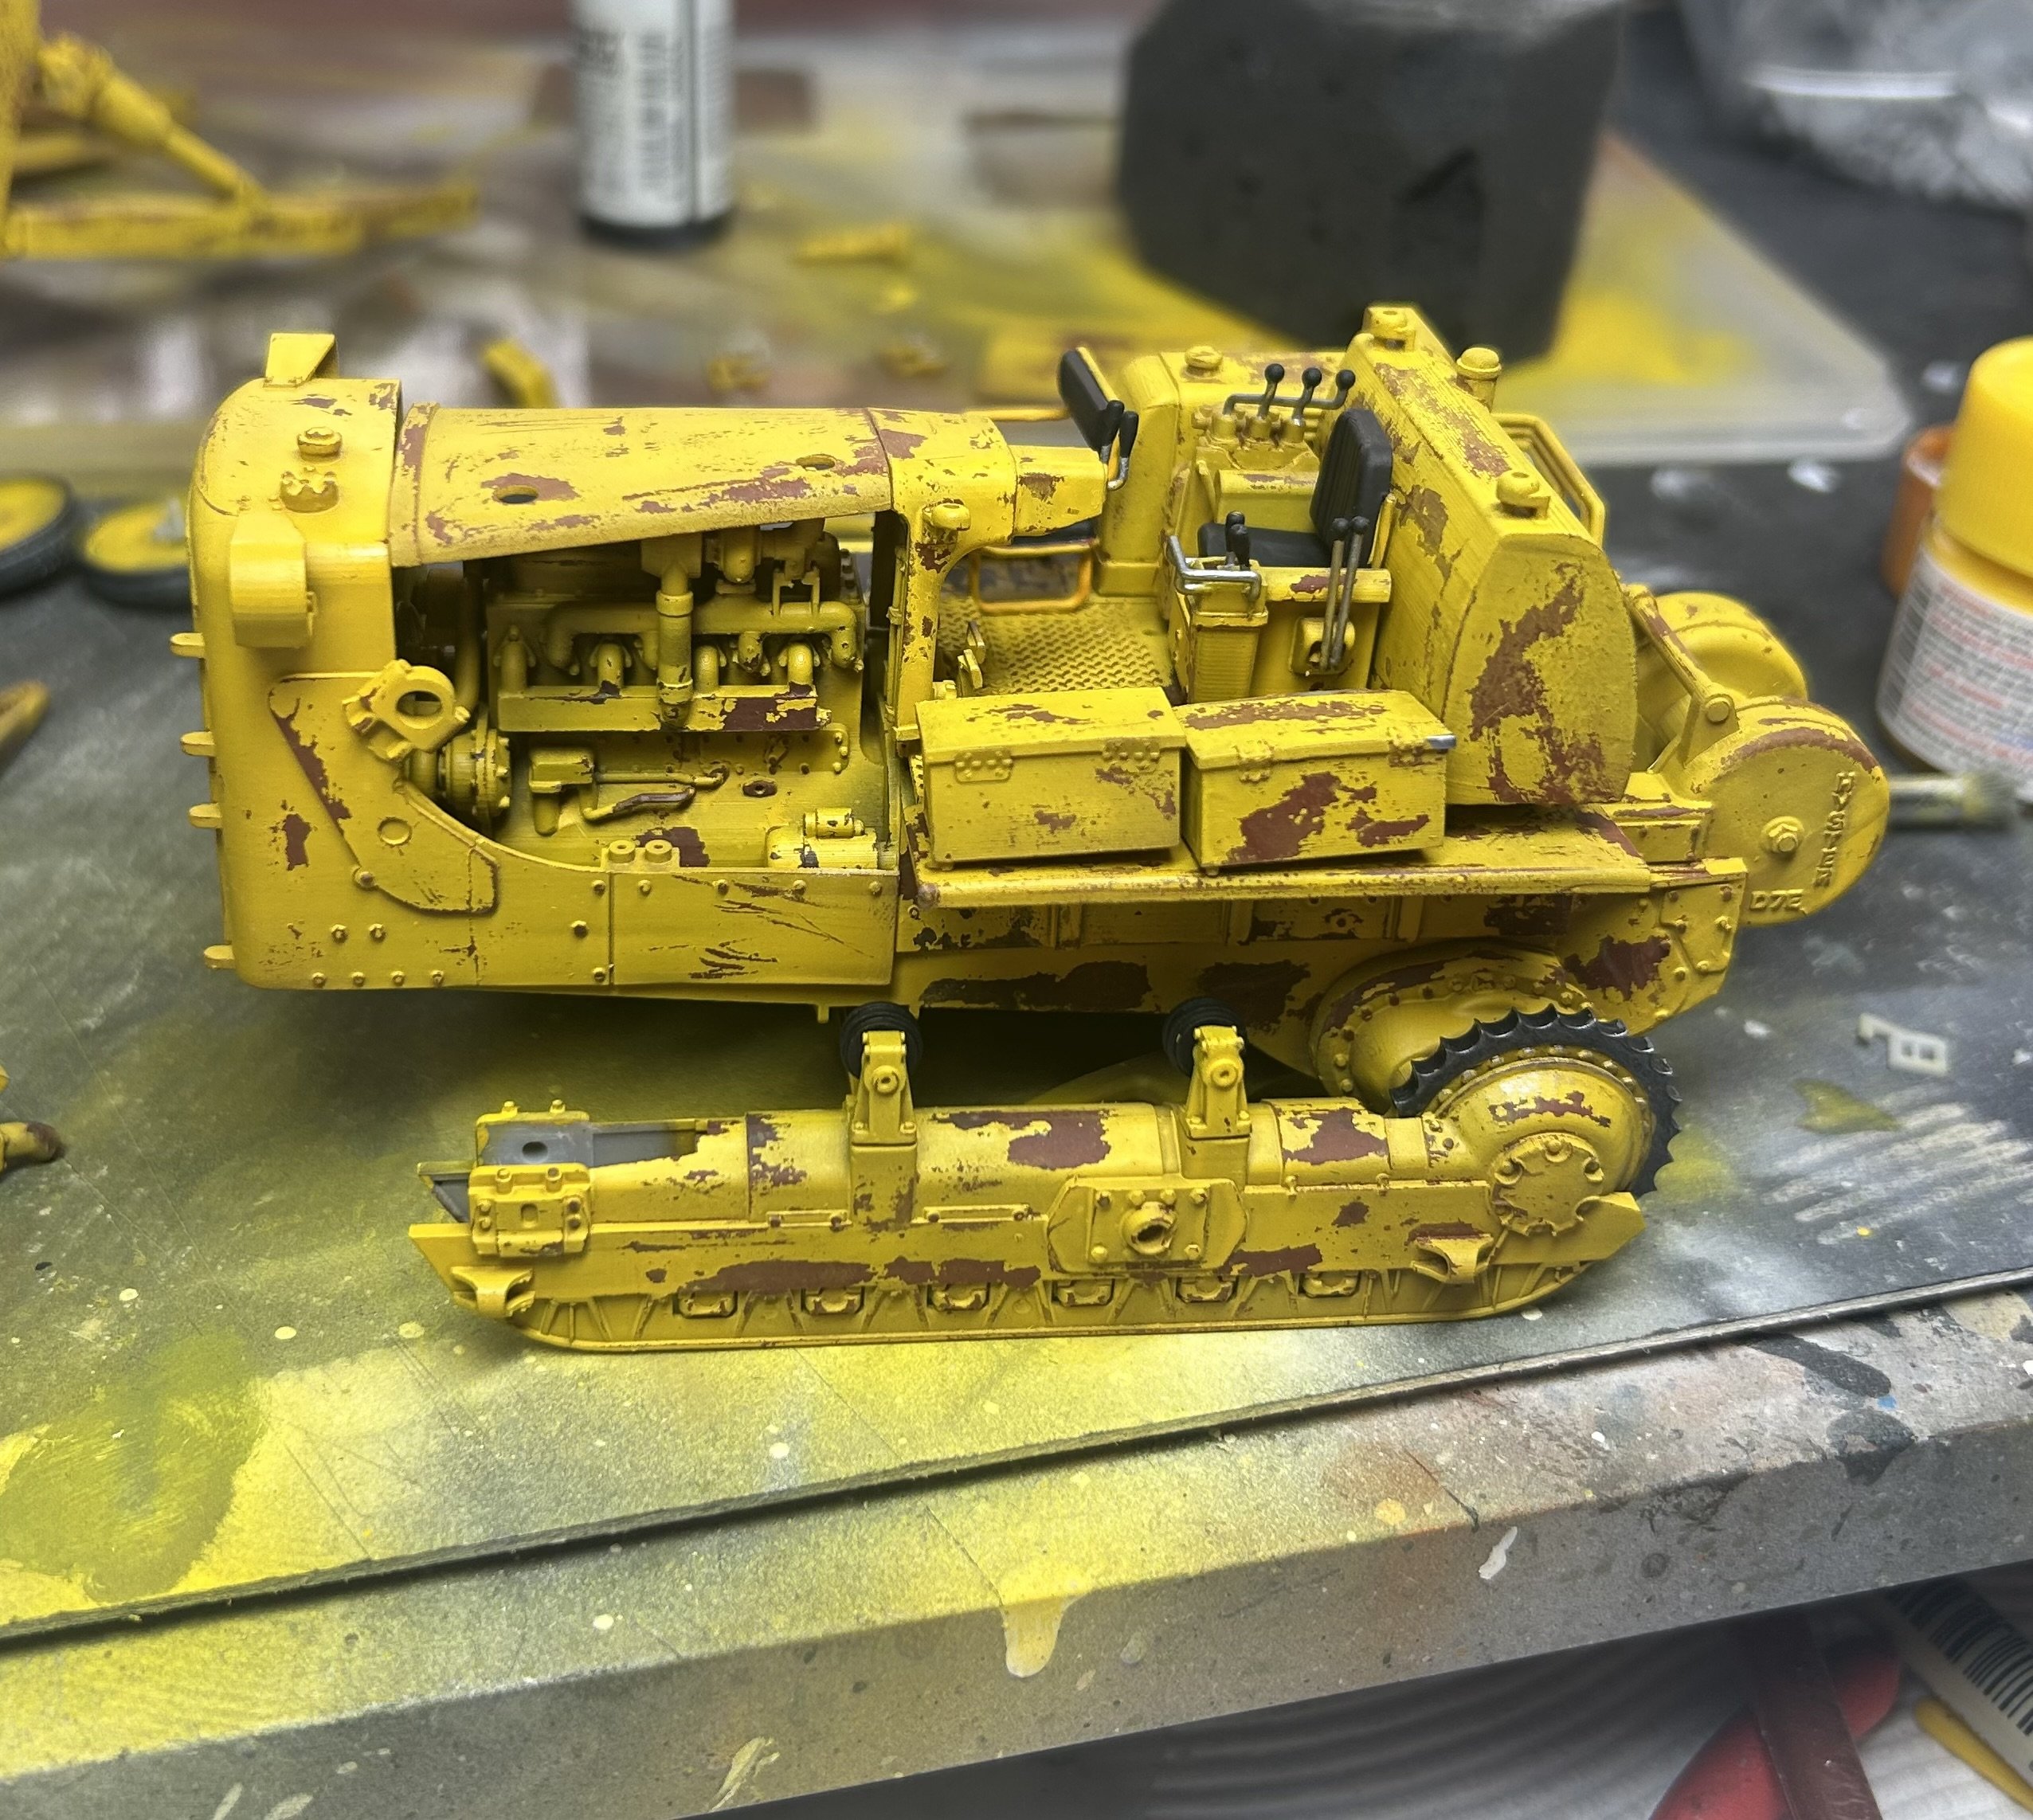
D7E Bulldozer by RGL - FINISHED - Hobby link - 1/35 - 3D-printed
RGL replied to RGL's topic in Non-ship/categorised builds
Some chipping (dryfit)
- 11 replies
-
- 16
-
-
-
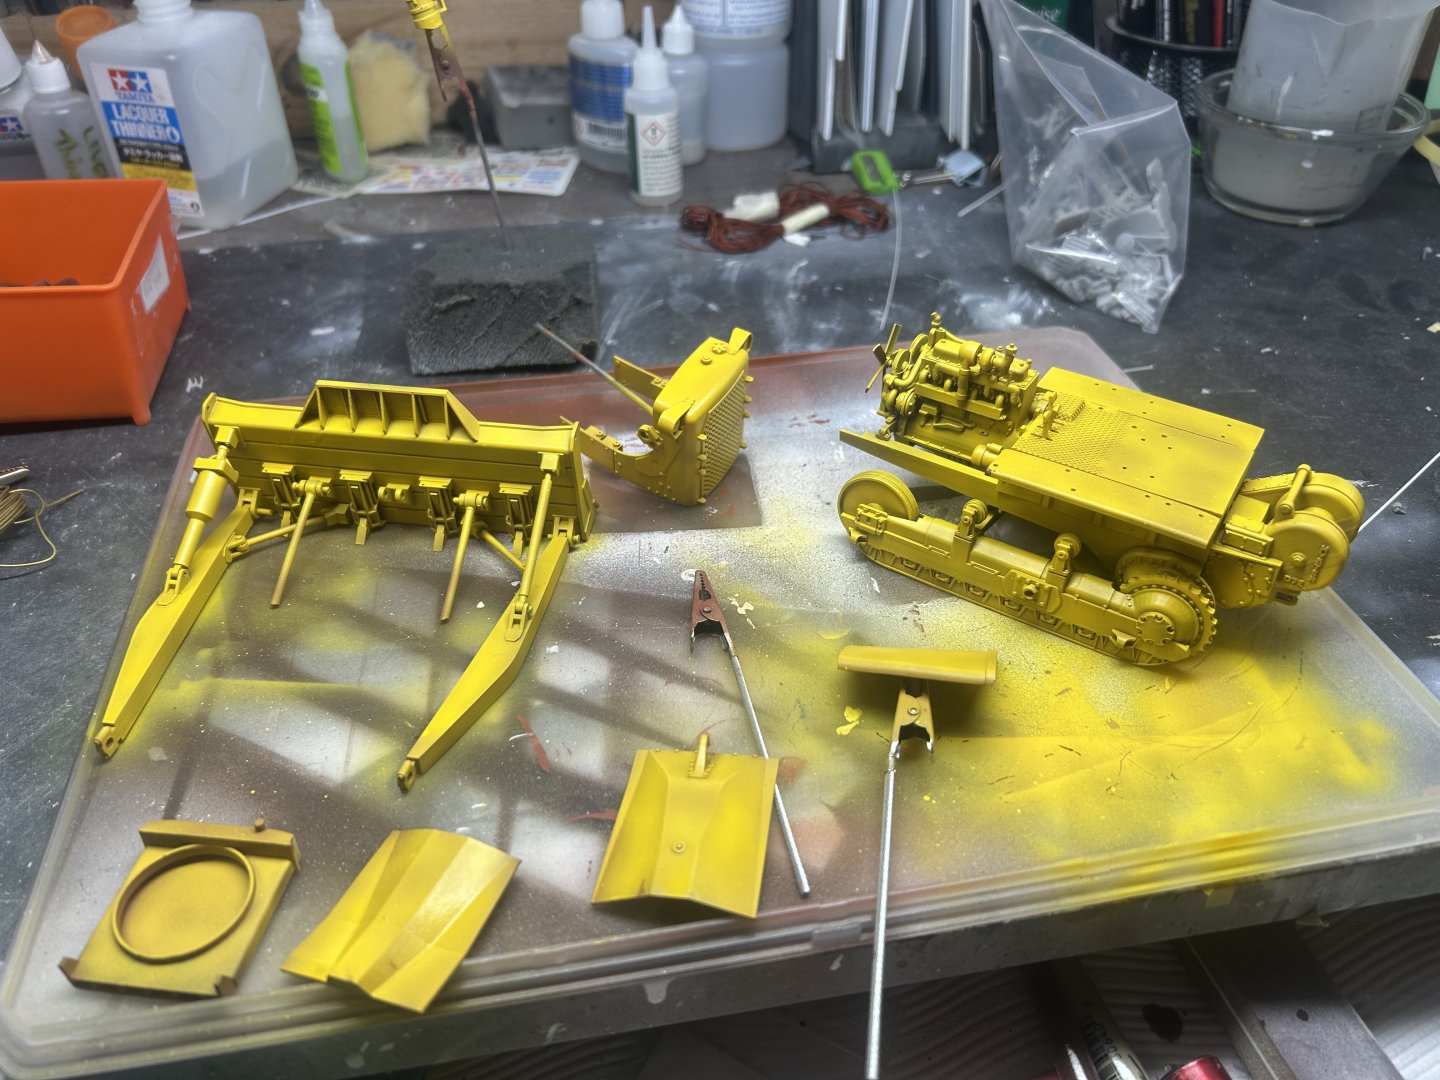
D7E Bulldozer by RGL - FINISHED - Hobby link - 1/35 - 3D-printed
RGL replied to RGL's topic in Non-ship/categorised builds
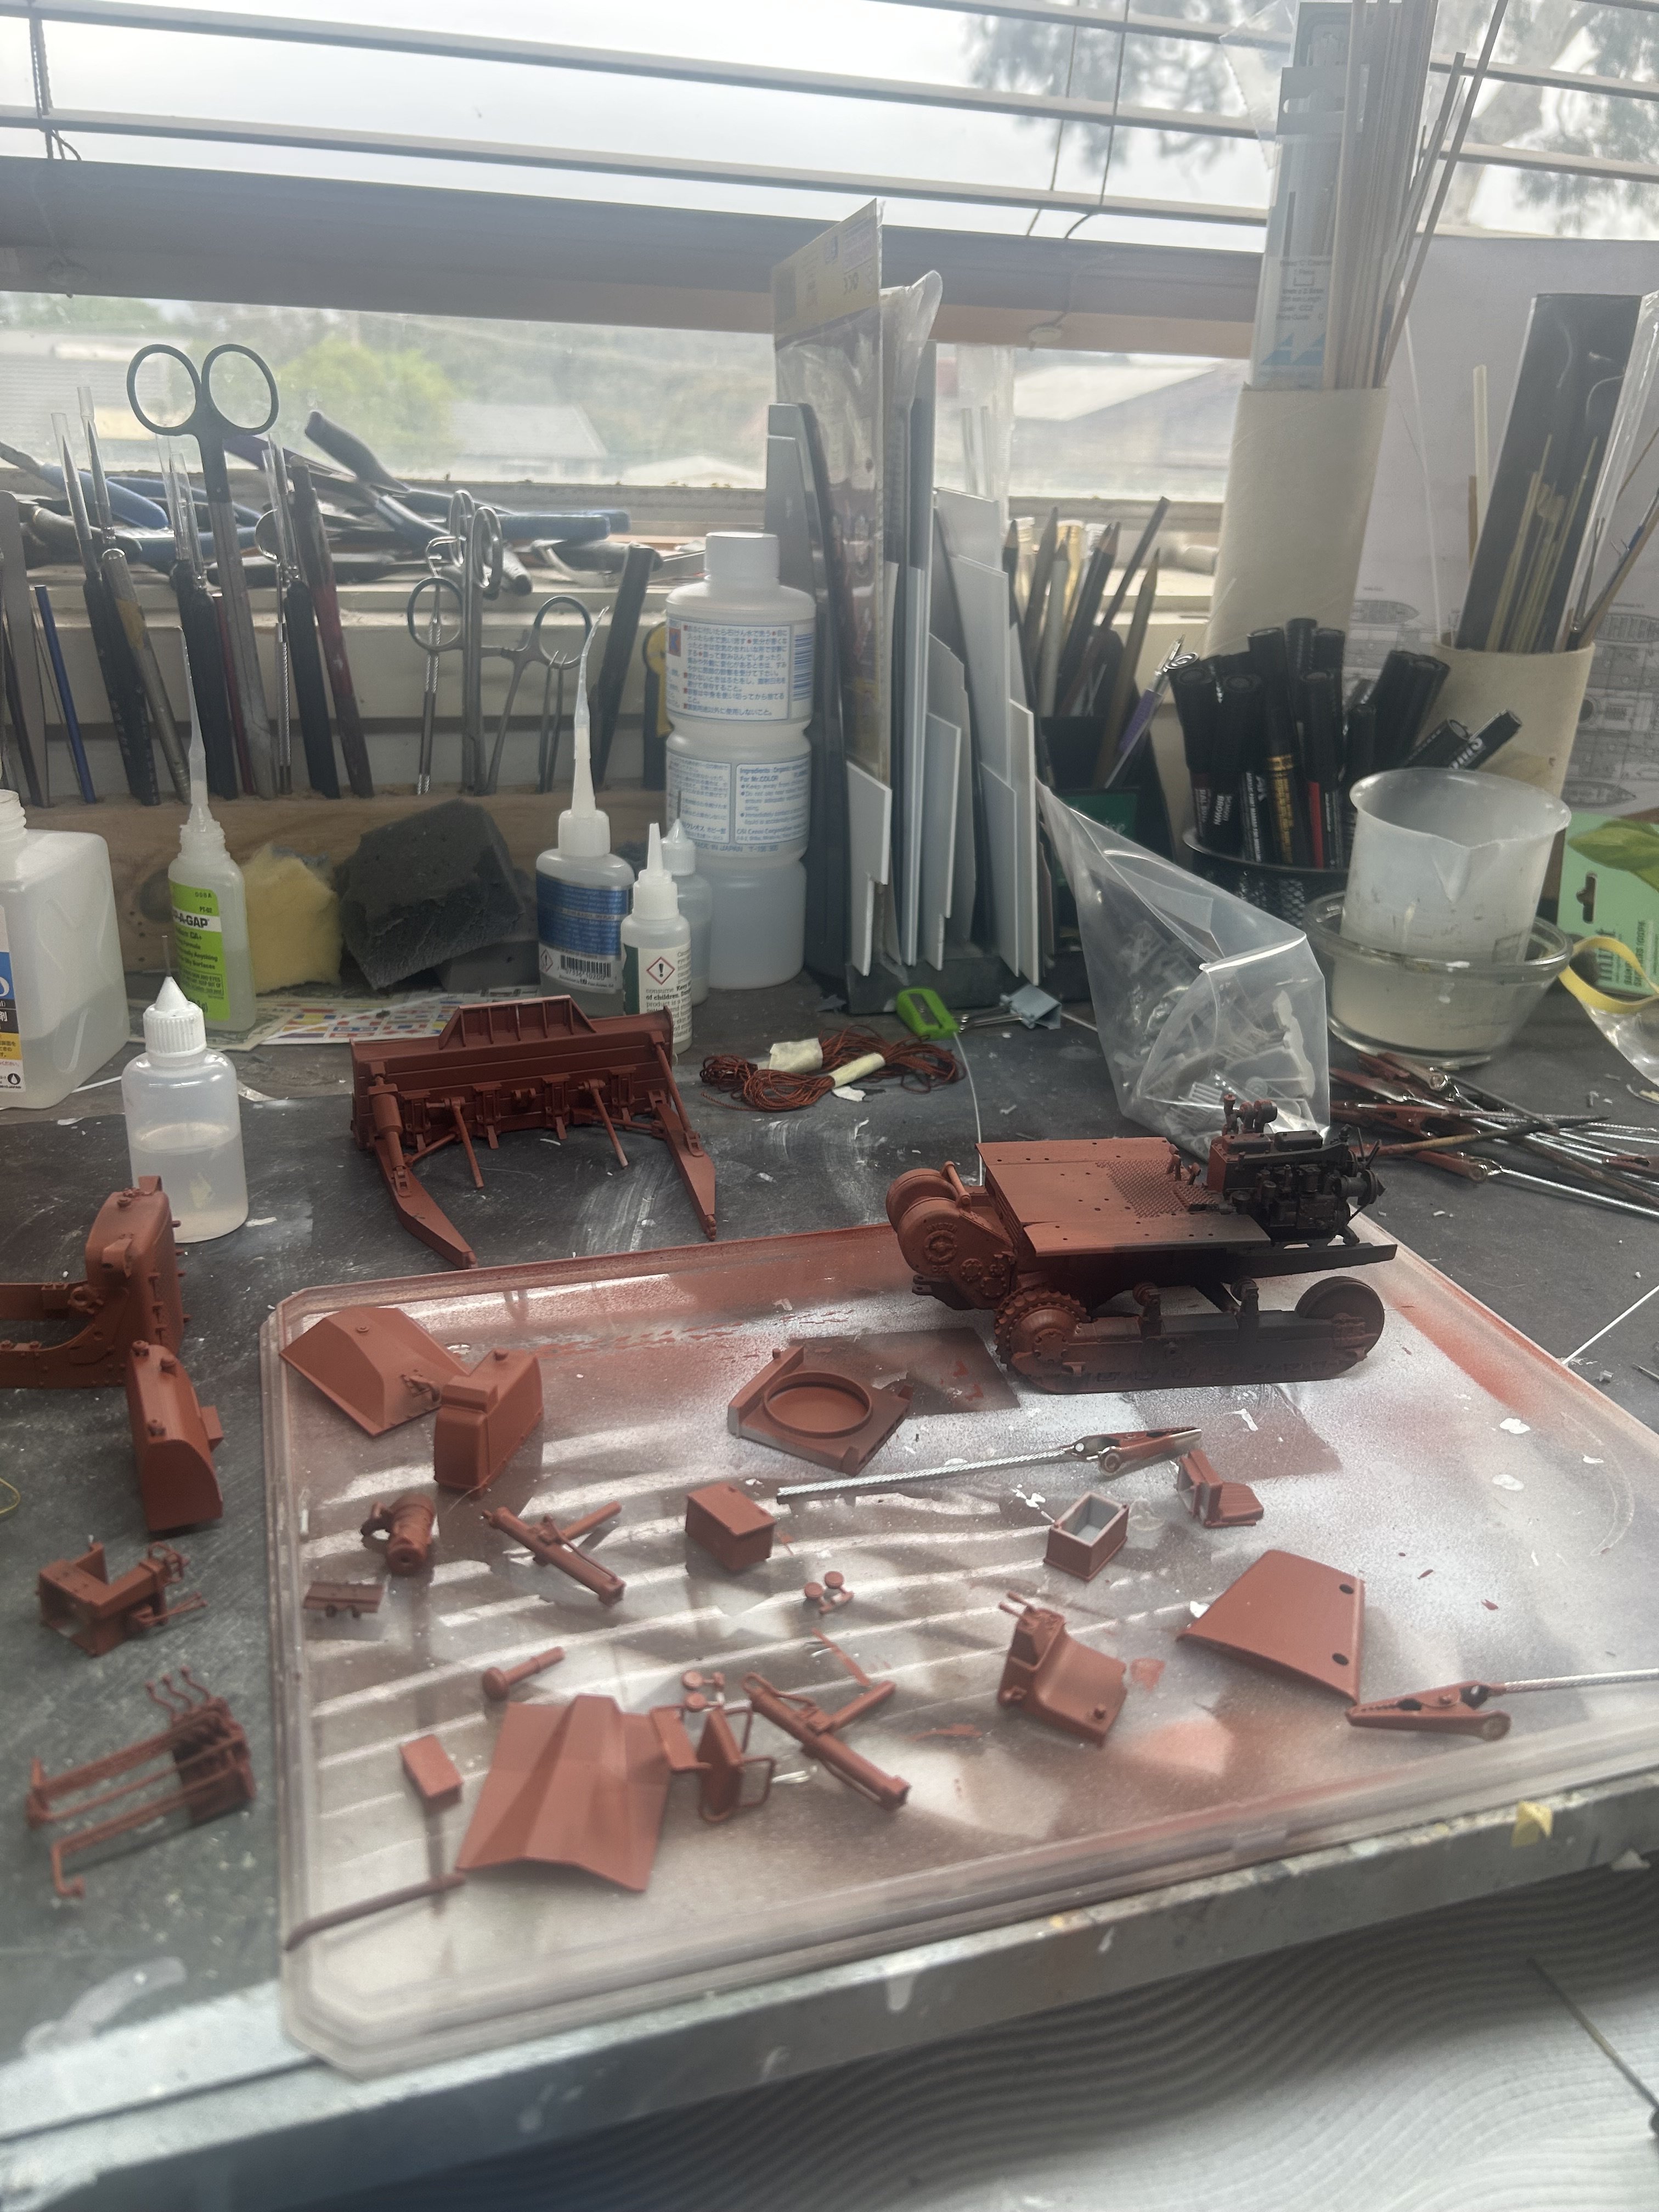
Getting my paint on, red primer, then a chipping coat and bulldozer yellow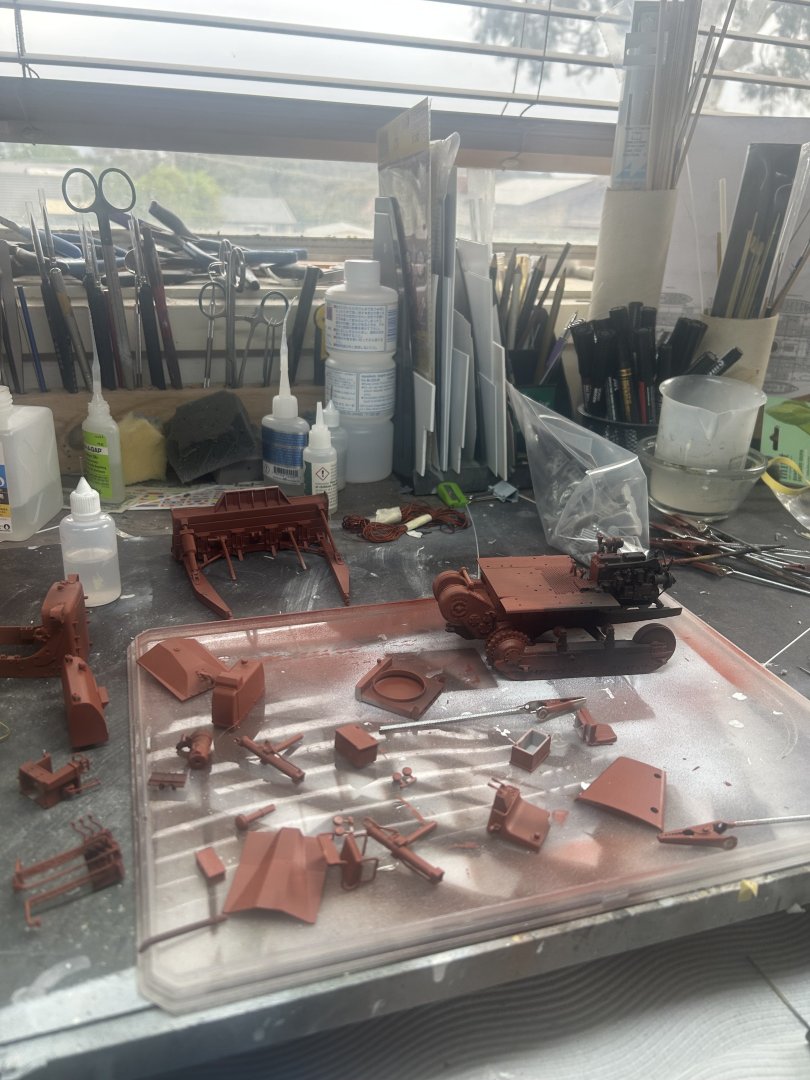
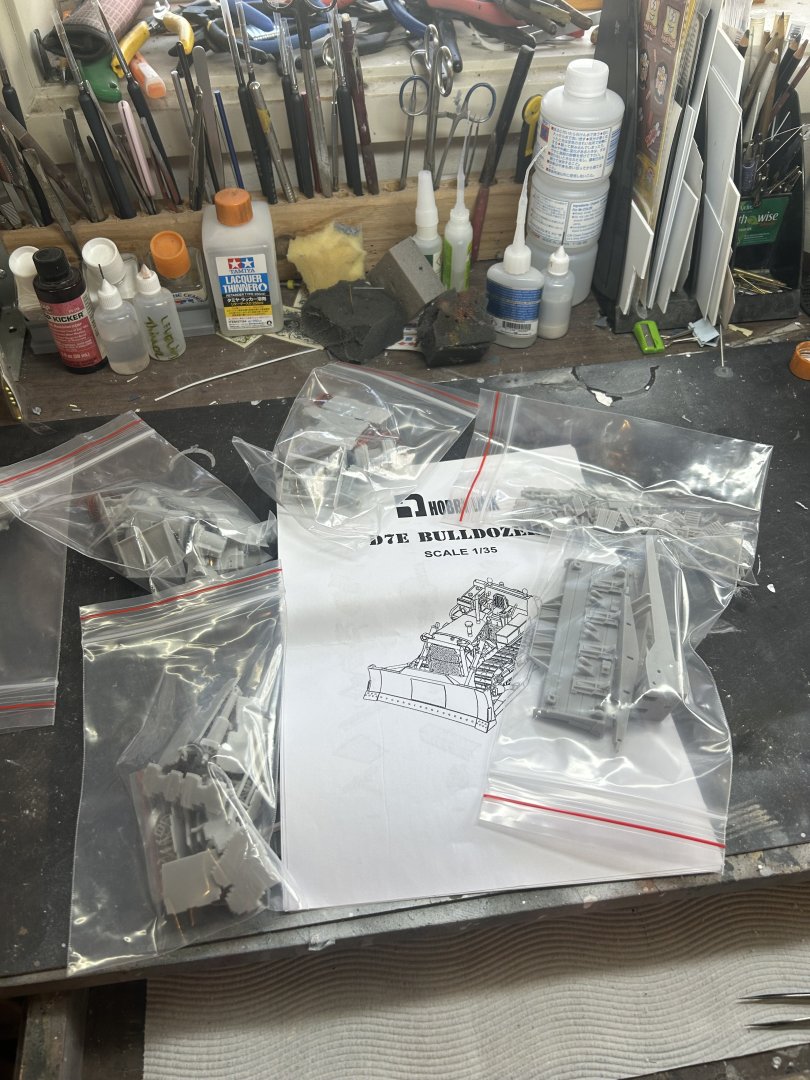
-
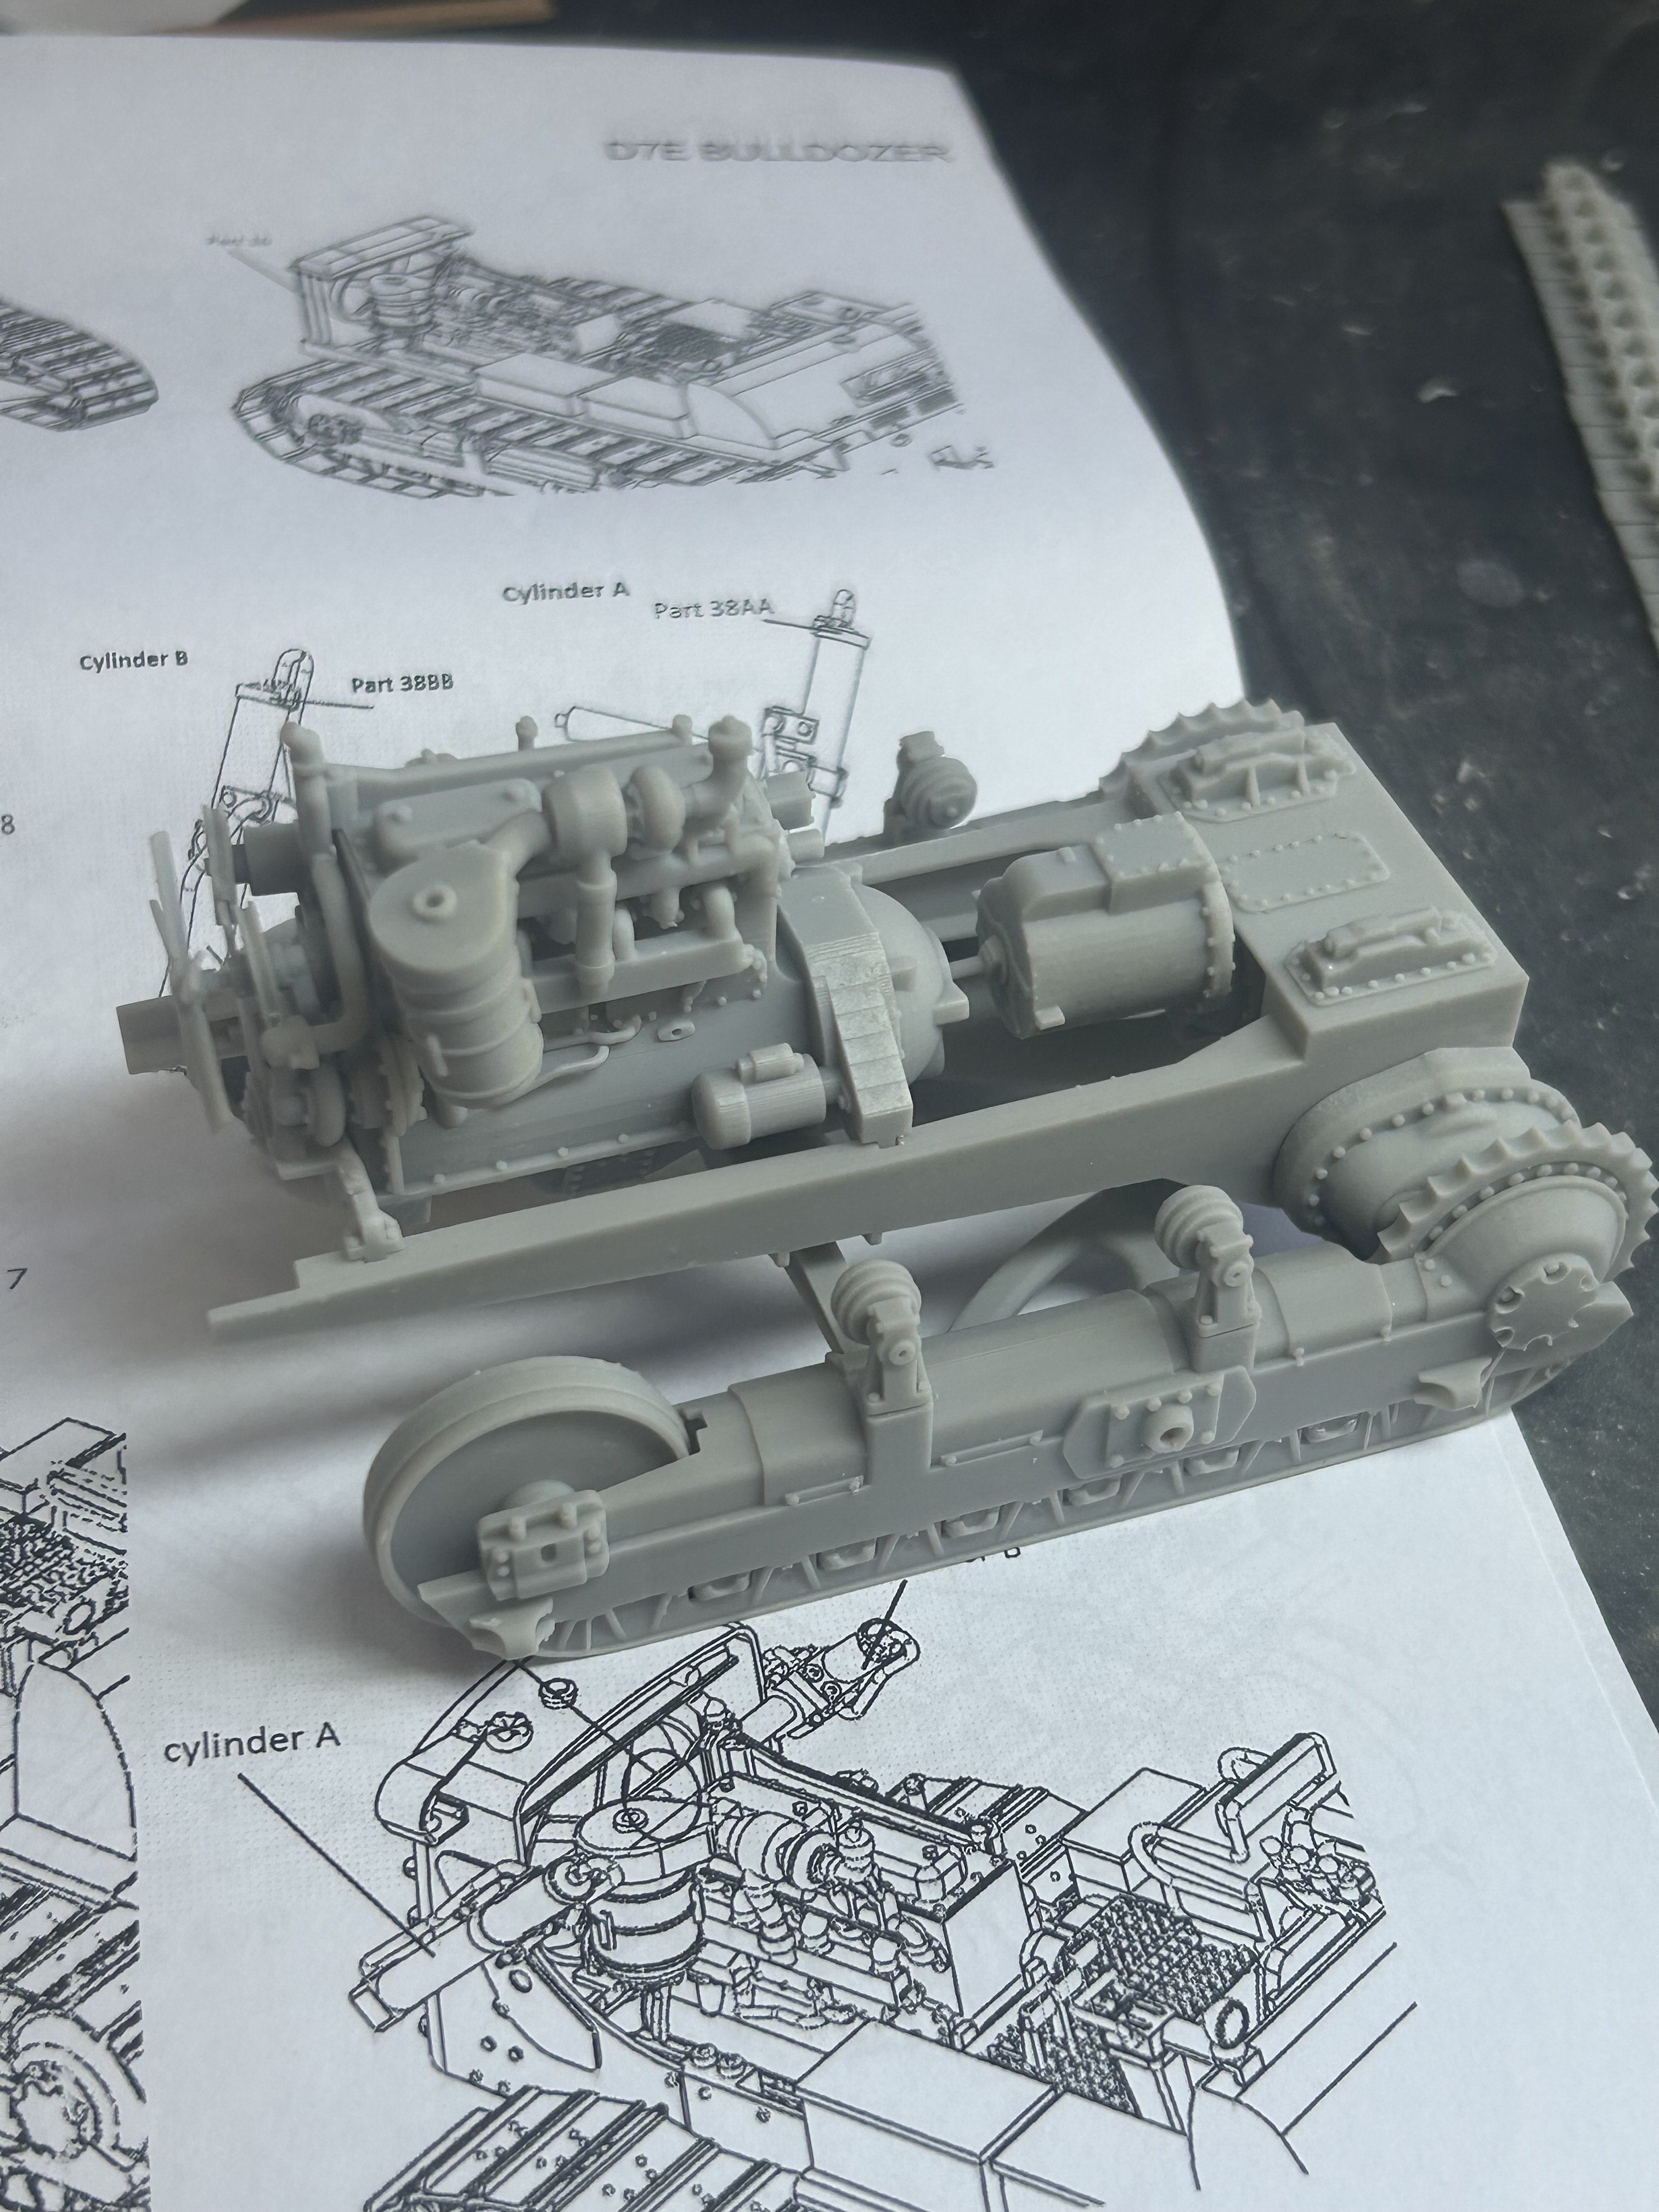
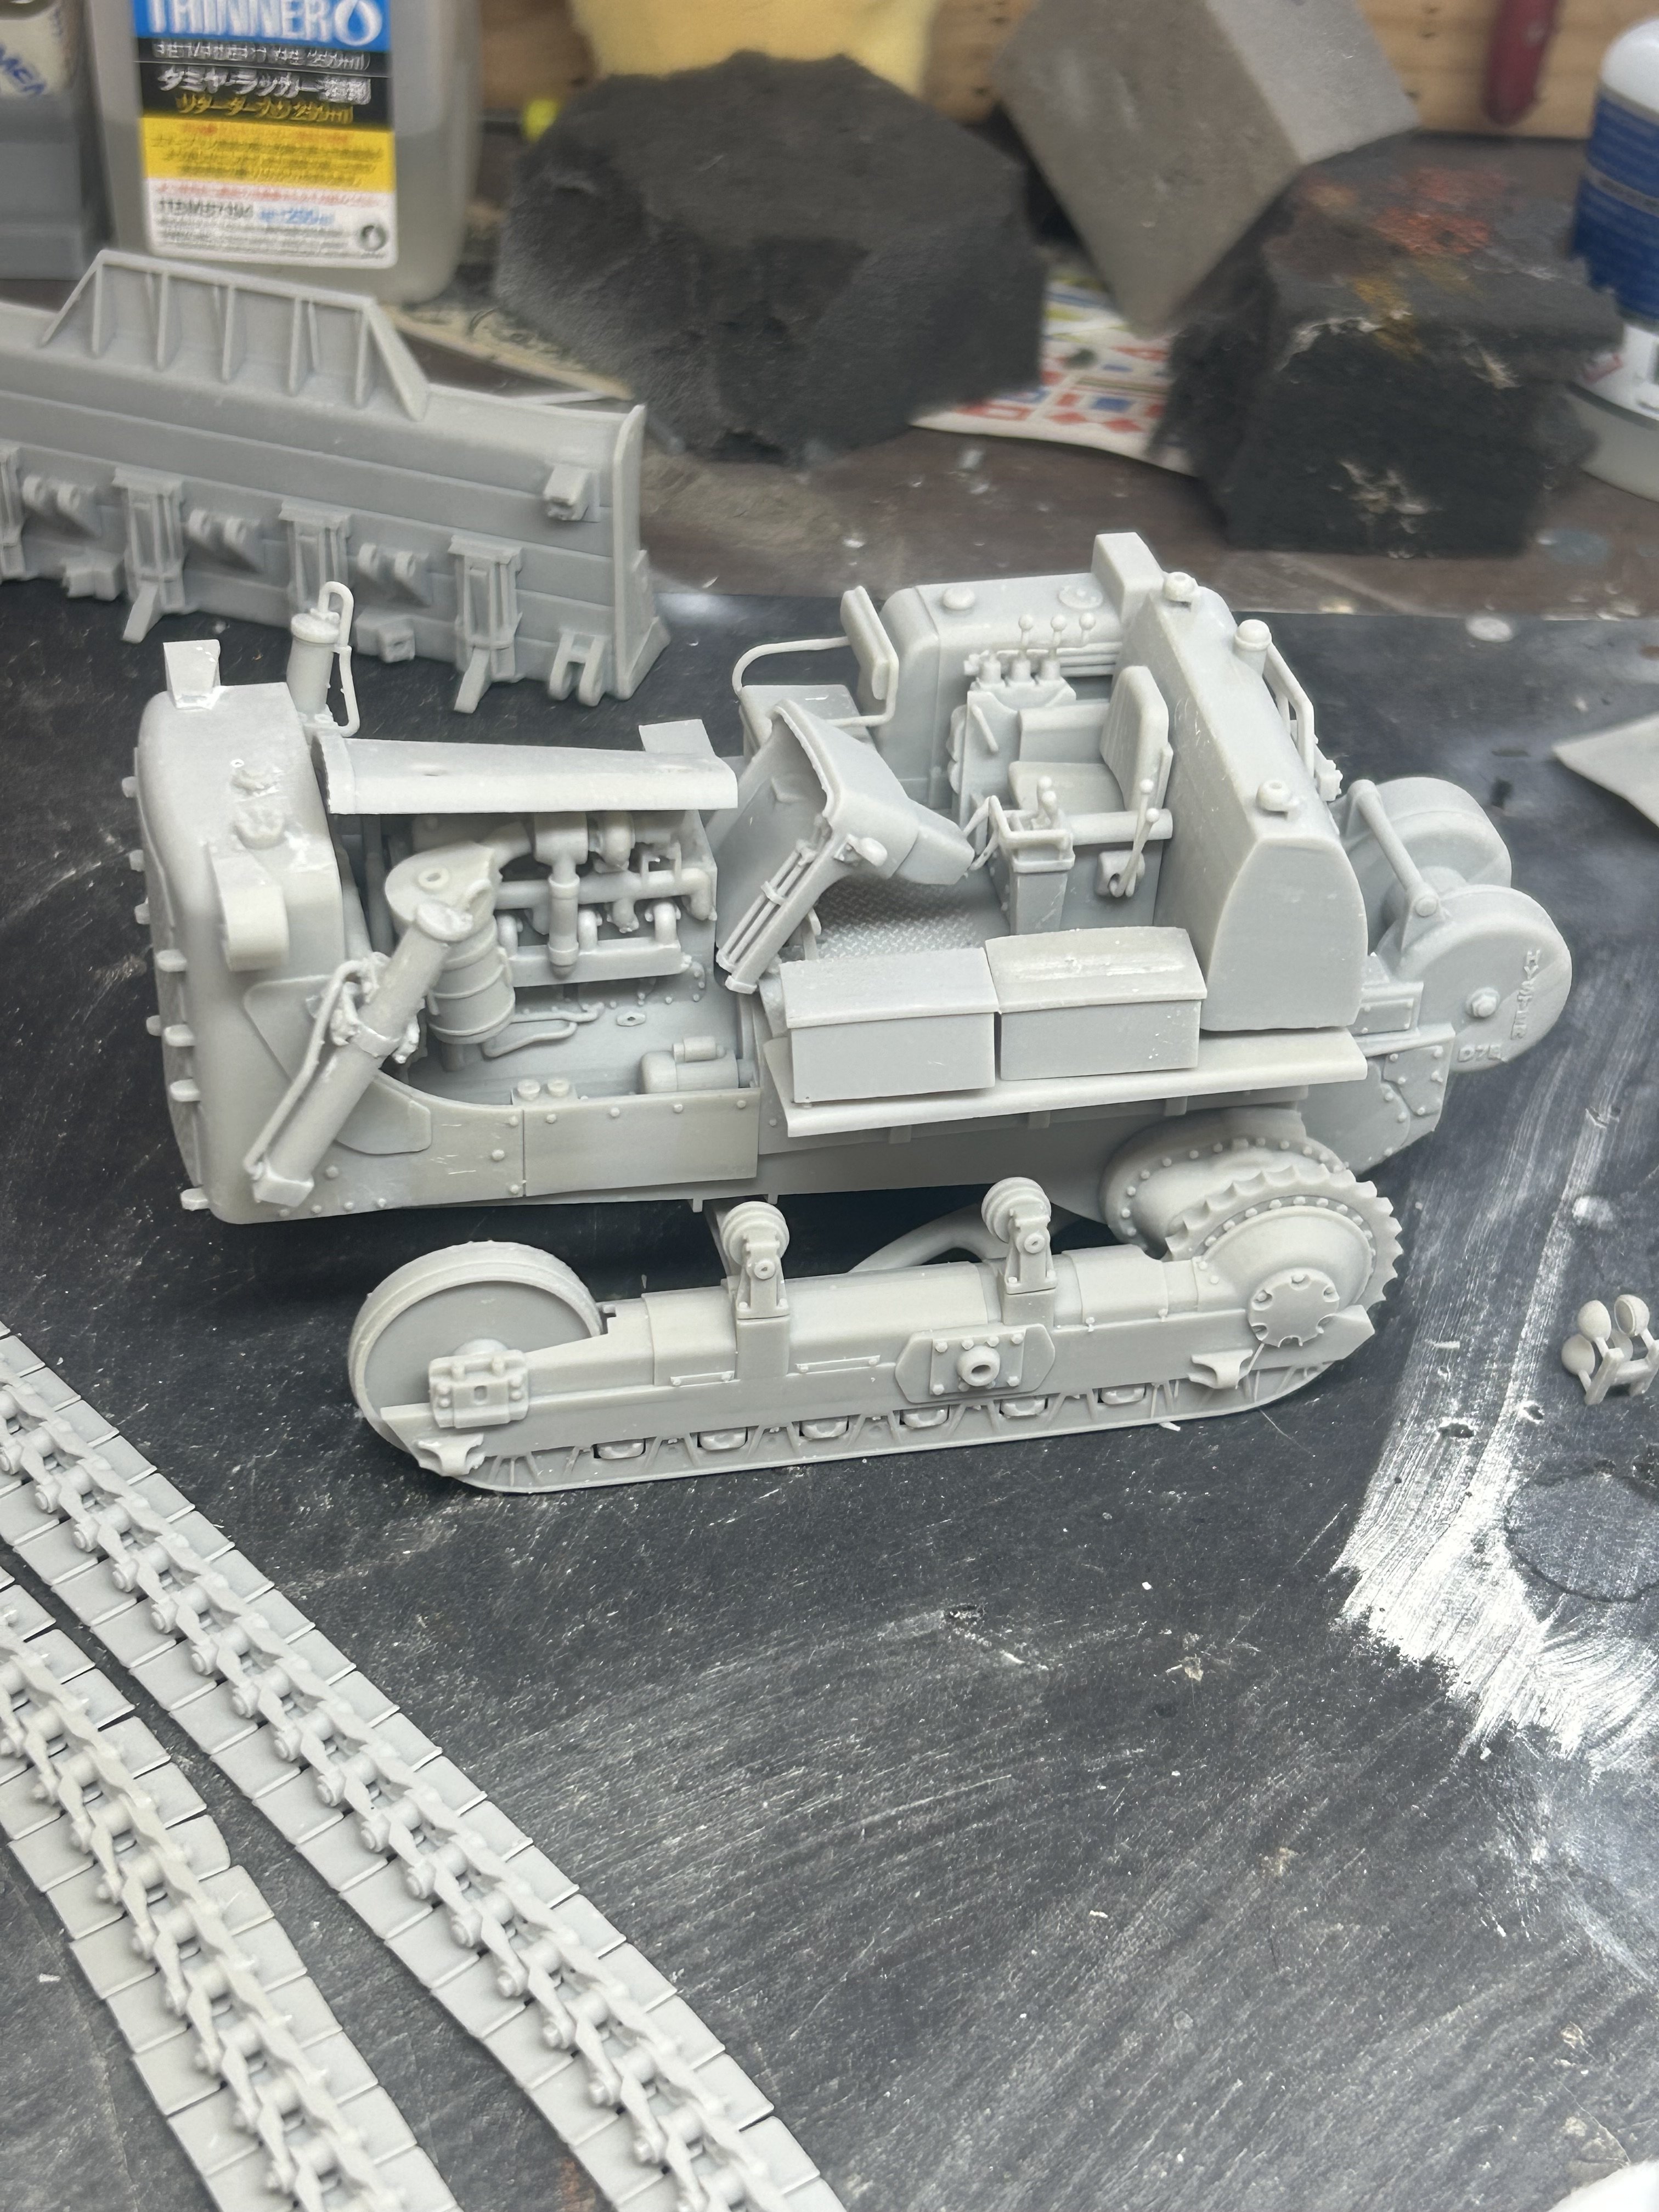
I got this kit for $50 off FB marketplace thinking it would be a punishing slog of resin. I was so wrong, it’s 3 d Printed and pretty much falls together. The only thing missing is fuel and hydraulic lines which I need to add. I’m waiting on mail from various parts of the earth so I can finish my diorama with the FT-17 and do some serious figure painting. This is supposedly a 1973 military type but I will paint her Cat yellow


- 11 replies
-
- 12
-
-
-
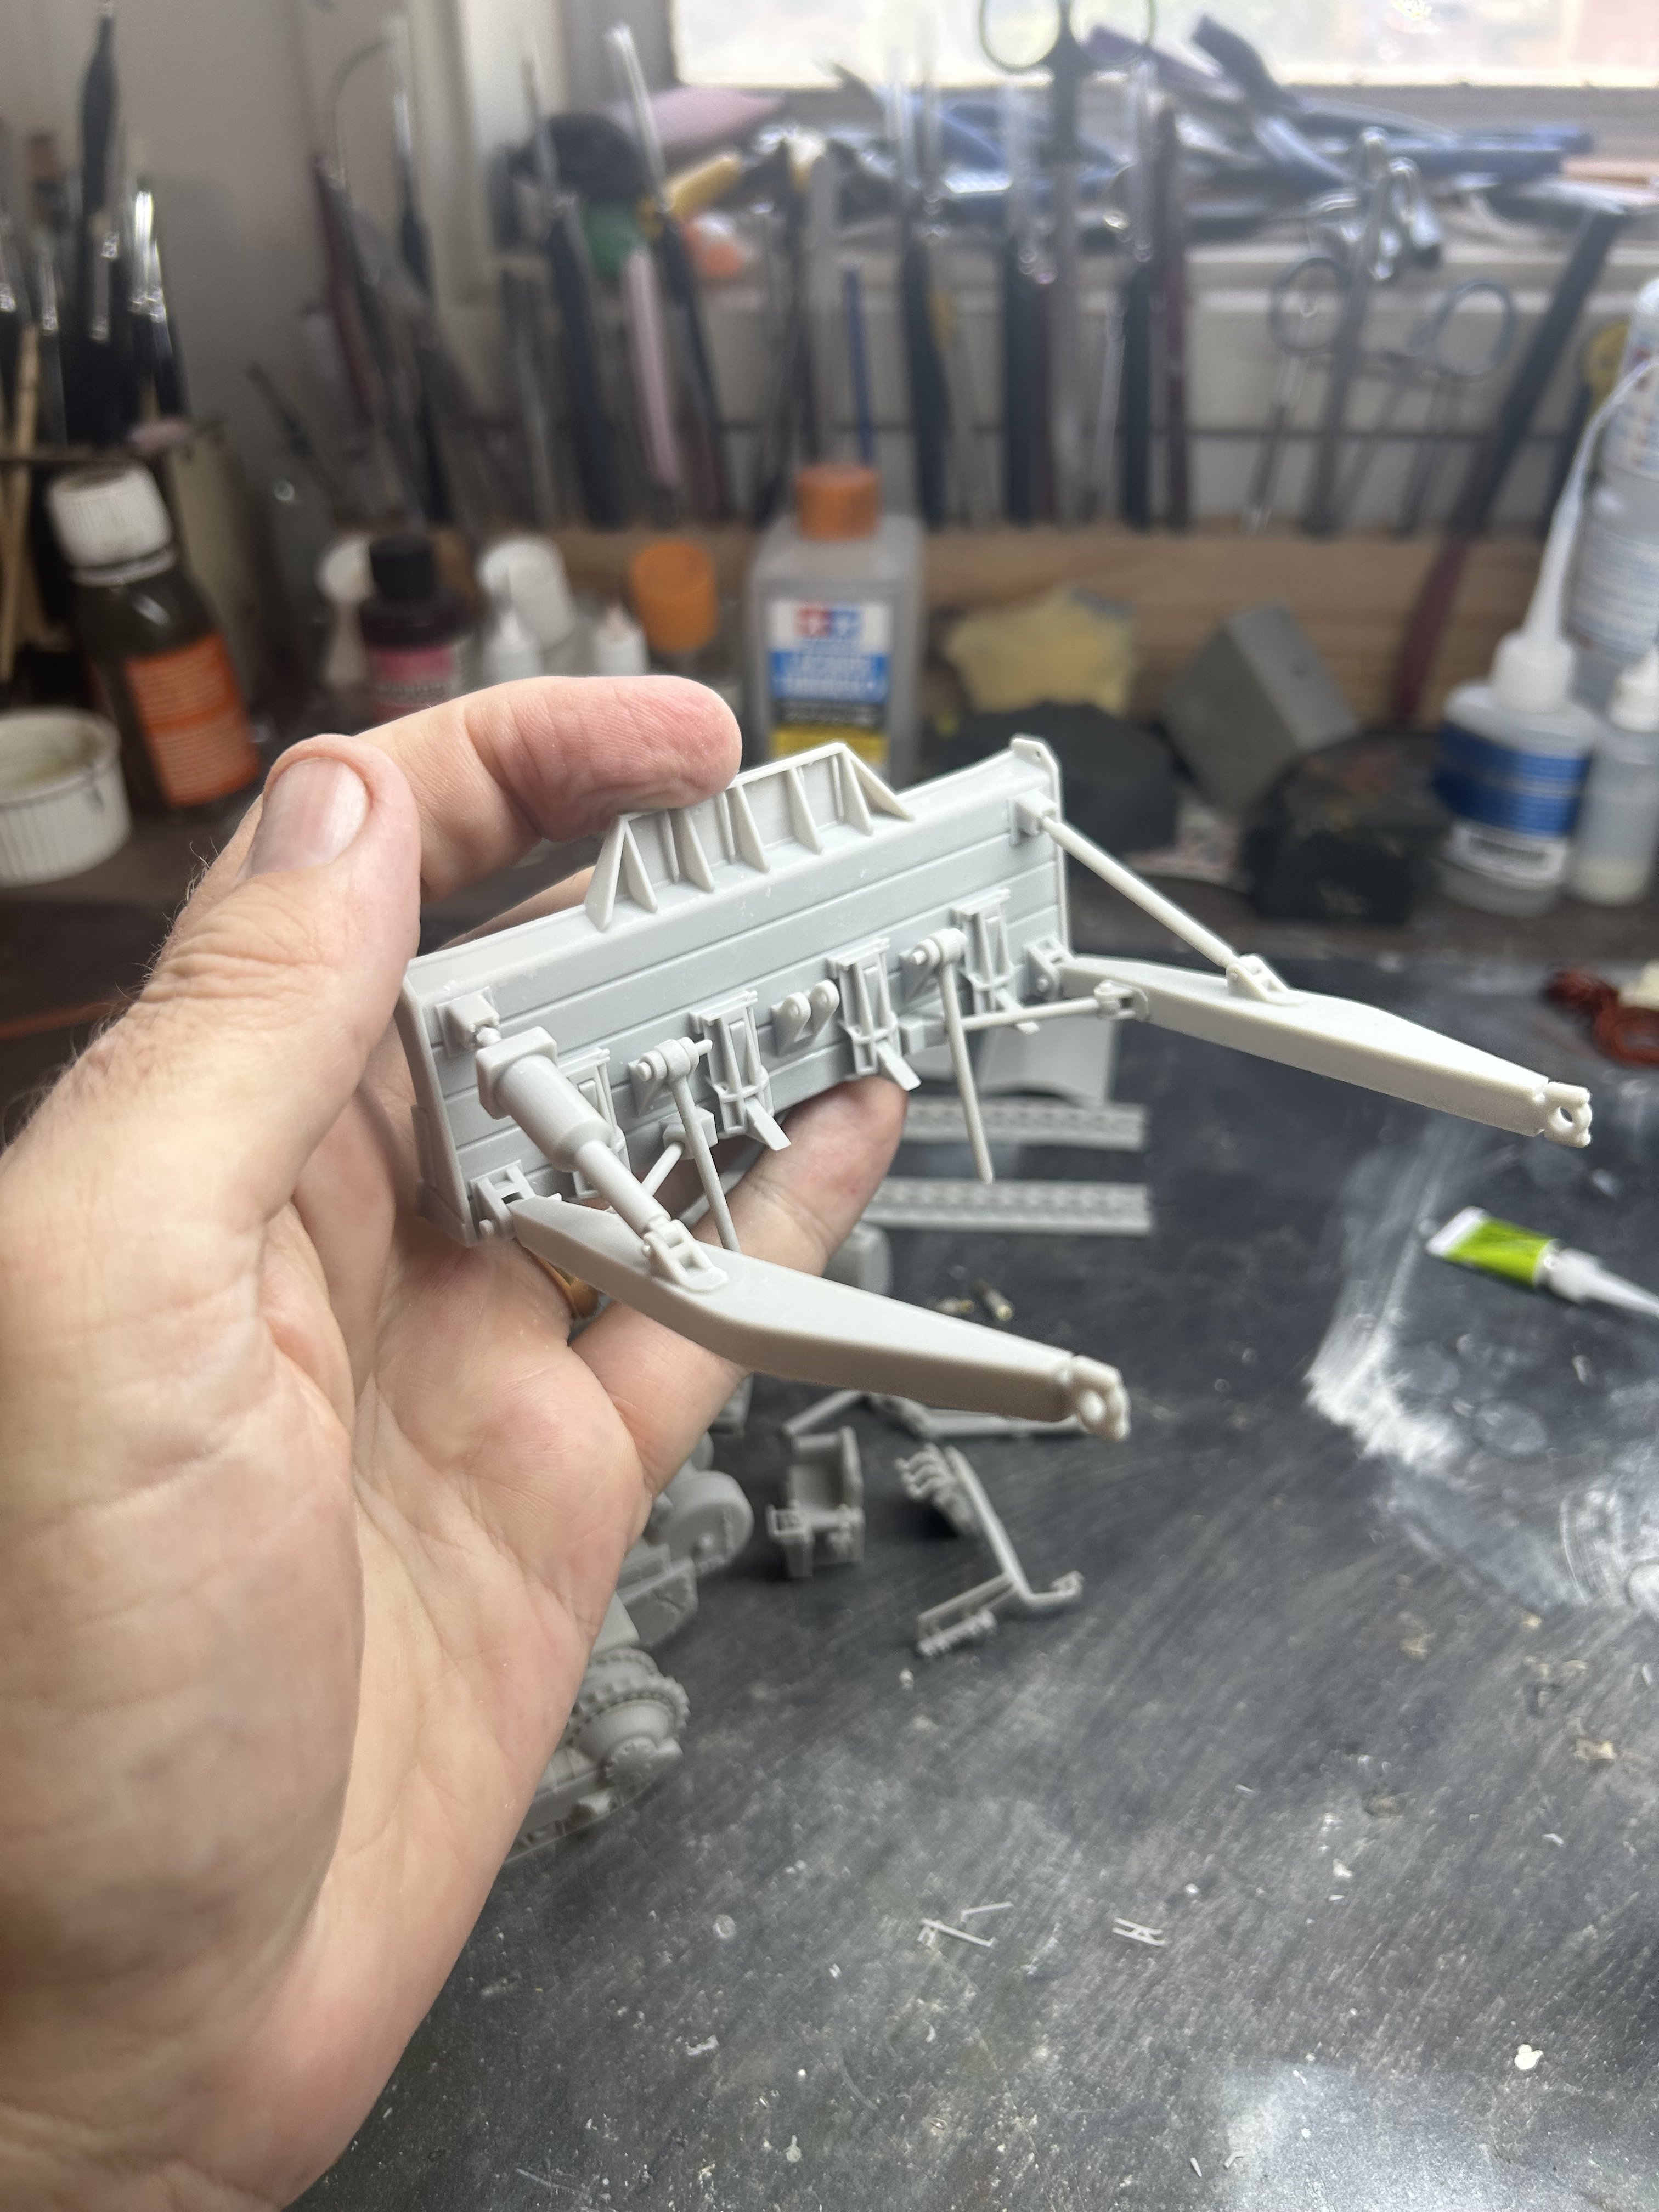
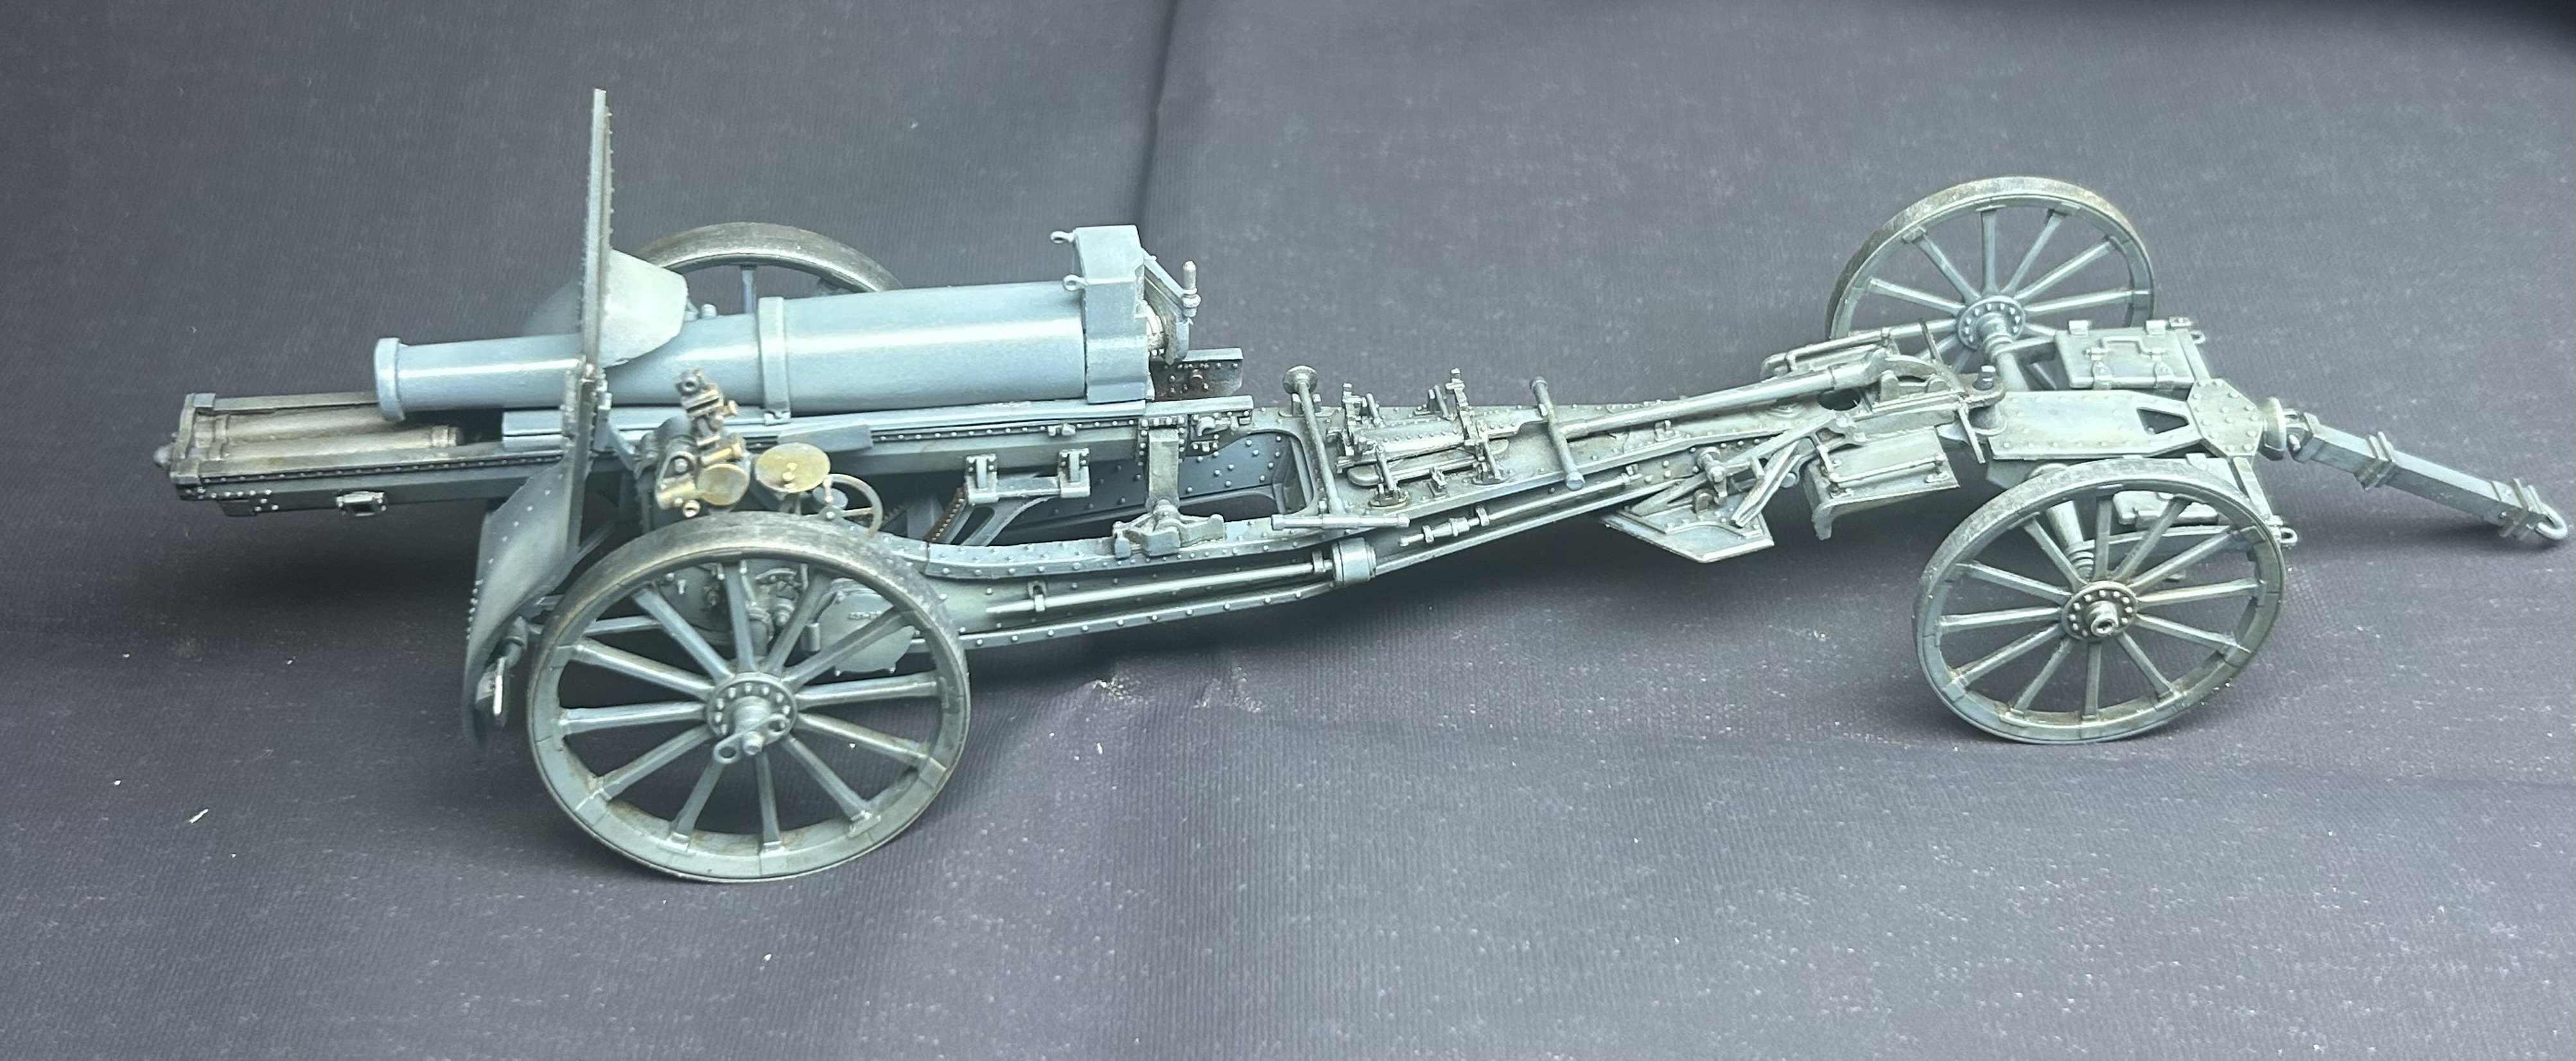
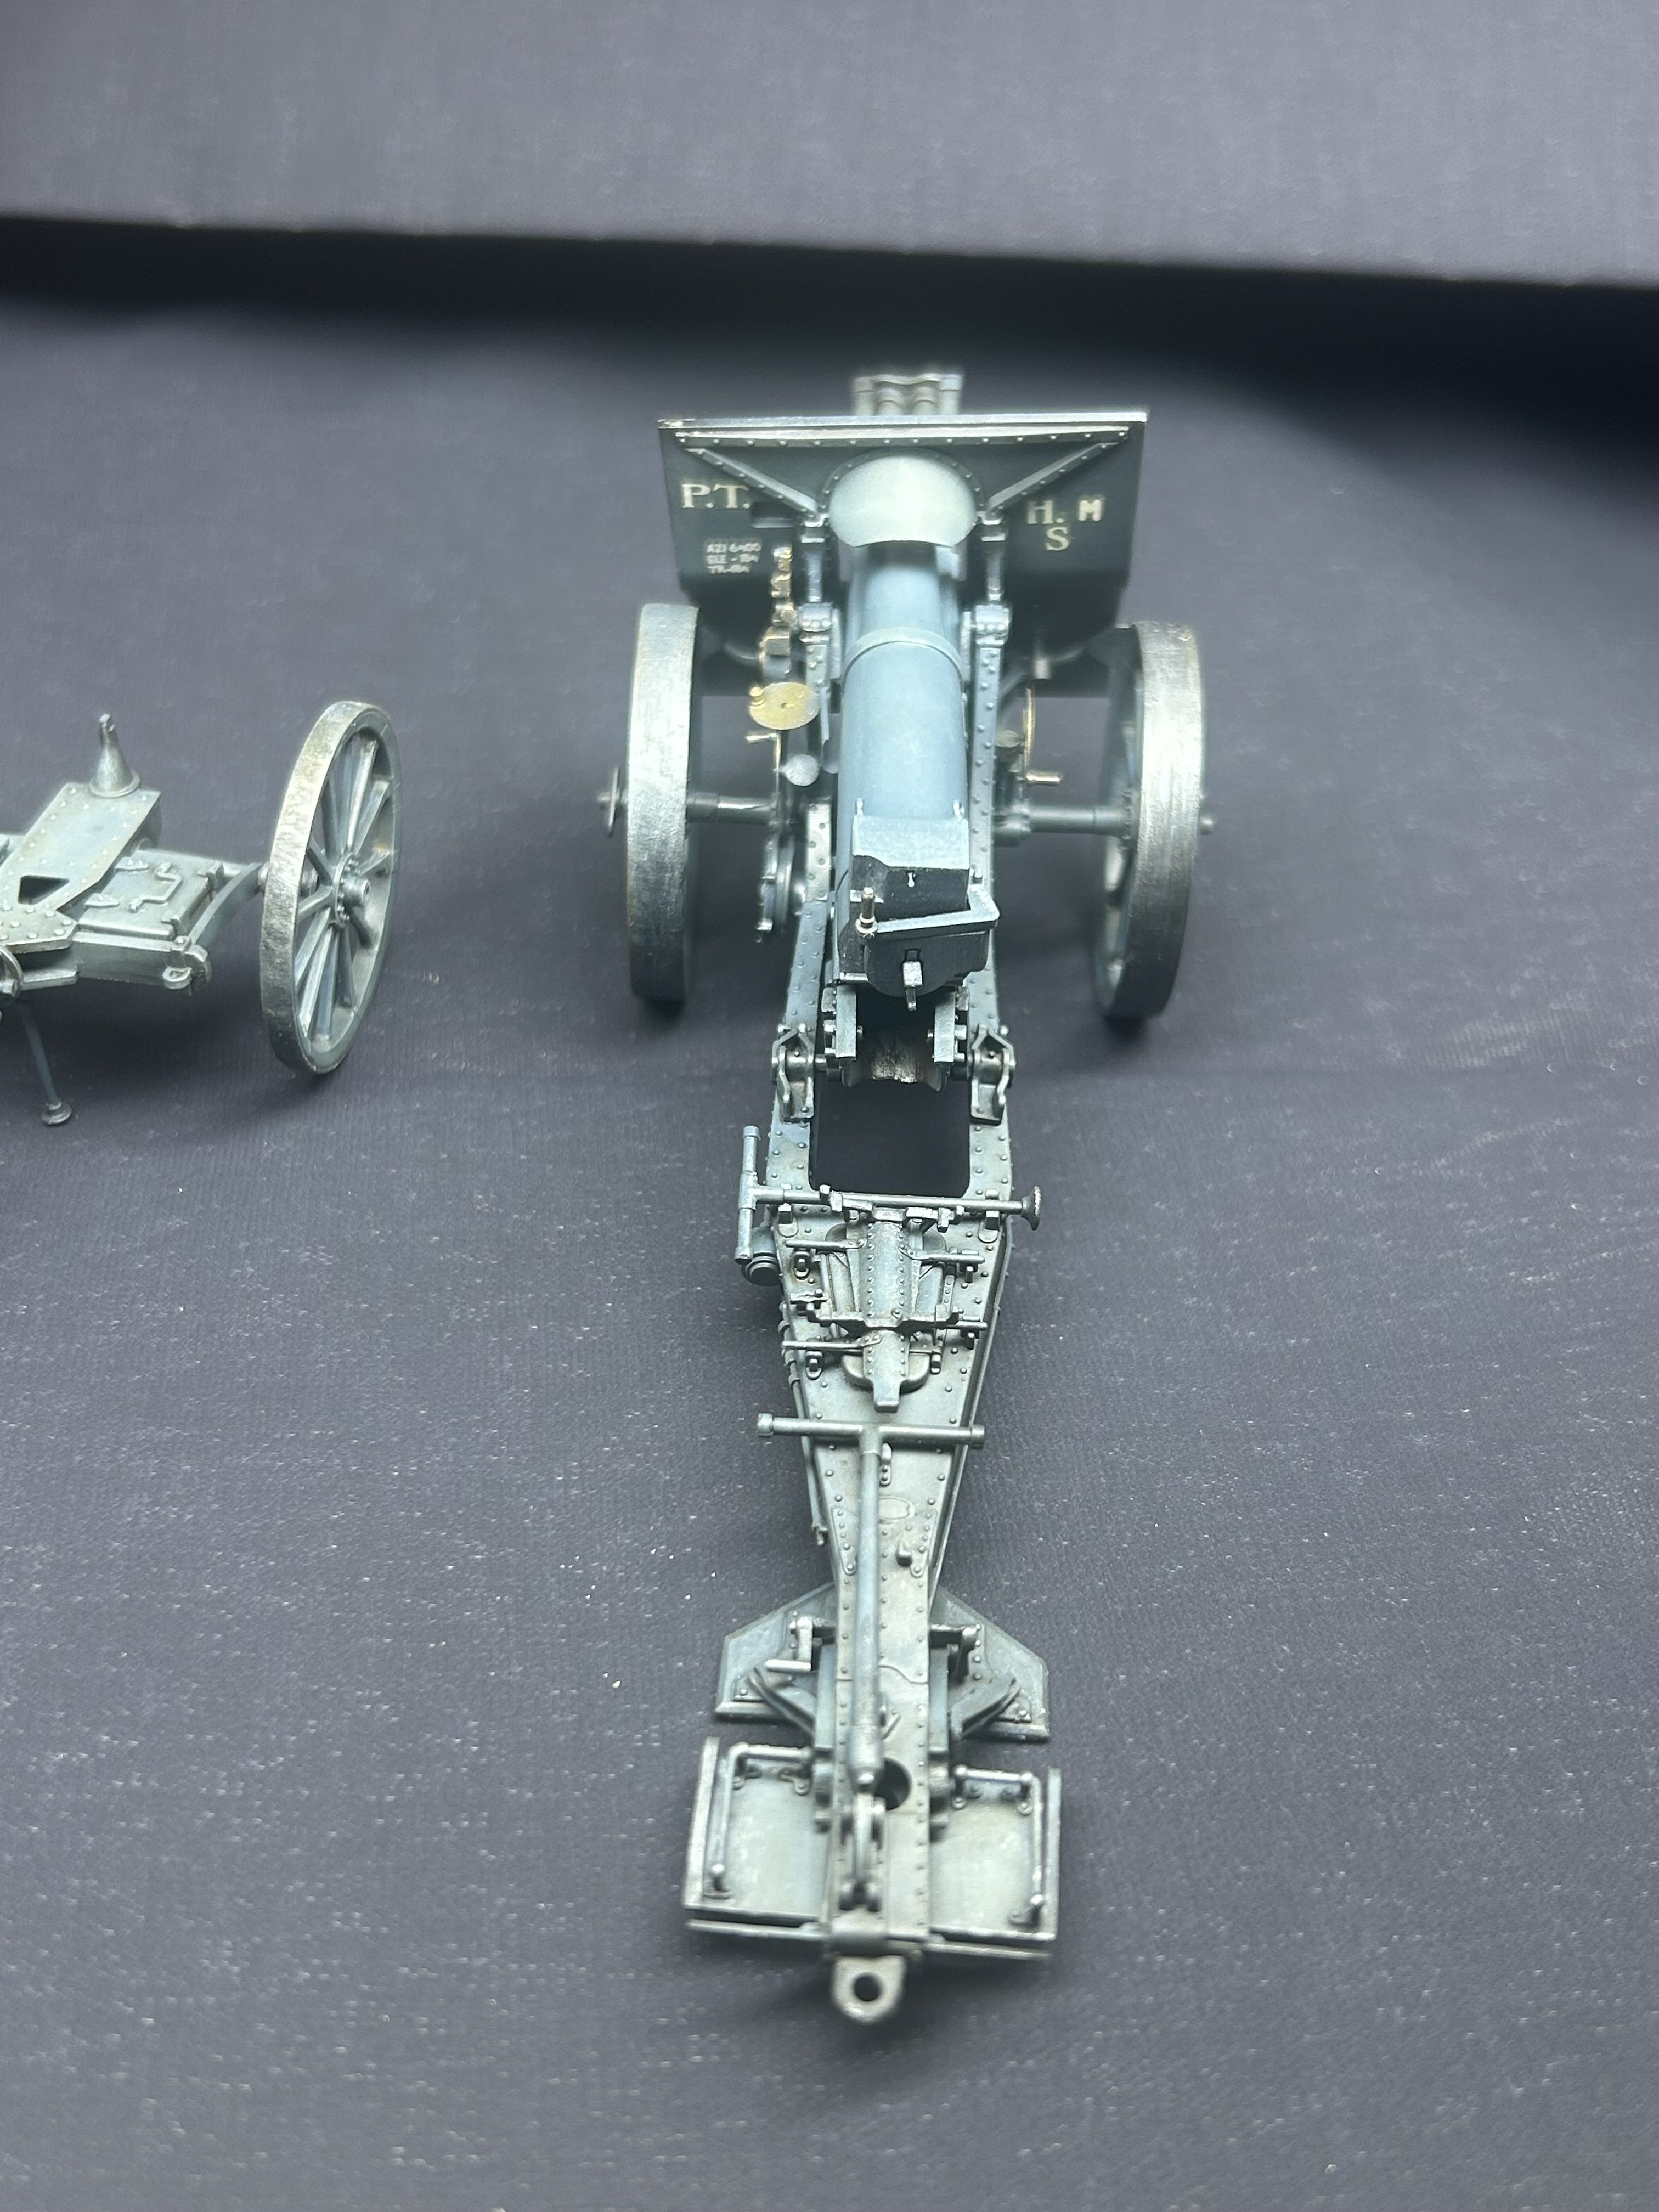
Schneider CA - Armoured by RGL - HobbyBoss - 1/35 - PLASTIC
RGL replied to RGL's topic in Non-ship/categorised builds
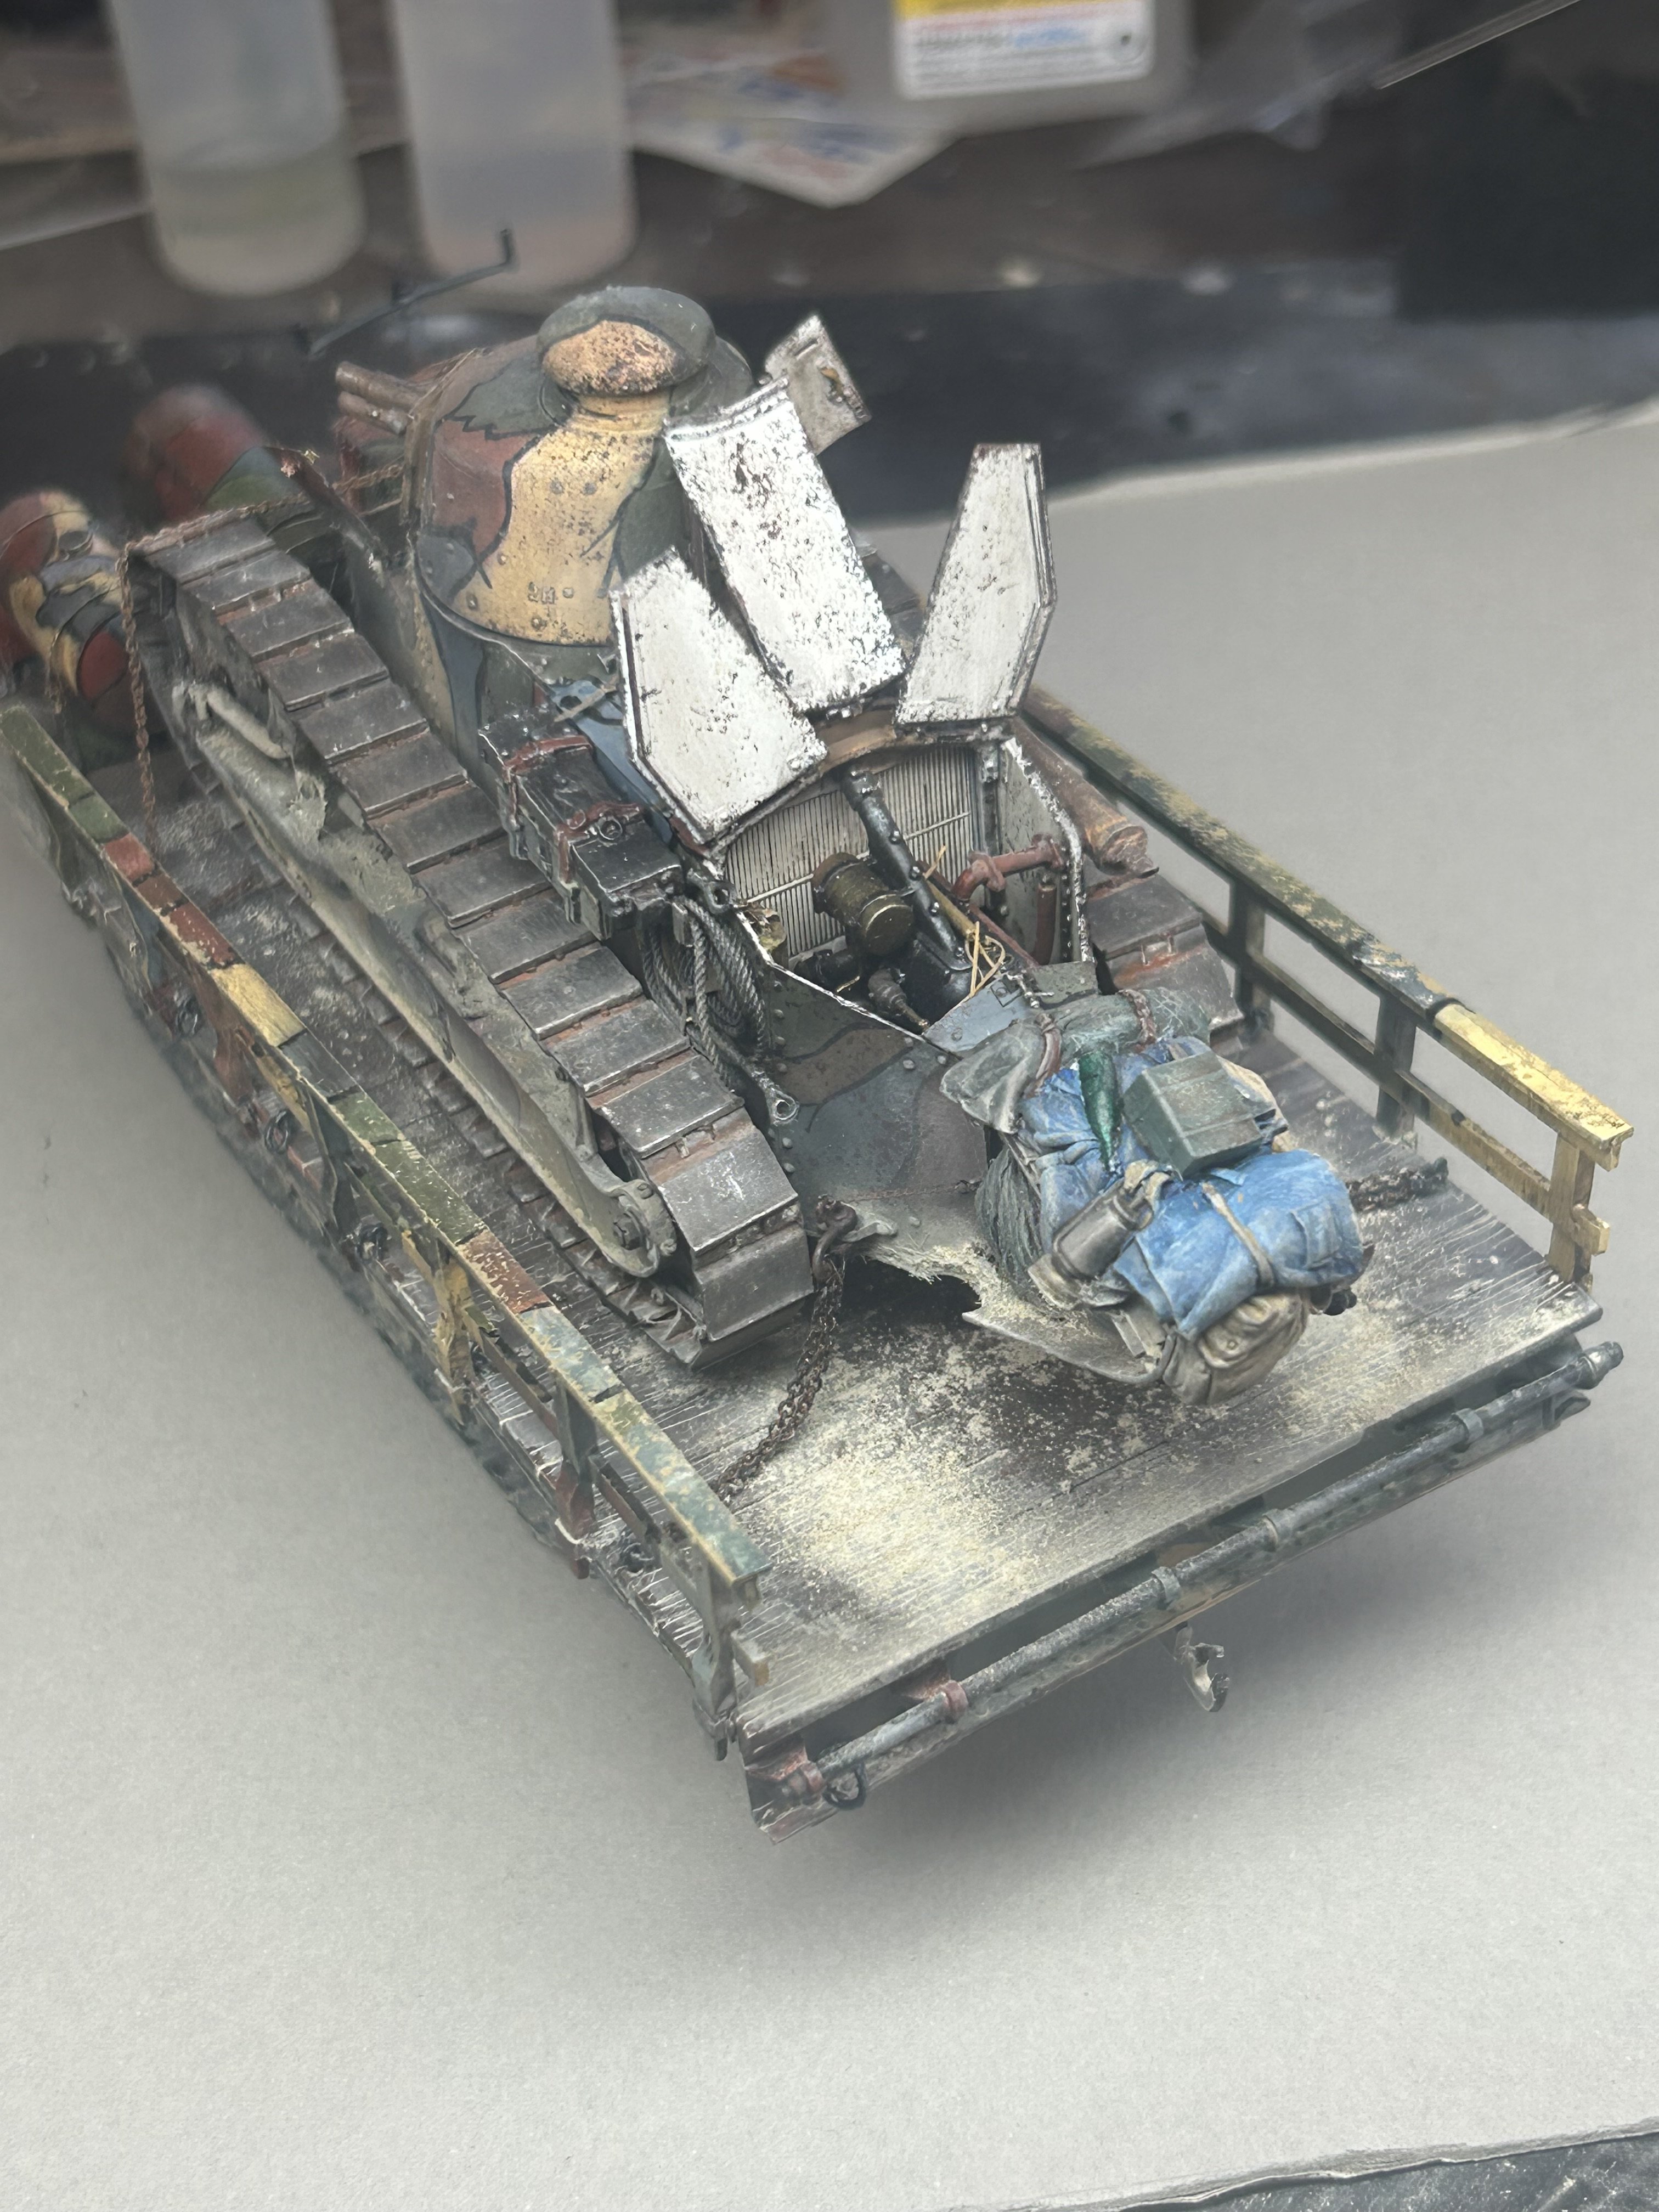
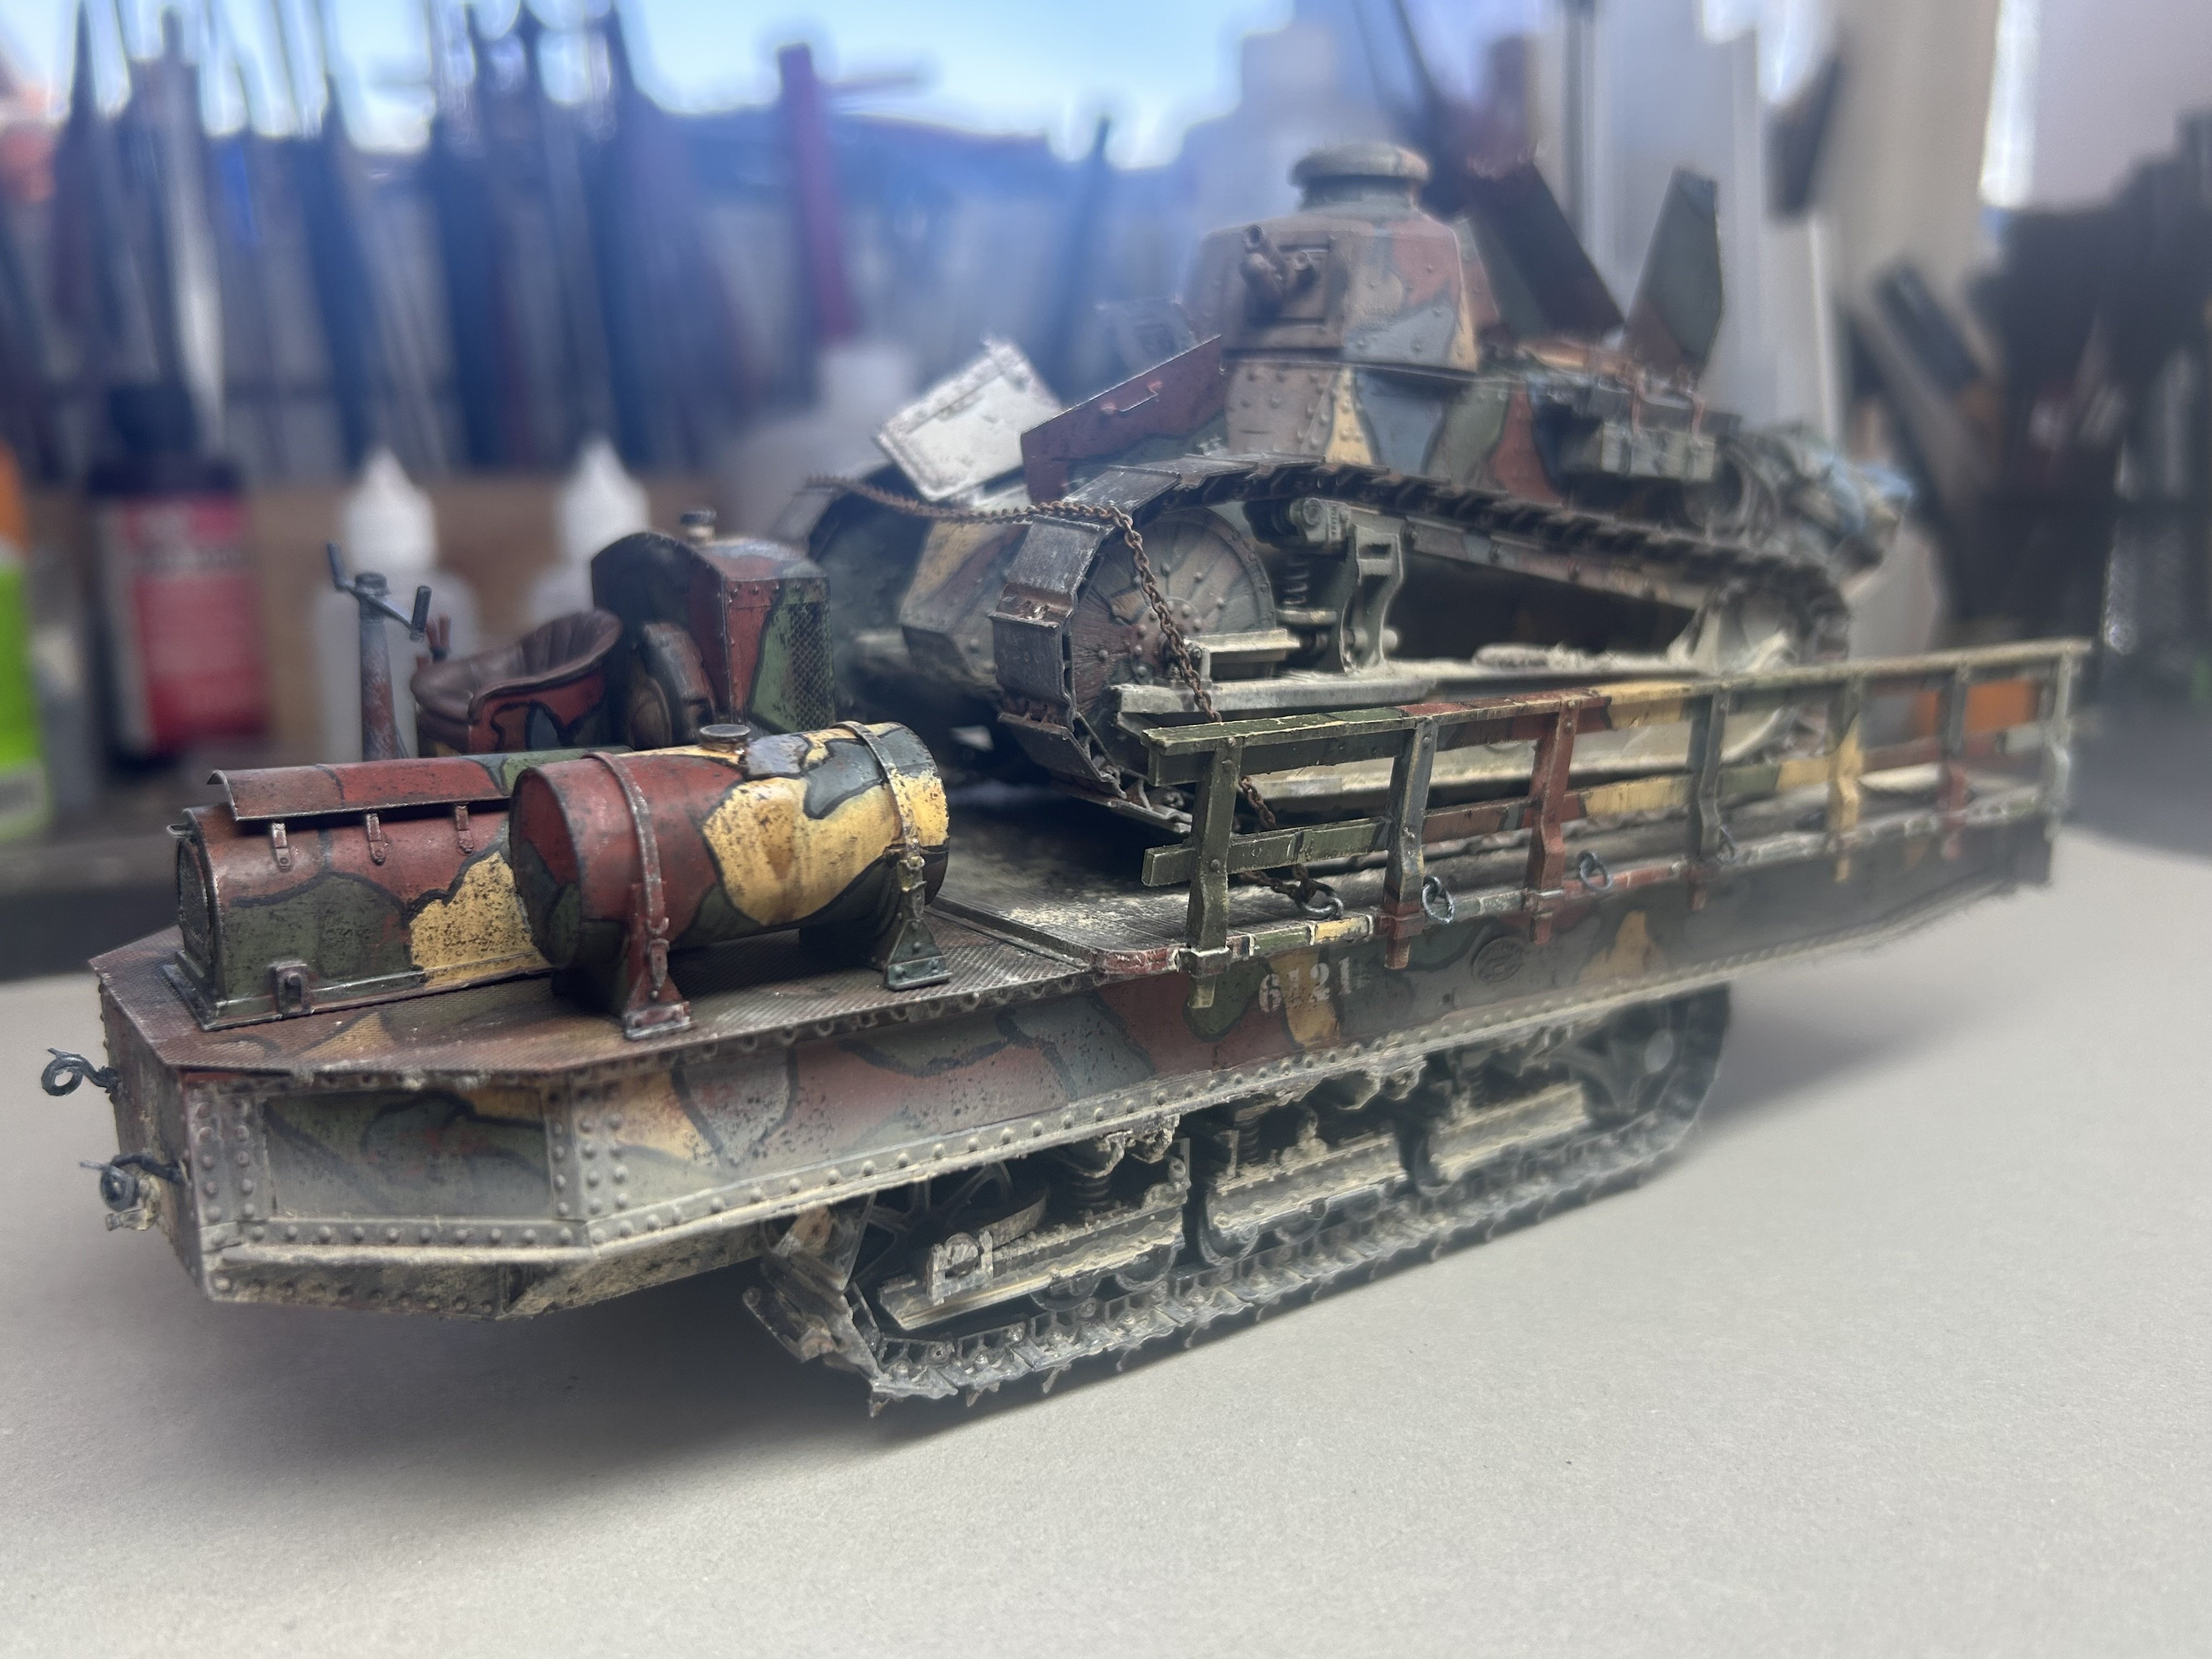
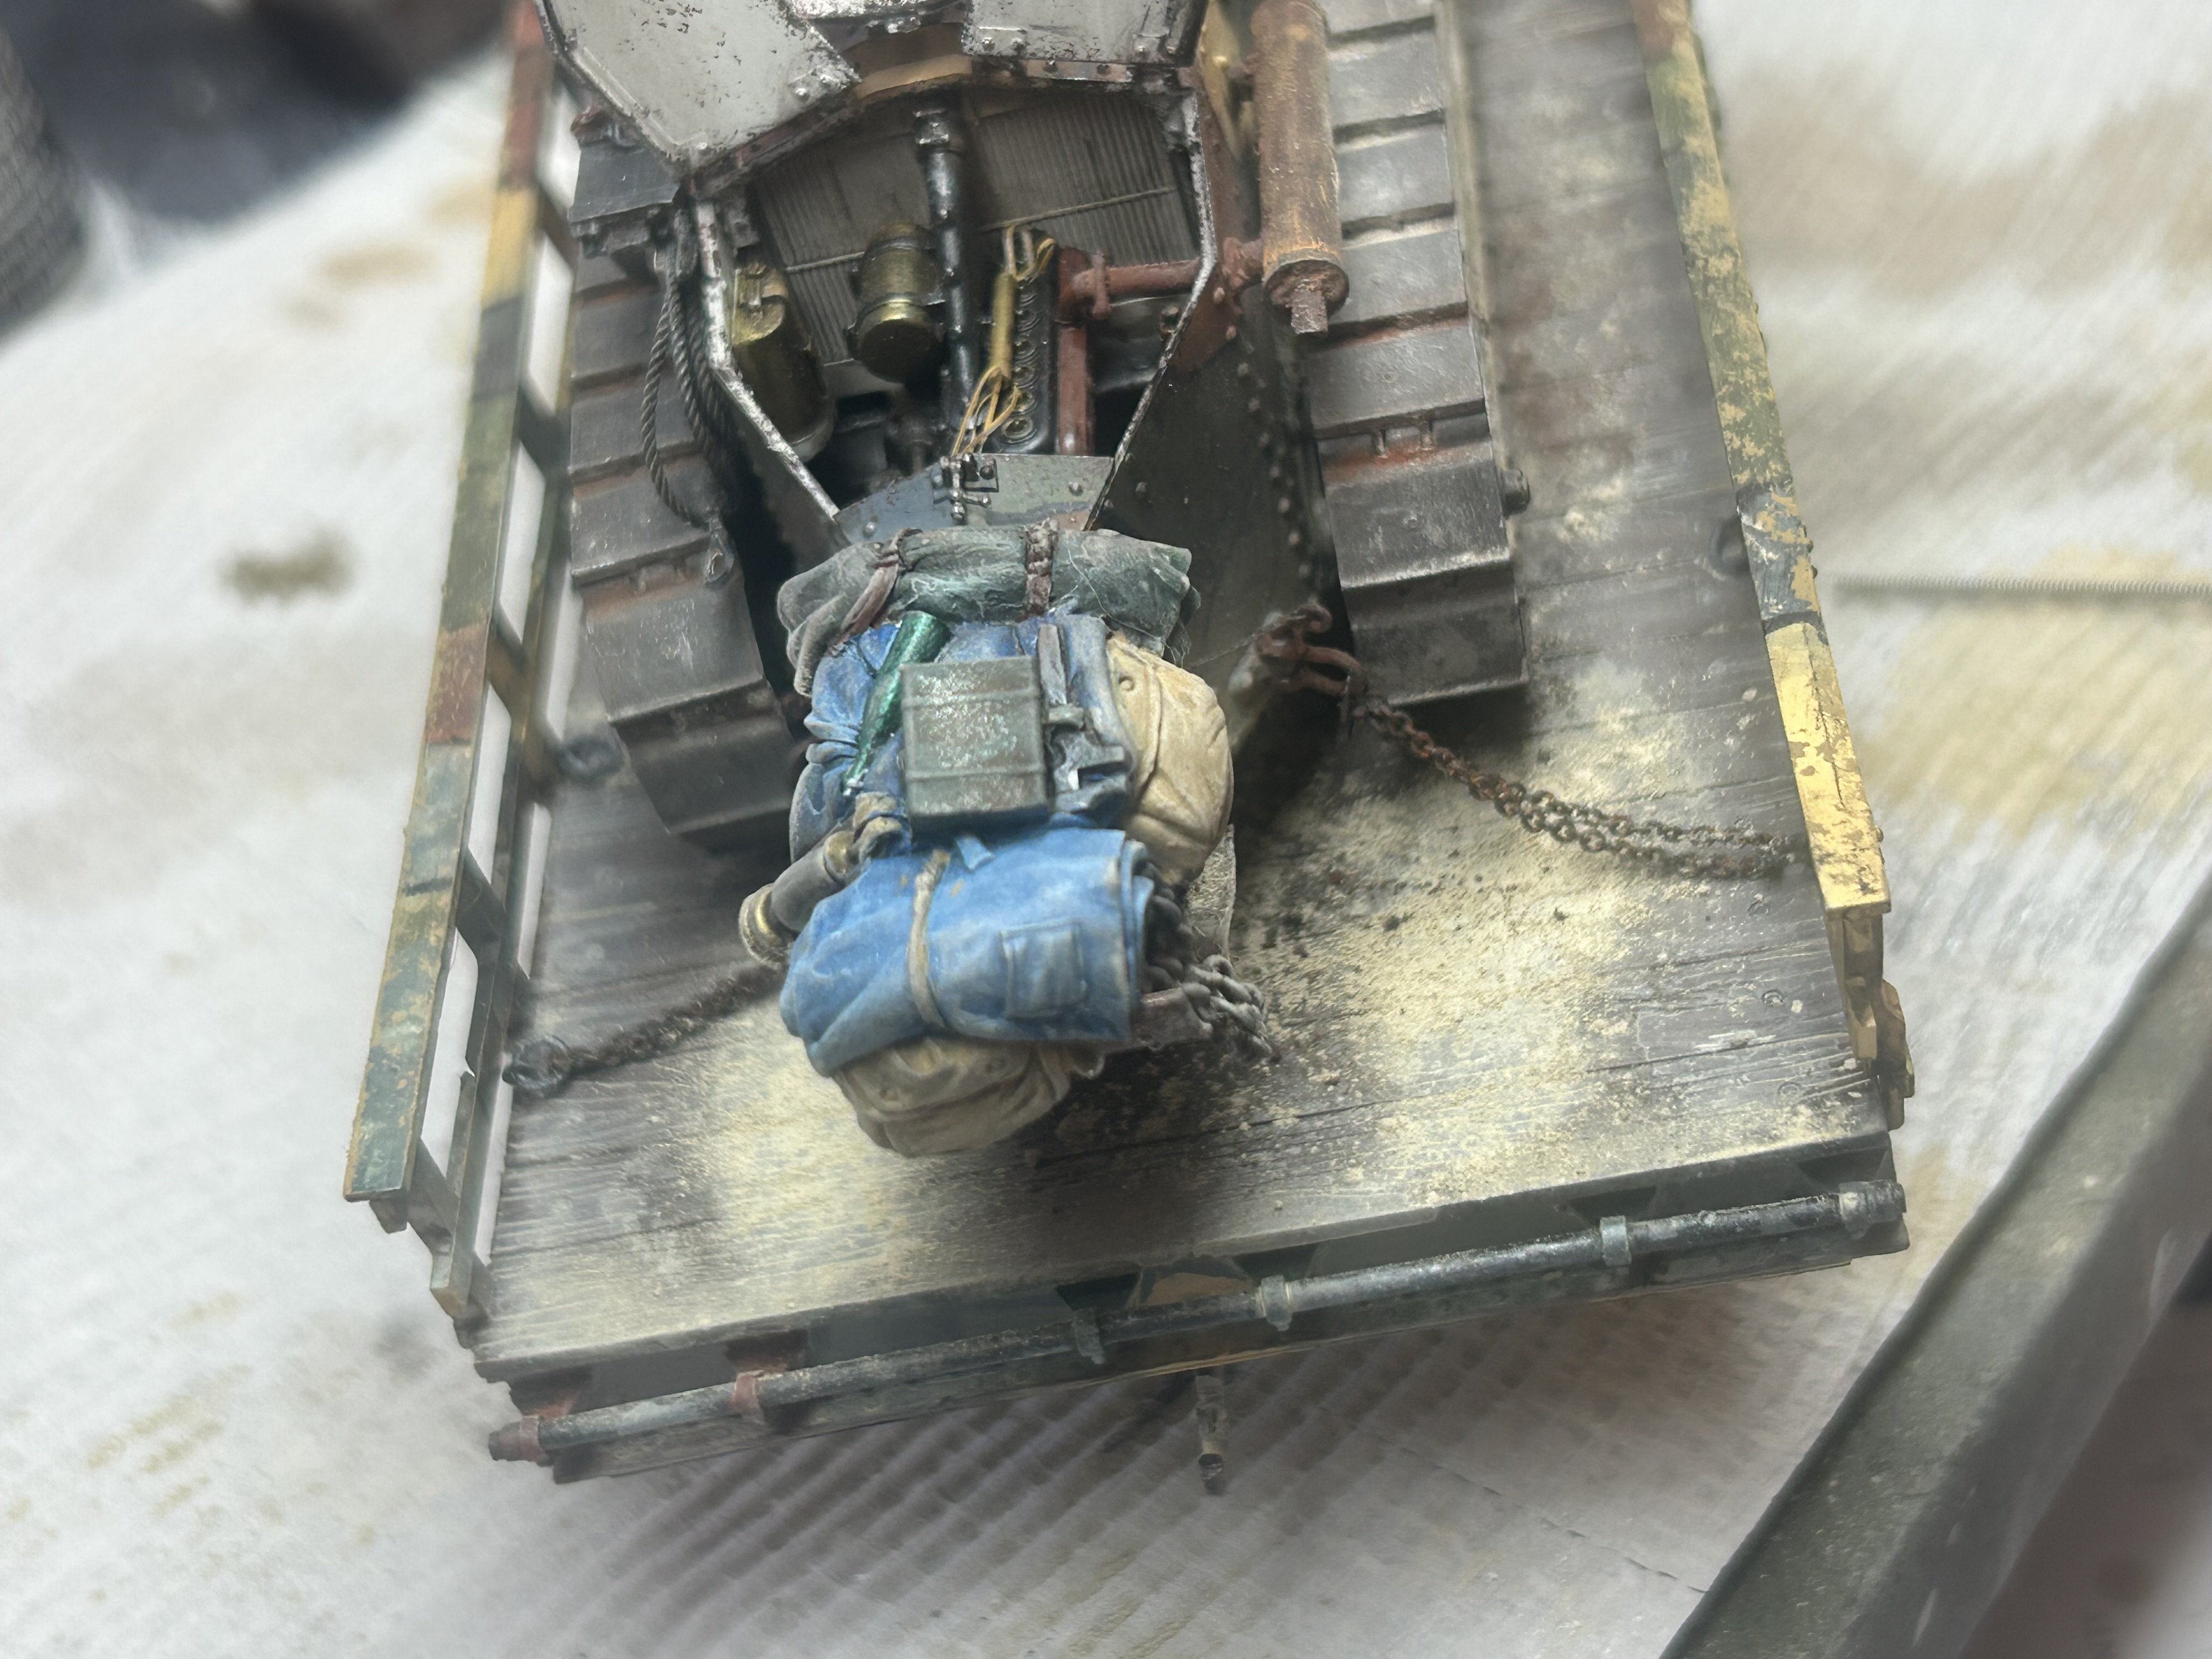
So to finish this, I got the storage set from Blast models in France


-
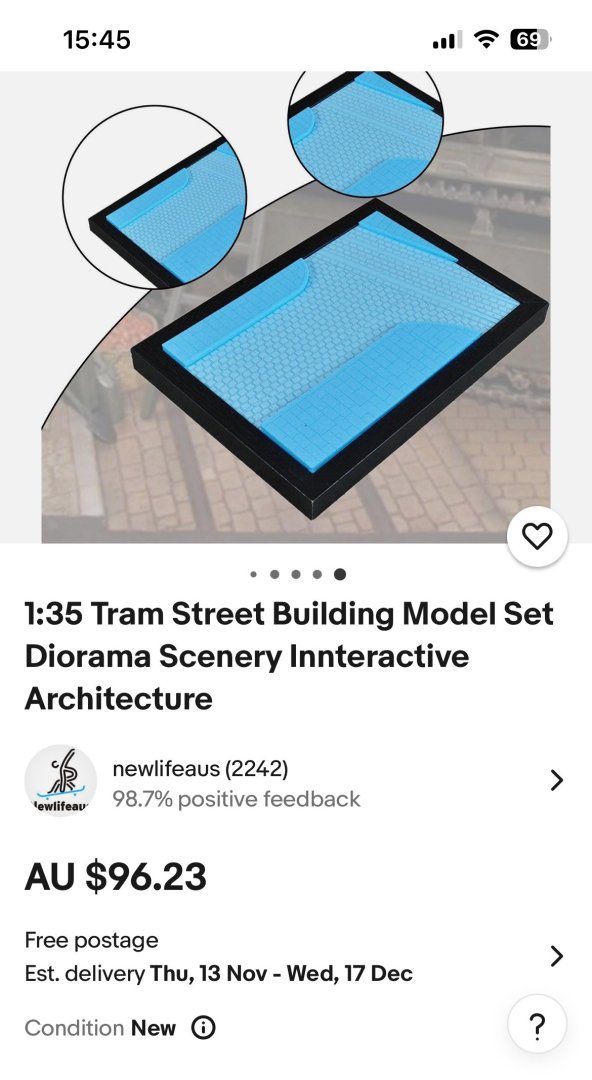
so now you have all gone down the rabbit hole, I went looking for trams. EBay is selling the $20 Temu base for a bargain price and the miniart tram does look good
-
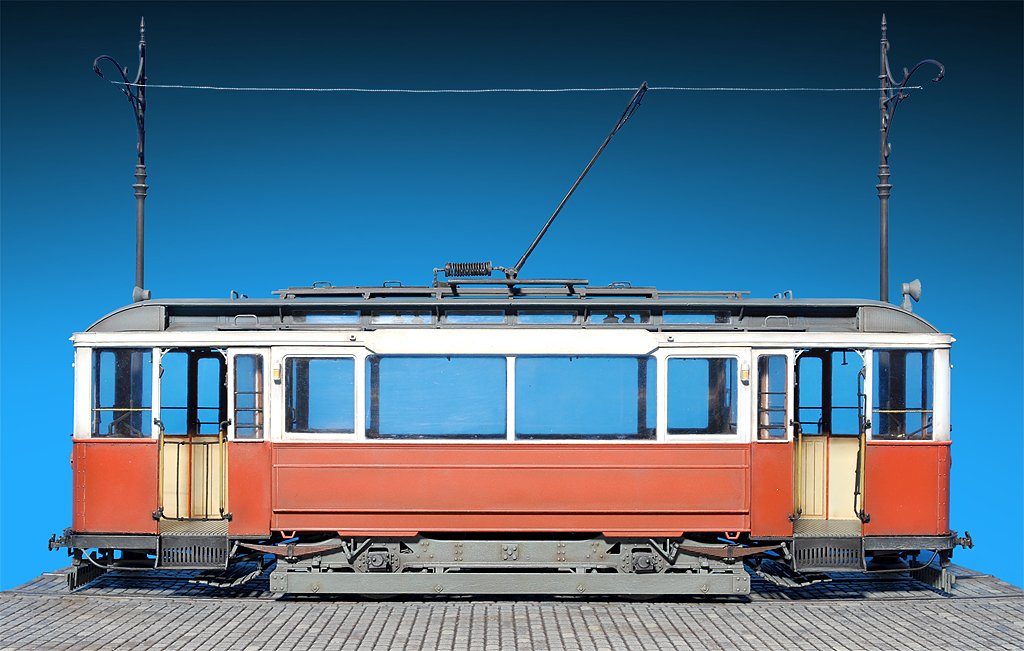
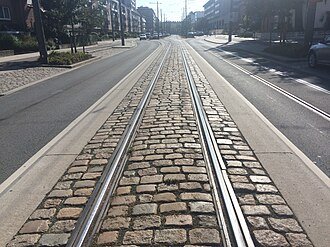
I actually did sone research and based it off this photo which is why I added the plastic stippling the centre
-
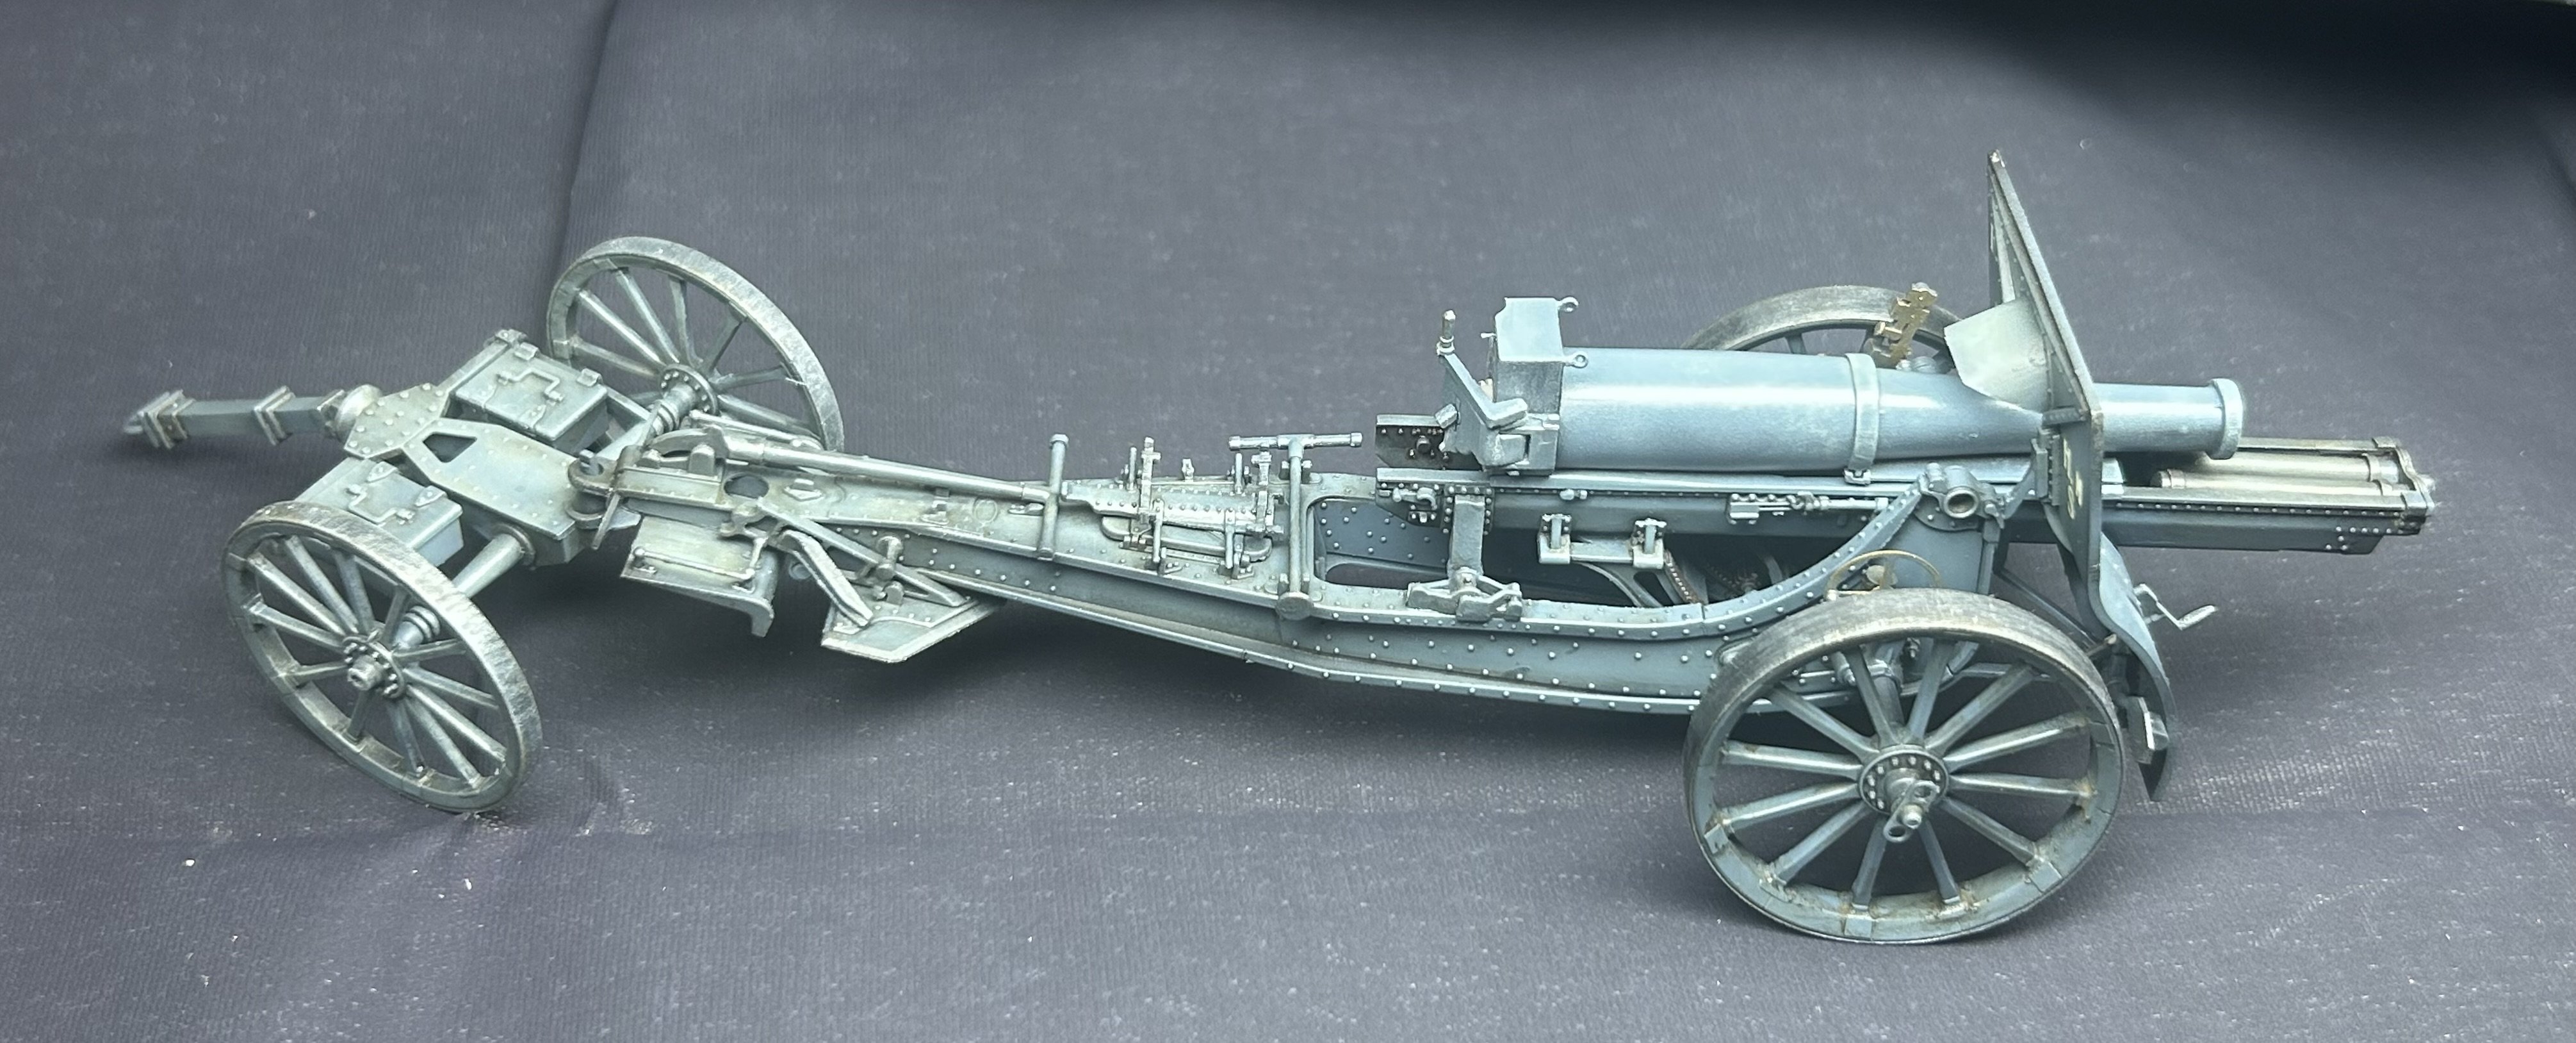
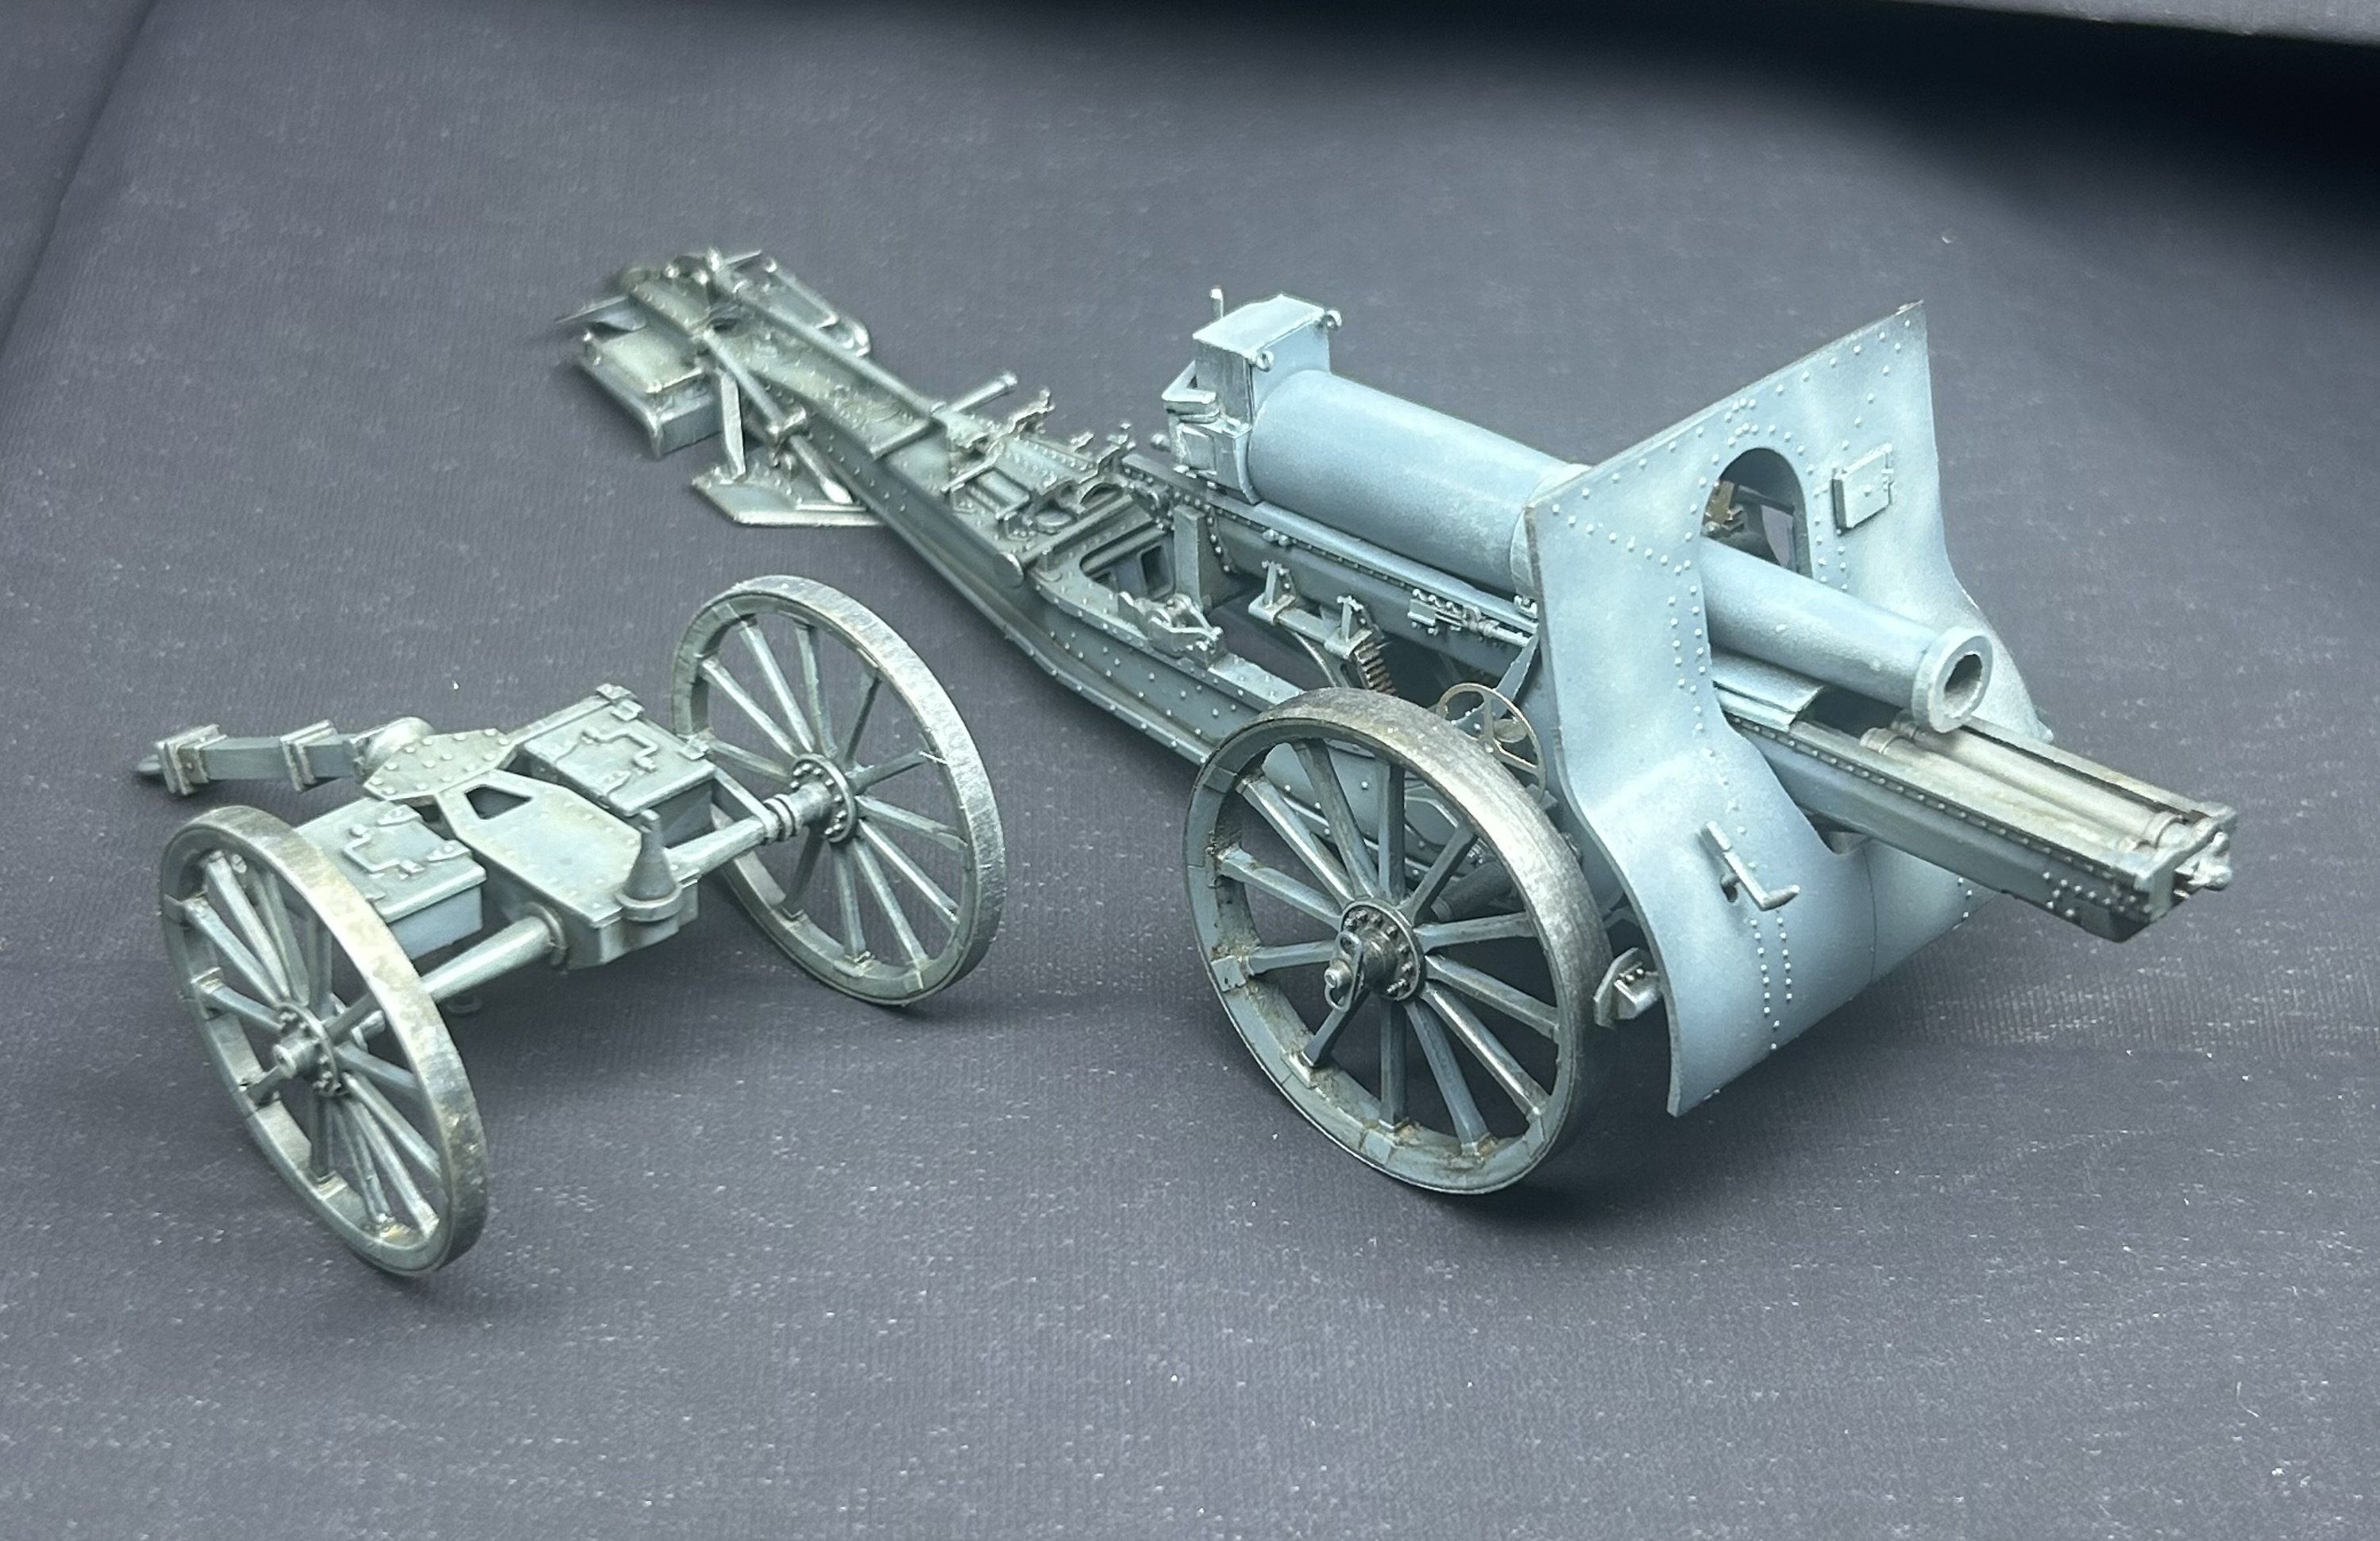
Thanks mate, I just ordered 3 more figures from Blast Models. There were just so many troops involved in ww1, I think the busier there better . My plan is to now paint the French artillery pice and practice on some figures from AliExpress (gaming figures). Our major shows in in two weeks, I’m presenting on the Emden so this piece will be next year
-
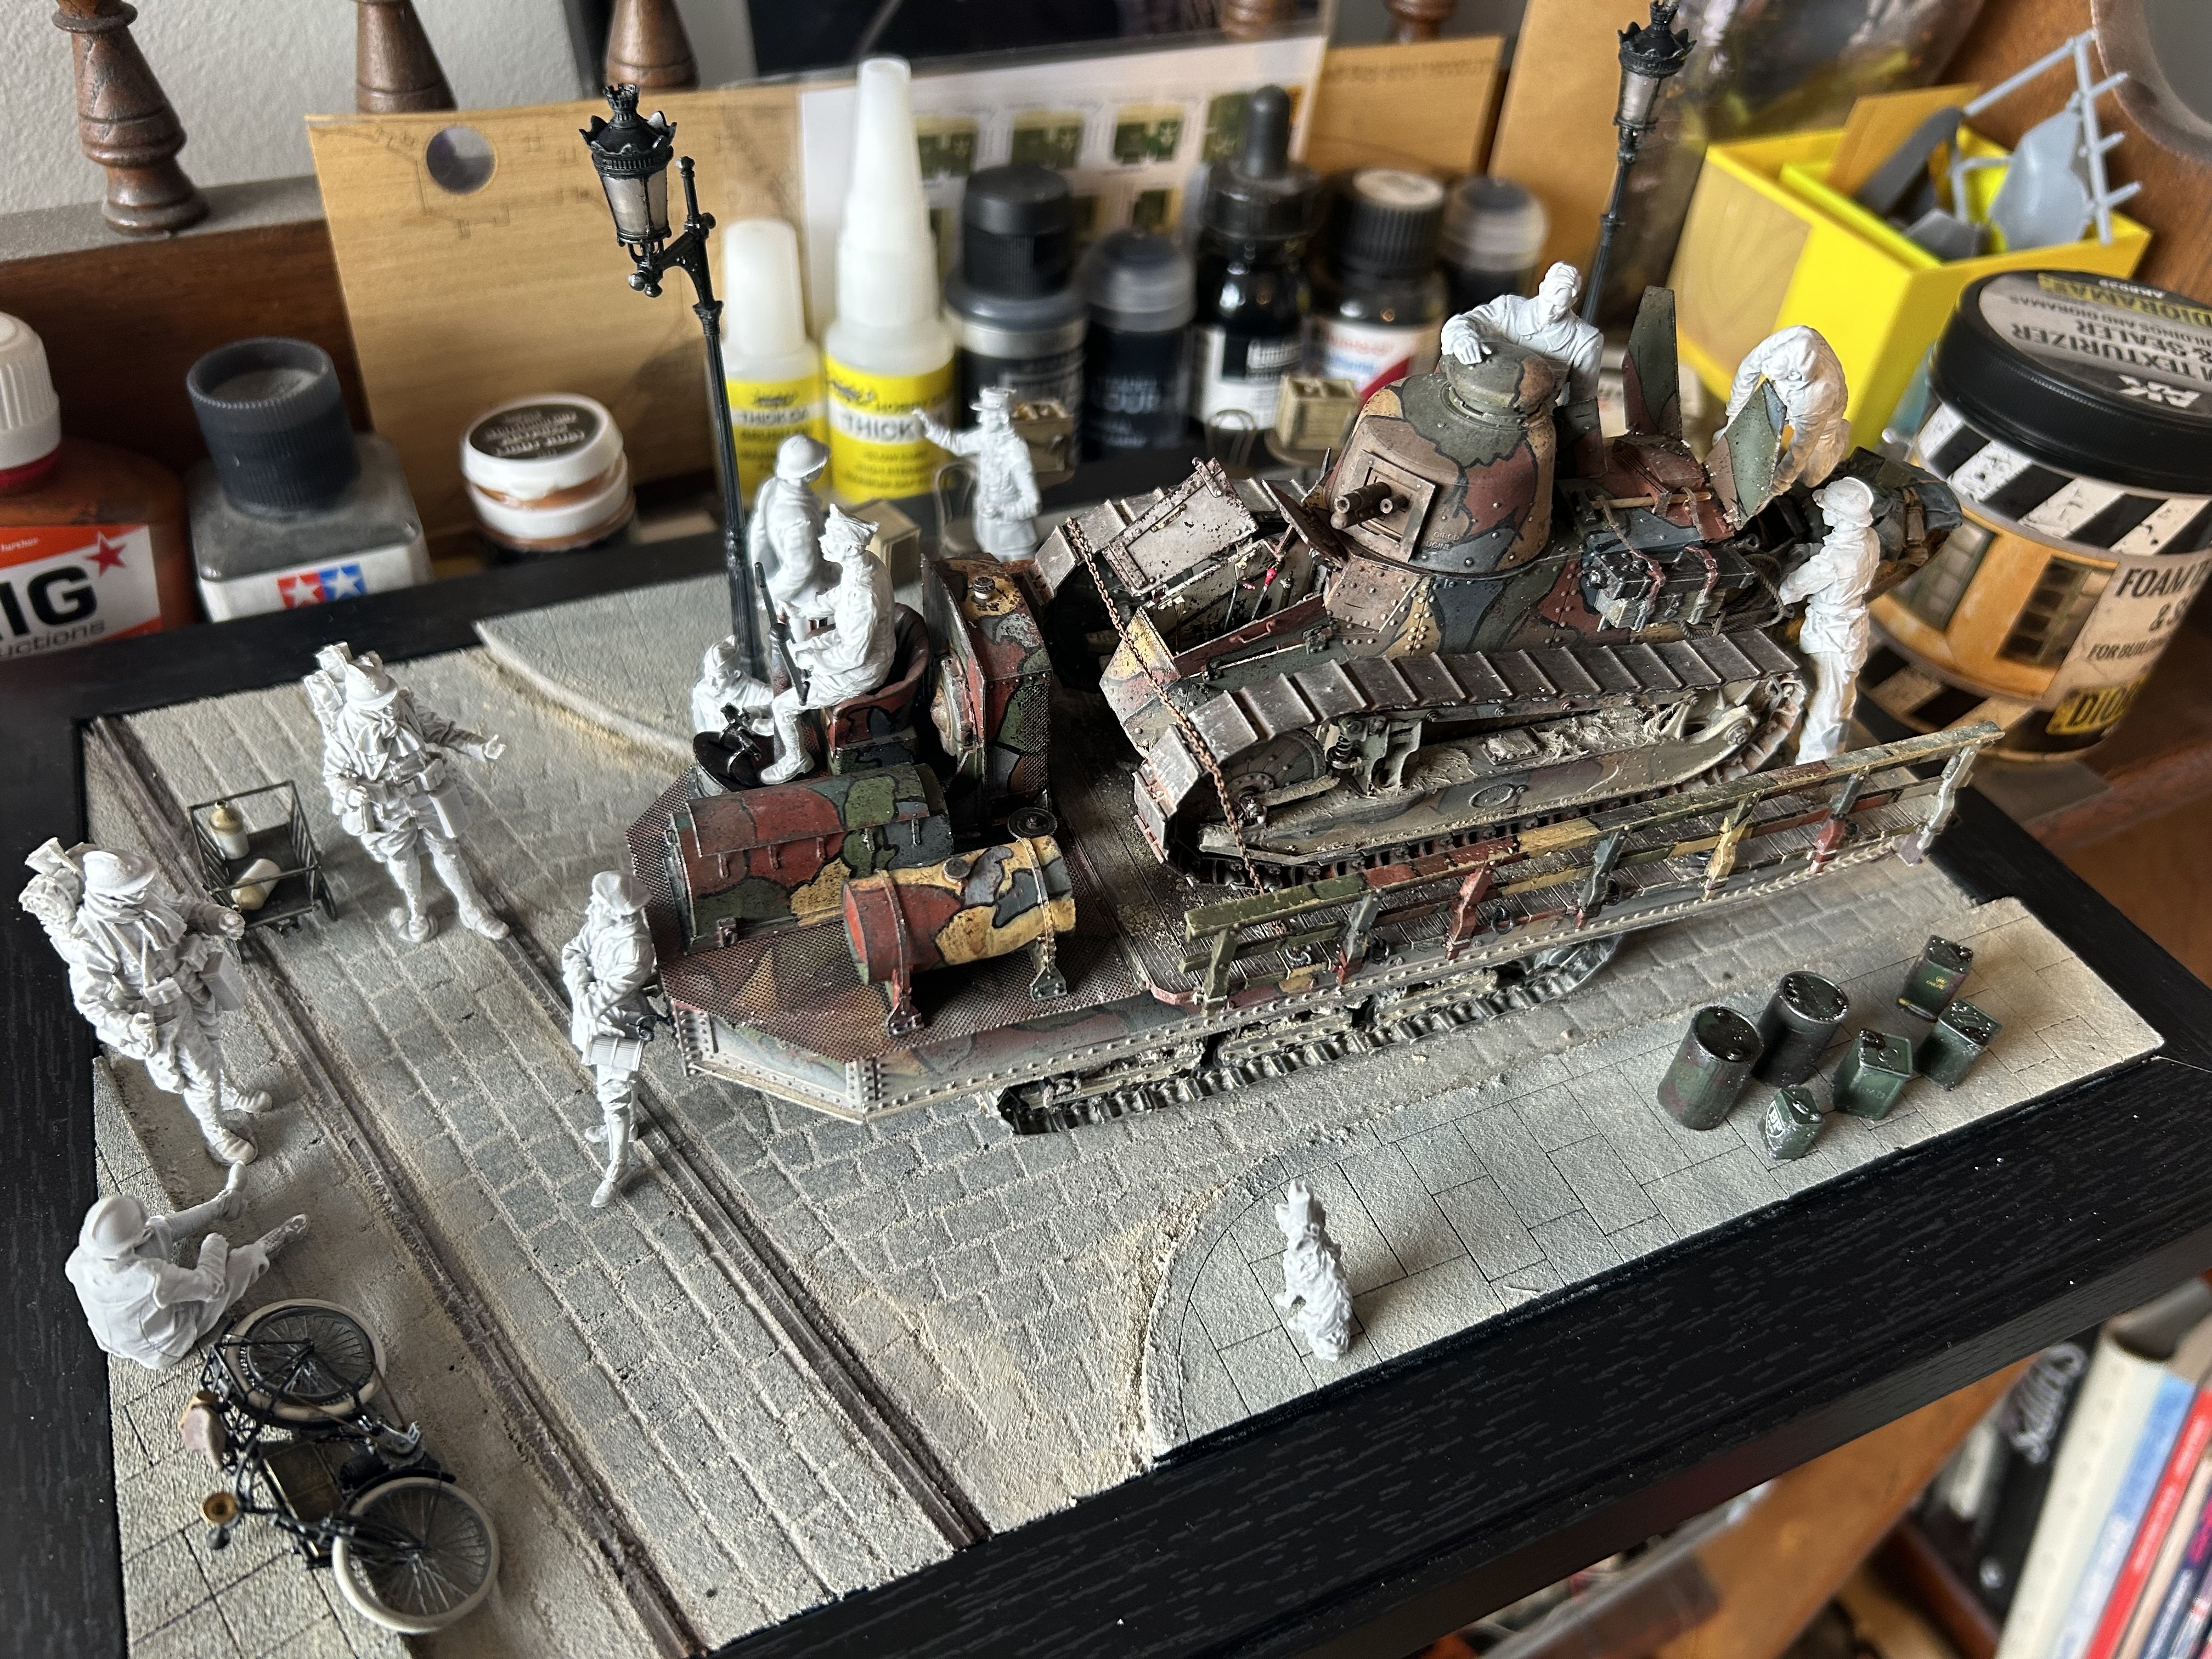
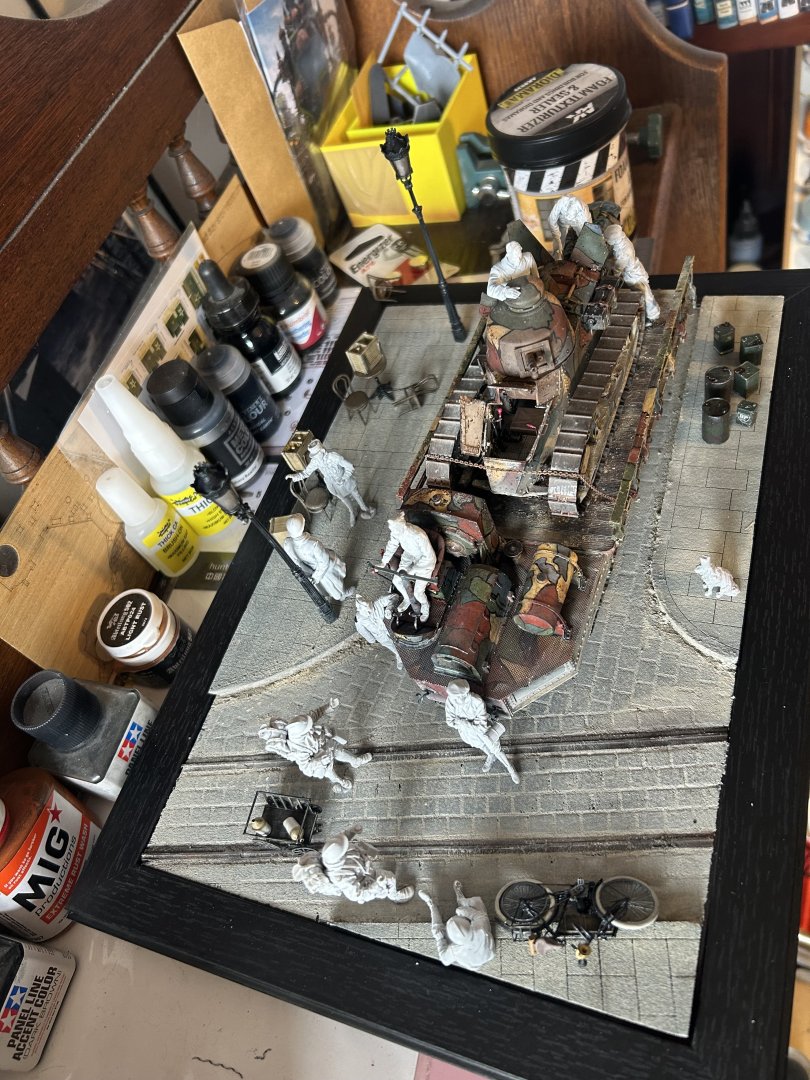
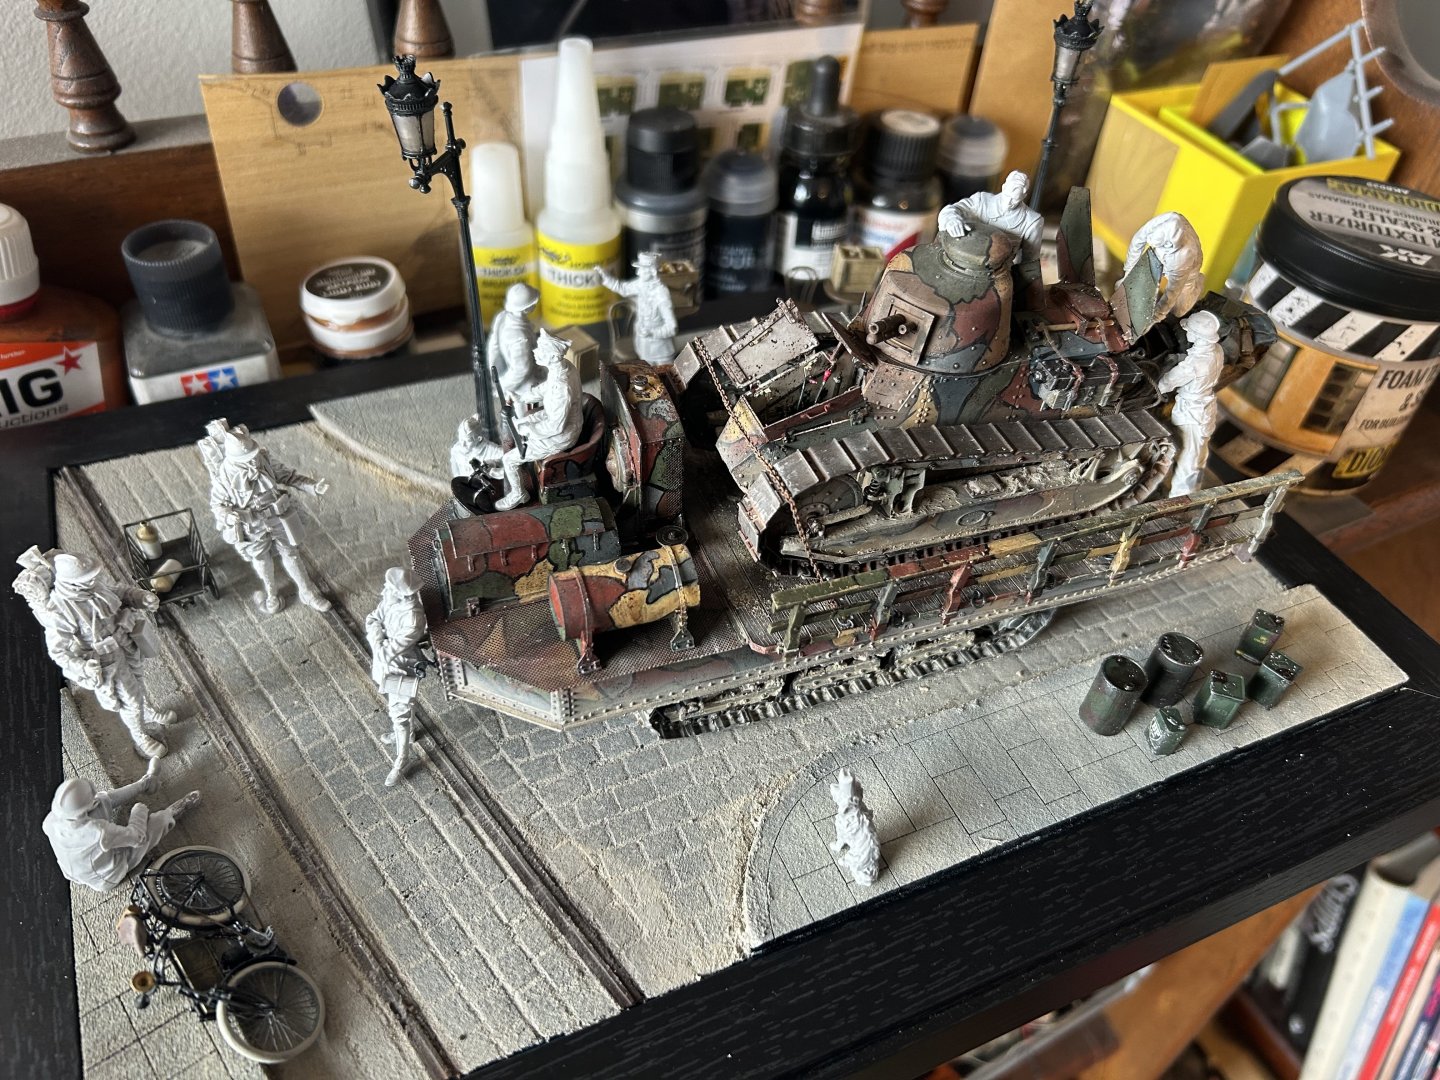
I’ve been procrastinating doing up all the extras, so today I added the tram tracks and dryfit the set up for the diorama. I can’t put off doing the figures any longer

- 123 replies
-
- 13
-
-
-
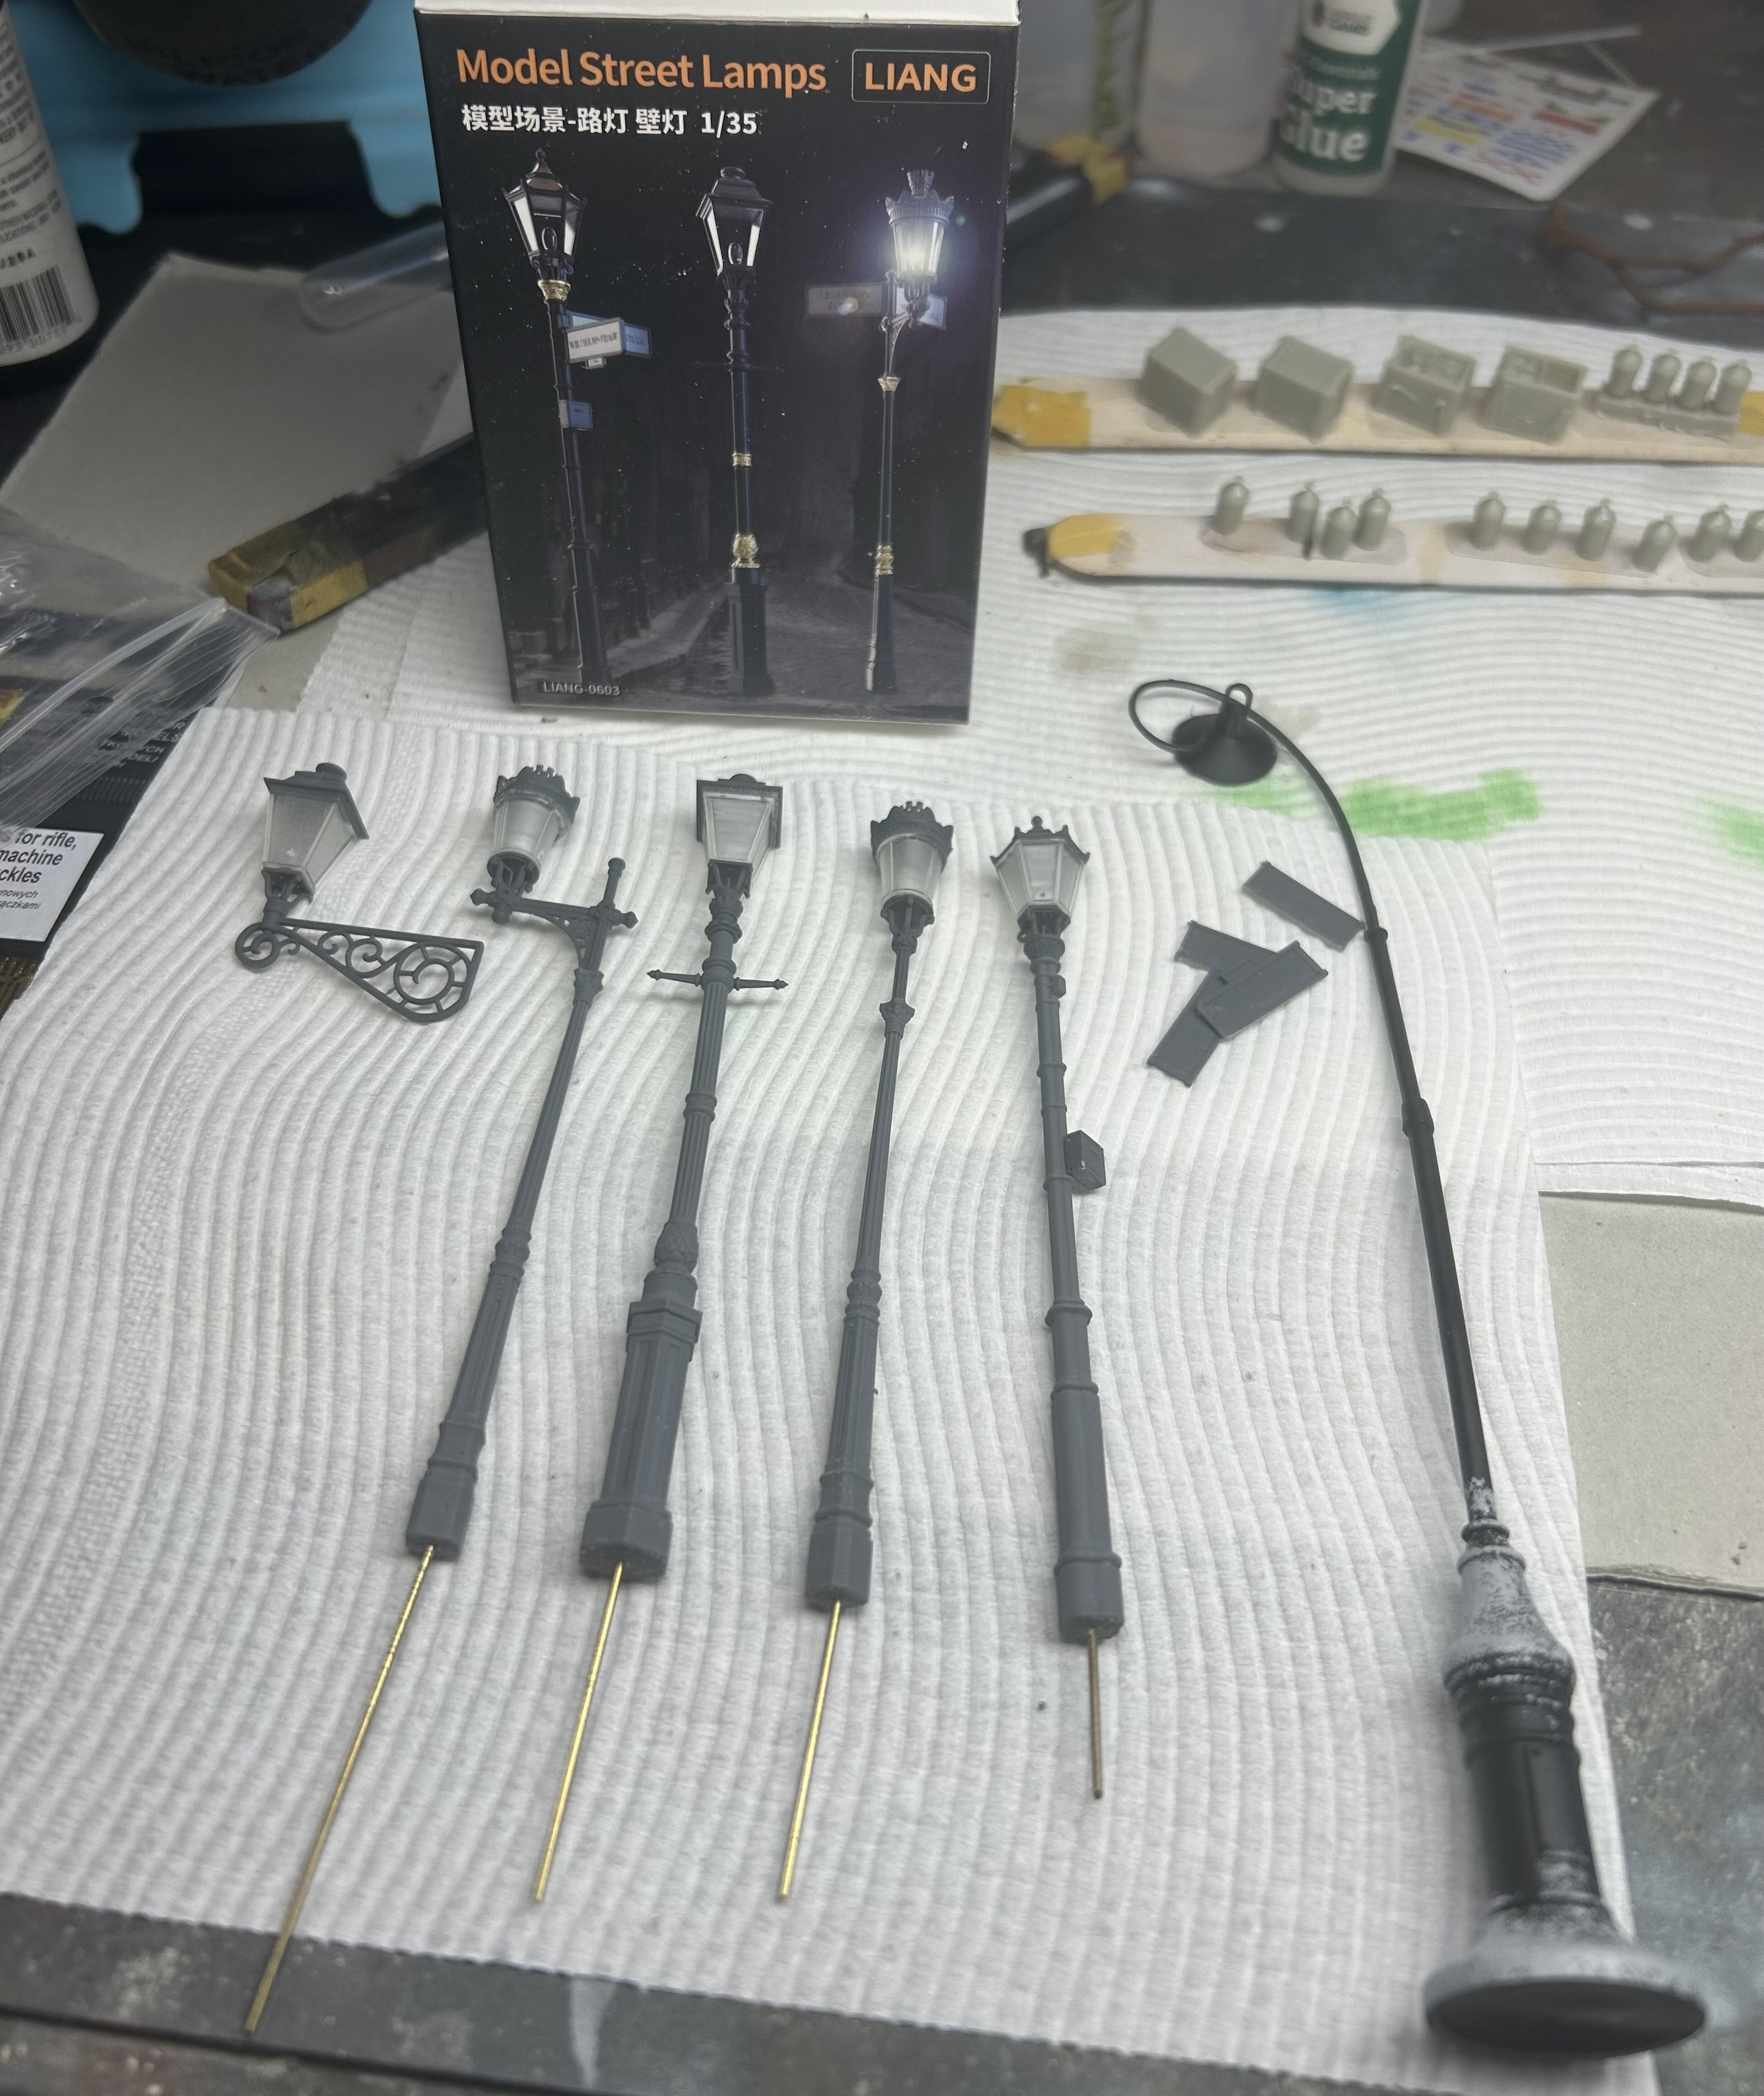
So I did some research on 1900’s light poles and the closest image I could find was nothing like the the miniart one. Enter Liang models 3d printed lamps. Wow, just wow.

- 123 replies
-
- 12
-
-
-
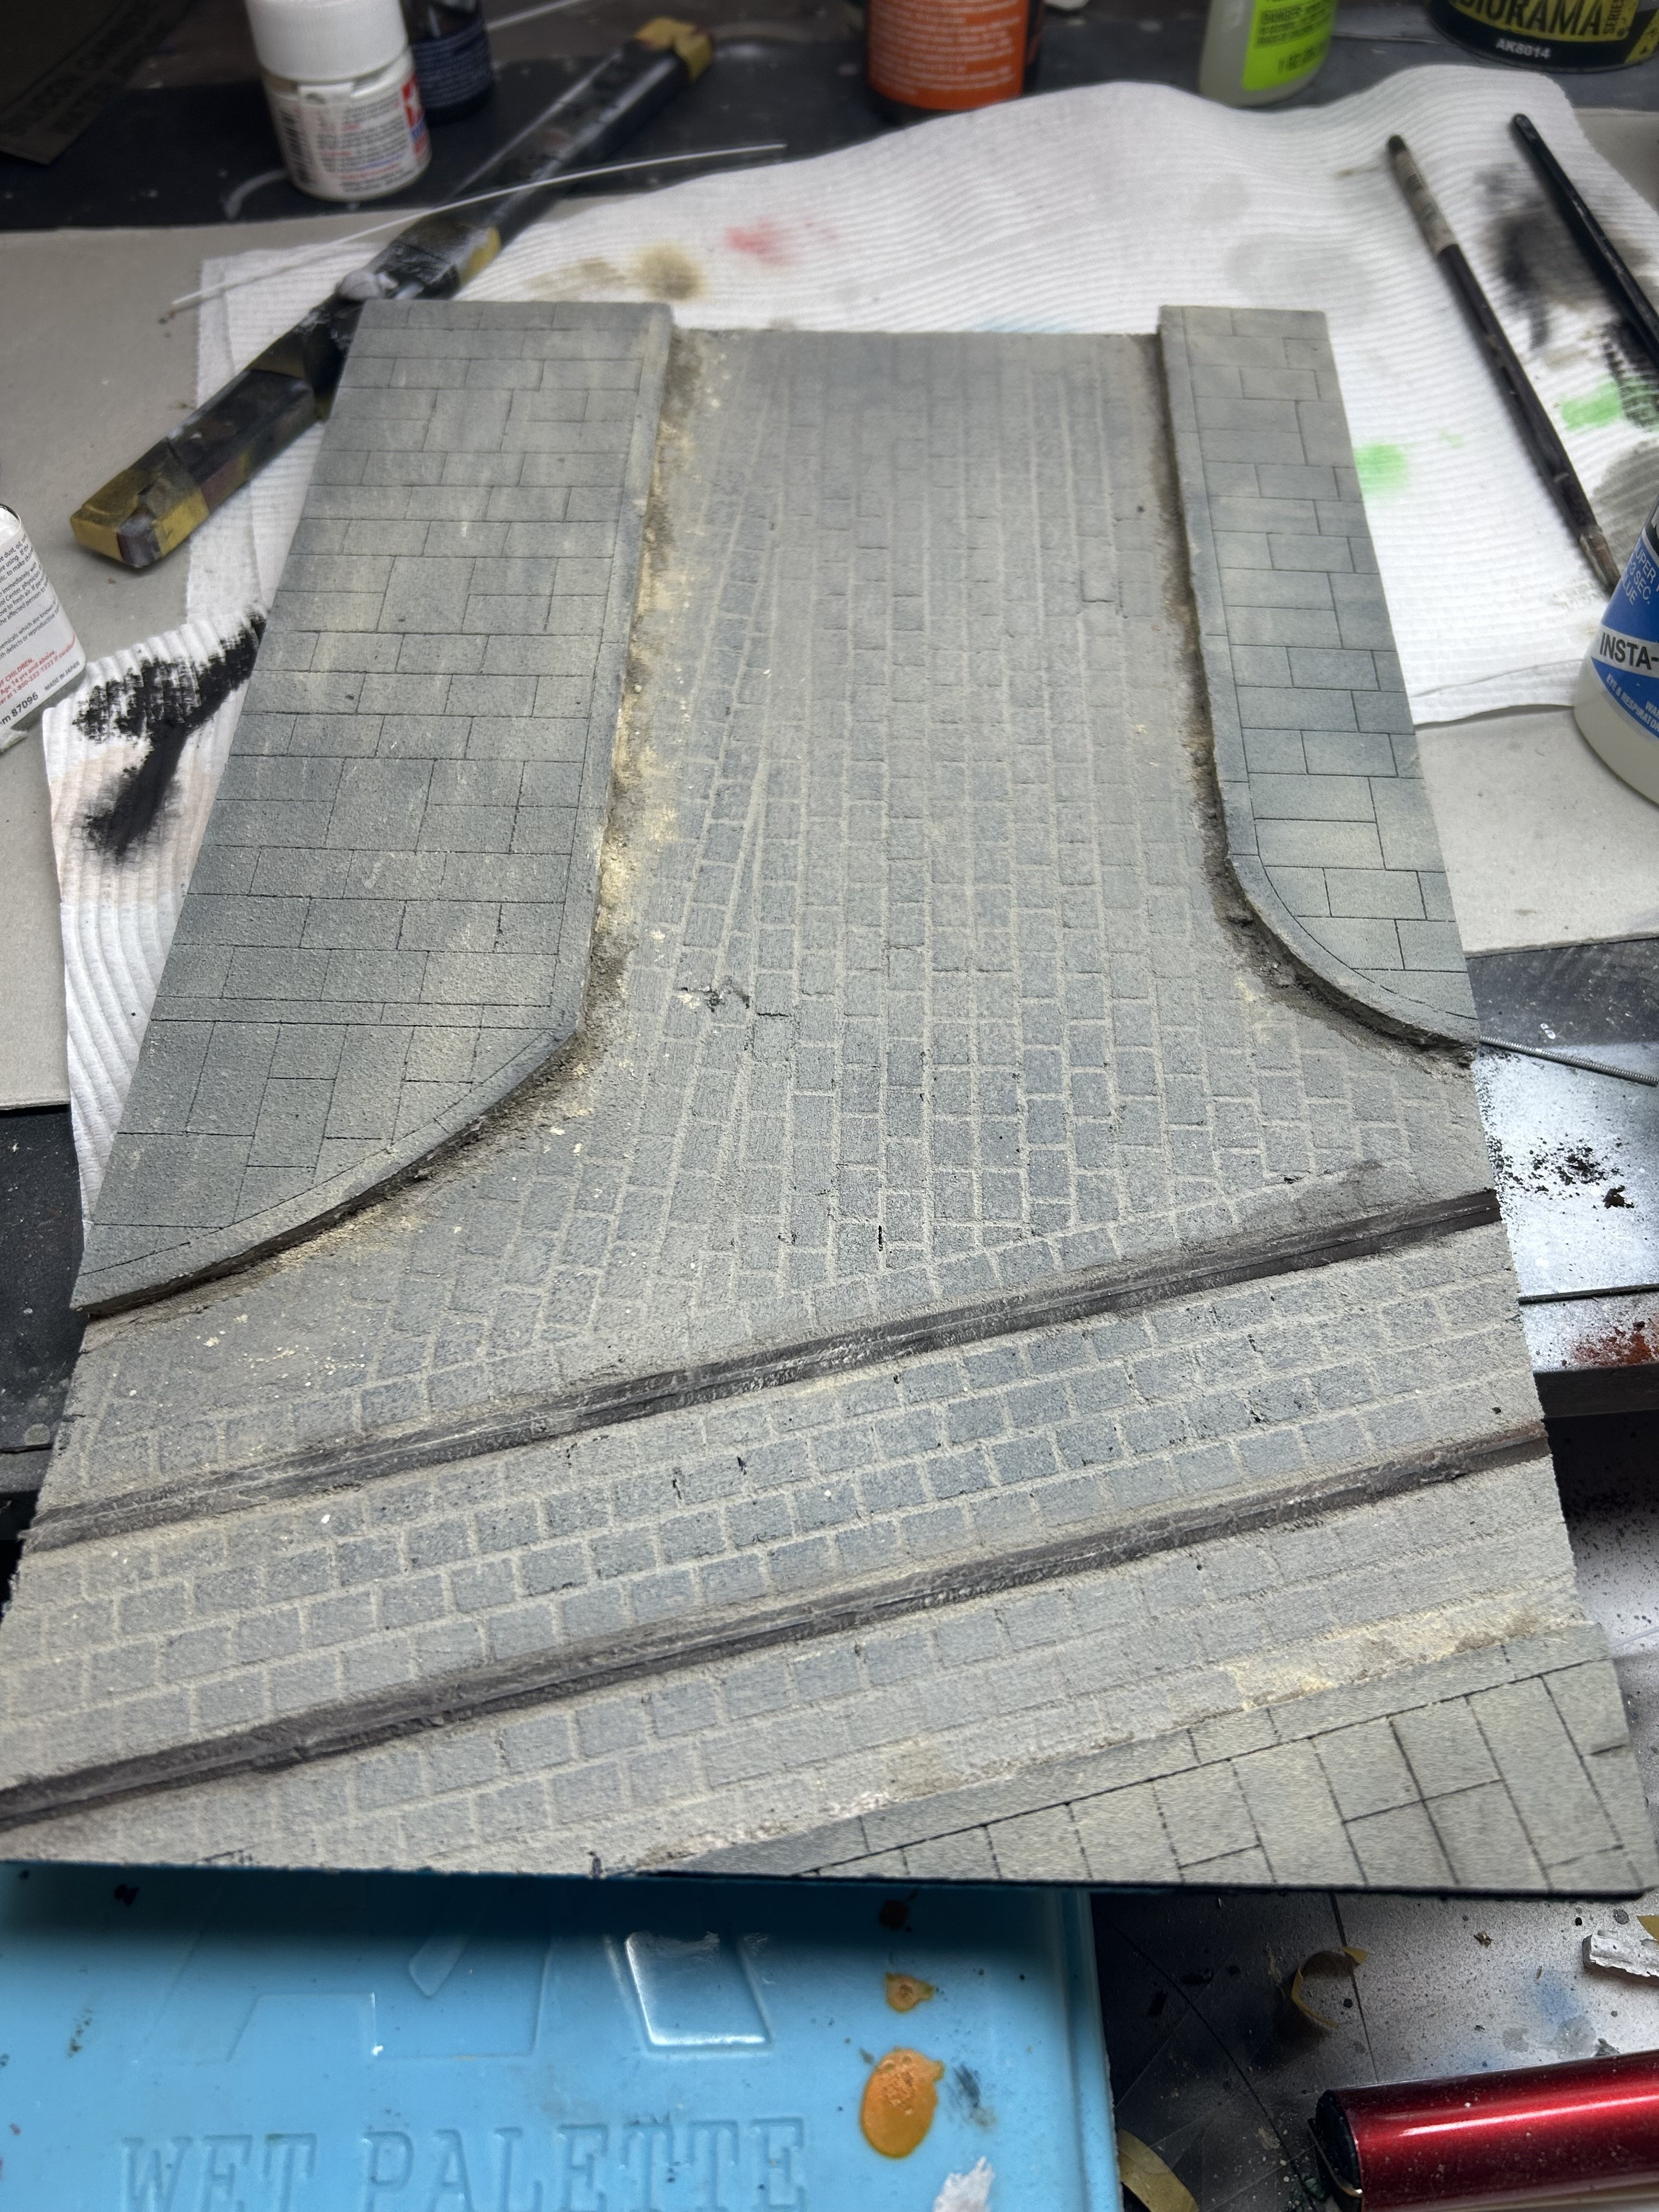
So starting on the diorama base. I got this from Temu. Very soft foam, I pushed down all the cement work and filled it with AK Concrete. I’ll leave this set overnight now then a clear coat and mixed pigments. I’m happy with the way the road looks


- 123 replies
-
- 12
-
-
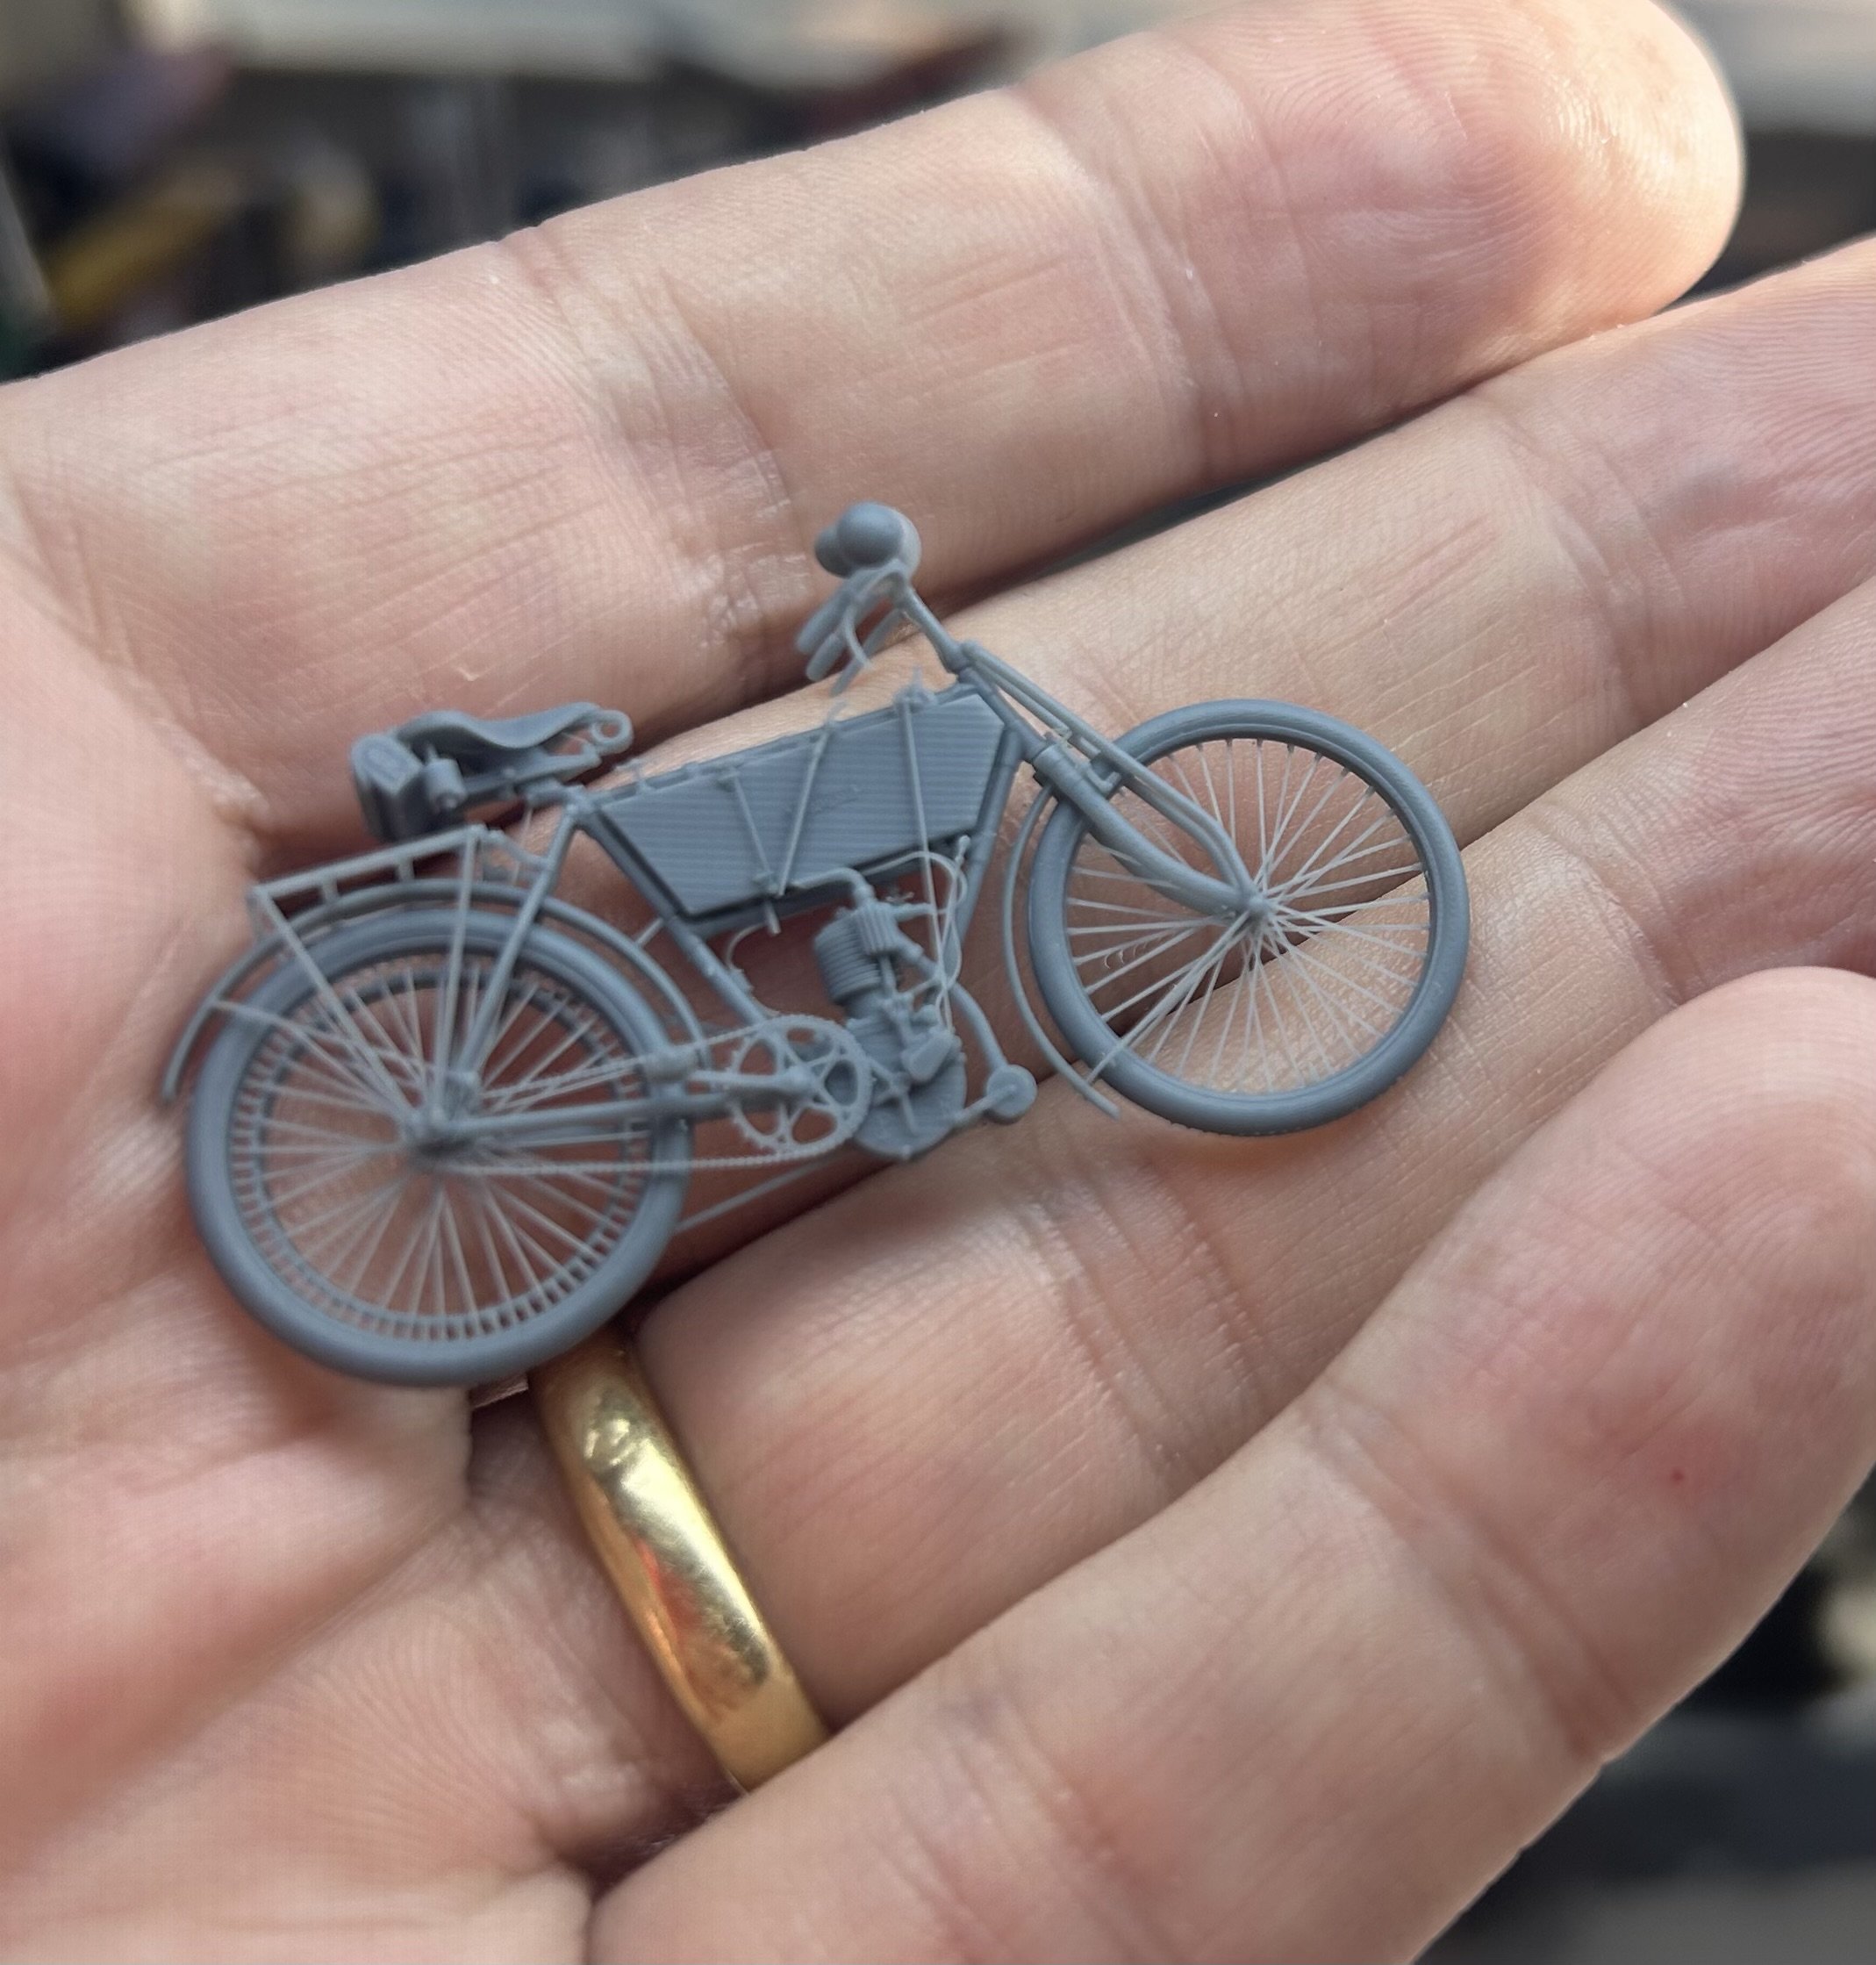
Sweet ride!!!!!
-
Short answer? Yes, quite a Few, I want it to look busy