DONATION DRIVE - SUPPORT MSW - DO YOUR PART TO KEEP THIS GREAT FORUM GOING!
×


RGL
-
Posts
5,539 -
Joined
-
Last visited
Content Type
Profiles
Forums
Gallery
Events
Everything posted by RGL
-
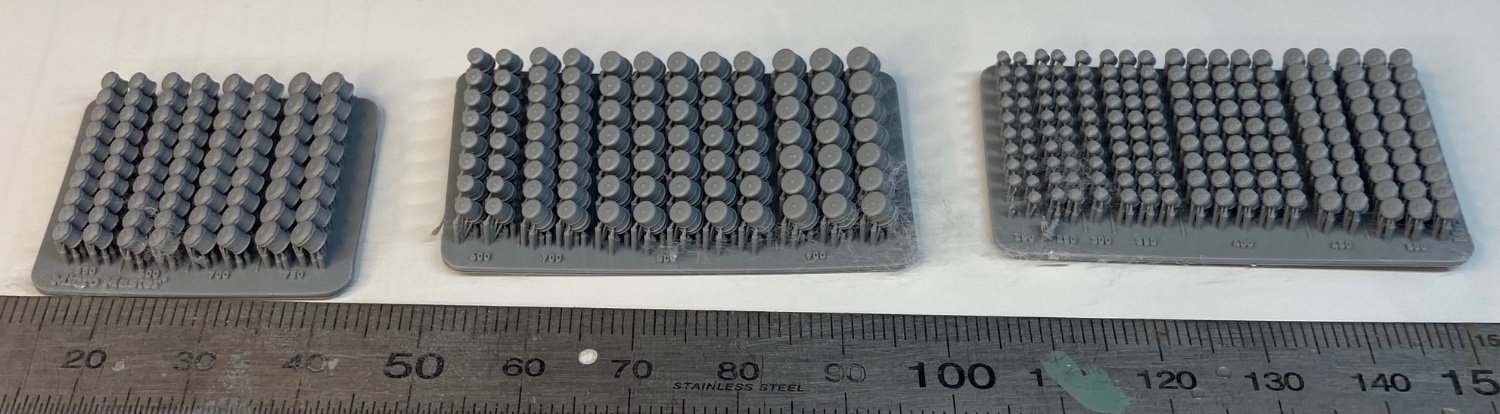
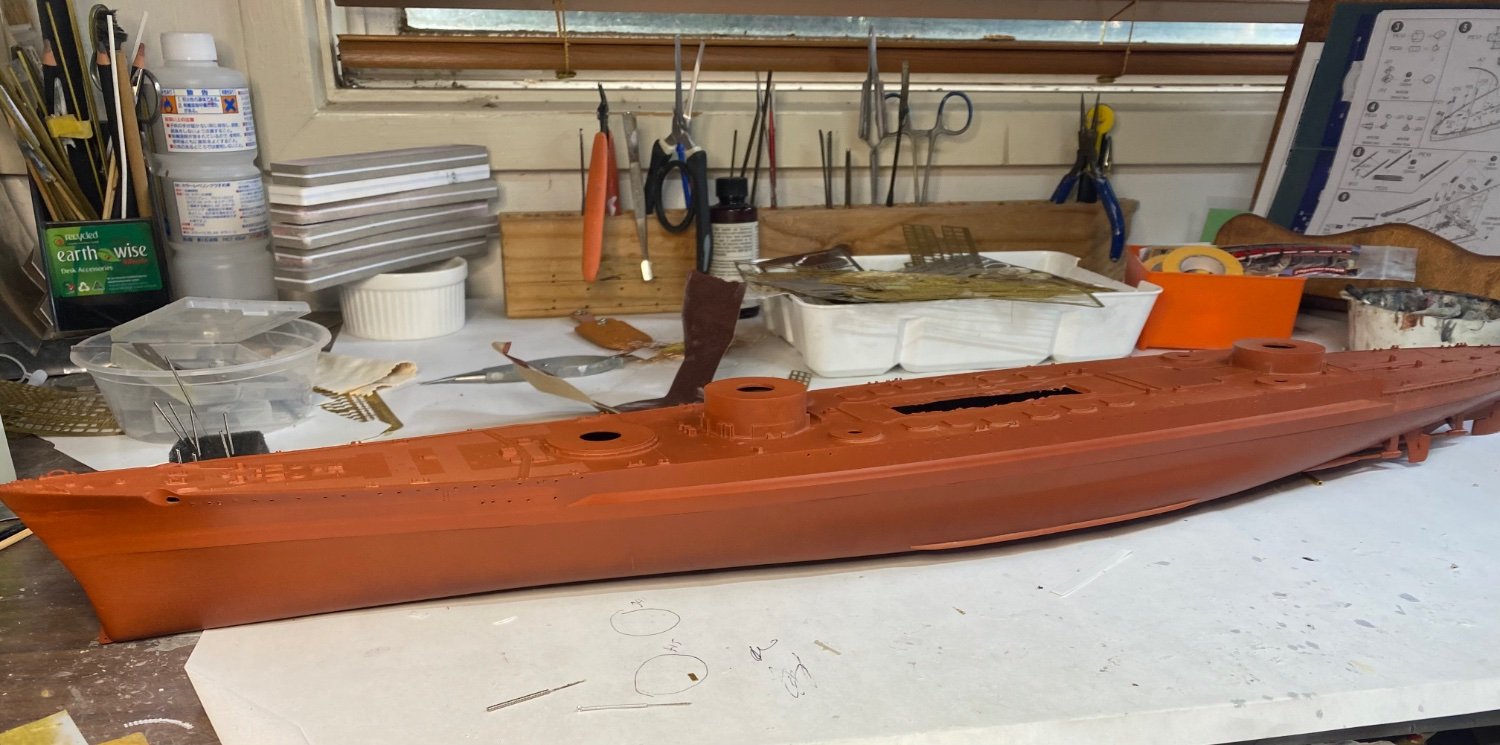
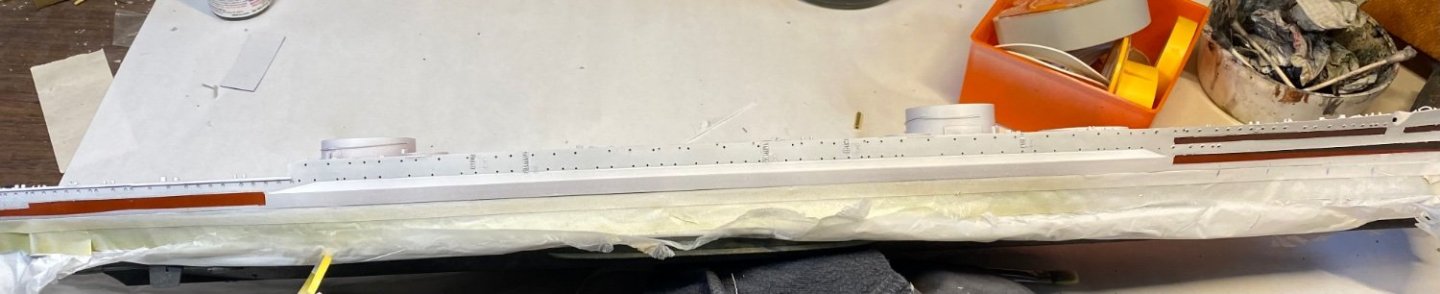
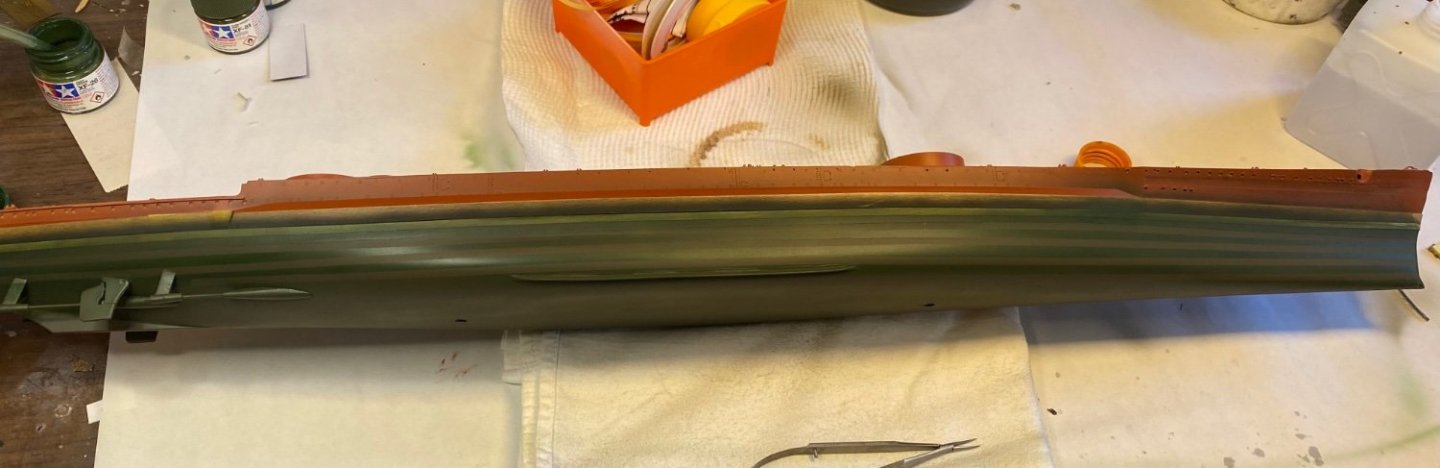
 The painting cue. Got the first primer coat done. Now I can start on the decks.
- 203 replies
-
- 10
-

-
- Roma
- Micromaster
- (and 4 more)
-
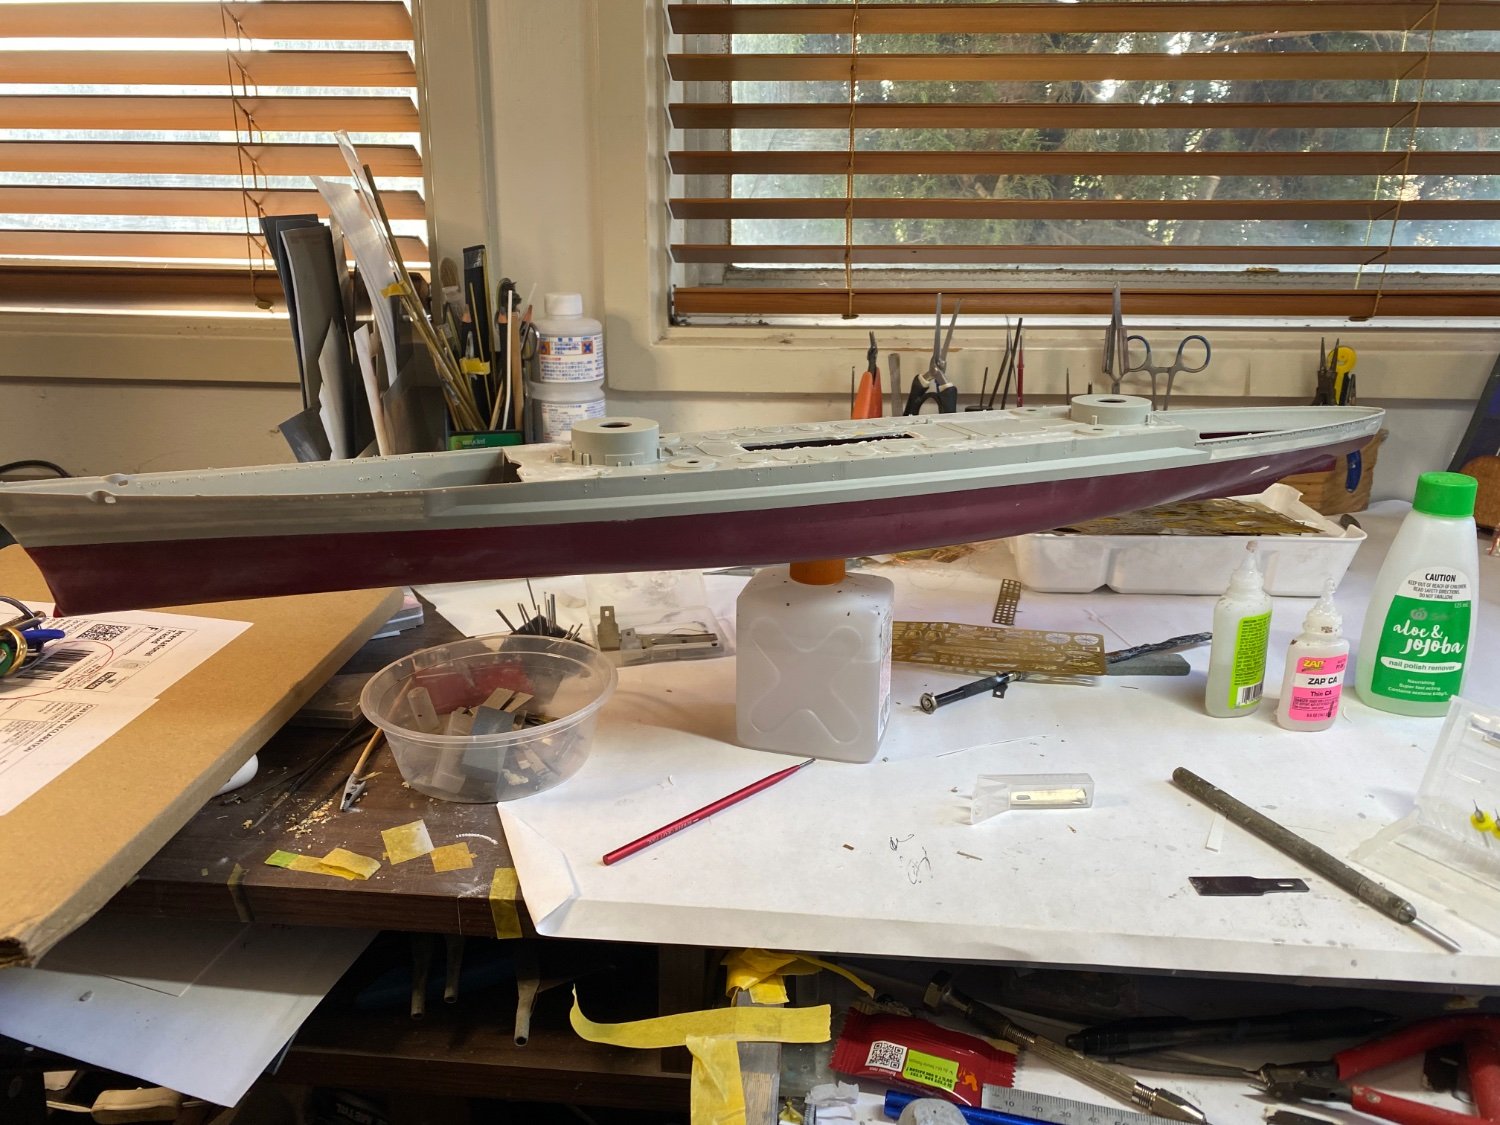
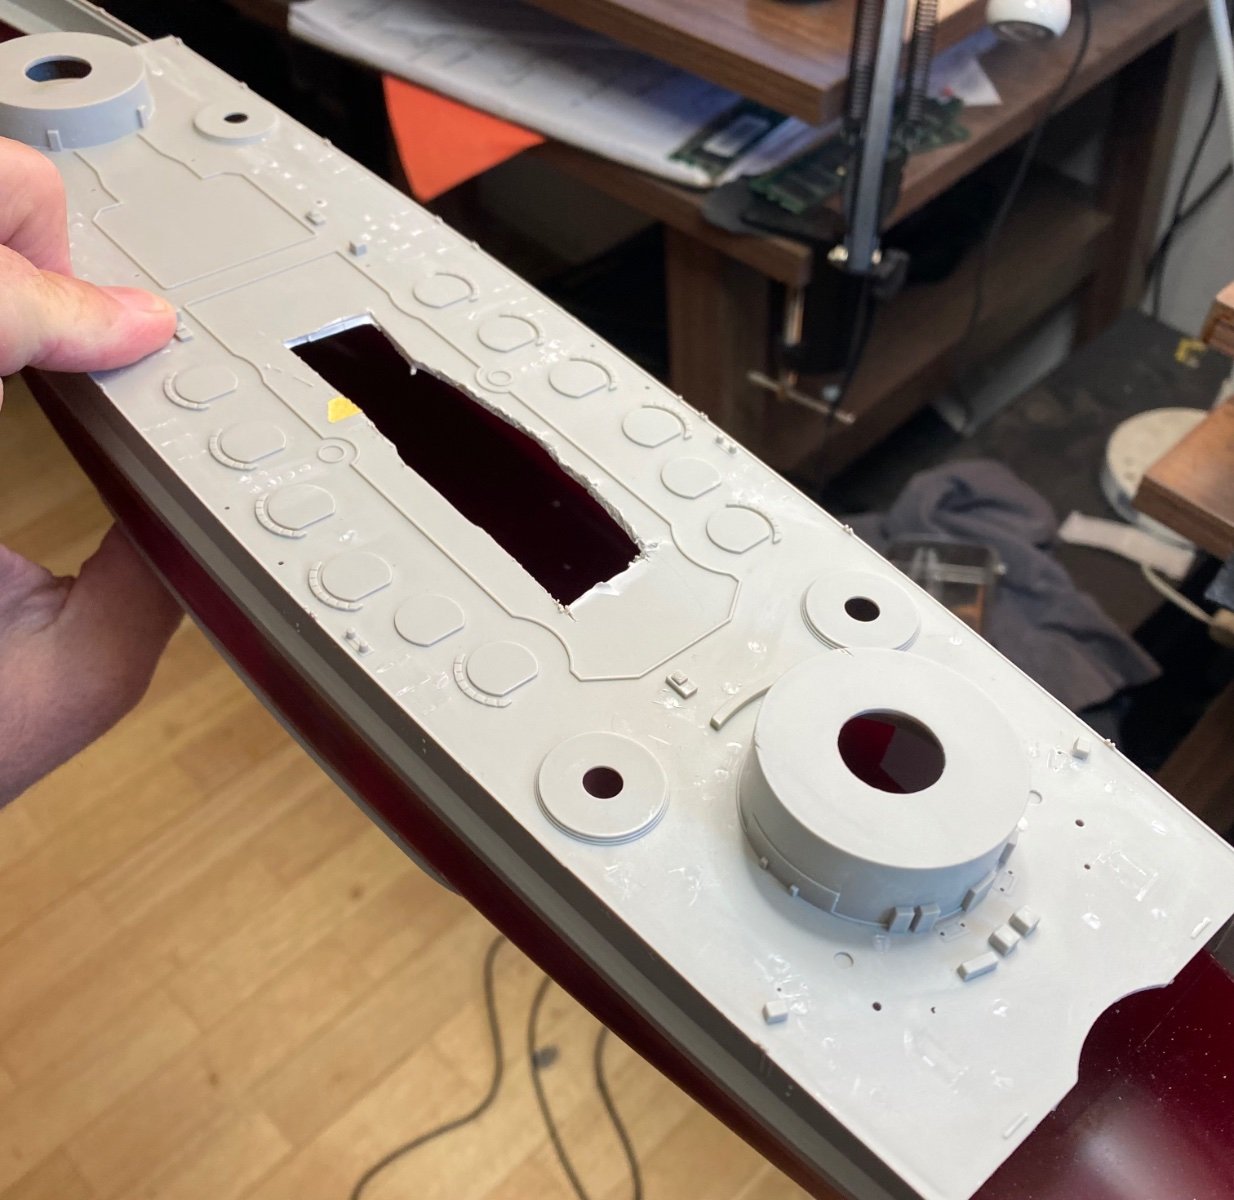
Now it may not seem like much, but I’ll filled in the massive hull plates that a person would be able to stand on and also drilled out the amidships portholes which will have porthole covers open if they can ever clear the airlines at Sydney airport. Once I be done the deck (next painting job), I can do the splinter camo scheme on the hull and superstructures that should blend it in nicely.
- 203 replies
-
- 13
-
-

-
- Roma
- Micromaster
- (and 4 more)
-
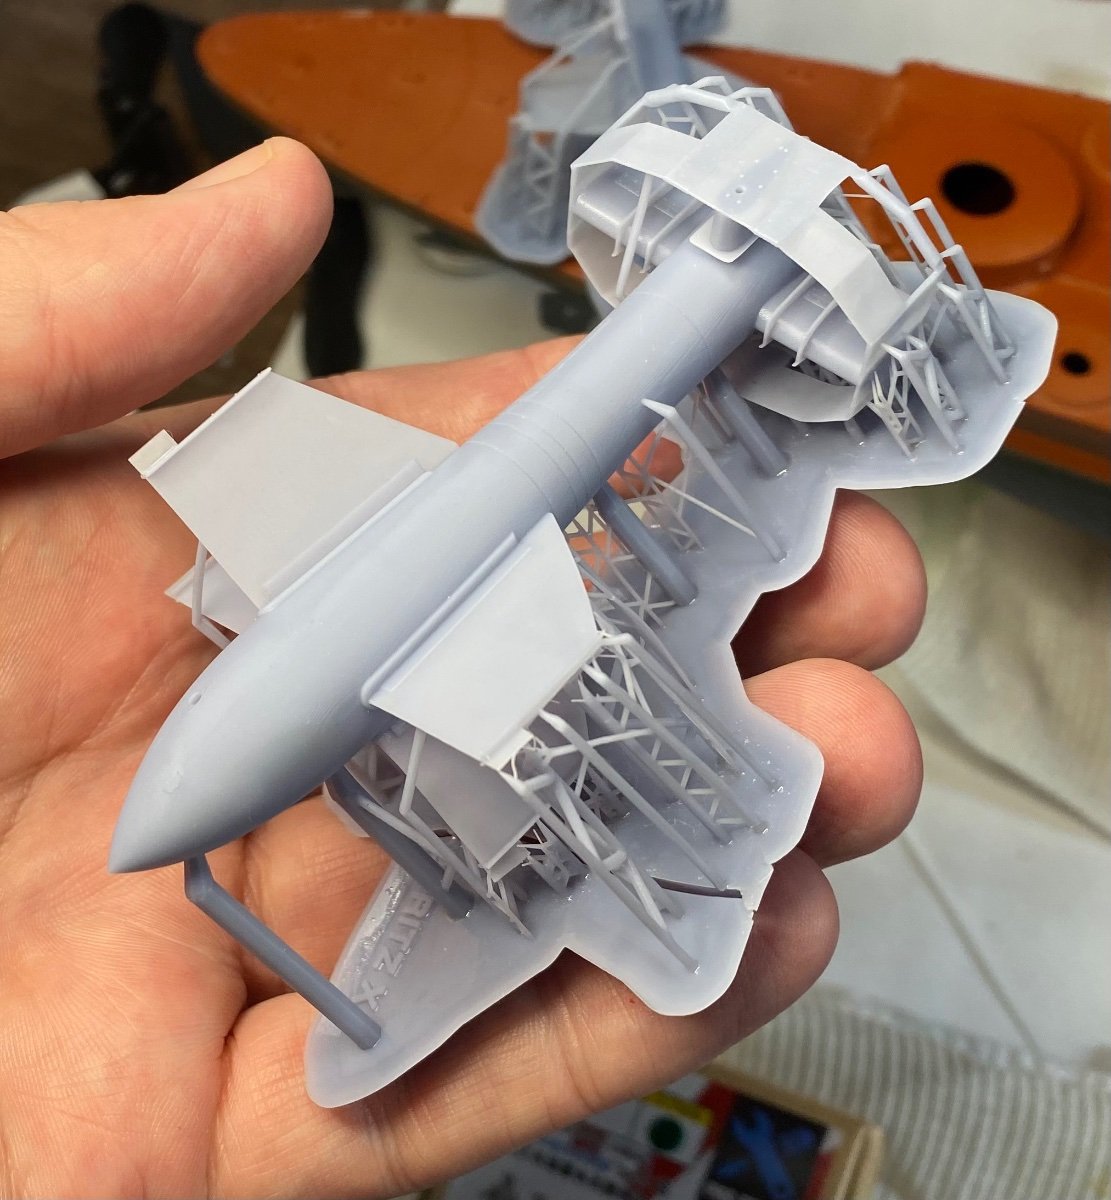
So not quite aftermarket, I ordered a 1/32 flying Fritz bomb for the base of the model as a decoration

- 203 replies
-
- 11
-
-
- Roma
- Micromaster
- (and 4 more)
-
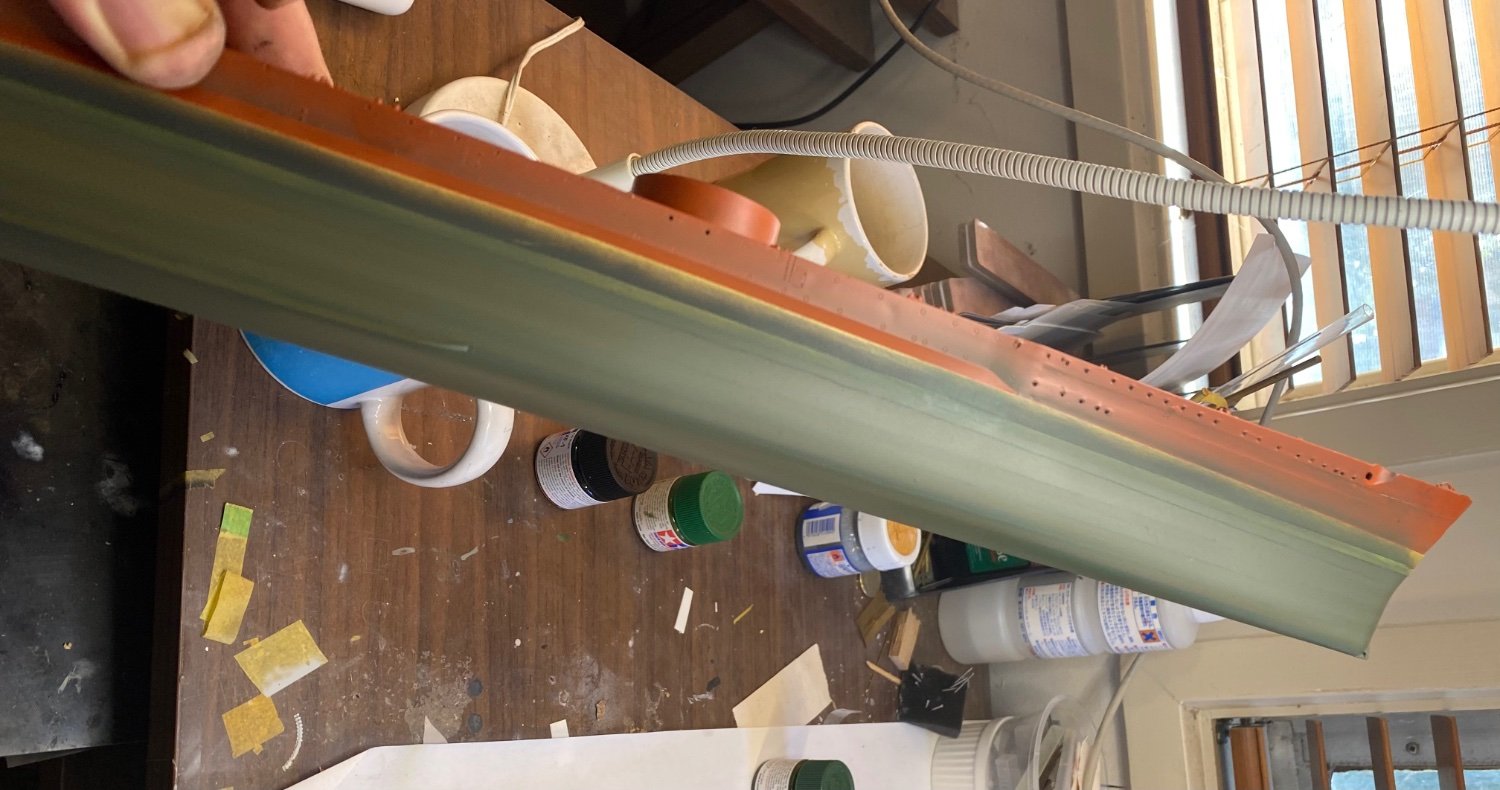
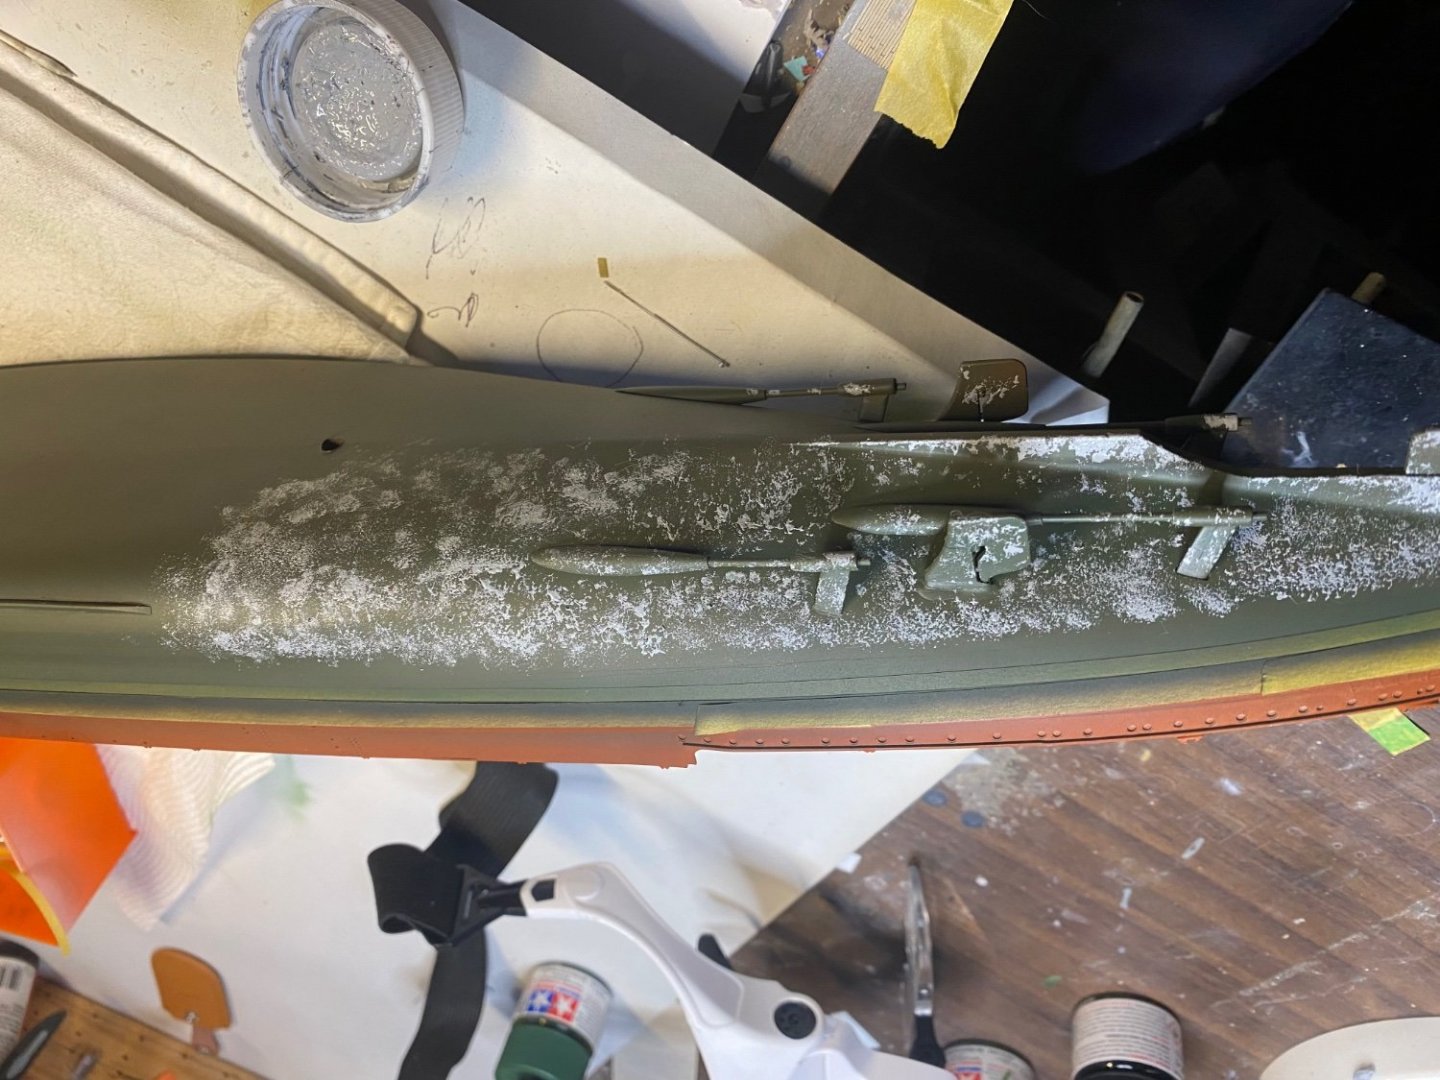
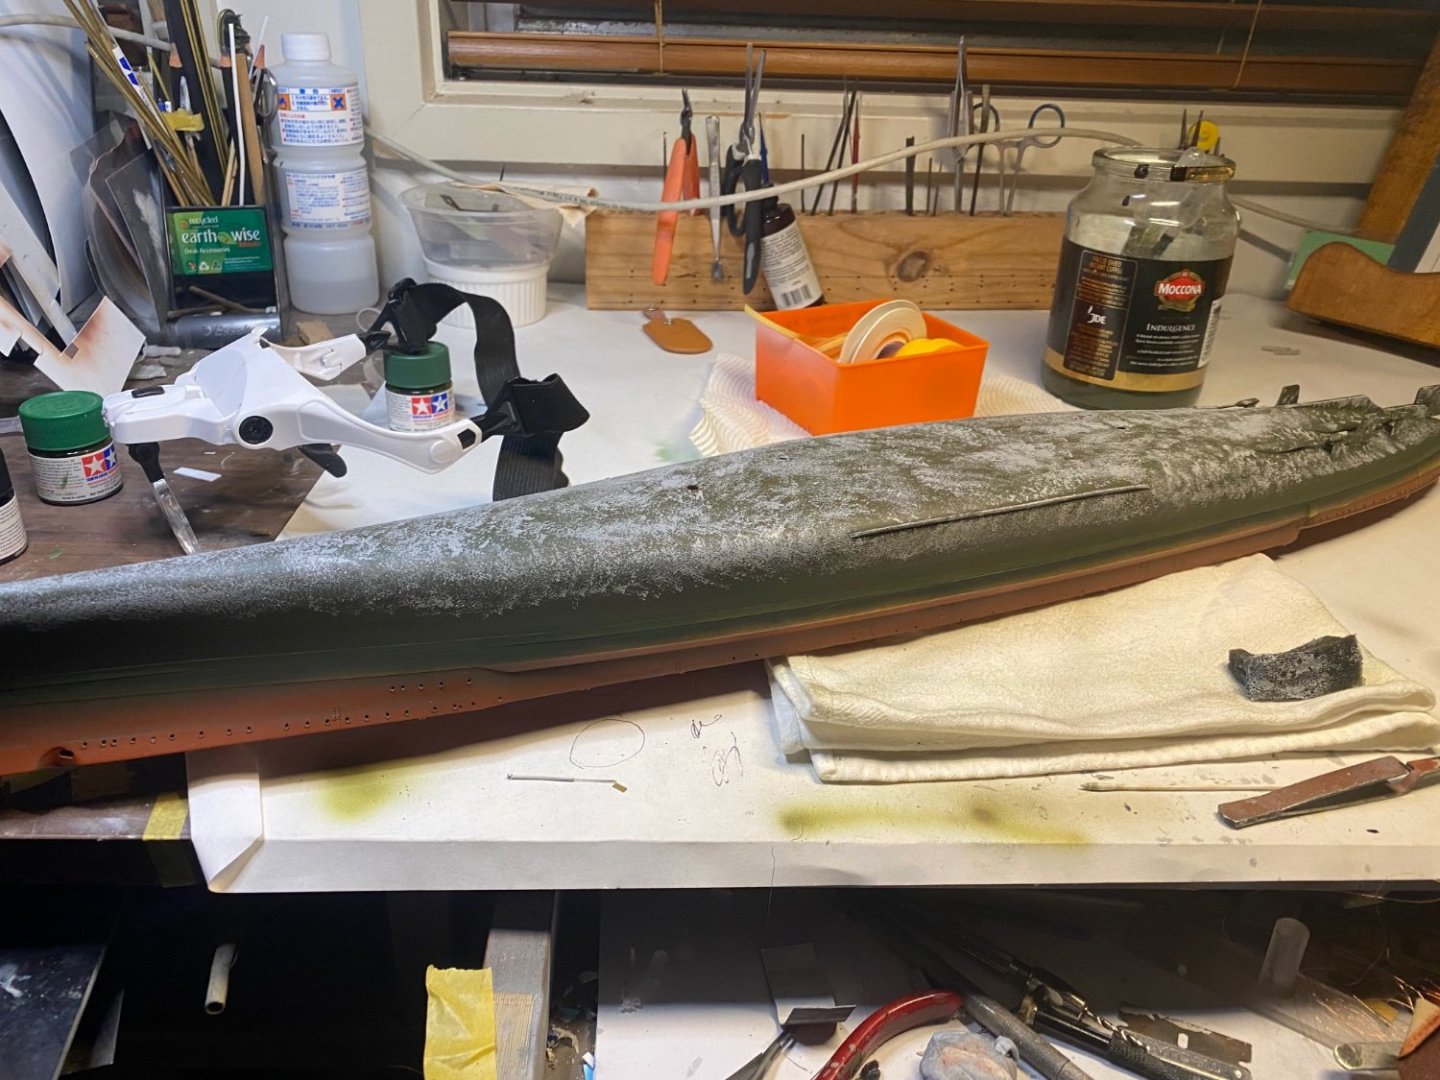
So I’ve blended in the algae coat. Once this dries I’ll do an enamel green slime coat.

- 203 replies
-
- 11
-
-
- Roma
- Micromaster
- (and 4 more)
-
No mate, too big and too new I think. Mind you it never went far so it would have gotten some alge in the Med
- 203 replies
-
- 12
-
-
- Roma
- Micromaster
- (and 4 more)
-
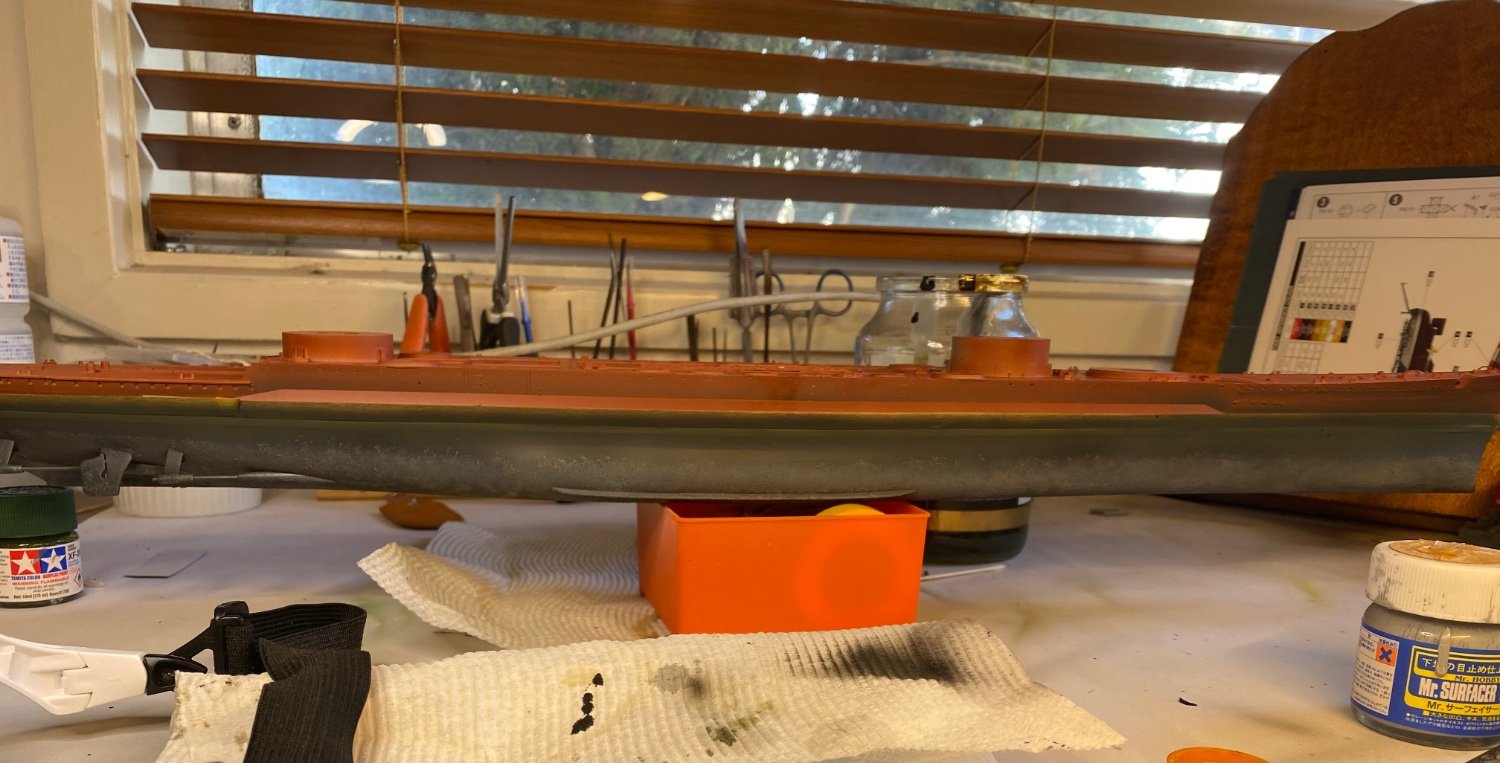
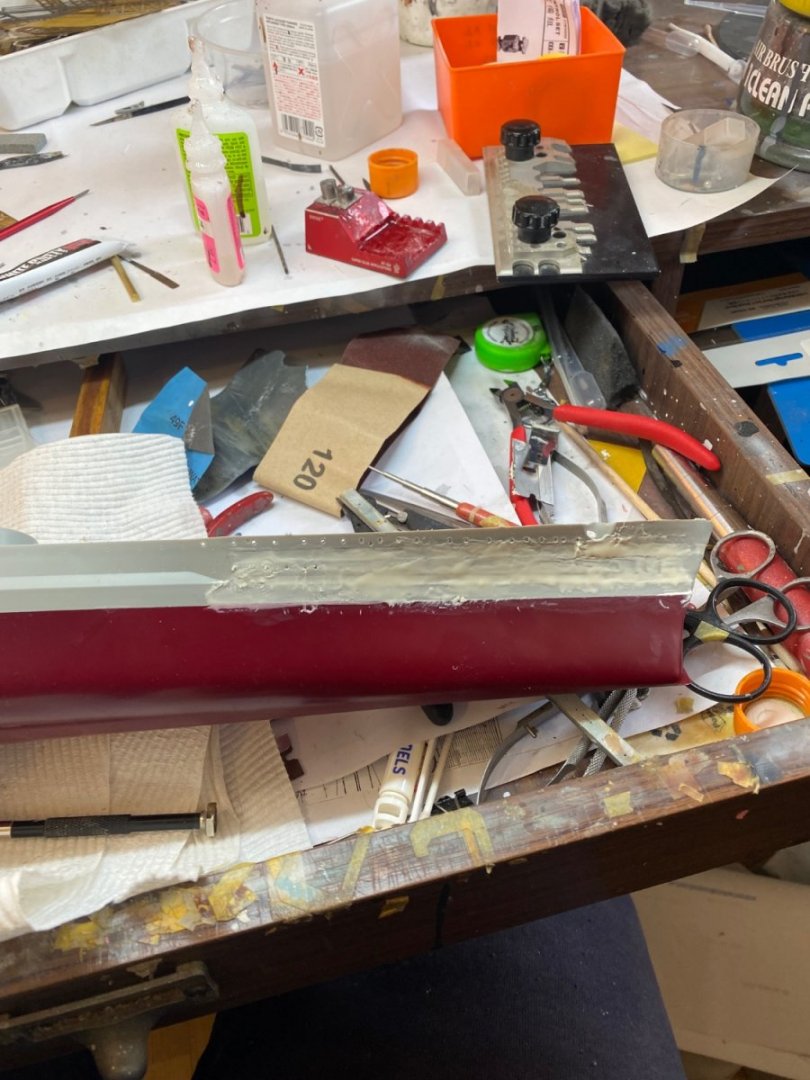
So the lower hull, I’ve painted in some hull painted then dulled them out. alge next and some grunge

- 203 replies
-
- 12
-
-
- Roma
- Micromaster
- (and 4 more)
-
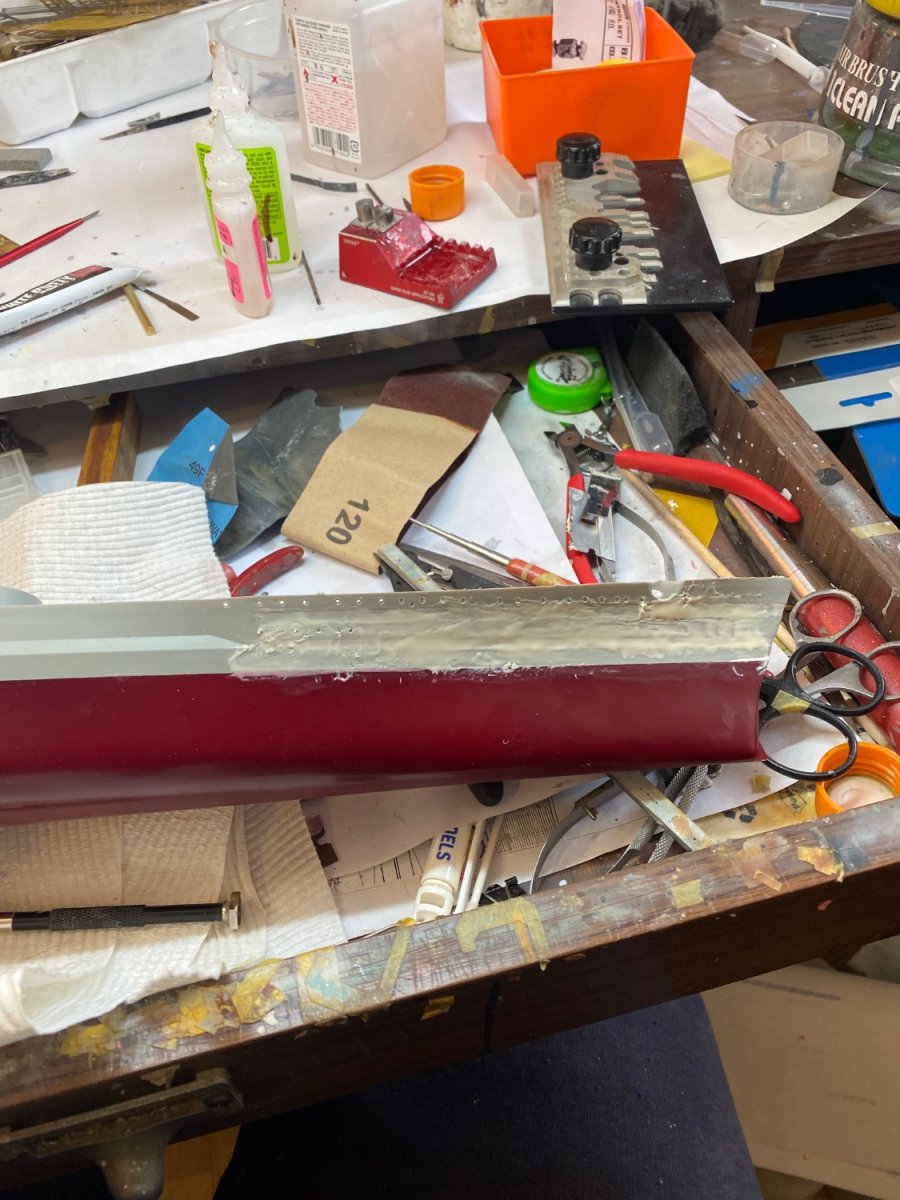
Because the hull has been designed as a waterline but the central deck in also moulded in as well as support structures. When you join the base and the upper works it has a 1mm edge to sit it on. I have had to cut out bits of plastic soni can get my fingers in to try and get it to sit flush.
- 203 replies
-
- 8
-

-
-
- Roma
- Micromaster
- (and 4 more)
-
Nothing like a primer coat to show off your sins. Seriously Trumpeter just does not care at times. Every person who’s built this has said the same thing, the hull is a pig to put together.

- 203 replies
-
- 13
-
-
- Roma
- Micromaster
- (and 4 more)
-
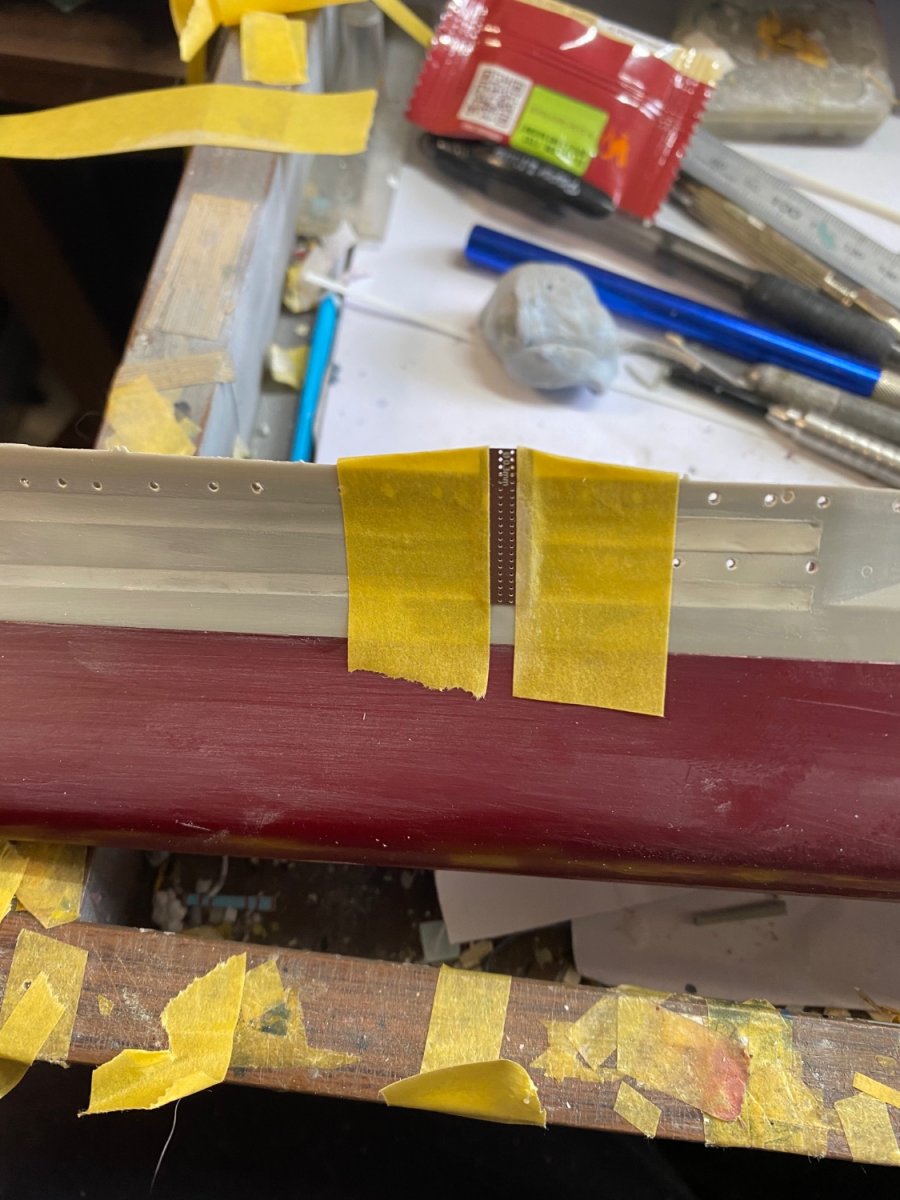
Sanding, filling, sanding. Hull is finally ready for a primer coat so I can etch in the hull panels. The shafts and rudder put in, with the two secondary rudders moved up the hull as is required (apparently) I’ve removed all the vents which will be replaced ive also drilled in some holes for the ladders on the hull


- 203 replies
-
- 18
-
-
- Roma
- Micromaster
- (and 4 more)
-
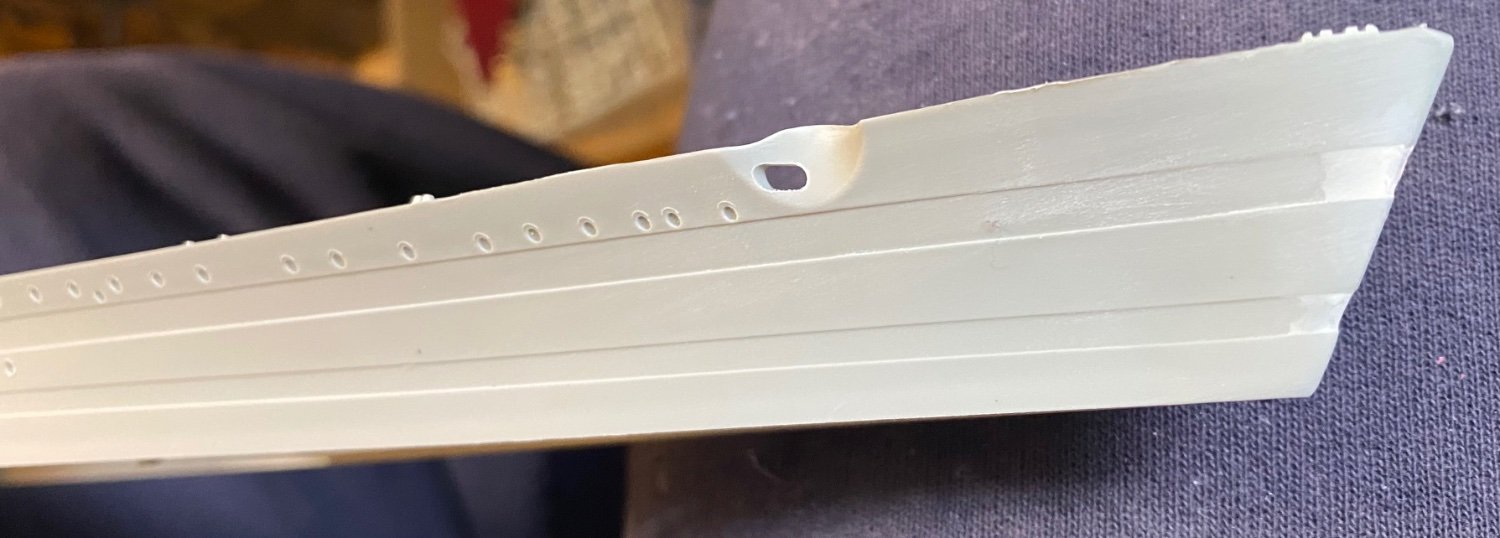
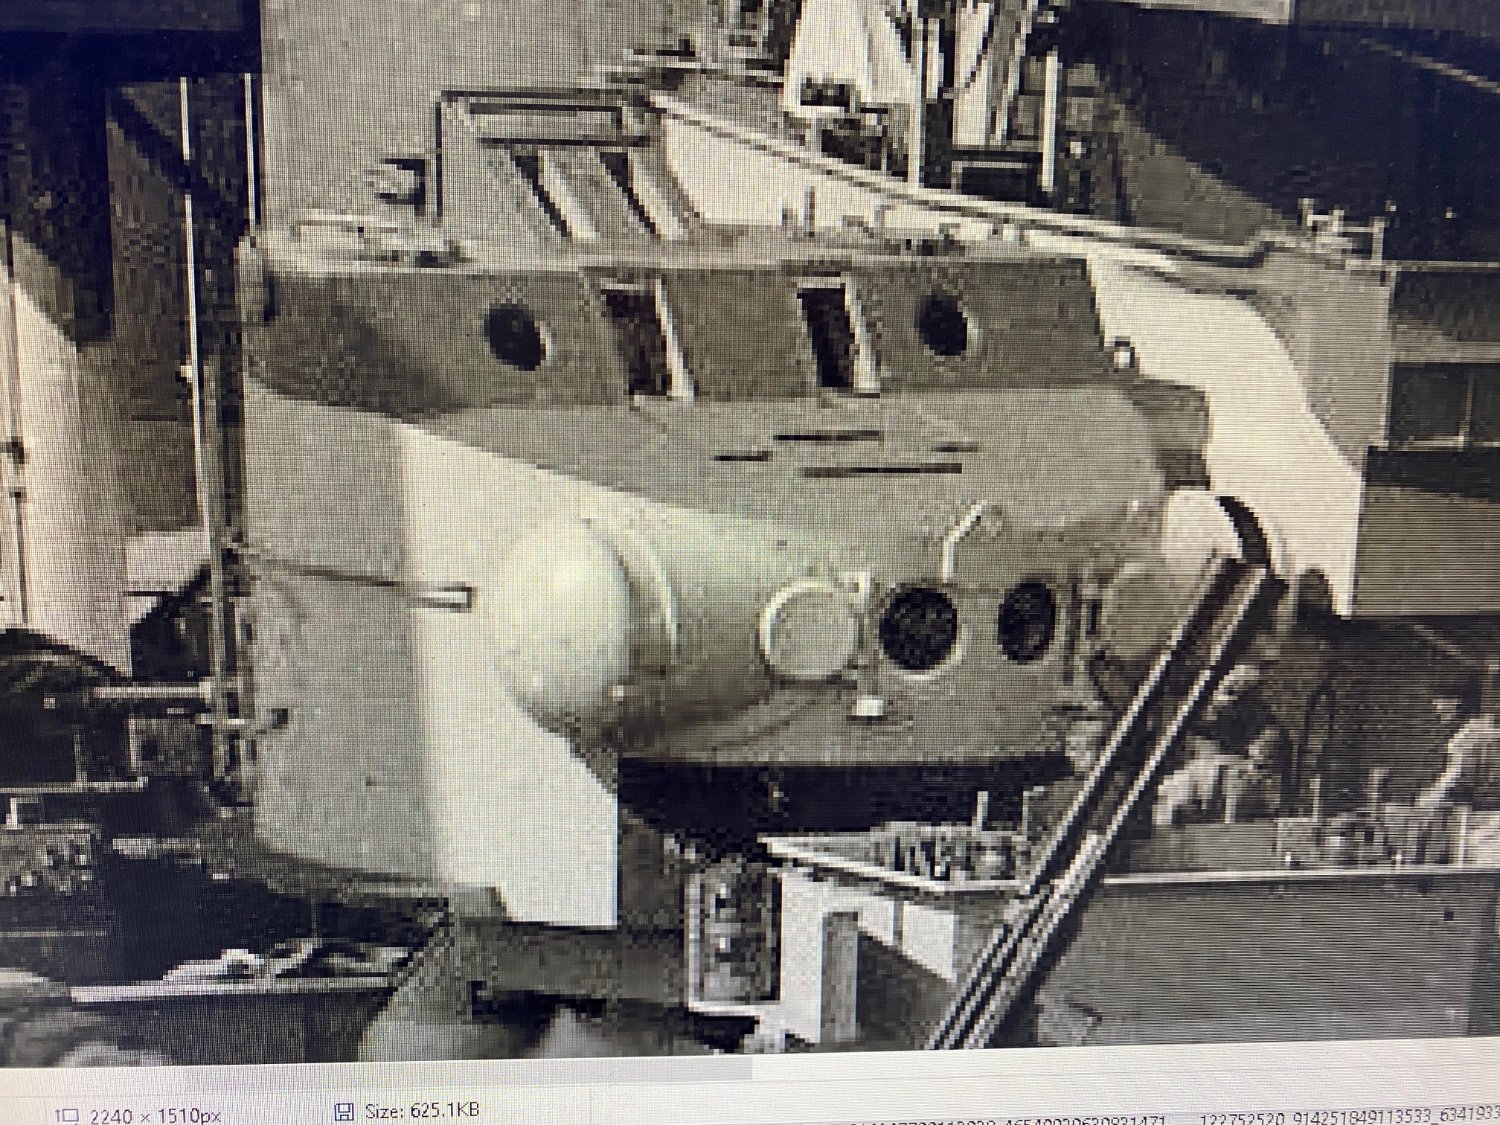
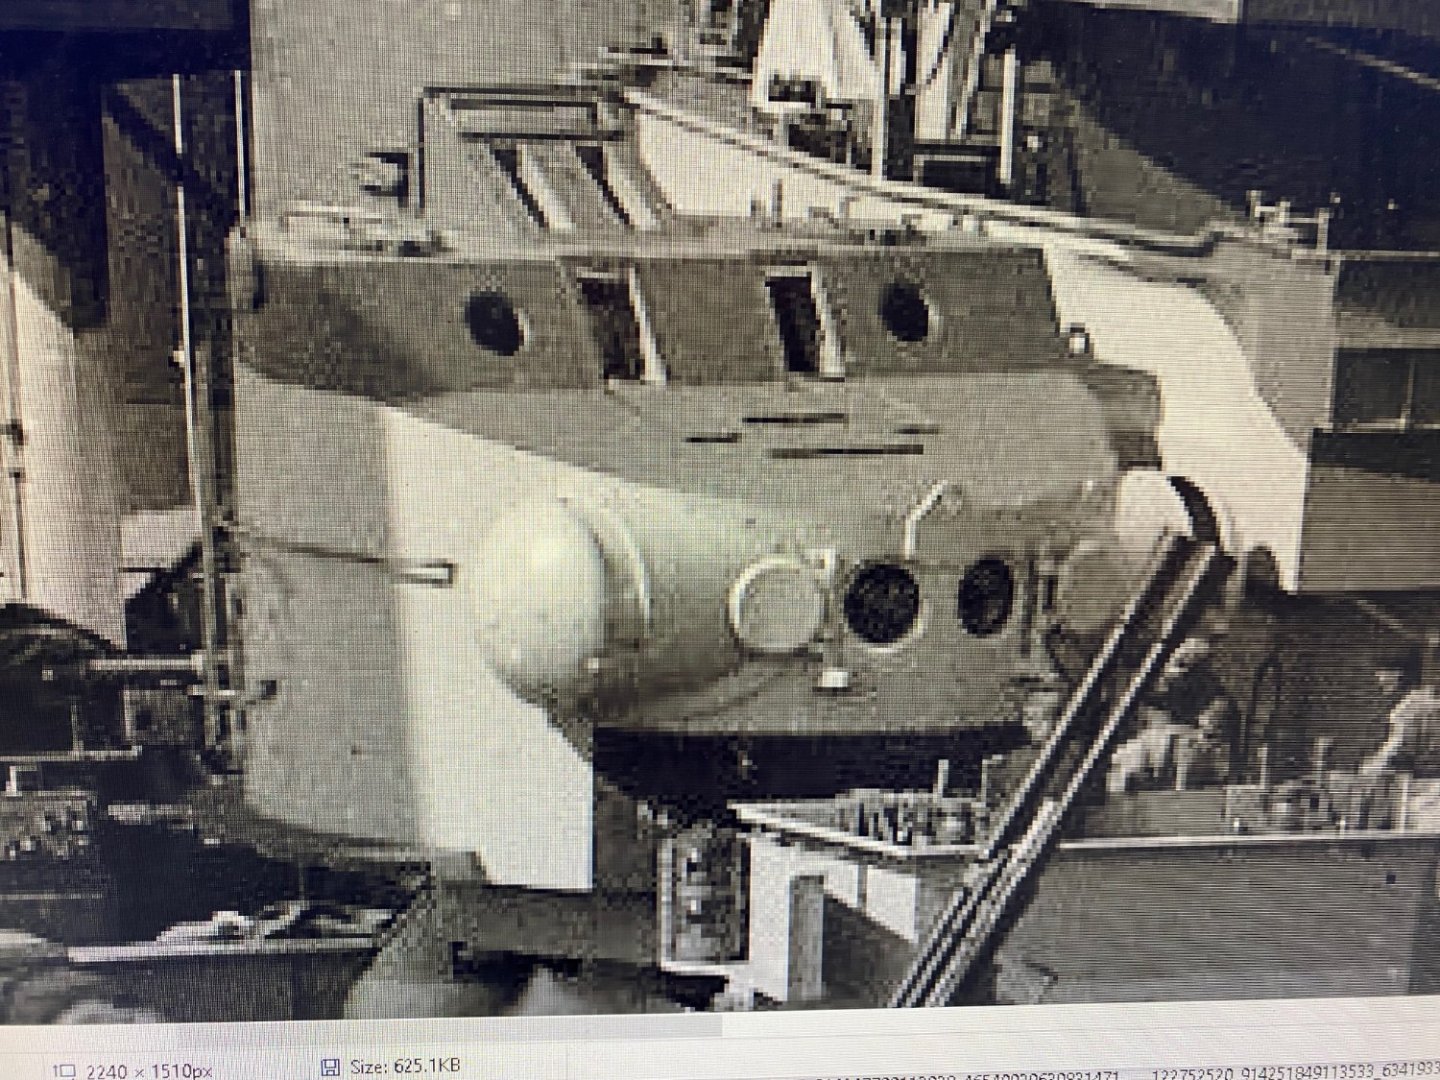
So I’m stuck at home for 7 days in ‘Rona’ isolation. Time to bite the bullet and attack the hull which Is a pig. Every other build mentions this. The hull plates are way too deep and pretty much wrong, which means I’m going to have to drill out the porthole fire and after and add ringols after significant sanding. the portholes amidships are already closed and I’ll open them up and add the port hole covers. Nearly all of the deck details will have to be cut off and replaced. It’s like being a little bit pregnant


- 203 replies
-
- 11
-
-
- Roma
- Micromaster
- (and 4 more)
-
1/200 Trumpeter IJN YAMATO - issued by MRC/Gallery Models
RGL replied to yvesvidal's topic in REVIEWS: Model kits
Too big for me! I have a LOT of reference material for her so let me know if you need anything. Trumpeter won’t build Japanese warships but obviously their subsidiaries will. It’s a bit like spitfire kits, people will always buy one. There is some amazing stuff coming up in 1/200 but damn it’s going to take up a lot of space.- 104 replies
-
- 7
-
-
- MRC/Gallery
- Yamato
- (and 1 more)
-
There are not really that many photos, I have quite a few line drawings. You are an amazing ship modeller mind you Joe.
- 203 replies
-
- 5
-
-
- Roma
- Micromaster
- (and 4 more)
-
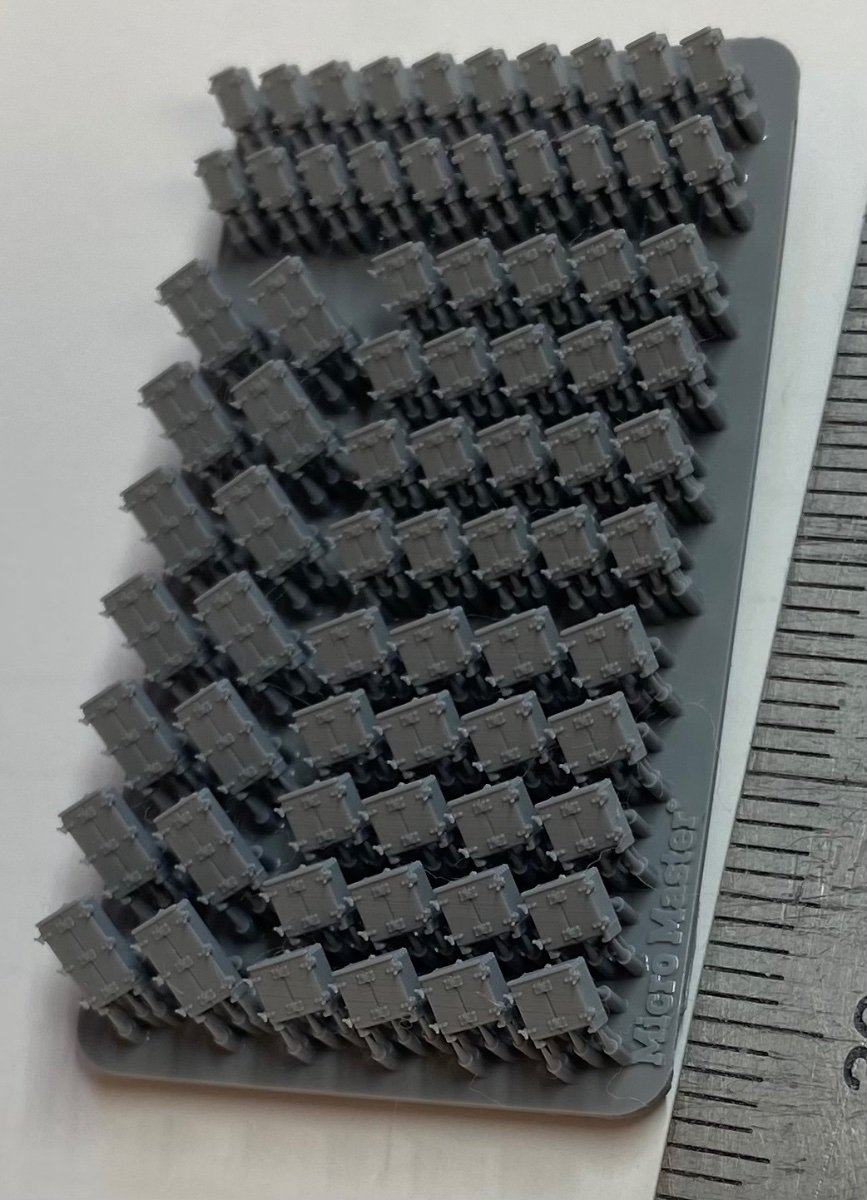
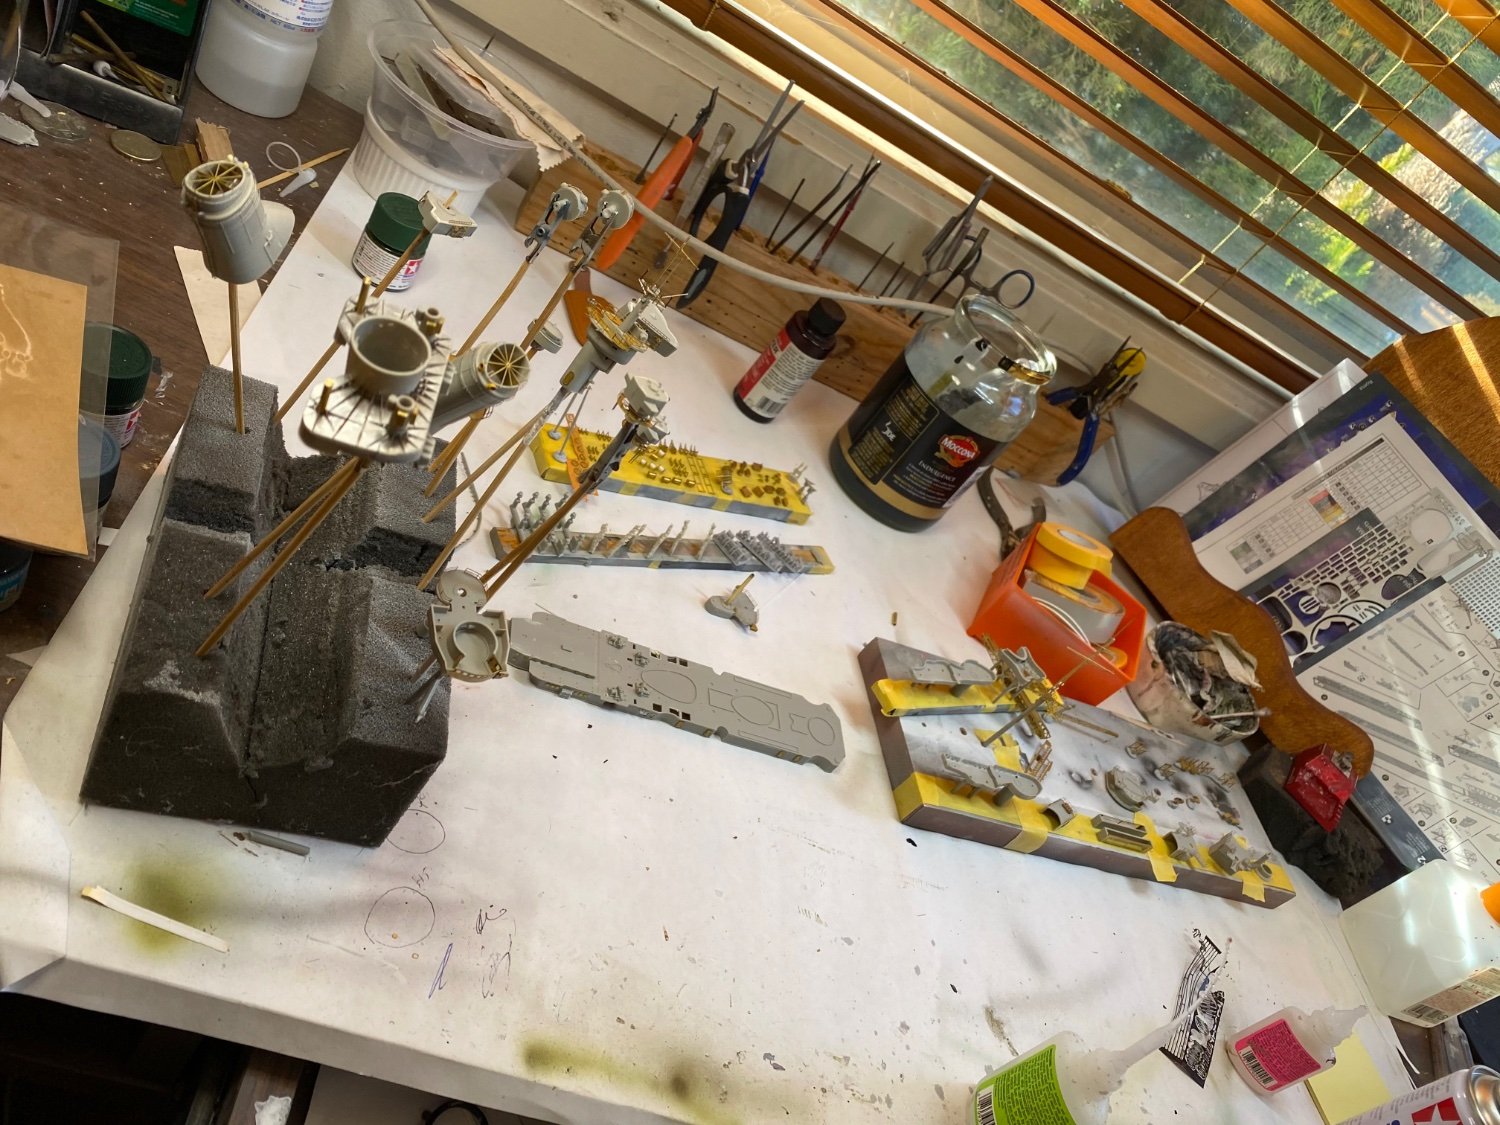
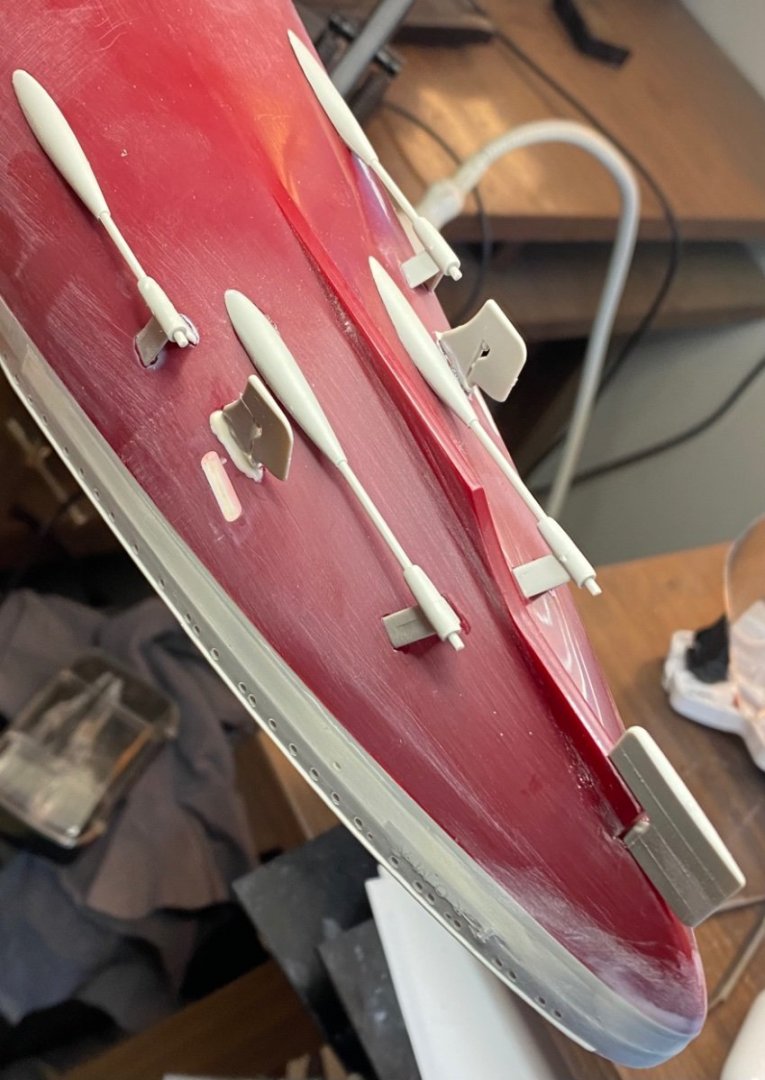
So to connect the clown, a bit of lead wire and the start of a very very large paint cue

- 203 replies
-
- 15
-
-
-
- Roma
- Micromaster
- (and 4 more)
-
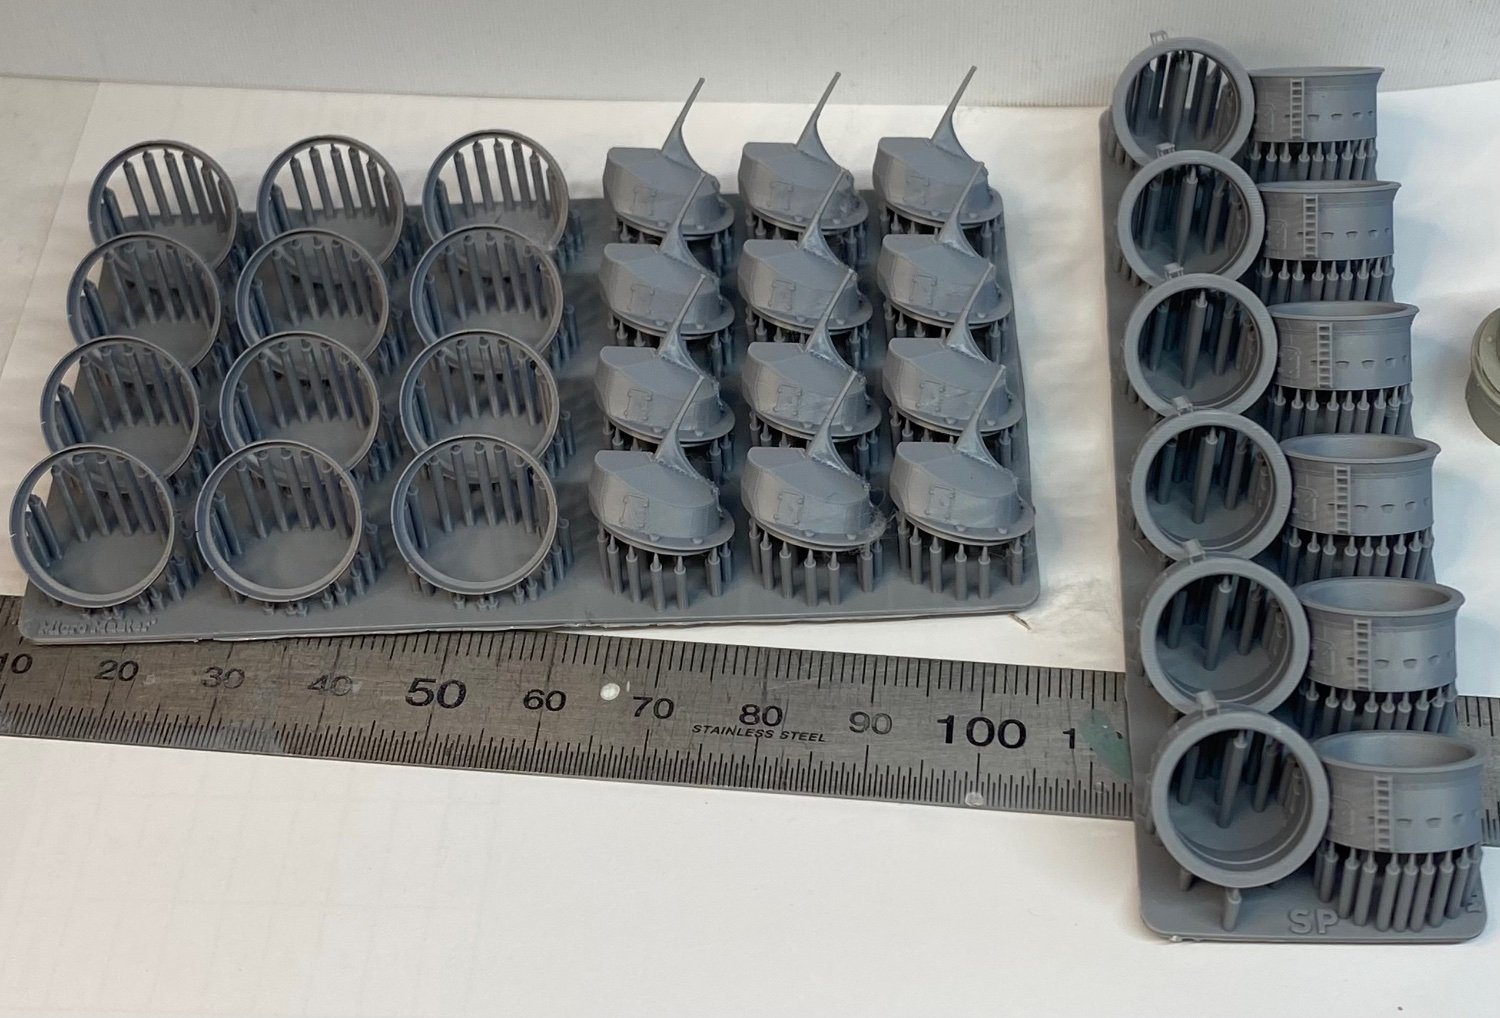
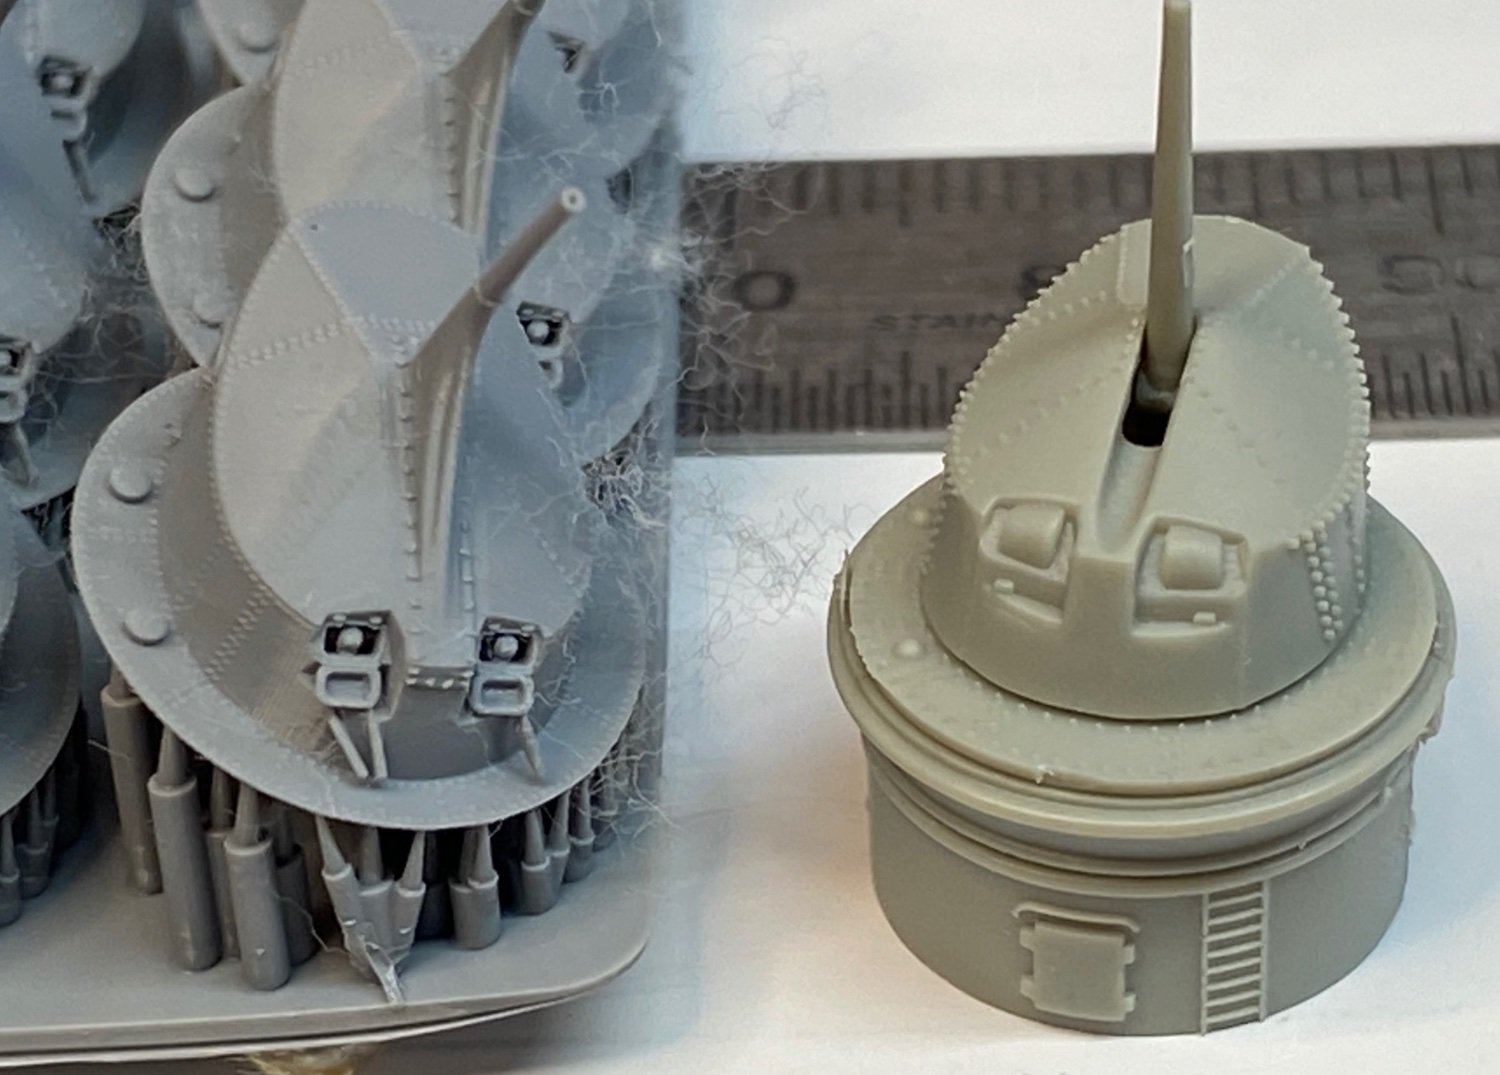
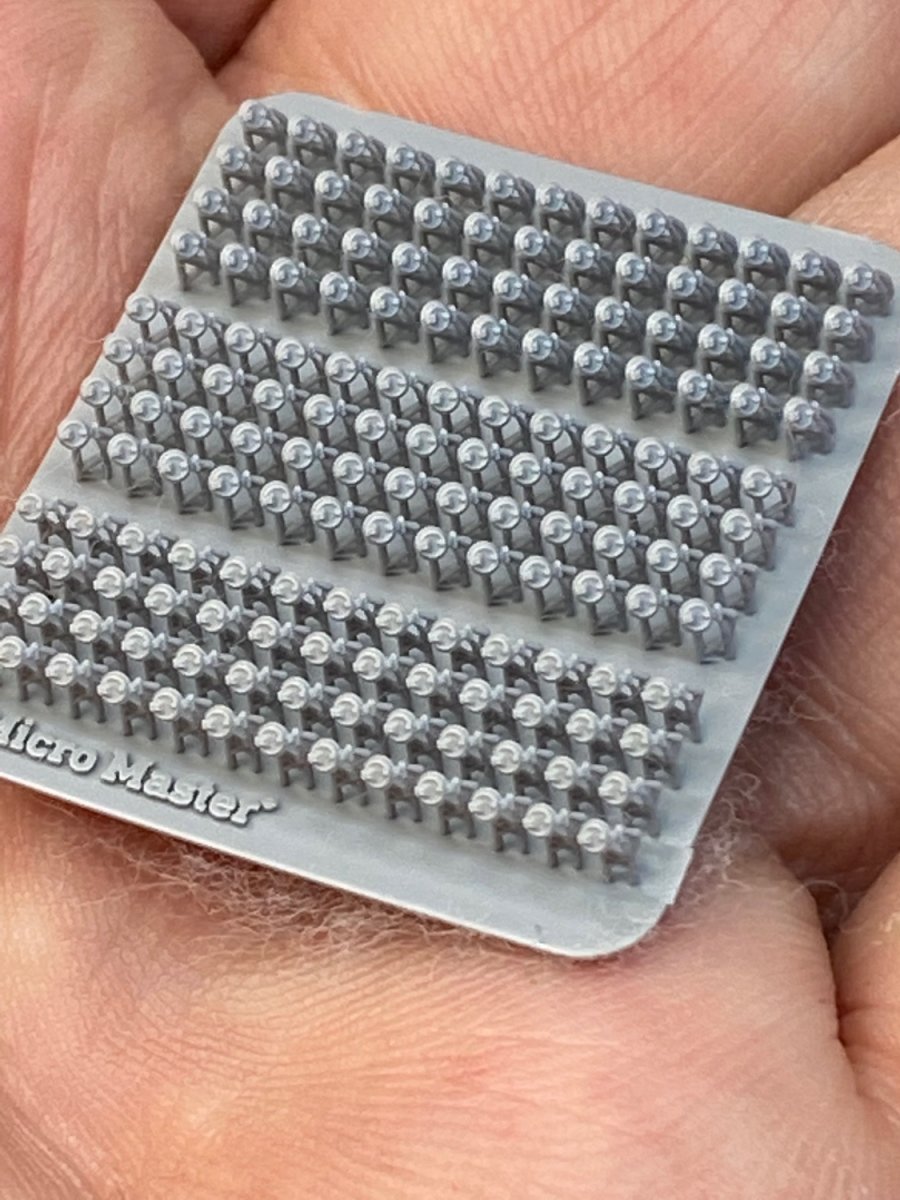
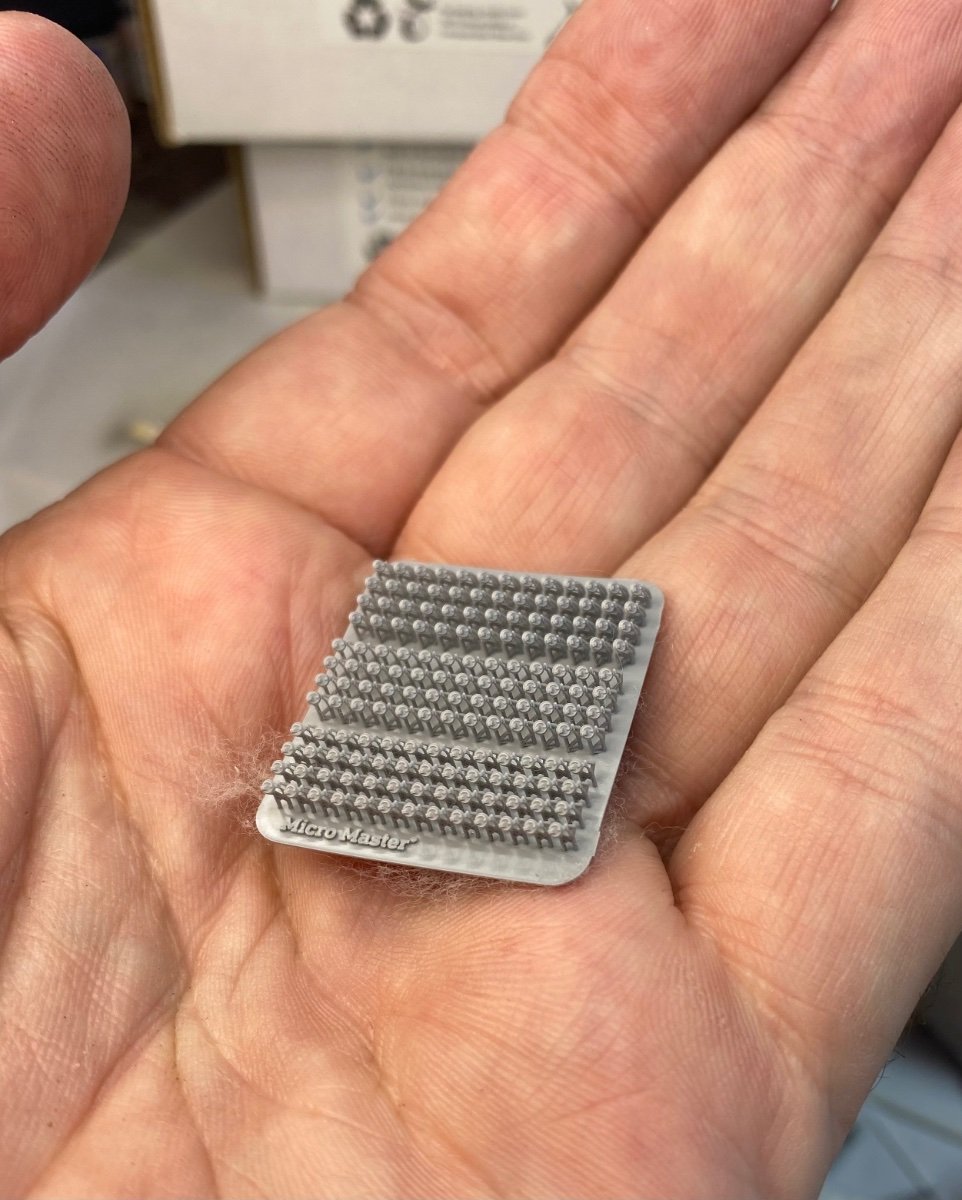
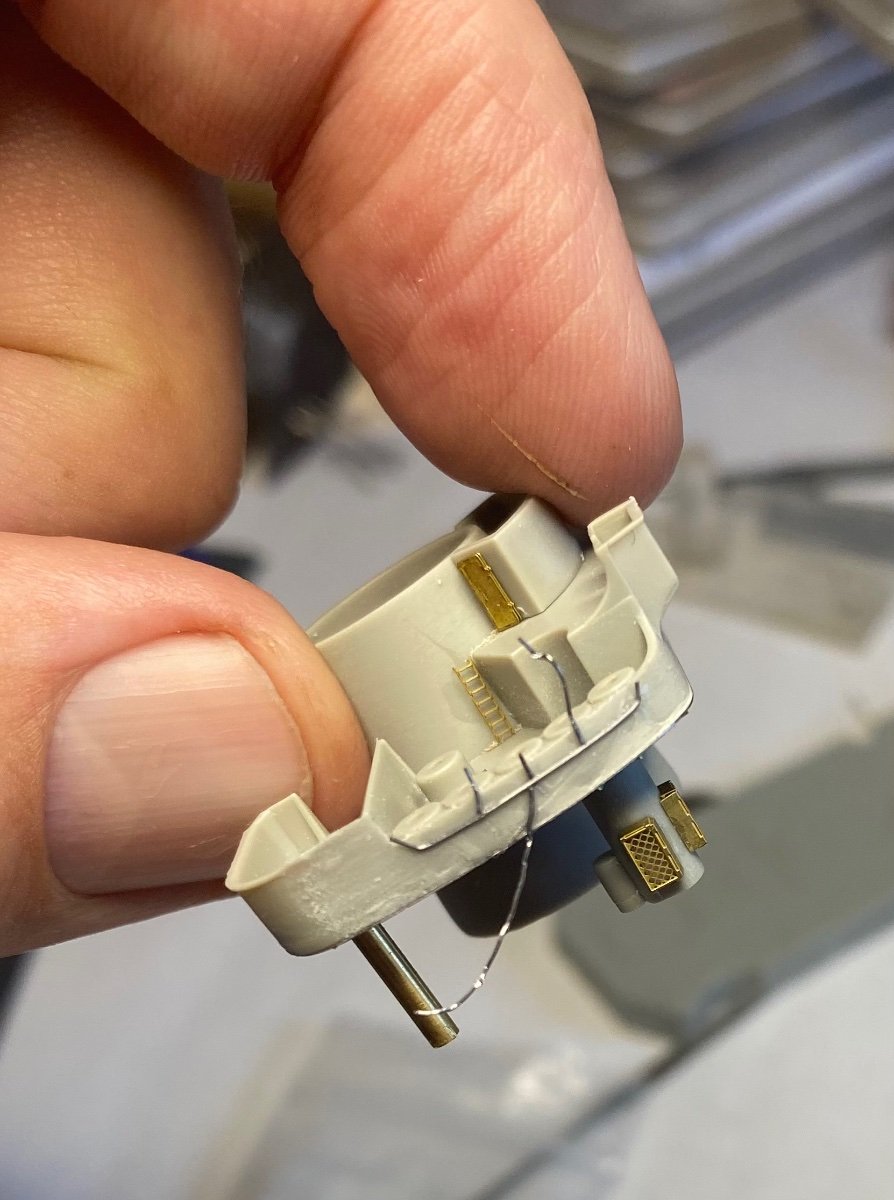
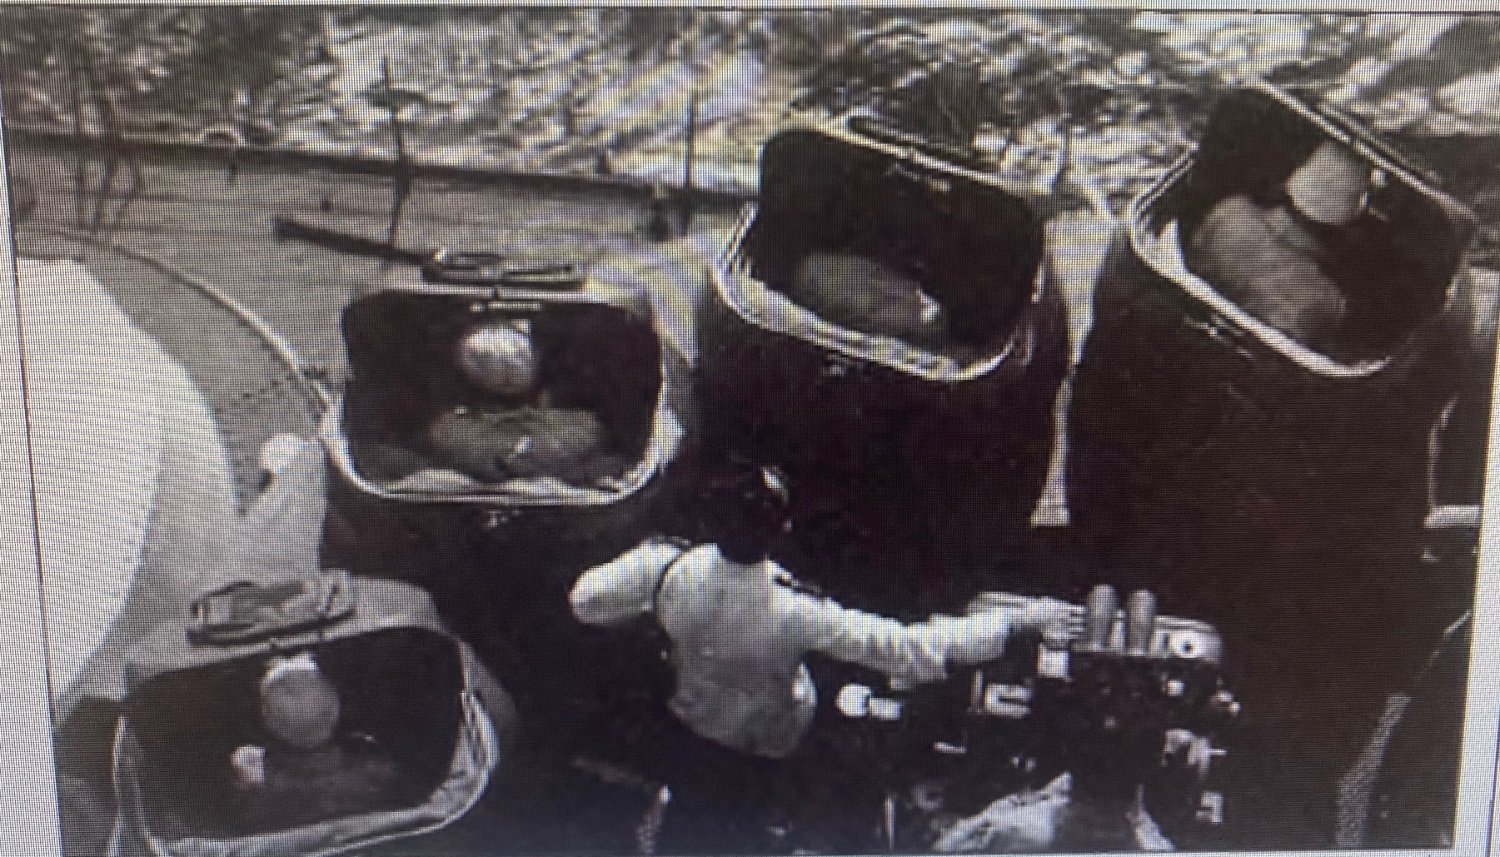
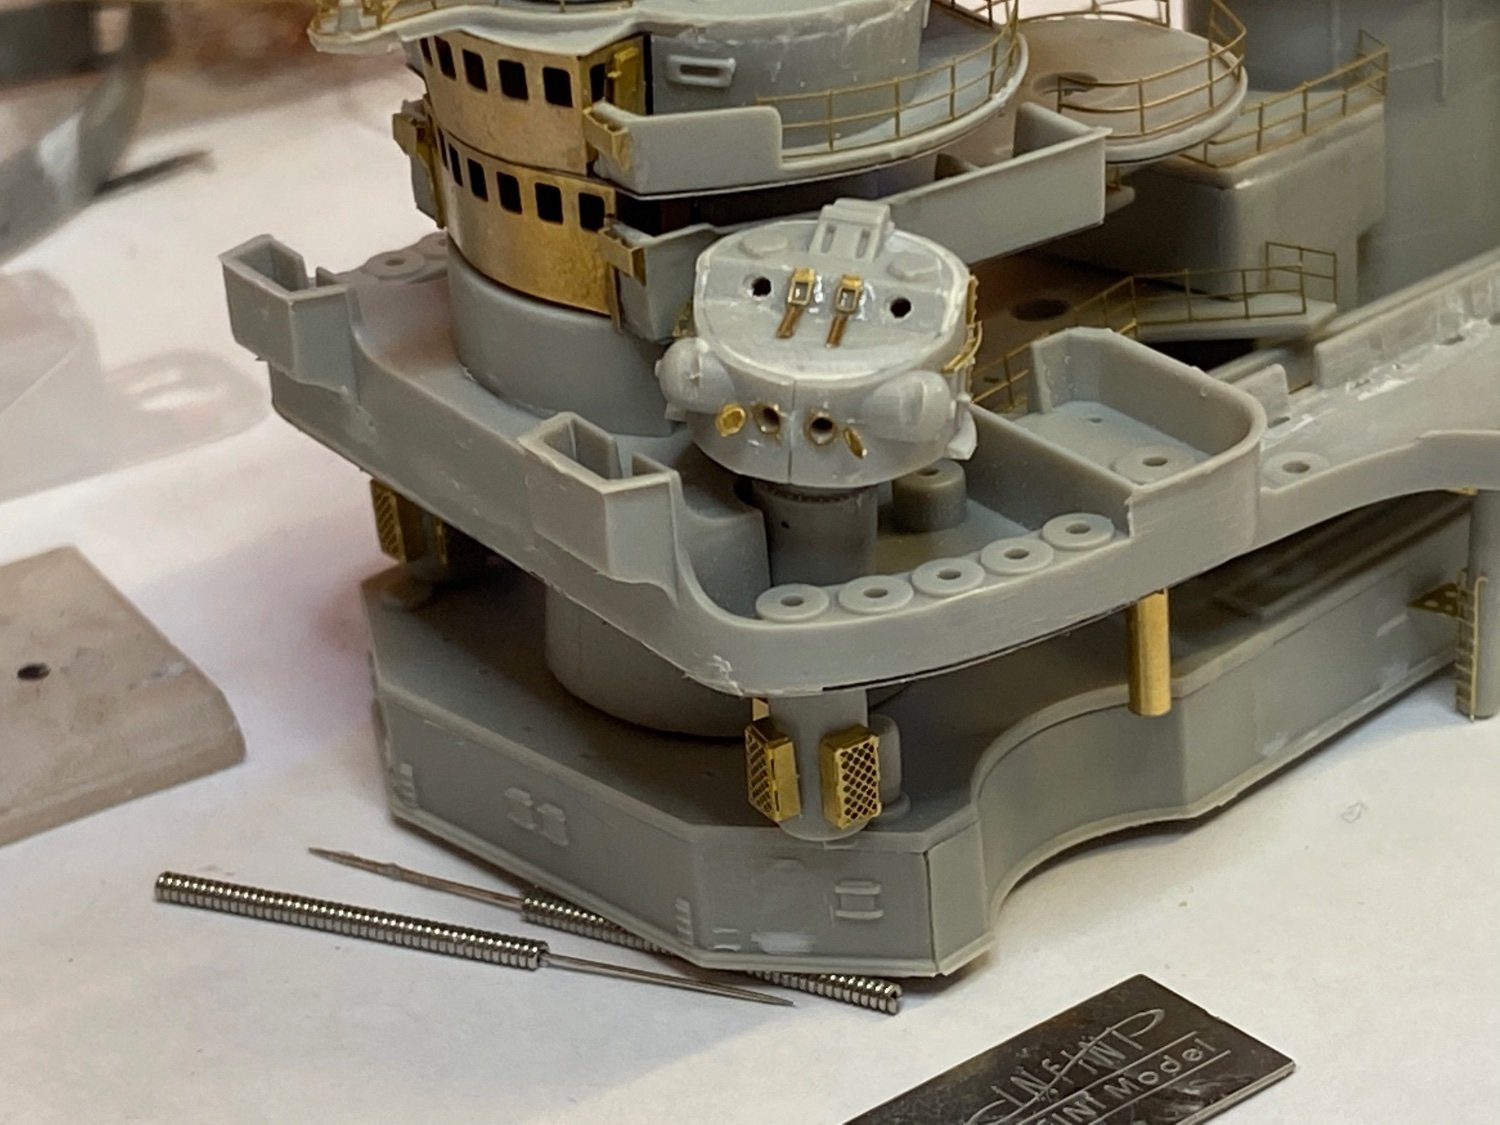
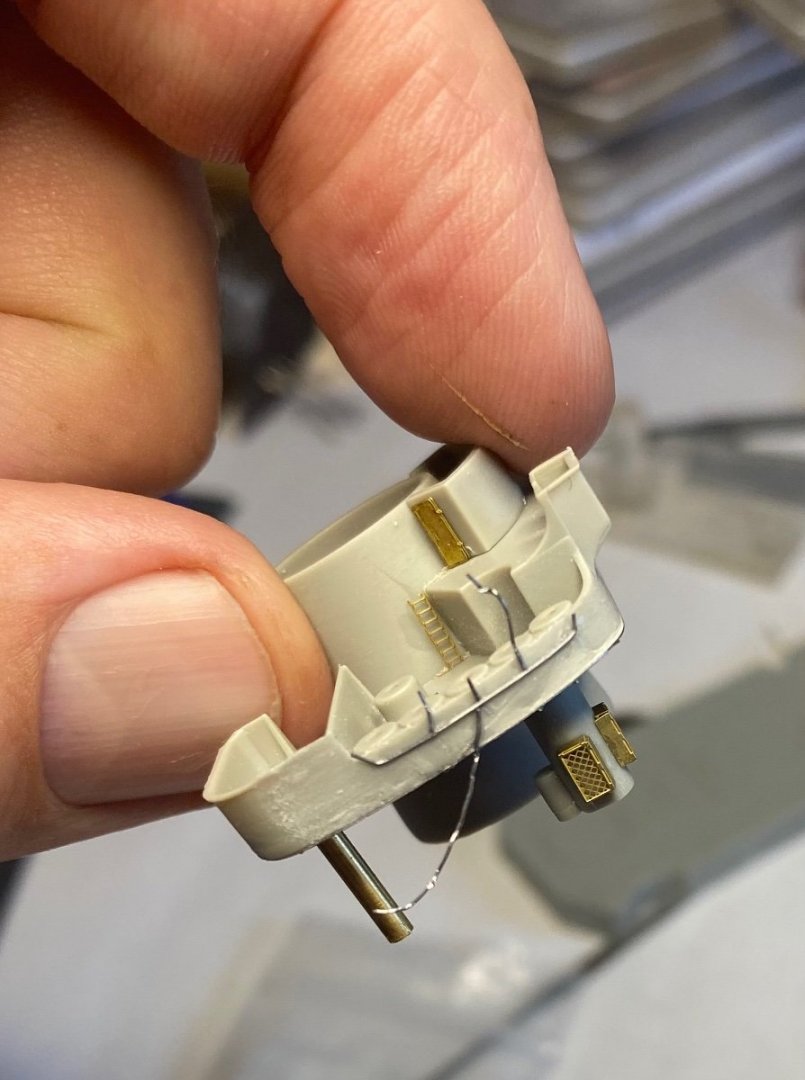
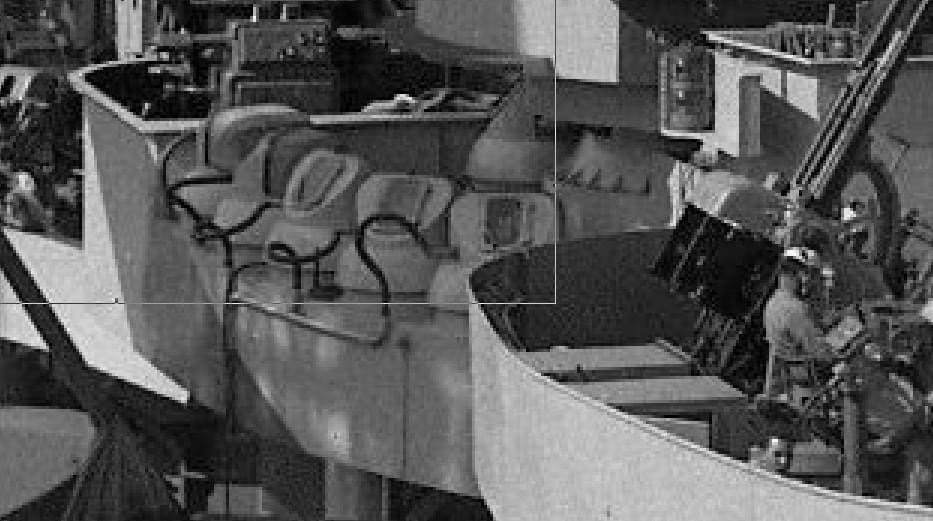
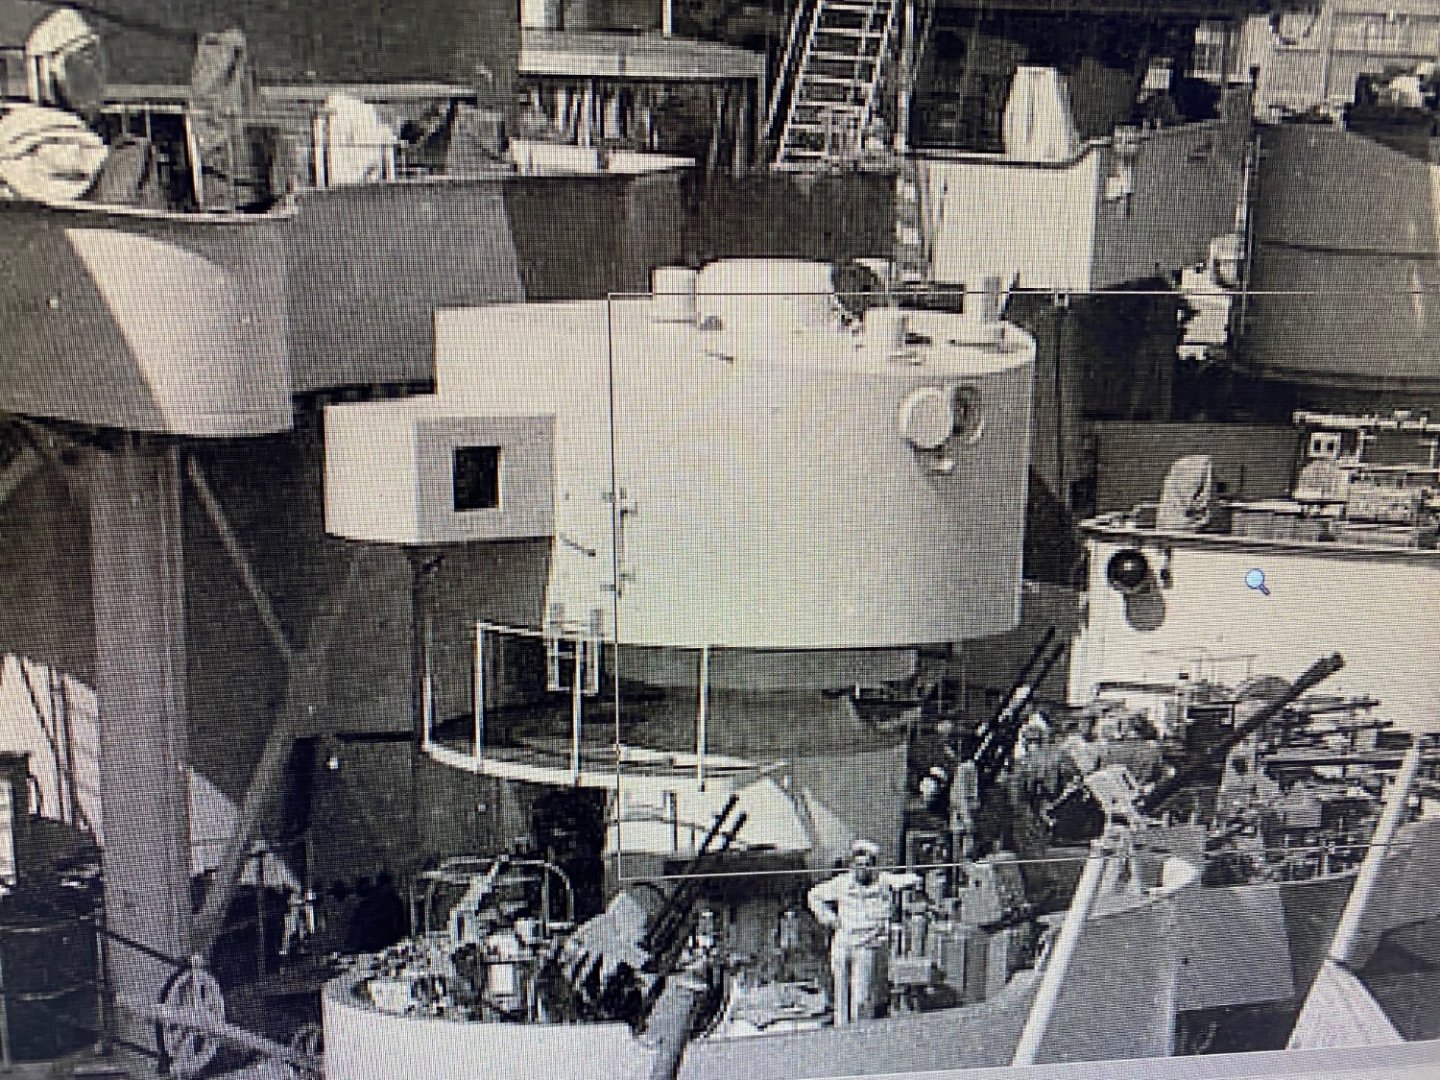
These little observation mounts, always noticed them on drawings and kits, but never noticed until today they have voice tubes. No one has ever done it before
- 203 replies
-
- 7
-
-
- Roma
- Micromaster
- (and 4 more)
-
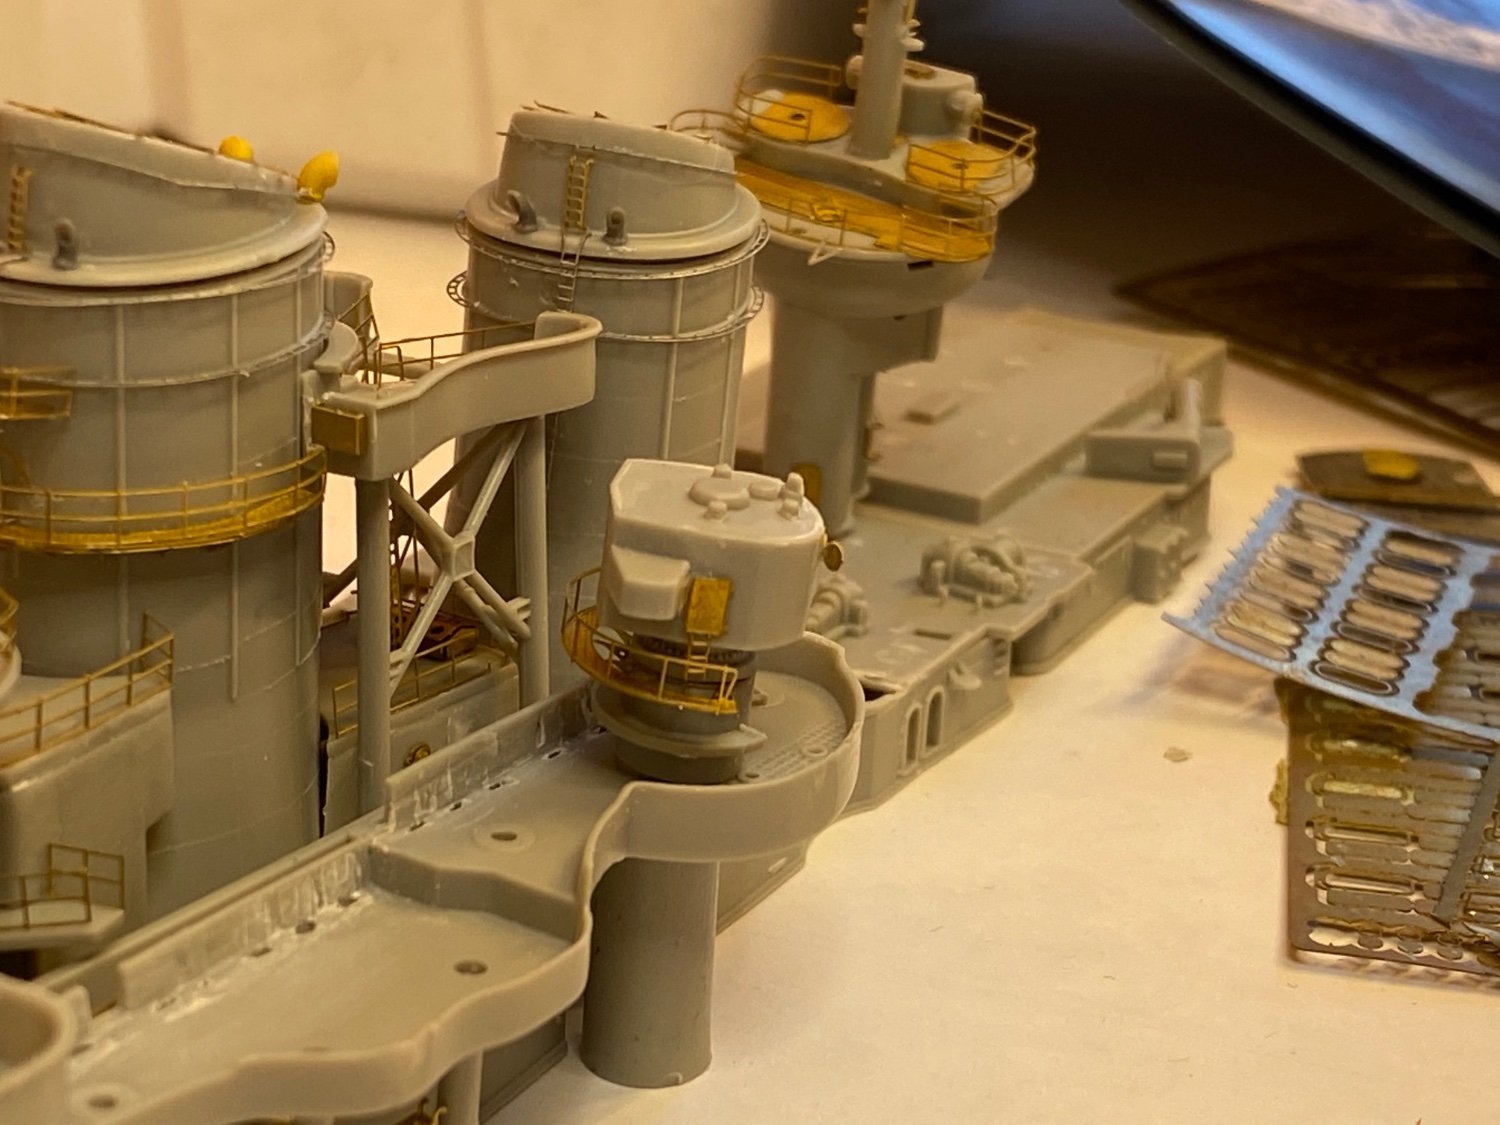
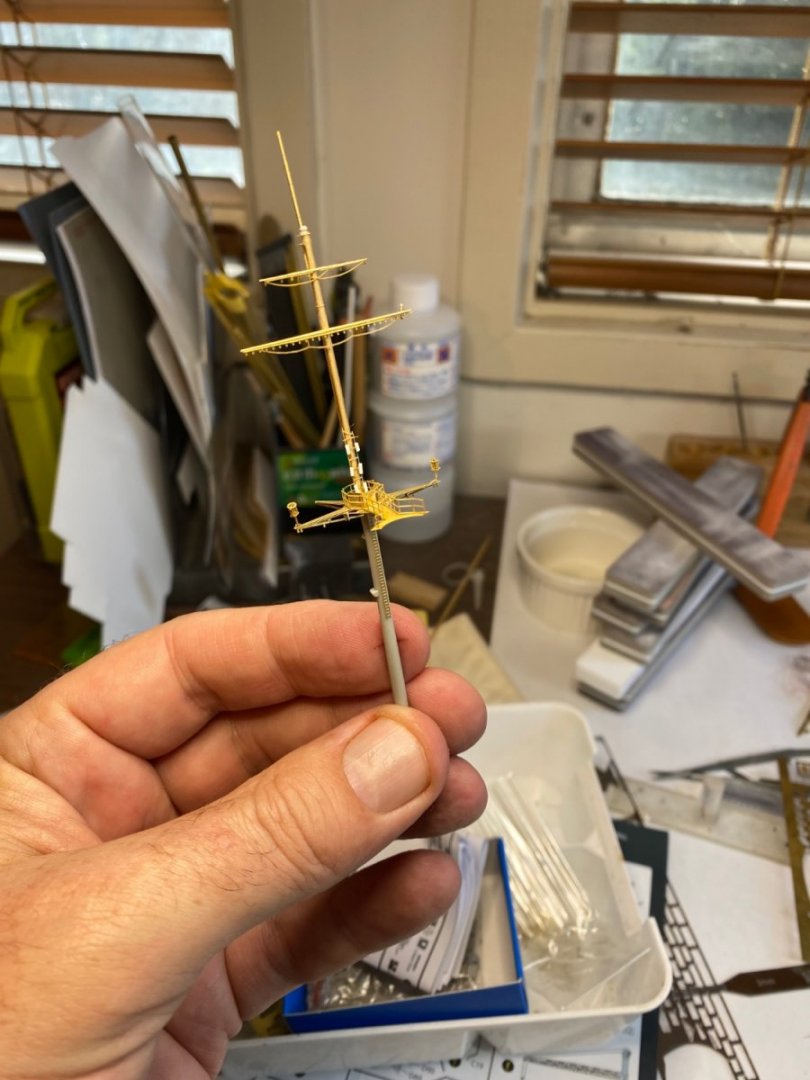
The main mast, I’ve replaced the upper masts with brass, I find that when it comes to rigging it’s the only thing that works
- 203 replies
-
- 13
-
-
-
- Roma
- Micromaster
- (and 4 more)
-
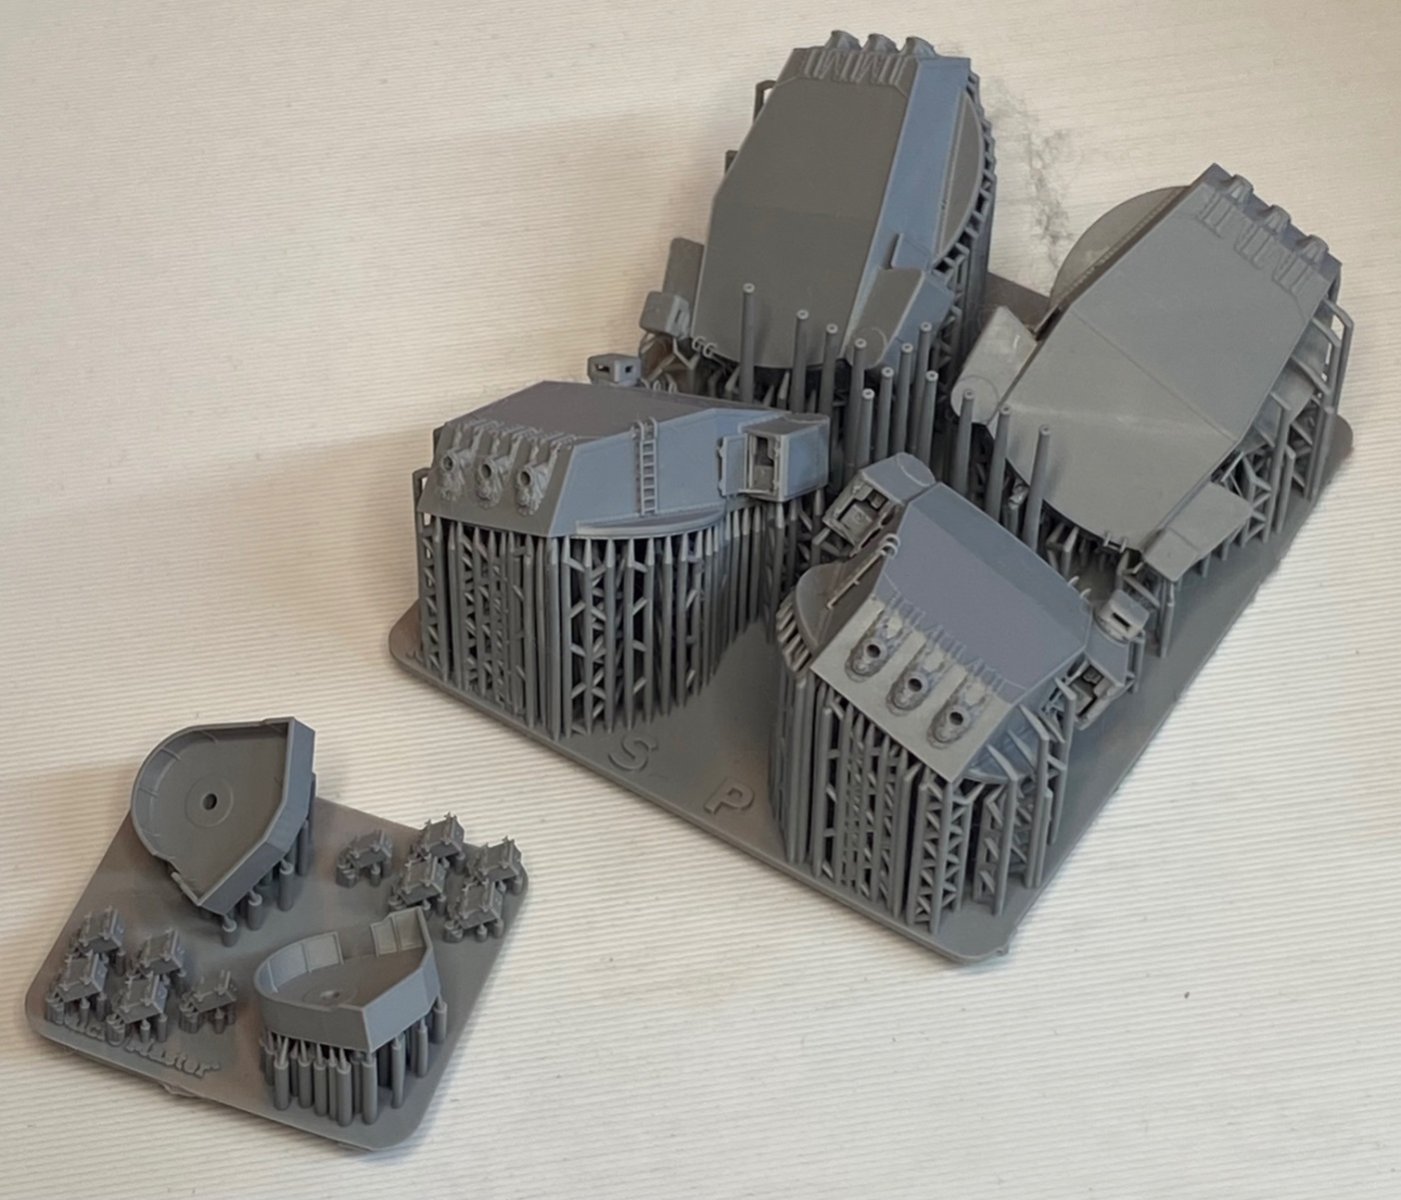
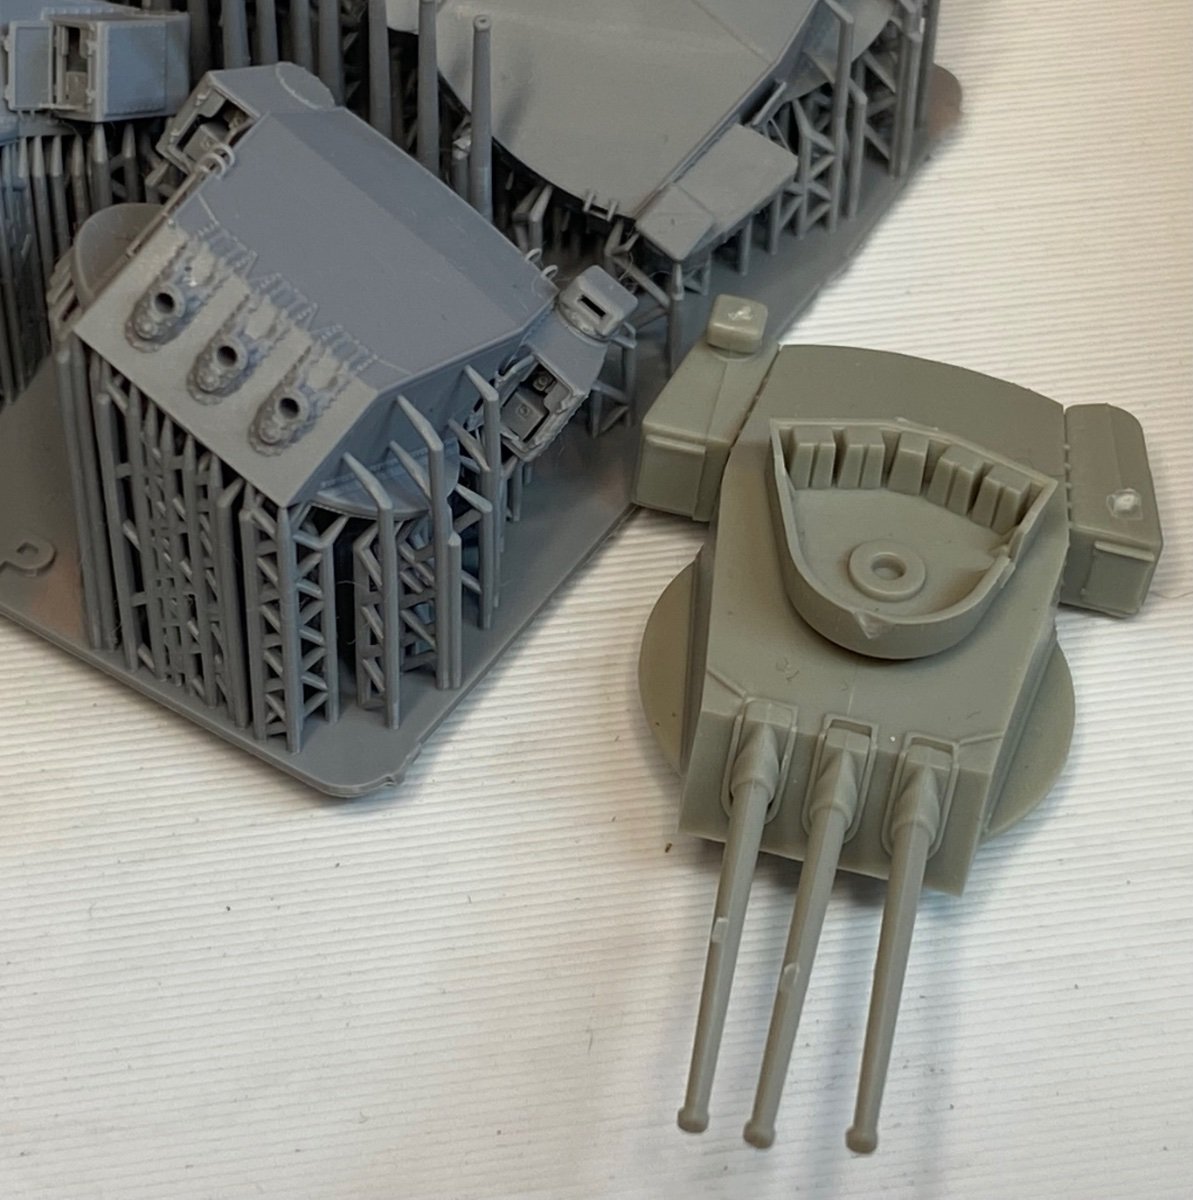
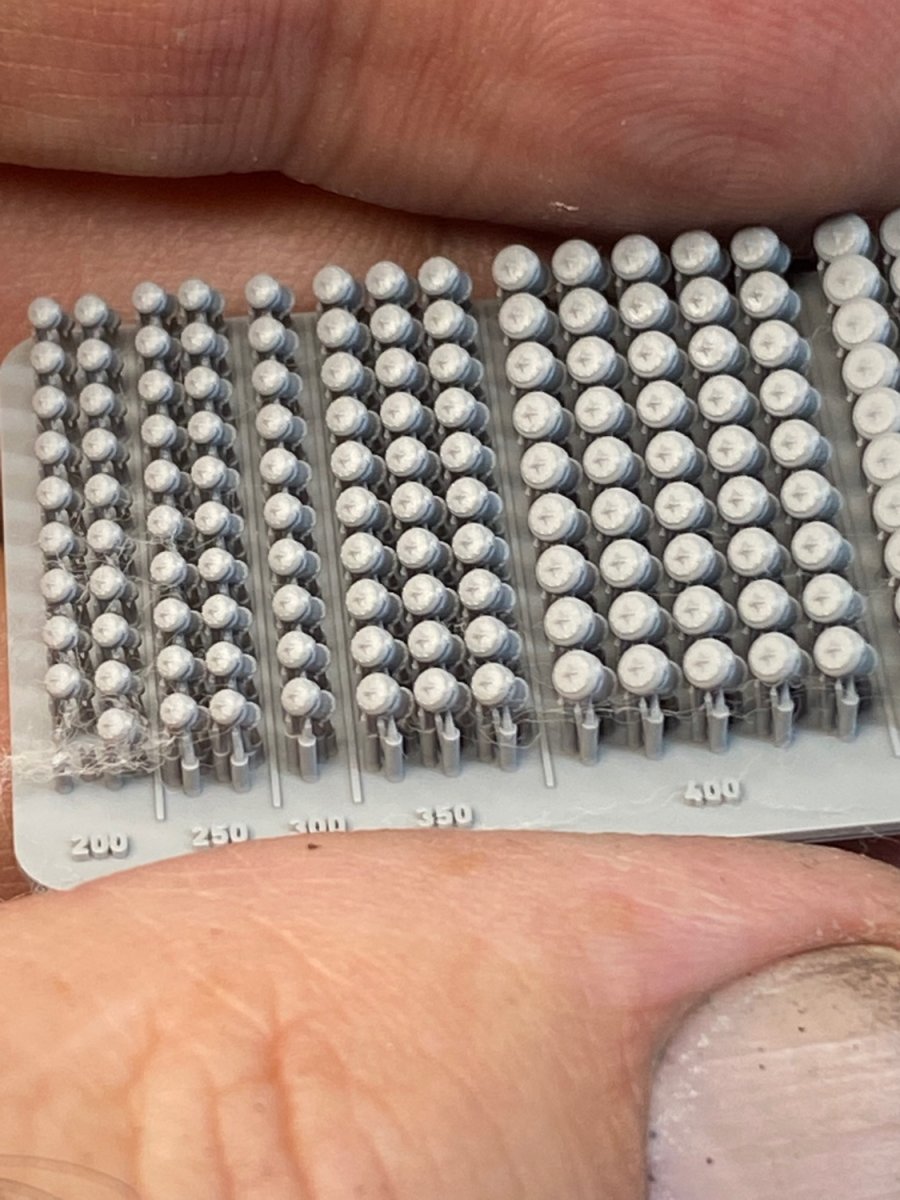
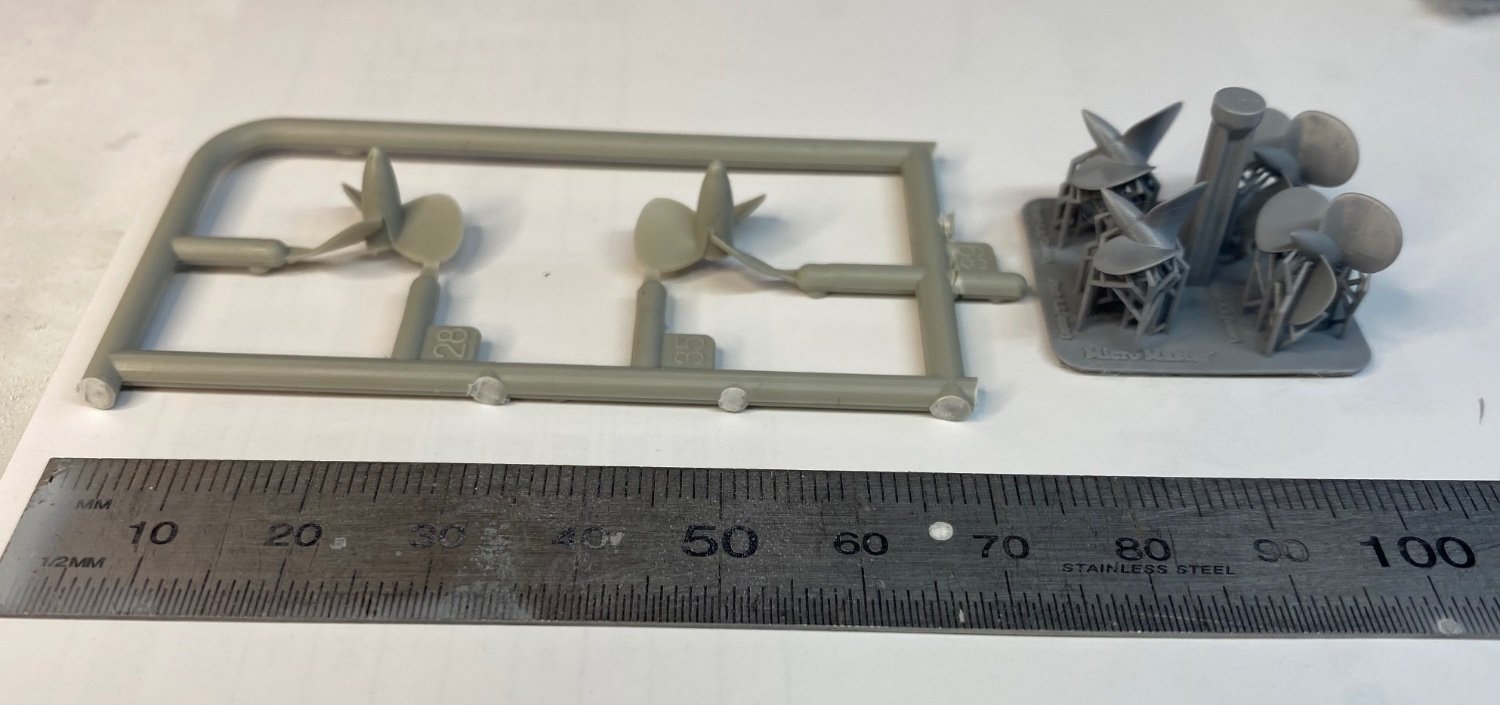
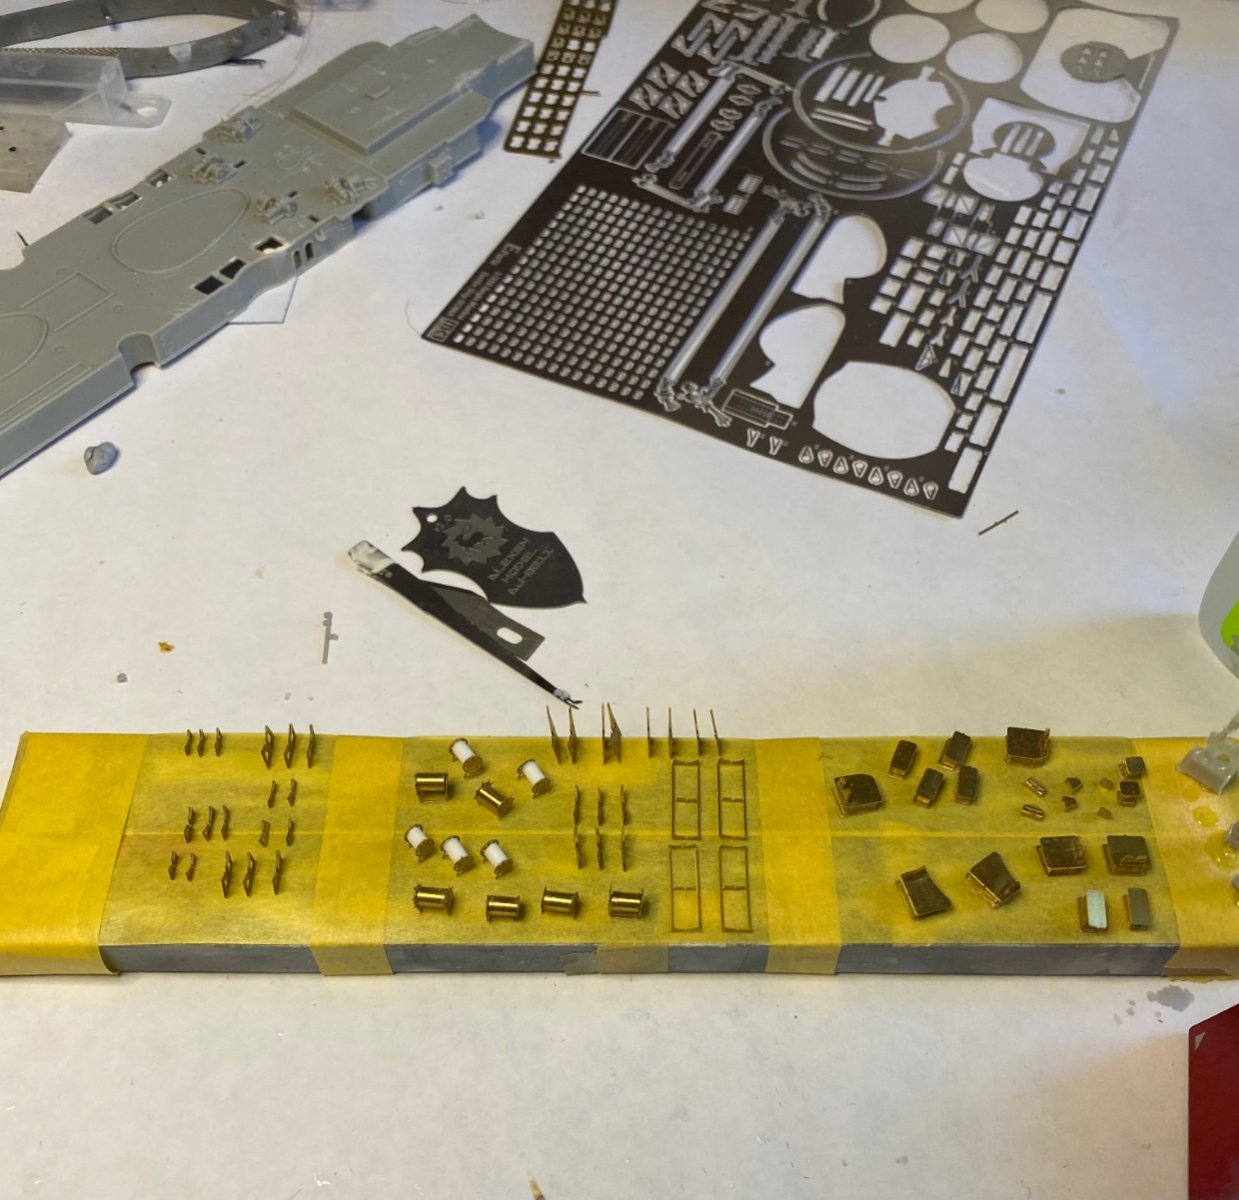
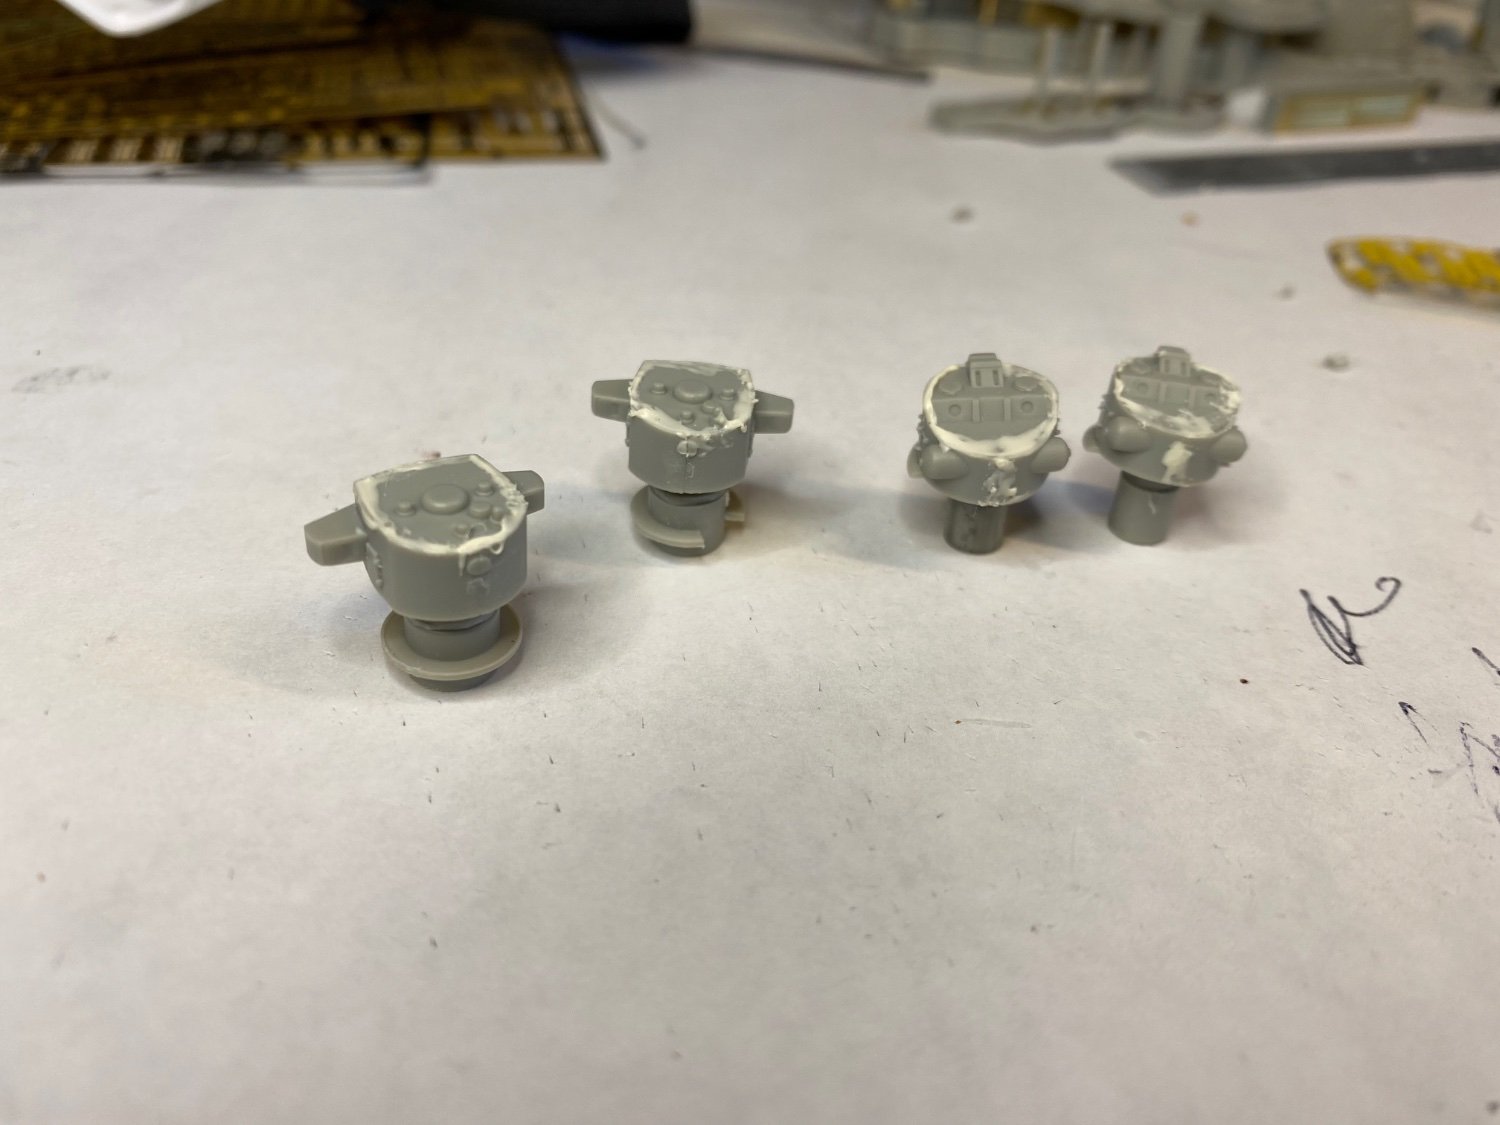
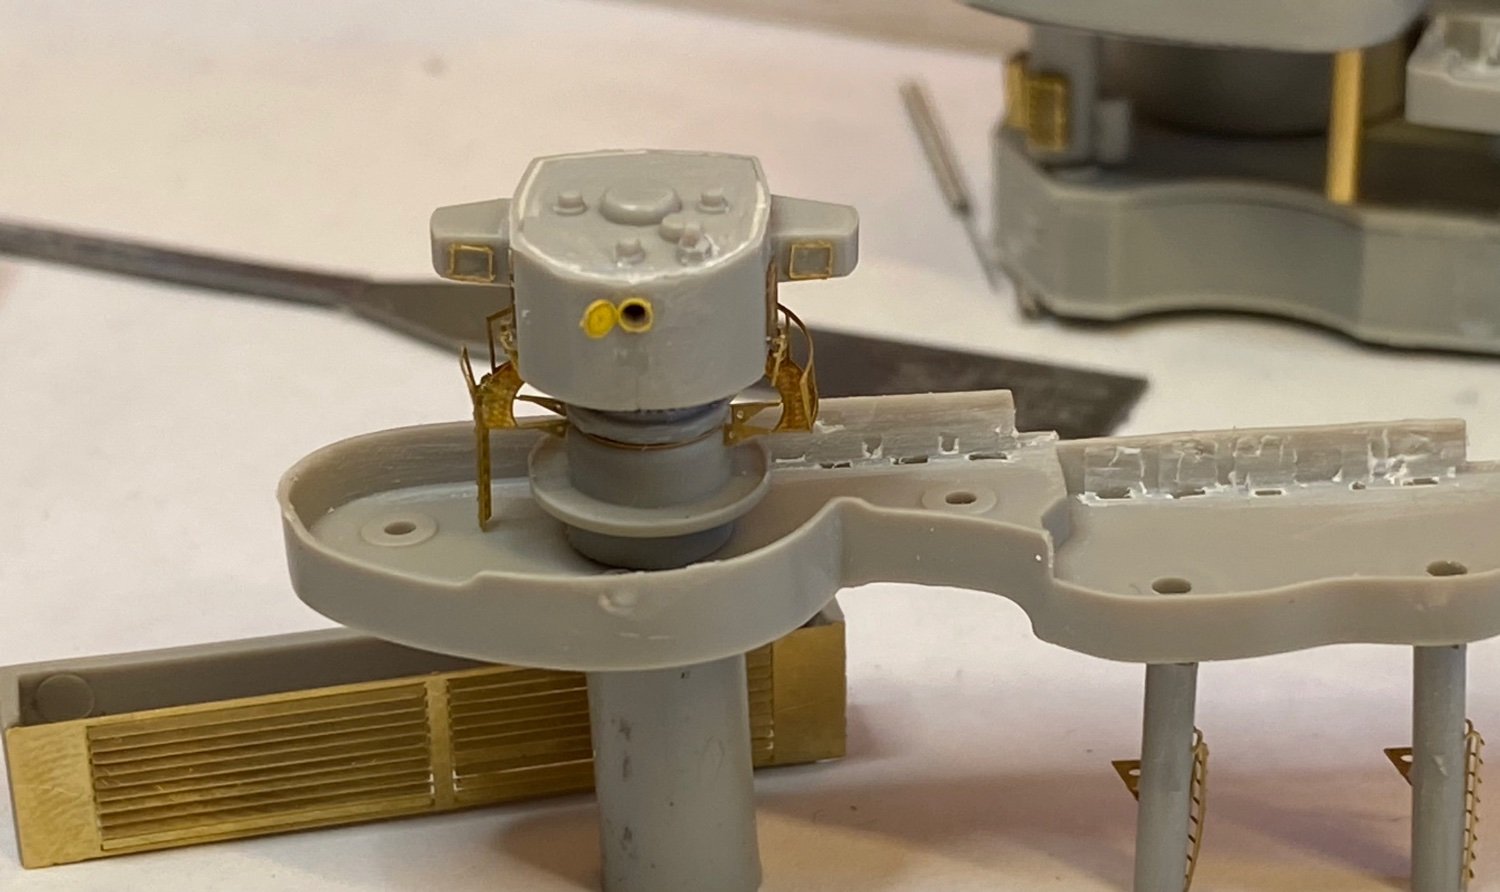
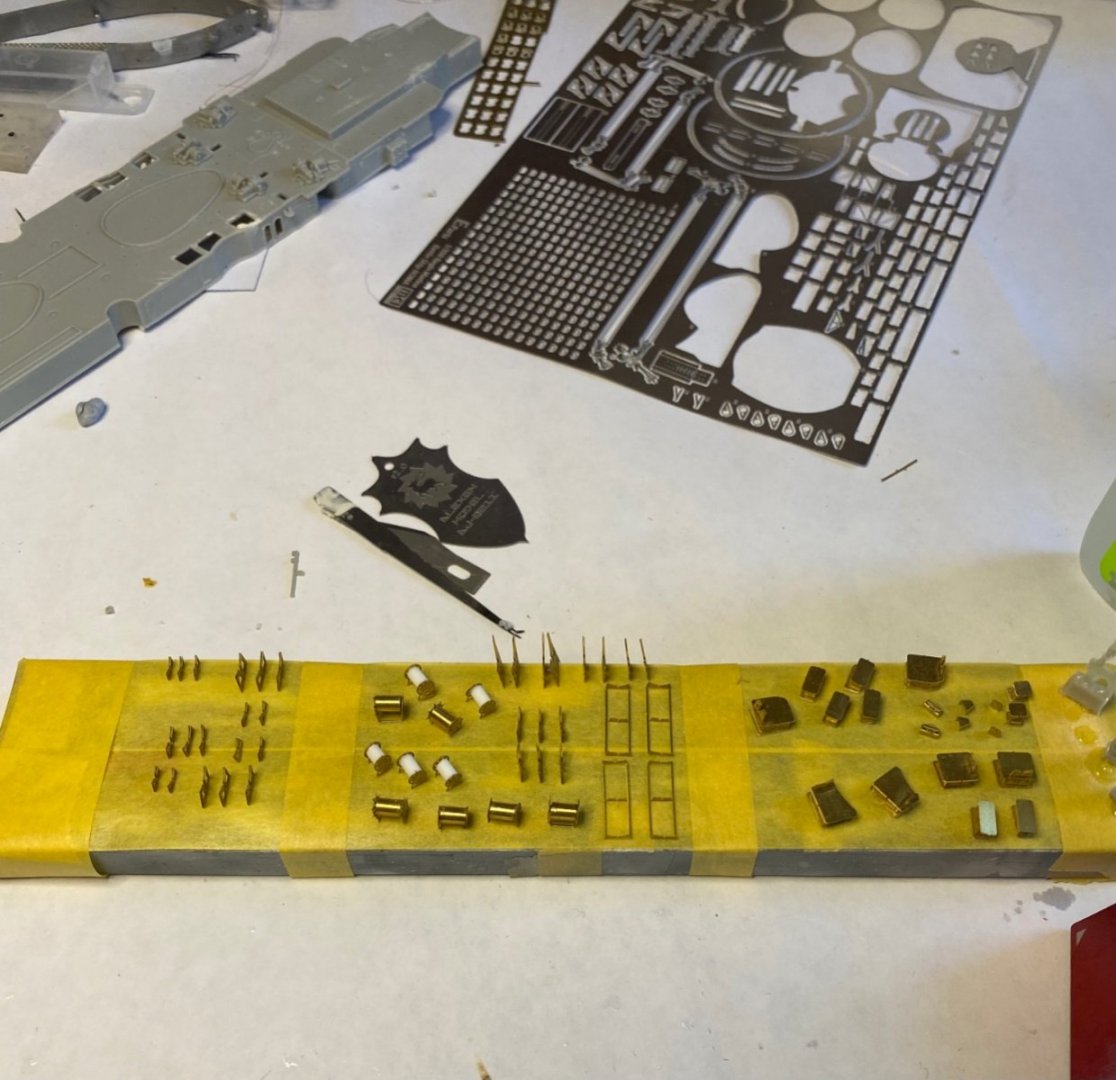
Now the smaller gun range finders, very boring pieces, some of the MK1 upgrades and some from spares


- 203 replies
-
- 10
-
-
- Roma
- Micromaster
- (and 4 more)