DONATION DRIVE - SUPPORT MSW - DO YOUR PART TO KEEP THIS GREAT FORUM GOING!
×


RGL
-
Posts
5,539 -
Joined
-
Last visited
Content Type
Profiles
Forums
Gallery
Events
Everything posted by RGL
-
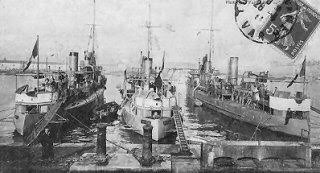
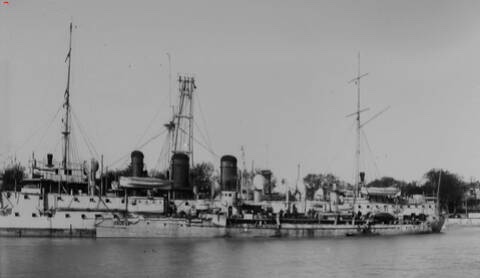
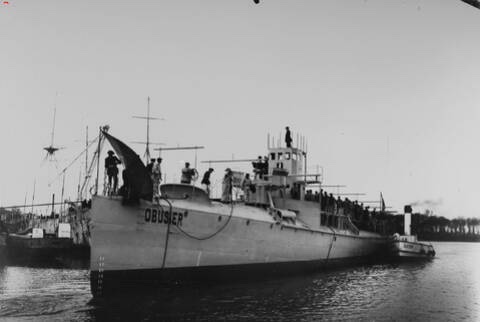
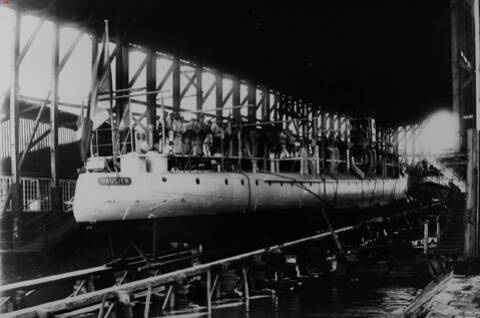
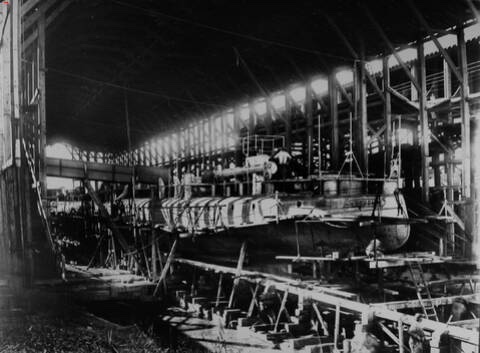
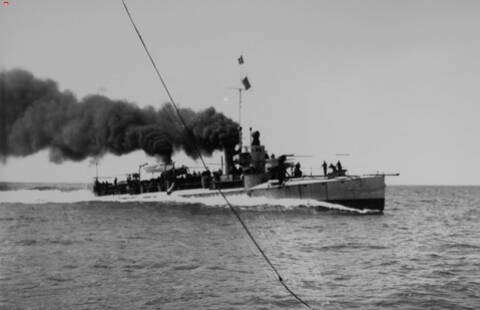
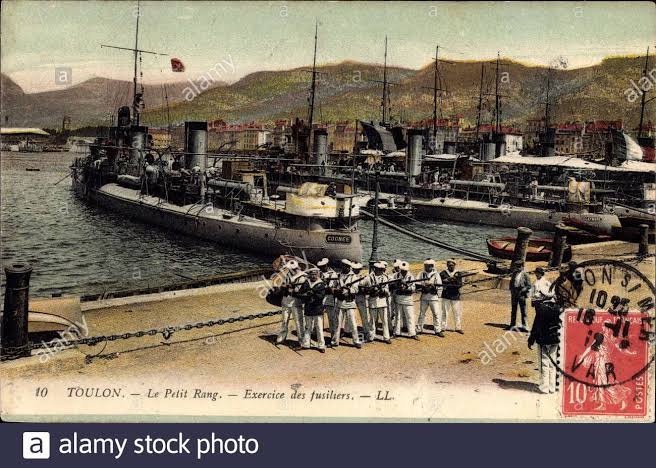
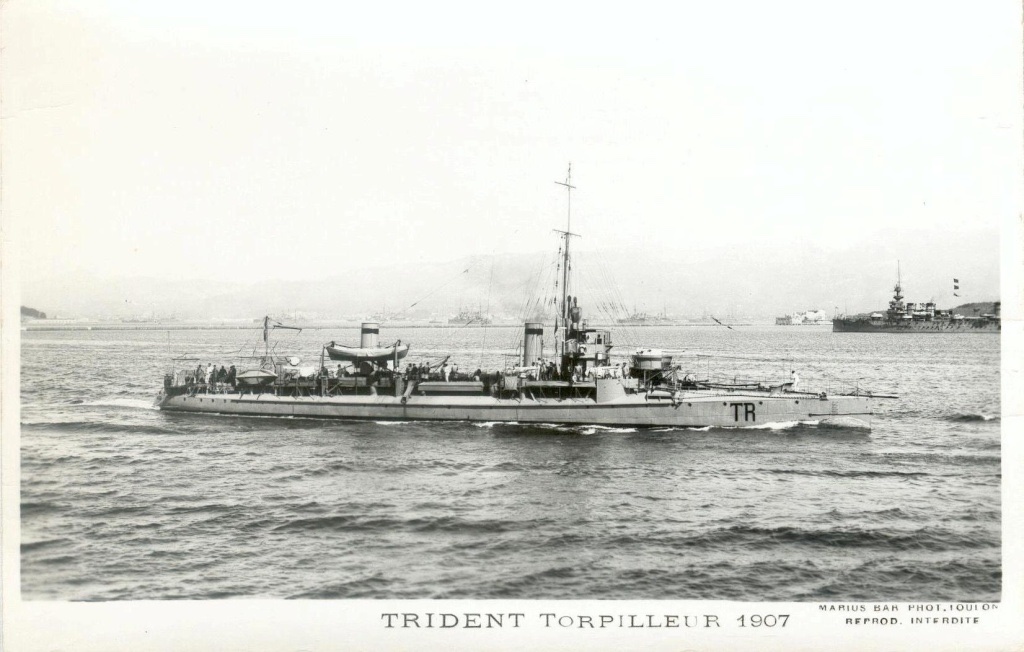
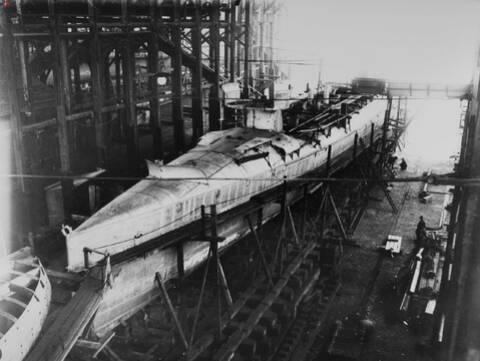
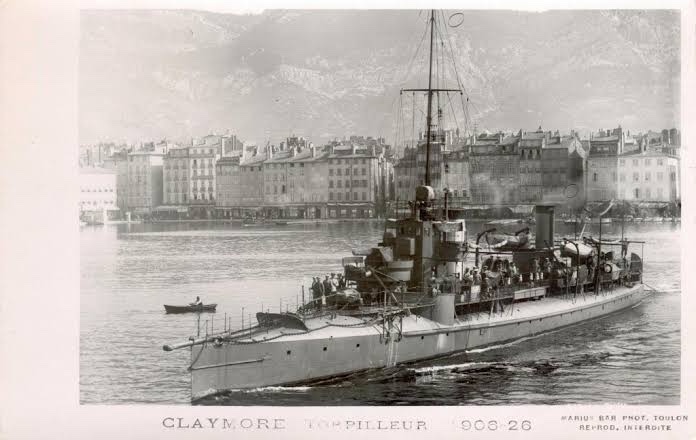
 I want to do her in white livery which is a nice break from grey. These shots courtesy of a French website
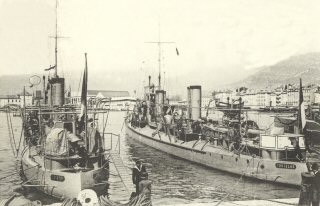


- 53 replies
-
- 12
-

-
- photo etch
- resin
- (and 3 more)
-
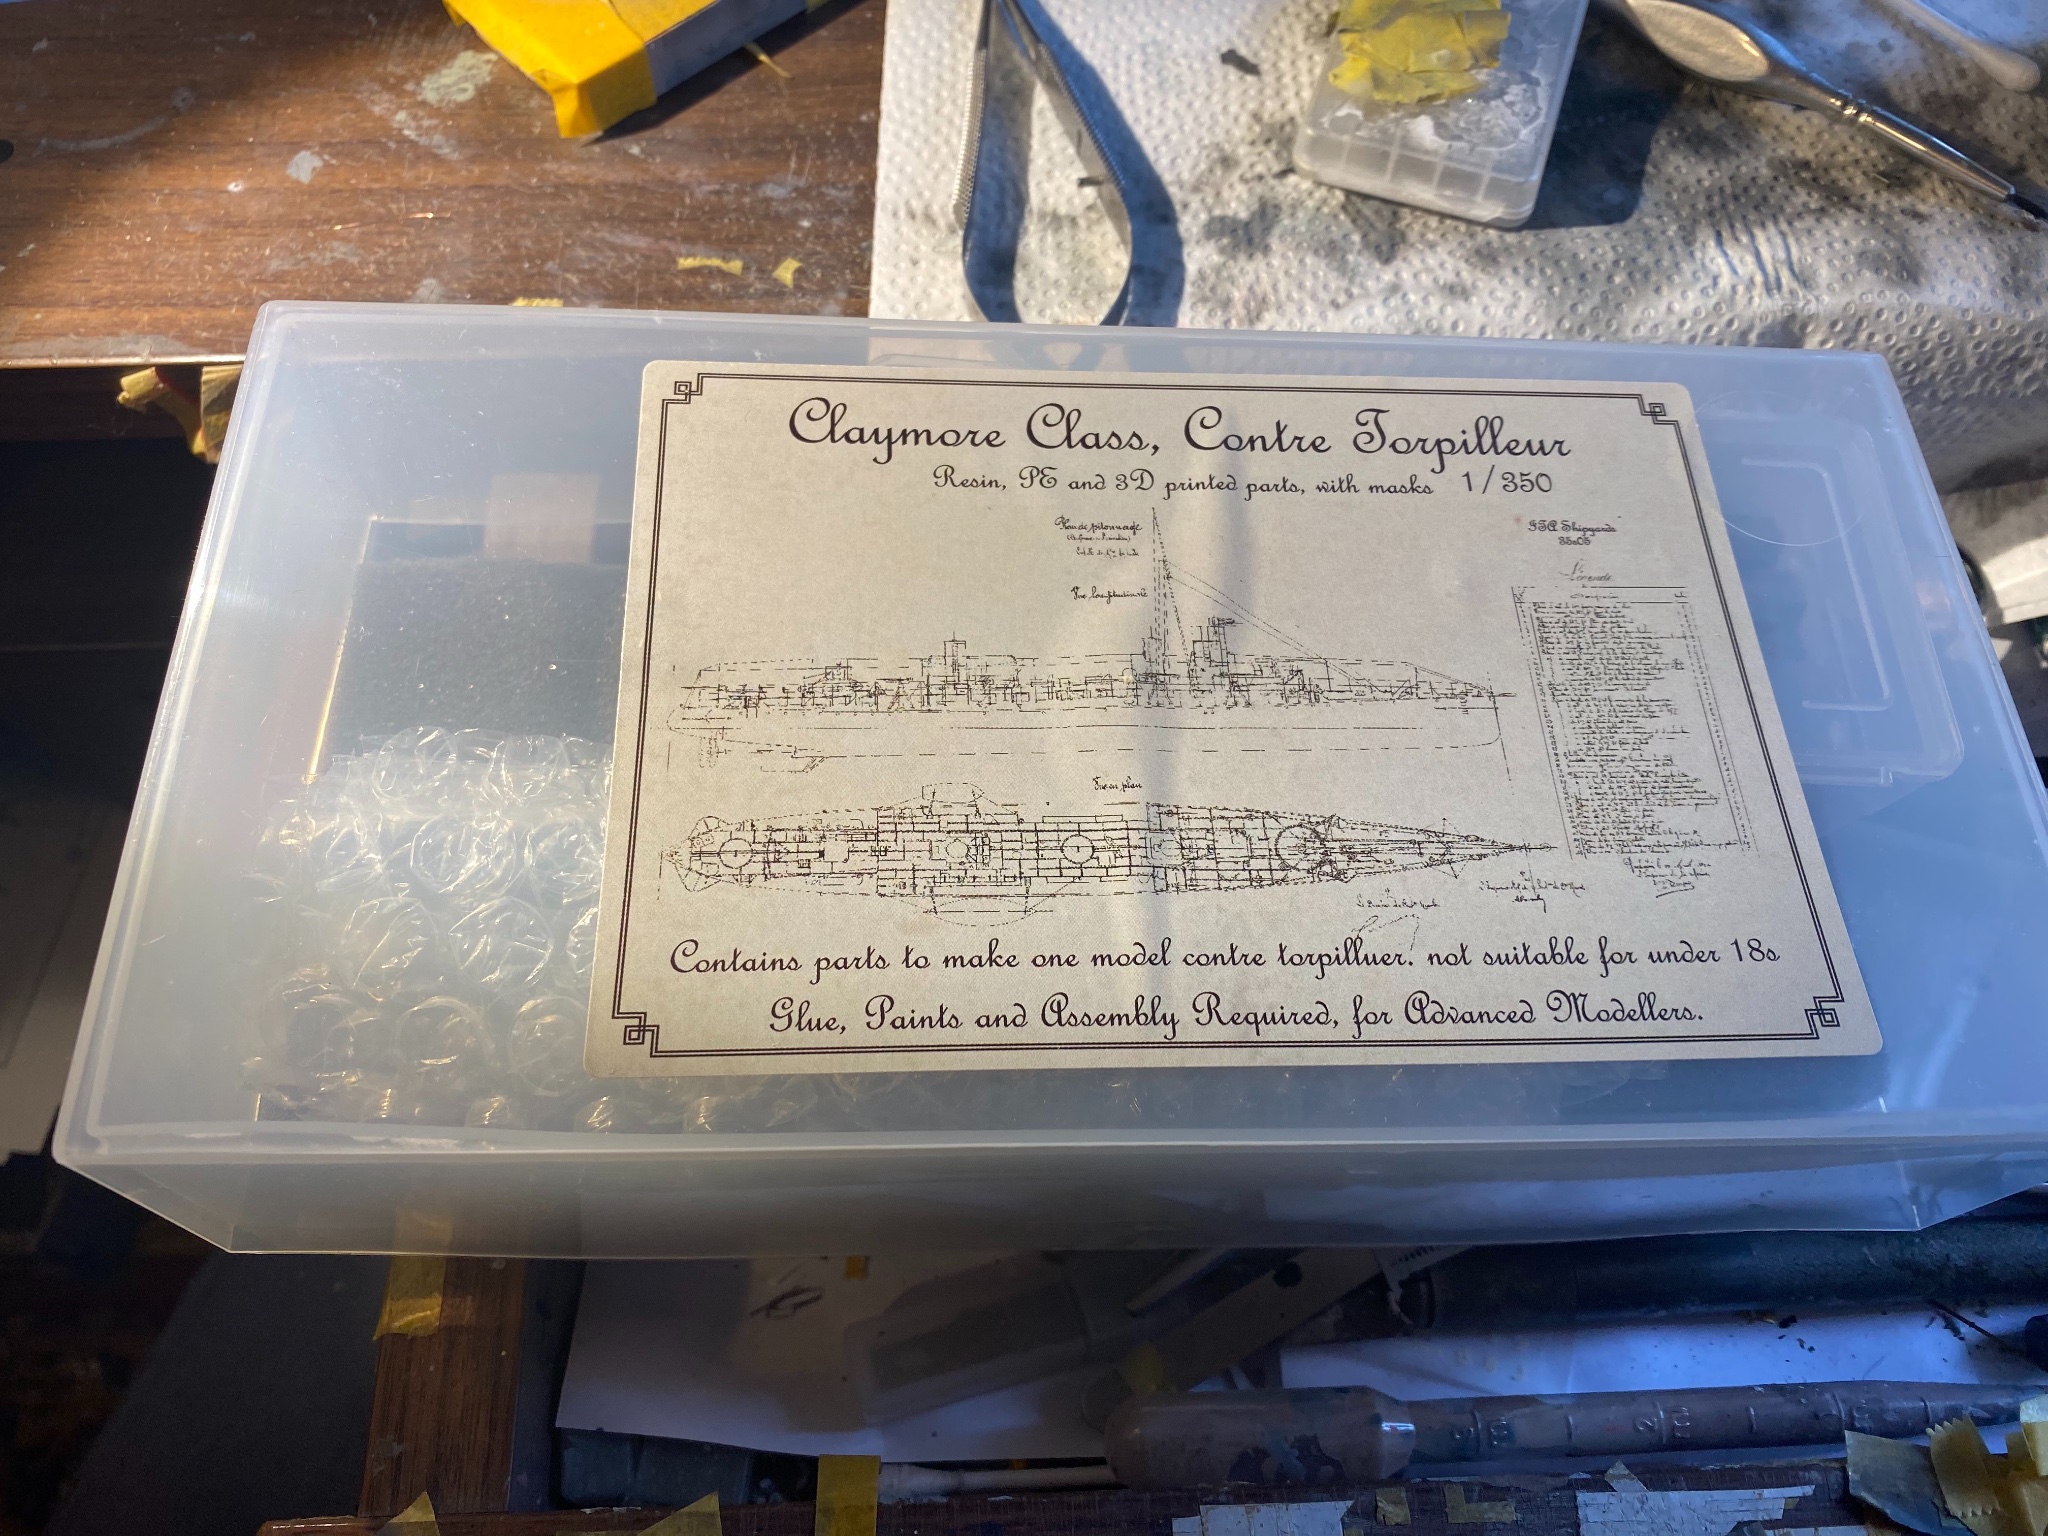
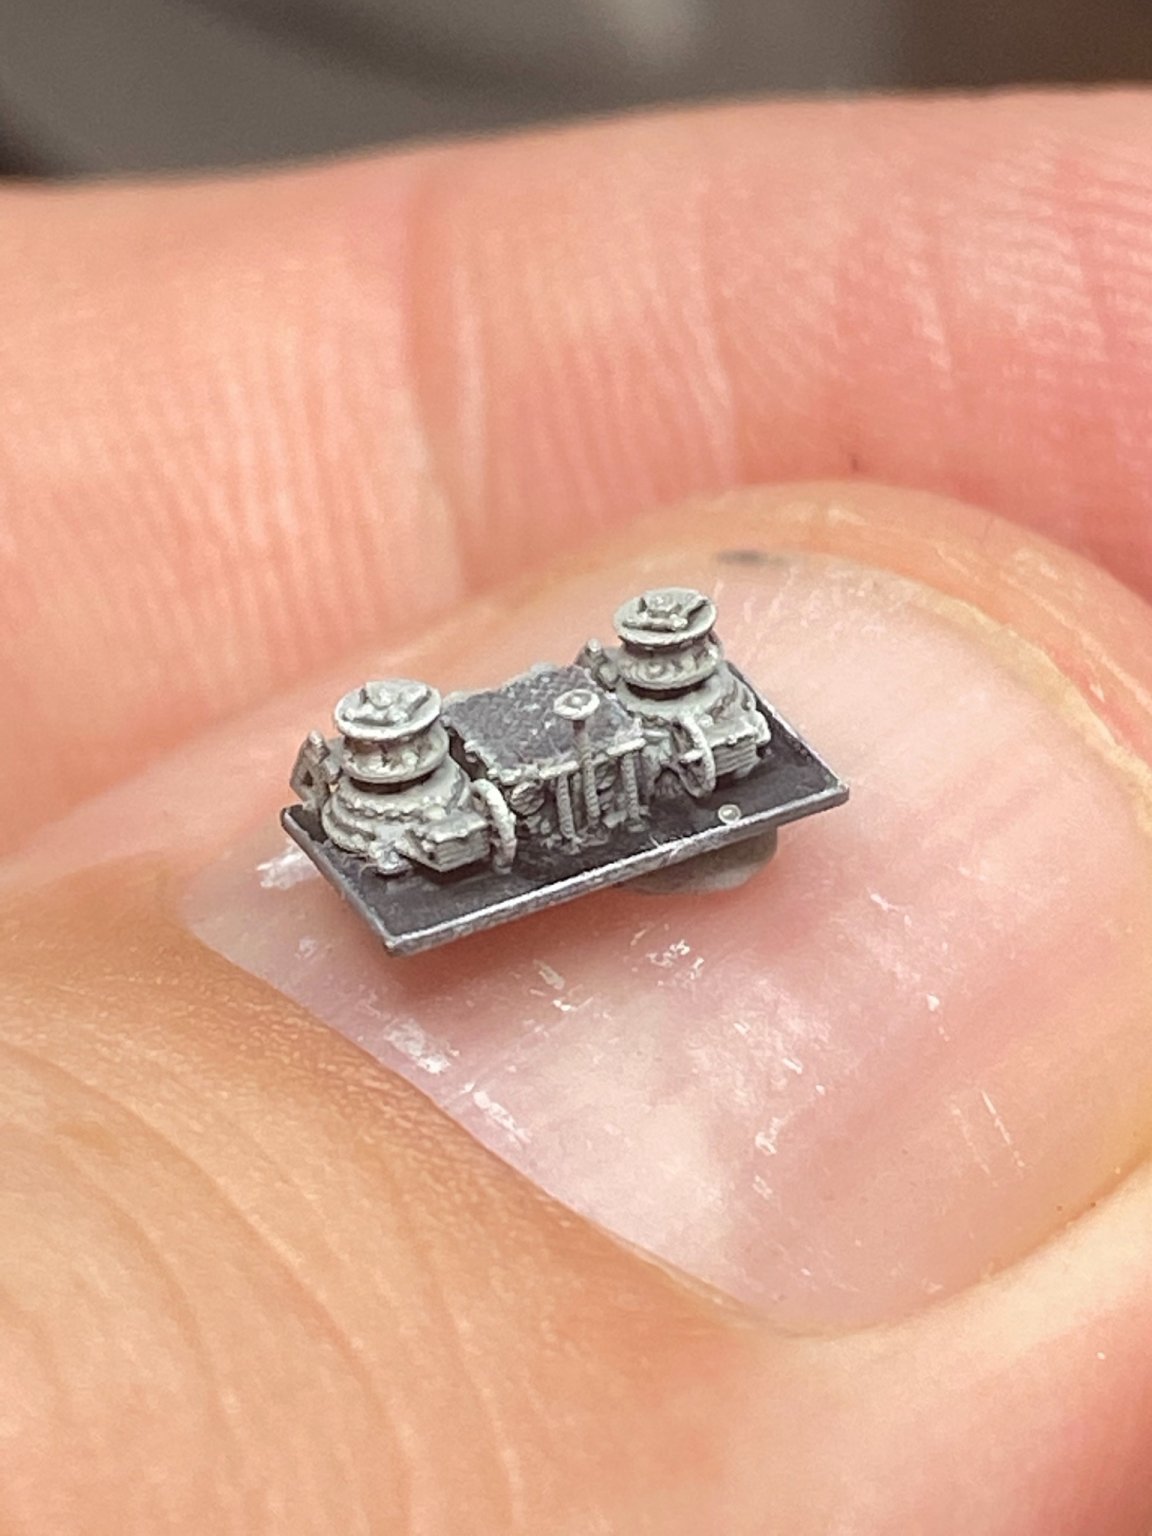
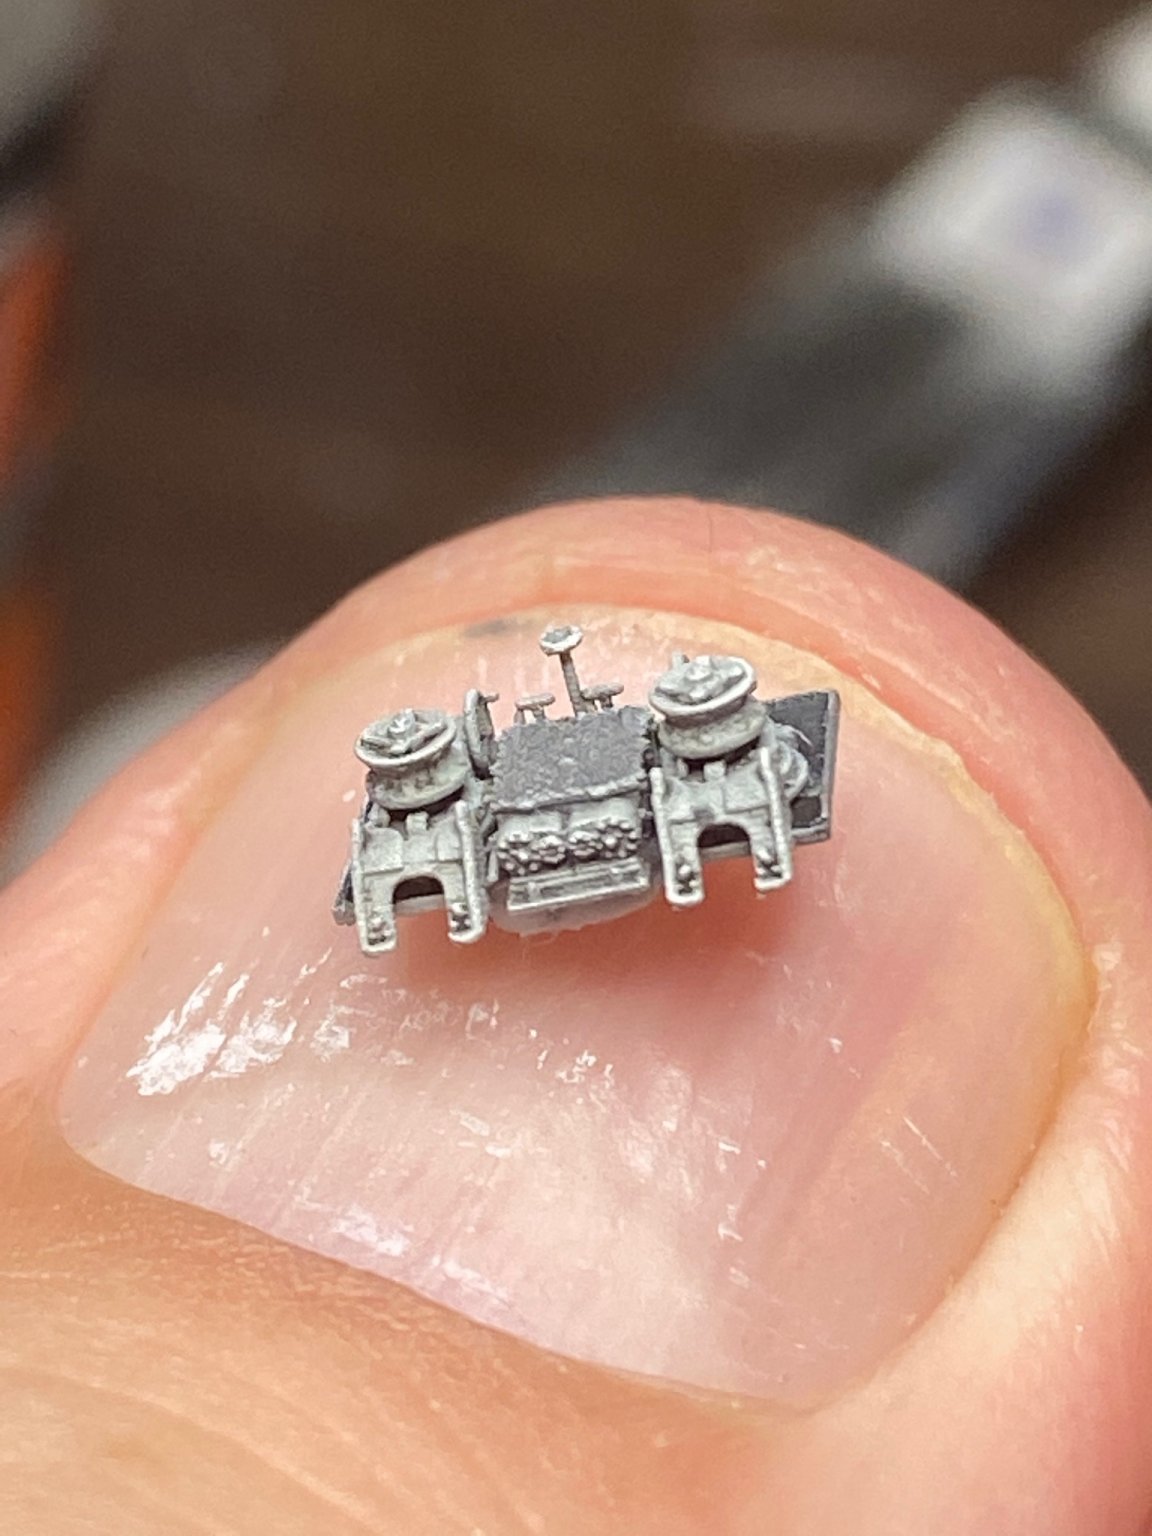
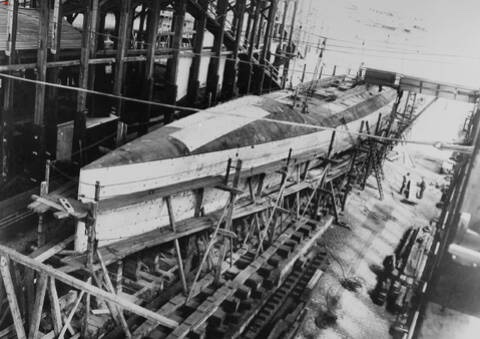
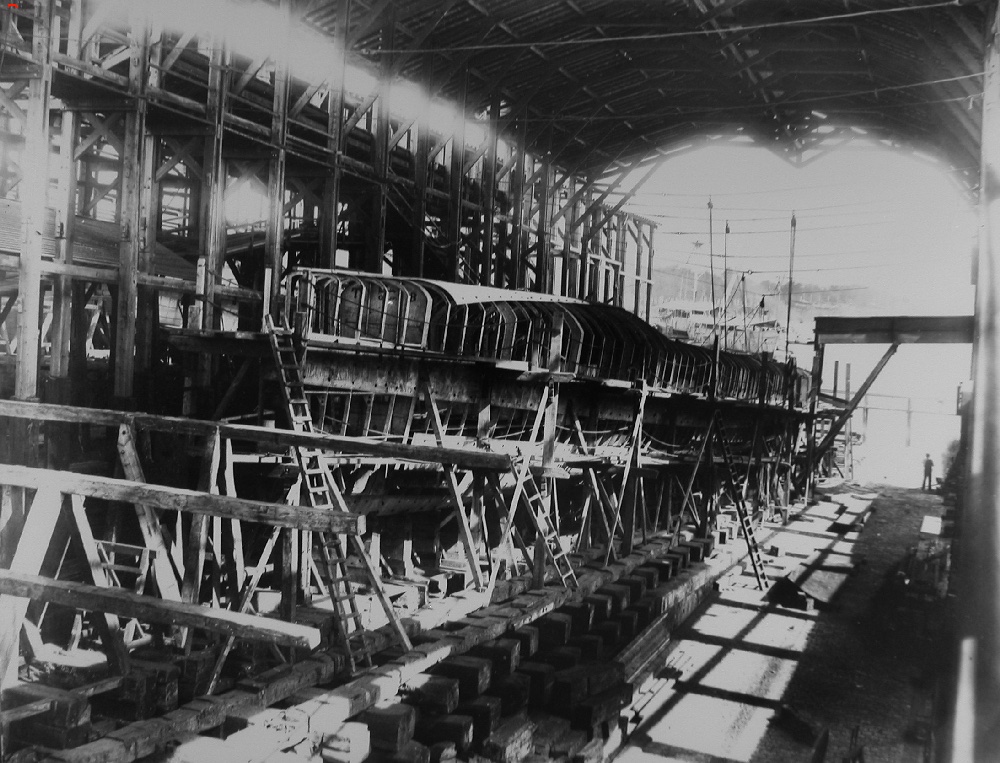
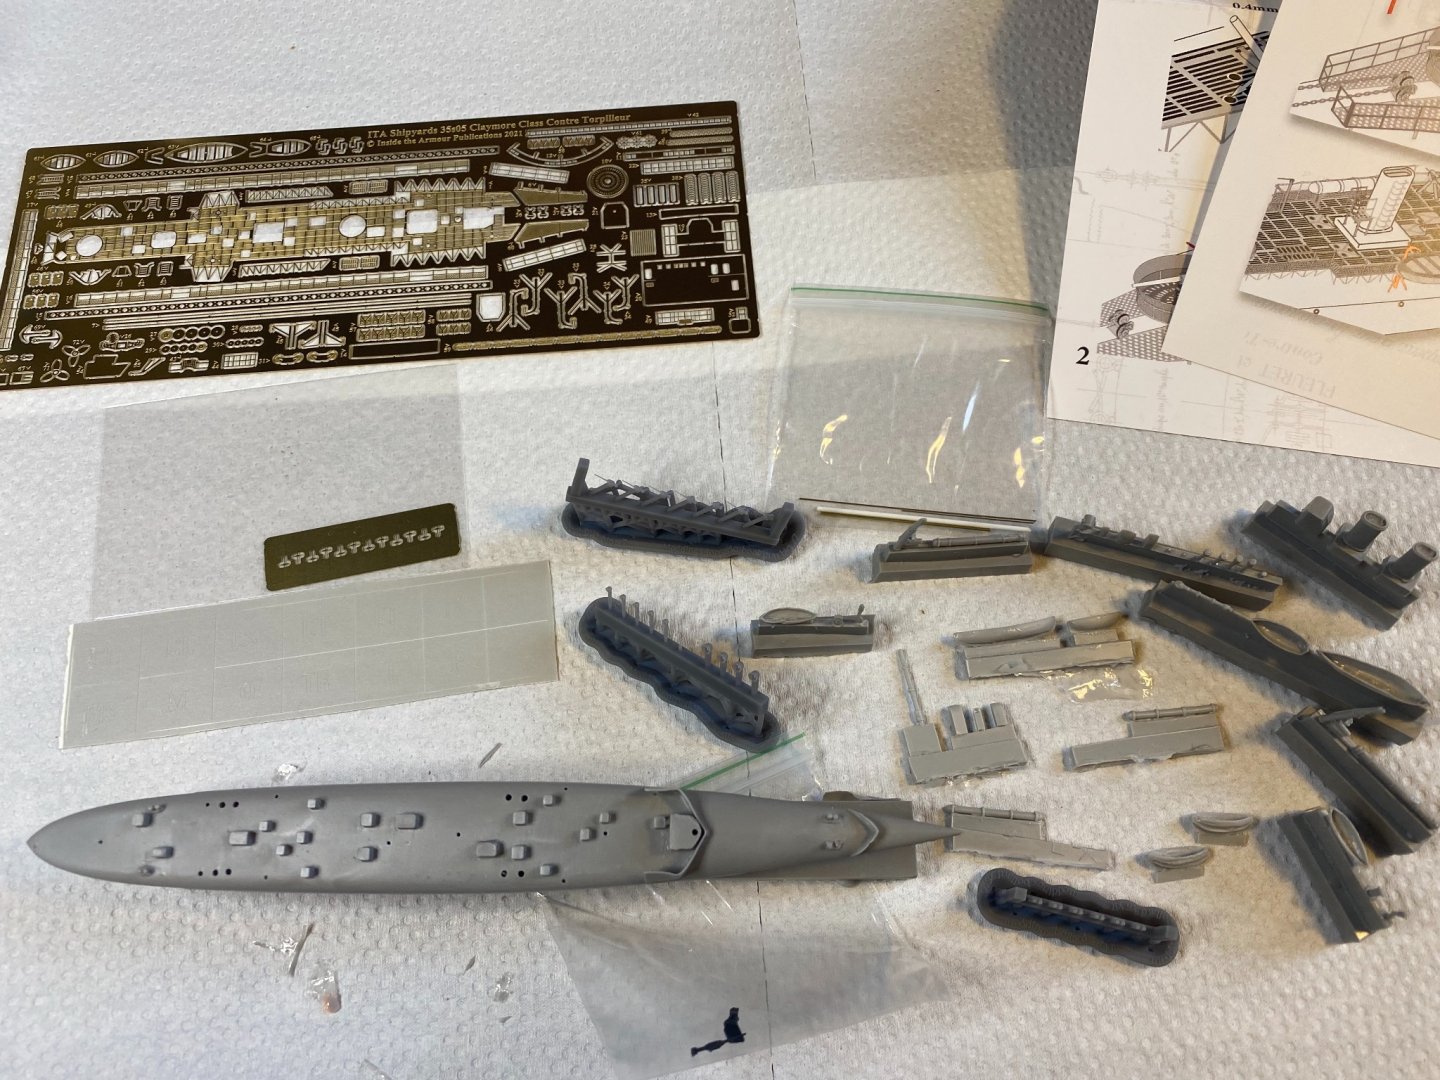
These were such cool looking ships class of destroyer built for the French Navy between 1905 and 1908. It was built on French shipyards: Rochefort 9, Le Havre 1 and Toulon 3, for a total of 13 units. The thirteen ships were used during the First World War. They bear the names of historical infantry weapons: Quiver, Claymore, Hatchet, Cutlass, Foil, Ax, Mace, Mortar, Howitzer, Pierrier, Stylus, Trident, Blunderbuss. Thus the list in French; Carquois Claymore Cognée Coutelas Fleuret Hache Massue Mortier Obusier Pierrer Stylet Trident Tromblon

- 53 replies
-
- 8
-
-
- photo etch
- resin
- (and 3 more)
-
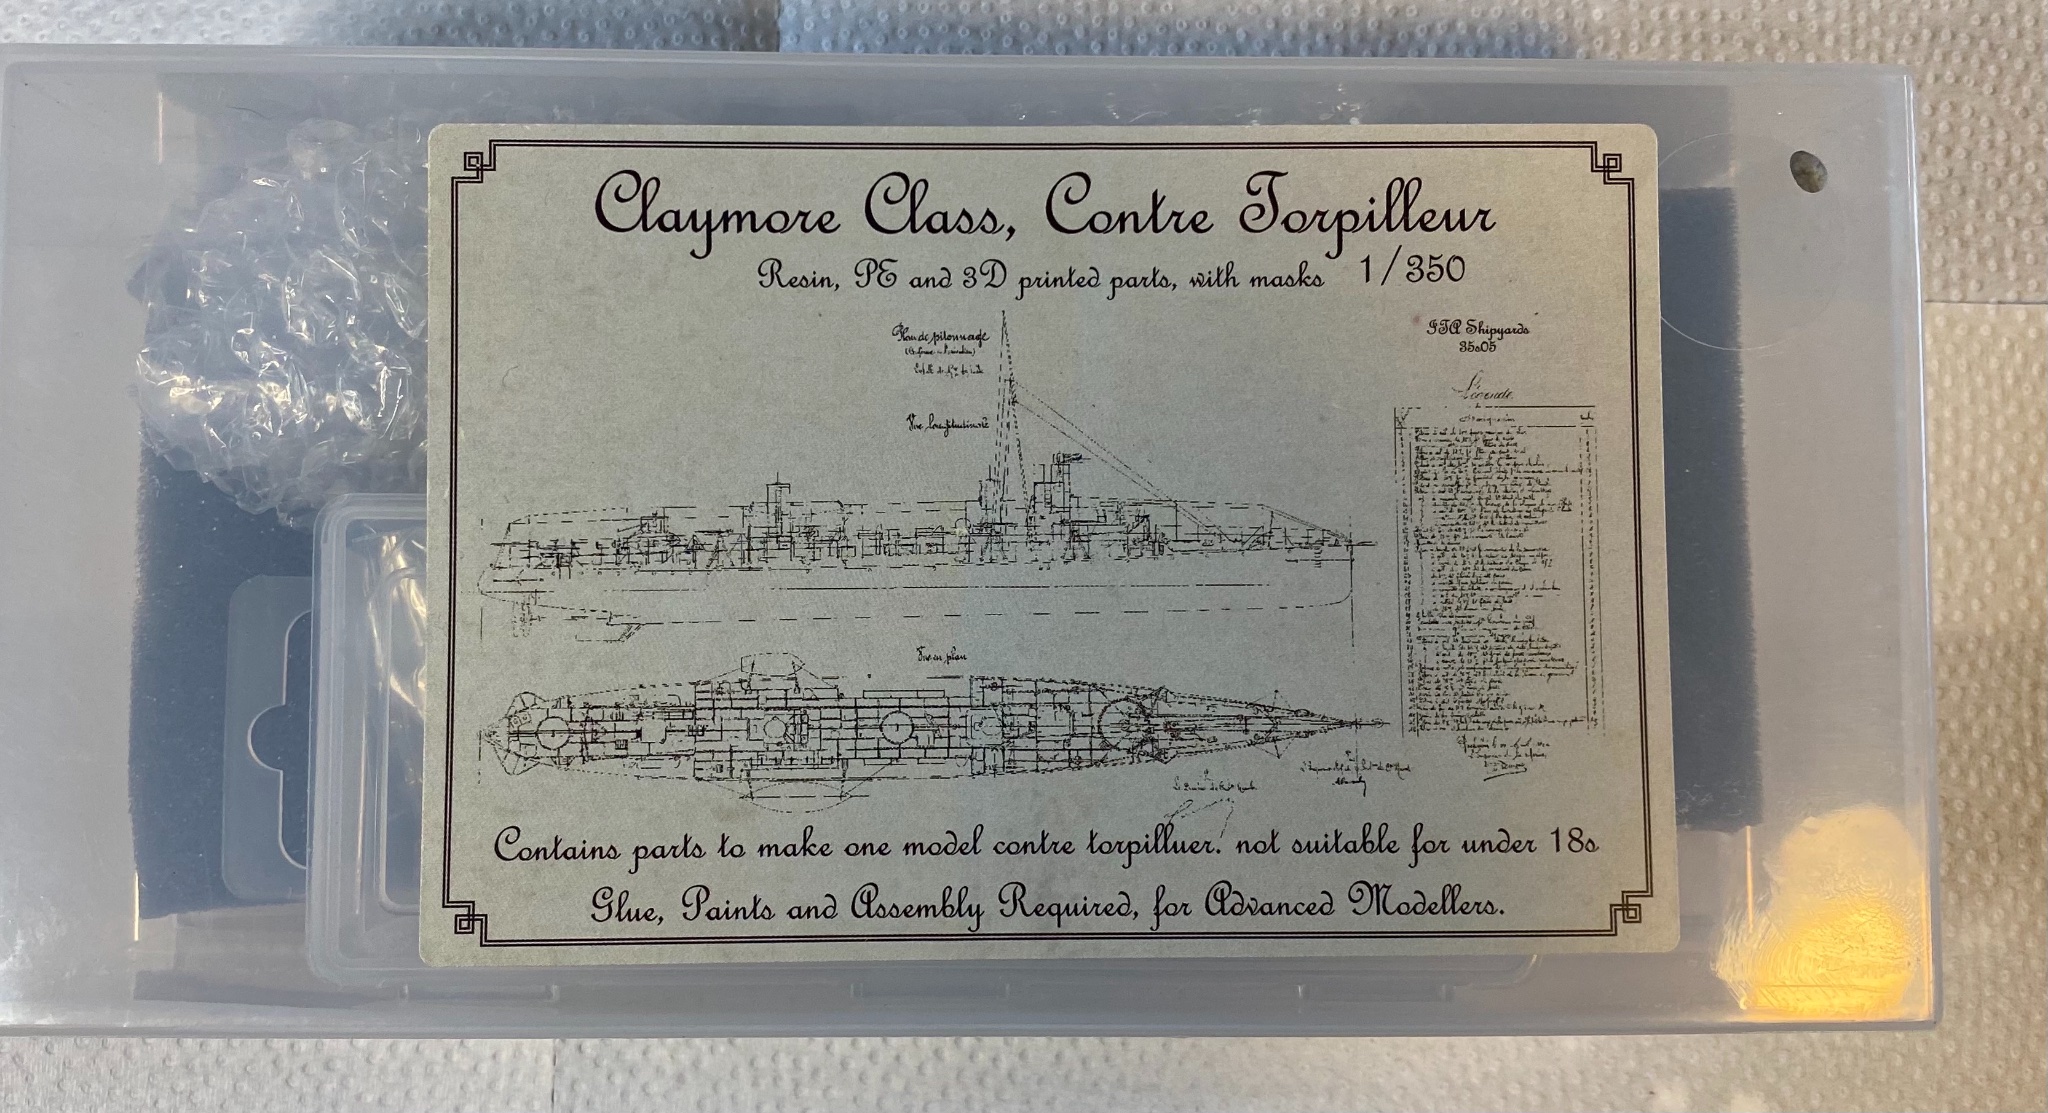
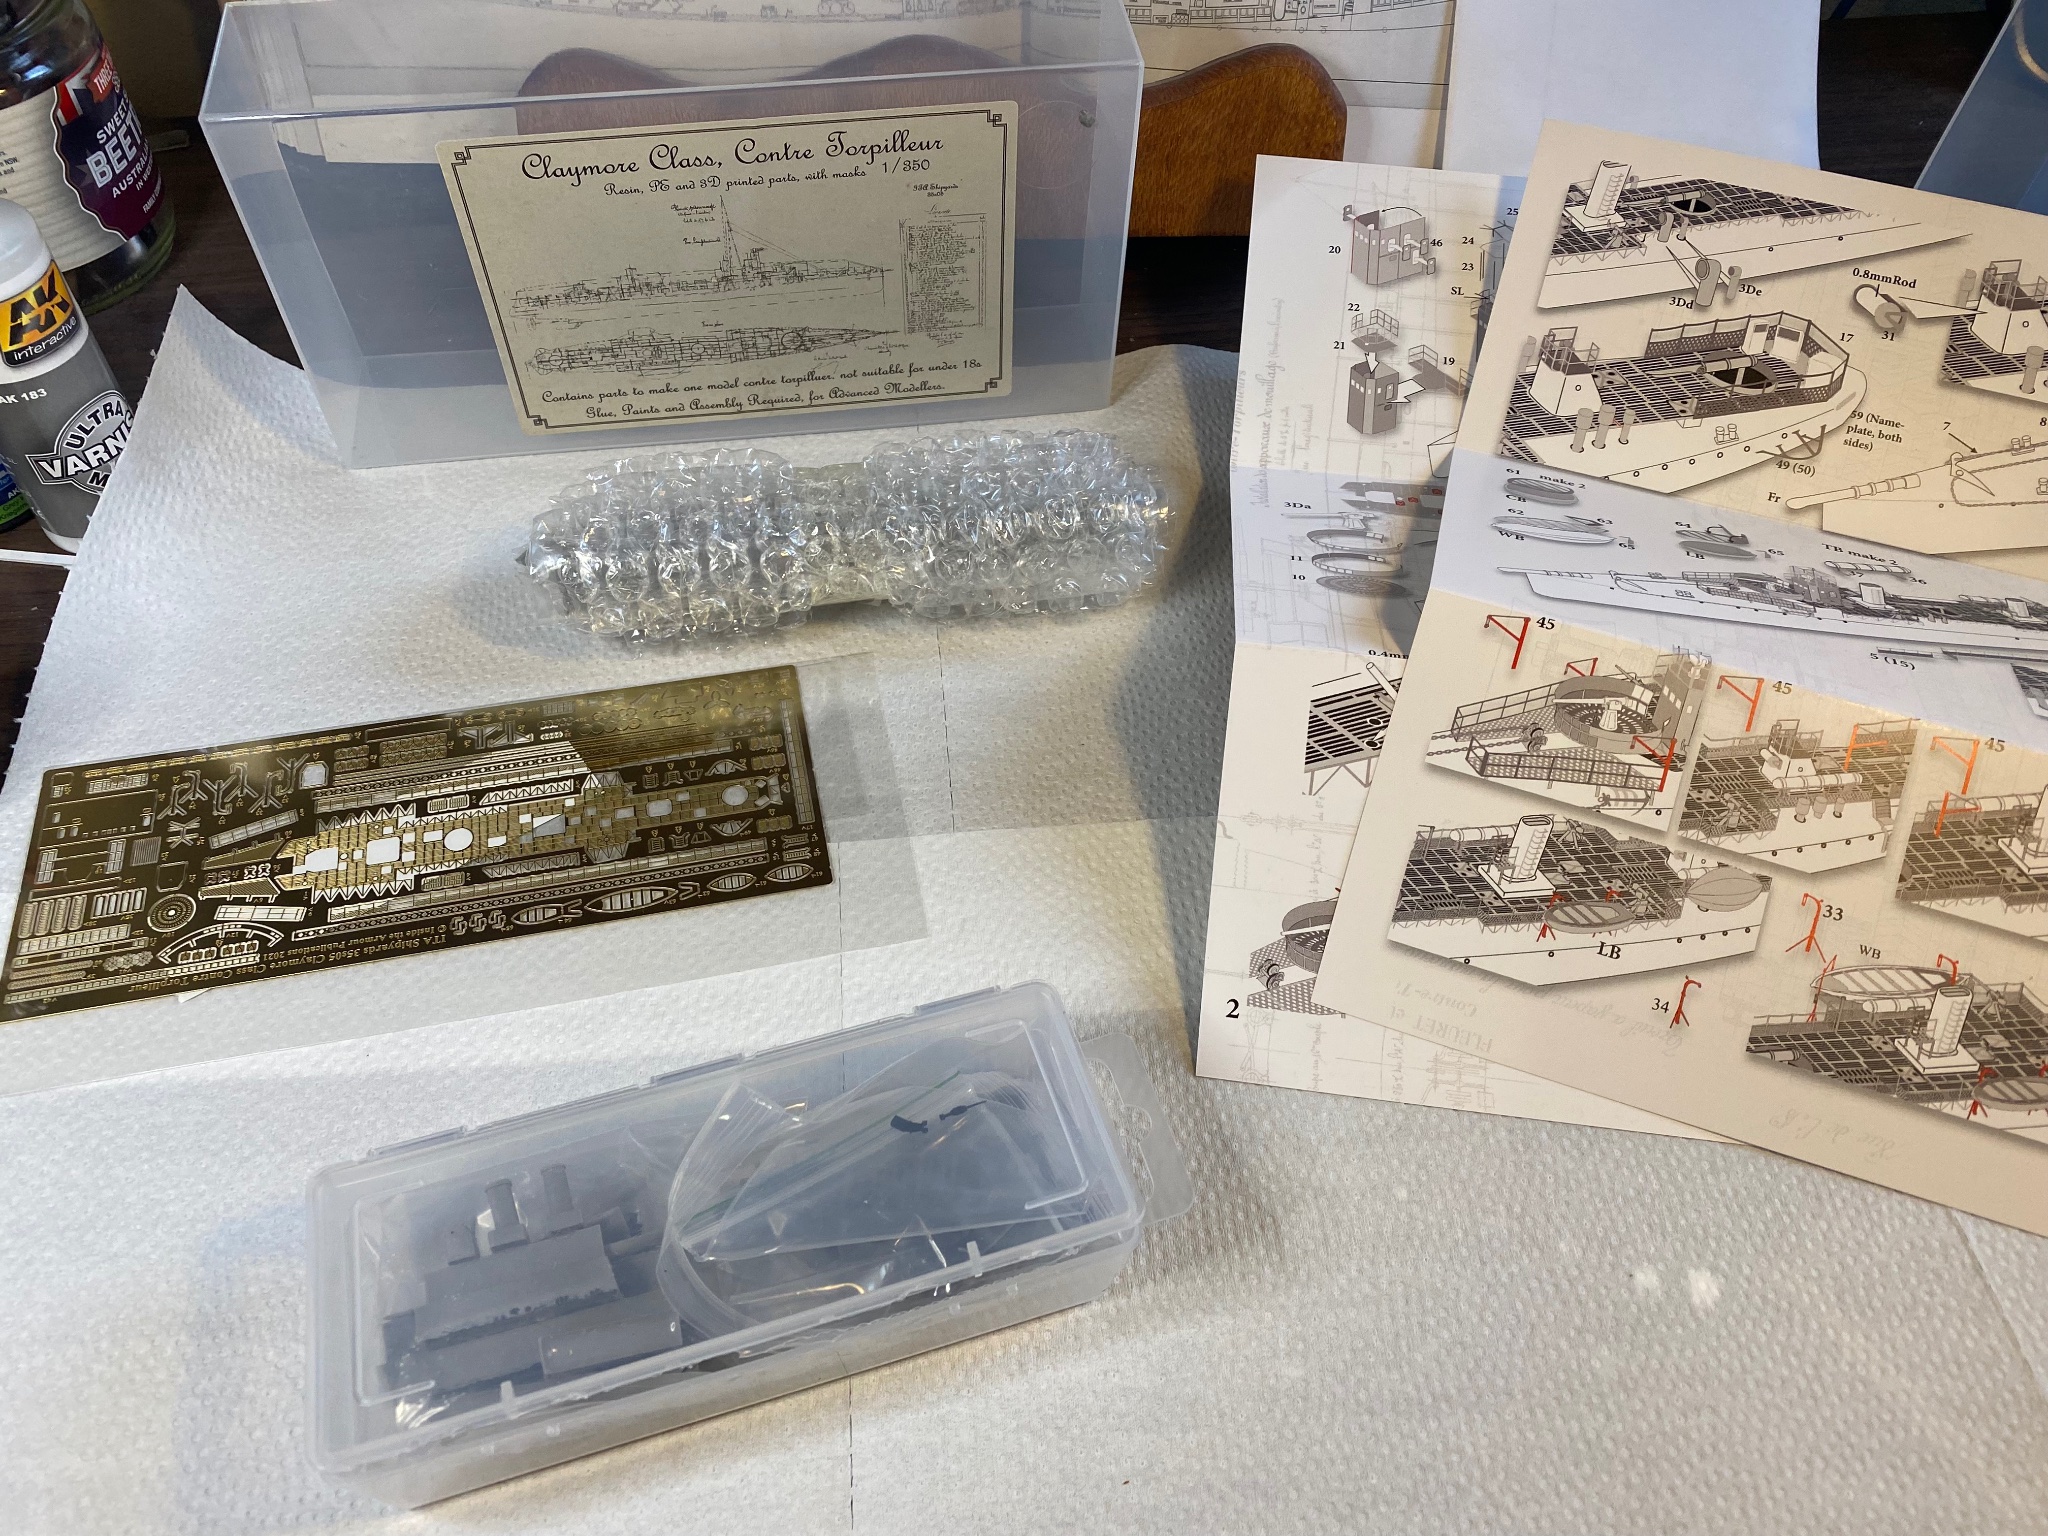
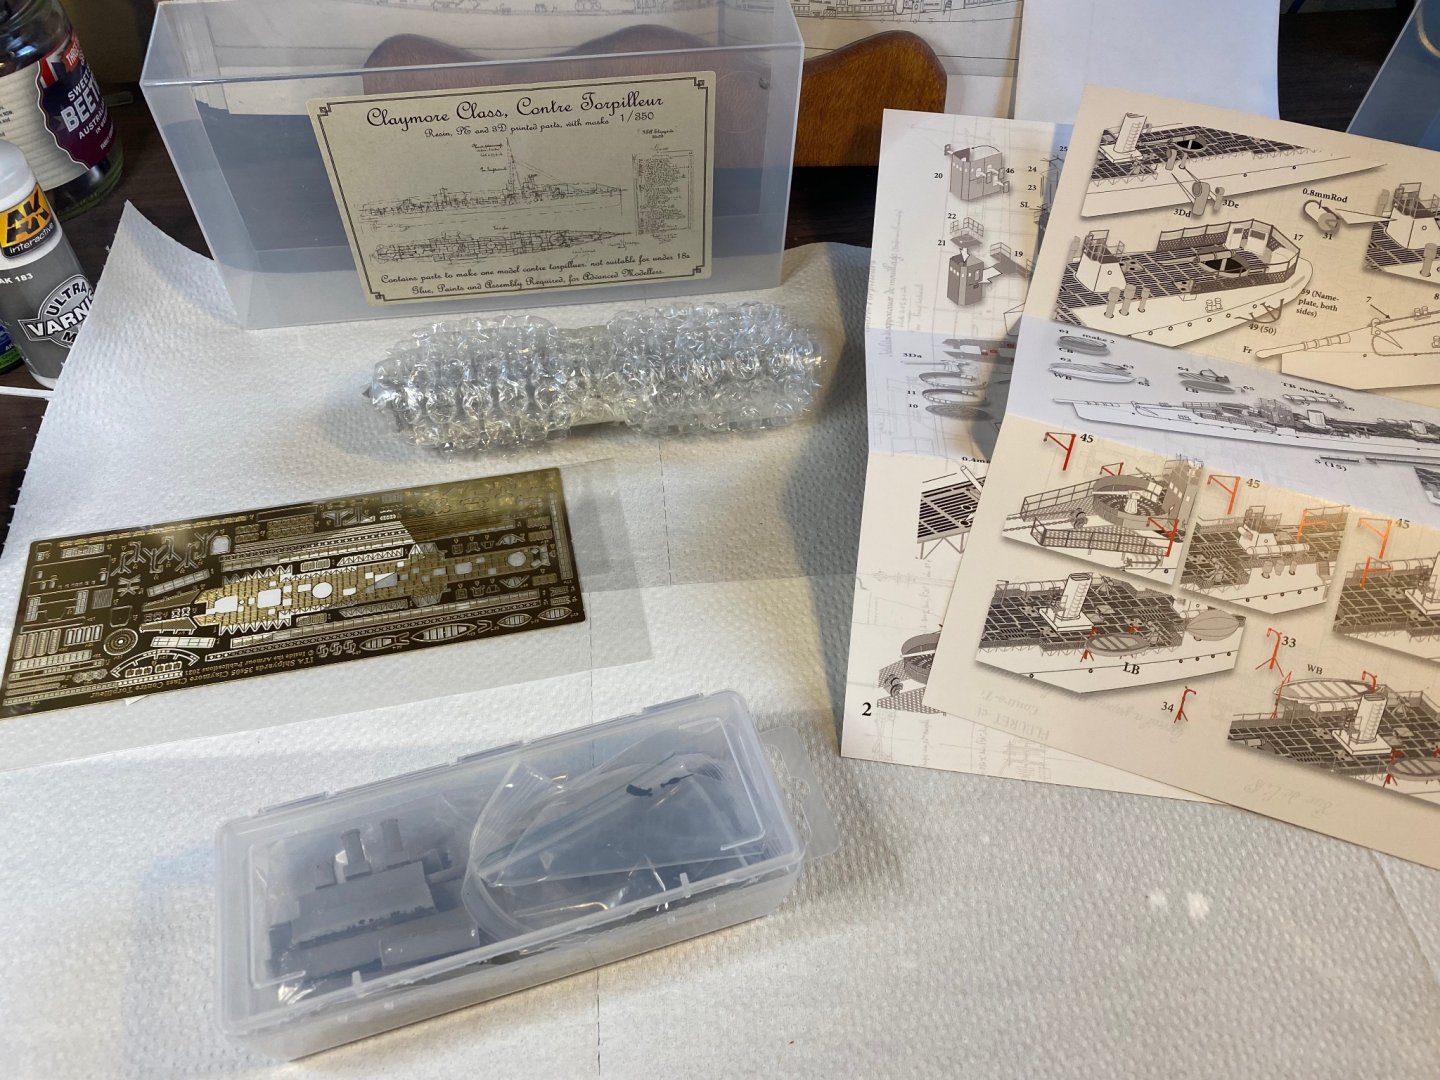
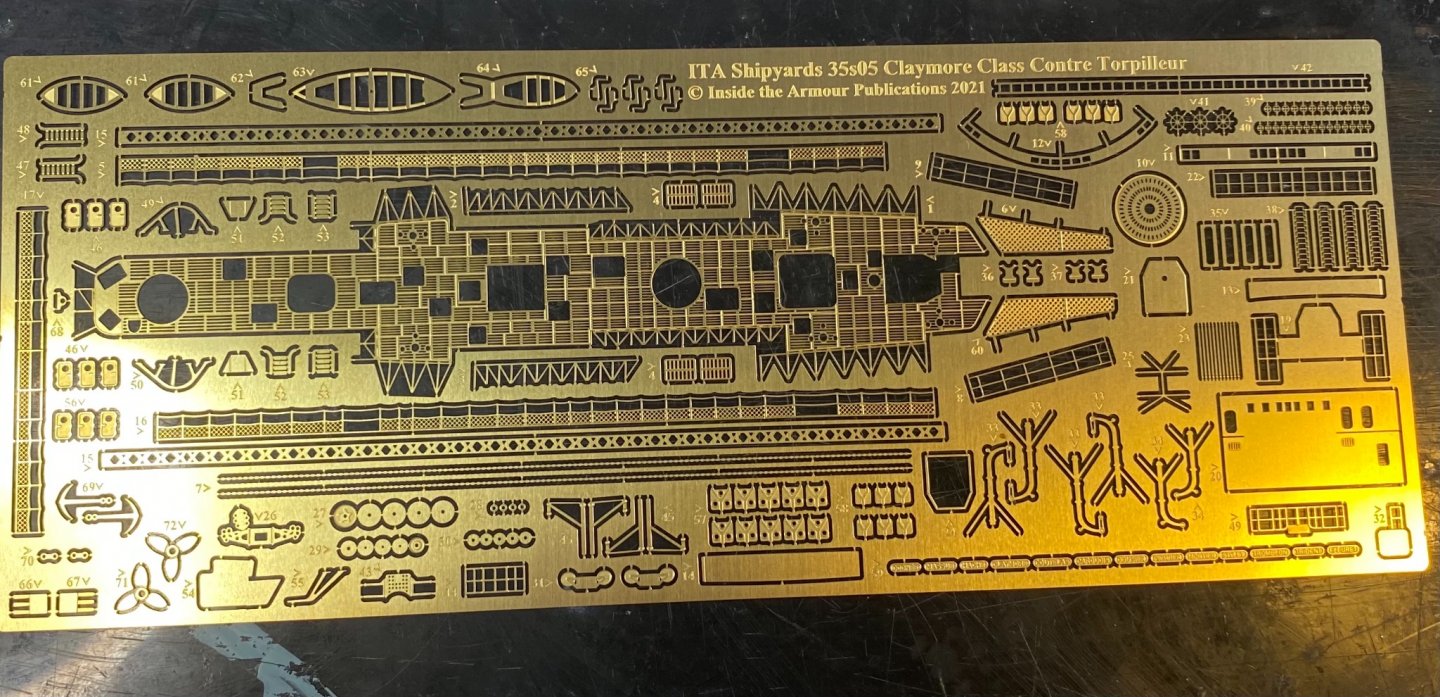
I saw this online and just had to get it, a beautiful little kit that has the best packaging I’ve ever seen.


- 53 replies
-
- 15
-
-
- photo etch
- resin
- (and 3 more)
-
I’m going to have to pause this build log for a while as the Micromaster remaining pieces are not yet ready. I’m going to have a little interlude mind you. I now have a bit of. Stash, 2 Vendettas and a Langley AV-3 if anyone is keen for a joint build but this is next

-
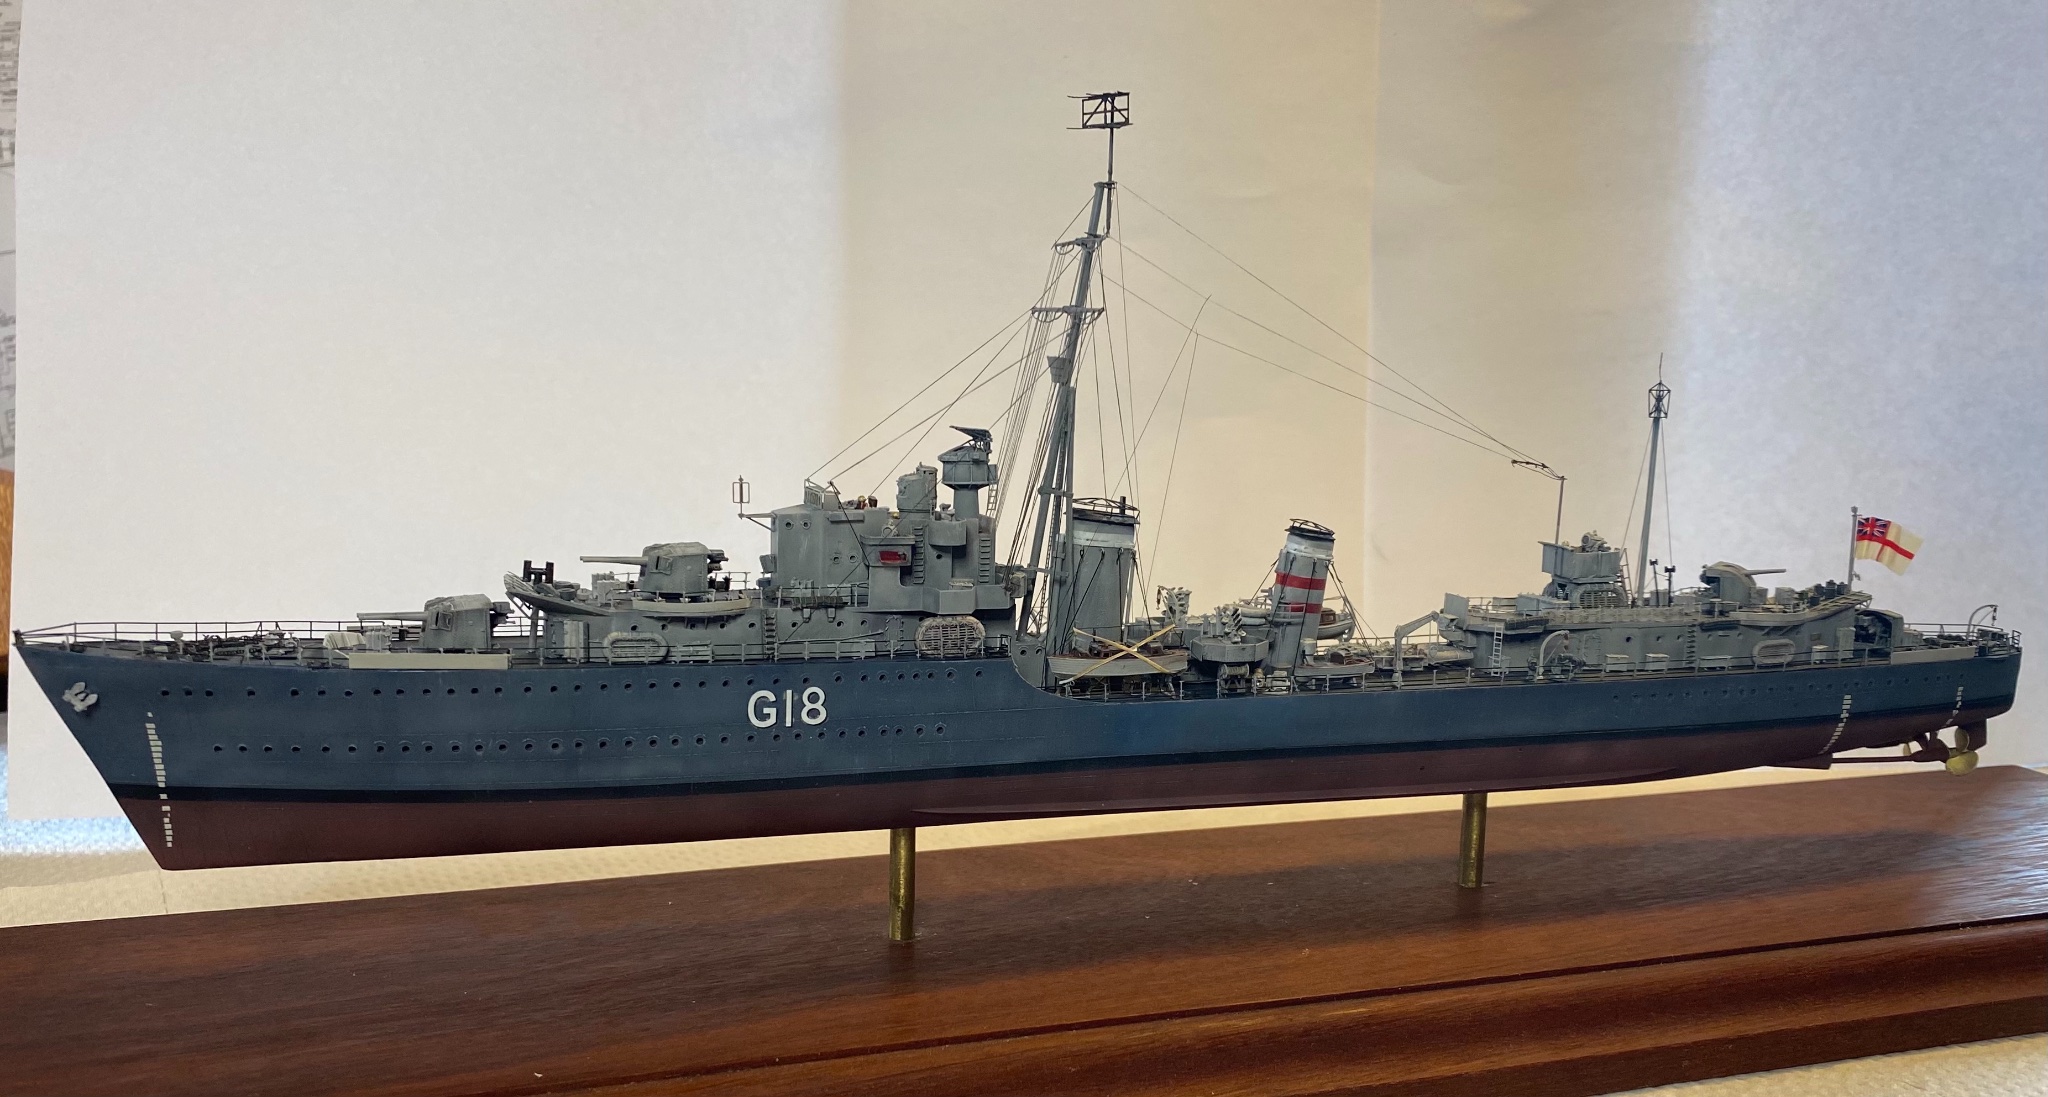
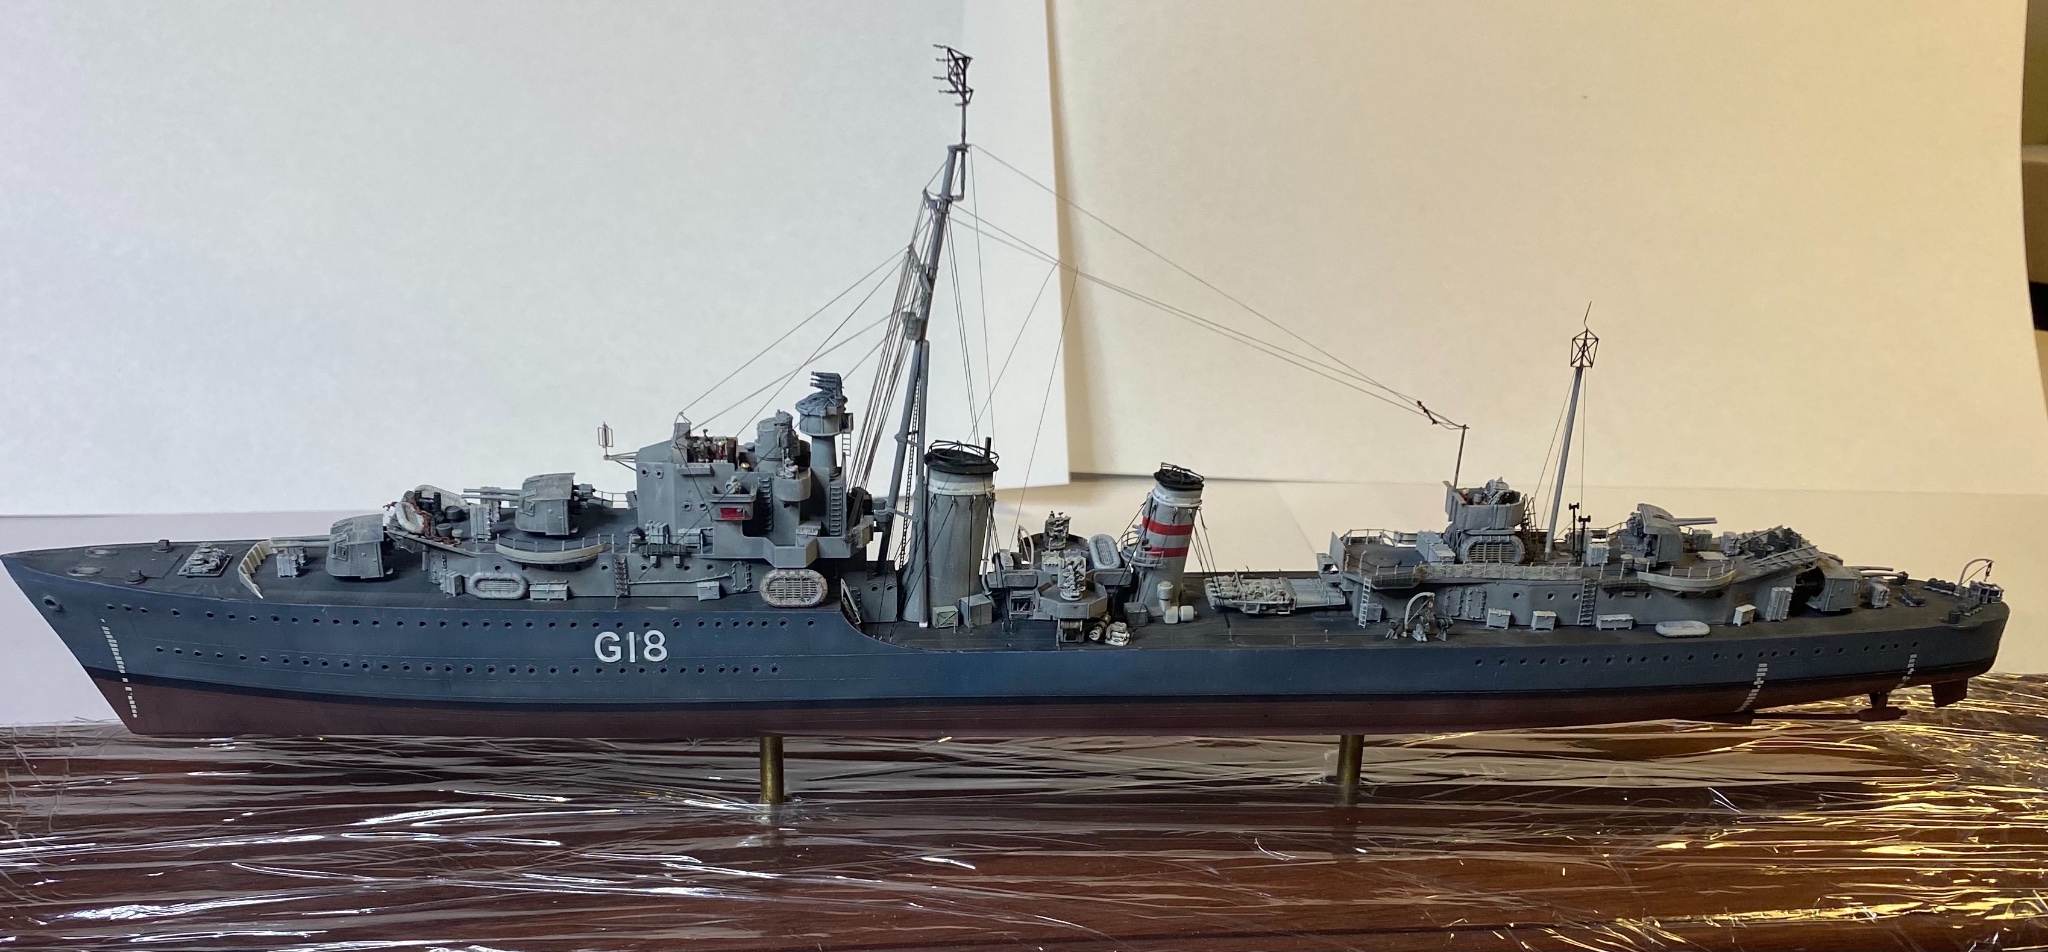
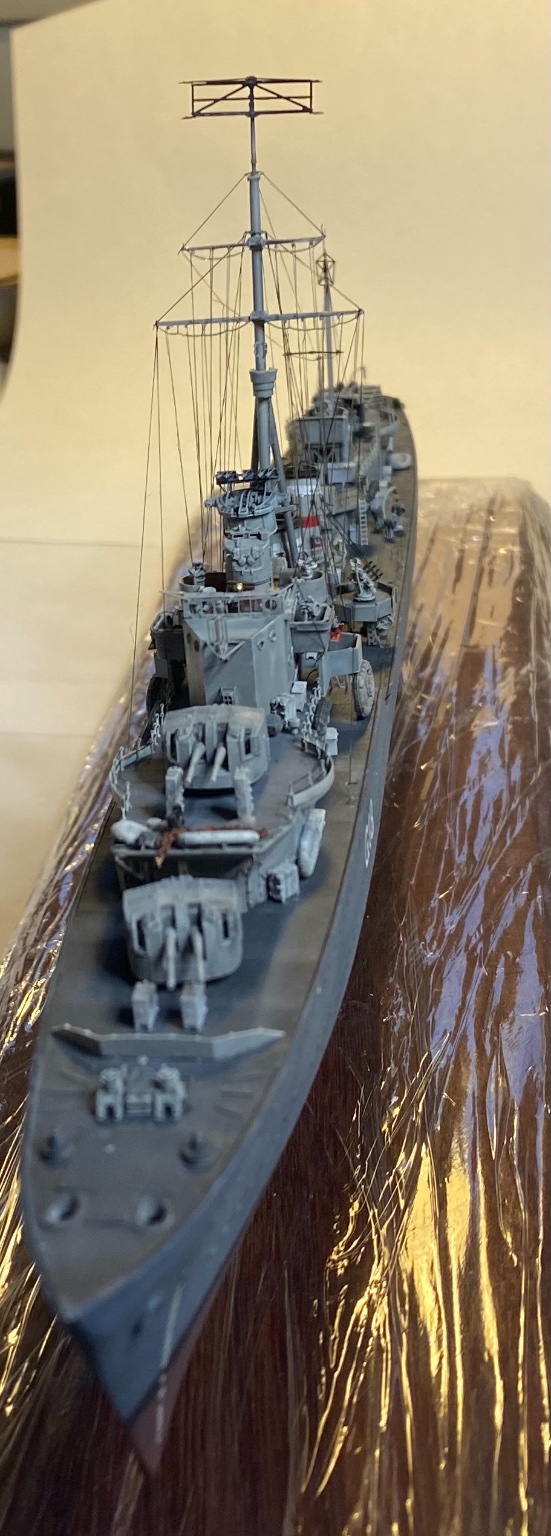
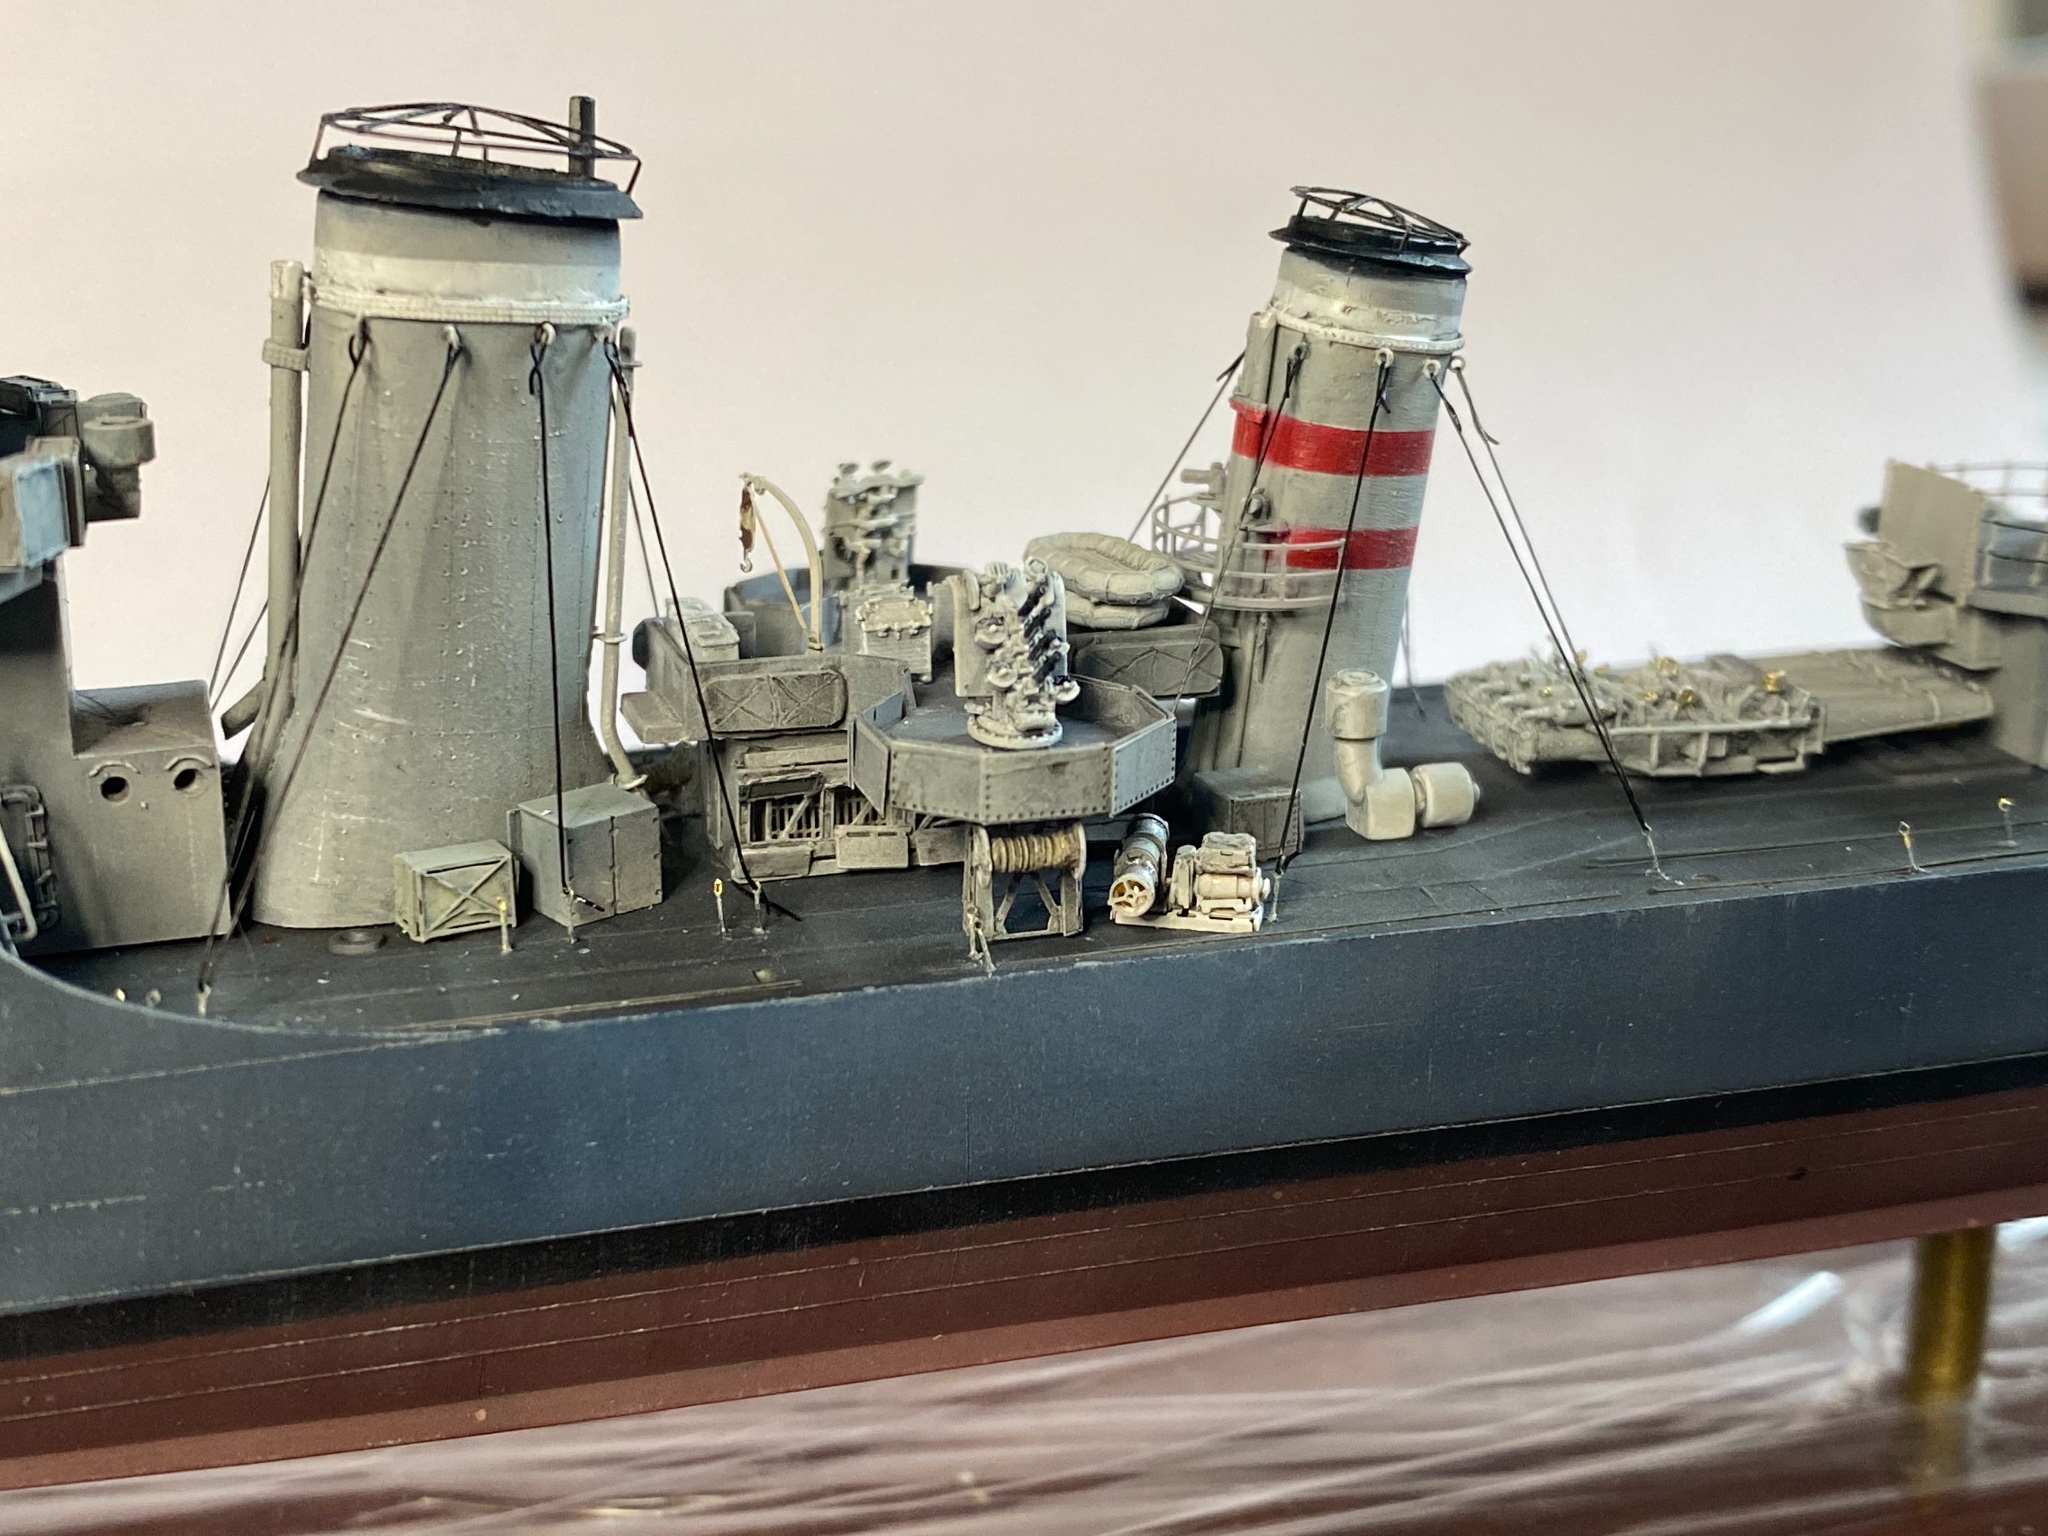
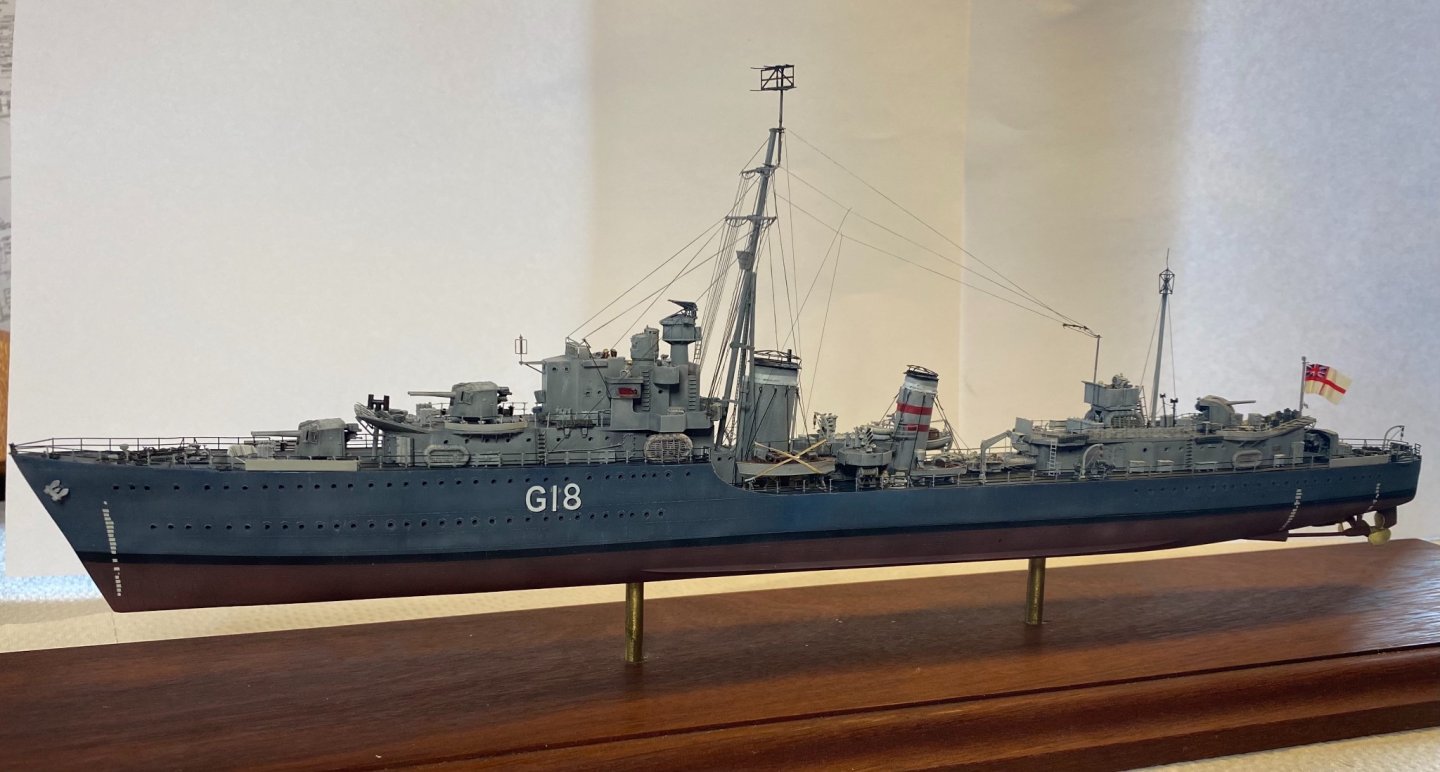
Railings added, nearly finished just awaiting the quad and single Pom Poms IMG_6354.MOV
- 255 replies
-
- 10
-
-
I’d love to do one of these in 1/350 but the kit is insanely dear and nearly extinct. Should be good!
- 127 replies
-
- 8
-
-
- Akitsushima
- Pit Road
- (and 2 more)
-
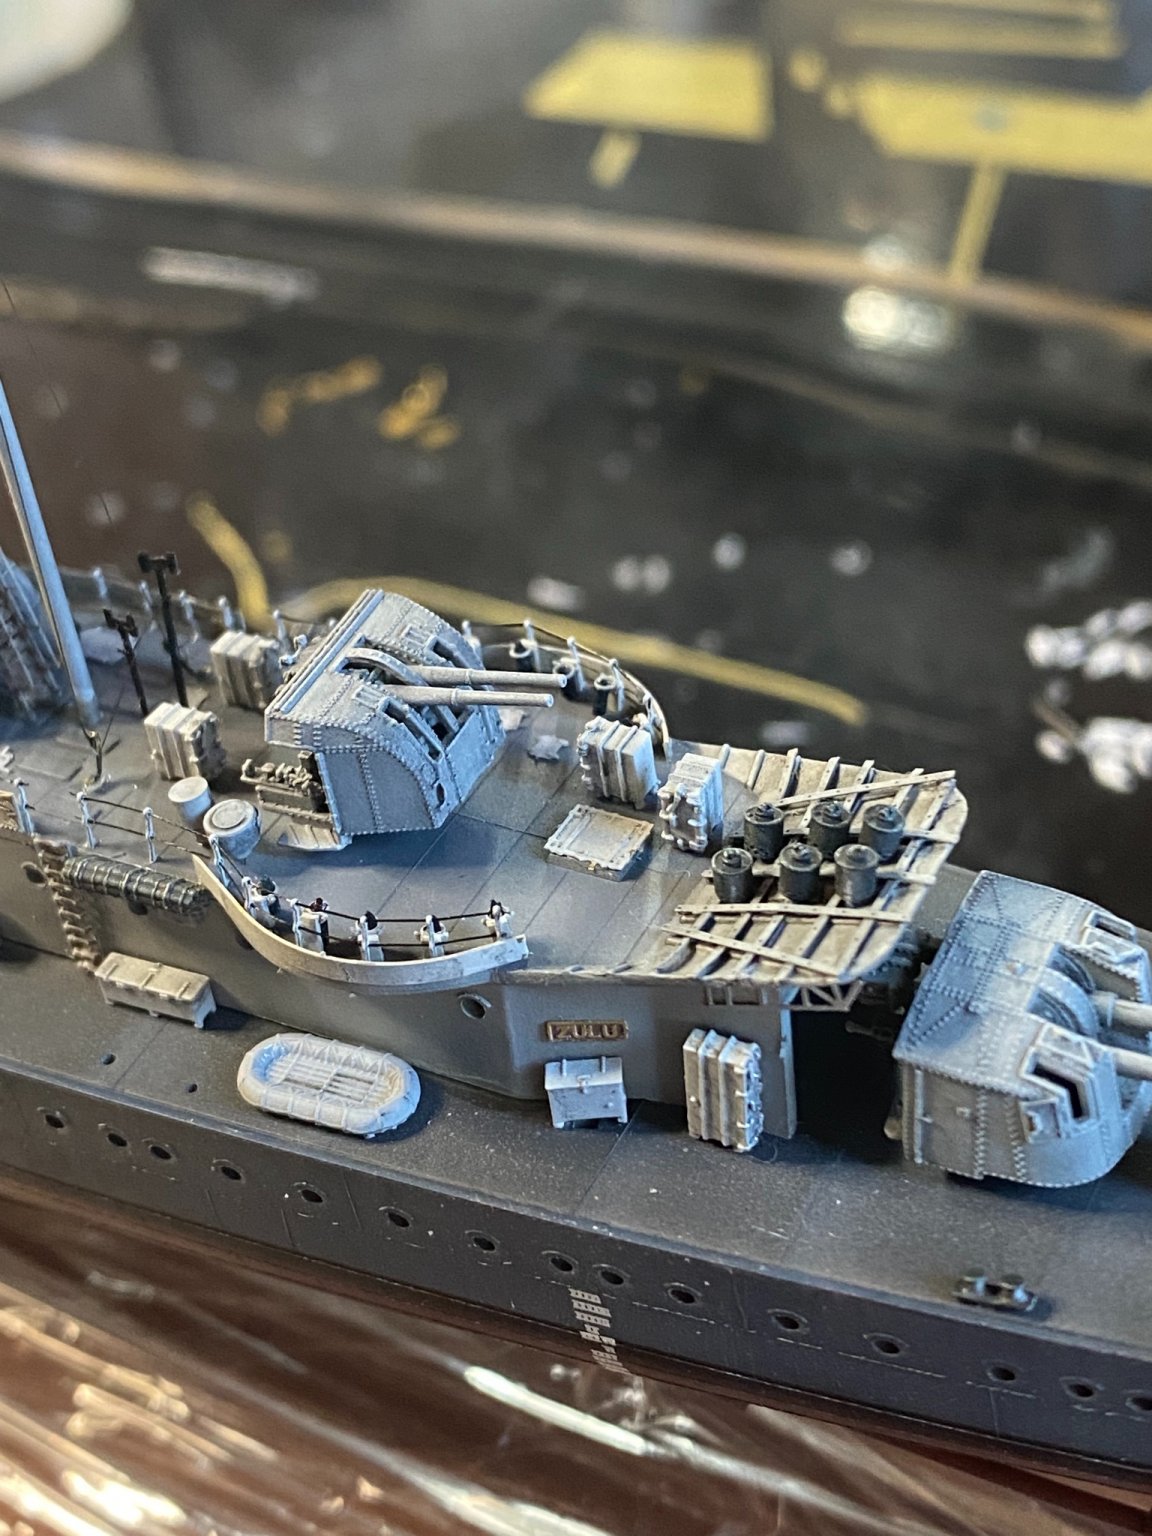
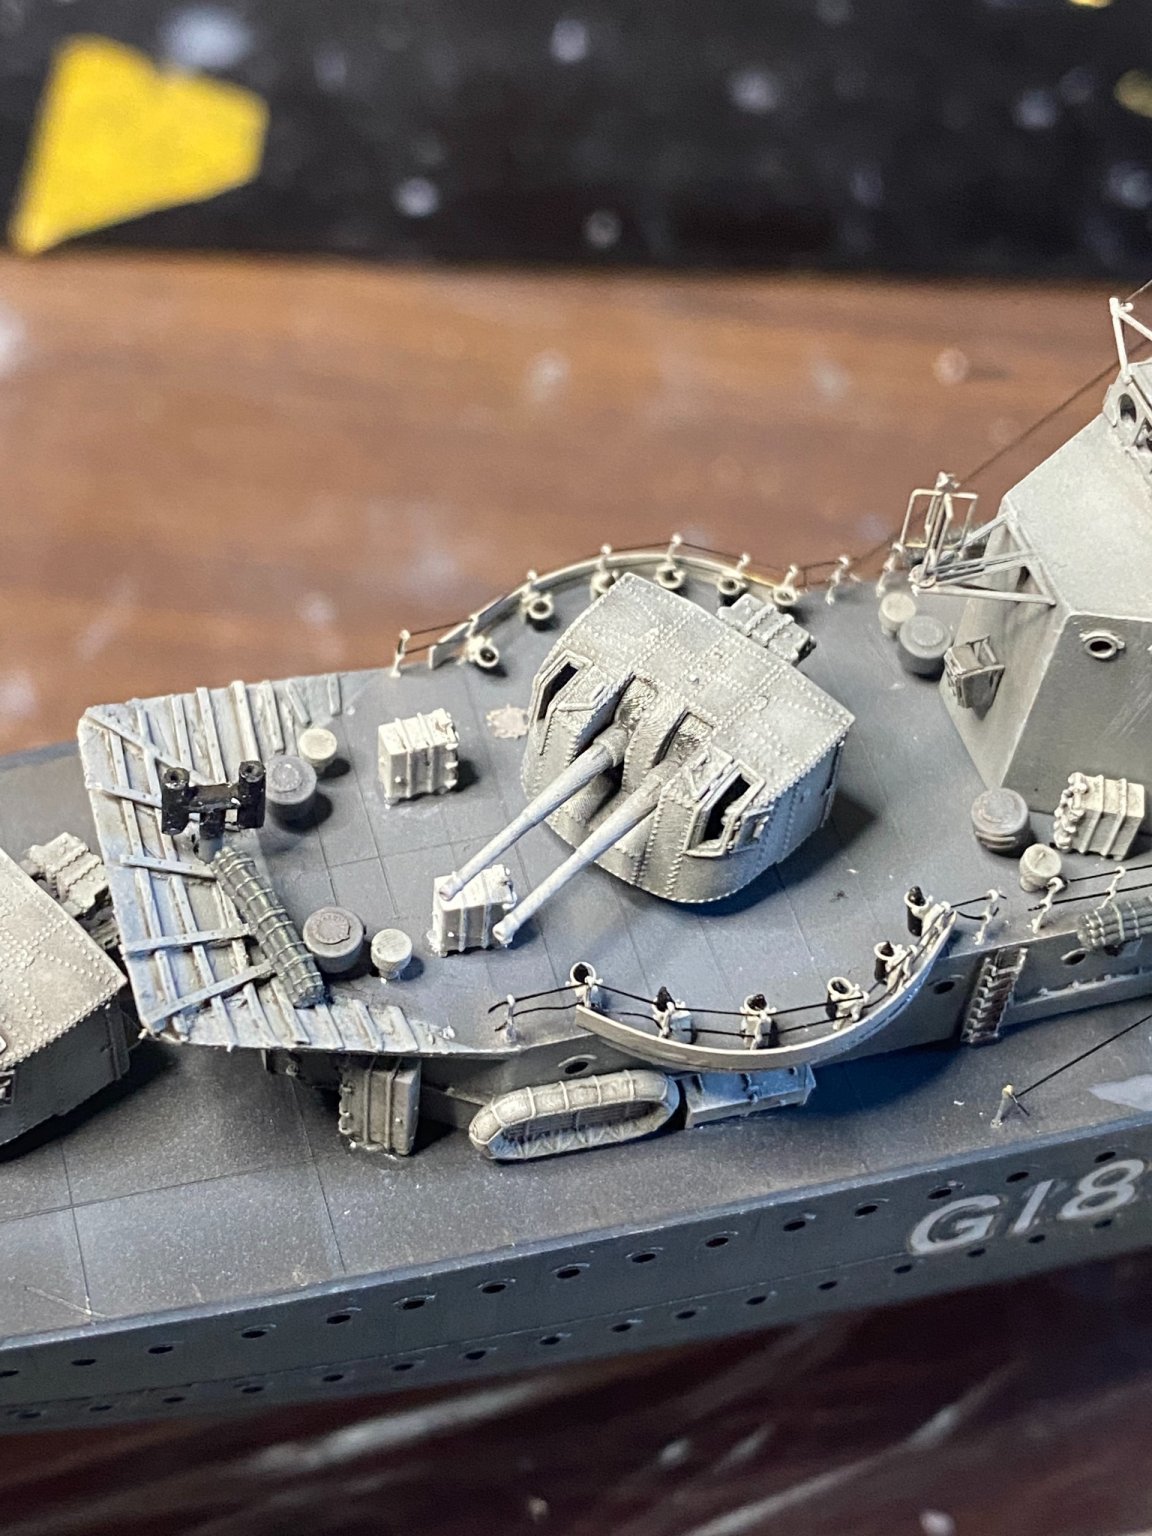
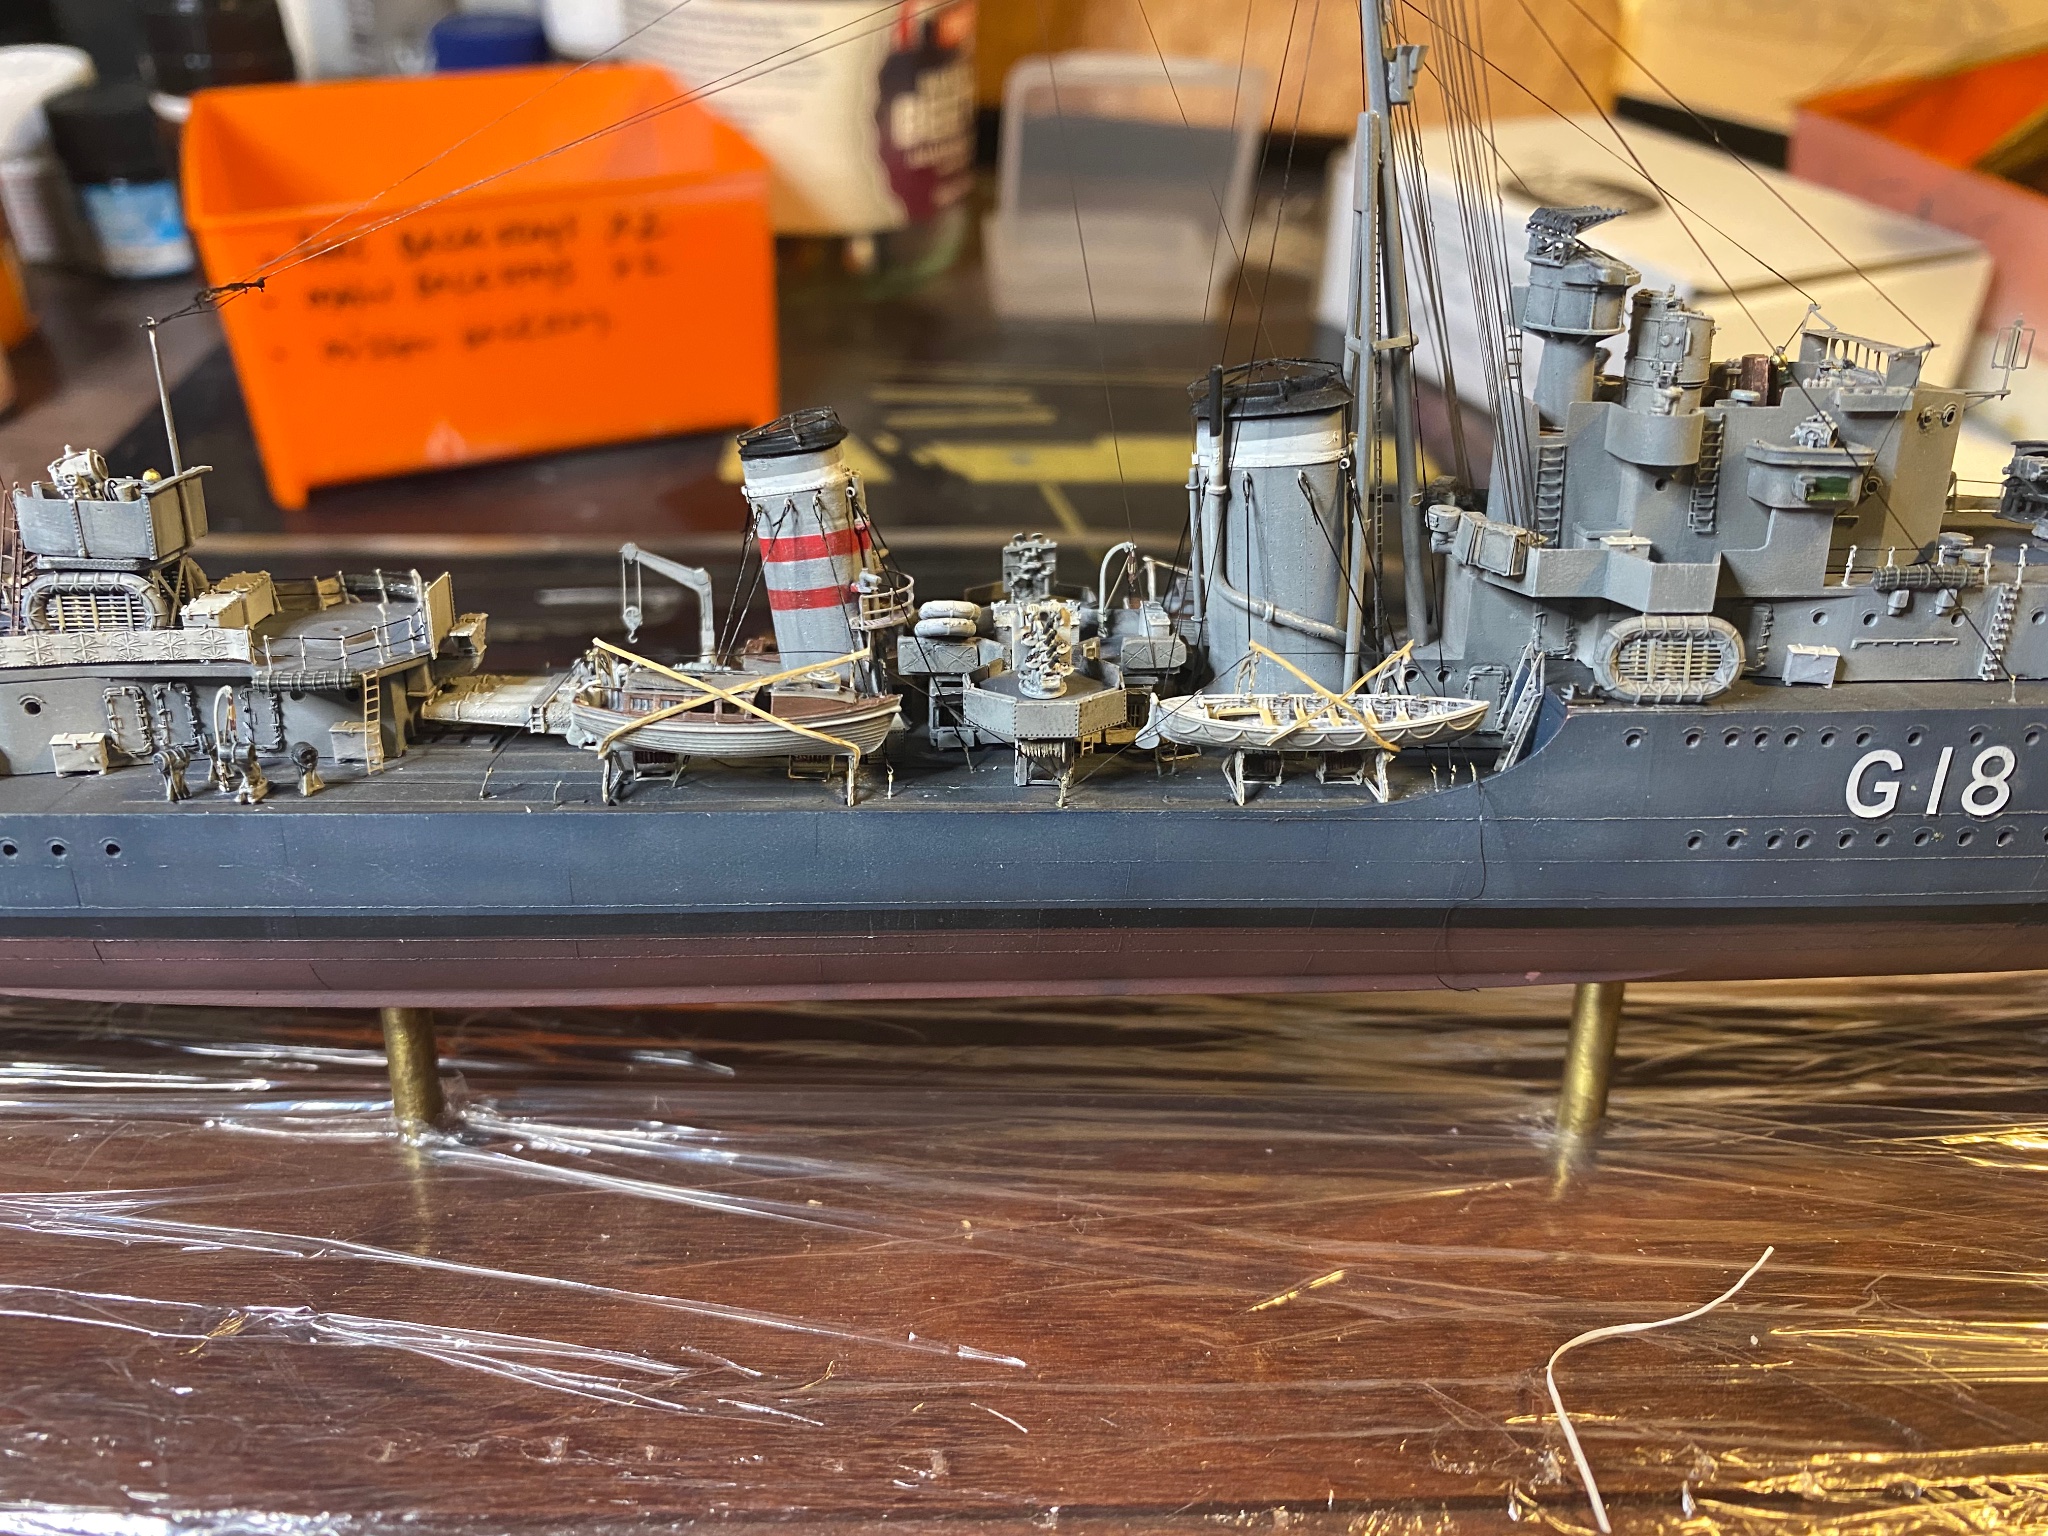
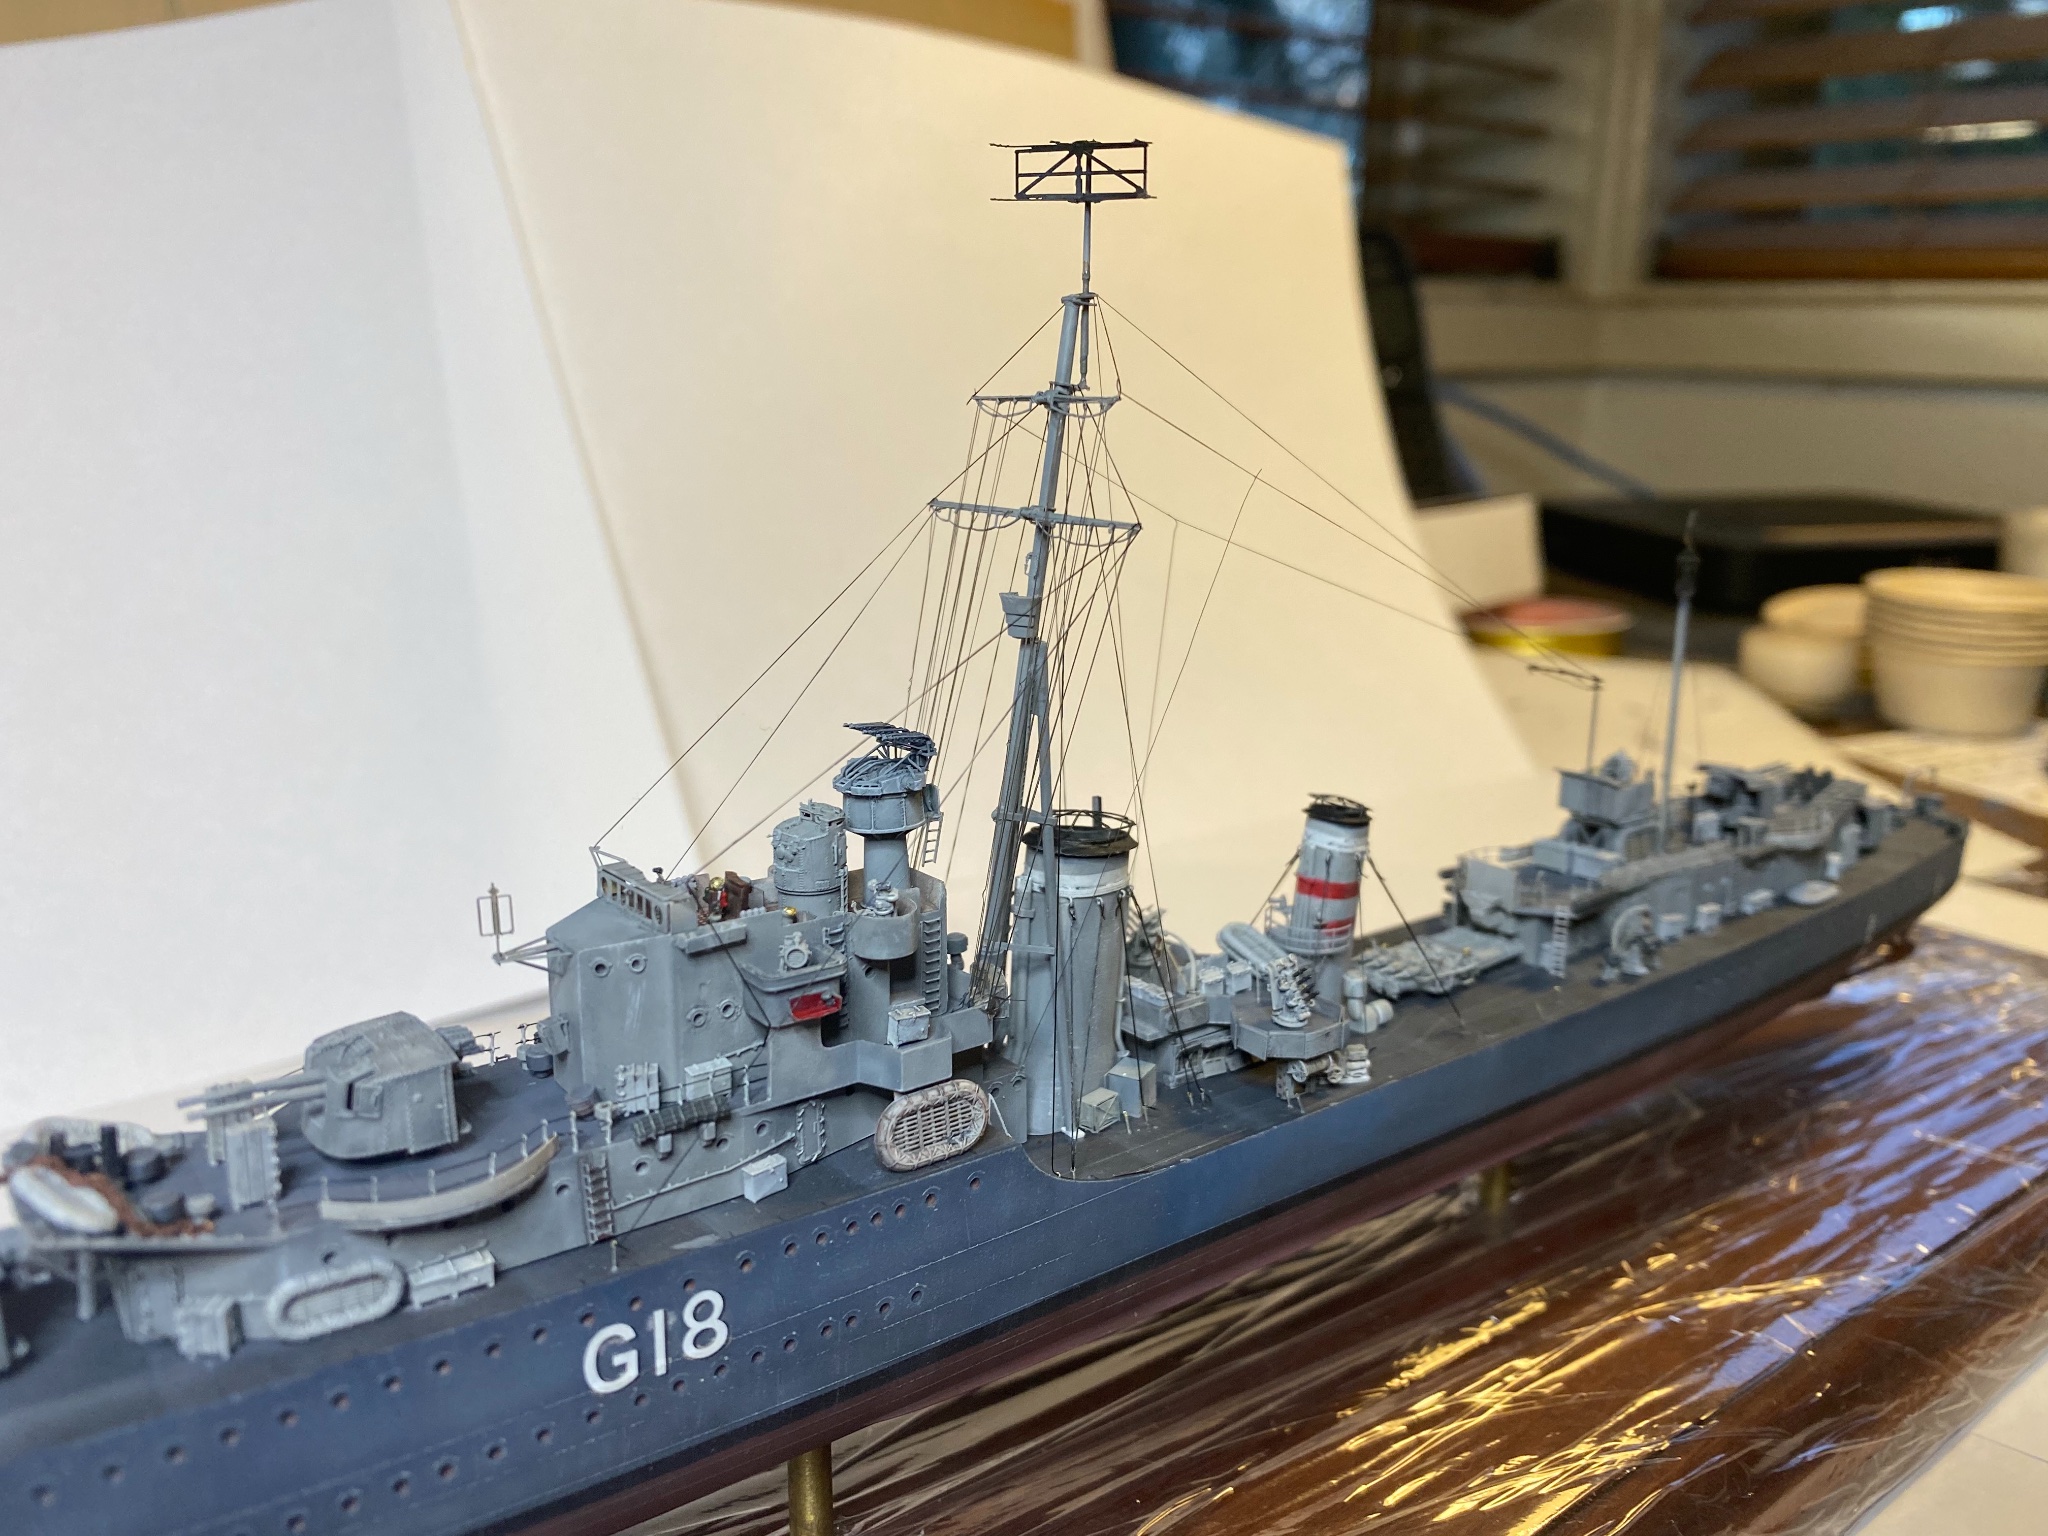
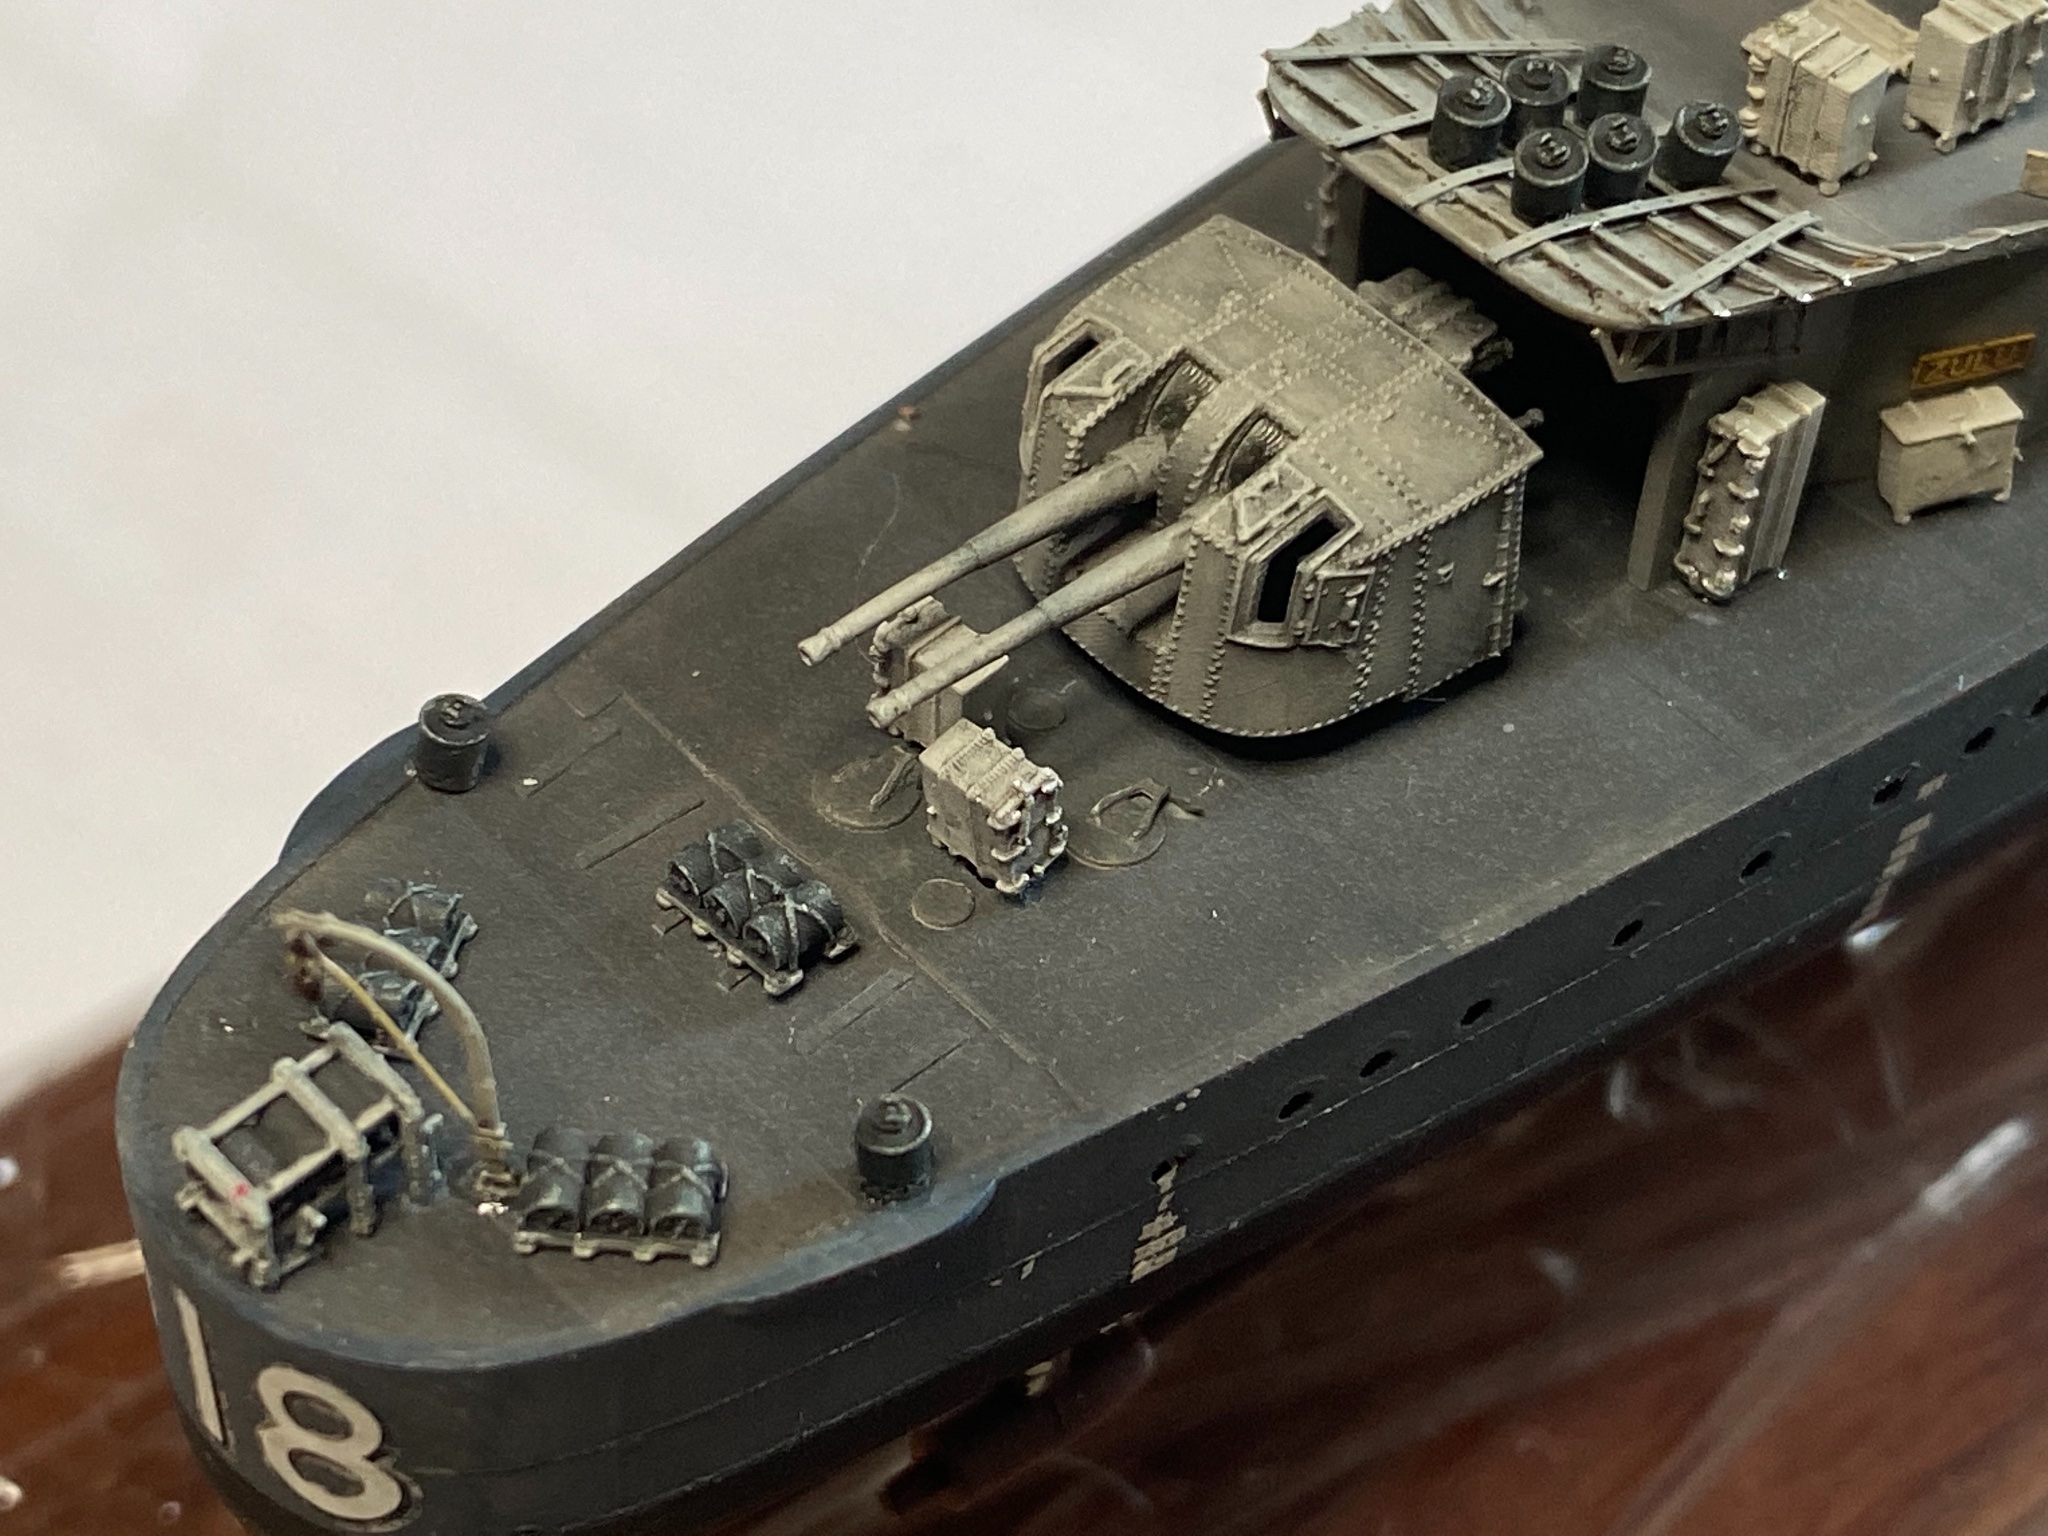
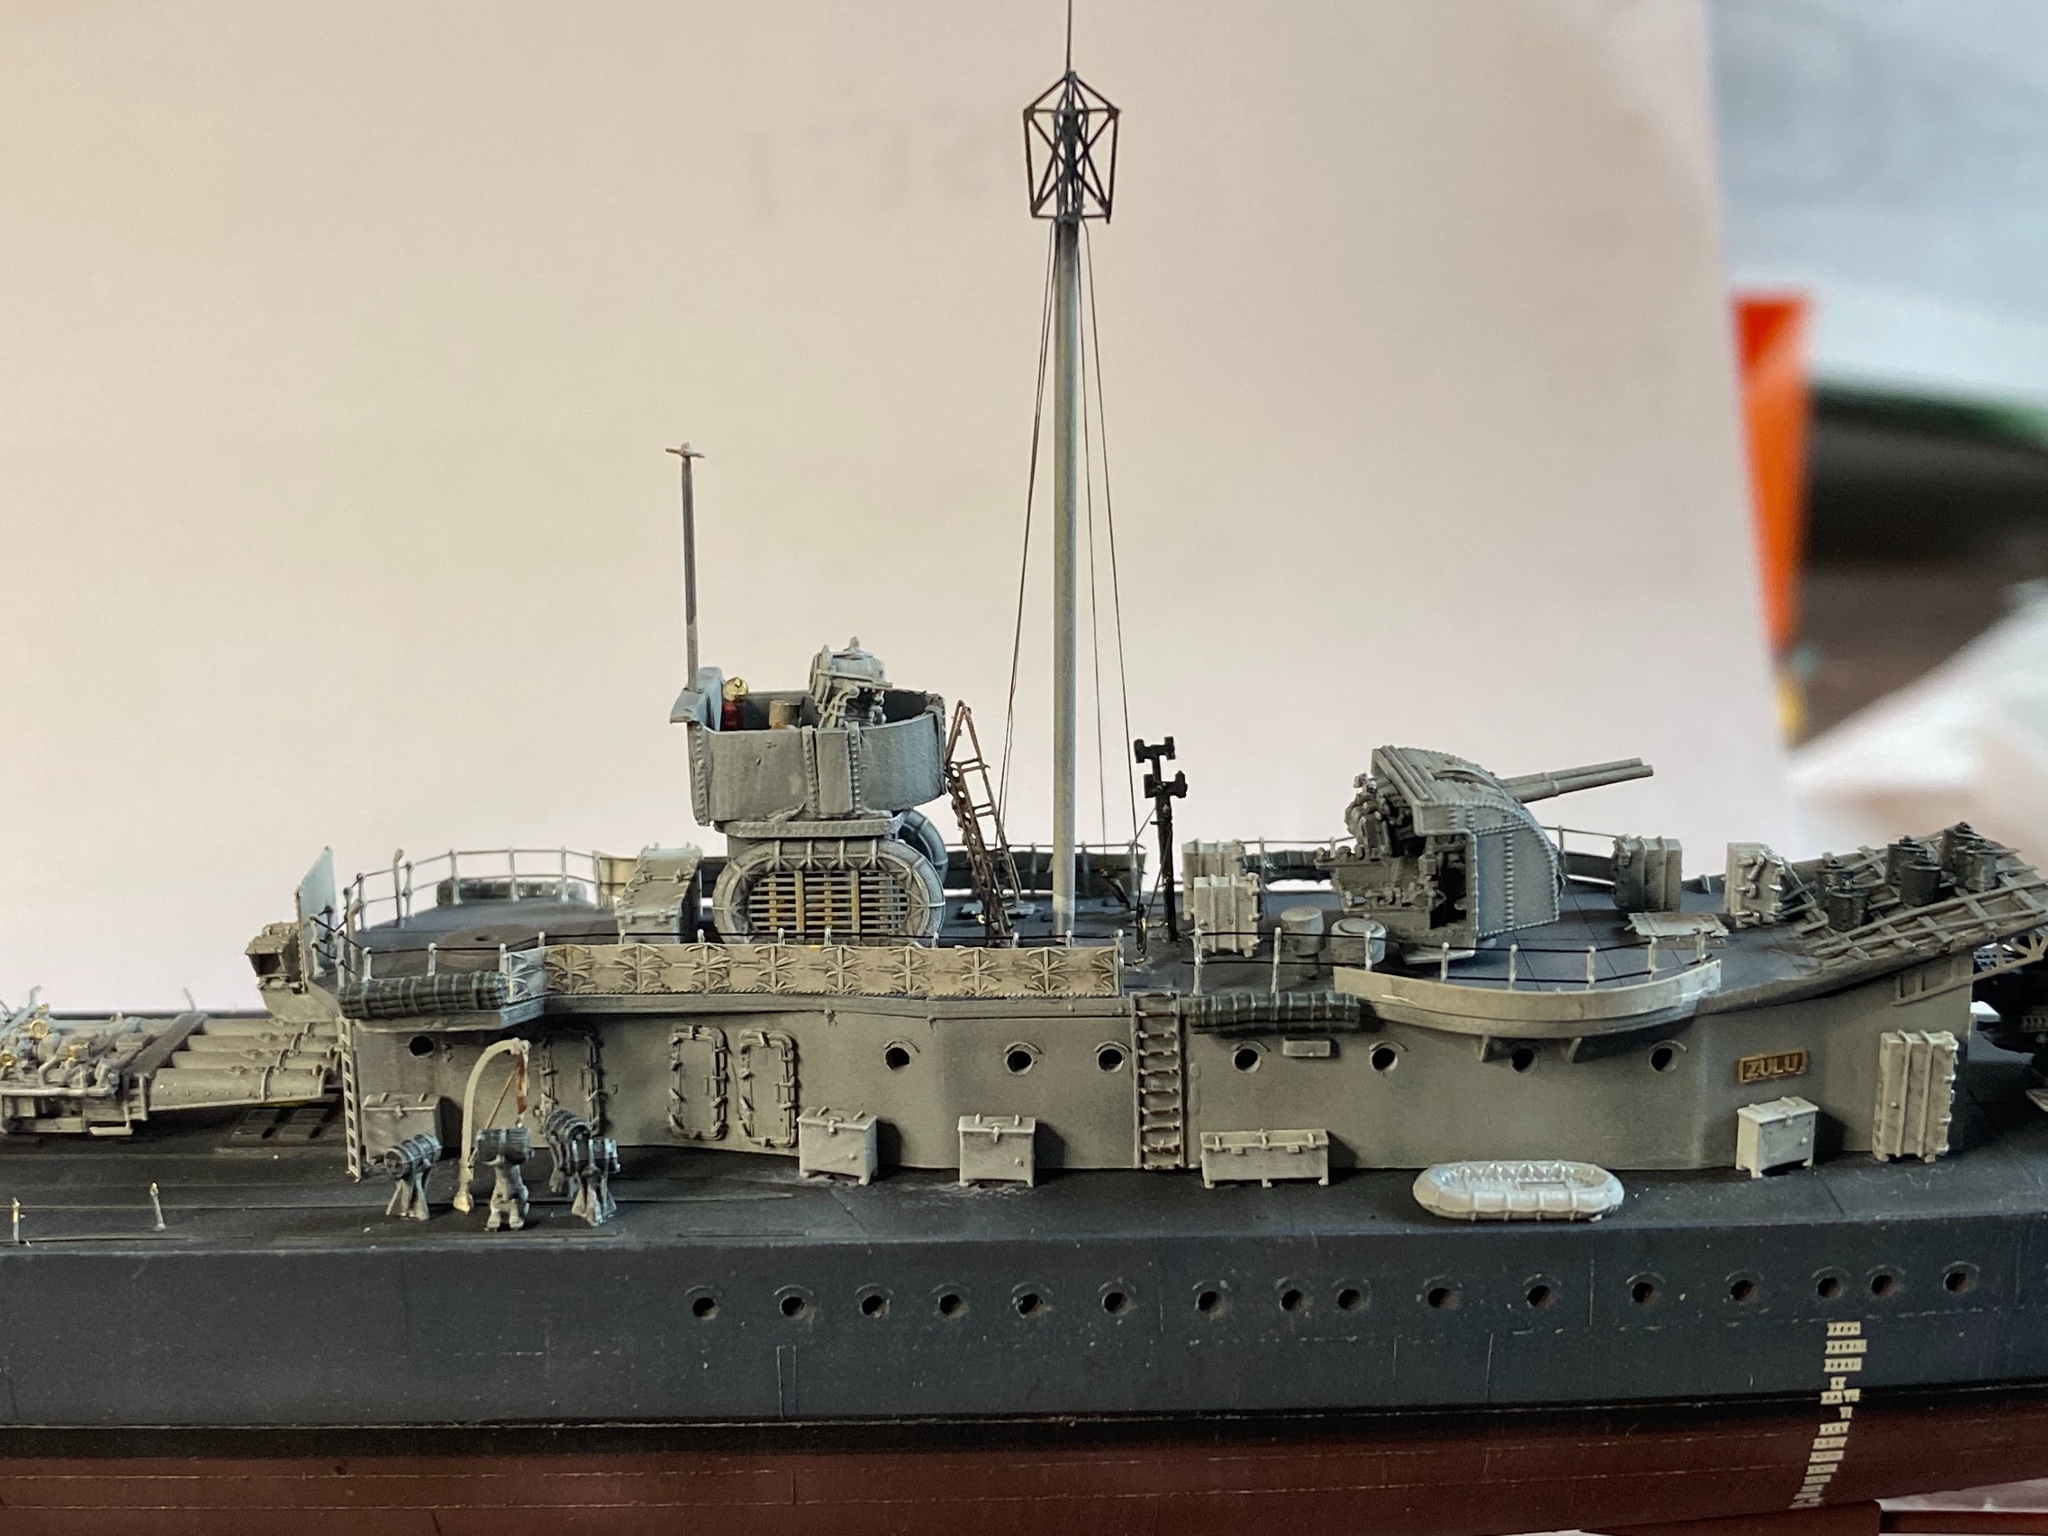
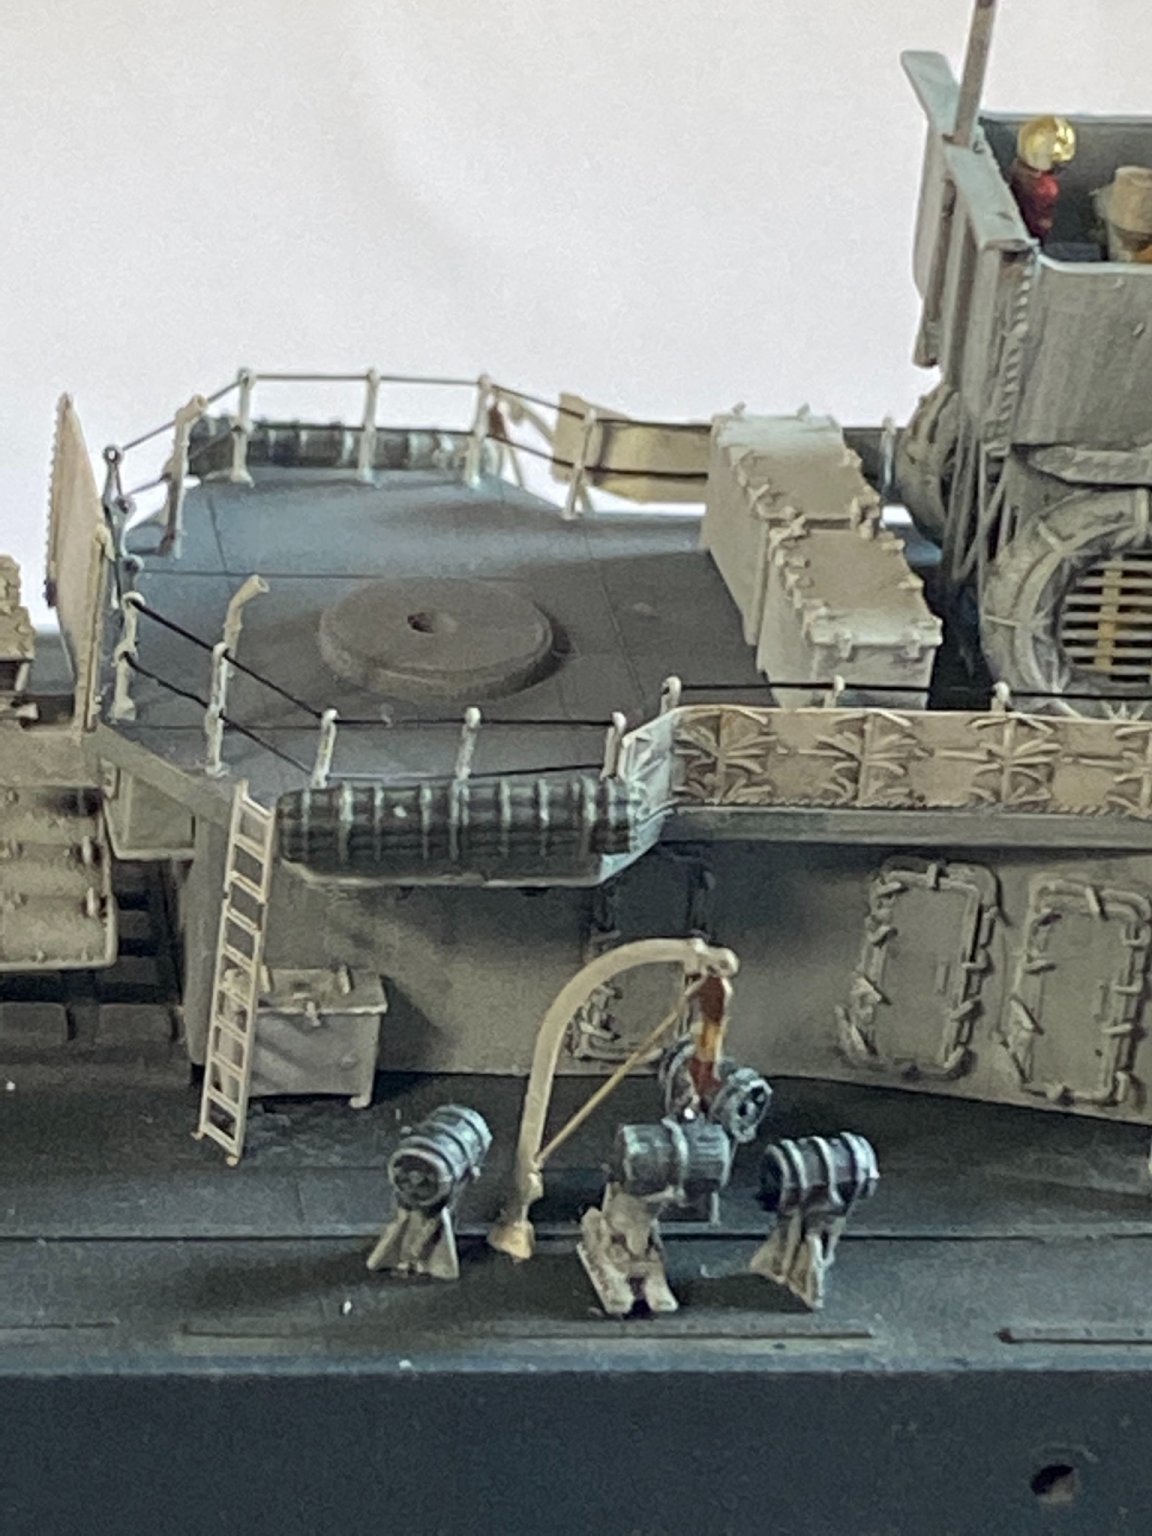
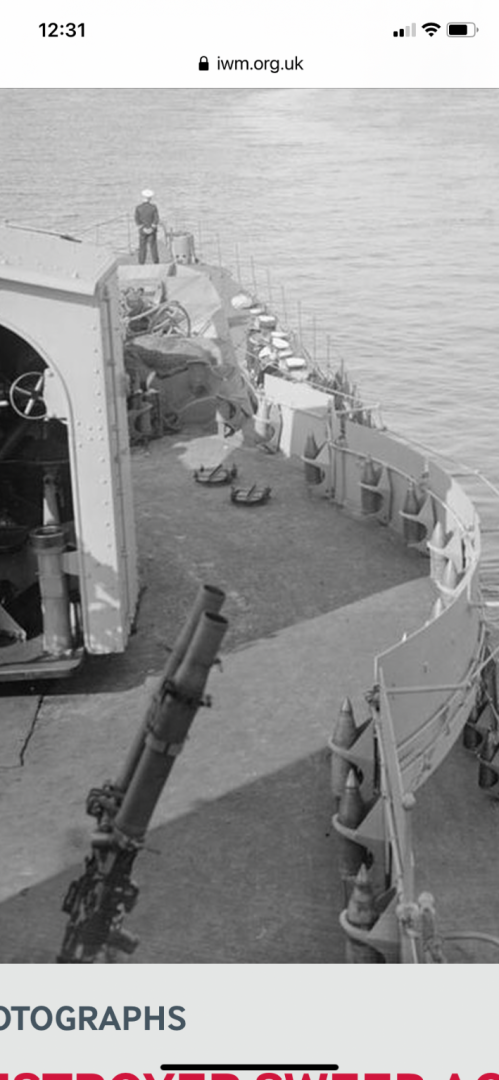
Every RN Destroyer has ready use shells alongside the deck guns held in little racks. You can also see the little hatches on the deck which I’ll add later as they are were the removable chimney stacks go. not perfect and bloody fiddly, I utalise some ringols (I have a lot spare) and plastic stop and Rod (files to a point).

-
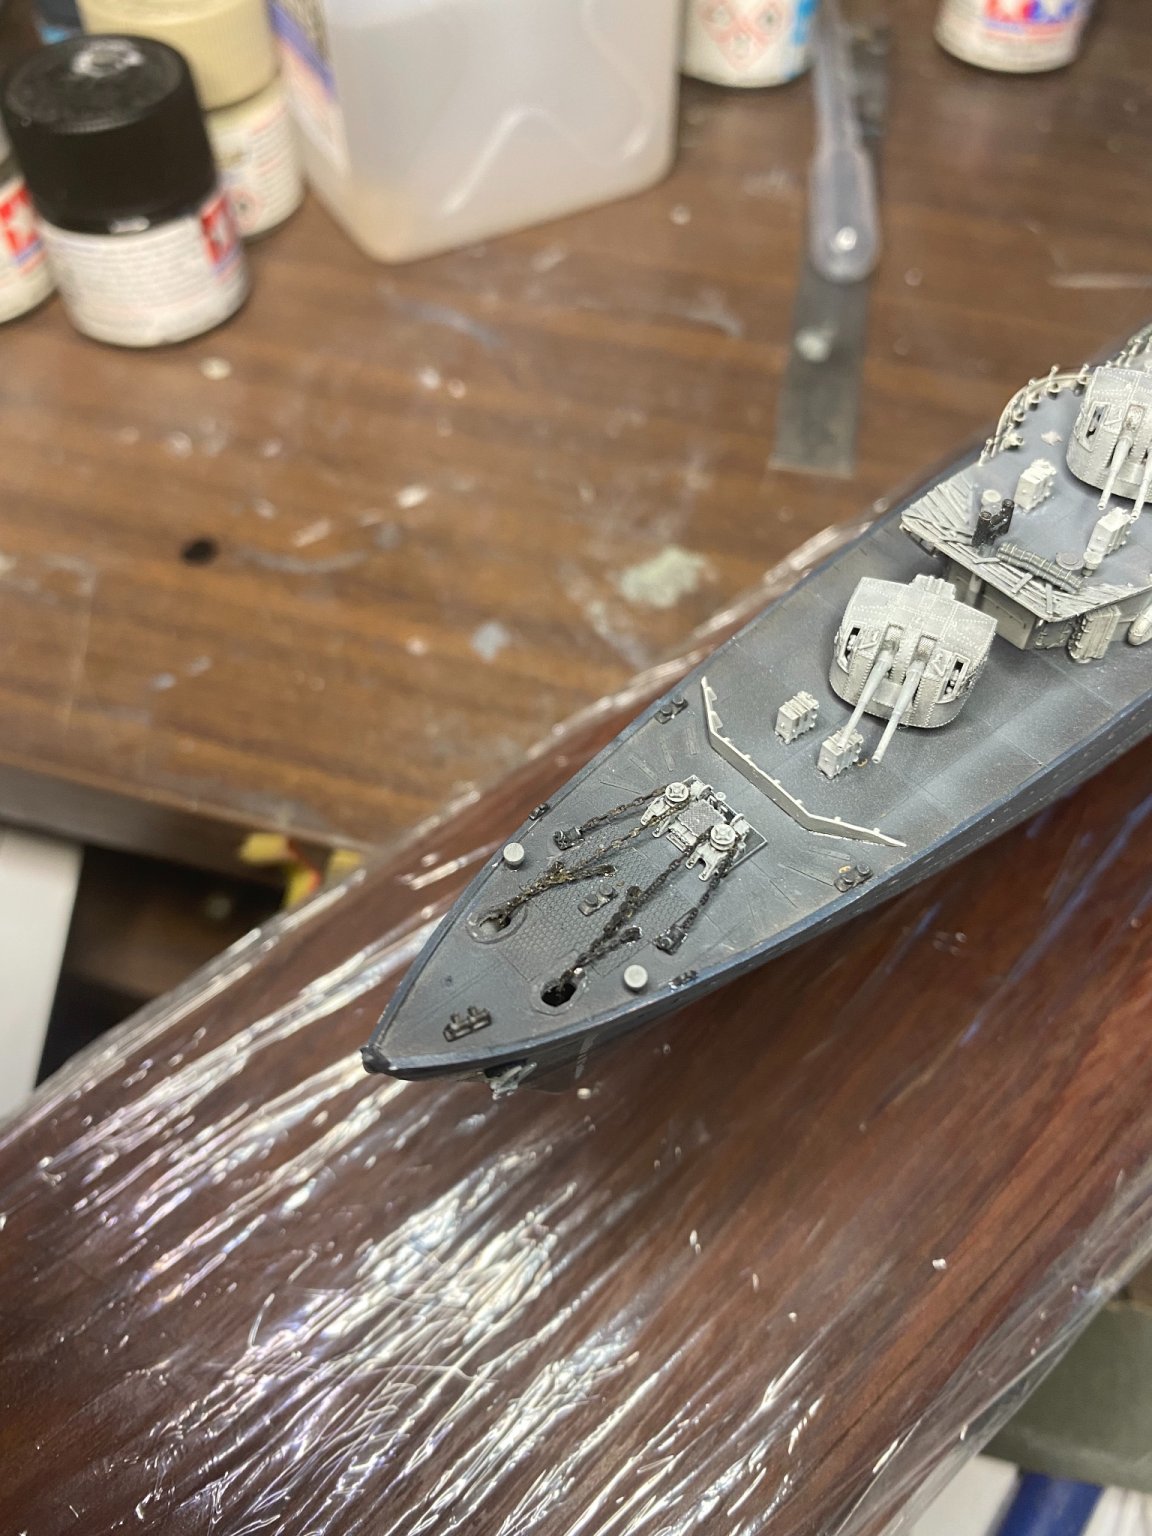
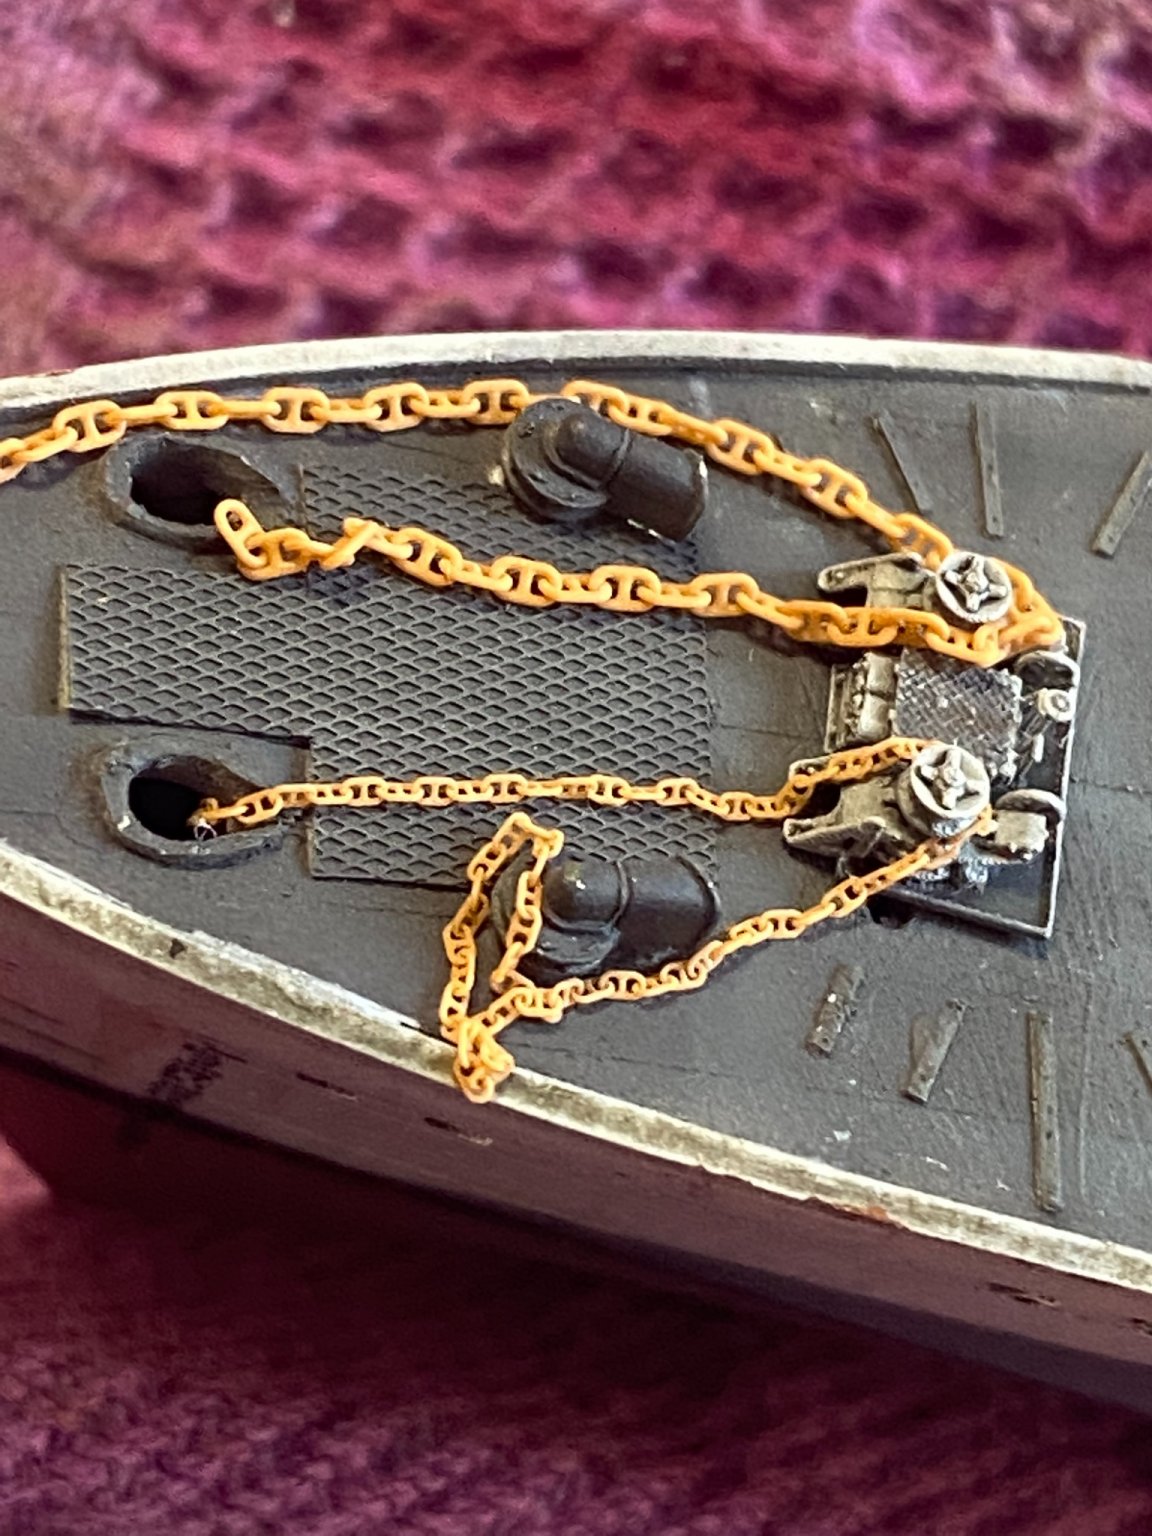
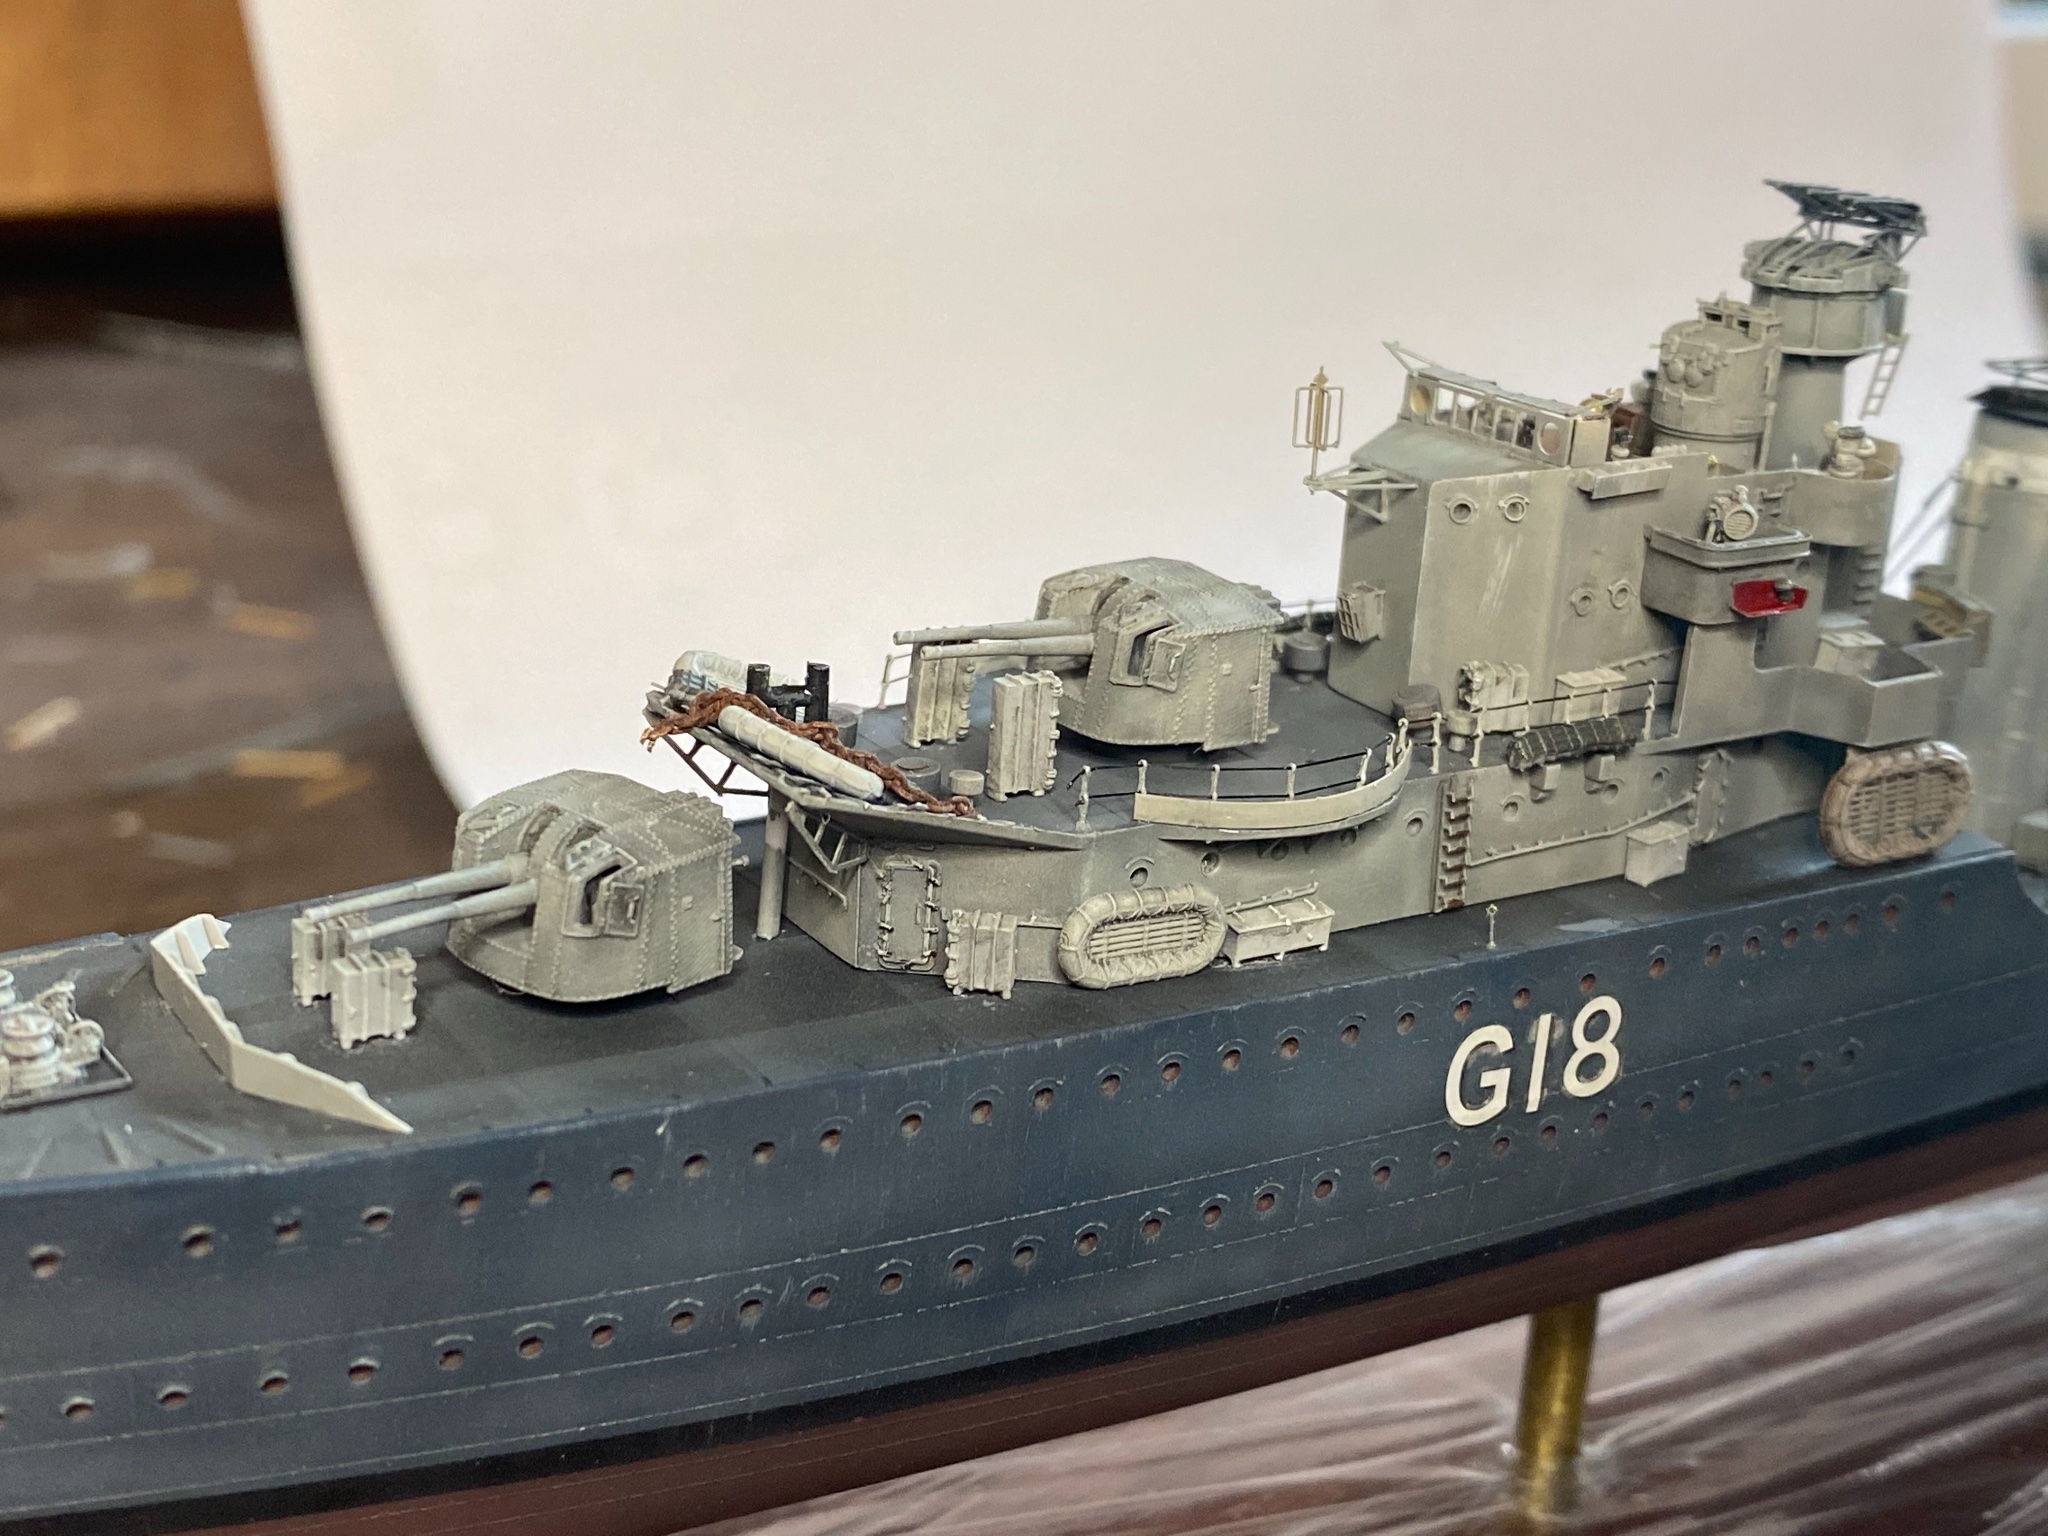
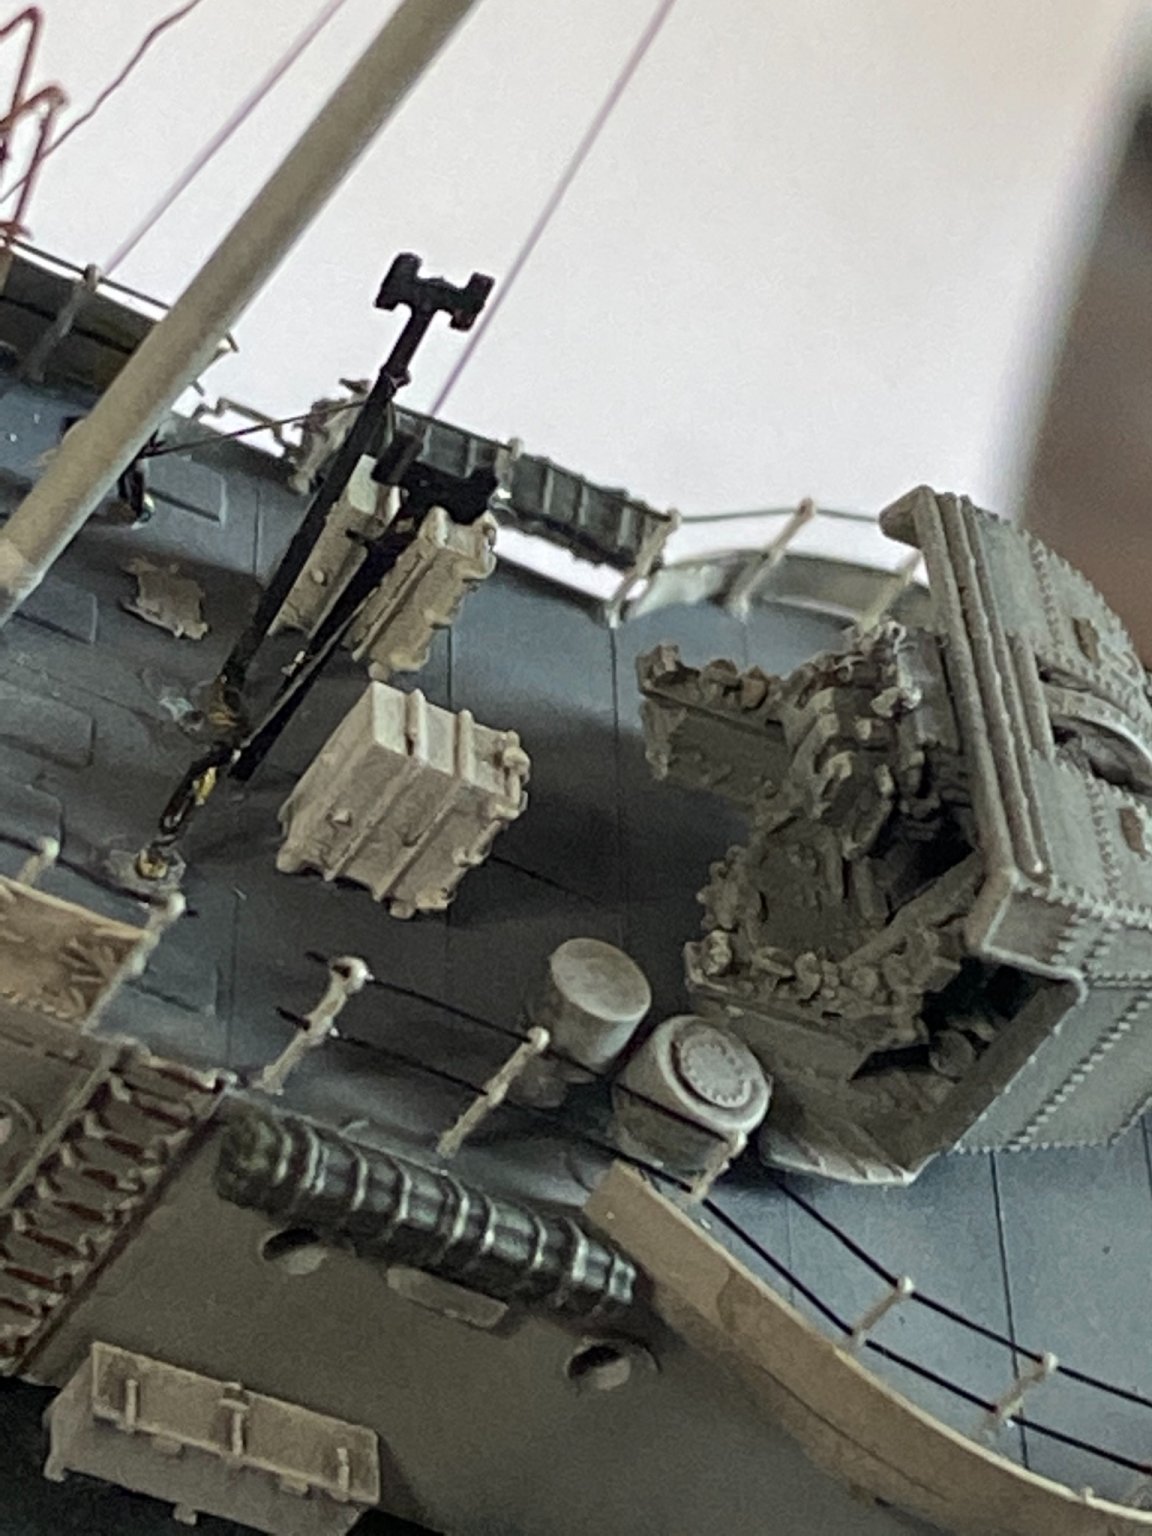
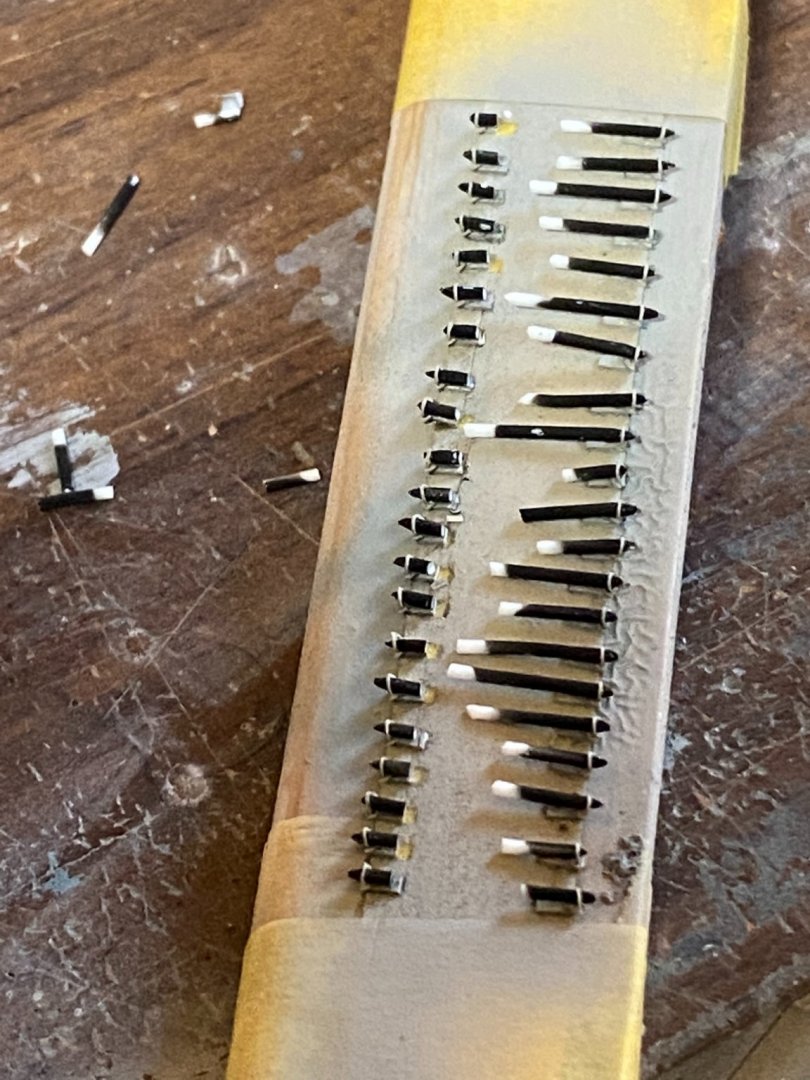
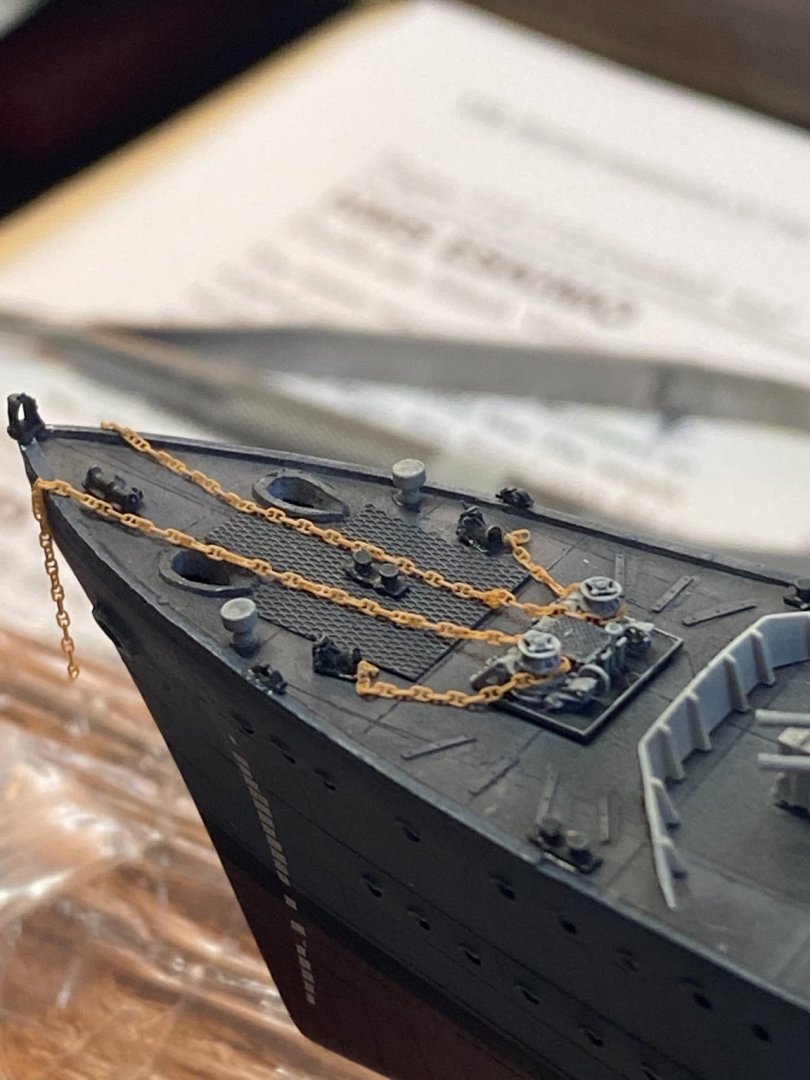
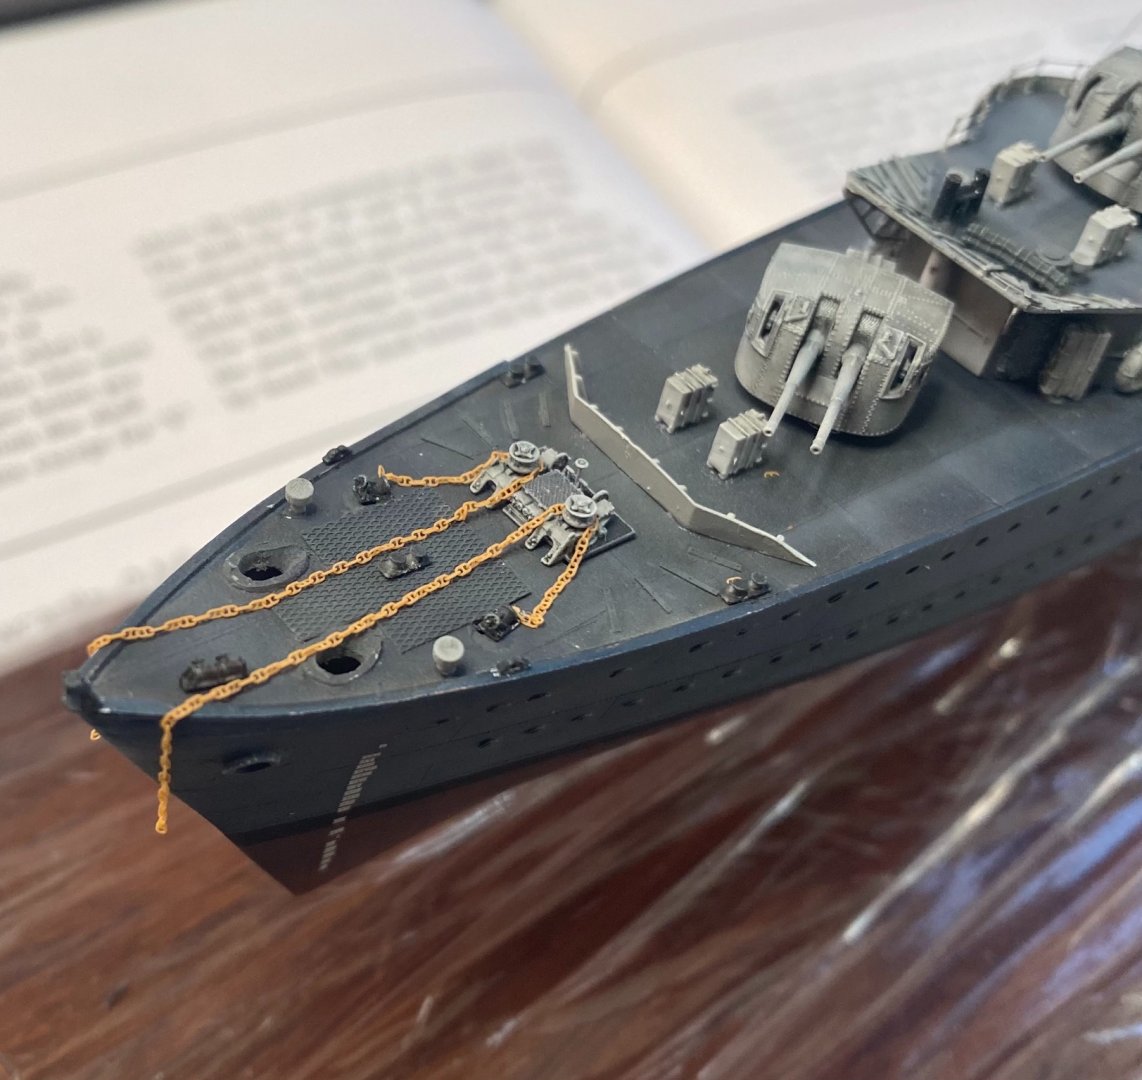
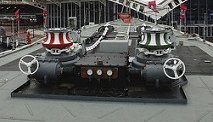
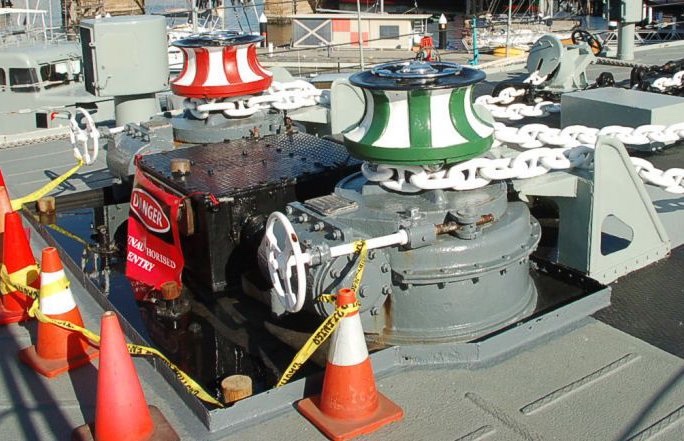
One of the really nice things about Simon’s upgrade is the details for the forcastle deck, replacing the bollards, winch, chain pipes and a piece for the bow ropes. The chain is 3D printed YX models for 1/700 ships.
-
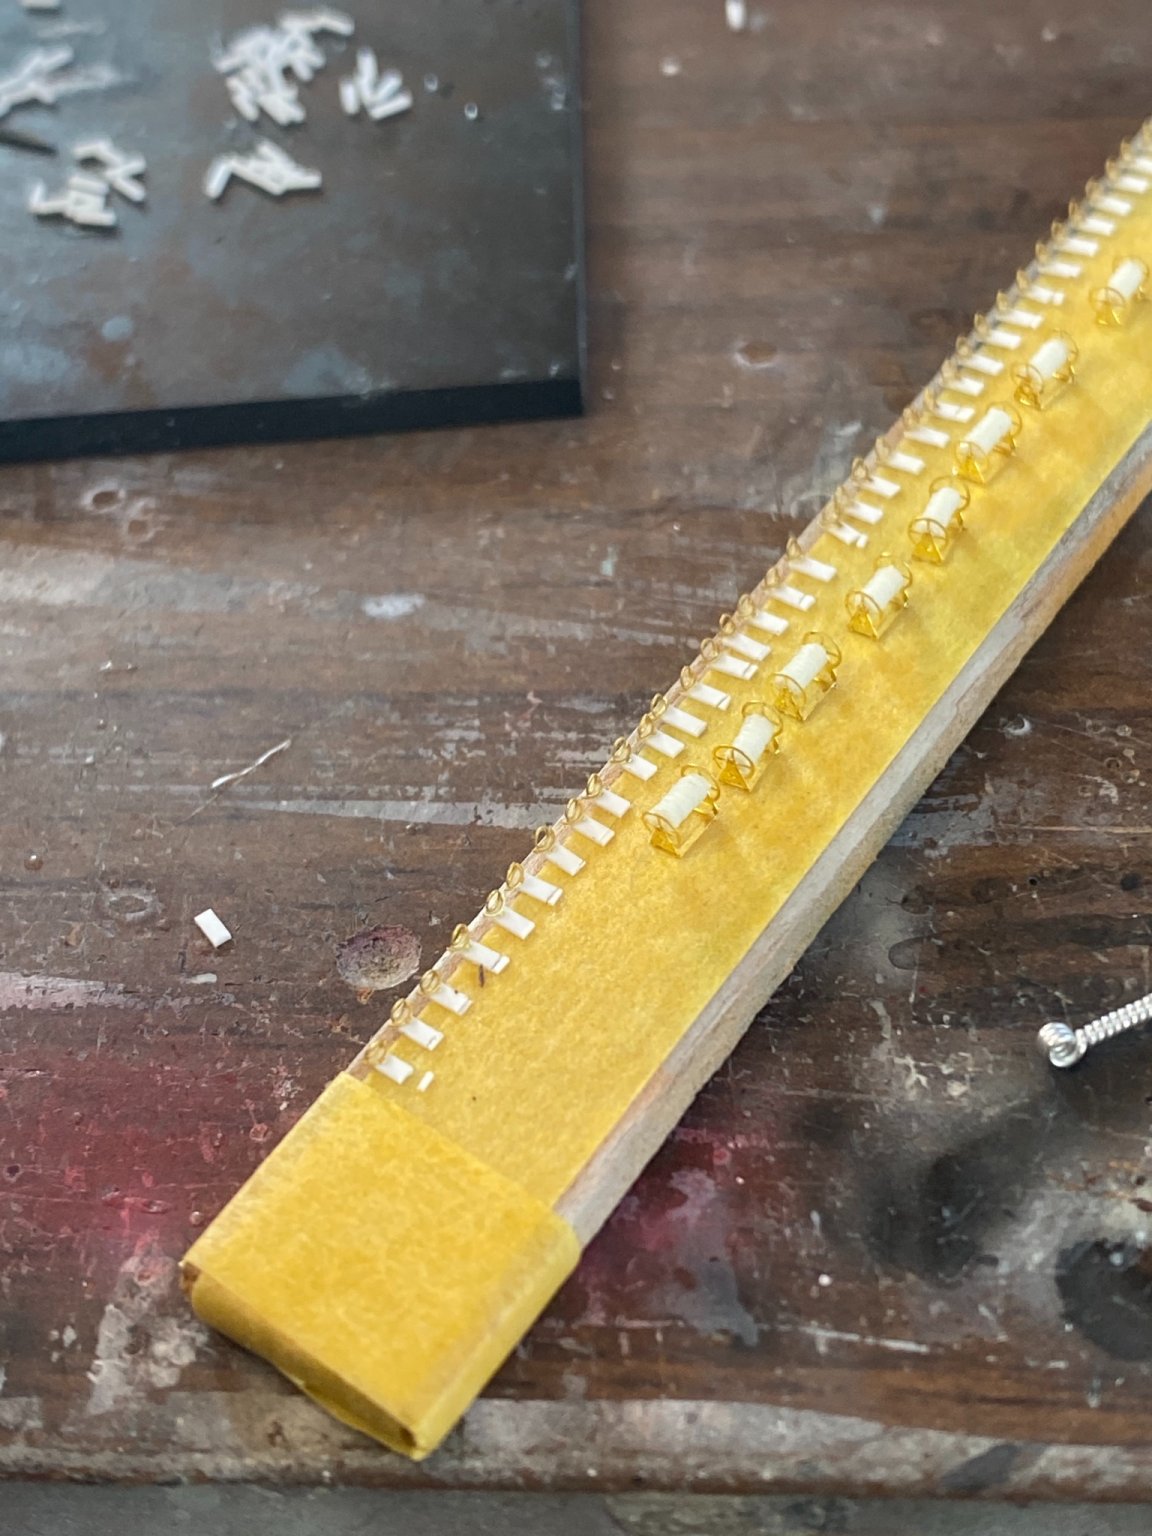
I got myself some 3D printed chains (XY models). Top one is 1/350 and bottom is 1/700 which is perfect for this size ship. When you see massive chains on a small ship it looks all sorts of wrong. I have to replace the pipes an add chain stoppers yet. As you can see fro. The. A Asian museum ship the chain needs to be a lot smaller

-
I can’t do aircraft at 1/350 yet alone half that. Well done.
- 168 replies
-
- 7
-
-
- Scharnhorst
- Flyhawk
- (and 1 more)
-
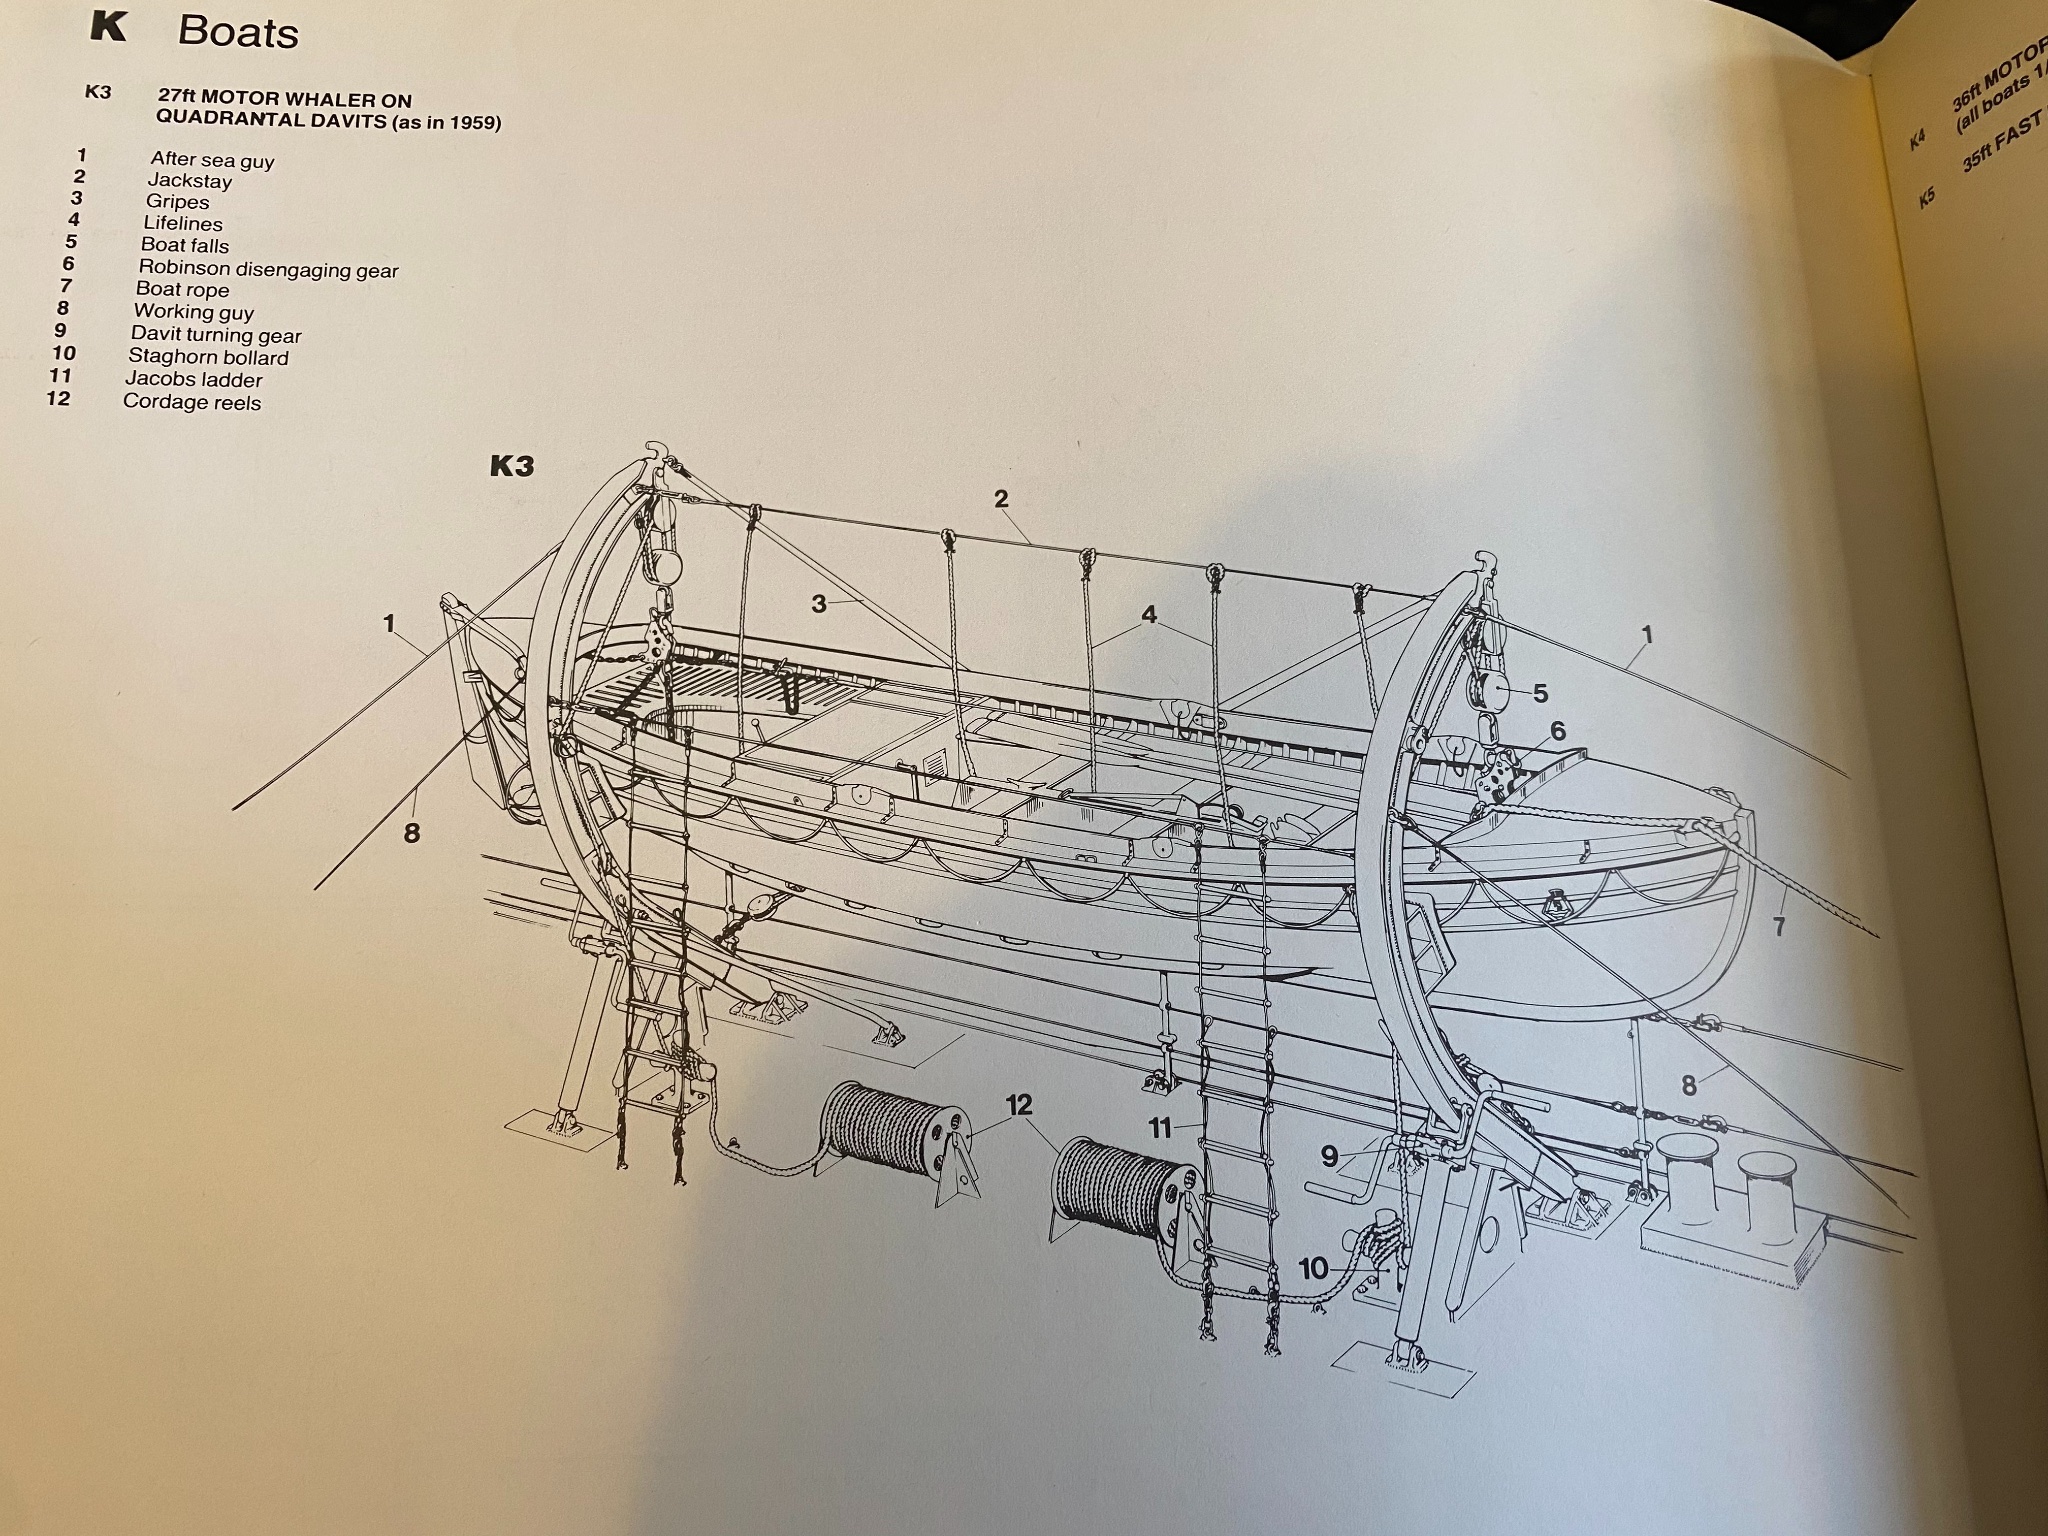
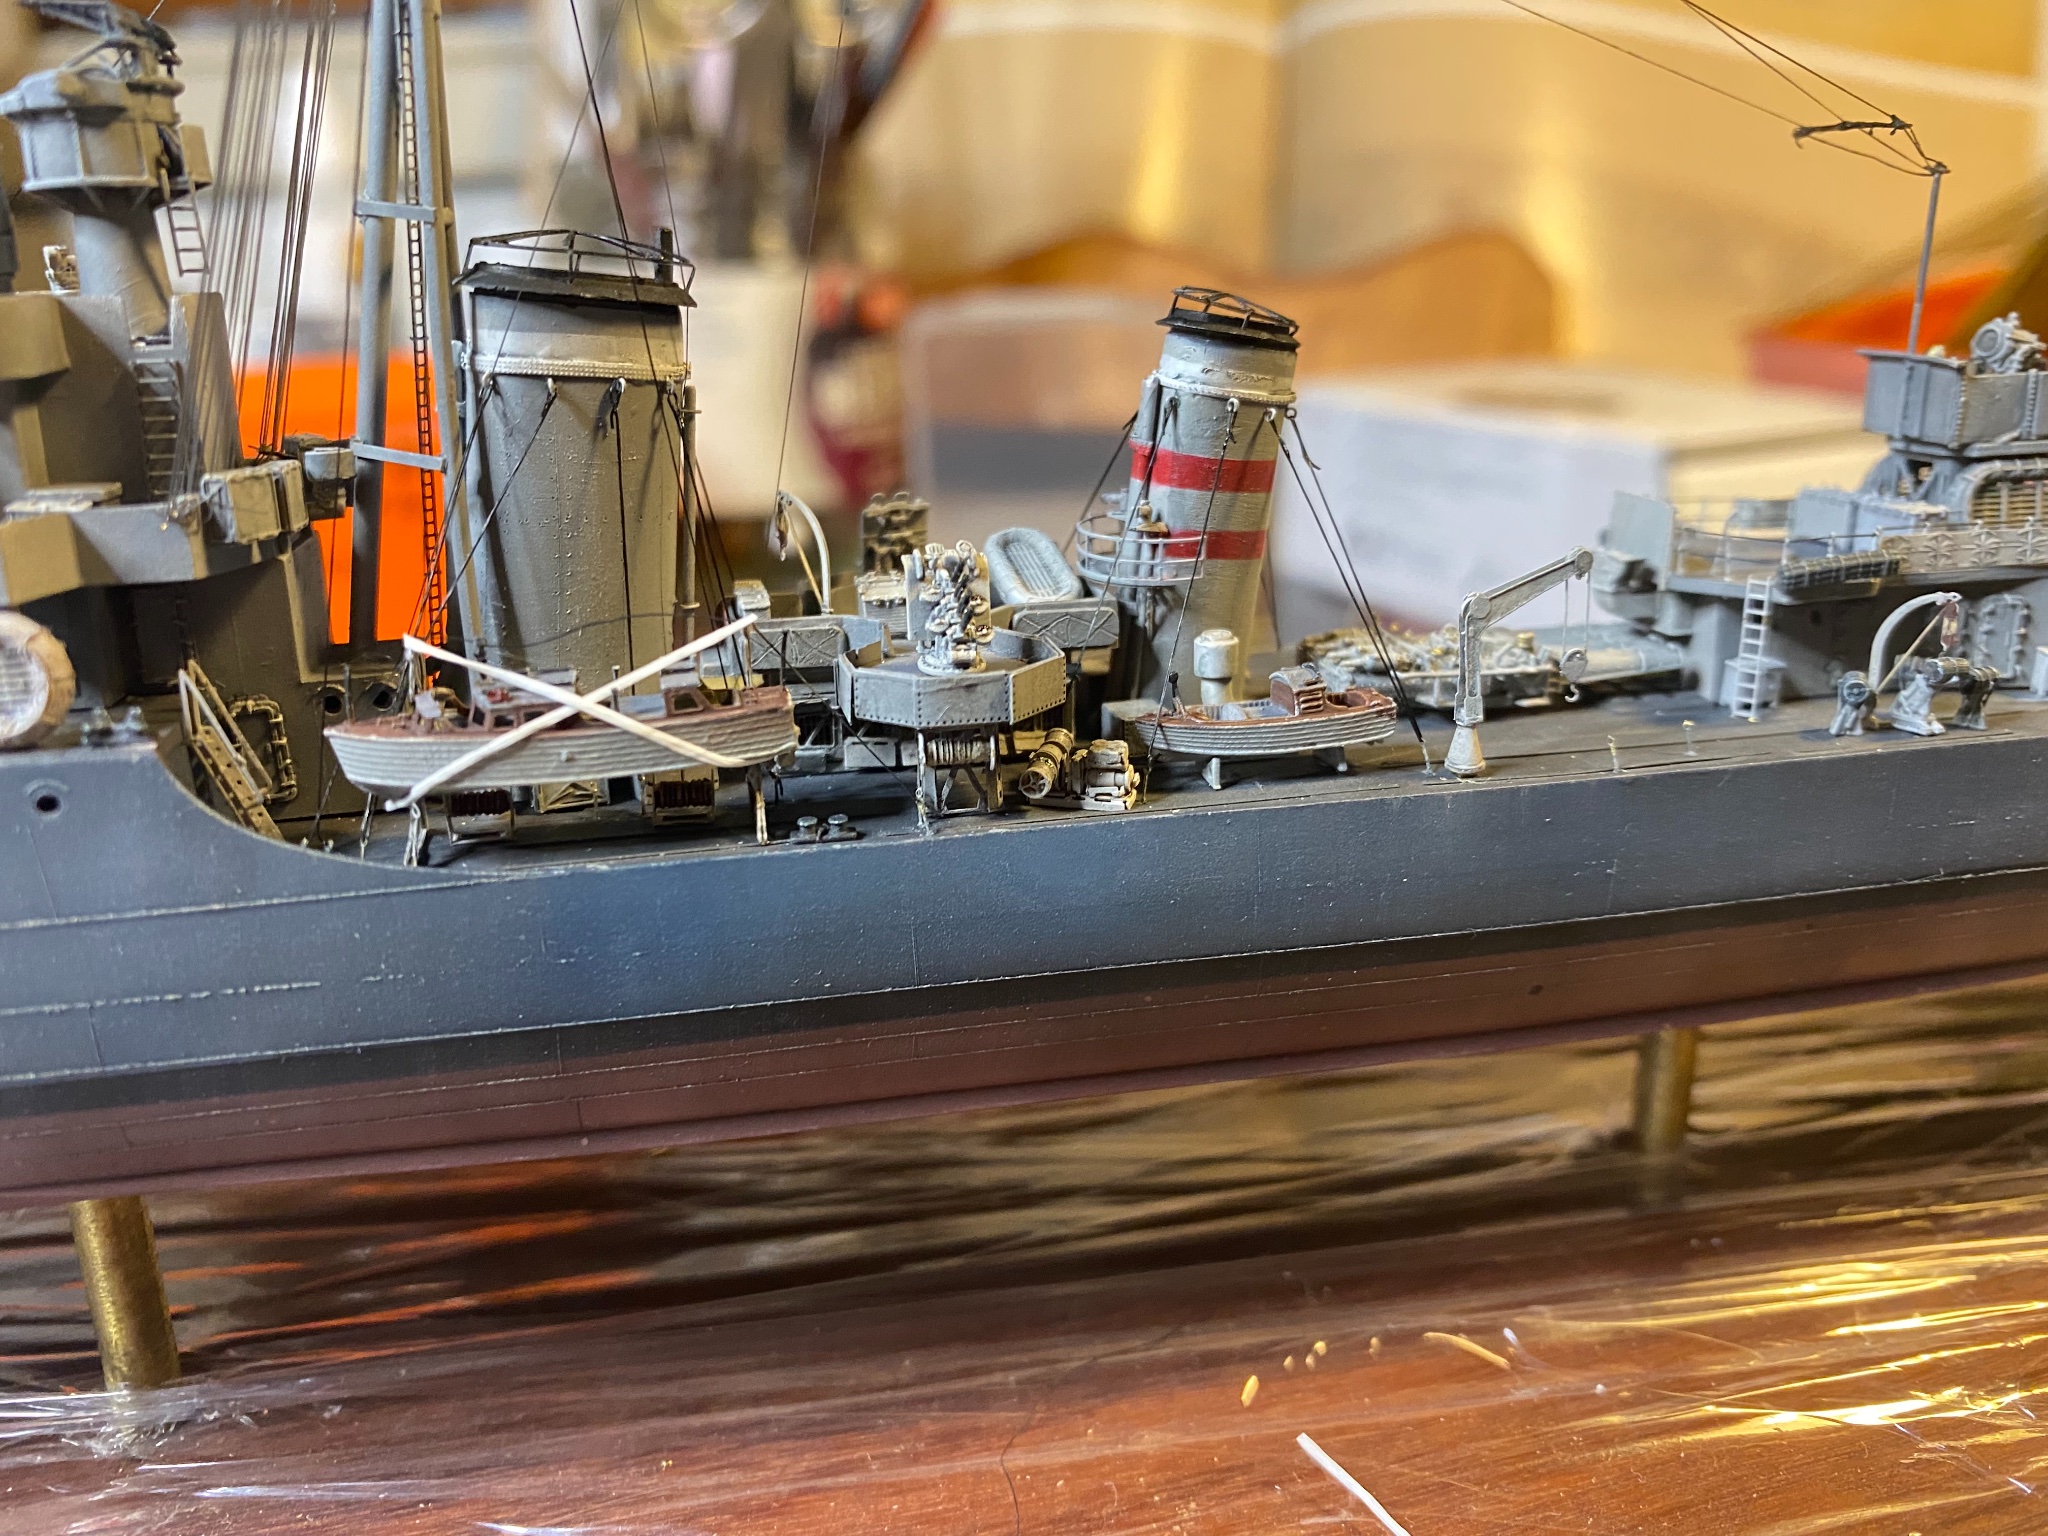
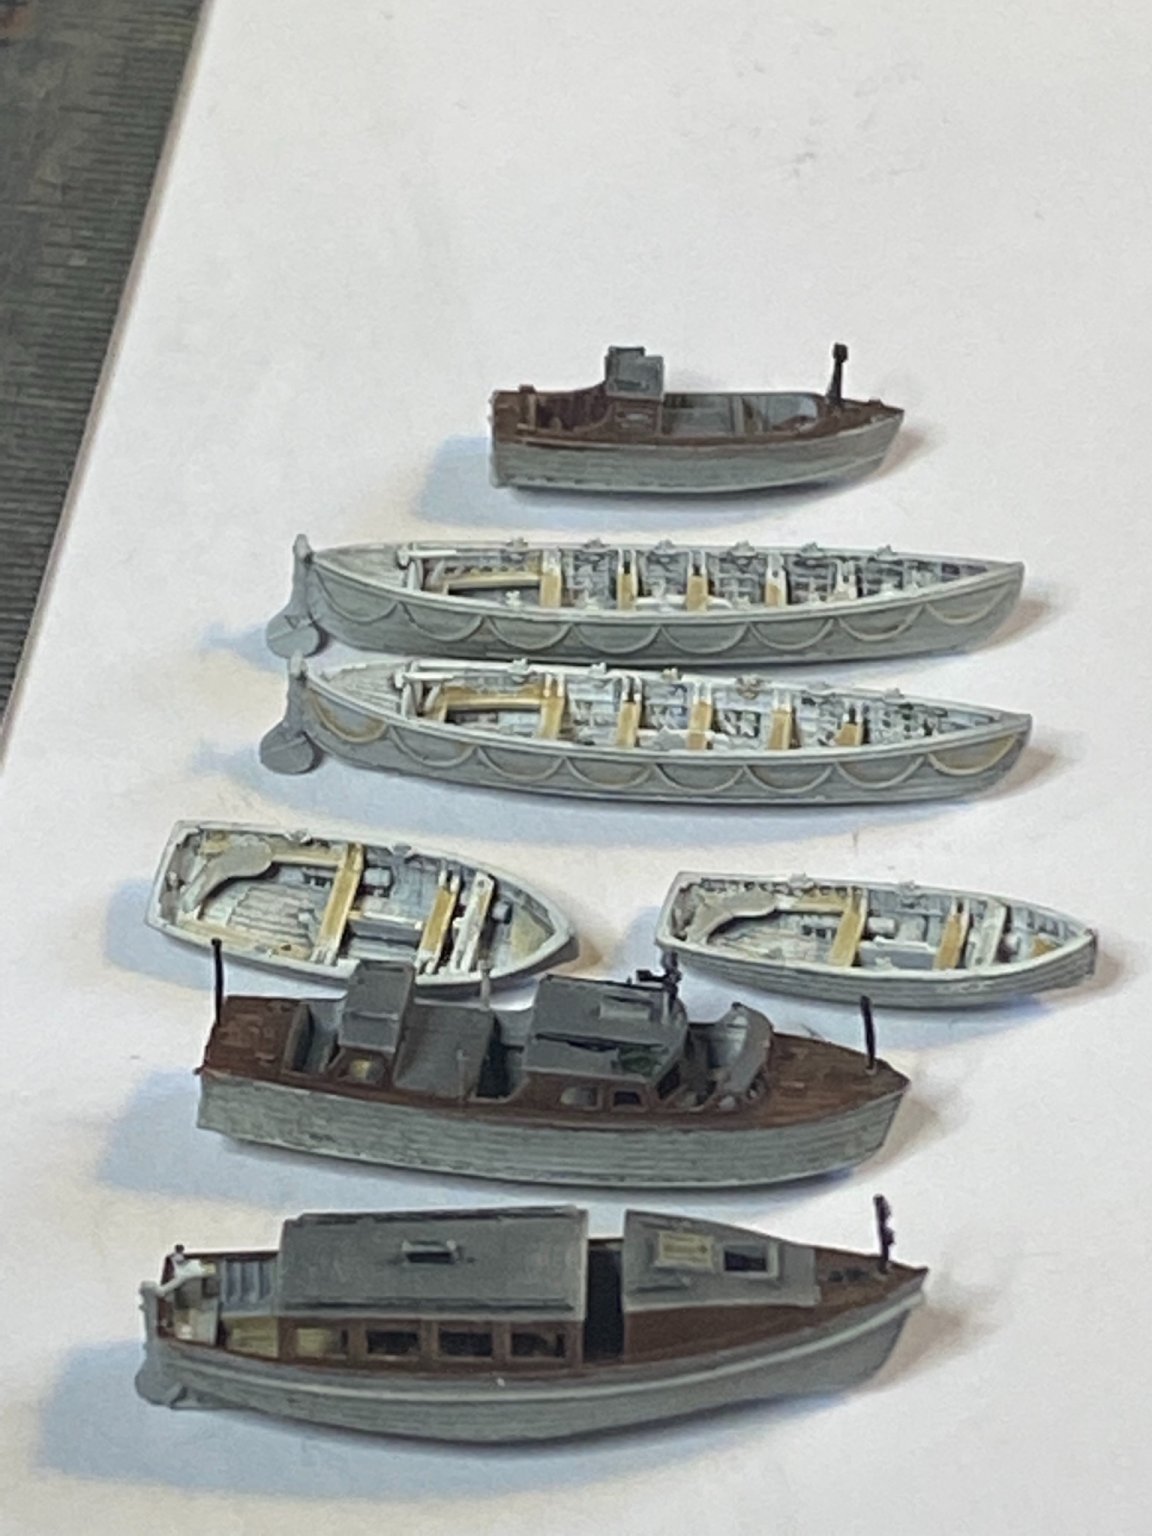
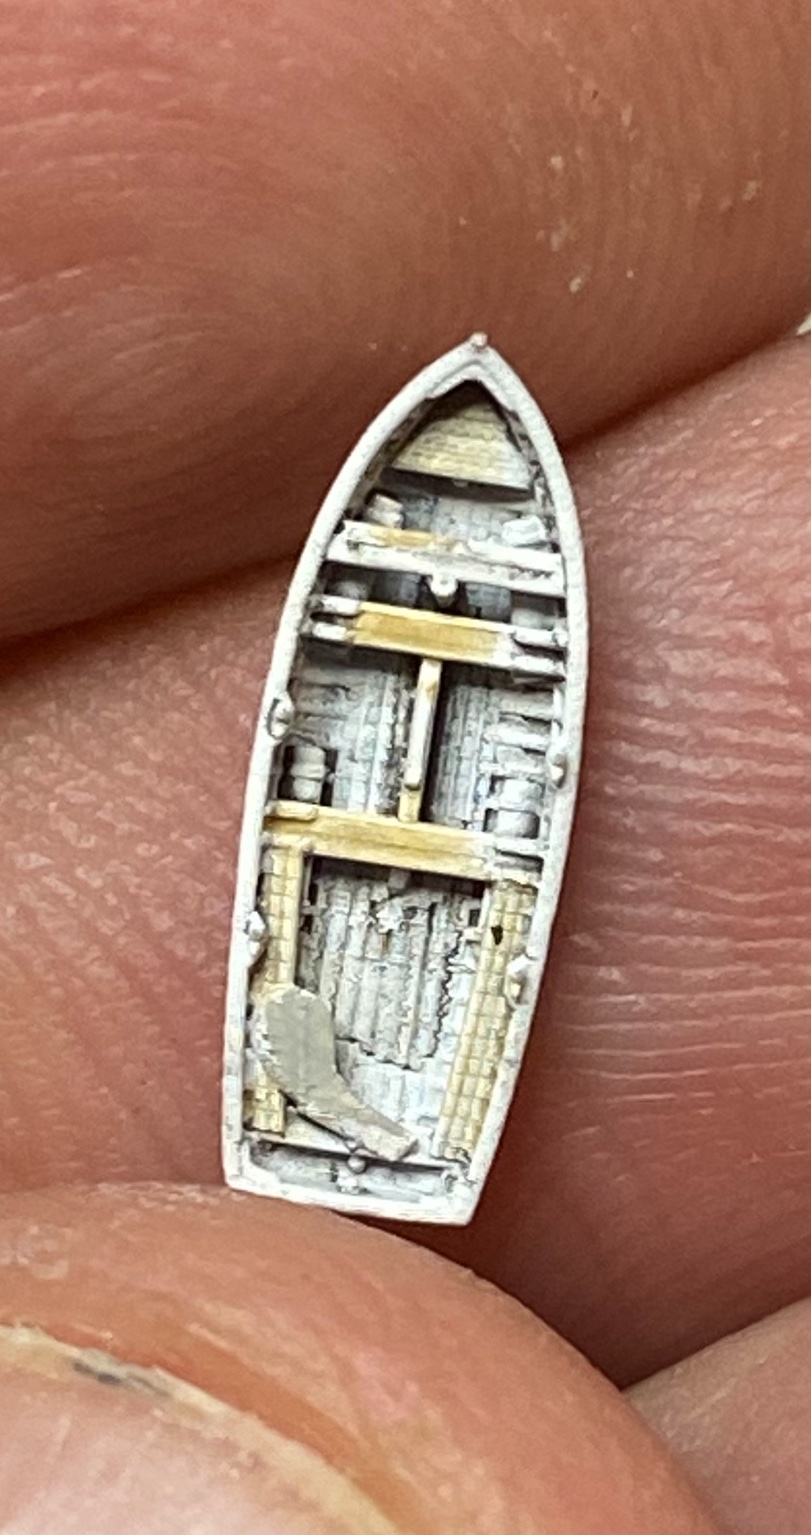
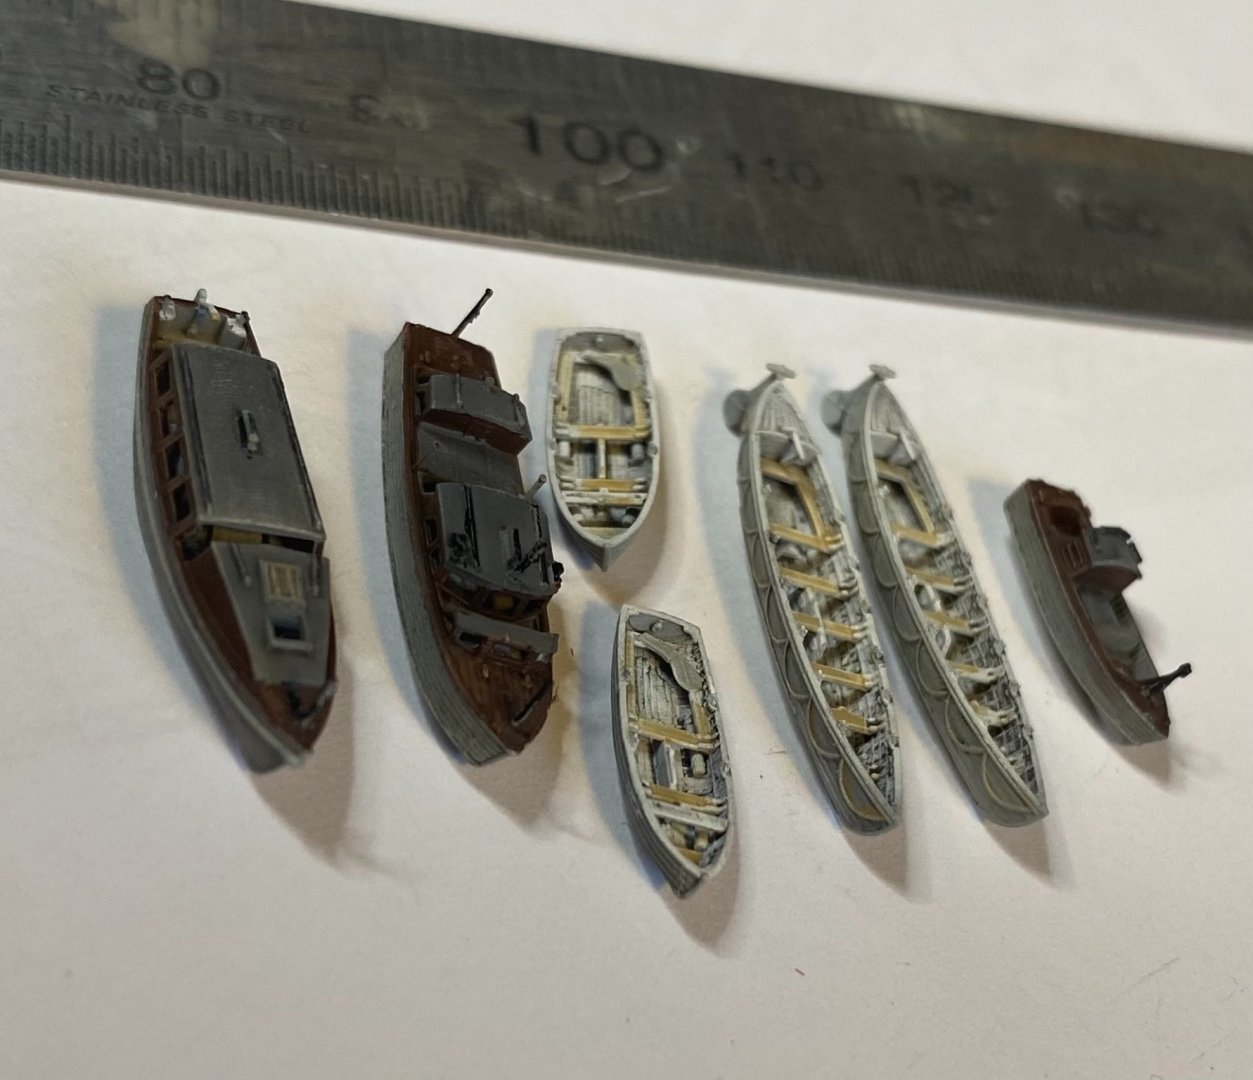
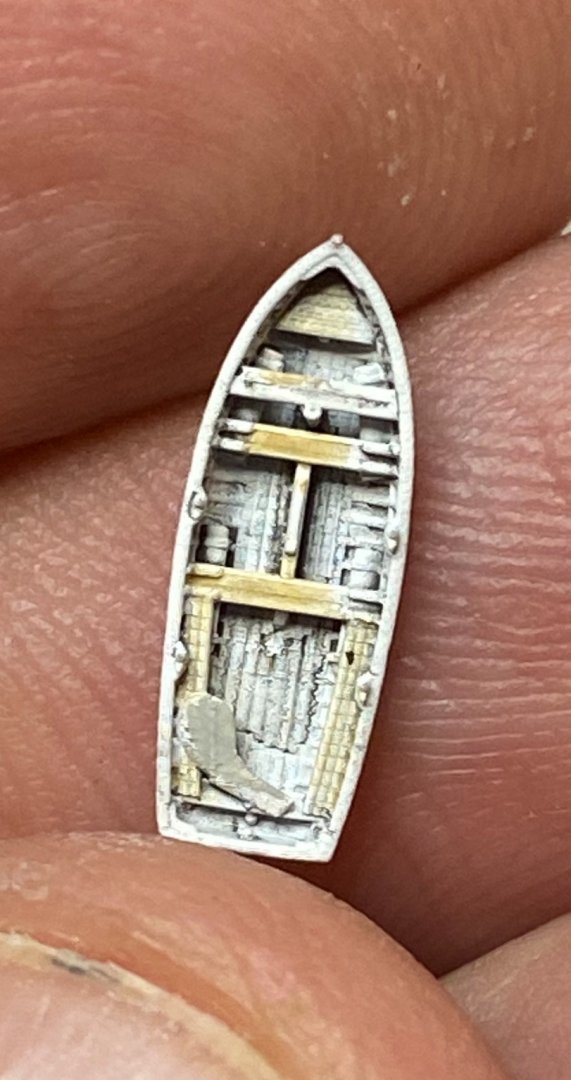
And finally the ships boats, I have no idea what colour they should be so I kinda made it up.

-
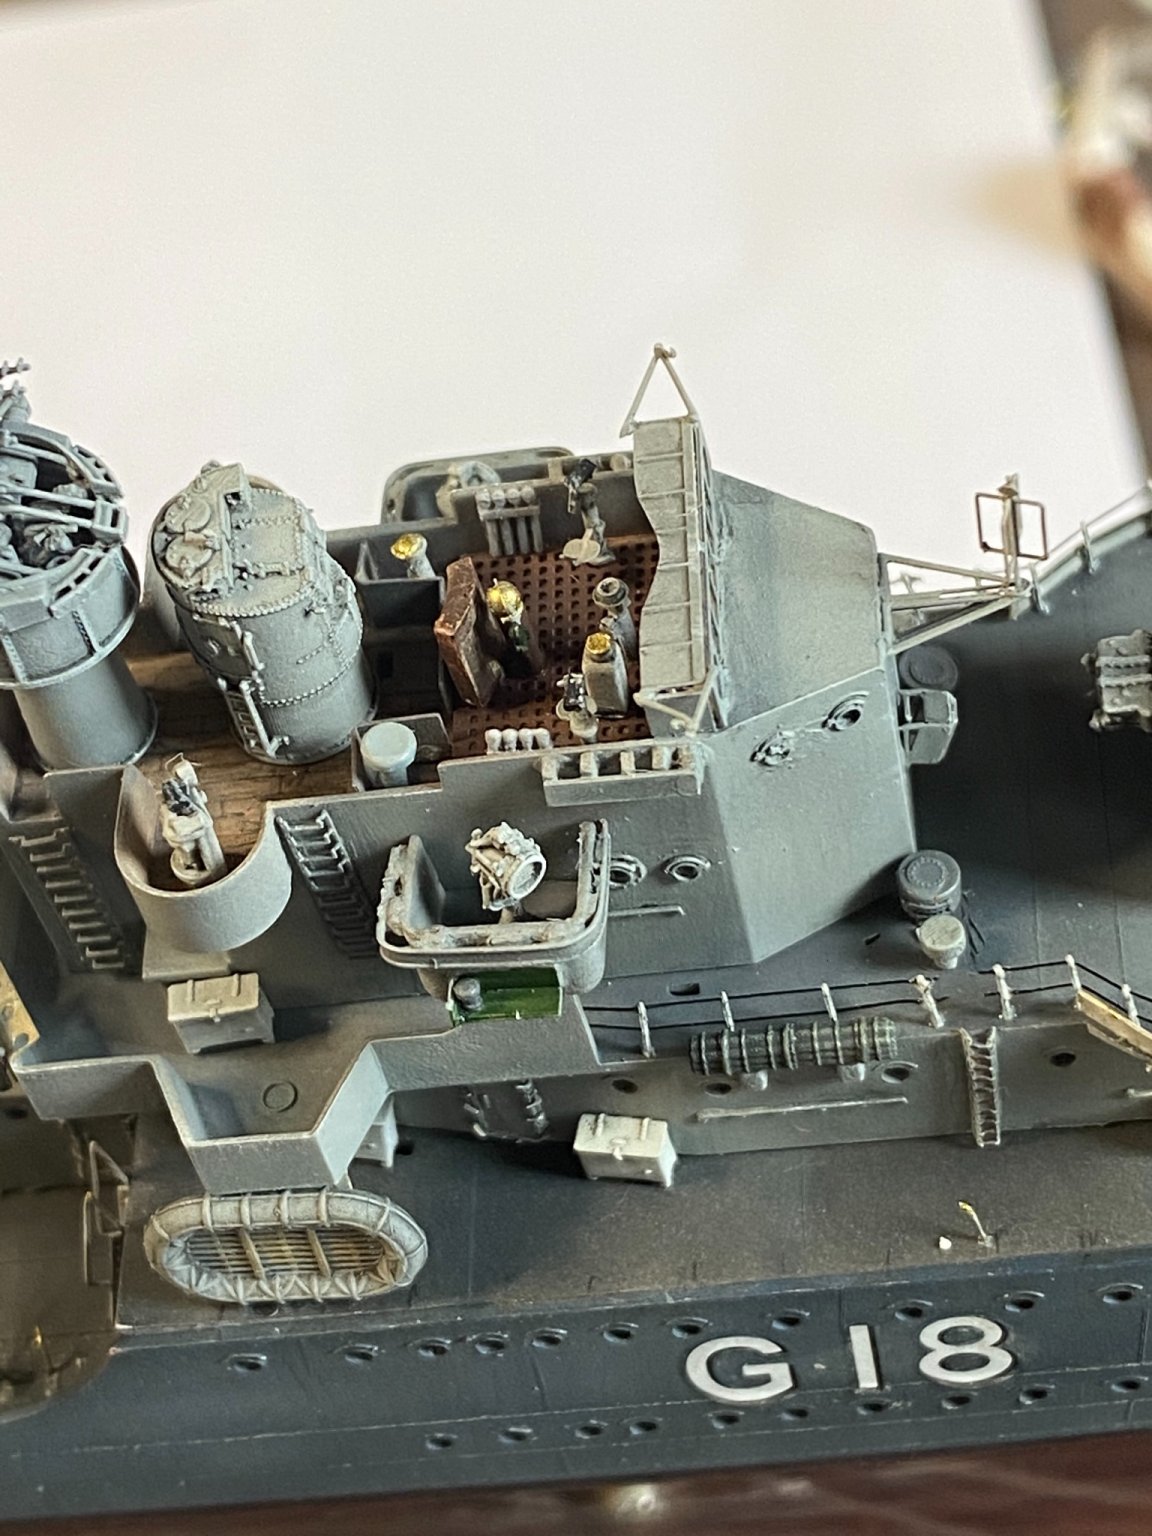
Airbrush for the primer coat, airbrushed the black for the black bits or grey for the predominance grey then hand painting. Add a wash then dry brushing.