HOLIDAY DONATION DRIVE - SUPPORT MSW - DO YOUR PART TO KEEP THIS GREAT FORUM GOING! (Only 24 donations so far out of 49,000 members - C'mon guys!)
×


RGL
-
Posts
5,529 -
Joined
-
Last visited
Content Type
Profiles
Forums
Gallery
Events
Everything posted by RGL
-
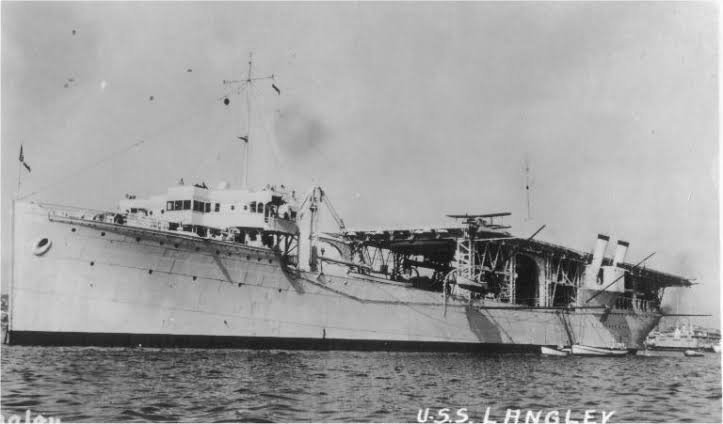
 Apparently he got this from her fit out logs that was the paint type was used (a type of grey). I read his reasoning and research on Facebook .
- 225 replies
-
- 6
-

-
- I Love Kit
- Hood
- (and 2 more)
-
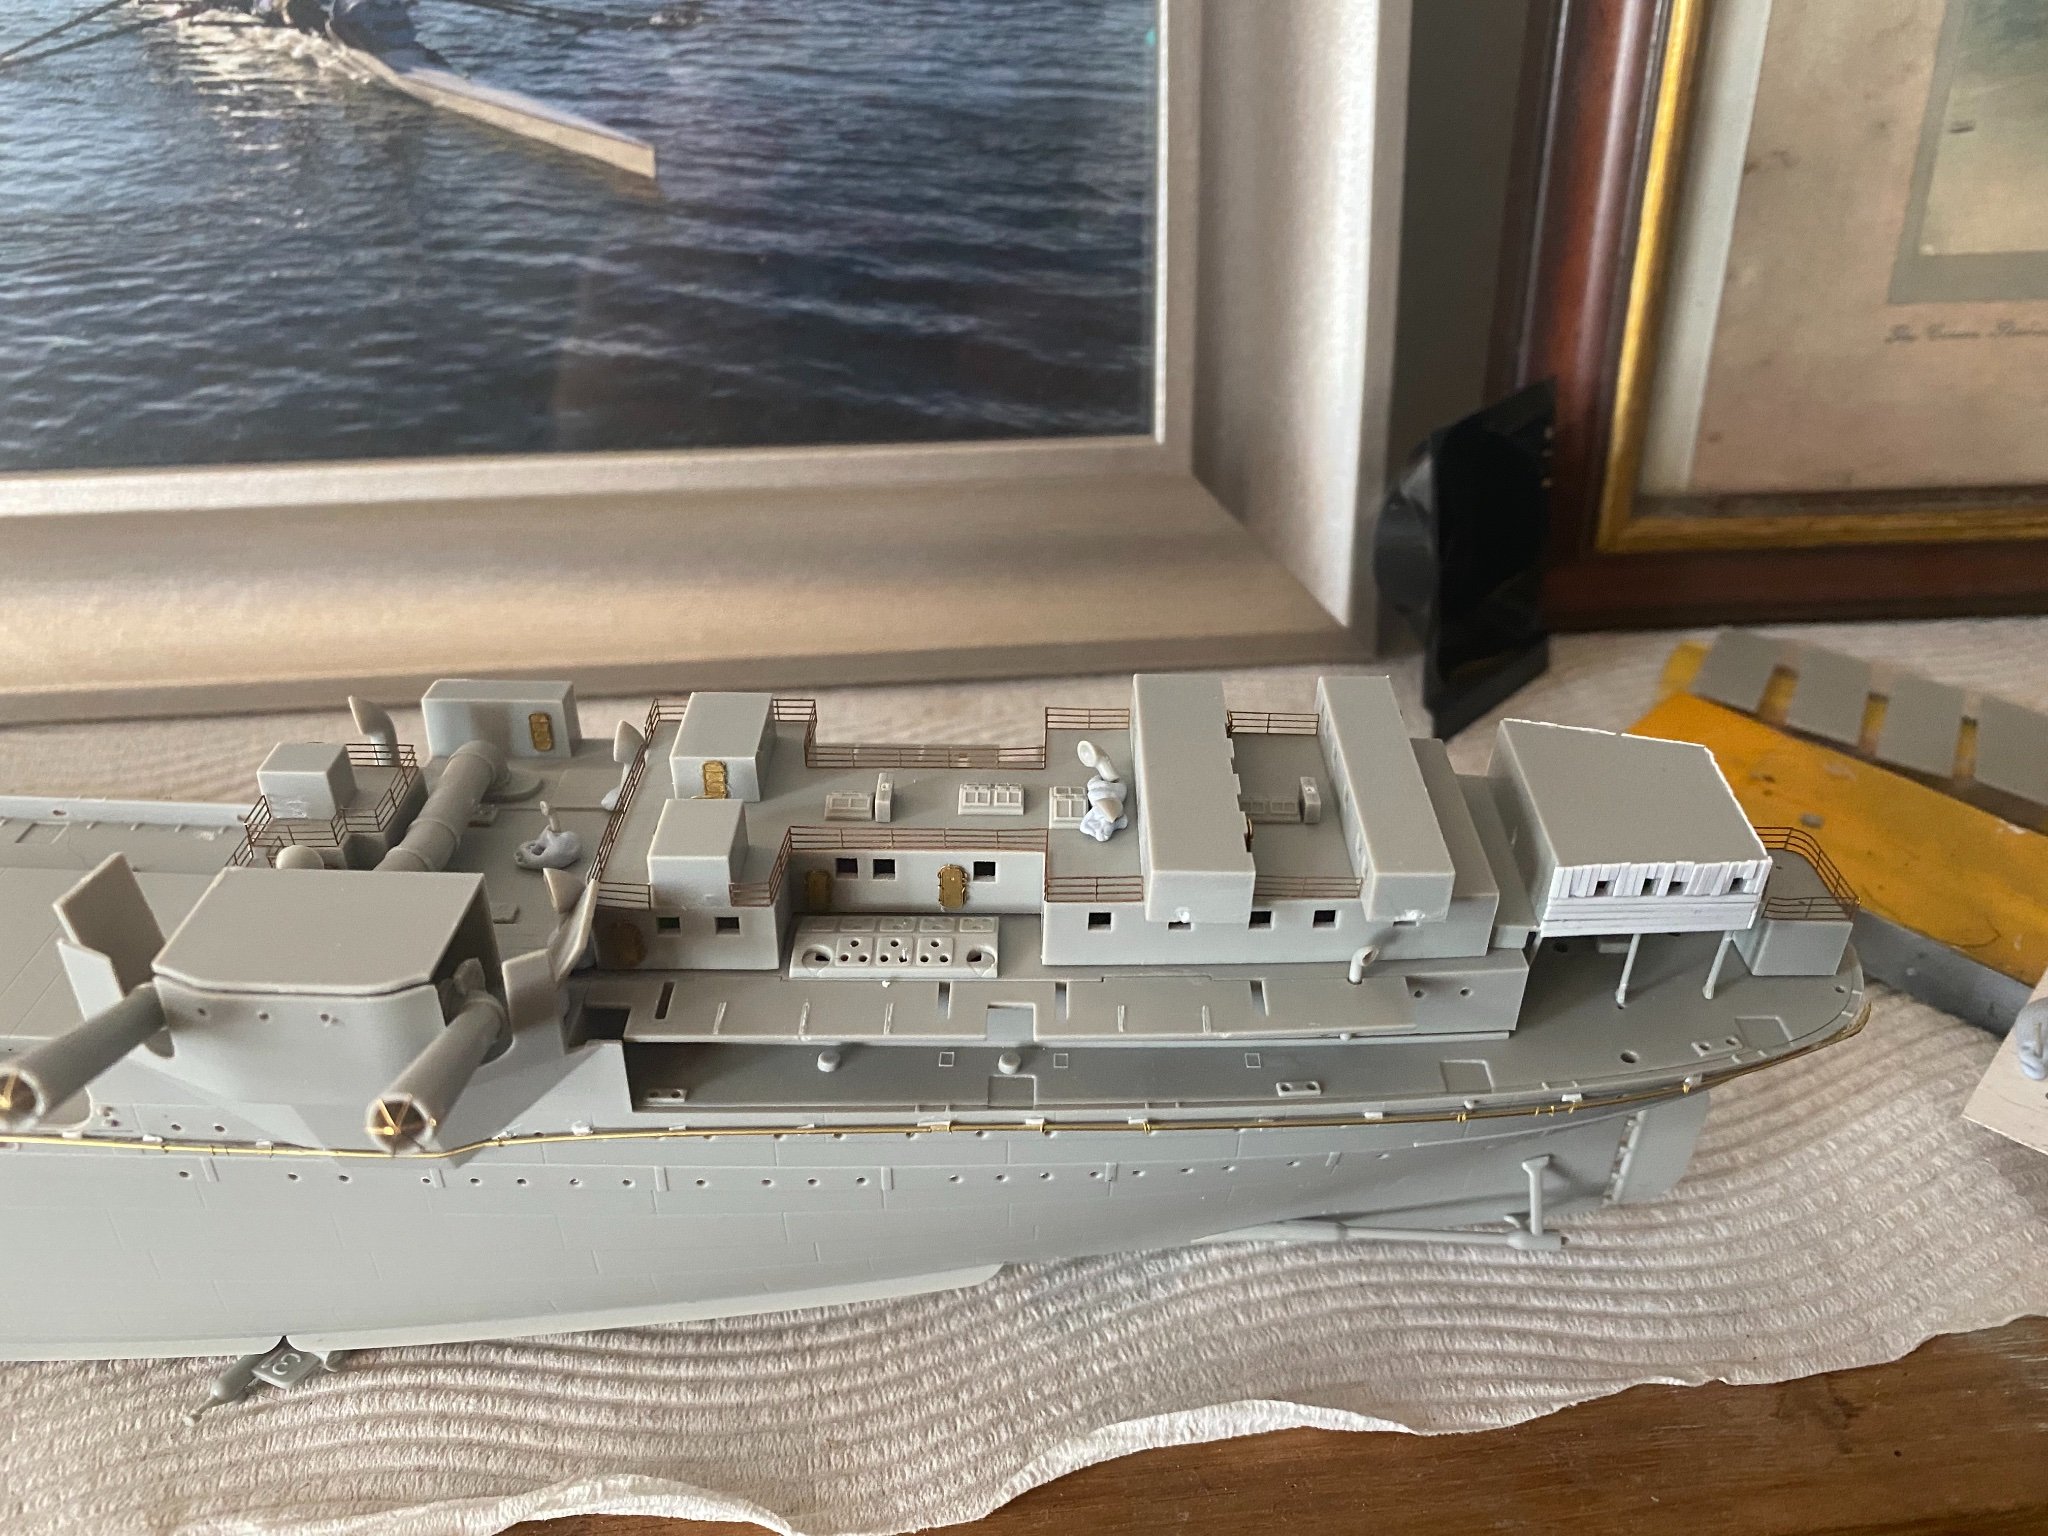
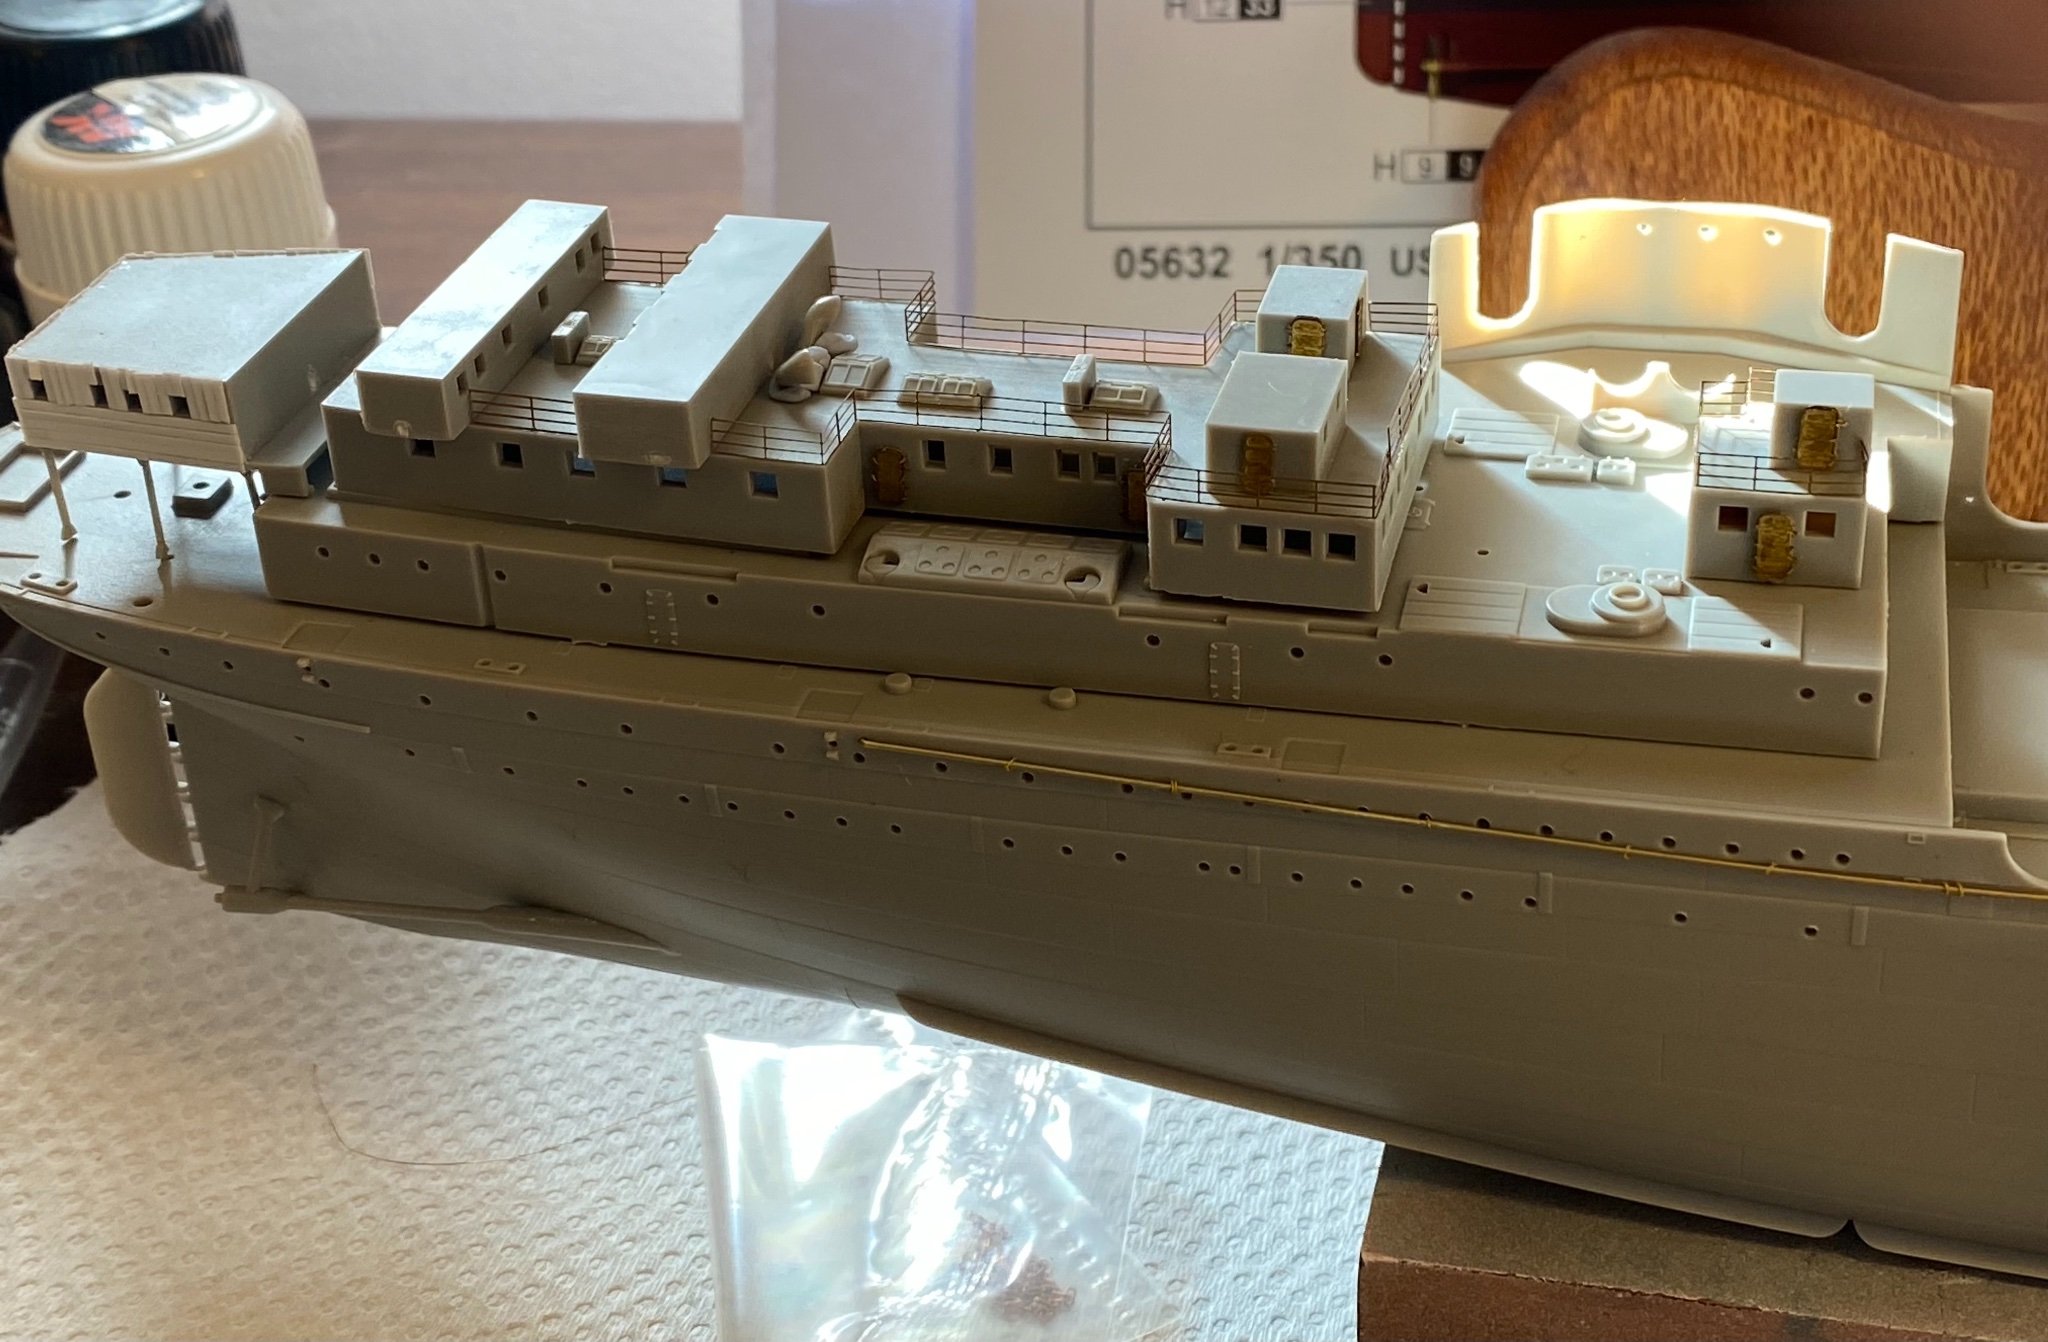
Well plastic wood… anyways the superstructures are done up, now to start on the PE! The instructions are pretty rubbish.

- 246 replies
-
- 14
-
-
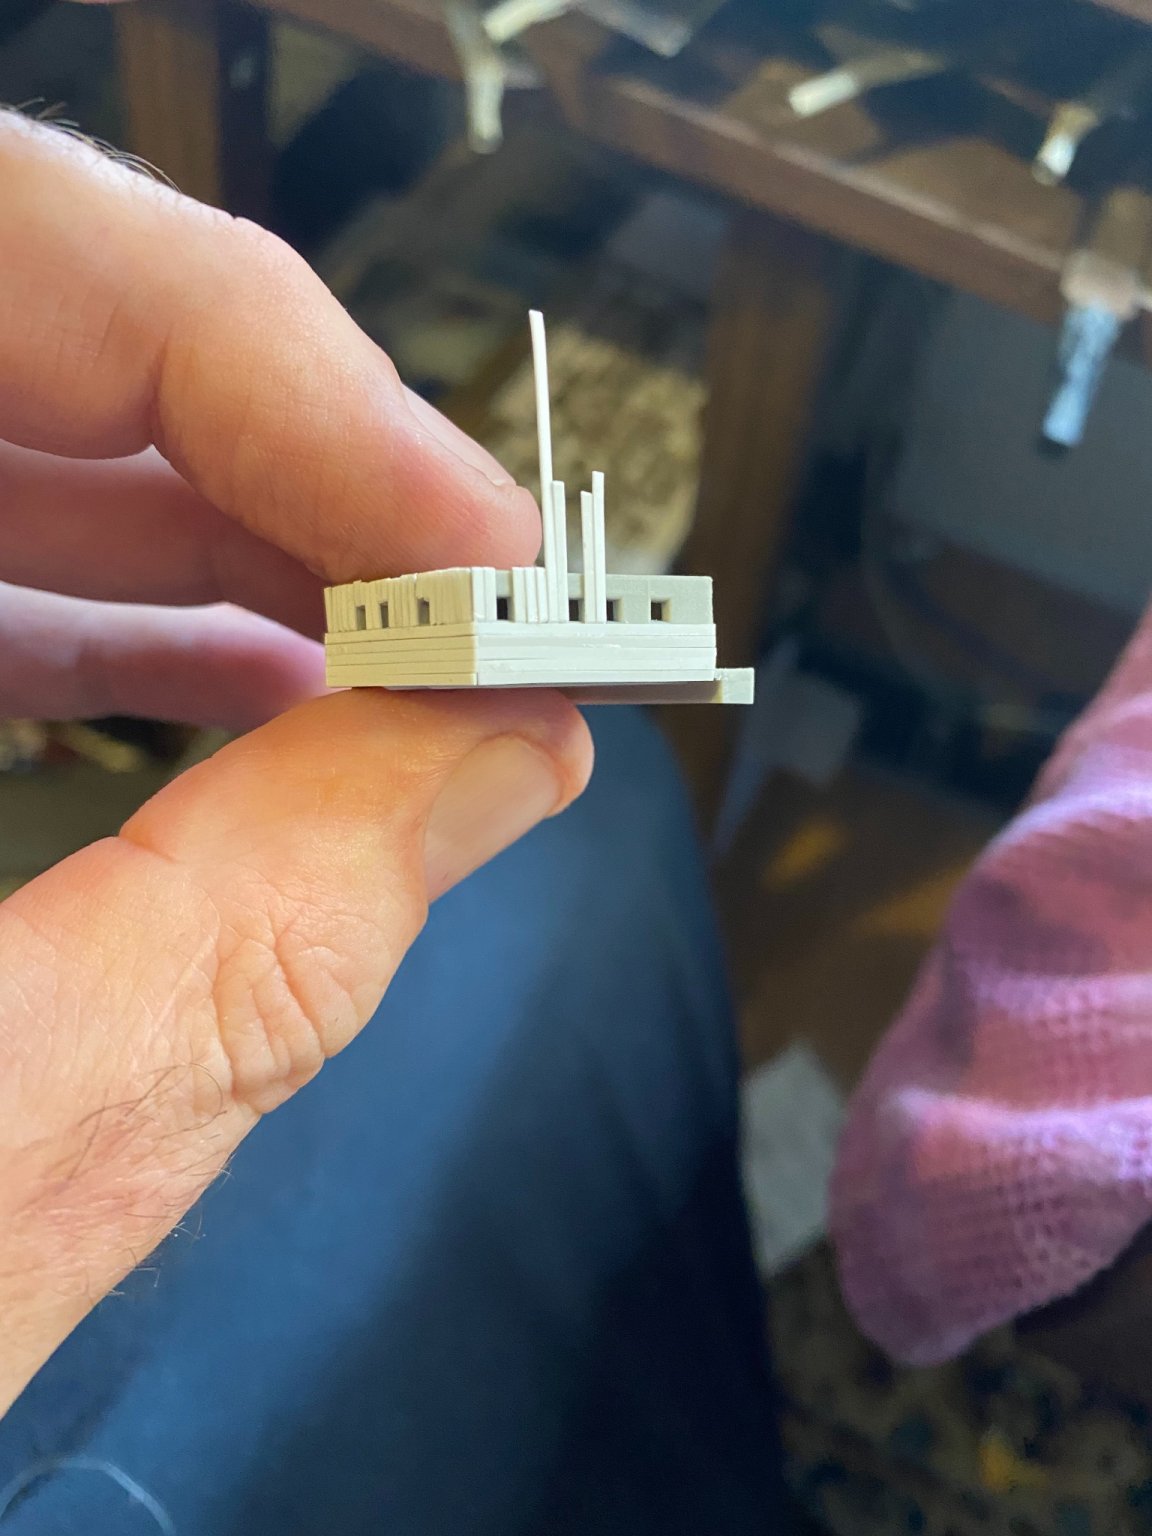
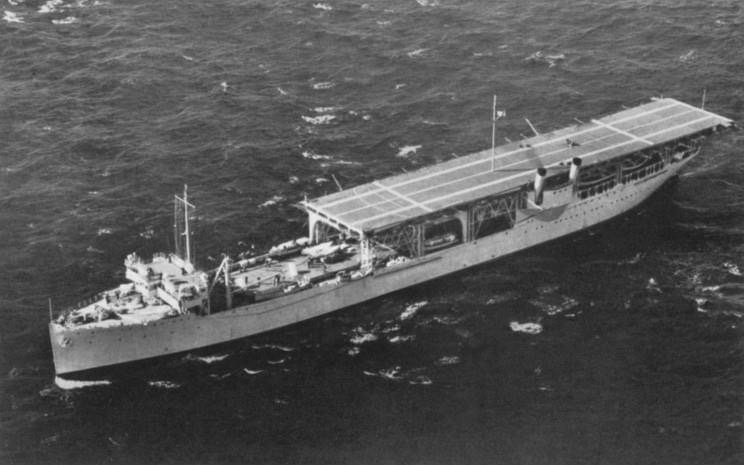
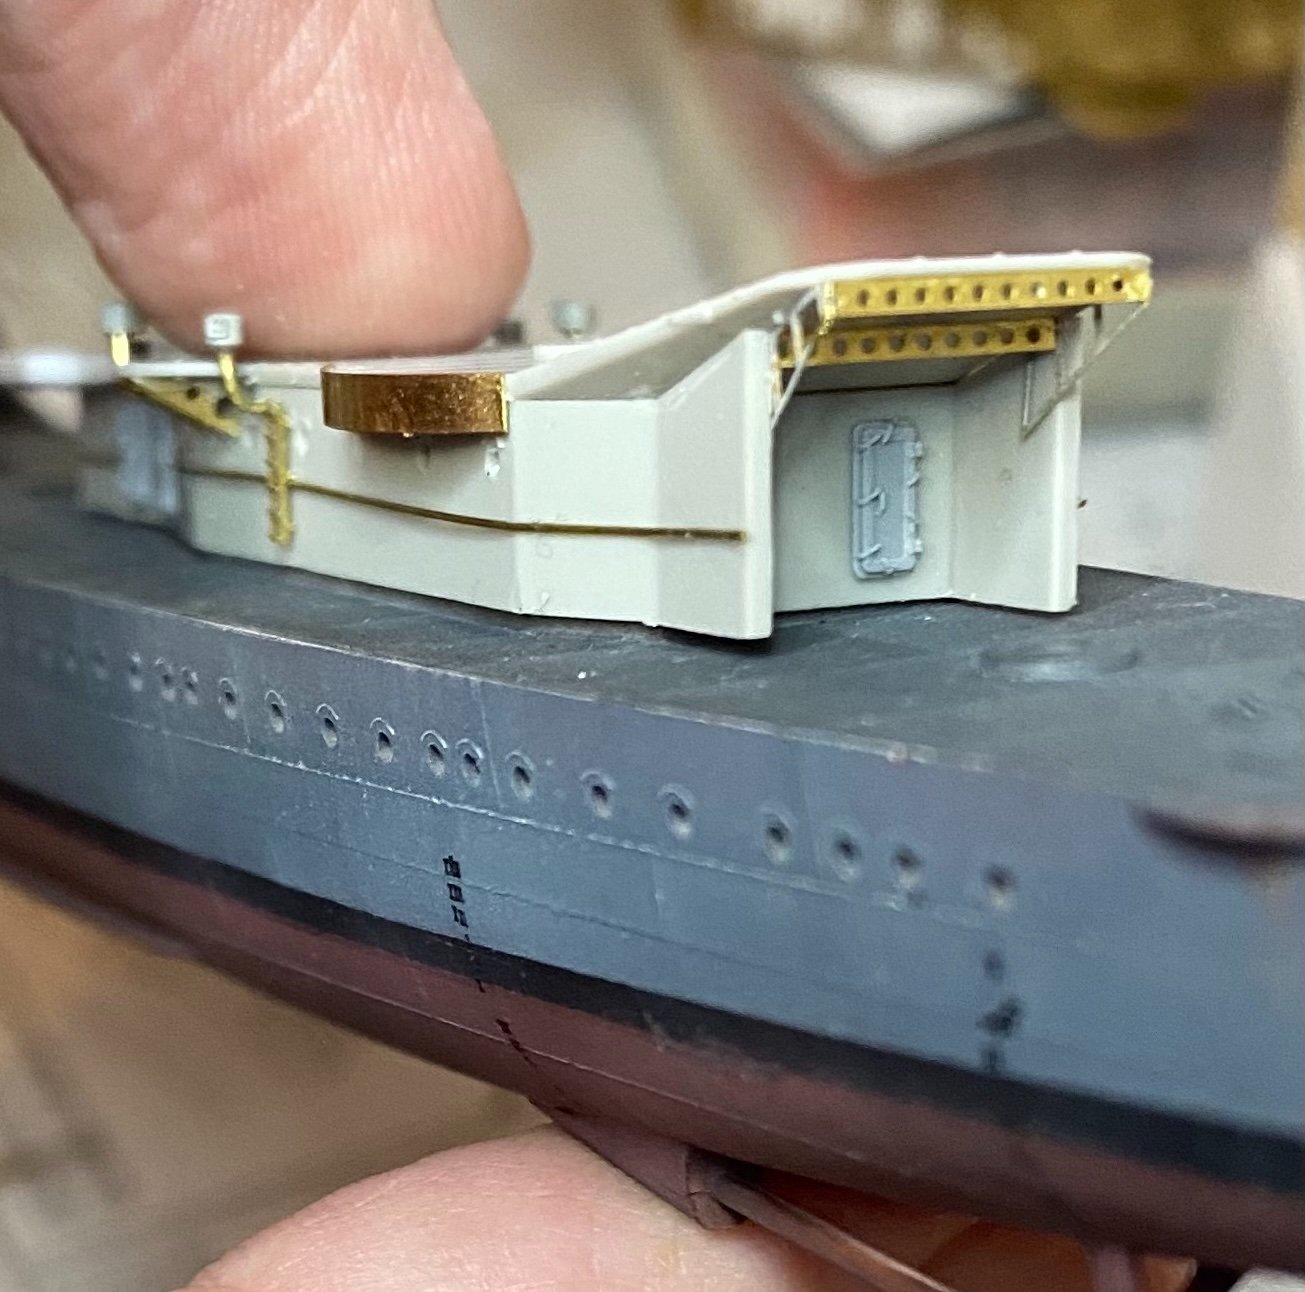
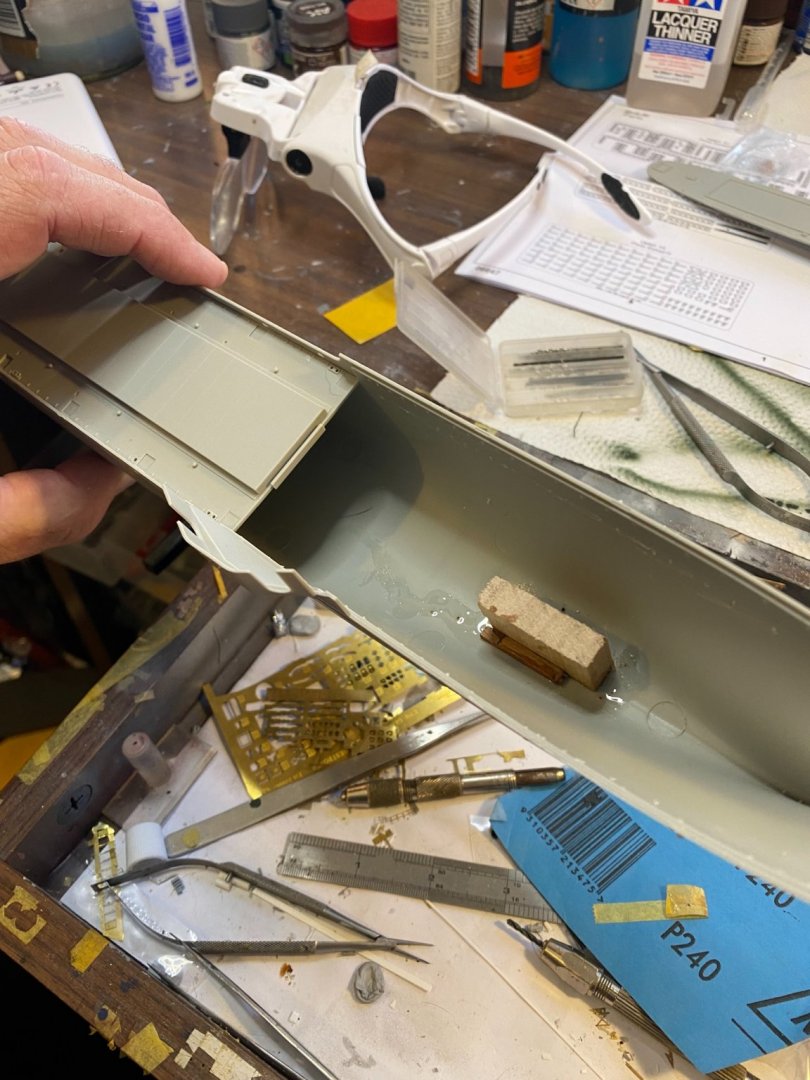
Plodding away on the superstructure that will be nearly invisible below the flight deck. The rear most structure has planked sides!


- 246 replies
-
- 15
-
-
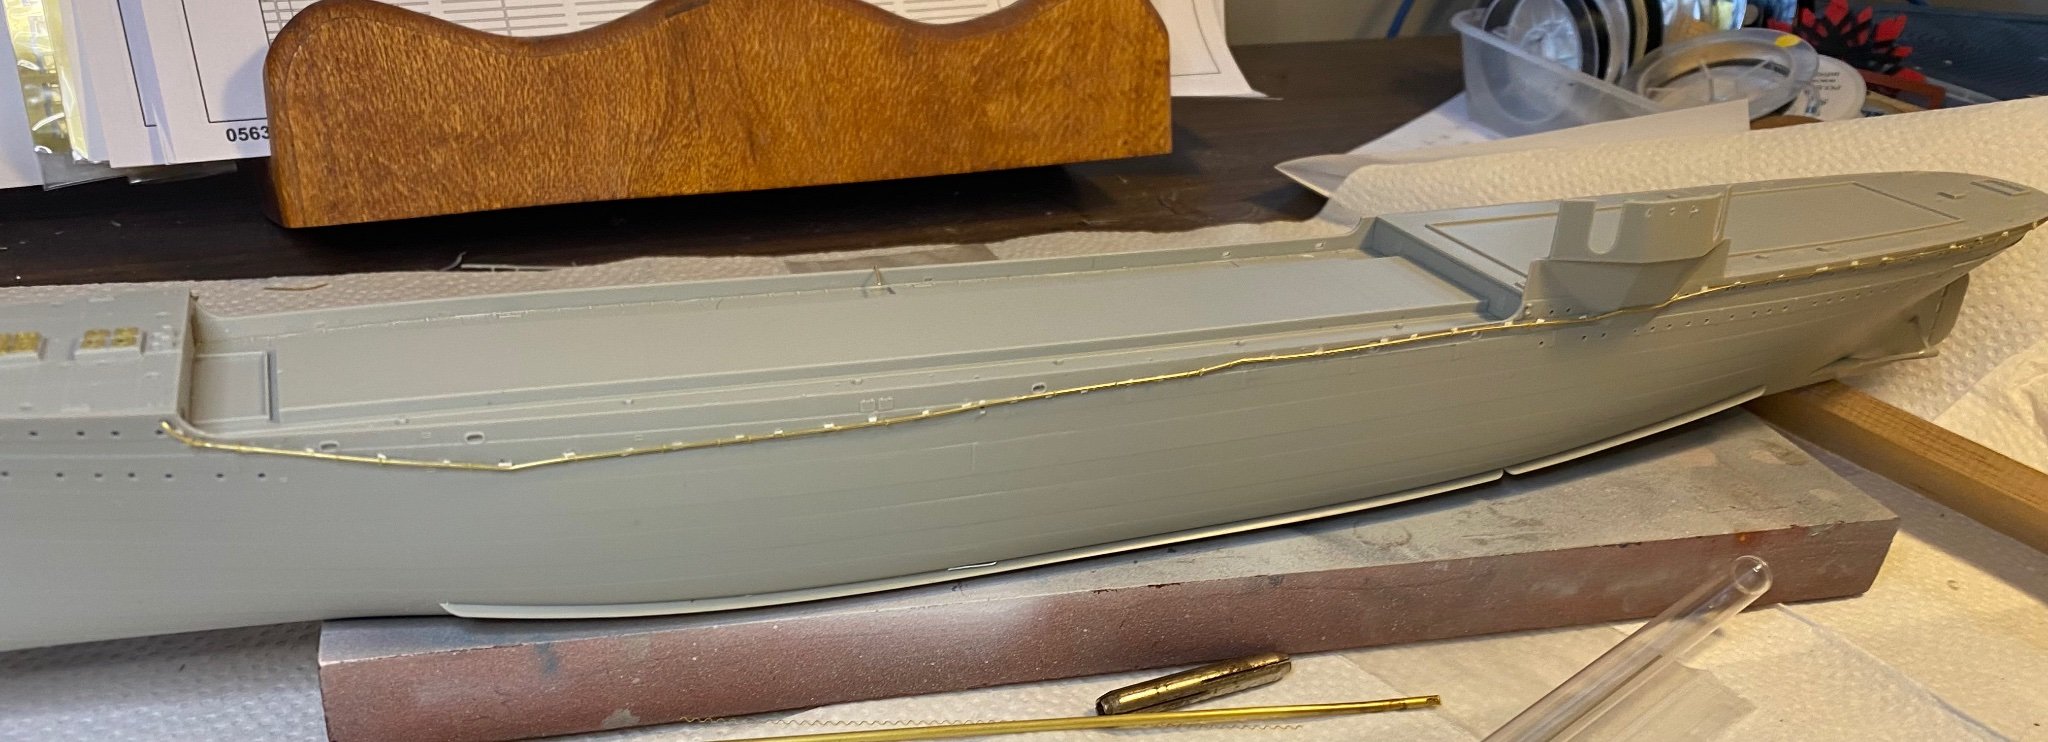
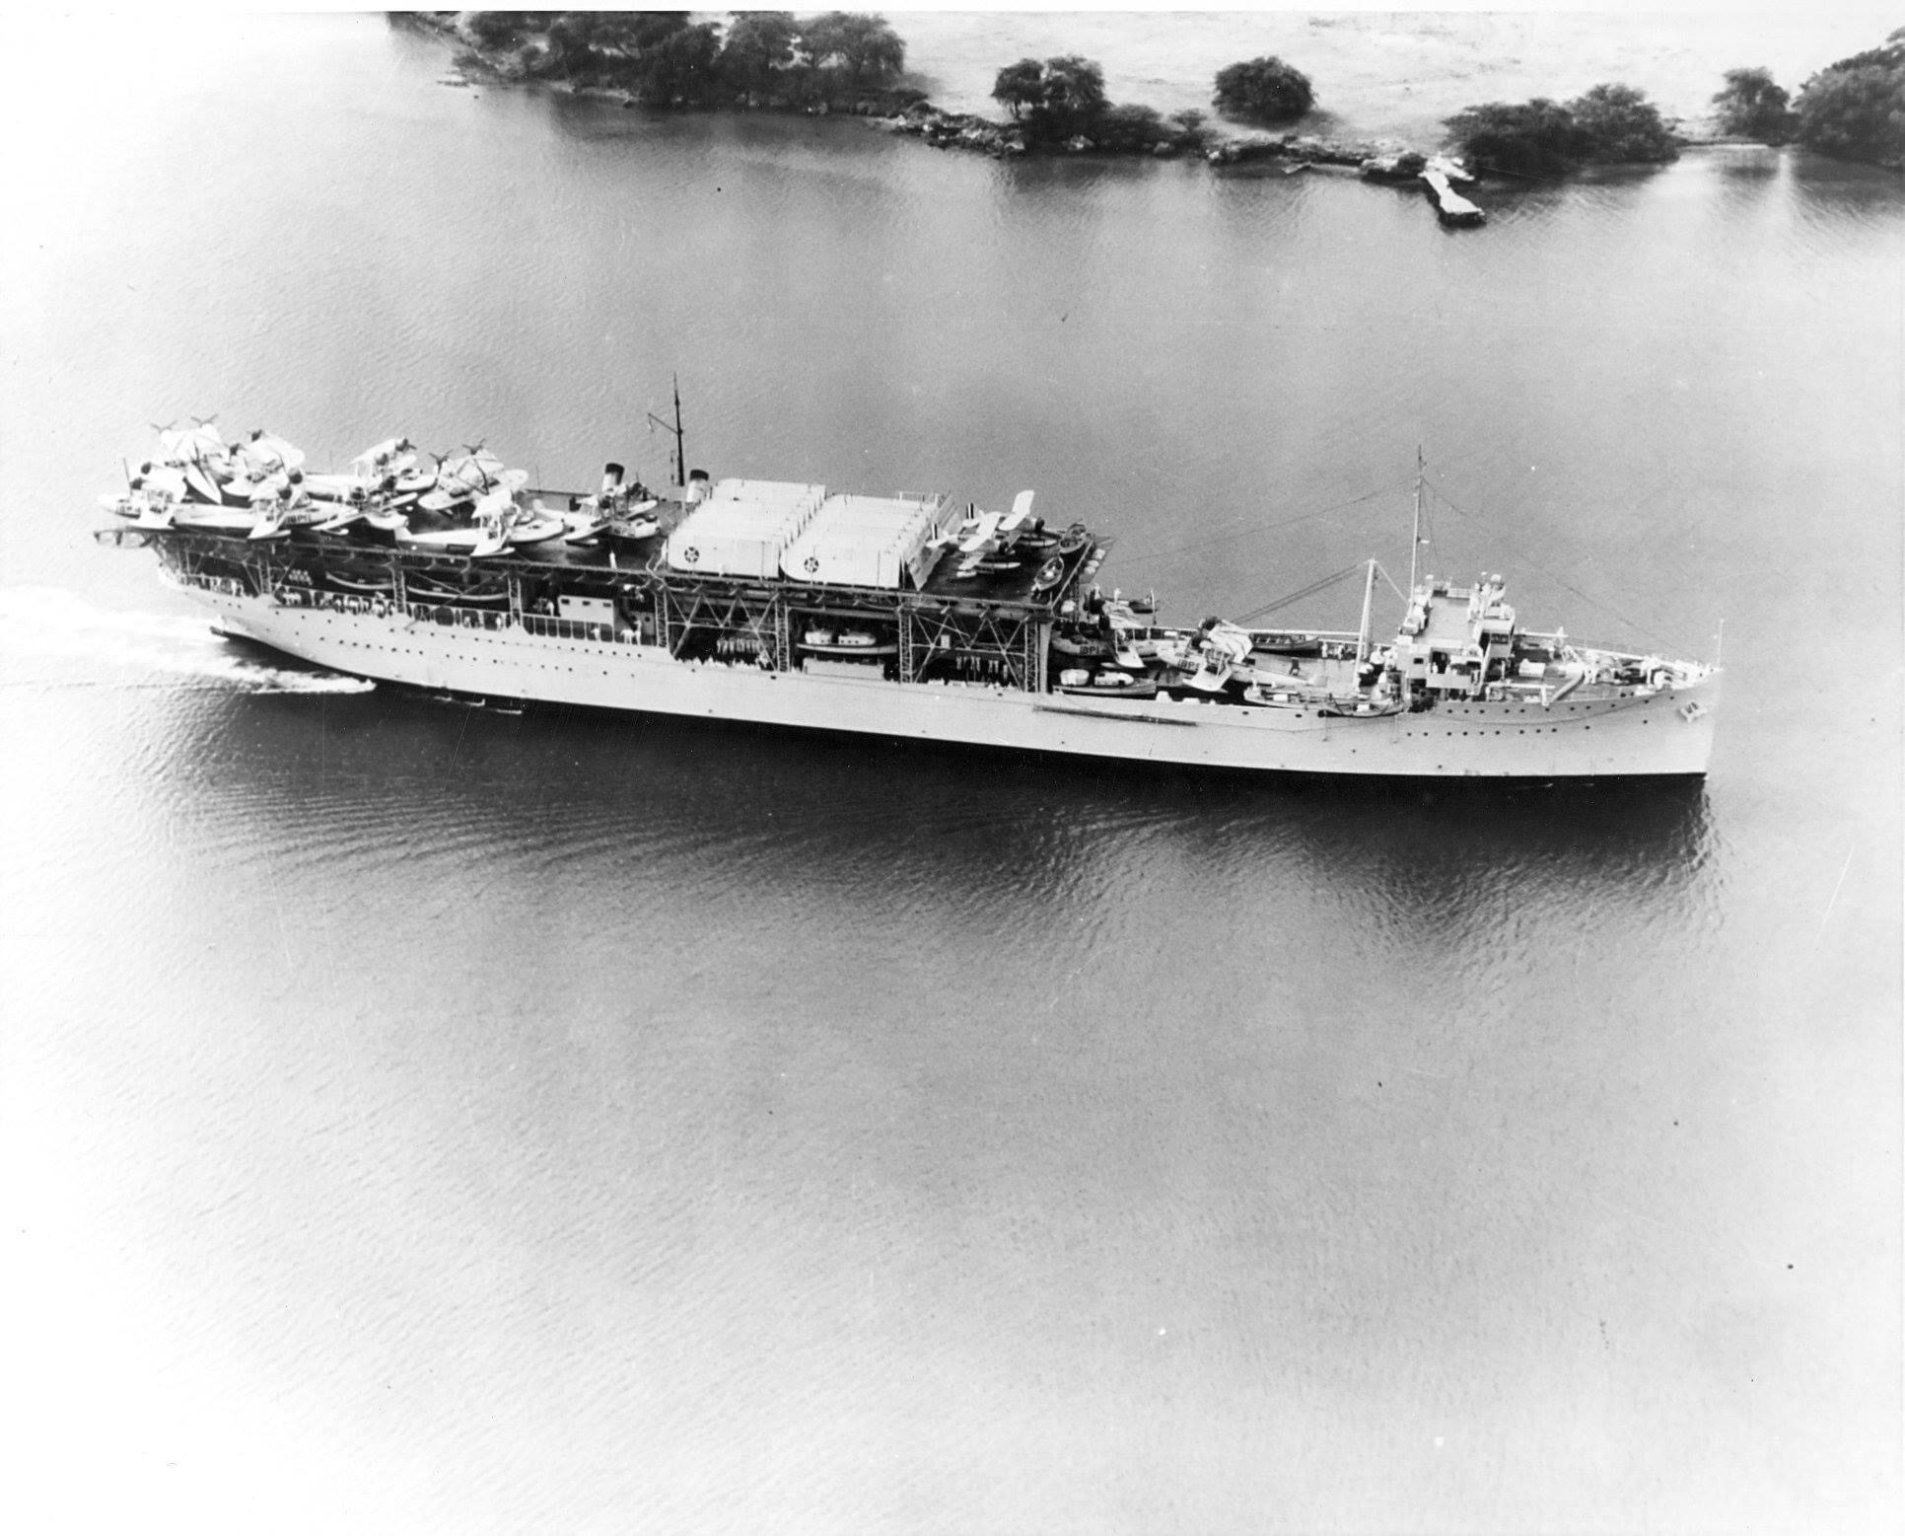
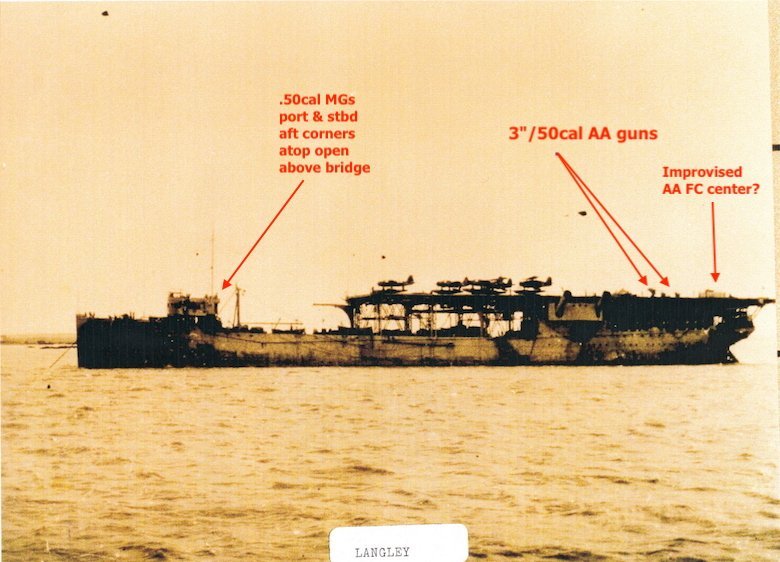
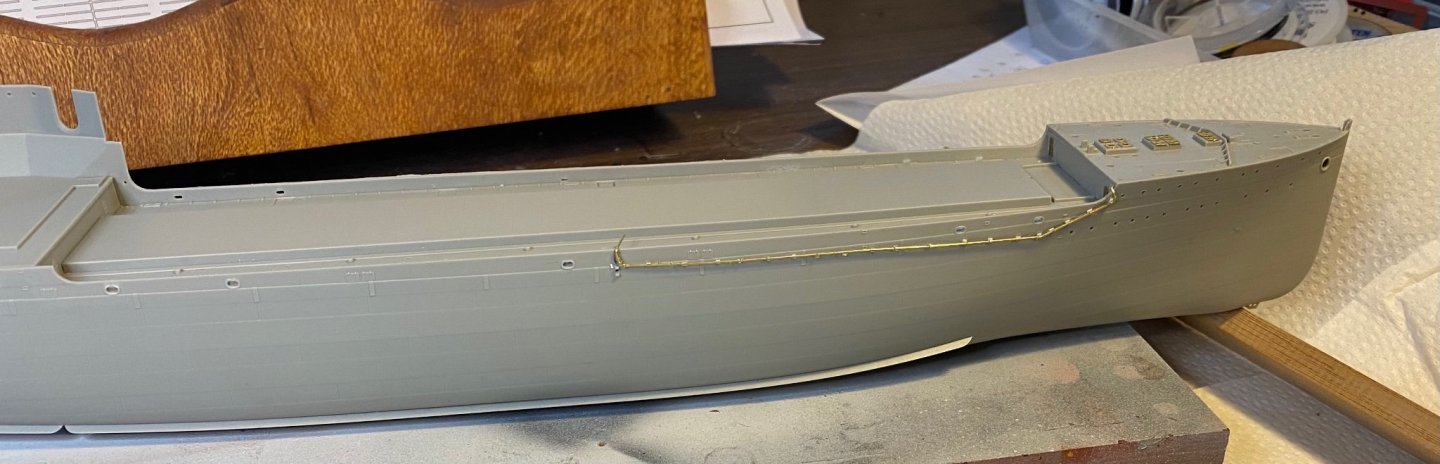
By 1941 there were fuel lines running down both sides of the hull (not mentioned in the kit at all). They stand out like the proverbials when you look at the photos. and @BANYAN I just found them on the ebays


- 246 replies
-
- 11
-
-

-
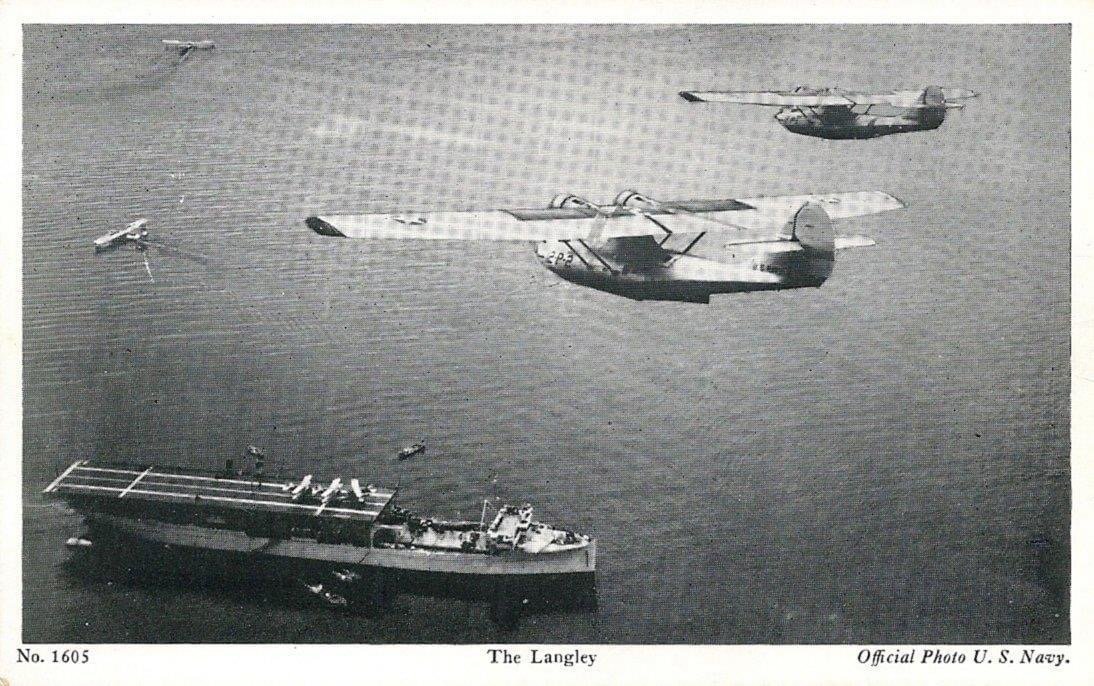
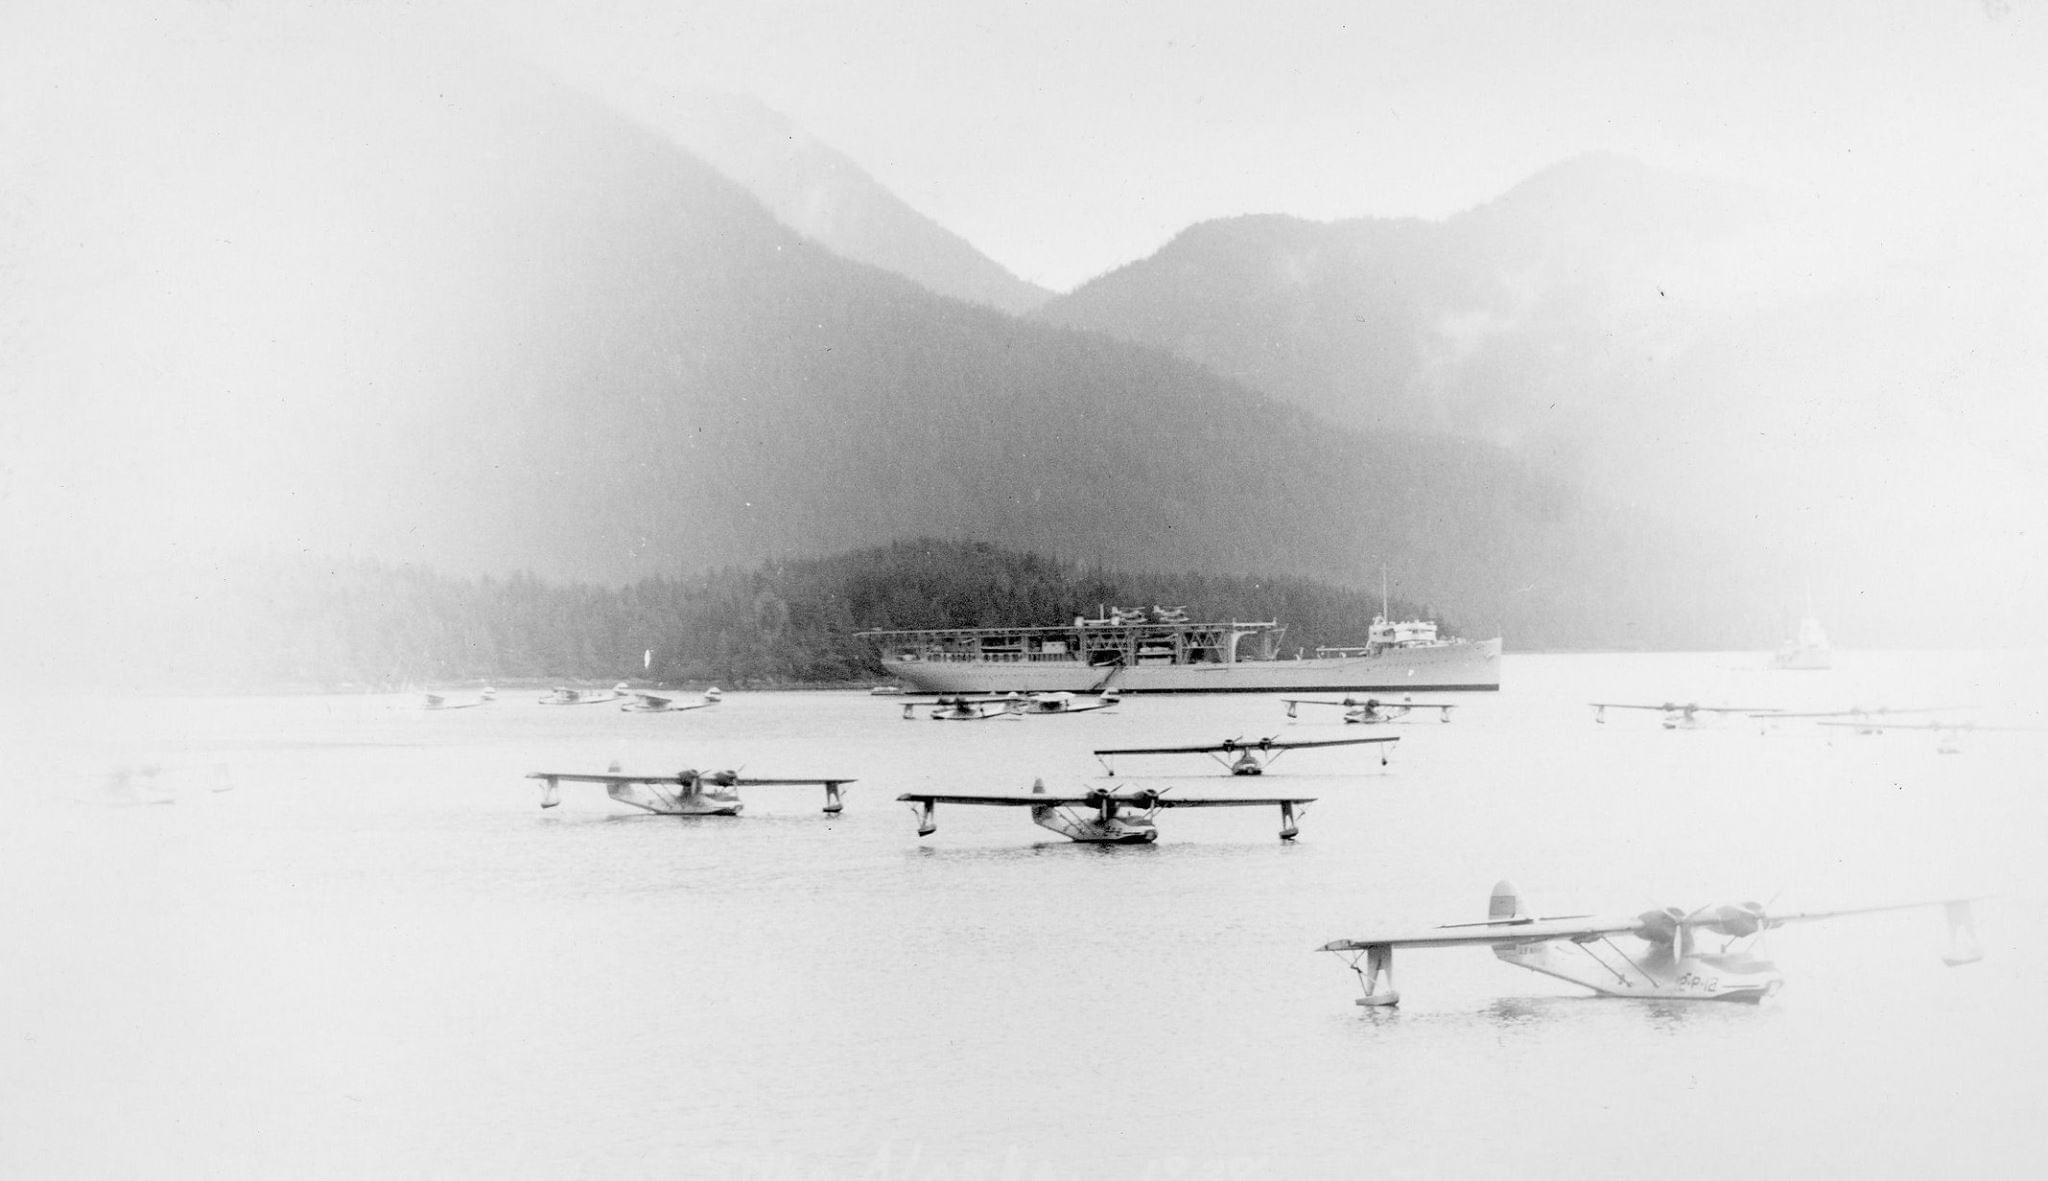
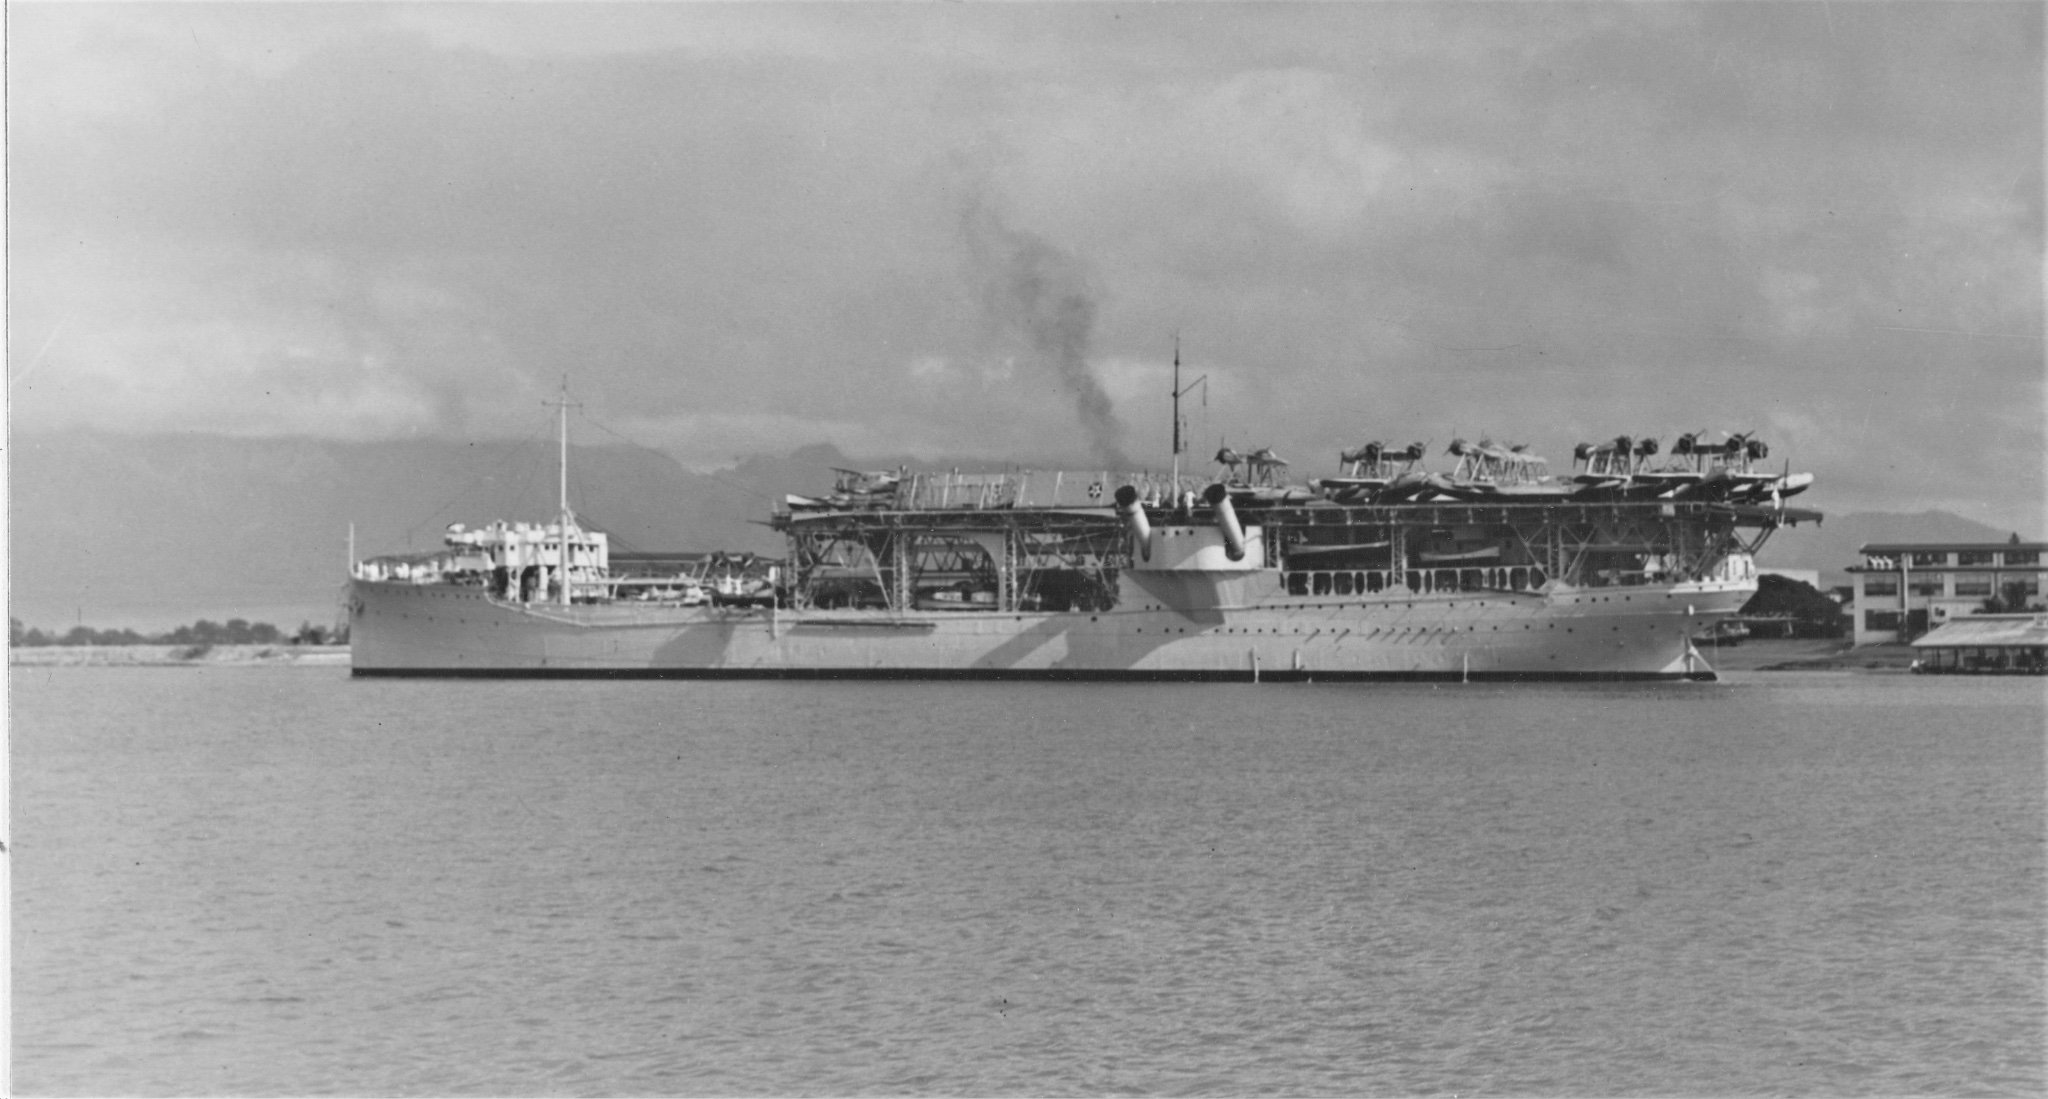
Hahaha, excellent research! I think all the photos with them are pre war. I might have purchased some Catalinas for her. You’ll find out…
-
And we have a start. Little bits of wood on the interior for the stands. Goes together very well.
-
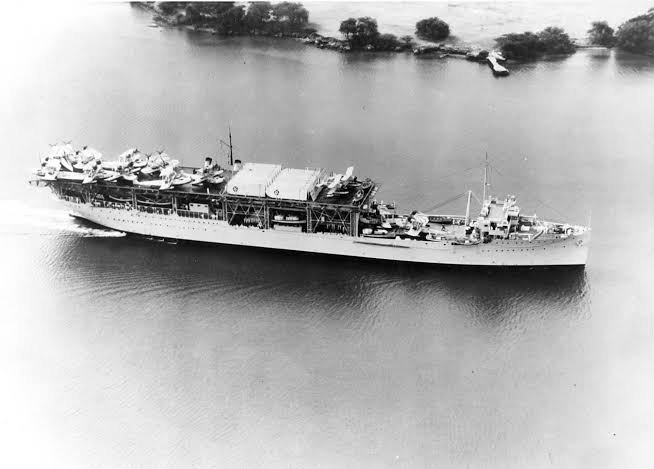
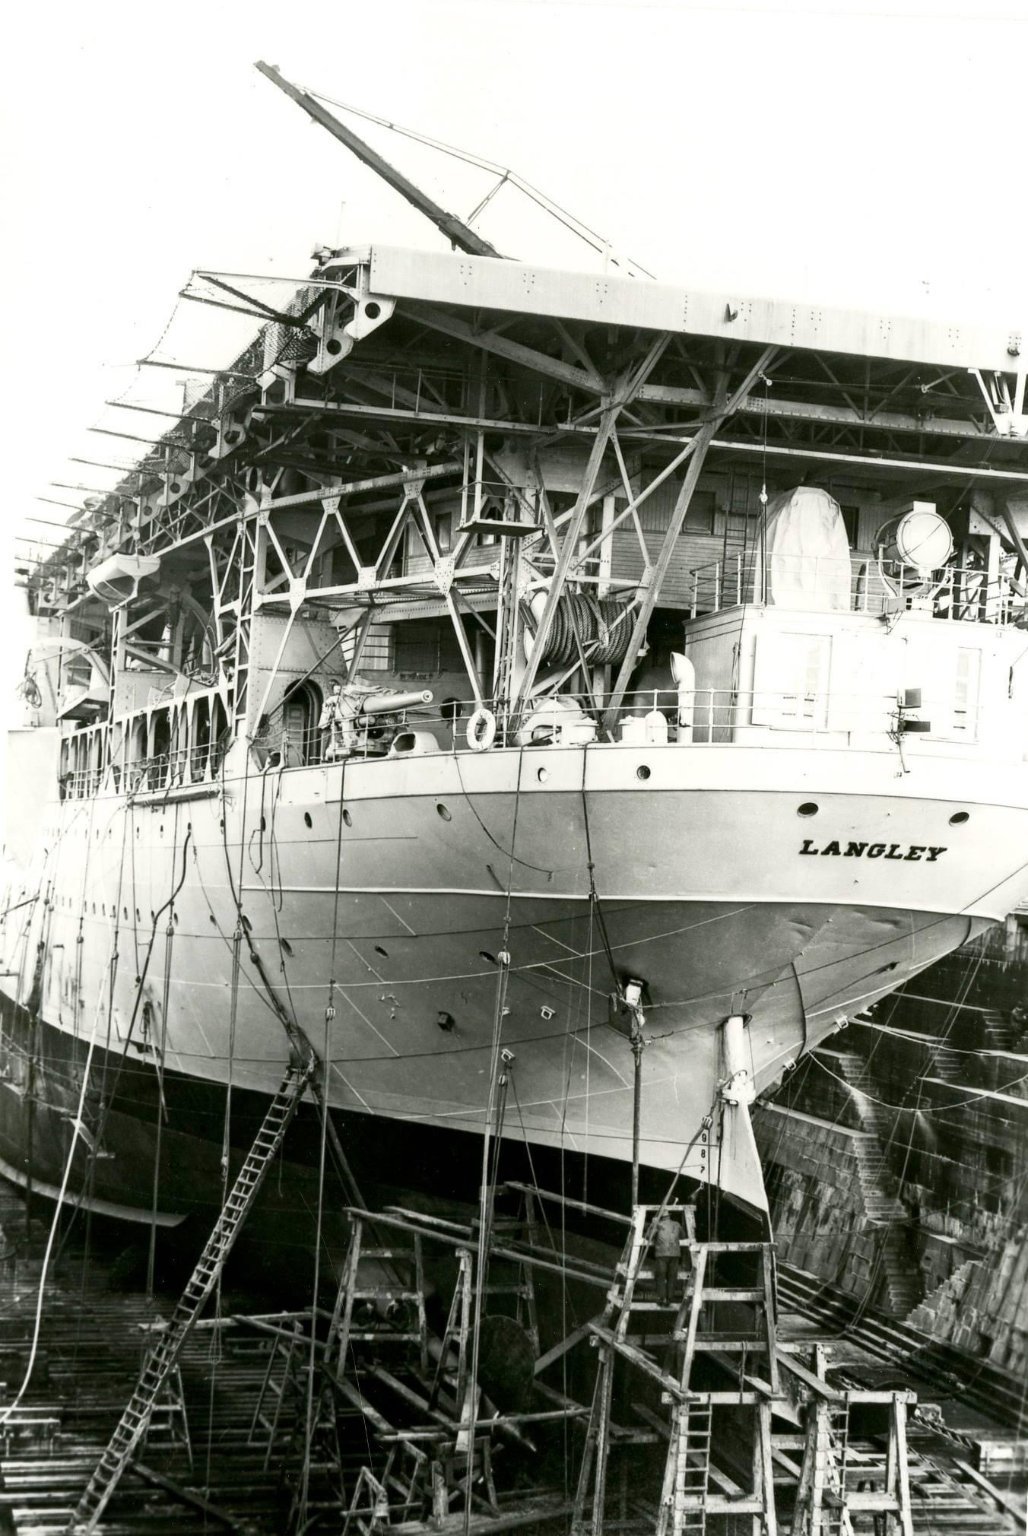
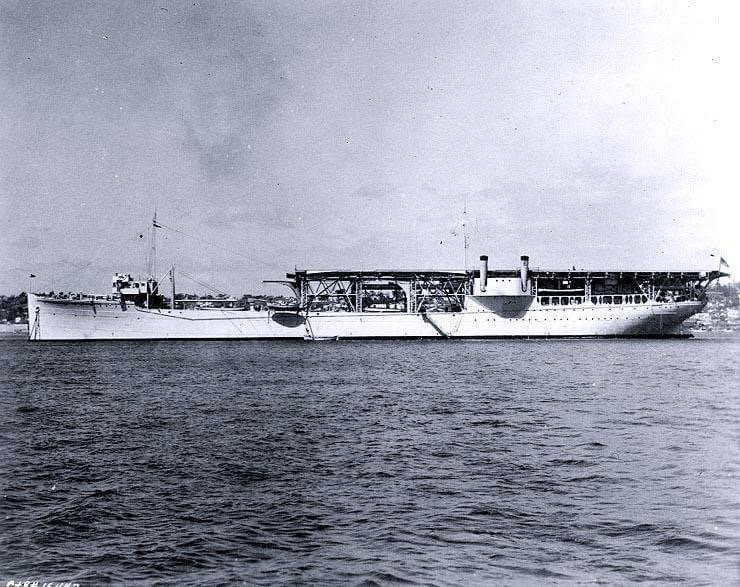
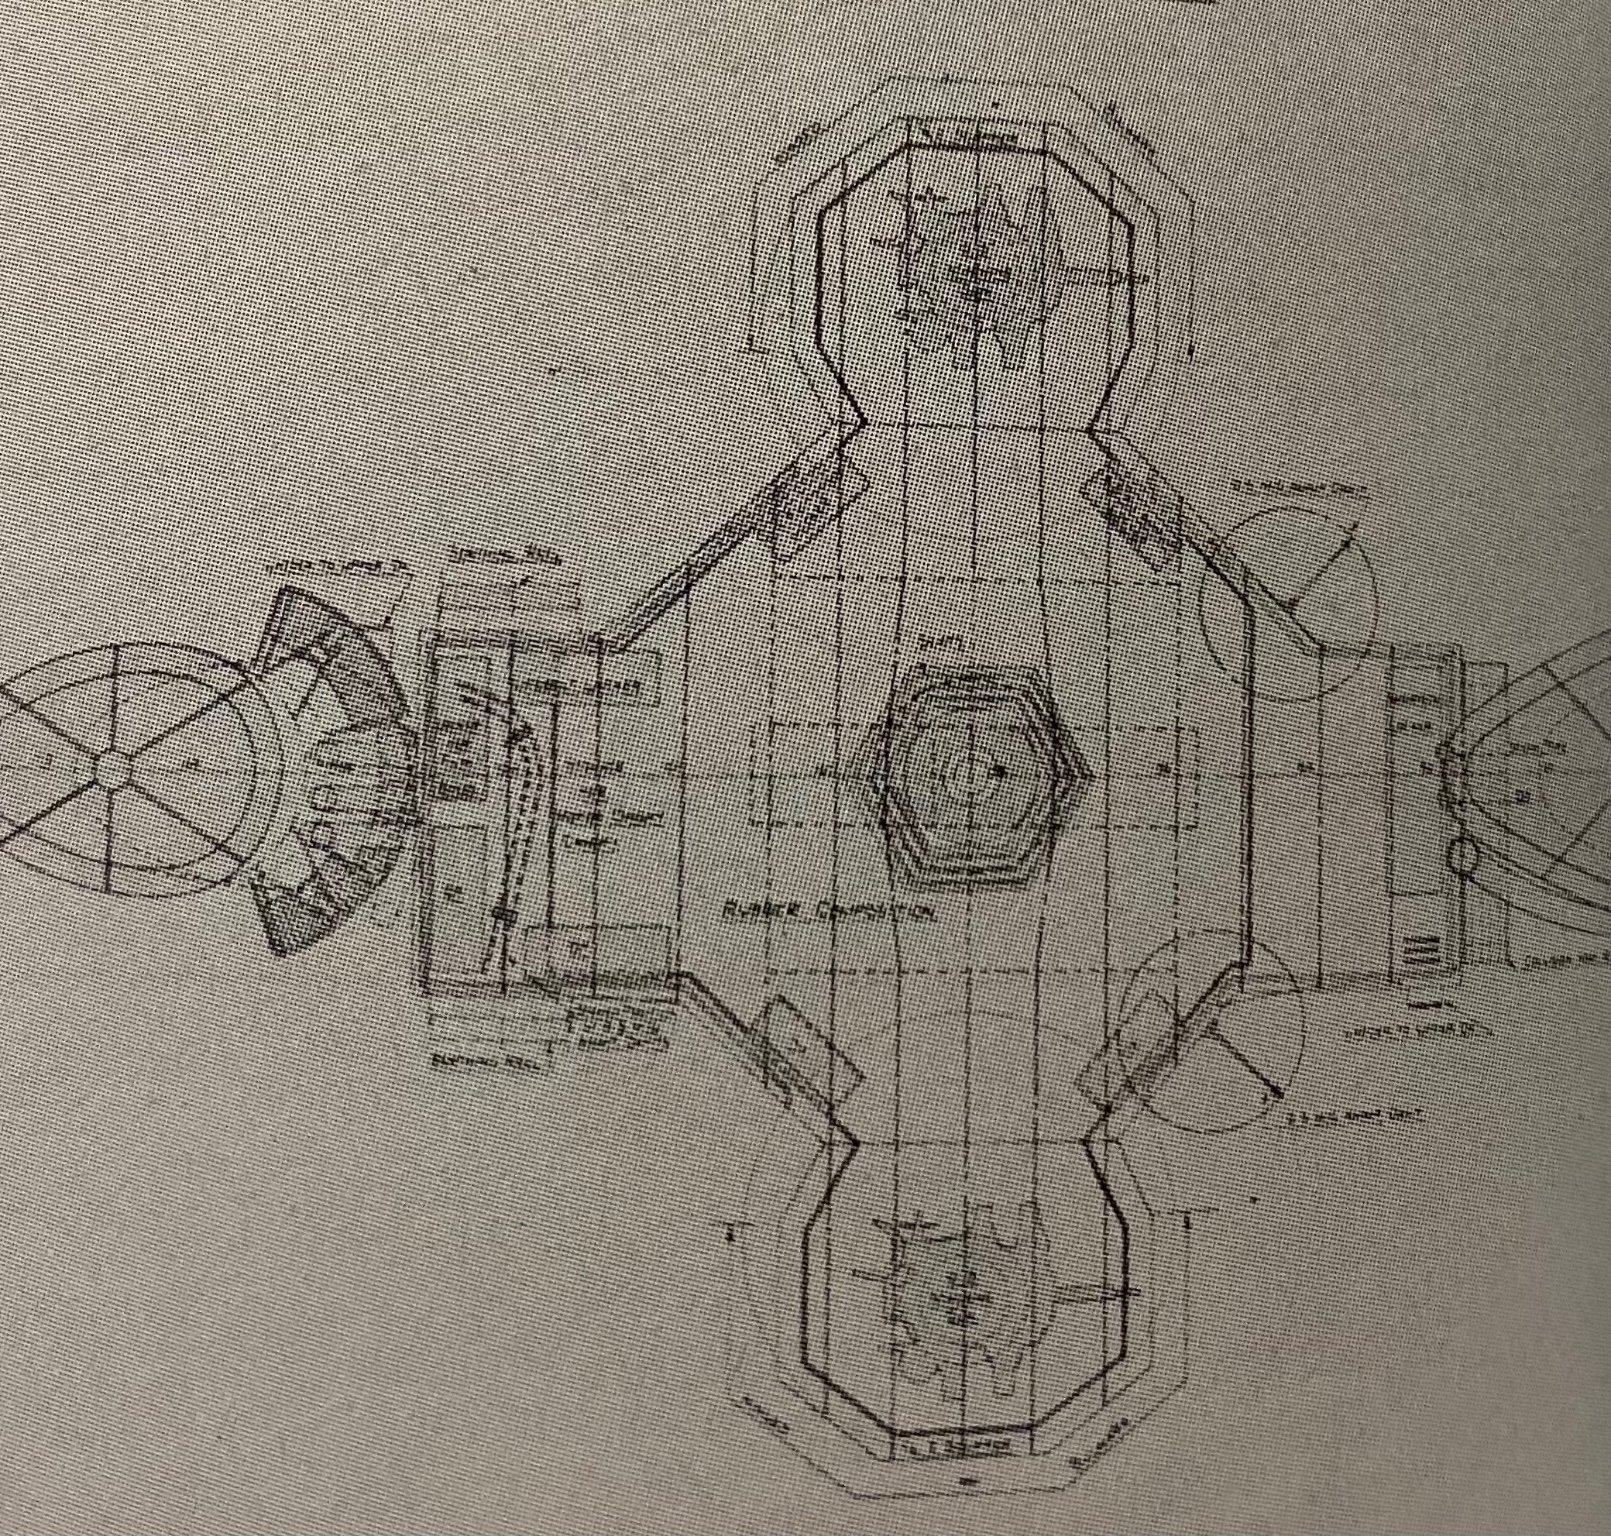
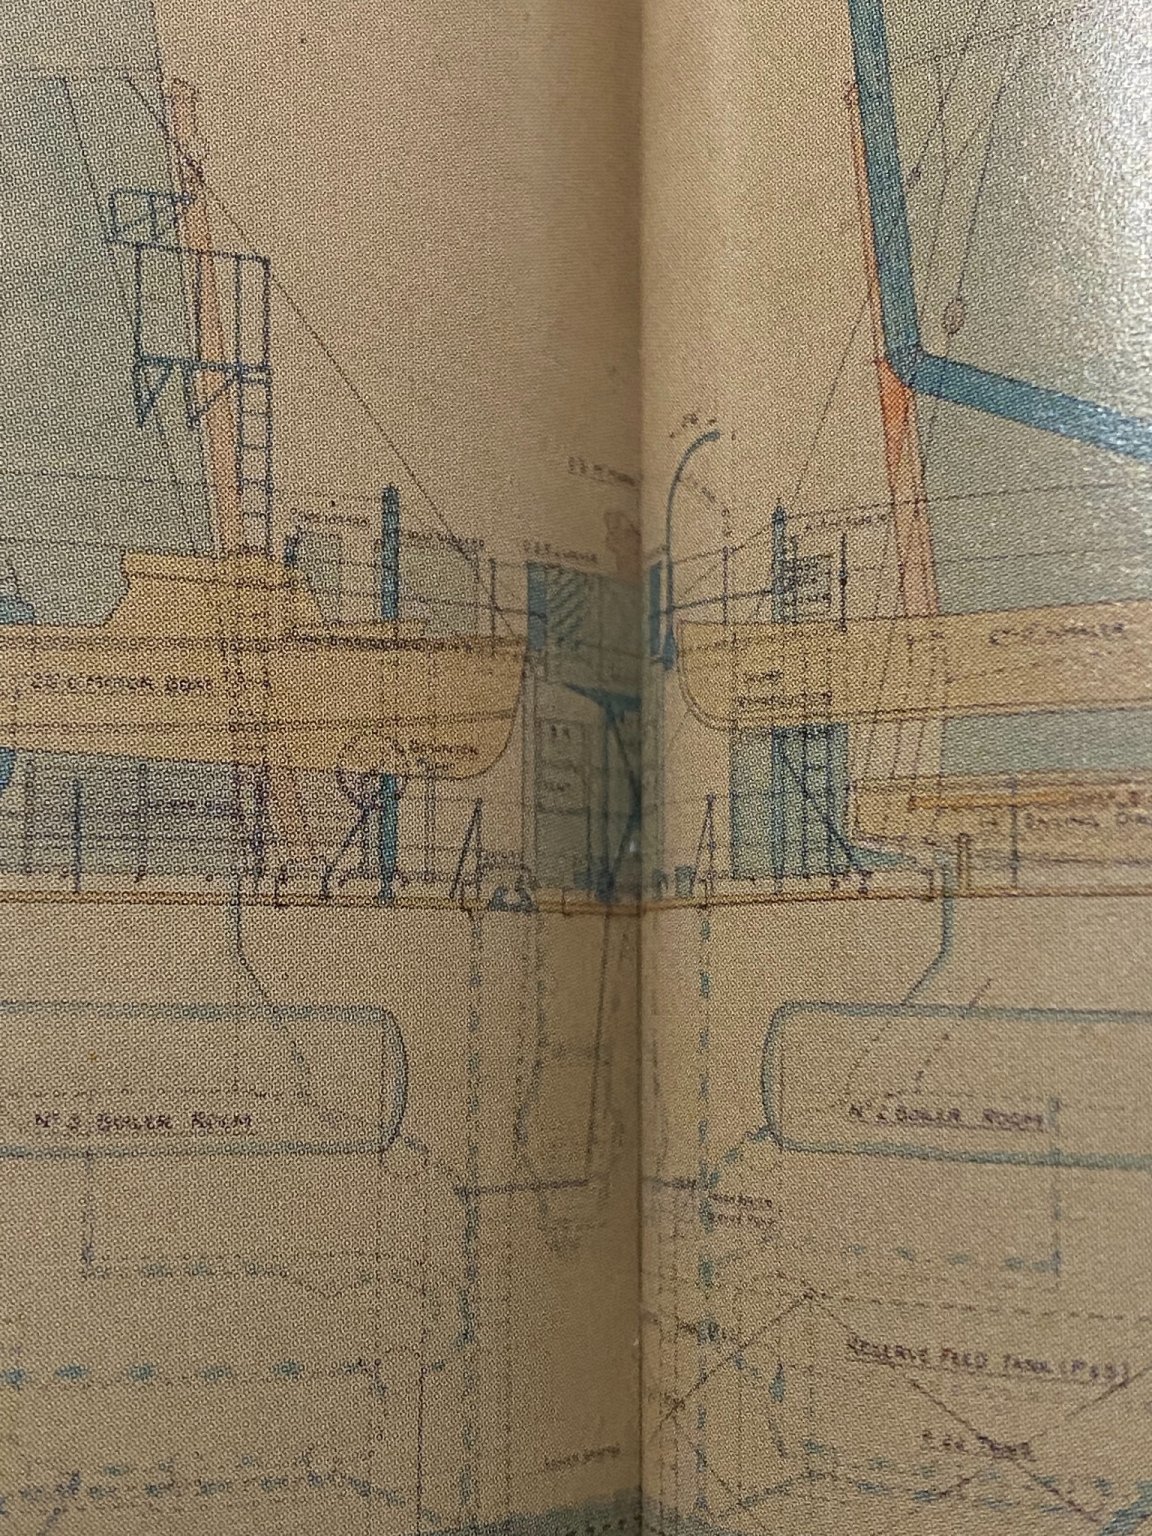
Heaps of research out these, this link is the original plans as a collier. https://maritime.org/doc/plans/ac3.pdf when you zoom in there are hull features such as pipes running along the hulls which I assume are fuel lines . I’ll need to add those and scuppers too.
-
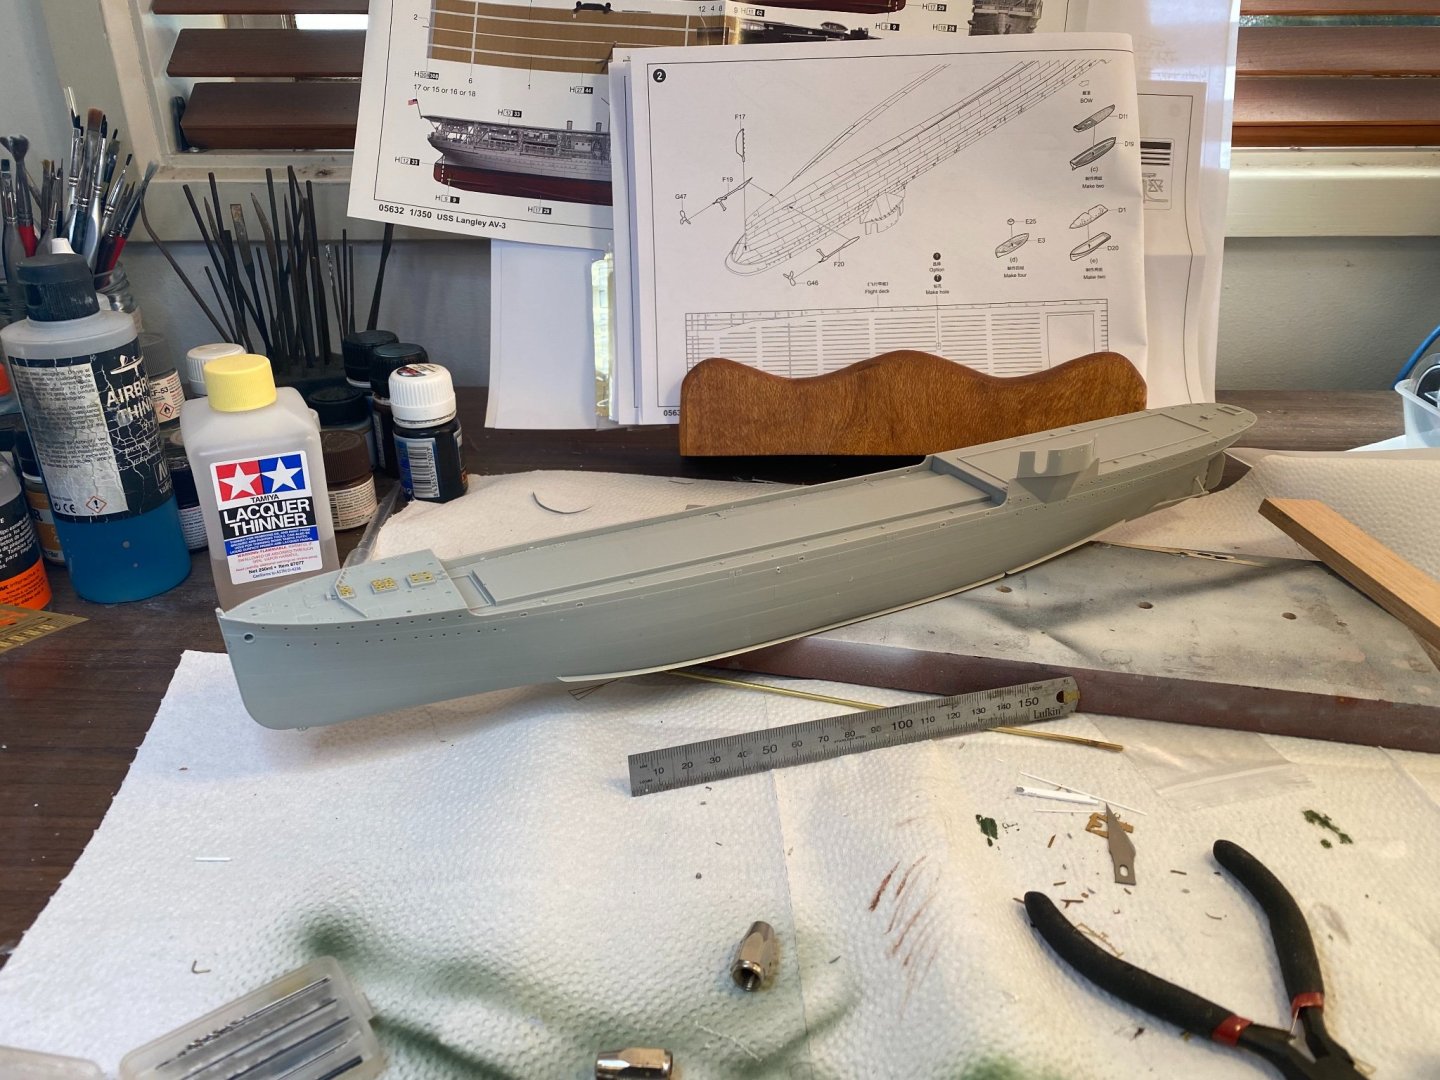
I have a wooden deck for her, I’m looking forward to this. Lots of weathering applicable too.
-
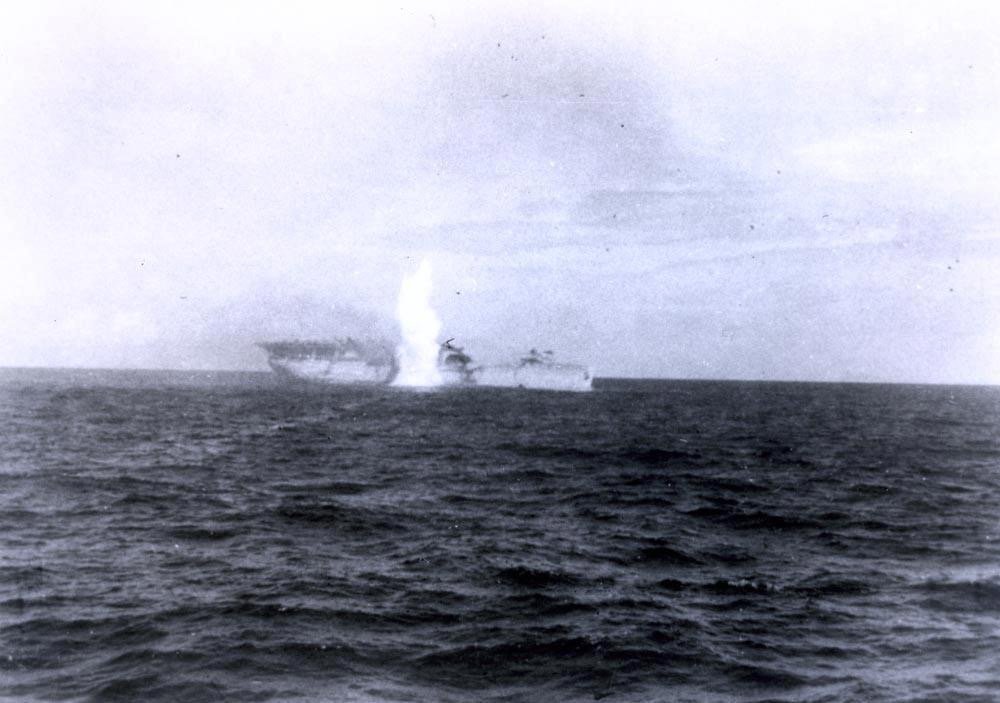
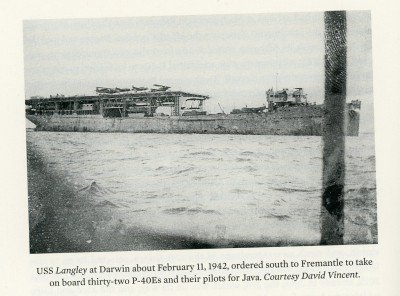
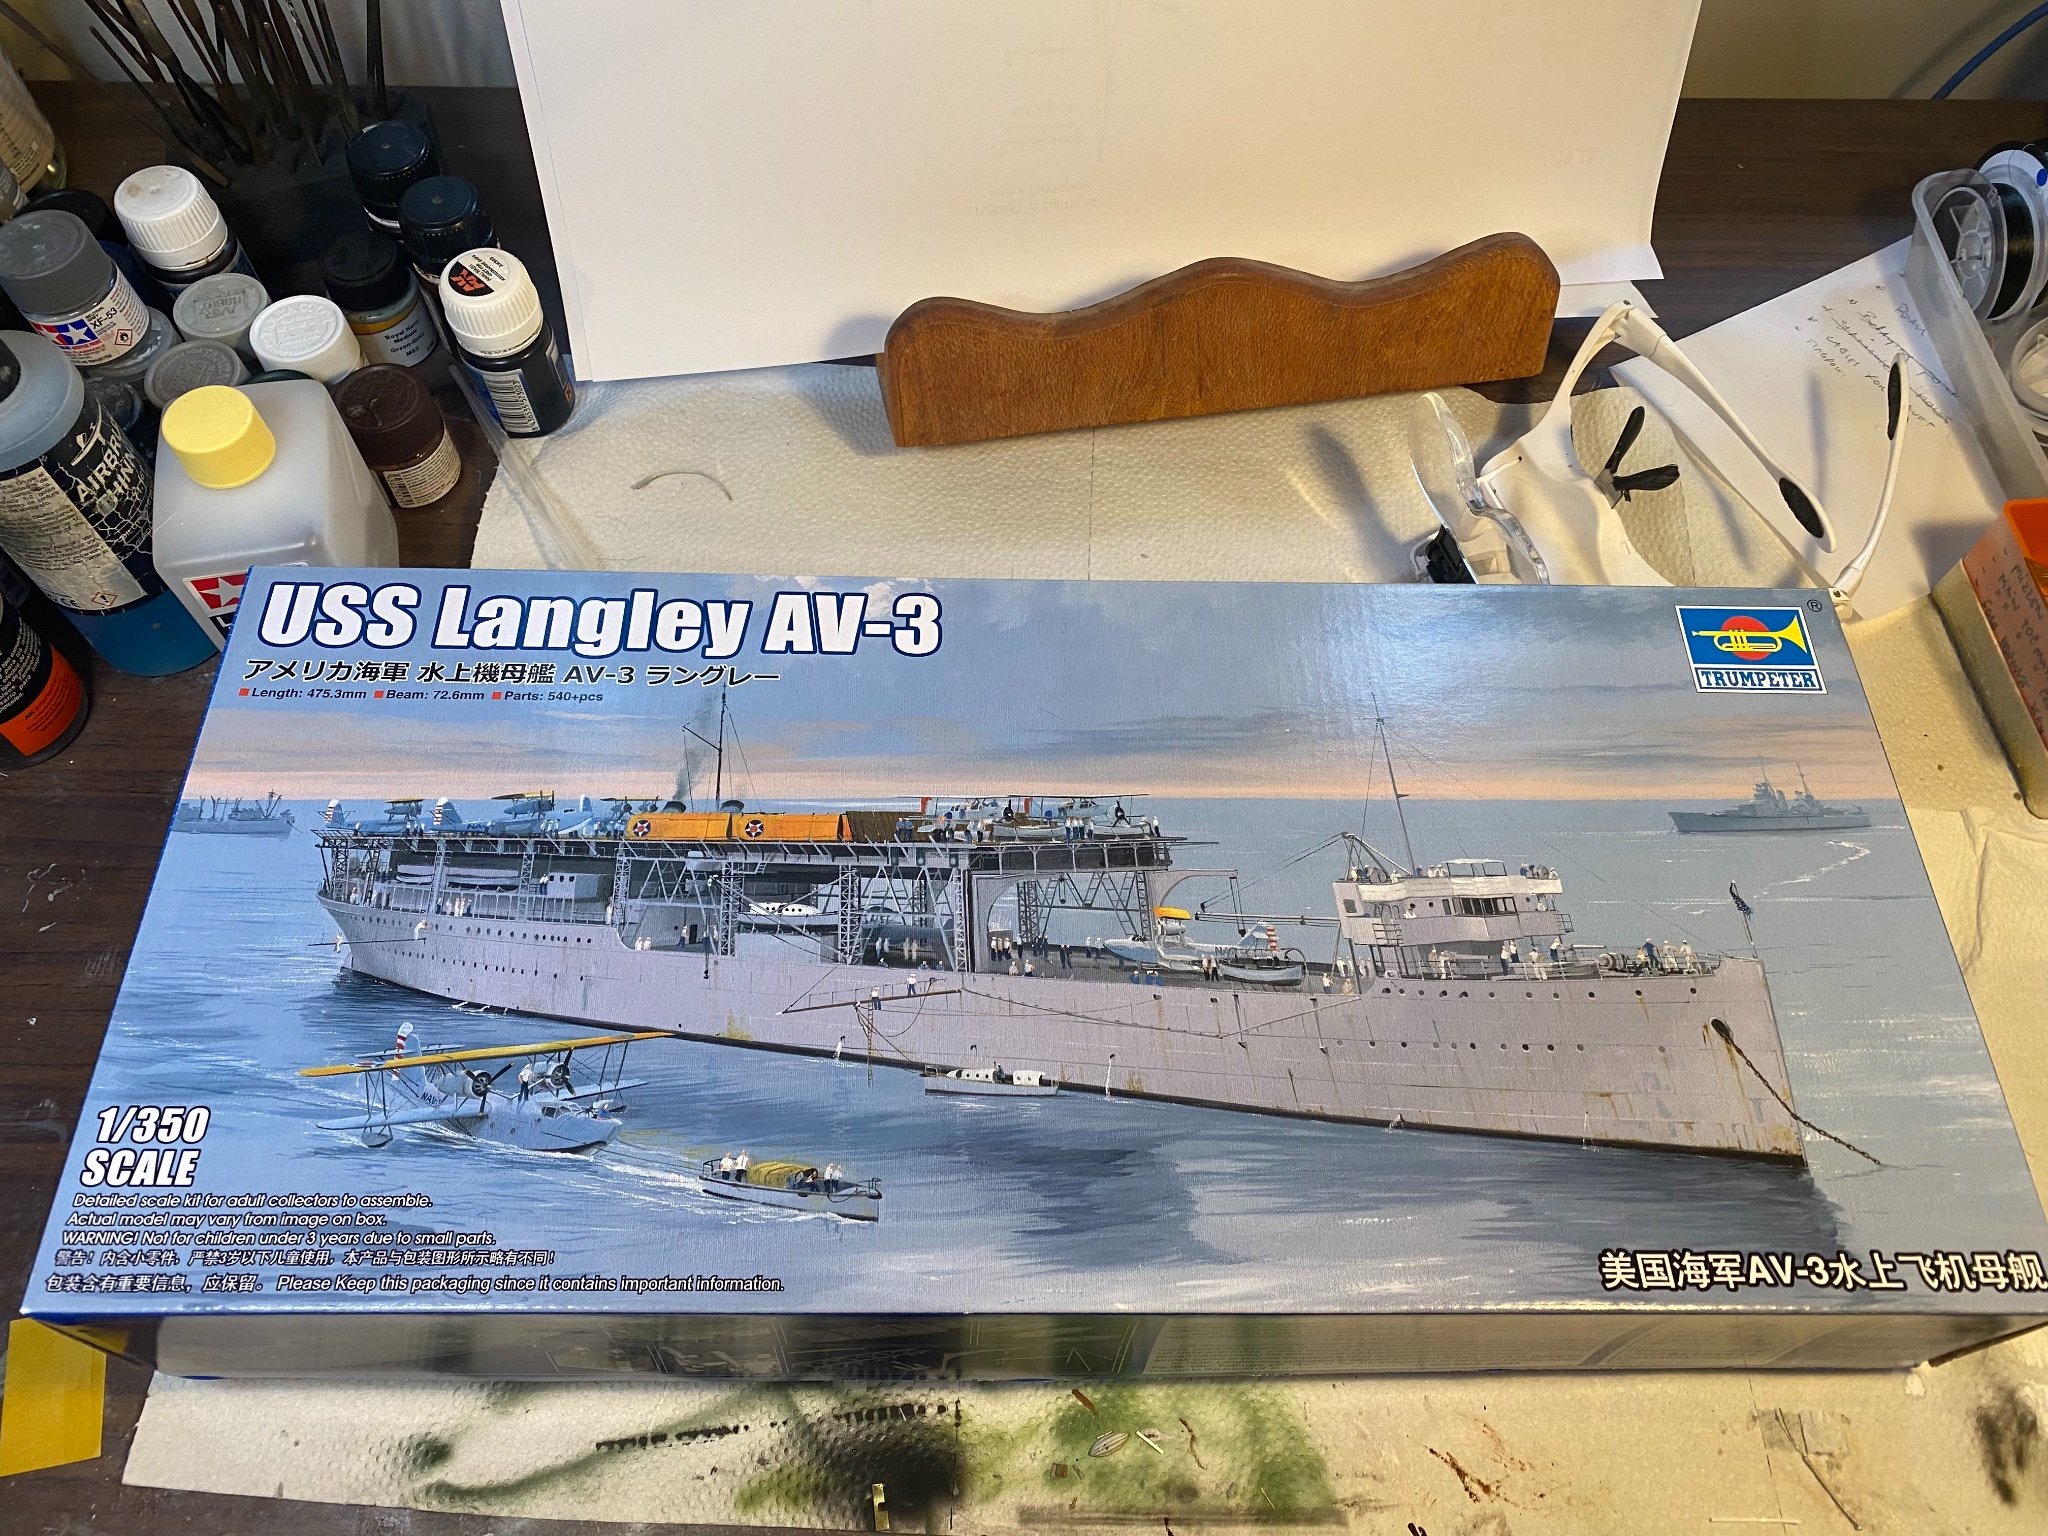
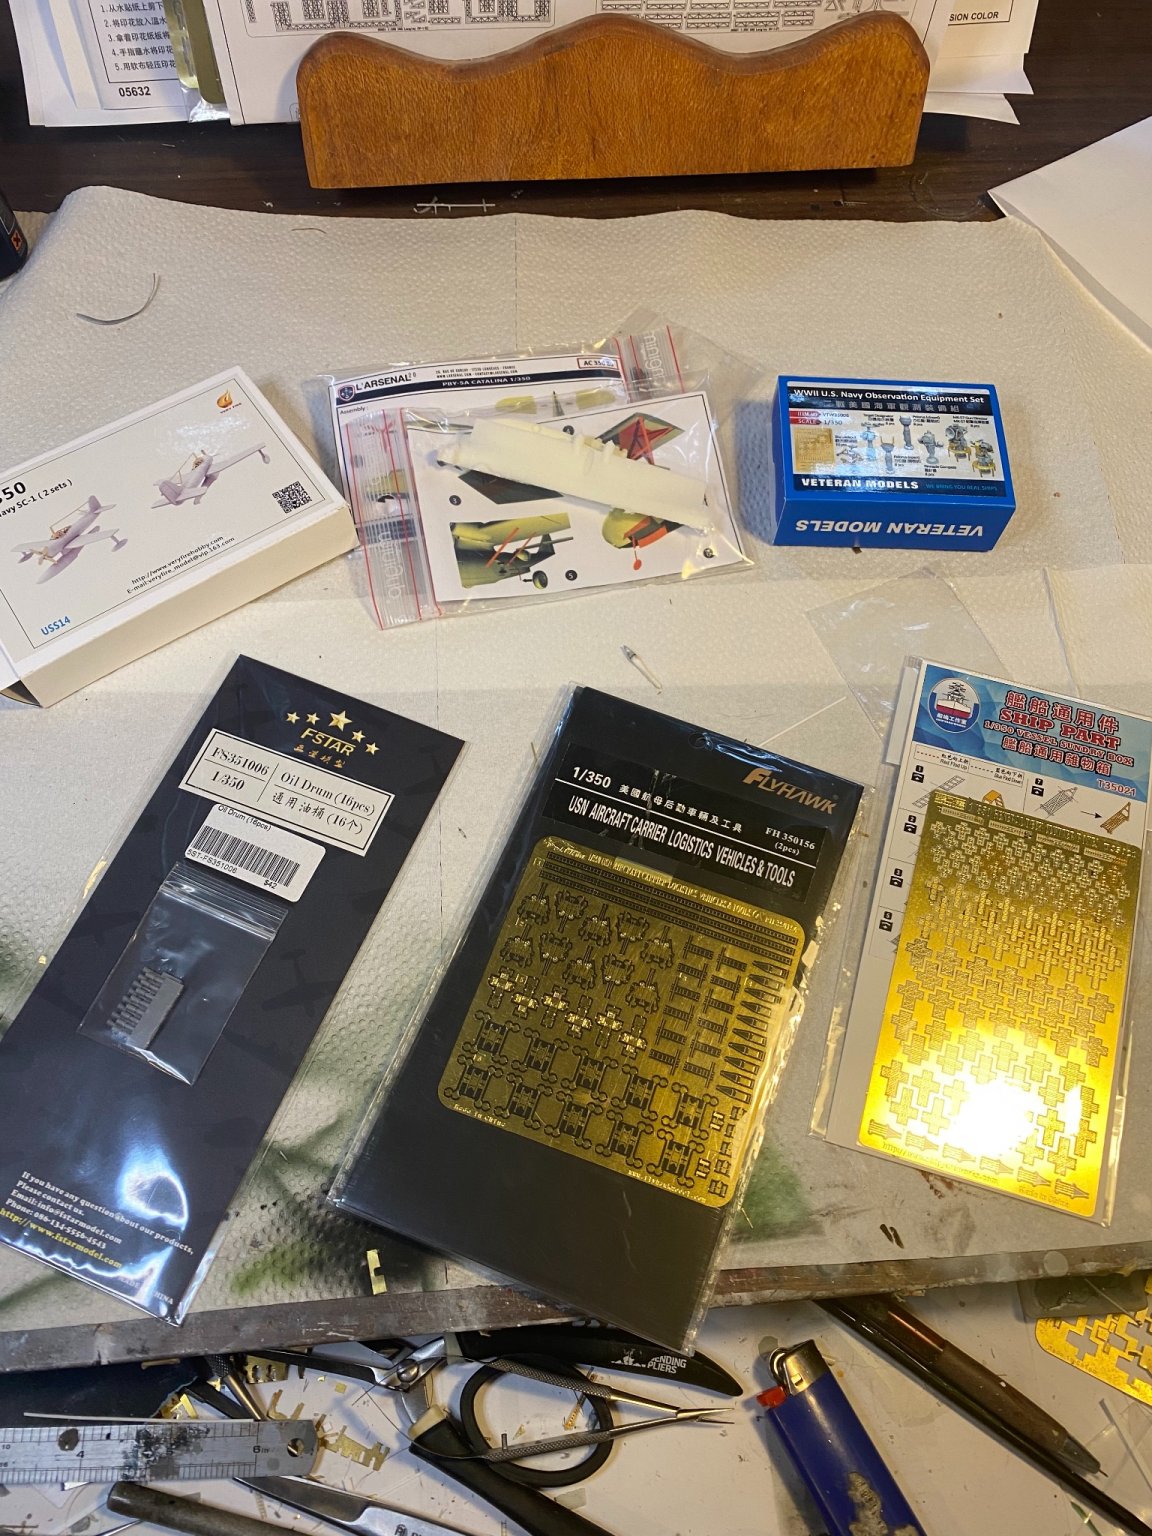
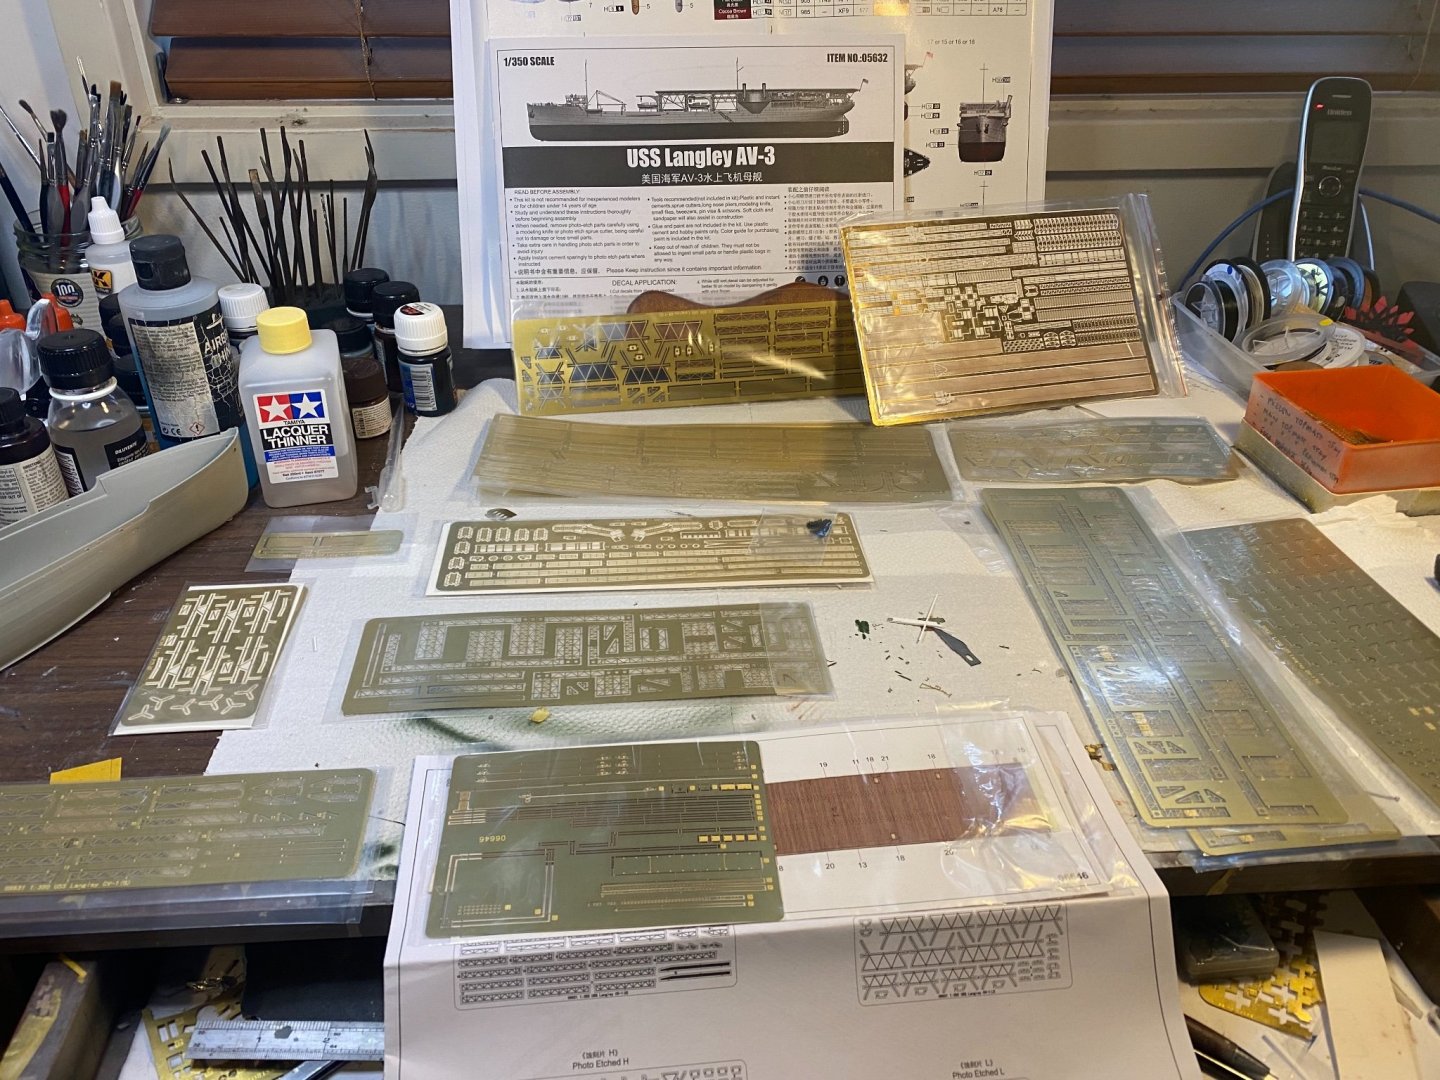
I’ve been waiting a few years for this to come out, and Trumpeter has an upgrade set as well as Eduard has some nets. strangely the Full deck (Av1) upgrade set has a wooden deck and Av3 does not. Lots of PE to bend but should not be too hard (he says now). Also a few other goodies like a few Catalinas and other bits still in the mail. I want to have her as she would have been in Darwin harbour in 1942 just before her demise. If you’ve been to Darwin, it’s Oz’s last frontier so in 1942 it would have been challenging.


- 246 replies
-
- 14
-
-
I’m going to pause this build now as I’m going to need to wait for technology and design to catch up. When Simon from Micromaster finishes up his new designs for a quad Pom Pom, Single Pom Pom and splinter matress I can finish them.
-
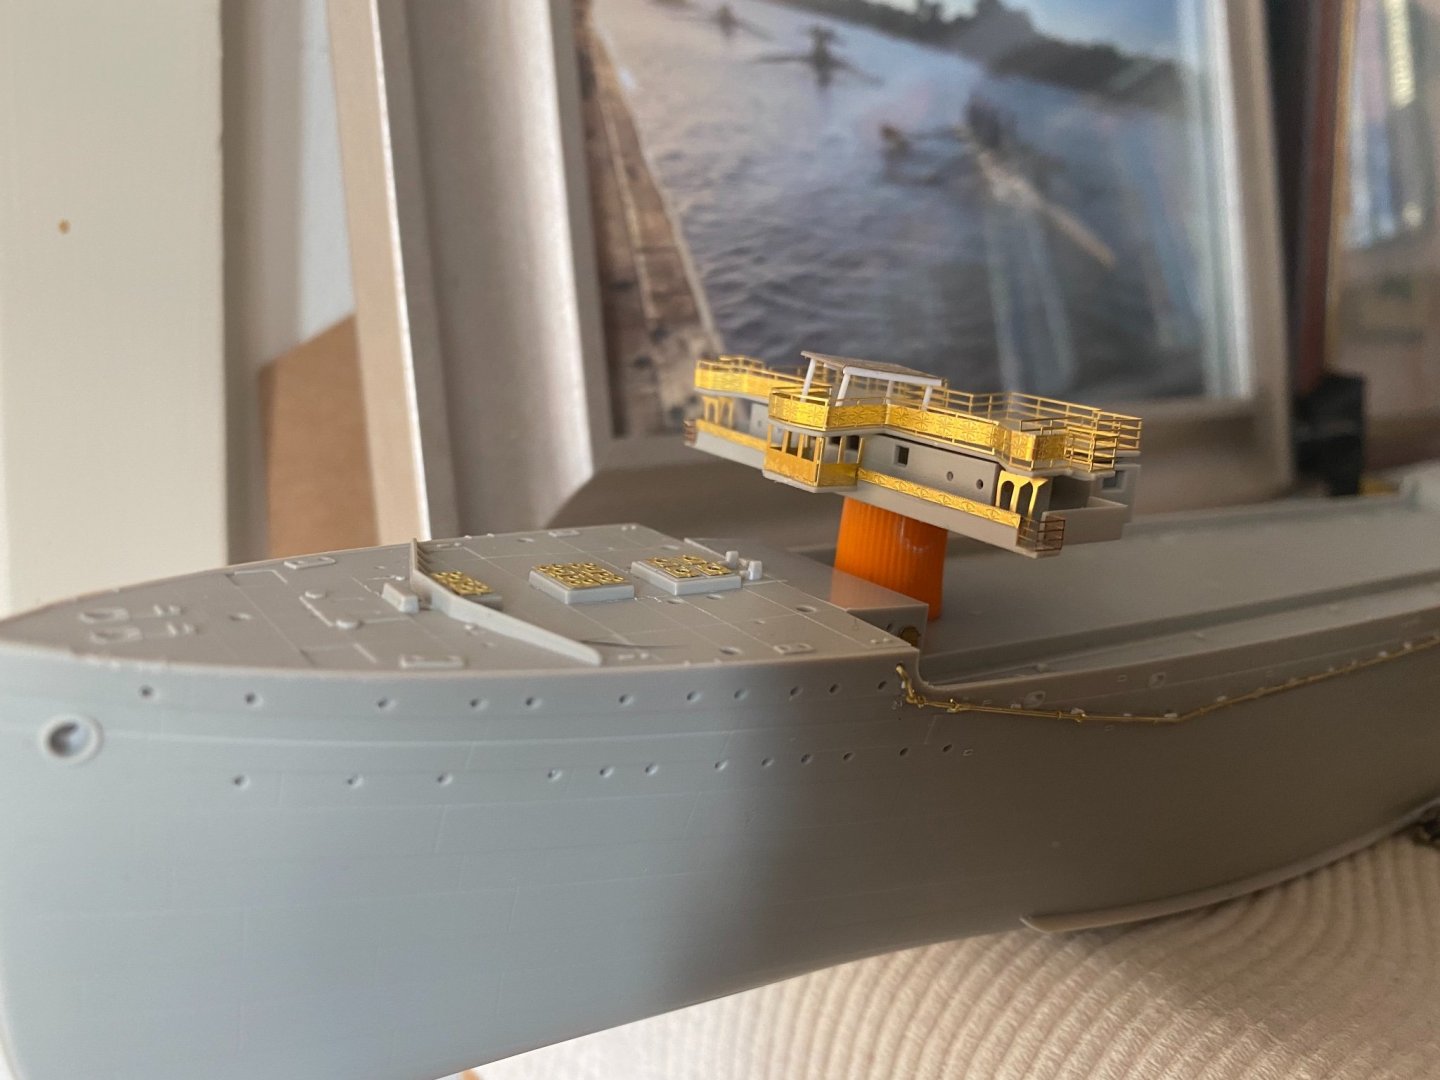
Secondary bridge and searchlight platform (the searchlight has been eaten by the carpet monster FFs).
-
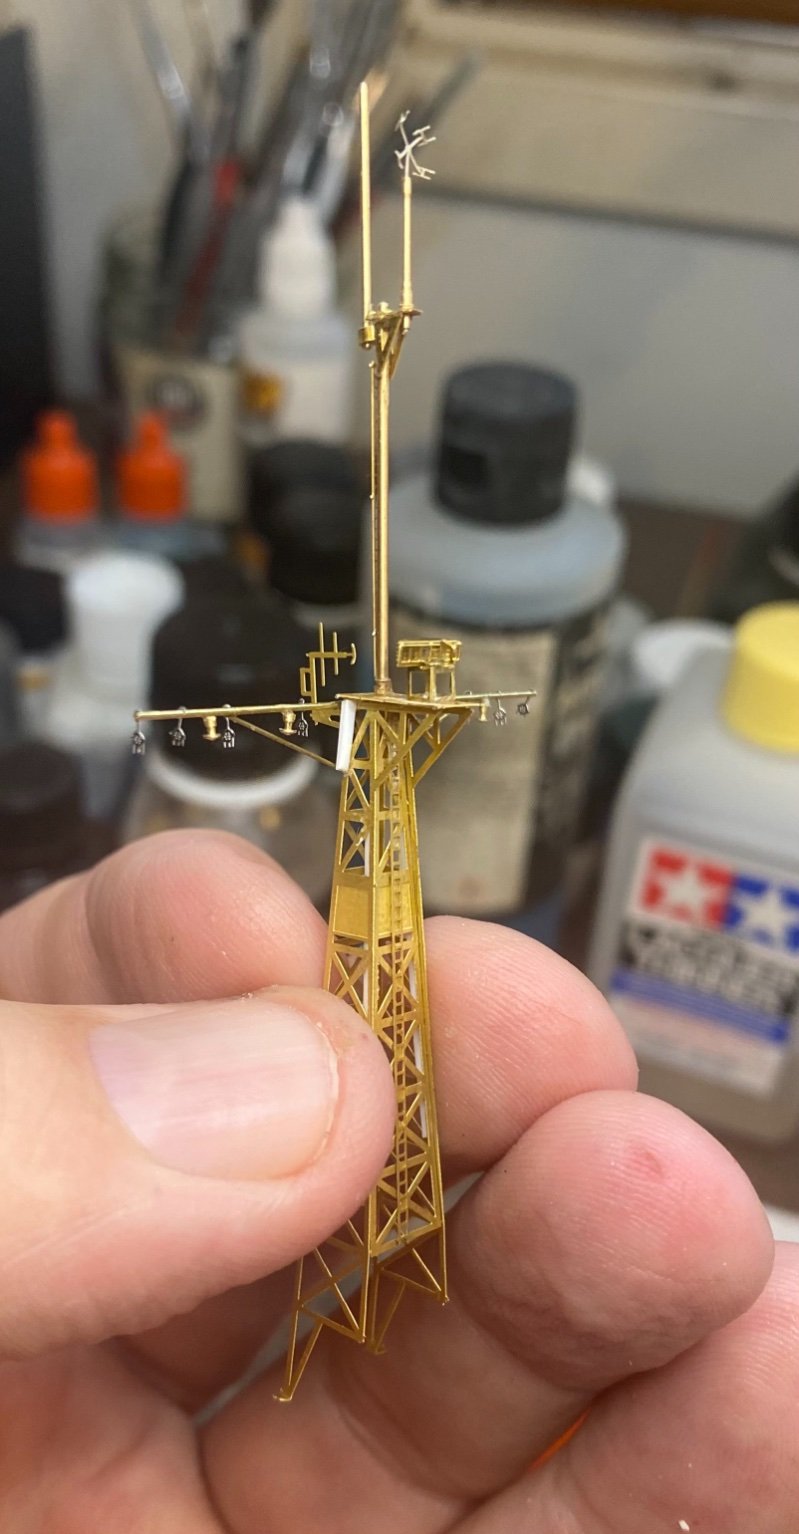
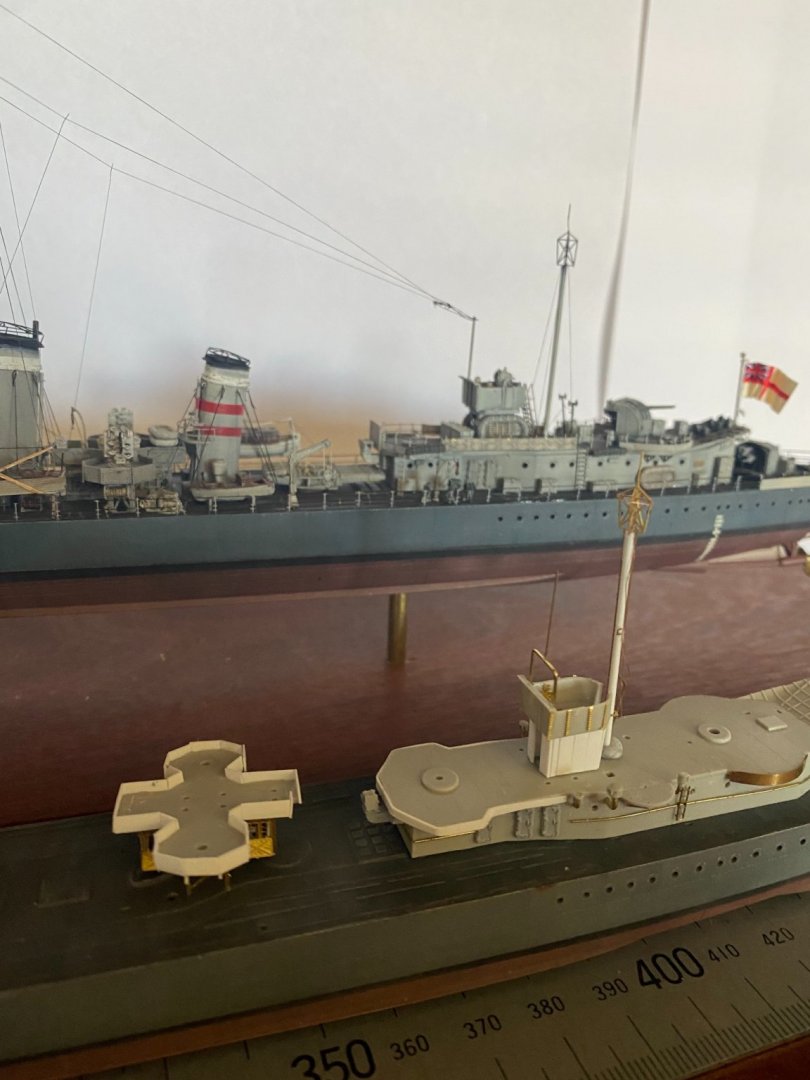
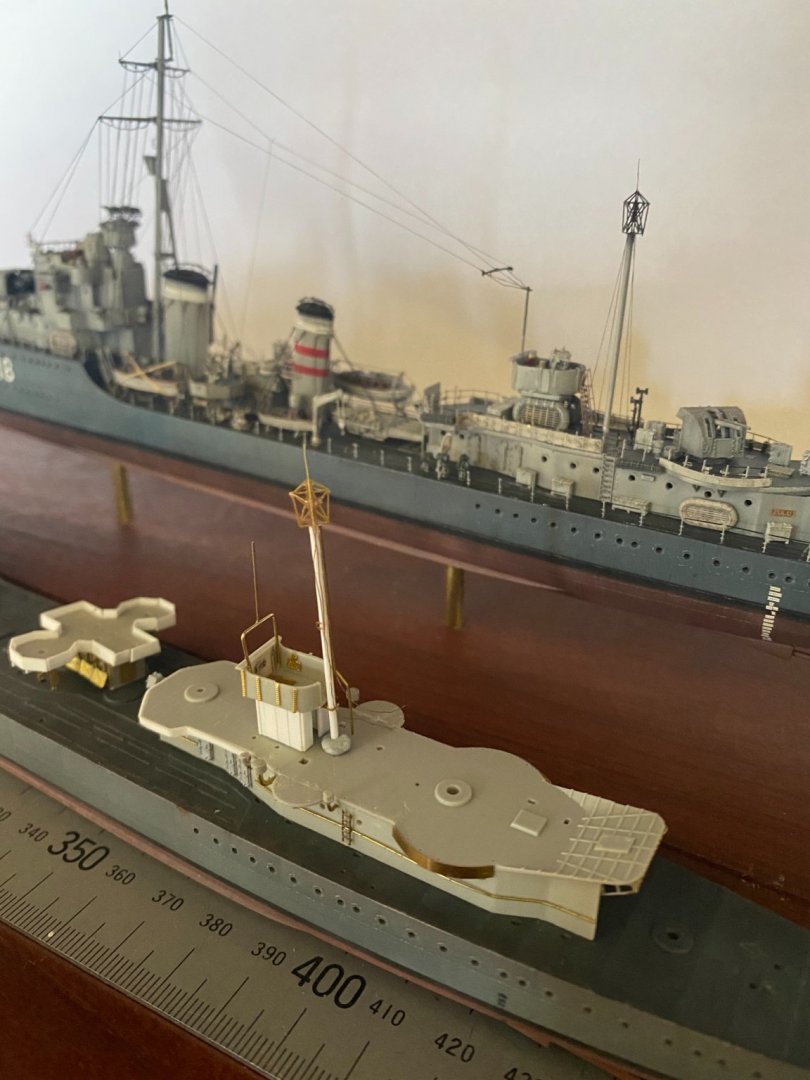
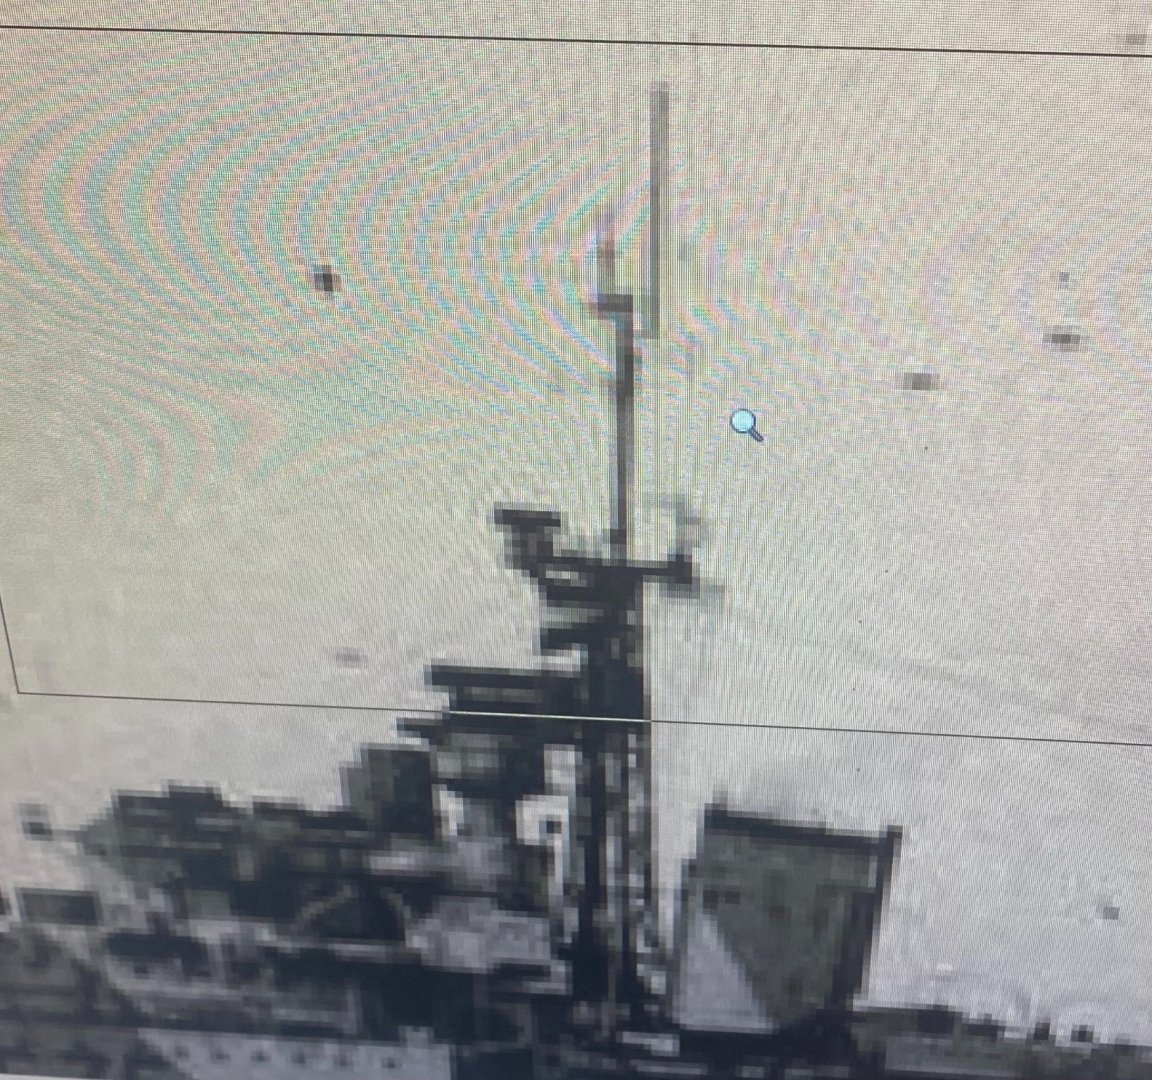
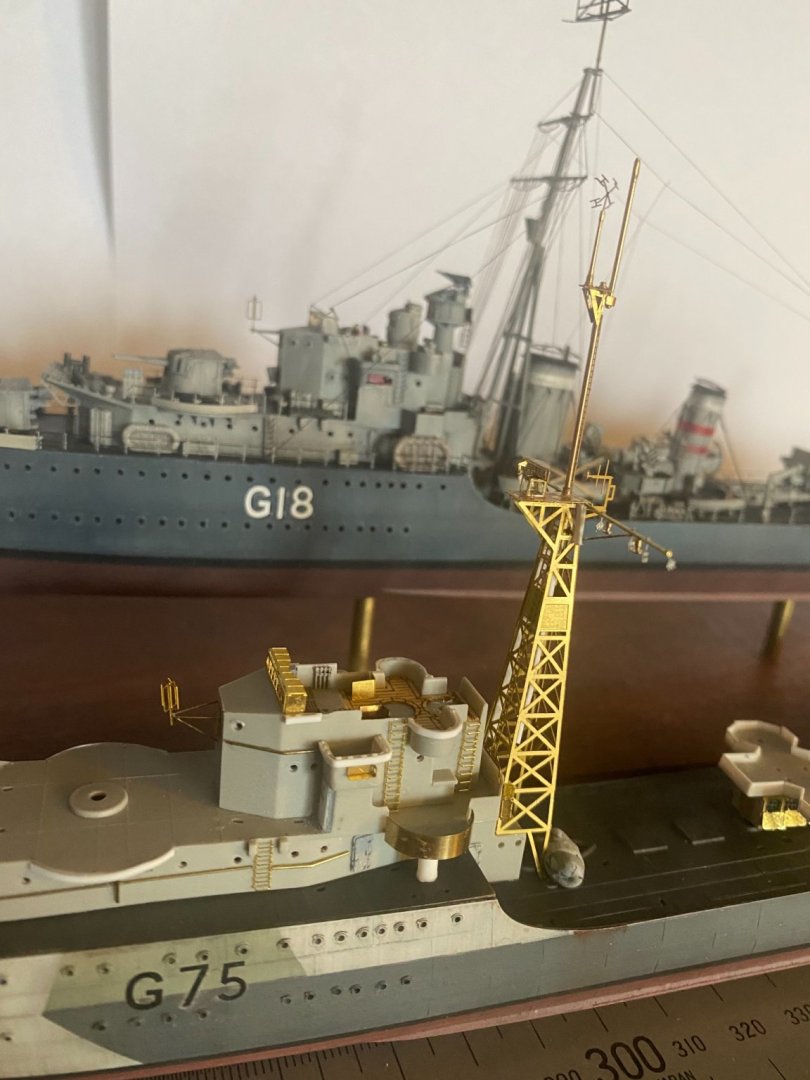
So I still want to add some cabling but the fore mast pretty much done. The WEM upgrade comes with the lattice mast but everything else is inaccurate compared to the photos so a bit of a bash was required.

- 255 replies
-
- 11
-
-
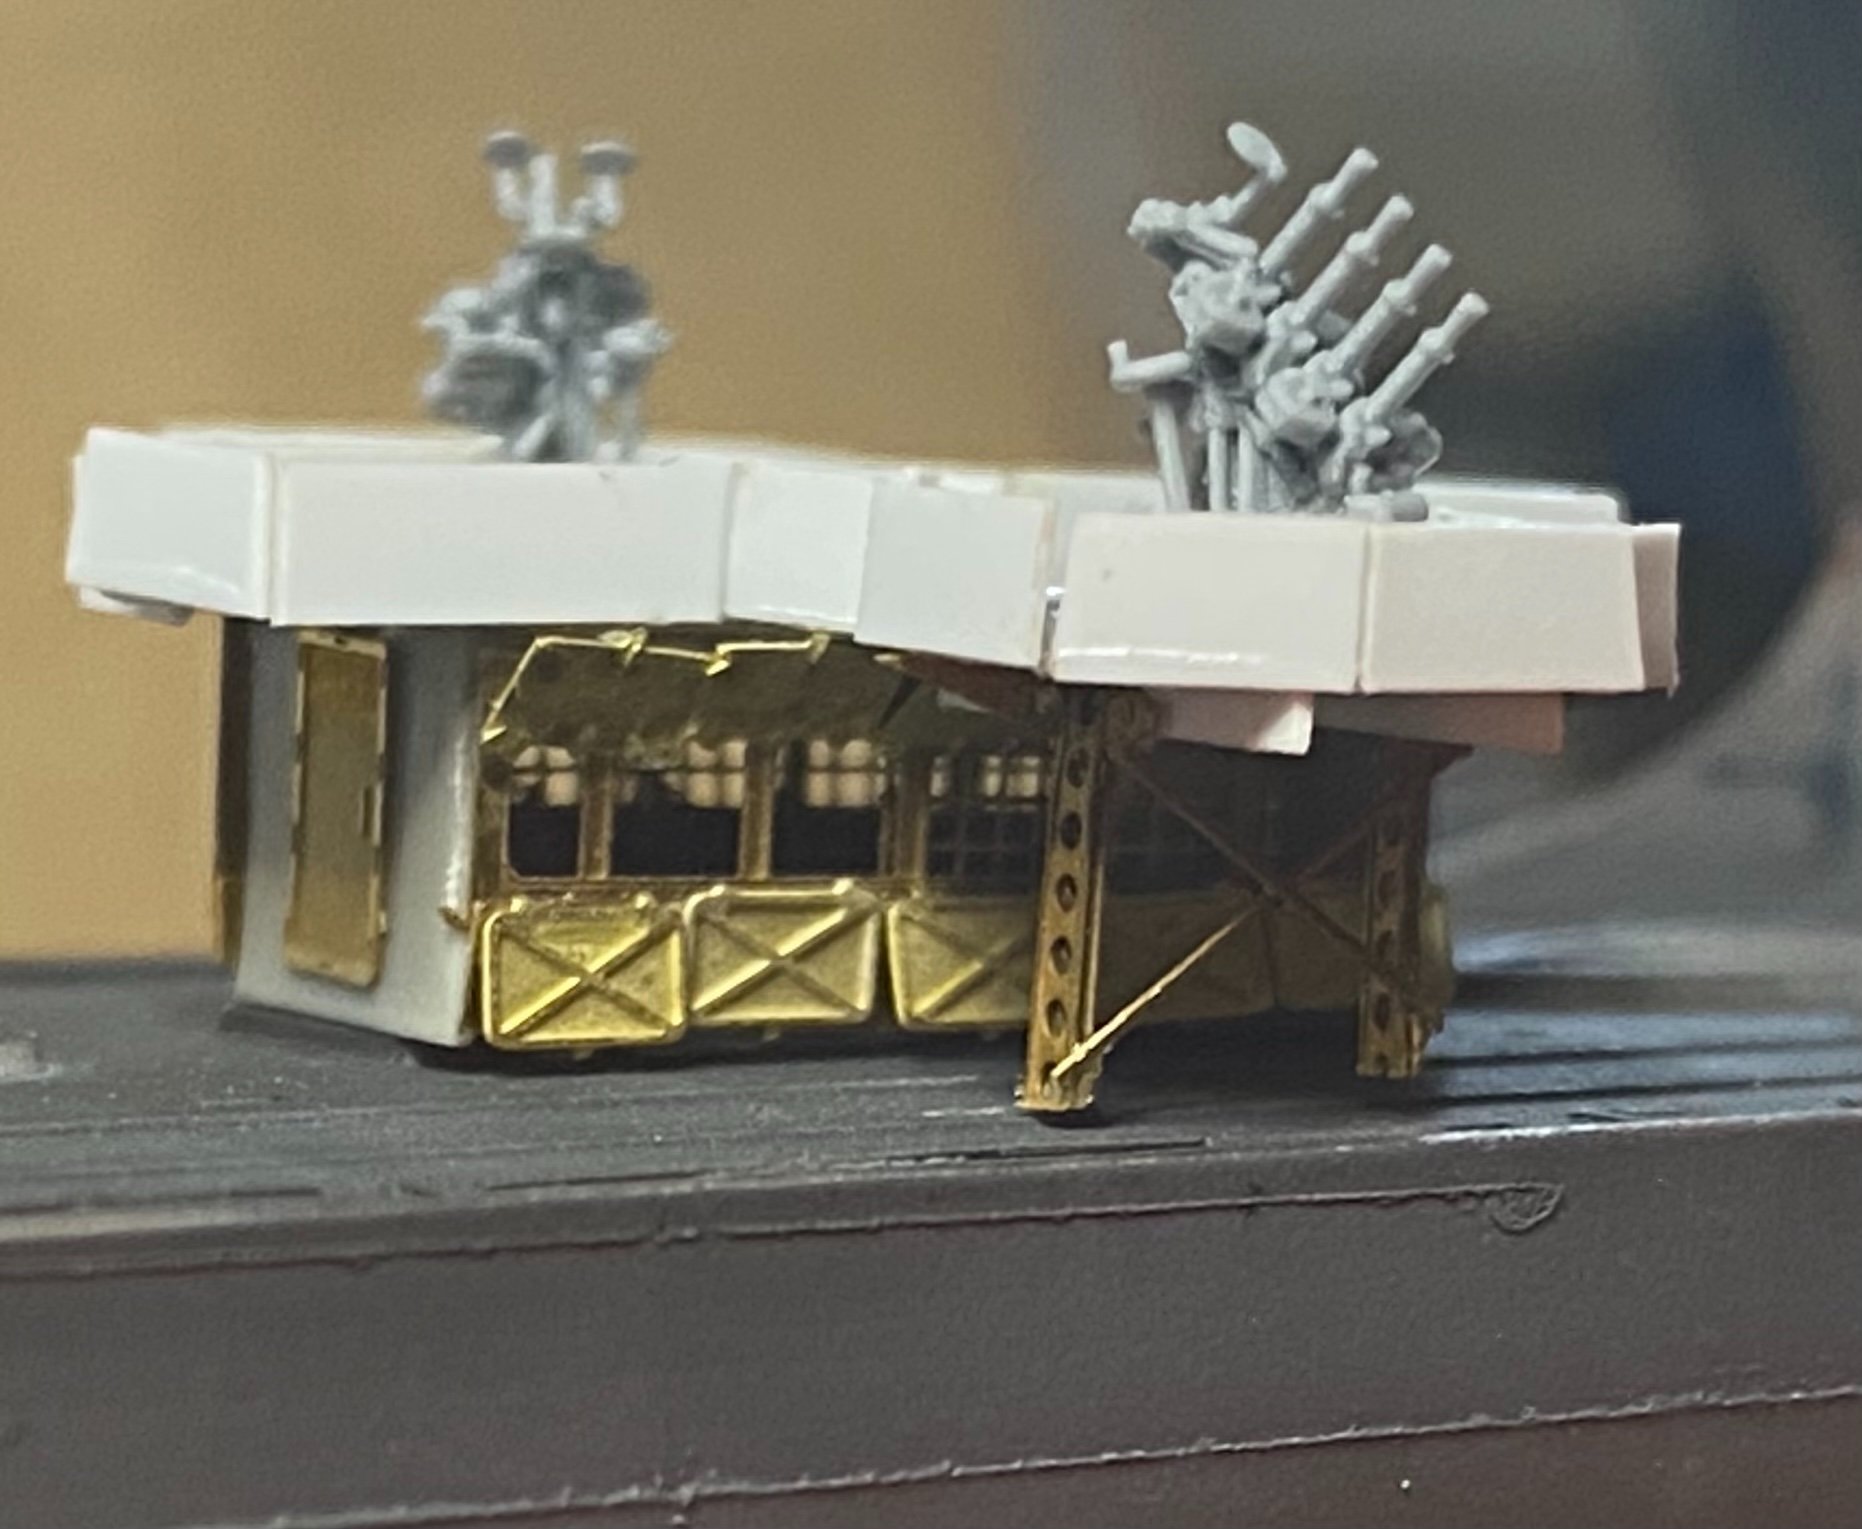
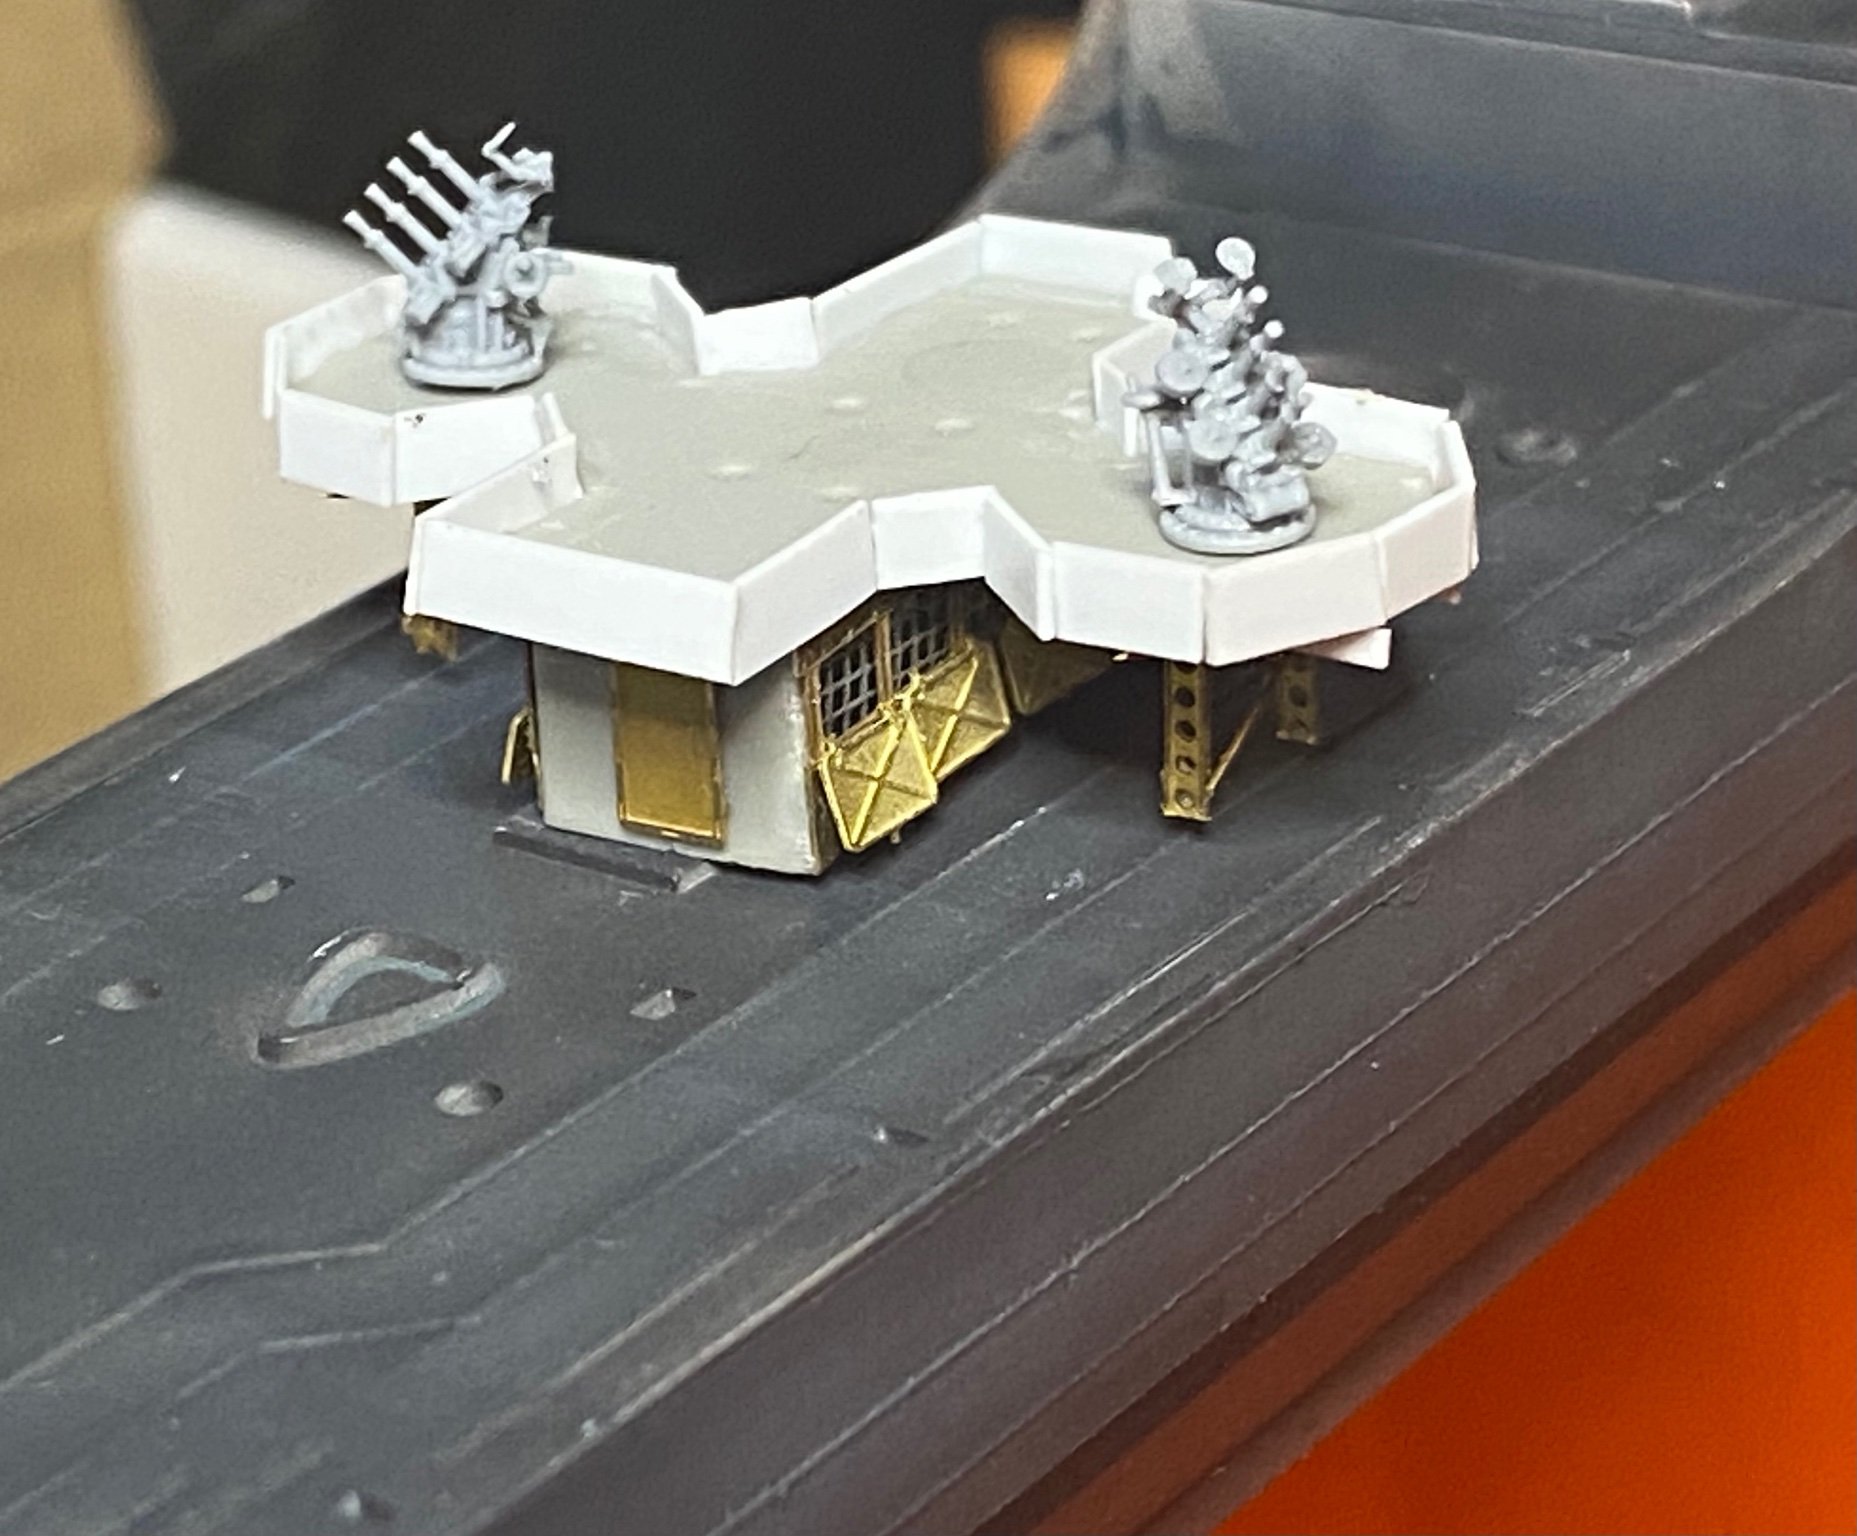
The instructions for the MG platform between the stacks, as on Zulu, a bit of Cut and Paste, allowing for the open ventilation shafts underneath. My plan is to put splinter shields on top of the plastic card. The kit bits are way too thick,


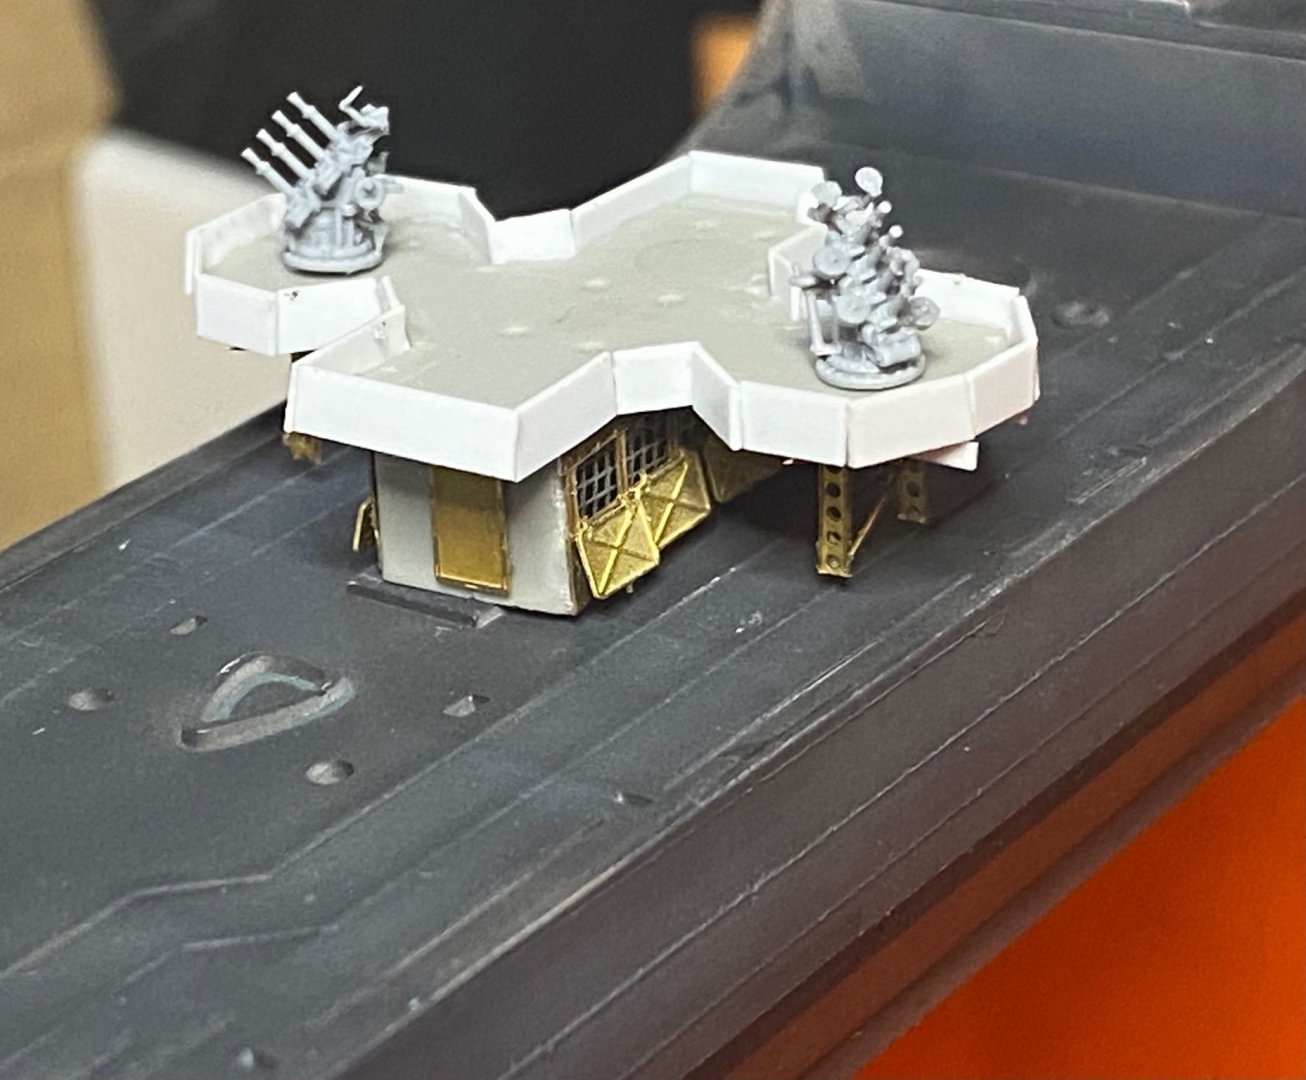

-
And a platform that had to be fabricated for the twin 20mm’s that had been added to the Eskimo by then
-
Happy to see a massive plastic model here mate! Welcome. Any advice freely given (no matter how rubbish it may be).