RGL
-
Posts
5,555 -
Joined
-
Last visited
Content Type
Profiles
Forums
Gallery
Events
Everything posted by RGL
-
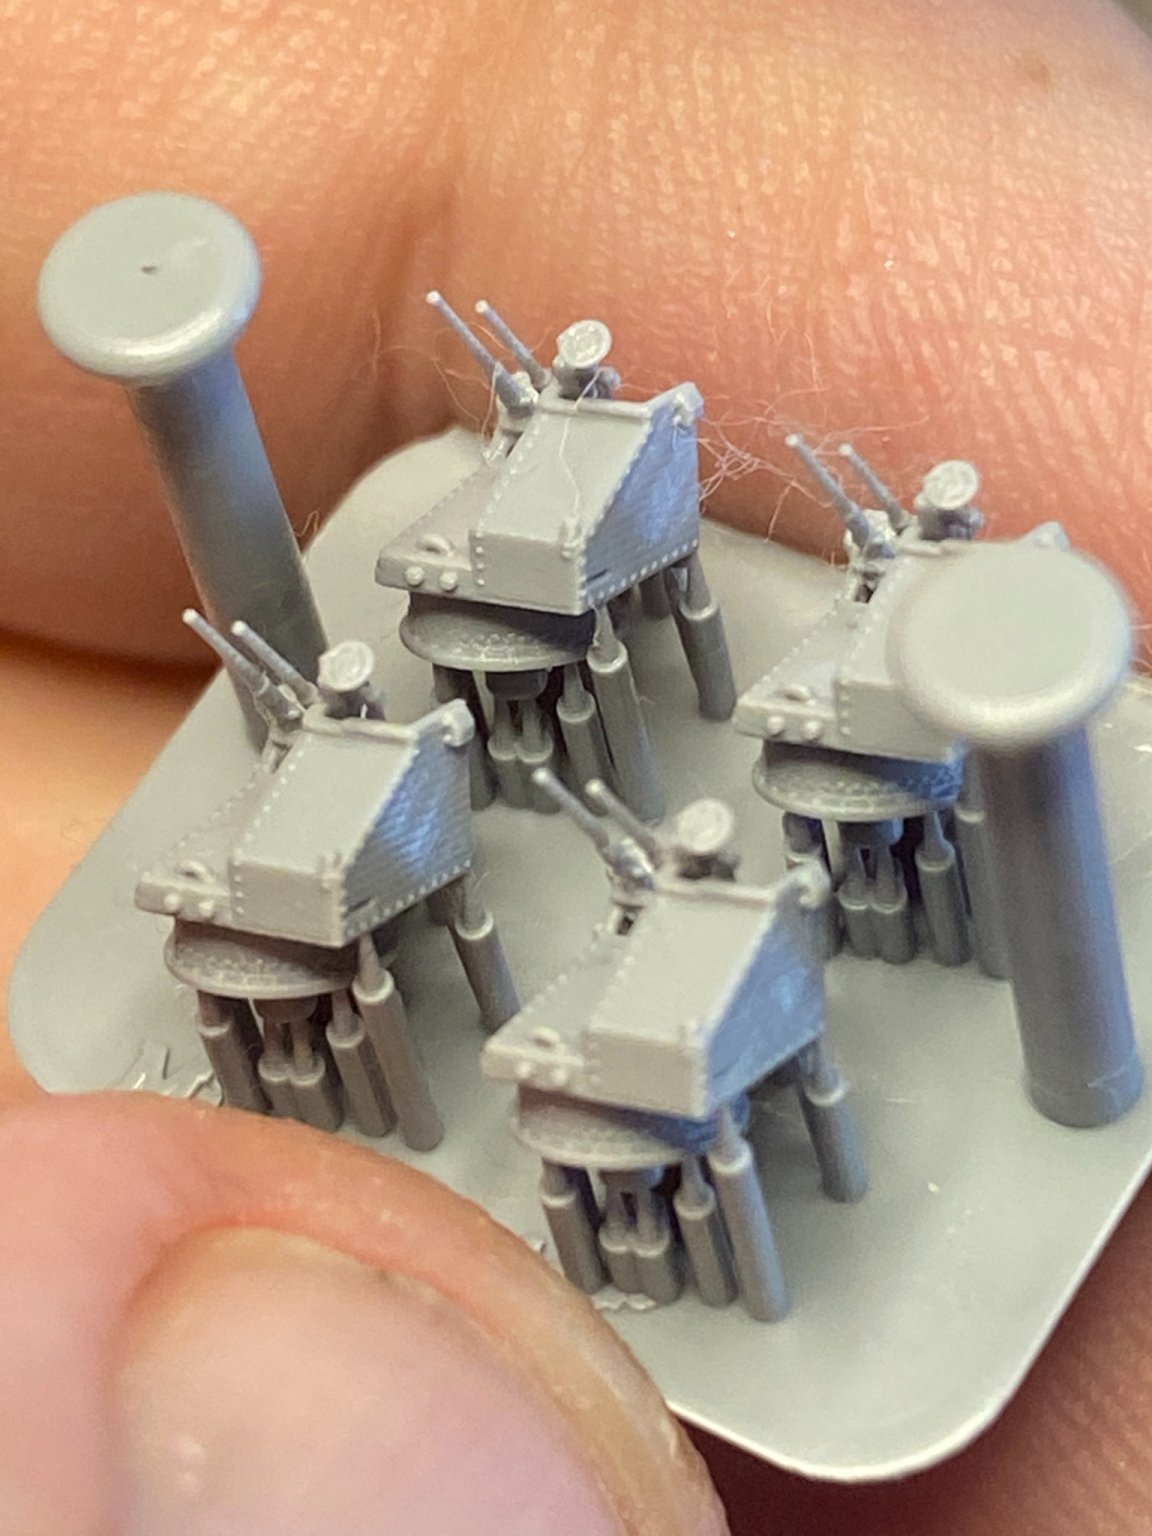
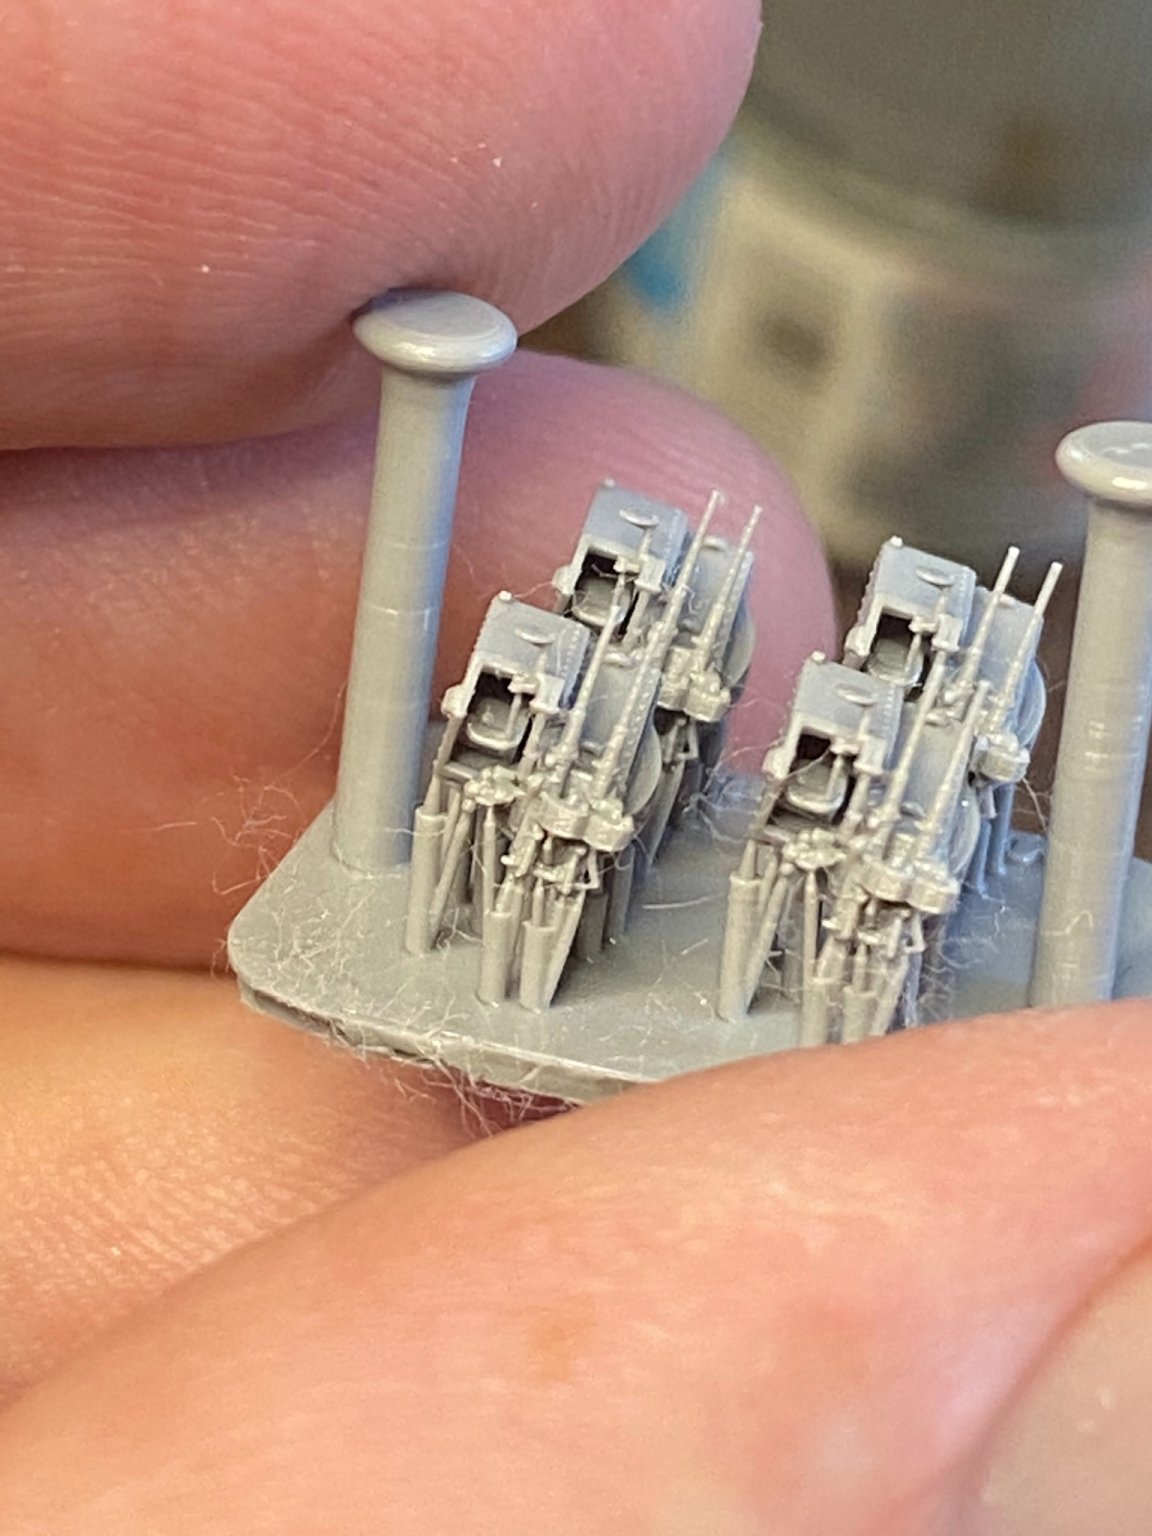
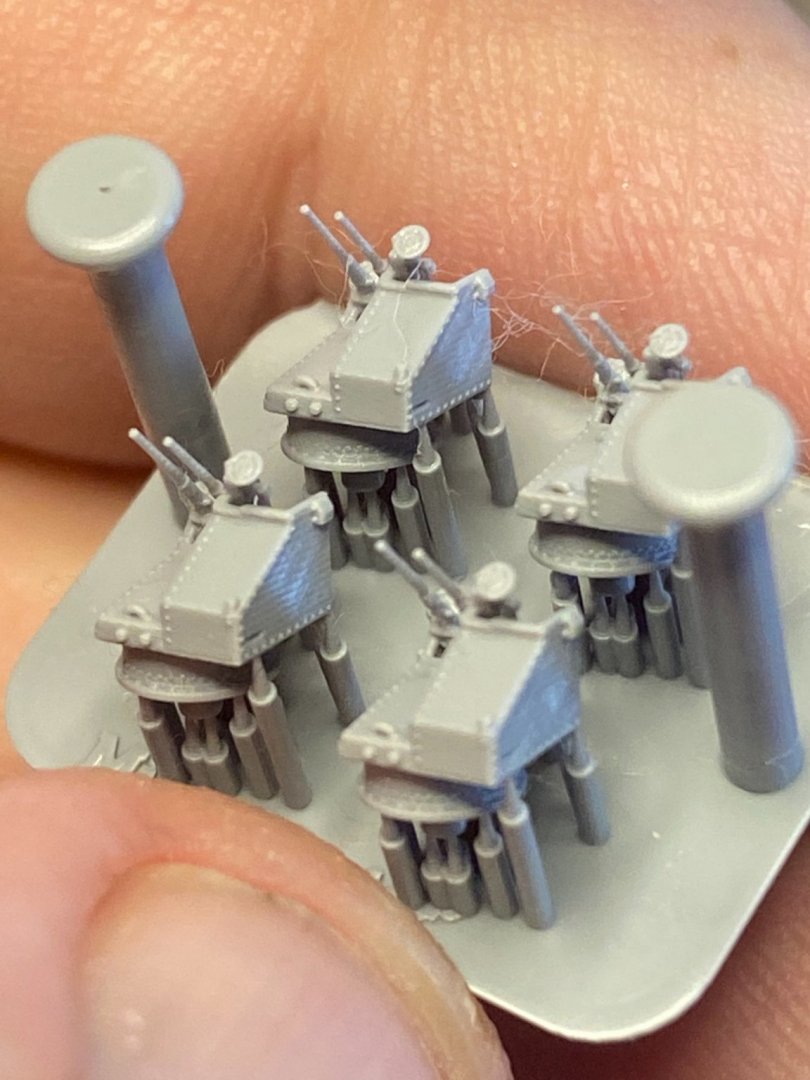
 I only imagine quite soon (I think Simon is finishing up the quad Pom Poms and some bridge equipment) but he’s apparently flat out with orders.
 -
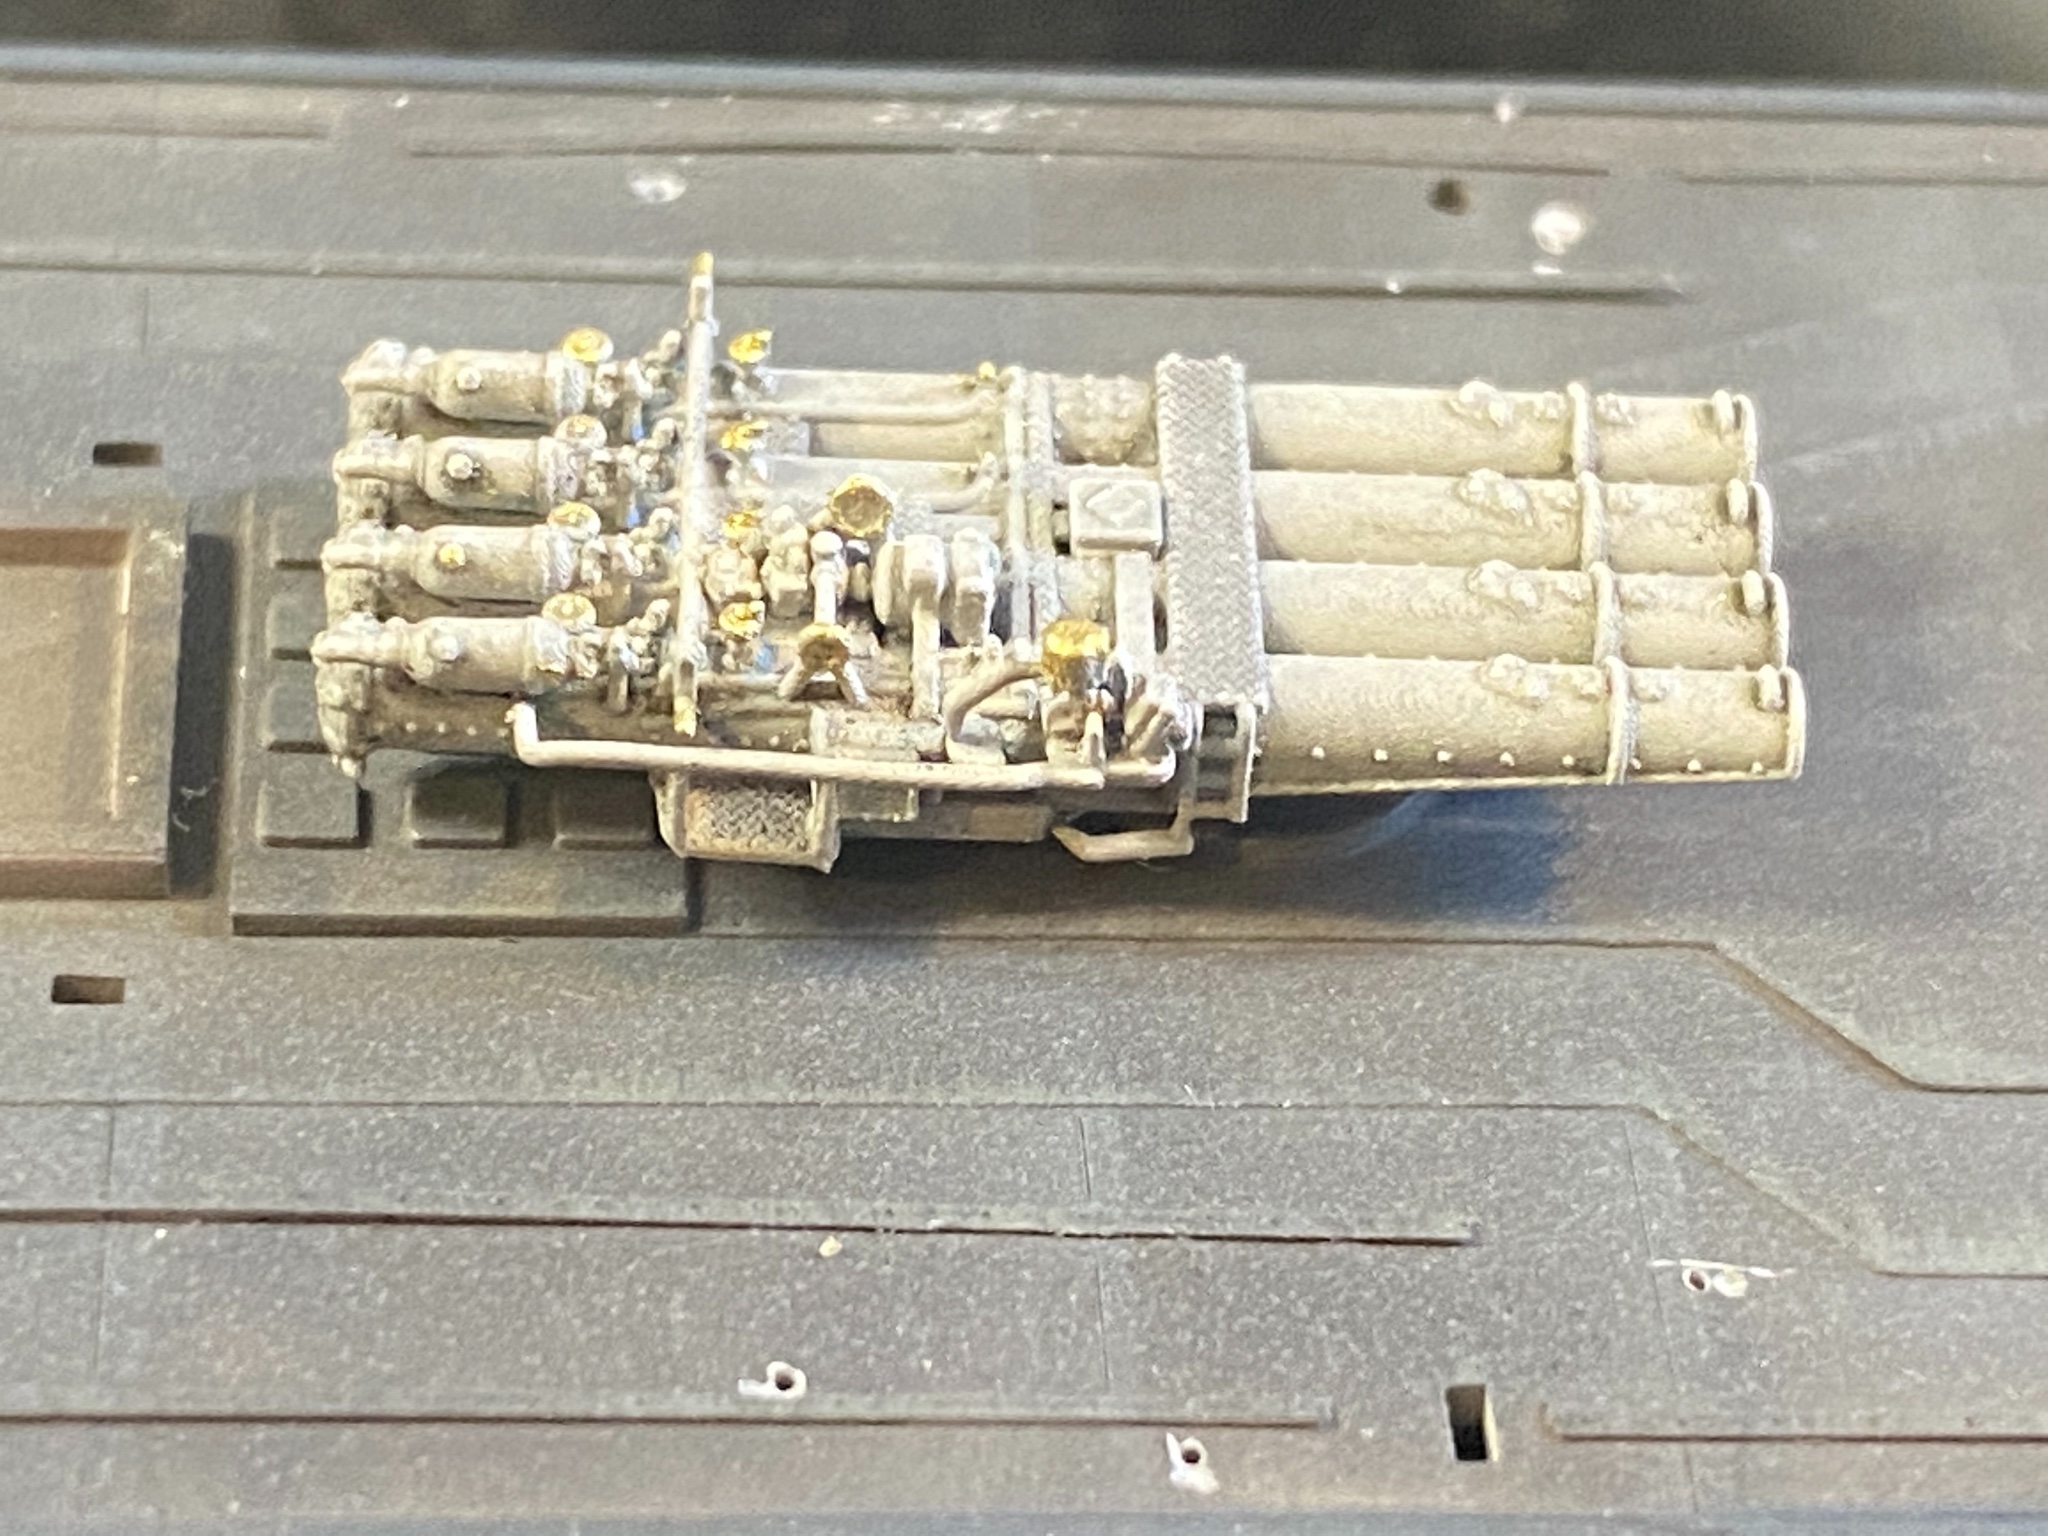
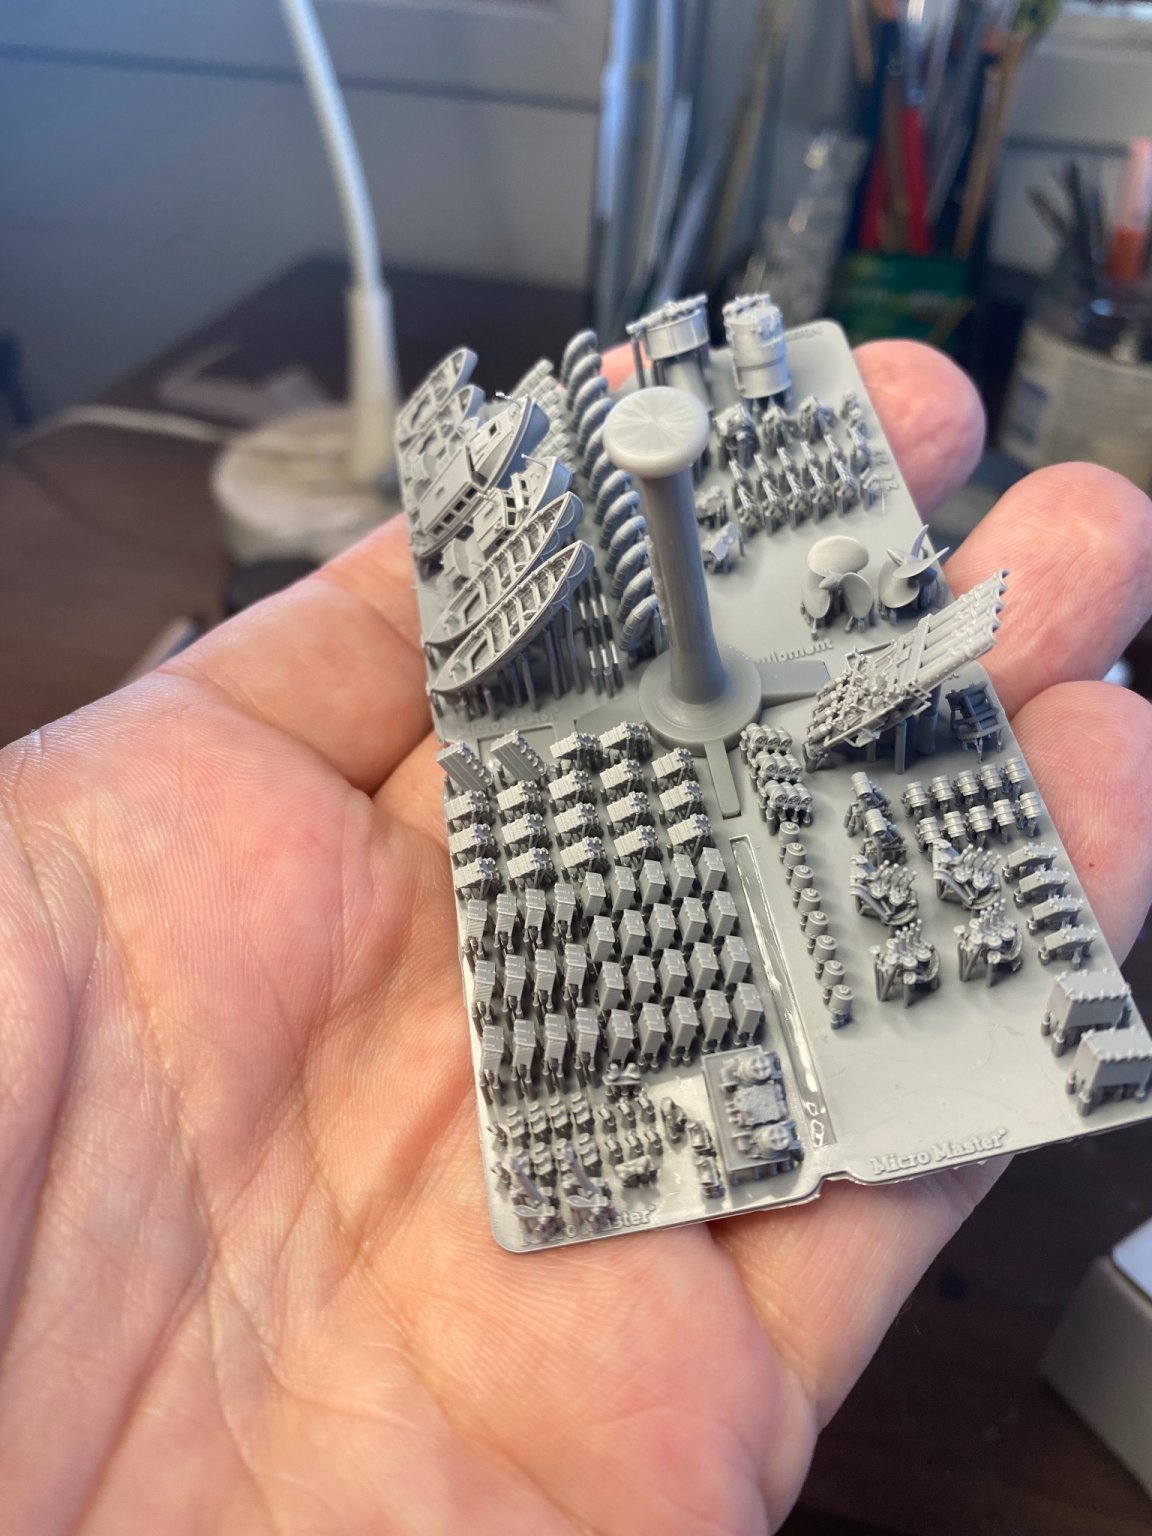
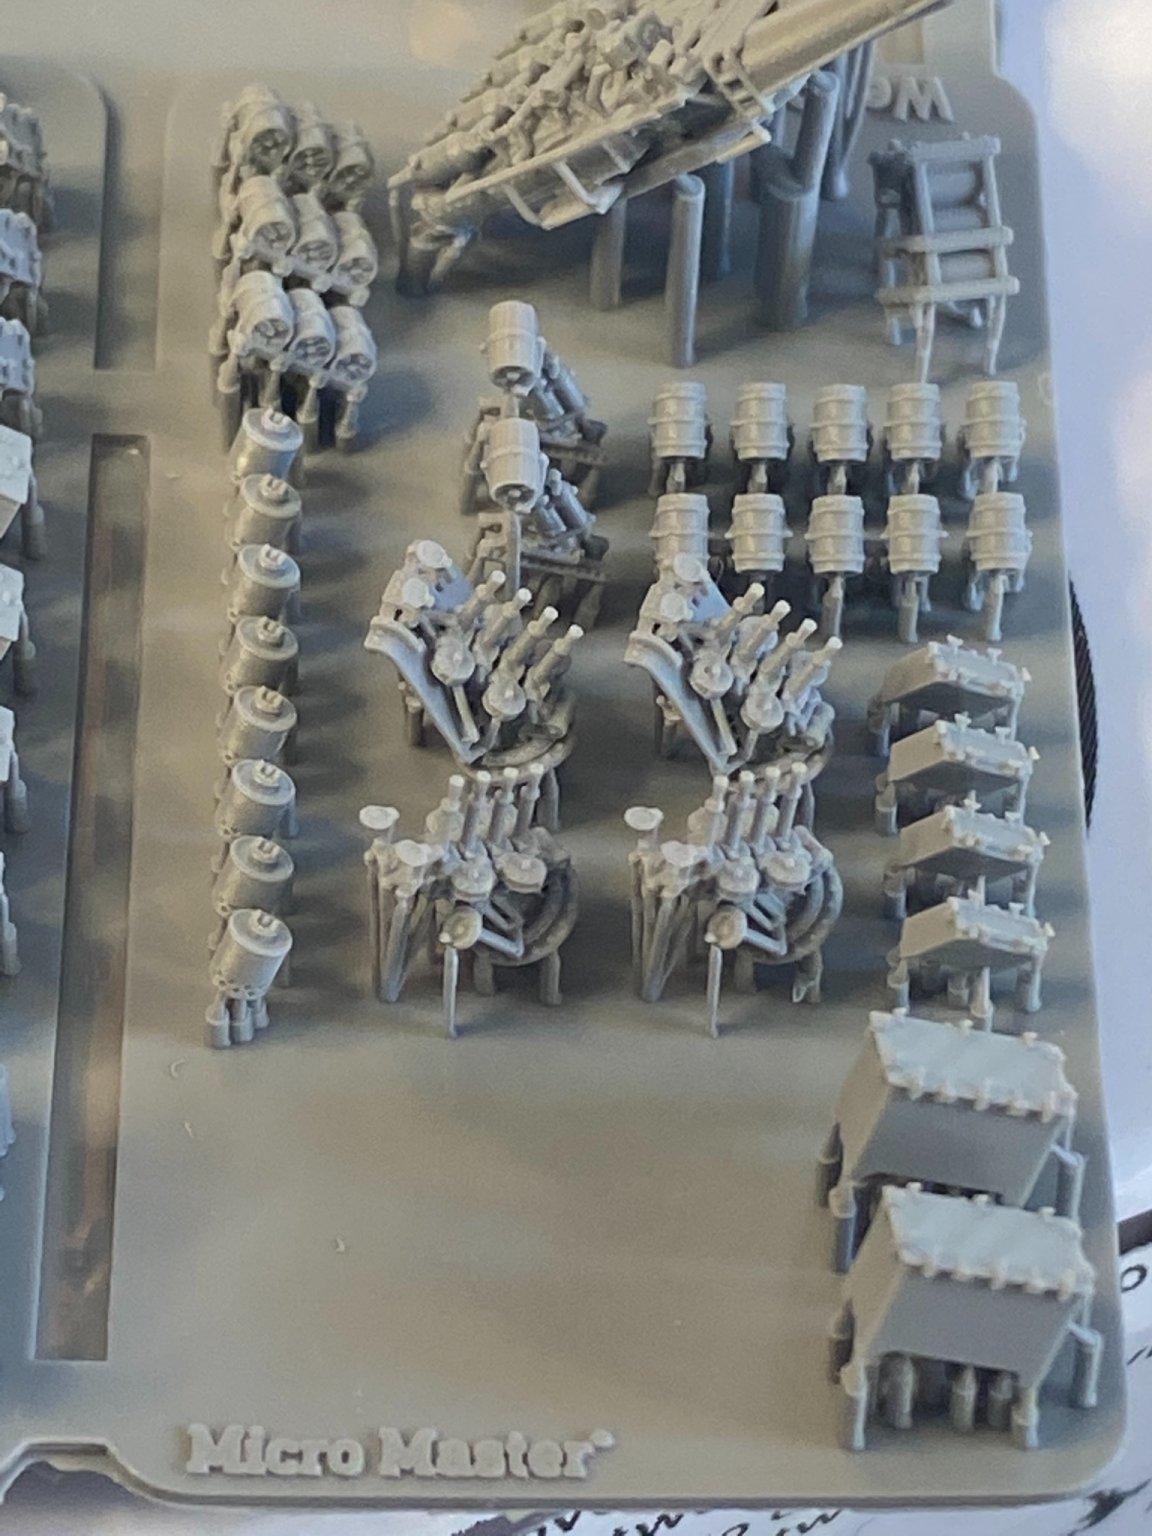
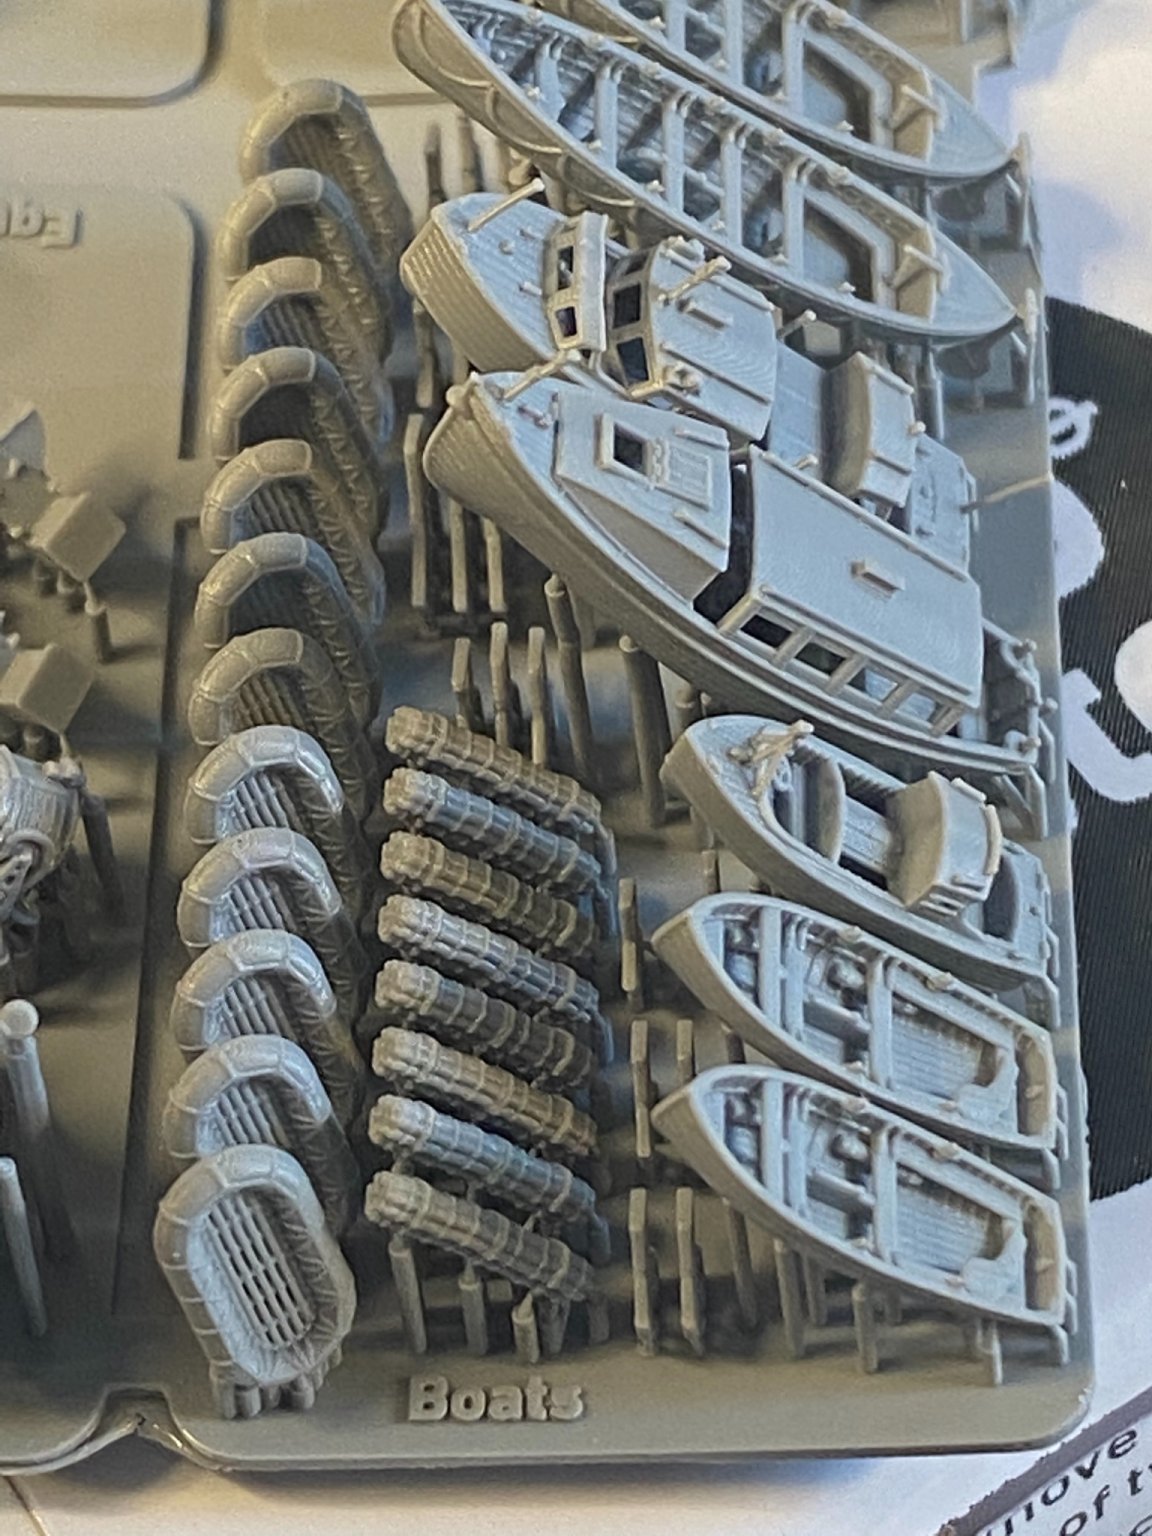
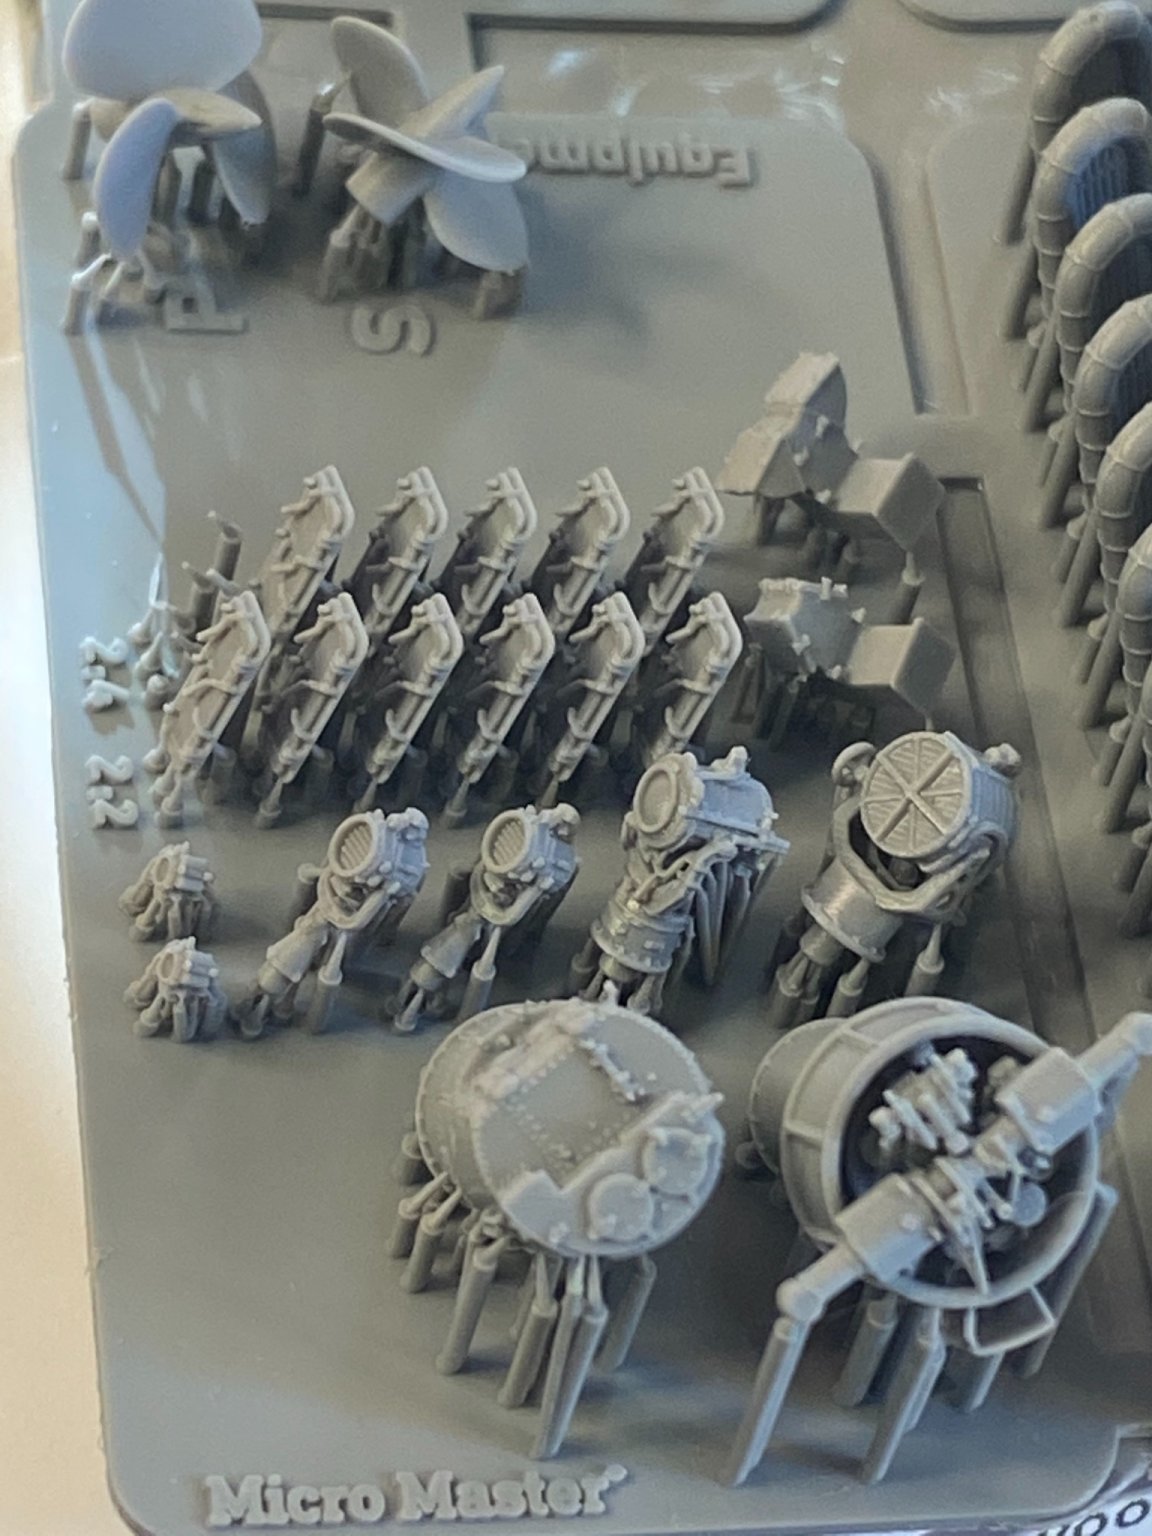
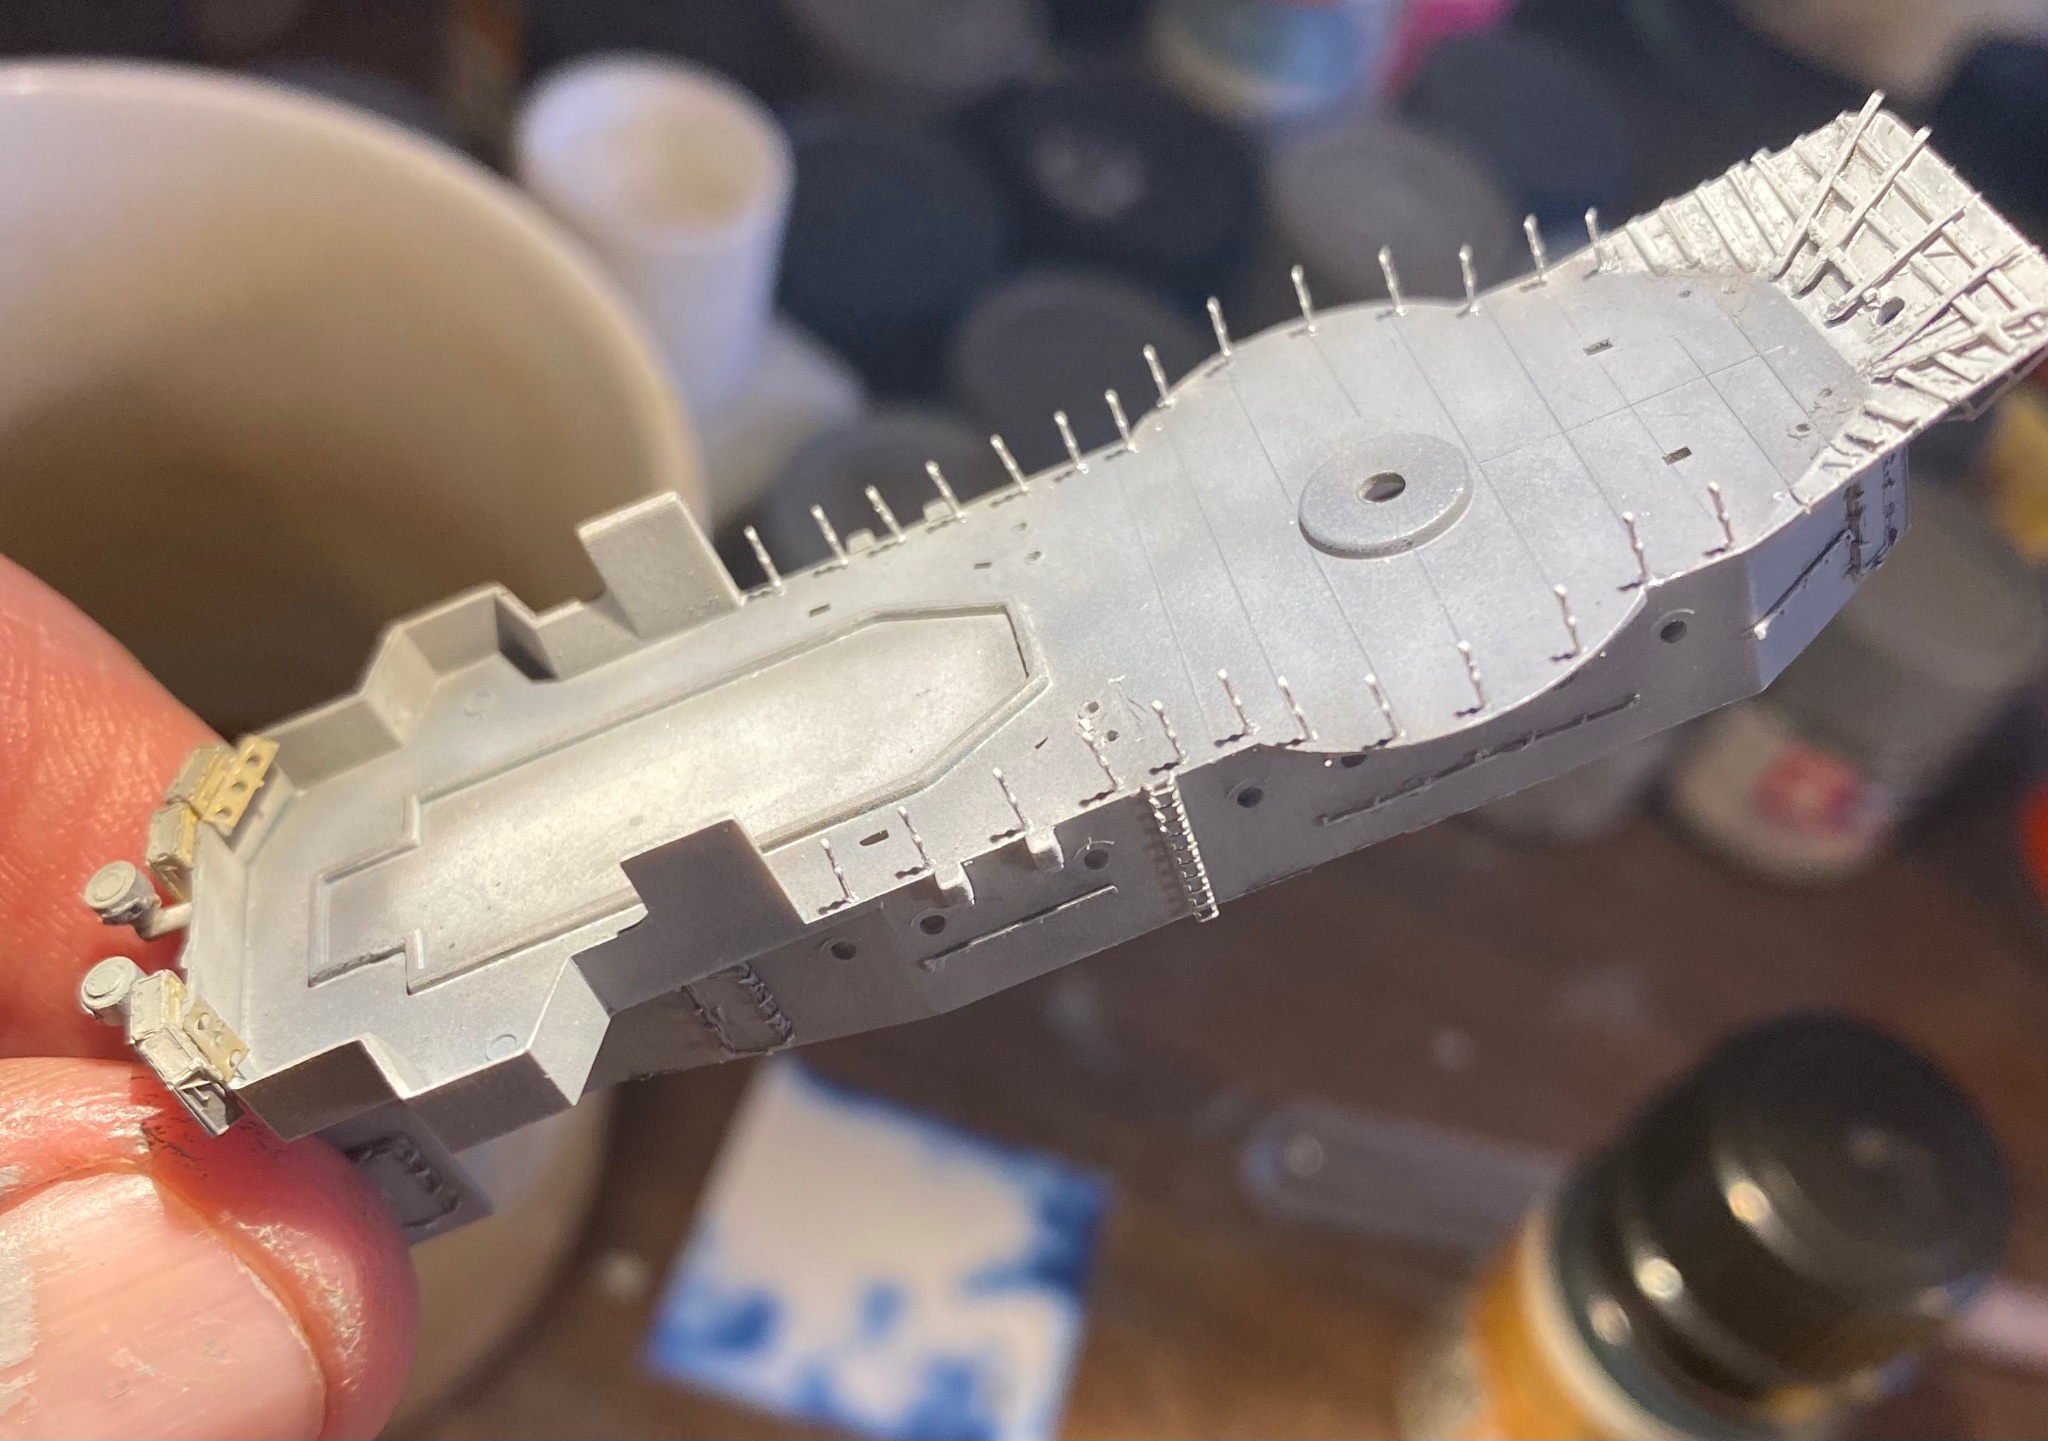
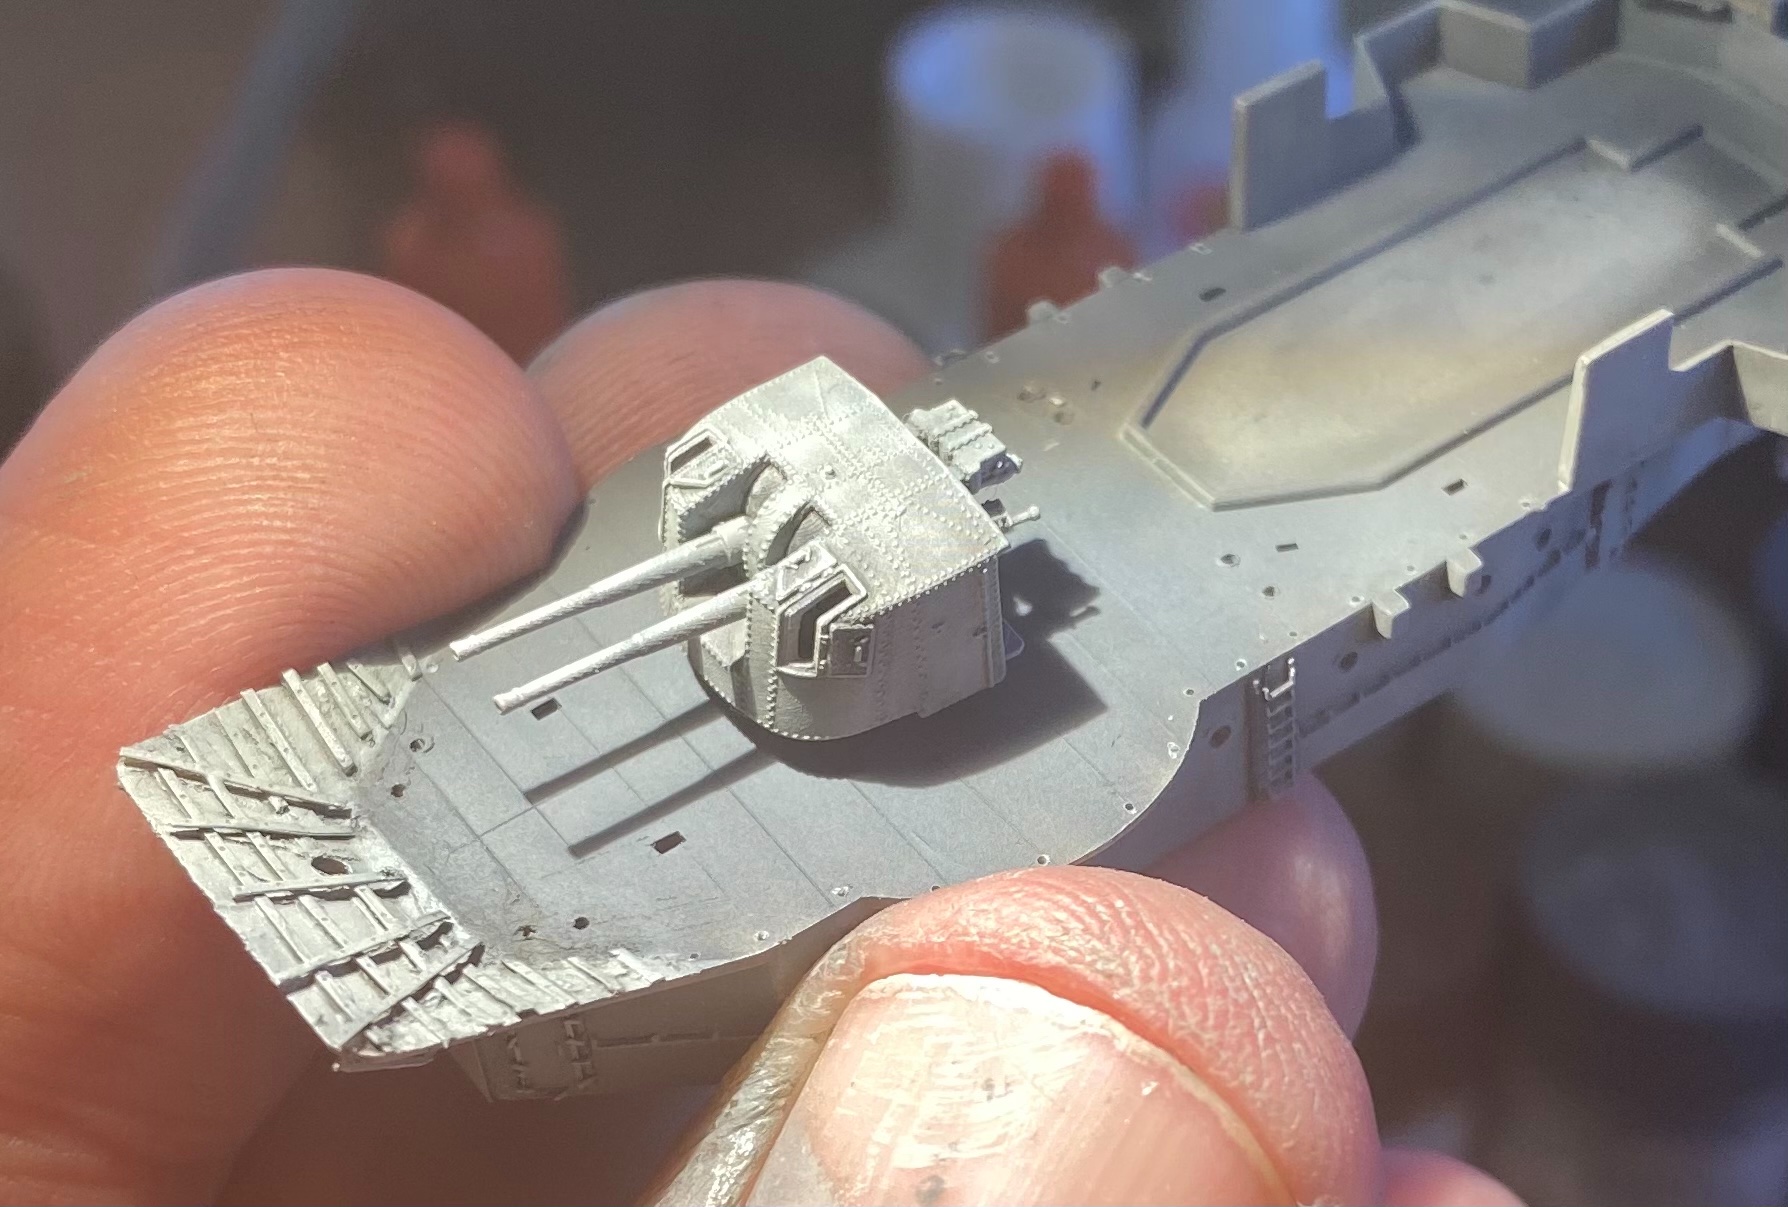
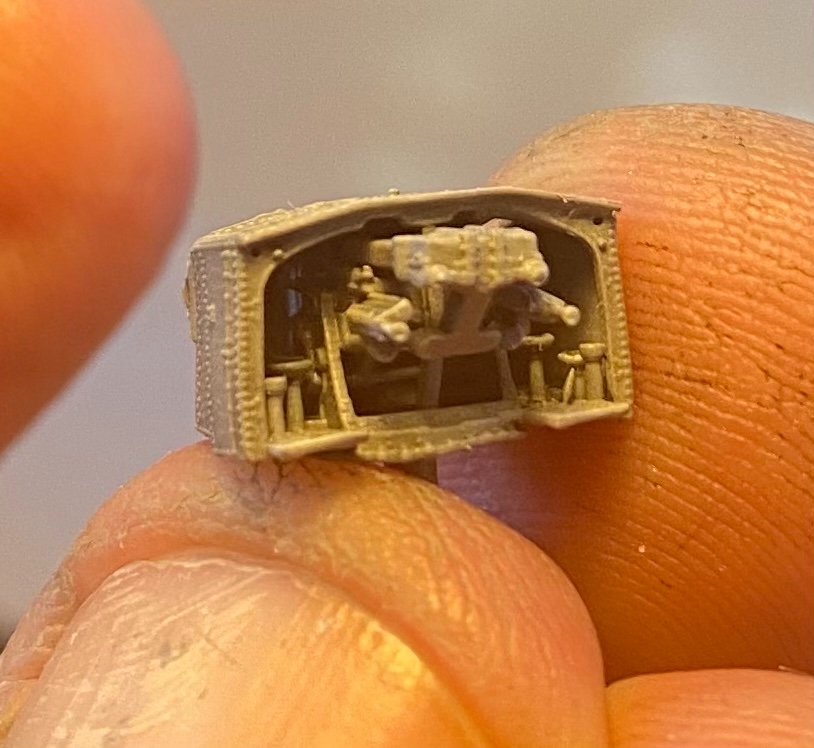
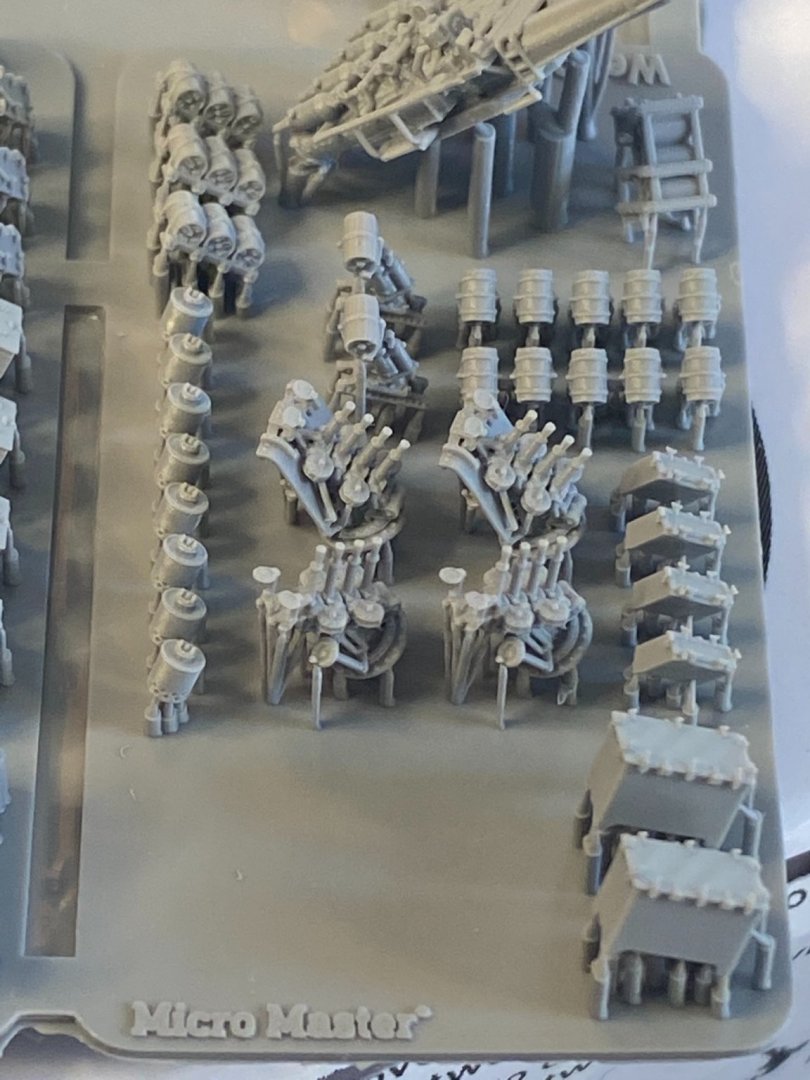
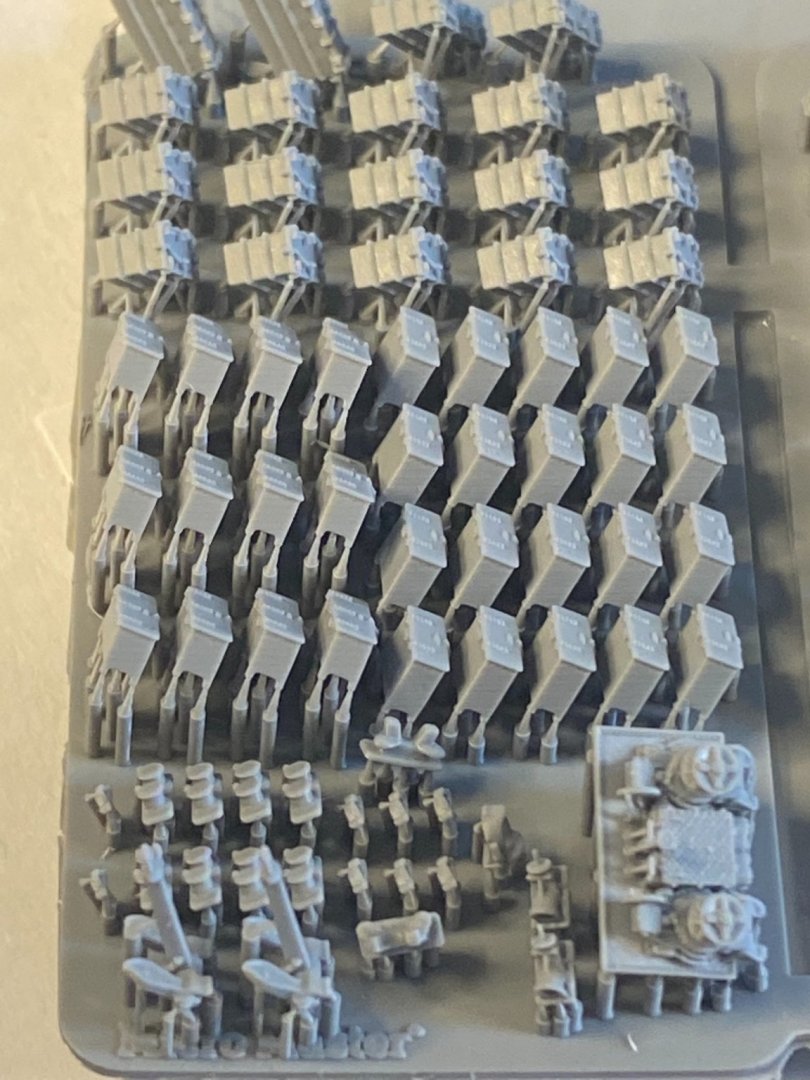
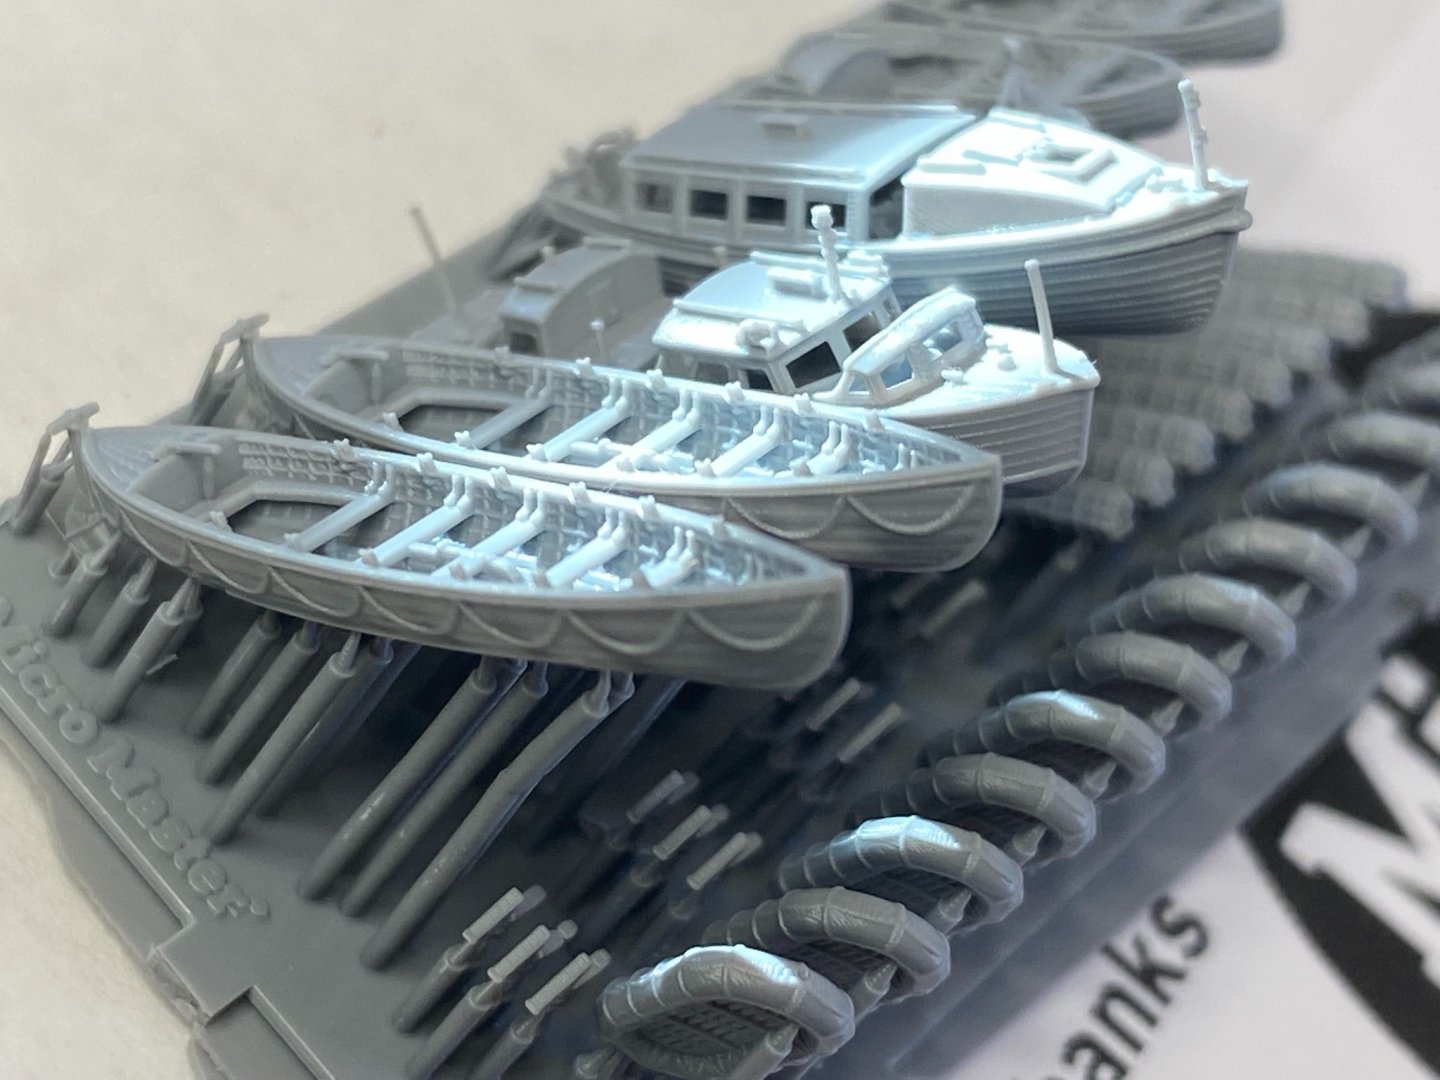
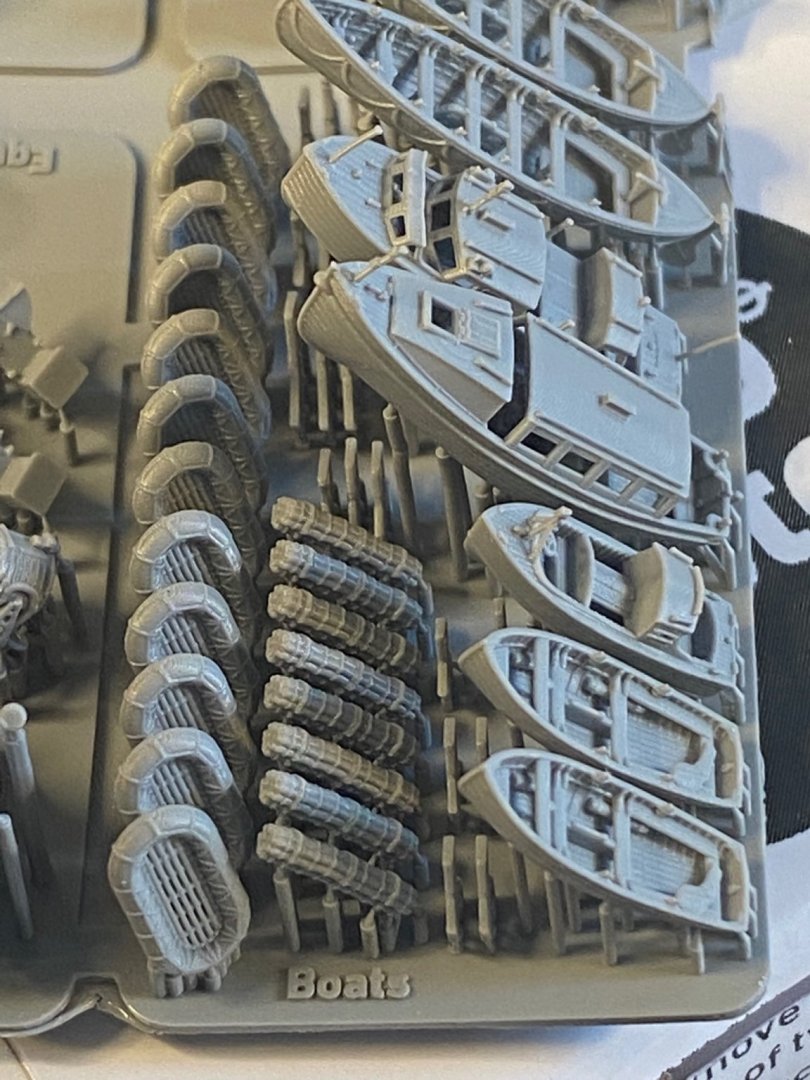
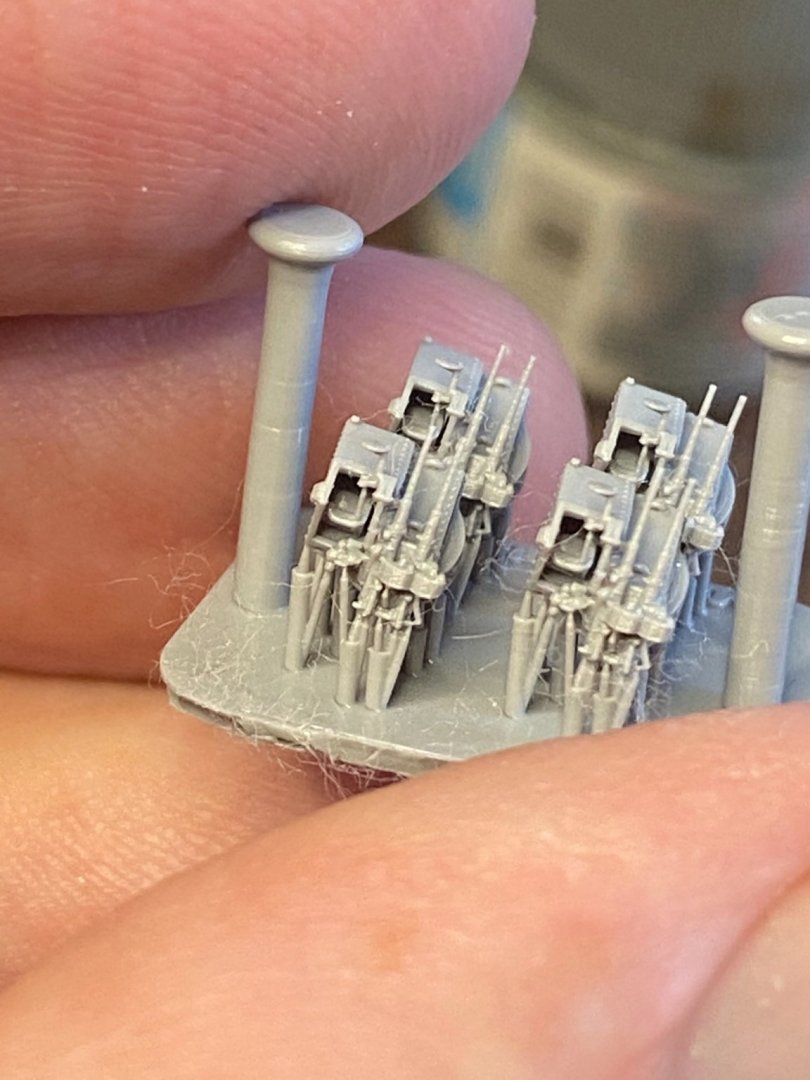
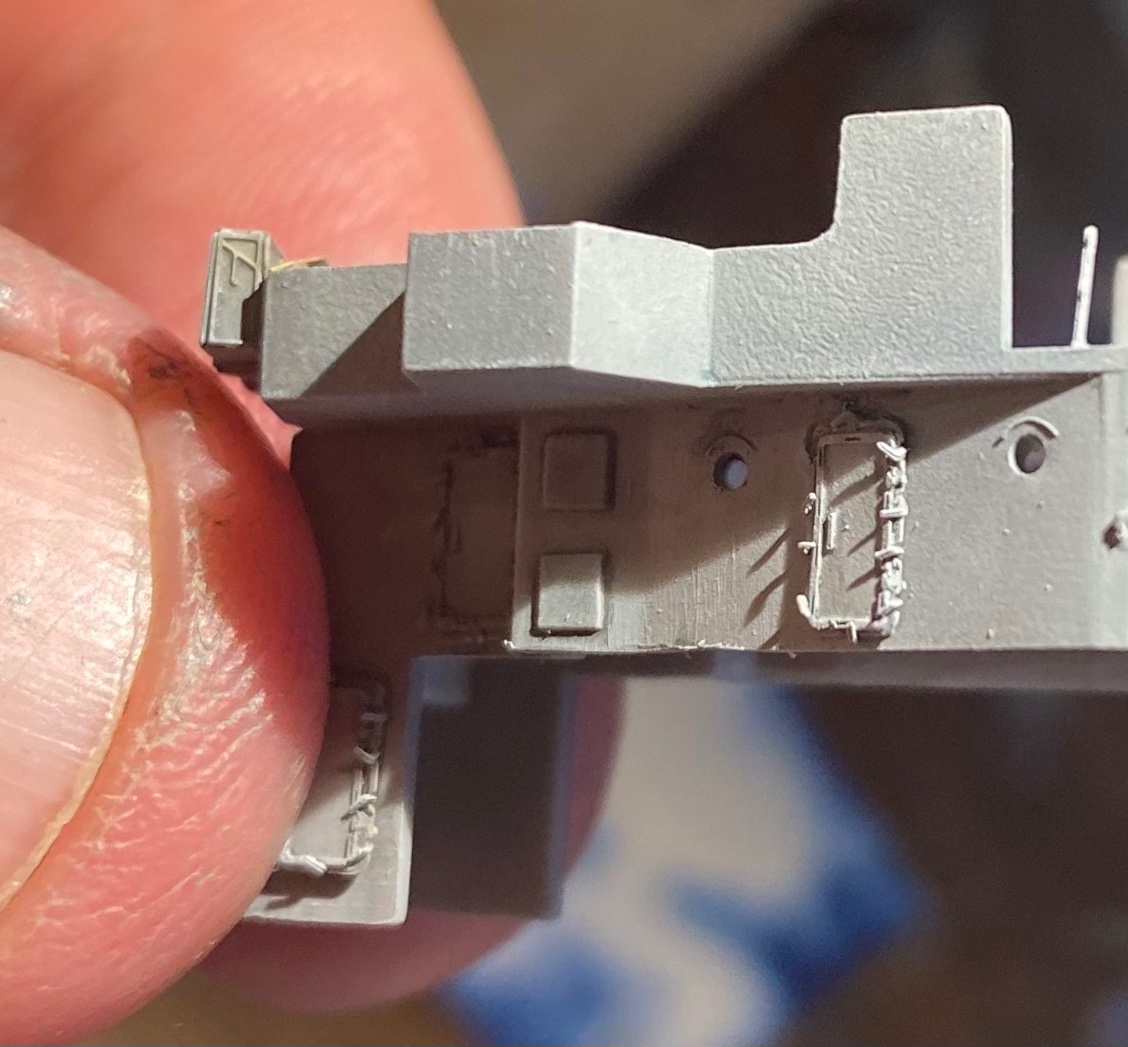
I’ve gotten an advanced release set of Micromaster’s Tribal set. A few bits such as a quad Pom Pom missing (in development). Replaces the Trumpeter 1/350 Tribal kit buts pretty comprehensively with detail down to the micron (literally)


-
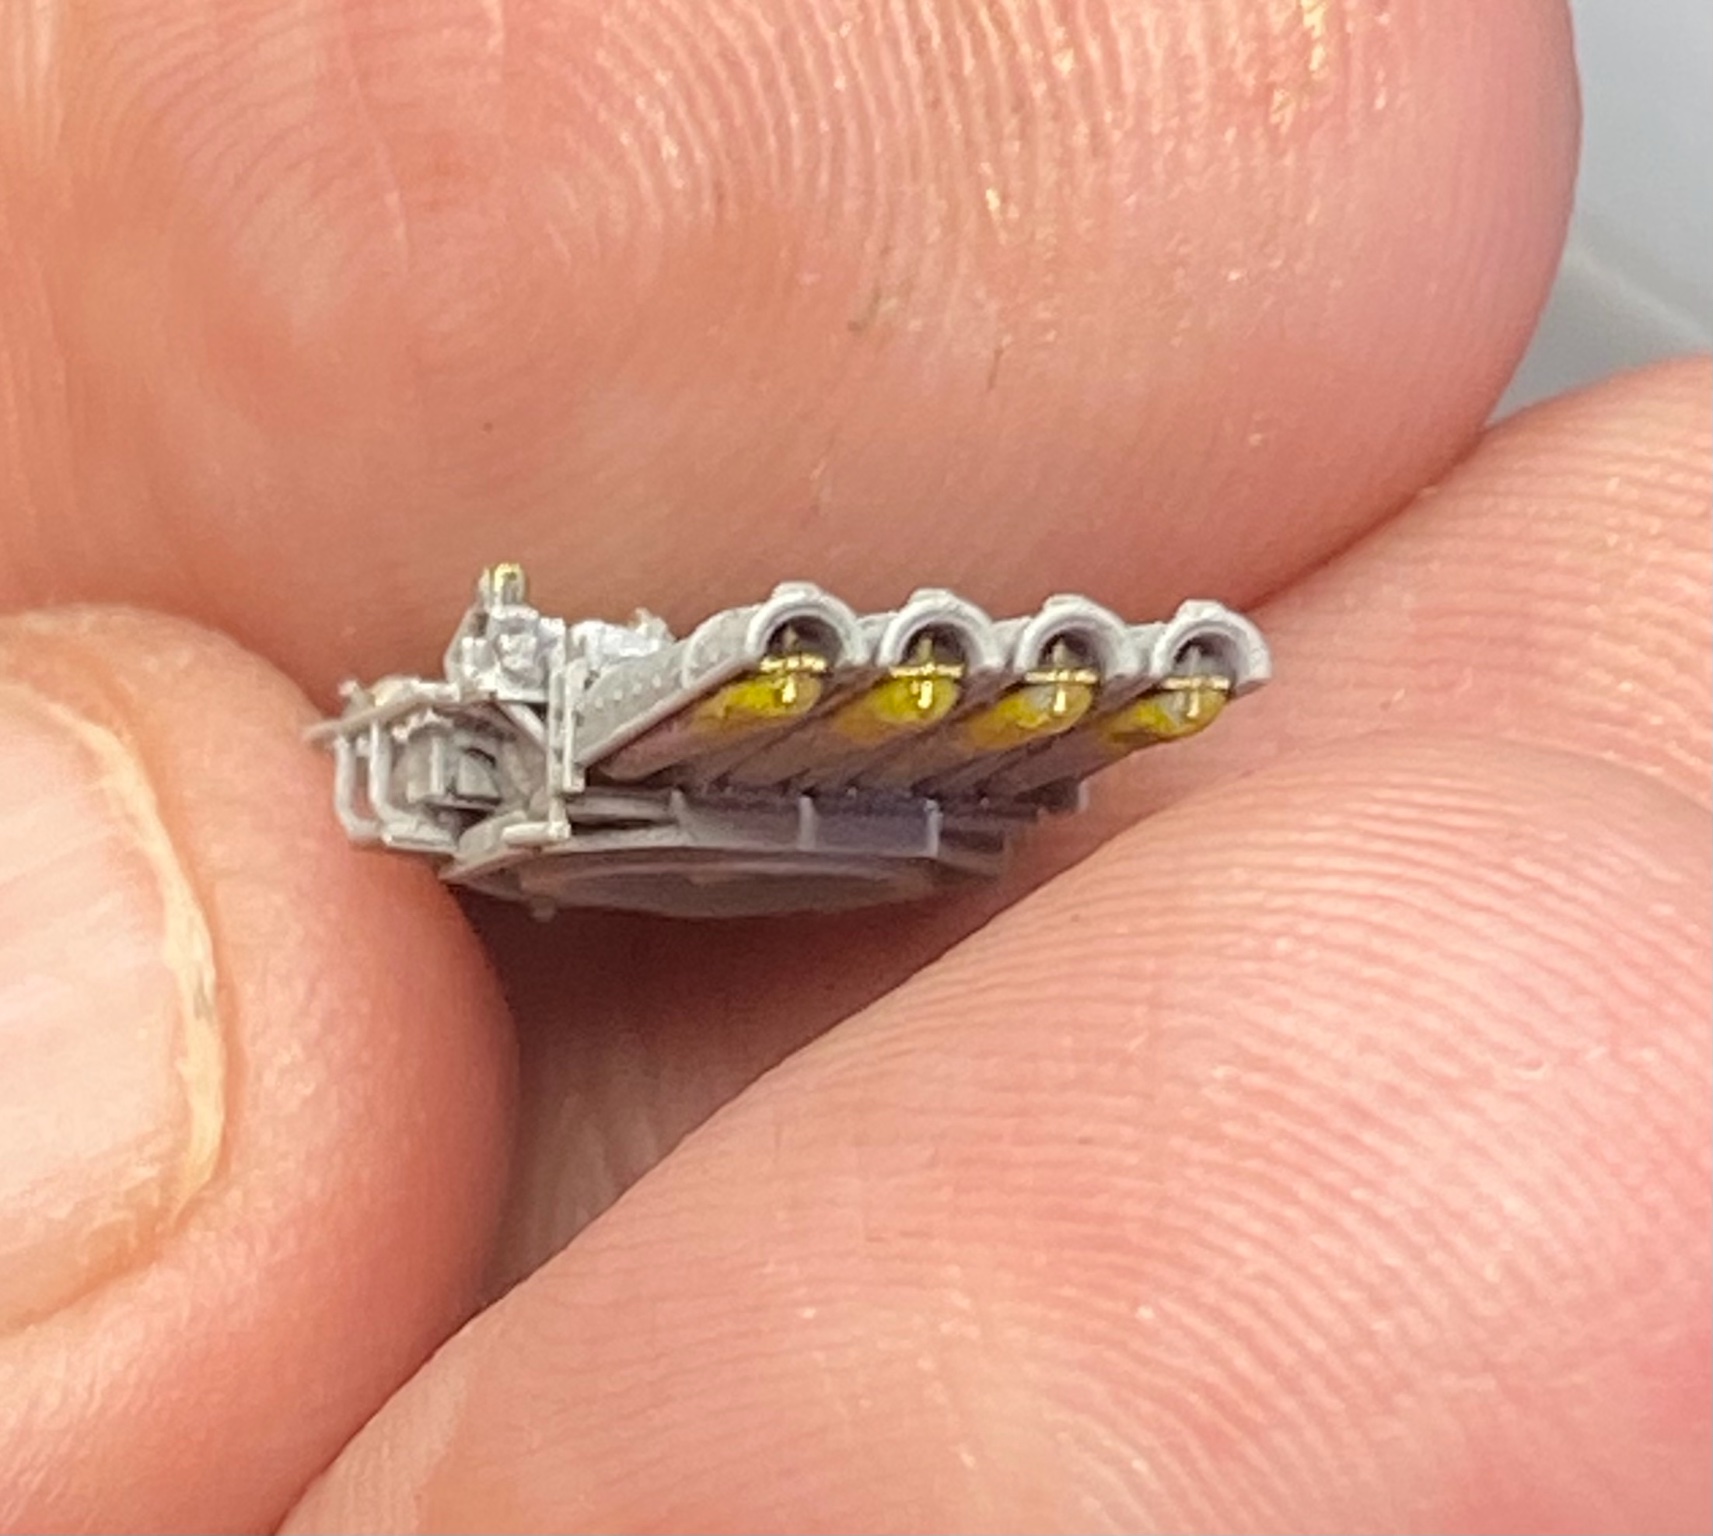
I don’t think the big companies will copy it as it’s so complex. The naked eye is not good enough to see the details on these things. It’s kinda a balance between building and just painting. I love PE and I don’t know how much fun a complete 3D printed ship would be not that much fun and need a LOT of skil to paint it properly.
-
I have good side cutters but they come off very easily. He still has a quad pompom to go and some other stuff.
-
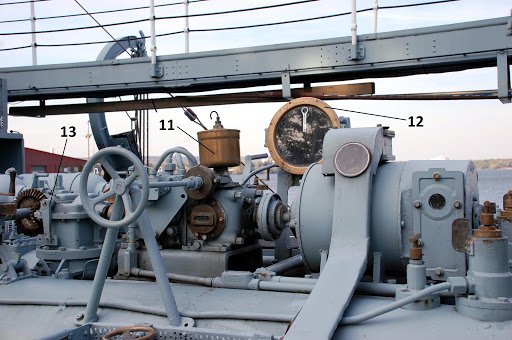
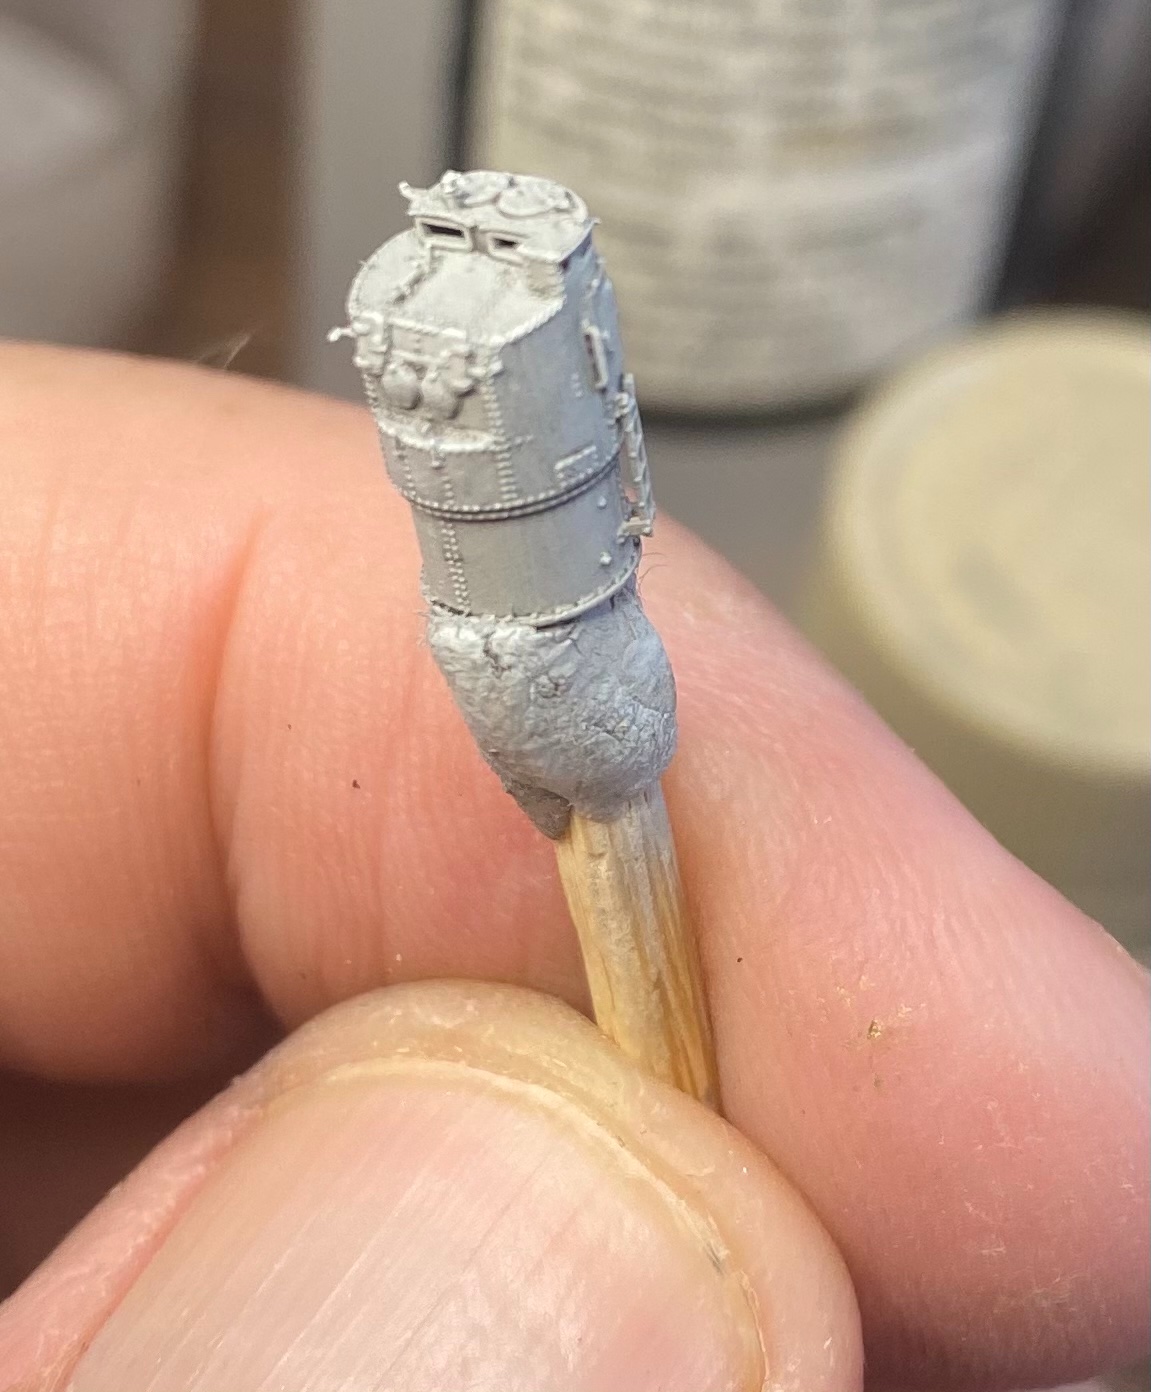
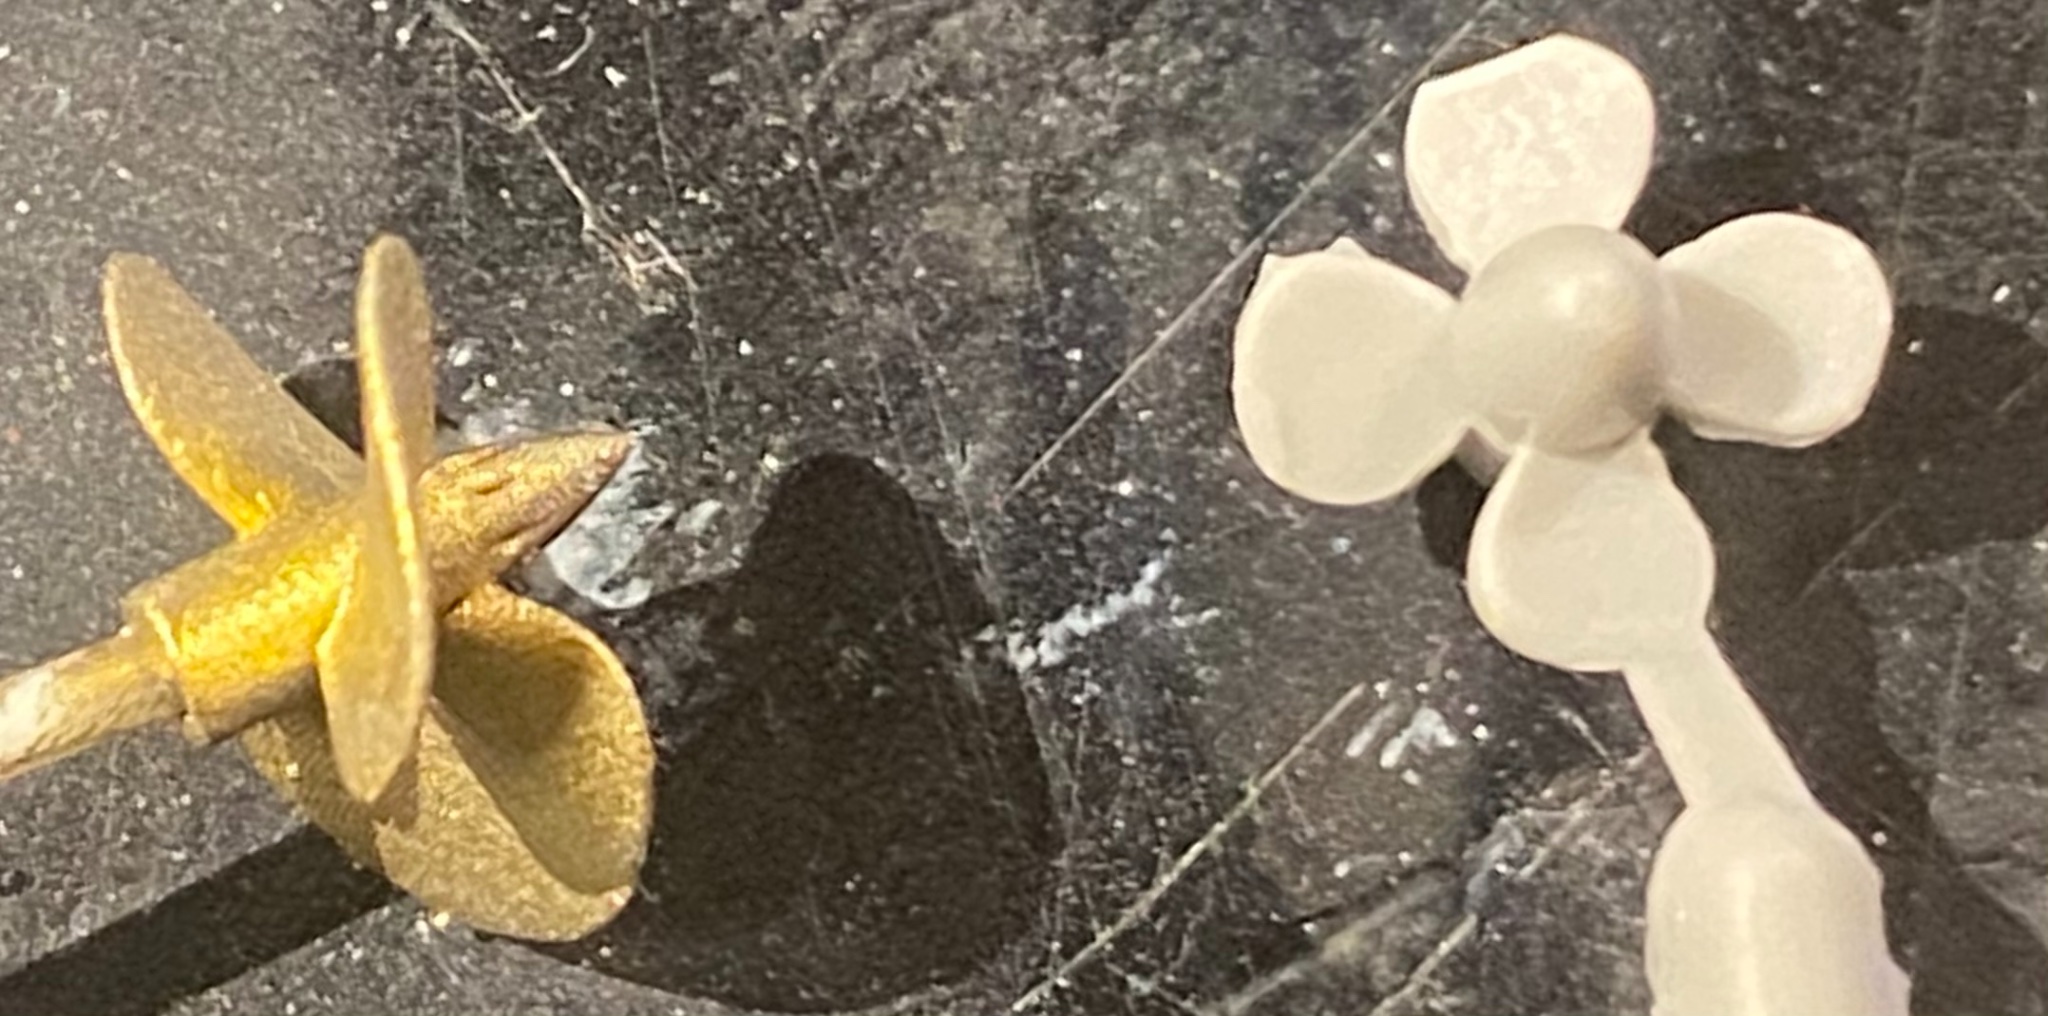
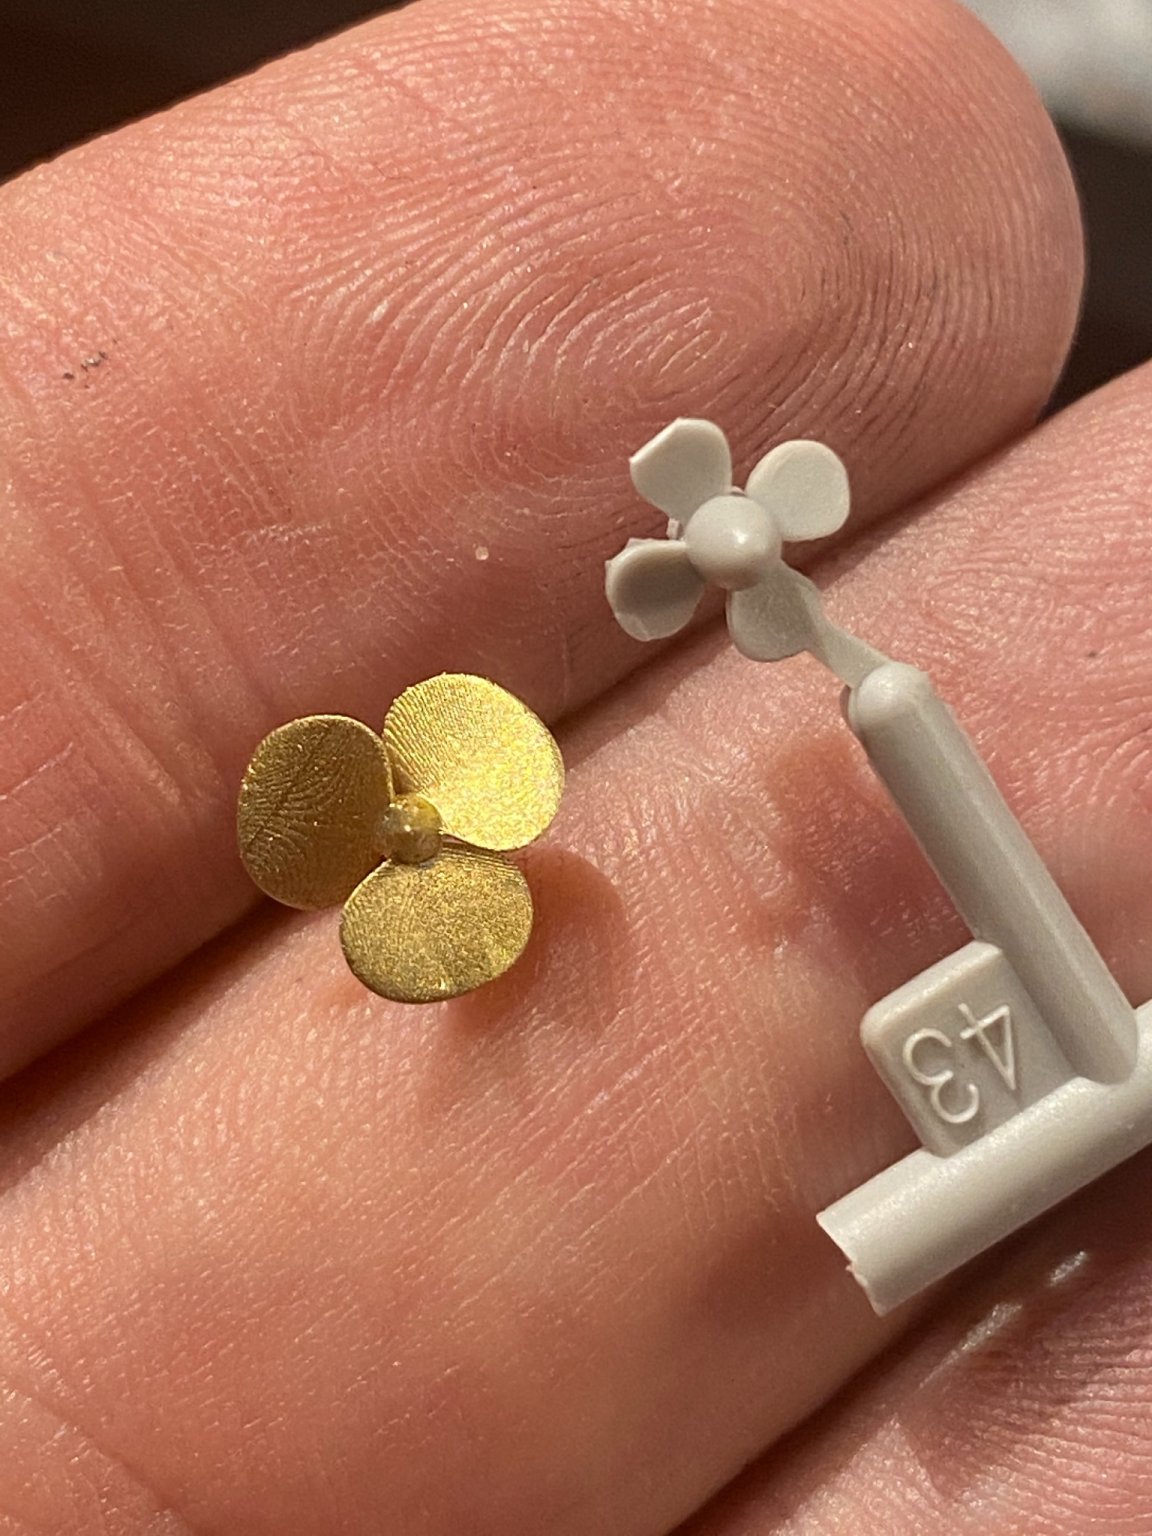
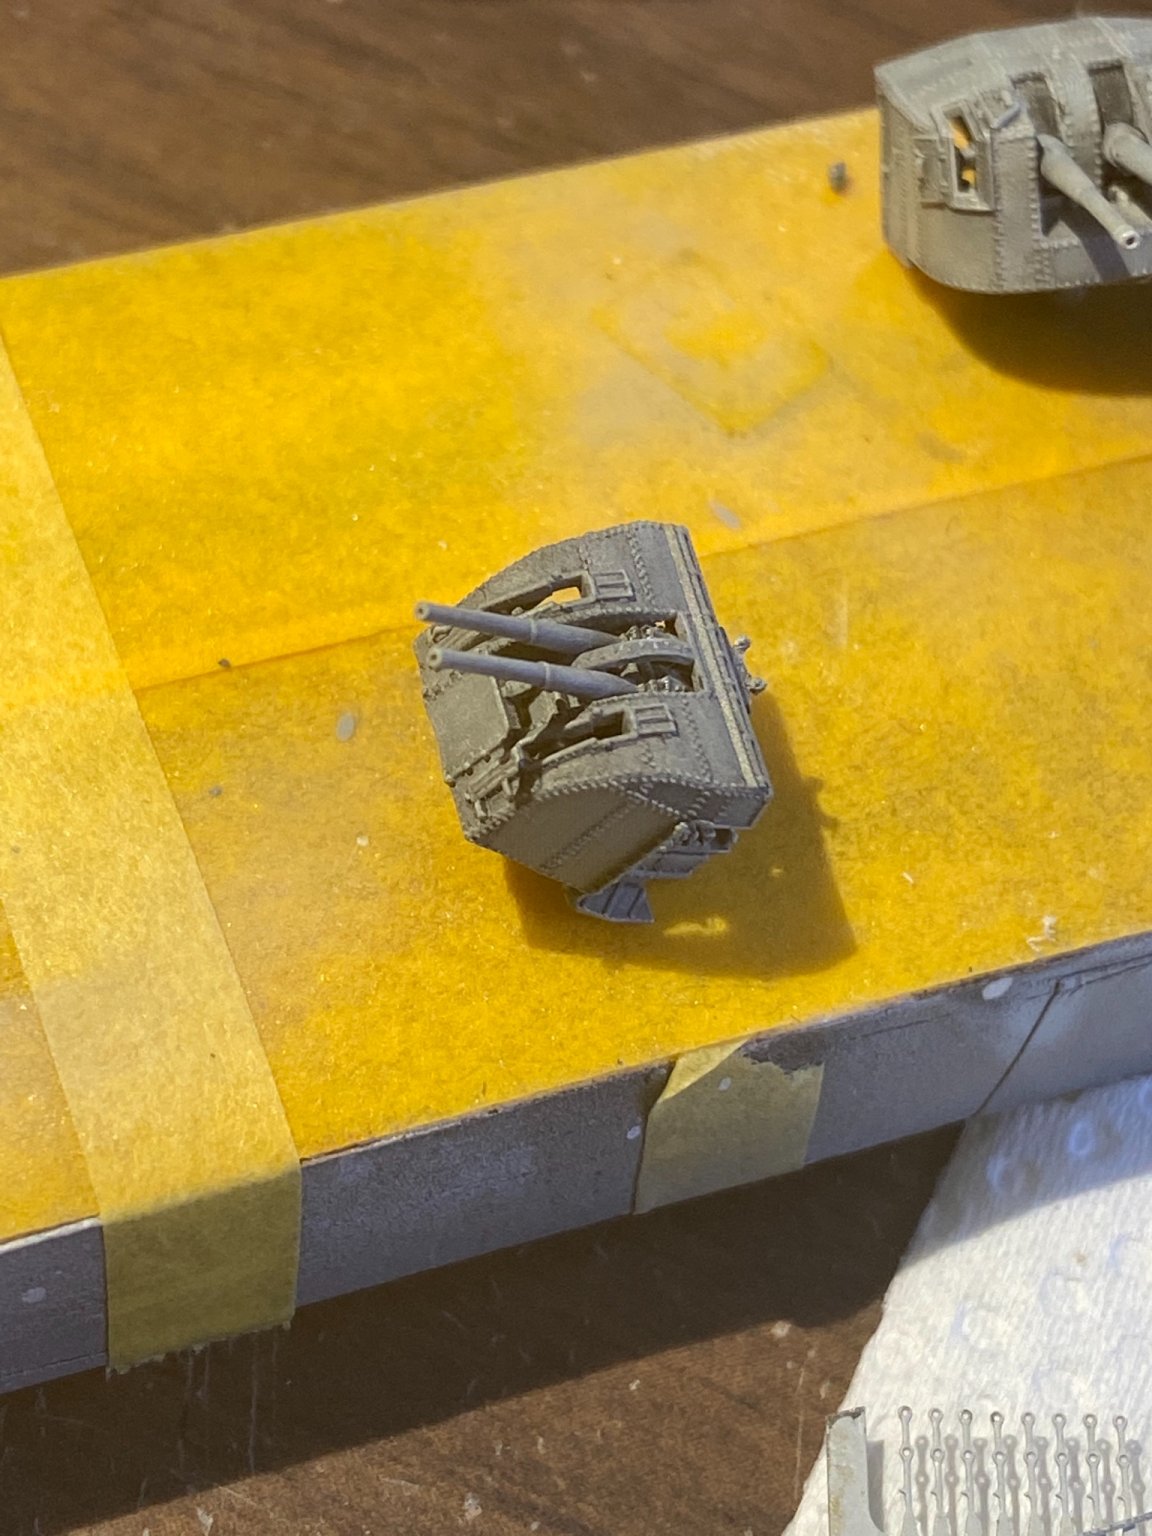
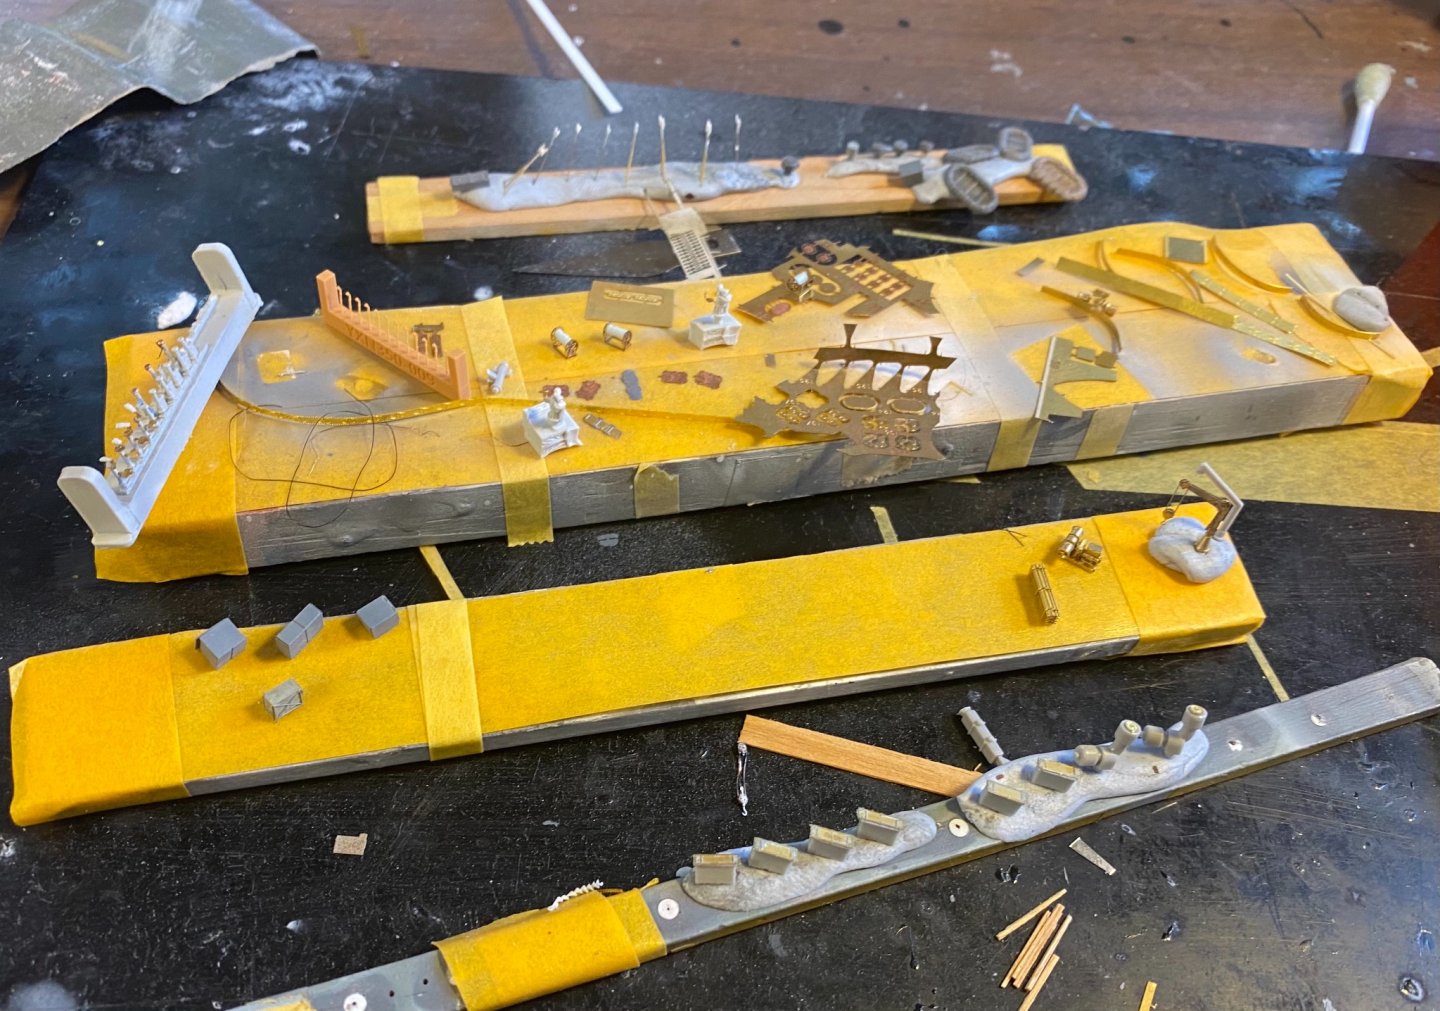
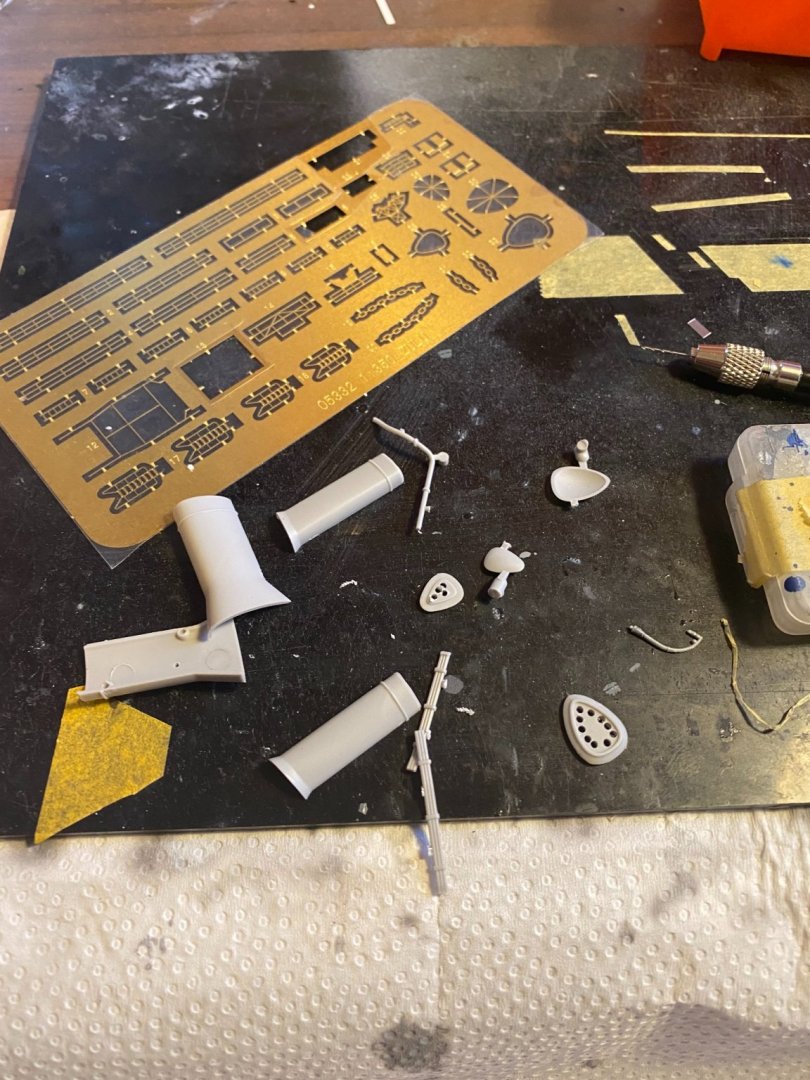
So fresh off the boat (or plane) from NZ, a test print of Micromaster’s Tribal class destroyers fit out. Still missing a few bits but as usual amazing stuff.


-
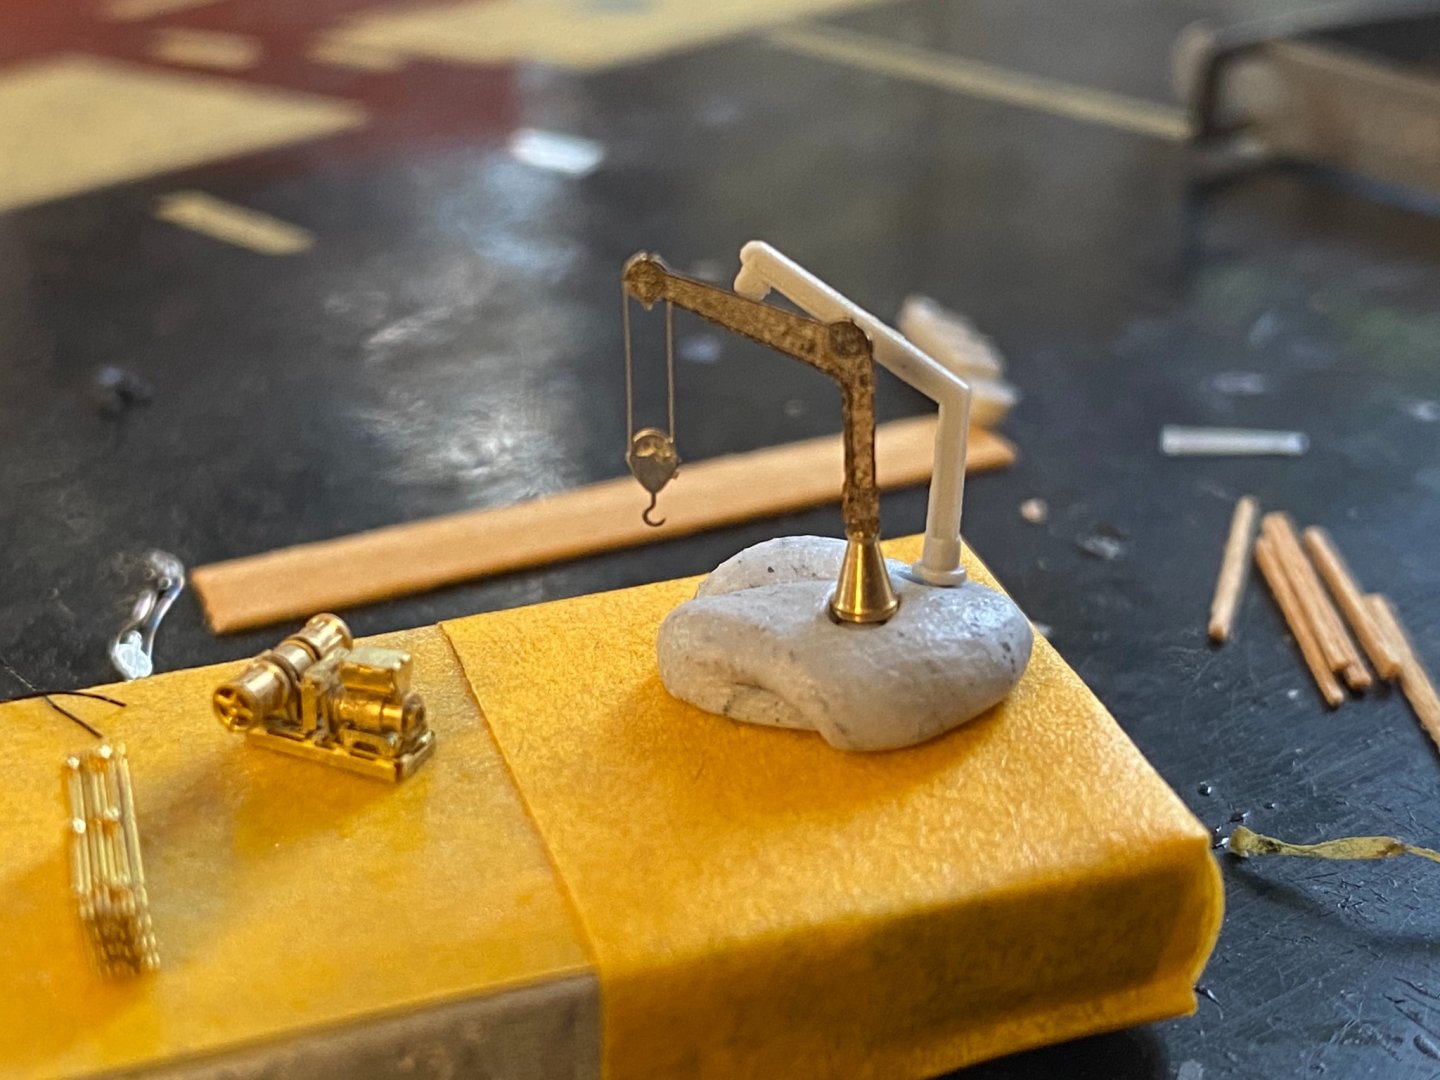
As I said before, dandyfunk! The little grey blob is the Davit supplied in the kit, so a bit of a bash job from spares and a more respectable rendition. The brass winch is from Infini (not even mentioned in the instructions but on the plan and photos) and a little pile of wood stores. the rest of it is deck infil for want of a better term.
- 255 replies
-
- 10
-

-
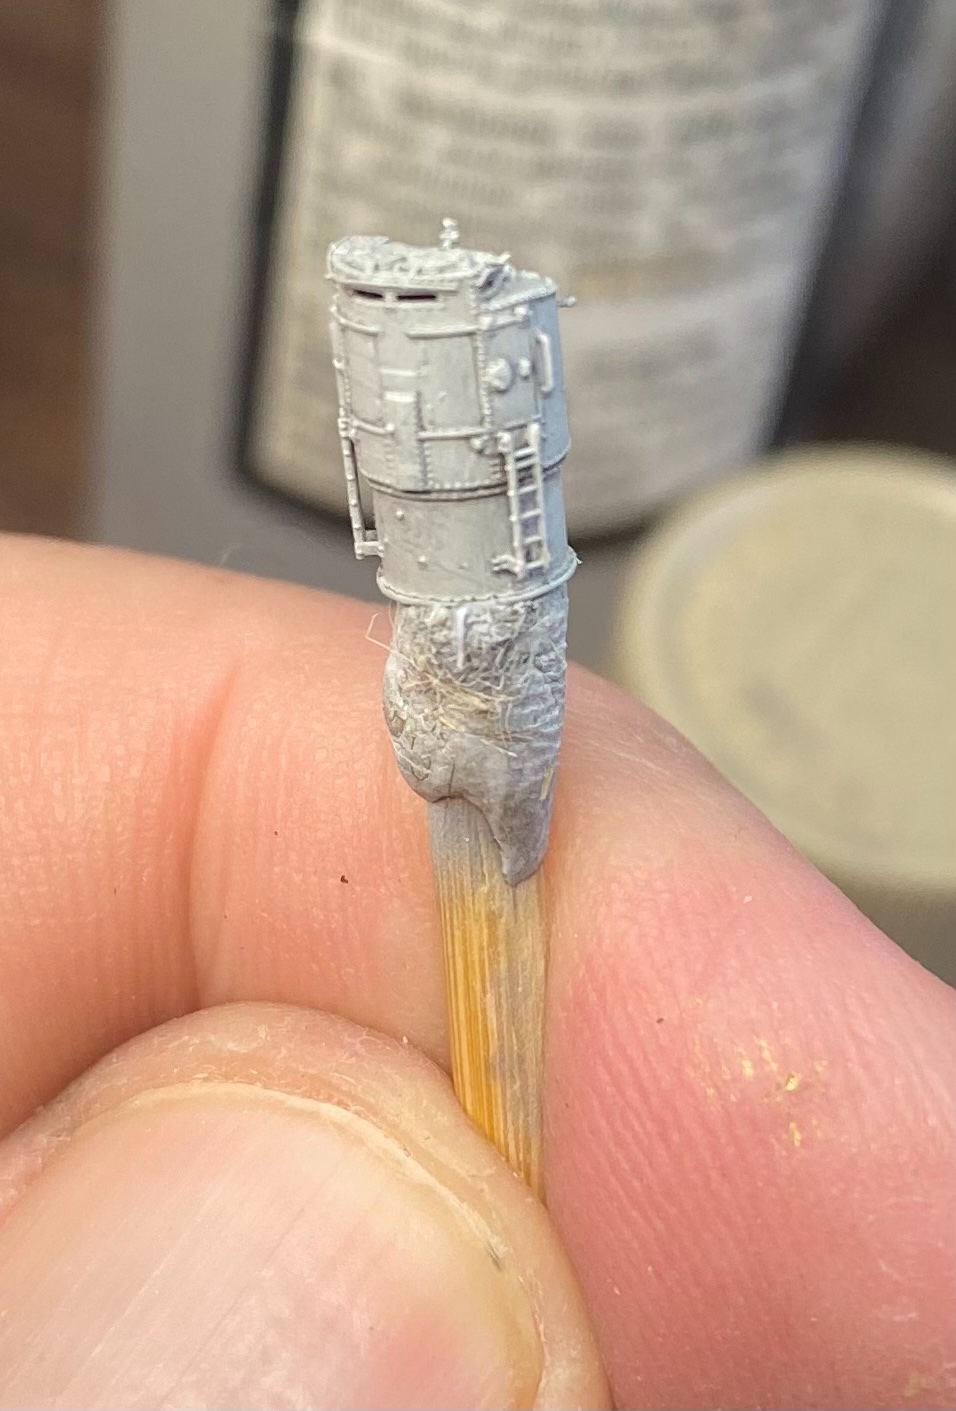
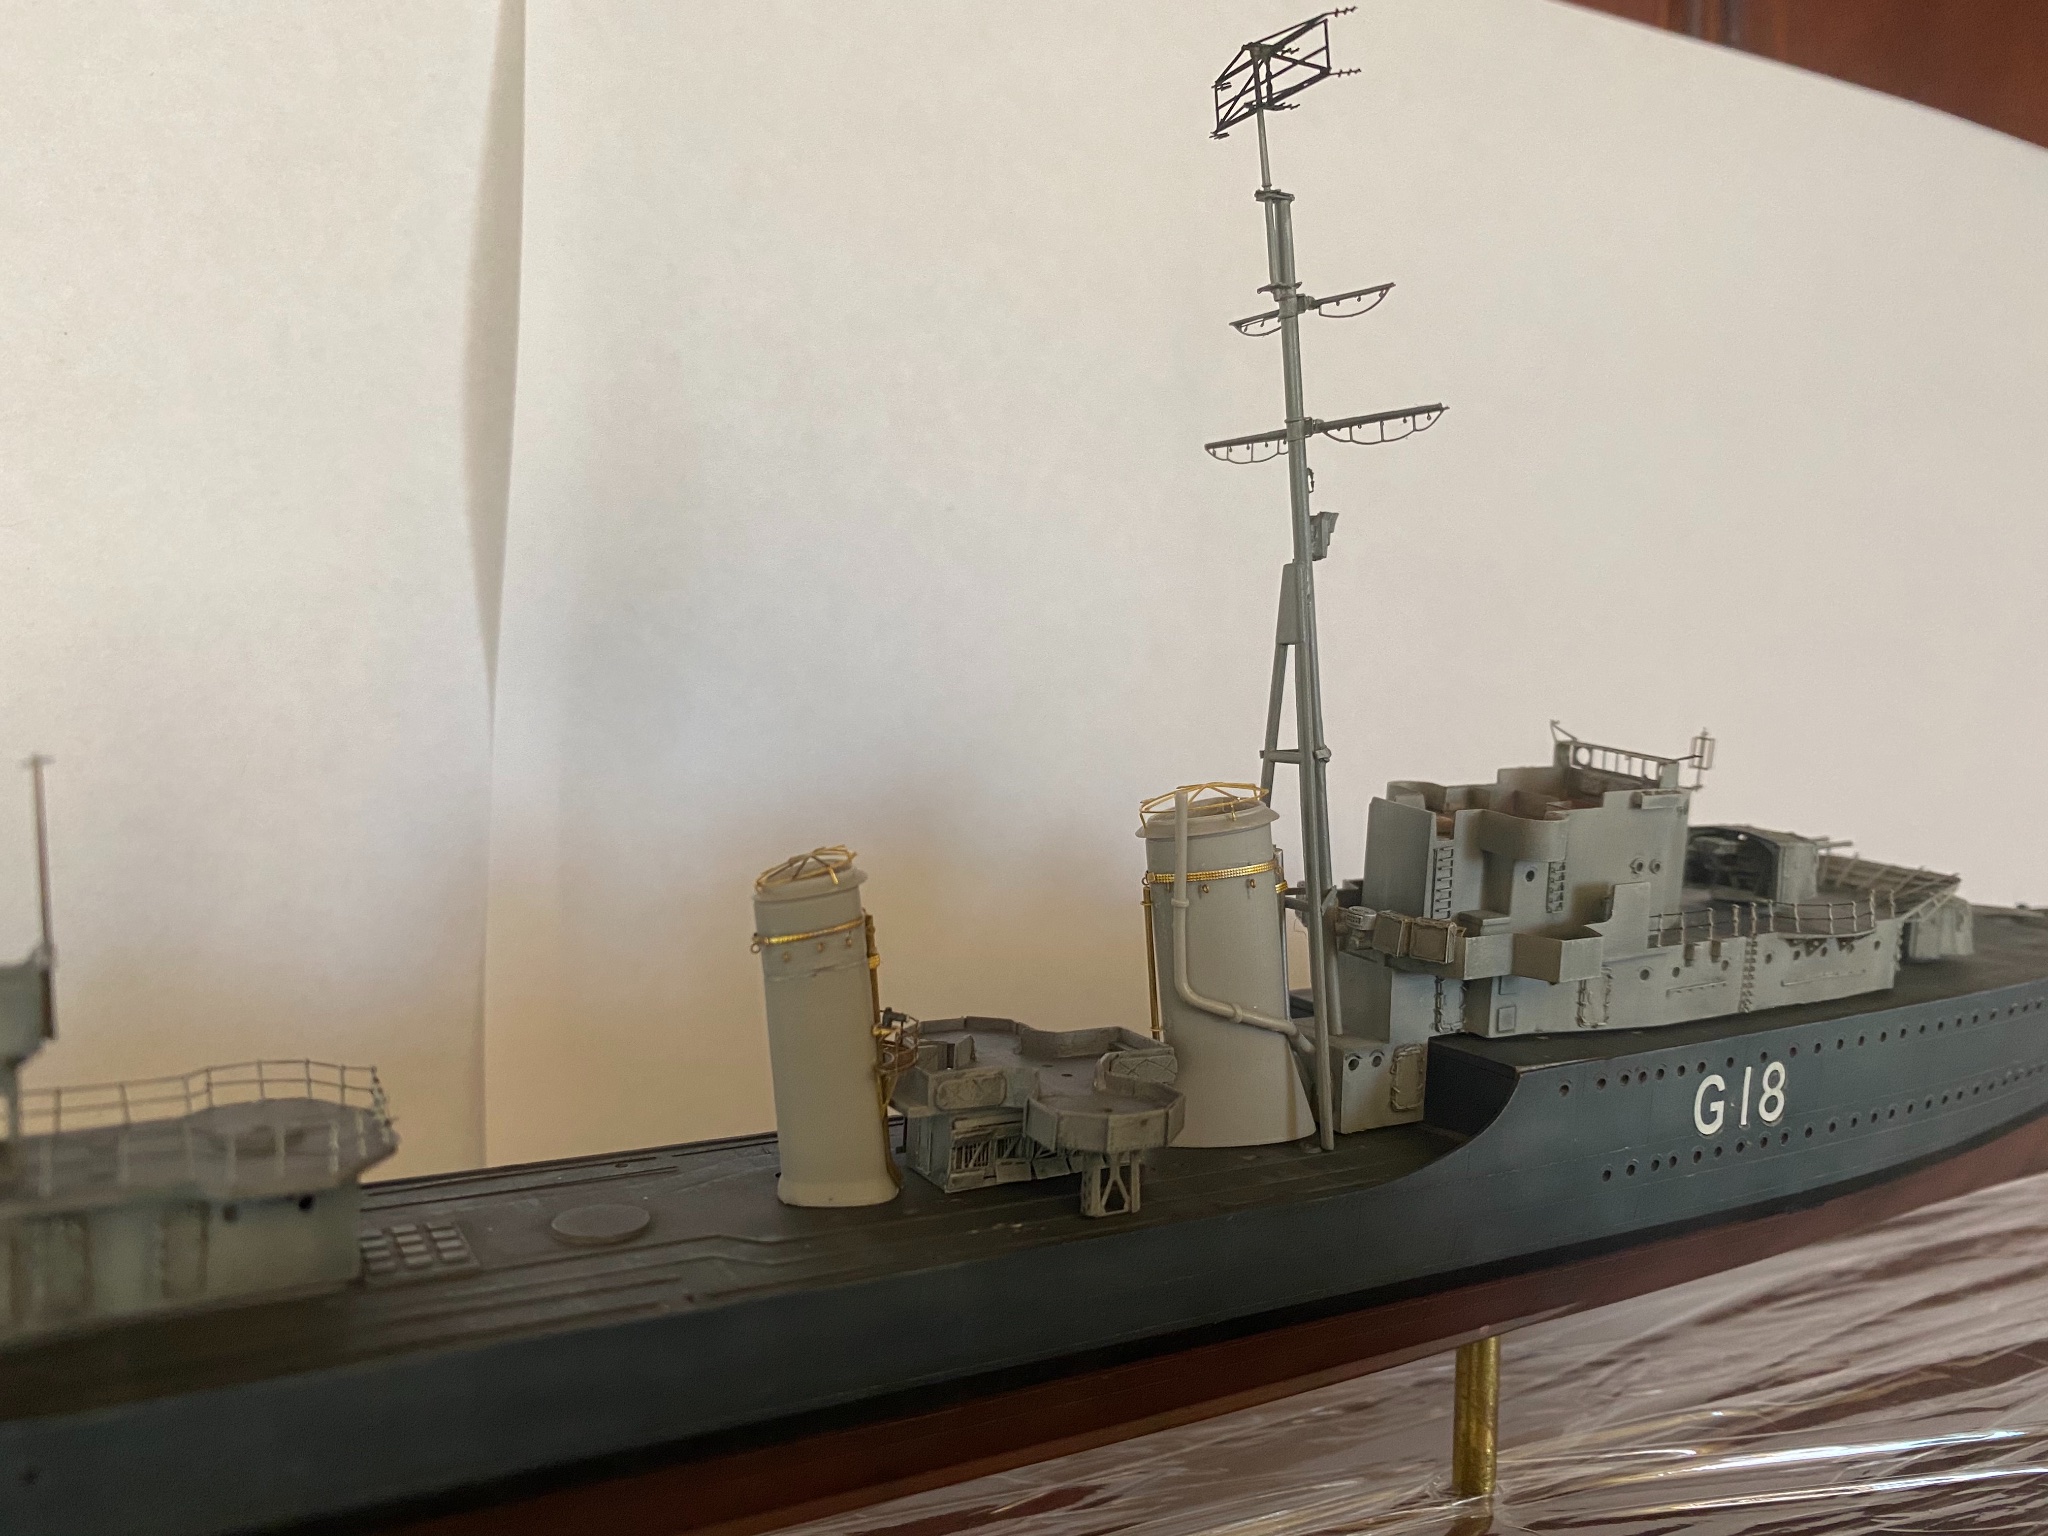
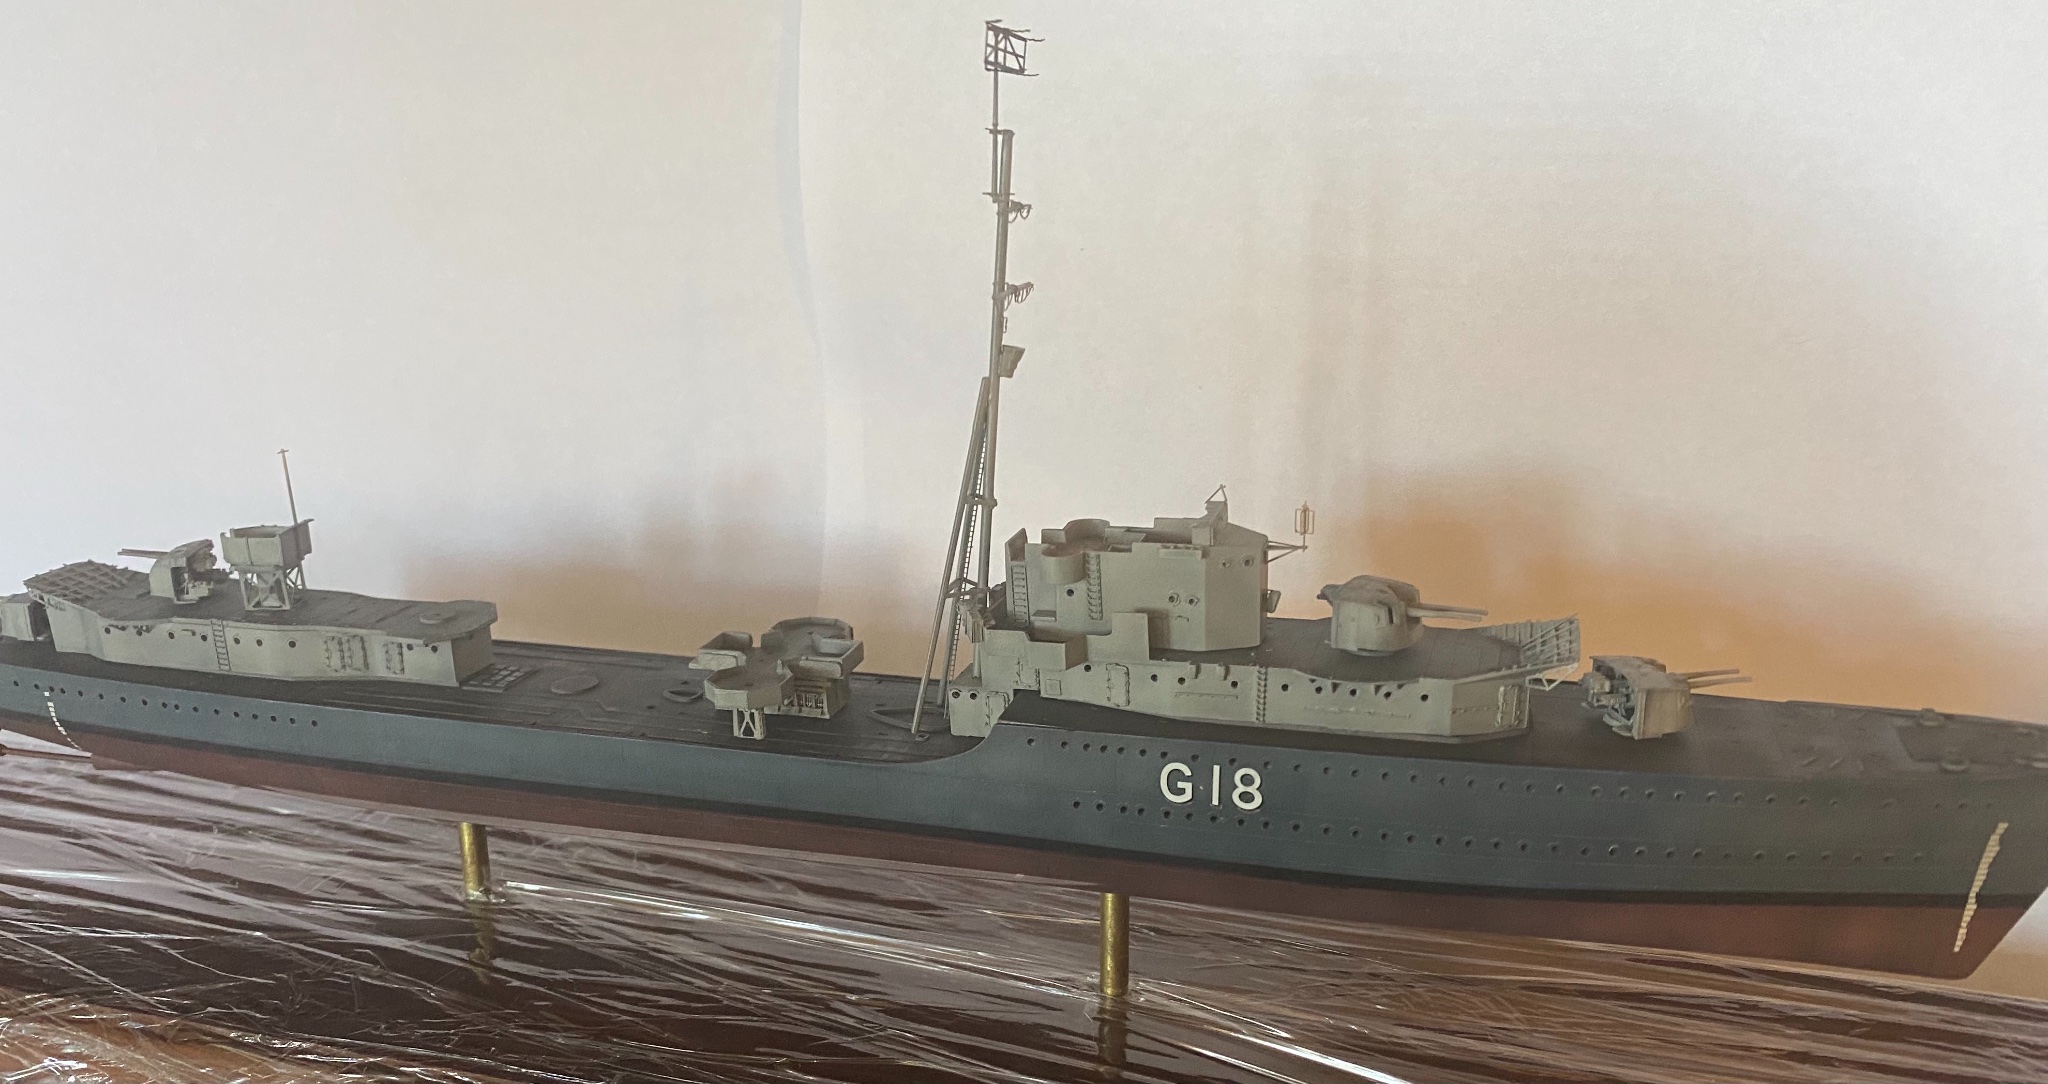
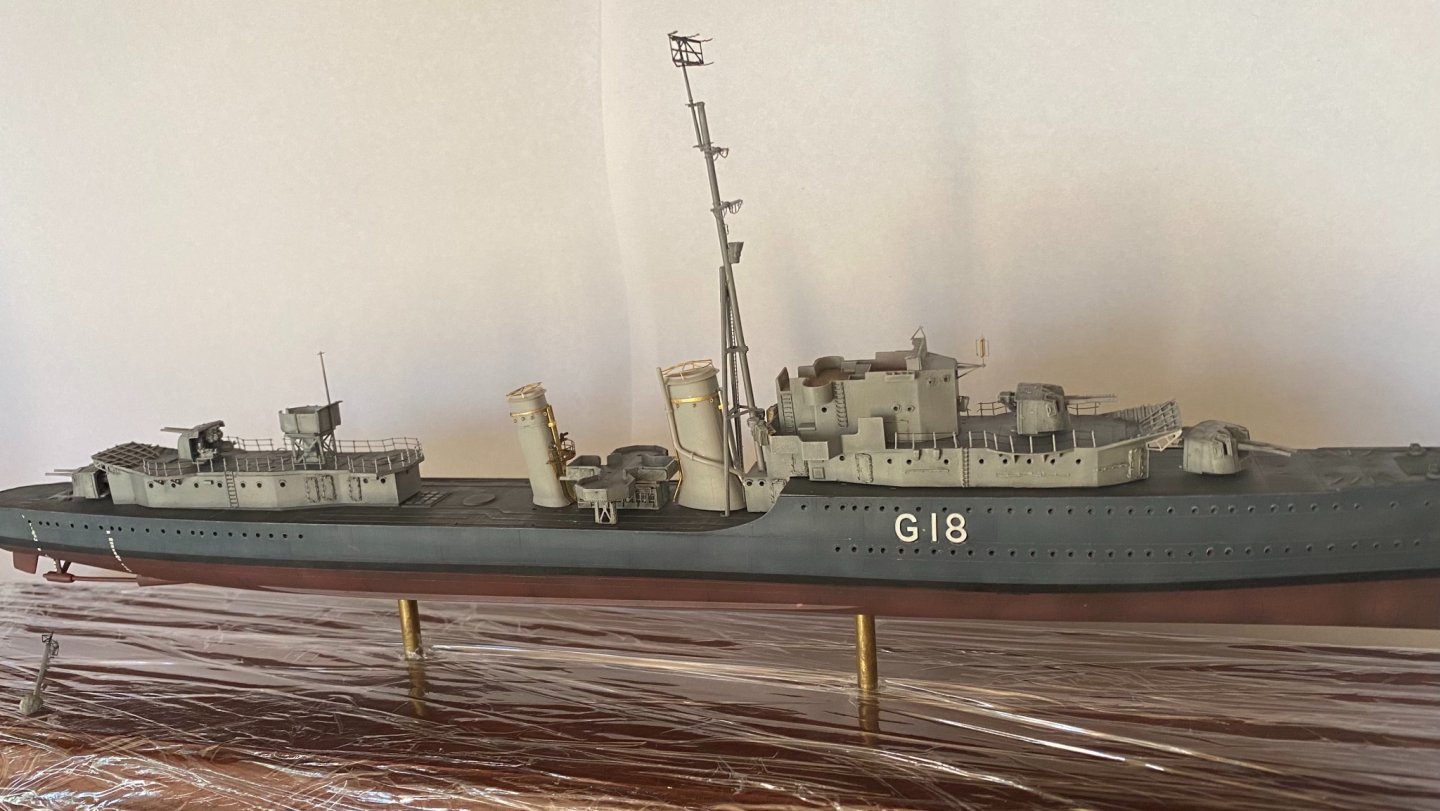
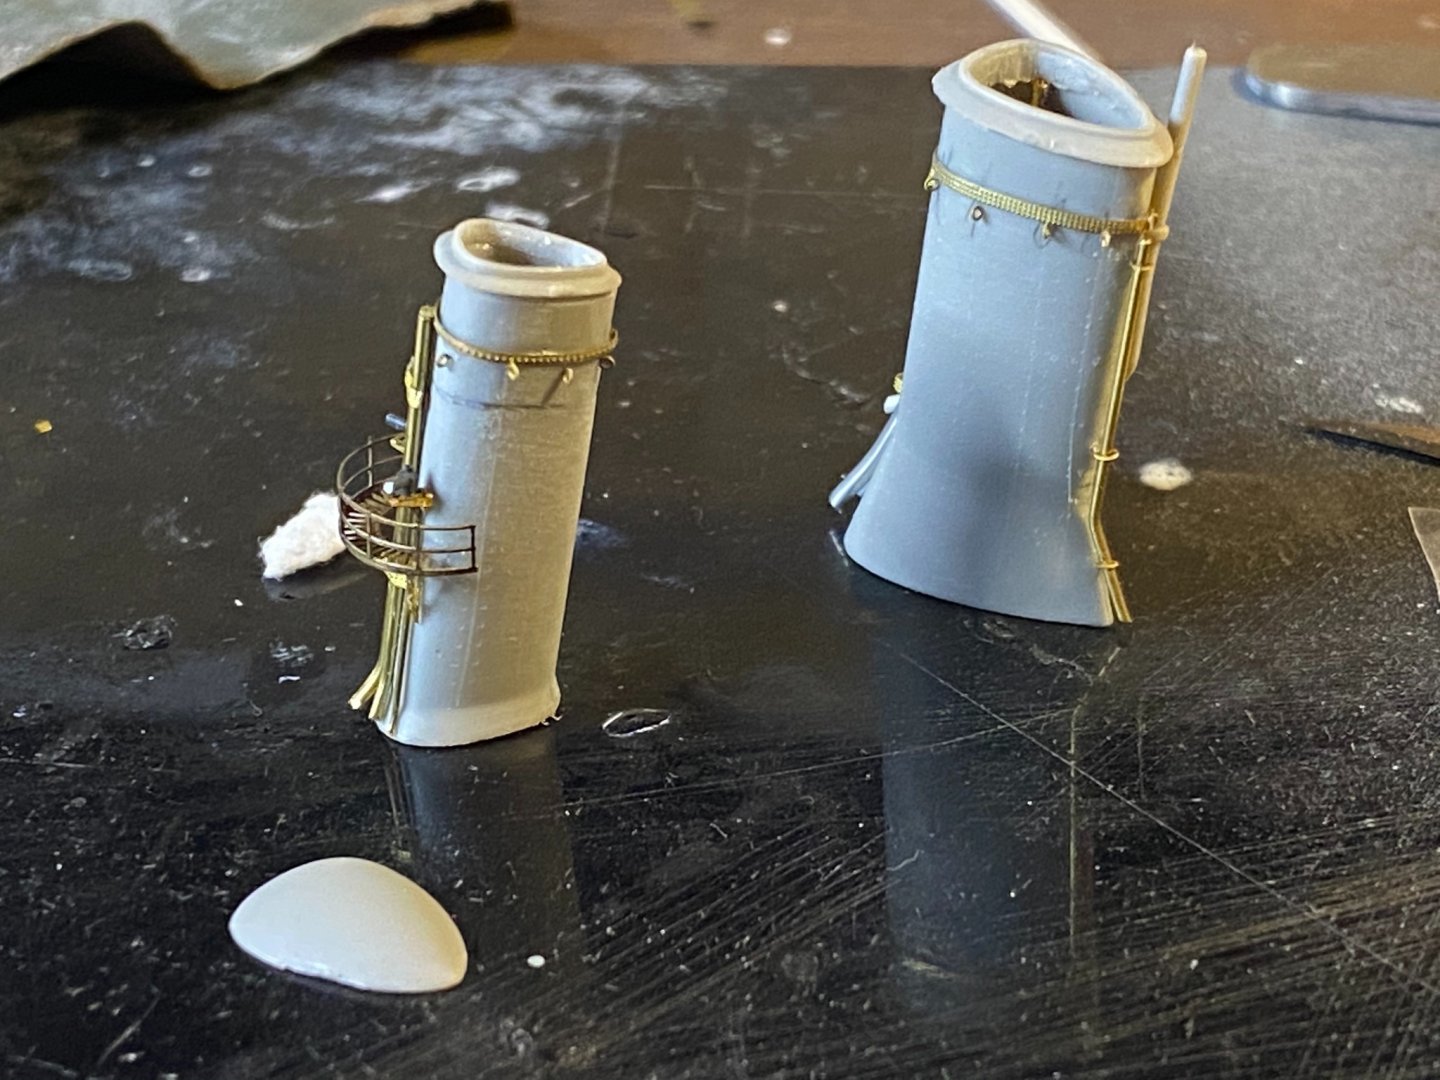
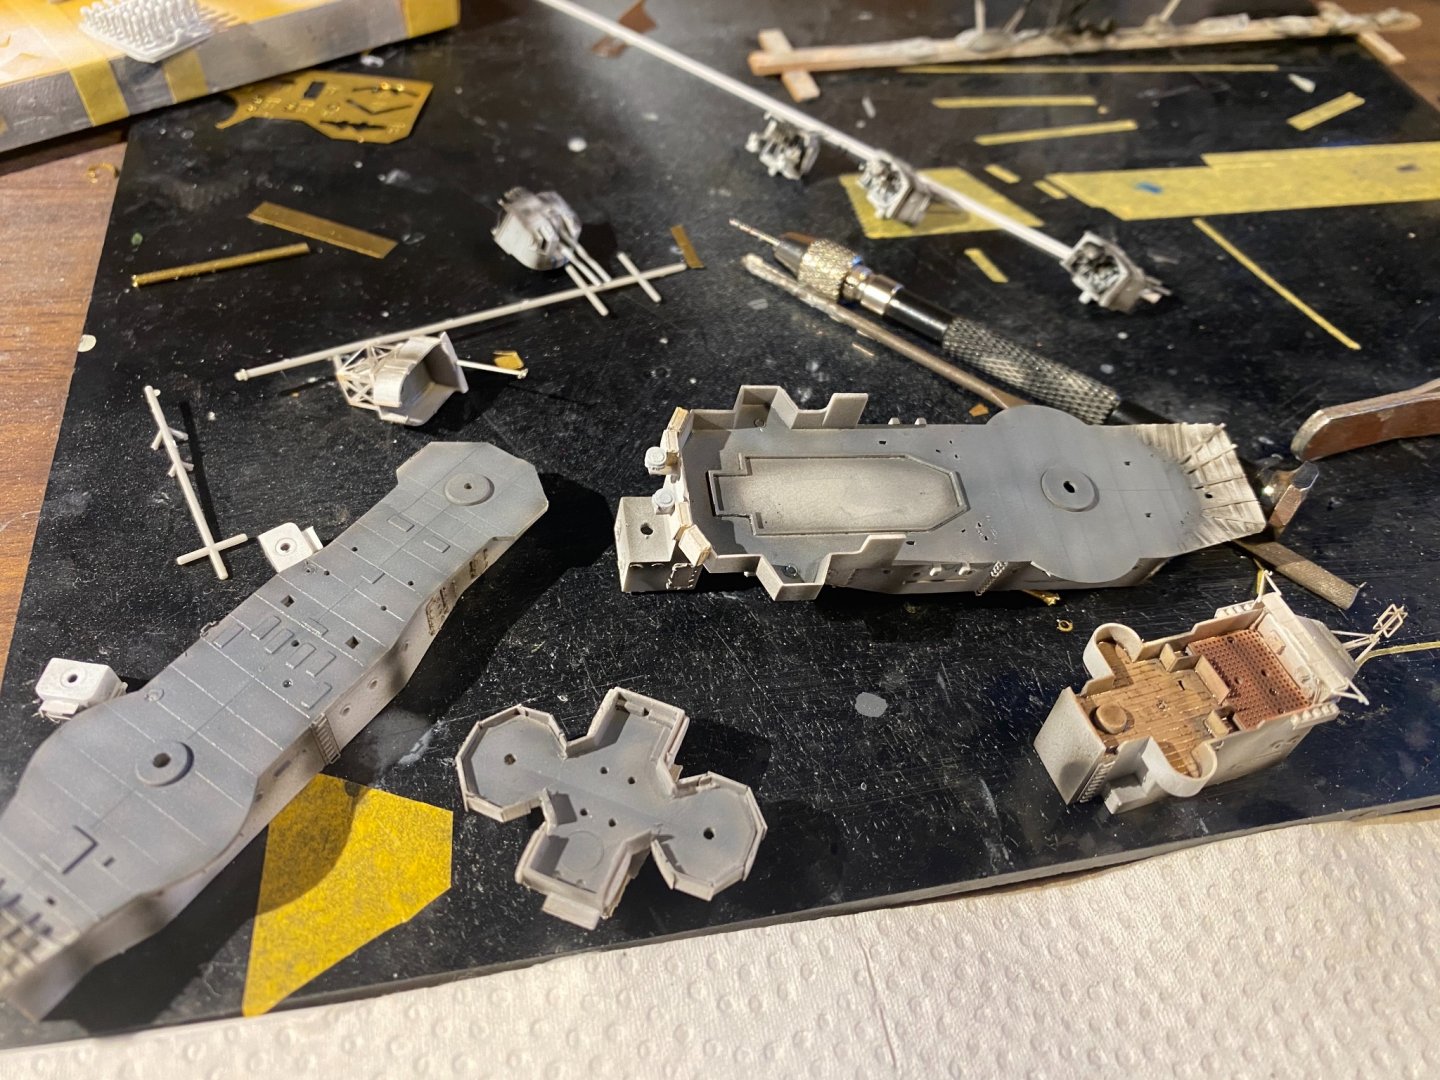
Funnels done up and dry Fitted. I’ve done a heap of little dandyfunk things done up in the interim to fit out the decks. I so prefer the individual stanchions on my ships, but the difficulty is the lower rails are 3 rails as opposed to the upper works 2 rails.

-
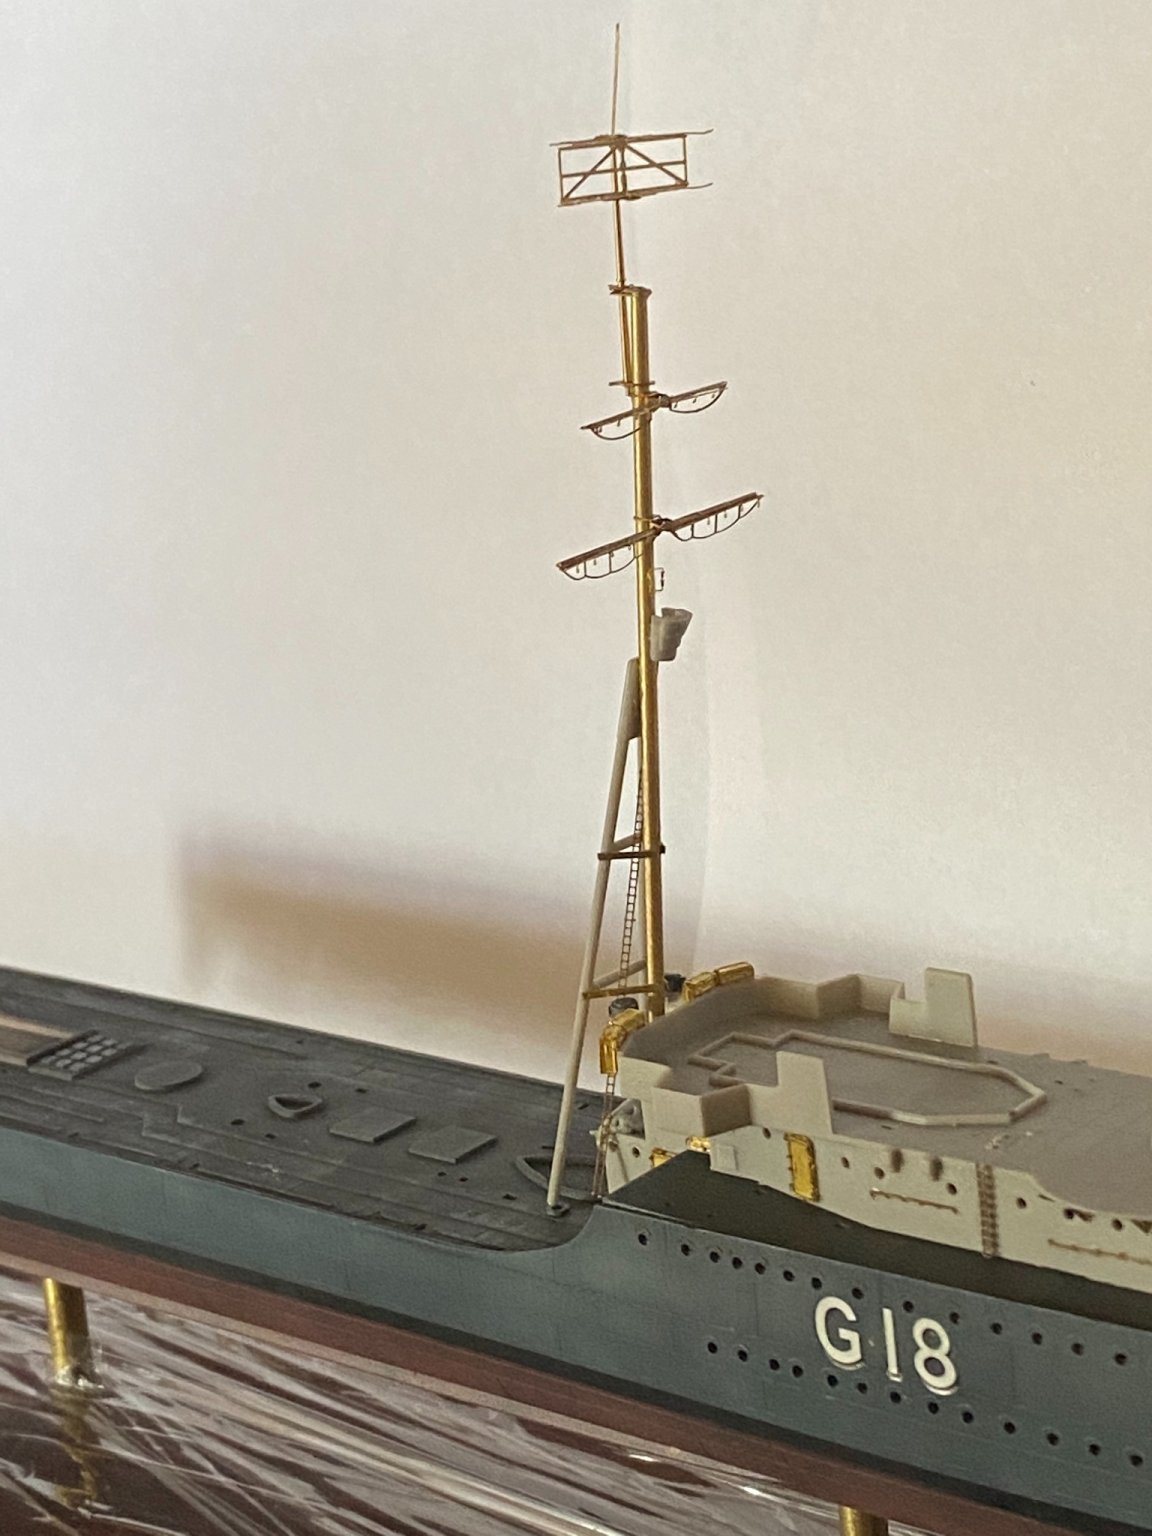
Yes saw that. I’ve done up the mast so it’s an easy fix to do up really. It should be easy to trim the rear parts of the tripod a mm or so to give it an angle.
-
I don’t know how much of an angle there is on her in this configuration compared to earlier in the war.
-
So those of you with reference books, do we know what colour the bands on the funnels were?
-
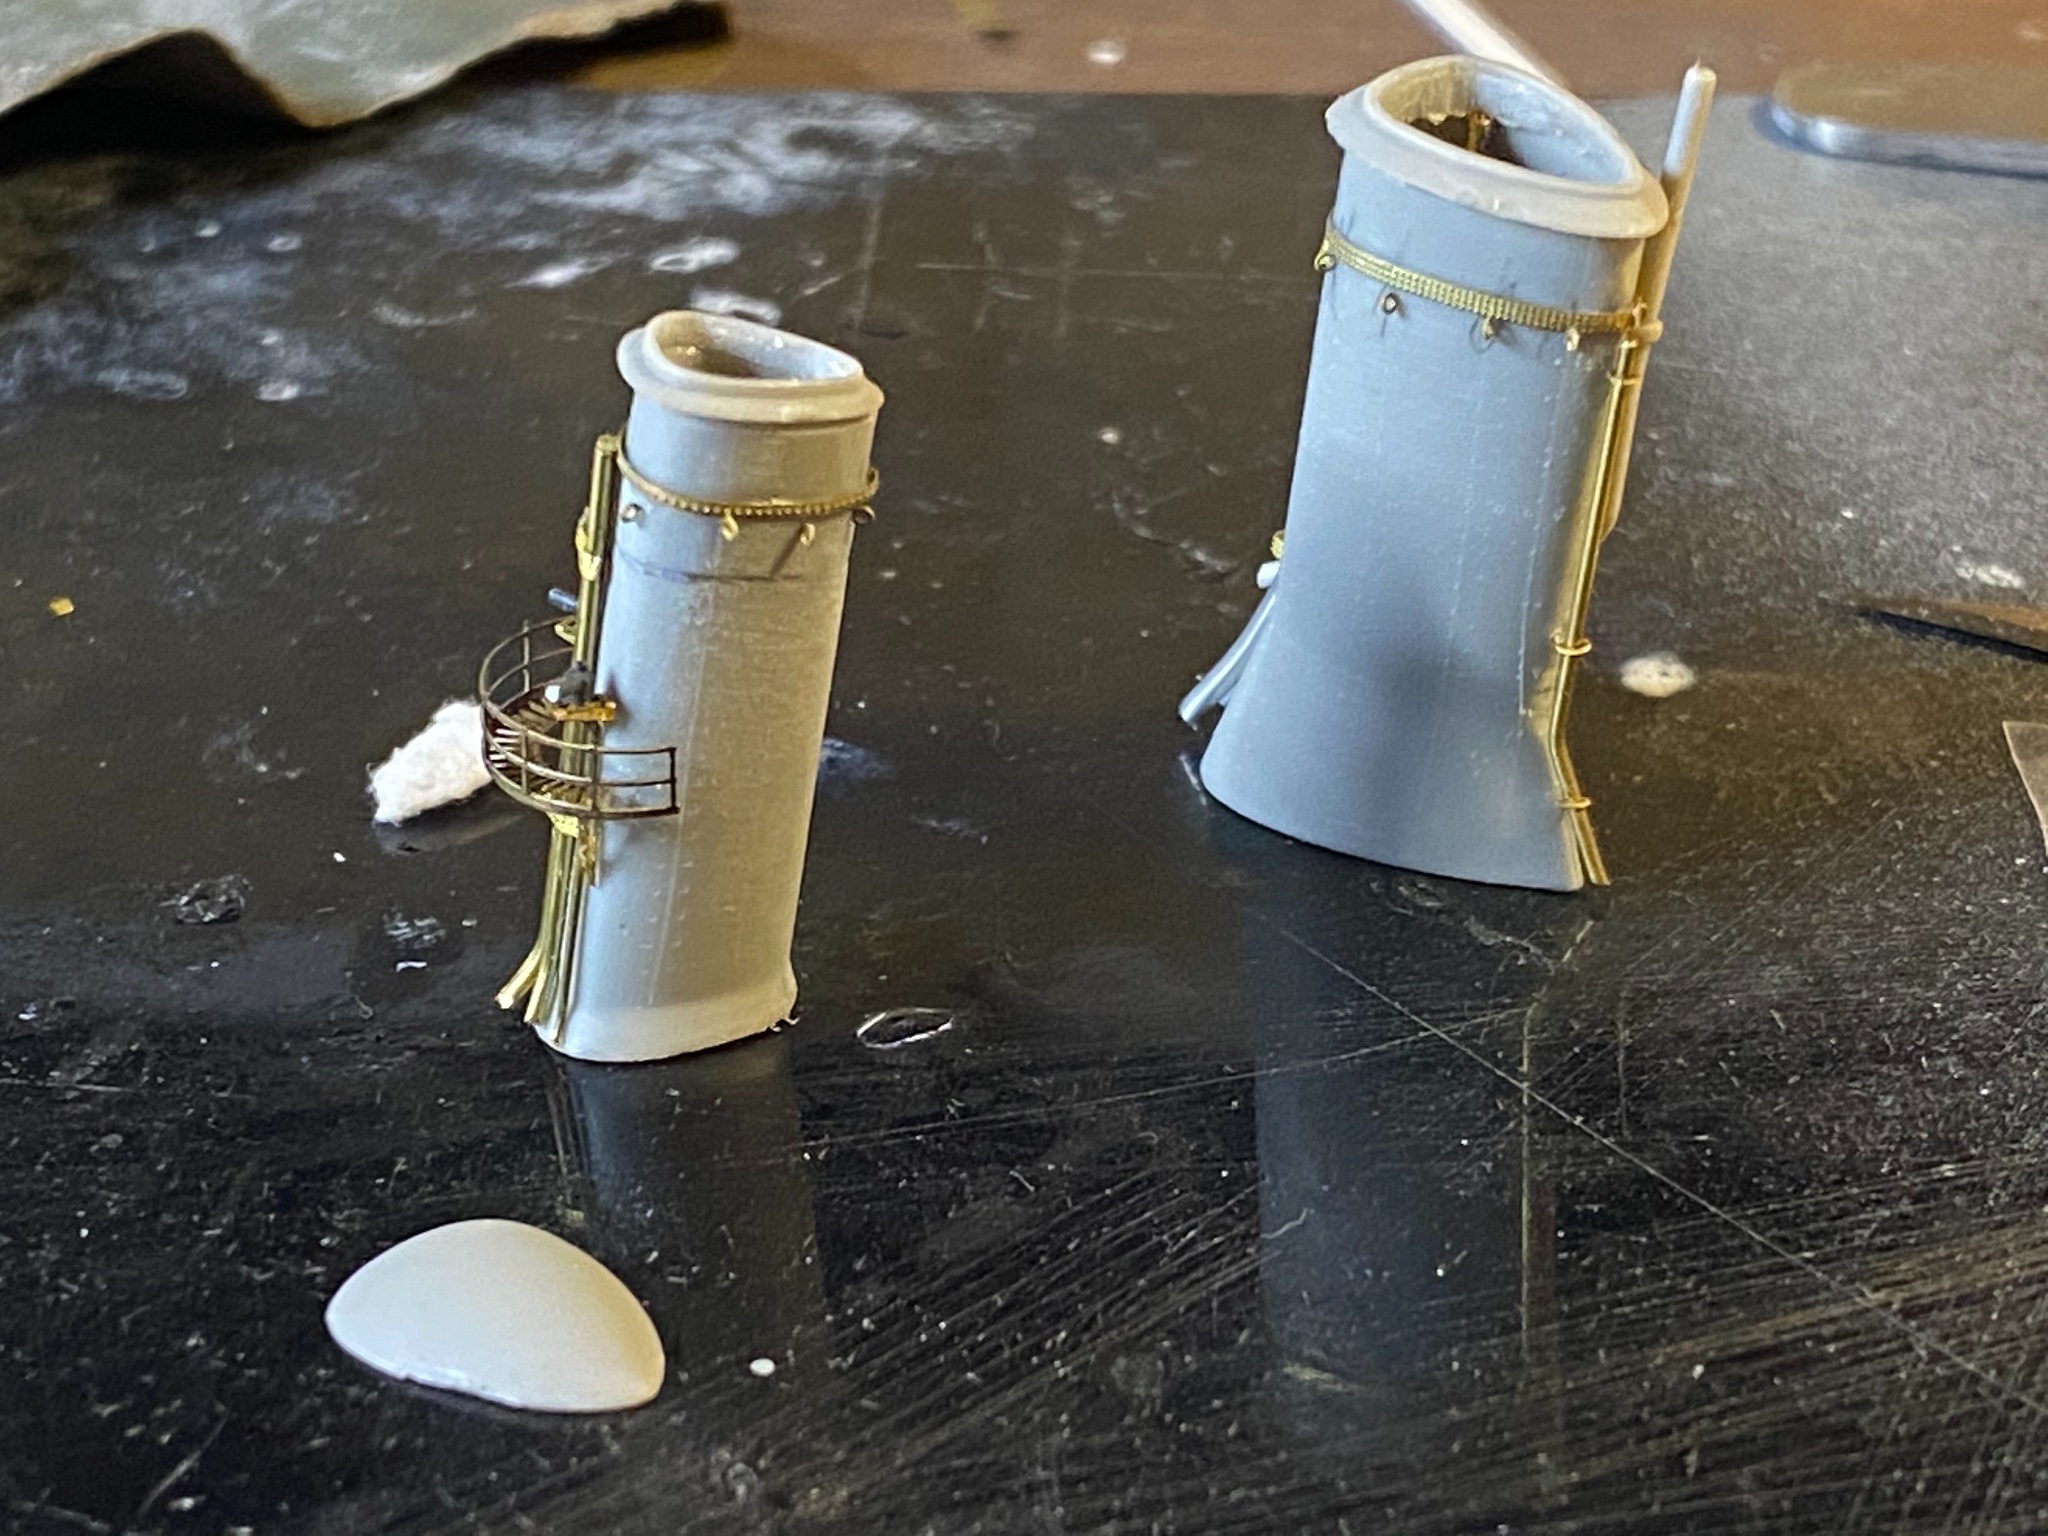
Yes I made it smaller. Another few hours and nearly done on the funnels just the grills and ladders to go.
-
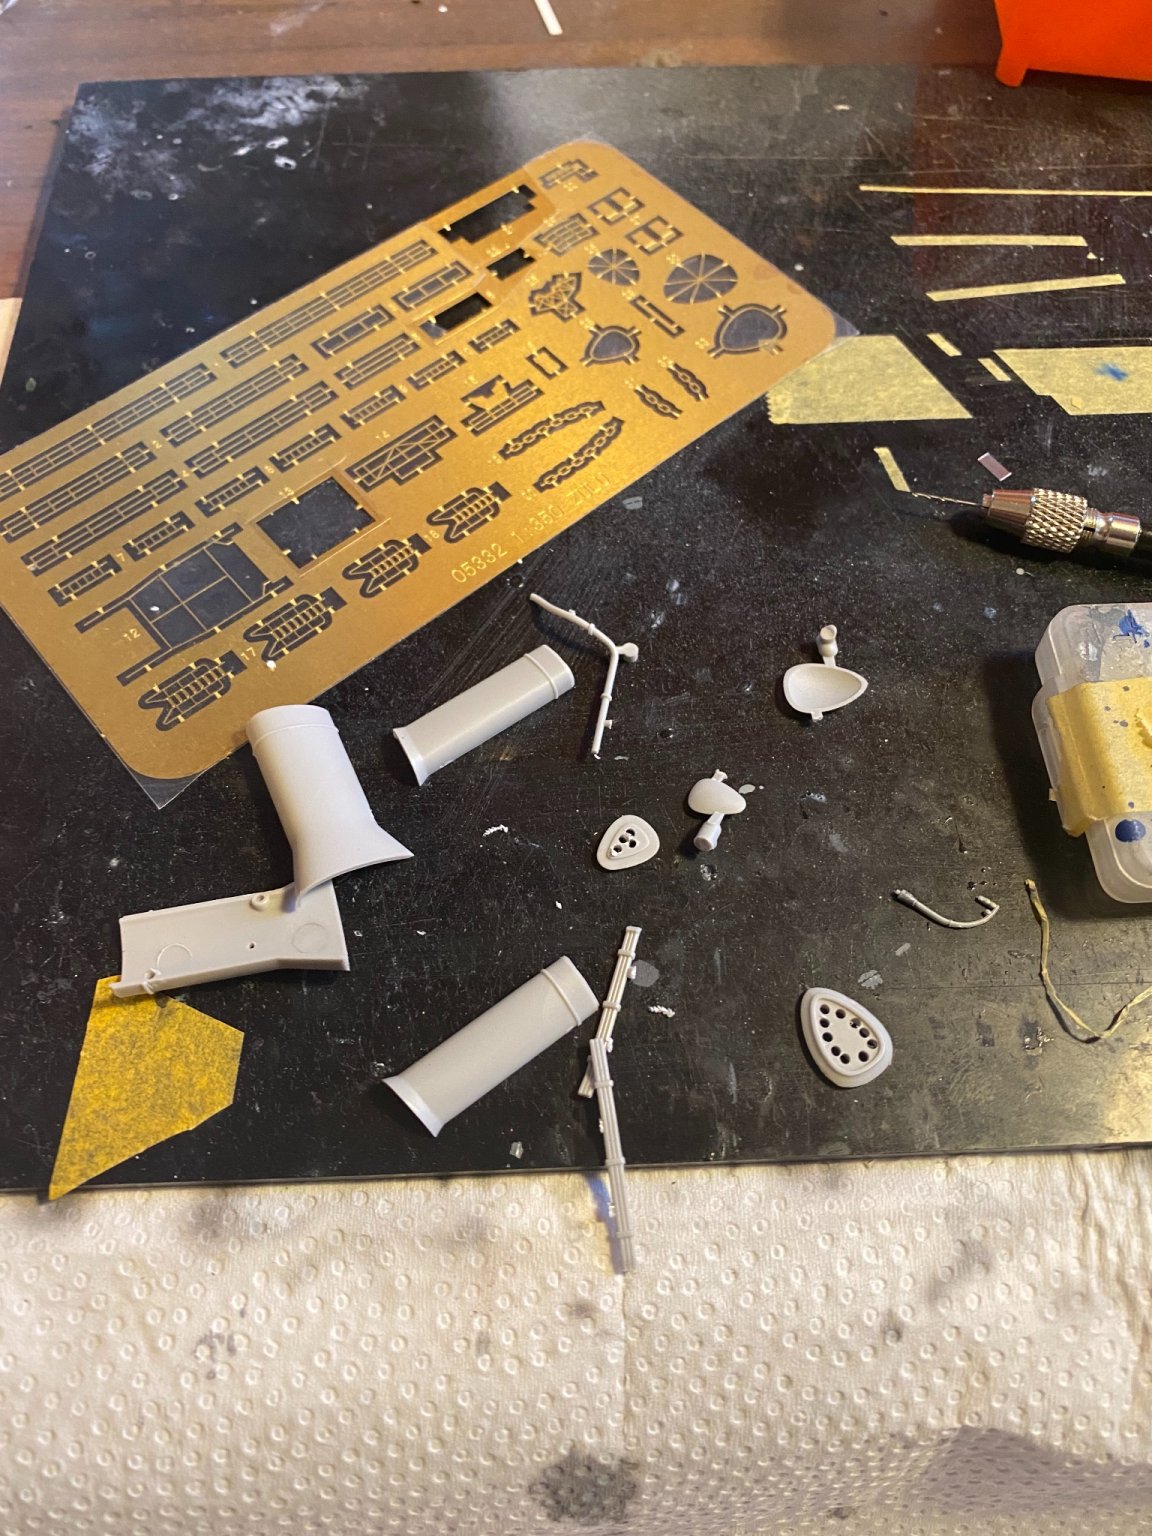
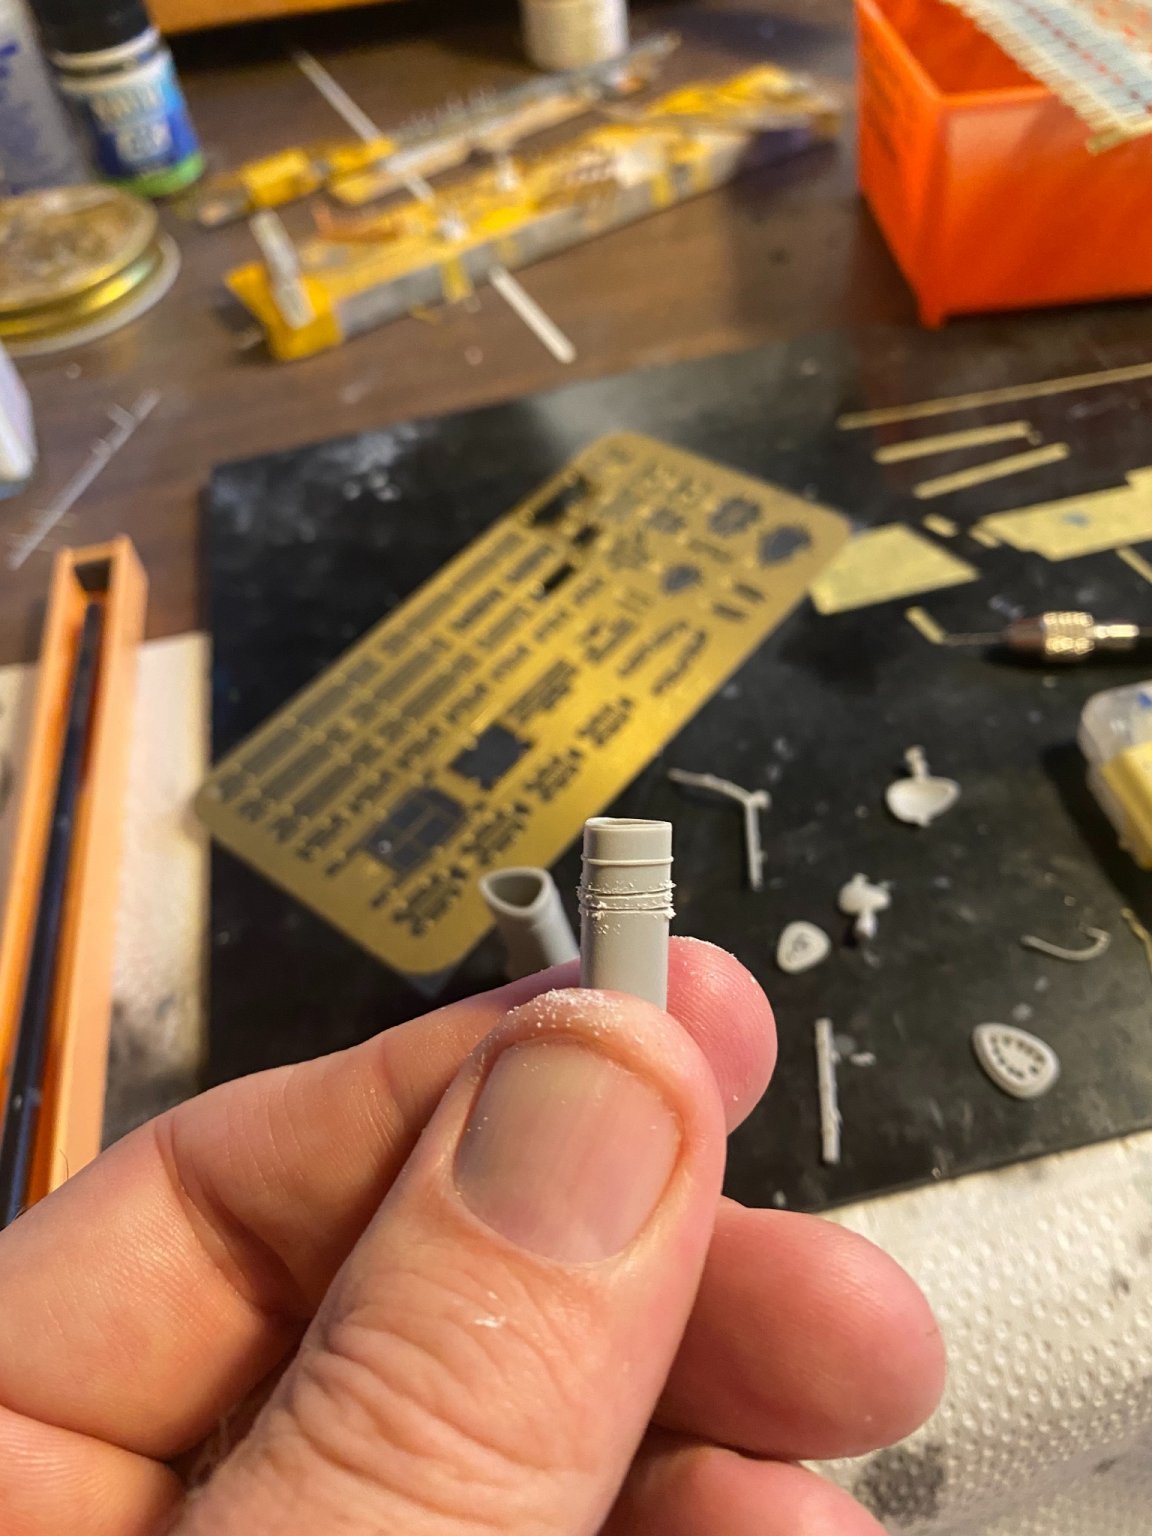
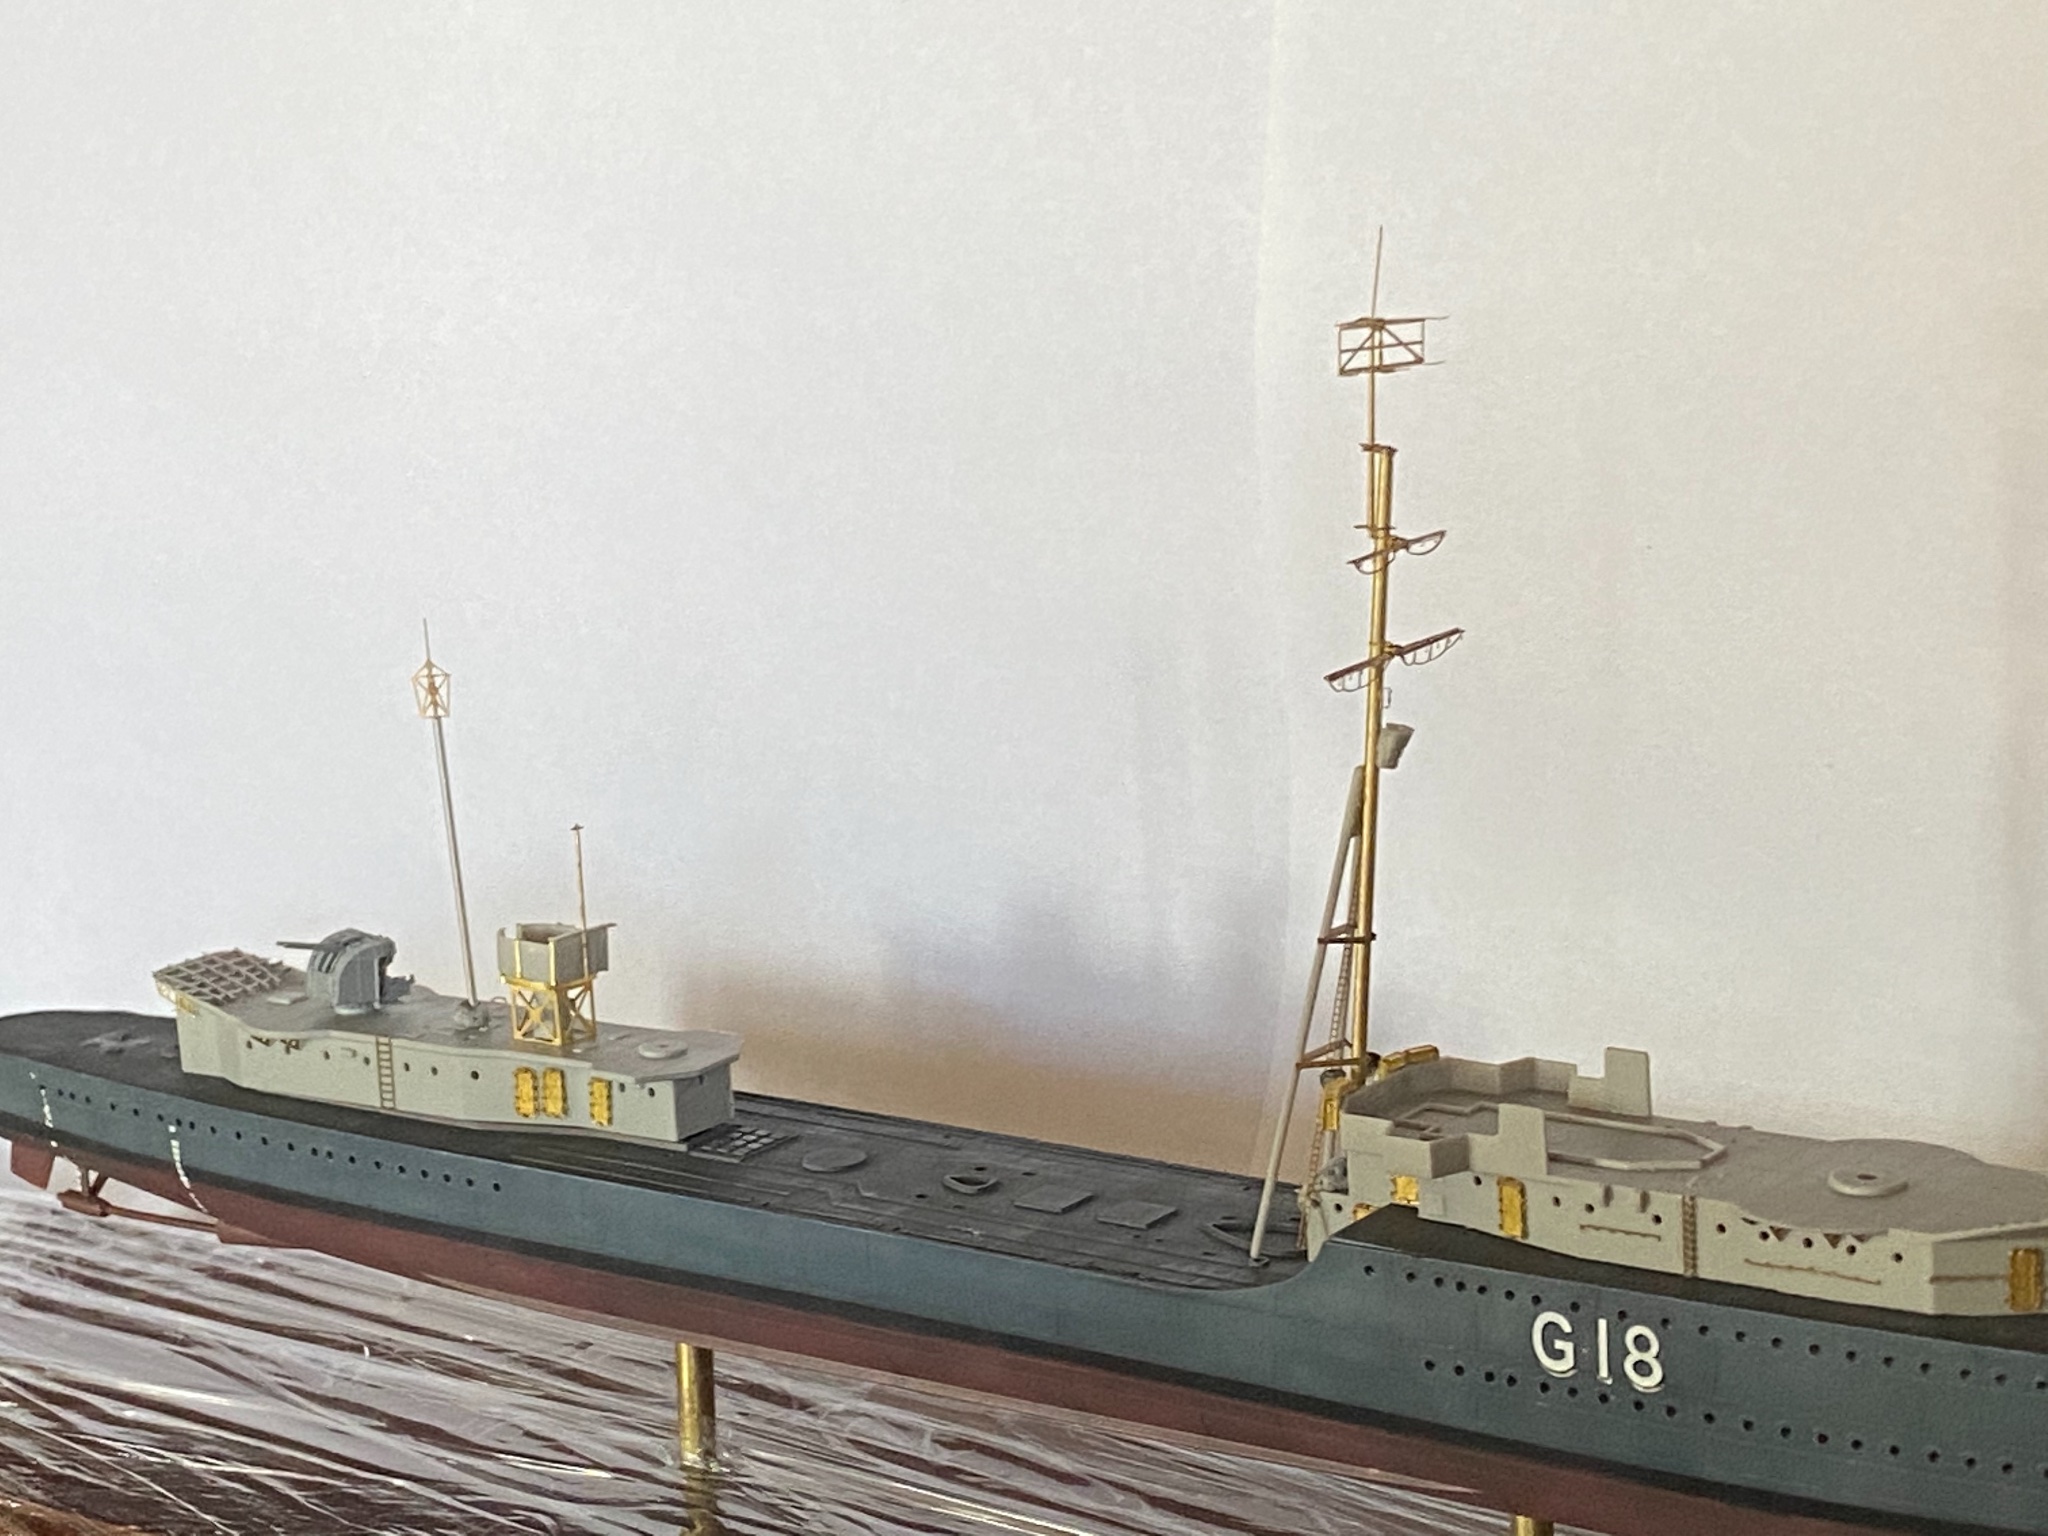
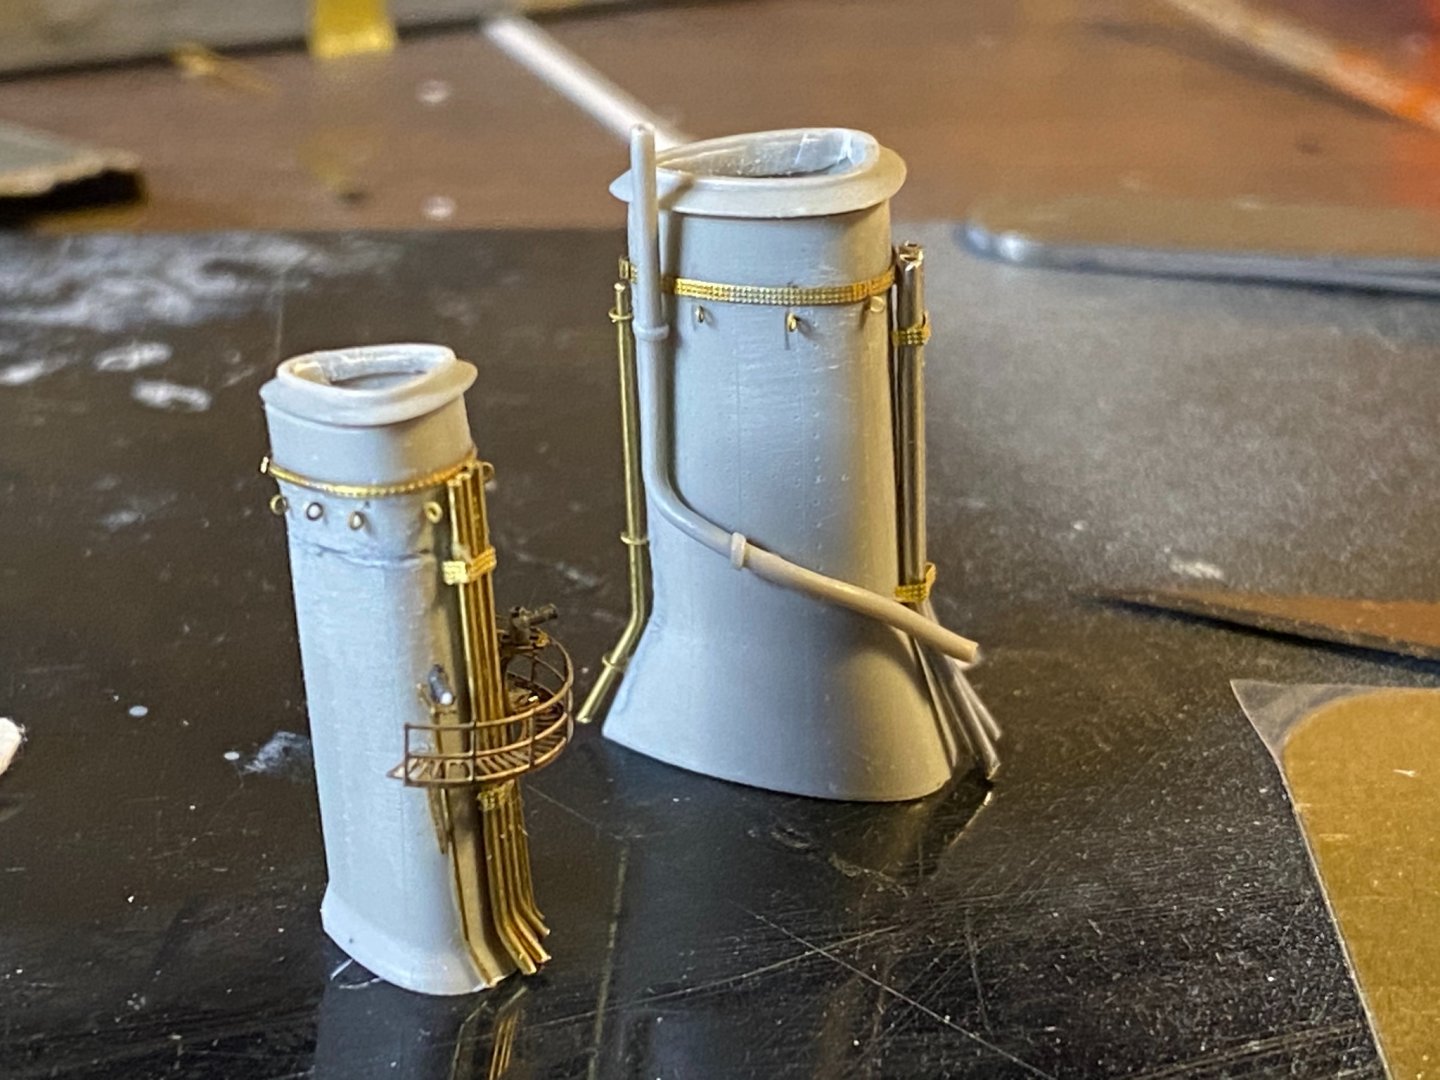
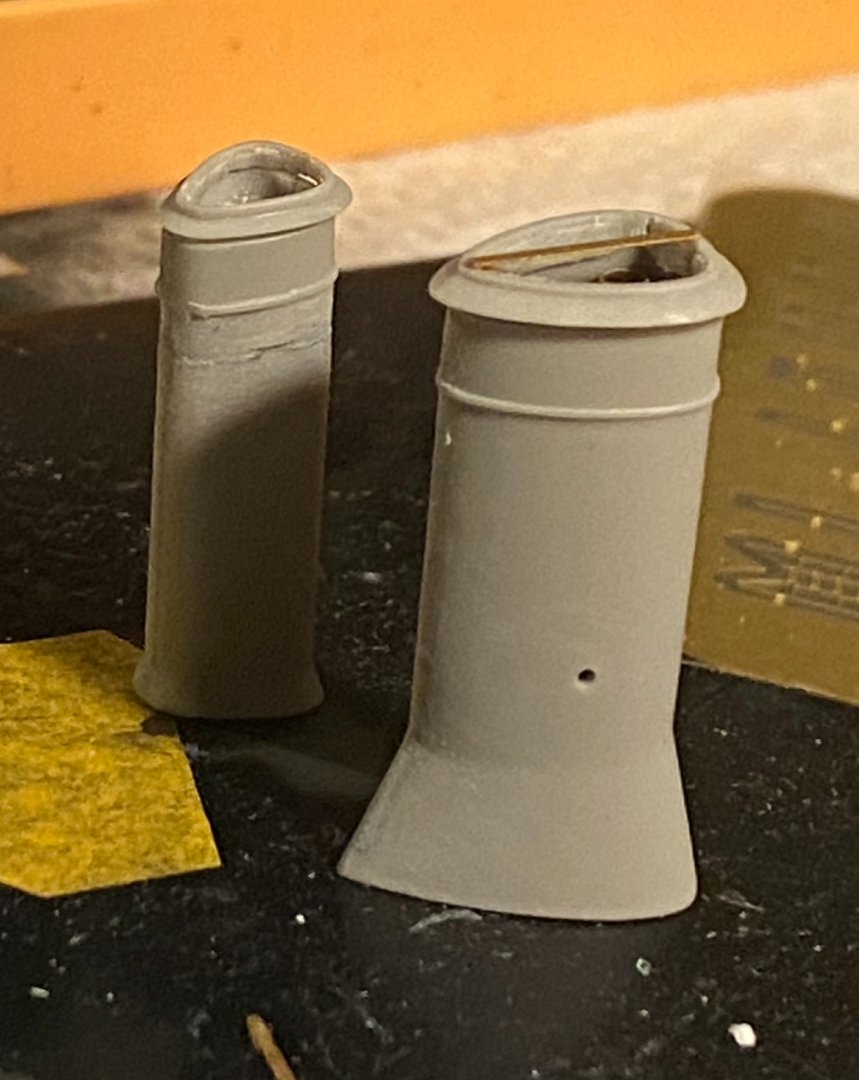
Ships funnels. Lots of opportunities to improve them, basic plastic pieces and a bit of PE. Drilled out the tops and shorted the rear funnel (which was done during a refit and added some interior detail. It’s all going to be painted black but better than nothing to clear way for the AA guns


-
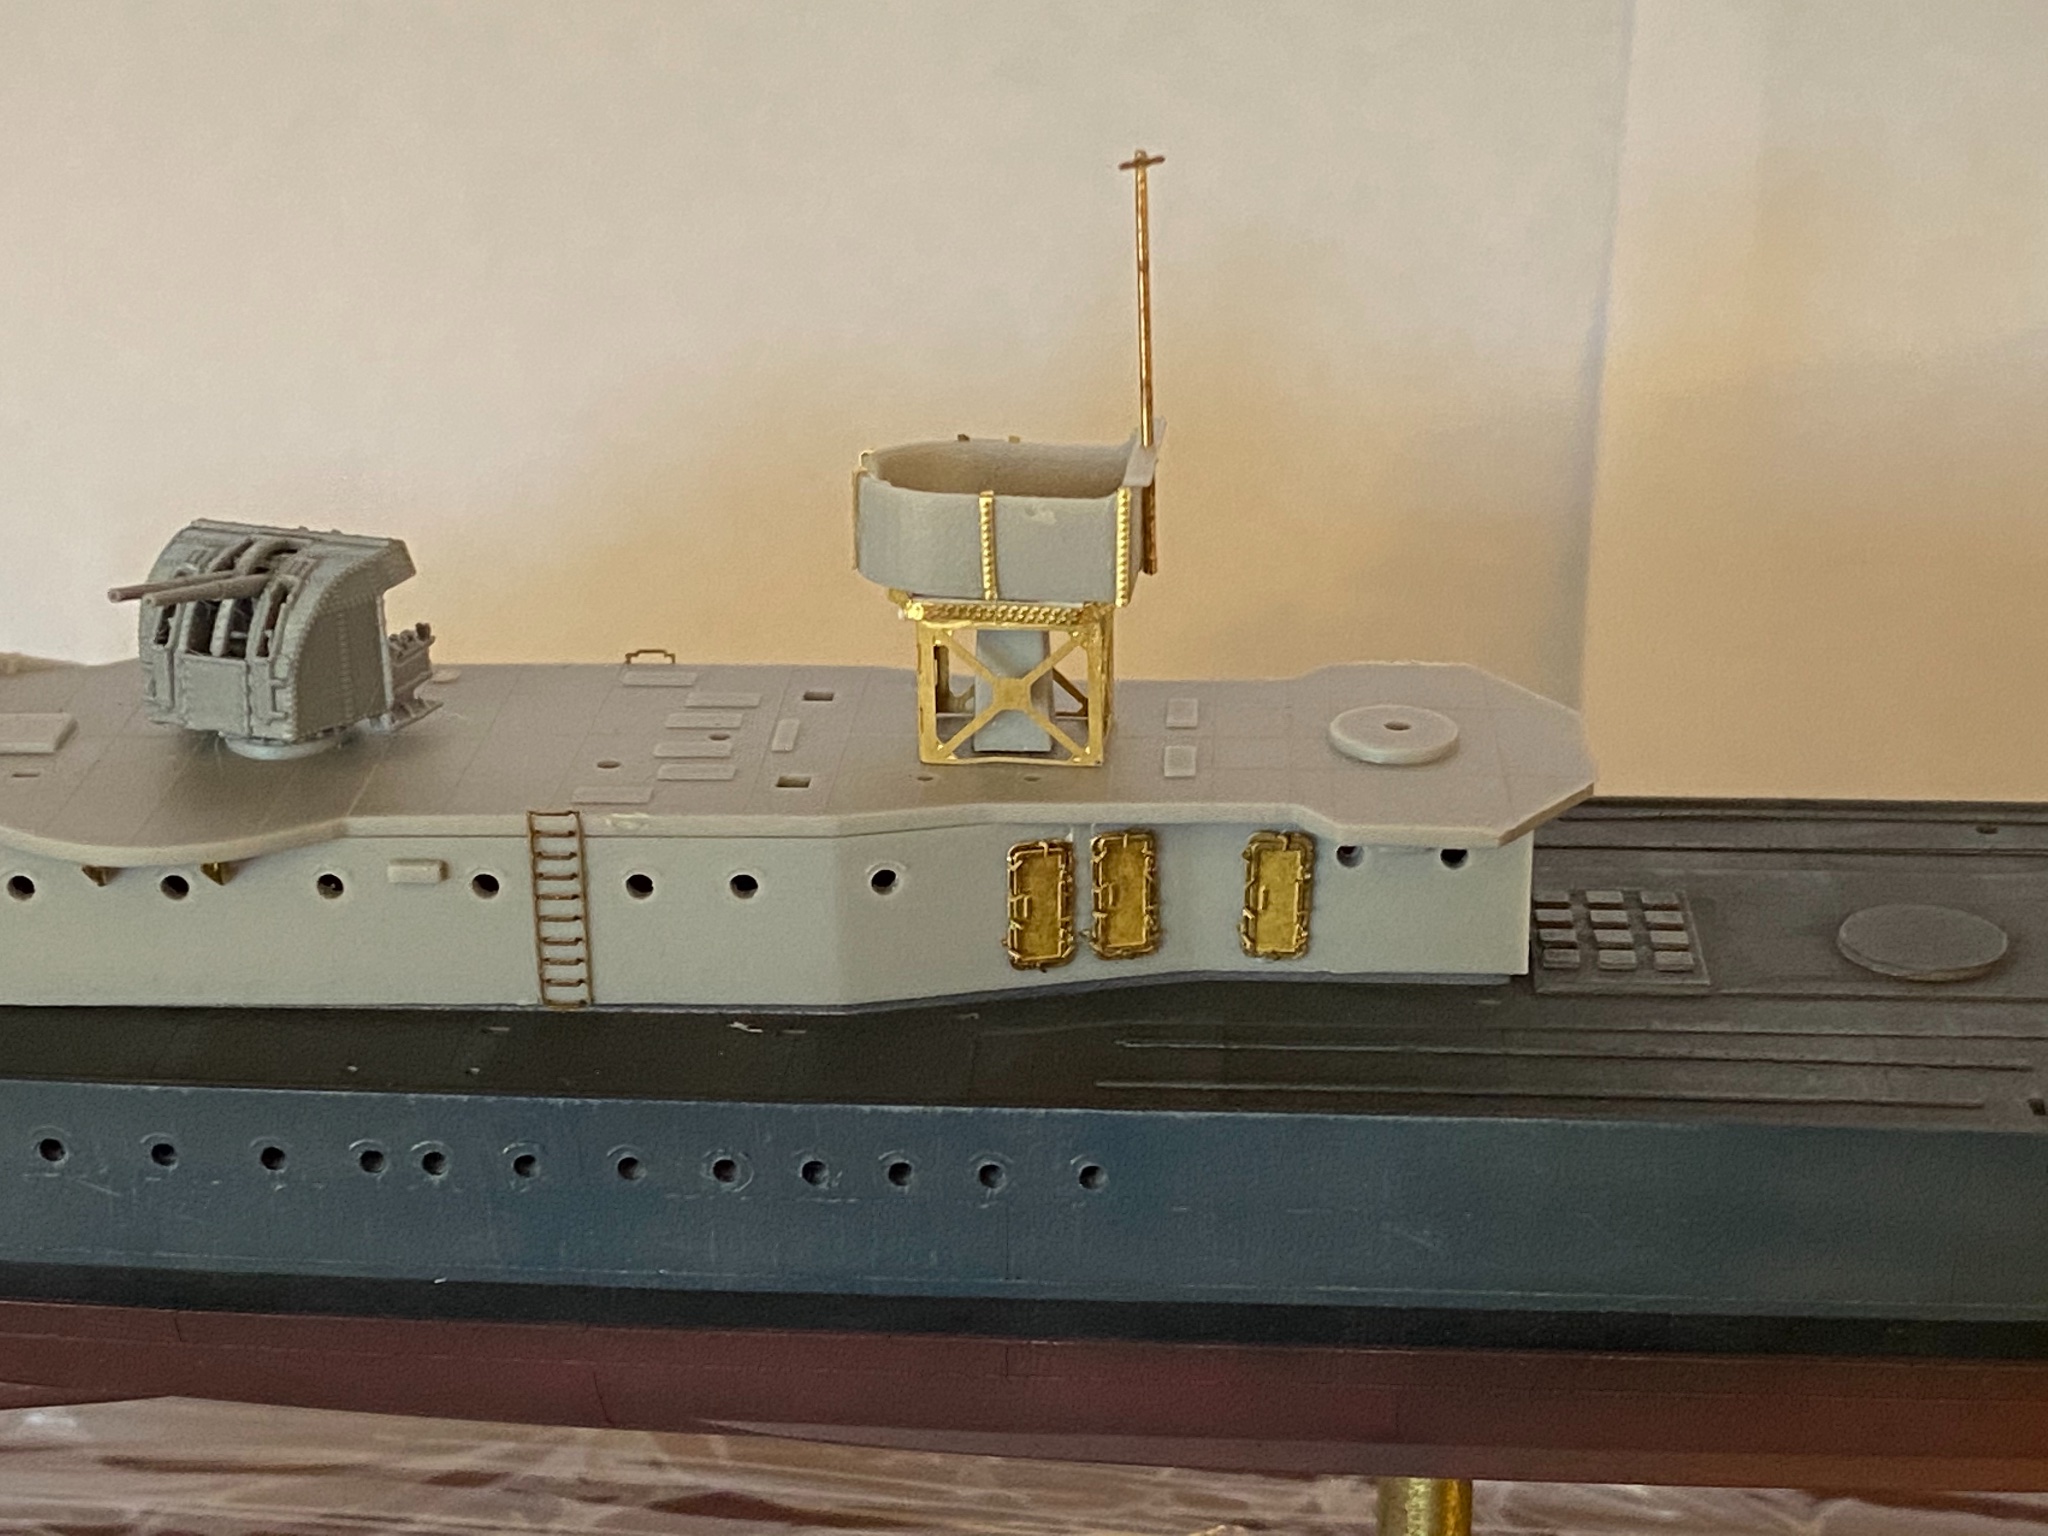
Thanks. The first landing have 2 bar railings so I’ll use individual stanchions as they still look better. The Infini doors look so much better

-
Thanks OC. Now three shades of grey and a blue filter and the base coat is done. Washes etc to go.

-
Nice bit of progress today, dark grey decks done, modulation and added a blue filter. After it dries overnight I Can mask it and get these bits finished .
-
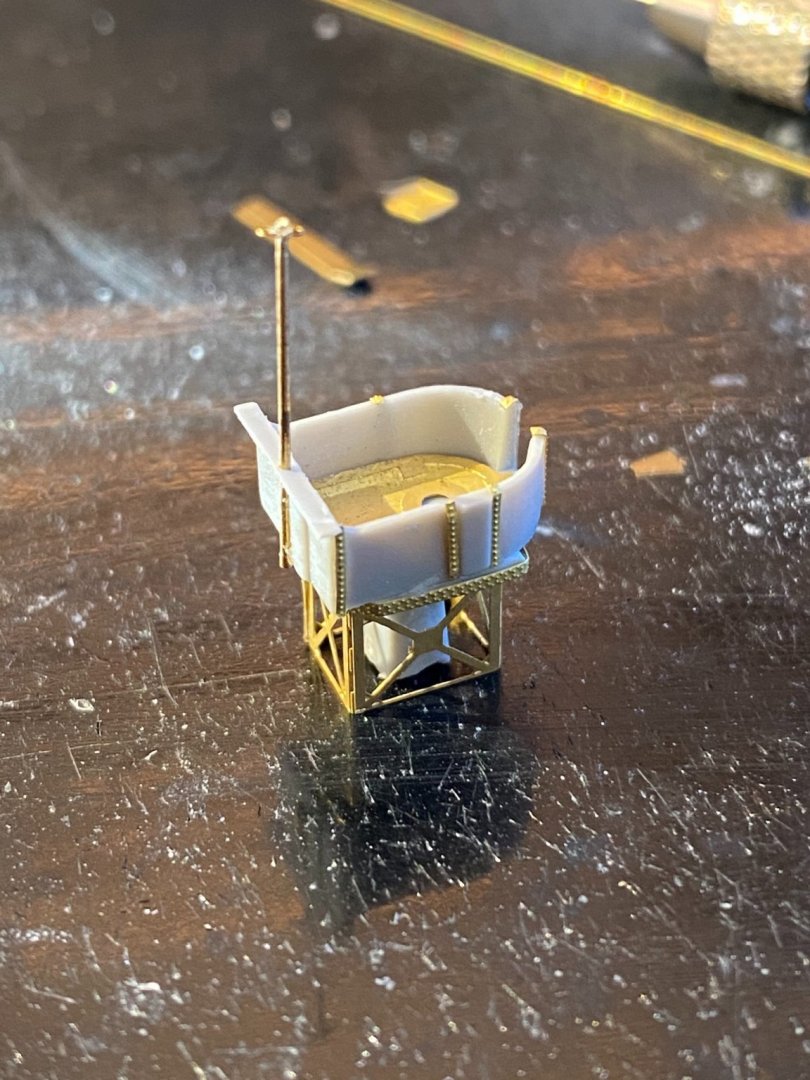
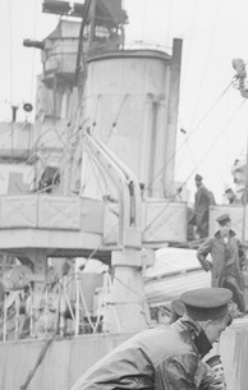
Searchlight and secondary bridge platform. The support struts are part of the WEM upgrade but the mast like structure is the base of the aerial supports (it’s only visible on her last photos in 1942