RGL
-
Posts
5,548 -
Joined
-
Last visited
Content Type
Profiles
Forums
Gallery
Events
Everything posted by RGL
-
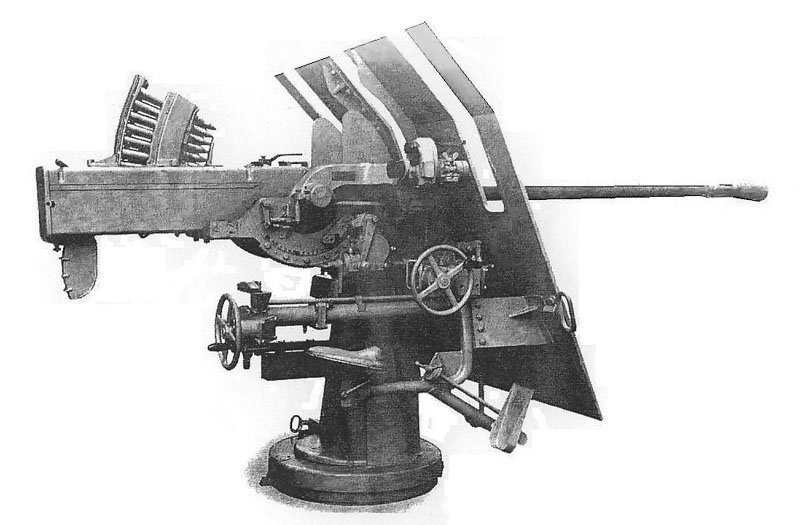
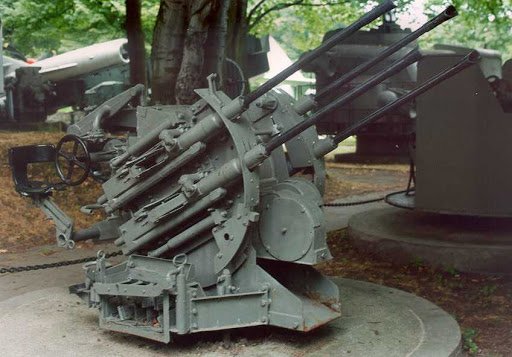
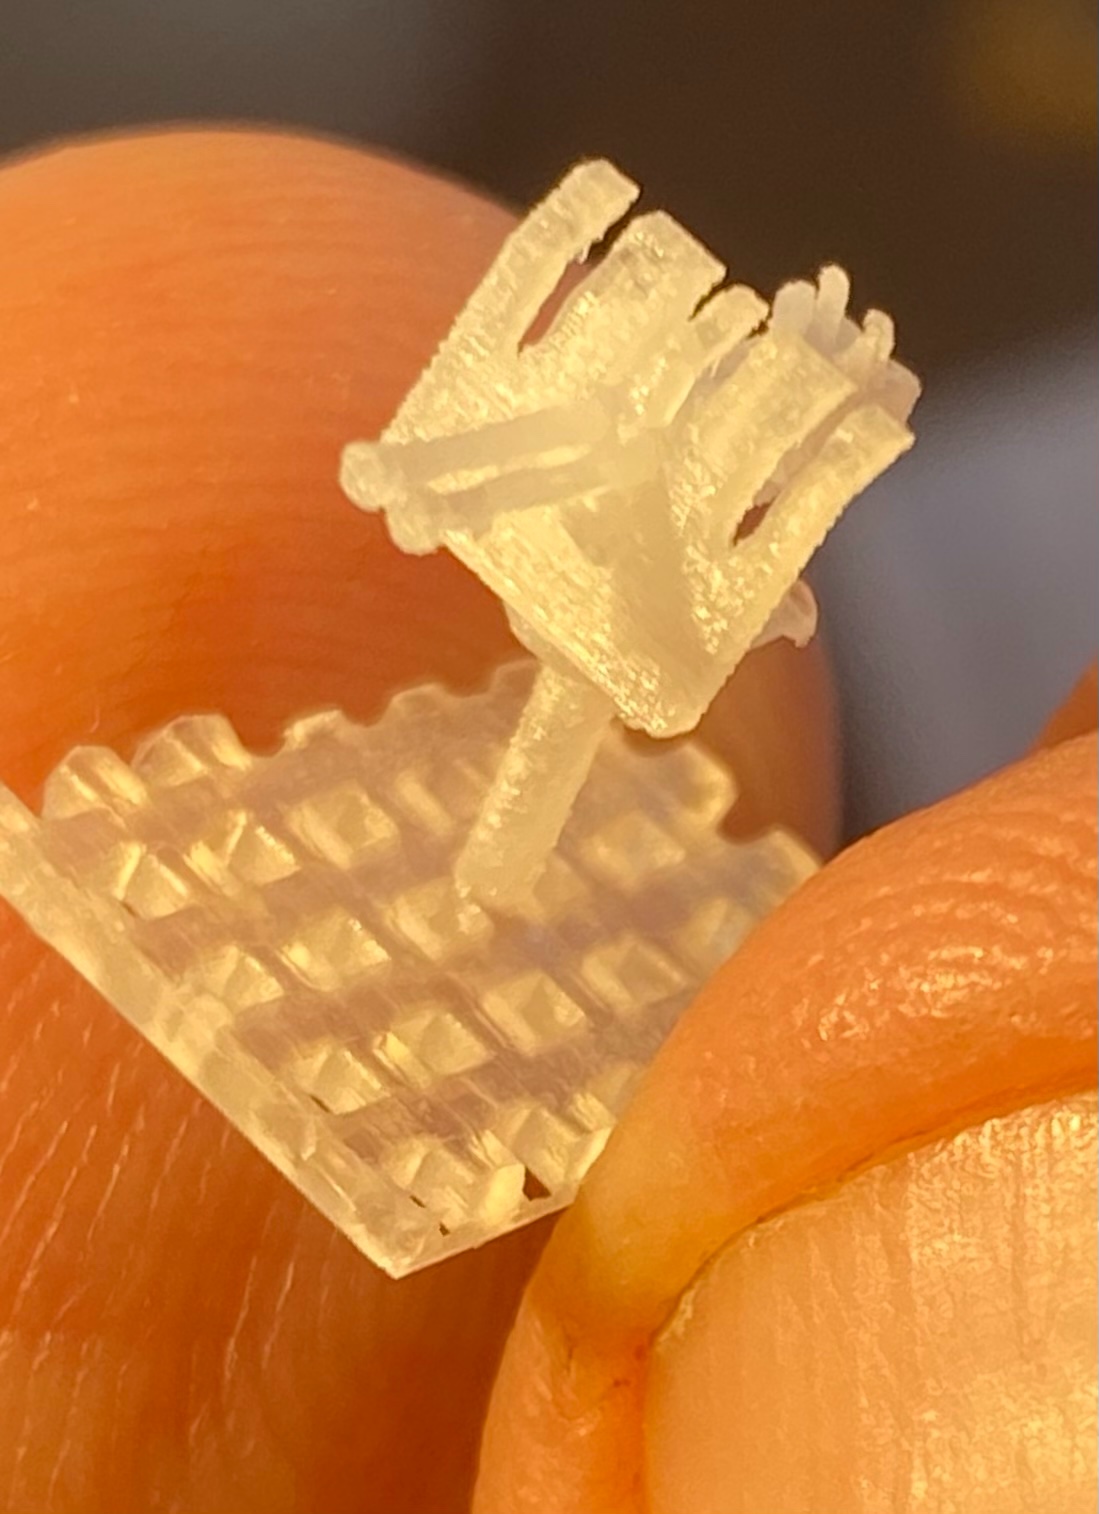
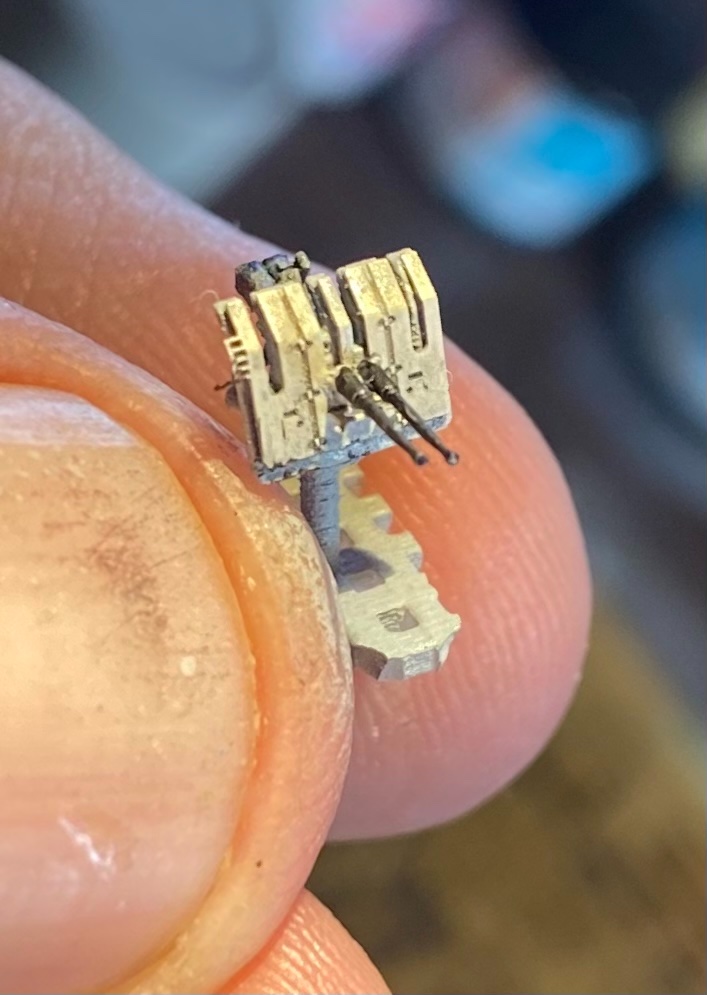
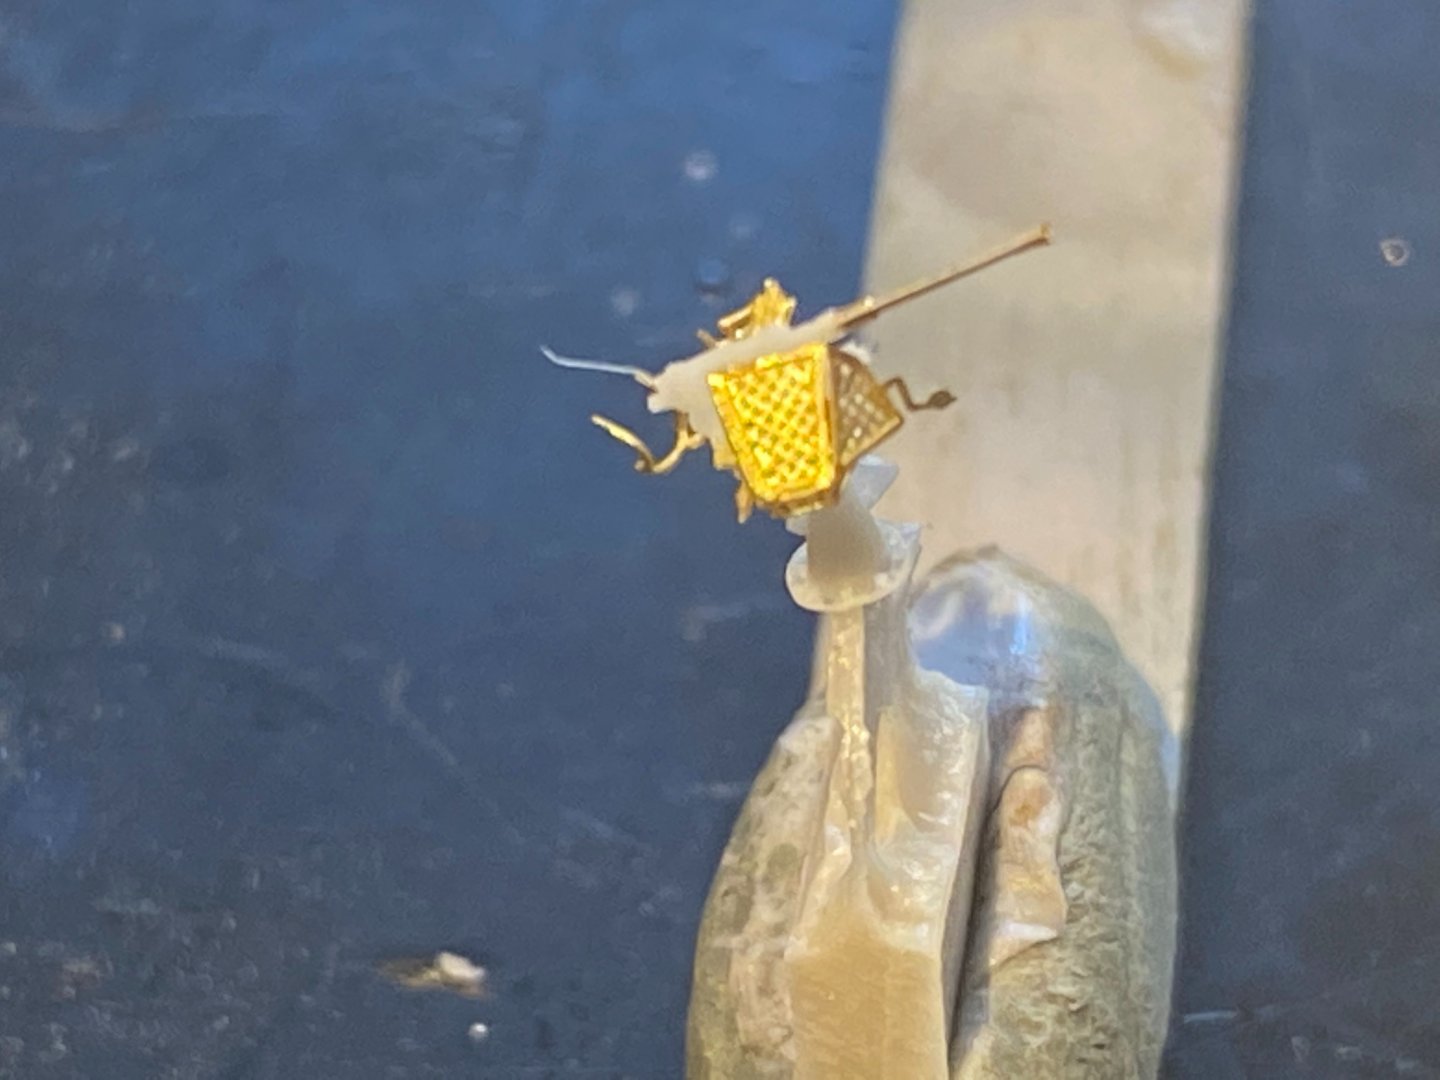
 Final guns, twin flack that sit immediately in front of the bridge. The kit only has the old 37mm’s which were discarded so I ordered some shapeways one horrible the Flyhawk ones were beyond my ability to produce so I doctored them up and added some spare barrels. That’ll do pig.

-
Never seen them. Unfortunately anything from America to Australia is stupidly expensive due to trade regulations. Anything from ebay for instance costs $50 shipping where as from anywhere might cost $5.
-
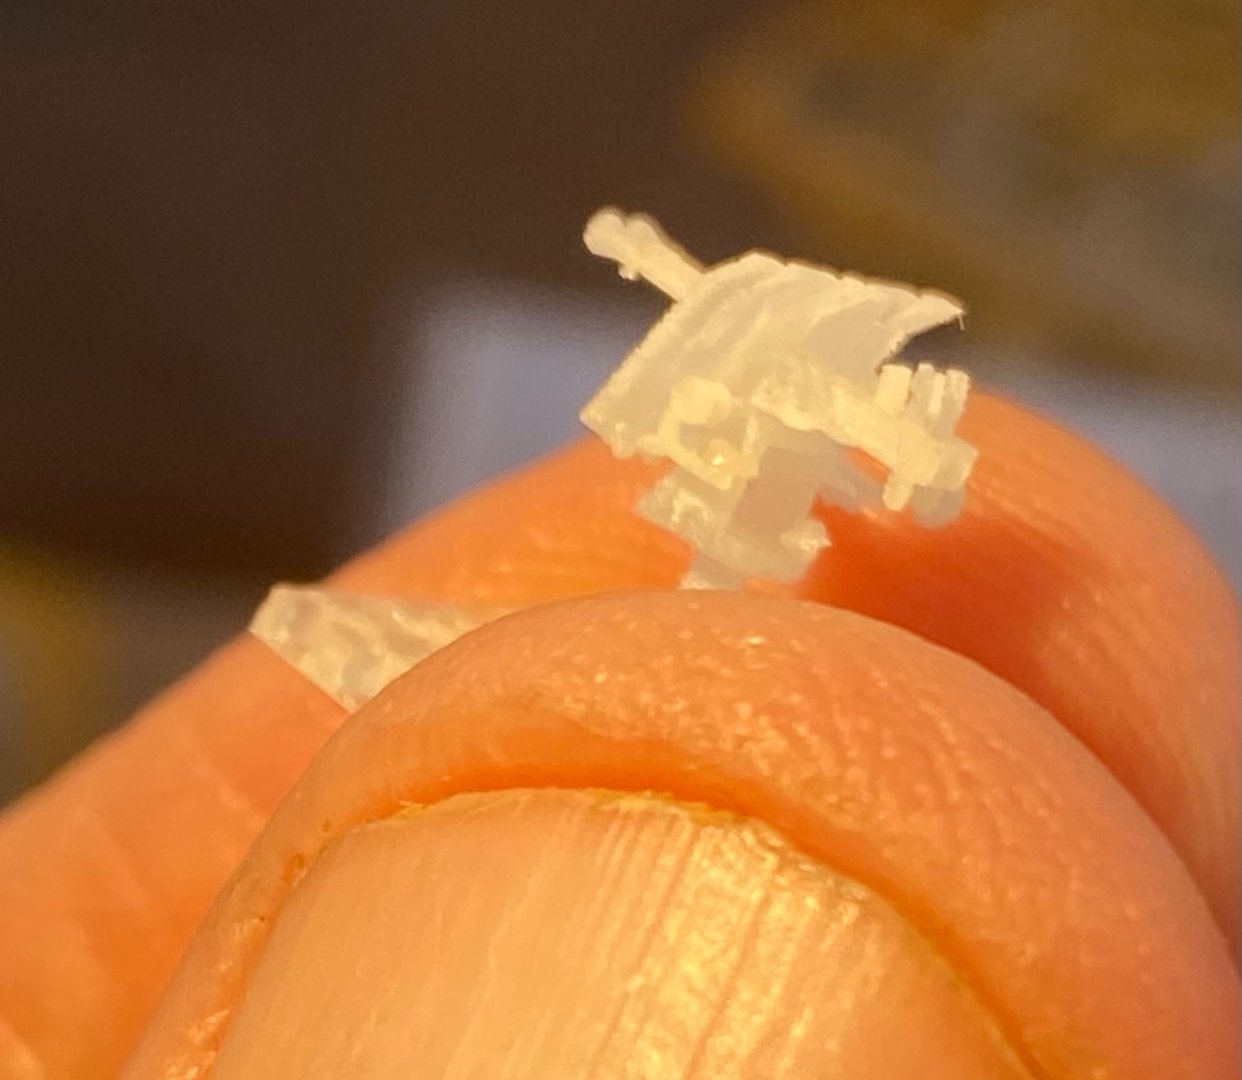
It’s certainly days of work, the fine motor skills skills fade after a few hours. The final guns, twin 20mm guns, (the shapeways replacements are somewhere in the worlds postal system, France Post does not know where Australia is as it gone sent back the the vendor.


-
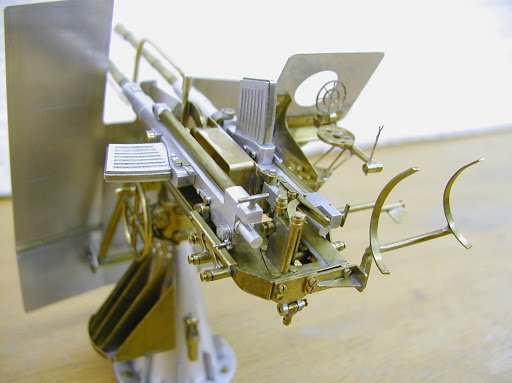
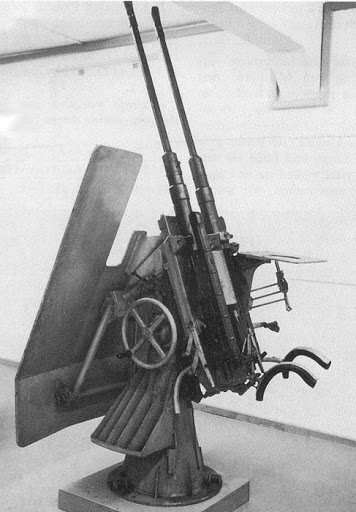
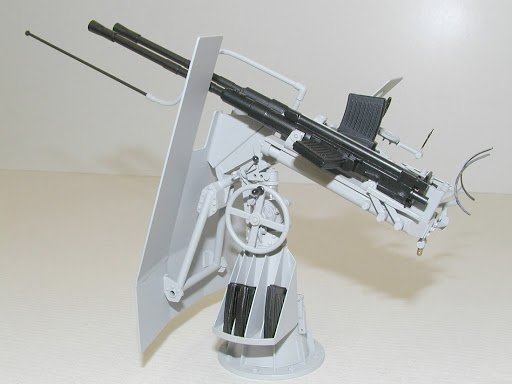
By 1945, Z-25 had all of its AA pretty much replaced with twin cannons, the kit provides some rubbish, the upgrade is all flat packs so I got brass single cannon and a shapeways twin cannon. Not to the standard of Micromaster but they’ll do.


-
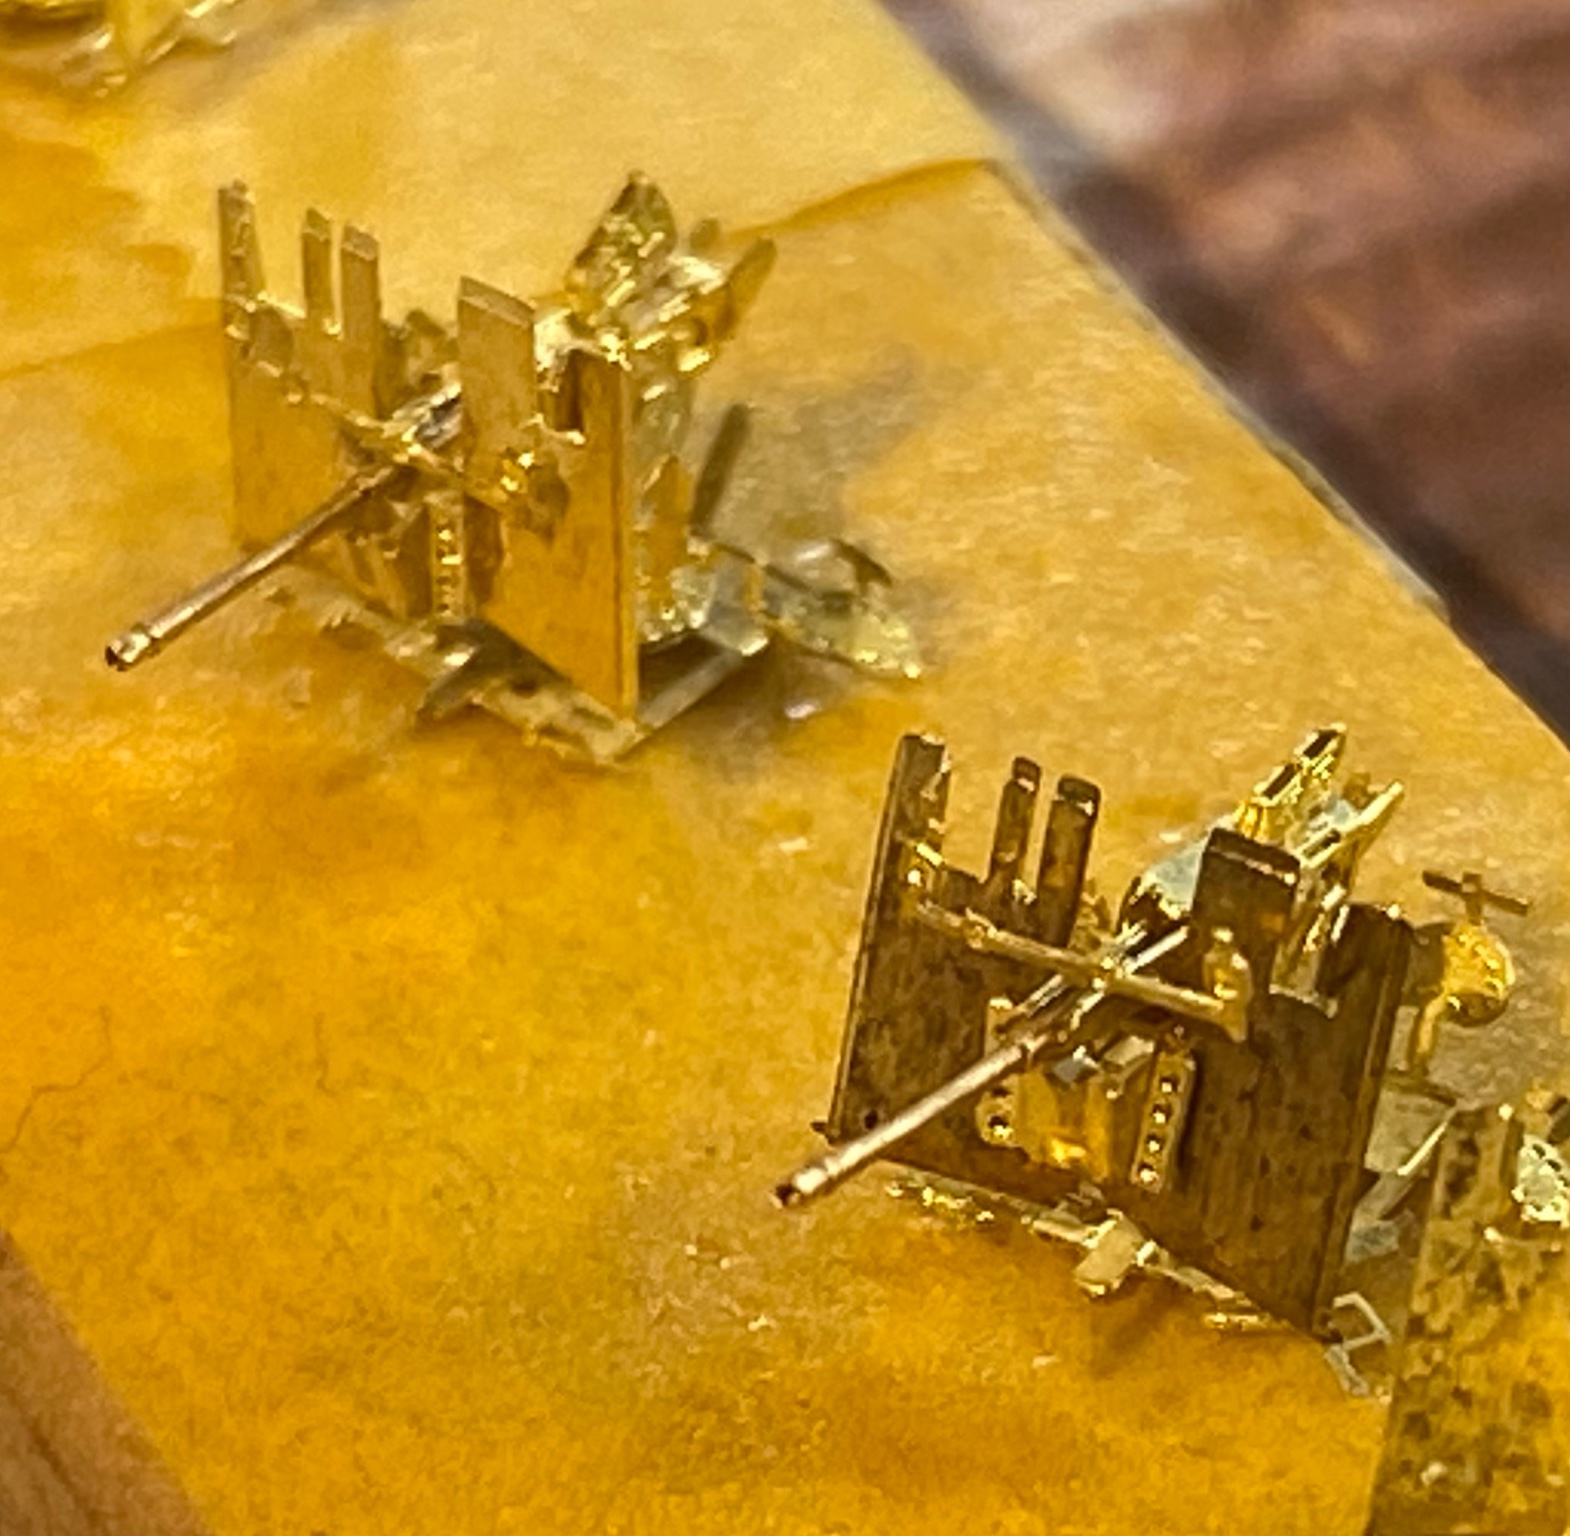
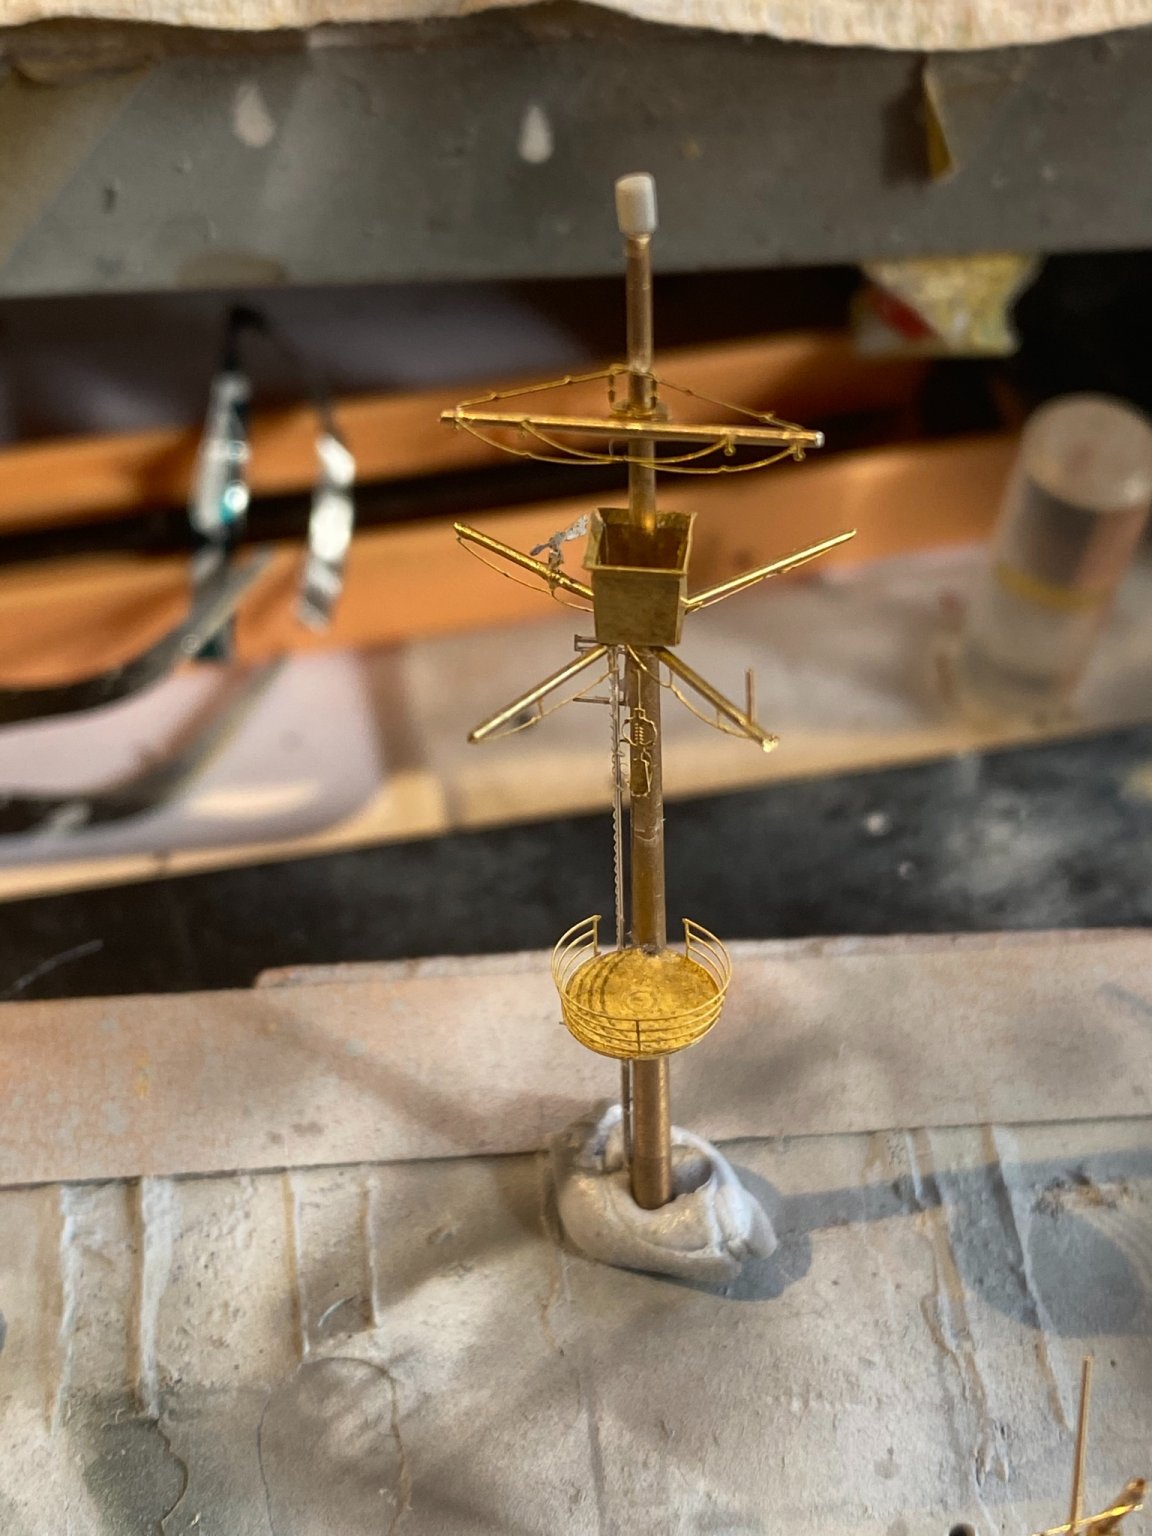
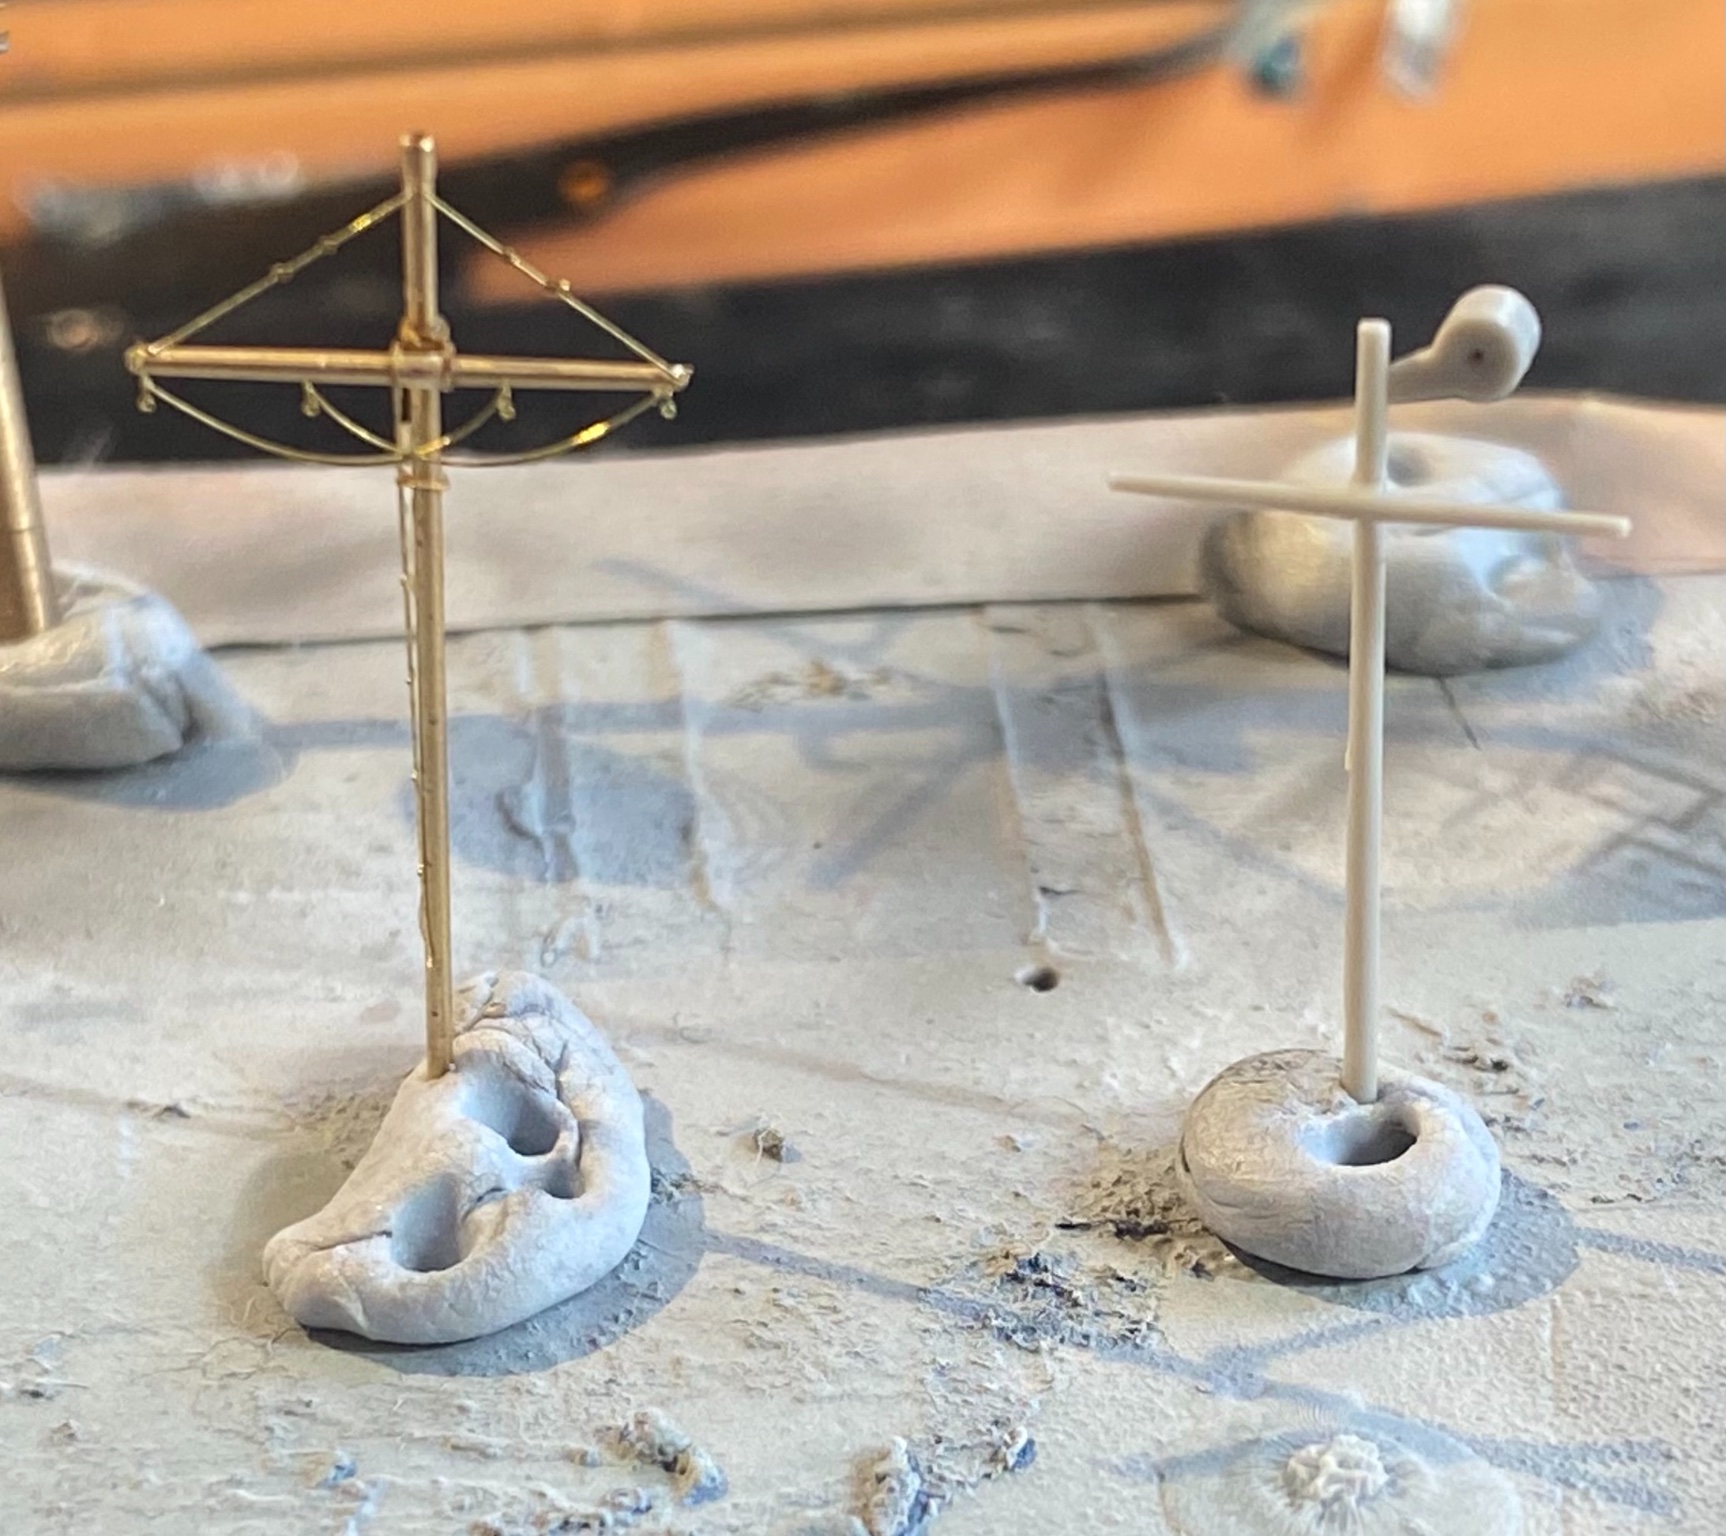
Next the masts, replaced them with brass so the rigging will stay on and not bend like a sapling


-
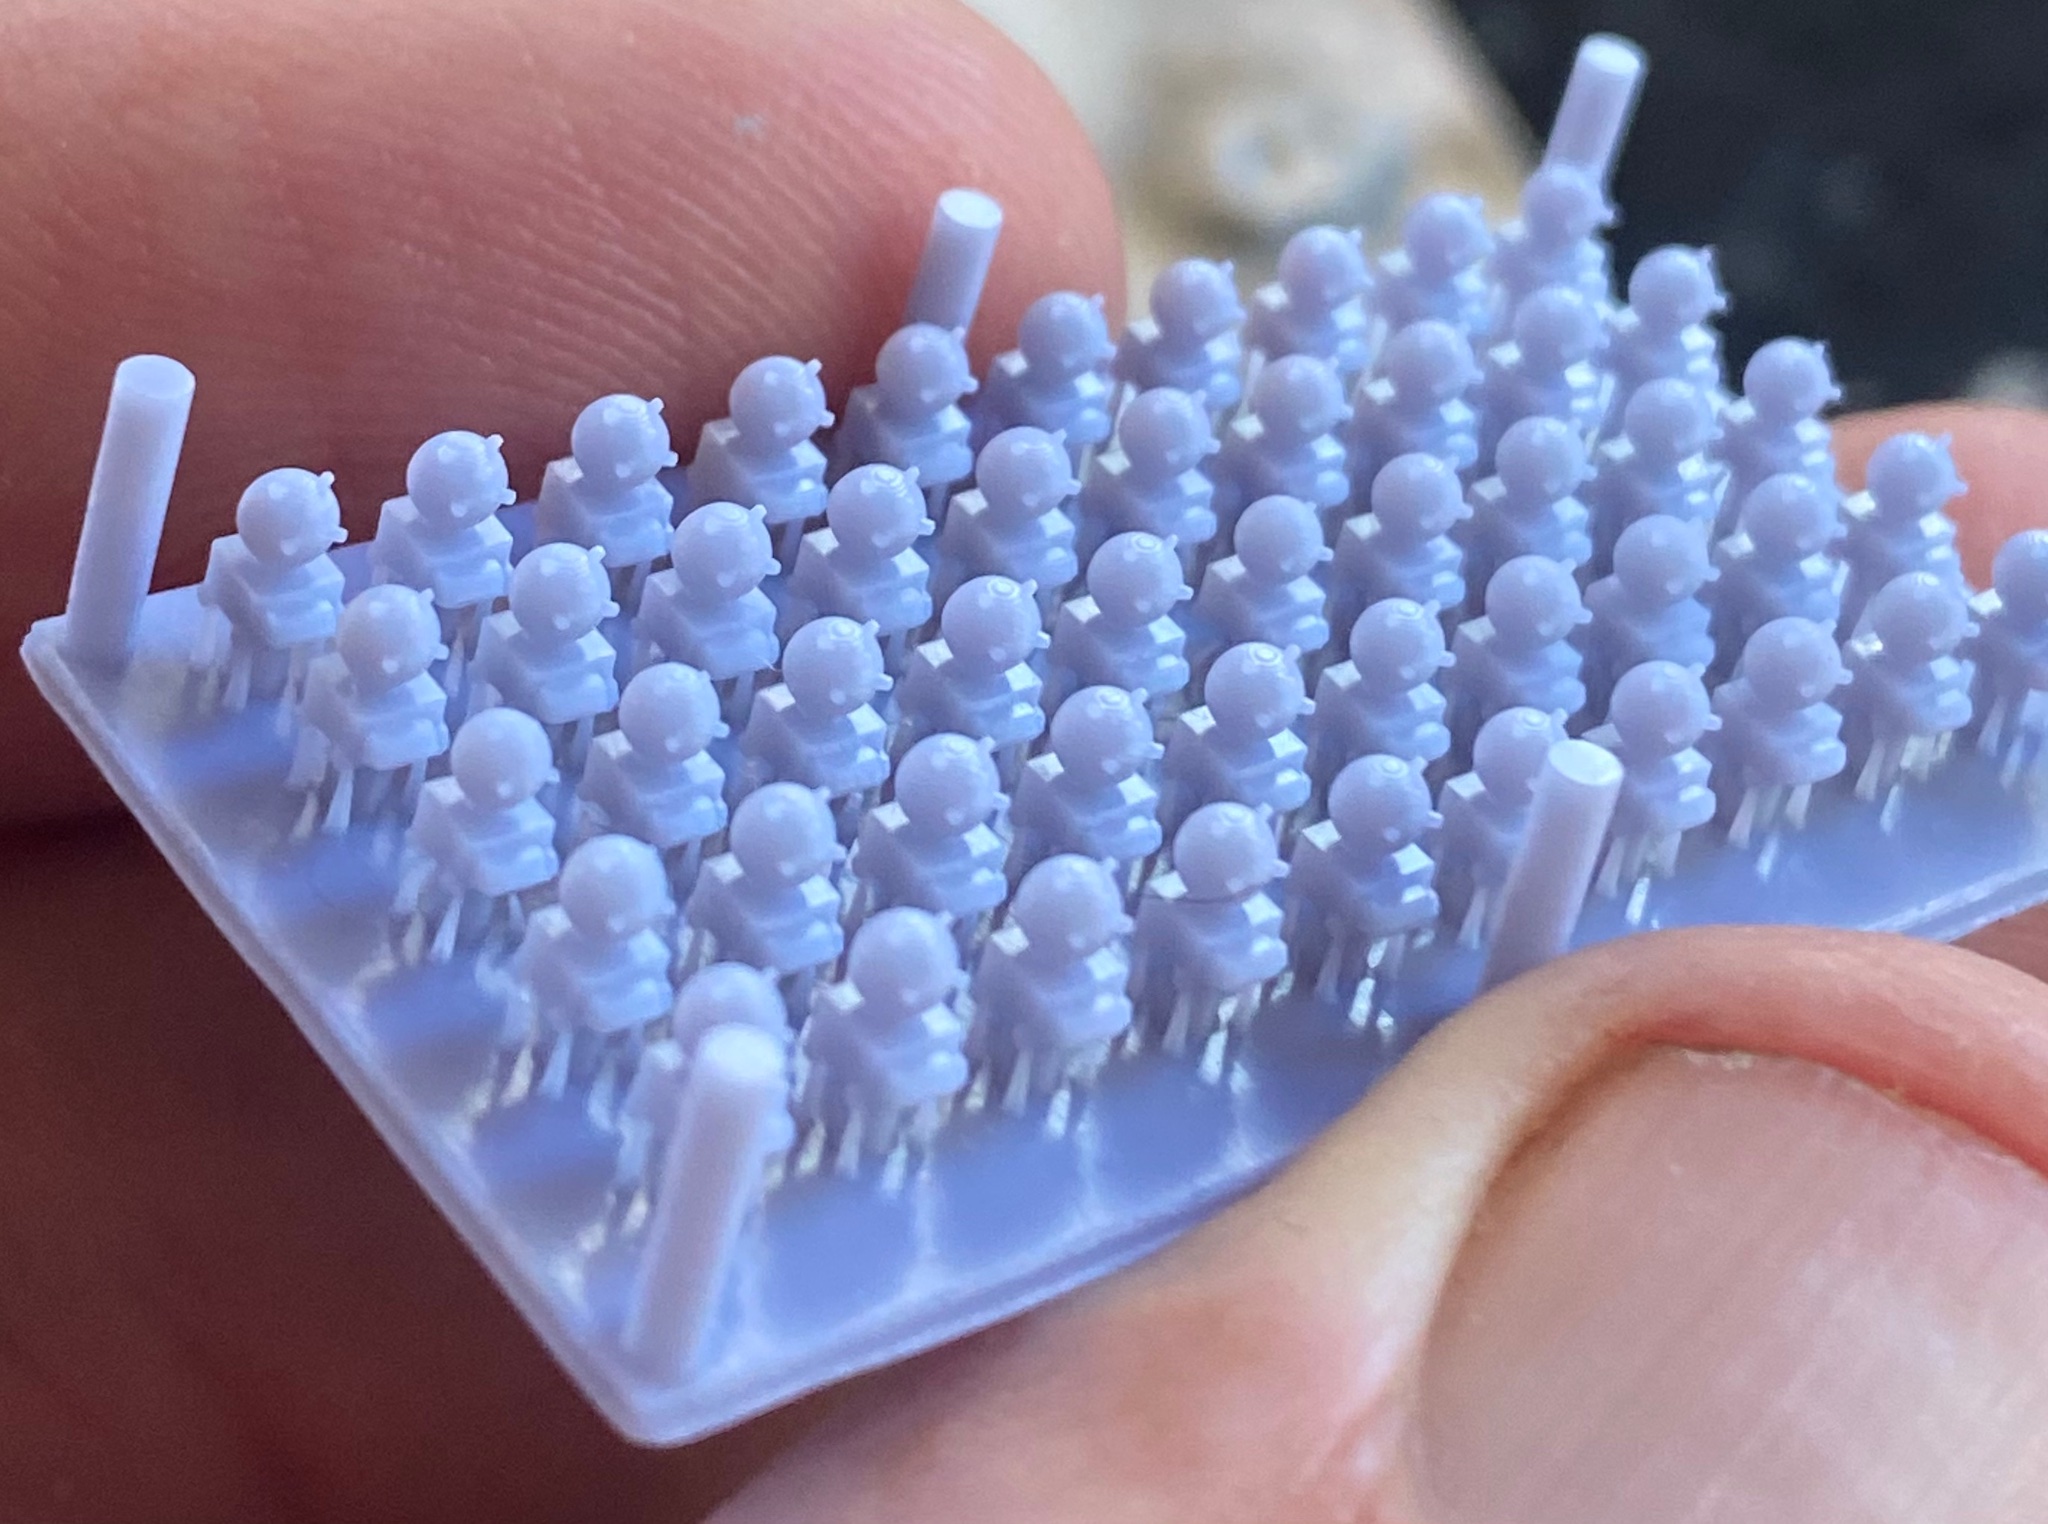
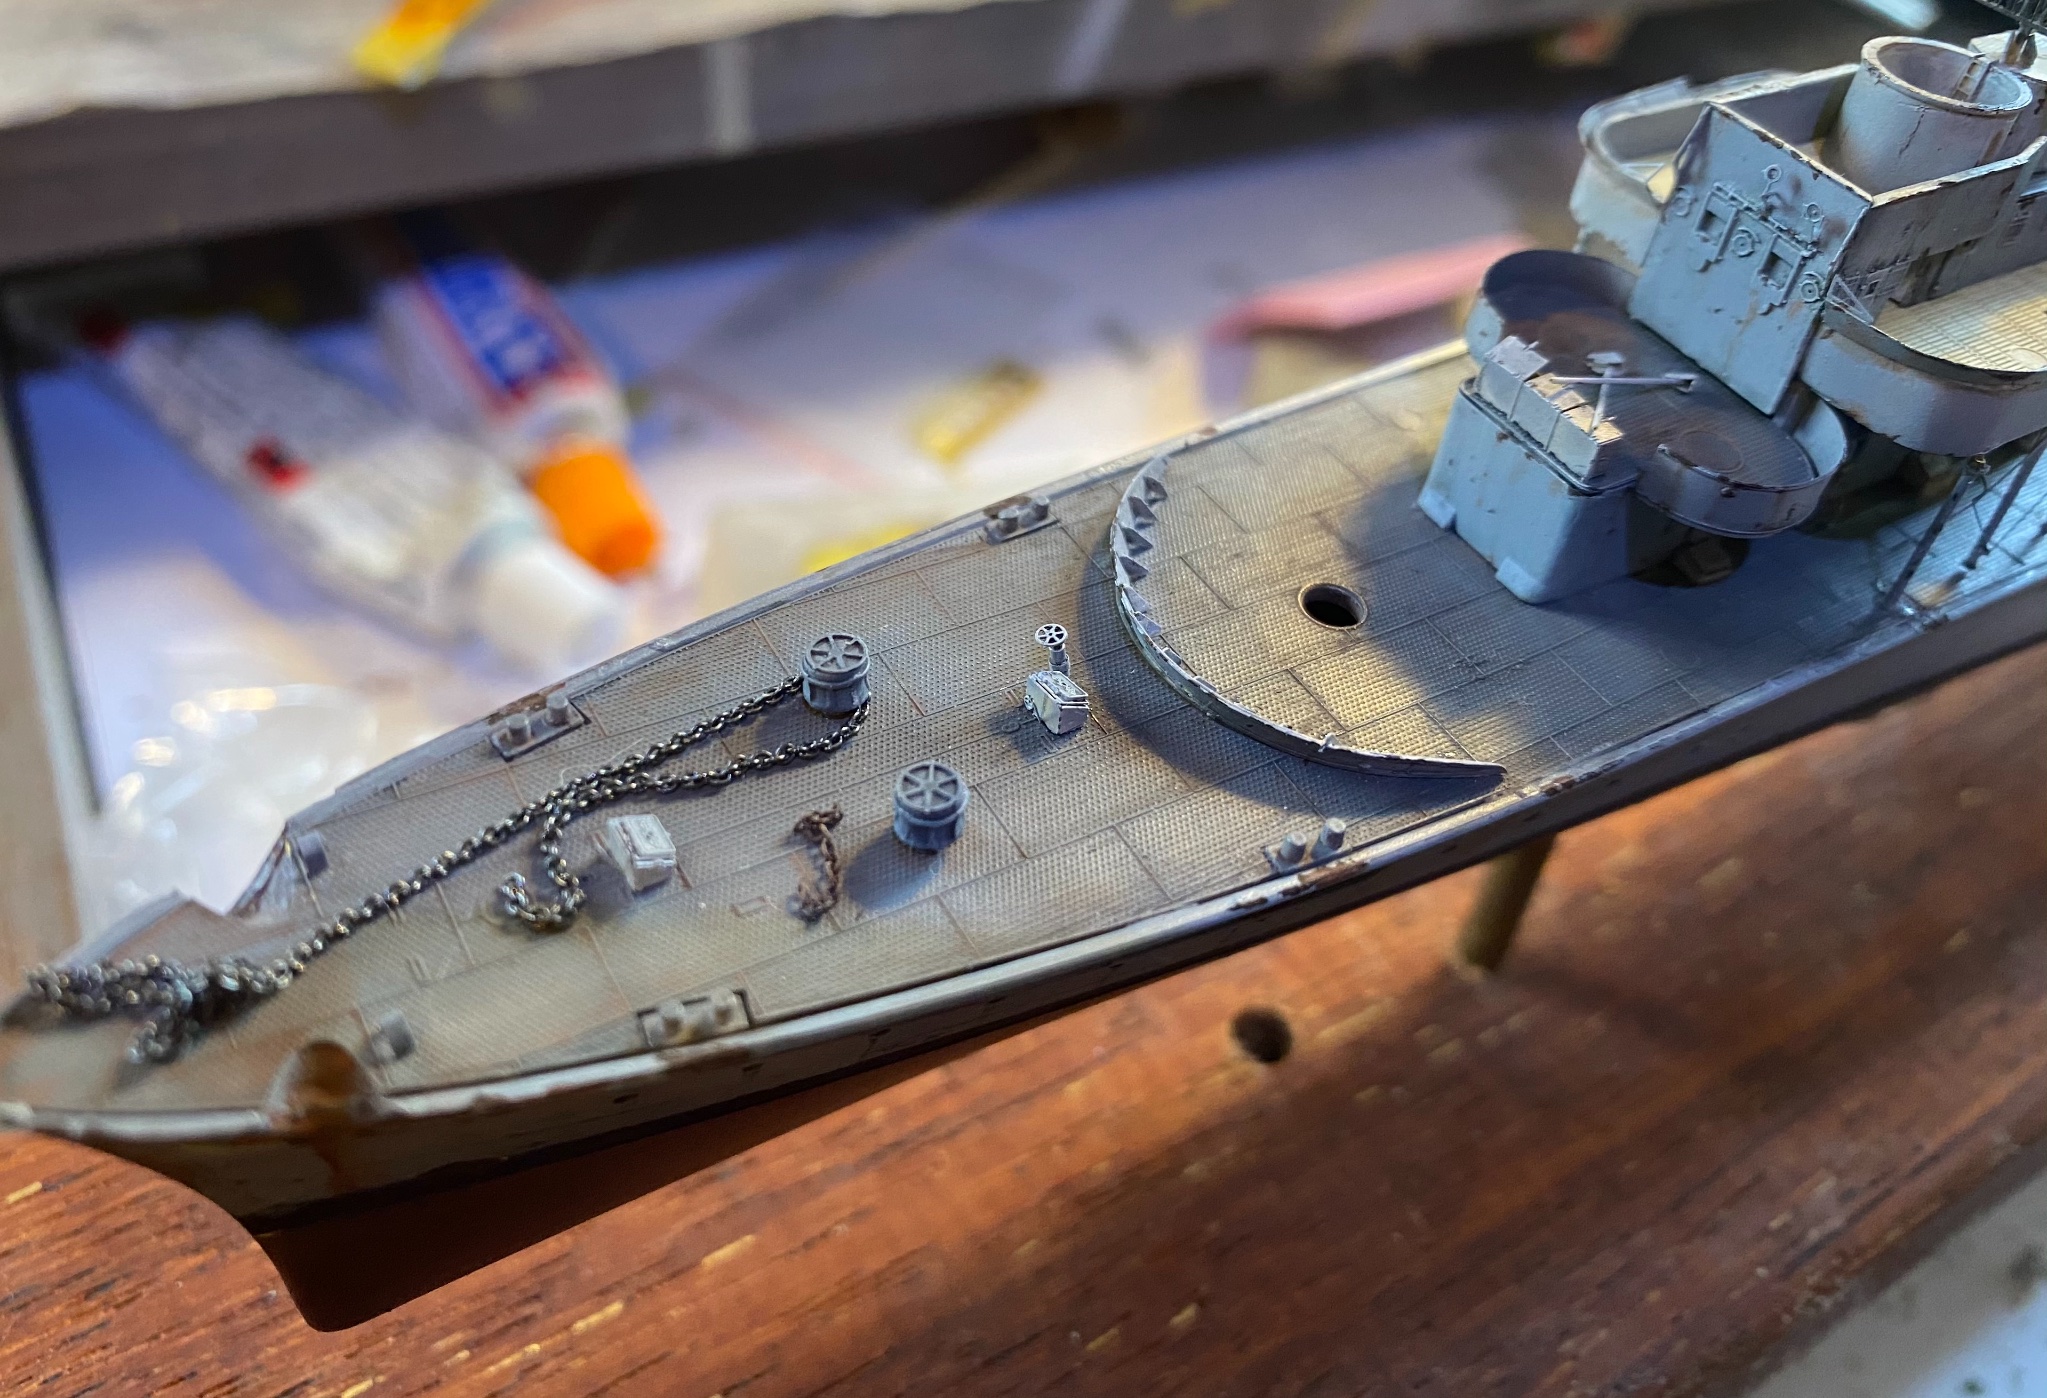
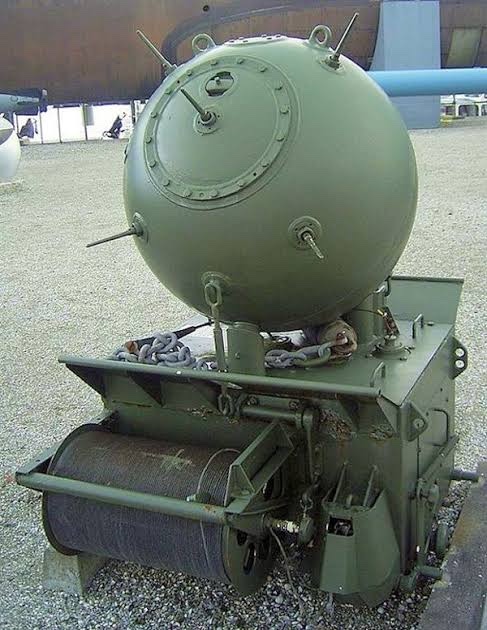
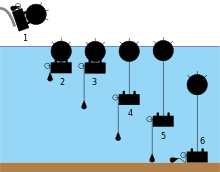
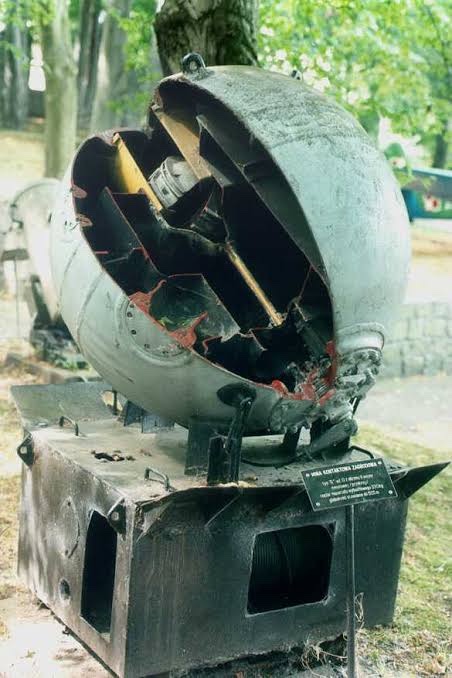
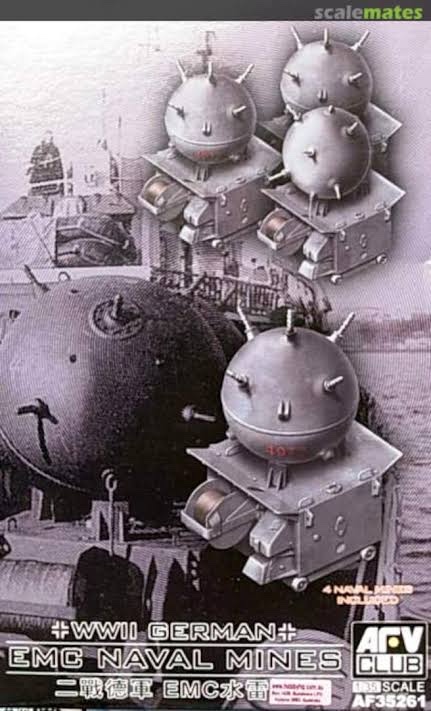
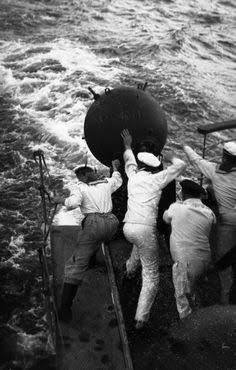
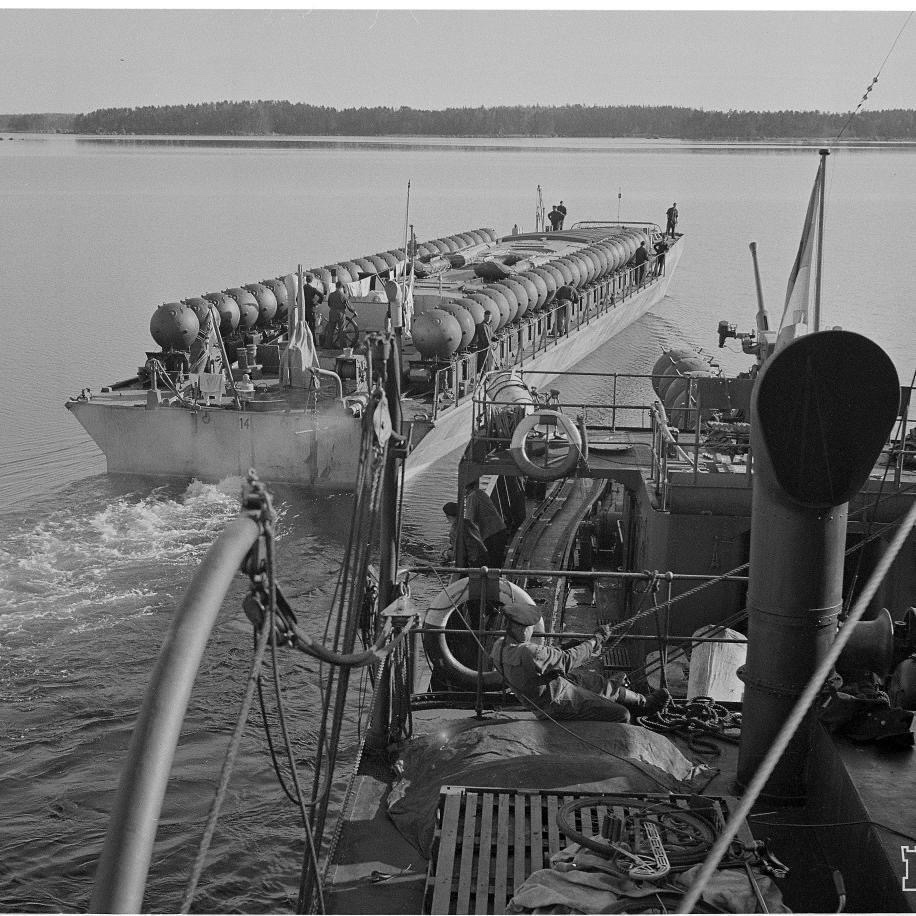
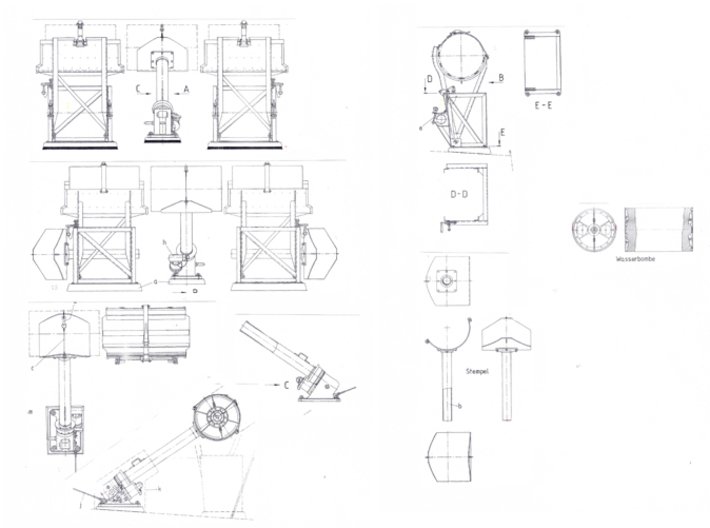
On the home stretch, first, the sea mines. She kit gives you about 4. This is a new set form Germany of all places !

-
That’s the same as the Canadian museum ship’s capstan. I think I’ll just wipe the thing smooth and use some checker plate and scratch it.
-
Nope, don’t give up, just start in a small bit. I’ve just found nearly all my CA has gone off and is pretty much useless, so I’m taking the weekend off awaiting new CA and having a few beers. You can do this.
-
So apparently Micromaster also going to do new funnels. I’m thinking I’m going to have to scratch build the entire focsle but I need references for that area.
-
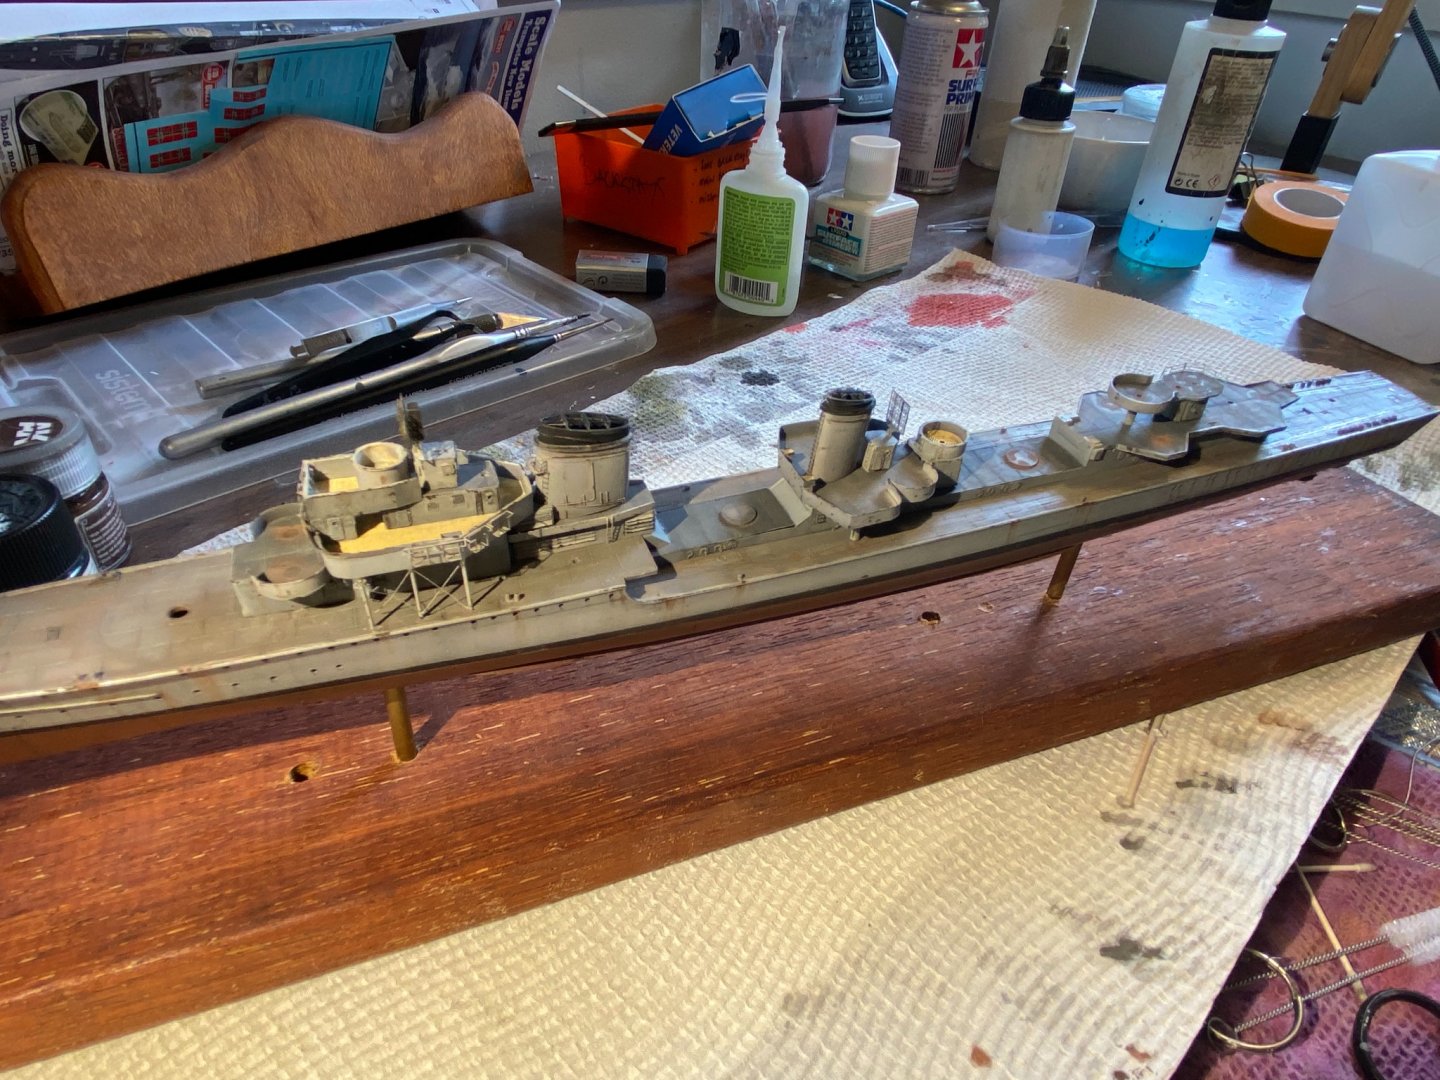
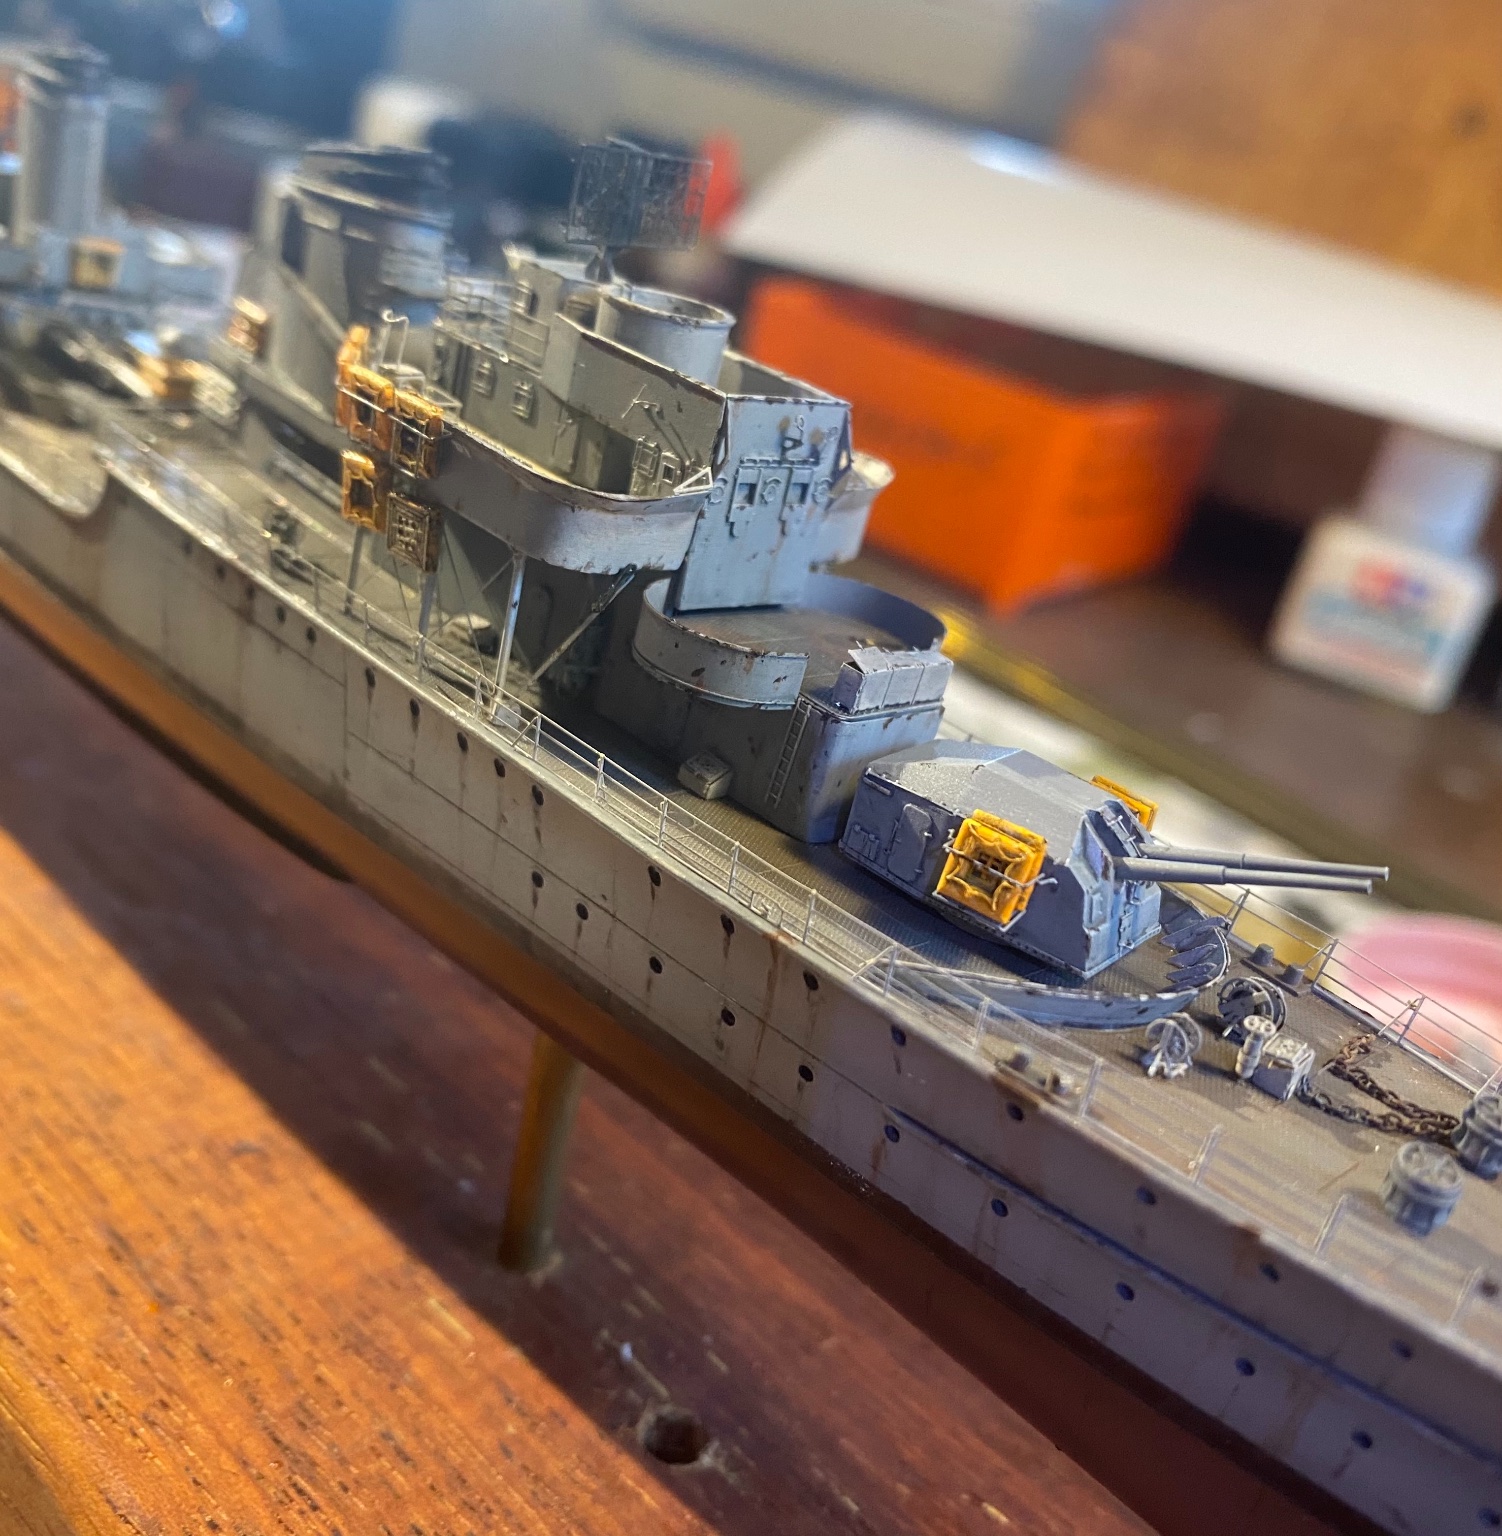
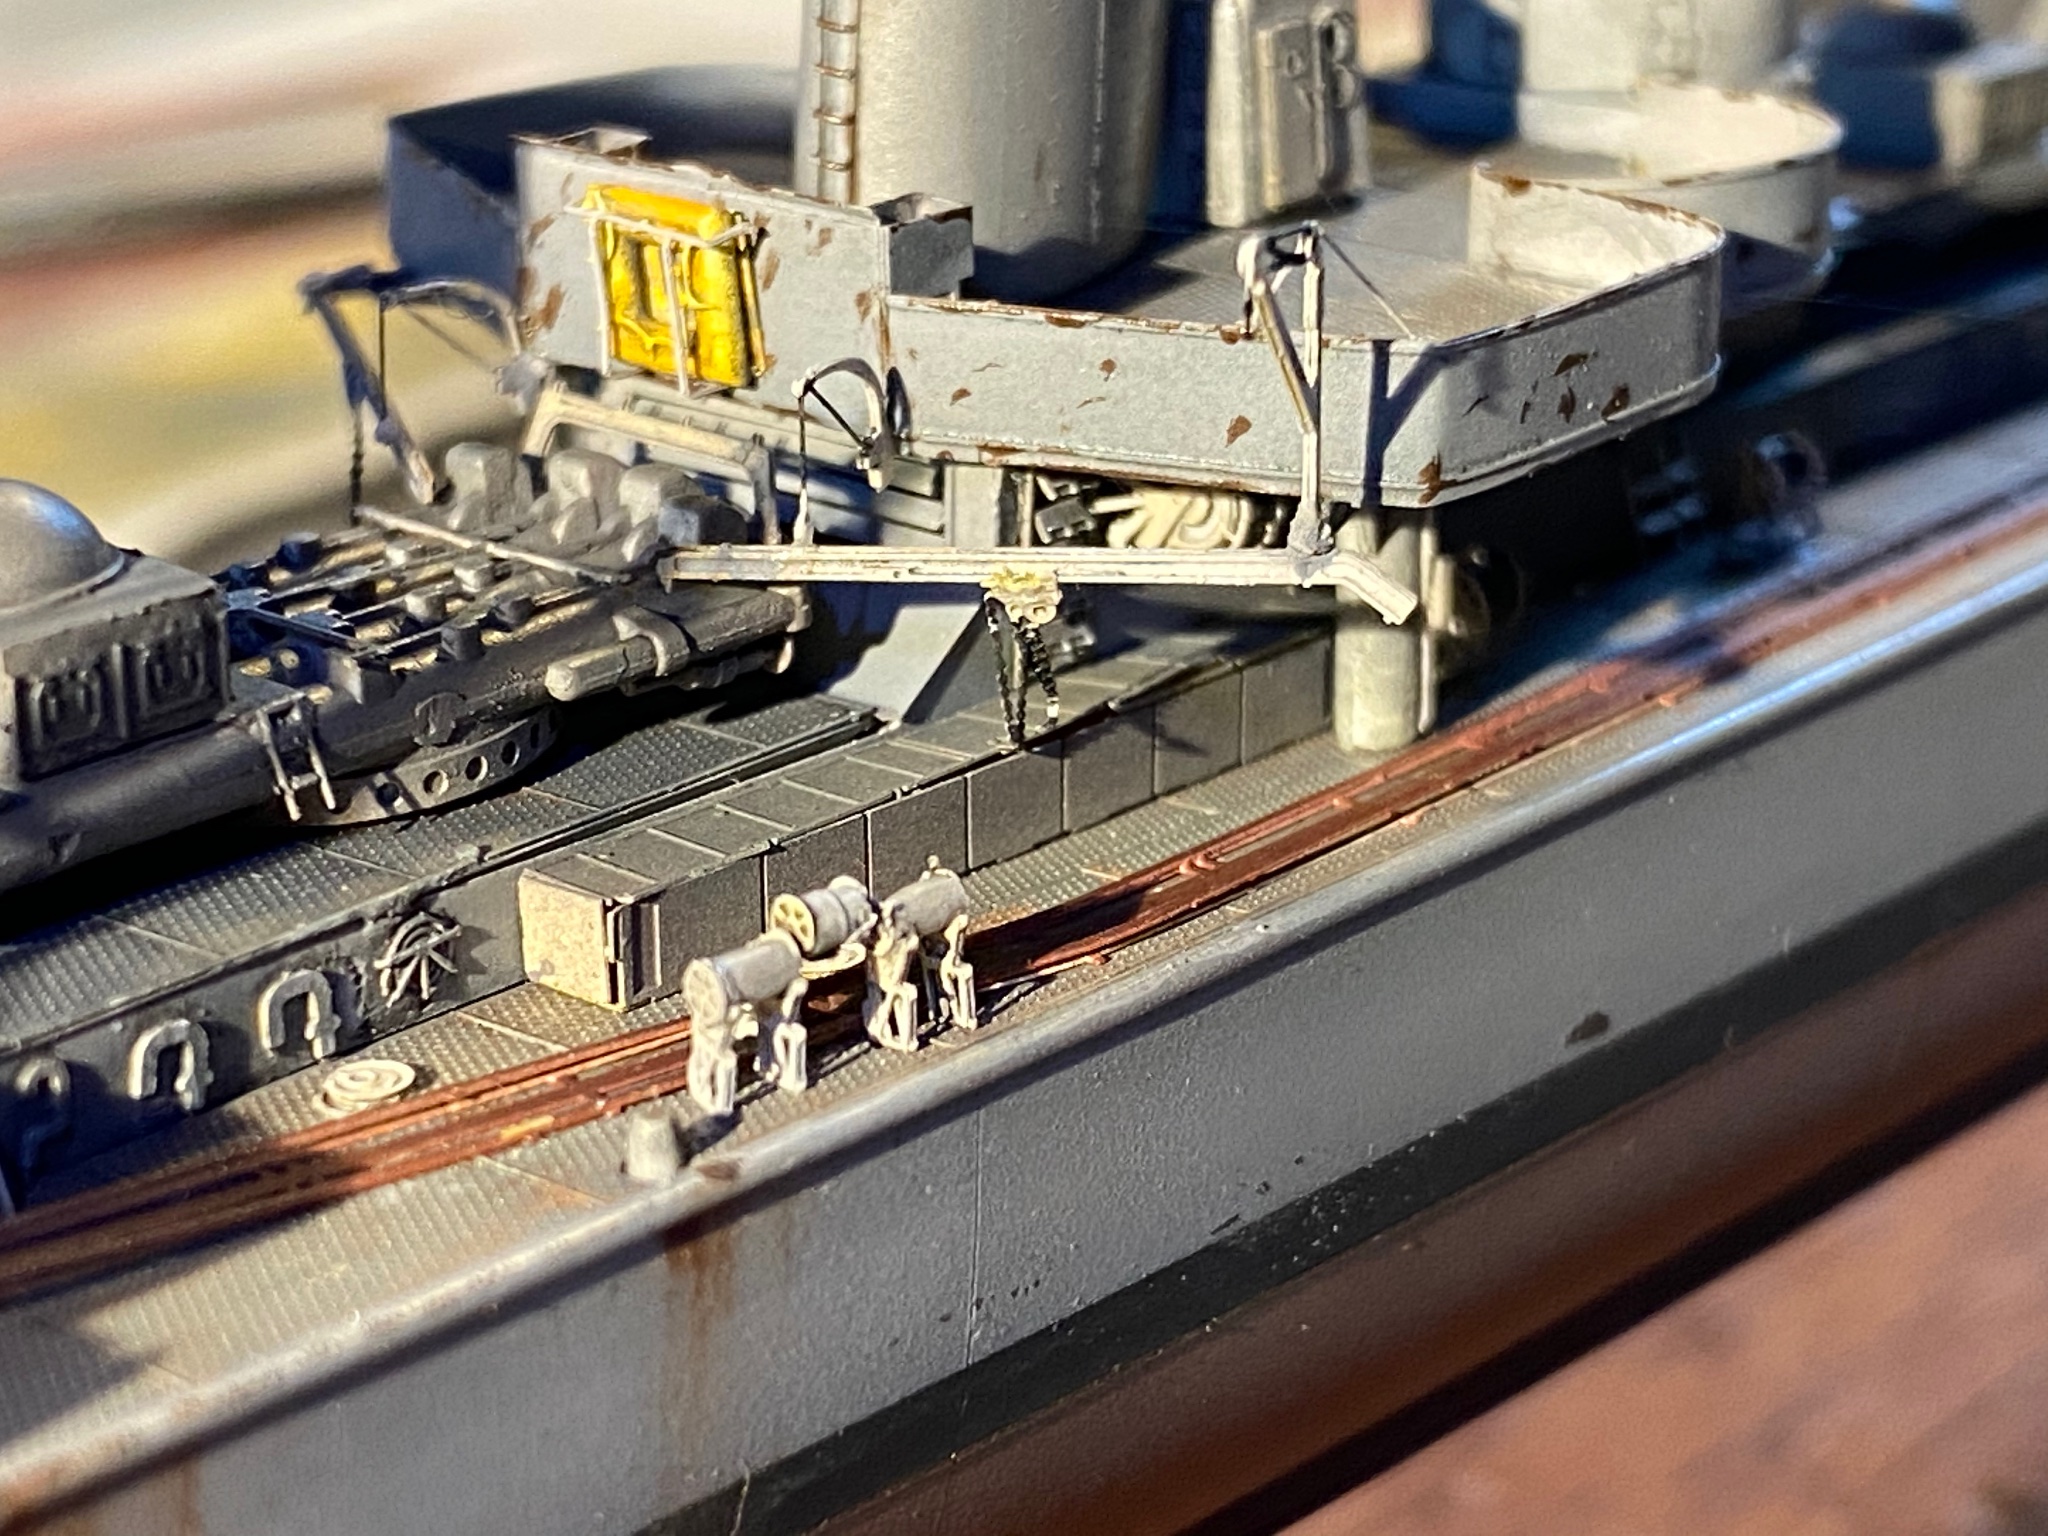
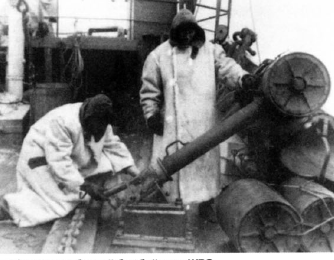
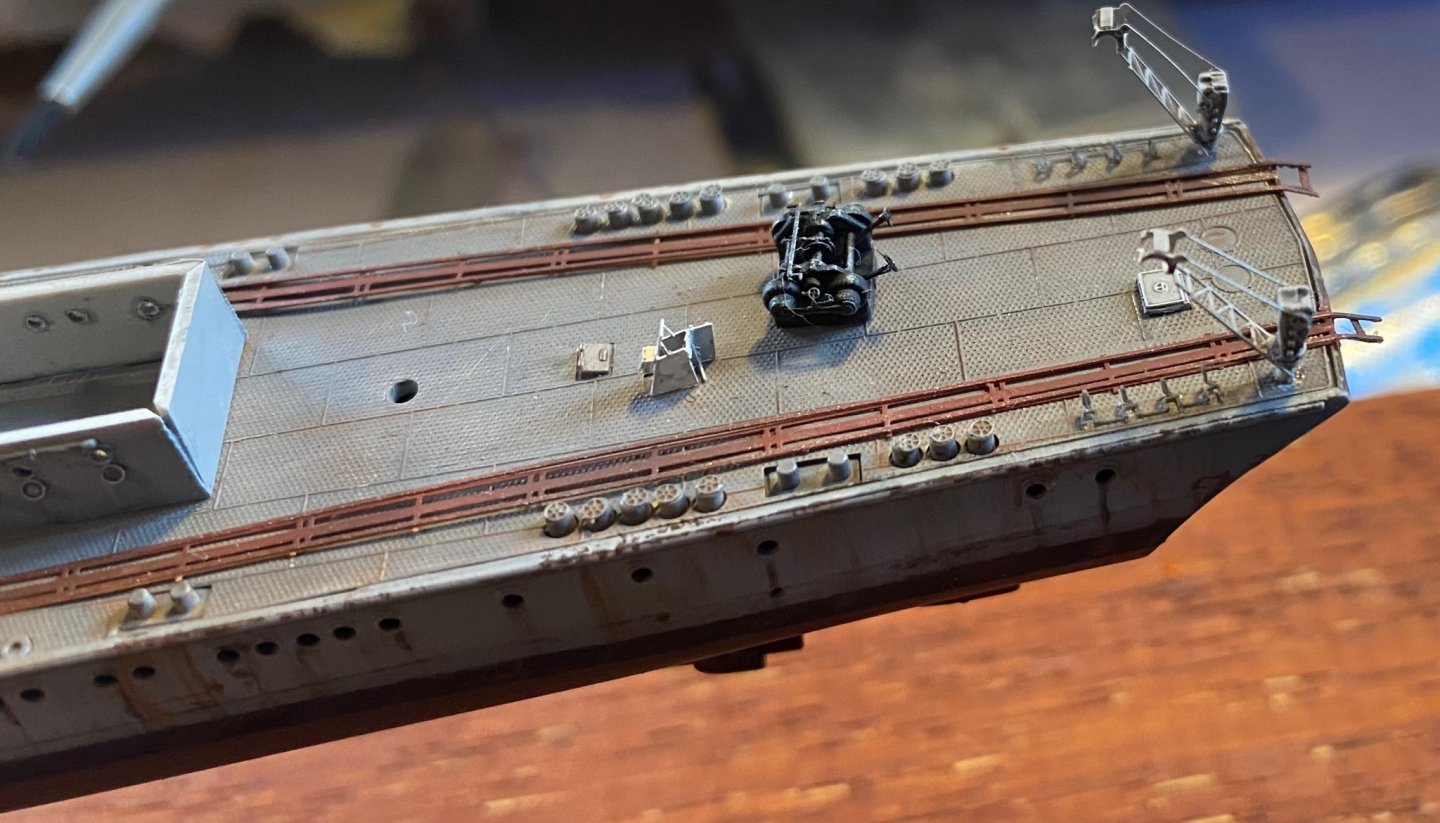
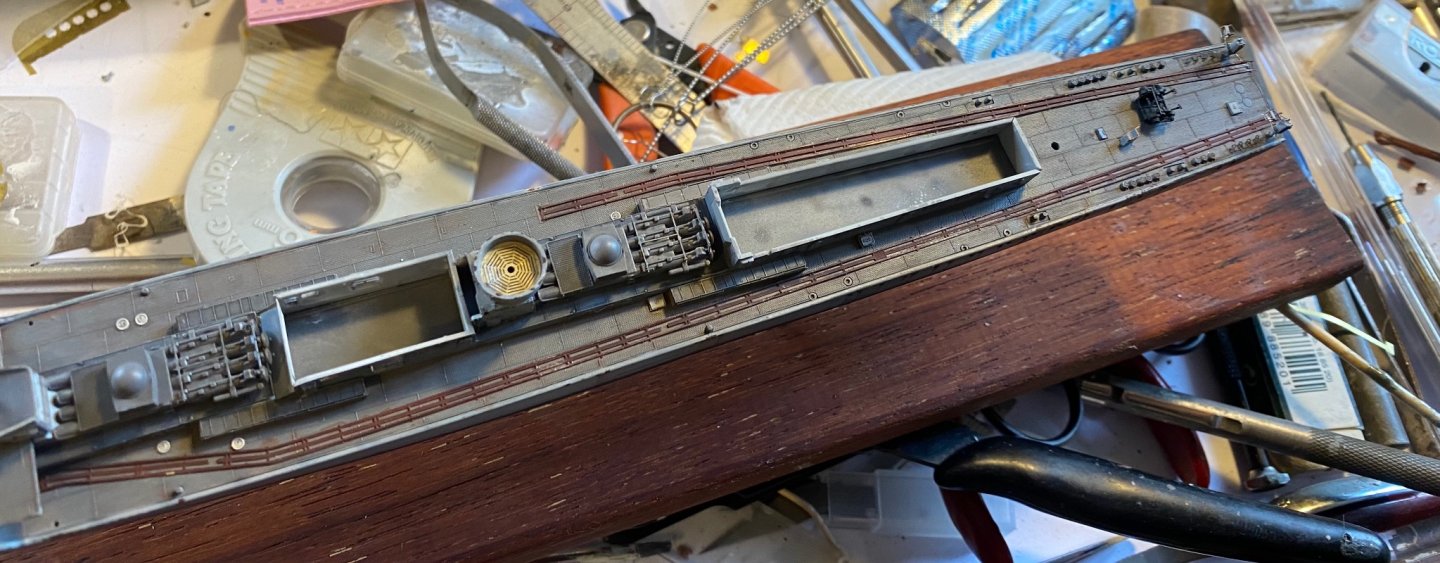
All the little bit painted, now starting to throw it all together. The depth charge throwers and some very finicky torpedo loading rails.
-
I wish I had of know about it when I did mine. There is a RN bridge set which is basically not available anywhere in the world from North Star models which is a great company (great products) but super unreliable. The last time I ordered something it took 5 weeks to clear the Latvian customs, and now they won’t ship to Oz as PayPal keeps slapping them for poor service.
-
Starting to throw on the small details, firstly the rails for the Sea mines, winch and paravane gear, then the torpedo tubes, then the breakwater and a trial of a few chain diameters, smaller is better.

- 95 replies
-
- 10
-

-
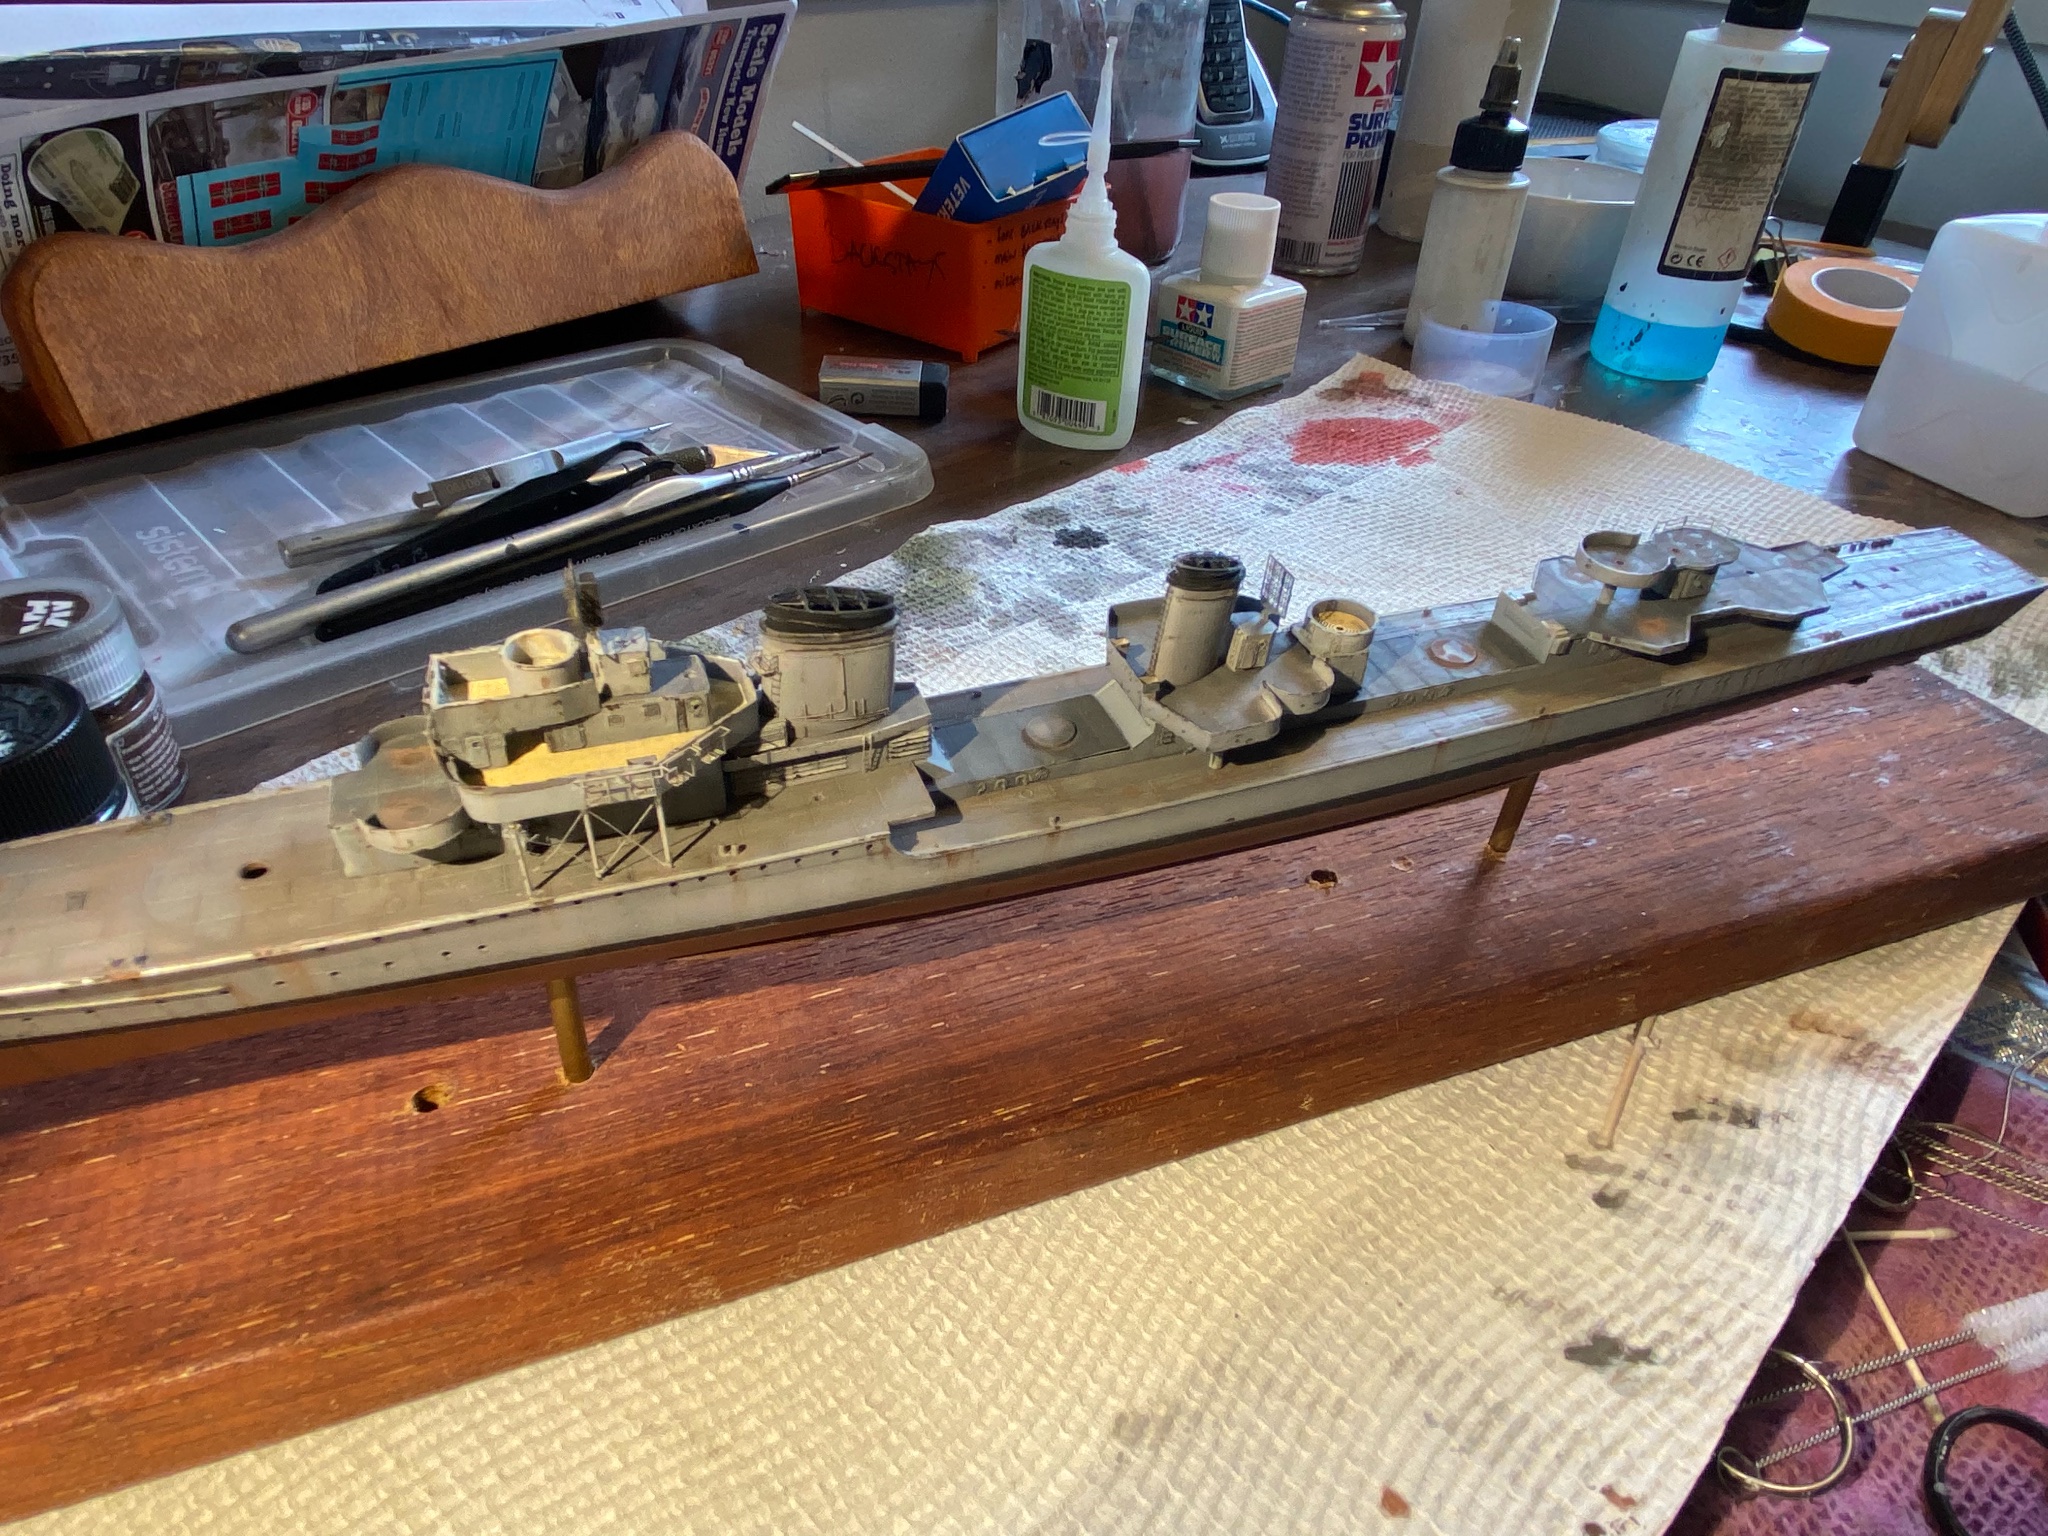
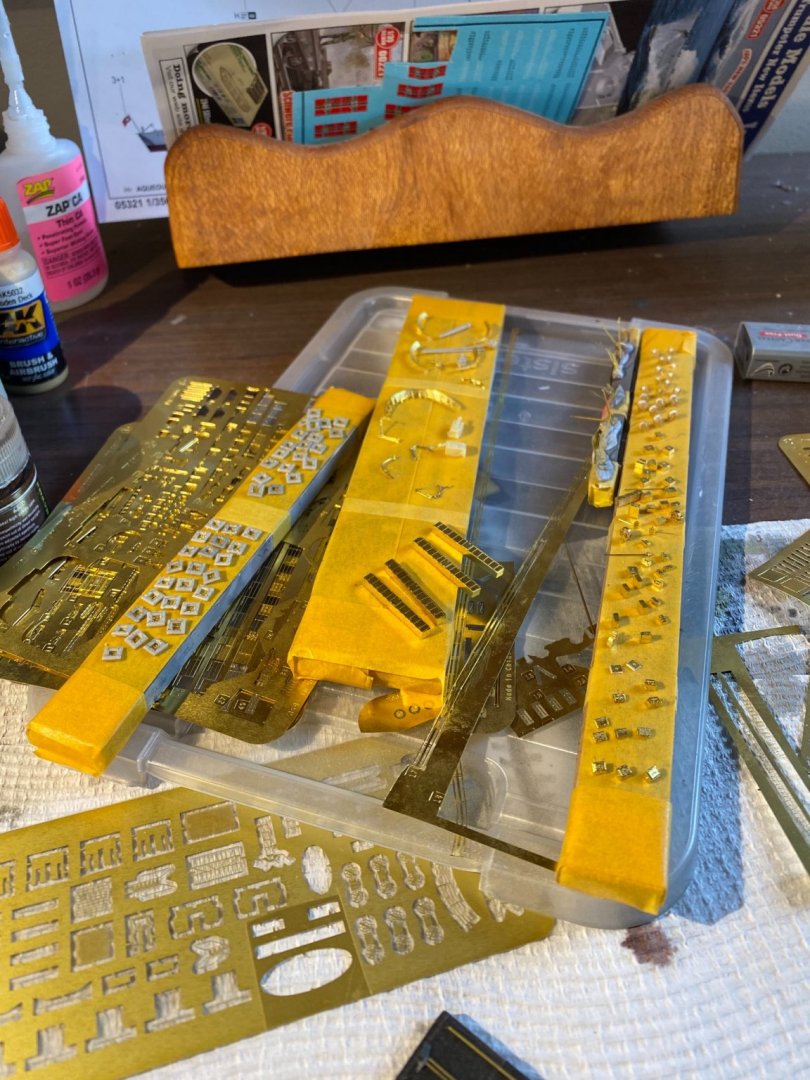
A full 2 days of cutting and bending, the infill required for the ships smaller details. haven’t started on The guns etc yet.
-
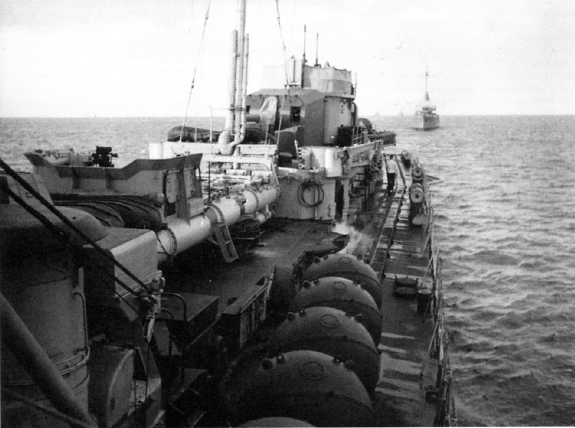
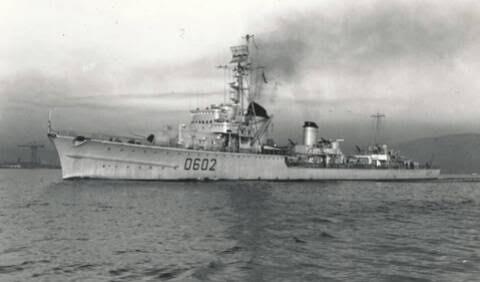
Yes I studied these photos, as did flyhawk I’d say as the bridge windows for the upgrade seem to be the same and different to Z25. The previous images in the log I found on a Russian site and have not seen them elsewhere
-
I’m going to say maybe? By the end of the war they were pretty much used non stop to evacuate troops and people from the Soviet army and give fire support so I suppose they would not have had much maintance. Of course the photos after the war show her in a better condition but I doubt if the crew just walked away (but they may have) and it was eventually given to the French as the Hoche.
-
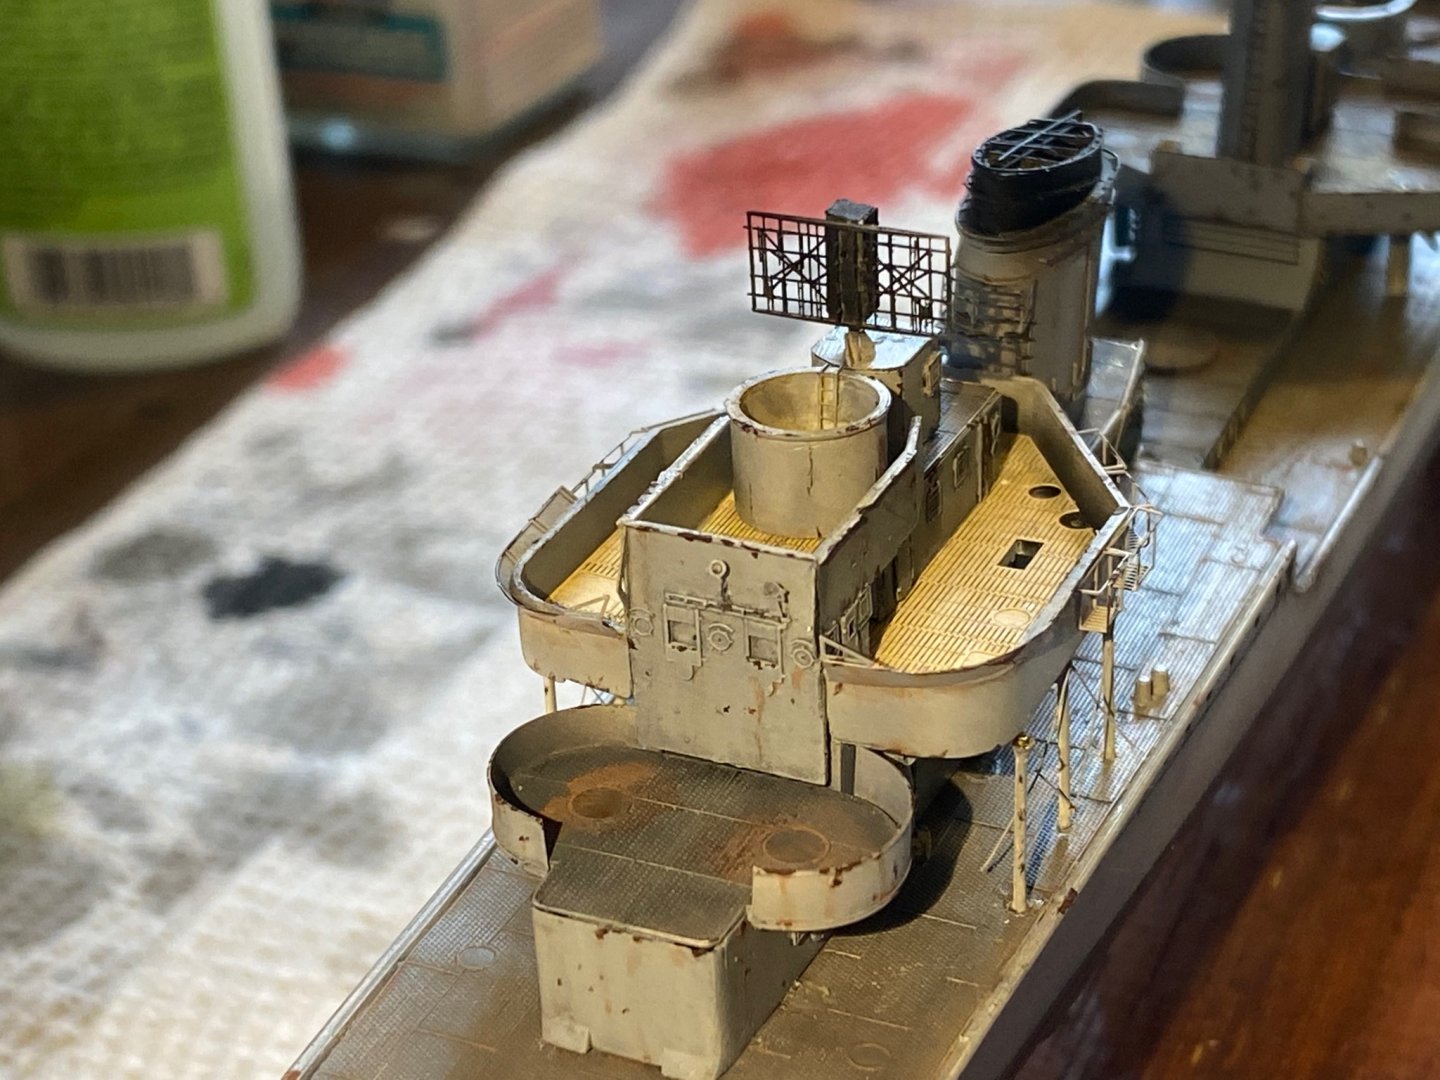
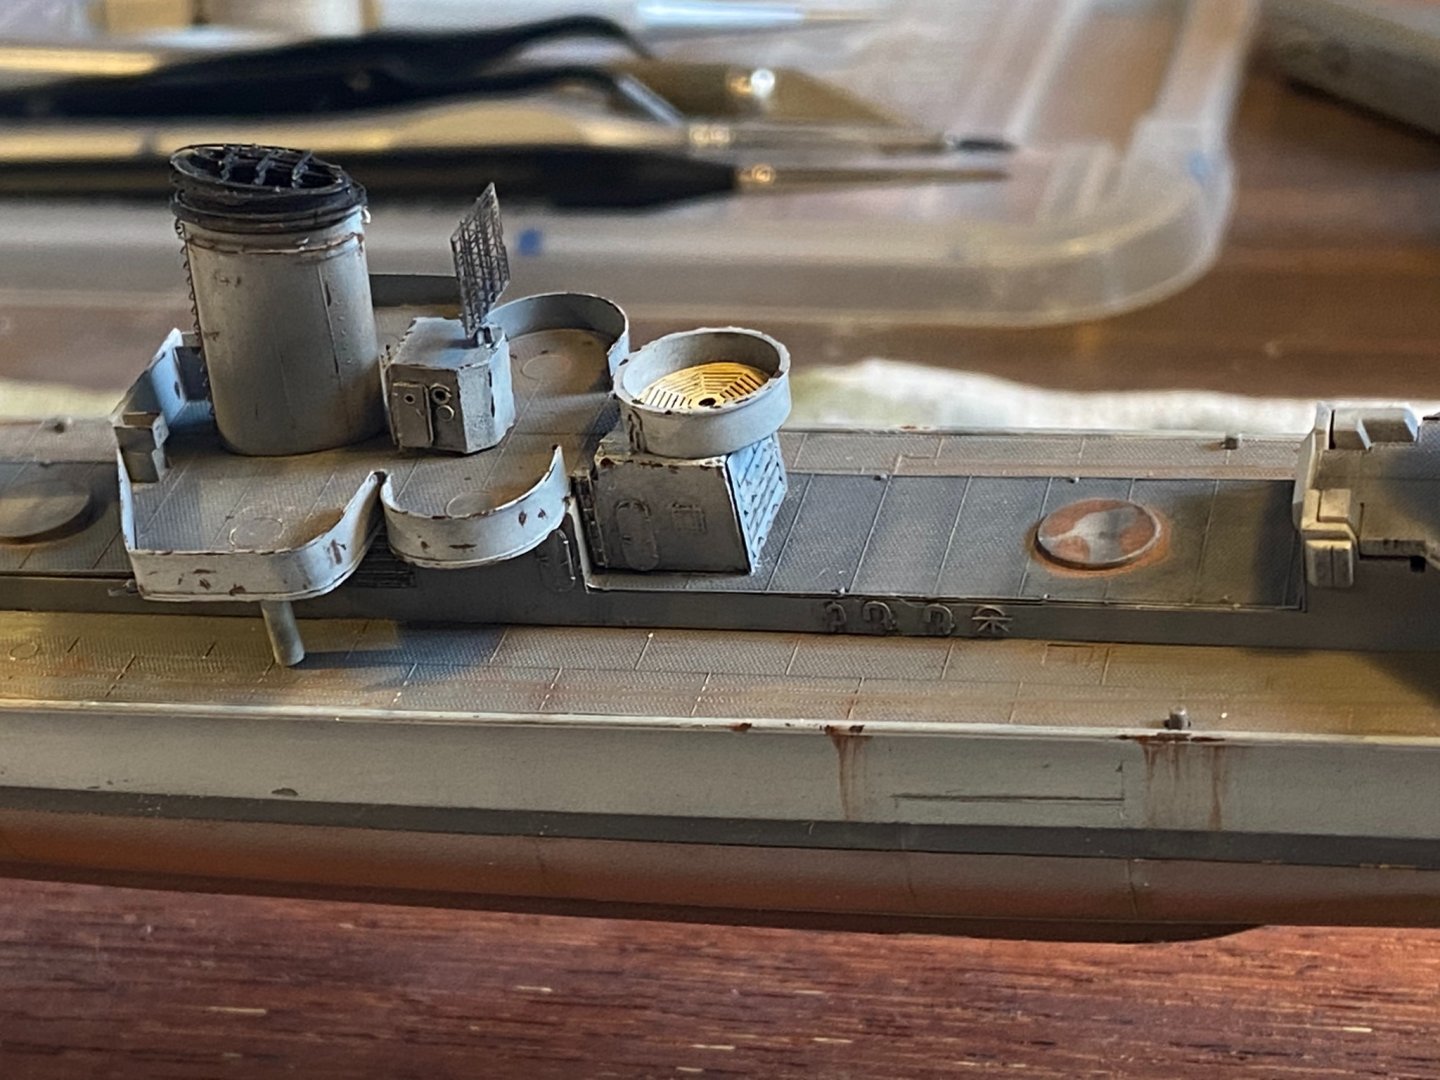
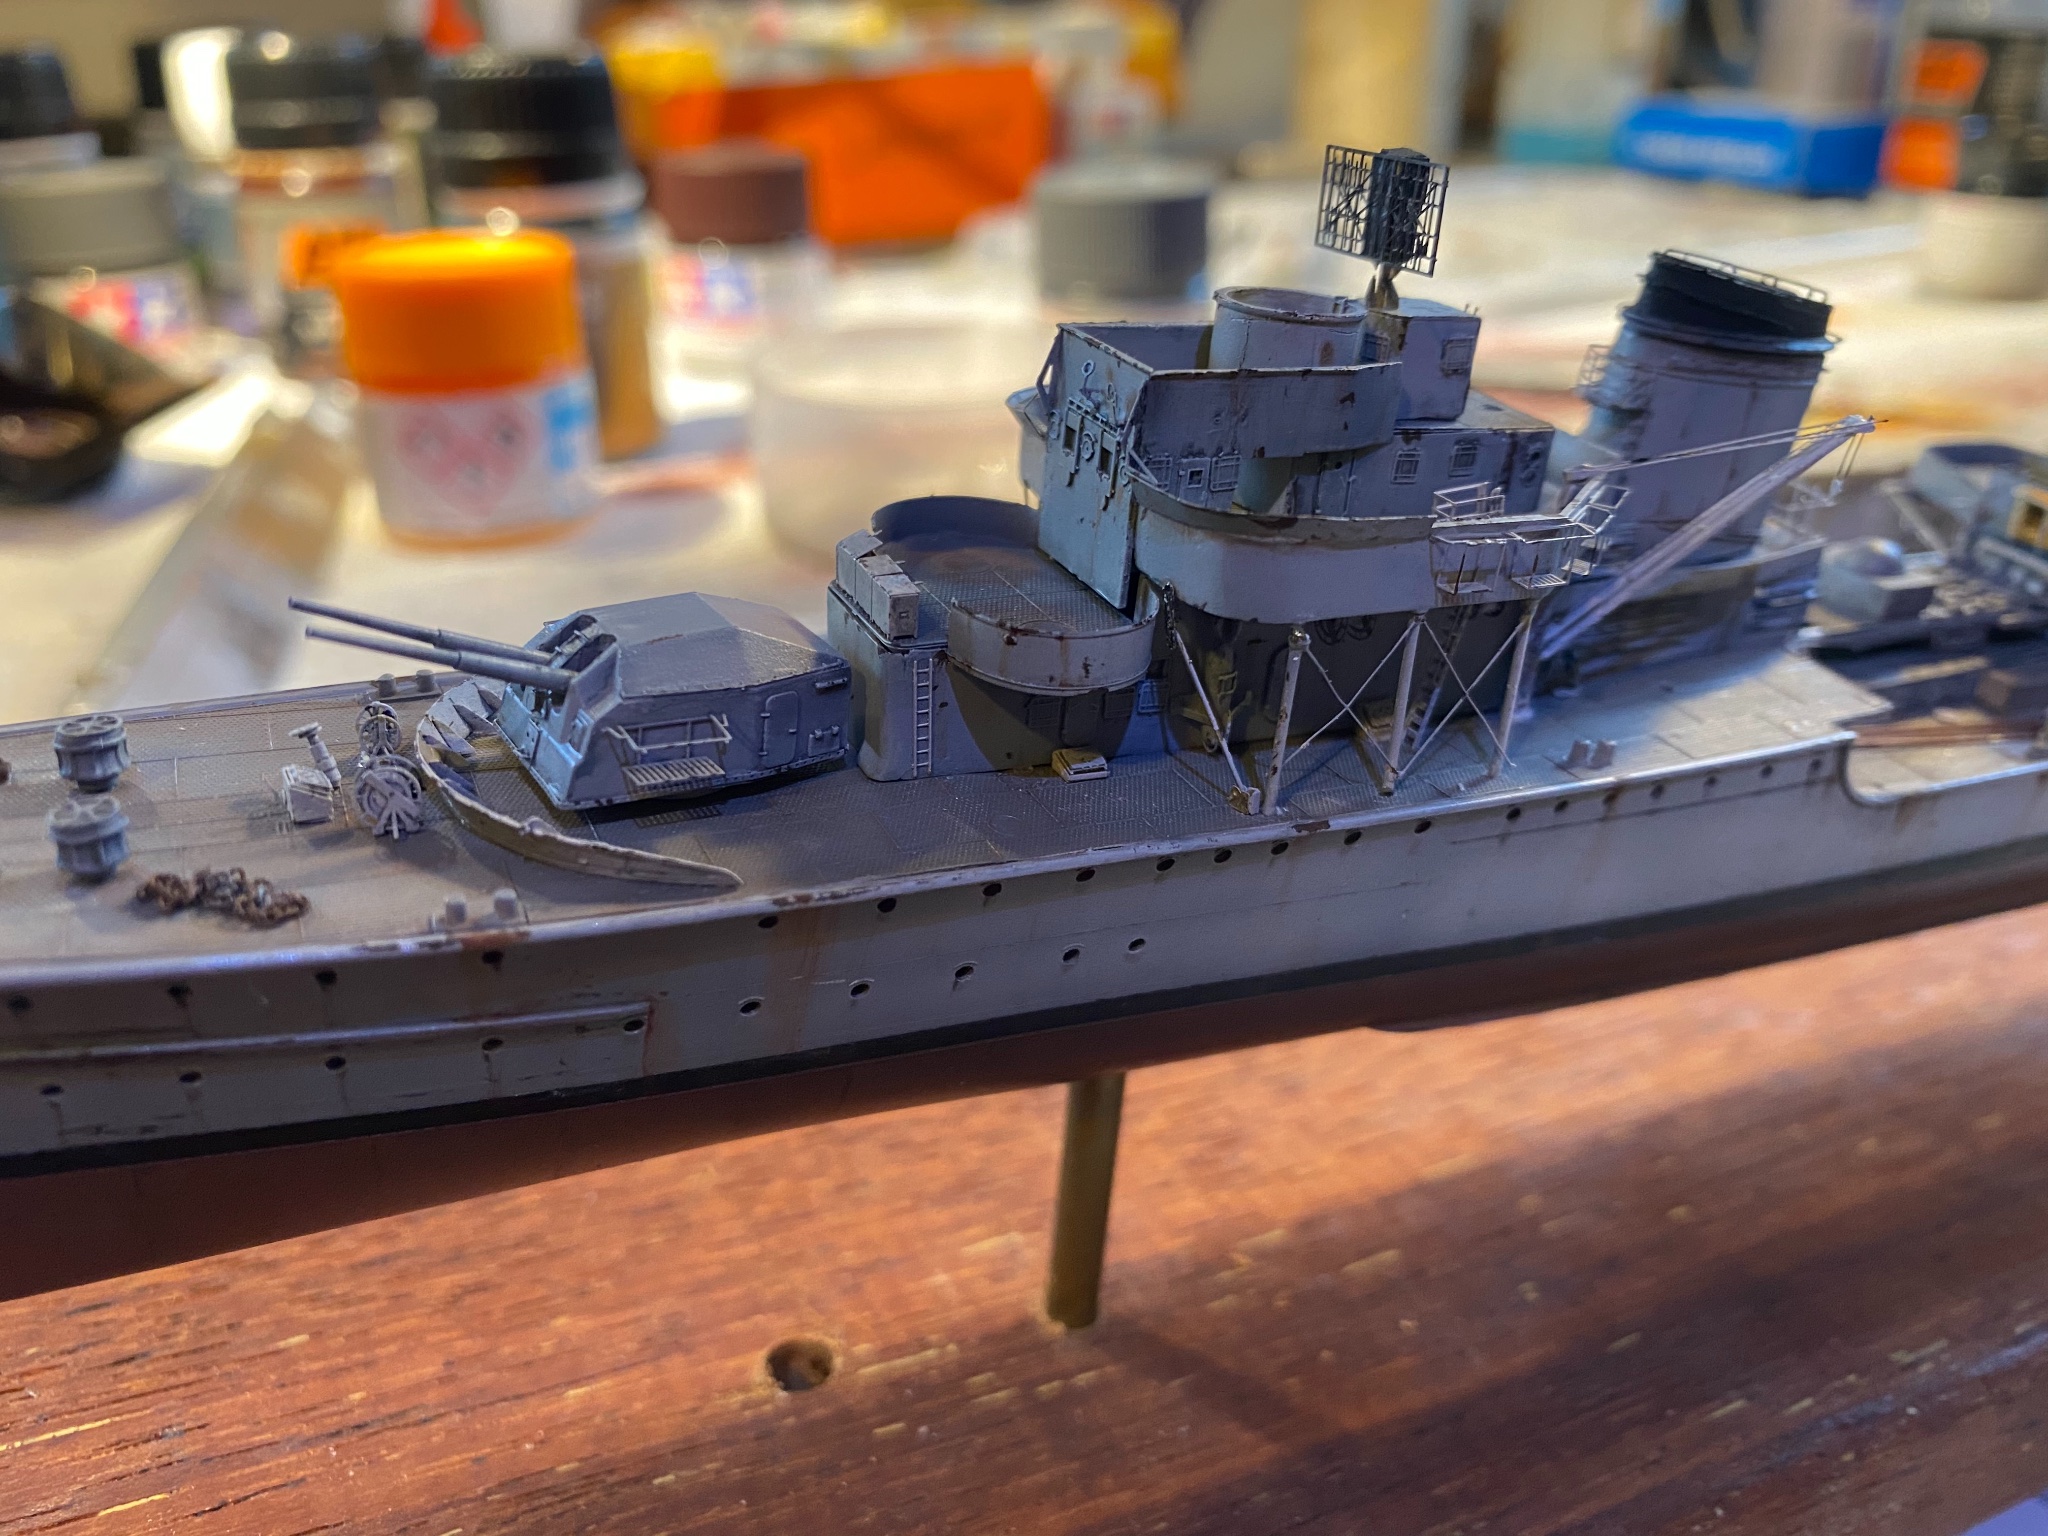
Superstructures done up and weathered, next is a tonne of tiny details that need to be added,