.jpg.4b9546914df2c235b4fe82d7c03670bd.jpg)

Worldway
-
Posts
628 -
Joined
-
Last visited
Content Type
Profiles
Forums
Gallery
Events
Everything posted by Worldway
-
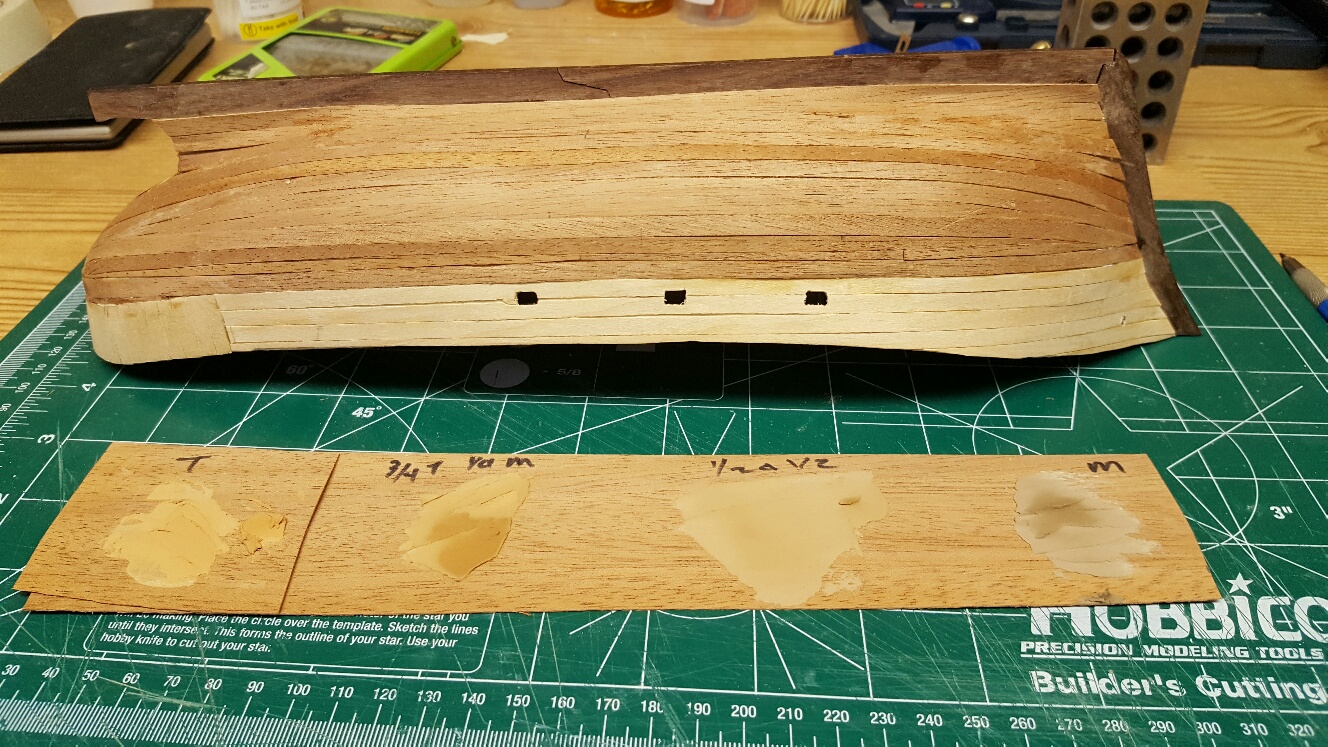
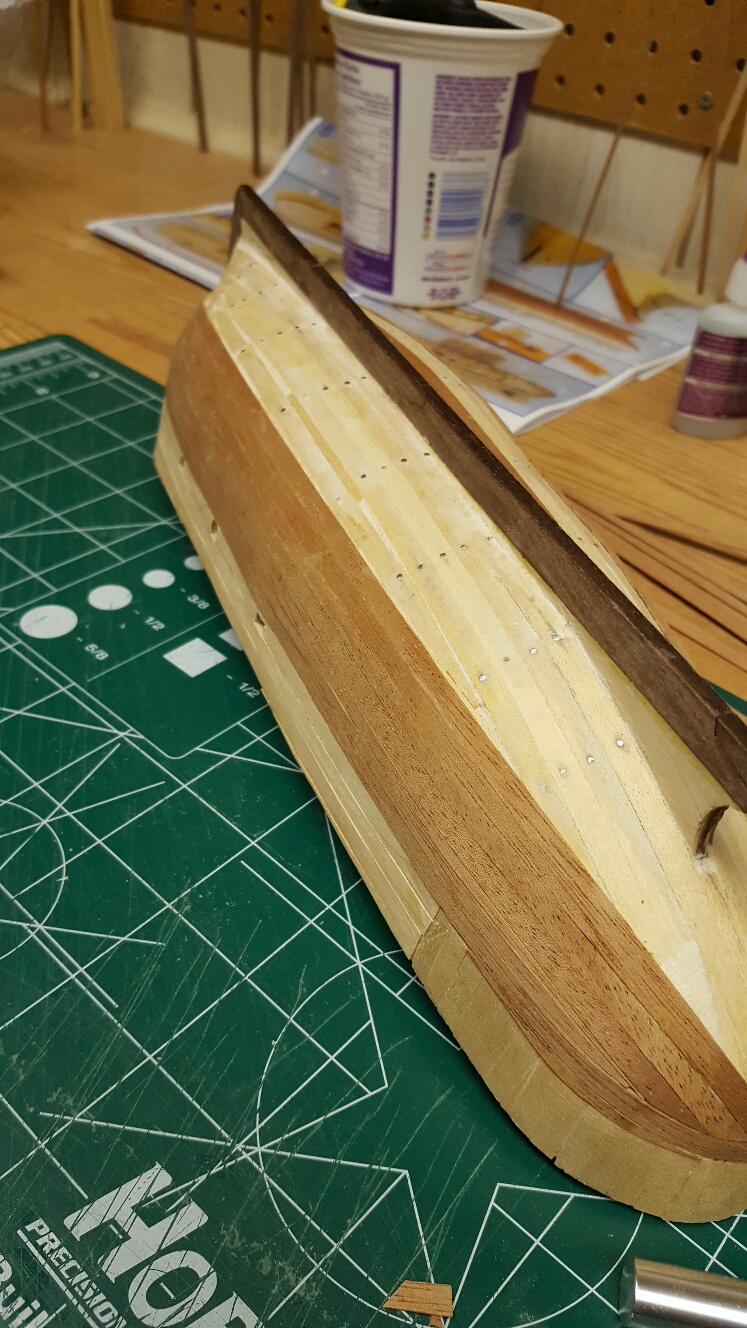
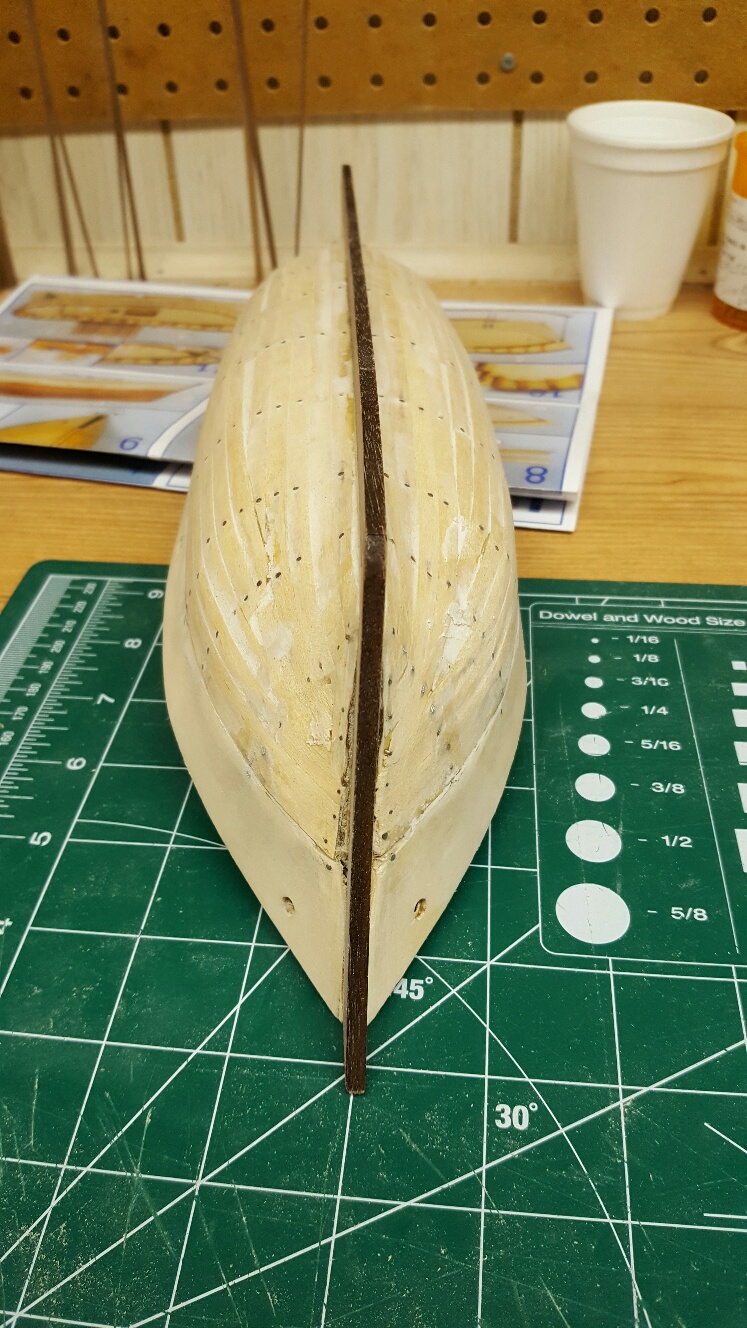
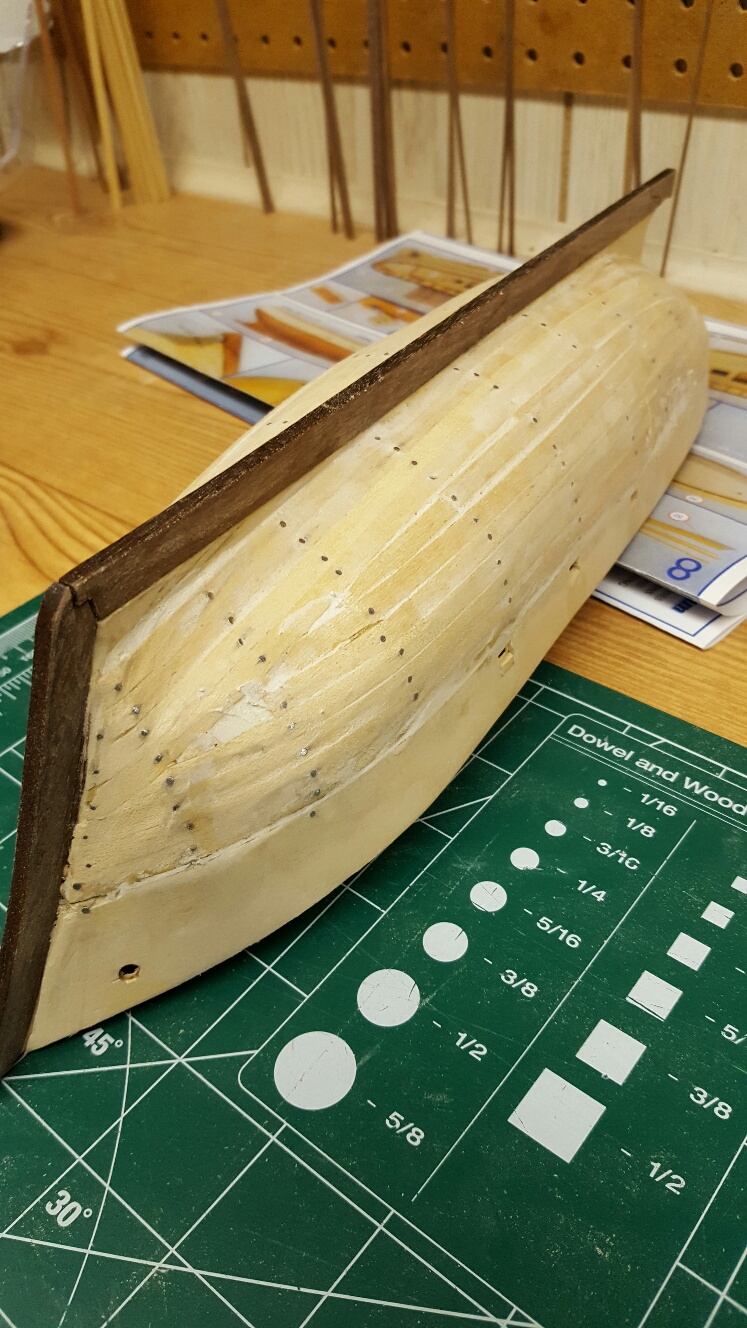
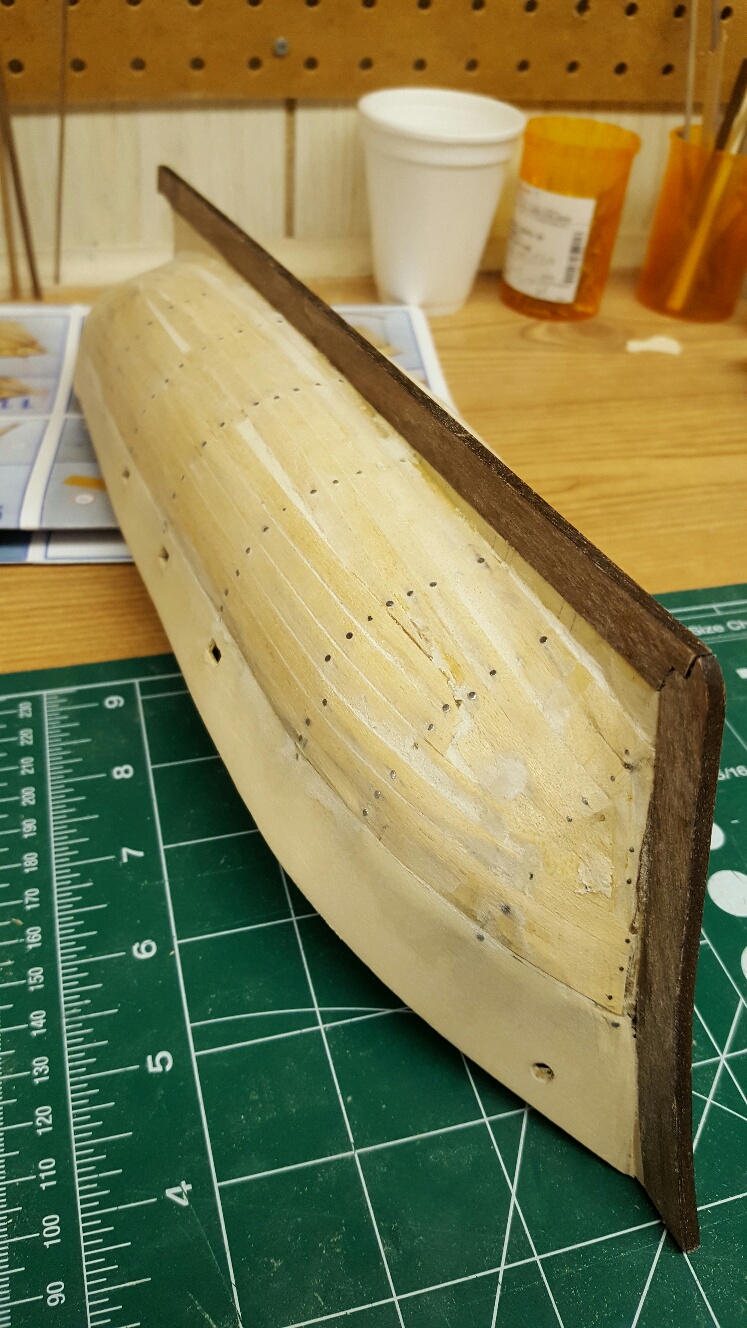
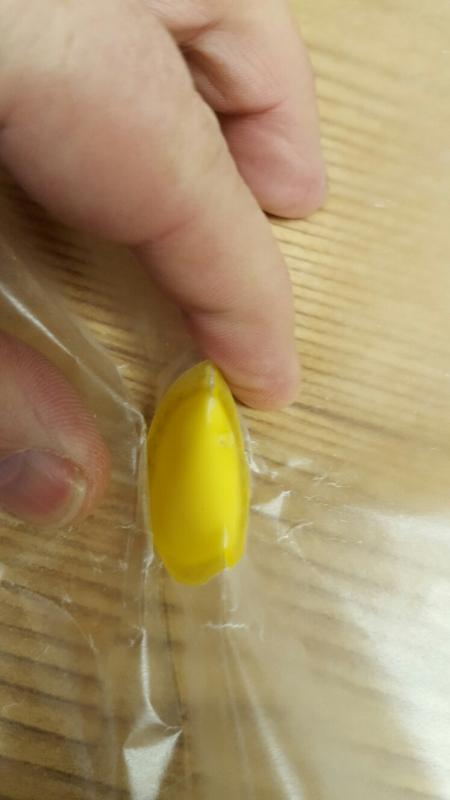
 Well the planking is done. I'm not completely happy with it and found it to be a very painful process. I still have a lot of sanding to do. I found some coloured wood filler at my local hardware store. I bought teak colour thinking it would be a close match. However, after looking at a sample it seemed to light in colour for me. It dried lighter that when first applied. So I went back and bought a mahogany. It of course was too dark. However I tried a couple of mixtures, 1/2 teak and 1/2 mahogany then 3/4 teak and 1/4 mahogany. I think the 75/25 ratio gave the closest result. I plan to use the fill sparingly, just for small gaps, etc.
- 134 replies
-
- 1
-

-
- artesania latina
- mare nostrum
- (and 1 more)
-
When to varnish
Worldway replied to medic's topic in Painting, finishing and weathering products and techniques
So the best answer is, finish after assembly. -
When to varnish
Worldway replied to medic's topic in Painting, finishing and weathering products and techniques
So is polyurethane ok then to glue deck furniture to? -
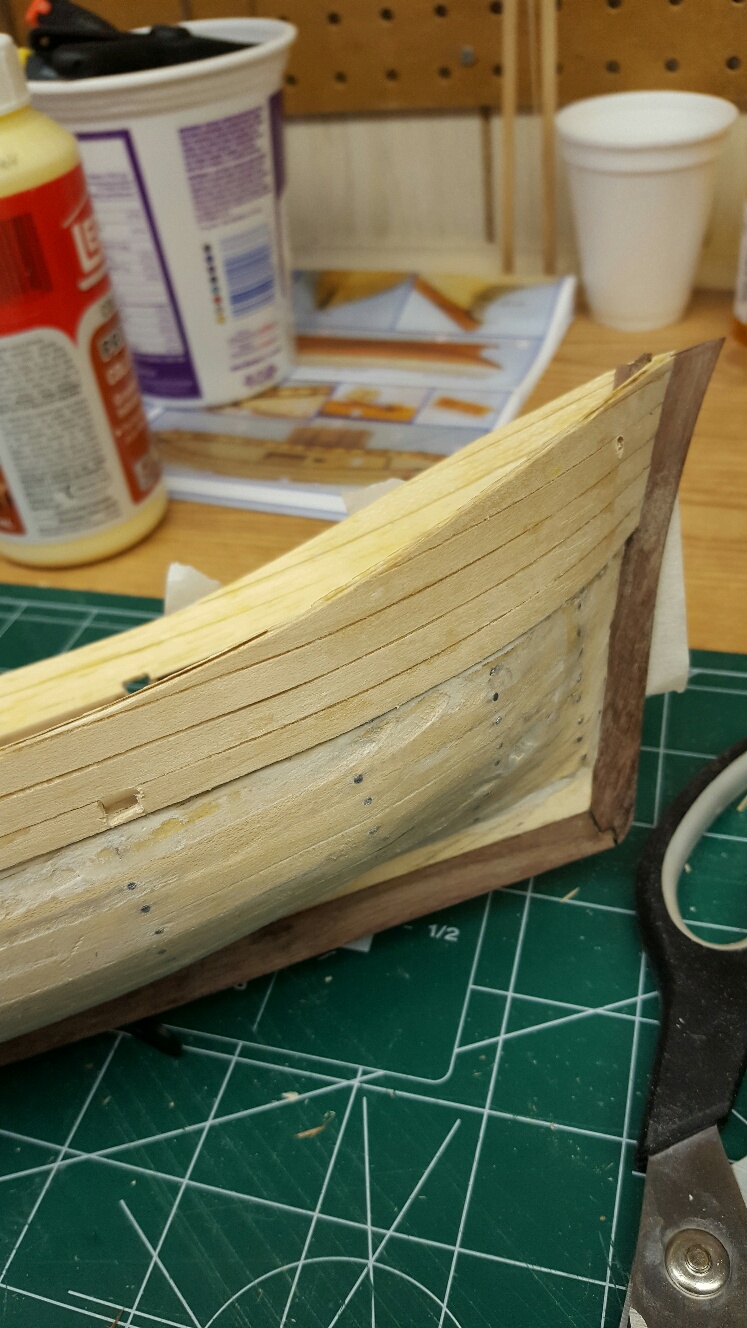
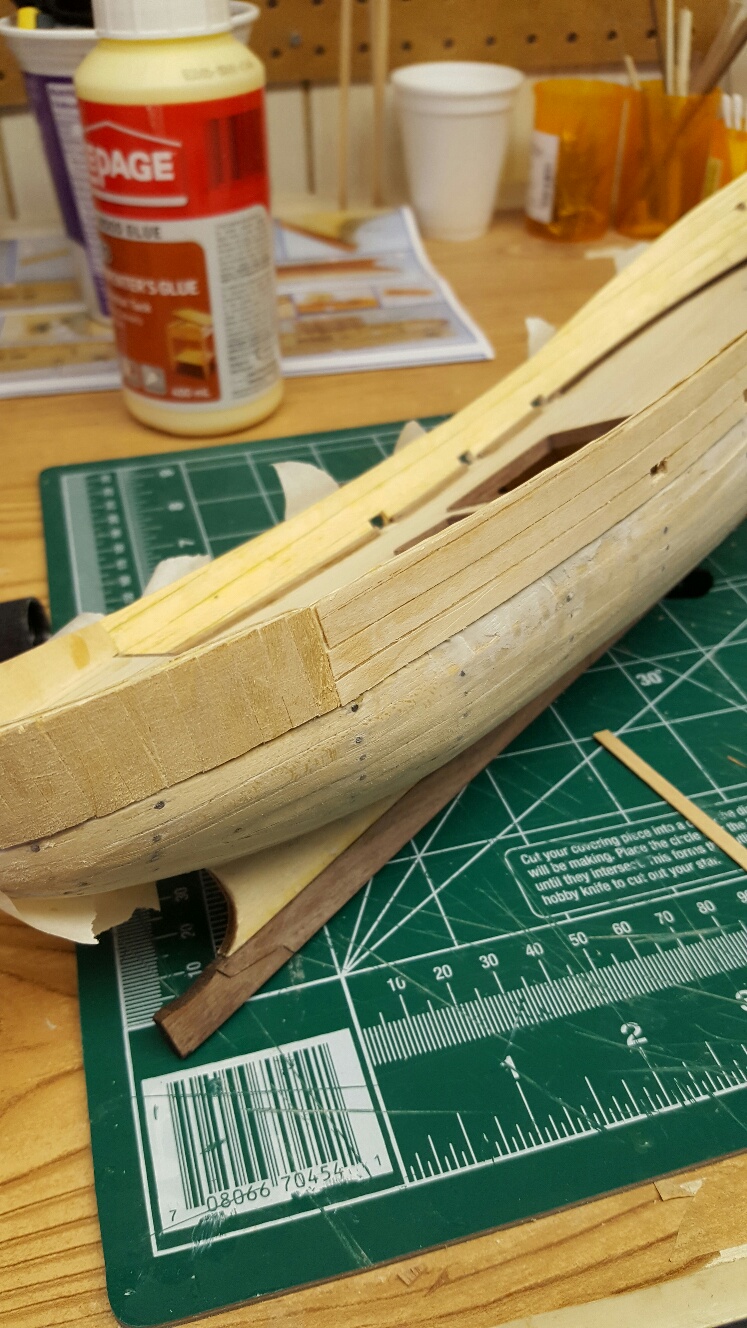
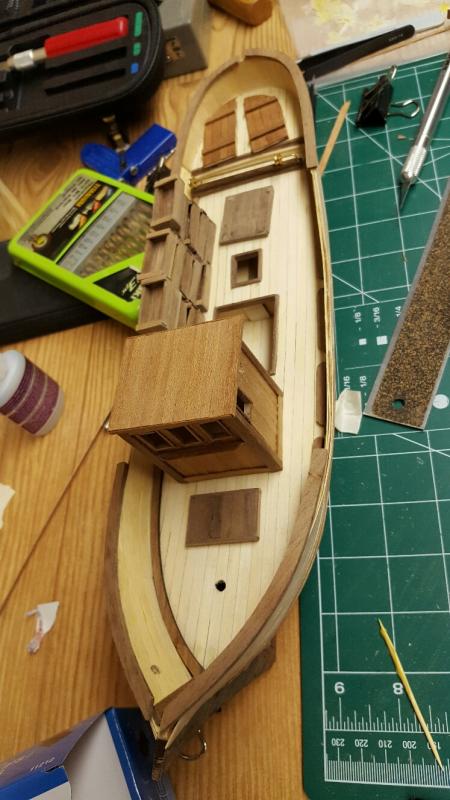
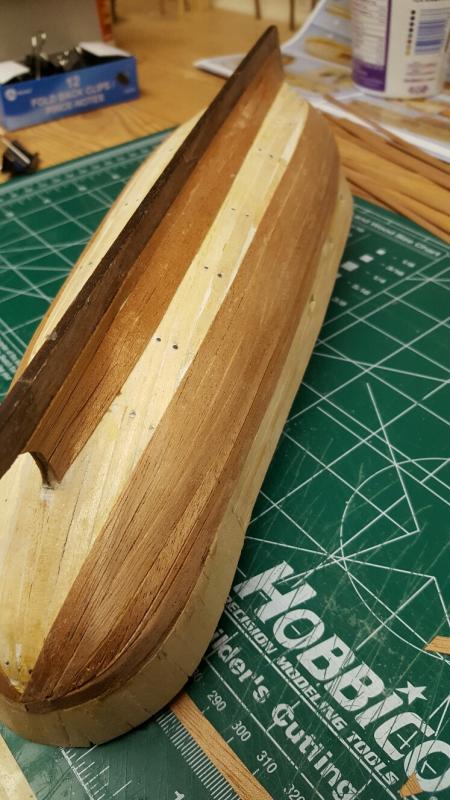
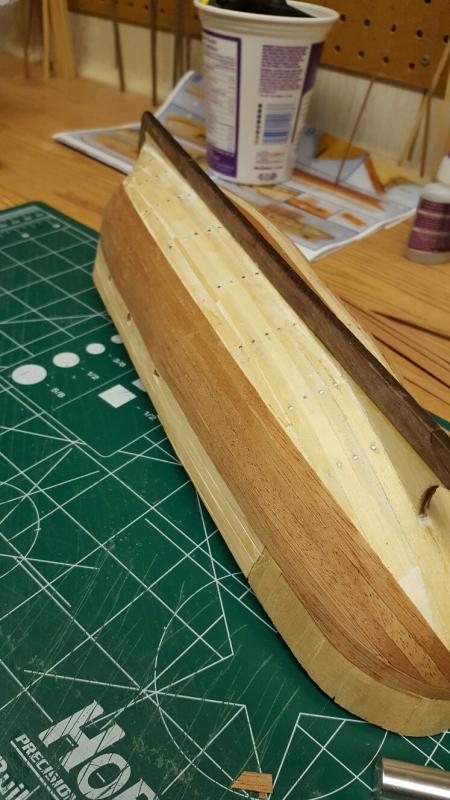
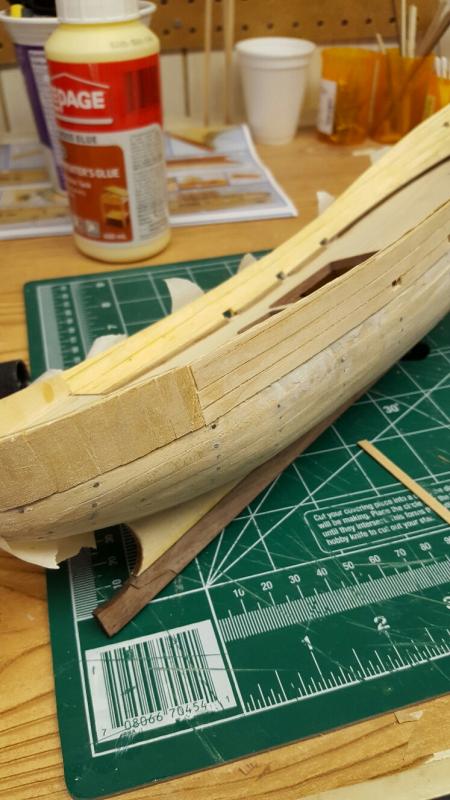
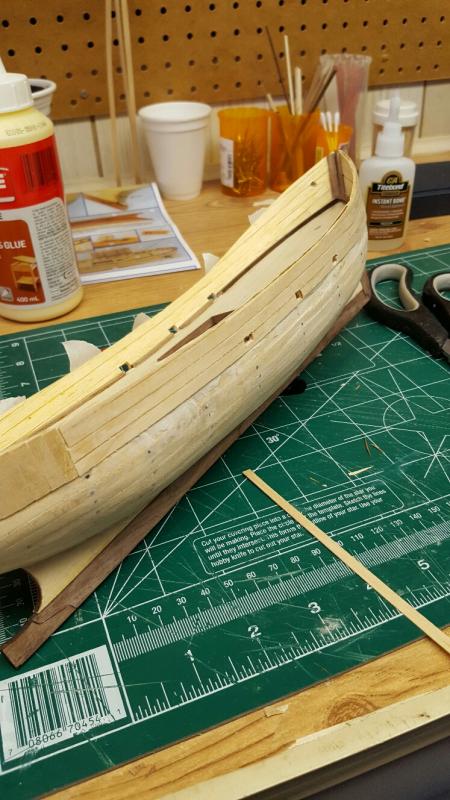
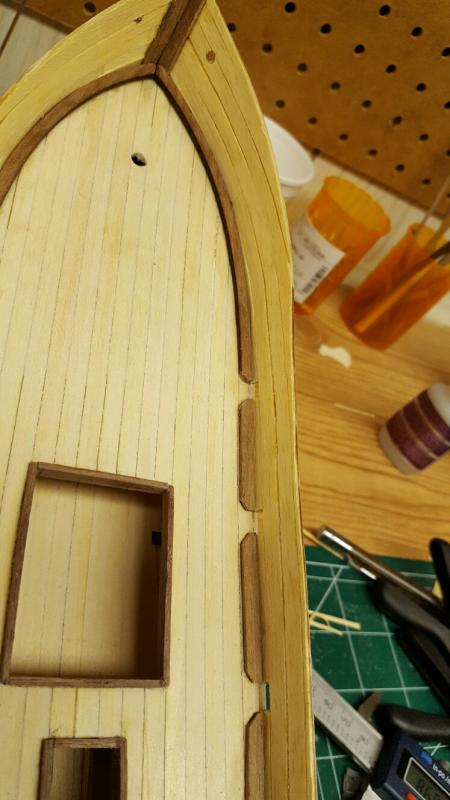
Doug, I can't wait until the planking is done. It has been a tedious task and one that I haven't enjoyed since I started. I should be done very shortly. Well here is another problem I noticed. I was setting up for the following pictures and realized that the forward covering board will not line up properly with the bulwarks. I think that I can rectify the problem by adding a filler piece on top of the bow. I'm hoping that should be the last of my misalignment problems. I wanted to take the following shots to summarize my progress to date.

- 134 replies
-
- 2
-
-
- artesania latina
- mare nostrum
- (and 1 more)
-
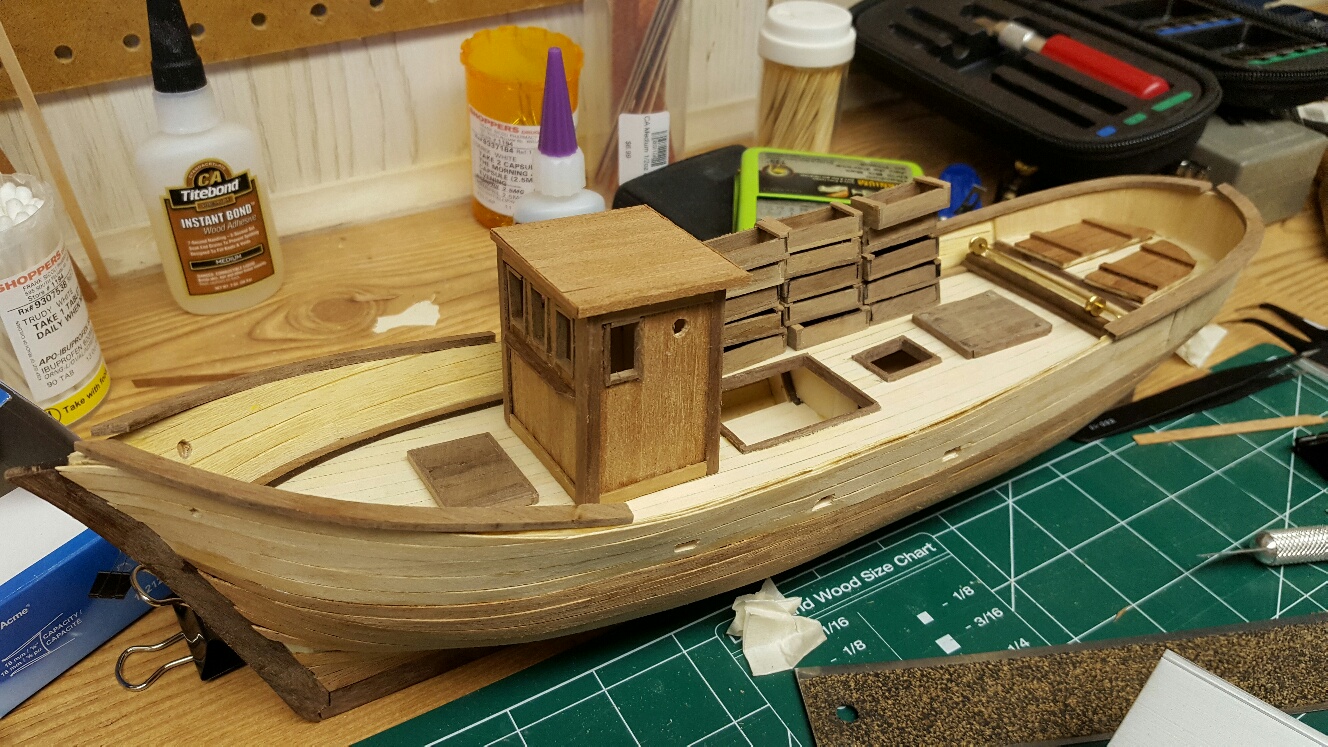
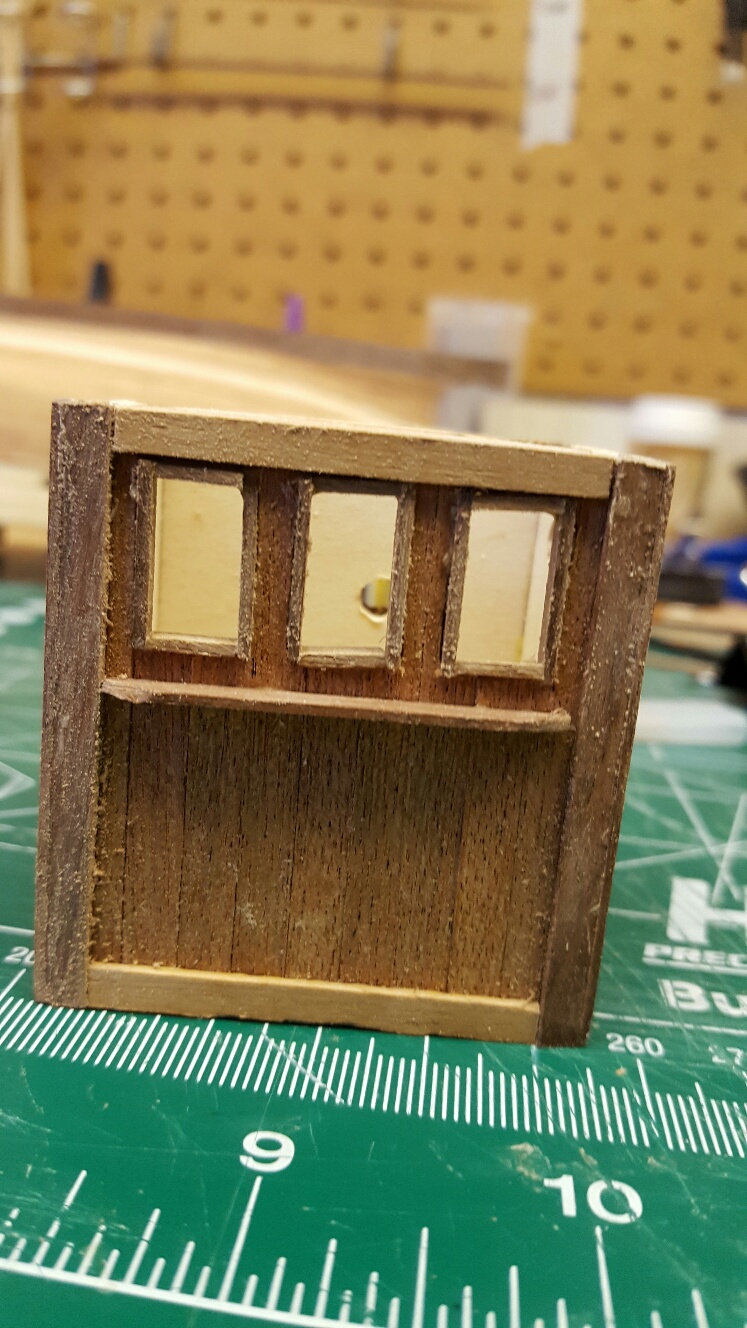
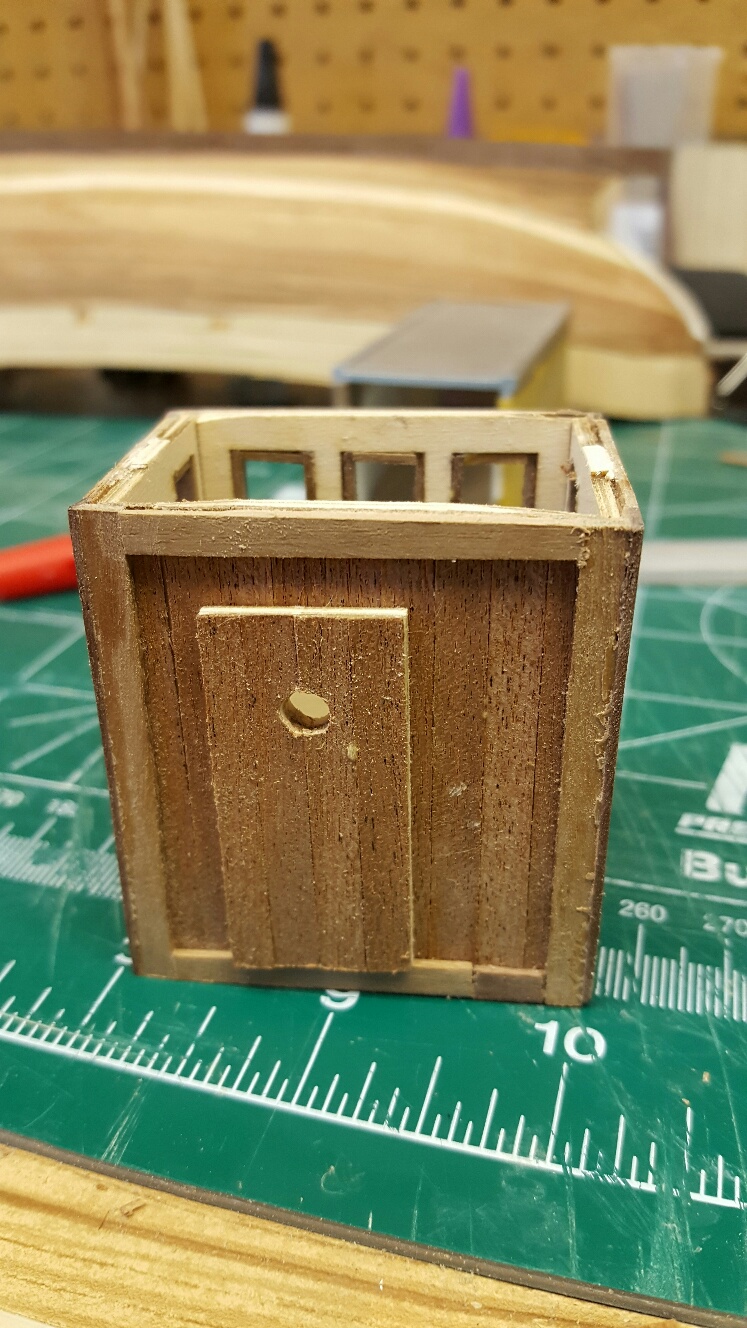
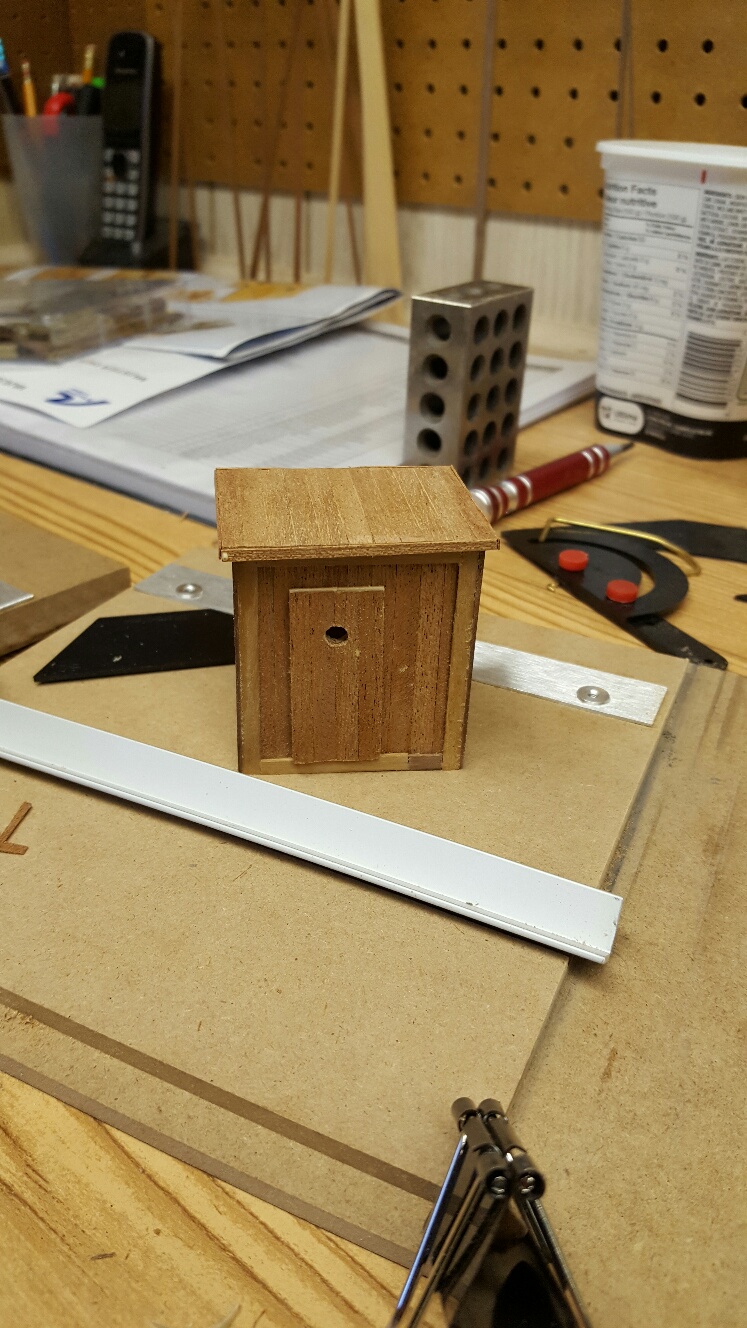
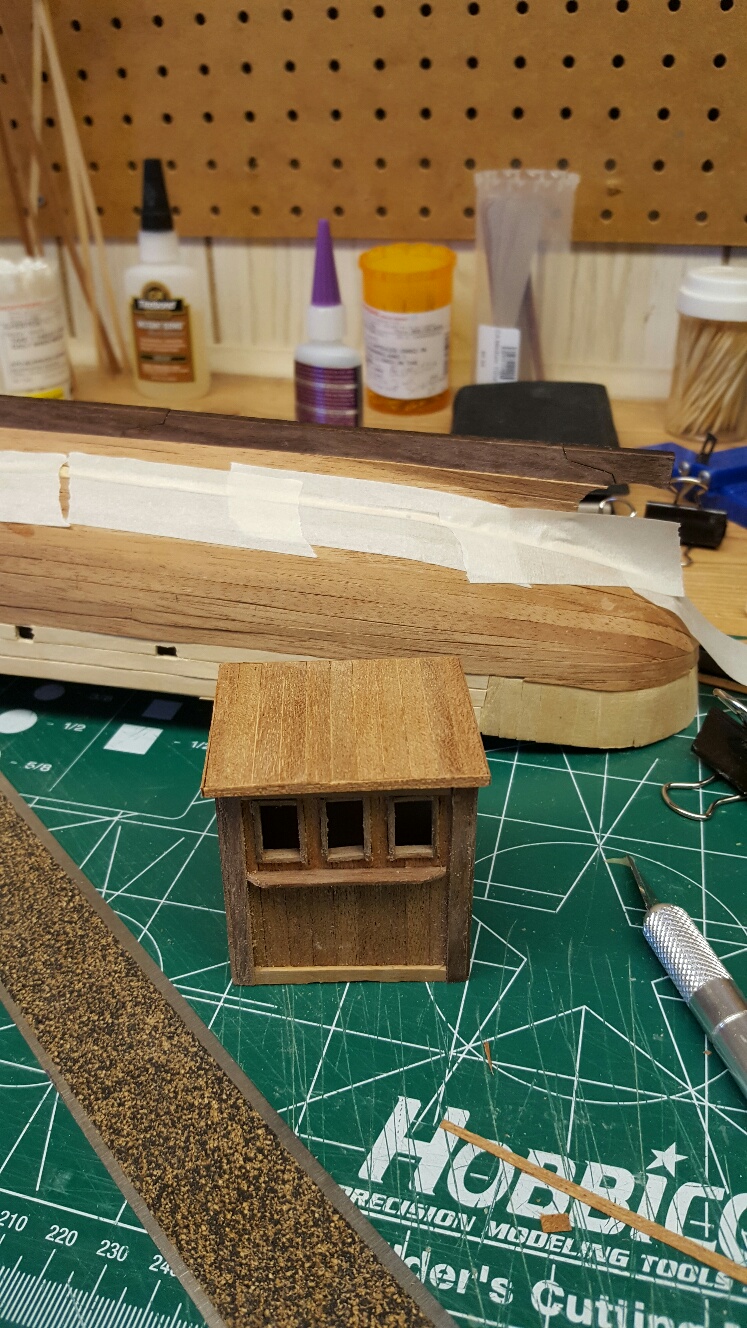
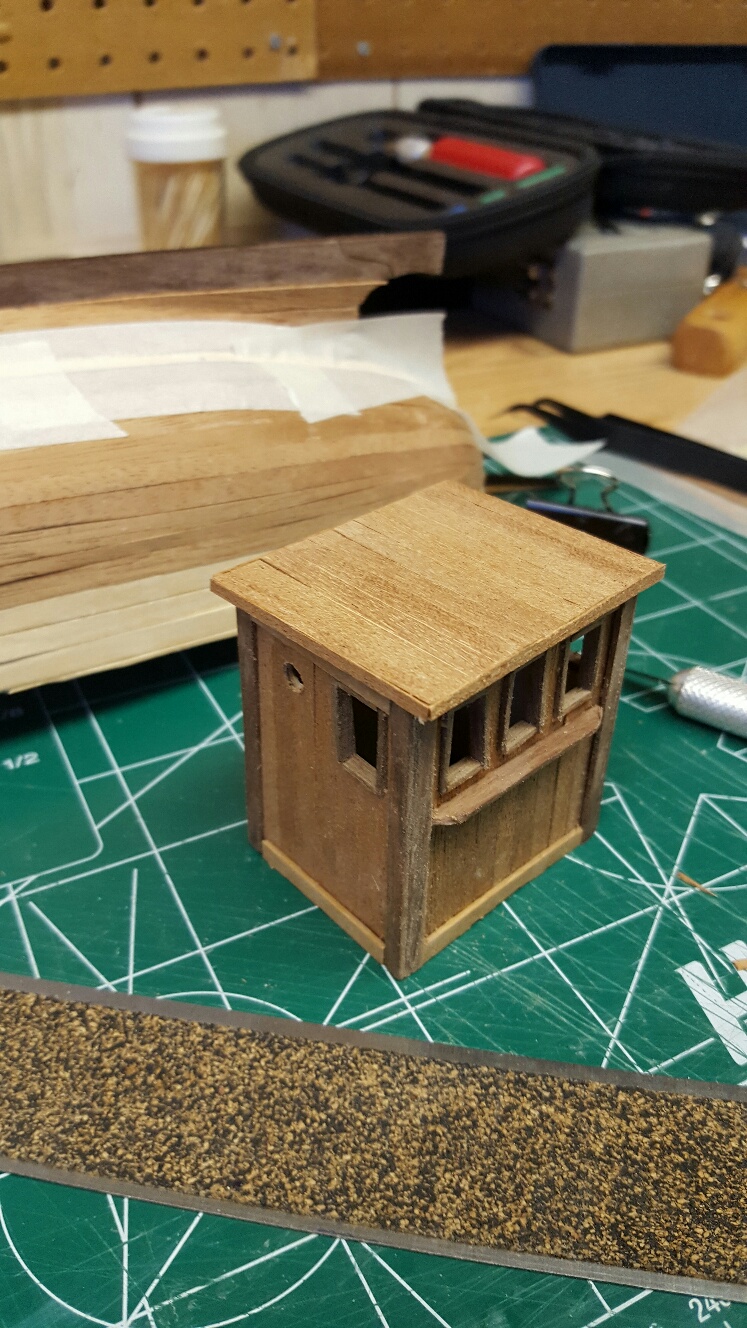
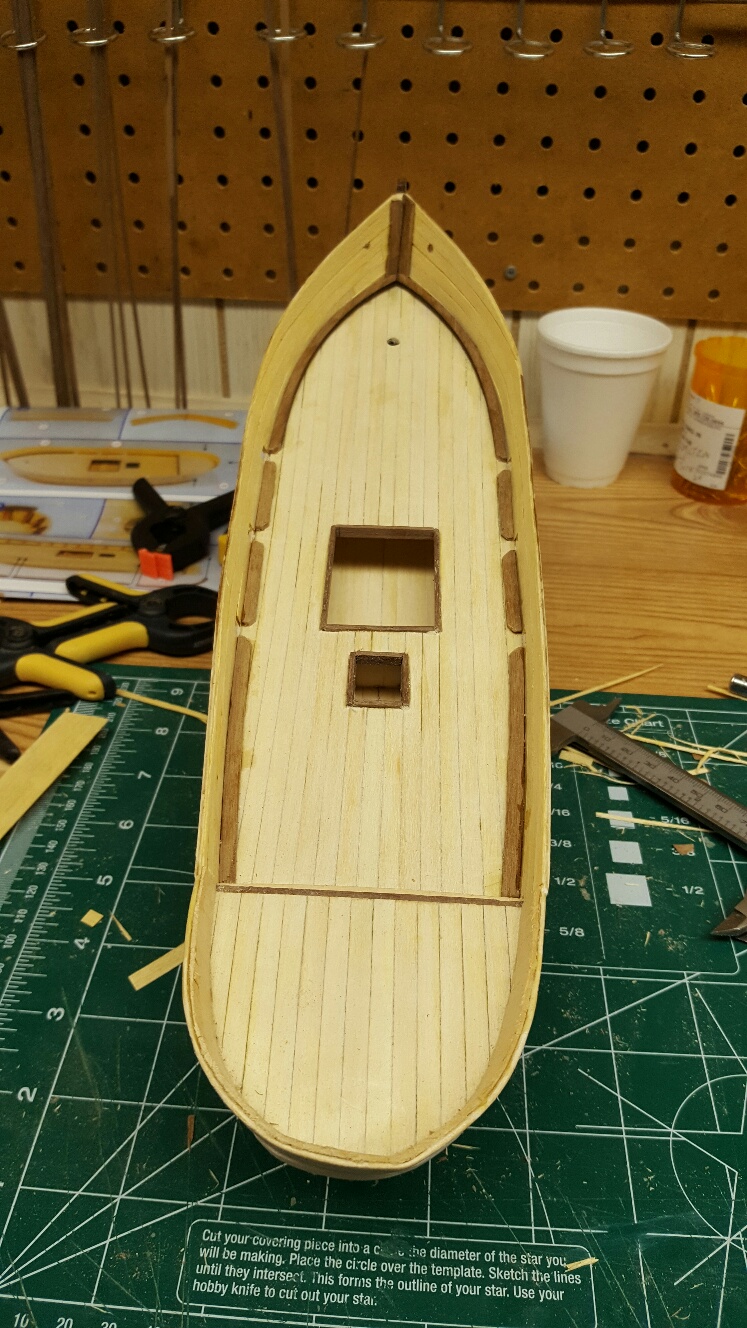
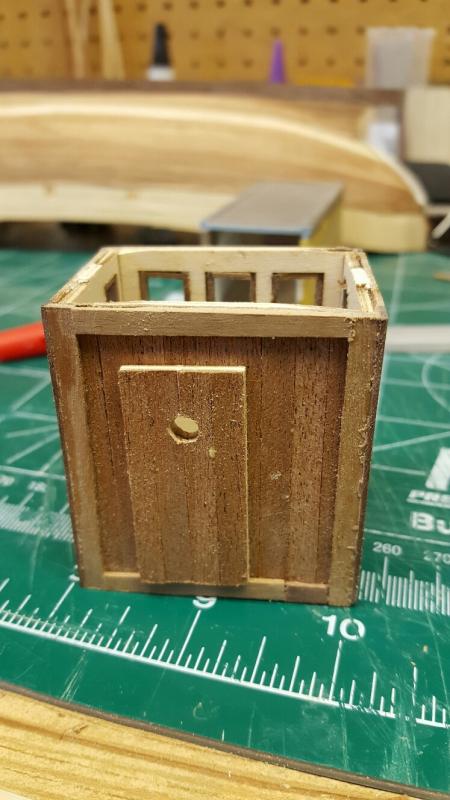
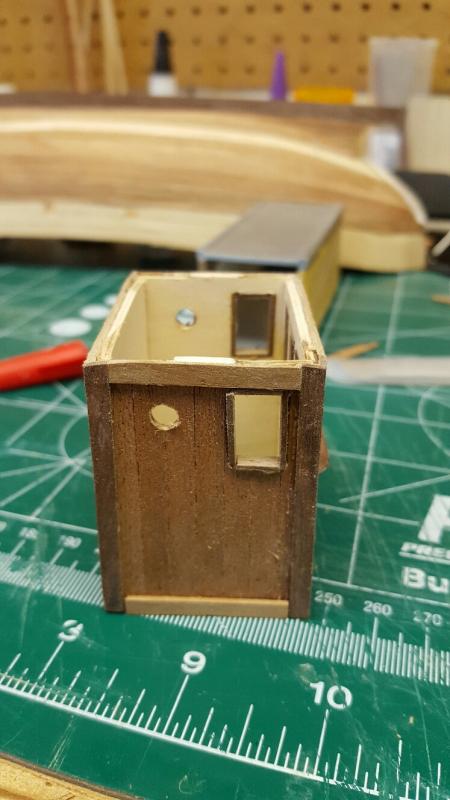
Today I was working on the hull planking and only have one row left on either side. While waiting for glue to dry I decided to build the wheelhouse. One thing I noticed was that there was no direction in regards to the edge of the roof. So I cut a thin veneer to cover the bare wood. I also decided to keep the roof flat as opposed to having a slight curvature. I filed down the alignment tabs and flattened the curve in the front and rear walls. One problem I had was the inconsistent colour of the walnut. As you can see, the walnut trim ranged from darker to lighter. In one case I didn't have enough material left to span the full gap and had to splice in another piece I had in my scrap pile. The colour difference is really noticeable so I put it in the least conspicuous place. Now it's sanding time. Also, I haven't decided if I'm going to use the name Mare Nostrum or come up with a name of my own. I'll likely pick my own name and identification numbers to keep it unique to my build.


- 134 replies
-
- 1
-
-
- artesania latina
- mare nostrum
- (and 1 more)
-
Hi Steve, I'm working on the same kit and it didn't come with the hardwood for double planking as well. I found a local vendor that sells hardwood veneers that work out well for the double plank. I have struggled with my build but I think it's just me. Everything I have read suggests that this is a great beginner model. You can look at my build for tips on what not to do . Good luck and I plan to follow your log. Have fun with it. Derek
- 130 replies
-
- 1
-
-
- mare nostrum
- artesania latina
- (and 1 more)
-
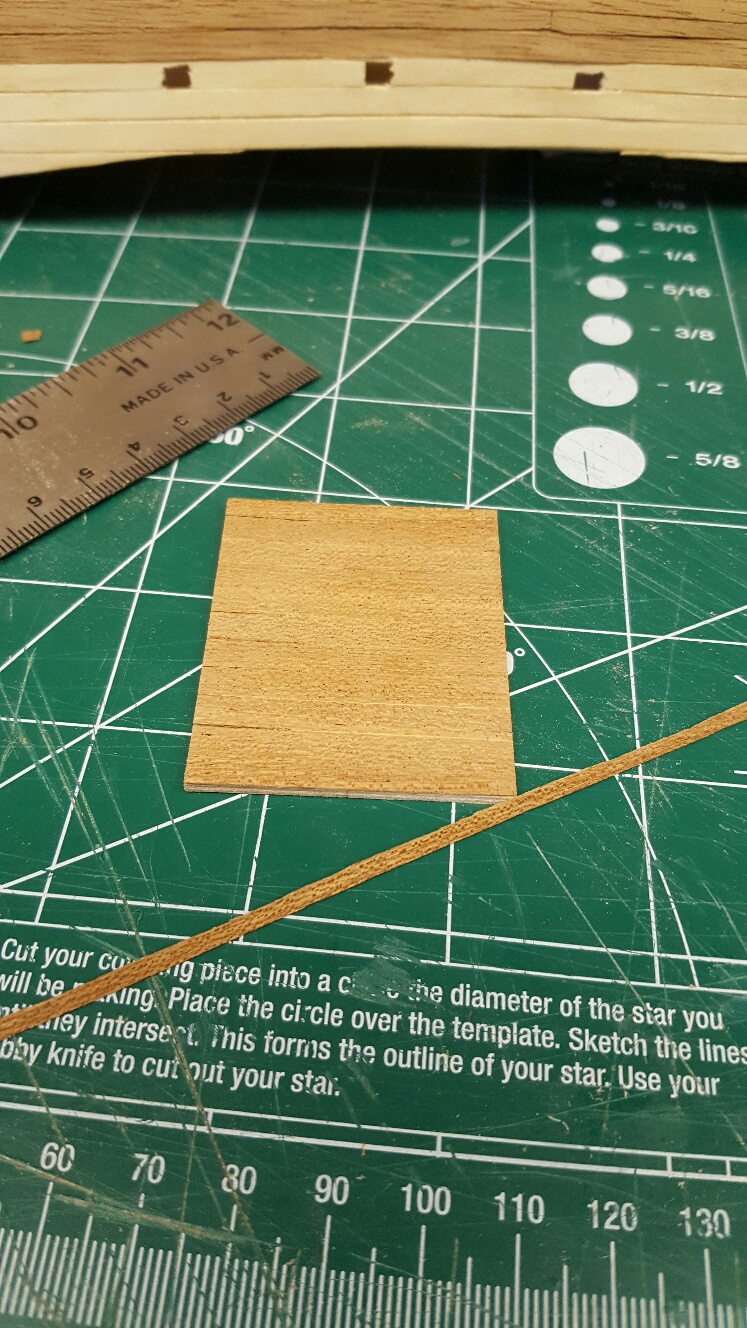
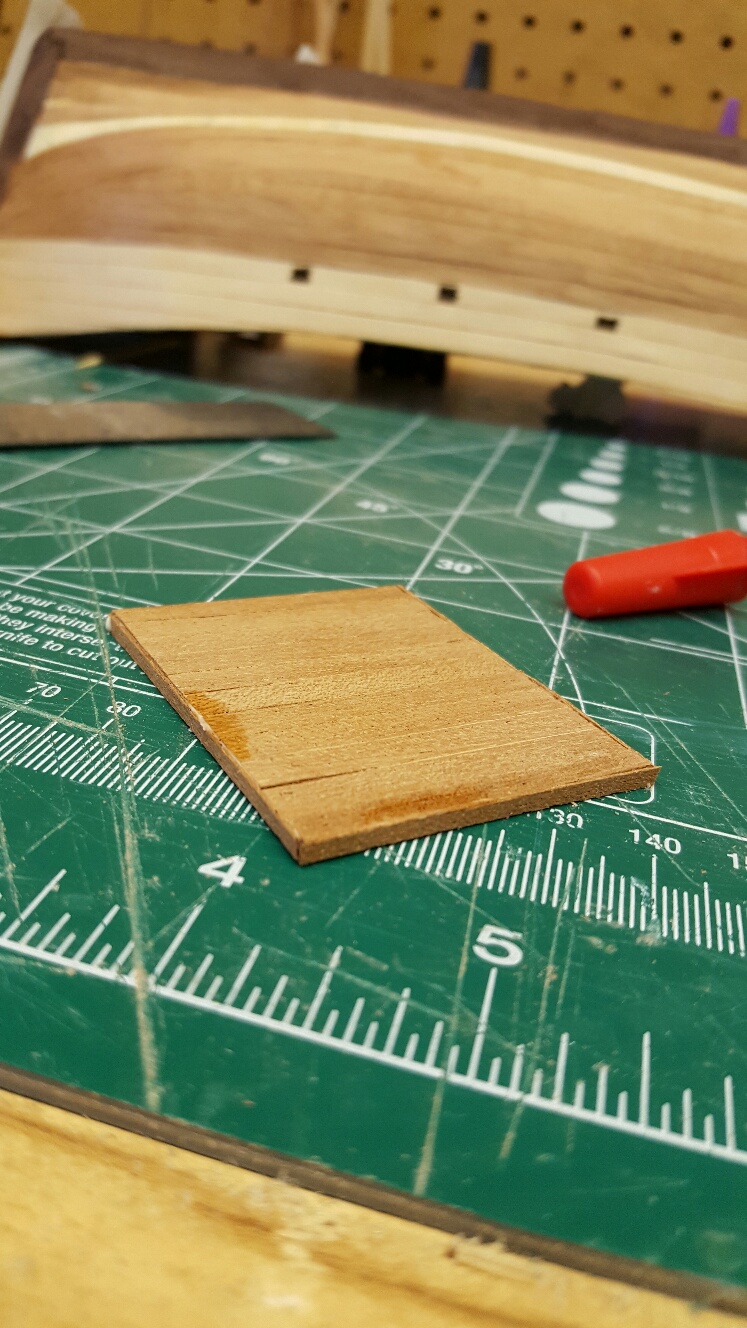
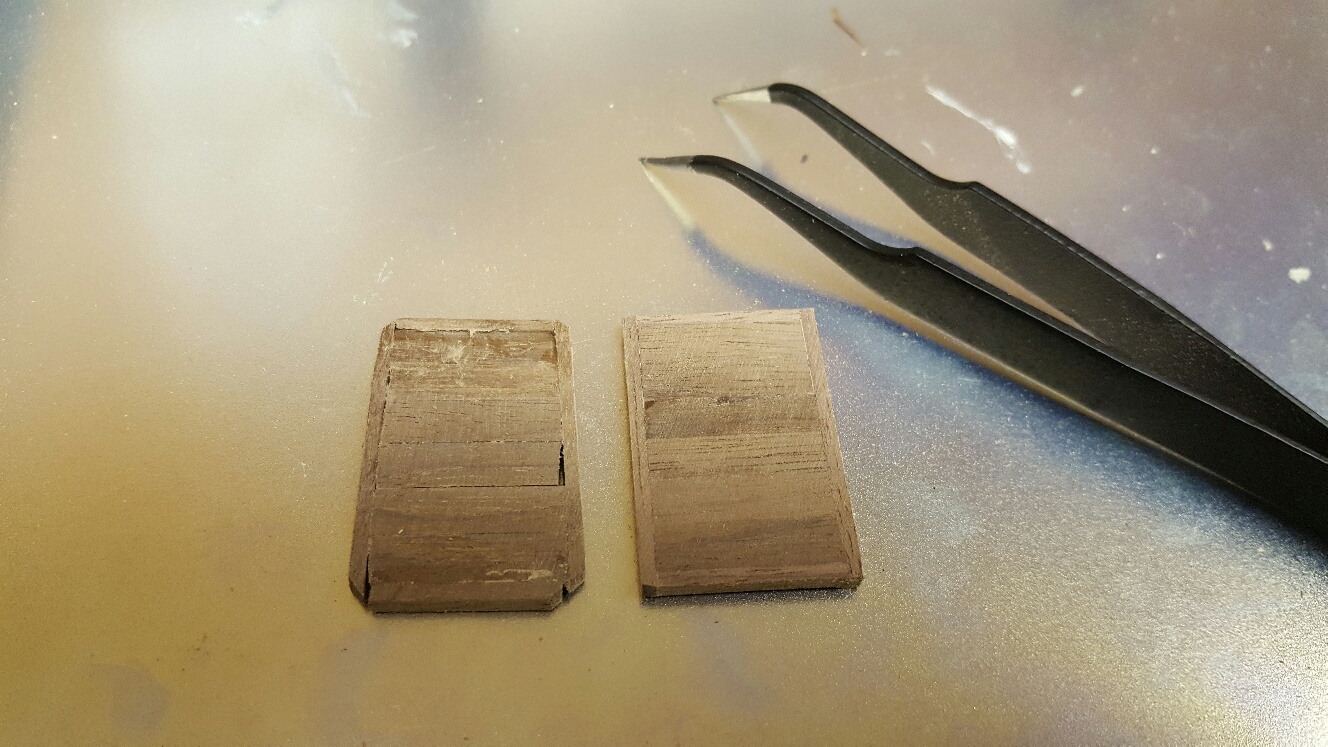
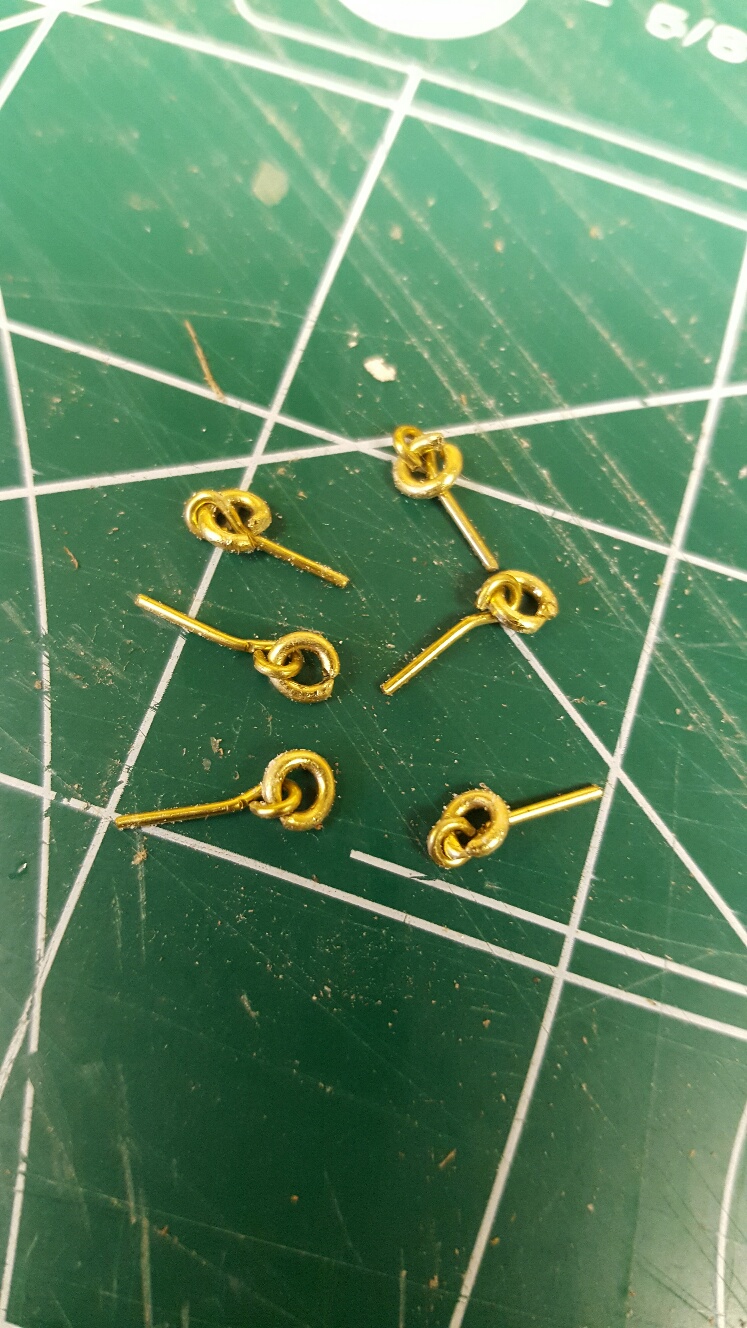
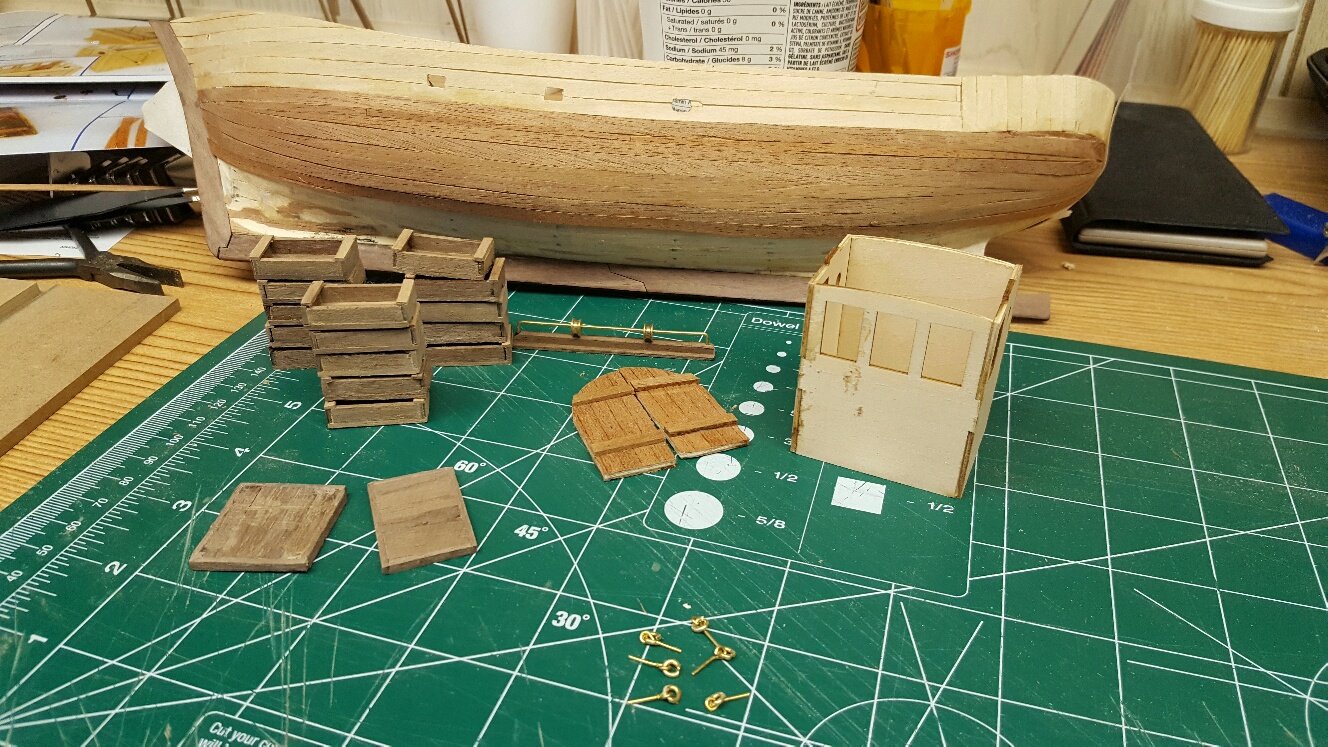
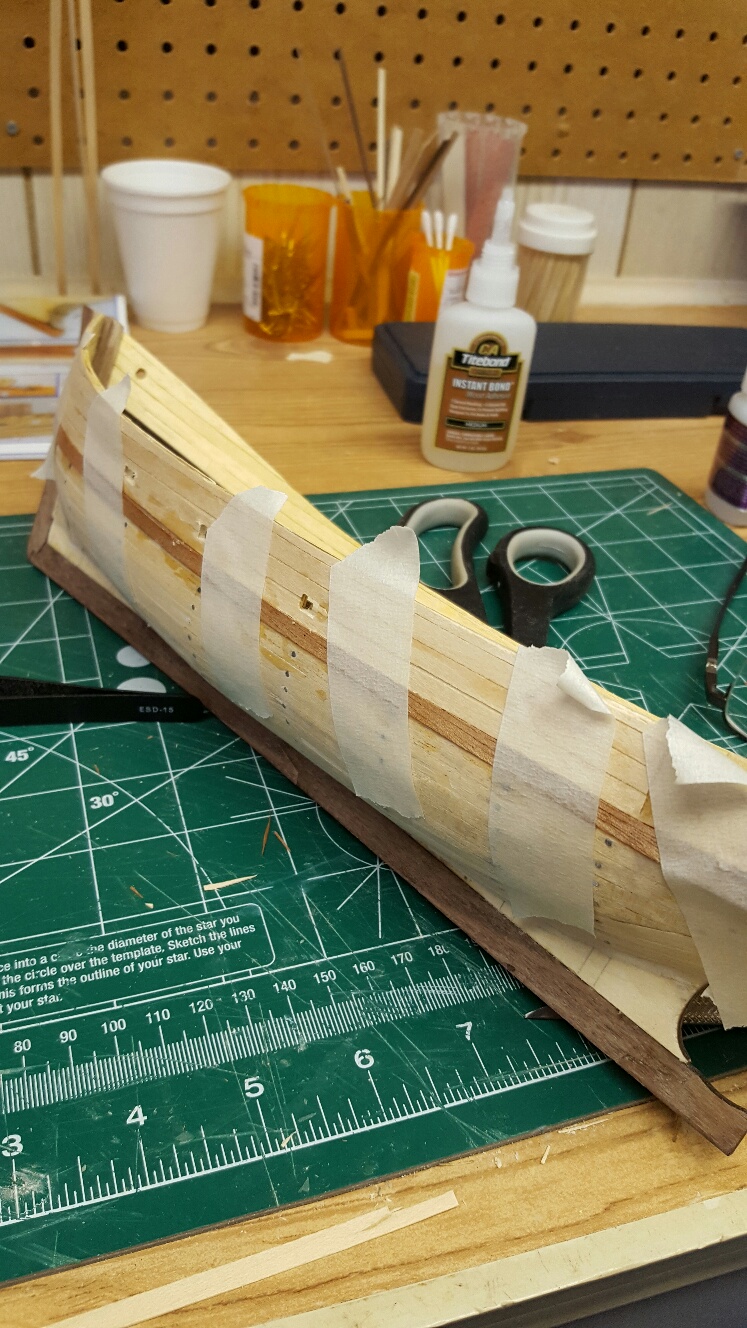
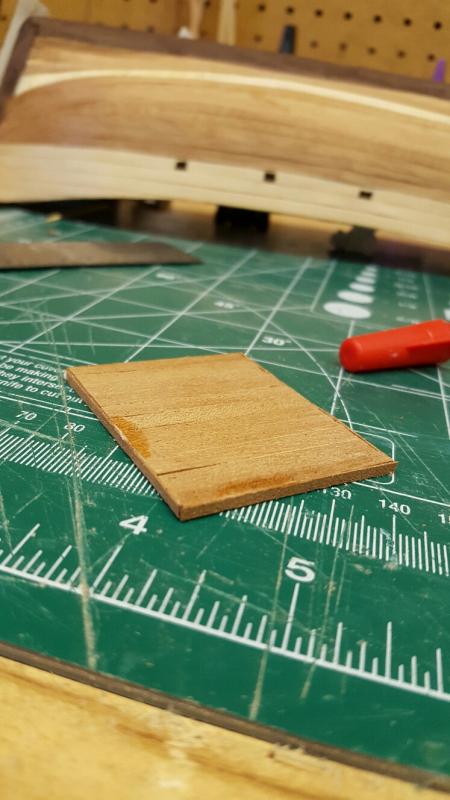
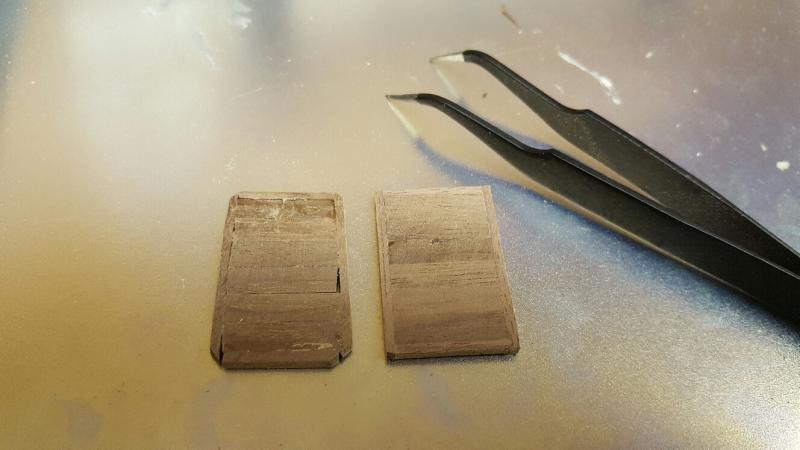
I wasn't happy with the planking I installed by the keel so I removed it and will re-do it. Truth be told, I'm not overly happy with any of the planking but I just want to move on, finish this model then start the Bluenose. There are areas of planking that i will try to cover up especially where the plank meets the stern. I may add a vertical plank to improve the transition. I realize this isn't accurate but I'm sure only those with a nautical background will notice. I managed to re-do my forward quarters hatchway and am happy with the outcome. Original is on the left with the new one on the right. I didn't have enough material to re-do the reeving winch base but I think I can live with what I have. I (once again) misread the directions and thought I had to make the brass loops for the rigging hoops that connect to the eye bolts. I took a length of 1mm dia brass and twisted around a piece of 2mm dia brass. I was quite happy with the results and got most of them installed when I realized they were already in my parts kit. I will keep the ones I made however I am now short 1 length of 1mm dia brass. I'm going to have to omit some details further on because I won't have enough material for them. I was busy with the hull planking and then tearing out some of the hull planking so i thought I would get away from planking for a while so have been working on some of the sub assemblies. With the holidays, visits, family, etc I haven't had a lot of time to work on it. I'm off work for another week so plan to go full steam ahead.


-
Hi Doug, thanks for the help on my last question about the Bluenose steering wheel. I'm a while away from building my Bluenose but I think I'll follow your build for instruction and information. And by the way, if you look at my log for the Mare Nostrum, you will look first hand at what learning is all about. I have redone more work than I have done, but trust me, I have learned a ton with that build. Good luck and I wait patiently for your posts.
-
Hull planking is progressing albeit rather slowly. It's not perfect but I'm hoping that after final sanding it will look a lot better. Hopefully I will have it finished soon so I can move on with the build. I've purchased some tools to help me along the way but the Admiral insisted I put them under the tree until Christmas. Perhaps then speed will pick up.
-
Poor results with carpenters glue
Worldway replied to a topic in Modeling tools and Workshop Equipment
I am thinking, and I don't mean to sound rude, please believe me, but for the small price of a new bottle of glue, why not just replace it? It seems we have tried to help you yet you still seem to continue testing your glue thinking that perhaps it will yield better results at some time. Perhaps try another brand or type. Mine probably wasn't 100% cured but we are now splitting hairs. I love the glue I use and wouldn't consider changing it. By the way, I probably bought the bottle three years ago and it still works like a charm. -
Poor results with carpenters glue
Worldway replied to a topic in Modeling tools and Workshop Equipment
-
Hide wood
Worldway replied to Don Quixote's topic in Building, Framing, Planking and plating a ships hull and deck
I'm finding that carpenters glue works much better than CA glue. I don't have experience with other glues but the glue I'm using seems to be superior to what I've tried. -
I found that the planks were sitting proud of the deck toward the stern. I believe this was caused by trying to force the planks to sit in place against the adjoining plank while trying to maintain the curvature. I realized that you just simply can't plank from top to bottom as others have observed with my first planking job. I will put a plank mid hull then cut and adjust all other planks to fit against it. Again, I will review the planking instructions on this site. I don't really mind all the rework I have been doing. First, I'm learning a ton of stuff. Second, I am actually getting a good stock of wood / veneers now. Third, the Bluenose hasn't even shipped yet so I still have plenty of time to kill. Might as well learn what I can in the meantime. If I can offer one word of advice to a new builder "MAKE SURE THE INITIAL STAGES OF THE BUILD IS TRUE AND ACCURATE, IF NOT NOTHING ELSE ALONG THE WAY WILL FIT PROPERLY." As I said before, i completely underestimated building boats with wood and figured it was as easy as plastic models. Nope, not even close. So now I pay the price. Still keeping optimistic hope that the final product will be worthy of display. I would hate to put all this work into a model then relegate it to the closet.
-
So I had three rows of planking done on both sides but wasn't happy with the results so I removed rows 2 and 3 and decided to start again. This time I think I will read the planking tutorial on this site and actually pay attention to it. Hopefully the next time I publish pictures the hull will be fully planked.... properly. Thanks for the kind words Robin. Definitely a learning curve but I'm slowly getting there.
-
I started the second planking with some success. It's proving to be going slow because I can only do one plank at a time them wait for the glue to set. I found that although CA glue worked for the bulwarks it isn't working for the hull and my carpenter's glue is working a lot better. I'm certainly not getting the professional results that I want. I guess that comes with practice.


- 134 replies
-
- 1
-
-
- artesania latina
- mare nostrum
- (and 1 more)
-
Poor results with carpenters glue
Worldway replied to a topic in Modeling tools and Workshop Equipment
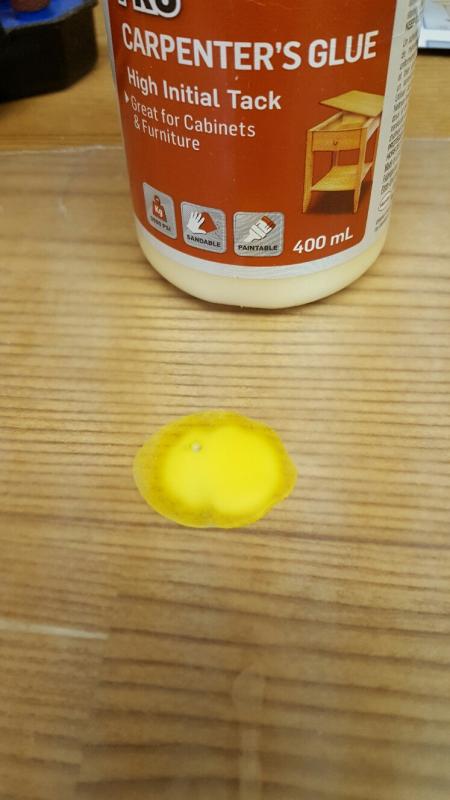
So here are my results. Yesterday I made a small pile of glue on wax paper I let it dry for approximately 16 hours. Here is the dried pile of glue And as you can see, it has remained plialble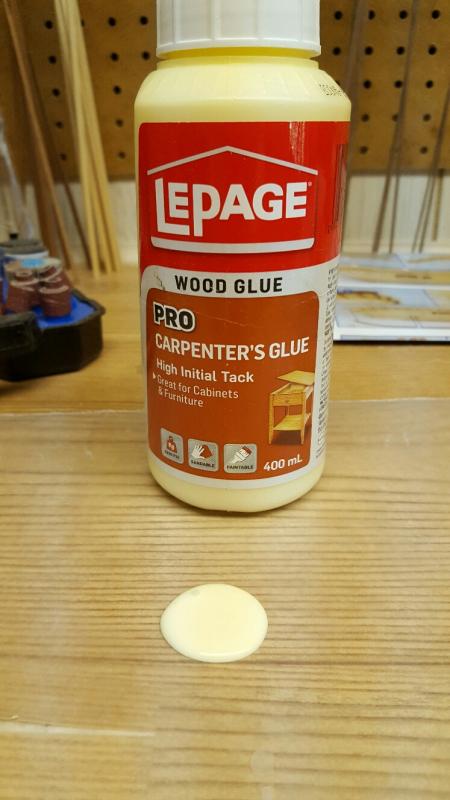
-
Poor results with carpenters glue
Worldway replied to a topic in Modeling tools and Workshop Equipment
When I do leave glue on wax paper it tends to dry and remain slightly pliable, certainly not brittle. I will gladly do your experiment tonight and post results with pictures tomorrow. -
Poor results with carpenters glue
Worldway replied to a topic in Modeling tools and Workshop Equipment
Maybe you got a bad batch of glue. I use Lepages Pro Carpenter's Glue and I love it. I find it to be incredible for holding strength and work time. The only time when I had issues was when I didn't have full coverage. You need to make sure the piece being glued has glue fully on all mating surfaces. When I didn't the piece would break away pretty easily. However, so far, that has worked to my advantage. -
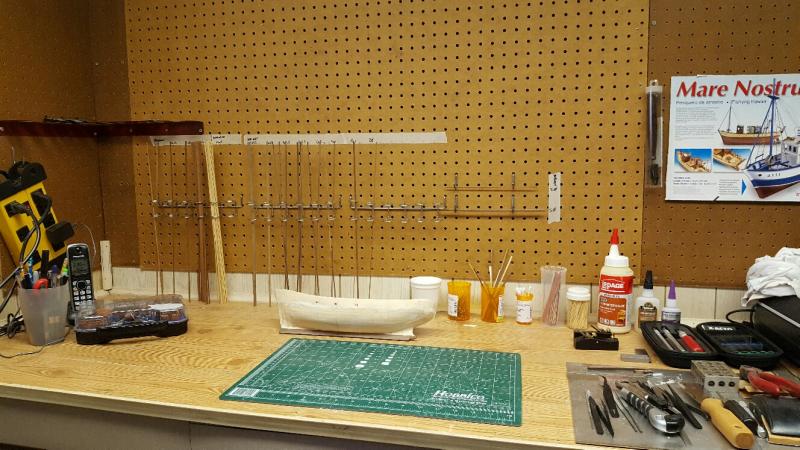
Looks like an operating room.
-
Ha Ha, did I say I was going to start hull planking today? After closely examining the hull I realize I have a LOT of sanding to do. I just finished the rough sanding and want to get into finer grits. I'm finding that the nails are getting in the way though. It's ironic that I have pretty much sanded off most of the body fill I've added. I probably could have used 1/10 of what I did. I still have to fix up the planking by the bow post. (I'm still learning nautical terms and I may have previously referred to this as the stern post).


-
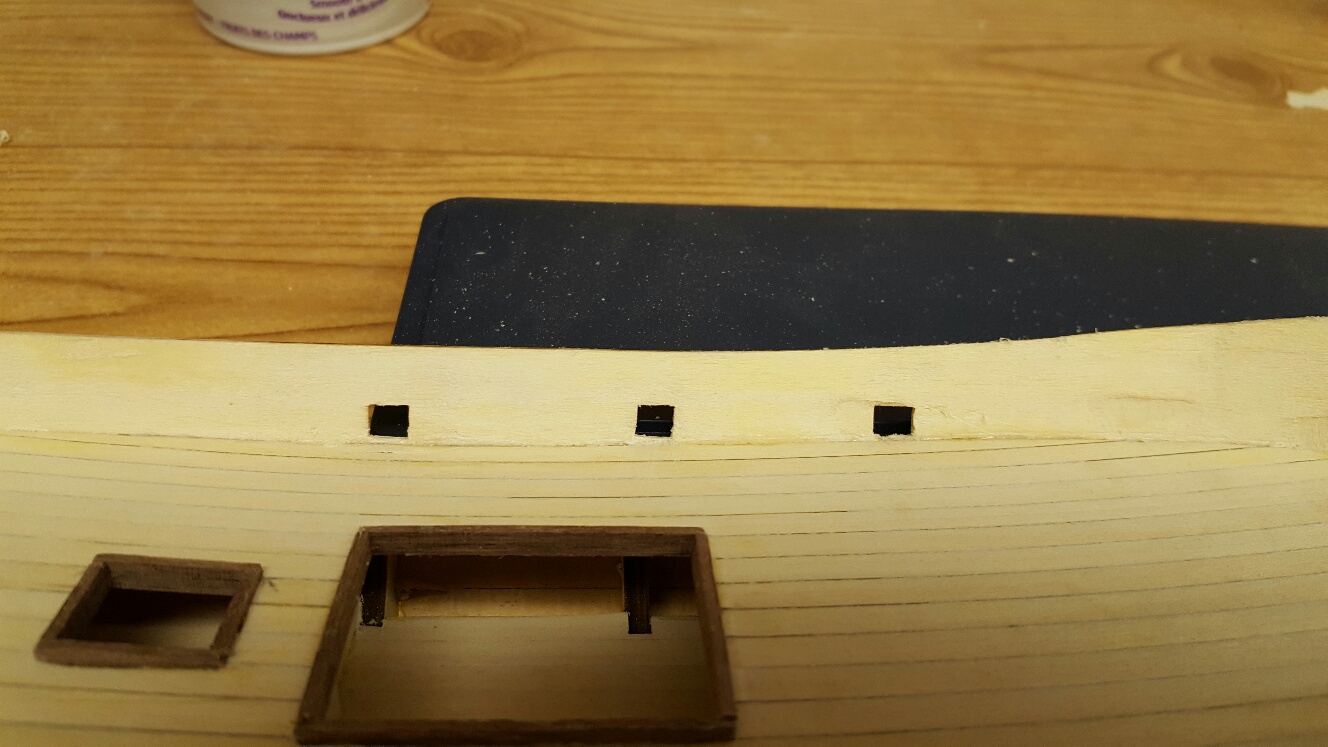
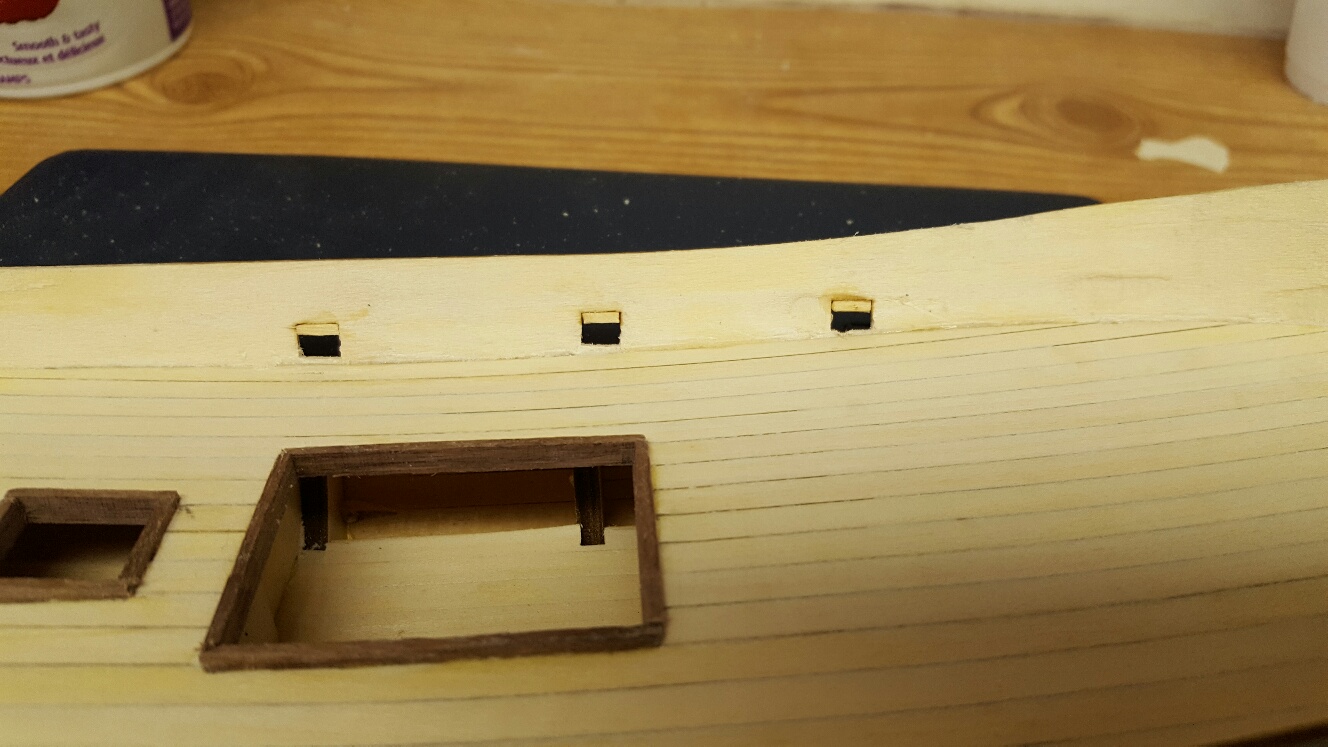
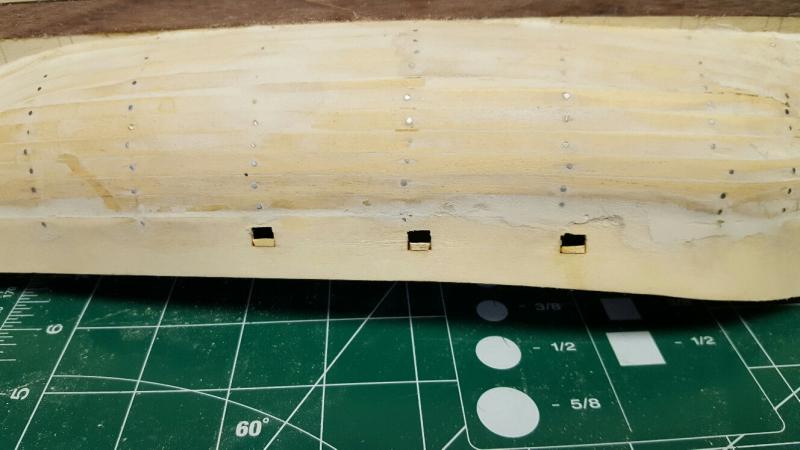
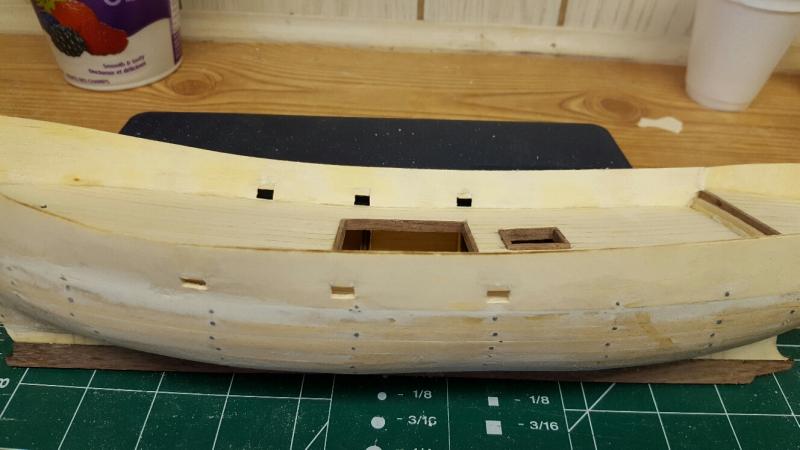
I finished planking the interior bulwarks. I decided to run a full plank above the scuppers and fill in between the scuppers below the first plank. I've added a detail at the bow to hide imperfections. Next up - planking the hull. I'm hoping to start that tomorrow night.

- 134 replies
-
- 2
-
-
- artesania latina
- mare nostrum
- (and 1 more)
-
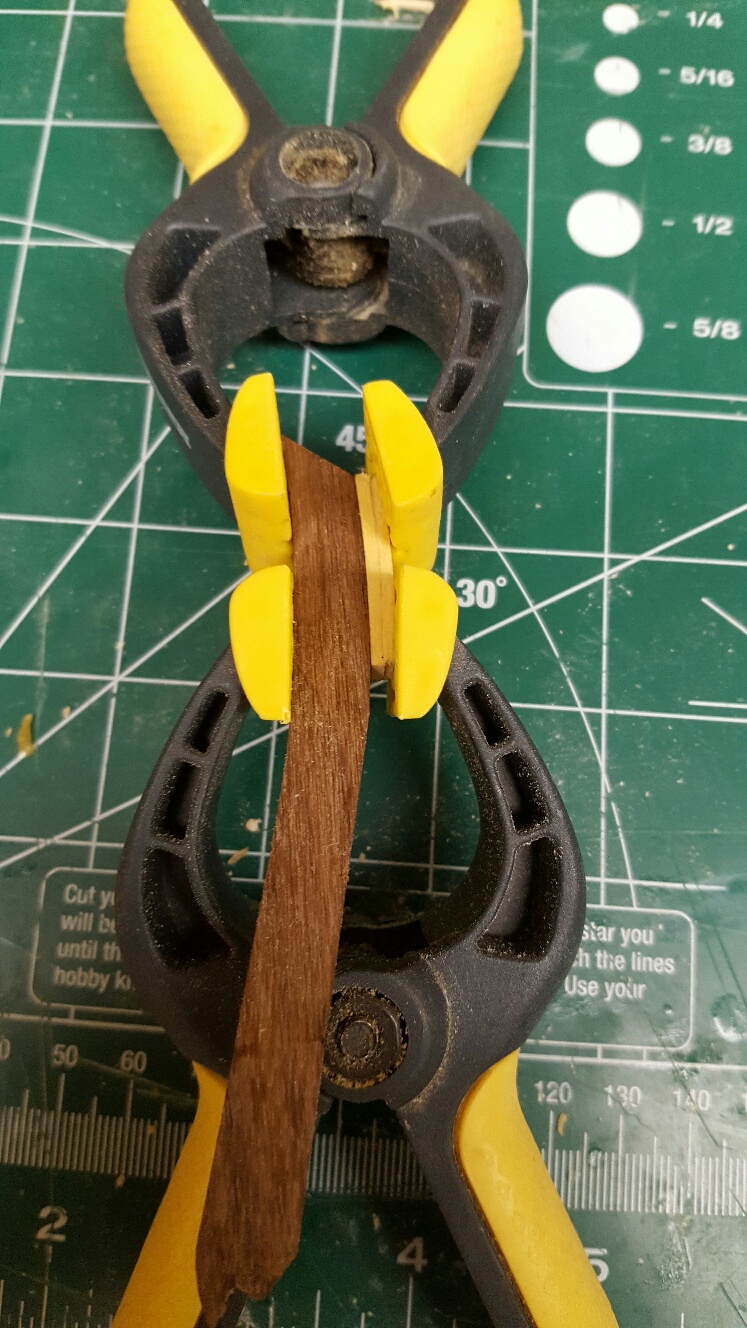
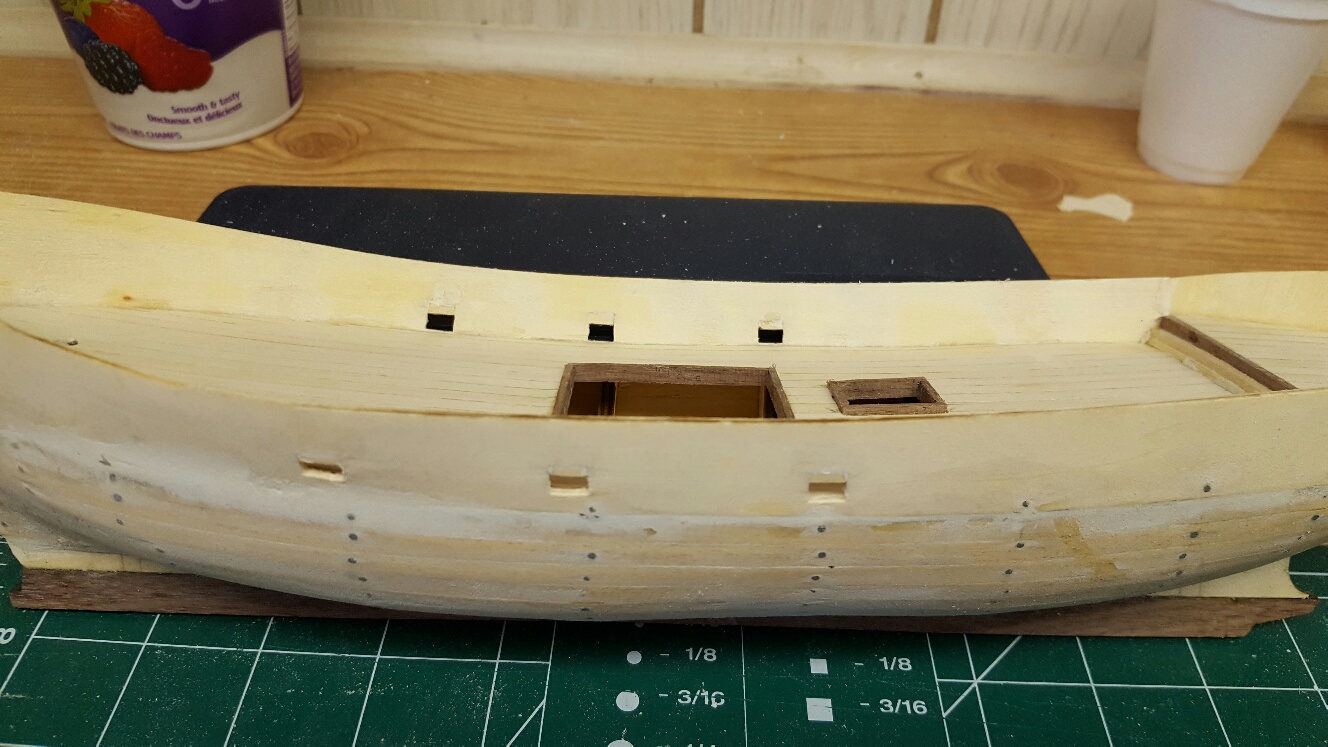
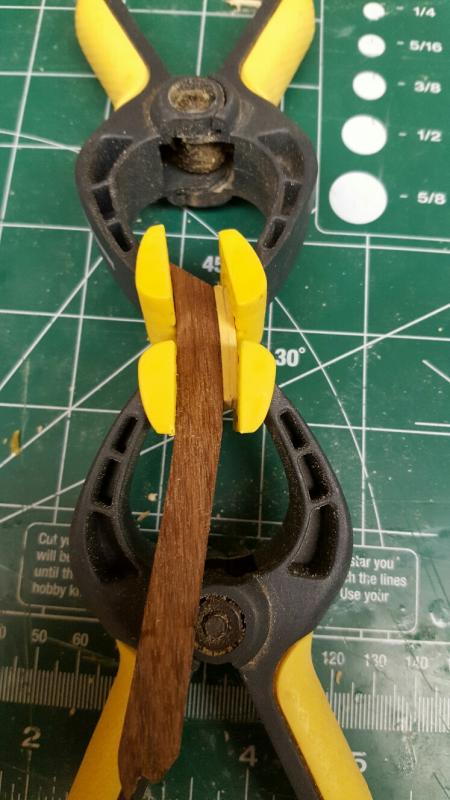
I was away for a week in San Diego. Just getting back to the boat. I've attached the forward stern post and the rear stern post. I've planked the rear interior bulwark and am starting to work on the front interior bulwark. I still have hull sanding to do but I'm hoping to start the final planking soon. I was experimenting today with cutting veneers and it's not that difficult. Just carefully with several light passes as probablynot recommended. In San Diego I had a chance to take a cruise on a yacht. I'm not boasting, what I'm saying is that I was looking at the yacht from a different perspective. Instead of focusing on the state rooms or the bridge, I was taking pictures of the deck planking and the rigging. I think I'm hooked.
-
Here is my solution.

-
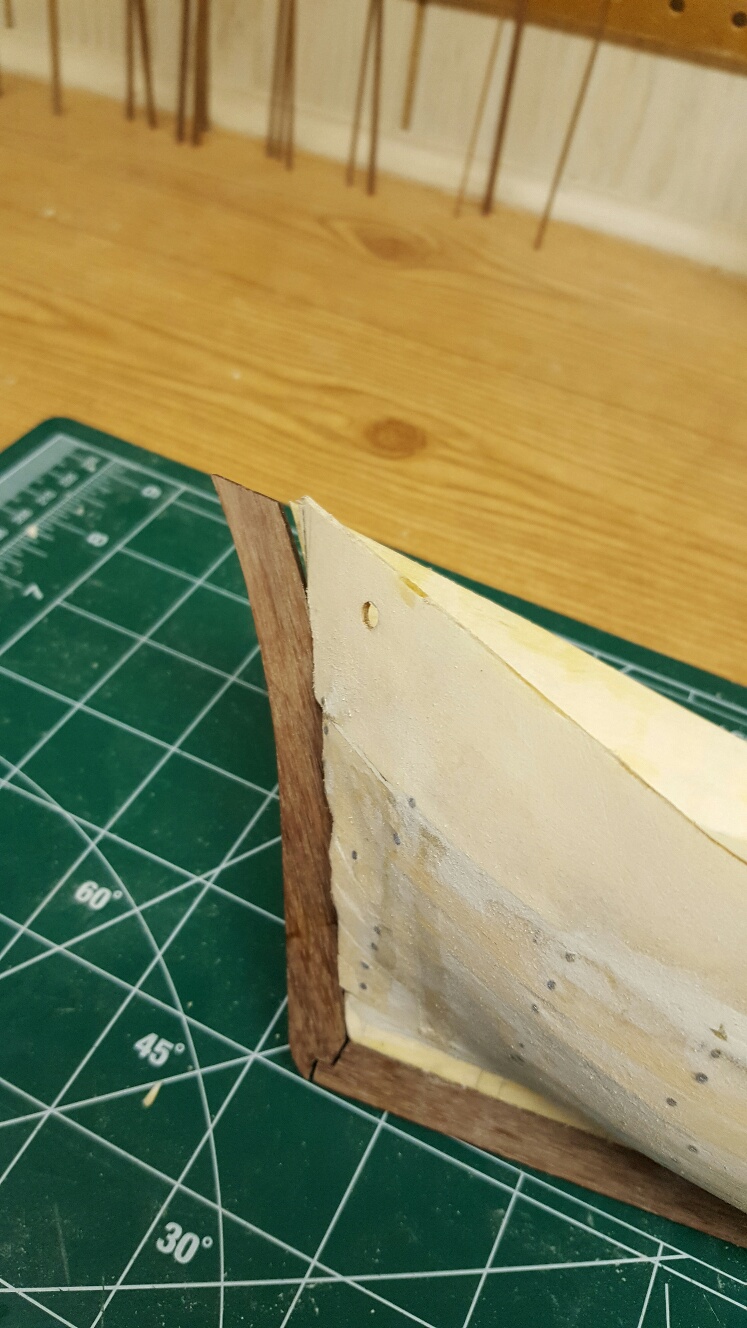
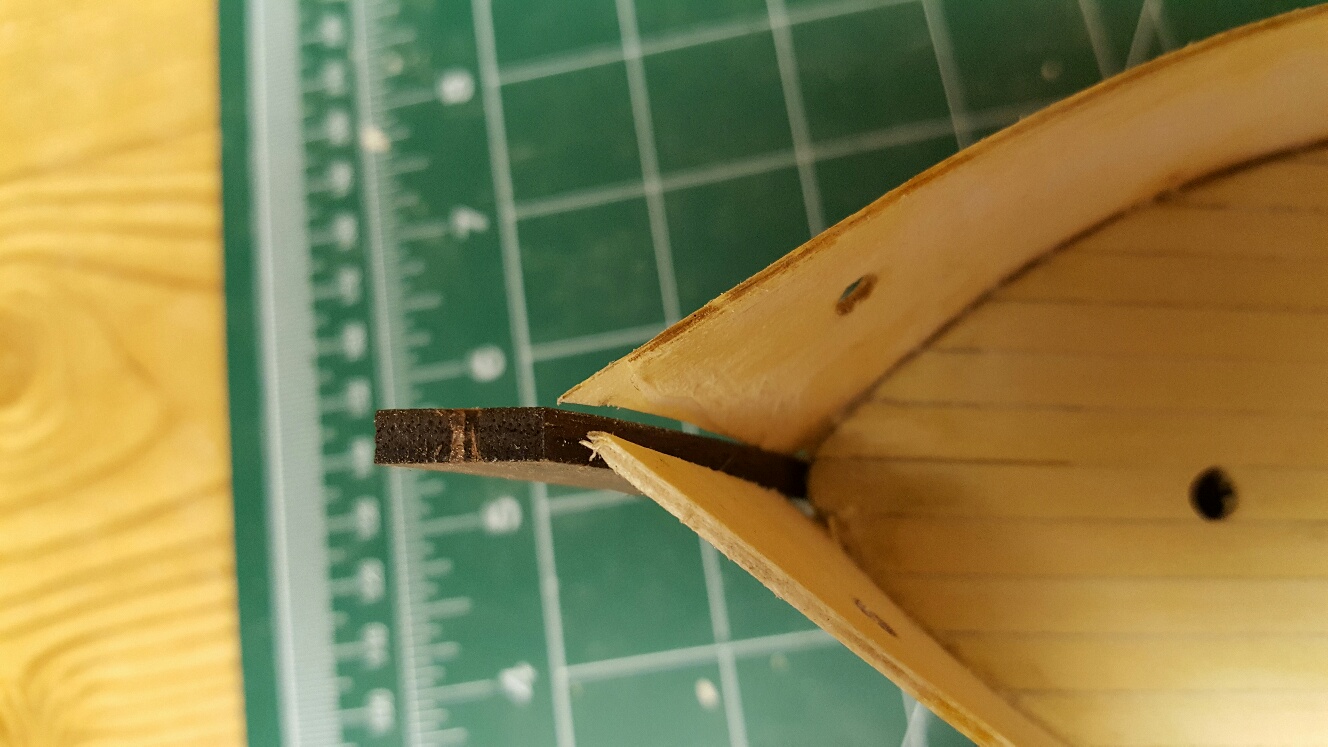
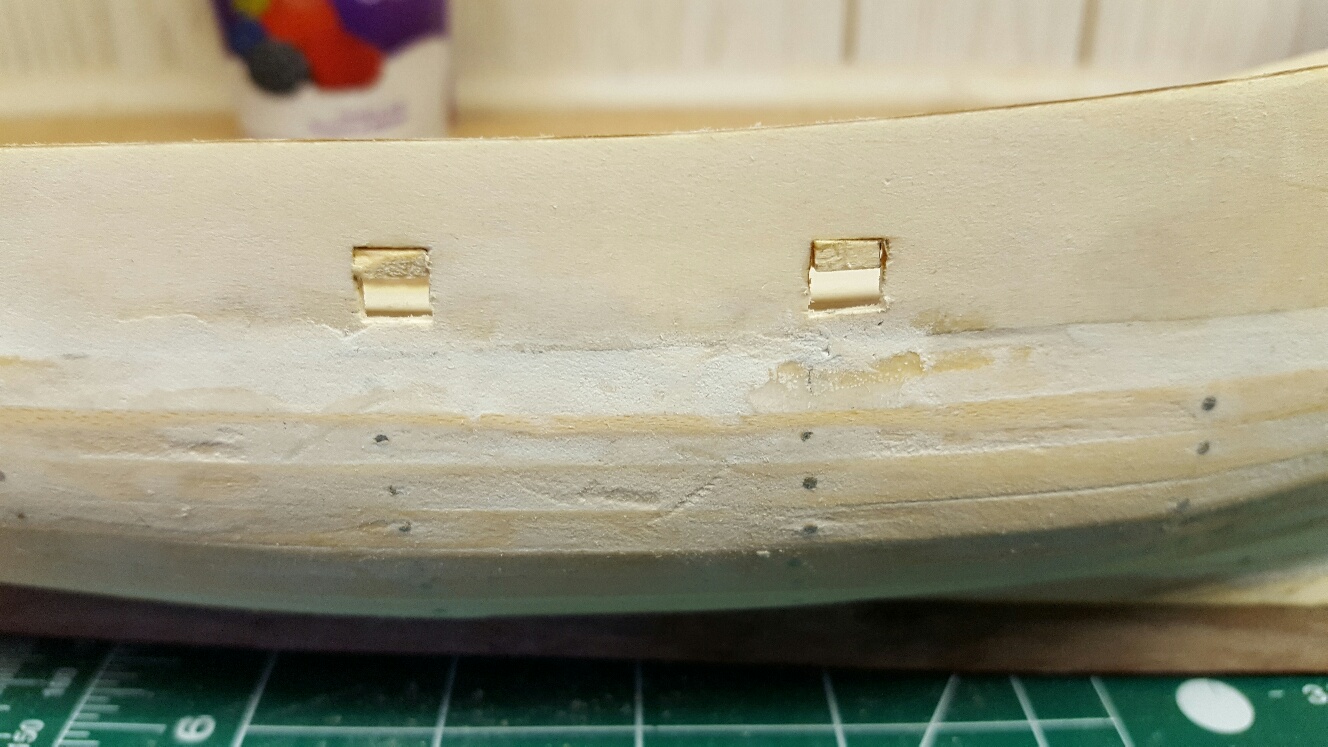
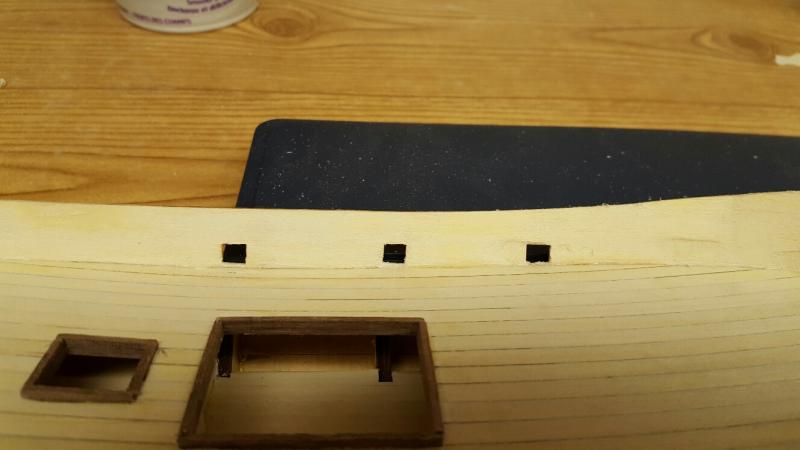
So here is my next challenge. The bulwarks don't extend to the stern post. My "fix" is to add to the upper stern post thickness with basswood. Therefore the two will meet and I'm hoping the final planking will cover up the error. Again this reinforces my comment earlier that if you don't start out accurate, you will have problems with the rest of the build not fitting properly. I feel like I'm learning more about kit bashing than I am about building the model properly. I realize that the first planking layer still needs work and sanding. I notice the one picture of the hull makes the planking look extremely ragged.


-
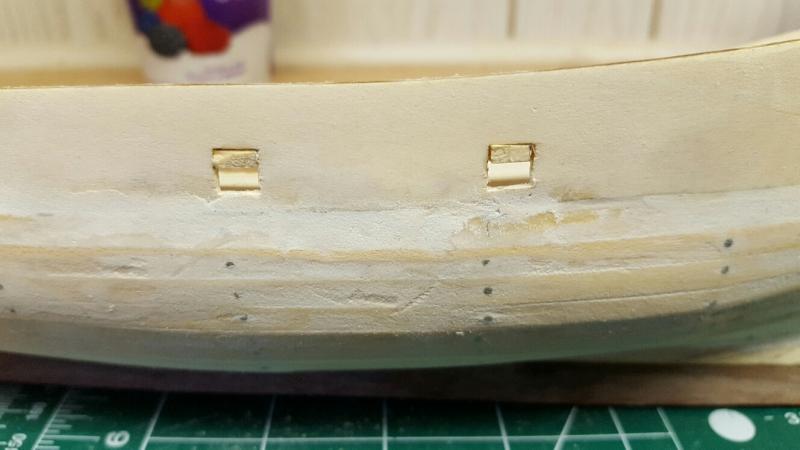
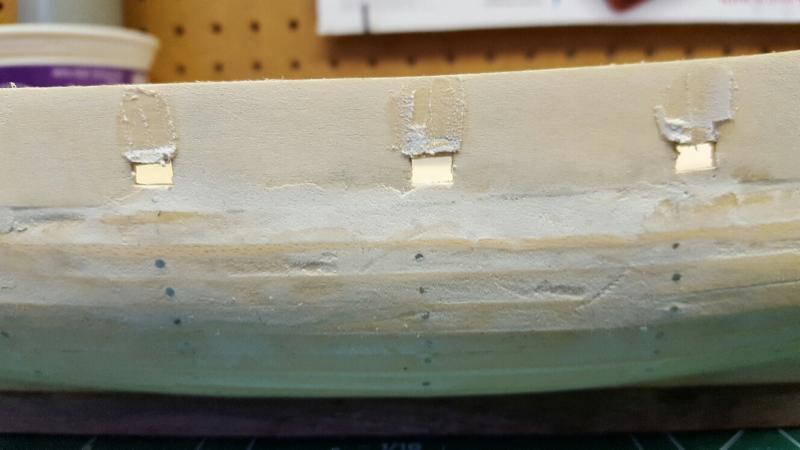
I filed the scuppers so they met the bow. I then installed small pieces of wood to resize them. Added a bit of wood fill A little bit of filing and sanding and there you have it.

- 134 replies
-
- 1
-
-
- artesania latina
- mare nostrum
- (and 1 more)