

tlevine
-
Posts
1,960 -
Joined
-
Last visited
Content Type
Profiles
Forums
Gallery
Events
Posts posted by tlevine
-
-
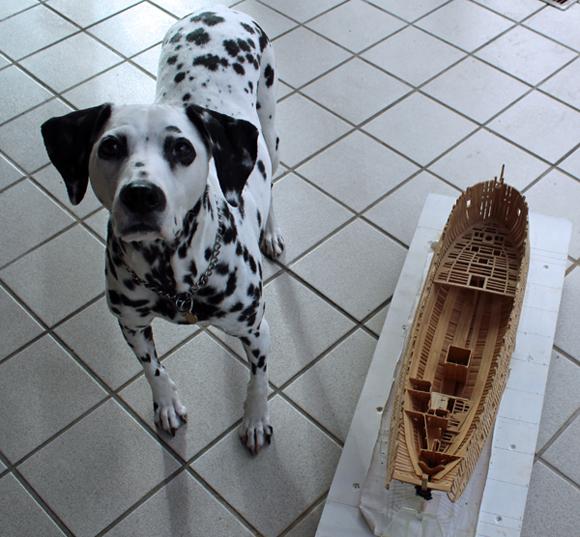
Christian, I am hoping to get at least some of the log from midnight. Believe me, I am thrilled not to have to reconstruct the whole thing. And a fond welcome back to you, Druxey. Michael, the photo with the dog is a little misleading. I was surprised how small it looked compared with her. The size of the building board is 12" x 30".
-
It is a fun build. Nice break from something as complex as Atalanta. Everything I used to build this (other than the thickness sander) fits in the kit box.
-
Joe, Ryland, Grant and Mark thanks for your support. I will probably post an executive summary of the log to date. Hope to get to it later in the week.
-
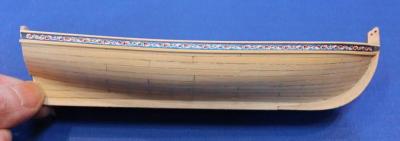
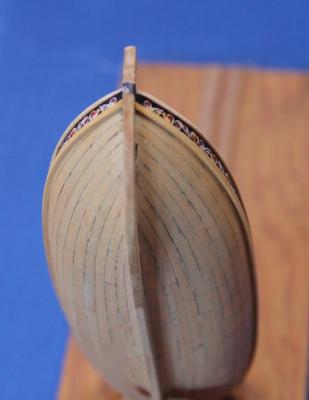
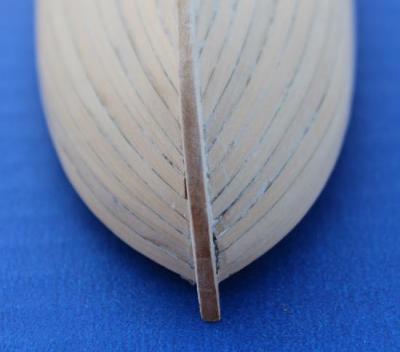
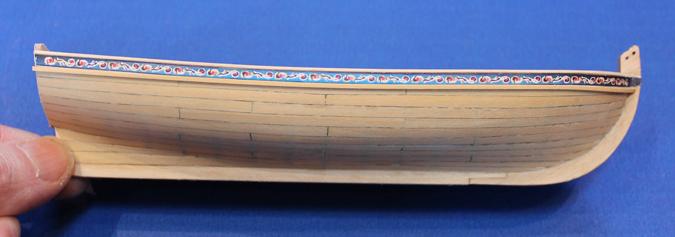
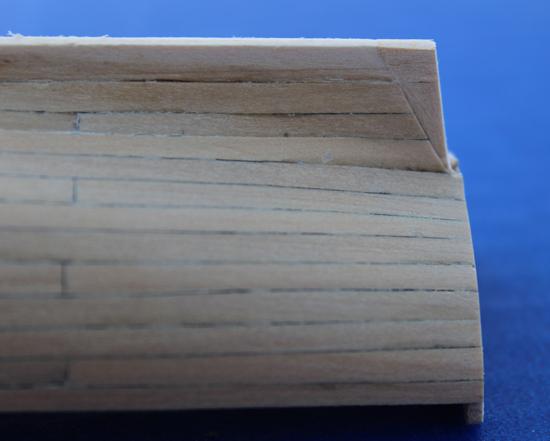
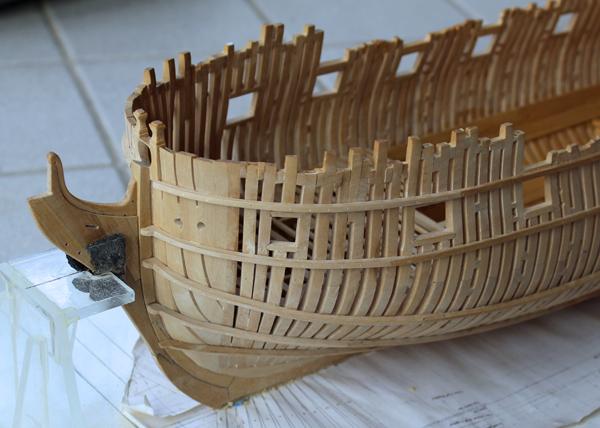
The sheer rail was installed. The key to this is making it very oversized and then trimming it with a No. 11 blade and sandpaper. I also drilled two holes in the keel for insertion of brass rod for mounting. The frieze was applied with dilute yellow glue. When I start painting I will improve the appearance of the freize by the stem.
I am going to take a break from this build to return to Atalanta.
Toni

- archjofo, Elia and harvey1847
-
 3
3
-
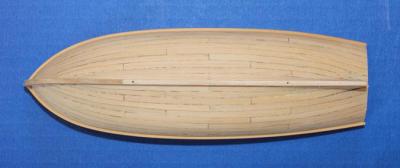
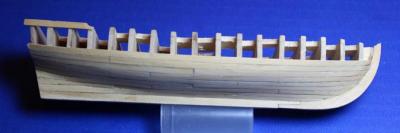
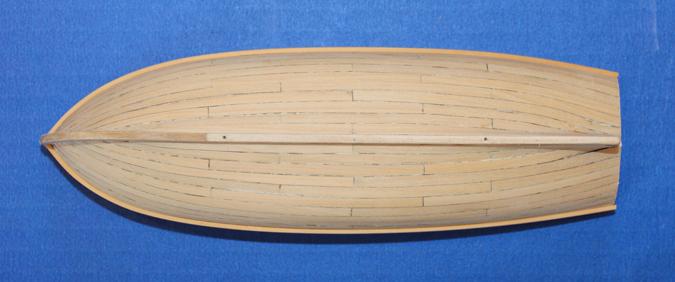
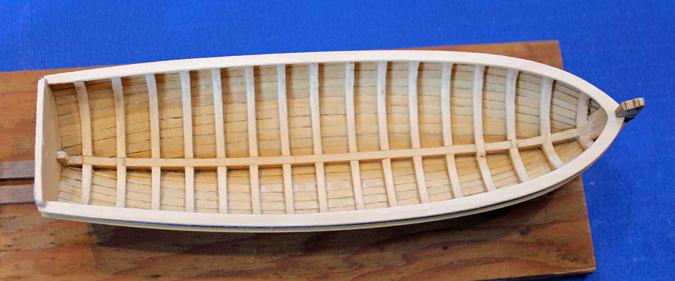
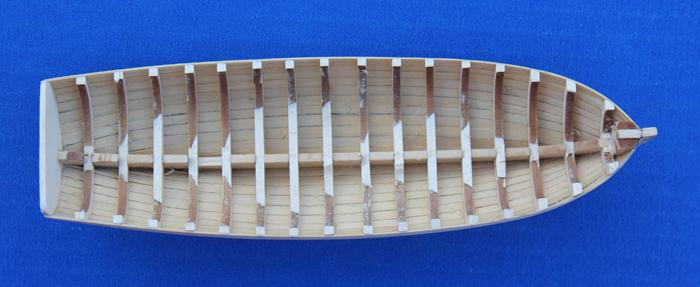
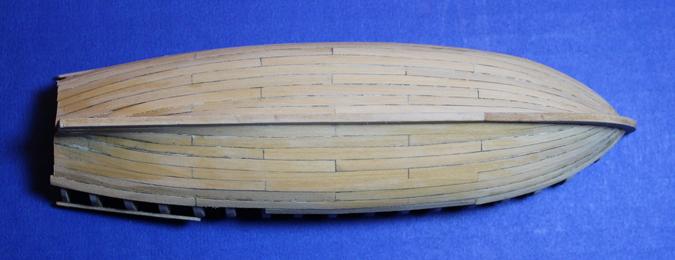
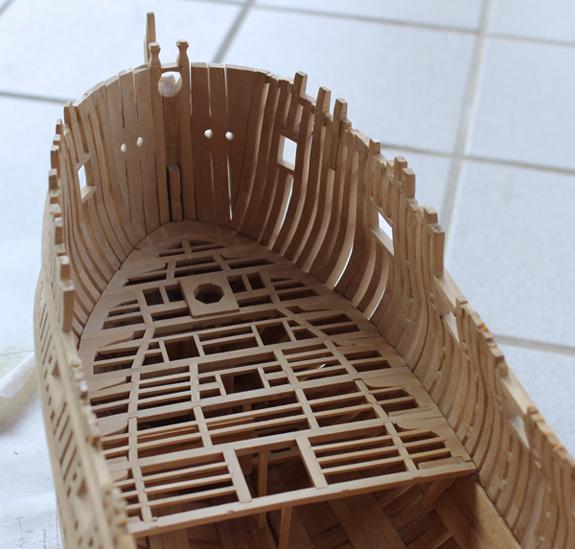
The hull planking has been completed. The center of the bulkheads were removed and the ribs were thinned out.
Toni


- archjofo and harvey1847
-
2
-
-
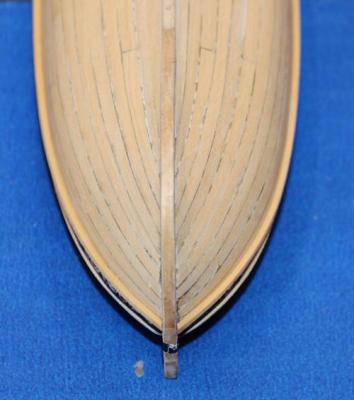
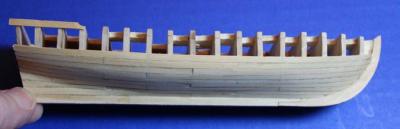
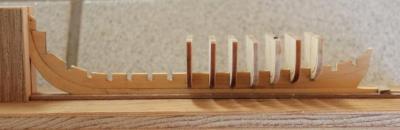
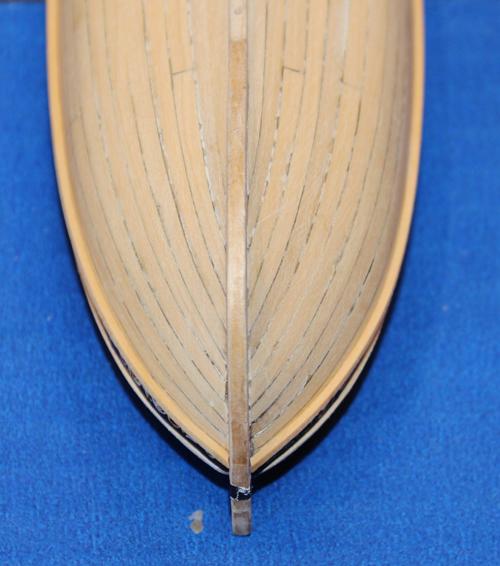
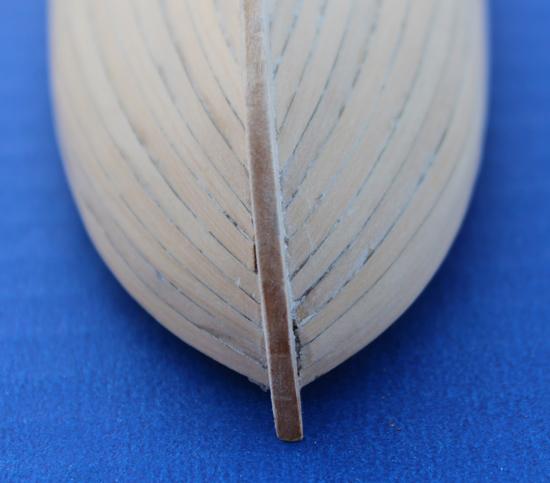
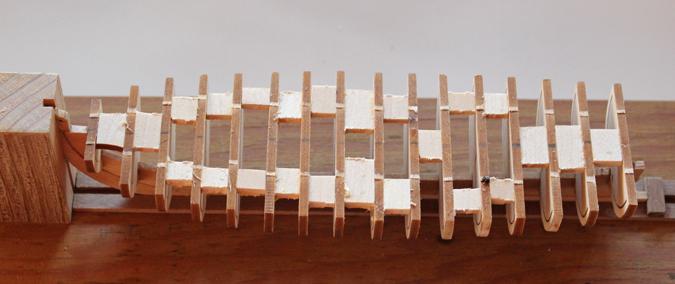
The next photos show the hull after nine rows of strakes were installed. As you can see, the stem snapped off. I decided to leave it that way until the hull was completed.
Toni

- archjofo and pythagoras
-
2
-
Chuck suggested twelve strakes of hull planking. All of the planks were spiled. I used the tick-strip method of spiling. A strip of card was placed along the edge of each bulkhead. That card was then divided into eleven segments. Because the gargoard strake is a special case, I fit that strake by eye. Rather than a single run of planking (as suggested in the kit) I used planks that were approx. twelve feet long. One long and one butt edge was rubbed with pencil to hightlight the run of planking. The key to a good run of planking is the garboard strake. As shown in the instructions, the fore end of the garboard strake ends at bulkhead "F".Toni
-
This is my build of Chuck's (Modelshipway's) kit of the longboat. I am building this as part of the Chicago TriClub group build. The Chicago TriClub is comprised of the three Chicago groups: Midwest Model Shipwrights, Northshore Deadeyes and Nautical Research and Ship Model Society of Chicago. I plan on painting the model based on the prototype. Although I had originally planned on building out-of-the-box, I personally found the basswood strips too soft and fuzzy and so all the planking is castillo boxwood. I have plenty on hand from my Atalanta build.
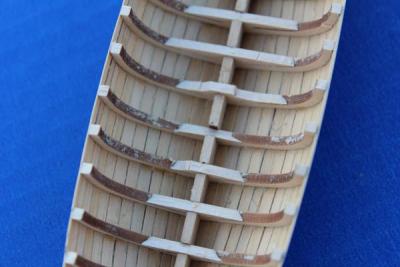
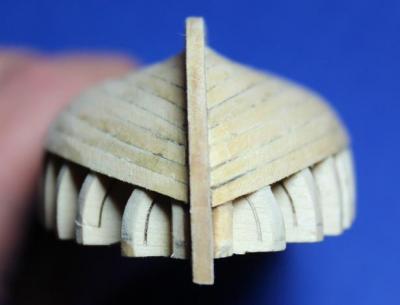
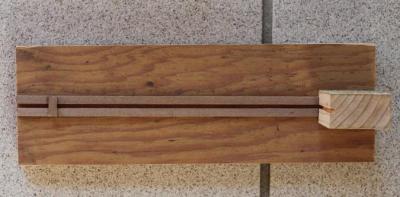
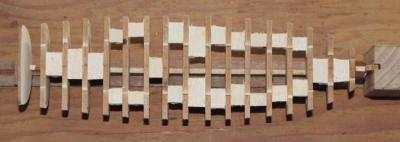
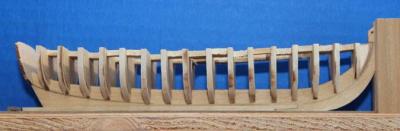
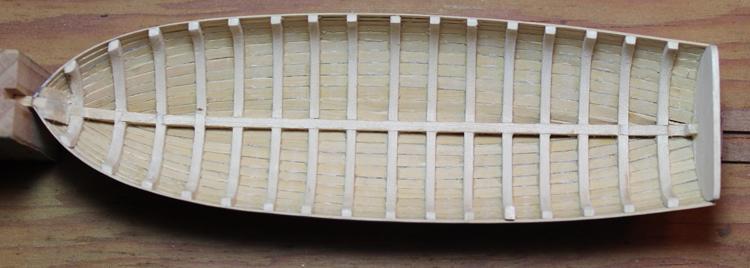
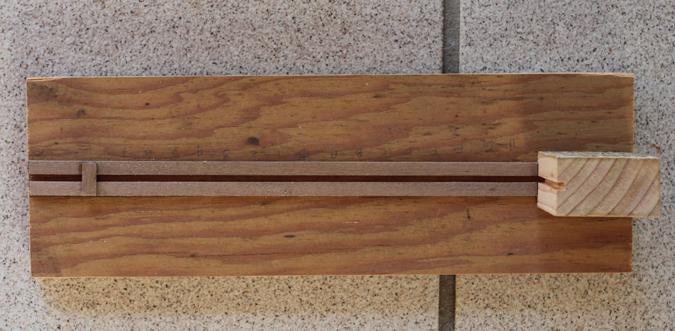
Two of our club presidents designed a building jig to help with installation of the bulkheads. This is simply some plywood with two wood strips separated by the width of the keel. There is a block with the stem width routed in to it anteriorly. This keeps the keel from flexing as the bulkheads are installed. Because this is a laser-cut kit, there is some char which needs to be sanded off. Also all of the cut surfaces must be sanded to that they are exactly perpendicular to the basswood sheet. Otherwise the keel scarf will not be correct and the bulkheads will not slip into their slots easily.
Once all of the bulkheads were installed, I glued in spacers between the scrap portions of the bulkheads to prevent the hull from flexing once it was removed from the jig. Finally, the hull was faired.
Toni

-
I have not decided what I am going to do to reconstruct the build log. Like most of us, I did not save any of the text accompanying the photos. Over the next few days I will figure out my next step.
But now there is a new beginning so I will post some pictures of the progress so far. They are not the best pictures (I have to rely on ambient lighting) but I wanted to get the build log restarted. When Sadie heard about the disaster she insisted on getting back on line!
Toni


- JosephHuntley, Steen B, Krelis and 21 others
-
24
-


HMS Atalanta 1775 by tlevine - FINISHED - 1:48 scale - from TFFM plans
in - Build logs for subjects built 1751 - 1800
Posted
Good to be back, Remco. Thanks for the compliment, Dave. Dave (Midnight) had saved a copy of my build log and was gracious enough to reformat it and send it to me today. I will start working on rebuilding the log tomorrow. Thank you again, Dave.