


Jdieck
-
Posts
59 -
Joined
-
Last visited
Content Type
Profiles
Forums
Gallery
Events
Posts posted by Jdieck
-
-
I had the pleasure to build the Vanguard and just finished it about a year ago.
Here some of my coments for what is worth.
I built the model with sails but to keep scale I used a very thin high count thread swiss fabric called bearissima used mostly for hairloom clothing, great to work with.
I replaced the carriages using pictures of the canons from the HMS Victory museum and as a basis for scale used the proportions given by the almiranty for the construction of those carriages based on the weight of the cannon.
I used the provided canons although they needed detailing. Blackening the cannons did not work very well so I ended up priming and air brush painting them (as well as all photo etched parts) with very good results.
I was not pleased with the riging blocks provided, I recomend replacing them using blocks from Siren, wonderfully made.
For the windows glass I did not used the acetate provided but used the white liquid that after drying becomes transparent. It is used for plastic models and can be found on modeling stores or websites. It gives a more true to reality look.
The PDF material is top quality and far superior to any plywood I have ever worked with before. In all respects it is better including resistance to warping, rigidity for a stright hull, sandeability (wear a mask), strenght and easy to glue. Liked it so much that I used some of the scraps to build some jigs to help in construction and alignment.
Finally I want to mention that in the rigging plans there are some missing belaying point references. Chris published a drawing including them, if you canot find it shoot me and email (jdieck@diesyst.com)
Also if you are interested I had a mahogany table and lighted case built for it and have some information about it if you need it.
Enjoy your built but be patient. You have your path set for the next three to five years with this kit
Jose
-
Congratulations Bob, Great job!!
-
-
Doing great Bob.. At least you did not break the dolphin striker like I did and had to replace it pins and all and of course its rigging too!!
Bu the way. Count the parral beads for each yard. I ran out of them and had to order a bunch to complete only three I was short.
-
Hi Bob:
Arthur described the process to install the parrals very well and the final product is closer to scale. In any case there is a short cut that may not be pure scale but the difference may be barely noticeable.
Get a thread of good lenght, the longer the easier. Thread one end through the bottom of the yard and the other throught the top of the yard on one side of the mast. Thread the parrals and ribs on both the bottom and the top threads. Pass the threads on top and bottom of the yard on the oposite side of the mast and tie both ends in front of the yard, apply some glue to the knot, cut the excess thread and you are done.
-
Hi Bob.
Be patient. It is looking very very good.
For what is worth, I had to tie more than half the lines to the rail in front of the mast.. If you look at pics of the model prototype, it seems that Chris did it that way. Seems not to be other practical option.
Also you can consider tieing the lines and add false coils later.
Best regards and keep up the good work.
-
Your work is so neat. Looks very good.
-
Thanks Bob, the party was great, ate like a pig. Now on a diet to lower what I gained and get my sugar back to normal

Enjoy your vacation as you have some threads waiting!!
-
Thank you Bill.
Arthur, your model is unsurpassable and Bob here is doing a great job!
One thing I was not happy of how it ended up was the serving. I used very thin line and after taring the rope the serving is barely visible. You can only noticed on portions of the stays but not on the shrouds. Experience for the next one I guess.
-
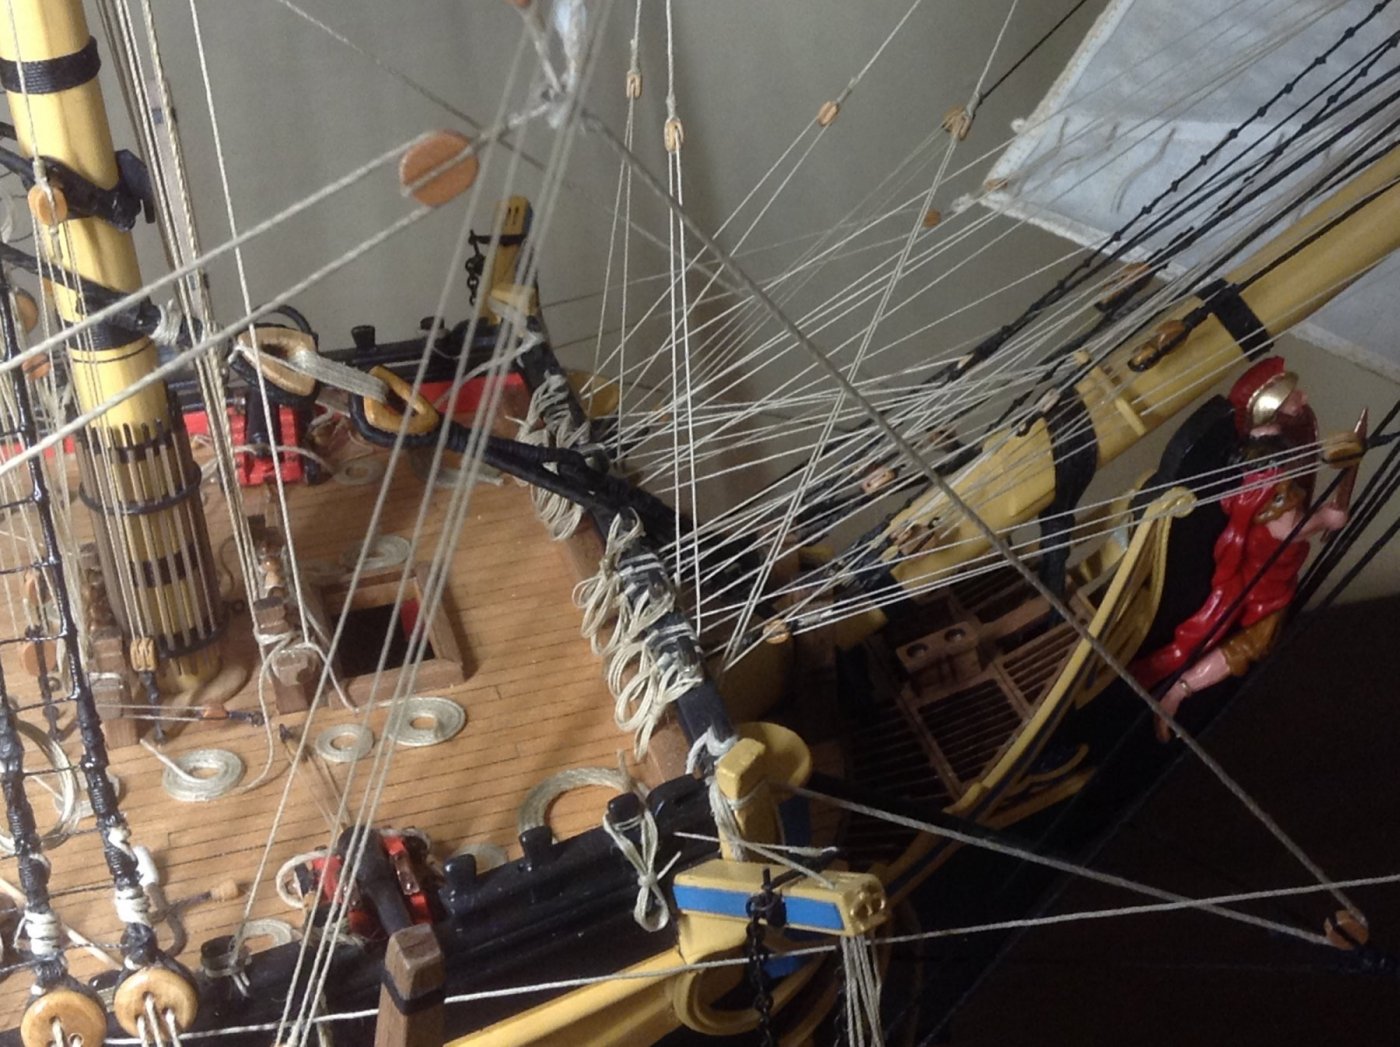
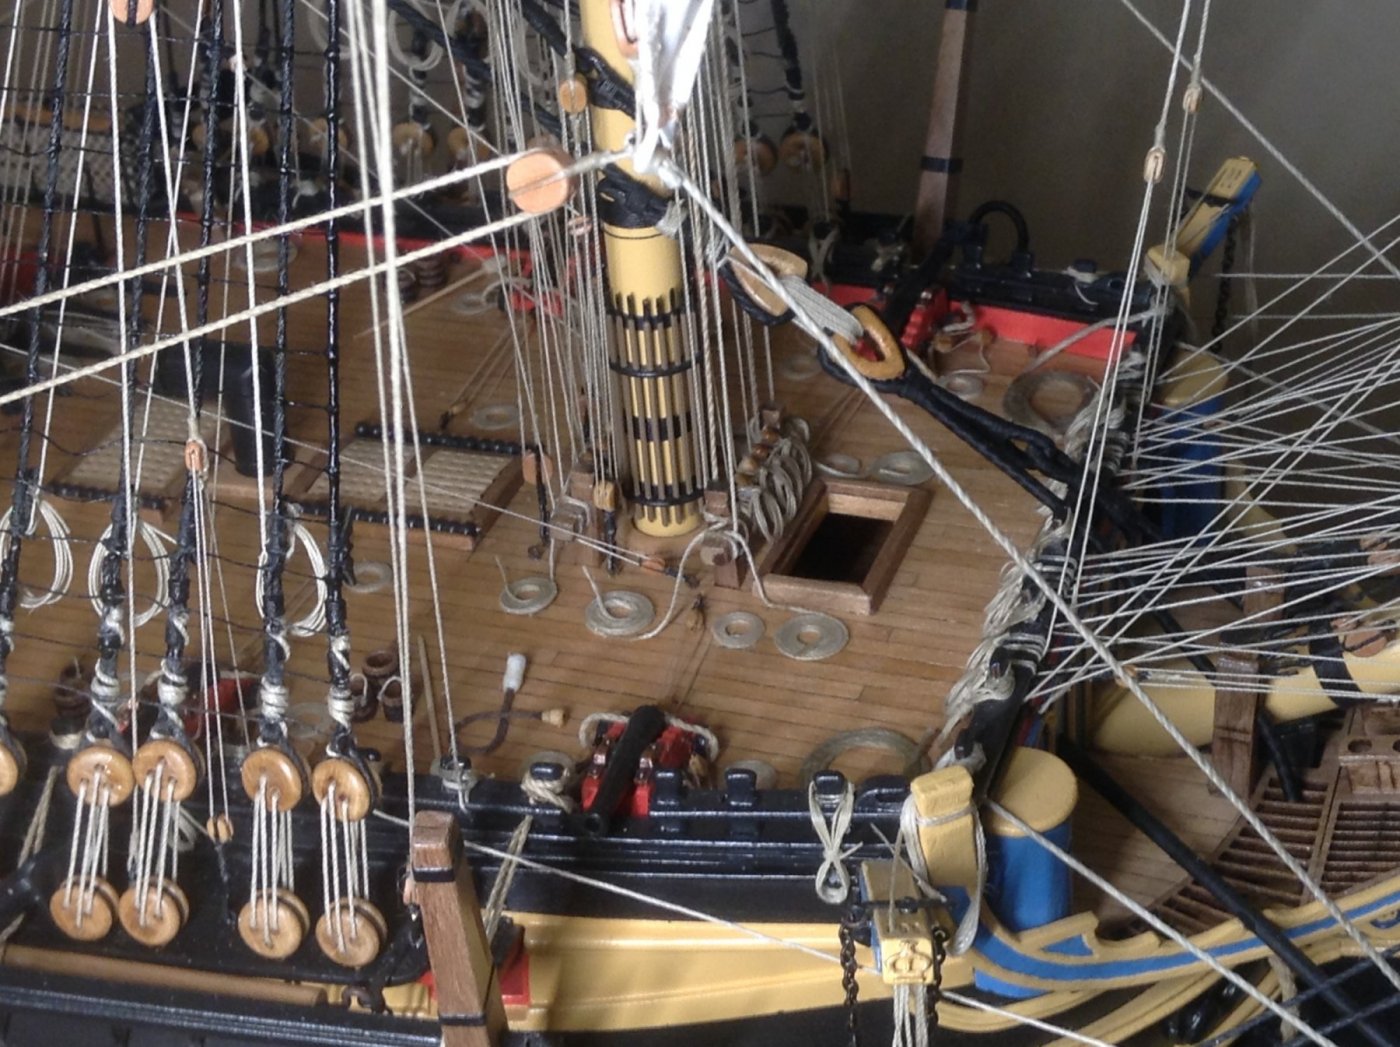
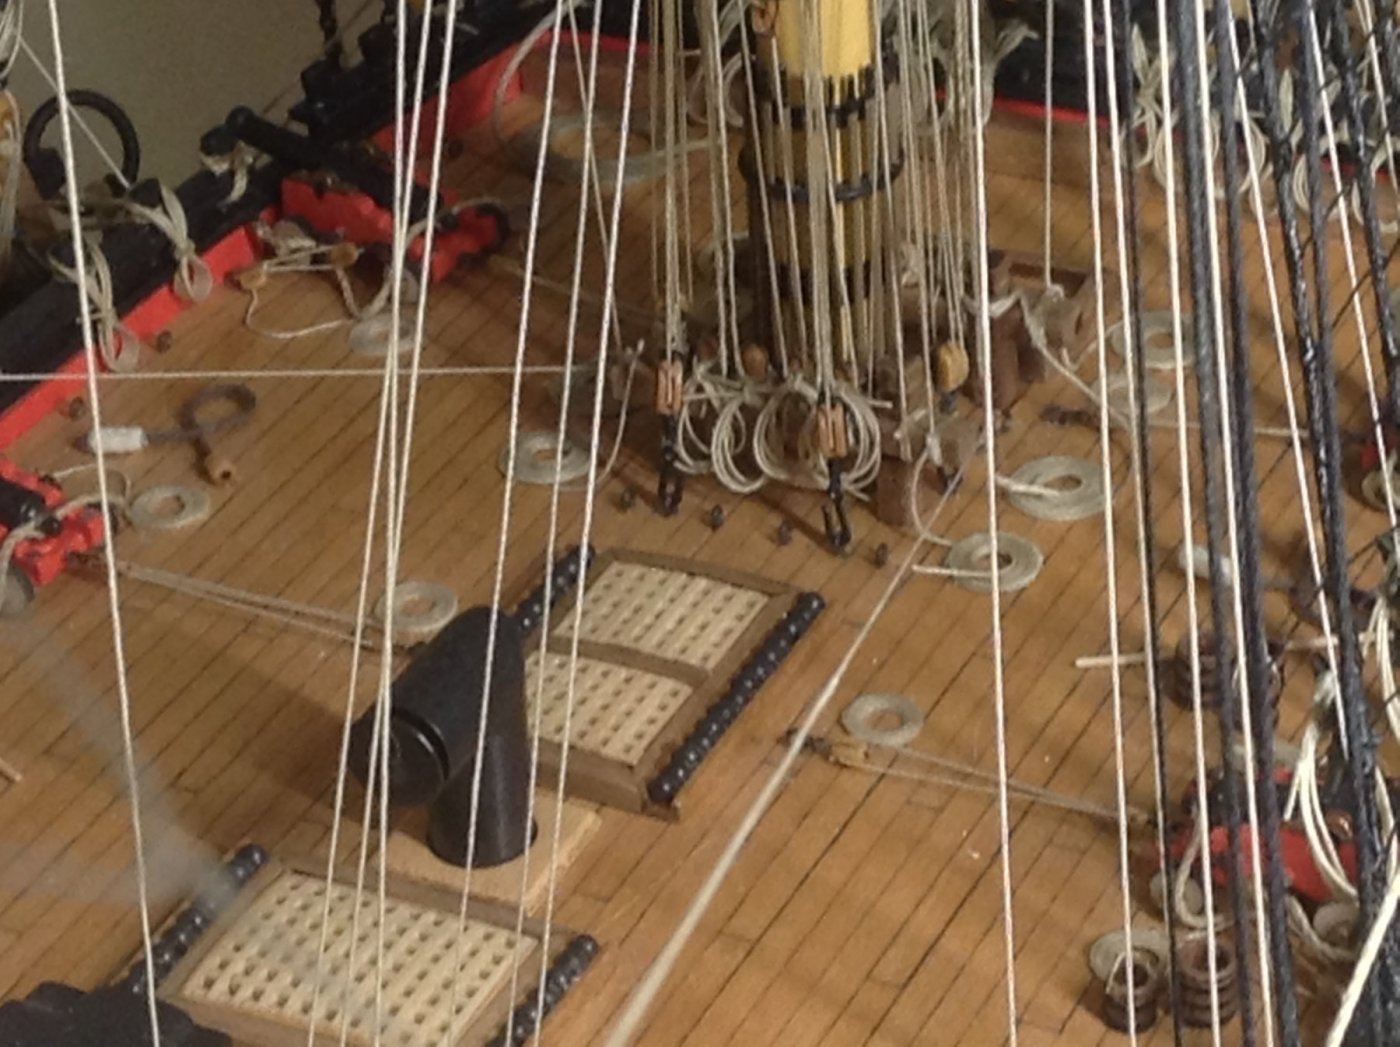
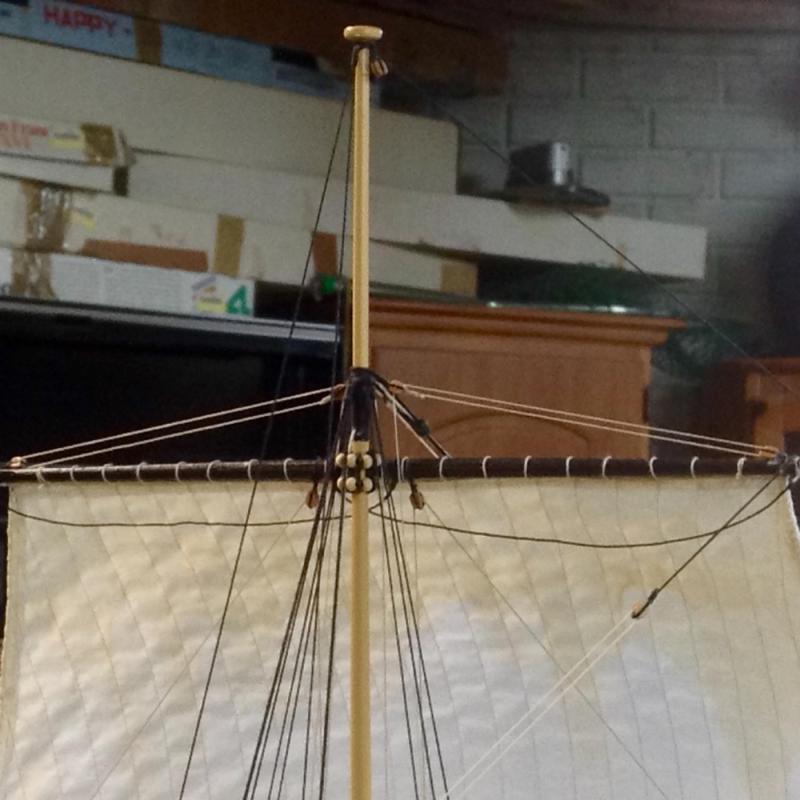
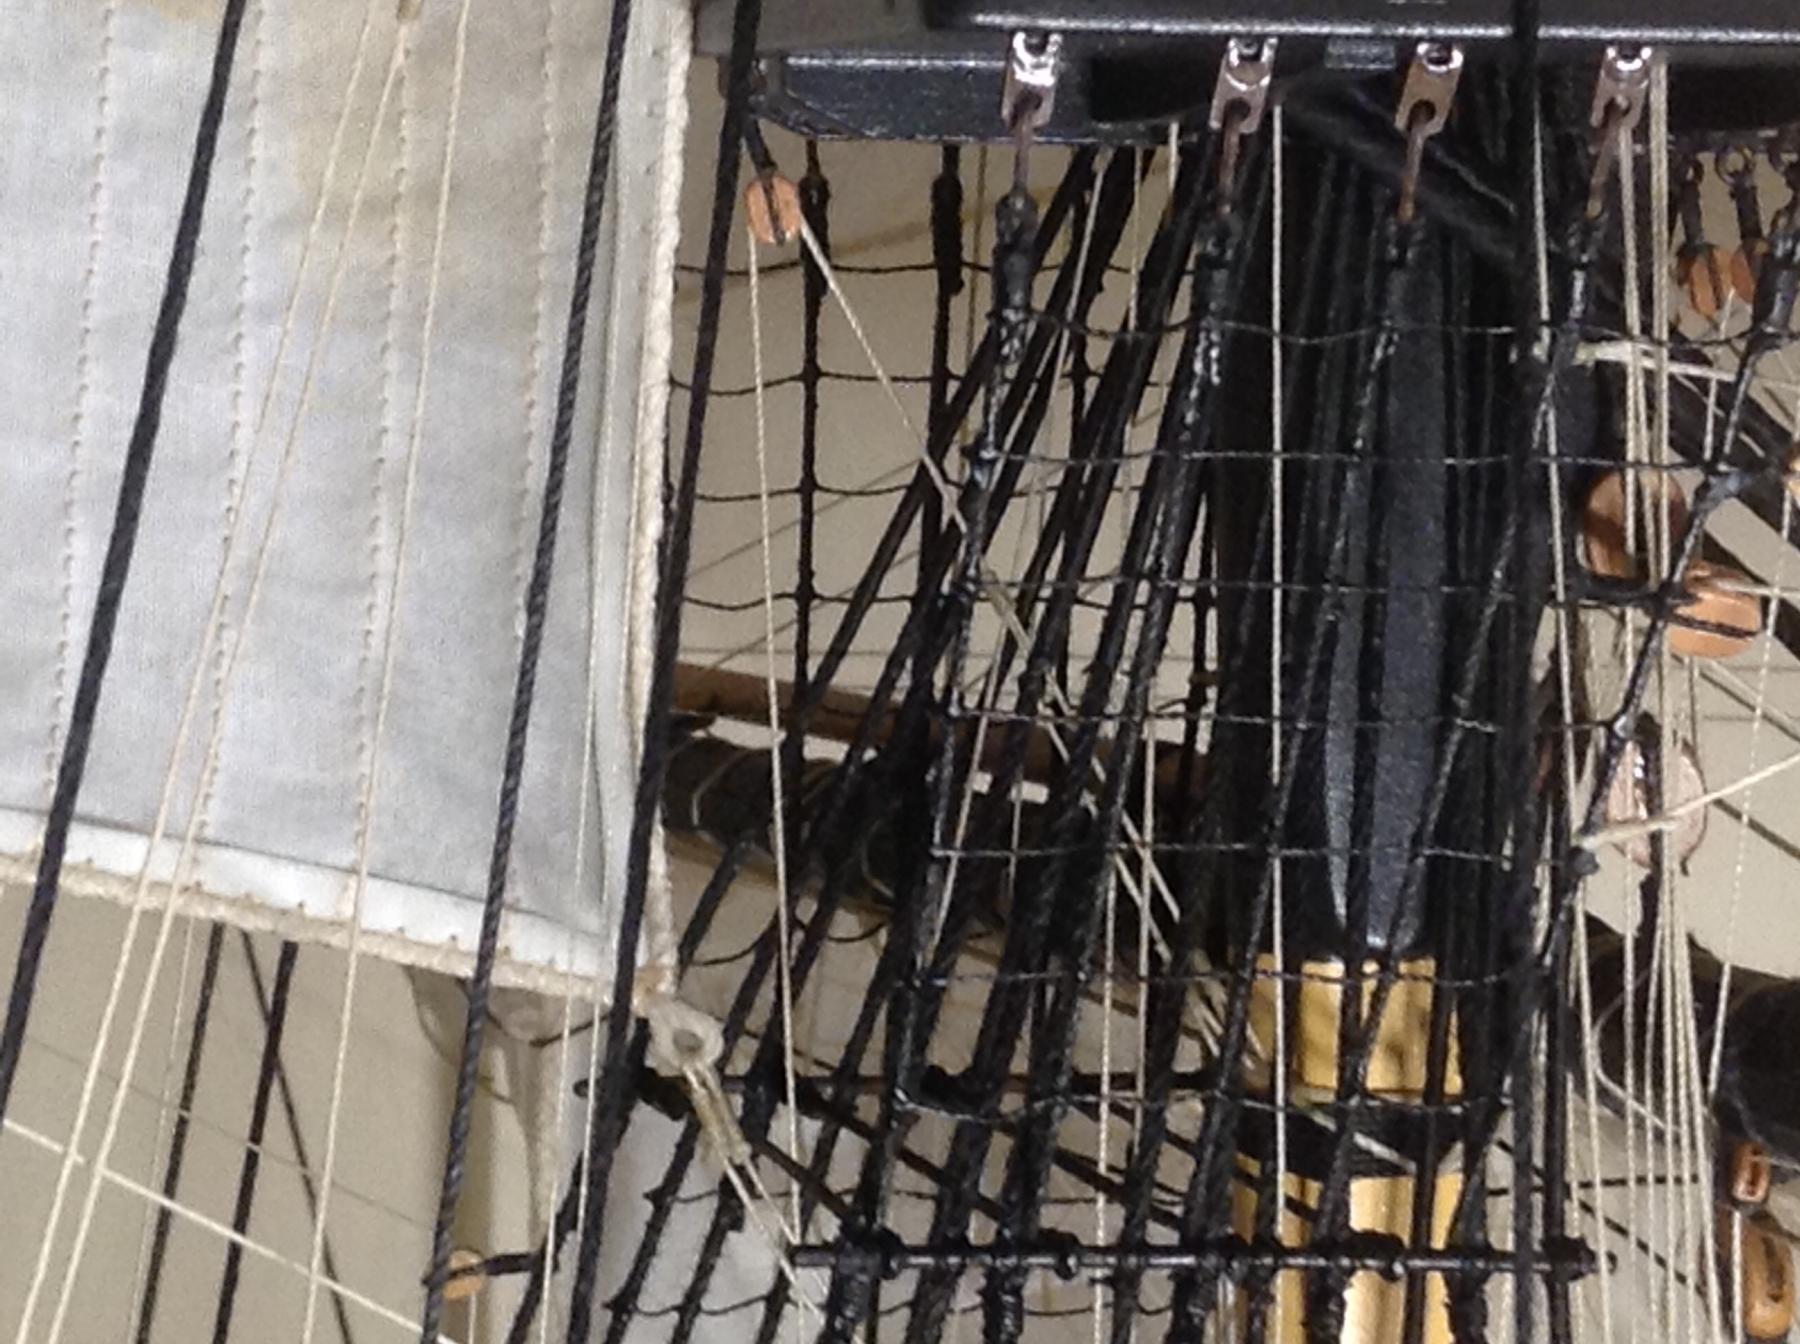
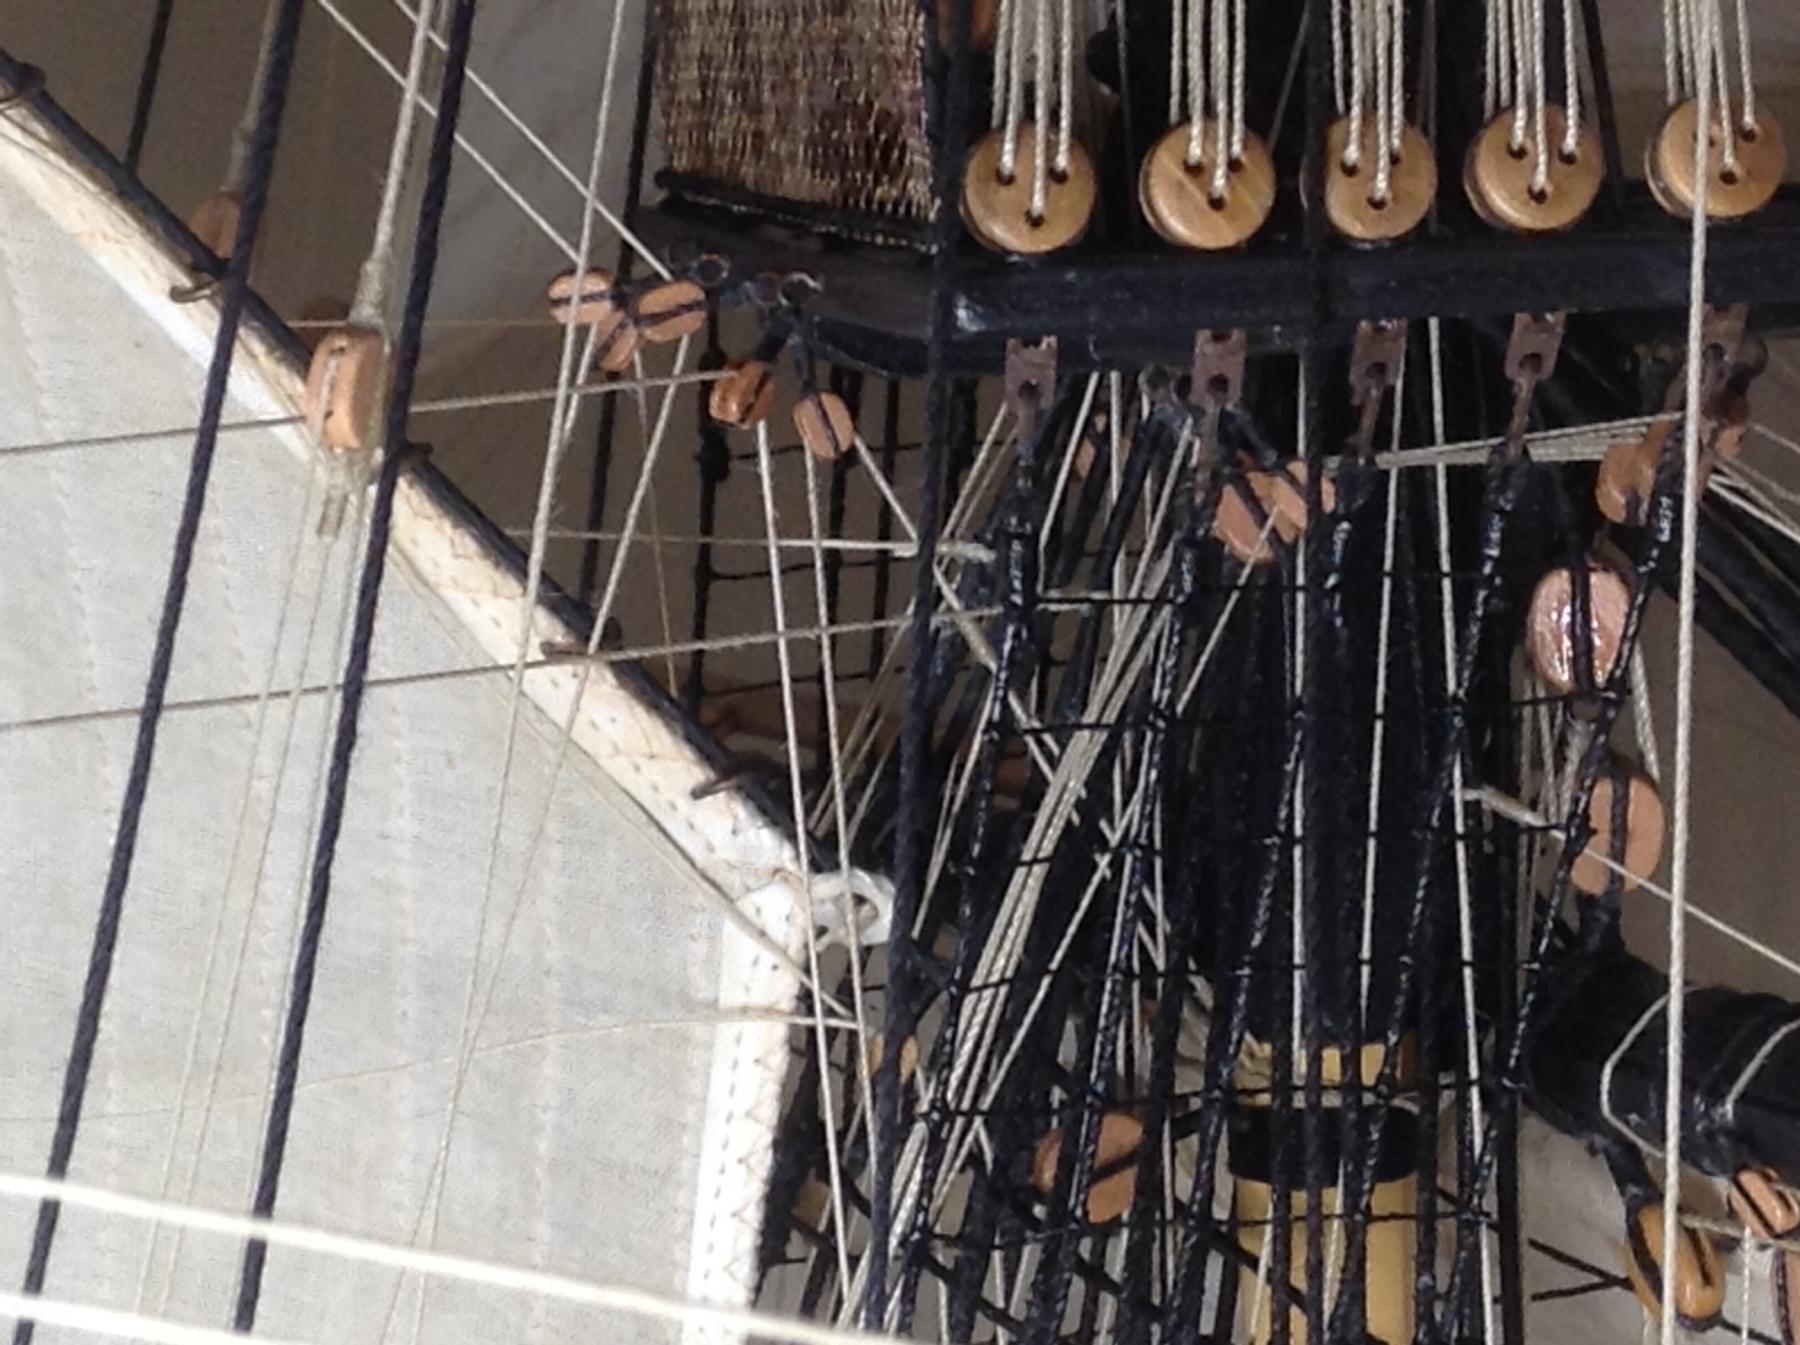
Best photos I could get with the ipad Sorry.
As you can see, it was a nightmare getting all of them in there.
Also As you can see I was very happy with the top quality of Chuck's blocks, smooth, two holes, properly rounded and grooved for the rope and ties.
- kier, AON, Beef Wellington and 5 others
-
 8
8
-
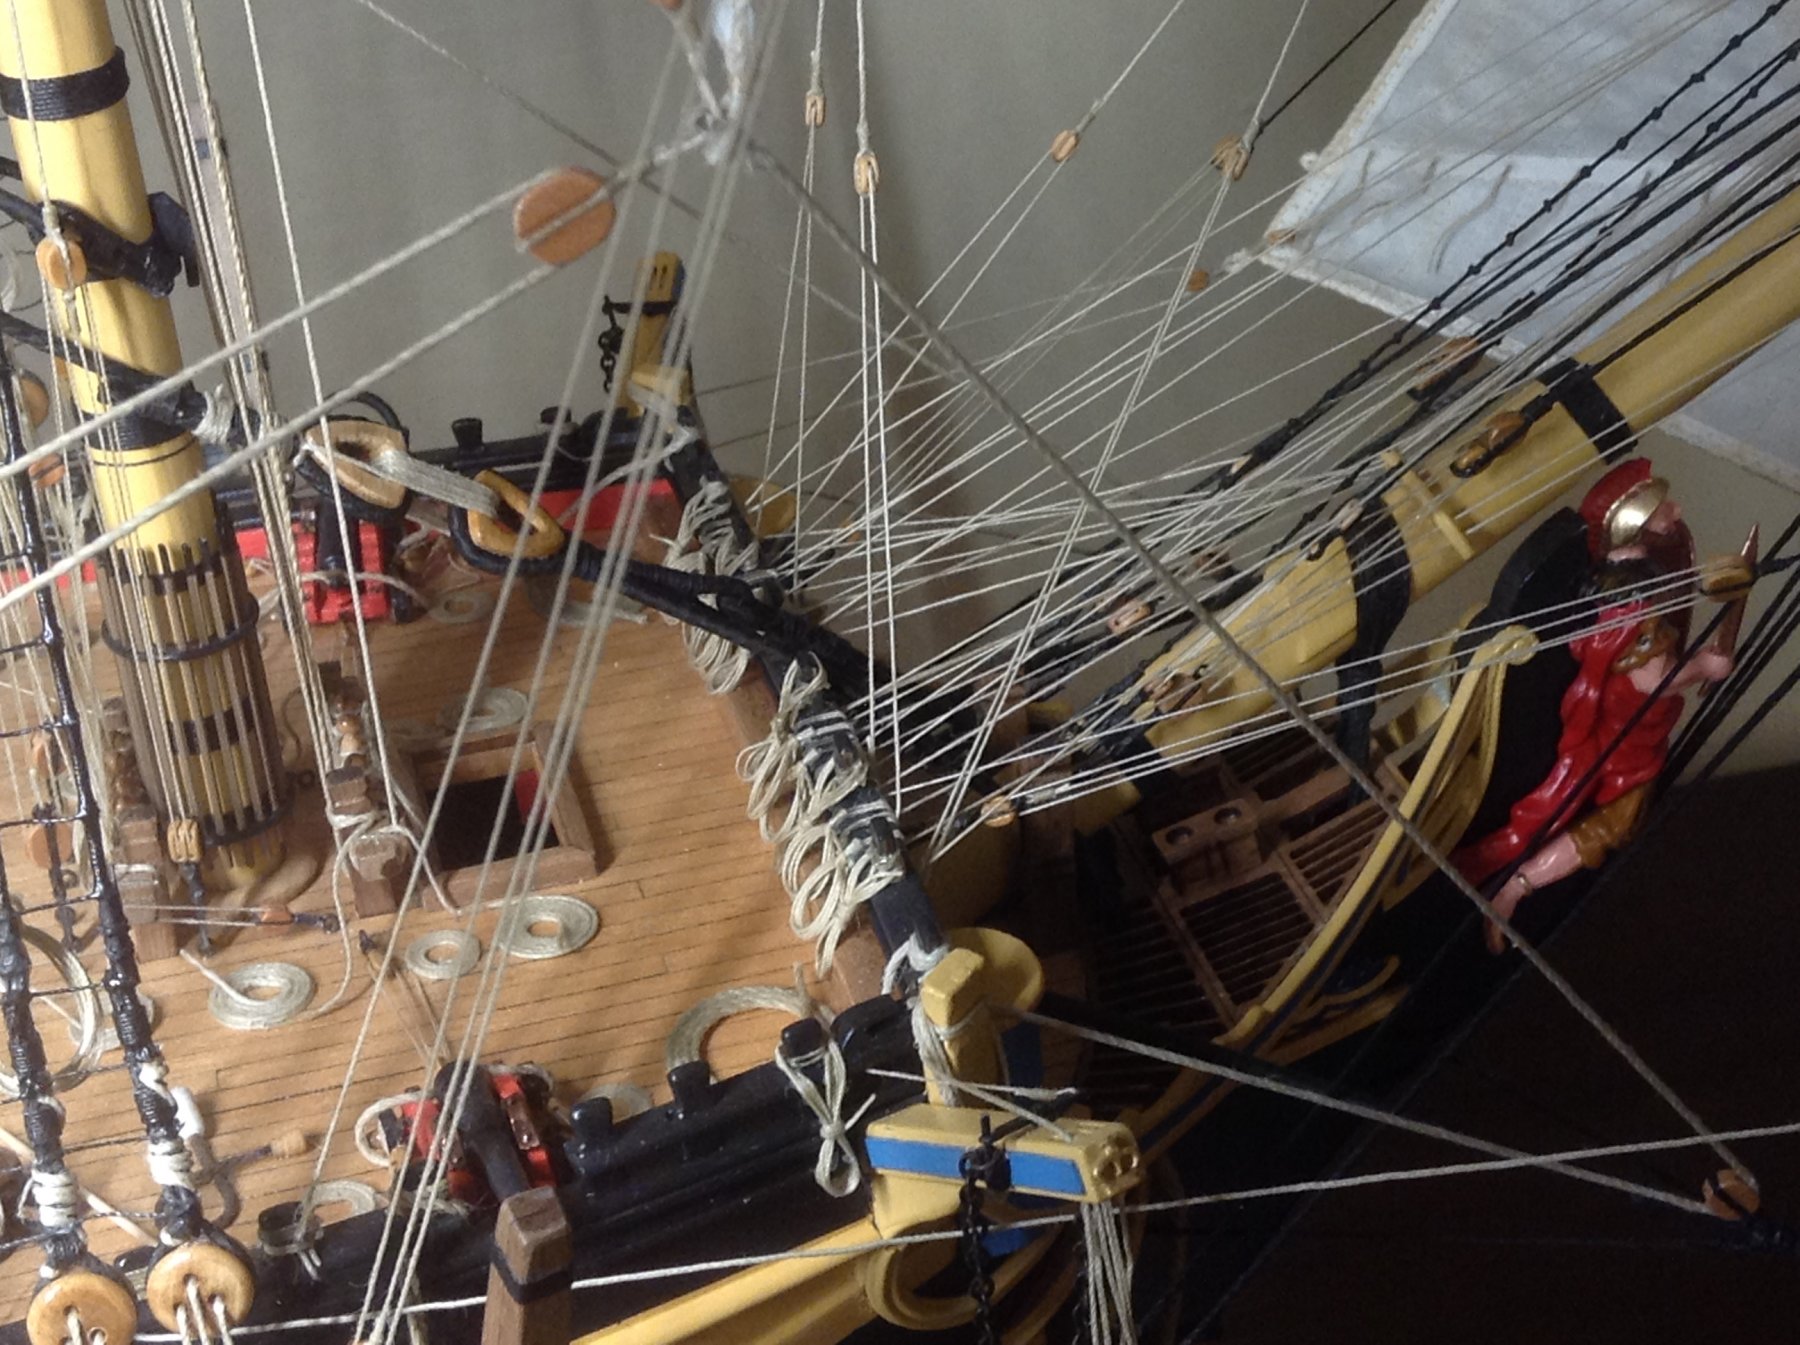
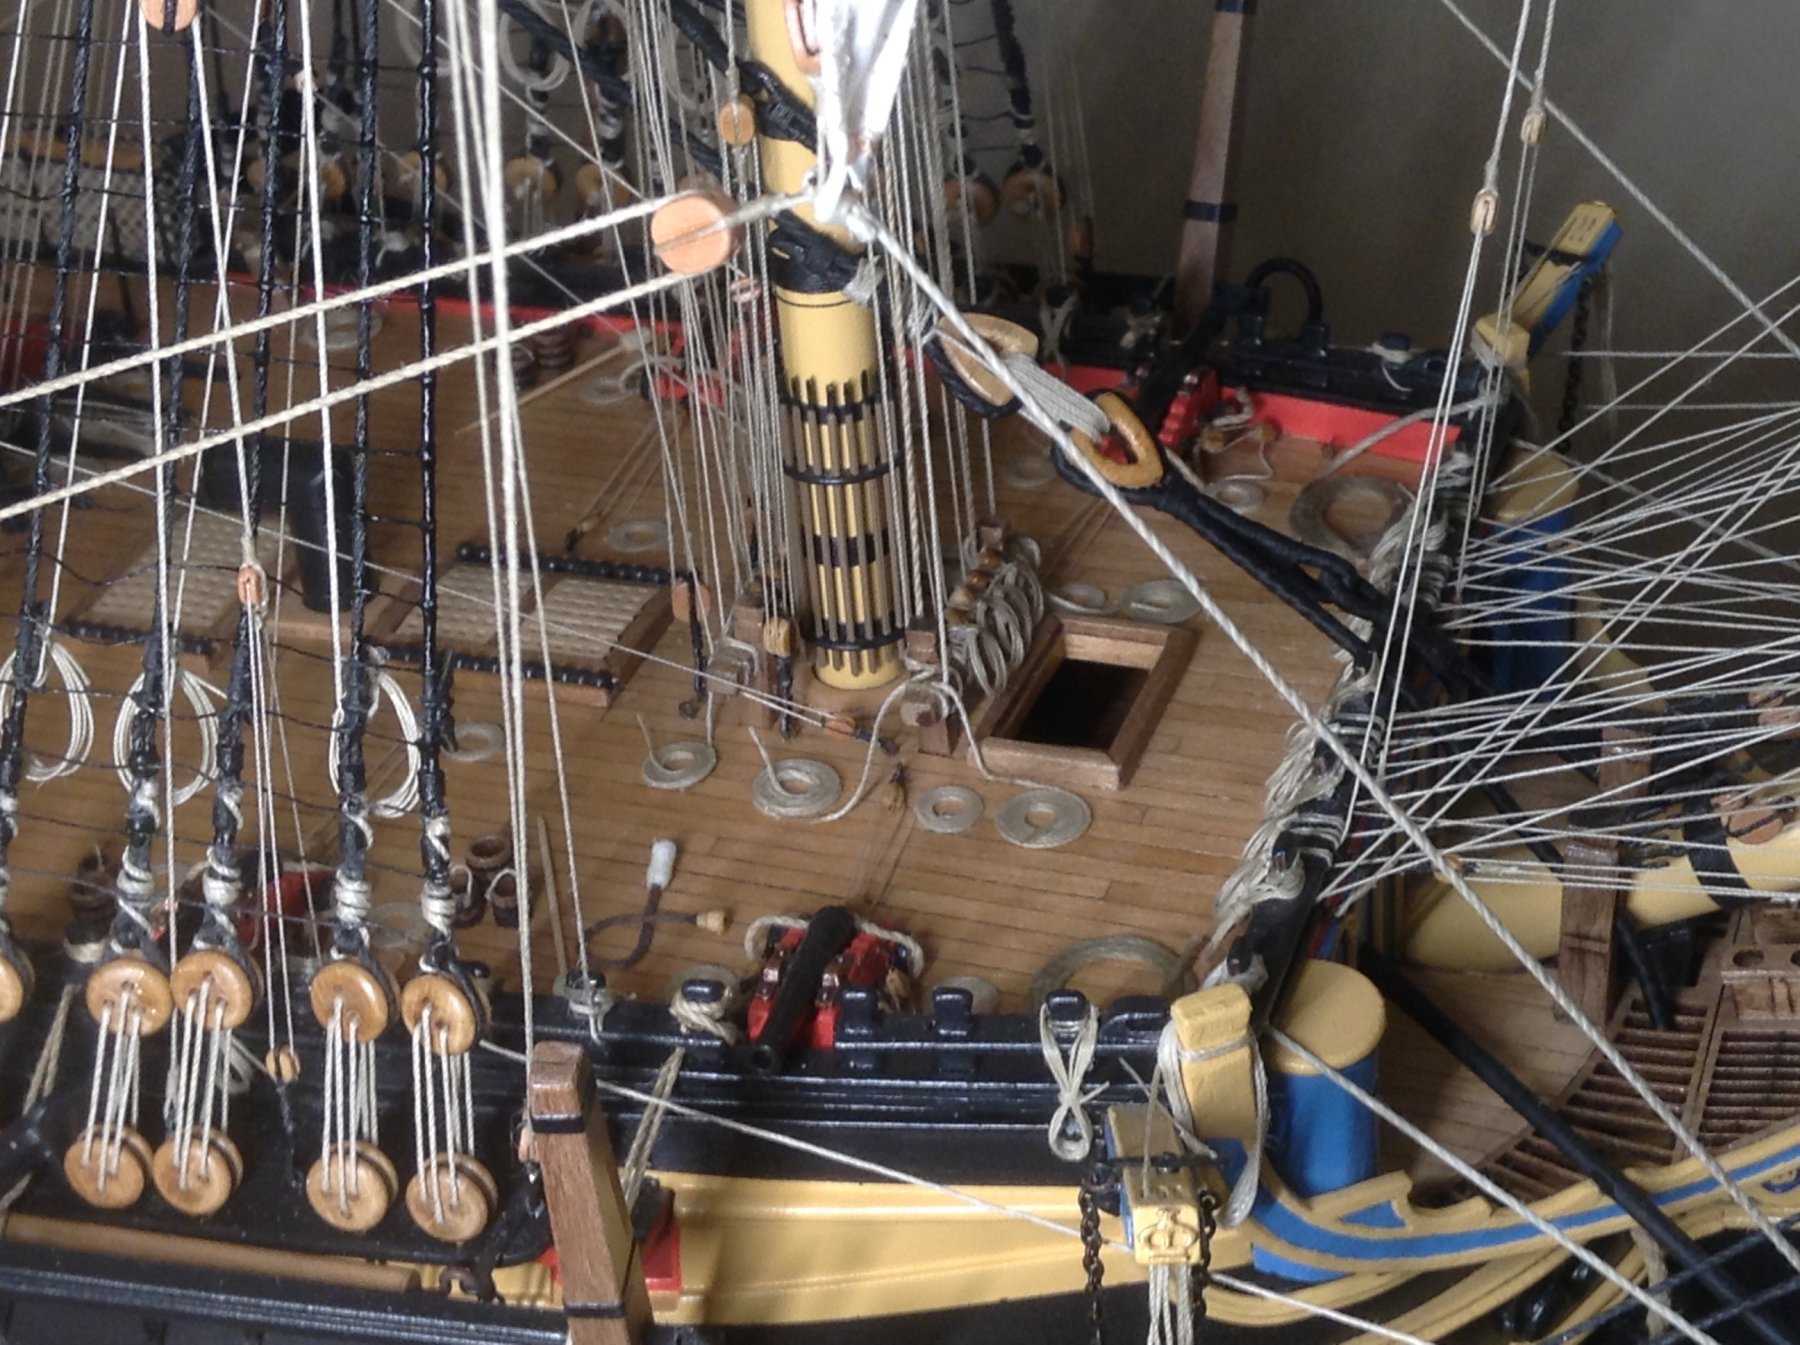
Crowded indeed. With sails it adds four or six more lines on each bit. I installed four belaying pins on each bit but more than half of the lines I had to belay just around the cross member of the bits. Install one, rip two... LOL ; -)
-
I used Chuck's blocks so just now I realize the blocks on the kit have only one hole. More complicated having to watch for block orientation.
Good you could correct it. Great work.
-
Good going there Bob. Looking really good.
-
Wow Bob.
45 inside the house is a lot.
Hope you at least get a fan and pleanty of your favorite beer.
-
I will Bob.
And I will be "checking" ... on you my friend
-
Hi Bob.
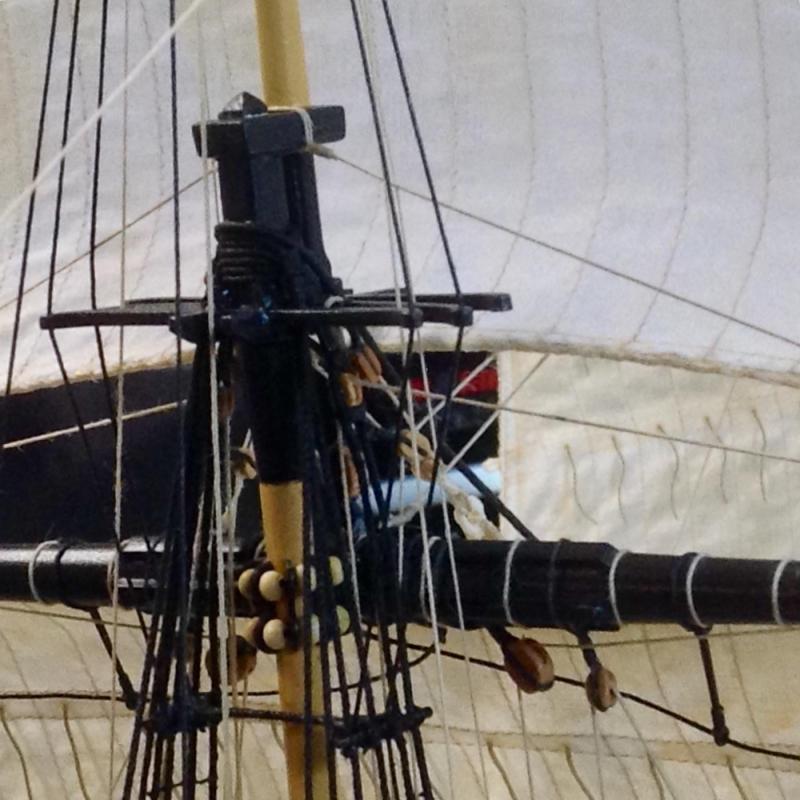
Nice drawing.
I think Arthur installed the block as in your drawing see pic 7703 at the linked page
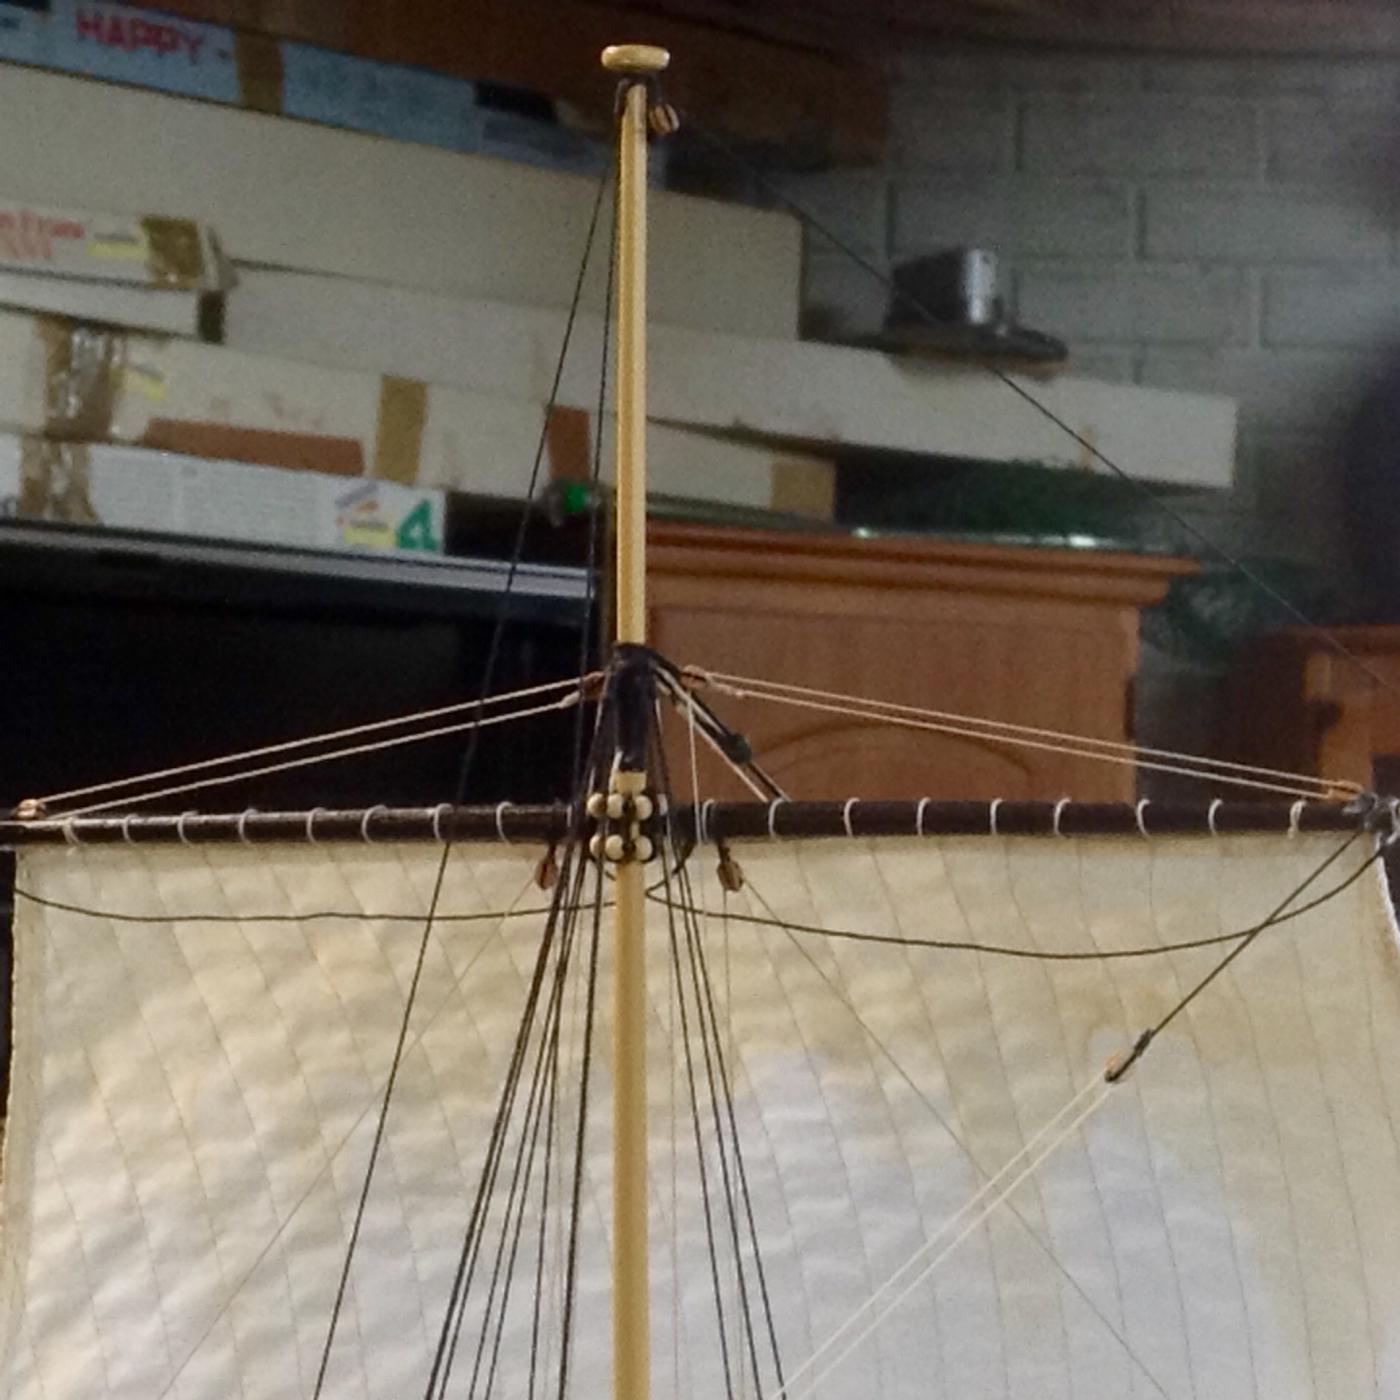
To help with rigging lines I deviated a bit and installed the block at the center but under the rear of the top rather than at the edge.
One pic is from the main and the other from the fore.

-
Oh Bob. That really is anoying.
Hope you did not lose anything important.
-
Arthur
I think they are called sister blocks because they were actually a sister block, one sheave above the other.
One sheave was used for the yard lifts as in the model, the second one was most probably used for the rigging of the reef tackle used to reduce the size of the sail in case of heavy winds.
-
Hi Bob.
Installing the block between the shrouds takes some work but it is easier than it apears. I installed them after the yard was installed so I could assess the proper position of the blocks.
To do so here is how I did it.
Insure the blocks have the groves on the sides. Slide the block up between the shrouds and the shrouds will hold it as the space between the shrouds is slightly smaller than the width of the block.
With the eye of a needle apply a bit of CA to the block at the contact point with the shroud to hold the block in place permanently.
After that, it is just a matter of simulating the seizing by wrapping a thin line (black) three times above and below the block.
Enjoy!
-
That is right Arthur. I had to install them high otherwise the lift would have not worked on a raised yard.
-
Bob.
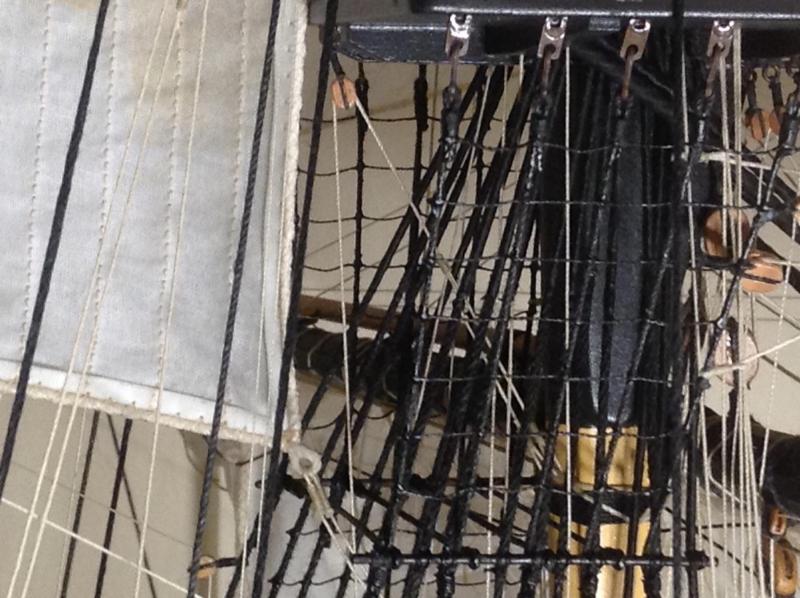
The ones I was refering to are the 3mm blocks for the topgallant yard that are missing the "eyelets" for the standing part of the rigging. See pic.
For the blocks used for the top yard, I attached them as indicated on the plans between the first and second shrouds.
Sorry for the pic but all treads are black so it is difgicult to show but this is the one between shrouds.
 .
.- mort stoll and dgbot
-
2
-
Hi Bob.
You are doing an amazing job. I know, been there.
If there is any consolation, I just remembered that I missed those eyelets until it was time to rig and had to fix them in place.
Arthur
Nice, very nice model. How do you make those ropes to fall so natural? water? watered glue? weights? It really escapes my mind. They look so real.
I noticed you both actually installed working hinges on the gun ports. Lots of detail there.
-
Thank you both. Beautiful models and well detailed.
So in reality it is a hook on the tackle plus the need for the chain/release mechanism.
Will it be worth to replicate the chain and release mechanism at the Vanguard's scale?
I may try and see how it goes. Lots of tiny parts there.
-
Arthur. I probably missed that post.
One coment to you and Bob.
I noticed from the pictures of the model that the anchors are installed without a tackle to the catheads.
I intend to include a triple block and tackle but should the block include a hook rather than a tie to the anchr ring?
I assume a hook so they could desengage the block from the anchor to launch it. Is it right to use a hook between the anchor ring and the tackle block?


1/72 HMS Vanguard 1787 - Victory Models/Amati
in REVIEWS: Model kits
Posted · Edited by Jdieck
added pics.