


Heronguy
-
Posts
863 -
Joined
-
Last visited
Content Type
Profiles
Forums
Gallery
Events
Posts posted by Heronguy
-
-
We have a regional "classified ad" site here in Canada called Kijiji (sort of the same as Craigslist). Tends to be "real"people selling stuff from their cupboard rather than eBay vendors. I got the Bluenose II kit for $CDN75 - a bargain!
Doug
- Steve 12345 and EJ_L
-
 2
2
-
I will follow with interest. I've just started on an older version of the AL Bluenose II.
-
This is the 2nd. The practice one is Billing Boats Nr.600 1:100 Bluenose II
This 1st is planked and ready for painting the hull. Learning lots through both kits!
Doug
-
Moving right along on your planking! Well done.
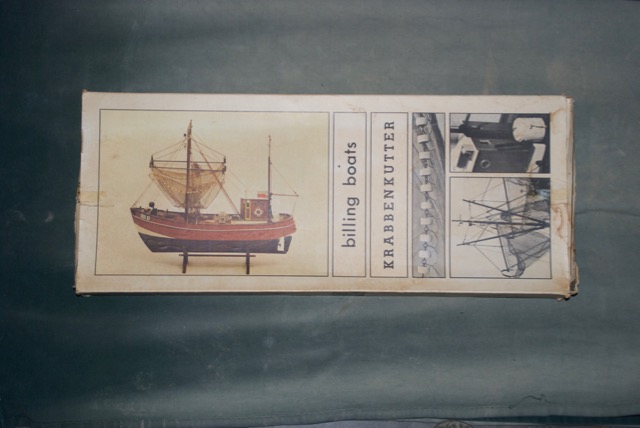
I was interested to see your other project - the Mare Nostrum. I picked up an old Billing Boats model - the Krabbenkutter - I thought that as the hull shape was quite different the the Bluenoses I'm starting with that I could prepare myself for more challenging builds like yours.
Unfortunately once the box arrived I could stop myself from starting it too!
Start your build log for the Mare Nostrum! I'll be glad to follow.
Doug
- popeye the sailor and EJ_L
-
2
-
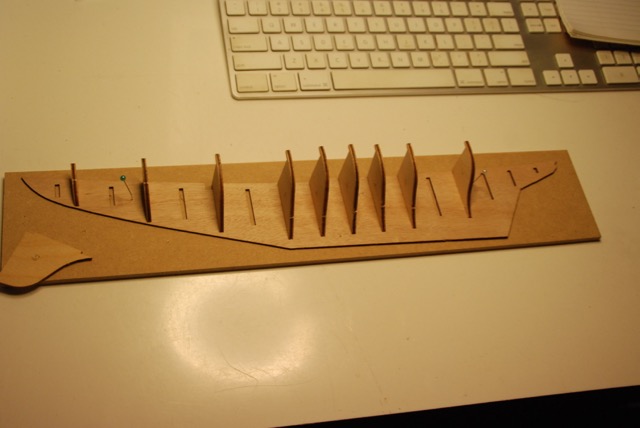
I thought I was ready to set the planking batten for the 1st band.
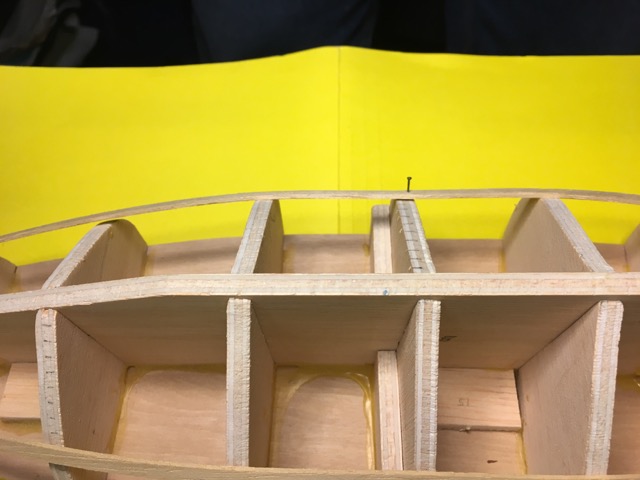
I was unhappy with the batten shape at bulkhead #8. Rather than continue I emailed John H. Earl who had offered advice with his instructions. John graciously replied with some suggestions and an admonition to put more effort into shimming up the bulkheads as necessary and bevelling the bulkheads. It was advice I was happy to receive.
More work on the bulkheads and then back to placing the planking batten.
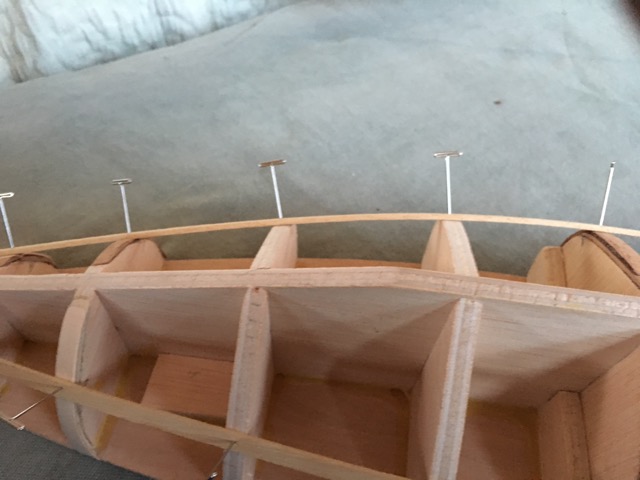
I was much happier with the results. Time to shape the 1st planks
Planking in progress.
Doug
- Nirvana, Fright and popeye the sailor
-
3
-
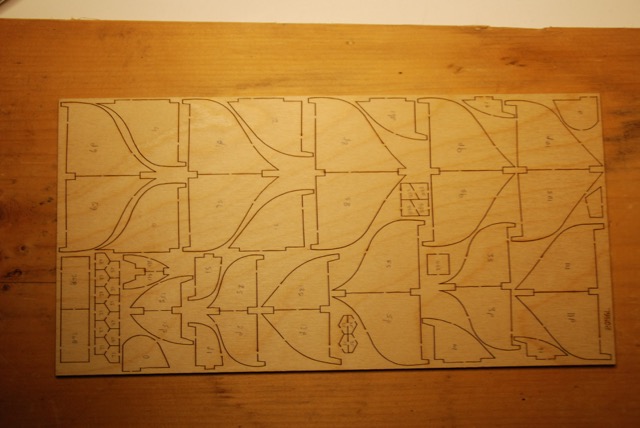
As I mentioned the kit is an older version - the parts are not laser cut. Some extra filing and sanding was necessary.
The bulkheads and keel fit together well enough.
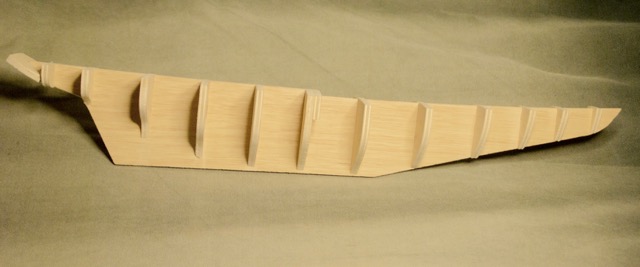
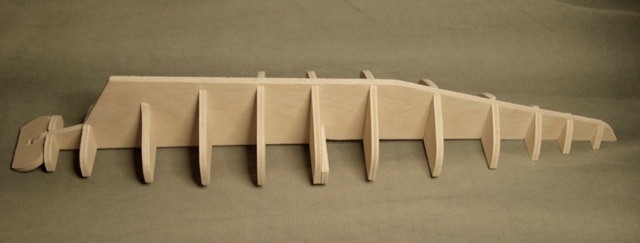
The decks were attached then the bulkheads glued.

Started fairing the hull.
-
This will be my second model ship. The first was just started a month ago and is a simpler version of the Bluenose II (scale 1:100). Rather than finish that before starting this model I'm going to try to learn on the 1st and apply it on this one. I have no idea if this is a foolish idea but here goes.
This is a slightly older version of the kit than is currently sold.
This kit came with French language instructions. Online I found a set of articles on this model produced by John H. Earl (http://www.modelboatyard.com/bluenose2.html). I decided to follow his instructions.
-
I’ve been debating with myself if the hull were ready to painting. I didn’t want to sand and fill to fibreglass smoothness but since I have’t done this before I wasn’t sure how much to work on it.

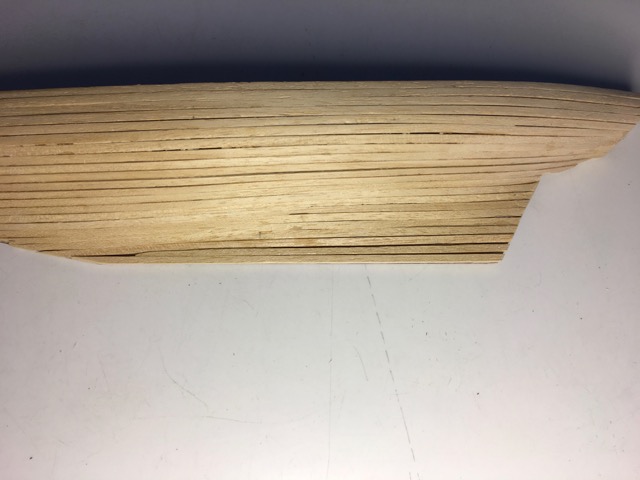
In the meantime I did some experiments with paint. A trip to the local hobby shop brought me some Tamiya and some Vallejo acrylic paints. I’ve picked up a 3" board of 1/16” basswood, marked it into bands, and put one to four coats of paint in a band to see how it will look. Forum posts on painting suggested Tamiya Fine White primer in a spray was worth the cost so I laid down a coat of primer 1st.
I’ve started on the railings. Tomorrow I’ll start the painting then back to the railings. It’s new ground to get to work on the smaller bits of the kit!
Doug
-
-
Steve,
Just three simple questions at the moment.
Your previous 2 pictures show an elastic band across the stern to a pin on the planking strake. I'm curious what purpose it was playing for you.
The push pins you're using are fairly large diameter. Did you have to pre-drill a hole for them to avoid splitting the wood strip?
You show making lateral bends in the plank (I've used the same kind of clamping to do that). However do you also bend the plank to go around the curve of the bow? If so, what kind of jig do you use?
Keep showing lots of pictures please!
Doug
- EJ_L and Steve 12345
-
2
-
Wonderful detail in your posts. I'm going to follow to see what I can learn - just starting model building so there's lots of scope for learning!!
Doug
- EJ_L and Steve 12345
-
2
-
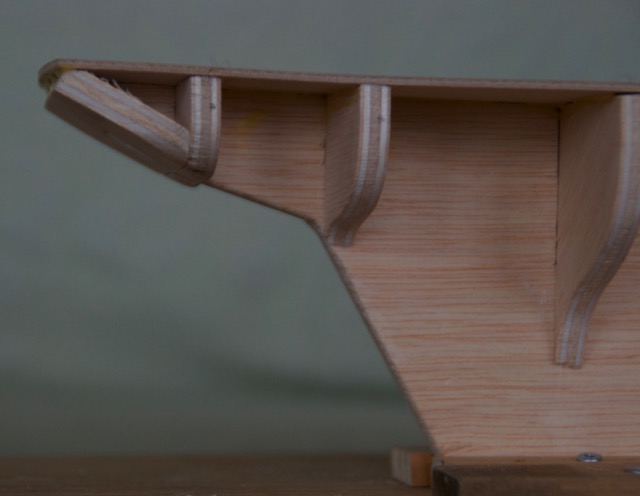
I'm least happy with the bow.
I presume I can used filler to try to fix this. Any suggestions?
Doug
-
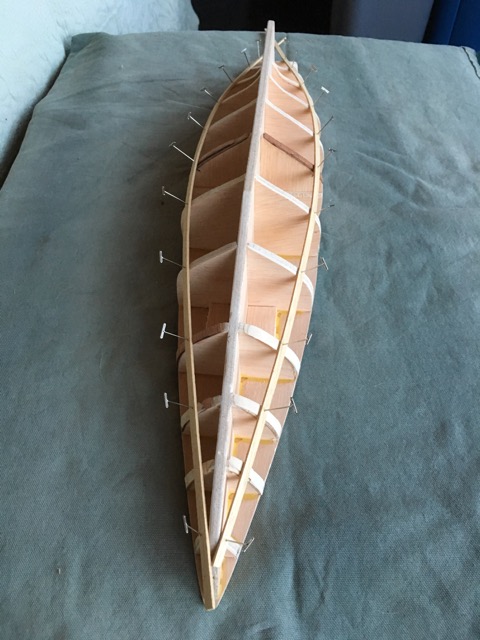
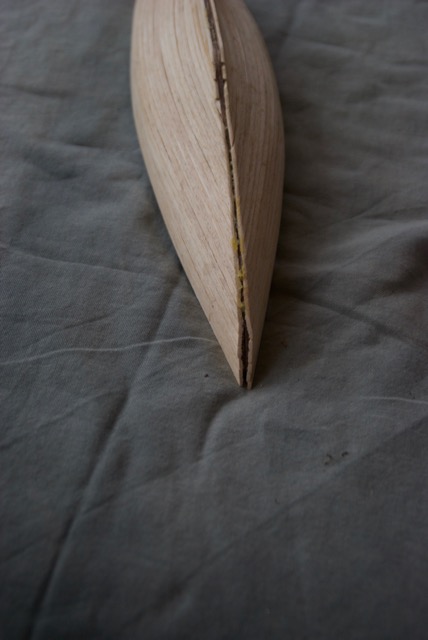
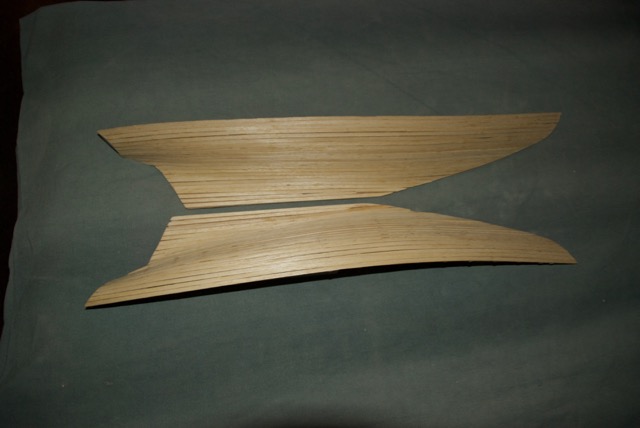
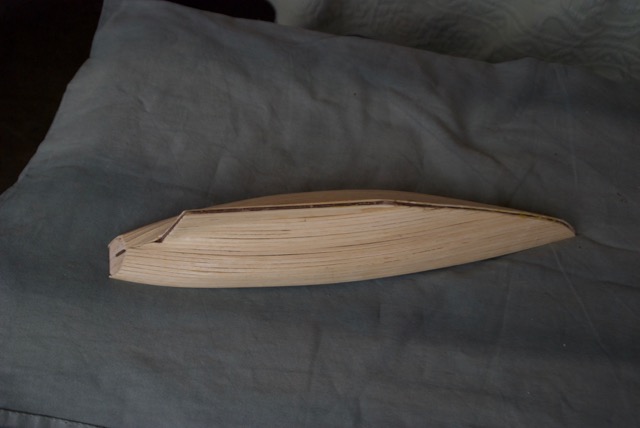
The planking of the 2 halves of the hull is complete.
Glued the 2 halves together with various clamps and rubber bands.
Now it look more like a ship's hull.
-
I believe #0a just cover the stern transom so that the plank ends are covered and a finished piece hides the split pieces #0.
I used cyanoacrylate (CA) glue to tack the plank to each bulkhead. No pins as the glue cures in 30-60 seconds. I just glue at 3 or 4 bulkheads and hold the plank in place with finger pressure. Got to be careful though to avoid glueing my finger to the hull!
Your projects are way beyond my dreams at the moment! As I mentioned I've got the Artesania Latina Bluenose II ready form my followon project. I also bought an older Billing Boats kit - the Krabbenkutter - I thought it was a very different style of hull and ship so will hopefully teach me some skills that I can then apply to a more advanced build!
Got any photos of your Bluenose II on this site?
Doug
-
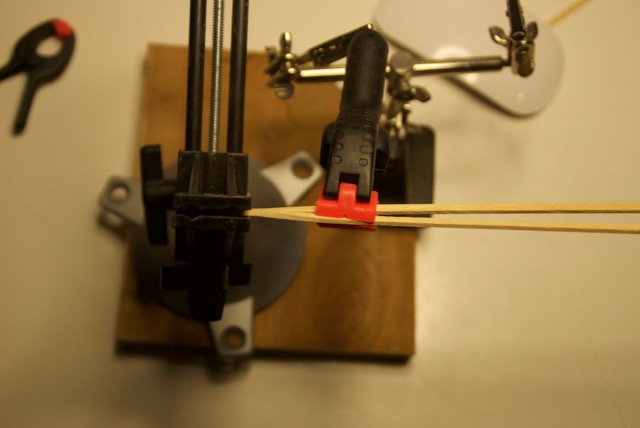
Nearing the bottom of the hull (planks 14 and 15 from the rail) I had to twist the wood strip to get it to lie flat along the false keel while still following the bulkhead. Used the panvise to hold the strip and a clamp to push on to create the twist. Paint brush to wet the small section to help soften the fibres.
As i get to the last 5 or 6 planks It seemed worthwhile to slightly narrow the planks near the front of the false keel so that I could avoid stealers at the stern. I tried to eyeball it but didn't manage to taper them enough. So one stealer (and some wood filler to come).
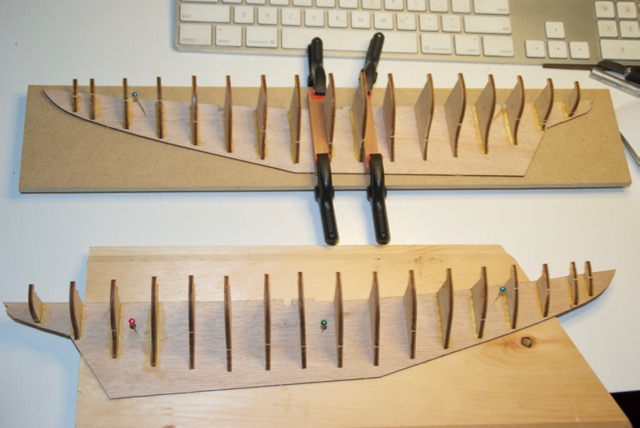
1st half of of my 1st hull!
-
I faired the bulkheads. It was a surprisingly pleasing task.
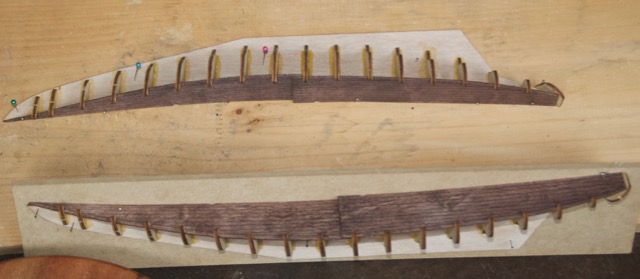
However agonizing over the planking plan was less enjoyable. I examined a few buildlogs of various Bluenose II builds to get a sense of how others had approached the keel and hull shape of the boat. I also tried to get a sense from images of the actual refit of the Bluenose II. To apply Chuck Passaro’s methods I needed to decide how to run strakes so that I could avoid the drop planks and the stealers that I saw in other builds.
Since this is such a small scale model I decided to just divide the hull into 2 bands. I chose this line 1) because it looked reasonable to me, and 2) it was the same distance down each bulkhead. That should mean all the the planks are the same width ( at least for the top half of the hull). In fact, it seems that all the planks in the bottom half will be as well.
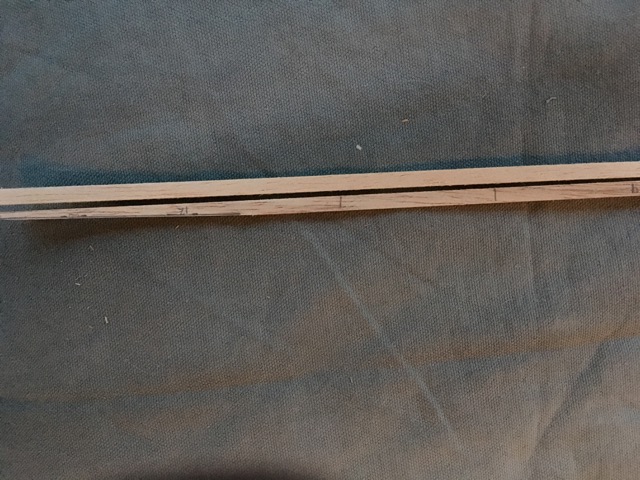
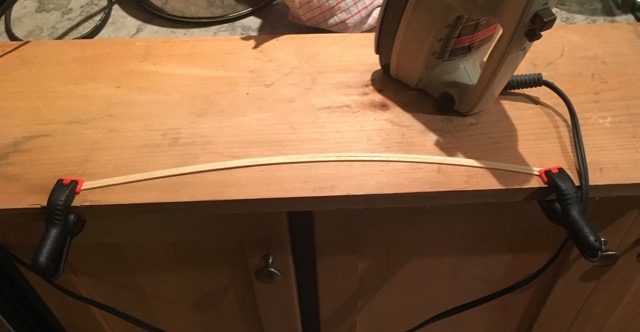
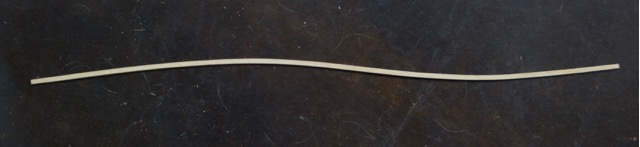
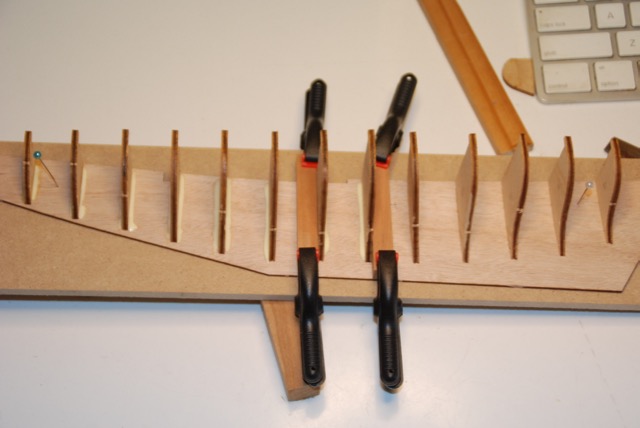
It was time to mount some planks. Following Chuck’s video I wanted to bend each plank to fit the curve of the hull. This was bending laterally or edgewise rather than creating the curve by spiling. I tried using various heat sources for this bending operation and ended up using a steam iron. by way of example I found that I could create a 2-1/2mm curve by clamping the wood strip with a 5mm curve then ironing. (the strips in this kit are pine nominally 1mmx3mmx450mm
I only use 1 multiple bend on each side of the hull.
-
-
Thanks Frankberge. I'll be happy to hear your suggestions as I get along with this project. I'm getting close to finishing the planking and looking forward to joining the two halves of the hull so that the ship is whole!
I am treating this project as a learning tool - both how to do the ship building part and how to be more workmanlike in my approach. I tend to push ahead and then have to correct the consequences of poor planning - I was supposed to have learned that as a programmer - the time in design is more than compensated by reduced debugging and rework!
I just purchased a older Artesania Latina Bluenose II kit. I thought that it would be my follow-on project where I could use the experience gained on this model directly on the next. Similar to your idea of redoing your model in the future.
Doug
By the way: what are you tackling now?
-
I've just purchased this kit (#20500) and am ready to start on it. However the instruction booklet that came with it is exclusively in French. I'd prefer to work with the English version.
I've contacted AL in the hopes that they'll have an English language PDF to send. Anybody here have a a set of instructions for this kit that they'd lend or scan for me?
I'm a newcomer to the hobby - working on my 1st kit at the moment so I like to have as much guidance as I can obtain. I've downloaded John Earl's practicum (http://www.modelboatyard.com/bluenose2.html) for this kit and it will be very useful but it directs me to sections of the instructions that should have been with the kit.
Thanks,
Doug
-
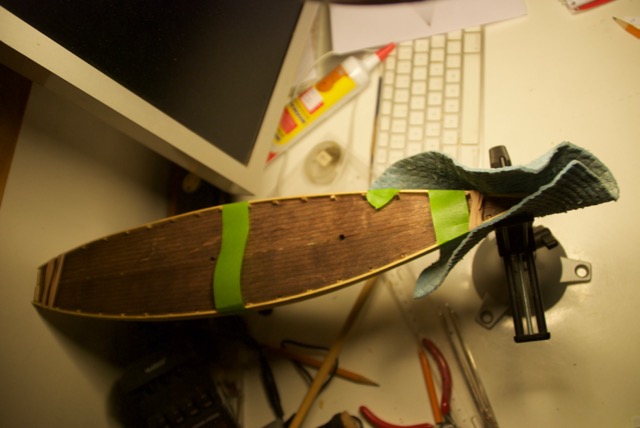
The decking in this model is not “lined” to appear like a plank deck. Figure 3 in the instructions implies that the planks are simulated by pencil scribes.
My 1st try on scribing was not really very satisfactory. Sanded off the marks and tried again.
Purchased some minwax wood finish - red mahogany instead of BB36 mahogany stain - did a test colouring for deck. It pretty well obliterated the pencil scribes. So I stained decks and then rescribed the plank lines in pencil. ? Should I have coated the decks before mounting?
Mounted decks on the hull halves. A couple of the bulkheads were not fully seated after glueing. There will be quite a bit of “fairing” required before planking.
I reviewed Chuck Passaro video and notes on lining the hull before planking and on bending planks for installation. I'm going to try out his method (before I learn how to do it wrong). See:
Chuck's planking videos...in
Building, Framing, Planking and plating a ships hull and deck
-
Just joined MSW and your buildlog. As a complete beginner I find it both motivating and intimidating. Well done.
-
Hello maturin52. Nice to meet you (virtually). All my sailing was on inland lakes. It must have been a fun experience to be onboard the real Bluenose II! I'll follow your log with interest as that was a kit I thought would be something for my future once I have some experience under my belt.
Its my second day of building and I believed all was going well. While I had time for glue to set I thought I'd see what lay ahead. Now I have more questions than I expected. The instructions are sparse (I kinda knew that was the case) but there some obvious little errors in the notes as well.
I'm off to the forums to find tutorials and advice on how to mark the deck so it looks like it was planked, how to do the planking on this boat, and even when to deal with paints and finishes on some of the fittings before they're installed.
Doug
-
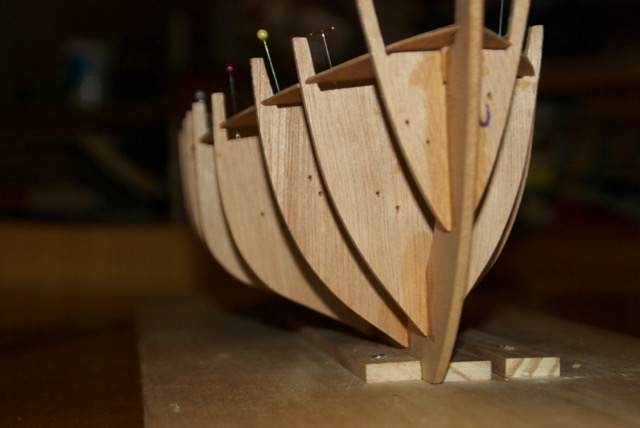
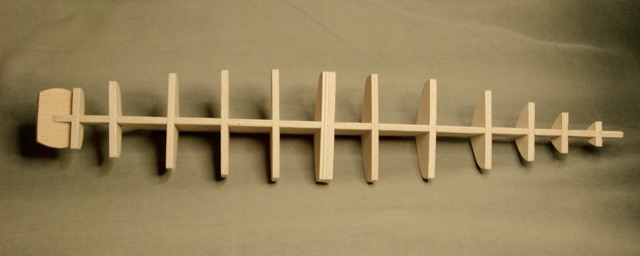
Construction begins
Easy to assemble the bulkheads on keel
Glueing in process
-
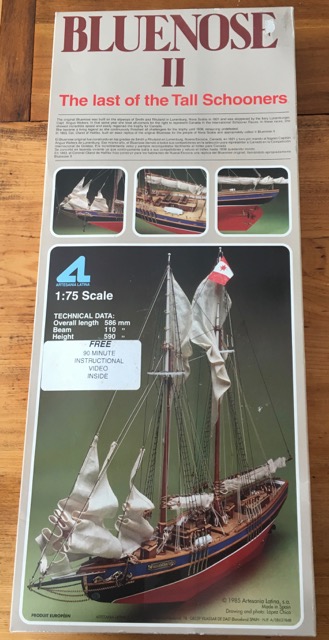
The kit box and contents

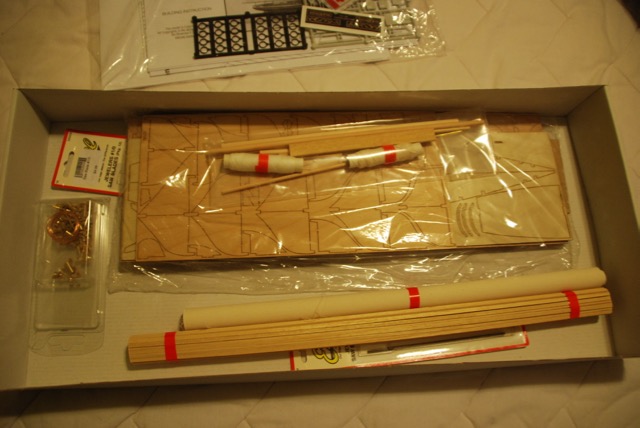
Plastic fitting (I guess it keeps the cost down)
The 2 halves of the keel piece
All the bulkheads are port and starboard pieces separately
Bluenose II by Heronguy - Artesania Latina #20500 - Scale 1:75 - 2nd build
in - Kit build logs for subjects built from 1901 - Present Day
Posted
Harry - Thanks for the encouragement and offer of pictures when I need 'em. I'll take you up on them I'm sure
John - I'm learning (I hope) to go slow and careful. "Patience" is my new mantra.