


Heronguy
-
Posts
863 -
Joined
-
Last visited
Content Type
Profiles
Forums
Gallery
Events
Posts posted by Heronguy
-
-
-
Thanks Michel,
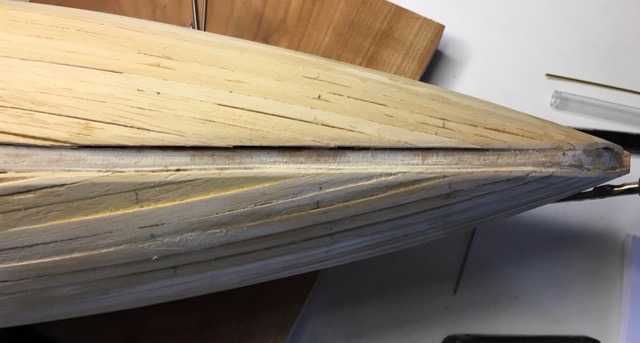
Regular painter's masking tape was useless but in one of the forums people spoke highly of Tamiya masking tape. I bought a roll of the 6mm tape. It has a couple of nice characteristics. 1-it seals the paint out really well 2-it can be lifted and repositioned several times without compromising the adhesive or the surface underneath and 3- it can take a slight lateral Ben to follow a slight curvature.
I took a long piece - almost as long as the hull -- and placed it parallel to my waterline pencil mark starting from the bow. When I got to the curvy part at the stern I use 2 short sections of tape to follow the curve. Just eyeballed the placement to look like a smooth curve.
I painted above the waterline tape in black, removed the tape, taped waterline from above (I.e. On the black), then painted white not worrying about width. Finally when white was cured I put another layer of tape over then tape and eyeballed the stripe width as I proceeded to place the tape. Thebtamiya tape is translucent enough to judge that. Painted the lower hull red and voila, I was satisfied.
Others on this site have suggested purchasing automobile detailing stripes and using them instead of paint. I'll probably try that sometime.
Doug
-
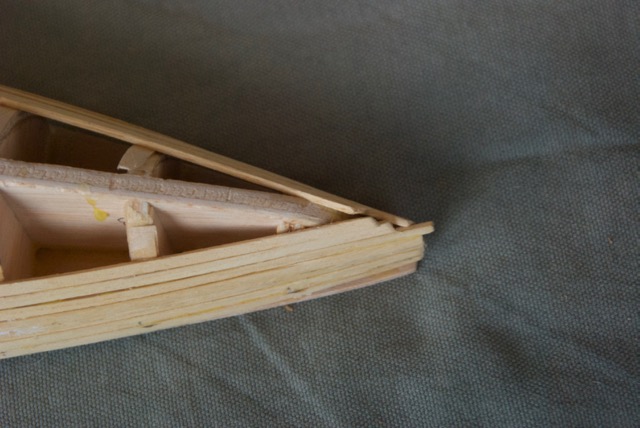
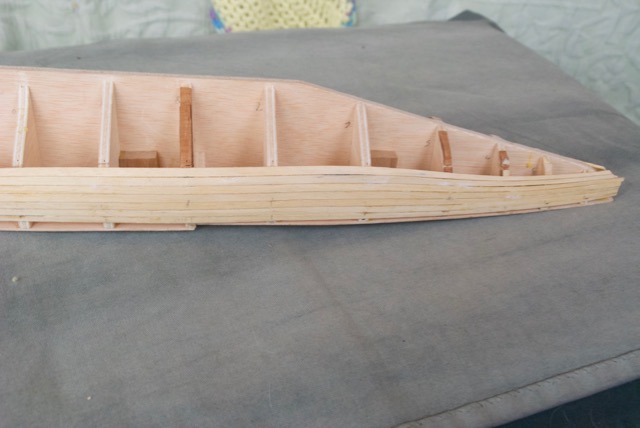
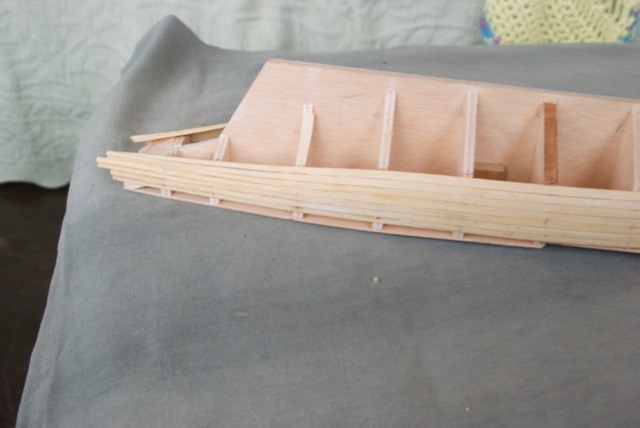
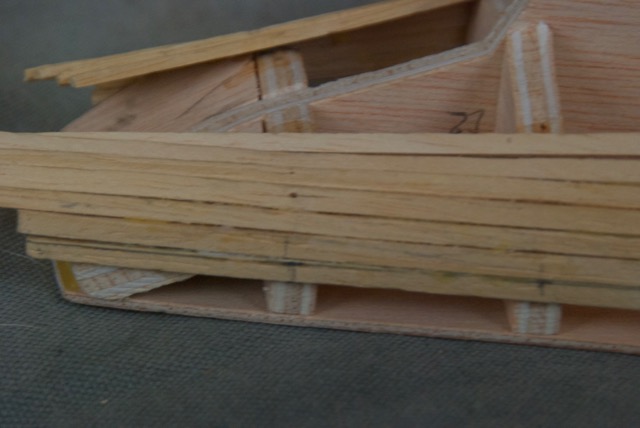
Hey doug the first kit boat i built ( well just the hull) was the mary ann from billing boats. been procrastinating about finishing the painting of the hull which is the same hull as the krabbenkutter or new kit cux 87. the instructions are quite bad very little in the way of information. the frames and keel are easy but planking is the hard part my 1 suggestion is to plank down from the deck height tapering the boards fore and aft like the manual says but when the planks no longer want to follow the curve on the stern is use a stealer plank to shift the planking to a more manageable curve. anyway hers a pic of what the hull looks like.
Cheers Rexy.
Thanks Rexy. This build log has now caught up with current progress. I've been pondering the approach to a planking plan so you suggestion is very timely!
Your hull looks really good!
Doug
-
Second mistake - worse that the first.
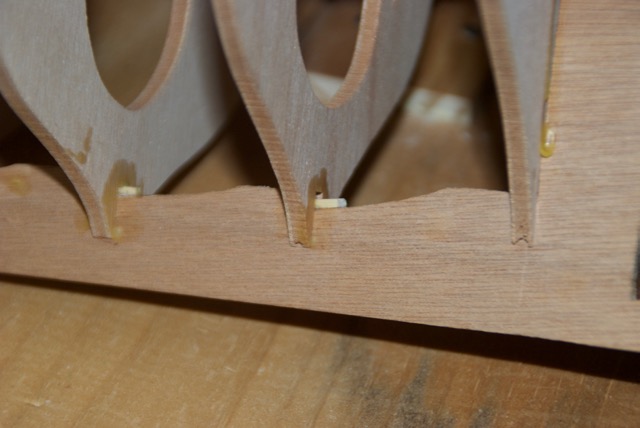
I've been reading about how fillers between bulkheads at the bow and stern are necessary to provide a good base for planking. And there ware blocks that needed to be fitted in the stern - so I did that. Then I tried to share them. Another piece of old tough wood. I wasn't making much progress.
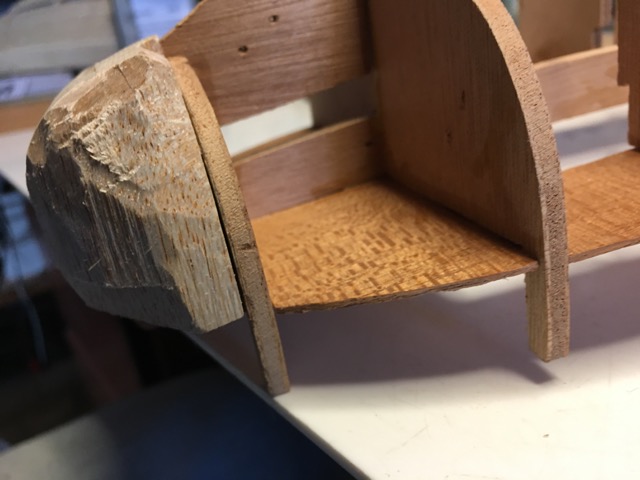
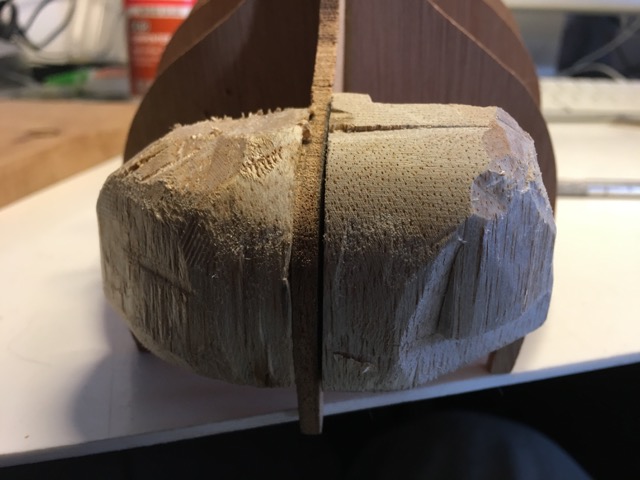
After realizing that the blocks (even when shaped) would interfere with additional fairing of the bulkheads and puzzling over the plans for this and other similar boats I came to understand that these blocks were not support for planking over but rather the planks stop at the last bulkhead and these block are the stern (unplanked). I took them out by dowsing them with Isopropyl alcohol and prying them out very, very carefully. (I guess that was a save). I'm still going to have to shape them later - but hey that's later not now.
The lessons learned from this episode:
- the plans and part numbers often refer the order that parts are needed (I don't need part 36 - the stern blocks - when I'm still working on part 23 - the deck plate.
- think ahead - what has to happen and what will this step affect later.
- look at other build logs for ideas and clarifications that might apply in this case
Doug
-
First obvious mistake
I was pretty happy to cut out the deck plate. I mounted it on the bulkheads and eventually glued it done. I sat back to admire my efforts and then noticed:
I guess I should have made the cutouts before I mounted the deck! At least I got to learn how effective Isopropyl alcohol is at softening glue. A skill it turns out I needed all too soon afterwards!
-
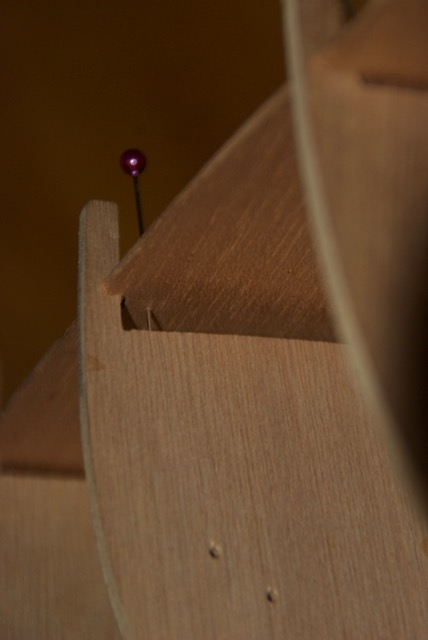
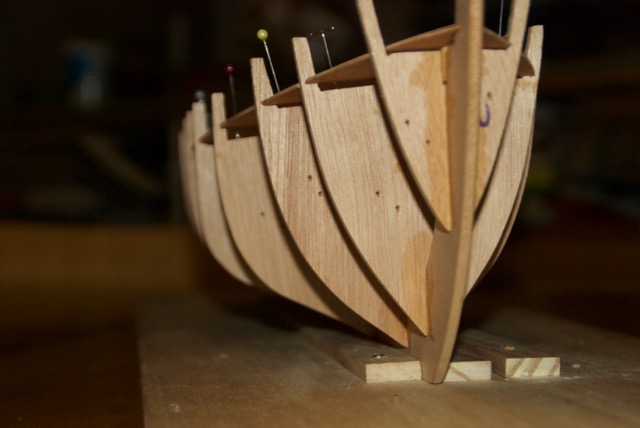
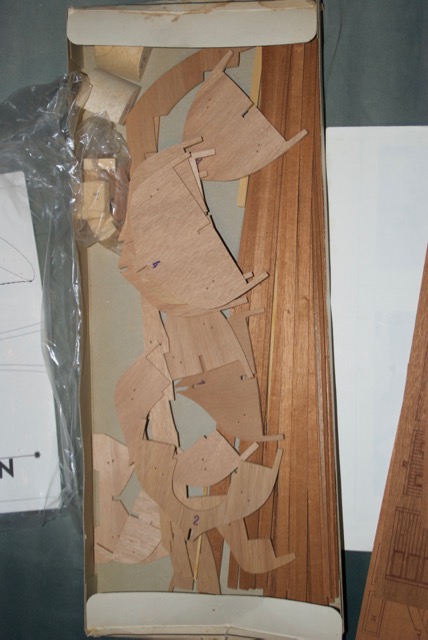
The bulkheads in place. But there were a few problems. (Does old plywood turn into concrete? It was pretty had to shape.)
The deck sheet was my 1st effort at removing parts from the mahogany sheet. I got suggestions from reviewing the
Shop Notes, Ship Modeling Tips, Techniques and Research forum
Fitting the deck plate showed up some of the problems - the bulkheads need quite a bit of shimming and shaving
-
Thanks Steve. Seems to me we are following similar trajectories. I'm following your lead with the HMS Bounty and the Mare Nostrum! I'm enjoying your skill and progress.
Doug
-
Those old kits are starting to resurface these days. I am currently working on a resurrection of the Billings Danmark (3 of them!)
Best of luck
Thanks. And to you as well!
Doug
-
The kit:

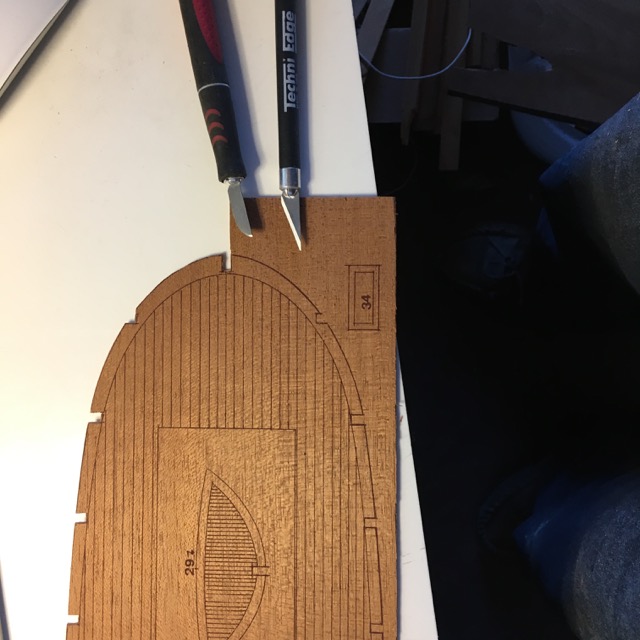
The mahogany sheets - jeweller saw and x-acto knives at the ready!
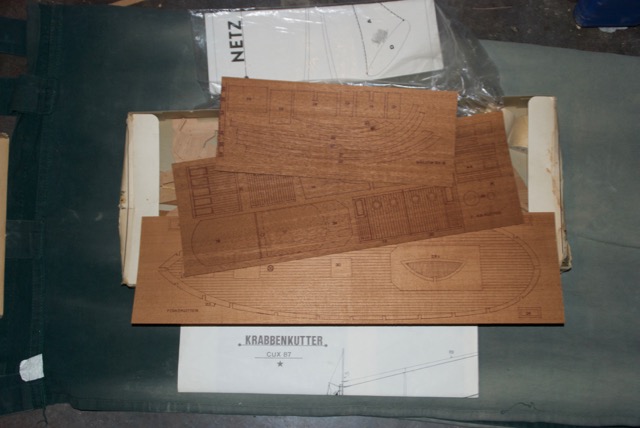
10mm mahogany planks. I think they’ll be a challenge shaping and bending. I hope I’m wrong!
The instructions are minimal. This could be a problem. There's only one build log on this site for the boat and it is the newer version from Billing Boats - and not updated since 2013. With some searching I was able to get the current instruction manual from the Billing Boats site. Not much more in them but they may have some nuggets of help.
Doug
- yvesvidal, popeye the sailor and JPAM
-
 3
3
-
The Krabbenkutter - a crab fishing boat - will be my 3rd build. The other two are still in process but I want to reinforce what I’ve learned at each stage by repeating the steps and trying out alternatives.
This model came to me as a old reclaimed closet kit. It appears to be complete though the boxes were in a bit rough state. Given that it is likely 20 or 30 years old, most of the thin sheet parts are simply printed on the boards - lots of careful sawing in the future to get the parts out. A lot less fun that the laser-cut model I started with!
One attraction of this boat was the hull shape. The sleek shape of the Bluenose II (my 1st 2 builds in process) is in contrast the rounded stern and bulky hull of the Krabbenkutter. Also the scale of 1:30 is quite a change from the 1:100 Bluenose I started with. Possibly easier fro my clumsy fingers.
My intended theme in this build log is the choices I debate with myself. I’ve done some reading, reviewed various build logs and done some of these things twice before. What worked , what might work better, what new challenges and problems appear.
I expect progress on this build will be slow as it is competing for limited resources (me!) with the others. So with some trepidation I start my 3rd kit and 3rd log.
Doug
-
Hi David.
I'm another newcomer to the hobby and I'm feeling quite the same about the learning of new skills and the problem solving. Captivating isn't it?
Doug
- geoff, David of Berwick, mtaylor and 2 others
-
5
-
-
Will you be pleased to be finished with the planking? It is such a hurdle for us newcomers isn't it!
Doug
-
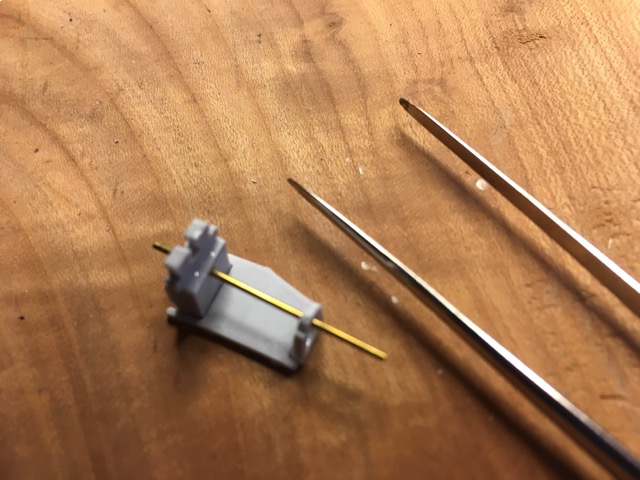
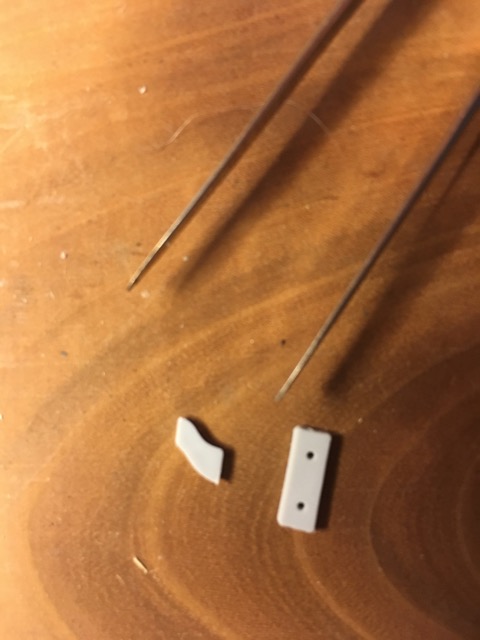
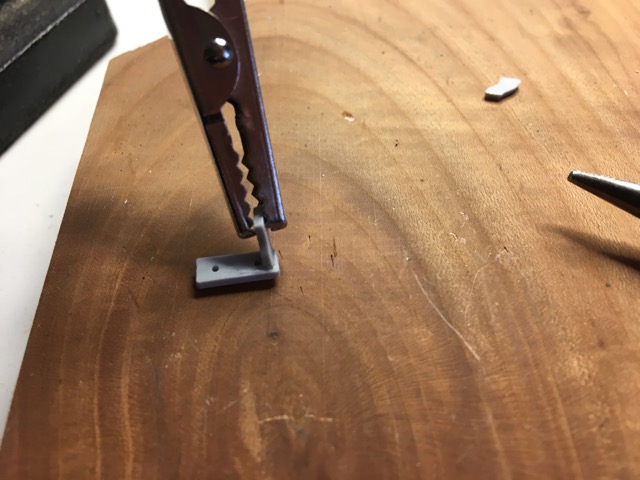
Some of the little plastic bits in this kit are small and I had to find a way to steady them while glueing! Third hand helped.
-
-
-
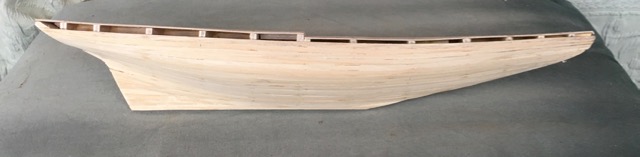
The planking is complete and I'm satisfied that it went pretty well. (It'll be better next time won't it?). I still have to figure out how to remove some material from the bow where the planks overlapped the false keel.

I'm spending time thinking about best approach before I commit to the blade or file.
- popeye the sailor, Fright, Nirvana and 1 other
-
4
-
Baby steps - always baby steps!
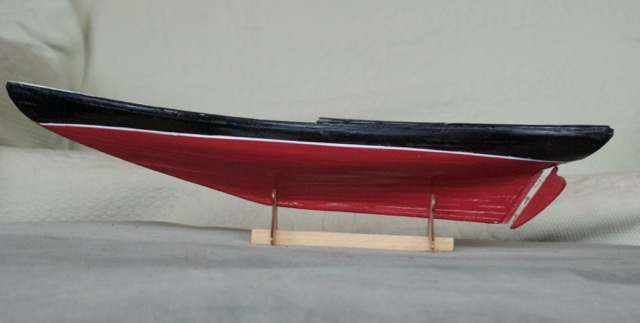
The hull is painted, the deck rails are installed according to instructions, and I mounted the rudder. Now the ship has some chance of going where it is told - I think I need my own rudder installed too!
Someone wrote that wooden ship modelling was more like problem solving than kit assembly. I'm beginning to understand the truth of that. Patience.
Doug
- Fright, Steve 12345, hof00 and 2 others
-
5
-
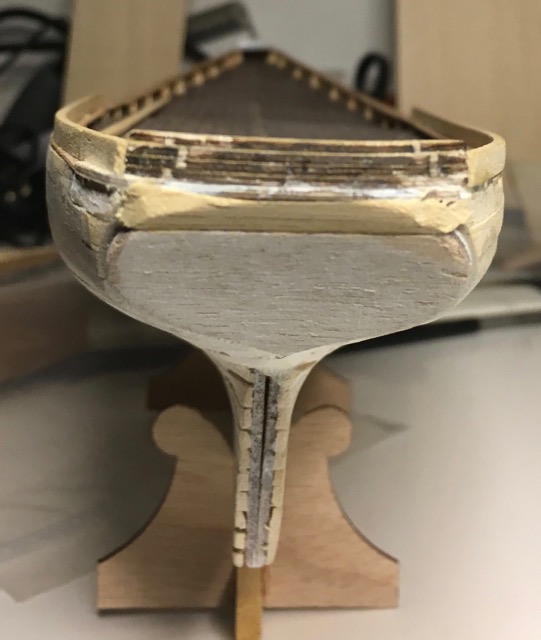
I'm new at this game and have encountered a problem that I'd like to correct in a sensible manner (i.e. I don't want to damage what I've done!).
When I planked the Bluenose bow I allowed the strips to overlap the false keel. I need to clear that space so that the stem, under-stem, and keel can be fixed to the false keel.
In the photo below I've drawn yellow lines to indicate the line of the false keel.
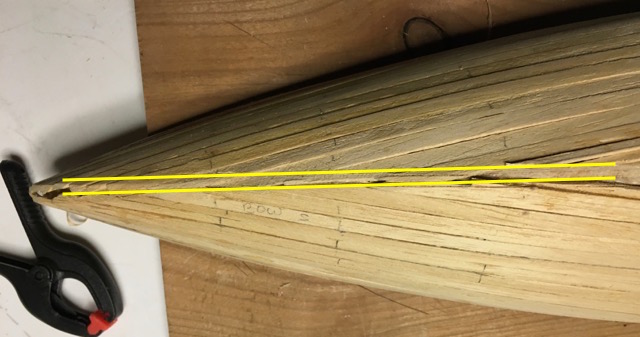
I can file or sand away the planks (easy), or I can try to cut them (seems tricky). I can't really visualize which will look ok once the keel pieces are attached.
I was considering painting the hull rather than second planking it. I suppose I can use filler to try to fix things but I'd prefer not to have to do too much of that.
Suggestions?
Doug
-
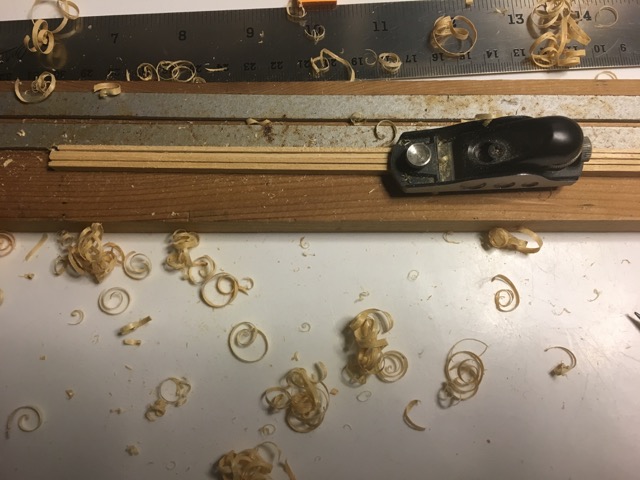
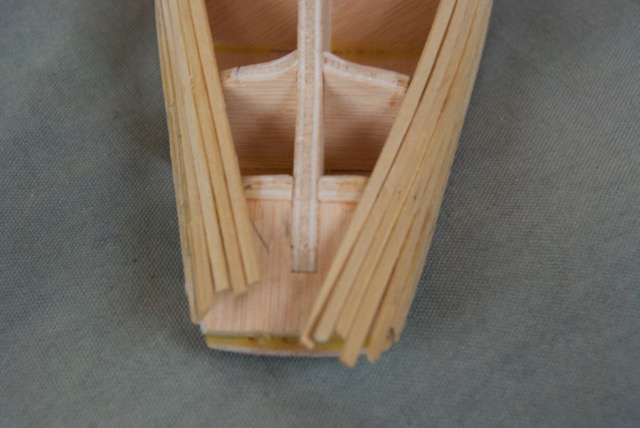
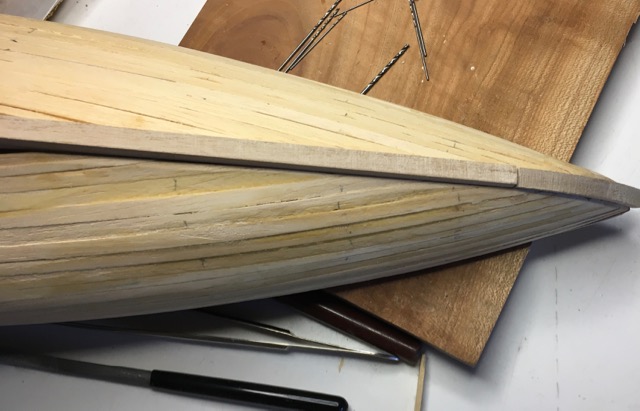
Well the 1st belt is finally planked. There was a short diversion while I tried to figure out decent ways to shape planks and bend them if necessary.
My jig for planing planks just used a pair of metal strips set to hold the wood strip on edge. To stop the wood strip from slipping I added a metal stop that holds the wood strip bent and creates enough friction to keep the wood strip in place.
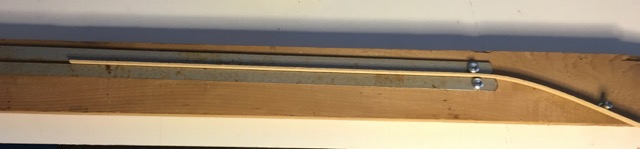
Once I had one strip profiled according to the planking dimensions I'd sandwich it between 2 or more untouched strips and plane the new strips using the 1st one as a template. Of course I had to be careful not the plane the template down - that seemed to work out well.
The second jig I wanted was for edge bending strips. I've adopted the dry heat bending approach using a painter's heat gun (which is nothing more than a hairdryer on steroids).
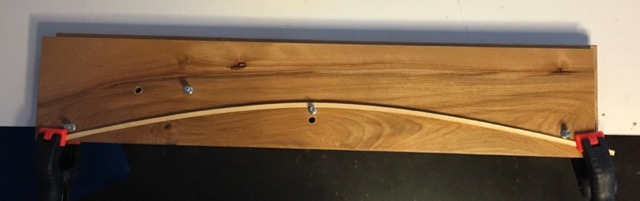
I'll drill more holes to hold different curves as I need them. The pins I used to bend around were from a shelving unit with adjustable shelf positions.
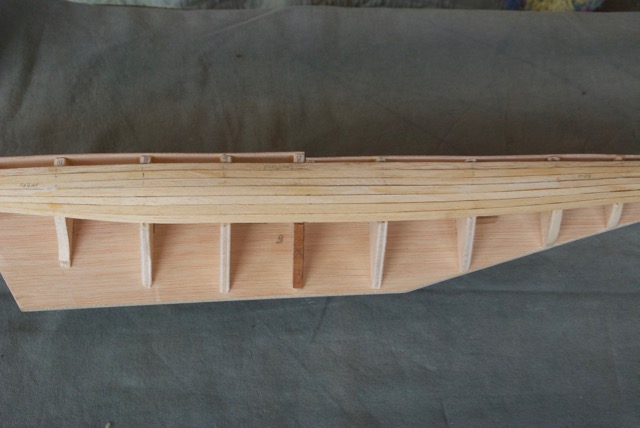
Here's the hull so far. It is not as smooth from plank to plank as I hoped/expected. I'm disappointed in that, but know from my other build that a bit of sanding and filling will fix it.
-
So much for time management estimates. I did some work on the railing but couldn’t quite finish as the kit was missing the 1mmx2mm strip called for the in the instructions. It seemed sensible to just “manufacture” the missing strip. Unfortunately I didn’t have a decent way to hold the 5mm strip that I wanted to slice lengthwise. I’ll have to make some sort of jig to help with this. The alternative is just to plane down a strip I suppose. That was the approach taken. It wasn't so difficult using the mini block plane (Veritas). I love that tool!
The stern didn’t look right so I added a piece to the top of the transom to try to correct the appearance.
It is almost cruel how bad things look in the photos - I decided I needed some more filling and a 2nd coat of primer.
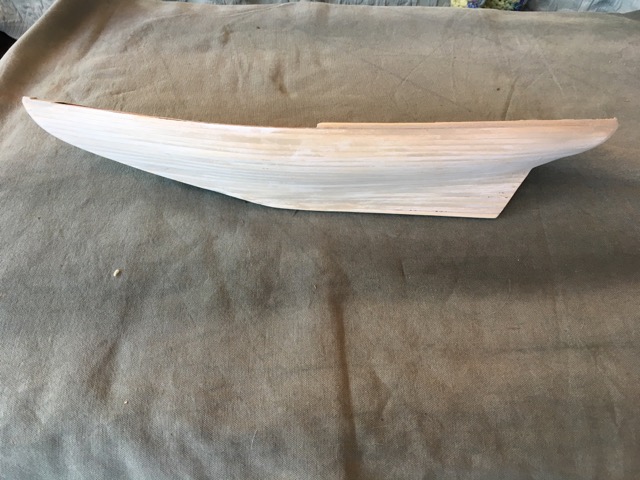
I struggled briefly to figure out how to determine waterline. I could measure from a scale drawing or eyeball the position amidship then try to use the waterline jig. The problem there is holding the hull level and steady! Given this is my 1st model and a “test bed” for construction I eventually settled on the eyeballing approach. I scribed the waterline but discovered the two lines didn’t meet at the bow. I used dividers to adjust the lines.
Masked the waterline ready to start painting.
- Steve 12345, piter56 and JPAM
-
3
-
Sorry Peter but your
Sorry Peter but the translation of your latest post is hard to understand. - Doug
-
-
I read your Mare Nostrum tonight. I think we're both on the steep part of our learning curve. I actually have 3 models on the go. I thought then1st would be where I could make most of my most serious mistakes and the next two would follow quickly enough that I would apply what I was learning. I may slow down progress - 3 hulls to fair, 3 hulls to plank, ... You are making good speed compared to me.
Lots of great advice aboard MSW!
Doug


Best place to buy wood in Canada
in Wood discussion...Where to use it? Where to get it? What types are best? How to Finish it?
Posted · Edited by Heronguy
You could check with member Worldway who in his build log on the Mare Nostrum wrote:
I ended up dealing with an out of town wood dealer who sells small quantities of veneer. He is going to send me 5 sq ft of Sapele and 5 sq ft of an equivalent to Ramin.
He indicated later he was happy with what he rec'd