


Timmo
-
Posts
609 -
Joined
-
Last visited
Content Type
Profiles
Forums
Gallery
Events
Posts posted by Timmo
-
-
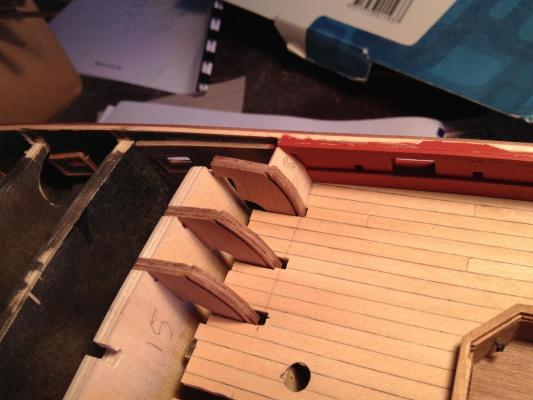
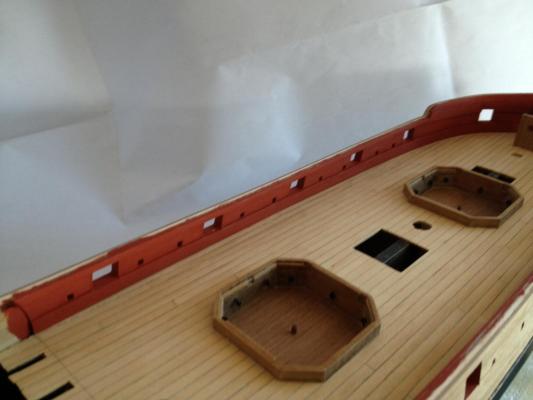
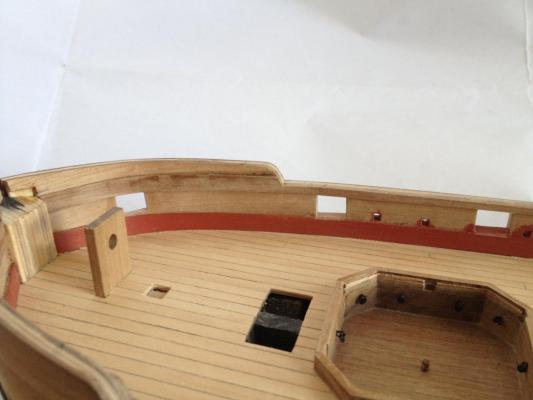
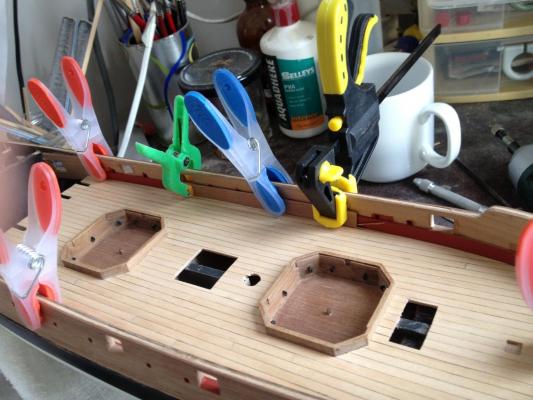
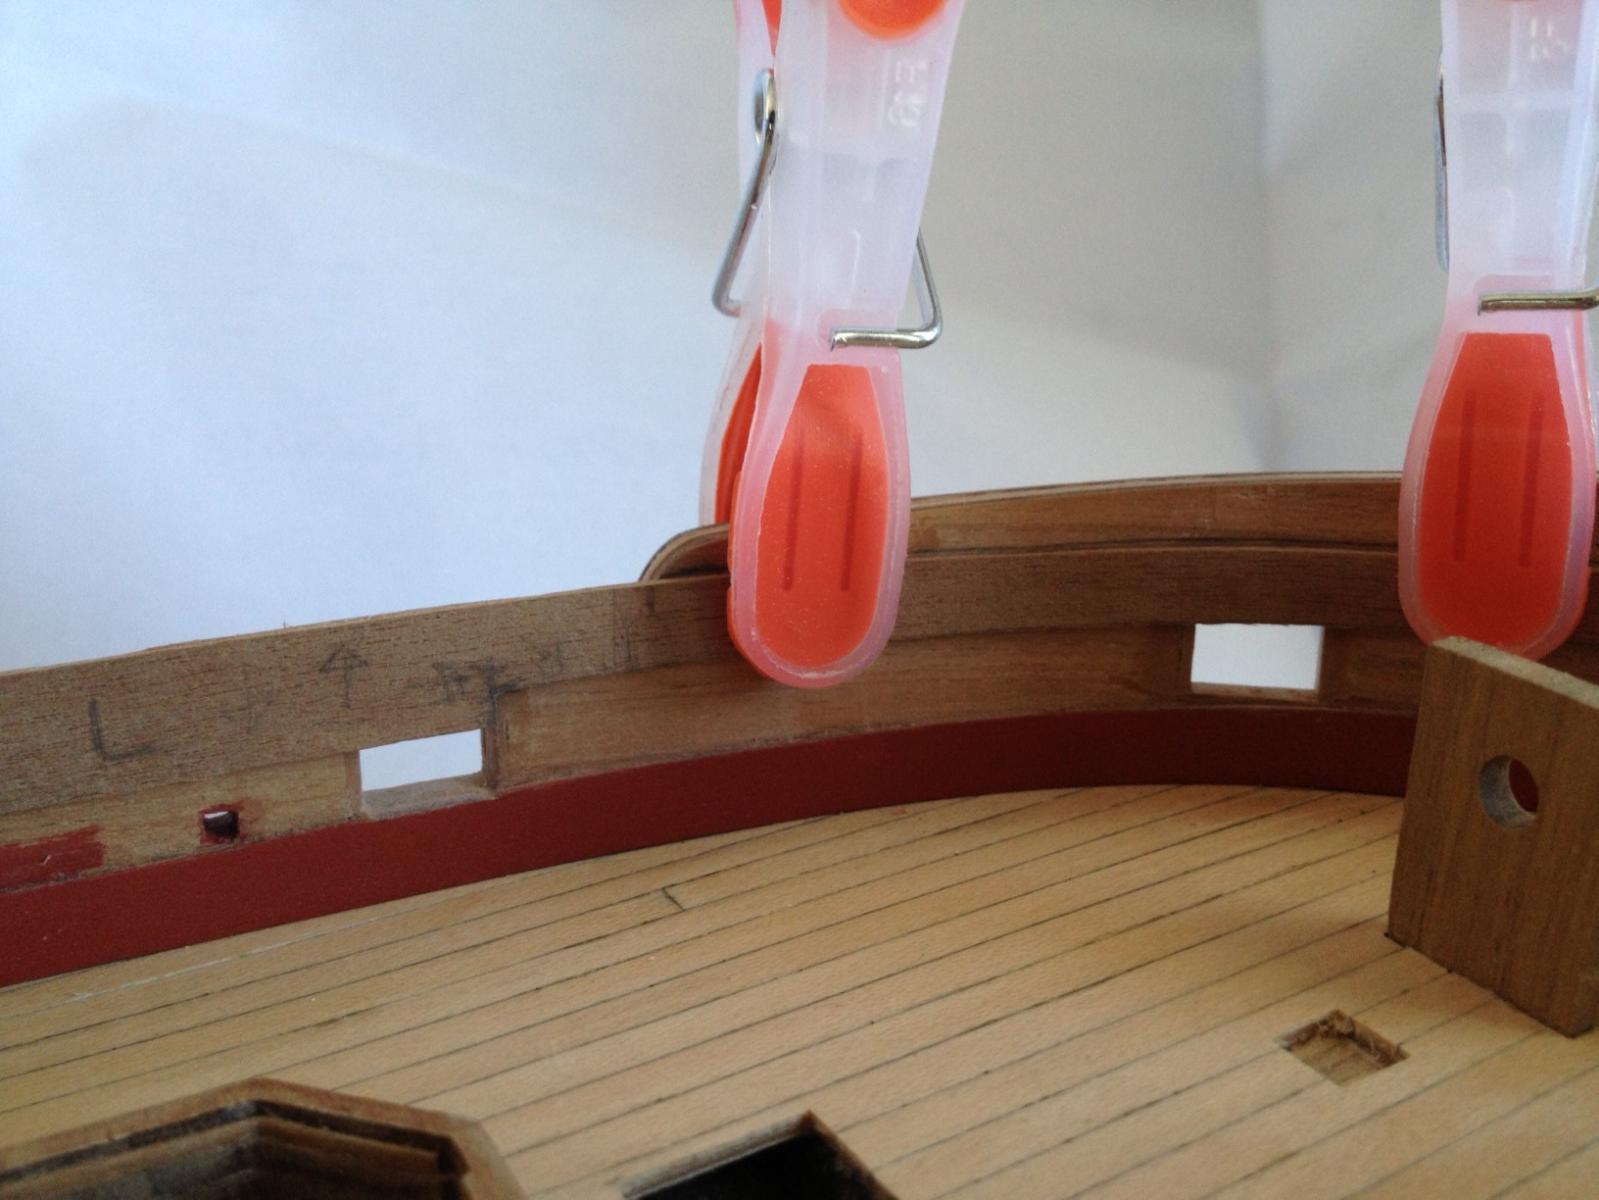
A small deviation from the instructions to install the quarterdeck bulkheads rather than the forecastle.
These are formed with thin ply held in place by grooves in the curved bulkheads. Simple but effective but also potentially tricky to install as there are many parts requiring dry fitting together before glue gets anywhere near it.
The bulkheads themselves rest between two lateral bulkheads with slots cut in the ply decking pattern where they fit. These slots always appeared oversized to allow room for movement in installed the QD bulkheads and the deck planking was run over the edges to allow ,ore room for trimming back once the bulk head positions were established. There's not much room for manoeuvre here as the decking must meet flush at the bulkhead sides otherwise there will be gaps around the edges. The bulkheads are faced with .5mm walnut when finished so there's a little bit of room for mistakes there but not much.
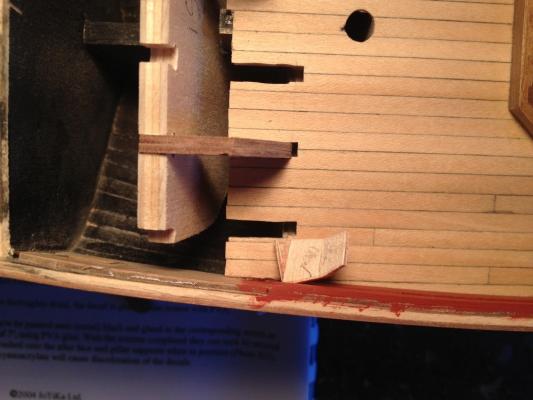
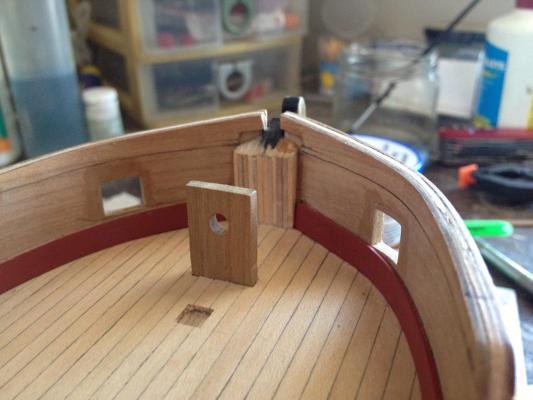
Bulkhead and panel dry fitting beginning with the port side
If it won't fit force it - and here's the result. The tight fit of the starboard side panel resulted in the ply crumpled when it couldn't get any further. Another panel pattern is easily cut and shaped better to fit. The panels are specifically shaped for each section and the only ones needing trimming are the two side most. Trimming the others will result in more problems that it will solve..
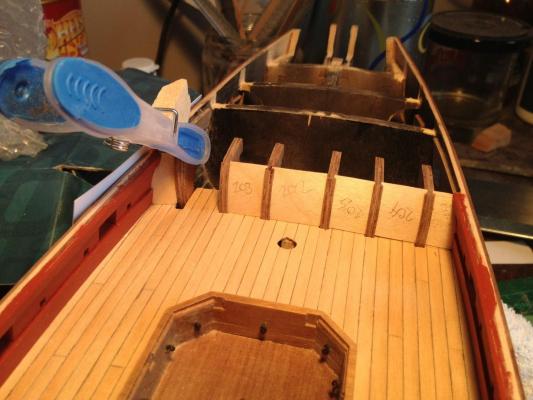
Most panels dry fitted
-
I'm filling in for someone else at work so am on 2-10pm shifts. It's quite surprising how much i can get done in a morning before having to head to work - that includes cooking dinner for the family, hanging out washing and occasionally seeing my beloved. When working 'bankers hours' of 8am-5pm i'm just too tired to do any modelling at night. On those weeks it's 2-3 hours on a sunday afternoon in the garage for modelling if i'm lucky with my three lovely girls roller blading or scootering around me. good times.
Anyway onwards to some building.
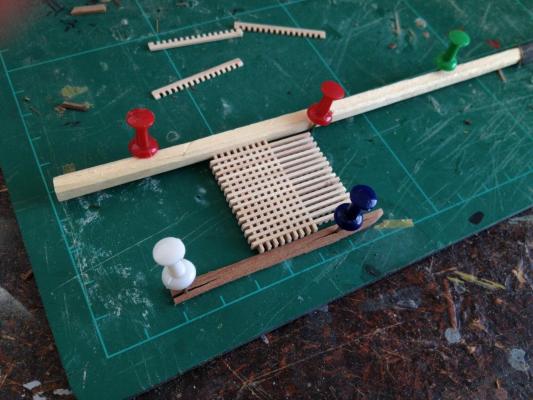
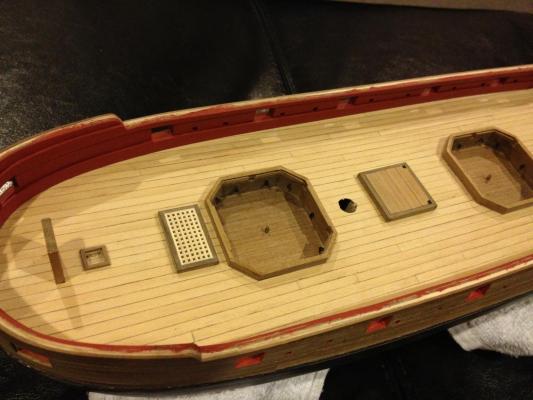
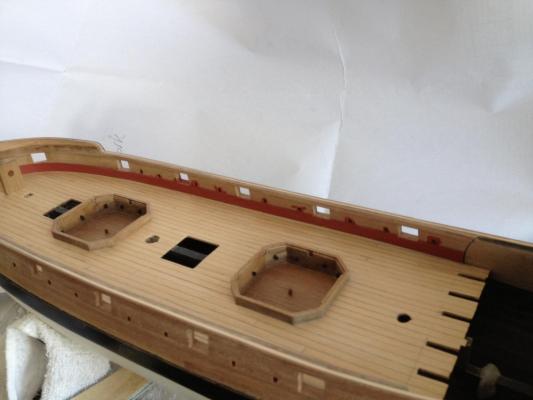
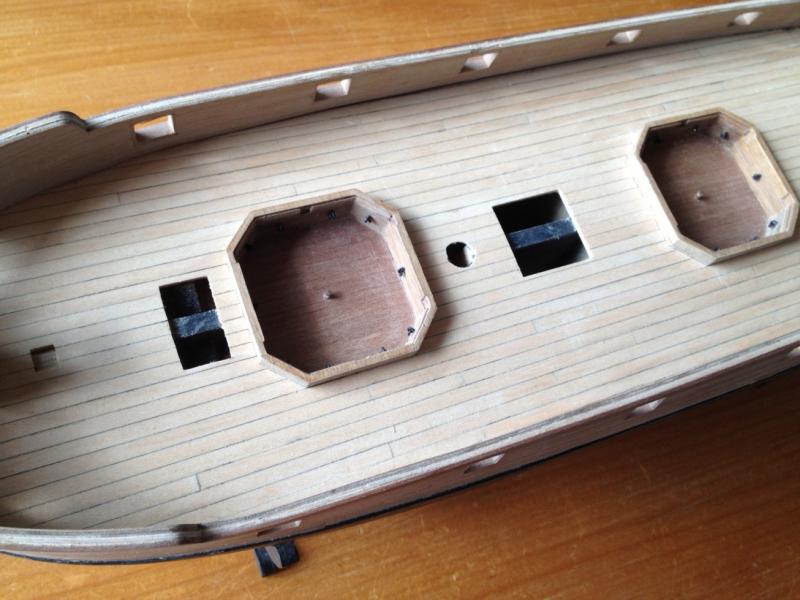
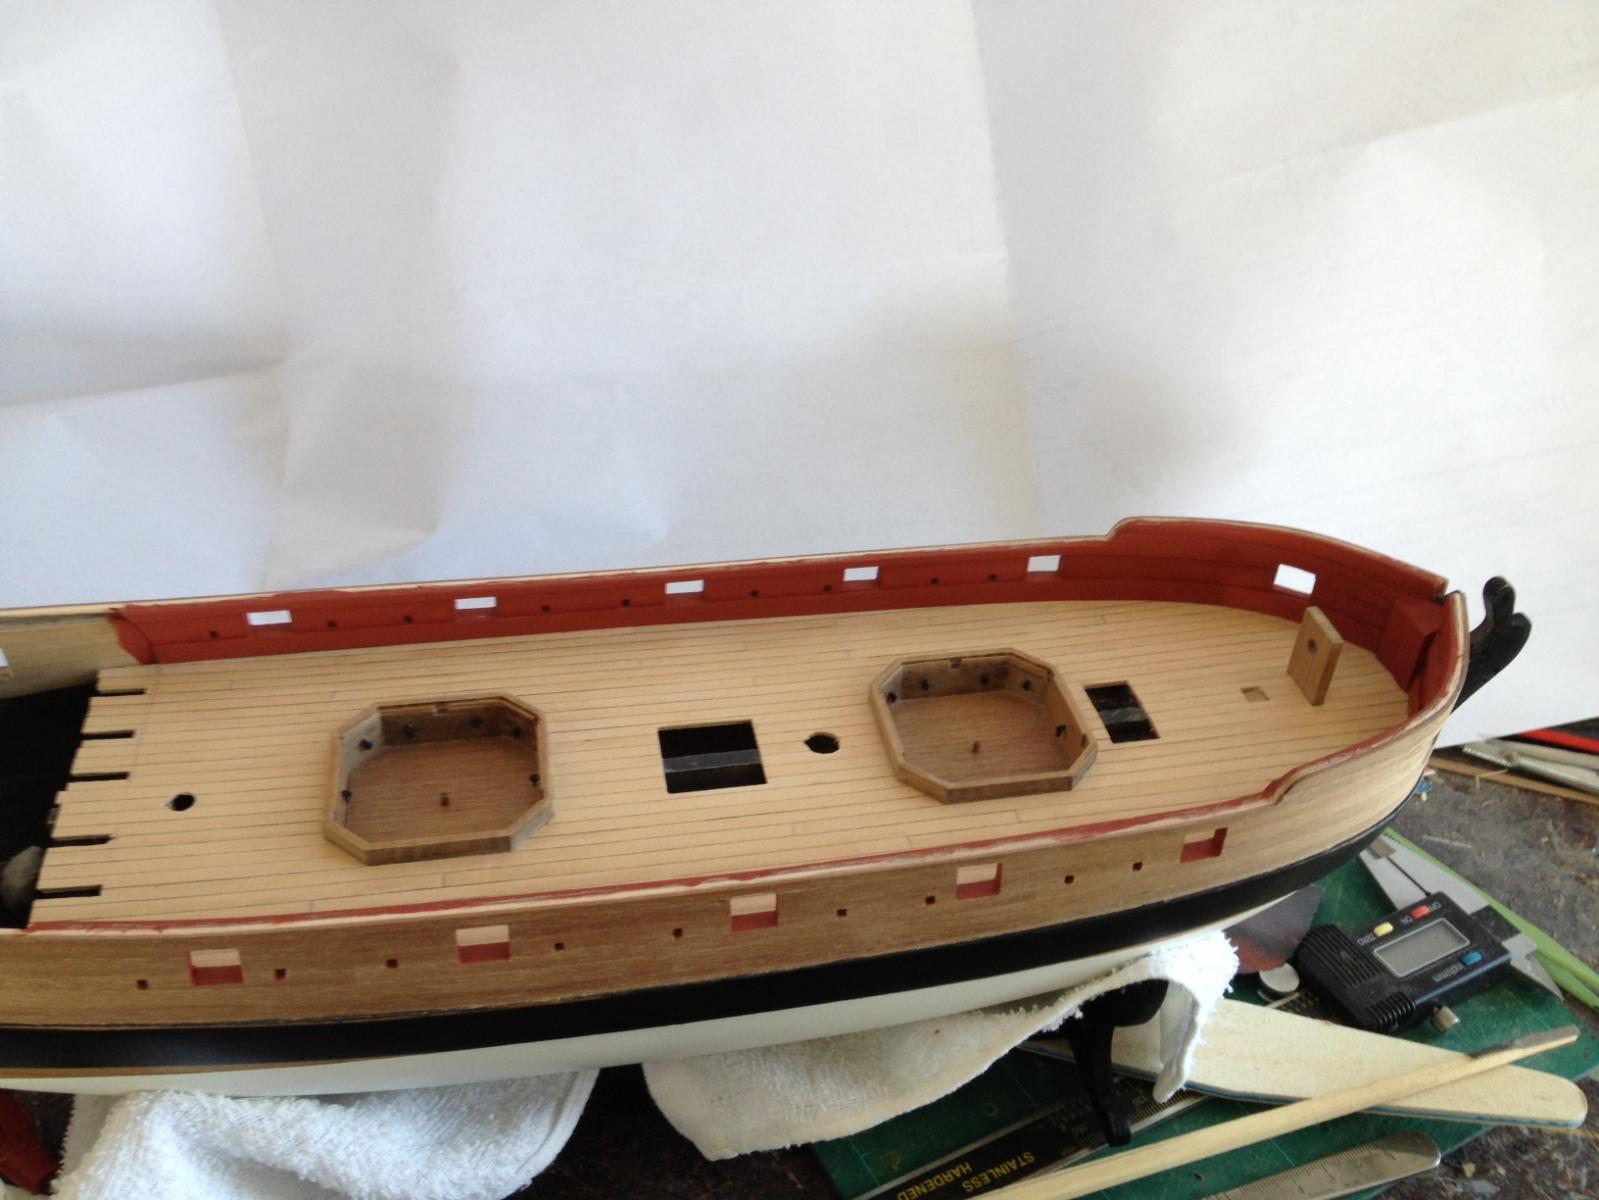
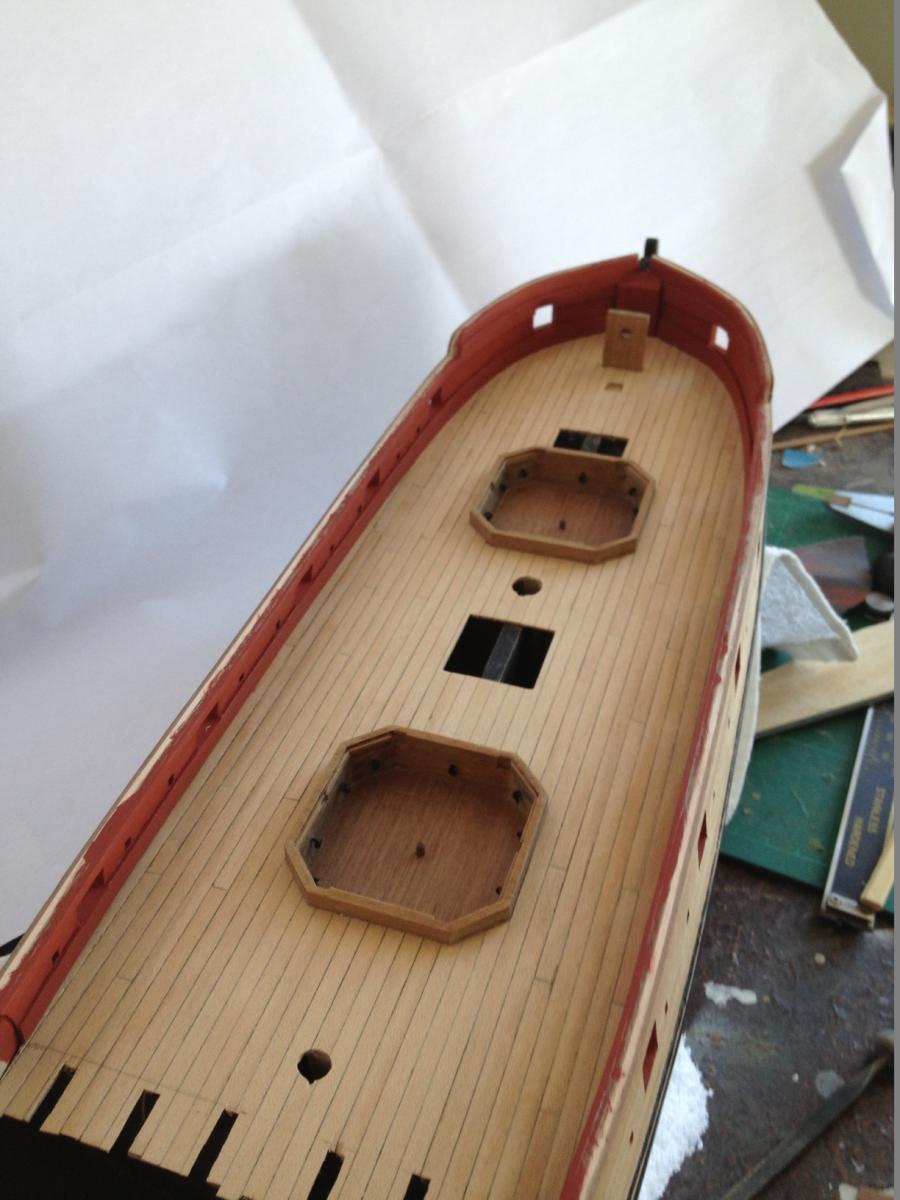
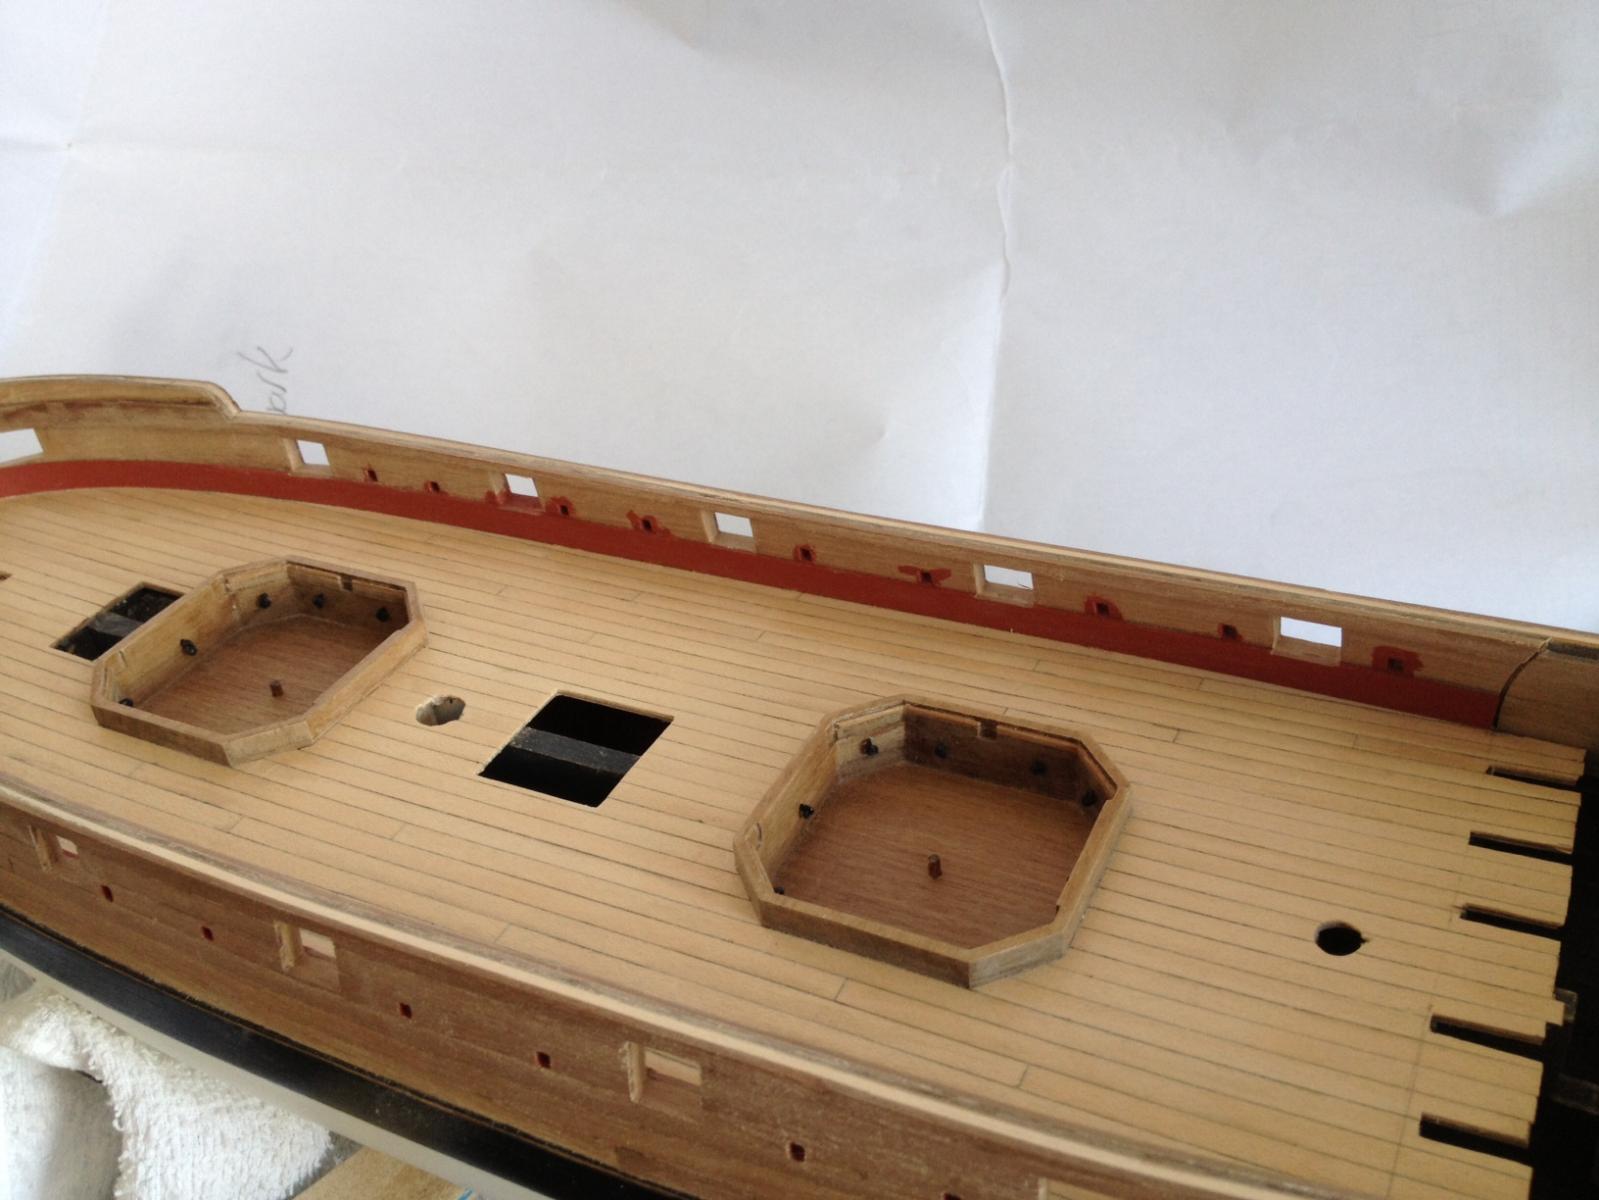
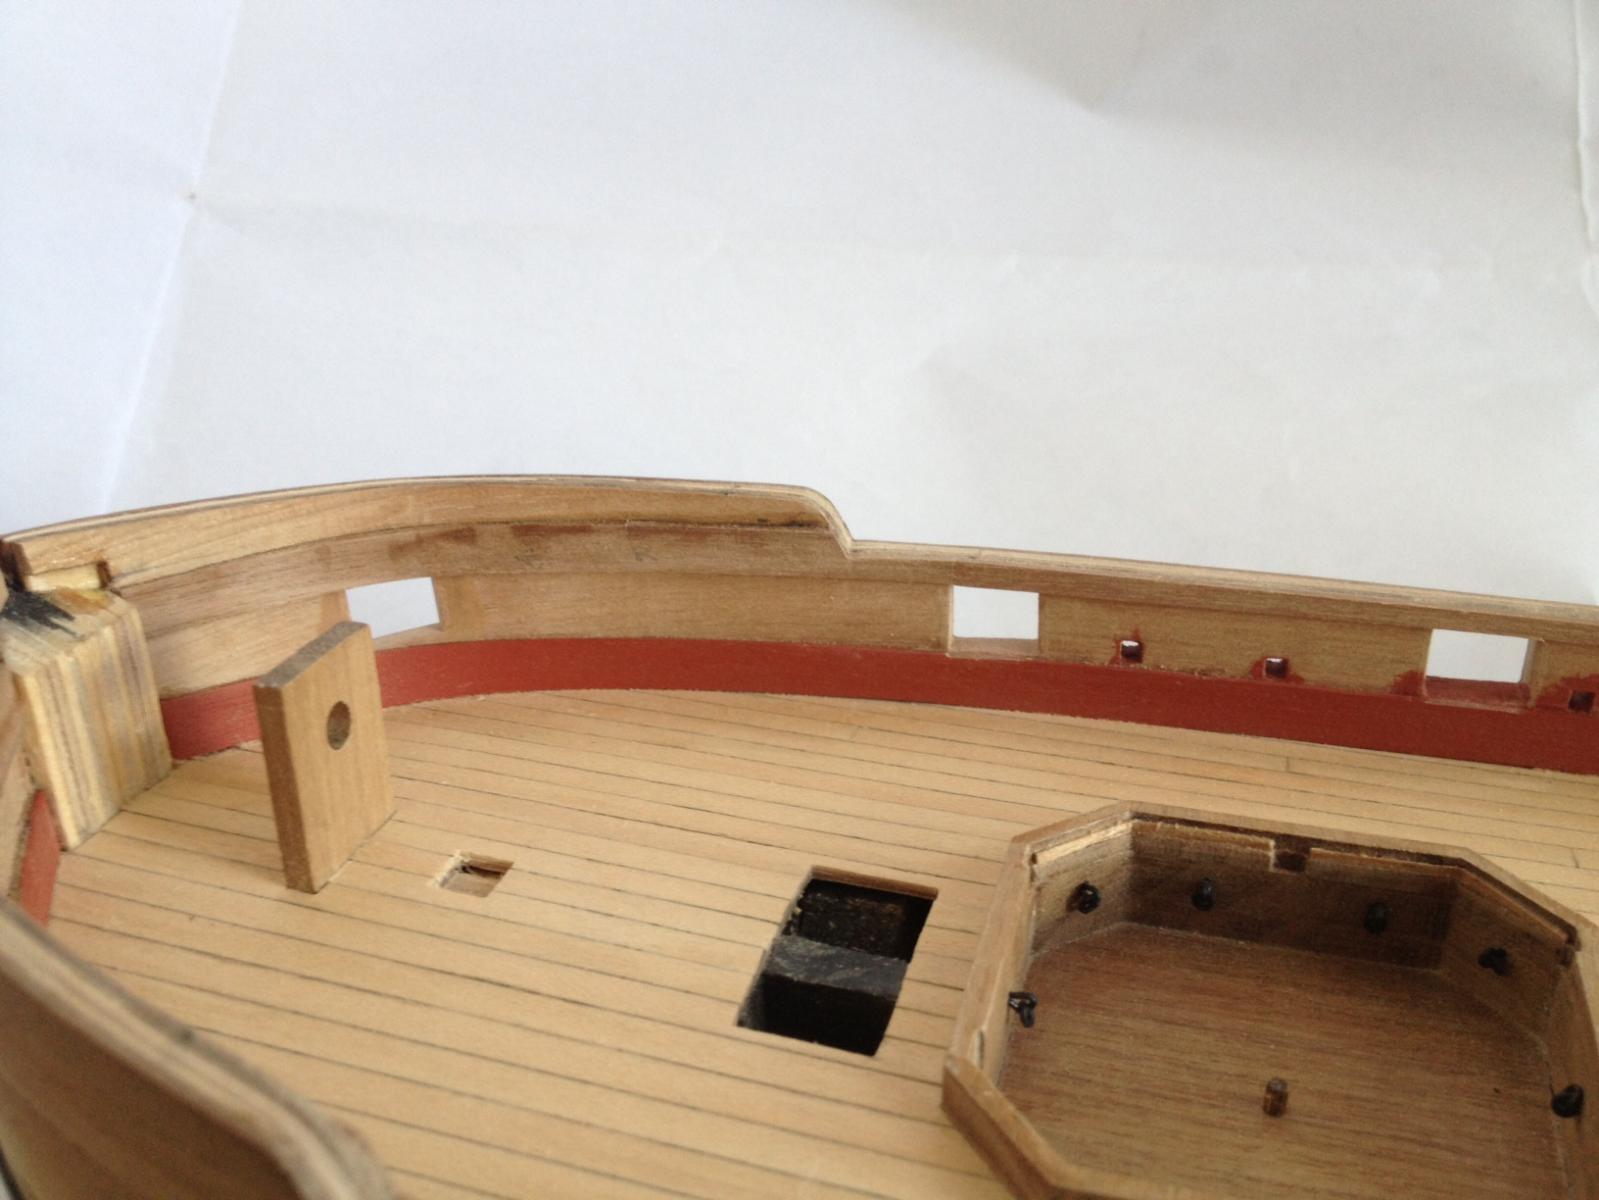
Today involved some gratings. The Granado has only two gratings with the largest on the fore deck almost under the forecastle.
This is a lot less than the four included on something much smaller like the shrebourne. The other is yet to come on the poopl deck.
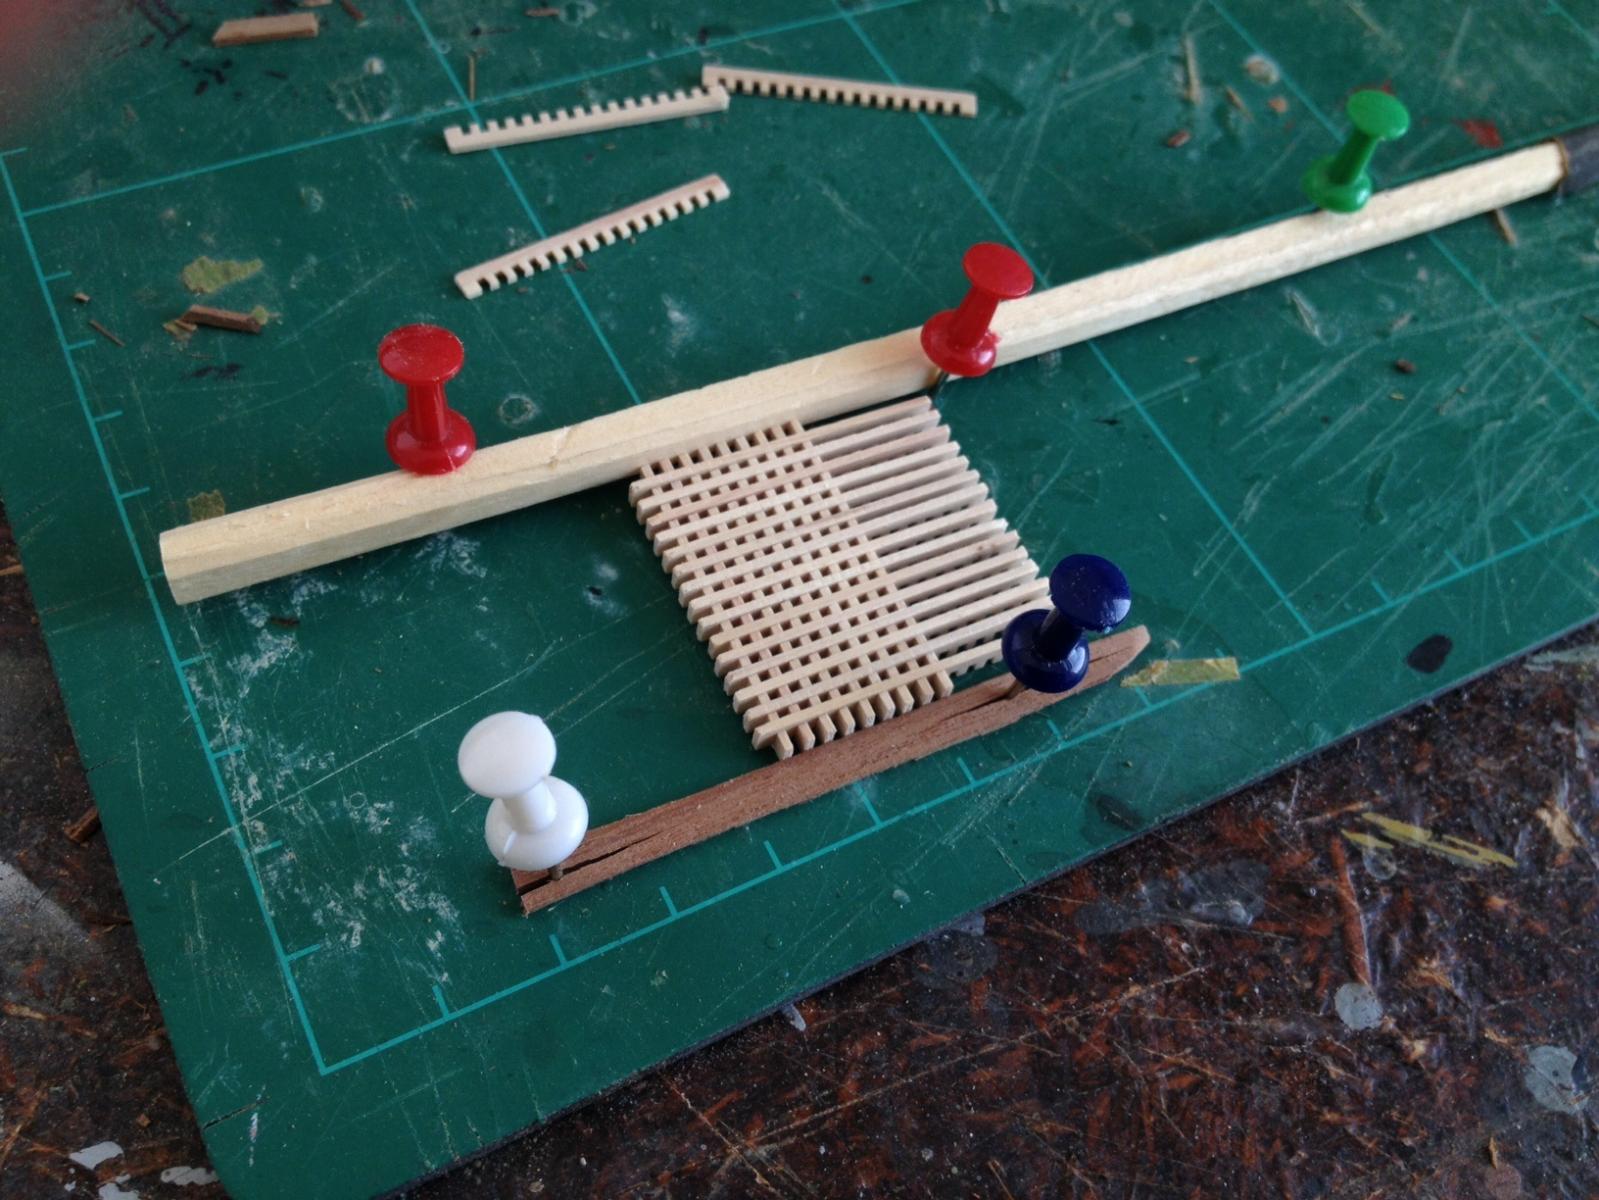
A simple jig involving two timber strips keeps the grates in place during construction. The top one is my old faithful ssquare edge sander made from a sushi chop stick sanded square with sandpaper glued on- great for evening up gunports.
Forward grating fixed. It was sanded to a very subtle curve across the top surface. The coamings were shown in the instructions with mitred edges. They look nice but anatomy of the ship shows square edged corners. plainer but correct so that 's what i did.The 3x2mm walnut is a dramatic difference in colour but looks ok. The hard top edges on the coamings were rounded slightly
The main hatch cover was also constructed. I'll wait until the reinforcing planks(walnut) are dry fitted until fixing to make sure they match in width.
-
Brilliant work. Inspirational. I doubt you'll find much criticism here.
-
Andy. Don't bet on an early completion from me. I find I get more done in the warmer months as my unheated garage work space gets less comfortable as winter goes on!
-
Very nice! Cutting the gunports must have been a good deal of work. Look forward to seeing more, I've always liked bomb and mortart vessels. Rebecca
Thanks Rebecca, they are interesting vessels with arhat some indifferent about them. Compared to those on MSW who build 2/3 deckers with dozens upon dozens of gun ports this is nothing!
-
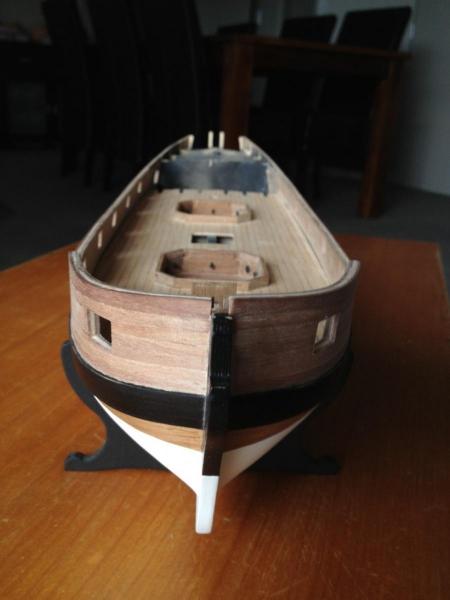
The insides finished and painted. The small gaps left at the bow due to the notches in the inner gunport patterns were filled. This area will be filed out to take the bowsprit later but it's easier to fill gaps now and get a clean edge than do it later.


- Ferit, MarisStella.hr, Aussie048 and 1 other
-
 4
4
-
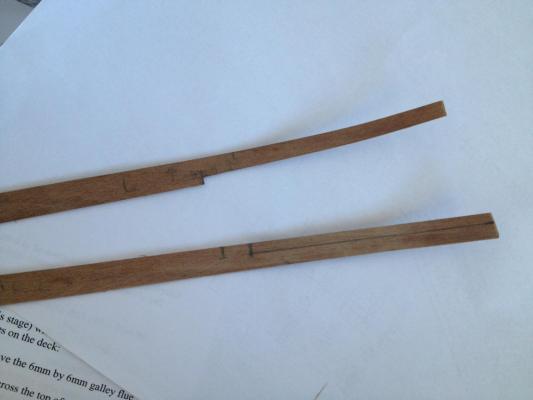
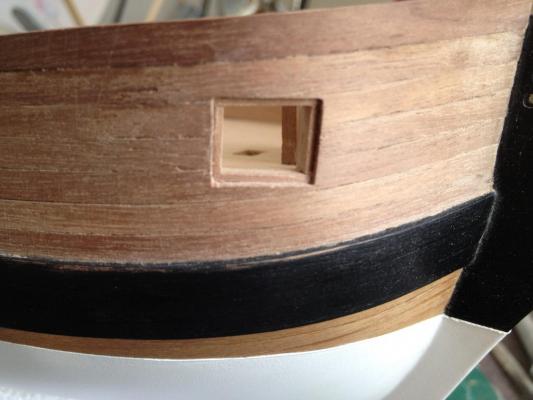
The sheer rail presented a couple of minor problems - Firstly it had to bend in three planes to follow the line needed across the upper edge of the gunports and around the bows and they needed to be placed level and correctly for the forecastle deck to sit on. Some test fitting and marking is advised here.
The strip provided is 10mm walnut with the width to take the taper needed on the underside as it slants upwards on the underside towards the bow.
The strip was soaked and clamped in placed for the cruve before cutting. Note how it doesn't clear the gunport on the left as it should. For this reason and to avoid too harsh a taper to get it to align wioth the gunport edge the sheer raile was installed in two pieces - from the bow forward and then another strip from there towards the stern. The edges were sanded in.


Sheer rail cut and tapered on the under edge.
Sheer rail installed and sanded flush along the top edge of the hull.

- MarisStella.hr, DenPink and Aussie048
-
3
-
Bow ports lined with any gaps on the inside edges filled and sanded
The spirketting was pre-painted and installed with clamps to hold it down. Not entirely happy with the fit along the deck but it's barely noticeable from anything but direct horizontal view, which will be increasingly difficult to see as guns etc are added to the deck.
- Mirabell61, DenPink, MarisStella.hr and 1 other
-
4
-
She's looking good Jason, nice work.
Wayne
-
I had the same problem on my Granado currently underway but not to the same degree. My outer patterns were too low by about 2mm at the bow ports and I built up the upper edge of the outer pattern and refilled and framed the outer pattern to match the inner. Before hacking away I'd suggest measuring carefully off the plans to establish the true height needed. It's most likely the inner gunport is closest to correct as it should sit almost directly on the deck, which - as it is essentially the top surface of the framing bulkheads is the truest level. Most other measurements and placements stem from this - ie the level of the gunports to match cannon height. As Norman says make sure there's going to be room for fittings like the chain plates on the outside of the hull first.
-
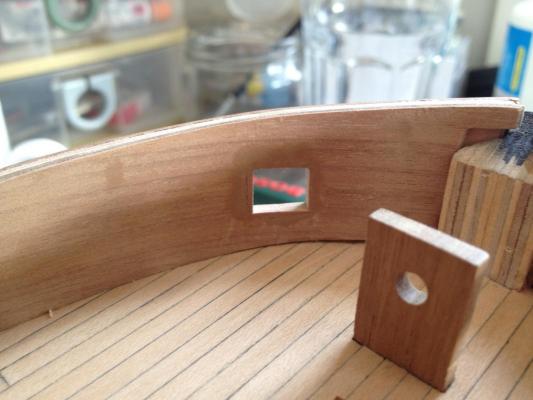
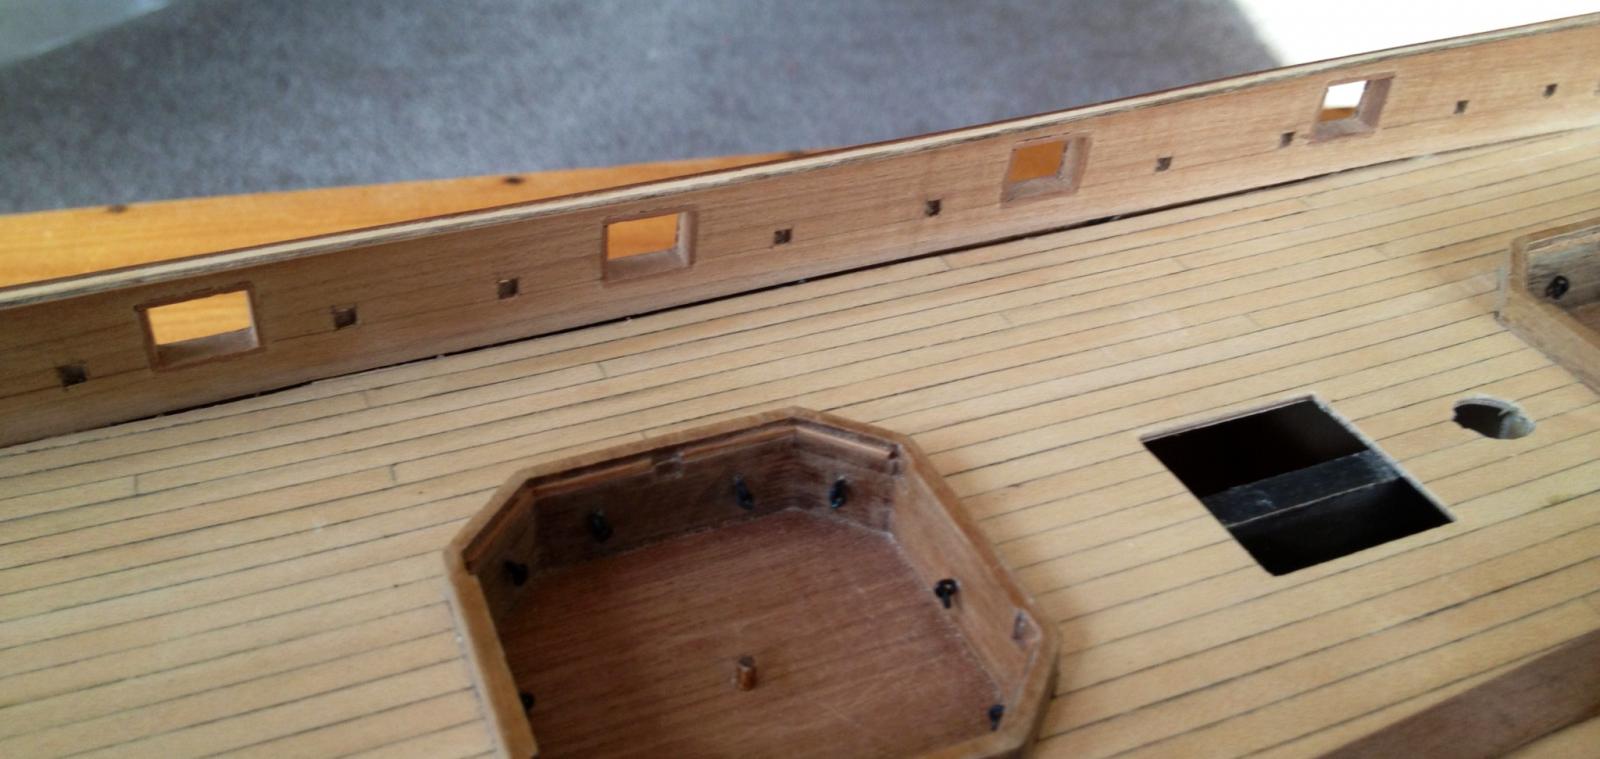
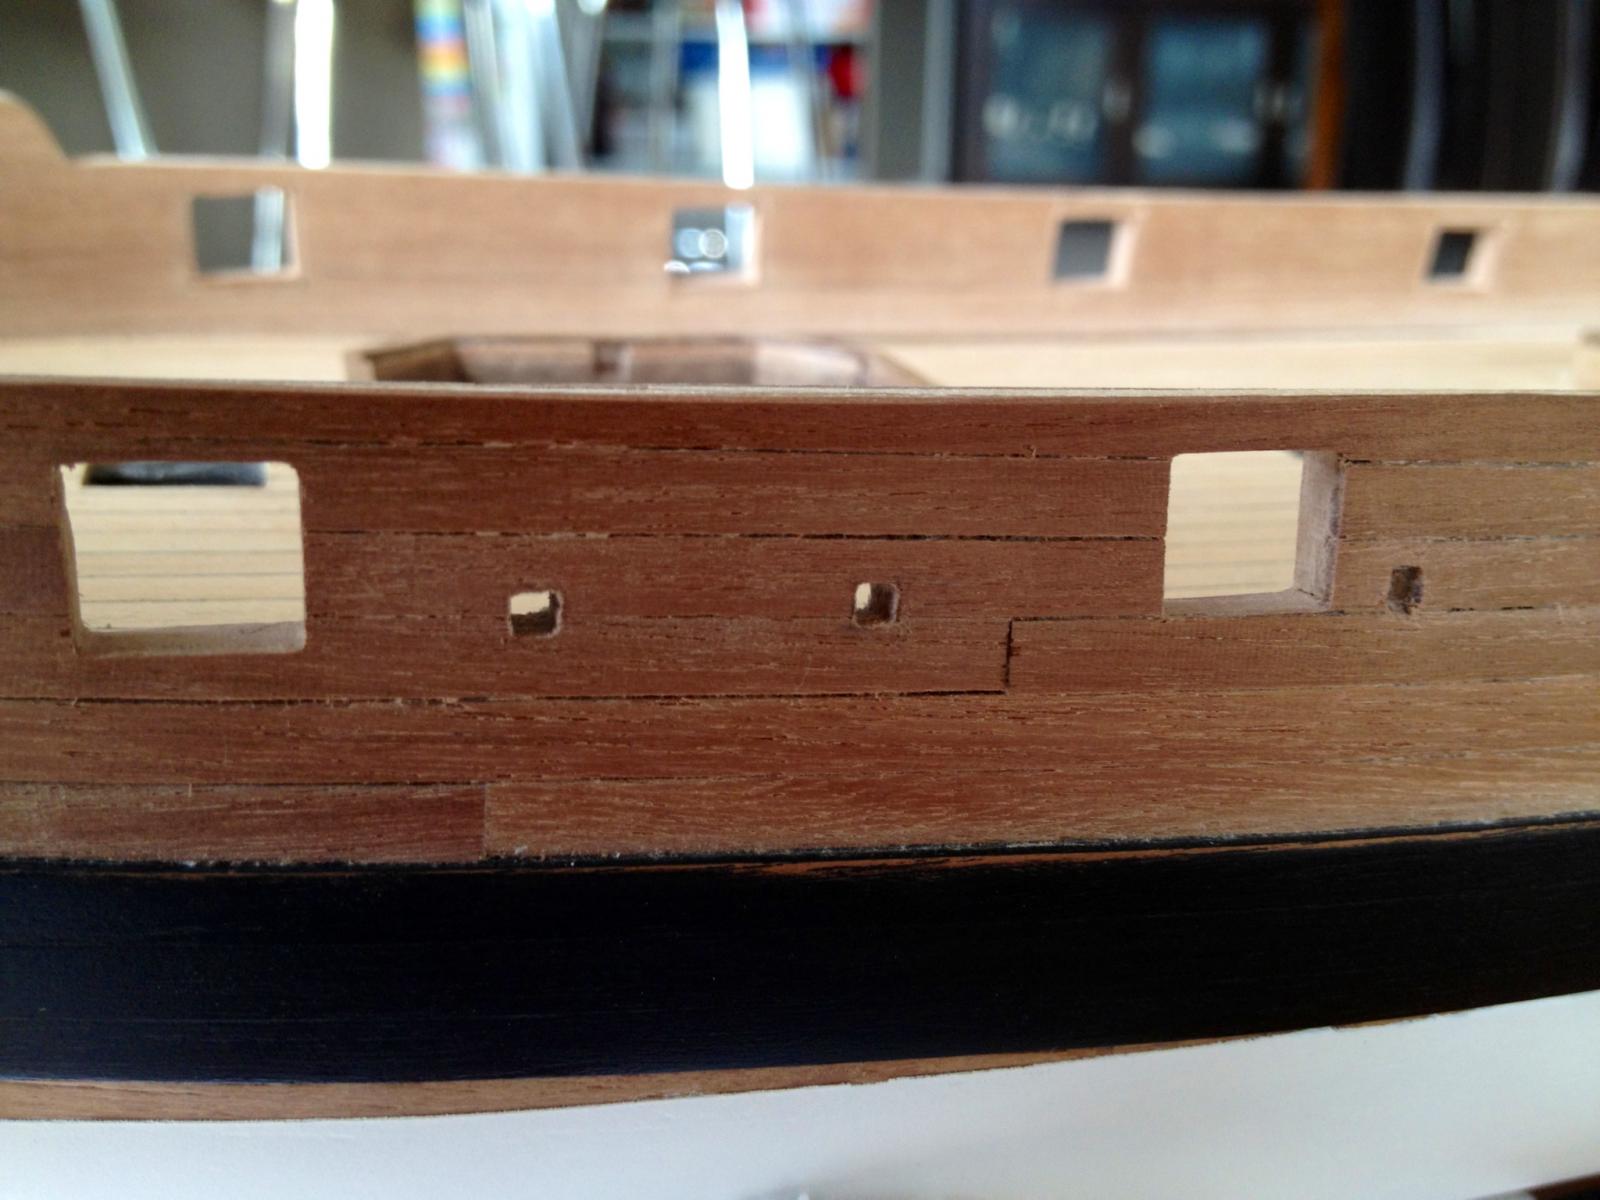
The Granado has nine sweep ports each side but the instructions make no mention of them until much further into the build. This is a good point to jump ahead and add them if you want as it's hard enough to cut them in on the inside at this point as it is. They are reasonably prominent on the inside of the bulwarks but are not included on the gunport patterns.
If you want them you'll have to mark as shown on the plans and cut them in yourself.

The instructions offer either open or closed gunports. Obviously if you have them open you'll need to cut the square port all the way through. There's also the option of just adding the closed port and hinge to the outside of the hull with no port being cut on the inside. This is one difference I've noticed between the Victory kits, which appear to have the ports included and presumably pre-cut.
I like the busy feel of the added ports so in they go.

The ports align with the top of the inner bulwark spirketting - the strip that runs along the bulwark between the gunports and the deck. Before this was added the top edge was marked in pencil and the position of the ports added. The edges were cut on the inside with a scalpel and drilled through from the outside. A square file and more scalpel work cuts the hole. Given the roughly 3mm size of them and the difficulty of access from the inside it's difficult to get them square further than a couple of mm in but give they'll likely be closed on the outside and painted inside it shouldn't be too noticeable.


- Aussie048, MarisStella.hr, maso and 1 other
-
4
-

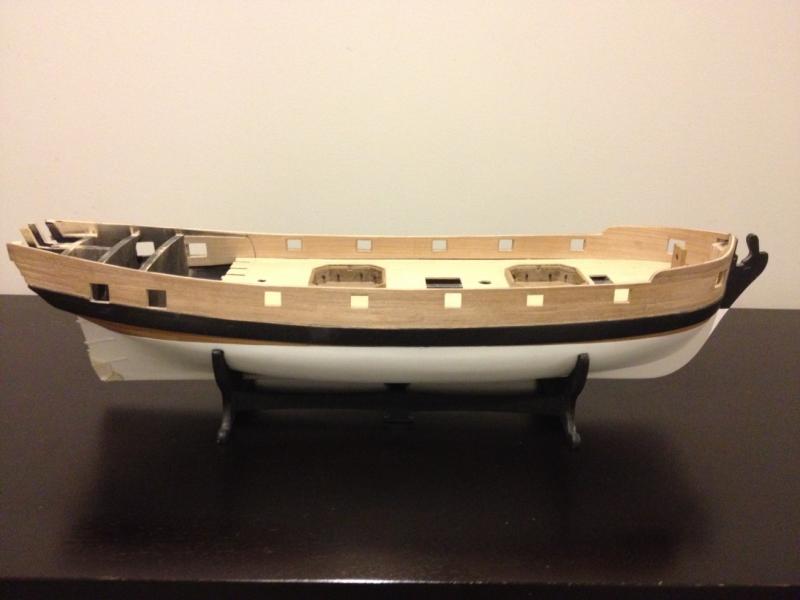
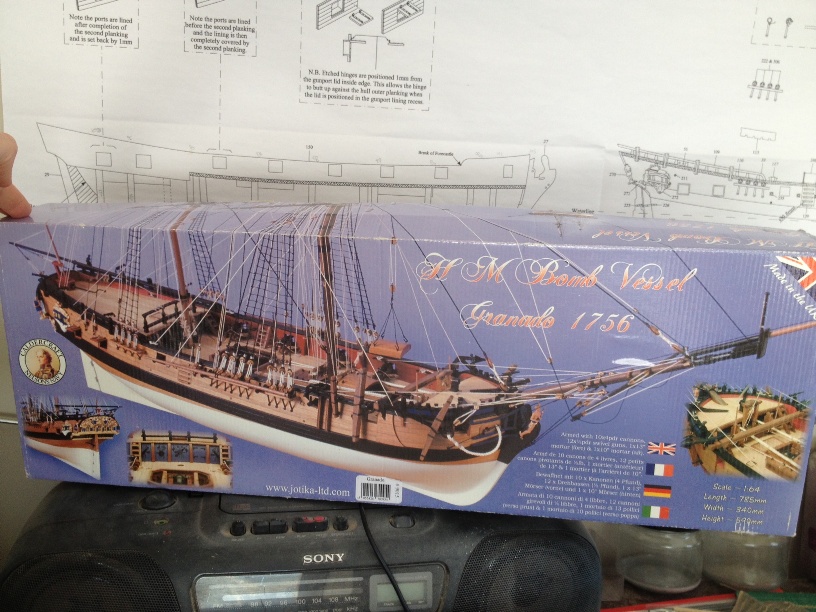
The Granado is my second wooden ship build. This follows the cutter Sherbourne which you can follow the link to in the MSW gallery.
The Granado was chosen for a vessel offering more than a single mast but still able to be displayed in a reasonable space.
Firstly a tribute to all the prior Granados on MSW's former incarnation - they proved immensely helpful and I owe a huge tribute to you all in helping to spot impending difficulties and work around them thanks to your efforts.
After wantonly pillaging MSW for help with my first build it's time to add to the basket of knowledge that MSW members have so graciously given to me.
This build is by no means complete but hopefully of use to others as I found previous members' posts.
So on to the build...
The build was started in April 2012 and at this stage I've just completed the second planking above the wales and filed out the gunports.
The Caldercraft kit is all the usual business like efficiency with little in the way of complaints. The fittings are top quality with turned brass cannon, limewood for the first planking and walnut for the second.
No, it's not a botch. The lens curve making the stem appear out of alignment here.
One thing to watch for on this kit is setting the gunport patterns correctly. I thought I was being very clever in measuring the placement from the base of the keel. It resulted in patterns not quite meeting the tips of the bulkhead patterns. As a result at least half of the gunports had to be raised slightly.
Better to just fit them to the tops of the bulkheads. Oh well.
Another thing to watch for is the sweep ports. The instructions don't mention them until after the gunport patterns have been installed despite the plans showing them as illustrated. From there it's the somewhat more difficult matter of cutting them through from the outside and matching them up with the inner spirketting - no easy task. If your want the sweep ports showing on the inside then tak e gauge of where they should be before installing the gunport patterns and adjust once the lot is installed. It's not difficult but comes down to reading the instructions all the way through before taking any steps.
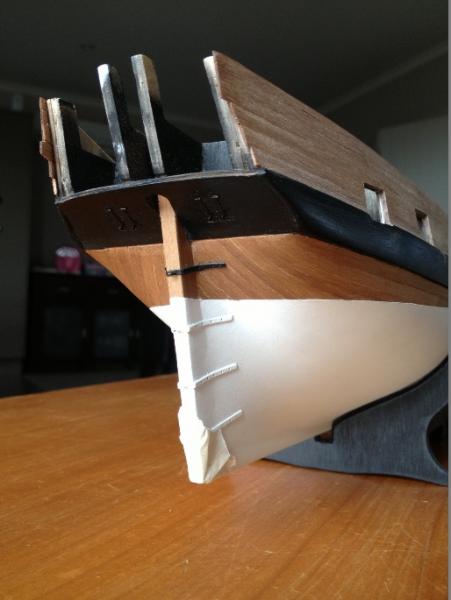
I found it made more sense to skip ahead in the build and install the lower stern counter before the upper hull sides were planked. It allowed the upper stern counter to be shaped to fit and also allowed the wales to be shaped to fit around it. The black used here is probably a bit too dark to see the chase ports to best effect. That might be looked at later.
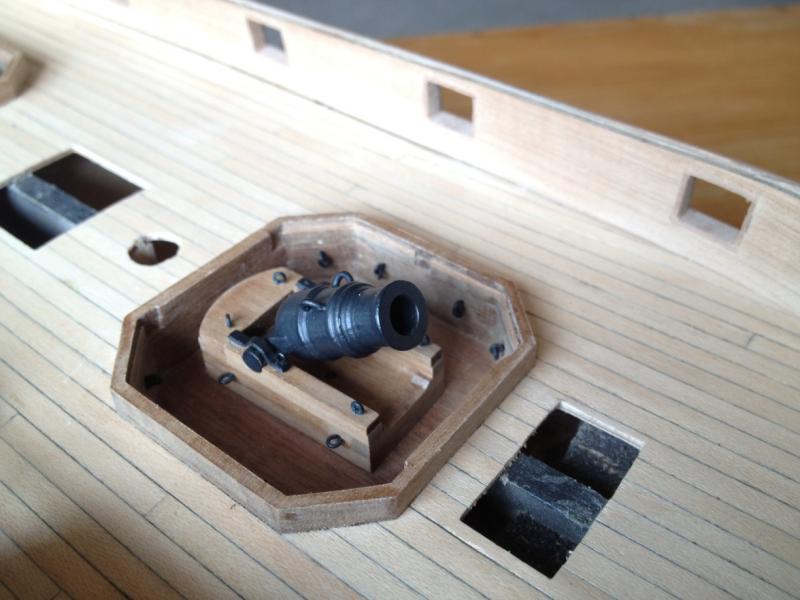
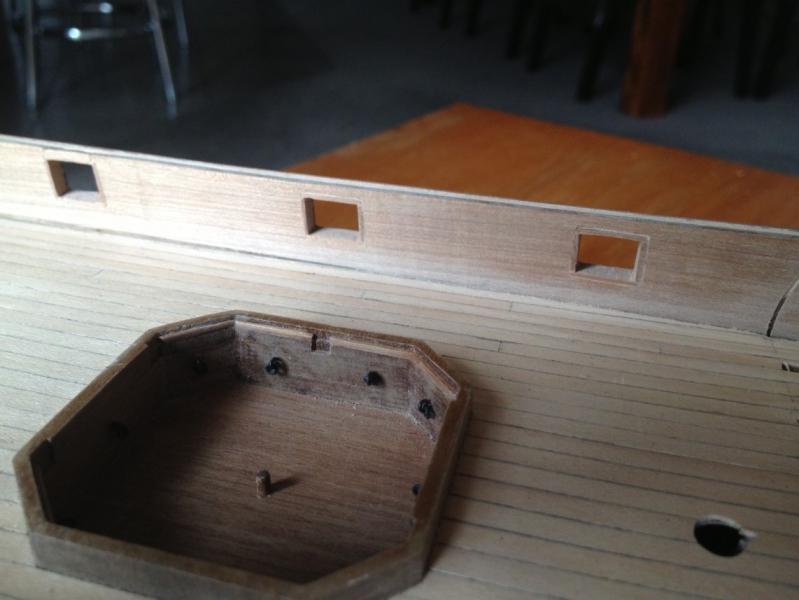
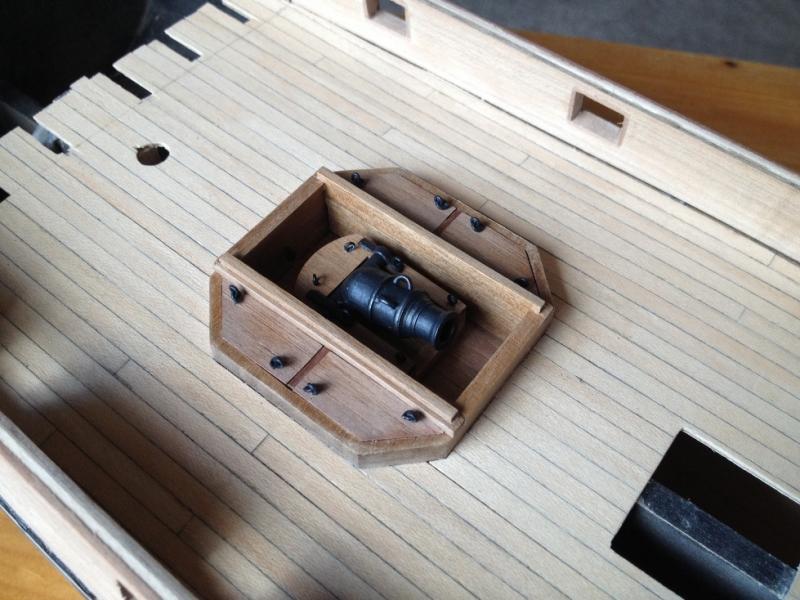
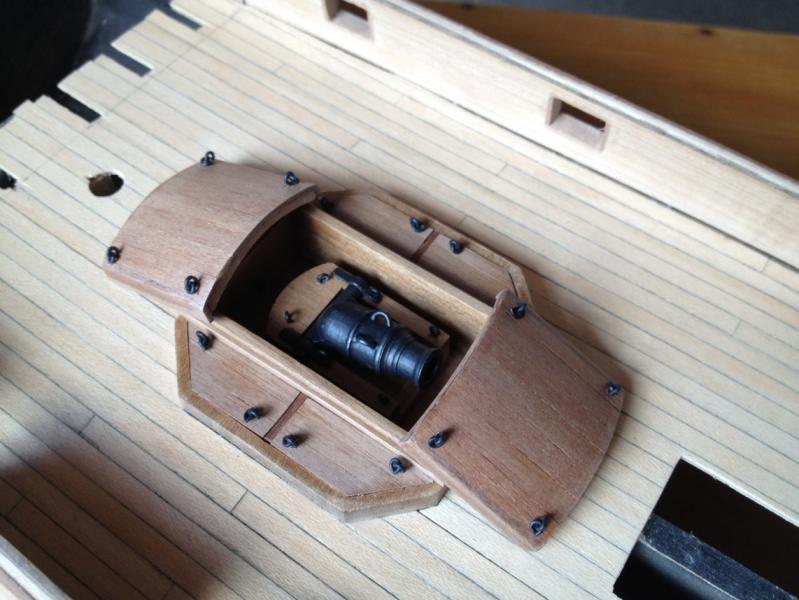
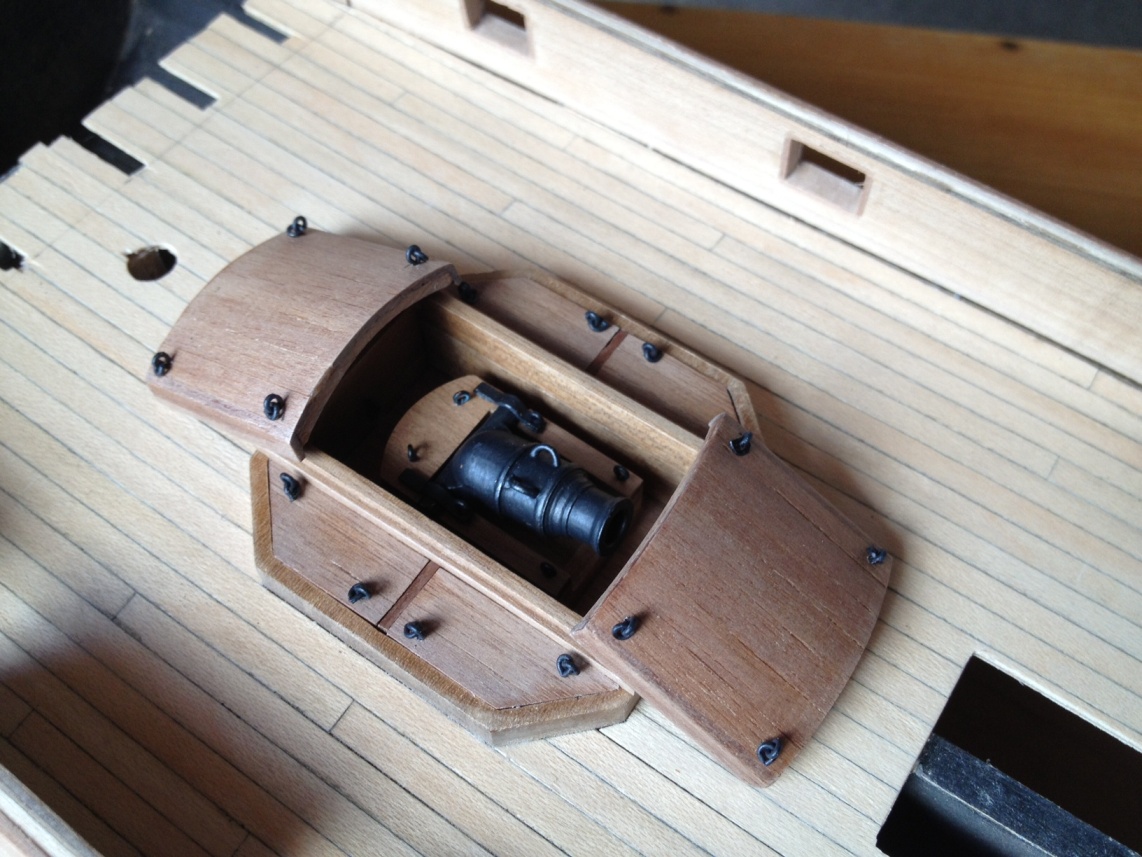
The mortars went together nicely after some cleaning up. The mortars themselves are nicely cast brass that just needs some time with a file to bring out the best. Some brass wire handles were added as per Peter Goodwin's excellent Anatomy of the Sip Grandado book.
The example here is the stern mortar - the smaller of the two on board.
Following shots show the mortar surrounds in place which are identical for each of the two mortars aboard.

-
Nice build indeed. I've always liked the lines of Mars and you've done so much more with what the kit offers. Can't wait to see more


HM Bomb Vessel Granado 1756 by Timmo - FINISHED - Caldercraft - Scale 1:64
in - Kit build logs for subjects built from 1751 - 1800
Posted
Thanks for the kind words chaps. I hope my trials and tribulations here help others like previous Granado buils ofn the old MSW site did for me. It's on to a bit of an artistic section soon with the quarterdeck panels. We'll see how it goes.