-
Posts
603 -
Joined
-
Last visited
Content Type
Profiles
Forums
Gallery
Events
Posts posted by Timmo
-
-
-
BE, is this what you were imagining?
I knocked this out of some walnut hull planking as the other mouldings were made from basswood for ease of carving and bending. And aren't walnut that would match the hull.
I don't mind this but there's a section on the hull at the bow between the sheer rail and foc'sle upper capping rail that is to be painted blue. I suspect the rail might disappear into the swathe of blue at this point.
Still, this was good practice and I think this is the pattern I'll use for the head rails.
As always suggestions welcome. This can be option 3.
-
Some experimentation with the sheer rail colour scheme.
A rough paint job tried to settle on the final yellow (humbrol 74 linen) and combination
Option 1 with yellow strip in the middle of the the molding
Option 2 with the opposite. Suggestions welcome on which one anyone likes the look of. I'm leaning towards this one.
-
Looking good. What number is the humbro yellow?
-
Thanks Alistair. I don't believe you that it's not windy in Wellingtown. I think my avatar would be more appropriate for you.
There's a lot to be said for splendid isolation in Aotearoa but I hear what you say about our northern hemisphere friends not knowing the tyranny of distance when it comes to having to fork out for postage.
-
Thanks chris. Fair enough. Bring on both the victory and Bellona I say!
-
Great looking Victory there Chris. I just hope we all can do it justice once it becomes a kit.
Are you able to she'd any light on when we might see a 1/64 scale 74 gun vessel kitted? No offence to your magnificent Vanguard and even more attractive Bellona but I'm hanging out for a 64 th scale third rate that never seems to appear.
-
Great progress on the deck fittings Robert. Looking forward or yet more wonderous scratch built items
-
Here's how the basswood part looks temporarily in place. It will be down to careful painting to make it really work. If not its back to brass.
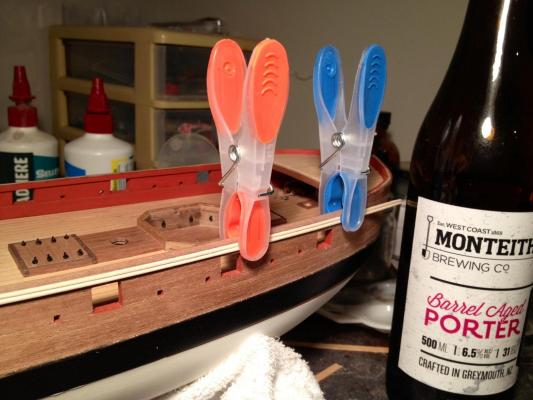
Yes it's Sunday arvo so time for a beer as I work. If you don't like beer skip this but judging by some logs ship building is as much about the experience as the building and an afternoon in the shed with tools and a new beverage to hand is my happy place.
With thunder rumbling in the background and the sound of distant duckshooters trying their luck it's feeling like winter so today's choice is Monteith's barrel aged porter. For those of you not familiar with NZ beer Monteith's was a smaller brewery founded on the west coast of the South Island in the 1860s. Back then, much as now it was all just coal mines, rugged mountain ranges with lots of bush and rain, but an extraordinarily number of pubs and breweries. Despite being bought out by big brewery DB about a decade back and production moved north Monteith's still turns out some decent seasonal beers. The porter, made back on the coast and not in the big city plant, is aged in American oak barrels and the traces of Pinot noir is not just marketing nonsense but detectable. There's a very subtle malt in this porter but its a case of less is more as it allows the hints of oak to flow though with a lingering caramel finish. Porters with an alcohol content over 5% usually feel a bit sharp but the subtle blend of flavours in this takes the edge of this one even at 6.5%. Recommended for any ship build on a grey day if you can find it.
-
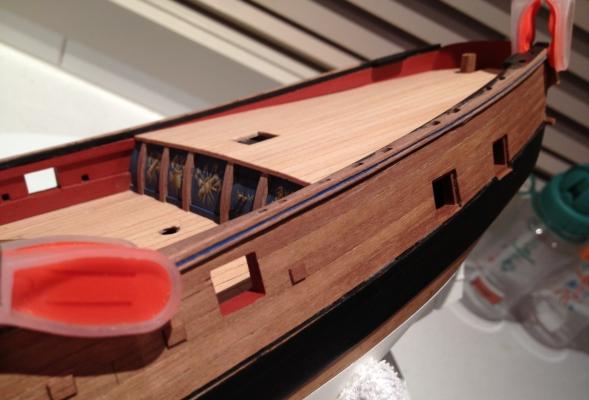
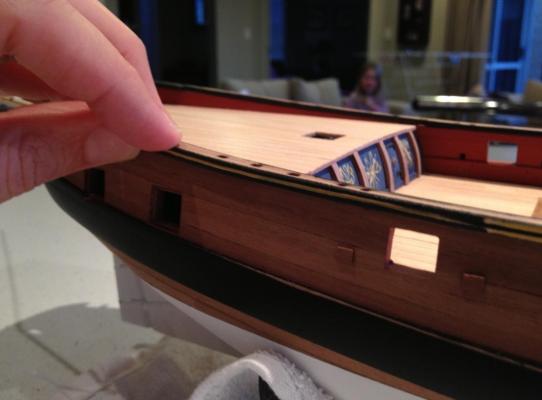
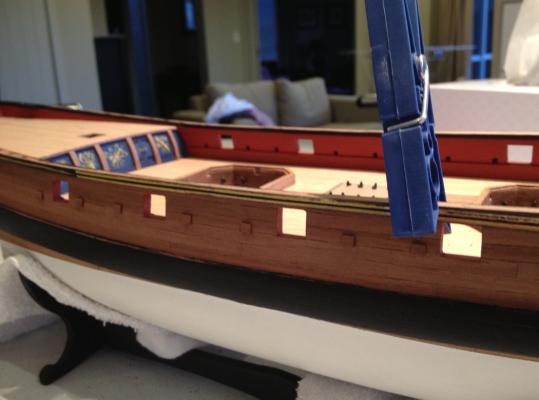
On to the capping rails and sheer rail. This is the part which makes the kit really come alive in my opinion as it covers the last of the messy bits and makes the hull look complete.
The kit comes with a piece of extruded brass which is nicely shaped a a decorateve moulding. Which runs around the dge of the hull. It's perfectly good but there are two issues- the pedestals for the swivel either have th be cut to fit through is, or the brass cut, which I imagine will be difficult. Next there is only enough brass for the main capping rail. It leaves the foc'sle capping without the same treatment and also the quarterdeck rails. For consistency's sake I had a crack at making my own from timber. This is something a former MSW member did on a now lost build log so credit to them.
Basswood is about all I can lay my hands on at hobby stores around here. It takes shaping well but is quite soft so care is needed not to dent it.
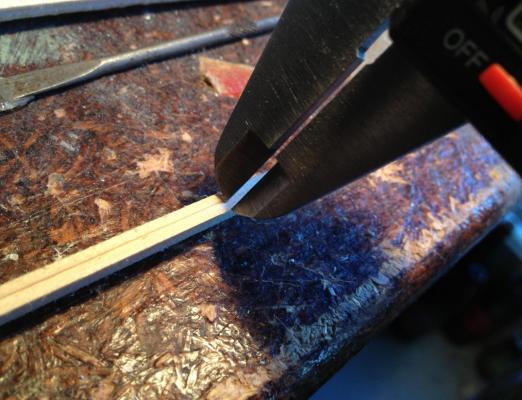
The first step was to scribe a light centre line down the middle with callipers.
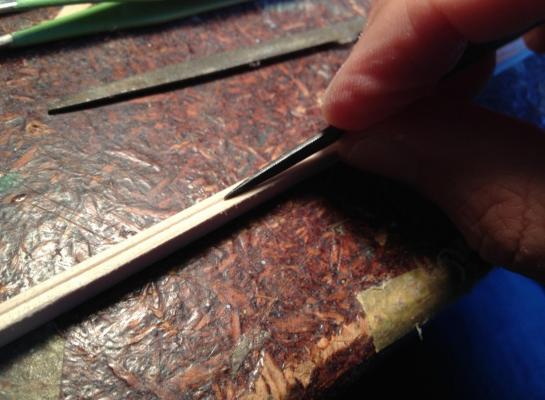
This was then filed out with a half round file. Gentle pressure only and the tip of the file should follow the existing groove.
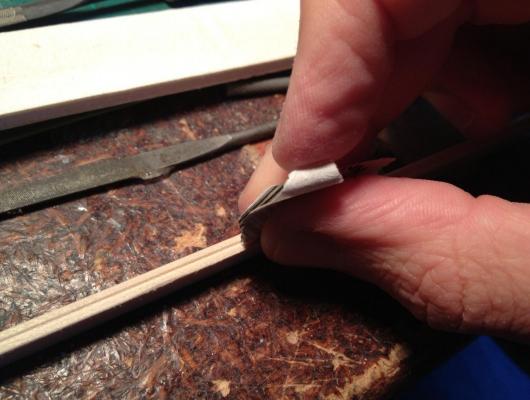
Sand paper folded in half run down the centre helps smooth things out.
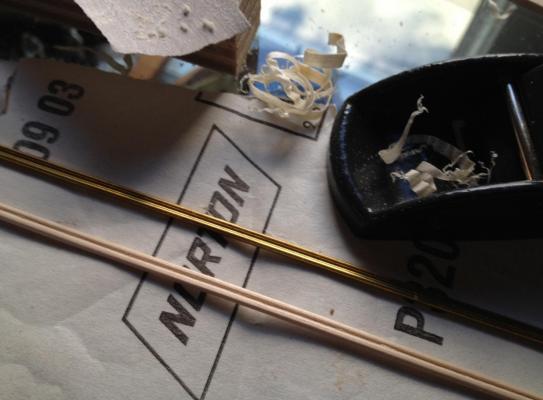
Because i had odd sized basswood the shaped edge was cut off thin enough for use. A small plane and sandpaper thinned w back edge down to the desired width. Sanding on all sides rounded the edges.
Comparison here with the brass part.
-
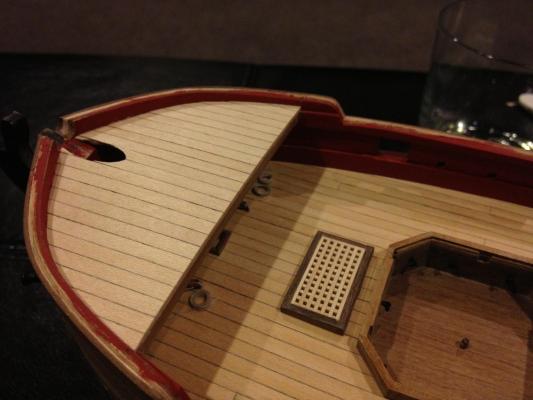
Finished planking the foc'sle this evening. The beam supporting it was installed first. It's a bit tricky to get it to shape. I filed too much off one end and had to pack it with about half a mm of walnut to get it to the right length again.
The planking was fairly straight forwarding and is turning into one of my favourite parts of the build so far. I was almost going to add treenails to the decking on the granado as per the anatomy of the ship book but despite so me good test results on a planked mock up thought it might be a bit much for the scale on a vessel this size and best left to something bigger down the track like a frigate or 74. Given the number of plank ends due to deck features like the mortar beds on the granado it would be treenails everywhere which could look like a sever case of measles. Next project maybe.
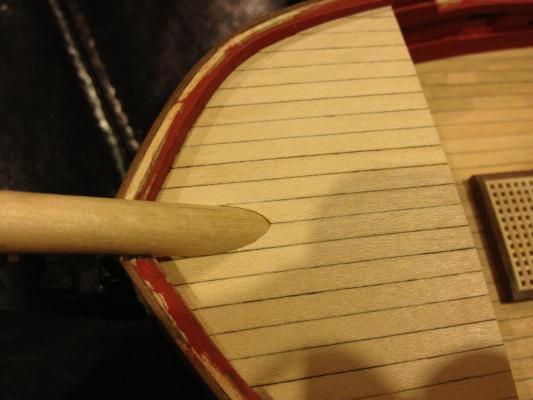
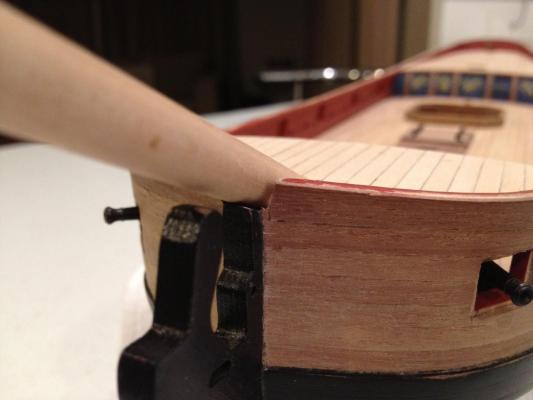
Planking with the bowsprit in place and tracing a pattern off the plans gave a reasonably snug fit
Some trouble aligning the bowsprit resulted in a bit too much vigour on filing out the slot at the forward side. This will have to be filled later and is a repeat of what happened on my sherbourne build. One day I'll learn...
-
Without being that familiar with the kit I was wondering how you'd do the upper planking. Looks fairly simple but effective. Awaiting the rails up there with interest.
-
Thanks chaps,
Jason, the trunnion brackets were pinned at one end only with the remade versions, mainly because my hamfisted cutting off of the dome headed pins all but destroyed one end on both sides. The next ones will just have a piece of brass pin through one end and bent over at the top to look like a pin.
Hopefully this anatomy of the ship diagram shows what I mean
As for the blackening, yes I tried the dilution with half hot water as per the instructions. In the past this resulted in some immediate tarnishing and nothing further on less left overnight. I suspect that the water cools and lessens the catalyst effect, hence why I tried less water-ration of 75% solution to 25% water- but more heat. Carefully and sparingly applied of course. I had to remove the metal objects a couple of times and give the solution a reheat in the microwave but it seems to have given it the tickle up needed to continue the reaction.
-
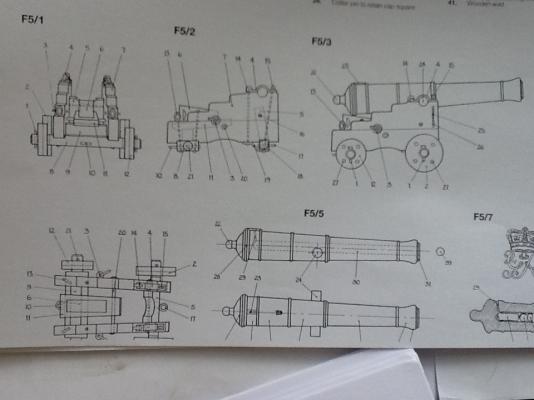
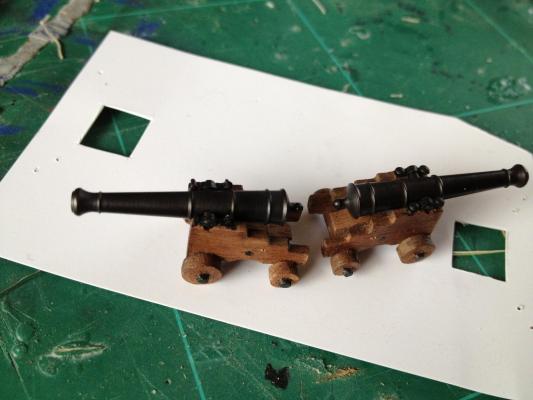
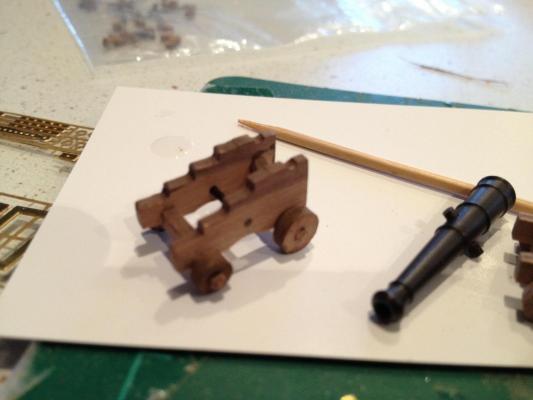
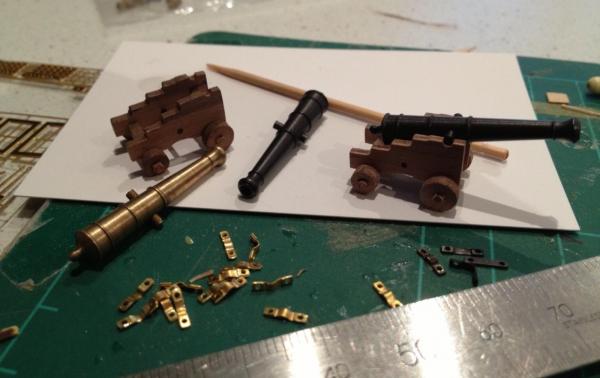
The guns have etched brass trunnions caps held down with dome headed nails (right hand gun). It's effective in that it wont be coming loose any time soon but quite heavy handed for the scale. I modified the gun at left by removing the nails, using a brass pin to hold the trunnions cap on and added some retaining bolts from brass and fuse wire for some extra detail.
It's difficult to see once its all painted black and these bowchasers will be under the foc'sle but I like it better than the kit option and will take this route for the rest of the guns.
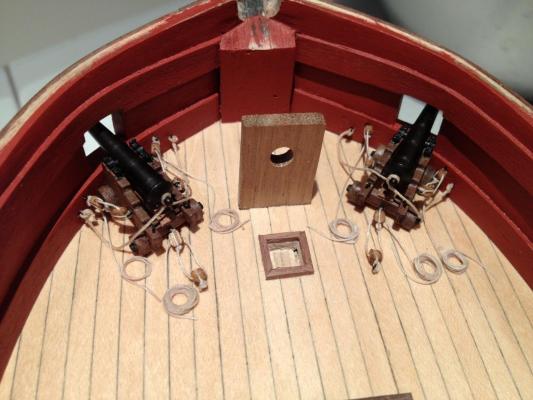
Boy, I'd forgotten how long it takes to tie gun tackle blocks. After a good four hours of fiddling and cursing the blocks were rigged. Next step gun installation. The cannon were pinned to the deck to prevent them running amok later. The kit suggests 0.25mm line for the breaching ropes. This is a barely noticeable increase in size from the .1mm training tackle ropes so I used .5mm. Could probably gone even thicker as I'm still not sure I'd want to stand anywhere near a gun restrained by these if I was 1/64th scale.
Rope coils were line brushed with dilute wood glue and rolled on a paintbrush handle, left until they hold a shape but not stuck to the handle and gently crimped with tweezers until firm. They were stuck on with the same glue and gently pushed down to give a natural fall. If done before the glue completely sets it stops them defying gravity too much and sitting upright.
-
Looking good Ray. Nice milestone to reach
-
Baaahh. I broke my pin vice by cross threading it so no more progress on the guns as I simply can't drill the pin and block holes and install them until I get another.
In the meantime I worked on some other parts of the forecastle.
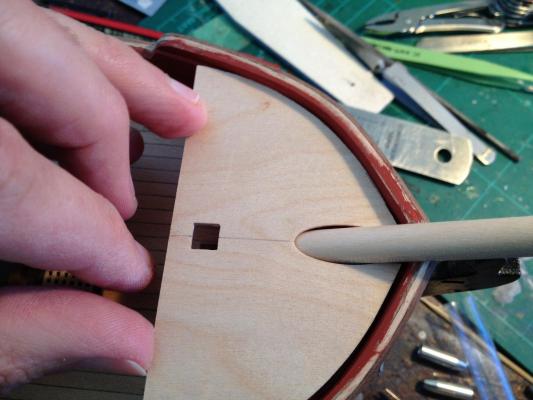
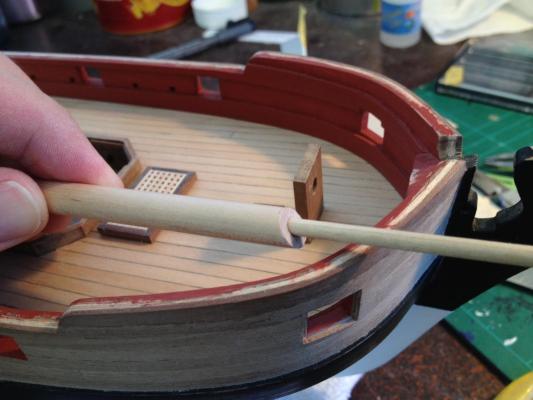
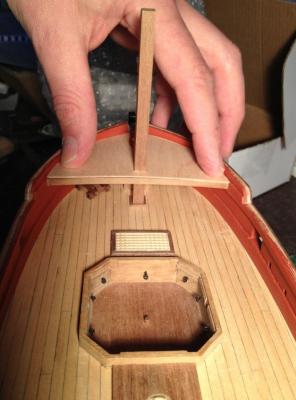
The false deck leaves a a fair bit of room on either side of the bowsprit. I'm after a snug fit between the bowsprit and deck planking so it'll be best to plank with the bowsprit in its final position.
The bowsprit is 8mm dowel with a 3mm end to slot into the sprit holder ( correct term escapes me) . This, and the correct angle for then end of the sprit is worked up.
This enables the correct position for the sprit for when the planks are eventually on and will hopefully allow it to just slot back in when it comes to that stage.
The forecastle beam was also sanded to shape and test fitted. A couple of marks in the bulwark topside at the false deck fitting stage is helpful here. Dropping the chimney shaft (walnut) in is also helpful to align the deck.
-
Very happy to see this back Len. The work of a master unfolding here.
-
Top quality build you've got there Tony. The sherbourne is a great little kit that you've made miles better. I'll be referring back to your boat build in future methinks if I ever get game enough to tackle a scratch built one. Keep it up.
Wayne
-
It was on high in an 1100w microwave. It never ran for more than 8 sec at a stretch as there was not much solution and even that time gave some unnerving crackling noises and fumes. Suspect the ammonia has a lower boiling point and it got close to that as there was a residue left on the jar from small dredges that appeared to have evaporated.
I haven't looked very hard as yet, just one hardware store, but can't find a local alternative so might be ordering so e more form cornwall mb soon.
Washing the parts in acetone first before dipping in solution gave nice even coverage with no blemishes.
-
Lost in translation there Blue.. The solution was heated in a glass jar in the microwave and the brass then added to the warmed fluid. Brass and microwaves won't mix. There's probably a saf way someone will suggest. I have read somewhere the ammonia in the solution could evaporate if over heated so care is urged here.
Also the black is extremely stable, it's been lightly buffed and shows no sign of coming off anytime soon.
-
On to the foc'sle. The kit comes with ten four pounder cannon with the option of arranging them all on the broadside or installing a couple of bow chasers.
As access under the foc'sle all but disappear once it's installed the guns are installed first.
The carriages were made up during a Christmas break at the beach (I'm in the Southern Hemisphere so yes that's the natural order of things) where it rained for far too long. The sheet of walnut ply with the carriages suffered from a dramatic difference in tone on one side,running right through one carriage. As it only touched one this could be hidden under the foc'sle.
The only other piece touched by this was the mainmast fighting top which will be painted anyway.
After much experimentation I think I've got the hang of brass blackener. After being three quarters of the way through my bottle of Krick blackener I've discovered it's heat that activates this stuff more than the dilution of the solution. A couple of guns and some other fittings have been blackened in a tub of solution heated for about 8 seconds in the microwave and sat in a sink of hot water to keep it warm. After painting the two mortars out of frustration with this solution I'm back on board with it and will use it from here on.
-
Thanks Geoffrey, your Korean build looks like one to watch.
-
Thanks ray. Looking forward to watching the build
-
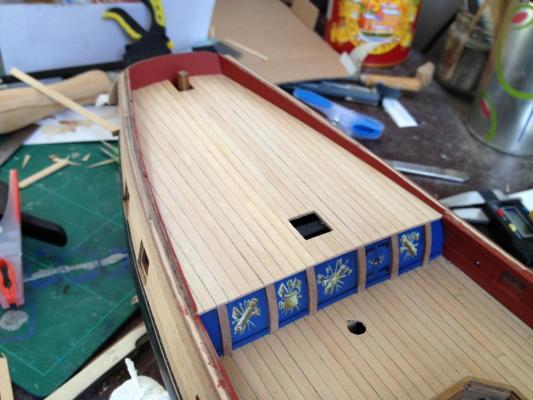
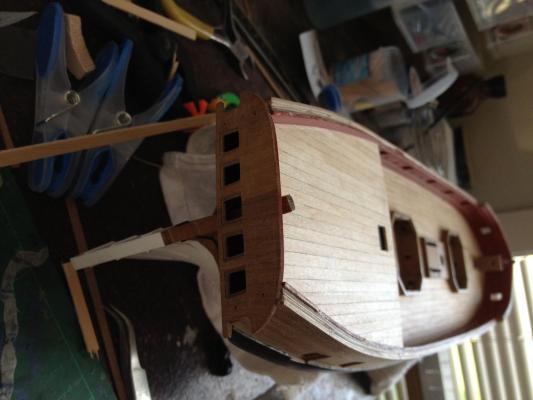
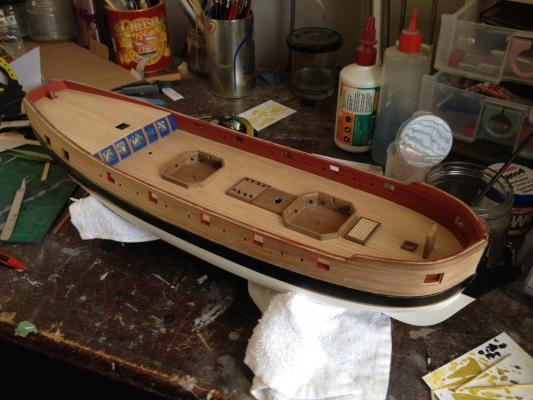
The poop deck has now been planked using contact adhesive. The caulking is just pencil on both faces of the planks. I don't like too much of a contrast there.
The bulwark sides were made up off the vessel and painted before being glued into place to avoid damaging the deck with stray sanding or paint. I might add a small beading strip along the front of the poop to cover the face of the ply. It's not too visible but I notice it sometimes.
A shot of the stern and overall view so far. No more building today- my wife is whisking me away on a mystery night away for our wedding anniversary. She's even stowed the kids with their grandparents. Magic!


HMB Endeavour by Captain Slog - Caldercraft - 1:64
in - Kit build logs for subjects built from 1751 - 1800
Posted
That hull is looking good Slog. I wouldn't have noticed the waterline issue unless you'd pointed it out.
I've learned similar lessons about overspray from a can. You simply can't rely on spray direction keeping it away from gaps in the masking as it somehow seems to drift upwards, sideways and everywhere. That paper would have been fine if the edges were taped together to make it a continuous cover.
What brand and colour of yellow have you got on the transom decorations?
I'm still dithering over the yellow to use for the stern of my granado and yours looks good.
Wayne