HOLIDAY DONATION DRIVE - SUPPORT MSW - DO YOUR PART TO KEEP THIS GREAT FORUM GOING! (Only 36 donations so far out of 49,000 members - C'mon guys!)
×


semorebutts
-
Posts
664 -
Joined
-
Last visited
Content Type
Profiles
Forums
Gallery
Events
Everything posted by semorebutts
-
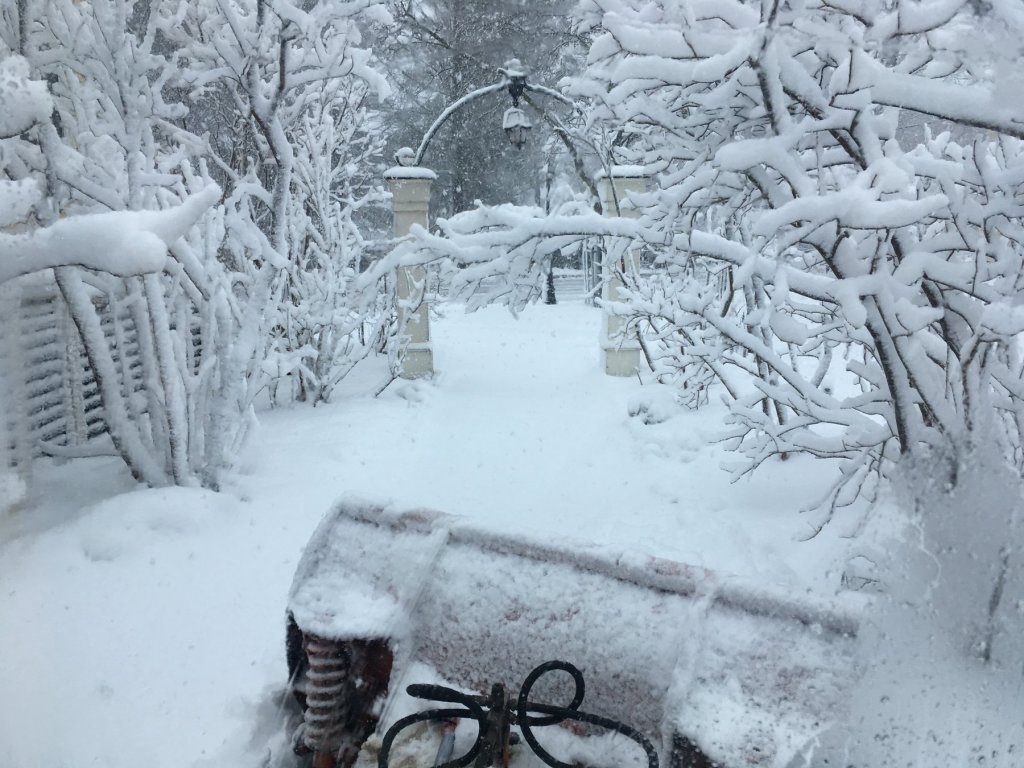
Stuck working in a blizzard for who knows how long... wishing I was home with the Bismarck...
-
I worked on the Bismarck before work. I never did that before. It was only adding a ladder but its Somthing.
-
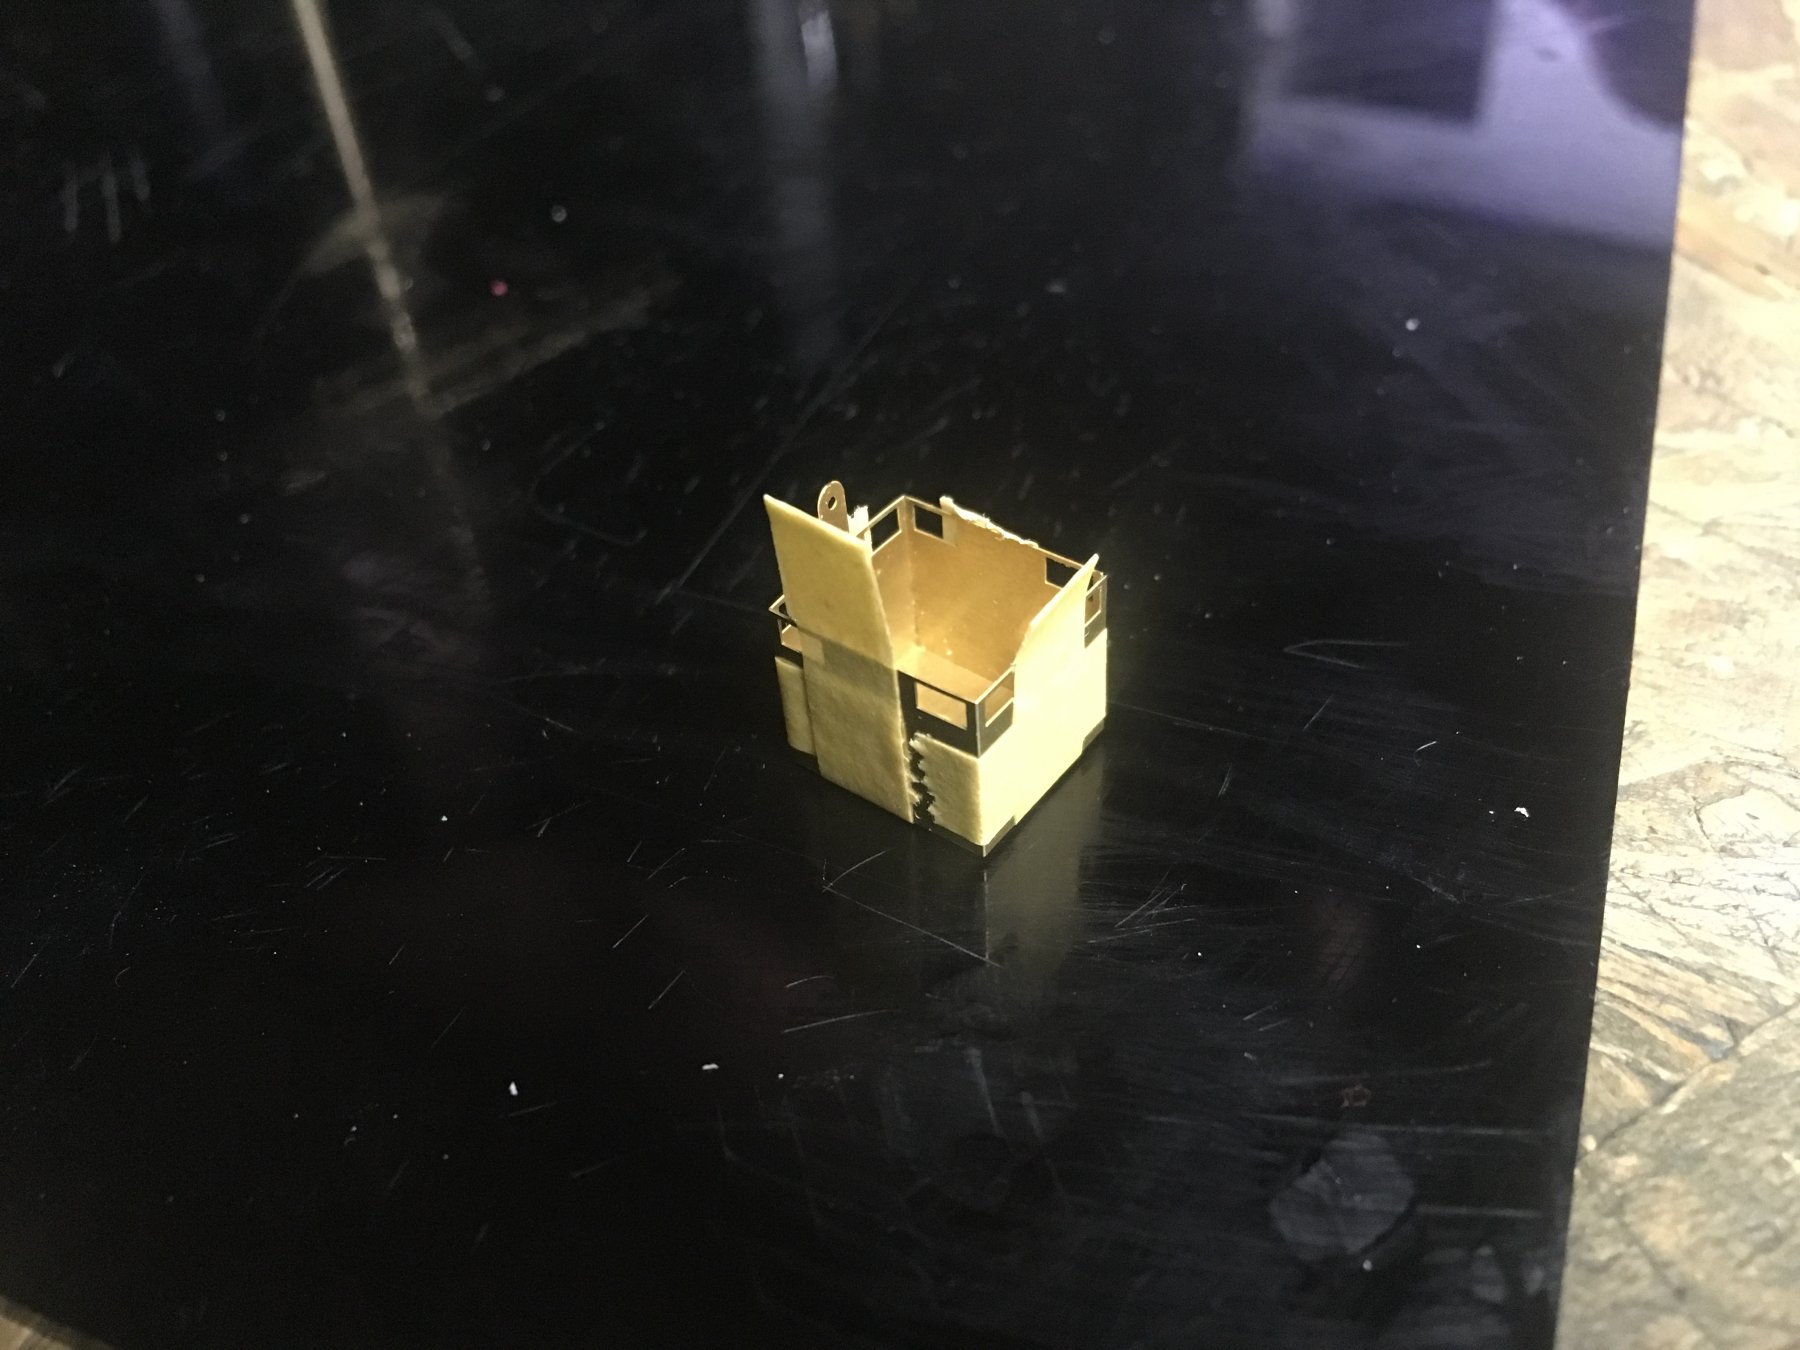
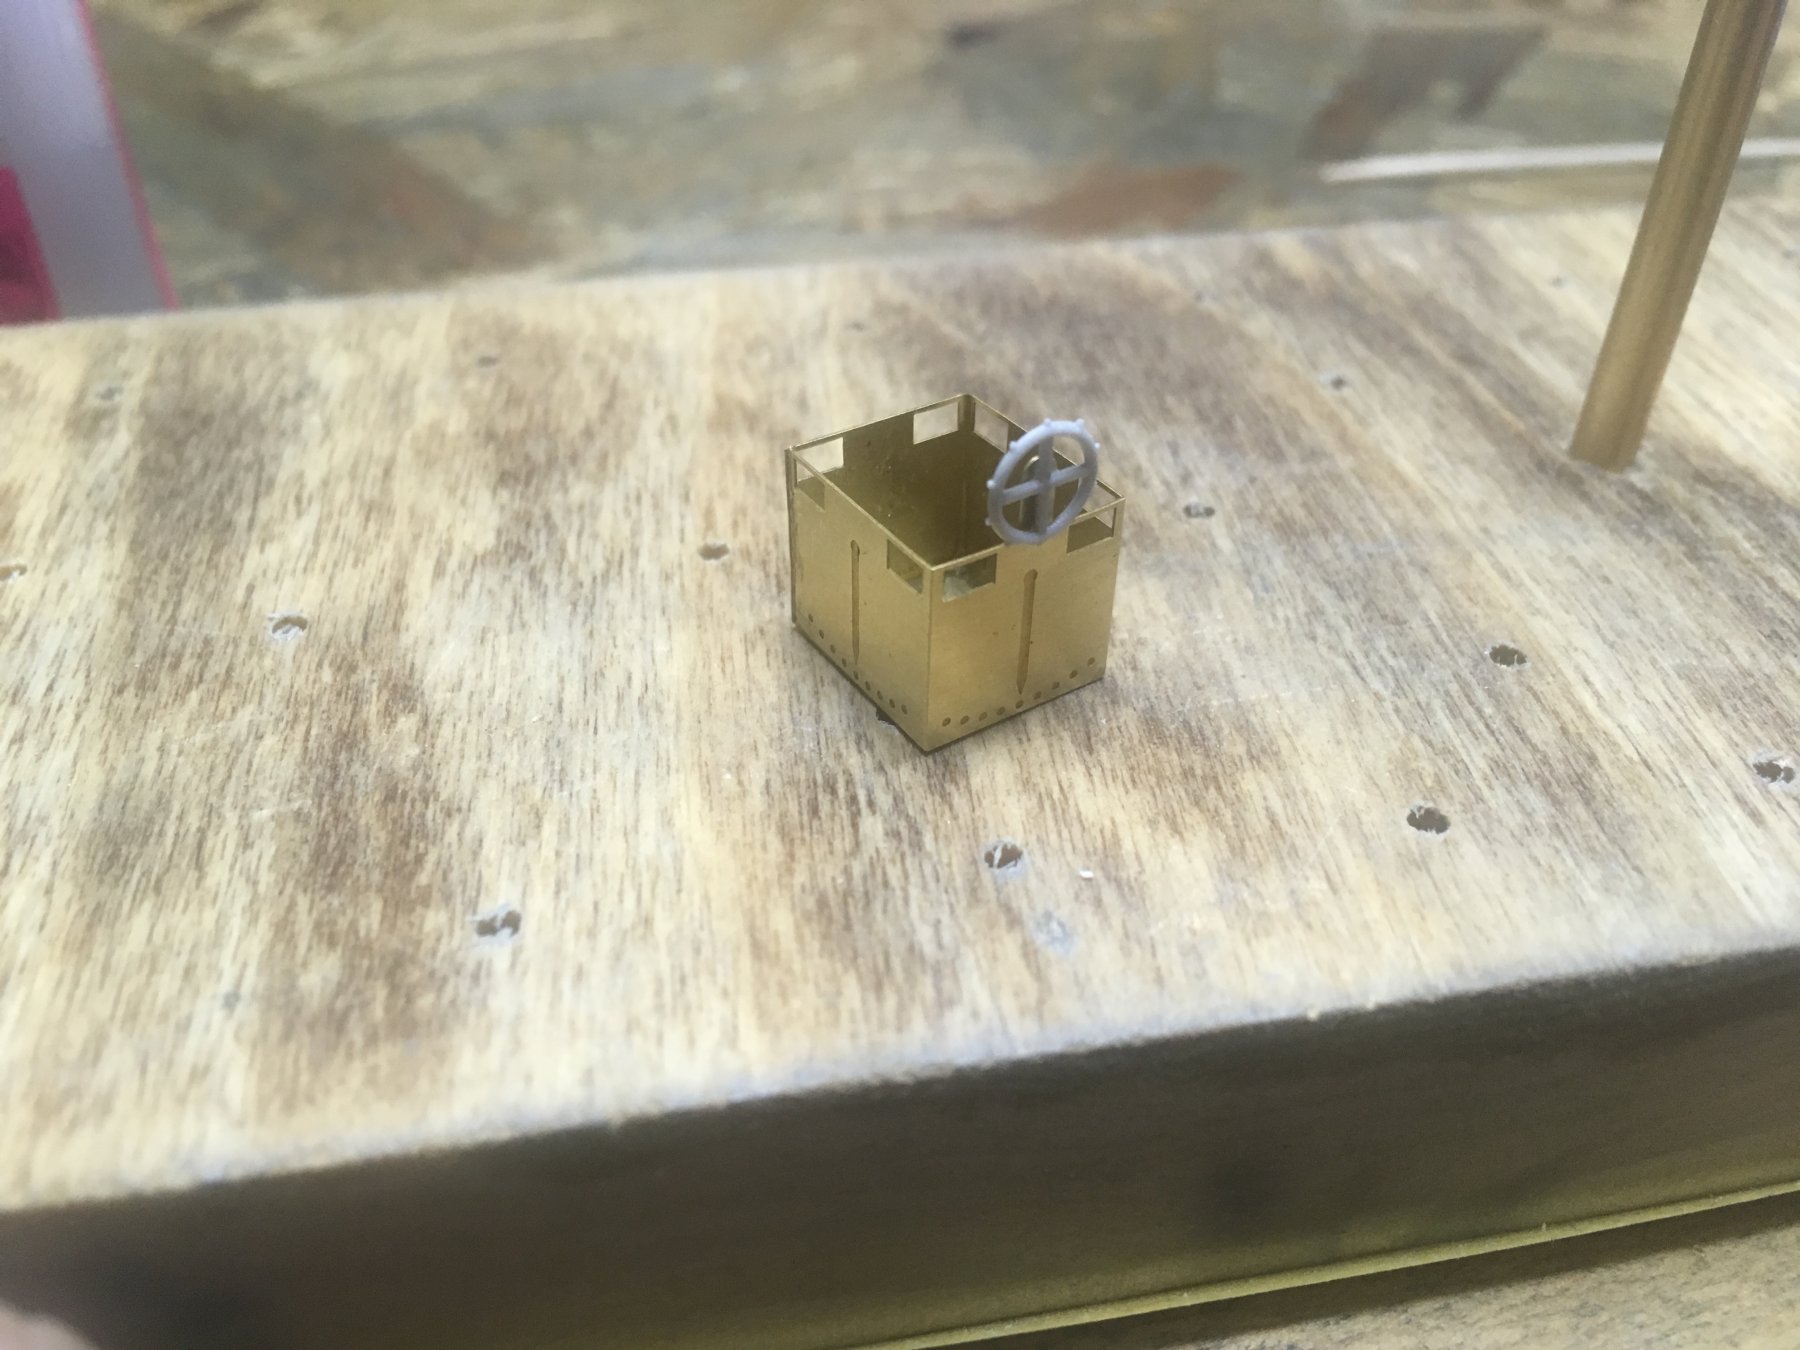
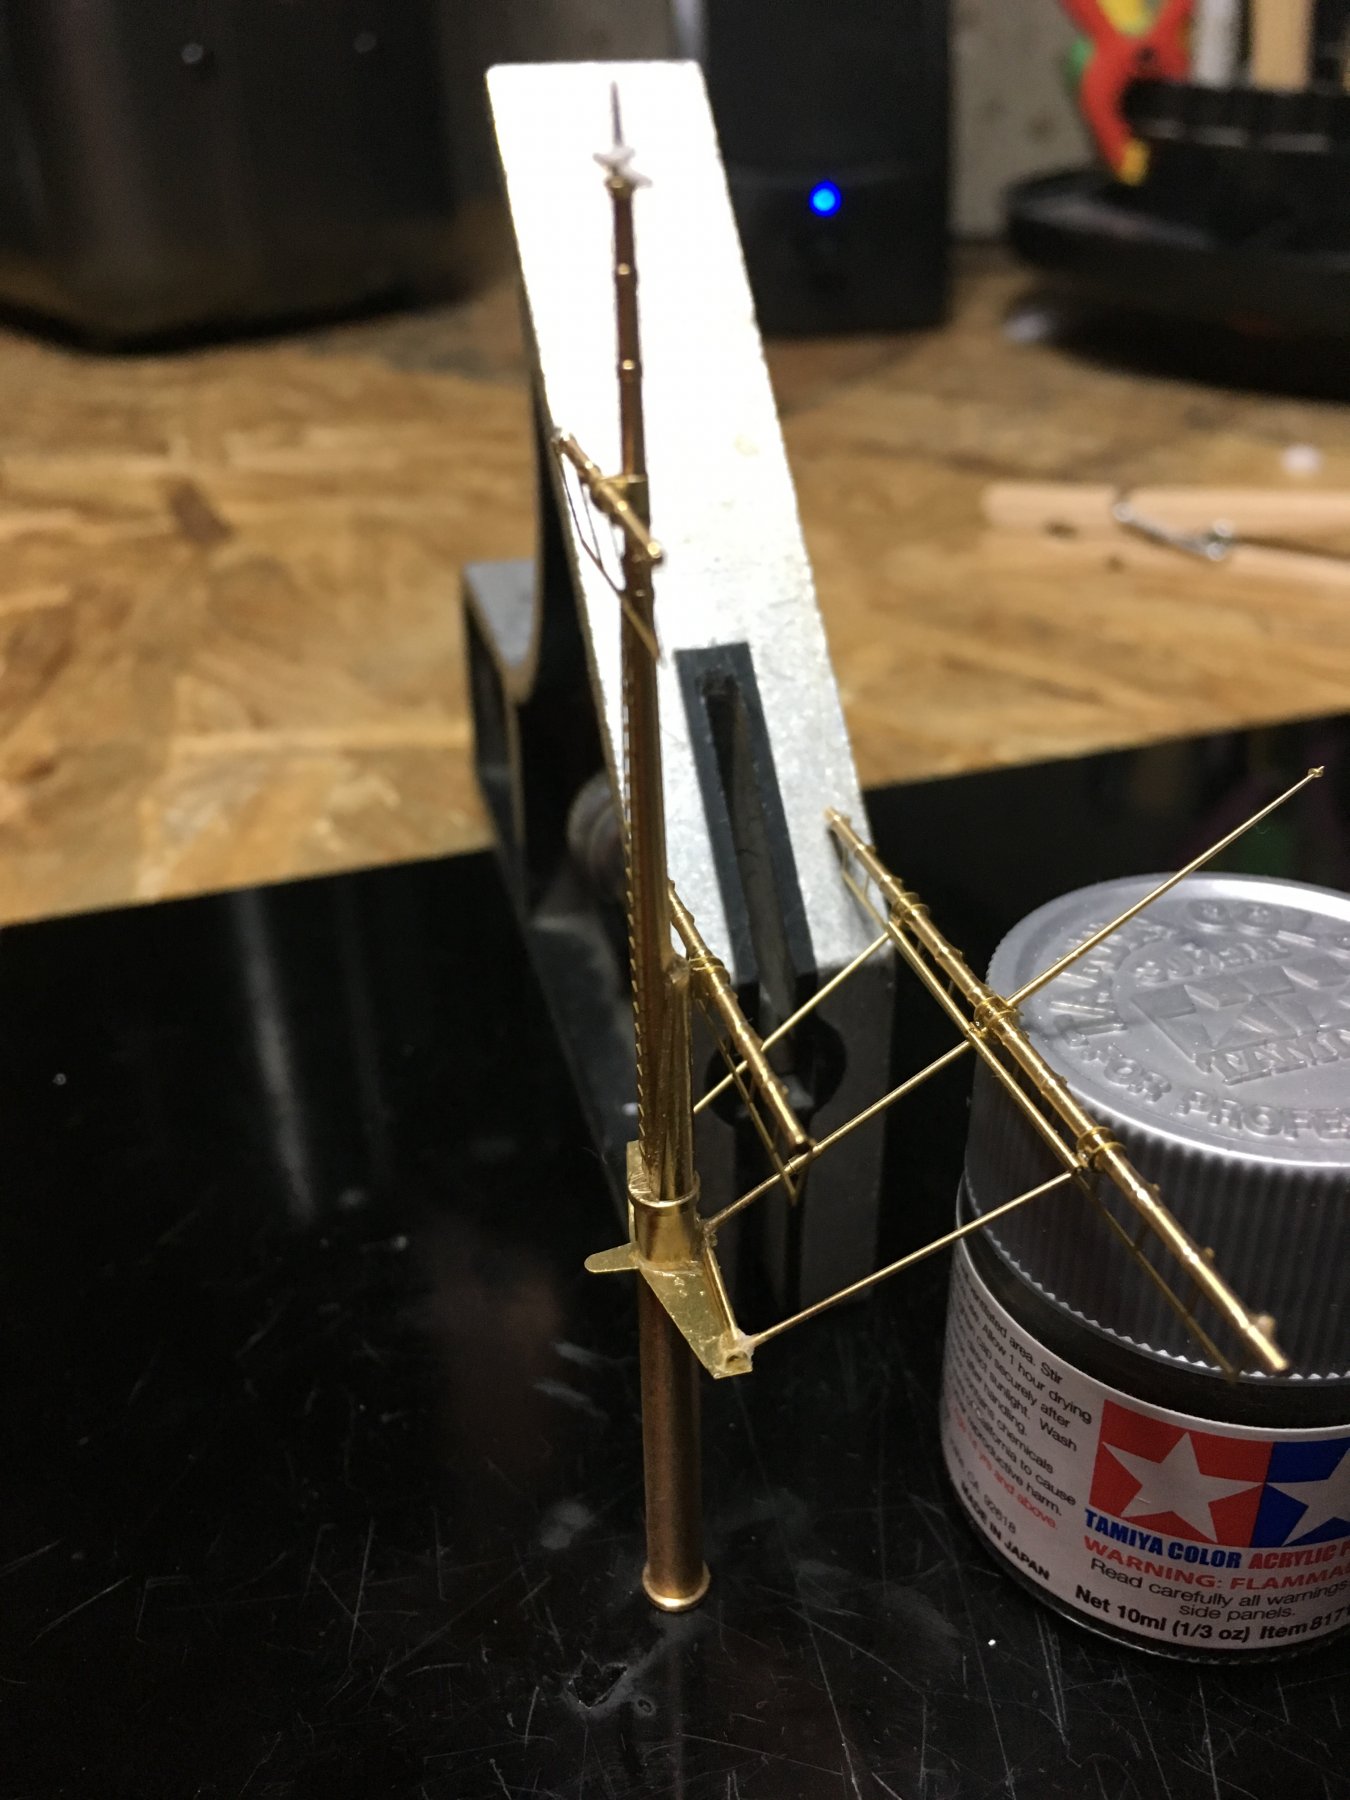
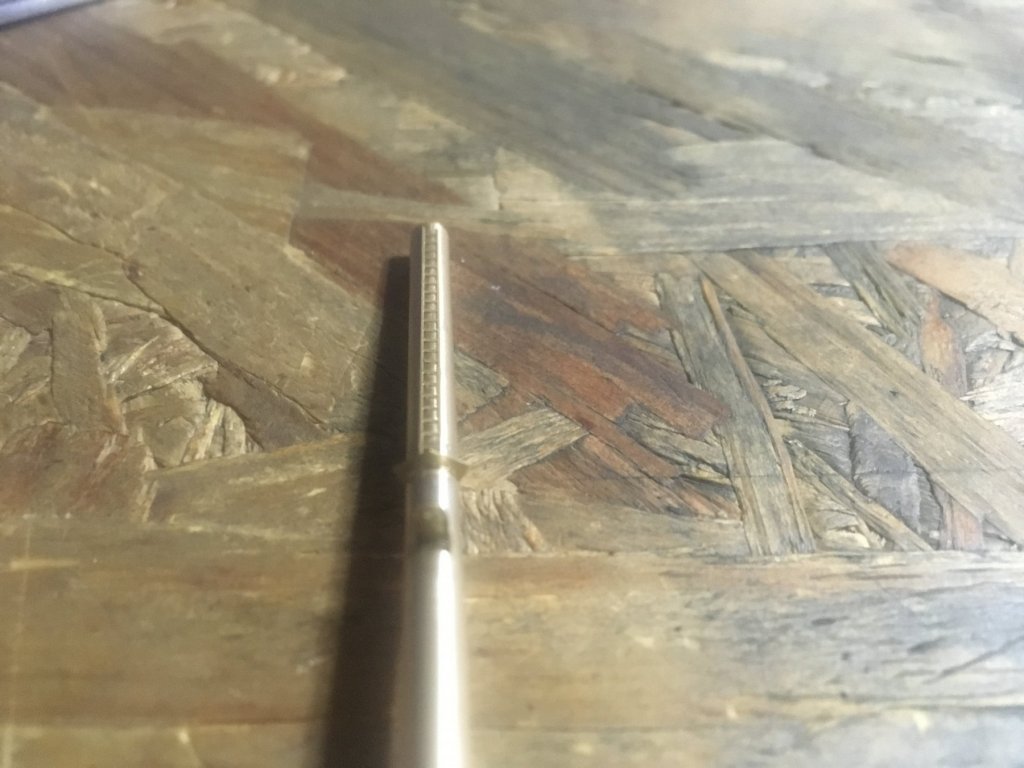
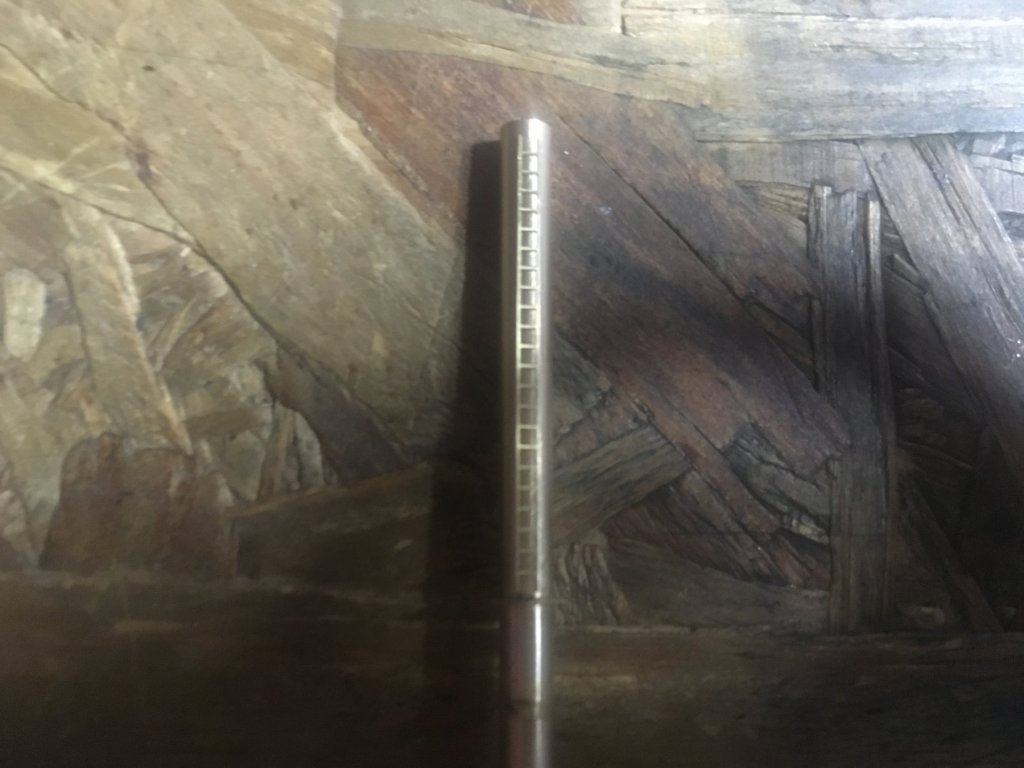
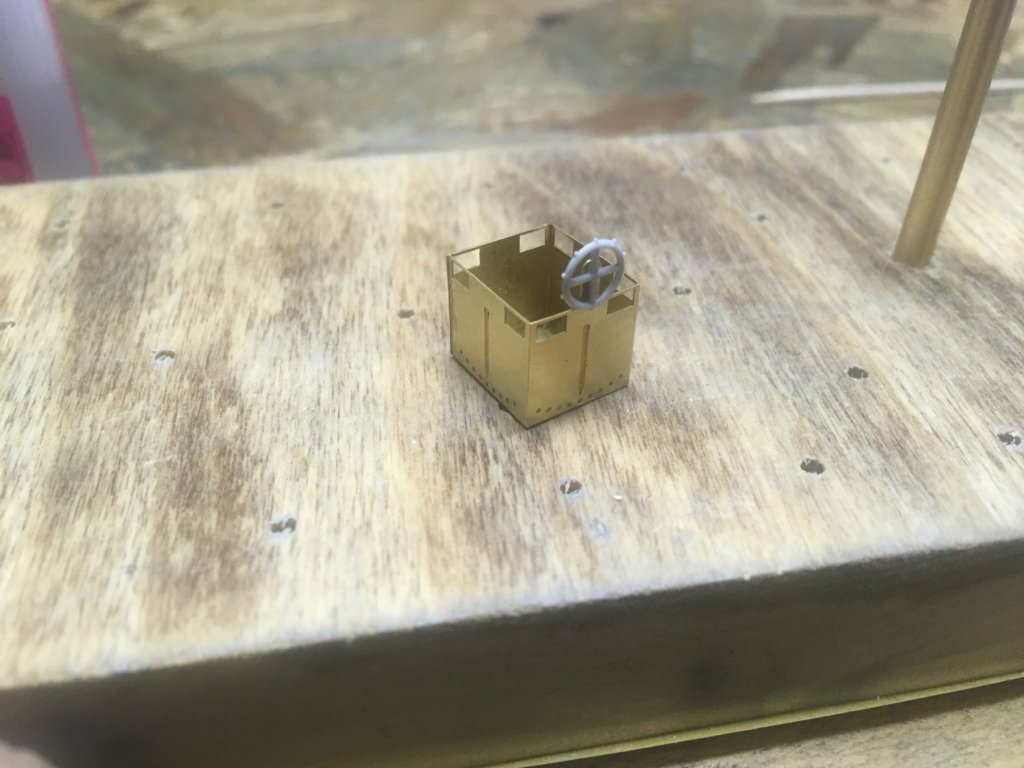
No call into work today either?!? So the mast continues with the the 3rd of 3 fazes starting today. I start with the crows nest. With The joints taped shut I dab some thin glue on the inside. Then add the wheel with medium glue. a few pieces start to go onto the mast also. thats all for now.


-
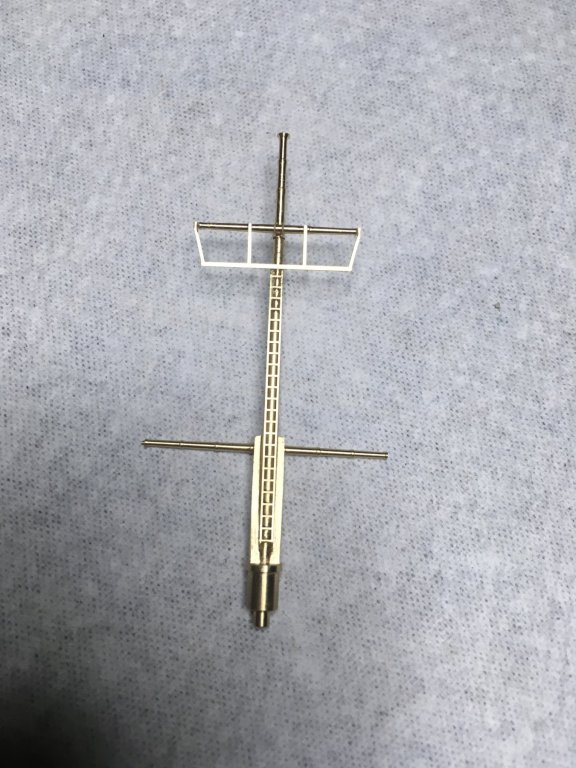
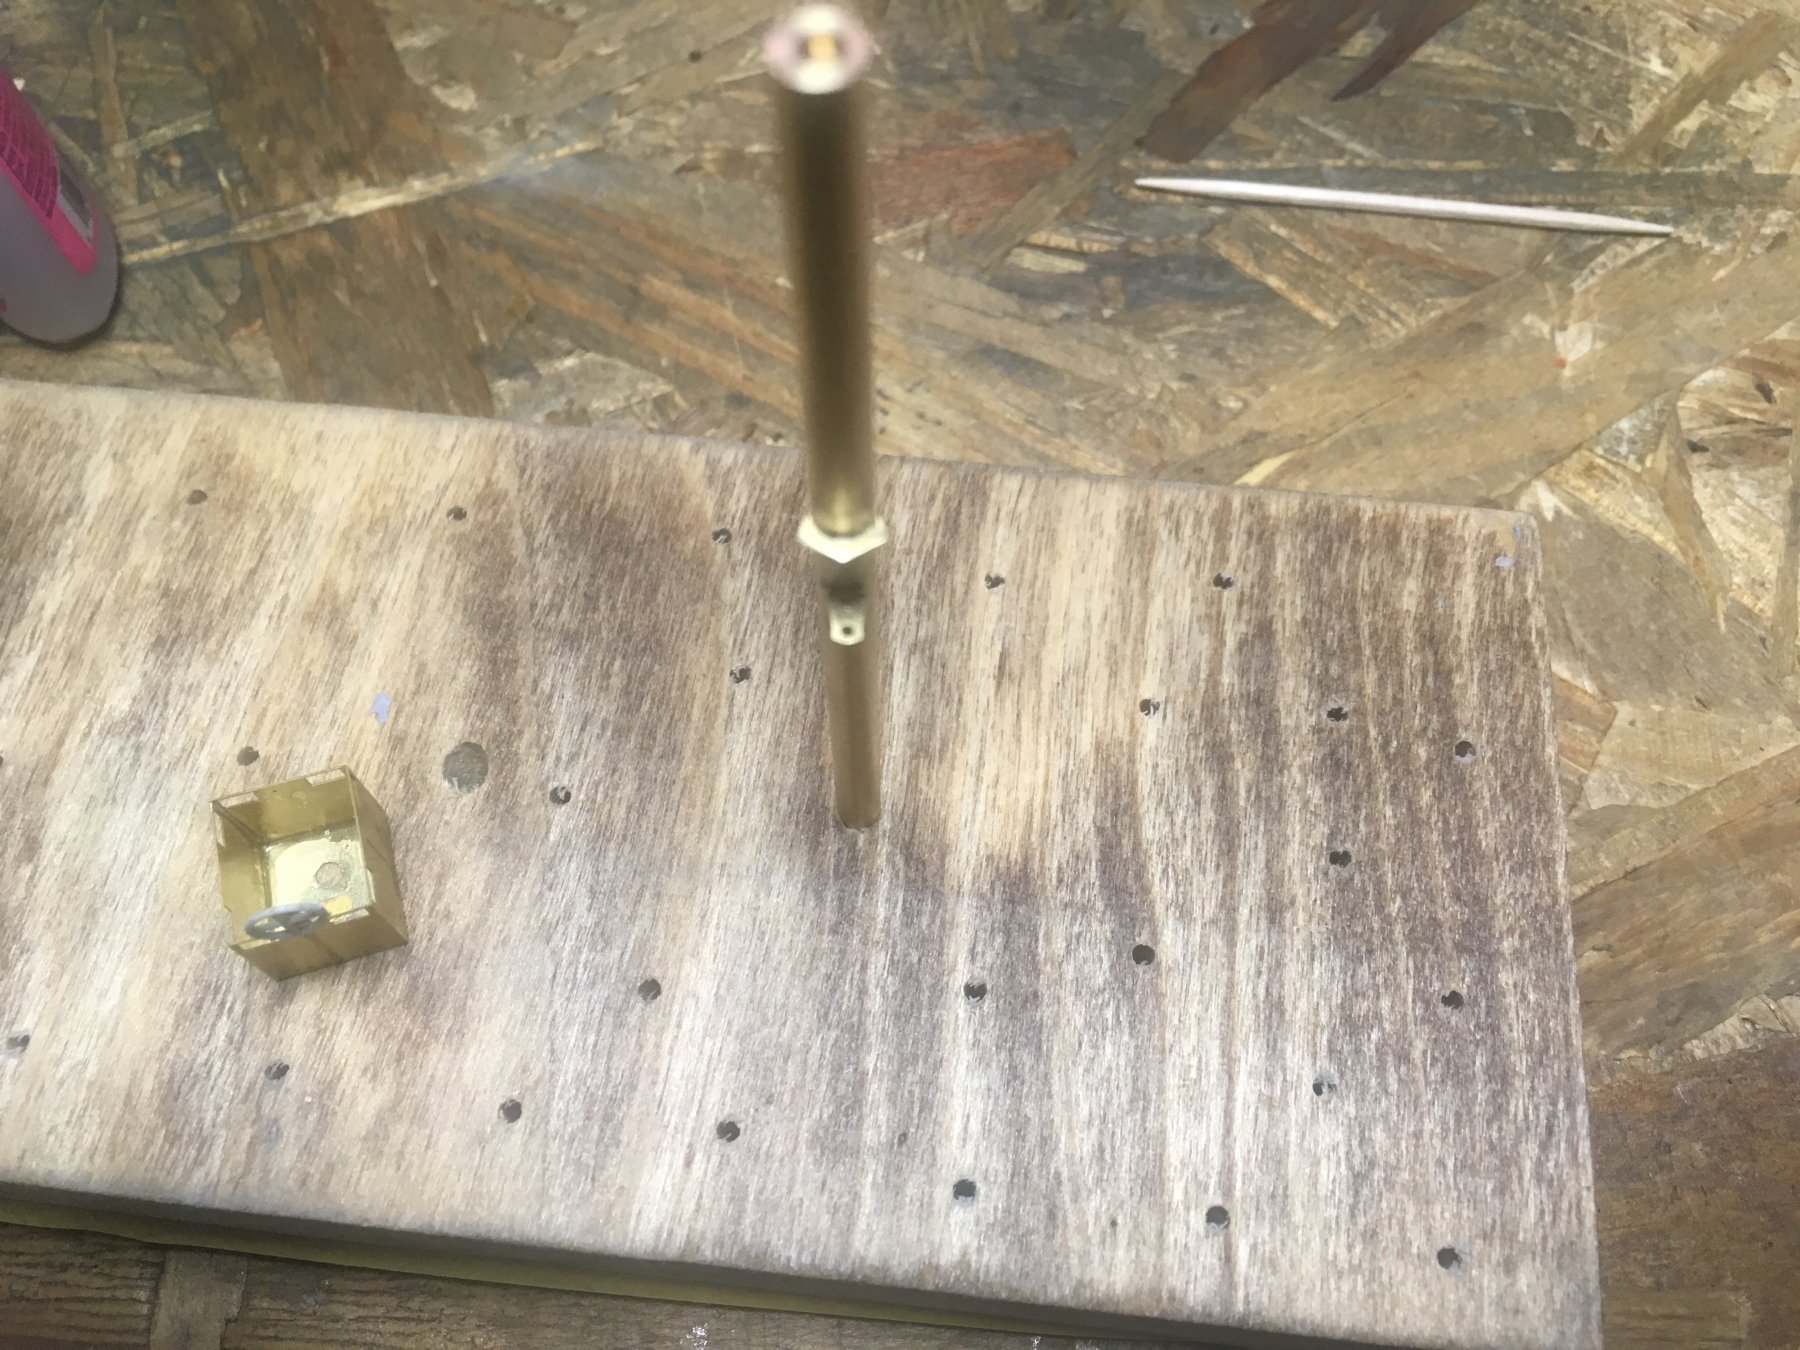
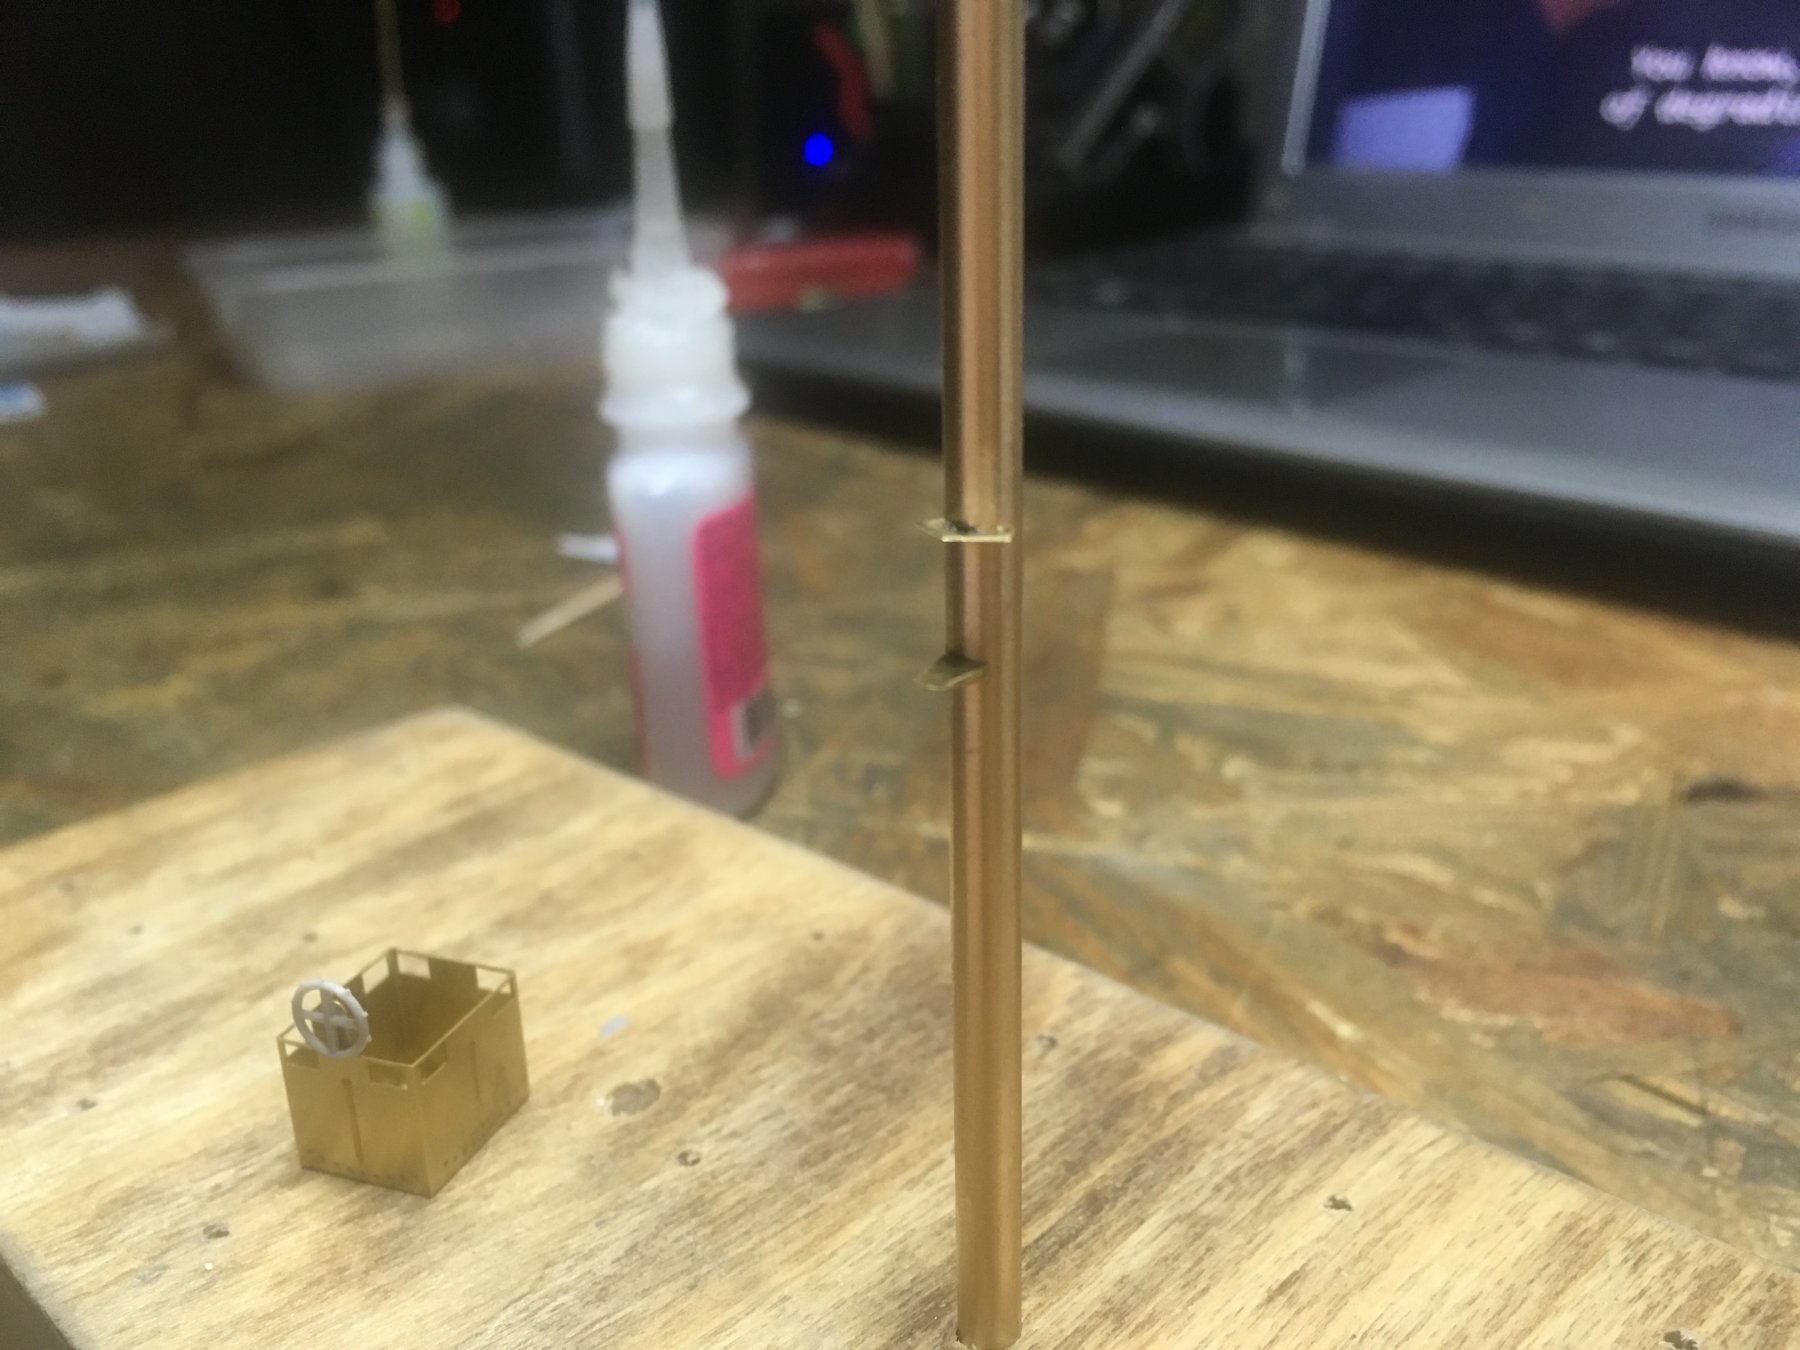
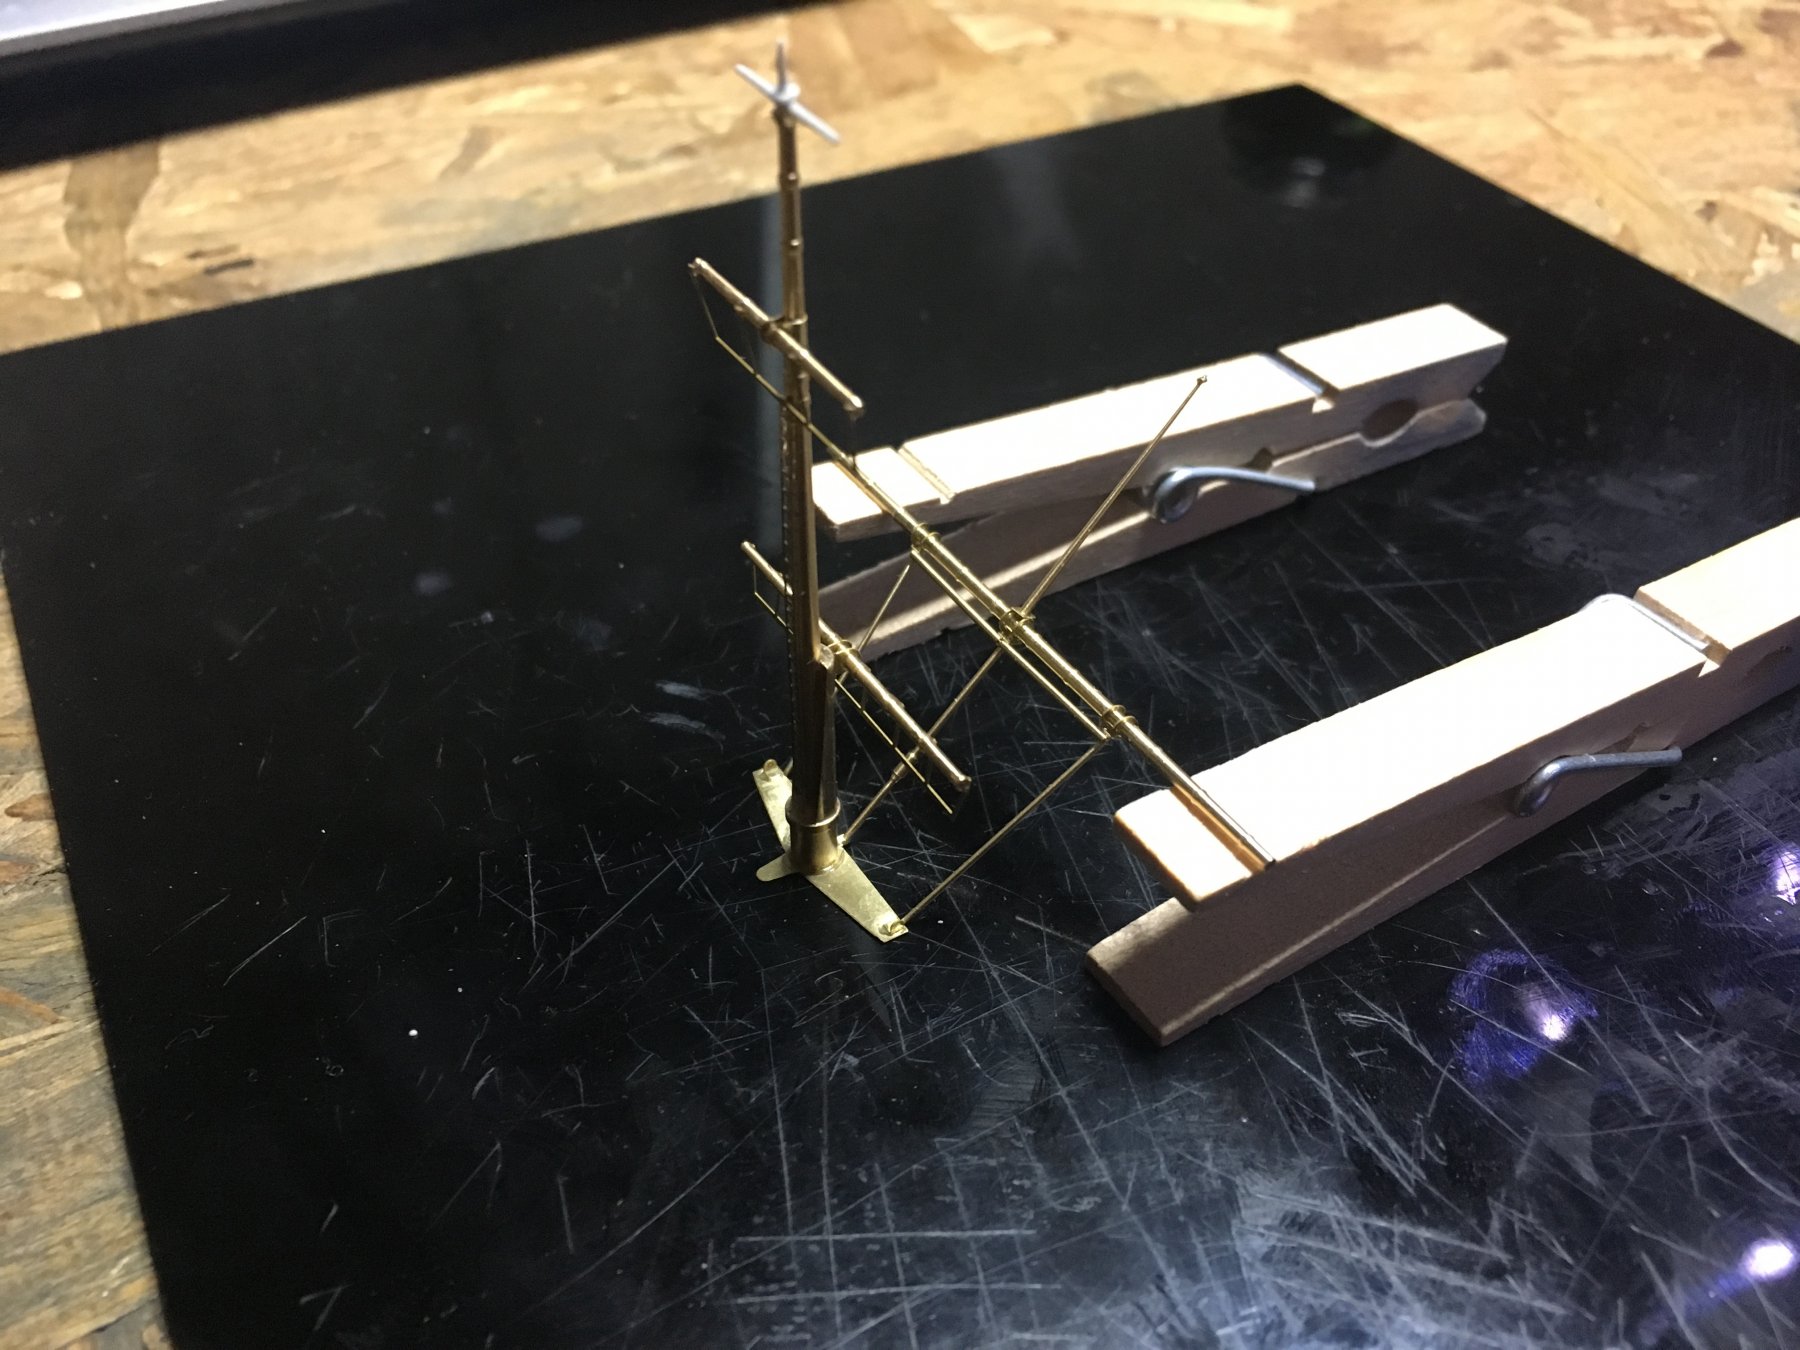
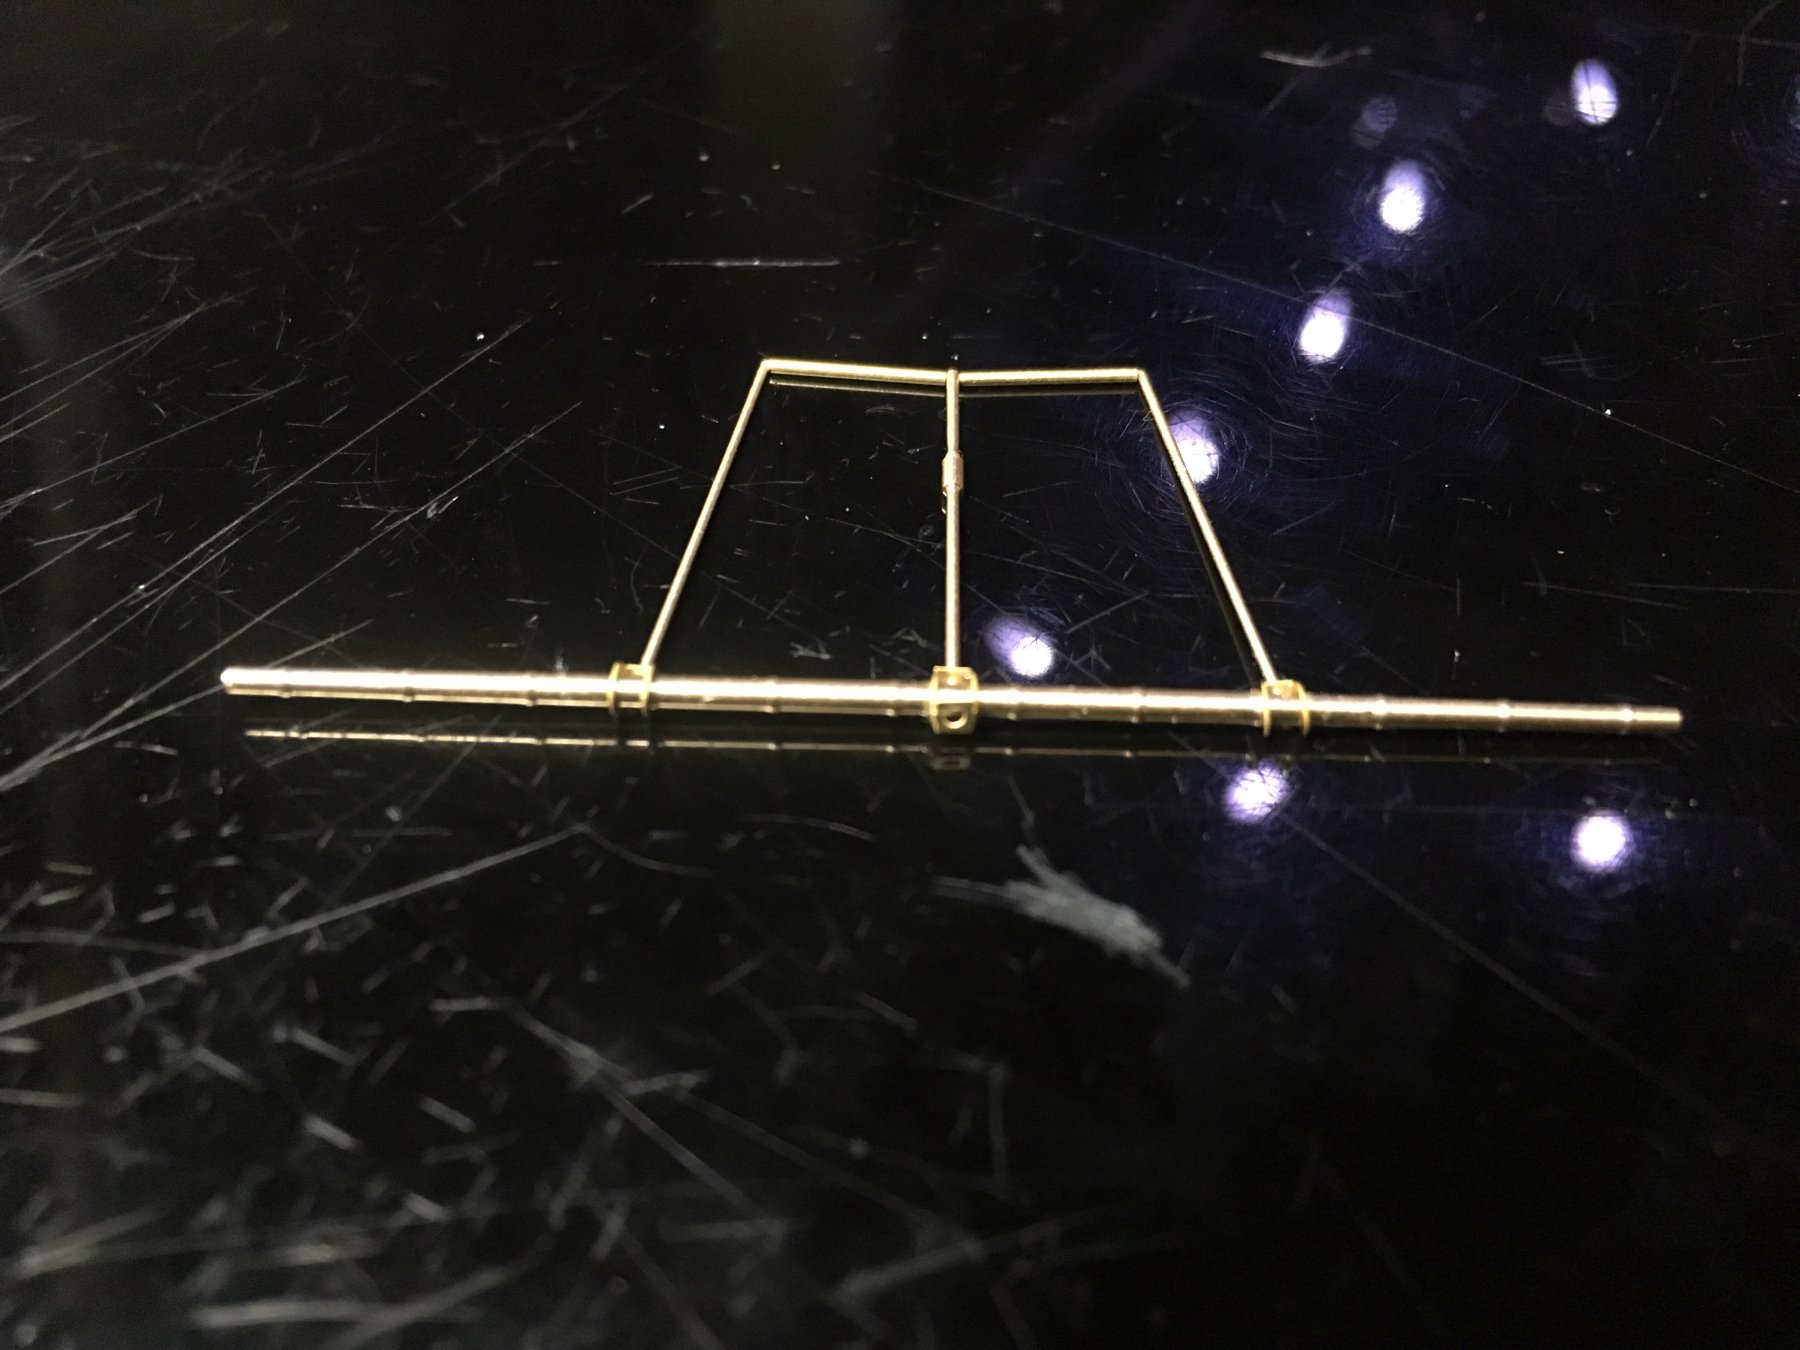
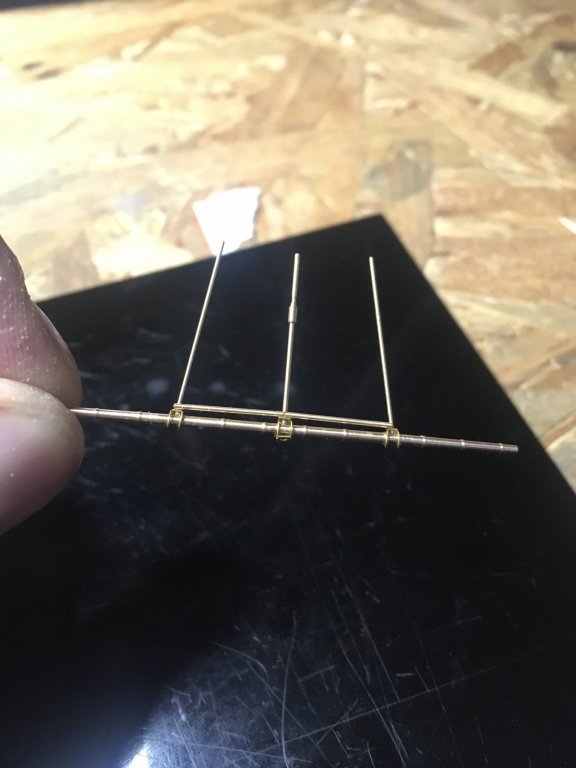
I tried the pva glue technique that Danny had mentioned and it worked like a dream, Thanks Danny! Today I continue to construction of the main mast. The first thing to do is make sure the two pieces to be joined are plumB. It took 30 minutes of fiddling but finally, its plumB. looks plumB enough for me! Now to touch a tiny drop of glue without moving it out of plumB and letting the capillary action do it's thing. next come these two pieces. I do not know what they are called. Joices? braces? Rafters? Whatever they are they are now glued in place. Hmmmm. Not called into work yet?? Thats odd. So I am going to cautiously continue.


-
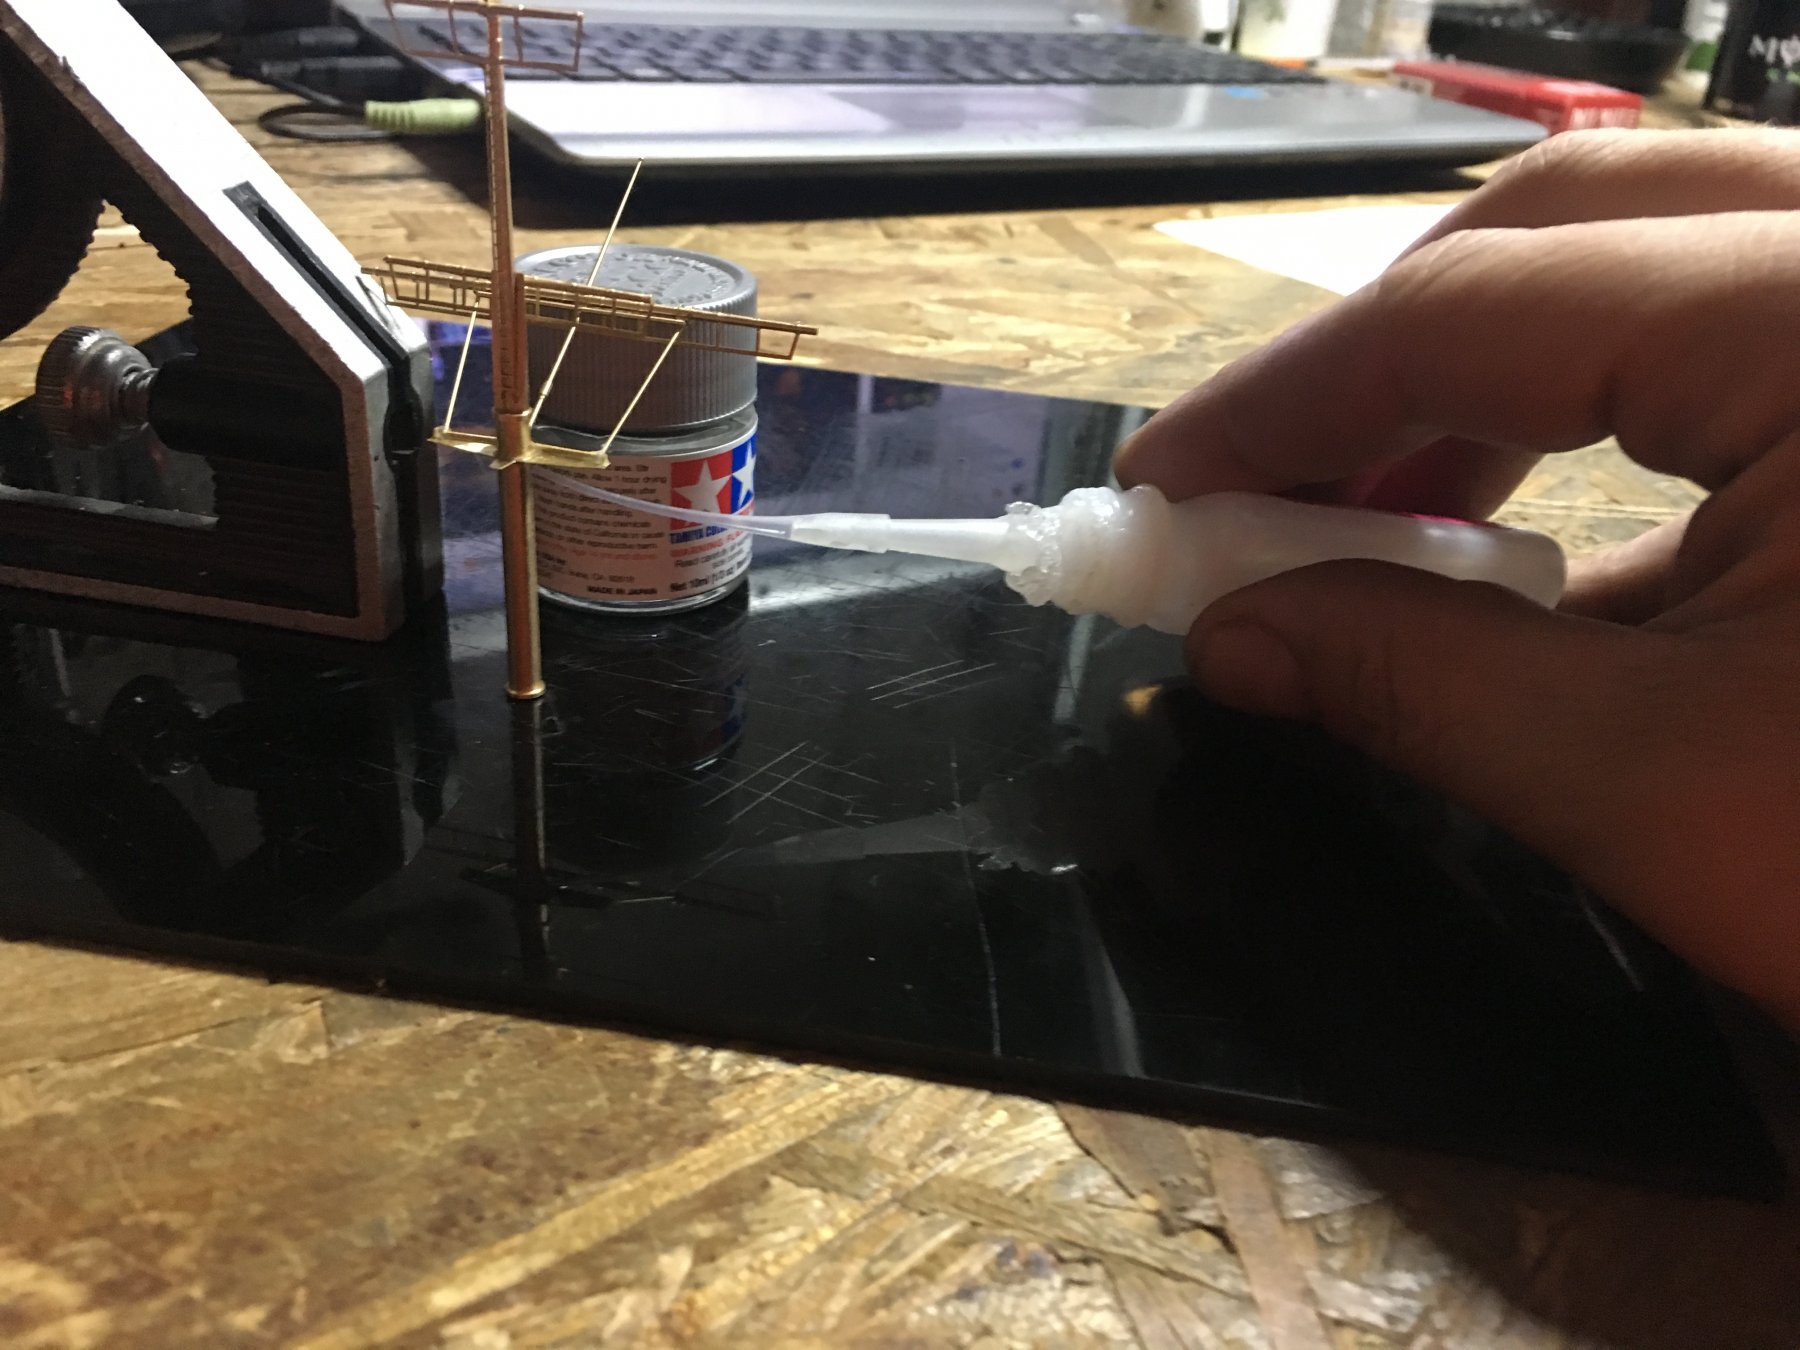
I havn't yet but this seems the perfect situation. Im going to do that. I have thin Gators Grip glue.
-
I just have to watch out for glue flowing down to the clothes pin making it part of the Bismarck. Maybe hold a paper towel between PE and clothes pin to obsorb any glue?
-
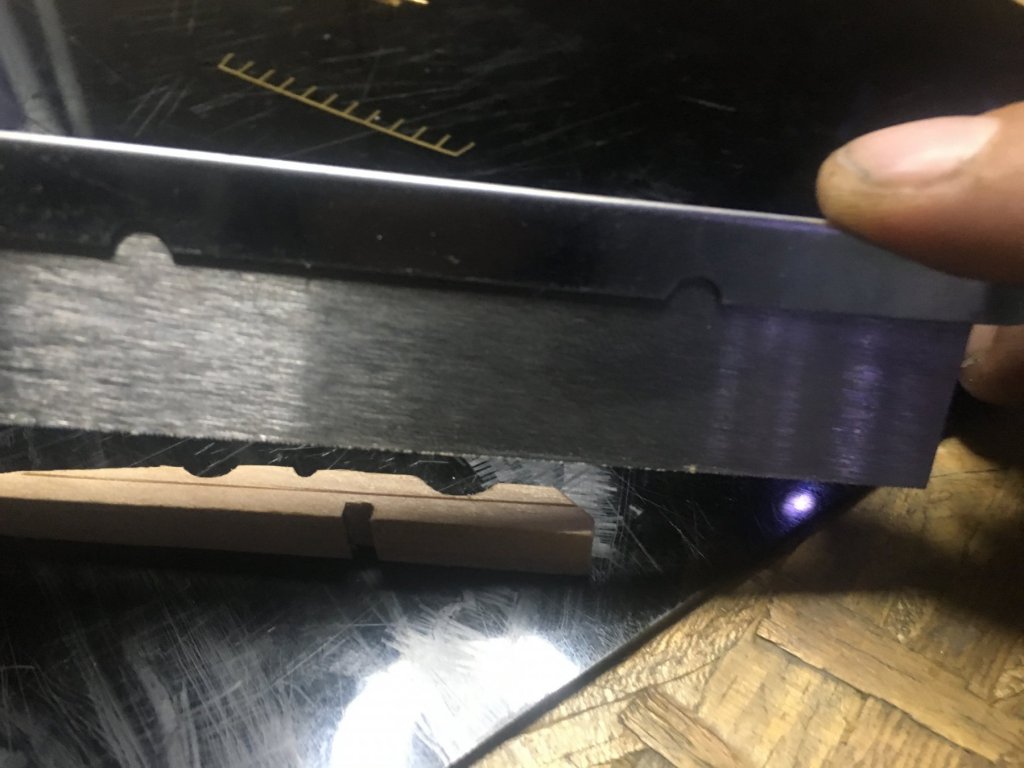
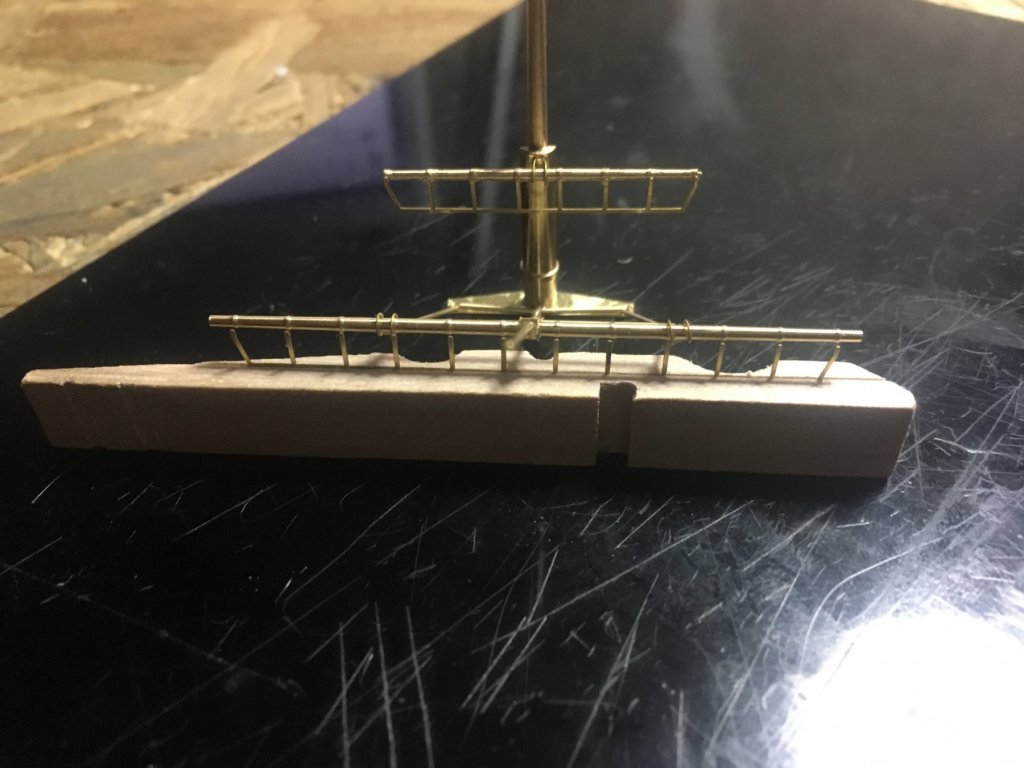
The next piece to glue is a difficult piece to position. So I thought for a while and came up with something that should help. I took a piece of a clothes pin and cut a slit in it with a razor saw. problem solved
-
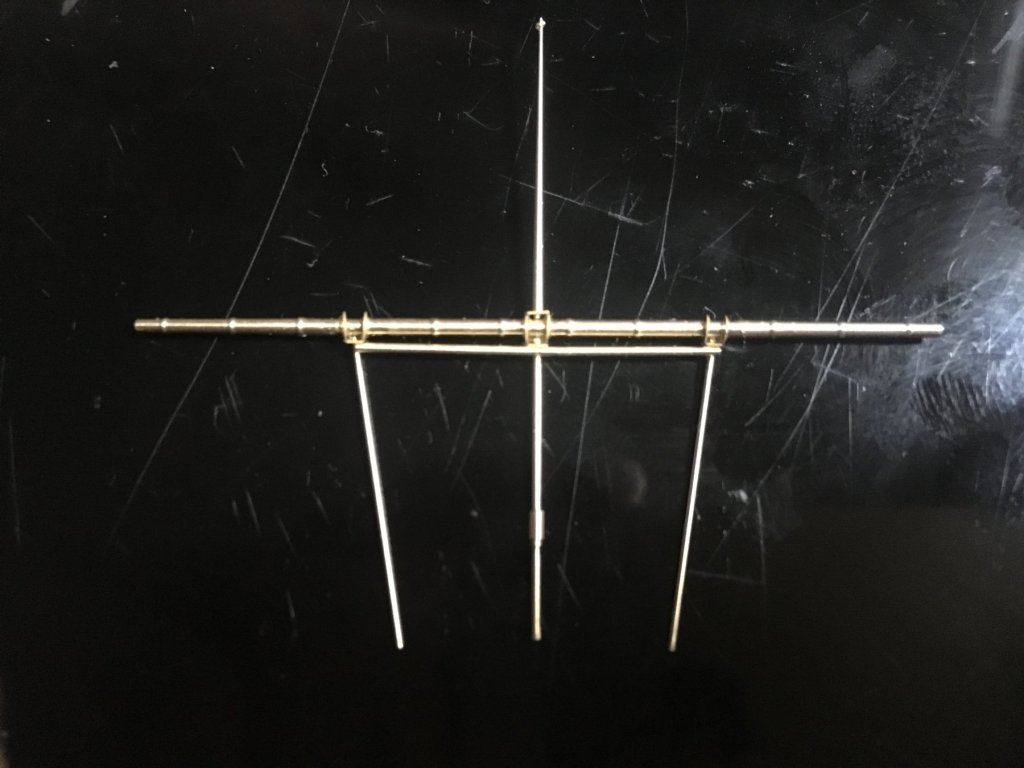
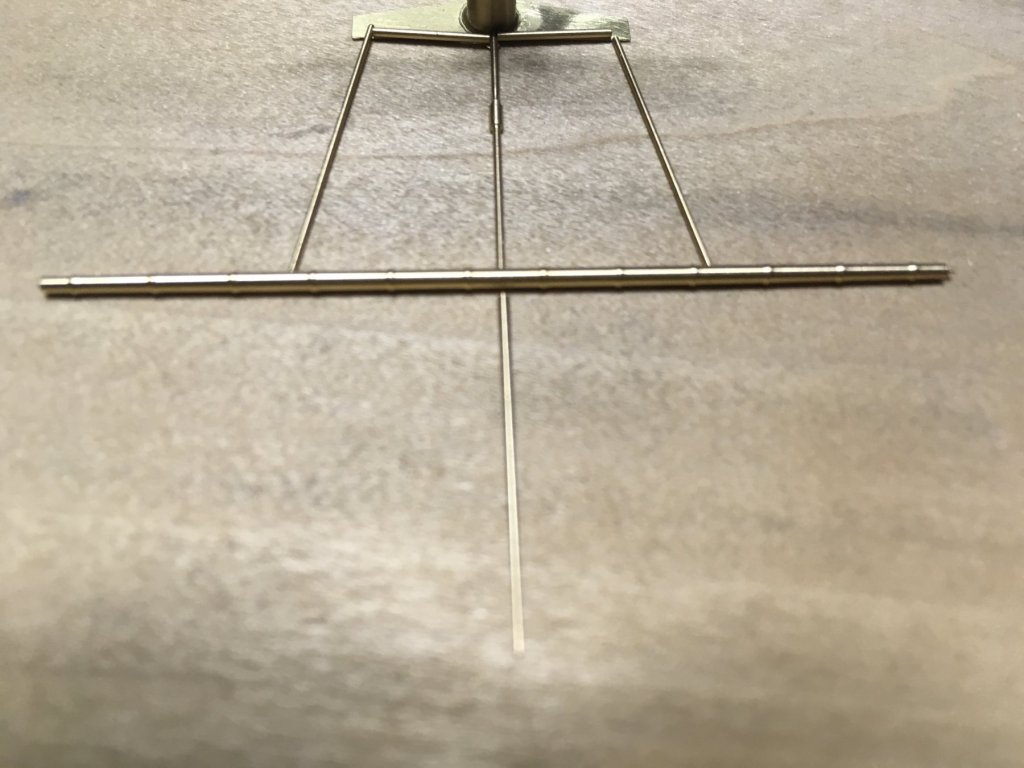
It's a gluey mess Cog! trust me, Glue everywhere! Danny I actually slid the yard into the hole of the donuts shaped piece and glued it like that. I figure it's better than nothing and will provide somthing for me to wrap rigging EZ line around. but there's no way I'm good enough to do it like the directions call for.
-
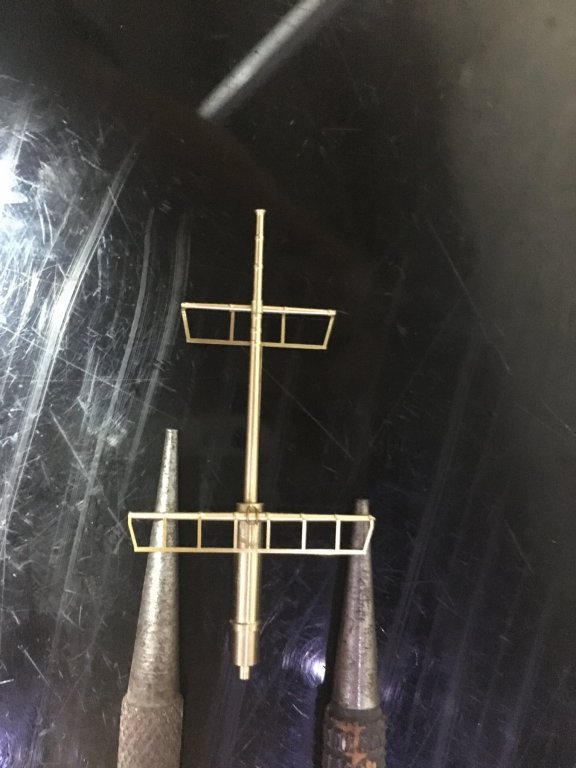
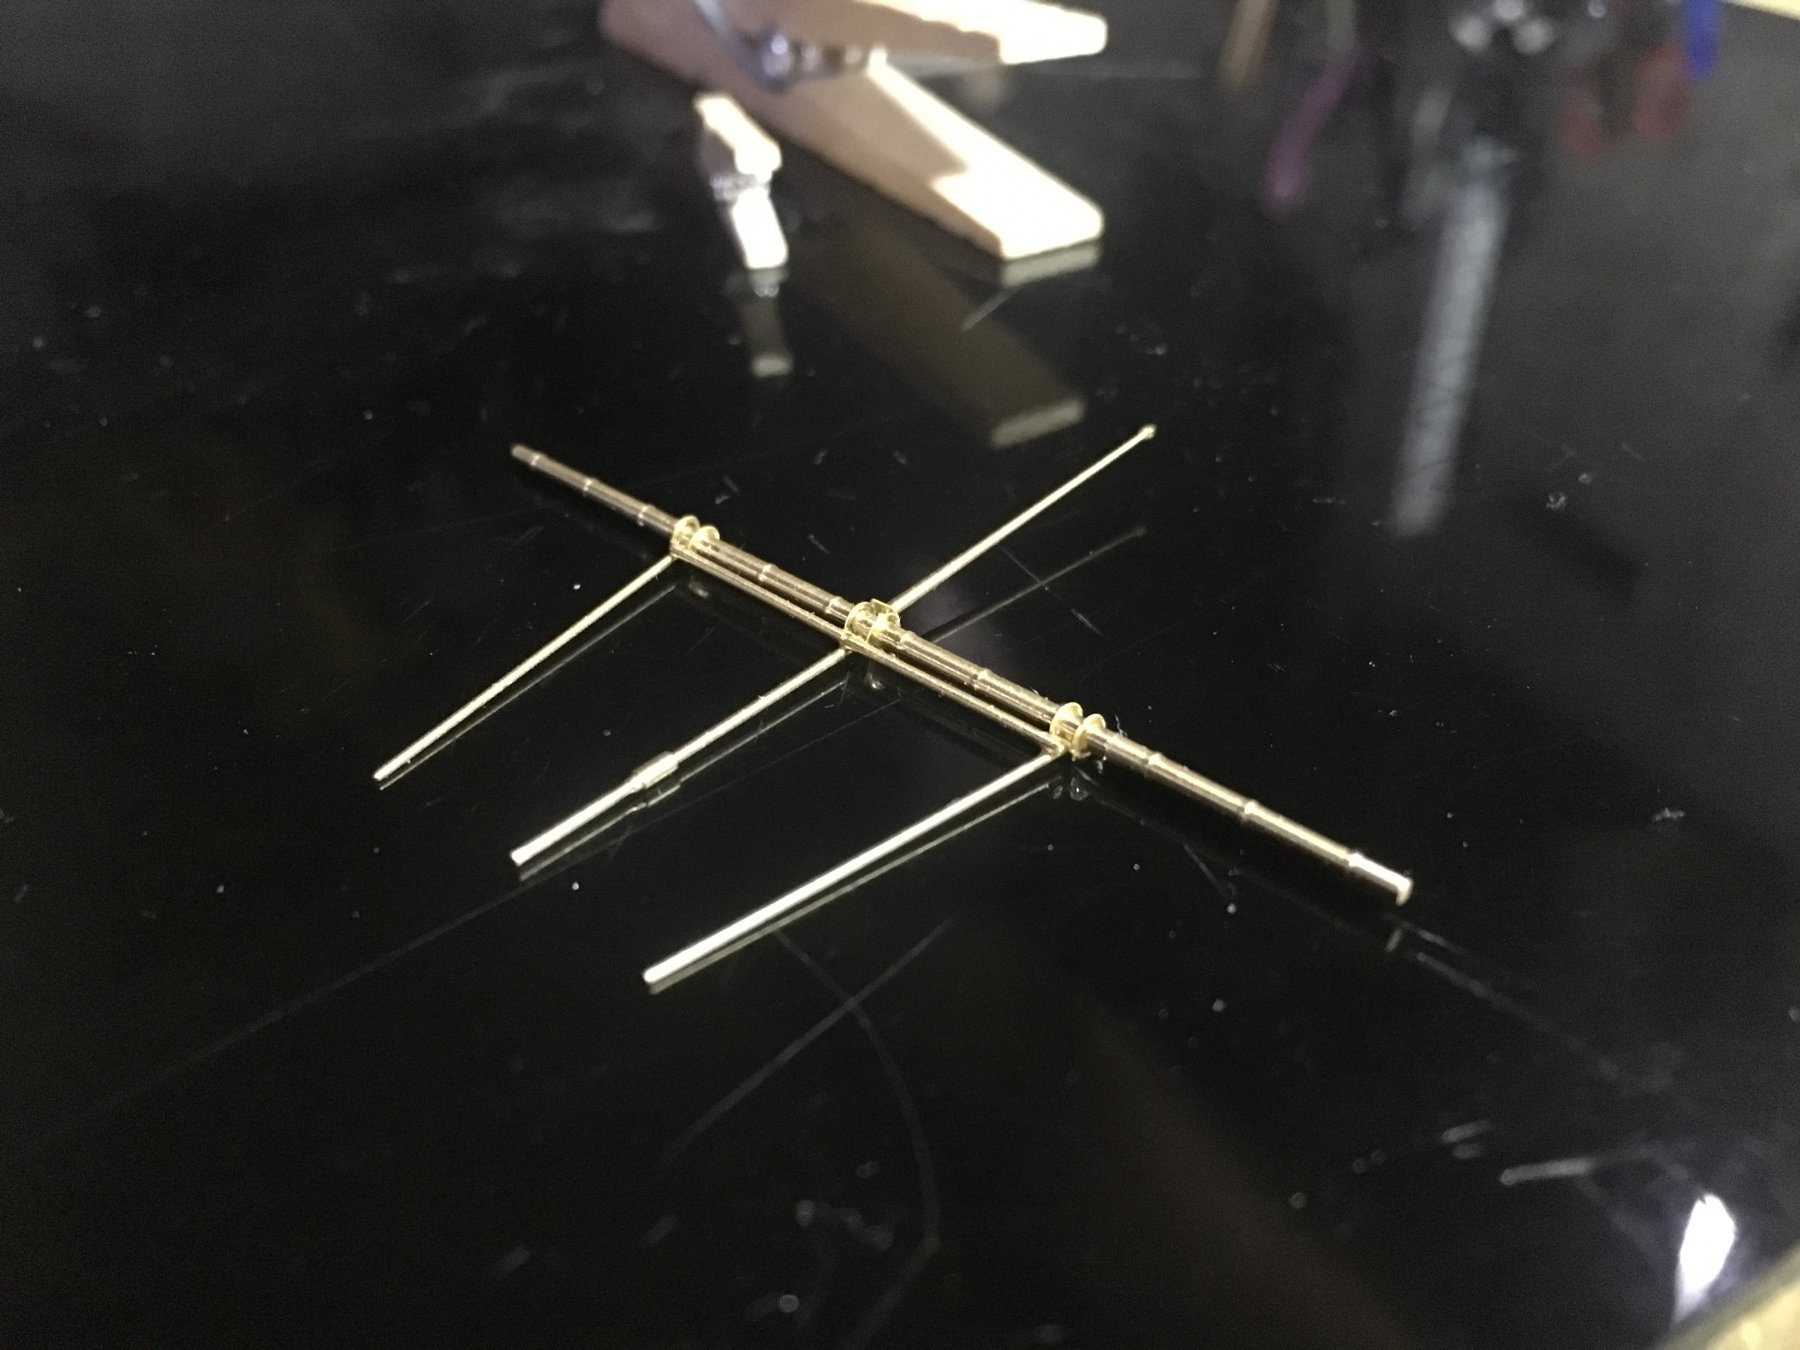
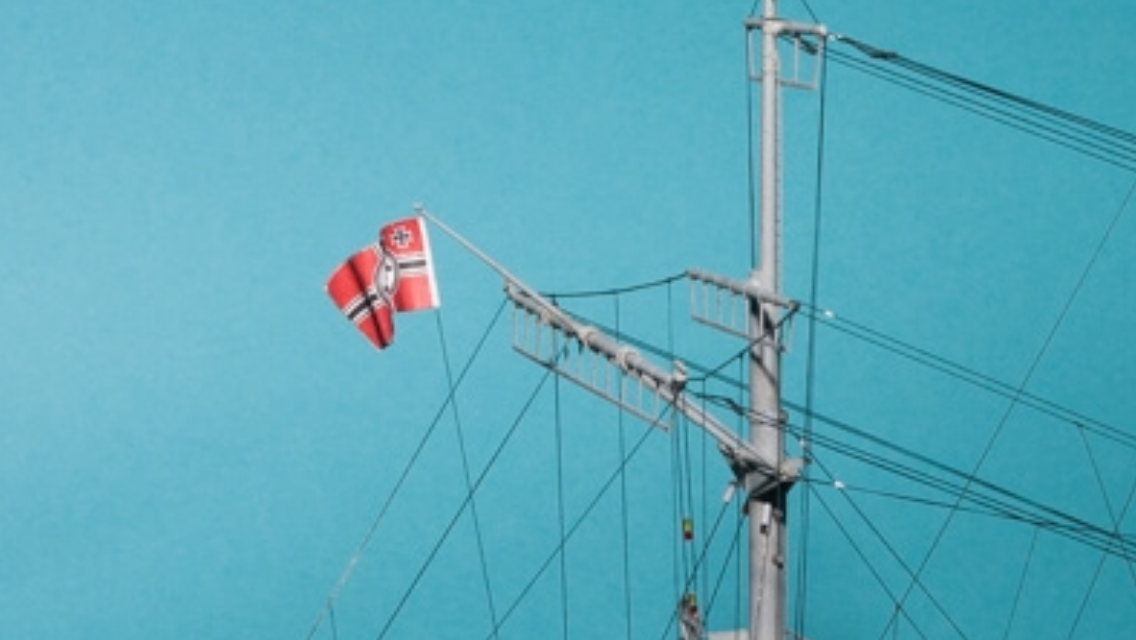
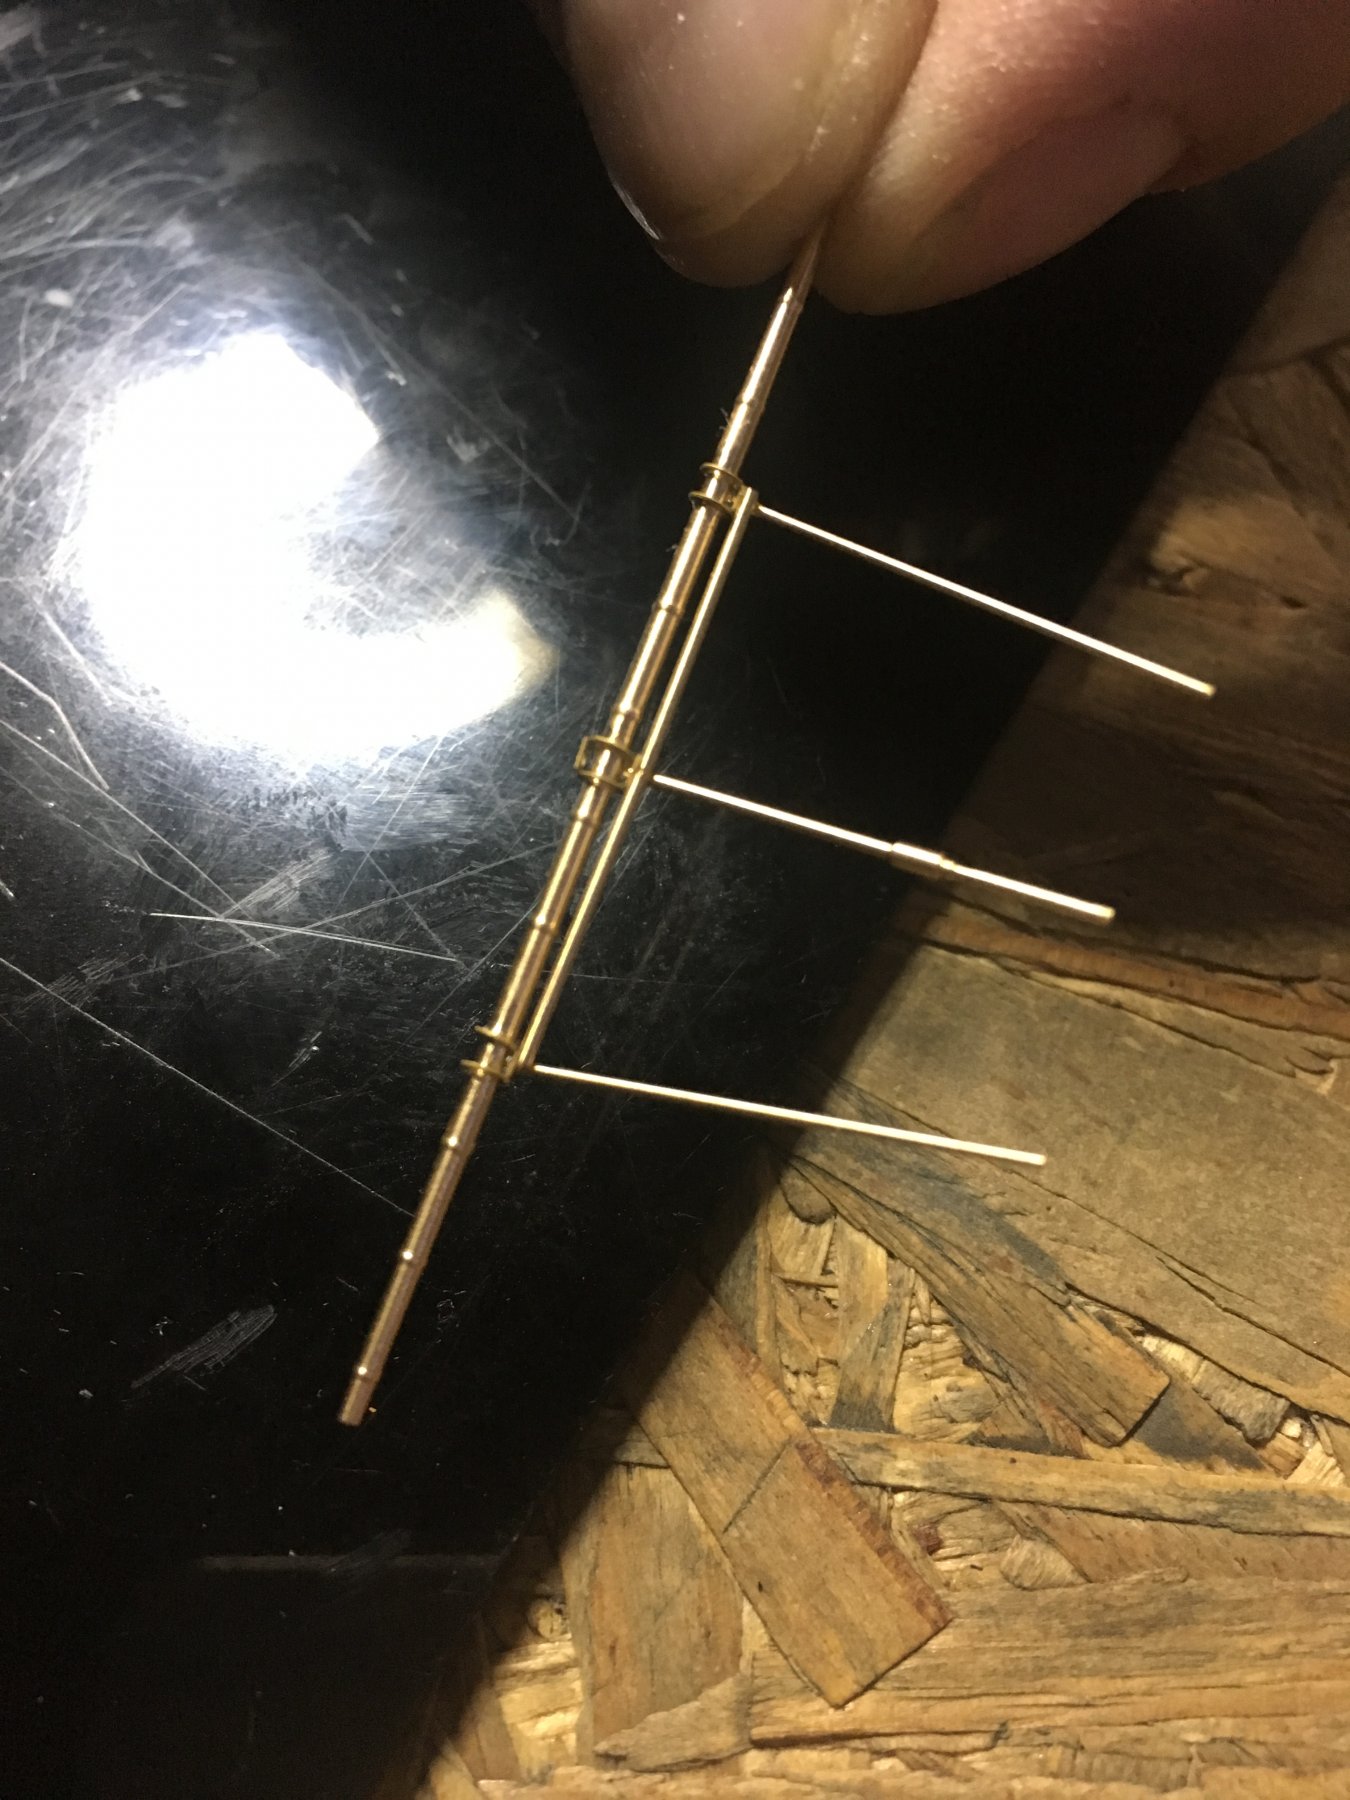
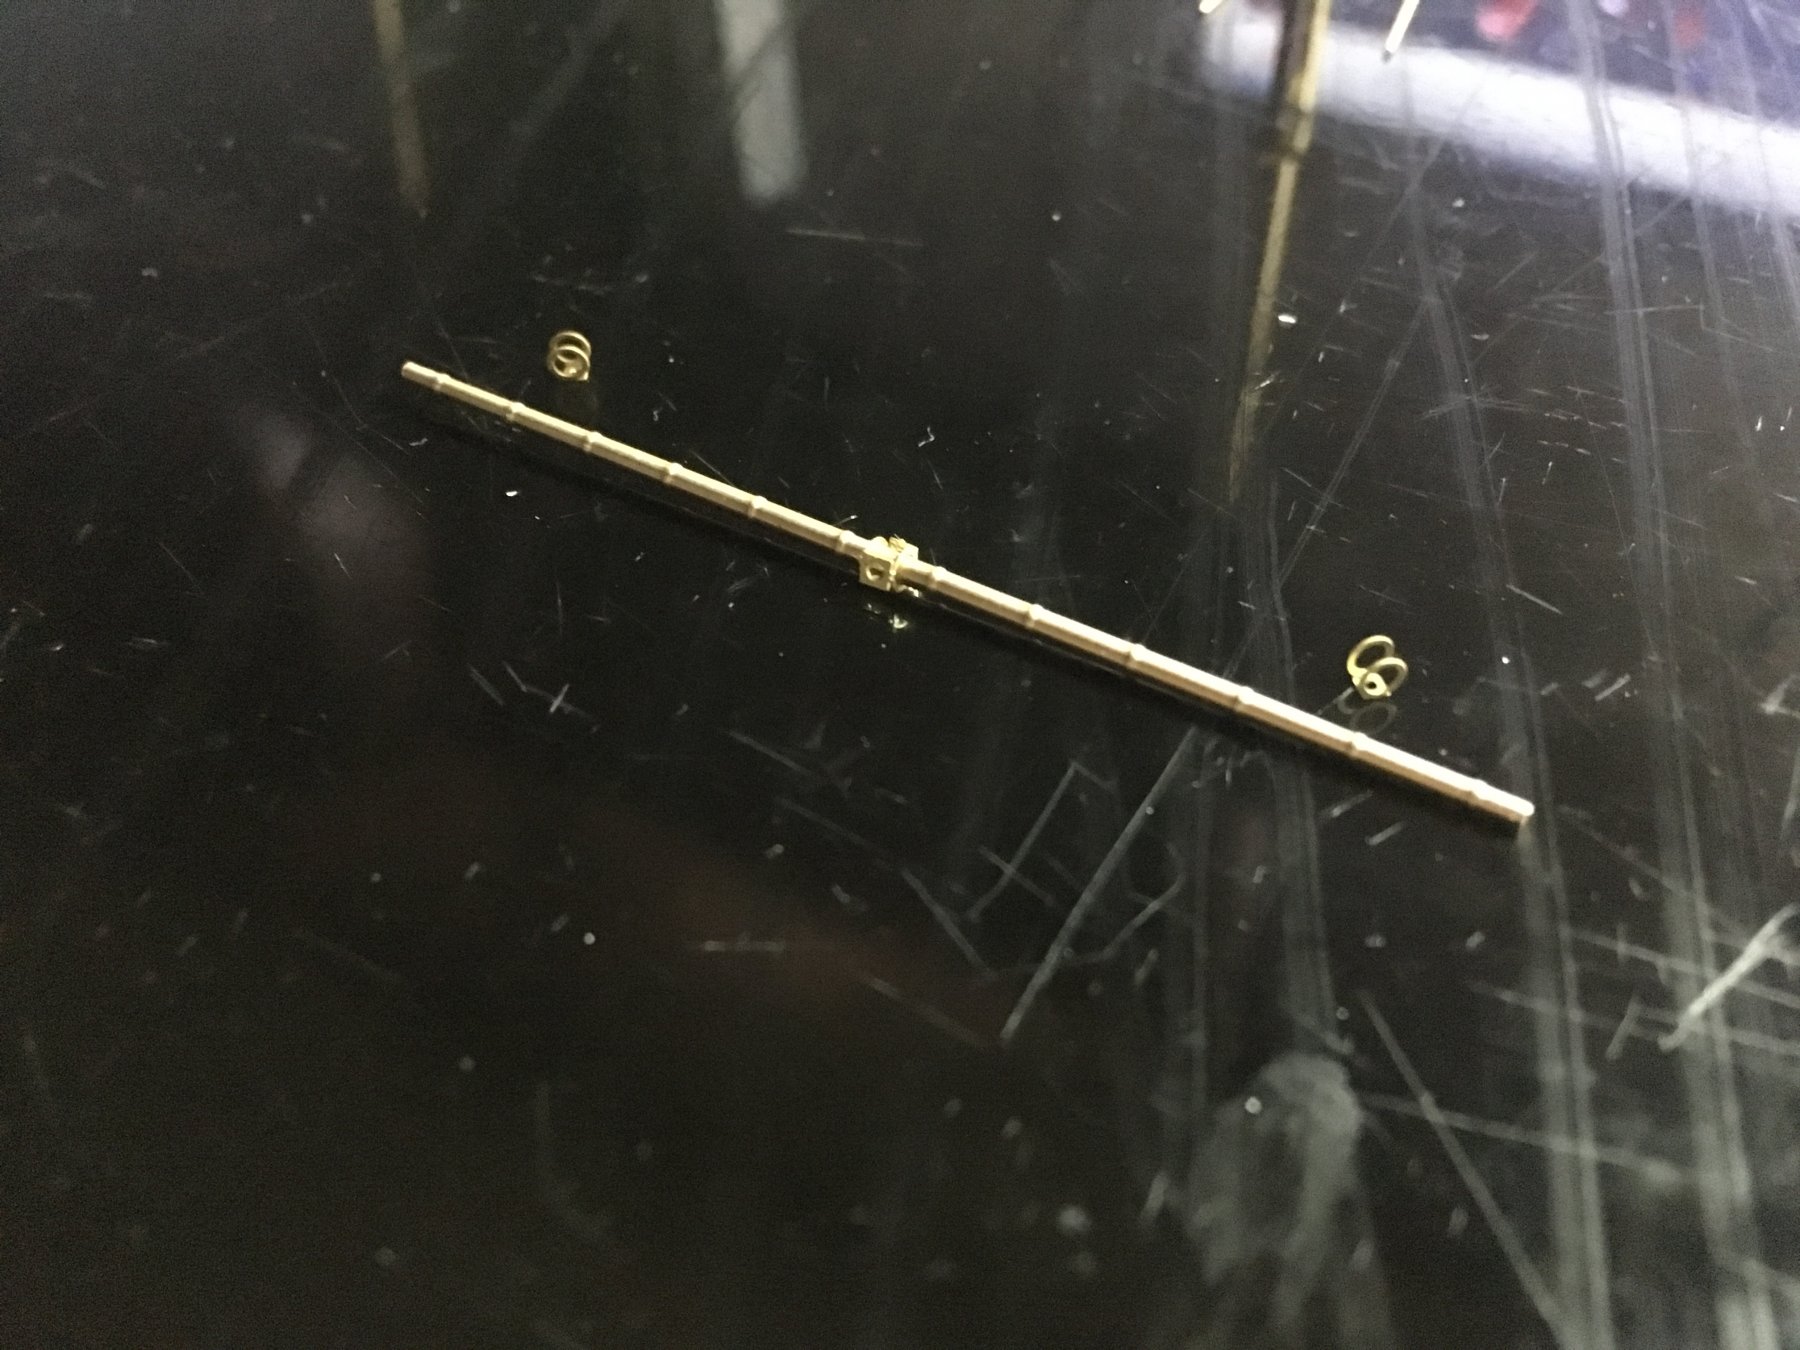
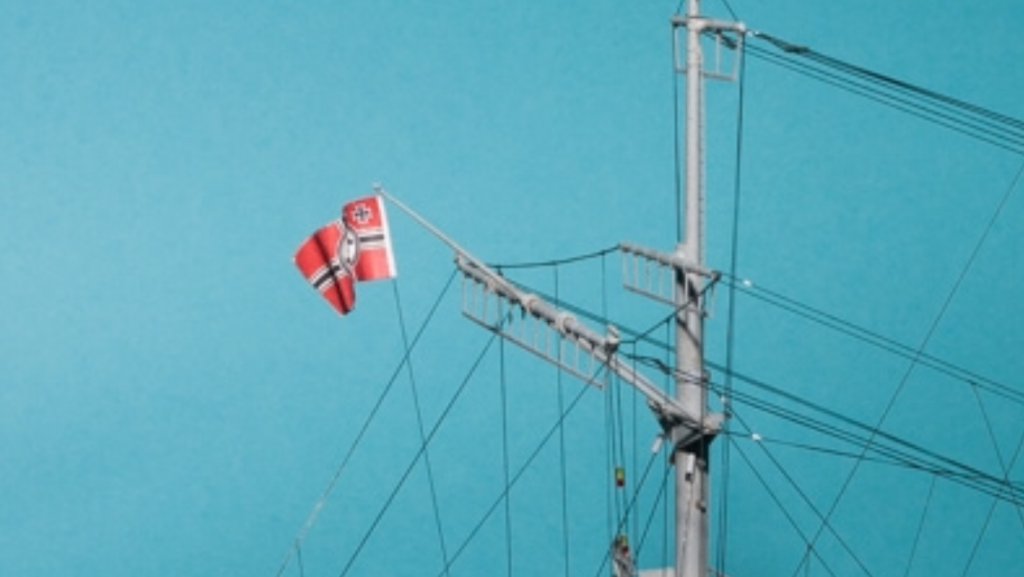
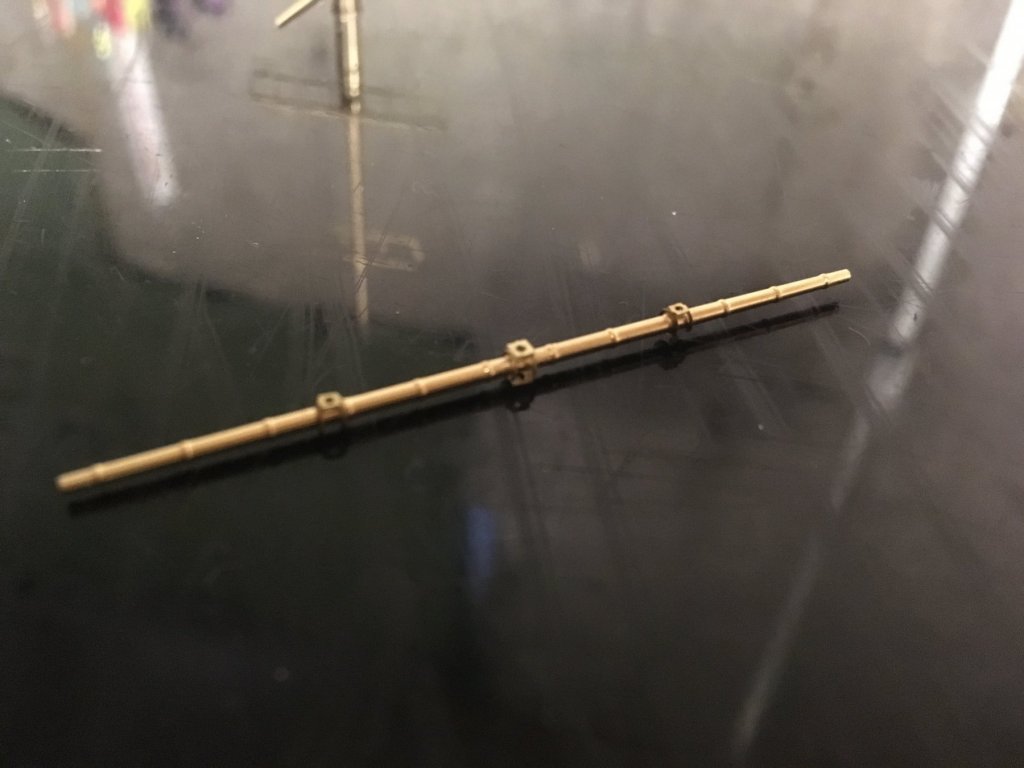
CDW I Asked myself the same question so I checked. Rigging line and a flag attaches to it. Here is a picture. I continue with the mast. First I finish up the piece I've been working on. now I lay out the 2 pieces together and adjust them till it's perfect. Then without dislodging it I just touch a drop of thin glue to the joints.


-
I made one of those a while ago but never used it. This is probably the time for me to use it So with out that tape it will just get glued to the table huh
-
Any Ideas on how the hell I'm suposed to glue that donut shaped piece to the end of the other piece?? The only way I can think of is just to not do it!

-
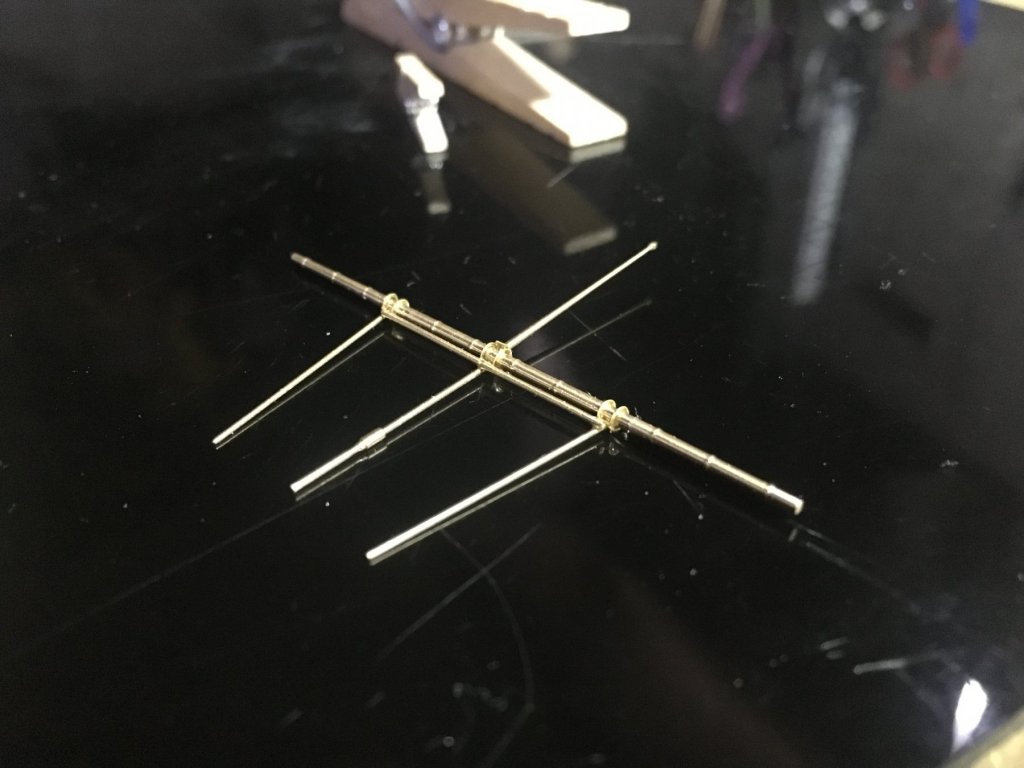
Ugh. Just when I think I will get alot of progress done I get called into work! Again! 4 saturdays in a row! Heres what I got done before he called me. I laid it out as square as possible. Then touched a drop of thin CA to each joint. the bottle of CA is leaking. Theres a gluey mess!


-
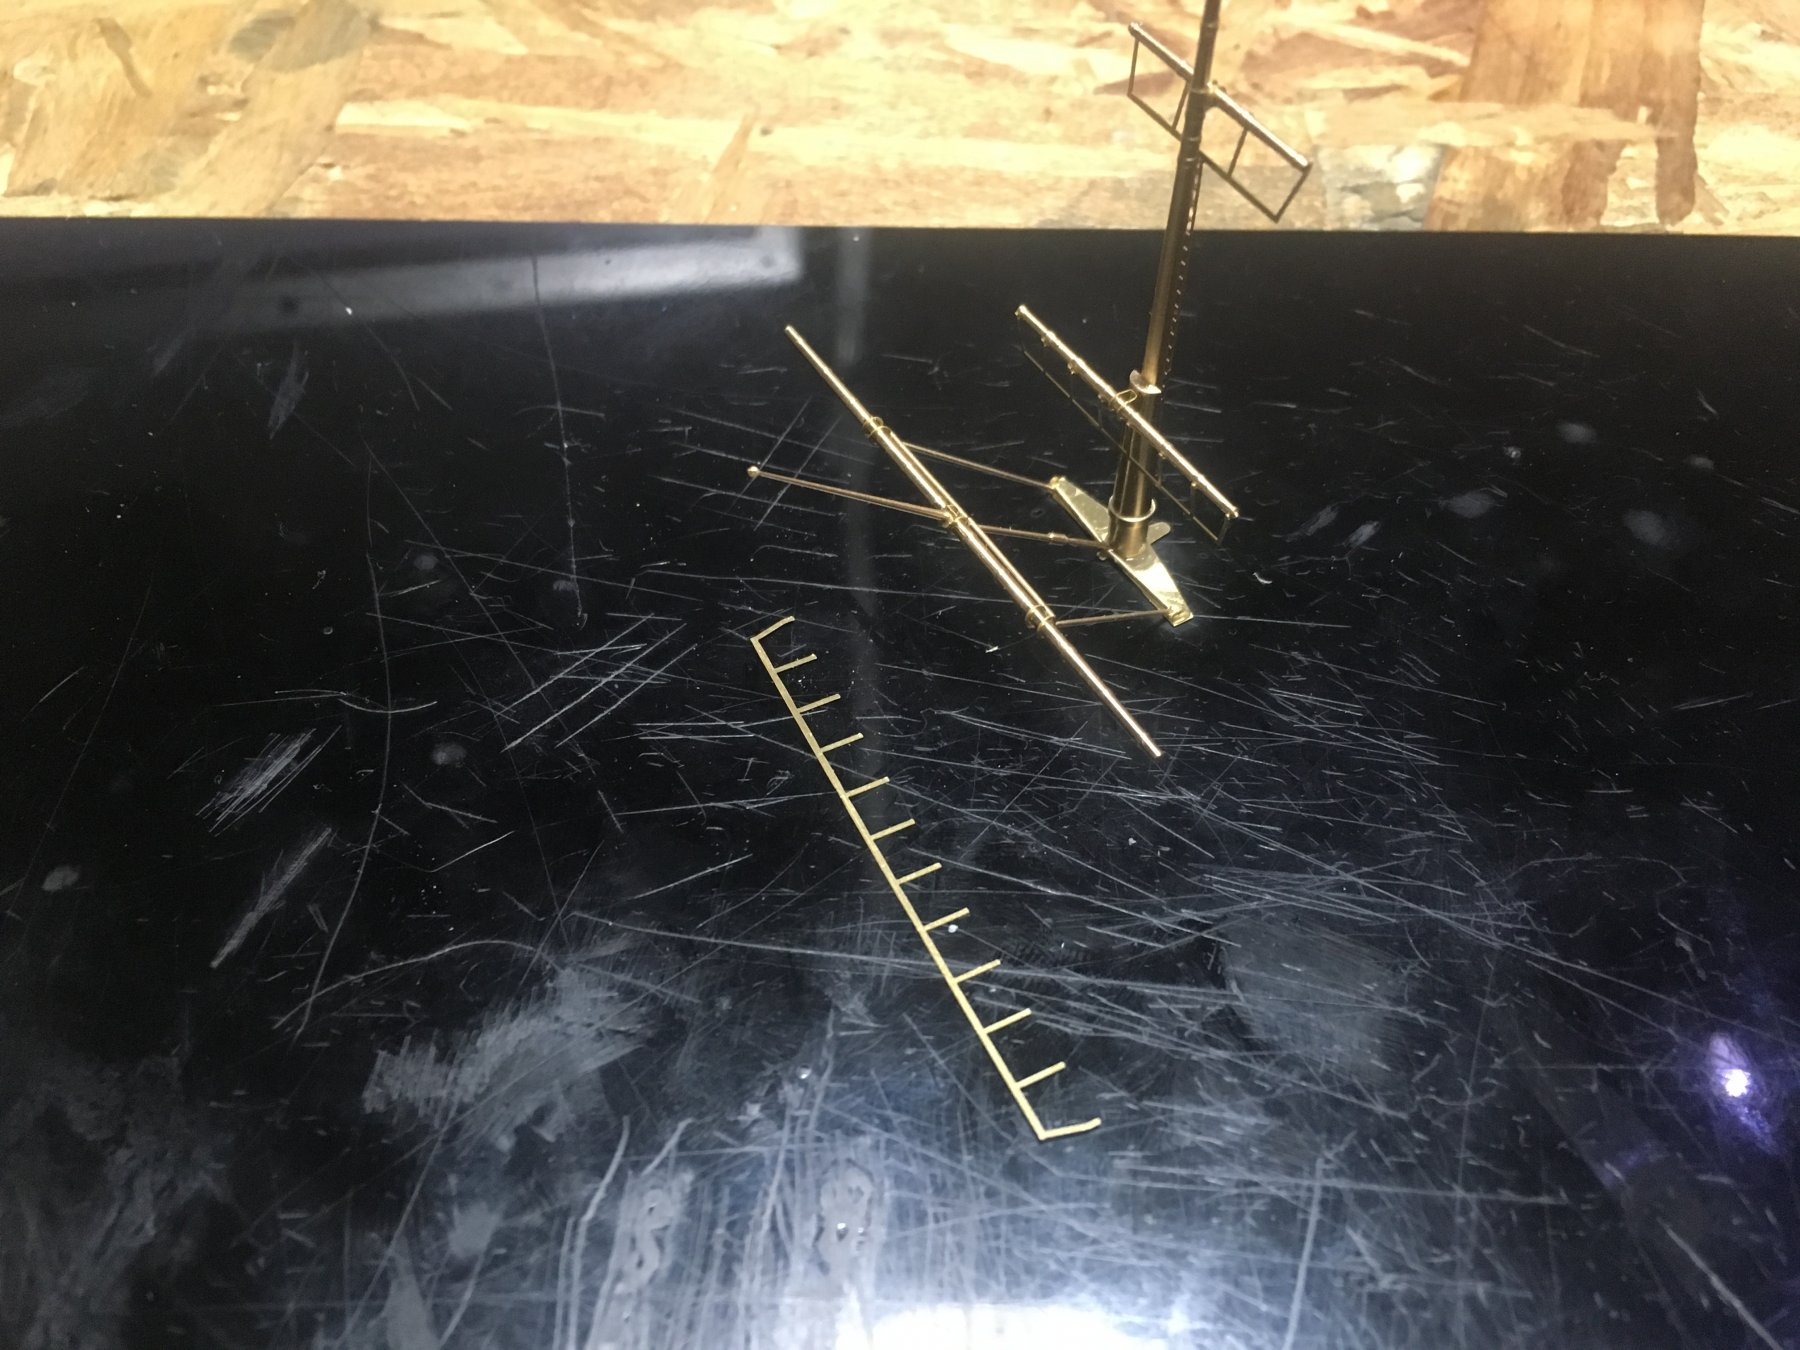
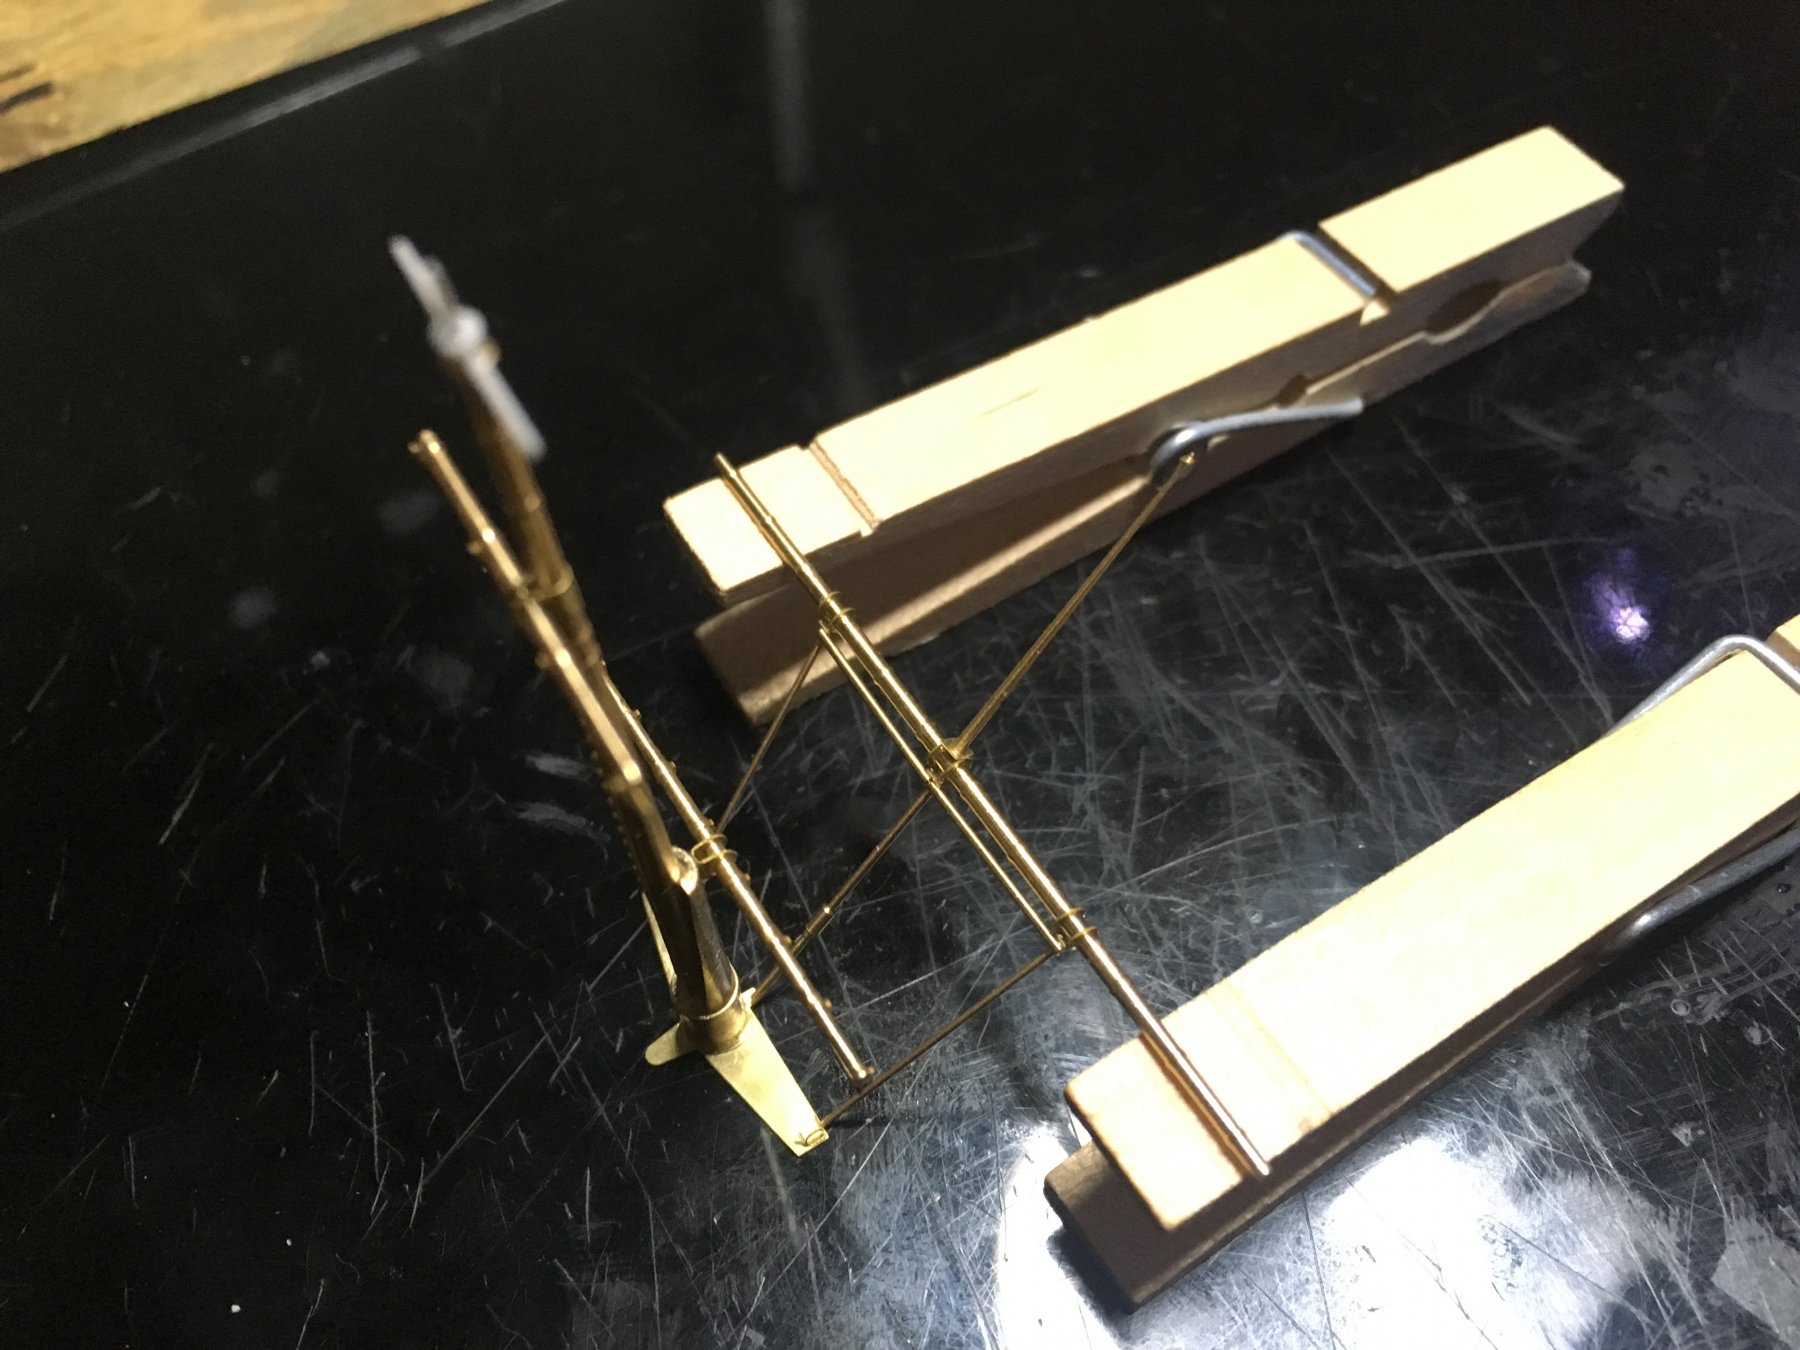
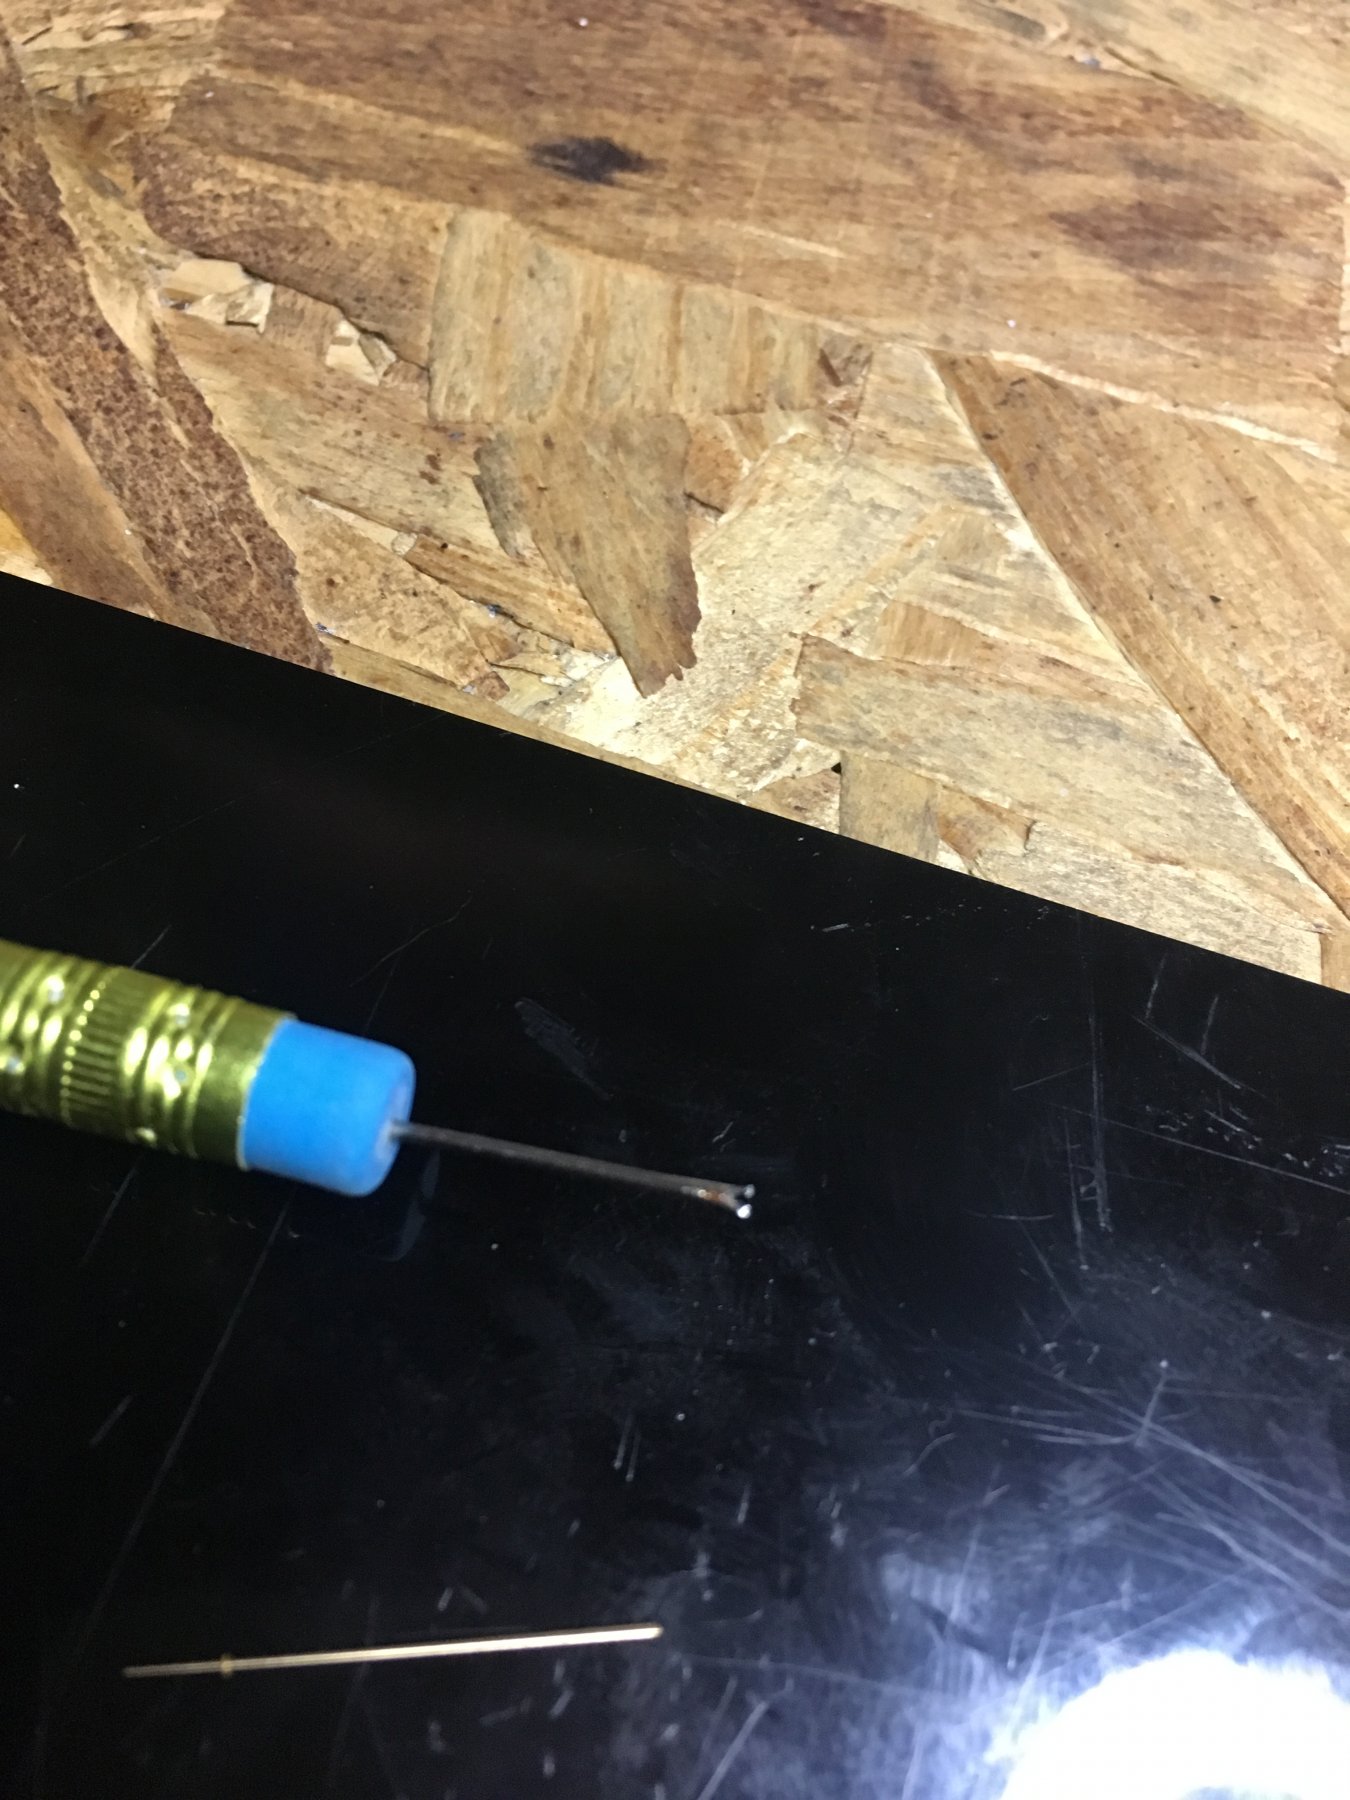
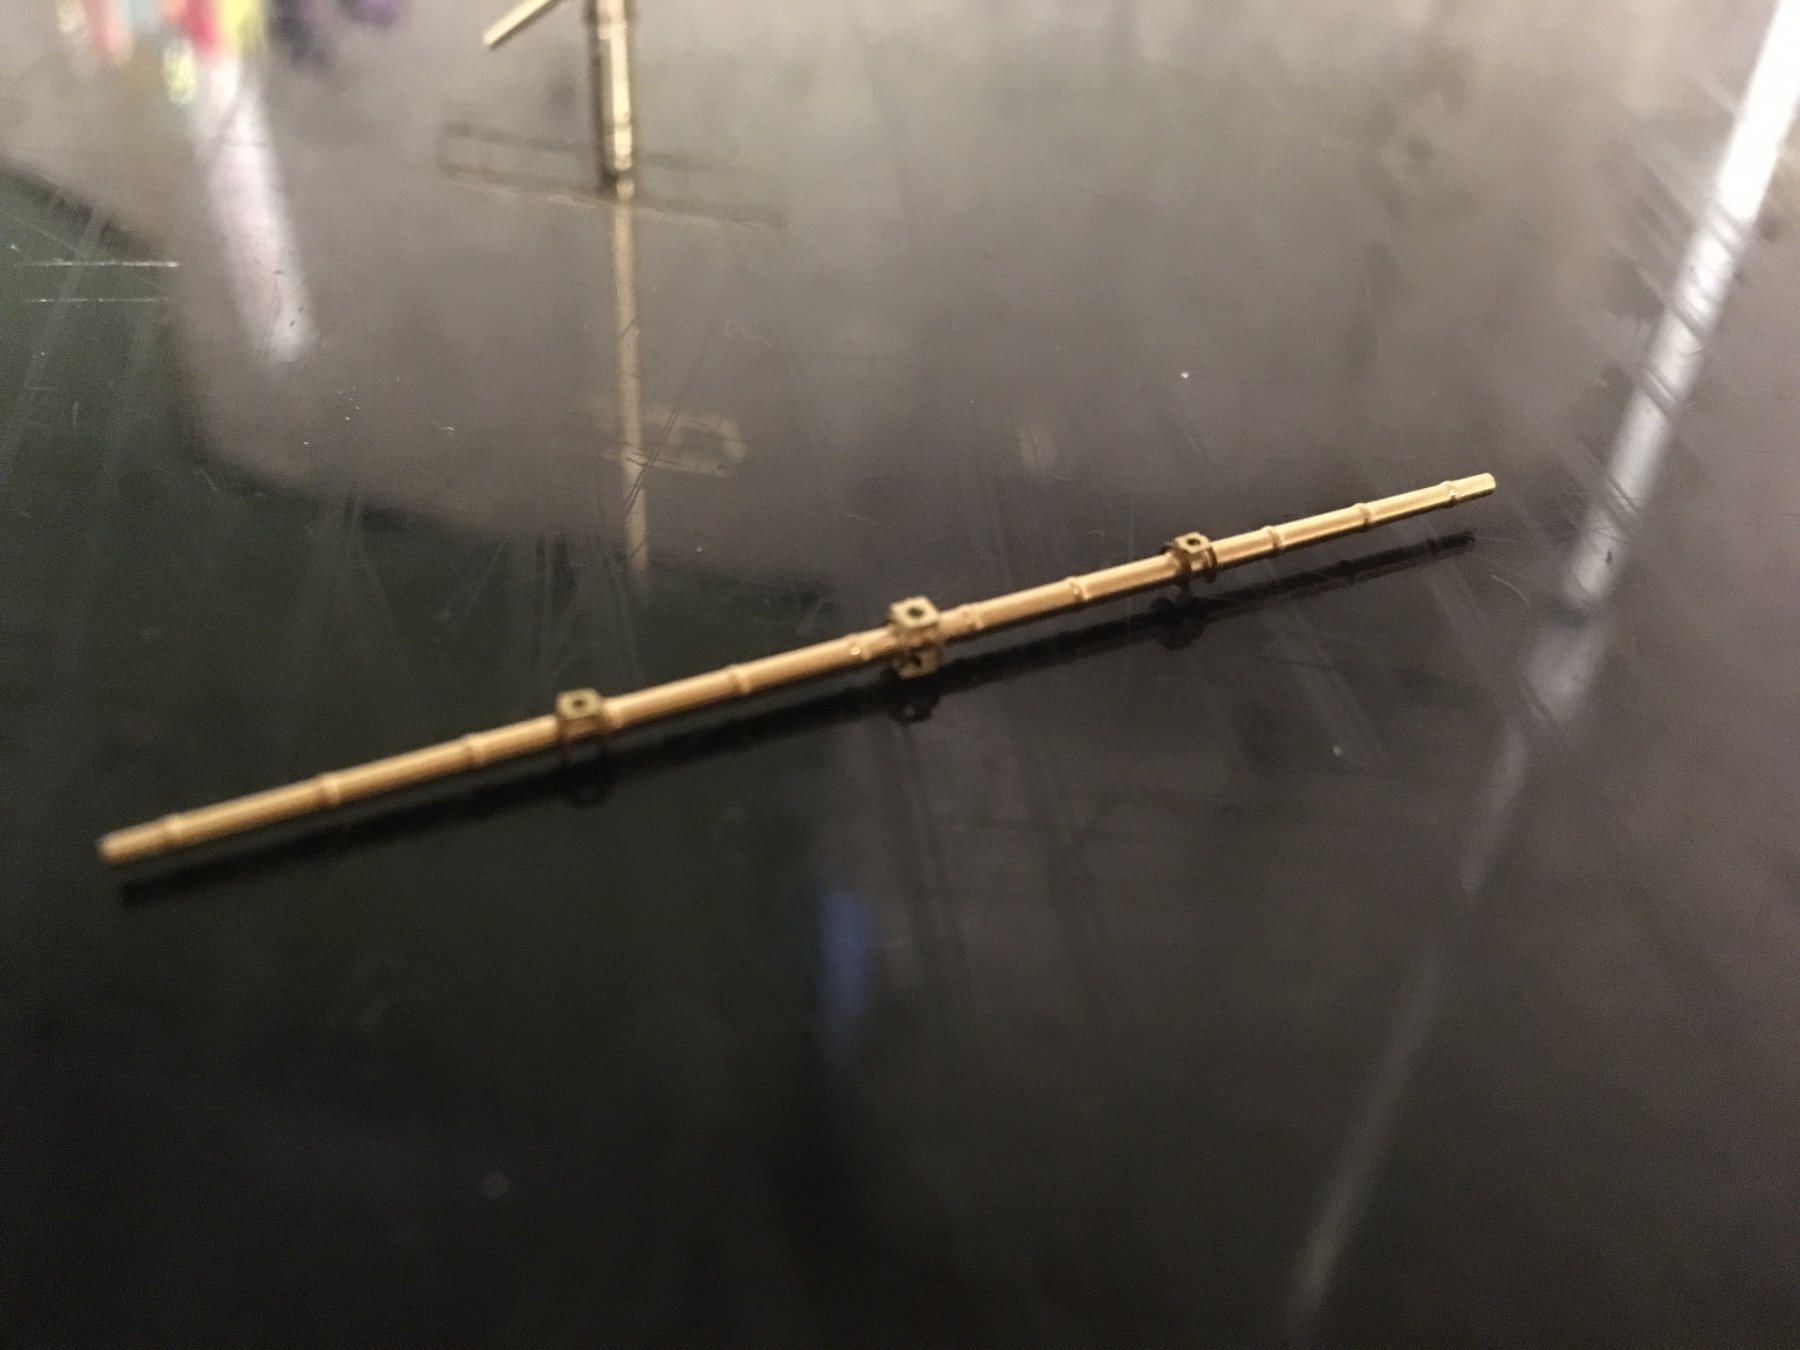
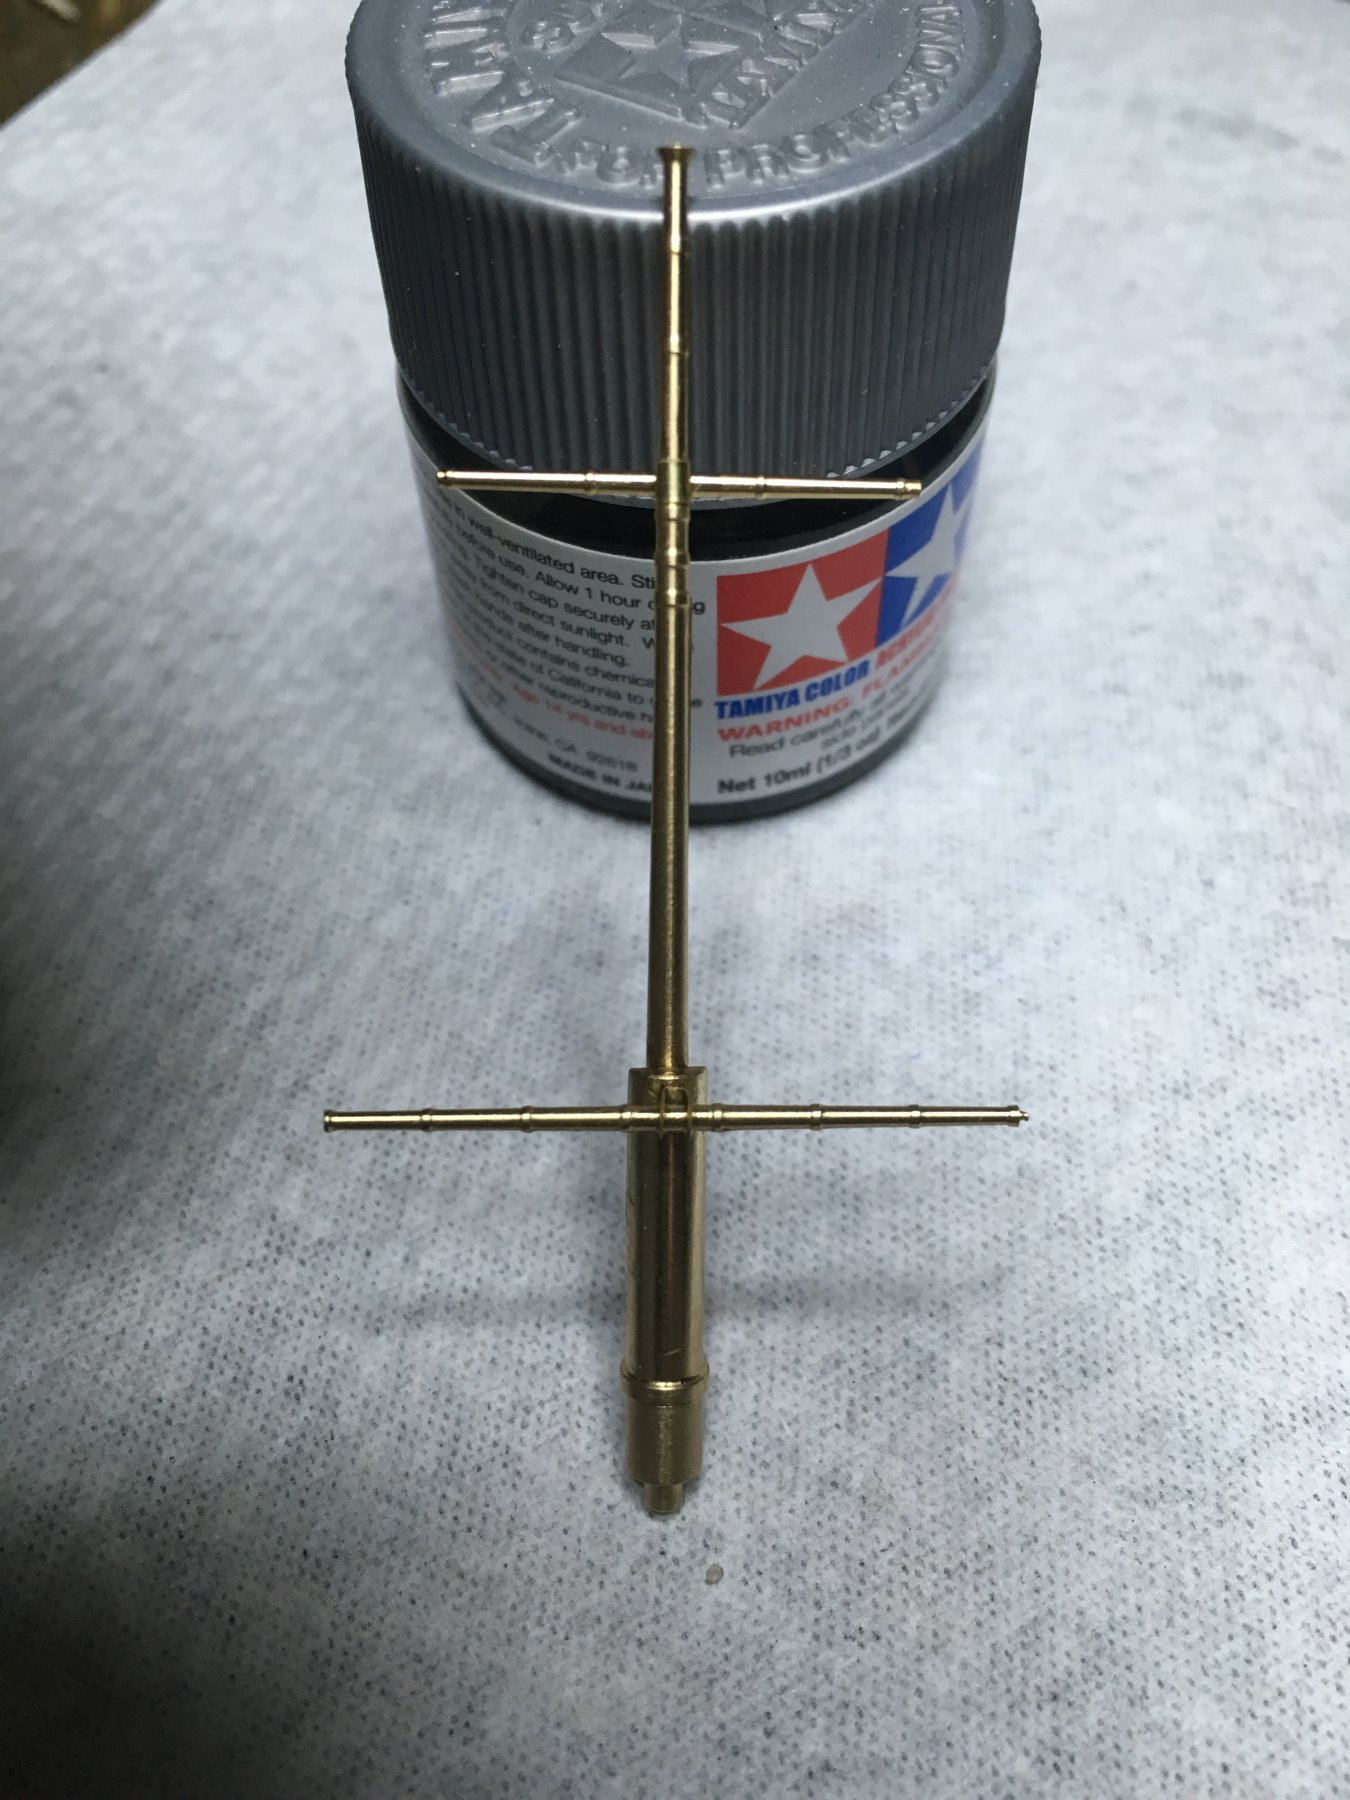
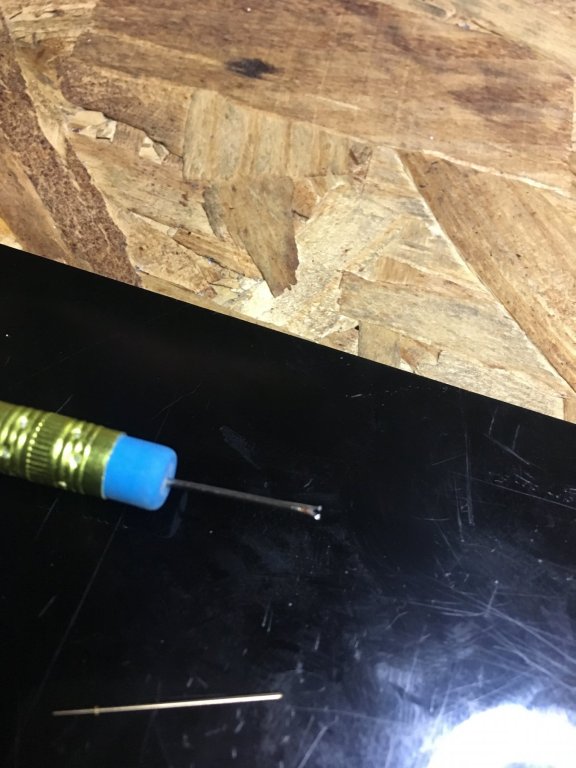
I wasnt going to post these 2 photos yet because its such little progress but I glued the 3 tiny pieces to one of the mast parts to prepare for tomorrow when I expect a good amount of progress.

-
Lou, I wish it was! That picture was take a few months ago. Ive looked at every Sq inch of the floor. Well said Popeye!
-
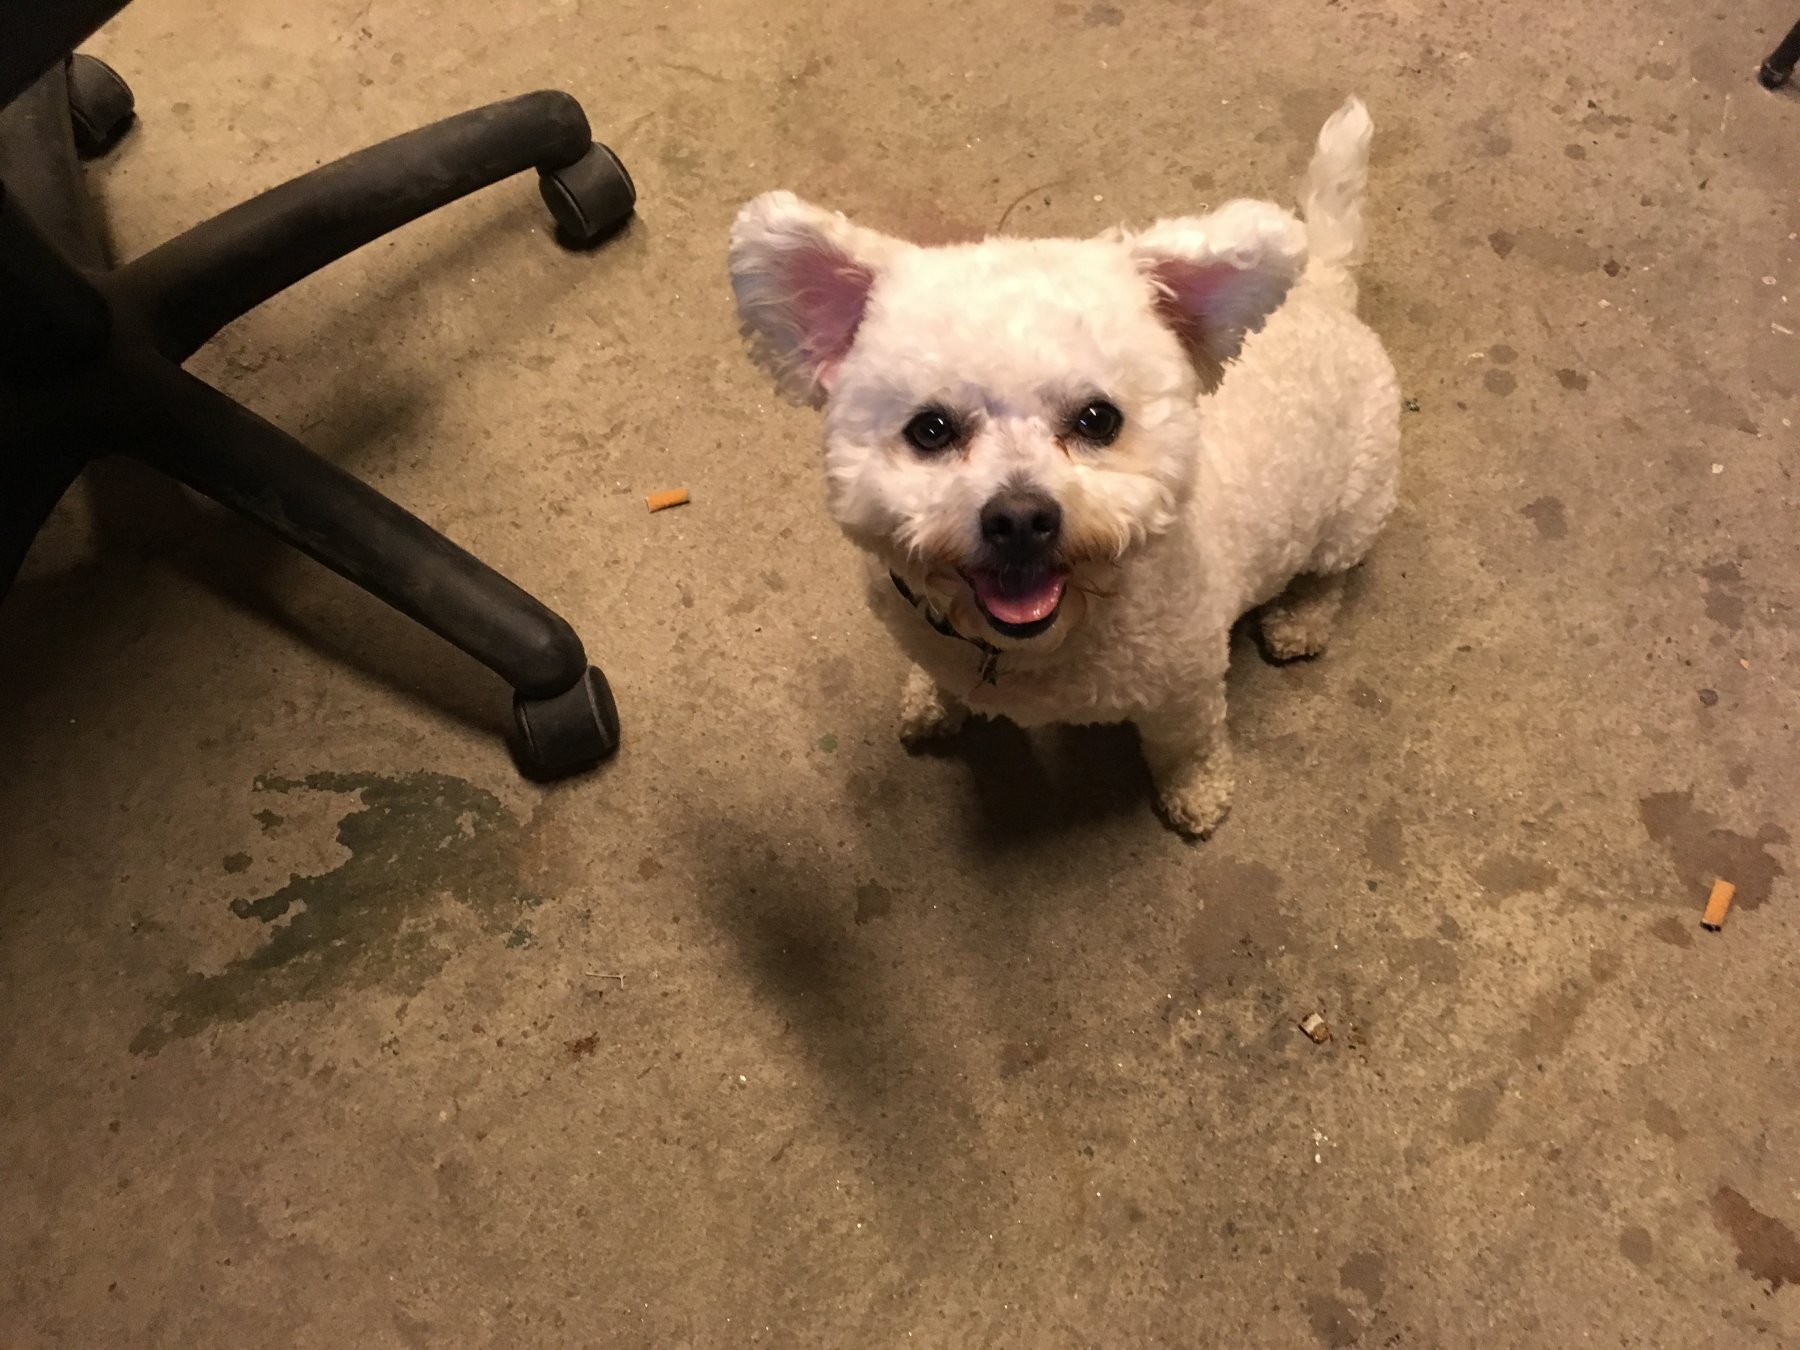
Haha Cog. Thats funny. but I have a white dog and still suck sooo... Danny I love your dog!
-
Hes very cute! heres mine. I'm trying to get her trained to sniff out brass. So she can imediately find everthing that falls and disappears

-
Theres to many of them! I spent 20 minutes on my belly with a flashlight looking for the dam piece.
-
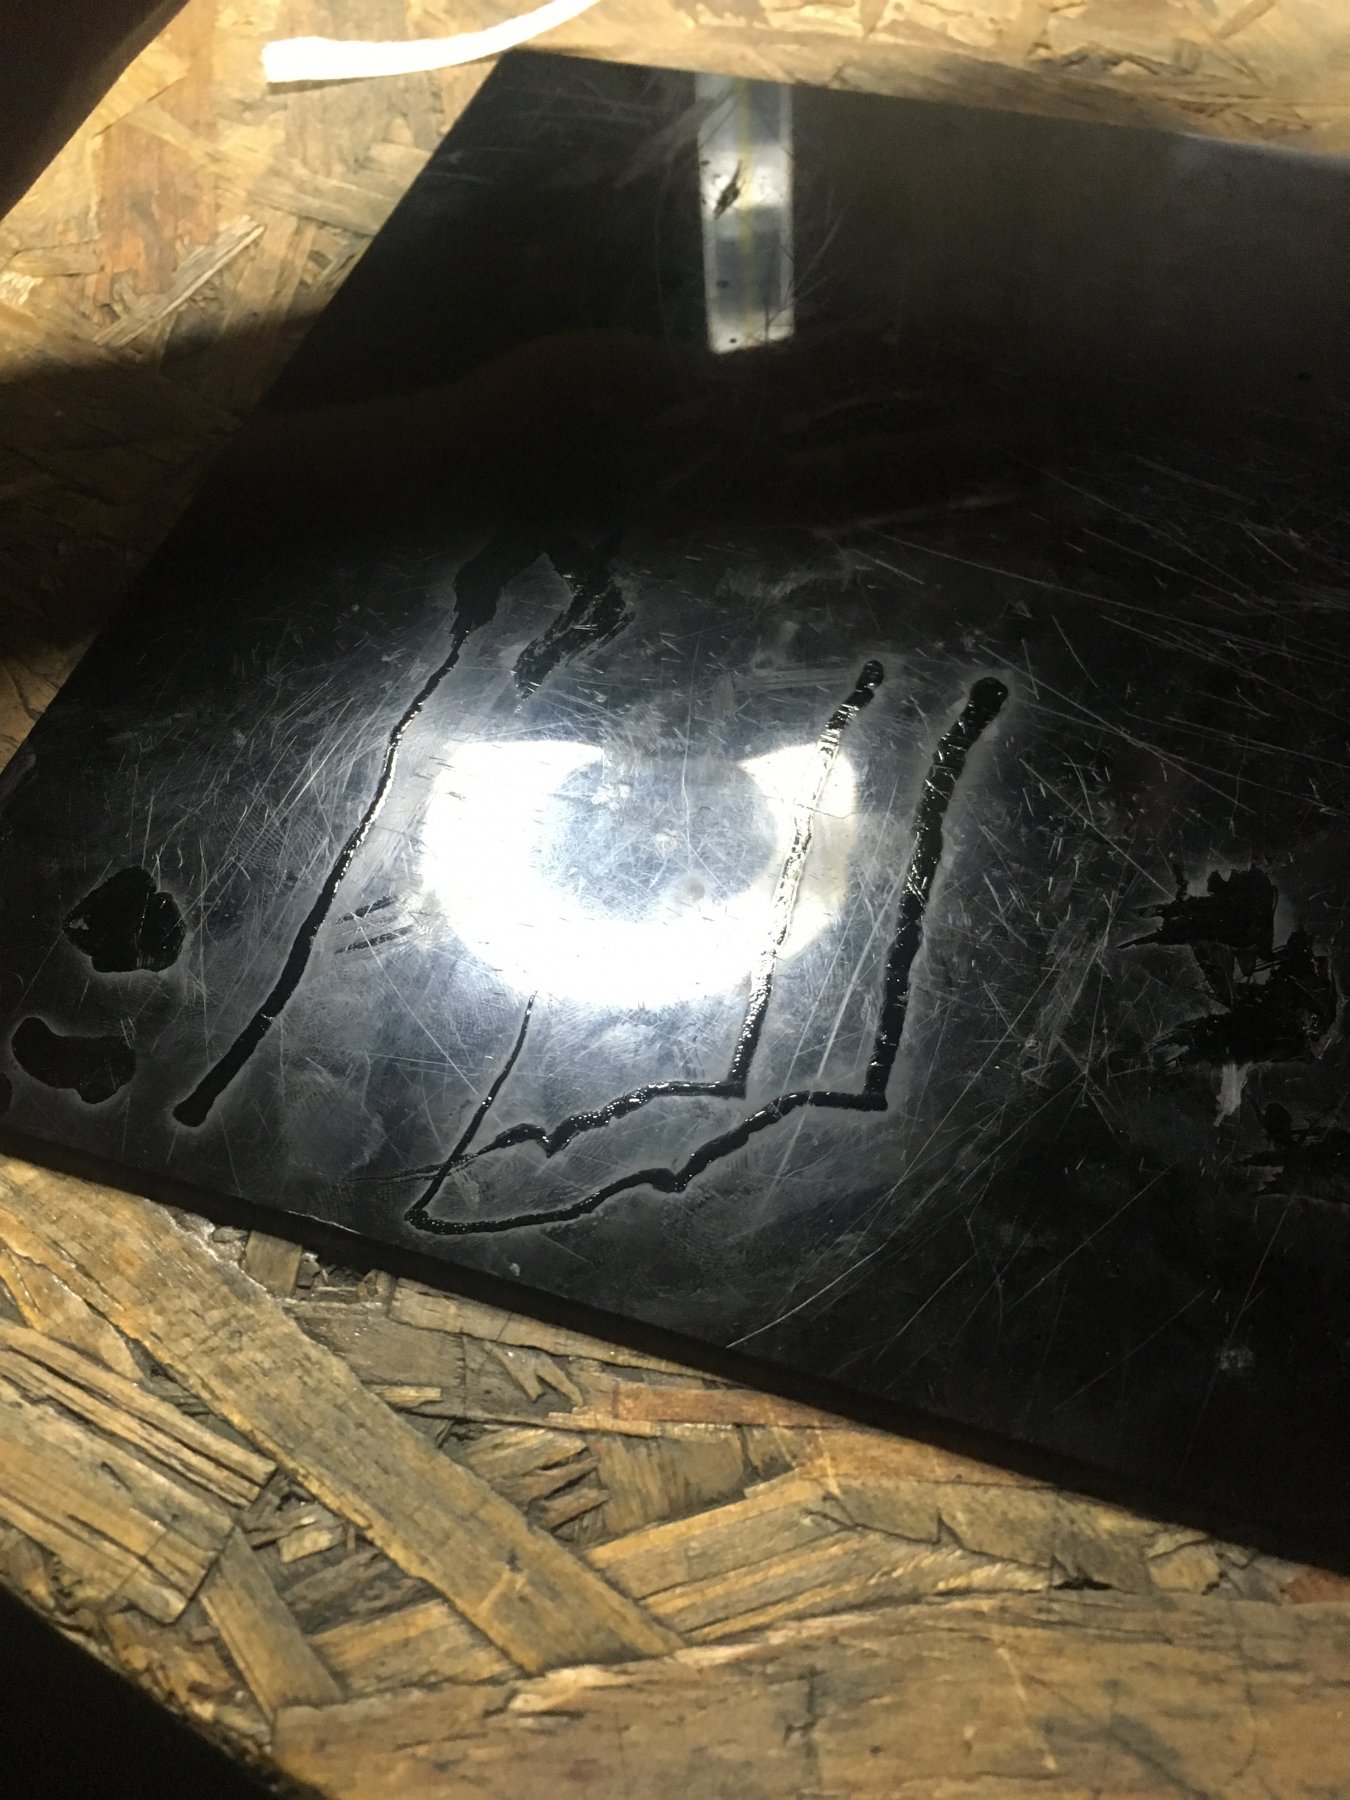
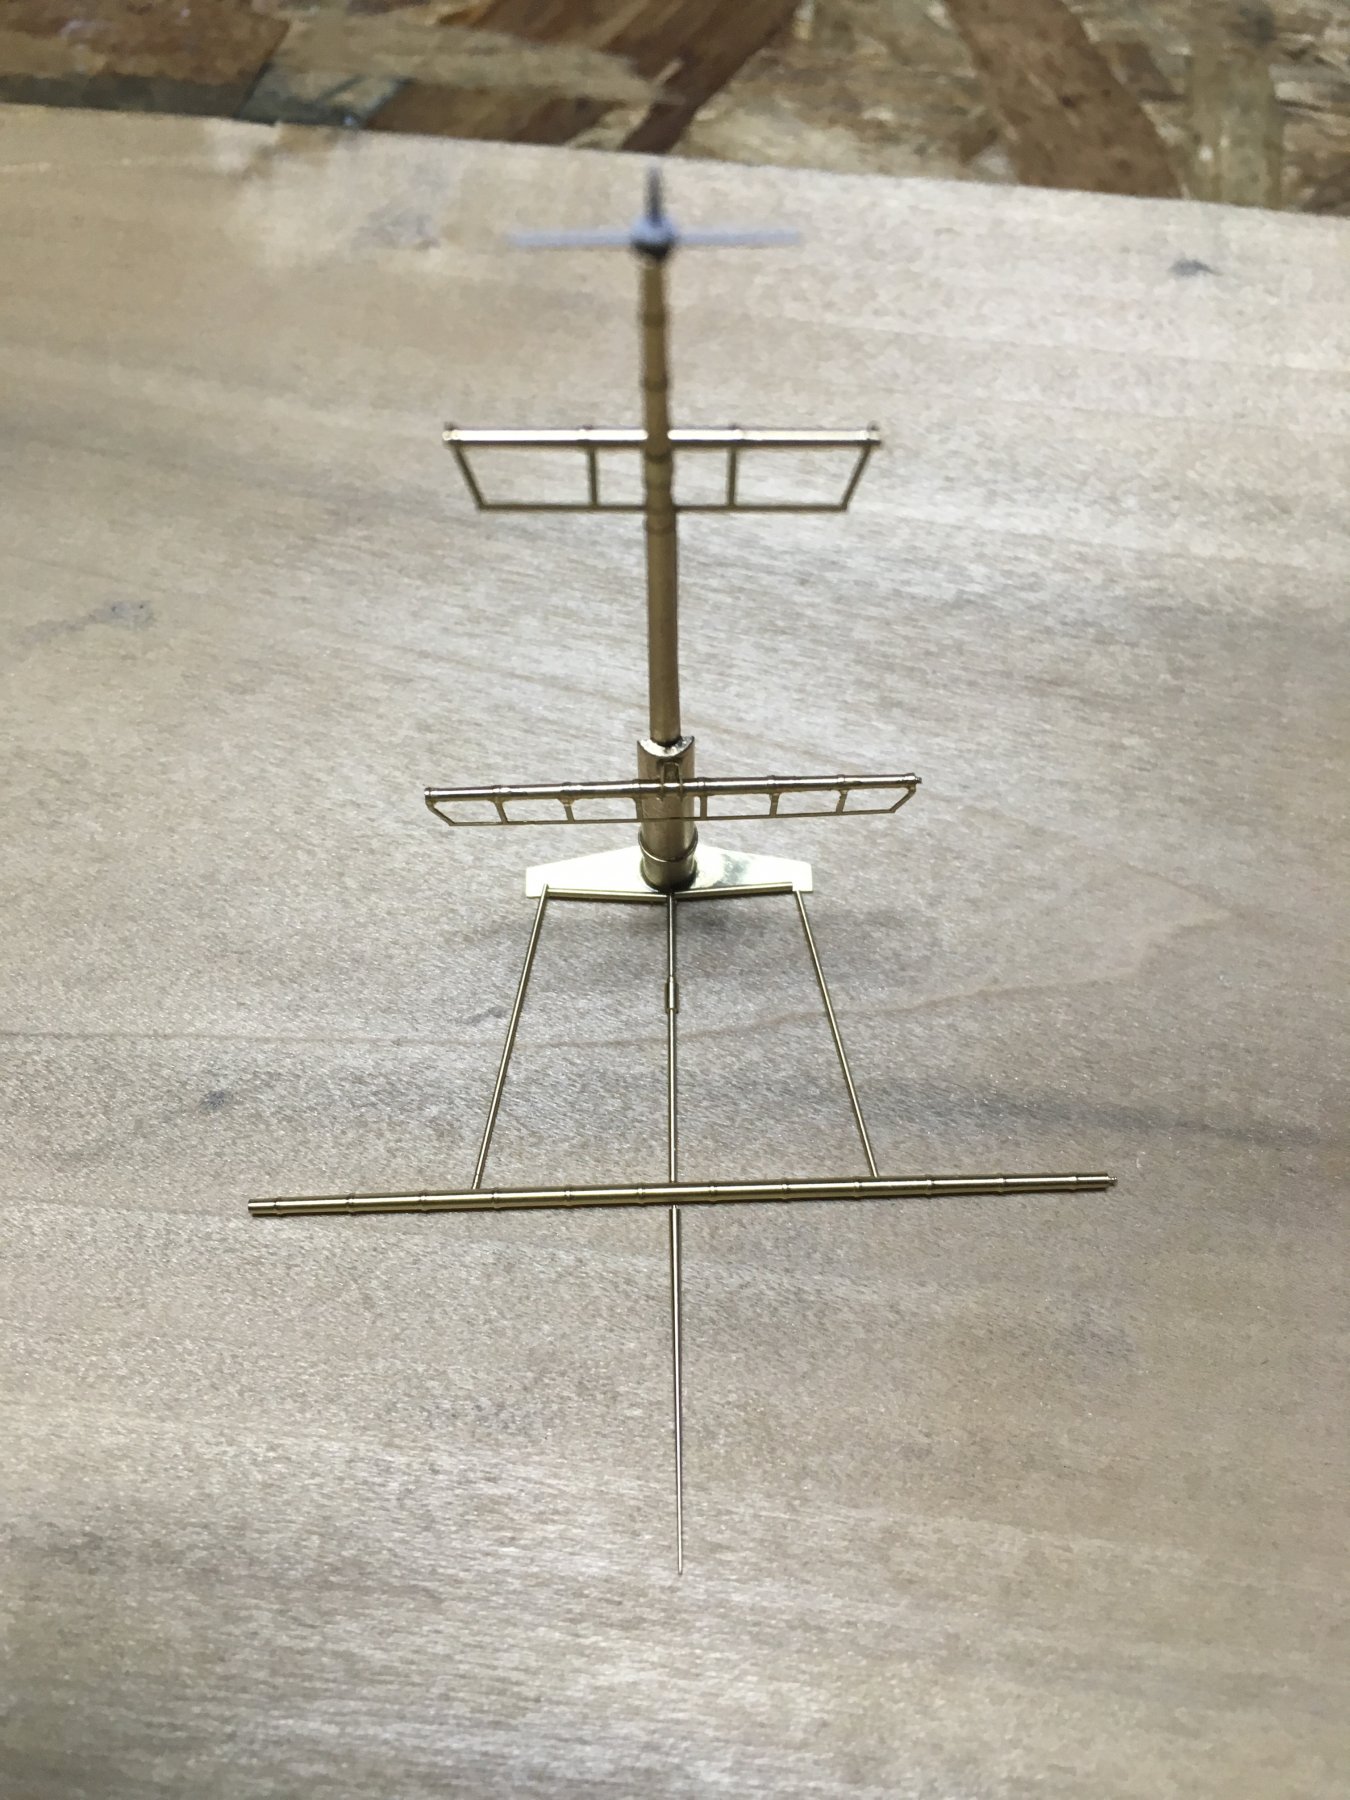
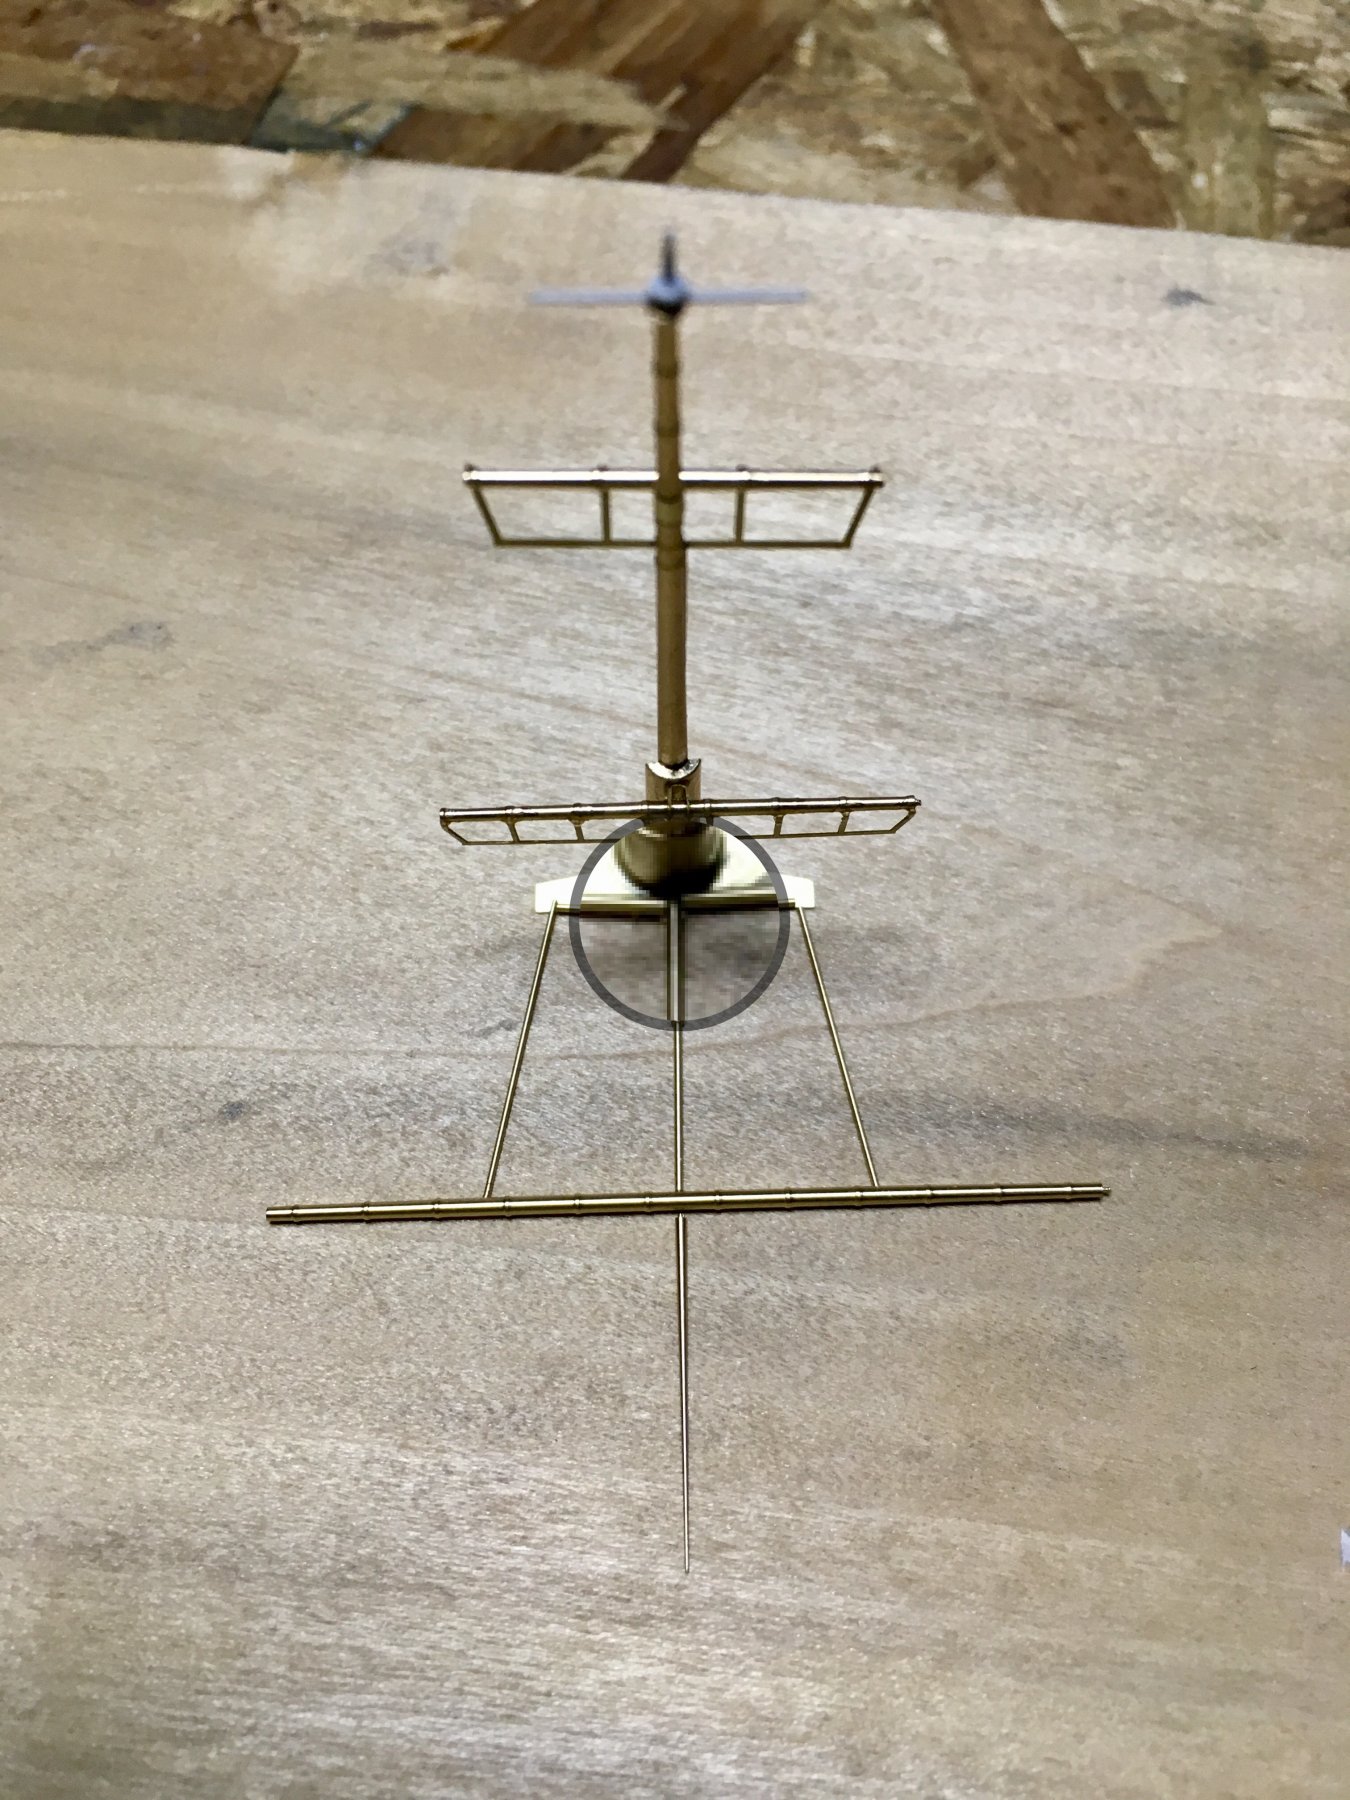
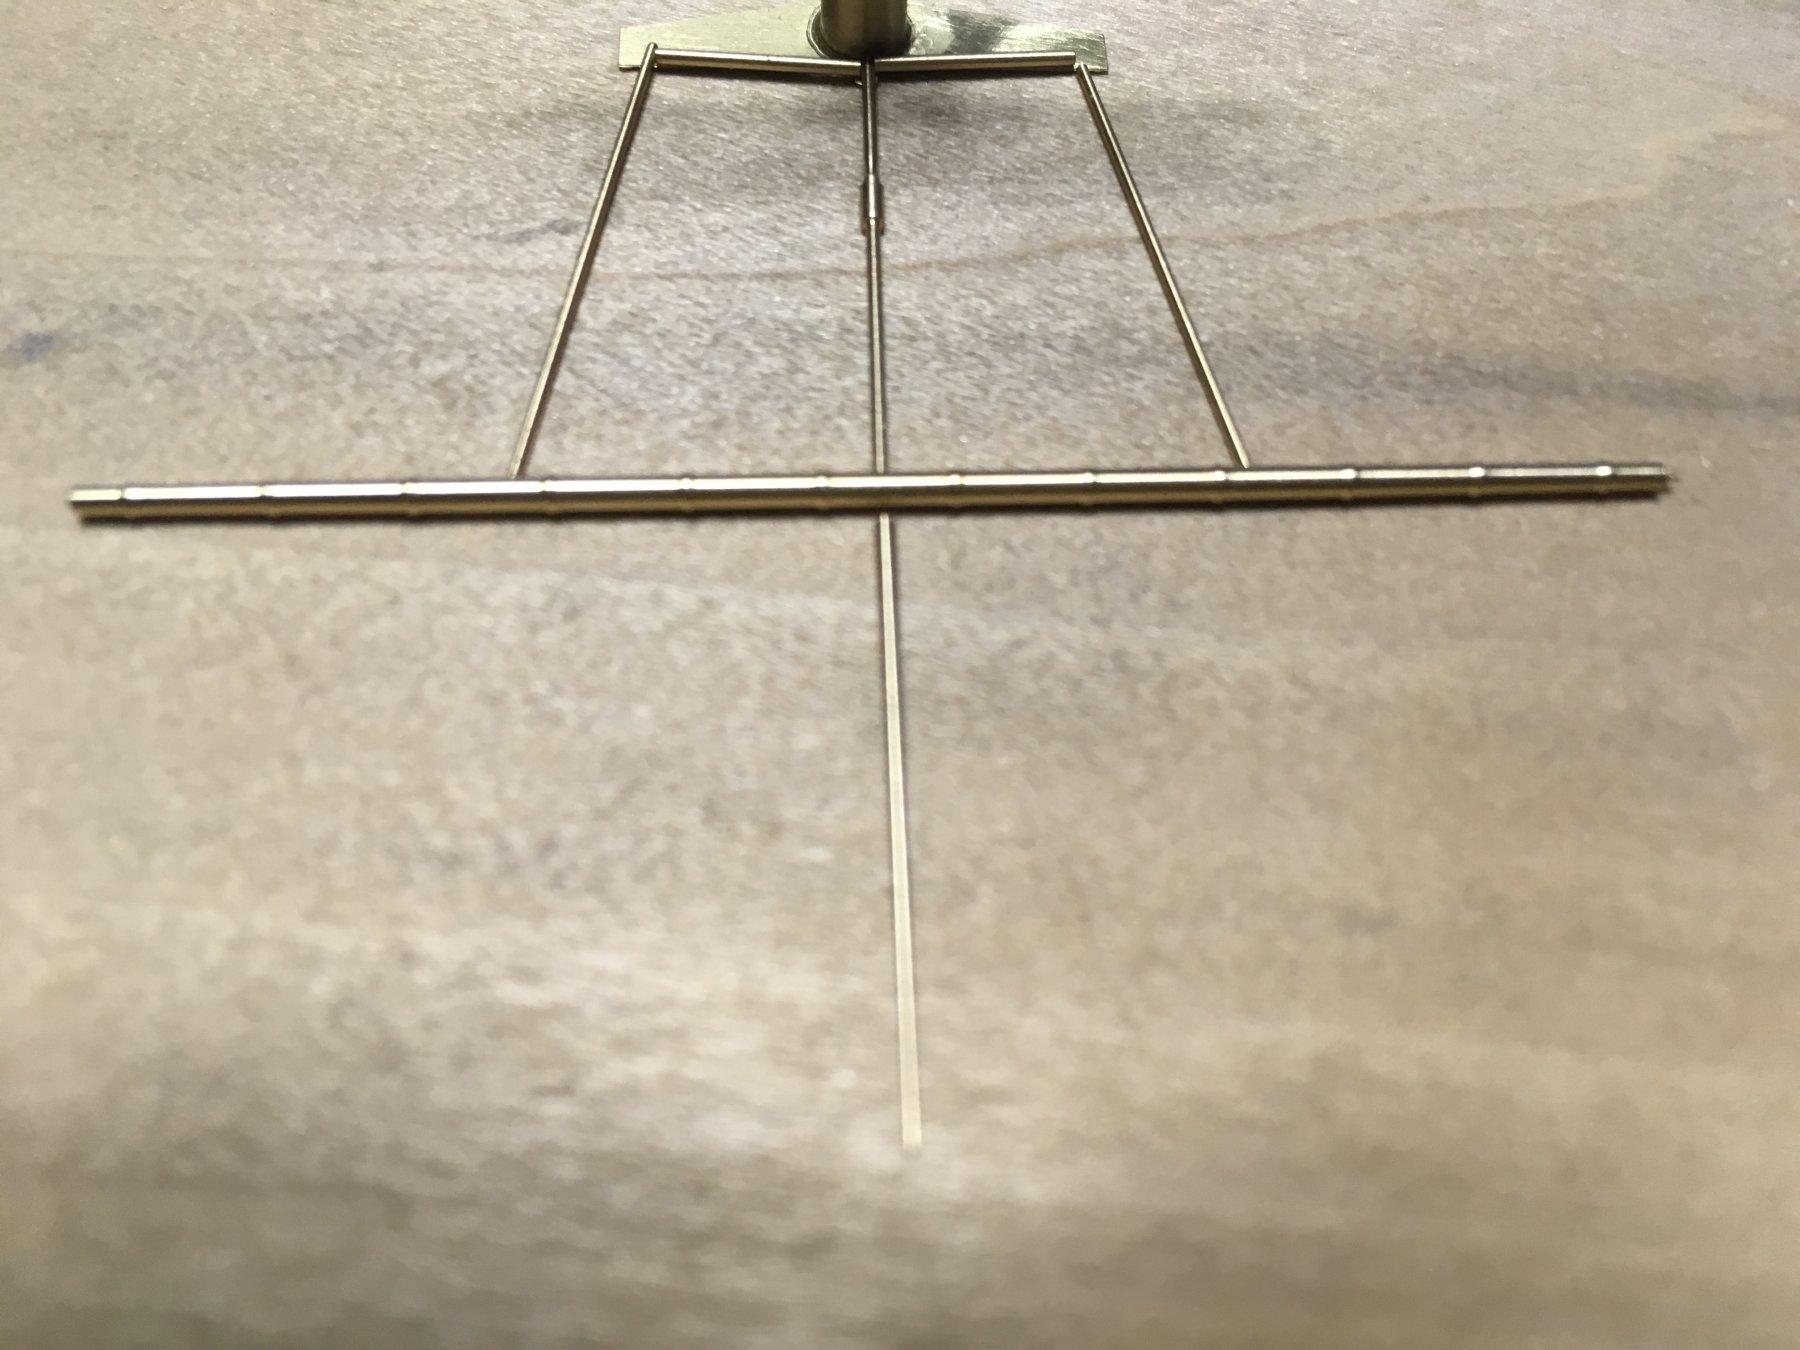
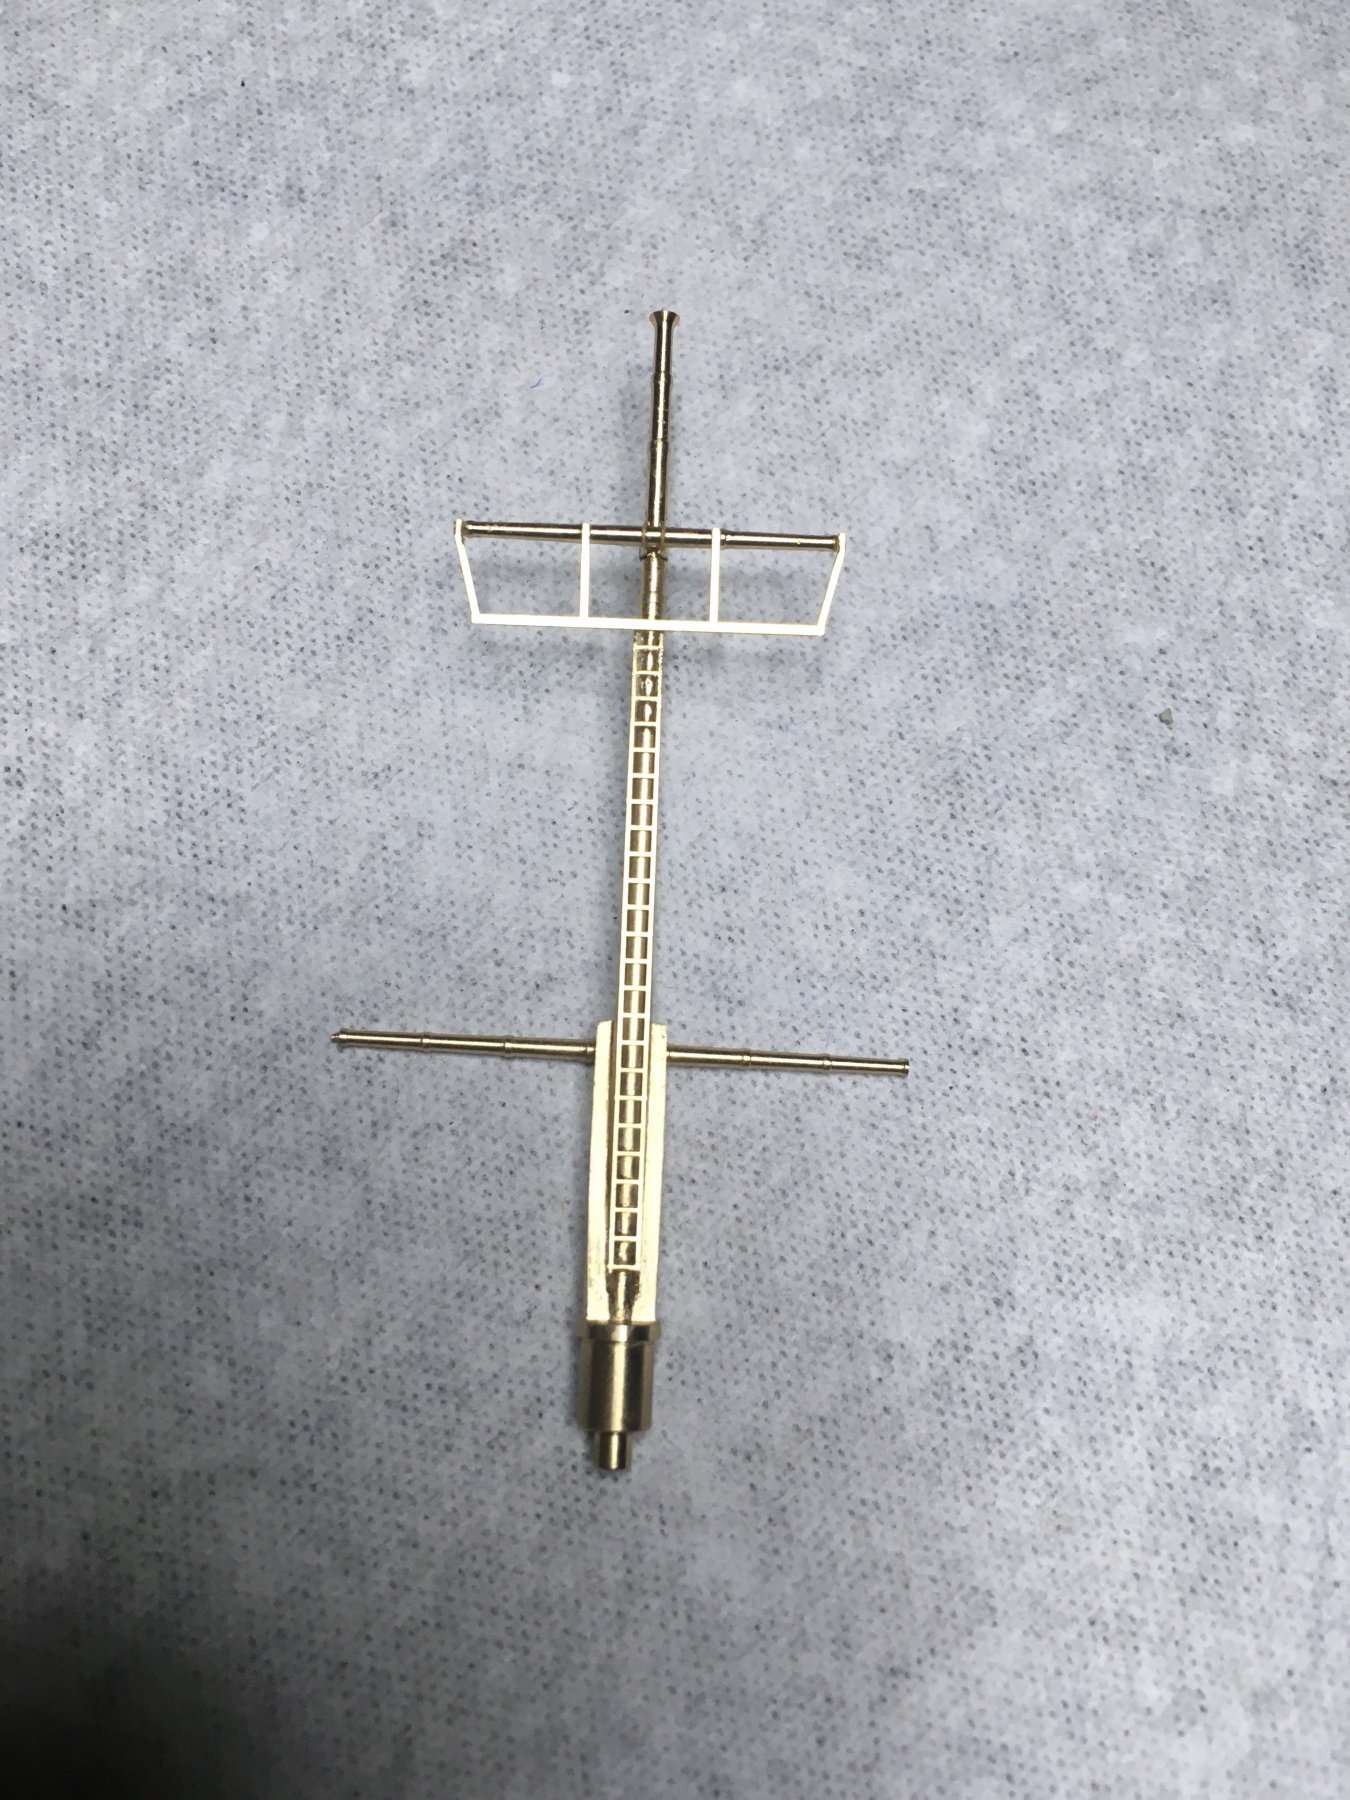
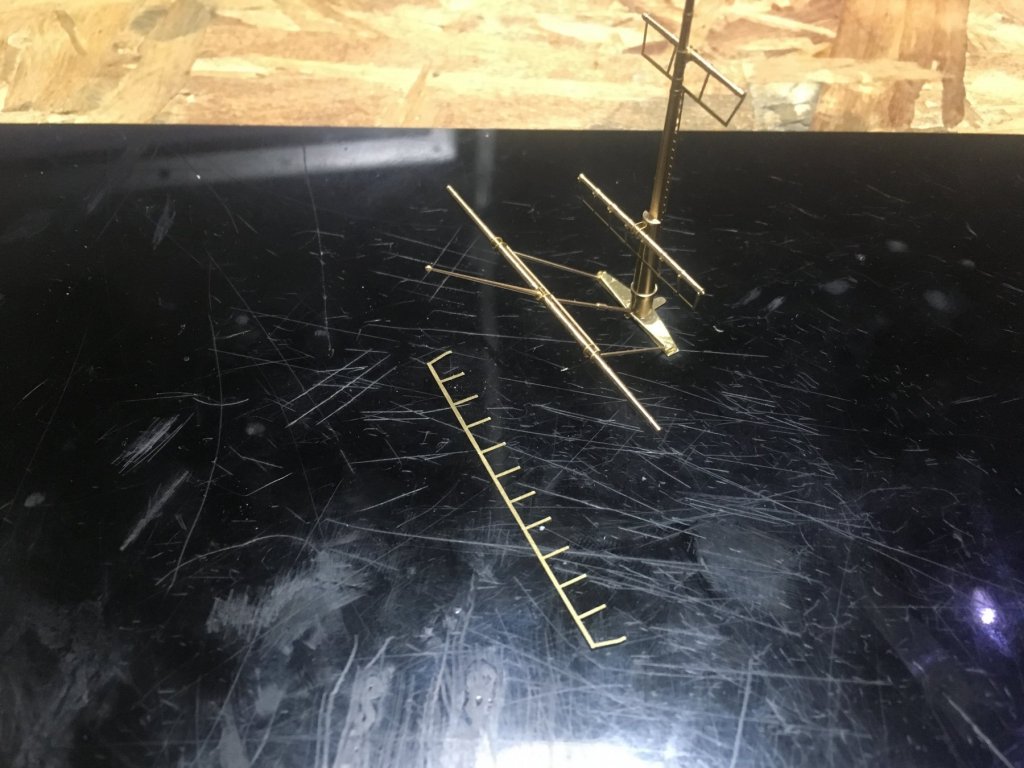
Today I just laid out the next step on the main mast. I lost yet another important piece. Inside The spot I circled where the 3 scribed pieces meet there is a piece that helps all 3 join together. I lost it though my only chioce now is to just put an big ugly blob of glue there. sorry no actual progress was made today.

-
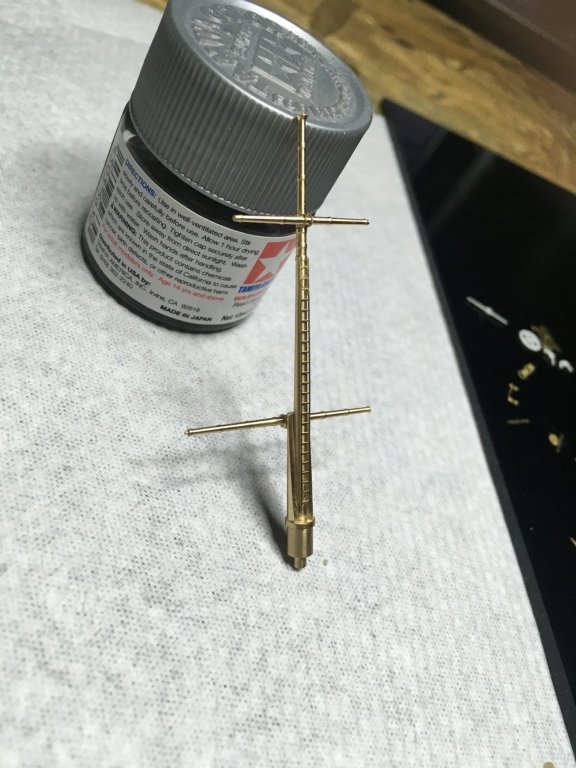
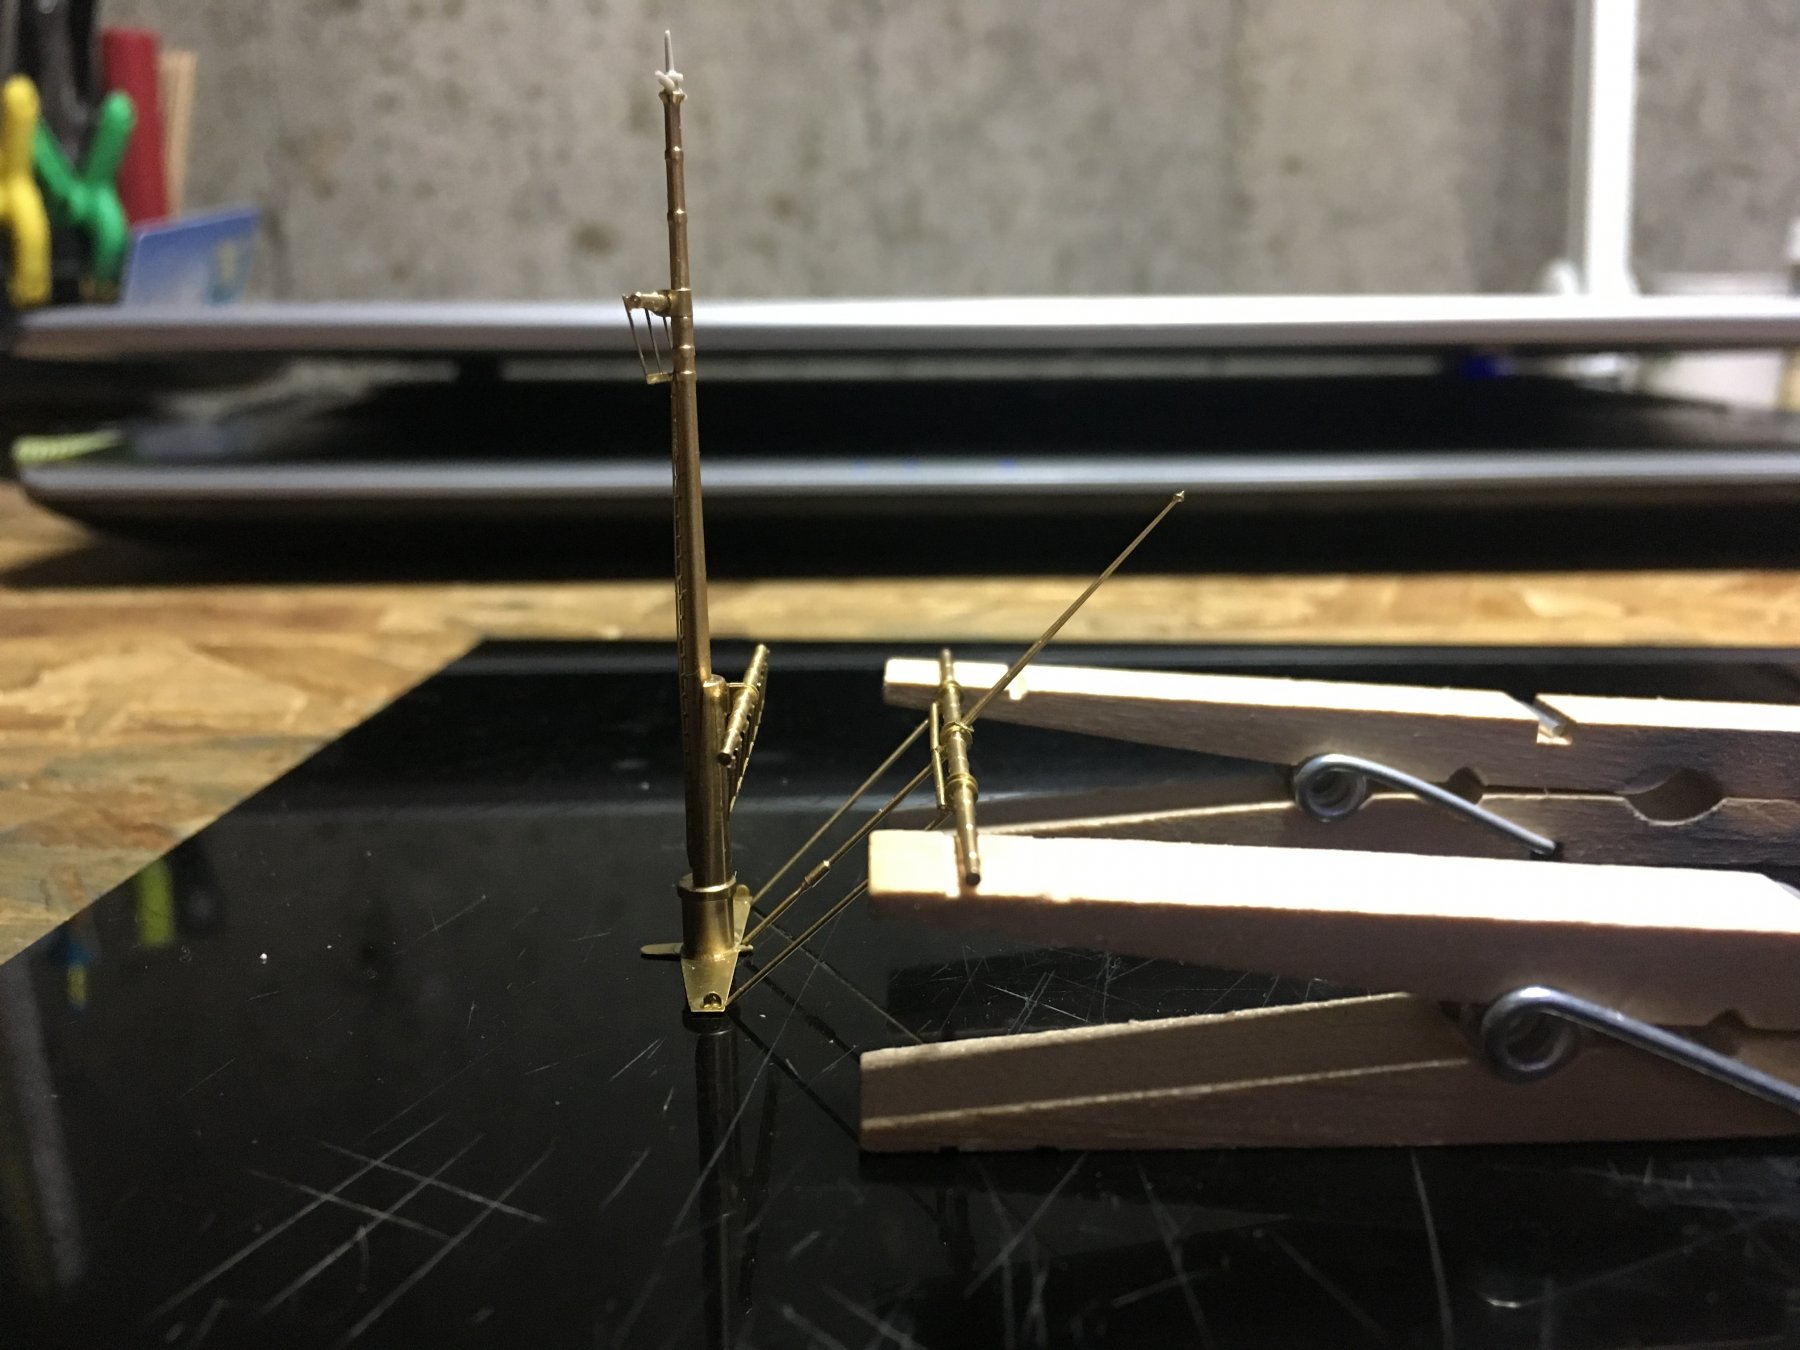
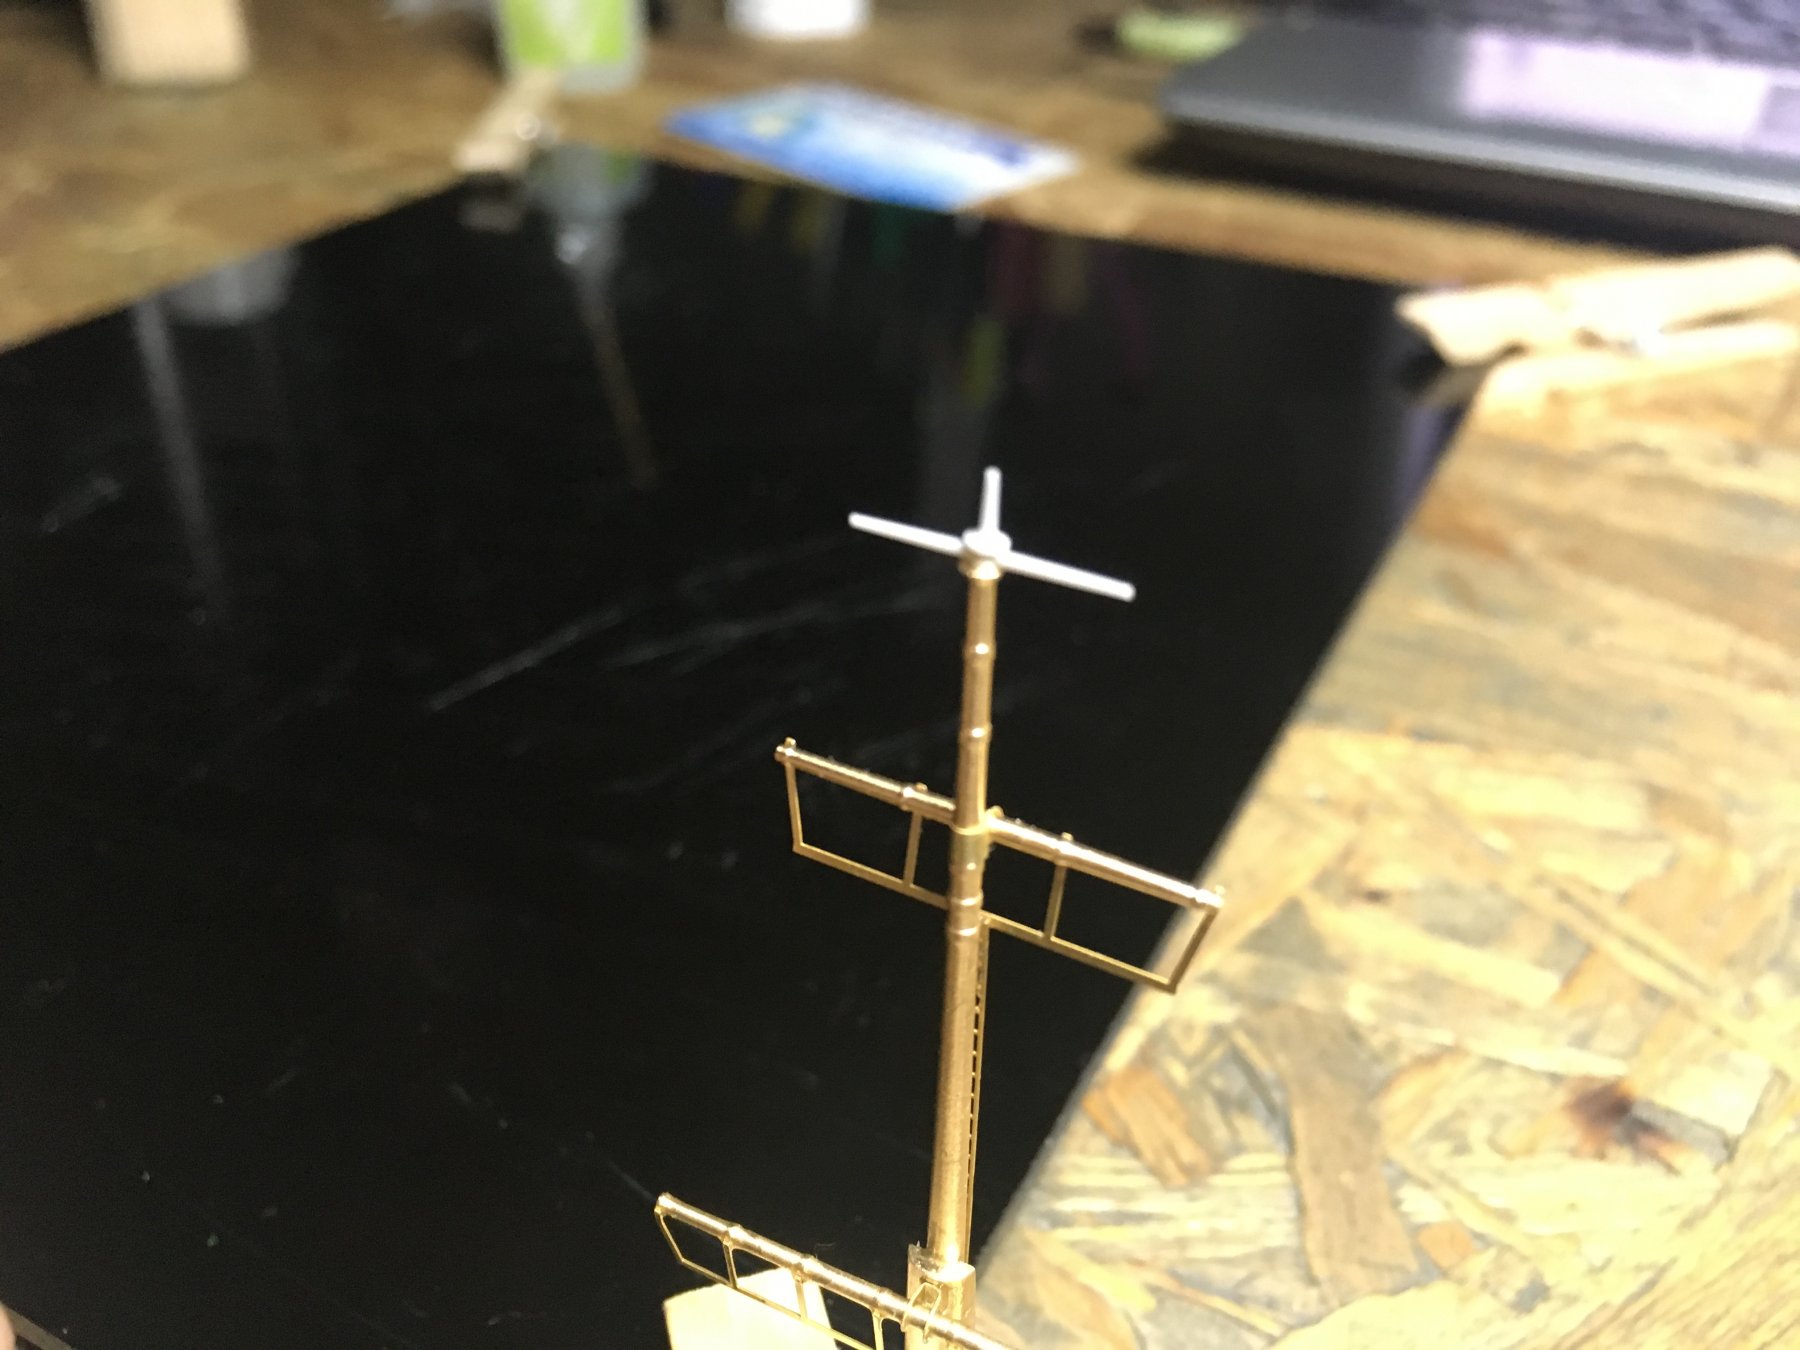
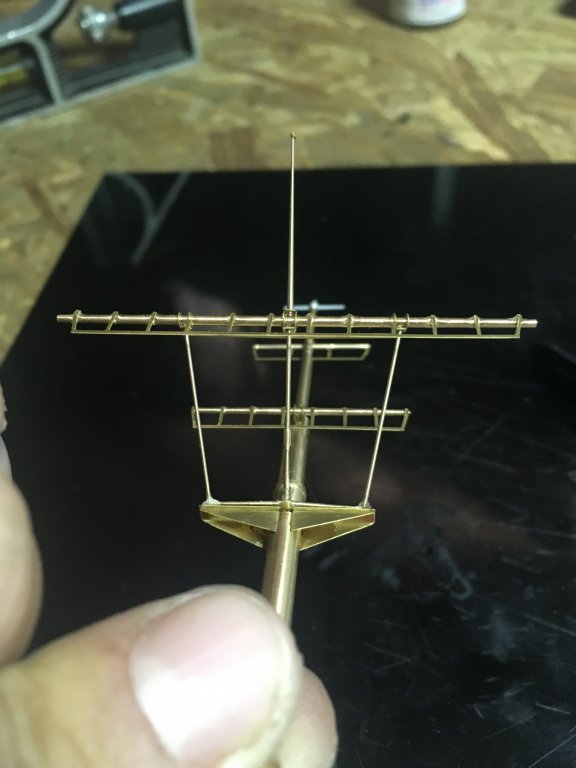
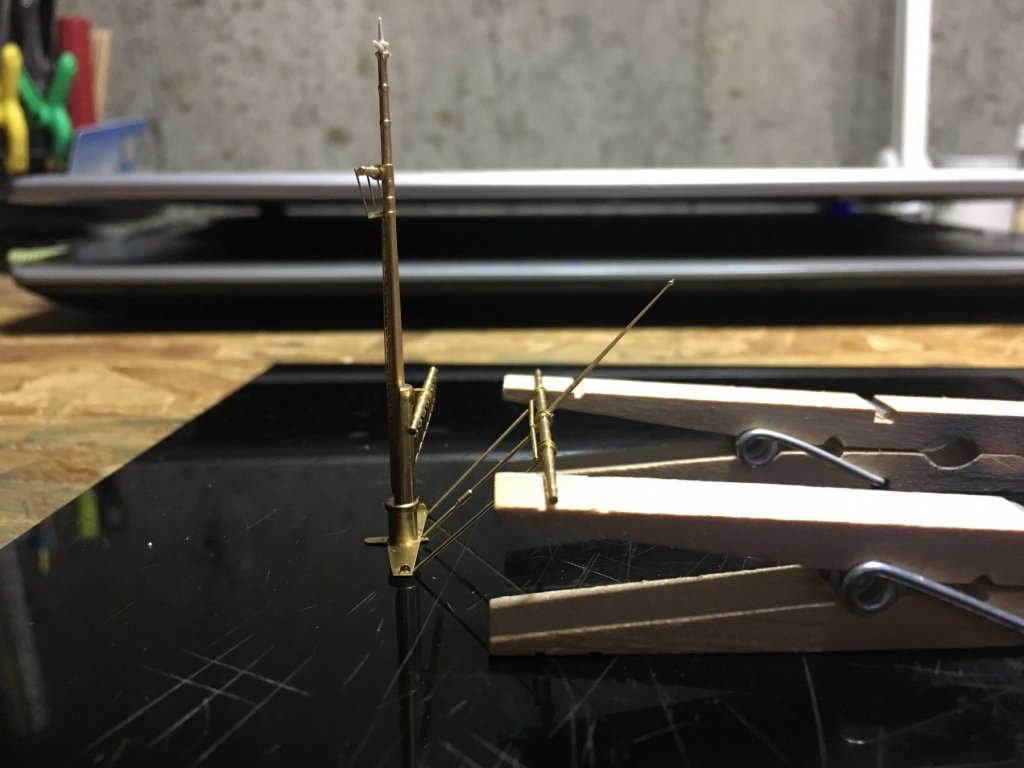
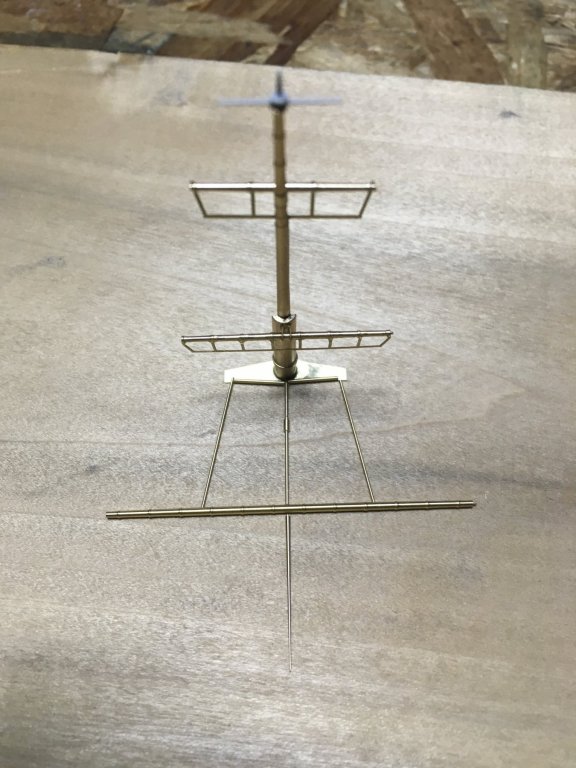
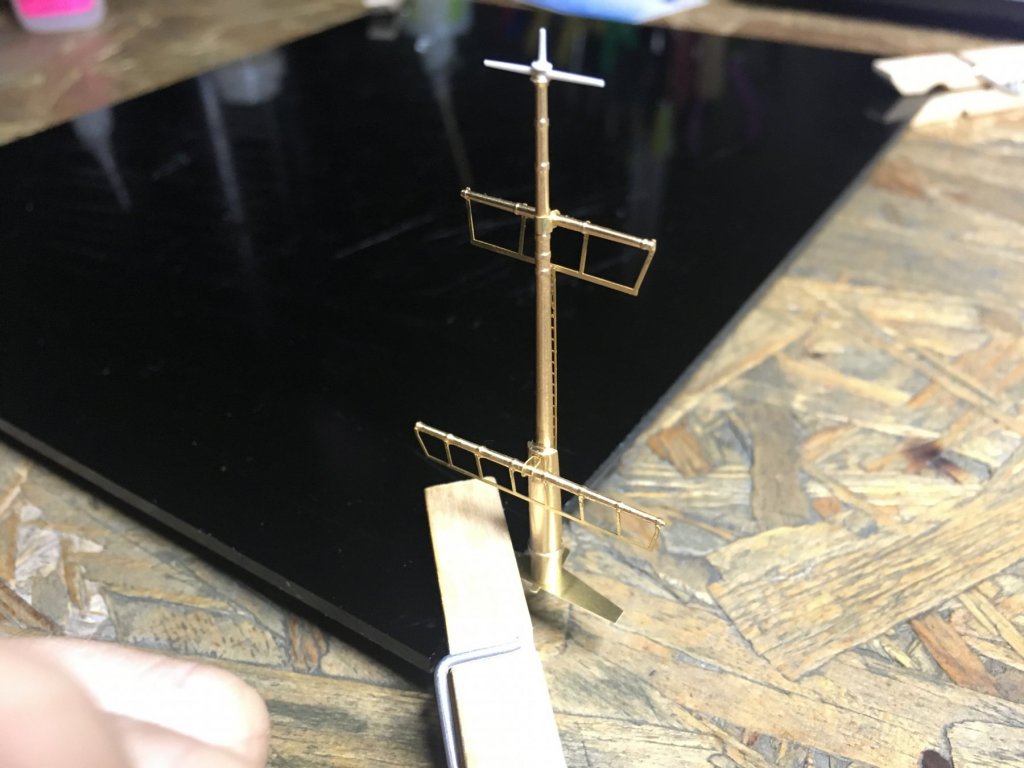
I decided to use plastic for the very top of the mast. It has a round shape unlike the flat PE. also the peice at the bottom is about to be glued. With that part 1of 3 of the mast is complete.

-
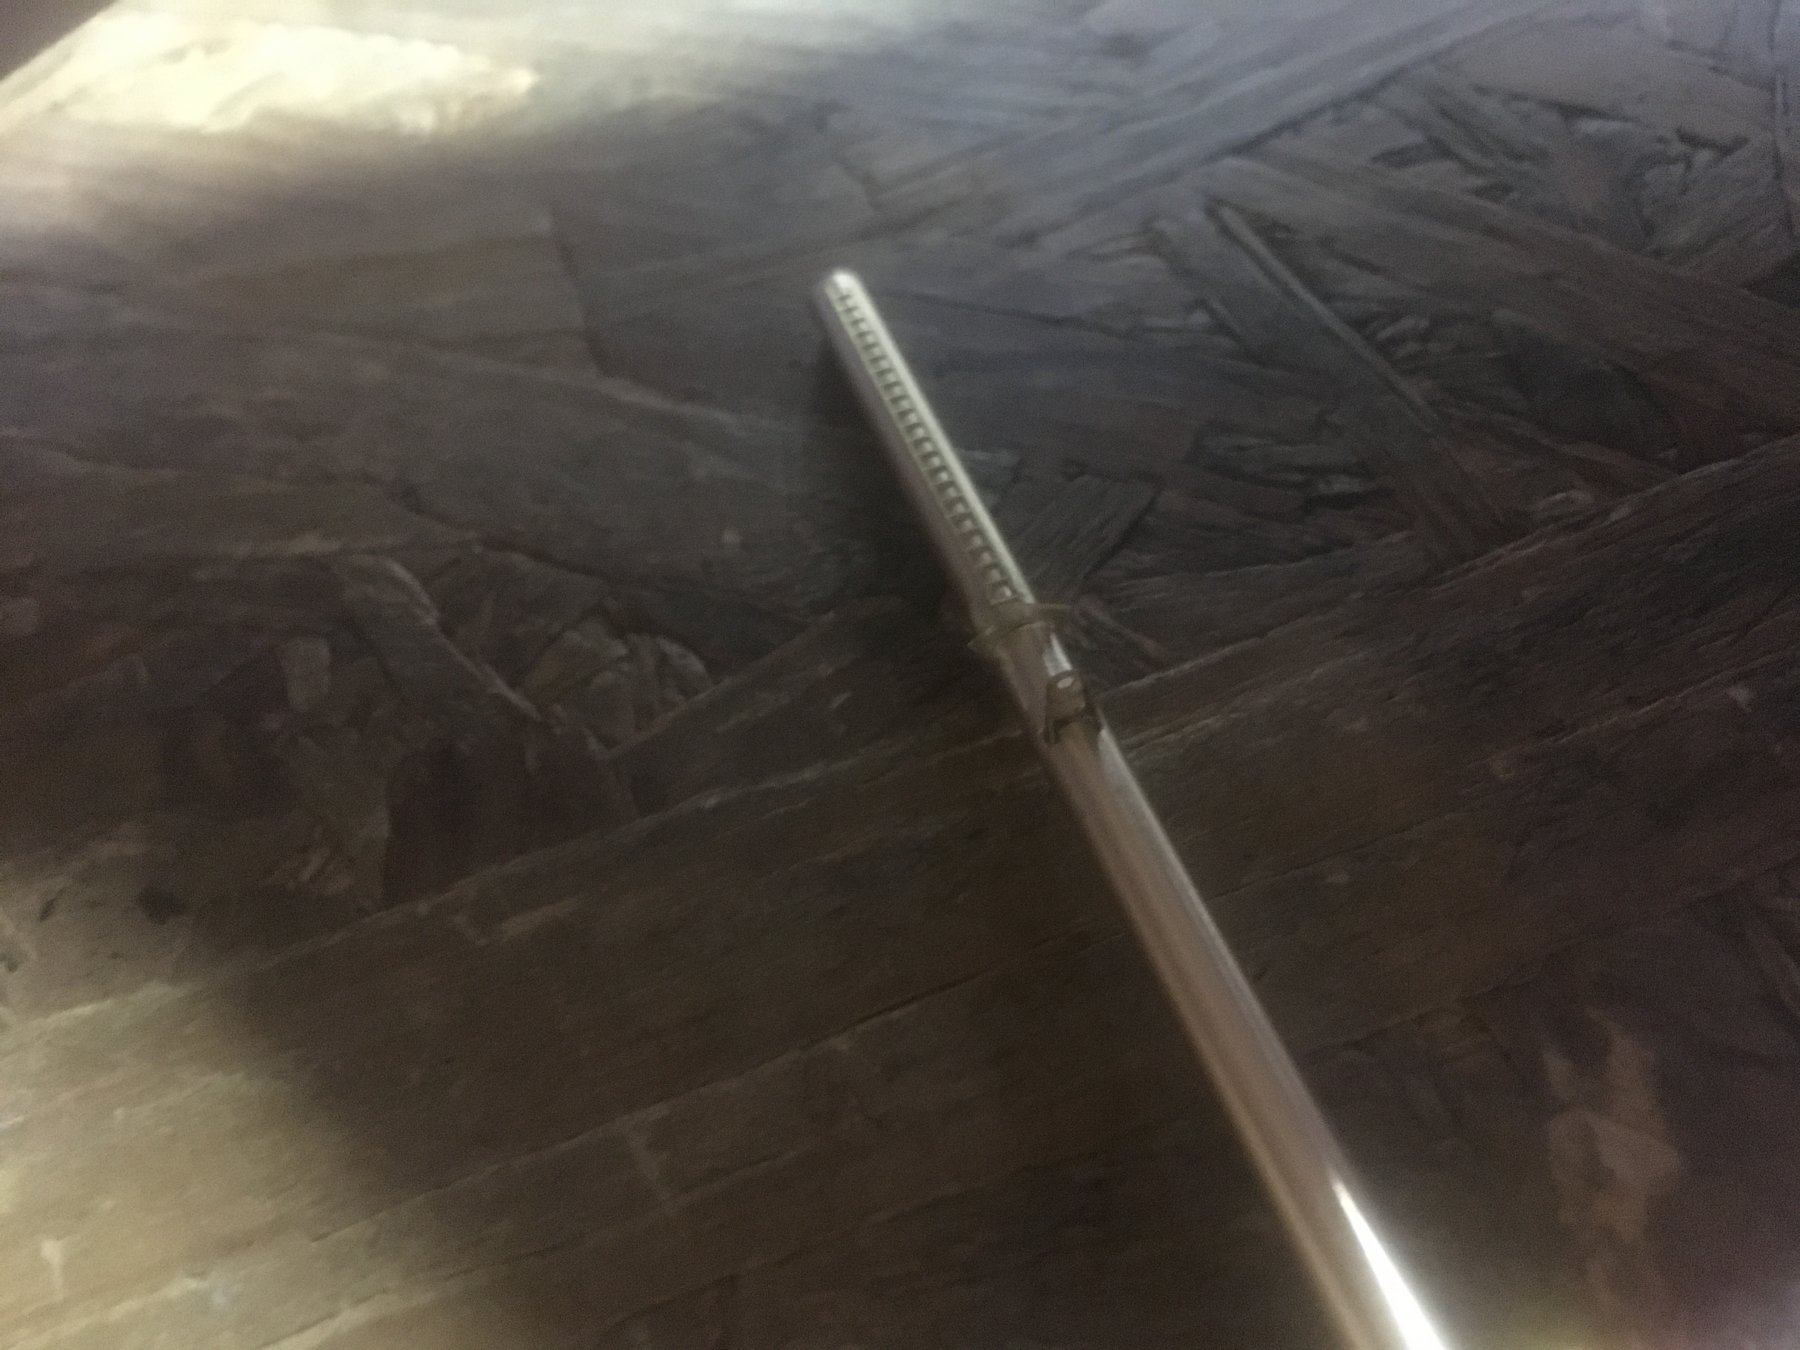
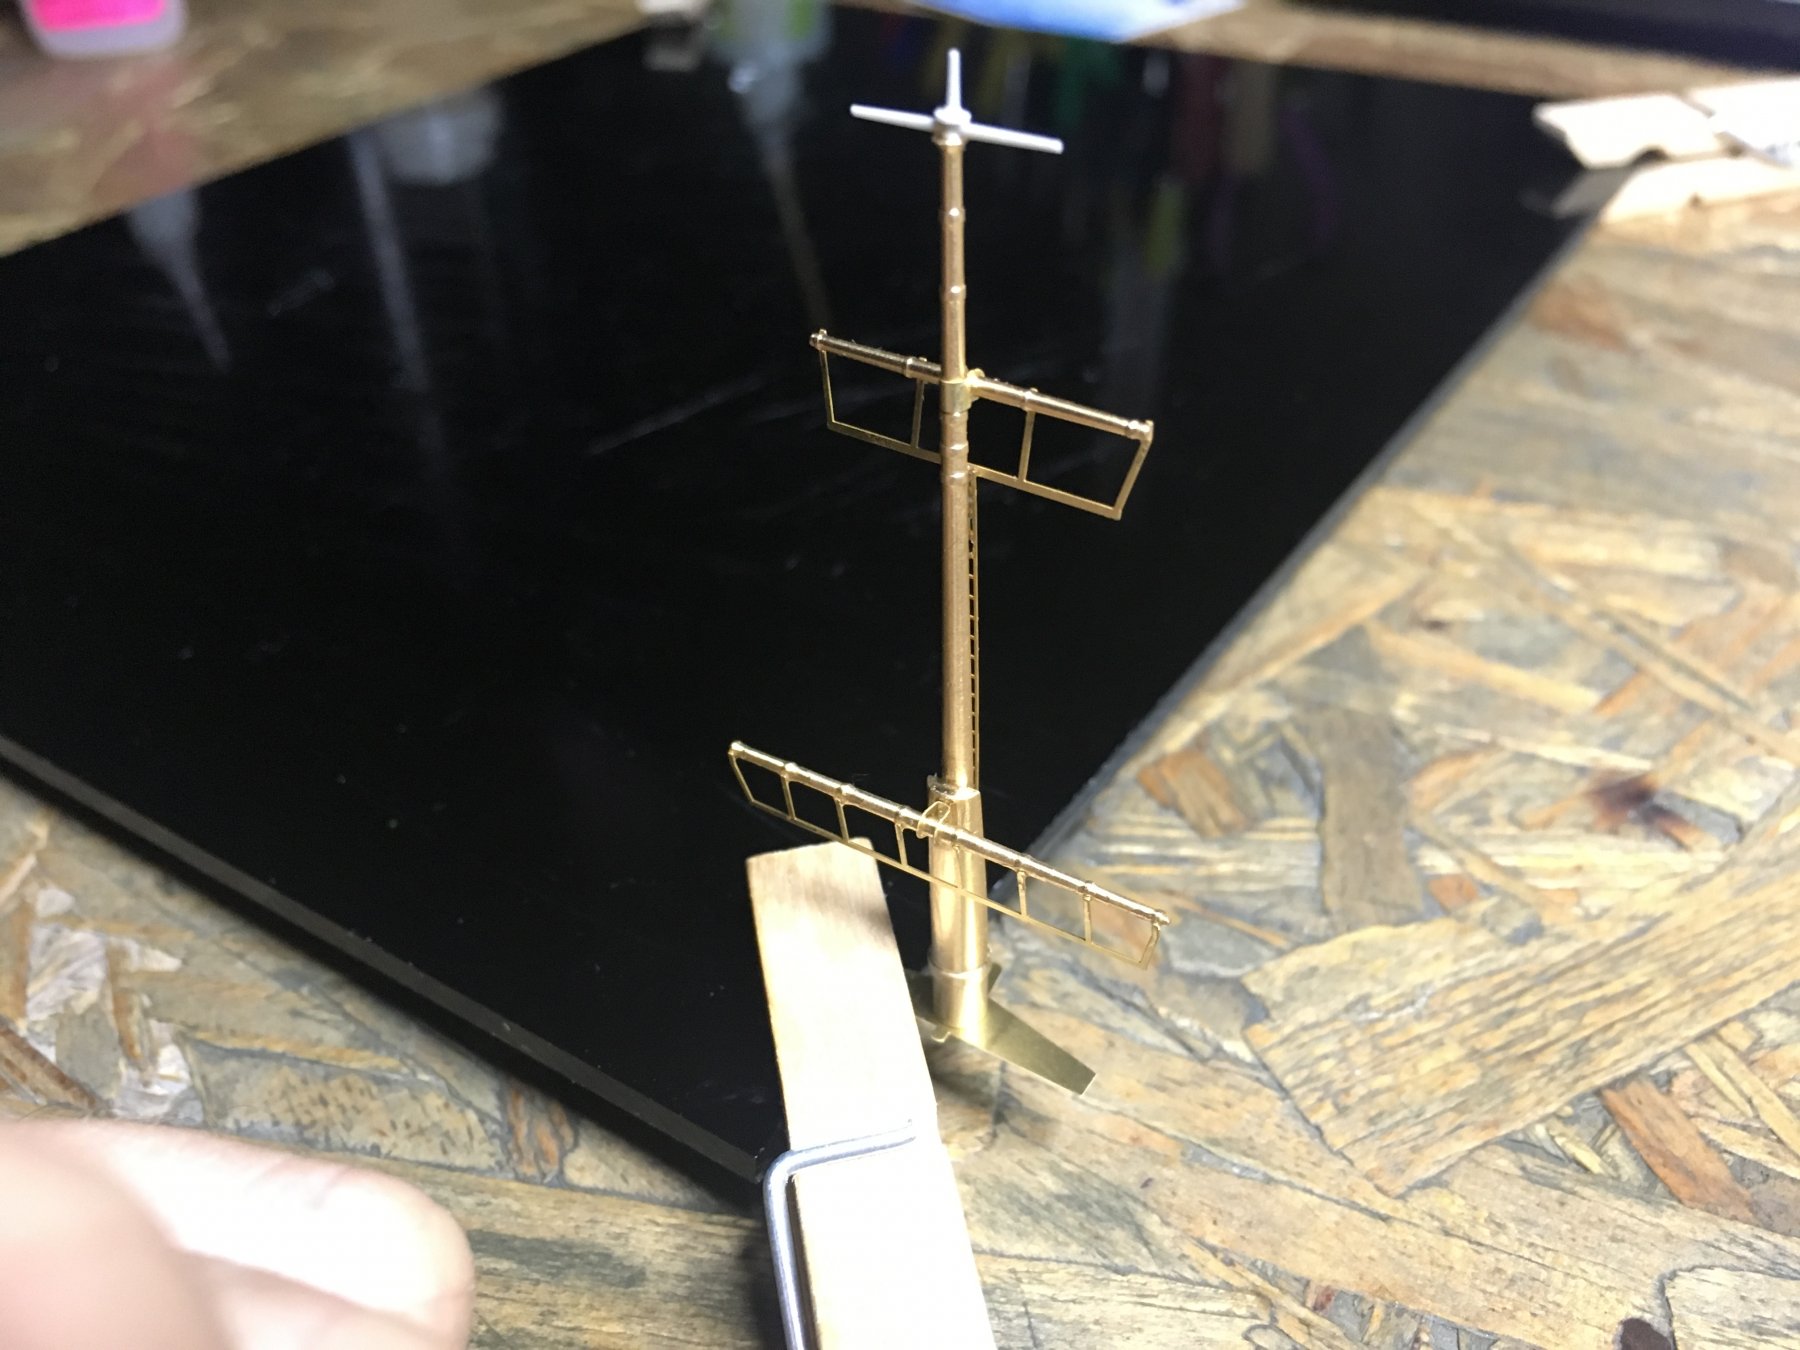
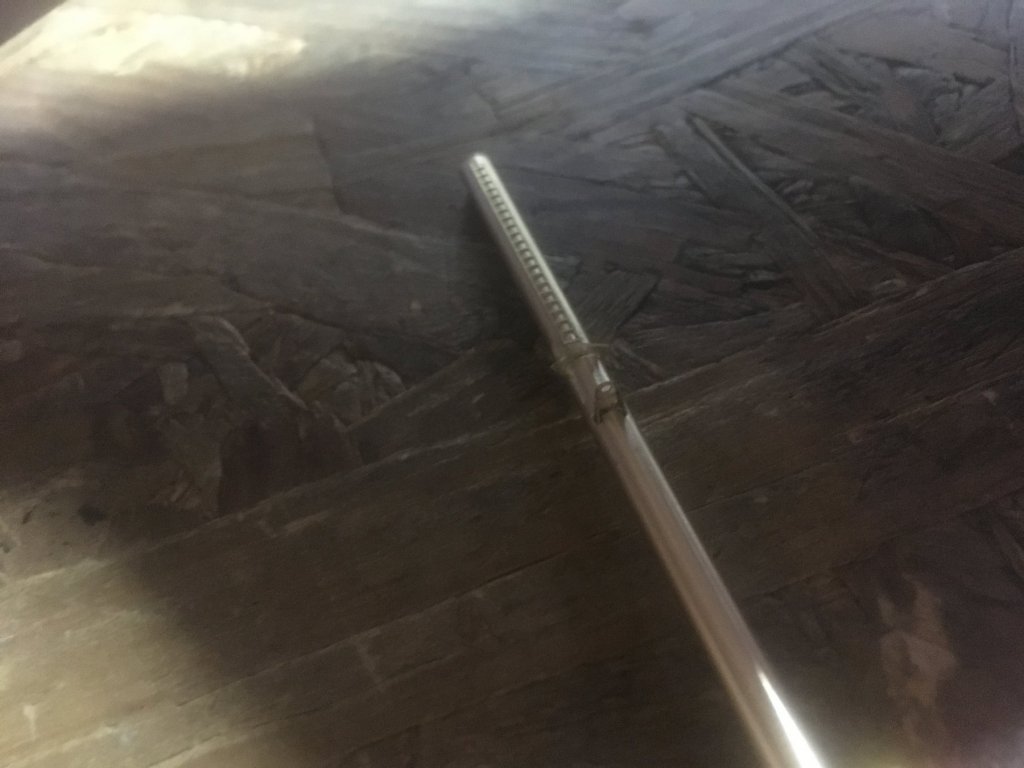
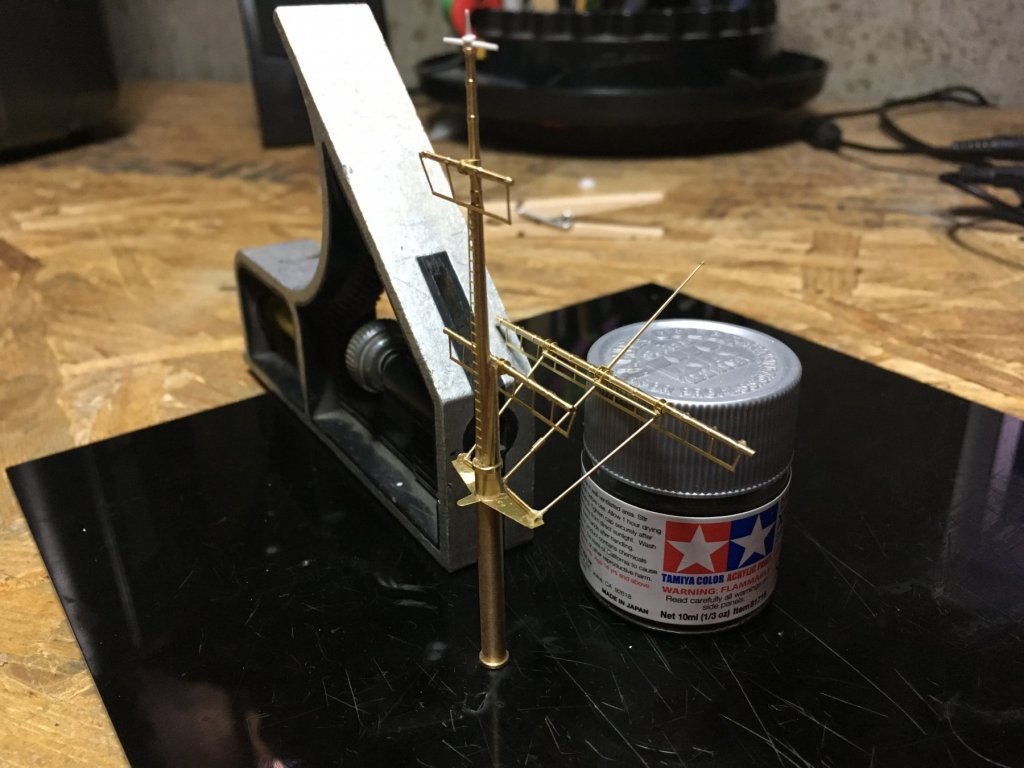
I had a little time after work so I continued on the mast. It looks so crooked in photos but doesn't look crooked in person...wierd.