semorebutts
-
Posts
664 -
Joined
-
Last visited
Content Type
Profiles
Forums
Gallery
Events
Everything posted by semorebutts
-
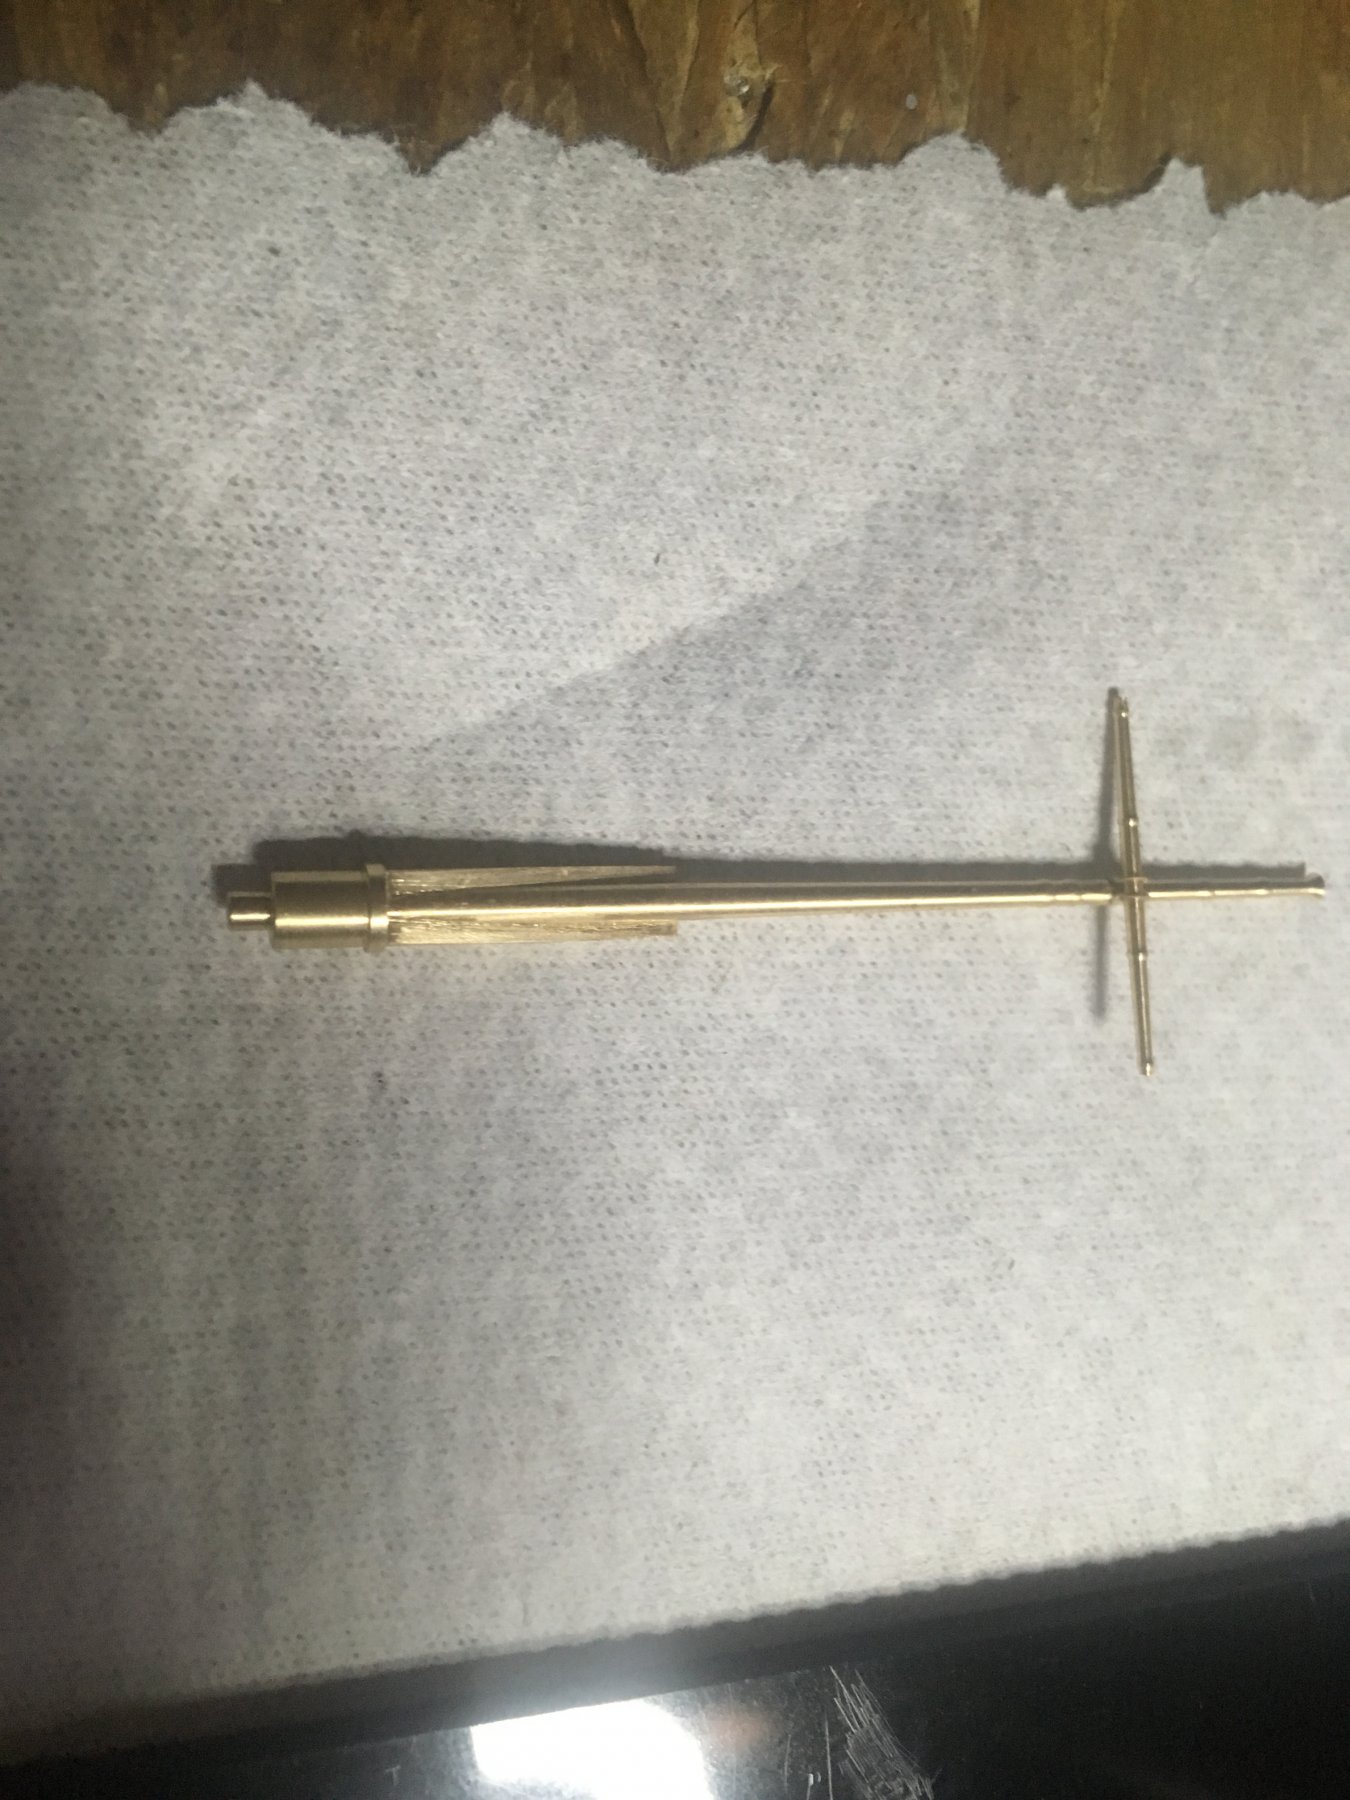
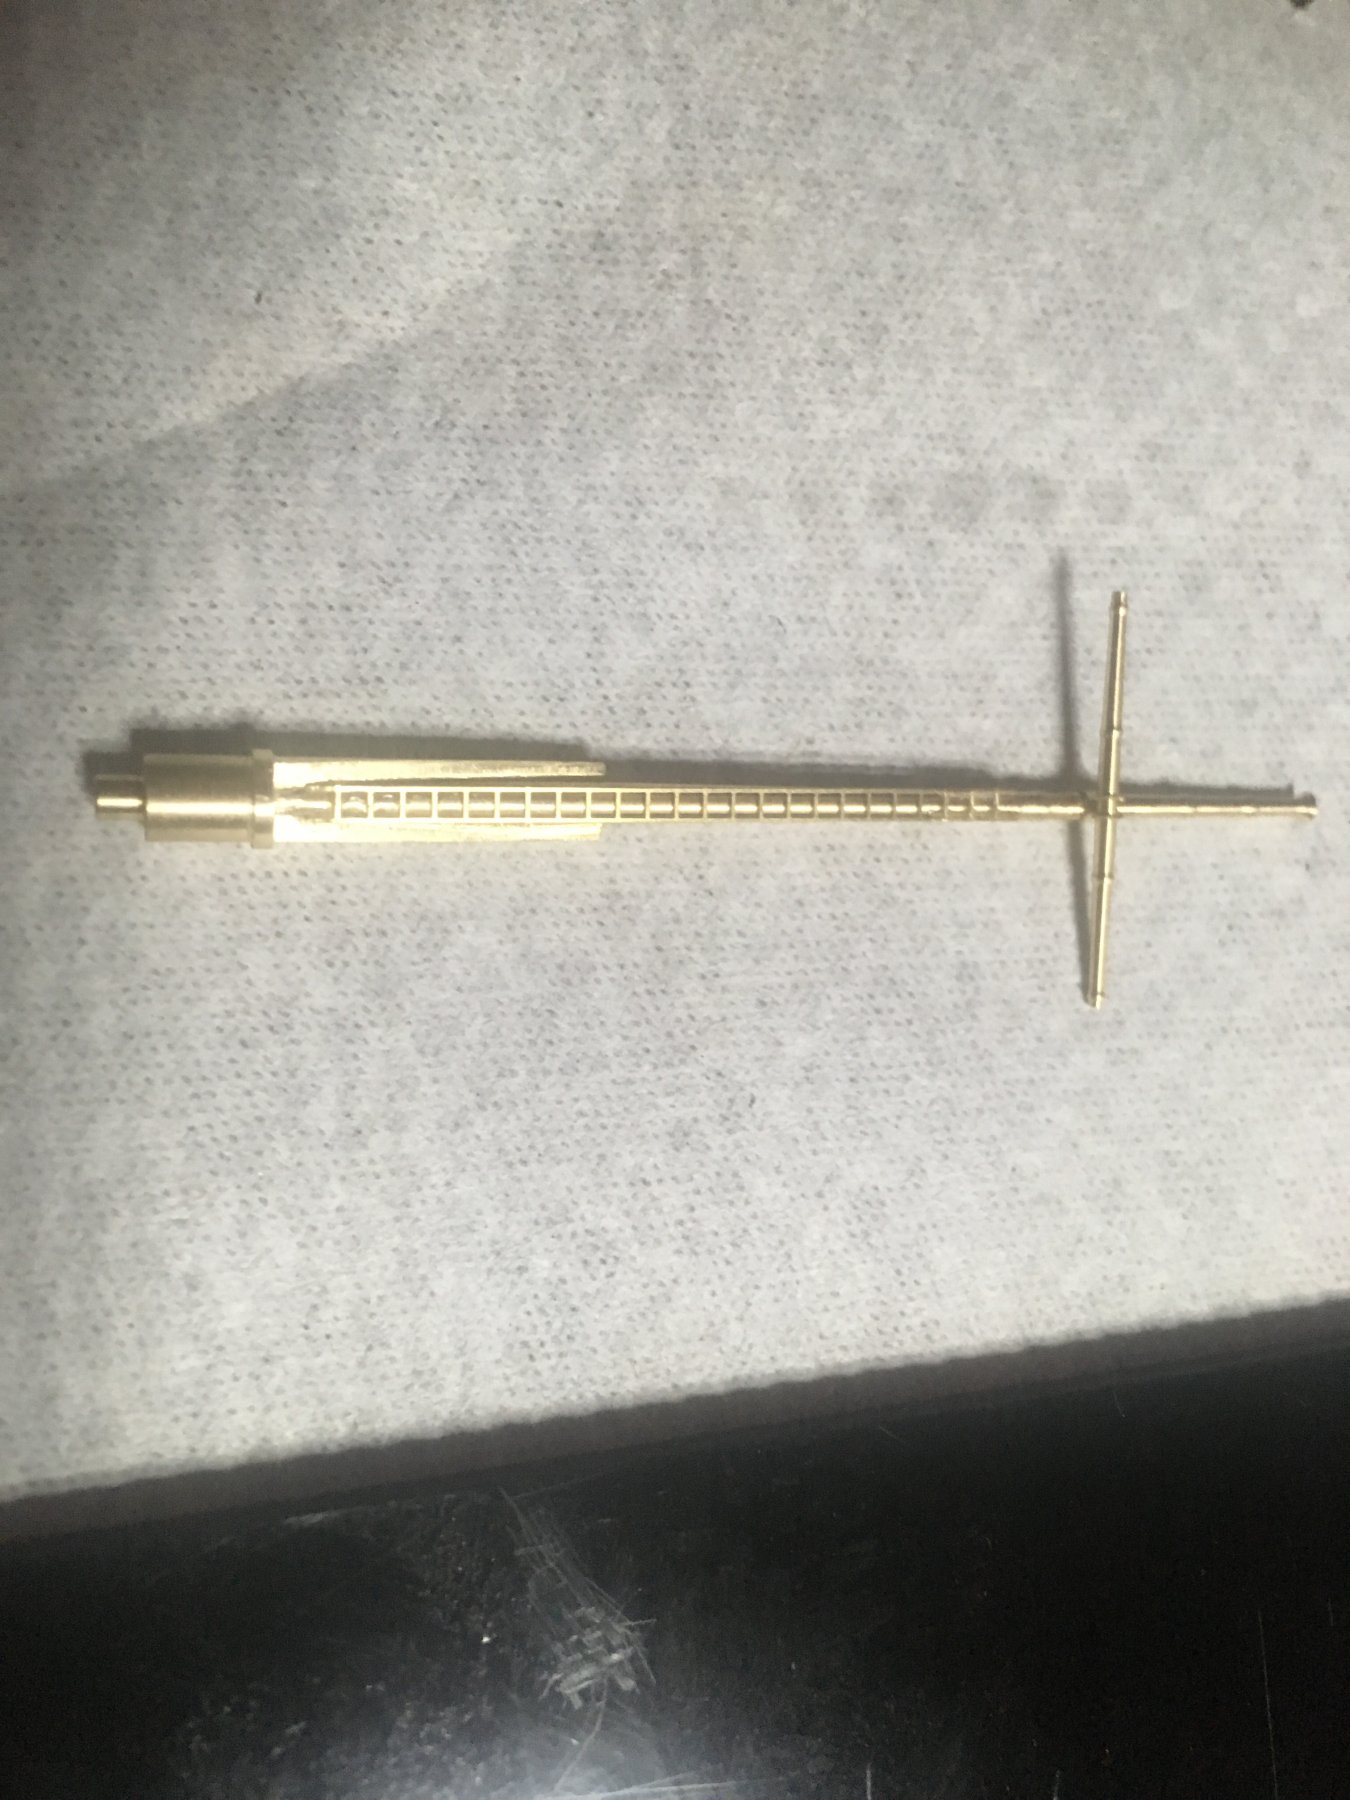
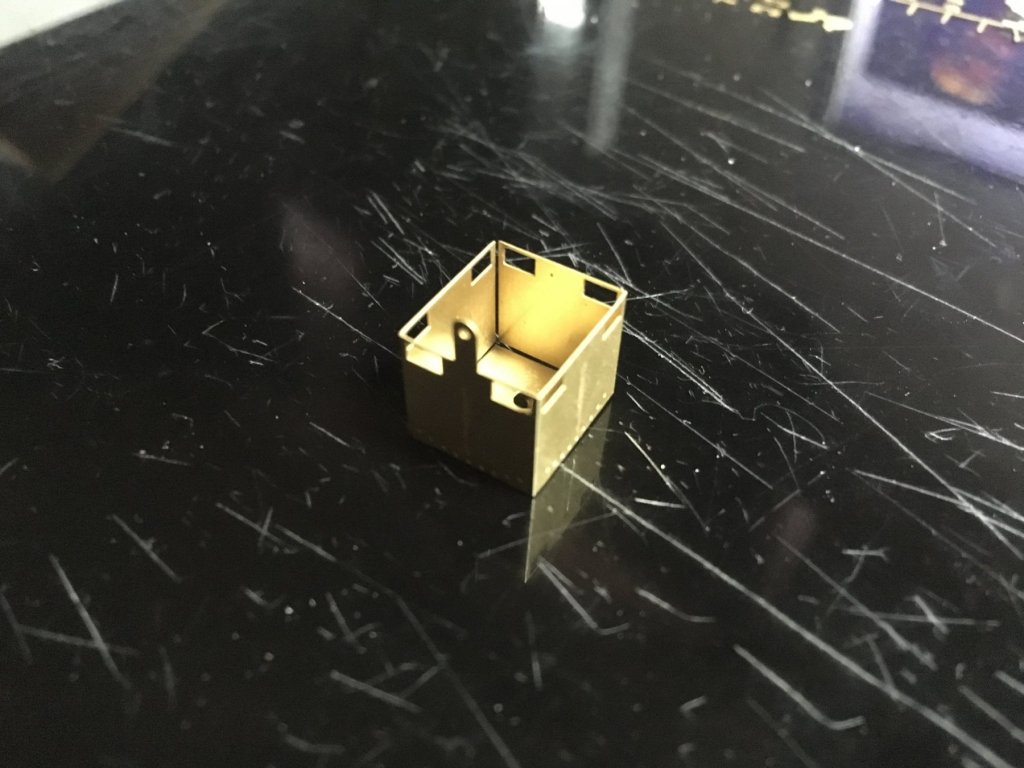
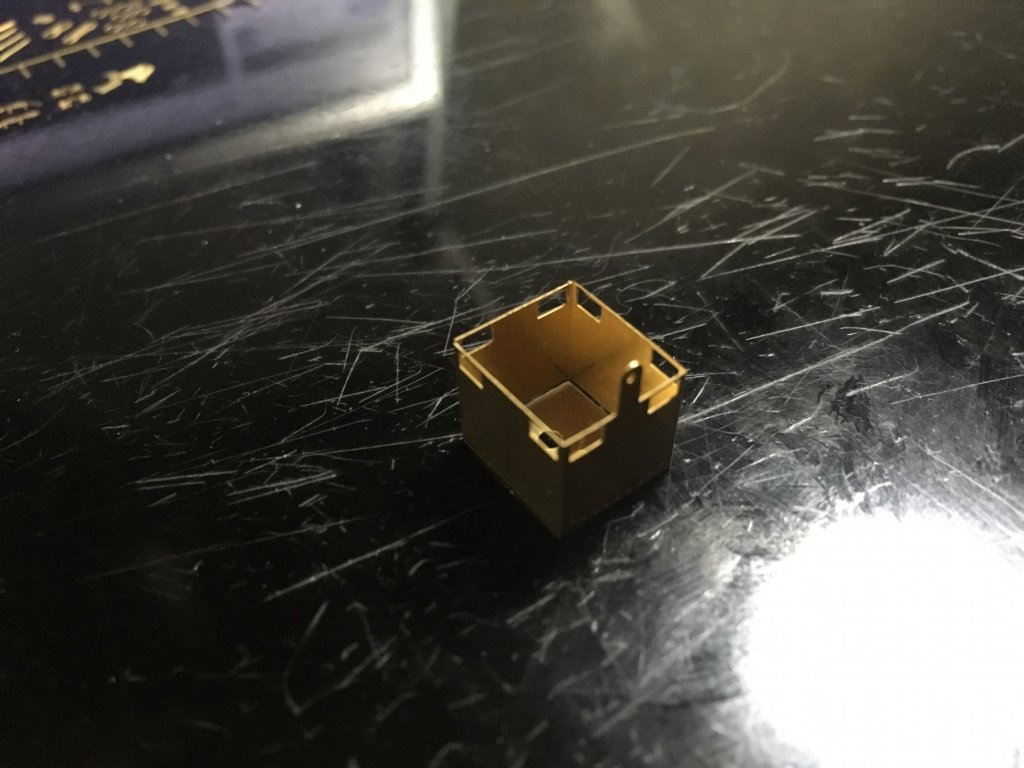
Figures I get called into work today. I was having so mich fun with the mast to. the hole were to small again. I had to drill them out.

-
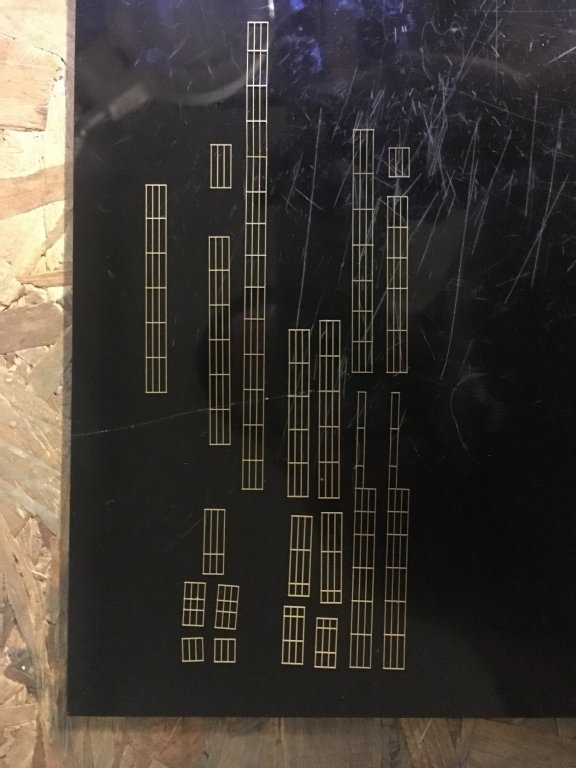
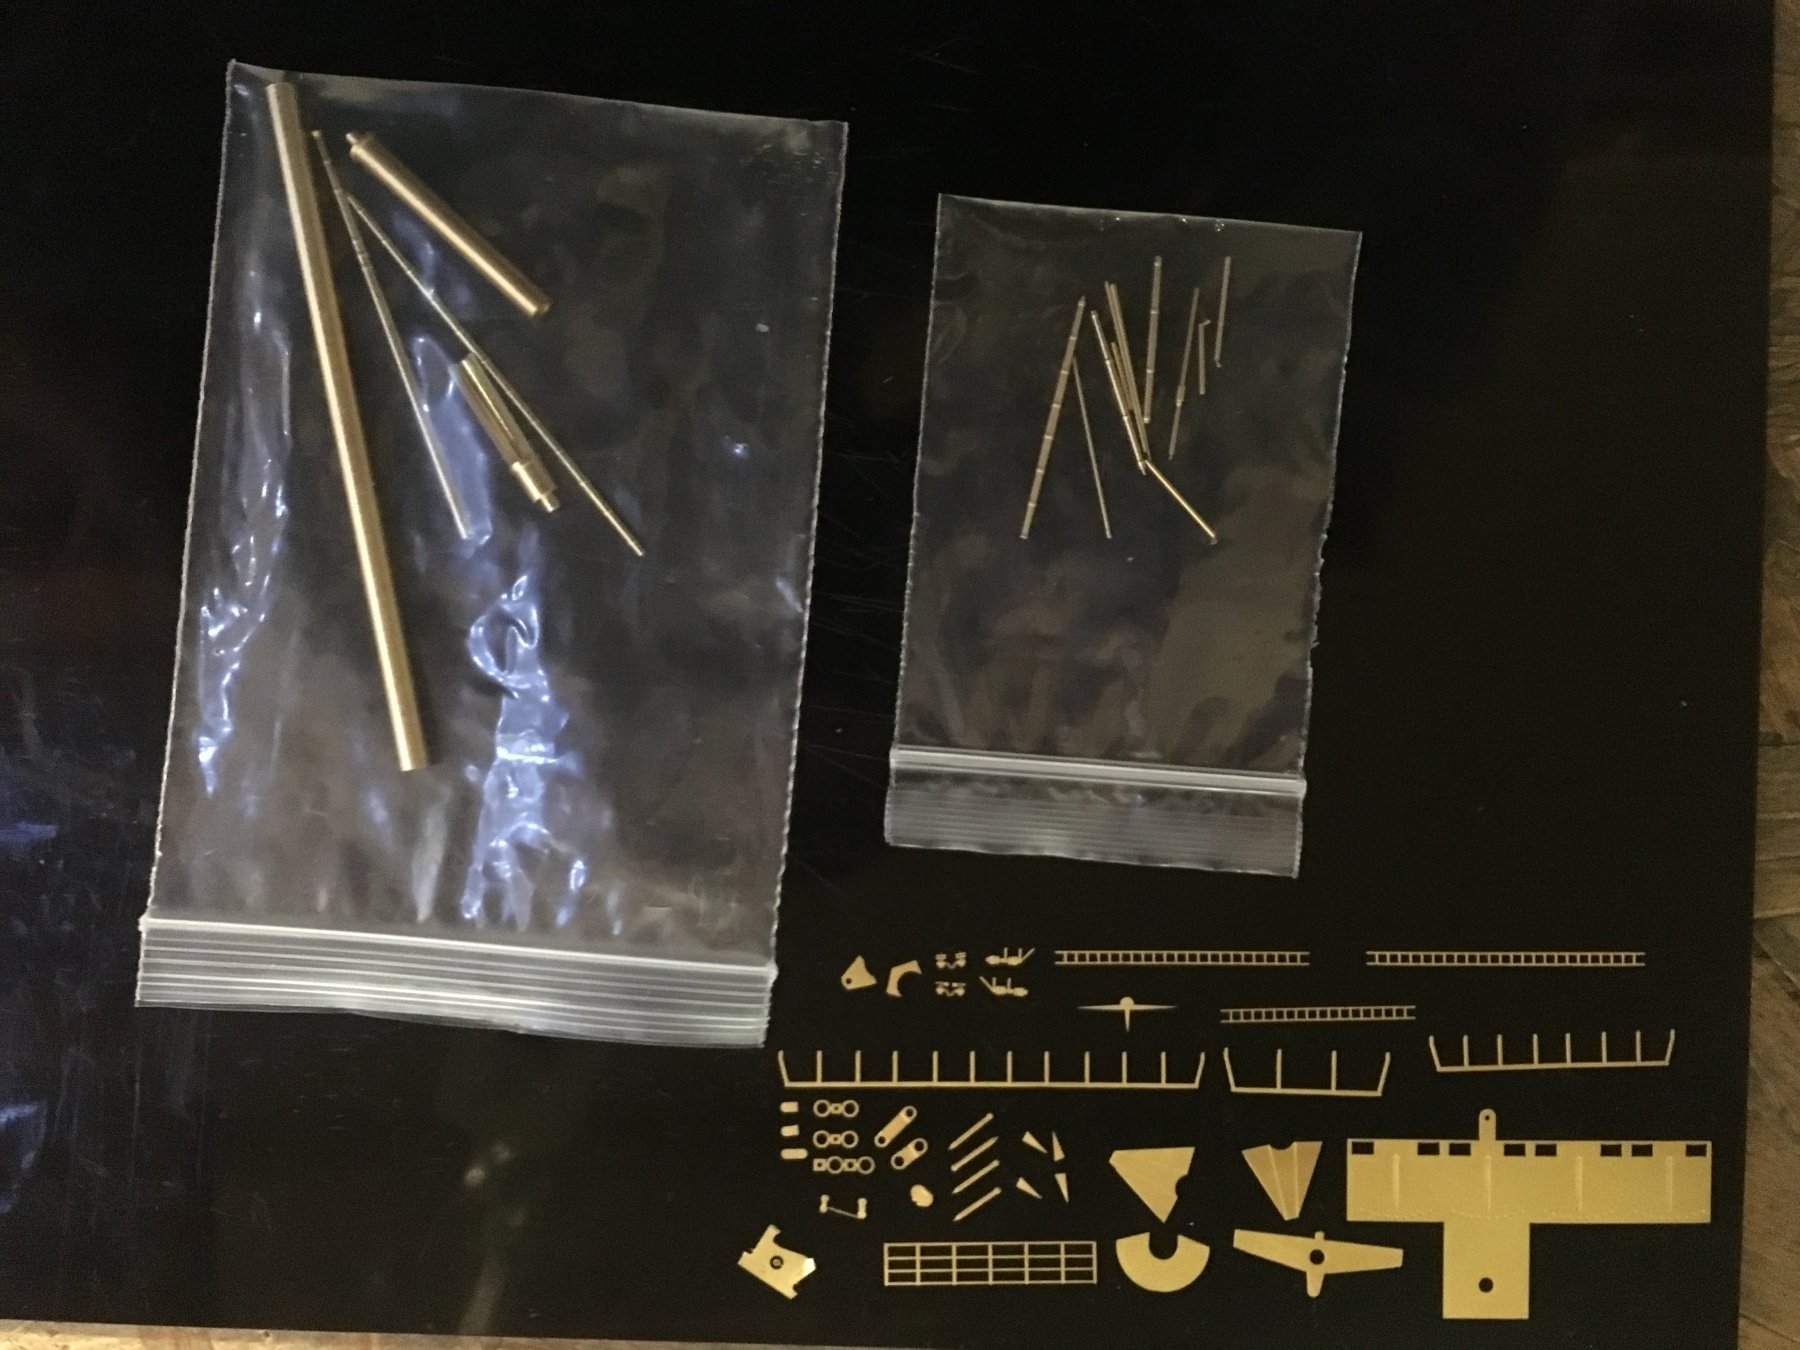
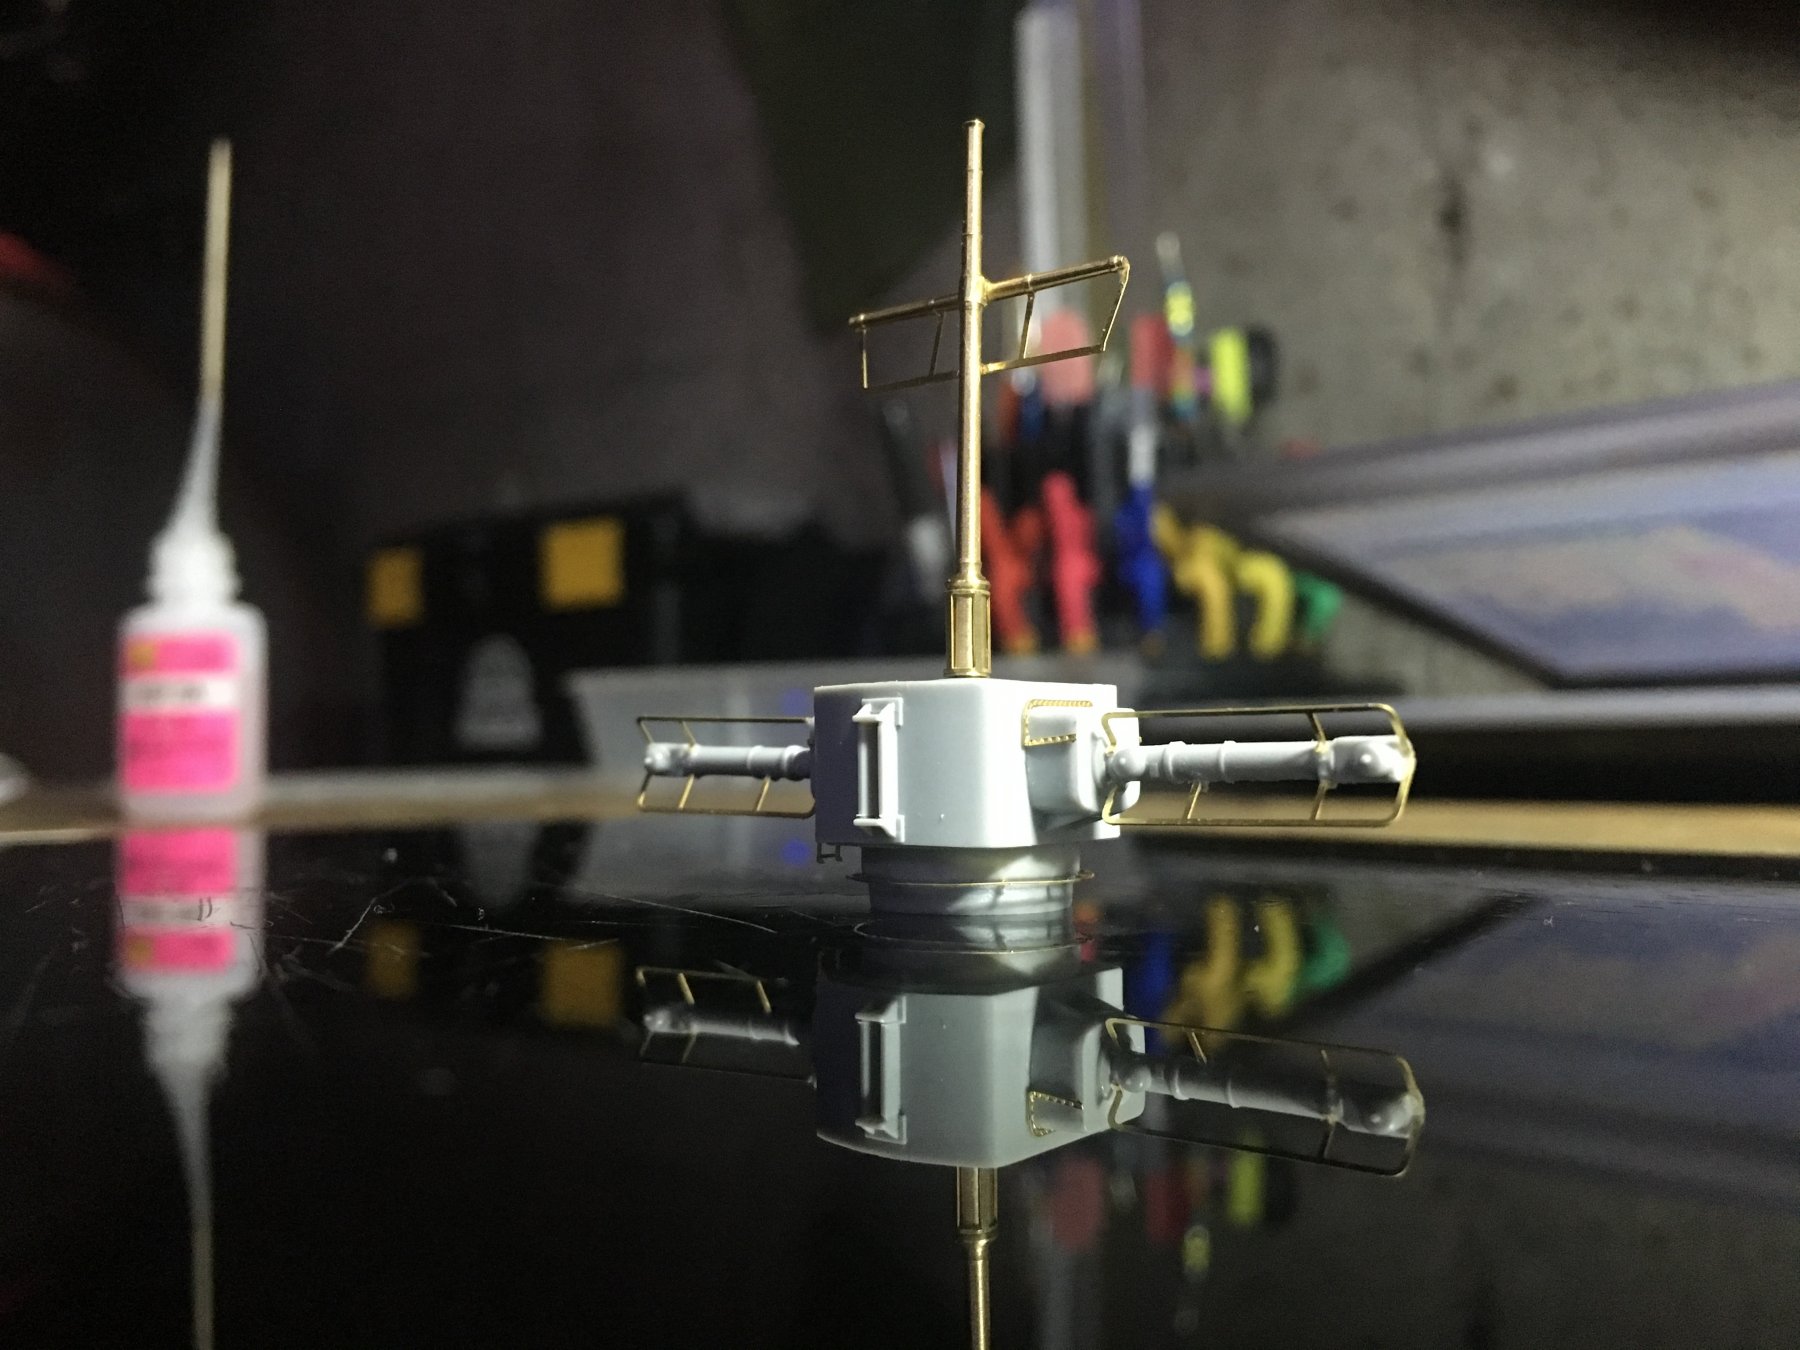
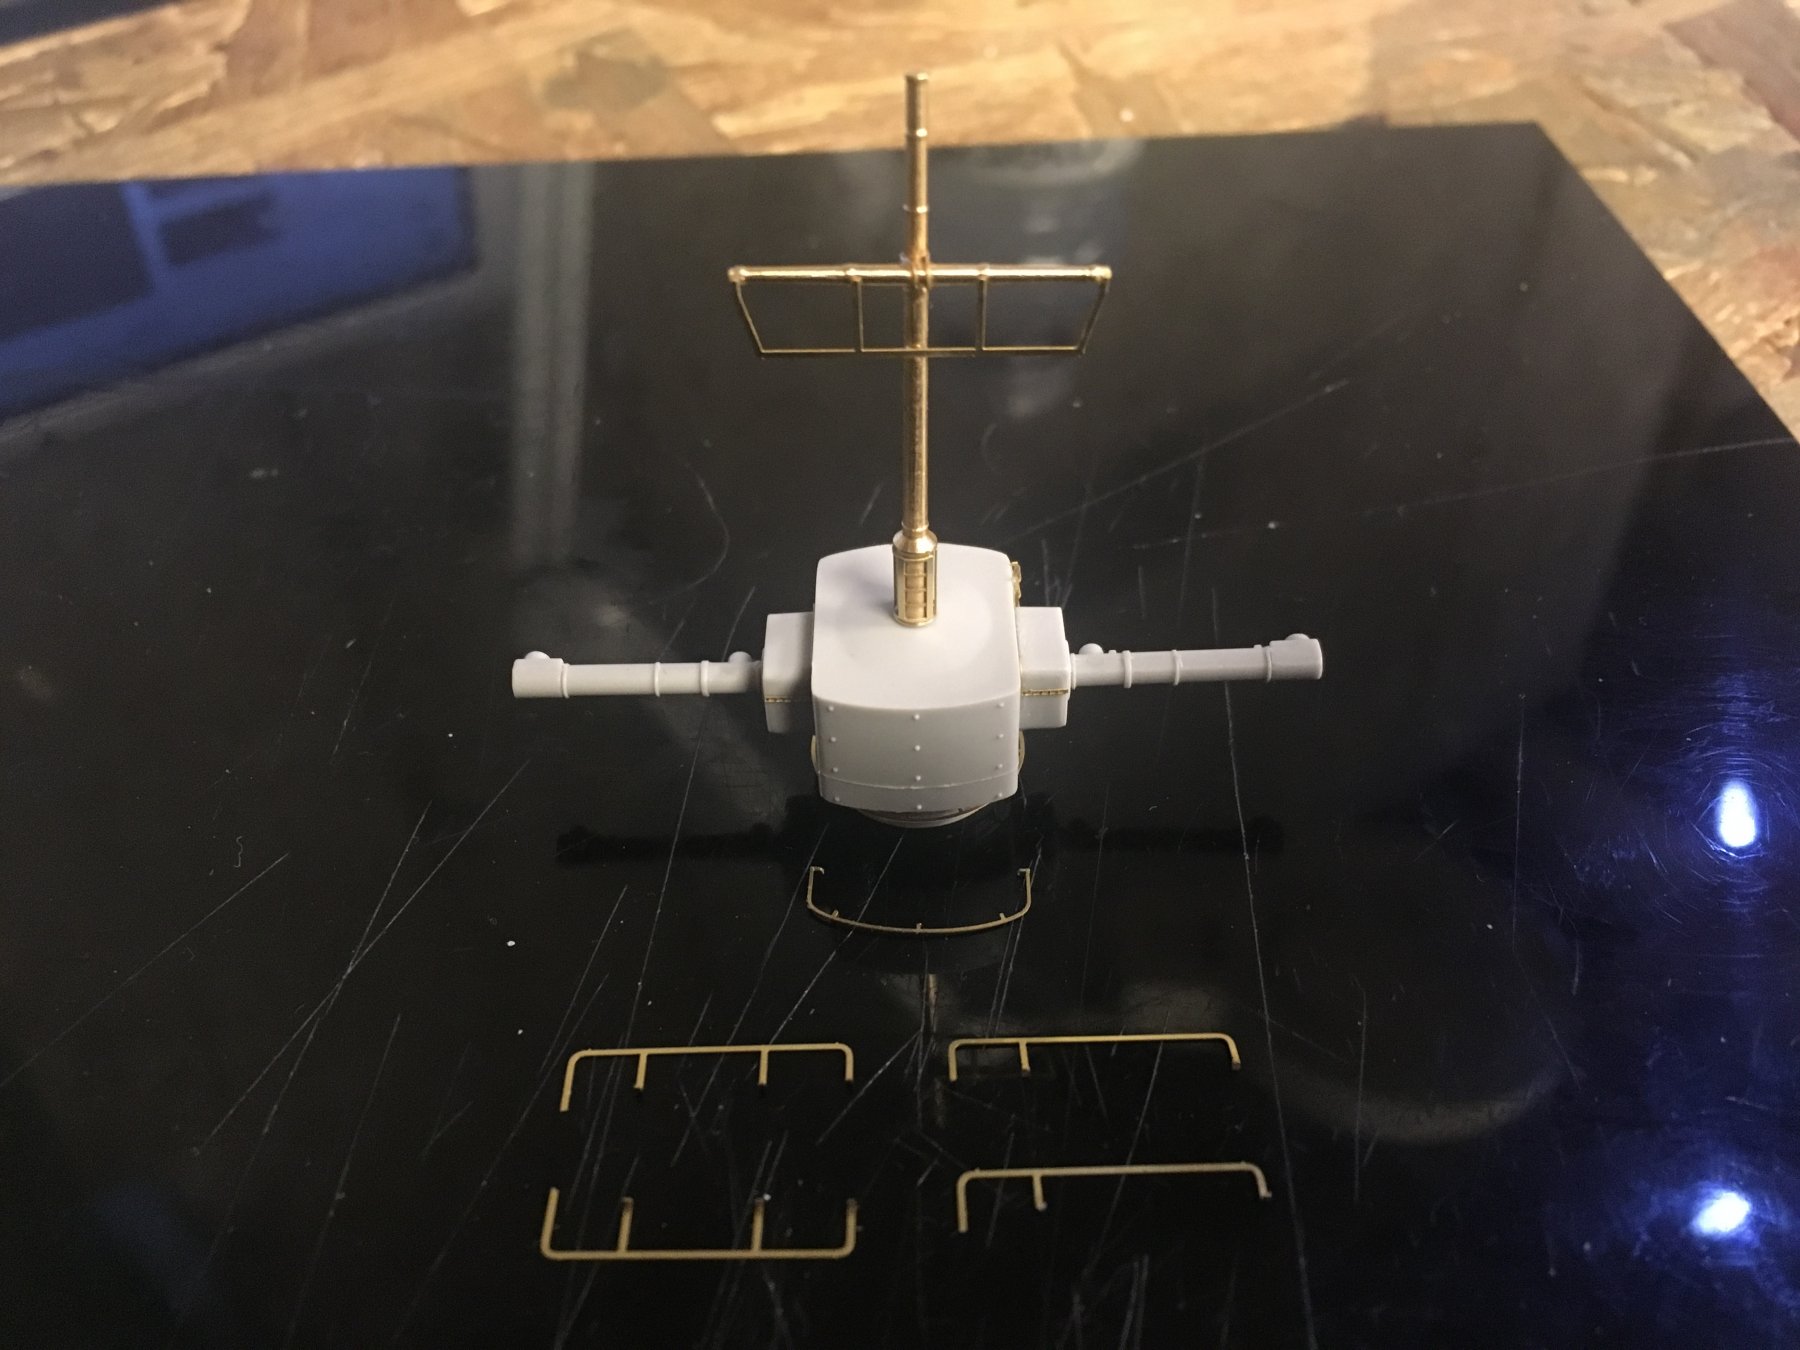
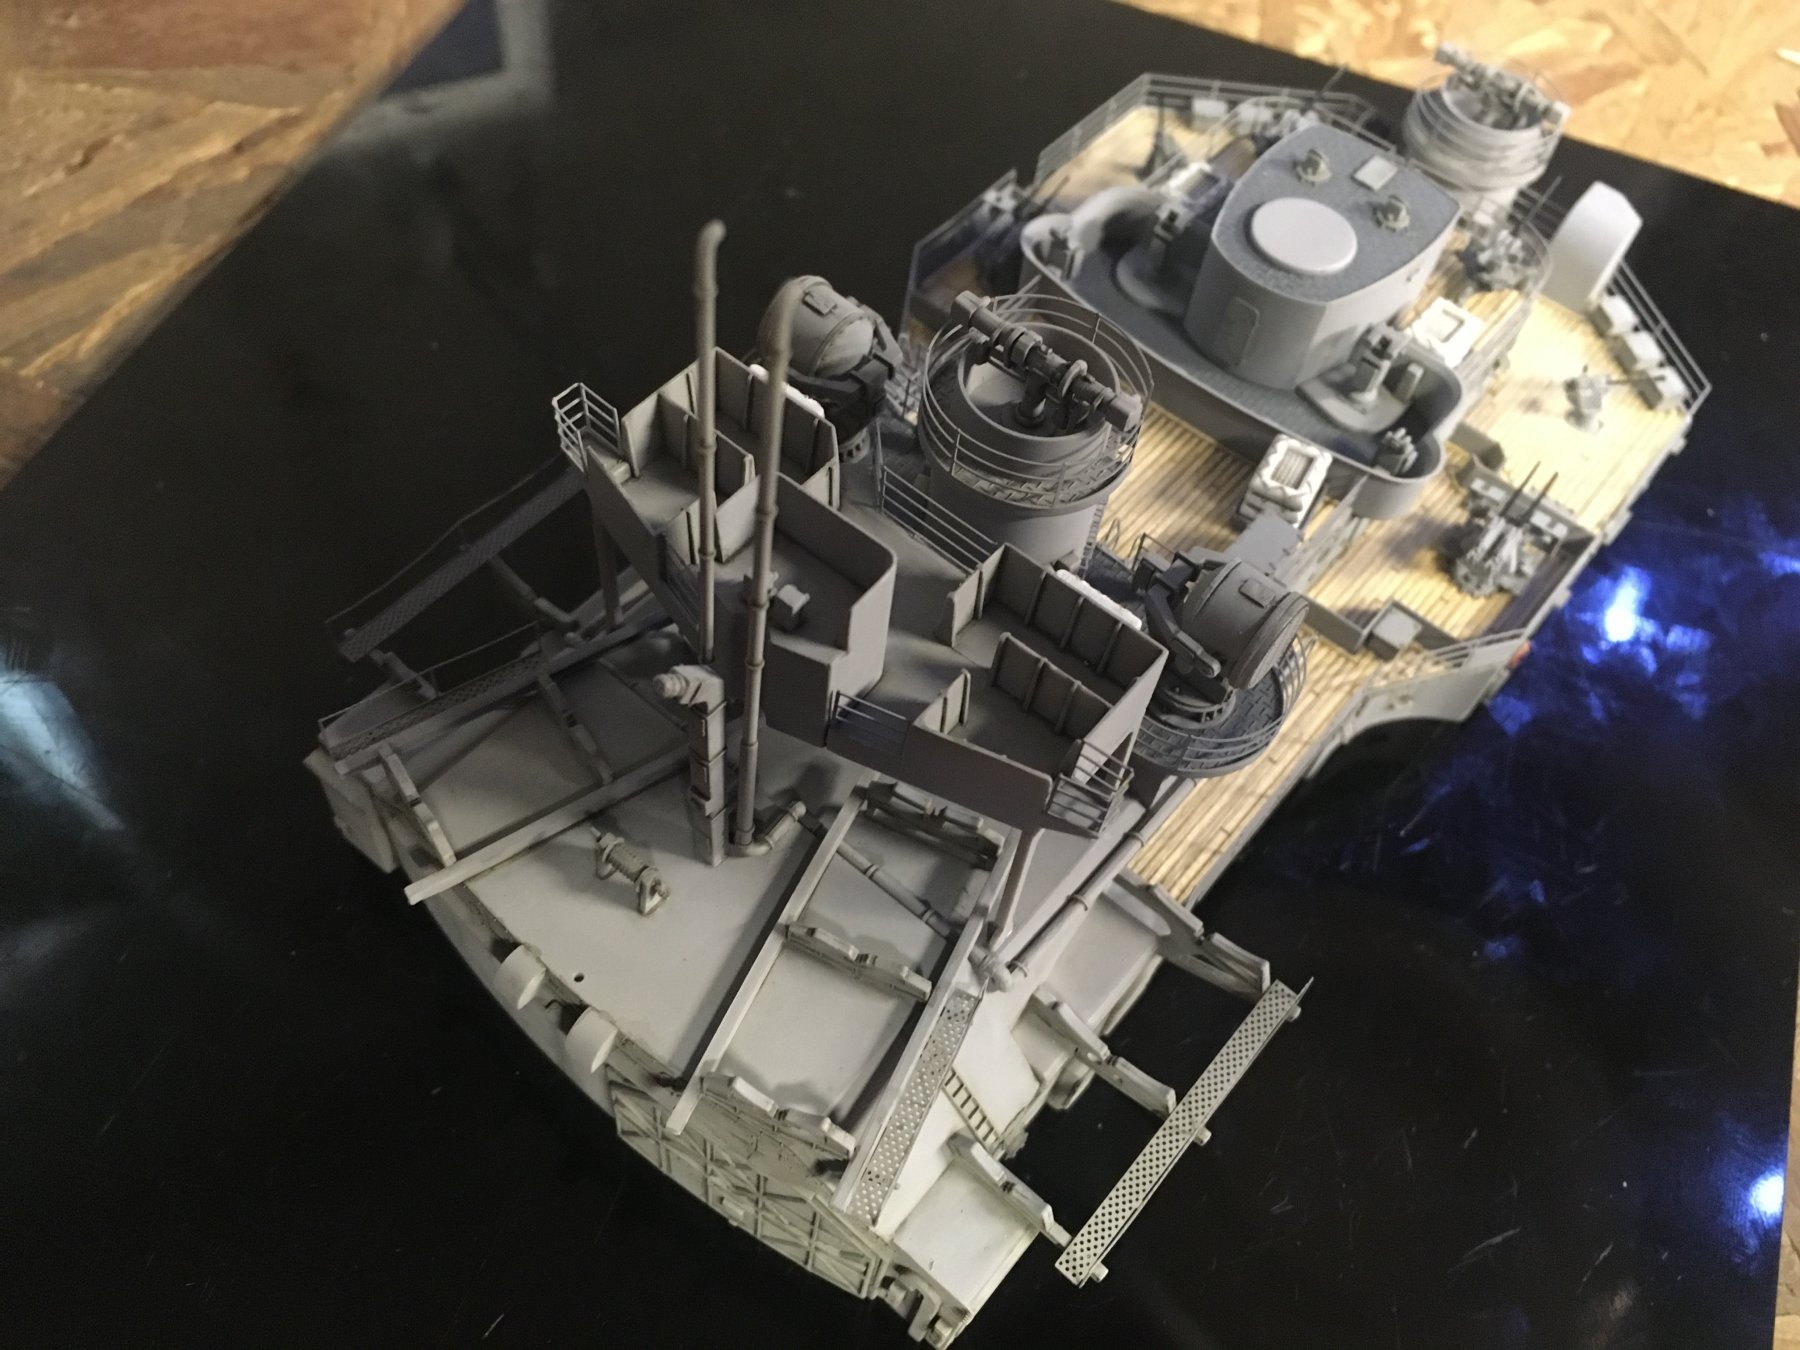
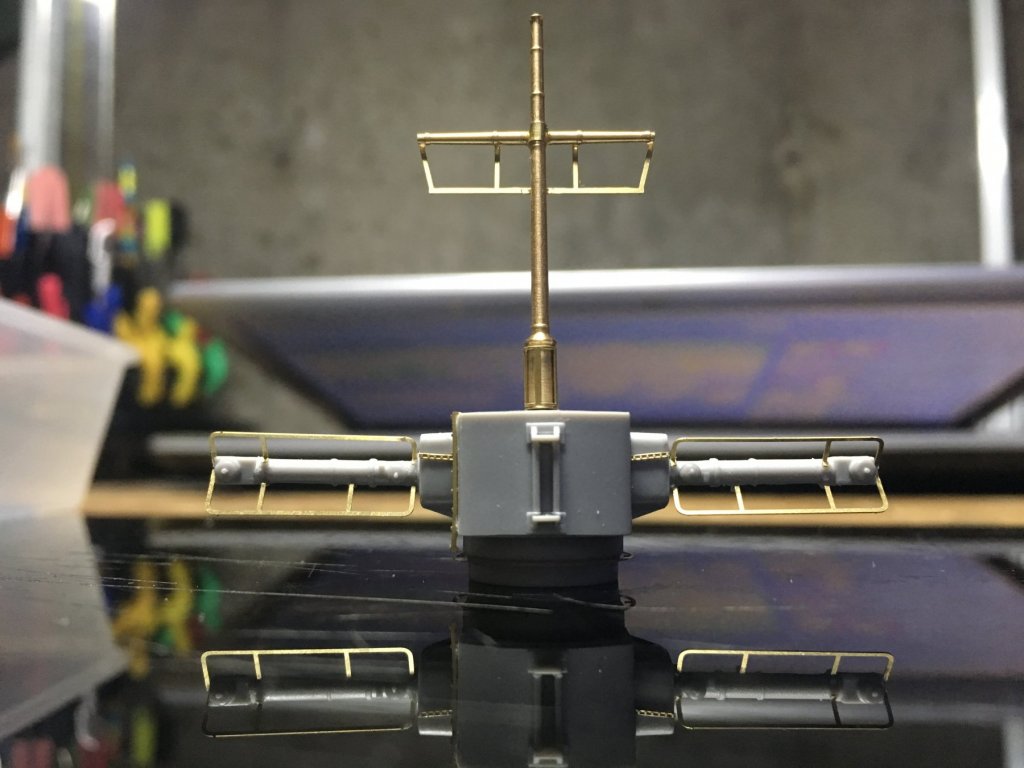
I'm loving the mast. Its basically all brass. I have always wanted to work with brass or scratch build a brass model. This is the closest I've ever come to that. Anyways I started by bending all the brass I could. And making sure parts fit into holes (which of course they don't). I drilled out a few holes.
-
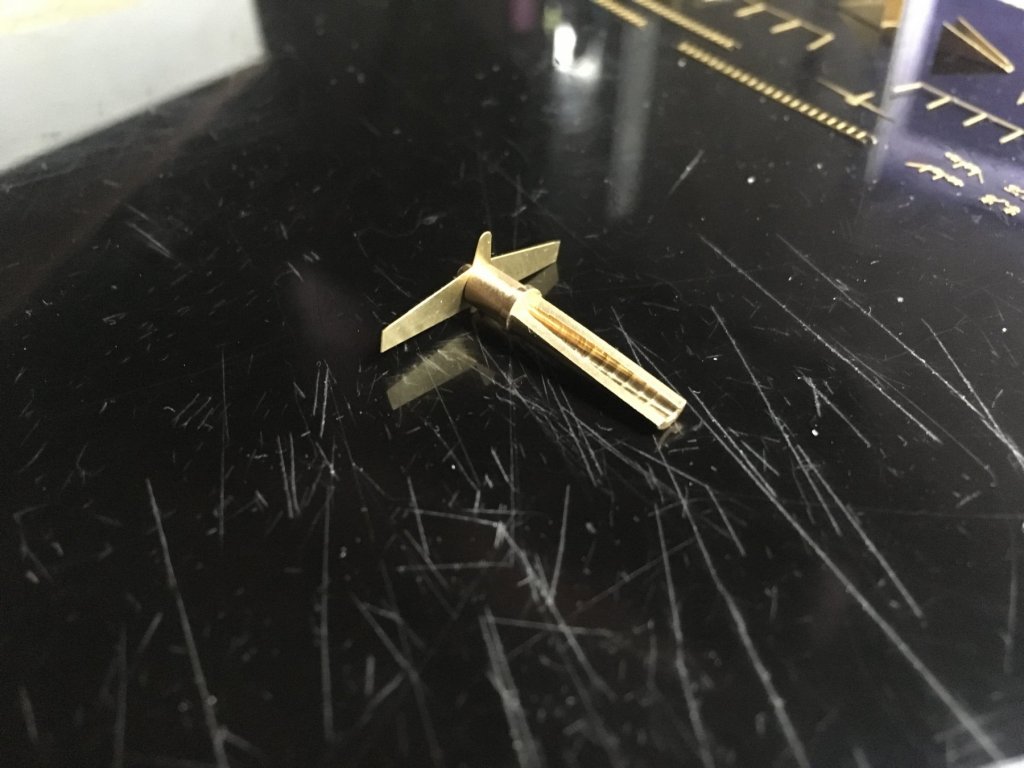
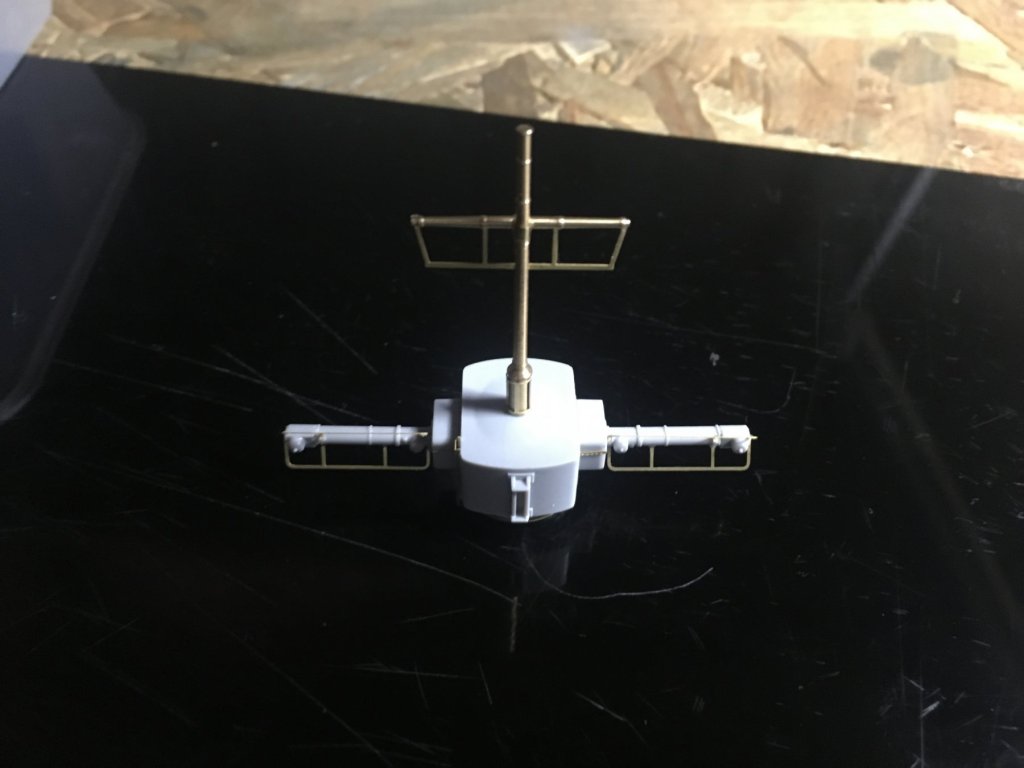
Got out of work early so I'm just continuing with the range finders. Pretty much ready for paint

-
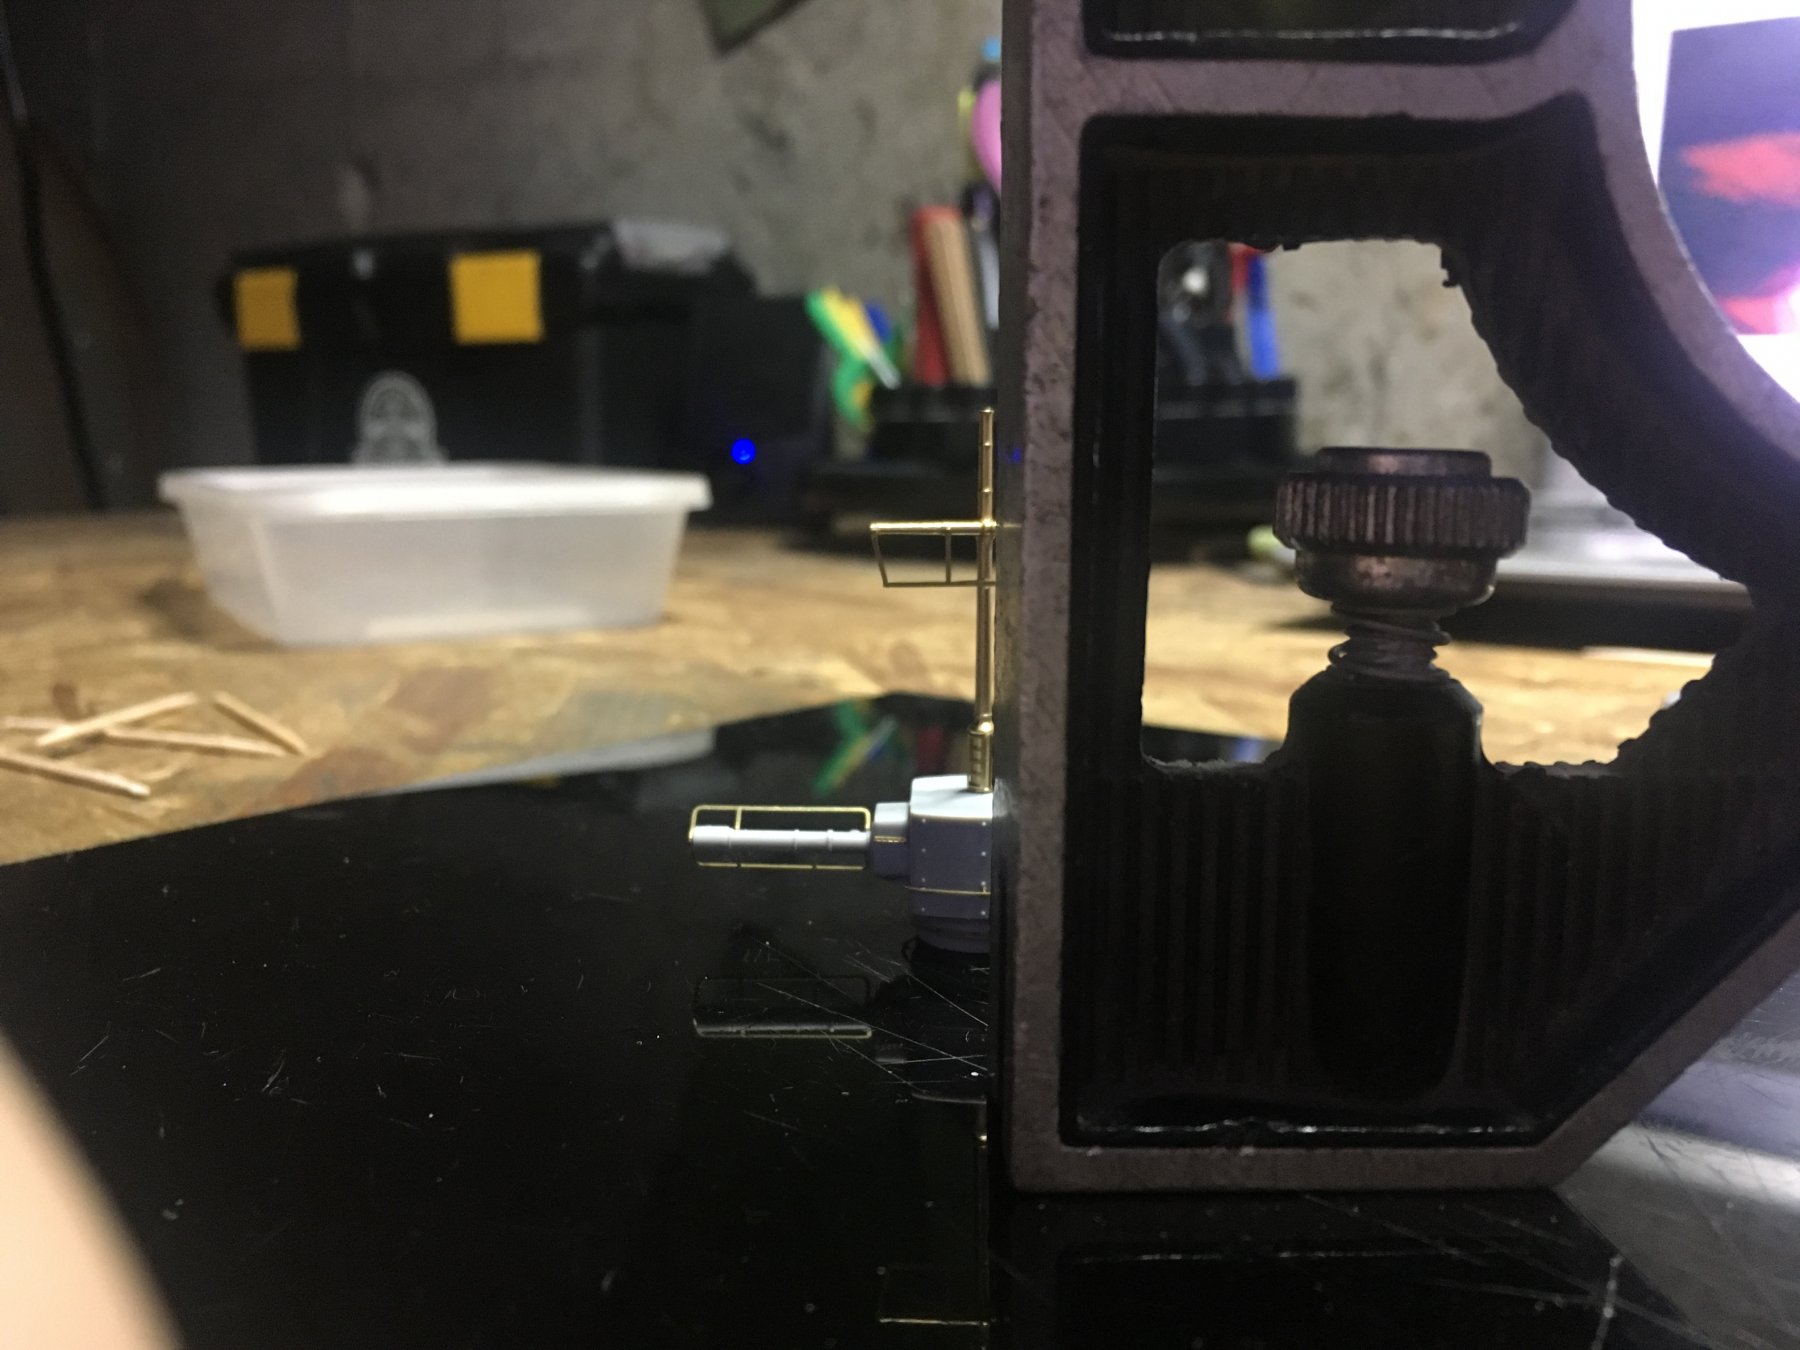
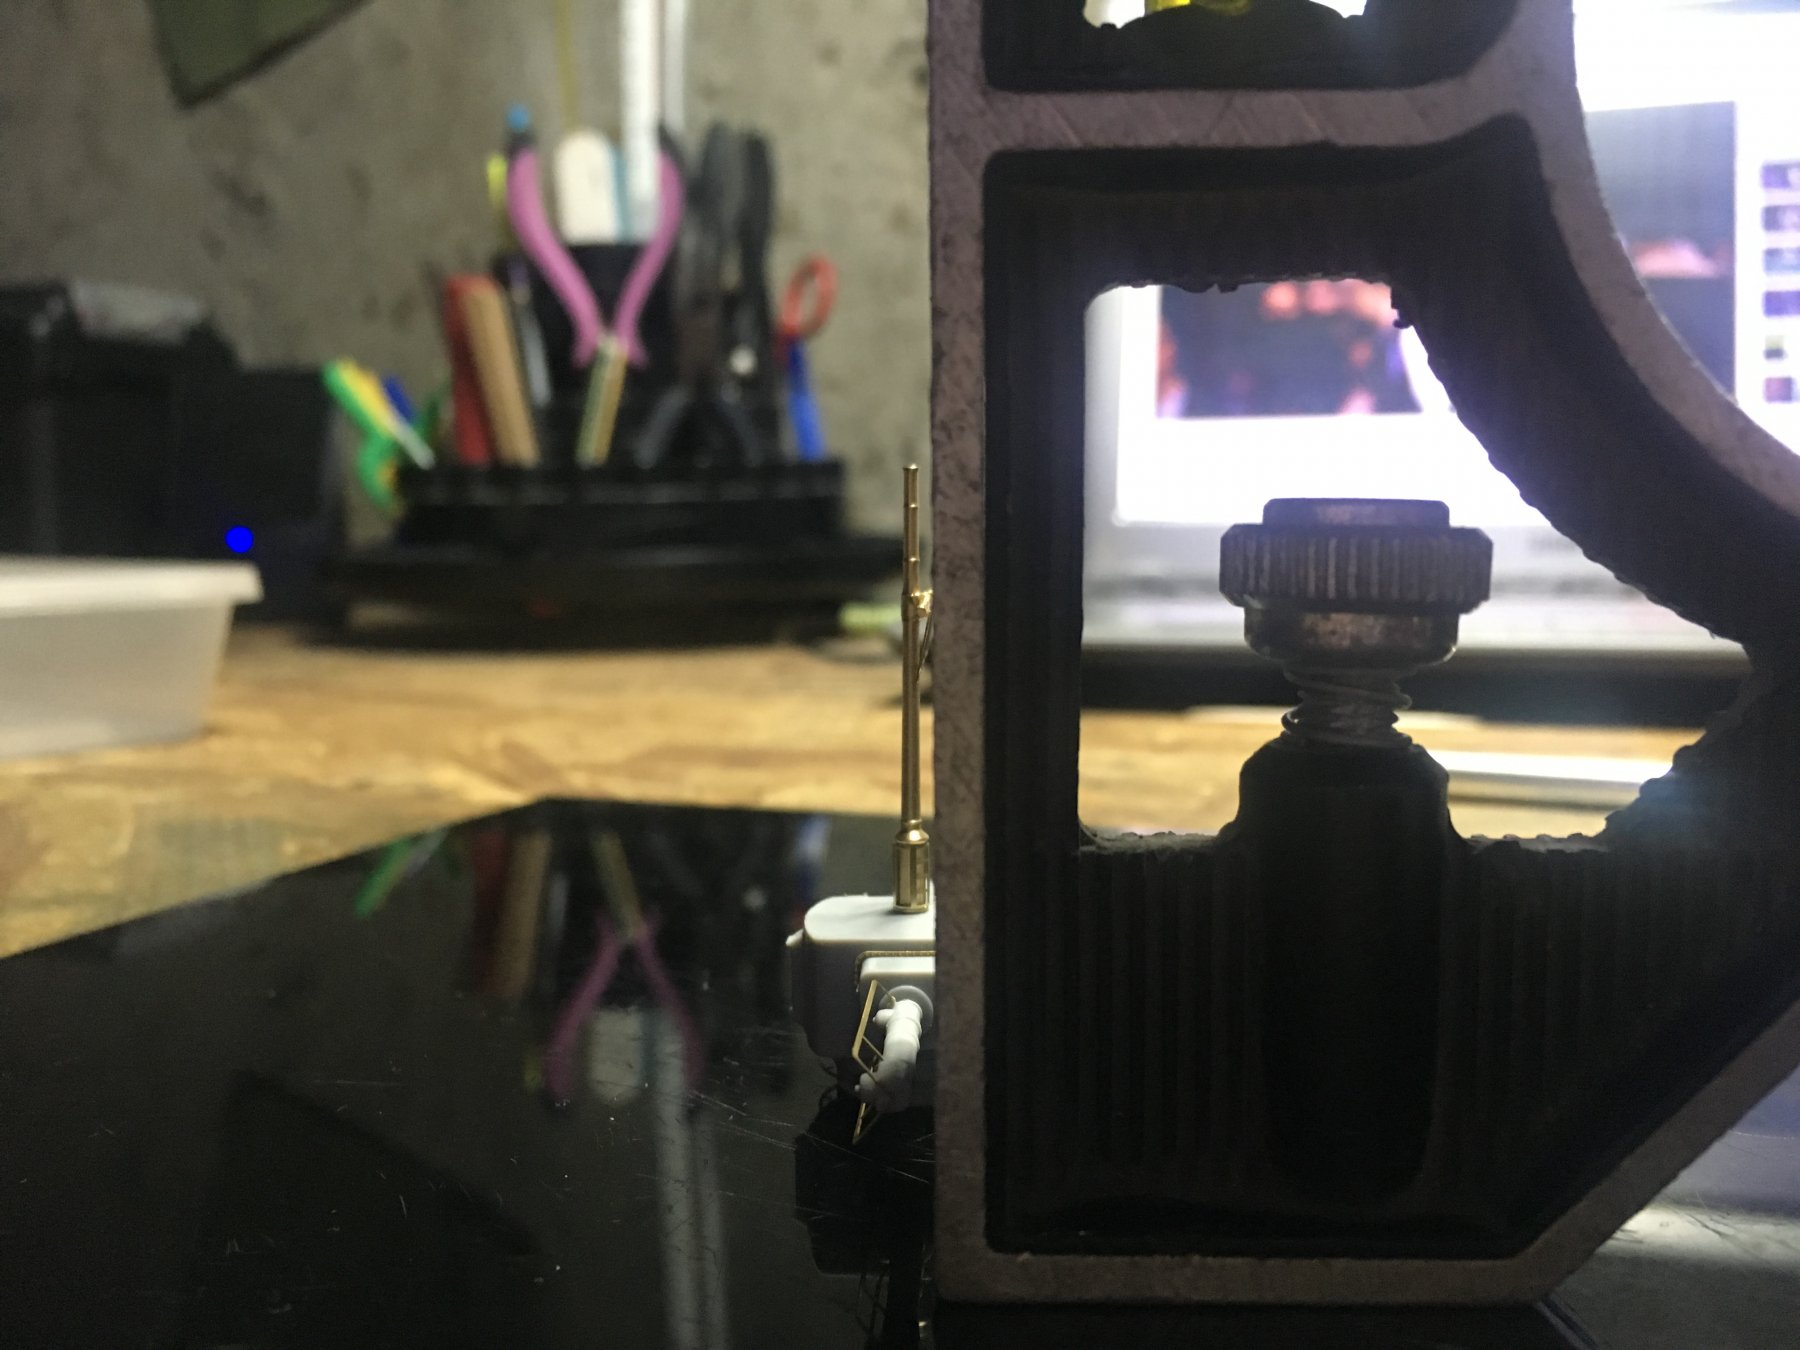
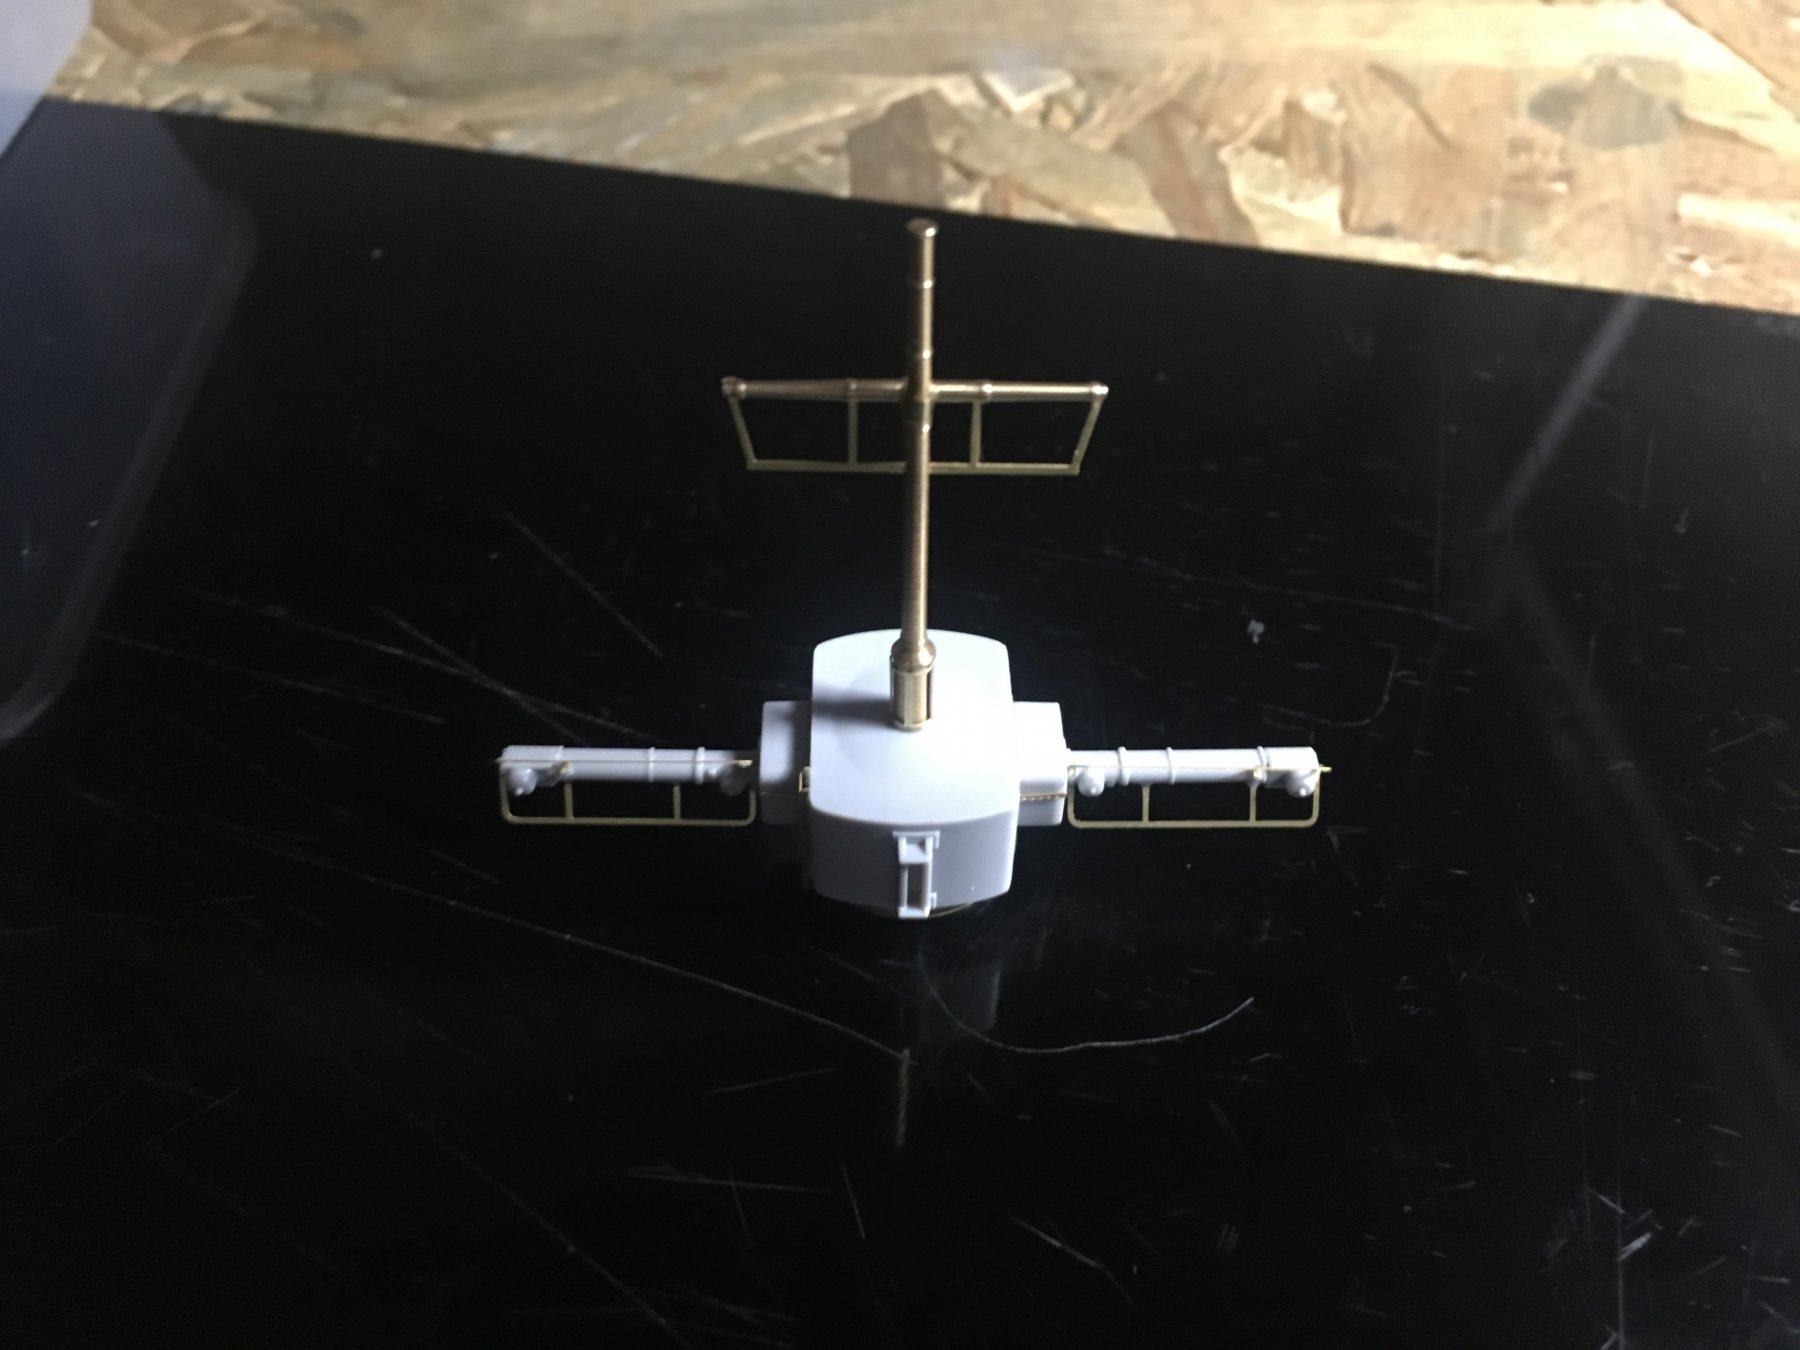
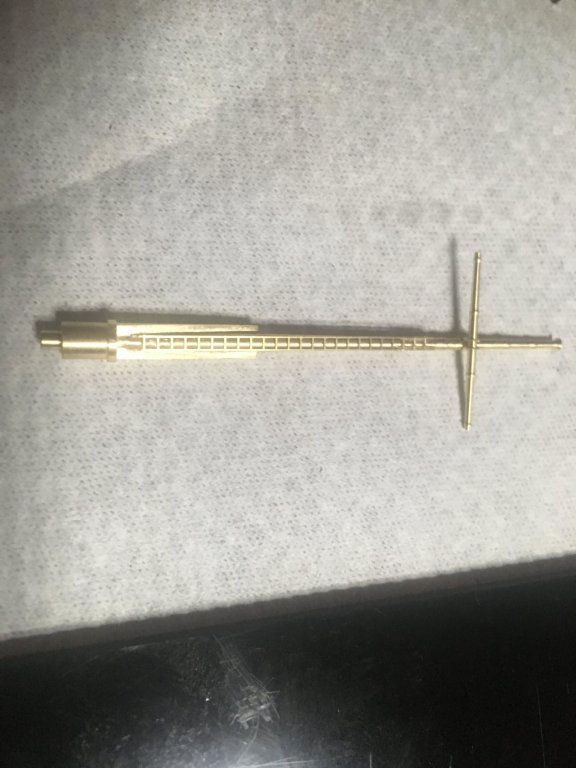
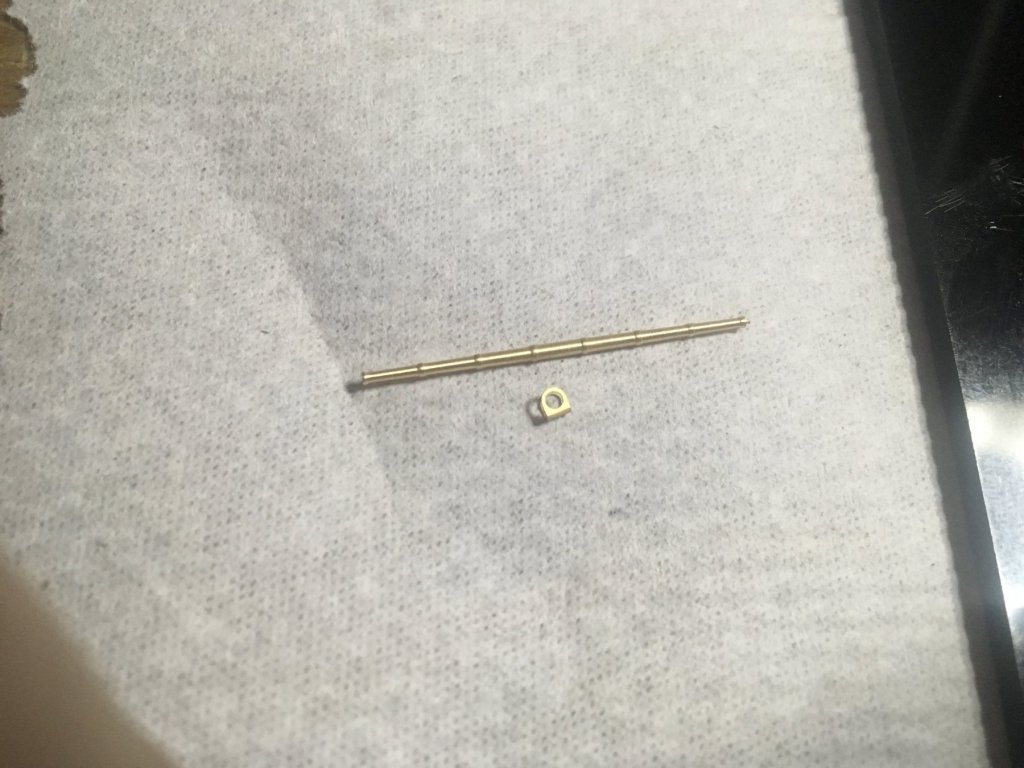
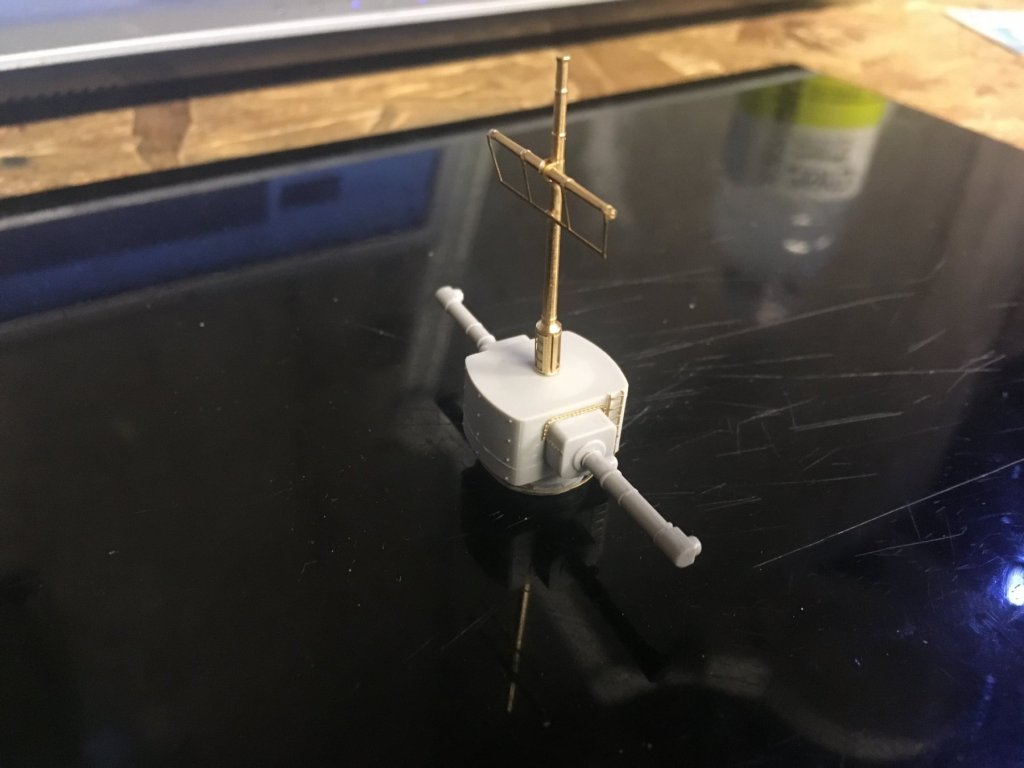
Hey everyone. So I decided to try to drill out the hole again and if i totally destroyed the piece then so be it. To my suprise it worked just enough! Here is the mini mast assembled next comes these 5 parts which was s challenge on the last one i did. then comes the black "radar panel" or whatever it is. All ready pre assembled a few months ago. I might have to touch up the paint as I dont use primer.


-
Thats true. I just never gave it a chance. The bottle is still full. Ive used it on portholes but thats it.
-
basically if the piece has a large flat area to apply glue I will use medium. if the pieces to be joined are odd shaped or very little surface area I will use thin. join the pieces together then just touch a tiny drop of thin glue to it and it just flows into the crevice due to the capillary action. then if you notice to much glue just touch a paper towel to the joint, it will suck back any extra glue.
-
Thanks Harley! I use zap-a-gap CA glue, both thin and medium depending on the piece to be glued. I've always want to try gorilla glue tho. Thank you for looking at my log Harley!
-
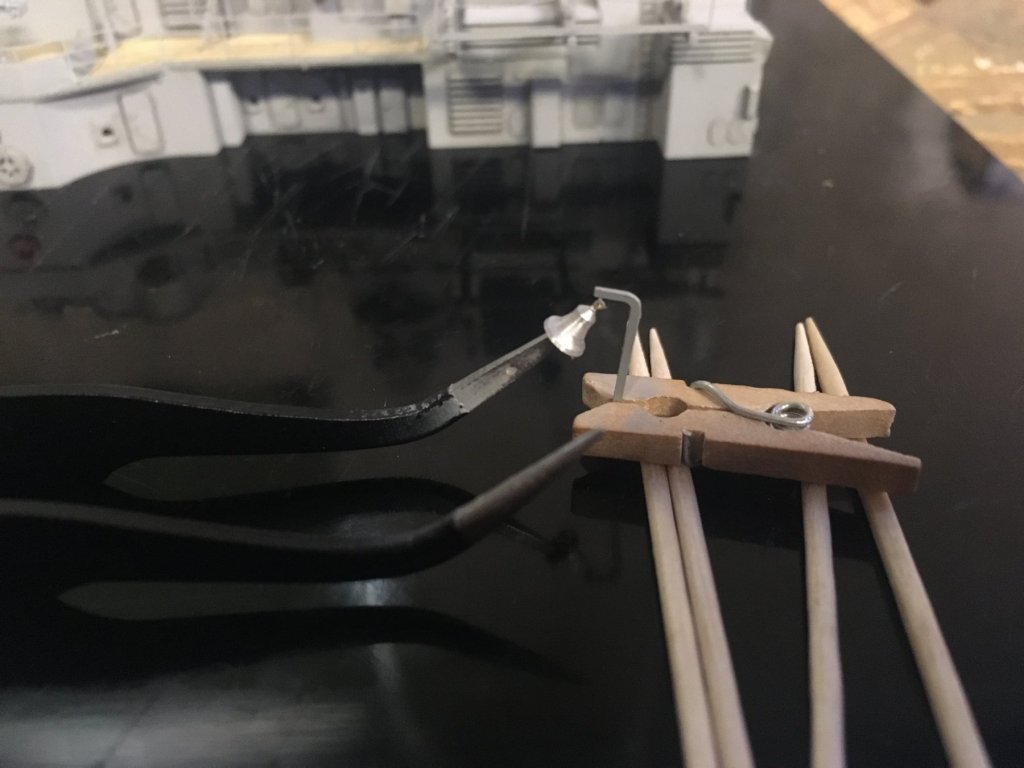
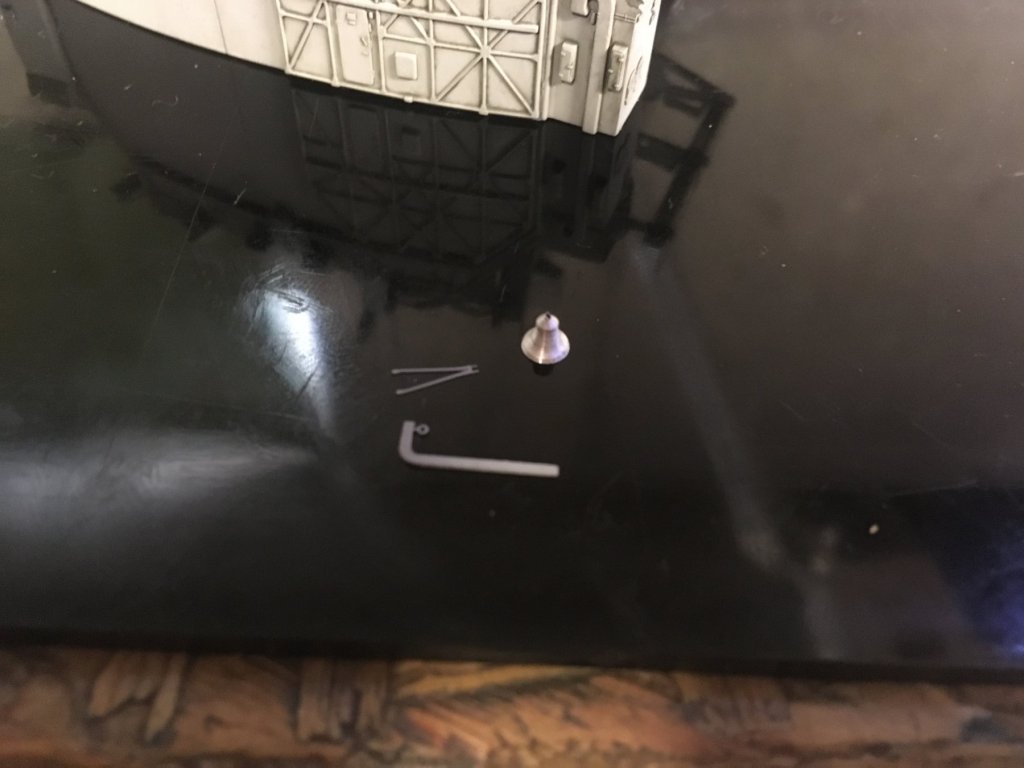
Heres my way of securing the bell while glue drys. Im such a Genius. and installed. Crooked bell but good enough right now. she does not approve of me doing this so sick. Im going to stop now

-
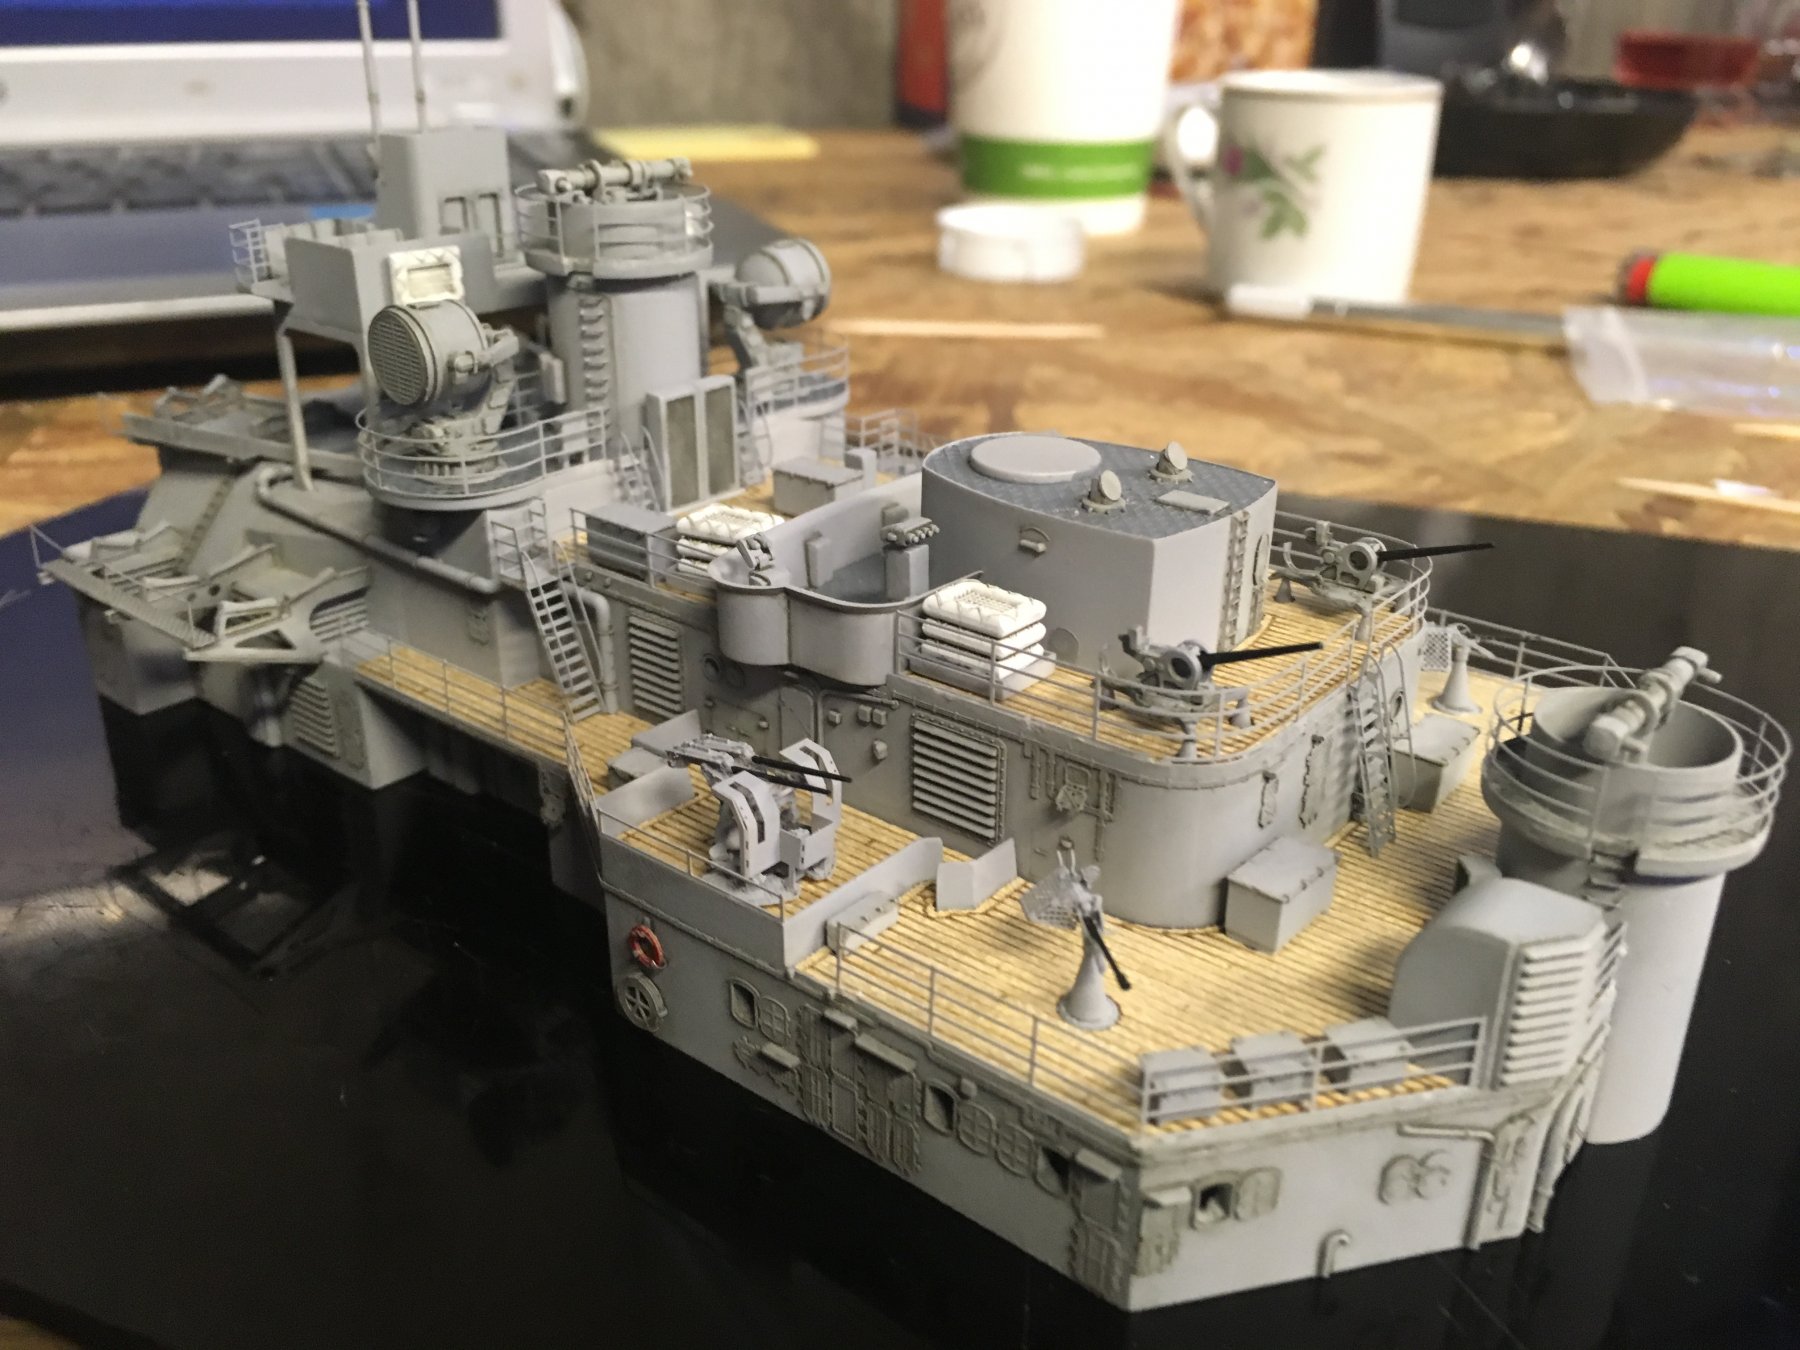
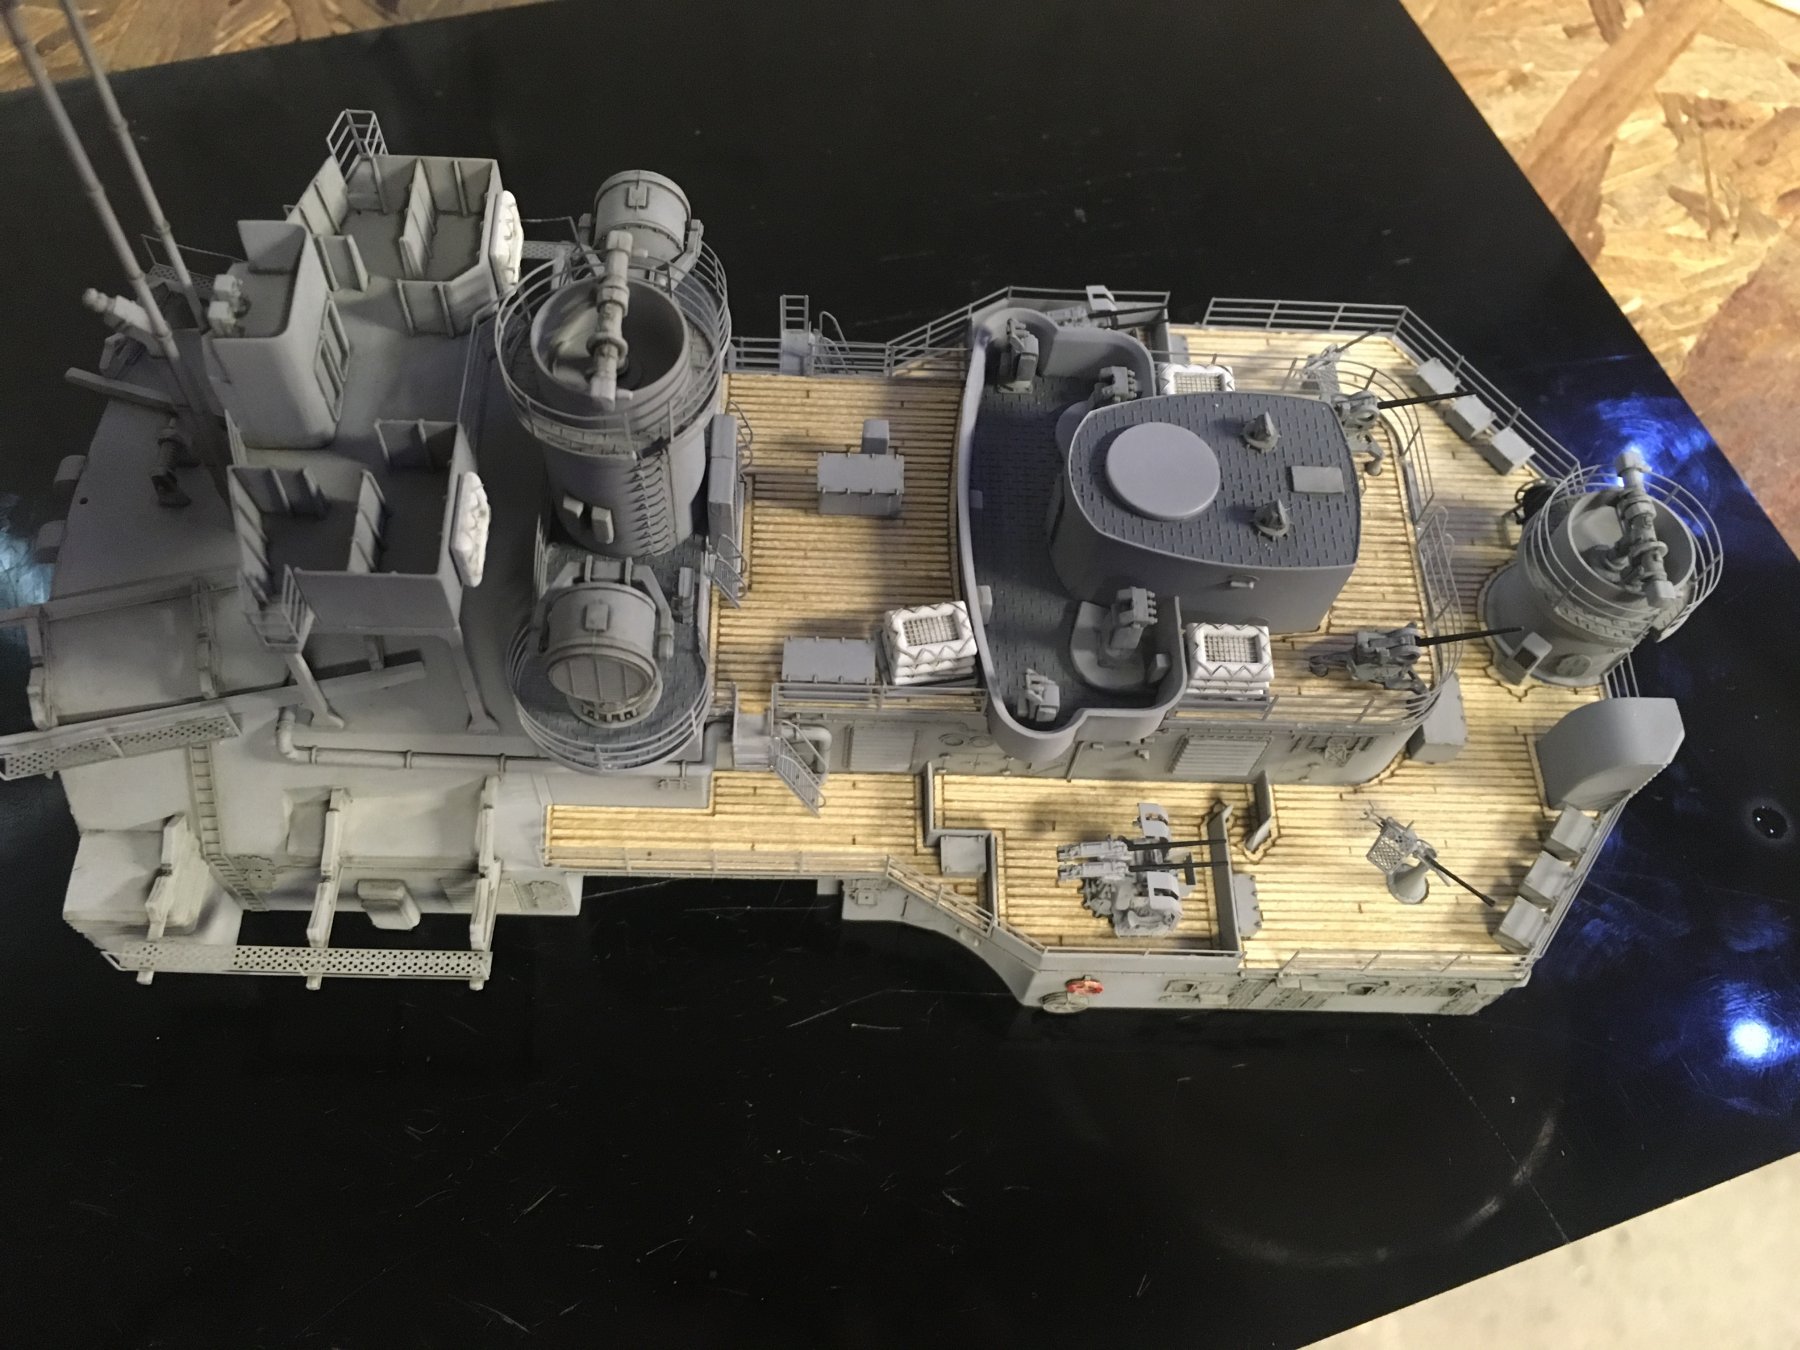
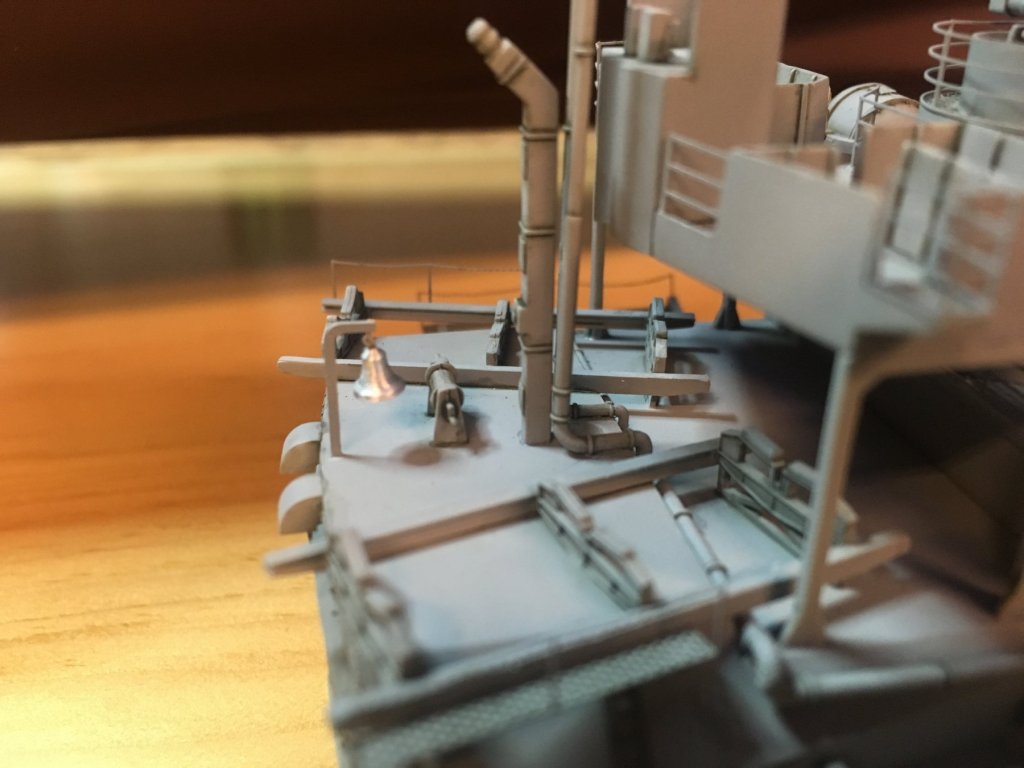
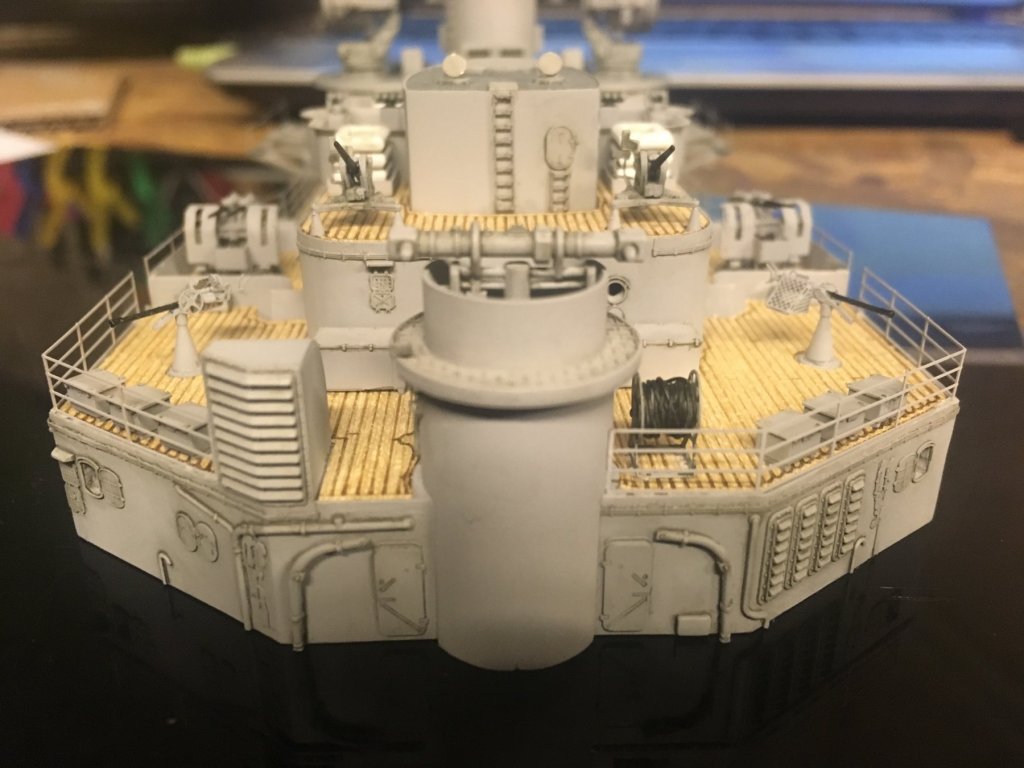
Thank you Slainte! I'm going to keep what you said in mind next time I need aluminum paint. I'm just going to leave it how it is at this point. I put the stairs and the rest of the railings on. So basically its almost done. I can almost install it onto the Bismarck. all thats left is the ships bell. Then It can atleast be put onto the ship. I just wish the bell was brass instead of aluminium. I'm debating whether or not to paint it like I painted the props under the ship. so bell, install onto ship then I will deal with the range finder.


-
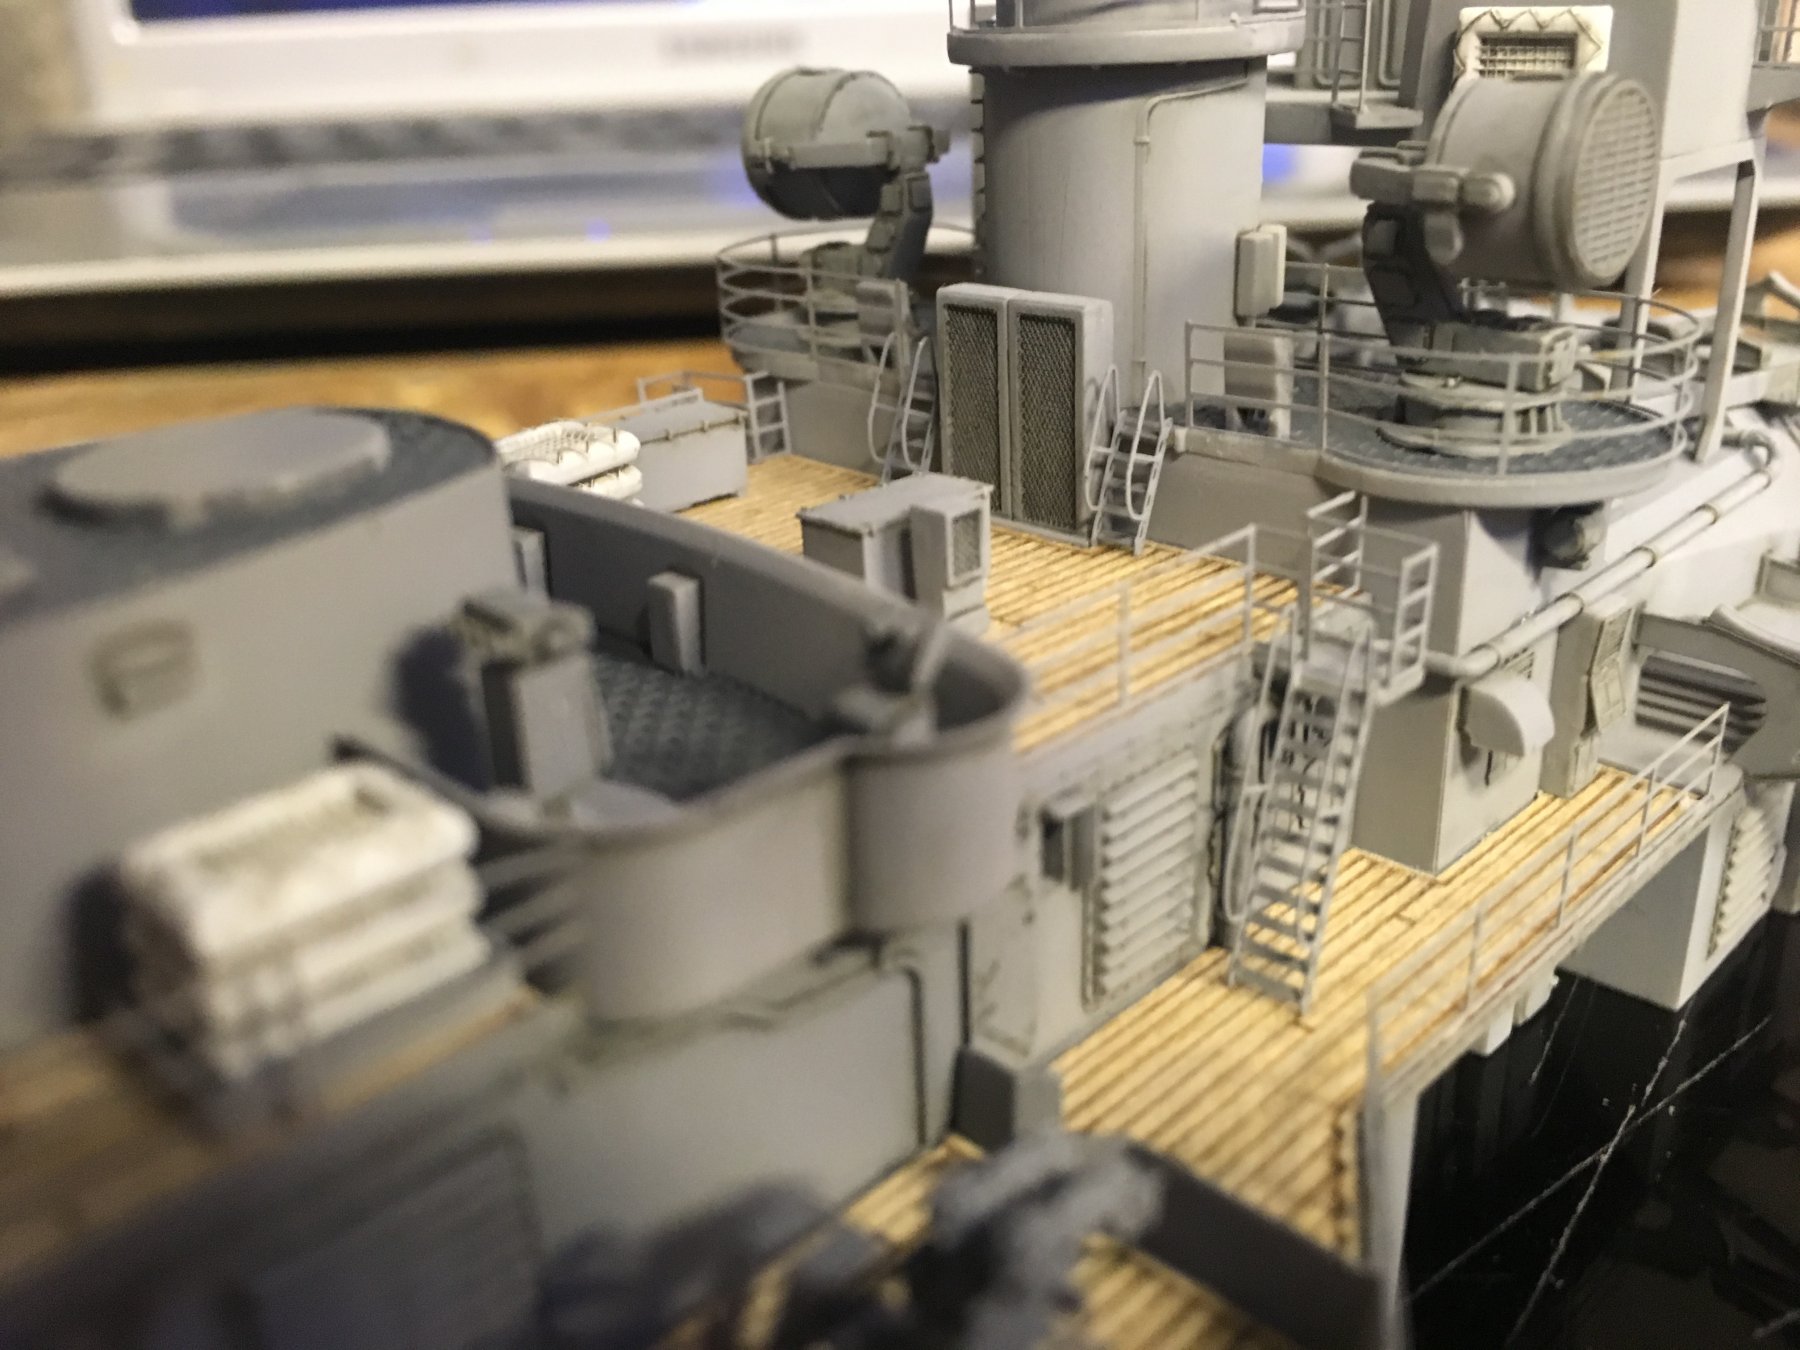
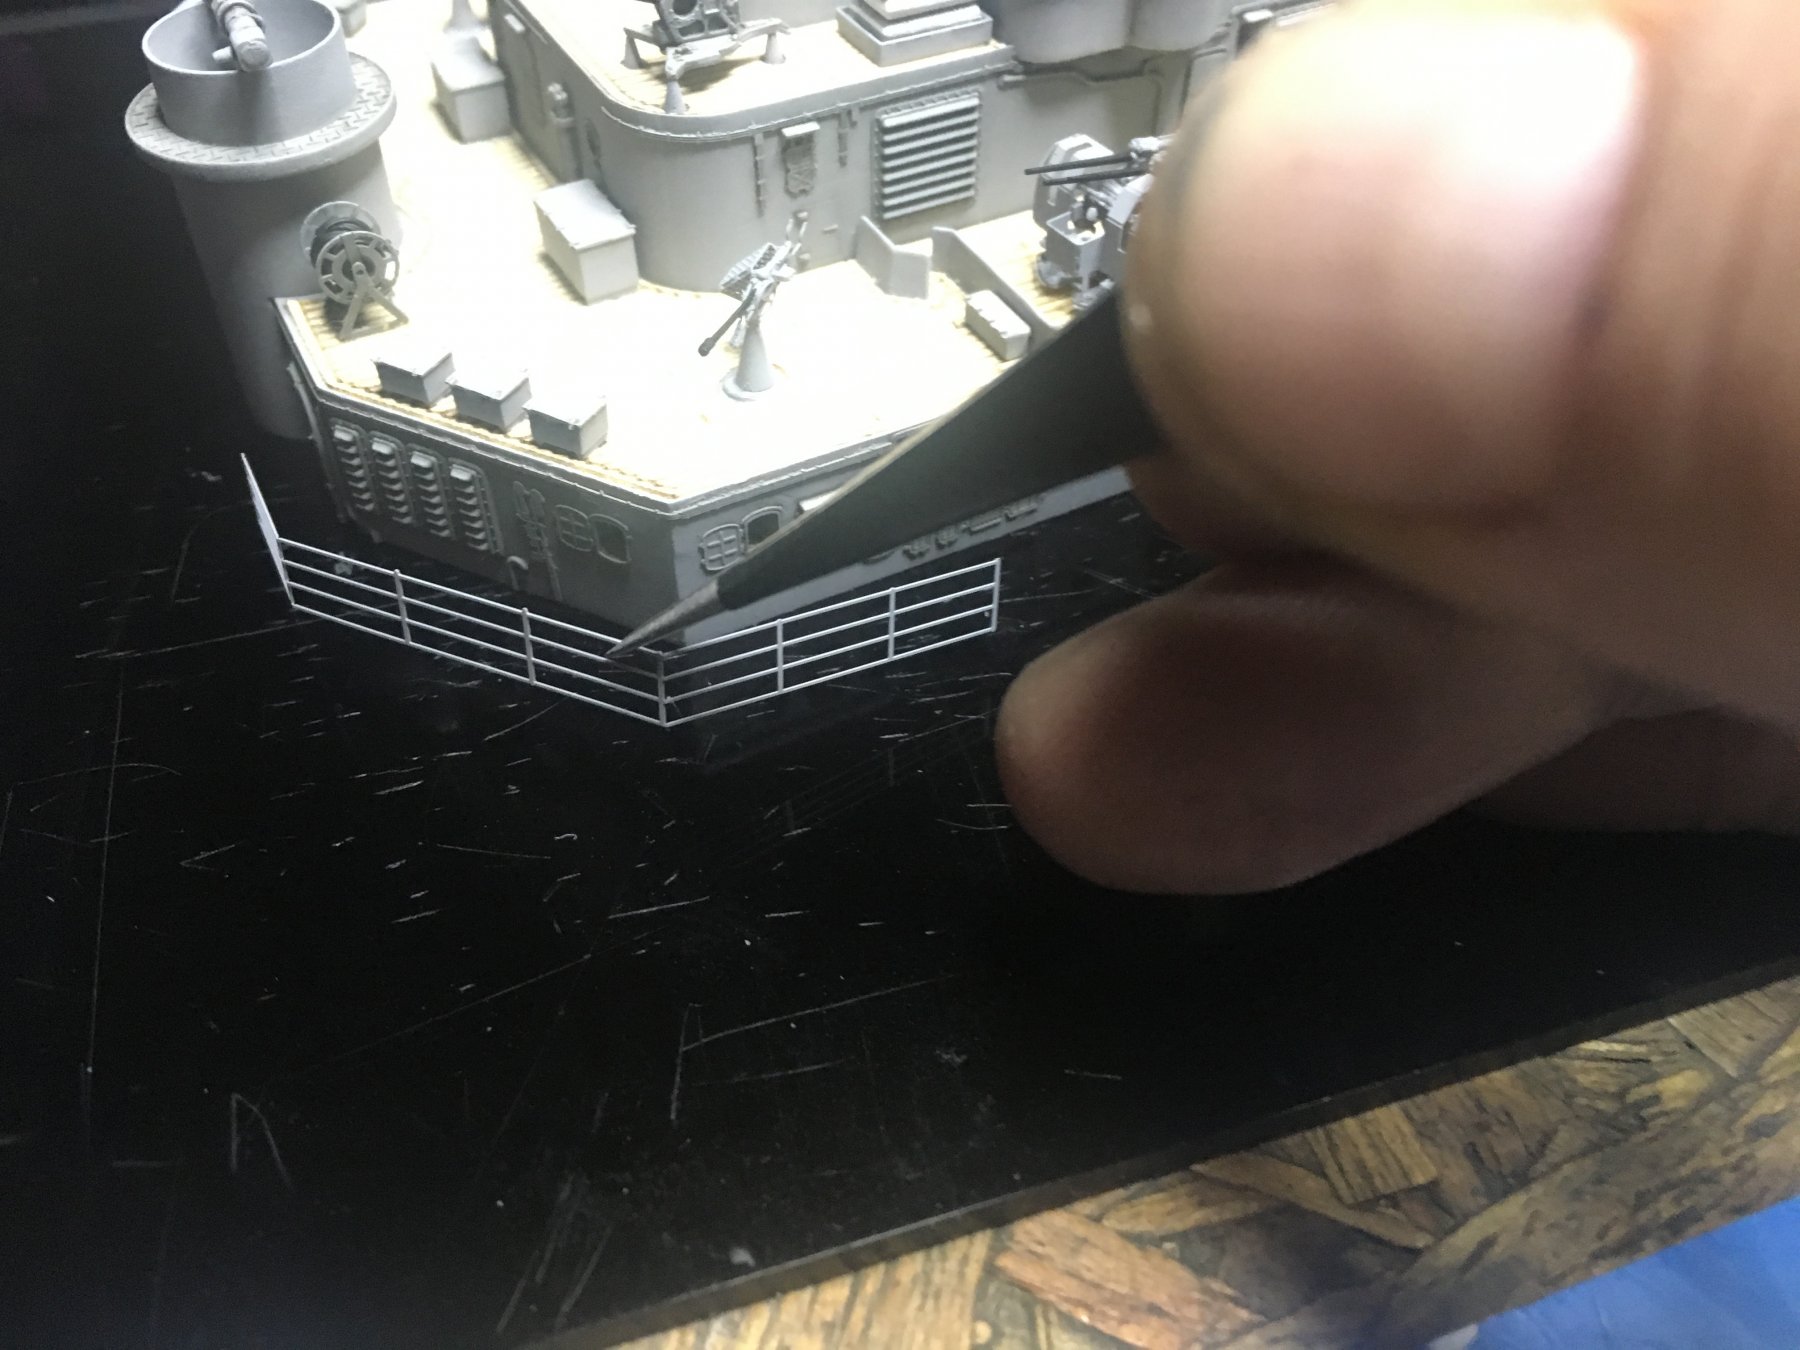
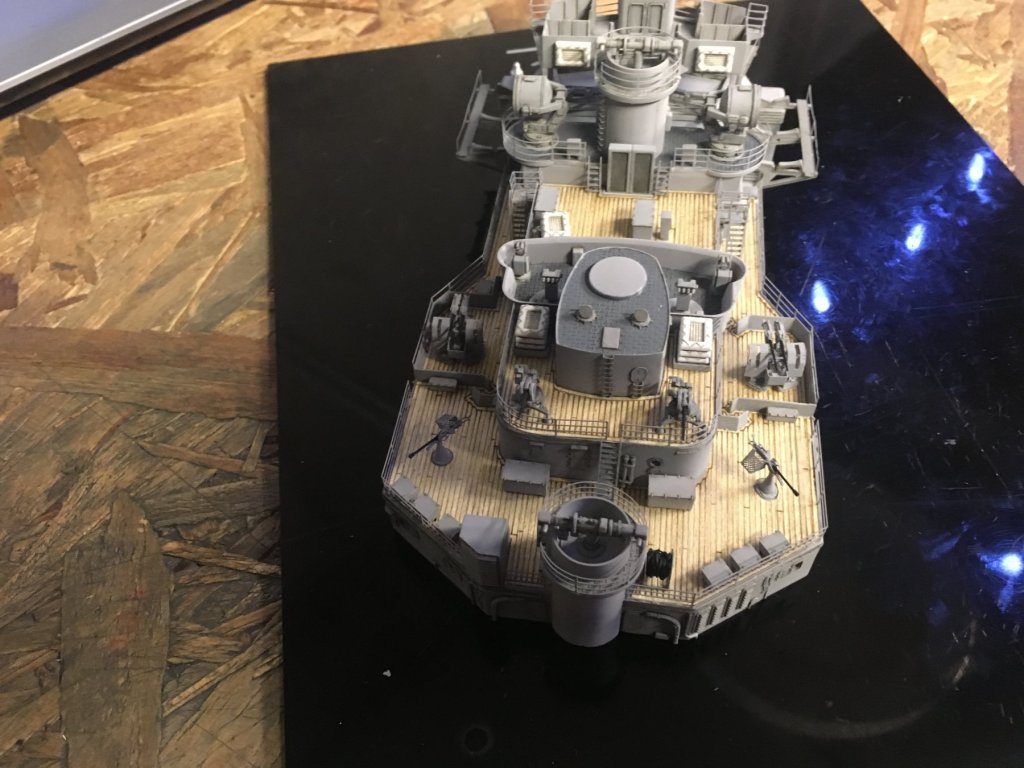
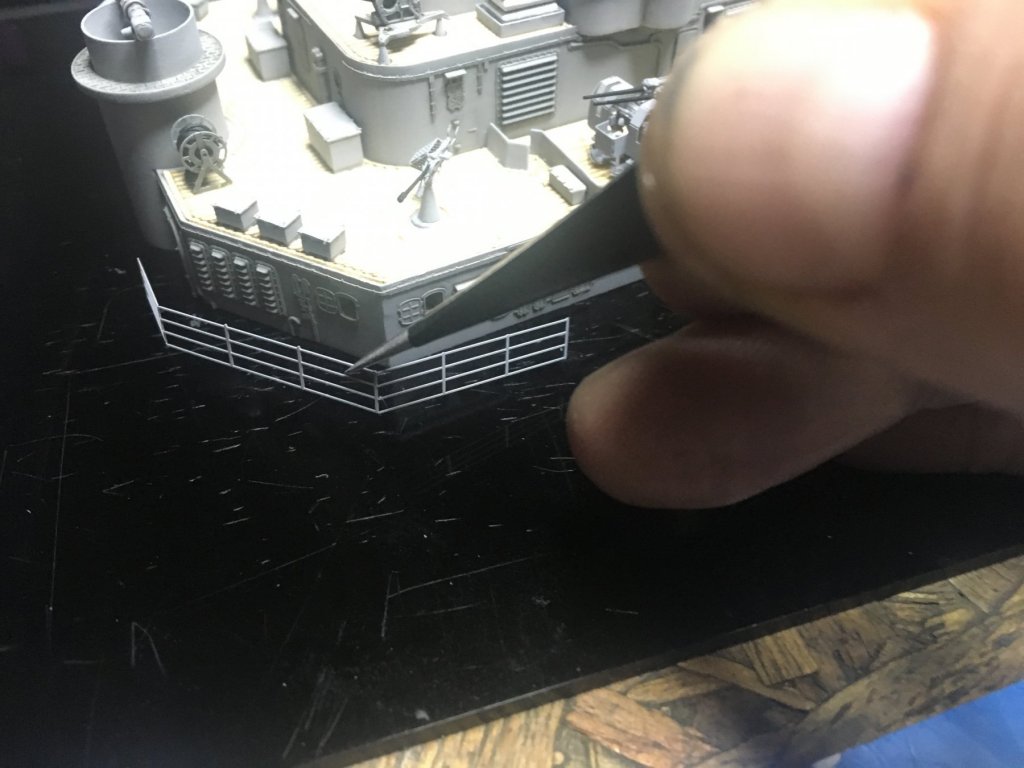
The guns and the railings are in. Actually I have 2 railings left to glue but I feel like caca so I stopped for now.
-
OC I caught the flu from her! We both feel like we've been put in a blender. I blame her for being so damn pretty I just had to kiss her! Then BOOM I'm sick too Cog I got 1 hour 43 minutes of sleep last night and I'm trying to glue down some railings as we speak. It's a gluey mess! I think I glued my arm to my workbench by mistake.
-
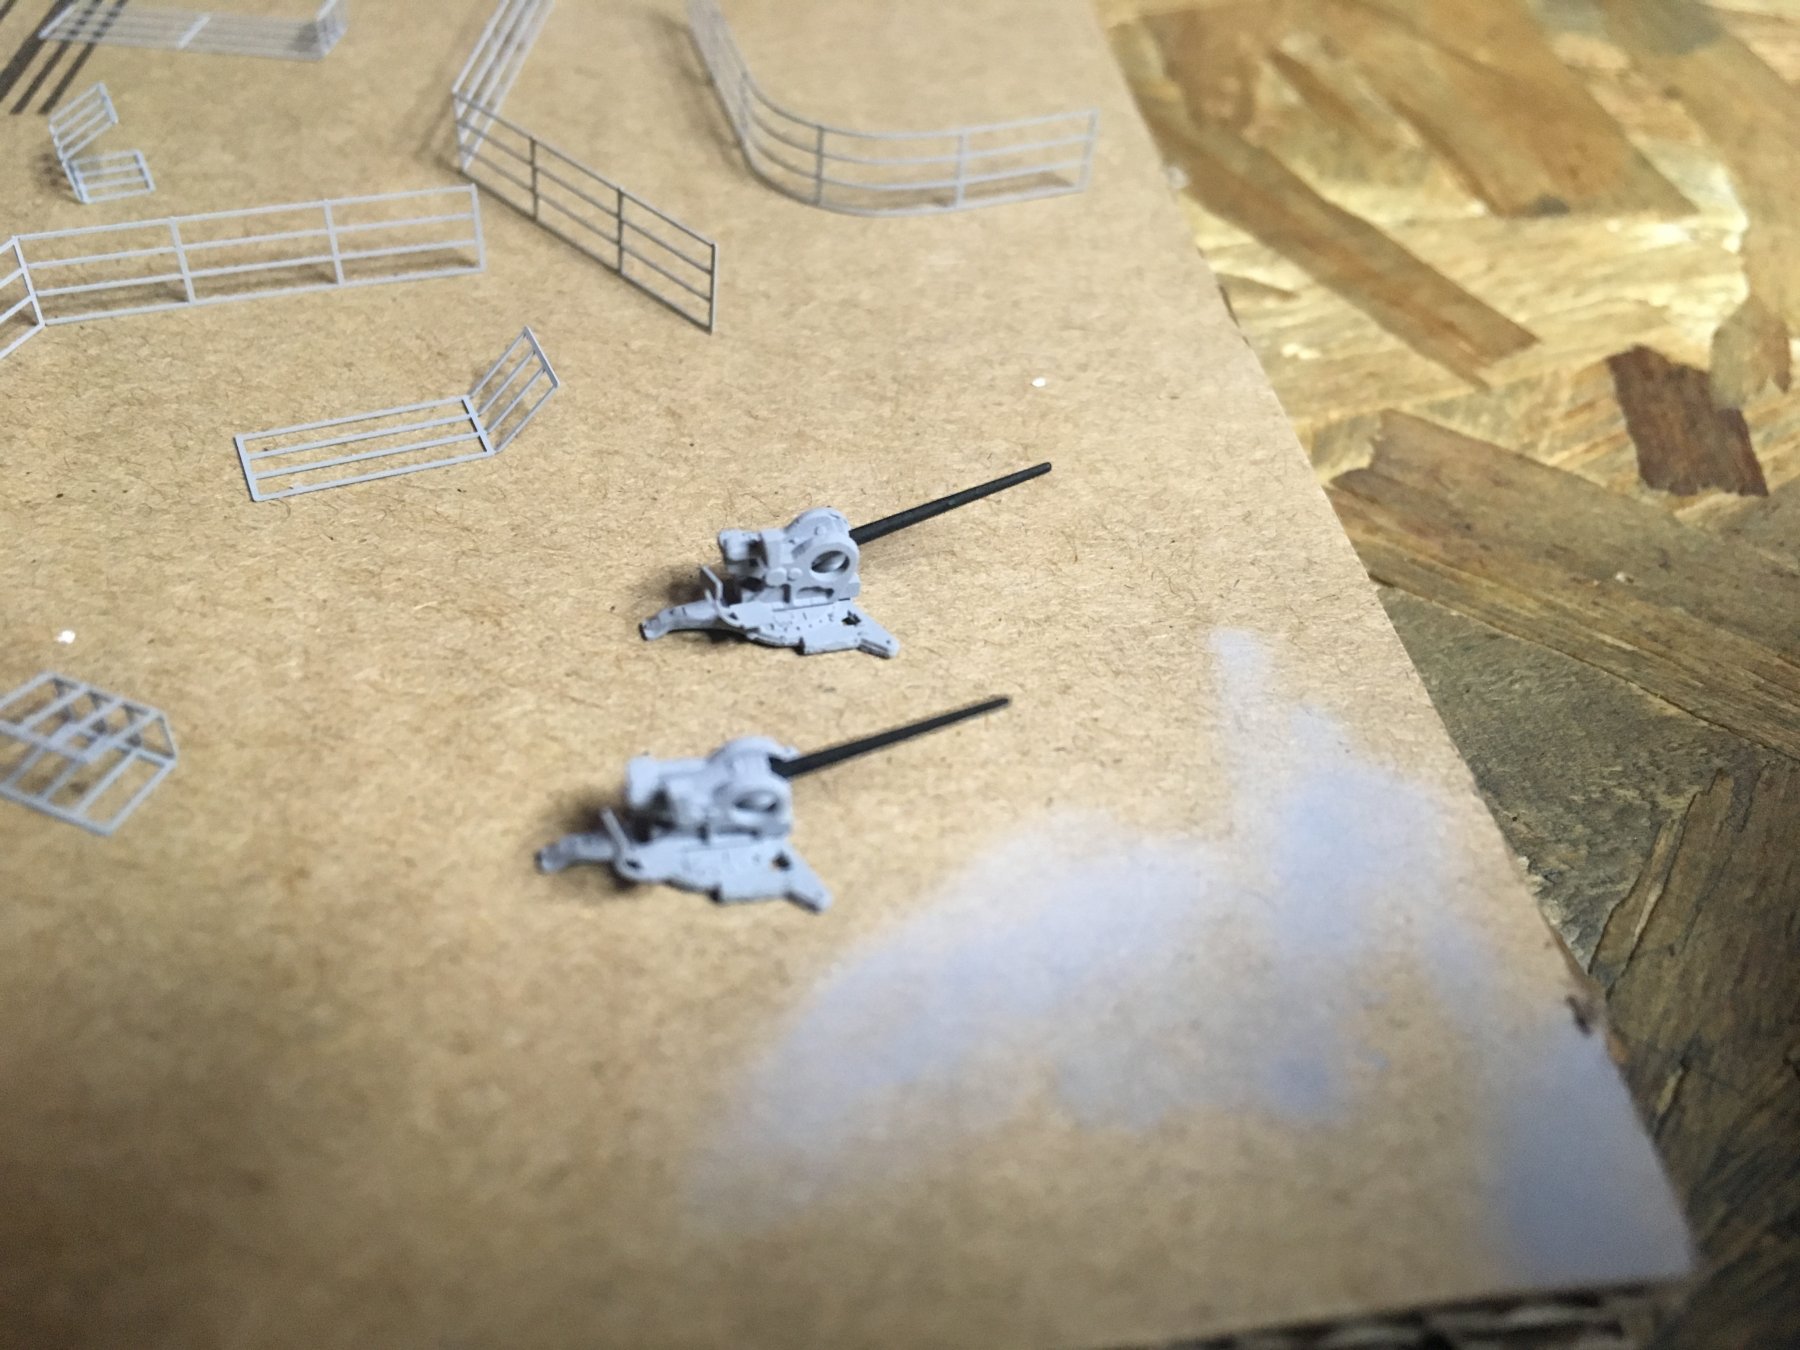
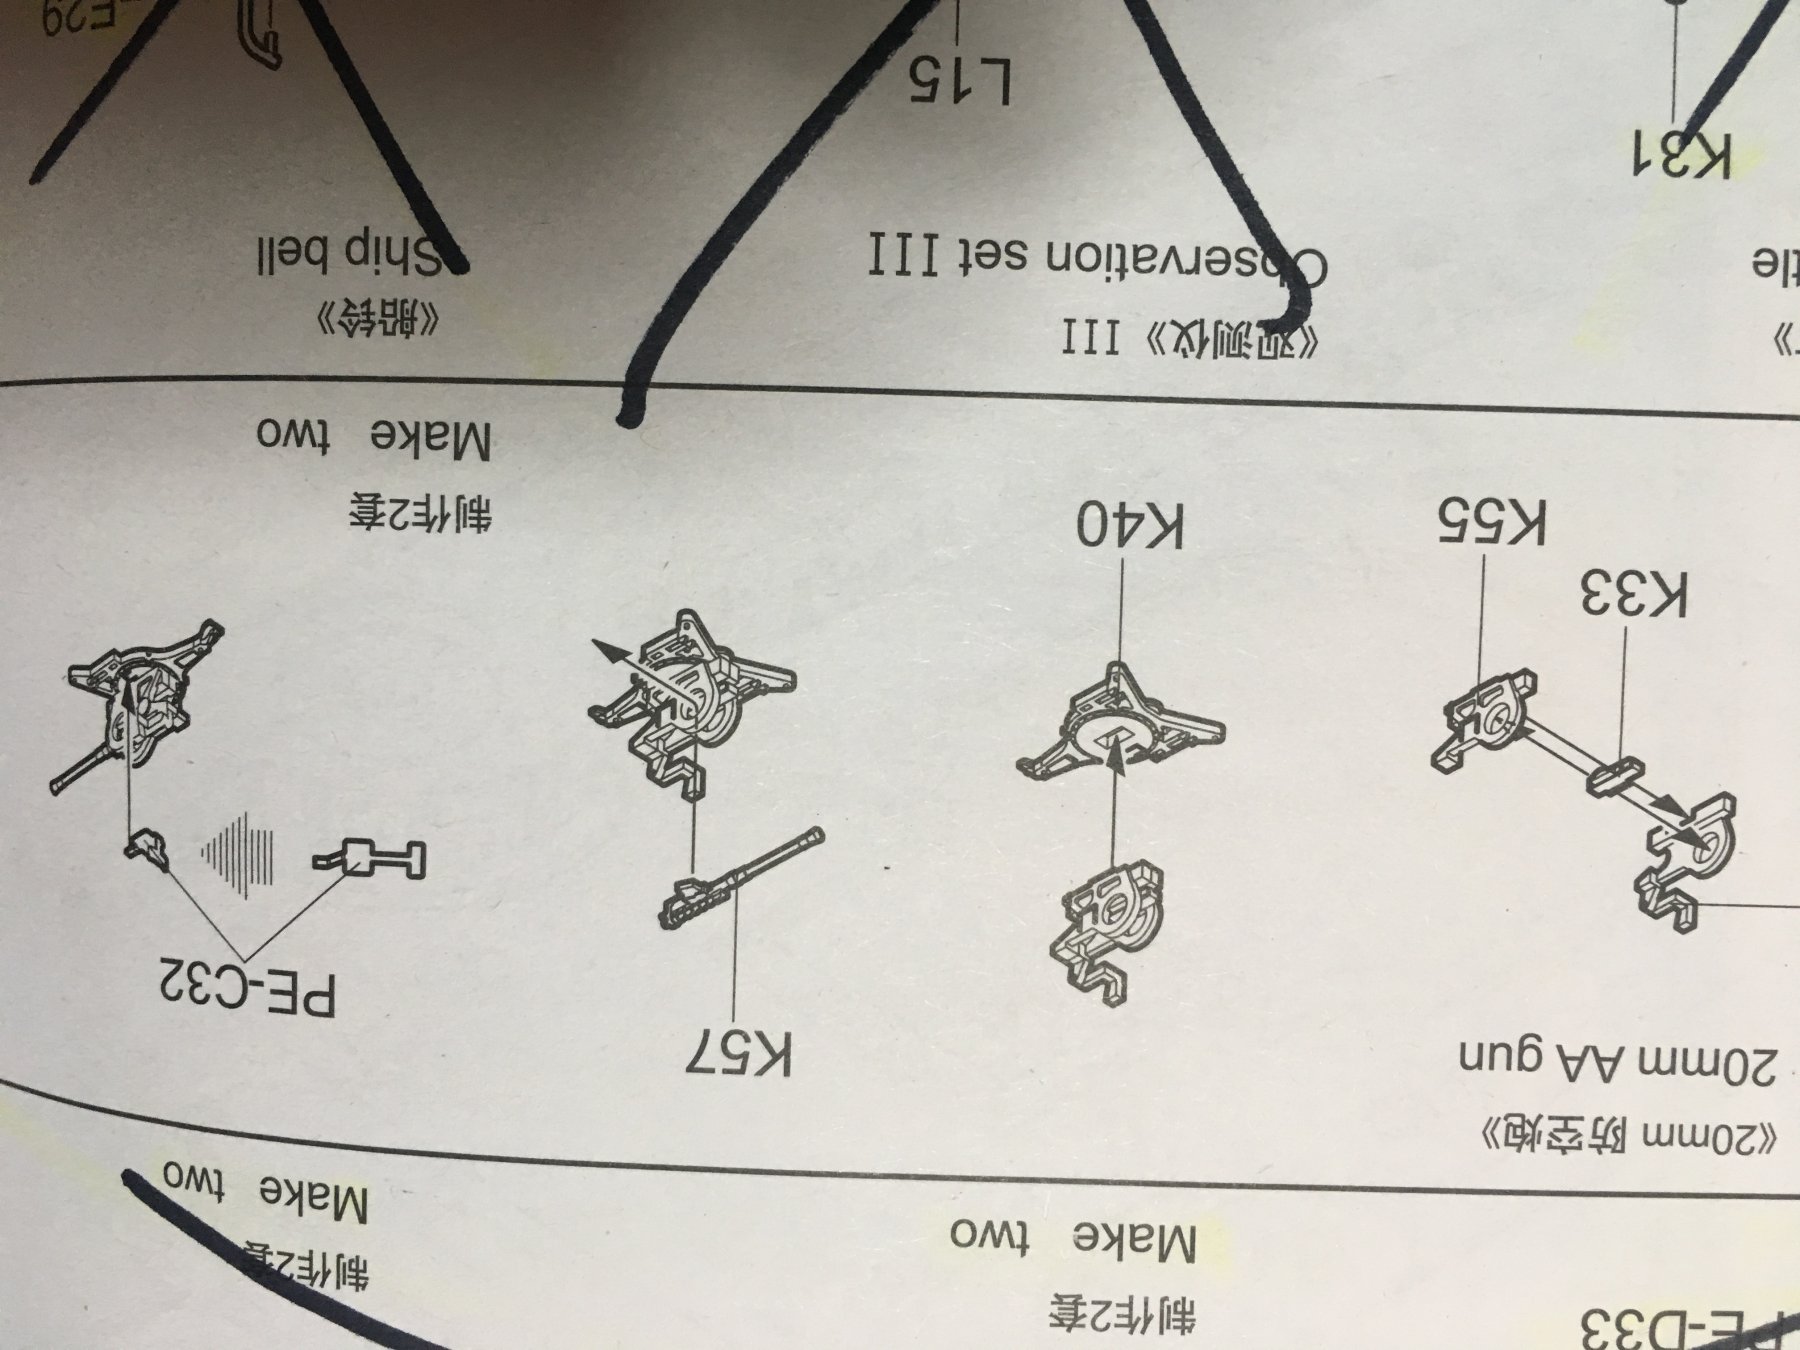
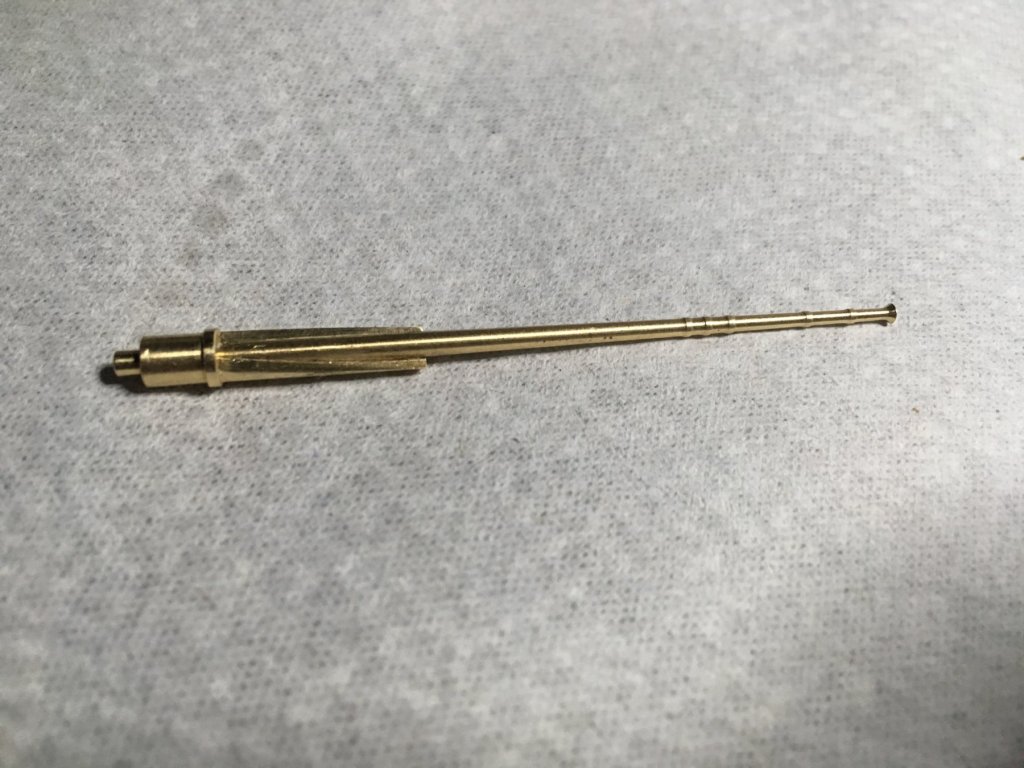
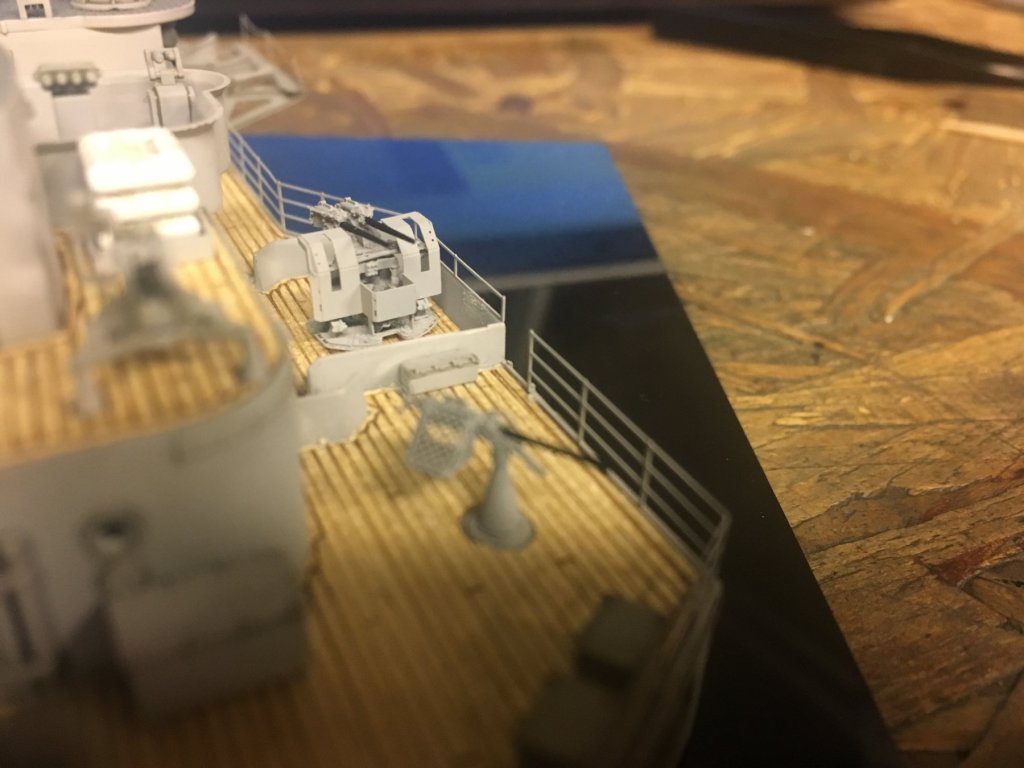
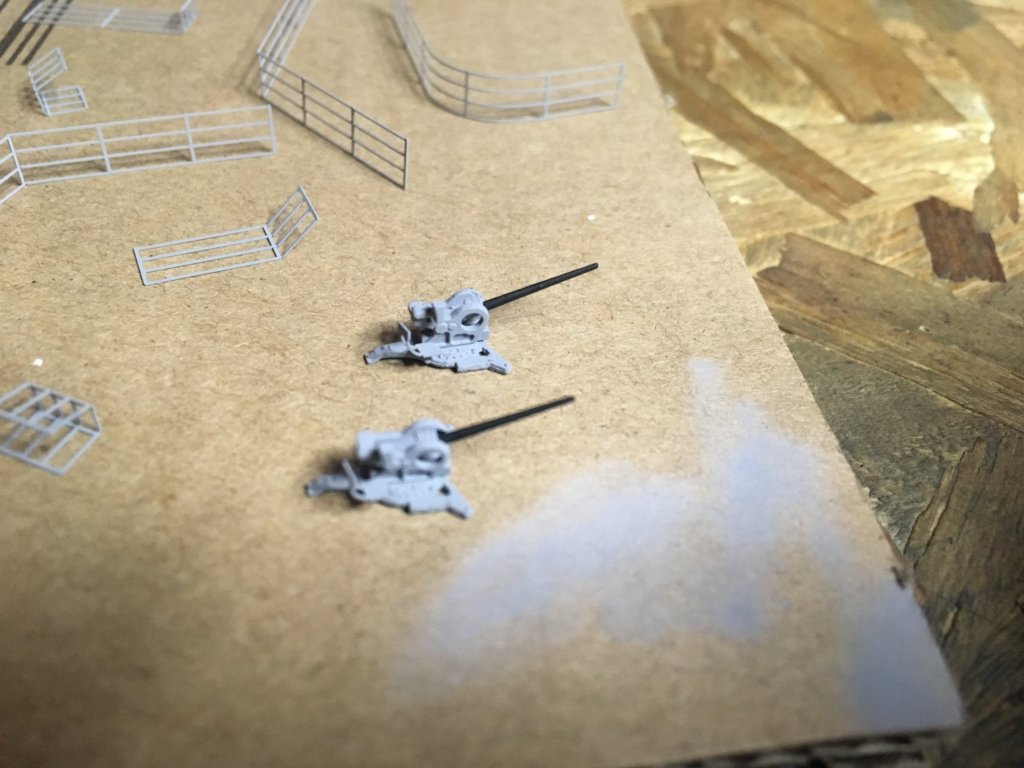
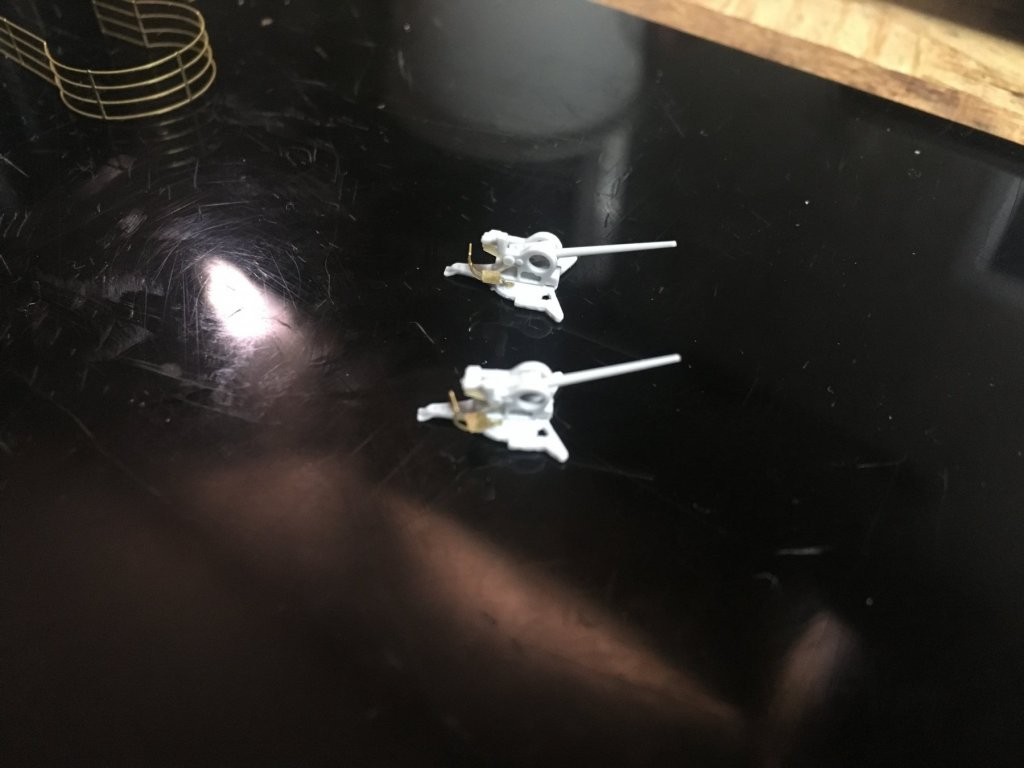
Those guns are the trumpeter kit guns. I had thought I threw them out by mistake but dug them out of a pile of what I thought was spare parts minus the barrels. So I took 2 20mm barrels that I didn't use and used them, Problem solved. Now on to that darn range finder mast problem. Acually I will procrastinate that as long as I possibly can... I have railings to glue next.
-
Since I feel like death all I could do today is paint a little bit. 2 guns painted and awaiting shading. railings painted and awaiting installation
-
Because I'm sick I just wont get ahead of myself like i usually do. I feel like death though.
-
Thats a good idea Cog. So there are plenty of options I guess. Now I have the flu so I have time to think about it.
-
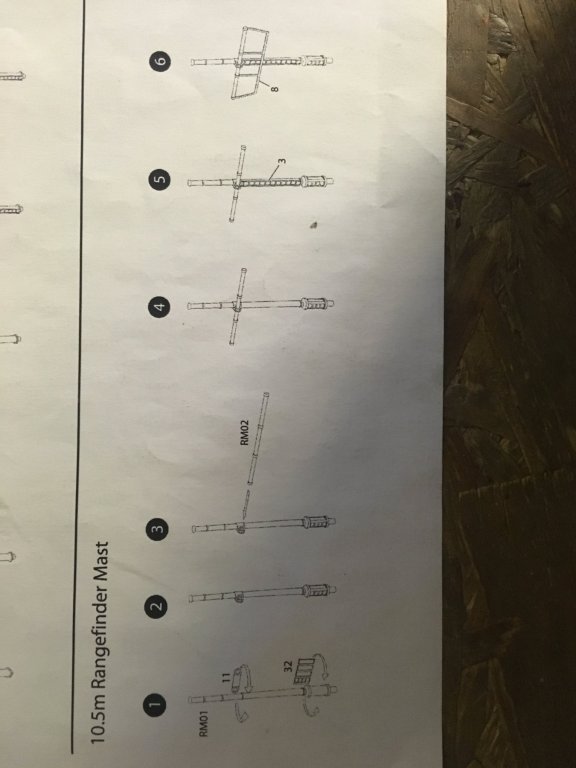
thank you Popeye and Thank you Danny all good ideas. oh i didn't know they were rangefinders, thanks! I wish I could just leave it off all together but some rigging line goes to and gets tied to this little mast.
-
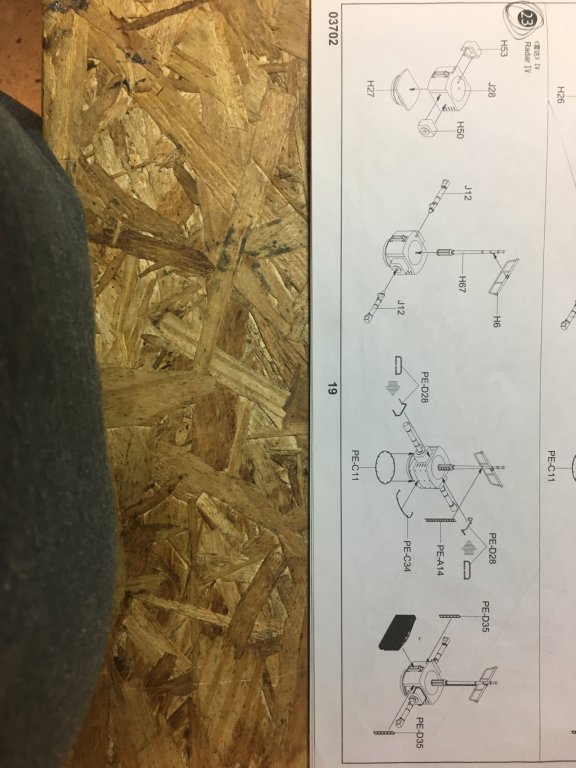
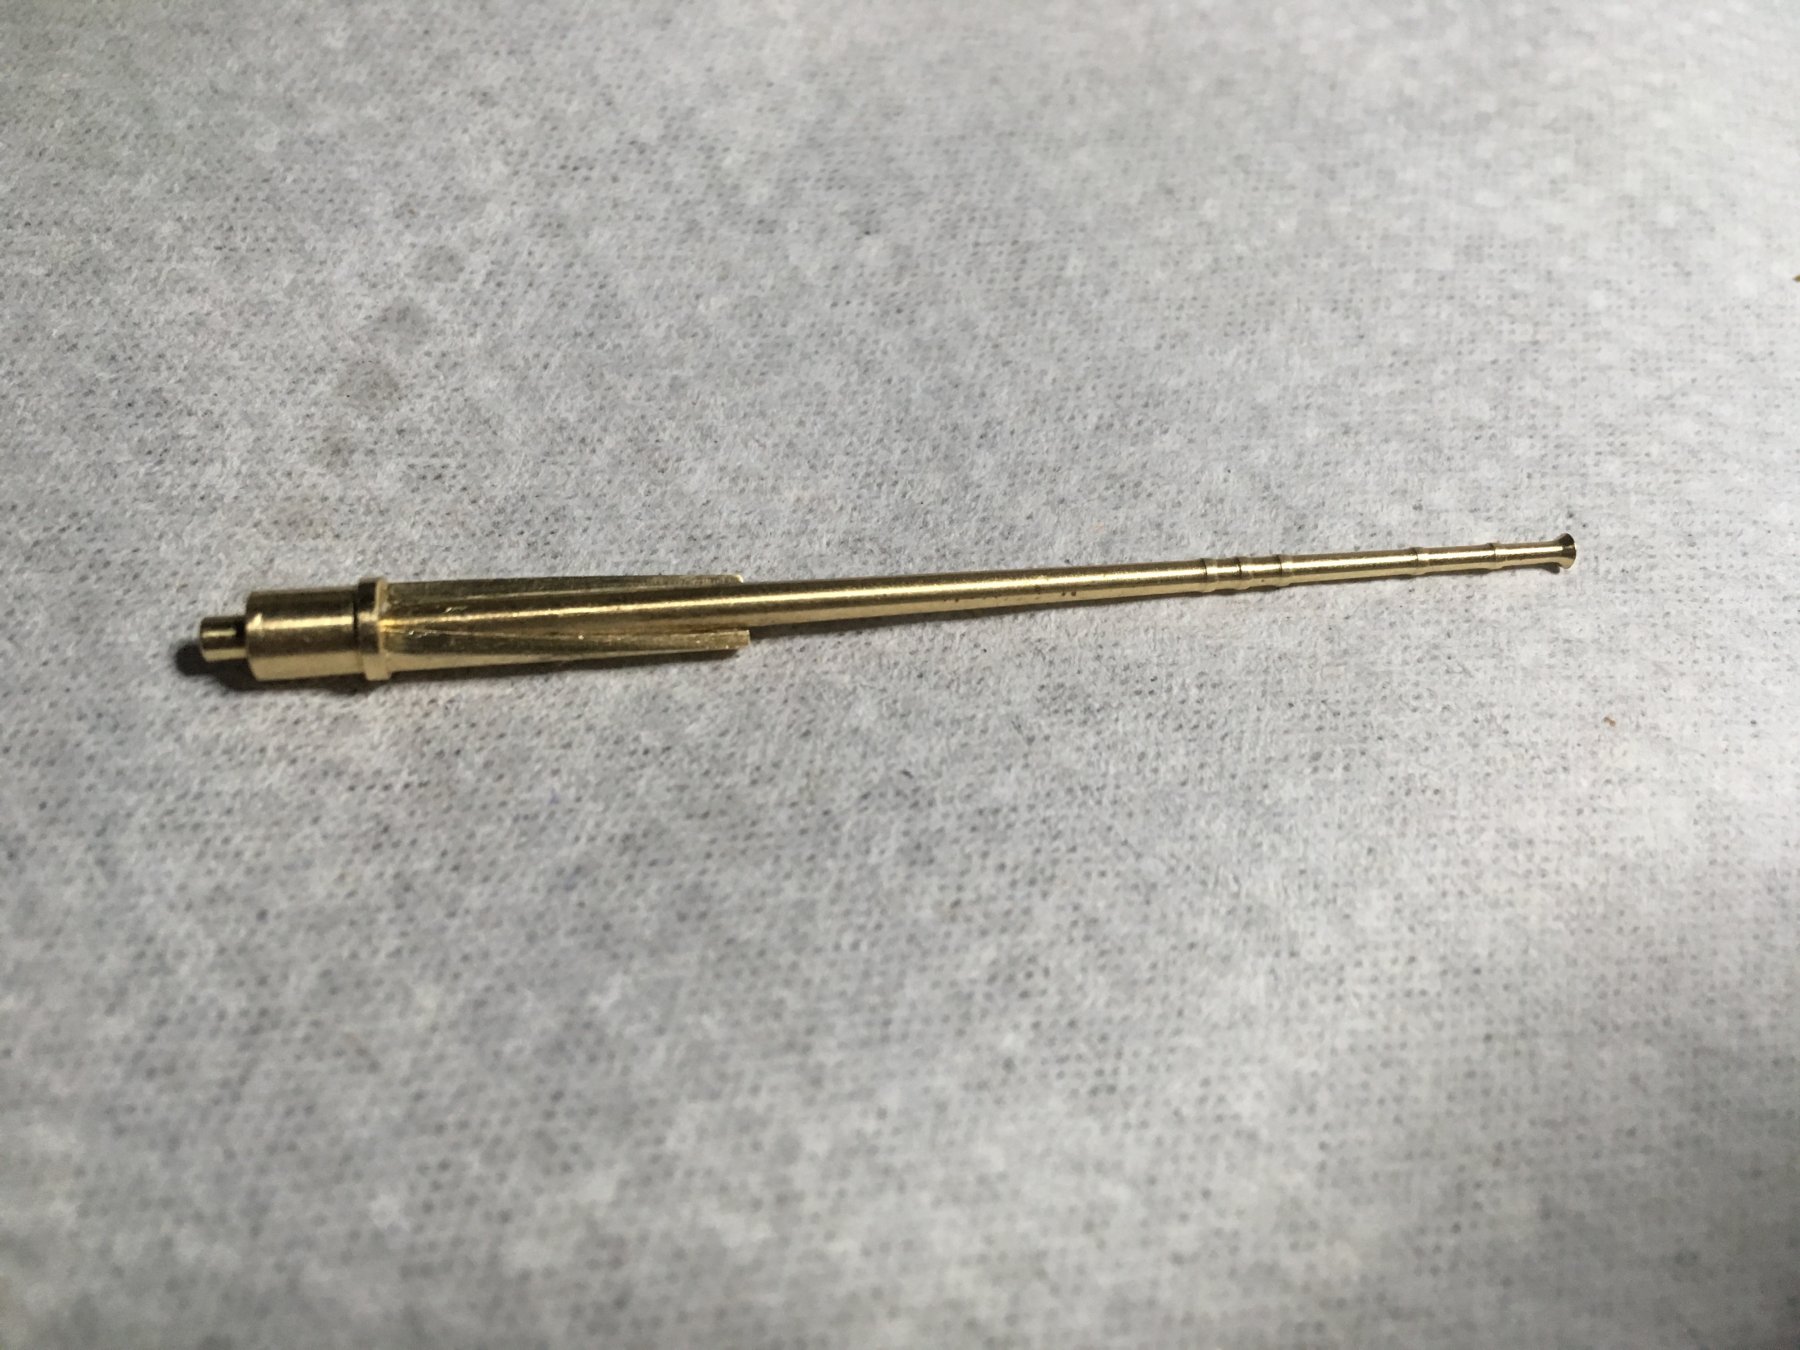
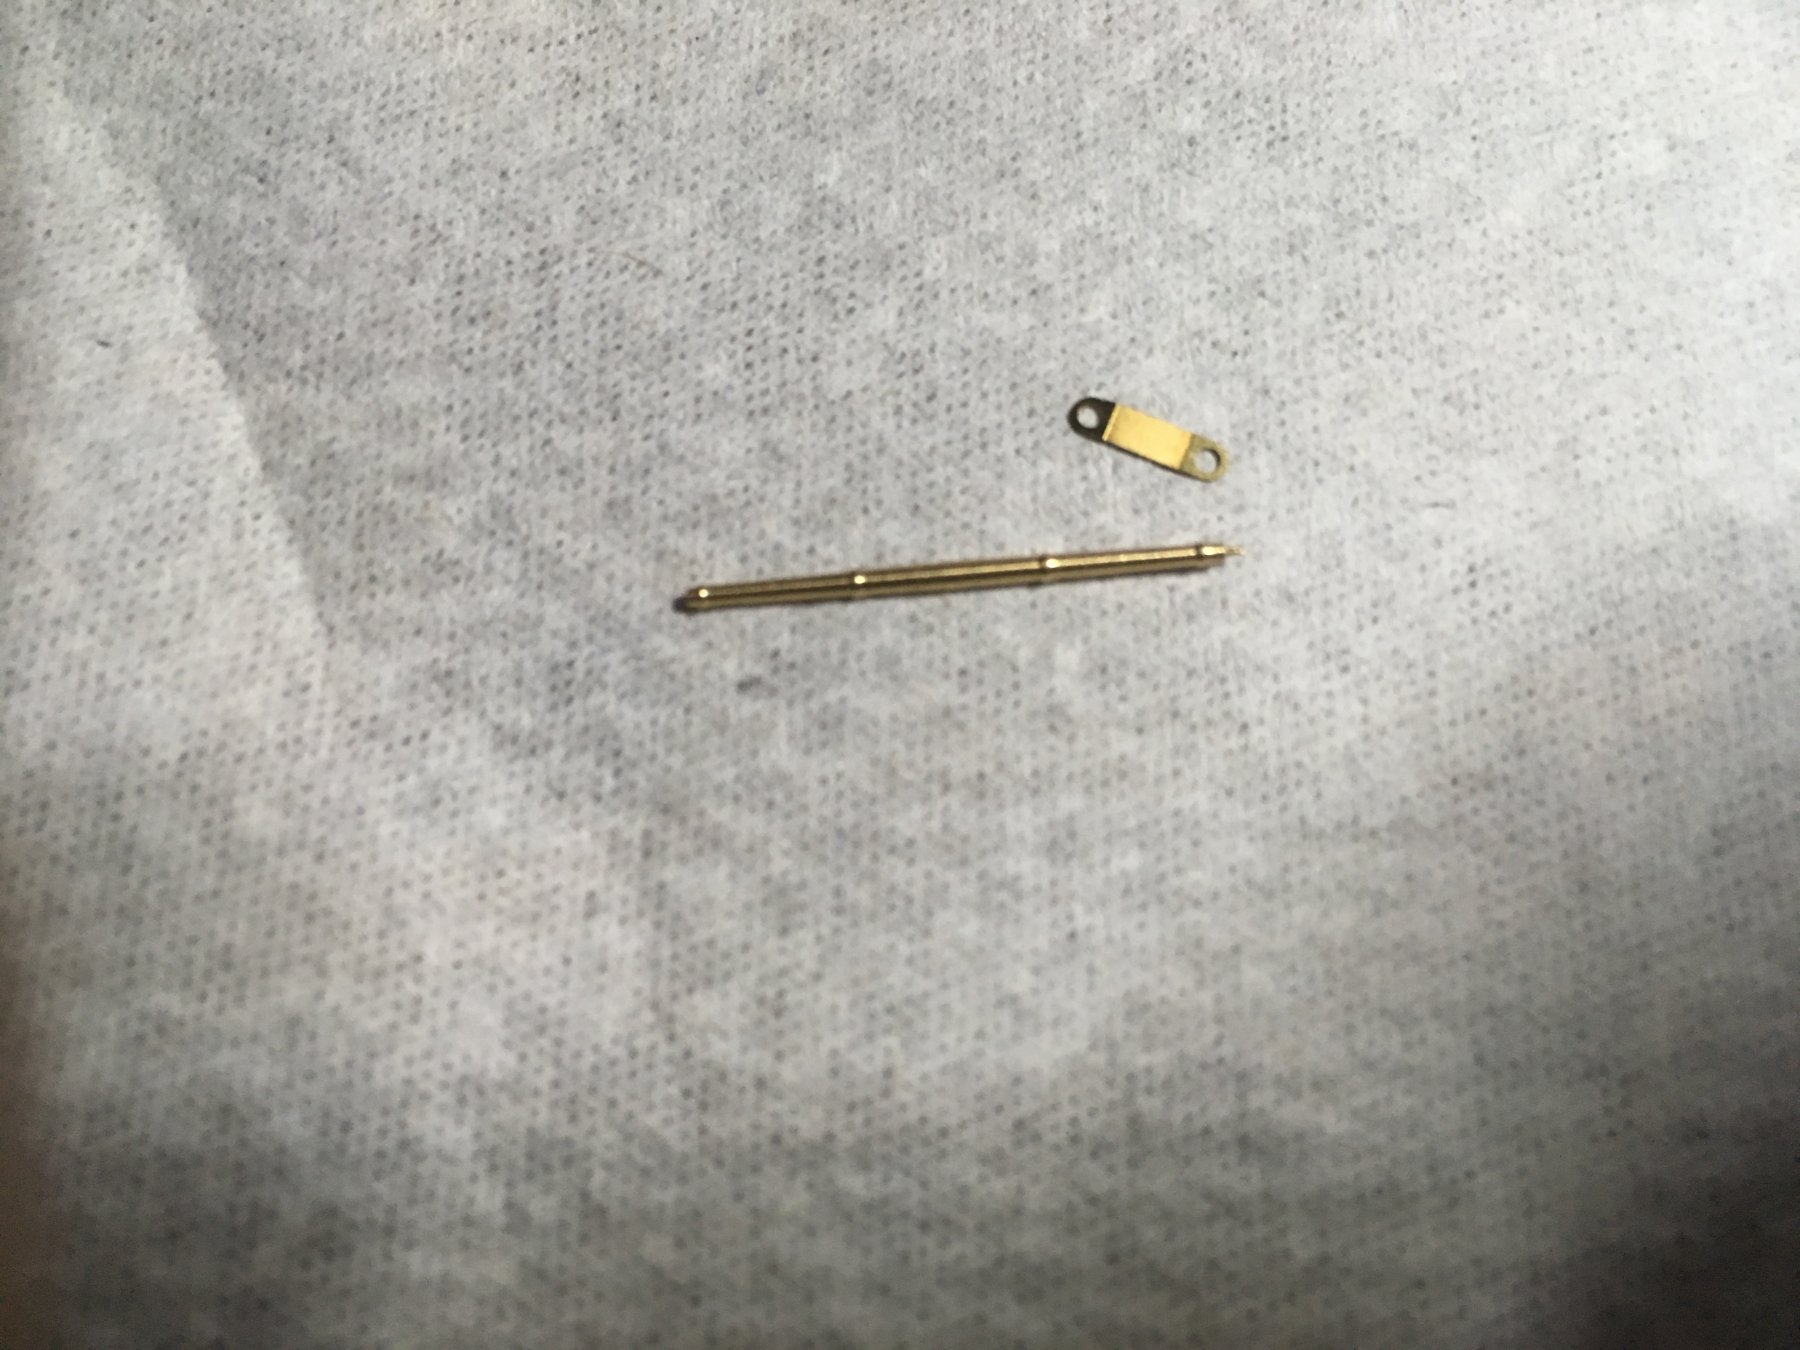
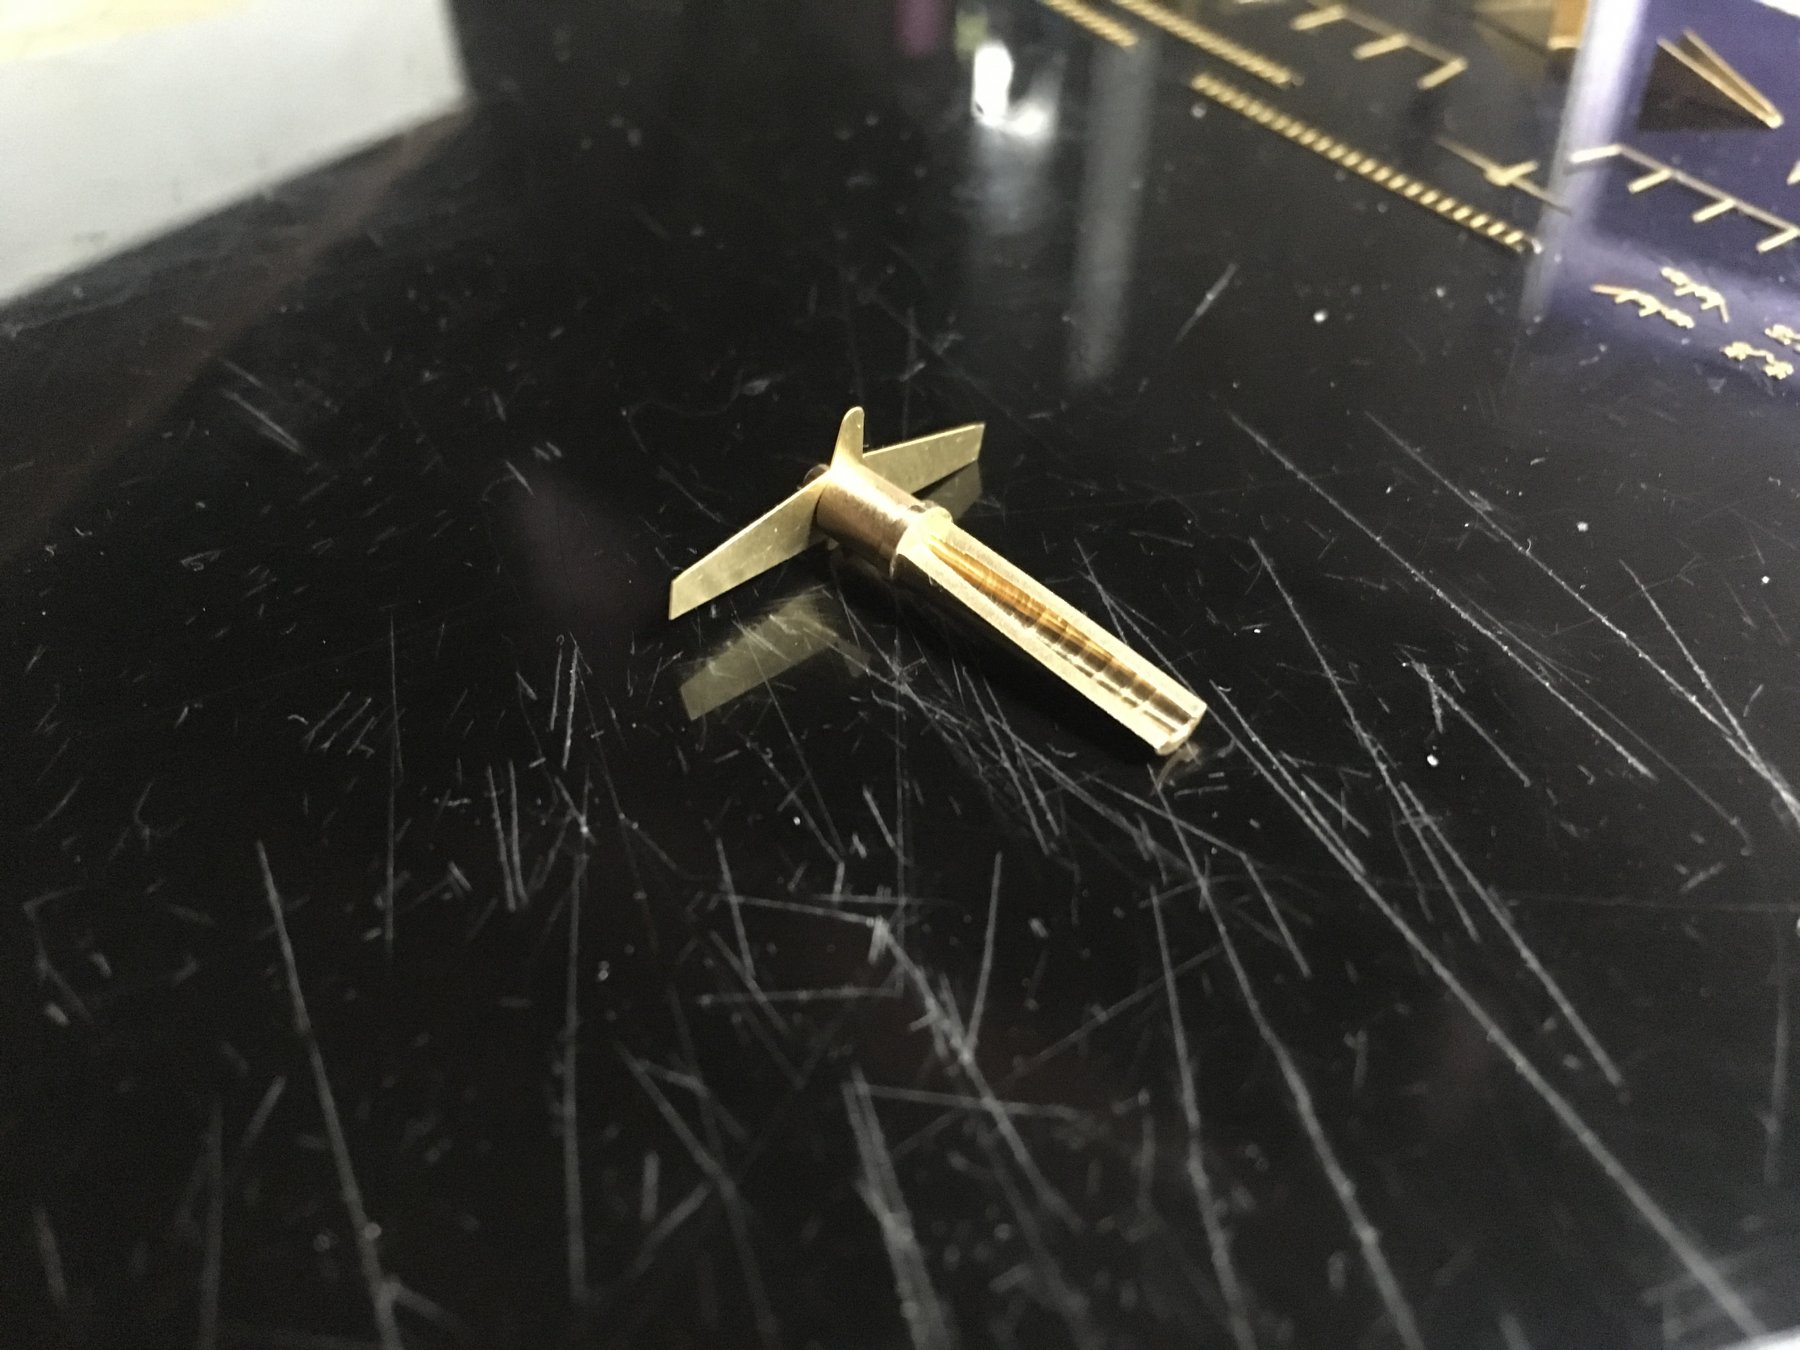
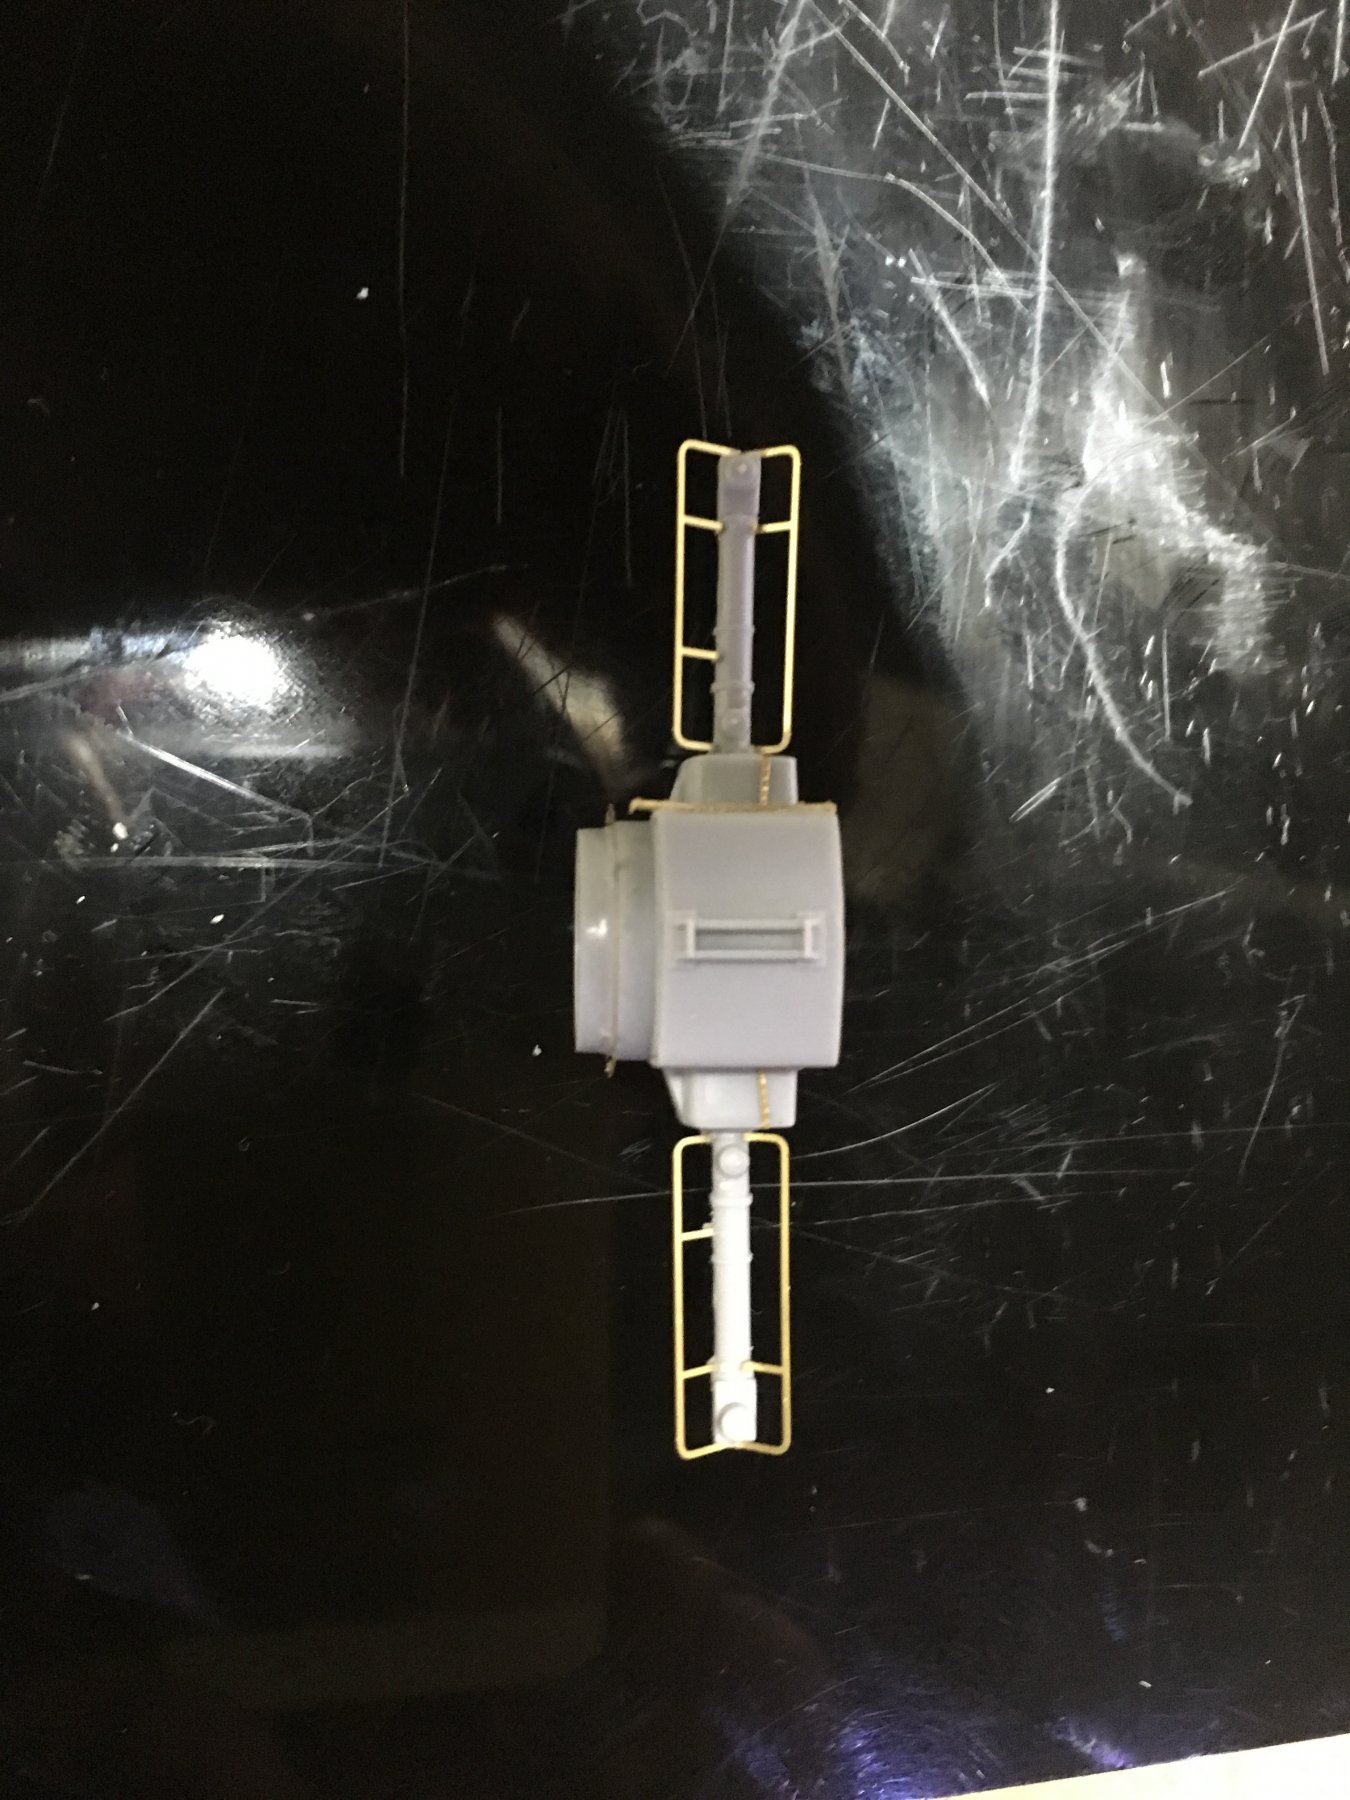
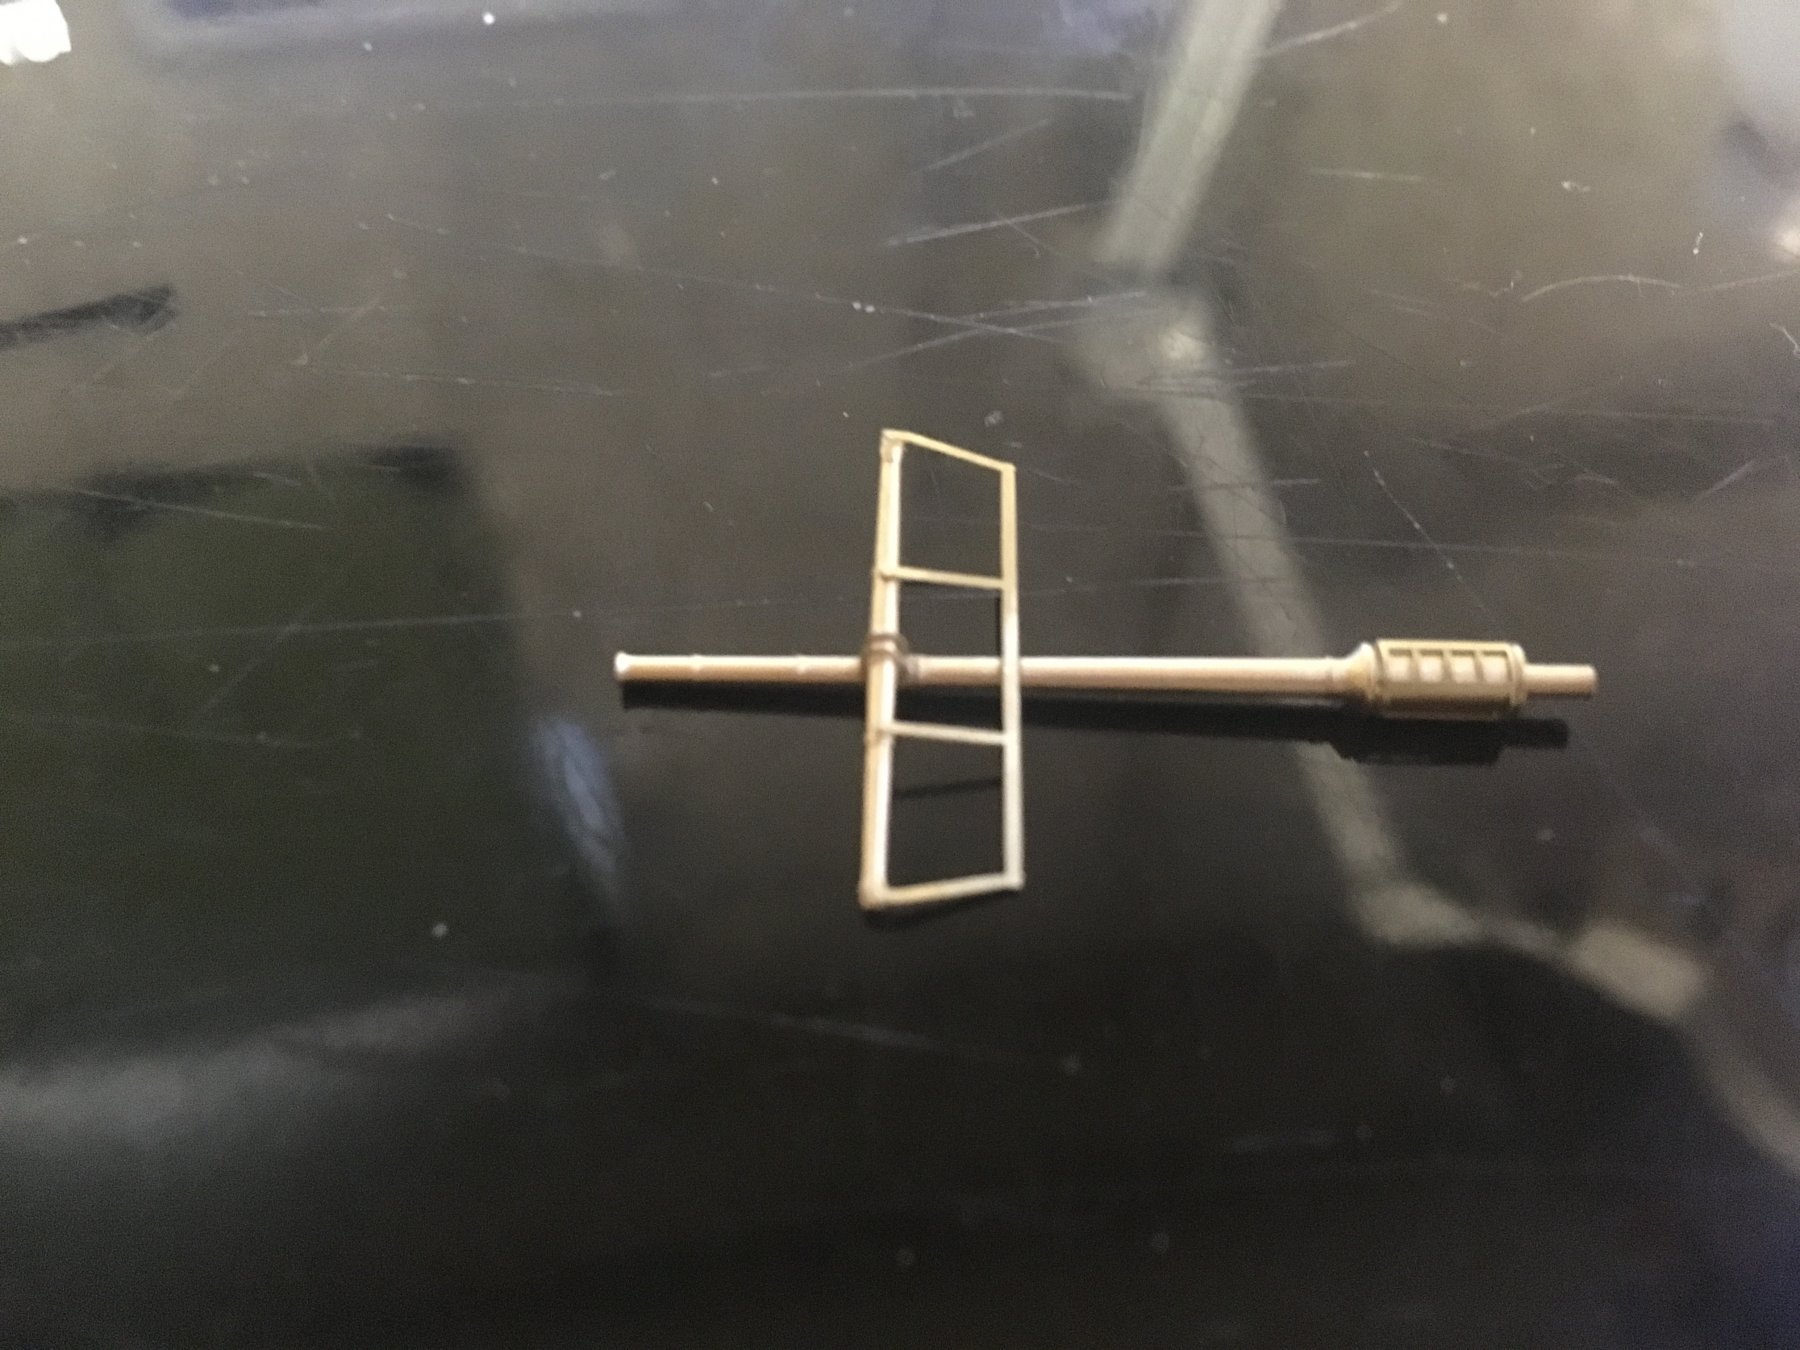
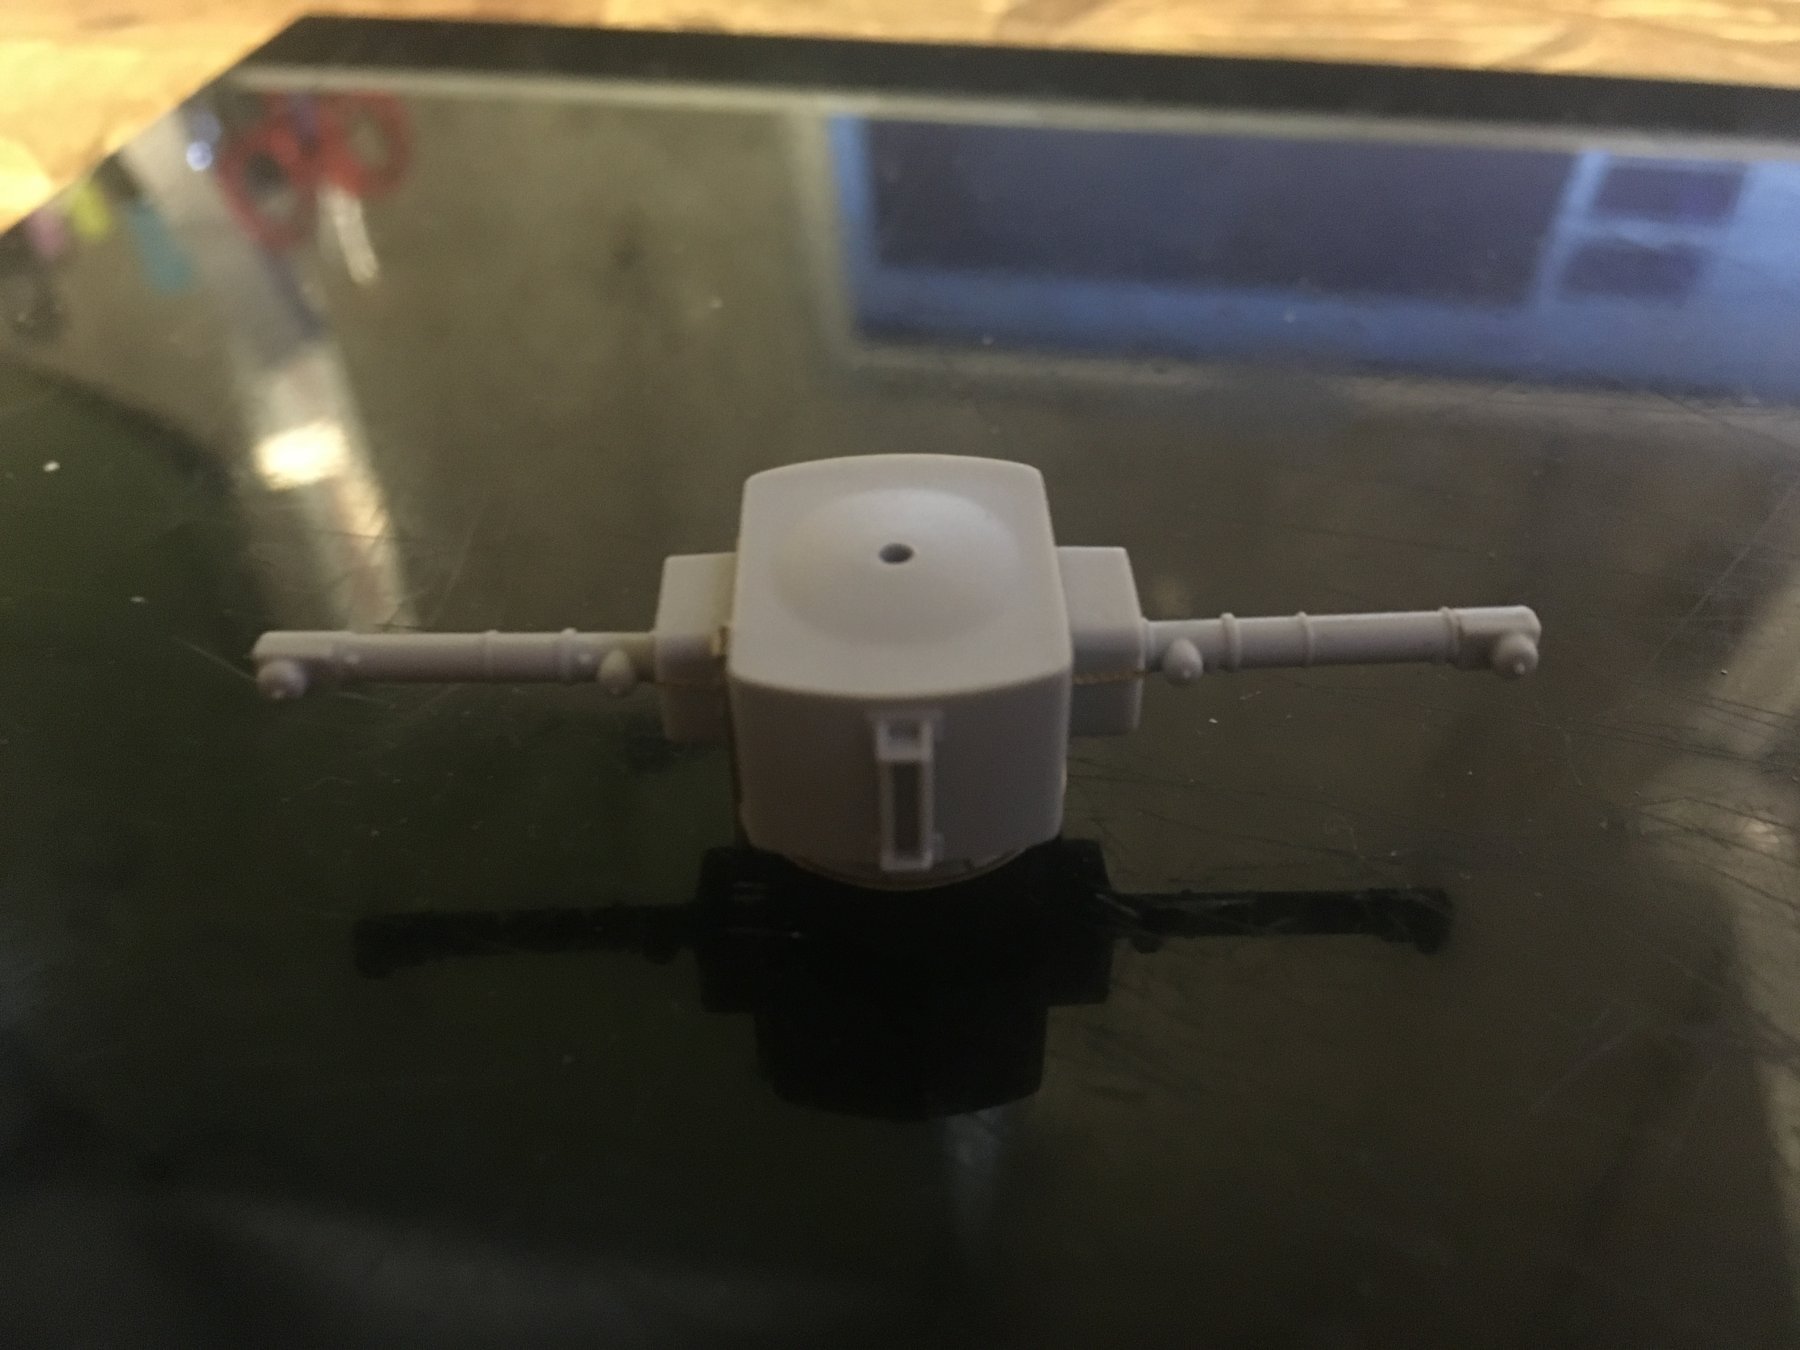
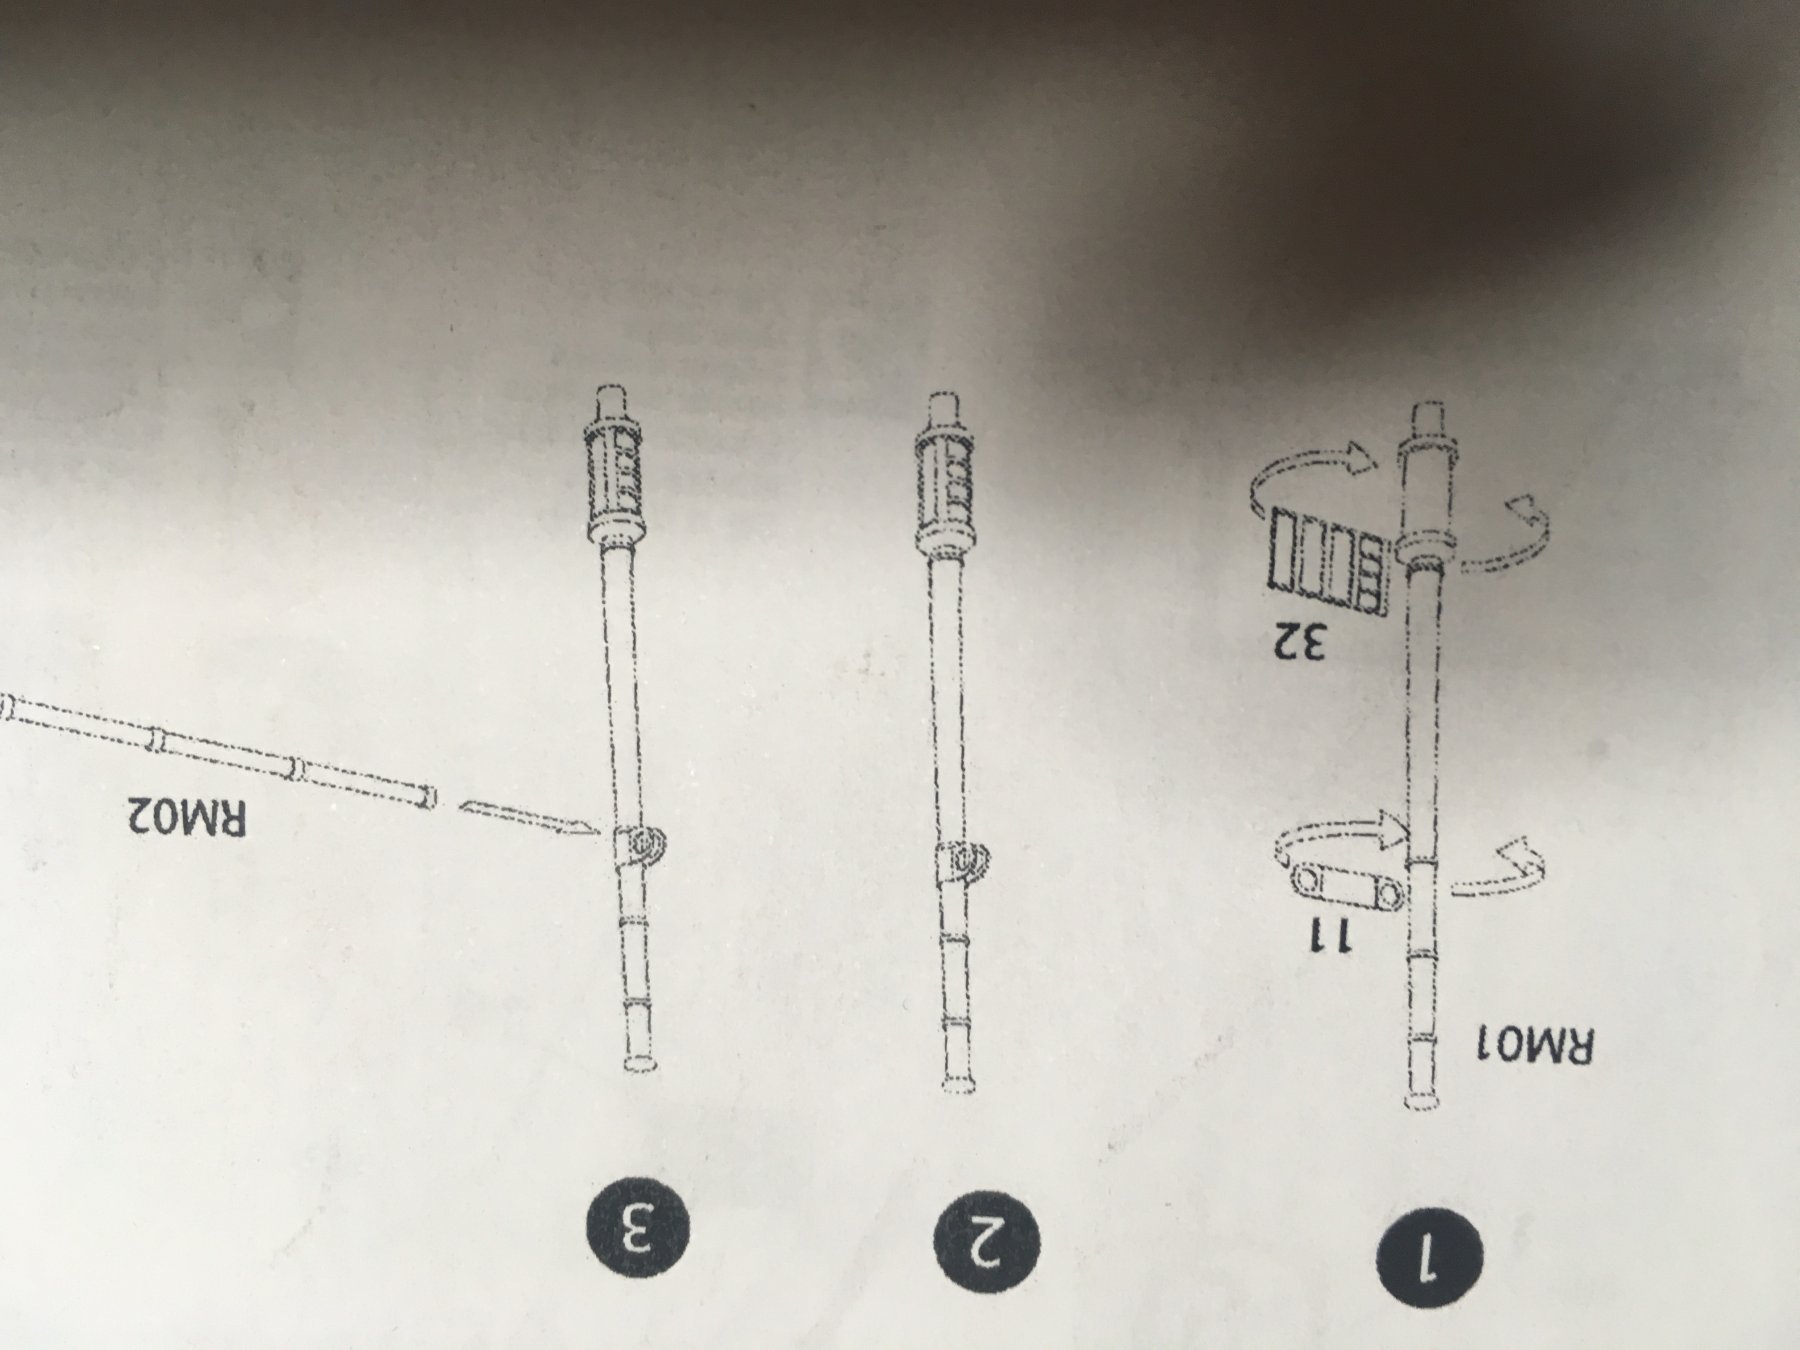
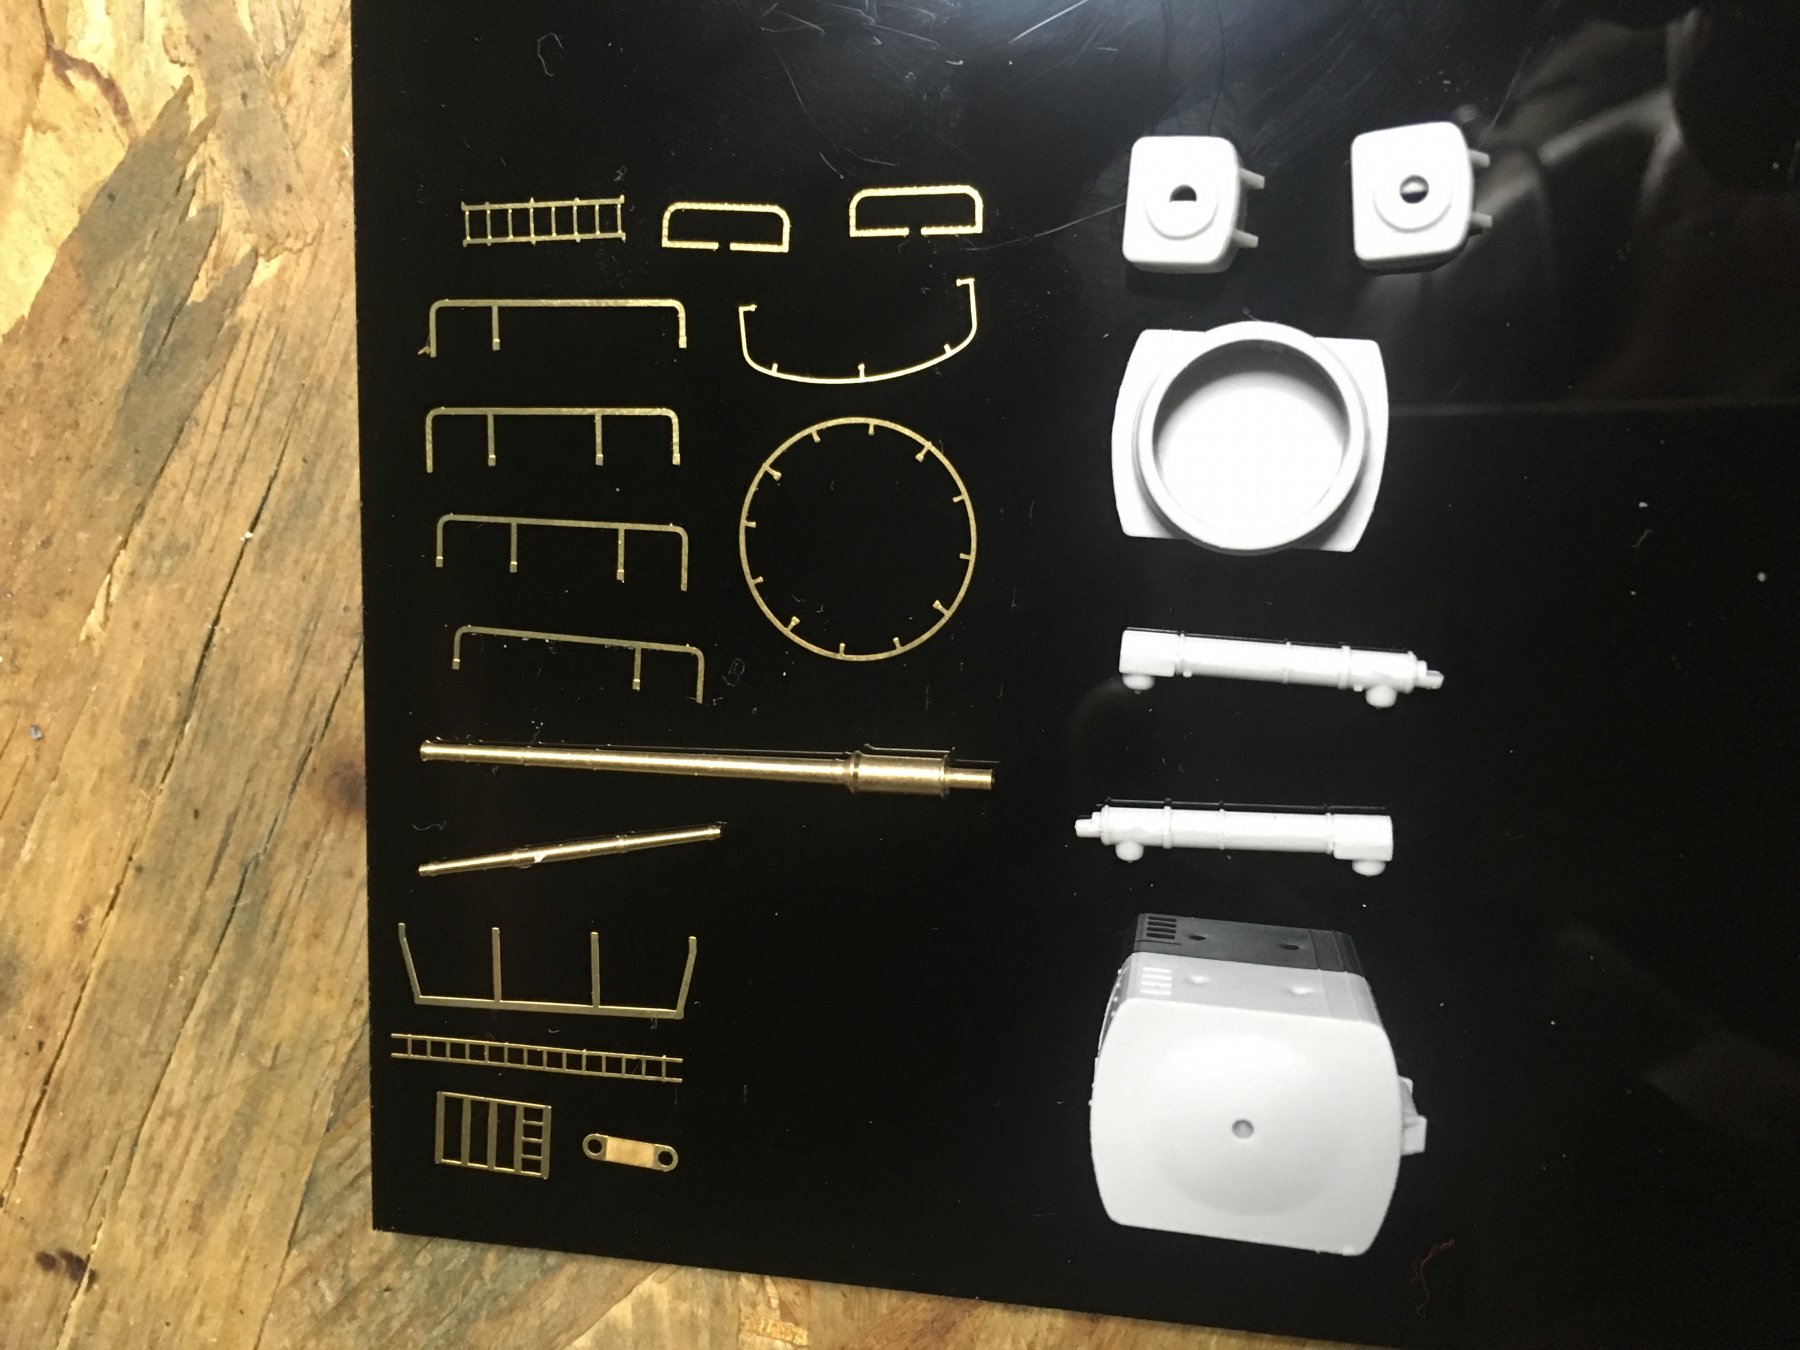
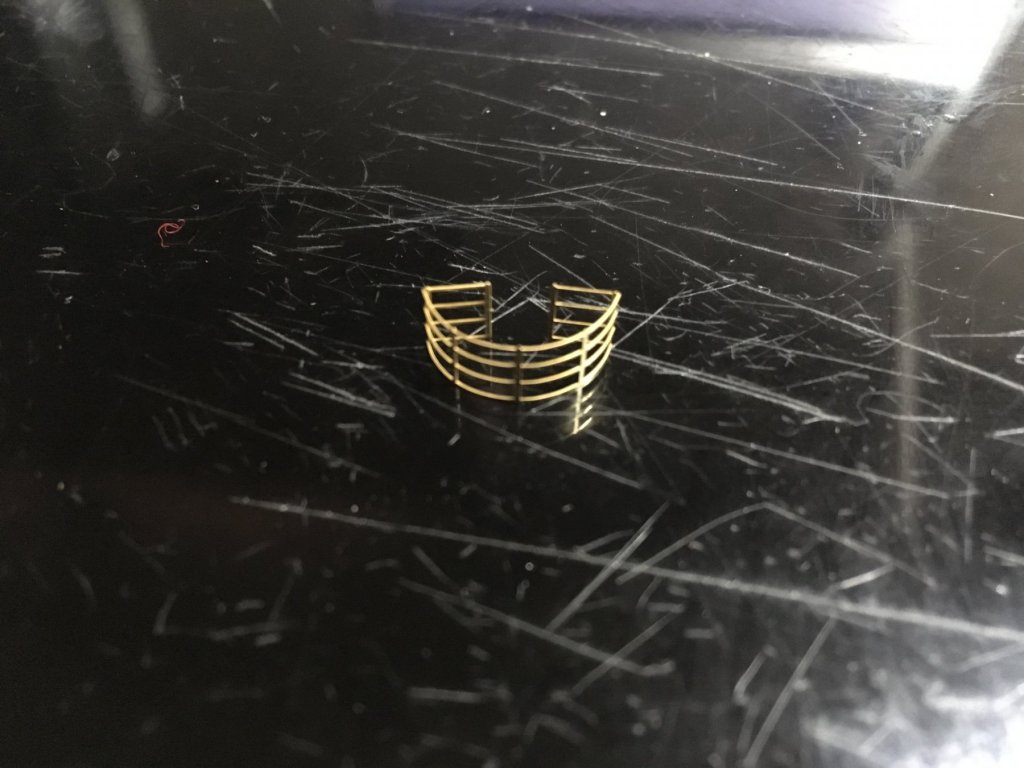
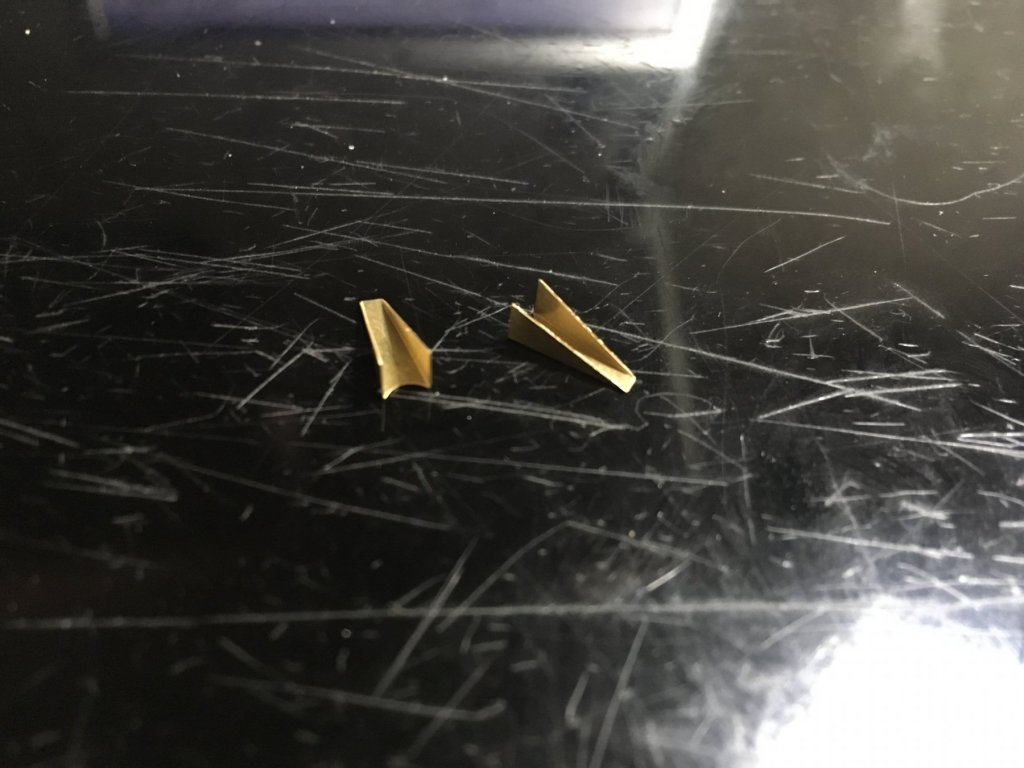
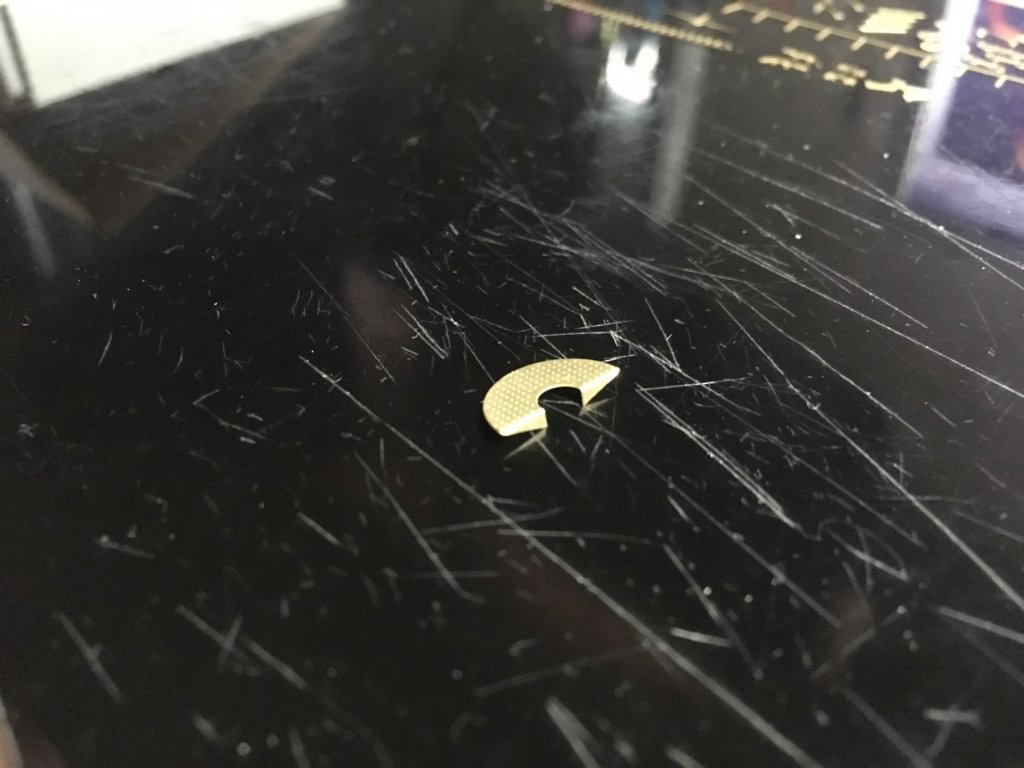
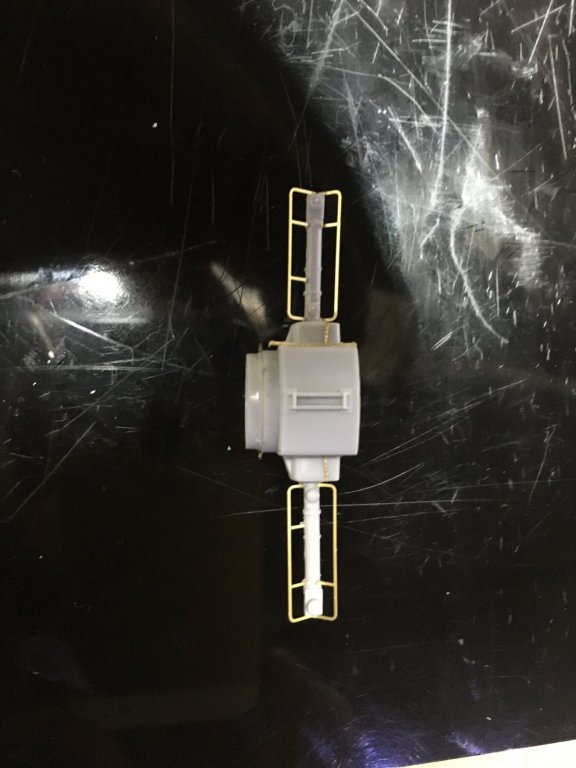
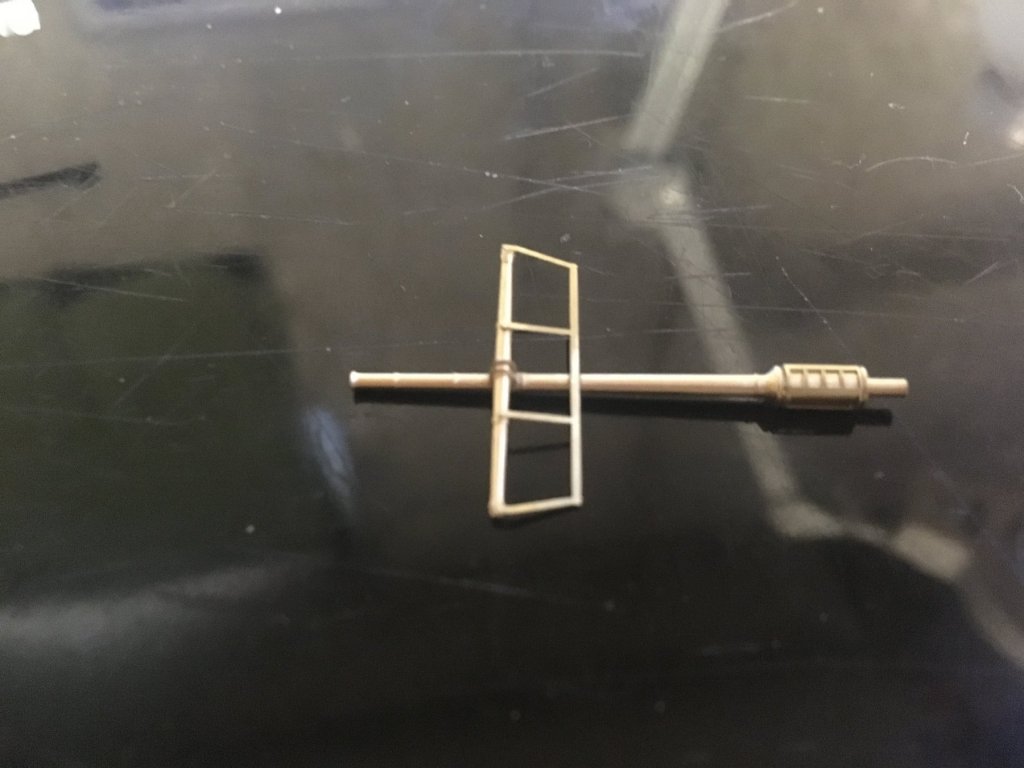
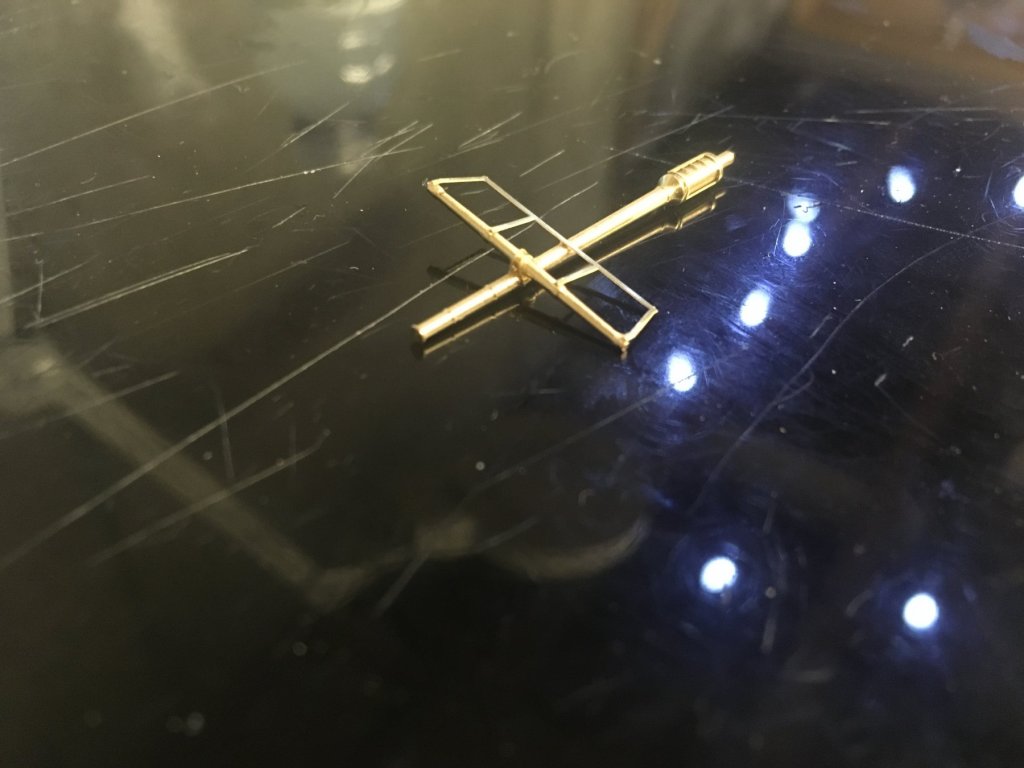
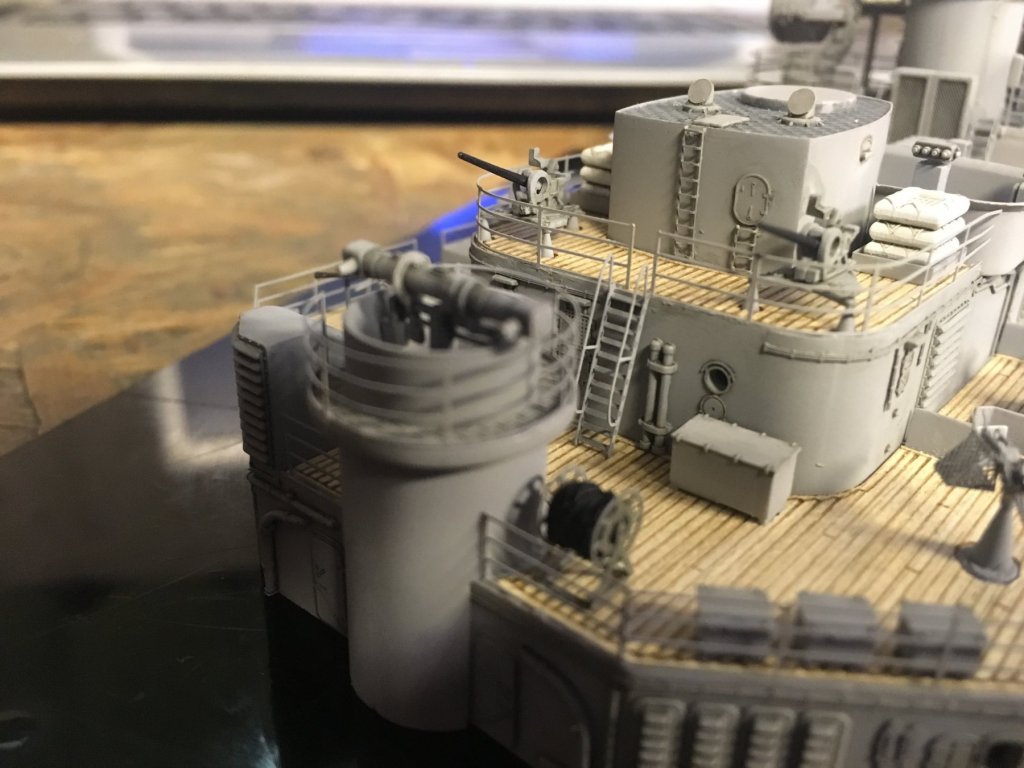
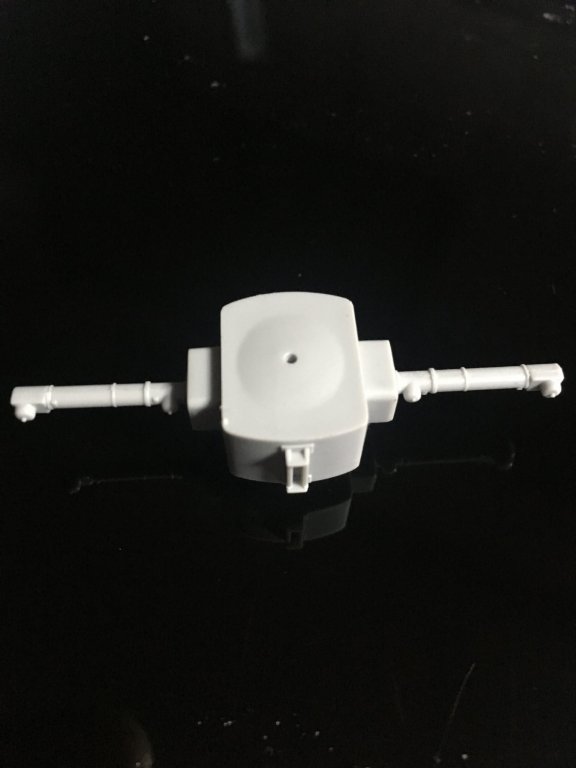
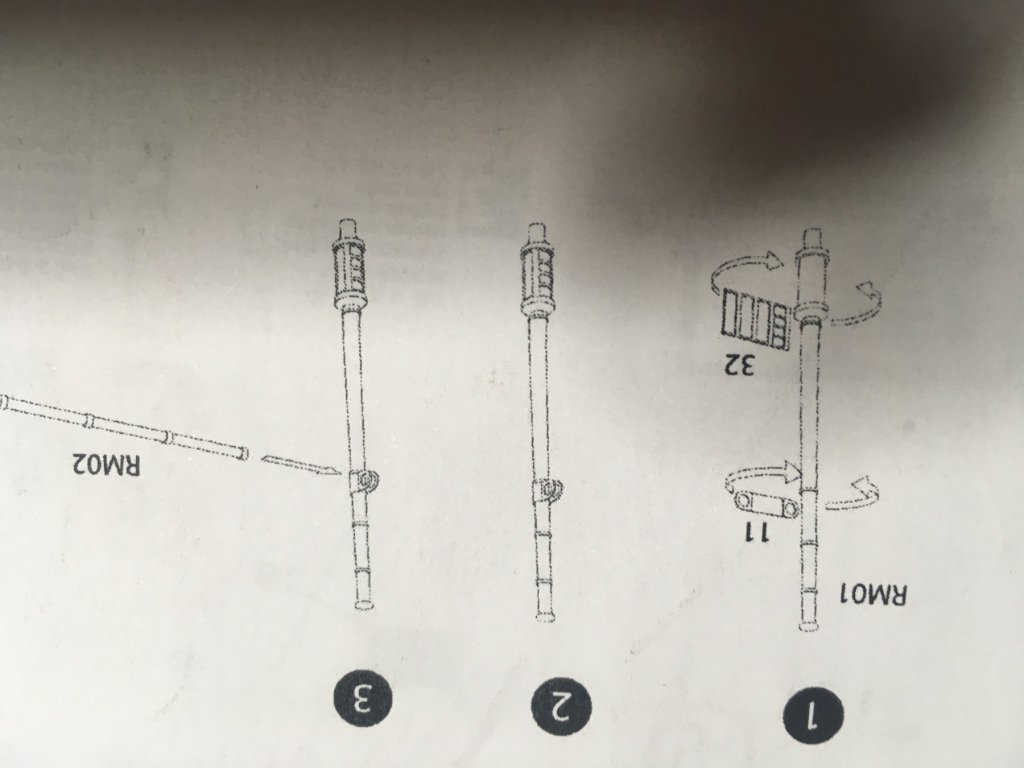
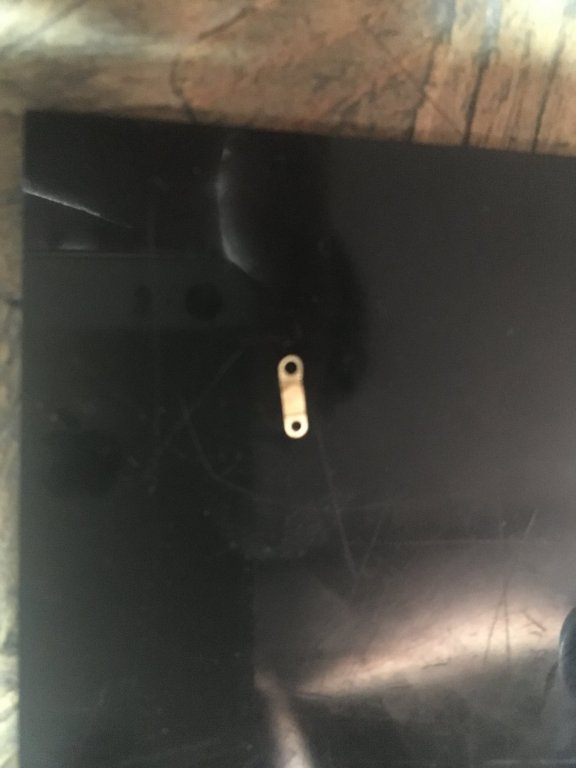
Sick day from work today I'm running into some problems though. First some good news I found the 2 guns! All assembled and ready for paint also I bent all the railings im going to need and they are also ready for paint The radar is where I start running into problems. All the plastic went together fine. But when I get to this, the mini mast on top of the Radar theres a problem. If you look at part #11 it wraps around the mast then the horizontal piece slides in. The only problem is the holes in part 11 are way to small for said horizontal piece to fit through. So now what? I tried to drill out the holes a little bigger but ended up almost destroying the piece. I have a feeling the only solution is to fabricate a whole new piece and I am not good at that. Heres the piece

-
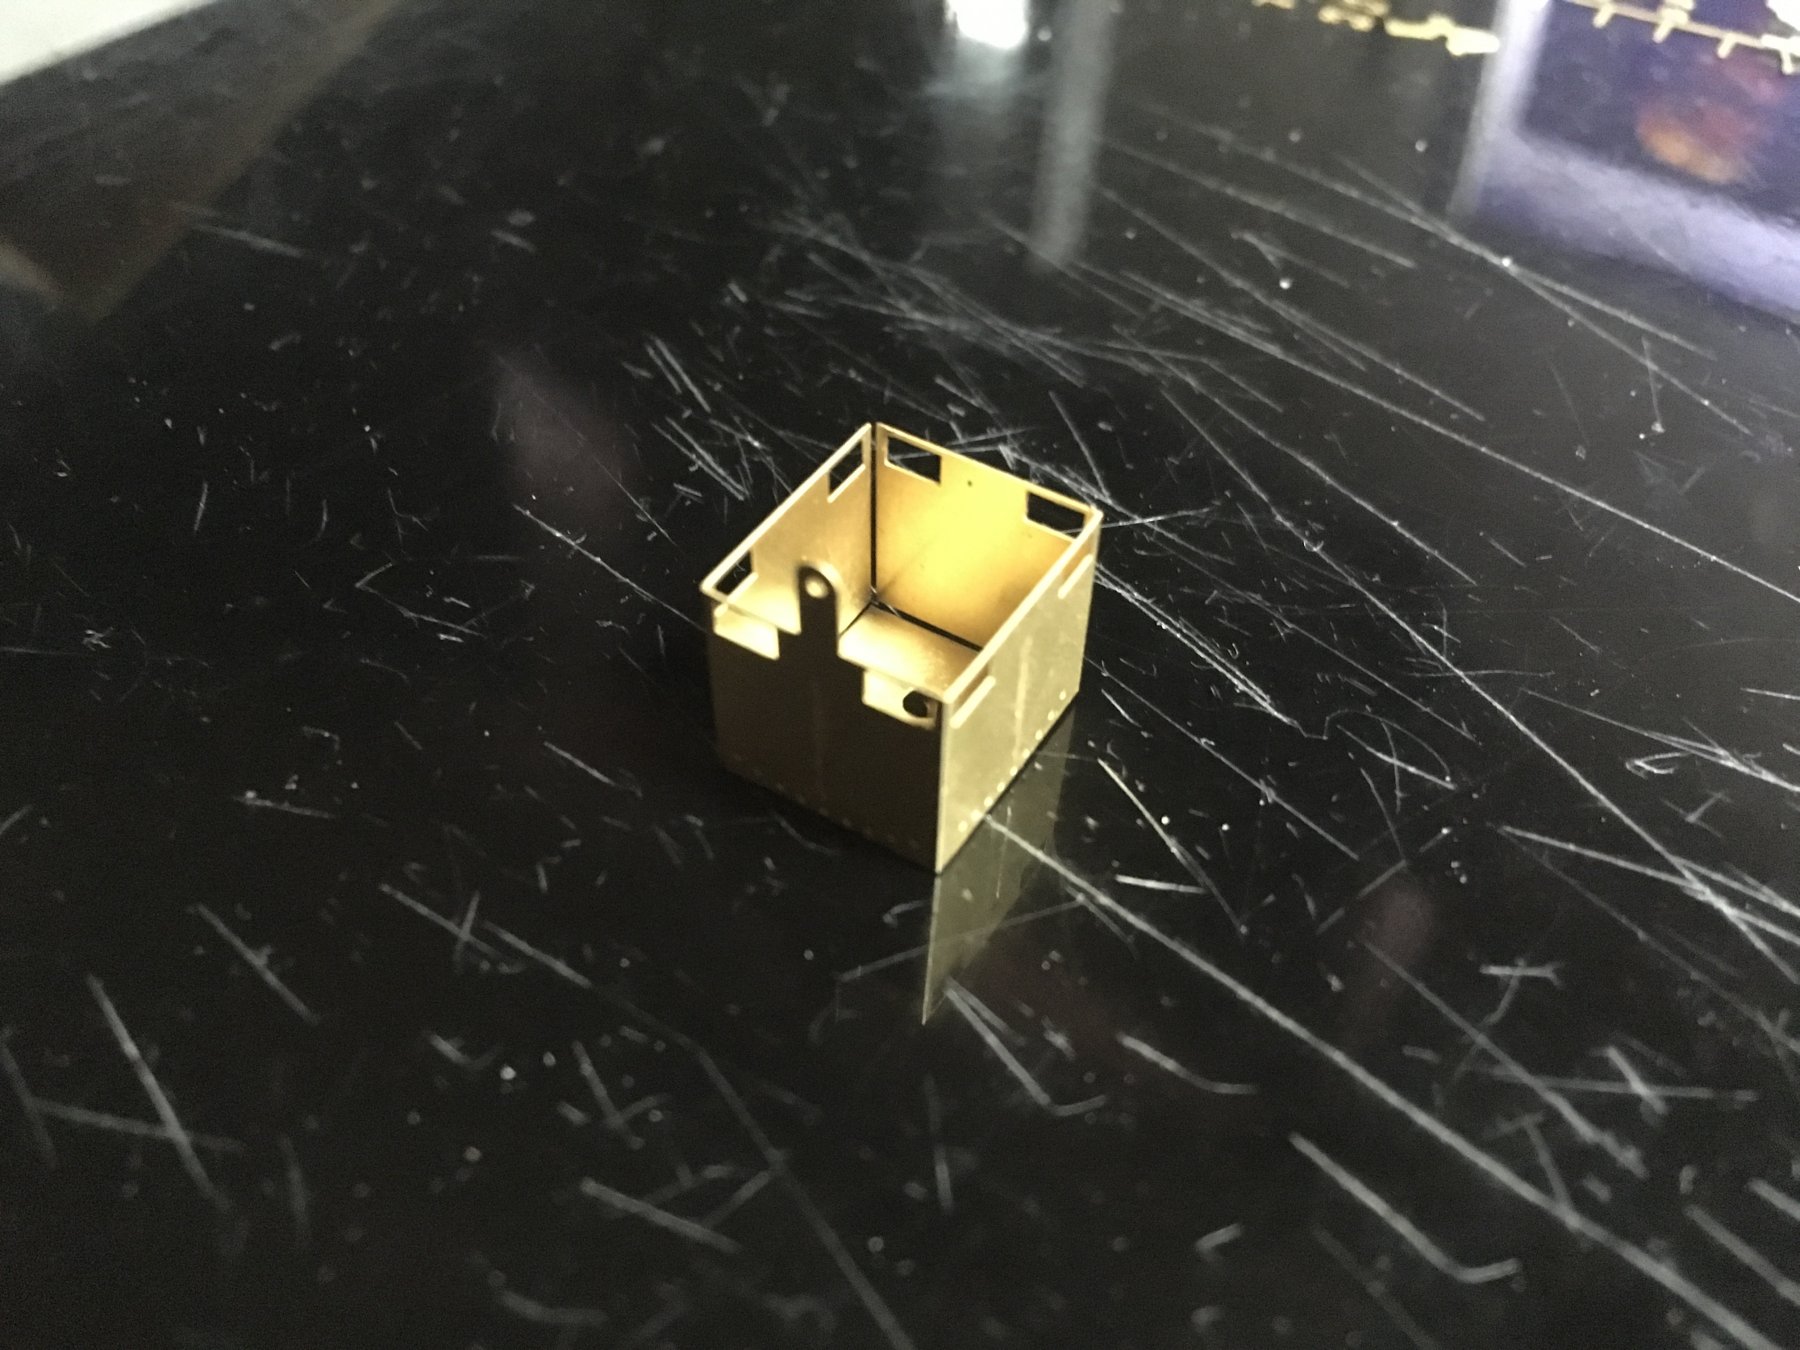
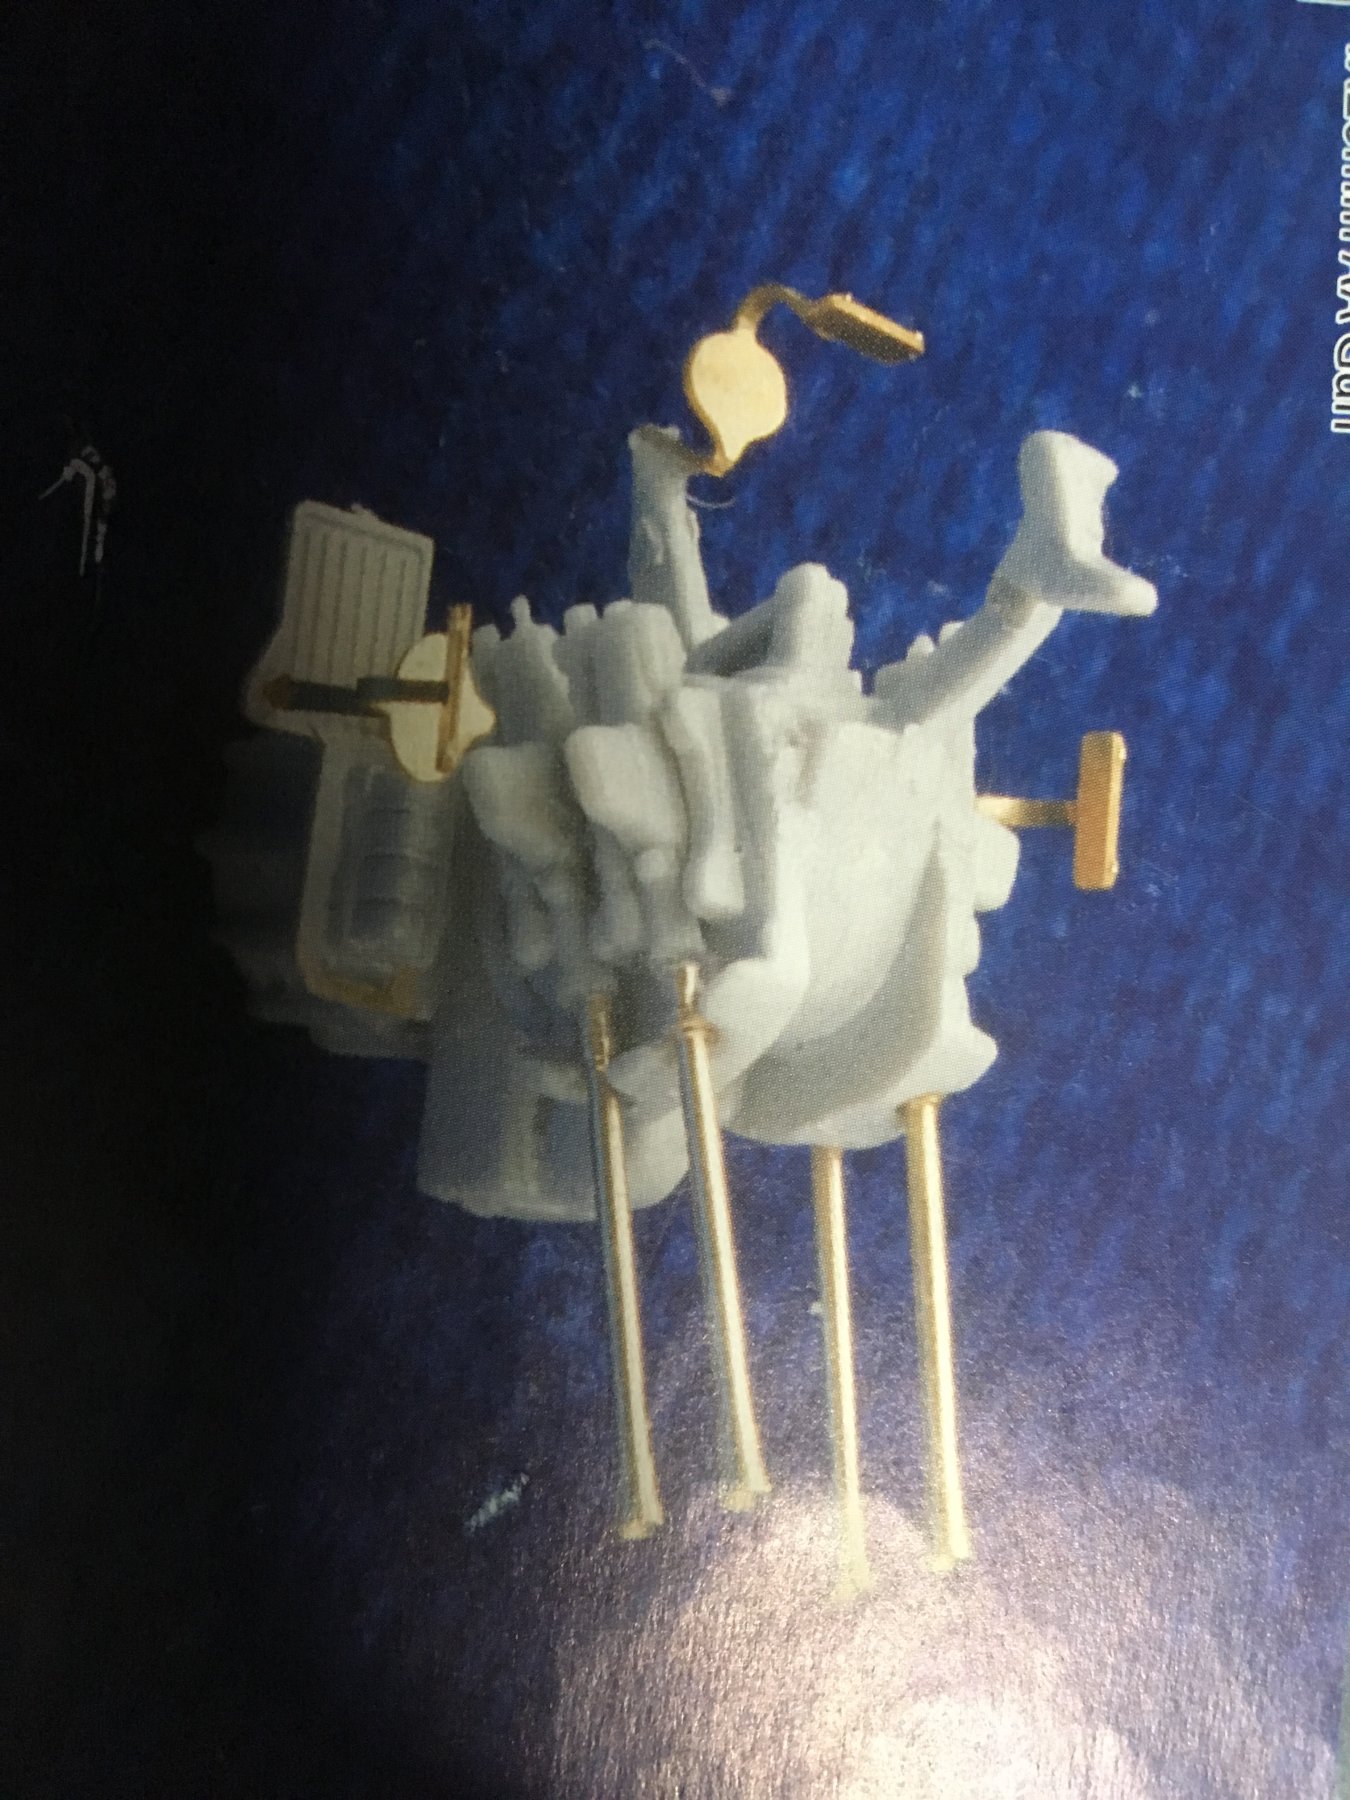
I saw those Danny, but I think those are different guns. The ones I need are on a tripod bAse. Pontos is the only one ive seen that makes it, but it's part of the whole PE set and not sold seperately. I think I can find a photo I will post it. Here are most of the pieces for the radar well im off to a wedding enjoy your saturday night everyone!

-
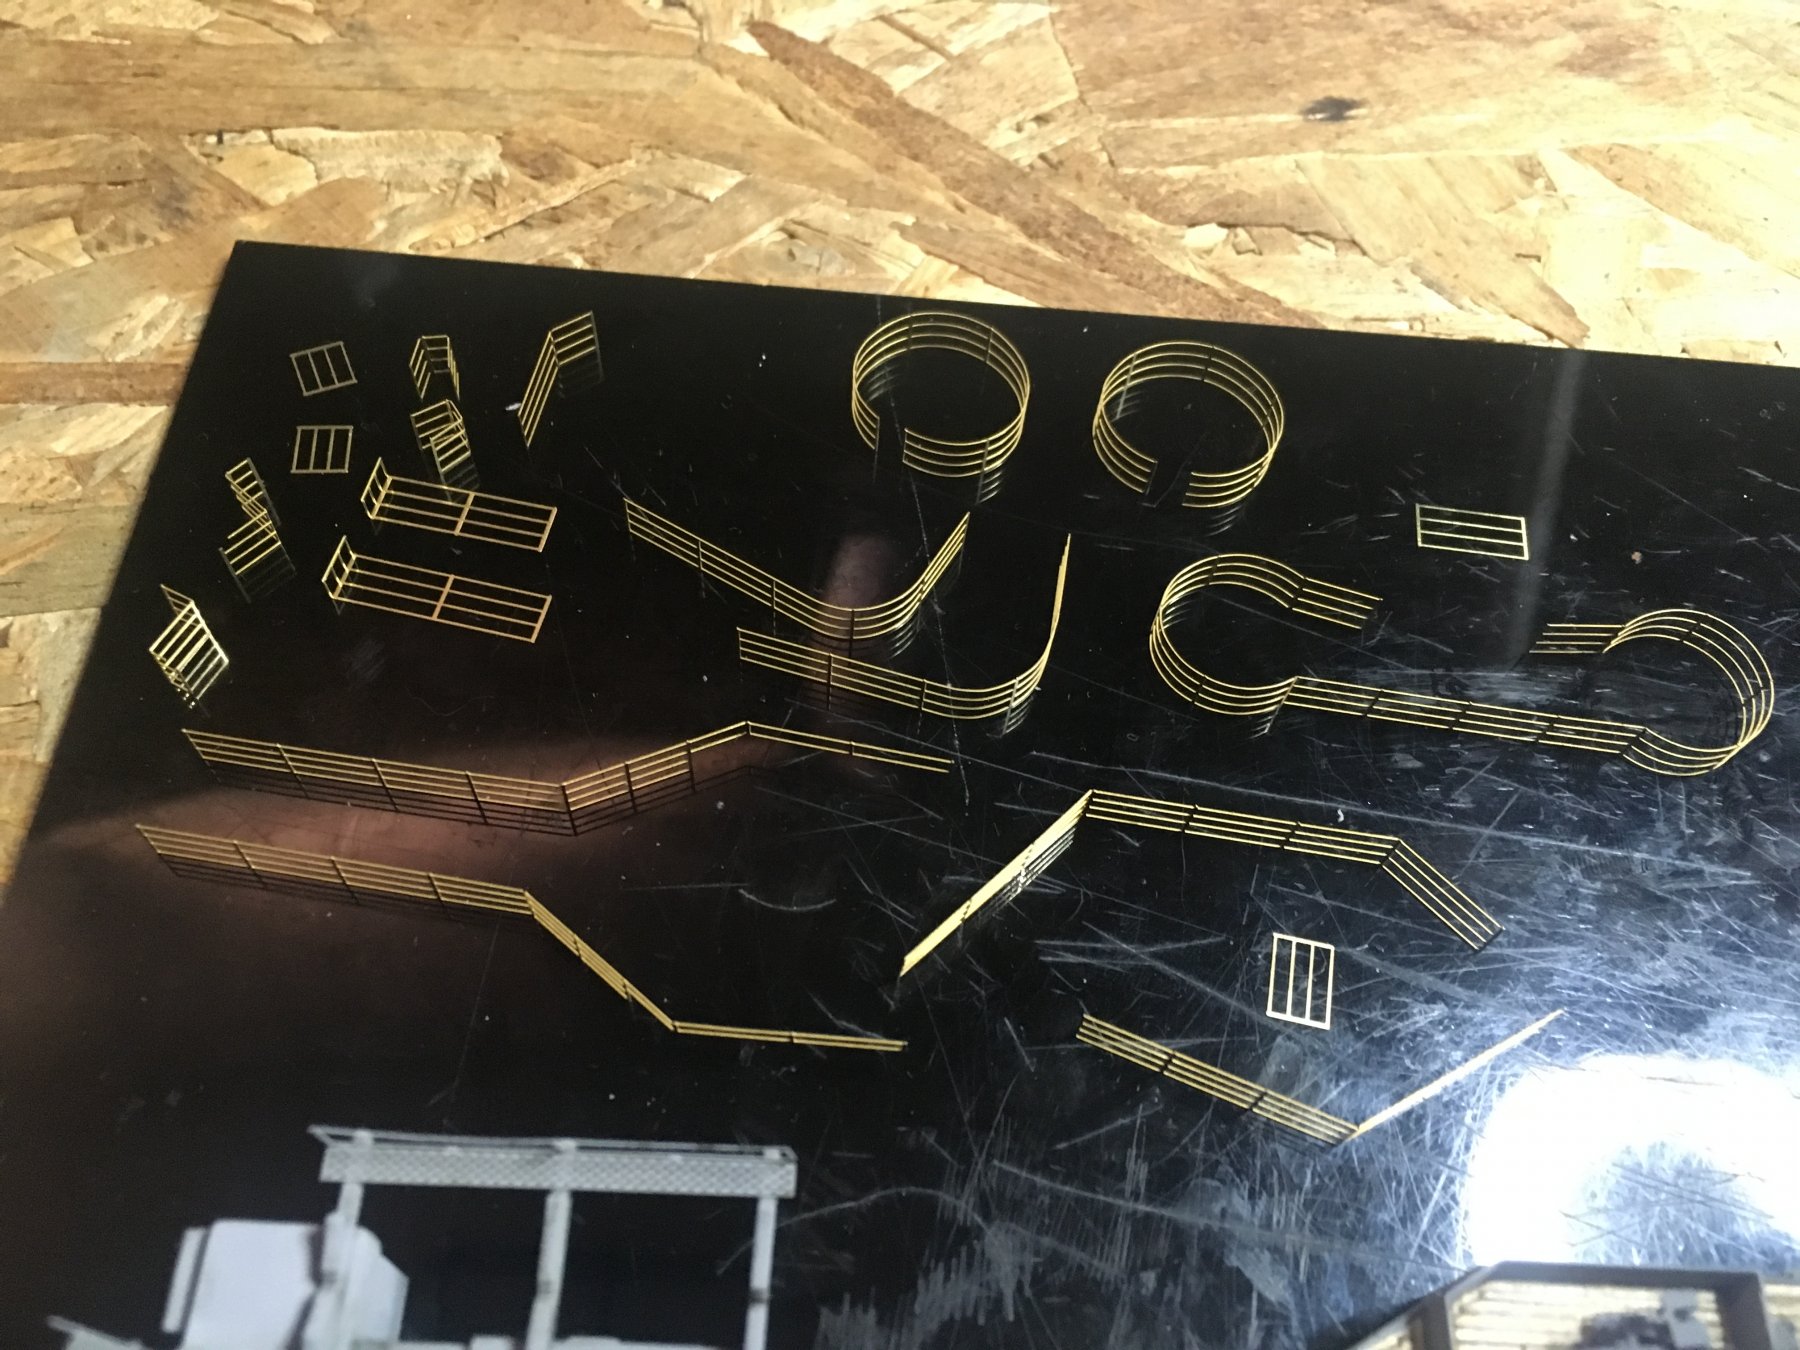
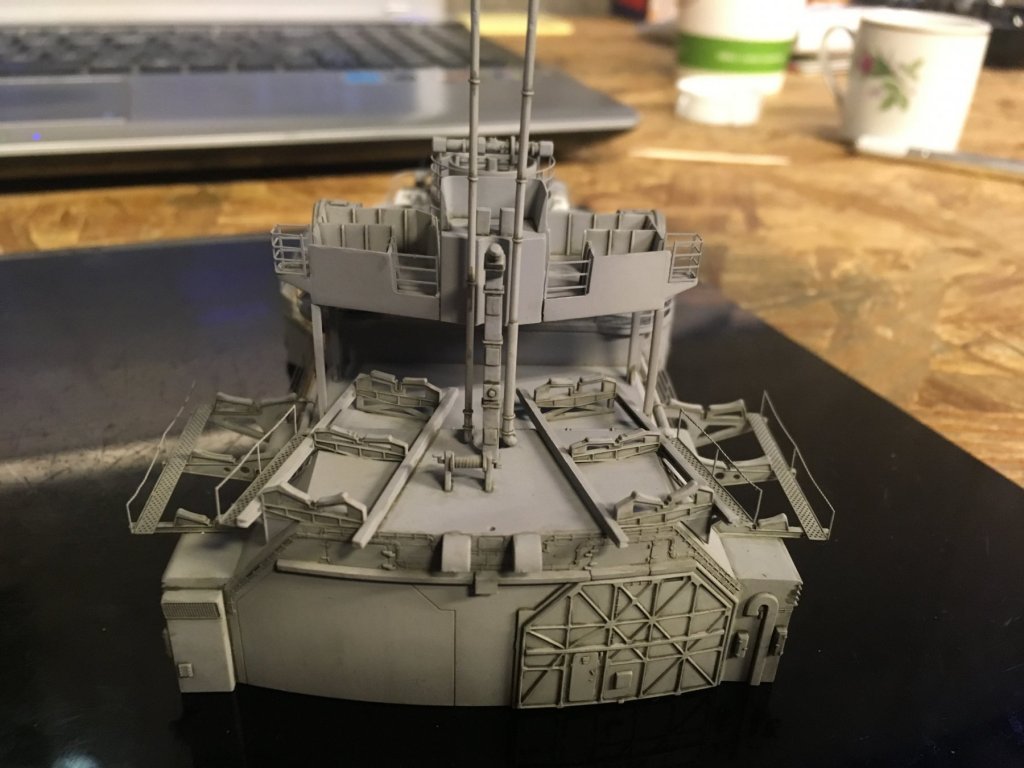
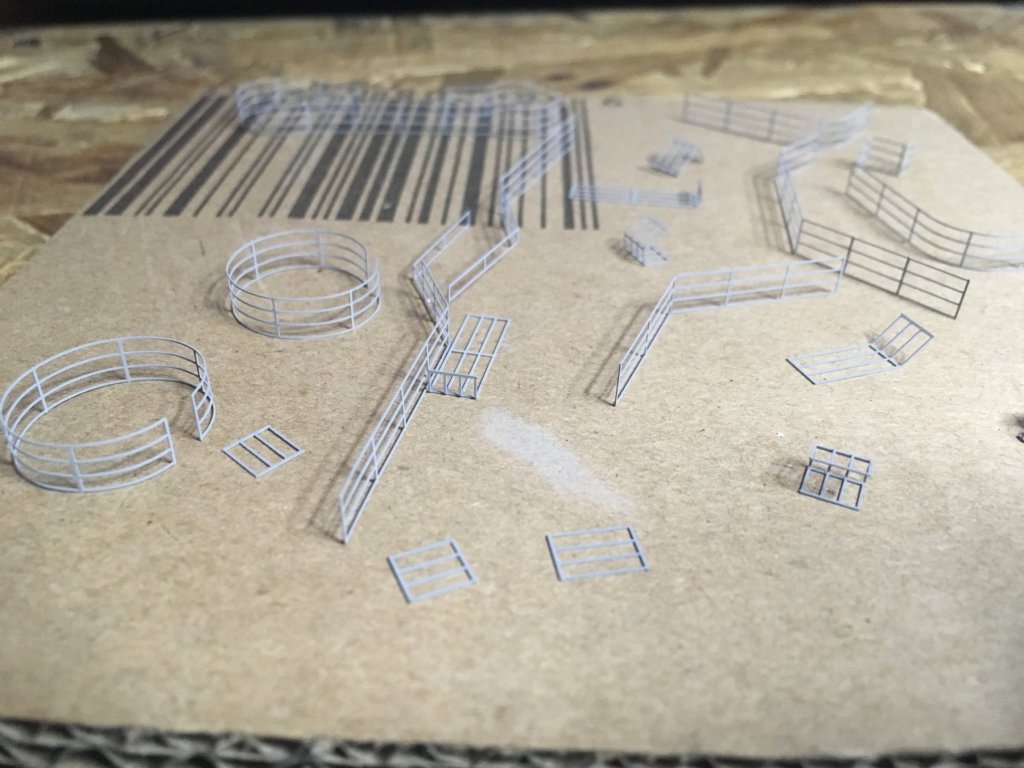
Hey guys. I cant do much today. Im the best man in my brothers wedding. But heres's progress report-Ish. I didn't realize Theres 8 hornets left in stock so I have time there. I also didn't realize how much more I still have to do on this super structure piece. All these railings have to be bent, painted and installed This brass has to be assembled together with this to form the last radar. All of the stairs have to still be installed (8 in total) these 2 guns need assembly and paint. I was looking to buy a PE set of them but they dont exist. I dont like the stock trumpeter guns. And also the ships bell goes on this structure piece. Umm I think thats everything but probably not. All in all I'm looking at another 2-3 weeks to complete it.