Check out our new MSW Sponsor Innocraftsman
×


rwiederrich
-
Posts
5,504 -
Joined
-
Last visited
Content Type
Profiles
Forums
Gallery
Events
Everything posted by rwiederrich
-
Cutty Sark by NenadM
rwiederrich replied to NenadM's topic in - Build logs for subjects built 1851 - 1900
Dang...sorry about the link...I do have some other images you may find useful.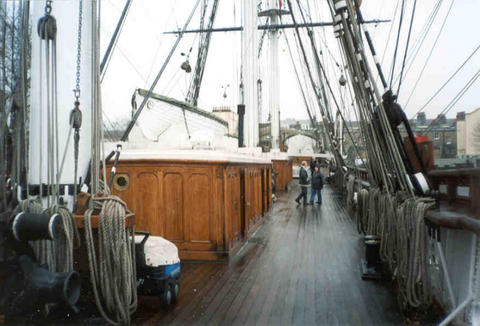
- 4,152 replies
-
- 3
-

-
- cutty sark
- tehnodidakta
- (and 1 more)
-
Frankie......I admit...I'm not a purist in the greater sense of the word...but I do want accuracy and scale. However, if wood, plastic, paper, medal, wax, clay, etc. can be skillfully used to achieve my goals...i will surely employ them. I paint and weather my models so.....a multitude of sins will be covered up...shall we say. Once complete..I feel the final goal has been closely achieved.....getting there is part of the fun...and if I used a kitchen pressure cook pot as part of the process so be it. Thanks for your fine comments and encouragements. Rob
-
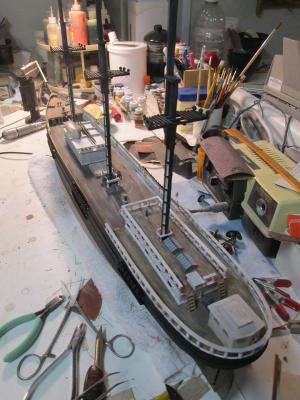
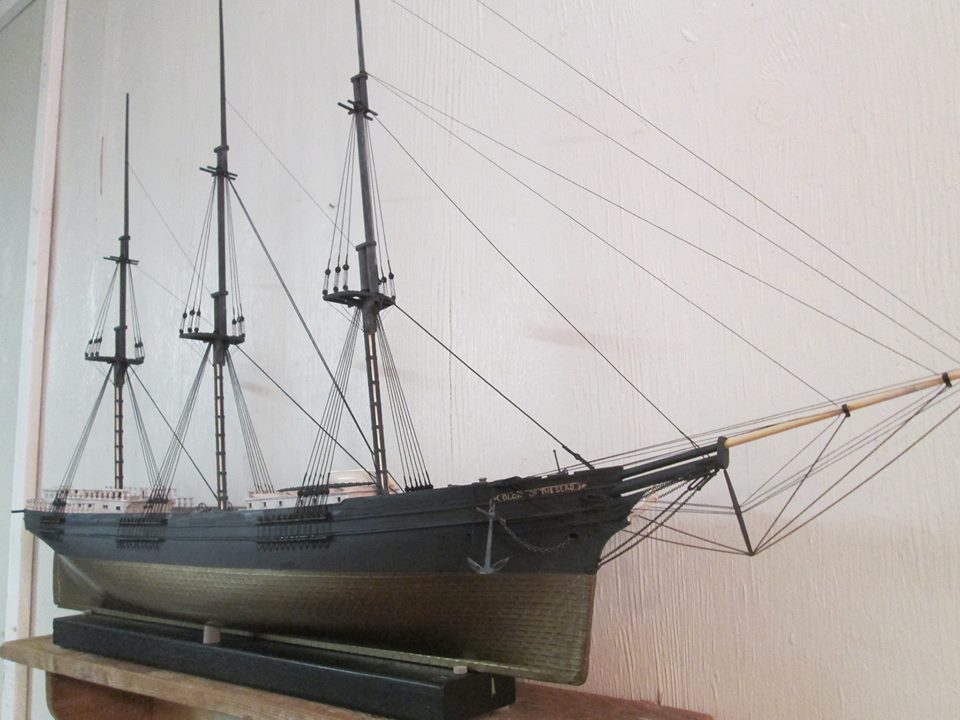
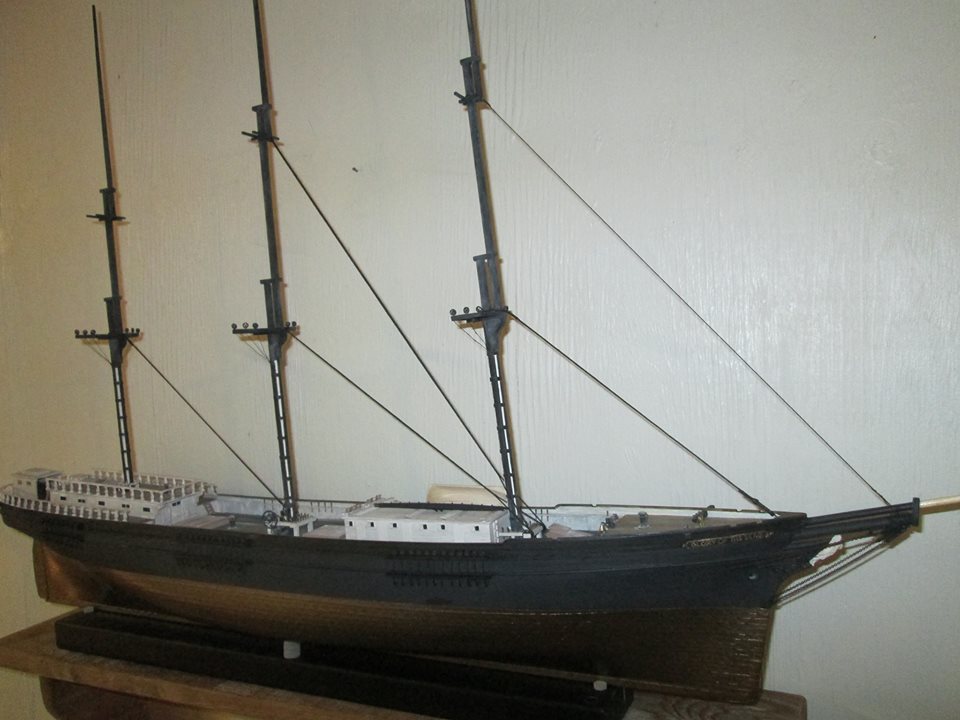
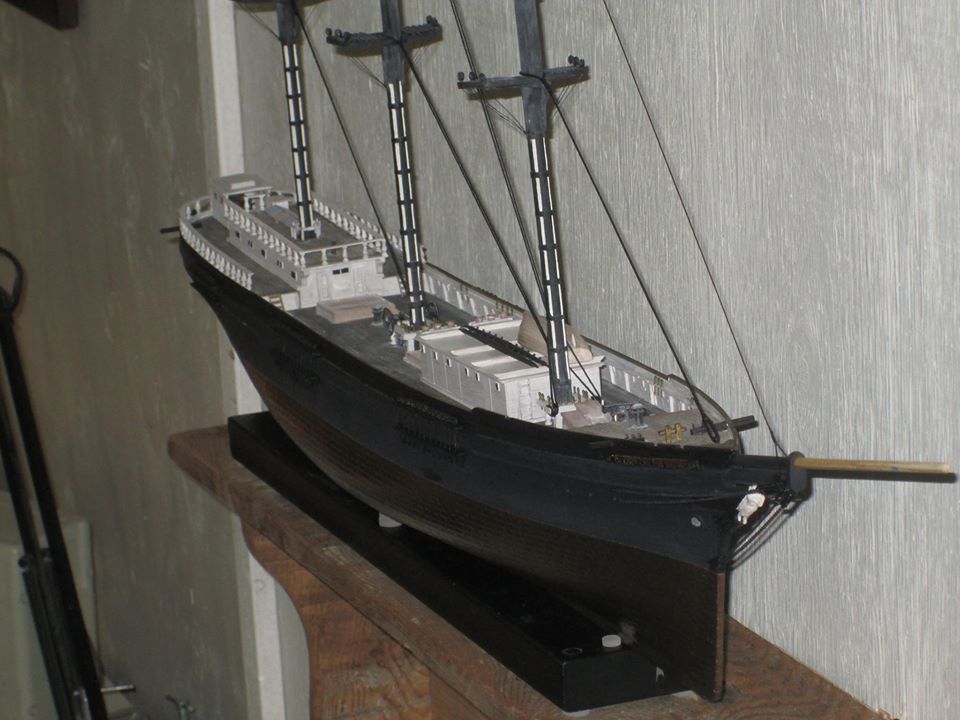
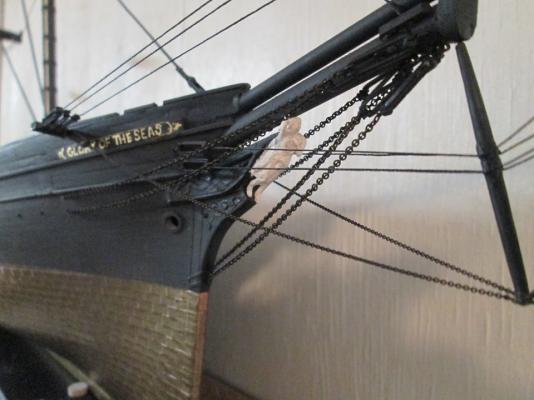
Thanks Ed...I appreciate that coming from you. Yes I alter the hull shape as far as I correct the shape of the bow and stern to replicate the model I am building. As far as the Glory is concerned...her cutwater was much steeper and her deadrise was shallower then the CS. I didn't go into details as to how I corrected that but so far is to say..I re-engineered a hull to my liking and specs. The more noticeable items such as deck houses...height of bullworks...forecastle and poop deck design and mast composition are all modeled after the prototype and scaled line drawings and deck/rigging drawings were utilized. Such as is your manner of building. Just not as profoundly accurate in actual structural detail of the hull construction. A knowledgeable inspector would easily know my model was the Glory of the Seas..based upon her above water details. Thanks for commenting Rob
-
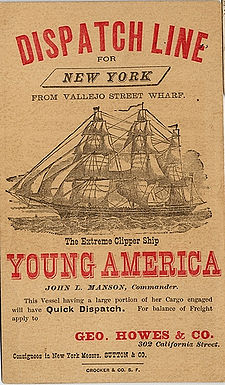
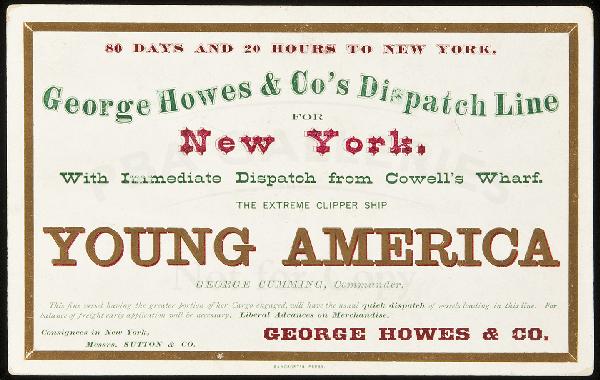
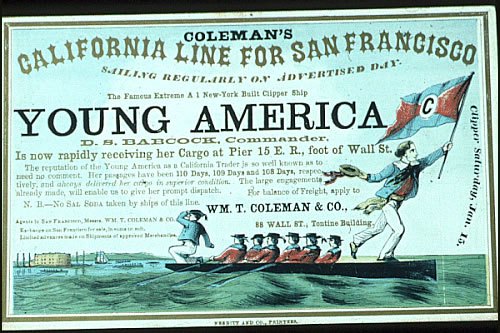
I just happen to have these passage posters in my collection.
- 3,618 replies
-
- 5
-
-
- young america
- clipper
- (and 1 more)
-
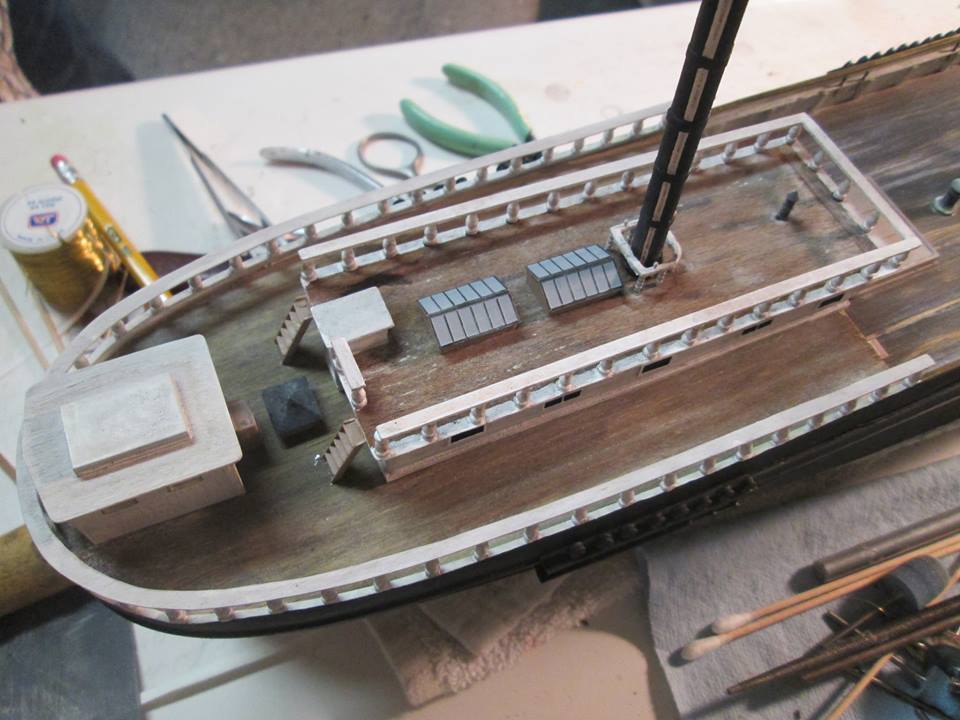
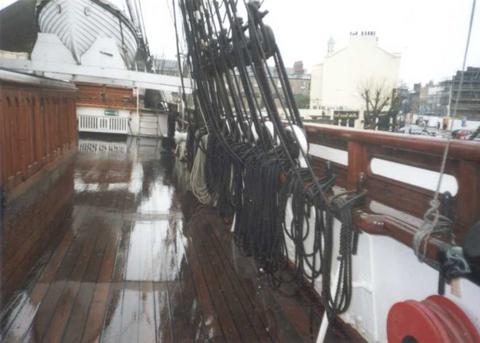
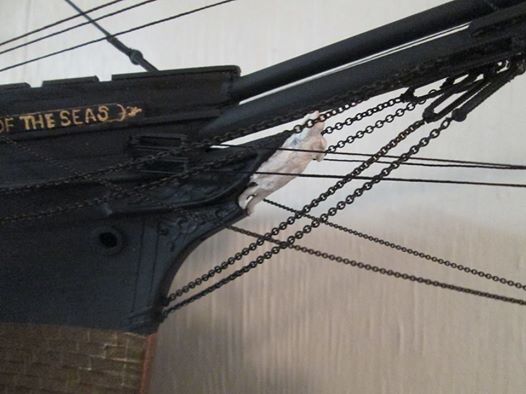
Another elevated image

-
Ed does the YA have a 3 tier keel and a shoe as well? And if the outside planking engages the rabbet in the upper tier.....who's gonna see all that fancy stopwater plug work? Rob(So impressed I'm not sure what question to ask first)
- 3,618 replies
-
- 1
-
-
- young america
- clipper
- (and 1 more)
-
Pear? Cool. I need to mill me some while I'm milling some grape stock too. Great work..thanks for the info. Rob
-
sweet build..for sure. Rob
-
Awesome...build. Can't wait for her to sail. Rob
- 79 replies
-
- 2
-
-
- pride of baltimore
- privateer
- (and 3 more)
-
Good analysis and description.....grain was carried in large bags and items like tea and dried goods needed to be dry. I recall reading that the Clipper Dreadnought lost nearly a quarter of a grain shipment due to a sprung keel seal. Many clippers suffered with dry rot in their old age. Rob
- 3,618 replies
-
- 2
-
-
- young america
- clipper
- (and 1 more)
-
Fantastic...purist approach.....no detail is over looked. Rob
- 3,618 replies
-
- 1
-
-
- young america
- clipper
- (and 1 more)
-
Cutty Sark by NenadM
rwiederrich replied to NenadM's topic in - Build logs for subjects built 1851 - 1900
Thanks Lou.....Static models are not my thing. I prefer to build an historical ship..then place them in an historical scene. It causes not only the appreciation of the ship build...but draws the viewer into the history of the ship...making your display far more impactual..and might even entise the viewer to build a model for themselves. Self promotion of a great hobbie. Plus you have a fine model to view and the scene it's in. Thanks for your fine comments and posts. Rob(I'm building the Ferriera the Cutty Sark when owned by the Portugues...set in a dirty backwater mouring)- 4,152 replies
-
- 1
-
-
- cutty sark
- tehnodidakta
- (and 1 more)
-
OMGoodness.....outstanding work and attention to detail. What fine grain wood are you using? Rob
-
Cutty Sark by NenadM
rwiederrich replied to NenadM's topic in - Build logs for subjects built 1851 - 1900
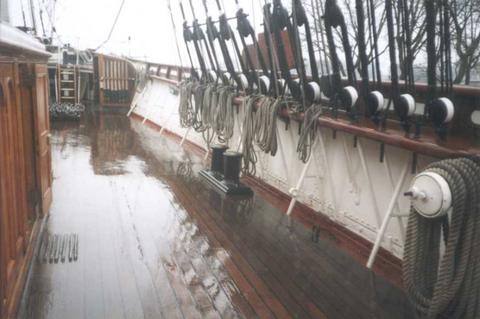
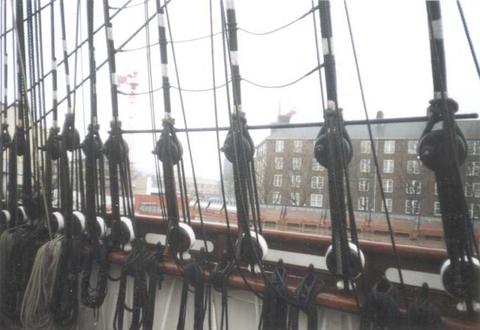
Here are some older but nice images of the bulworks and many other details. http://groups.yahoo.com/neo/groups/cuttysark/photos/albums/2076722189/lightbox/643145068# -
Excellent build.
-
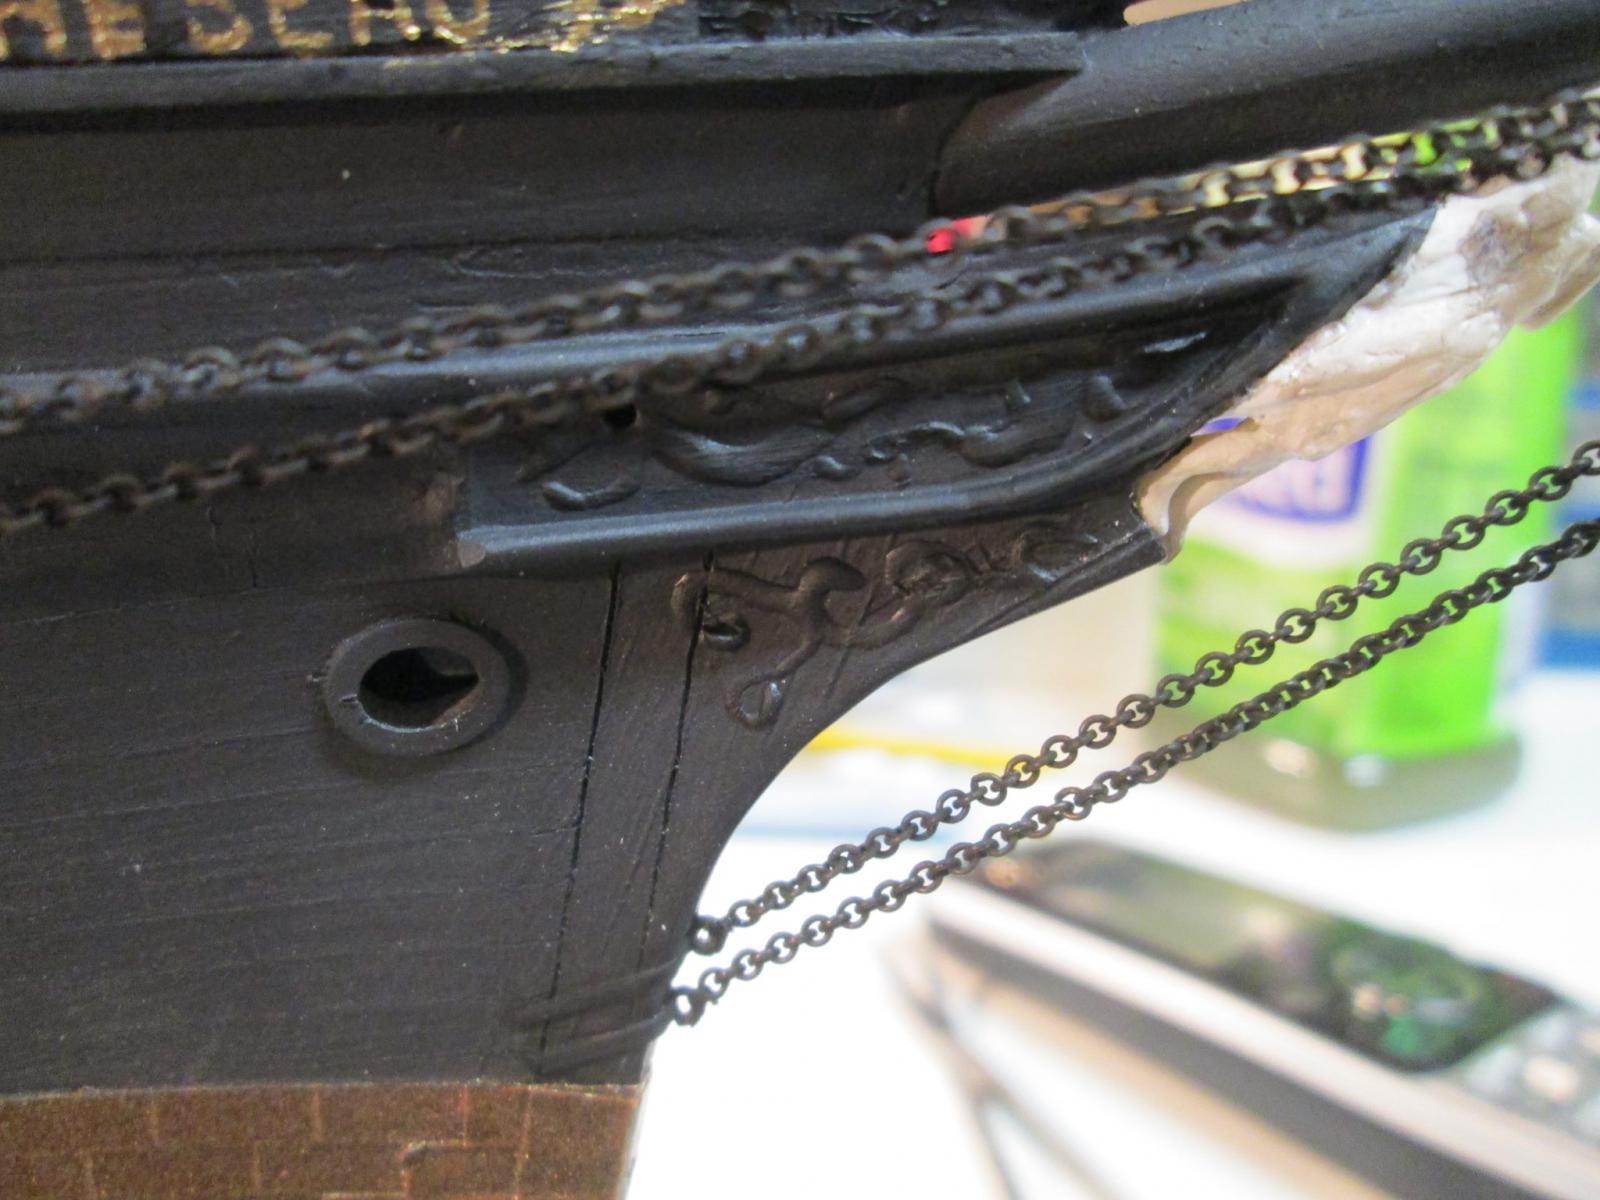
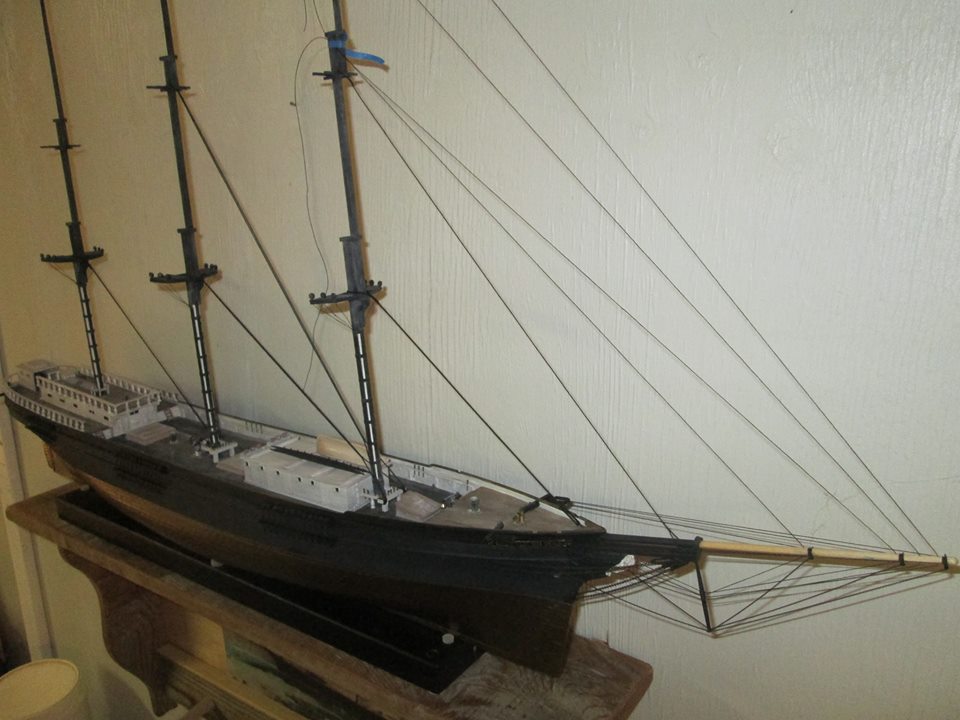
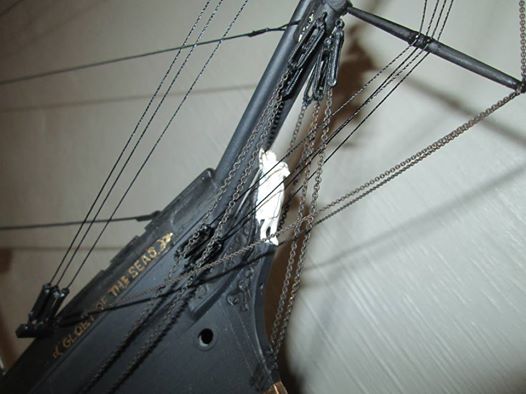
Daniel..thanks....carving a small woman figurehead was daunting to say the least...but I think I captured the idea. The scroll work on the cheeks was also carved and was fun. Since there are no models of this particular clipper...everything was scratch built from line drawings and lots of study. When I finish her...I'll begin the work on another Donald McKay creation...the Donald McKay. She had some of the first gangways installed on clippers to give better axcess to the seamen. My modles are not as detailed or skillfully executed as some are on these pages...but I enjoy them and I'm having fun. Again...thanks. Rob
-
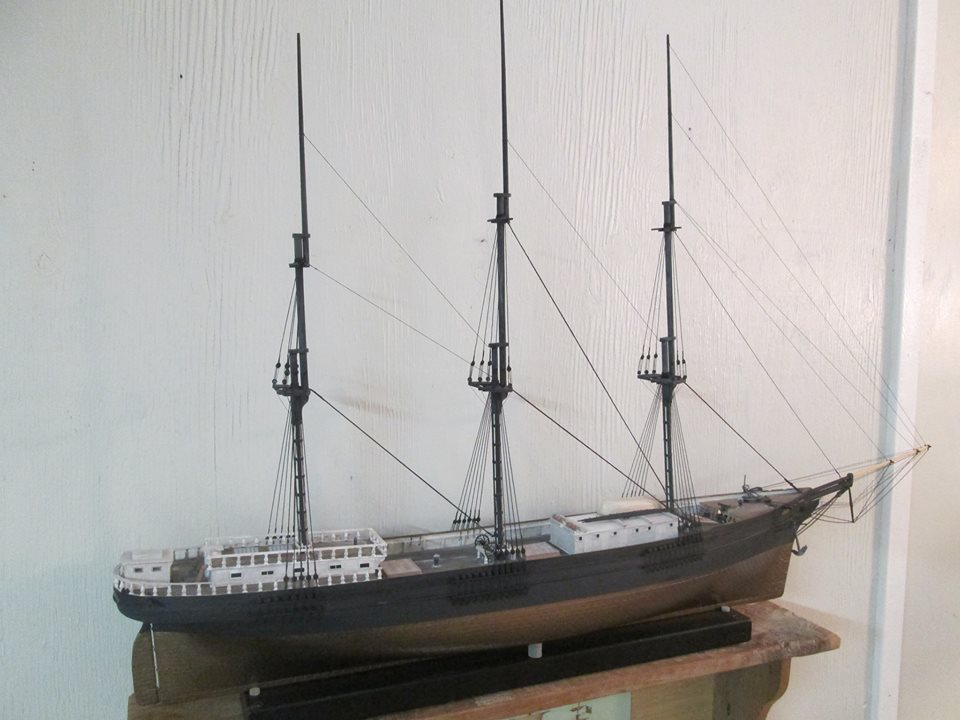
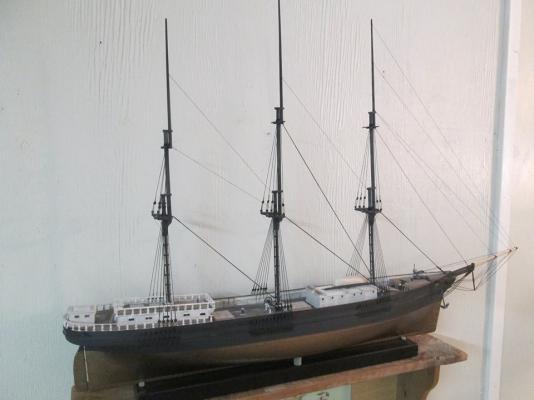
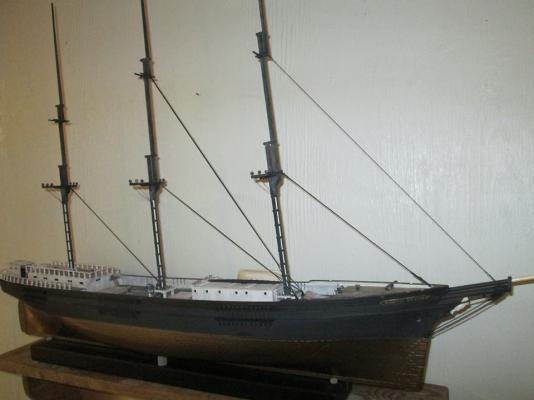
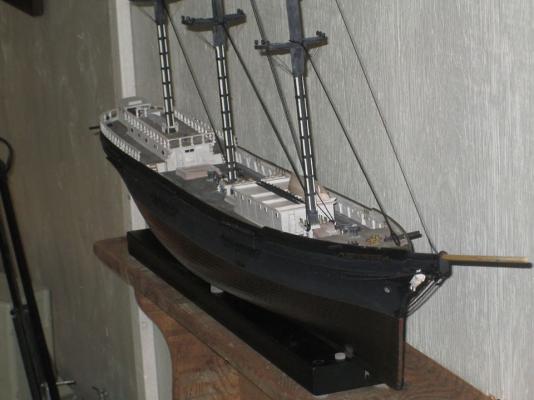
Mark......Well..It took me 3 months to build the Cutty Sark and with all the mods on this ship..I have in around 3 months of work currently.
-
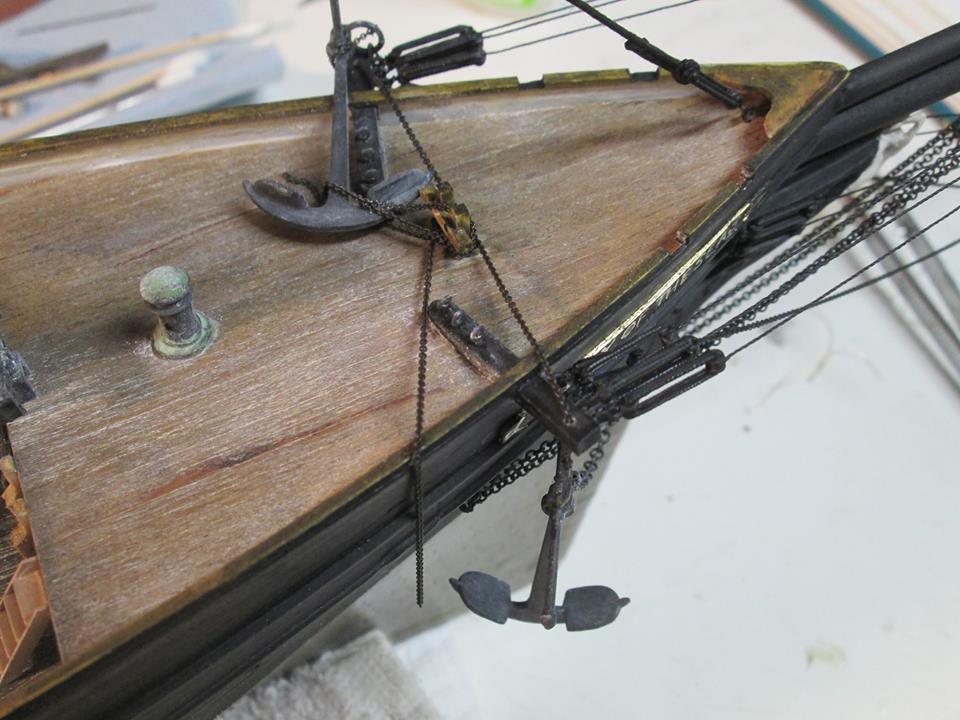
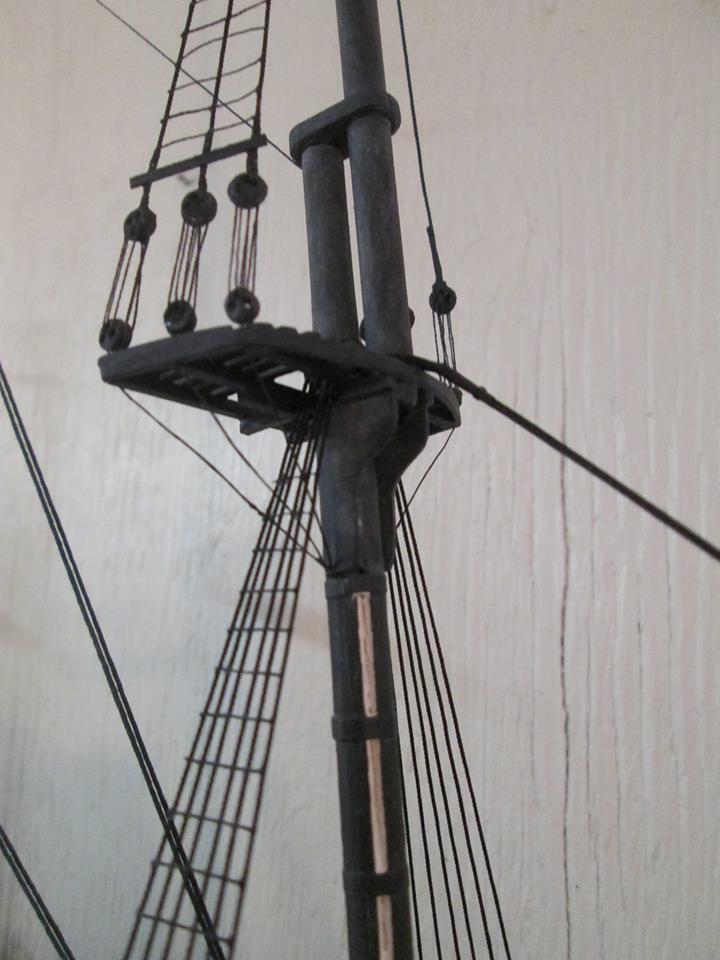
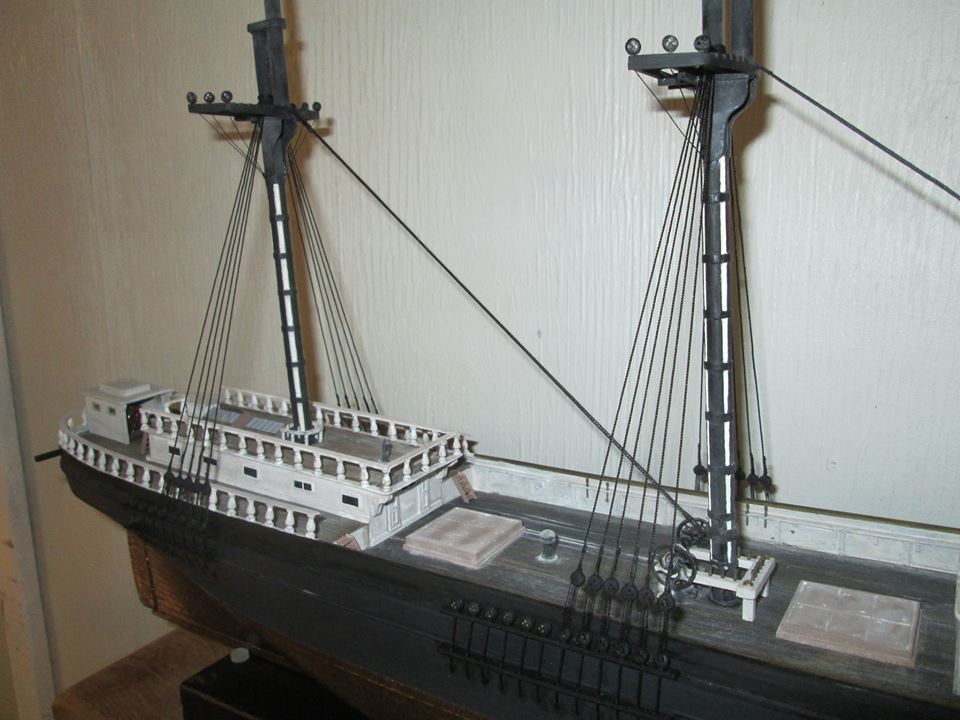
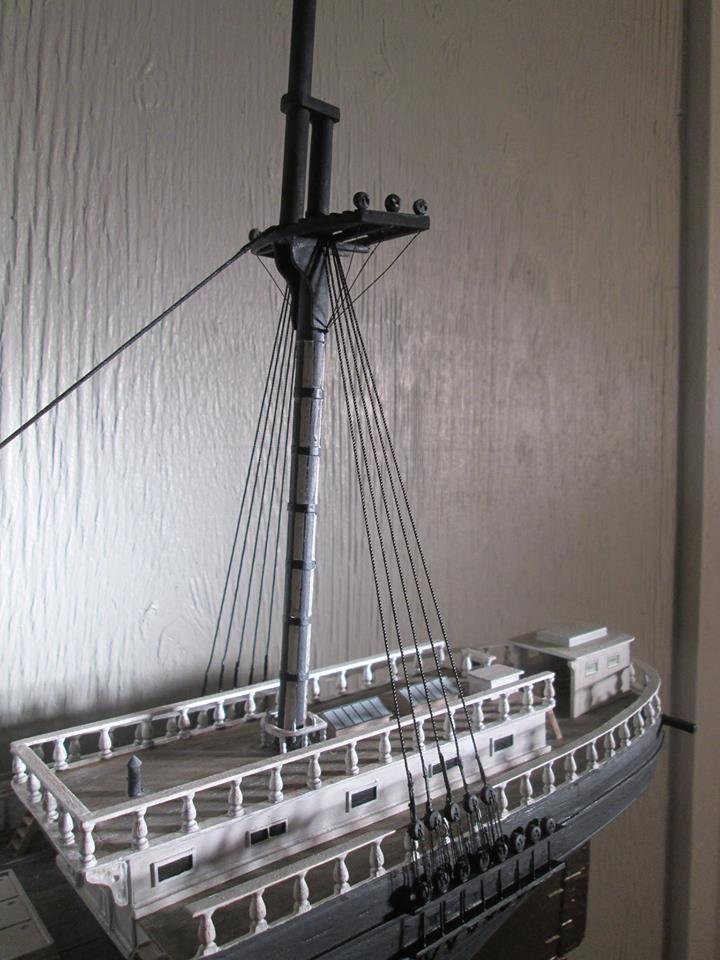
I finished the starboard side first and will soon begin the port. I typically do things in a routine order and in small pieces so as to give the illusion of completing things fast. Here are some more pics of the head gear too.


-
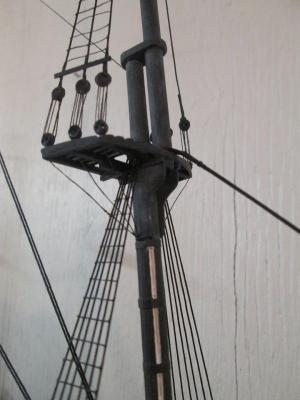
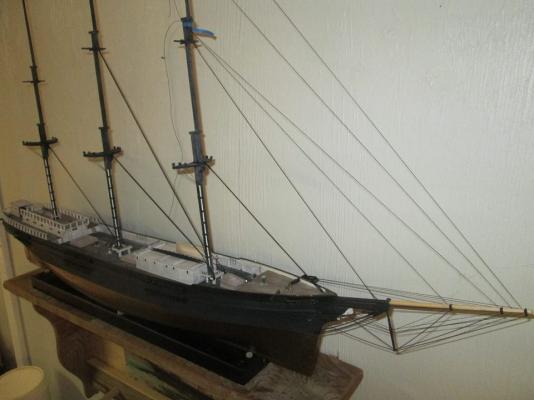
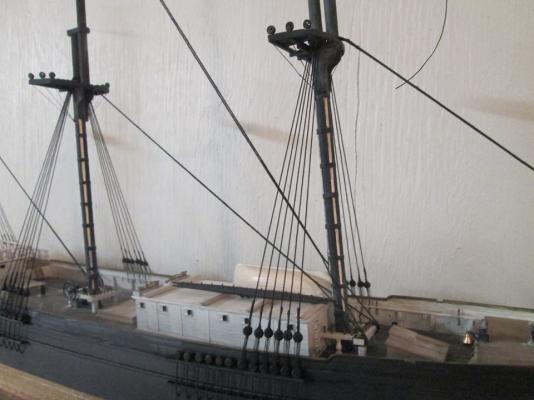
I proceded to apply the ratlines in an orderly fashion...begining with one mast(mizzen) and working forward..then the tops and then back to the mizzen and then repeating the procedure...will they were all siezed in.
-
Rigging continues....

-
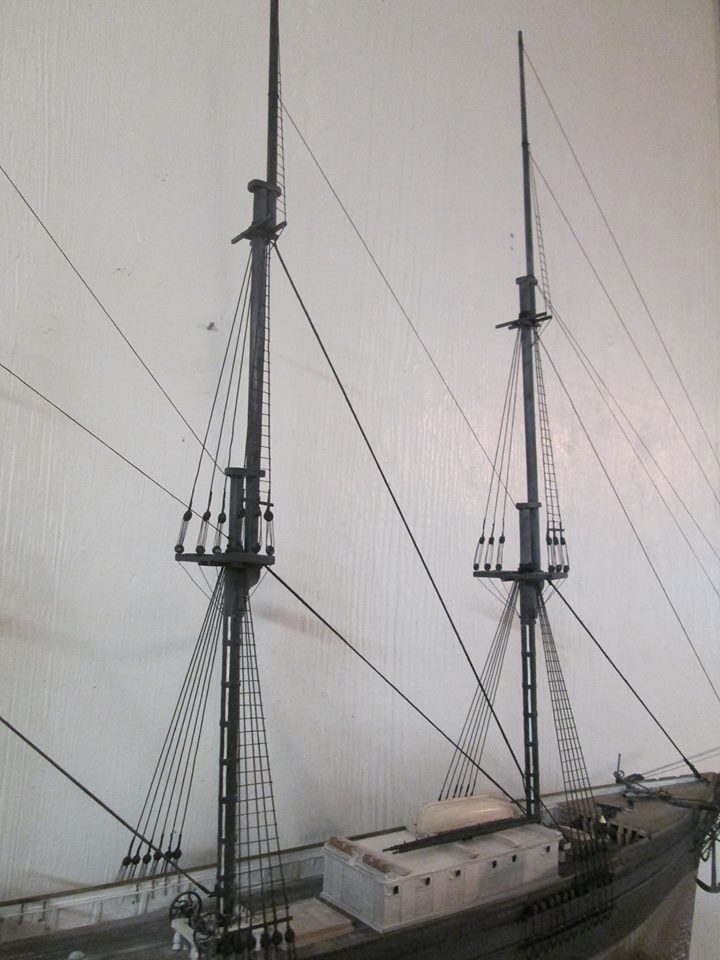
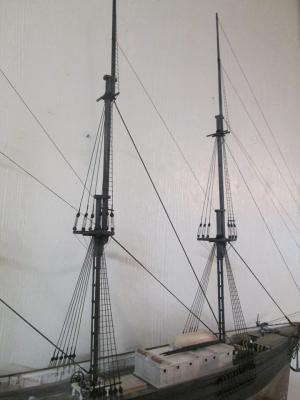
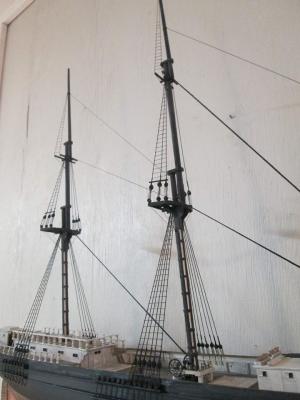
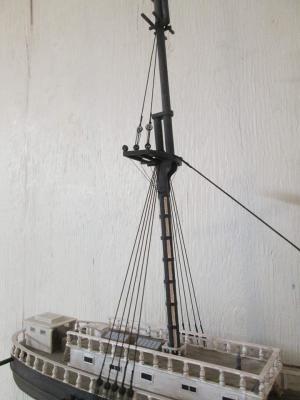
Moving forward to the main mast.
-
Now it was time to rig the shrouds along with the stays. I began this task by starting on the mizzen and working forward.
-
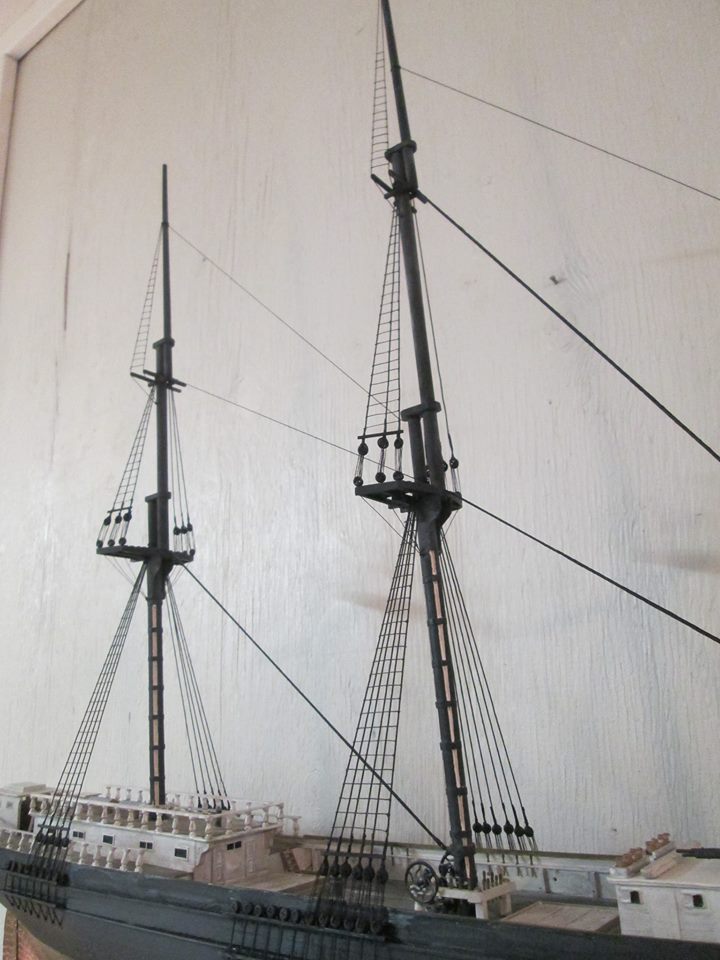
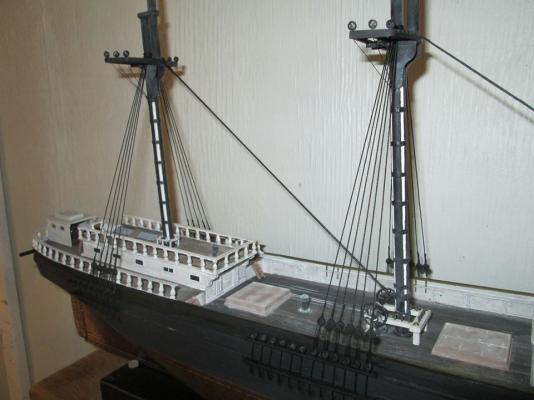
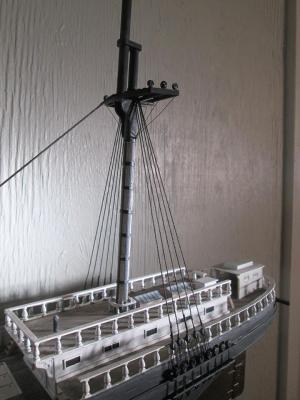
More aft detail.......

-
Another of the set masts........I then went about setting and rigging the stays to secure the masts in place.