
HOLIDAY DONATION DRIVE - SUPPORT MSW - DO YOUR PART TO KEEP THIS GREAT FORUM GOING! (Only 66 donations so far out of 49,000 members - Can we at least get100? C'mon guys!)
×


rwiederrich
-
Posts
5,518 -
Joined
-
Last visited
Content Type
Profiles
Forums
Gallery
Events
Everything posted by rwiederrich
-
Marco....good job on the gin blocks. I thought about making mine for Glory....exactly....like you did. However...Like my habit, I found a faster and easier way, with light cured composite. Your final product turned out wonderful......very good indeed.😉 Your CS is looking very smart. Just fantastic work. Rob
- 399 replies
-
- 2
-

-
- cutty sark
- revell
- (and 2 more)
-
3D....I tackled the issue by noting that the bunt line blocks are movable on the jackstay and can be rotated to the back of the stay and thus the furled sail. The sail then can be tightly furled with the blocks nicely stowed behind it. I wanted my Glory of the Seas to mimic actual practice. ON the yard not in front of it. Check out my log for Glory of the Seas to see what I did to answer the call. Good luck. Rob
-
I used extremely thin stainless wire(you could use stretched copper wire). I add strength by drilling appropriate holes at each end to secure the jackstay to...(By bending the ends to form a foot), along with the glue at each jack bolt. The slight mod is not altogether unrealistic in smaller scales...such as 1/96...the greatest benefit of the secured ends is that they hold the jackstay secure and parallel to the tops of the jack bolts while you glue them. I did not attach the sails to the jackstay( which is the typical practice), so I could evaluate and expose the jackstay detail....in this particular instance. Rob
- 248 replies
-
- 4
-
-
- Cutty Sark
- Revell
- (and 2 more)
-
Glad you are moving along quite expeditiously. Sometimes our corrections out pace our original labors. Great recovery. Rob
-
Ouch! What a painful experience Vlad. Truly gut wrenching. The closest I ever got to sucha disaster, was when I ran a skysail bunt line down the mast, through the maze of other lines only to find I was horribly twisted and entangled with several other lines. But this........Yikes. I I hope you recover both mentally and constructionaly soon. Rob
-
I know, it is a big decision. Because it can get very tedious...to try to cram so much rigging in and along the yards. Then transfer that detail down the mast to so many belay points. I'm so glad I decided to NOT include any stunsail boom rigging.... In my scale it would have required silk thread to achieve the scale rope required for this level of scaled rigging.....not to mention the problem of finding places to belay the lines. I did COMPLETELY rig her...with yard, and sail control. Everyone's miles may very. Rob
-
We’ll one and two in your drawing will be simpler, because your 3rd drawing requires that you have a block mounted on the deck and a line to belay at the rail. This will quickly get overwhelming at the mast foot. You will run out of space when you figure you need to do this for a couple of yards……..on both sides. Not forgetting you will need room for sheet blocks at the foot as well. It all gets tricky and tight………so think it out well. Rob
-
Possibly the term *spreader* is being utilized to describe the cross tree.....? Rob
-
He said no futtock shrouds...the means to climb up and over the top from the lower shrouds to the top shrouds... And no topmast shrouds from the tops...Weird. I think the addition of the tops should be eliminated and only cross trees are required. Still you need shrouds to access above the tree. Weird...again. Rob
-
Iron Mast Cap Orientations in Steam/Sailing Ships
rwiederrich replied to BANYAN's topic in Masting, rigging and sails
Time to, *Make it so #1*. Rob -
Vlad....you have a real job ahead of you. You will need many hundreds of blocks. but in your scale....that will be fun....if I can say that. I created blocks for each yard and purpose at the time I needed them. It broke up the monotony of making so many blocks at the same time. That was just me. In your scale, each block is nearly a small model in of itself. There are some nice videos , where folks mass produce blocks from dowels chucked up in a drill motor...or on their small lathe. Good luck. I'll be watching. Rob
-
My library of books has been my own life saver as well. Glad the suggestion is making the task so much easier. I agree...one thing with larger scales is you can work around issues a bit easier. Through the function has to remain the same. To be honest....I haven't given my next build much thought. I have many hobbies...each requiring, as much of my time to accomplish the desired results. I build refractor telescopes in my shop and summer approaches...meaning I will want to take my big ones out so the grandkids can enjoy them. I also want to reinfuse my HO train passions and build my grandkids a small layout. And to top it all off....I'm retrofitting my library with production lighting, video and audio....so my sweet wife can engage her passion of live podcasting. I've spent thousands of dollars on cameras, video and audio control equipment. I'm simply trying to find Glory a new home, or a quality case so I can protect her for the long term. Rob
-
I use simple wood glue. I first cut the ratline about an inch longer on both ends.....then dab some glue to each shroud at the ratline's proposed location...then I hold the ratline thread from both ends and gently press it into the glue and roll the ratline thread into the glue, incorporating it completely in both the ratline and the shroud. Then pull away, leaving the ratline glued to the shrouds. The glue dries clear, with a mat finish, but I always finish it off with some black paint. All my ratline/shroud joints get painted. Thing is you see....on the prototype the knot and ratline is left on the outside of the shroud....so is it on models....cept...in 1/96...no overly sized knot is present. Just clean ratlines....without the awkward, un-natural look of over sized knots and ratlines that don't flow harmoniously. PLUS....you don't have to spend tedious hours with tweezers tying knots on 5 to 6 shrouds...trying with all your might to NOT pull in the outer shrouds and warping the fantastic work you spend other hours rigging. That's just me. Remembering that all we are actually doing is *Simulating*. You've done a fantastic job. Rob
- 602 replies
-
- 3
-

-
-
- Flying Fish
- Model Shipways
- (and 2 more)
-
Fantastic job Vlad. You’ve discovered why I prefer the 1/96 scale. The size of model is still commanding, but allows you freedom to detail without that detail becoming (at times) out of scale. Not to mention, the smaller scale permits your details to be easier to disguise if you use unorthodox building materials. (That I’m fond of doing). So are you finished with the standing rigging and ready to move on to the sail and yard control rigging? I’m always following with great interest and pleasure. Rob
-
Fantastic. I'd love to see her......but that is completely across the country from me. Someday maybe. I've been working at getting my Glory of the Seas loaned to local nautical museums myself. Several museums have declined due to lack of floor space. Glad folks are getting to see her first hand. Rob
- 3,618 replies
-
- 1
-
-
- young america
- clipper
- (and 1 more)
-
Rob....your sails are well fabricated and it looks like you are aware of the down falls of using cloth material. One significant reason I used paper.....and even there, I needed to be careful of weight issues as well as billowing issues. I've built so many clipper models that I finally resolved to make all my sails furled (starting with Glory of the Seas). As they were actually furled in port.....on top of the yard. I've also concluded(for myself), that this arrangement releases me from making the jackstays, as well as satisfying the need to include sails on my model. Since sailing ships need to have sails mounted as much as they need rudders to steer. A sailless vessel was a rare thing....unless it was to be laid up in port for a lengthy period of time.....be it for financial inactivity or extended repairs. Your version is wonderfully made, and the addition of sails makes her even more so. I look forward to your remedy and approach. Rob
-
Ed....what became of her....if I may ask? Rob
-
Hours of something....... I build in 1/96 so I don't tie....I glue....then paint. I can lay ratlines on the entire mast in a about .. two to three hours. Futtocks included. 2 time killers.........laying copper plates and ratlines... 2 reasons why I developed my embossed copper tape system and my ratline technique. Rob
- 602 replies
-
- 3
-
-
- Flying Fish
- Model Shipways
- (and 2 more)
-
Yep, the perrell was leather lined and lubricated. And had some play to it, so it would not bind under a heavy load. Rob
-
Any evidence of your fine needle work? You do know....no pictures...it didn't happen....right?😄 I remember you talking about this technique......can't wait. Rob
-
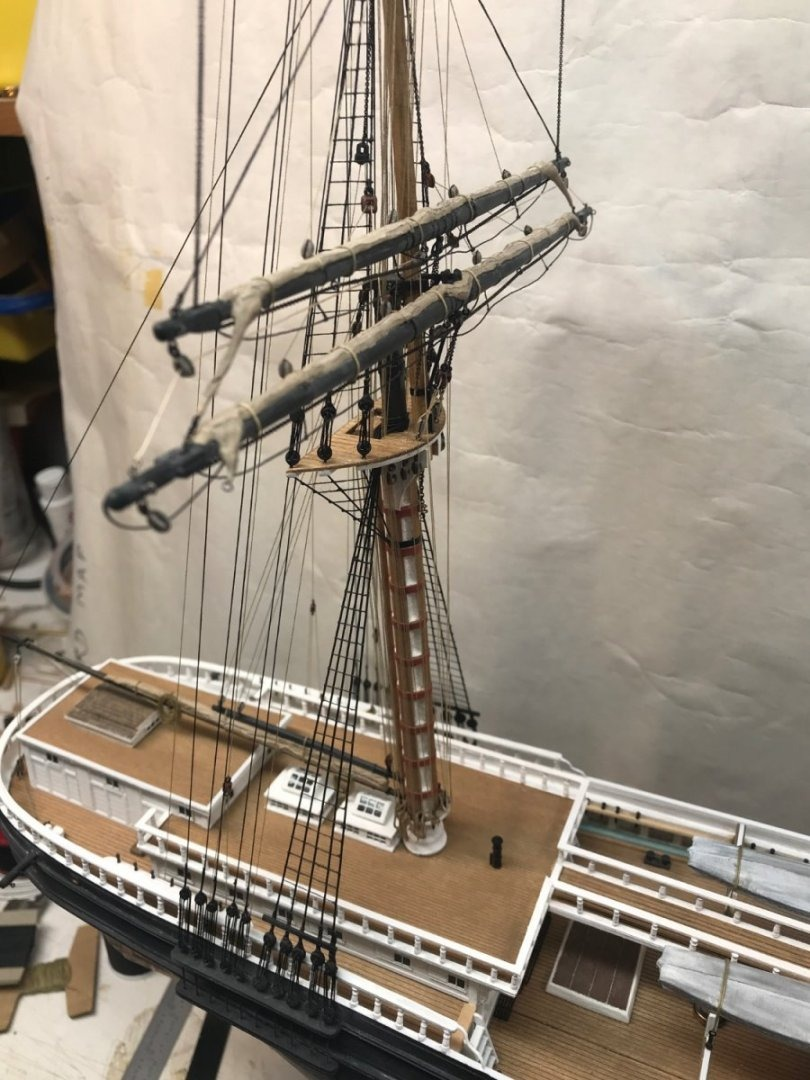
I'm confused. Why would anyone want to *band* a yard (Irregardless of having a truss), that NEEDS to travel up and down the mast it travels? Yes the main and LOWER topsail yard are trussed...because they do not move up and down the mast. The lower topsail yard in a Howes design is fixed with a crane to the mast cap. But if you are only using a single topsail.(As what appears you are modeling)...it must travel up and down the mast freely by way of a hinged parrell. Your topsail yard is banded to the mast, making it stationary and immovable. Your wonderful work on your chain/gin block tys and haulyards will not work with a stationary banded yard. Do you see what I am pointing out? Rob
-
Great metal work Mike. I wasn't aware the Flying fish only had a single topsail........? 1851 build might mean prior to being Howes Rigged. Fantastic work. One observation though......those yards would not have been strapped to the masts, but parrelled for ease of movement up and down the masts Rob
-
Iron Mast Cap Orientations in Steam/Sailing Ships
rwiederrich replied to BANYAN's topic in Masting, rigging and sails
I propose, that even caps and other fixtures where easily made from wrought iron straps that required to be parallel to the sheer or waterline that were intended for raked masts. This image of Glory of the Seas bowsprit cap is evidence that off perpendicular forging of bands was possible to achieve in house. Rivets included to affix the fixture to the Timbers. Rob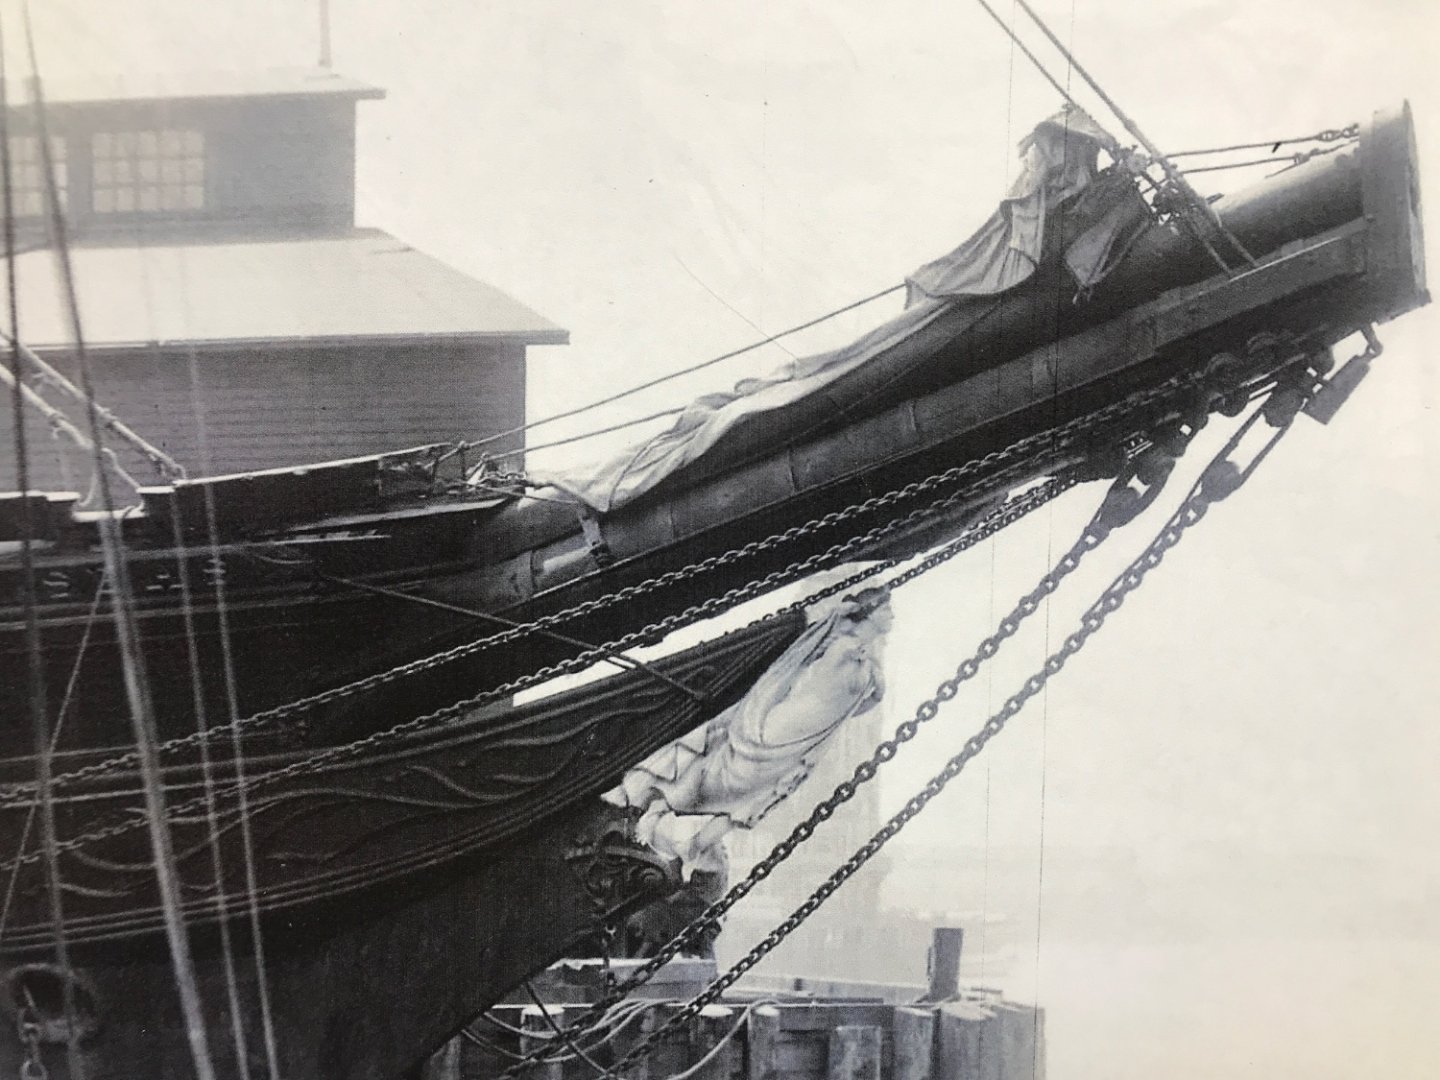
-
Iron Mast Cap Orientations in Steam/Sailing Ships
rwiederrich replied to BANYAN's topic in Masting, rigging and sails
Pat...the cap was not press fitted to the mast as would be the practice for mast banding. (The cap was only pressed and pinned to the mast it was the cap for) The topmast and subsequent upper masts easily slid through their caps for removal and replacement. The caps only held the mast in relative proximity to its mating mast at the doubling. If one removed the topmast cross trees and rigging....you could remove the topmast easily by way of removal of its fid and down through the cap and top goes the defective topmast to the deck below. Mast components were fluid and had to be easily removable to repair them when at see. It WAS the standing rigging that gave rigidity to the masts. Main Masts could get *sprung* (losing or extreme shifting of its wedges that are covered up by the mast coat. However, a sprung mast could still be made rigid enough by way of the shroud and backstay lanyards. Rob -
Iron Mast Cap Orientations in Steam/Sailing Ships
rwiederrich replied to BANYAN's topic in Masting, rigging and sails
OK *Goober*.....😜 Let me take a poke at it. For general peir side symmetry, the tops were typically set parallel to the waterline. At the time period Vasa was constructed the tops(Or Nest) was perpendicular to the mast axis and they did indeed lay at the rake of the mast. Mast inclination of this time period varied remarkably between fore and main/mizzen/lanteen. In many cases the foremast leaned forward 5~10 deg. Ship designers experimented with all kinds of arrangements to gain better control and advantage of the wind. Vasa's main engineering error lied in her top heaviness. Typically the rake of each mast is set , do, to the location of each masts foot in the keel bed....so arbitrarily changing the rake was not a real option. Not even for the Captain. A *sprung* mast is an entirely different subject. Again, the top platform was typically set parallel to the waterline....establishing a clean balanced and symmetrical view. The pitching and rolling of the hull in the ocean paid no respect to the design of the top or the cap, nor their relationship to each other. I can't speak for your observations of the Tennessee, but she is a more modern design and would generally have her tops parallel to the waterline....not necessarily her caps. Perspective of any image can throw off the actual top inclination, due to the roundness shape of the top.....hence, the general practice rule has to be your guide. Rob
