HOLIDAY DONATION DRIVE - SUPPORT MSW - DO YOUR PART TO KEEP THIS GREAT FORUM GOING! (Only 66 donations so far out of 49,000 members - Can we at least get100? C'mon guys!)
×


rwiederrich
-
Posts
5,518 -
Joined
-
Last visited
Content Type
Profiles
Forums
Gallery
Events
Everything posted by rwiederrich
-
Thanks Keith, I appreciate that. Rob
-
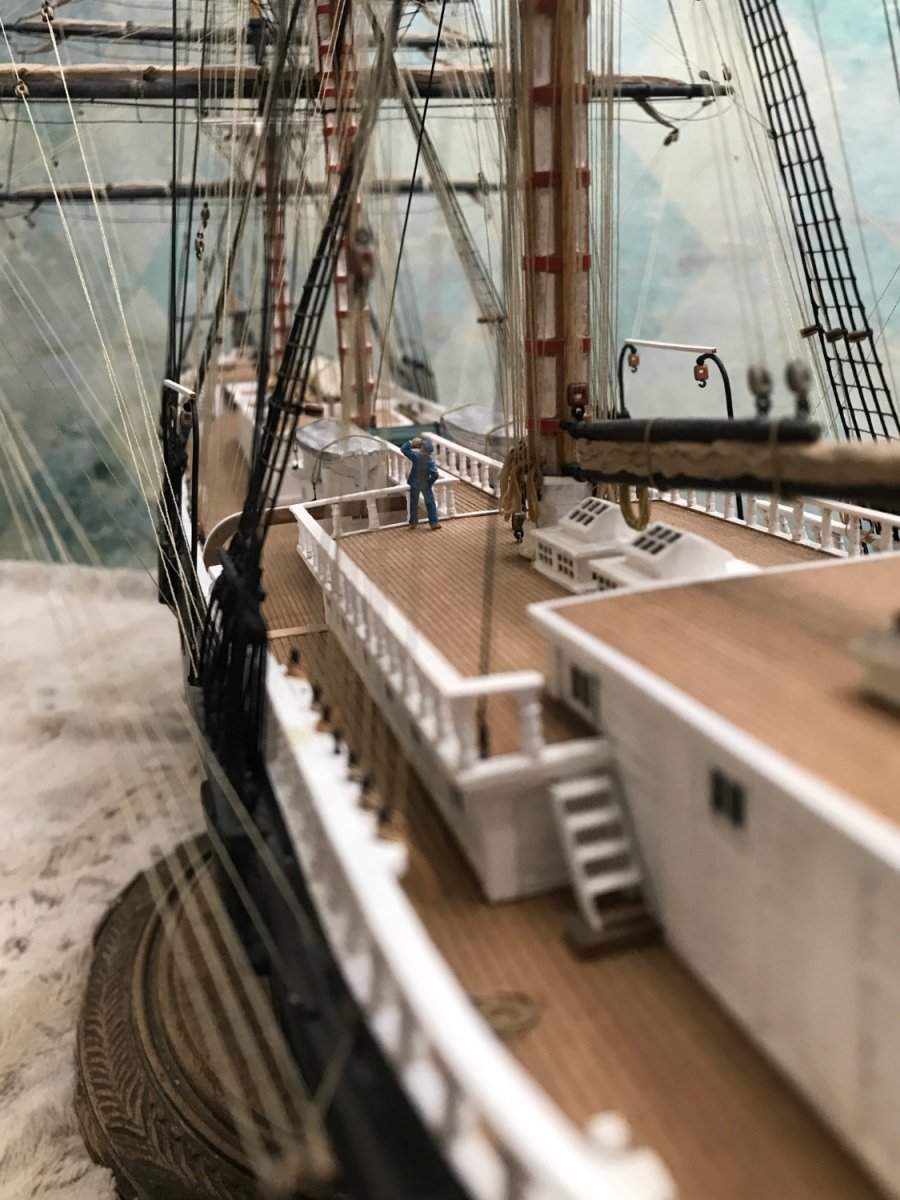
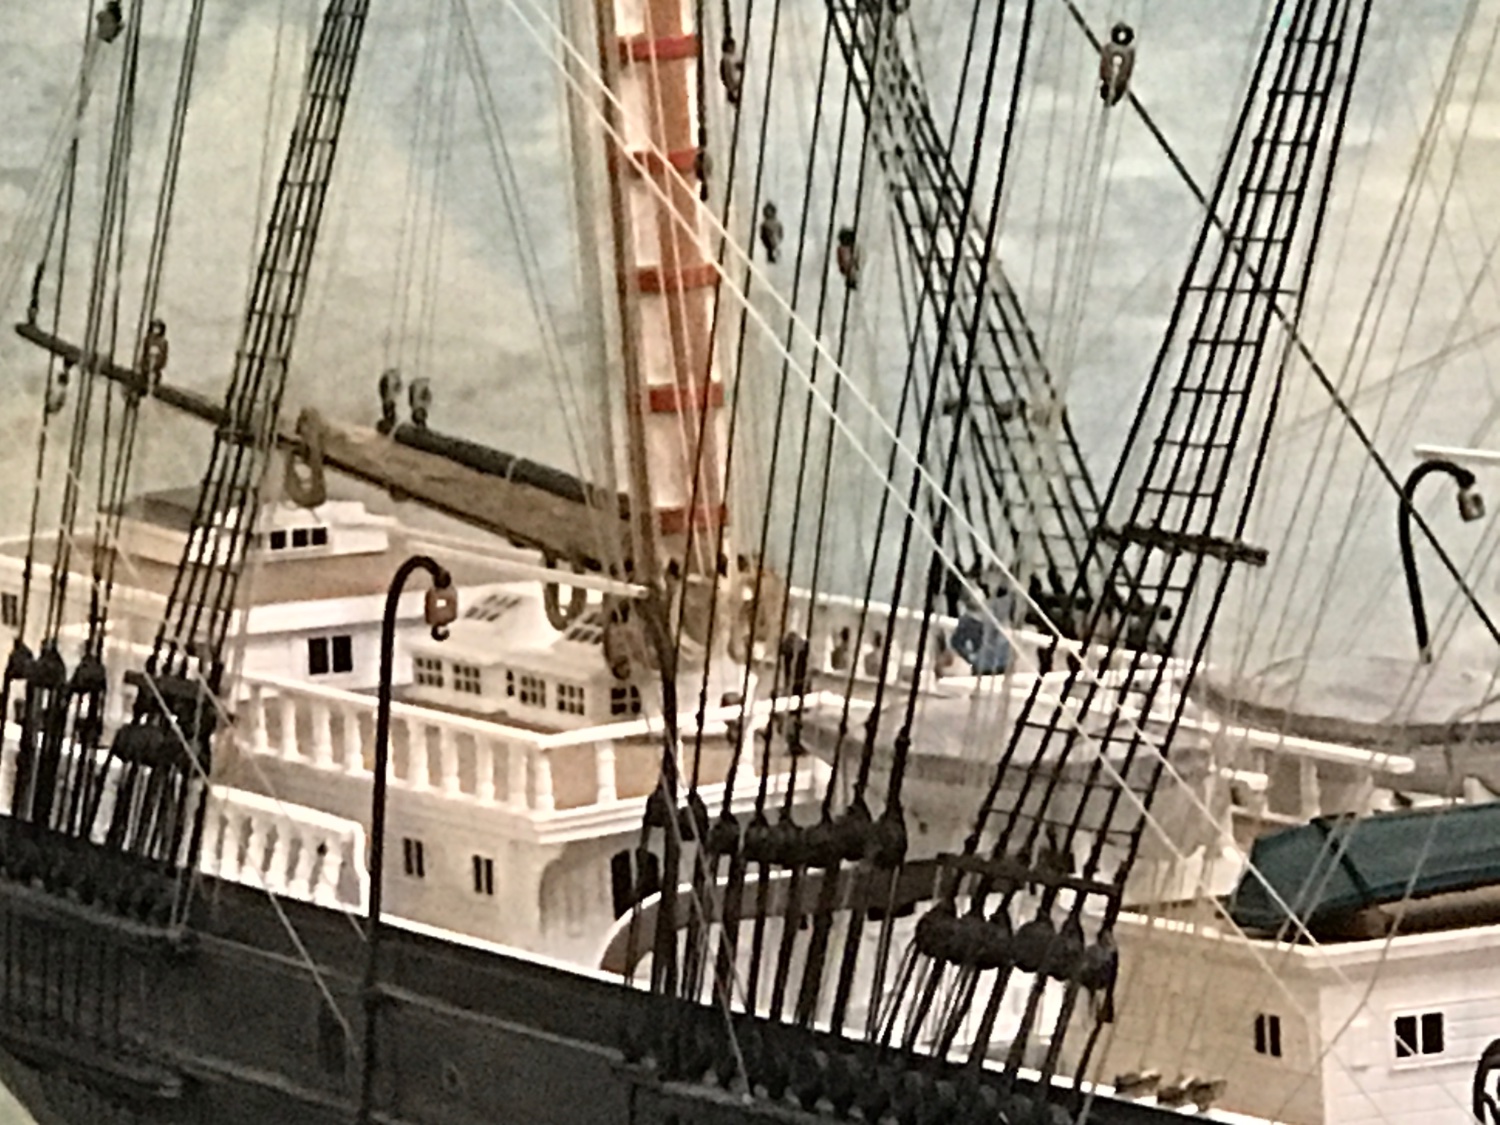
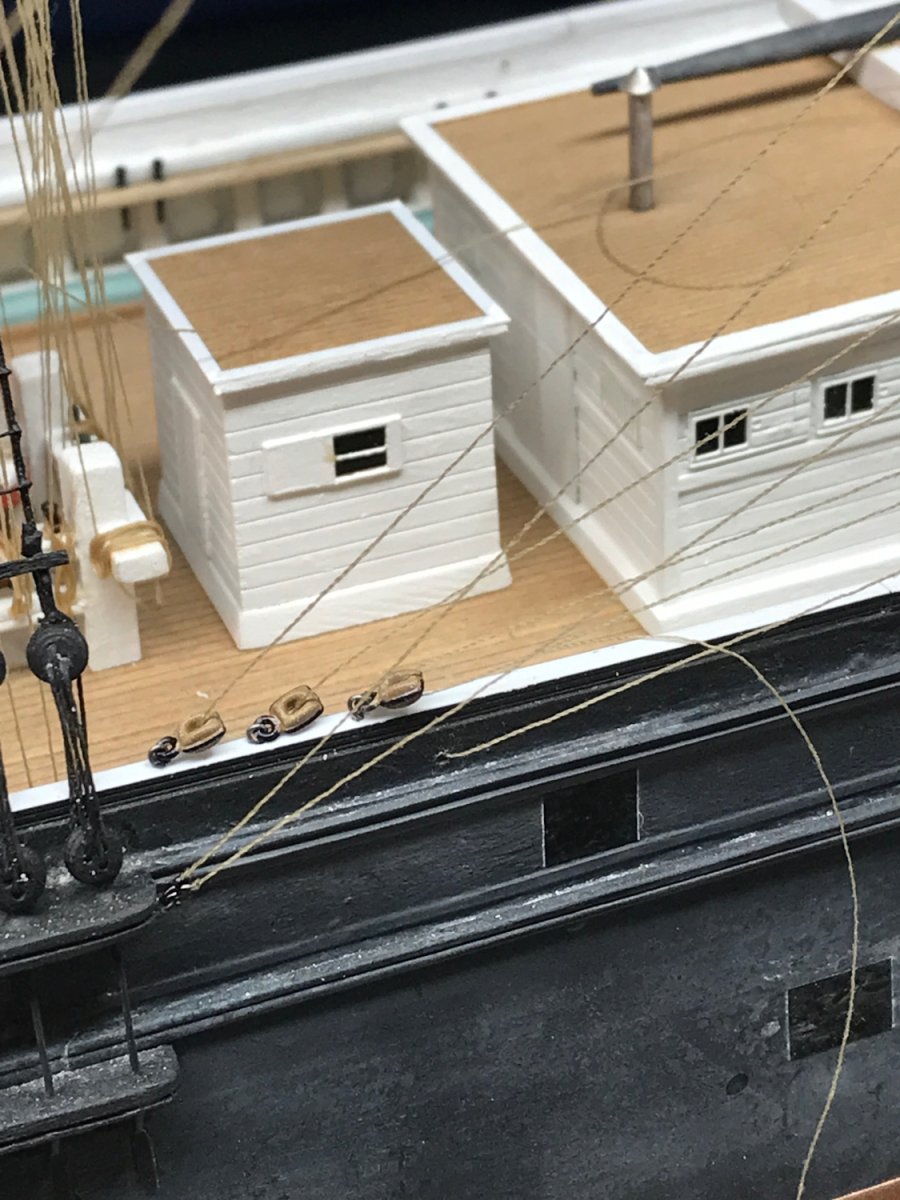
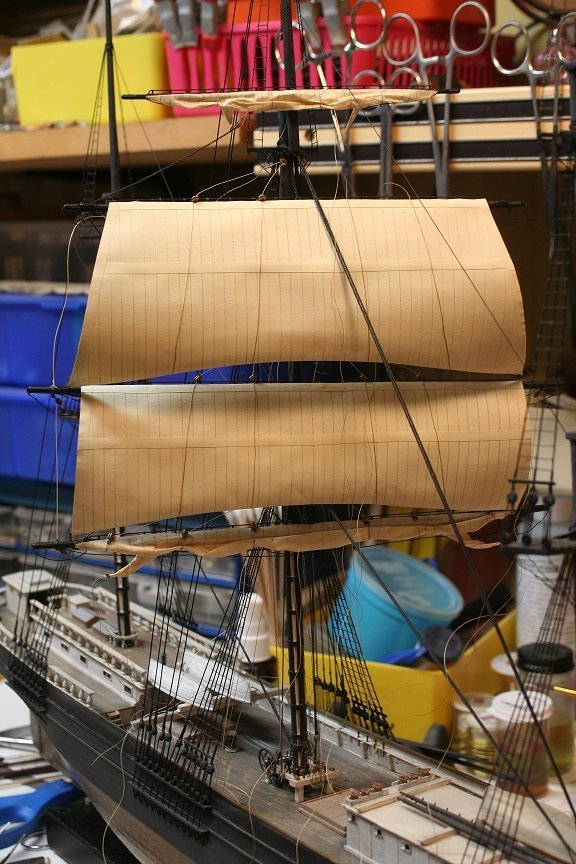
Hi Rick. Every house was painted off model. I simply used acrylics. Fast drying, water soluble , easy cleanup. The furled sails are made from a dental bordering compound. Very pliable when working and hard when cured. Not available to everyone. However, a good quality hardening wax may suffice, after painted. Thanks for the very fine compliment. Rob
-
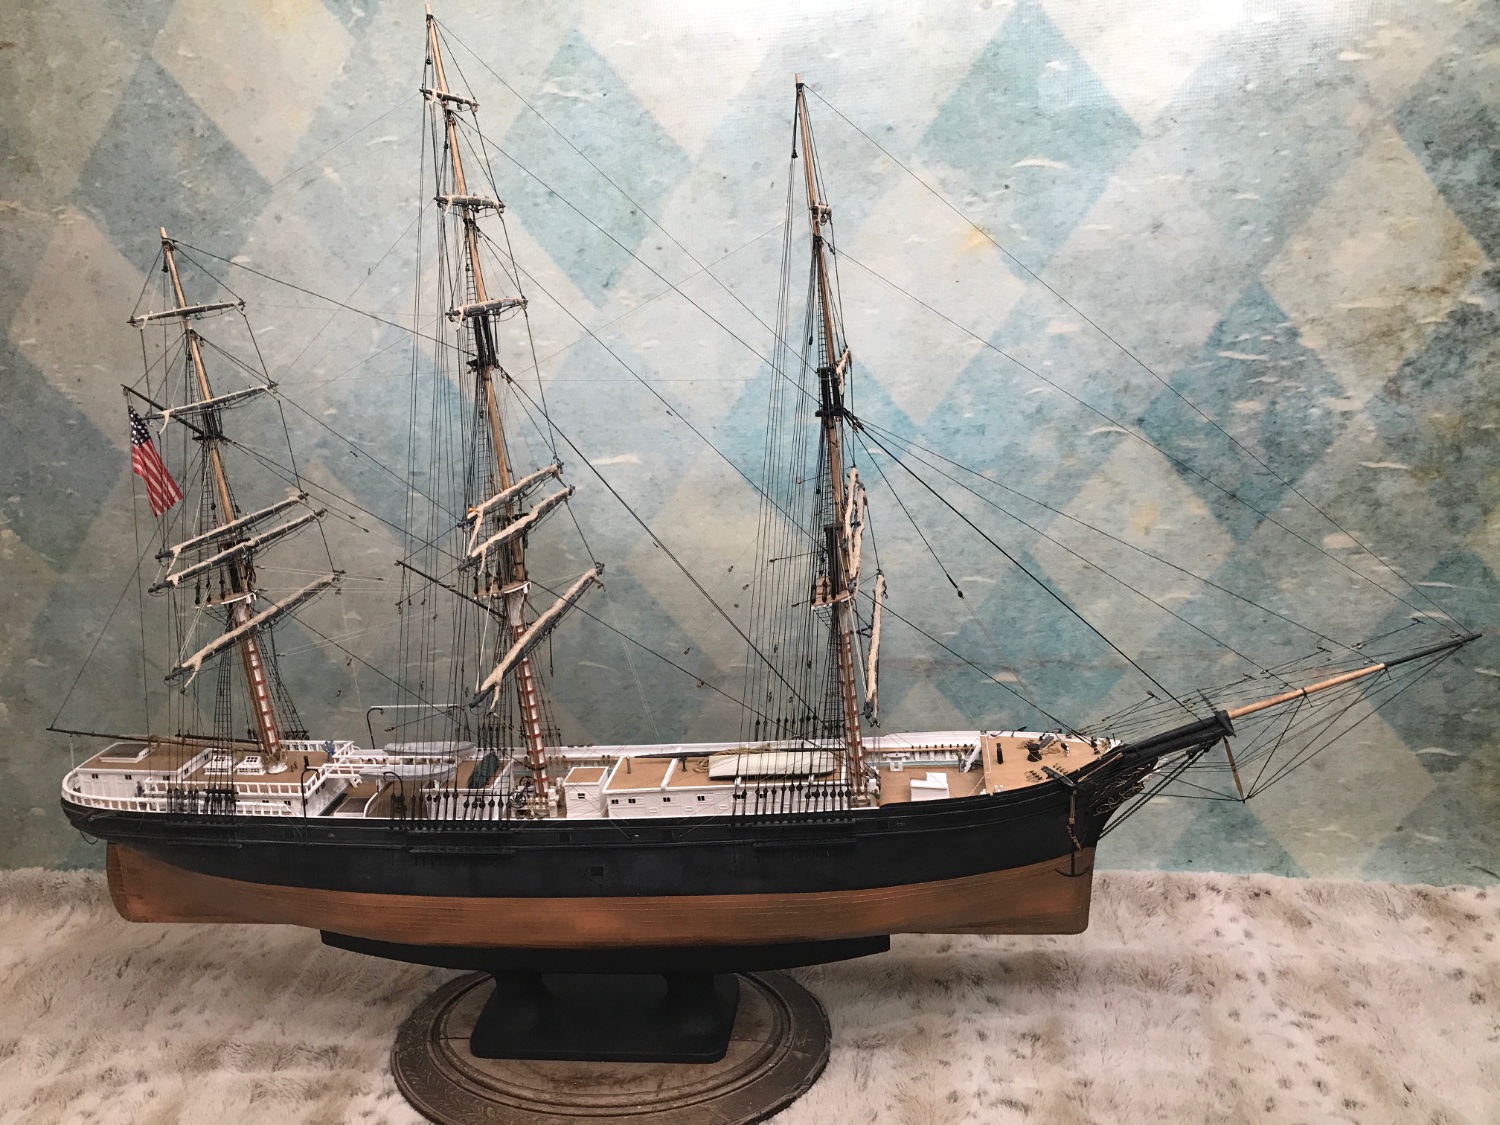
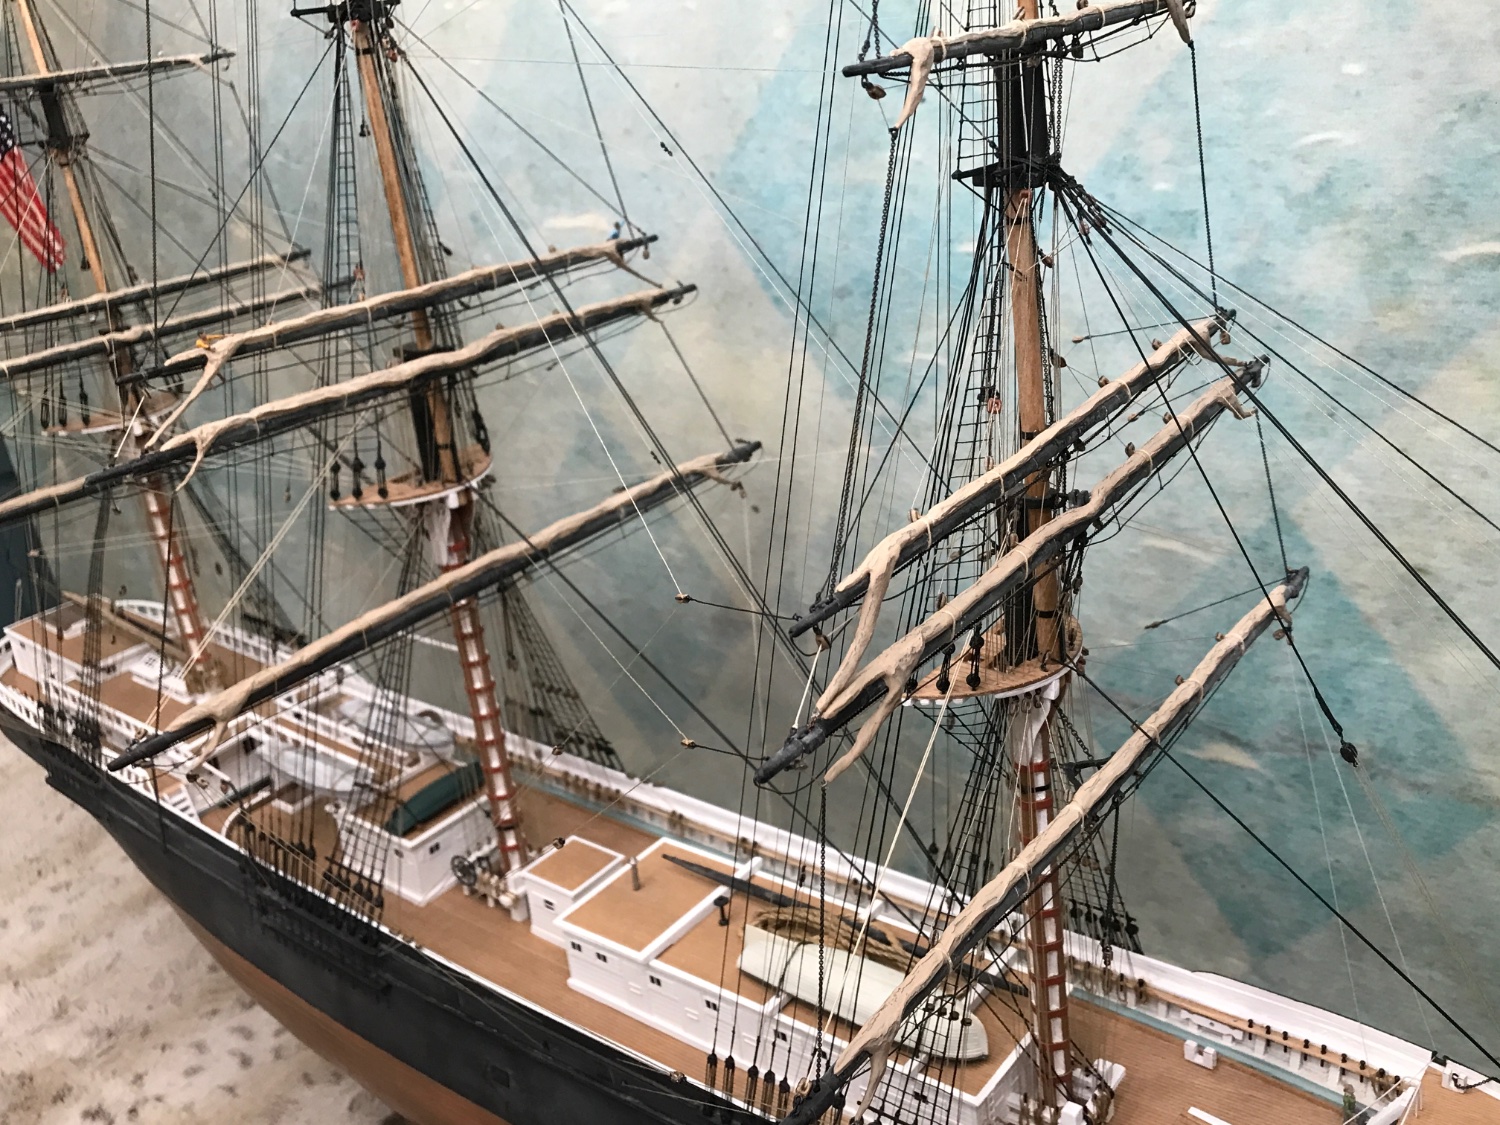
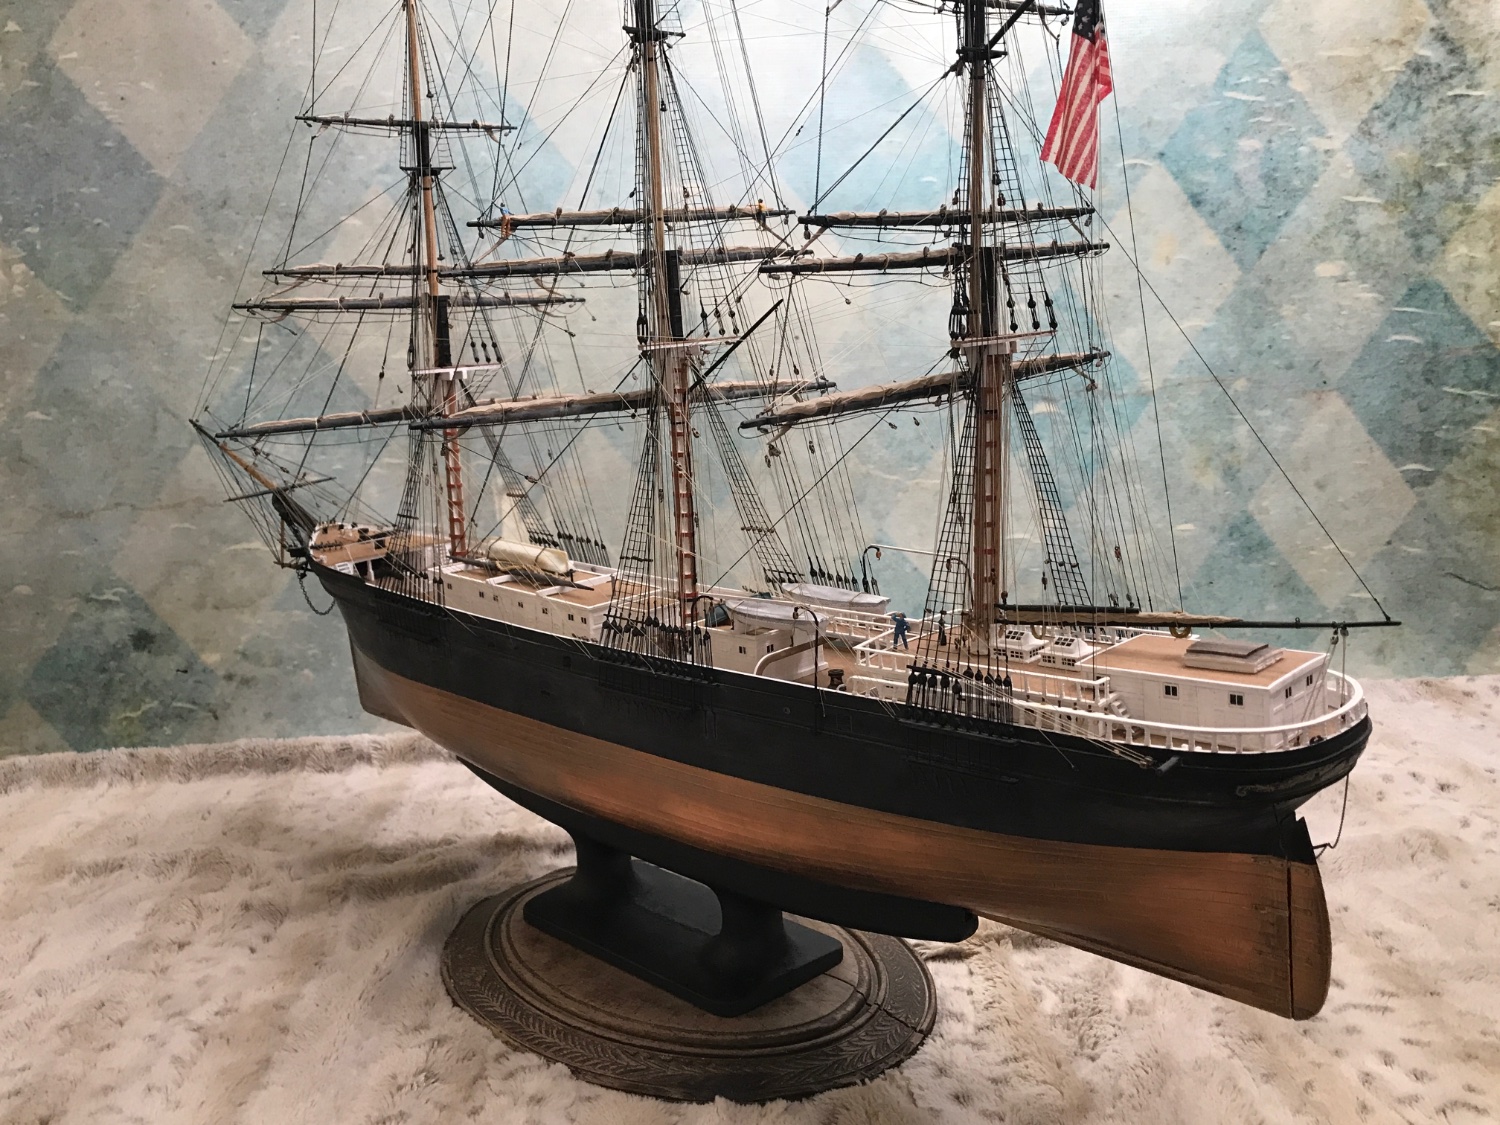
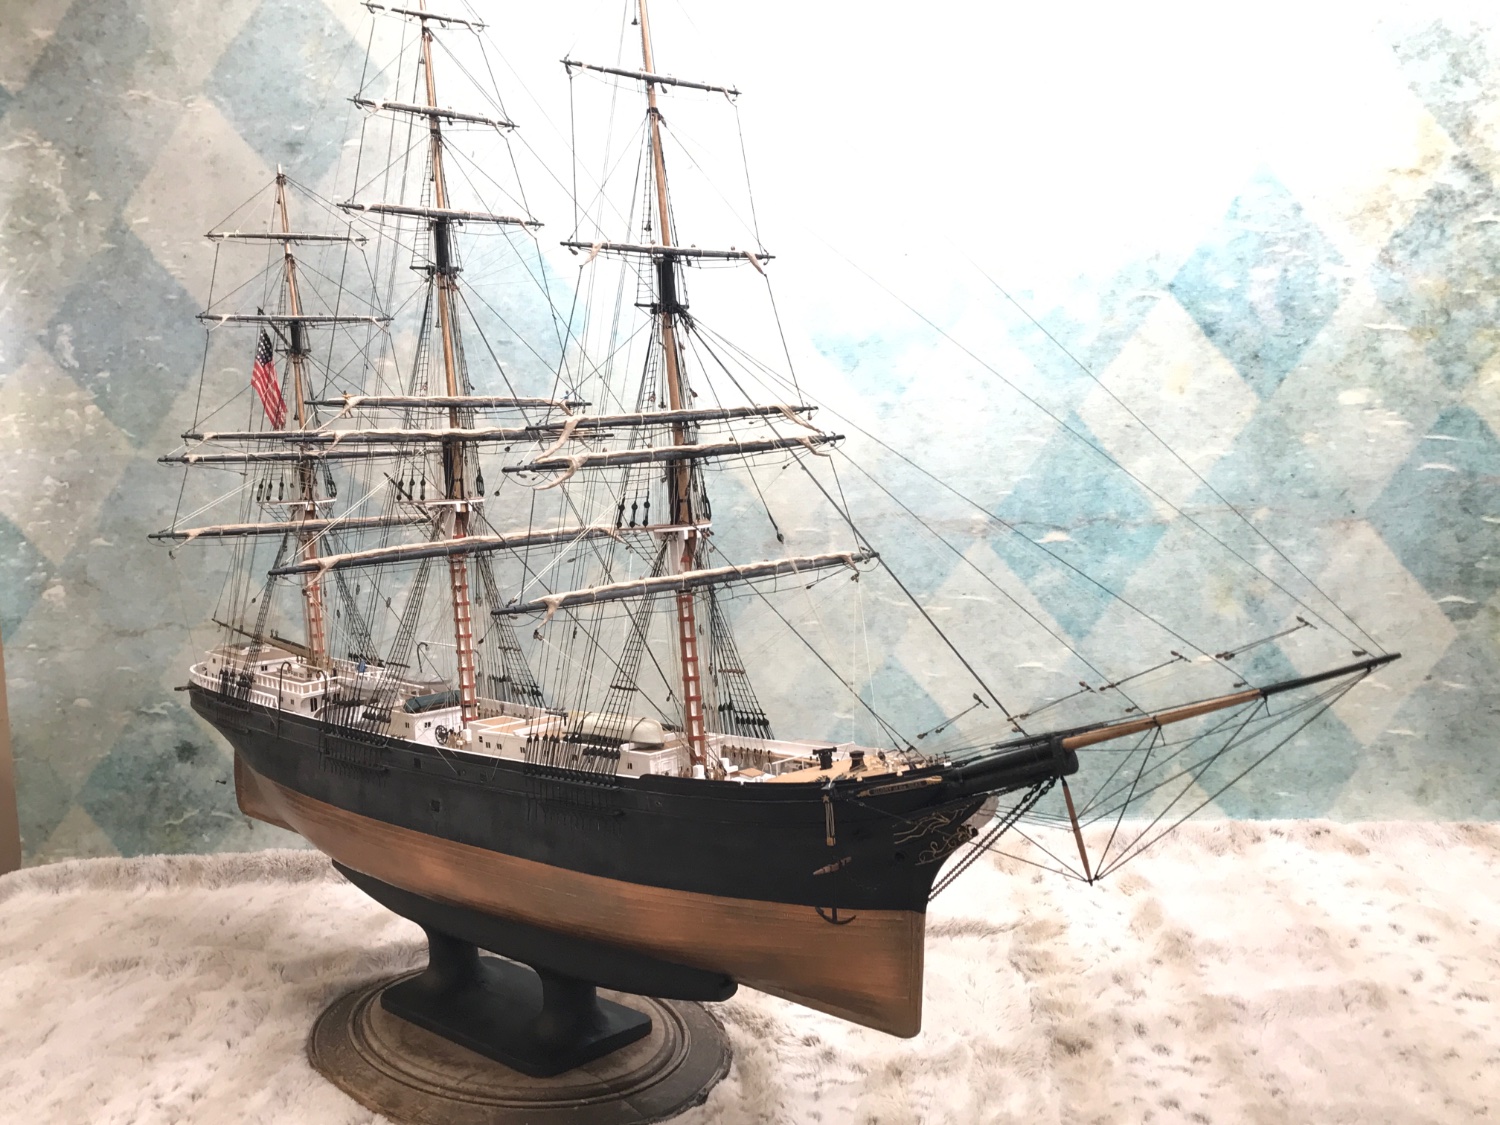
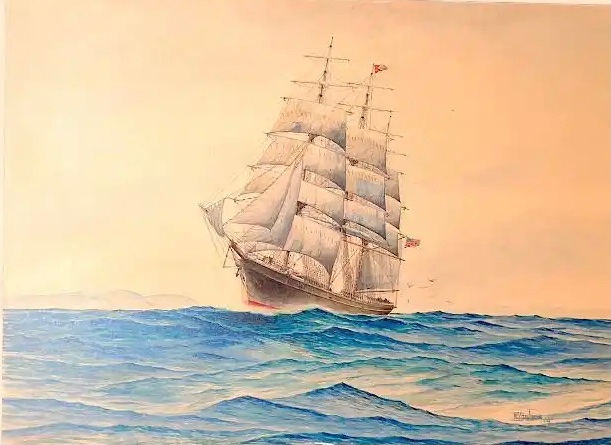
What a whirlwind of building adventure since I began this log for the Western Shore. The Great Republic is finished.....I abandoned the old Glory of the Seas and built an entirely new one from scratch. Waiting for confermation from the museum I've contacted about her display.....and now....... Speaking to Steve Priske concerning his own builds of the Western Shore......I'm getting excited. there is still much more research to be done and supplies to be acquired but she is in the *Que*. Another painting of her.
-
Wow..Vlad...you are really redoing a bit of structures. Remember..when you *cant* the poop stanchions...they return to vertical once past the backstay lanyards and round the stern in a vertical fashion...if not a slight outward slant(I wouldn't worry about that part) One BIG reason why I prefer 1.96 is that it permits me to forego lots of tiny details that would otherwise be missed do to thier small size. Your larger scale doesn't afford such benefits....if you want to be as accurate as possible. I admit, I am glad to see you making the changes..especially the stanchions. While, we are on the subject....I do not wish to contribute to any more remakes....but to keep things as accurate as possible...you might want to review several other items I'v noticed that are issues. One is the location of your aft fairleads on the splash rail. Photograph evidence shows them just forward of the termination of the forecastle edge and close by the wood billets. Yours are too far aft and are actually in a useless location. Review the image Mike Mjelde gave us of Glory from an overhead view...prior to her burning. It clearly shows the starboard splashrails leading edge and you can clearly see the gap for the fairlead...just in front of that large staging board that was placed there during her canary refit. Secondly(Unfortunately) is the design of your main mast fife rail. You modeled it to extend quite far past the pump and wheels...but if you review the photographs....namely the one of her men working fish on her decks in Alaska....you will clearly see her rail ends at or slightly before the flywheels edge. Please believe me...I do not mention these to throw a wrench into your fine work or any such thing.....I, just as Rich...only desire that you have all the info to make the most accurate model of Glory during the time period you are modeling her. You've made so many self corrections up to this point......clearly demonstrating your desire to make the most accurate model you can. Good luck...and as always...you're doing a wonderful smart job. Rob
-
Interesting progress Vlad. I'm unclear as to why you removed all your deck furniture and masked off the deck? Were you repainting the bulwarks? Rob
-
The representation is designed to depict another vessel far off in the distance. It will appear small and somewhat submerged That detail can go in perfected, my model is the detail in question. Rob
- 3,560 replies
-
- 1
-

-
- clipper
- hull model
- (and 2 more)
-
Thanks Nic....I truly appreciate your compliment. My attention might shift to researching and scratch building the only clipper ever to be built on the West coast....in Cooz Bay Oregon...the *Western Shore*. She was unquestionably an extremely fast clipper, however she was short lived..built on October 10, 1874 and wrecked on July 9, 1878. One notible race was between the *Three Brothers*, *British King*and the *Western Shore*..sailing from San Fran to Liverpool. Both the Three Brothers and British King consumed more then 150 days to make the passage, while the Western Shore completed the same track in 104 days. This future build excites me for several reasons. The only 3 masted full rigged ship built on the West Coast of the US and the nature of her design and material used in her construction. She was built entirely of Douglas-fir and Port Orford cedar......with some exotic woods used in her cabins and gallary. She sported 6 yards per mast. I'm generally a McKay clipper enthusiest, but this particular clipper stands out as quite significant. Worthy of reproduction. I've already started a build log for her...just haven't contributed to it as of late....I suspect that will change. Rob
- 3,560 replies
-
- 2
-
-
- clipper
- hull model
- (and 2 more)
-
Oh...I'll find something to fill the hole....its finding the right thing that fits the hole. Thanks for the fine comments. Rob
- 3,560 replies
-
- 2
-
-
- clipper
- hull model
- (and 2 more)
-
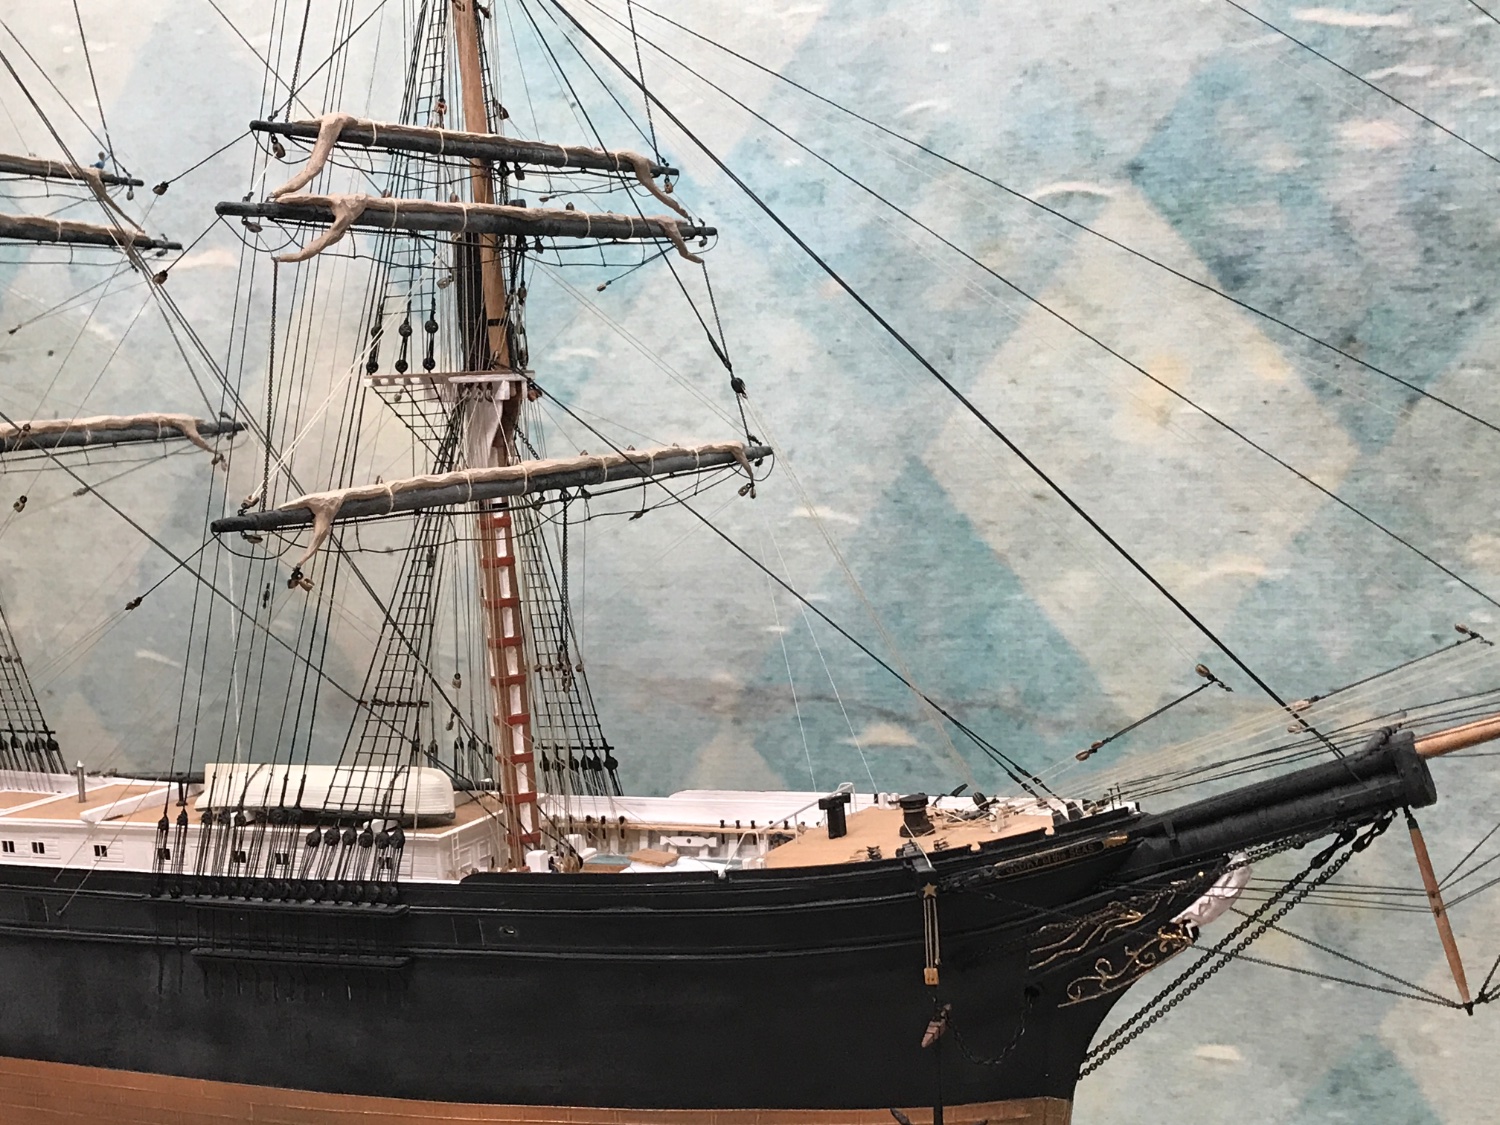
Thank very much Bob. Your praise means a lot to me. From the helm house these was a convenient stairway leading down to the large cabin and quickly to the captains cabin. Rob
- 3,560 replies
-
- 2
-
-
- clipper
- hull model
- (and 2 more)
-
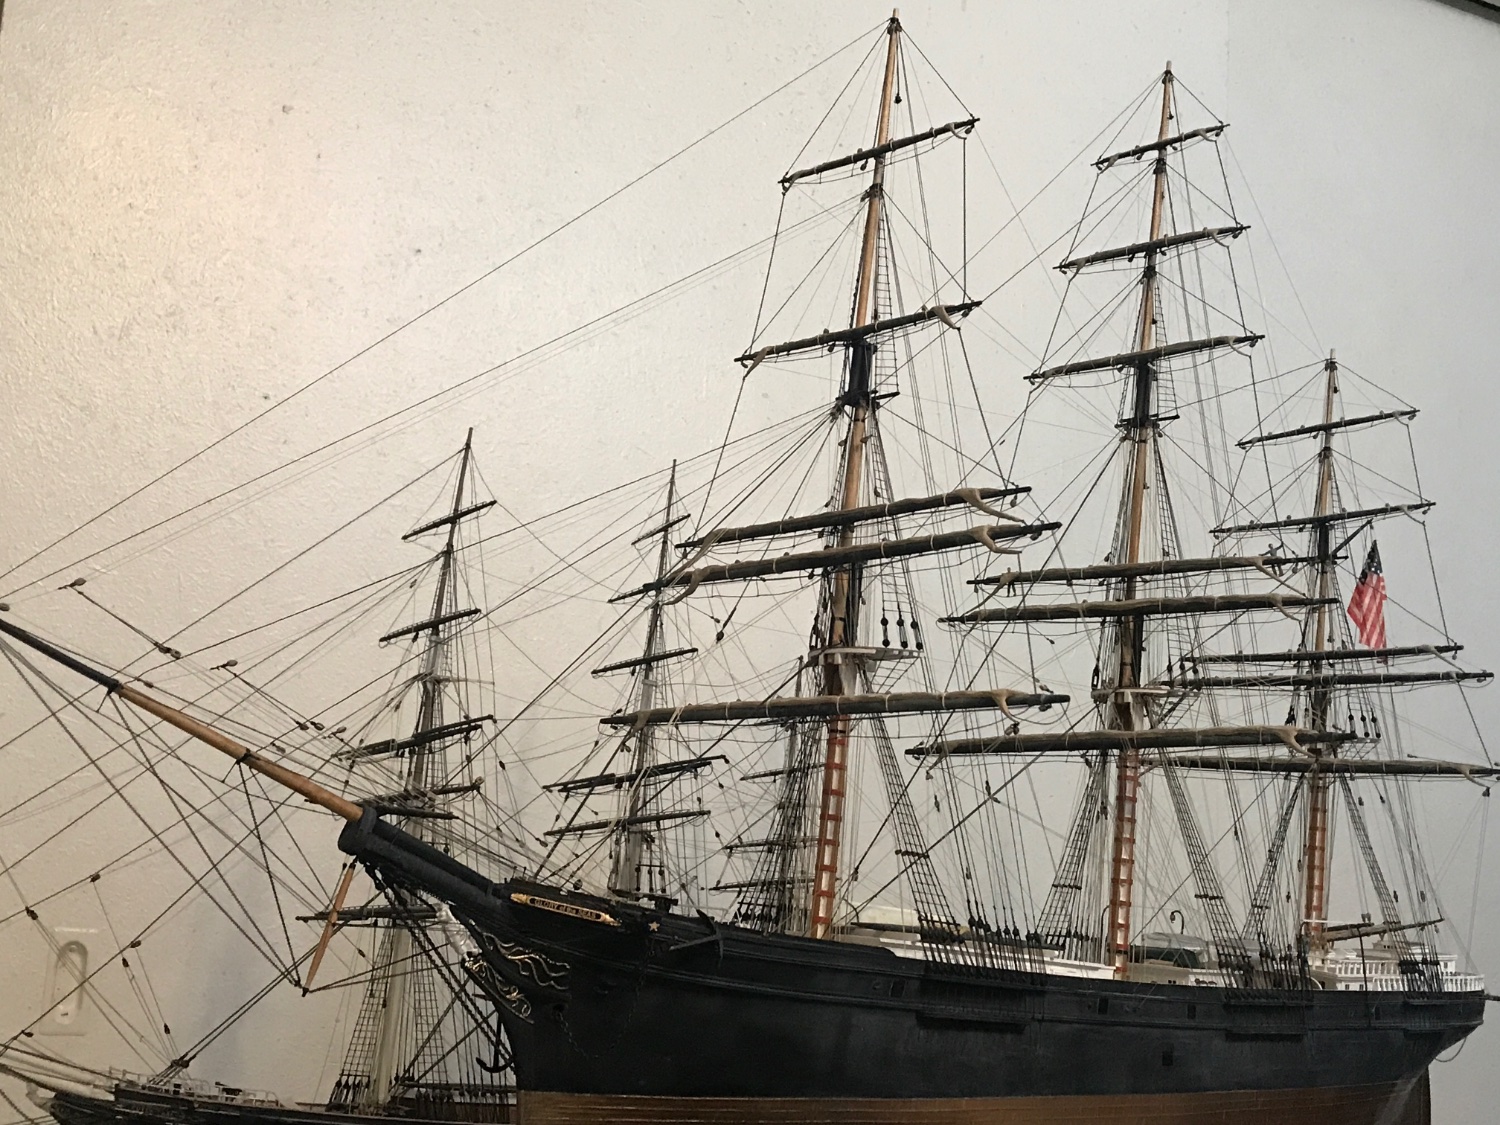
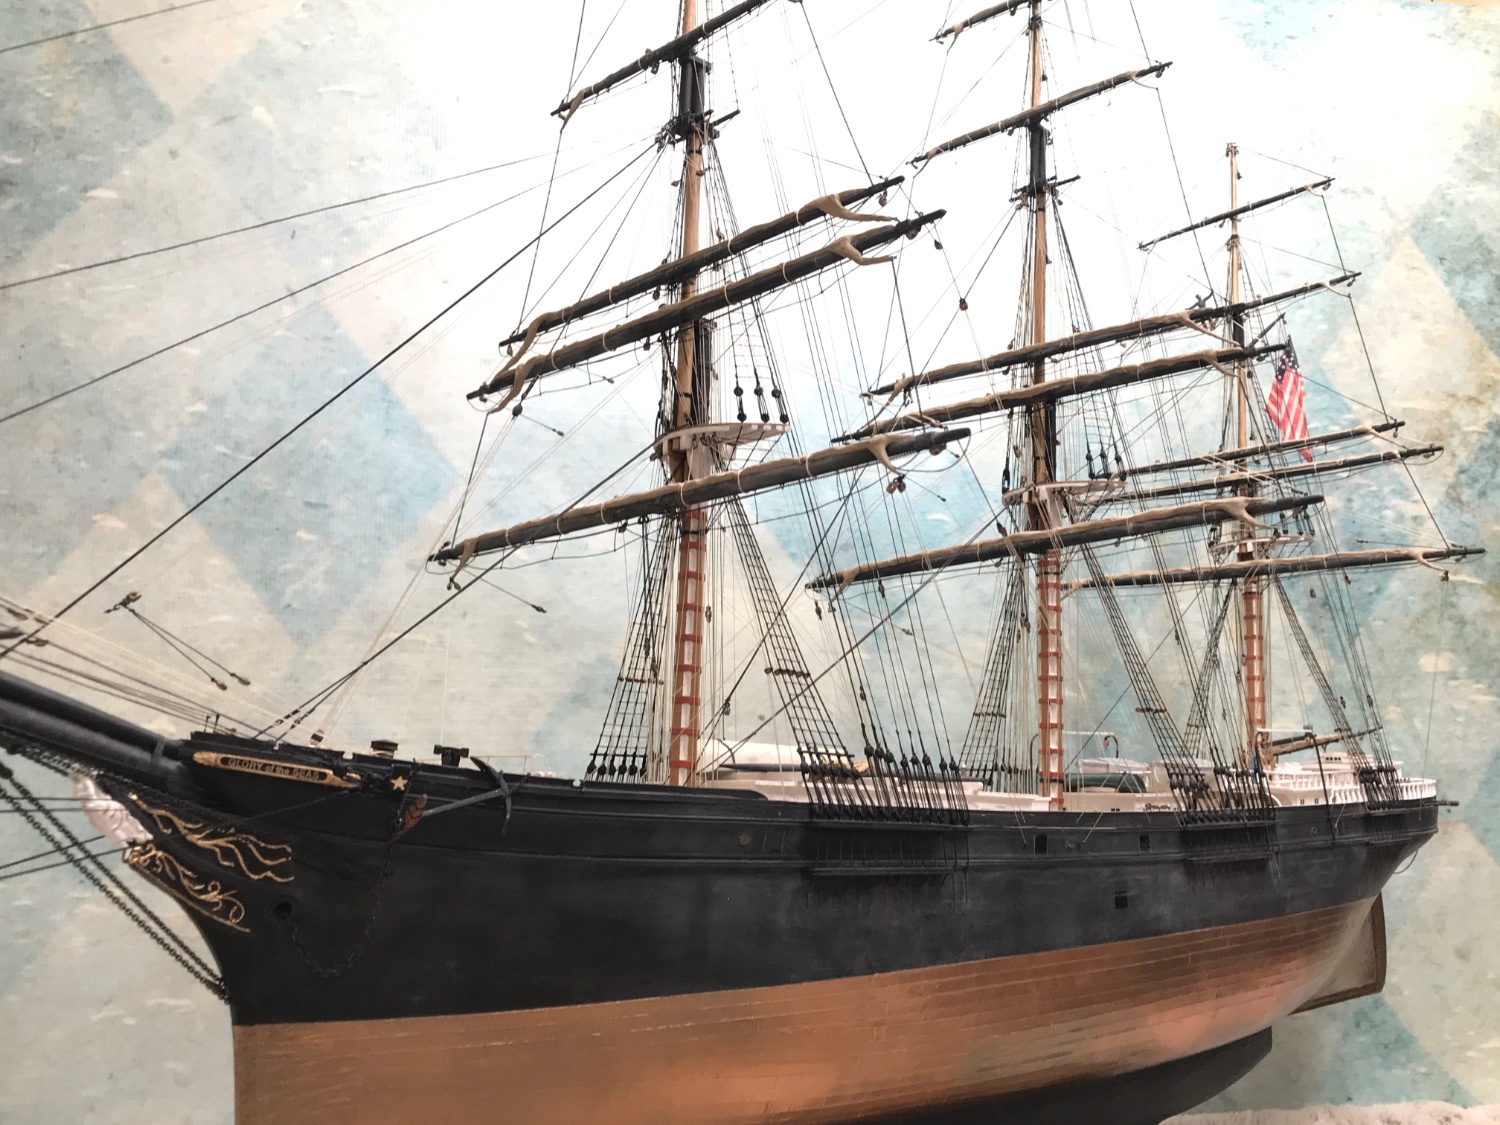
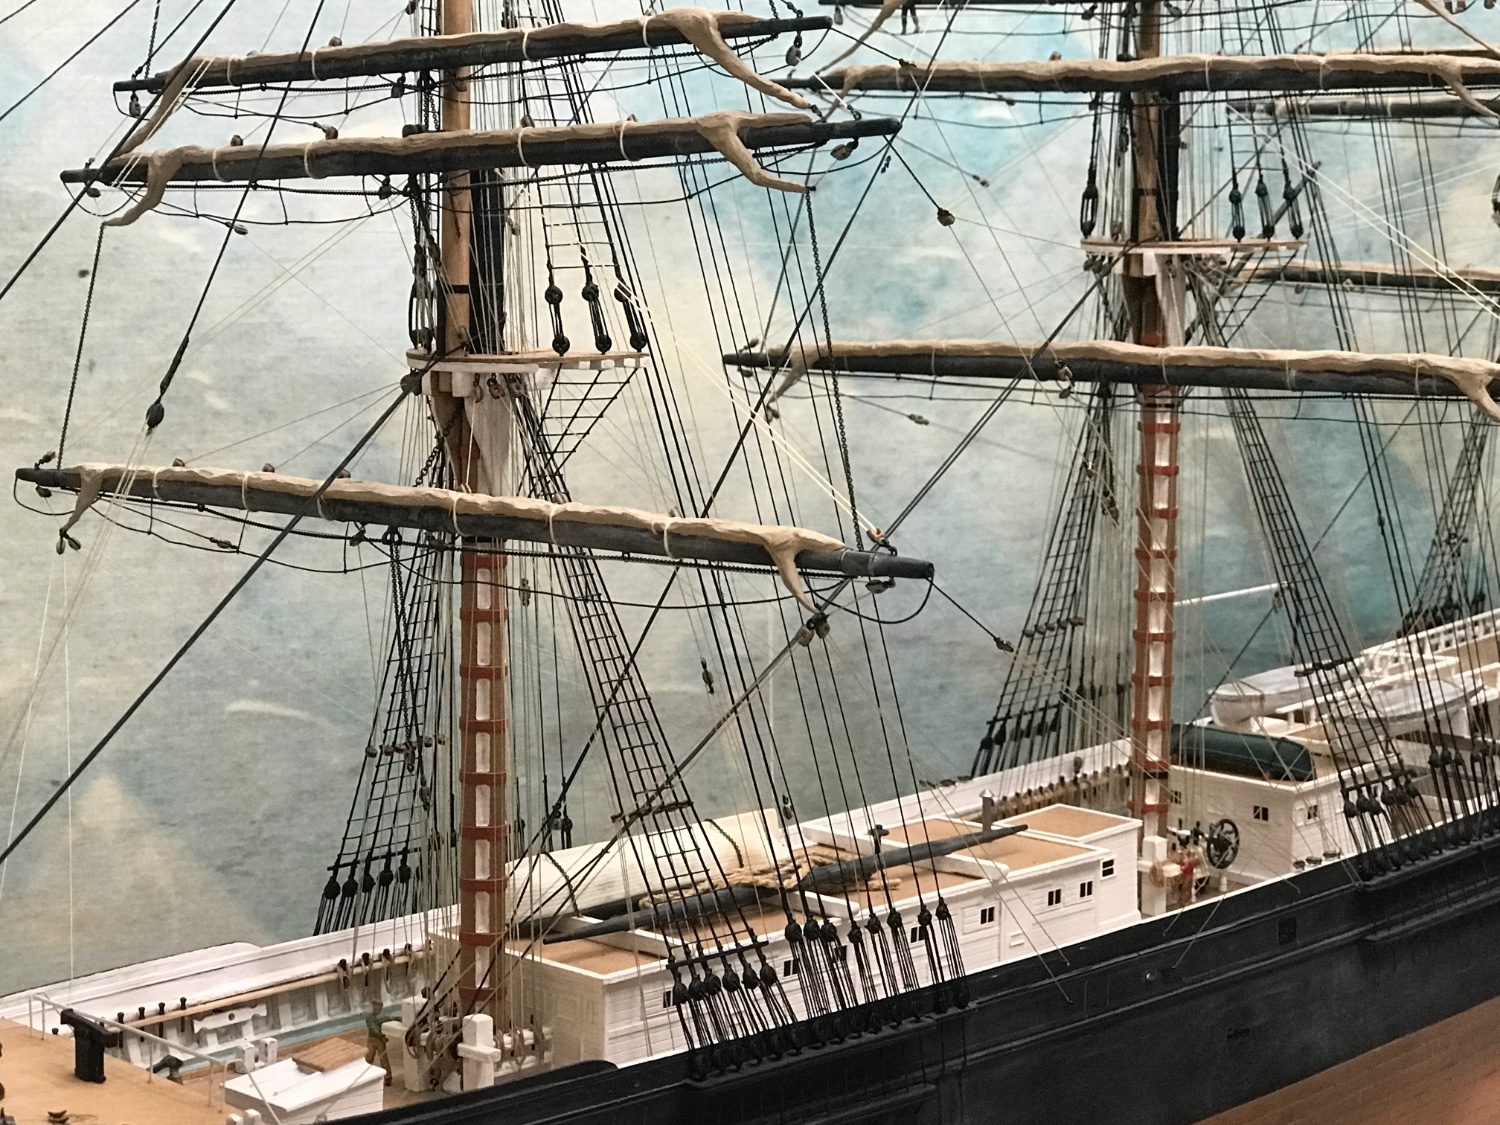
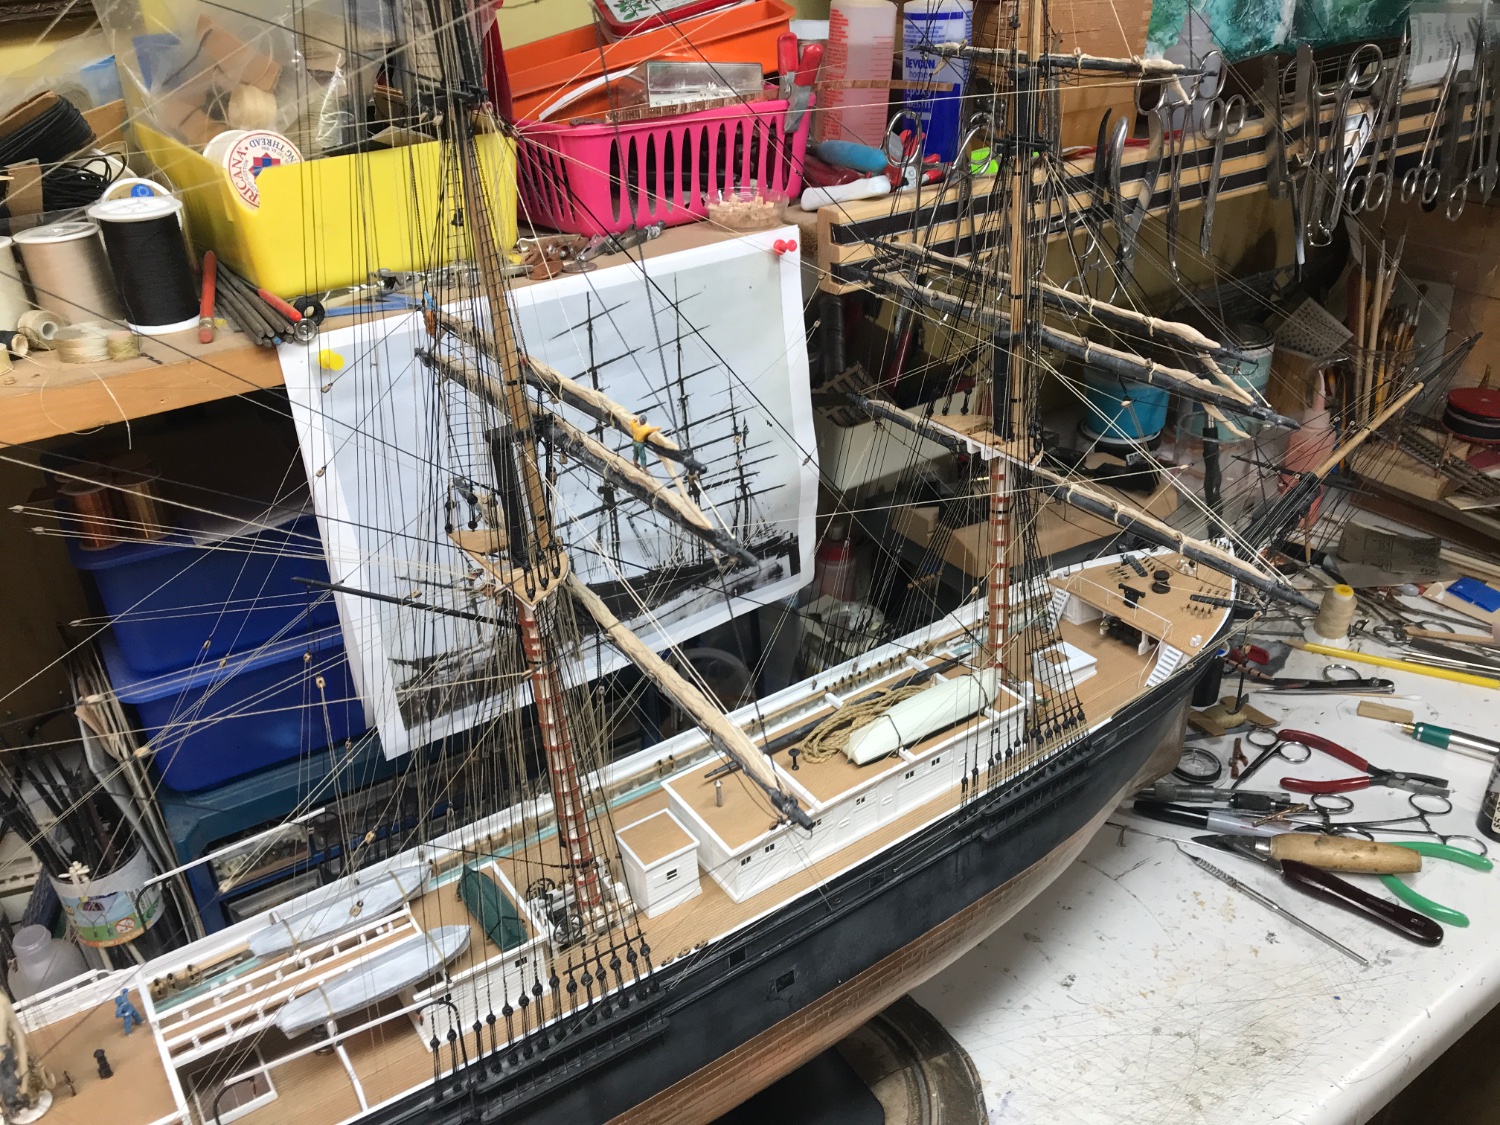
I know……when I reviewed the image I just about fainted. I couldn’t stop laughing at hour nearly exact the image took. Even the background clipper was positioned correctly. I agree….this image vindicates our years of work and study. Glory is alive! Rob
- 3,560 replies
-
- 3
-
-
- clipper
- hull model
- (and 2 more)
-
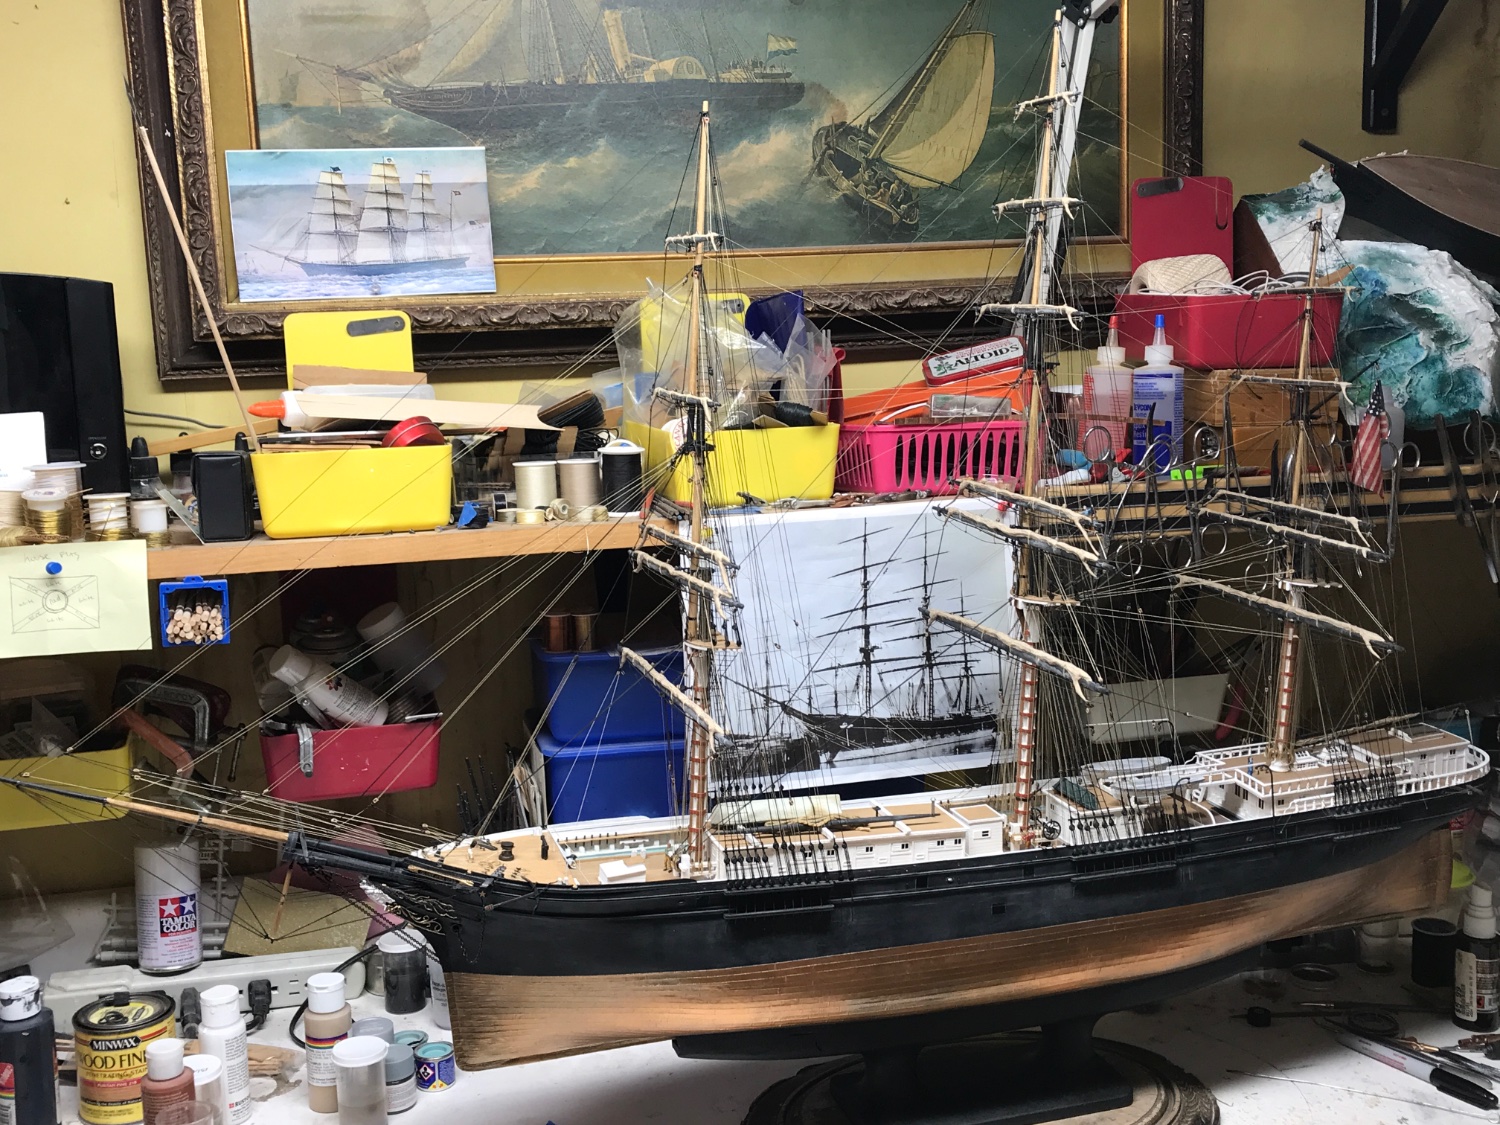
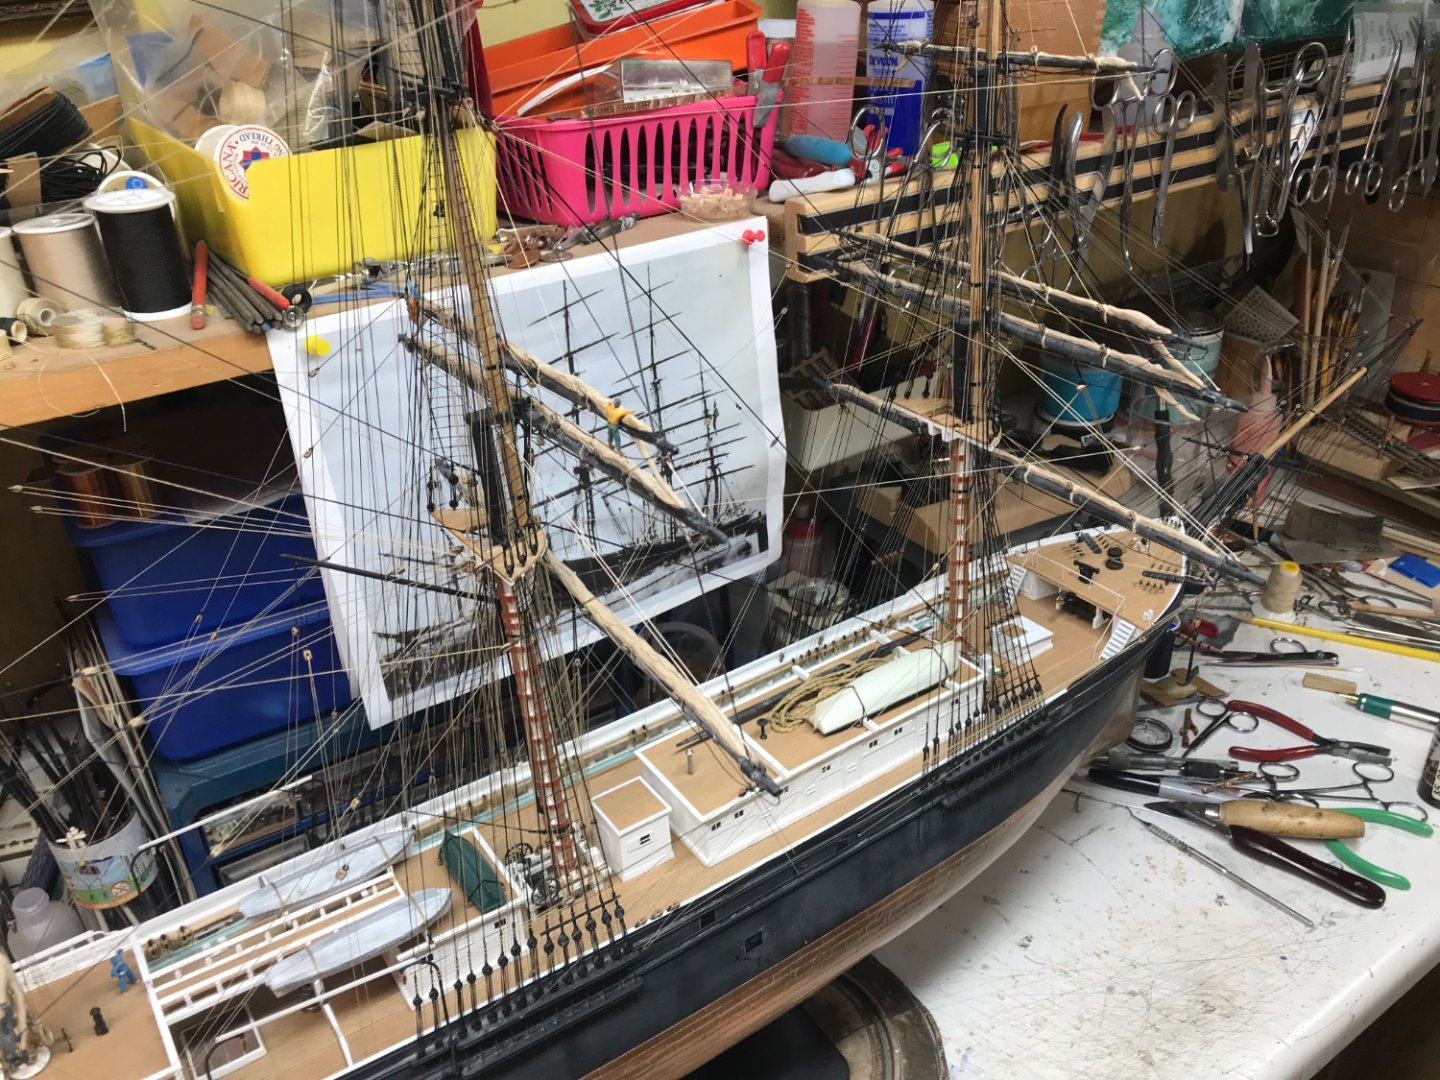
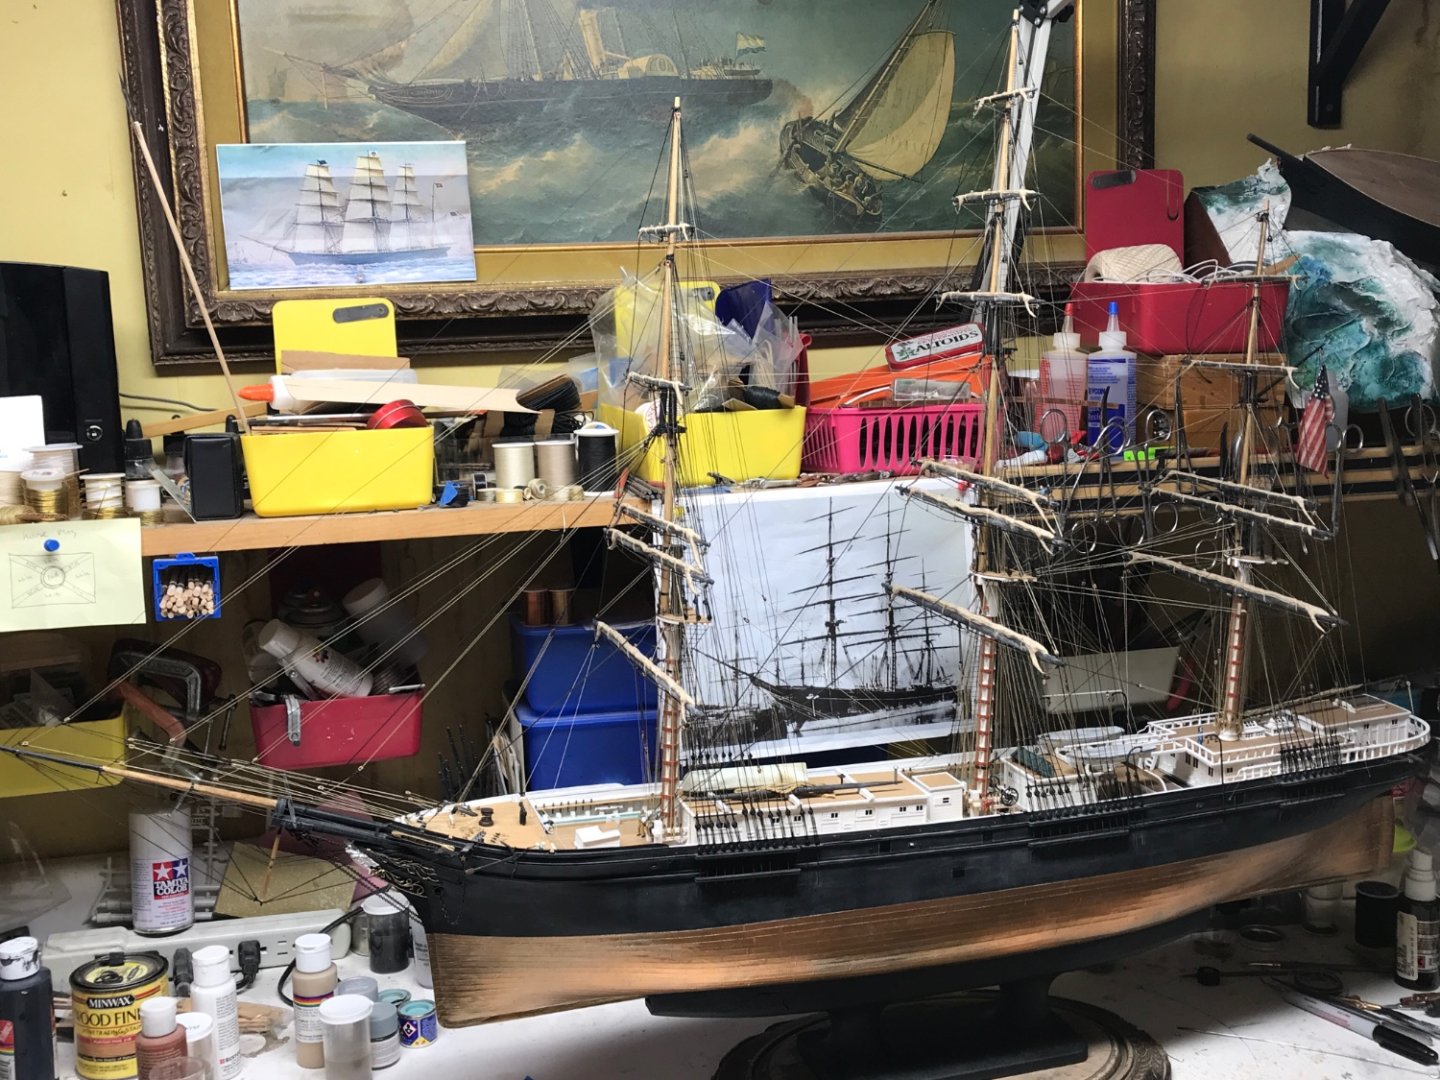
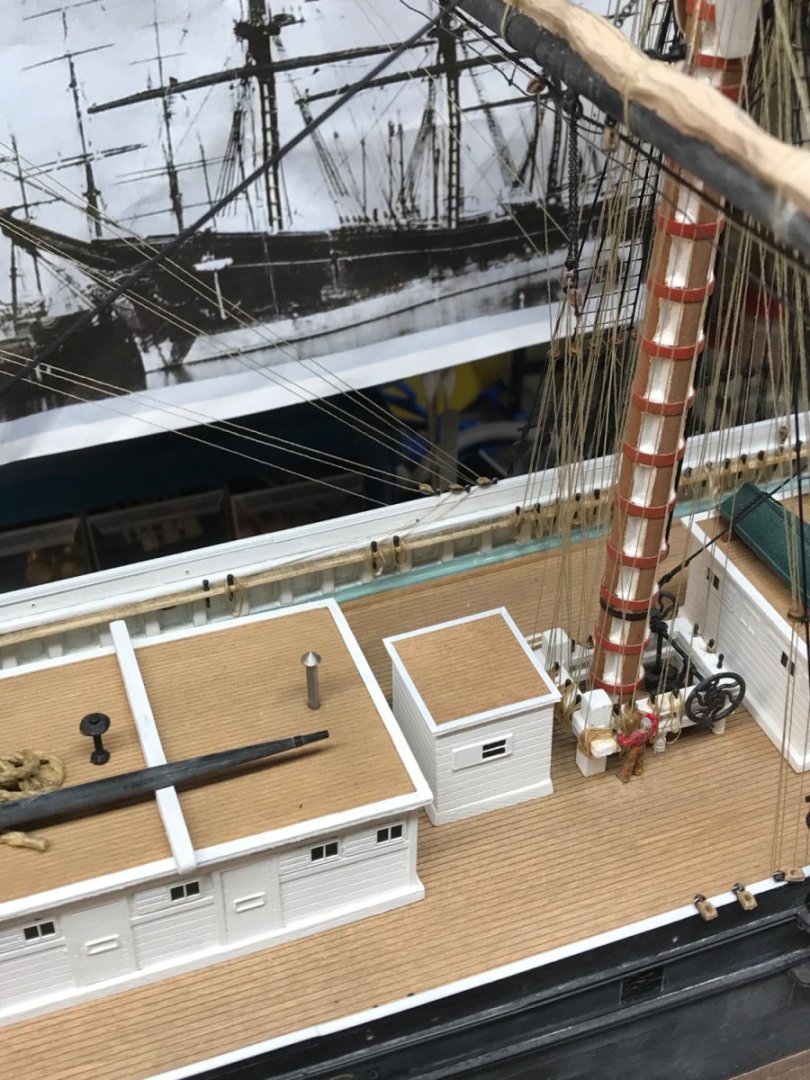
Folks have been asking for a comparison shot of Glory in SanFran in 1877. The image I used as a model. Will this do? You’d think I colorized the image.

- 3,560 replies
-
- 11
-
-

-
- clipper
- hull model
- (and 2 more)
-
Thanks everyone, for the fine comments and compliments. It's a surreal moment actually. I moved along at a neck breaking speed and now it's all over....stopped. My focus now will be to contact the local museum and see if they are willing to display her. The novel notion is that she lived her last years here in the Tacoma/Seattle area and was probably a regular sight for those who traveled the docks. I will include all my artifacts and any other related subjects...to include(with permission) a signed copy of Michael Mjelde's books on Glory of the Seas. We'll see what comes of it. I will surely keep everyone abreast of any news. Now I will perform a good field day in the shop and do some rearanging....then I'll put Glory back on the bench and cover her in protective plastic to keep the cobb webs away. While it's determined what will be her fate. Again...thank you to everyone who contributed and encouraged me along...and to those who simply watched and enjoyed Glory of the Seas coming alive and regaining her rightful place as Donald McKay's last and probably his paramount clipper creation. Rob
- 3,560 replies
-
- 5
-
-
- clipper
- hull model
- (and 2 more)
-
She isn’t staying there ……just a pose I’m afraid. Thanks for the compliments. Trob
- 3,560 replies
-
- 1
-
-
- clipper
- hull model
- (and 2 more)
-
Super corrections Vlad. Great job on the new stanchions. Rob
-
Thanks John. I have not considered it, but I believe the one to ask...because he has the aptitude and developed skill at such things is Clipperfan. His documentation of our journey in rediscovering Glory's true self was well chronicled in his paper forwarded to Nautical Research Guild for publication. However a separate documentation of this particular build would be within his skill set. I'm sure he and I could corroborate and come up with something. Rob
-
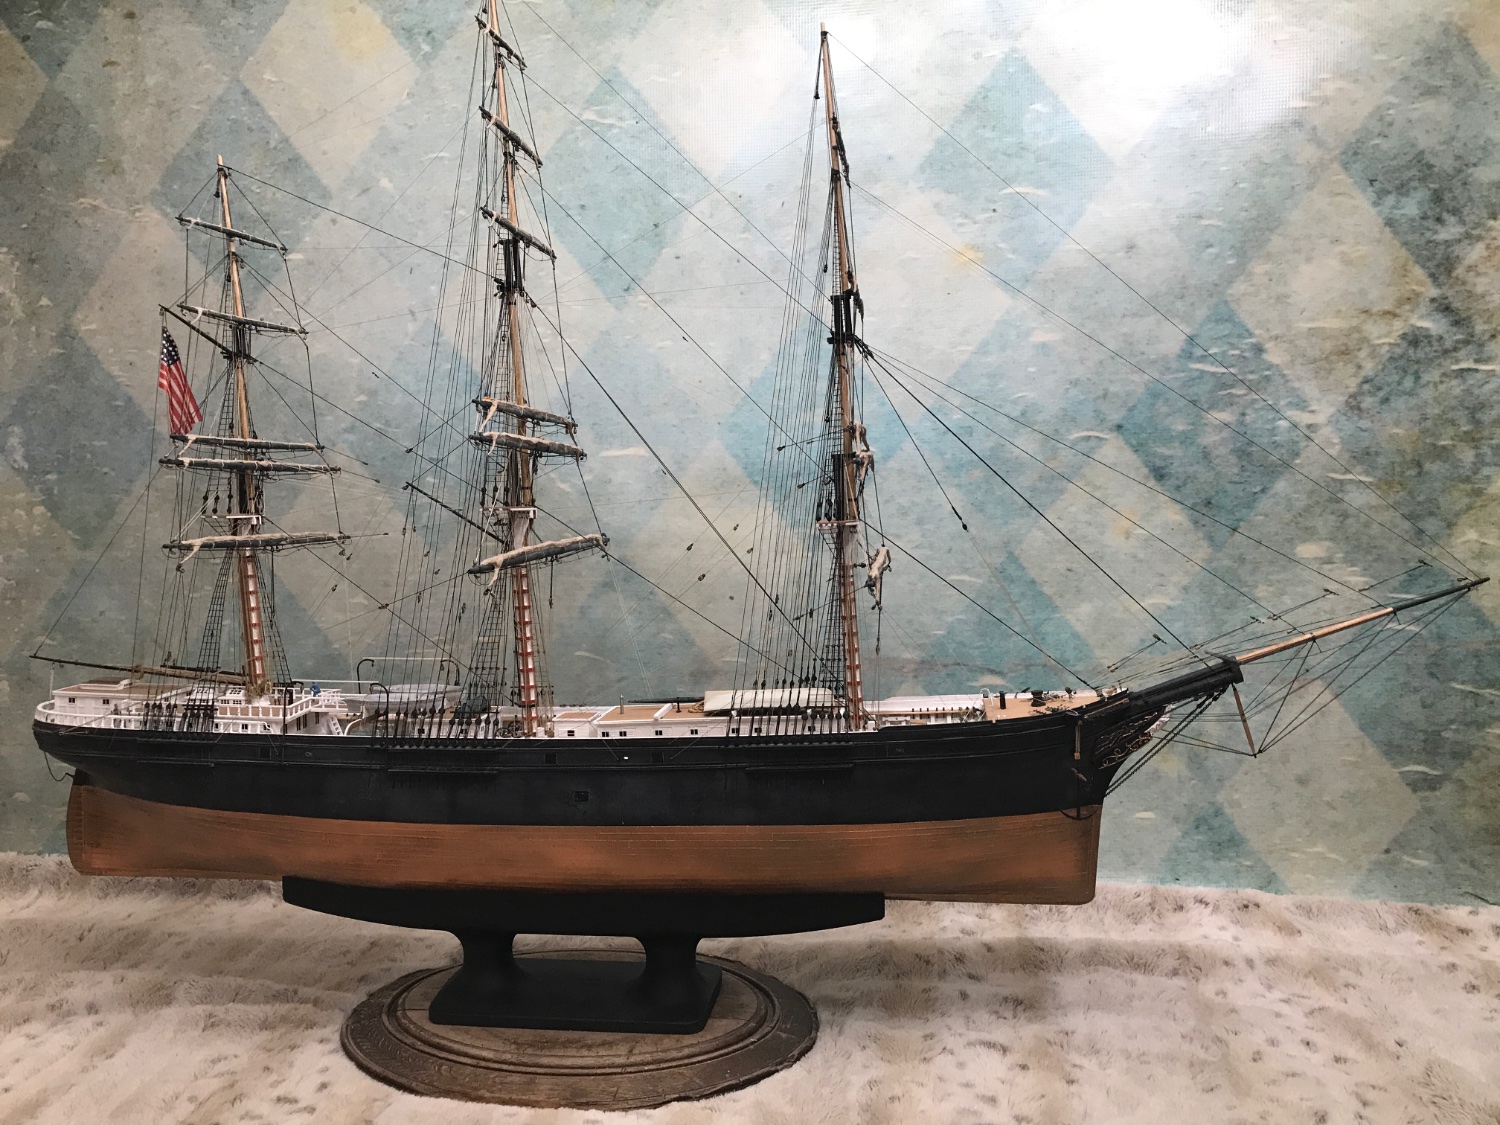
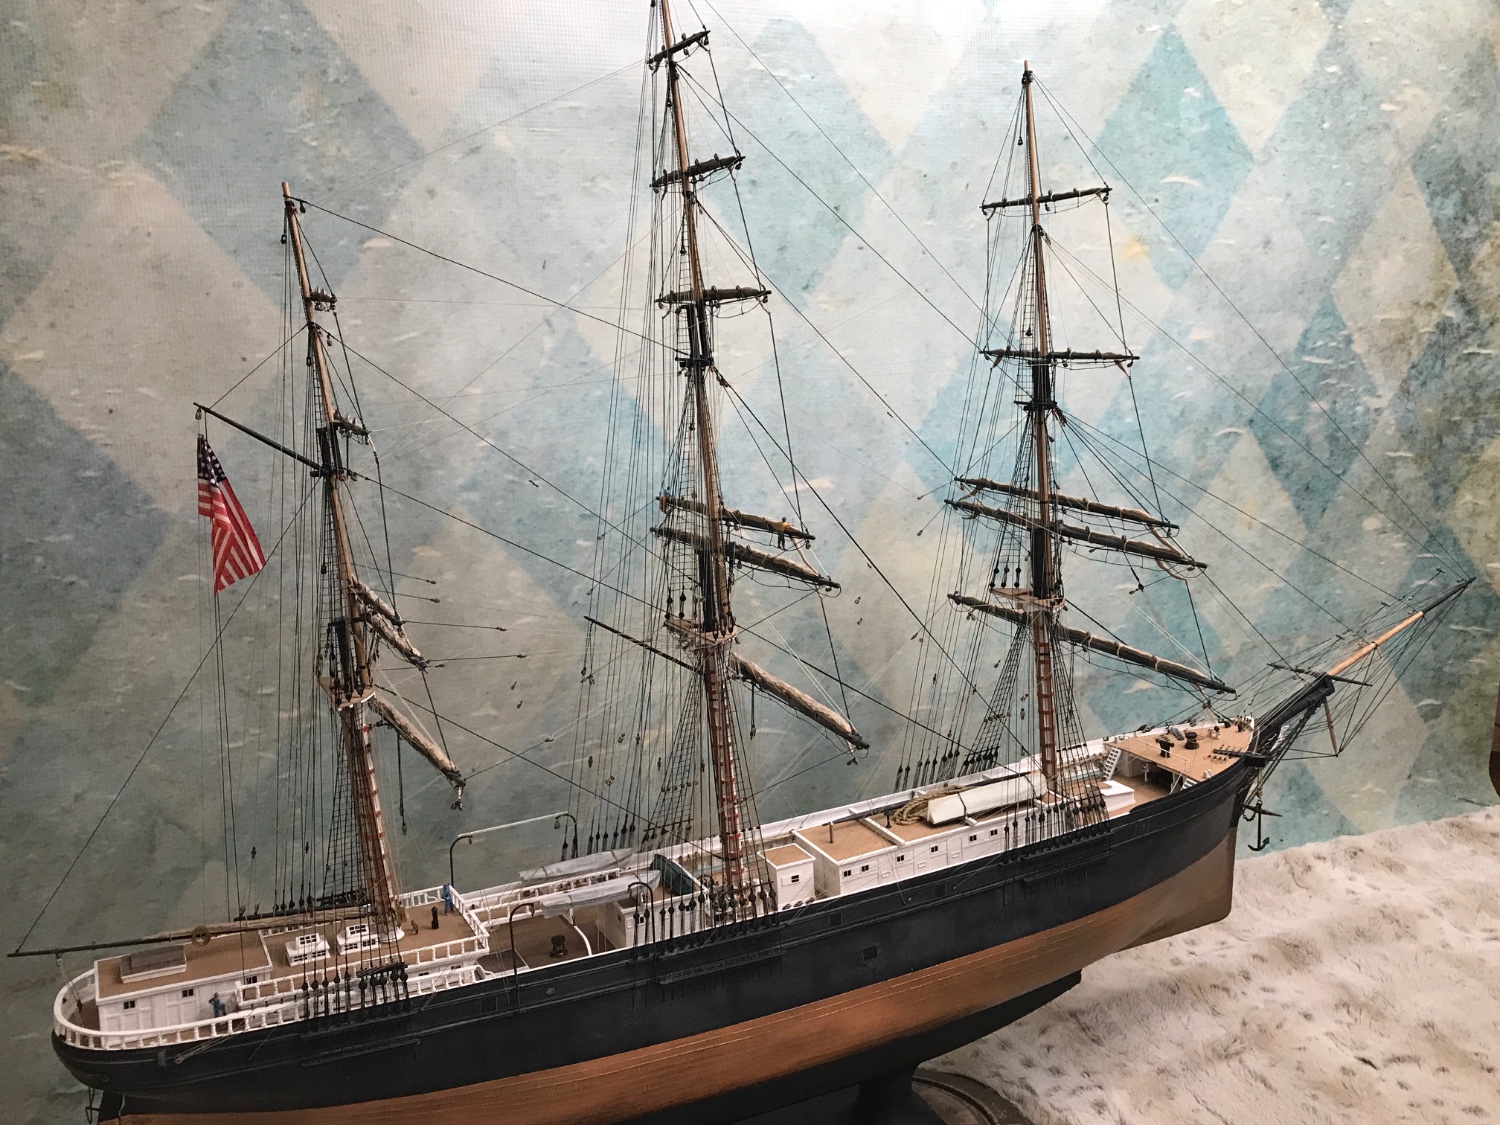
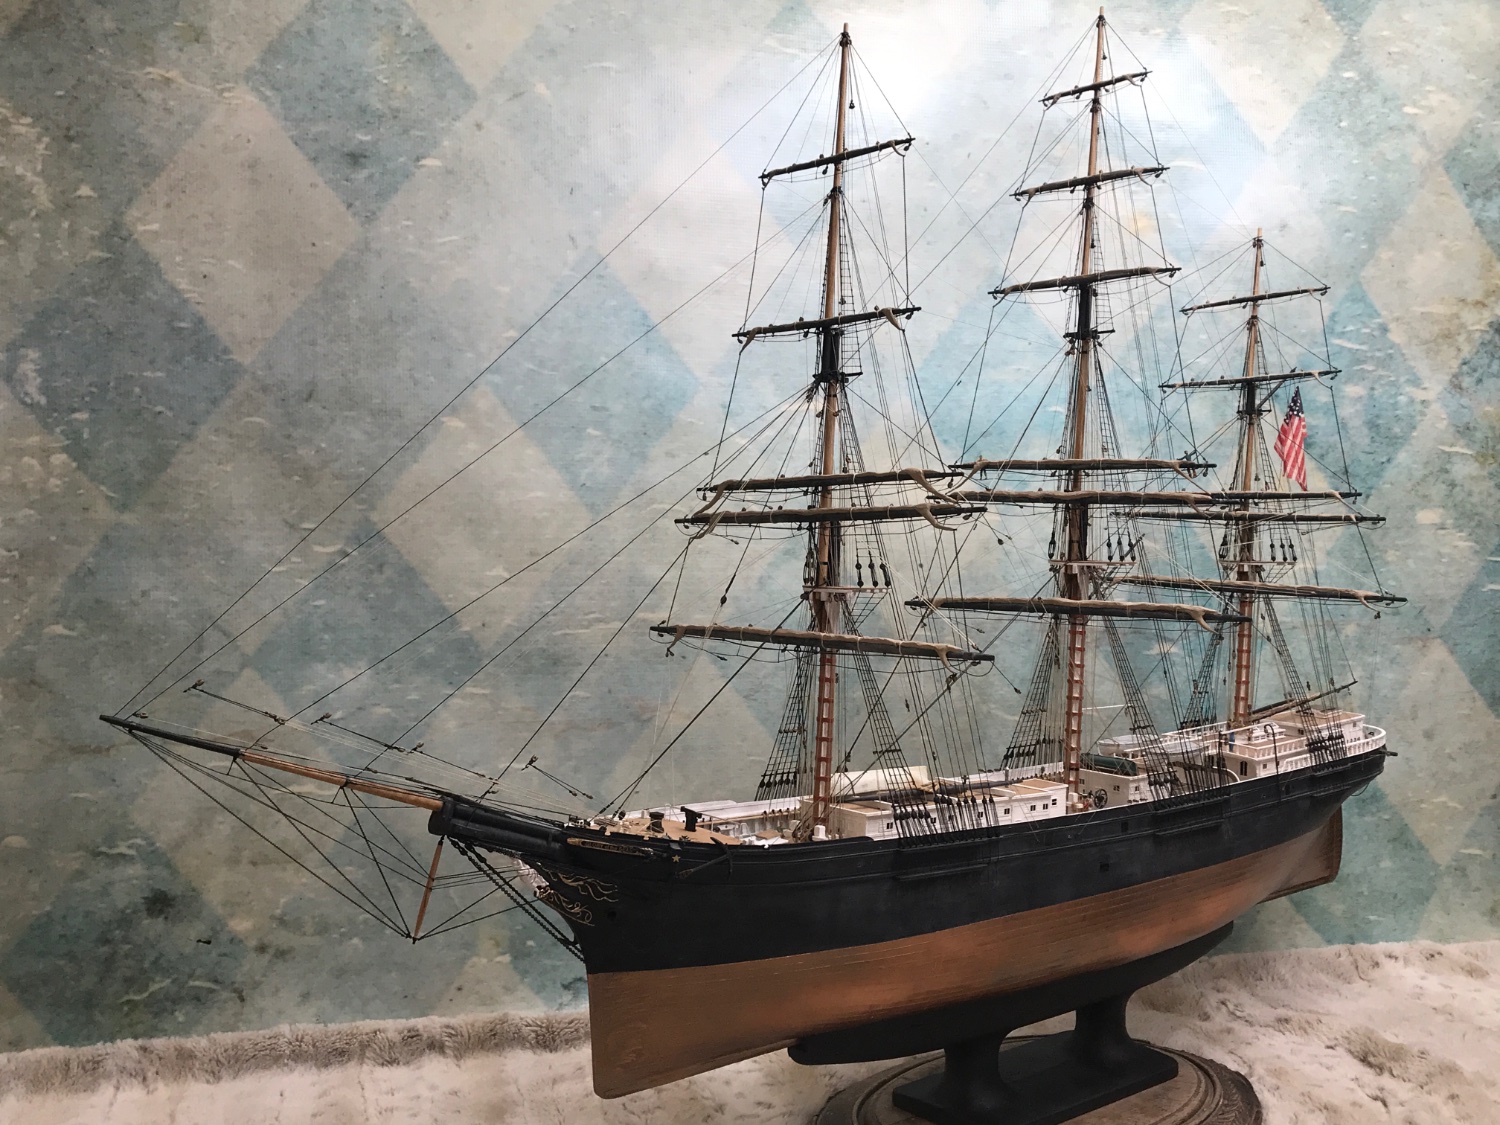
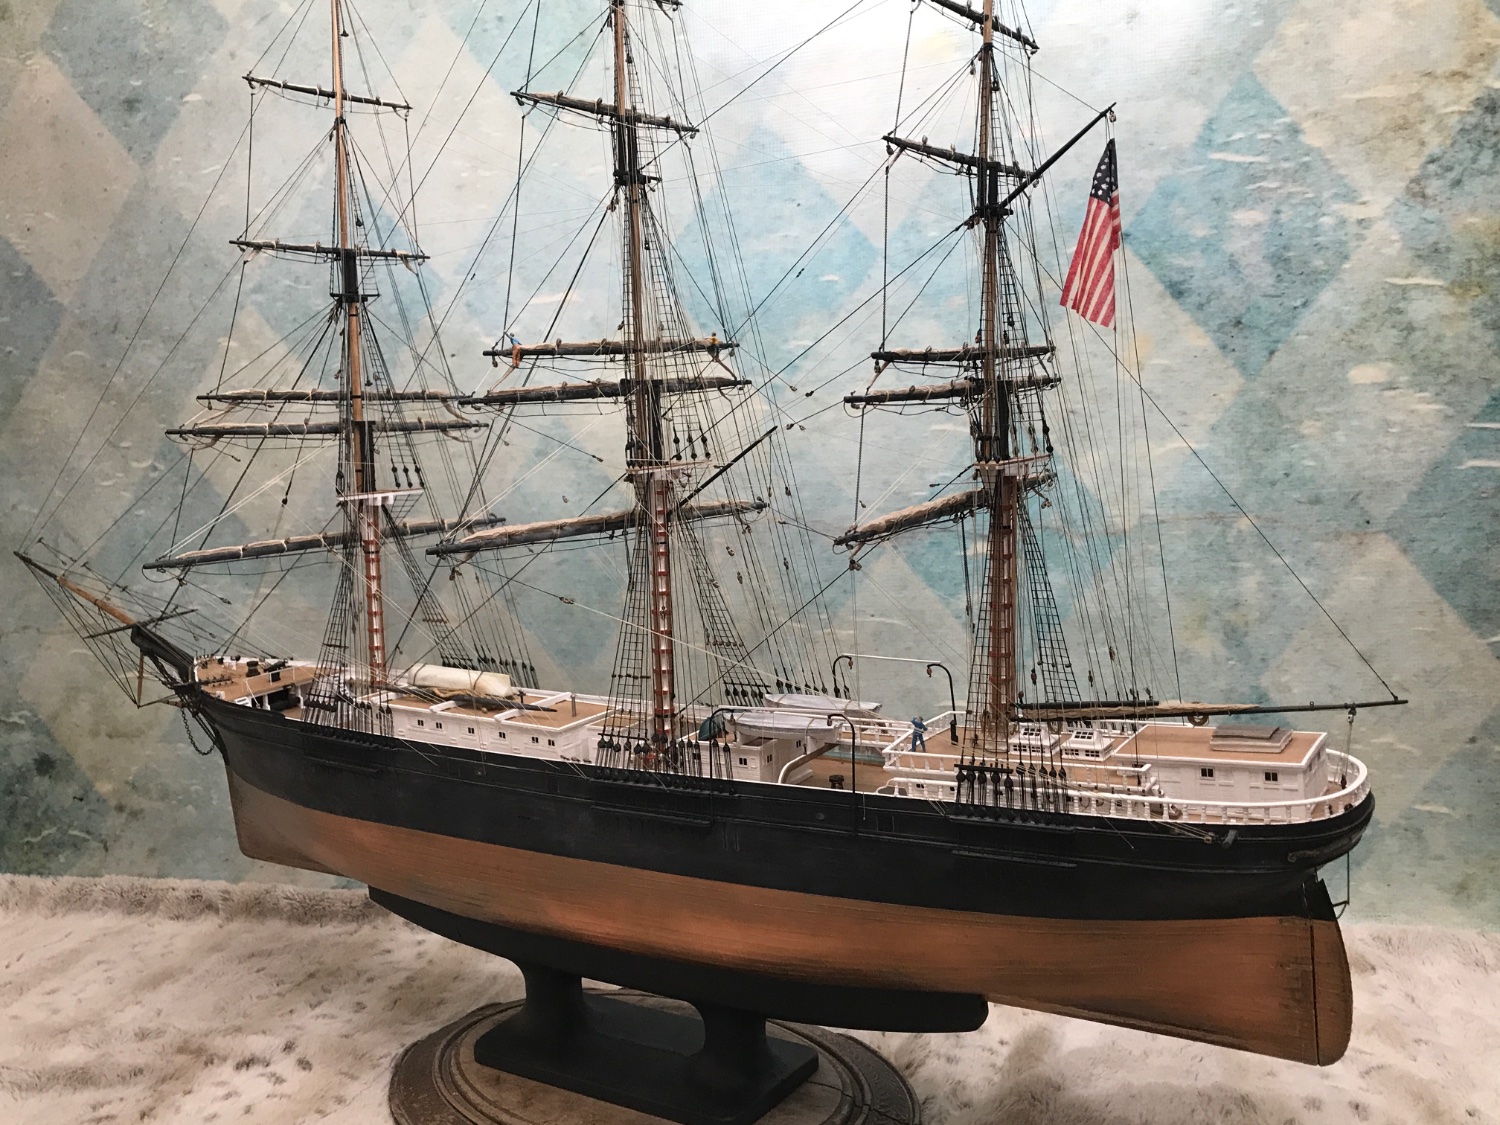
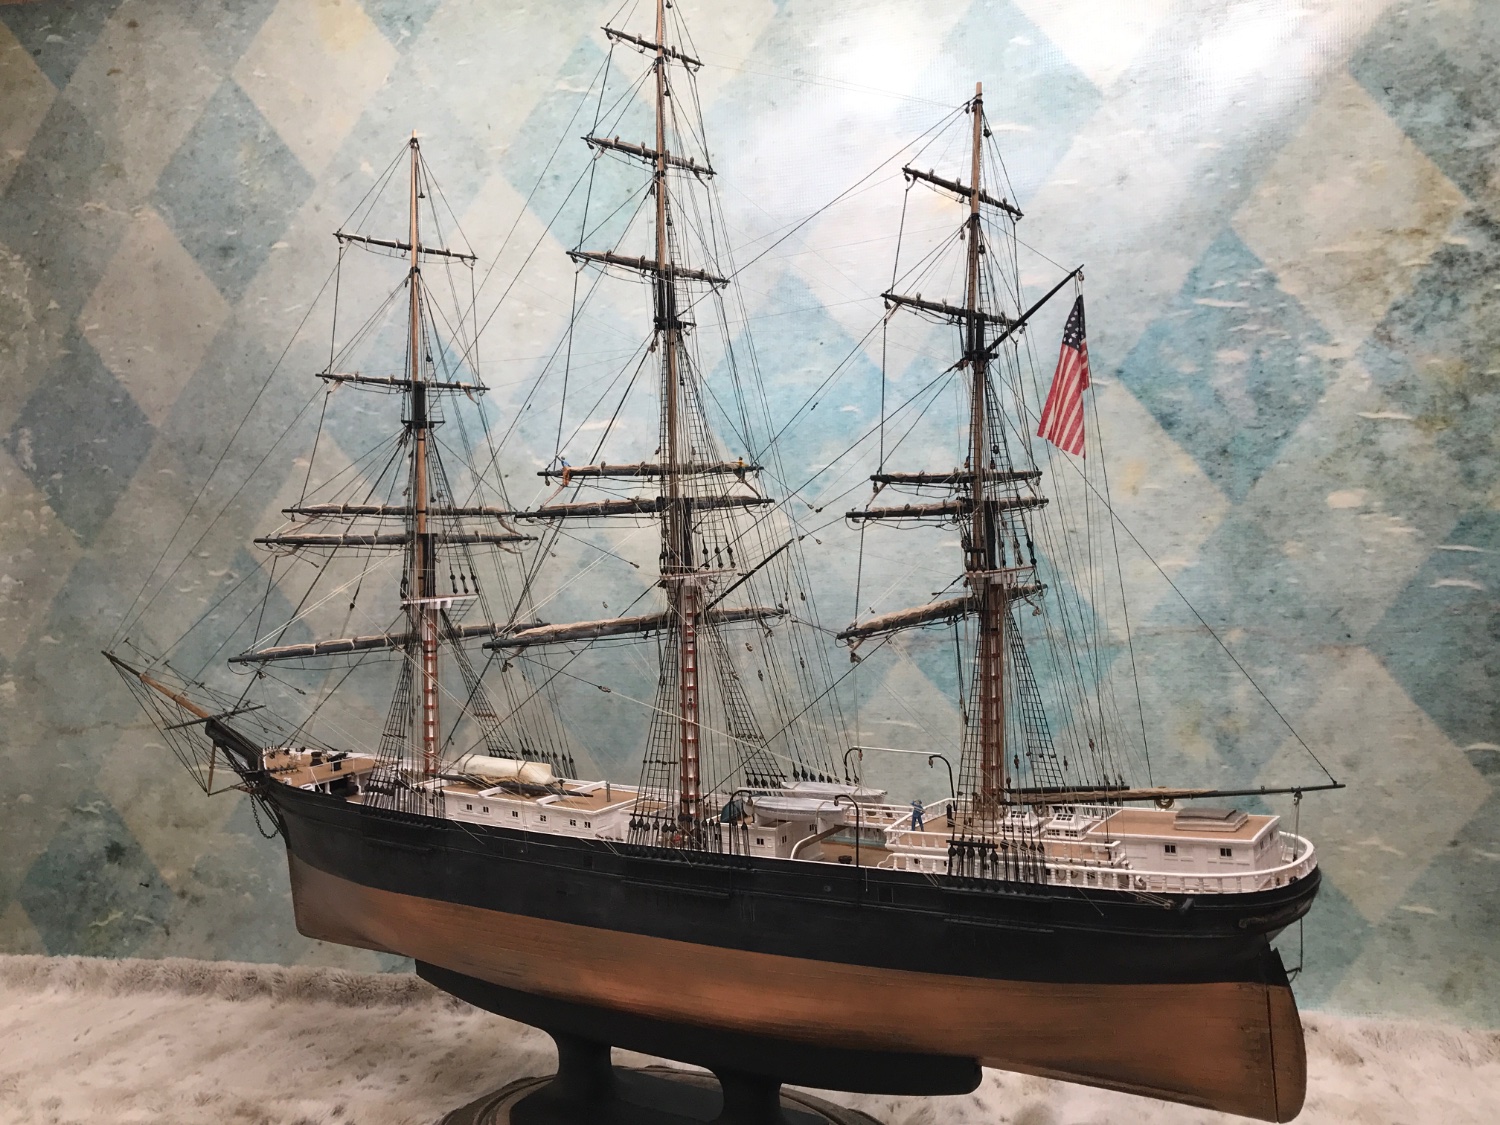
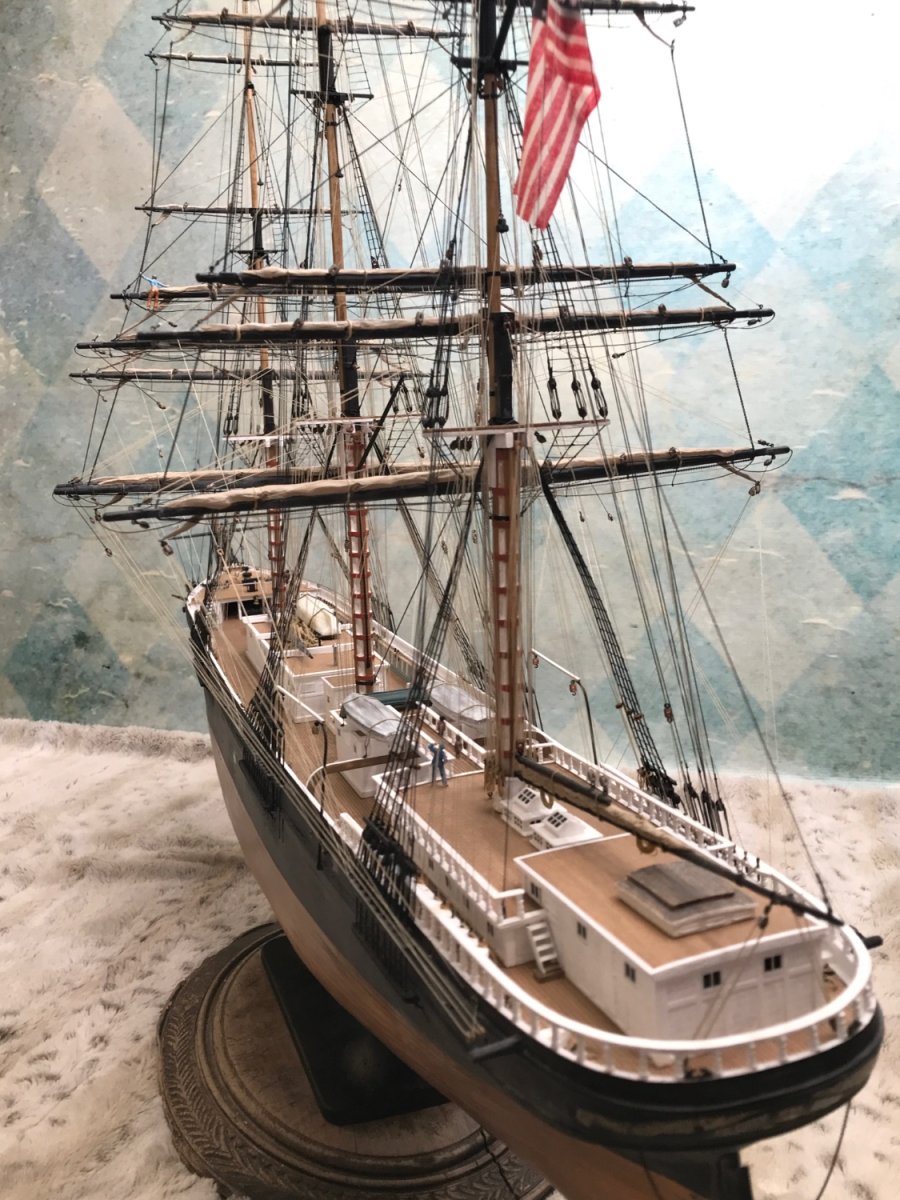
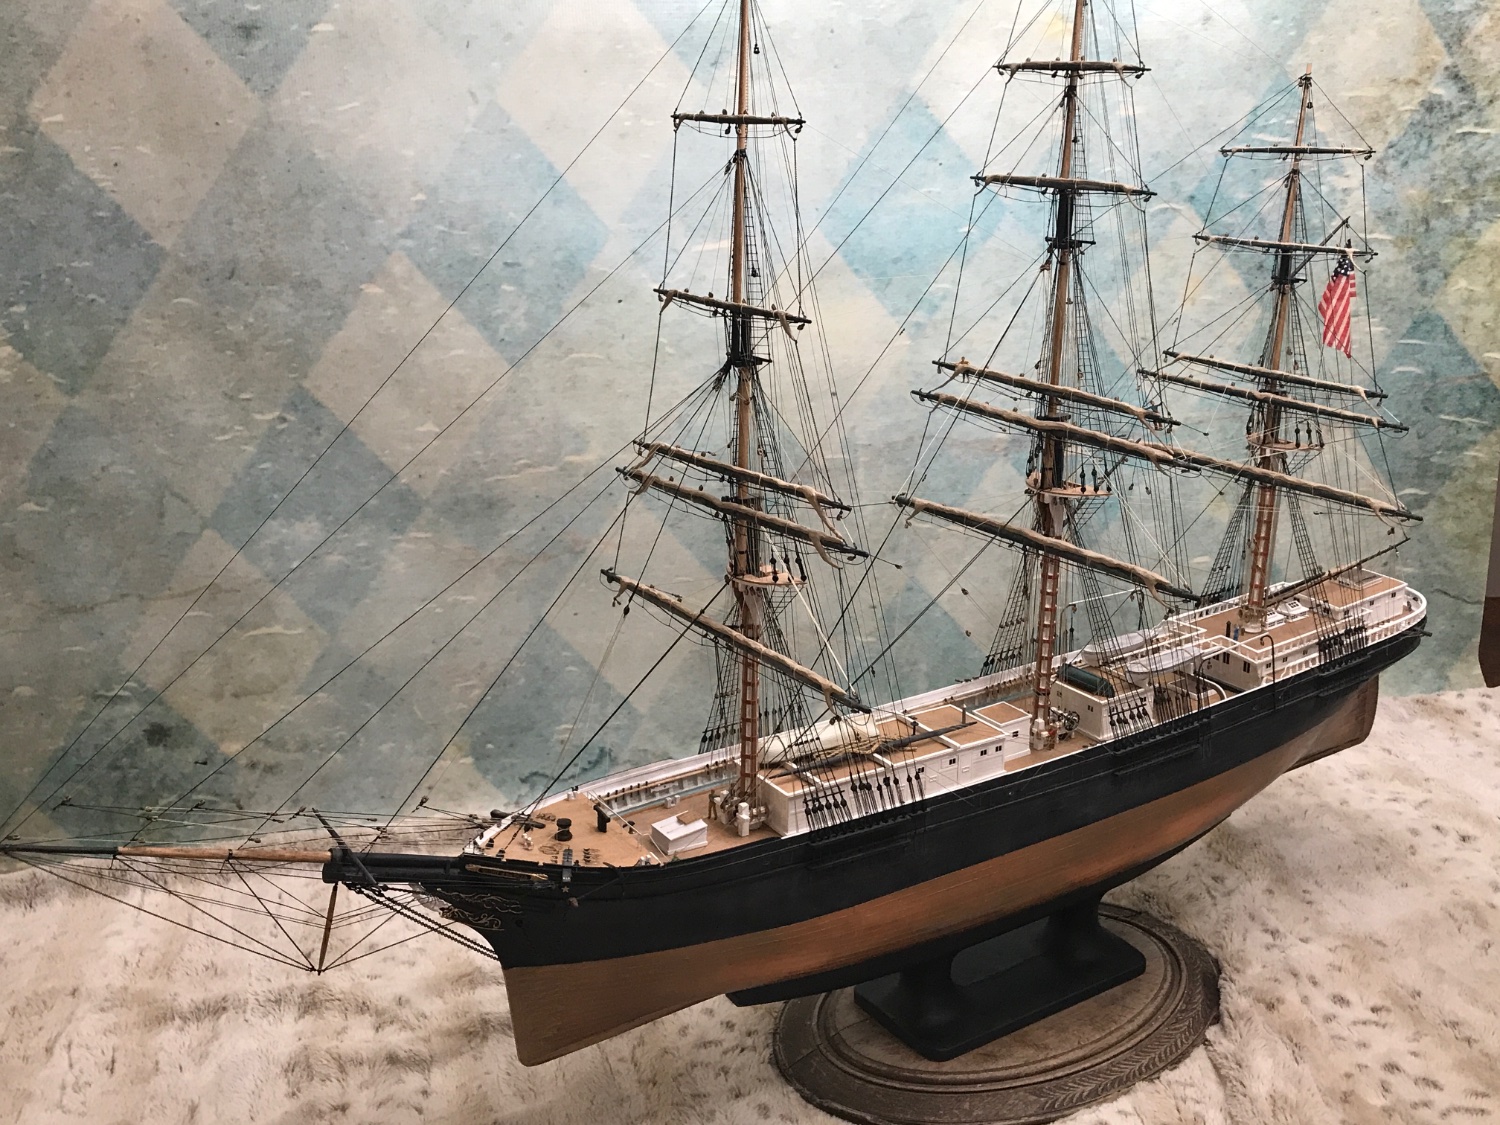
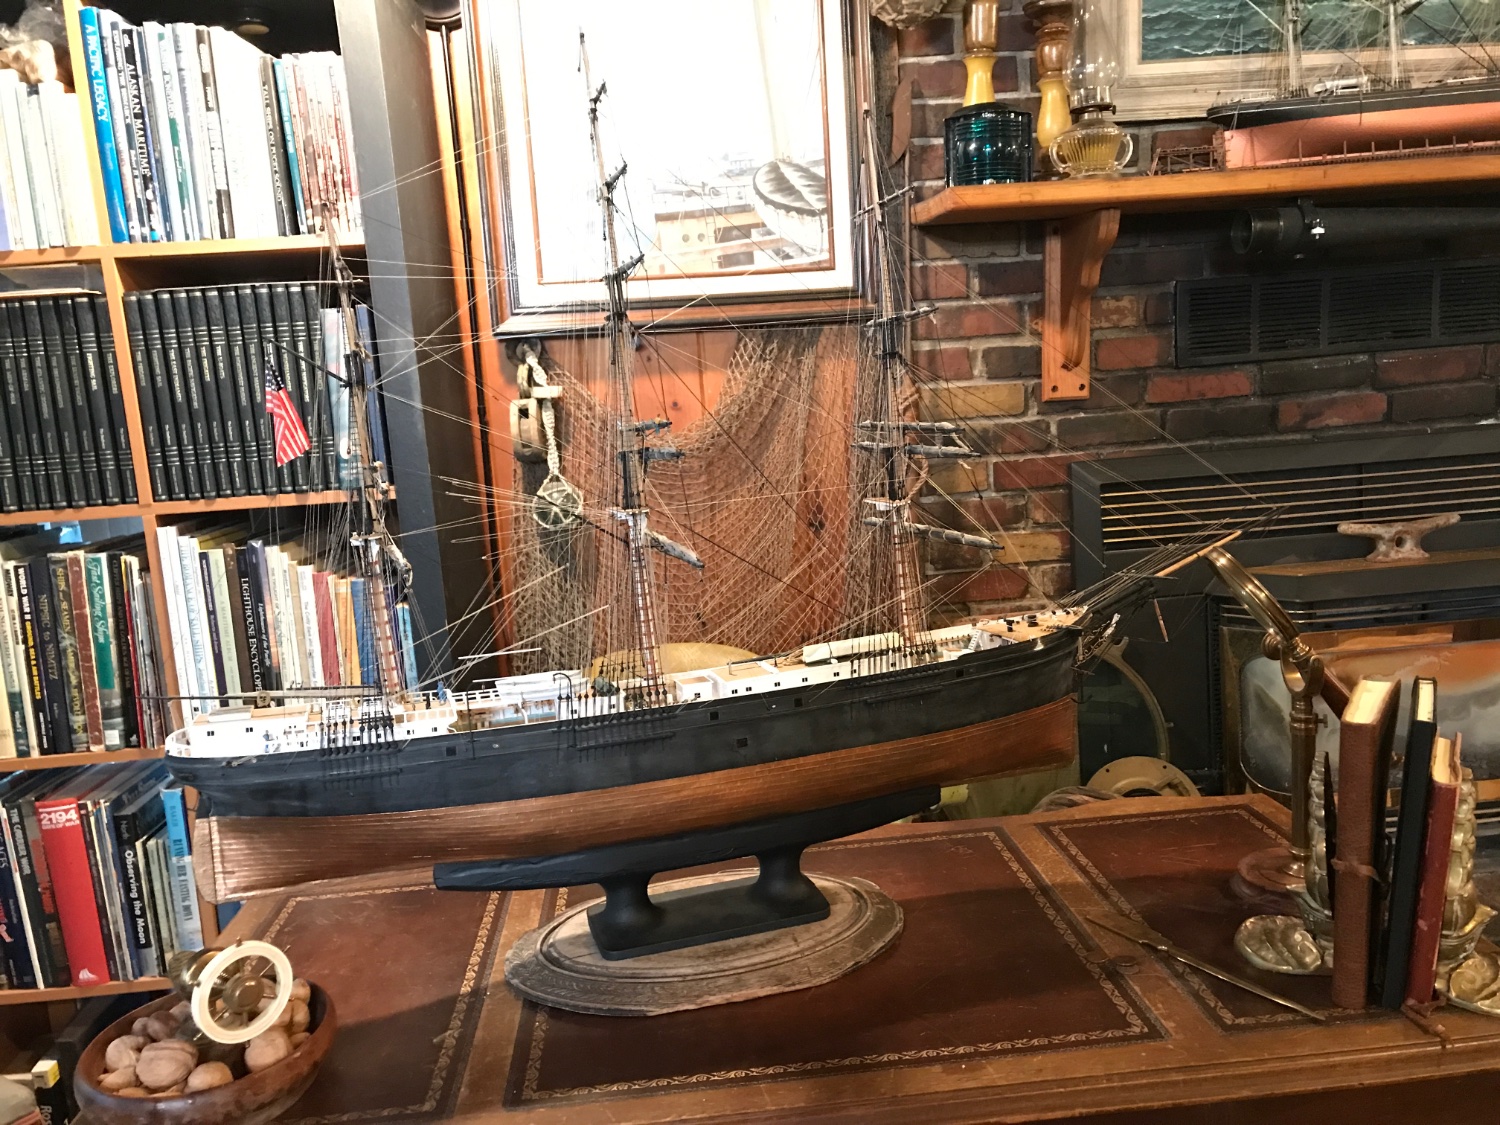
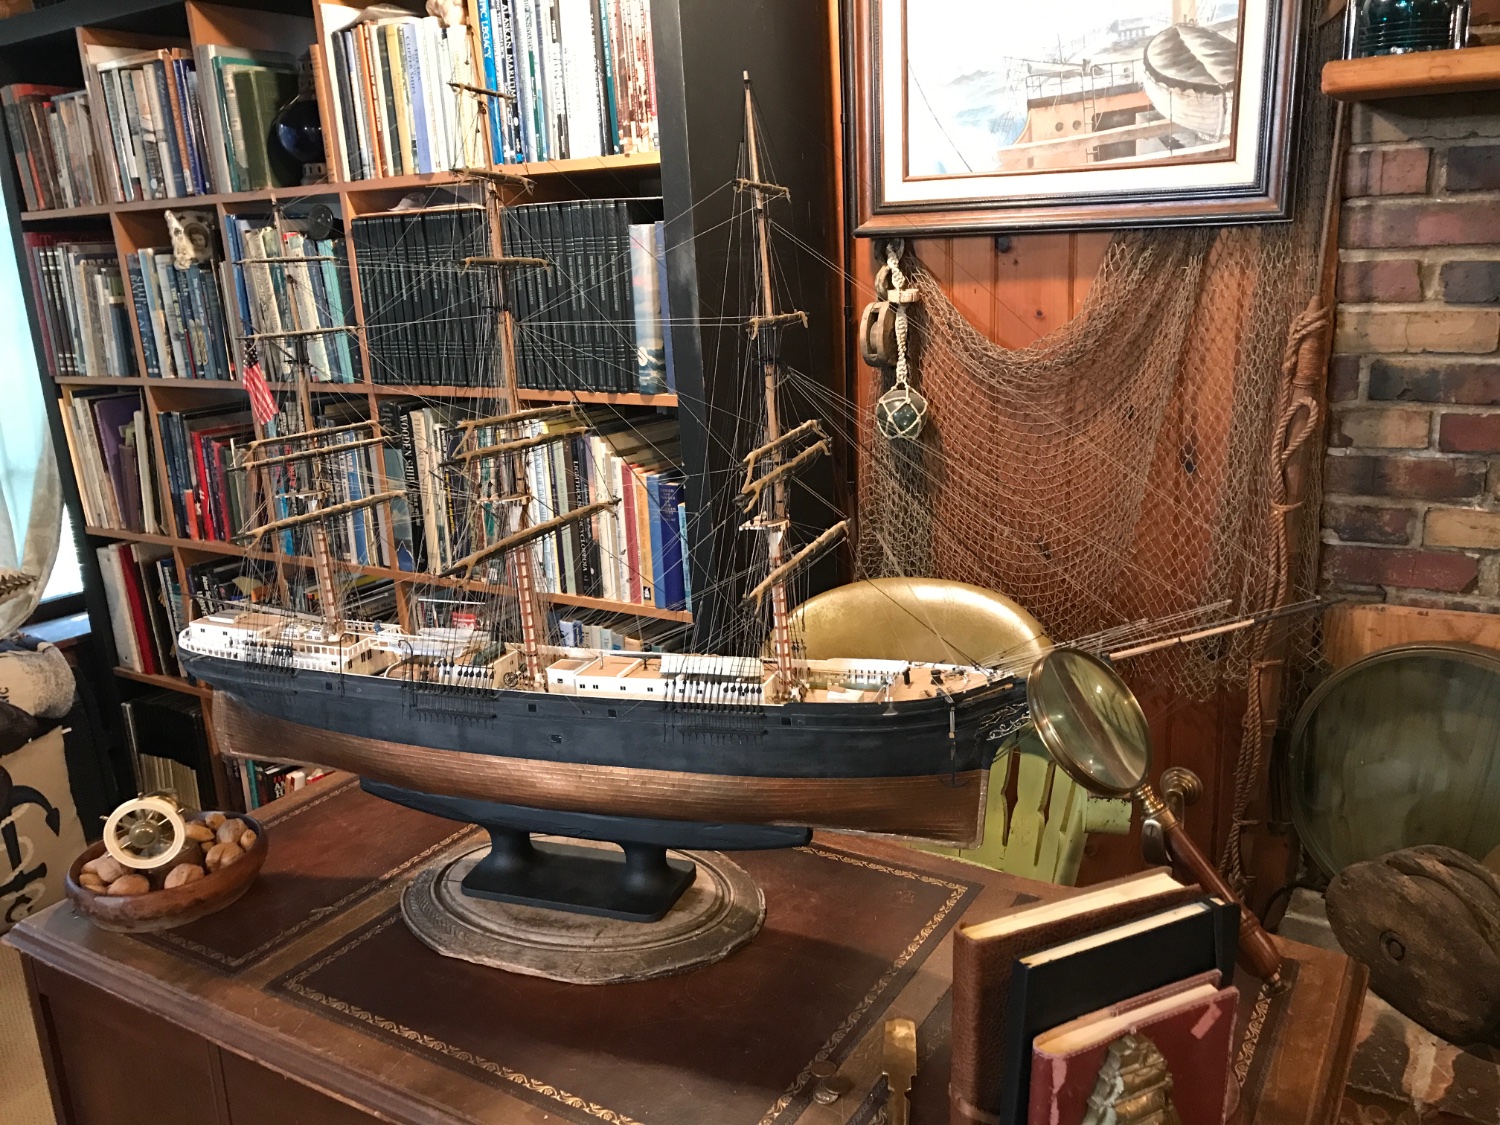
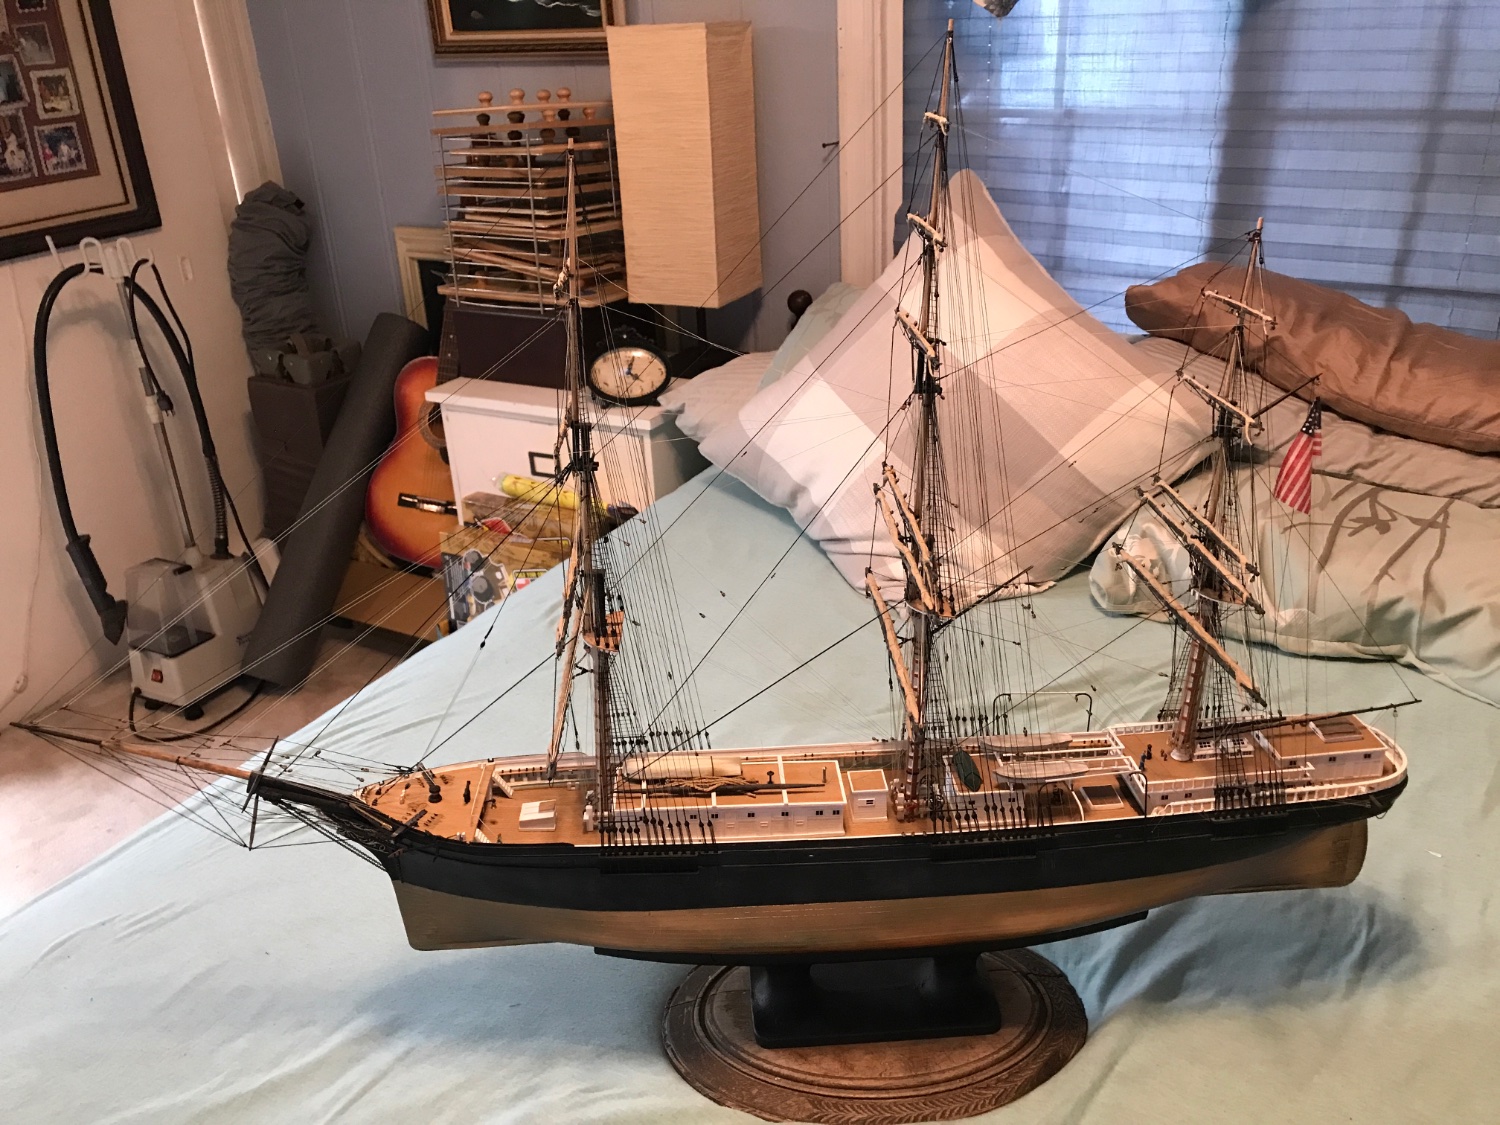
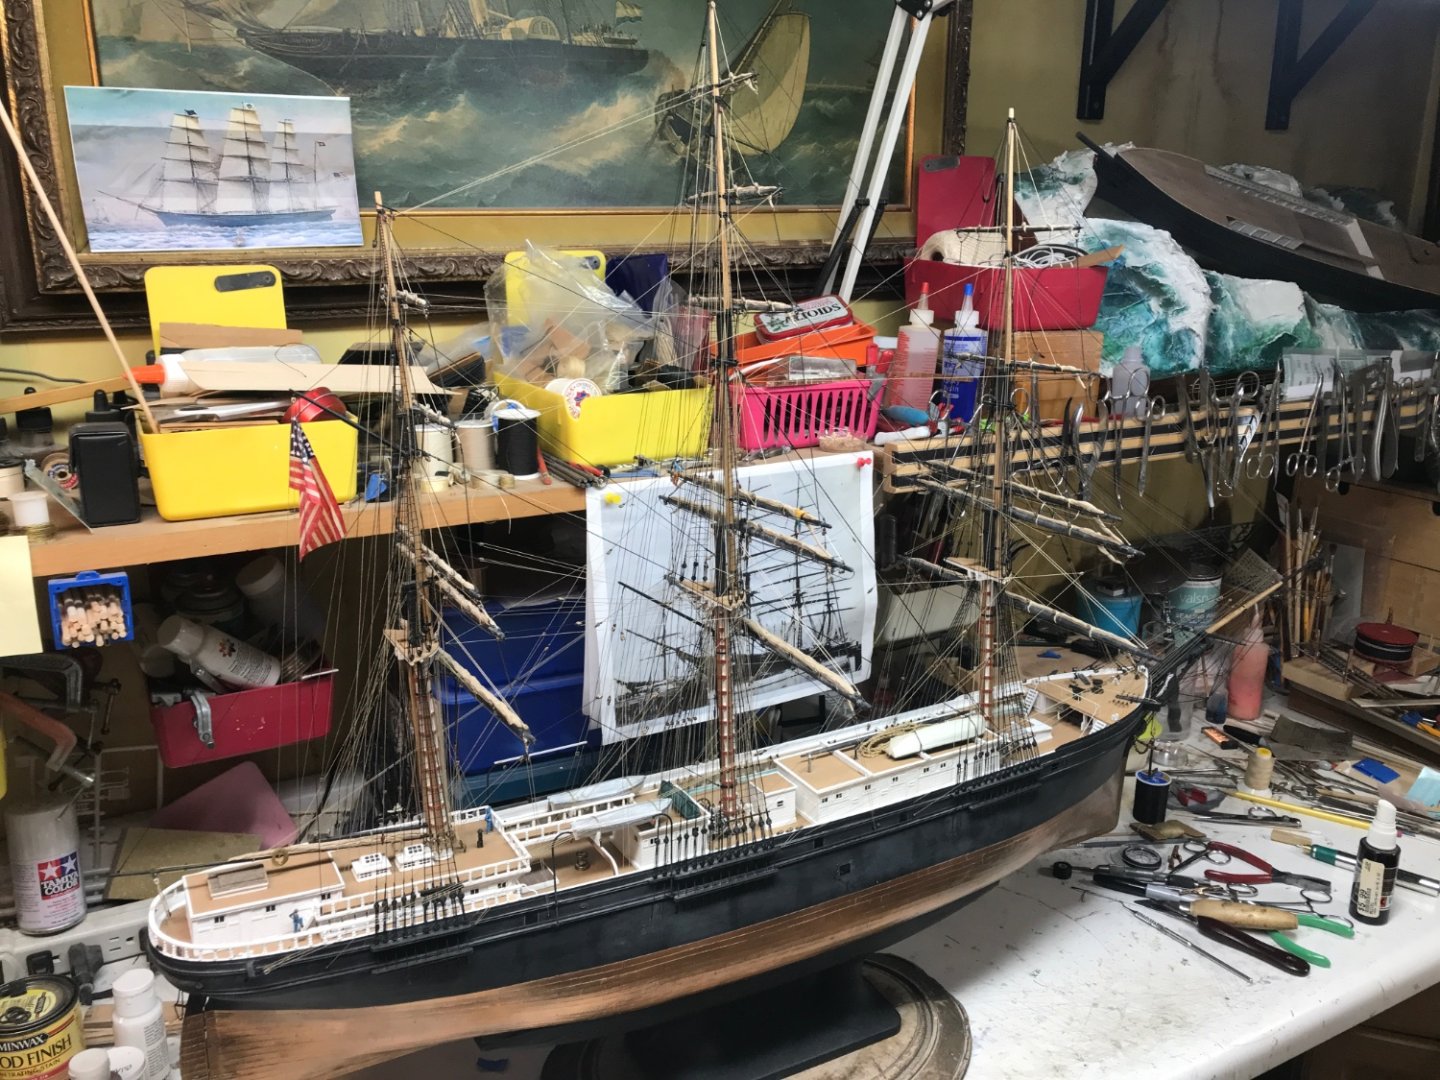
My wife has some professional photography backdrops she used when she used to do photography. I'm going to select one suited for a quality photoshoot and take some pics of her later this week. I'm stunned, that I'm finished with the rigging. I will go around her and touch up any paint and finish off any weathering details I might have overlooked. I'll also begin the planning for building her a case. Rob
- 3,560 replies
-
- 3
-
-
- clipper
- hull model
- (and 2 more)
-
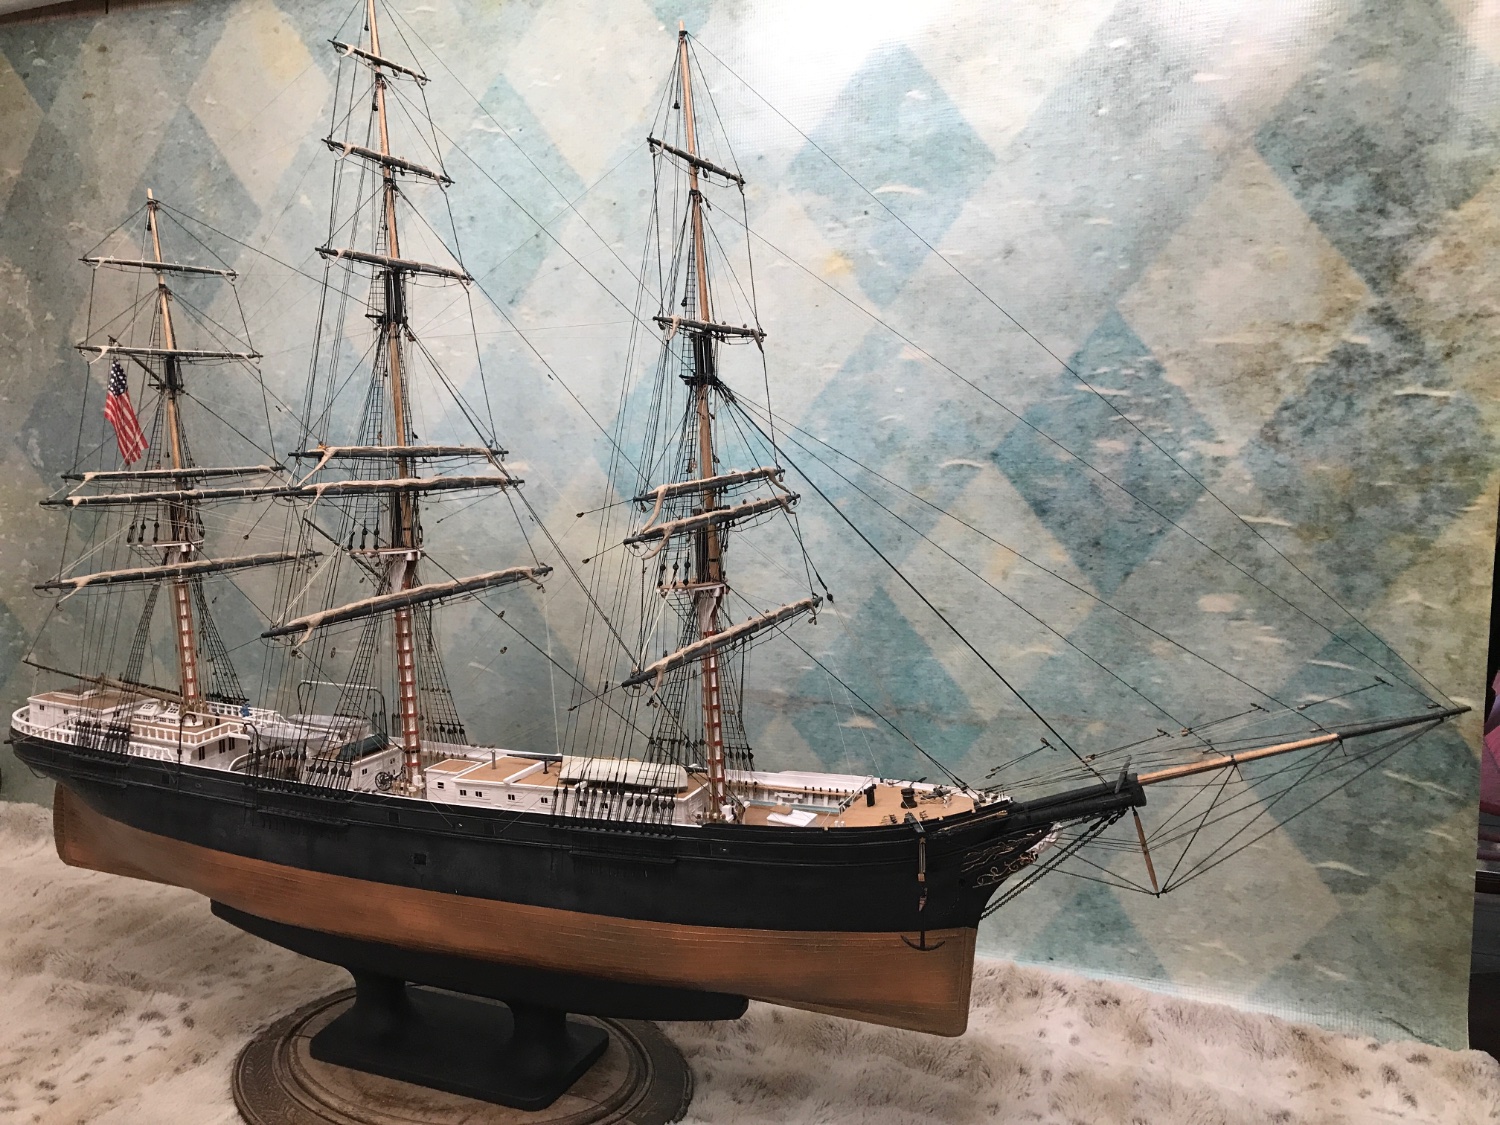
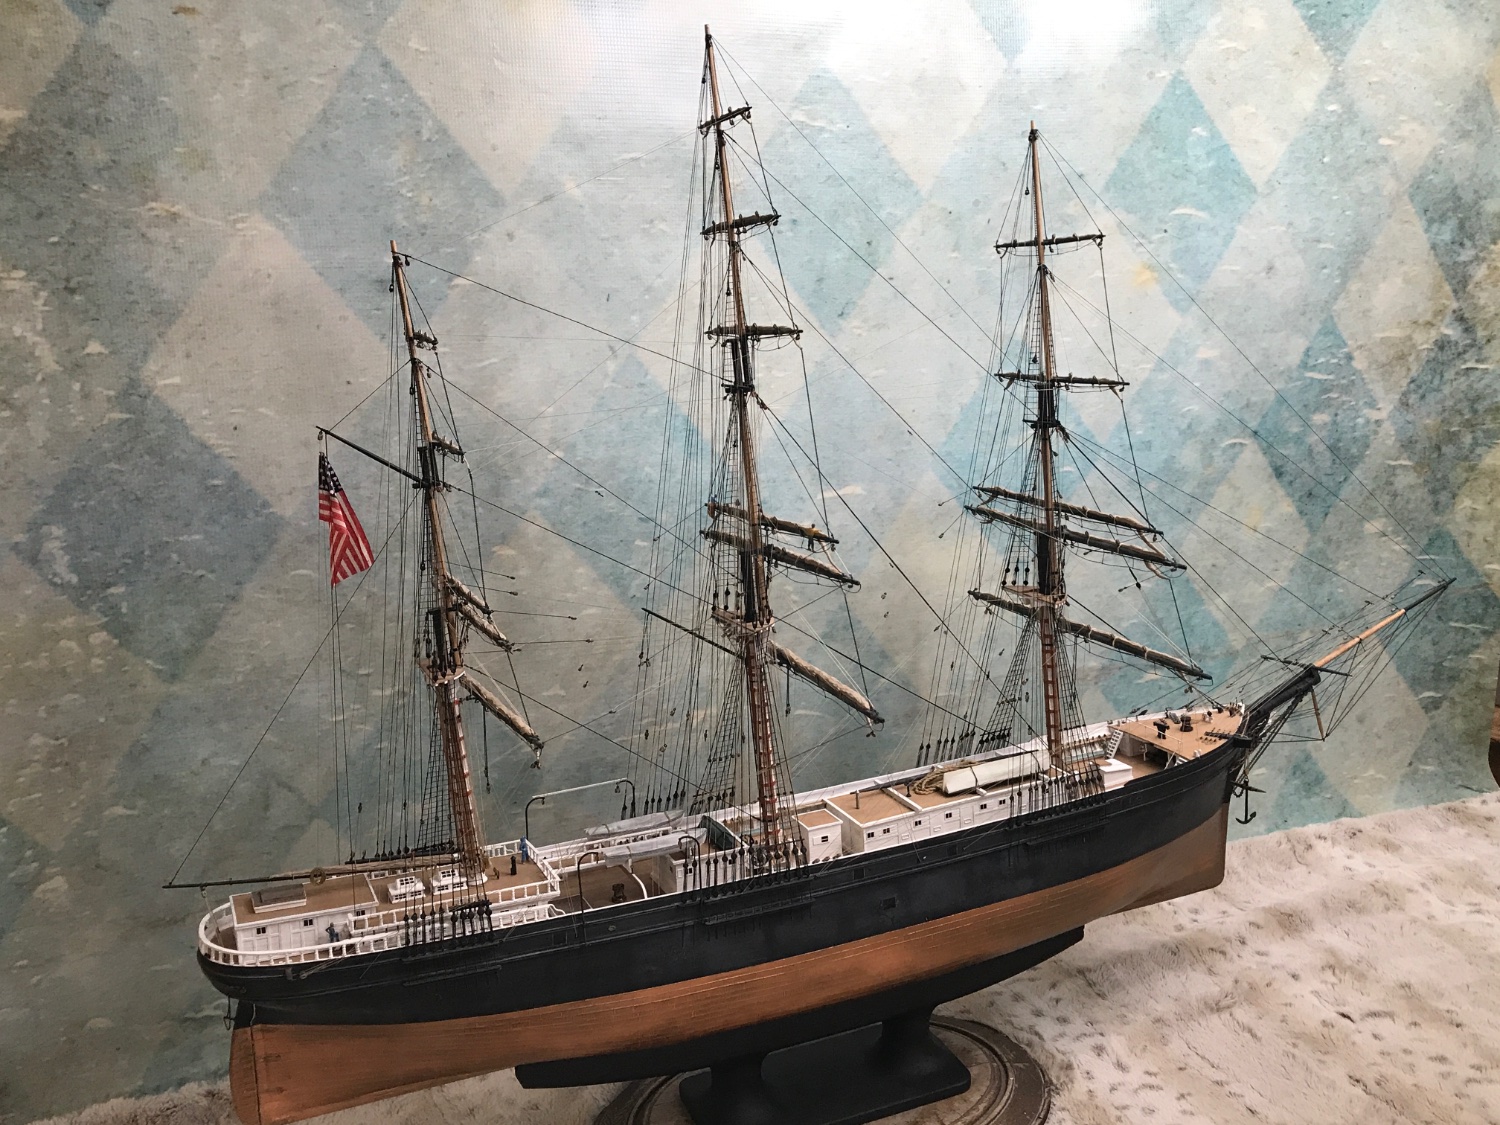
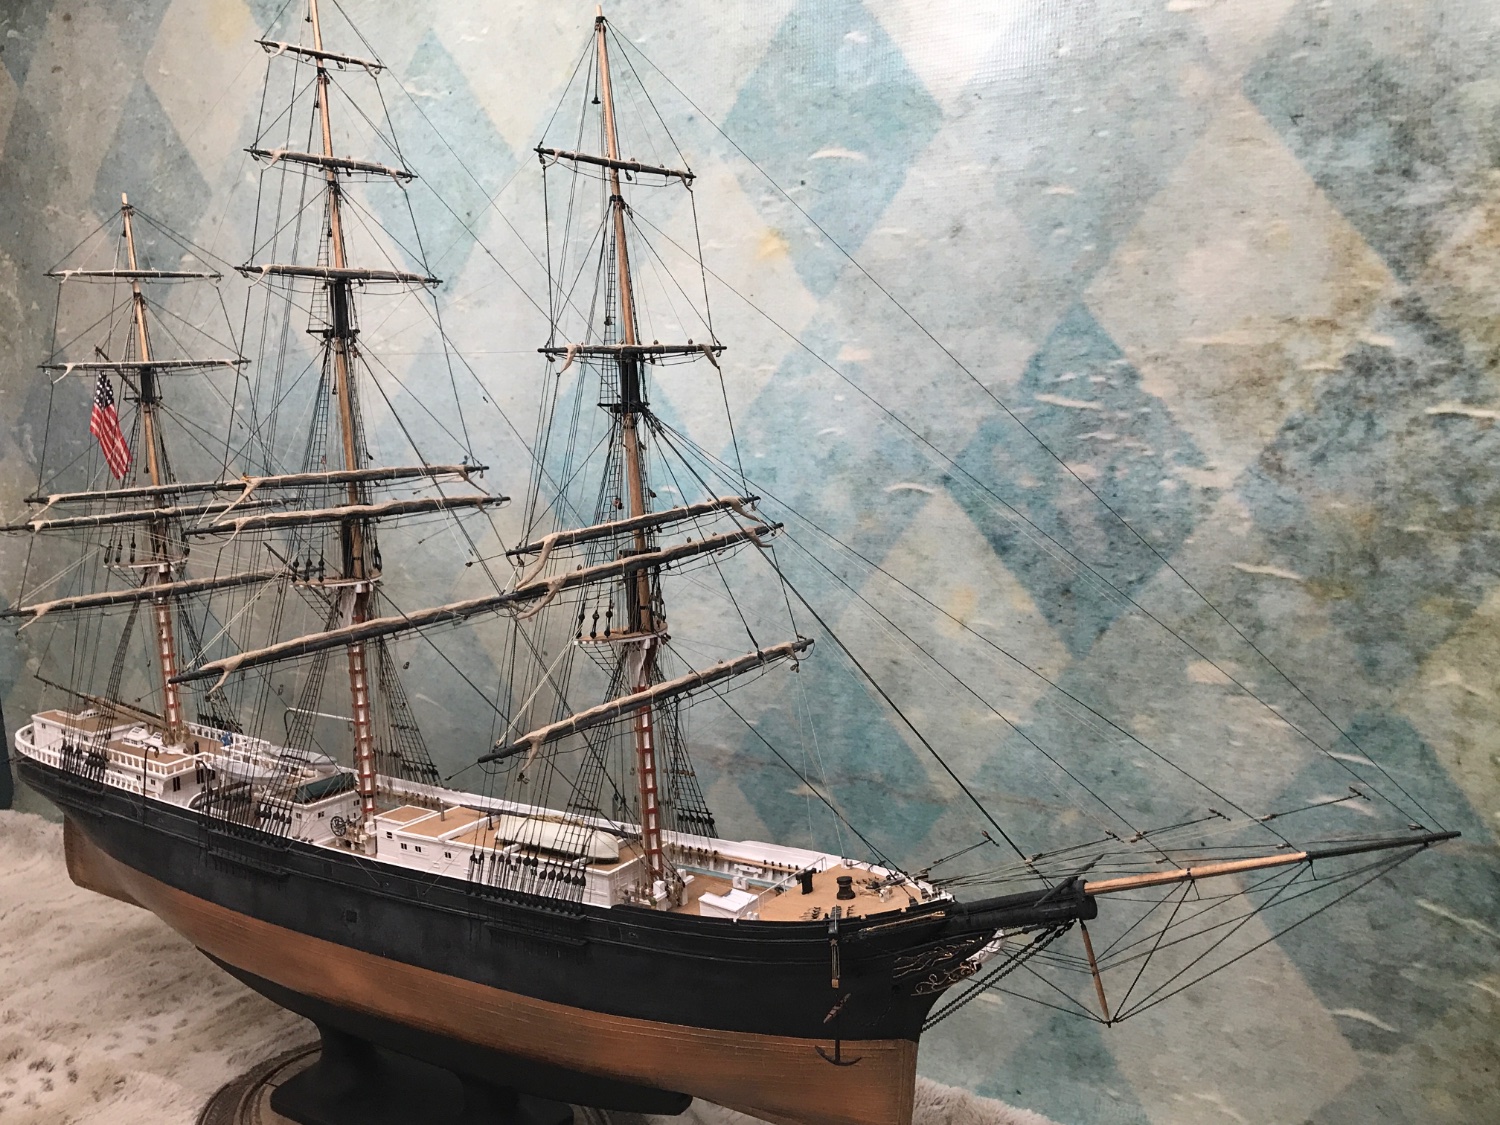
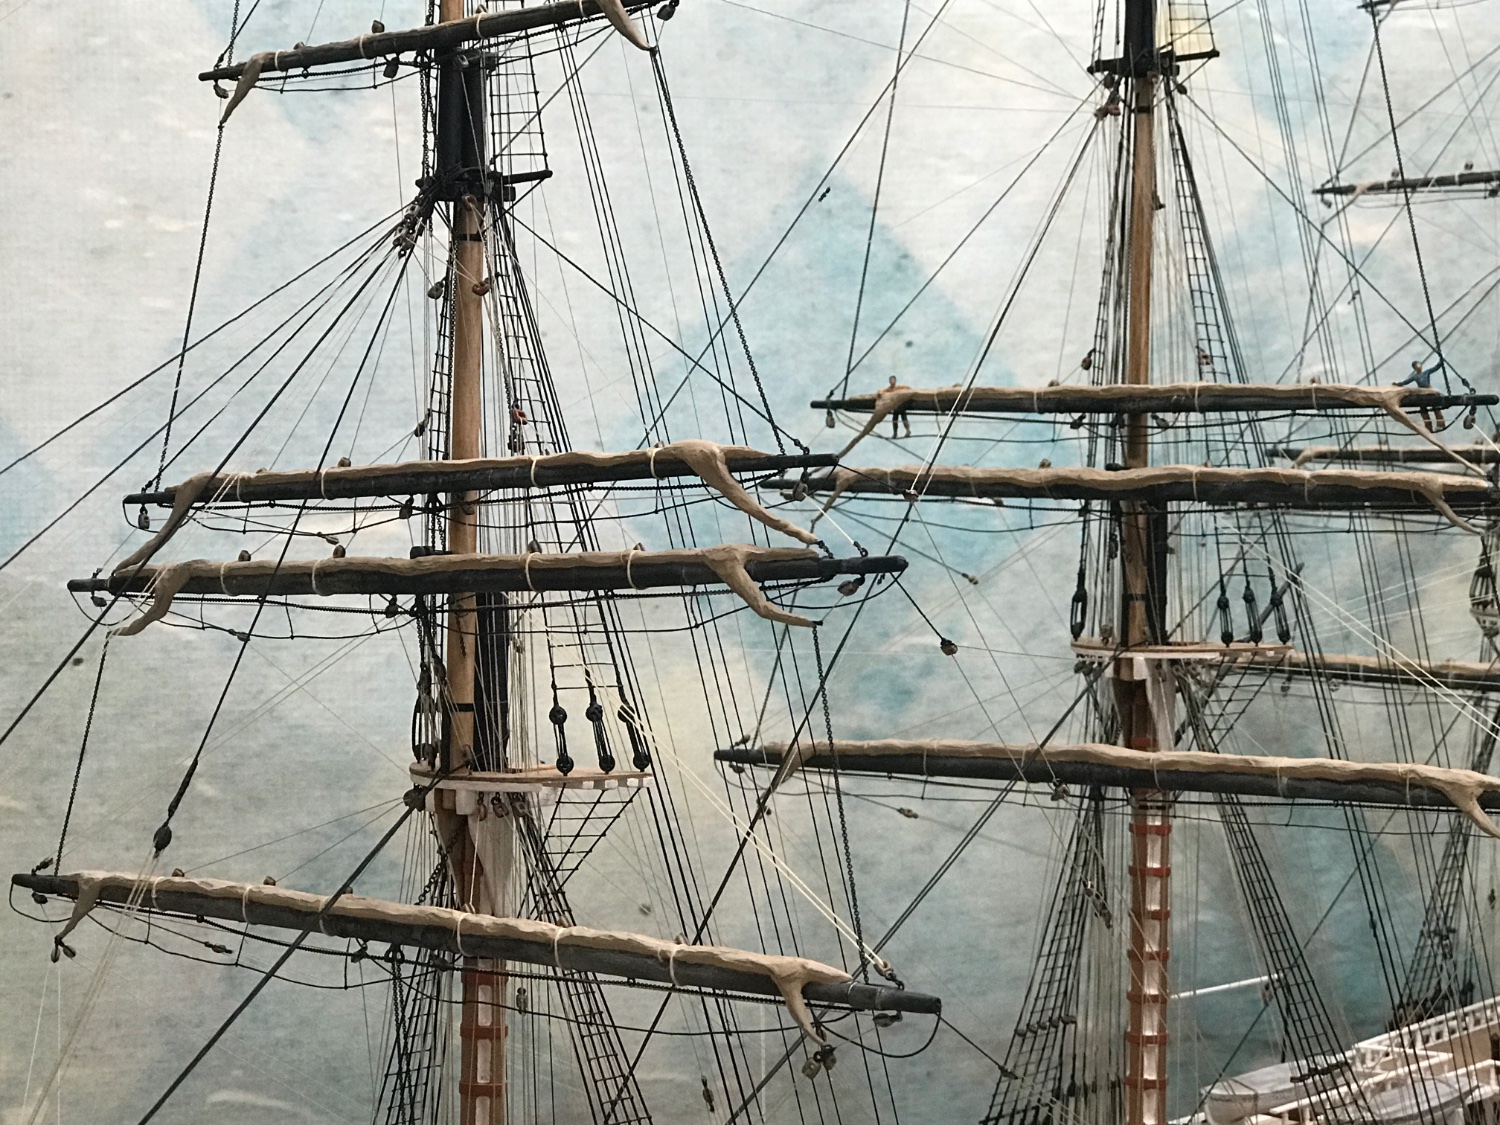
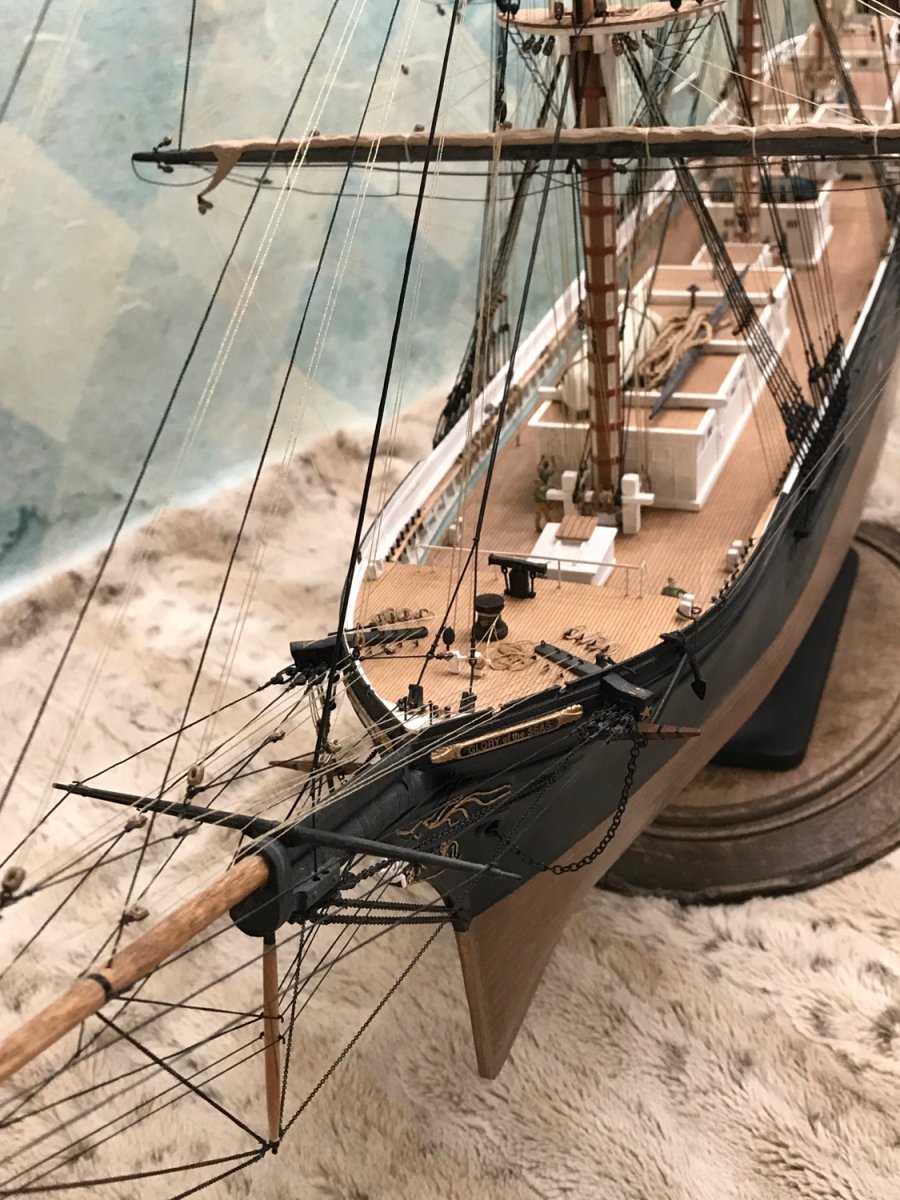
I’ve completed all the rigging. Just a flag or two left. I’ll prep her for more professional images a bit later.

- 3,560 replies
-
- 10
-
-
-
- clipper
- hull model
- (and 2 more)
-
Scott...I recently purchased *Another* Cutty Sark....I've personally built 4 myself for commissions and for myself. I got the kit for parts...and I would be more then pleased to send you what you may need for the restoration.....namely the mast's and bowsprit. You can reinforce the mast with rod, and still retain the original kit specs, as your mother built it. PM me if this is a desire. Rob
- 44 replies
-
- 1
-
-
- Thermopylae
- Revell
- (and 3 more)
-
Vlad....I'm thinking your boats need to be suspended in similar fashion as I originally modeled them on my old Glory model. Rob
-
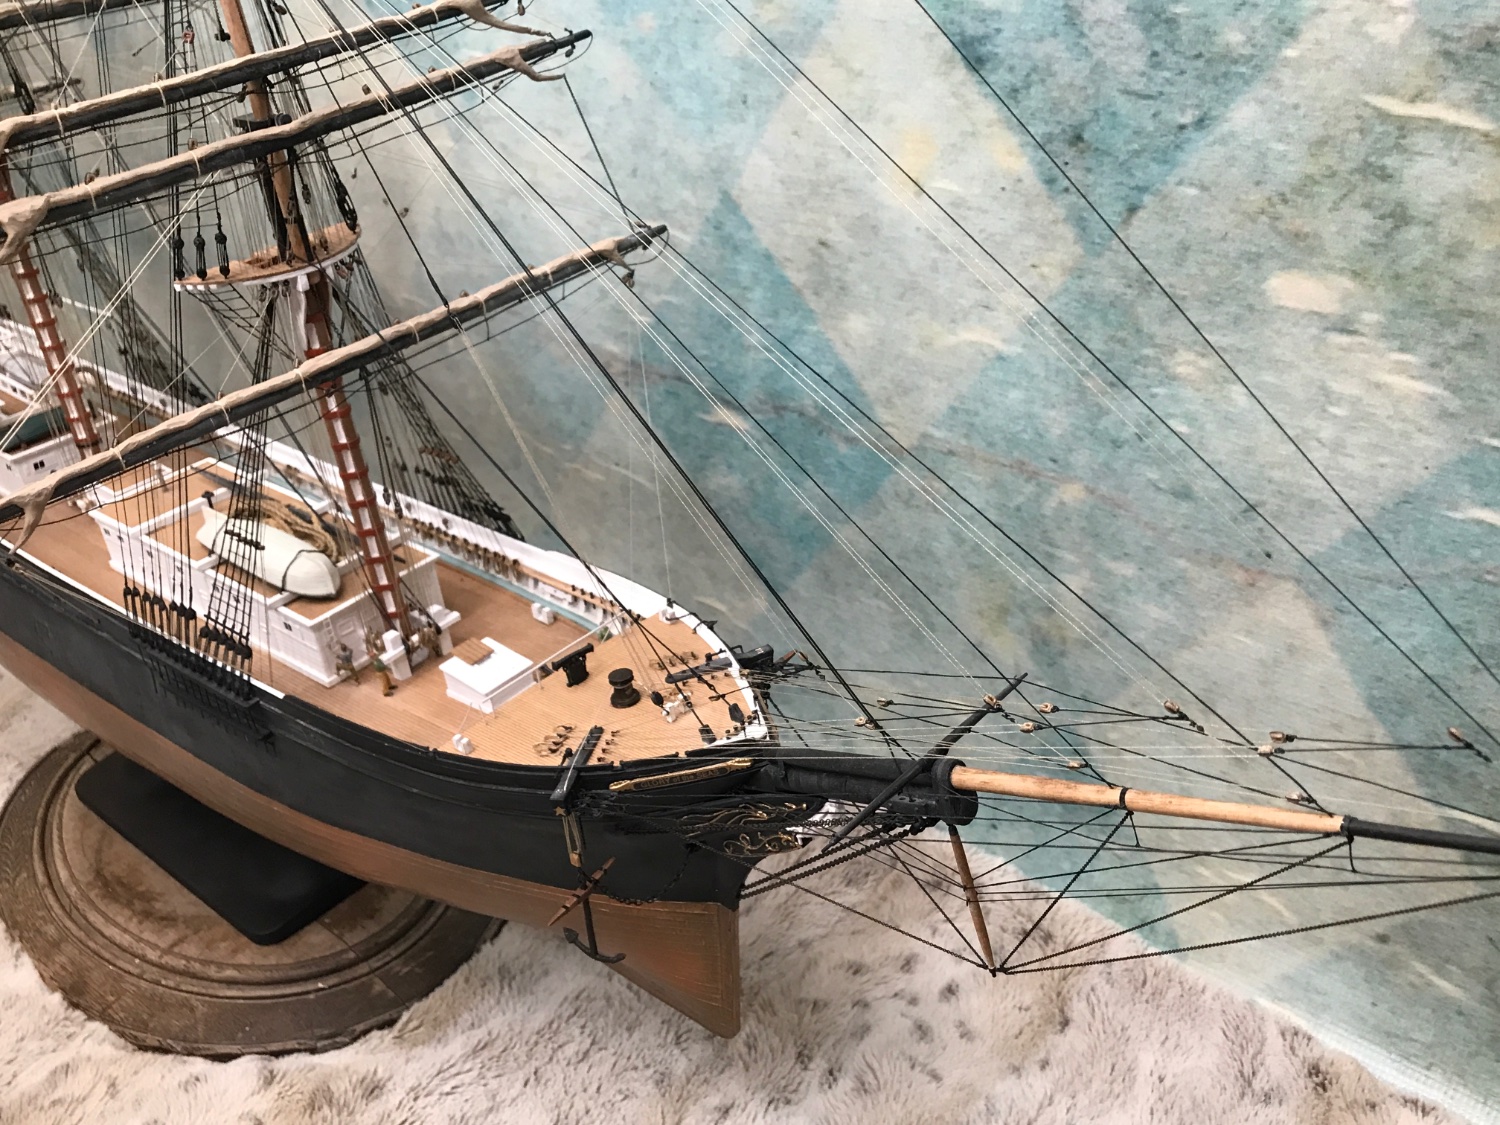
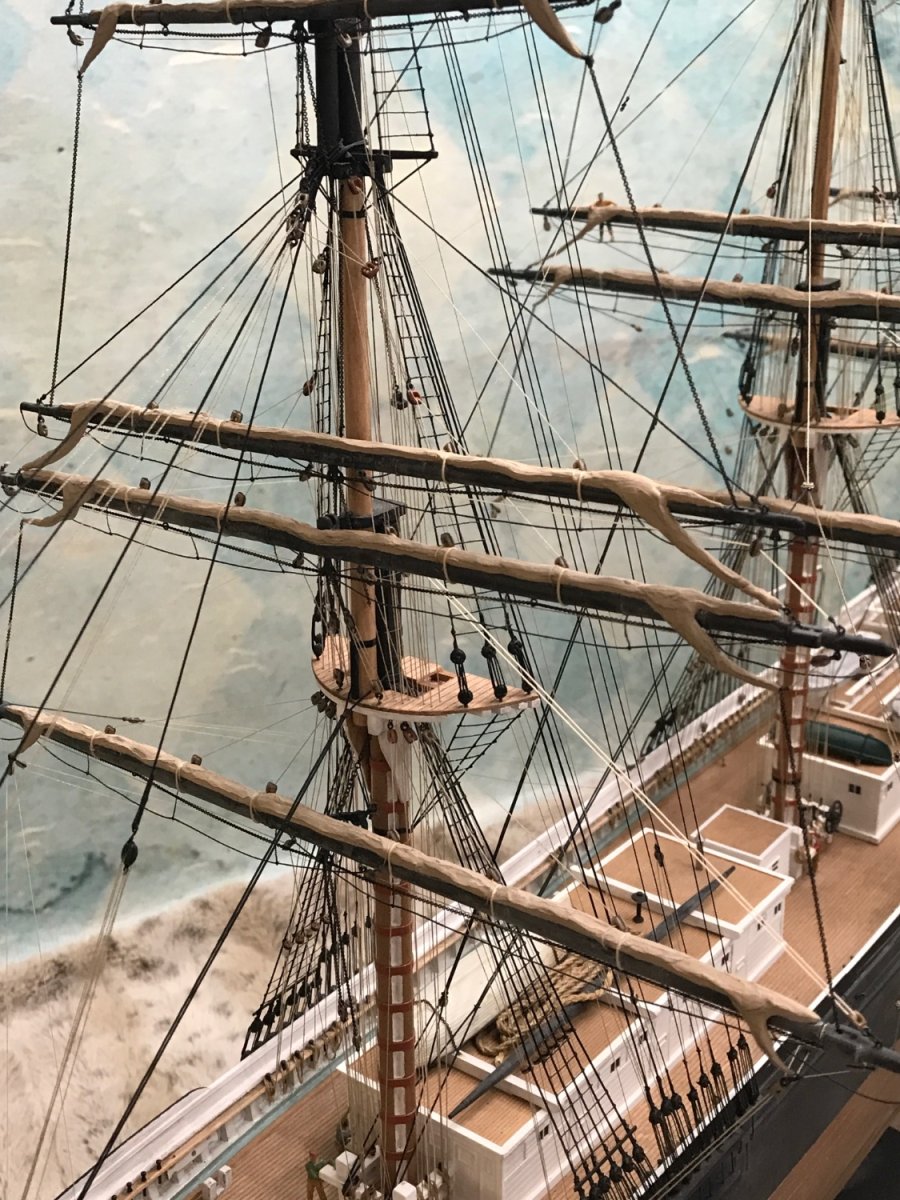
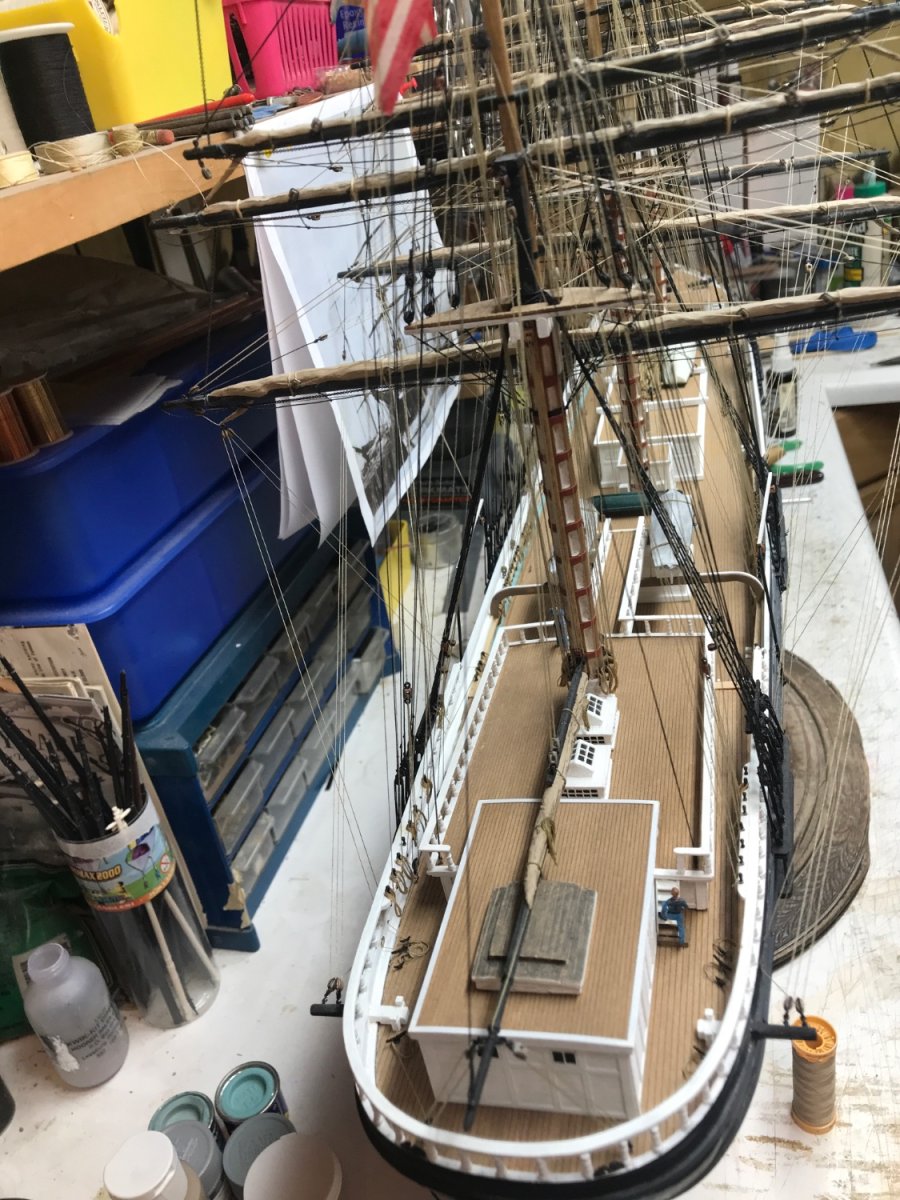
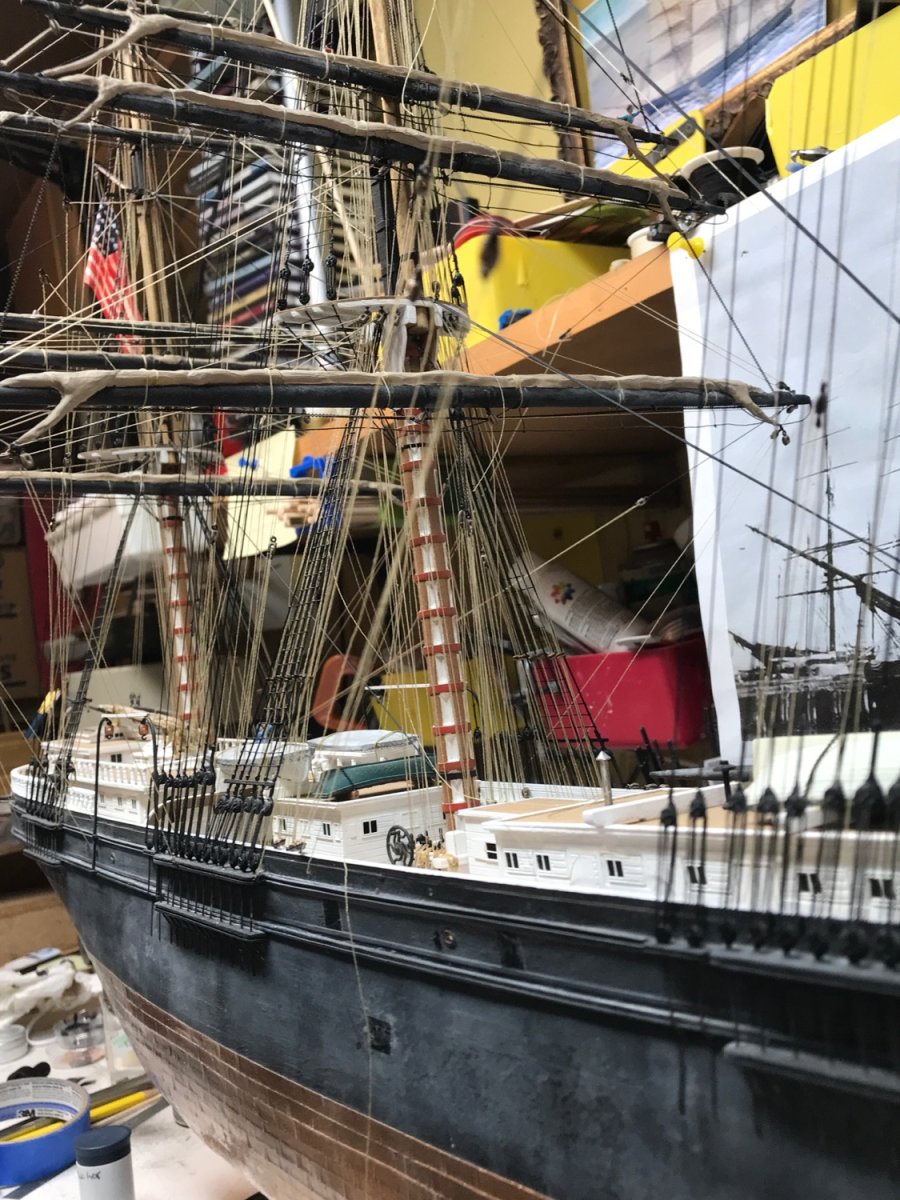
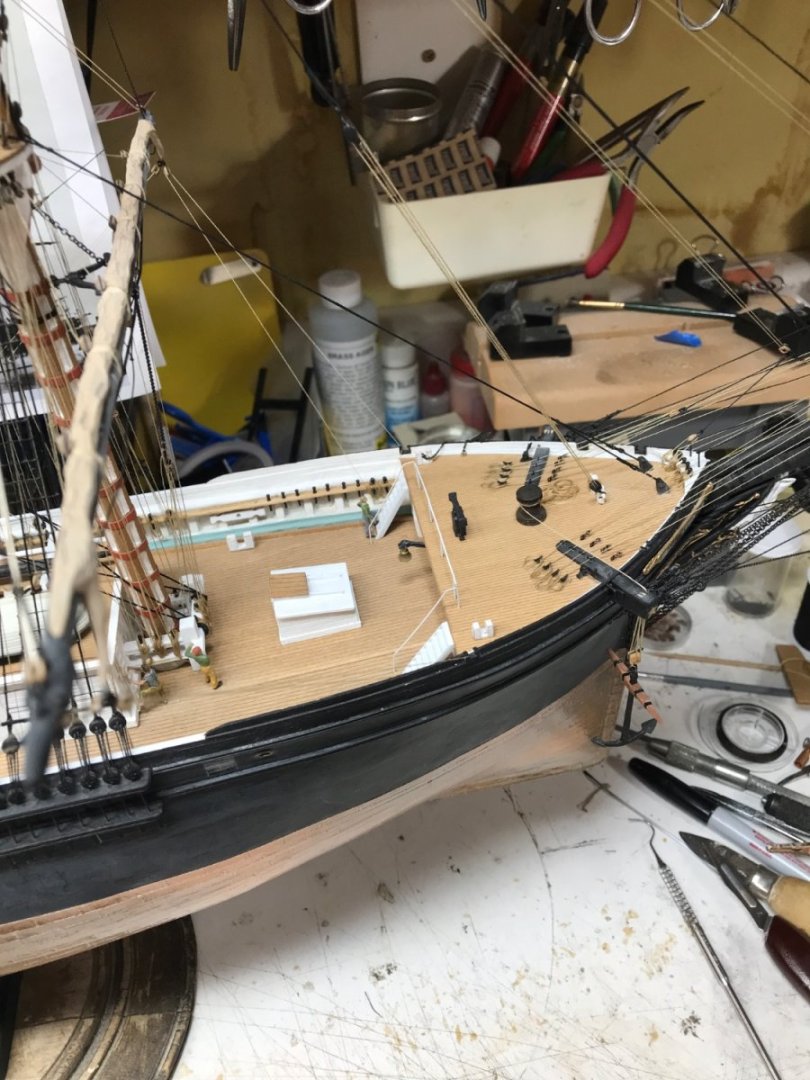
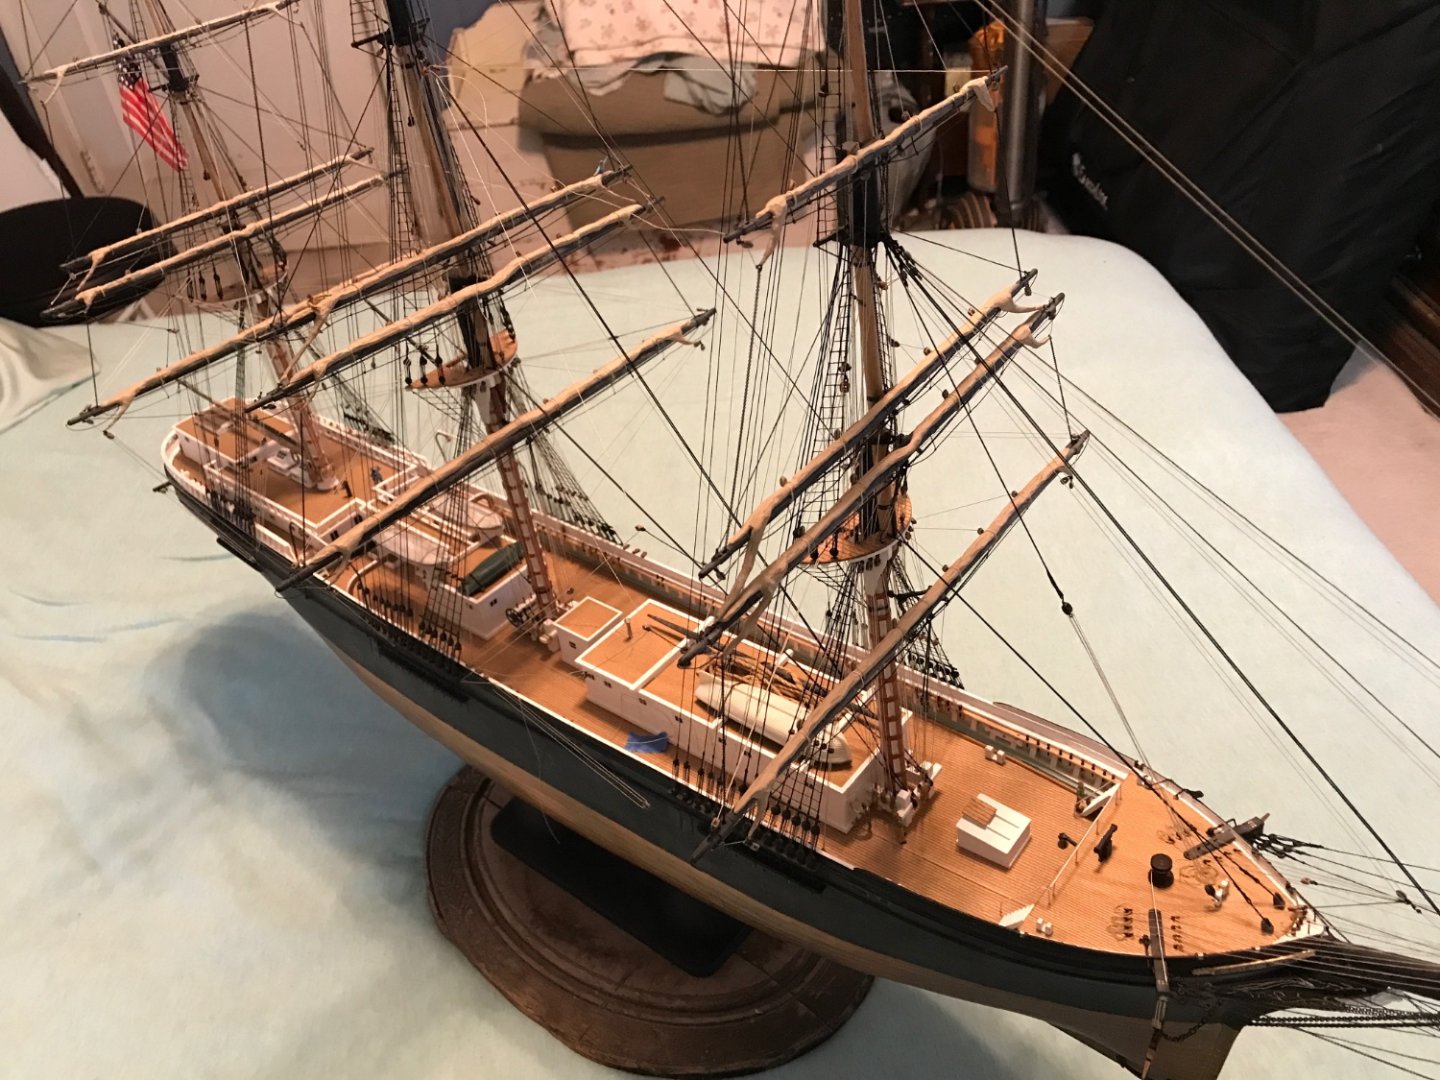
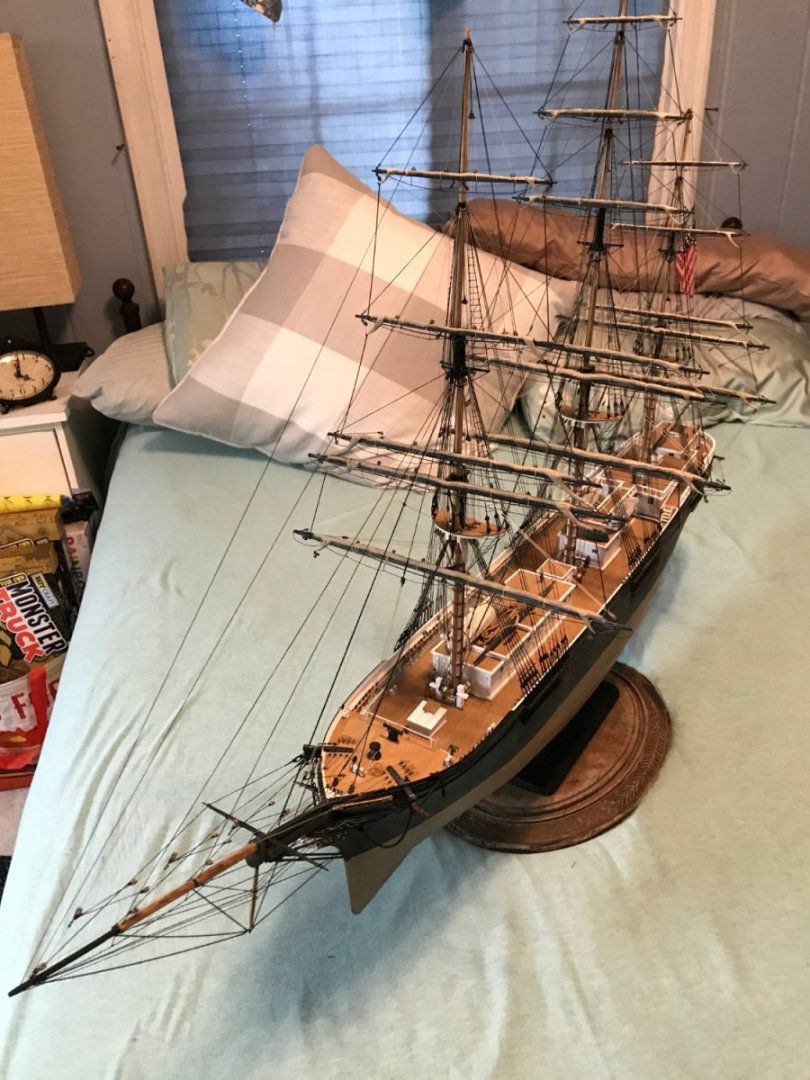
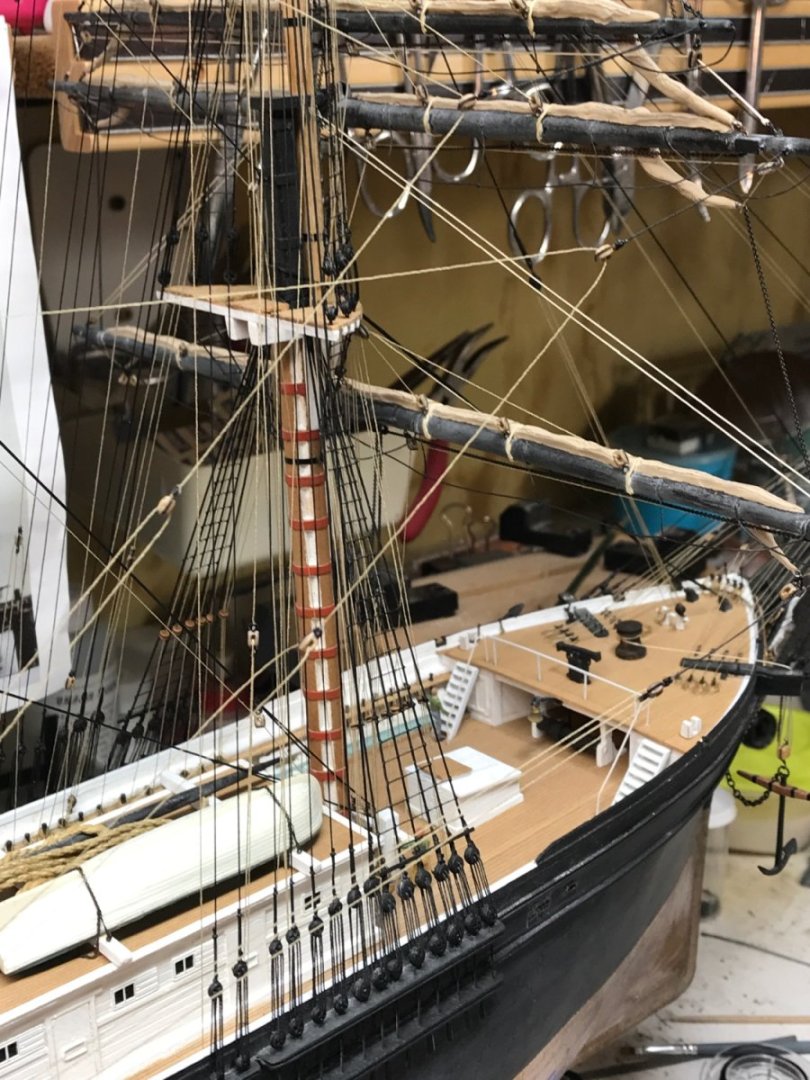
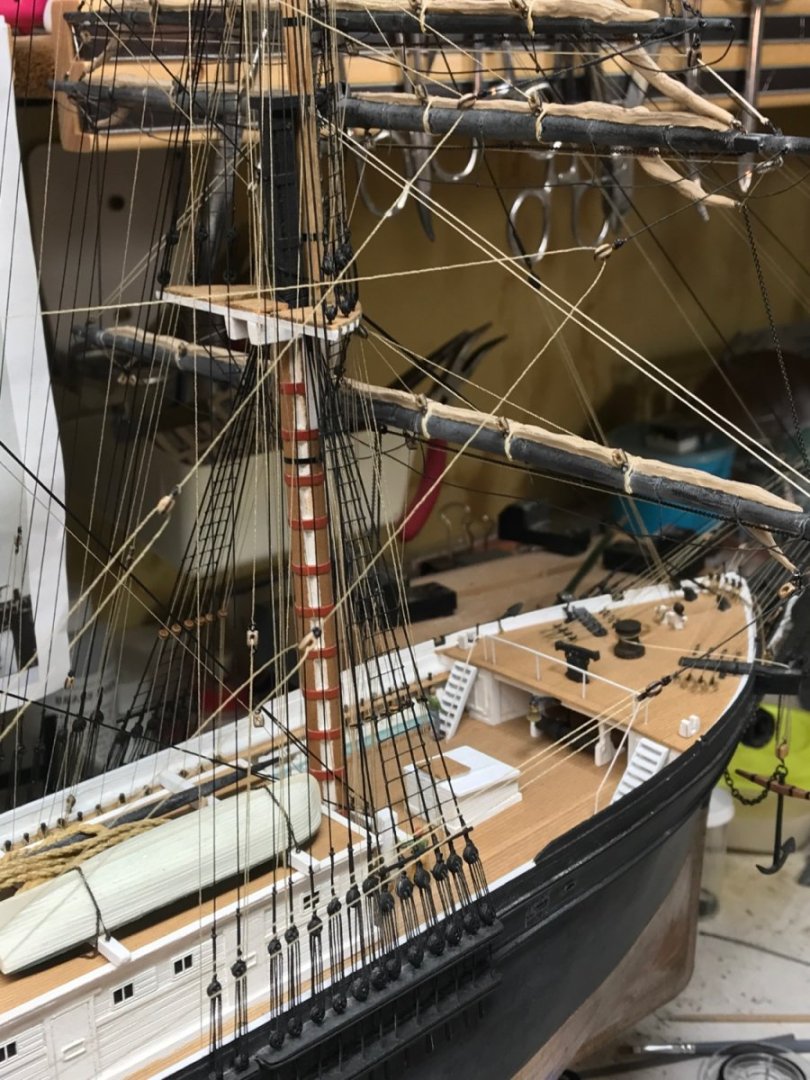
Now back in the shop……getting prepped for the next phase of rigging. I probably flip her a couple more times so I can get all the details wrapped up. Rob
- 3,560 replies
-
- 3
-
-
- clipper
- hull model
- (and 2 more)
-
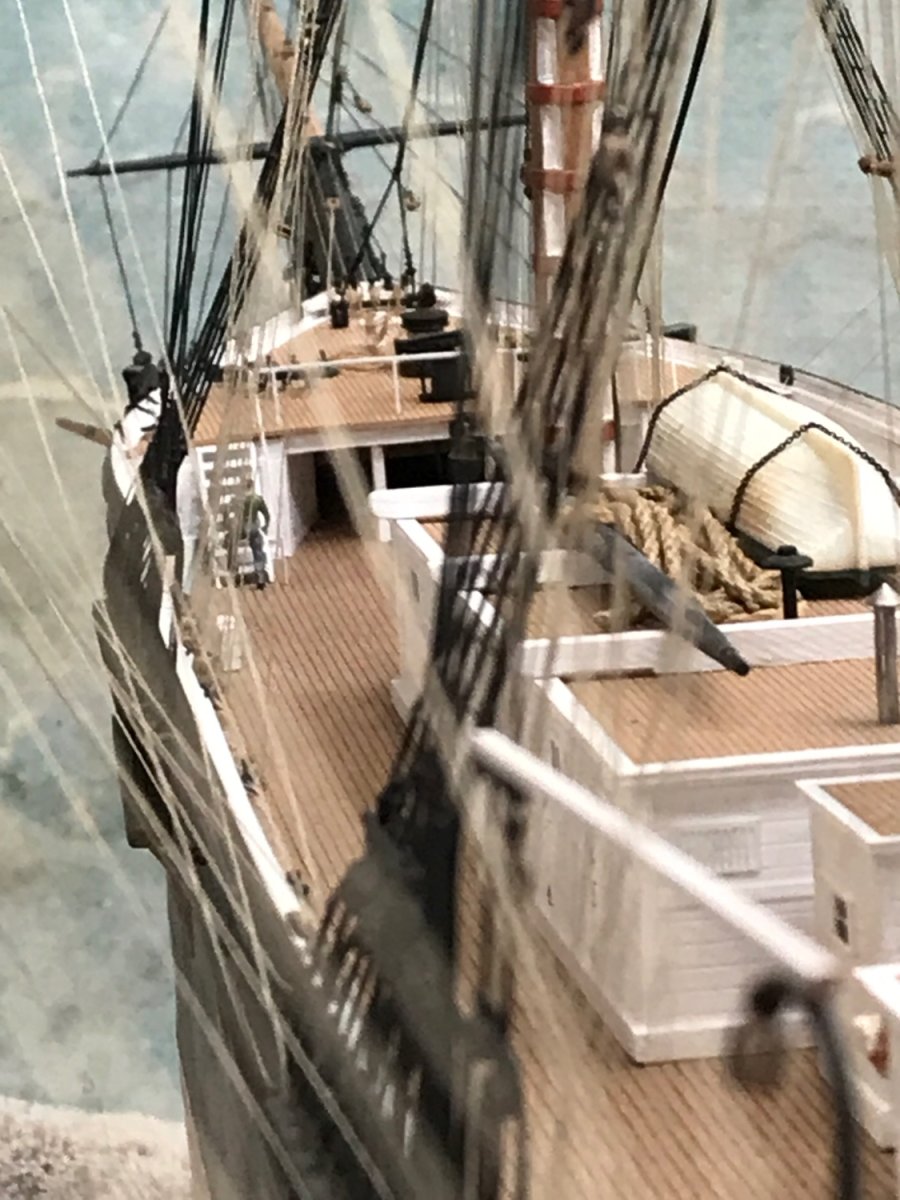
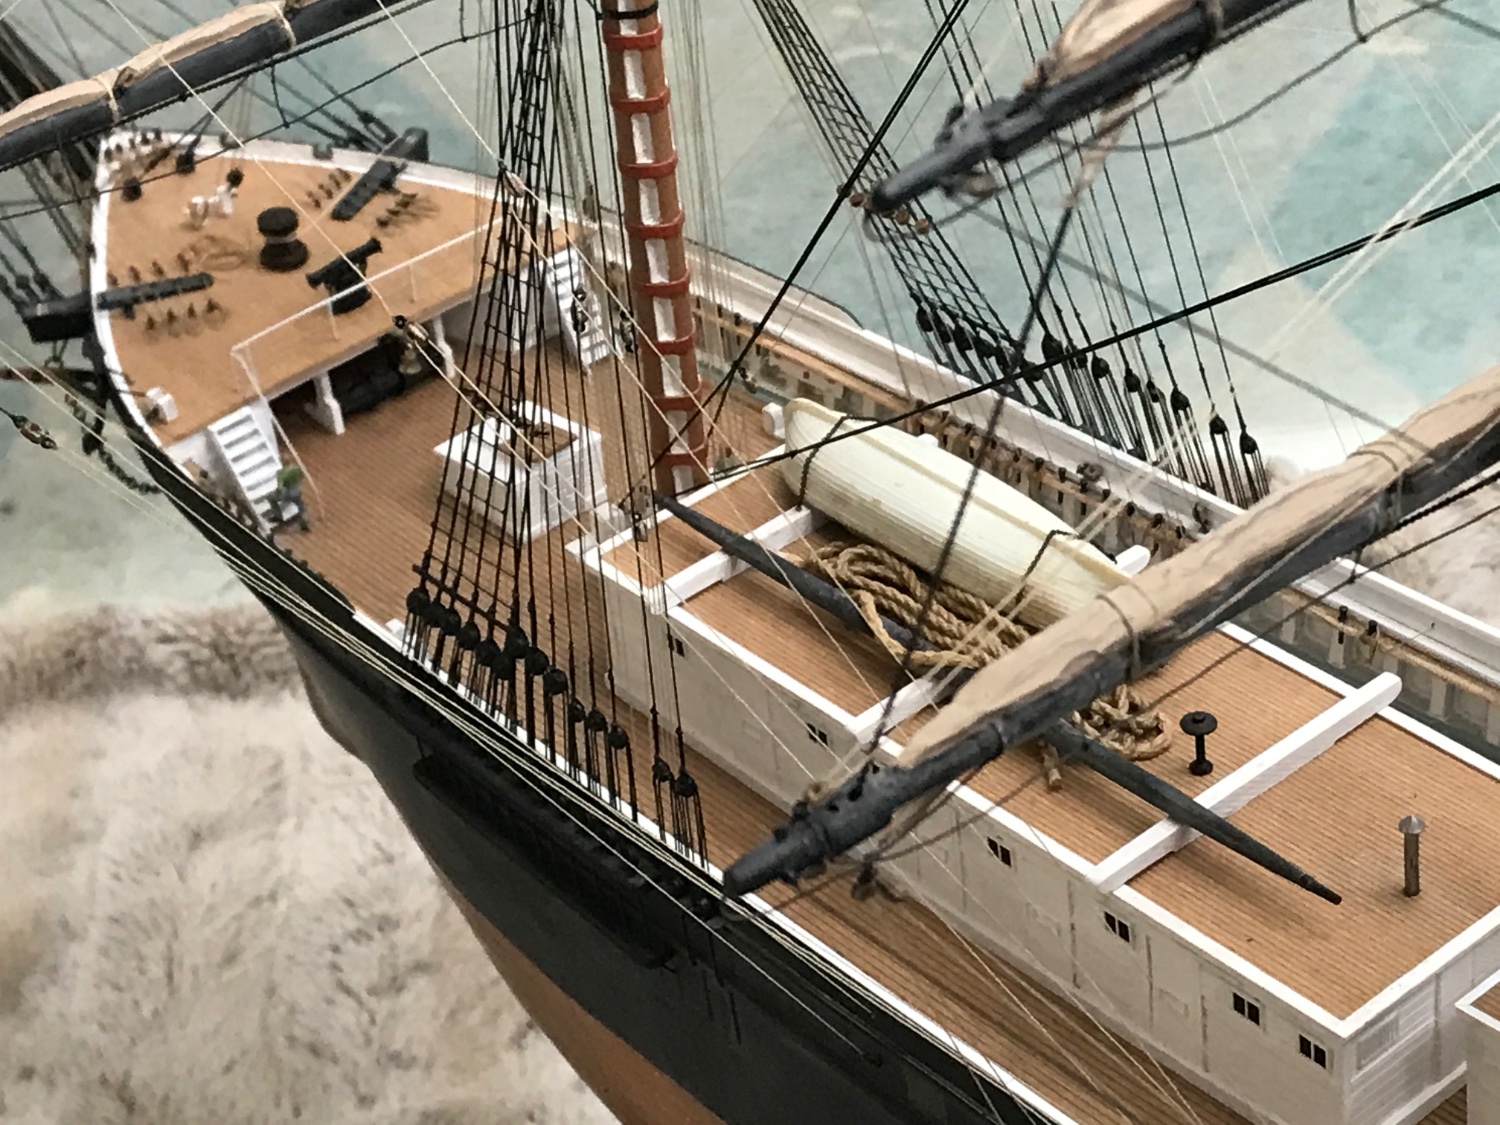
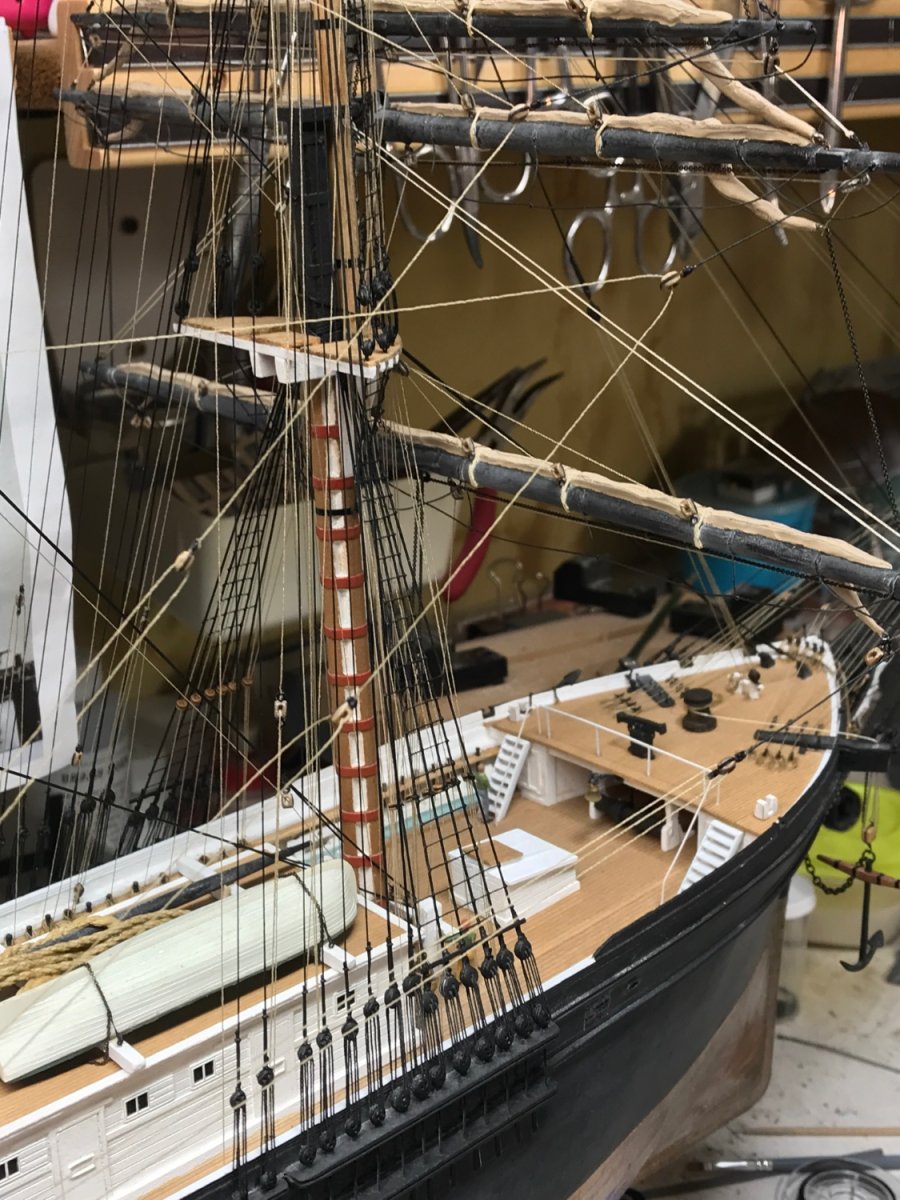
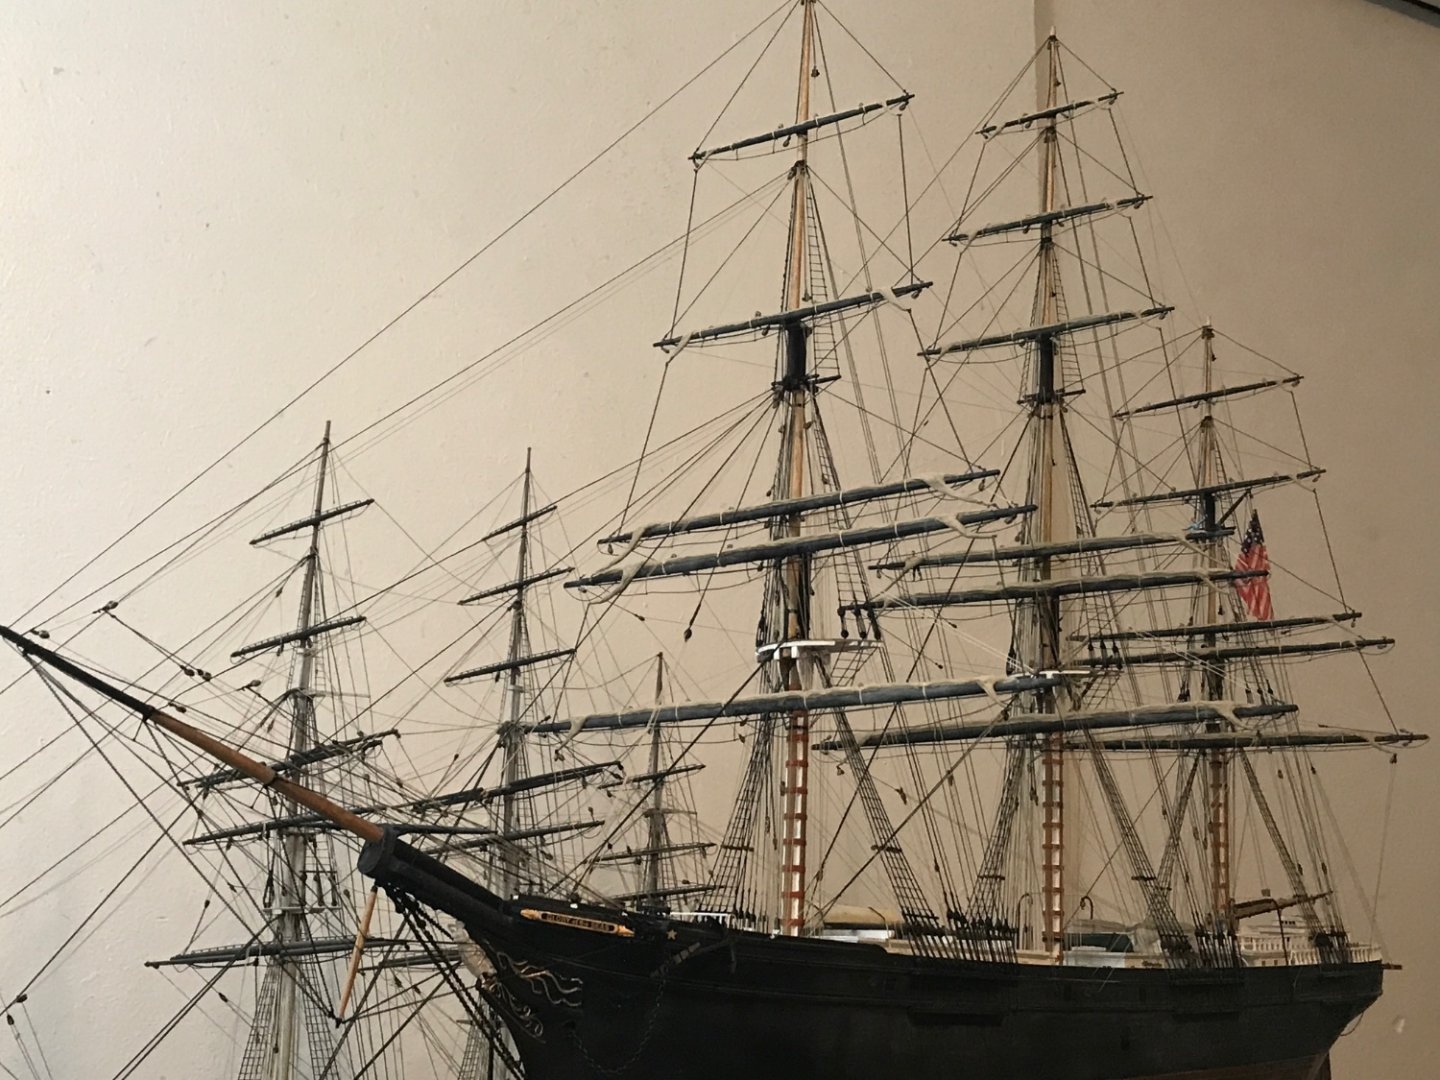
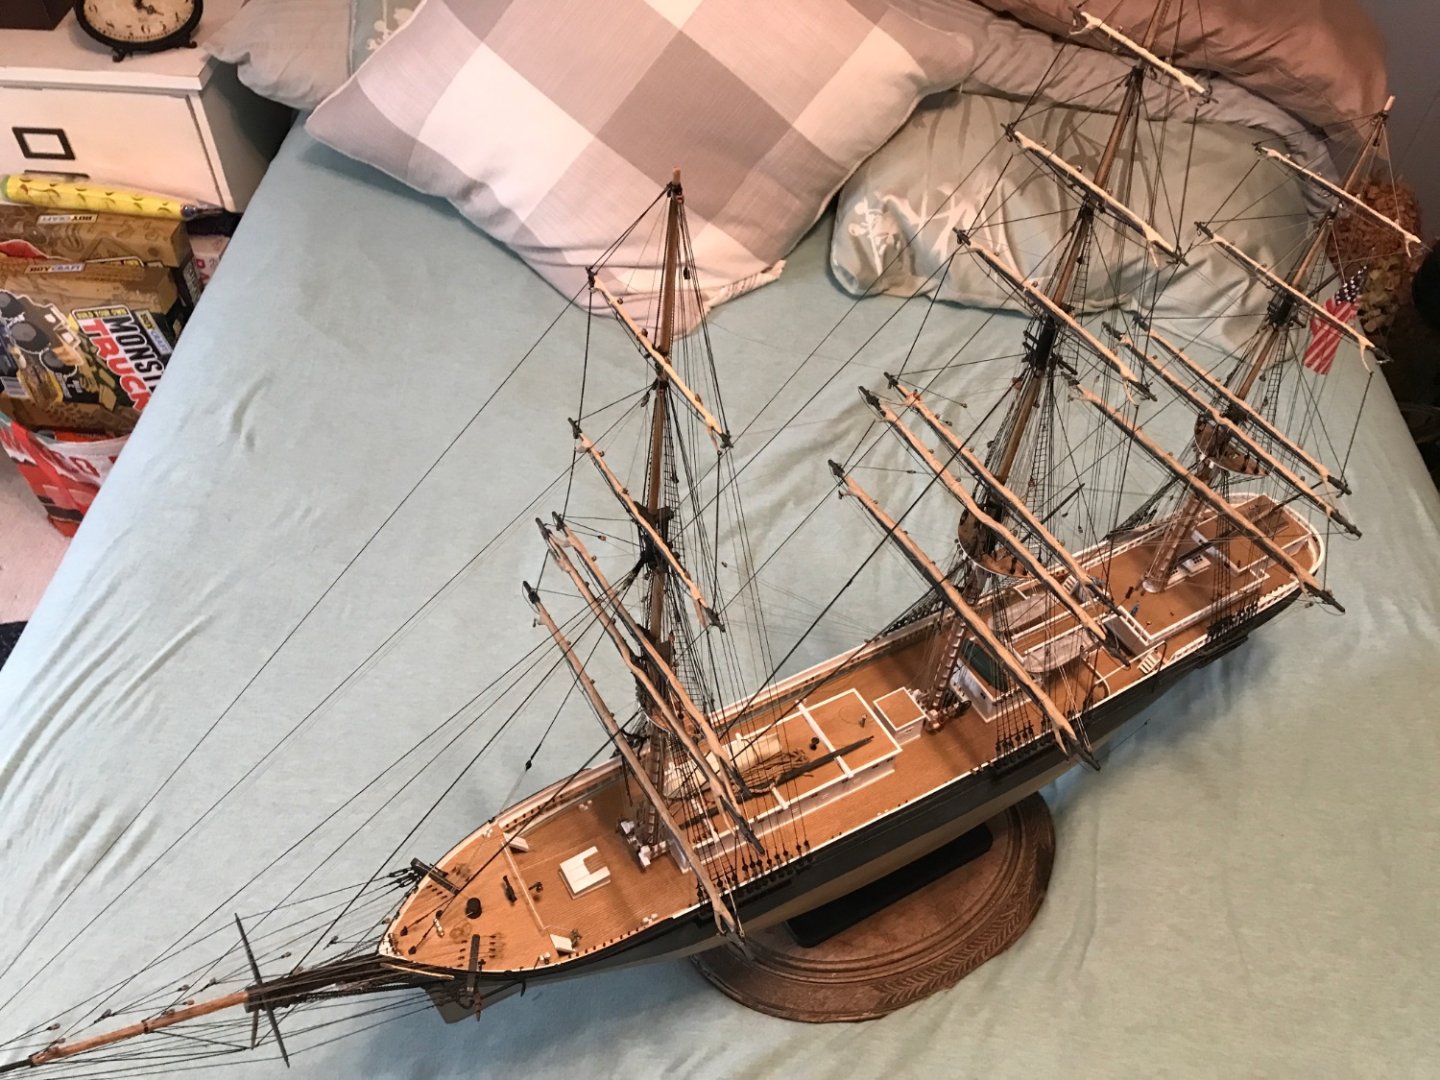
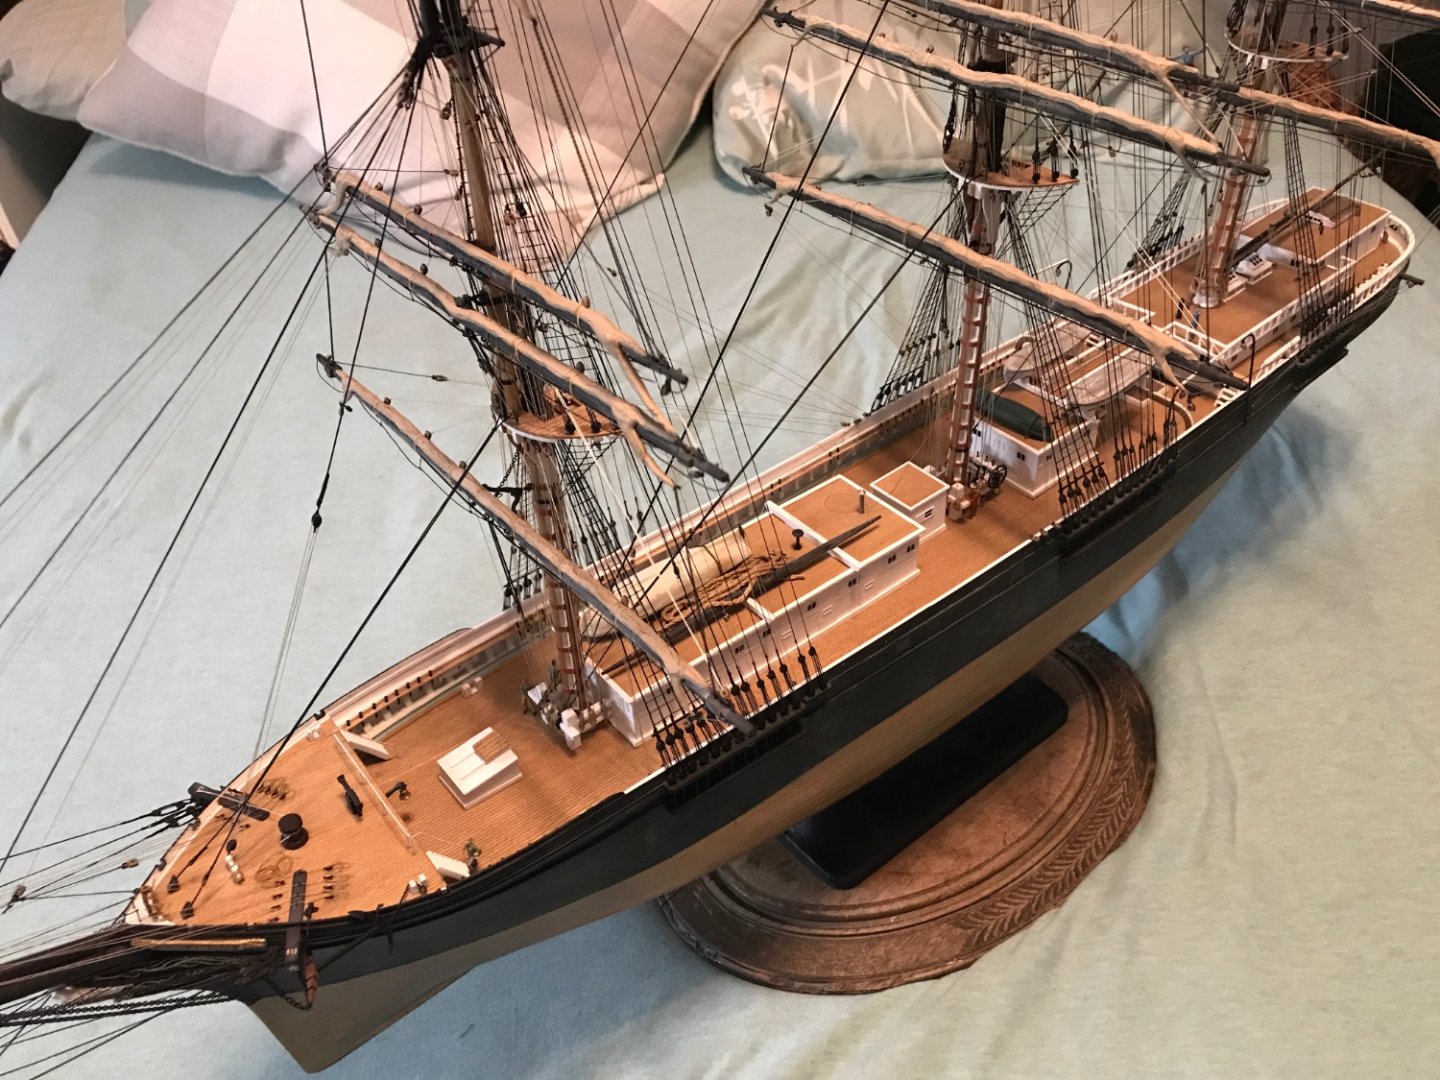
Again I had to flip the model round again so I can proceed with the port side. Went around the ship and added a dozen rope coils I needed to address. Some overviews. Rob

- 3,560 replies
-
- 2
-
-
- clipper
- hull model
- (and 2 more)
-
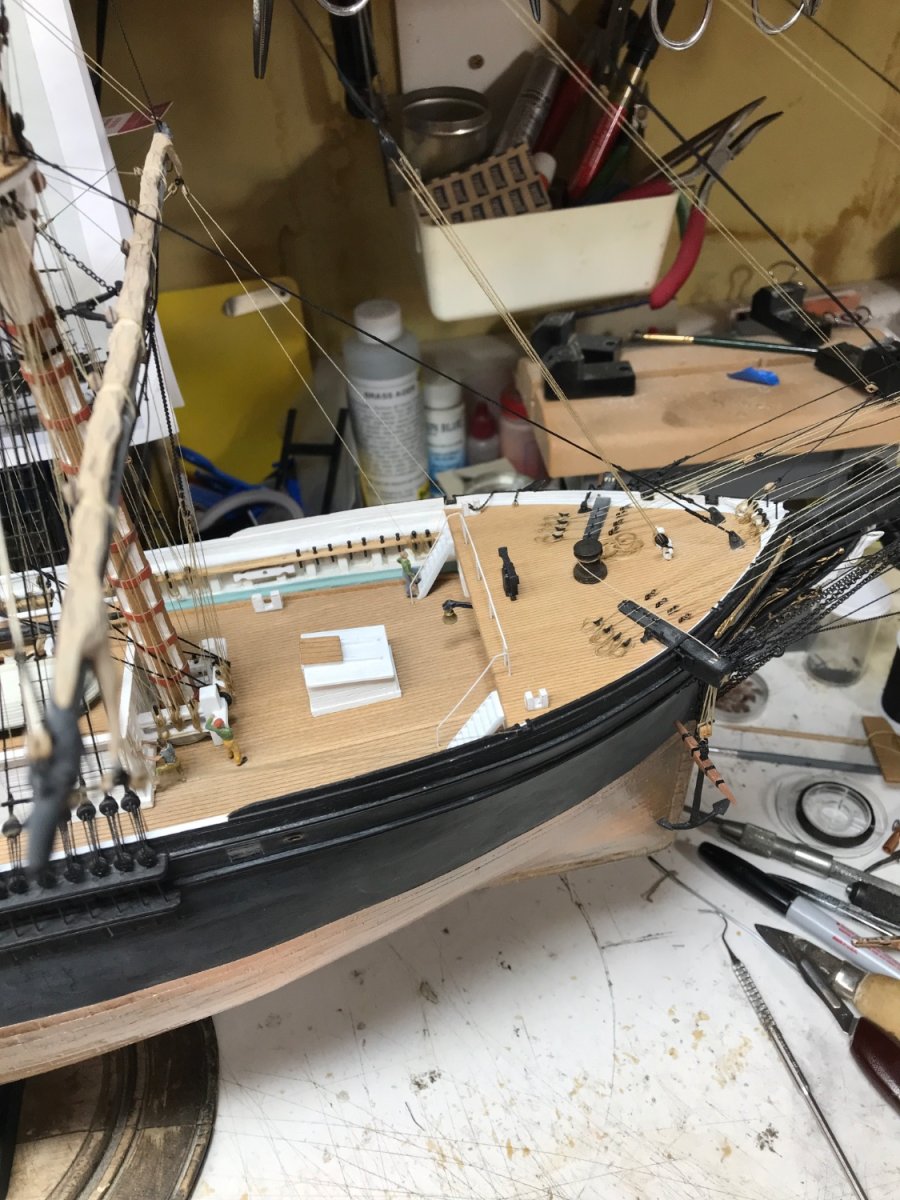
Went to work rigging the starboard braces and adding all the rope coils. Rob


- 3,560 replies
-
- 2
-
-
- clipper
- hull model
- (and 2 more)
-
Vlad...so very nice to see you working *HARD* on your Glory. Man she is coming along nicely. I like your mods to the forecastle. the addition of the davits and the Howes holes iron lips is a good move too. One question. I see you added the boat skid....but what configuration are you going to model for mounting her boats? Her boats at a time rested on the edge of the carriage house and the skid. The time frame you are modeling her....she did NOT have her boy cabin yet...so you can't mount the boats there. I'm interested in the direction you are moving too. She's looking good. Rob