HOLIDAY DONATION DRIVE - SUPPORT MSW - DO YOUR PART TO KEEP THIS GREAT FORUM GOING! (Only 72 donations so far out of 49,000 members - Can we at least get 100? C'mon guys!)
×


rwiederrich
-
Posts
5,518 -
Joined
-
Last visited
Content Type
Profiles
Forums
Gallery
Events
Everything posted by rwiederrich
-
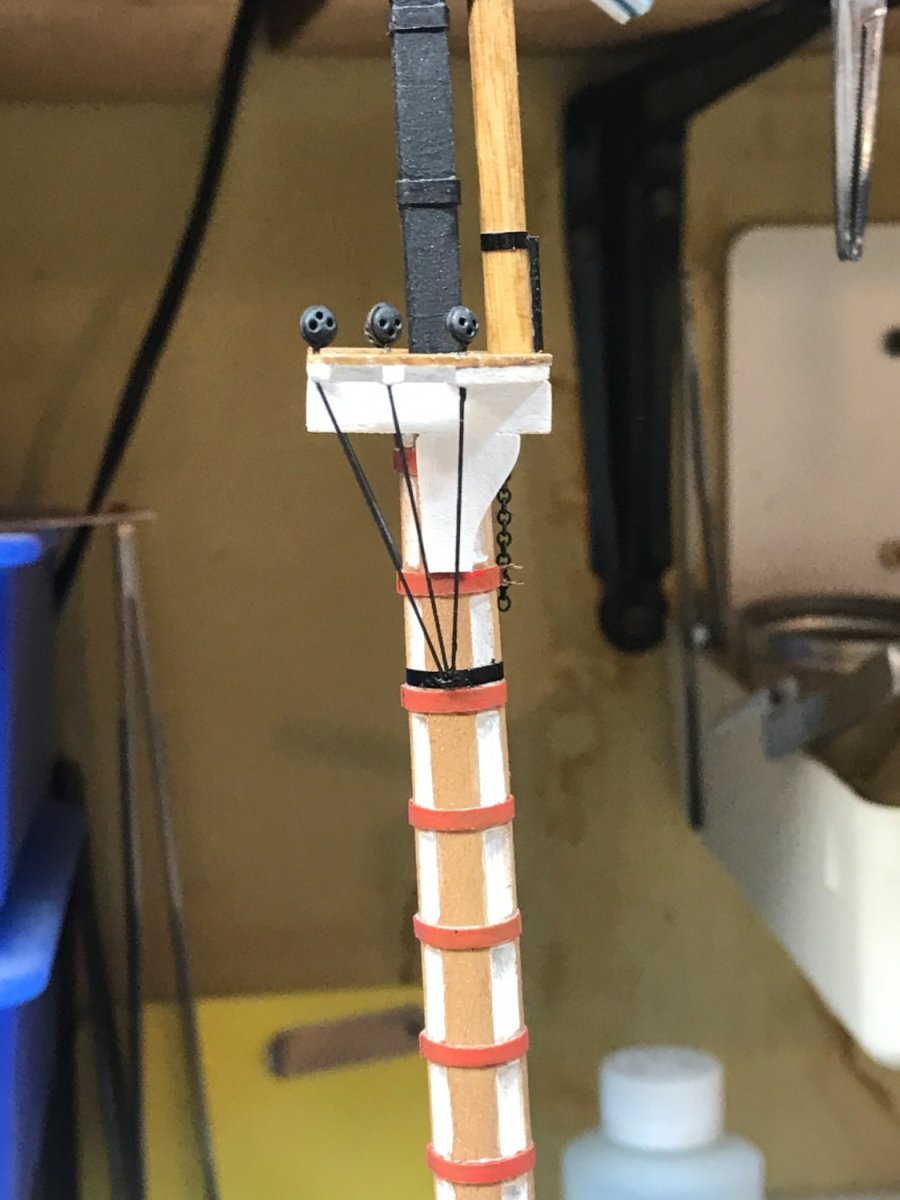
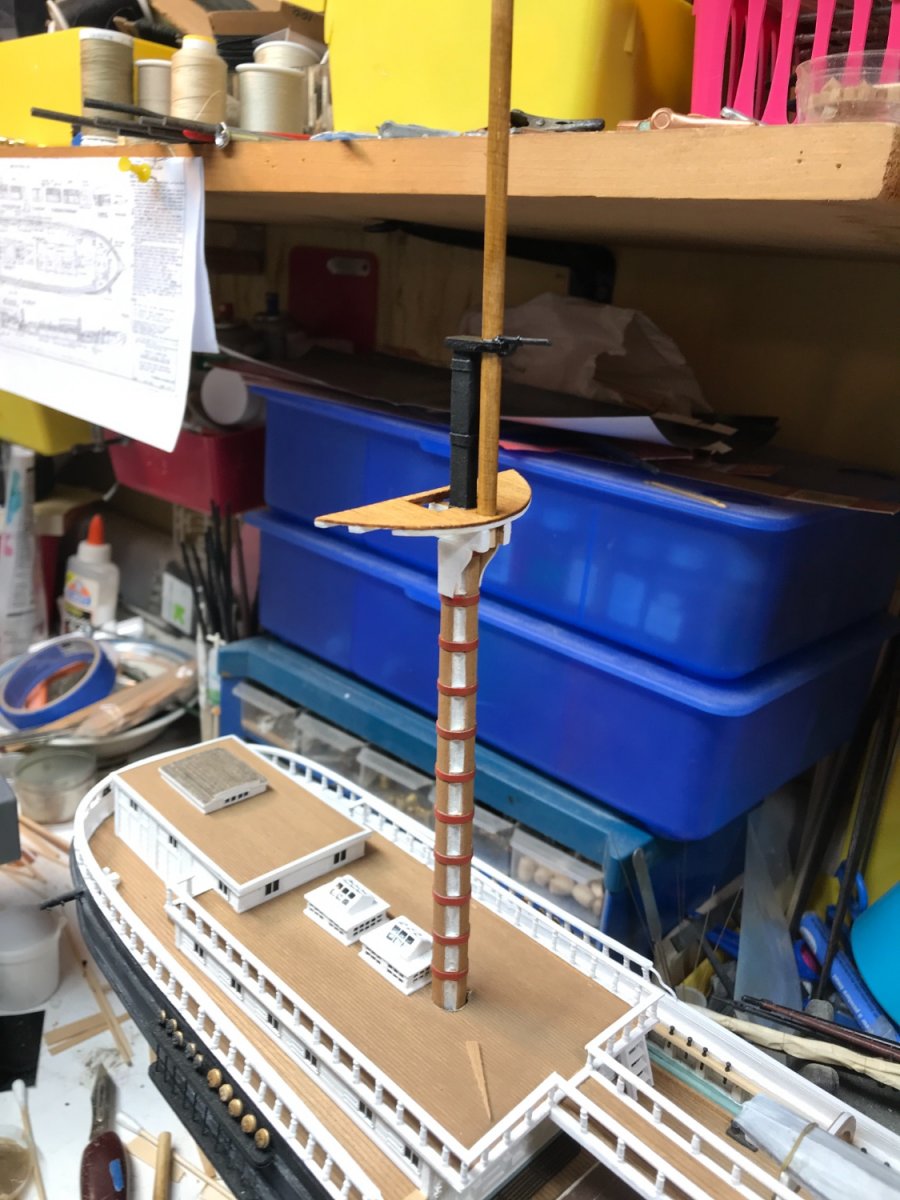
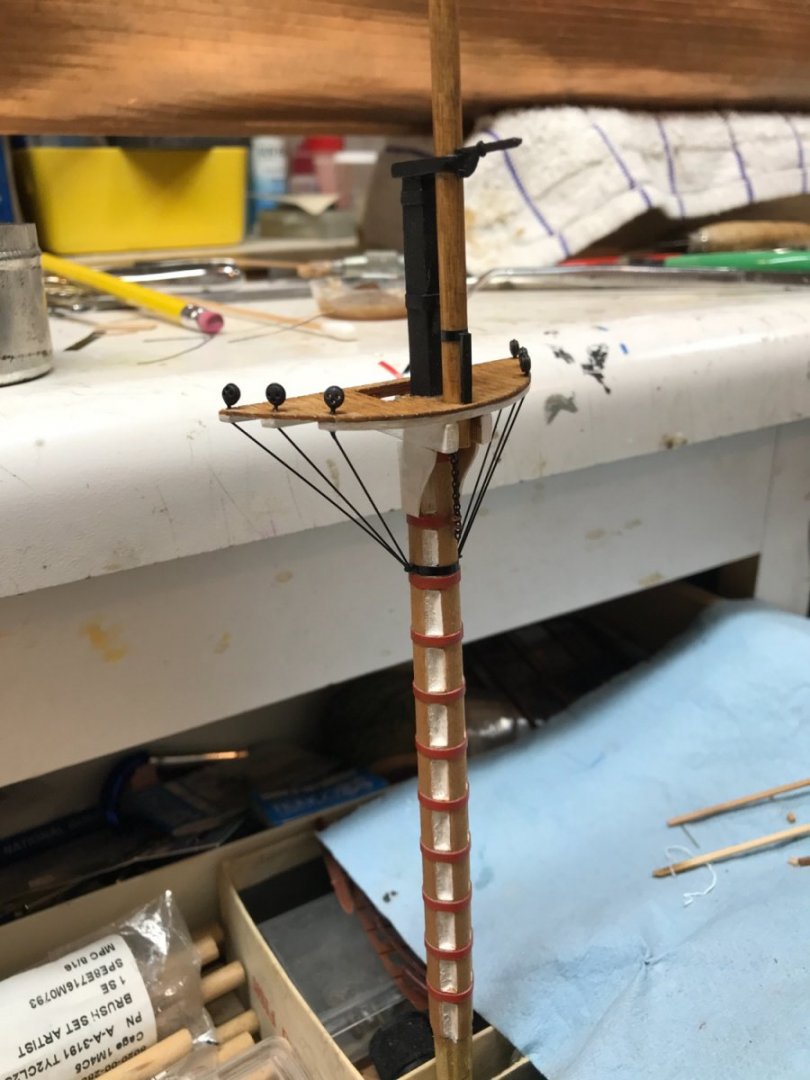
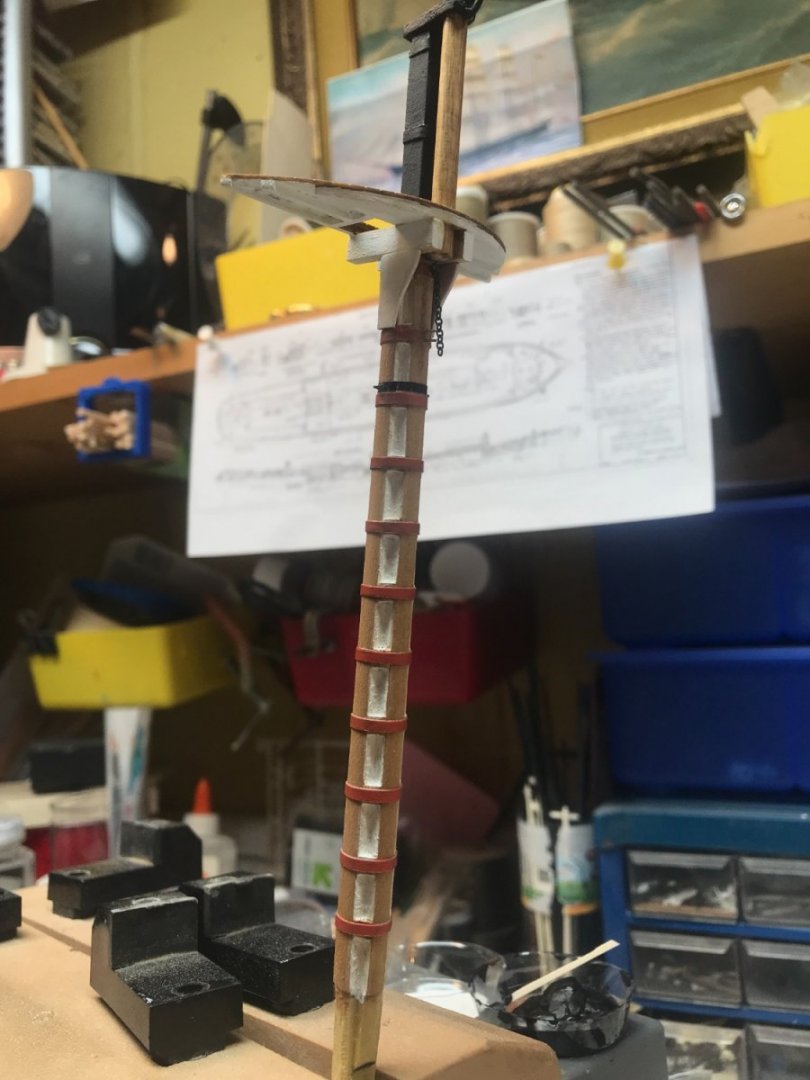
Here is a closeup of Glory's main mast chapeling and banding. Notice the tapered ends terminating in the sharp valley recess. Rob
.jpg.1b6d70c794aadfc8fd417efa073e2646.jpg)
-
See Vlad....you did it....and nicely too. What did you use for your banding? I like your approach a lot and at your larger scale you can accomplish finer detail. Well done. Rob
-
Man Vlad...you're moving out on those yards. Great job for sure, that's a lot of detailed work..... I notice you have six yards that have trucks mounted to them......Glory (and most all Howser rigged clippers) only had the lower yards on each mast that had iron trucks supporting the yards away from the mast. The lower topsail yard had a sling banded to it and it was mounted to the top band by a crane arm and then was supported by an iron support bar from underneath. All the other yards were of a composite band constructed to the yard that slid around the mast and permitted the yard to be lowered and raised...via the haulyard and downhauls. So I'm a bit confused by all the banded mounted trucks you have on 6 yards. Could I be mistaken? Rob
-
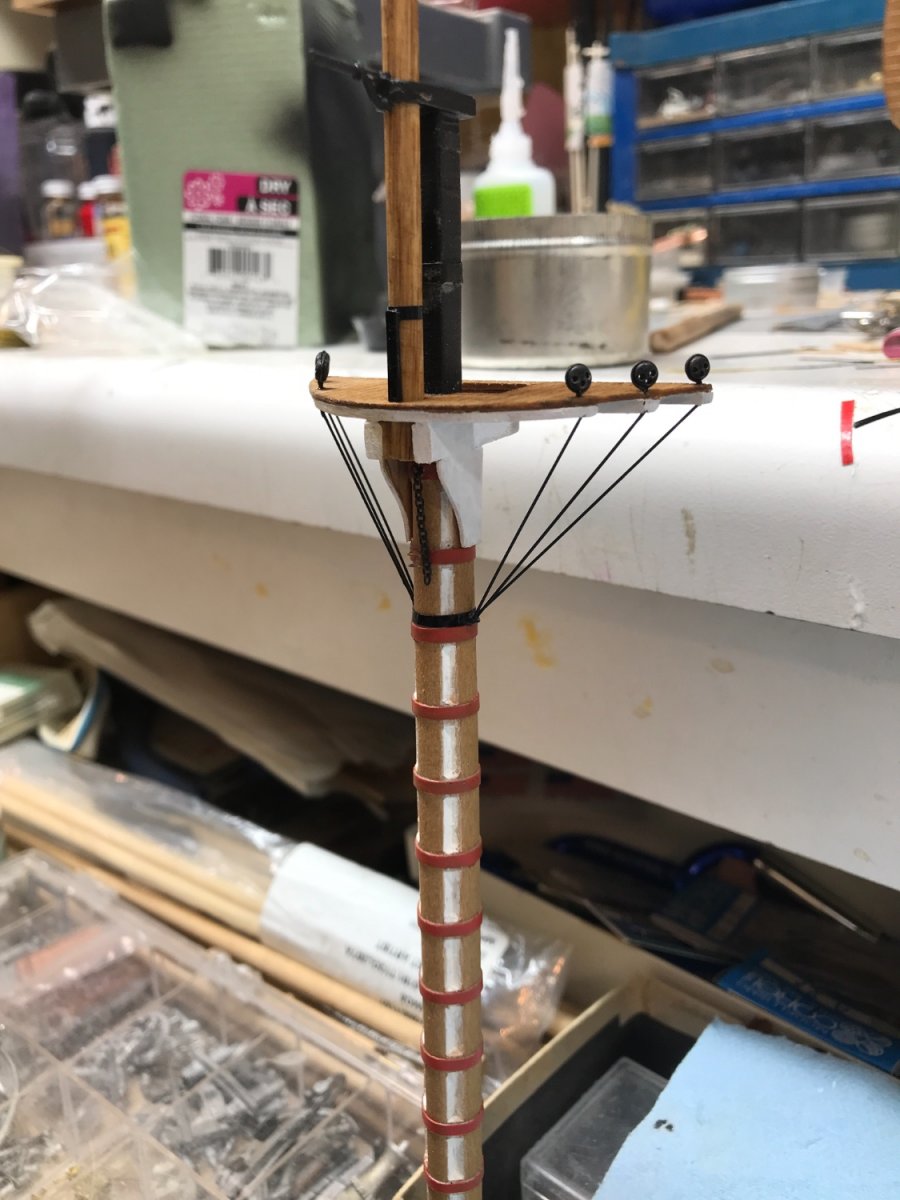
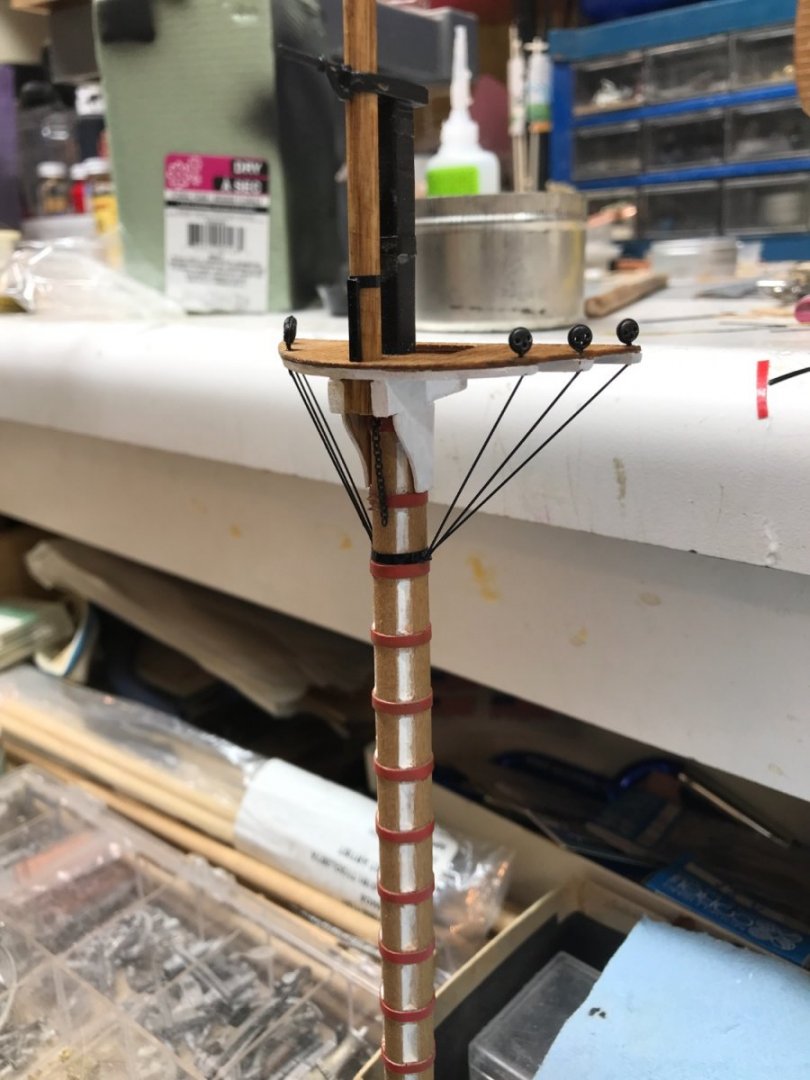
Worked on the mizzenmast futtock shrouds and deadeyes. Rob
- 3,560 replies
-
- 2
-

-
- clipper
- hull model
- (and 2 more)
-
I too originally intended to only make my (Original) Glory....the one this thread started with....a simple hull model, but as you say....it would leave Glory a pitiful shadow of what she really is. Your scale does slightly afford you with a bit larger and *easier, to make, I would assume(NOT) rigging and accessories. I fully agree....EdT's Young America is a great example to mimic...and the plethora of images available on his thread...are a builders blessing. A couple of good rigging books might help and surely Michael Mjelde's second book will aid in rigging her by using his drawings as reference. Currently, I am planning and thinking out my process for making the futtock shrouds and their connection to the lower top deadeyes. I do things unothodoxical, so too keep things simple and highly repeatable. I'm remembering and refreshing my thoughts as to what I did for the Great Republic. I'll duplicate the technique I used then. I've got to clean up and prep a lot of deadeyes and strop them first. Rob
- 3,560 replies
-
- 1
-
-
- clipper
- hull model
- (and 2 more)
-
I've been meaning to ask you Vlad.......what was the factor that caused you to change your mind and go ahead and finish your version of Glory? I also saw that you are working on her bowsprit and jibboom as well. Nice to see your efforts again. Your 1/72 version will truly be a big model. Glad you're back in the shipyard. Rob
- 3,560 replies
-
- 2
-
-
- clipper
- hull model
- (and 2 more)
-
Model railroading are always my alternate sites for accessories....like chain. Cast Your Anchor's supplier no longer provides them with the 42 lpi chain apparently. That is where I have purchased my chain for years....too bad. I could get it in 6ft lengths too.. Rob
- 399 replies
-
- 4
-
-
- cutty sark
- revell
- (and 2 more)
-
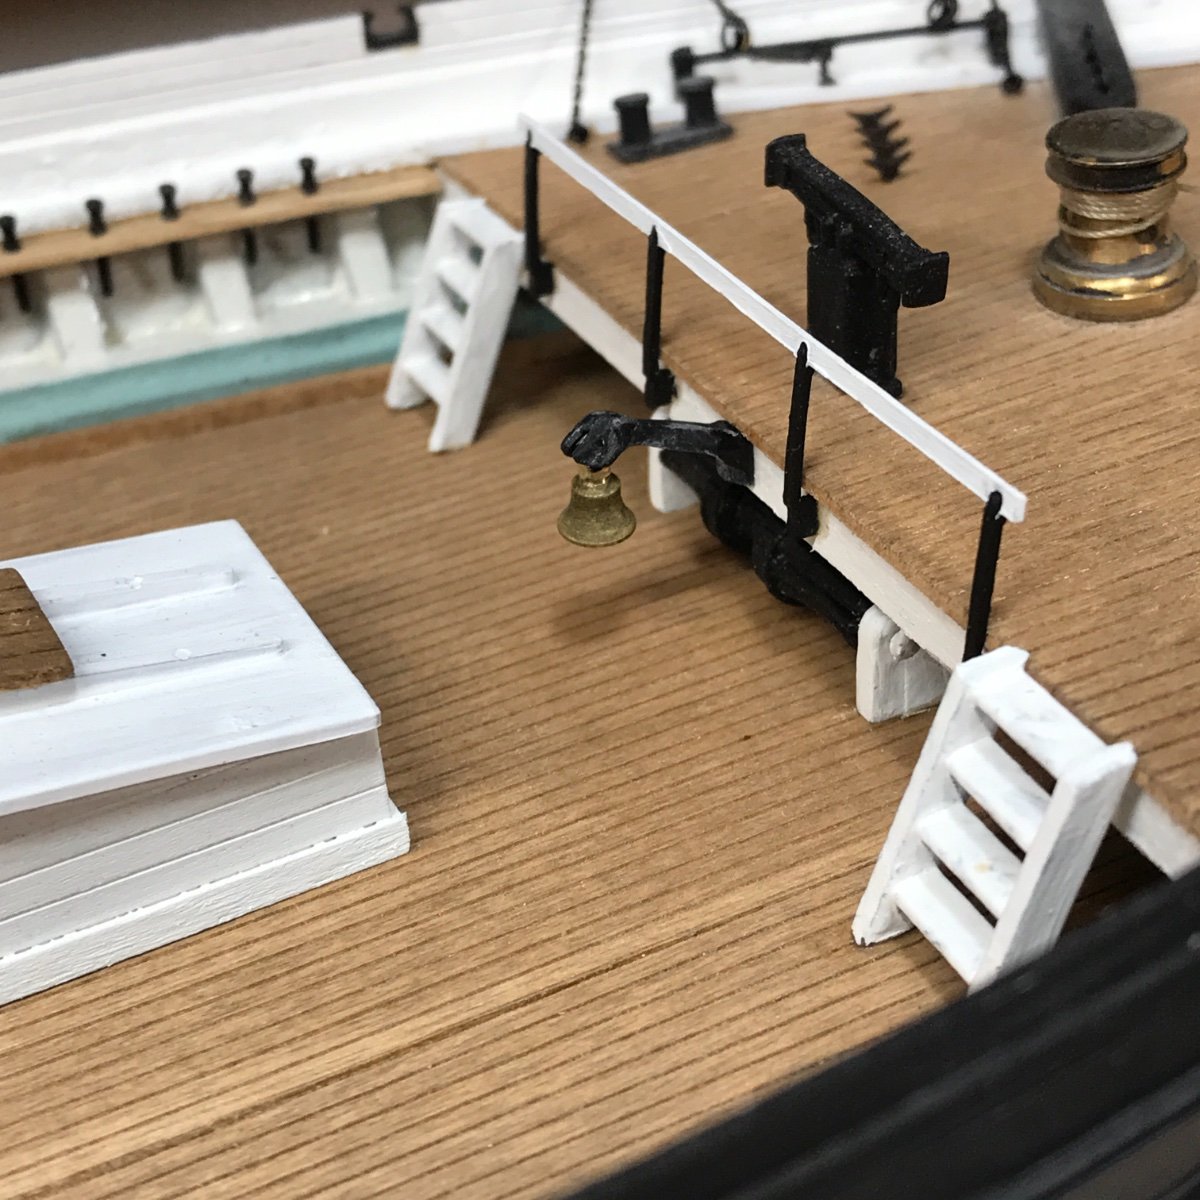
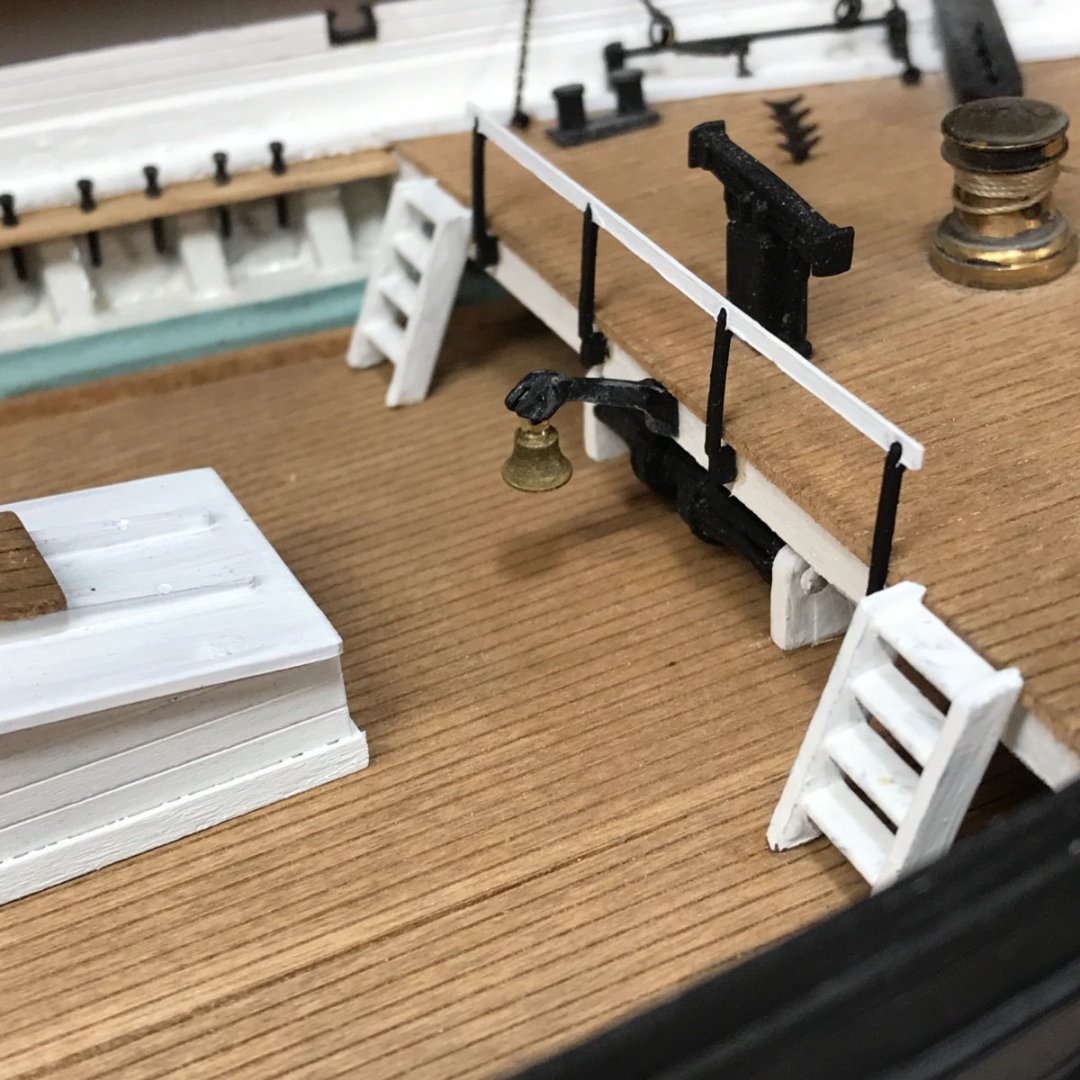
Thank everyone for the fine comments. Sometime prior to her 1877 San Fran image she relinquished her stunn sail booms. Probably because she became a West coast carrier, rarely going far South and not rounding the Horn any more. Accommodating doldrums was no longer going to be a burden for her. The true reason stun sails are carried. Honestly, I’ve spent more time lately, planning the addition of the futtock shrouds and their dead eyes to actually be doing any work on Glory. I did add the bell and bell arm to the forecastle leading edge. Not much Rob
- 3,560 replies
-
- 3
-
-
- clipper
- hull model
- (and 2 more)
-
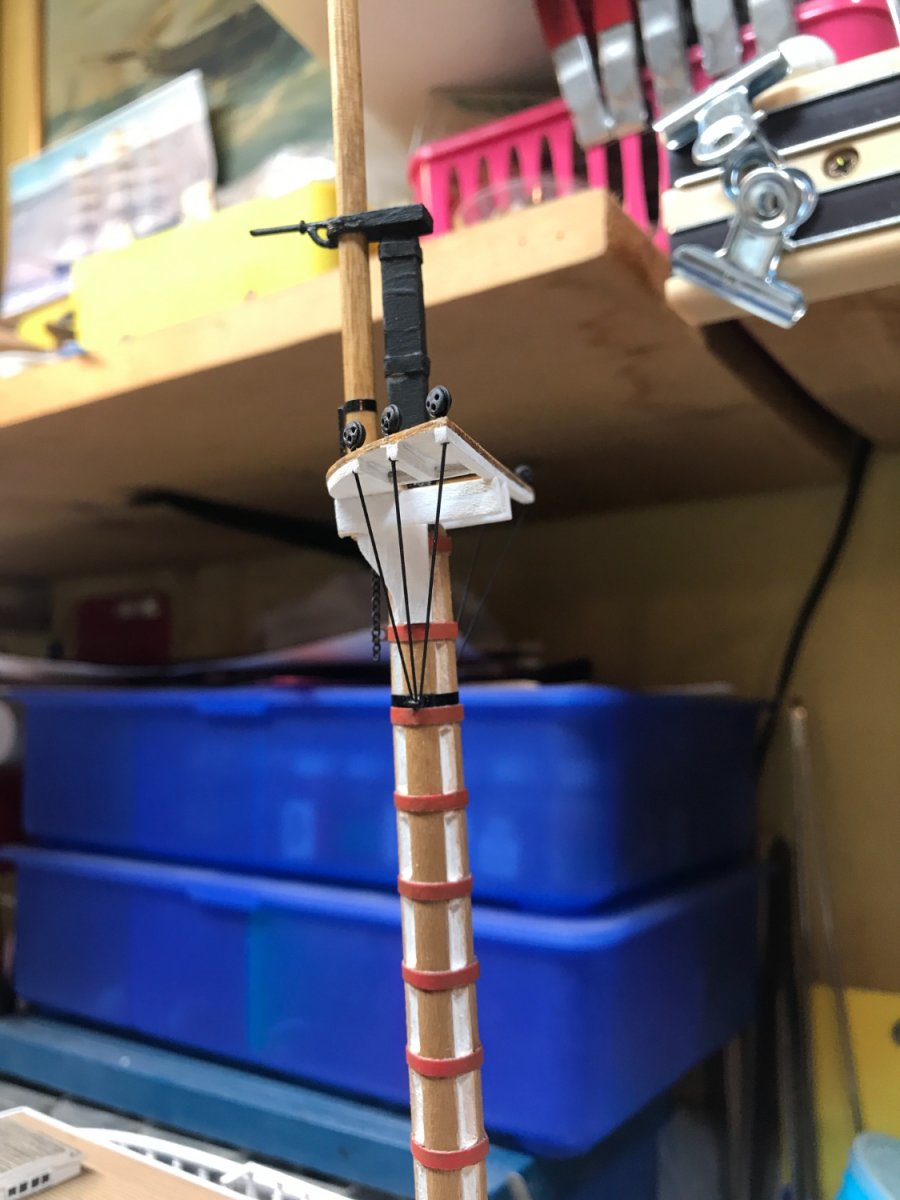
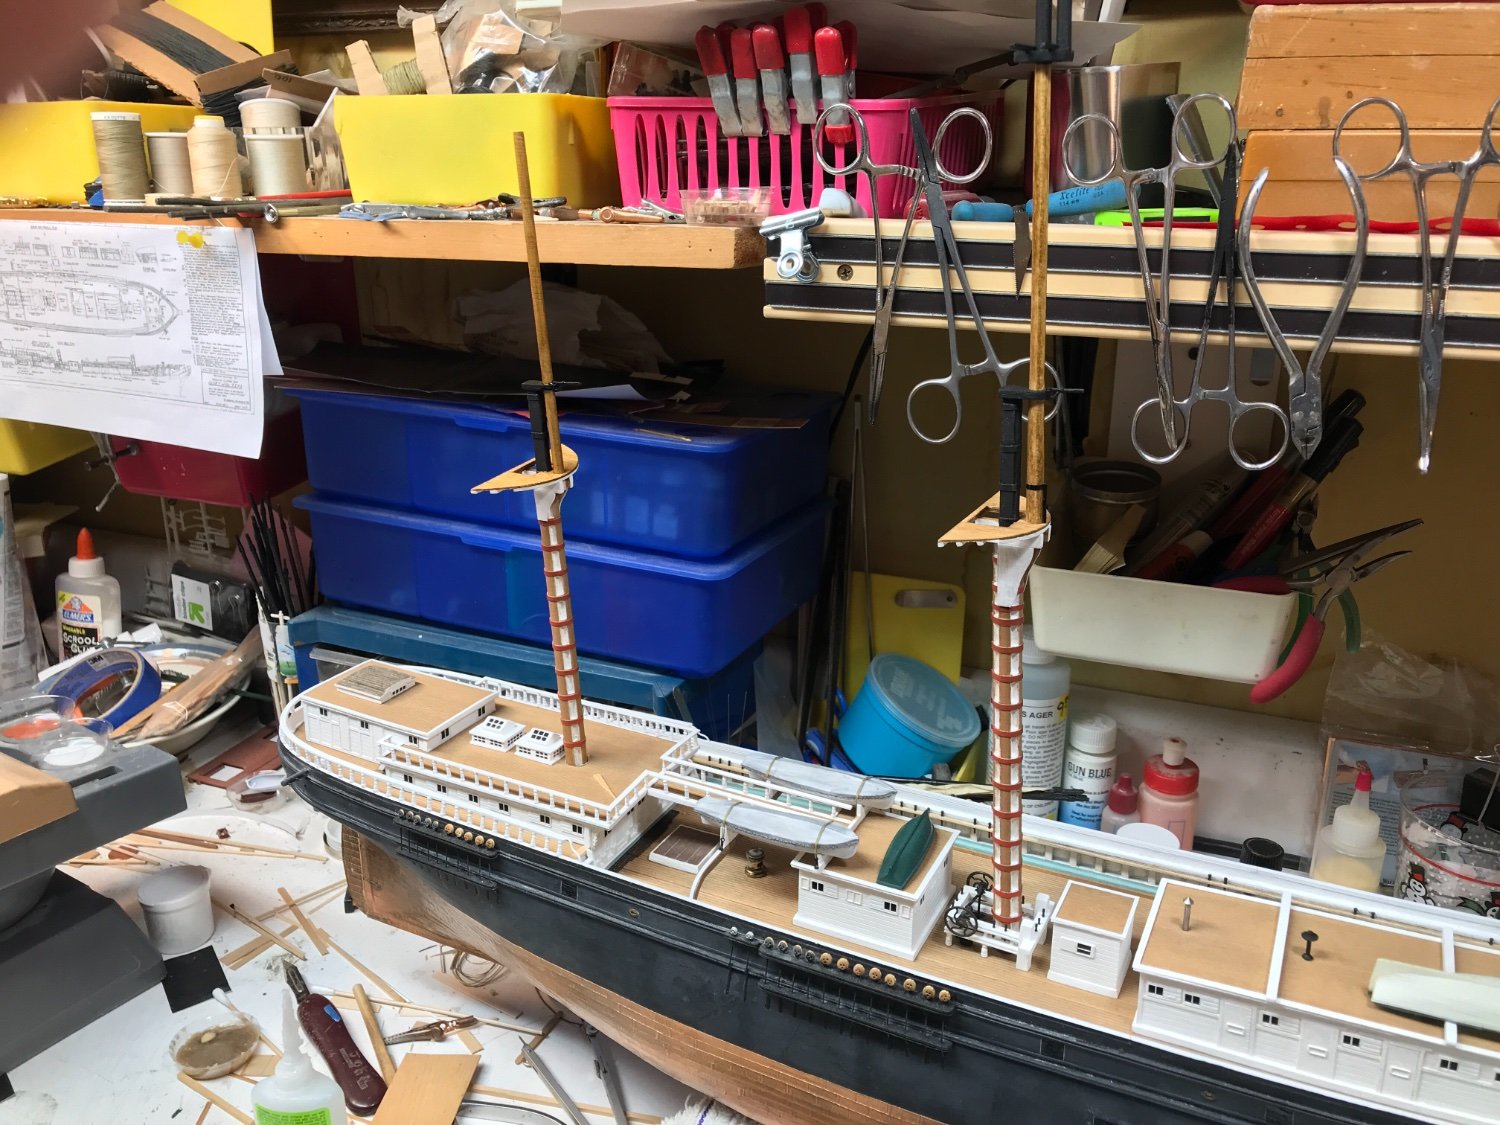
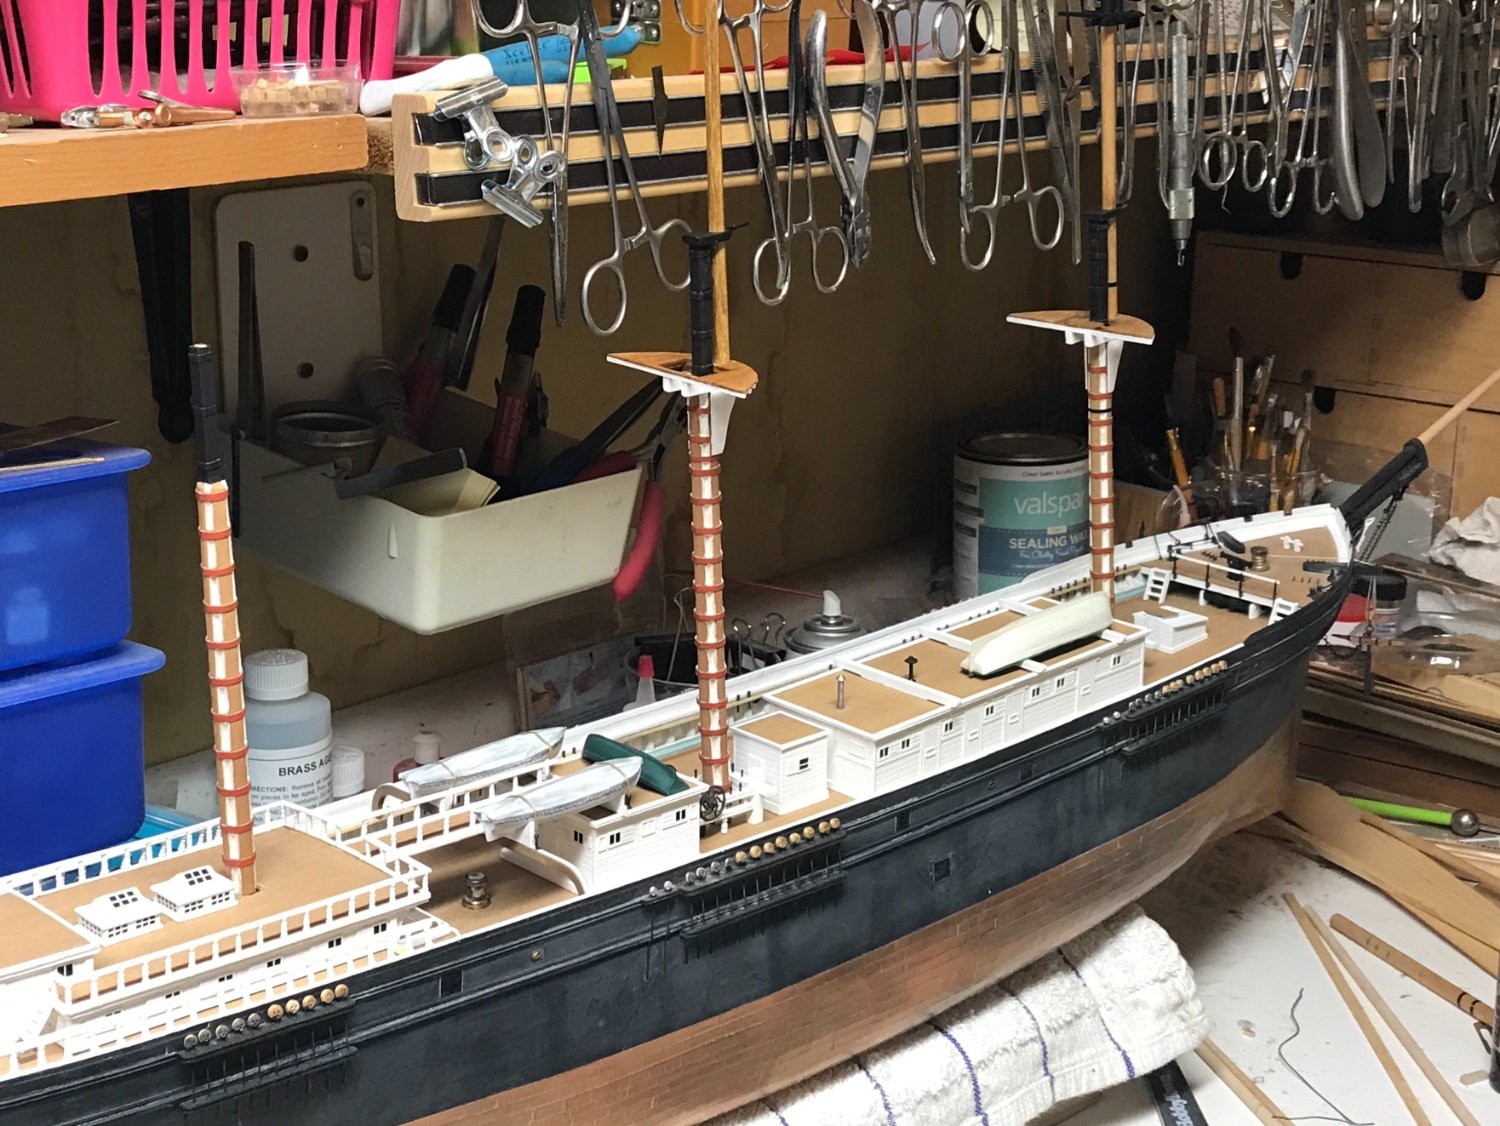
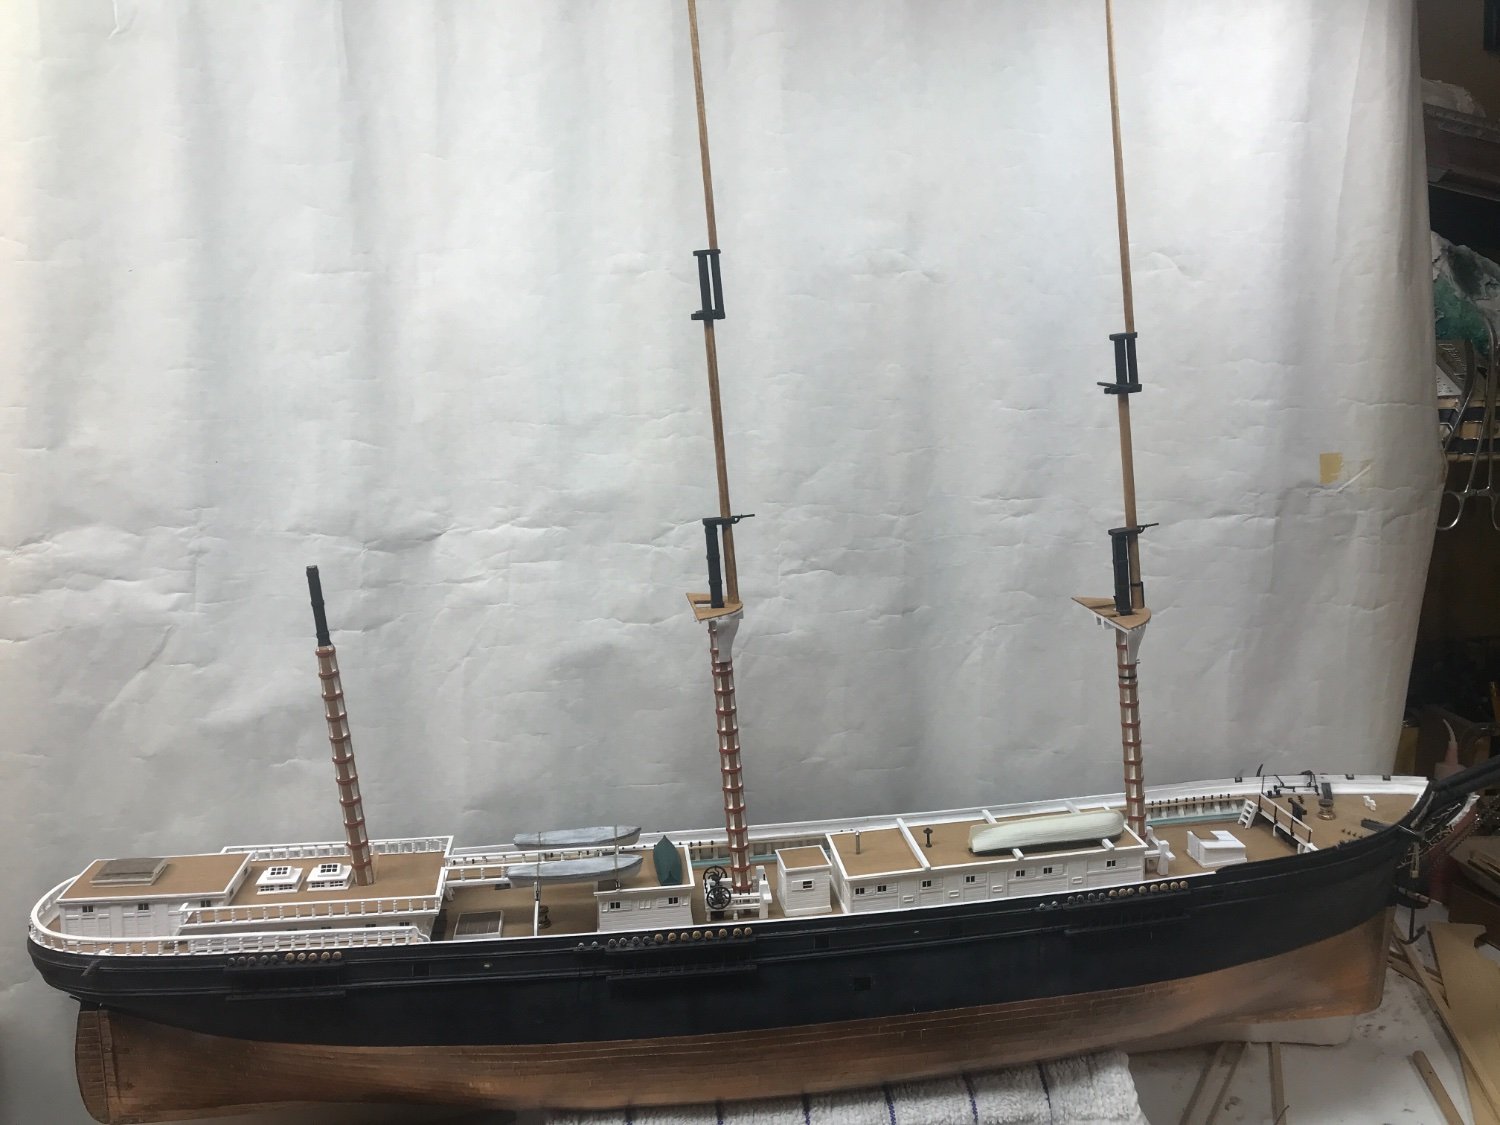
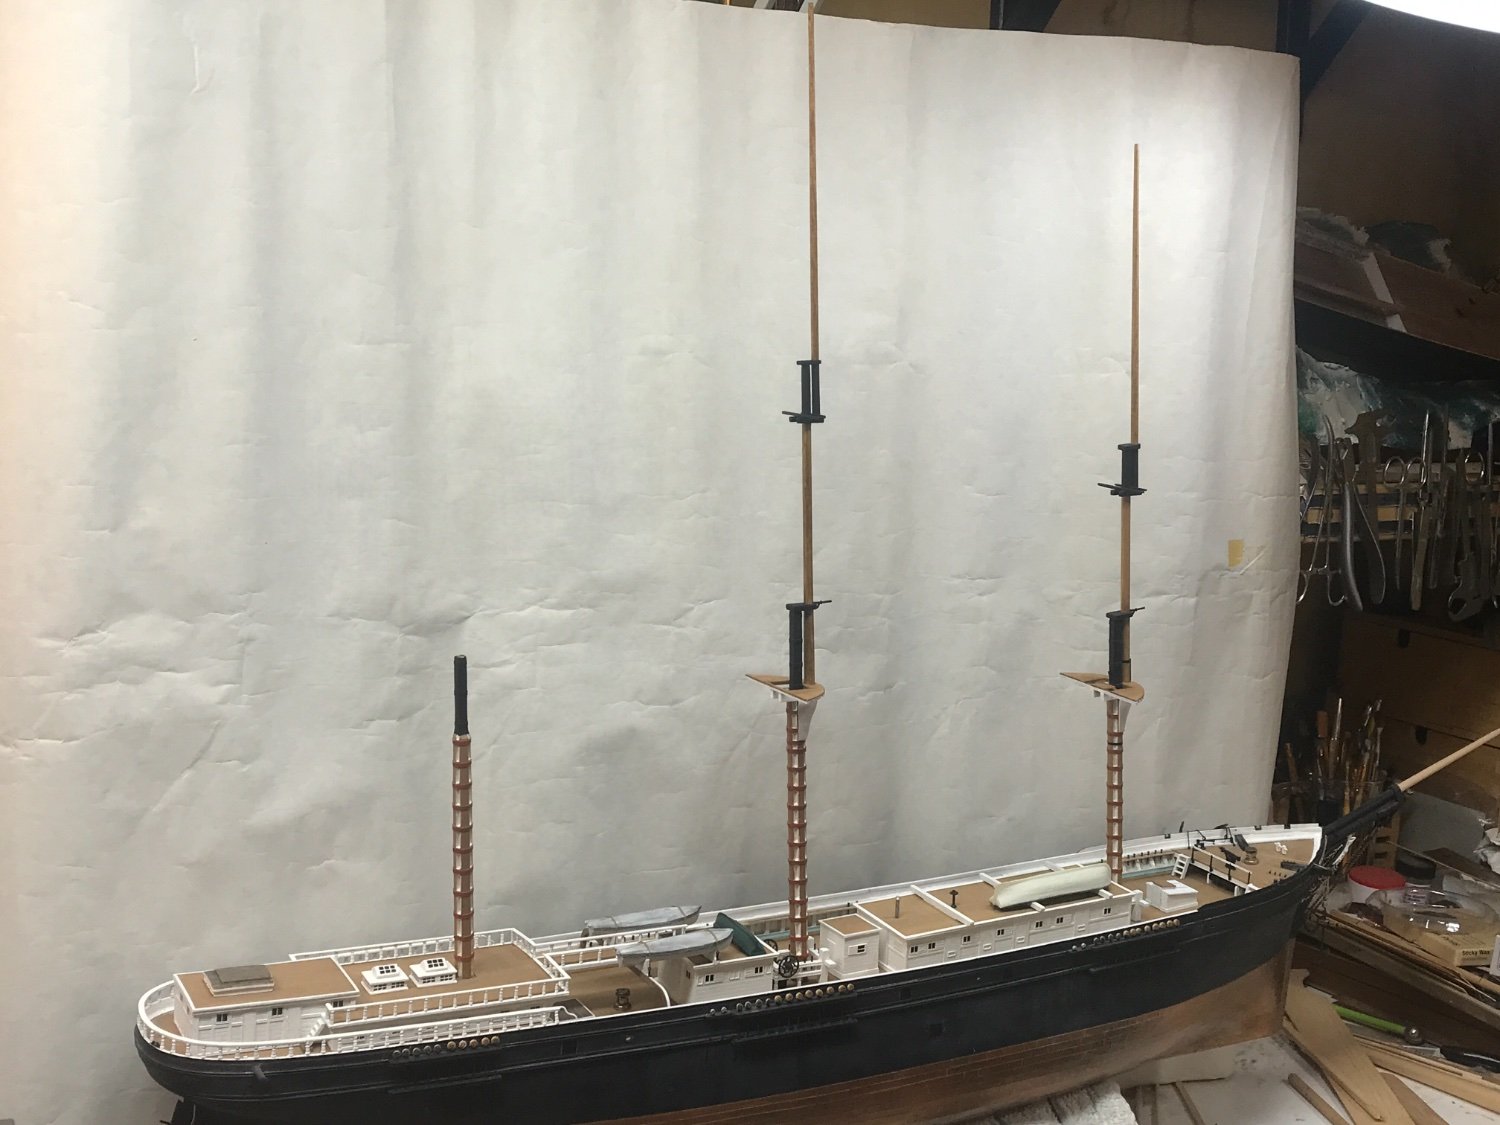
I did a bit of minor work on the masts. Banding and adding the chain hoists. This kind of work takes time since making and blackening eye bolts takes time. Rob

- 3,560 replies
-
- 6
-
-
- clipper
- hull model
- (and 2 more)
-
HMCSS Victoria 1855 by BANYAN - 1:72
rwiederrich replied to BANYAN's topic in - Build logs for subjects built 1851 - 1900
A start I’ll be looking forward to. Rob- 1,013 replies
-
- 4
-
-
- gun dispatch vessel
- victoria
- (and 2 more)
-
I use 42 LpI chain for all my 1/96 clippers I blacken it without flaking issues. I have very good results with it. Cast Your Anchor is my supplier. Rob
- 399 replies
-
- 4
-
-
- cutty sark
- revell
- (and 2 more)
-
Harriet McGregor by Boccherini
rwiederrich replied to Boccherini's topic in - Build logs for subjects built 1851 - 1900
Beautiful work indeed. Rob -
Ed while revisiting your log for the 1/96 version....I couldn't help but wonder if you ever got back to her and finished up her masting and rigging? It has only been nearly 6 years and I was wondering if you had found new fire within to take her to the finish line? I'm just now beginning the masting and rigging of my scratch 1/96 Glory of the Seas...myself. All the best, Rob
-
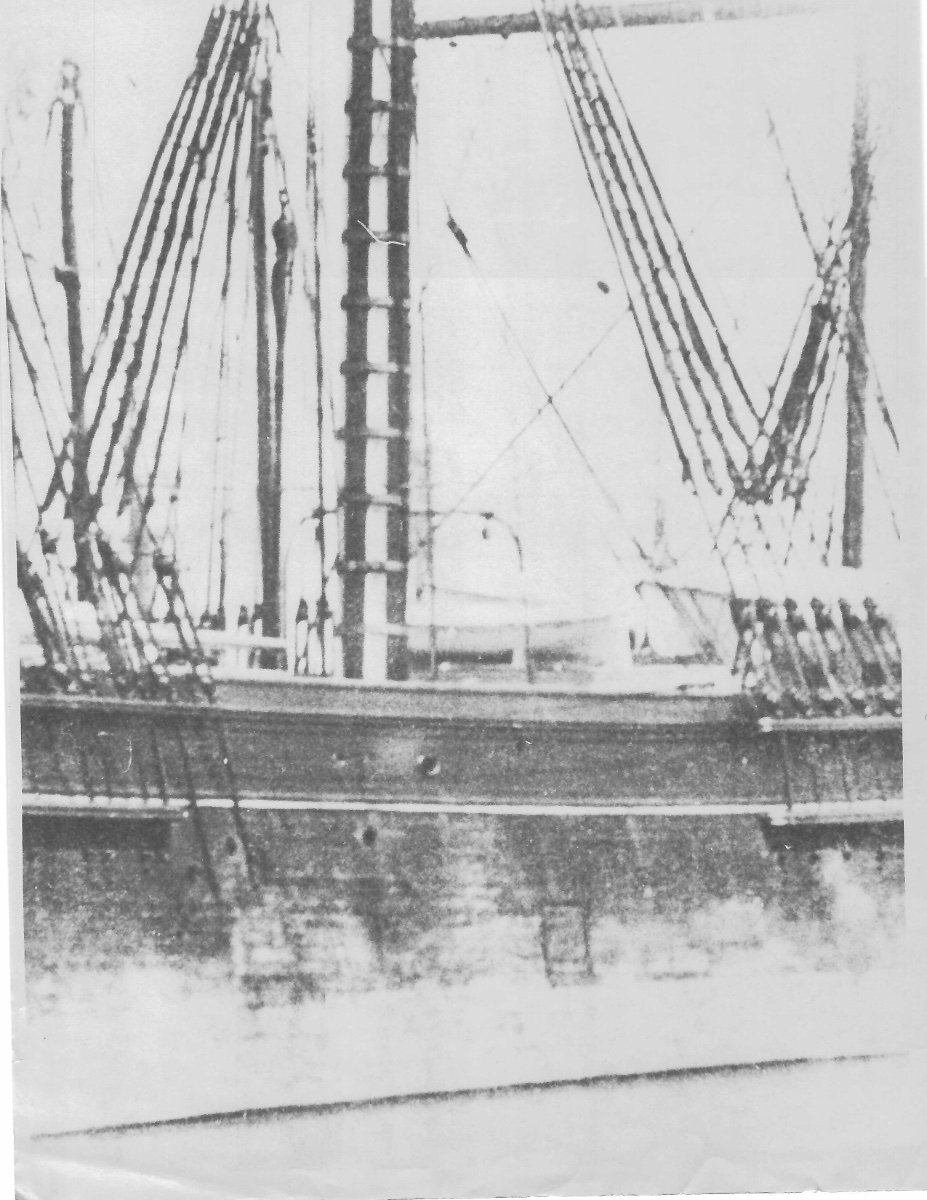
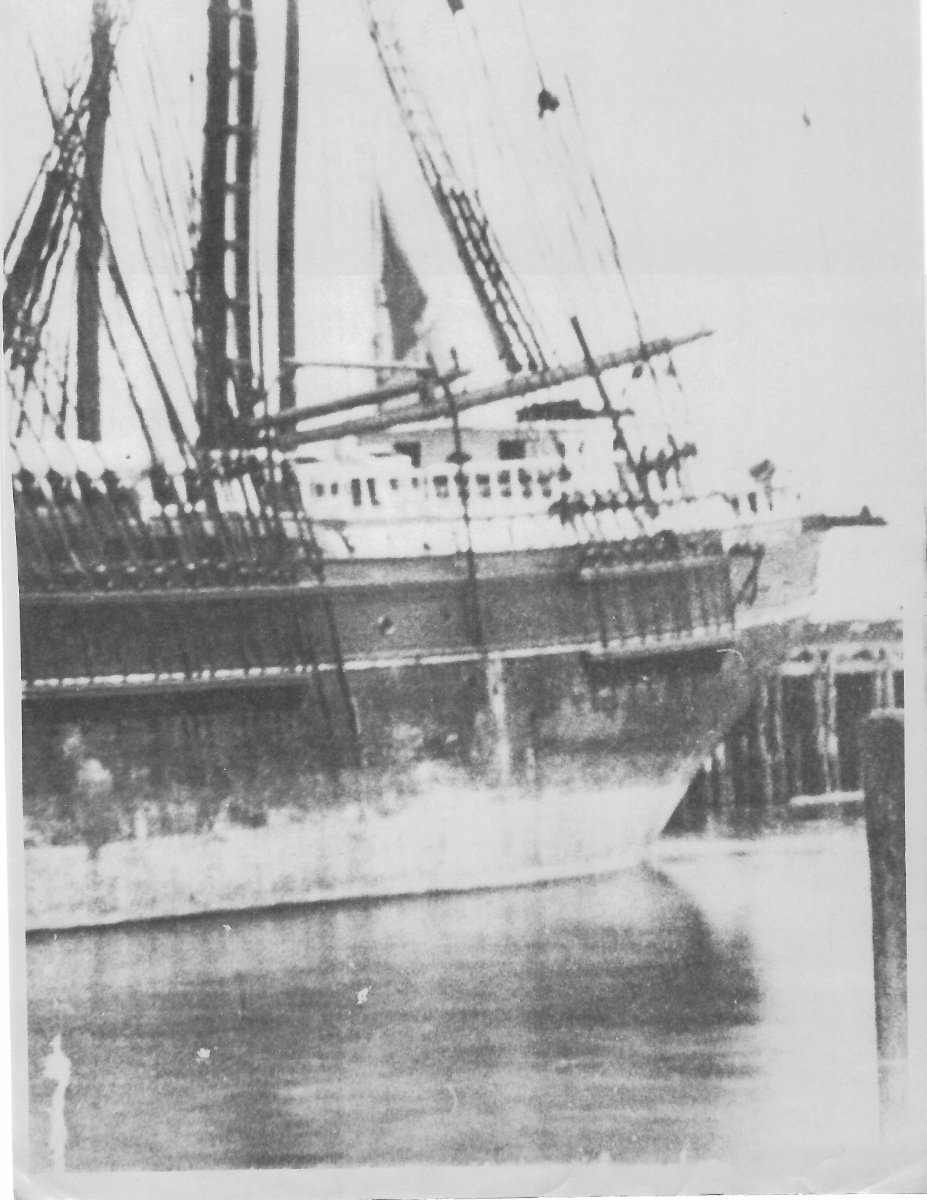
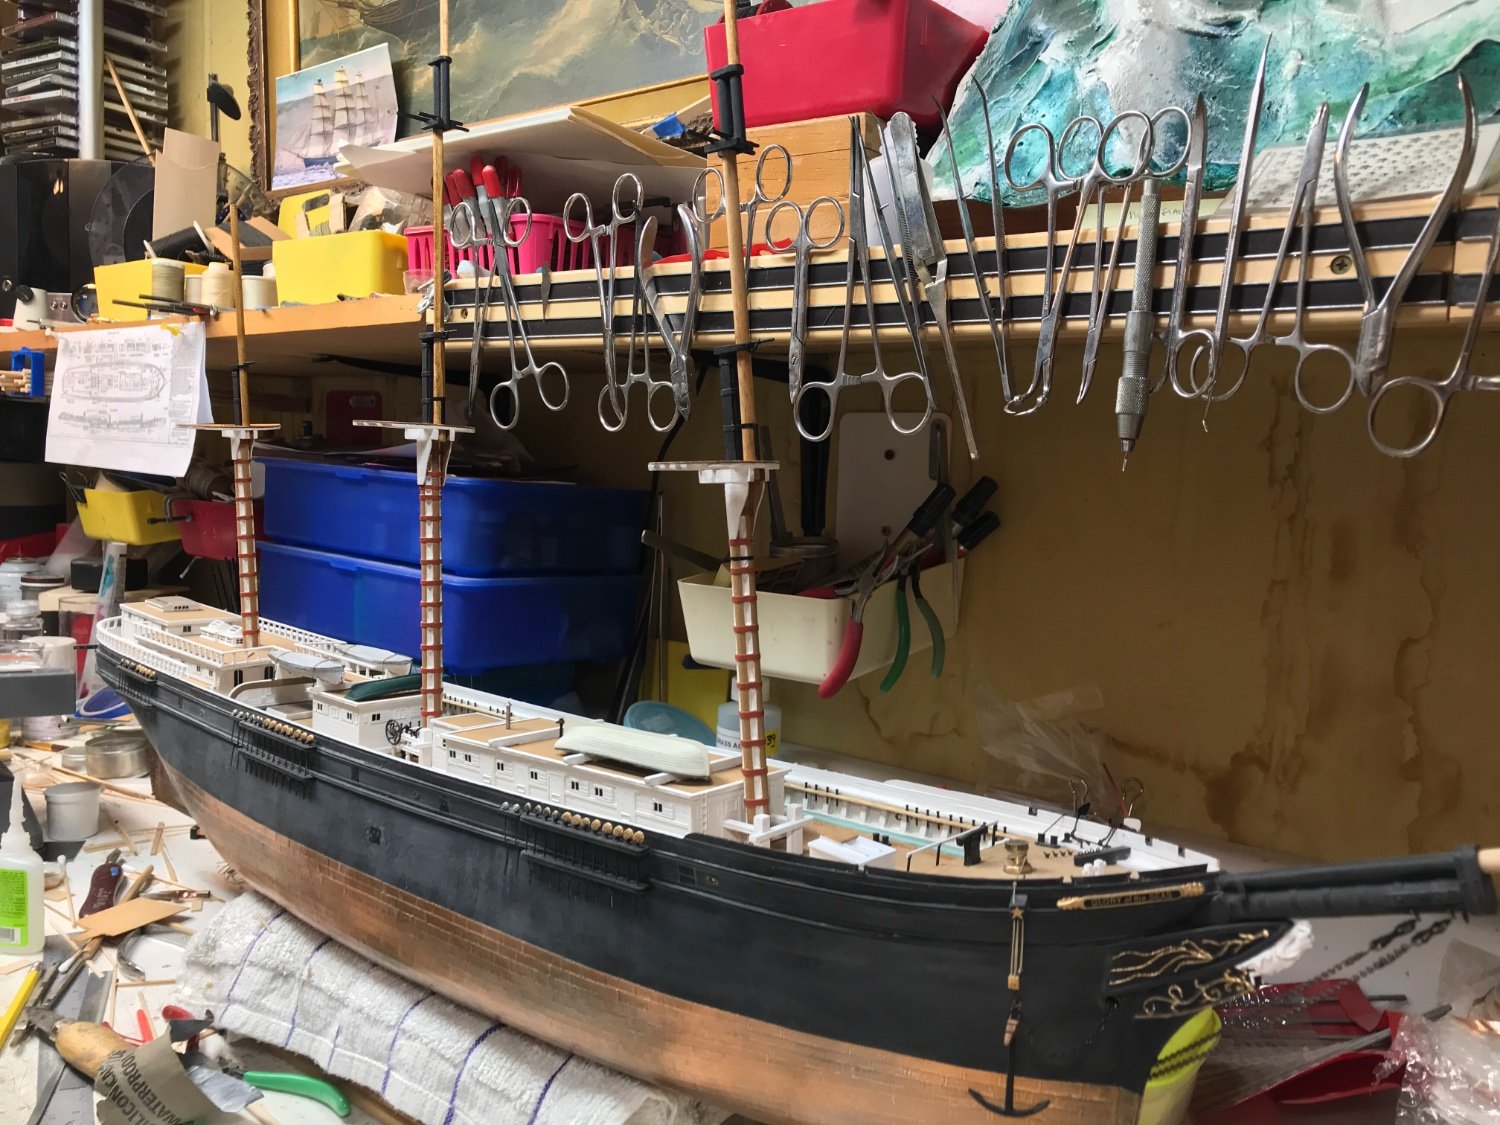
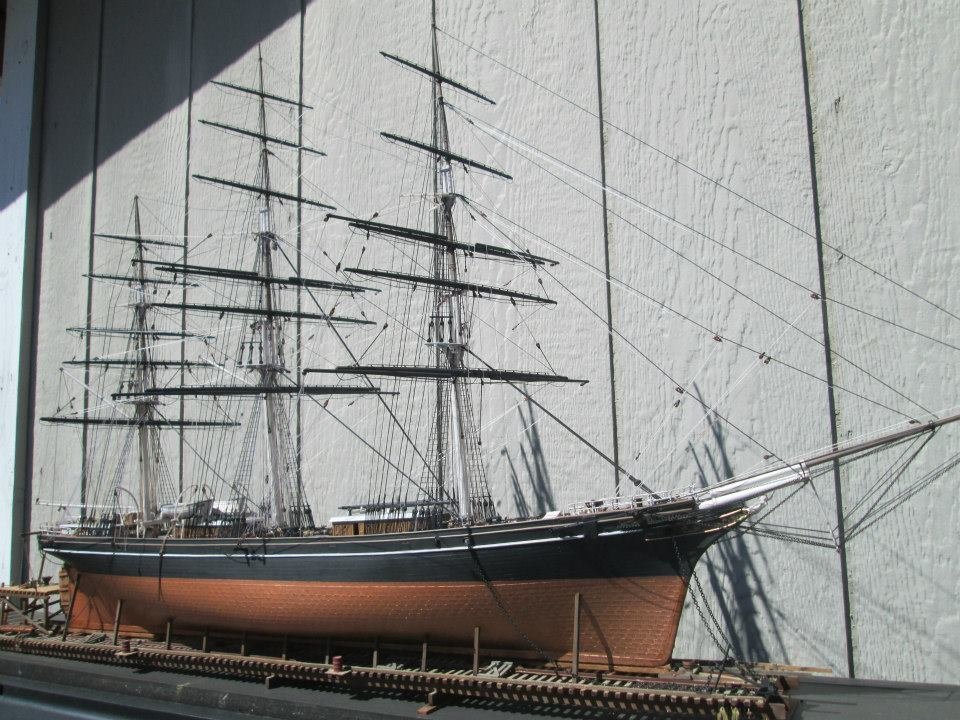
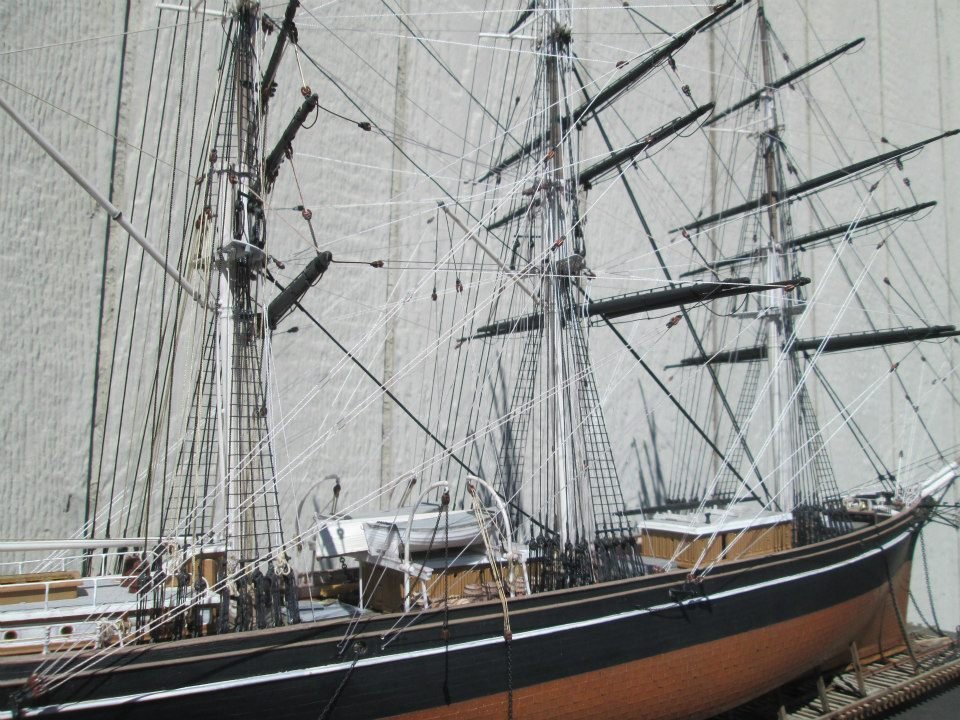
Zoom up on the chain plate and see that it appears only one large iron bar is used for the chainplate on Glory. I would assume this is standard on all McKay clippers.
.jpg.27f2d3cd842e4b59e891fbb91cce4d40.jpg)
- 602 replies
-
- 2
-
-
- Flying Fish
- Model Shipways
- (and 2 more)
-
I believe it was the former as you describe. I’ve built many McKay clippers and All my research points to iron bars/straps. Not like the Morgan, double chains. McKay spared no expense in his clipper construction, so I concluded they were the best and strongest in design and application. See these closeup pics. Rob


- 602 replies
-
- 1
-
-
- Flying Fish
- Model Shipways
- (and 2 more)
-
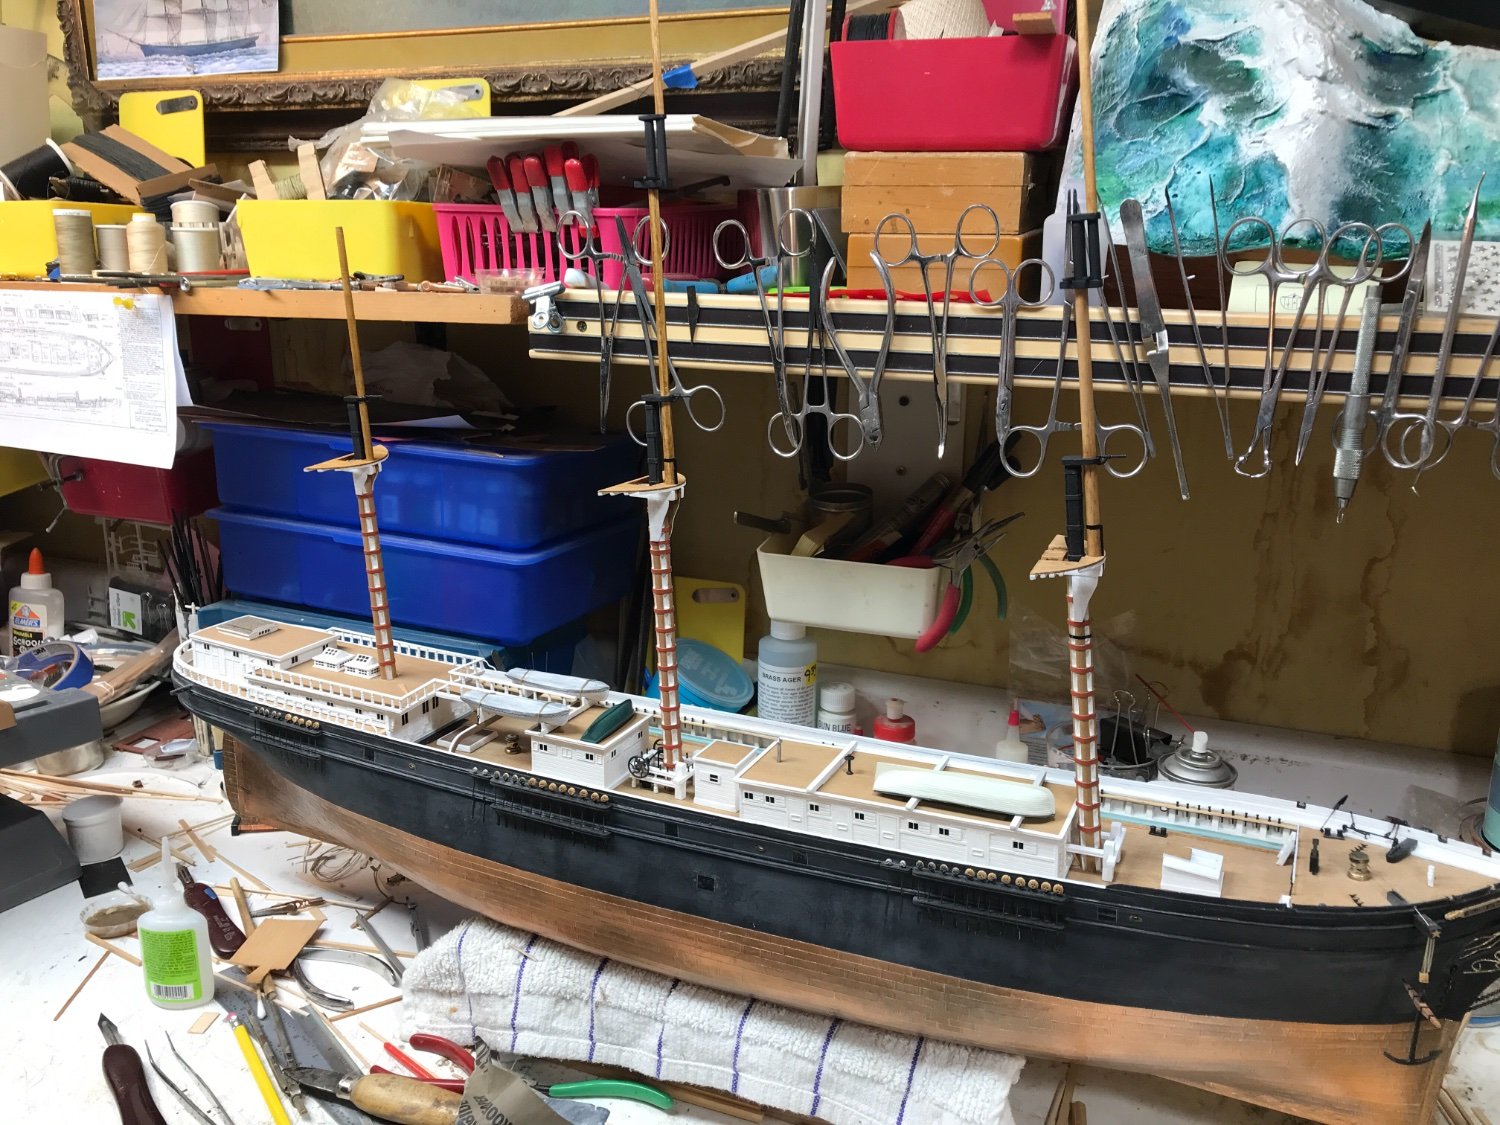
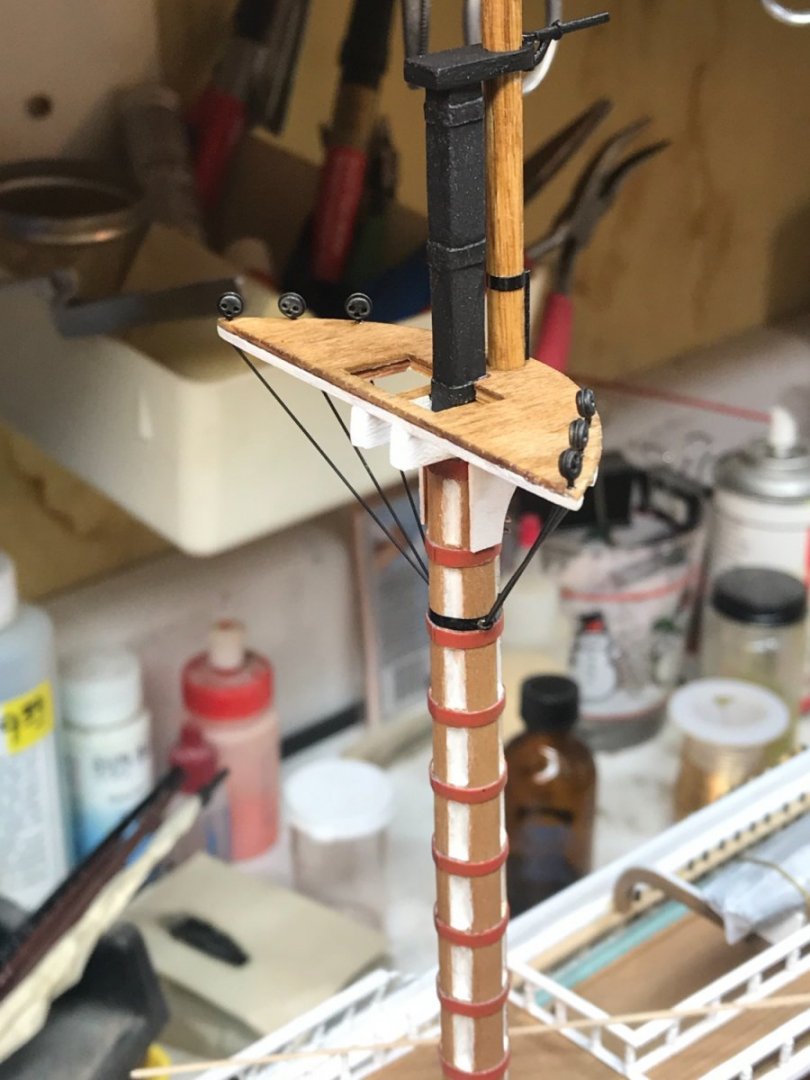
You are doing it basically as I did. The trick is keeping the mast taper clean and scale accurate. The bands are generally 3 ft apart o/c. I had to work out the process myself and flubbed or gained experience on a previous test mast before I got it right. You’re doing great. Are you going to paint the chapel’s white and the masts varnished…..? Or possibly another scheme? Rob
- 602 replies
-
- 1
-
-
- Flying Fish
- Model Shipways
- (and 2 more)
-
Thanks everyone, for the fine comments. I hope to finish up the mizzenmast mast today…….then I’ll move onto fixing the chain slings and prepping for shrouds. Rob
- 3,560 replies
-
- 1
-
-
- clipper
- hull model
- (and 2 more)
-
Glad I am so glad you want to keep building her. How exciting. Rob
- 3,560 replies
-
- 1
-
-
- clipper
- hull model
- (and 2 more)
-
Well, I hope that I can outdue her. Short of addition of sails....I will be foregoing them and focusing on mast and yard detail. Remembering that recreating her hull and its intricacies was my main goal....but I can't leave her there...I will be compelled to detail out her masting and rigging too. Thanks for supporting my McKay clipper habit. Rob
- 3,560 replies
-
- 2
-
-
- clipper
- hull model
- (and 2 more)
-
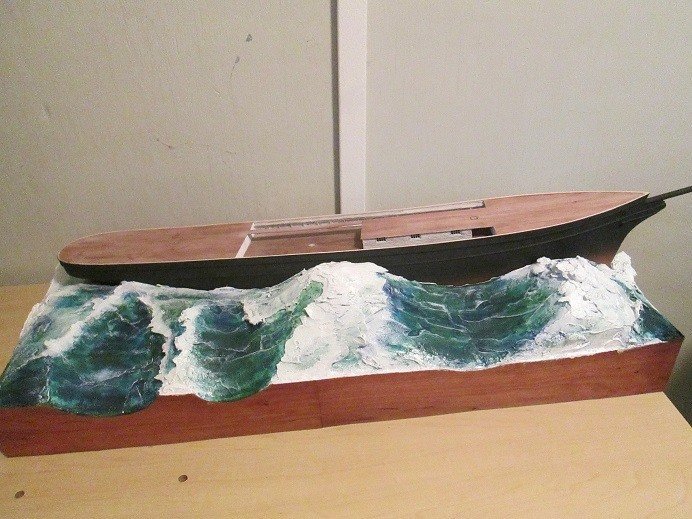
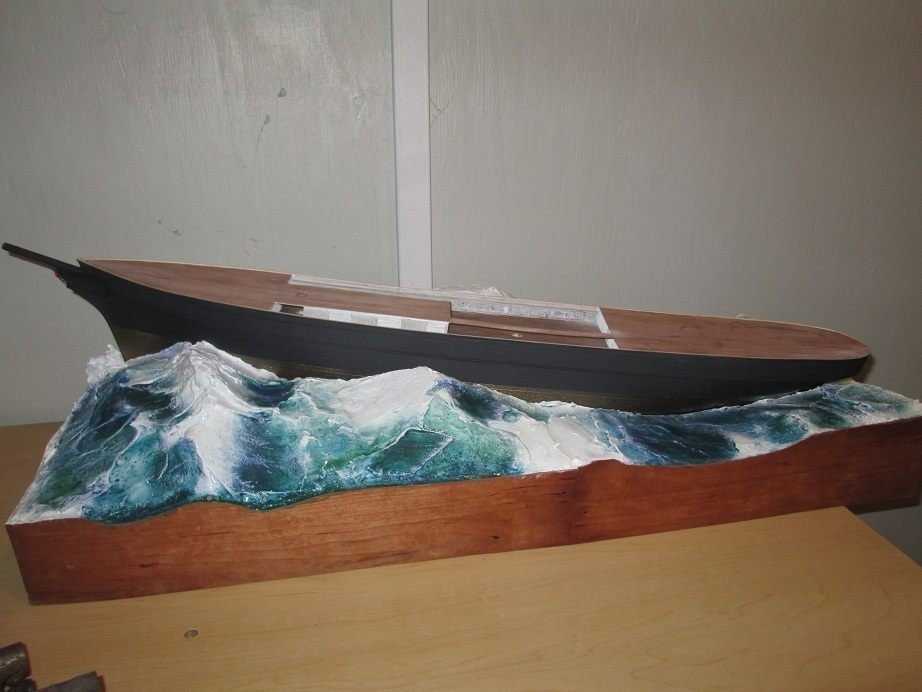
The reuse of Revell's hull....made my conversion so much simpler. I was being creative. where I had no other immediate option. Even with my Donald McKay diorama...the hull is underwater...so no real issue exists, other then the scale issue. the diorama was created not merely for the ship, but what I could do with creating active large water. I will probably not complete this model...because hull accuracy is more my thing these days then when I begun this diorama.
- 3,560 replies
-
- 3
-
-
- clipper
- hull model
- (and 2 more)
-
Like you Bruma, I wanted to hyper detail my Revell Kit. I used wood deadeyes and detailed her out as much as possible. I, however had a dioramic point...a true historical incident in CS life. The replacement of her jury rigged rudder. She was on the ways for repair, so her sails would have been removed and stowed for the duration of the repair. I appreciate your attention to detail, in making this fine model even that more impressive. Here is a pic of my award winning model. for your edification. Rob
- 399 replies
-
- 8
-
-

-
- cutty sark
- revell
- (and 2 more)
-
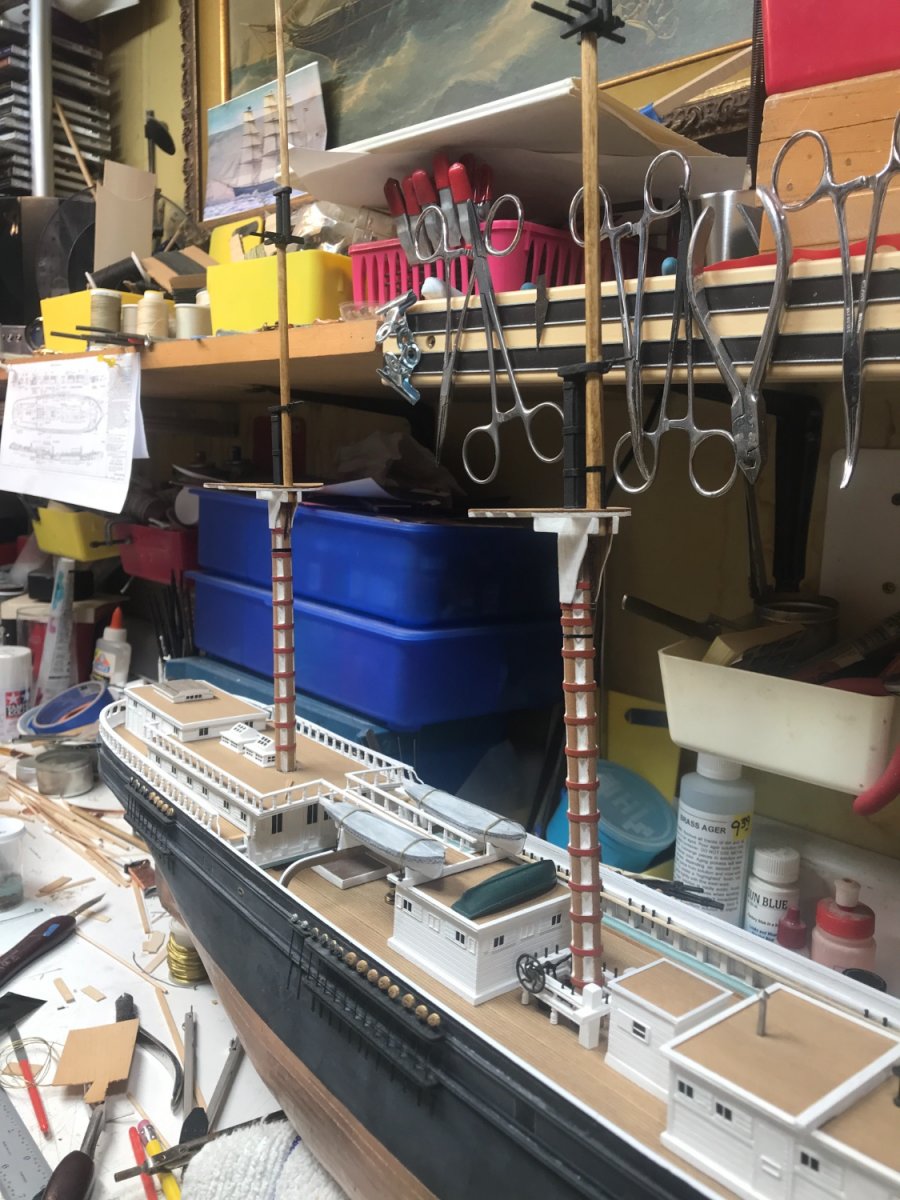
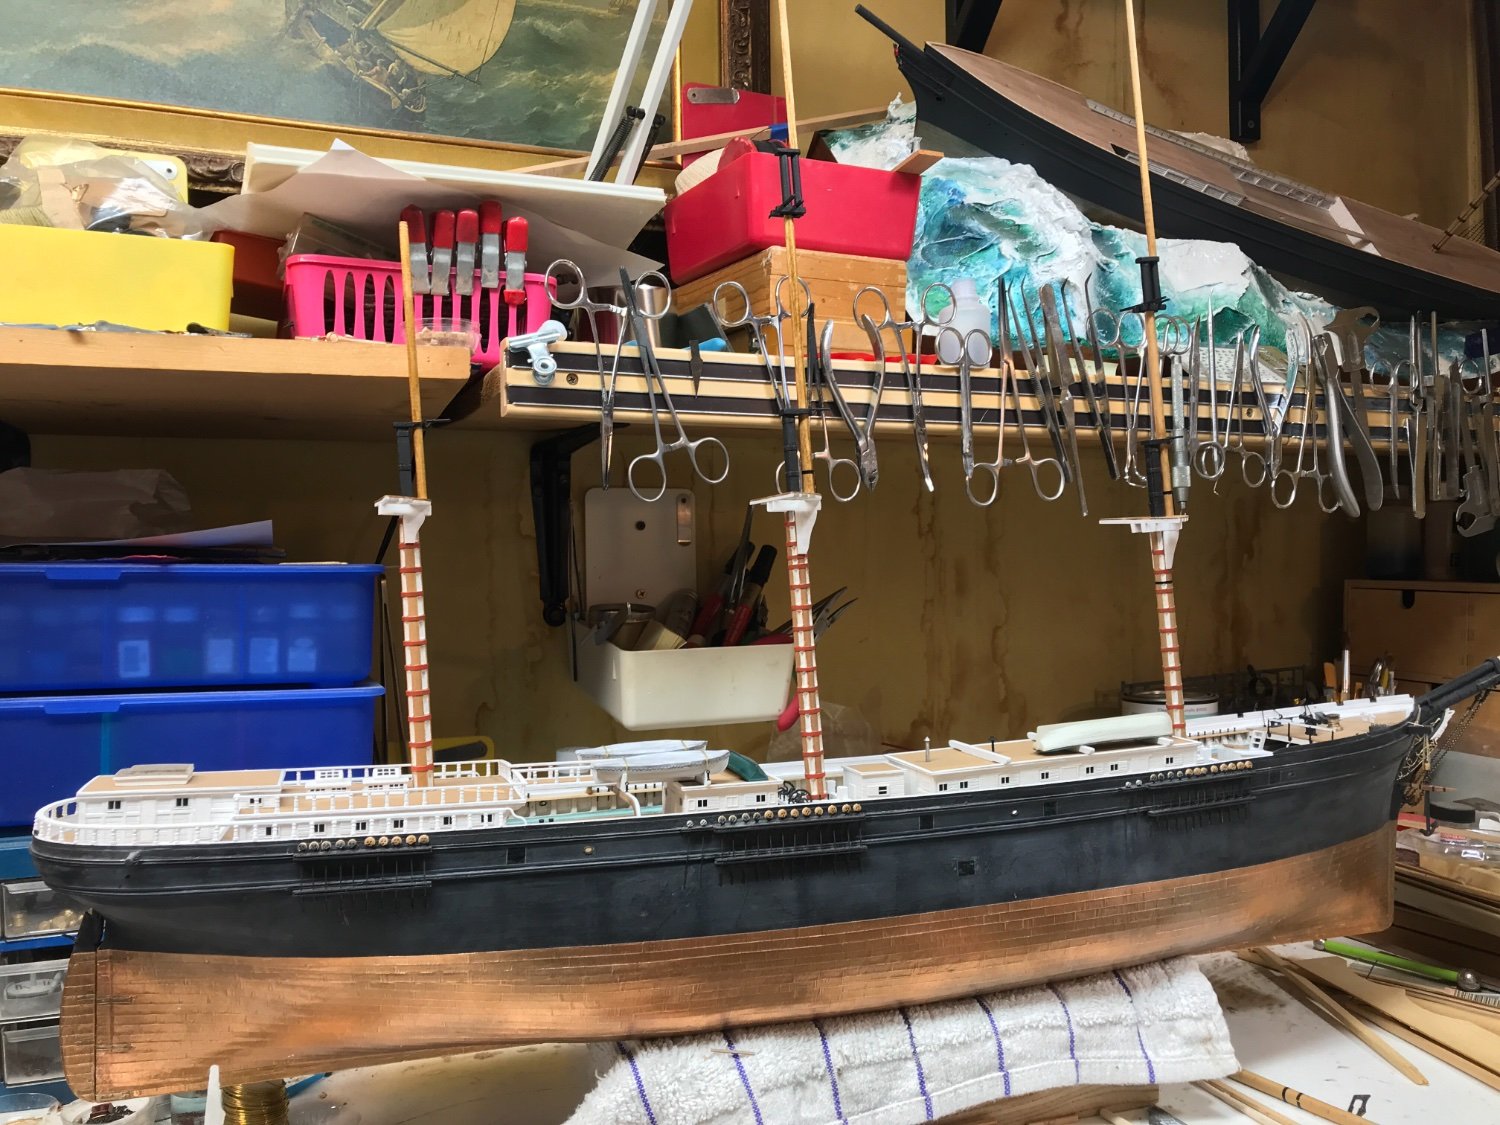
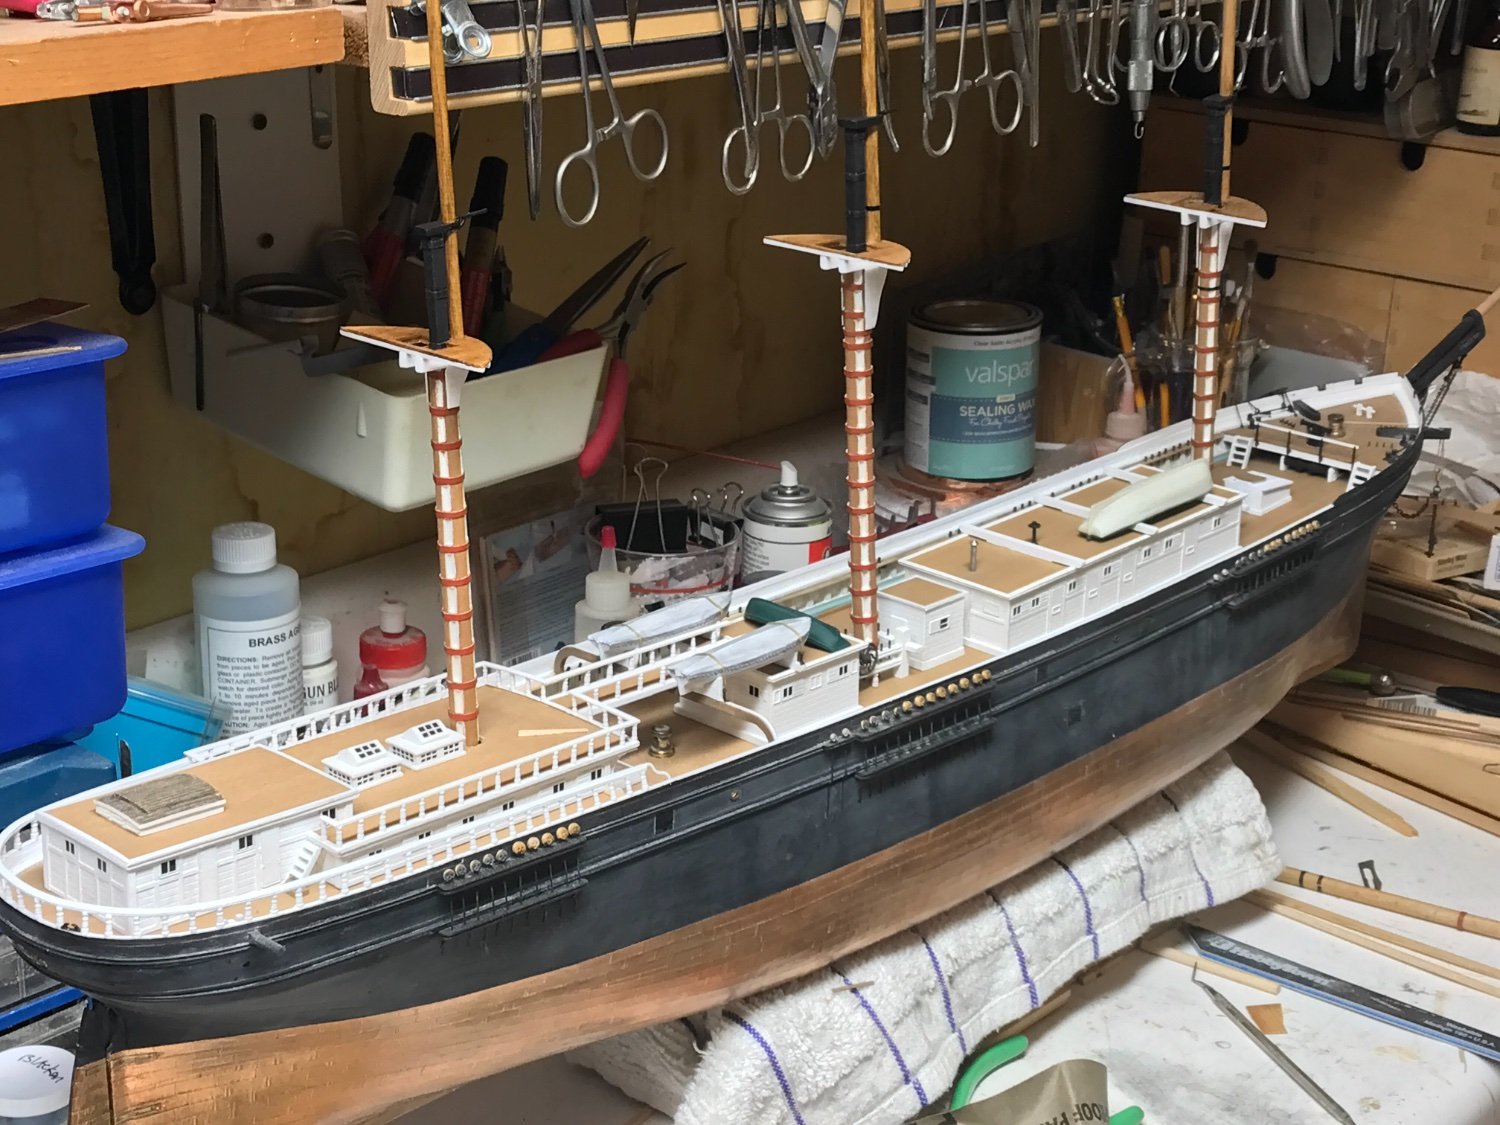
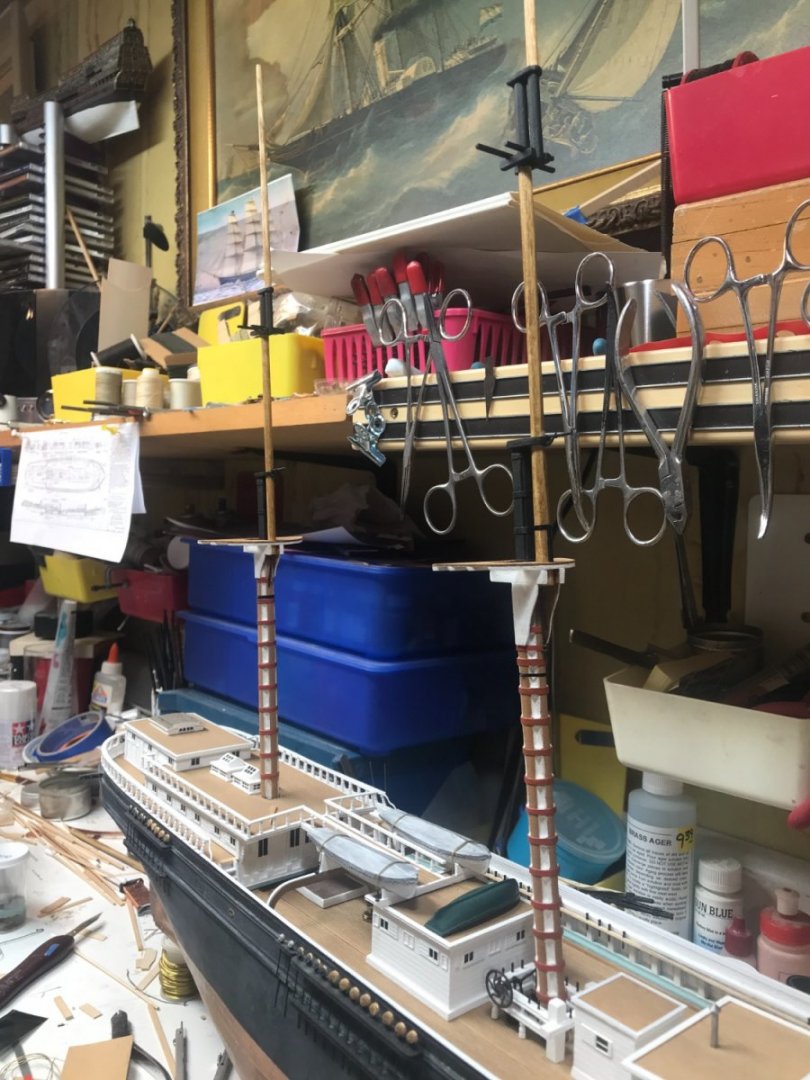
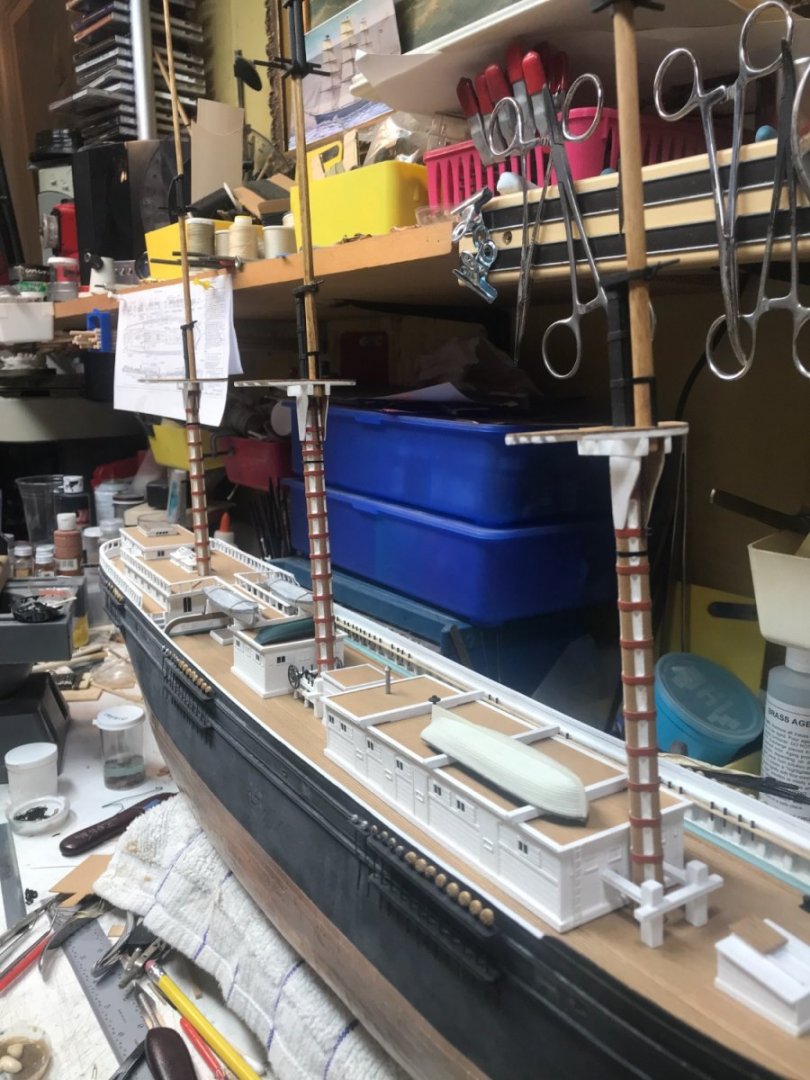
It would nearly be like the comparison of the CS to my GS. That drastic! That's how darn big the GR was. The main reason of many reasons why I had to build her for my collection. Thanks for the compliment Rich. I hope to finish up the main mast today after work. Rob
.jpg.af7562f90ff73e5ca394408bf24787e2.jpg)
.jpg.91dbb3d350f3f0ff07cf6d7319ff1391.jpg)
- 3,560 replies
-
- 2
-
-
- clipper
- hull model
- (and 2 more)