HOLIDAY DONATION DRIVE - SUPPORT MSW - DO YOUR PART TO KEEP THIS GREAT FORUM GOING! (Only 72 donations so far out of 49,000 members - Can we at least get 100? C'mon guys!)
×


rwiederrich
-
Posts
5,518 -
Joined
-
Last visited
Content Type
Profiles
Forums
Gallery
Events
Everything posted by rwiederrich
-
Read the book on the Flying Cloud, it's an amazing tale. The Captains wife even was a master navigator and had to step up when trouble was afoot. Great Read for sure. What an adventure. Rob
-
Yes....as you read...you will discover that driving Captains and owners were much of the cause. The *Horn* run and the lower 40 was some of the roughest and largest seas a clipper would race through. One important thing to remember.......that is one reason why McKay built such large clippers. One other detail that will amaze, is that these captains and crews would jury/repair their vessels at sea....in the bad weather....at night....in freezing rain. It's almost hard to imagine the Grit within these men. Time was money. Rob
- 3,560 replies
-
- 2
-

-
- clipper
- hull model
- (and 2 more)
-
My apology was more directed at myself.....I wish I just had more time...cuz I'd be in the boat shop most of it, if I did. Well...I have the same 24 hours as everyone else...I just can't appropriate the time to model building as I wish. So I tackle my build in tiny projects. It brings more satisfaction and I feel as if I'm accomplishing more then I really am. I'm a *Speed Racer* in a slow motion world. Rob
- 3,560 replies
-
- 1
-
-
- clipper
- hull model
- (and 2 more)
-
Thanks Rich. I think the overall look of tightly furled sails will be nice. A lot of work goes into each yard…….sorry I can’t be faster at Glory’s construction. Rob
-
You may be wondering why I haven’t finished the main yard……? Well, I will finish that one after the mast is mounted and the main shrouds are rigged. The main gets in the way of rigging the shrouds and rigging the upper yards. Plus it is mobile on its truck so………We wait. Rob
- 3,560 replies
-
- 2
-
-
- clipper
- hull model
- (and 2 more)
-
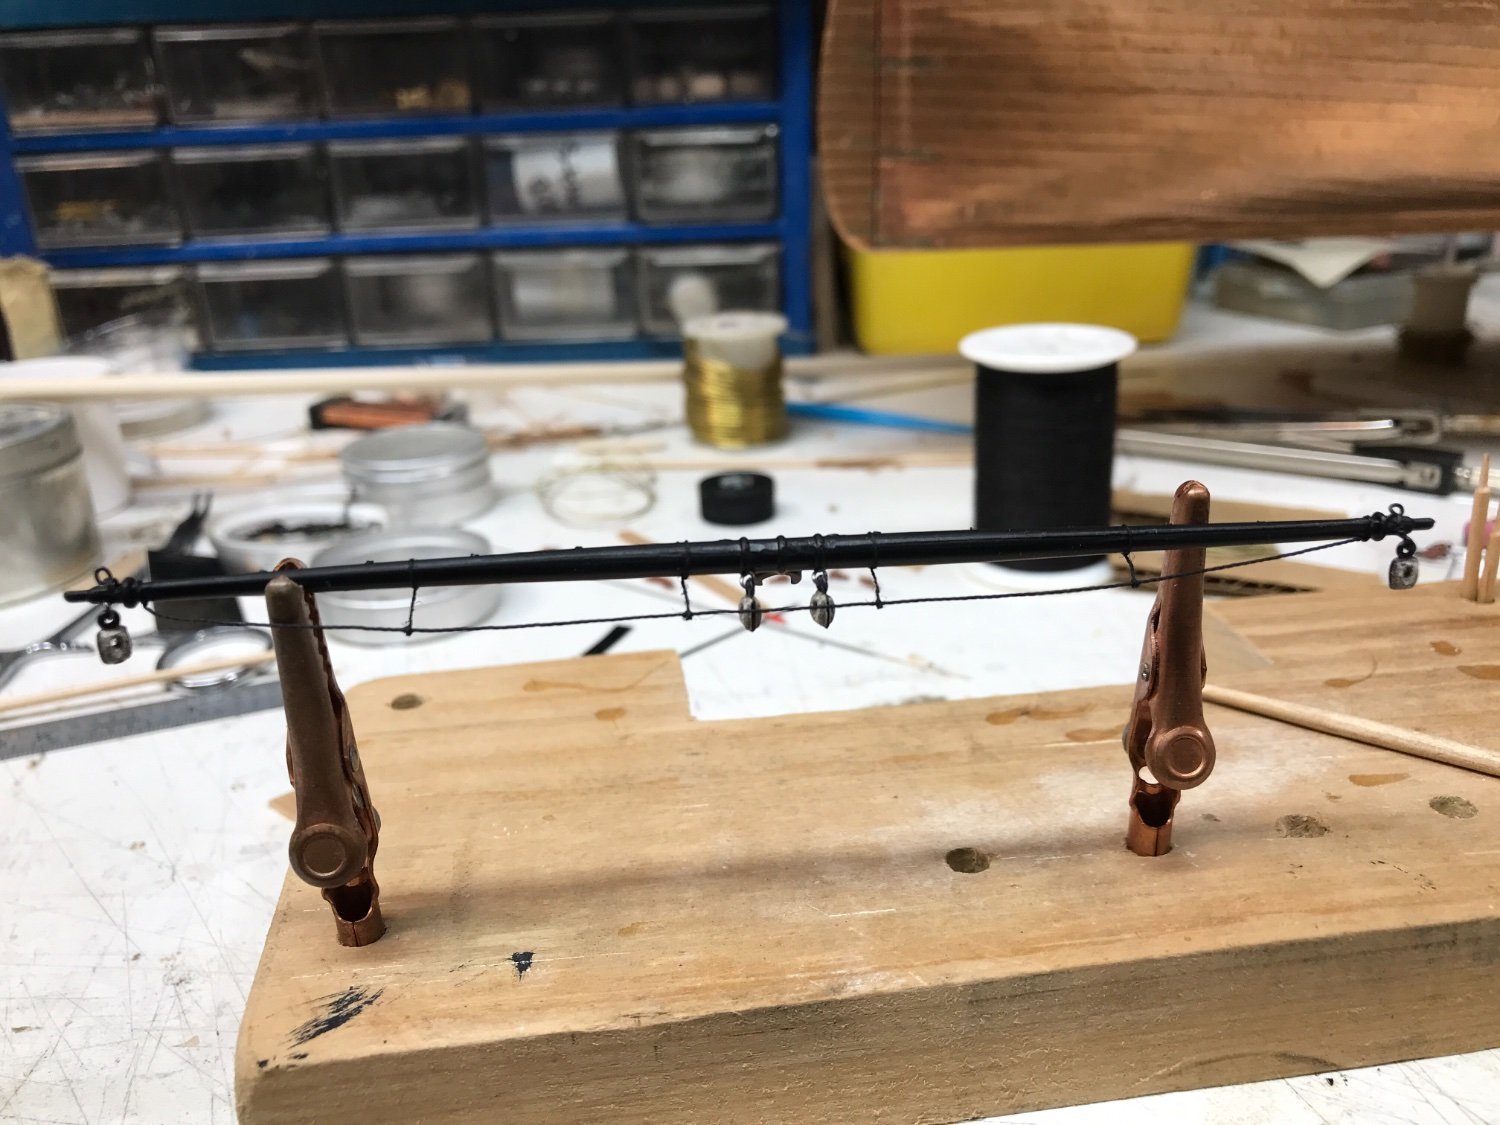
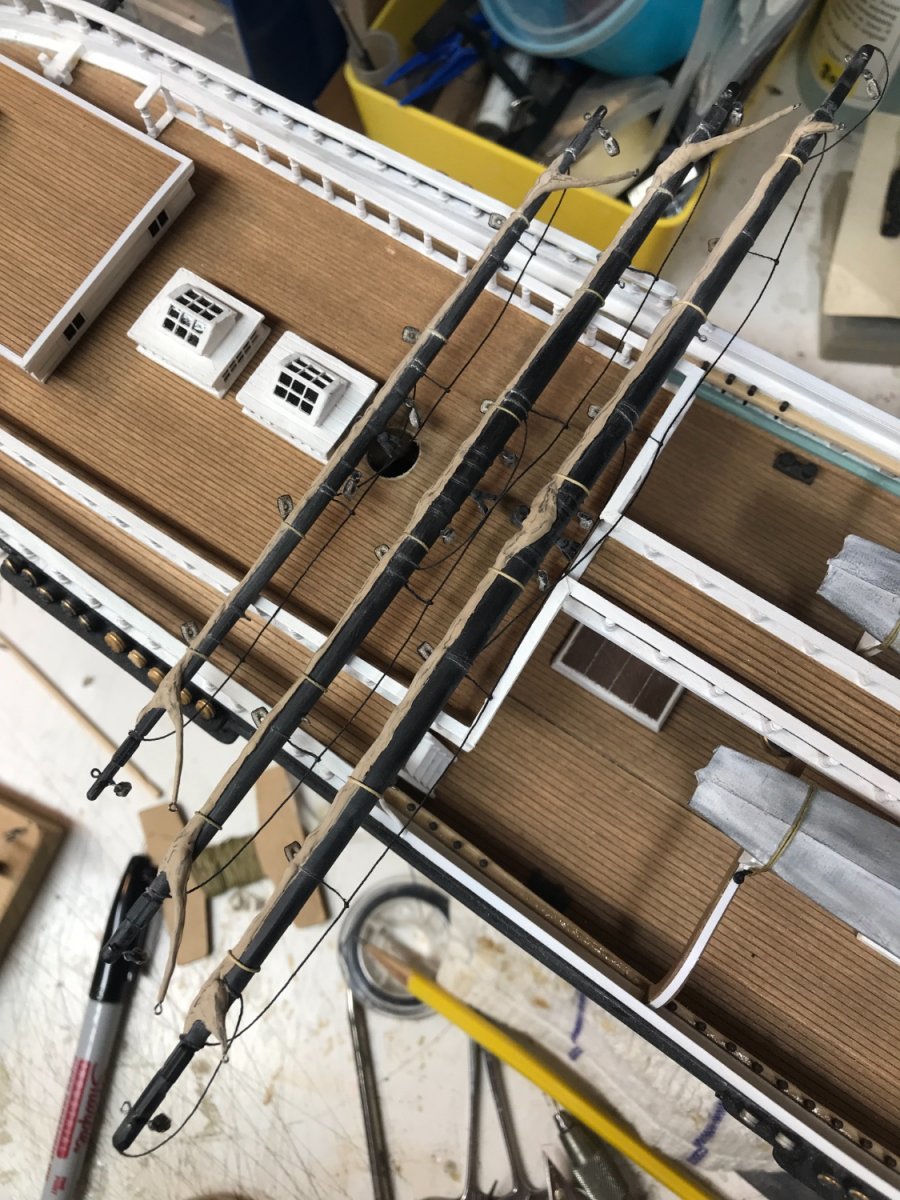
Finished up the Royal yard And placed it next to its friends. Now on to rigging the shrouds for the mizzenmast. Rob

- 3,560 replies
-
- 5
-
-
- clipper
- hull model
- (and 2 more)
-
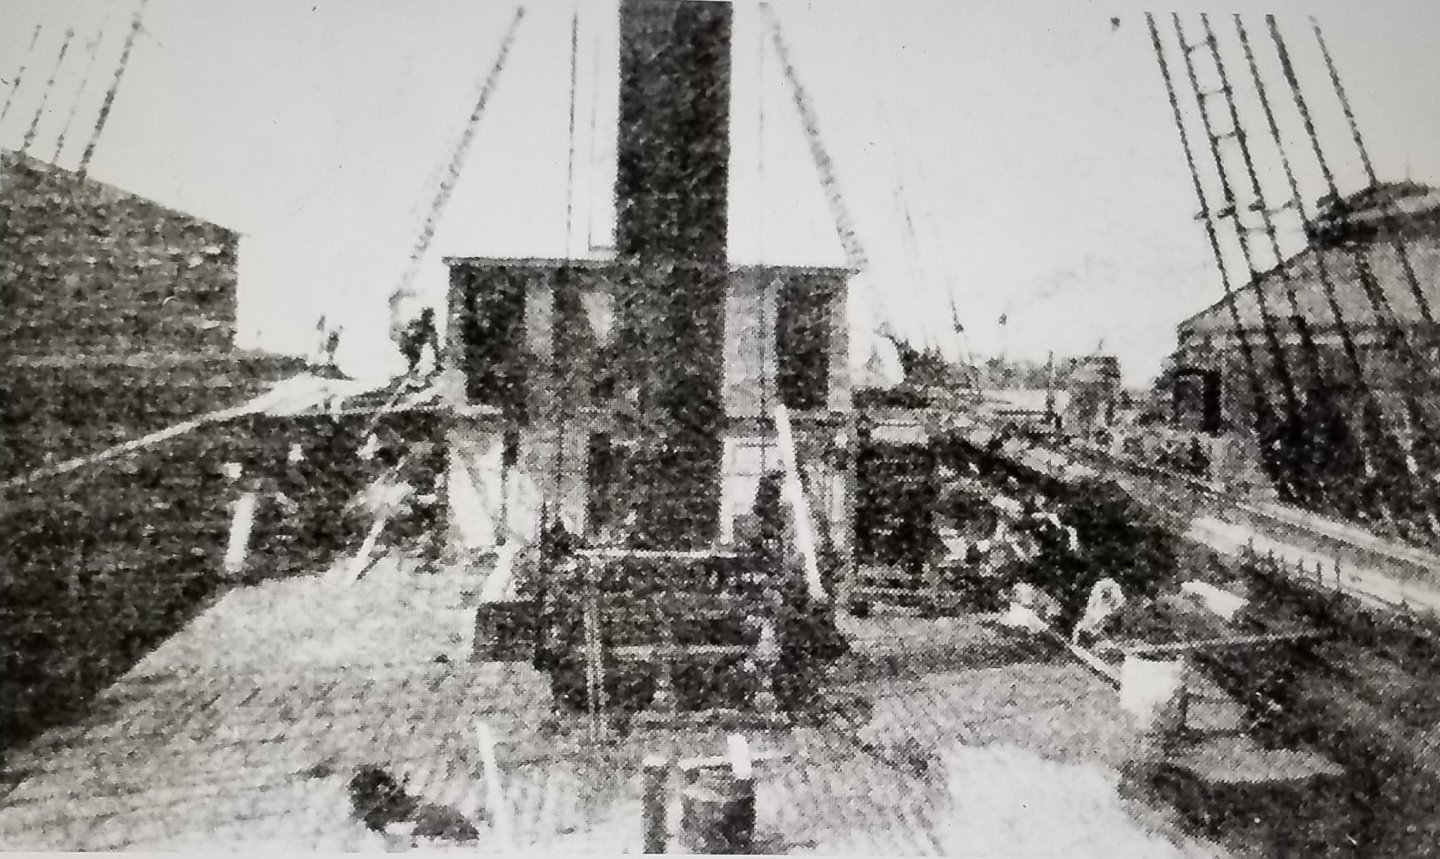
In this image the pillow block for the pump shaft is sitting right on top of the fife rail proper. Notice the row of pins with rope around them just forward of the pump flywheel. This is the same rail the flywheel pillow block is bolted to. Also the lower rail is also just inside the flywheel and it is directly beneath the top fife rail the pins are located on.. I'm not seeing the structure you suggest the pump crank shaft is mounted upon. All these images I have provided definitely show the flywheel on the outside of the fife rail...regardless of the internal suspected structure. The image of the green pump shown earlier clearly demonstrates the pumps pillow blocks are bolted to the fife rail proper....despite the flywheel location. I fully appreciate your tenaciousness concerning accuracy(It has been our constant companion).....but... I think this issue is clearly in favor of my position. With that said, I don't think it is a deal killer....making our efforts to accurately construct the best model of Glory we can any less accurate. Since...it is her hull and its dimensions that really was the crux of our efforts to begin with. Style and types of deck furnishings and furniture...without absolute clear and accurate descriptions specific to Glory, can afford to diverge with each builders preferences. Rob
.jpg.a57008c55a37c985acadec41911bb316.jpg)
-
Metal bashing
rwiederrich replied to michael mott's topic in Metal Work, Soldering and Metal Fittings
Just amazing wood working and application using metal and wood seamlessly. Just wonderful to look at Michael. Rob -
Be patient with the process. Remember, less is more. Good luck and I’ll be watching Rob
- 444 replies
-
- 1
-
-
- Cutty Sark
- Revell
- (and 2 more)
-
Any crack attracts the alcohol ink. It will flow easily when sprayed with a spray bottle. You can also control the volume you wish to apply as well. It dries matt and is a very good weathering technique as well. I used this technique on all my plastic models. On my wood models I use powders for weathering instead. Do NOT use denatured alcohol or rubbing....it has additives that inhibit flow. Use clear Isopropyl. The great thing about using alcohol as the transport mechanism.....is, it evaporates and leaves the thinned out ink behind. Leaving an almost dusty/dirty natural look. You can speed up the drying time by way of a blow dryer or fan. I'm enjoying your approach to building this classic.... Rob
- 444 replies
-
- 1
-
-
- Cutty Sark
- Revell
- (and 2 more)
-
When she was S.S. Servia...she retained her yards on her masts? I see you removed them. As H.M.S.....was this the practice....or shall we say....an *Upgrade* or modernization she under went? You did a great job on her and the case you made, shows her off wonderfully. Congrats..... Rob
-
I agree. Copper tape once removed from its paper backing does not flake. It is entirely copper, it would de-glue and come off the hull as an entire plate.. Not like what might be seen on a silver plated copper ring. Then again...that doesn't *Flake*, but wear's off. I'm not entirely sure what type of copper plating the O/P originally used on his hull. Without actually seeing with my own eyes up close...and only having the image he provided...it looks more like some form of etching is taking place then *flaking*, where as a touch of paint and some varnish might just be the corrective ticket. Short of removing it all and re coppering. That just doesn't sound fun at all.....not even just now as I said it. American pennies are copper plated zinc...and the copper doesn't flake off but can be rubbed or polished off. Interesting situation...we have here. Rob
-
Good work.... I didn't realize the Flying Fish had bared windows. Being a McKay extreme clipper, I would have expected her to have similar window treatments as his other clippers. The end result is clean and well executed. Rob
-
Plus the varnish may similarly react with the metal finish and aid its retention to the paper backing. In essence *gluing* it to the backing. Rob
-
Lubbering Kevin....Good day my friend. Wonderful 3D work indeed. Hey...what *Ink* process are you using to highlight your woodwork? I know when I built my last Revell Kit of CS,(12 years ago), I used black india ink diluted in isopropyl alcohol. Sprayed on it dried very quickly(the alcohol evaporates) and leaves a weathered look...where the ink capilates (Capillary action) into all the cracks. Looks pretty cool.... Nice weathering technique. Just wondering what you use ink for? Wonderful job. Rob
- 444 replies
-
- 1
-
-
- Cutty Sark
- Revell
- (and 2 more)
-
All due respect, Rich...I'm not quite sure what you are talking about. In every image the flywheels are mounted just outside of the fife rail proper...on both port and starboard sides and the flywheel diameter is nearly flush with the fife rail head. This really bad image shows this. Rob
-
In This particular optical illusion, I had no hand in. After further review, I've decided to complete the mizzen, than move directly to finishing up the head gear on the bowsprit. Because this rigging is standing and can be considered part of the hull...and I want to finish this up....so their will be no interference with the masts once they are installed. Rob
- 3,560 replies
-
- 2
-
-
- clipper
- hull model
- (and 2 more)
-
Great update and pics Vlad. Your corrections and alterations make the difference for sure. Super job...she is definitely polishing up. Rob
-
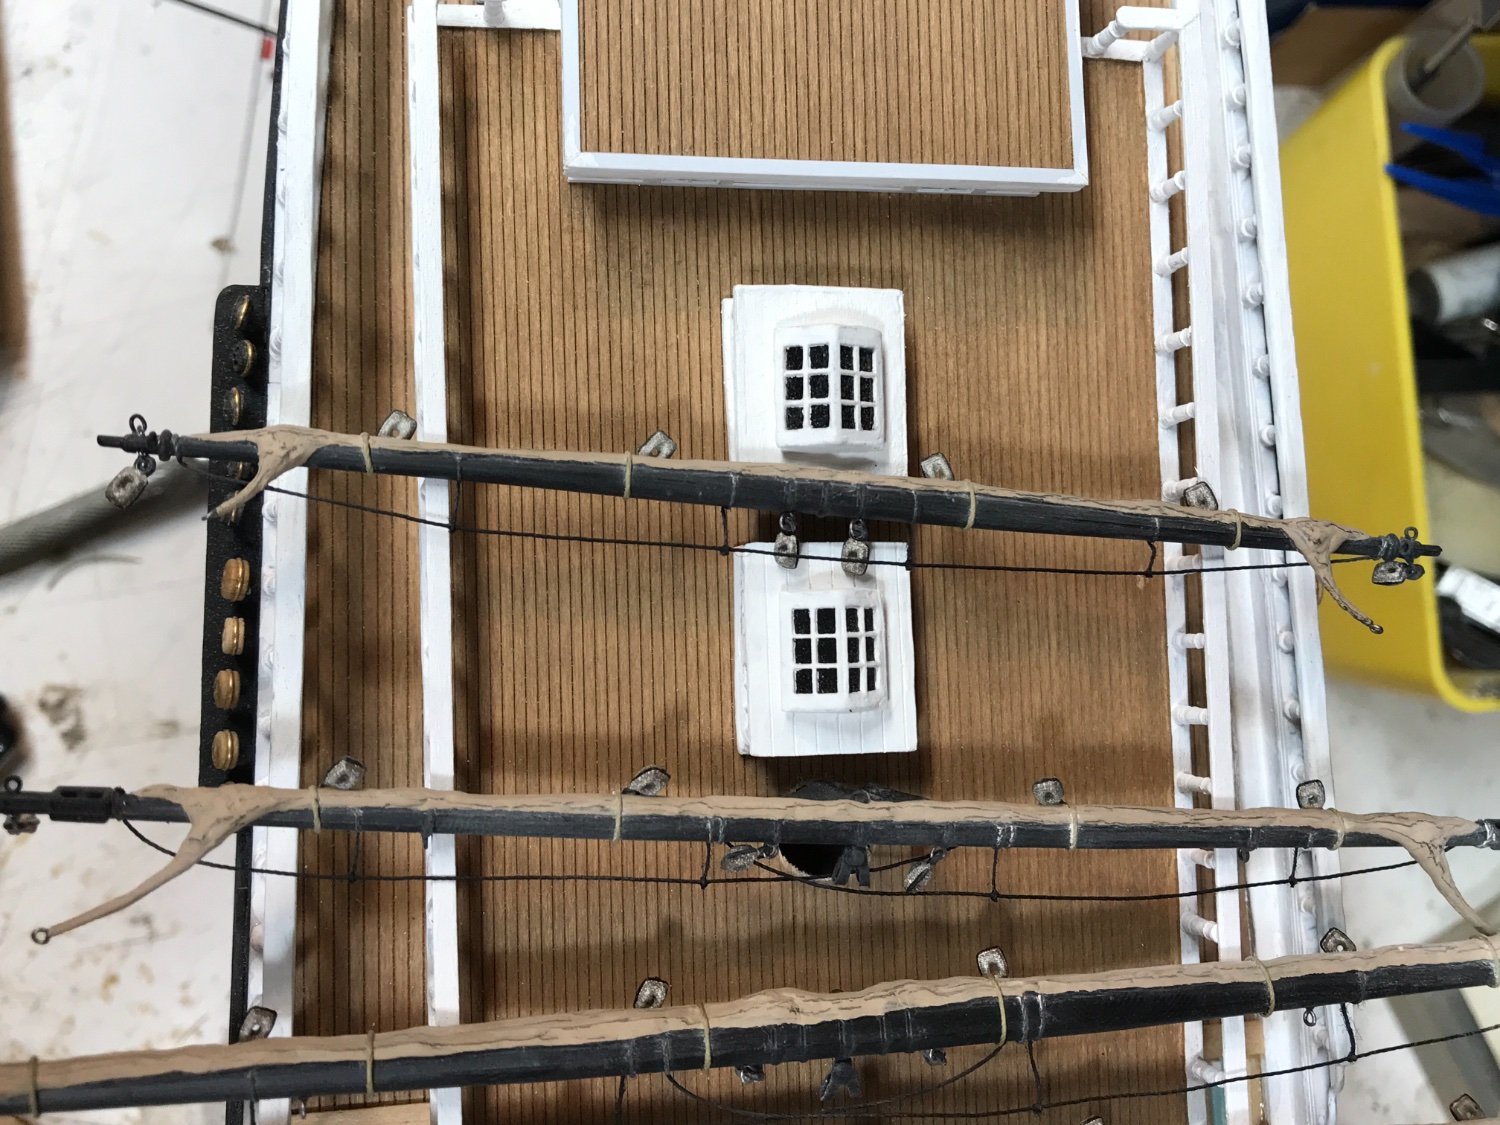
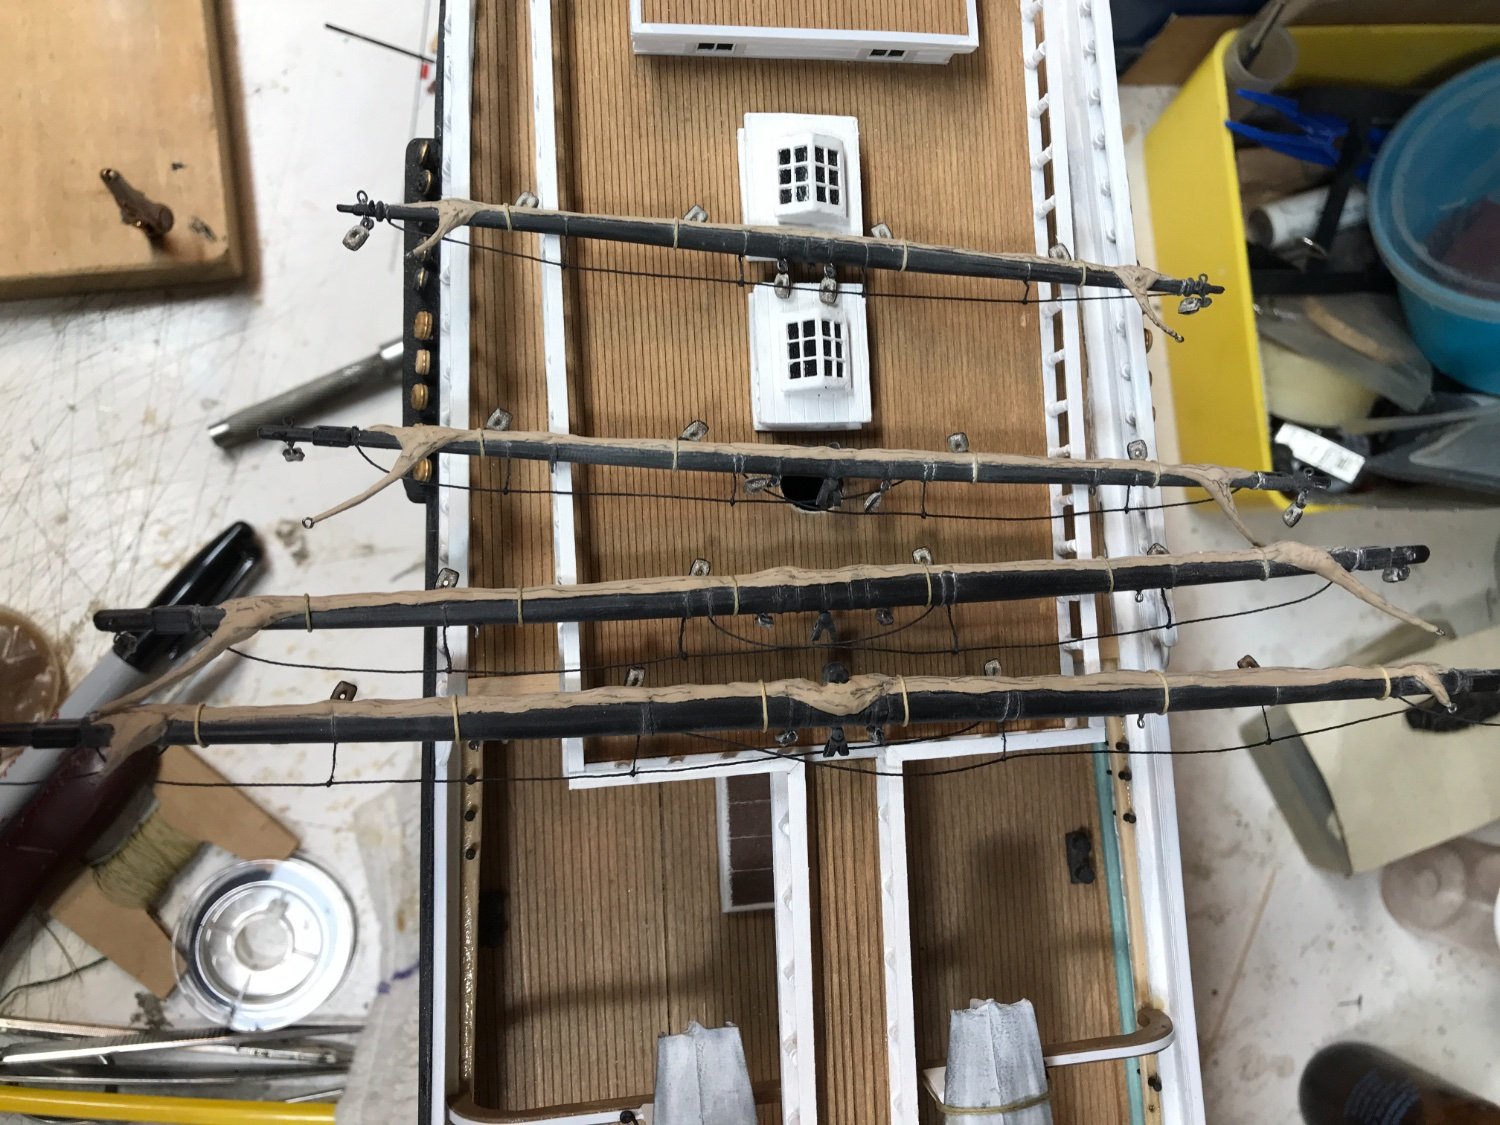
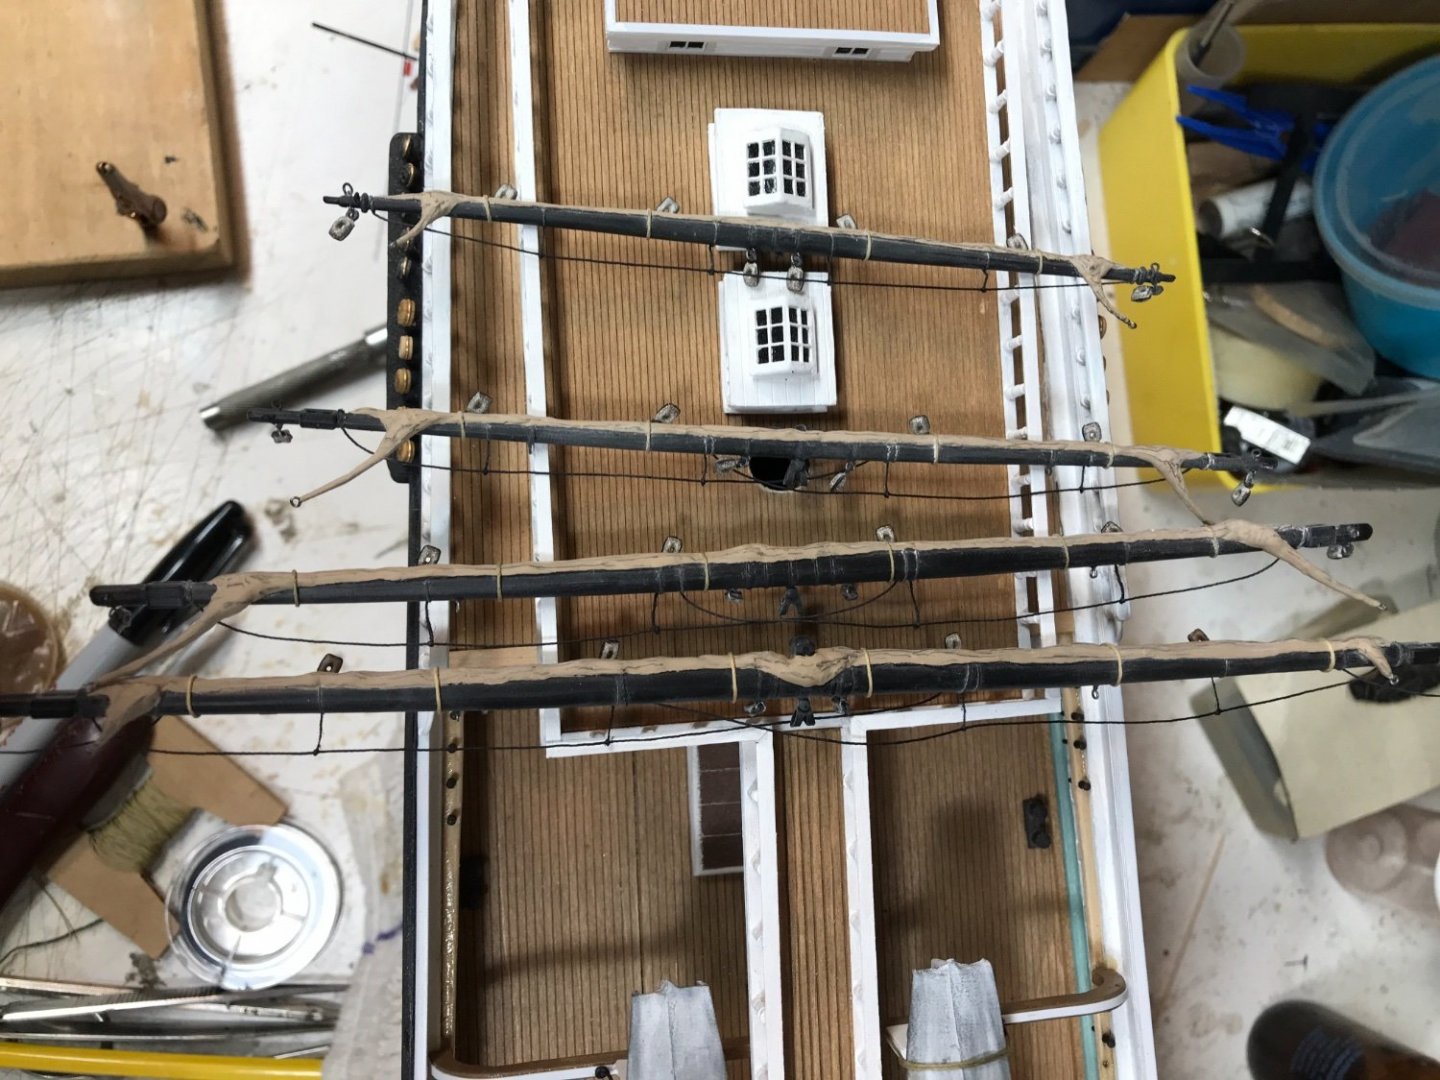
Finished up the top gallant yard. Pictured are the upper and lower topsails and newly finished top gallant. Next is the royal and……bam….I’ll begin on the shrouds. Rob

- 3,560 replies
-
- 8
-
-
- clipper
- hull model
- (and 2 more)
-
Keith…….you can do it. I simply paint the shiny glued stropping flat black. I will be adding the mizzenmast shrouds soon myself on my Glory. Post some images when you can. Rob
-
Started the top gallant yard and preparing to add the furled sail. Rob

- 3,560 replies
-
- 7
-
-
- clipper
- hull model
- (and 2 more)
-
I've long gone away from using my unaided eyes. I need my magnifying head band to do nearly all the work on my Glory. I'm just so thankful I still have steady hands. Keep the post coming..... Rob
-
Man Vlad...you're speeding along.....getting those carpenters to work over time. Great job...very nice. The only deck work I still have to do myself is add the lower rail frame to the fore mast fife rail and mount the port and starboard davits. They are easily bumped...so I'm waiting for now. Great job man..... Rob