HOLIDAY DONATION DRIVE - SUPPORT MSW - DO YOUR PART TO KEEP THIS GREAT FORUM GOING! (Only 36 donations so far out of 49,000 members - C'mon guys!)
×

Boxbuilds
-
Posts
315 -
Joined
-
Last visited
Content Type
Profiles
Forums
Gallery
Events
Everything posted by Boxbuilds
-
 Thanks Stuglo. Nice to hear from helpful folks. I will look at these carefully.
- 740 replies
-
- 1
-

-
- Tudor
- restoration
- (and 4 more)
-
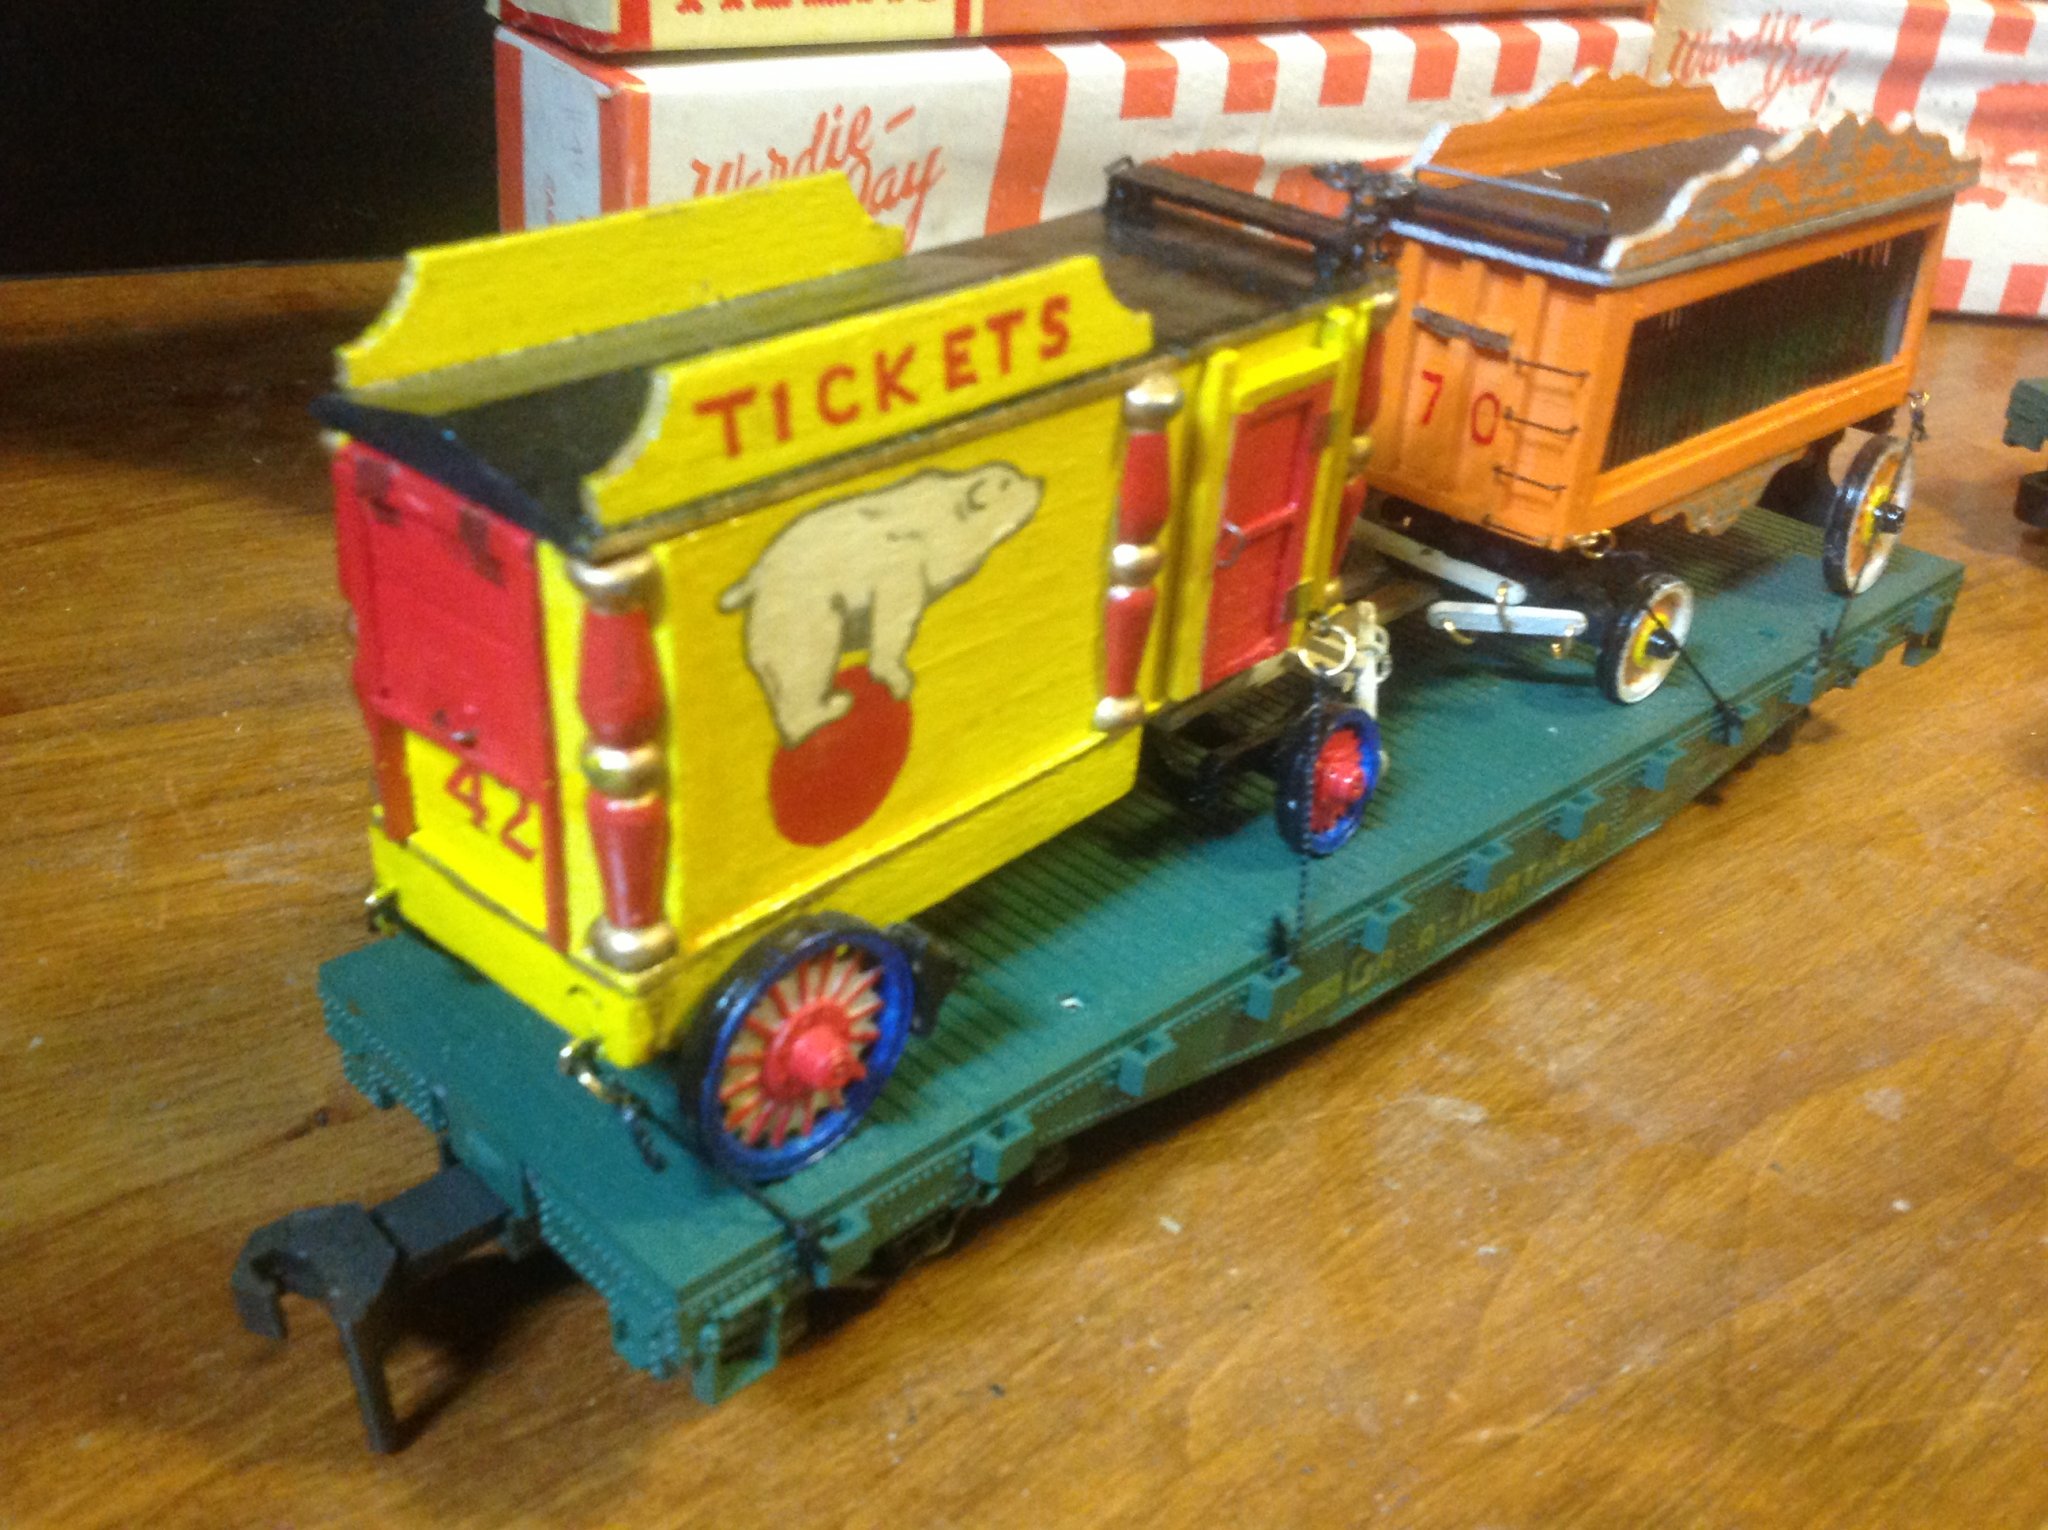
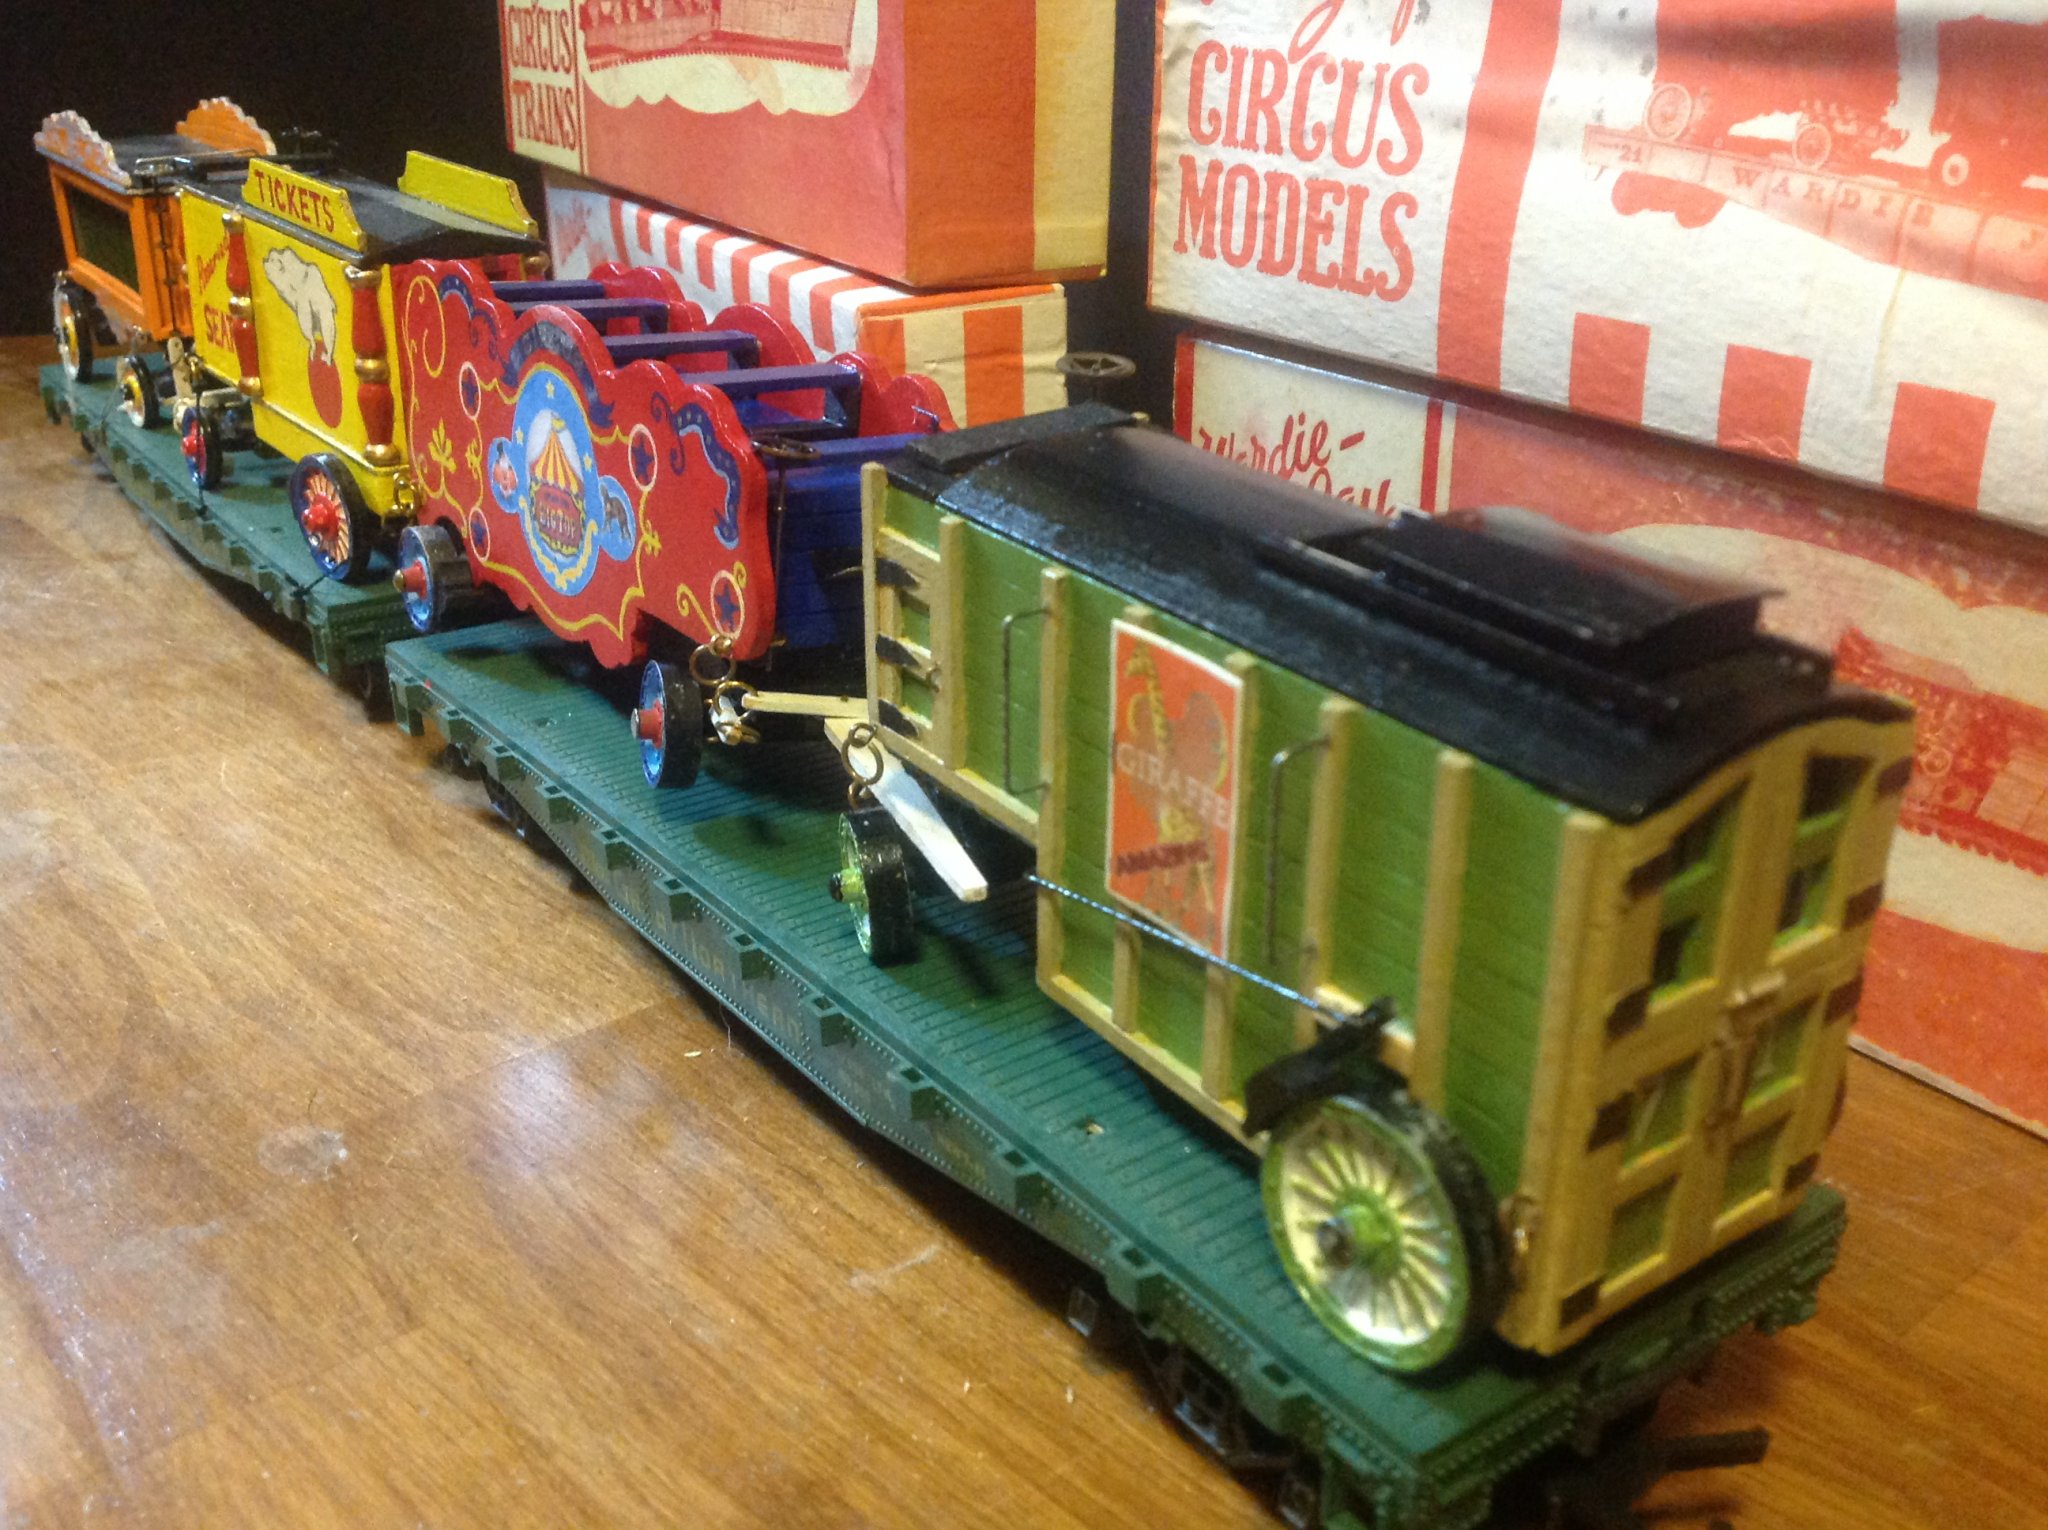
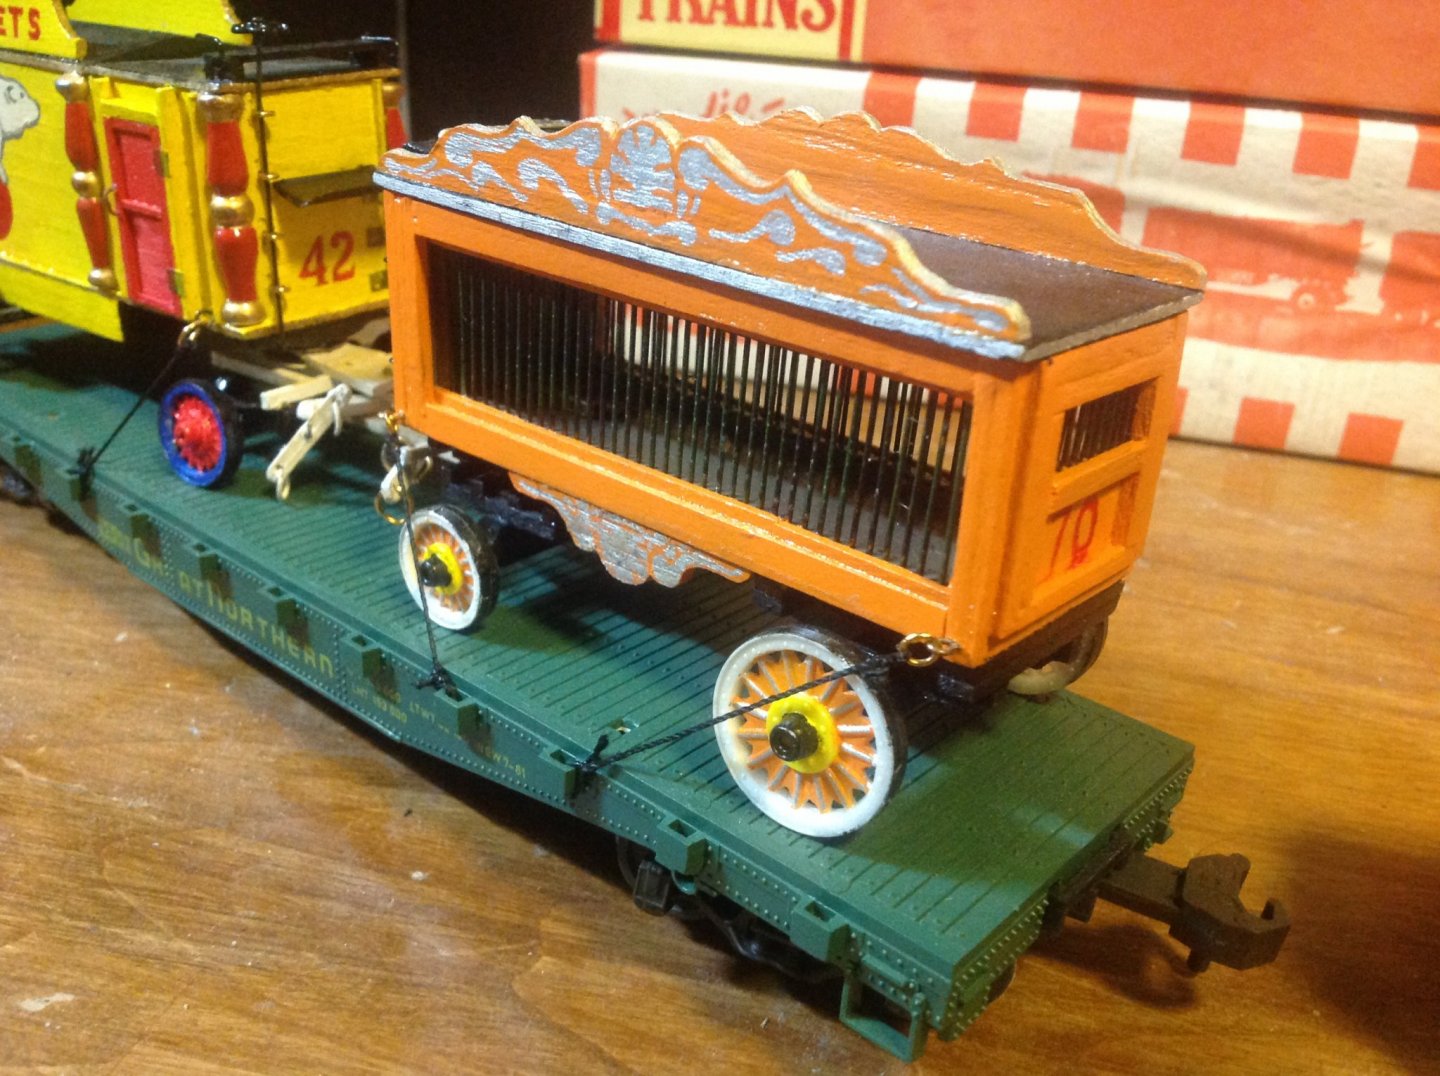
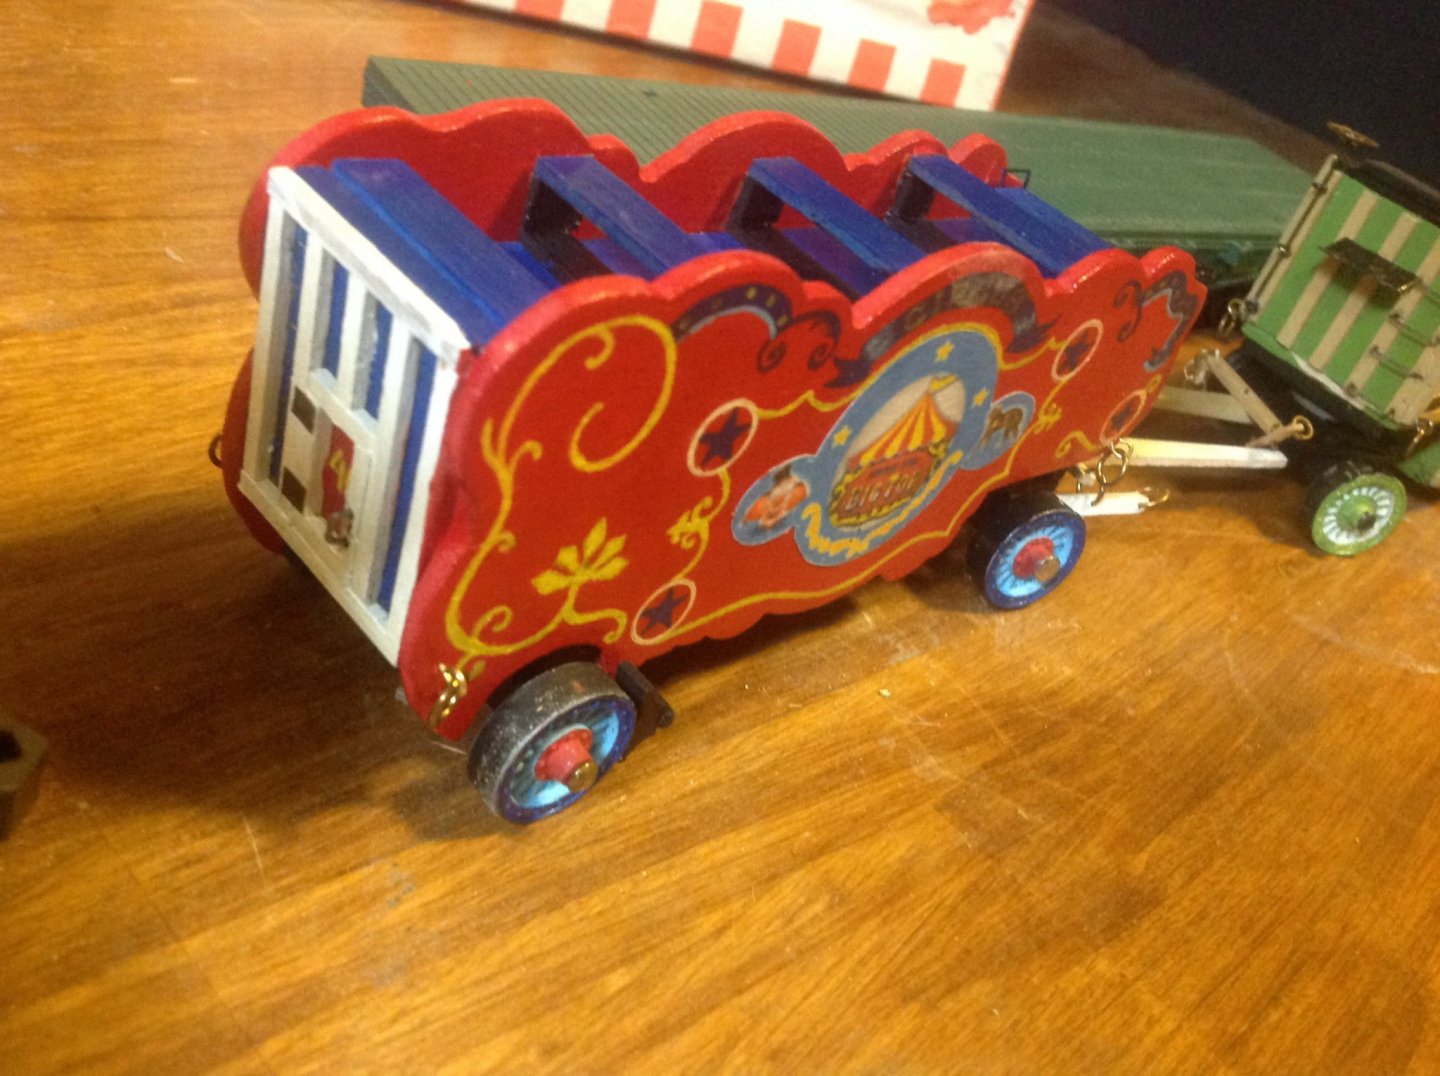
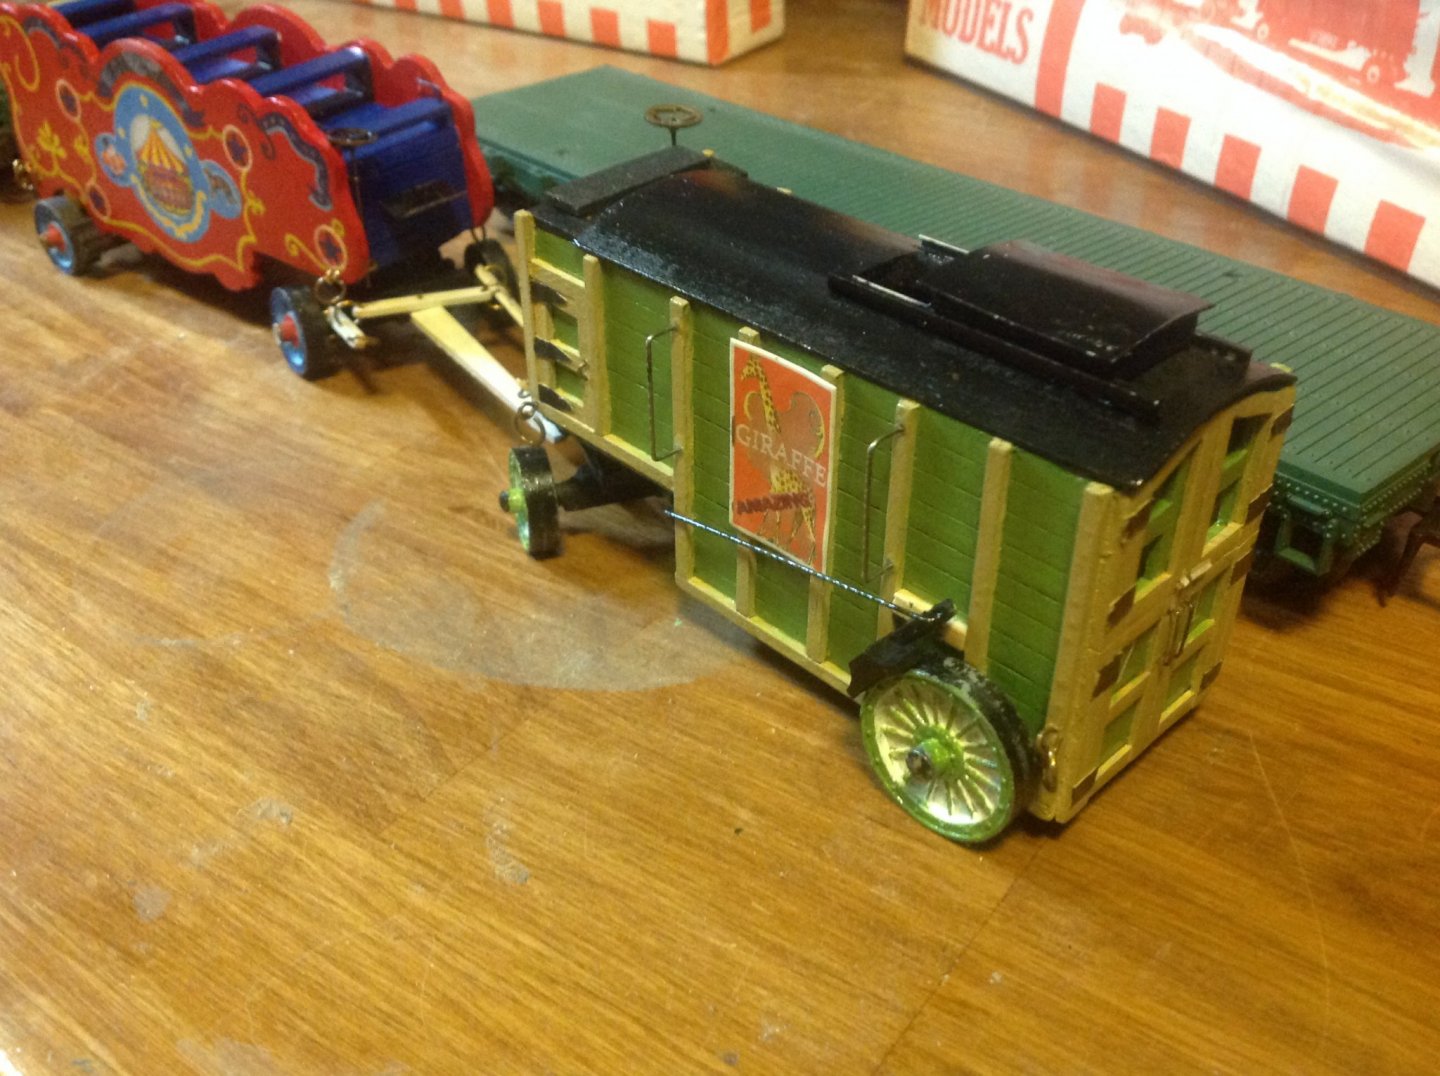
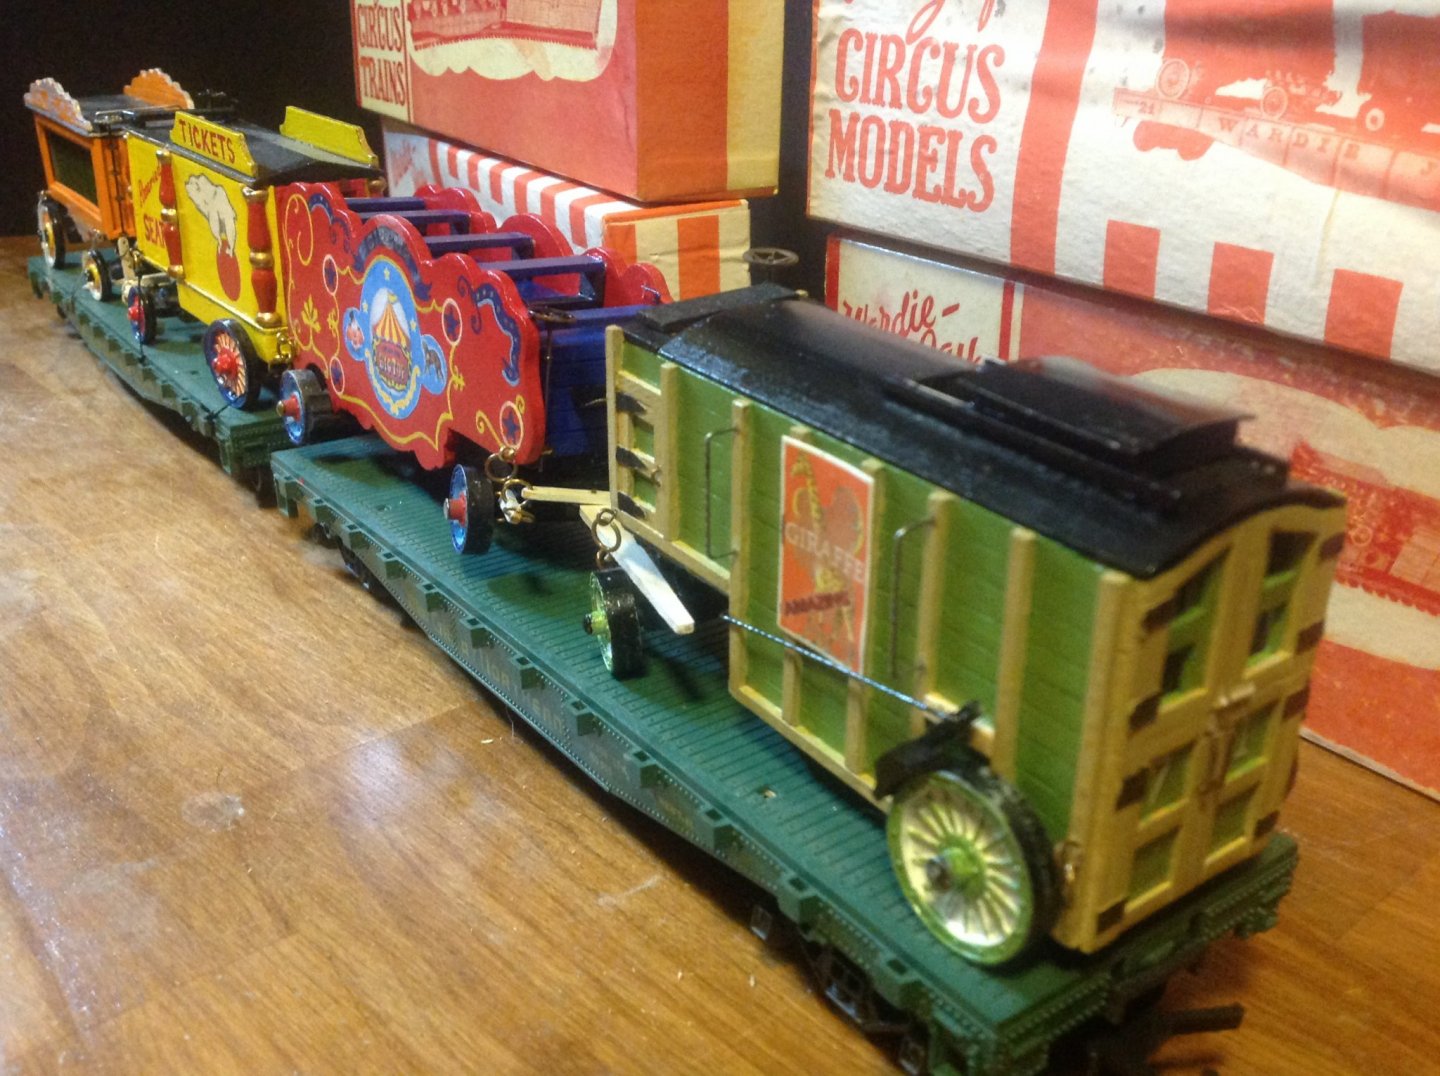
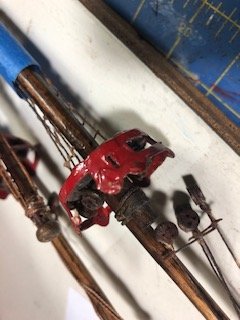
Wardee-Jay sold replicas of circus wagons from late 1940s and early 50s. They contained one page construction drawings with notes. Wood, wire, pins, stamped parts and soft metal castings (mostly wheels) were provided. Decals were included but by this time they crumbled when touched. So decorations were handed painted. A few liberties were taken with the giraffe wagon by addding a sliding roof panel so the toy giraffes could be seen. In general they follow the plans which reflect Ringling Bros equipment.

-
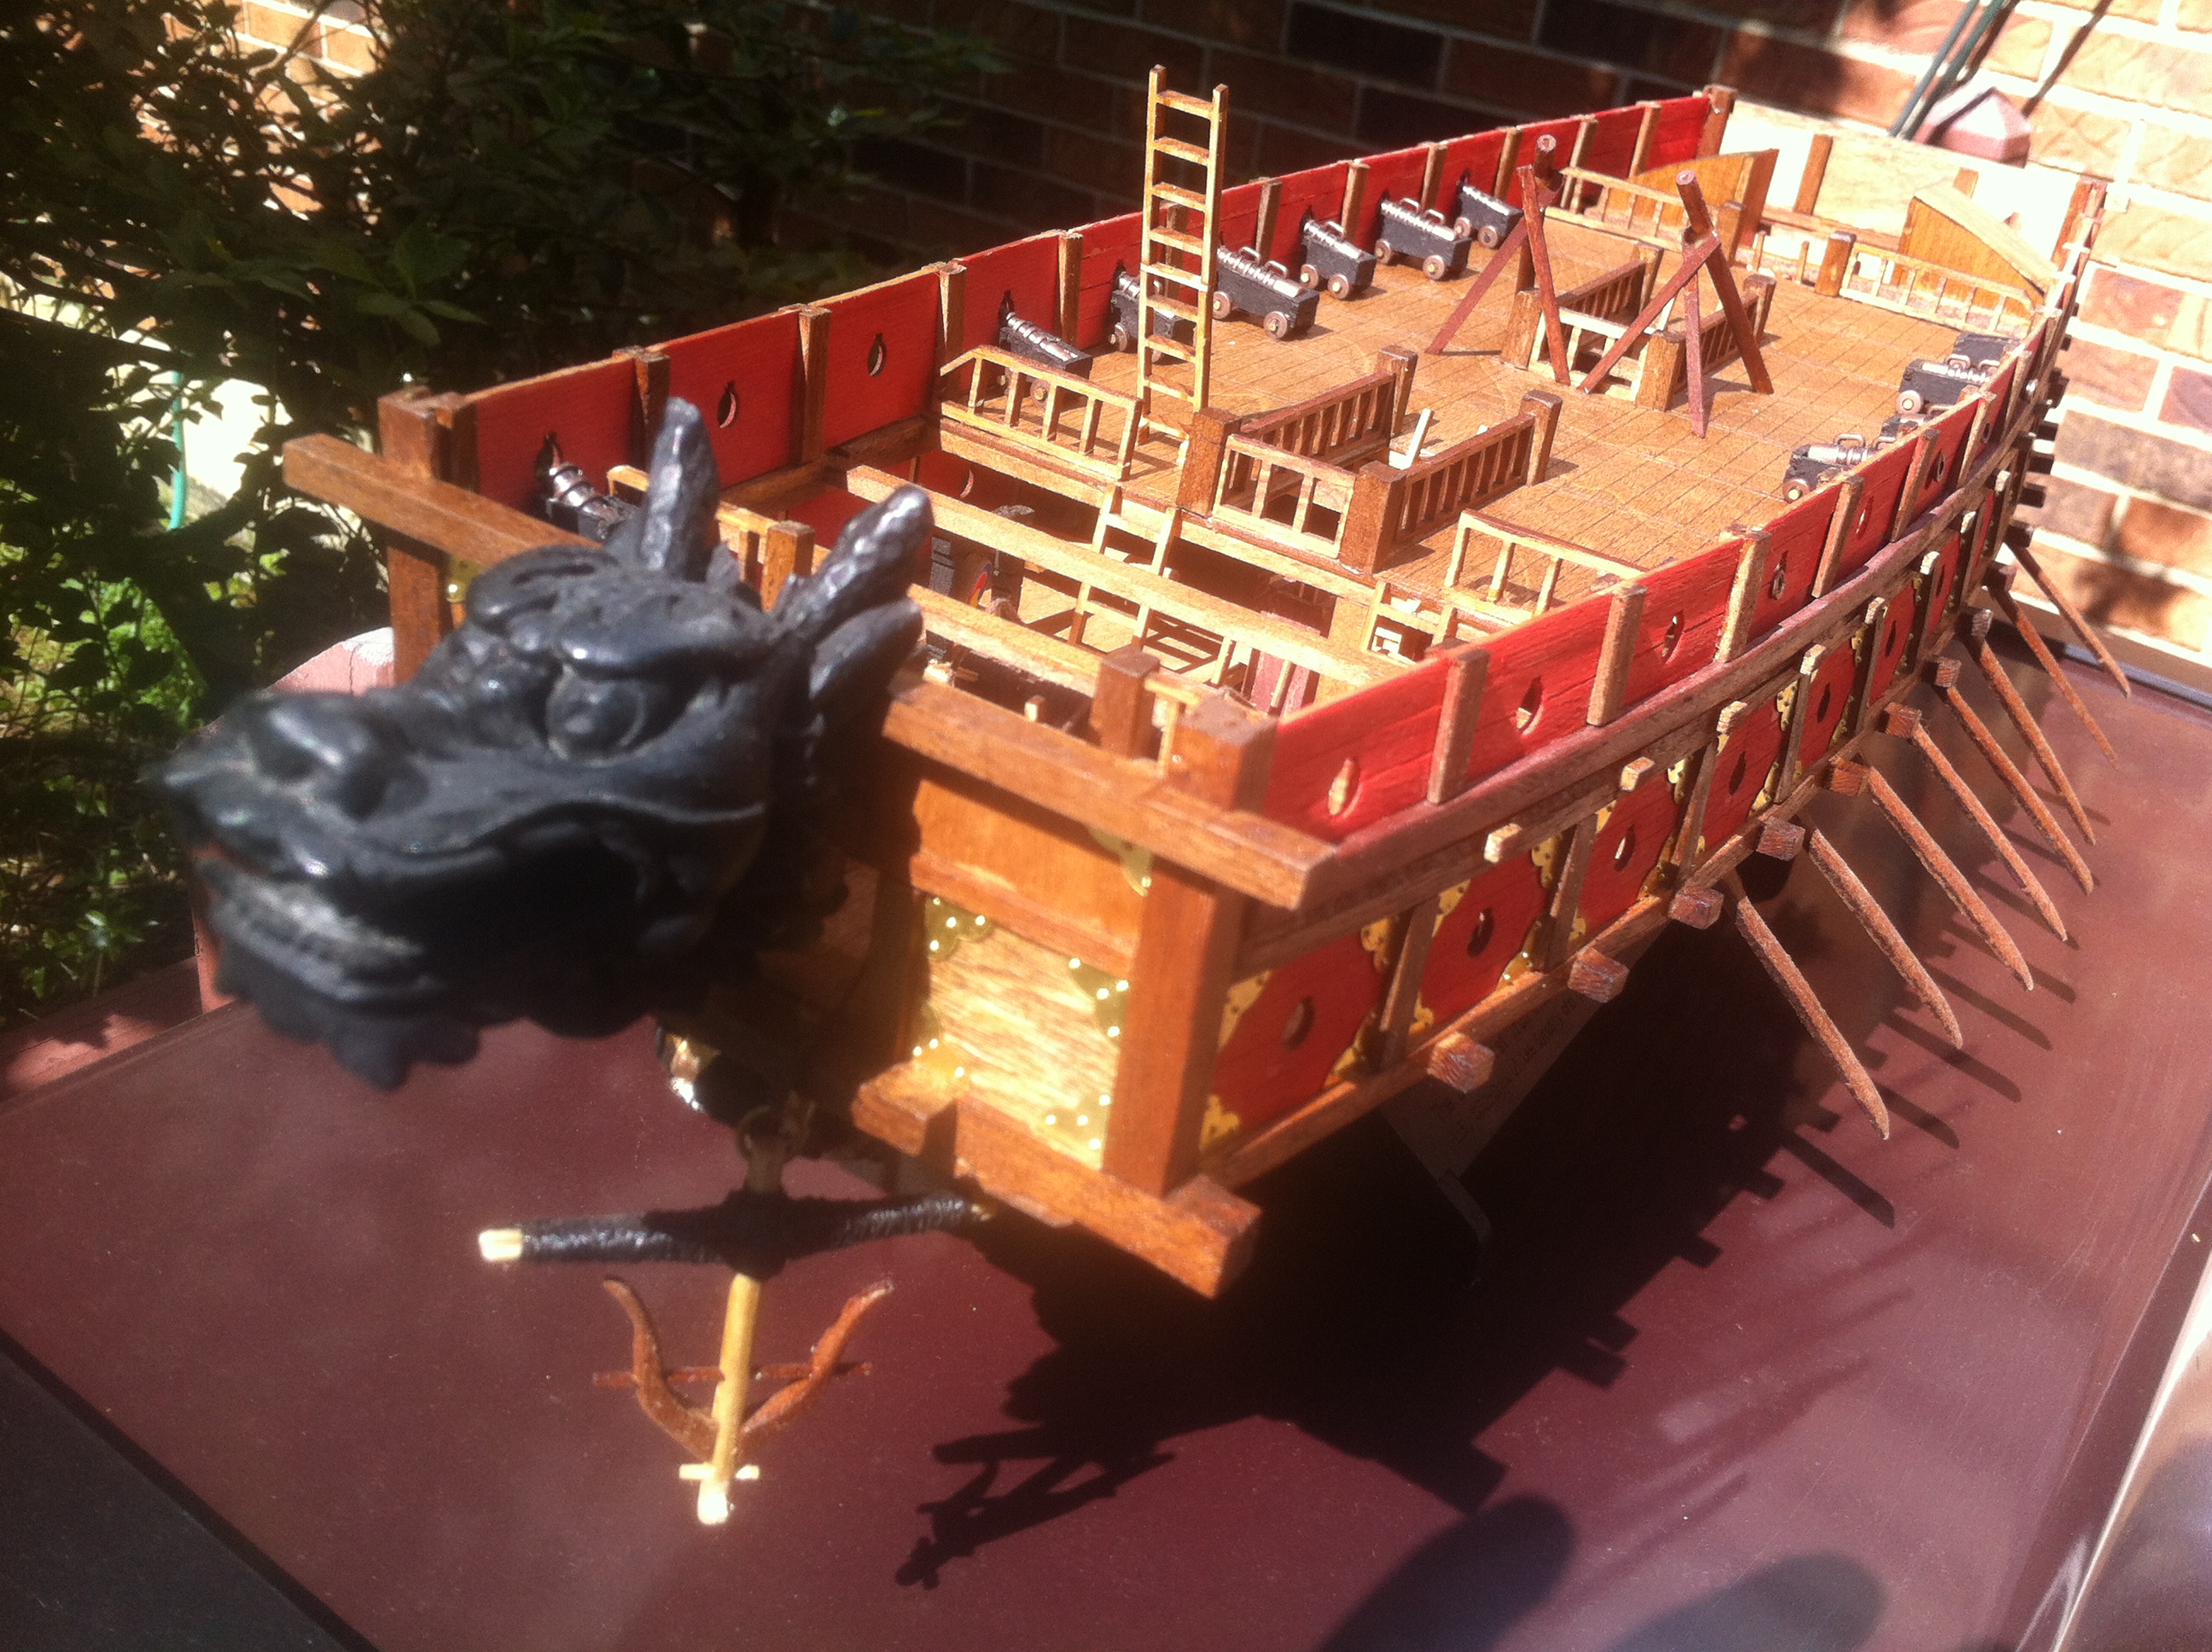
Too kind, Mike. This was a really different experience.. the builder did his own thing in many cases including a dolphin striker! I'm bringing it up on Sat. anyway, thanks
- 31 replies
-
- 1
-
-
- galleon
- restoration
- (and 2 more)
-
RiggedNow review of plans vs product. Fragile elements will be installed, like headboard, dolphin striker and gallery. I pickup the case today so I plan on delivering the ship this weekend.

- 31 replies
-
- 4
-
-
- galleon
- restoration
- (and 2 more)
-
Your dad took good care of that battle wagon. Not many plastic models withstand time so well. Gonna fix it up and case it?. So how's the carving coming? We're anxious to see samples. Maybe Saturday...if you're off
- 221 replies
-
- 1
-
-
- queen anne barge
- Syren Ship Model Company
- (and 1 more)
-
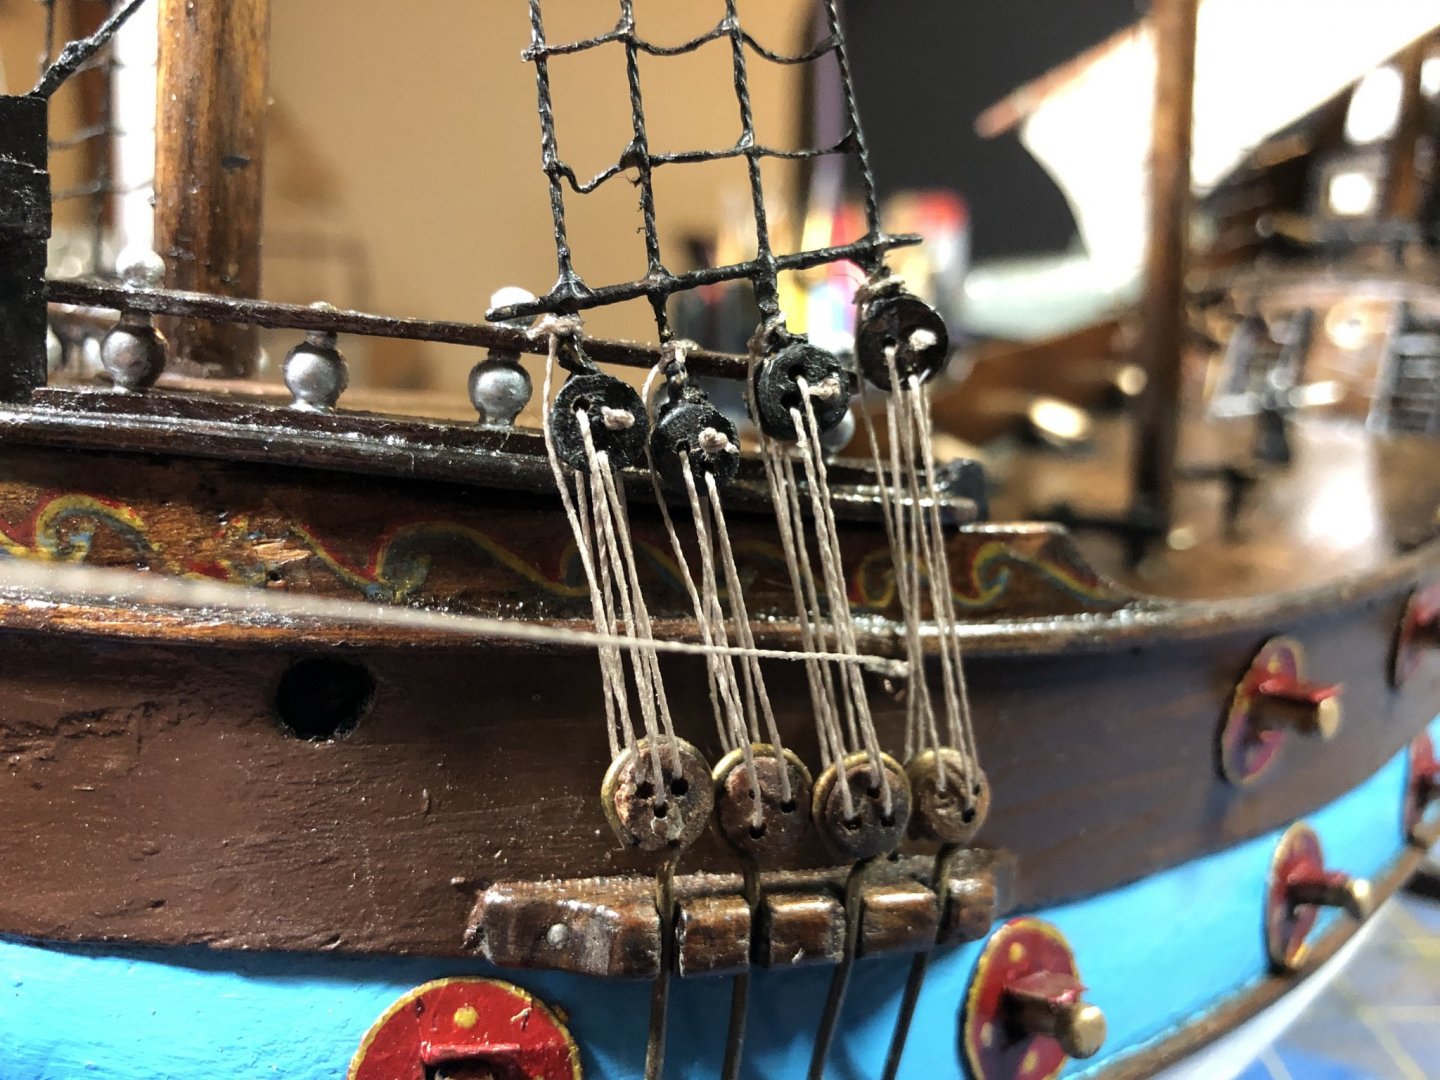
I previously mentioned that attaching the sails to the yards was easier before the yards were hung on the masts. Now I have attached the yards and added some of the running rigging. I have also glued down the masts and run the stays and shroudlines. In opting to preserve some of the original rigging, I accepted their "flaws."the hull mounted dead eyes are very crowded and misaligned. Their mates on the shrouds are anything but aligned. This situation is in keeping with reality but it messes with my sense of order!
- 31 replies
-
- 6
-
-
- galleon
- restoration
- (and 2 more)
-
Sails painted, bent to yards and masts set in the hull. Rigging next.

- 31 replies
-
- 5
-
-
- galleon
- restoration
- (and 2 more)
-
Got the first top done. I wanted to keep the shrouds and ratlines.......the lines fell apart! The least pressure pops the lines. Just moving the masts around on the worktop broke them. I'll restring them. They are not authentically installed. The instructions run them up through one lubber hole and down the other one. Orrrr the shrouds are run through the mast under the tops. Whatever the builder did, I'll copy.
- 31 replies
-
- 4
-
-
- galleon
- restoration
- (and 2 more)
-
Now, the masts, yards, sails and rigging. The masts already have the tops built including card stock railings. Due to the condition of the original shrouds, I opted to preserve them so they are still attached. This includes the tops shrouds. The instructions directed a simplistic, inauthentic method for attaching the shrouds to the tops. It serves the purpose though. The deadeyes for the shrouds are of different conditions. Some are serviceable but others crumble when you look at them. I'll use the instructions to manufacture any required replacements. First I'll restring the tops shrouds. Then step the masts and bend the shrouds. I'm considering attaching the sails to the yards before hanging the yards.
- 31 replies
-
- 3
-
-
- galleon
- restoration
- (and 2 more)
-
pAs I work I have to ask myself about the next steps. Should I unglue, cut, strip, paint, remake, fill, replace, do it the right way, leave how it was made, use a modern part....? I examined different approaches and found that they are easily defined as narrow rules. Which one is used is largely a factor of the desired outcome. Clean refurbish restore rebuild Four similar but distinct words. Clean means get the dirt off. No repair even if needed. Minimal disturbance of the model. Refurbish means clean and only repair broken lines, cracks, splits, etc. to maintain the current age of the item. No repaint or new material except that related to repair. Restore means to clean and refurbish. It means to examine the condition of the entire item to assess what might need to be changed to bring it back to a previous condition....like when it was new. No updating or improving parts for the sake of it. Use as much original item as possible. Only resort to new material when the original is not usable. Rebuild means all the above using modern materials as desired, plans and information in an effort to improve the veracity of the item. I talked to the Nuestra's owner about what she wanted. She wanted to restore the ship to "new" condition. Comparing this list -- fix dirt, cracks, broken pieces, snapped lines, stained worn sails, and limit to original build -- aligned with the restore option. So far that has been the guide. For example, When the gun wreaths were cracked, torn, dull, and warped I straightened and repainted many of them. I remade torn gun wreaths and aged them to match the originals. One of these is new... This was an important part of my planning and progress for the project. Thought I'd share this aspect
- 31 replies
-
- 3
-
-
- galleon
- restoration
- (and 2 more)
-
Done with all on the structure except gun wreaths. Will reinstall them and start the rigging
- 31 replies
-
- 1
-
-
- galleon
- restoration
- (and 2 more)
-
Removing ladders is tricky. Having assembled them yourselves, you know the wrong pressure will collapse them. Proceed with patience. Normally they are attached with glue at the deck and the ladder top. My process starts with softening the glue with Water and vinegar or Goof Off. The former is safer but slower. The latter is faster but can affect adjacent parts and eat finish. Neither completely does the trick. Check the ends of the uprights for weakness or cracks before trying to remove the ladders. There are soooo many variables and conditions we encounter that approaches should be prudently selected. I'd caution against using a knife or other cutting instrument. It's more likely connected surfaces will be damaged by slips or pressure than cutting between parts.  To get the ladder off I begin at the top. The objective is to apply pressure equally to both uprights. I use scrap wood that fits under the ladder and leaves enough room for upward leverage. The wood should be hard enough not to compress under force later. It must touch the uprights at the same place on both sides (don't use the steps to measure). Choose a lever that will fit BEHIND the ladder and afford enough movement to provide measured force. Applying pressure from below with a wooden lever slowly push until the glue seal separates. Keep pressure even across the uprights. Don't press against the steps. When the ladder separates,push it over to pop the bottom seals loose.  To clean excess glue from the separation points, lay the part on a flat surface that opposes the direction of your cleaning action If the ladder loosens in the process attempt to gently reglue and put it aside until its integrity is restored. If it breaks take care to note where each piece belongs, clean them all and reassemble.

- 31 replies
-
- 3
-
-
- galleon
- restoration
- (and 2 more)
-
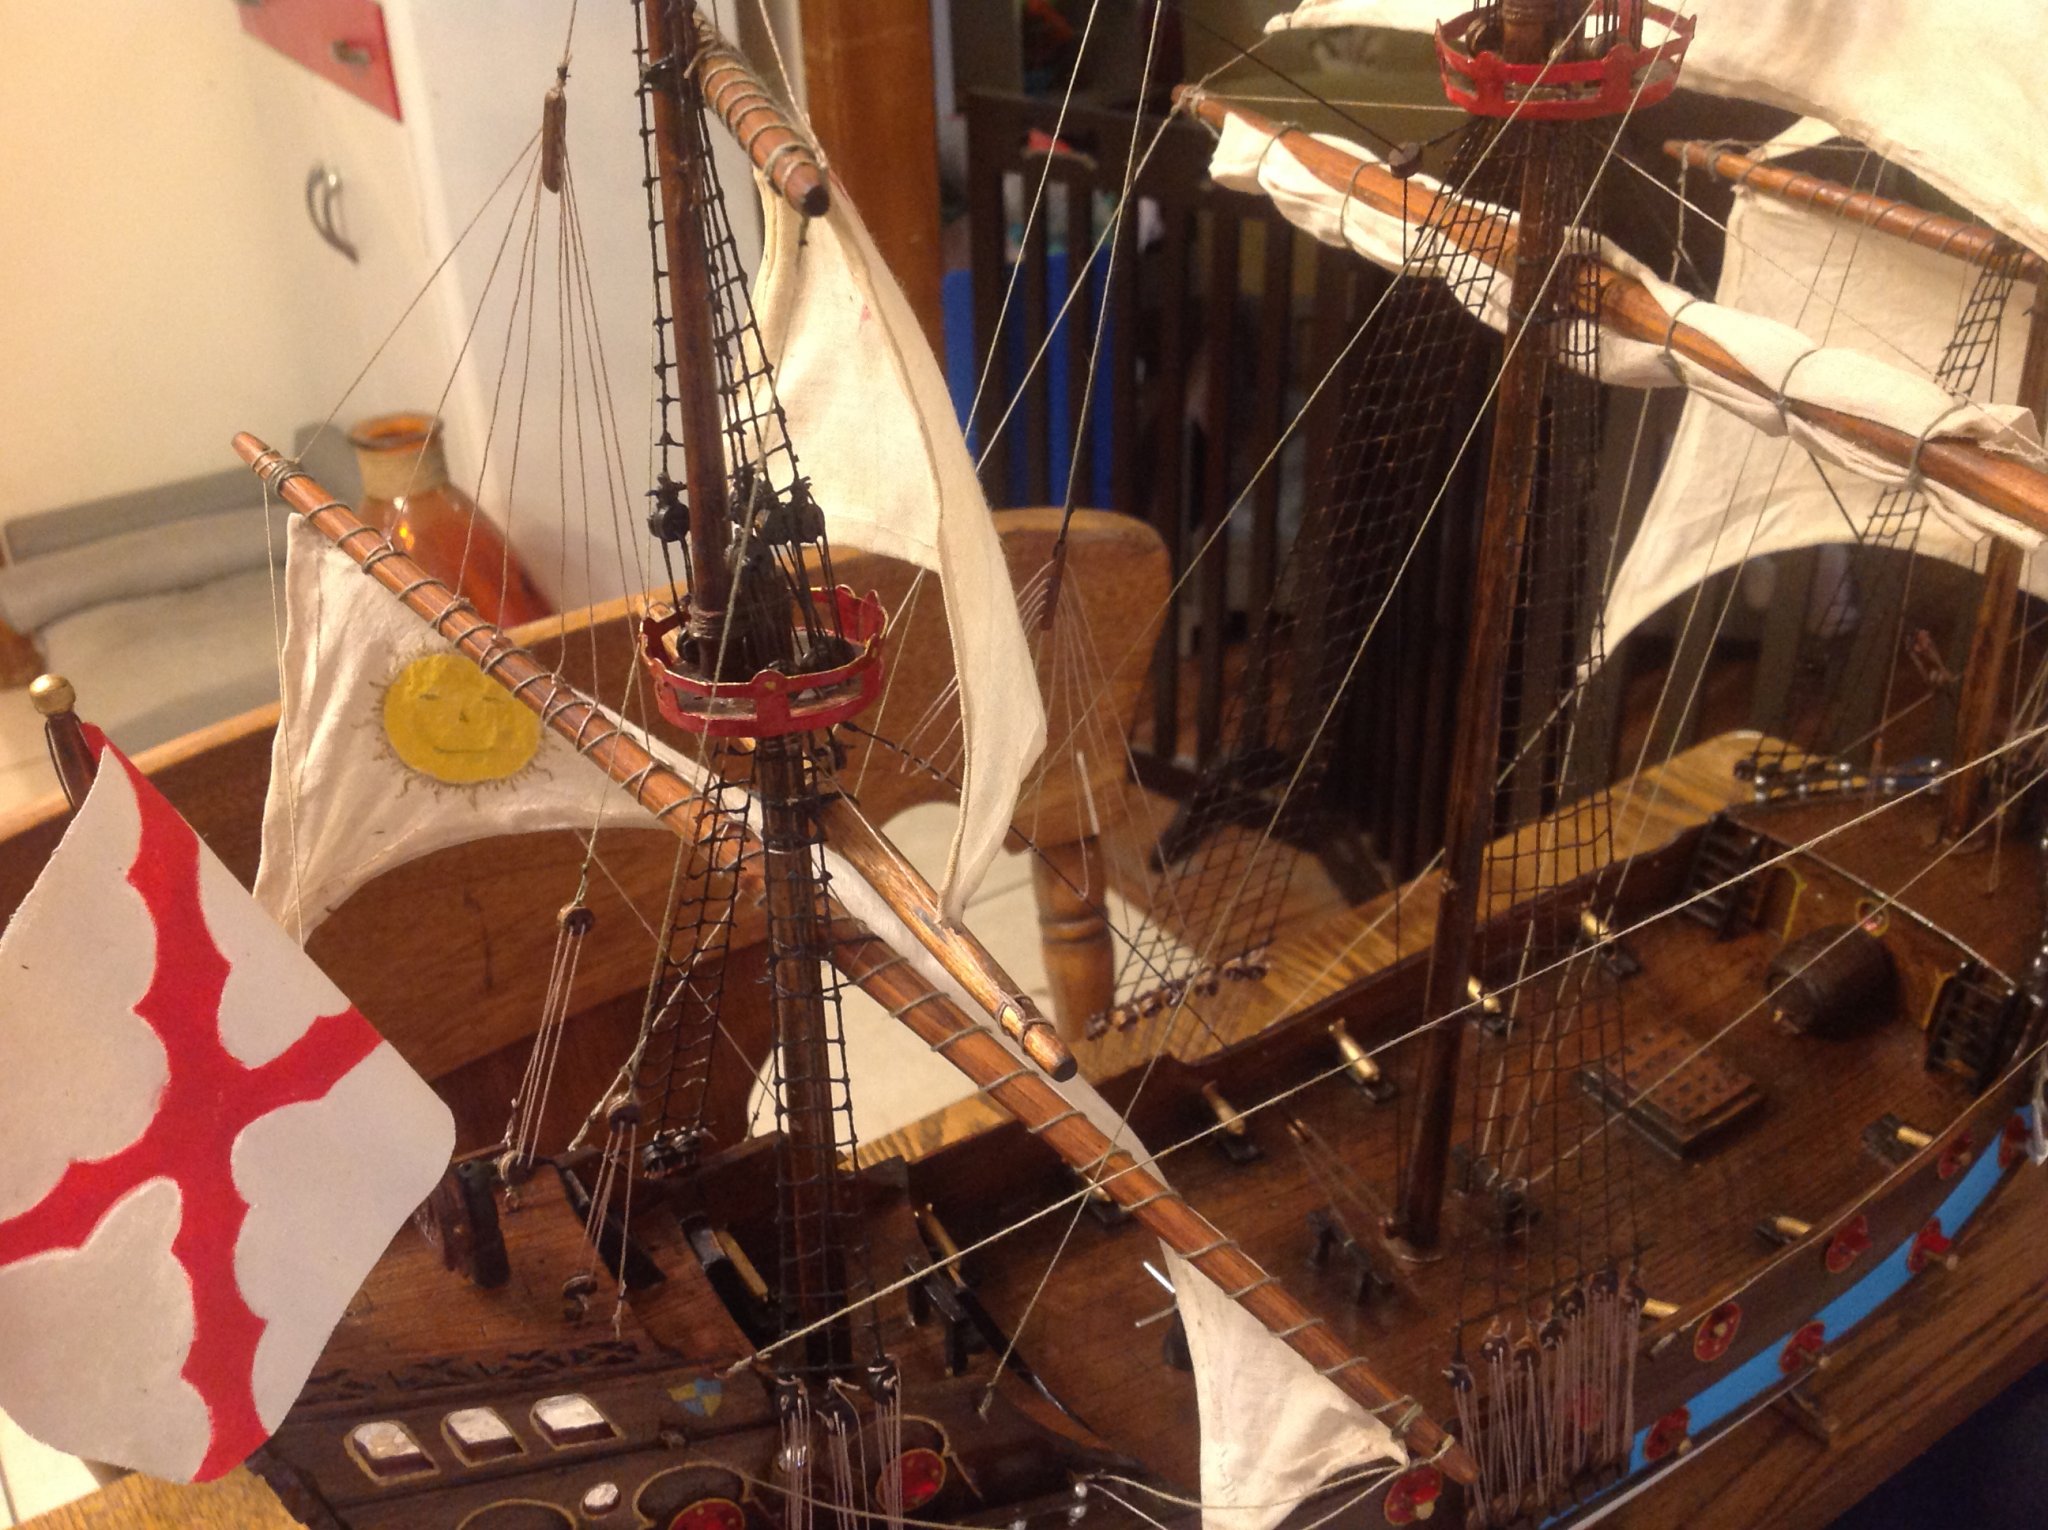
I am completing work on the structure of the ship. To recap the actual steps: careful cleaning with soap was followed by clearing the old lines and loose parts. A plastic scraper, a child toothbrush, cotton swabs and 0000 steel wool worked for loosening dirt, layers of old sealer, and excess glue. Cutting a piece off the steel wool pad and grasping it with tweezers is more effective and less destructive than just attacking with the whole pad. Cannon were sanded and painted. Gallery, ladders, capstans, and headboard were removed to avoid damage and provide more access for prep. Cracks were filled and sanded, splits were mended. The deck, bulwarks and walls were scrubbed enough to see wood grain again. But not down to bare wood. This brought out nice details and preserved a patina. Enamel paint was used to brighten ornamentation where it had dulled. Glass beads used in the rails and were chipped or peeling. Swishing them in thinner cleaned them. Then paint and reassembling completed them. Gun wreaths had warped, cracked, and torn. They, with all the loose, removed items are replaced. A clear, satin polyurethane sealer is applied per instructions.
- 31 replies
-
- 2
-
-
- galleon
- restoration
- (and 2 more)
-
I am completing work on the structure of the ship. To recap the actual steps: careful cleaning with soap was followed by clearing the old lines and loose parts. A plastic scraper, a child toothbrush, cotton swabs and 0000 steel wool worked for loosening dirt, layers of old sealer, and excess glue. Cutting a piece off the steel wool pad and grasping it with tweezers is more effective and less destructive than just attacking with the whole pad. Cannon were sanded and painted. Gallery, ladders, capstans, and headboard were removed to avoid damage and provide more access for prep. Cracks were filled and sanded, splits were mended. The deck, bulwarks and walls were scrubbed enough to see wood grain again. But not down to bare wood. This brought out nice details and preserved a patina. Enamel paint was used to brighten ornamentation where it had dulled. Glass beads used in the rails and were chipped or peeling. Swishing them in thinner cleaned them. Then paint and reassembling completed them. Gun wreaths had warped, cracked, and torn. They, with all the loose, removed items are replaced. A clear, satin sealer was applied. IMG_0780.HEIC IMG_0781.HEIC
- 31 replies
-
- 4
-
-
- galleon
- restoration
- (and 2 more)
-
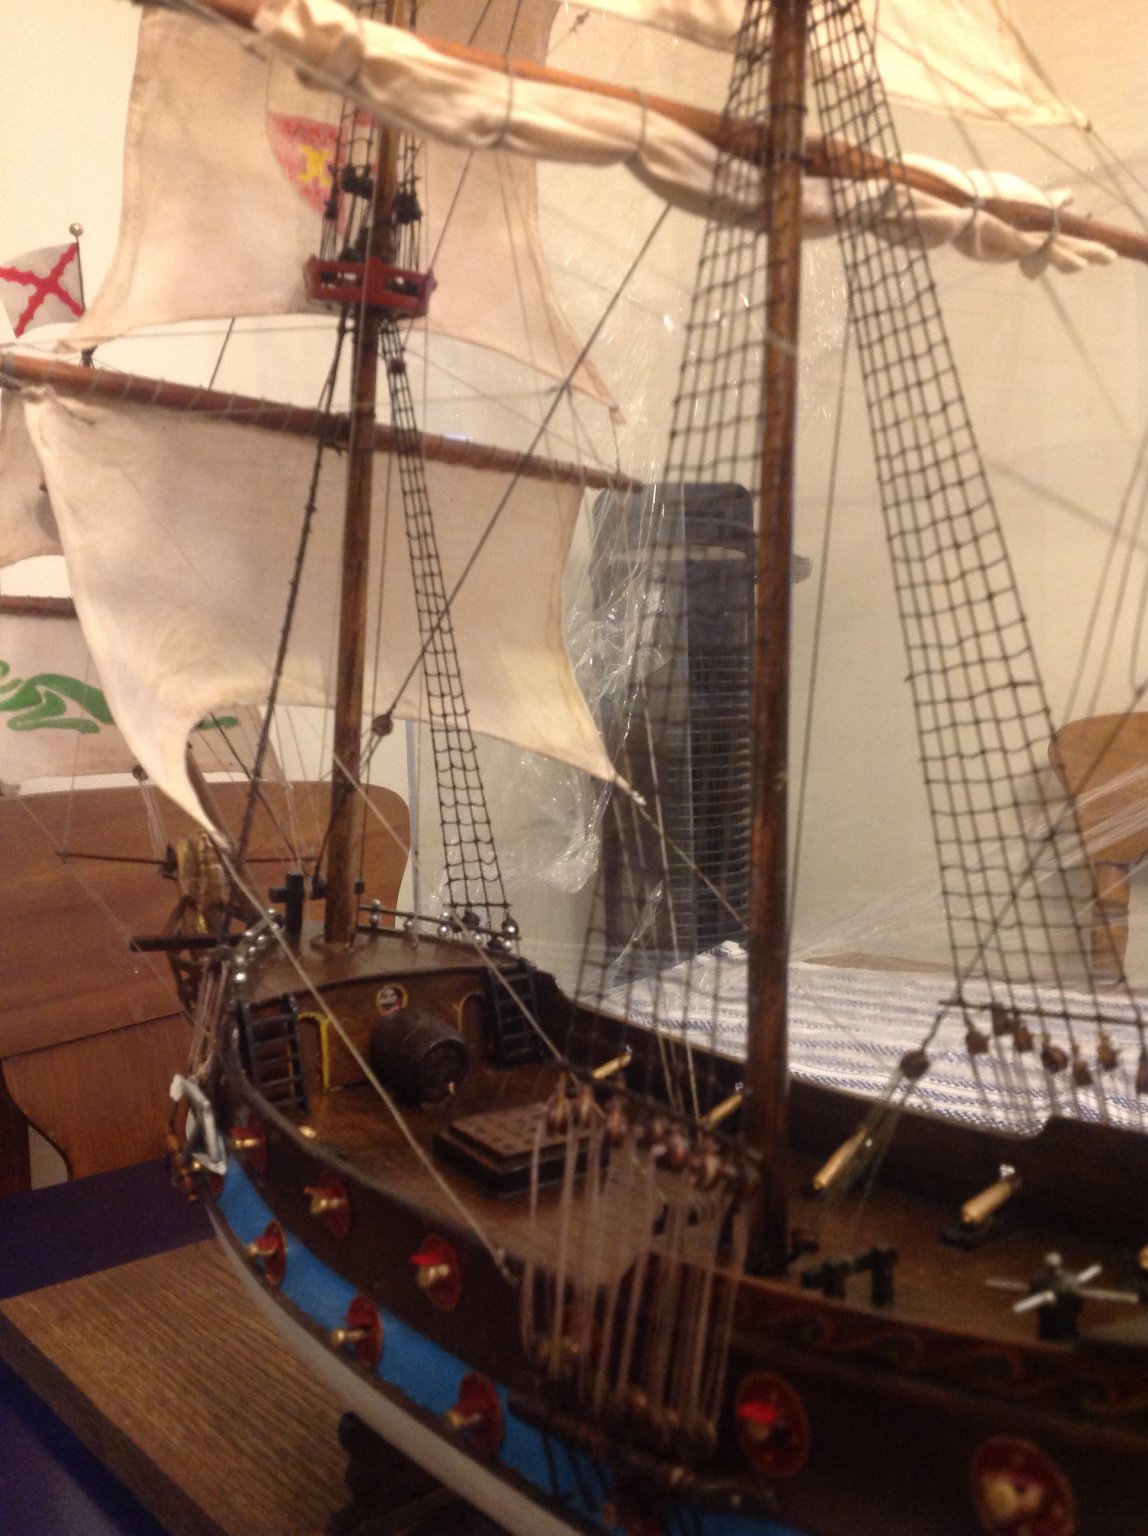
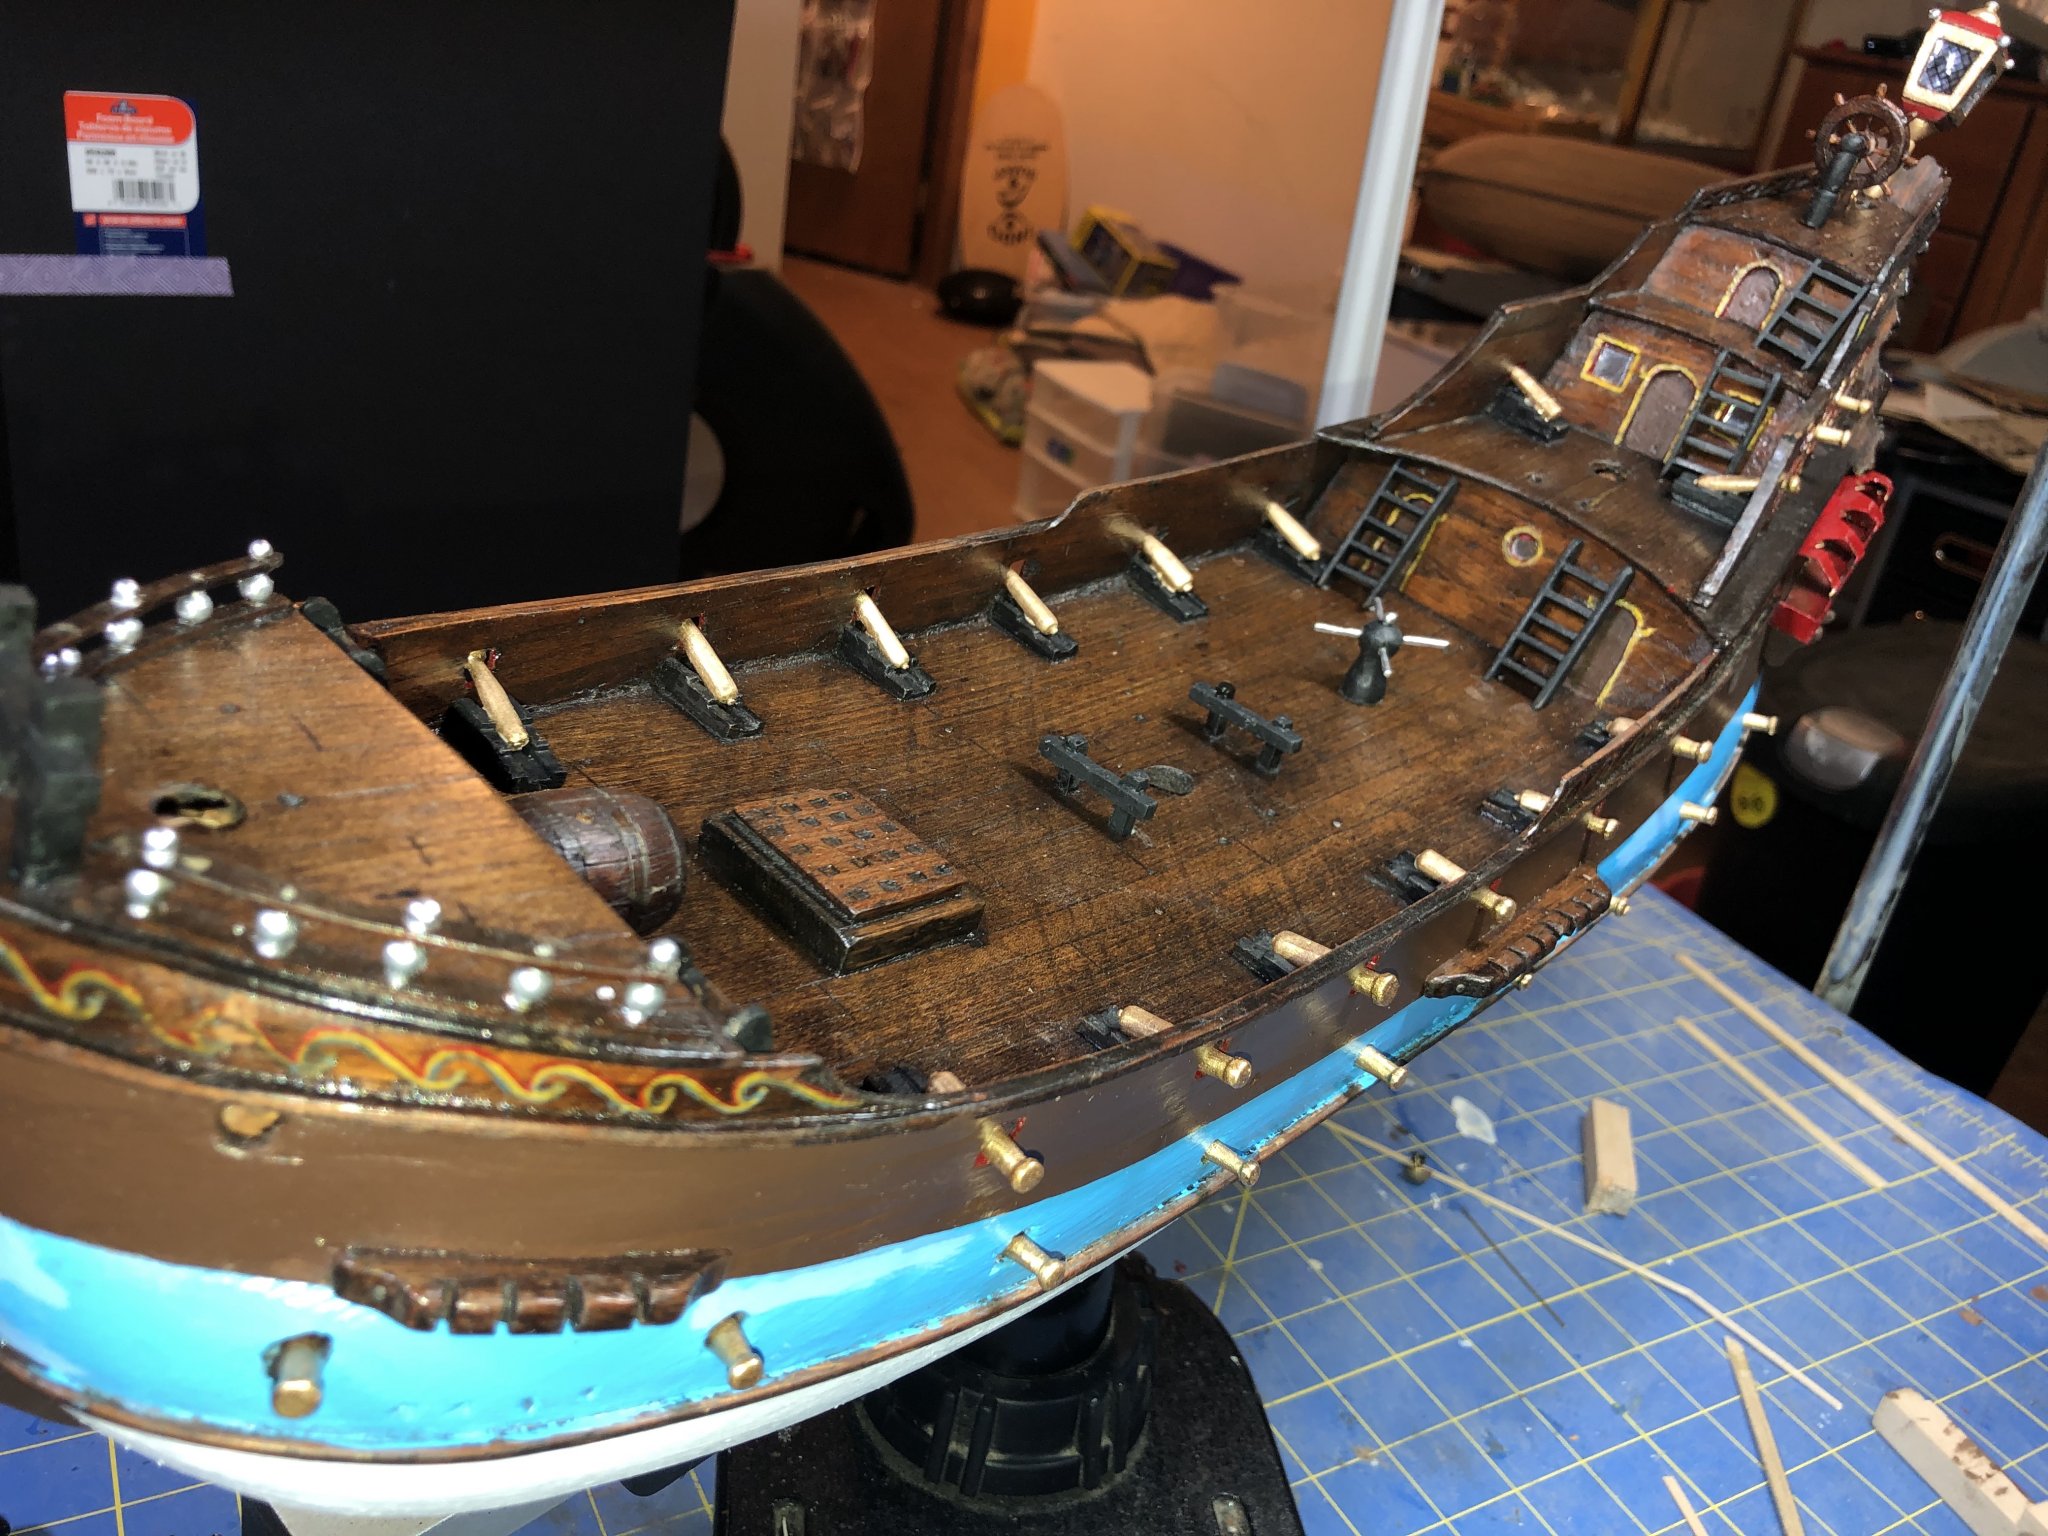
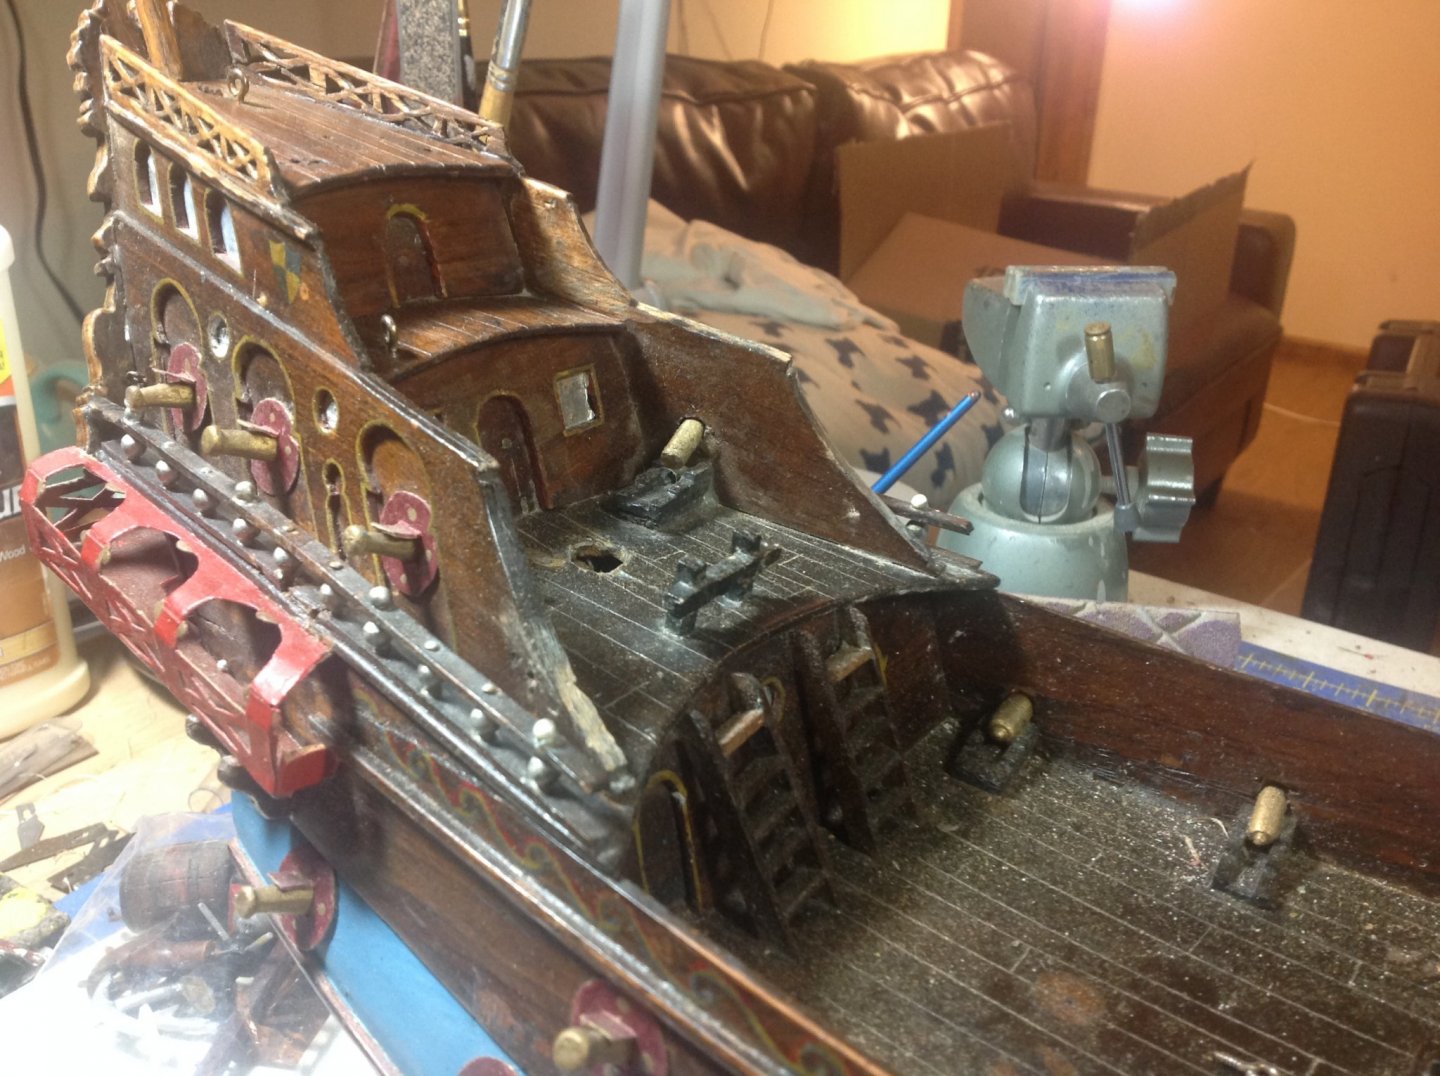
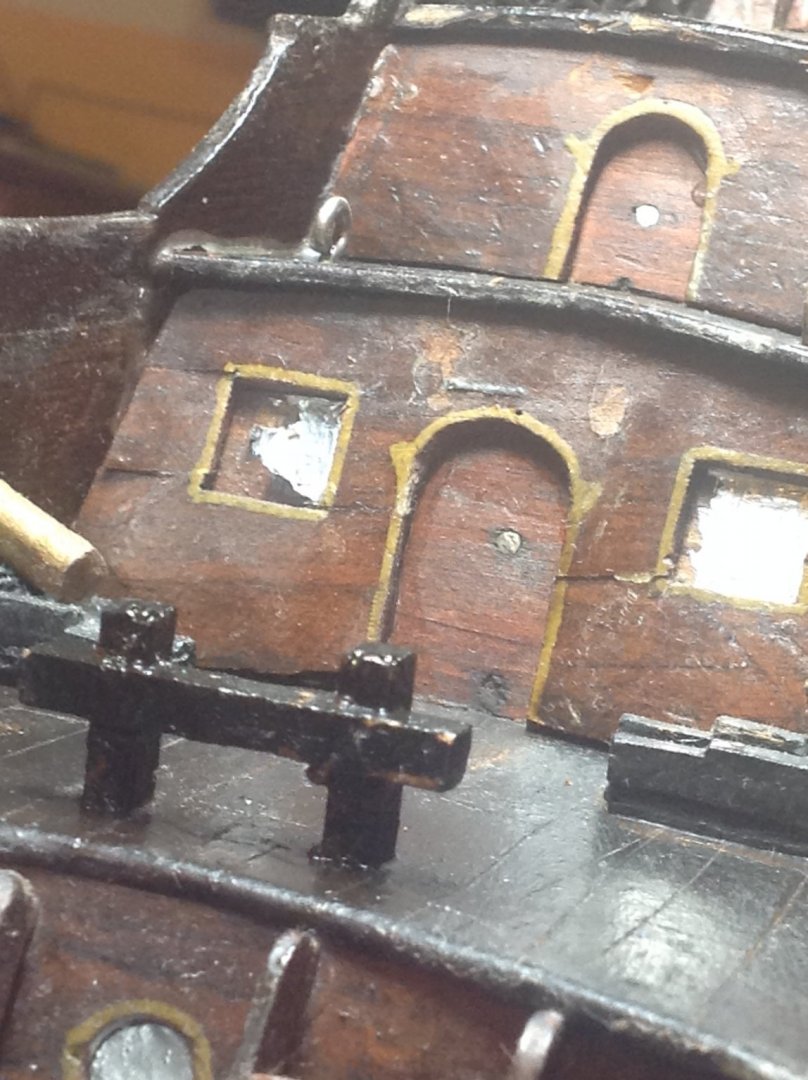
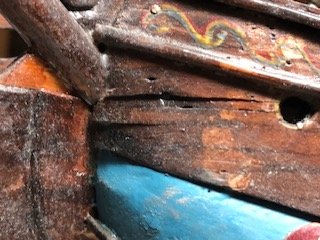
The ship has significant lacquer/stain build up. It is covering details of the original state. The question is the consistency of approach. That is, if I remove the coating from one area do I do it for the whole ship? The yards, bowsprit and decks are stripped, ready for finishing. The furniture will get a light stripping. My thought is to lightly run some furniture restorer,not stripper, across the outside of the ship where if is stained. That way I keep a layer of lacquer over the artwork. The outside will be darker than the decks but 1) it shows the old and new,2) shows off the woodworking excellence, and 3) provides contrast in different sections of the ship encouraging more interest. Two photos above this entry is a shot that illustrates the different artwork and differences in the reconditioned vs received areas of the deck. I welcome any any opinions or ideas.
- 31 replies
-
- 1
-
-
- galleon
- restoration
- (and 2 more)
-
Upon cleaning the deck, it became apparent that thick layers of stain had been applied to the deck. Probably an interim "spruce up". The ladders are also preventing a thorough access to surfaces. They will be removed and cleaned. I am working to carefully remove some of the stain without injuring the wood. I am pleased with the result but I anticipate that the cannon will be in the way too. I don't want to disturb them. Hmmmm I'll work around them for now. The first photo shows the difference in the top decks that are stripped and the "spruced up" deck surfaces. I keep running into small splits and sprung wood. Under different conditions I might replace the affected areas but under the given guidelines I will only reglue, sand, fill and smooth to the extent the original blemishes are rectified.
- 31 replies
-
- 7
-
-
- galleon
- restoration
- (and 2 more)
-
Thanks, all
-
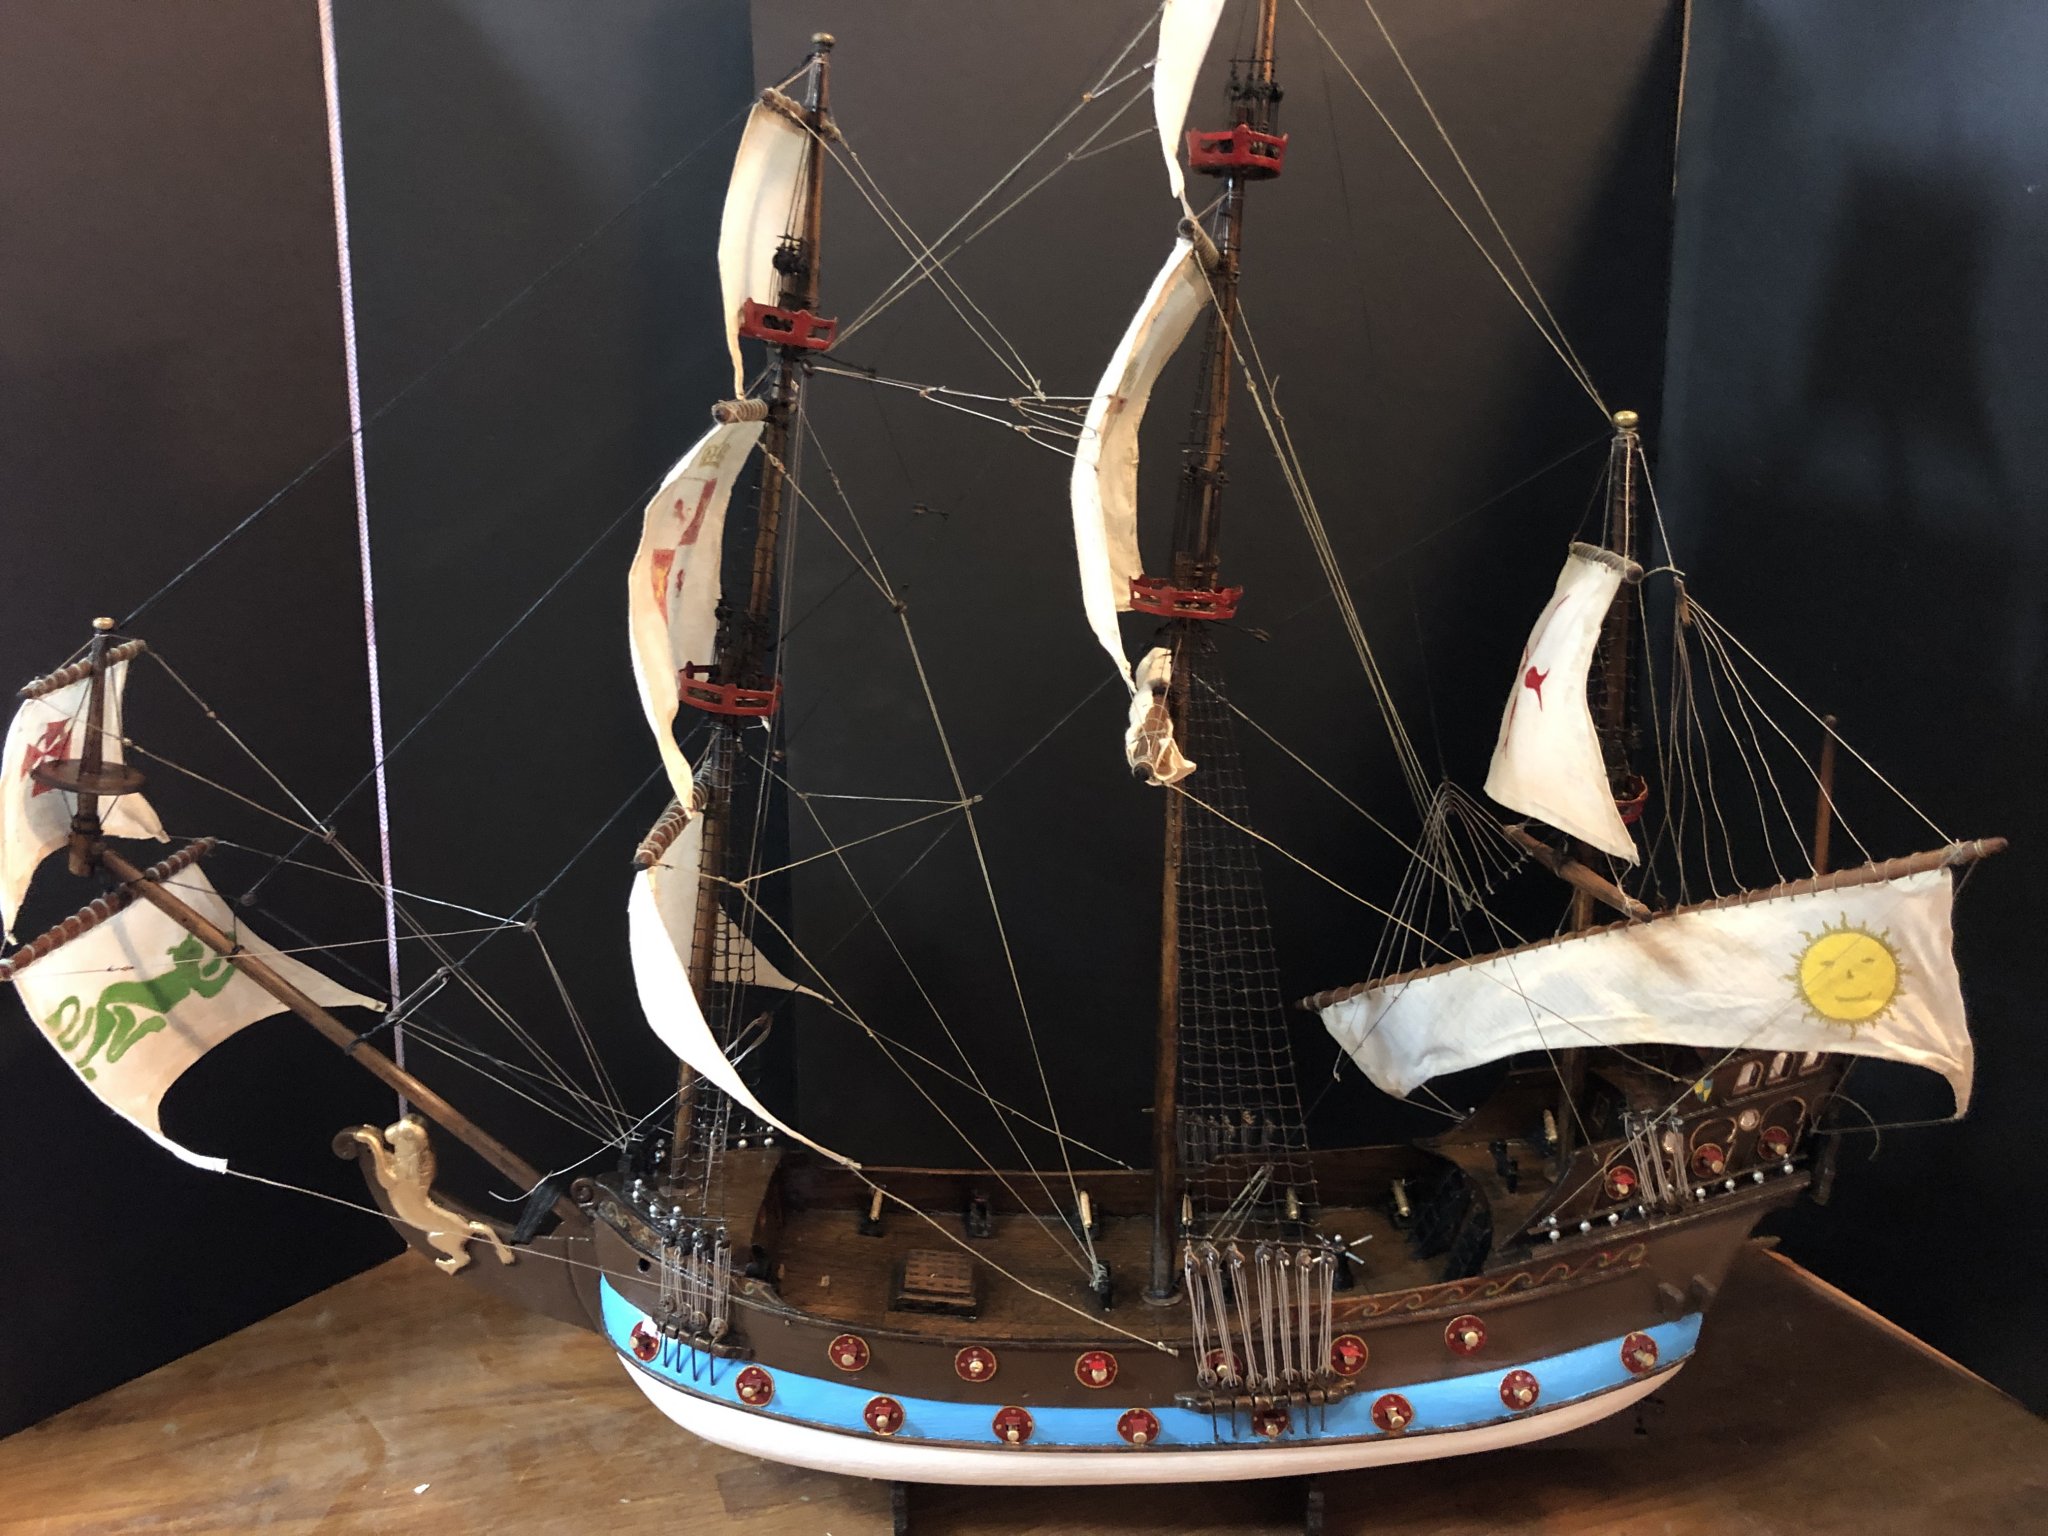
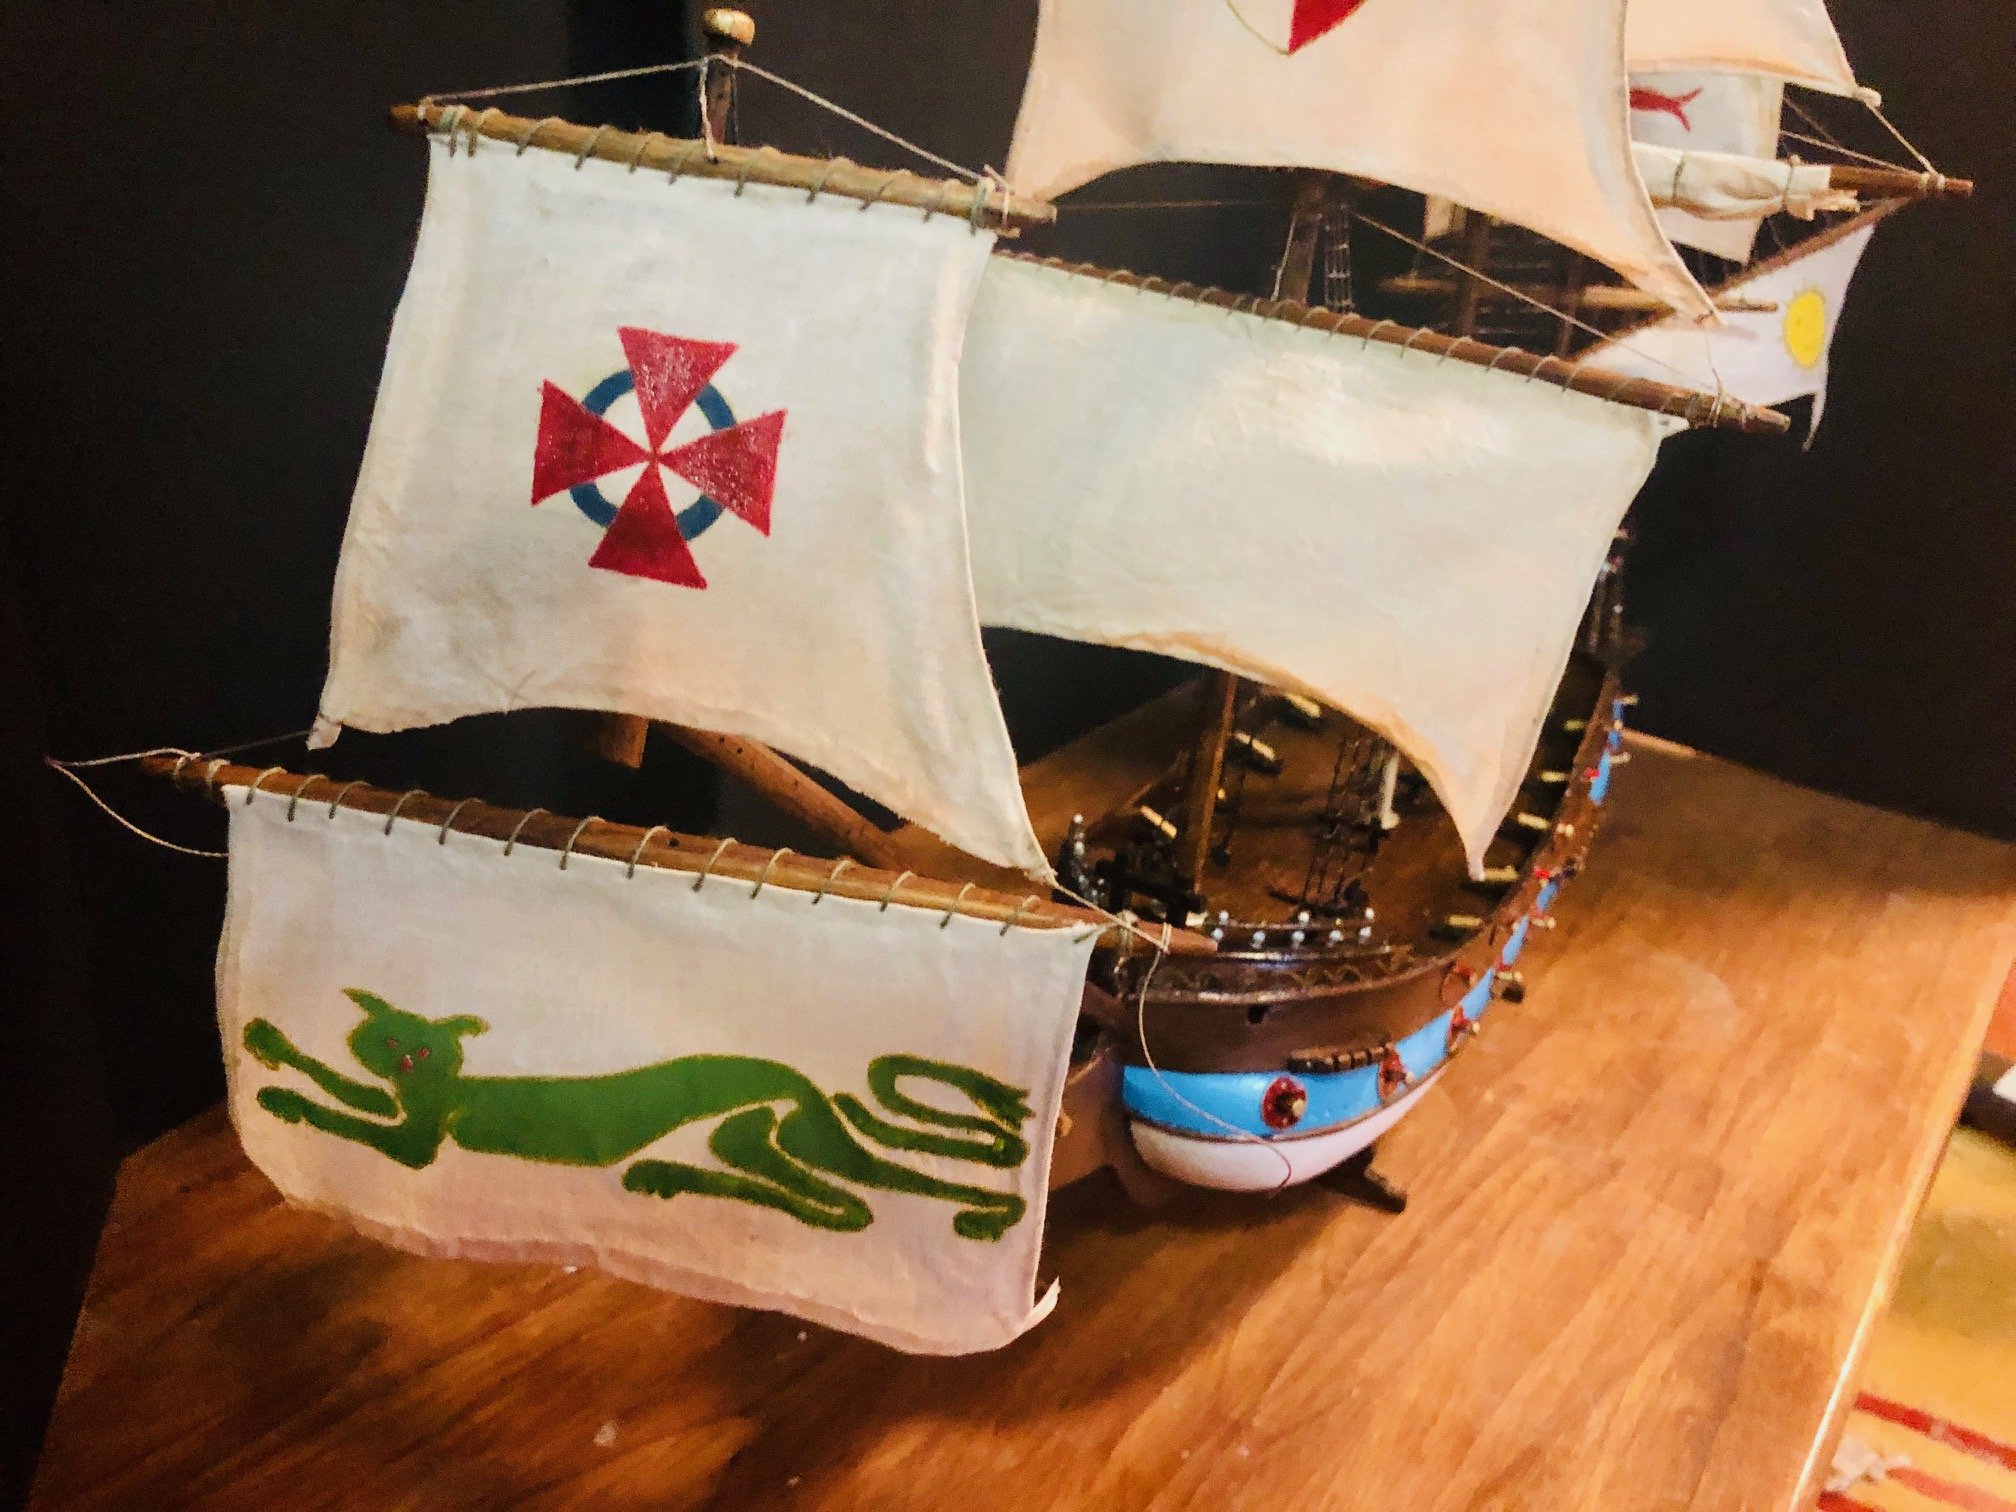
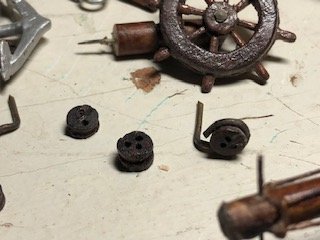
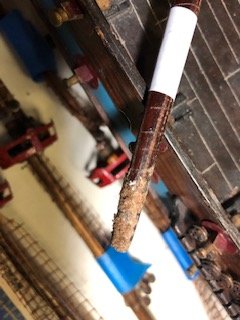
Before beginning it was important to establish ground rules for the restoration. It’s too easy to jump in to such a project and find myself rebuilding the model instead of restoring it. I decided on 4 parameters: Maintain the approach originally used in the build; Conserve carvings and woodwork to extent possible; Use as much of original material as possible, and the rework will be bounded by the Popular Science instructions and plans (nothing extra). After photographing and developing my approach, I started the disassembly process. Since all rigging will be reworked, most of it was removed. The ratlines were still viable so those will be kept. All the handmade deadeyes were cleaned and collected. I found that the masts and some furniture was loose so they were removed for cleaning and resetting. All masts and yards were stripped of glued-on line. The builder used drilled holes in the yards and masts as belaying points. That led to some chipping damage, especially on the yard ends. I built up those areas by pressing glue laden walnut sawdust onto the ends. When it hardens and I refinish the yard I should have good material to work with. The lookout platforms are fenced. I thought it was metal but it is cardstock. Ninety year old cardstock is brittle! I think the paint is the only thing keeping it together. This will be a major concern as we progress. It is inevitable that damage is discovered. There are a couple of places where a repair will have to be considered. The main top fore mast was broken at the base. A nail had been used to set it but the dowel split. I reset it and repaired the split. The ship got its first dusting and next it will be cleaned.
- 31 replies
-
- 8
-
-
- galleon
- restoration
- (and 2 more)
-
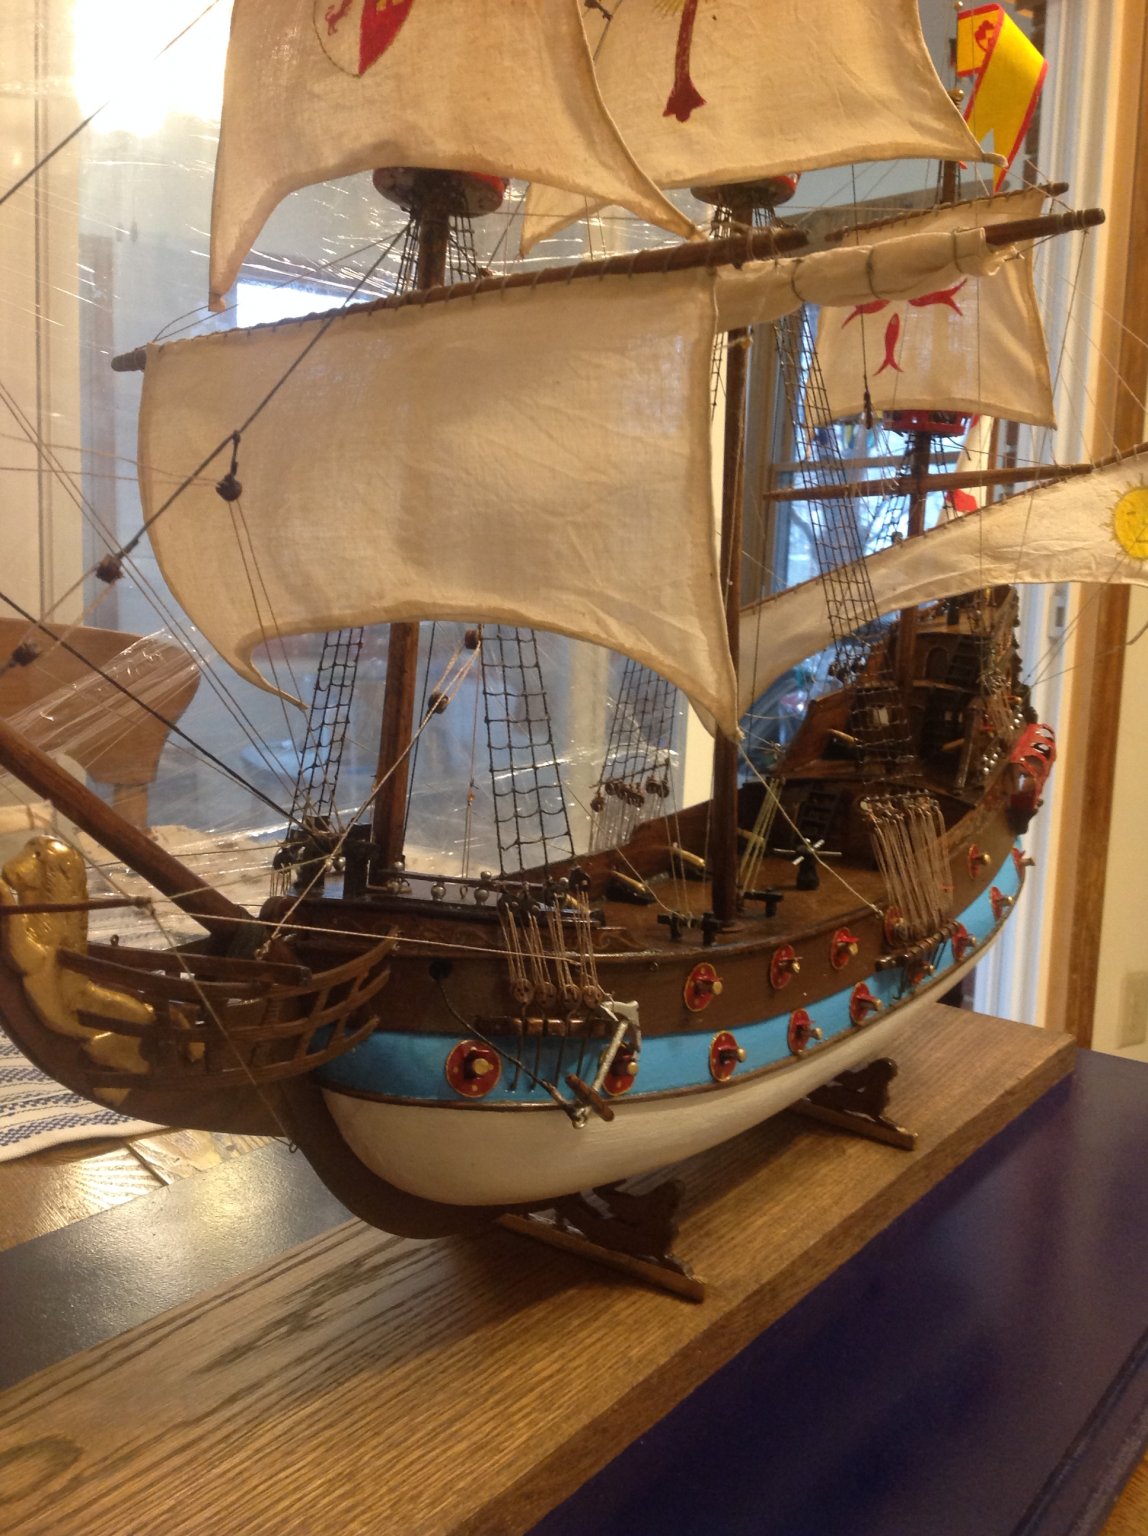
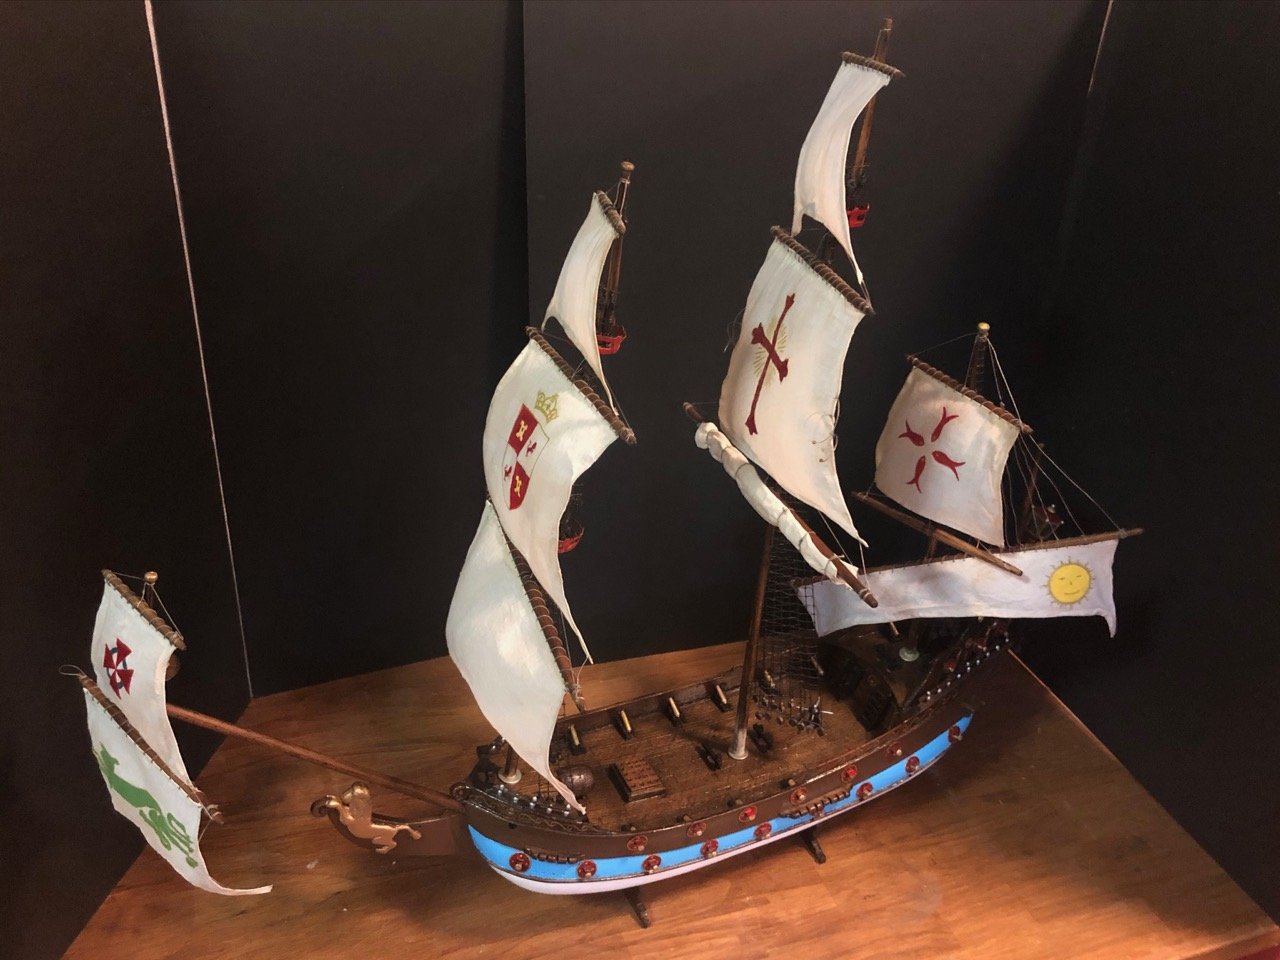
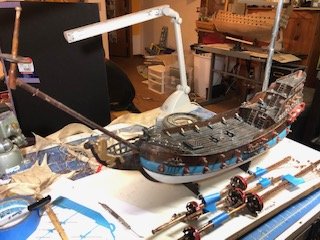
Recently our club, Shipwrights of Central Ohio, was queried about restoring an old family heirloom. We were sent photos of a scratch built galleon with uniquely painted sails. The next day I was digging thru that "I'll get to this soon" pile of plans and I opened an envelope with plans from Popular Science, dated 1926. The picture of the finished ship on the instruction booklet reminded me of the photos we had seen at our meeting. After some quick phone conversations with my mates, I contacted the ship owners. The ship, the Nuesta Senora de Afortunado, had been built by their father in the thirties and refurbished by him in the seventies. The instructions confirmed that the plans I found were for the same ship---we had a million in one event! The owners and I transferred the ship at our Oct club meeting. We were all able to inspect the ship and compare it to the plans. We spent some time afterwards discussing the job and restoration philosophy. With plans and ship in hand the restoration starts.
- 31 replies
-
- 3
-
-
- galleon
- restoration
- (and 2 more)
-
Hello, Mark.Oregon is a far piece from Dayton. when ya moving back? We could use some more experience locally.
-
Hey, Bob. Welcome from Dayton. Don't be discouraged about your efforts. This is a relaxing, learning hobby where there are lots of great supporters and is a rewarding creative outlet for us all. Please share your progress and use the extensive forums for helpful advice. What part of Ohio are Ya from? Only 2 of us in Dayton to my knowledge. But a big group of members in Columbus. Welcome again.
-
Very inspiring build, Nils. The rivets alone would scare me off .....great perseverance. John
- 2,625 replies
-
- 5
-
-
- kaiser wilhelm der grosse
- passenger steamer
- (and 1 more)