
Paul Jarman
-
Posts
477 -
Joined
-
Last visited
1 Follower

Recent Profile Visitors
3,847 profile views


-
 Paul Jarman reacted to a post in a topic:
HMS Hood by Paul Jarman - FINISHED - Trumpeter - 1/200 Scale - PLASTIC
Paul Jarman reacted to a post in a topic:
HMS Hood by Paul Jarman - FINISHED - Trumpeter - 1/200 Scale - PLASTIC
-
Paul Jarman reacted to a post in a topic:
HMS Hood by Paul Jarman - FINISHED - Trumpeter - 1/200 Scale - PLASTIC
-
 Haliburton reacted to a post in a topic:
HMS Hood by Paul Jarman - FINISHED - Trumpeter - 1/200 Scale - PLASTIC
Haliburton reacted to a post in a topic:
HMS Hood by Paul Jarman - FINISHED - Trumpeter - 1/200 Scale - PLASTIC
-
 GrandpaPhil reacted to a post in a topic:
HMS Hood by Paul Jarman - FINISHED - Trumpeter - 1/200 Scale - PLASTIC
GrandpaPhil reacted to a post in a topic:
HMS Hood by Paul Jarman - FINISHED - Trumpeter - 1/200 Scale - PLASTIC
-
GrandpaPhil reacted to a post in a topic:
HMS Hood by Paul Jarman - FINISHED - Trumpeter - 1/200 Scale - PLASTIC
-
GrandpaPhil reacted to a post in a topic:
HMS Hood by Paul Jarman - FINISHED - Trumpeter - 1/200 Scale - PLASTIC
-
Ryland Craze reacted to a post in a topic:
HMS Hood by Paul Jarman - FINISHED - Trumpeter - 1/200 Scale - PLASTIC
-
Ryland Craze reacted to a post in a topic:
HMS Hood by Paul Jarman - FINISHED - Trumpeter - 1/200 Scale - PLASTIC
-
Ryland Craze reacted to a post in a topic:
HMS Hood by Paul Jarman - FINISHED - Trumpeter - 1/200 Scale - PLASTIC
-
Landlubber Mike reacted to a post in a topic:
HMS Hood by Paul Jarman - FINISHED - Trumpeter - 1/200 Scale - PLASTIC
-
Morgan reacted to a post in a topic:
HMS Hood by Paul Jarman - FINISHED - Trumpeter - 1/200 Scale - PLASTIC
-
ccoyle reacted to a post in a topic:
HMS Hood by Paul Jarman - FINISHED - Trumpeter - 1/200 Scale - PLASTIC
-
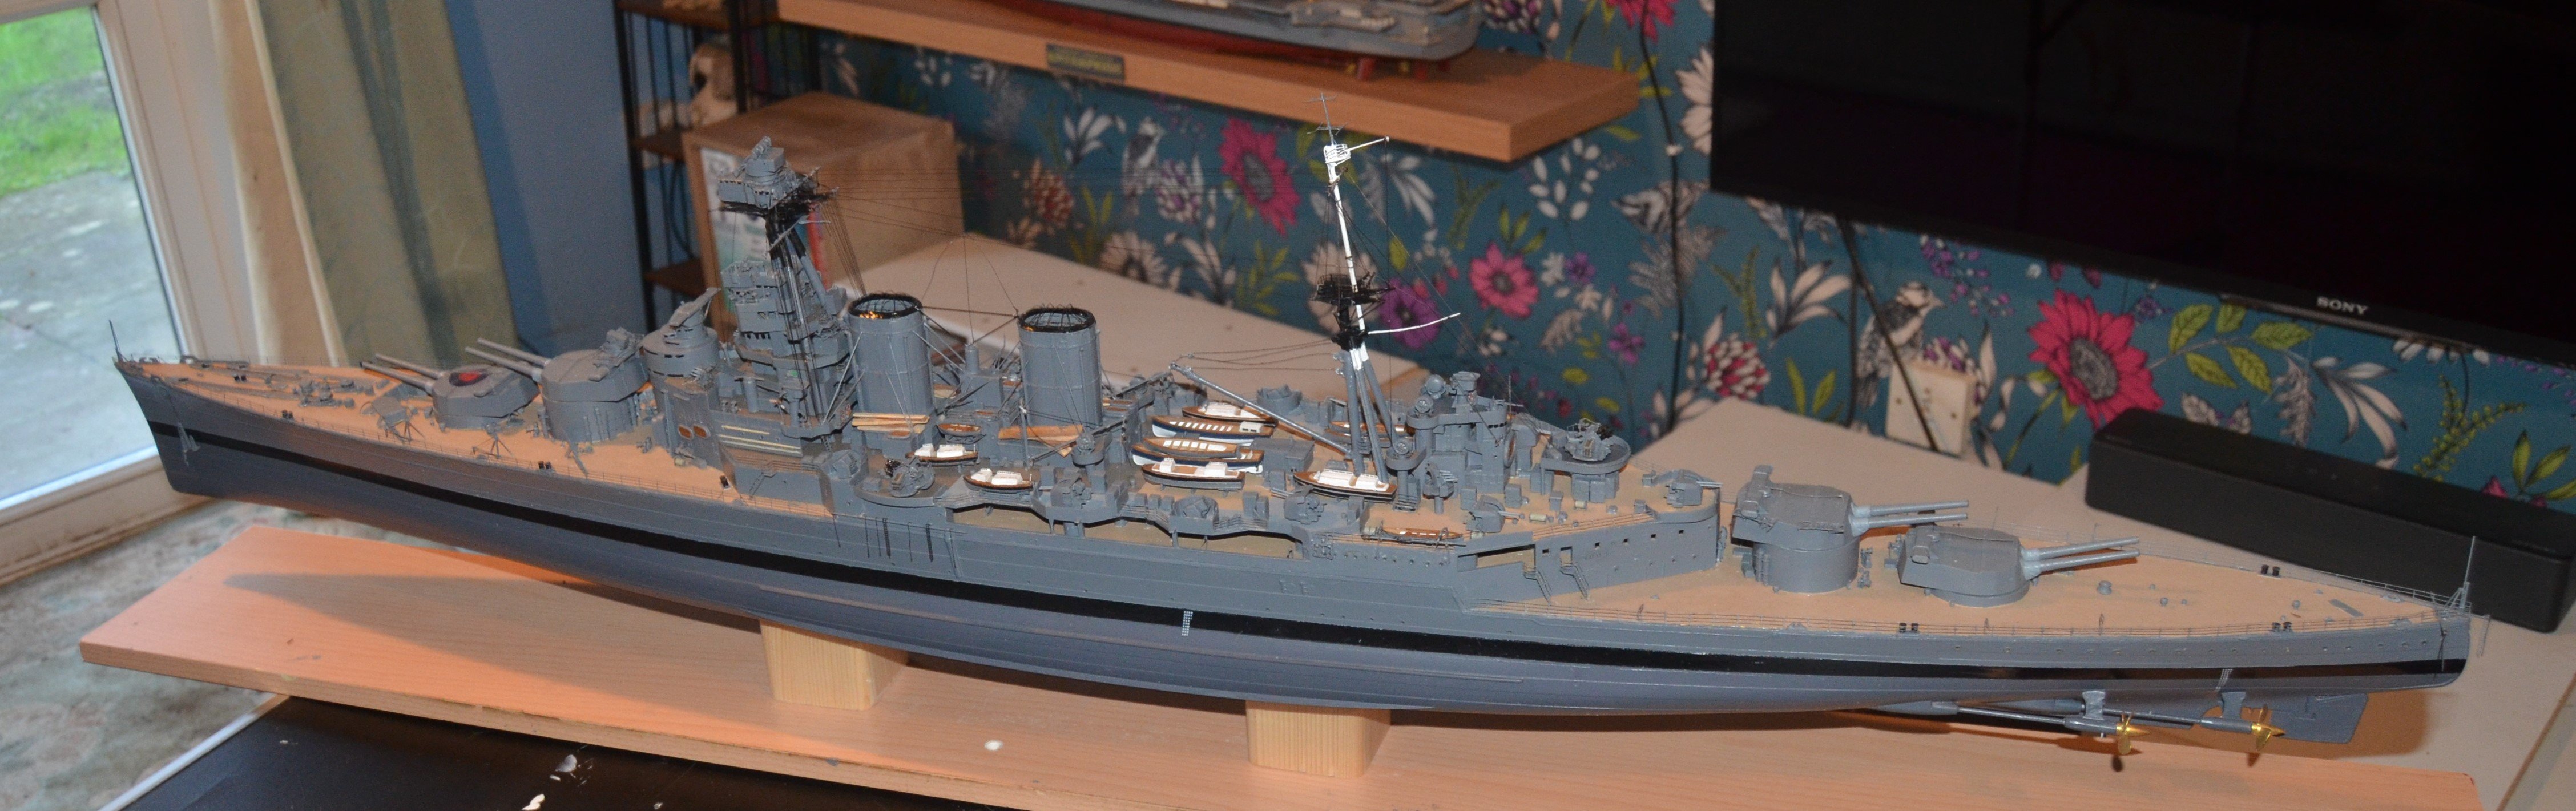
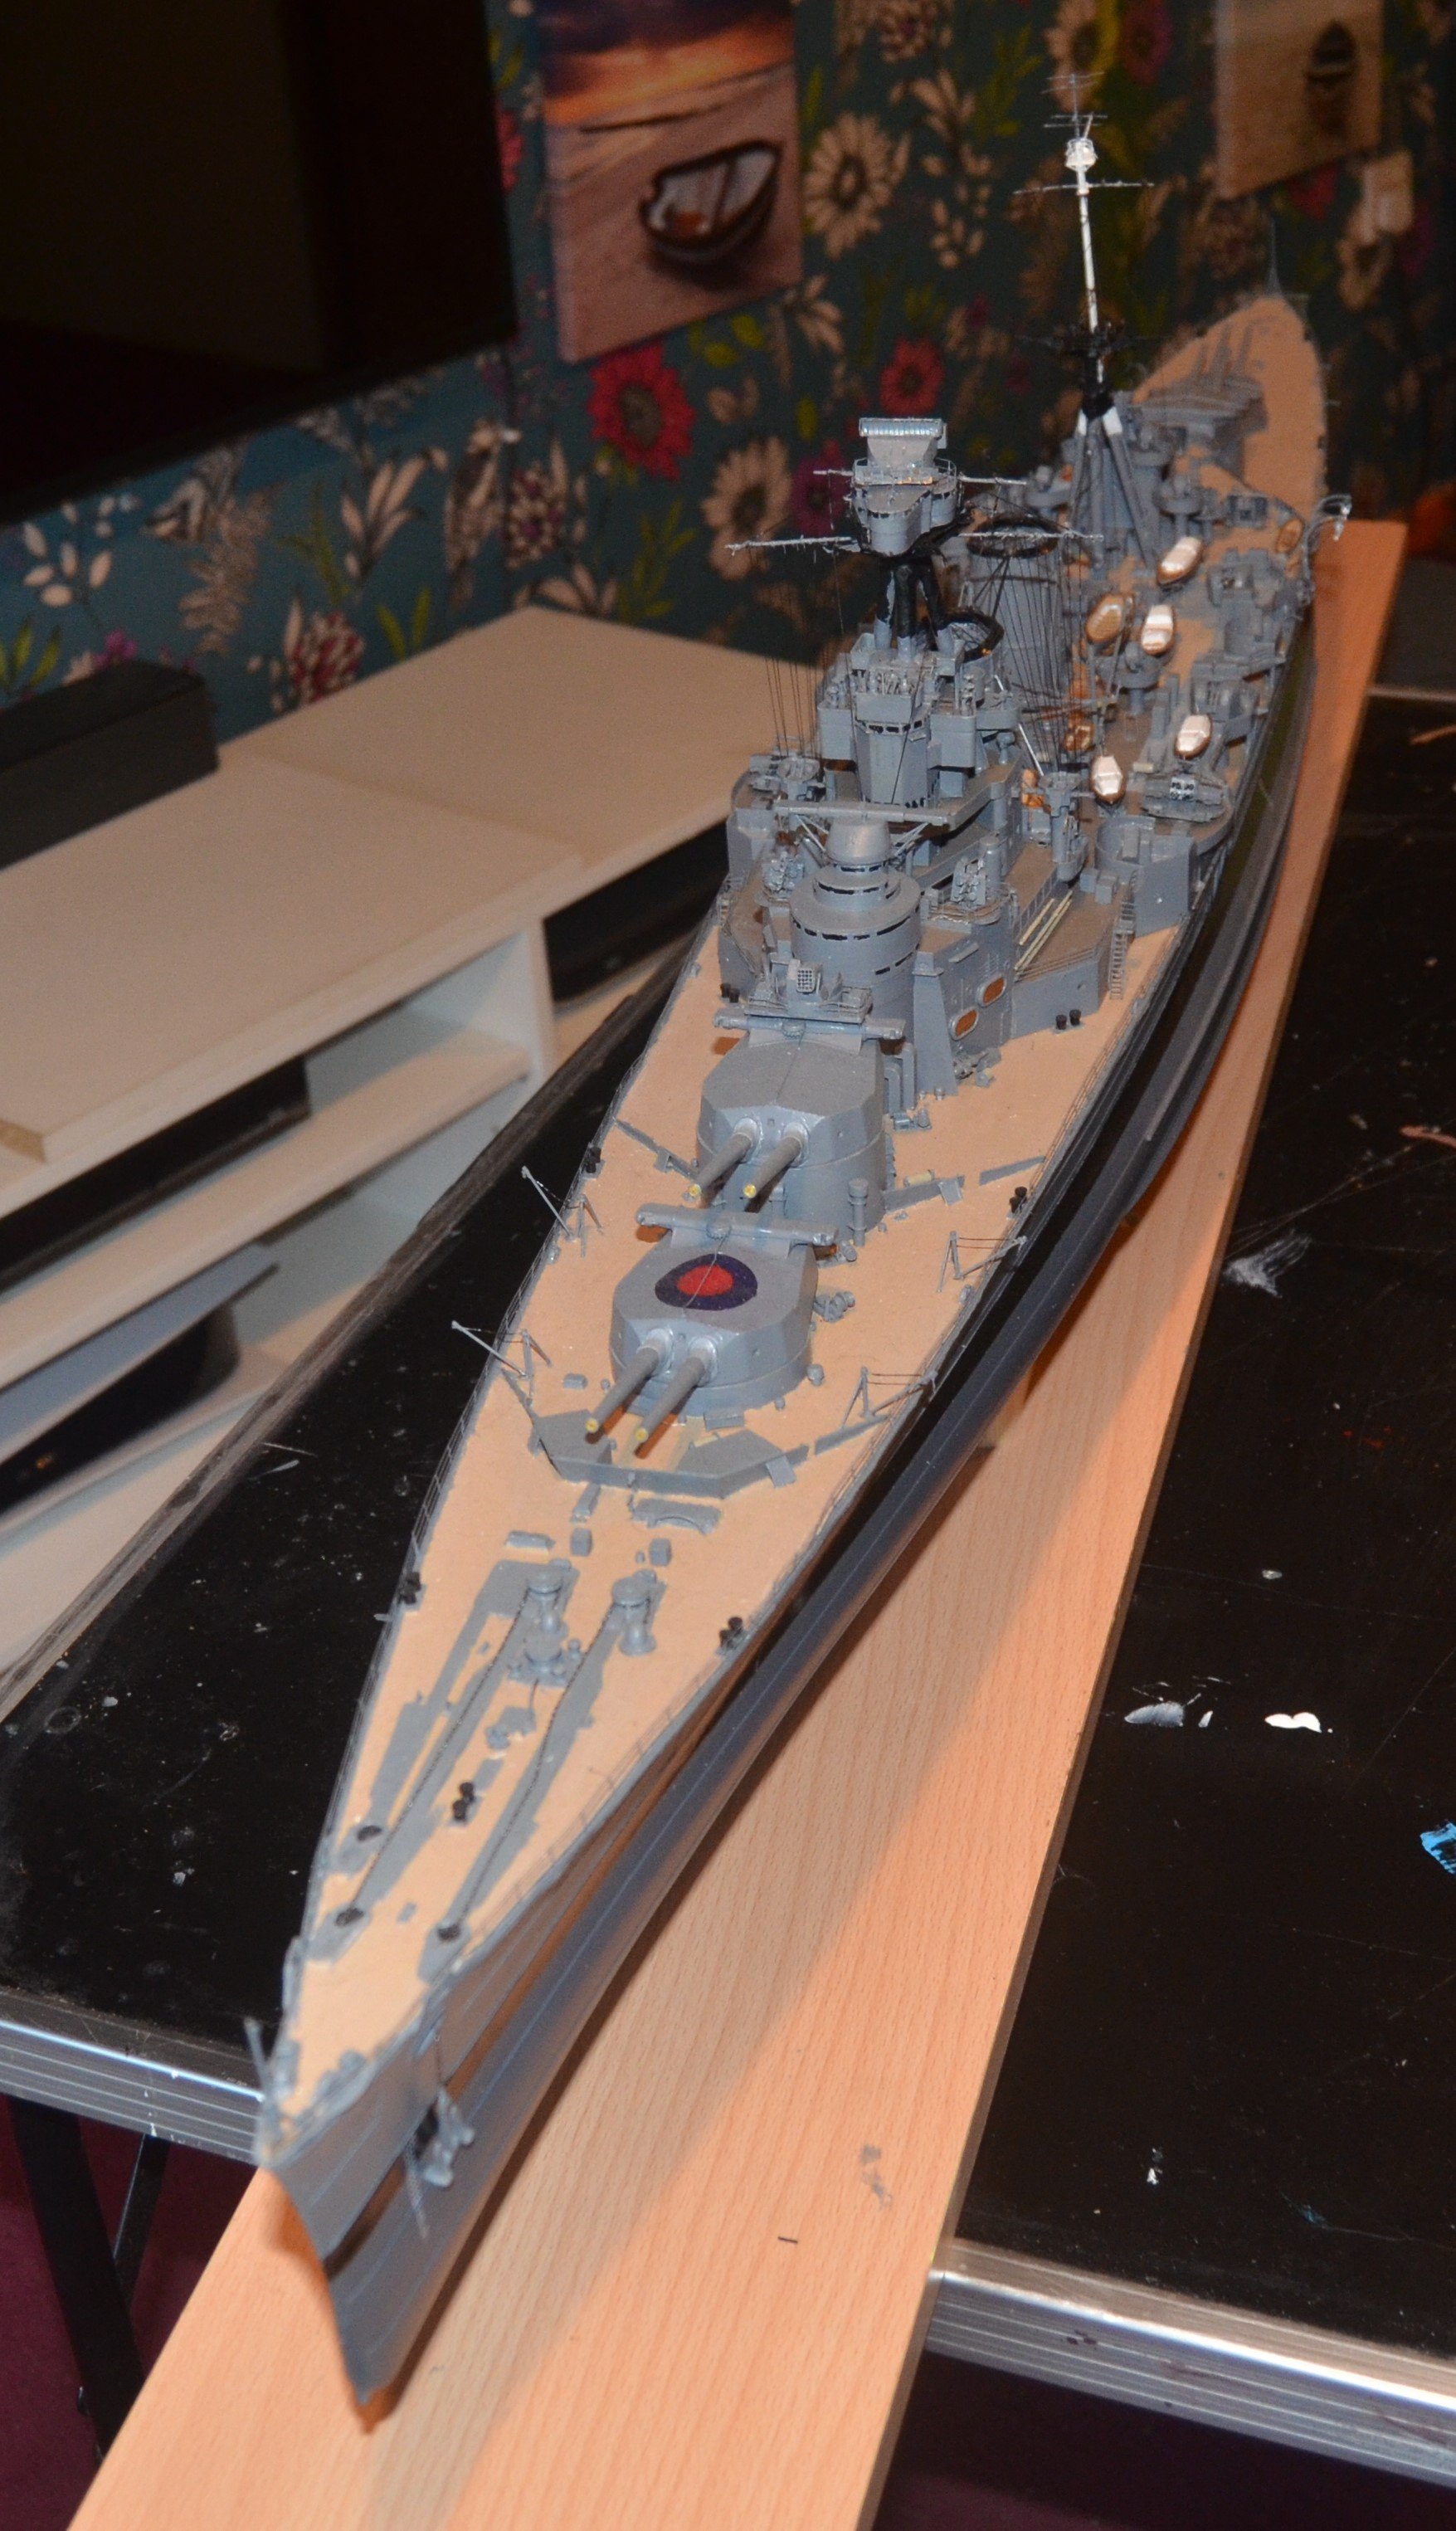
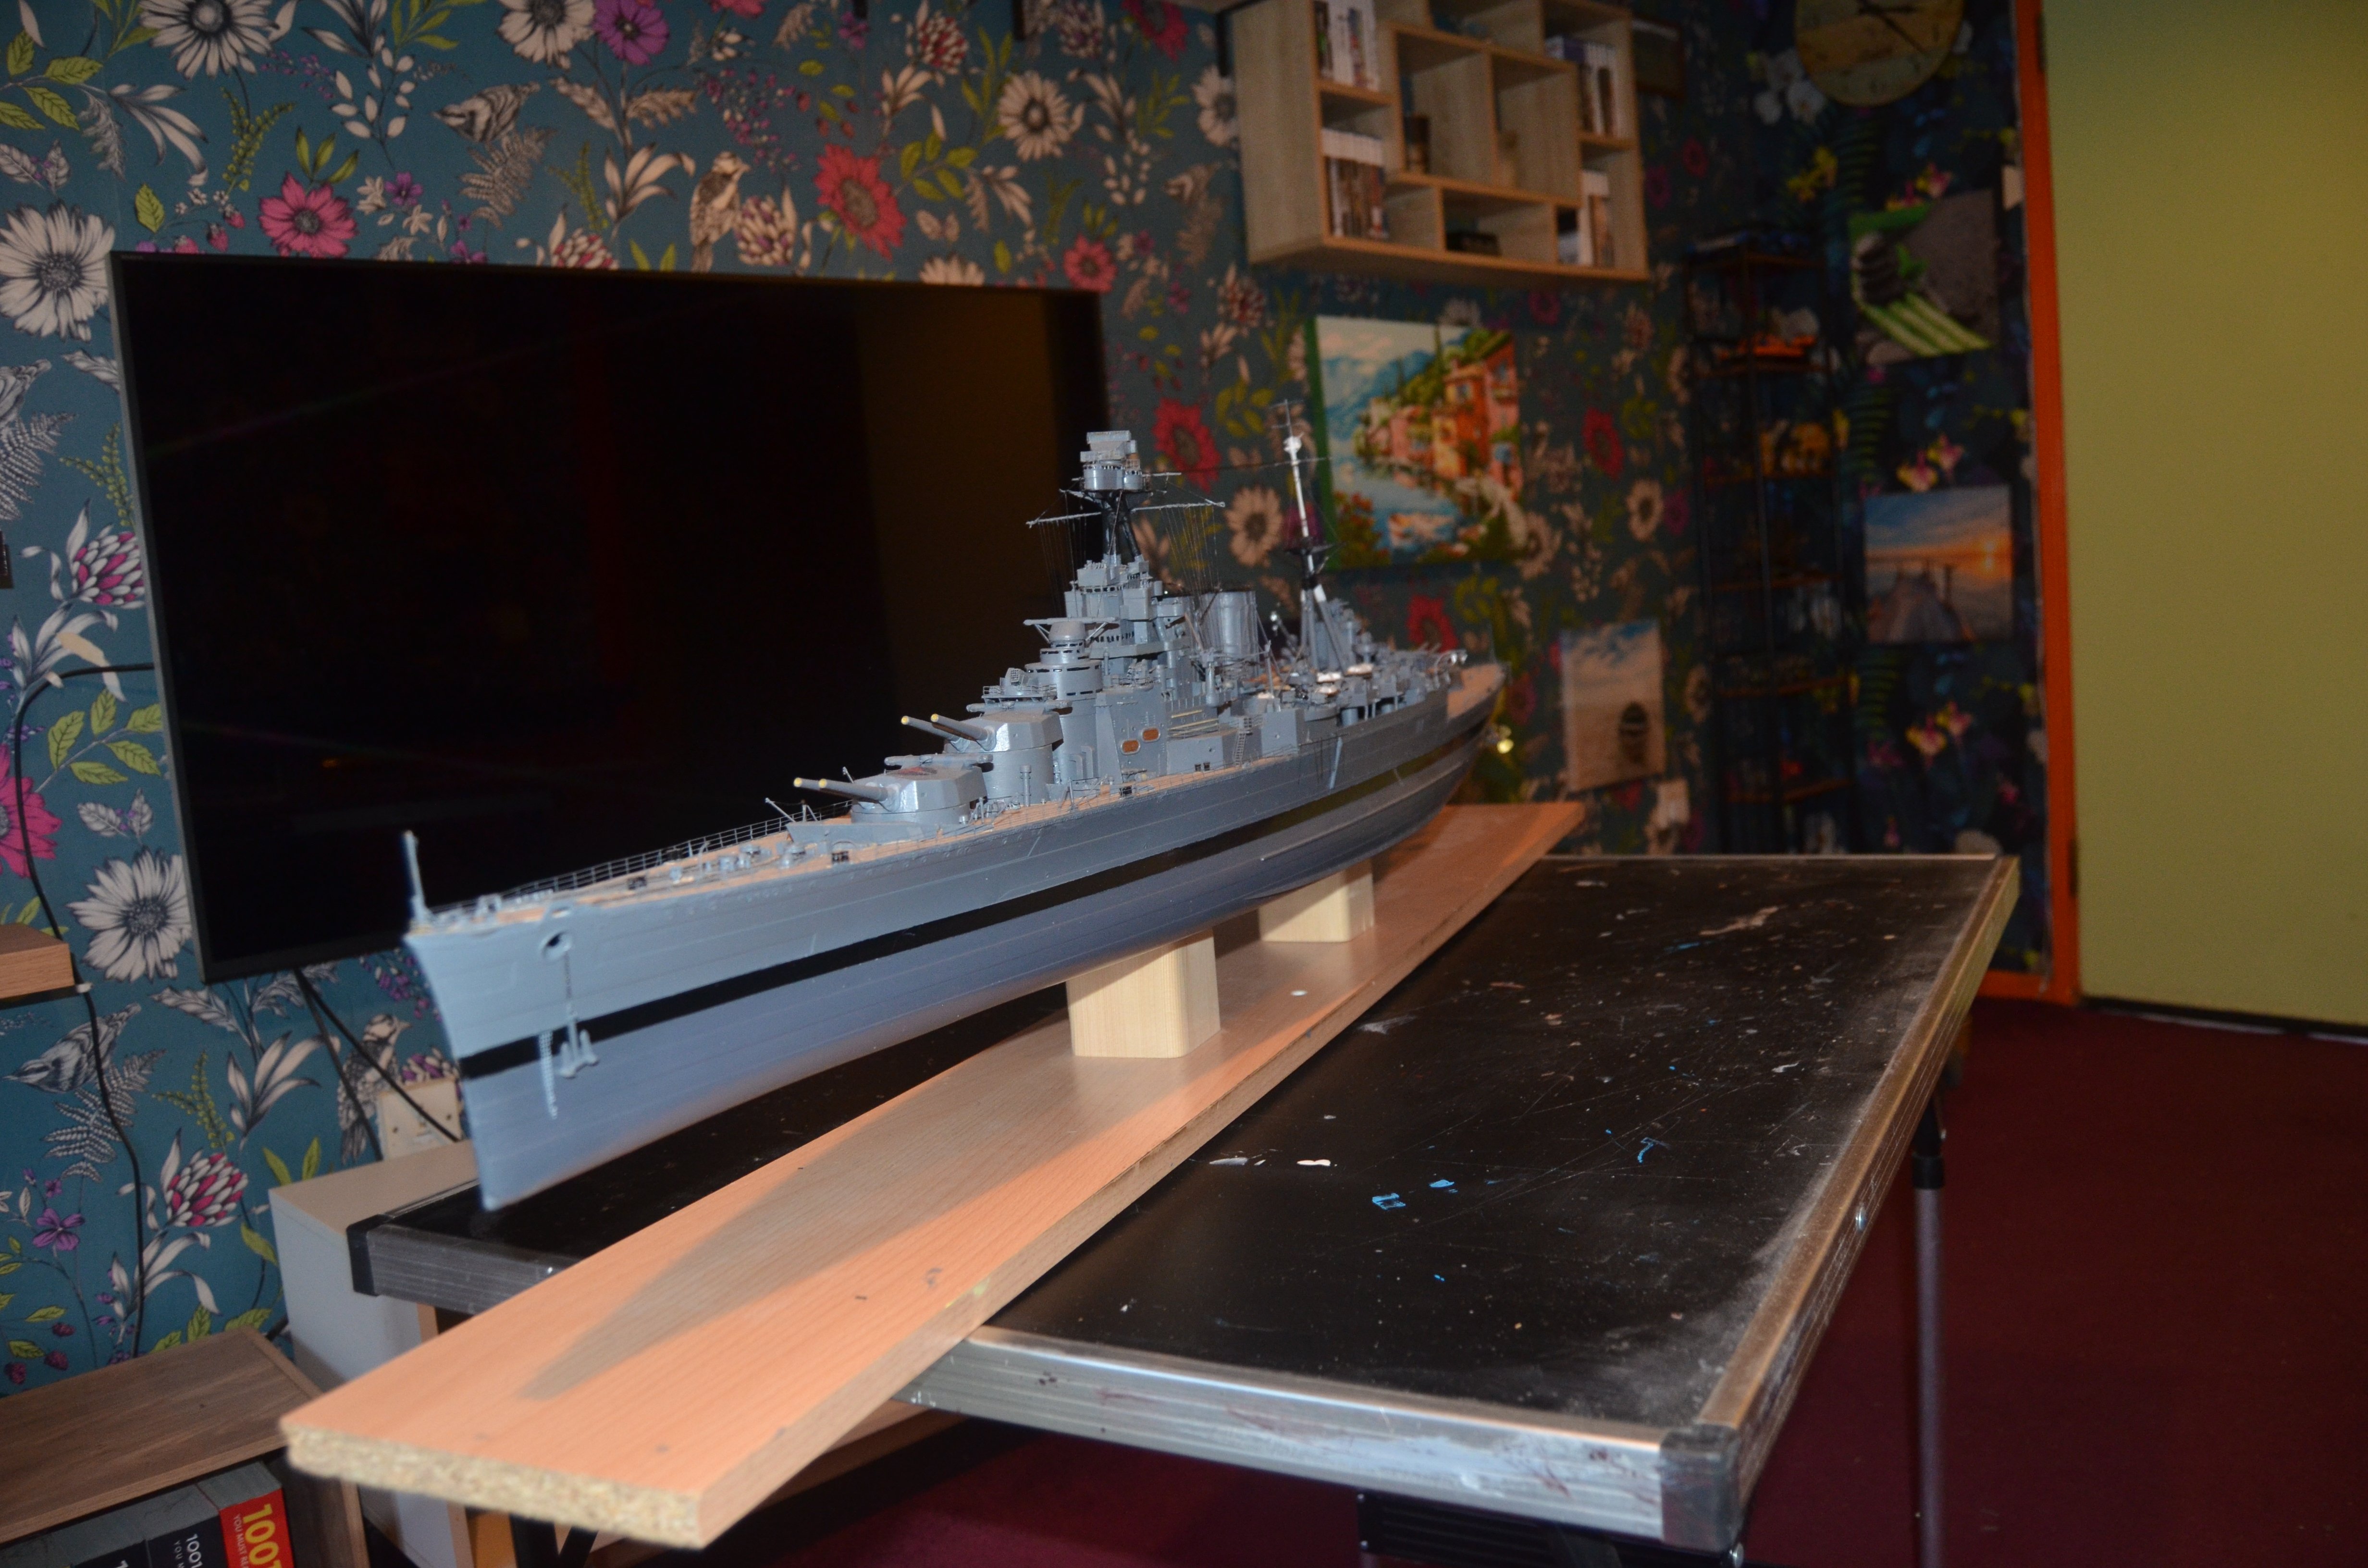
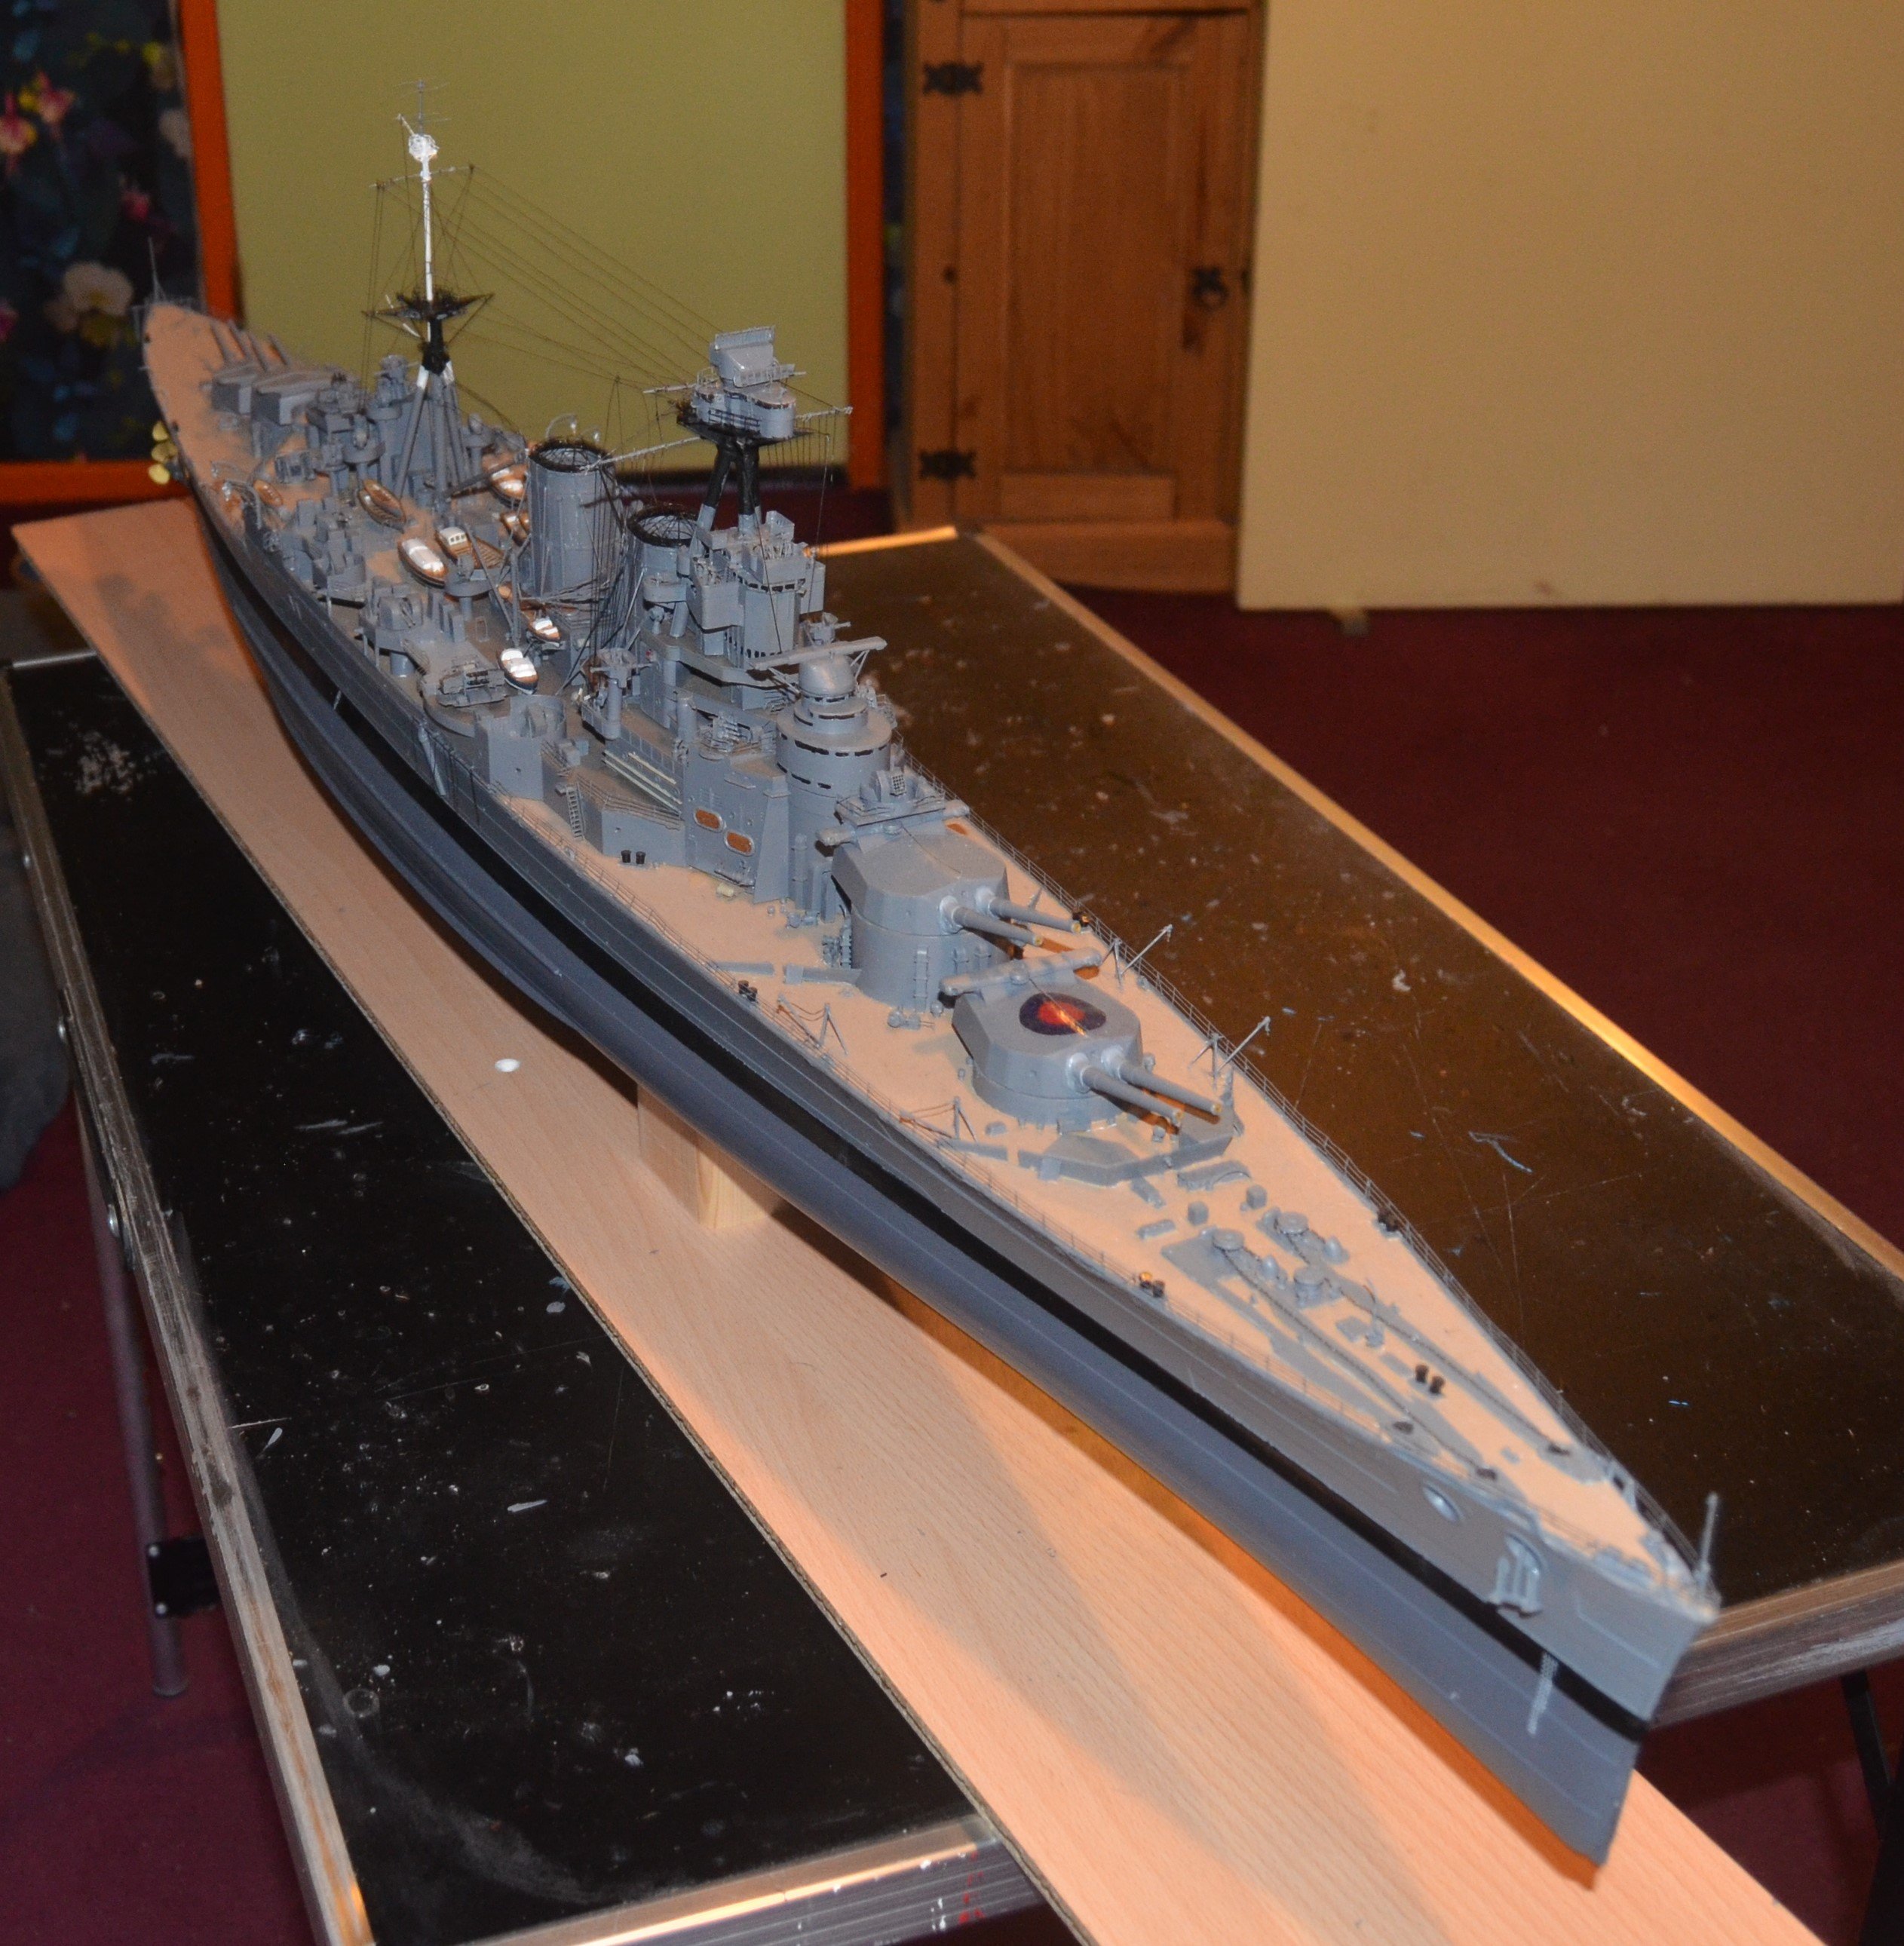
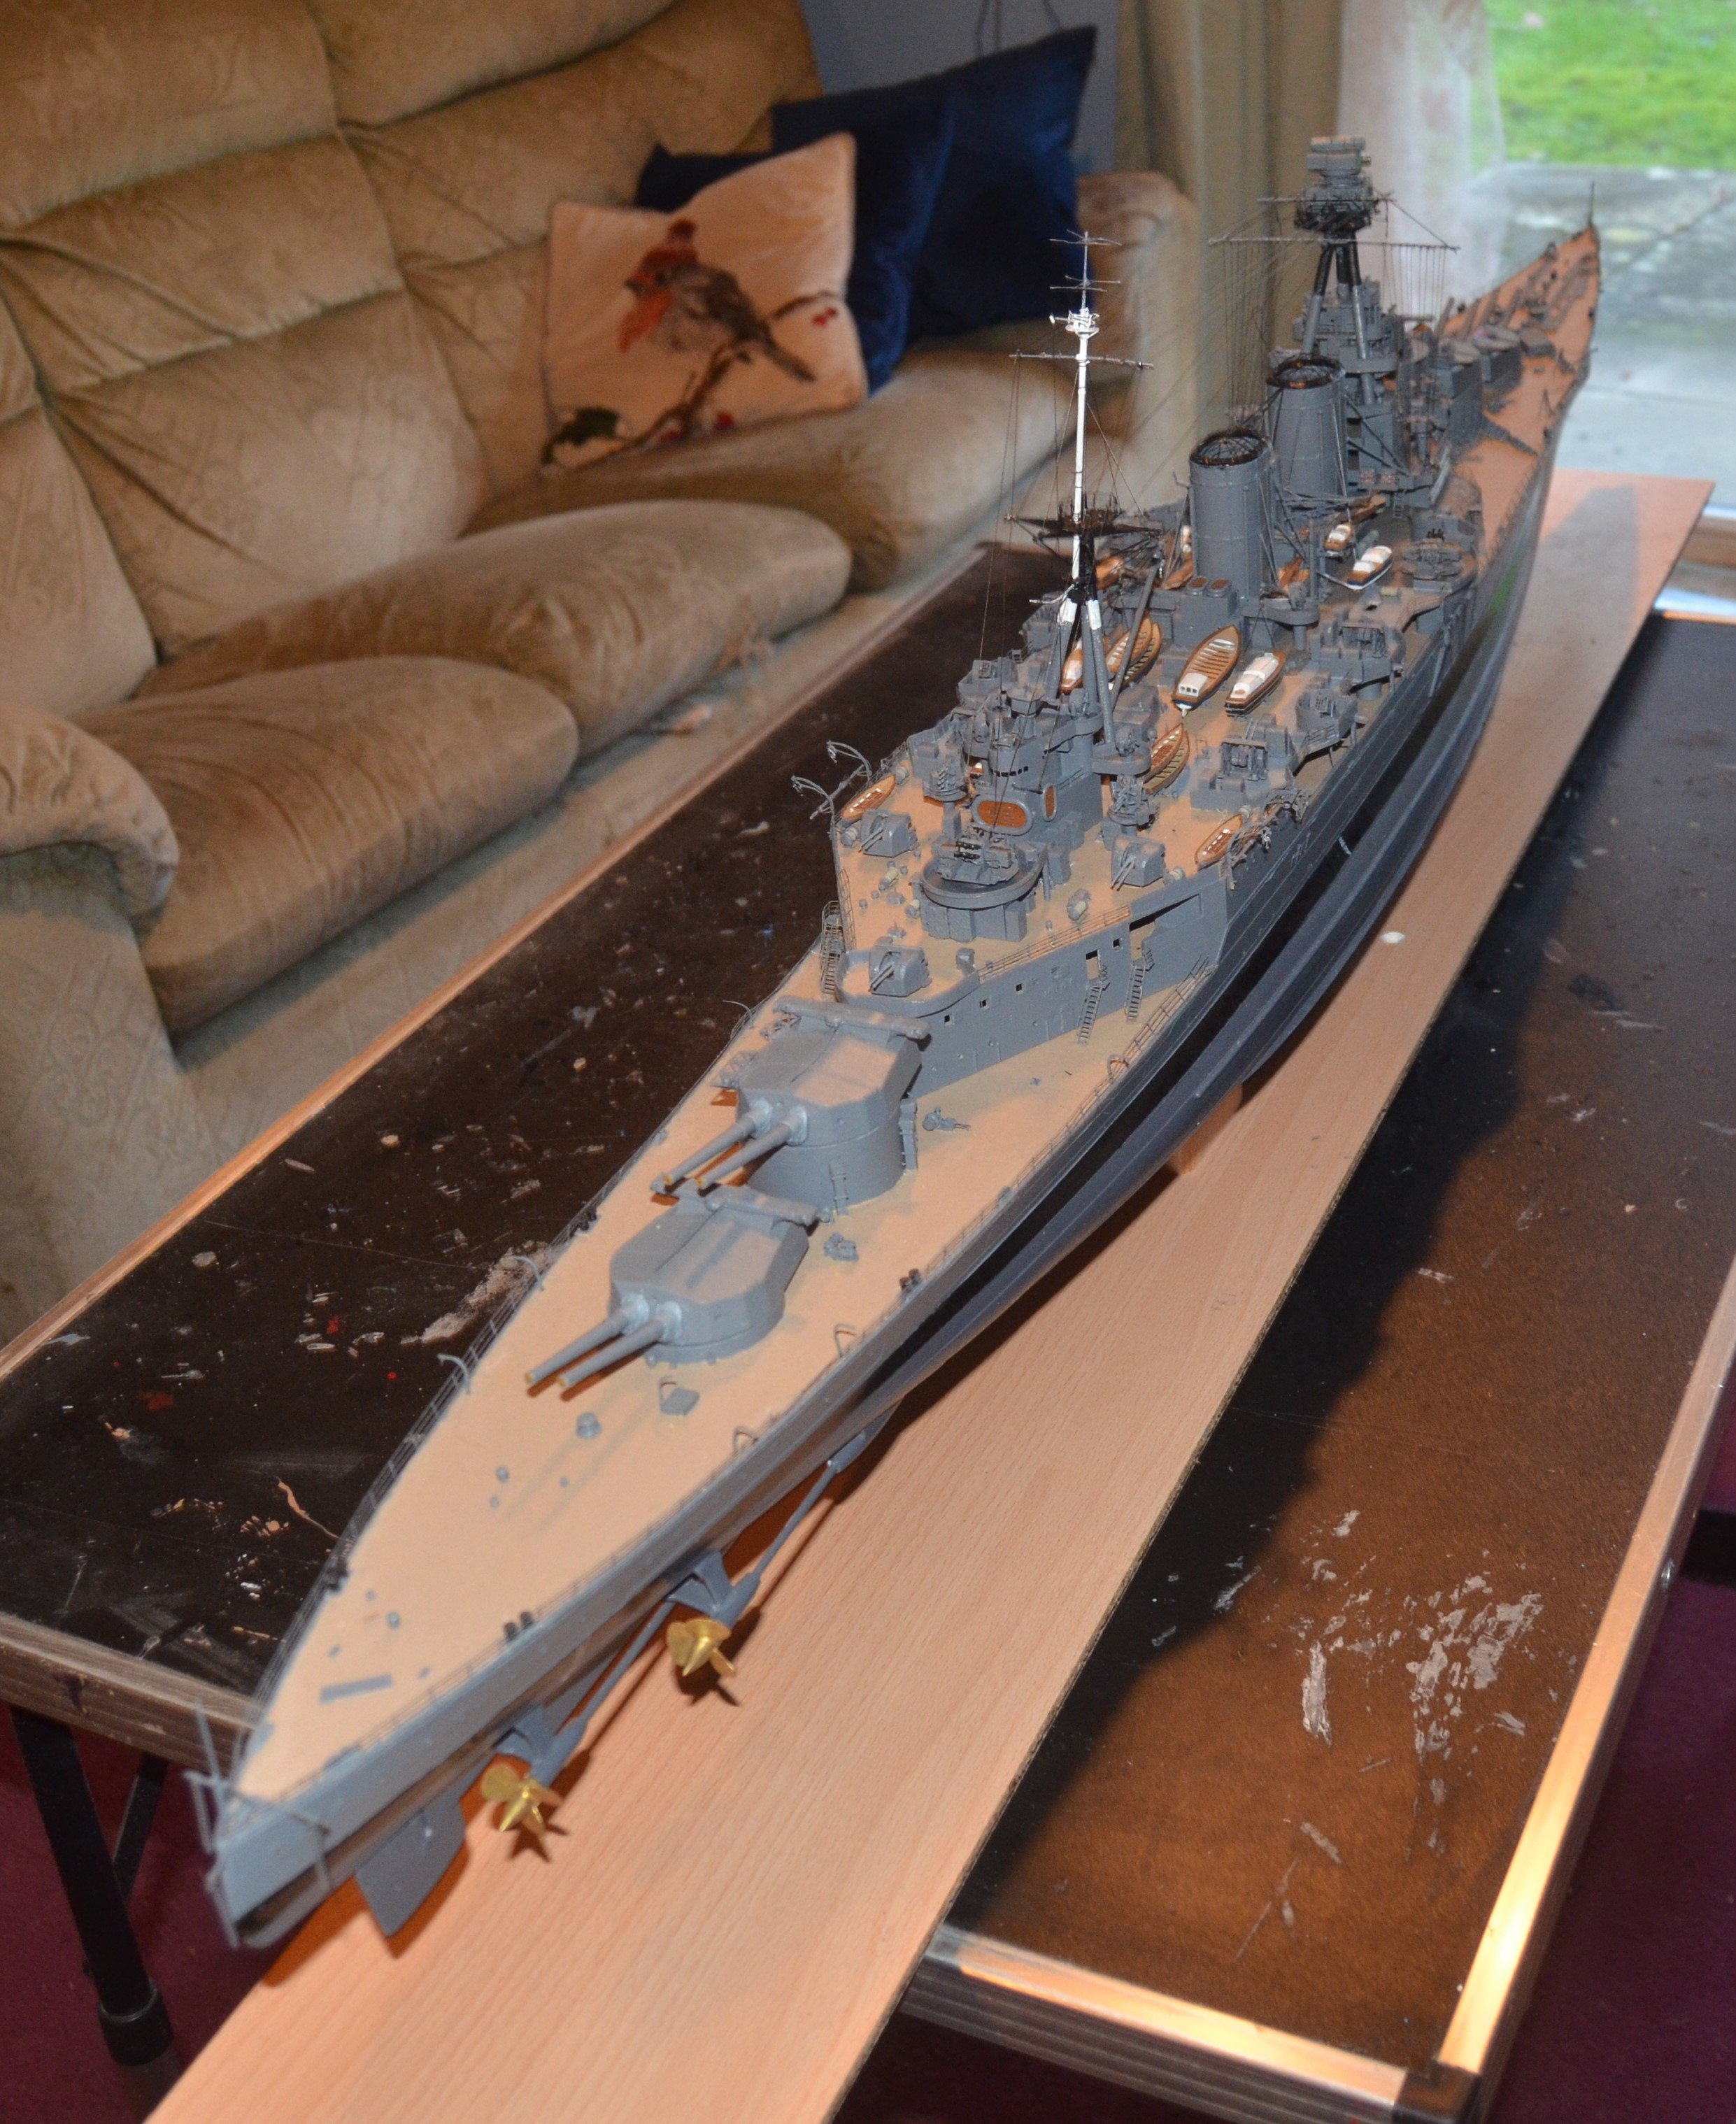
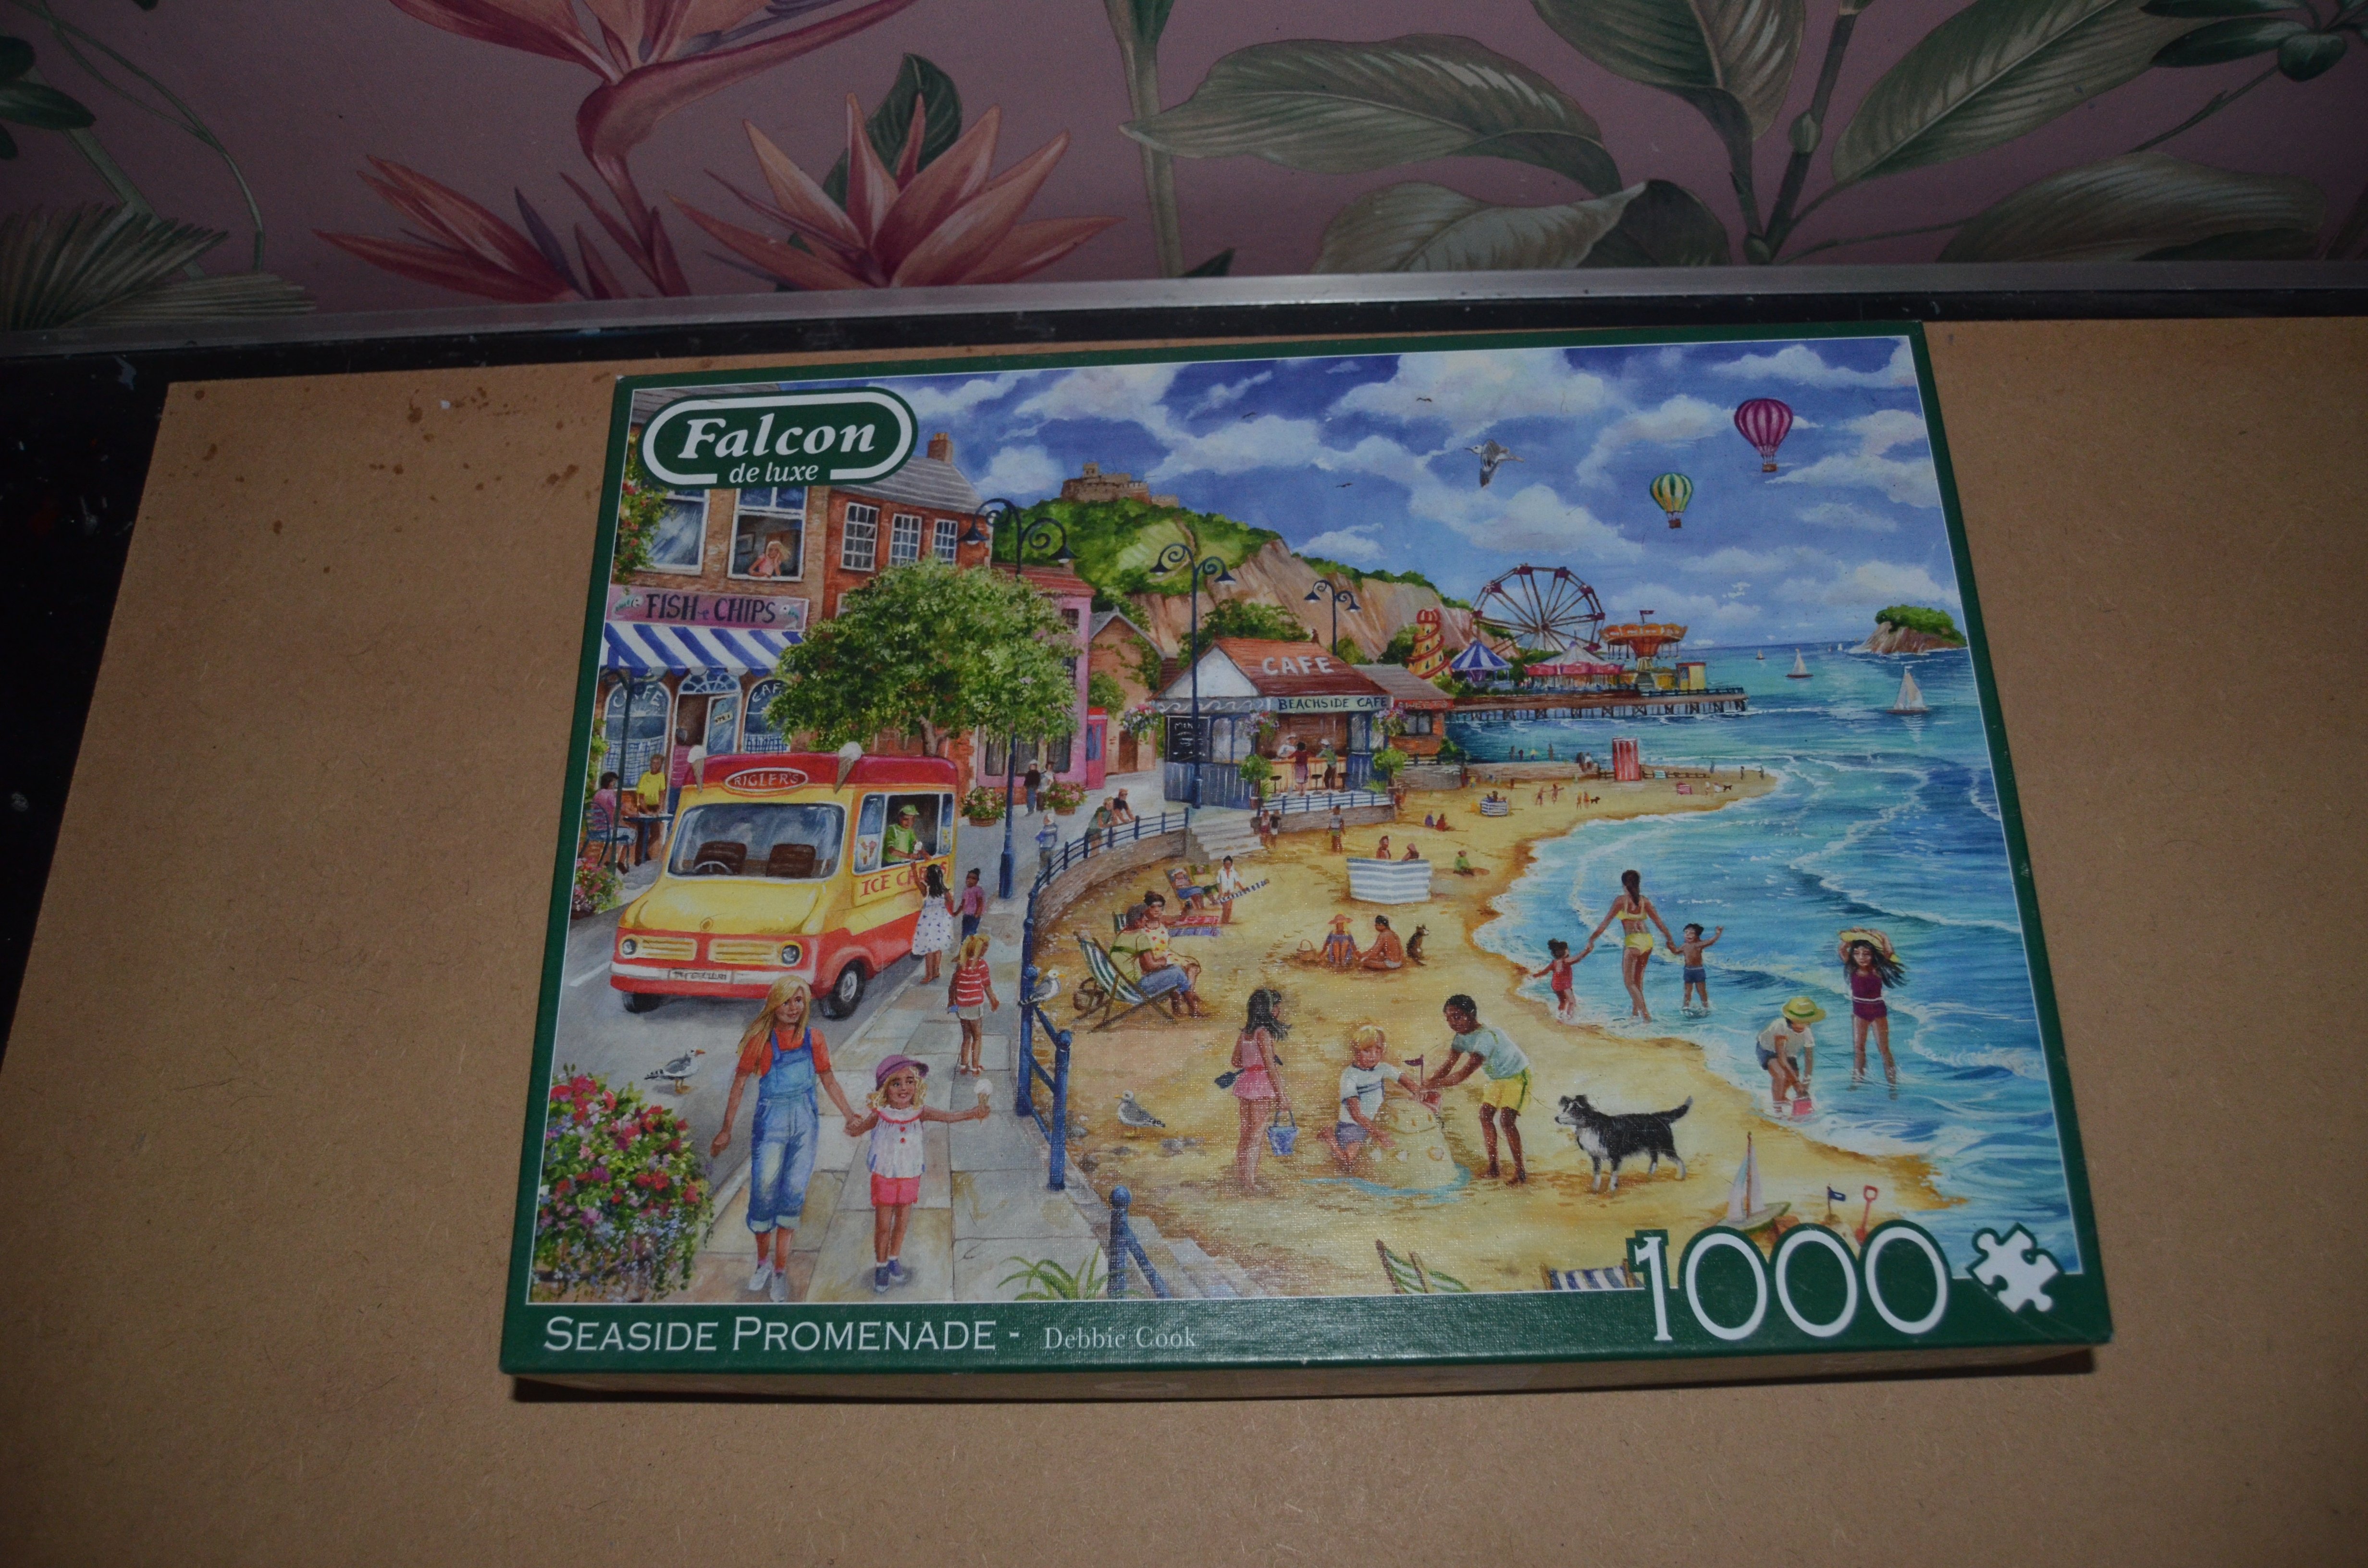
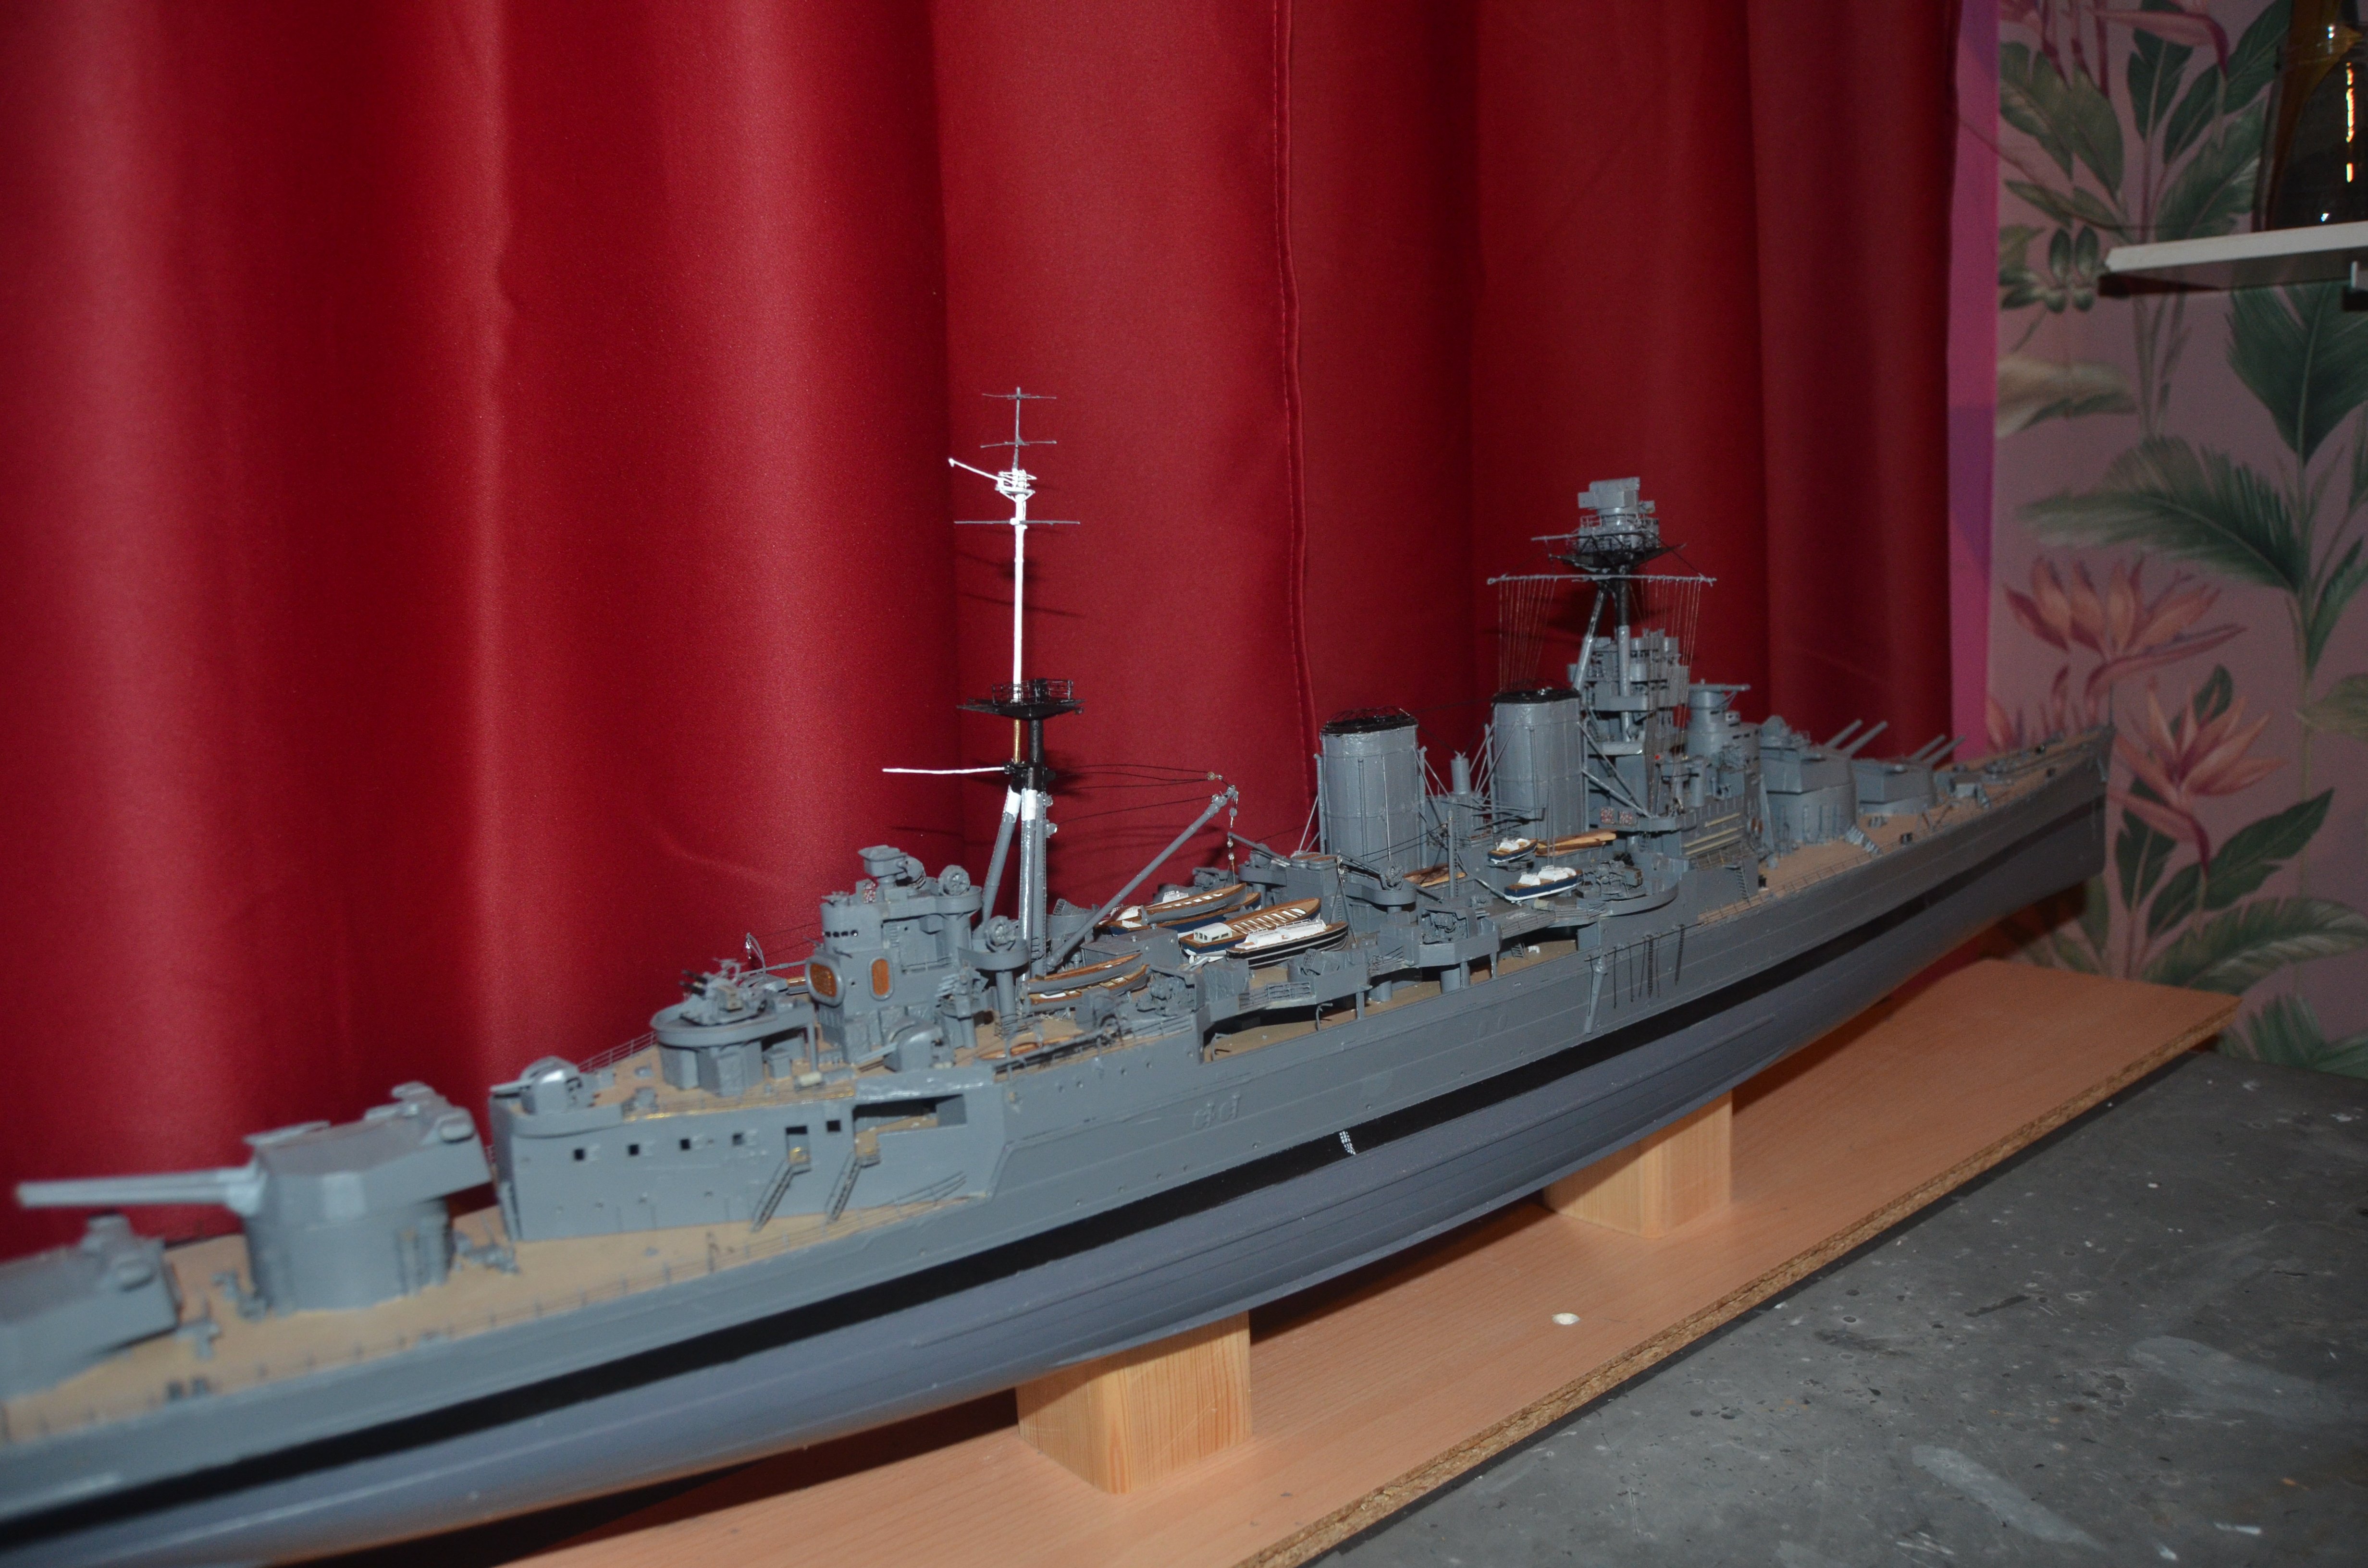
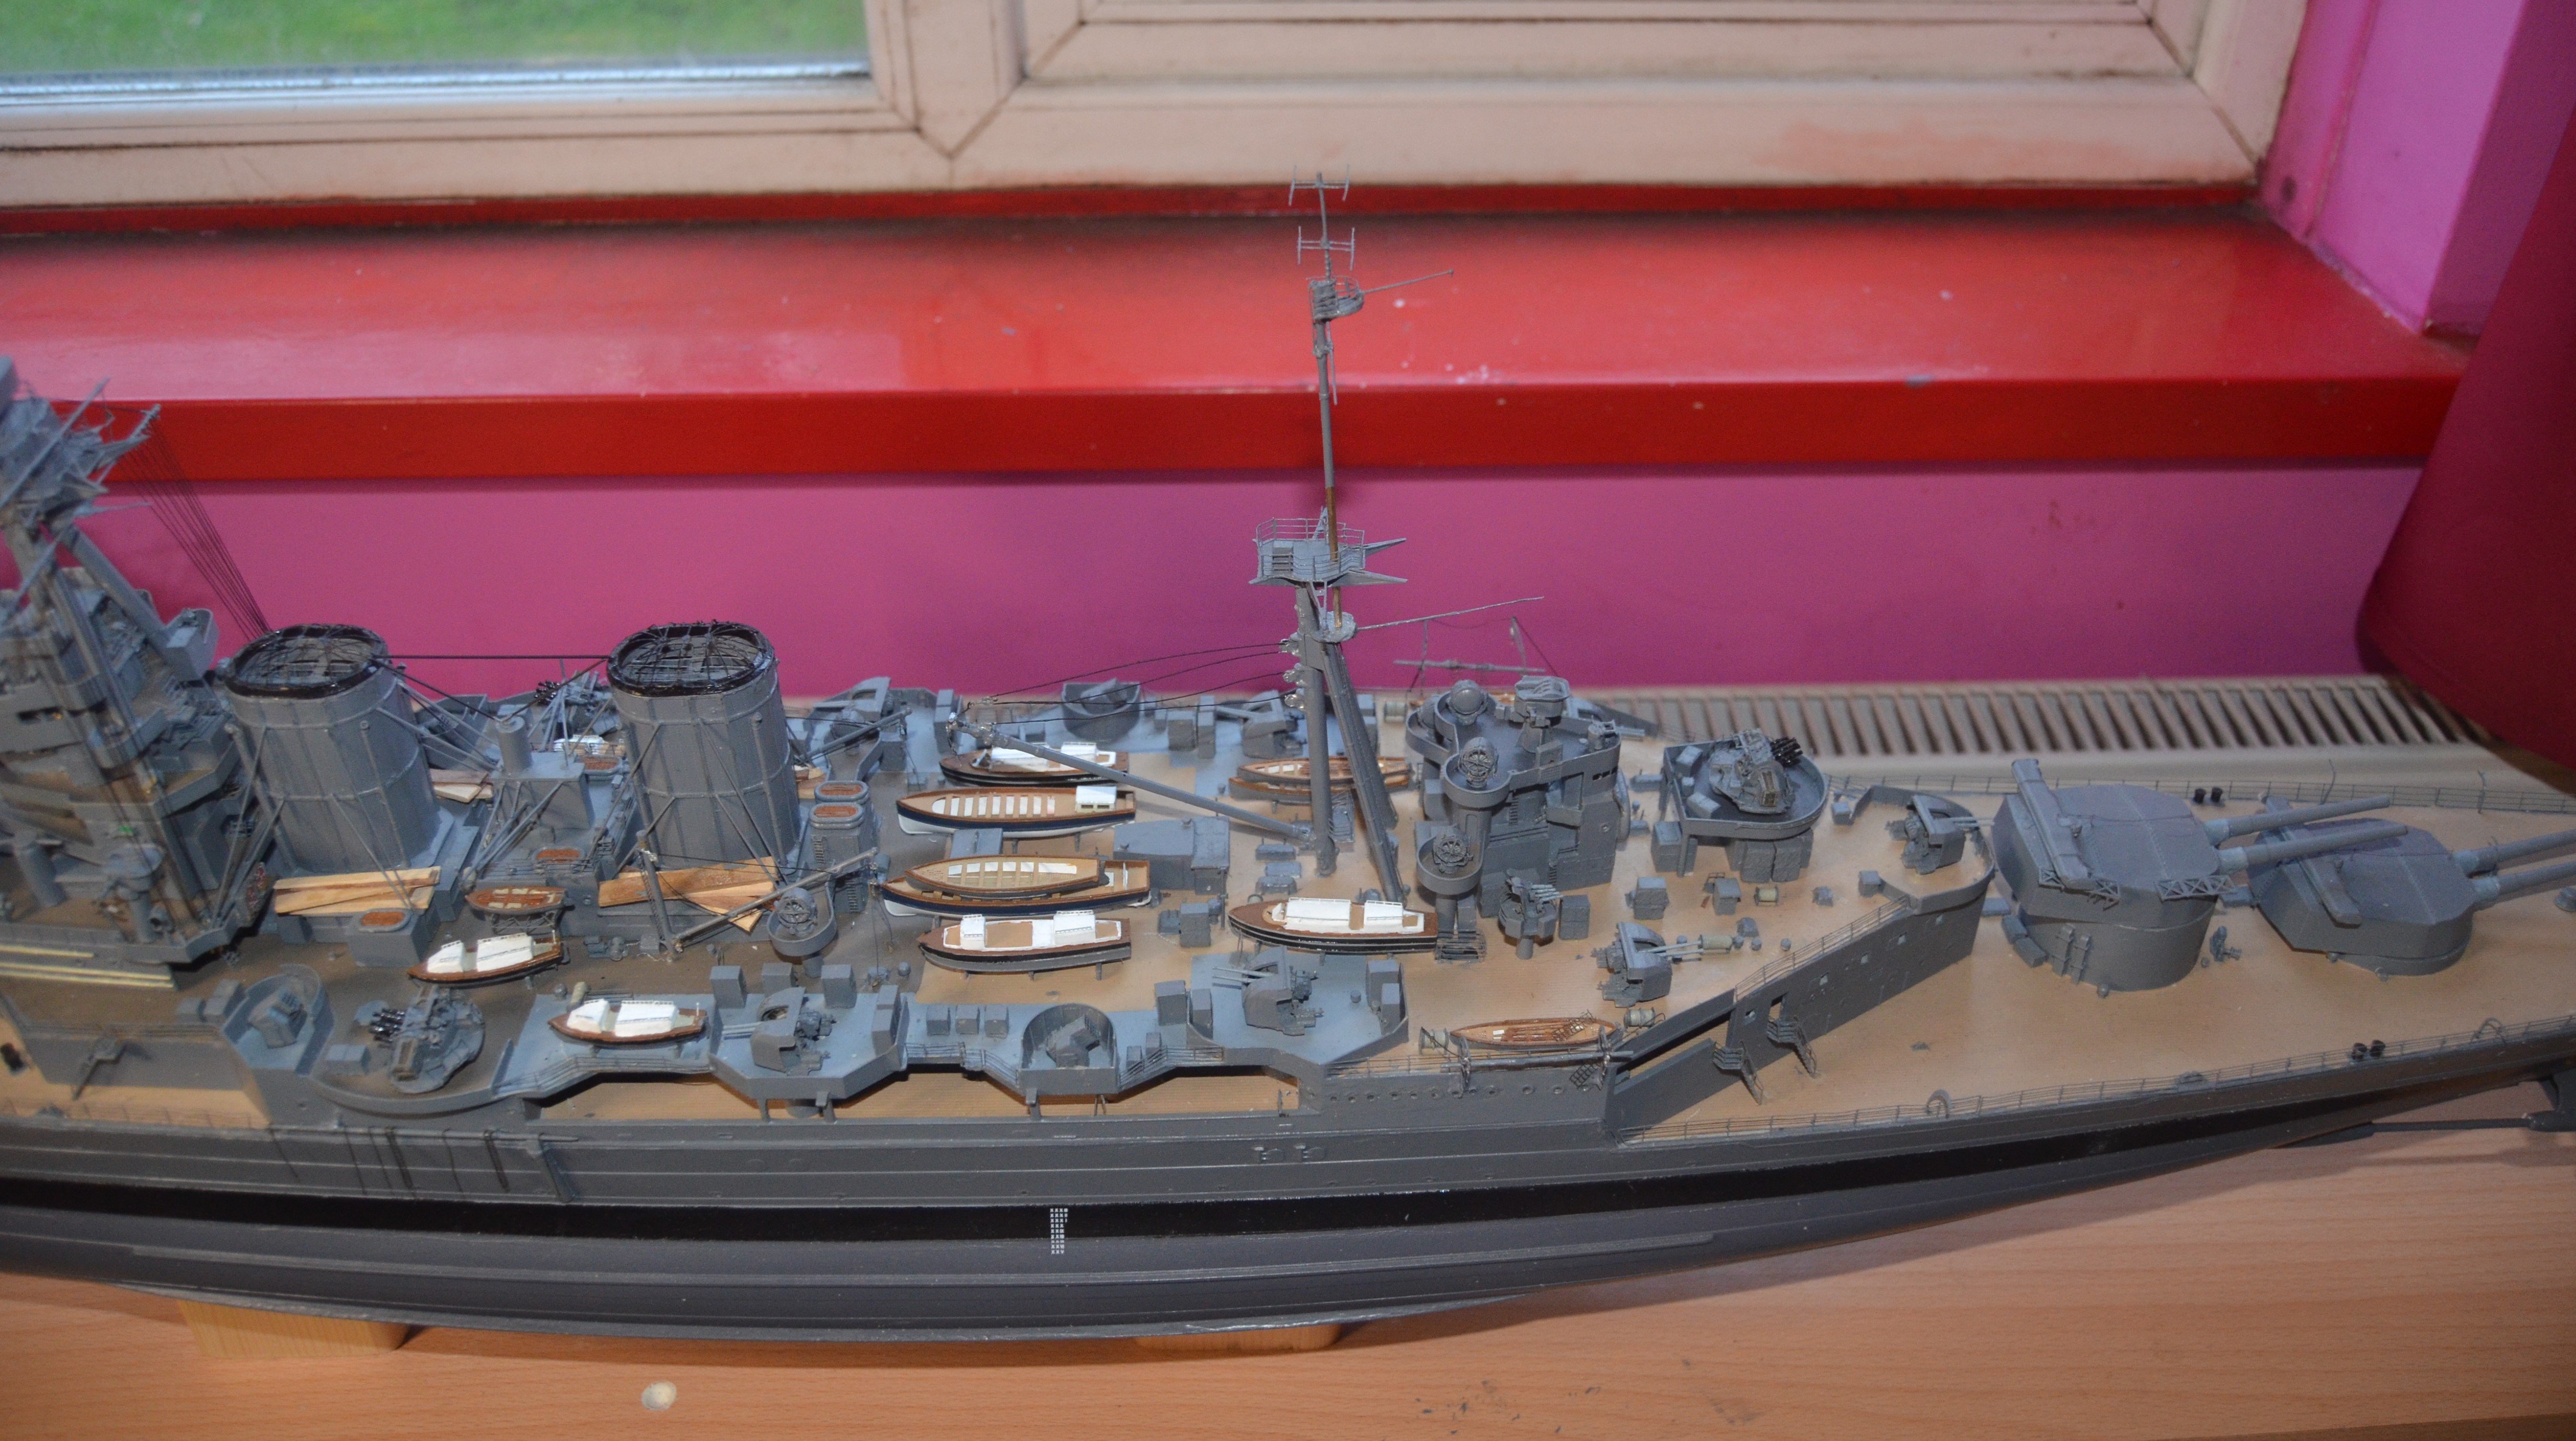
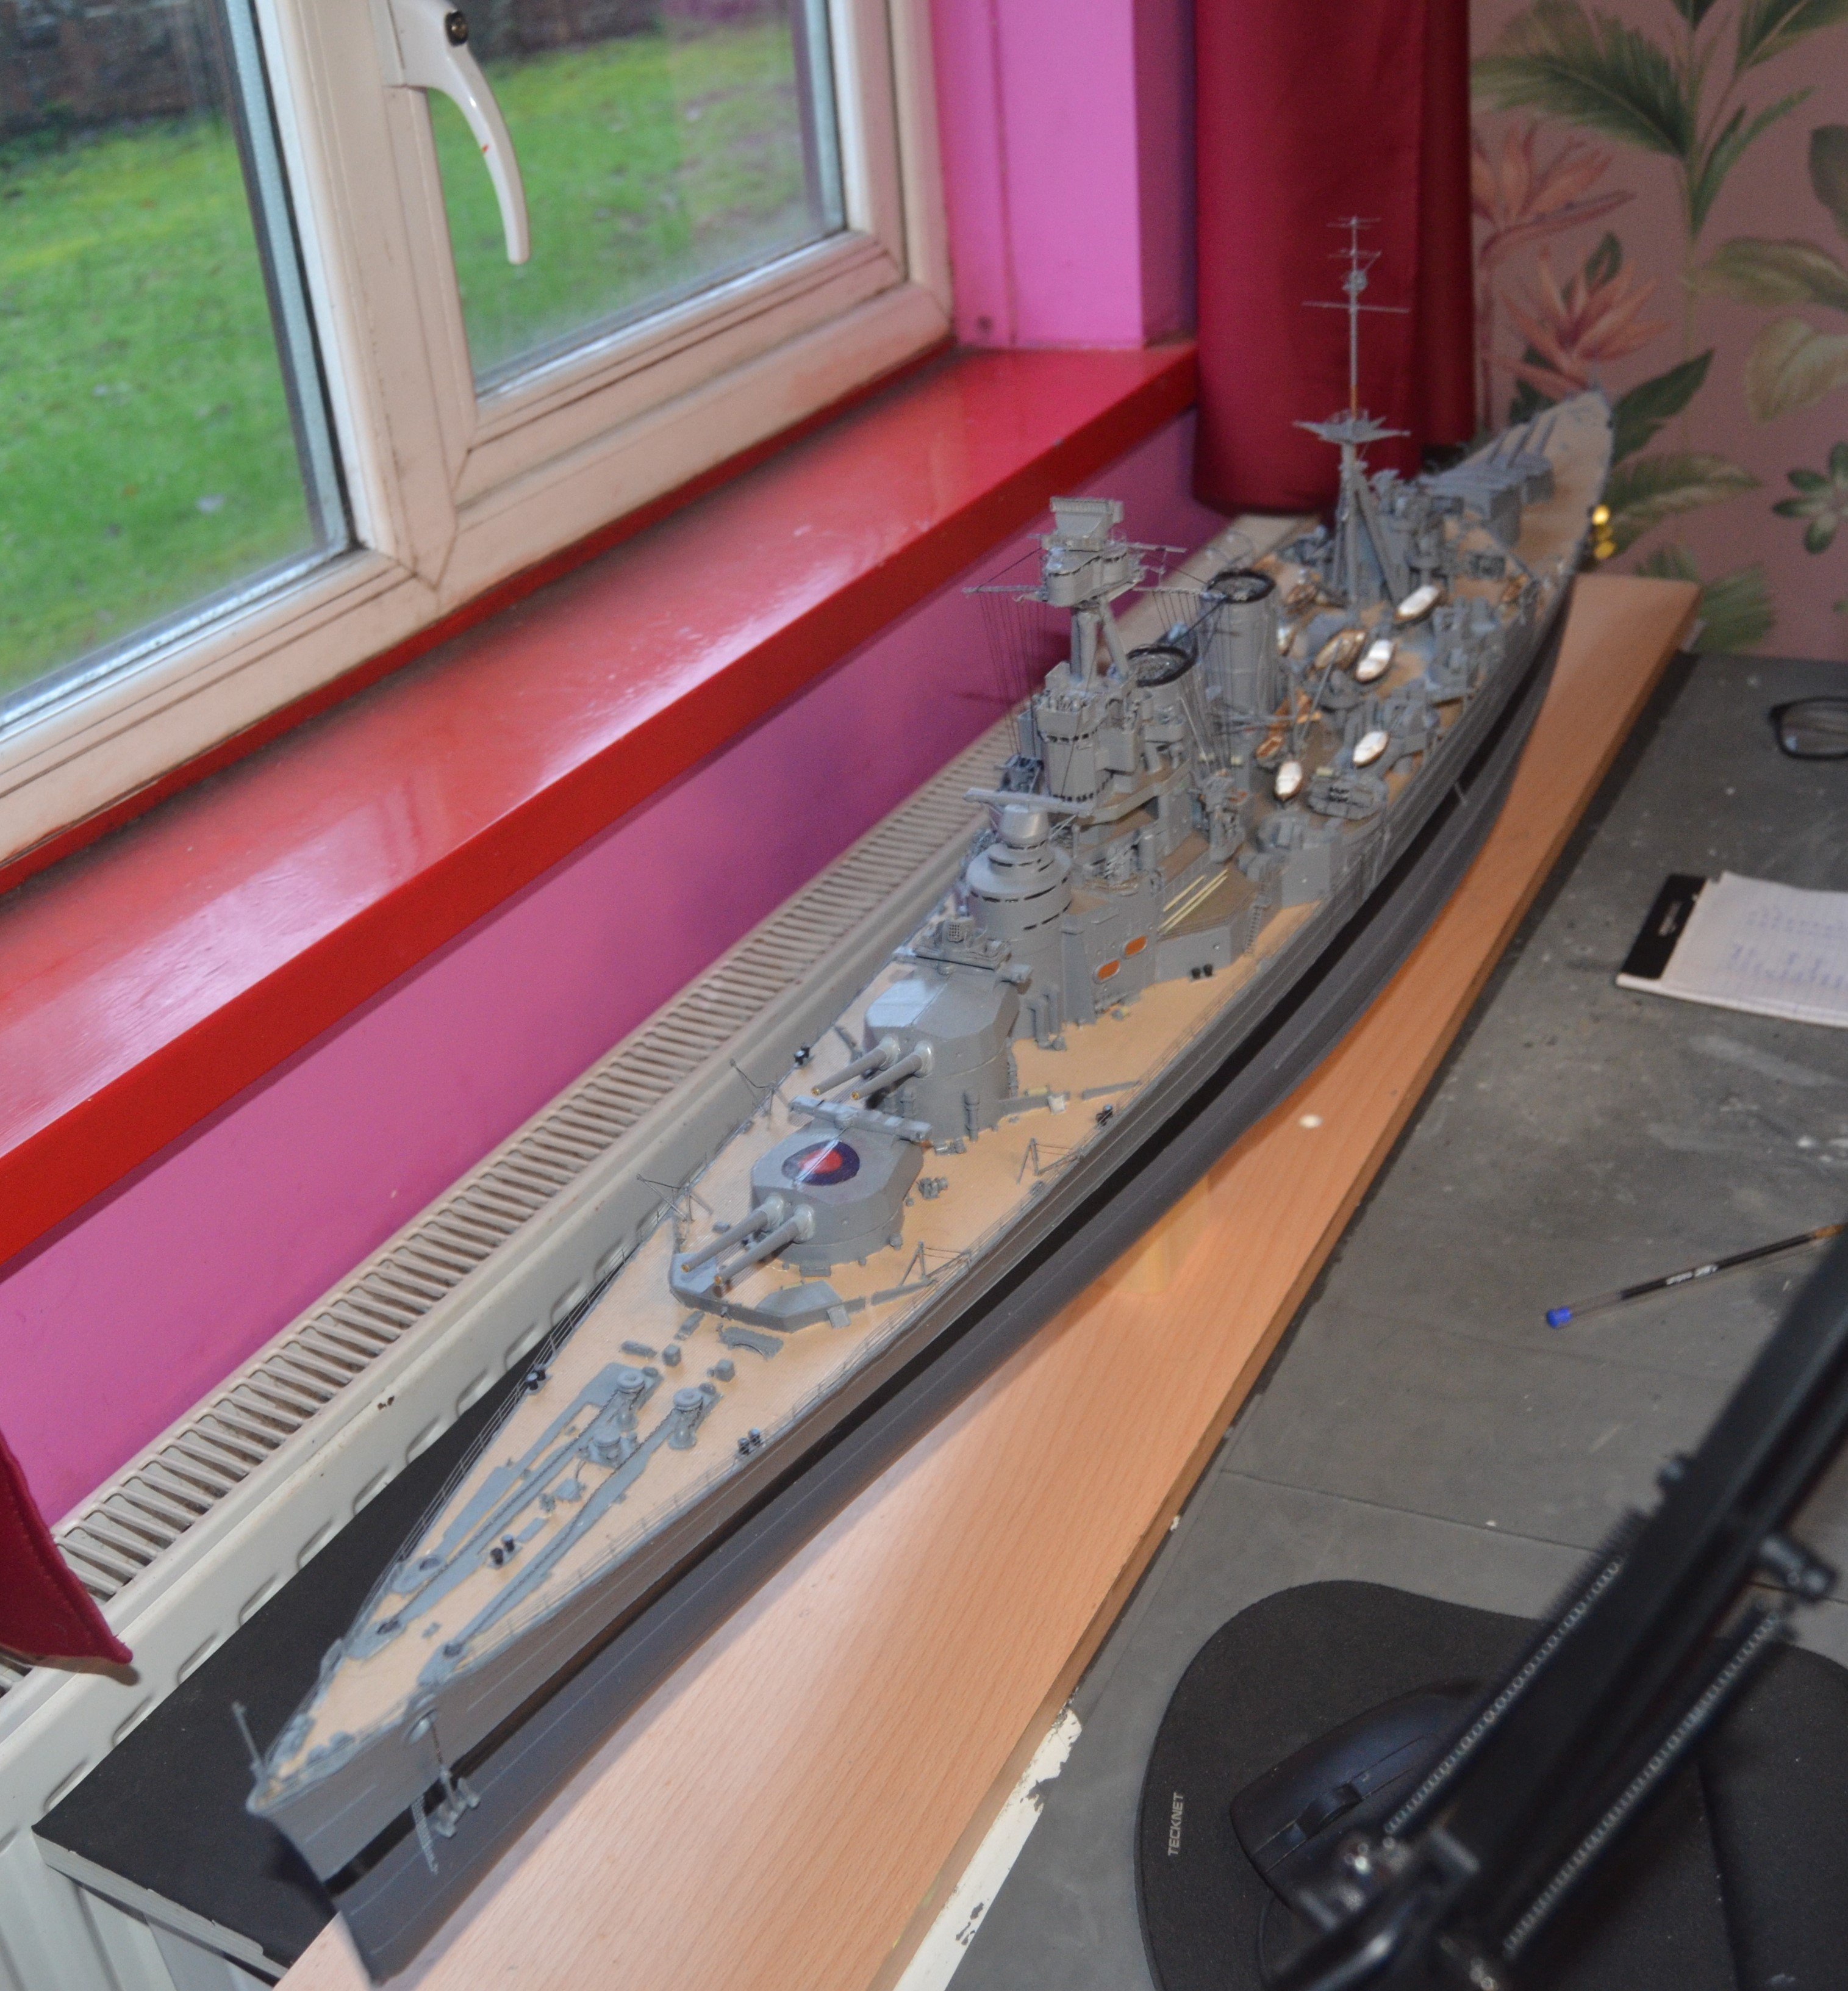
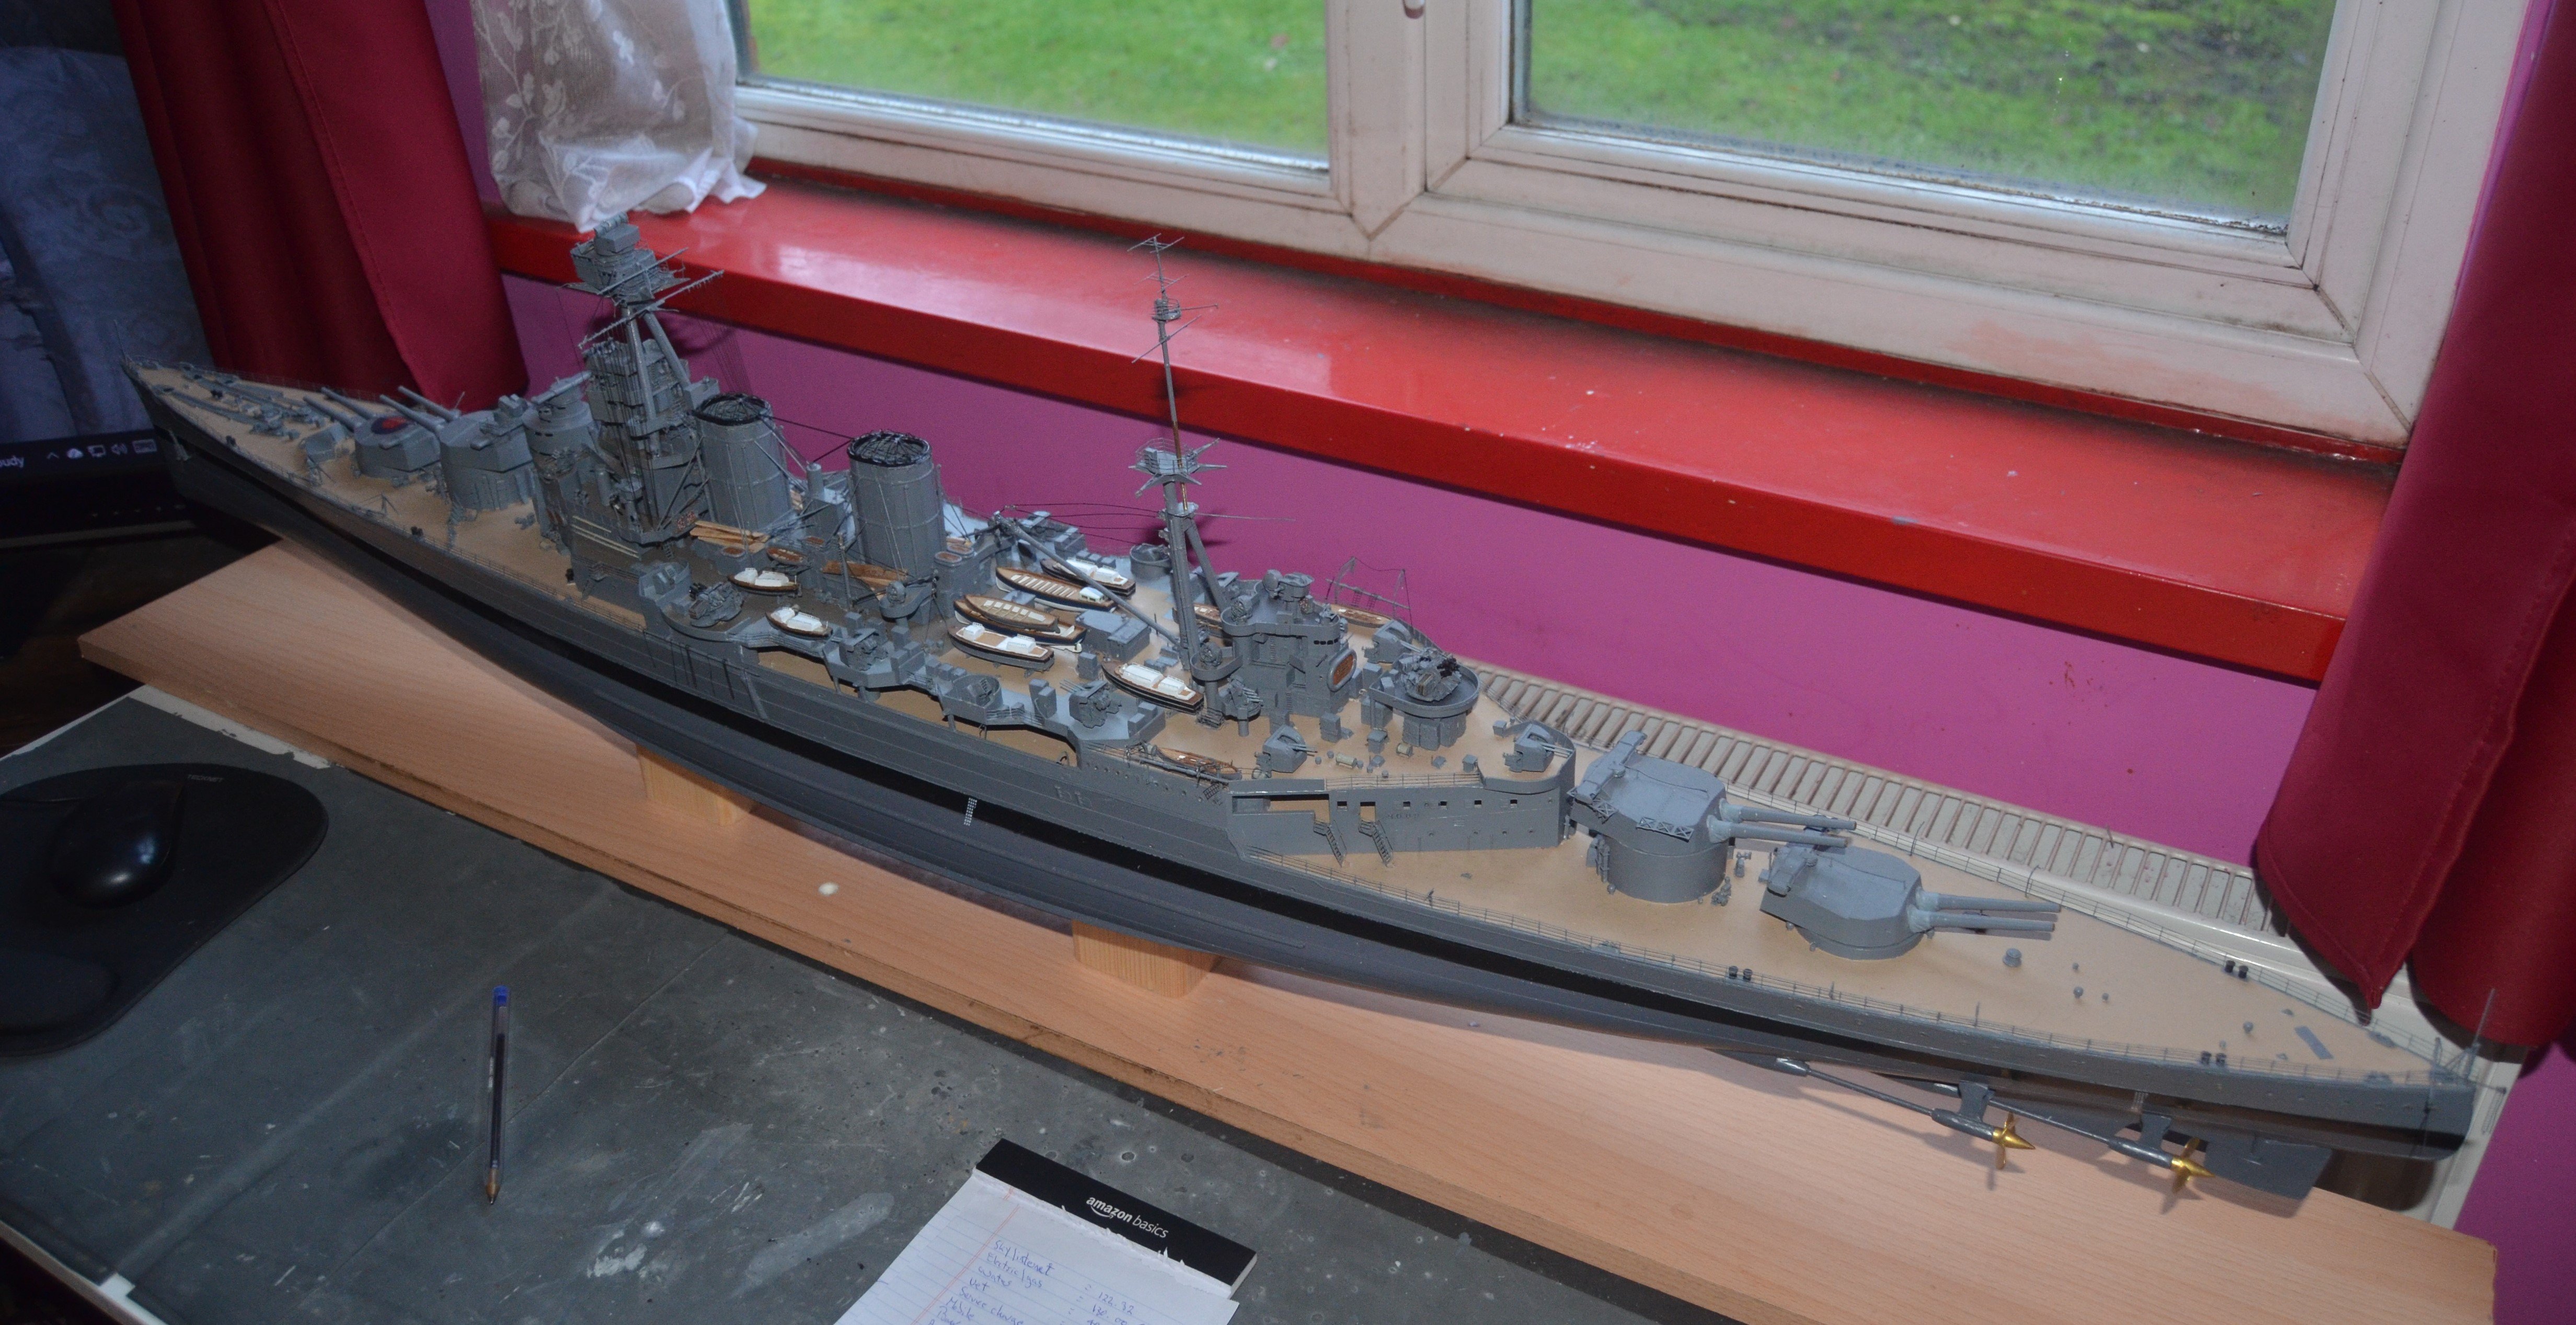
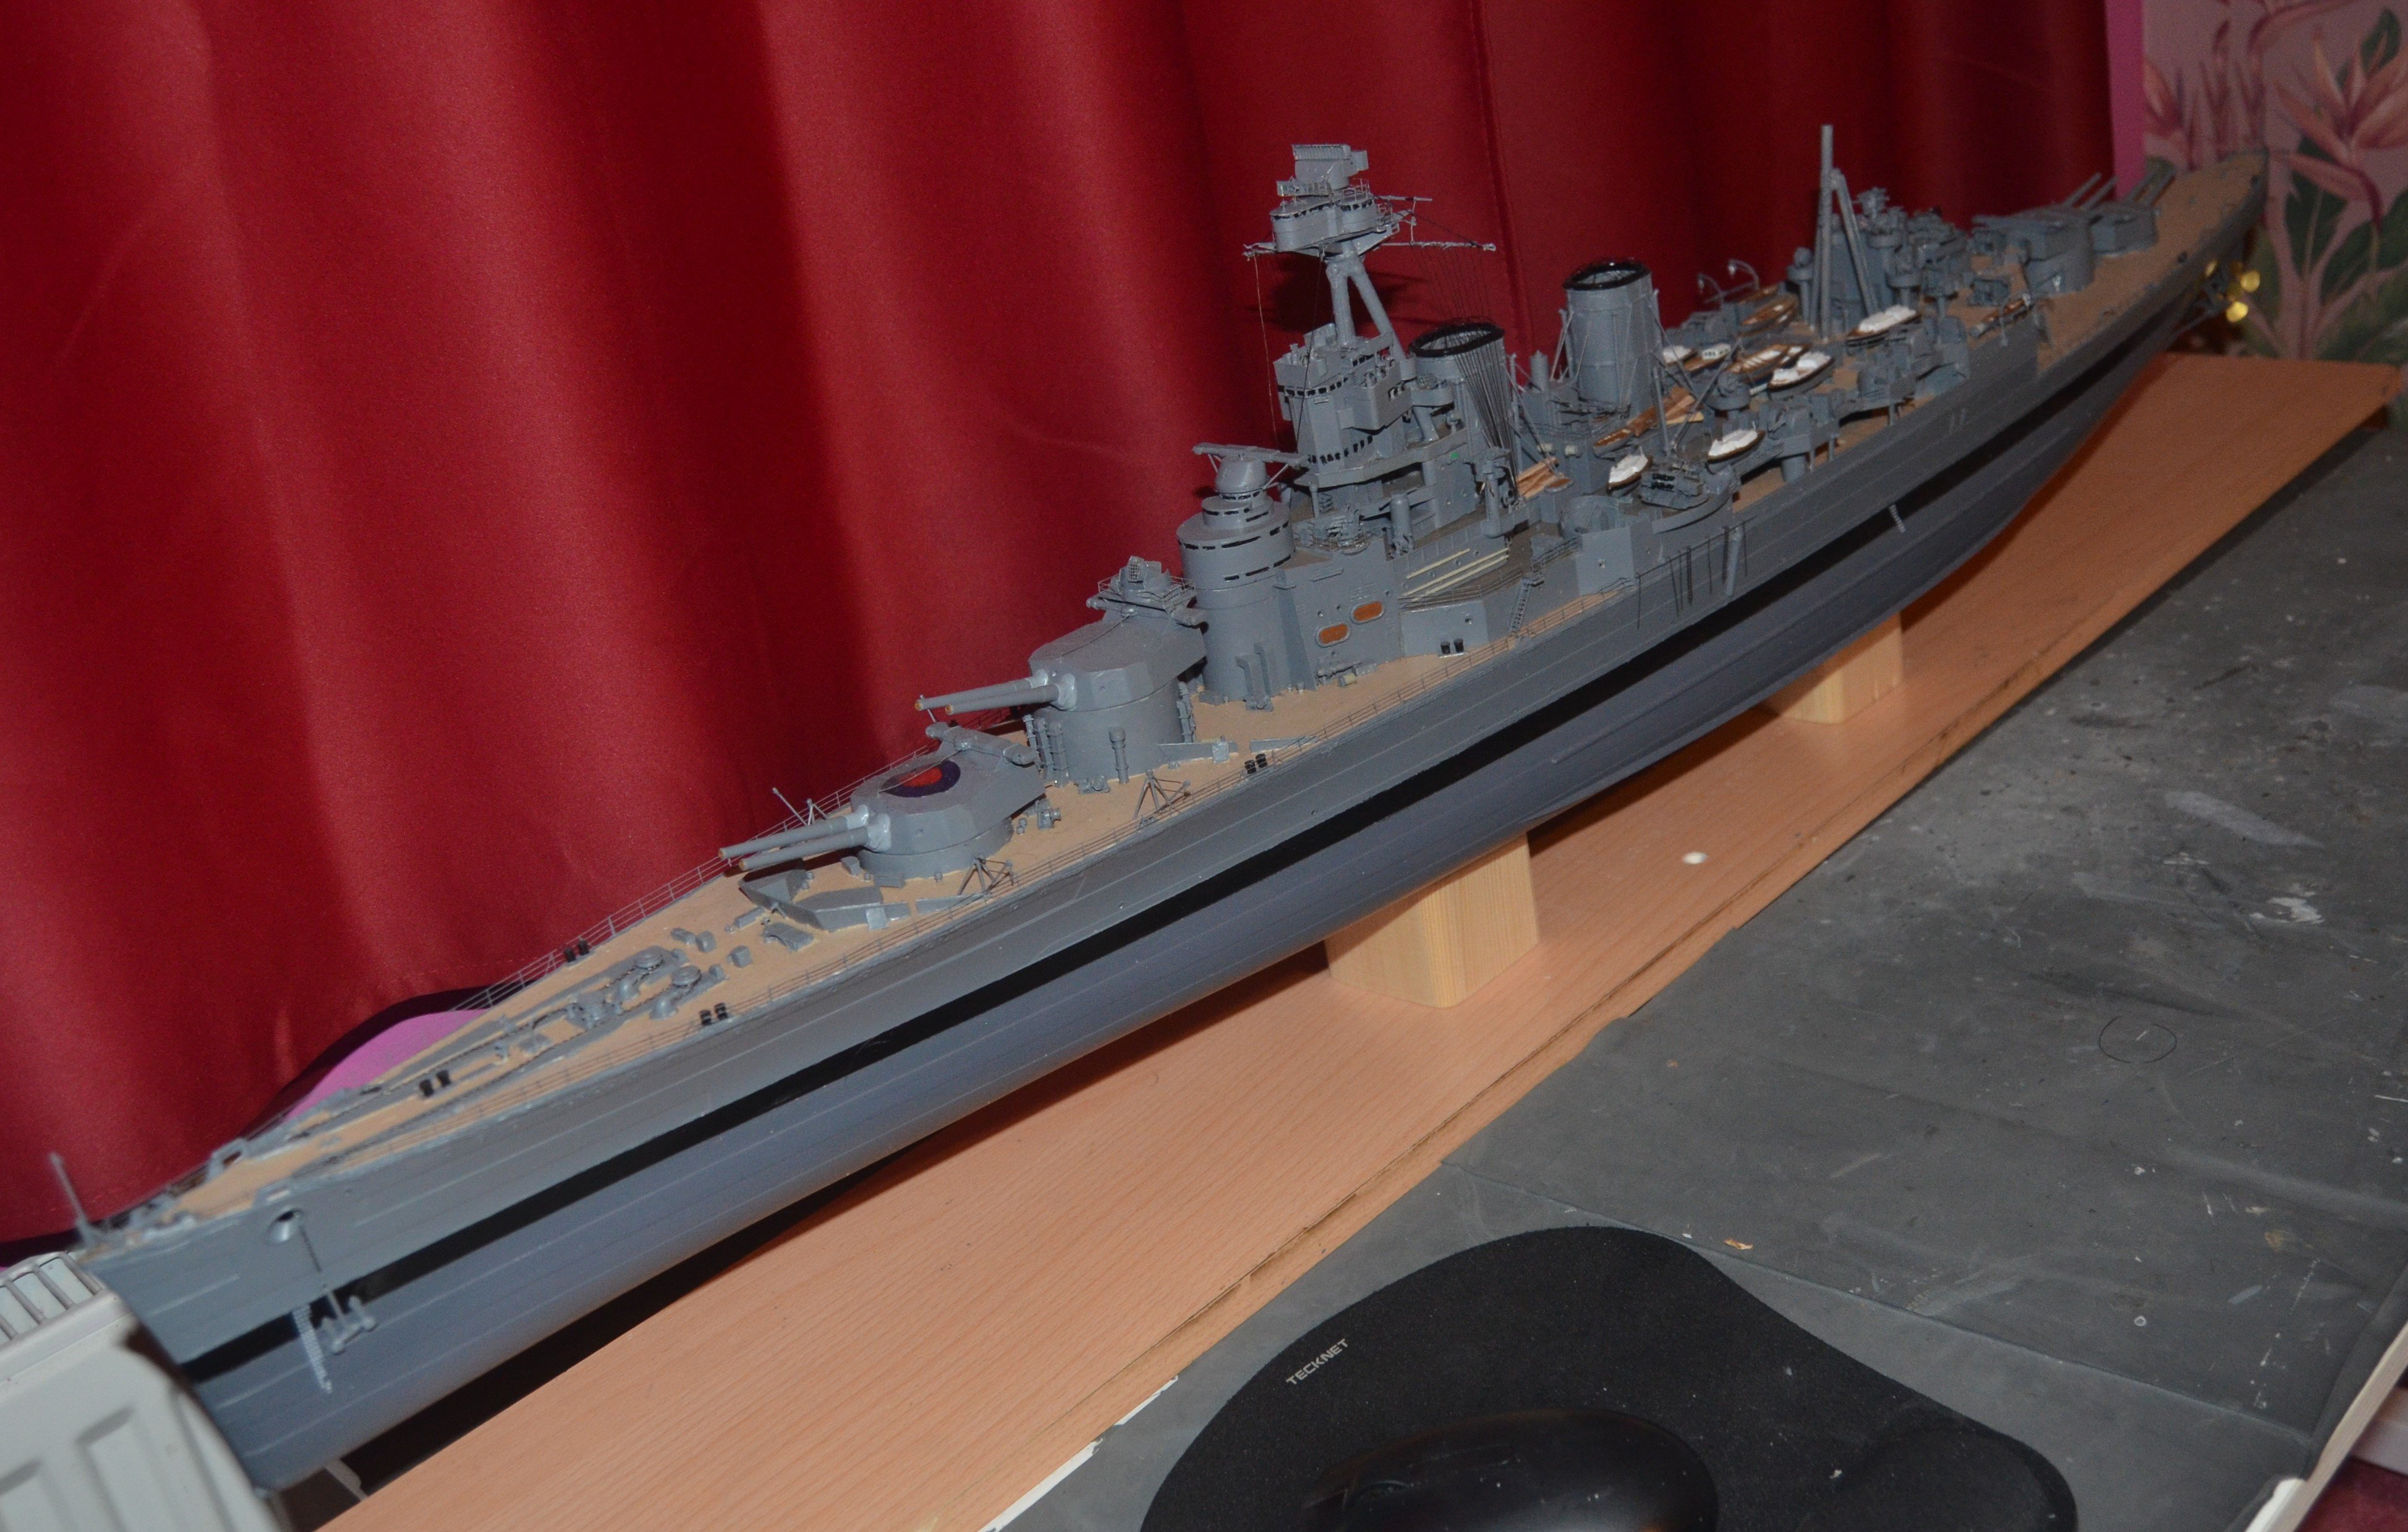
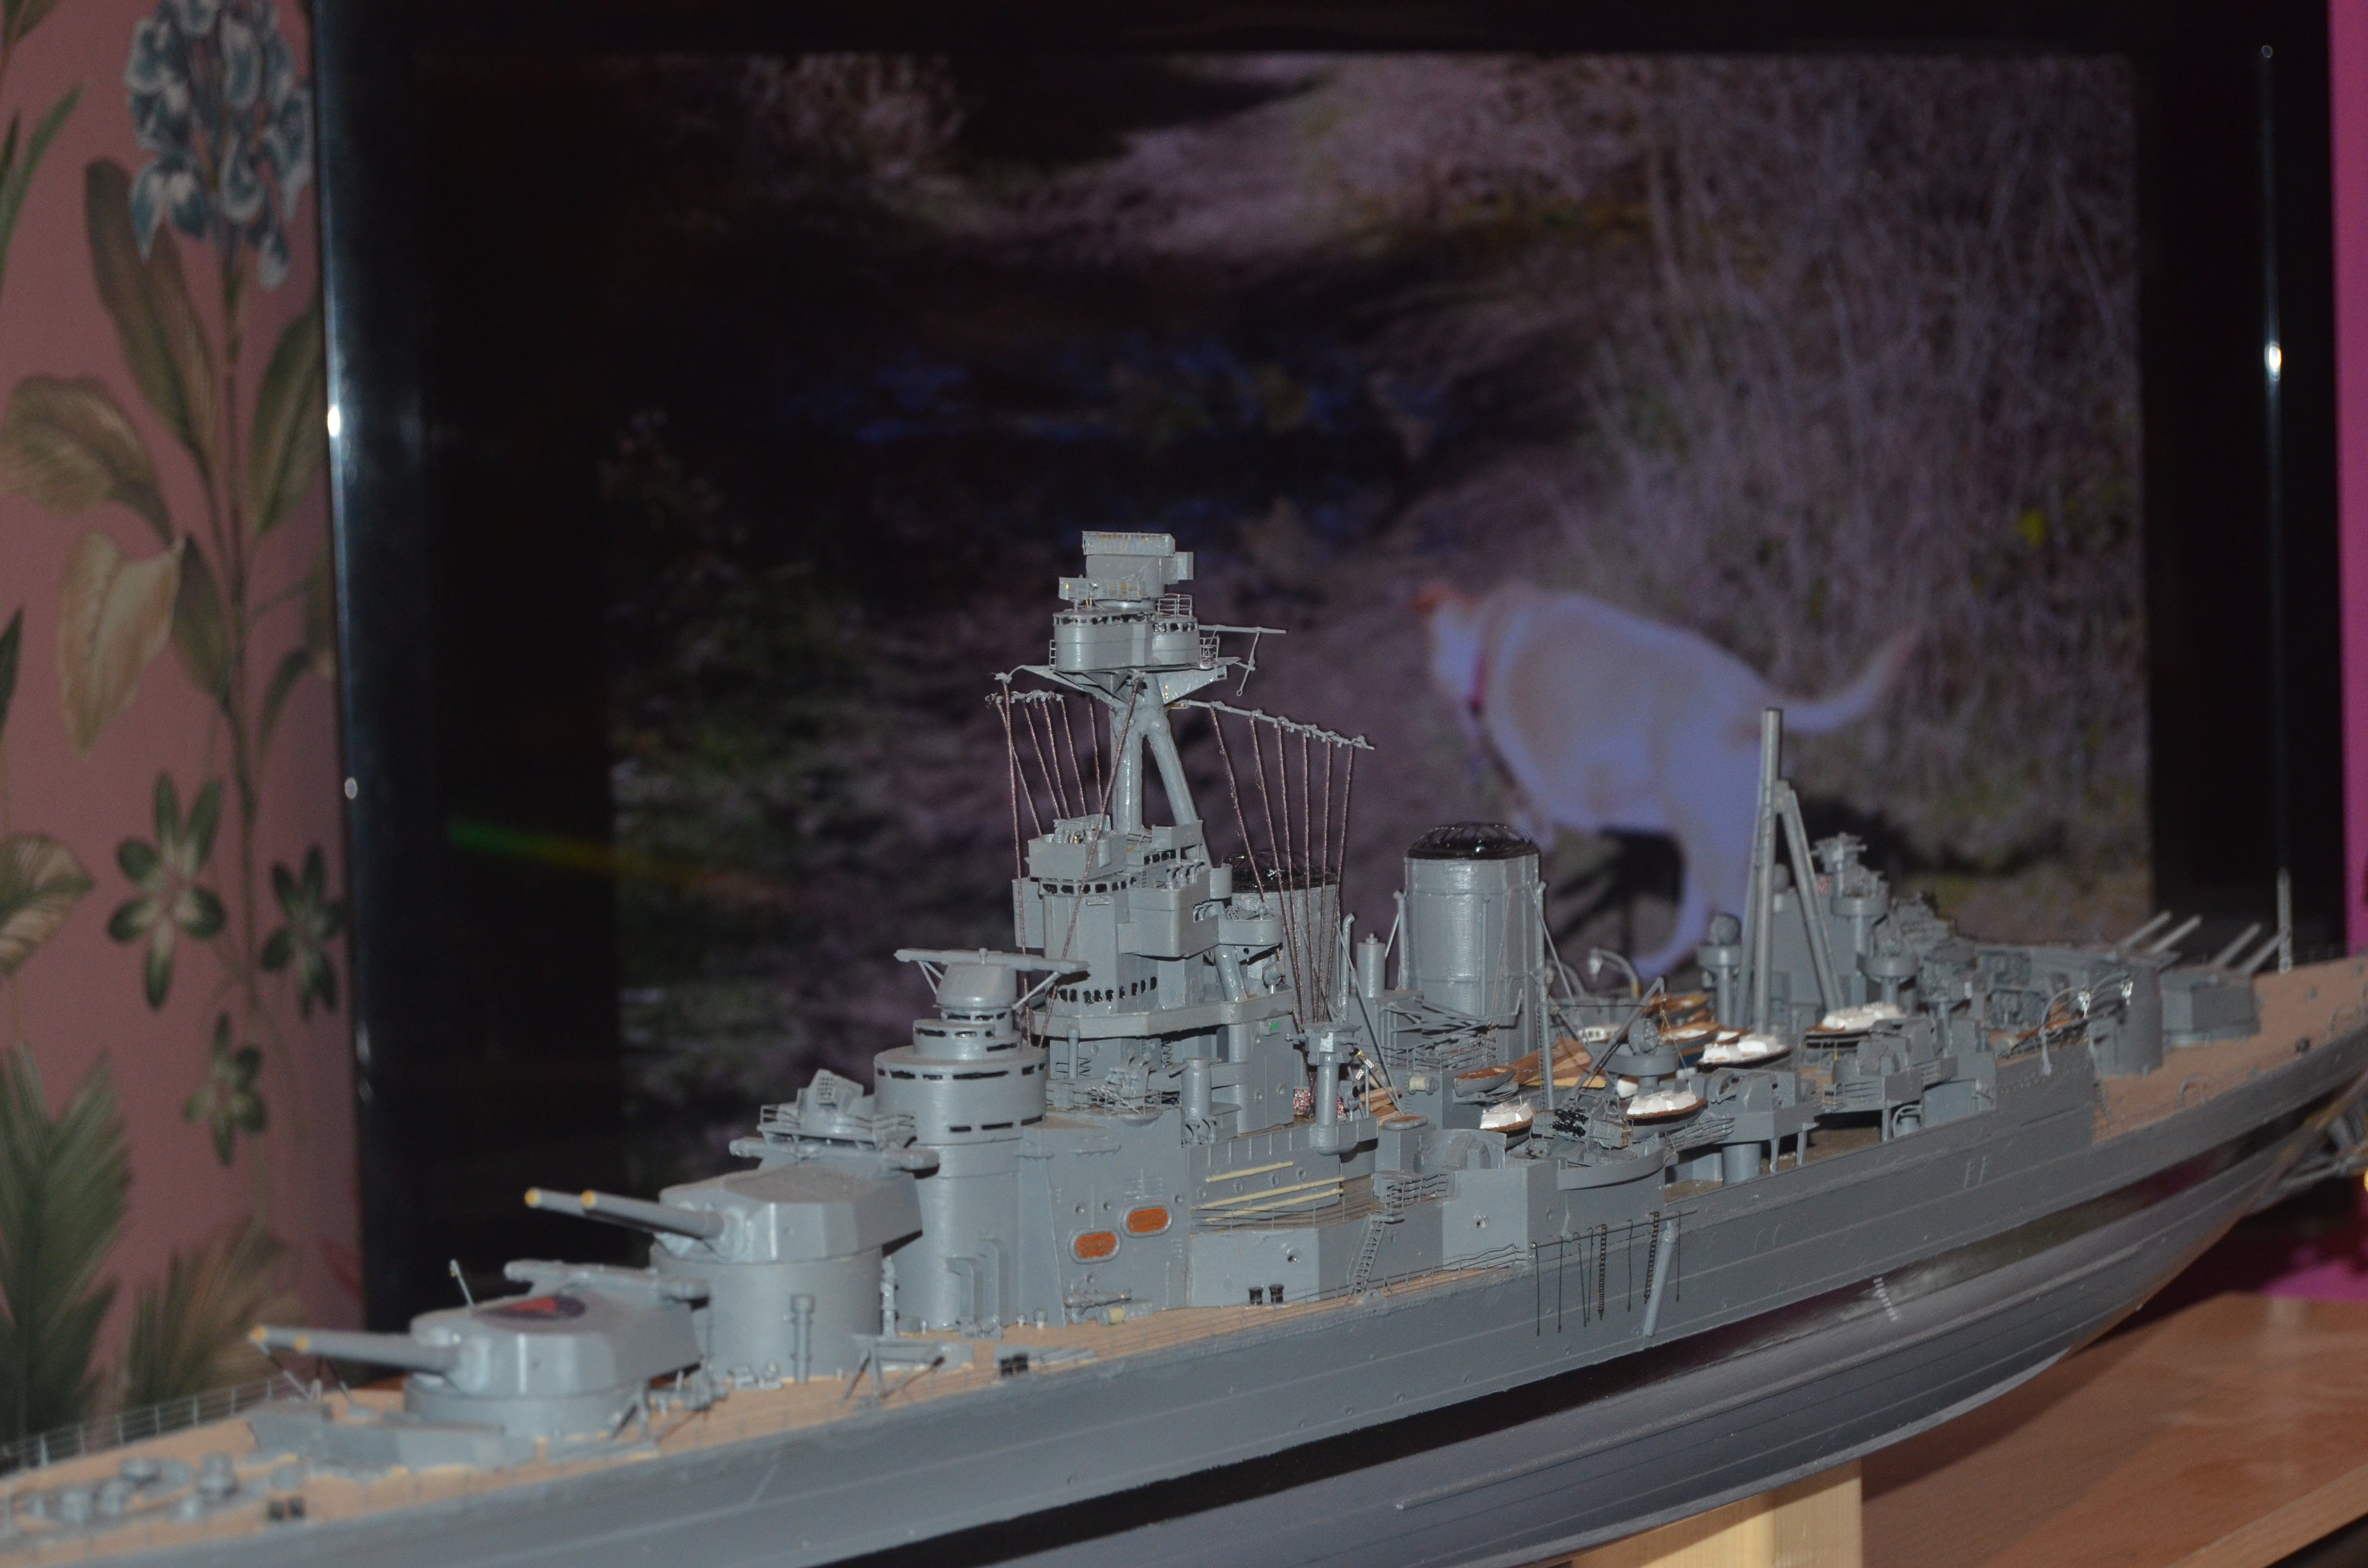
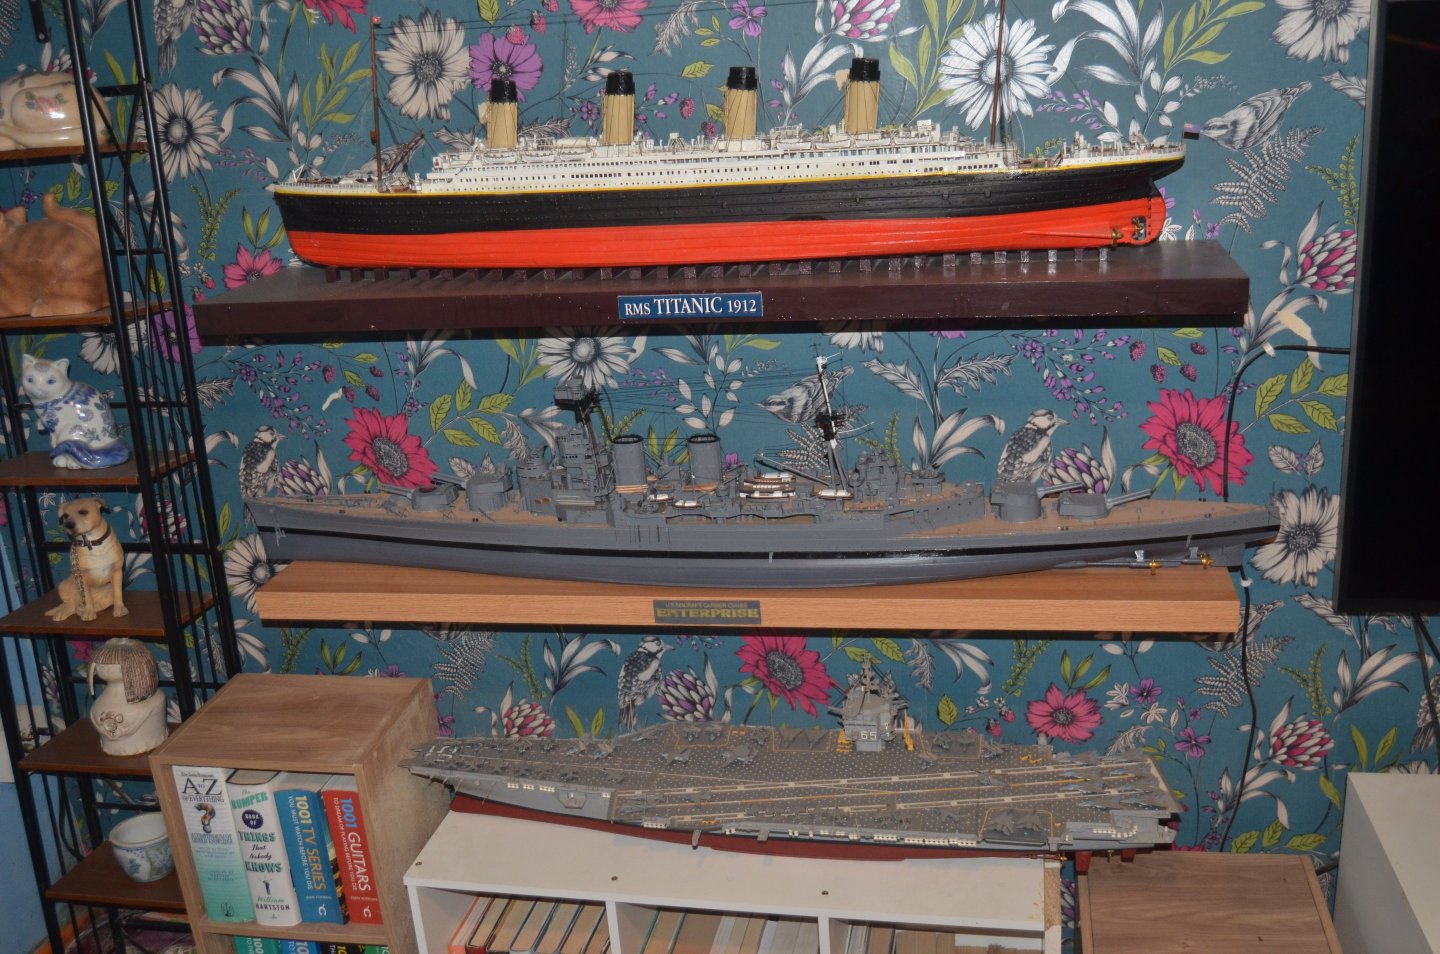
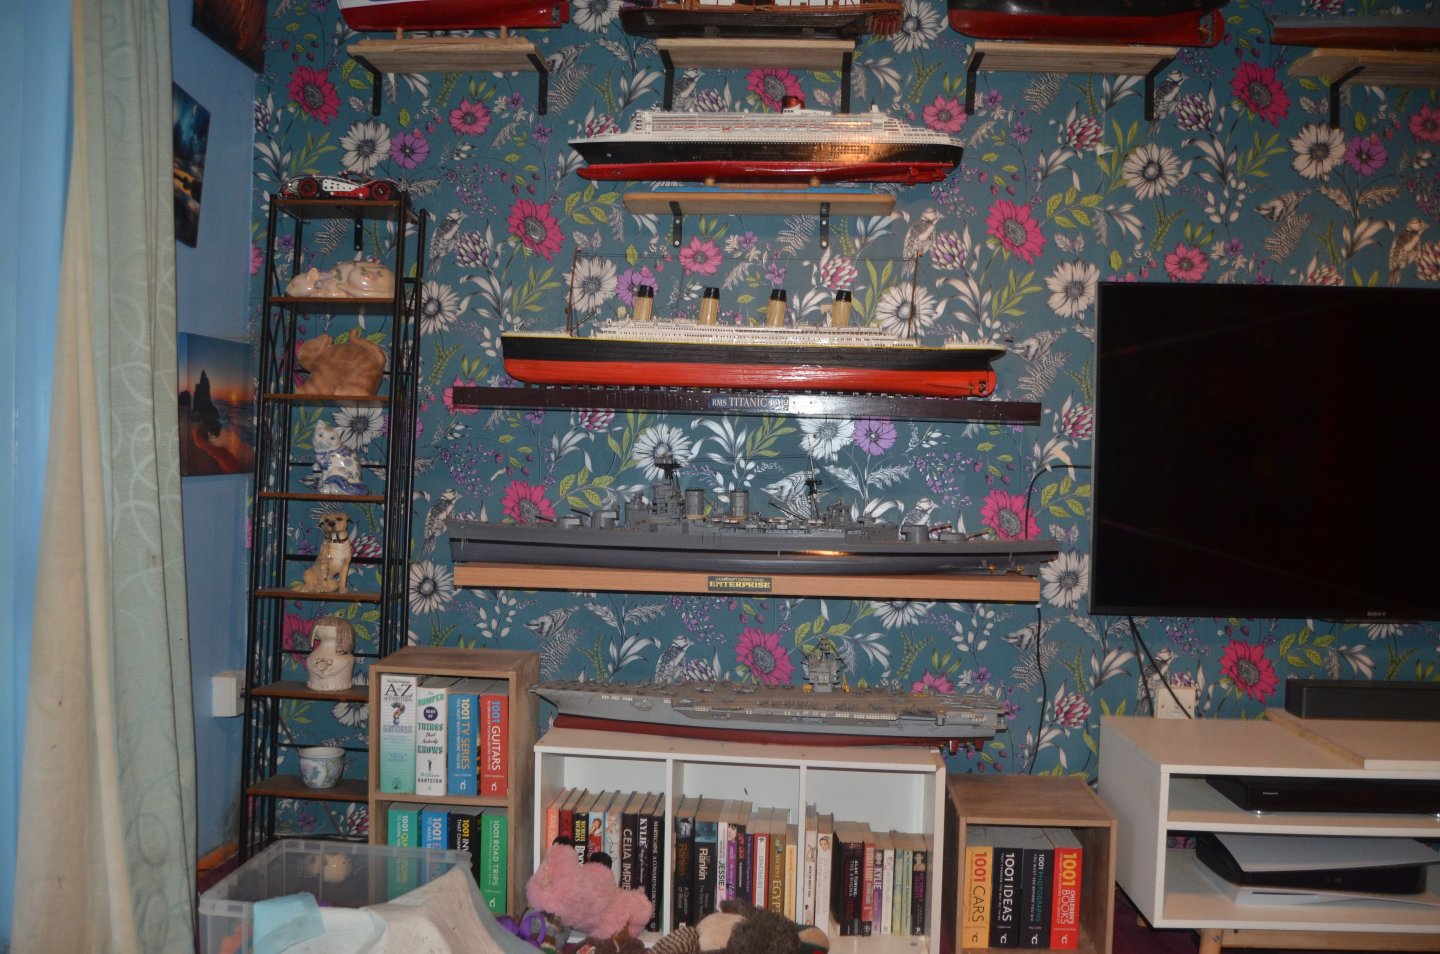
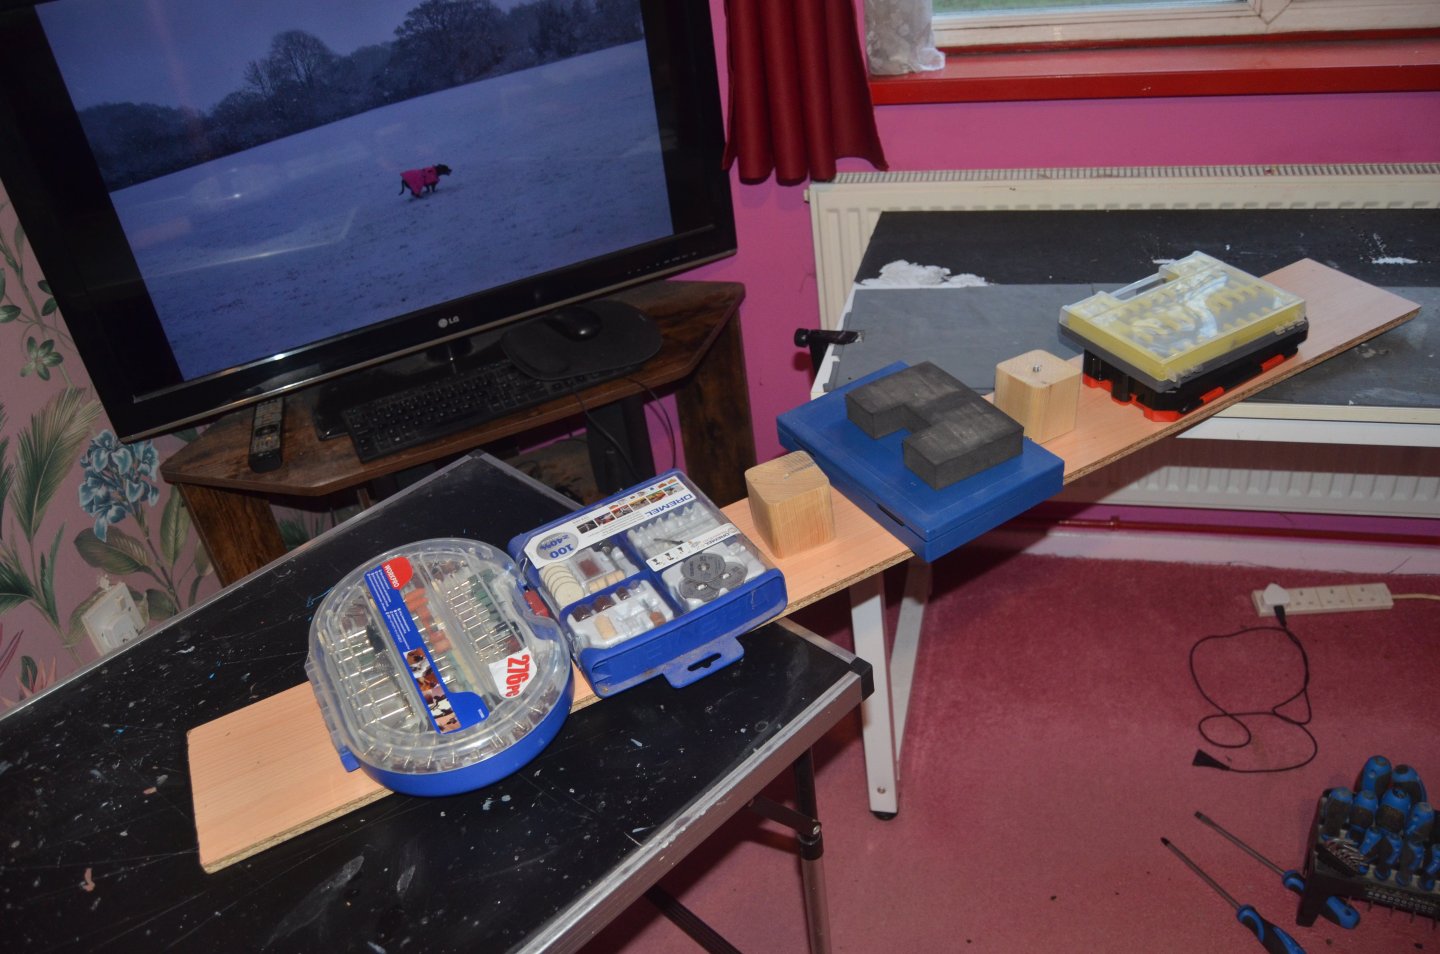
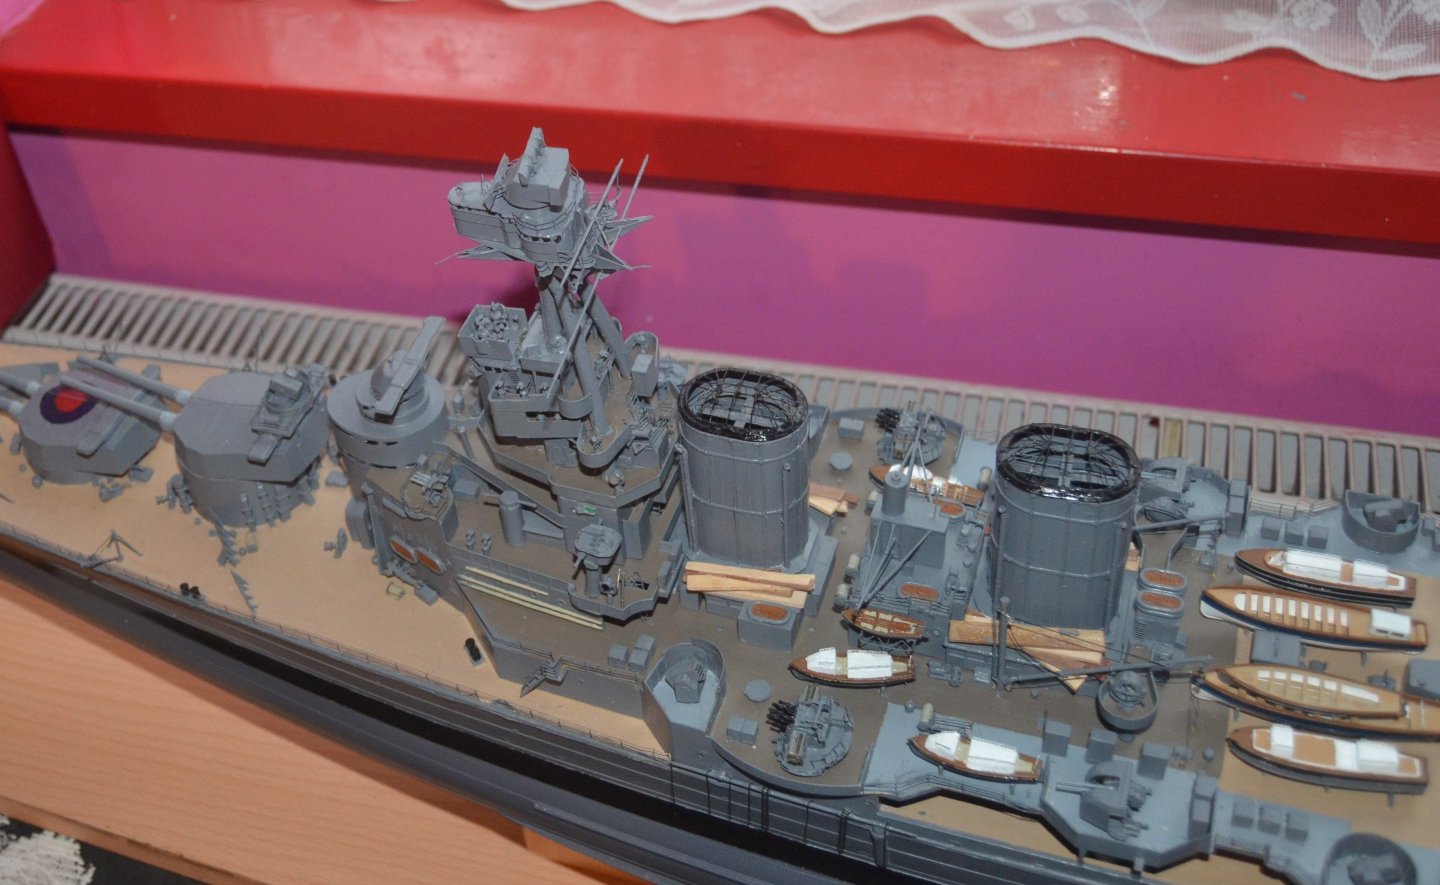
 HMS Hood is finished. Just short of 13 months to build. It has been an excellent model to build. With all the various alterations based on the HMS Hood website, the added MK1 upgrade set and using the Anatomy of a Ship book for reference the kit has built into a very impressive model. I decided not to add the embarkation ladders along the side of the hull. I added one but just did not like the way it spoilt the sleekness of the hull. I also decided against a flag. I made one up from the kit decal but it appeared to big and drew to much attention to it. The scary part was unbolting the model from the baseboard. I had to make sure the bottom of the hull had something to fall onto once the bolts where released. As there was not a lot of areas that I could hold the model as it was released from the board it came away just fine. It is not going to be displayed on the shelf it is sat on at the moment. it will move over to the other side of the wall once I can get hold of another shelf. Next will be the Trumpeter 1\350 scale German Heavy Cruiser Prinz Eugen. I may do a build a build log for that model. As I have to buy in the paints for that model I will be at a loose end for a few weeks before I can afford to buy any. So the jigsaw will be my next project to wind down with and prepare myself for the next ship build. I know it is not a ship but there are boats in the picture. Thanks everyone for all the likes and comments throughout my build log they are much appreciated.


-
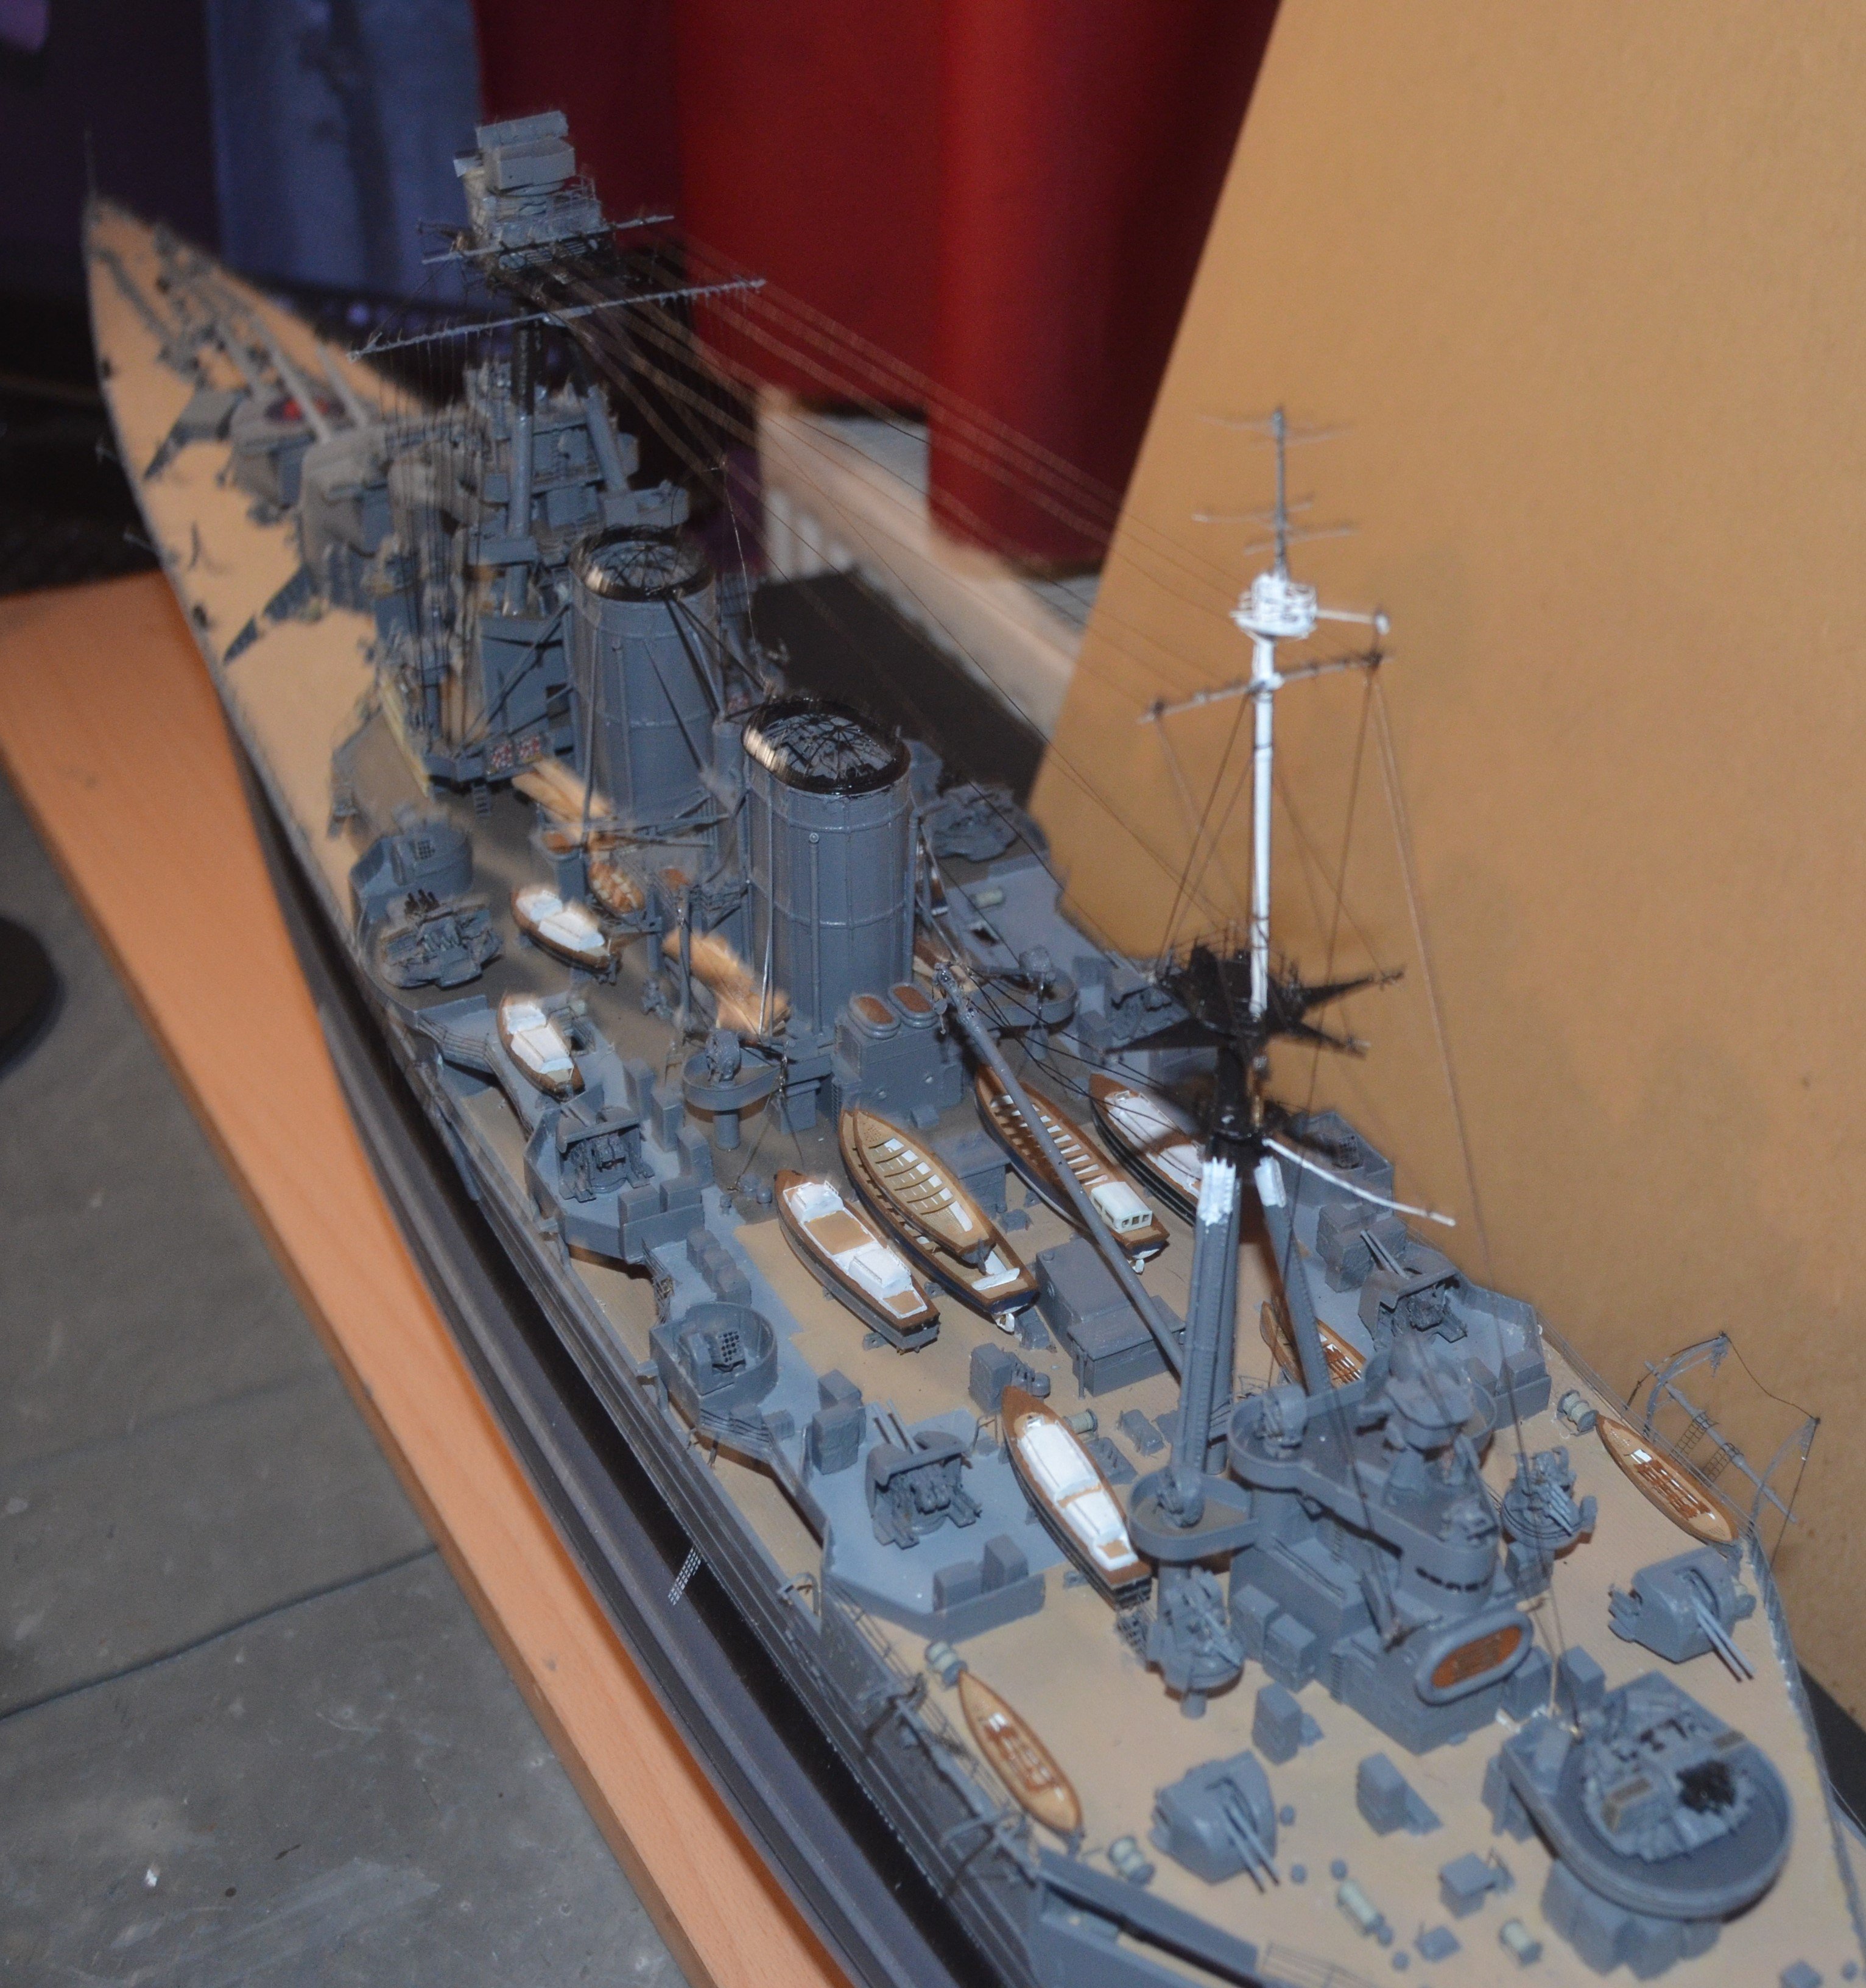
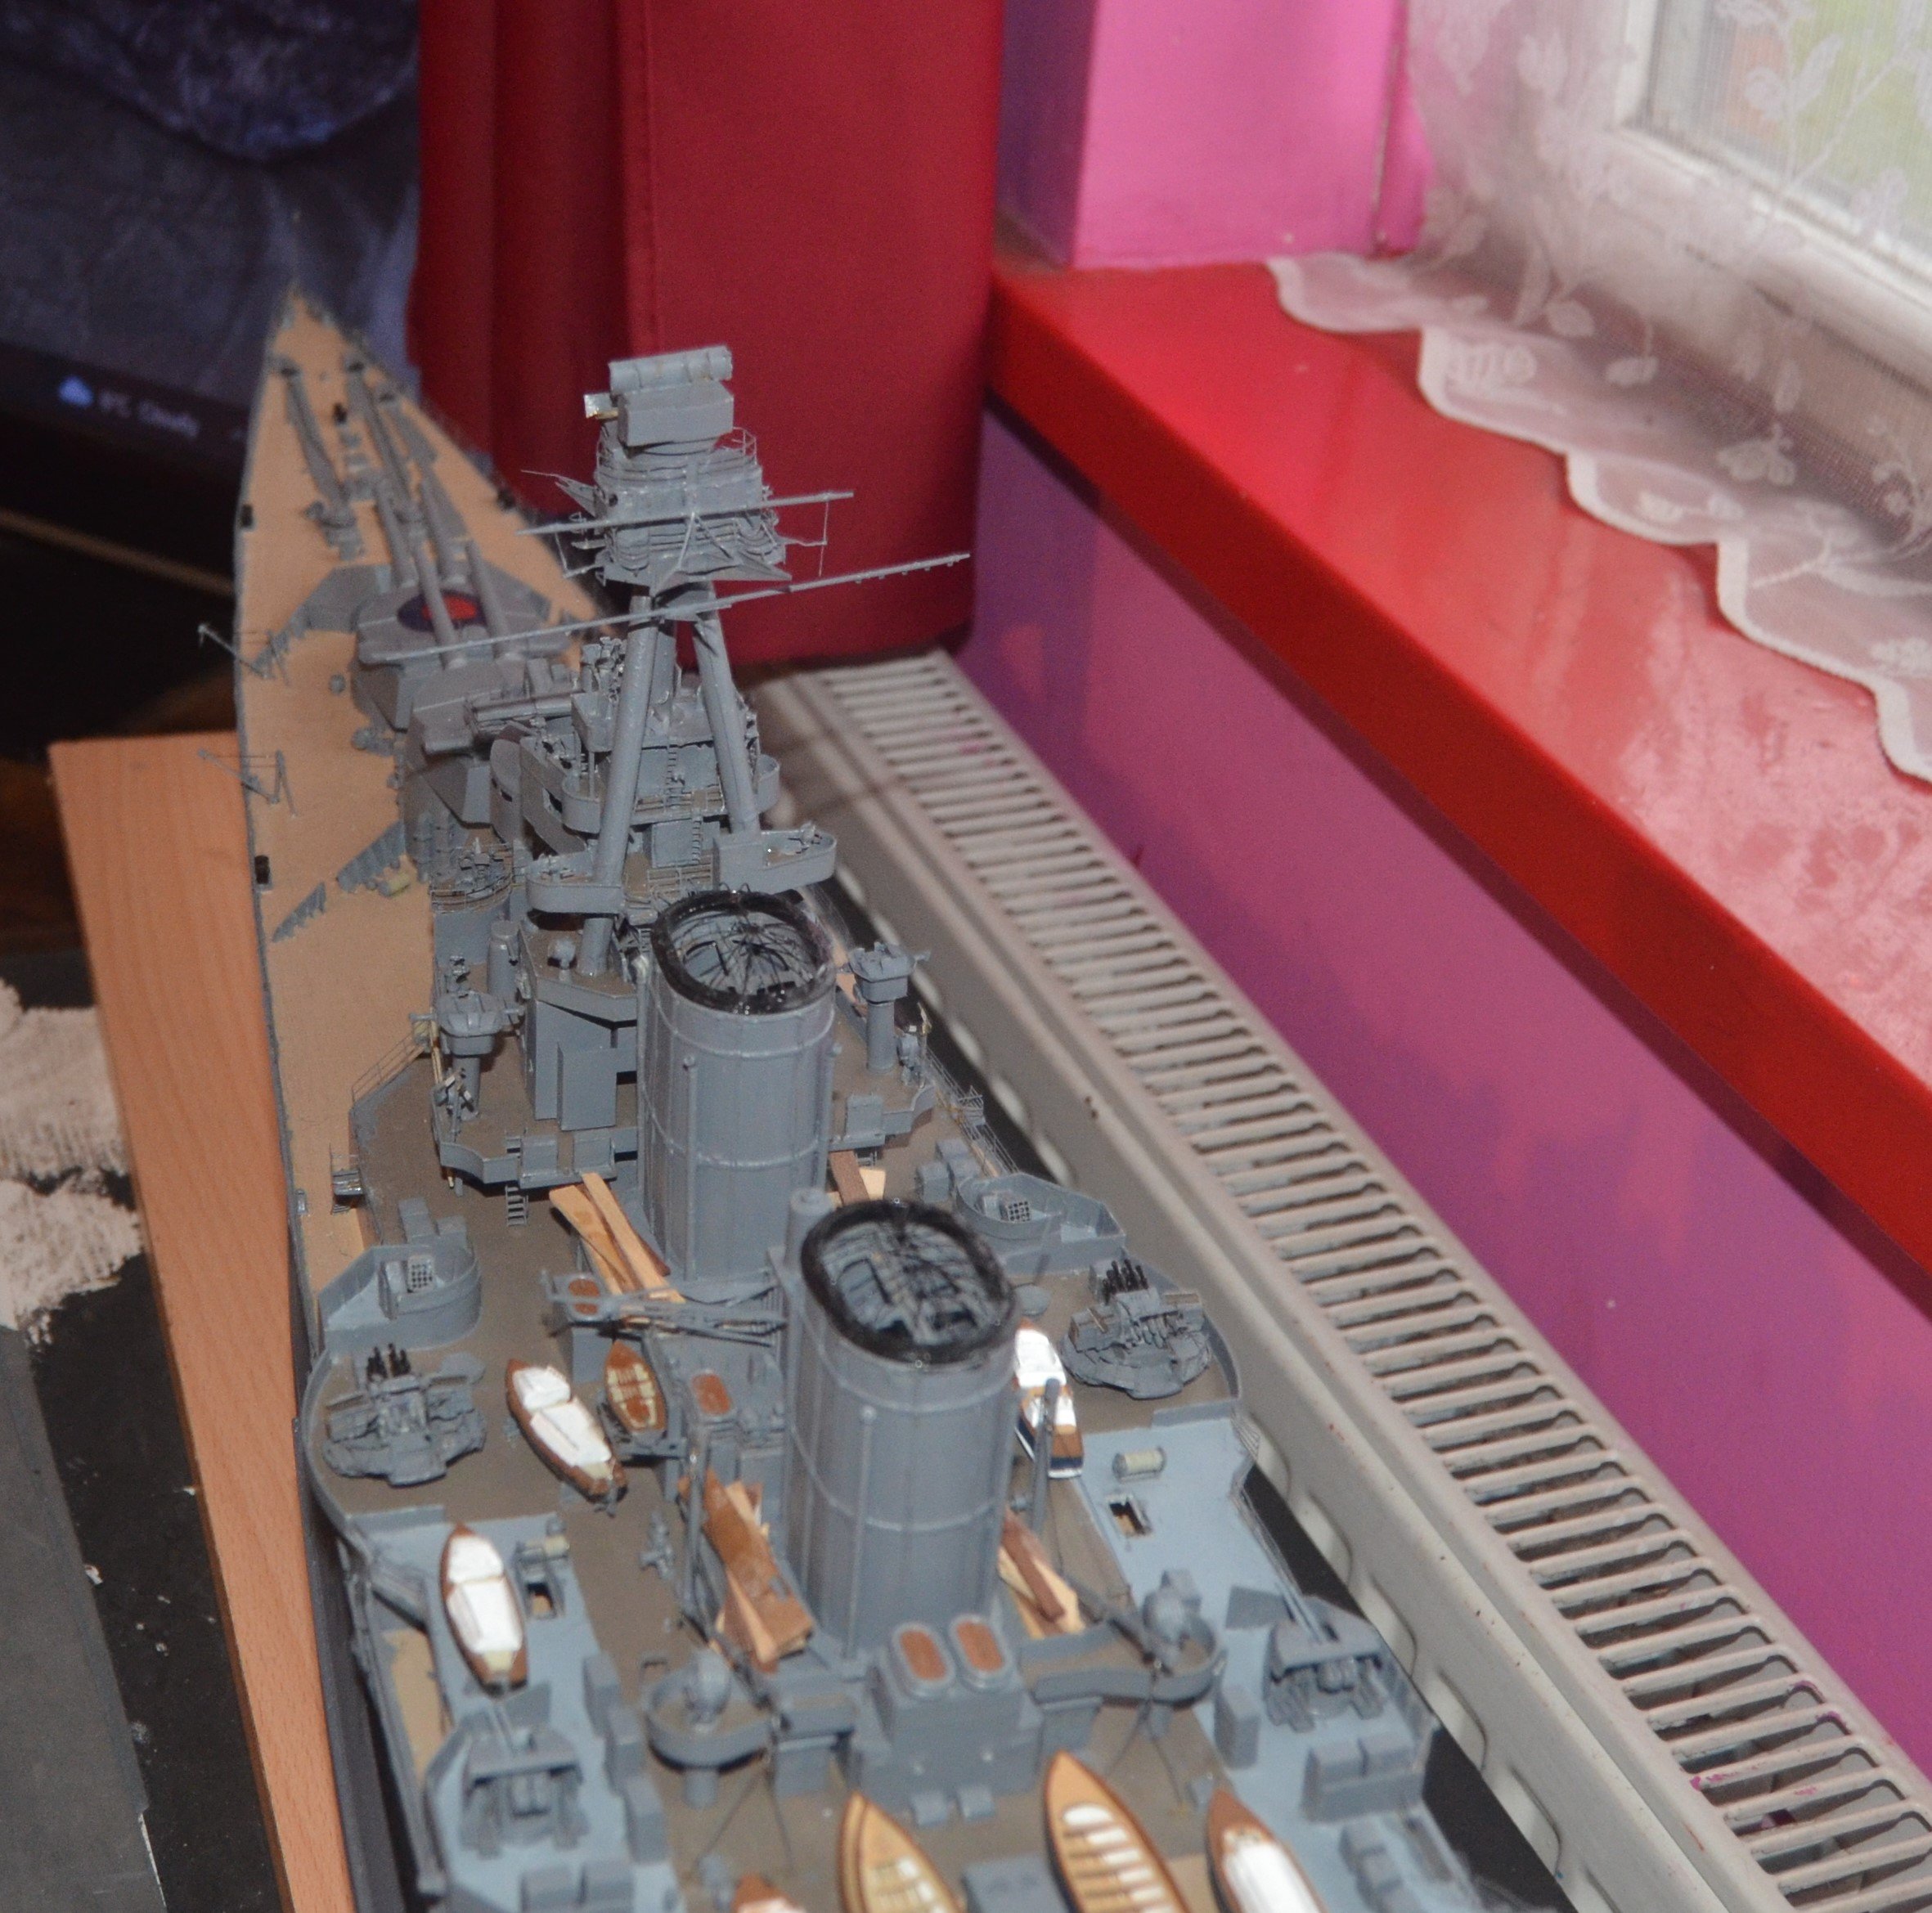
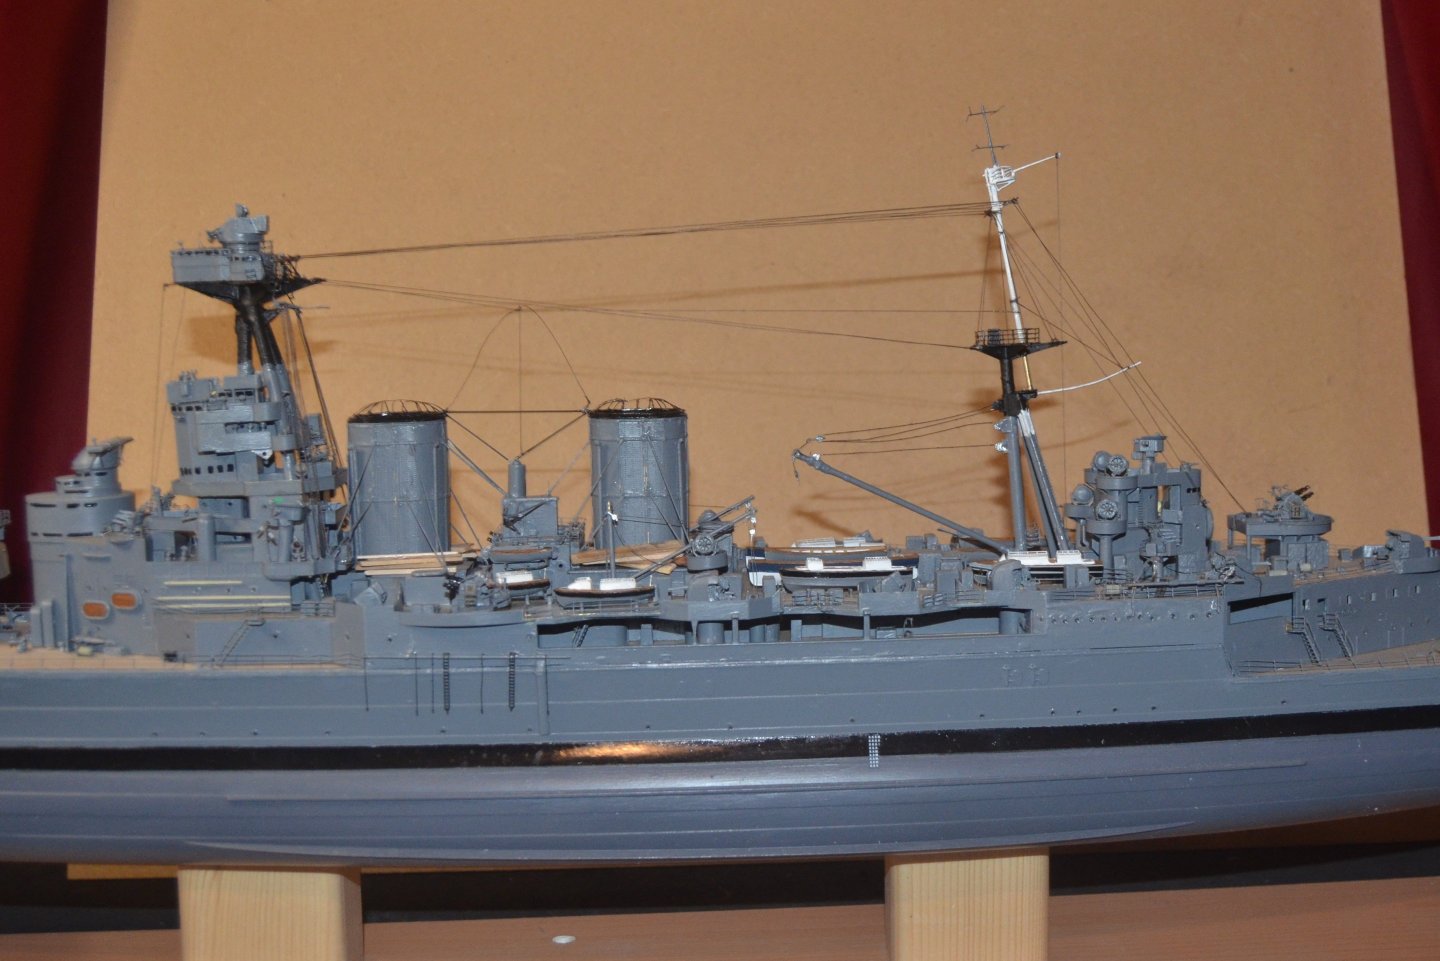
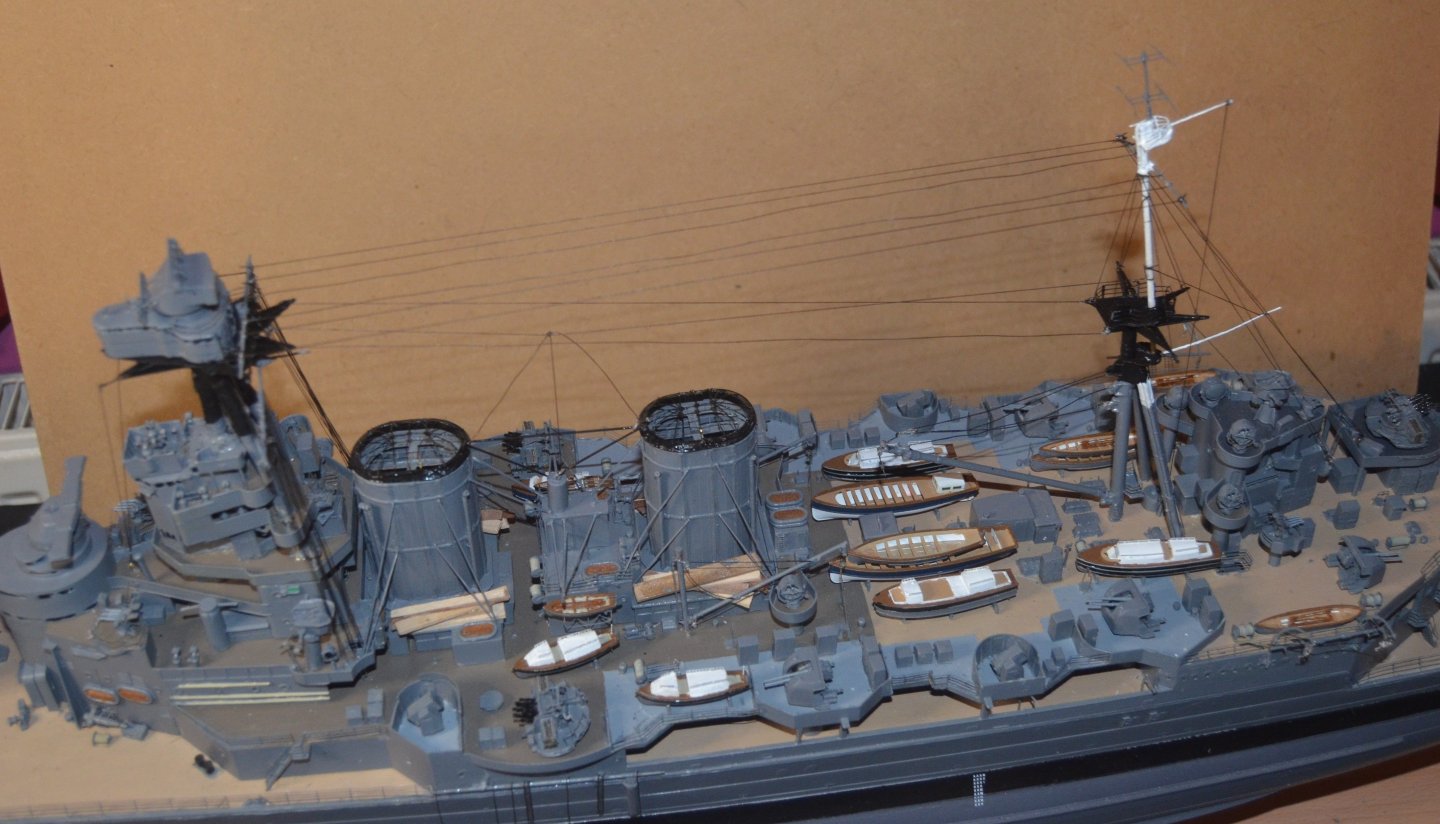
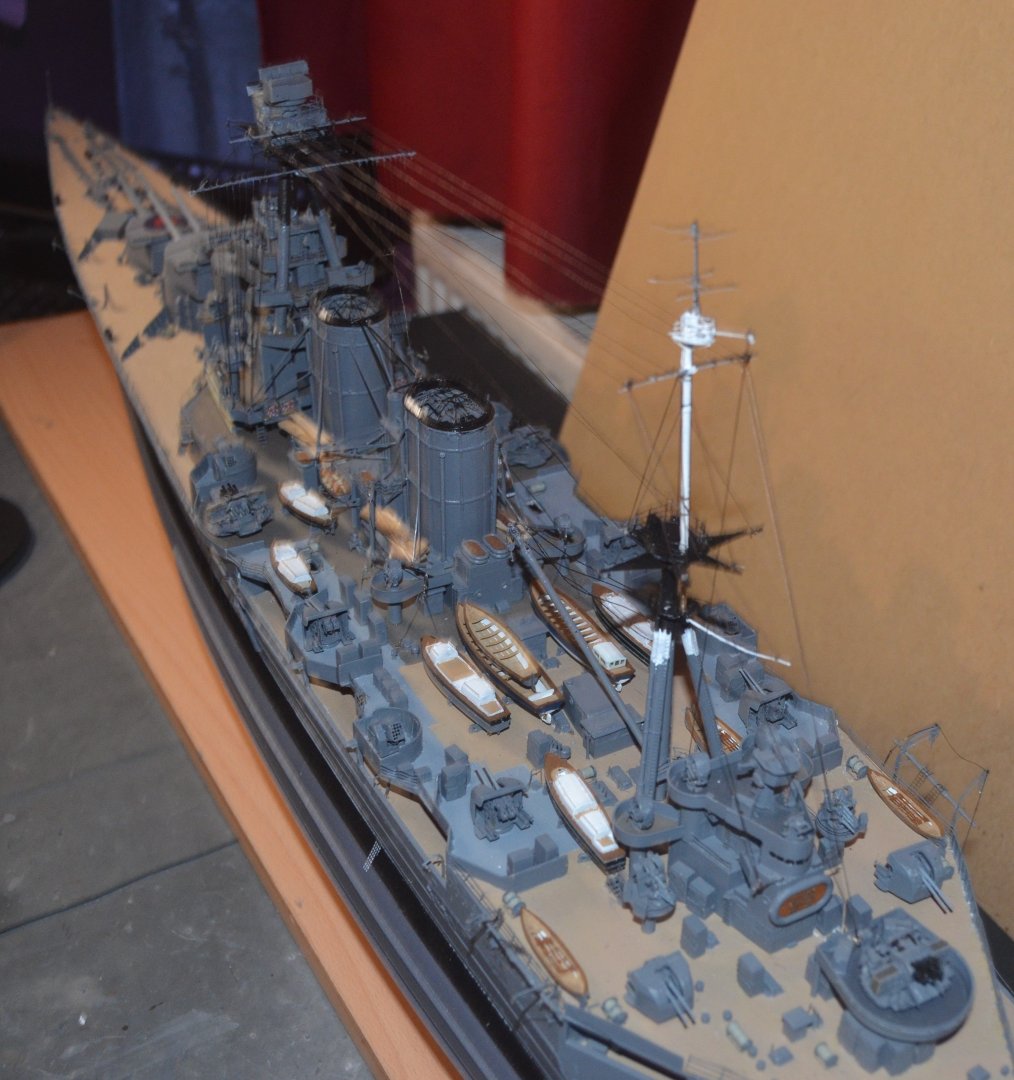
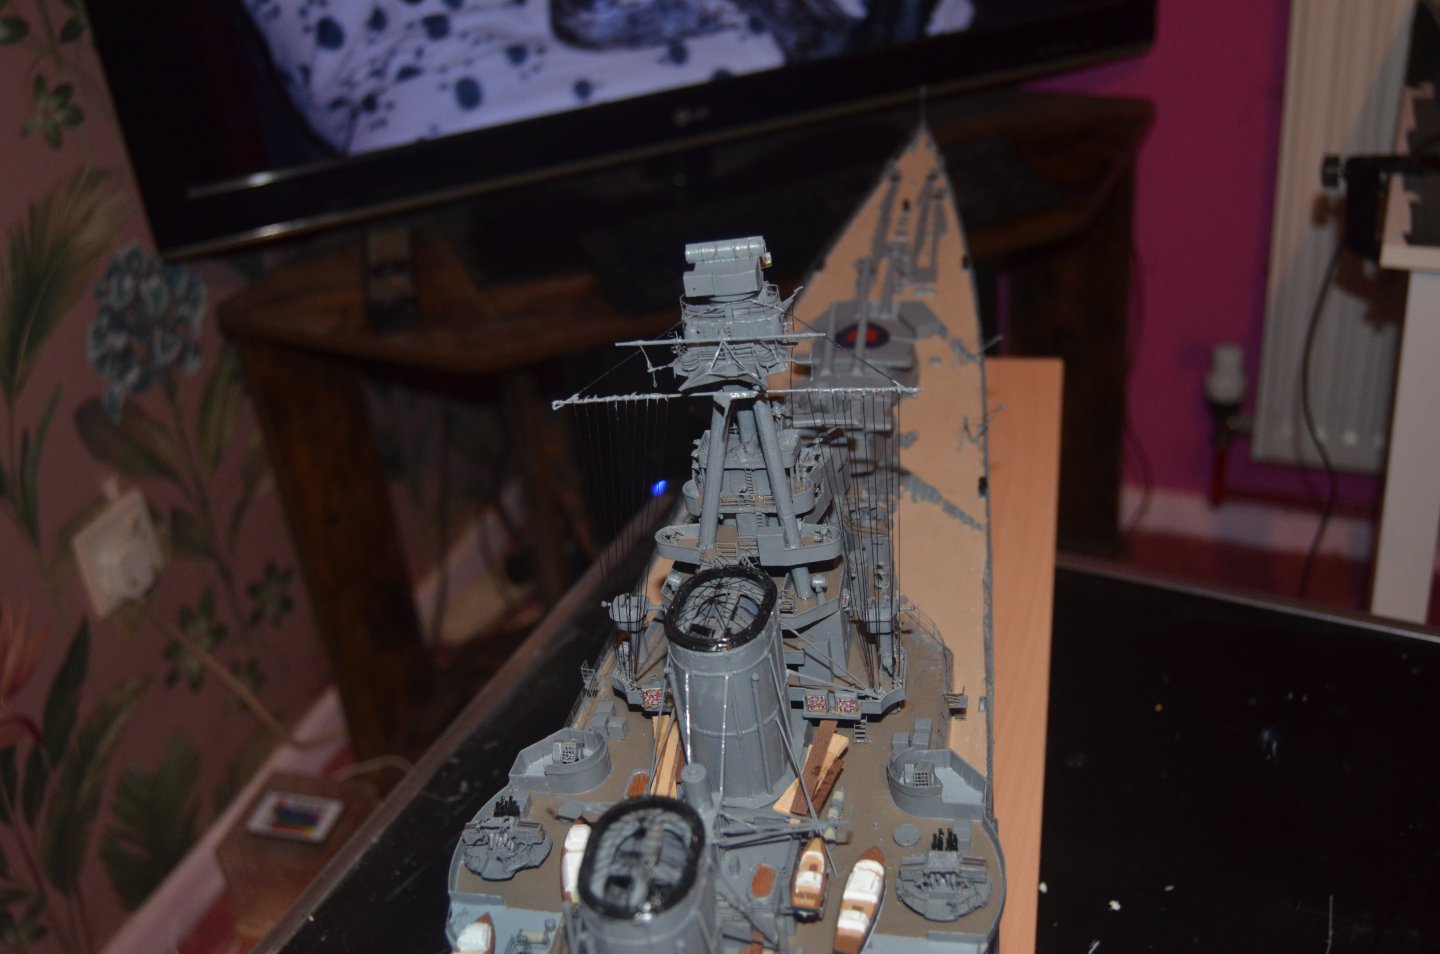
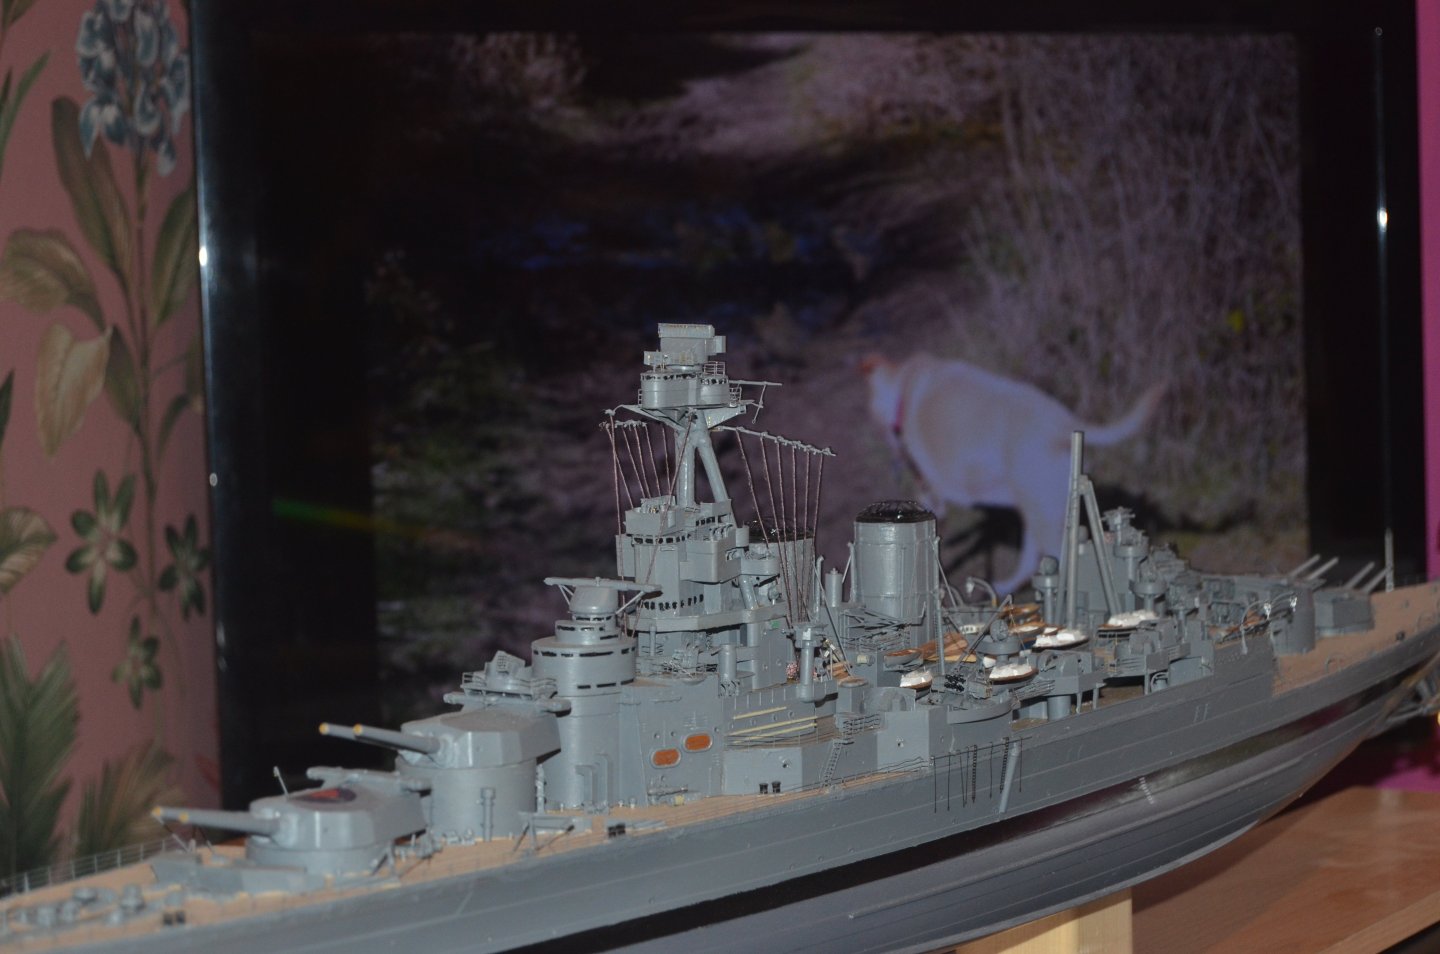
Rigging finished. This was put together using the Anatomy of a Ship book. There is a lot more than I have done, but it was complicated enough doing this lot. It looks so much better when viewed normally. There are a few more bits to add and then the model will be complete. Just have to be extra carful when unbolting it from the baseboard.
-
Paul Jarman reacted to a post in a topic:
Norden 603 by Scott Crouse - FINISHED - Billing Boats - 1/30
-
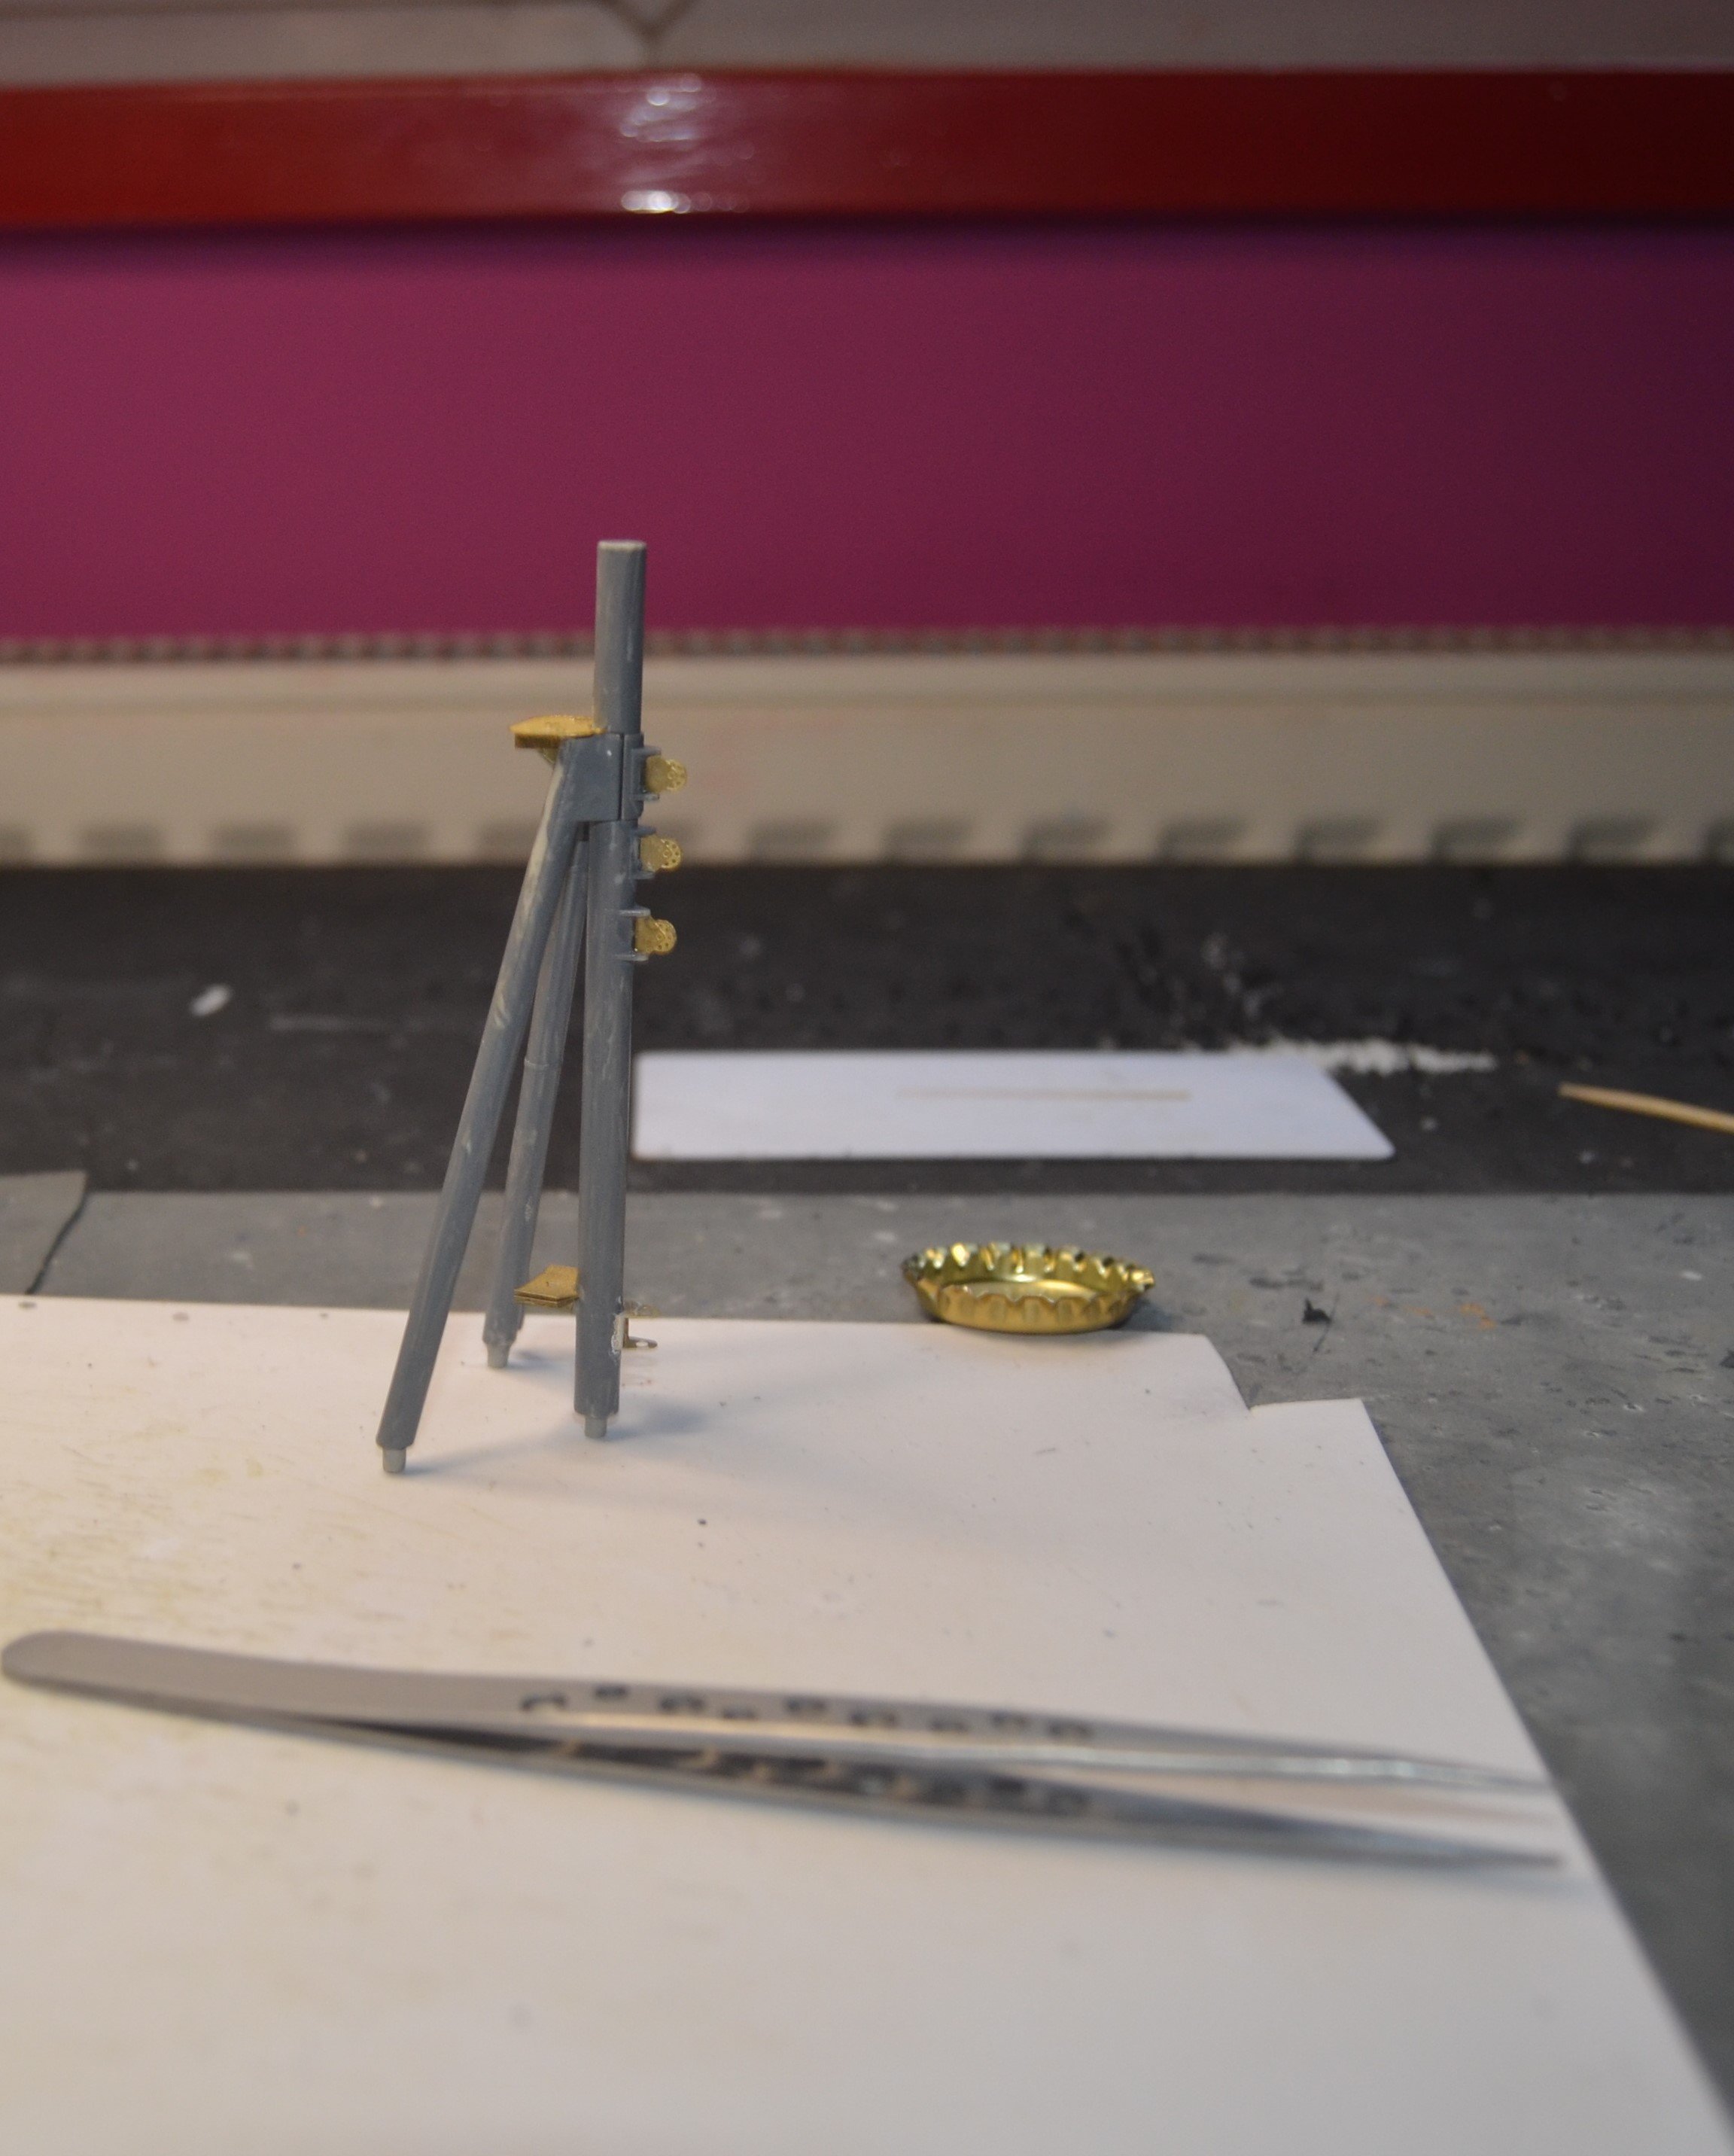
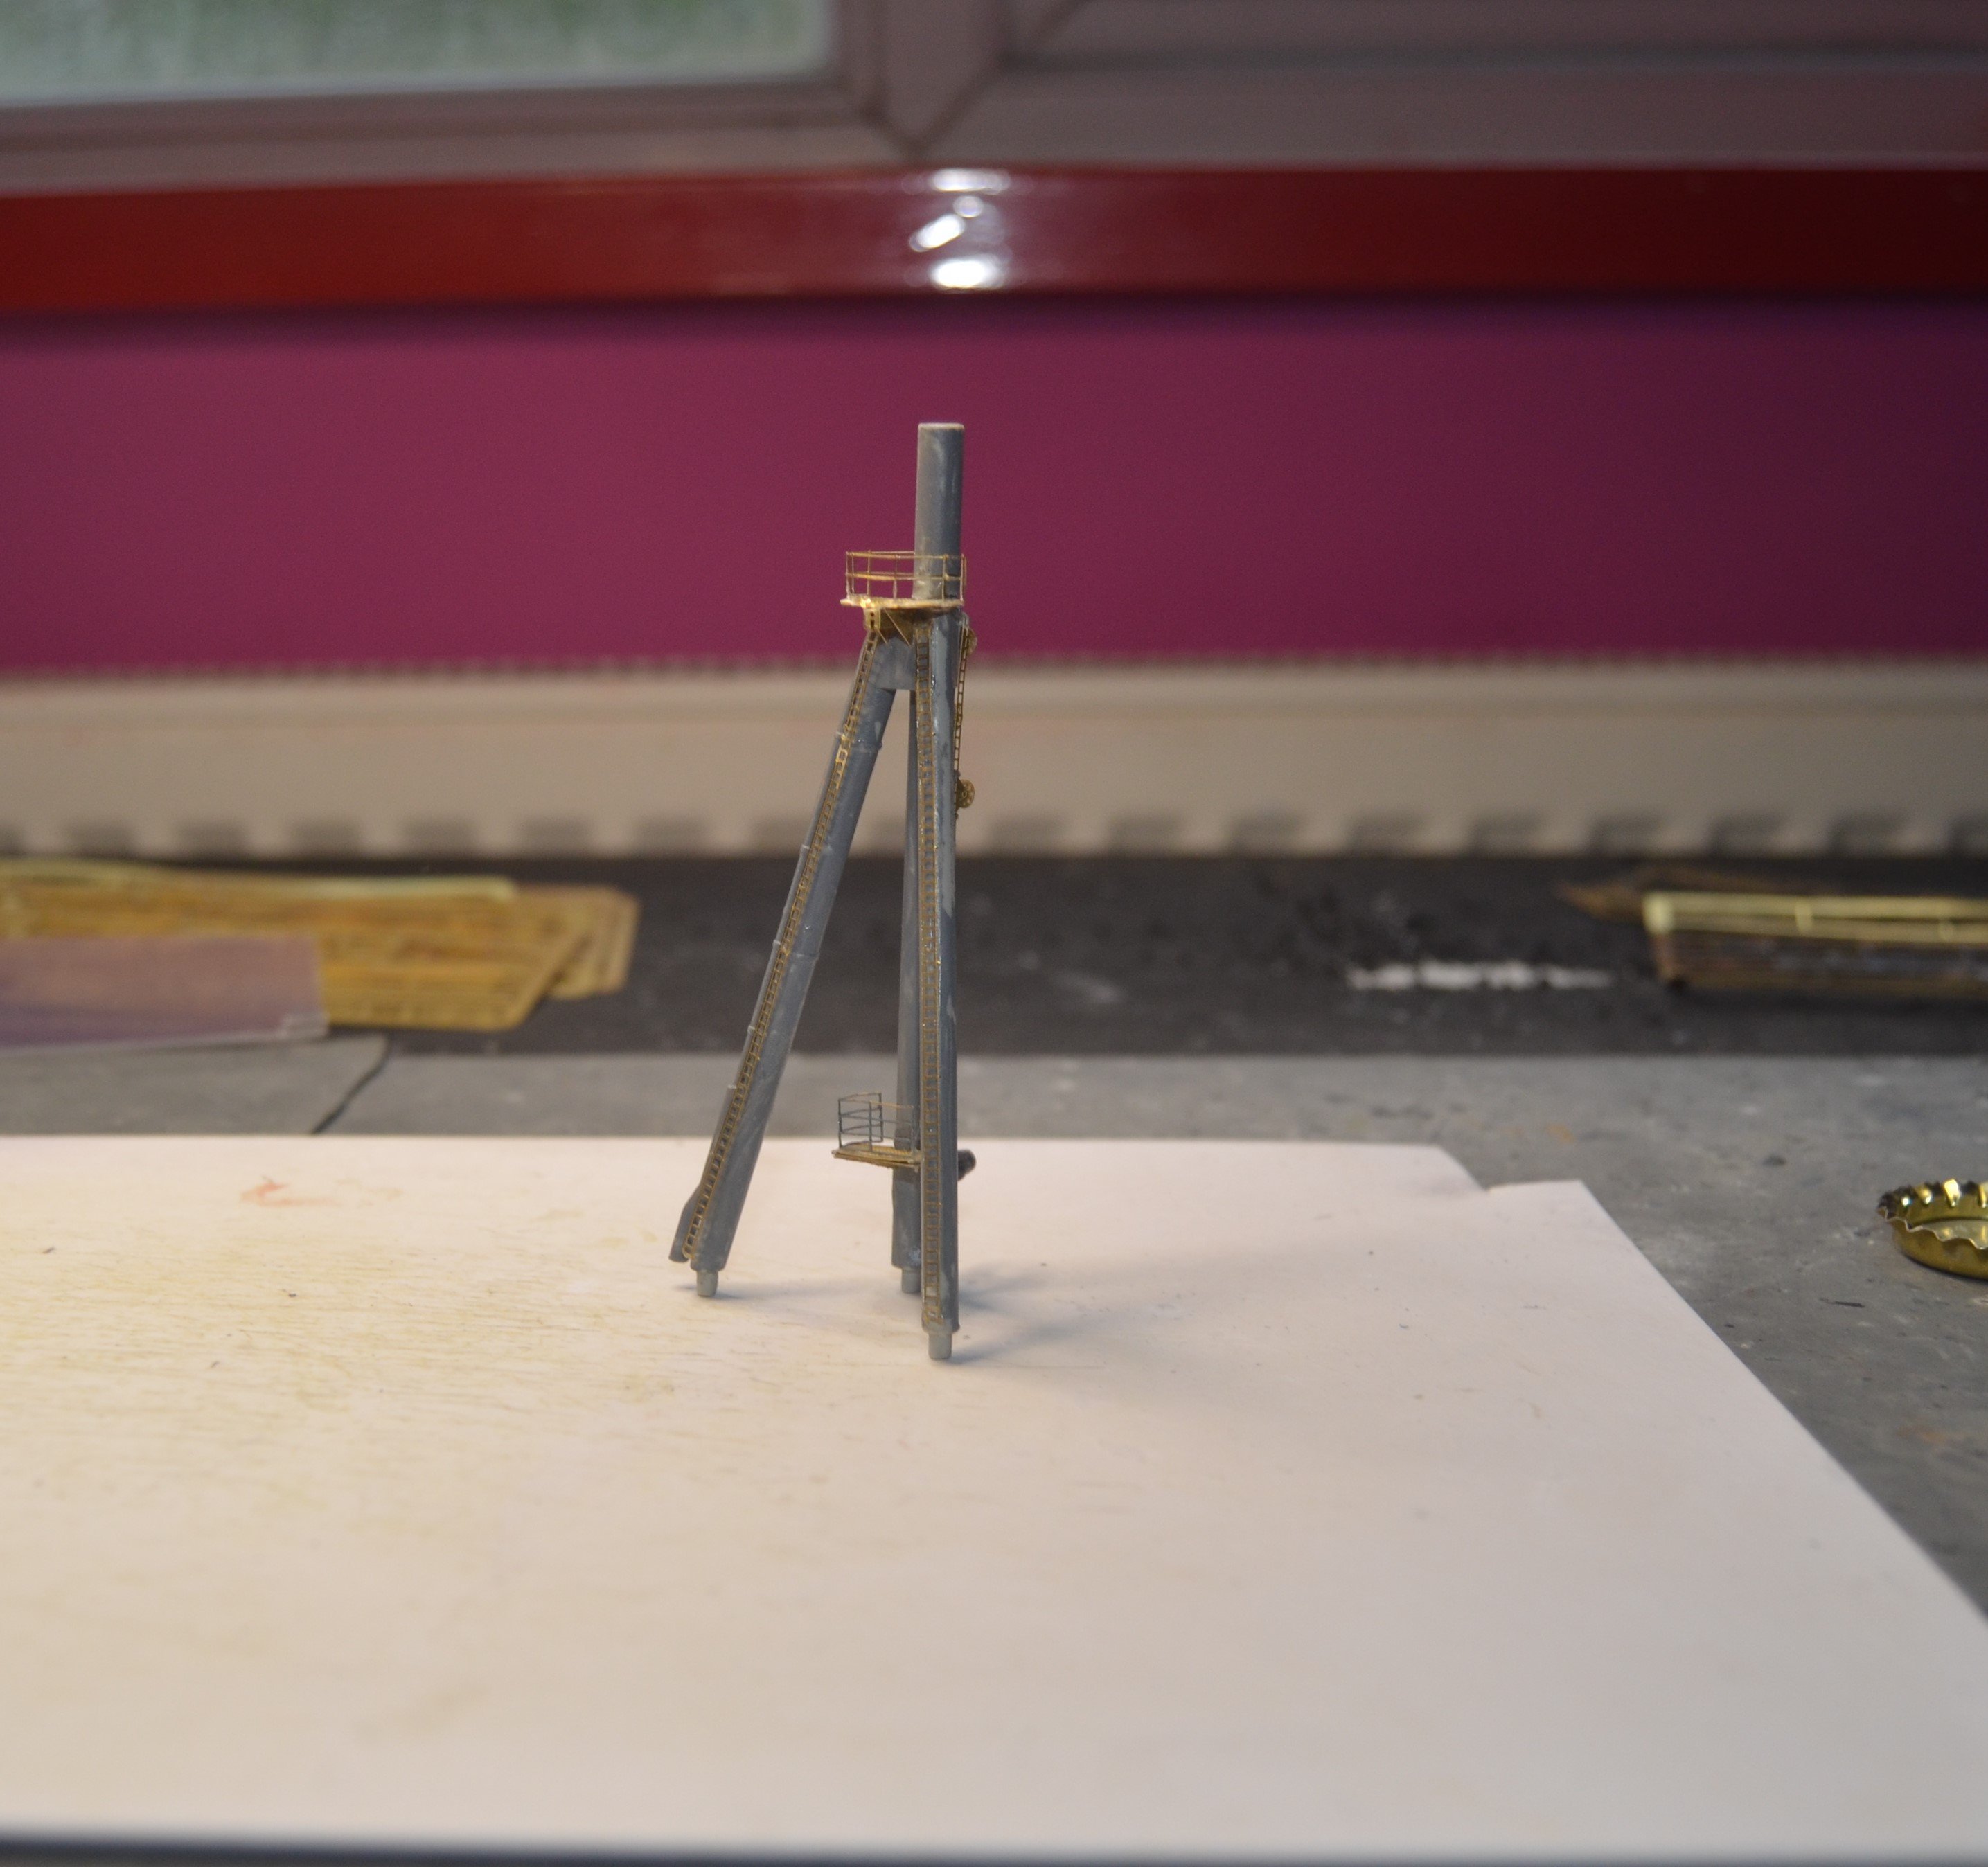
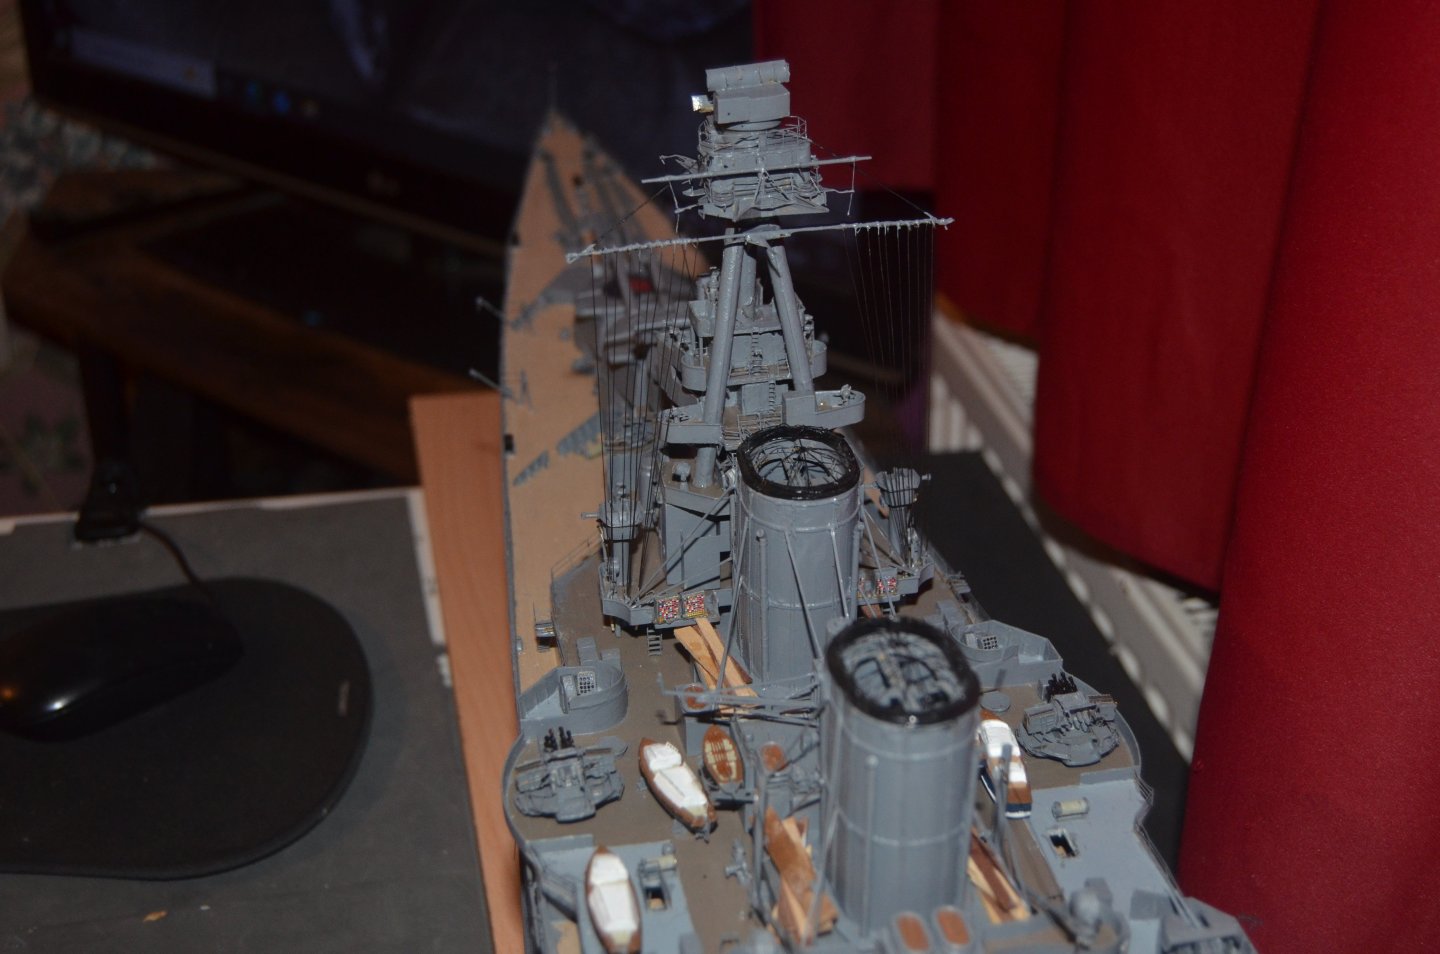
Double checking the instructions to make sure I had not missed anything on the masts. Of all the things that I had forgotten was that I had included some painting instructions. The top of the mast legs up to and including the starfish where painted black. And the main mast had two white bands around the top of the rear legs. The top section of the mast was painted white. It was not to much of a problem with the main mast starfish and top section as I had not glued them in place. But the legs had to be painted in place with no way of being able to mask them off. The mast on top of the bridge was the hardest because of all the parts around it. But I think they have come out really well considering.

-
The main mast glued firmly in place. I did make one huge error. As I was pushing it firmly down into the deck I completely forgot about the hand rails on the platform at the top and have crushed them beyond repair. Luckily there are a few left over so should be able to rectify it. The starfish and top of the mast are dry fitted. There is some rigging on this section which I may be able to do before fully attaching it. and the model as it looks almost complete.


-
Getting close to the end. Paint up the bottom of the main mast add the top and then just a few parts along the hull and the model will be finished.


-
Paul Jarman reacted to a post in a topic:
Learning Ship Modeling One Wrong Step at a Time: Hello, I am new here.
-
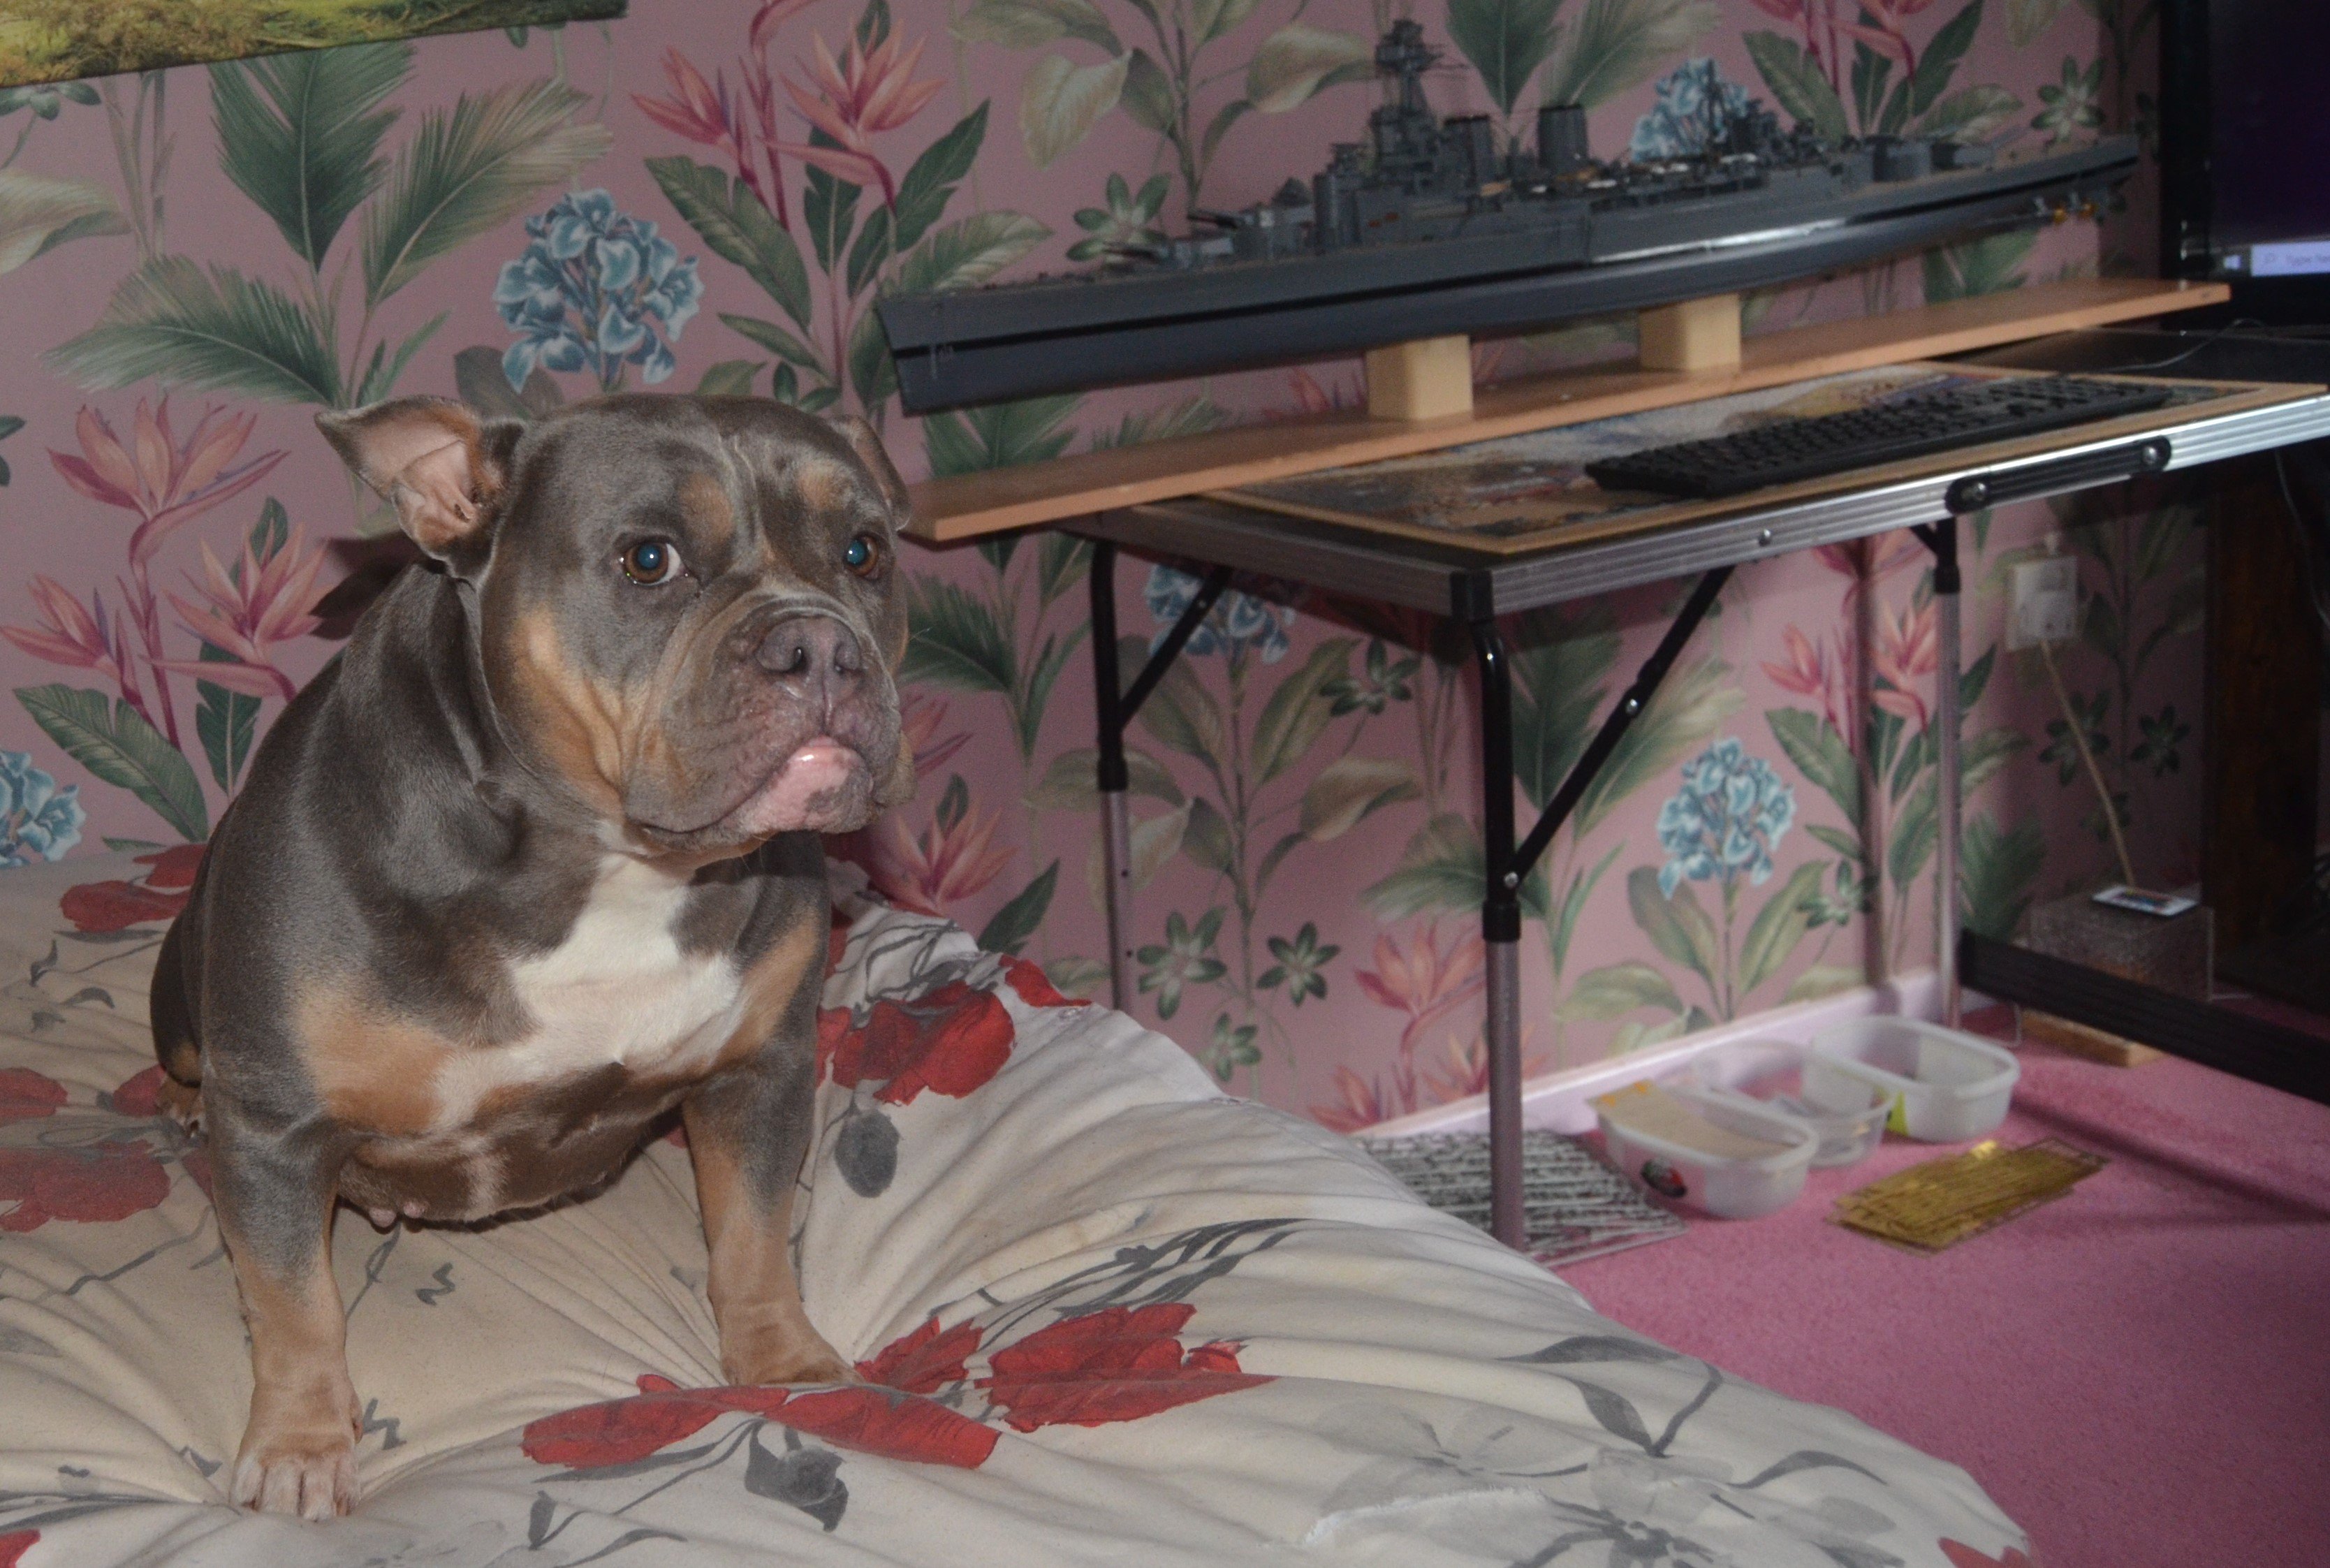
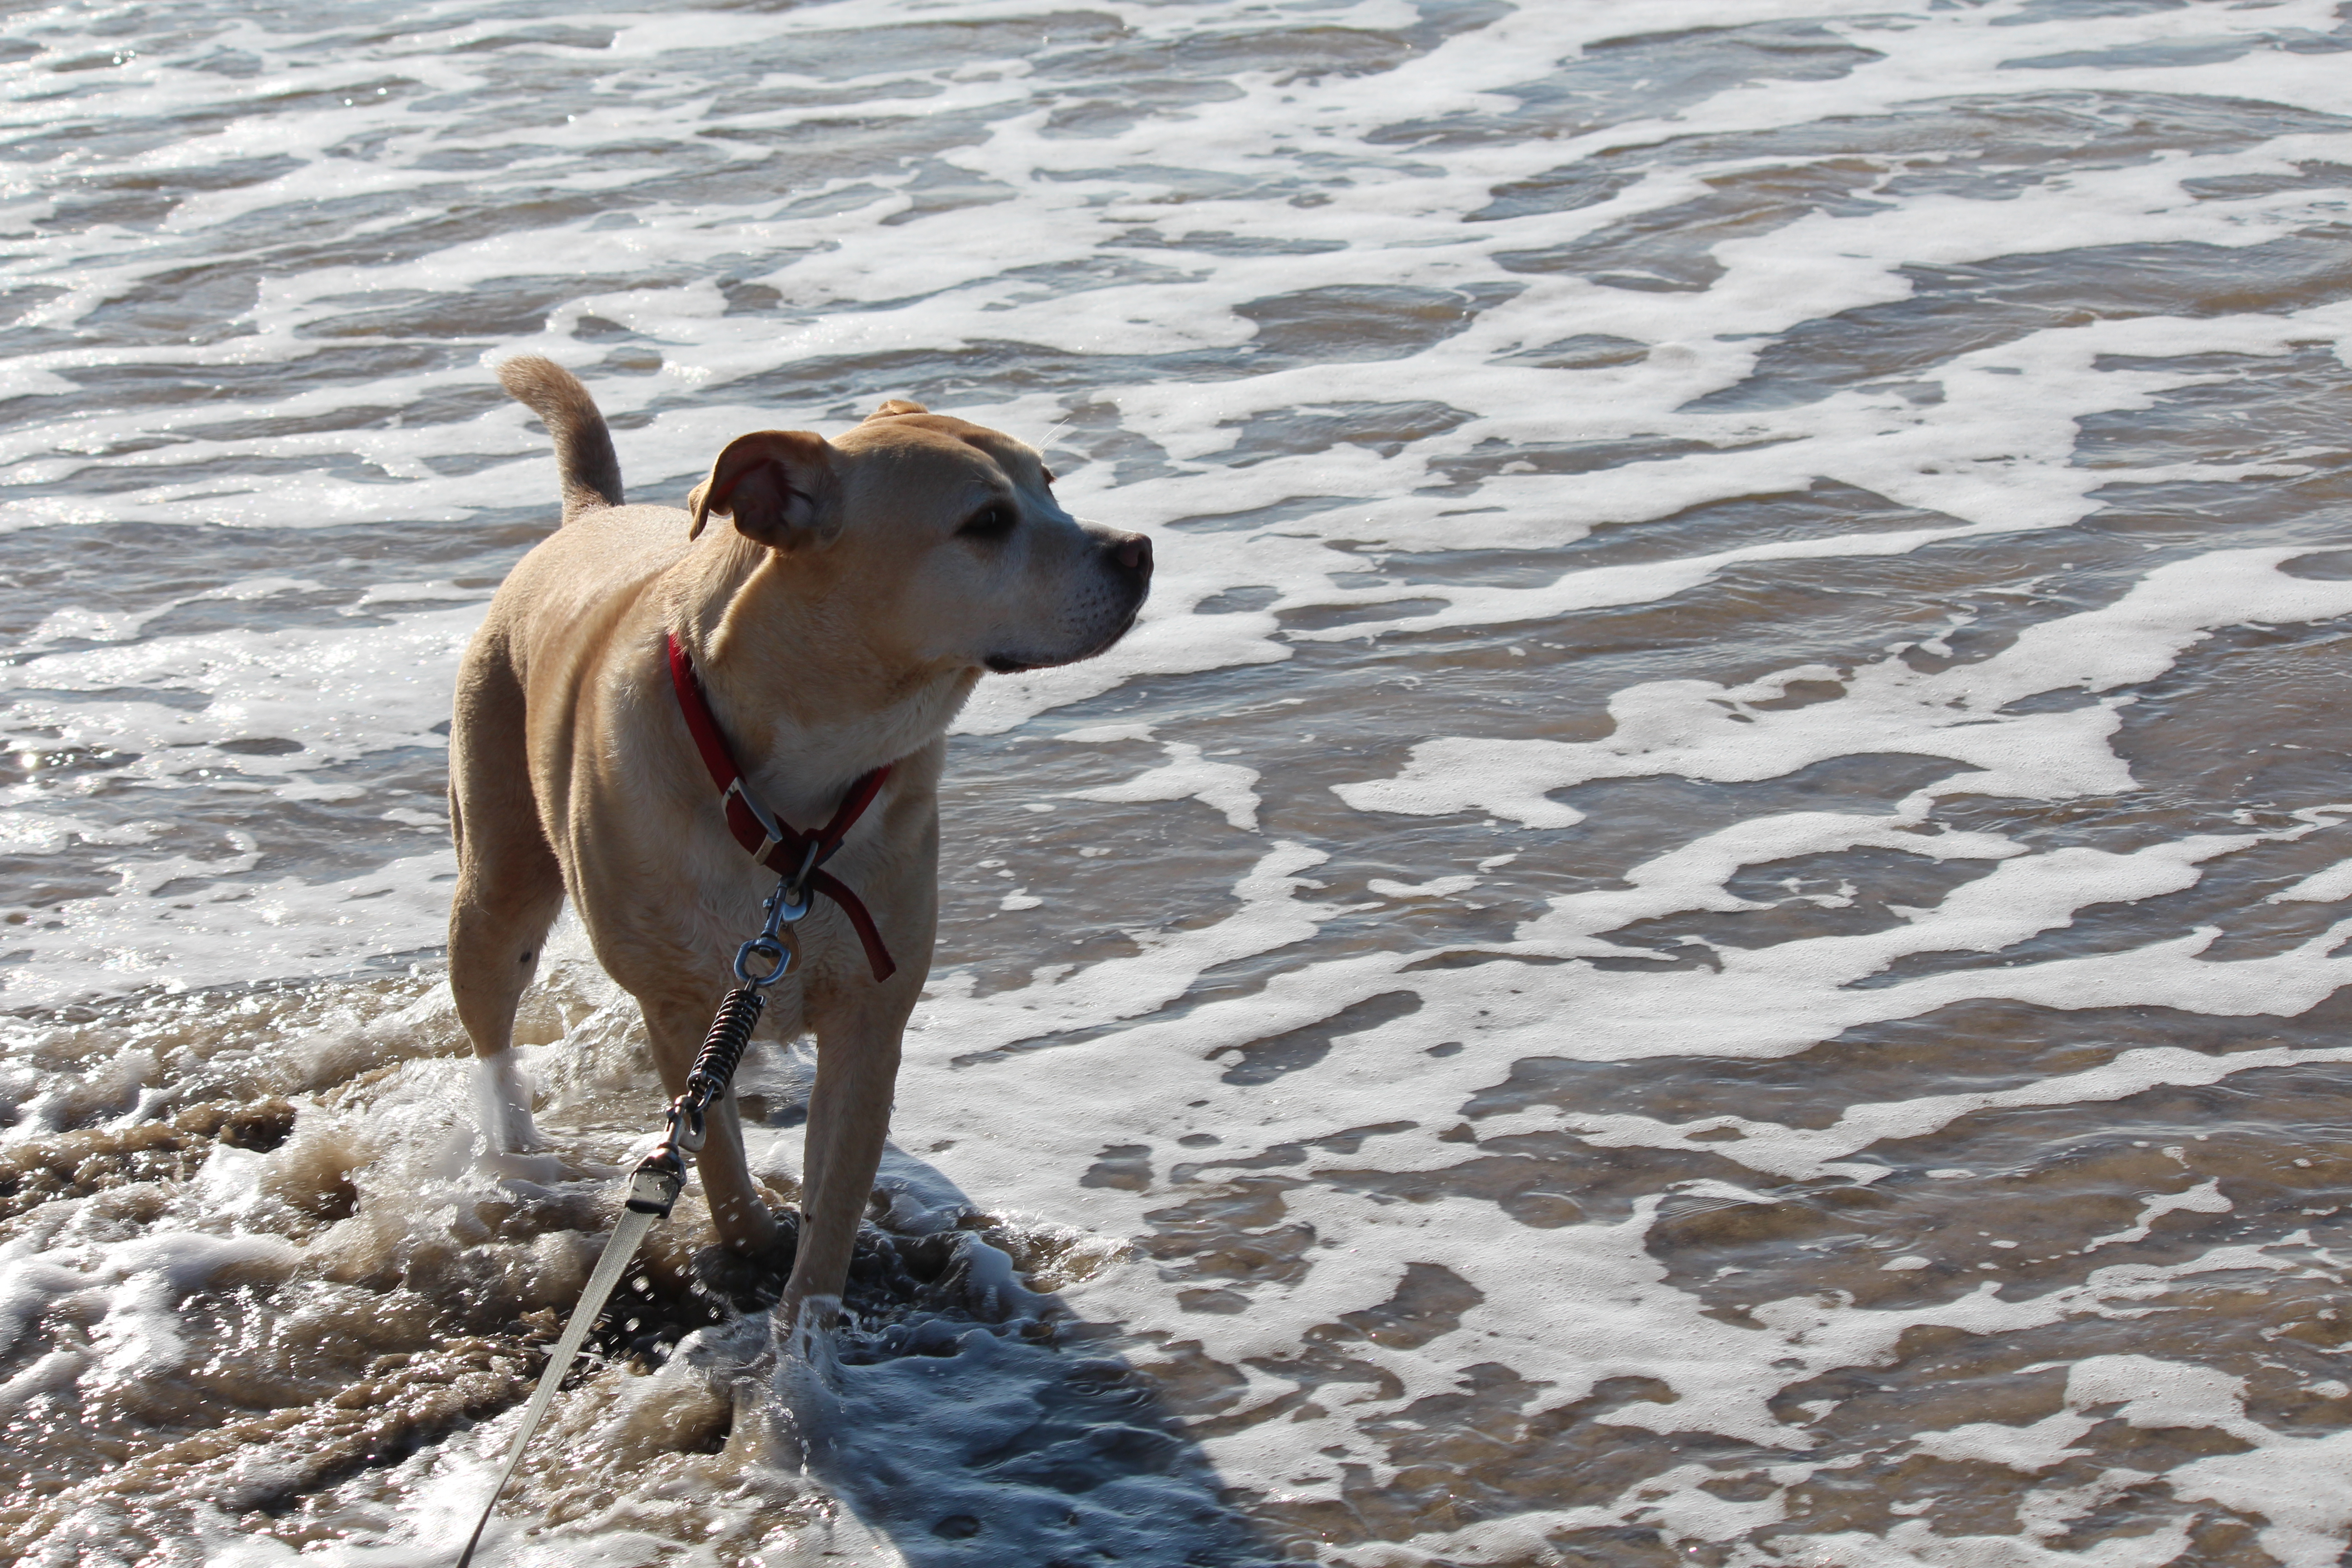
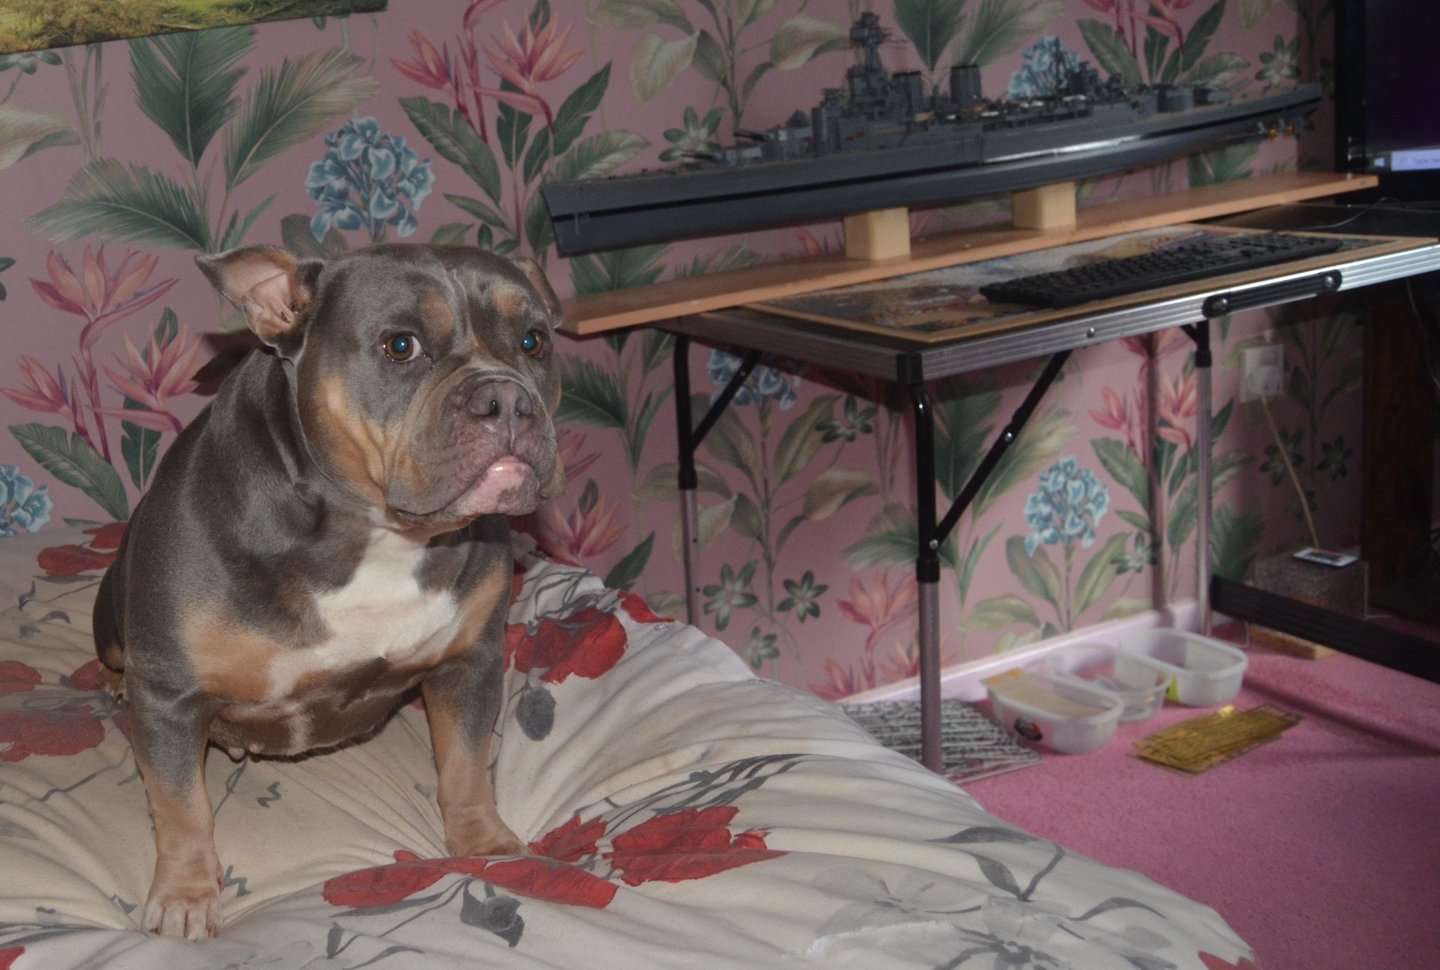
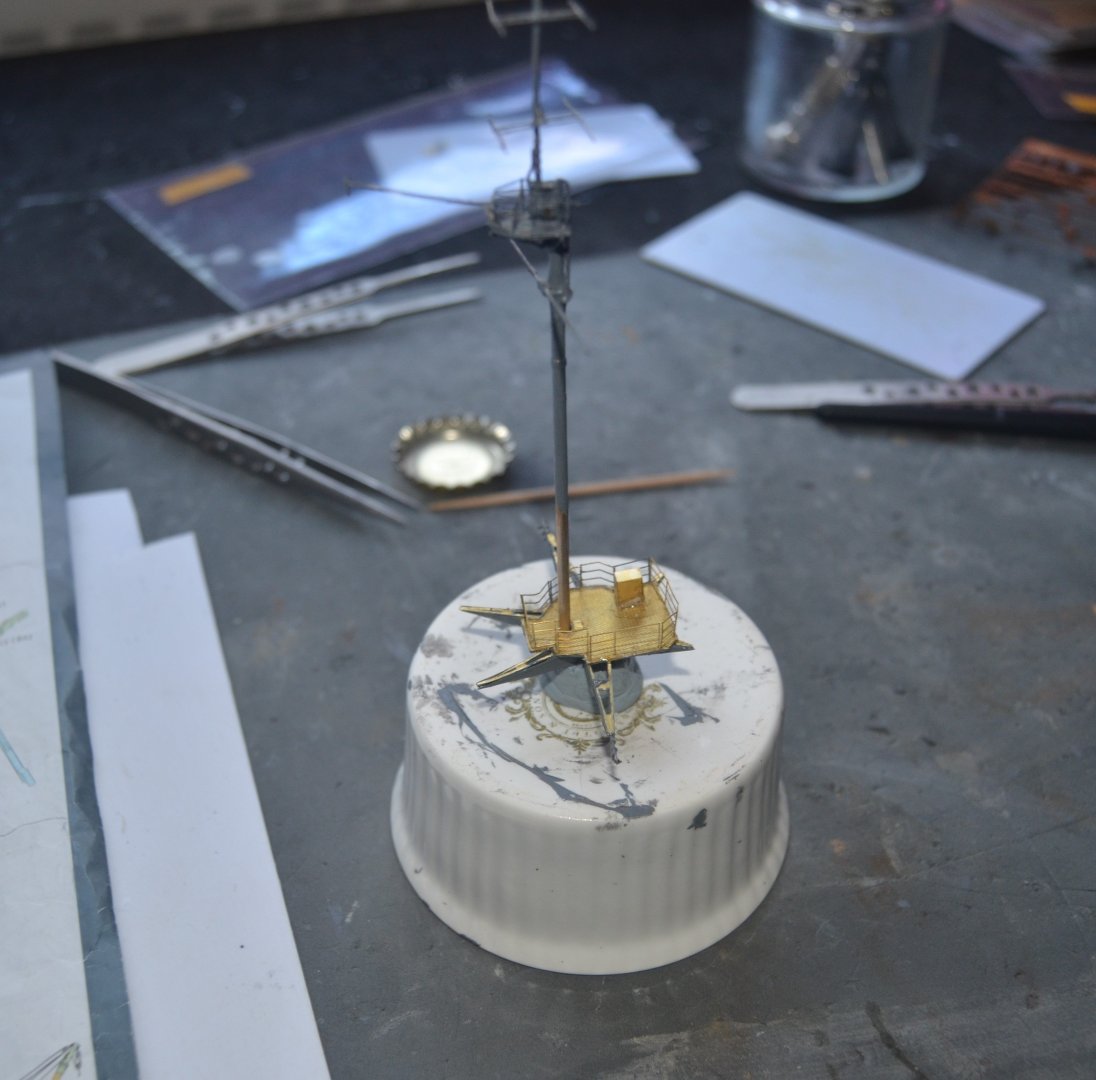
Not worked on the model since November 6th. I sadly had to have my dear dog and best friend Daisy put to sleep after she had a stroke and it caused a brain lesion. So let me introduce you to Sky. She is a Pocket Bully. Coming up to 5 years old. I have only had her for two weeks so have been putting a lot of time into getting to know her and getting her used to me and the her new surroundings. Finally back to working on the main mast starfish . A lot of PE for such a small part. next I need to get the bottom part of the mast done and add this to it.
-
Paul Jarman reacted to a post in a topic:
Chesapeake Bay Crabbing Skiff by palmerit - FINISHED - Midwest Products - 1:20
-
Paul Jarman reacted to a post in a topic:
Cutty Sark by GarryA - Billing Boats
-
Paul Jarman reacted to a post in a topic:
HMS Hood by Paul Jarman - FINISHED - Trumpeter - 1/200 Scale - PLASTIC
-
Thanks,I will admit it was a bit scary at first. But once you get used to working with the PE it comes out fine. I find it helps to spray on some CA glue activator which bonds it instantly. You will be fine adding PE. It will just be a bit smaller that's all. My biggest problem as I have mentioned before is the shaking hands. The stage that will get me will be adding the rigging across the two masts . Good Luck when you start to build your version.
-
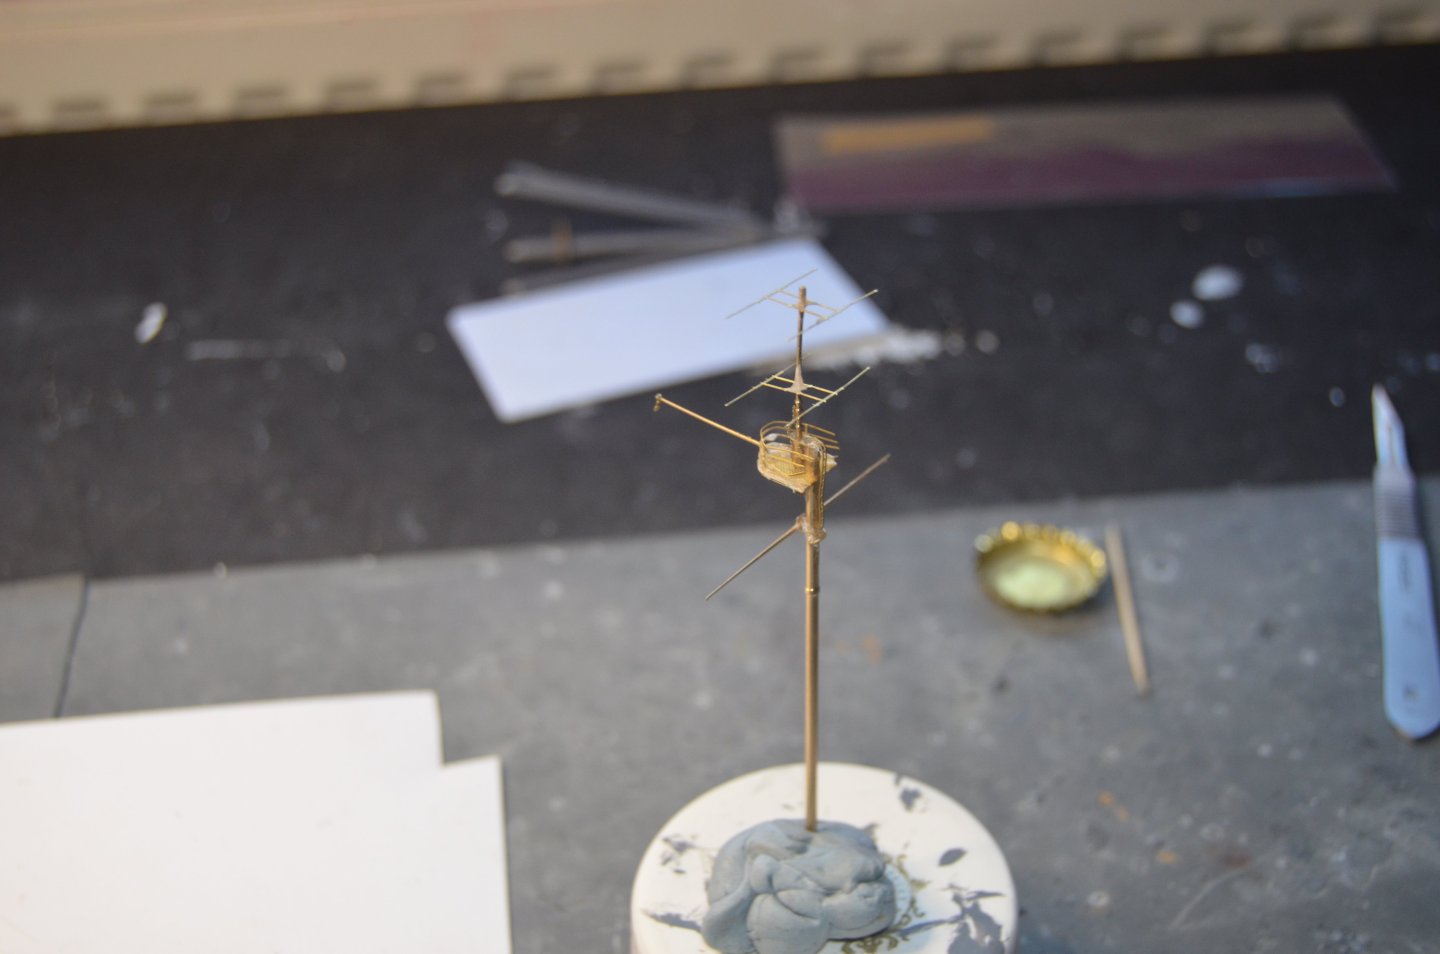
The top part of the main mast. This is made with the MK1 kit and replaces all of the Trumpeter parts. It is OK but I put the yard on the wrong side and am not going to take it apart to fix it. The hand rails are alright but the ends broke. As with these things it does look impressive when seen normally. Now onto the bottom part which will also have a lot of replacement and extra parts.
-
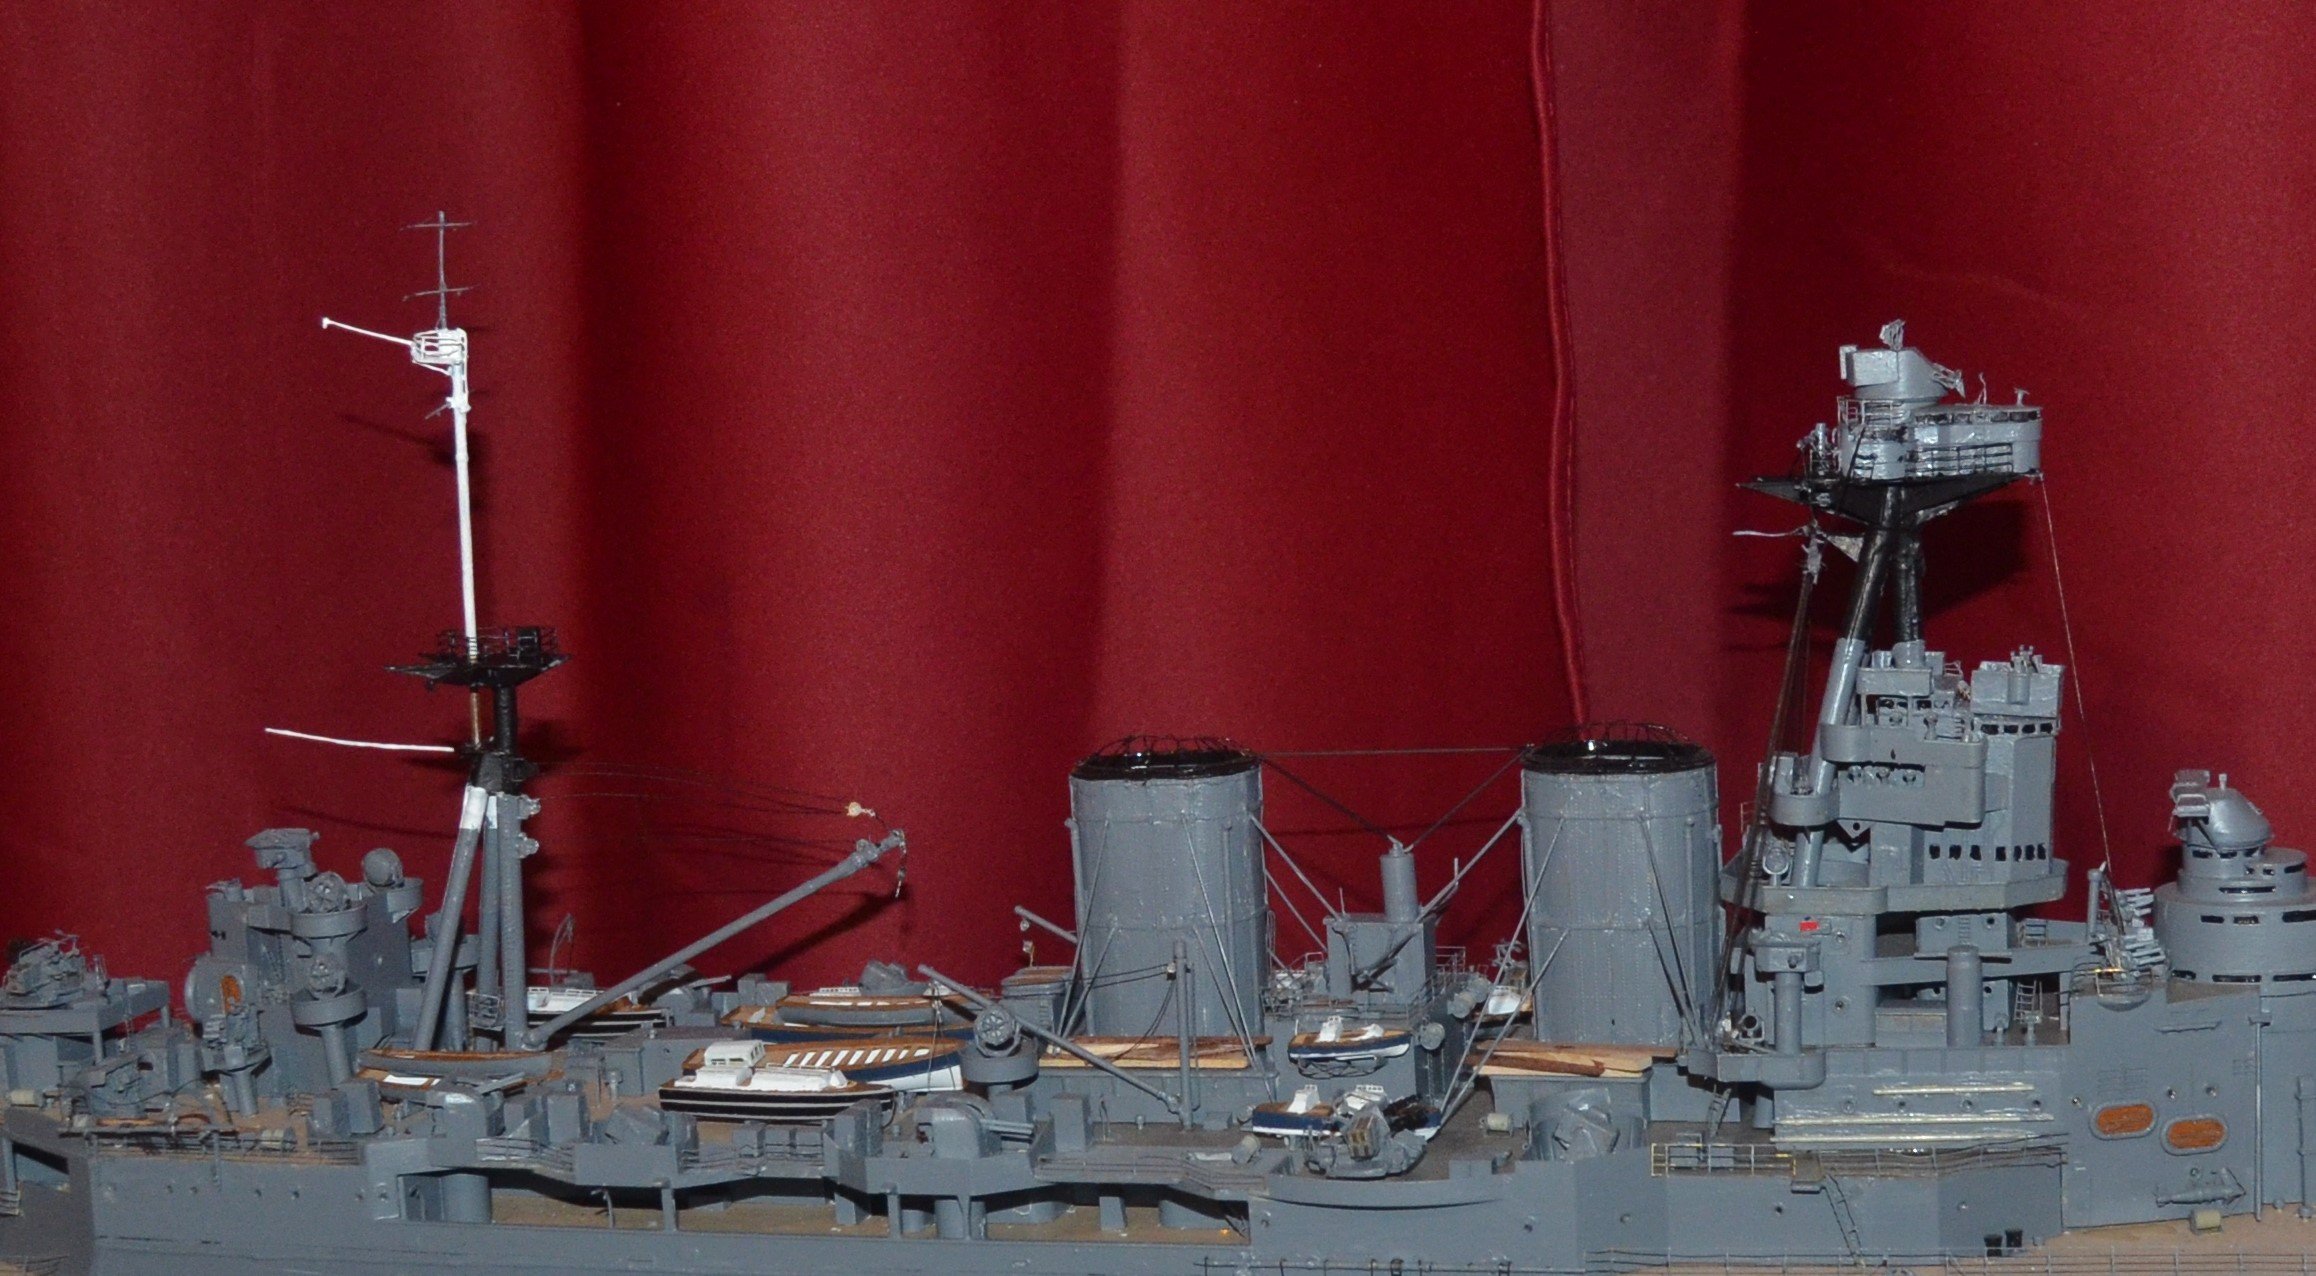
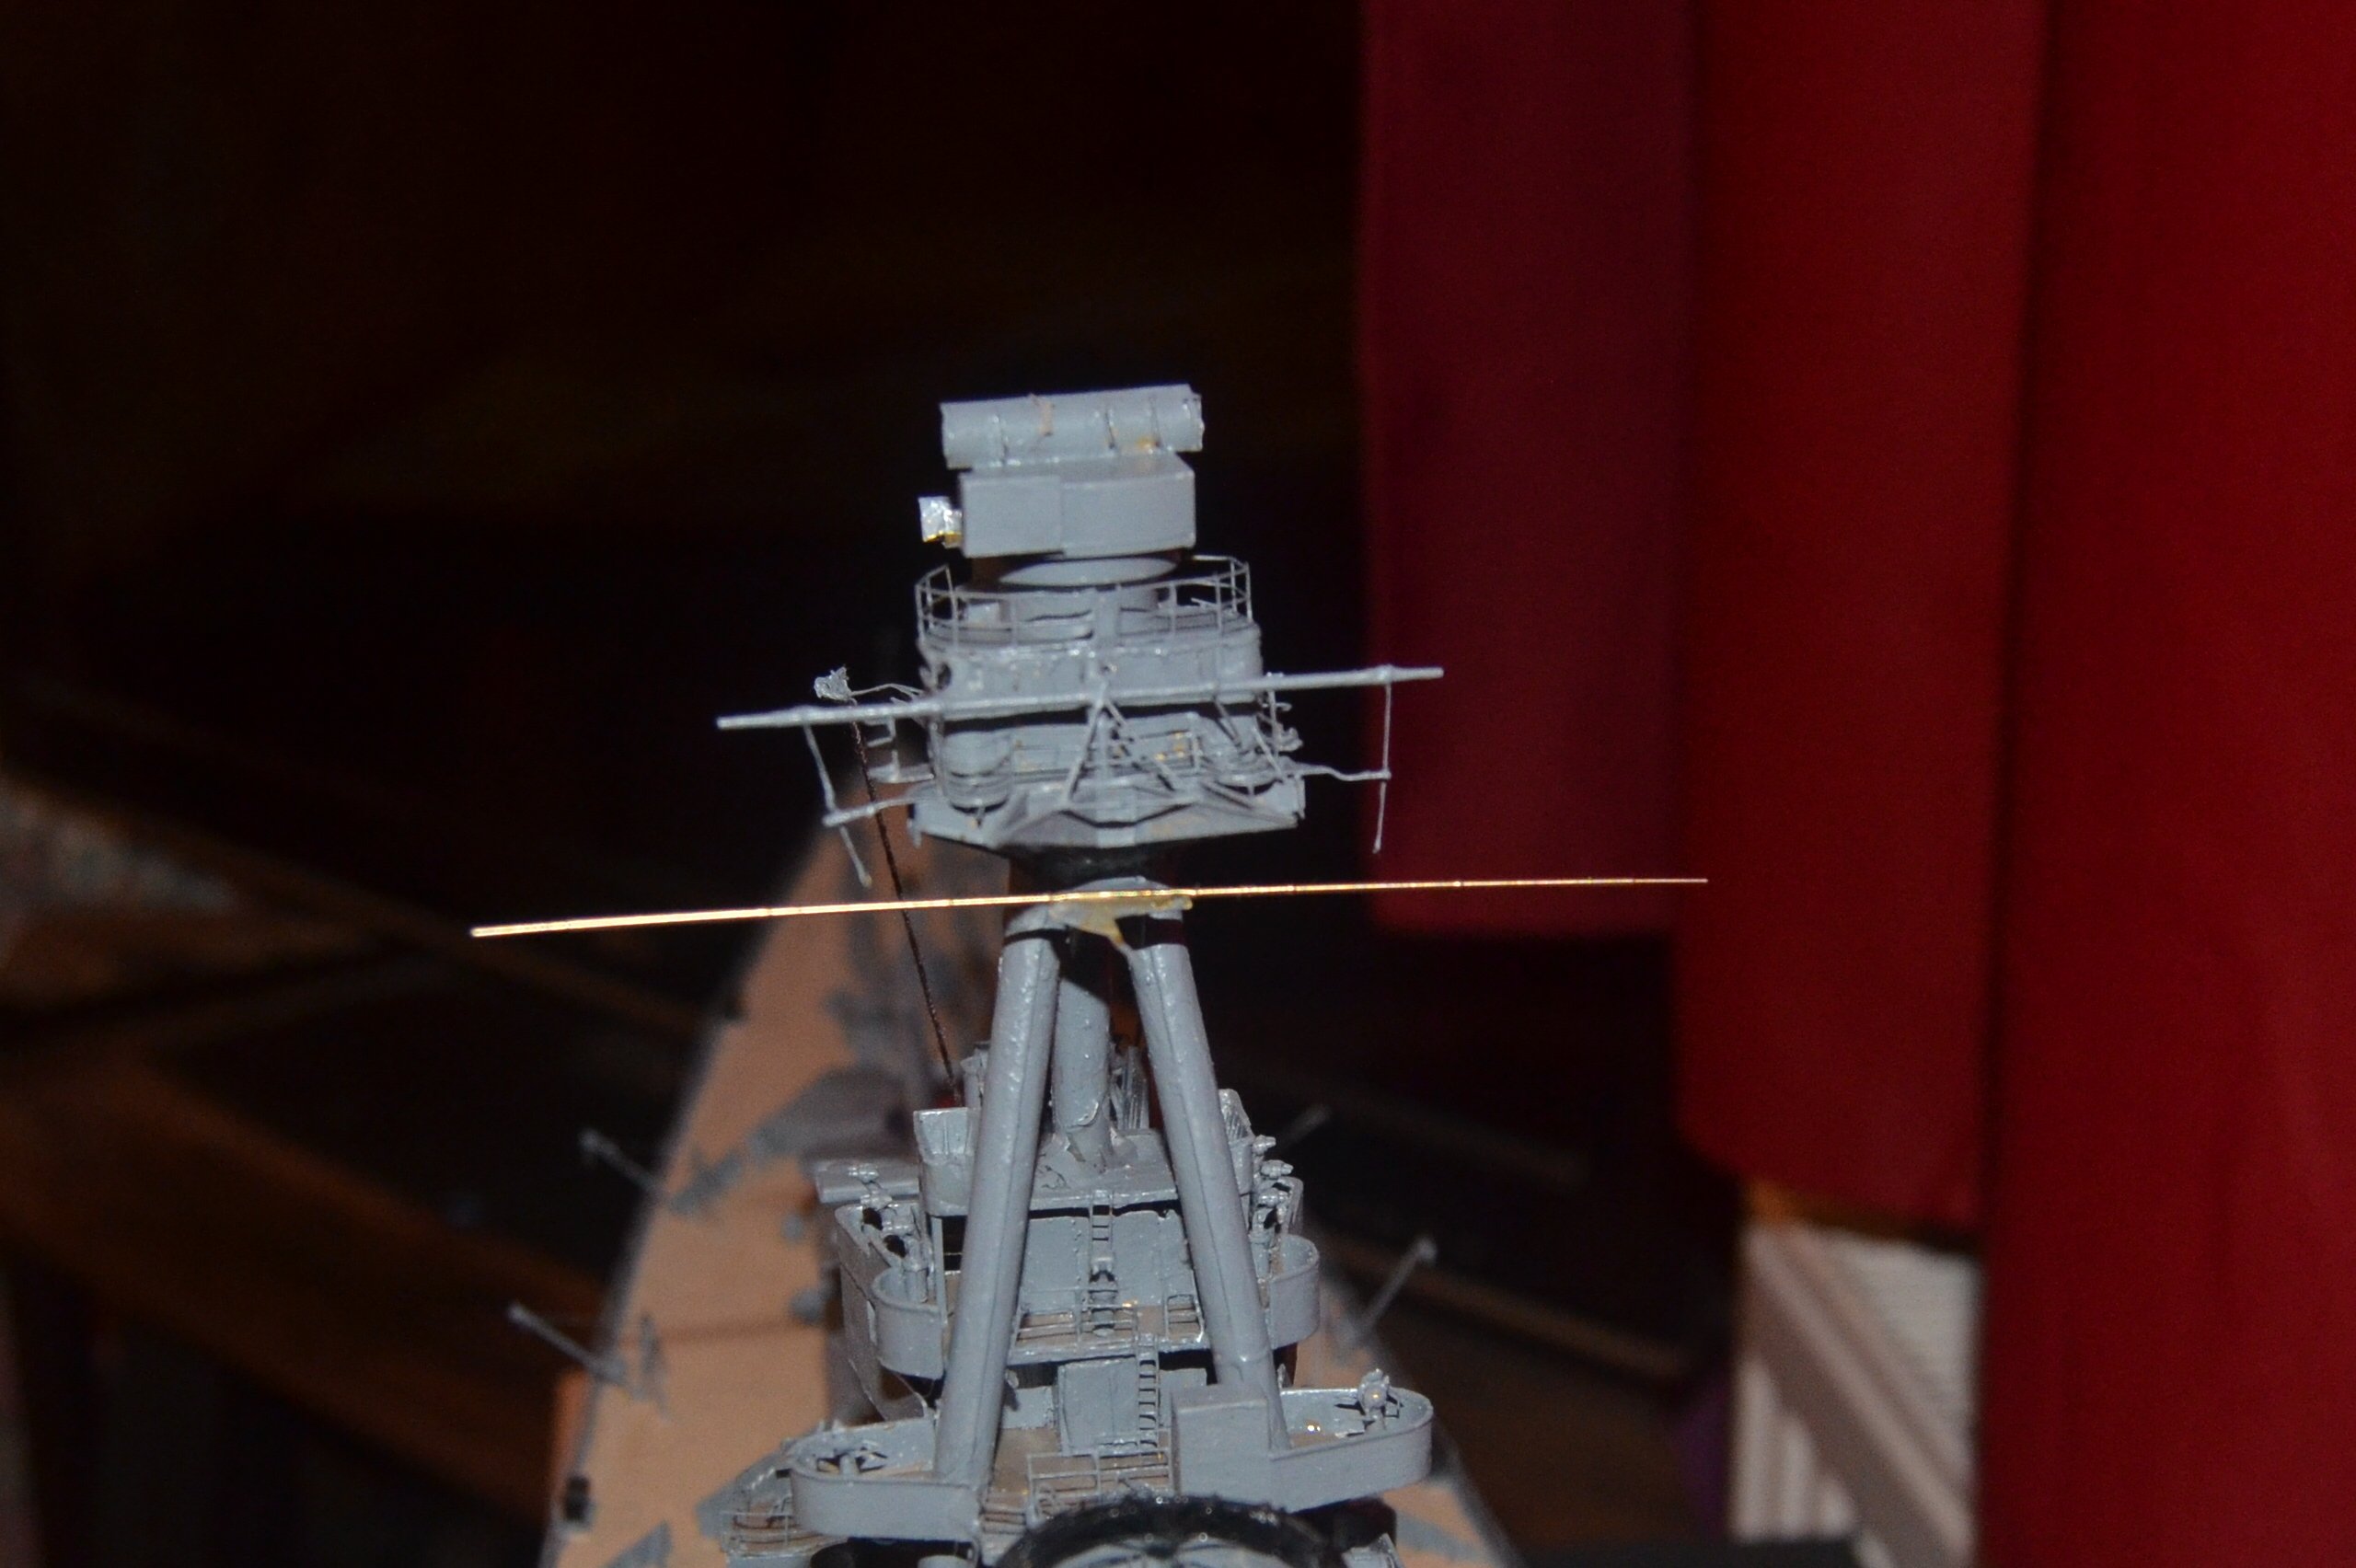
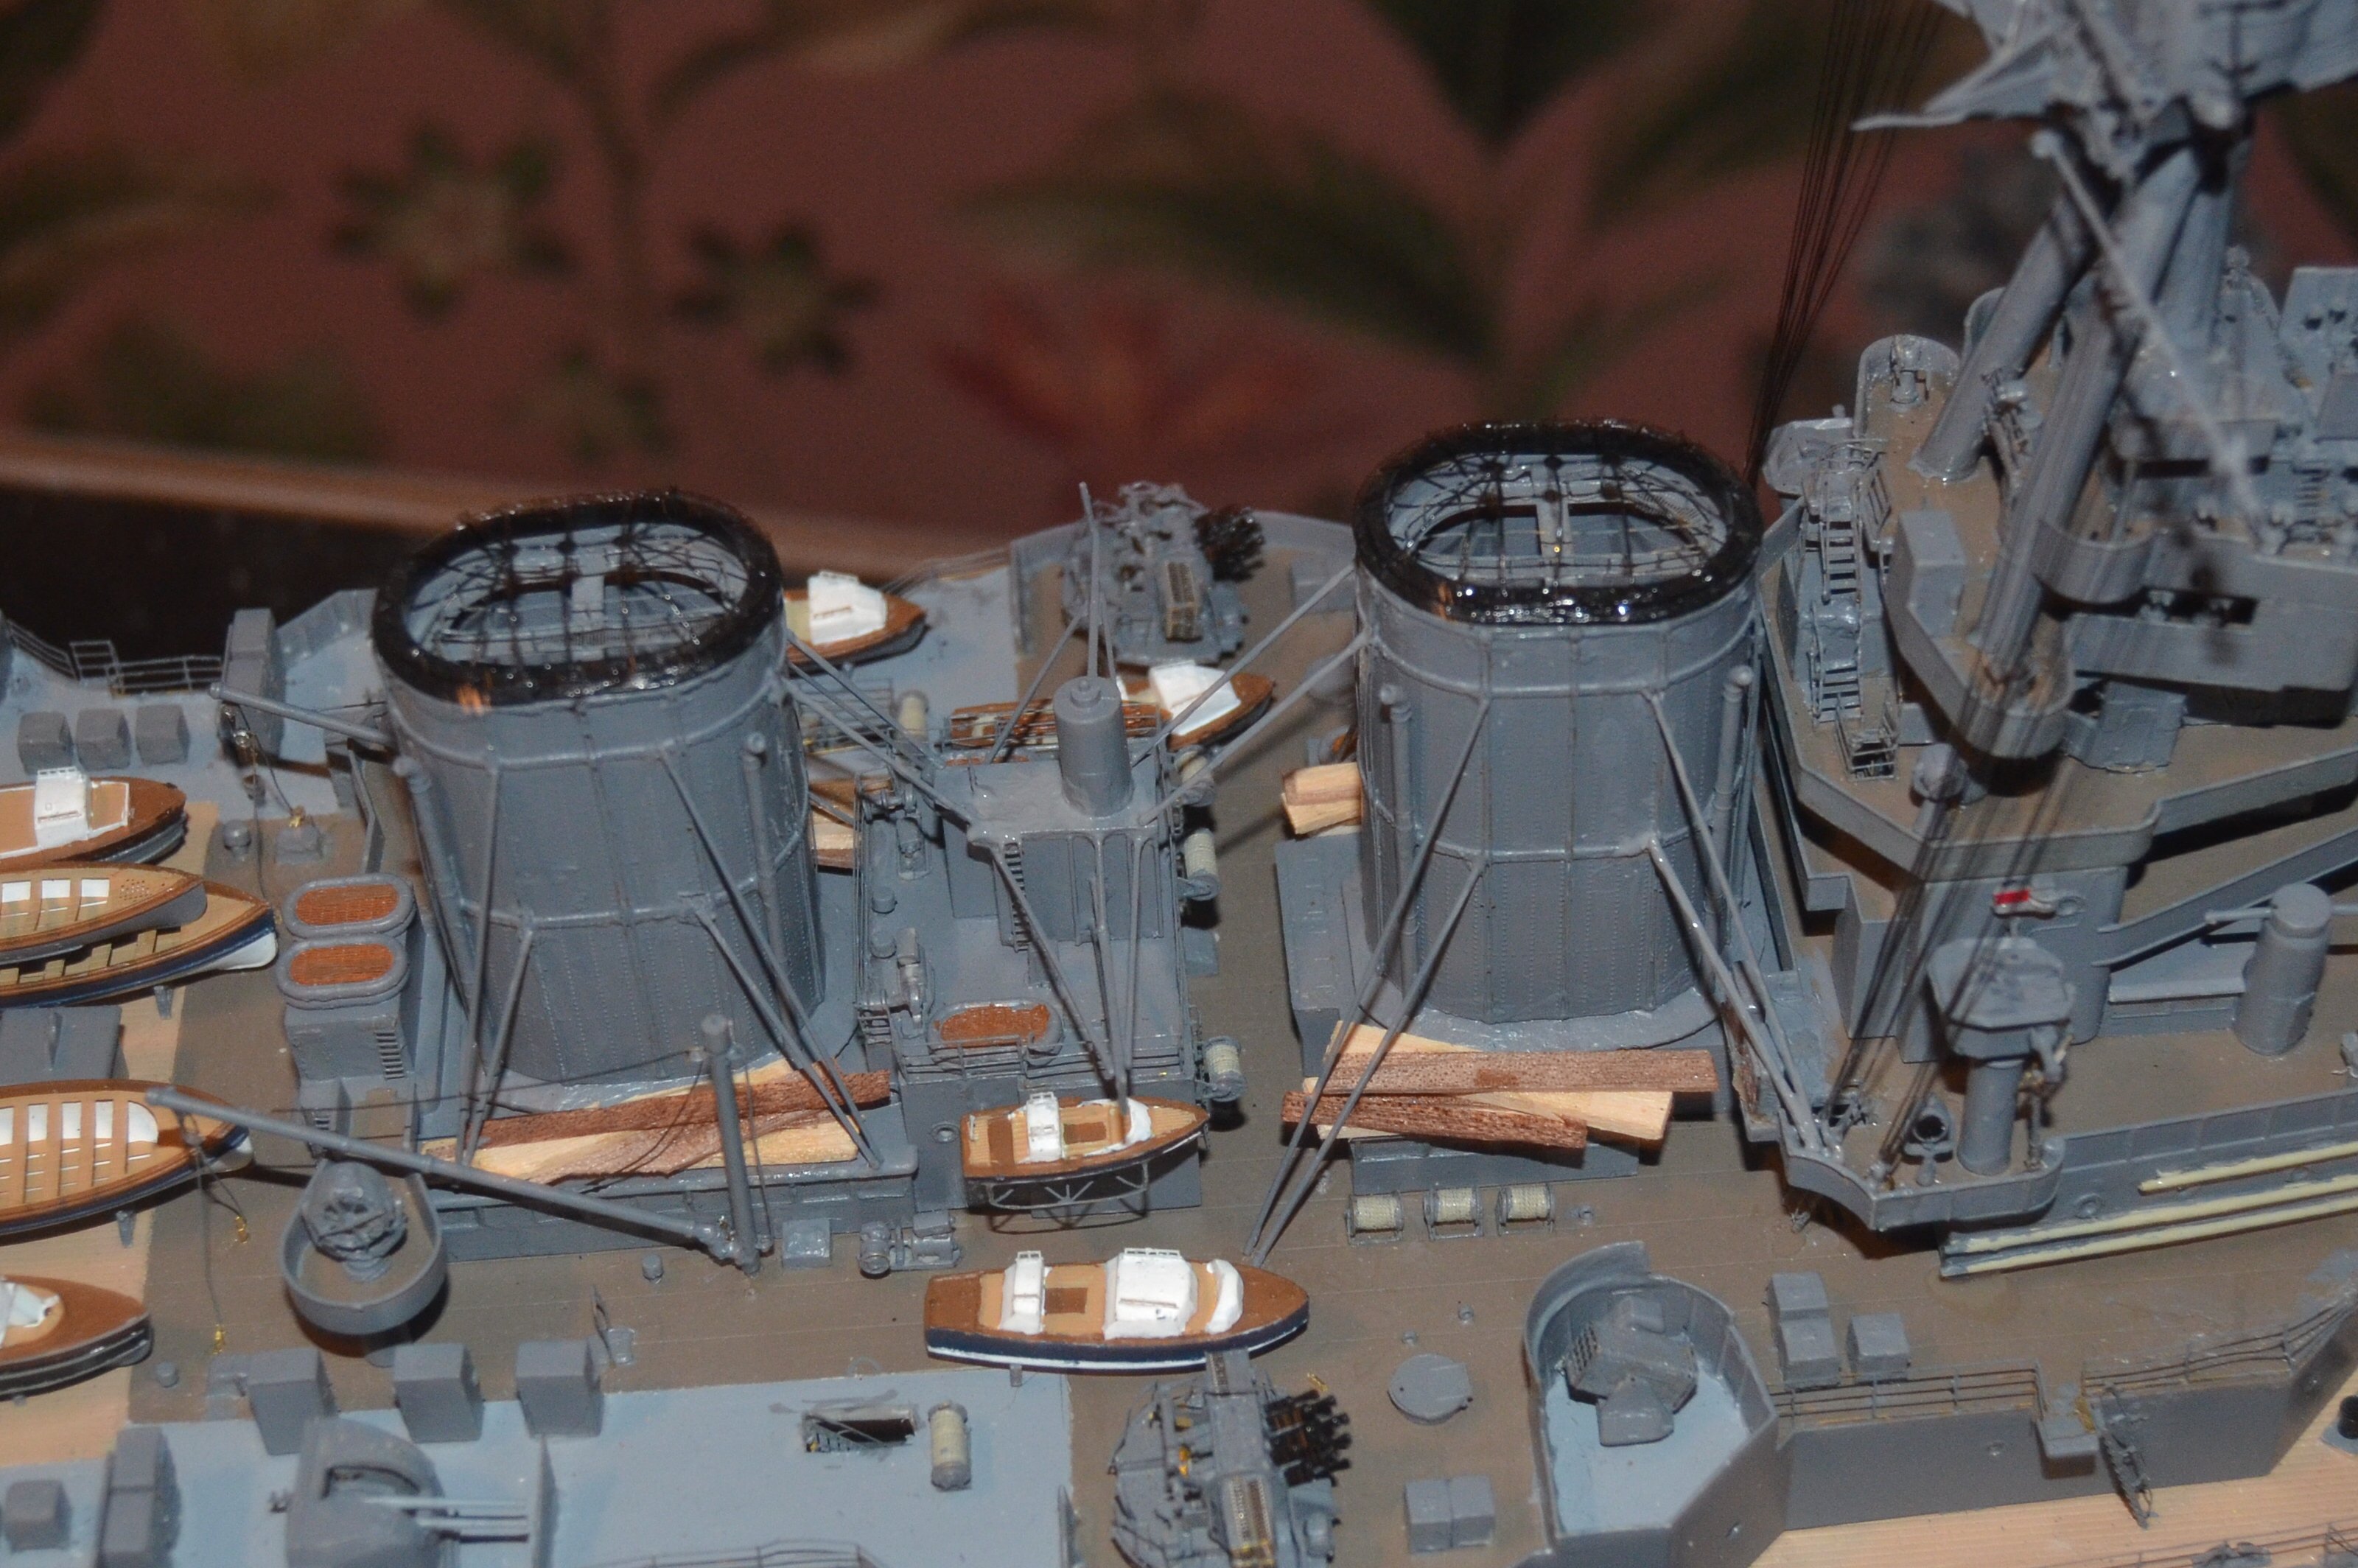
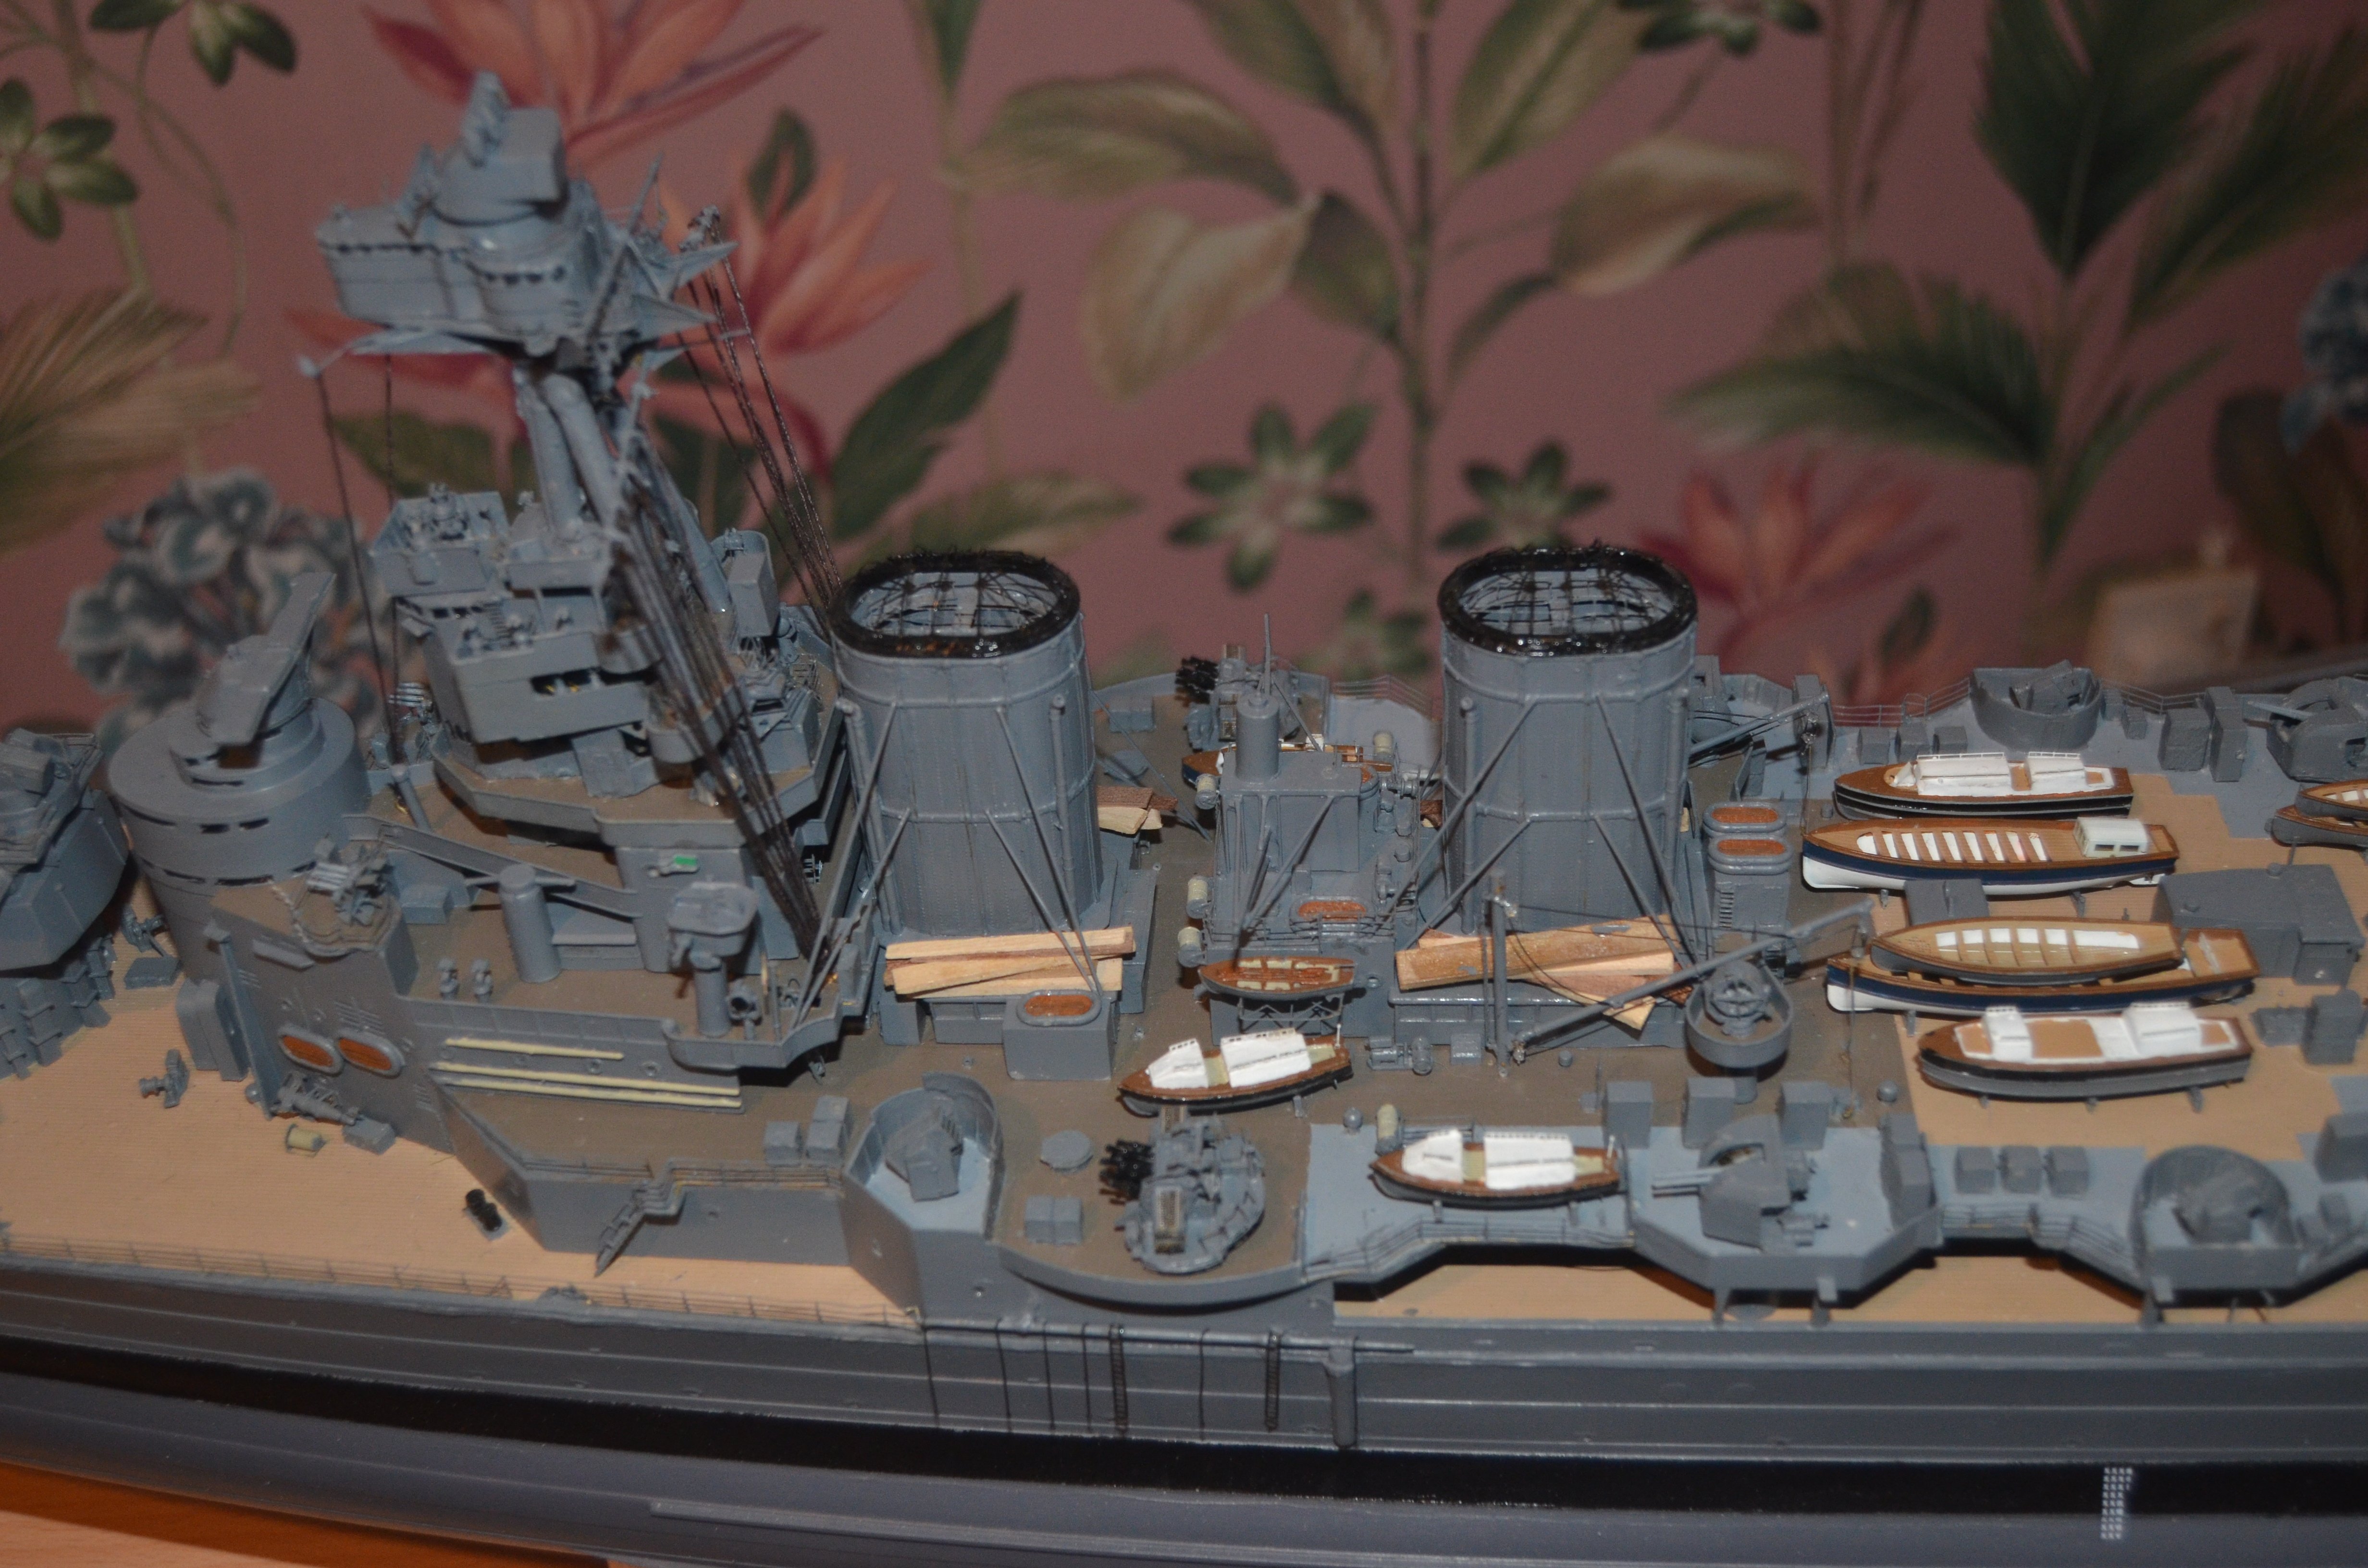
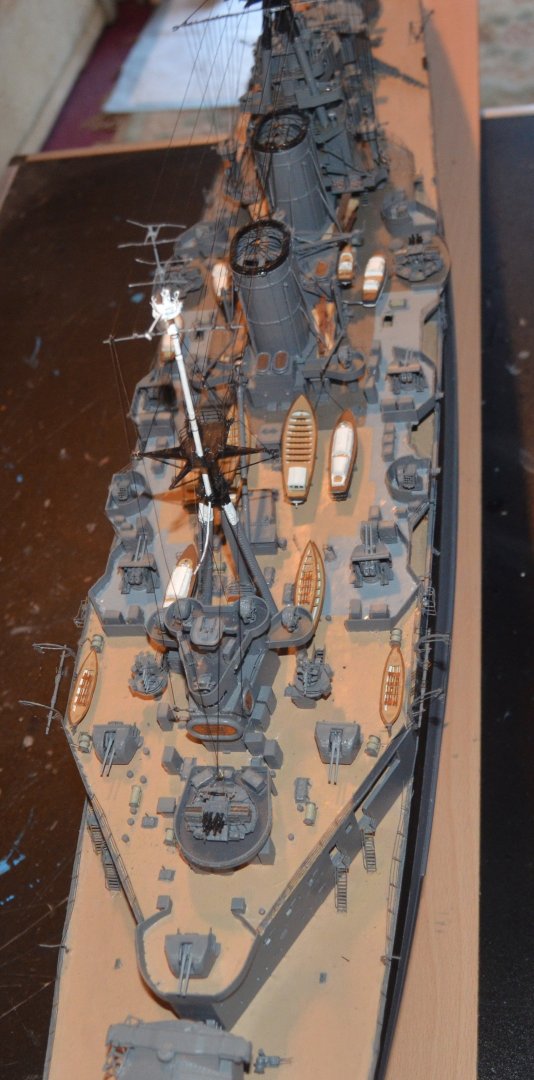
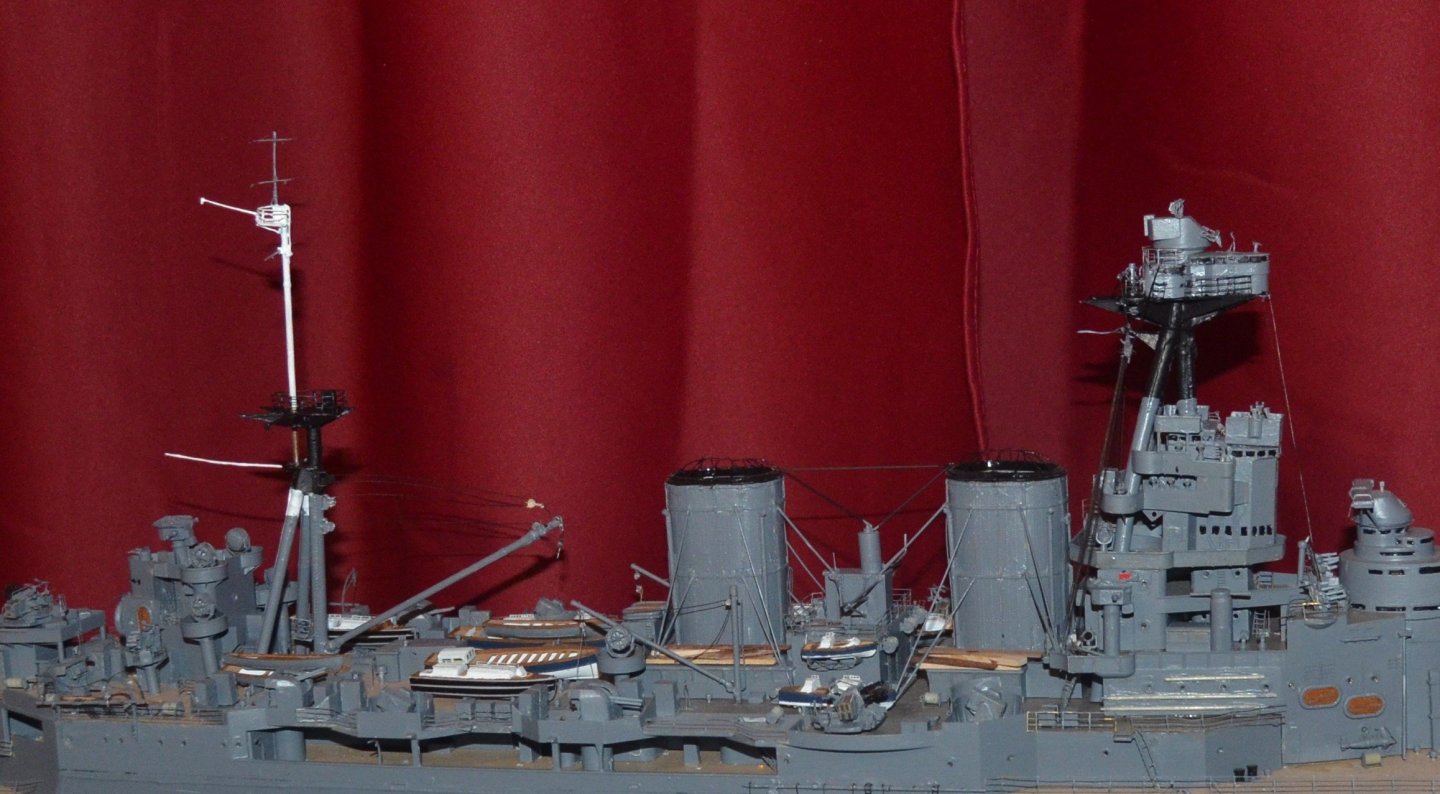
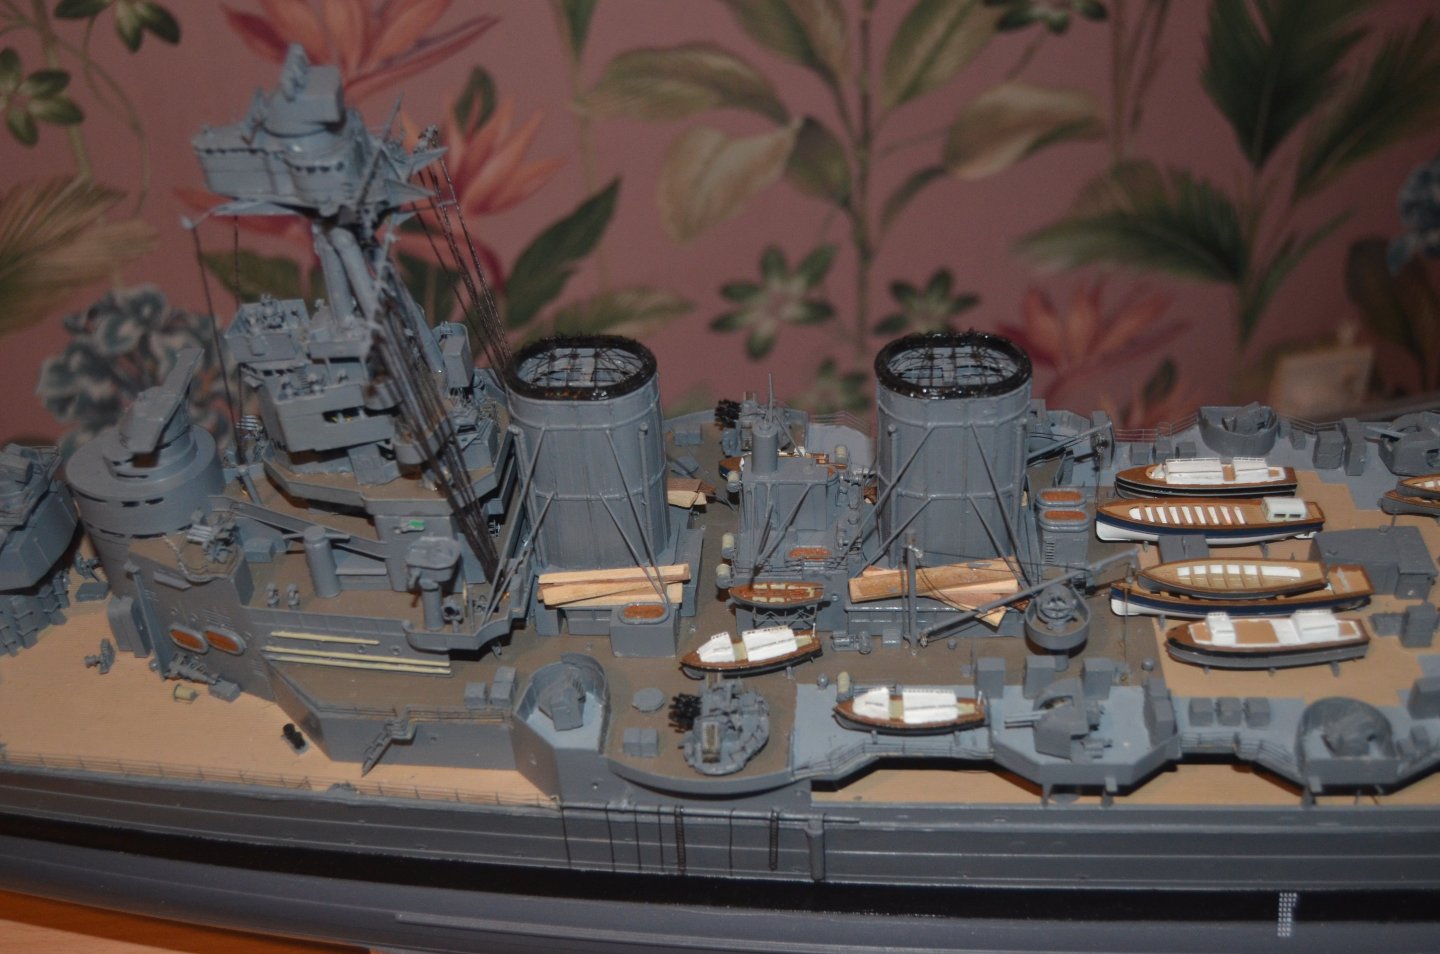
After much thinking about the yard I decided to change it. I did not like the way it bent down. Or that the cord was way out of scale and drew your attention to the rigging. So I have used the rolled brass yard from the MK1 kit. The only downside was how fragile it was. Even this would bend down with to much tension. So I added the line to give it more strength at each end of the yard. this has stopped it pulling down. There was very little surface for it to bond to either. So I left the centre part of the plastic mast in place to act as a brace and that has worked out fine. I also swapped the 0.4mm cord foe 0.2mm. It should be 5 double lines but that was way to finnicky to do. But it does look far better and more like how it looks on the ship. I have also added a few more stays to the funnels. Just the main mast to do and a few bits that will added to the hull and it will be finished.


-
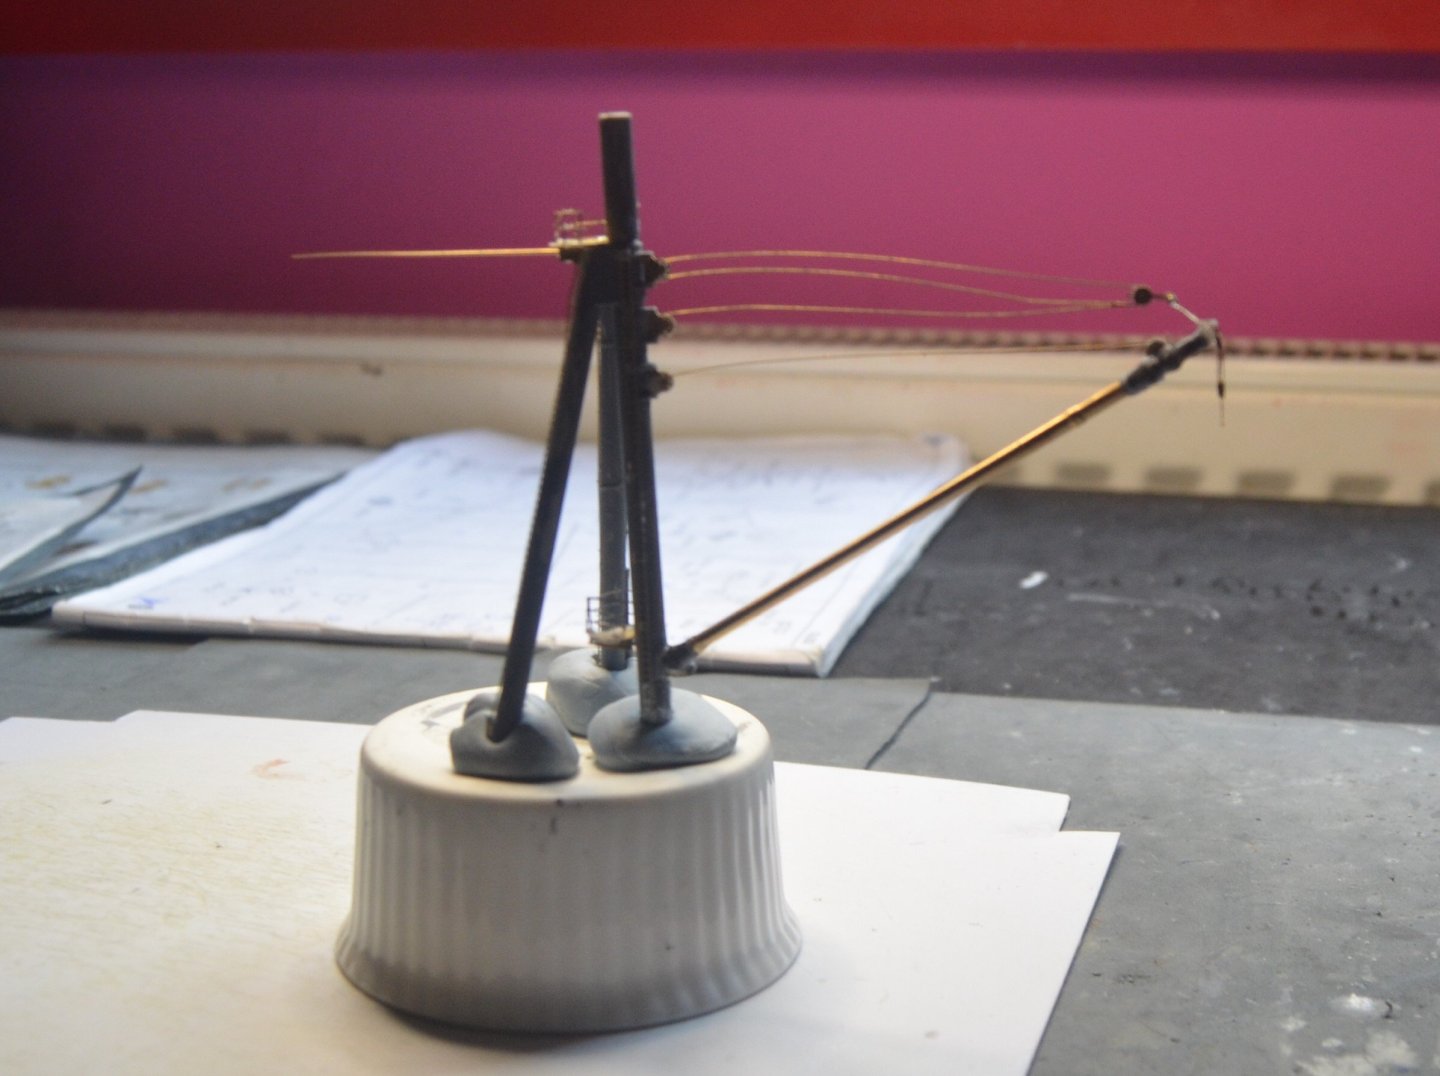
I've added the funnel stays and rigged the bottom spar. The biggest problem was not having smaller scale cord. So it is out of scale. And the tension has pulled one side down. It does not look as bad as the photo makes it look. But it is still not perfect. Will have to decide if I should pull it all apart and start again. The biggest problem as I mentioned previously is the shaking hands.
-
The bridge and masts completed and in place. This was a real problem because the masts fitted perfect when I dry fitted them. However once I added all the parts they would not hold in place with CA glue because of the tension in them. So I have glued them in place with Araldite. This has glued them in firmly. I then realised I had not added a part that goes below the starfish and holds the spar in place. So I have had to add half of it and luckily it does not show up to much. Just have to work out the rigging now and decide how much to add. My problem now as the Doctor is always telling me when I bring it up is the age related hand trembling. Tring to tie off rigging in close quarters makes it appear as if there is a earth tremor going on. I will also see is I can add some of the funnel stays. Although I should have done so before adding all the parts around the funnels.

-
I'm priming with E-TECH Technik self etch primer.Which is excellent for PE and only needs one coat. And I am using Tamiya colour for all the grey PE. Any that is painted black I am using Tamiya Lacquer paint.
-
Thanks Alan,I've lost count of just how much I have added to the model using the MK1 upgrade kit. Paul
-
The top part of the bridge is finished ready for the masts to be added. There are so many ladders and hand rails in this one section. Half of which can't be seen. Could have looked better but it will do. I will remember in future not to build the complete section and then add the extras. I should have added a lot of the hand rails before gluing the various parts together. I have made a few alterations as recommended on the HMS Hood web site. Mostly adding small parts such as columns and removing sections that where open on the ship. There are also quite a few added extras from the MK1 upgrade kit added to it.

-
How do you all choose your next build?
Paul Jarman replied to Meekes's topic in Wood ship model kits
With my previous wooden models i chose ships that i liked the look of. And I built the Amati wooden model of Titanic because I had a built 5 plastic Revell kits over the years and wanted to build a more challenging model. I am currently building HMS Hood so have chosen to build models of Bismarck, Prinz Eugen and HMS Prince of Wales because of the historical connection of the four ships.