

Jim Rogers
-
Posts
1,379 -
Joined
-
Last visited
Reputation Activity
-

 Jim Rogers got a reaction from Freebird in Sloop Speedwell 1752 by Jim Rogers - Syren Ship Model Company - 1:32 scale - POF Sloop
Next I painted the figurehead. I plan on painting and staining my model as I always do.
-
 Jim Rogers got a reaction from Ryland Craze in Sloop Speedwell 1752 by sfotinos - Syren Ship Model Company - 1:32 Scale - POF Sloop
Takes a bit of tapering to get the figurehead seated nicely.
-
 Jim Rogers got a reaction from FrankWouts in Sloop Speedwell 1752 by Chuck - Ketch Rigged Sloop - POF - prototype build
Those quarters look tight. Where was his rack? Hammock? Sleep on table top?
-
Jim Rogers reacted to Chuck in Sloop Speedwell 1752 by Chuck - Ketch Rigged Sloop - POF - prototype build
Just a heads up for those building the kit. Jim Rogers caught a error on the labeling of parts. It is now corrected. But you will find that there are two sets of frame parts AF.....The taller set is actually AF. The shorter set is mislabeled. Those are actually 10A. Good catch Jim....thank you. The parts are actually fine. The one set is just mislabeled. So grab your parts and correct the label on the shorter set before you get that far. Label them as parts 10a.
You will find them on sheet "M" of laser cut parts. Those need to be relabeled.
Chuck
-
Jim Rogers got a reaction from FrankWouts in Sloop Speedwell 1752 by Chuck - Ketch Rigged Sloop - POF - prototype build
I am trying to figure out lanterns. Running the wires and keeping them hidden will be the trick. Chuck you can’t just tease us with the furniture and other items, please make them available.
-
Jim Rogers reacted to Chuck in Sloop Speedwell 1752 by Chuck - Ketch Rigged Sloop - POF - prototype build
Not back in that cabin….take a look at the original draft. The captains stateroom is on the lower platform….an even smaller space. These were small vessels and working mainly coastal.
Smaller crew and even smaller spaces. Heres a look at the original draft and cabin spaces.
-
Jim Rogers reacted to Stuntflyer in Sloop Speedwell 1752 by Stuntflyer (Mike) - Ketch Rigged Sloop - POF
Limber strakes
I guess these strakes are for the most part hidden. Still, having never made them before I decided to give these a try. I used the plan drawings as usual for the templates. Rather than shape them exactly to the template, I left some wiggle room in case adjustments where needed. The rabbet on the inside edge was cut with a simple scraper made from a hacksaw blade.
After adding the center section, I proceeded to add the fore and aft sections while trying to maintain as smooth a run along the outer edge of the strakes as possible. Both the aft and fore sections have a twist which needs to be taken into account one way or another. I was able to twist the aft section with wet heat and hold it in position while the slow drying CA set. I couldn't get enough twist in the fore section. If these were made from AYC rather than boxwood, it wouldn't have been a problem. Rather than torture myself, I went with some very expensive and exotic tools in order to give me a helping hand.
Mike
-
Jim Rogers got a reaction from FrankWouts in Sloop Speedwell 1752 by Chuck - Ketch Rigged Sloop - POF - prototype build
I am ready to start building. Great to hear I won’t have to get plans printed at Office Depot. So she is basically same size as Winnie. So looking forward to a project, hope I am up to it.
-
 Jim Rogers got a reaction from mtaylor in Sloop Speedwell 1752 by Chuck - Ketch Rigged Sloop - POF - prototype build
I am trying to figure out lanterns. Running the wires and keeping them hidden will be the trick. Chuck you can’t just tease us with the furniture and other items, please make them available.
-
Jim Rogers got a reaction from mtaylor in Sloop Speedwell 1752 by Chuck - Ketch Rigged Sloop - POF - prototype build
I am ready to start building. Great to hear I won’t have to get plans printed at Office Depot. So she is basically same size as Winnie. So looking forward to a project, hope I am up to it.
-
Jim Rogers got a reaction from mtaylor in Sloop Speedwell 1752 by Chuck - Ketch Rigged Sloop - POF - prototype build
Please,please, please make the table and chairs available…and a link to Chris’s figures.
-
 Jim Rogers got a reaction from Jack12477 in Sloop Speedwell 1752 by Chuck - Ketch Rigged Sloop - POF - prototype build
I am trying to figure out lanterns. Running the wires and keeping them hidden will be the trick. Chuck you can’t just tease us with the furniture and other items, please make them available.
-
 Jim Rogers reacted to Chuck in Sloop Speedwell 1752 by Chuck - Ketch Rigged Sloop - POF - prototype build
My daughter was very complimentary about my latest model. But she said I had to put something on the table. It looked too bare and boring. So not wanting to disappoint my lovely daughter I added some laser cut books. Yes that is a very very tiny Seawatch book about Speedwell Volume 1 I believe. Great reading while at sail on those quiet evenings!!
The cupola really isnt that shiny....its just the very bright overhead light and the photo camera lights. It is actually much darker and subdued. I think. LOL.
The books are just 1/4" tall so very very very tiny. Cleaned up after laser cutting and ready for a printed cover scaled down....But here you see them in the raw state. These are right off the laser cutter and just sanded to remove the char. The close ups are brutal but they look really good at regular viewing. About the size of your fingernail.
-
Jim Rogers got a reaction from Ryland Craze in Sloop Speedwell 1752 by Chuck - Ketch Rigged Sloop - POF - prototype build
I am ready to start building. Great to hear I won’t have to get plans printed at Office Depot. So she is basically same size as Winnie. So looking forward to a project, hope I am up to it.
-
Jim Rogers reacted to Chuck in Sloop Speedwell 1752 by Chuck - Ketch Rigged Sloop - POF - prototype build
Messing around with cabin cupboards or closets. Making the bulkhead assemblies and inserting them. Nothing is glued in yet.
-
 Jim Rogers got a reaction from JpR62 in Sloop Speedwell 1752 by Chuck - Ketch Rigged Sloop - POF - prototype build
Please,please, please make the table and chairs available…and a link to Chris’s figures.
-
Jim Rogers got a reaction from Freebird in Sloop Speedwell 1752 by Chuck - Ketch Rigged Sloop - POF - prototype build
Please,please, please make the table and chairs available…and a link to Chris’s figures.
-
 Jim Rogers got a reaction from paul ron in Display base question
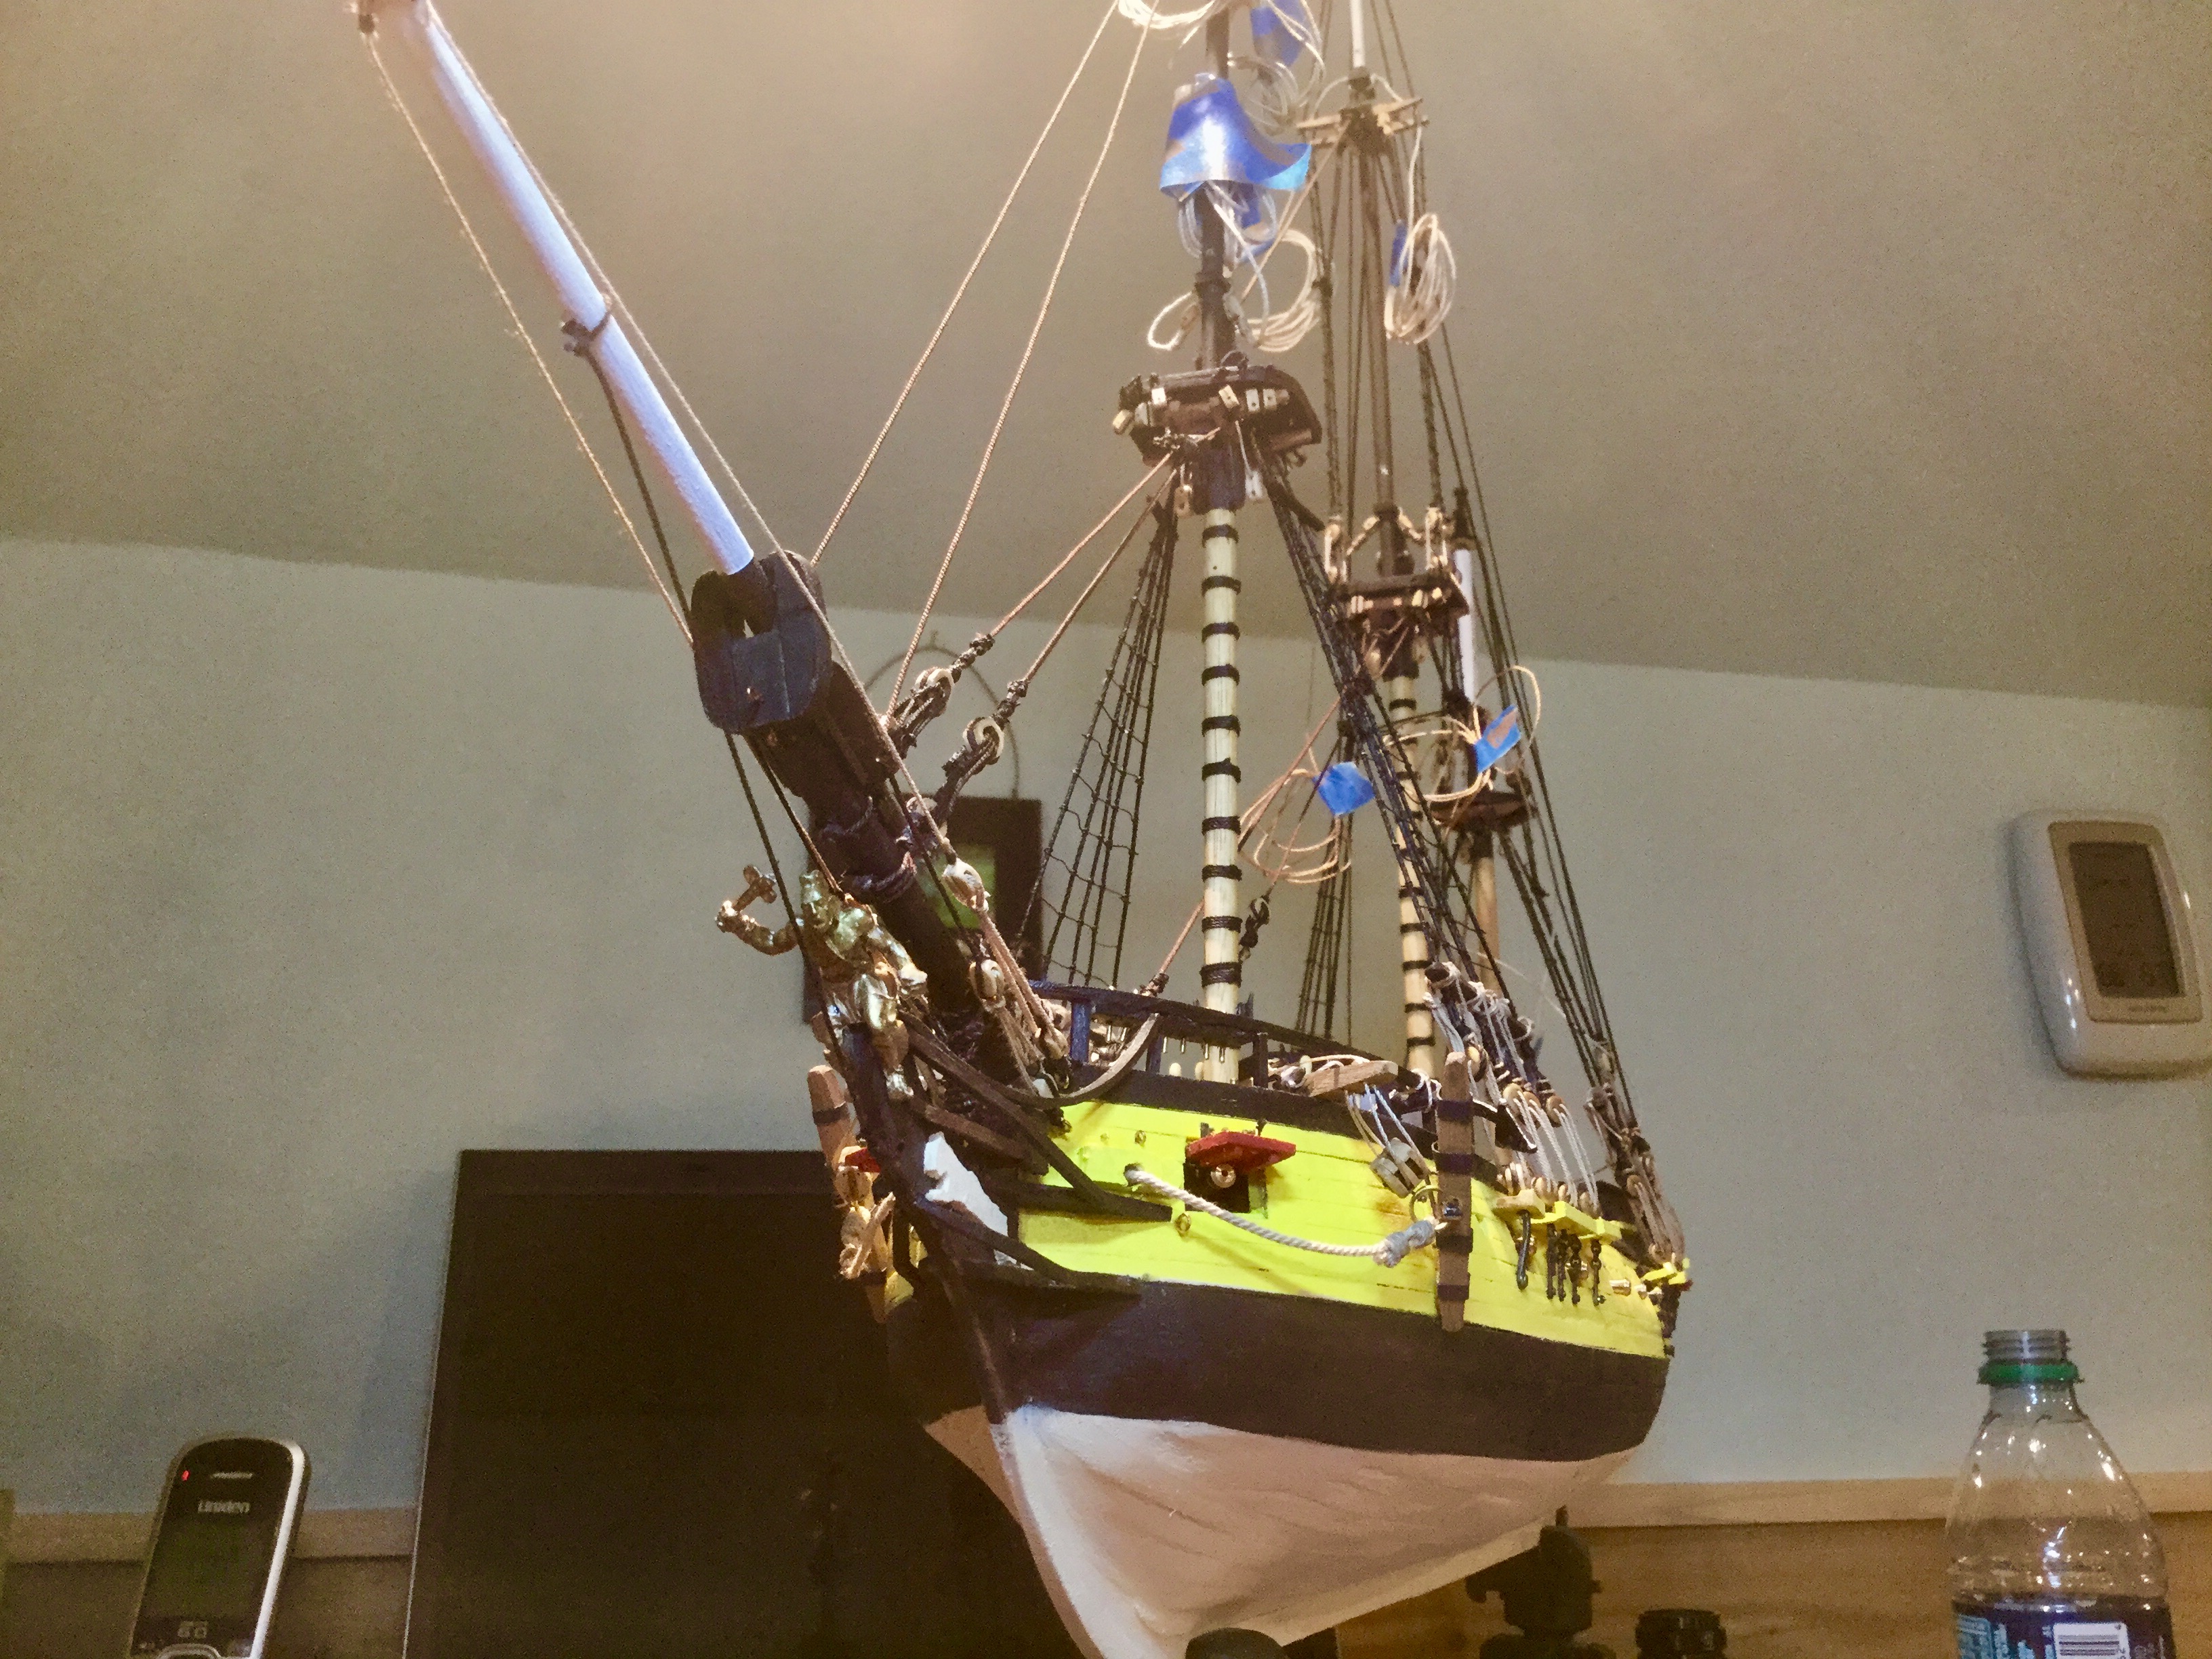
Here is my Winnie mounted on stands.
-
Jim Rogers reacted to Chuck in Sloop Speedwell 1752 by Chuck - Ketch Rigged Sloop - POF - prototype build
I cant believe I forgot to add the last piece. I completely forgot about it and then just saw it sitting inside the hull. I originally tried to make this from boxwood but it was way too fragile. It broke every time. So I cut one out of the tan plastic stuff I used for the windows and just forgot to add it.
You can see a spare sitting in the hull. You can see how fragile it looks. A beaded molding trim that goes all around the inside of the doorway. I have now added this last piece and that completes chapter 5. I think it finishes the bulkhead and I am glad I spotted it. Its all about the small details.
I also finally cleaned up the hull and added some wipe on poly. So all the wood should be less white and toned down now. This is the final color with the
finish added. I dont know If there is much difference but in real life
there certainly is.
Next I will start building the storage closets inside the great cabin.
-
Jim Rogers reacted to Chuck in Sloop Speedwell 1752 by Chuck - Ketch Rigged Sloop - POF - prototype build
No gaps to worry about Mike...you will see when you get to this point. Here is the step by step to finish the bulkhead. These are my notes so I dont forget how I did it.
Once the bulkhead is glued into position we need to add another layer on the aft side. This will make the aft side nice and smooth and even and neaten it all up. I am referring to the two strakes below the windows and the uprights between the windows. All are laser cut.
Now we can finally cut away the beam within the doorway and the other straps as well. Do this carefully with a fine toothed saw. I use a fine toothed scroll saw blade in an Xacto blade handle. The bulkhead layers make it all sturdy but you still need a light touch. No hurry with this. Below you can see the open space for the doorway after I cut them away and then sanded the sides of the opening flush with a sanding stick. You can also see the door laying there. I finished the other side which gets another layer of .025 cedar with another panel...unpainted. The small strip you see there becomes the saddle in the doorway that the door will rest on top of. It is a 5/32" x 3/64" strip. The same thickness as the planking wee will use on the gun deck.
Testing the door in position...which is wider than you will need. Sand it to fit the opening...and tweak the opening as well. A little sanding with a sanding stick on both will insure a nice fit. Note how the door is sitting on top of that saddle strip. The door is not glued in position yet. It is just a test for the next step...the rounded top frame. The first .025 layer can be seen in the same photo ready to go. See it laying on the deck?
This first layer (of four) is .025 thick. It is a little taller than you will need. So while the door is resting in the opening, set it in position. You will see a gap along the top of the door. Sand the bottom of this arch a little at a time until that gap closes up. Then glue it to the front side of the two tabs sticking up. Sand the seams flat and paint the front face red. Then one by one there are three more layers of this arch. Next the 3/64" thick piece. Then another .025 and lastly another 3/64" thick arch. This will make the top arch above the door nice and sturdy. Now you are ready to finish it up...
Note…dont bother cleaning the char from the edges of these pieces. You will distort the curves and it wont match the top of the door. This wont be seen at all. You can lightly sand the top of the arch once all the layers are glued in position. But just a little. That will be covered up also.
You can now place the margin plank along the front of the whole bulkhead. It will hang over the front slightly. It will also leave a nice rabbet on the aft side for the qdeck planking. It is a 1/4" x 3/64 strip. Just round off the forward edge and cut it to length on both sides of the arched door frame. The last piece will now cover up all those layers of the arched top. It is laser cut for you. There is a handle on the part so you can sand the char from the outside of this piece without breaking it. It is a bit fragile ( I will provide a few extra). Once the char is removed then cut it free from the handle. Dont bother sanding the underside of this piece. Once again it wont be seen. The forward edge is rounded off. The aft side remains flat. You can see it glued on top of the arch in the photo below. It is 7/32" wide and all the pieces are flush on the aft side of the platform. It is basically an extension of the margin plank around the top of the arch to clean it all up.
We havent glued the door in yet so we can remove it and add the laser cut hinges. You can also add the door knobs. That is your choice...a simple knob or maybe a pull handle. I prefer bending some brass strip and making a pull handle. Then you can glue the door in position and the bulkhead is complete.
-
Jim Rogers reacted to Chuck in Sloop Speedwell 1752 by Chuck - Ketch Rigged Sloop - POF - prototype build
Yes for the most part. This project is almost entirely made of laser cut parts. Almost every part. So far aside from the hull planking and deck planking everything is is a laser cut part. There may be a few odd strips of wood here and there. I thought the Winnie had a lot of parts but this certainly has it beat. It is by no means an assembly project though. This isnt a Lego set. Each piece needs to be cleaned of char and shaped in some way, shape or form.
For example with this bulkhead,
It starts as two layers like the bench lockers. The top layer has etched reference lines to help you with other parts later. The lower layer is 3/64" thick. Dont sand anting off the thicker lower layer. There is no need to sand the char off any edge. In fact that would be bad. But the top layer is just .025 thick. The edges inside the windows and panel openings must be filed clean of char with a light touch. I used a flat needle file and a very light touch. It will be painted but it is best cleaned up somewhat. The right side has its top layer glued in position after cleaning the char from the edges of the two openings. Dont worry about the extreme outside edges of the top layer. Dont sand that char away as you want it exactly the same size and shape as the bottom layer when you glue them together.
Once the two top layers are cleaned and glued in position, hopefully you havent thrown away the center squares for the paneling. These are then sanded and beveled on all four sides to make the raised center panels. A very gradual long bevel is needed to make it look good. This makes the beveled area wider. Try and keep it a consistent width all the way around. Remember this layer is just .025 thick. I used a sanding stick with 320 grit for this. Two of the panels are done in this photo and two more to go. The straps in what will become the doorway are very important in this design. This keeps both sides at the perfect distance apart. This will allow us to put the curved top pieces on later without worrying that your door opening is too wide or too narrow. If that were the case, those top pieces would never fit. We will be cutting those away later after the bulkhead is securely glued in position.
At this stage, you should take it to the model for a test fit. Depending on where your beam is in relation to the aft platform under it, everyone's model will be slightly different even with the most careful measuring throughout the project. It also depends on how much you faired the frames inboard!! So the bulkhead at this point is slightly longer and higher than you will hopefully need. So at this stage, you must slowly sand each end so it fits snug against the inboard bulwarks. Holding it at an angle so you can test fit the side against the bulwarks. Once you get a good fit on one side you can repeat this on the other side. Keep doing this until it fits snug against the top beam and against the lip on the bottom beam. Slow and steady is the name of the game here. Only sand off the slightest amount working both sides until this bulkhead fits in position. You can see how nice it fits on the starboard side below.
Then direct your attention to the top and bottom of the bulkhead. The top edge should be flush with the top of the beam. So rather than just sand the top down flush...its better to take a bit from the bottom and a bit off the top. Depending on your model this might be a lot or maybe none at all. There are so many variables. But hopefully I have accounted for them all in my design. The door is also shown in this photo. It has two layers and a panel also. But we wont be adding it until much later. But you can glue the outside layer and panel in position.
Now that you have a great fit...its time to paint the forward side red. Not the aft side!!
Then we can start adding the column parts. They all need to be sanded and filed clean. Gentle here folks. Dont over sand. Use a very fine grit. A sanding stick works great here.
The base of the columns are all added first. NOTE: These are glued on with 3/64" of space below them. That is for the gun deck planking much later on. Dont place these against the bottom edge of the patform. There is a laser etched line for reference so you dont forget. That is followed by the column itself after removing the char from the sides. The top of the column goes in next. Below you can see each column at a various stage. The base and tops are also filed to clean up the laser cut grooves a bit. Especially the sides of these pieces. Its exactly like we did for the transom columns. Once all the columns are done, there is a laser cut molding on the top of the bulkhead between the columns. Each length needs to be rounded off on top and bottom. Just on the forward side. Then if you want to, you can bevel the entire length of each molding so the bottom comes almost to a point. Do this on the back side. Making it a pie shape in profile… It will look nicer and add dimension. But this is optional because its a pain in the A..
Any bit of the columns that stick up along the top can be sanded flush with the top of the bulkhead. I made the column tops extra long just in case. Use the laser reference lines for placement as a guide only. Yours maybe different depending on how tall your bulkhead actually is. But it should be pretty close.
Then lastly...laser cut window frames are inserted into the reverse side. You will see a nice lip formed by the two layers and these will fit really nice inside each opening. That is followed up with a laser cut sheet of acetate for the window glass.
And so far that is as far as I got. But this is a main focal point of the model so take your time and be as neat as possible. We will glue it into position now...the beam is glued in first and then the bulkhead. Nice and secure top and bottom. You can see where we will cut away the deck beam in the doorway as well as the strips that kept the bulkhead properly distanced for the door opening. But we have a couple more things to do on the aft side of this bulkhead before we can cut away those pieces.
-
Jim Rogers reacted to Chuck in Sloop Speedwell 1752 by Chuck - Ketch Rigged Sloop - POF - prototype build
Working steady now on the model which is good. I doing this while laser cutting parts for those first two chapters.
The lower bulkhead against the aft platform was next. This is pretty easy and straight forward. But before I can get to work on that I have to add the gun deck clamps for the beams. There are many ways to find the height for the deck clamp. But I chose to create another template. Its just easier for me. And I hope for you as well. Place it on the model with some tape. The top edge of the template under that inboard shear plank. Then trace along the bottom edge of the template to mark the TOP of the deck clamp.
The deck clamp is made using two lengths of 1/4 x 1/16 cedar strips. Just follow the line you made. The top of the strips against your line. This chapter will come supplied with a few gun deck beams. You can see I cleaned the char off one in that same photo. I cut it to length and test fit it in position. It should slide right up against the great cabin planking. Hopefully you have the height of your deck clamps equal on both sides so you dont have a sloped deck beam...
I have that beam sitting on the side while I take the two pieces that are laser cut for the lower bulkhead. Its all etched and ready to go. You just have to clean any char and tweak its shape a bit. You want to get a pretty good tight fit against the bulwarks on each side. But remember you will have a gap where the inboard planking would have been. Thats fine. So you have some leeway here. The inboard edge of each bulkhead should be flush with the opening for the stairs. You can see this in the photo below while giving it a test fit.
I applied some finish to each piece before gluing it in position. One note however. Continue to test fit both sides of the bulkhead....with the beam in position. You will see that after tweaking its shape that it sticks up beyond the deck beam. That is by design...so leave that as is. You may have to adjust as needed on your model depending on how far apart your platforms are. But this small lip will be important later when we add the next bulkhead on top of that beam.
That next fancy bulkhead is my next project. The plan fits really good so now I just have to spend the next couple of weeks turning this bulkhead into parts that look convincing. Its a major focal point for the model so I will spend a lot of time getting the details and design just right. Hopefully. That first quarter deck beam is not glued in position yet. Its just there to help me plan out my next moves for this bulkhead. The windows and door will be a challenge for sure. But I am eager to get started.
-
Jim Rogers reacted to Chuck in Sloop Speedwell 1752 by Chuck - Ketch Rigged Sloop - POF - prototype build
Thanks Mike. I am working on it a lot lately. Mostly because I lack the wood to make many parts that are now out of stock. So as I get more I will be busy with inventory. So while I wait...
I managed to get the transom beam in position. Much like the Winchelsea, it was made in layers to simplify it. These are all laser cut. But slightly longer than needed just in case. They were pre-bent in a jig set up. This is crucial. I used some scrap 3/16 x 3/16 wood under the center to bend it. I just clamped the end and then blasted it with the hair dryer on super hot. Note the wood scraps on the ends too. This protects the ends from denting and other damage. All of the layers are done like this. Using the 3/16" x 3/16 strip makes the perfect bend we need..
Testing it in place. Layer one. Not glued in yet. but pretty tight.
Then repeat with layer two on top. No need to bevel the back edge. Just slide it against the stern frames. Then glue the top layer onto the bottom one while on the model. I found that helpful. You will be able to remove the whole thing because the bottom layer isnt glued in. This way you can sand it a bit if needed and clean it up.
Testing the transom beam with the other six. They should be the same height and a test with a strip of wood confirms this. The deck planking will lay nicely on top.
To finish off the transom beam, you can glue the final 3/64" thick layer on the top. This one will show so take your time cleaning it up. The back side was beveled to sit flash against the stern frames. The same was done on each end against the bulwarks so I got a tight fit. One of the red arrows shows this top layer. Note that it is narrower and leaves a nice rabbet on the forward side to accept the qdeck planking.
The other red arrow shows a laser cut filler on the 3/64" thick. This is glued to the bulwarks and will be important in the next step.
And finally...the iron straps are added. These are laser cut on black laser board. Each iron strap is in two pieces. One on the beam and the other curved section on the deck clamp. These will hardly be seen. In fact I think they are mostly covered later...what a pity.
Next up was the planked inboard side of the transom. This is laser cut in one piece with etched lines to show the planking. Just bevel the sides for a tight fit. Also bevel the bottom edge as well. This was actually pre-bent in that same jig set up to establish the curve. It worked great. Use the 3/16" x 3/16" strip in the center like before. Once I got a tight fit I removed it and painted it red before gluing it in permanently. This helps me keep a crisp edge on the bottom with no sloppy paintwork. Then glue it in...
The top of this area was prepared next. It is laser cut in a way that the grain makes it super easy to bend. So no jigs are needed. In fact be careful as it is delicate. The top is done in two halves. I have given folks and extra set just in case. There are notched for the stern frames. They are laser cut smaller than needed so you will need to enlarge them to fit tightly around the stern frames. The back edge was also beveled so it fit nice and tight.
Then repeat with the other side. Note how the top is flush or nearly flush with the cap rail.
Then a front mold piece finished it all up. Sanded to fit tightly and all prepared for painting. It is also 3/64" thick.
Then its all painted and cleaned up...once the paint work is tidied up, this really finishes off the inboard side of the transom well.
Next up I remove those six qdeck beams once again and start work on the locker benches and rudder trunk.
-
Jim Rogers reacted to Chuck in Sloop Speedwell 1752 by Chuck - Ketch Rigged Sloop - POF - prototype build
Yes…i dont want to
go too bright this time. Its the same red but then toned down with a thin wash on top. Of Burnt umber actually. It gives it a bit of character. I want to try something new…a bright shiny perfect model is starting to look a bit sterile to my eyes lately. So I am working the surface a bit. We shall see if it succeeds or fails miserably. Once the hull is almost complete I will
do the same all over to establish the look I am shooting for. I am somewhat inspired by the crustiness and grime on the contemporary model.
-
Jim Rogers reacted to allanyed in Hello from Seattle - looking to buy a built ship
While the model is pretty, it does not come close to meeting your requirement of an accurate depiction. But, if you like it and it will bring you pleasure, that is what matters, so go for it.
Allan